Sew candle

AdventurerKatzi
Rating4.56.1 Thousand times & (2) DifficultyAdvanced

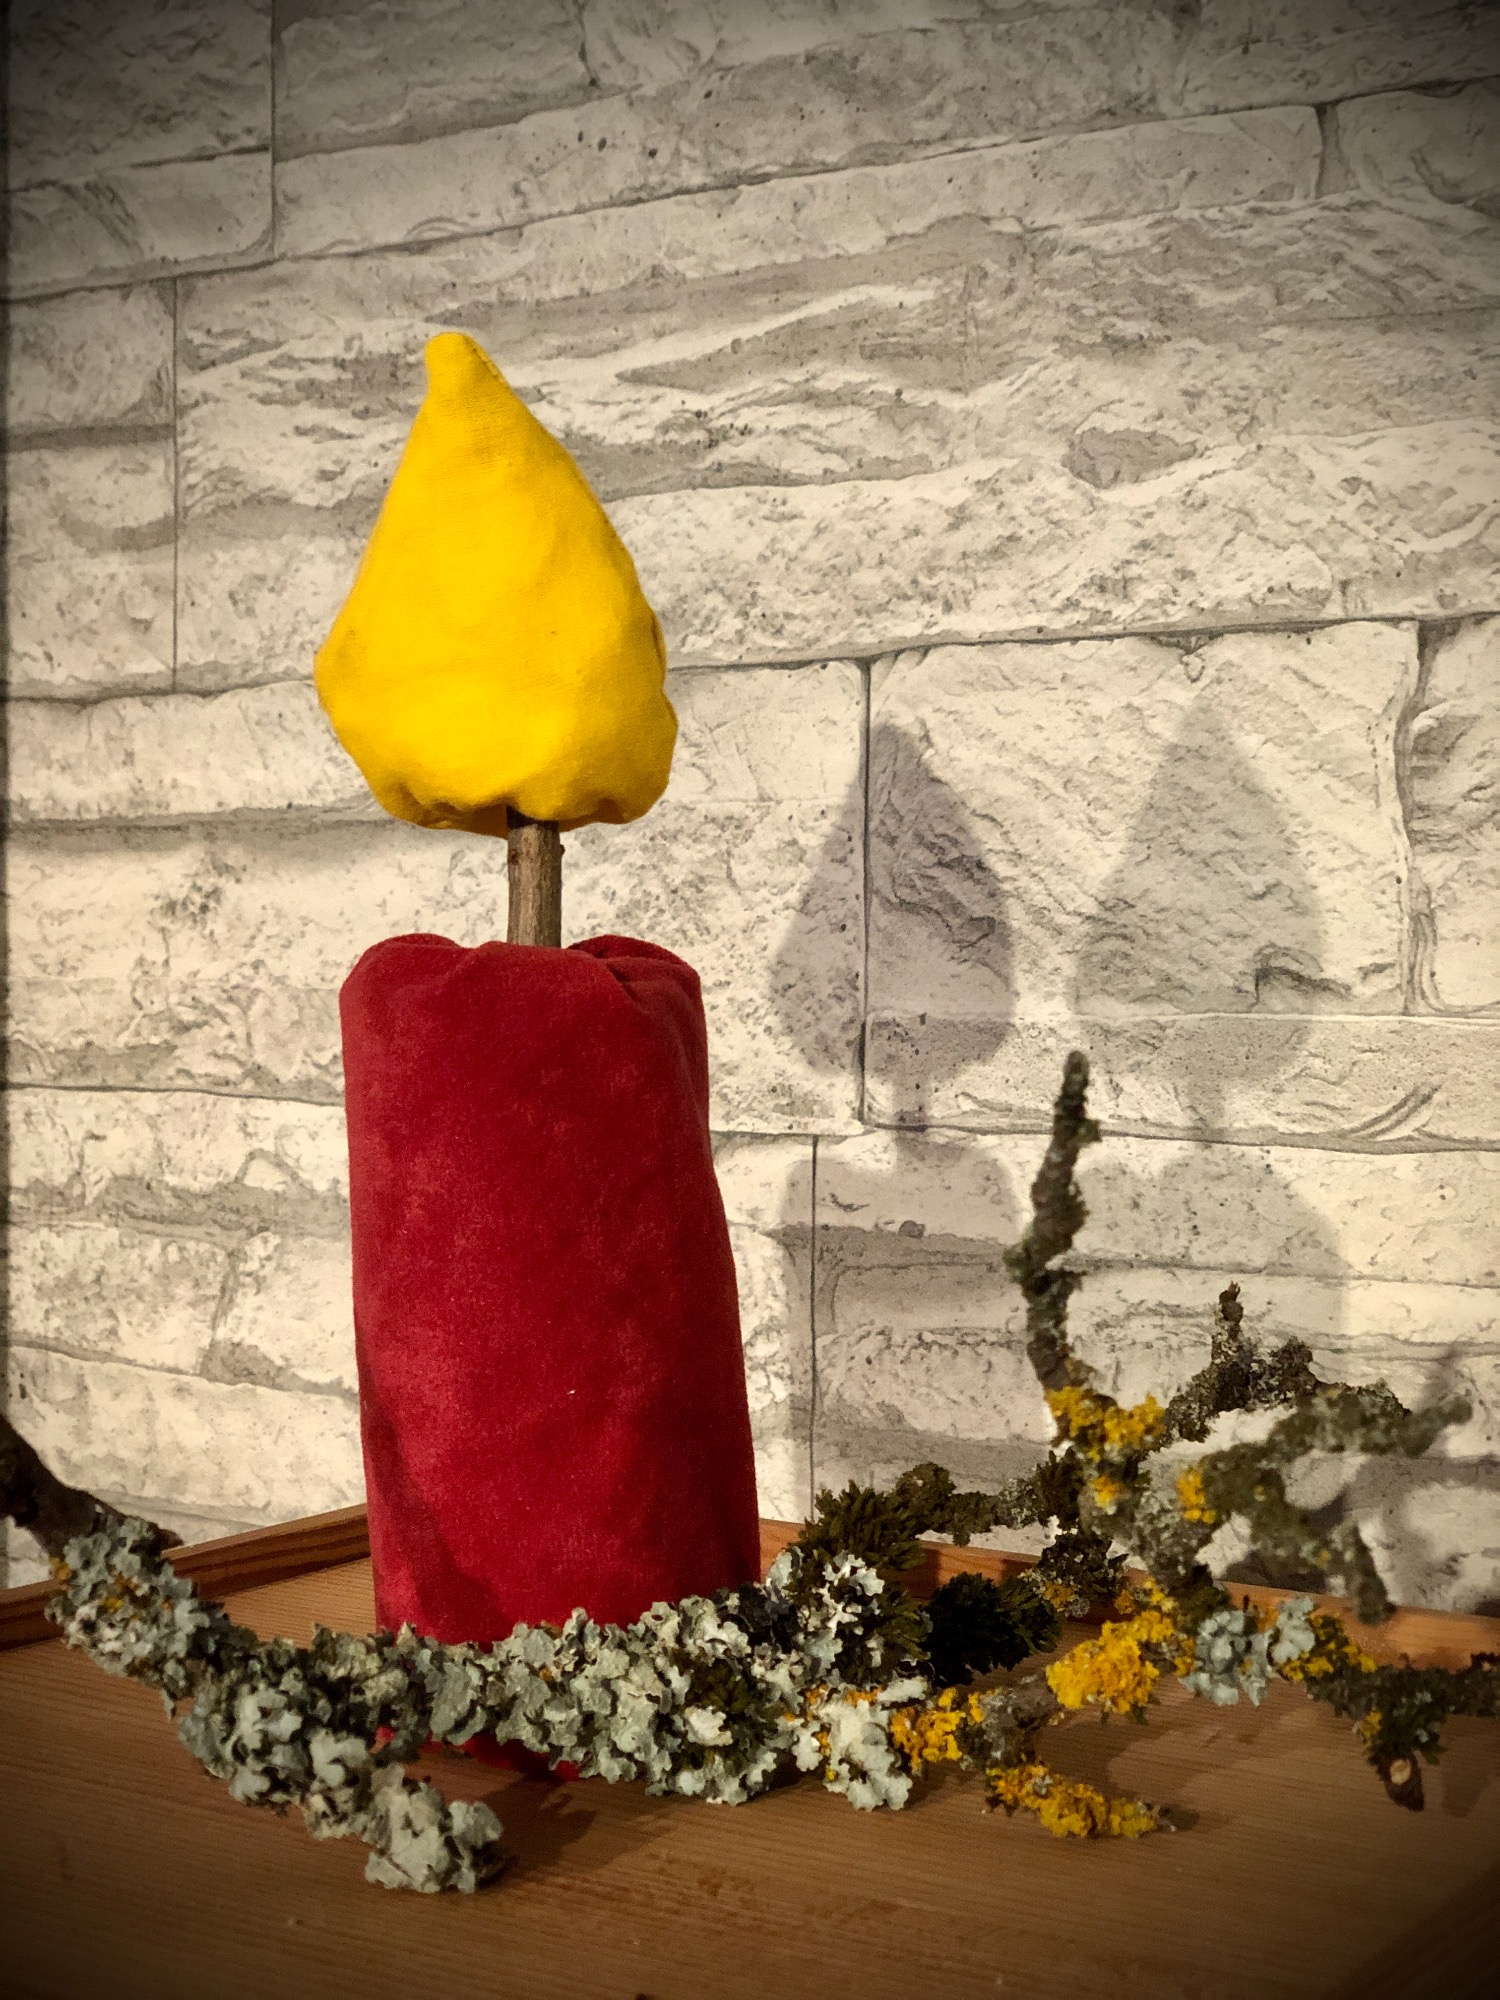
We sew a candle. A piece of foam pipe insulation serves as filling. As a wick we use a piece of a branch and on it is inserted a sewn flame. The candle is also suitable for sewing beginners, look at the illustrated instructions.
This candle can be used in many ways, e.g. as first sewing projects for primary school children or as learning material for crib children or as decoration during Advent or for birthdays. See for yourself.

Media Education for Kindergarten and Hort

Kind bastelt eine Rassel mit dem Navi
The Adventure Navi, the app for DIY projects, enables media education for the youngest.

Relief in everyday life, targeted promotion of individual children, independent learning and - without any pre-knowledge already usable by the youngest!


Titelbild zur Bastel- und DIY-Idee für Kinder '(496) Kerze nähen'
Material for1 Child
Prep Time10 min.Adv. Time30 min.Total Time40 min.
 red fabric for the candle
 yellow fabric for the flame e.g. a yellow cloth bag or unused dishcloths
 Sewing machine
 Yellow and red sewing thread
 Substance shears
 Pen
 Template
 Filling material e.g. cotton wool, fabric residues,...
 approx. 15cm long thin branch
 Possibly garden shears
 Possibly hot glue gun
 approx. 10cm foam pipe insulation
 Cutter knife
1

First cut a piece of foam pipe insulation to the desired length of the candle. This works very well with a cutter knife.
Then cut the fabric for the candle. To do this, wrap the foam with the fabric and add 2cm of fabric at the top, bottom and side.
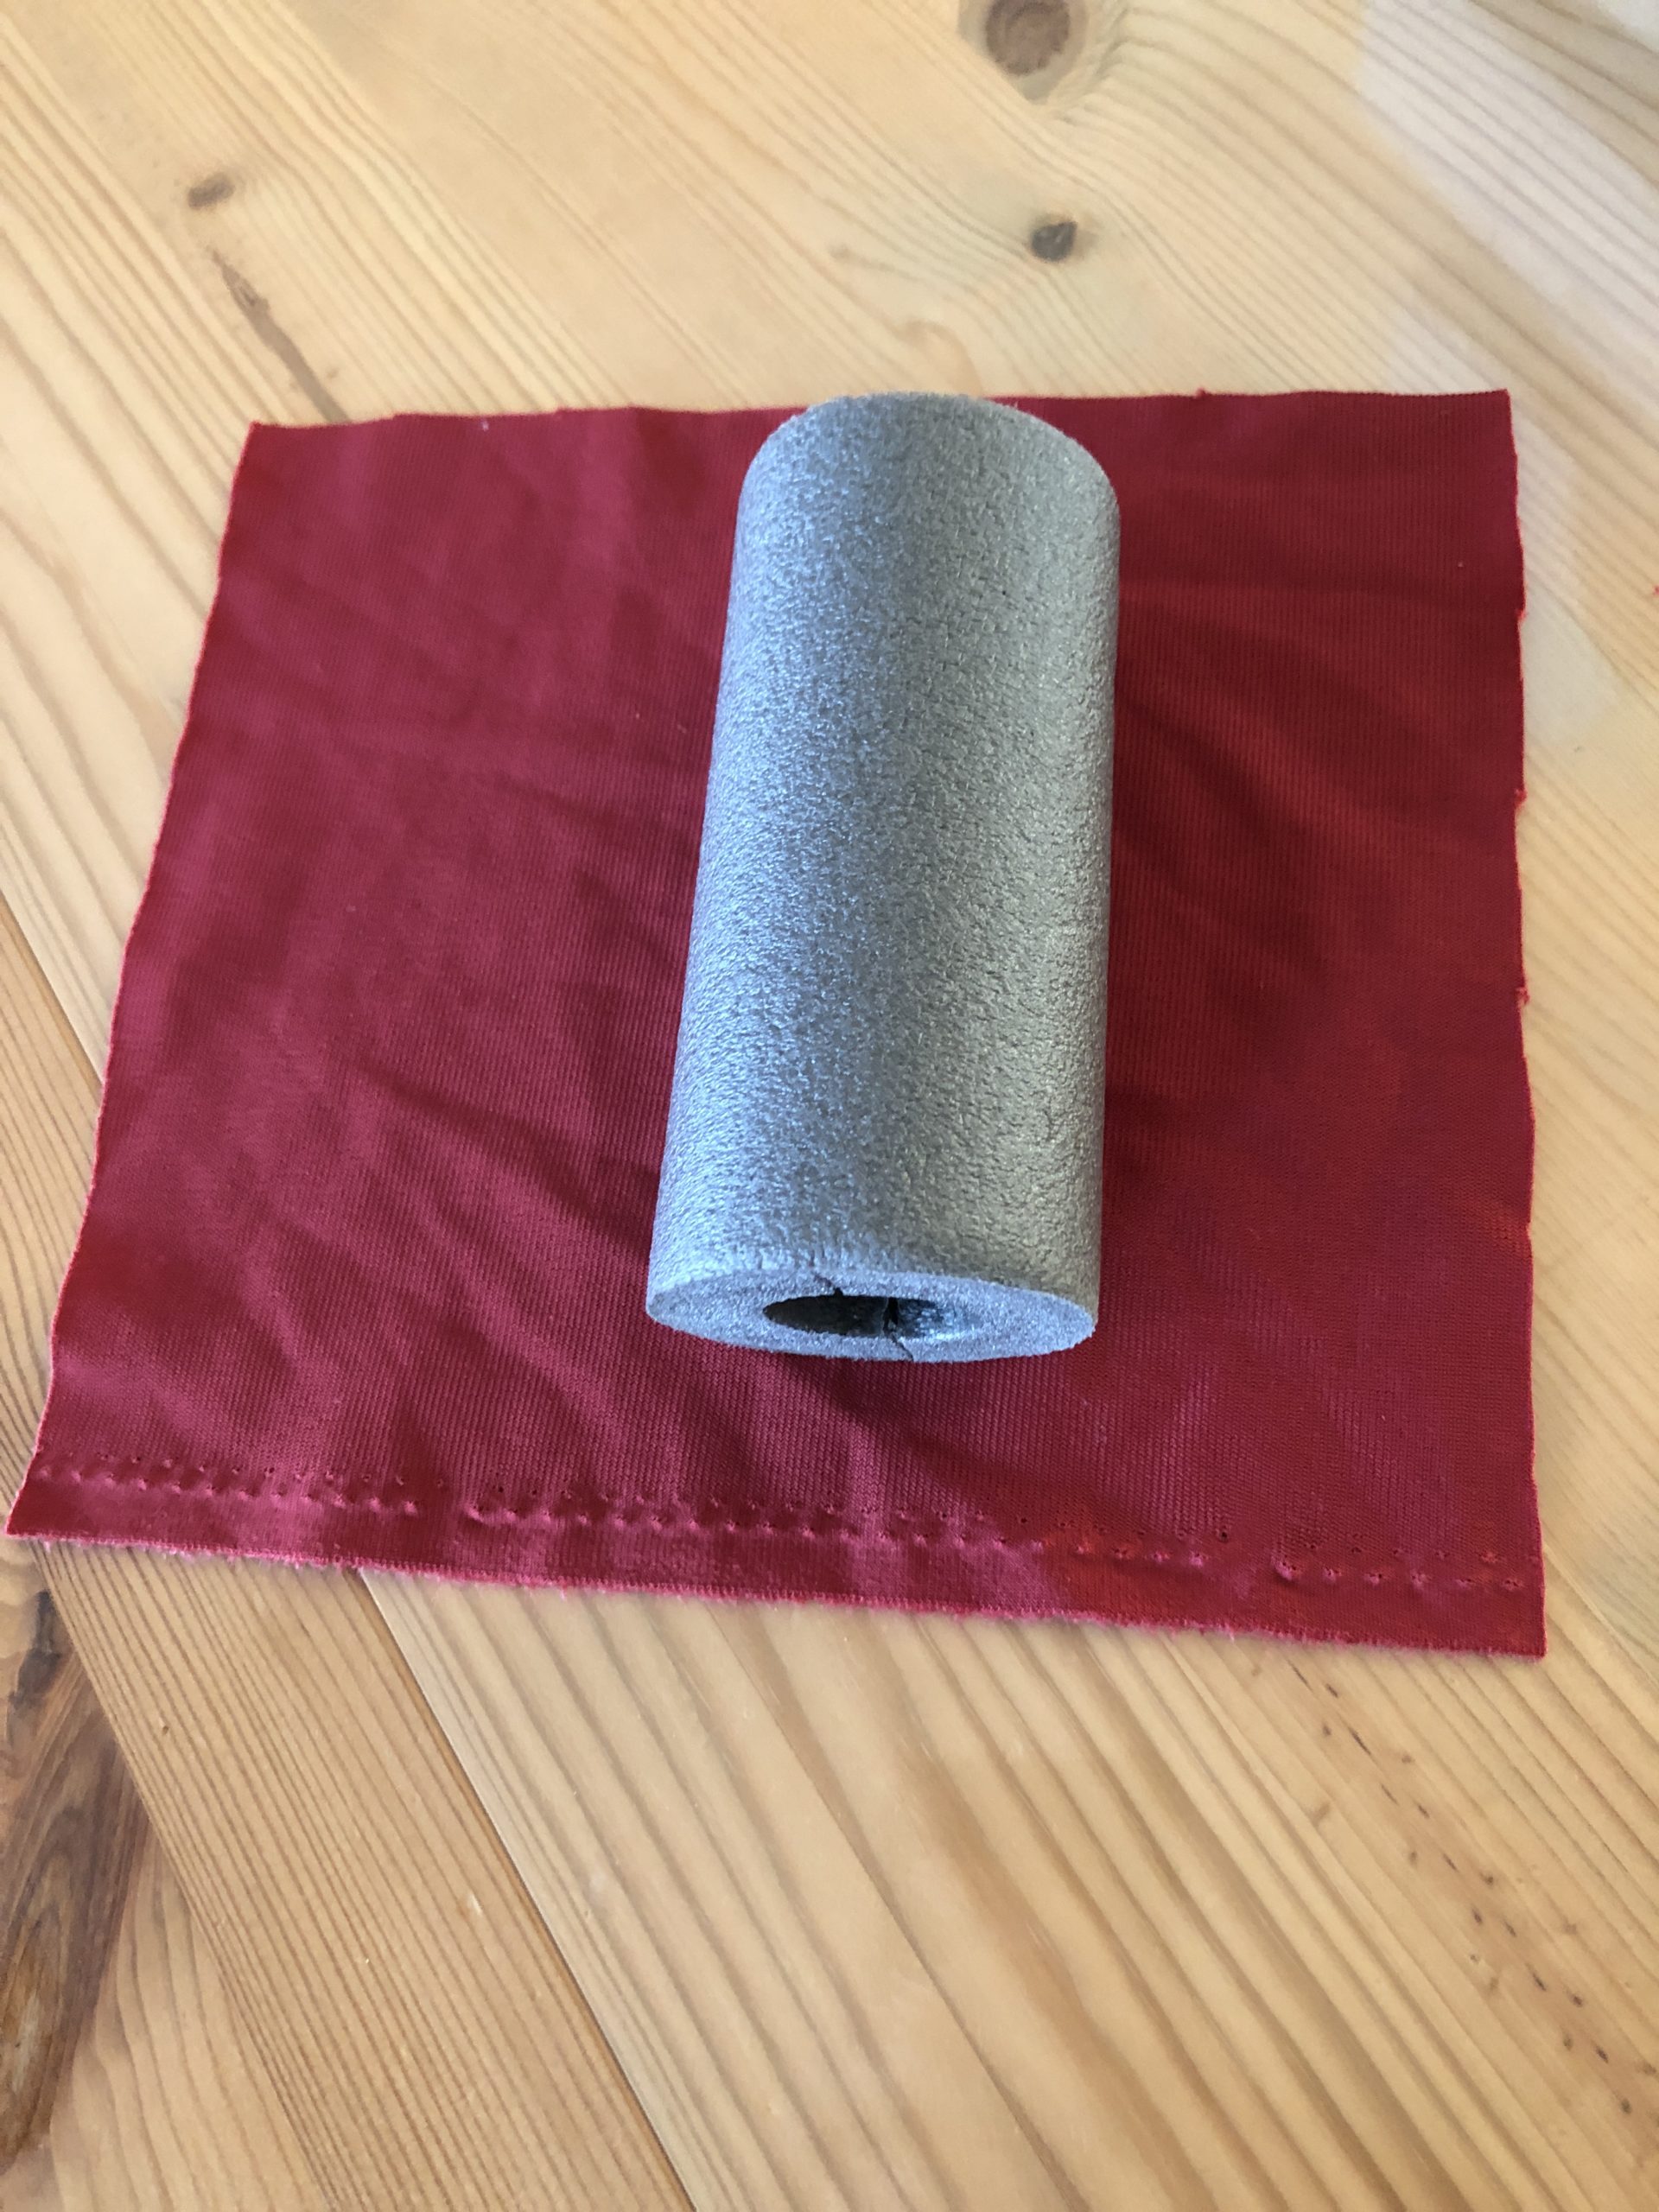
Bild zum Schritt 1 für das Bastel- und DIY-Abenteuer für Kinder: 'Schneidet zuerst ein Stück Schaumstoff Rohrisolierung auf die gewünschte Länge...'

2

Put the fabric with the beautiful side (on the right) up on the table. Then wrap the roll with it. The beautiful side is inside, directly on the foam. Now you mark yourself with a pen on the longitudinal side, where you sew the fabric together afterwards. Leave the fabric loose so that you don't draw too tight. Otherwise you won't get the fabric over the roll afterwards.
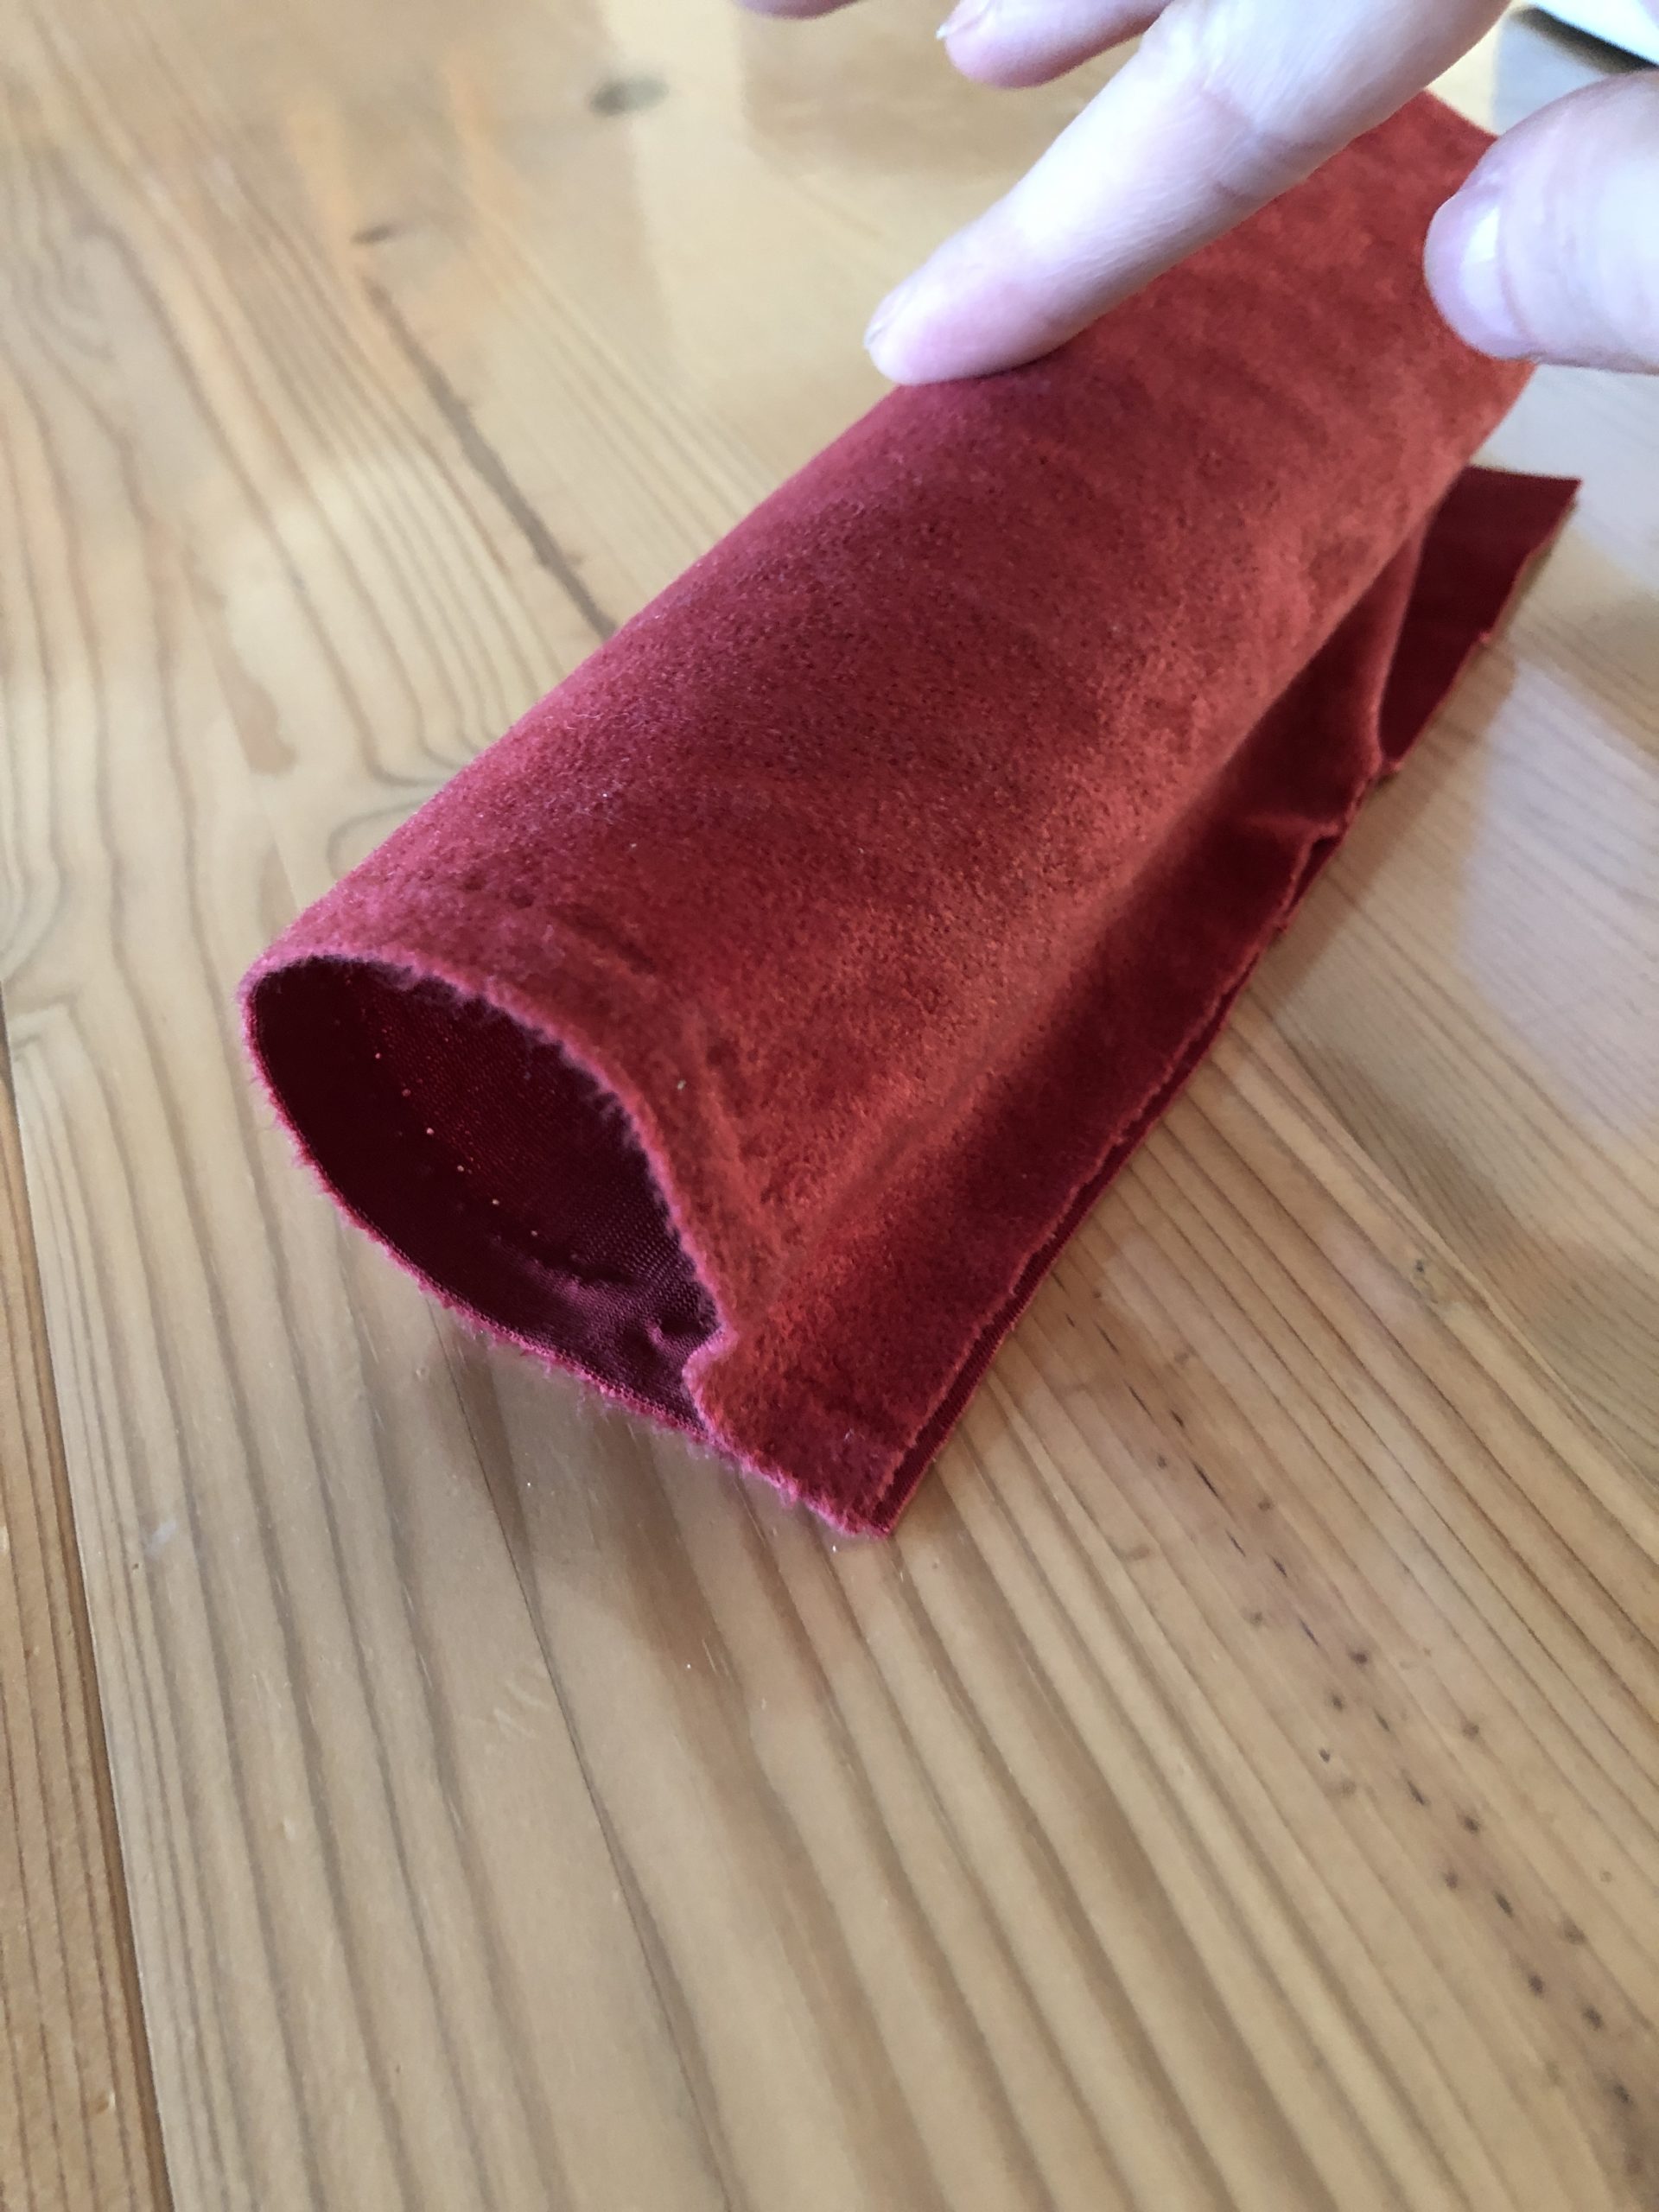
Bild zum Schritt 2 für das Bastel- und DIY-Abenteuer für Kinder: 'Legt den Stoff mit der schönen Seite (rechts) nach oben...'

3

Remove the roll. Then sew the fabric lengthwise to a hose. Up and down the hose remains open.

Bild zum Schritt 3 für das Bastel- und DIY-Abenteuer für Kinder: 'Entfernt die Rolle. Dann näht ihr den Stoff der Länge...'

4

Turns the fabric so that the beautiful inside shows outwards.

Bild zum Schritt 4 für das Bastel- und DIY-Abenteuer für Kinder: 'Wendet den Stoff, so dass die schöne Innenseite nach außen...'

5

The colored shell of the candle is finished.

Bild zum Schritt 5 für das Bastel- und DIY-Abenteuer für Kinder: 'Fertig ist die farbige Hülle der Kerze.'

6

Now wraps the fabric hose over the foam.

Bild zum Schritt 6 für das Bastel- und DIY-Abenteuer für Kinder: 'Stülpt den Stoffschlauch nun über den Schaumstoff.'

7

2. Bild zum Schritt 6 für das Bastel- und DIY-Abenteuer für Kinder: 'Stülpt den Stoffschlauch nun über den Schaumstoff.'

8

Now you position the roll in the middle, so that up and down just as much fabric survives.

Bild zum Schritt 8 für das Bastel- und DIY-Abenteuer für Kinder: 'Jetzt positioniert ihr die Rolle mittig, so dass oben und...'

9

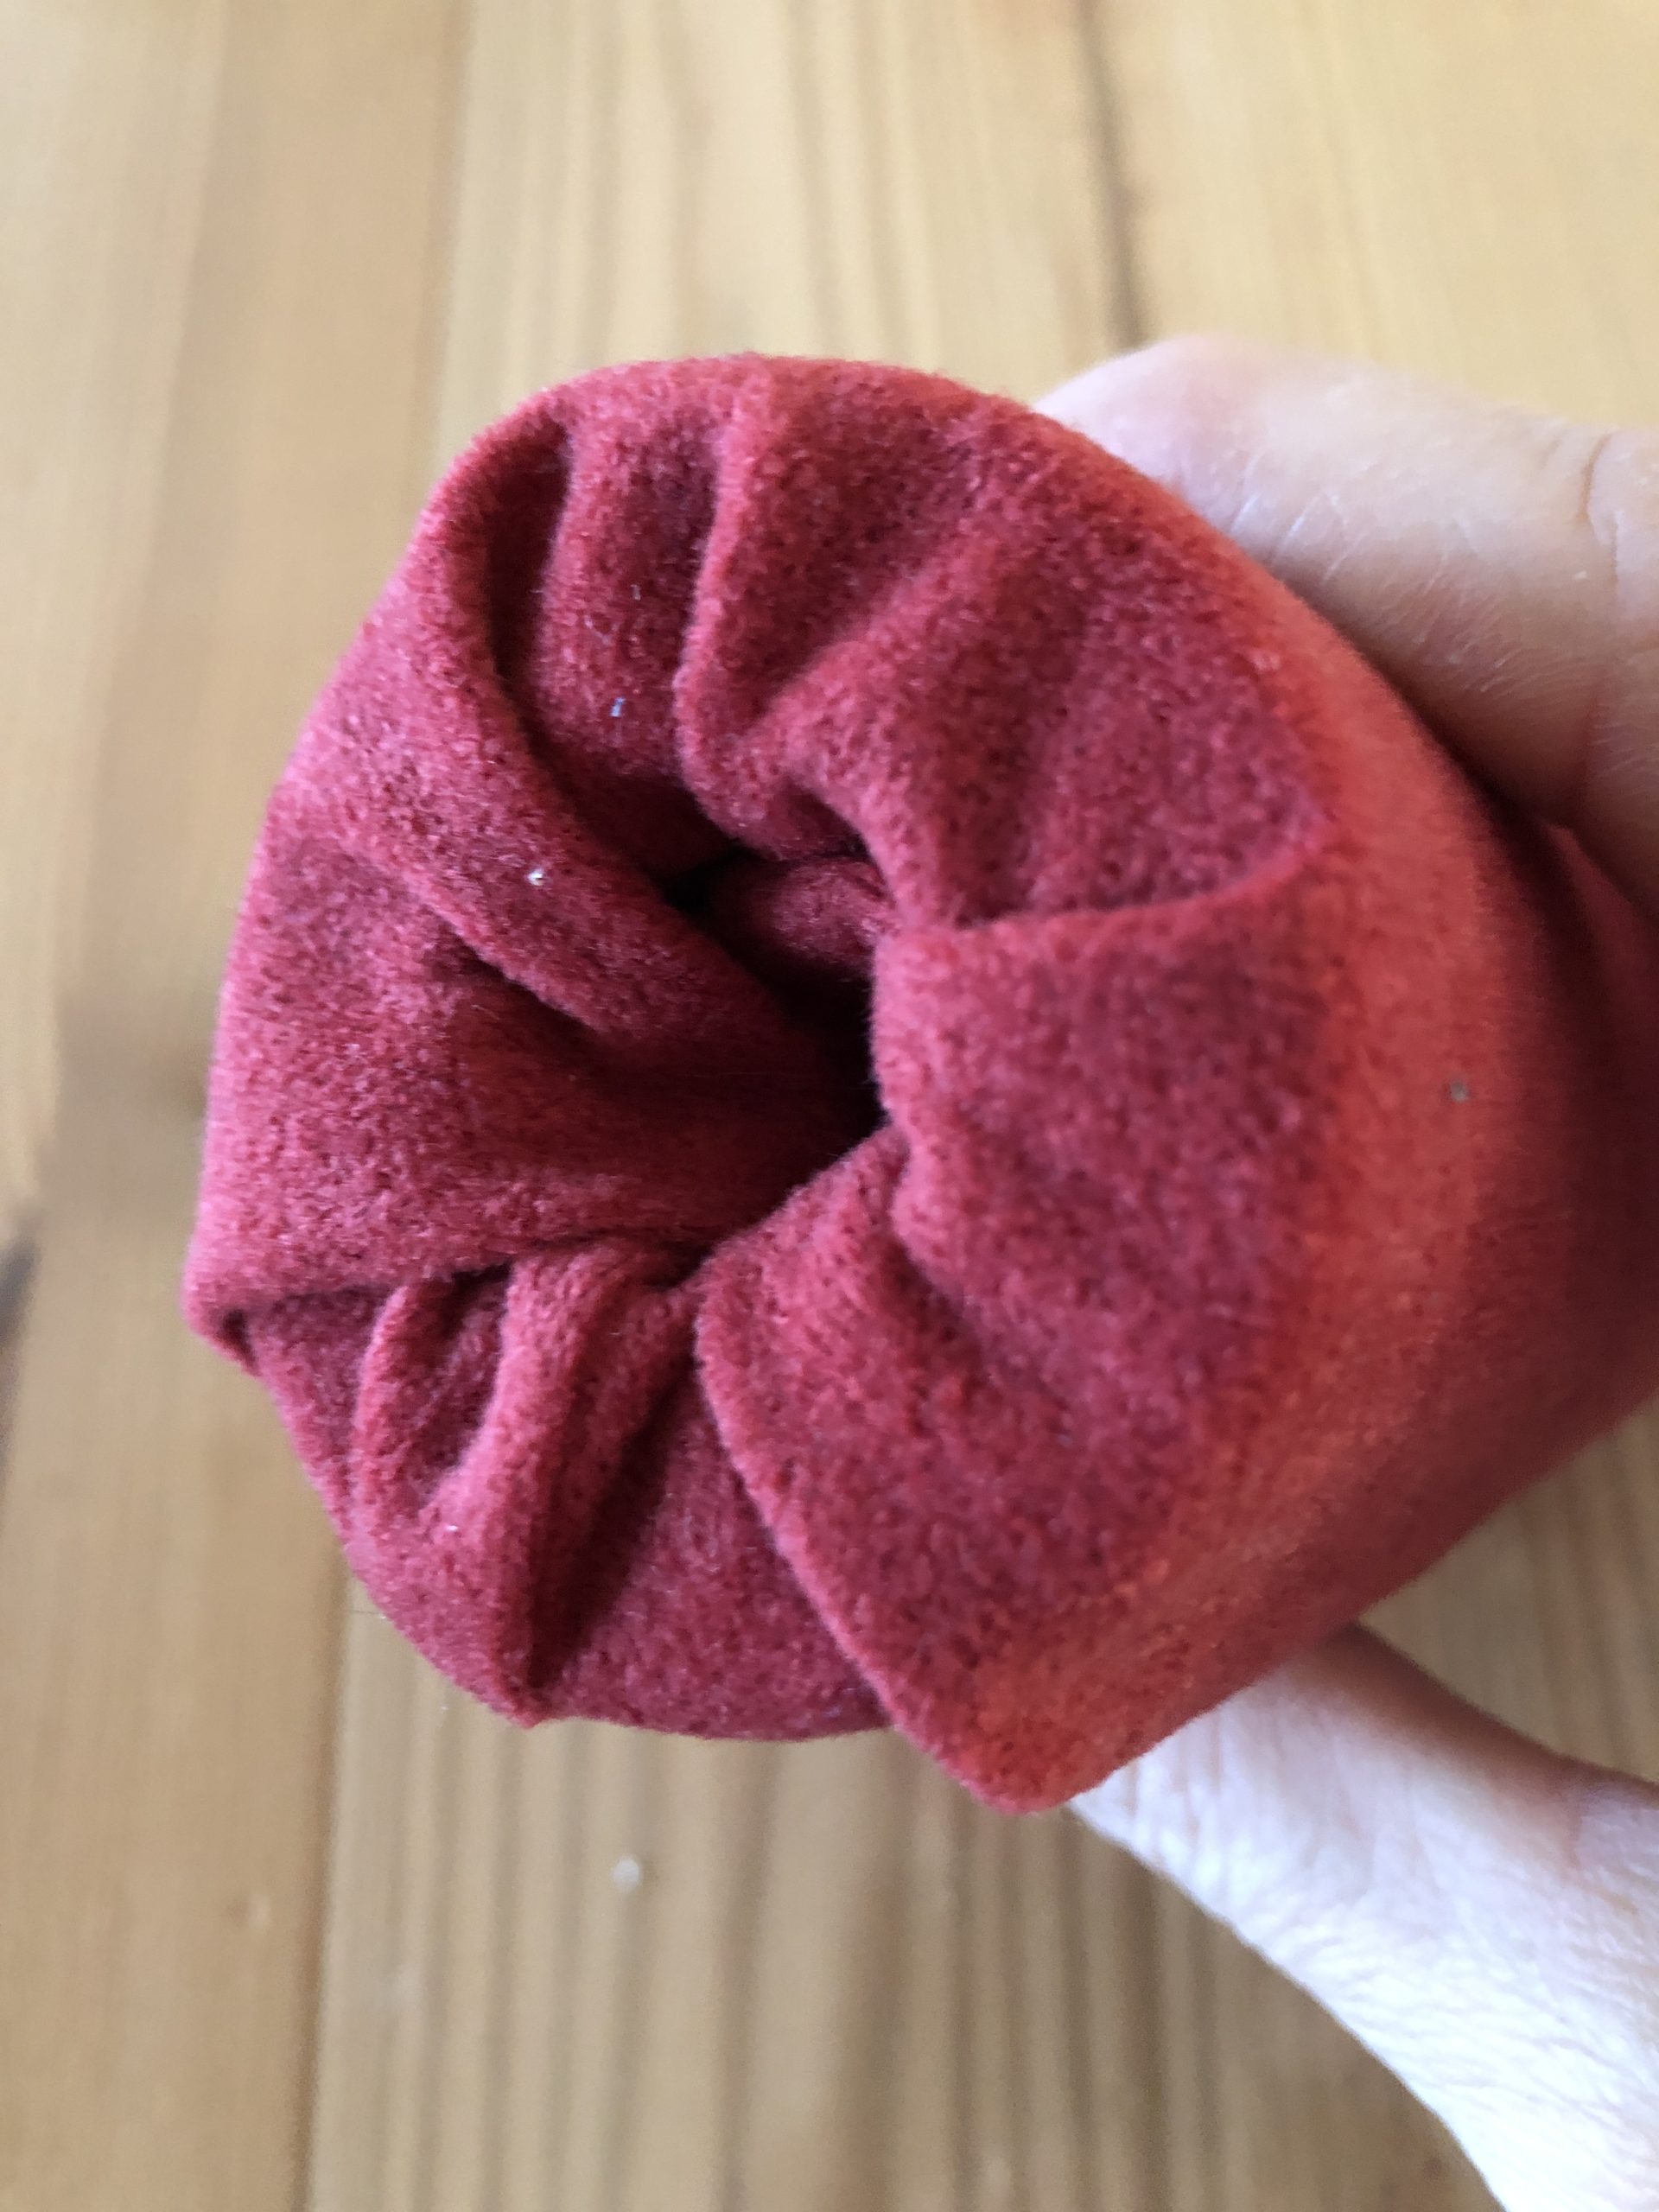
Put the overhanging fabric with your fingers in the hole at the top and bottom of the roll.

Bild zum Schritt 9 für das Bastel- und DIY-Abenteuer für Kinder: 'Steckt den überstehenden Stoff mit den Fingern in das Loch...'

10

2. Bild zum Schritt 9 für das Bastel- und DIY-Abenteuer für Kinder: 'Steckt den überstehenden Stoff mit den Fingern in das Loch...'

11

The stump of the candle is ready!

Bild zum Schritt 11 für das Bastel- und DIY-Abenteuer für Kinder: 'Fertig ist der Stumpf der Kerze!'

Sew flame:
12

Print out the template for the flame or paint yourself a flame of this kind.

Bild zum Schritt 13 für das Bastel- und DIY-Abenteuer für Kinder: 'Druckt euch die Vorlage für die Flamme aus oder malt...'

13

Cuts two parts of the template. Cuts on the outer line. The inner line symbolizes the sewing seam.

Bild zum Schritt 14 für das Bastel- und DIY-Abenteuer für Kinder: 'Schneidet zwei Teile der Vorlage zu. Schneidet auf der äußeren...'

14

Now you put both pieces of fabric together with the beautiful side (right).

Bild zum Schritt 15 für das Bastel- und DIY-Abenteuer für Kinder: 'Beide Stoffteile legt ihr nun mit der schönen Seite (rechts)...'

15

With the sewing machine you sew the two fabric parts together. For this you sew on the inner line of the template.

Bild zum Schritt 16 für das Bastel- und DIY-Abenteuer für Kinder: 'Mit der Nähmaschine näht ihr die beiden Stoffteile zusammen. Dafür...'

16

The straight side at the lower end remains open!

Bild zum Schritt 17 für das Bastel- und DIY-Abenteuer für Kinder: 'Die gerade Seite am unteren Ende bleibt offen!'

17

Now you turn the fabric of the sewn flame. Take a pen with which you can squeeze the flame out.

Bild zum Schritt 18 für das Bastel- und DIY-Abenteuer für Kinder: 'Jetzt wendet ihr den Stoff der genähte Flamme. Nehmt euch...'

18

Now fill the flame with fabric residue.

Bild zum Schritt 19 für das Bastel- und DIY-Abenteuer für Kinder: 'Jetzt füllt die Flamme mit Stoffresten.'

19

Push the filling material to the tip of the flame.

Bild zum Schritt 20 für das Bastel- und DIY-Abenteuer für Kinder: 'Schiebt das Füllmaterial bis in die Spitze der Flamme.'

20

The straight part of the flame is not filled.

Bild zum Schritt 21 für das Bastel- und DIY-Abenteuer für Kinder: 'Der gerade Teil der Flamme wird nicht gefüllt.'

21

The filled piece of the flame is sewn with a zigzag stitch. This seam doesn't have to be perfect, it is pushed inward and is not visible!

Bild zum Schritt 22 für das Bastel- und DIY-Abenteuer für Kinder: 'Das gefüllte Stück der Flamme wird mit einem Zickzack-Stich zugenäht....'

22

With one finger you now carefully push the straight piece inwards (as with a finger doll!?)

Bild zum Schritt 23 für das Bastel- und DIY-Abenteuer für Kinder: 'Mit einem Finger schiebt ihr nun vorsichtig das gerade Stück...'

23

So the straight part disappears almost completely.

Bild zum Schritt 24 für das Bastel- und DIY-Abenteuer für Kinder: 'So verschwindet der gerade Teil fast komplett.'

24

Now take your finger out, then you can push into the hole of the branch.

Bild zum Schritt 25 für das Bastel- und DIY-Abenteuer für Kinder: 'Nehmt ihr nun den Finger heraus, dann kann in das...'

Put the candle together:
25

Uses a piece of branch with approx.15cm length, so that the candles stand stable with the flame.

Bild zum Schritt 27 für das Bastel- und DIY-Abenteuer für Kinder: 'Verwendet ein Stück Ast mit ca.15cm Länge, damit die Kerzen...'

26

Now carefully push the branch into the hole at the top of the candle.

Bild zum Schritt 28 für das Bastel- und DIY-Abenteuer für Kinder: 'Schiebt nun den Ast vorsichtig in das Loch am oberen...'

27

This is the wick of the candle. It should look up about 5 cm.

Bild zum Schritt 29 für das Bastel- und DIY-Abenteuer für Kinder: 'Das ist der Docht der Kerze. Er sollte oben circa...'

28

On the wick you put the flame.
The candle is ready.
You can fix everything with hot glue or you let them stick and remove.

Bild zum Schritt 30 für das Bastel- und DIY-Abenteuer für Kinder: 'Auf den Docht steckt ihr nun die Flamme.  ...'

29

This candle can be used in many ways, whether as a free-standing candle in the children's room, on an Advent wreath with removable flame. Also as learning material to get to know and name the parts of a candle, it is suitable for crib children and, of course, also for playing.
This sturdy sewn candle can be used in Advent or at Christmas time as well as for birthday, as a birthday candle.

Bild zum Schritt 31 für das Bastel- und DIY-Abenteuer für Kinder: 'Diese Kerze ist vielseitig einsetzbar, ob als freistehende Kerze im...'

30

Have fun sewing!

Materials

 red fabric for the candle
 yellow fabric for the flame e.g. a yellow cloth bag or unused dishcloths
 Sewing machine
 Yellow and red sewing thread
 Substance shears
 Pen
 Template
 Filling material e.g. cotton wool, fabric residues,...
 approx. 15cm long thin branch
 Possibly garden shears
 Possibly hot glue gun
 approx. 10cm foam pipe insulation
 Cutter knife

Directions

1

First cut a piece of foam pipe insulation to the desired length of the candle. This works very well with a cutter knife.
Then cut the fabric for the candle. To do this, wrap the foam with the fabric and add 2cm of fabric at the top, bottom and side.

Bild zum Schritt 1 für das Bastel- und DIY-Abenteuer für Kinder: 'Schneidet zuerst ein Stück Schaumstoff Rohrisolierung auf die gewünschte Länge...'

2

Put the fabric with the beautiful side (on the right) up on the table. Then wrap the roll with it. The beautiful side is inside, directly on the foam. Now you mark yourself with a pen on the longitudinal side, where you sew the fabric together afterwards. Leave the fabric loose so that you don't draw too tight. Otherwise you won't get the fabric over the roll afterwards.

Bild zum Schritt 2 für das Bastel- und DIY-Abenteuer für Kinder: 'Legt den Stoff mit der schönen Seite (rechts) nach oben...'

3

Remove the roll. Then sew the fabric lengthwise to a hose. Up and down the hose remains open.
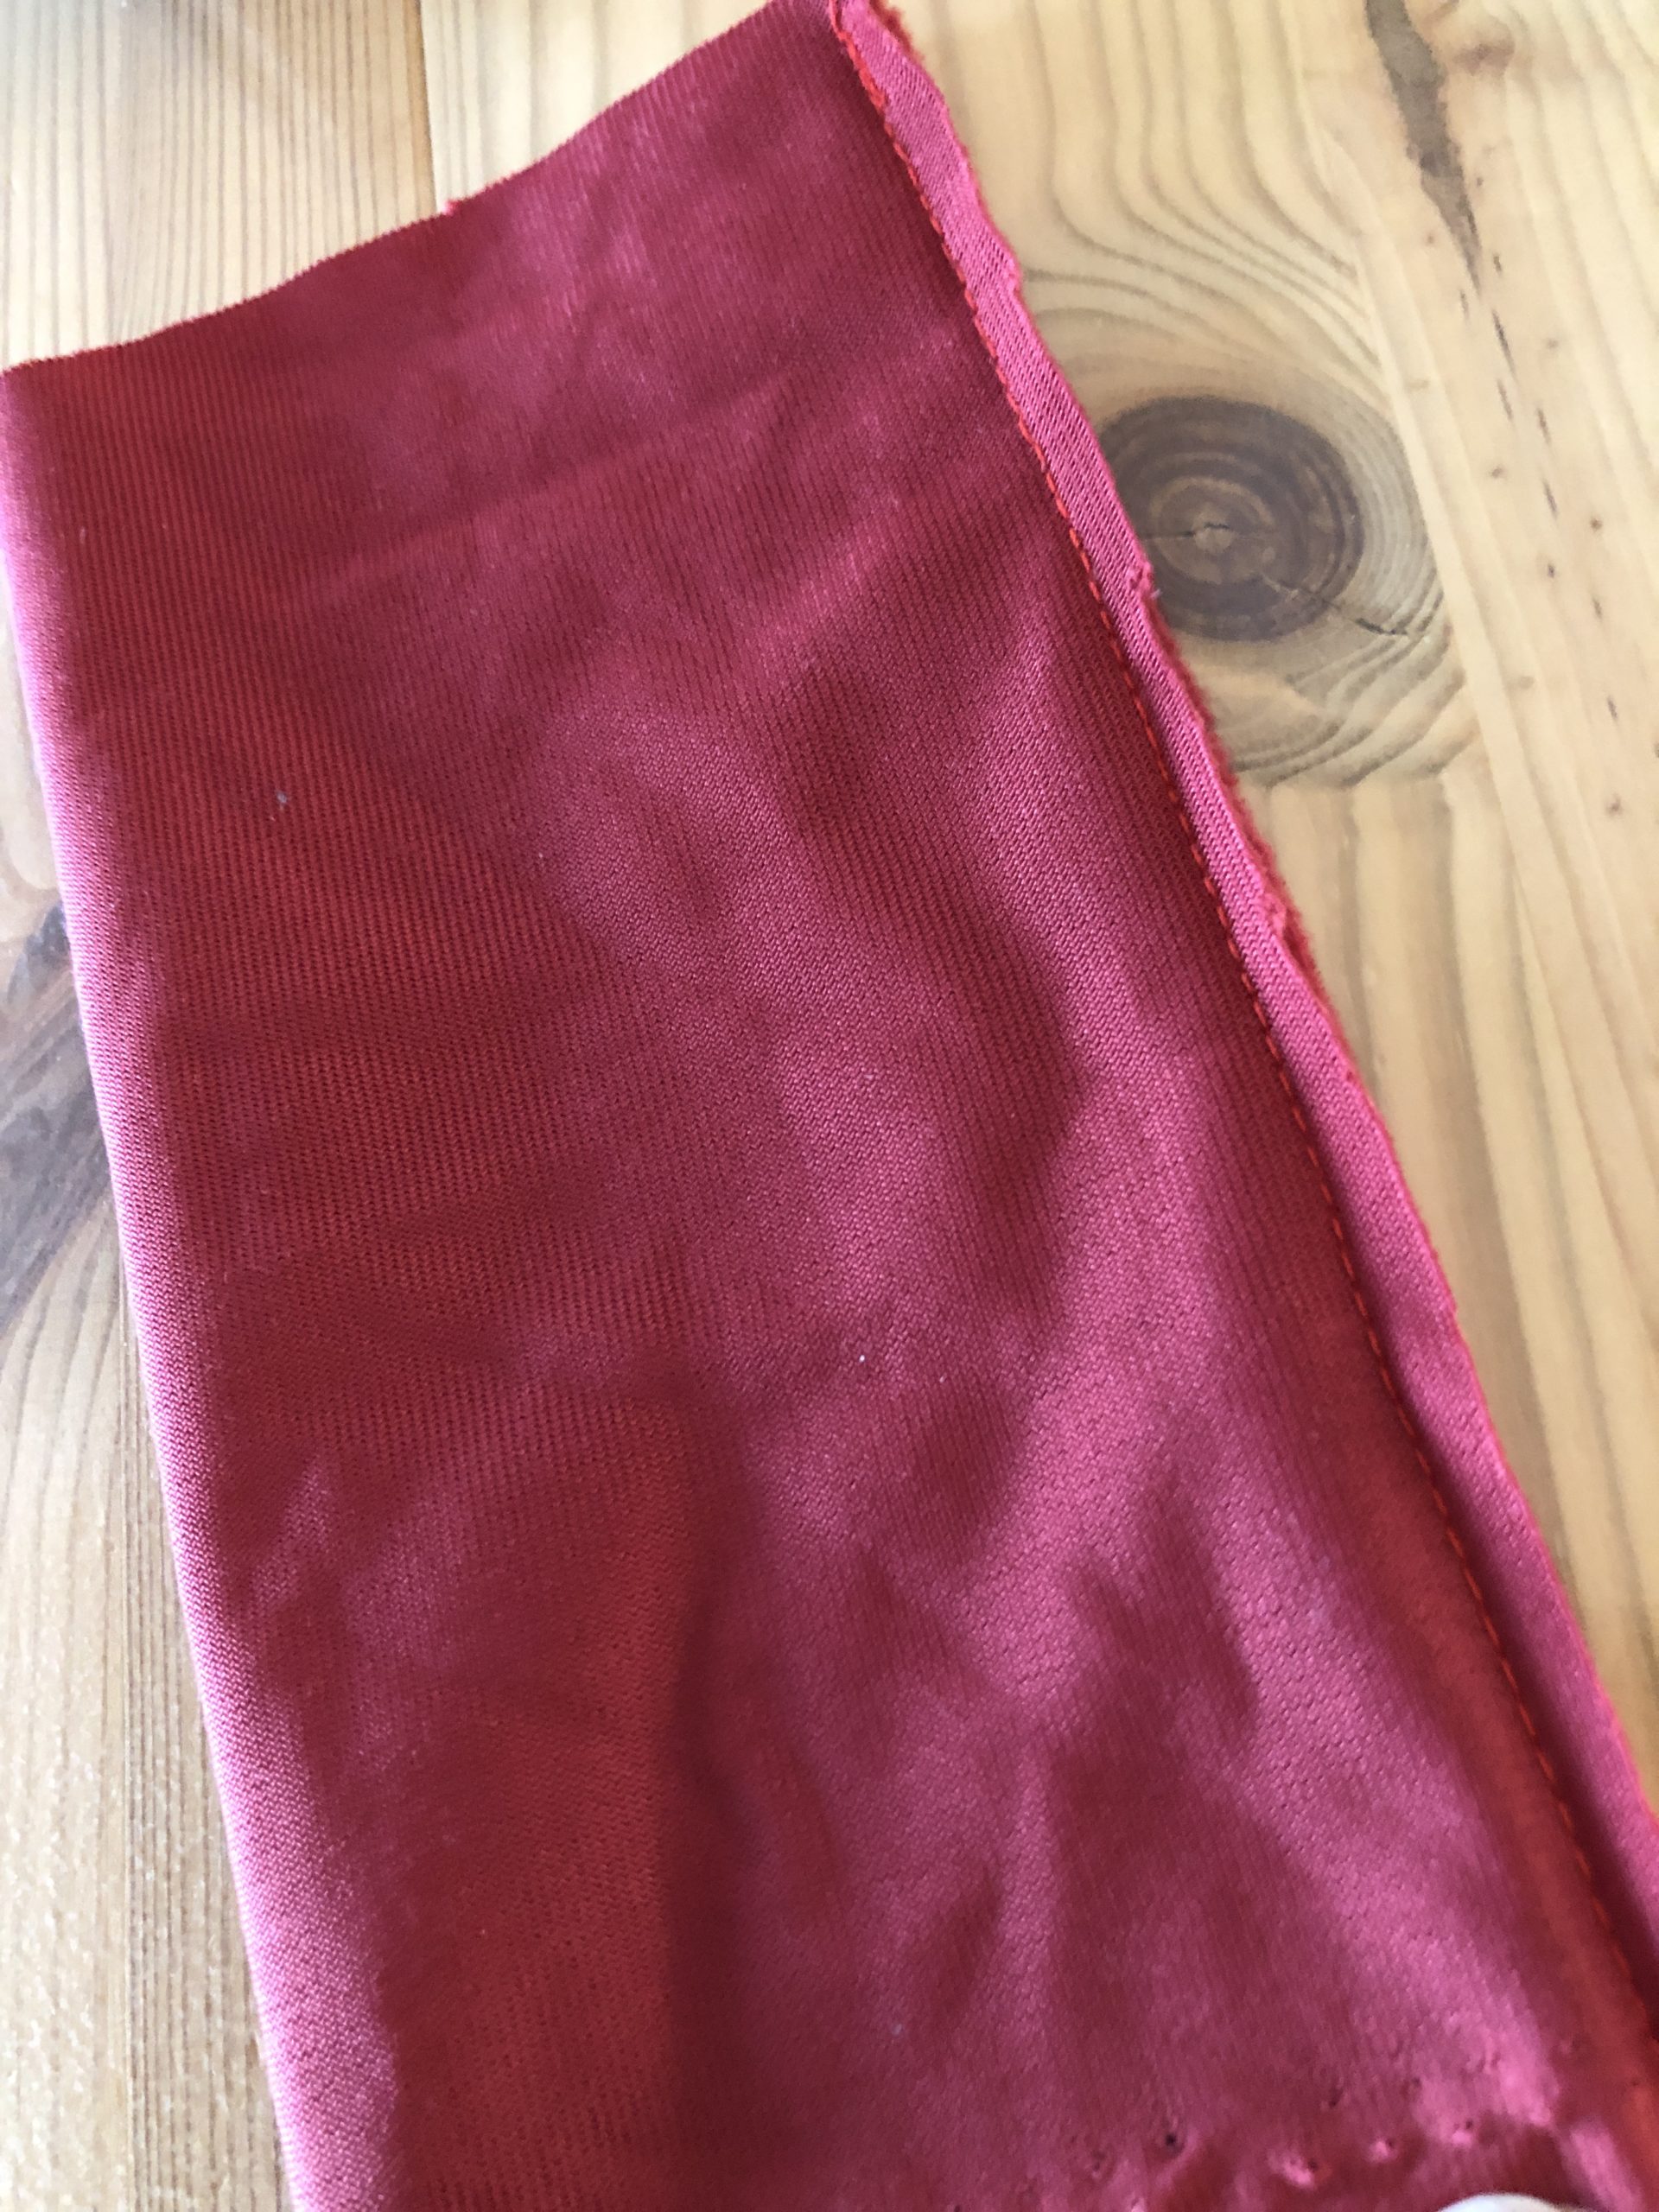
Bild zum Schritt 3 für das Bastel- und DIY-Abenteuer für Kinder: 'Entfernt die Rolle. Dann näht ihr den Stoff der Länge...'

4

Turns the fabric so that the beautiful inside shows outwards.
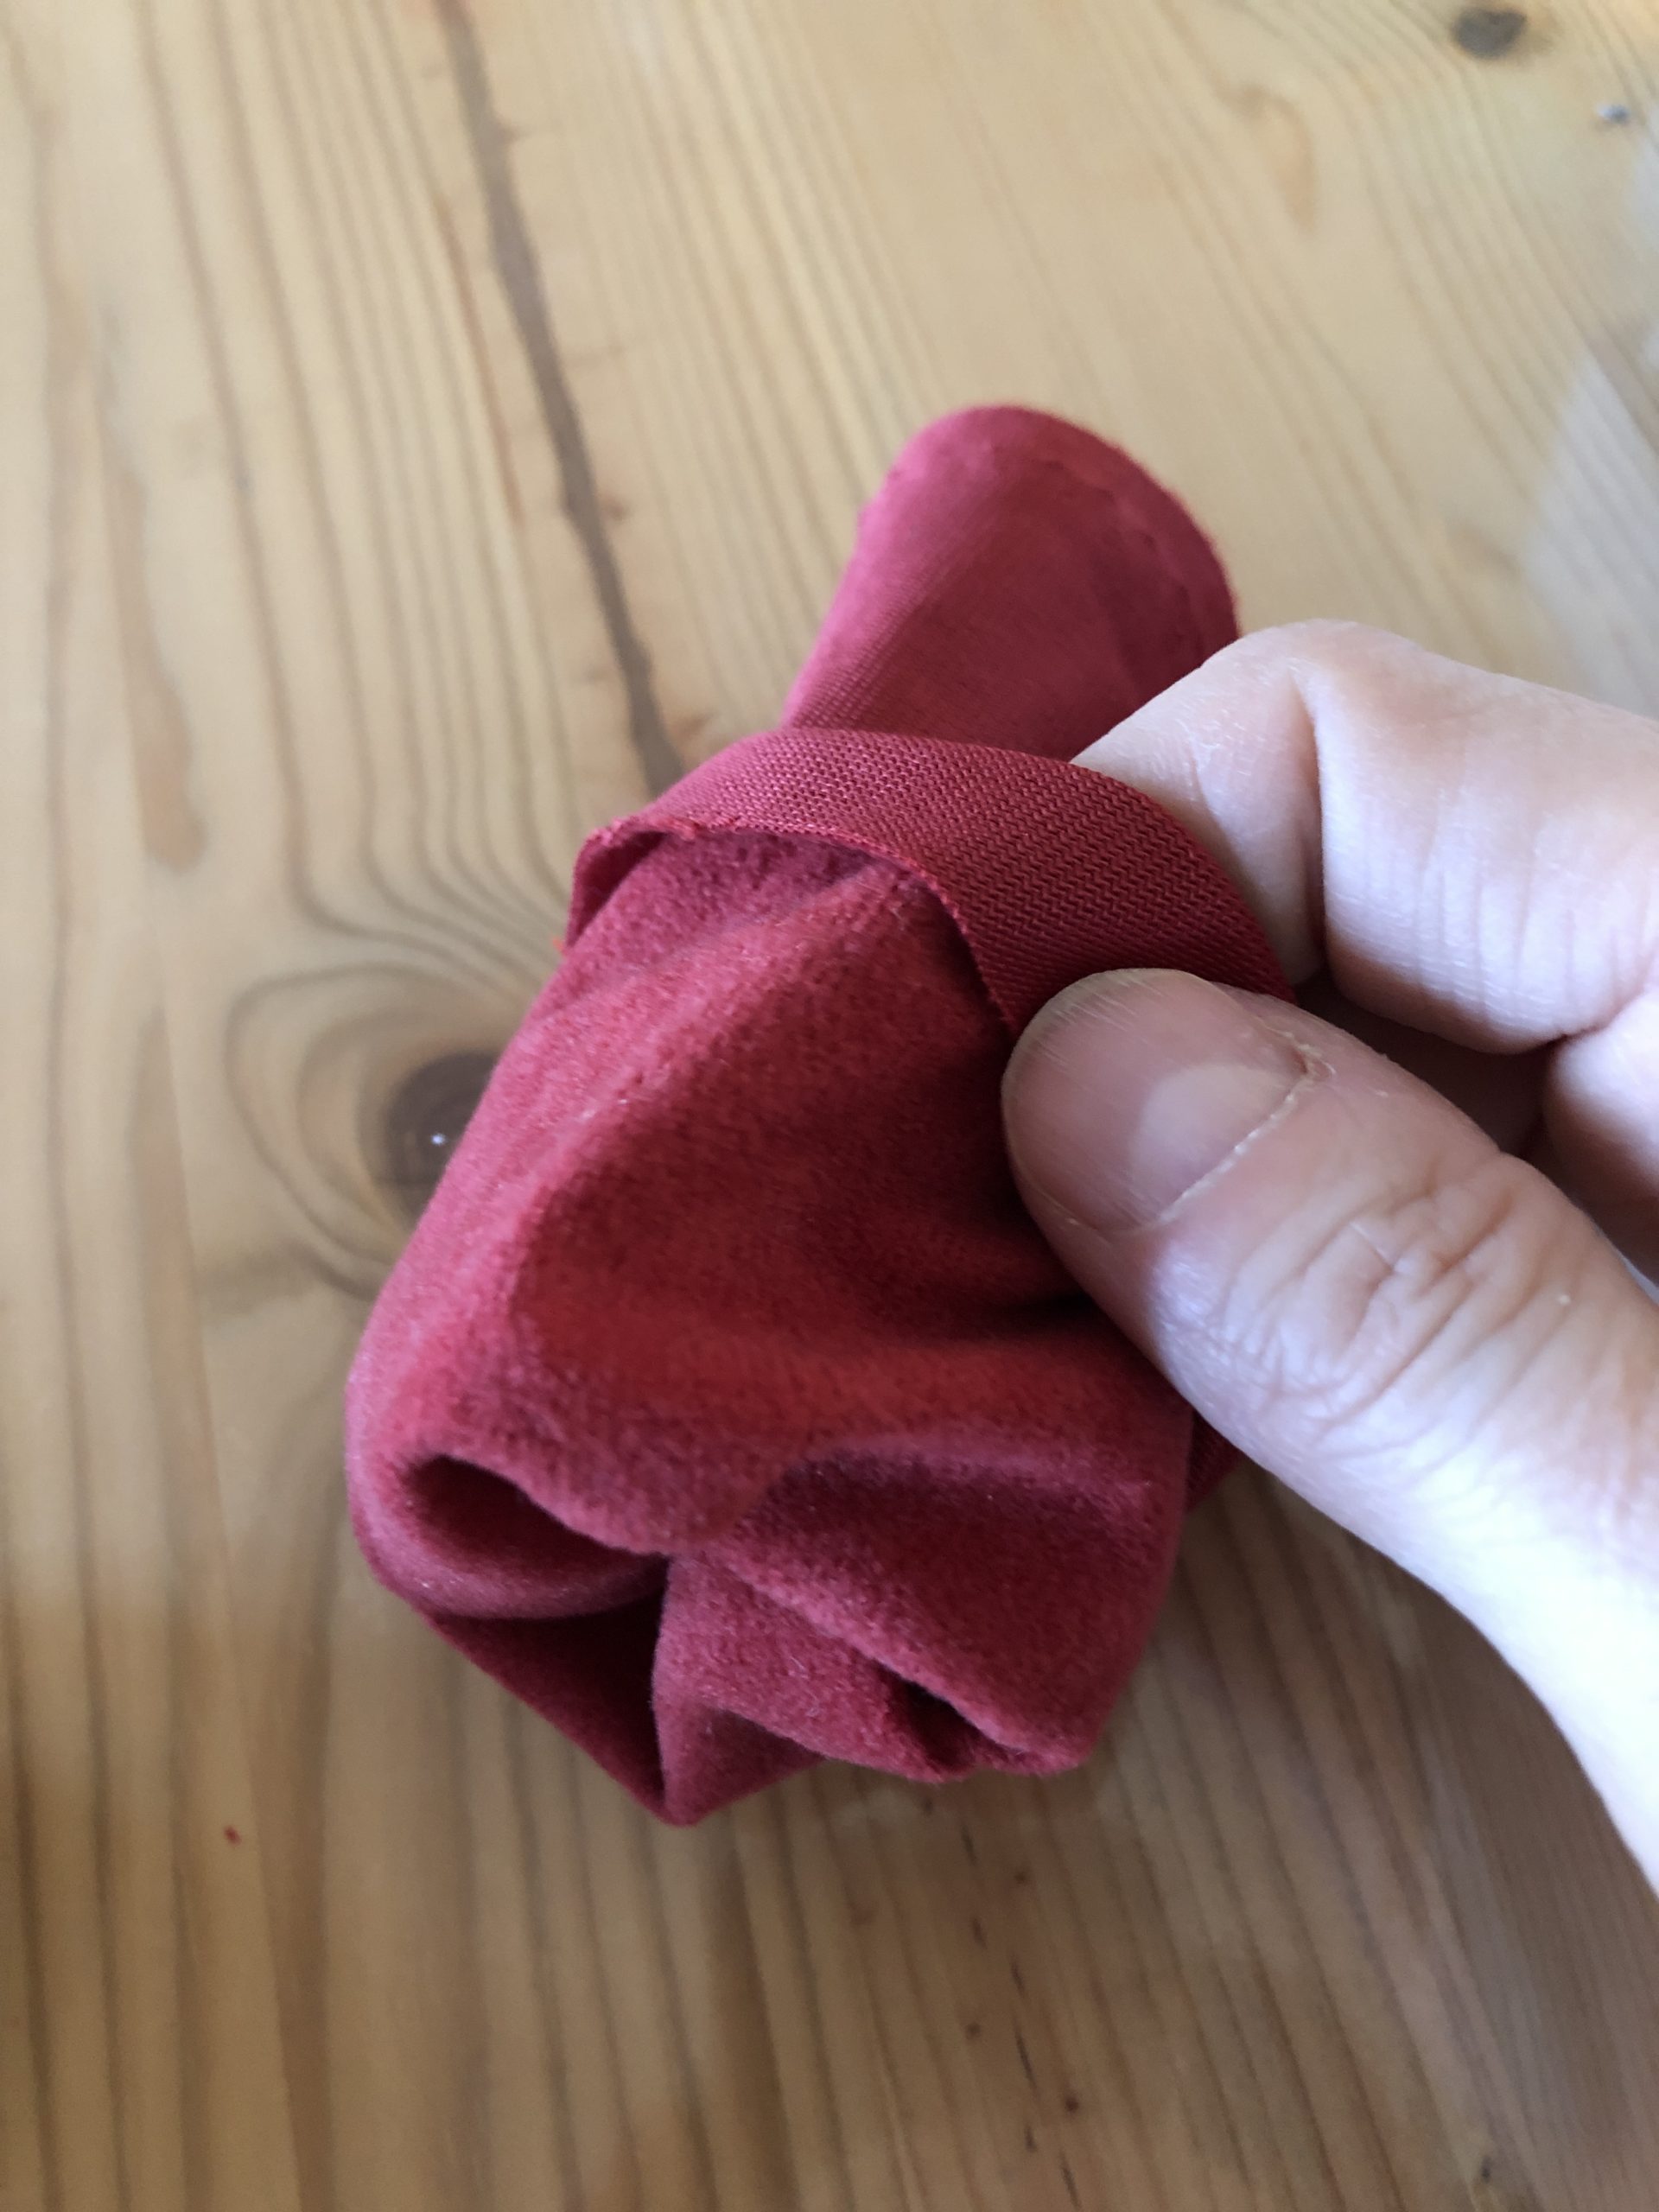
Bild zum Schritt 4 für das Bastel- und DIY-Abenteuer für Kinder: 'Wendet den Stoff, so dass die schöne Innenseite nach außen...'

5

The colored shell of the candle is finished.
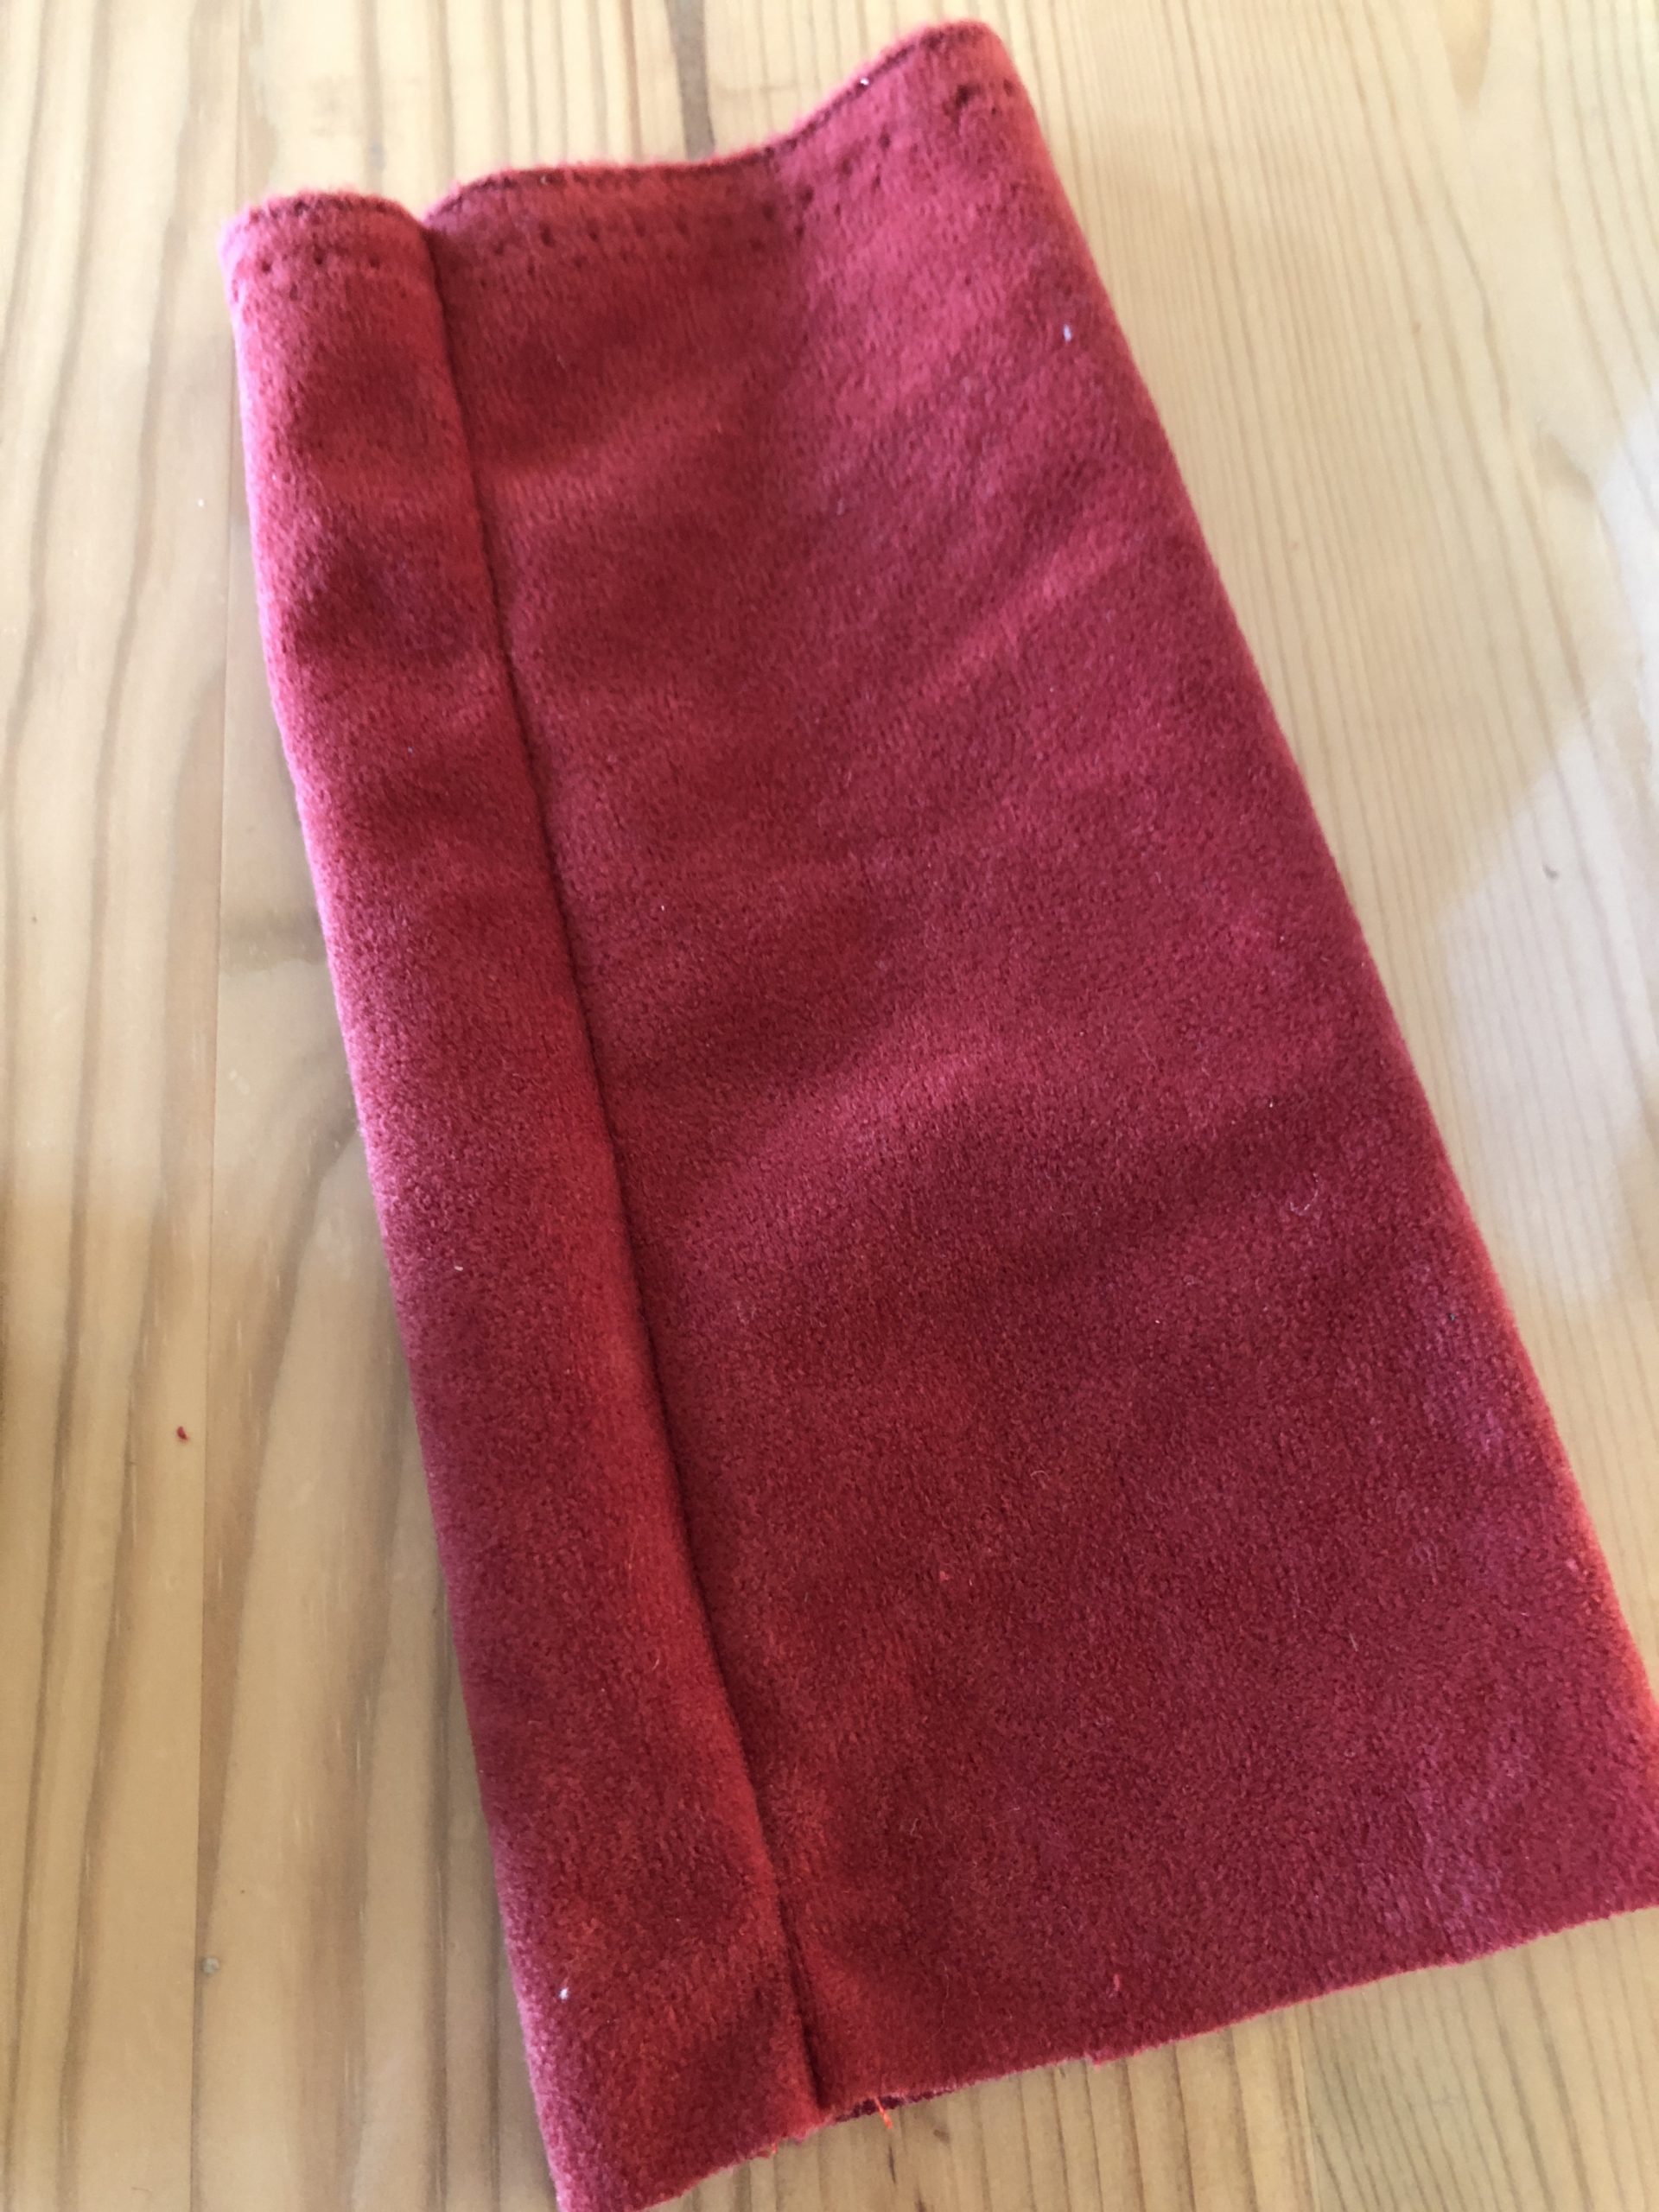
Bild zum Schritt 5 für das Bastel- und DIY-Abenteuer für Kinder: 'Fertig ist die farbige Hülle der Kerze.'

6

Now wraps the fabric hose over the foam.
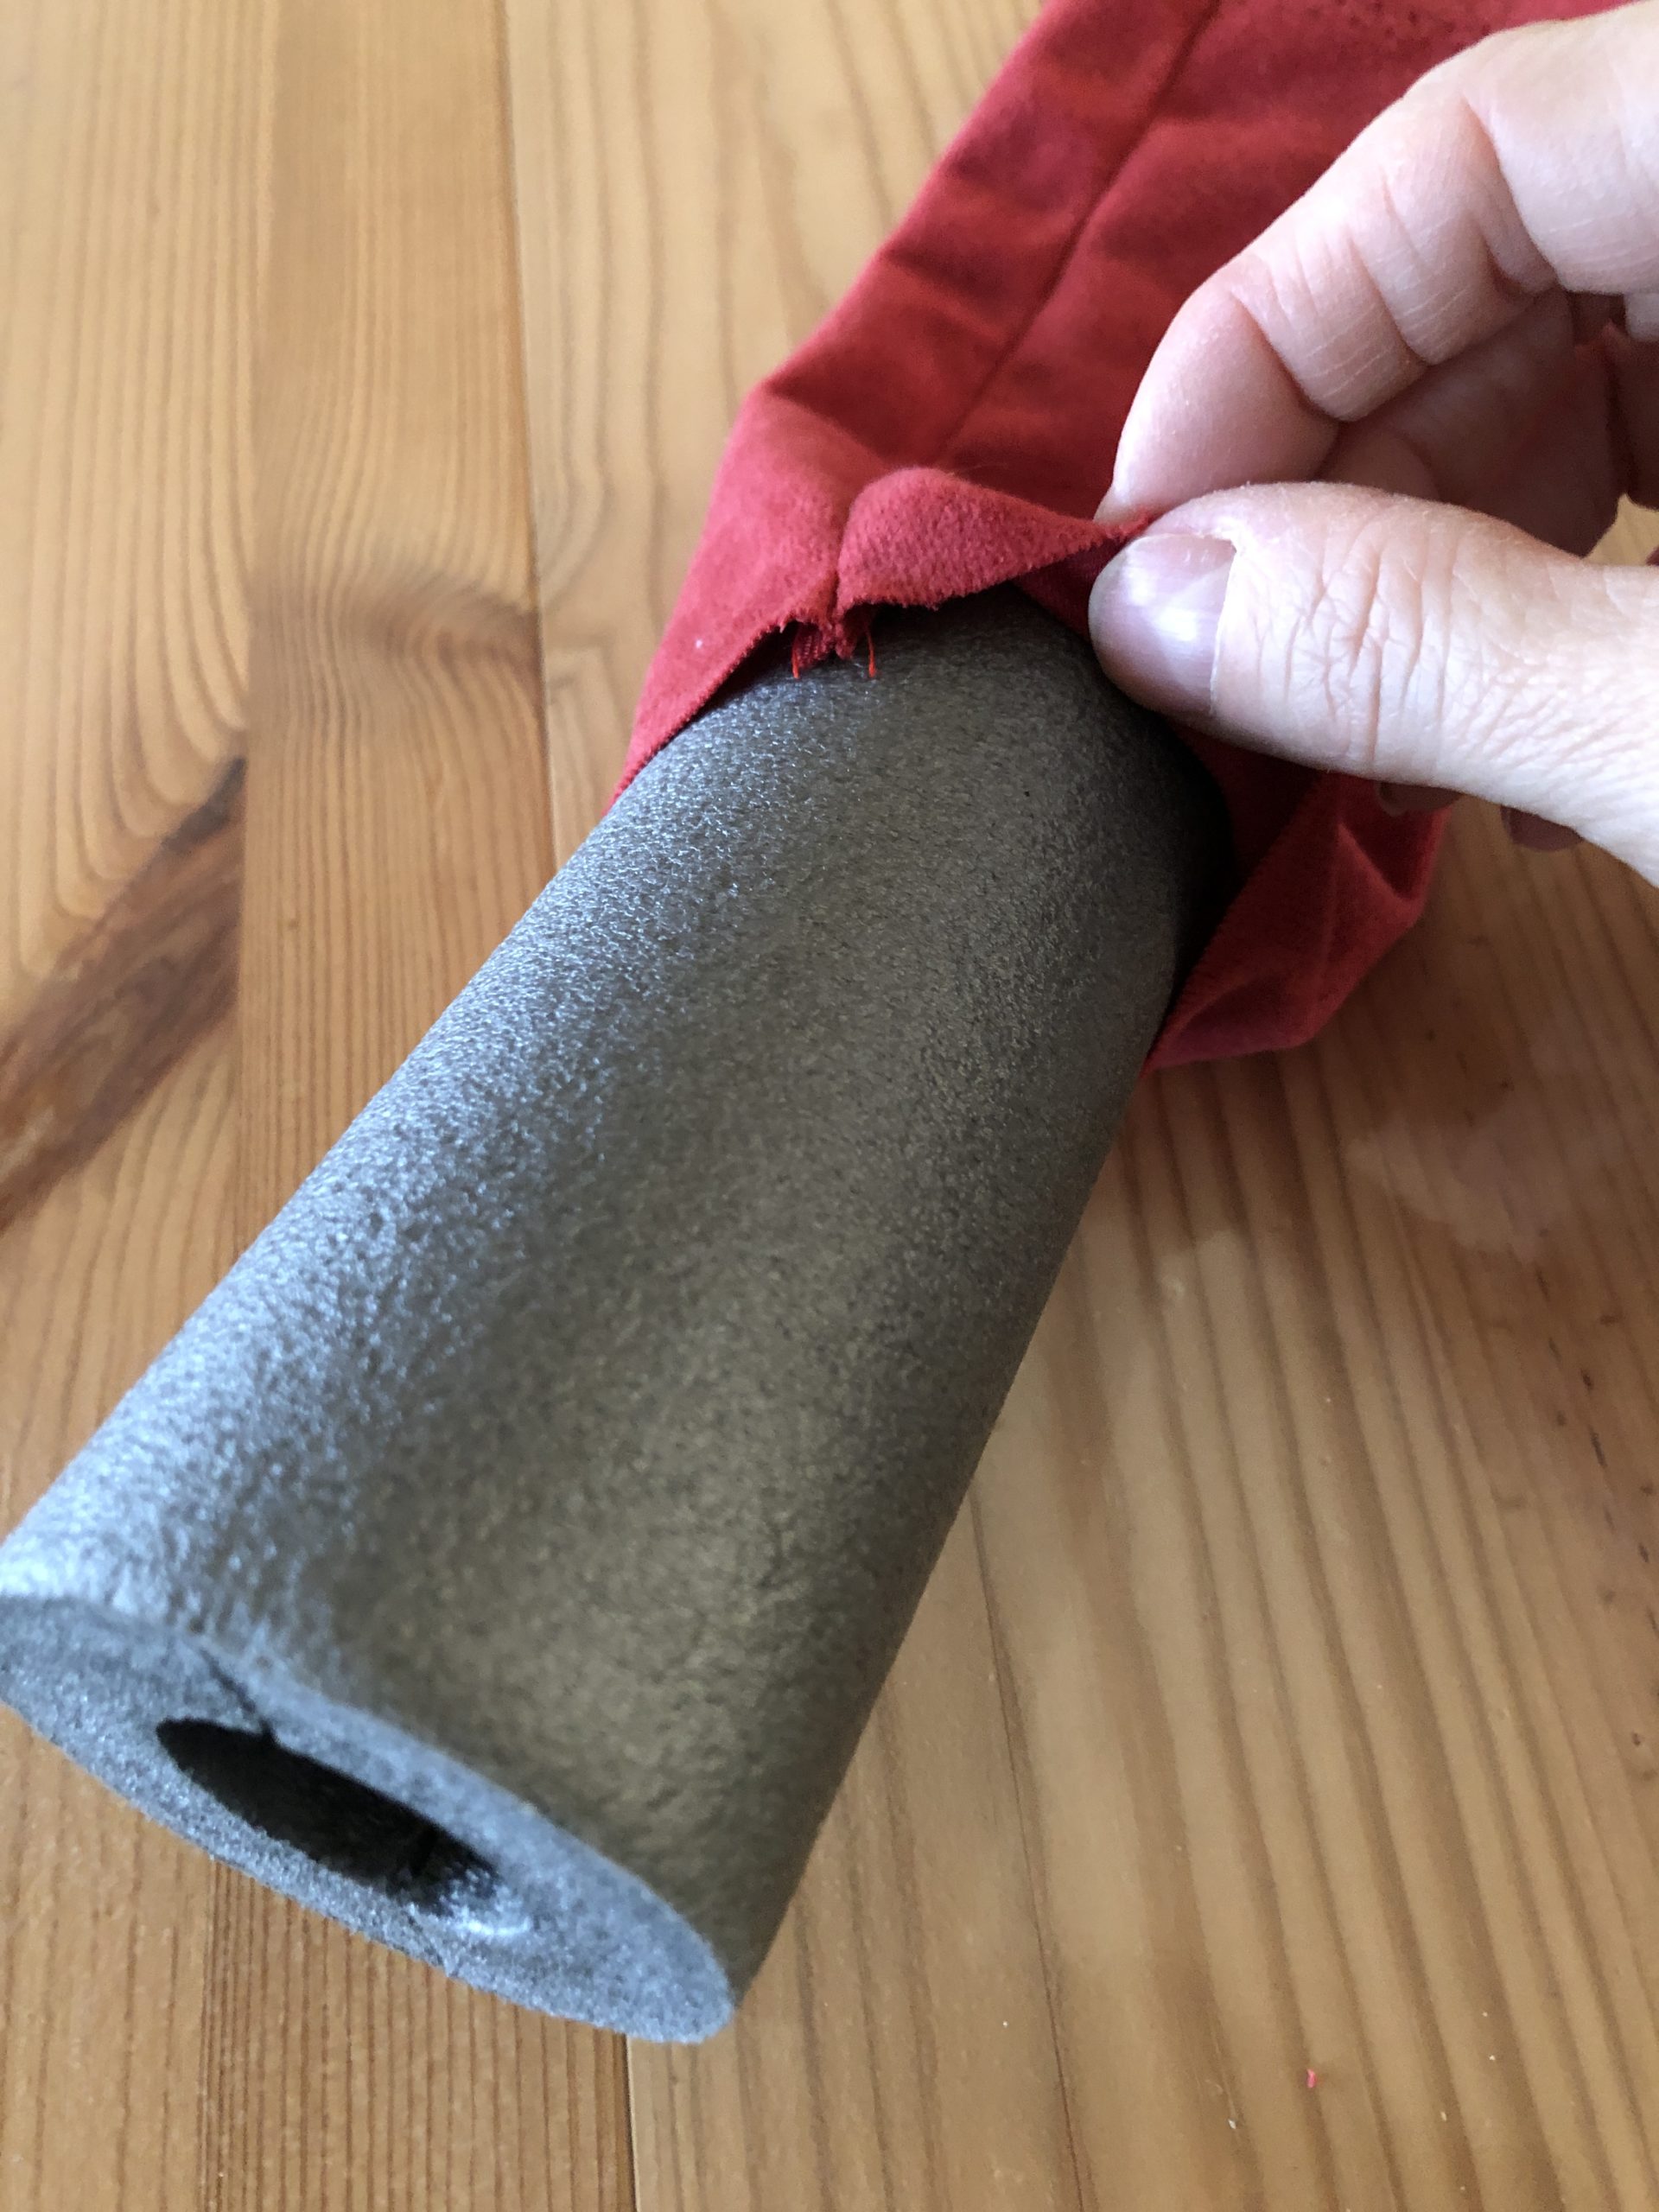
Bild zum Schritt 6 für das Bastel- und DIY-Abenteuer für Kinder: 'Stülpt den Stoffschlauch nun über den Schaumstoff.'

7

2. Bild zum Schritt 6 für das Bastel- und DIY-Abenteuer für Kinder: 'Stülpt den Stoffschlauch nun über den Schaumstoff.'

8

Now you position the roll in the middle, so that up and down just as much fabric survives.
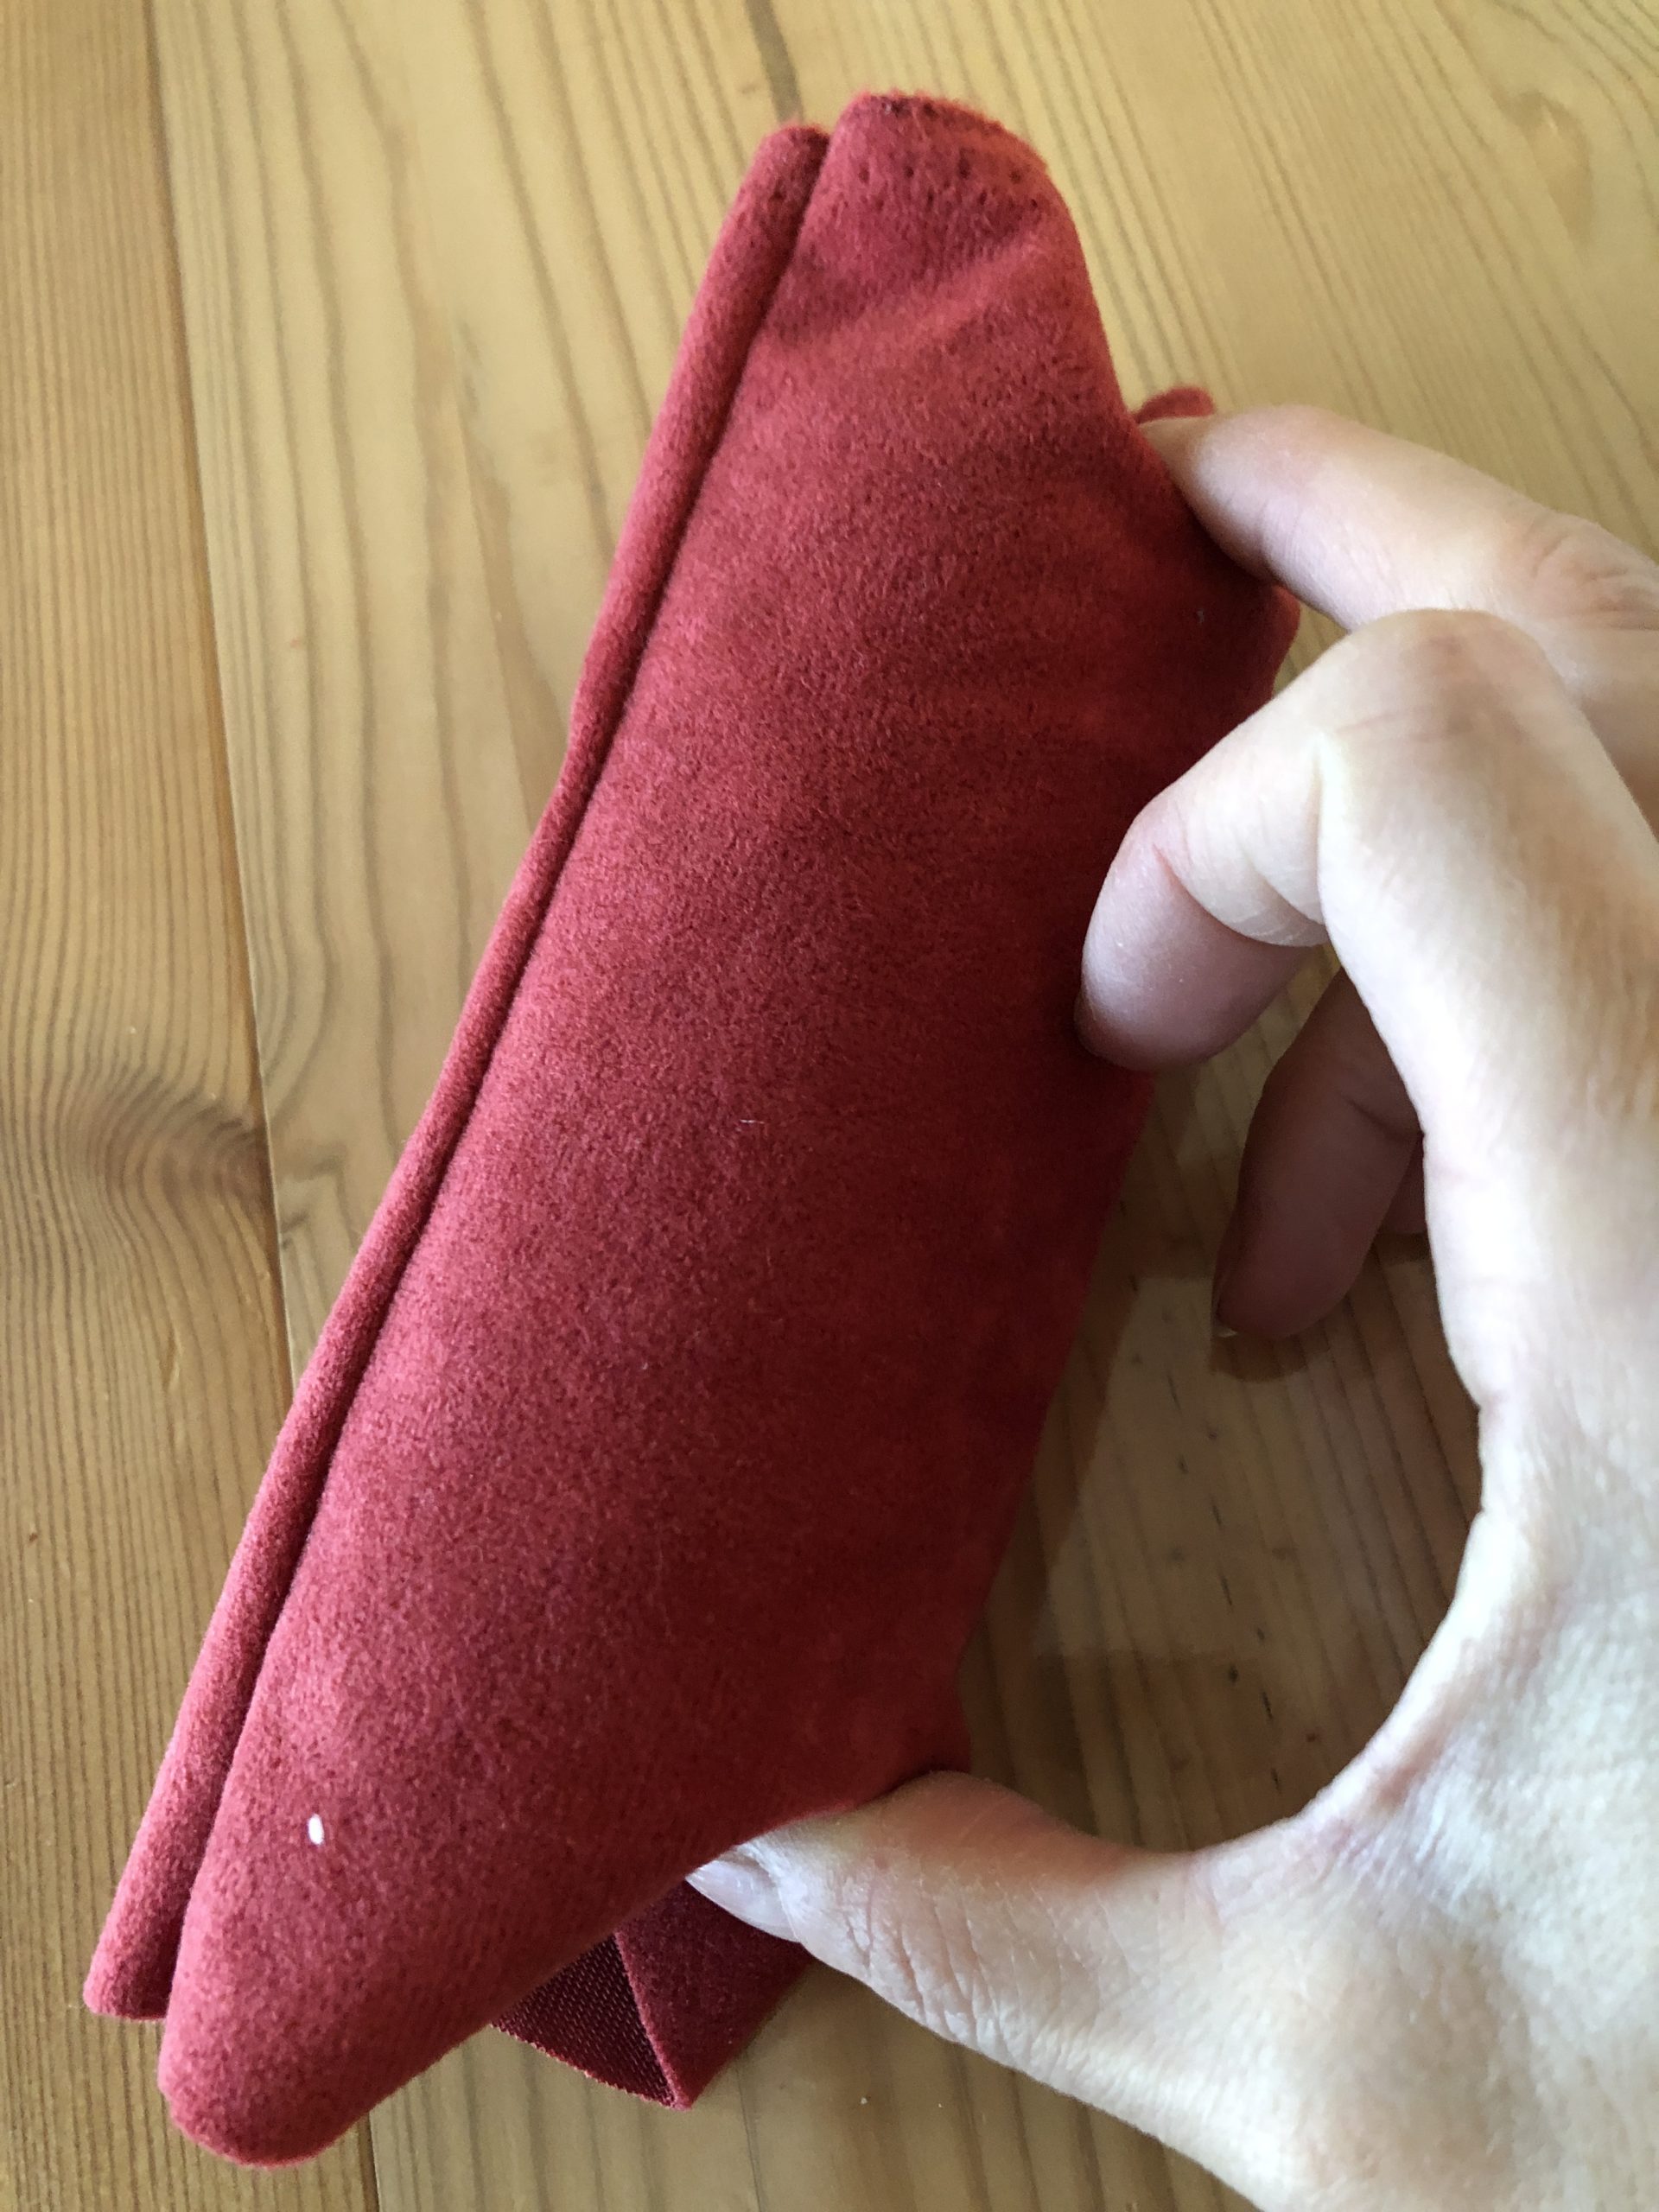
Bild zum Schritt 8 für das Bastel- und DIY-Abenteuer für Kinder: 'Jetzt positioniert ihr die Rolle mittig, so dass oben und...'

9

Put the overhanging fabric with your fingers in the hole at the top and bottom of the roll.
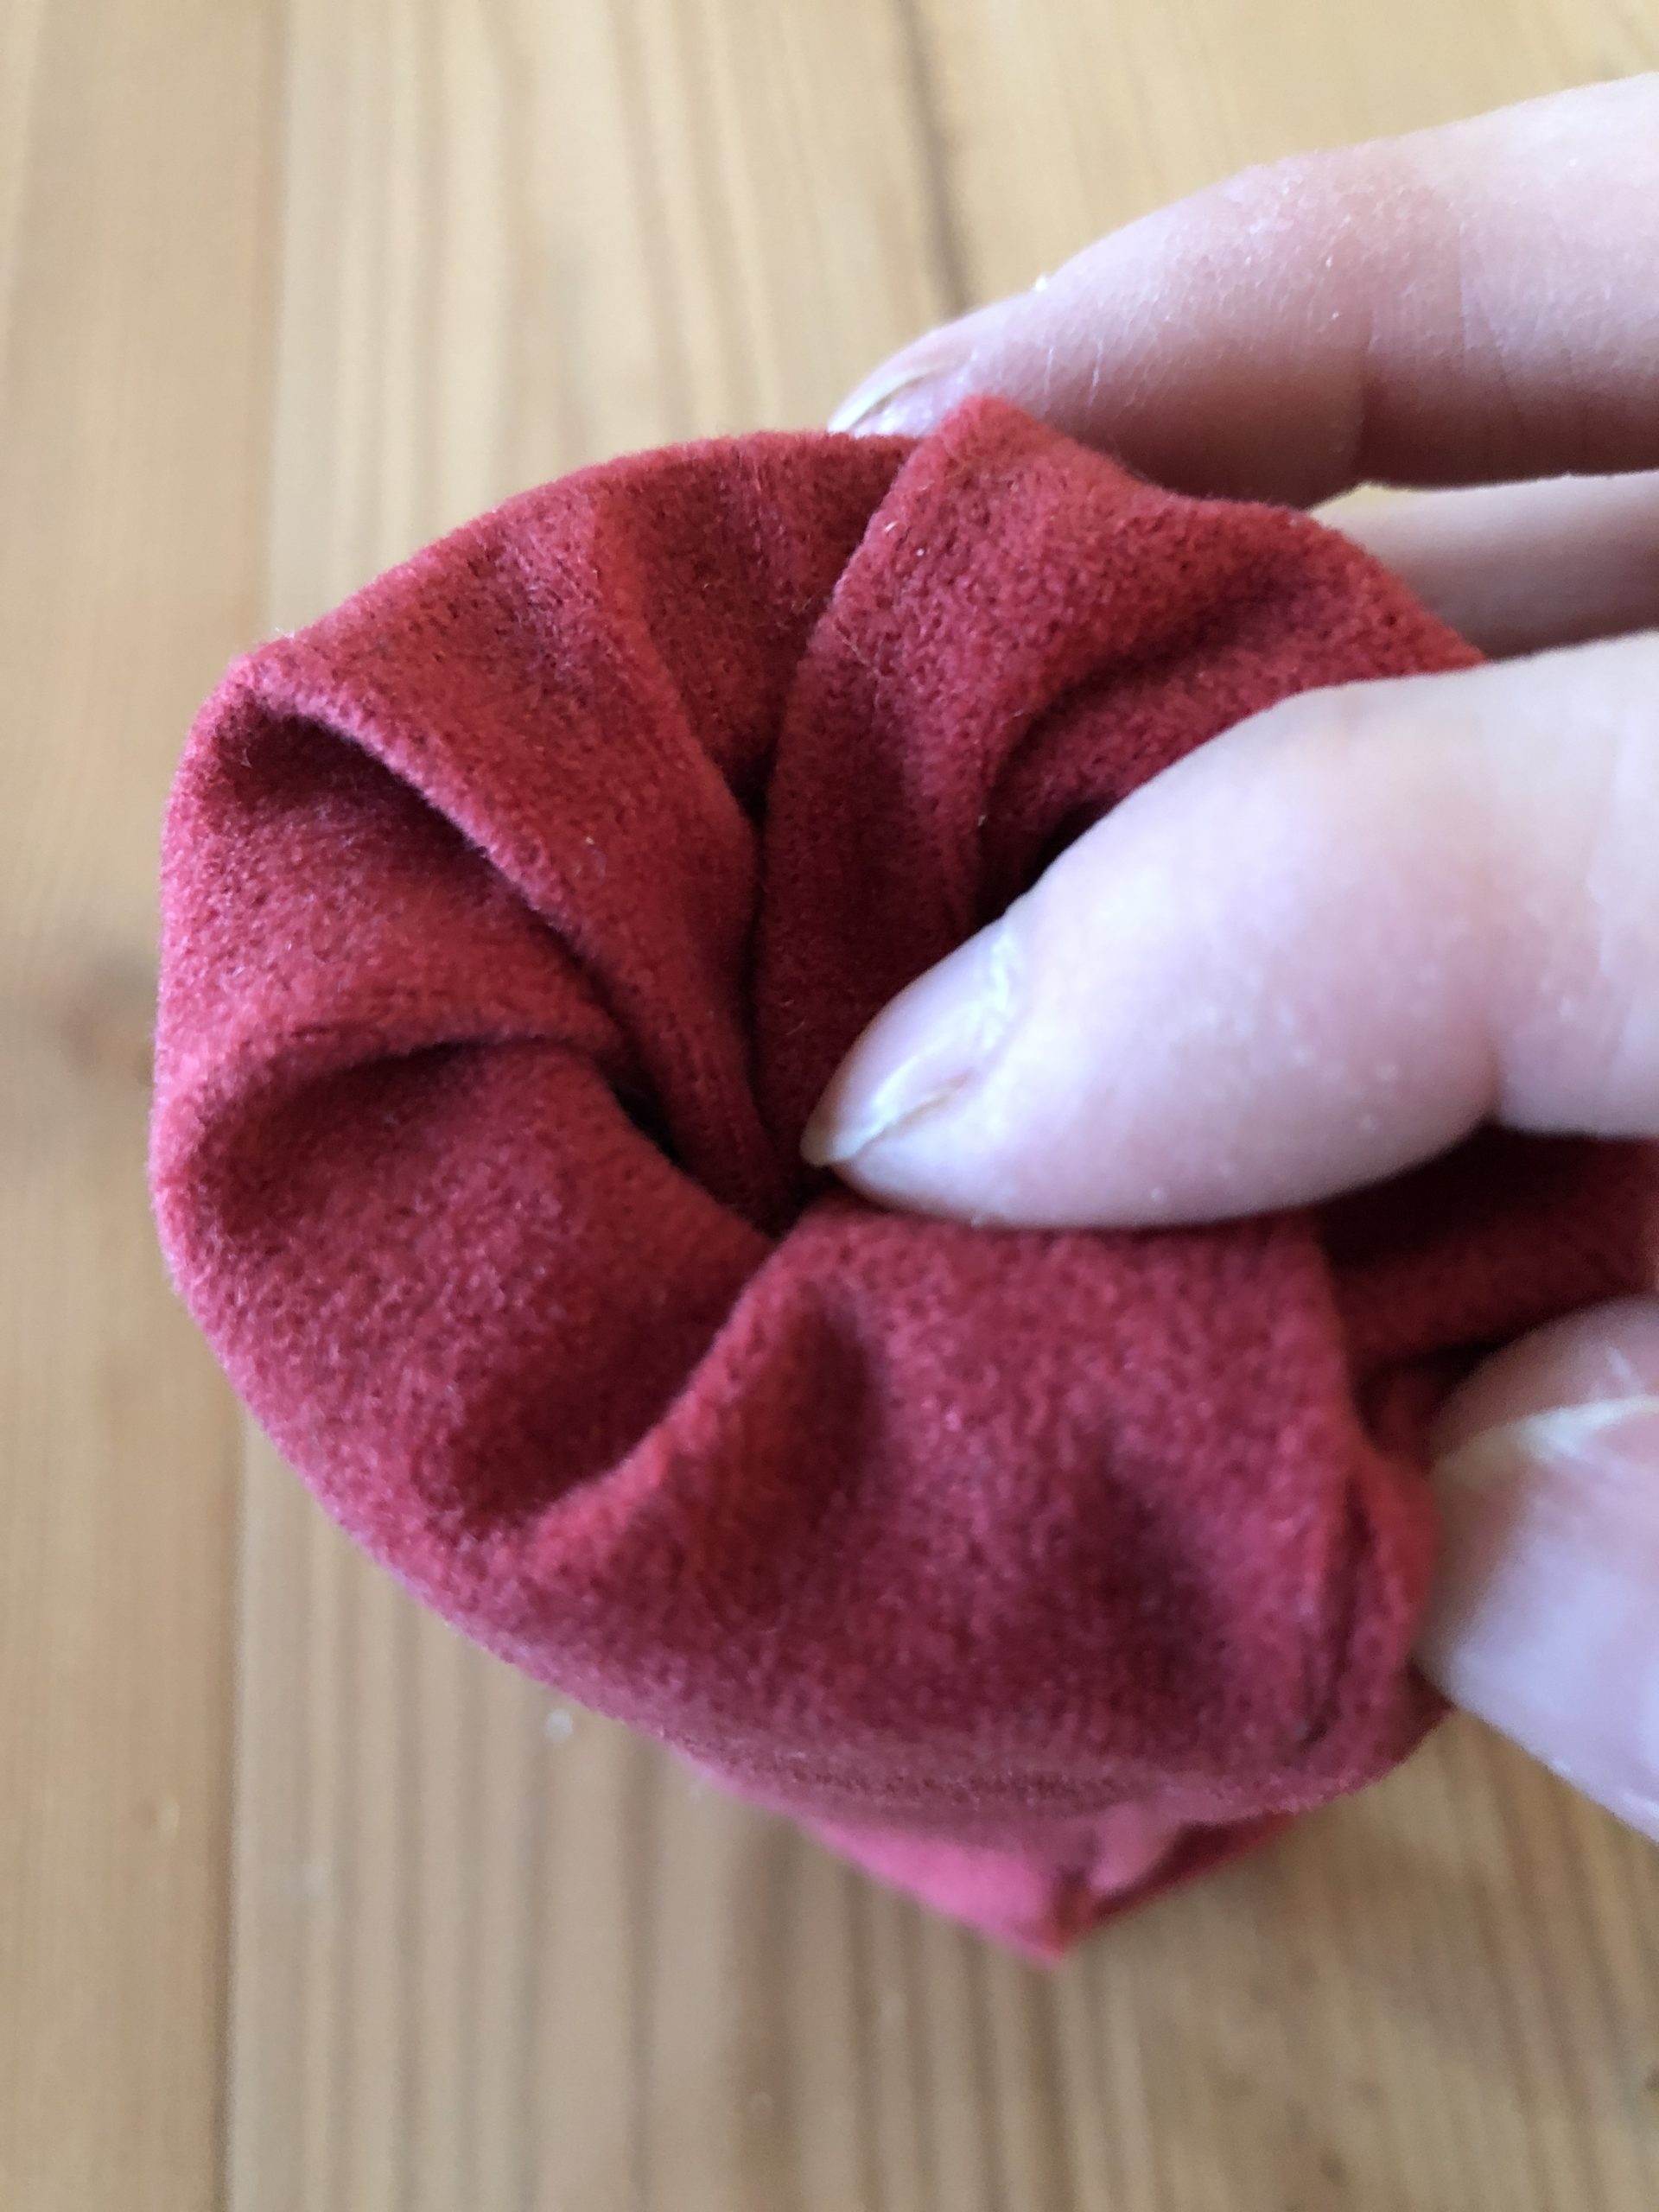
Bild zum Schritt 9 für das Bastel- und DIY-Abenteuer für Kinder: 'Steckt den überstehenden Stoff mit den Fingern in das Loch...'

10

2. Bild zum Schritt 9 für das Bastel- und DIY-Abenteuer für Kinder: 'Steckt den überstehenden Stoff mit den Fingern in das Loch...'

11

The stump of the candle is ready!
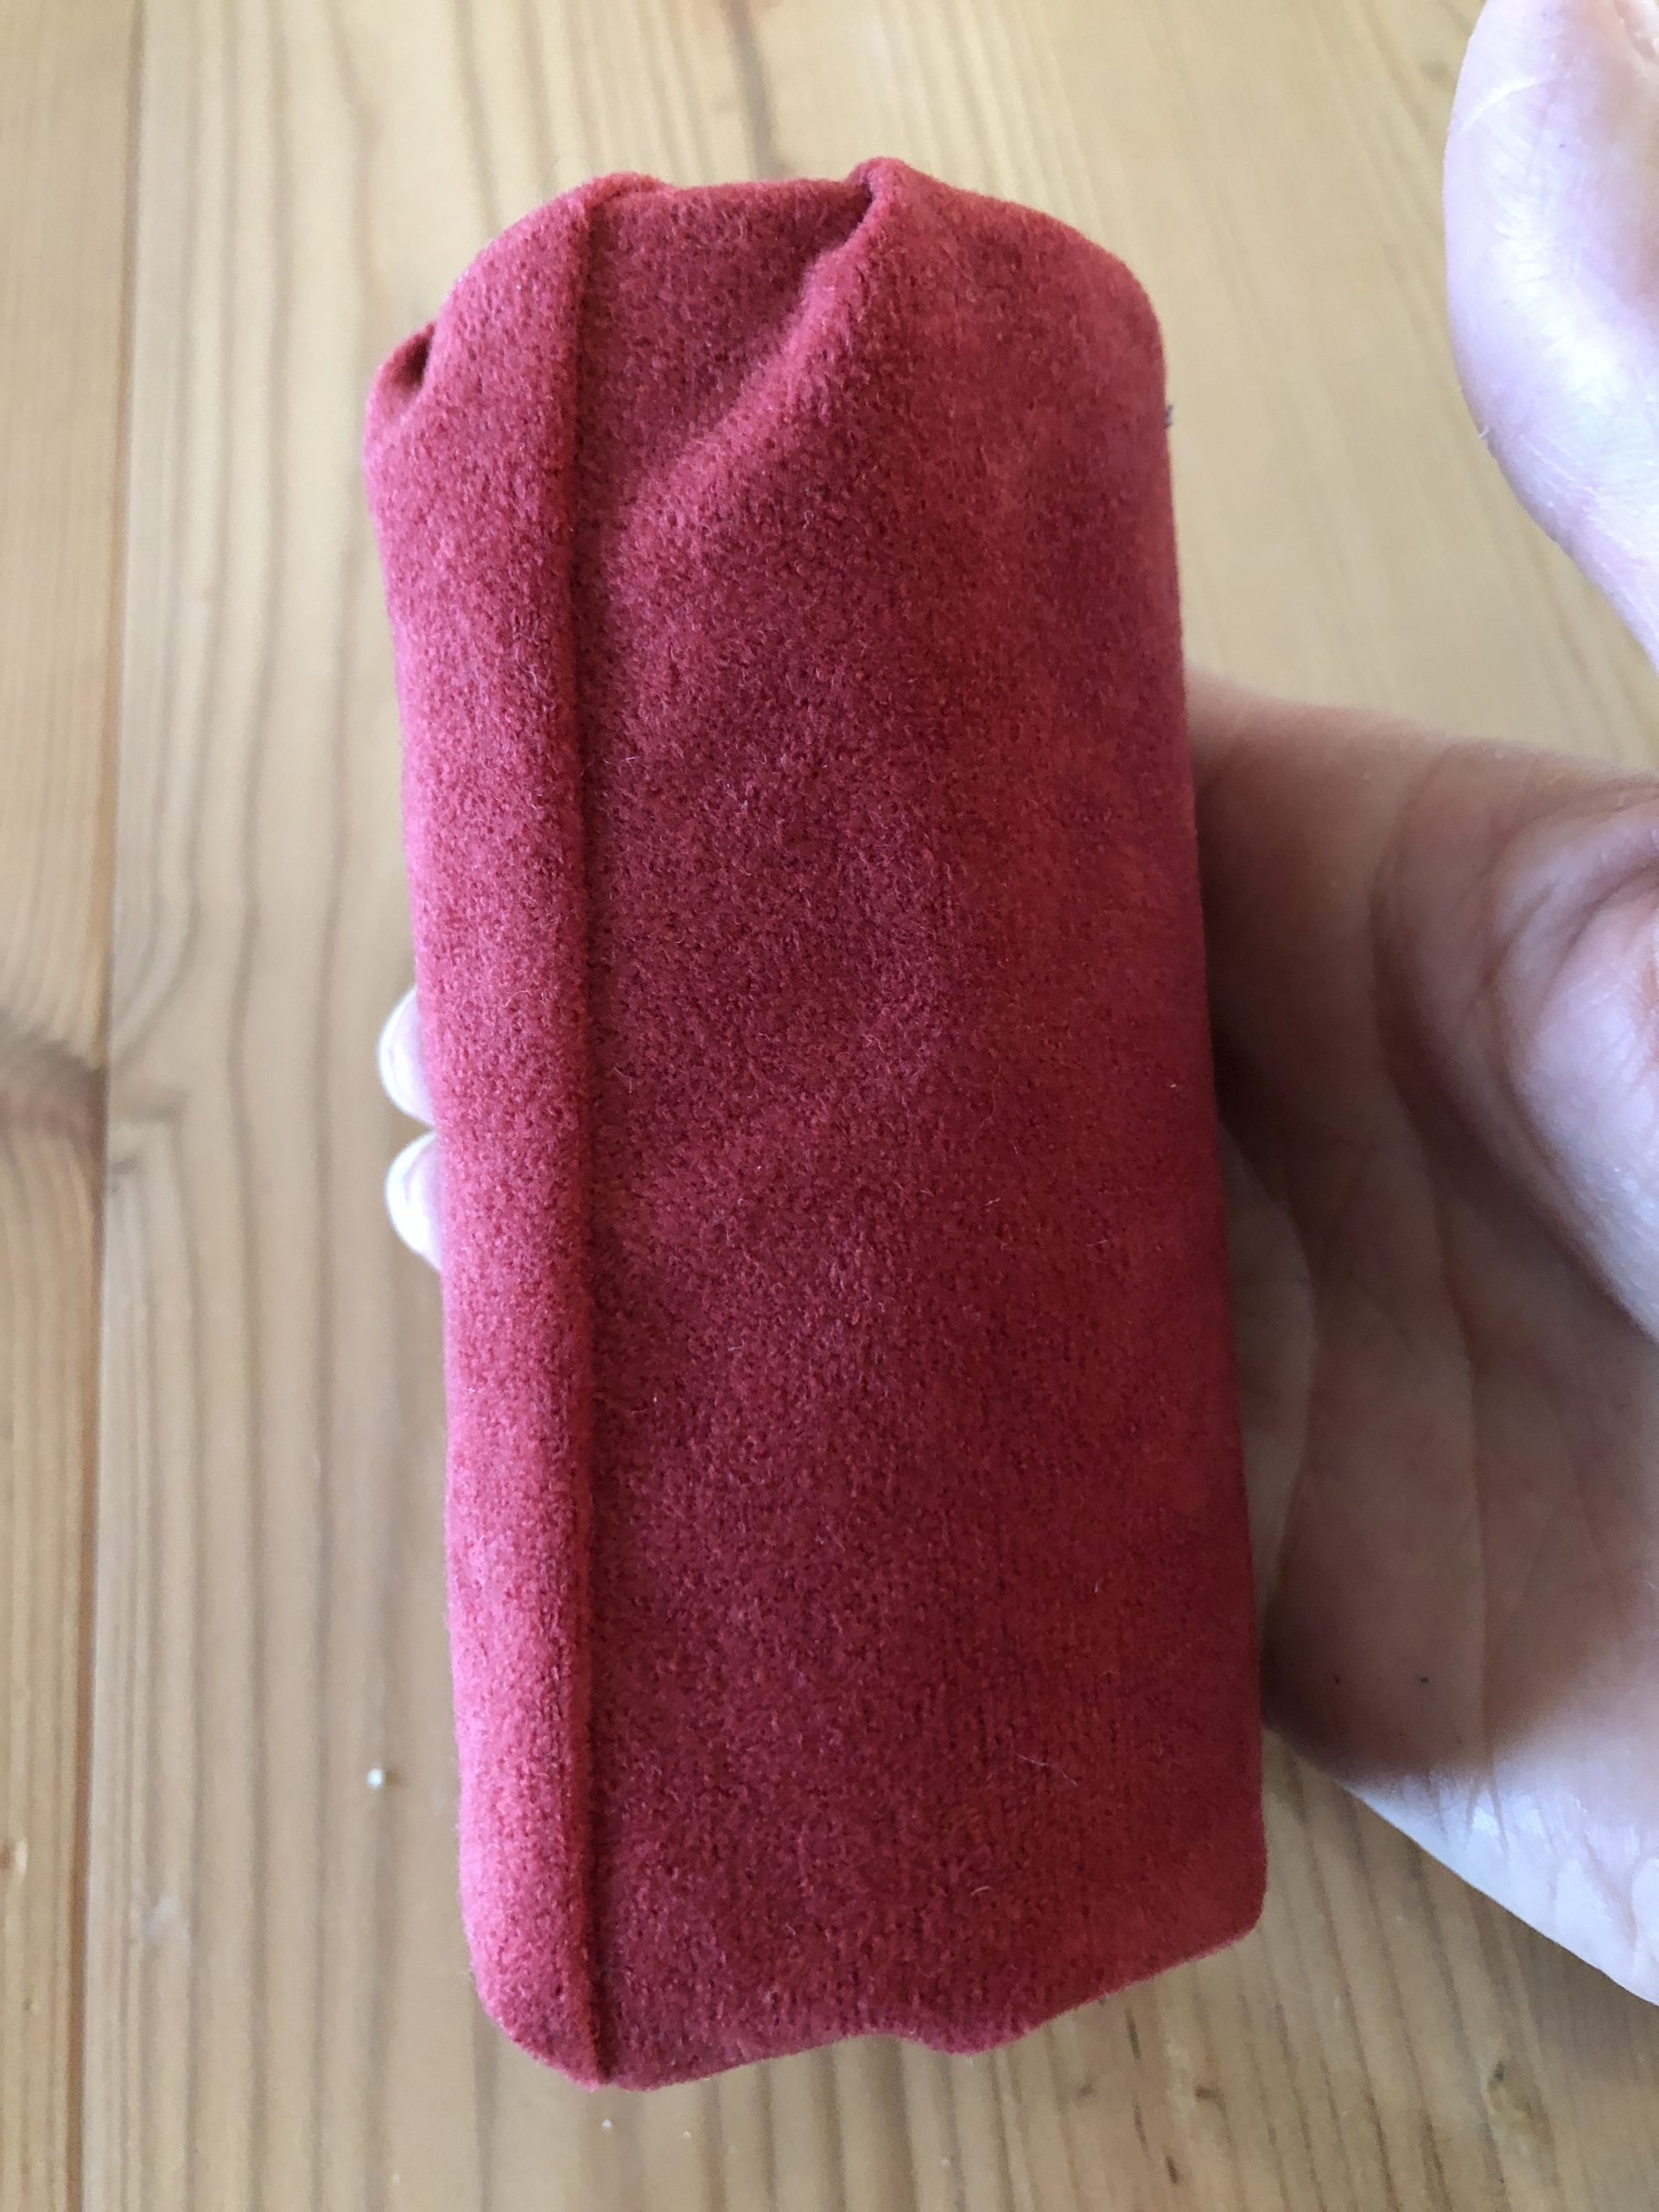
Bild zum Schritt 11 für das Bastel- und DIY-Abenteuer für Kinder: 'Fertig ist der Stumpf der Kerze!'

Sew flame:
12

Print out the template for the flame or paint yourself a flame of this kind.
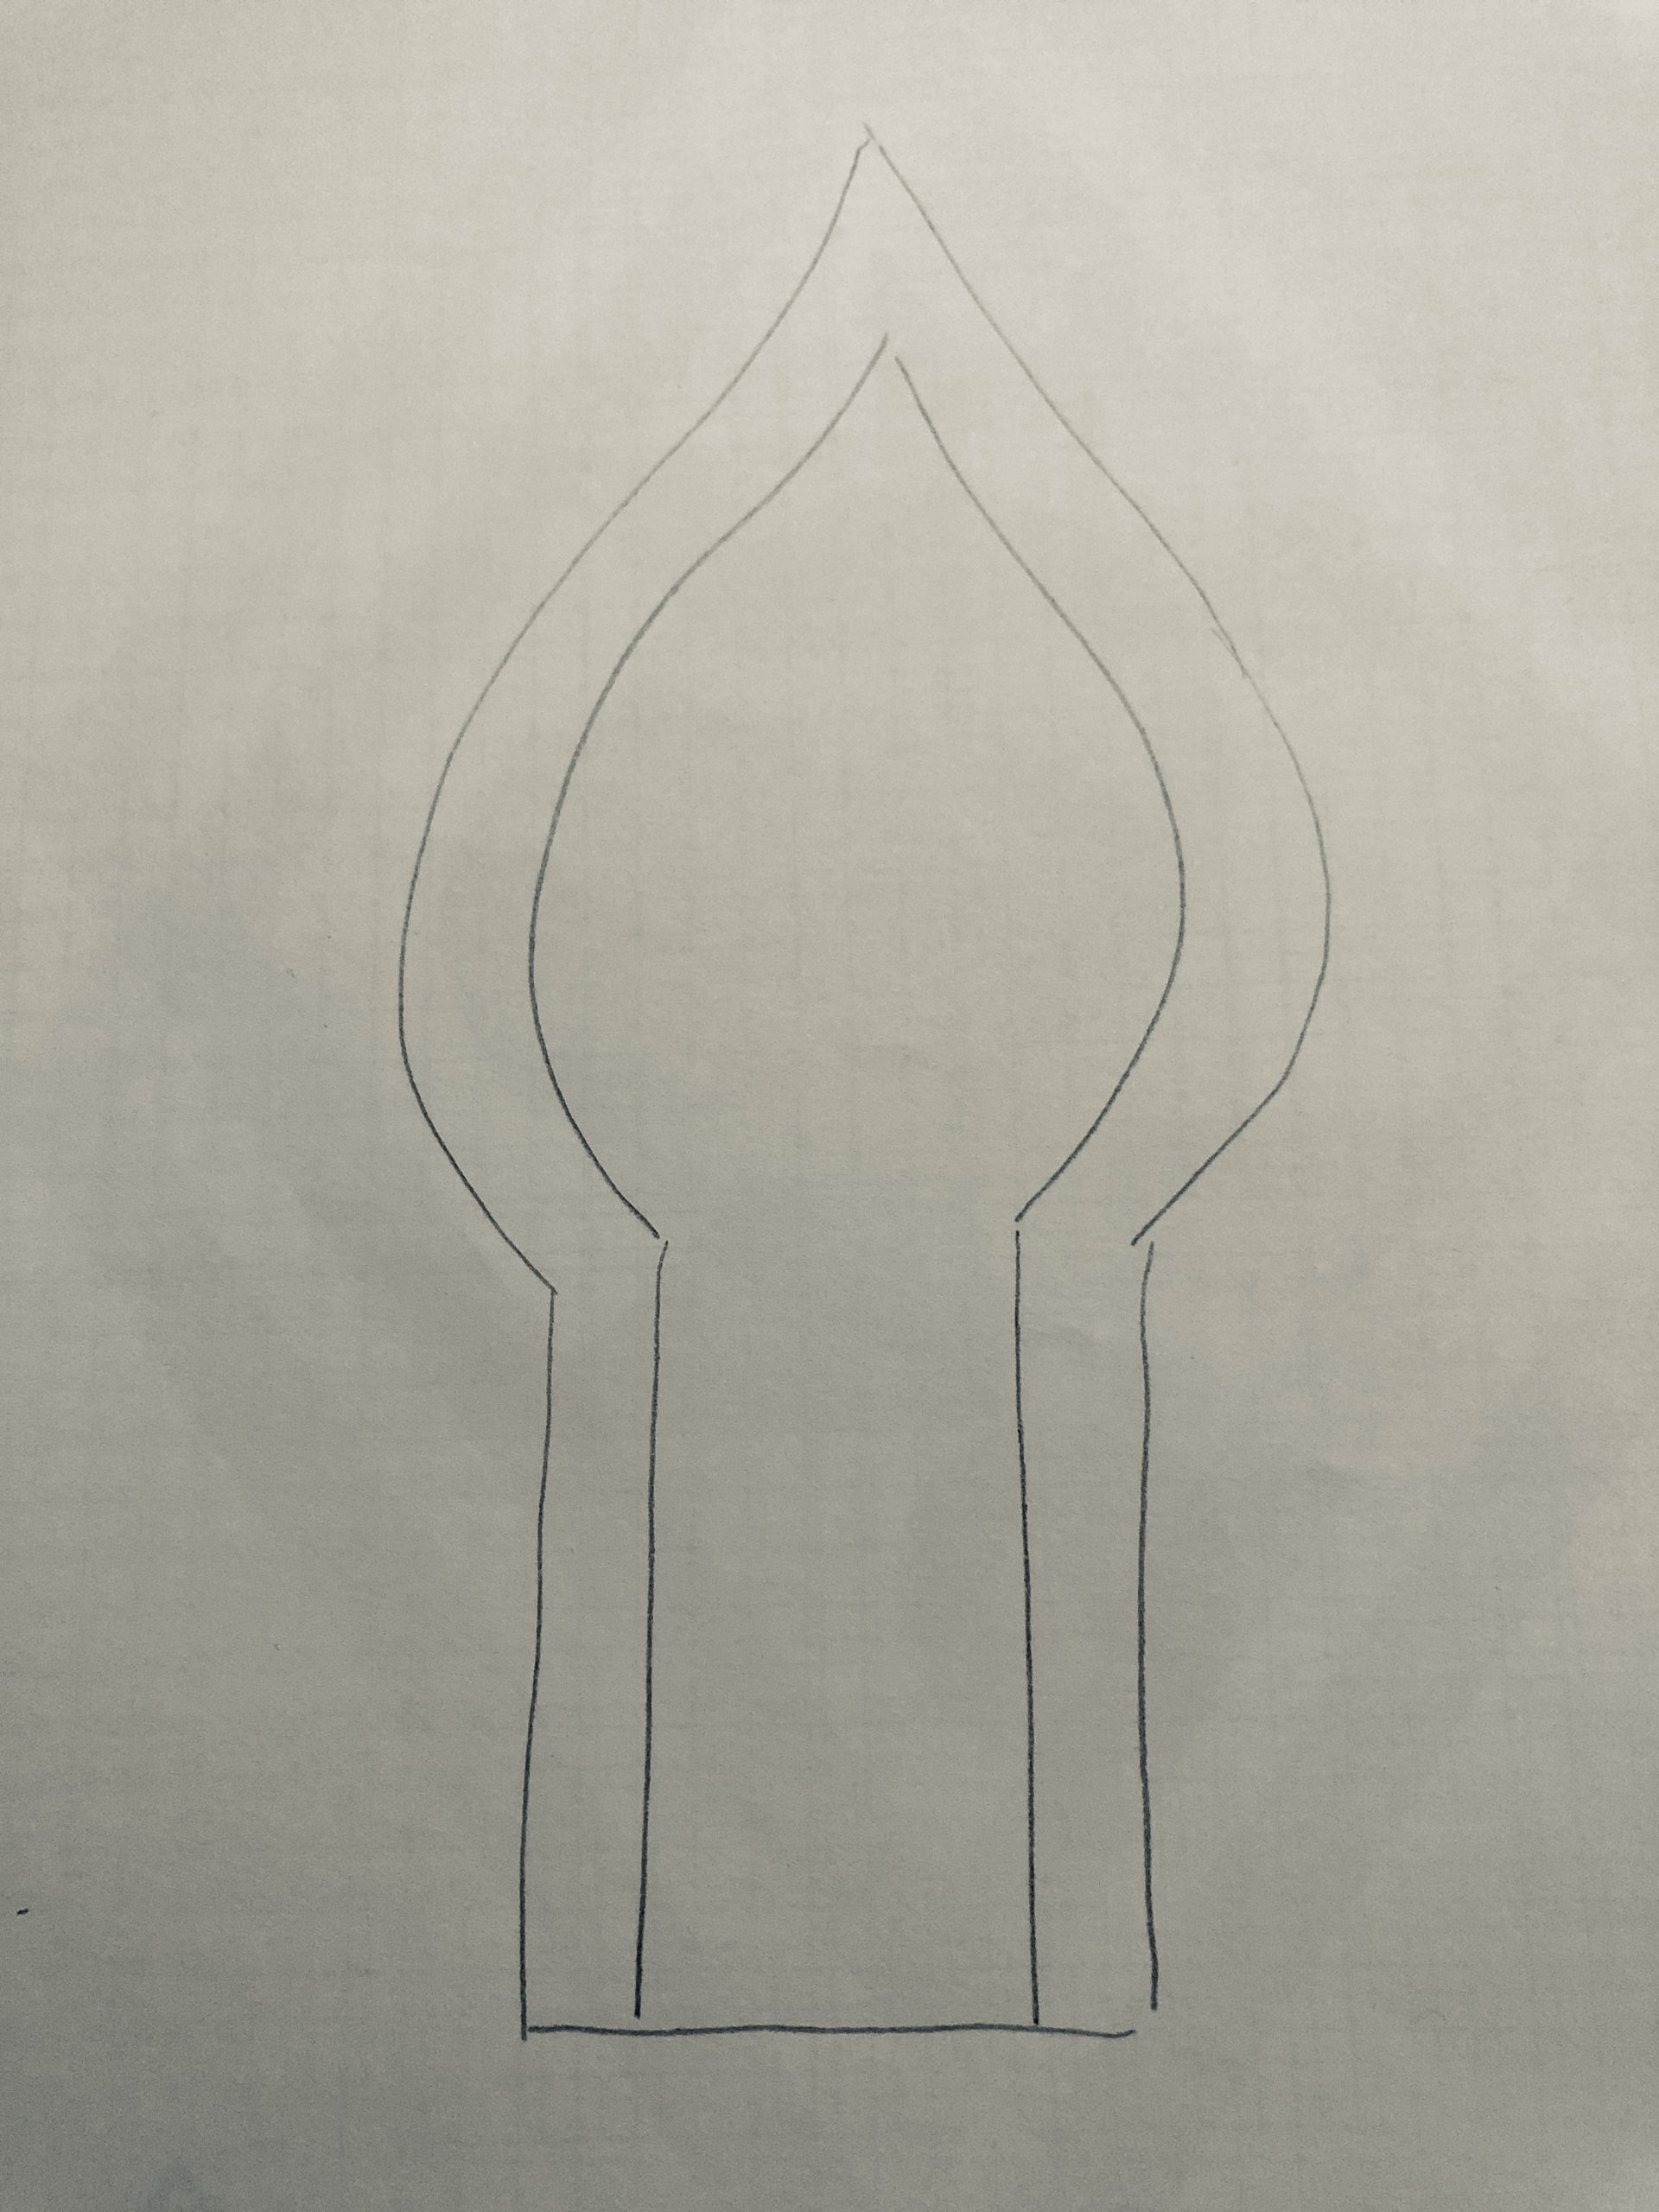
Bild zum Schritt 13 für das Bastel- und DIY-Abenteuer für Kinder: 'Druckt euch die Vorlage für die Flamme aus oder malt...'

13

Cuts two parts of the template. Cuts on the outer line. The inner line symbolizes the sewing seam.
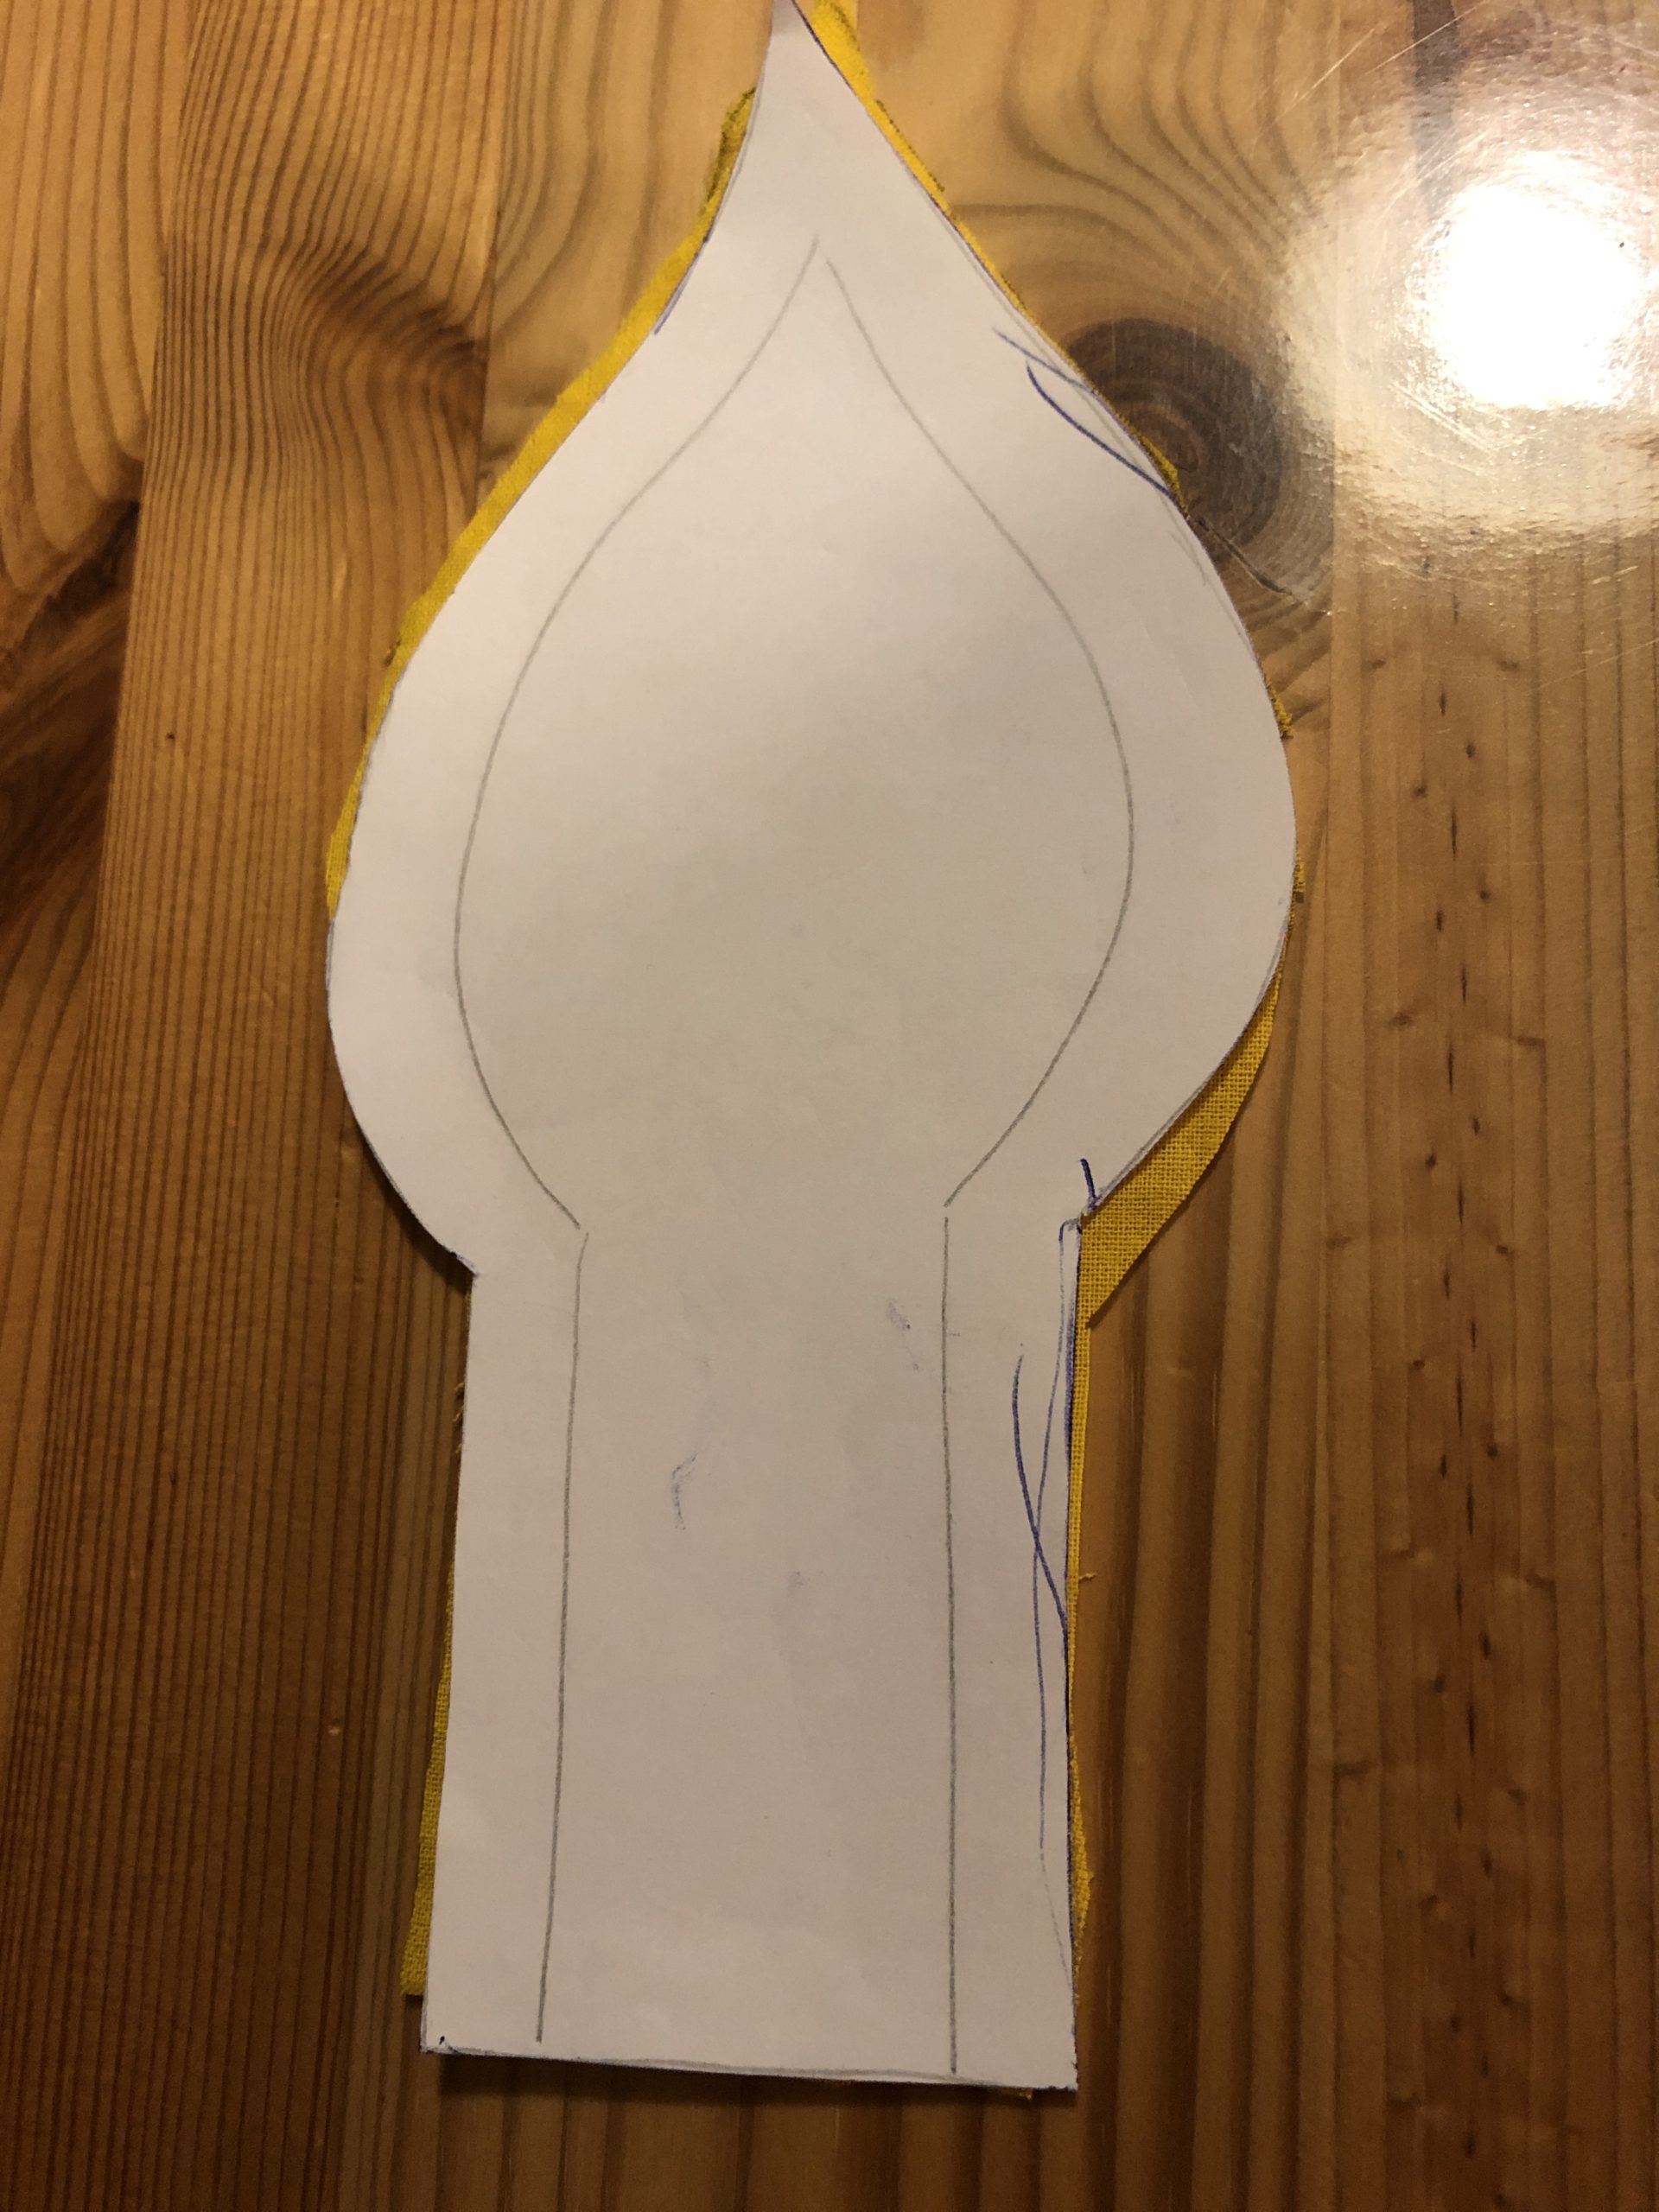
Bild zum Schritt 14 für das Bastel- und DIY-Abenteuer für Kinder: 'Schneidet zwei Teile der Vorlage zu. Schneidet auf der äußeren...'

14

Now you put both pieces of fabric together with the beautiful side (right).
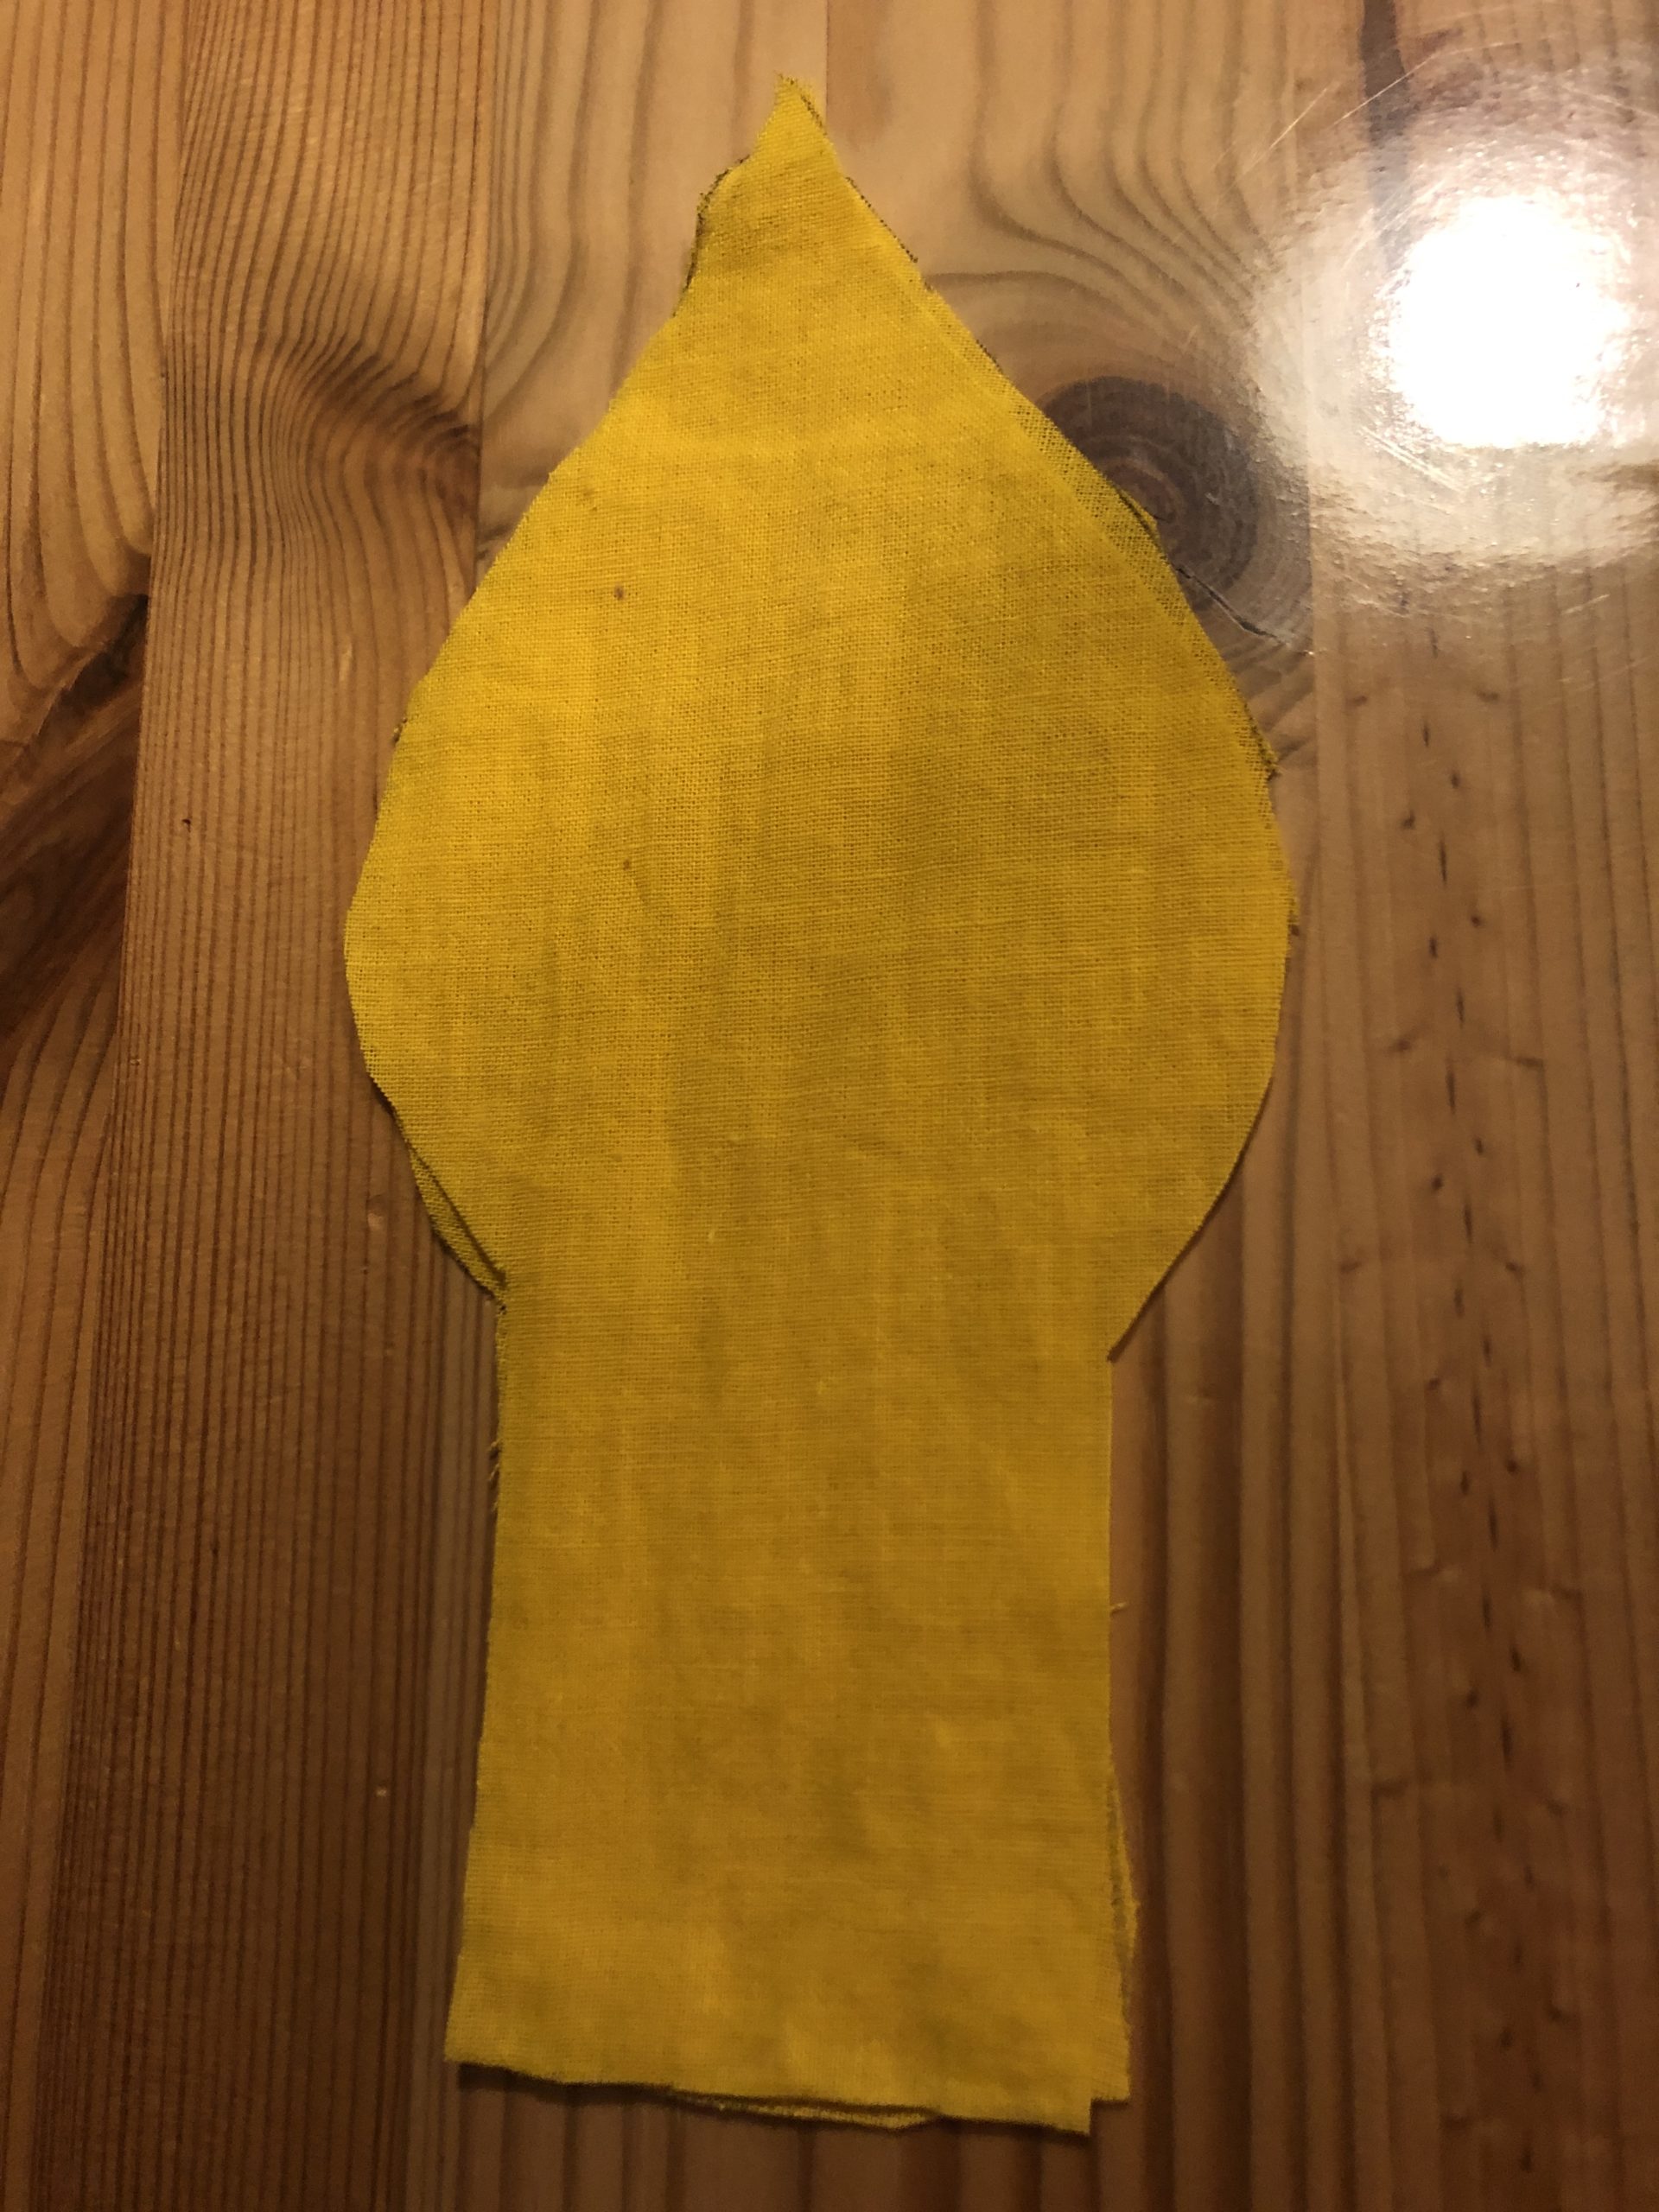
Bild zum Schritt 15 für das Bastel- und DIY-Abenteuer für Kinder: 'Beide Stoffteile legt ihr nun mit der schönen Seite (rechts)...'

15

With the sewing machine you sew the two fabric parts together. For this you sew on the inner line of the template.

Bild zum Schritt 16 für das Bastel- und DIY-Abenteuer für Kinder: 'Mit der Nähmaschine näht ihr die beiden Stoffteile zusammen. Dafür...'

16

The straight side at the lower end remains open!
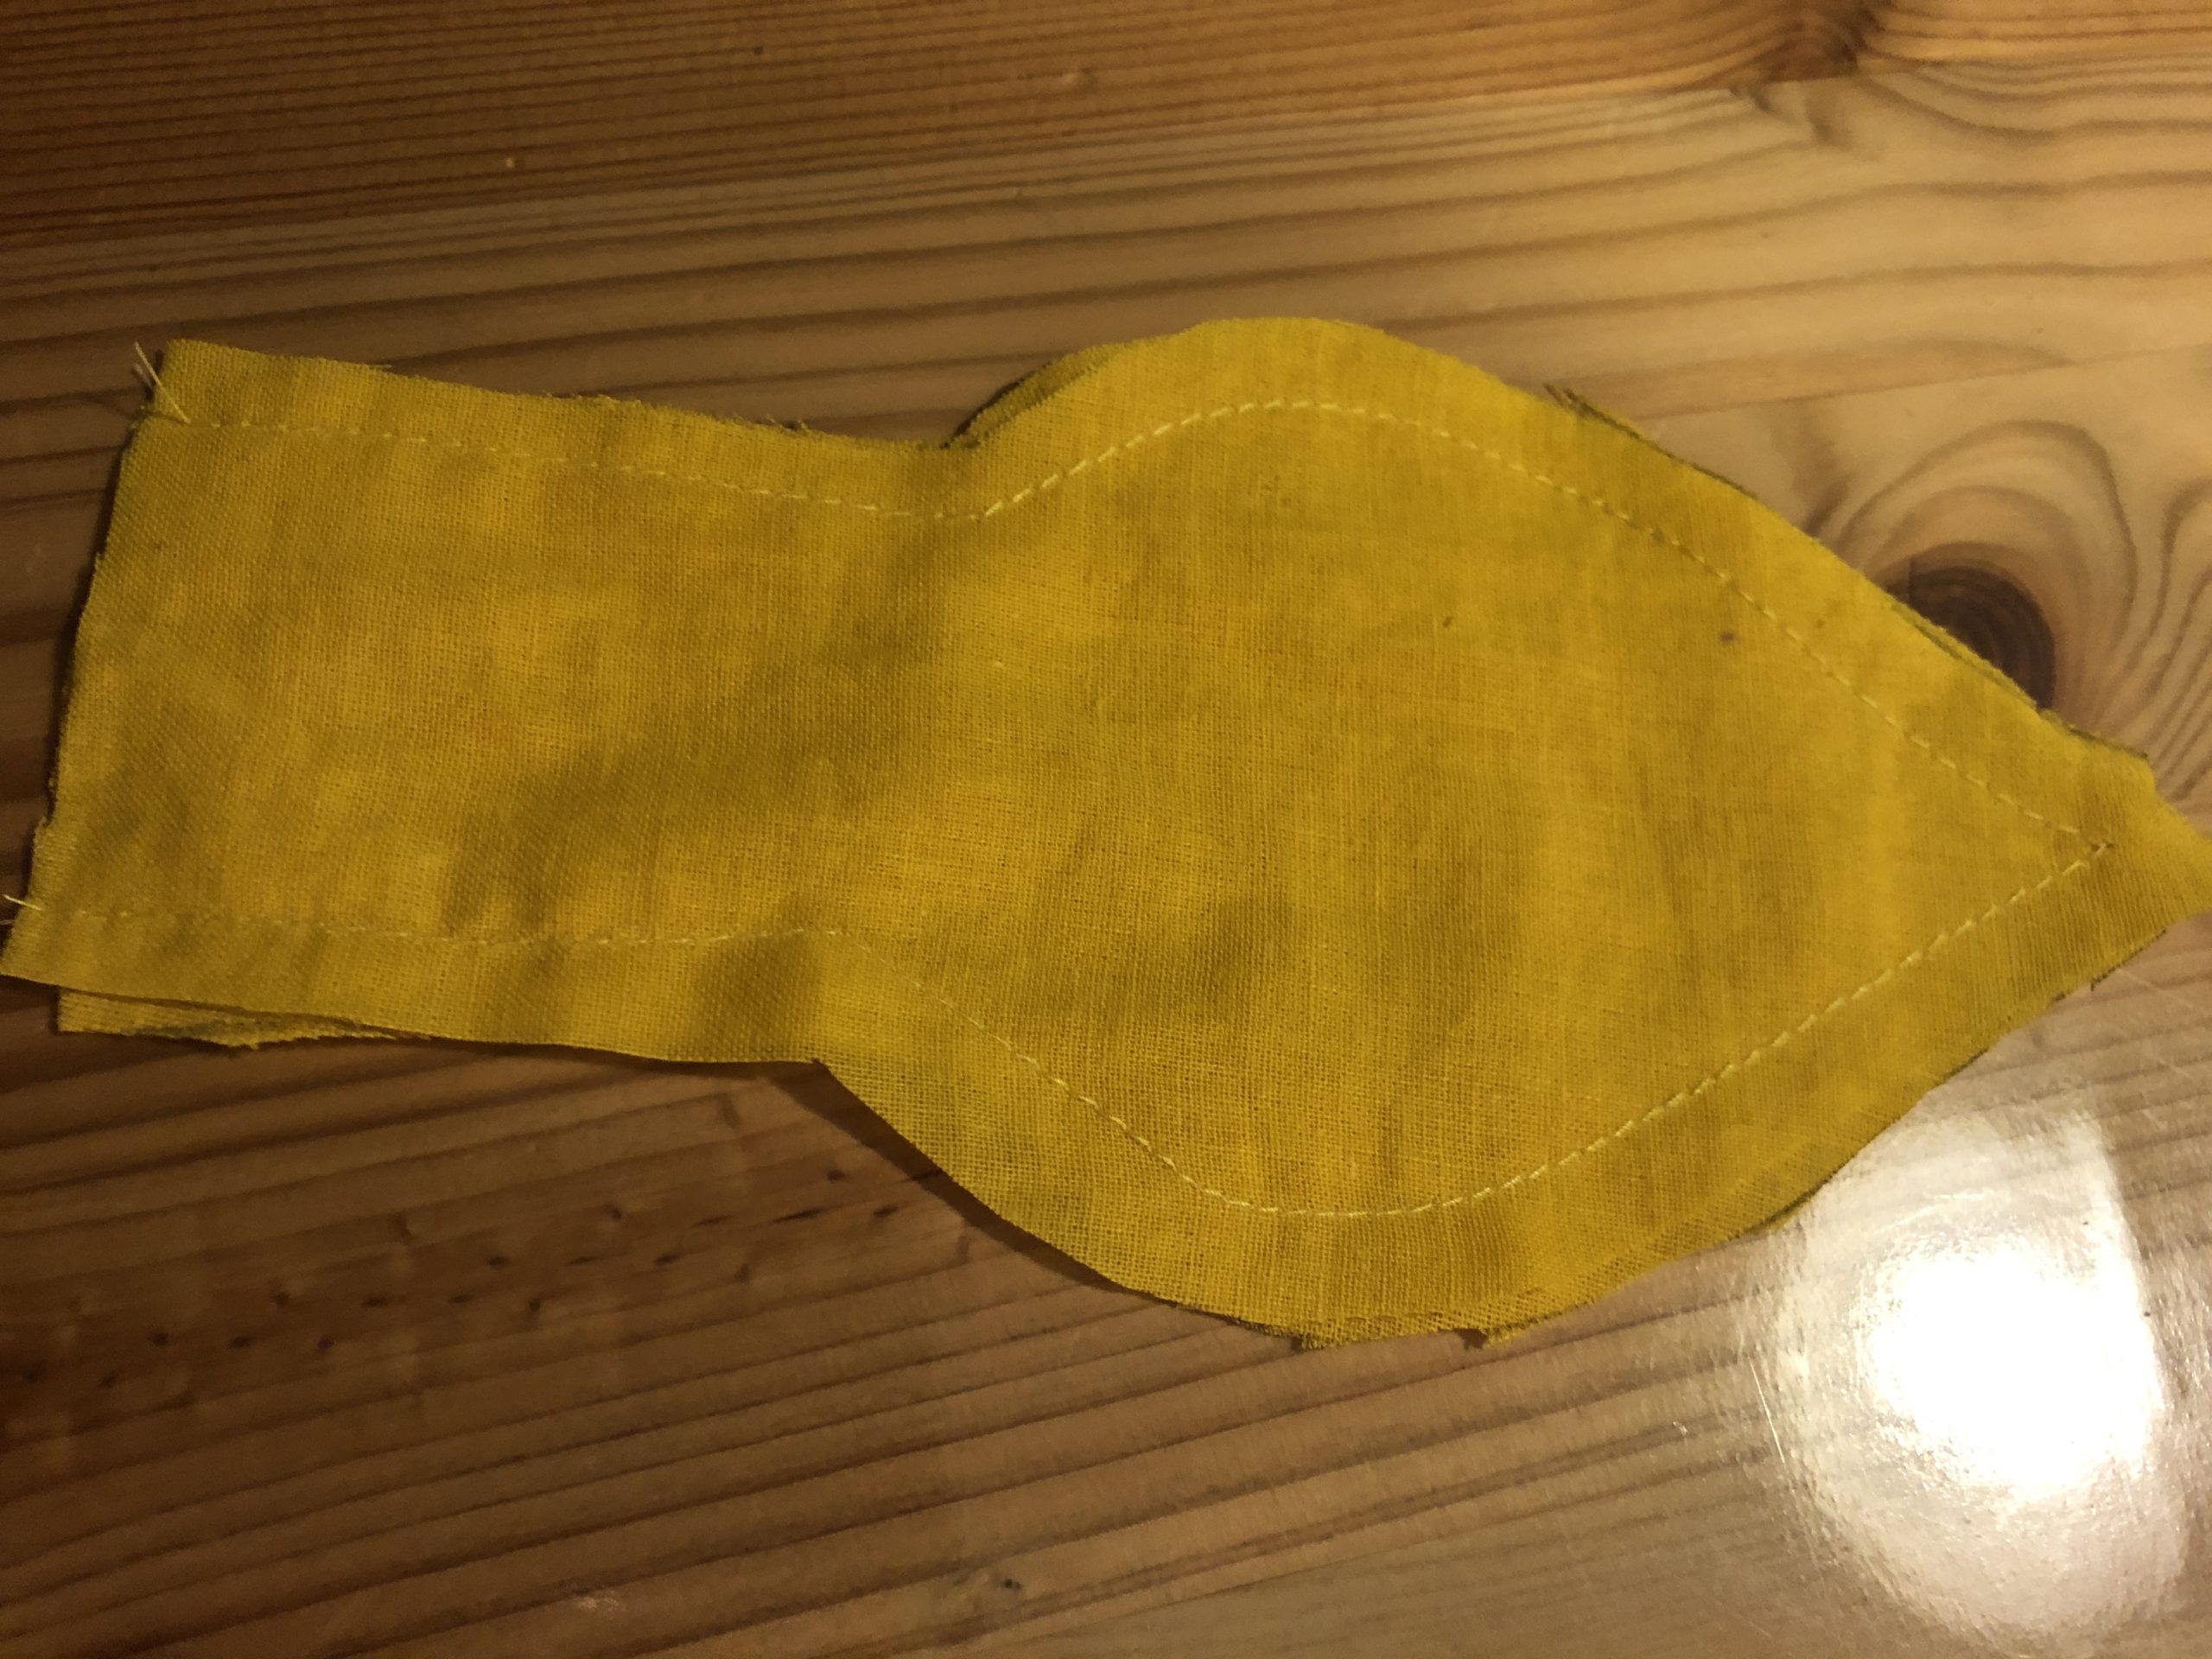
Bild zum Schritt 17 für das Bastel- und DIY-Abenteuer für Kinder: 'Die gerade Seite am unteren Ende bleibt offen!'

17

Now you turn the fabric of the sewn flame. Take a pen with which you can squeeze the flame out.
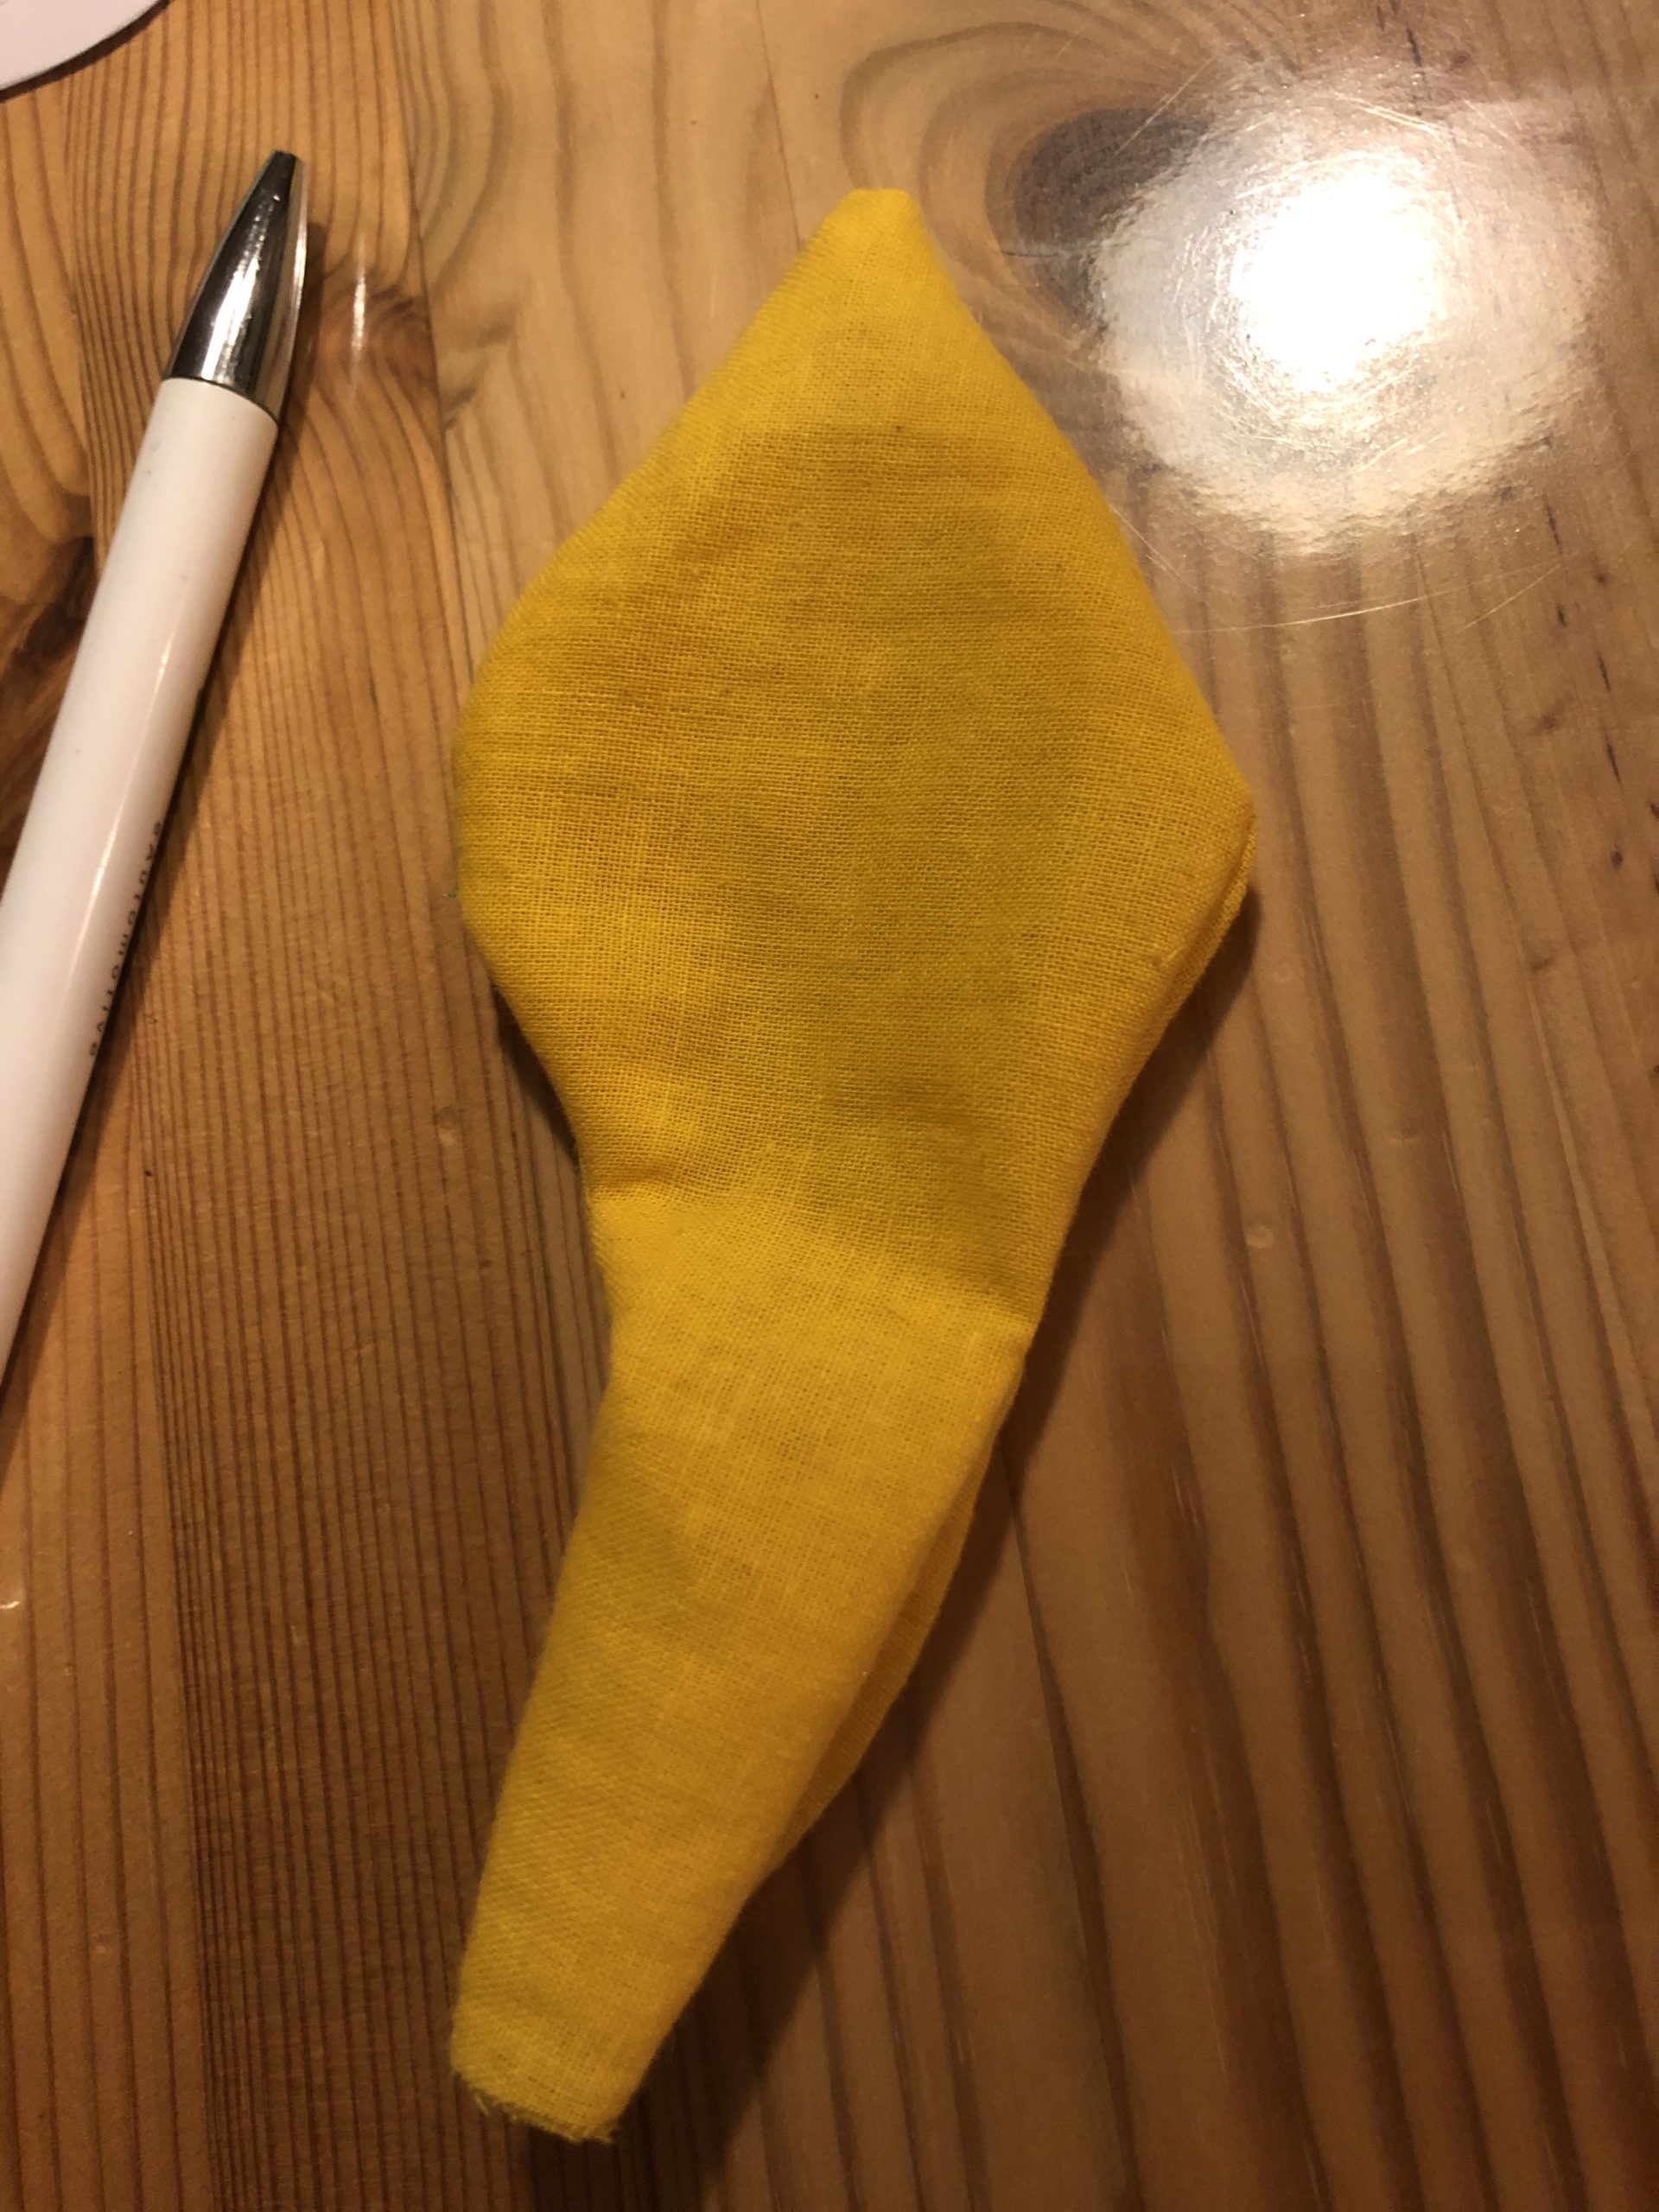
Bild zum Schritt 18 für das Bastel- und DIY-Abenteuer für Kinder: 'Jetzt wendet ihr den Stoff der genähte Flamme. Nehmt euch...'

18

Now fill the flame with fabric residue.
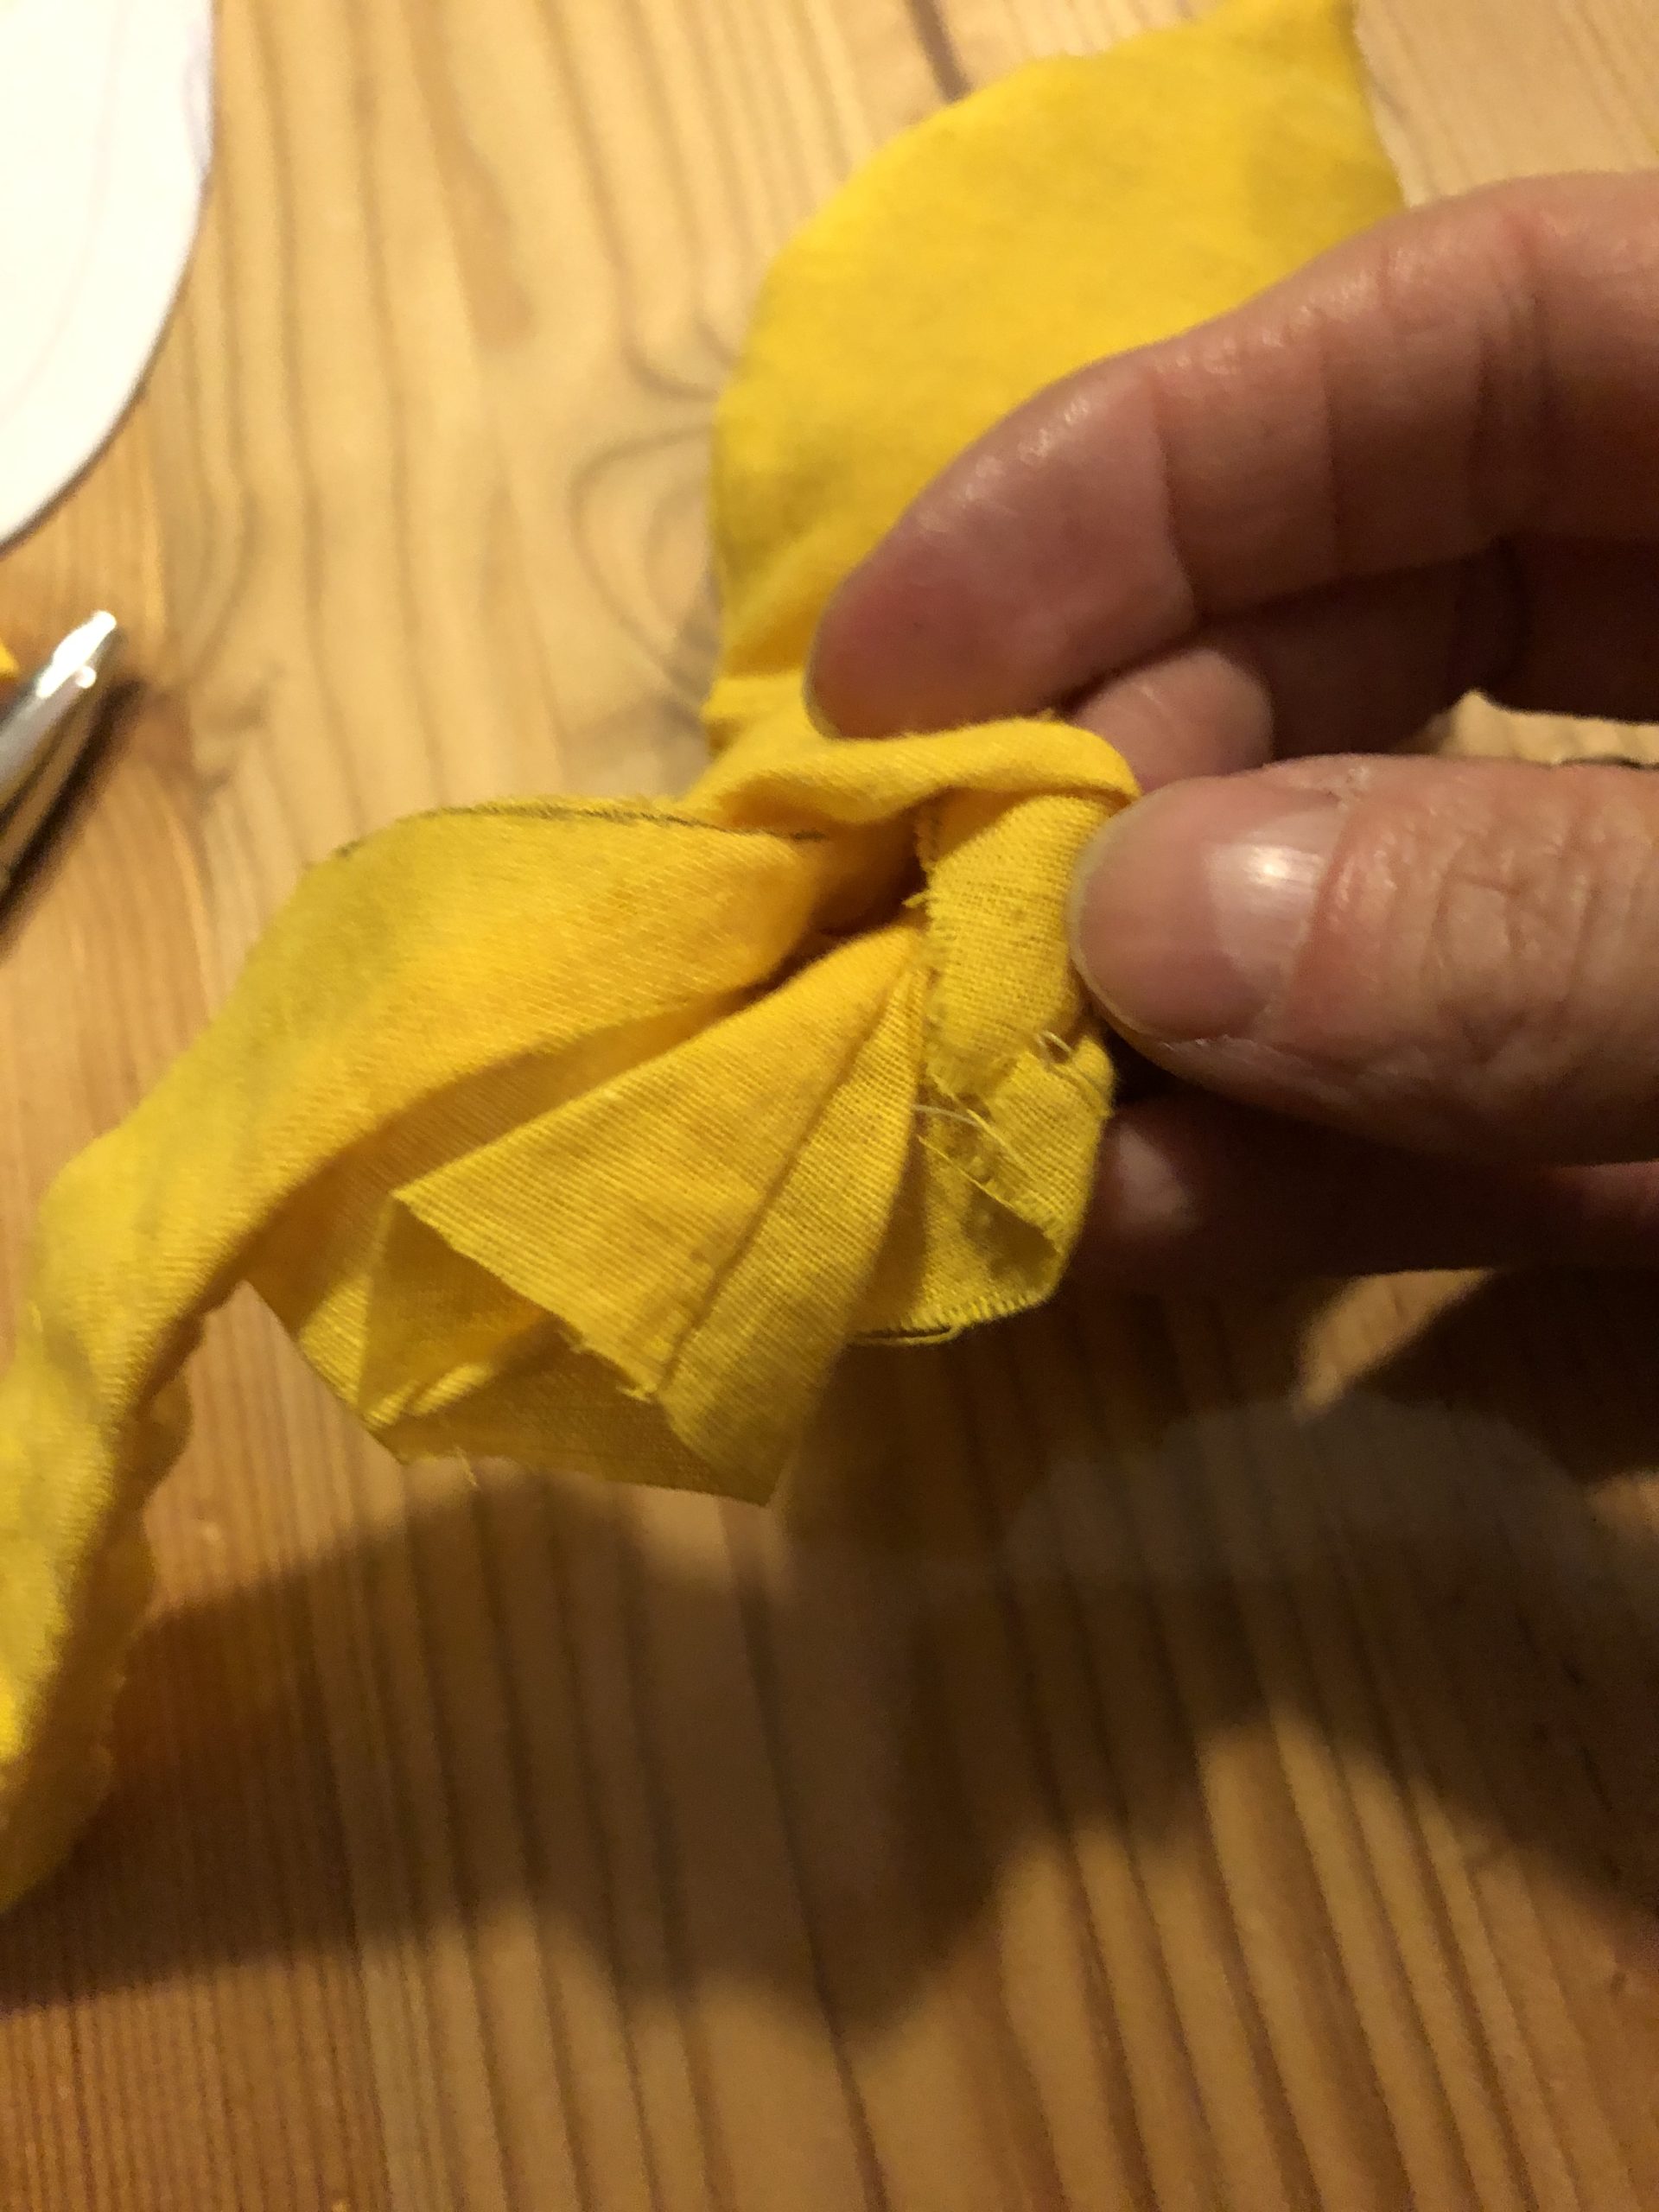
Bild zum Schritt 19 für das Bastel- und DIY-Abenteuer für Kinder: 'Jetzt füllt die Flamme mit Stoffresten.'

19

Push the filling material to the tip of the flame.
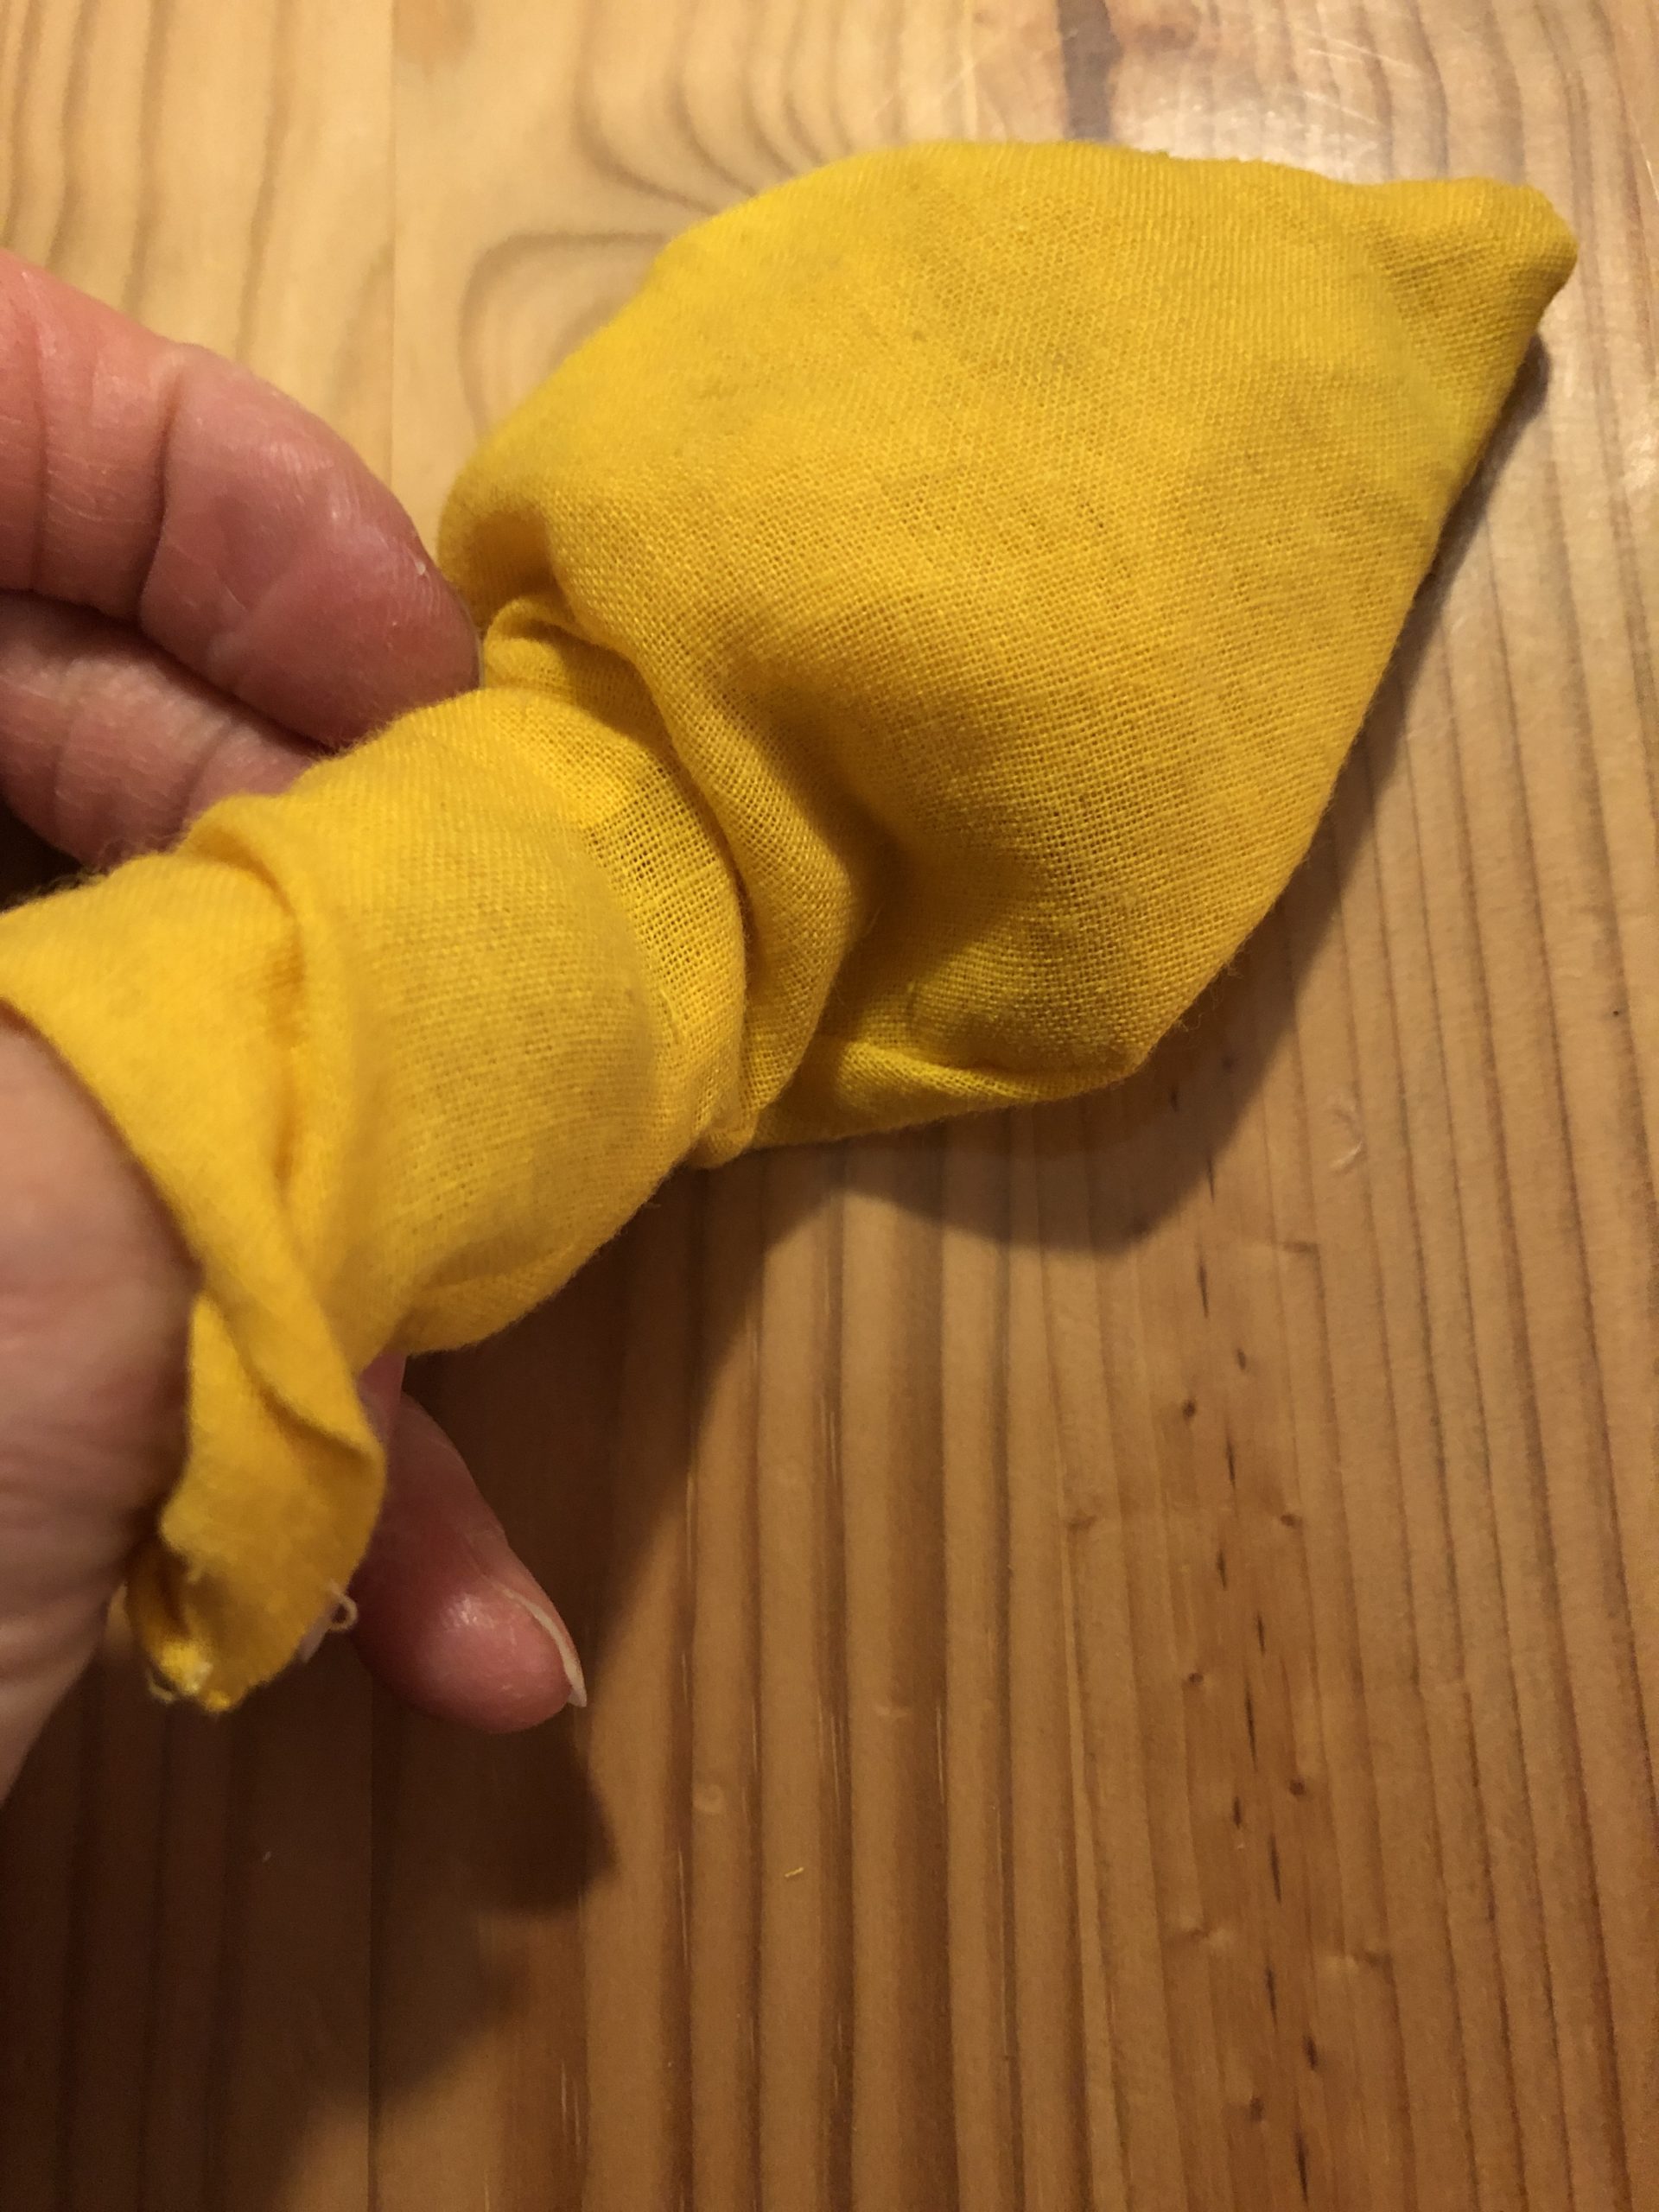
Bild zum Schritt 20 für das Bastel- und DIY-Abenteuer für Kinder: 'Schiebt das Füllmaterial bis in die Spitze der Flamme.'

20

The straight part of the flame is not filled.
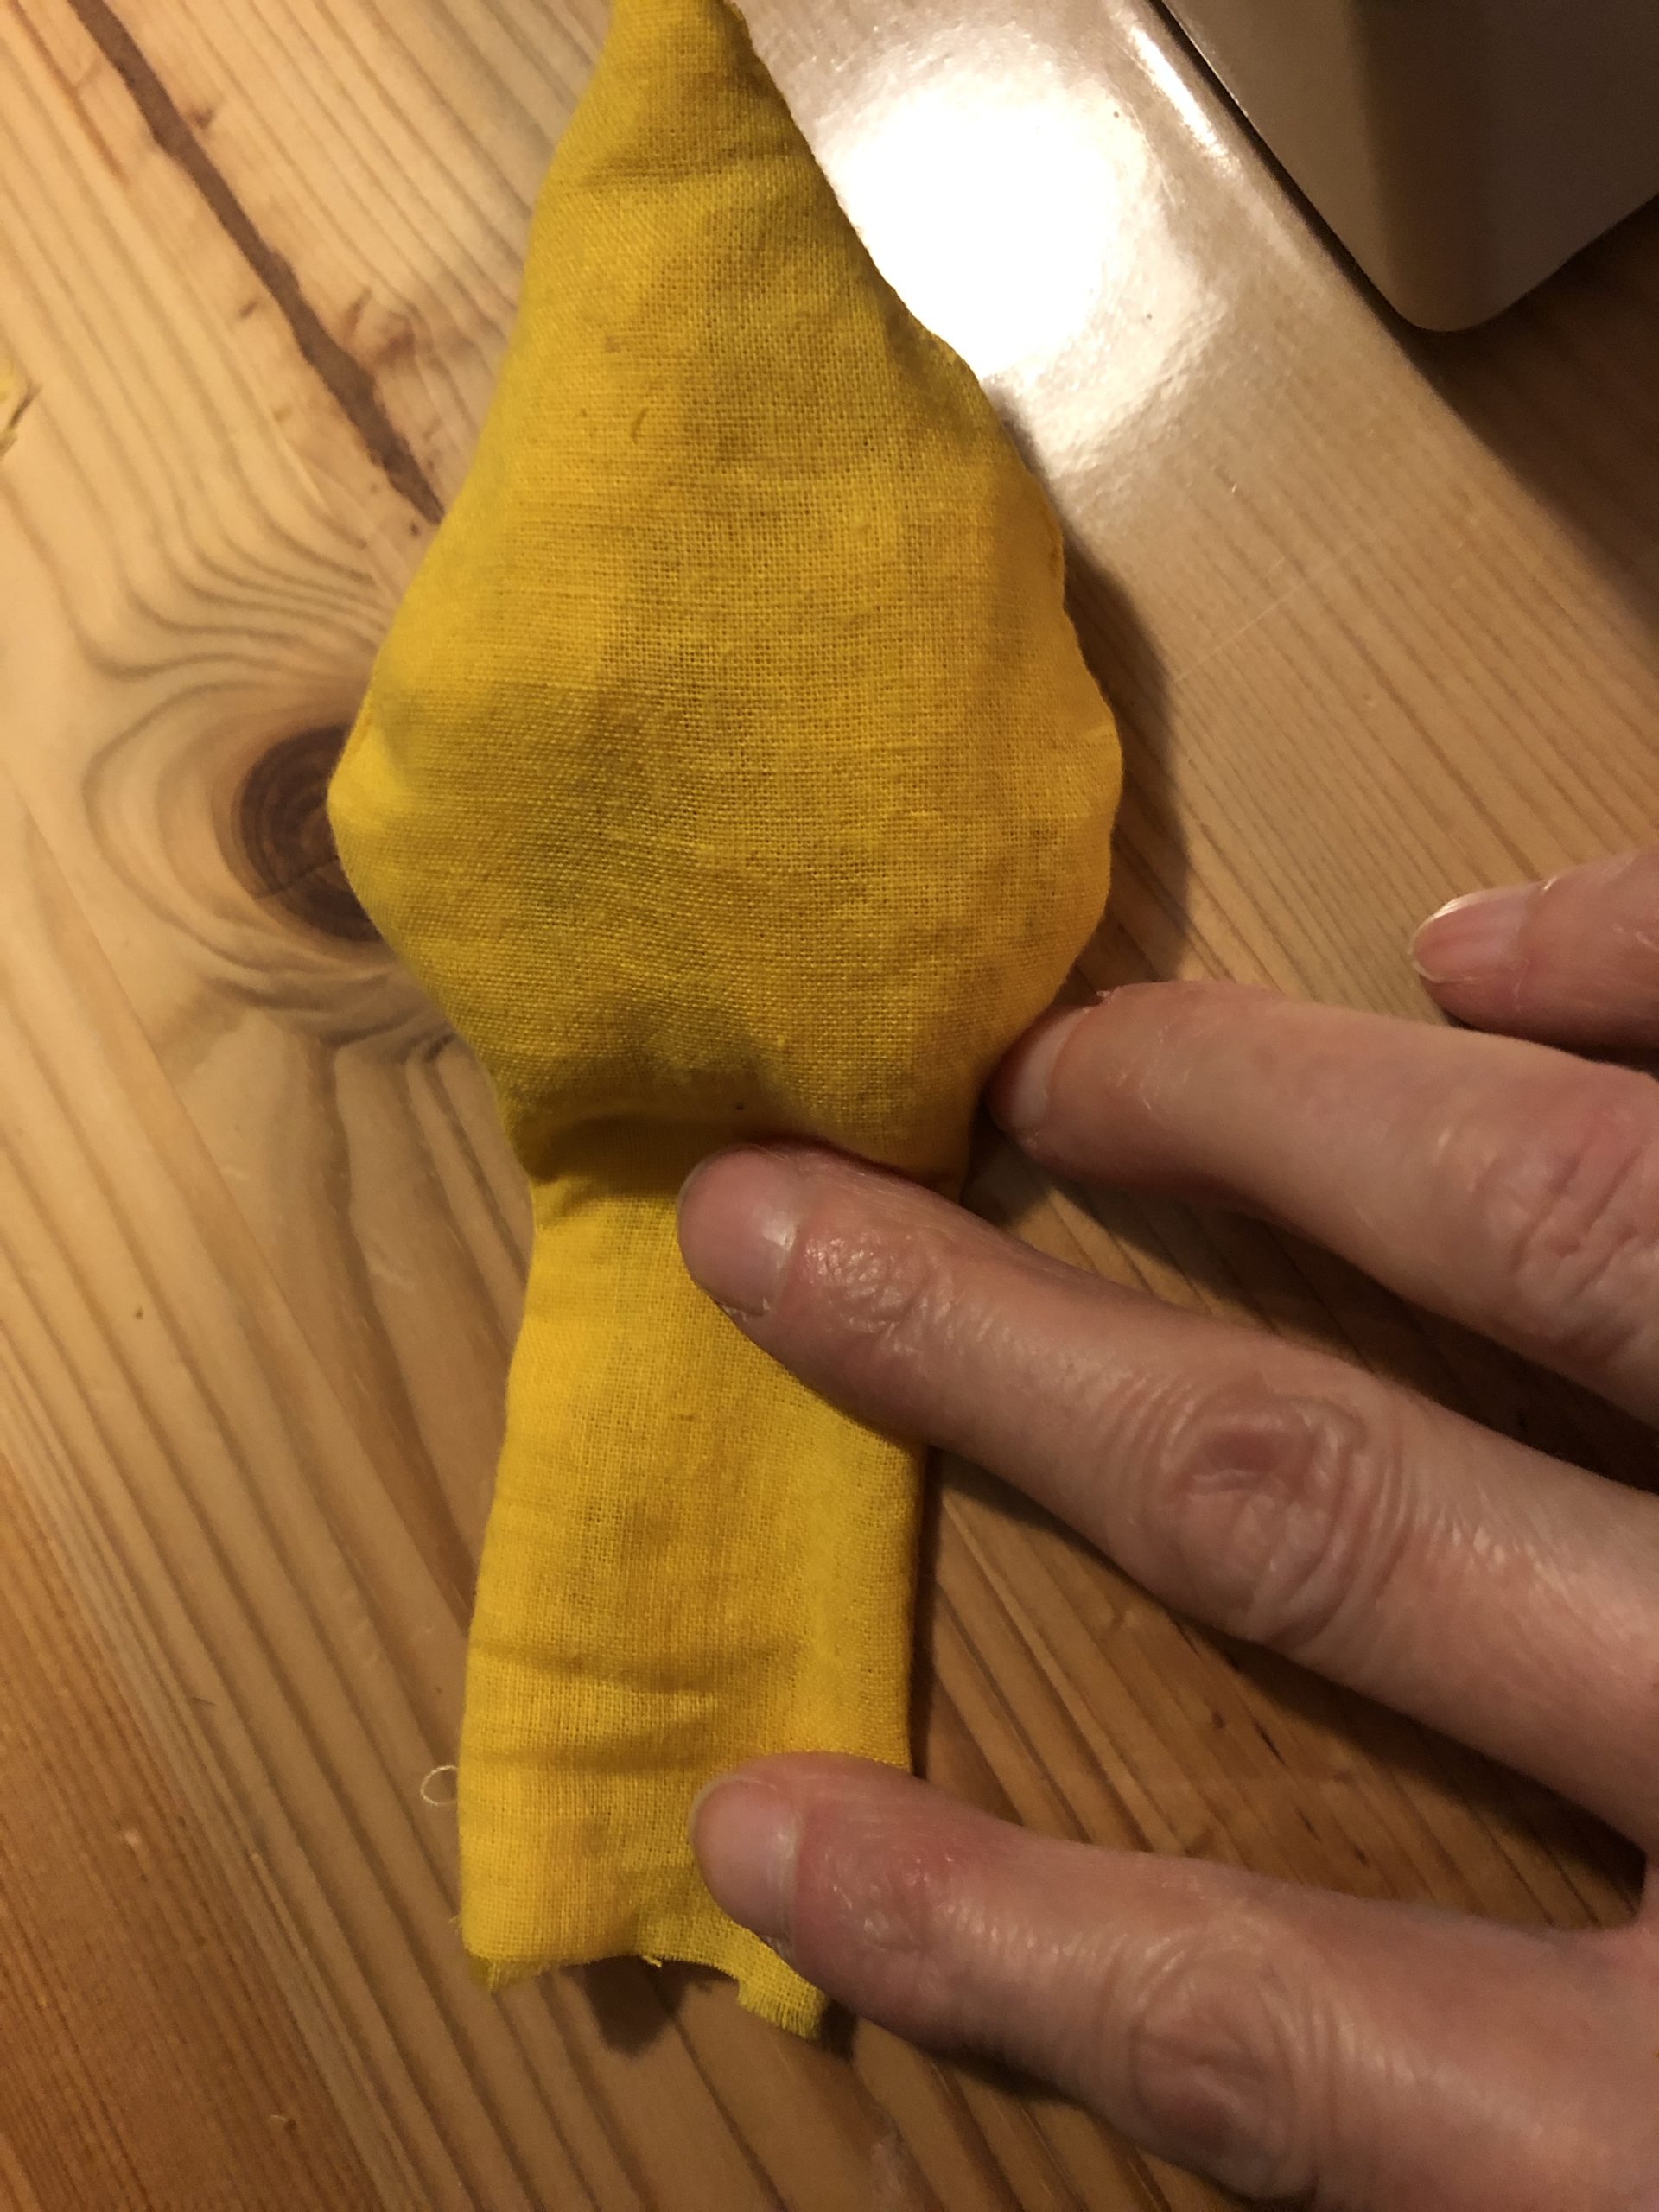
Bild zum Schritt 21 für das Bastel- und DIY-Abenteuer für Kinder: 'Der gerade Teil der Flamme wird nicht gefüllt.'

21

The filled piece of the flame is sewn with a zigzag stitch. This seam doesn't have to be perfect, it is pushed inward and is not visible!
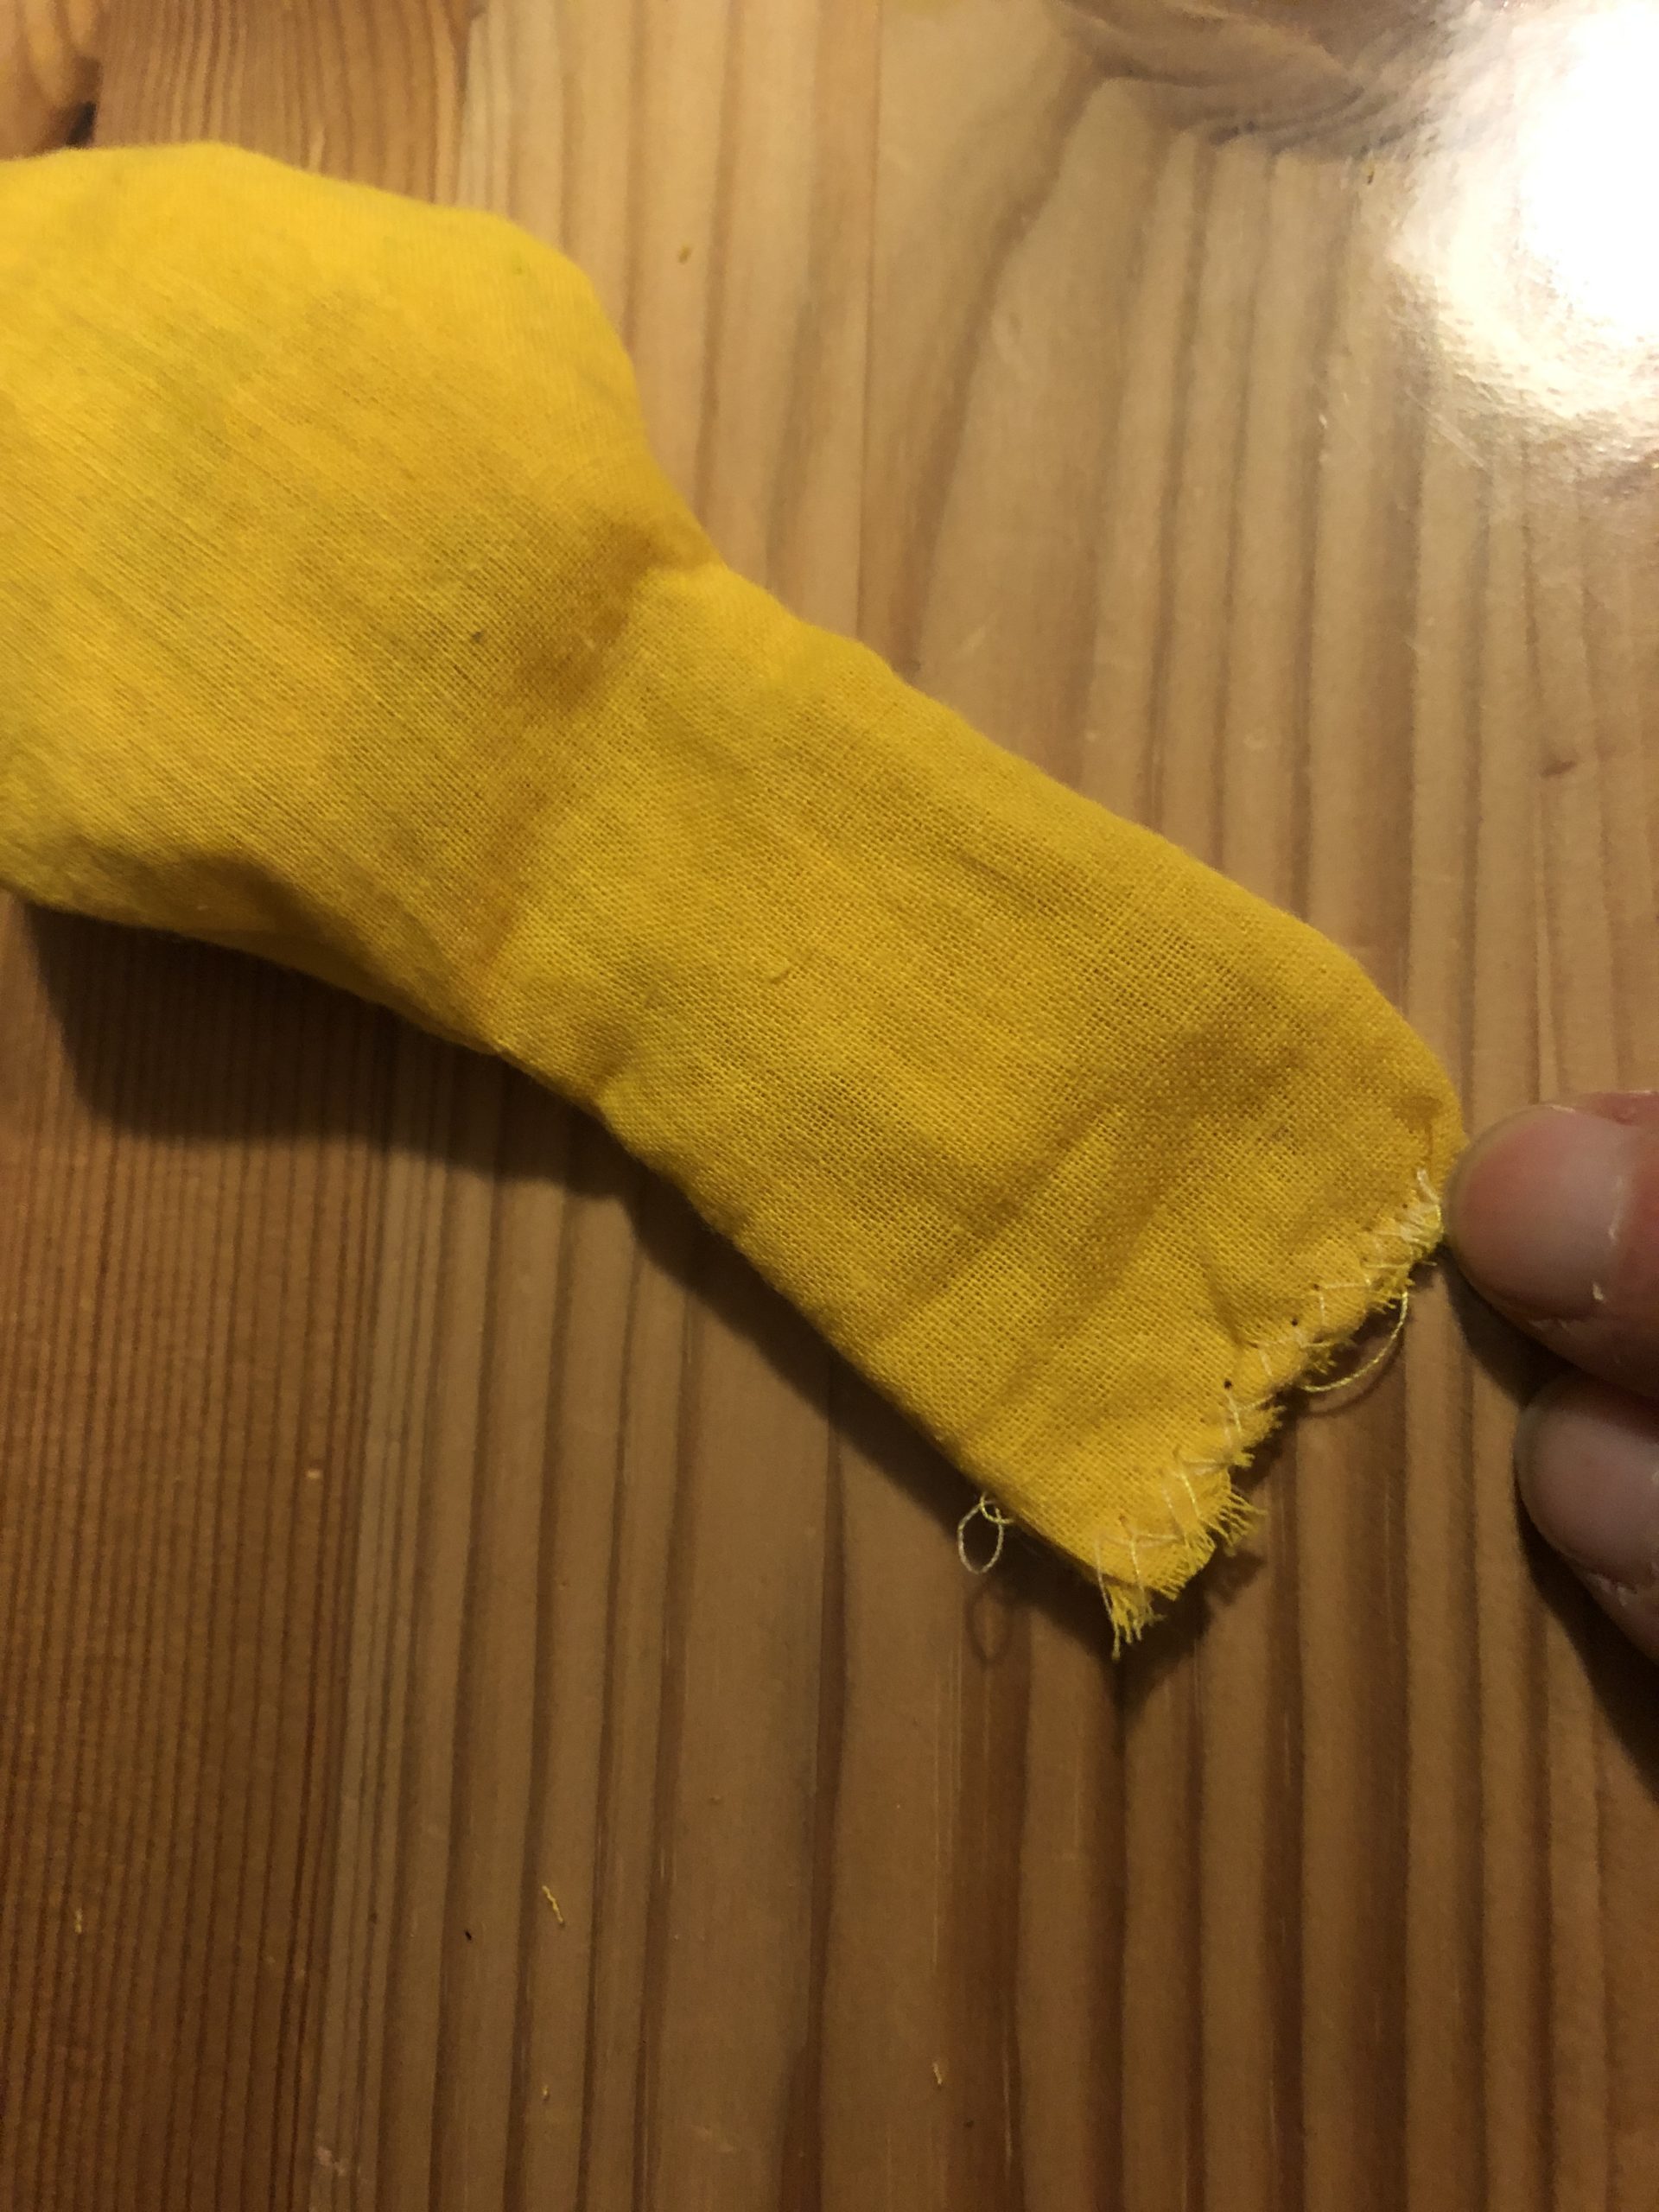
Bild zum Schritt 22 für das Bastel- und DIY-Abenteuer für Kinder: 'Das gefüllte Stück der Flamme wird mit einem Zickzack-Stich zugenäht....'

22

With one finger you now carefully push the straight piece inwards (as with a finger doll!?)
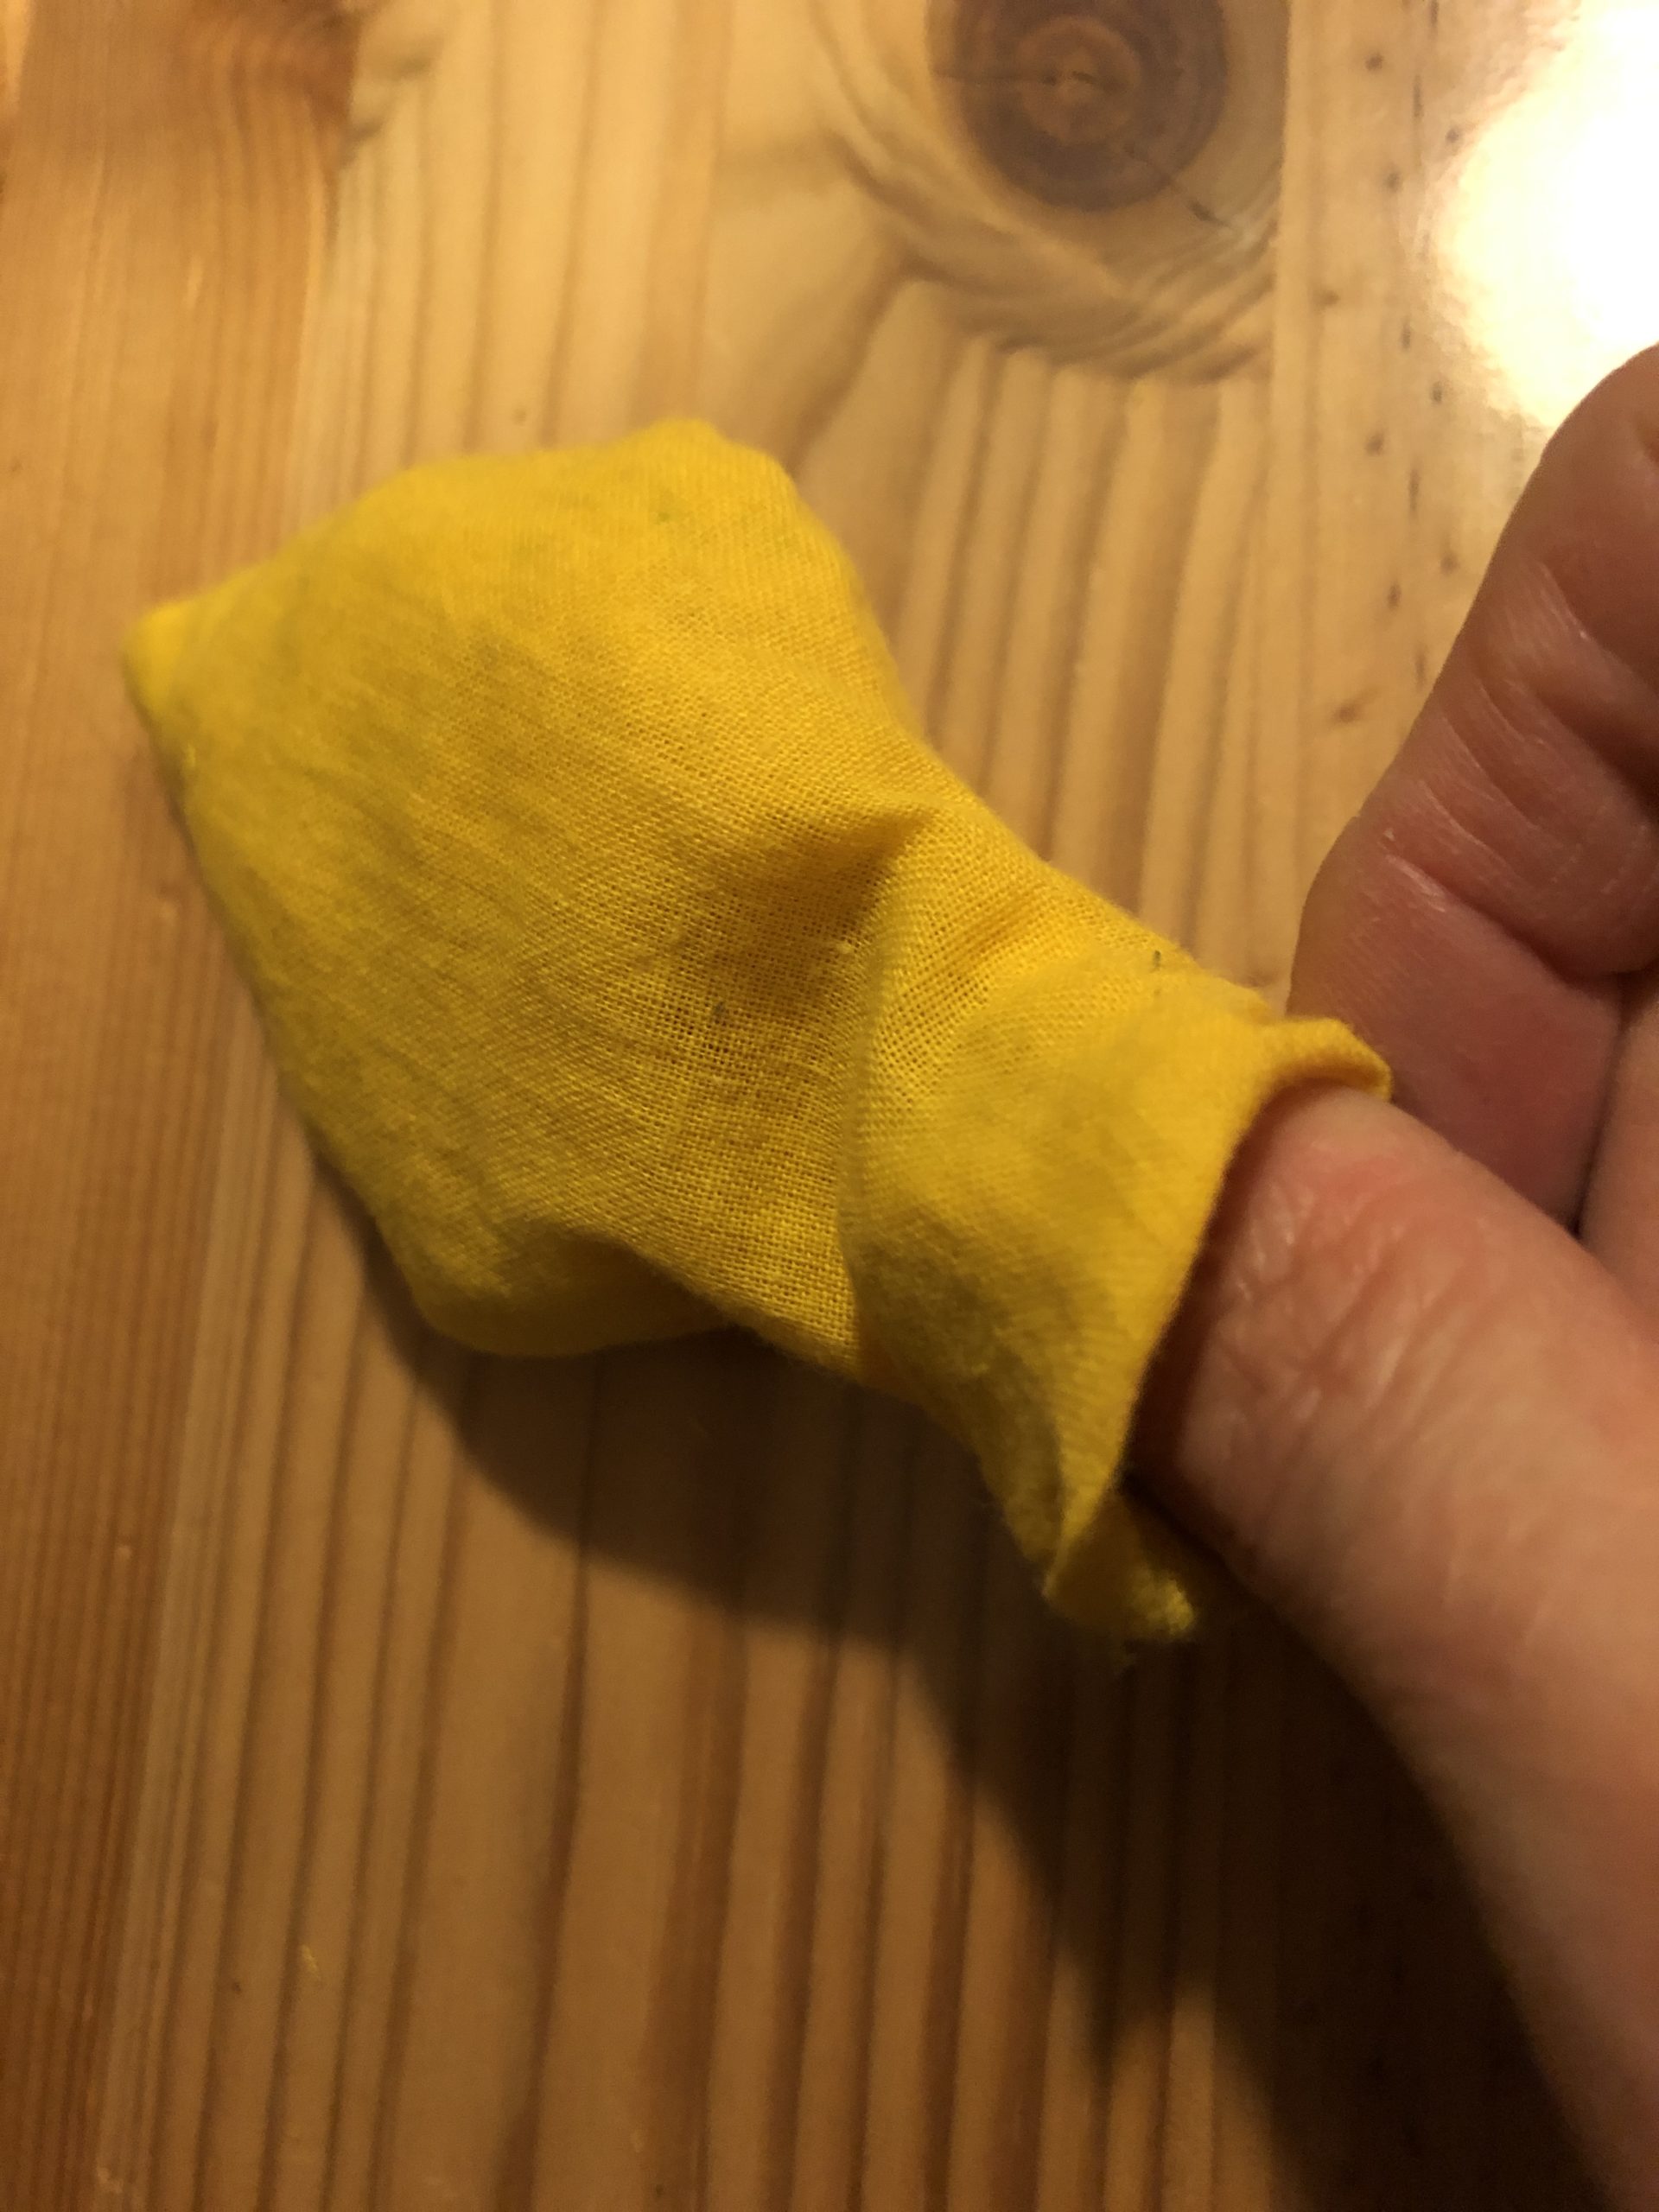
Bild zum Schritt 23 für das Bastel- und DIY-Abenteuer für Kinder: 'Mit einem Finger schiebt ihr nun vorsichtig das gerade Stück...'

23

So the straight part disappears almost completely.
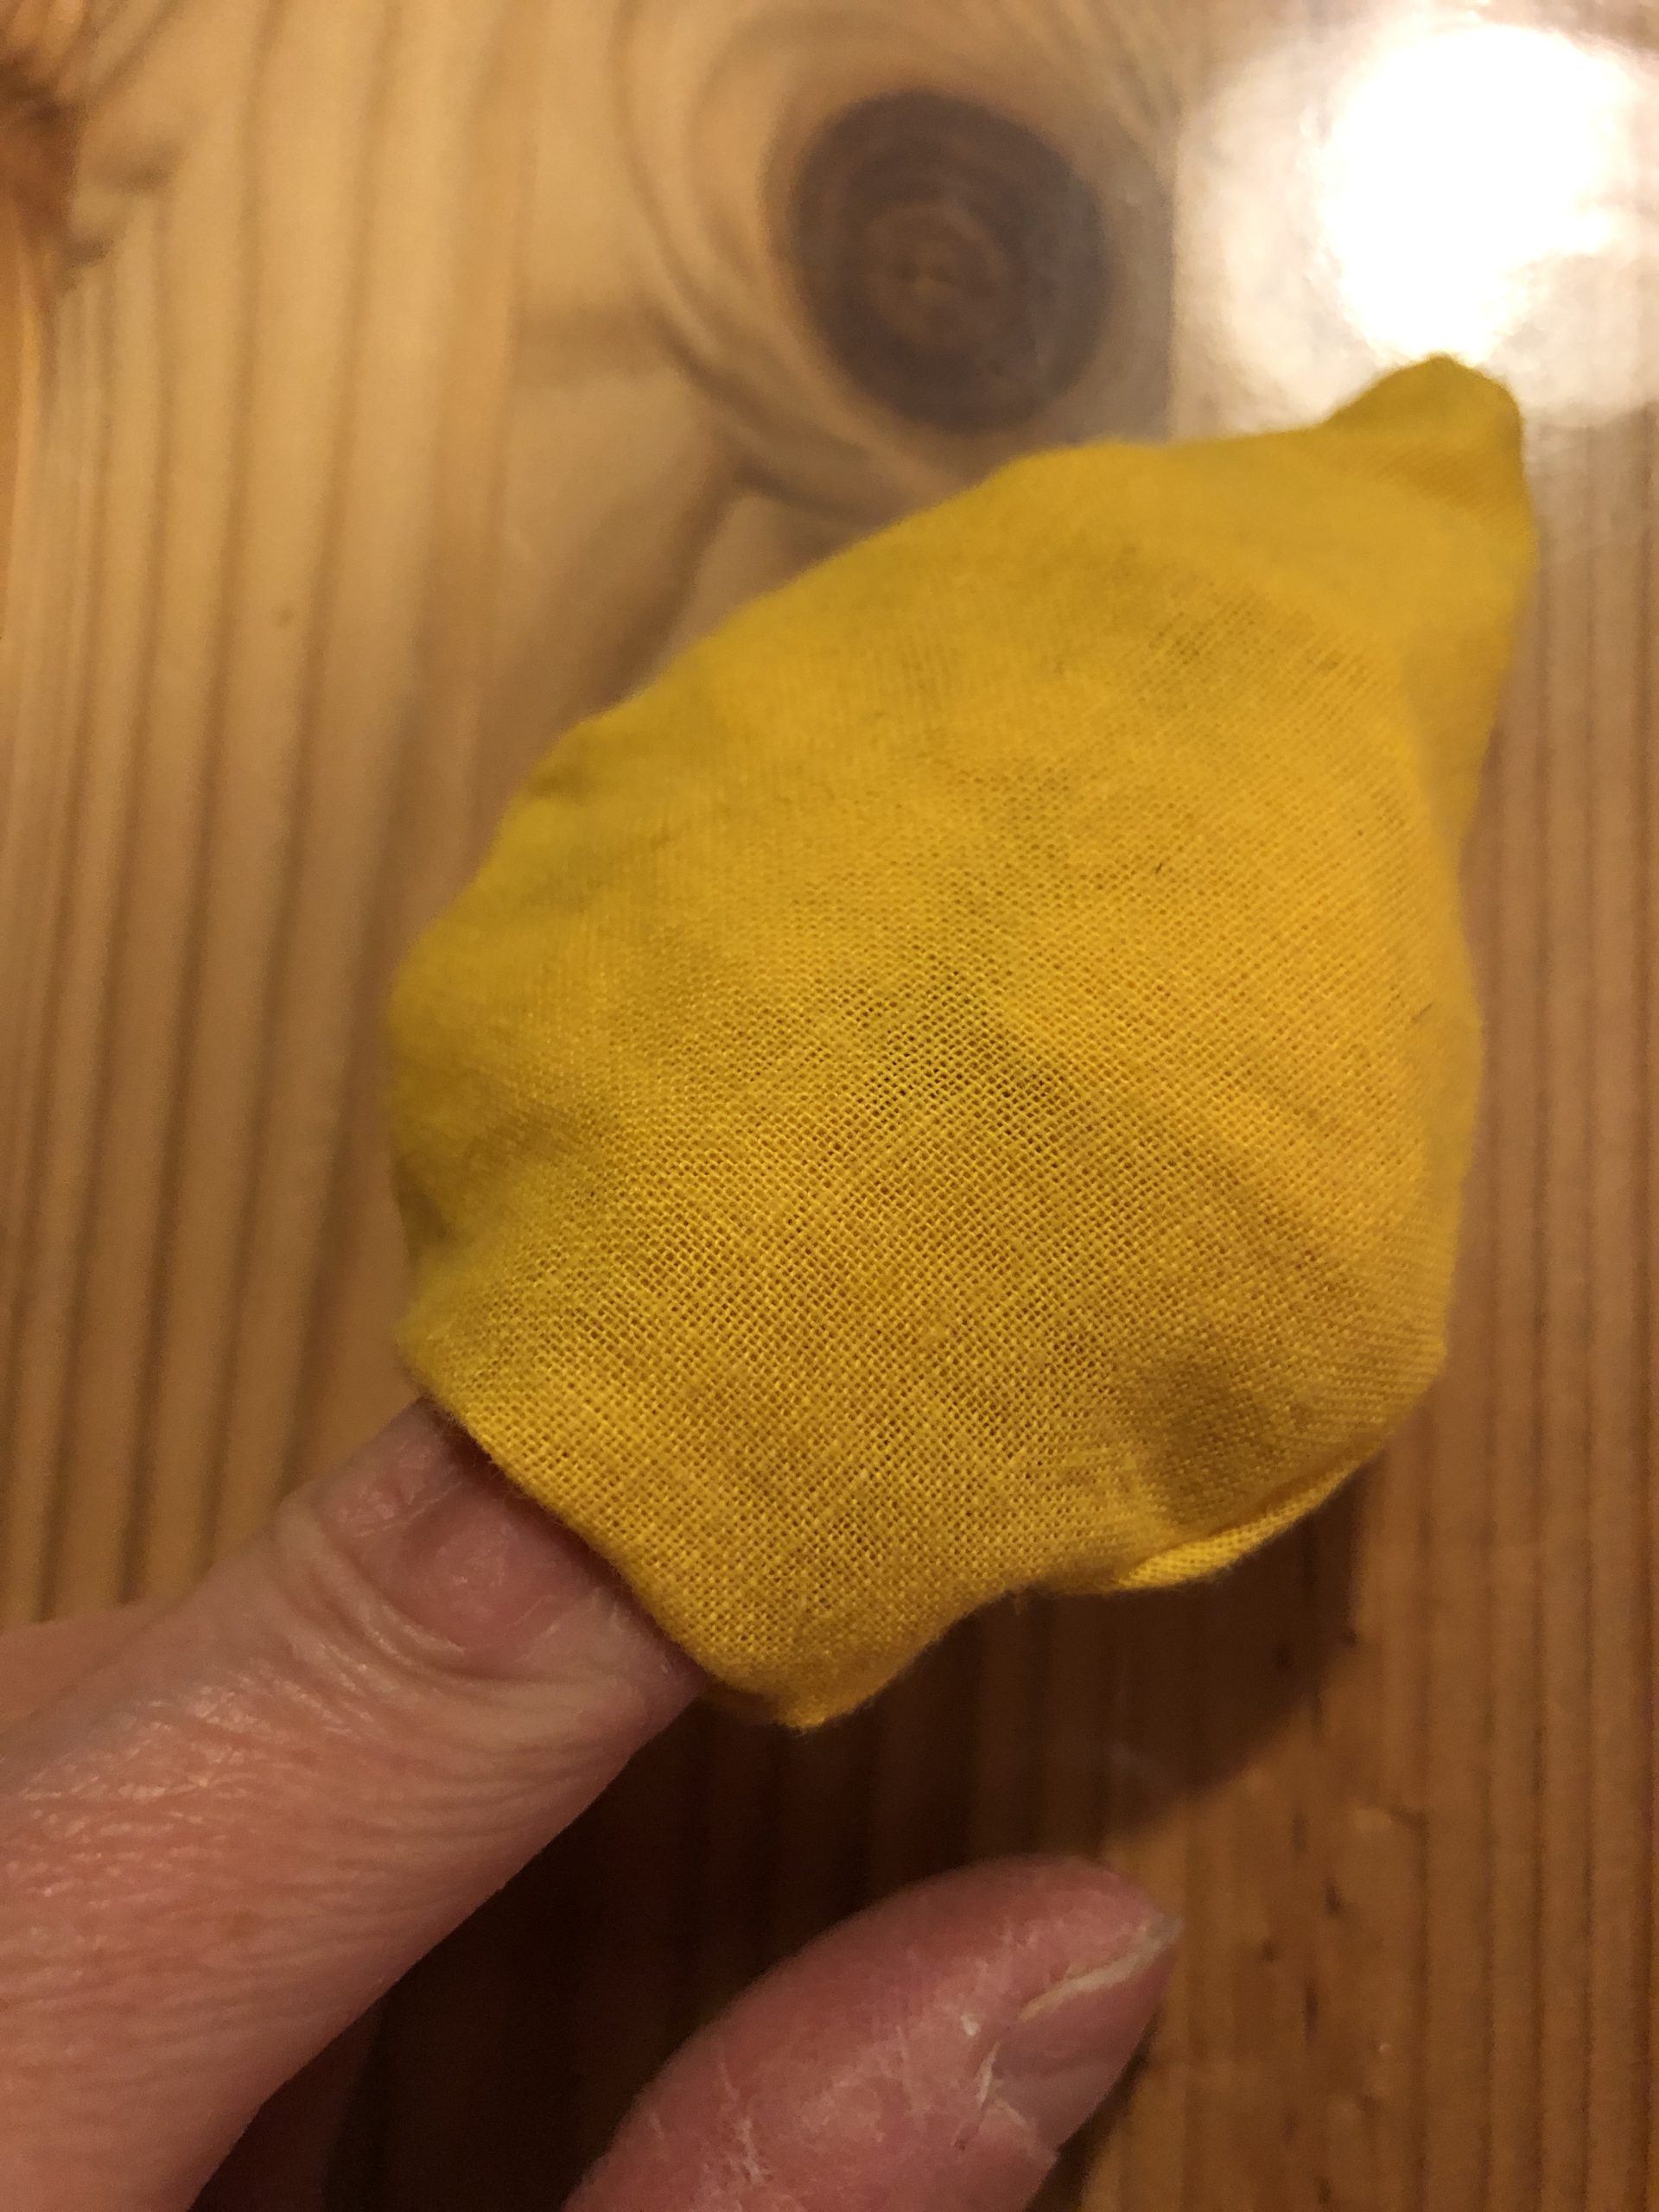
Bild zum Schritt 24 für das Bastel- und DIY-Abenteuer für Kinder: 'So verschwindet der gerade Teil fast komplett.'

24

Now take your finger out, then you can push into the hole of the branch.
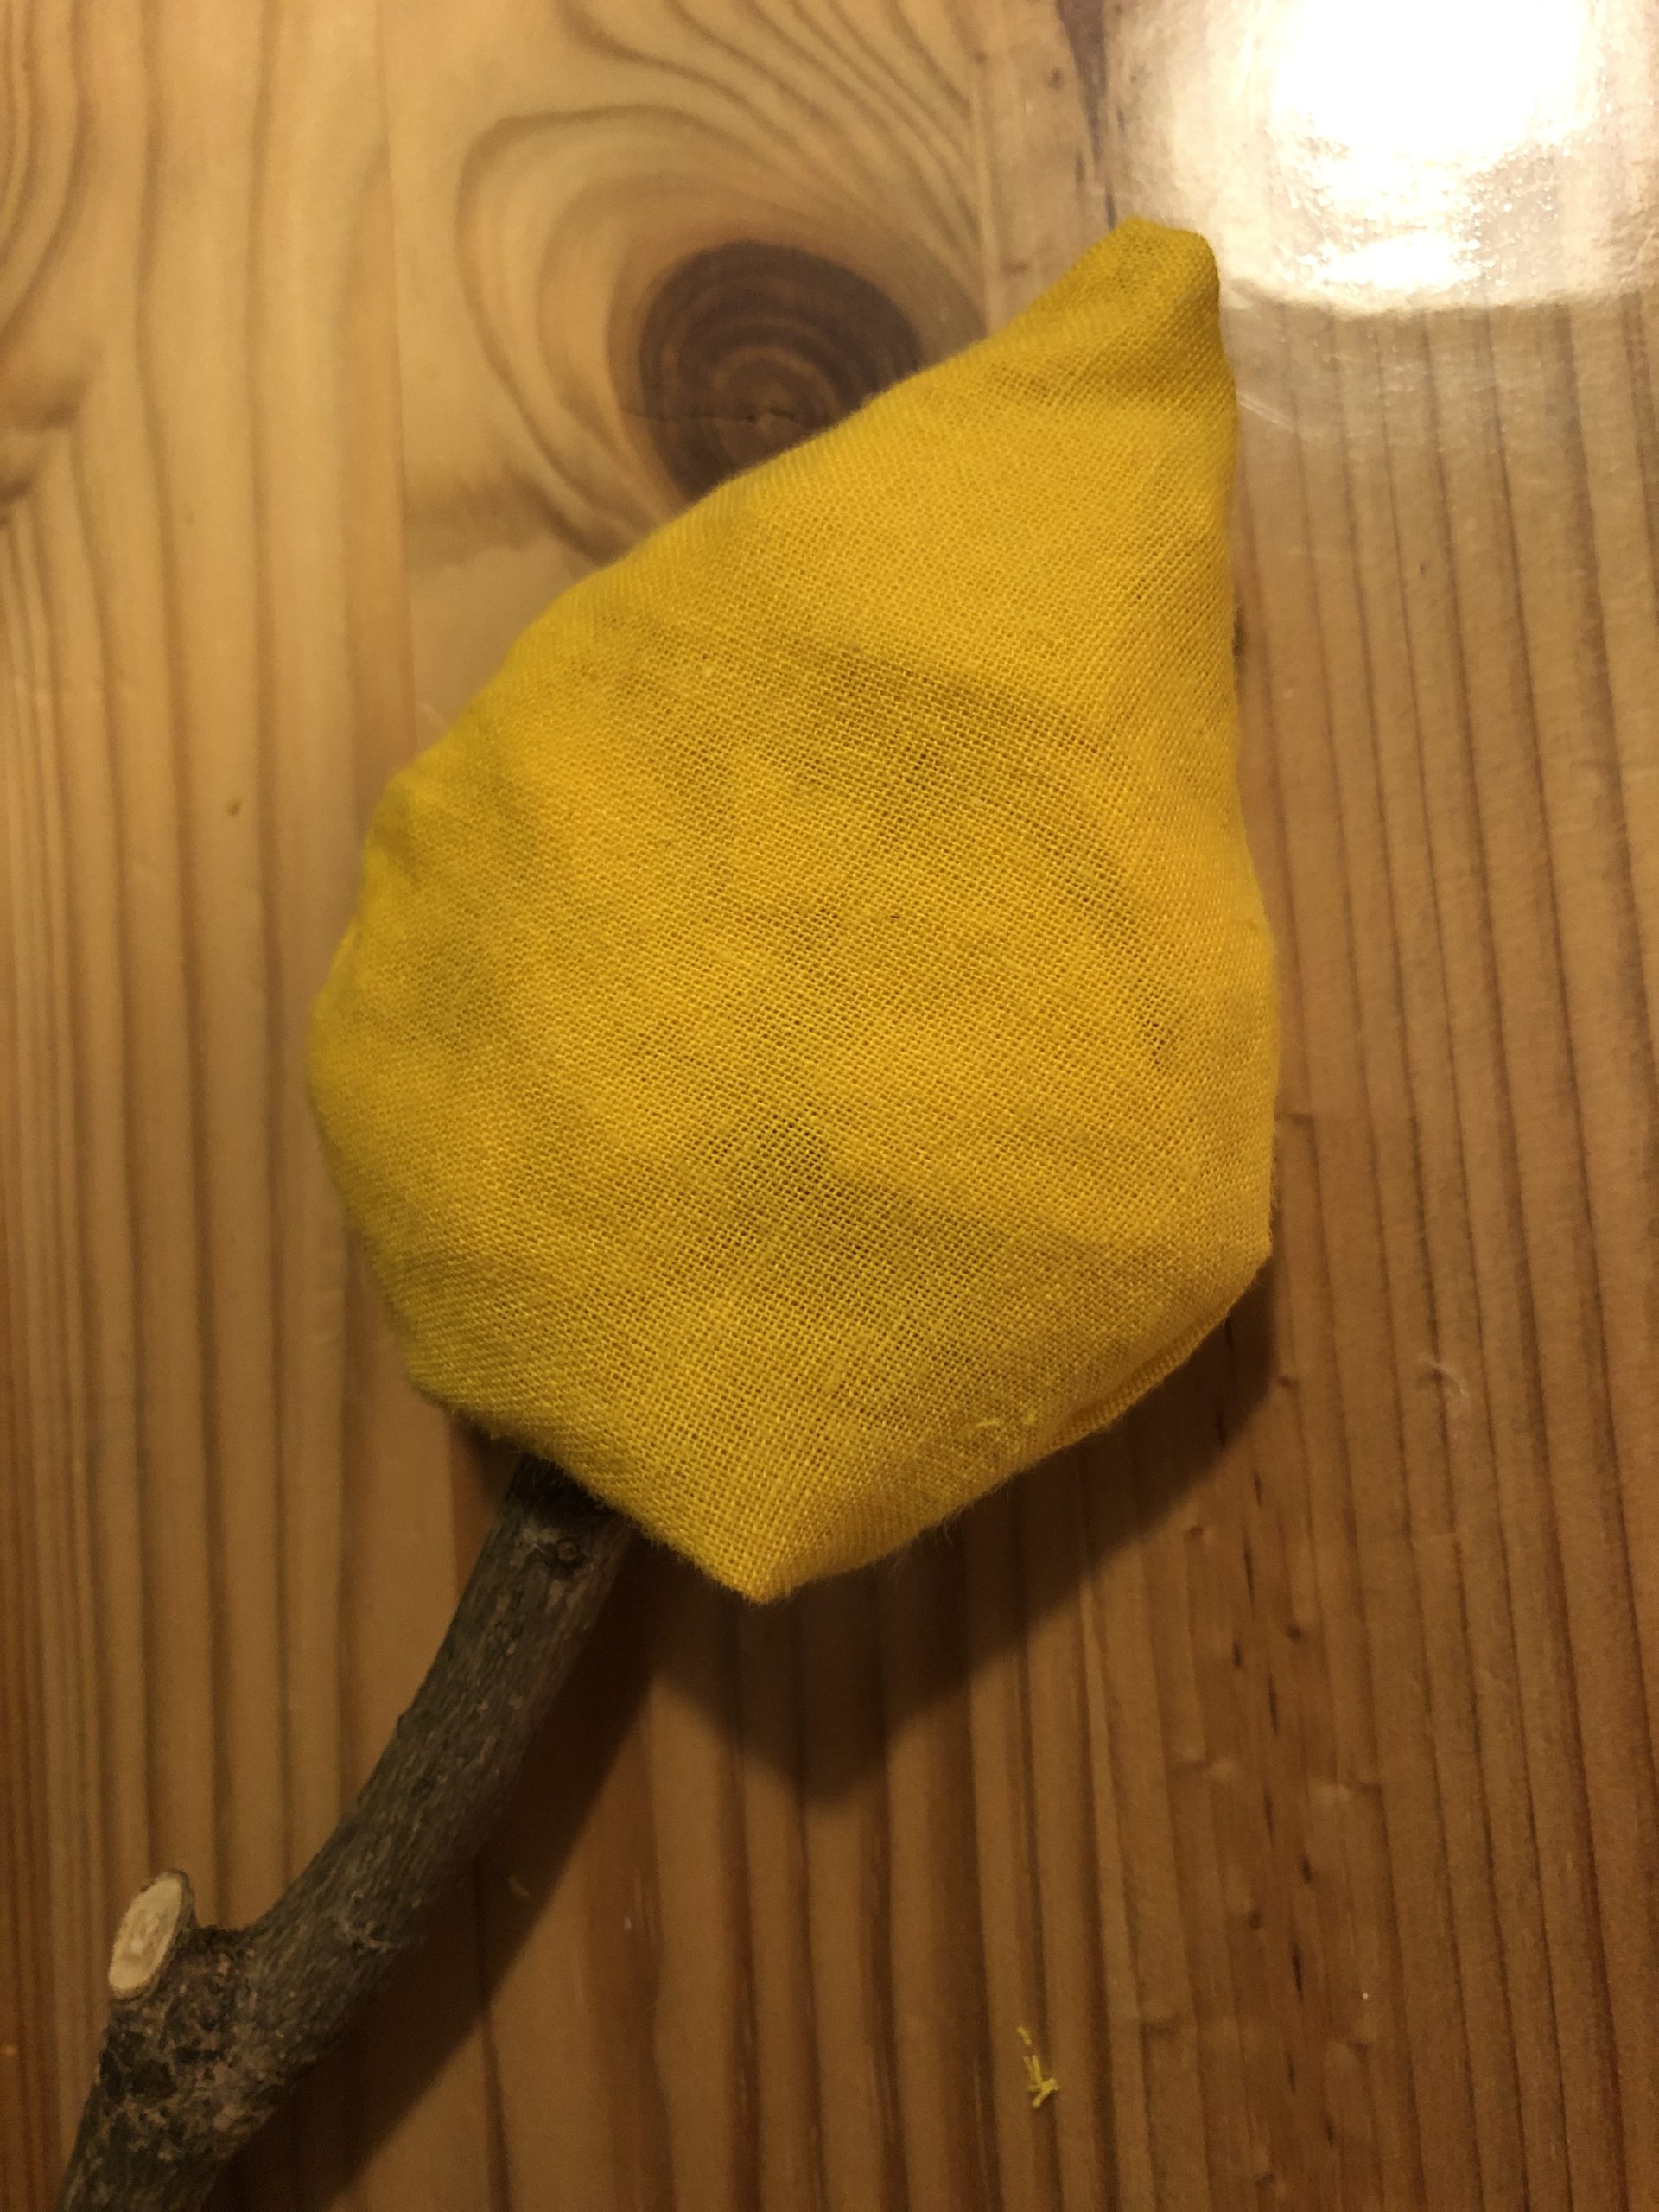
Bild zum Schritt 25 für das Bastel- und DIY-Abenteuer für Kinder: 'Nehmt ihr nun den Finger heraus, dann kann in das...'

Put the candle together:
25

Uses a piece of branch with approx.15cm length, so that the candles stand stable with the flame.

Bild zum Schritt 27 für das Bastel- und DIY-Abenteuer für Kinder: 'Verwendet ein Stück Ast mit ca.15cm Länge, damit die Kerzen...'

26

Now carefully push the branch into the hole at the top of the candle.

Bild zum Schritt 28 für das Bastel- und DIY-Abenteuer für Kinder: 'Schiebt nun den Ast vorsichtig in das Loch am oberen...'

27

This is the wick of the candle. It should look up about 5 cm.
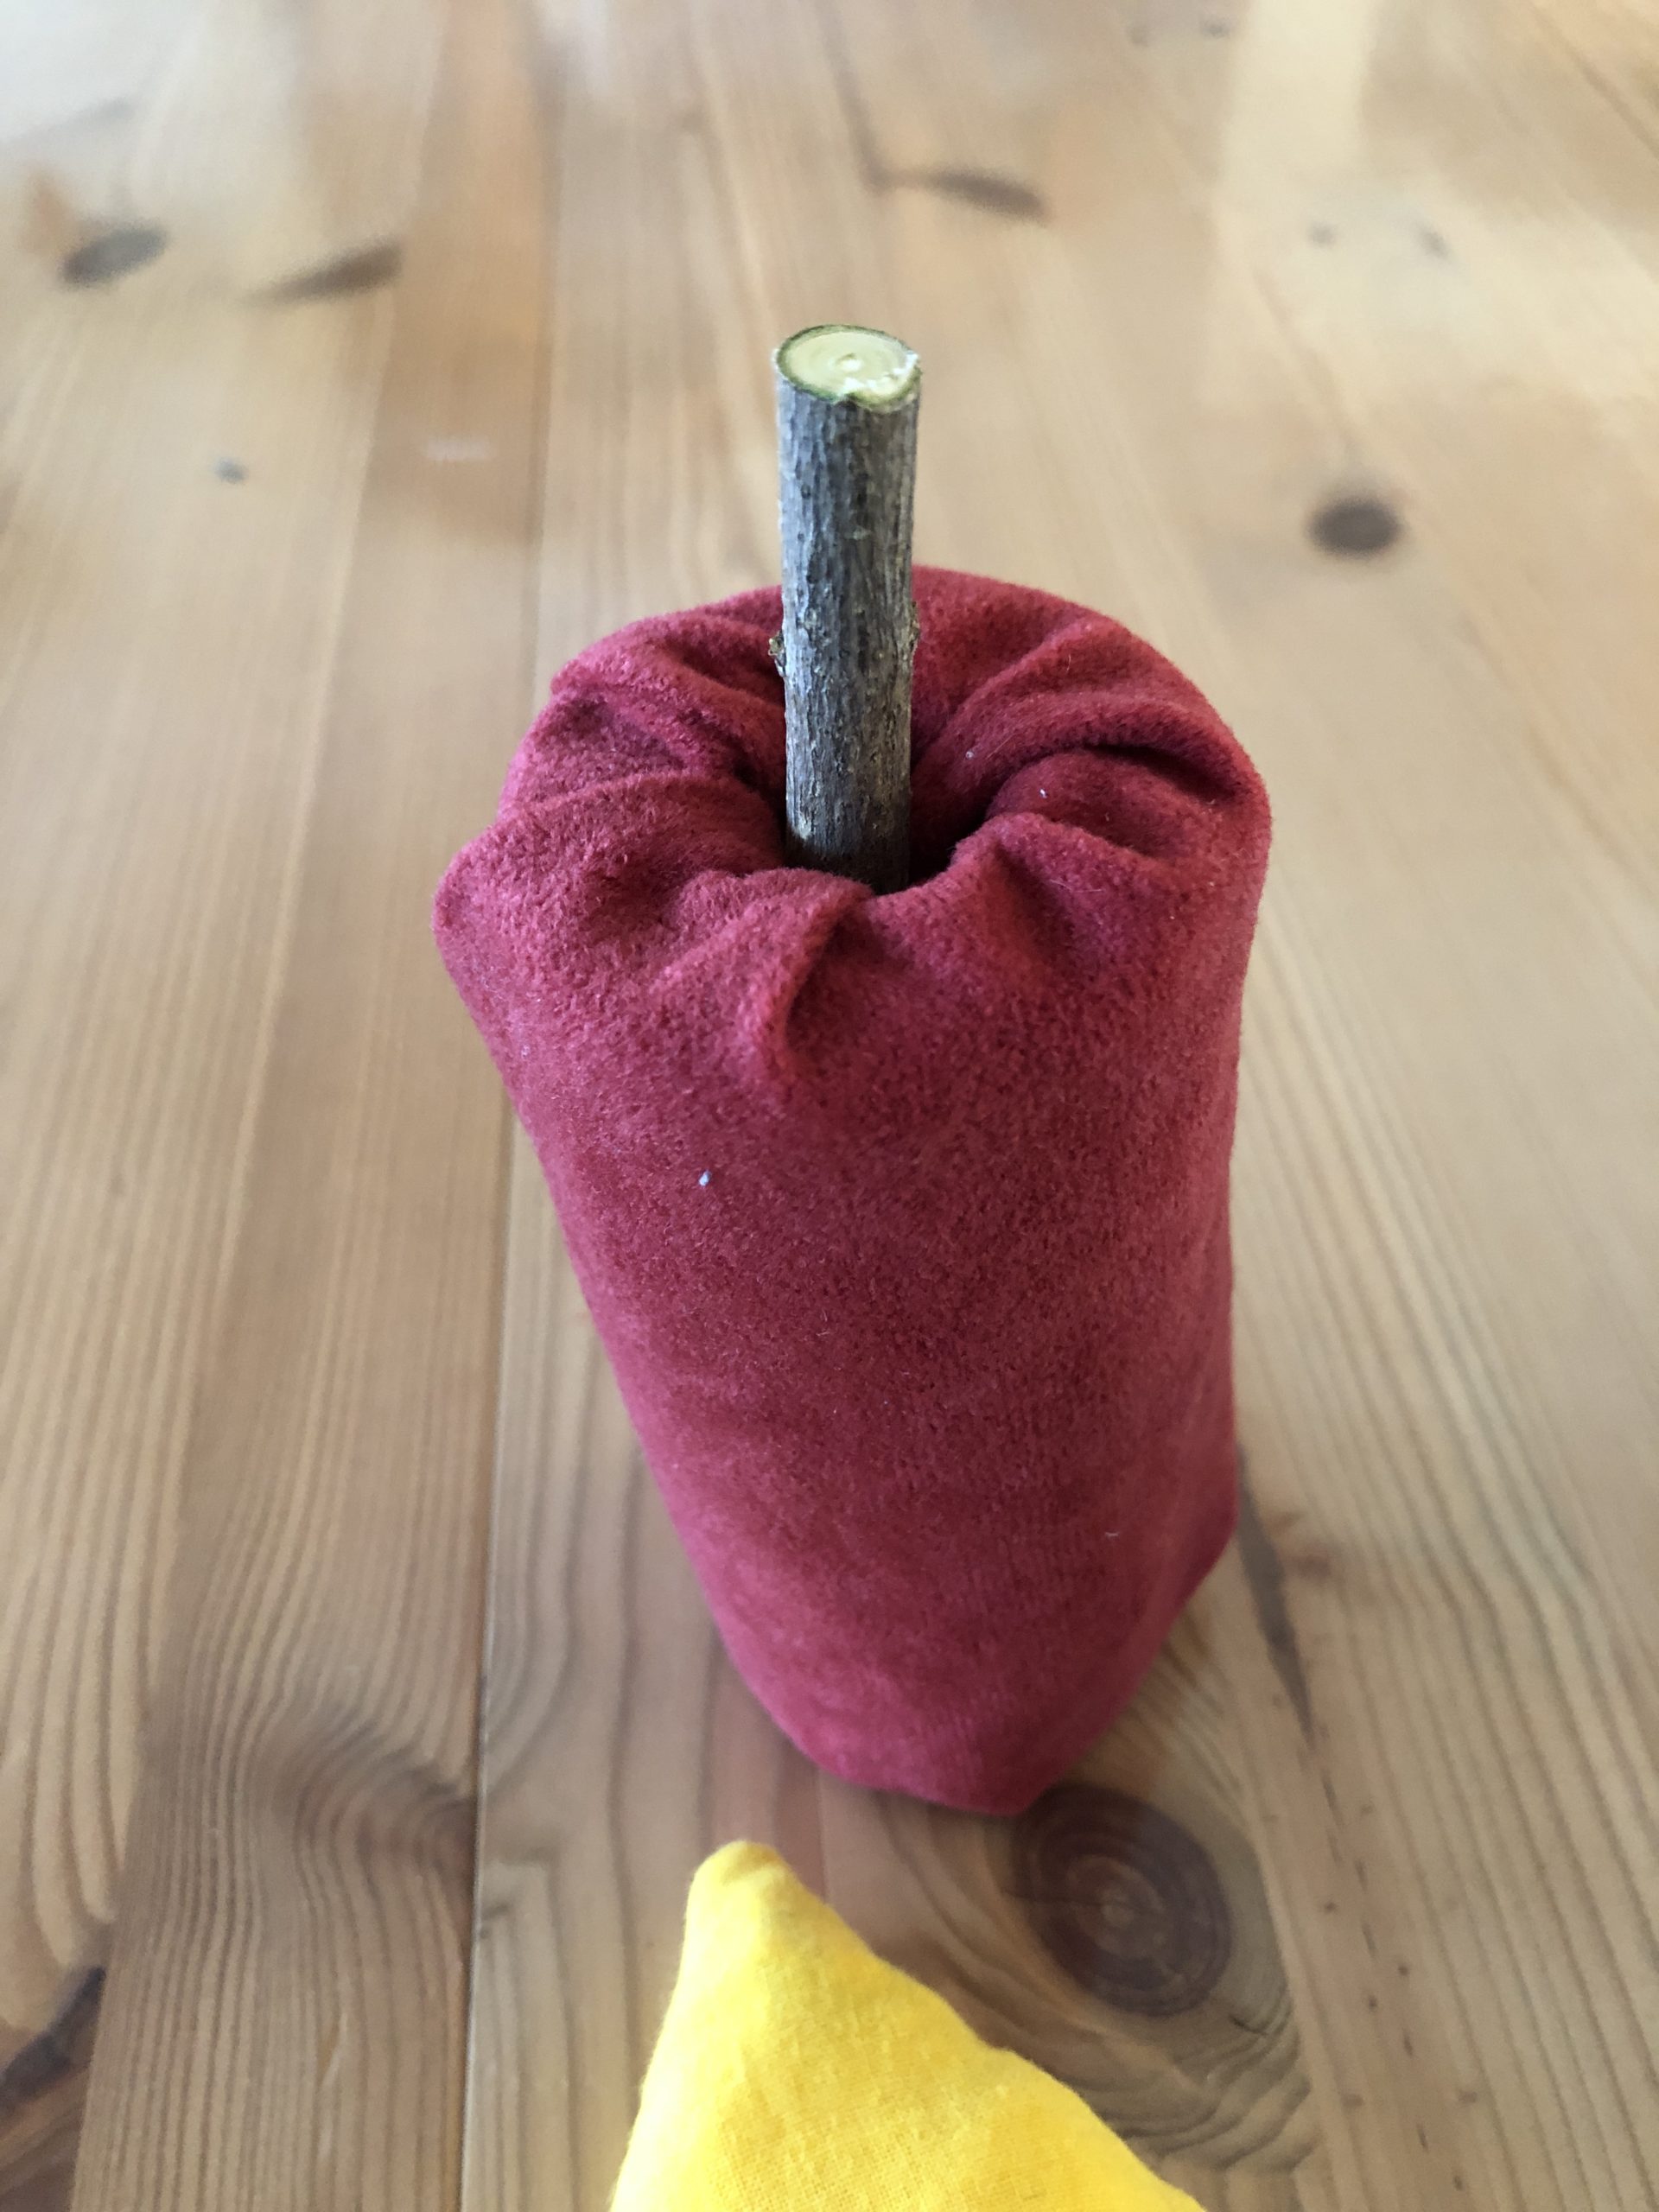
Bild zum Schritt 29 für das Bastel- und DIY-Abenteuer für Kinder: 'Das ist der Docht der Kerze. Er sollte oben circa...'

28

On the wick you put the flame.
The candle is ready.
You can fix everything with hot glue or you let them stick and remove.
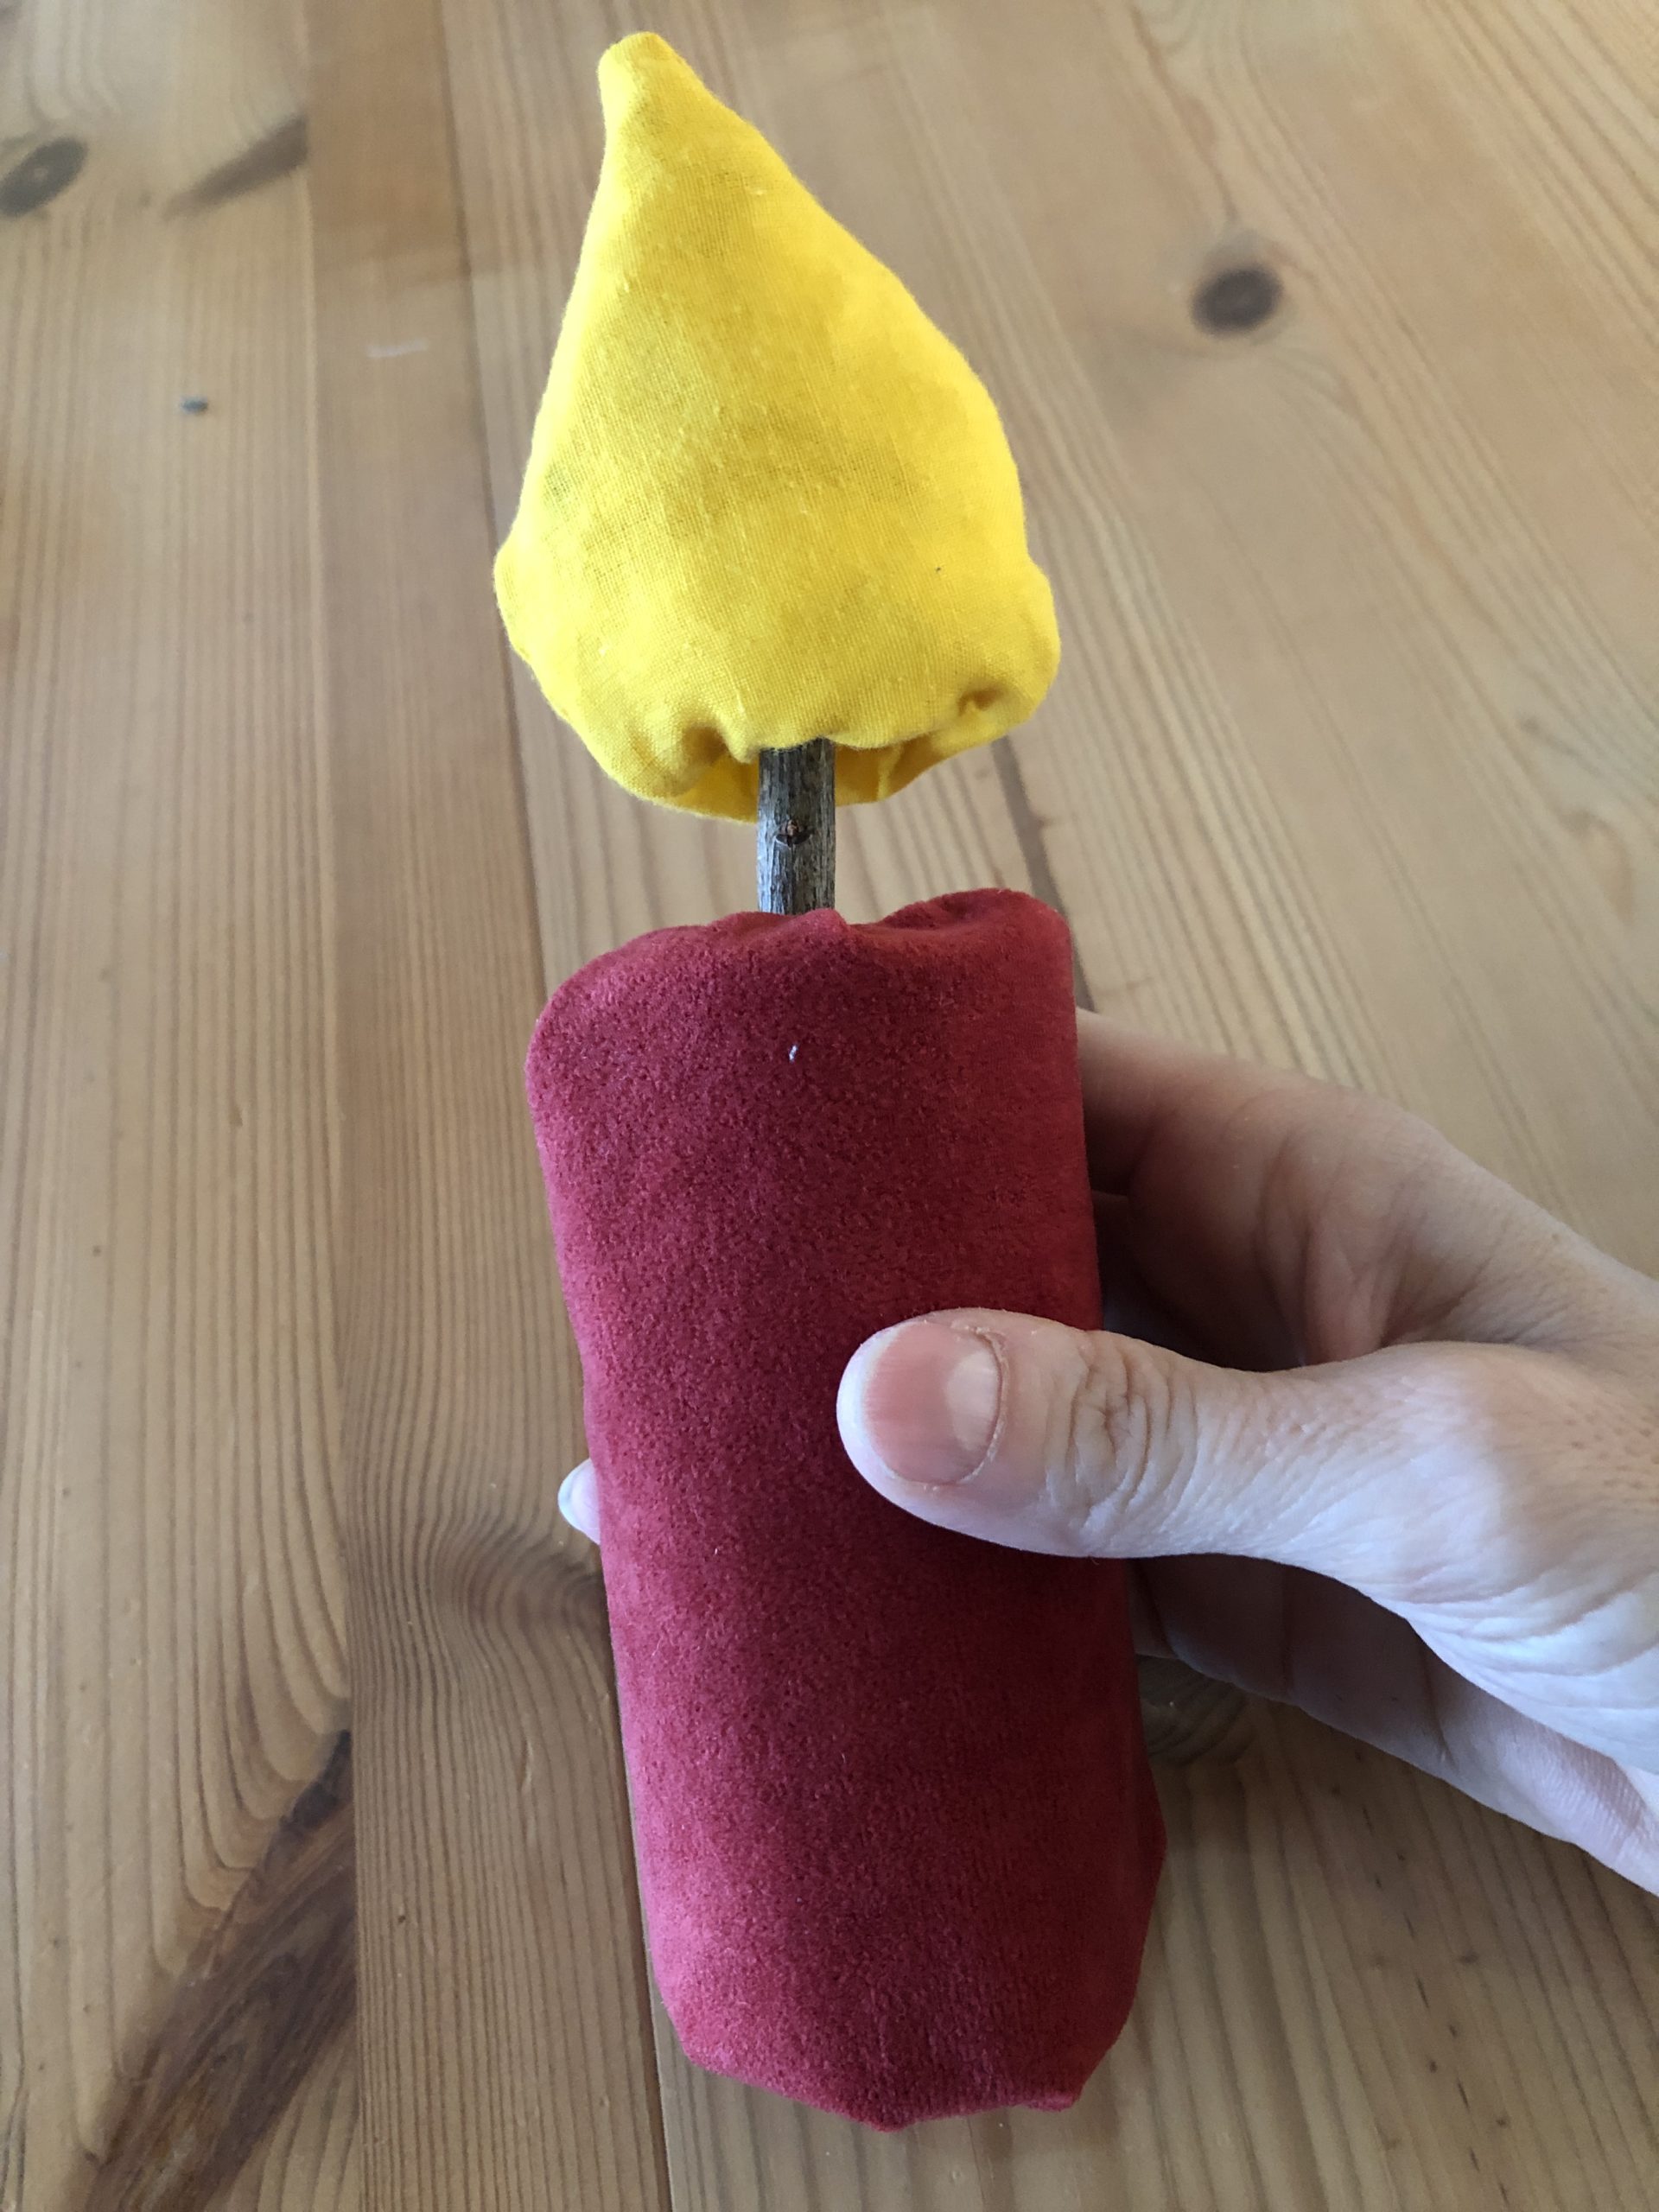
Bild zum Schritt 30 für das Bastel- und DIY-Abenteuer für Kinder: 'Auf den Docht steckt ihr nun die Flamme.  ...'

29

This candle can be used in many ways, whether as a free-standing candle in the children's room, on an Advent wreath with removable flame. Also as learning material to get to know and name the parts of a candle, it is suitable for crib children and, of course, also for playing.
This sturdy sewn candle can be used in Advent or at Christmas time as well as for birthday, as a birthday candle.
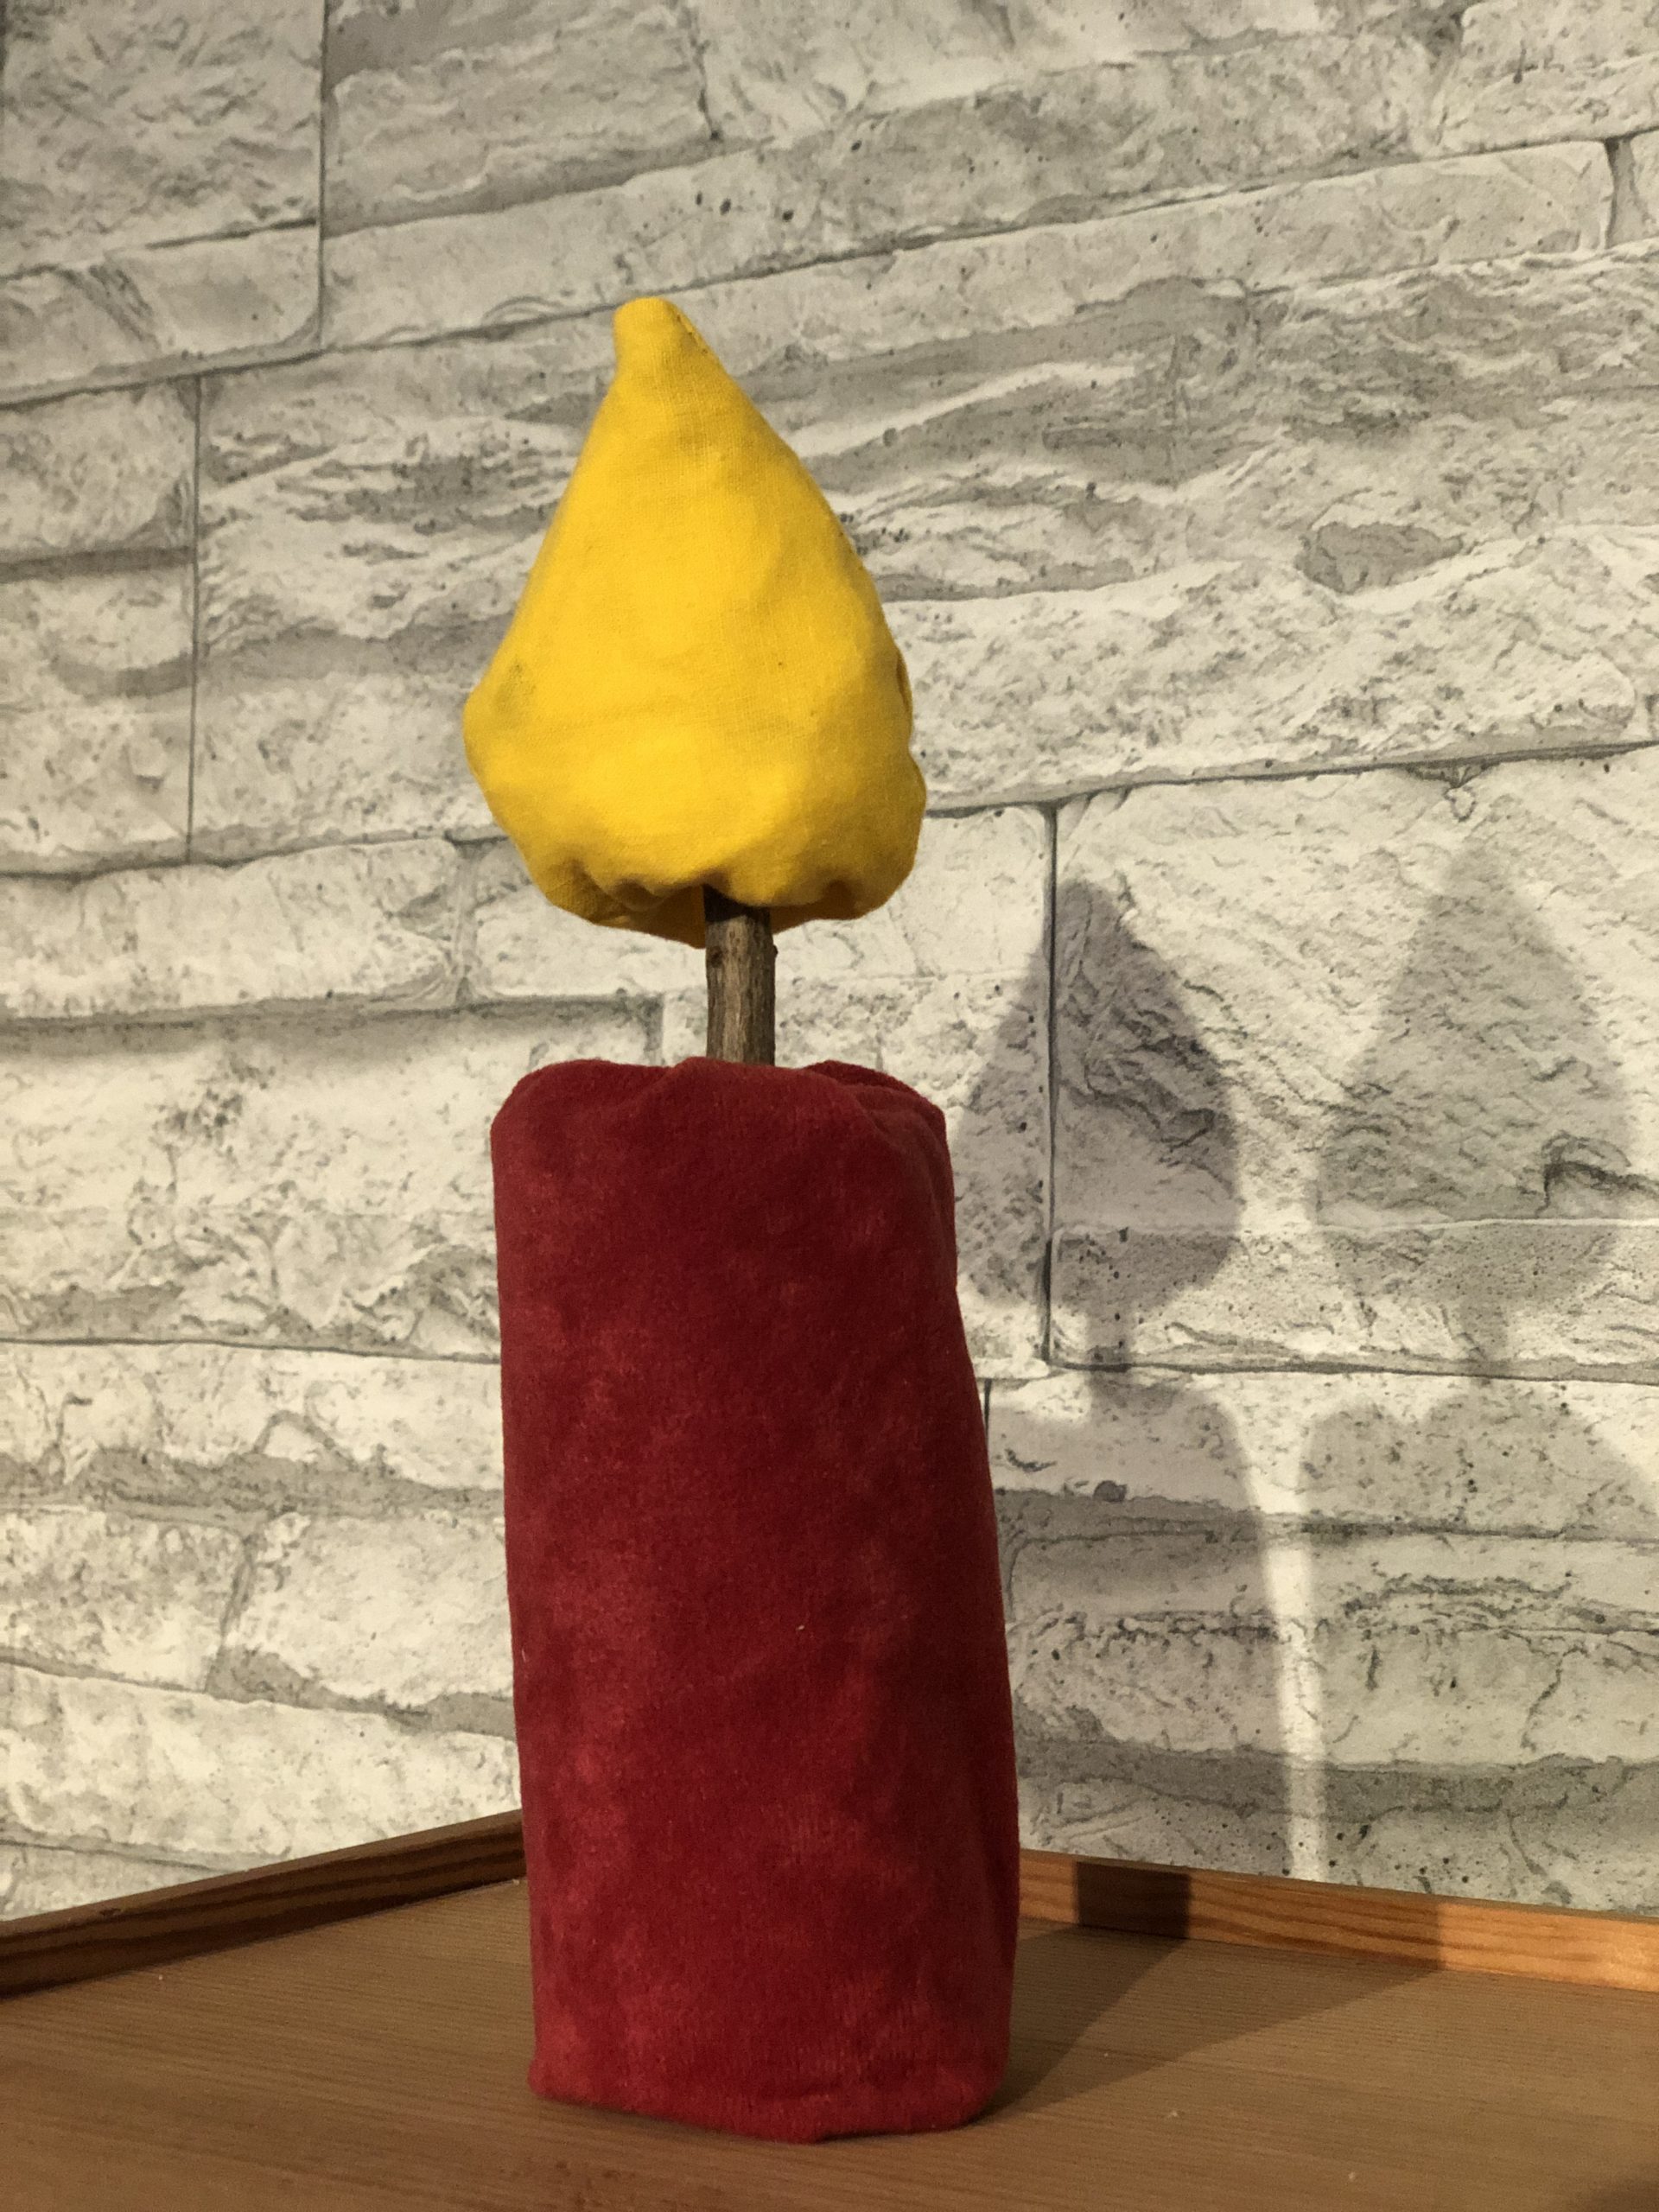
Bild zum Schritt 31 für das Bastel- und DIY-Abenteuer für Kinder: 'Diese Kerze ist vielseitig einsetzbar, ob als freistehende Kerze im...'

30

Have fun sewing!

Sew candle

Follow us on Facebook , Instagram and Pinterest
Don't miss any more adventures: Our bottle mail

Leave a Reply

Your email address will not be published.

The maximum upload file size: 5 MB. You can upload: image, document. Drop file here