Easter Bag – Carrot

AdventurerKatzi
Rating5.07.1 Thousand times & (4) DifficultyAdvanced

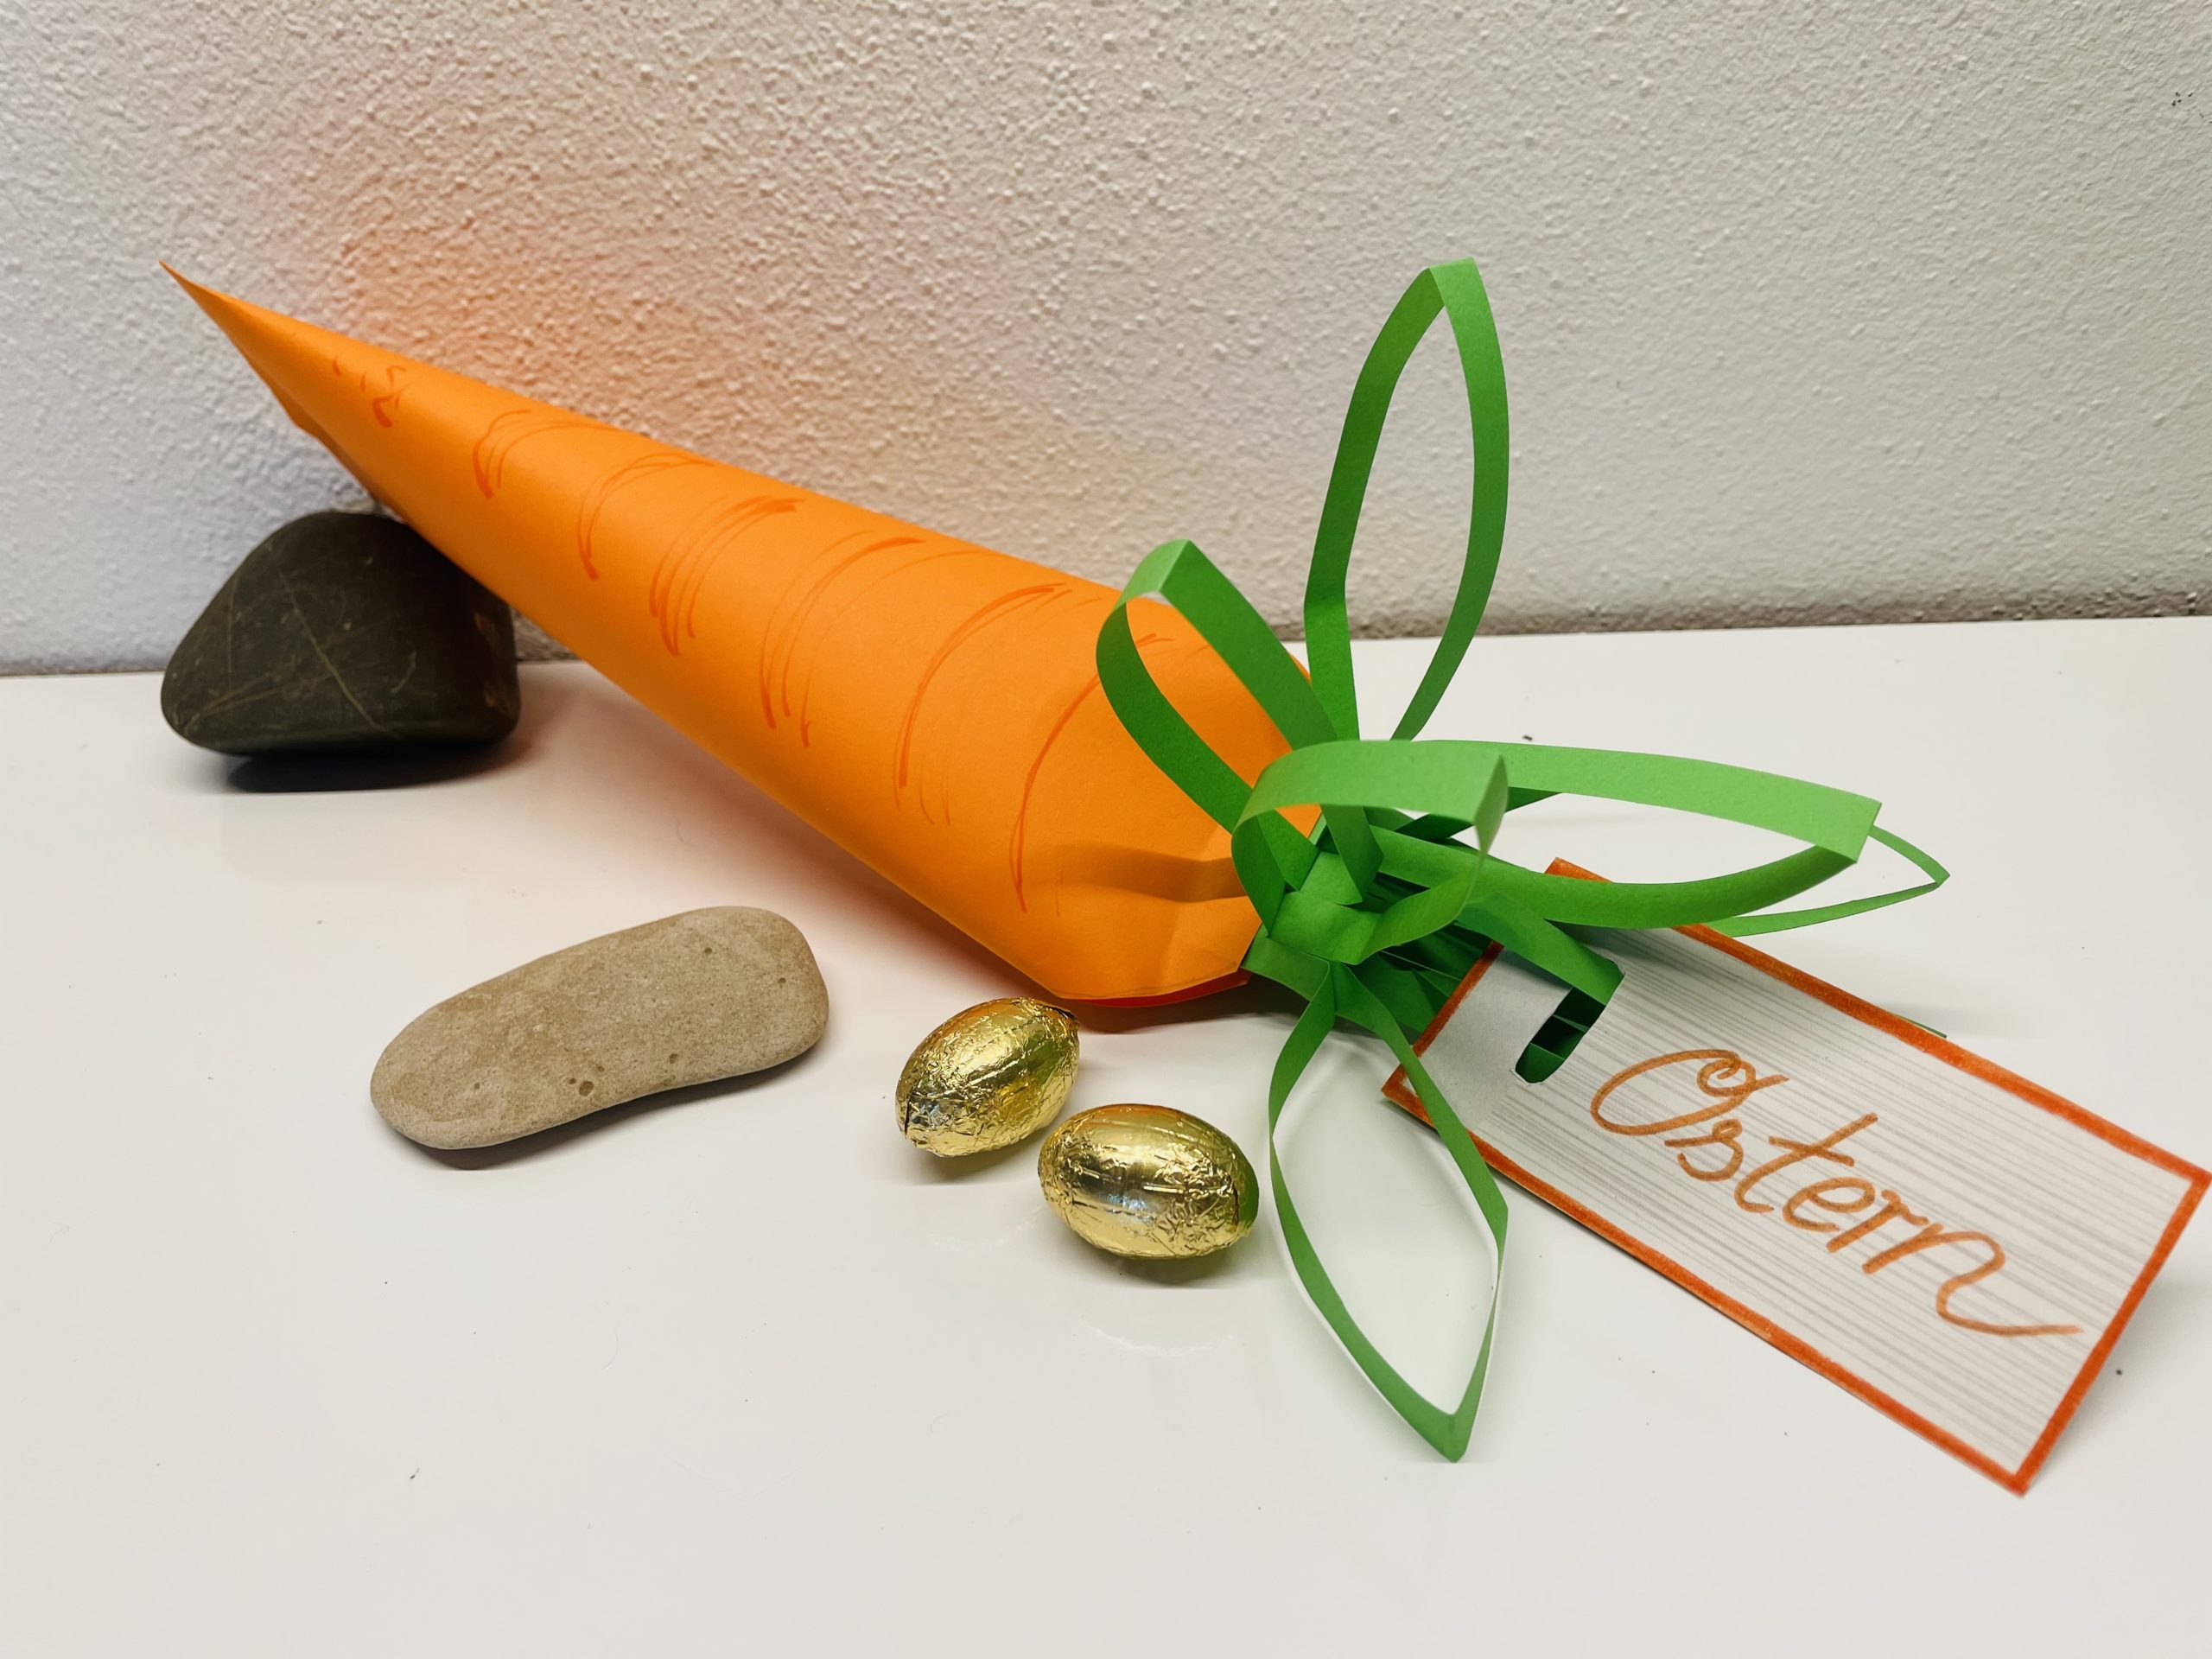
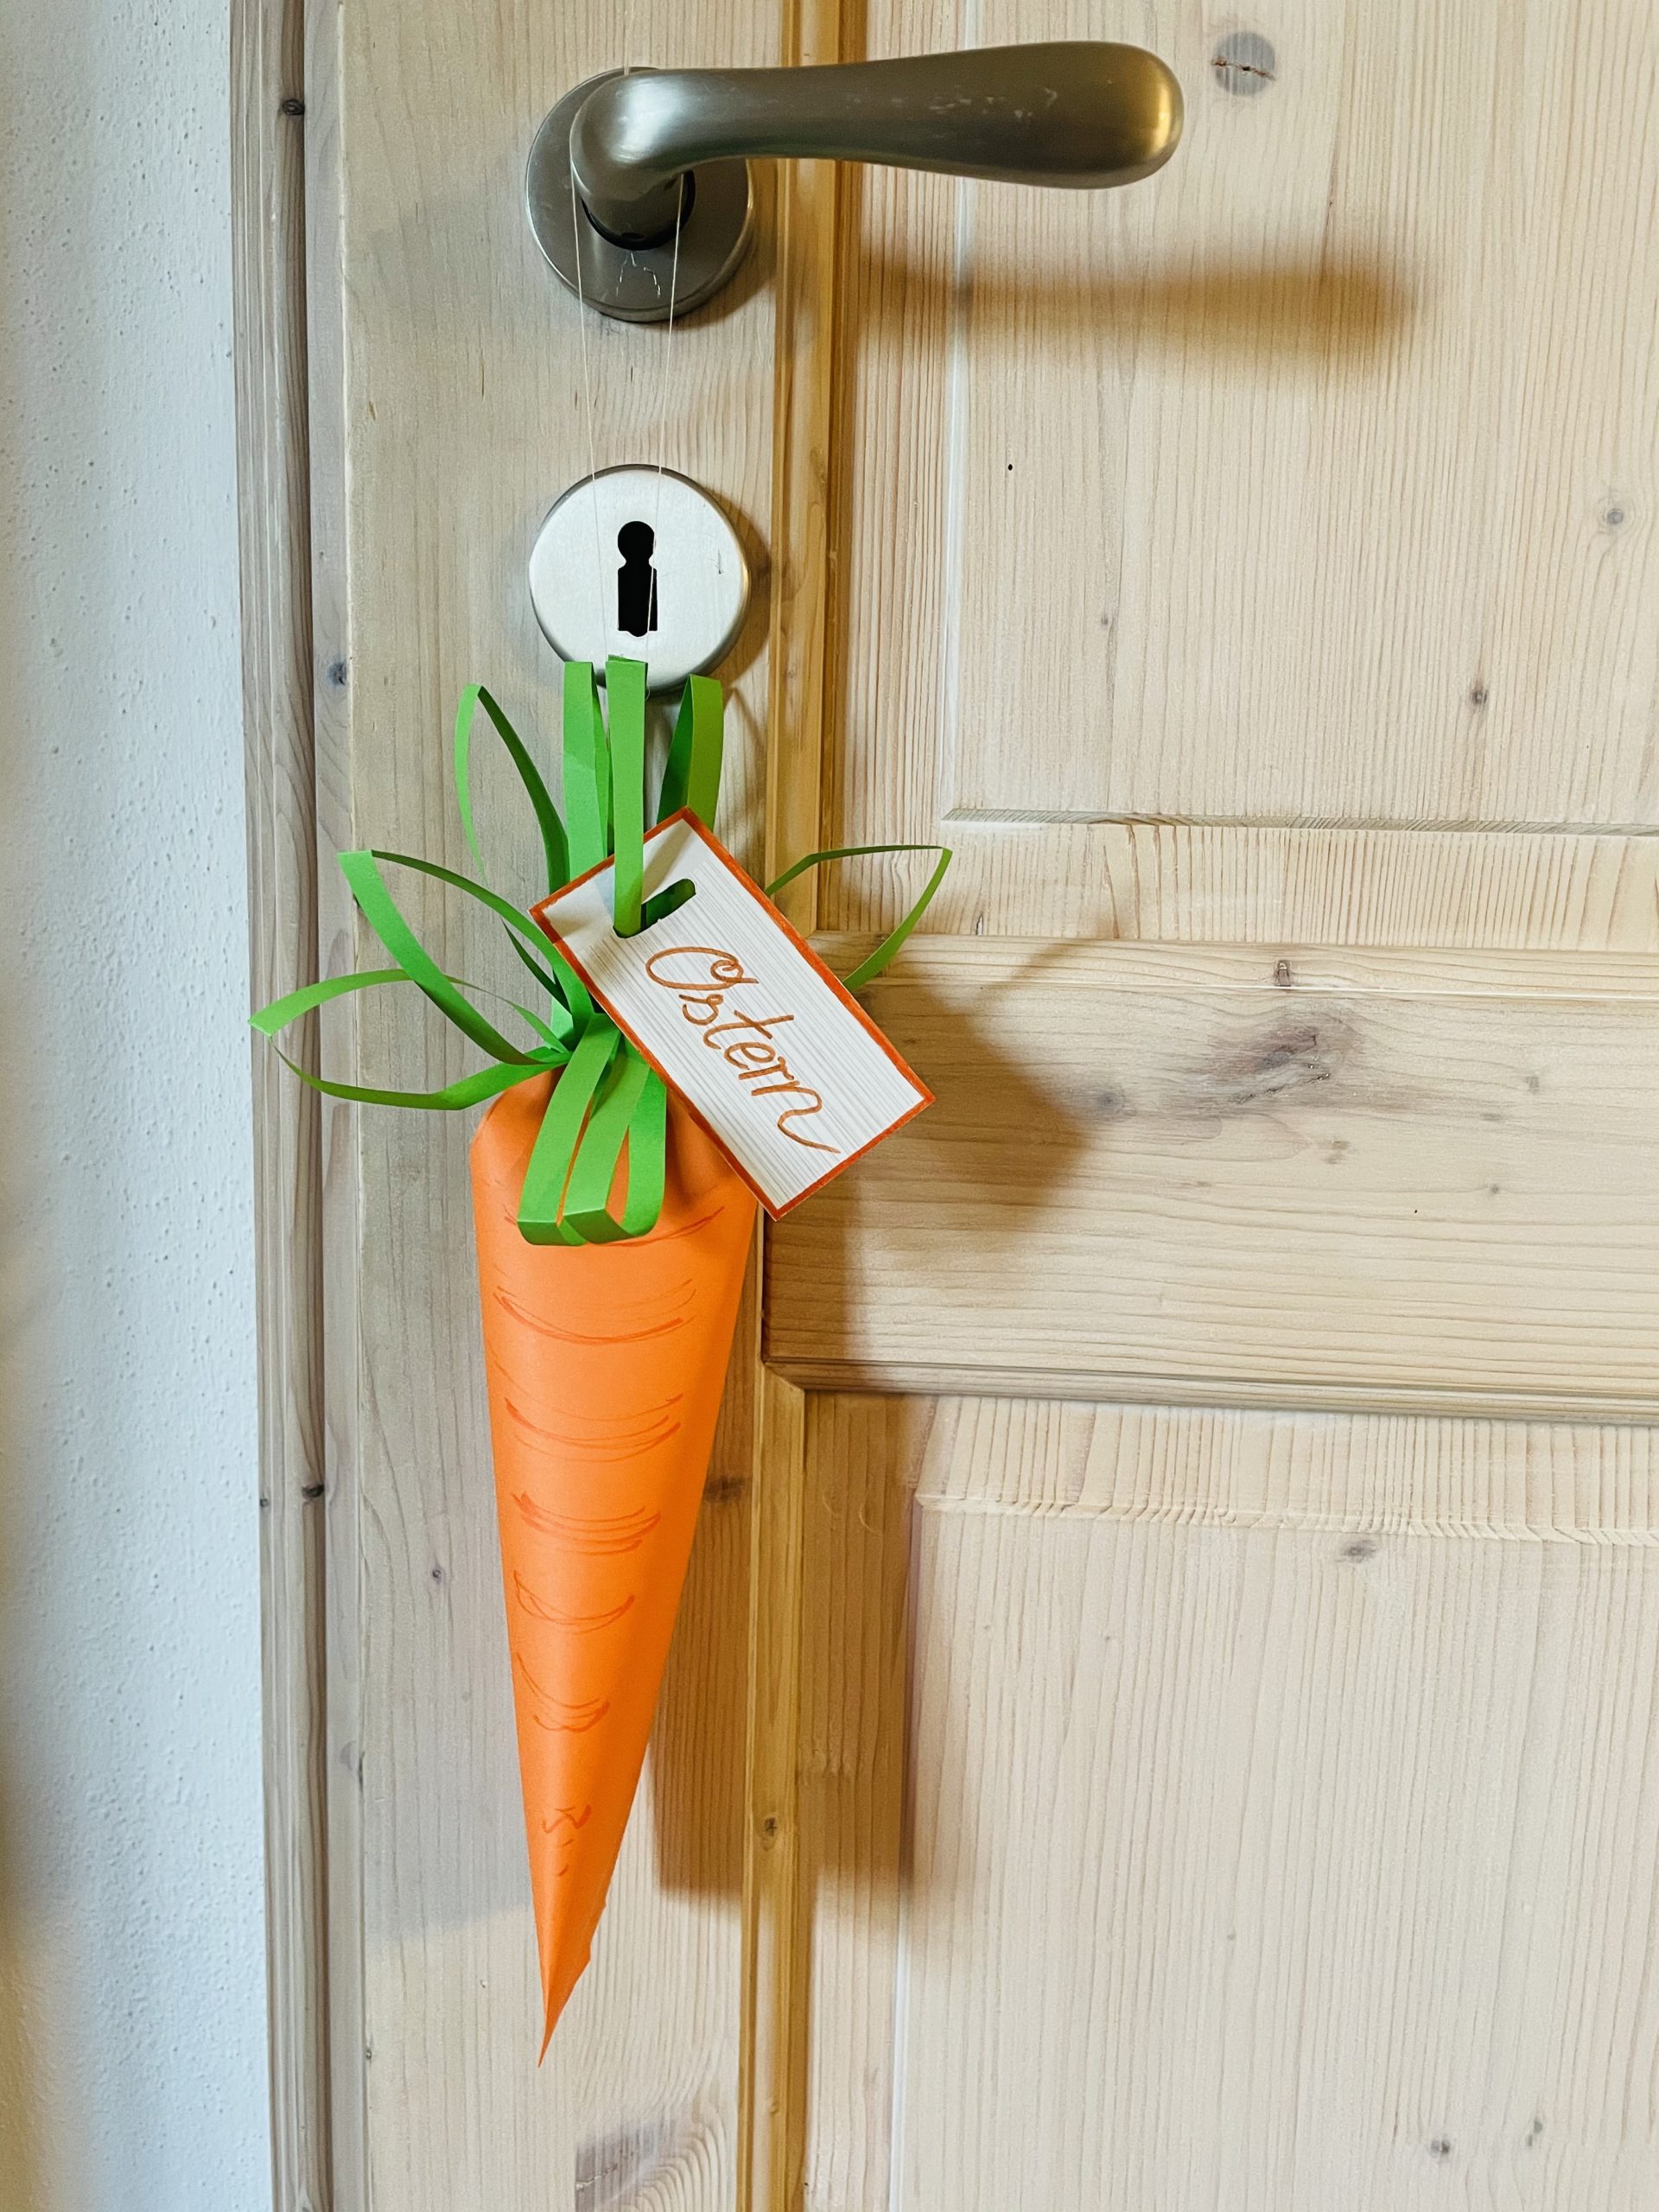
This beautiful carrot is suitable as a small gift bag. It is made as a small Easter bag for an Easter surprise quickly and easily. All you need is orange and green paper. See the instructions here.

Media Education for Kindergarten and Hort

Kind bastelt eine Rassel mit dem Navi
The Adventure Navi, the app for DIY projects, enables media education for the youngest.

Relief in everyday life, targeted promotion of individual children, independent learning and - without any pre-knowledge already usable by the youngest!
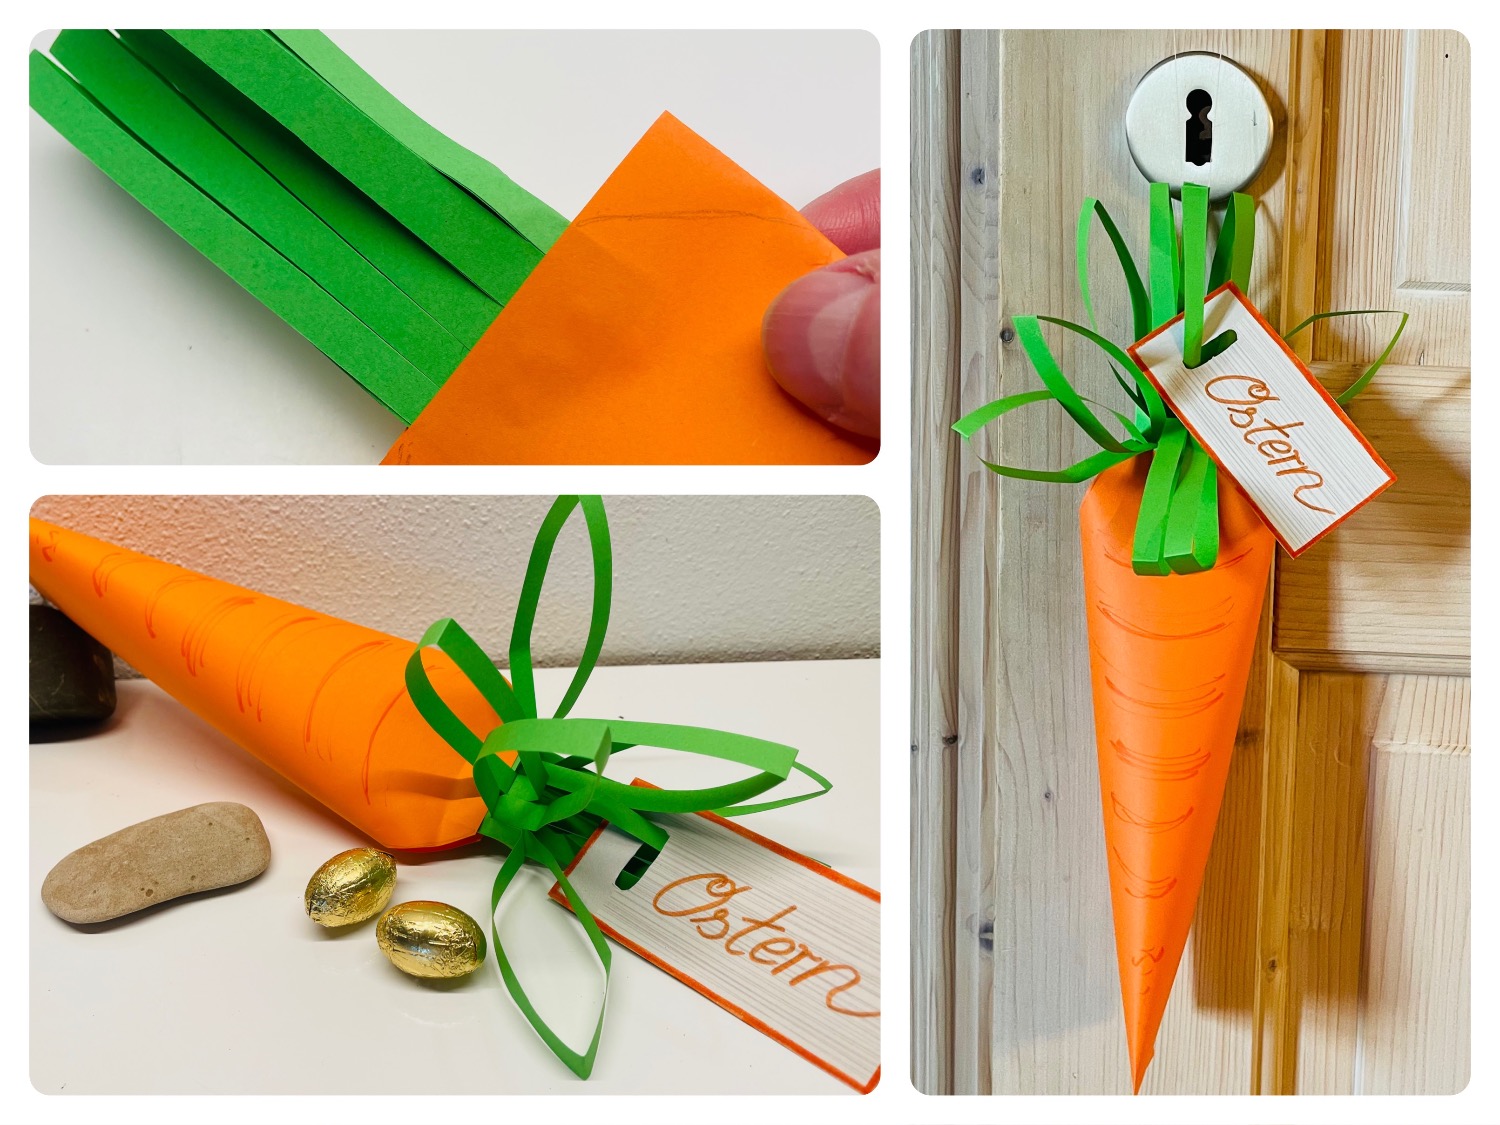


Titelbild zur Bastel- und DIY-Idee für Kinder '(692) Ostertüte – Karotte'
Material for1 Child
Prep Time5 min.Adv. Time30 min.Total Time35 min.
 1 Paper DIN A4 orange
 1 Paper green5cm x 20 cm
 1 Photo box rest4cm x 7cm
 1 Pencil
 1 Felt pen orange
 1 Liquid adhesives
 1 Builder's pad
All links marked with a shopping cart lead to Amazon - here we have selected products that we would order ourselves and in part also ordered. In a qualified purchase via the advertising link, we as Amazon partner receive a commission, for you there are no costs. You thus support our cost- and advertising banner-free, educational offer.
1

Find your materials together and put out your craft file.
First you put the orange sheet of paper (DIN A4) in front of you.

Bild zum Schritt 1 für das Bastel- und DIY-Abenteuer für Kinder: 'Sucht eure Materialien zusammen und legt eure Bastelunterlage aus. ...'

2

Strip a strip of glue on one of the long outsides.
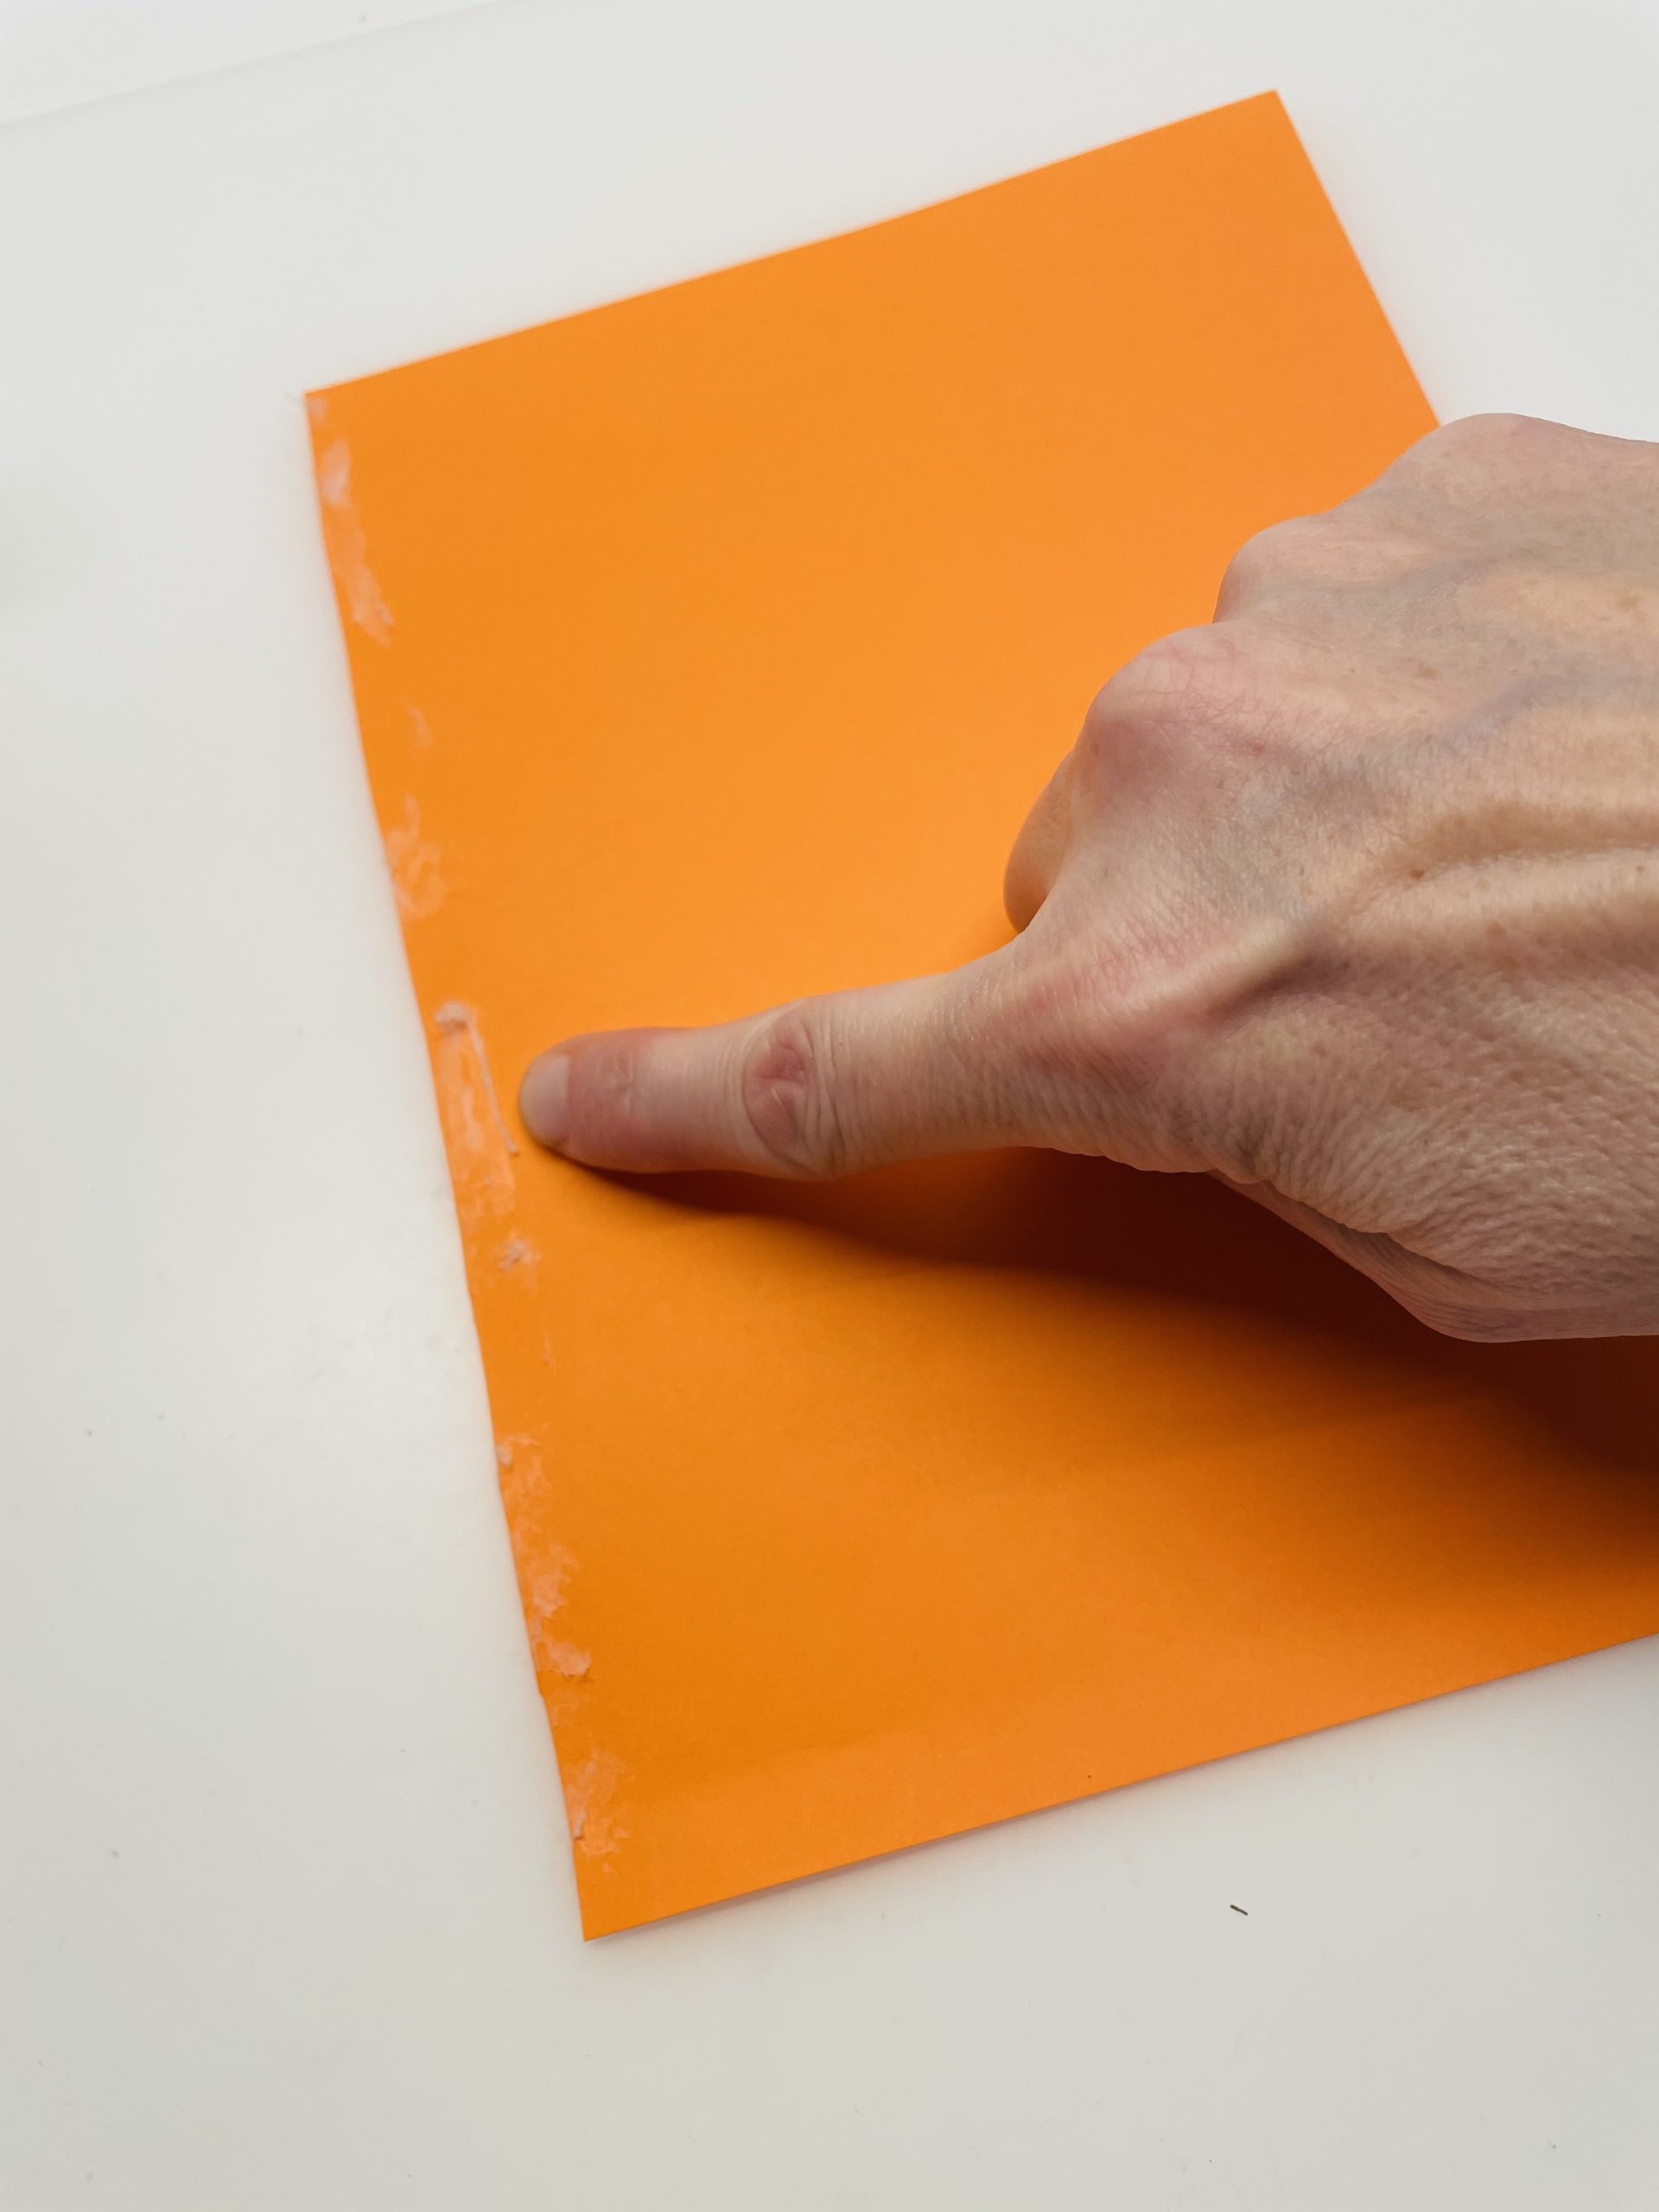
Bild zum Schritt 2 für das Bastel- und DIY-Abenteuer für Kinder: 'Streift einen Streifen Kleber an einer der langen Außenseiten.'

3

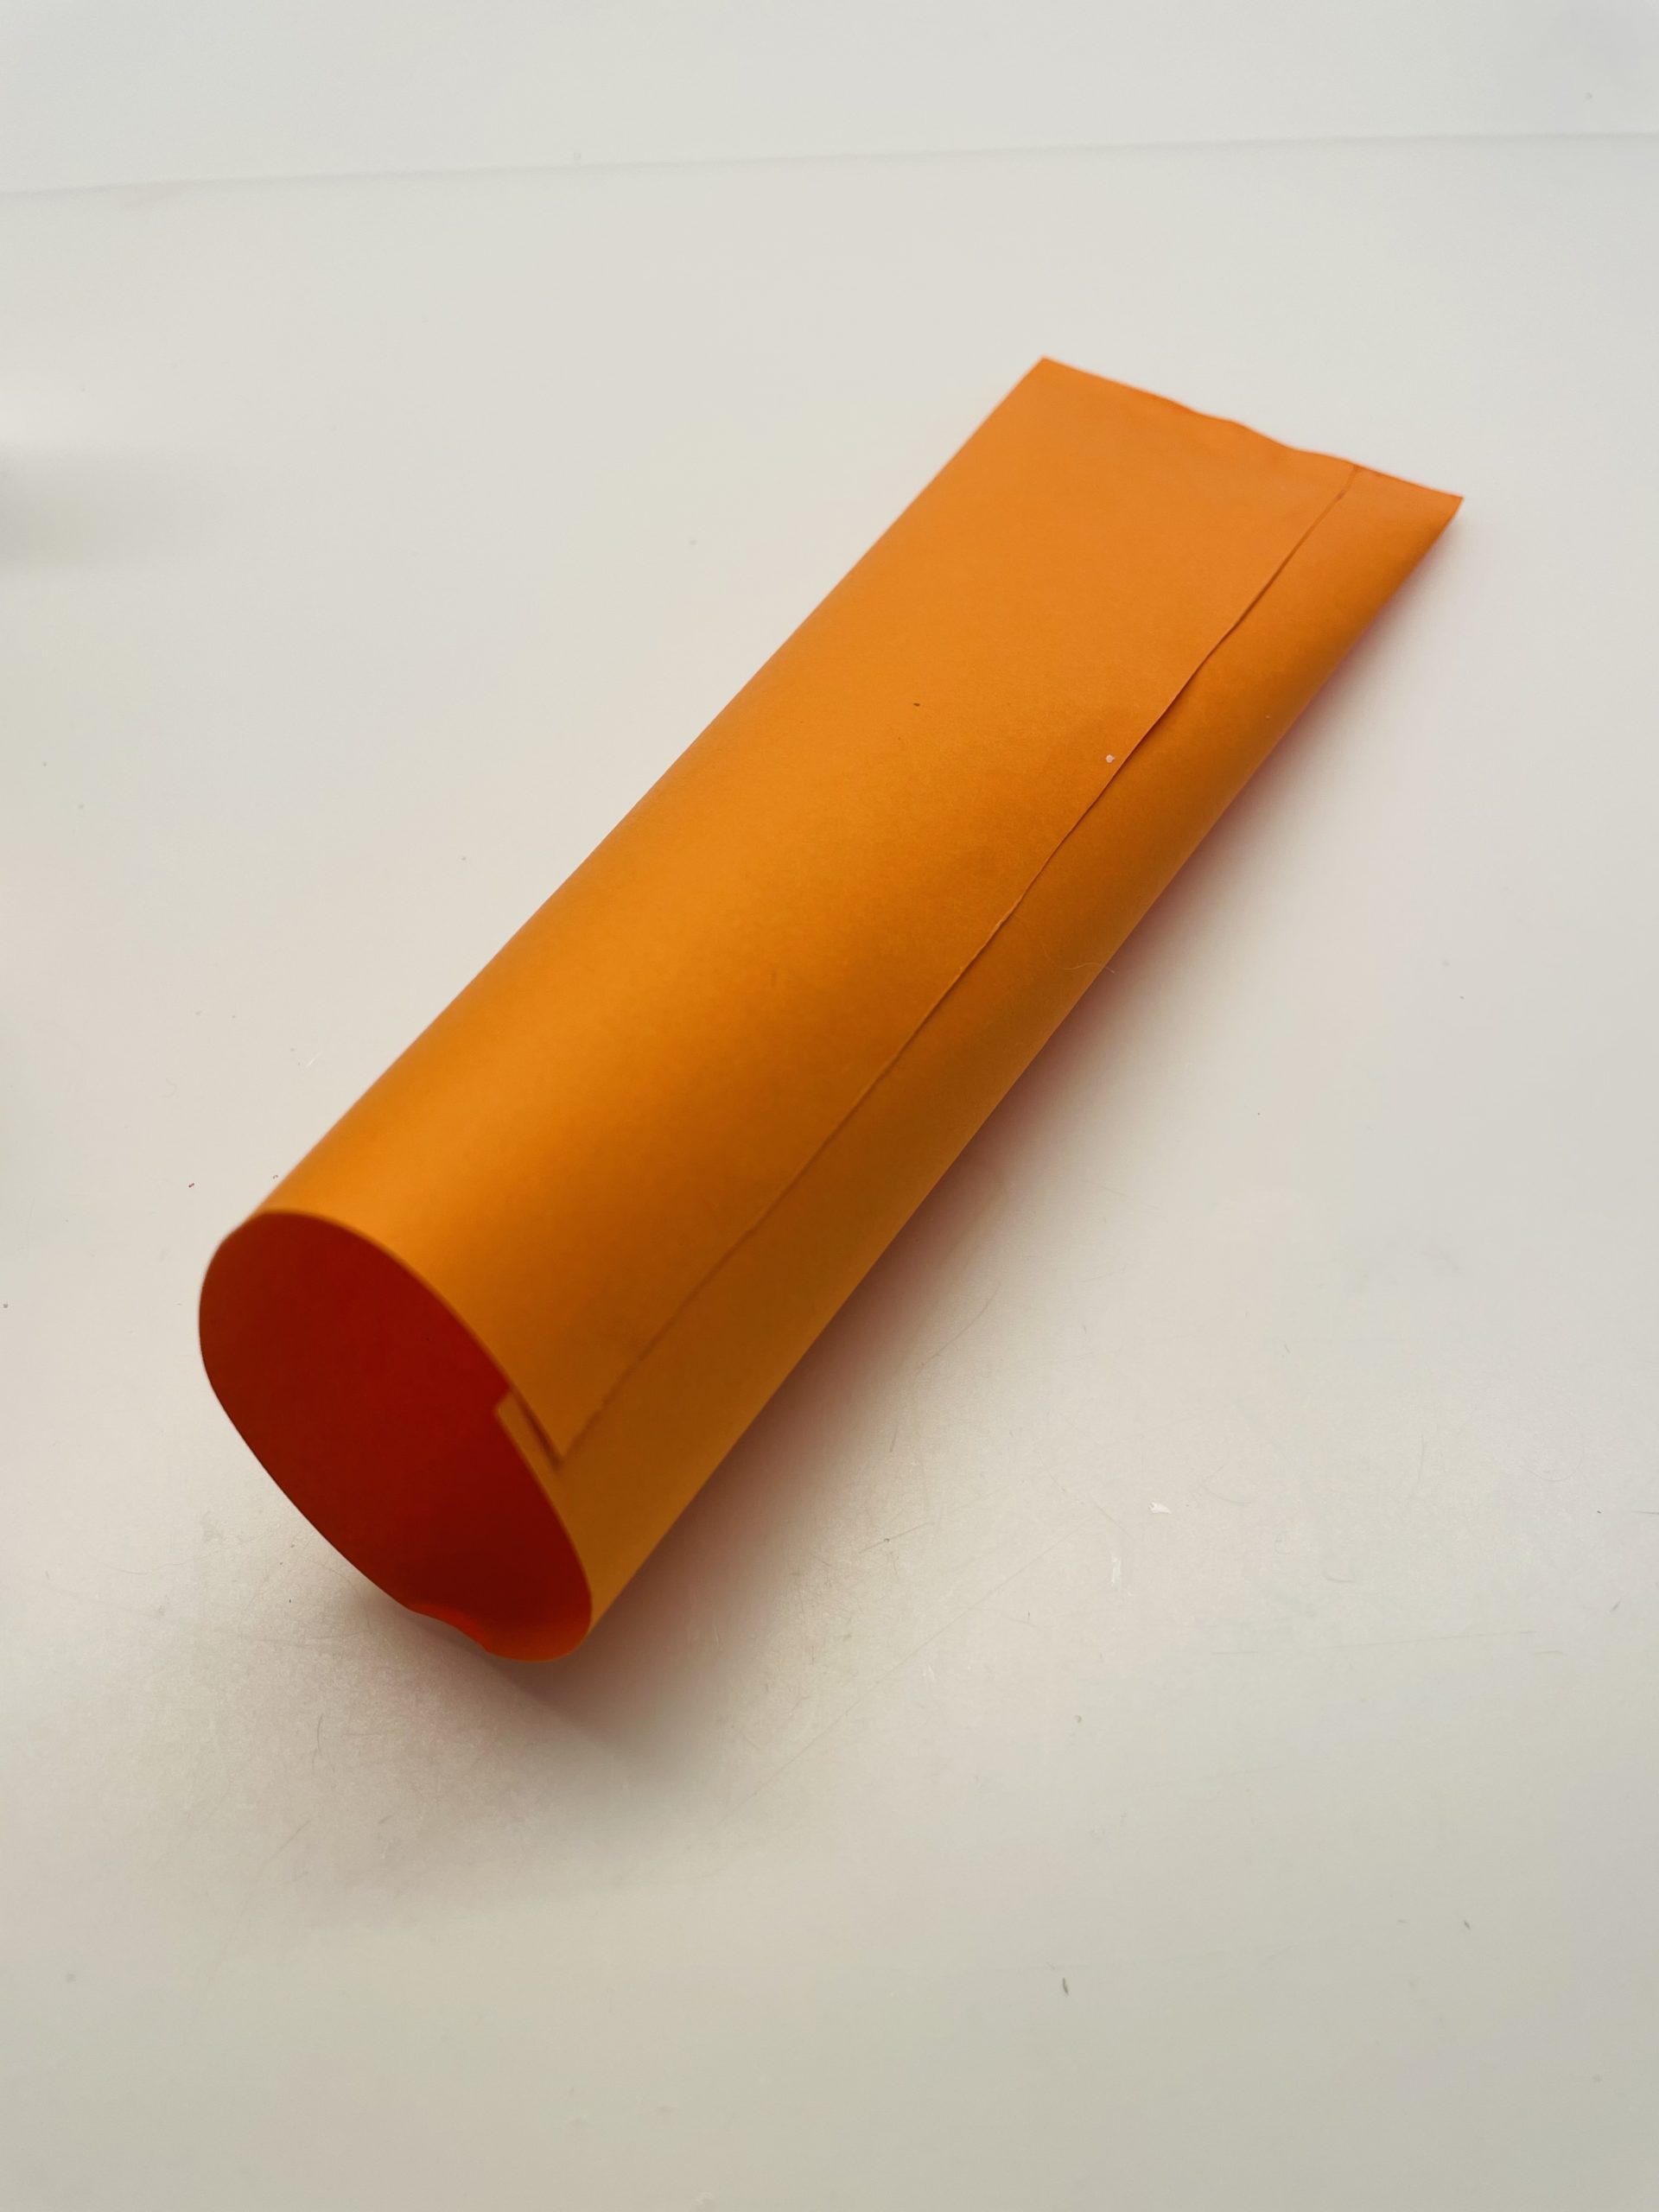
Then you roll the paper together so that a long tube is created. Glue both long sides together overlappingly.

Bild zum Schritt 3 für das Bastel- und DIY-Abenteuer für Kinder: 'Dann rollt ihr das Papier zusammen, so dass eine lange...'

4

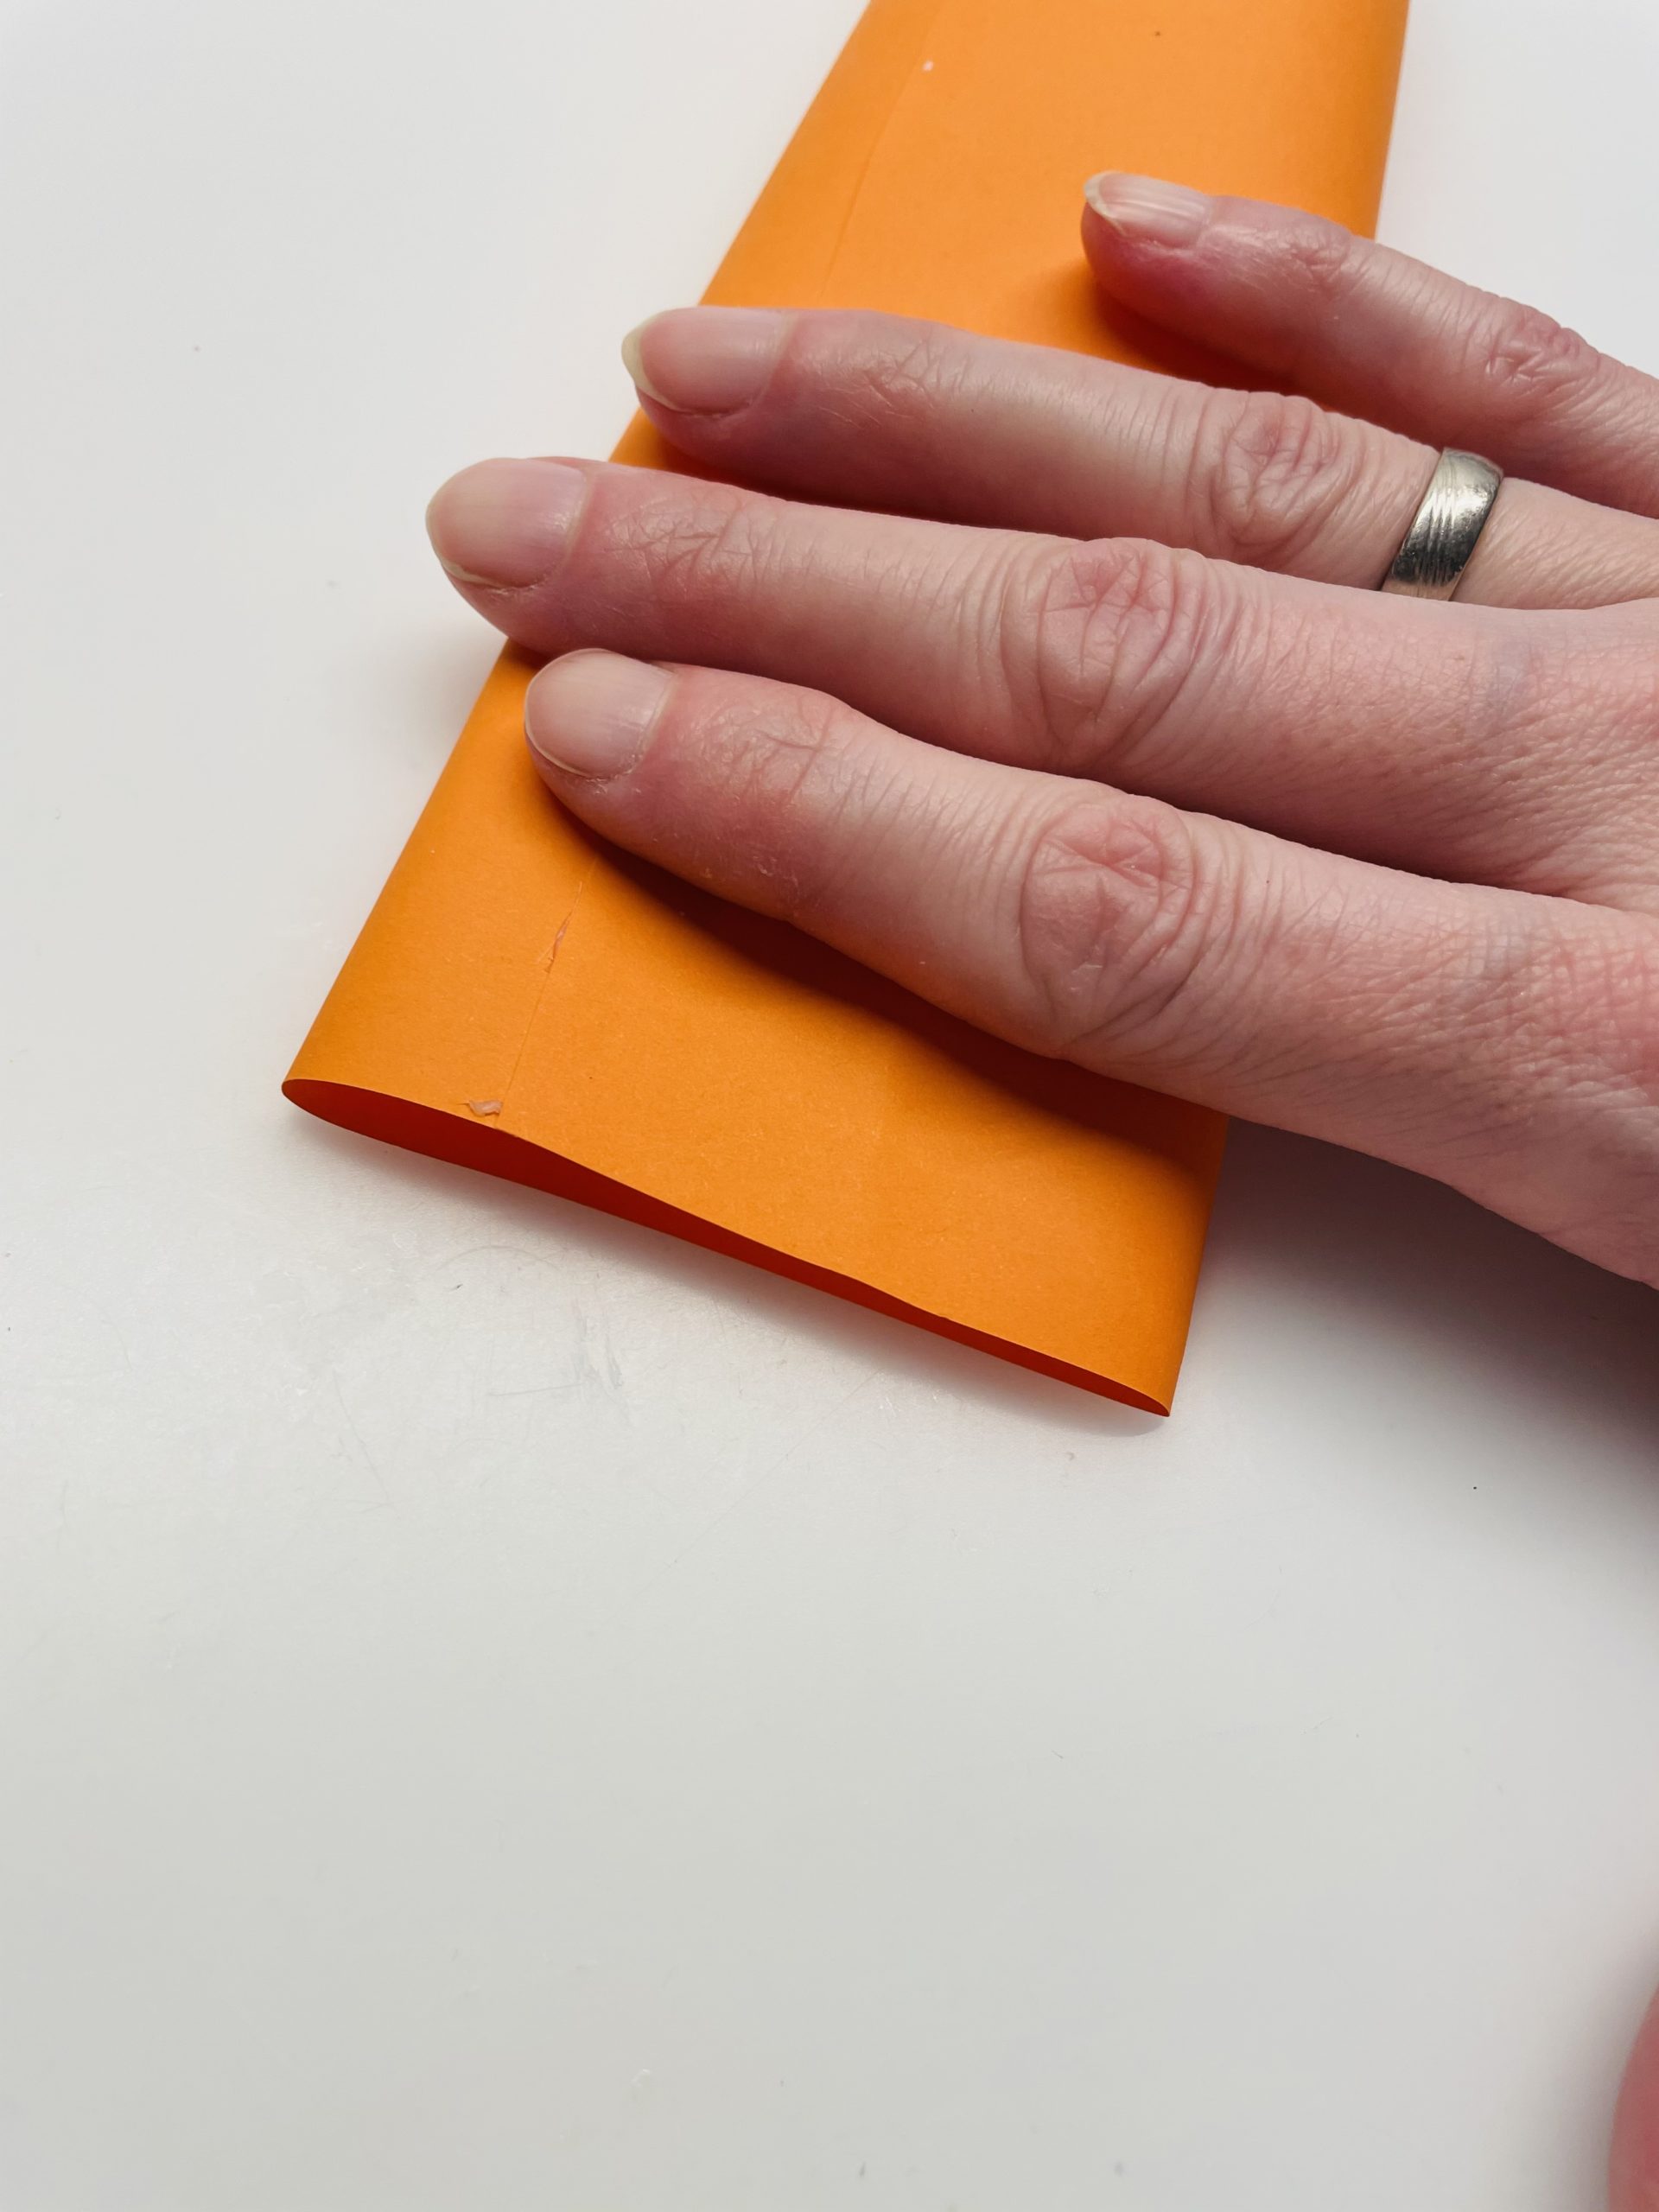
Then gently press the tube together at one end. Make sure that the glued side is on top, but not centered. It should be on top side.

Bild zum Schritt 4 für das Bastel- und DIY-Abenteuer für Kinder: 'Anschließend drückt ihr die Röhre vorsichtig an einem Ende etwas...'

5

Now put an end to it.

Bild zum Schritt 5 für das Bastel- und DIY-Abenteuer für Kinder: 'Drückt nun ein Ende platt.'

6

Now you're dripping a strip of glue into the flat-pressed opening.

Bild zum Schritt 6 für das Bastel- und DIY-Abenteuer für Kinder: 'Jetzt tropft ihr einen Streifen Kleber in die platt gedrückte...'

7

Then you put the tube together.

Bild zum Schritt 7 für das Bastel- und DIY-Abenteuer für Kinder: 'Dann klebt ihr die Röhre zusammen.'

8

Press the paper together until the glue is dried.

Bild zum Schritt 8 für das Bastel- und DIY-Abenteuer für Kinder: 'Drückt das Papier so lange zusammen, bis der Kleber getrocknet...'

9

2. Bild zum Schritt 8 für das Bastel- und DIY-Abenteuer für Kinder: 'Drückt das Papier so lange zusammen, bis der Kleber getrocknet...'

10

Now cut a strip of green paper to the dimensions 5cm x 20cm.

Bild zum Schritt 10 für das Bastel- und DIY-Abenteuer für Kinder: 'Schneidet jetzt einen Streifen grünes Papier auf die Maße 5cm...'

11

Then you fold the paper up to half.

Bild zum Schritt 11 für das Bastel- und DIY-Abenteuer für Kinder: 'Dann faltet ihr das Papier bis zur Hälfte.'

12

Now you stick the paper ends together with glue.

Bild zum Schritt 12 für das Bastel- und DIY-Abenteuer für Kinder: 'Jetzt klebt ihr die Papierenden mit Kleber zusammen.'

13

Starting from the closed side, you now cut in the paper.

Bild zum Schritt 13 für das Bastel- und DIY-Abenteuer für Kinder: 'Von der geschlossenen Seite ausgehend, schneidet ihr nun das Papier...'

14

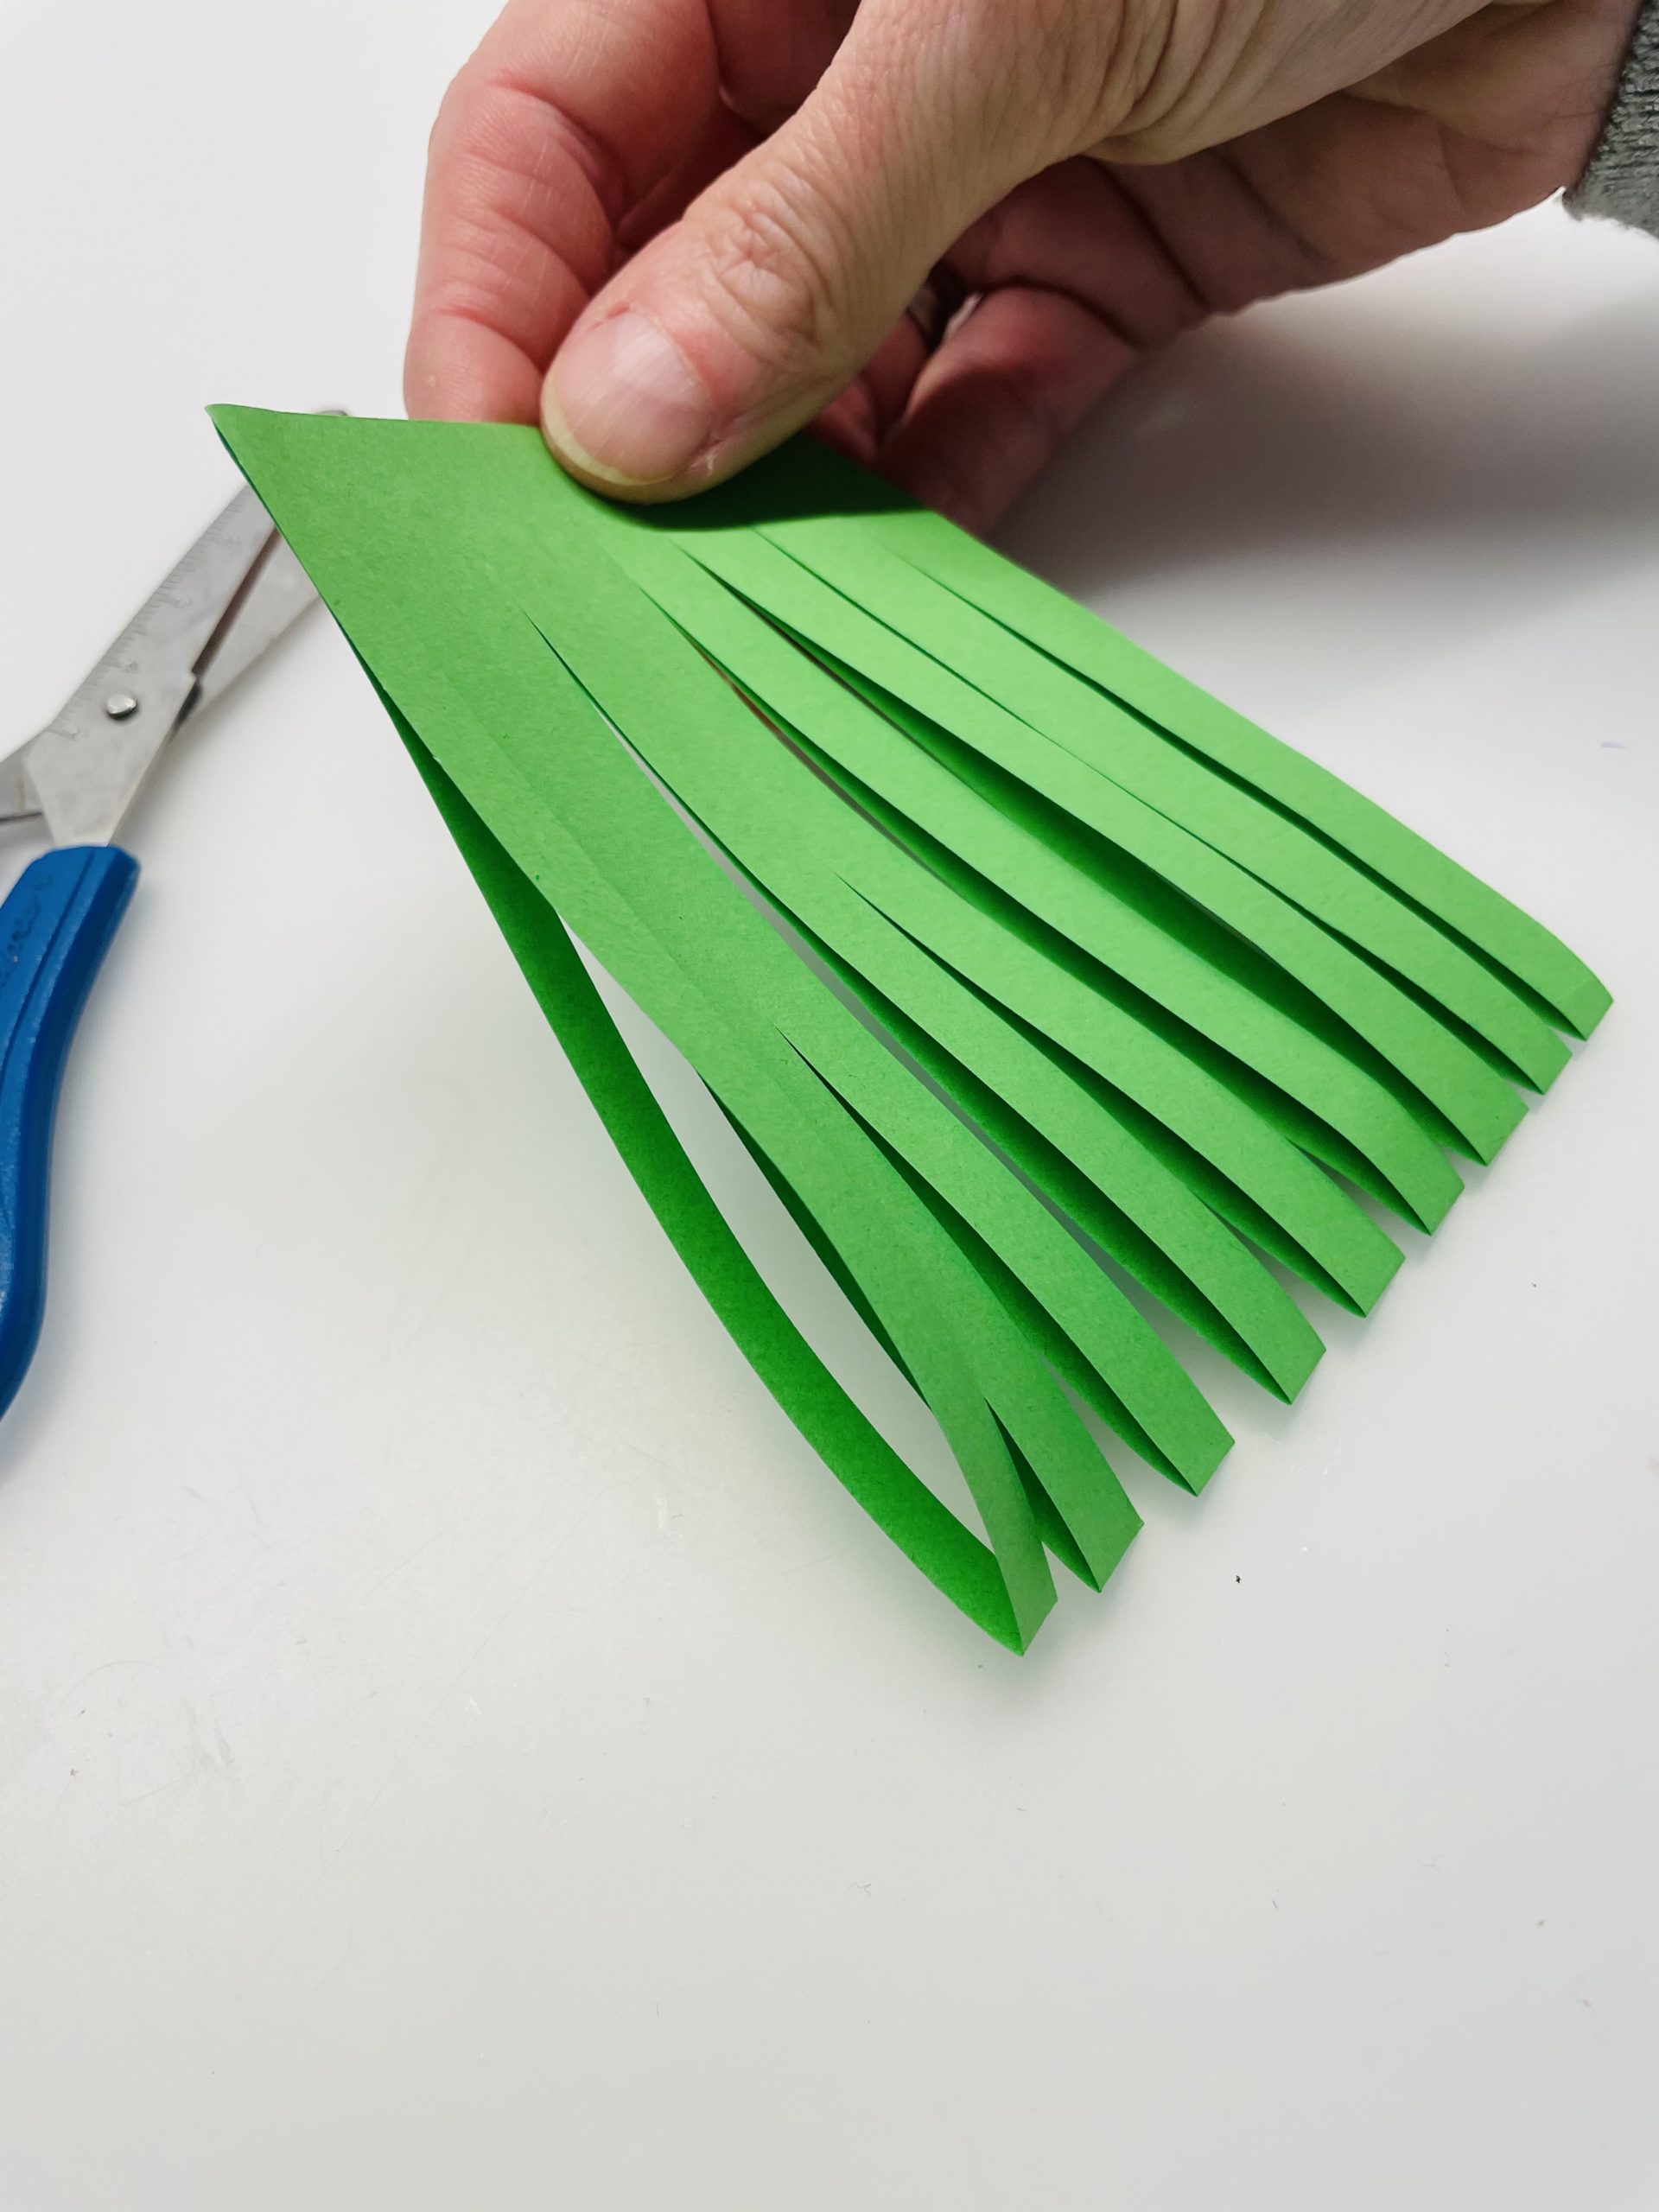
Cuts very narrow strips into the paper and leaves a 1cm wide strip. This corresponds to approximately the glued surface.

Bild zum Schritt 14 für das Bastel- und DIY-Abenteuer für Kinder: 'Schneidet sehr schmale Streifen in das Papier und lasst einen...'

15

2. Bild zum Schritt 14 für das Bastel- und DIY-Abenteuer für Kinder: 'Schneidet sehr schmale Streifen in das Papier und lasst einen...'

16

Now fold half the cut paper. So the paper strips are now double.
Your carrot green is ready.

Bild zum Schritt 16 für das Bastel- und DIY-Abenteuer für Kinder: 'Faltet das geschnittene Papier nun zur Hälfte. So liegen die...'

17

Now take the carrot and squeeze the still open end of the tube across to the opposite side flat. Thus the carrot is closed.
If you want to put something in the carrot, you should put it in now.

Bild zum Schritt 17 für das Bastel- und DIY-Abenteuer für Kinder: 'Nehmt nun die Karotte und drückt das noch offene Ende...'

18

Then place the carrot green with the glued side in the opening. Apply glue and close the opening.

Bild zum Schritt 18 für das Bastel- und DIY-Abenteuer für Kinder: 'Anschließend legt ihr das Möhrengrün mit der geklebten Seite voran...'

19

Now cut the carrot a little round. Mark the roundings with a pencil on the left and right side of the green paper.

Bild zum Schritt 19 für das Bastel- und DIY-Abenteuer für Kinder: 'Jetzt schneidet ihr die Karotte noch etwas rund zu. Markiert...'

20

Then you cut the tips round.

Bild zum Schritt 20 für das Bastel- und DIY-Abenteuer für Kinder: 'Anschließend schneidet ihr die Spitzen rund.'

21

If the carrot is painted with an orange pen, it looks even more plastic.

Bild zum Schritt 21 für das Bastel- und DIY-Abenteuer für Kinder: 'Bemalt nun die Karotte mit einem orangen Stift, so wirkt...'

22

Bends the green paper strips - carrot green - apart in all directions.
Your carrot is ready.

Bild zum Schritt 22 für das Bastel- und DIY-Abenteuer für Kinder: 'Biegt die grünen Papierstreifen - das Möhrengrün - in alle...'

23

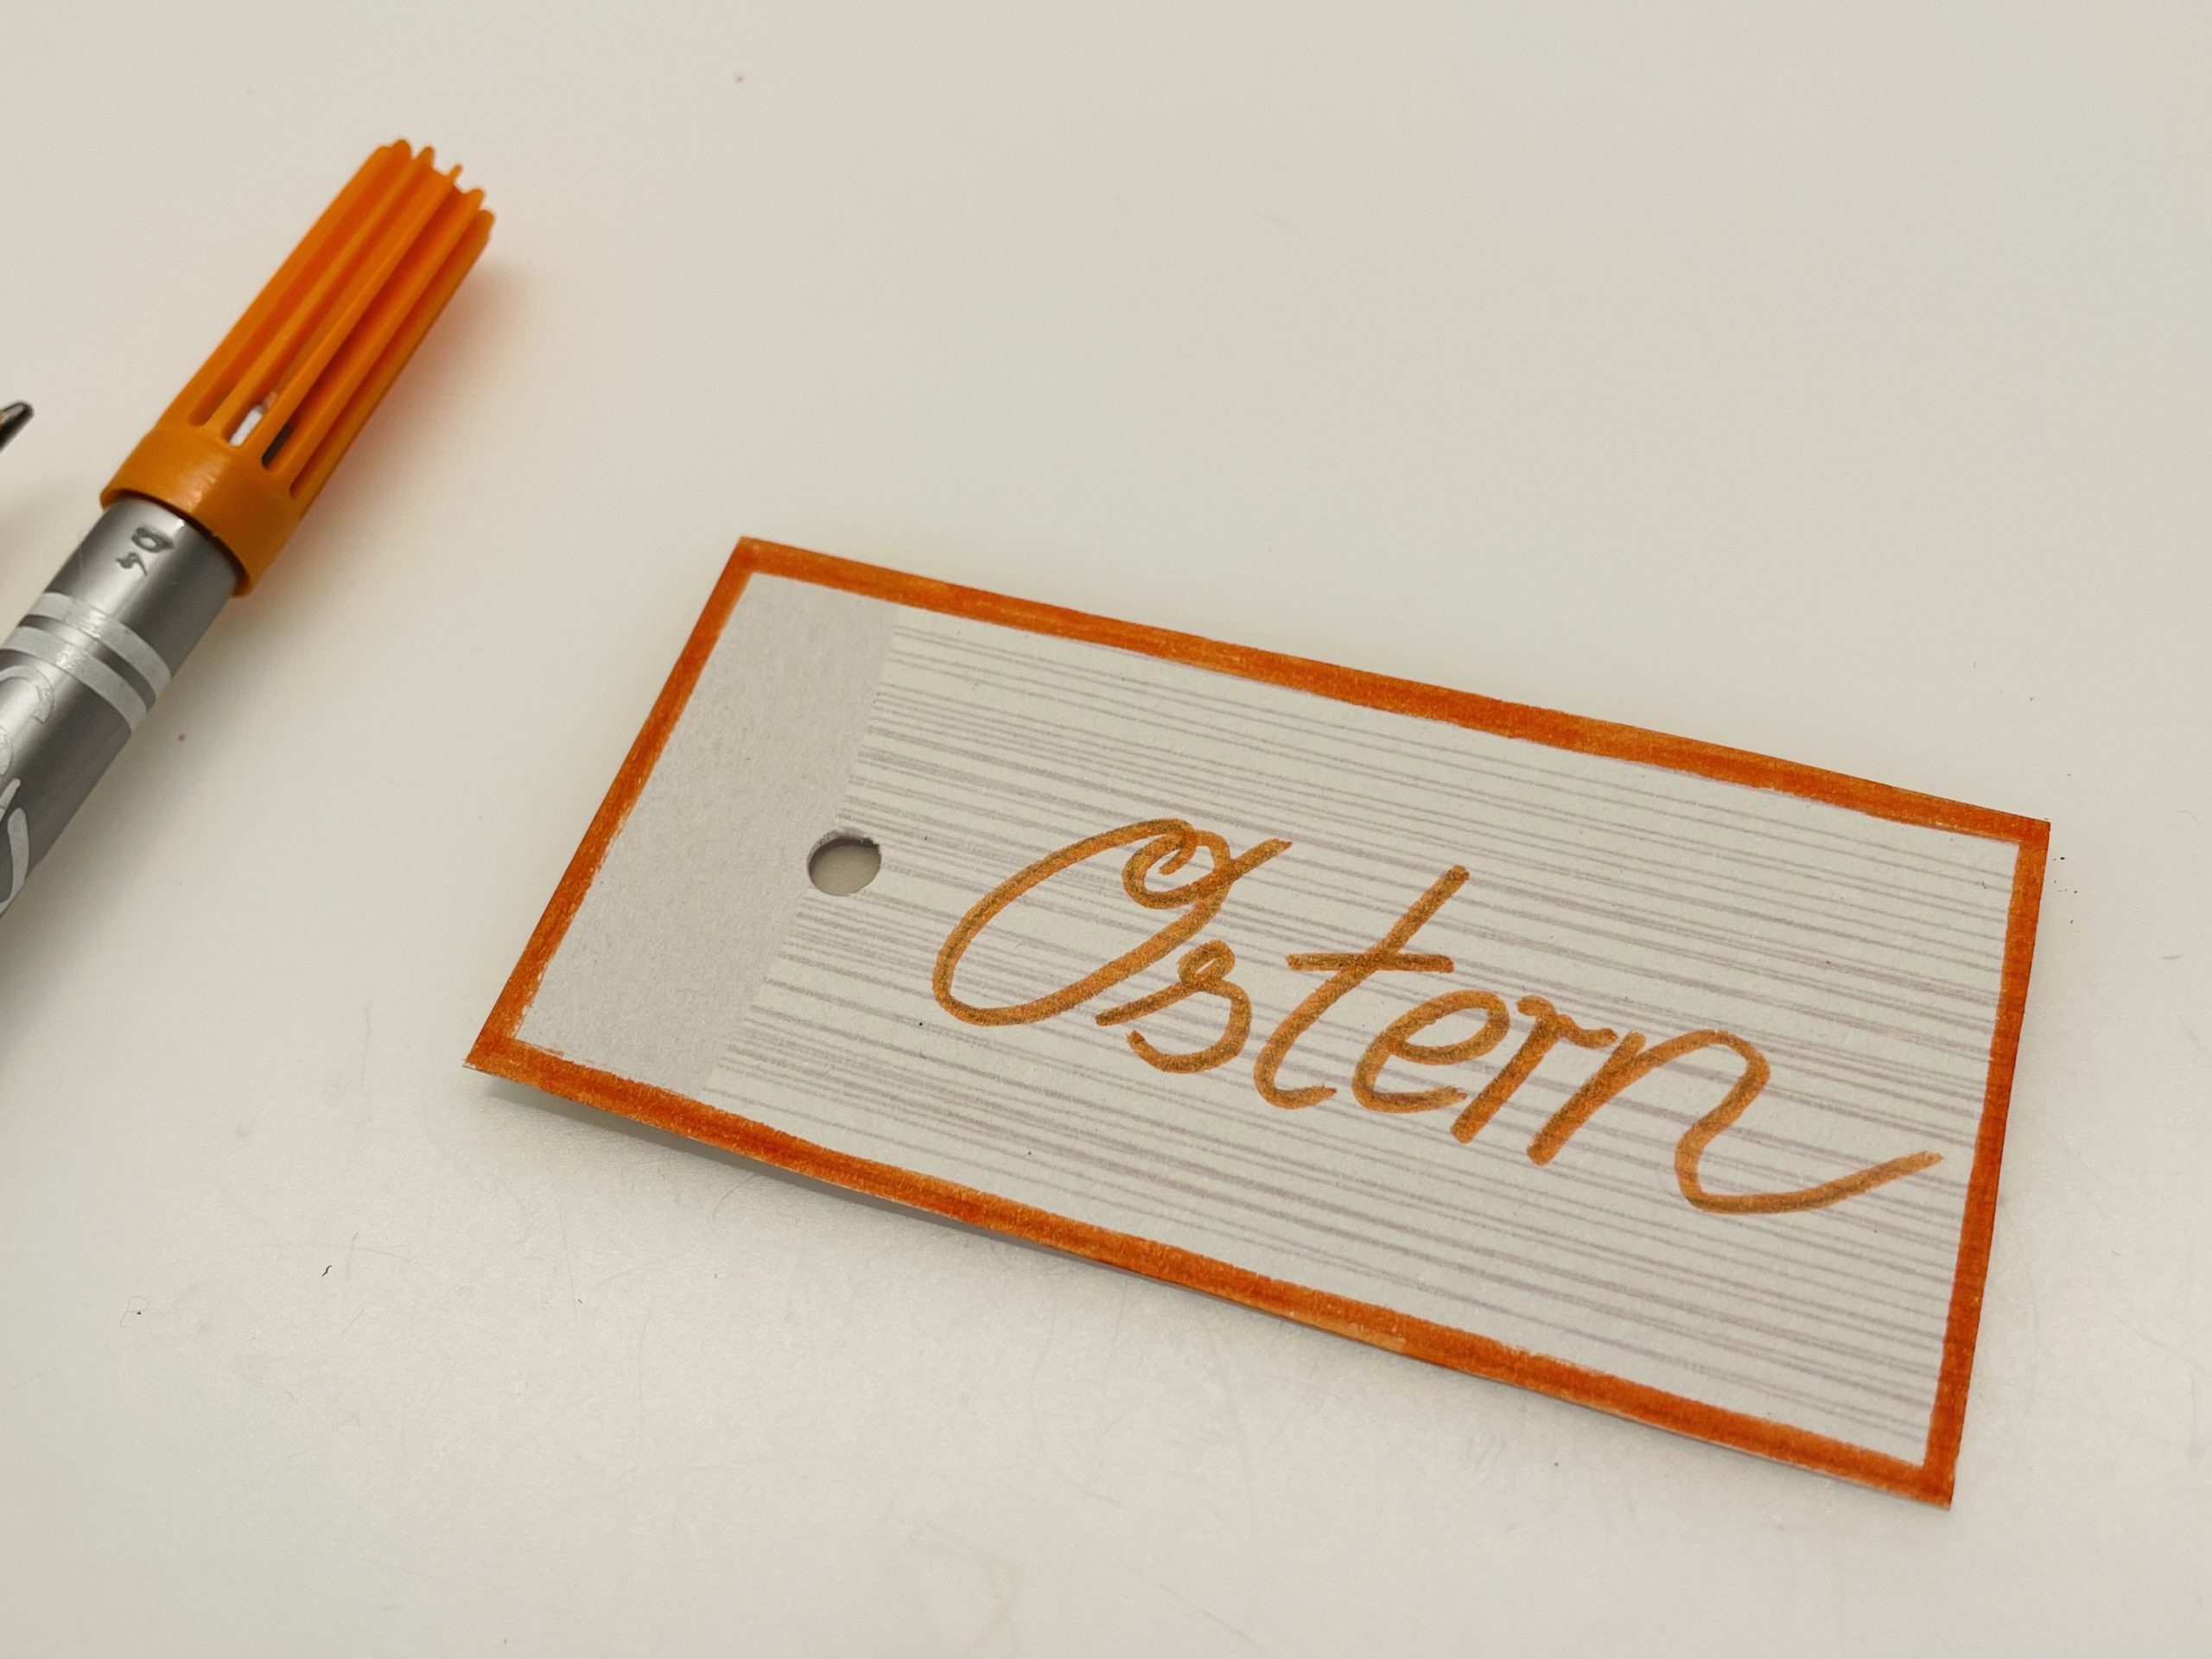
Make a small card out of a photo box rest. Hole it and write something on it.

Bild zum Schritt 23 für das Bastel- und DIY-Abenteuer für Kinder: 'Bastelt euch aus einem Fotokarton-Rest eine kleine Karte. Locht diese...'

24

2. Bild zum Schritt 23 für das Bastel- und DIY-Abenteuer für Kinder: 'Bastelt euch aus einem Fotokarton-Rest eine kleine Karte. Locht diese...'

25

Attach the small card to the carrot.

Bild zum Schritt 25 für das Bastel- und DIY-Abenteuer für Kinder: 'Befestigt die kleine Karte an der Karotte.'

26

Your Easter present is ready.

Bild zum Schritt 26 für das Bastel- und DIY-Abenteuer für Kinder: 'Fertig ist euer Ostergeschenk.'

27

Or your decoration at Easter.

Bild zum Schritt 27 für das Bastel- und DIY-Abenteuer für Kinder: 'Oder eure Dekoration zu Ostern.'

28

Have fun trying and giving away the Easter carrot!

Materials

 1 Paper DIN A4 orange
 1 Paper green5cm x 20 cm
 1 Photo box rest4cm x 7cm
 1 Pencil
 1 Felt pen orange
 1 Liquid adhesives
 1 Builder's pad
All links marked with a shopping cart lead to Amazon - here we have selected products that we would order ourselves and in part also ordered. In a qualified purchase via the advertising link, we as Amazon partner receive a commission, for you there are no costs. You thus support our cost- and advertising banner-free, educational offer.

Directions

1

Find your materials together and put out your craft file.
First you put the orange sheet of paper (DIN A4) in front of you.

Bild zum Schritt 1 für das Bastel- und DIY-Abenteuer für Kinder: 'Sucht eure Materialien zusammen und legt eure Bastelunterlage aus. ...'

2

Strip a strip of glue on one of the long outsides.

Bild zum Schritt 2 für das Bastel- und DIY-Abenteuer für Kinder: 'Streift einen Streifen Kleber an einer der langen Außenseiten.'

3

Then you roll the paper together so that a long tube is created. Glue both long sides together overlappingly.

Bild zum Schritt 3 für das Bastel- und DIY-Abenteuer für Kinder: 'Dann rollt ihr das Papier zusammen, so dass eine lange...'

4

Then gently press the tube together at one end. Make sure that the glued side is on top, but not centered. It should be on top side.
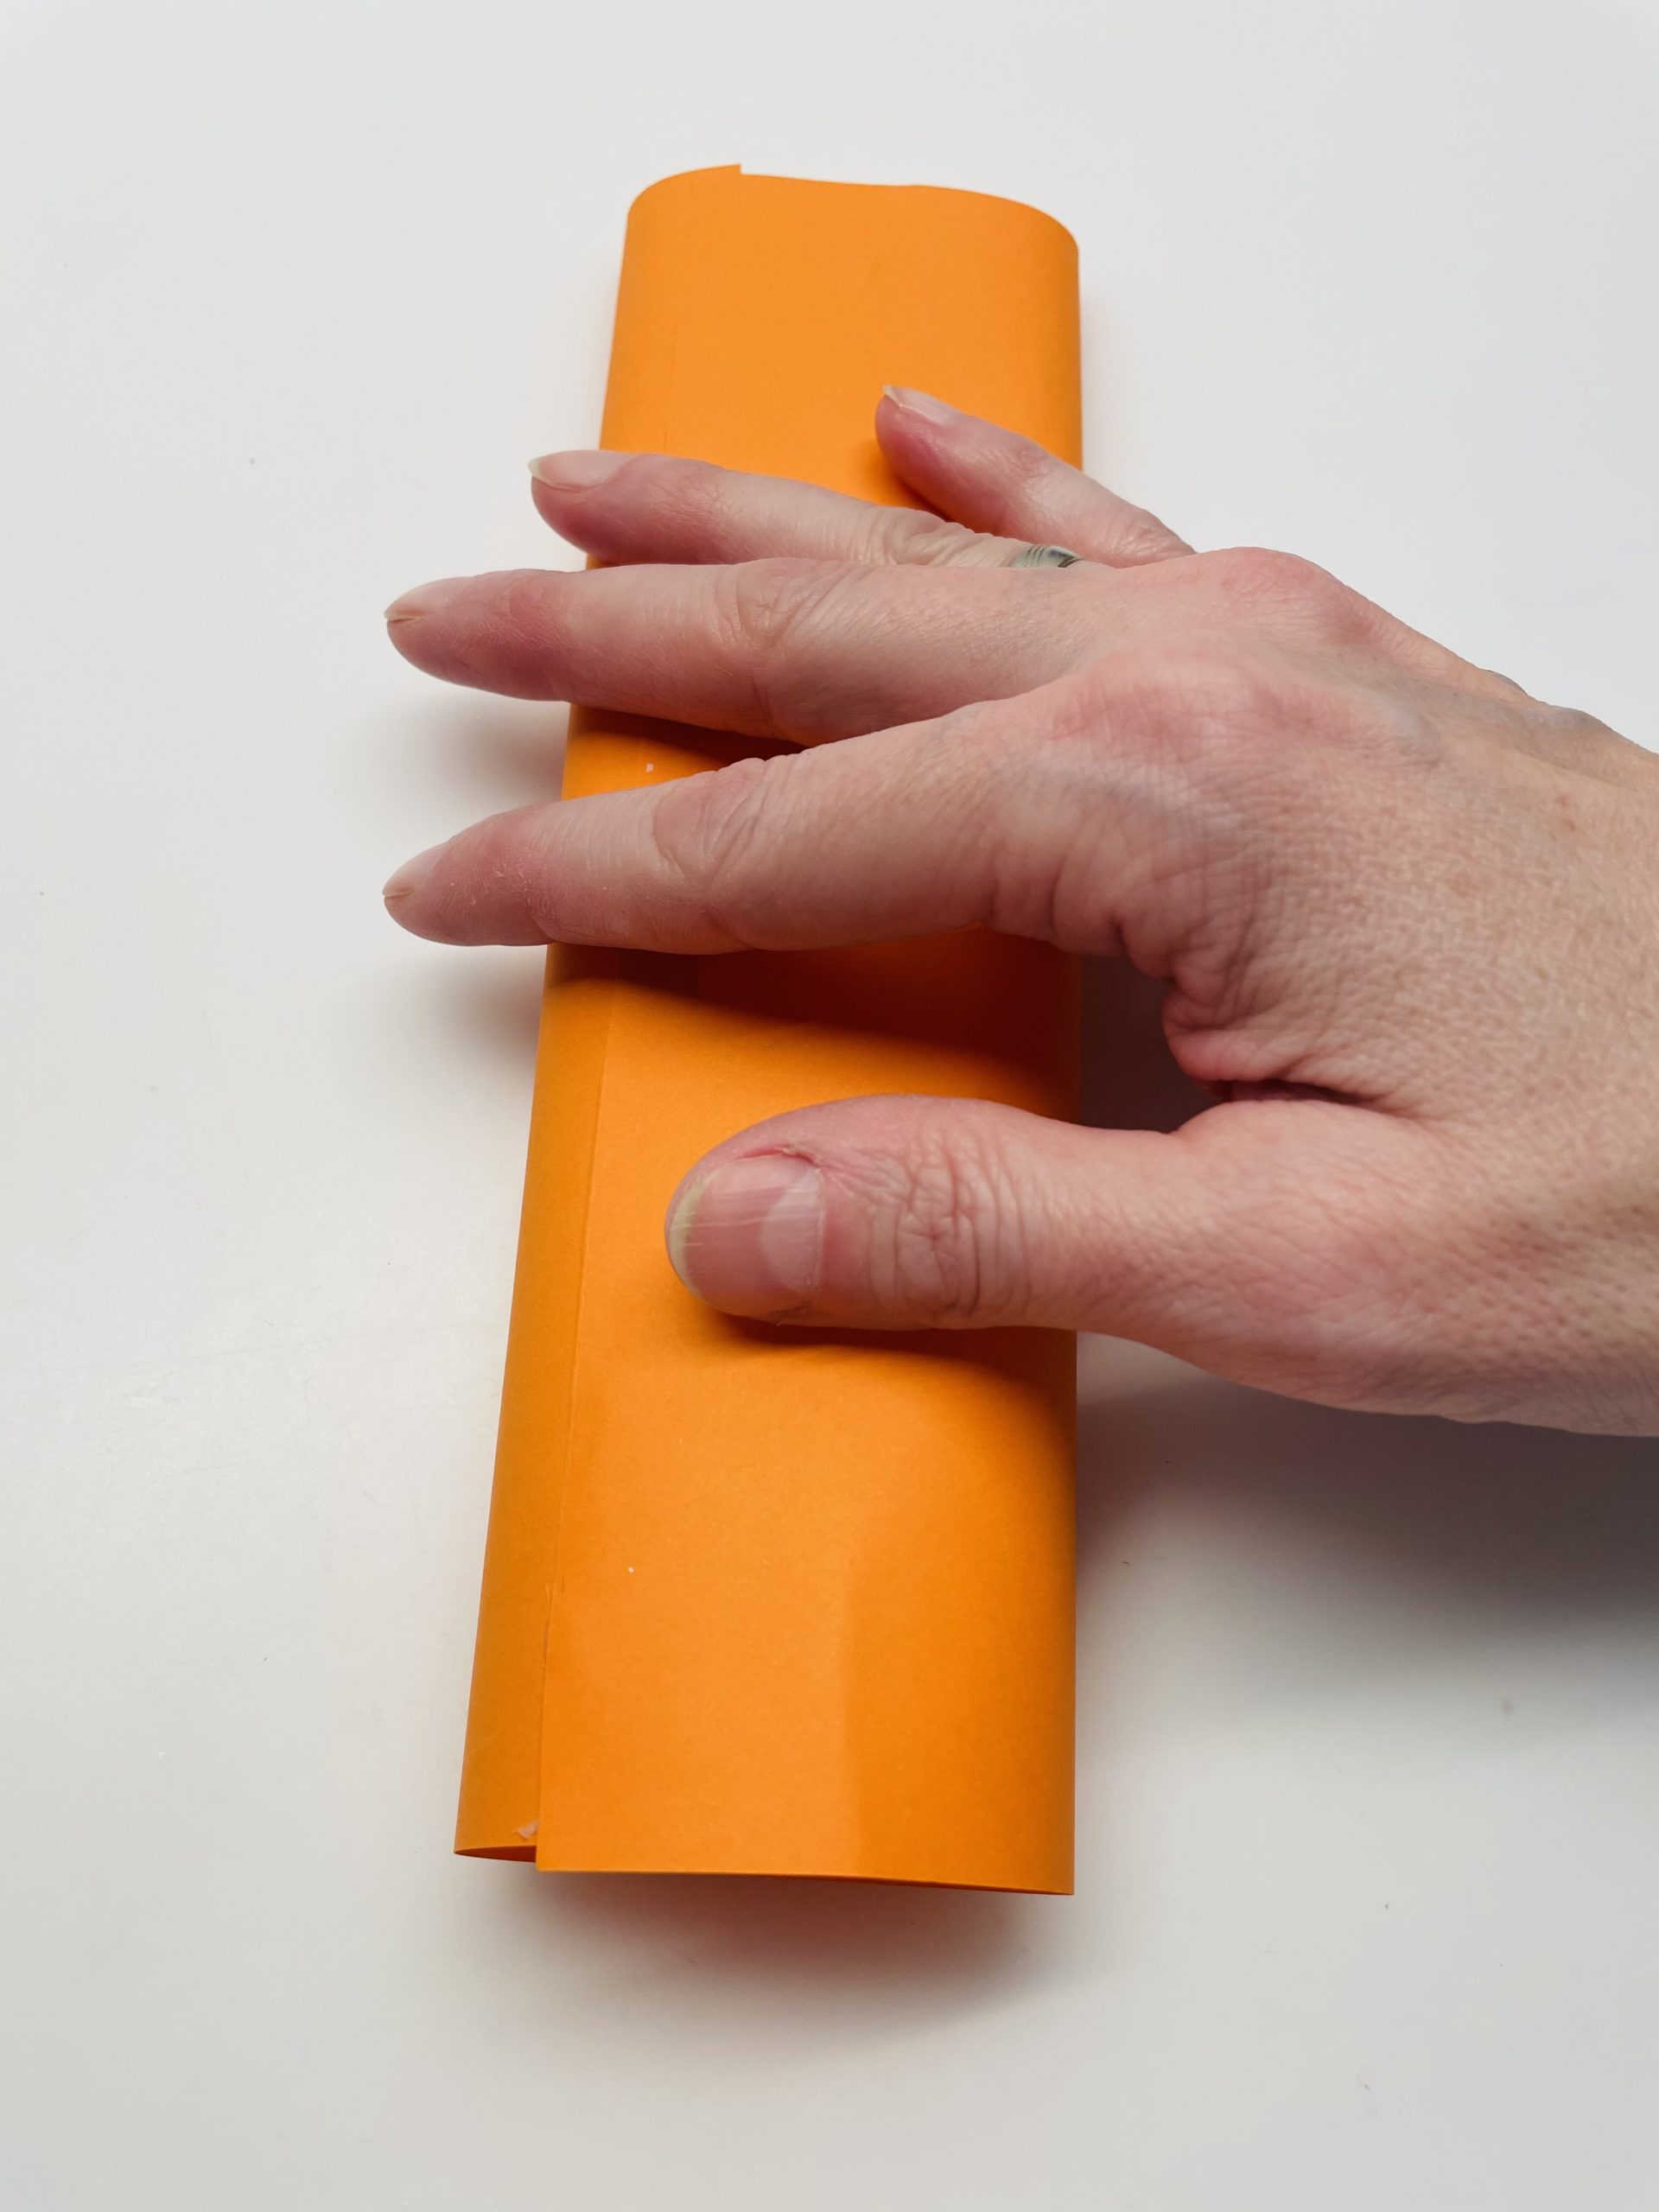
Bild zum Schritt 4 für das Bastel- und DIY-Abenteuer für Kinder: 'Anschließend drückt ihr die Röhre vorsichtig an einem Ende etwas...'

5

Now put an end to it.

Bild zum Schritt 5 für das Bastel- und DIY-Abenteuer für Kinder: 'Drückt nun ein Ende platt.'

6

Now you're dripping a strip of glue into the flat-pressed opening.
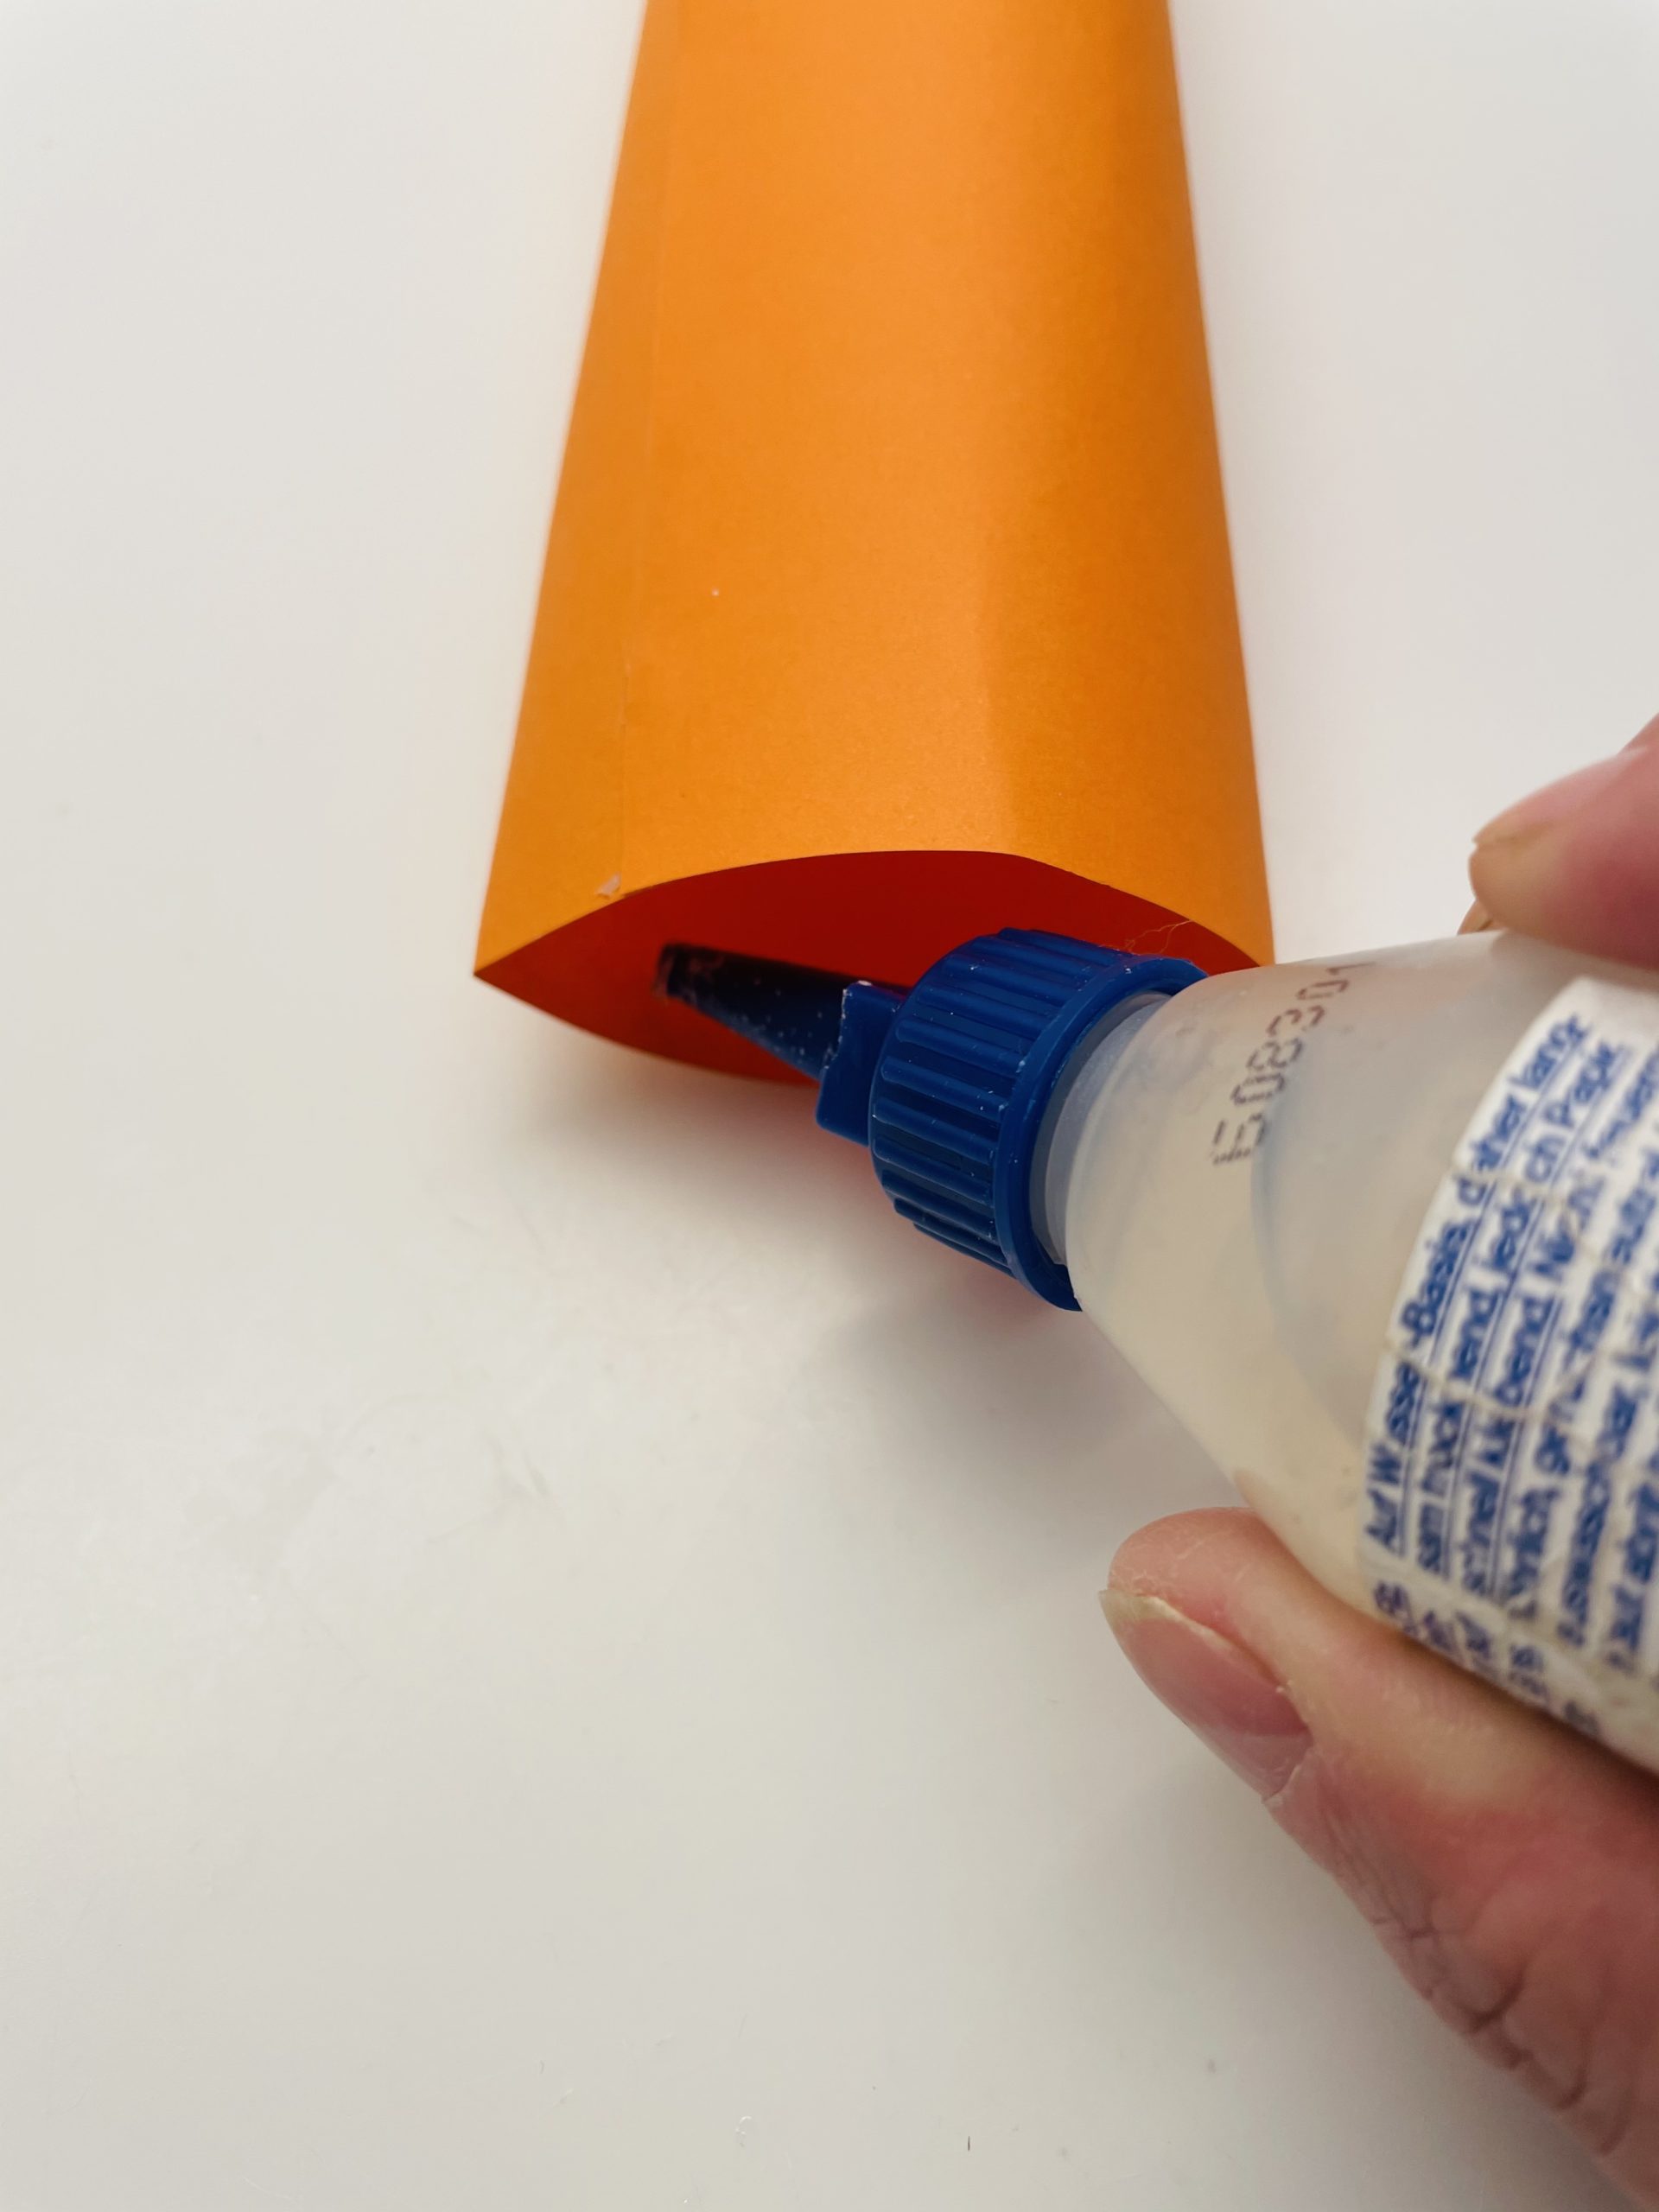
Bild zum Schritt 6 für das Bastel- und DIY-Abenteuer für Kinder: 'Jetzt tropft ihr einen Streifen Kleber in die platt gedrückte...'

7

Then you put the tube together.

Bild zum Schritt 7 für das Bastel- und DIY-Abenteuer für Kinder: 'Dann klebt ihr die Röhre zusammen.'

8

Press the paper together until the glue is dried.
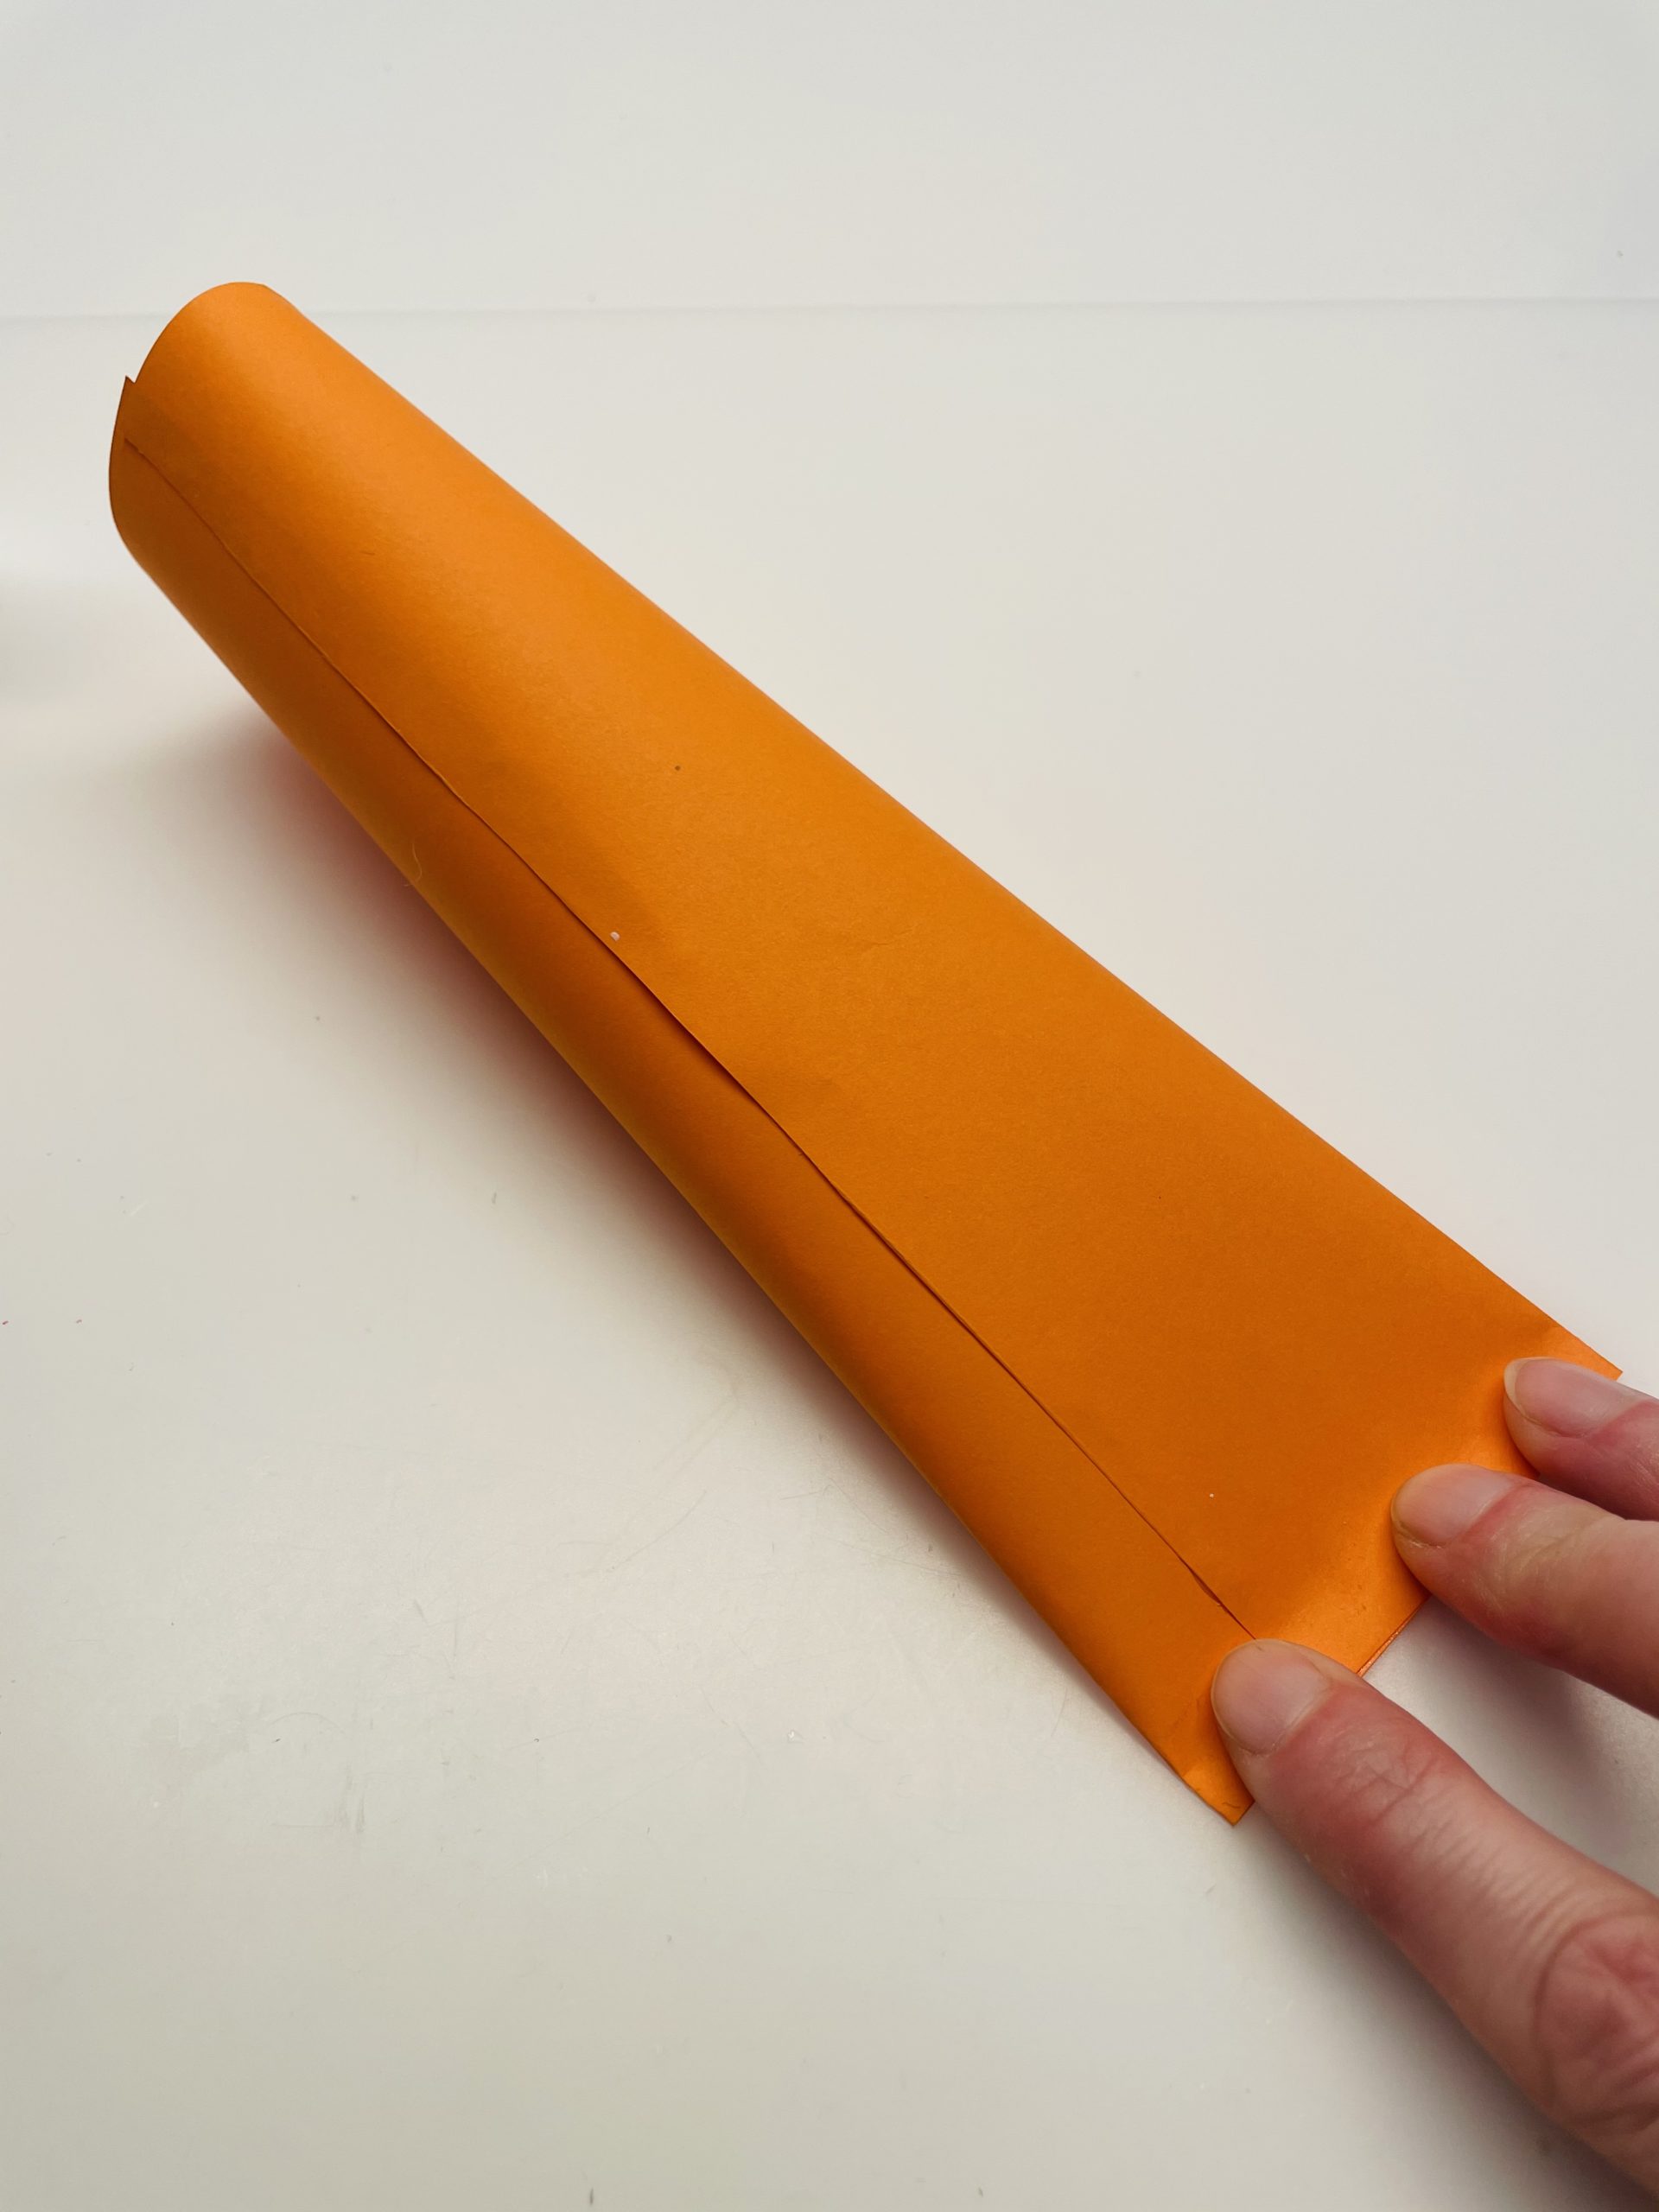
Bild zum Schritt 8 für das Bastel- und DIY-Abenteuer für Kinder: 'Drückt das Papier so lange zusammen, bis der Kleber getrocknet...'

9

2. Bild zum Schritt 8 für das Bastel- und DIY-Abenteuer für Kinder: 'Drückt das Papier so lange zusammen, bis der Kleber getrocknet...'

10

Now cut a strip of green paper to the dimensions 5cm x 20cm.
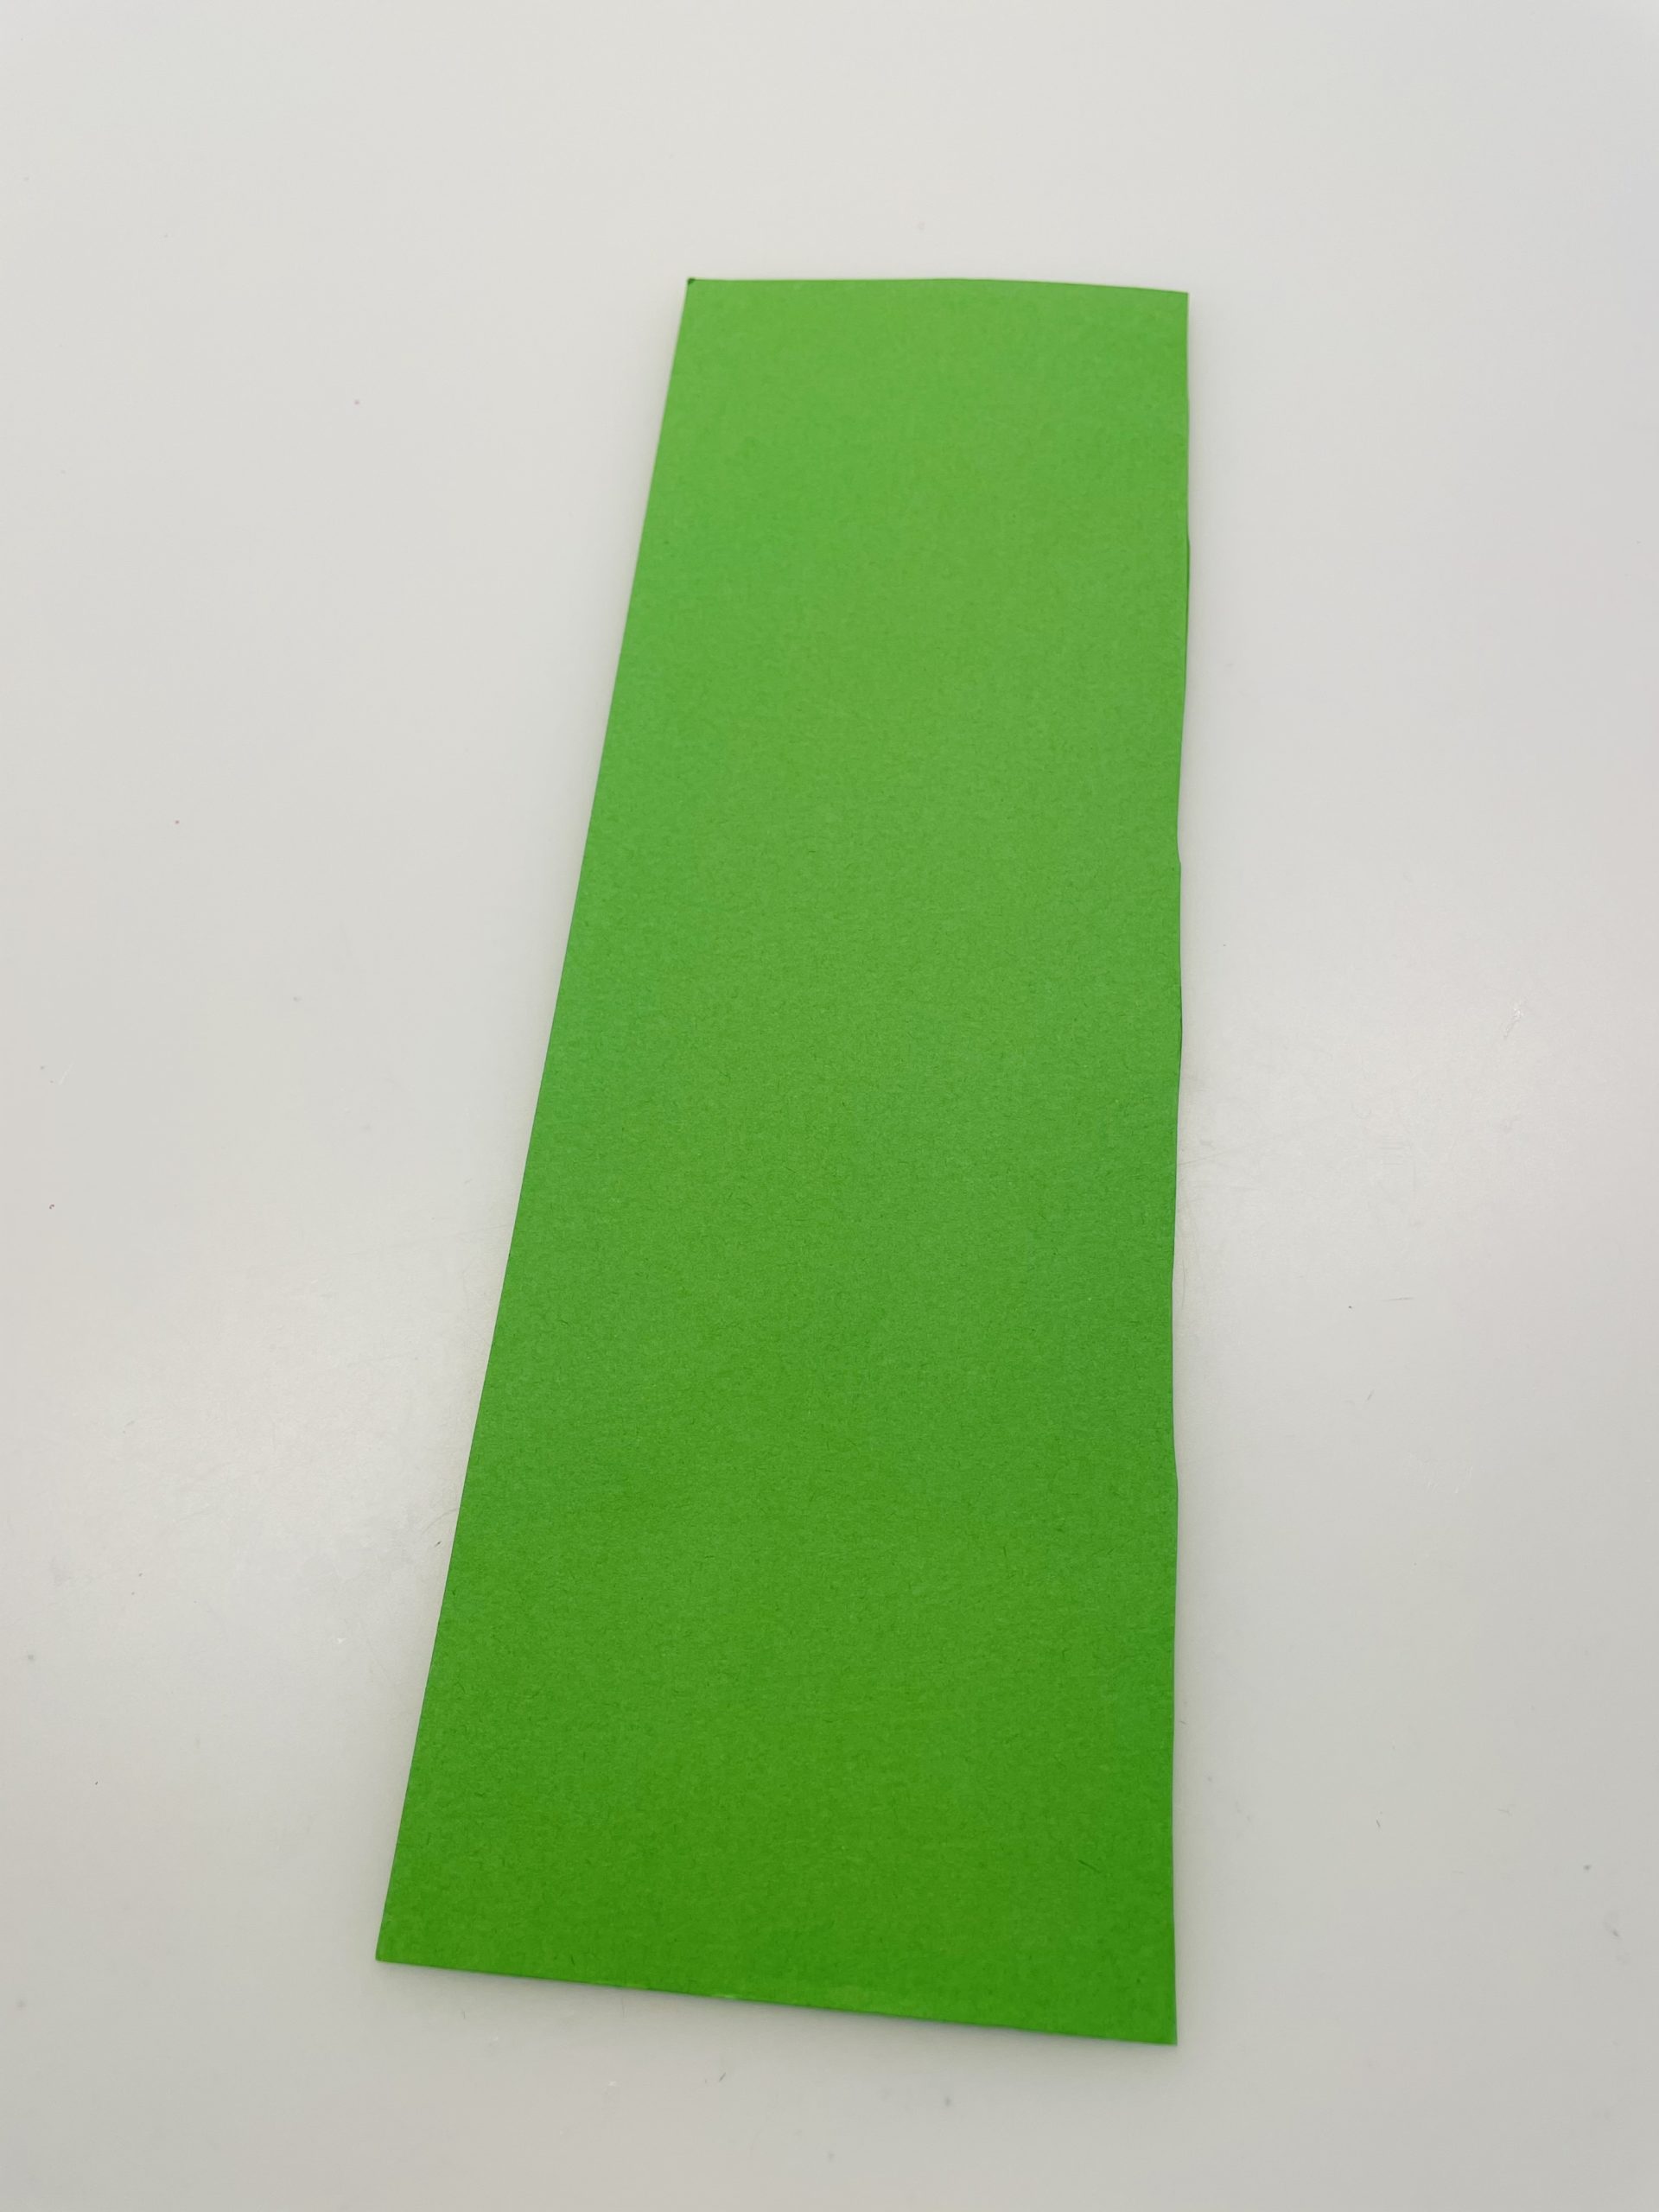
Bild zum Schritt 10 für das Bastel- und DIY-Abenteuer für Kinder: 'Schneidet jetzt einen Streifen grünes Papier auf die Maße 5cm...'

11

Then you fold the paper up to half.
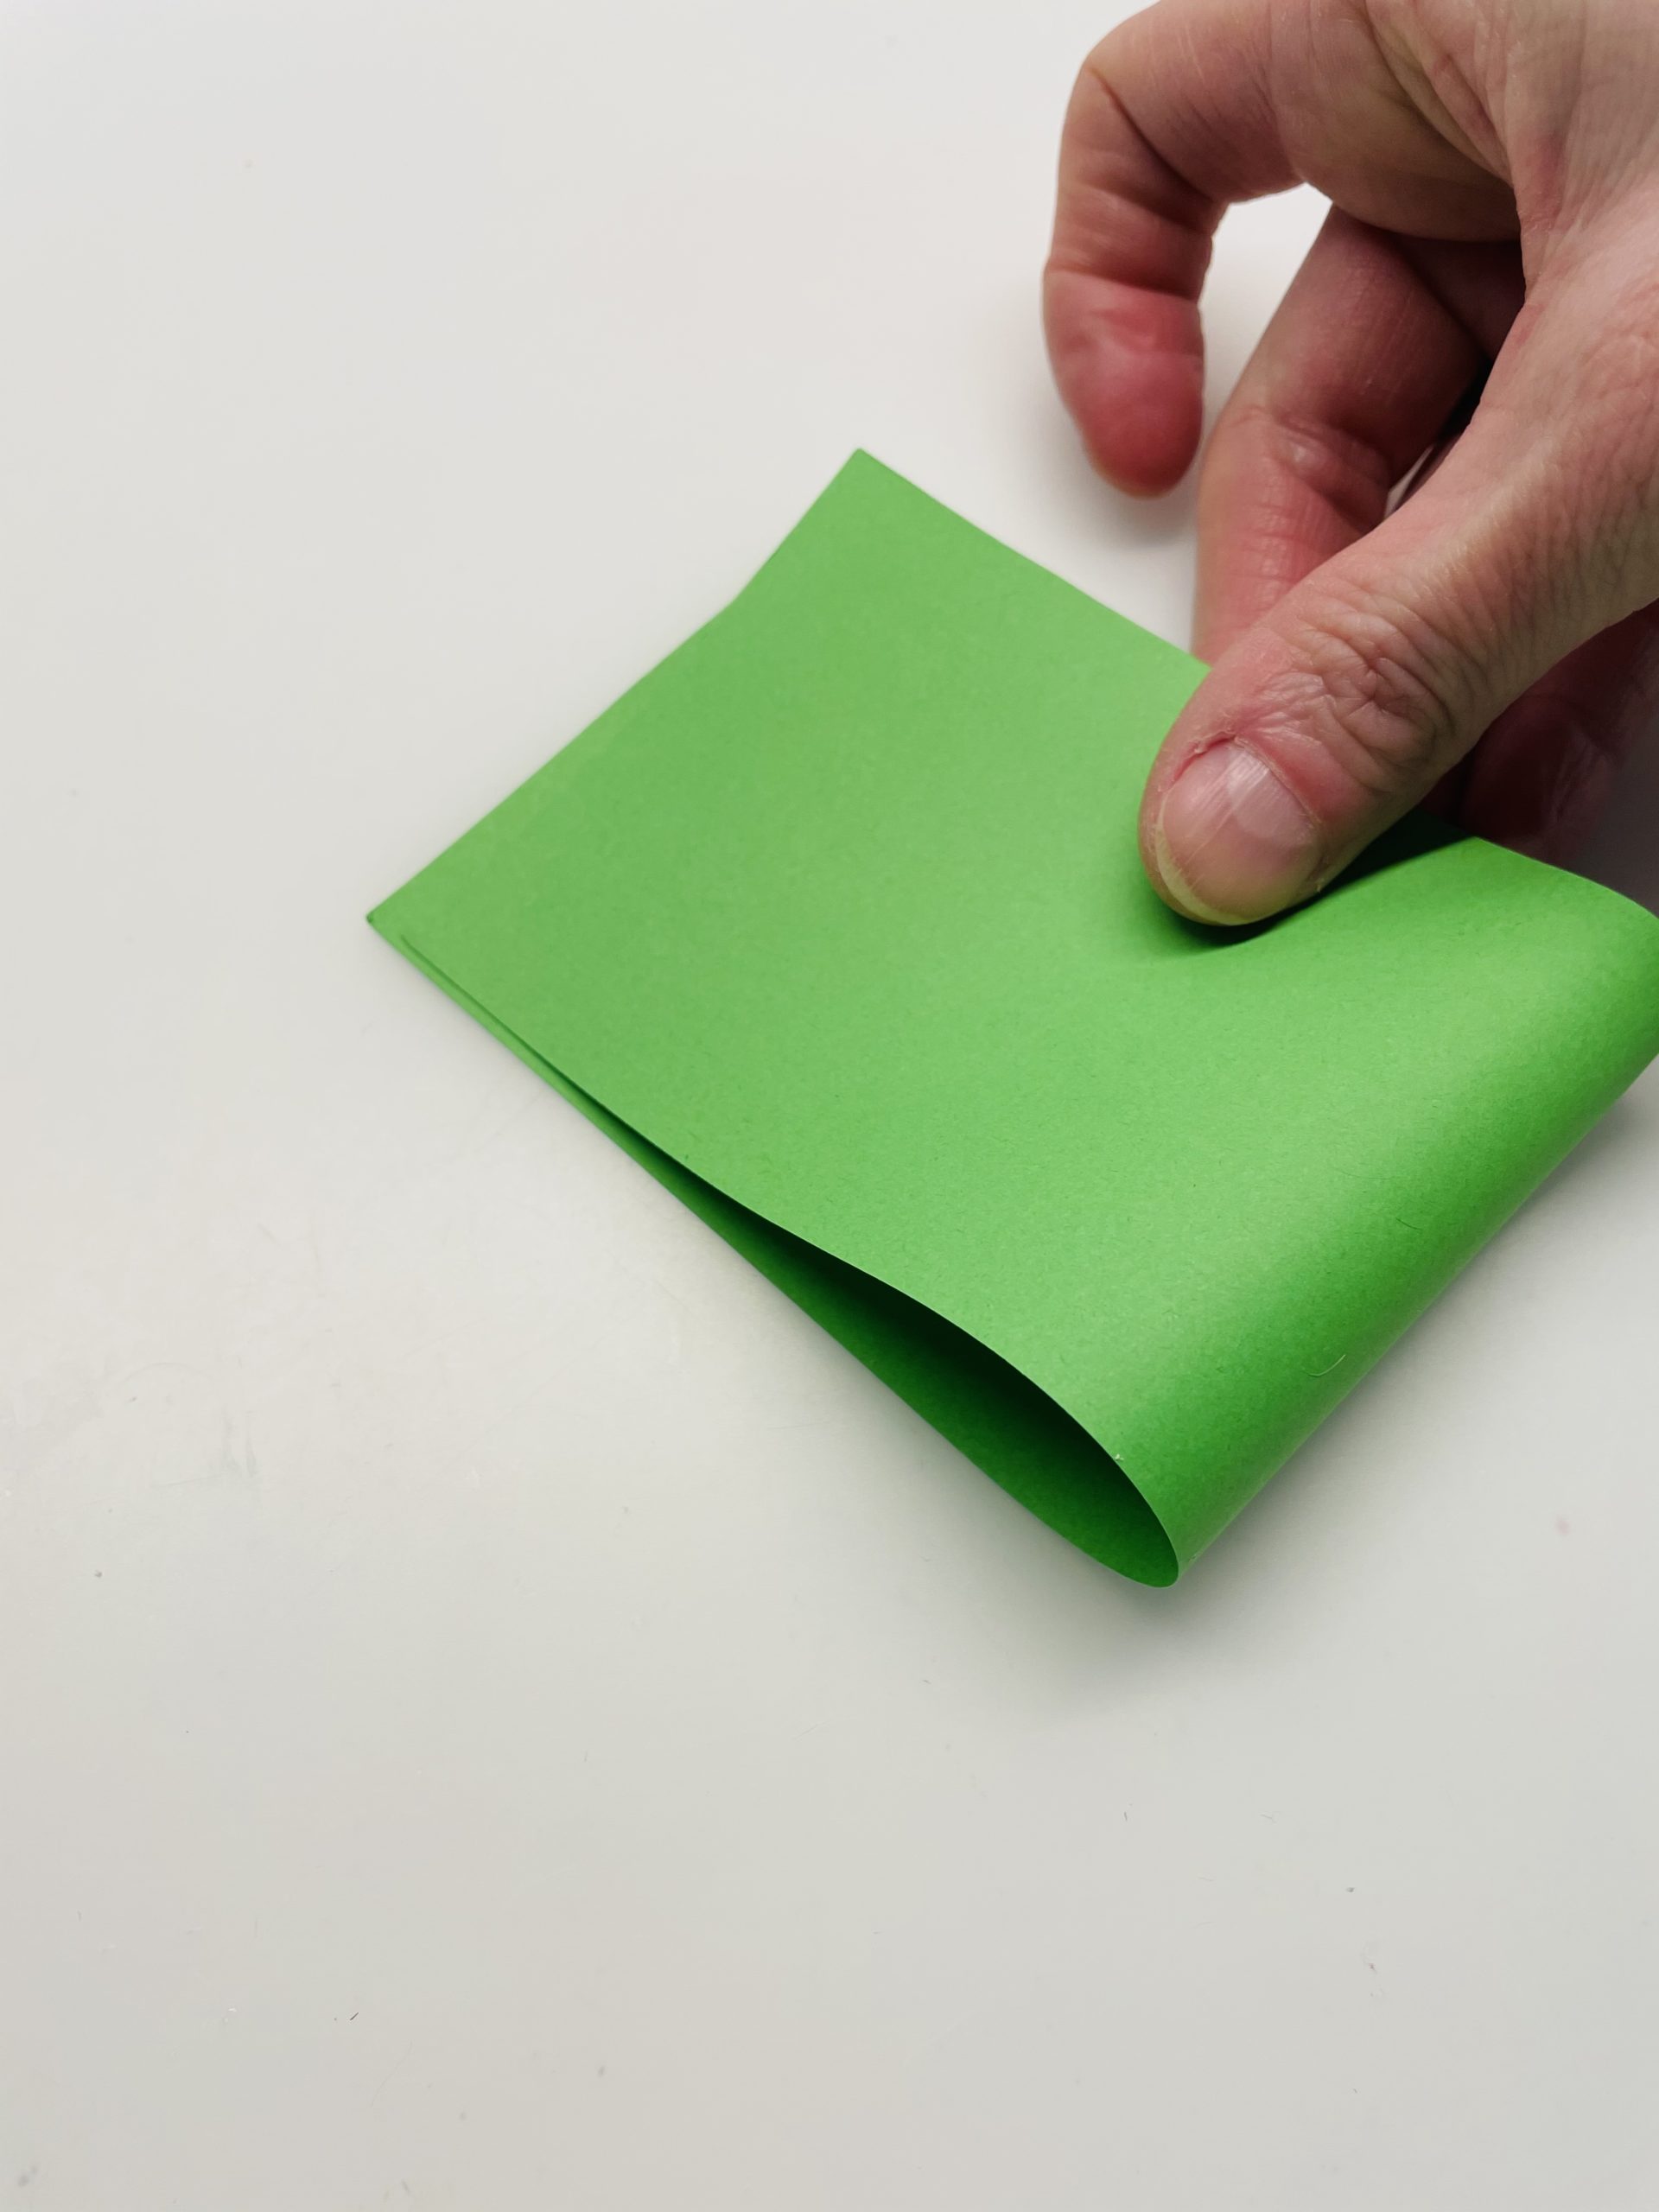
Bild zum Schritt 11 für das Bastel- und DIY-Abenteuer für Kinder: 'Dann faltet ihr das Papier bis zur Hälfte.'

12

Now you stick the paper ends together with glue.
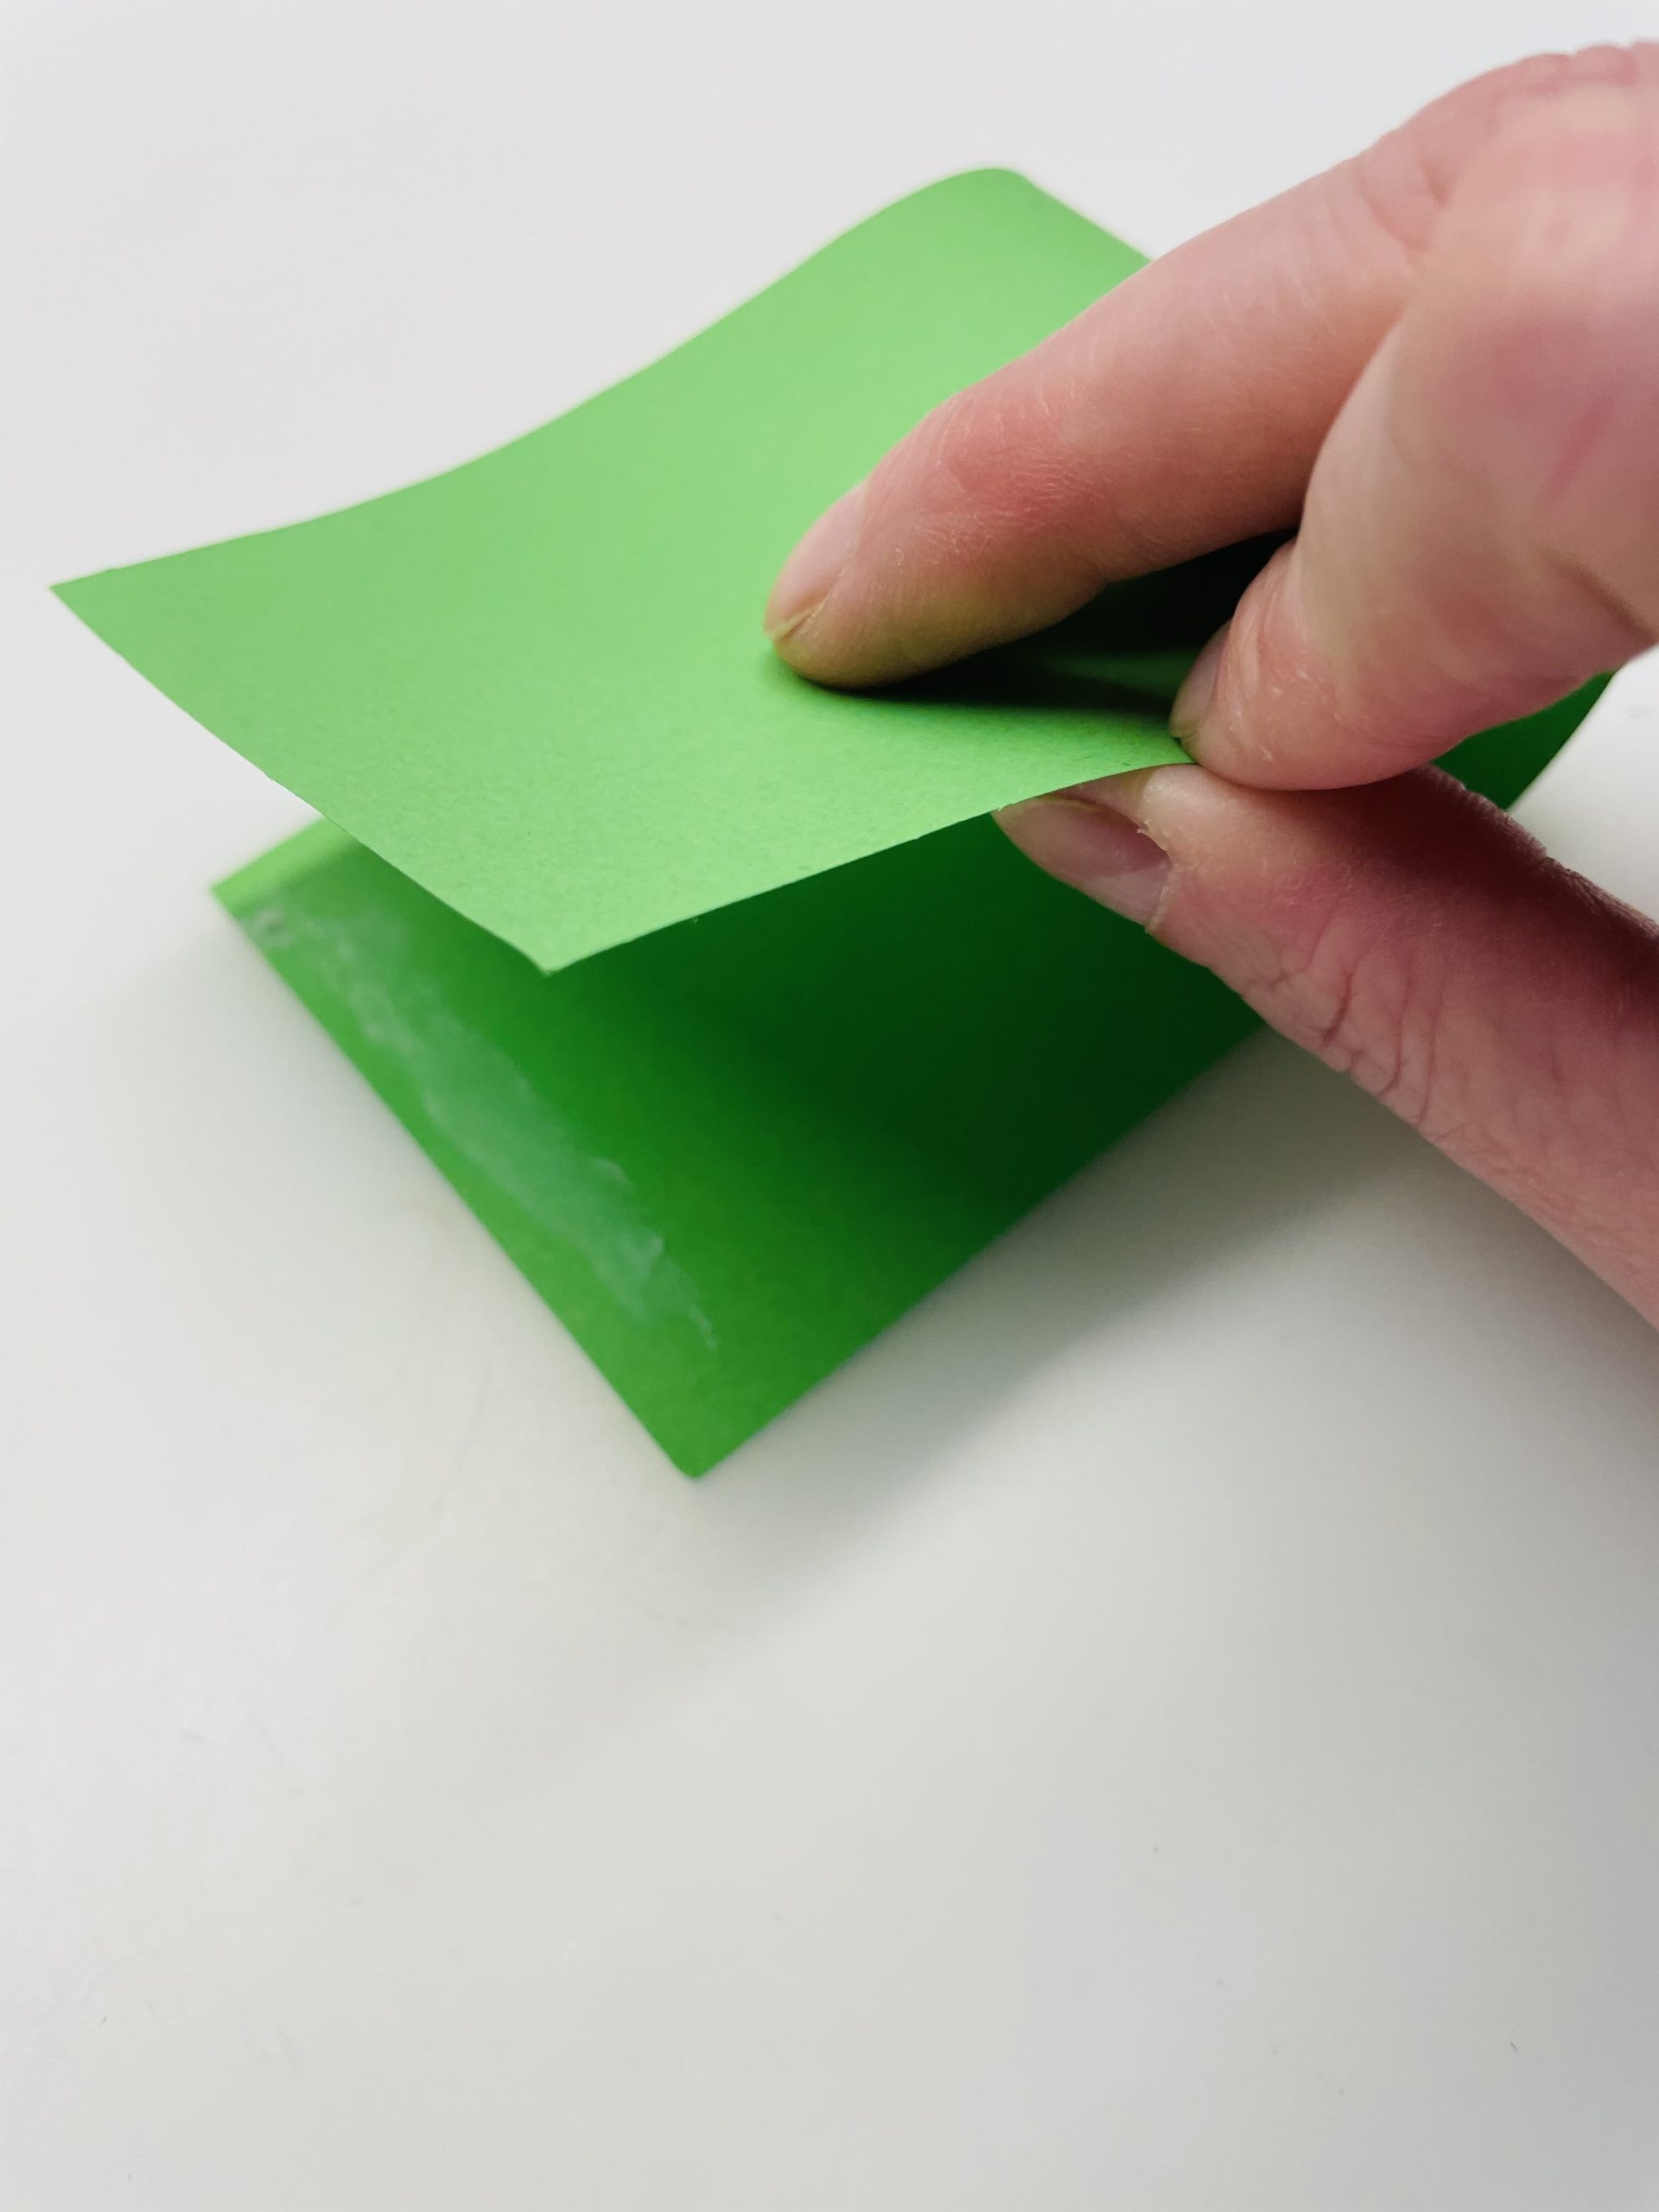
Bild zum Schritt 12 für das Bastel- und DIY-Abenteuer für Kinder: 'Jetzt klebt ihr die Papierenden mit Kleber zusammen.'

13

Starting from the closed side, you now cut in the paper.
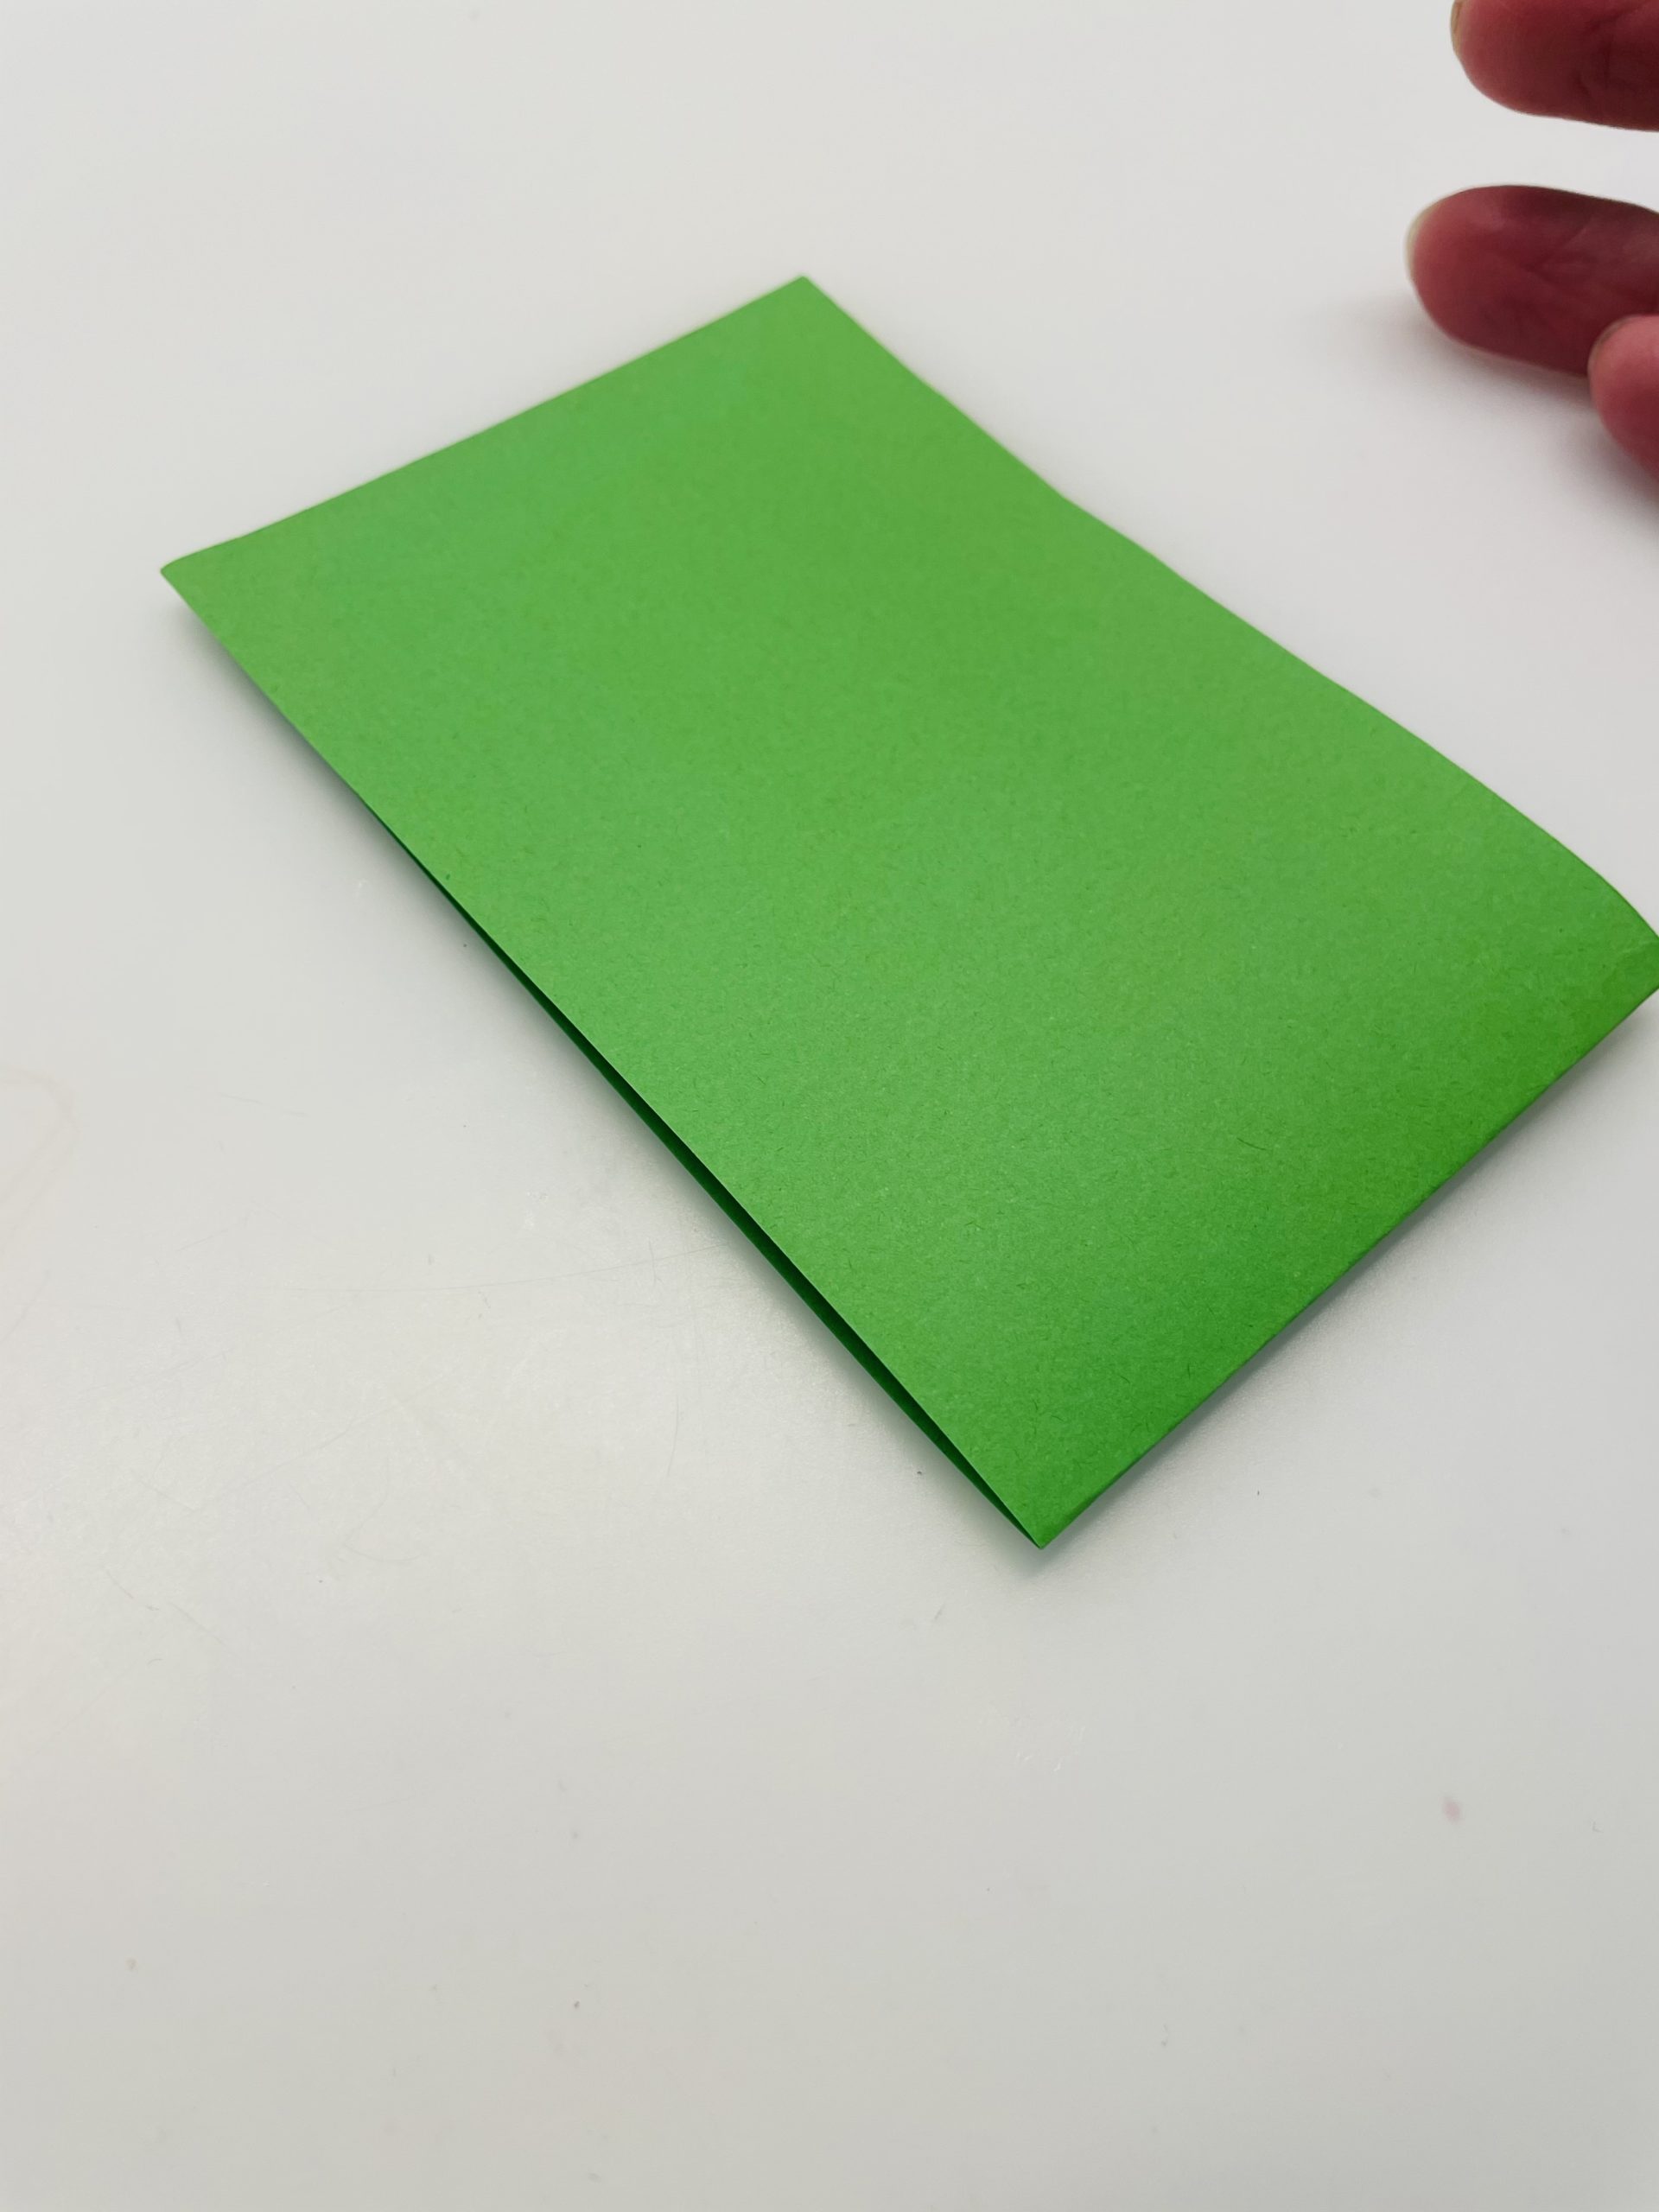
Bild zum Schritt 13 für das Bastel- und DIY-Abenteuer für Kinder: 'Von der geschlossenen Seite ausgehend, schneidet ihr nun das Papier...'

14

Cuts very narrow strips into the paper and leaves a 1cm wide strip. This corresponds to approximately the glued surface.
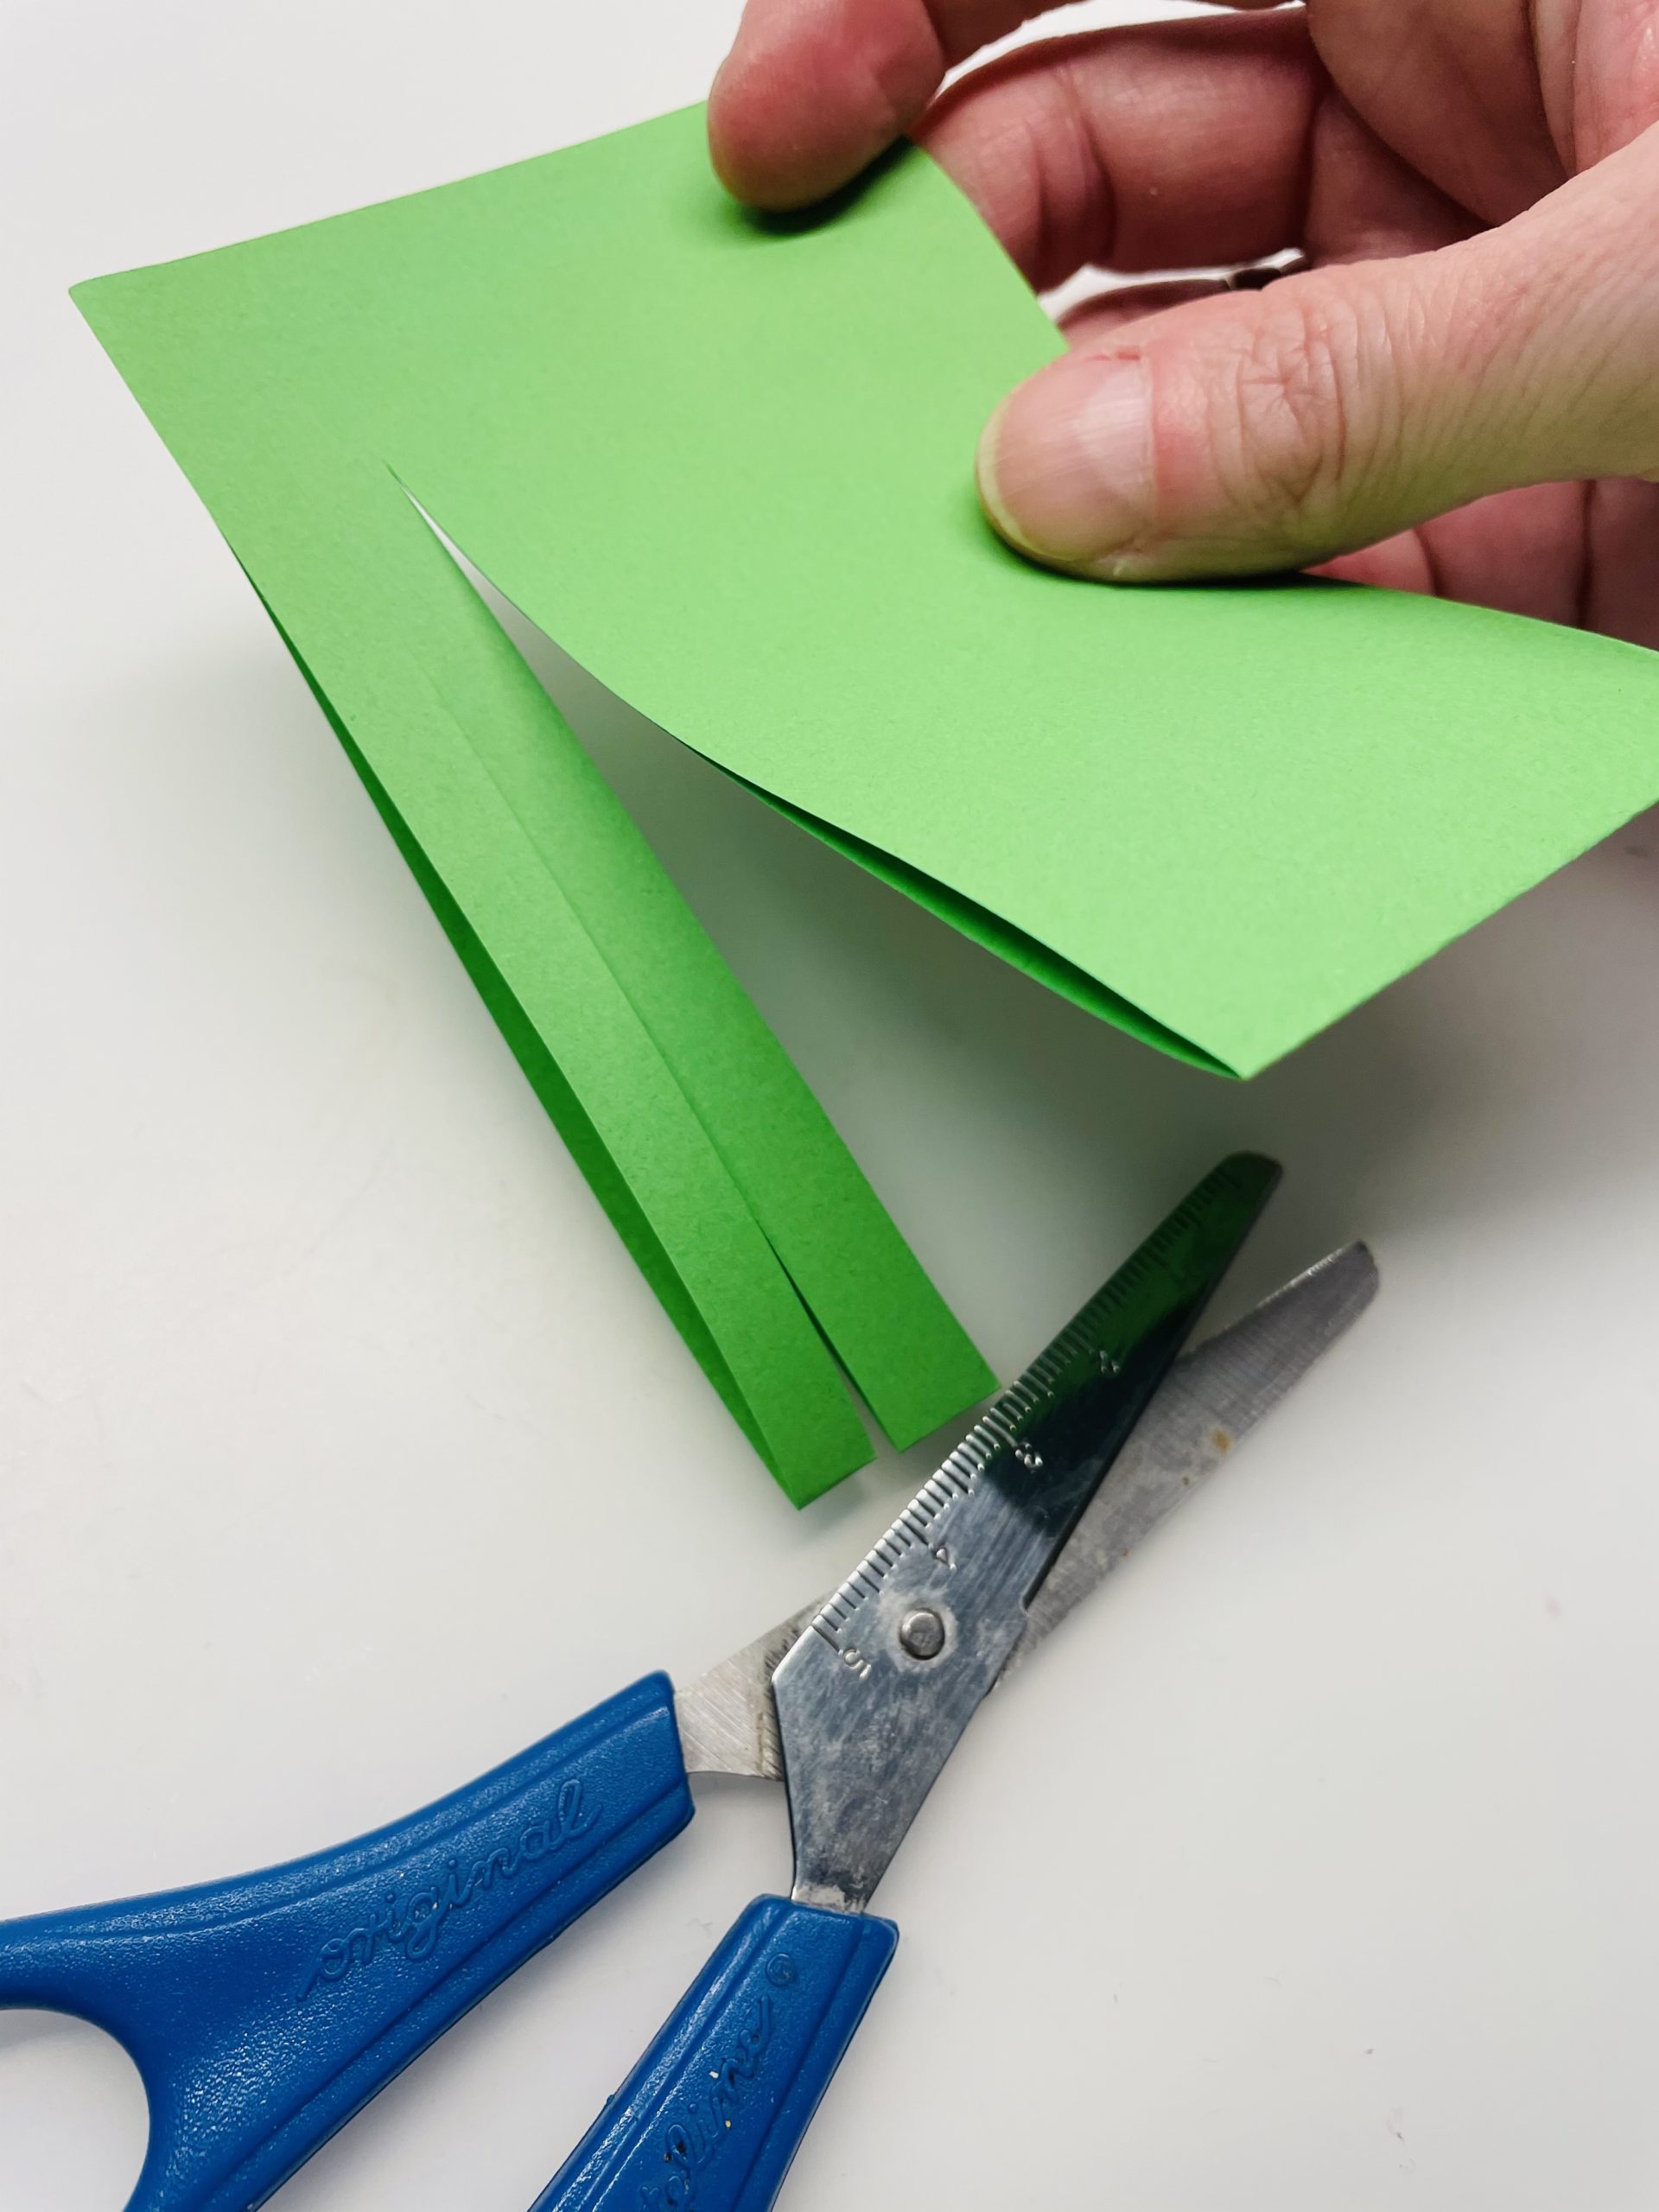
Bild zum Schritt 14 für das Bastel- und DIY-Abenteuer für Kinder: 'Schneidet sehr schmale Streifen in das Papier und lasst einen...'

15

2. Bild zum Schritt 14 für das Bastel- und DIY-Abenteuer für Kinder: 'Schneidet sehr schmale Streifen in das Papier und lasst einen...'

16

Now fold half the cut paper. So the paper strips are now double.
Your carrot green is ready.
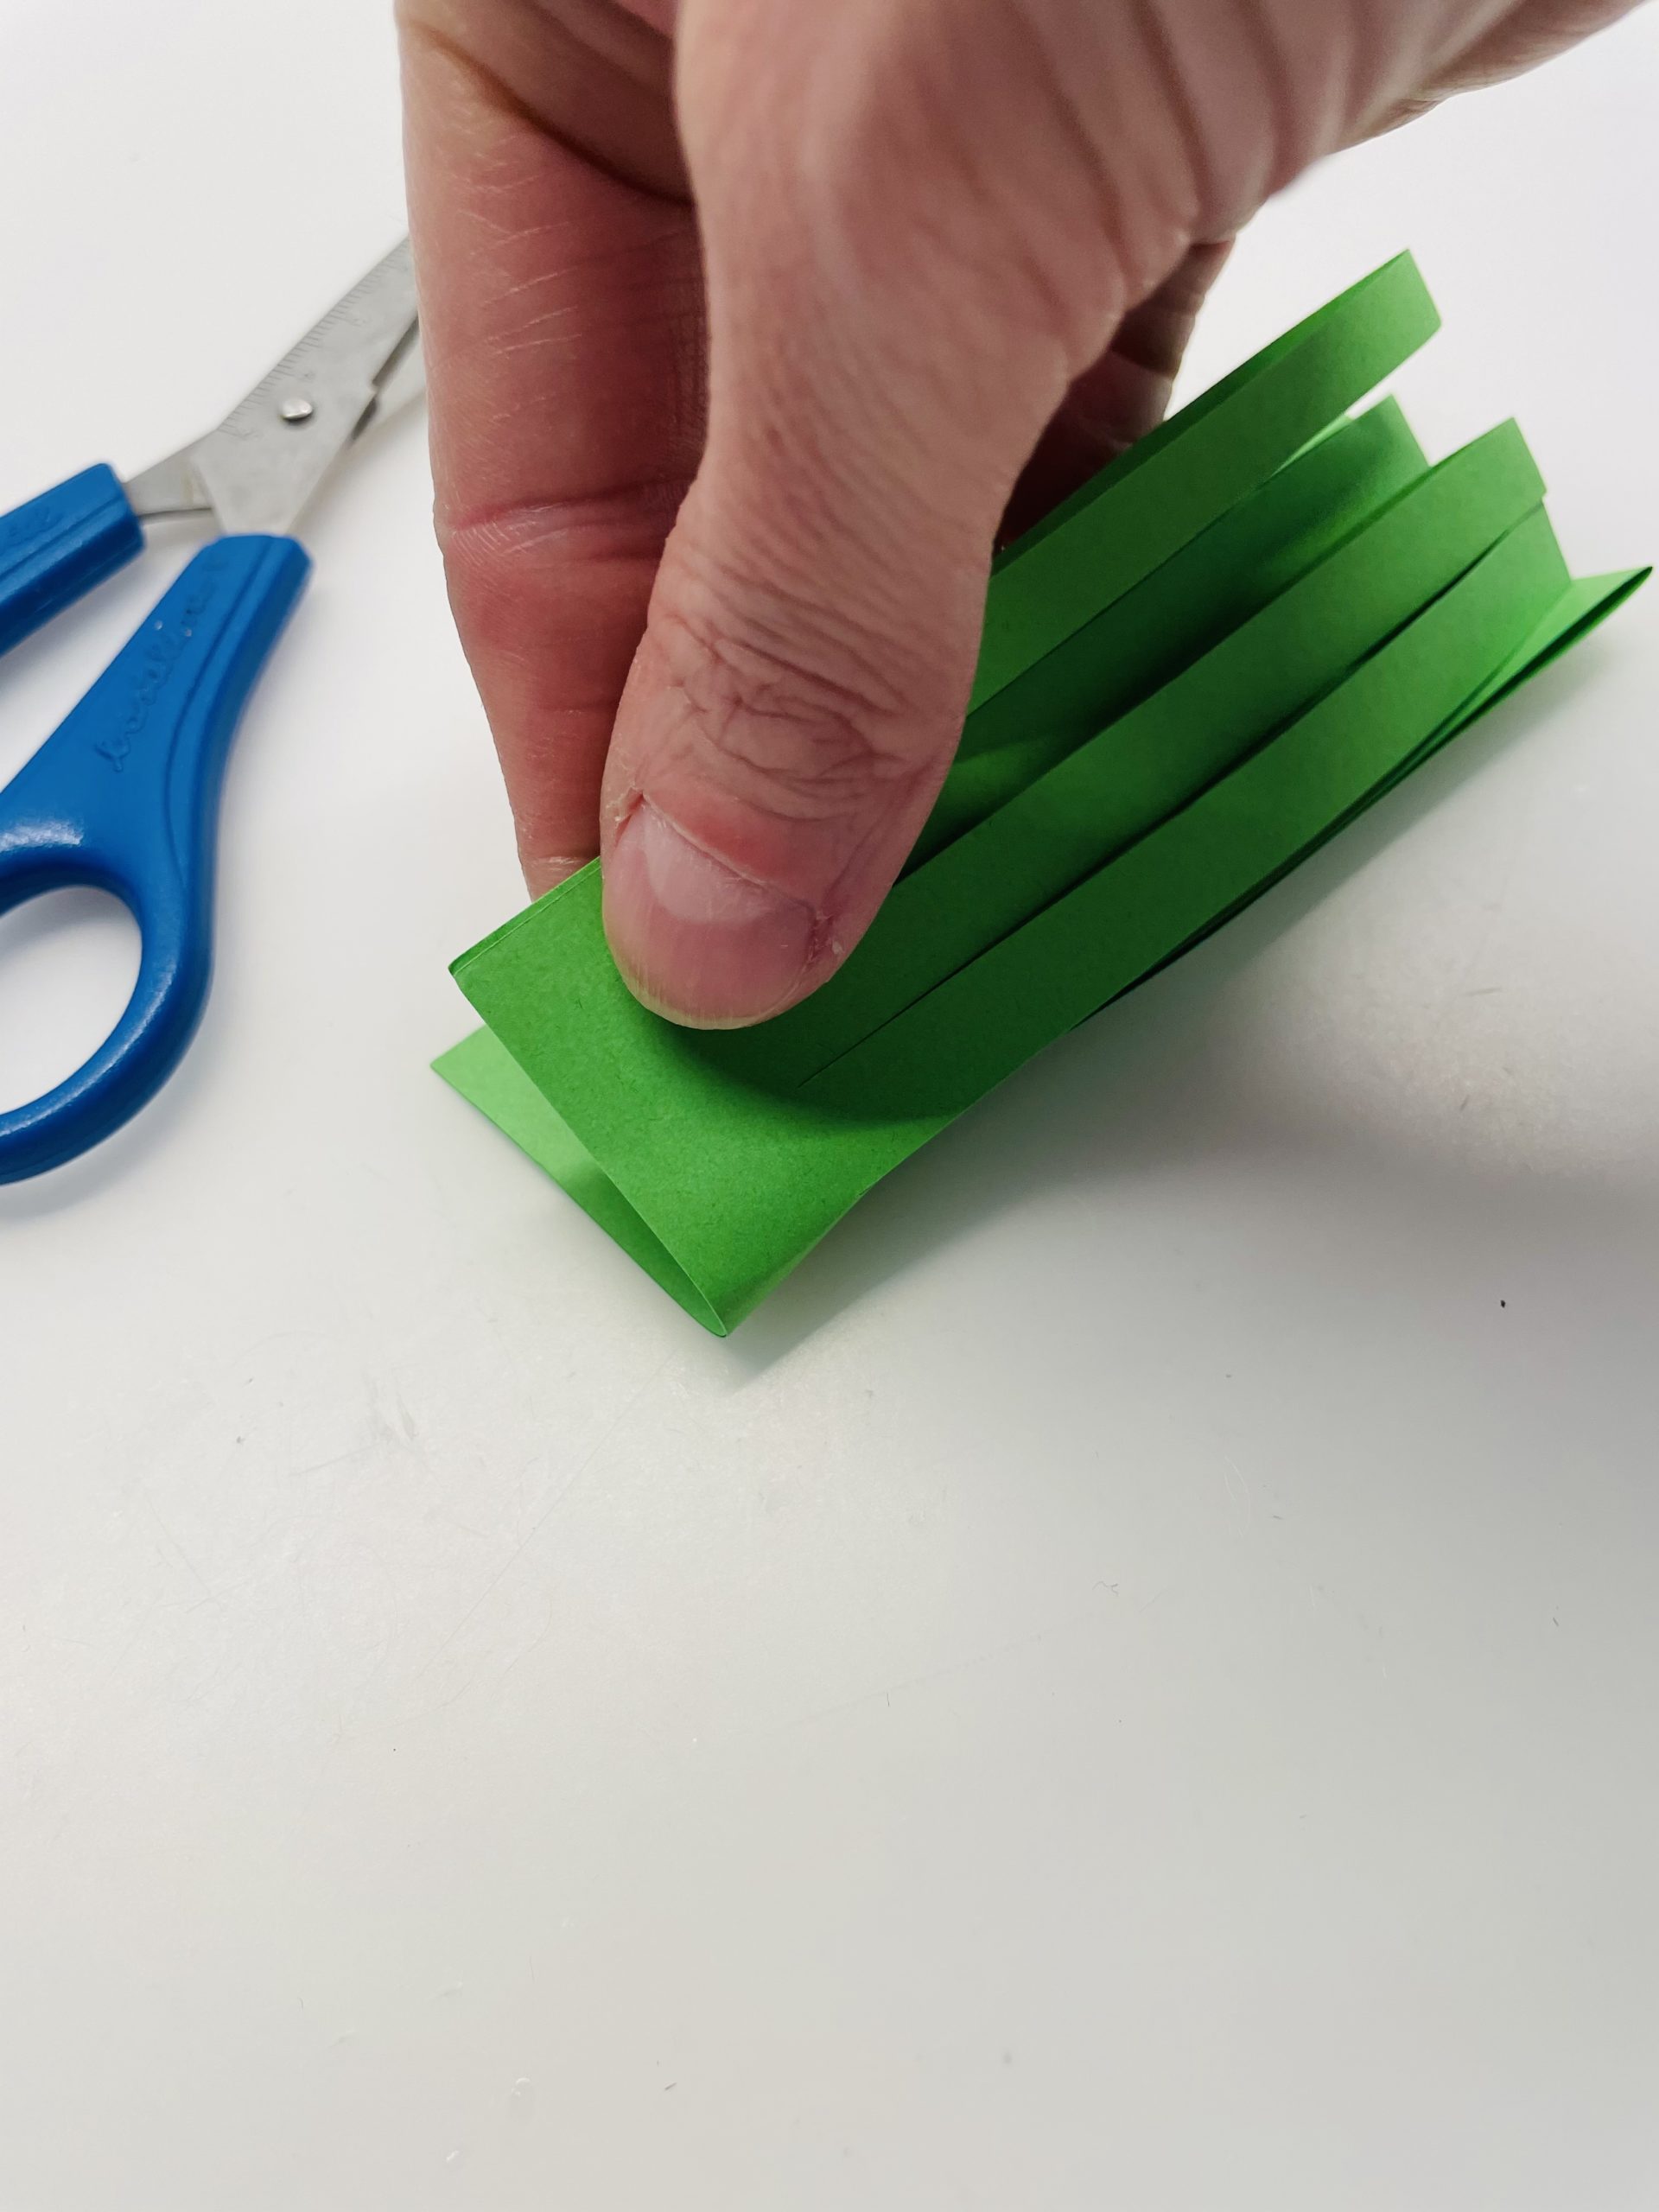
Bild zum Schritt 16 für das Bastel- und DIY-Abenteuer für Kinder: 'Faltet das geschnittene Papier nun zur Hälfte. So liegen die...'

17

Now take the carrot and squeeze the still open end of the tube across to the opposite side flat. Thus the carrot is closed.
If you want to put something in the carrot, you should put it in now.
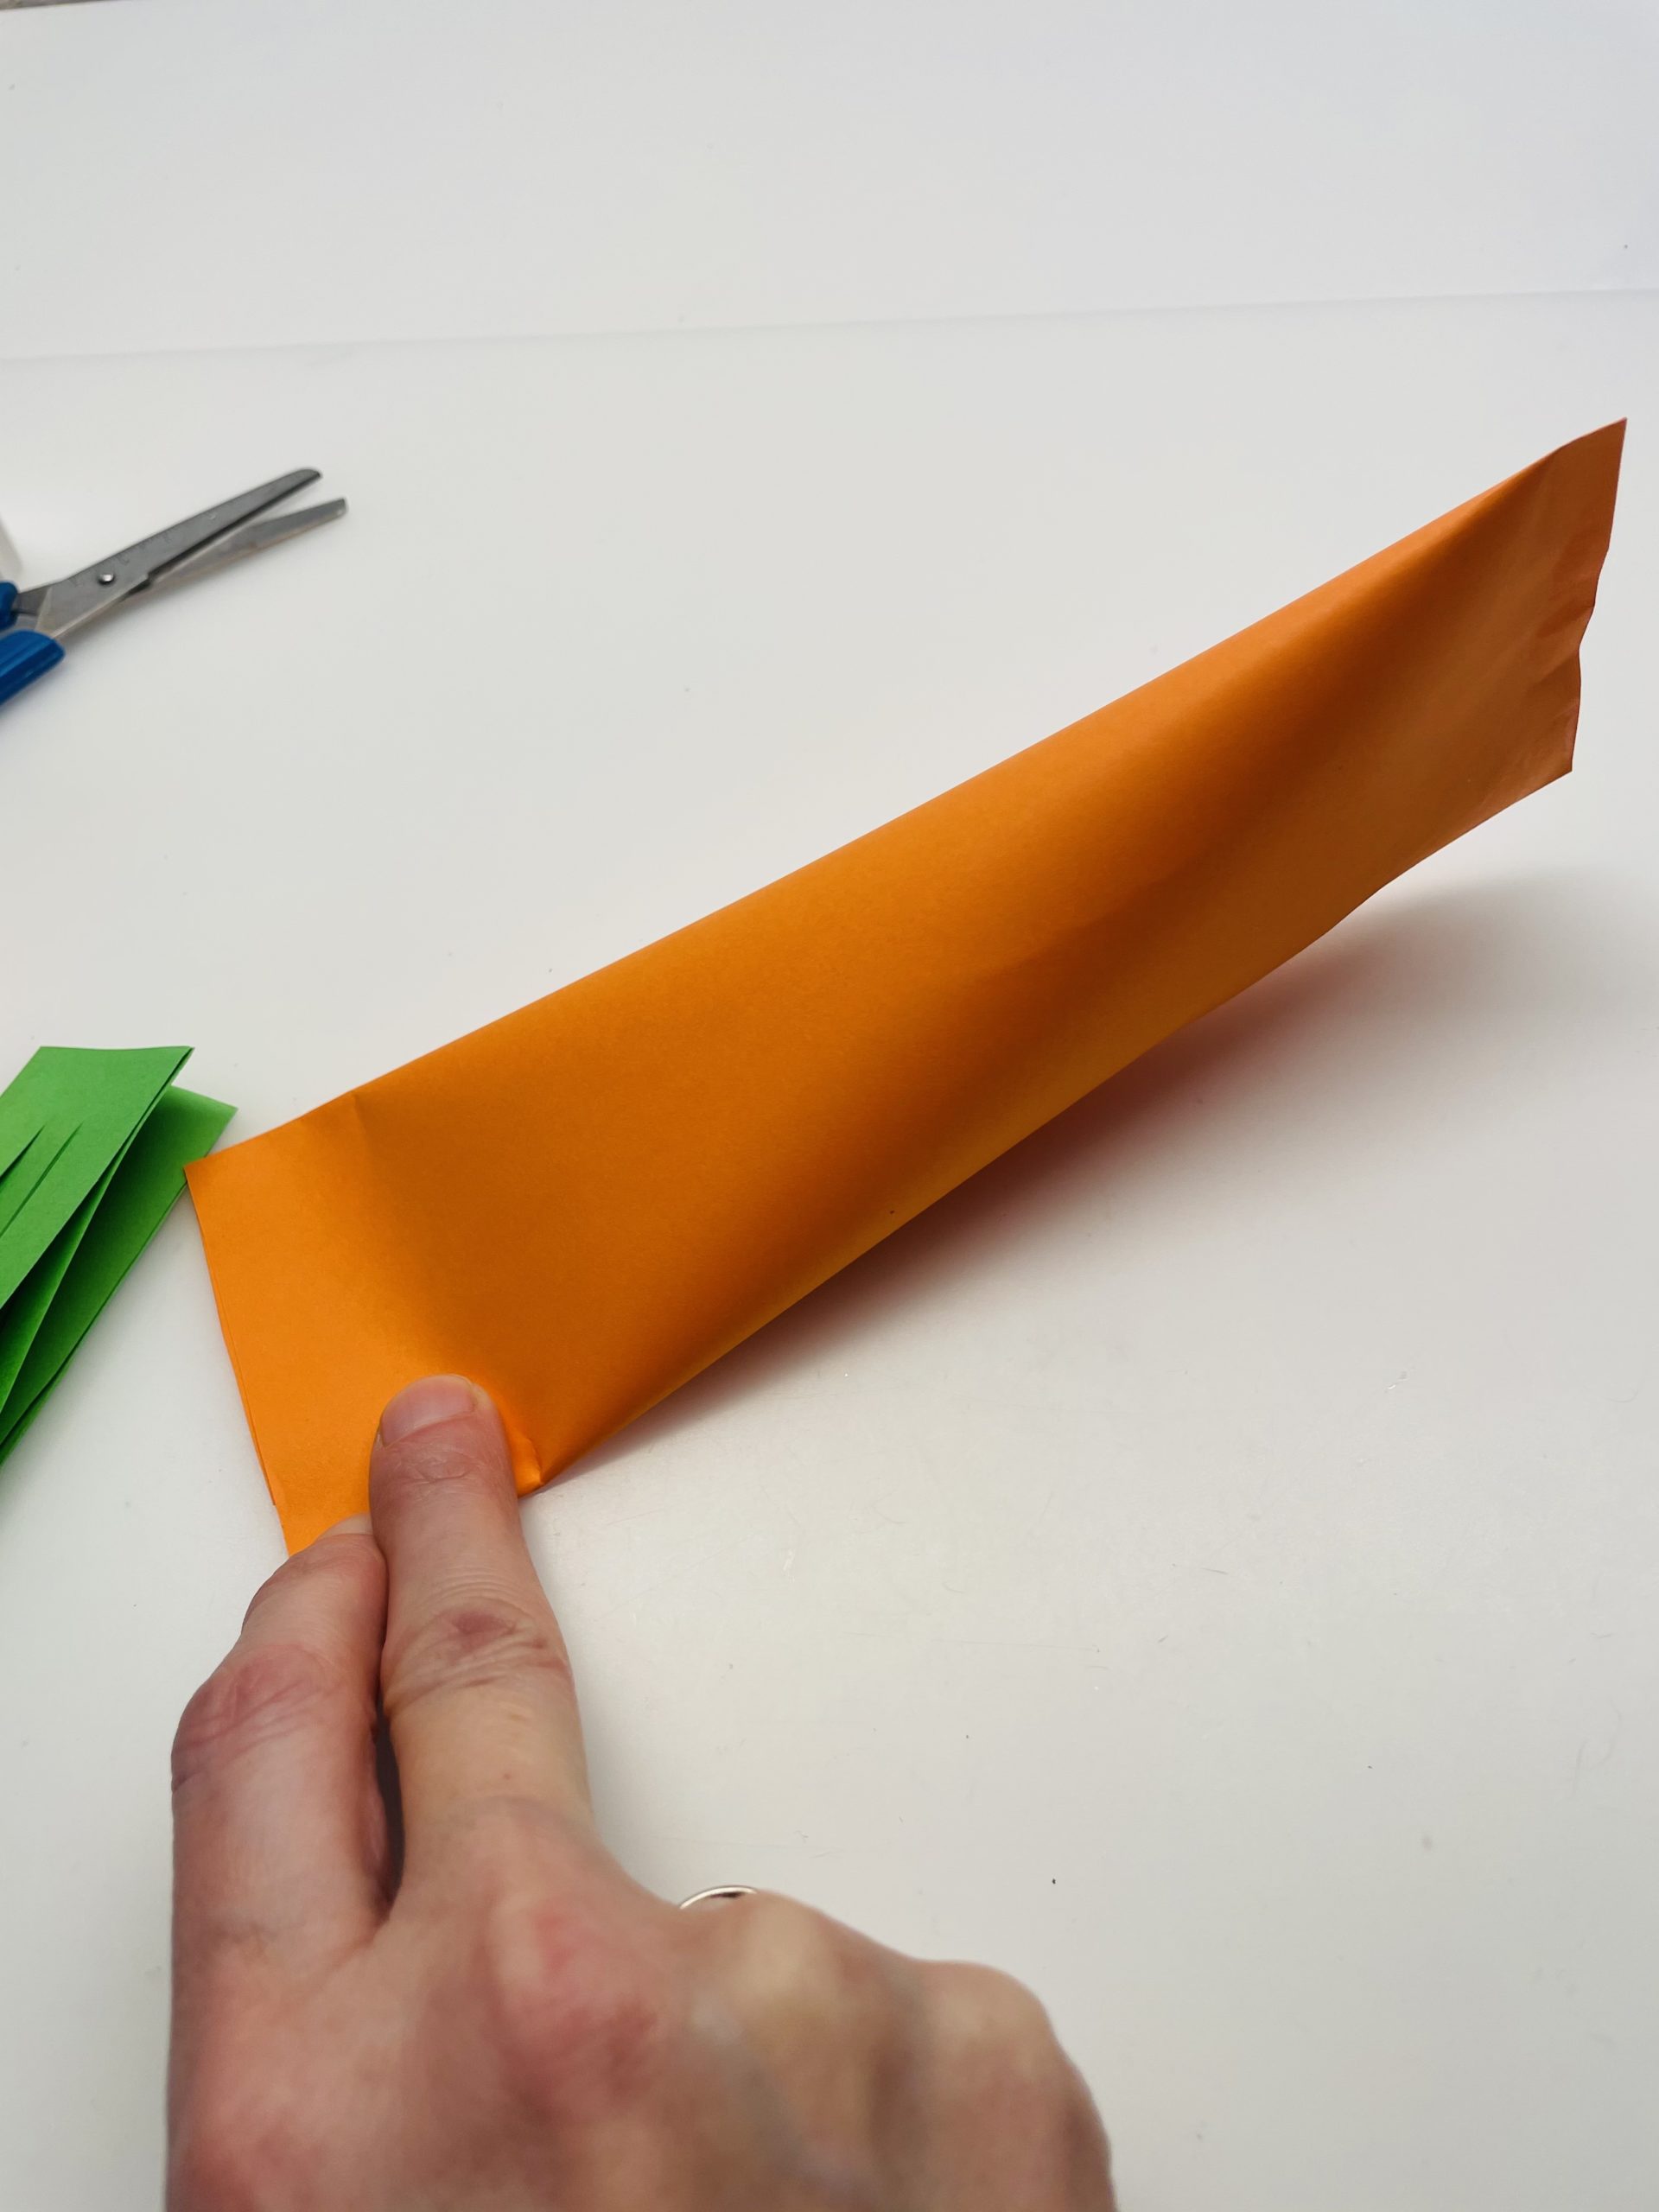
Bild zum Schritt 17 für das Bastel- und DIY-Abenteuer für Kinder: 'Nehmt nun die Karotte und drückt das noch offene Ende...'

18

Then place the carrot green with the glued side in the opening. Apply glue and close the opening.

Bild zum Schritt 18 für das Bastel- und DIY-Abenteuer für Kinder: 'Anschließend legt ihr das Möhrengrün mit der geklebten Seite voran...'

19

Now cut the carrot a little round. Mark the roundings with a pencil on the left and right side of the green paper.
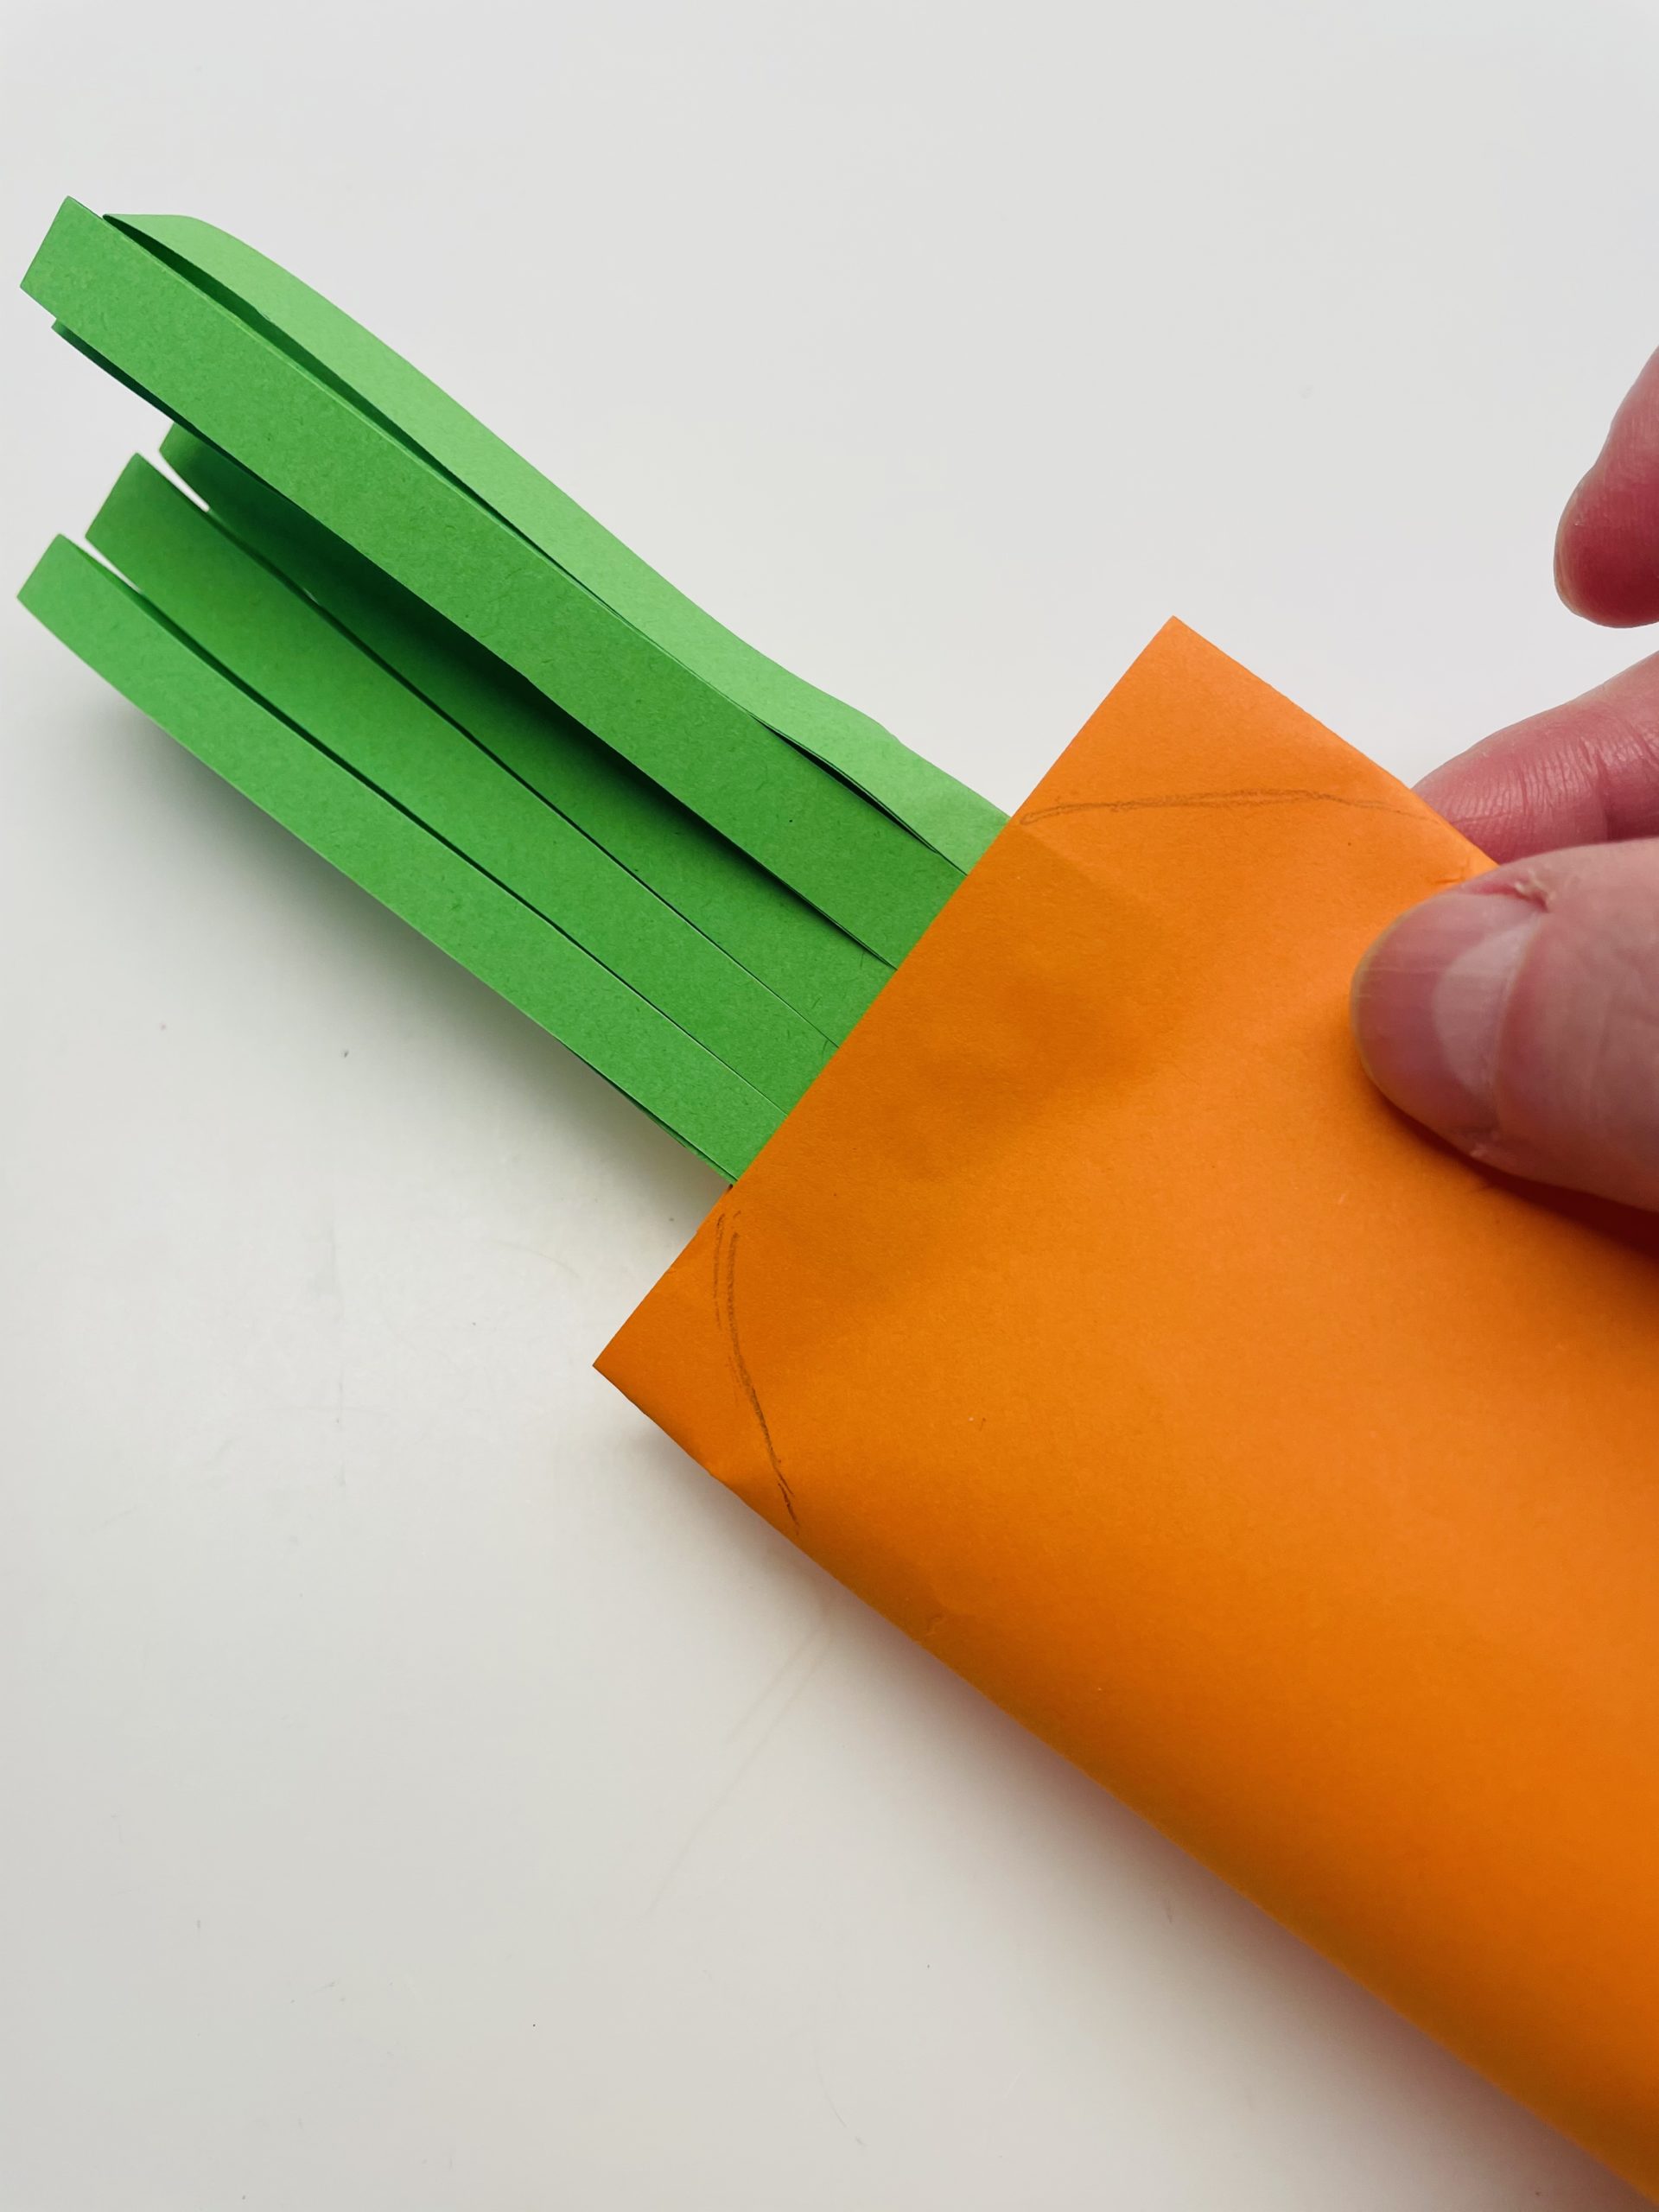
Bild zum Schritt 19 für das Bastel- und DIY-Abenteuer für Kinder: 'Jetzt schneidet ihr die Karotte noch etwas rund zu. Markiert...'

20

Then you cut the tips round.

Bild zum Schritt 20 für das Bastel- und DIY-Abenteuer für Kinder: 'Anschließend schneidet ihr die Spitzen rund.'

21

If the carrot is painted with an orange pen, it looks even more plastic.
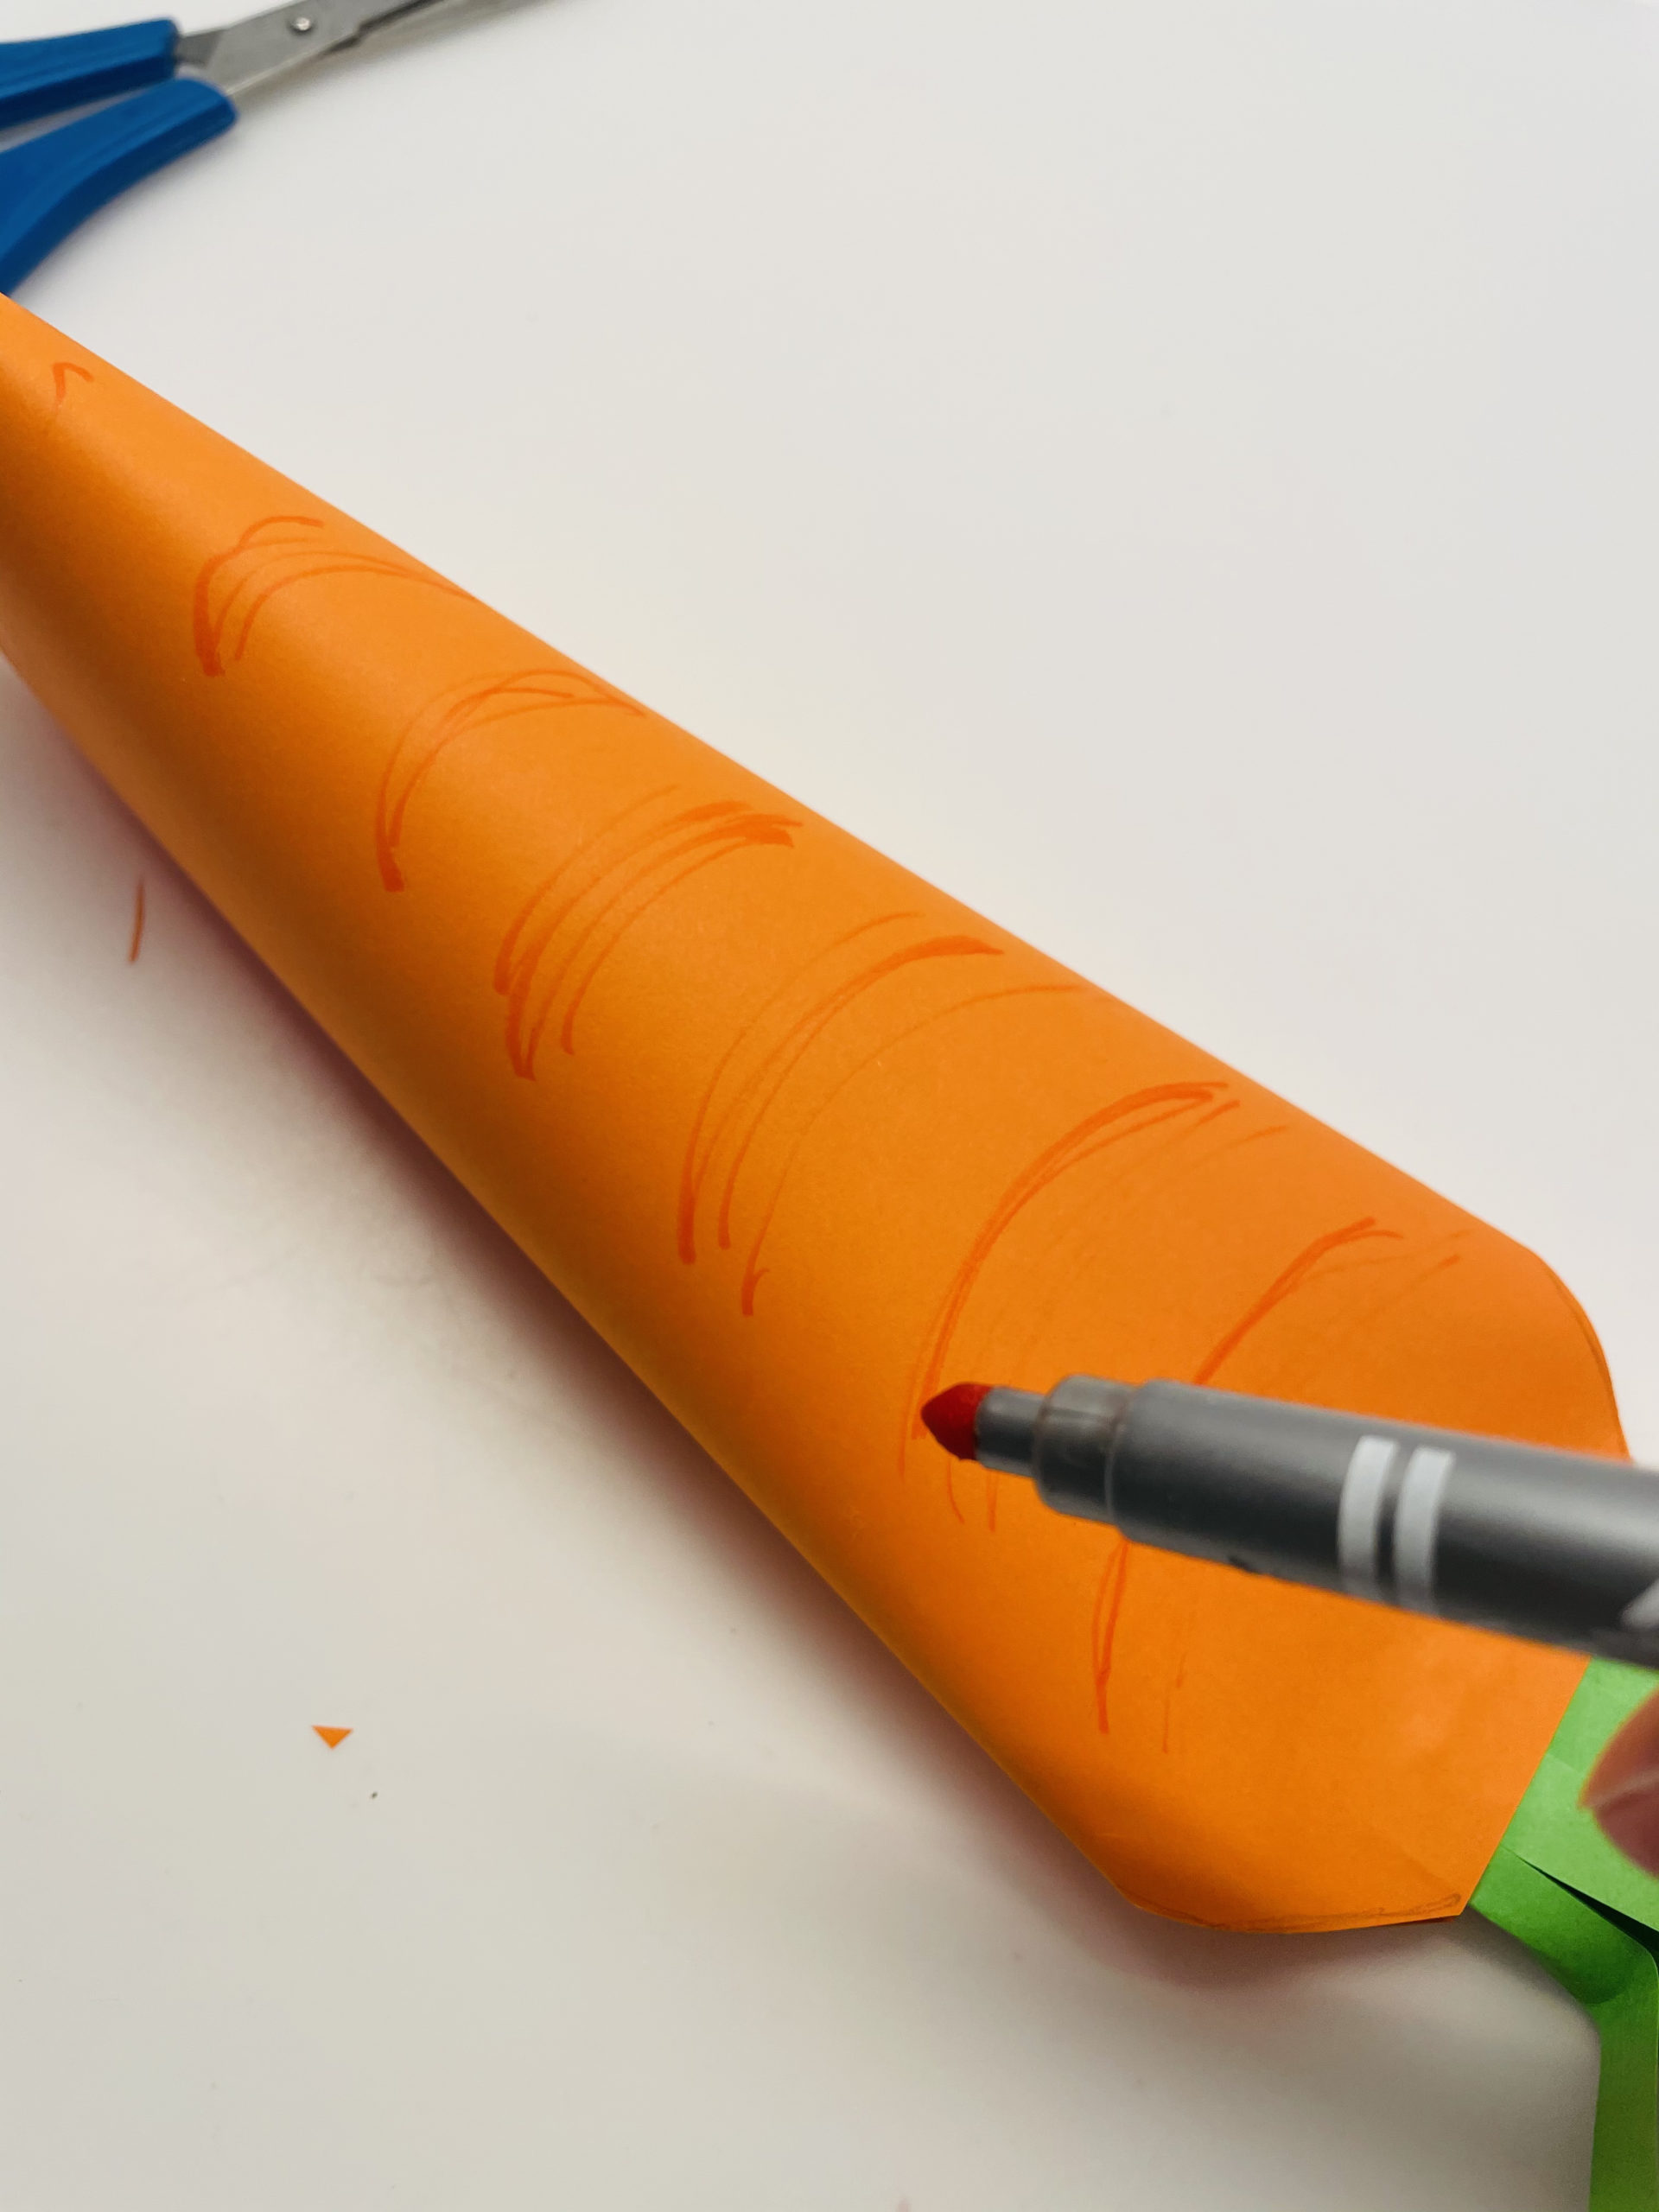
Bild zum Schritt 21 für das Bastel- und DIY-Abenteuer für Kinder: 'Bemalt nun die Karotte mit einem orangen Stift, so wirkt...'

22

Bends the green paper strips - carrot green - apart in all directions.
Your carrot is ready.
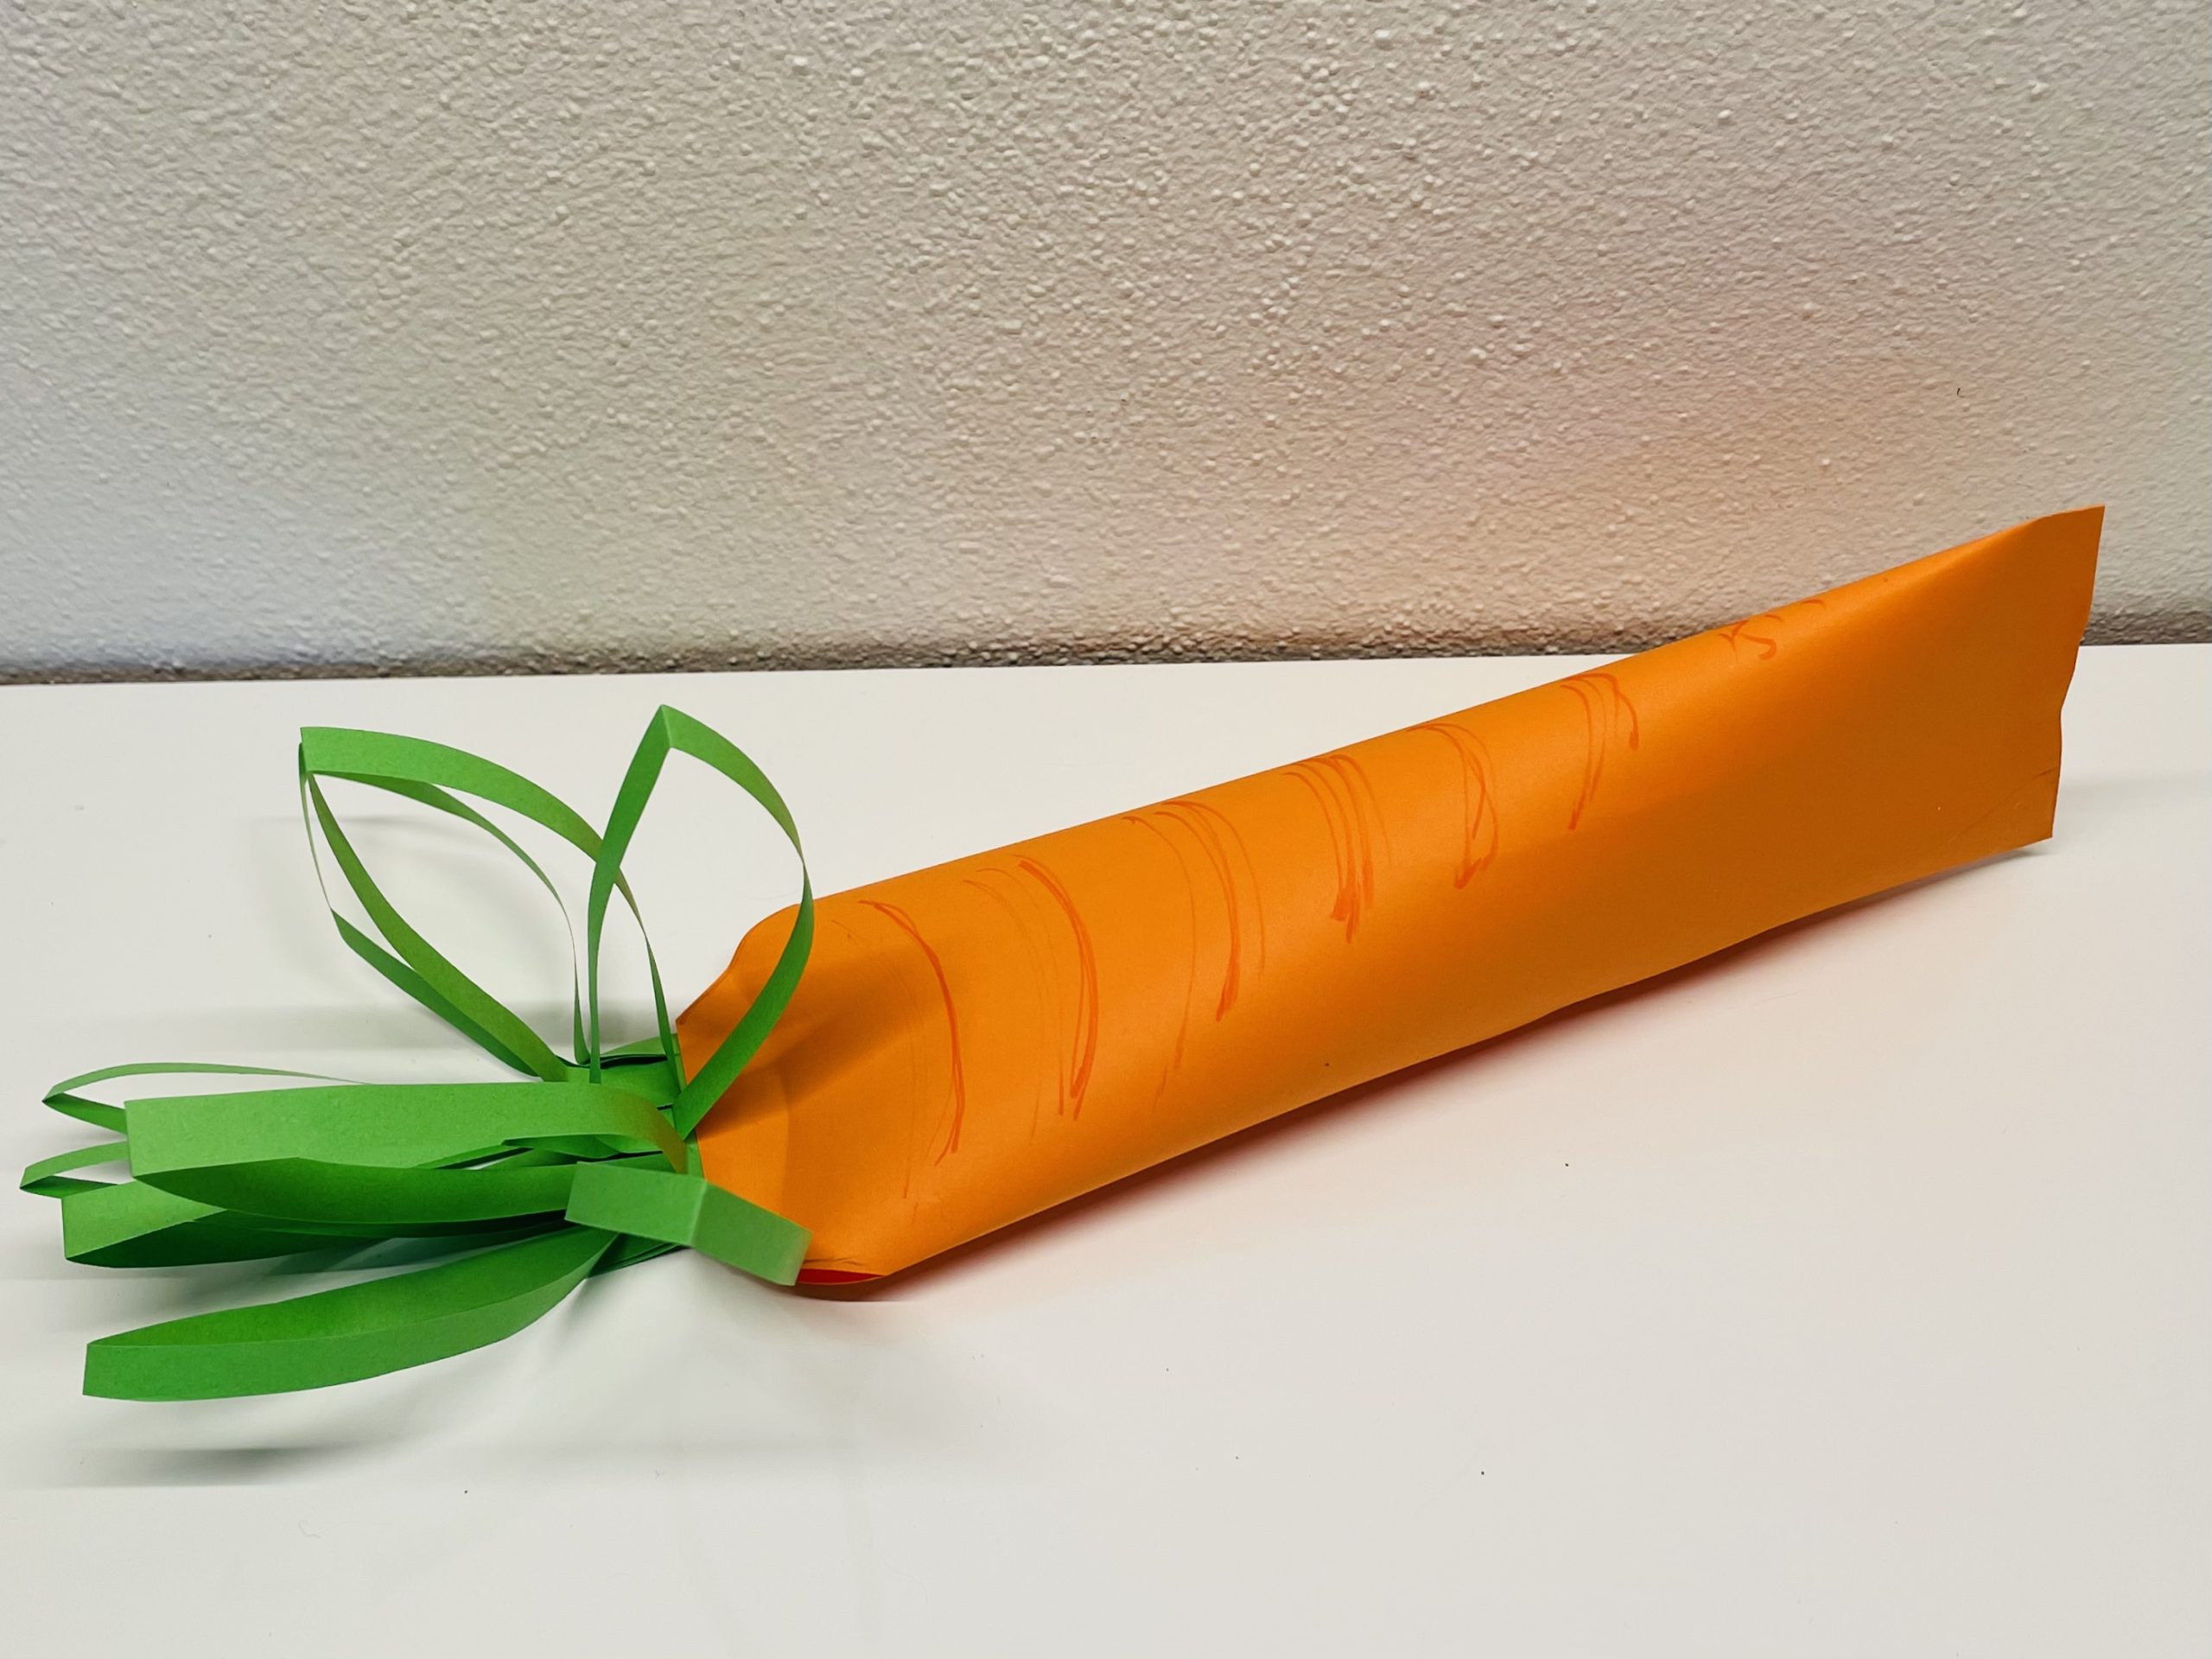
Bild zum Schritt 22 für das Bastel- und DIY-Abenteuer für Kinder: 'Biegt die grünen Papierstreifen - das Möhrengrün - in alle...'

23

Make a small card out of a photo box rest. Hole it and write something on it.
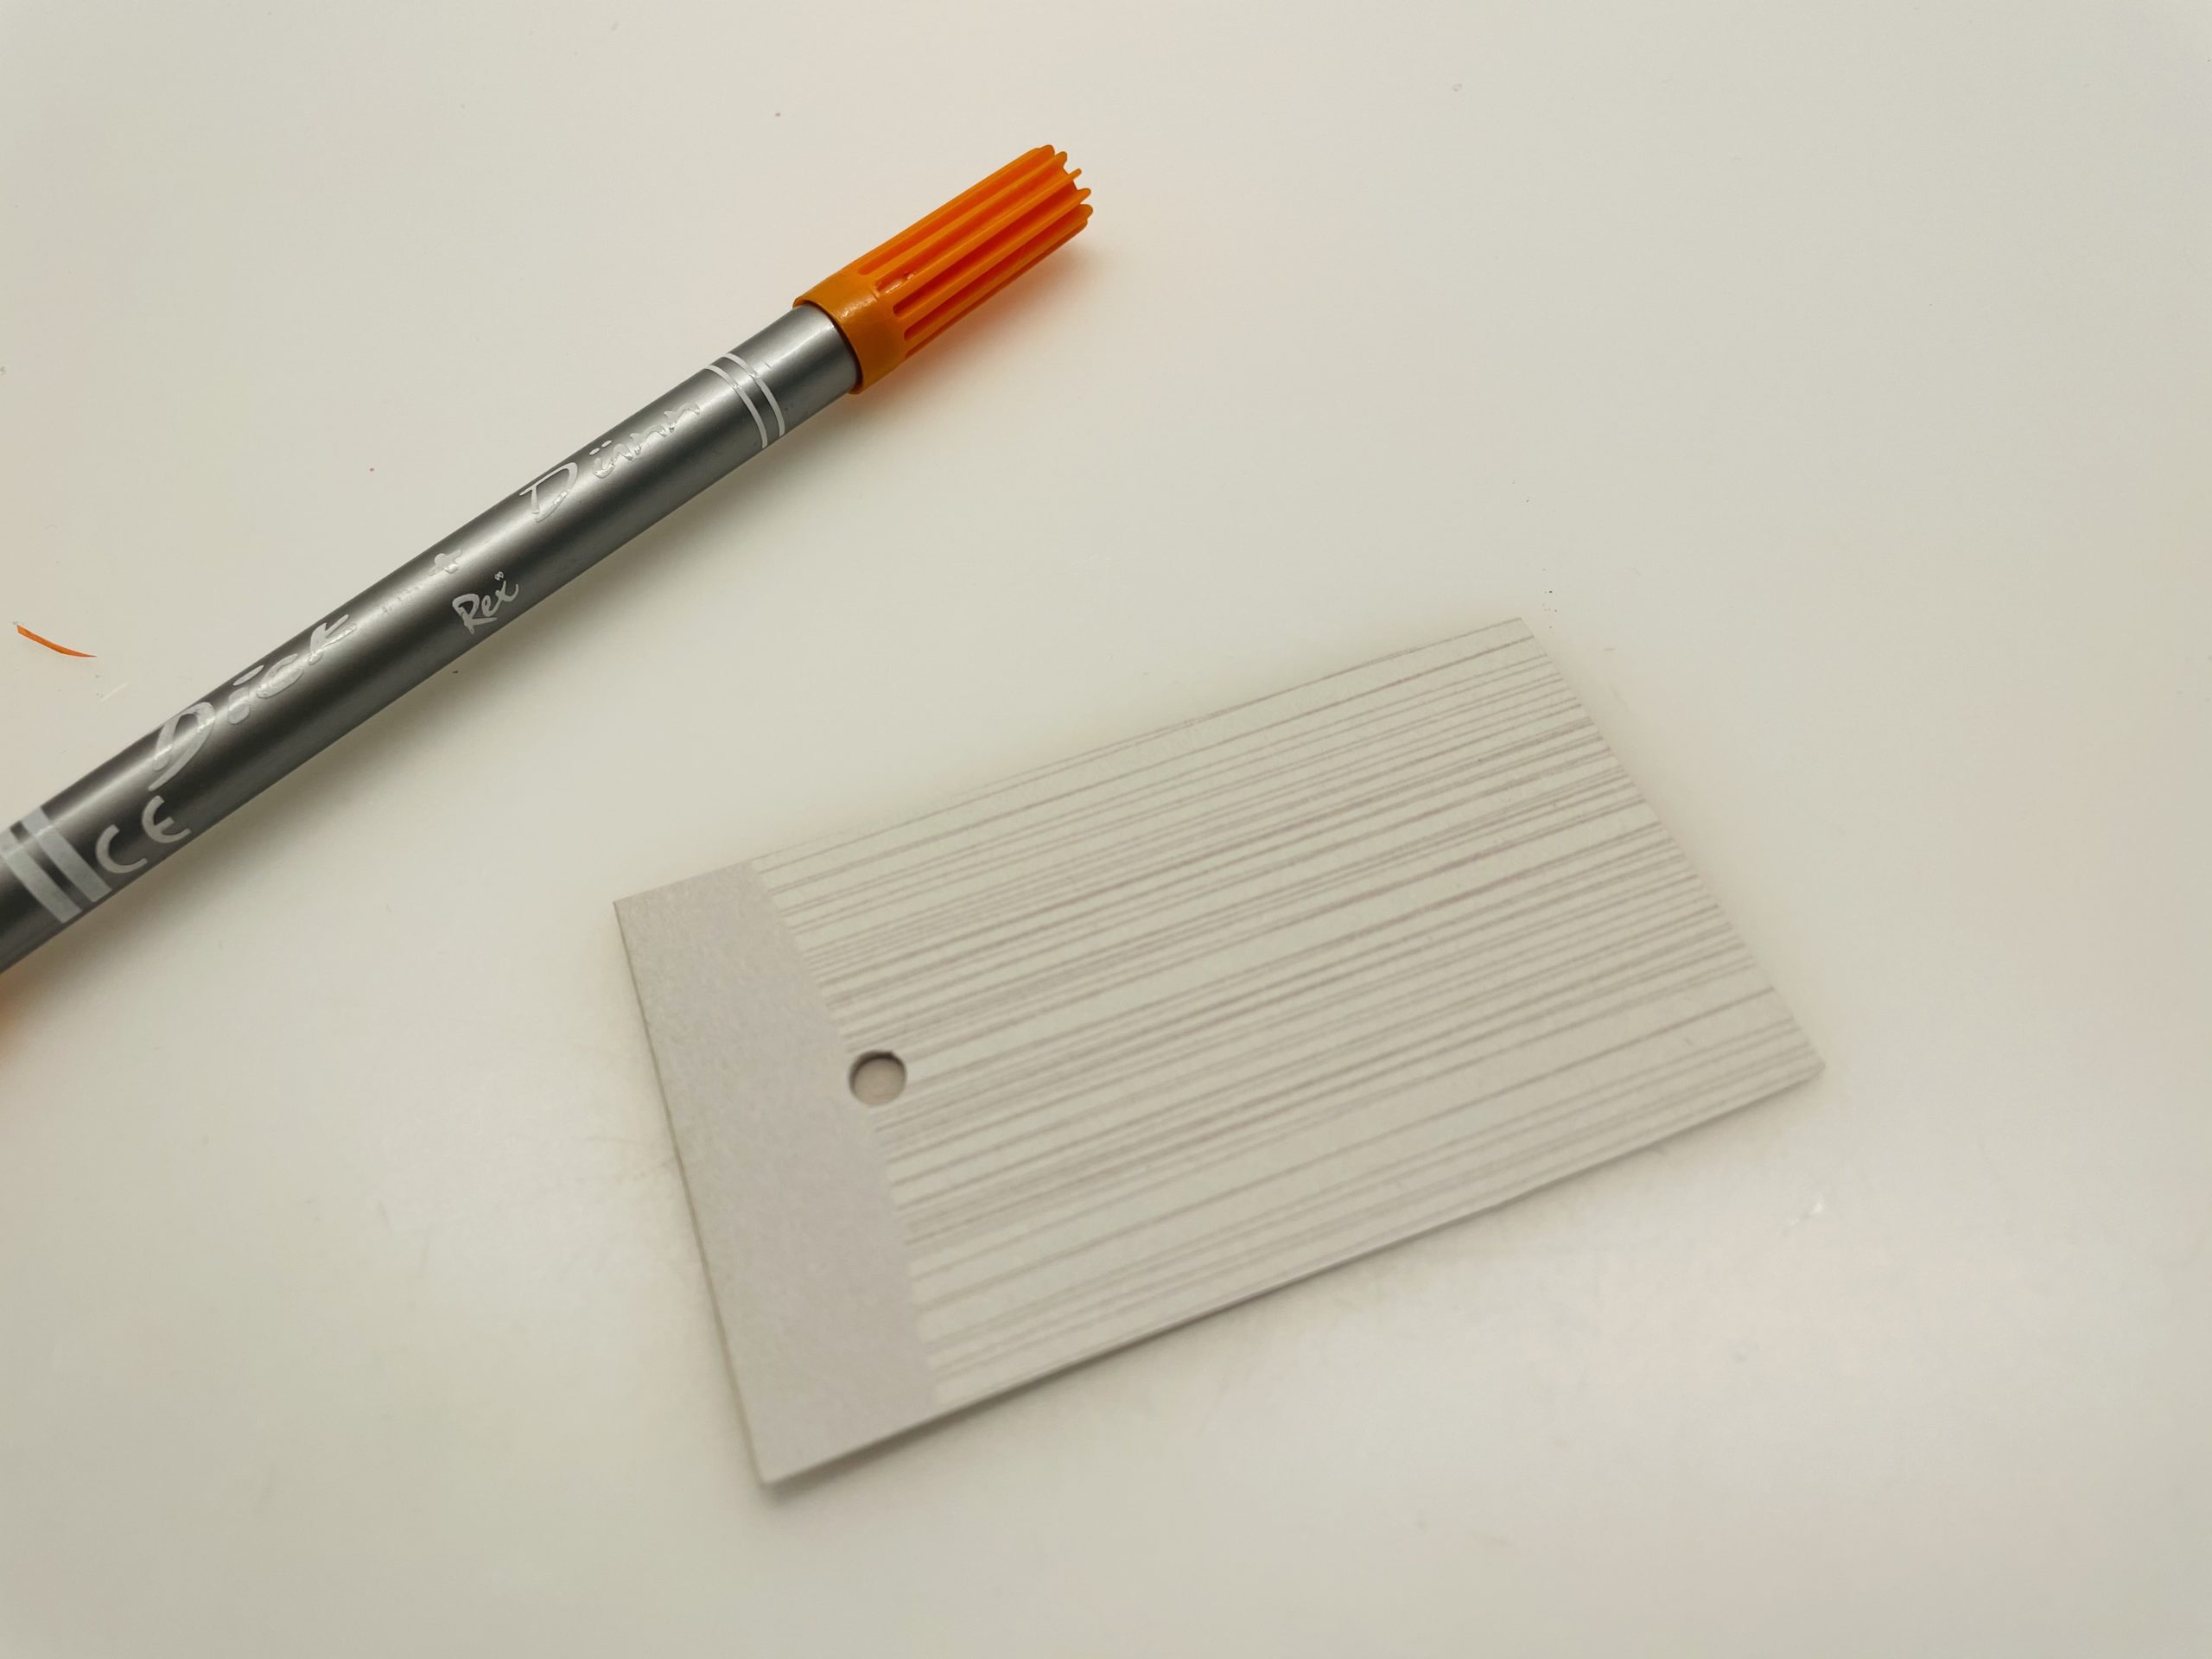
Bild zum Schritt 23 für das Bastel- und DIY-Abenteuer für Kinder: 'Bastelt euch aus einem Fotokarton-Rest eine kleine Karte. Locht diese...'

24

2. Bild zum Schritt 23 für das Bastel- und DIY-Abenteuer für Kinder: 'Bastelt euch aus einem Fotokarton-Rest eine kleine Karte. Locht diese...'

25

Attach the small card to the carrot.

Bild zum Schritt 25 für das Bastel- und DIY-Abenteuer für Kinder: 'Befestigt die kleine Karte an der Karotte.'

26

Your Easter present is ready.

Bild zum Schritt 26 für das Bastel- und DIY-Abenteuer für Kinder: 'Fertig ist euer Ostergeschenk.'

27

Or your decoration at Easter.

Bild zum Schritt 27 für das Bastel- und DIY-Abenteuer für Kinder: 'Oder eure Dekoration zu Ostern.'

28

Have fun trying and giving away the Easter carrot!

Easter Bag – Carrot

Follow us on Facebook , Instagram and Pinterest
Don't miss any more adventures: Our bottle mail

Leave a Reply

Your email address will not be published.

The maximum upload file size: 5 MB. You can upload: image, document. Drop file here