Make a witch

AdventurerKatzi
Rating5.04.7 thousand times & (1) DifficultyAdvanced

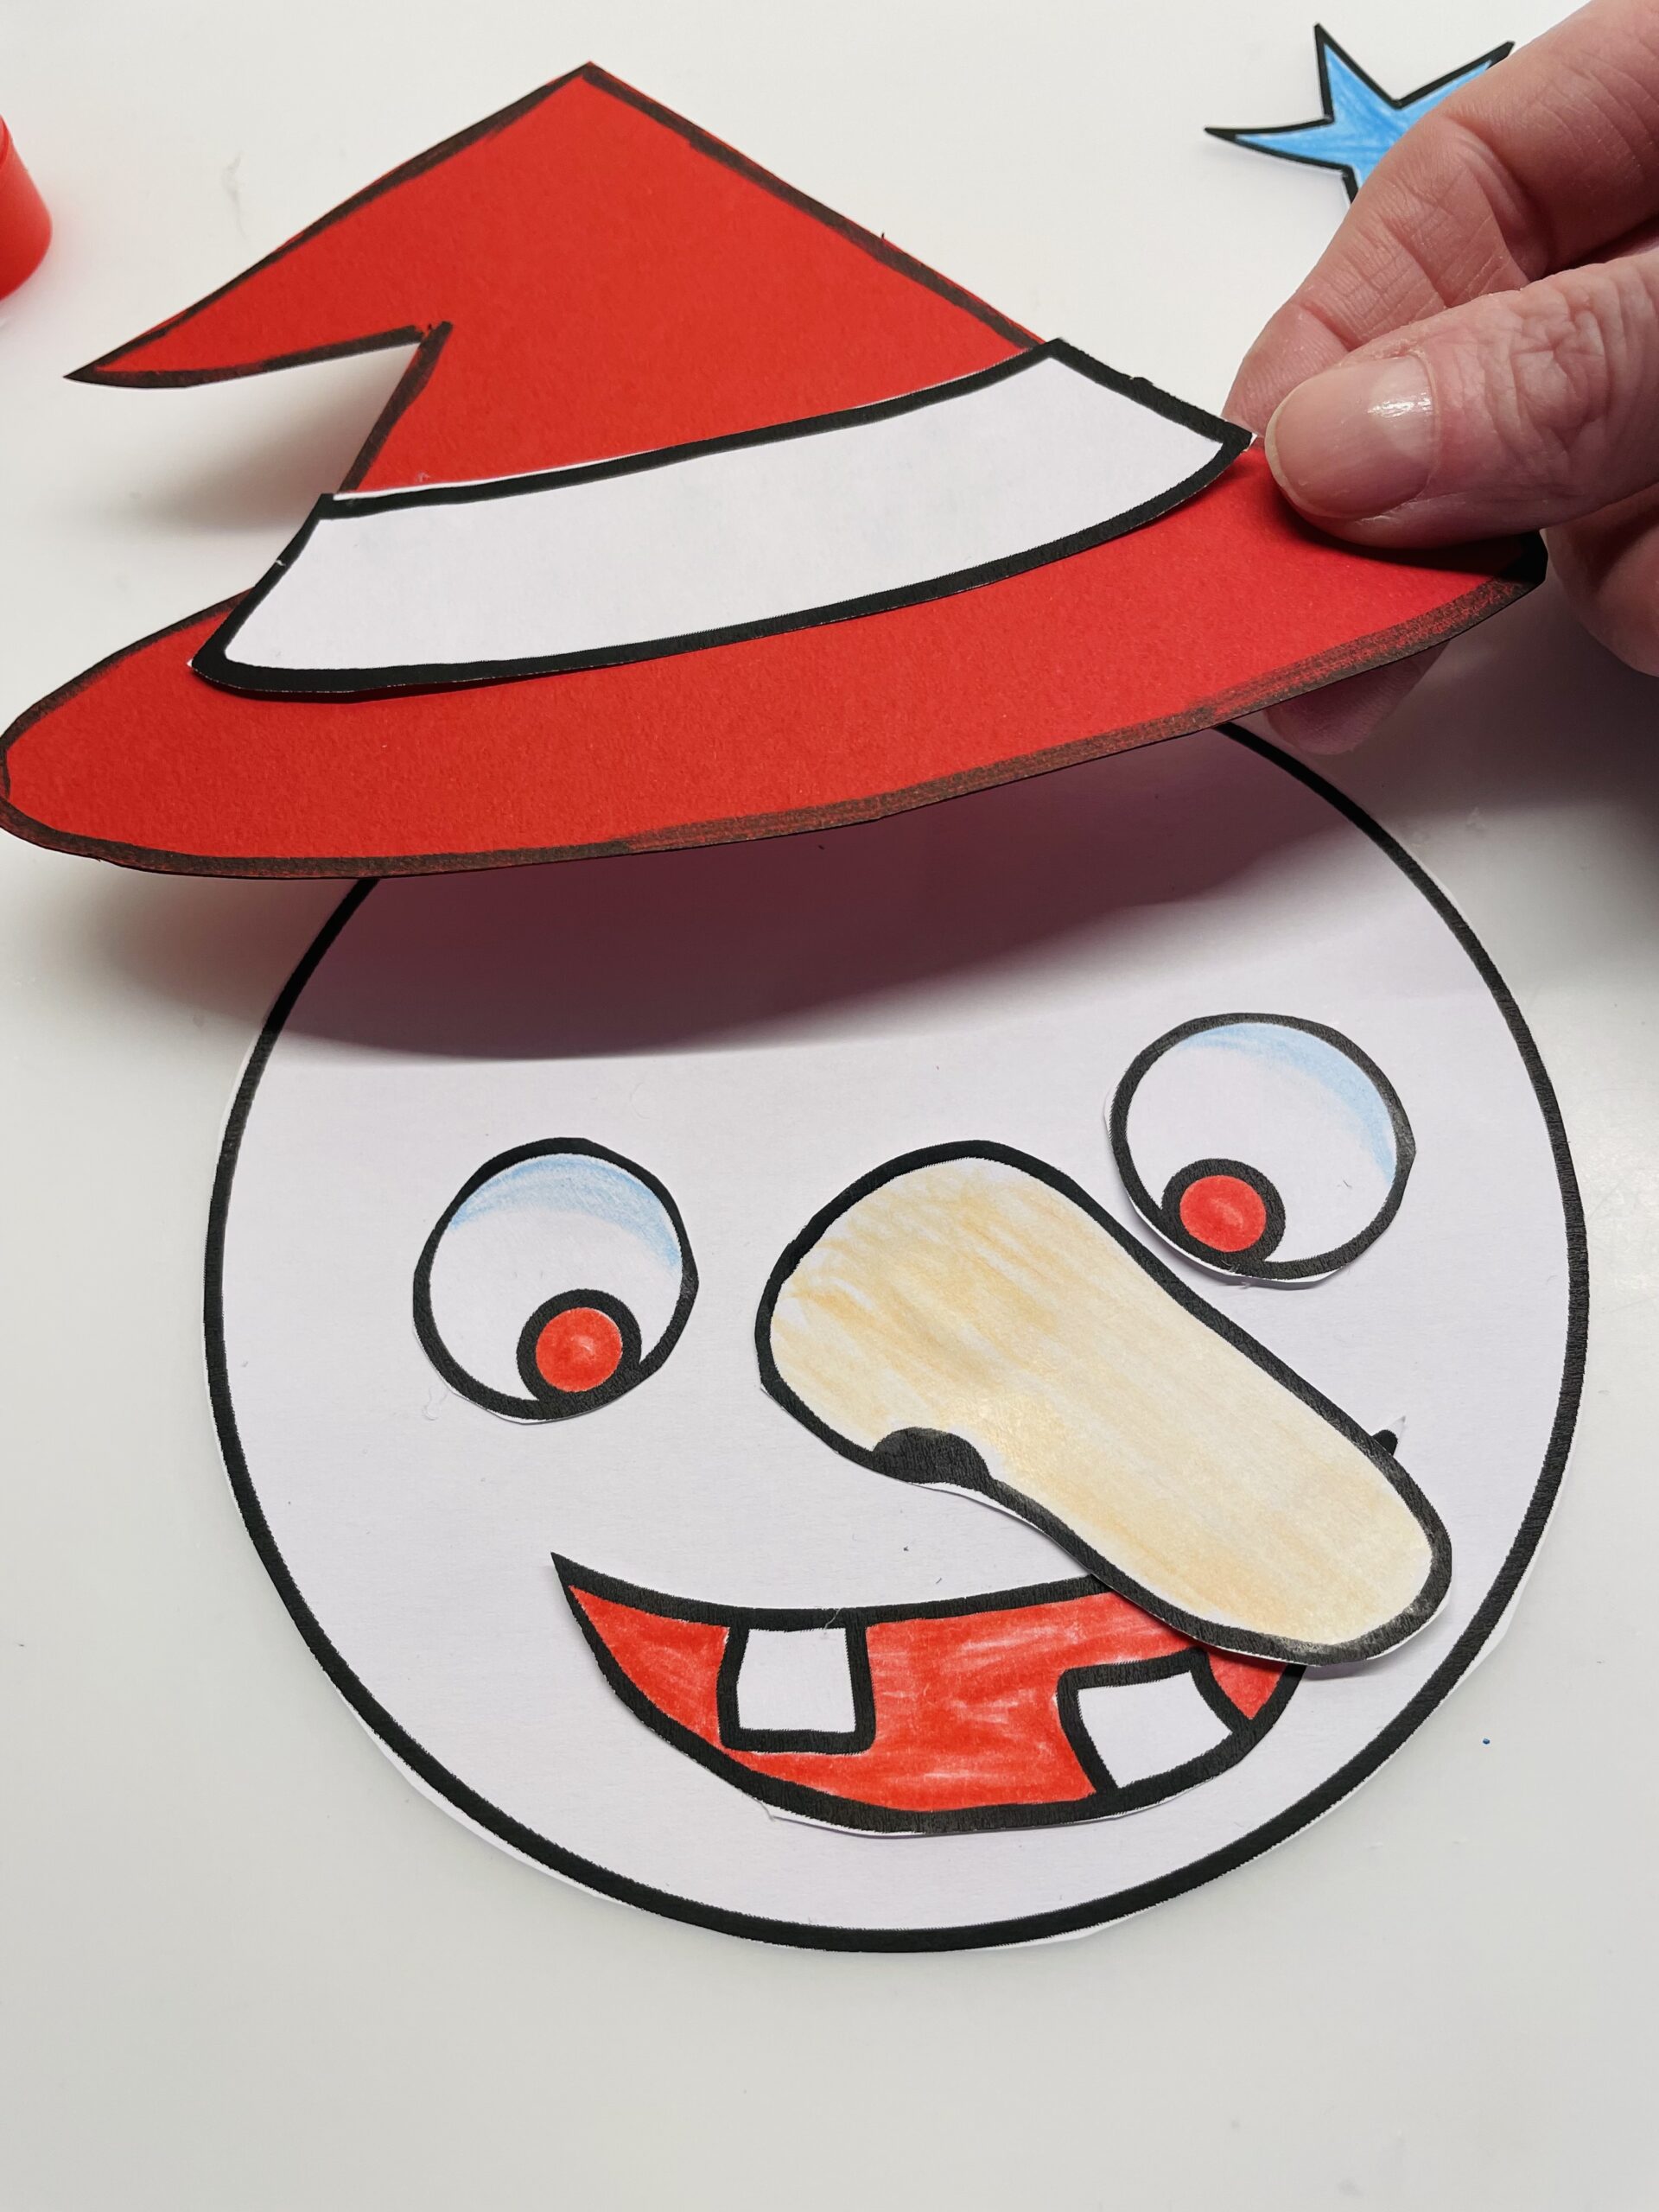
Whether for carnival, for Halloween, for a witch party, the celebration of Wallburgisnacht or for a children's birthday party, this witch is a beautiful craft idea. Cut out all the items, arrange them and stick them together. See for yourself how easy this is and let yourself be surprised what creative ideas the children still come up with when designing. Have fun!

Media Education for Kindergarten and Hort

Kind bastelt eine Rassel mit dem Navi
The Adventure Navi, the app for DIY projects, enables media education for the youngest.

Relief in everyday life, targeted promotion of individual children, independent learning and - without any pre-knowledge already usable by the youngest!


Titelbild zur Bastel- und DIY-Idee für Kinder '(1000) Hexe basteln'
Material for1 Child
Prep Time5 min.Adv. Time35 min.Total Time40 min.
 1 Printable template
 1 Red clay paperor any other colour
 1 Felt pen black
 1 Coloured pencilsFelt pins
 1 Wool black or brownor strip of paper
 1 Builder's pad
All links marked with a shopping cart lead to Amazon - here we have selected products that we would order ourselves and in part also ordered. In a qualified purchase via the advertising link, we as Amazon partner receive a commission, for you there are no costs. You thus support our cost- and advertising banner-free, educational offer.
1

First print out the template or paint the items freely.
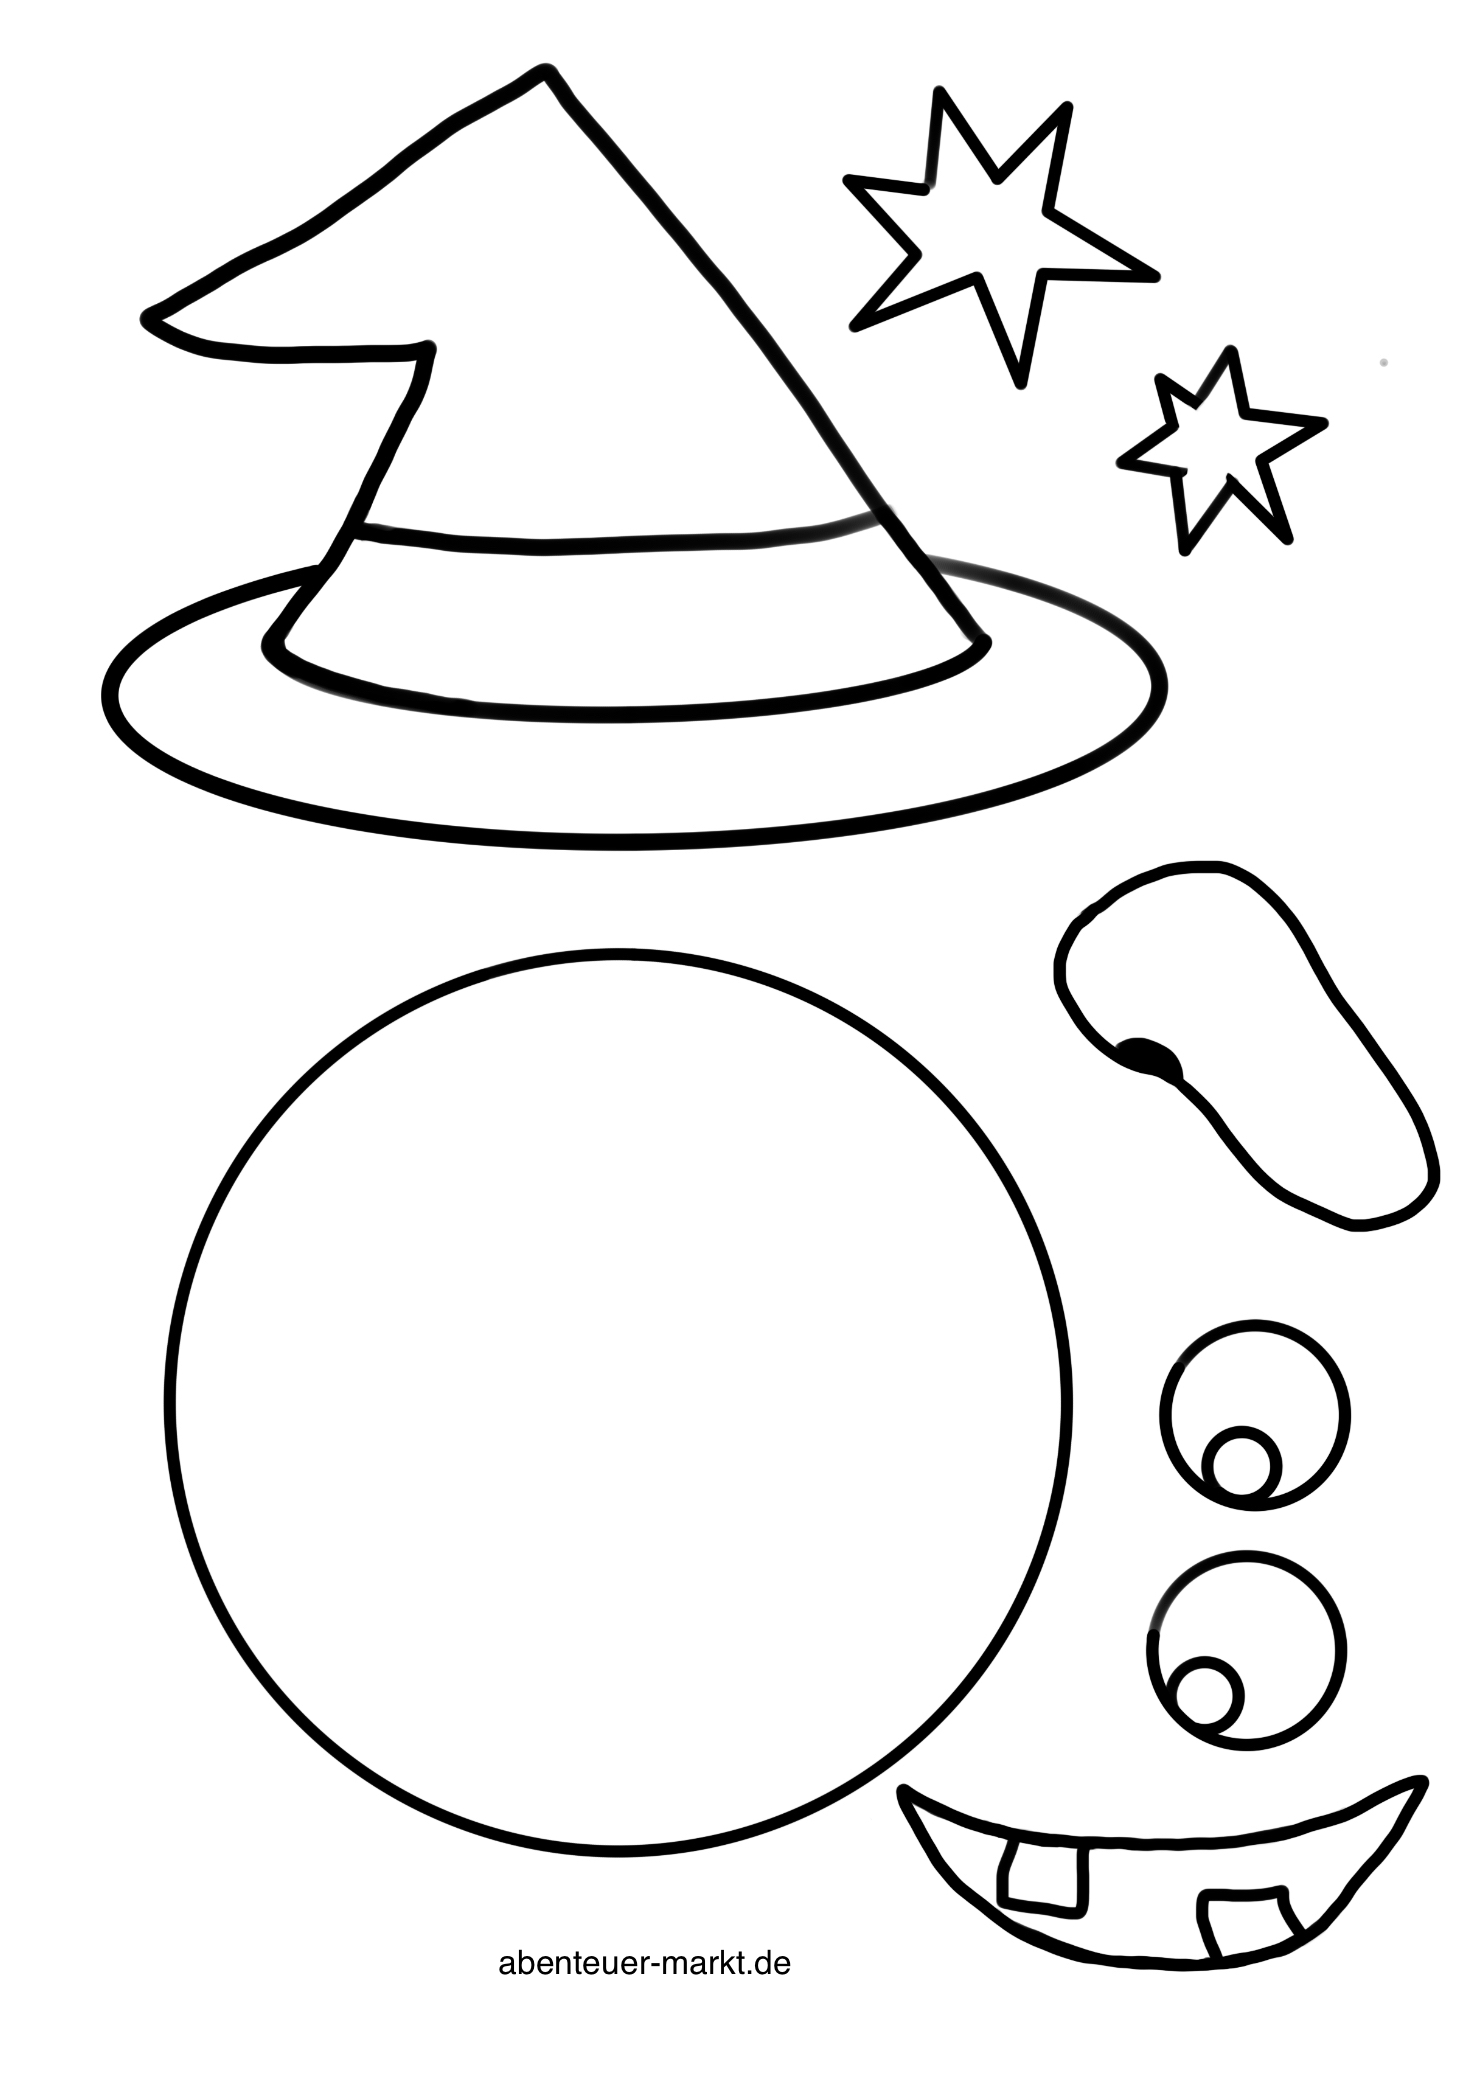
Bild zum Schritt 1 für das Bastel- und DIY-Abenteuer für Kinder: 'Druckt euch zuerst die Vorlage aus oder malt die Einzelteile...'

2

Then lay out the craft paper and prepare the clay paper.
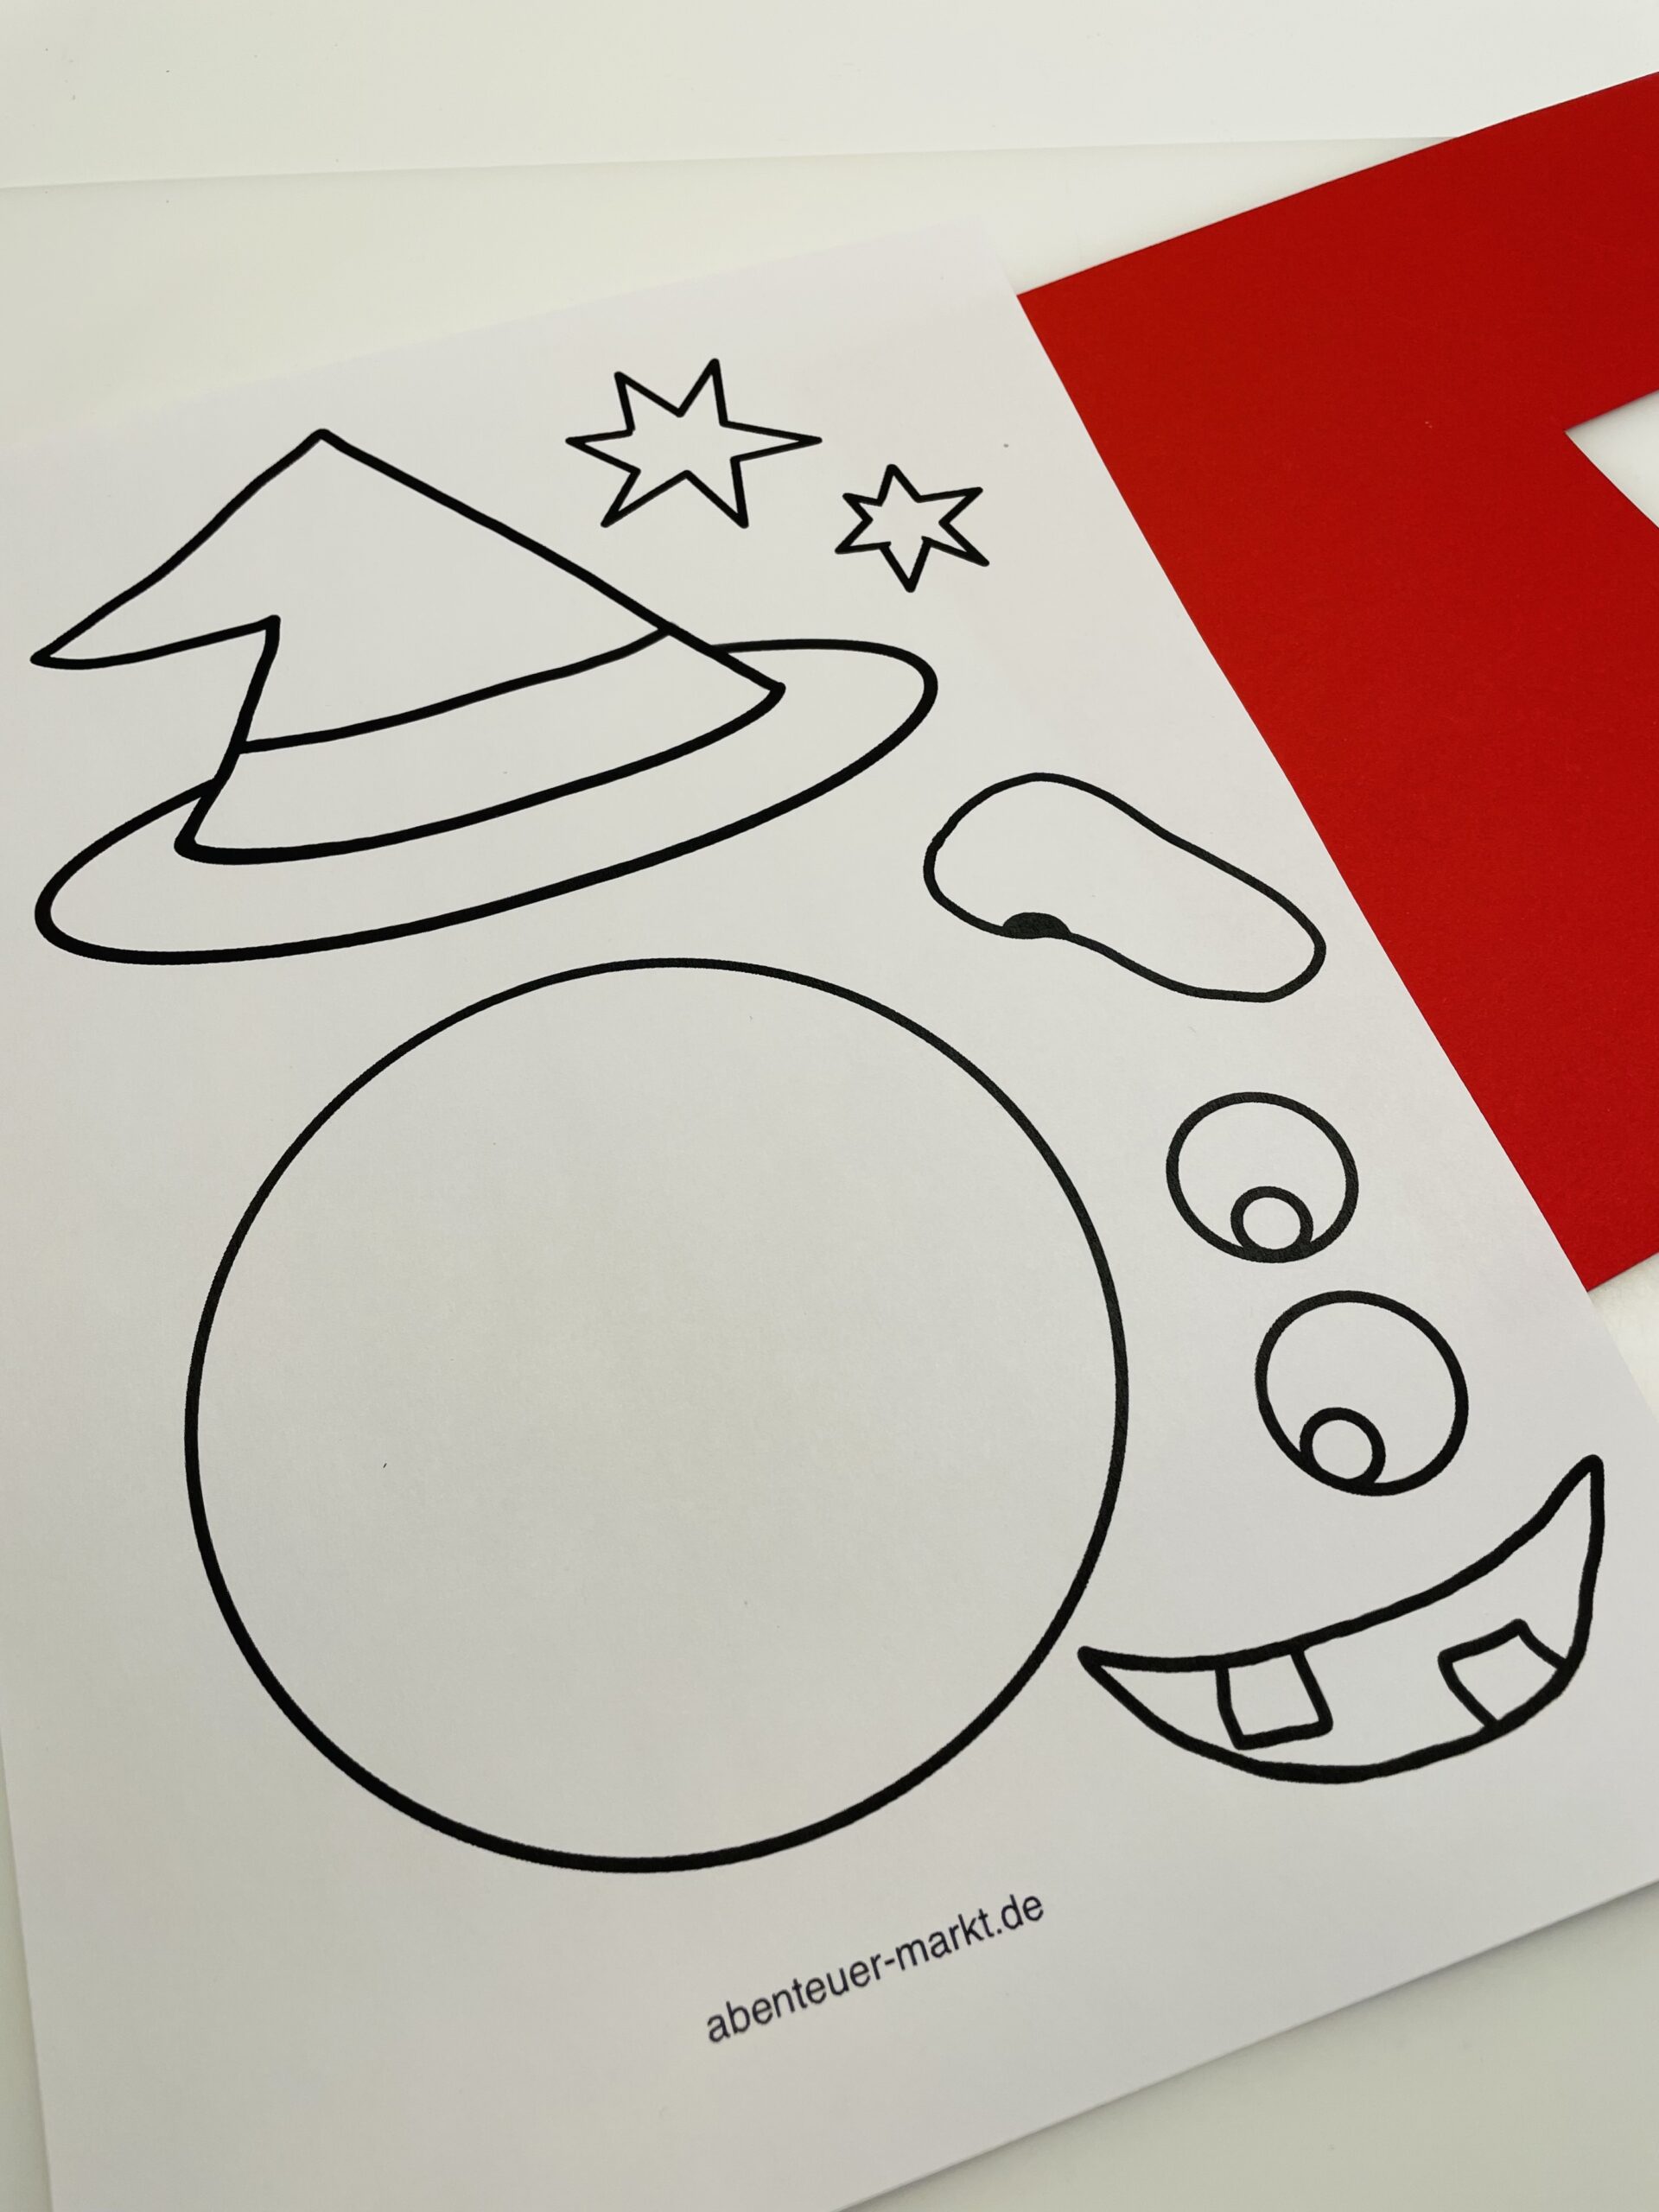
Bild zum Schritt 2 für das Bastel- und DIY-Abenteuer für Kinder: 'Dann legt euch die Bastelunterlage aus und legt das Tonpapier...'

3

Now you paint the stars, the nose, the eyes and the mouth with crayons.

Bild zum Schritt 3 für das Bastel- und DIY-Abenteuer für Kinder: 'Nun malt ihr mit Farbstiften die Sterne, die Nase, die...'

4

Cut out the hat now and place it as a template on the clay paper. Paint the outline on the clay paper and cut out the hat.

Bild zum Schritt 4 für das Bastel- und DIY-Abenteuer für Kinder: 'Schneidet jetzt den Hut aus und legt ihn als Schablone...'

5

Then you cut the hat into its individual parts. For this you cut each line along.

Bild zum Schritt 5 für das Bastel- und DIY-Abenteuer für Kinder: 'Anschließend zerschneidet ihr den Hut in seine Einzelteile. Dafür schneidet...'

6

Then put the middle strip on the hat of clay paper and glue both together.

Bild zum Schritt 6 für das Bastel- und DIY-Abenteuer für Kinder: 'Danach legt ihr den mittleren Streifen auf den Hut aus...'

7

Now outline the hat with a black felt pen and then cut out all other items.

Bild zum Schritt 7 für das Bastel- und DIY-Abenteuer für Kinder: 'Umrandet nun den Hut mit einem schwarzen Filzstift und schneidet...'

8

Now you put everything together to a witch's face and stick everything together - except the hat.

Bild zum Schritt 8 für das Bastel- und DIY-Abenteuer für Kinder: 'Jetzt legt ihr alles zu einem Hexengesicht zusammen und klebt...'

9

2. Bild zum Schritt 8 für das Bastel- und DIY-Abenteuer für Kinder: 'Jetzt legt ihr alles zu einem Hexengesicht zusammen und klebt...'

10

Now put the hat with the back up on the table.

Bild zum Schritt 10 für das Bastel- und DIY-Abenteuer für Kinder: 'Jetzt legt ihr den Hut mit der Rückseite nach oben...'

11

Then you wrap the wool several times around one hand and then cut all the threads with the scissors at once. Then you put the threads on the table.

Bild zum Schritt 11 für das Bastel- und DIY-Abenteuer für Kinder: 'Dann wickelt ihr die Wolle mehrmals um eine Hand und...'

12

Now you brush the straight side of the back of the hat one centimeter wide with glue.

Bild zum Schritt 12 für das Bastel- und DIY-Abenteuer für Kinder: 'Jetzt streicht ihr die gerade Seite der Rückseite des Hutes...'

13

After that, you put the wool on it.

Bild zum Schritt 13 für das Bastel- und DIY-Abenteuer für Kinder: 'Danach klebt ihr die Wolle darauf.'

14

The witch's hat with the hair is finished now.

Bild zum Schritt 14 für das Bastel- und DIY-Abenteuer für Kinder: 'Der Hut der Hexe mit den Haaren ist jetzt fertig.'

15

Now put her hat on the witch's head.

Bild zum Schritt 15 für das Bastel- und DIY-Abenteuer für Kinder: 'Nun klebt ihr den Hut auf den Kopf der Hexe.'

16

After that, you put the stars on.

Bild zum Schritt 16 für das Bastel- und DIY-Abenteuer für Kinder: 'Danach klebt ihr die Sterne auf.'

17

Stay creative and design the hat as you like it.

Bild zum Schritt 17 für das Bastel- und DIY-Abenteuer für Kinder: 'Bleibt kreativ und gestaltet den Hut so wie es euch...'

18

Have fun!

Materials

 1 Printable template
 1 Red clay paperor any other colour
 1 Felt pen black
 1 Coloured pencilsFelt pins
 1 Wool black or brownor strip of paper
 1 Builder's pad
All links marked with a shopping cart lead to Amazon - here we have selected products that we would order ourselves and in part also ordered. In a qualified purchase via the advertising link, we as Amazon partner receive a commission, for you there are no costs. You thus support our cost- and advertising banner-free, educational offer.

Directions

1

First print out the template or paint the items freely.

Bild zum Schritt 1 für das Bastel- und DIY-Abenteuer für Kinder: 'Druckt euch zuerst die Vorlage aus oder malt die Einzelteile...'

2

Then lay out the craft paper and prepare the clay paper.

Bild zum Schritt 2 für das Bastel- und DIY-Abenteuer für Kinder: 'Dann legt euch die Bastelunterlage aus und legt das Tonpapier...'

3

Now you paint the stars, the nose, the eyes and the mouth with crayons.
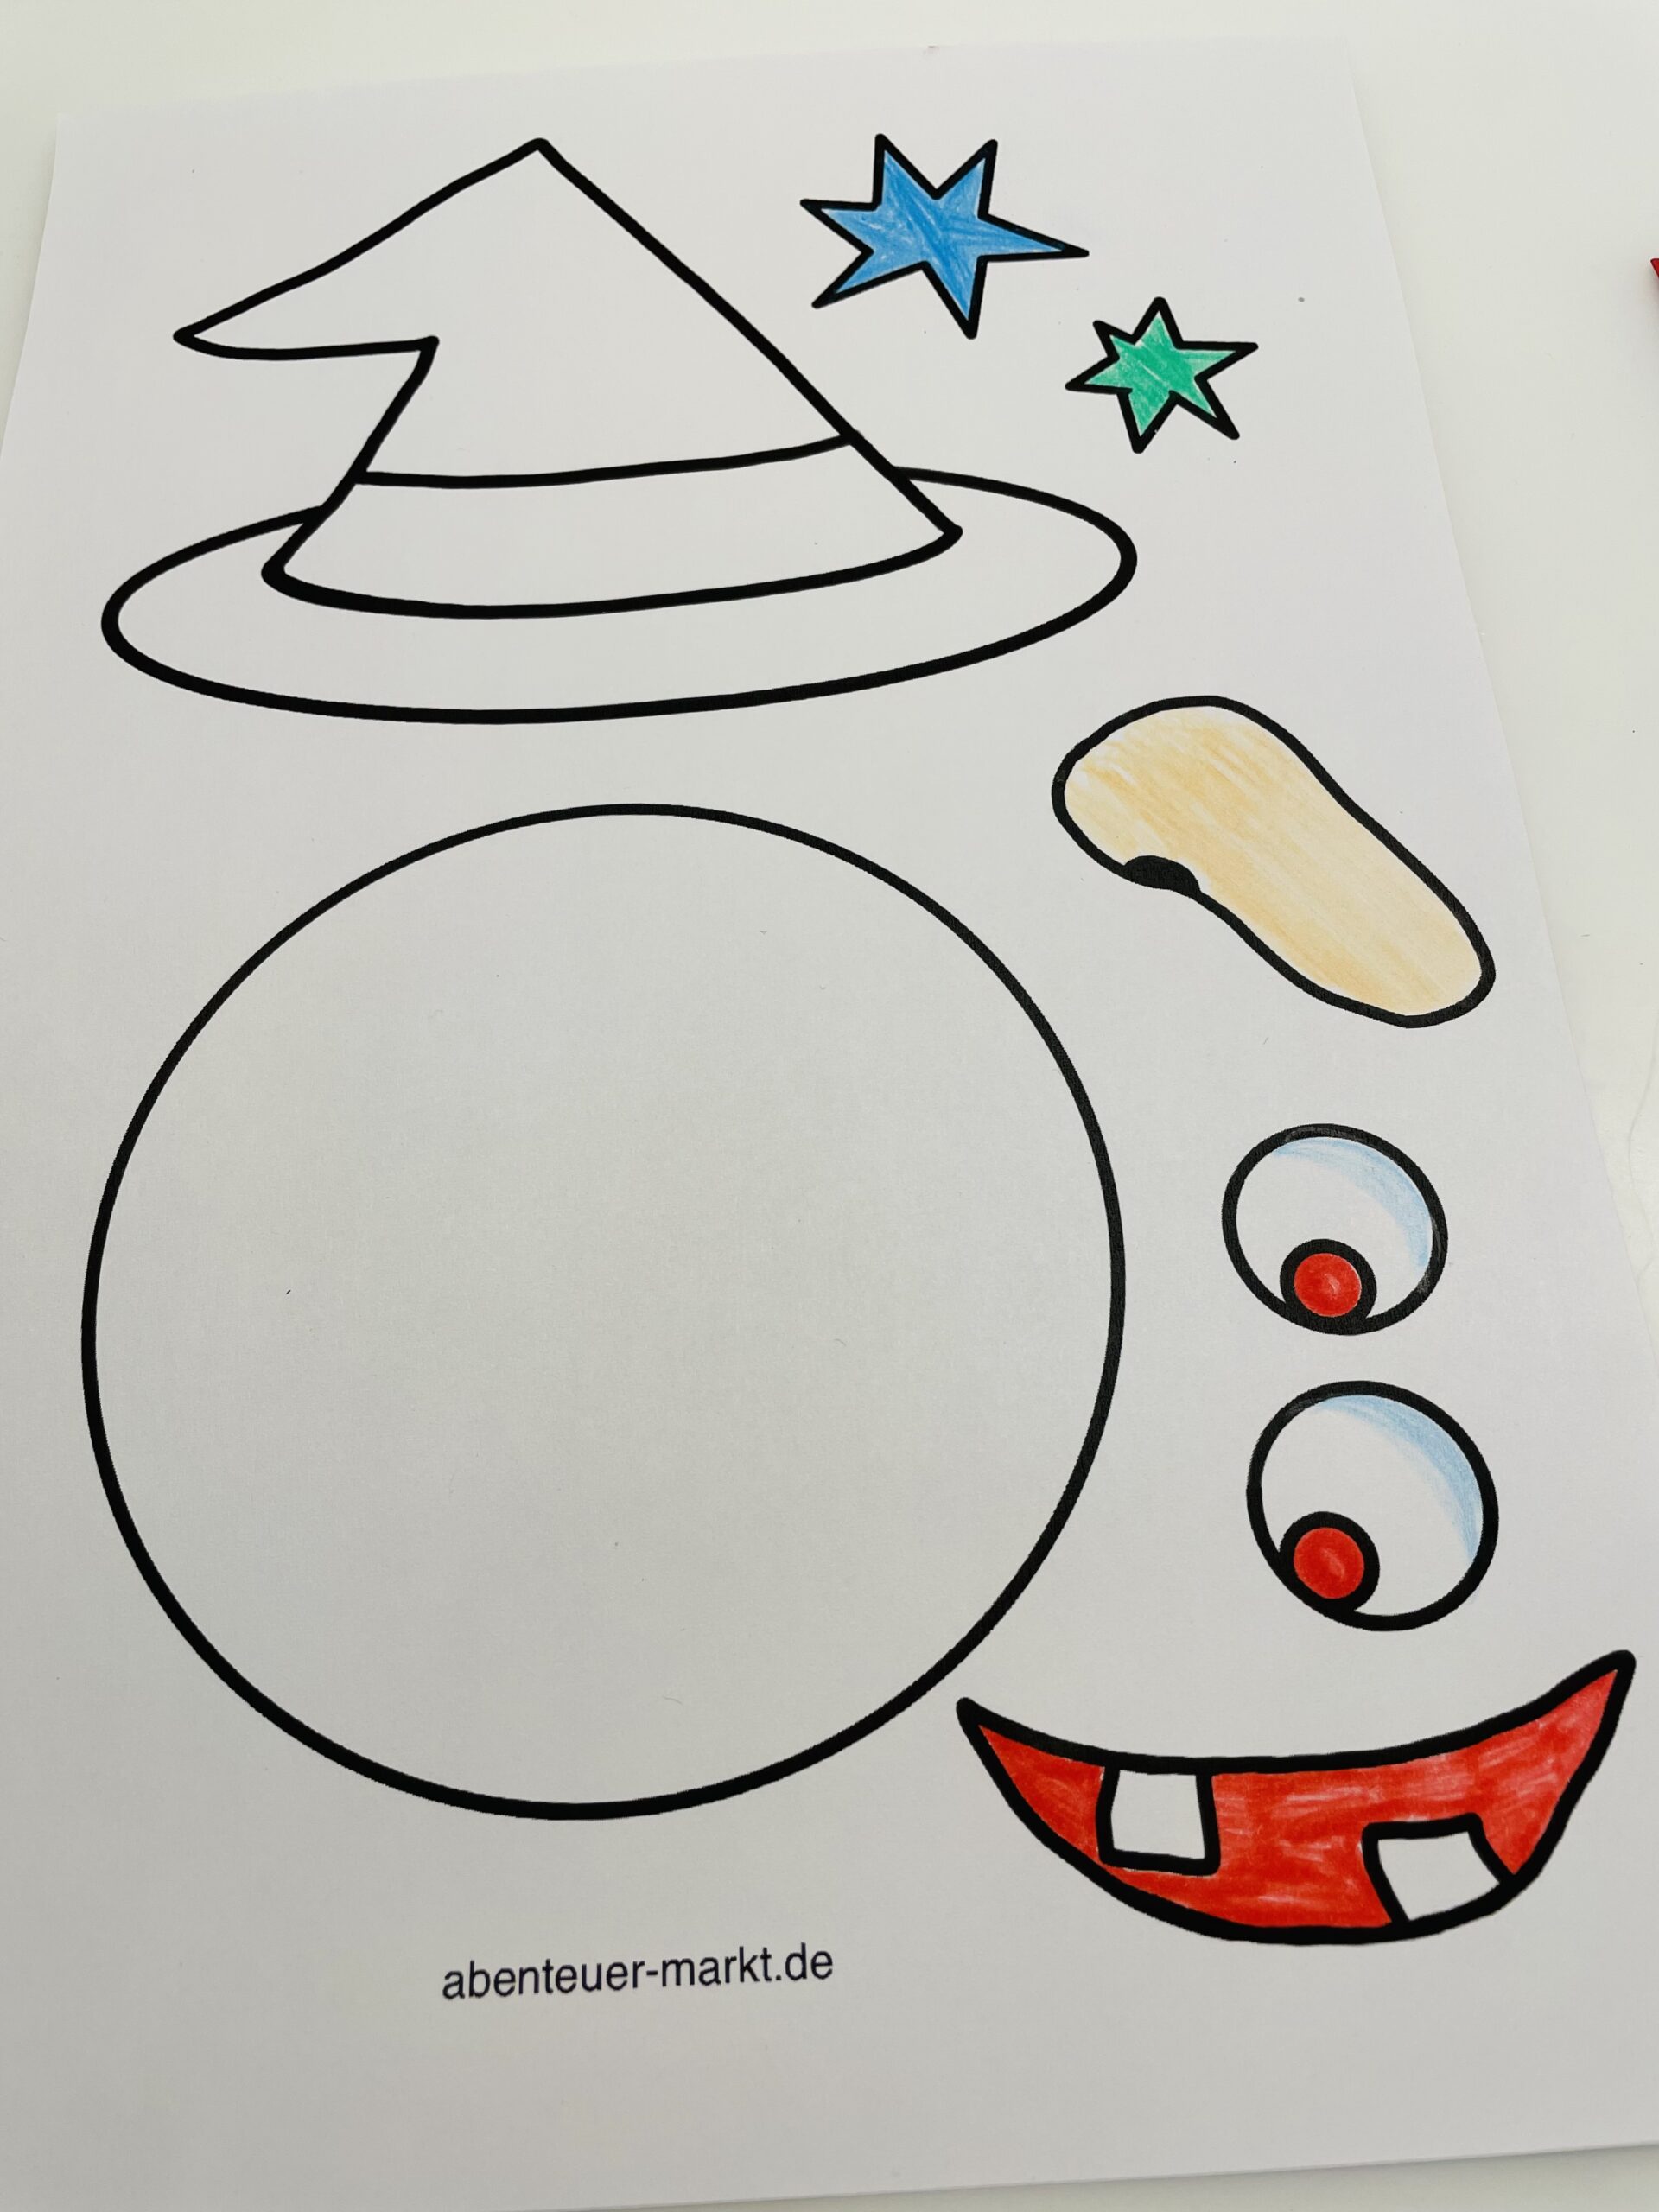
Bild zum Schritt 3 für das Bastel- und DIY-Abenteuer für Kinder: 'Nun malt ihr mit Farbstiften die Sterne, die Nase, die...'

4

Cut out the hat now and place it as a template on the clay paper. Paint the outline on the clay paper and cut out the hat.
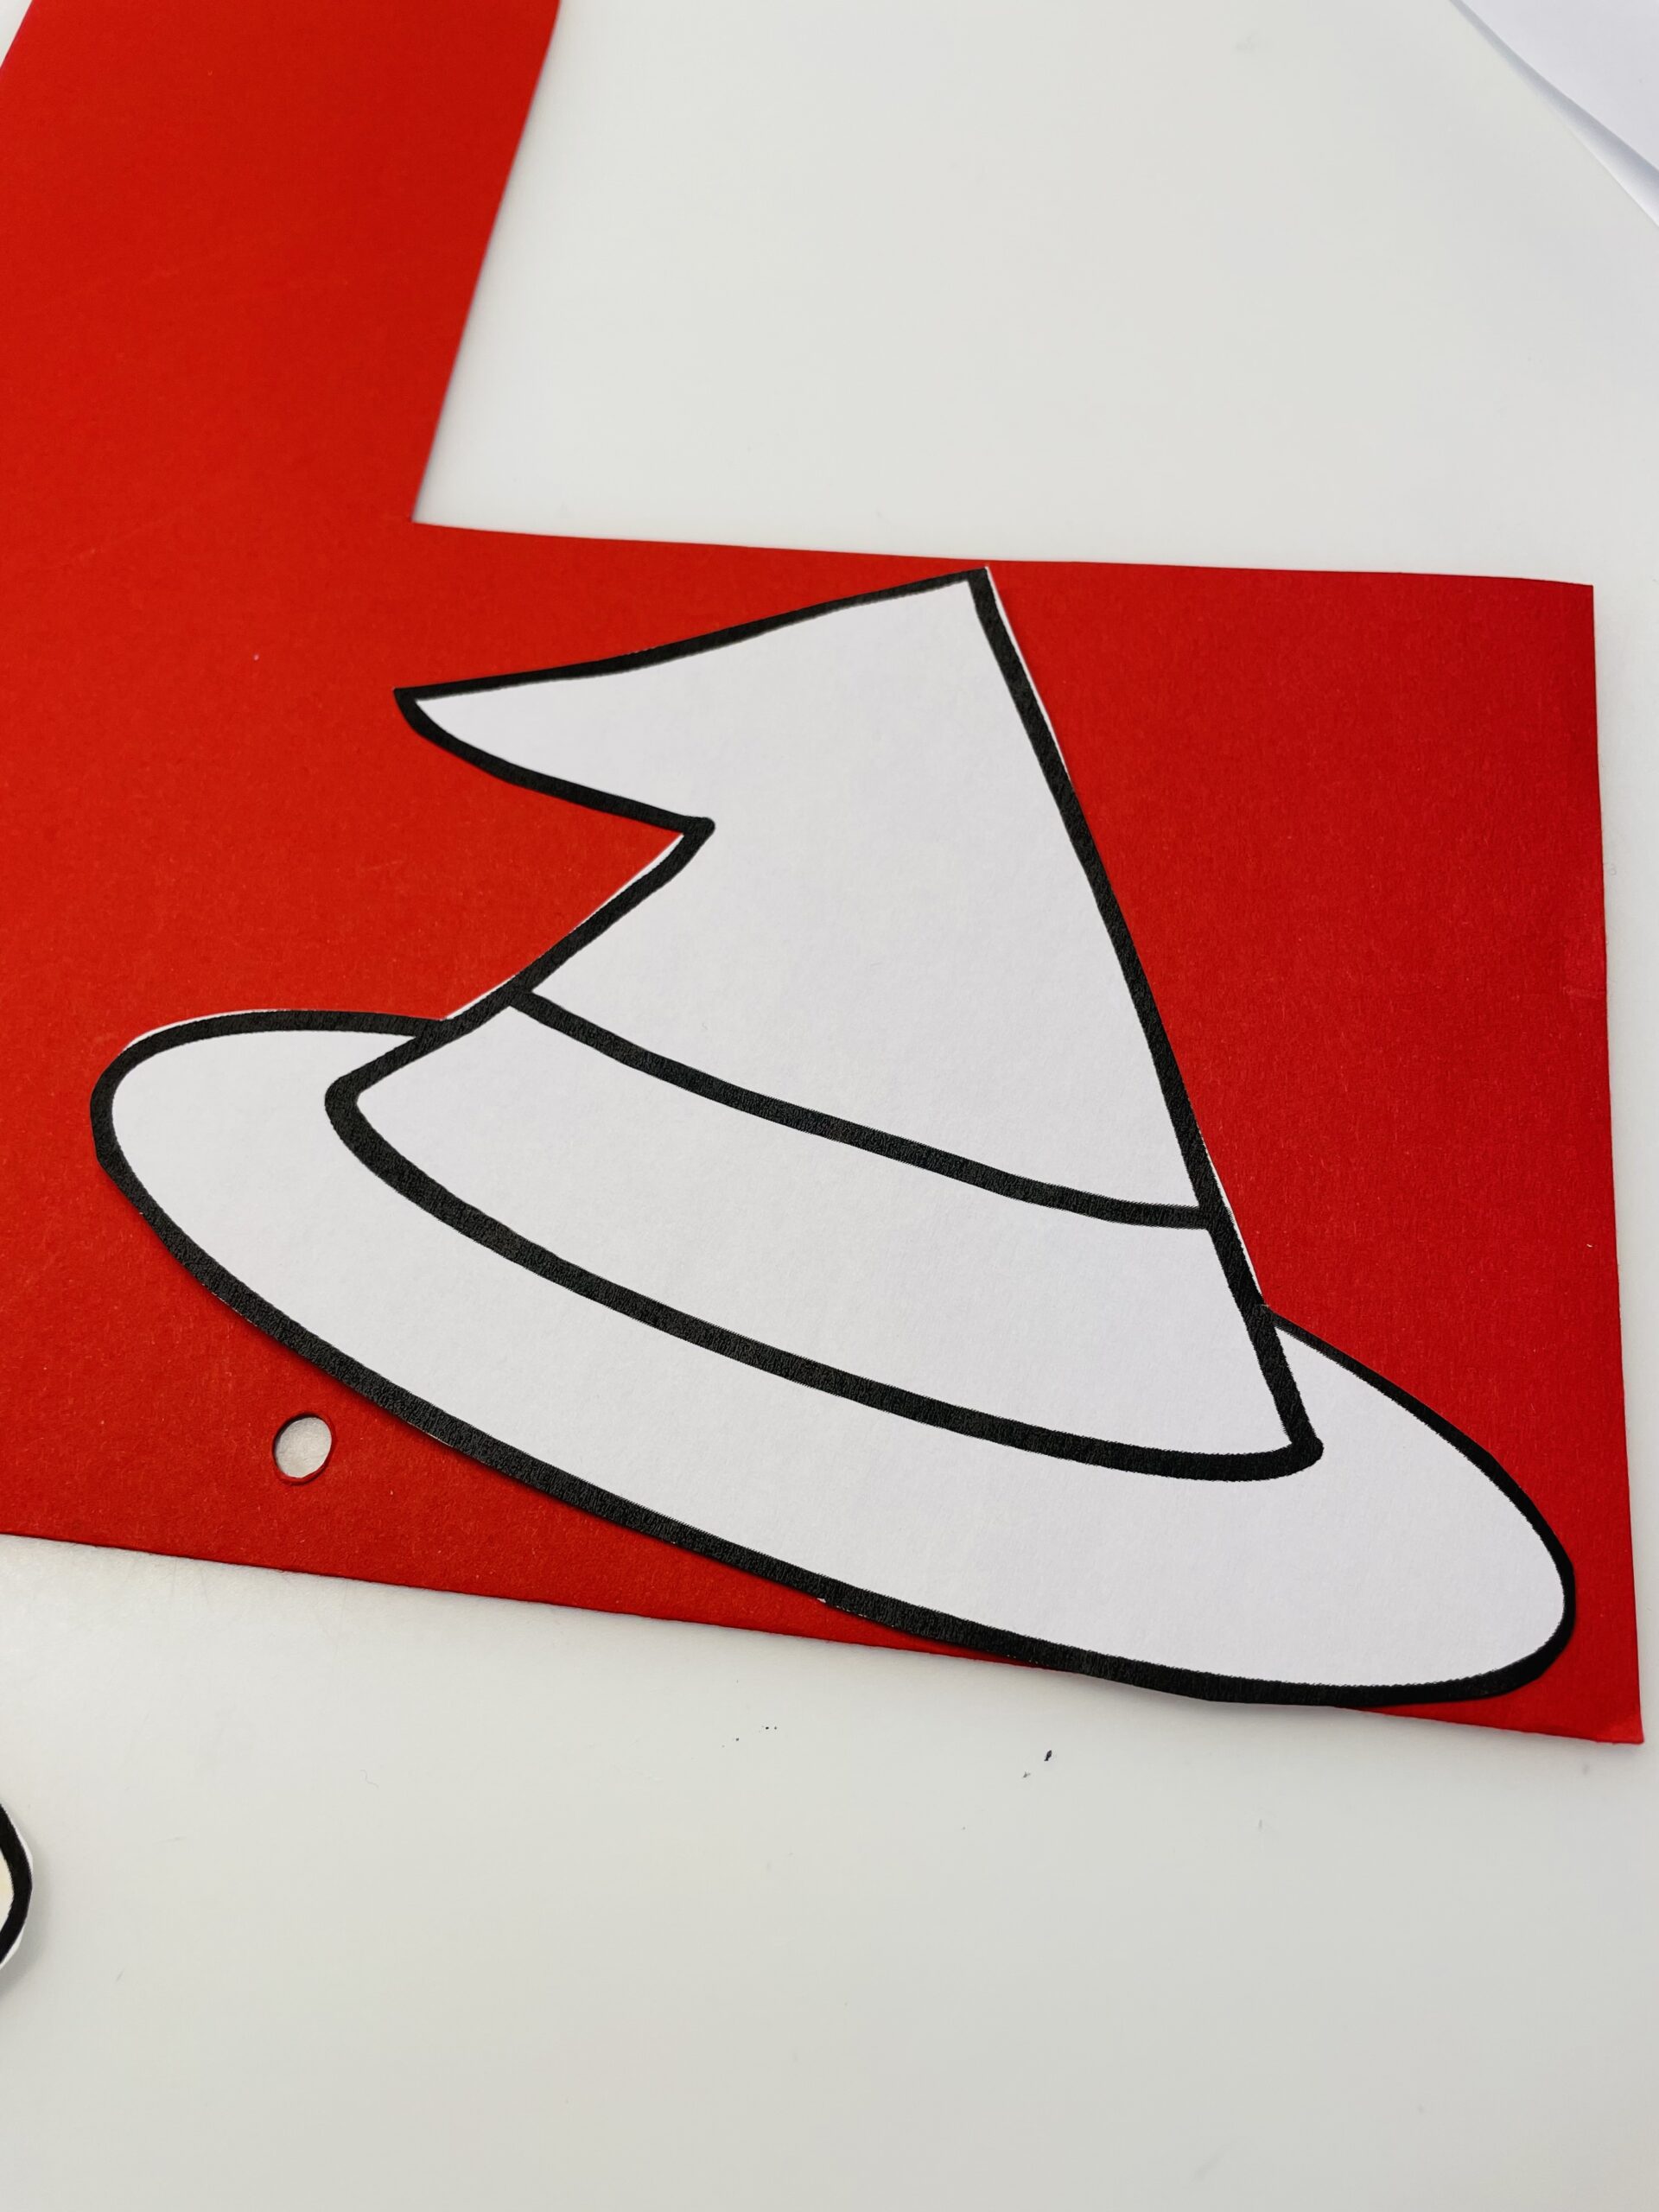
Bild zum Schritt 4 für das Bastel- und DIY-Abenteuer für Kinder: 'Schneidet jetzt den Hut aus und legt ihn als Schablone...'

5

Then you cut the hat into its individual parts. For this you cut each line along.
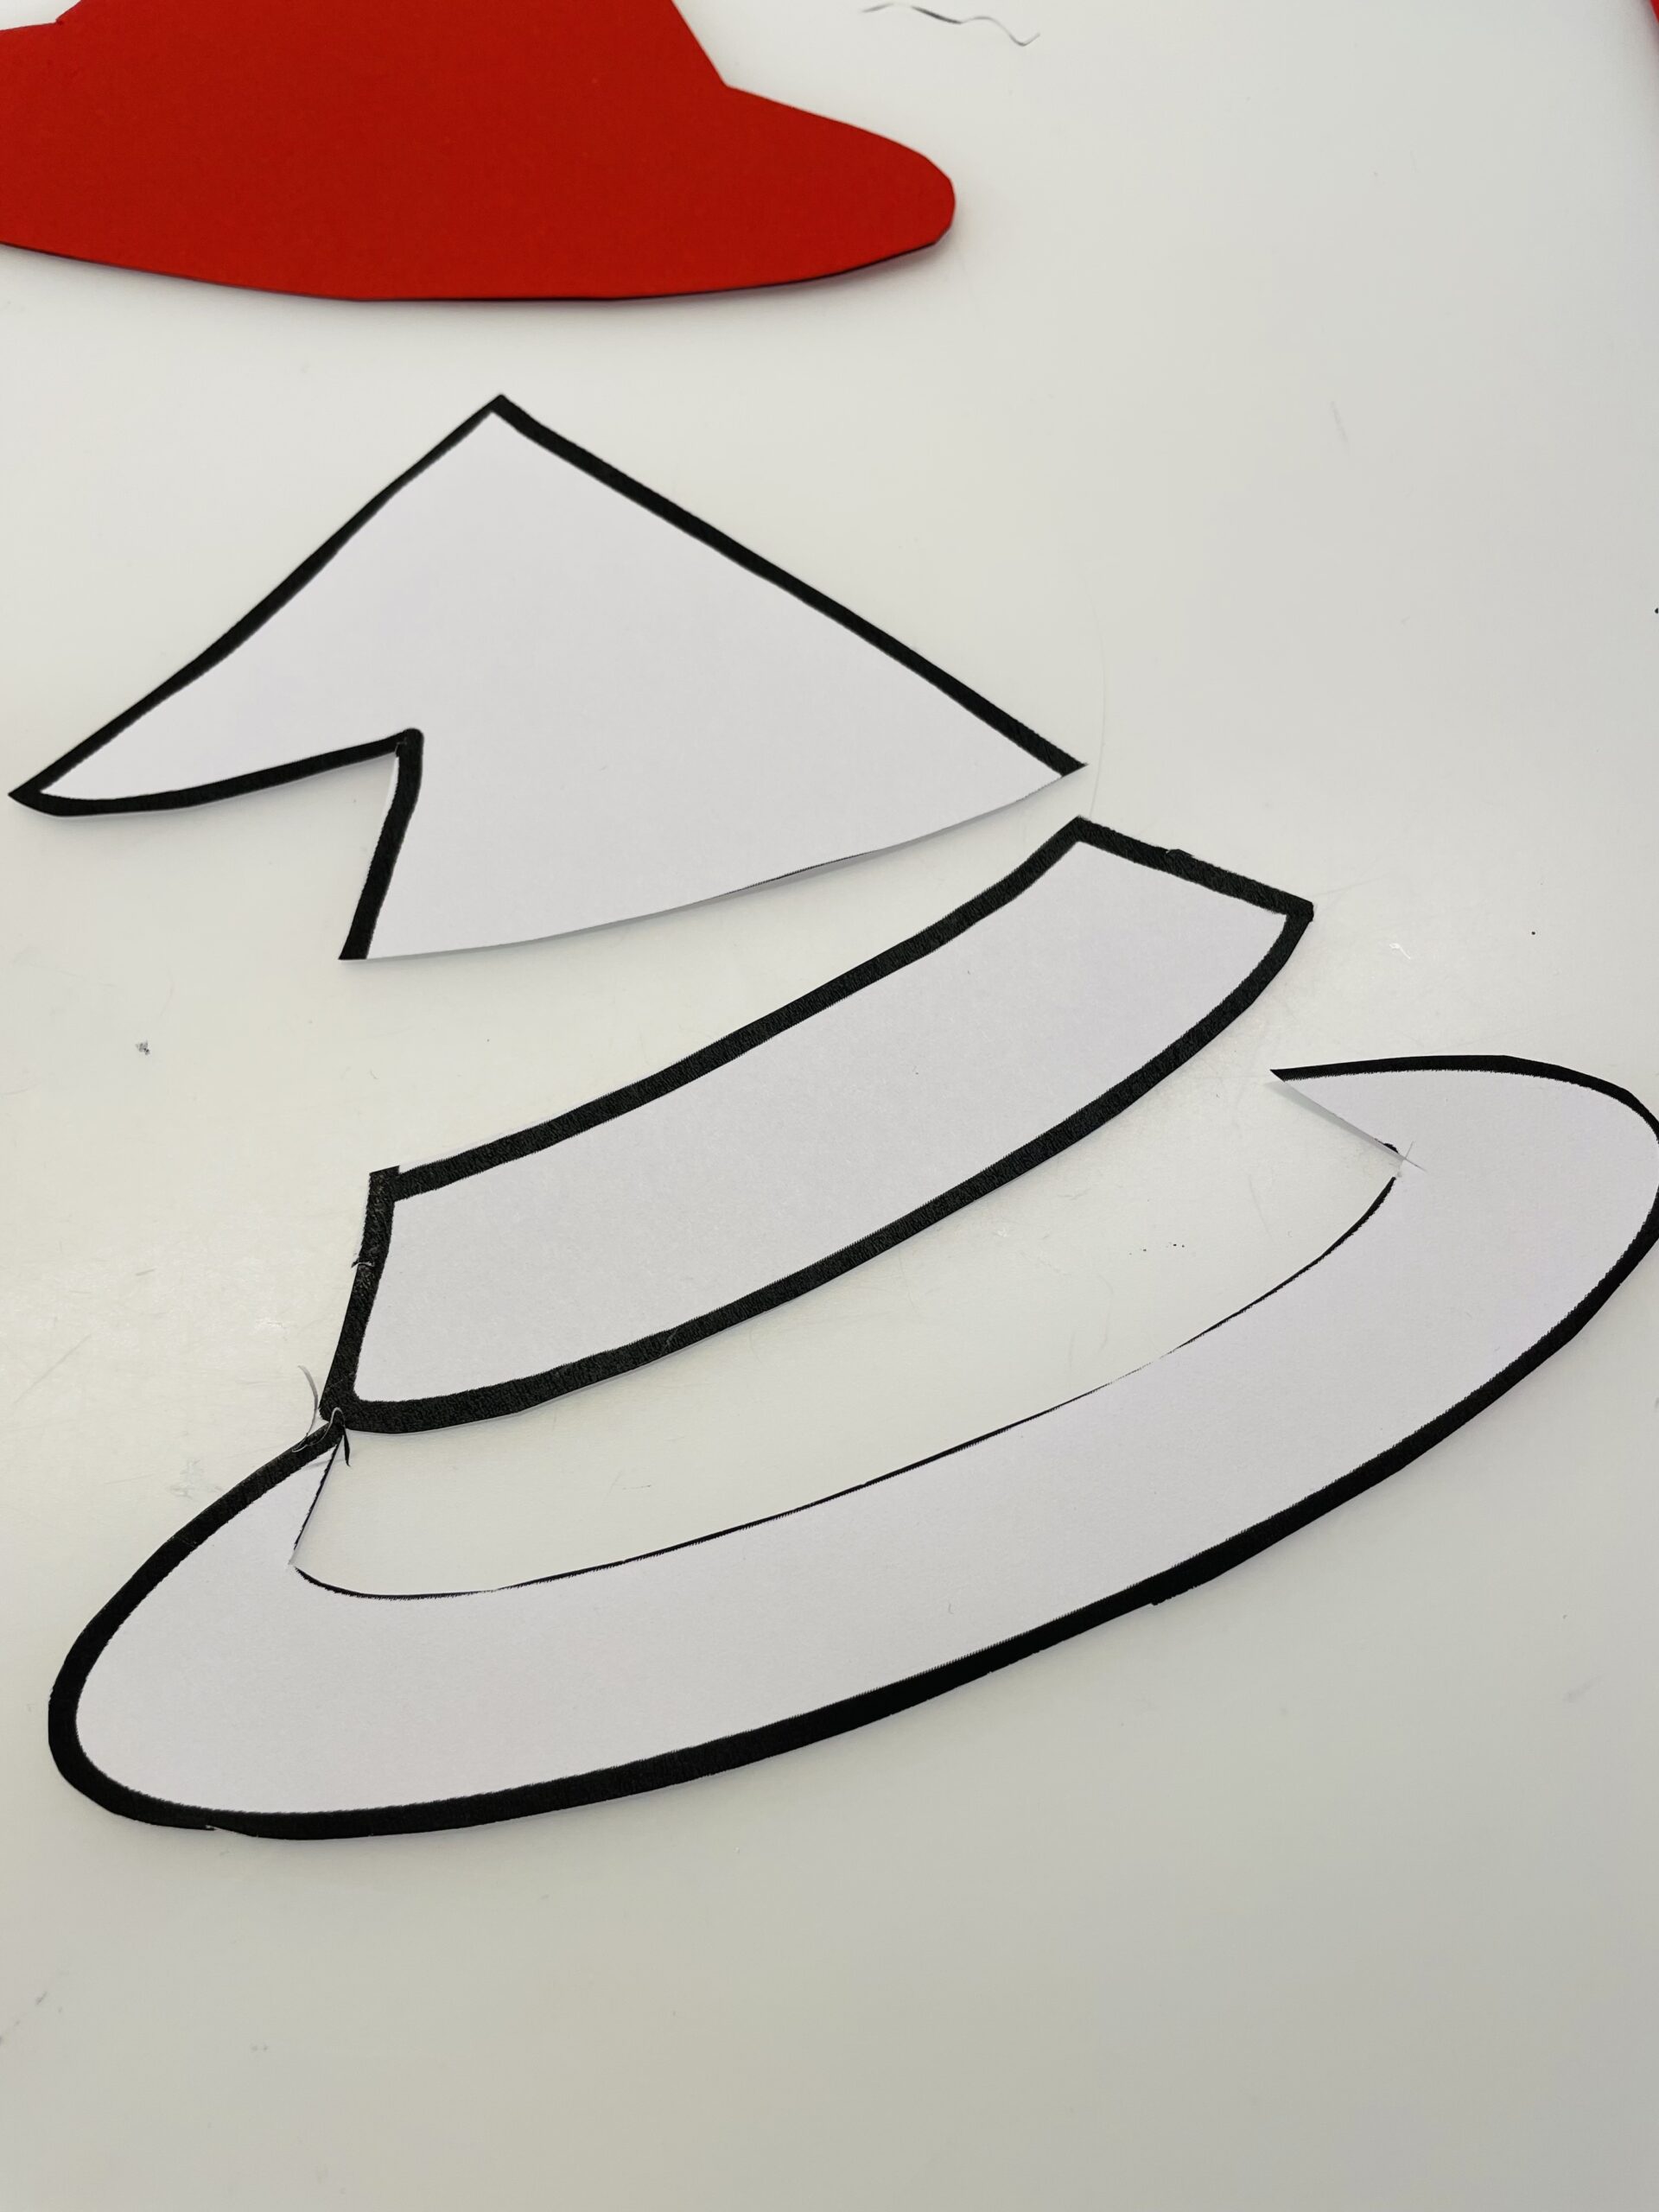
Bild zum Schritt 5 für das Bastel- und DIY-Abenteuer für Kinder: 'Anschließend zerschneidet ihr den Hut in seine Einzelteile. Dafür schneidet...'

6

Then put the middle strip on the hat of clay paper and glue both together.
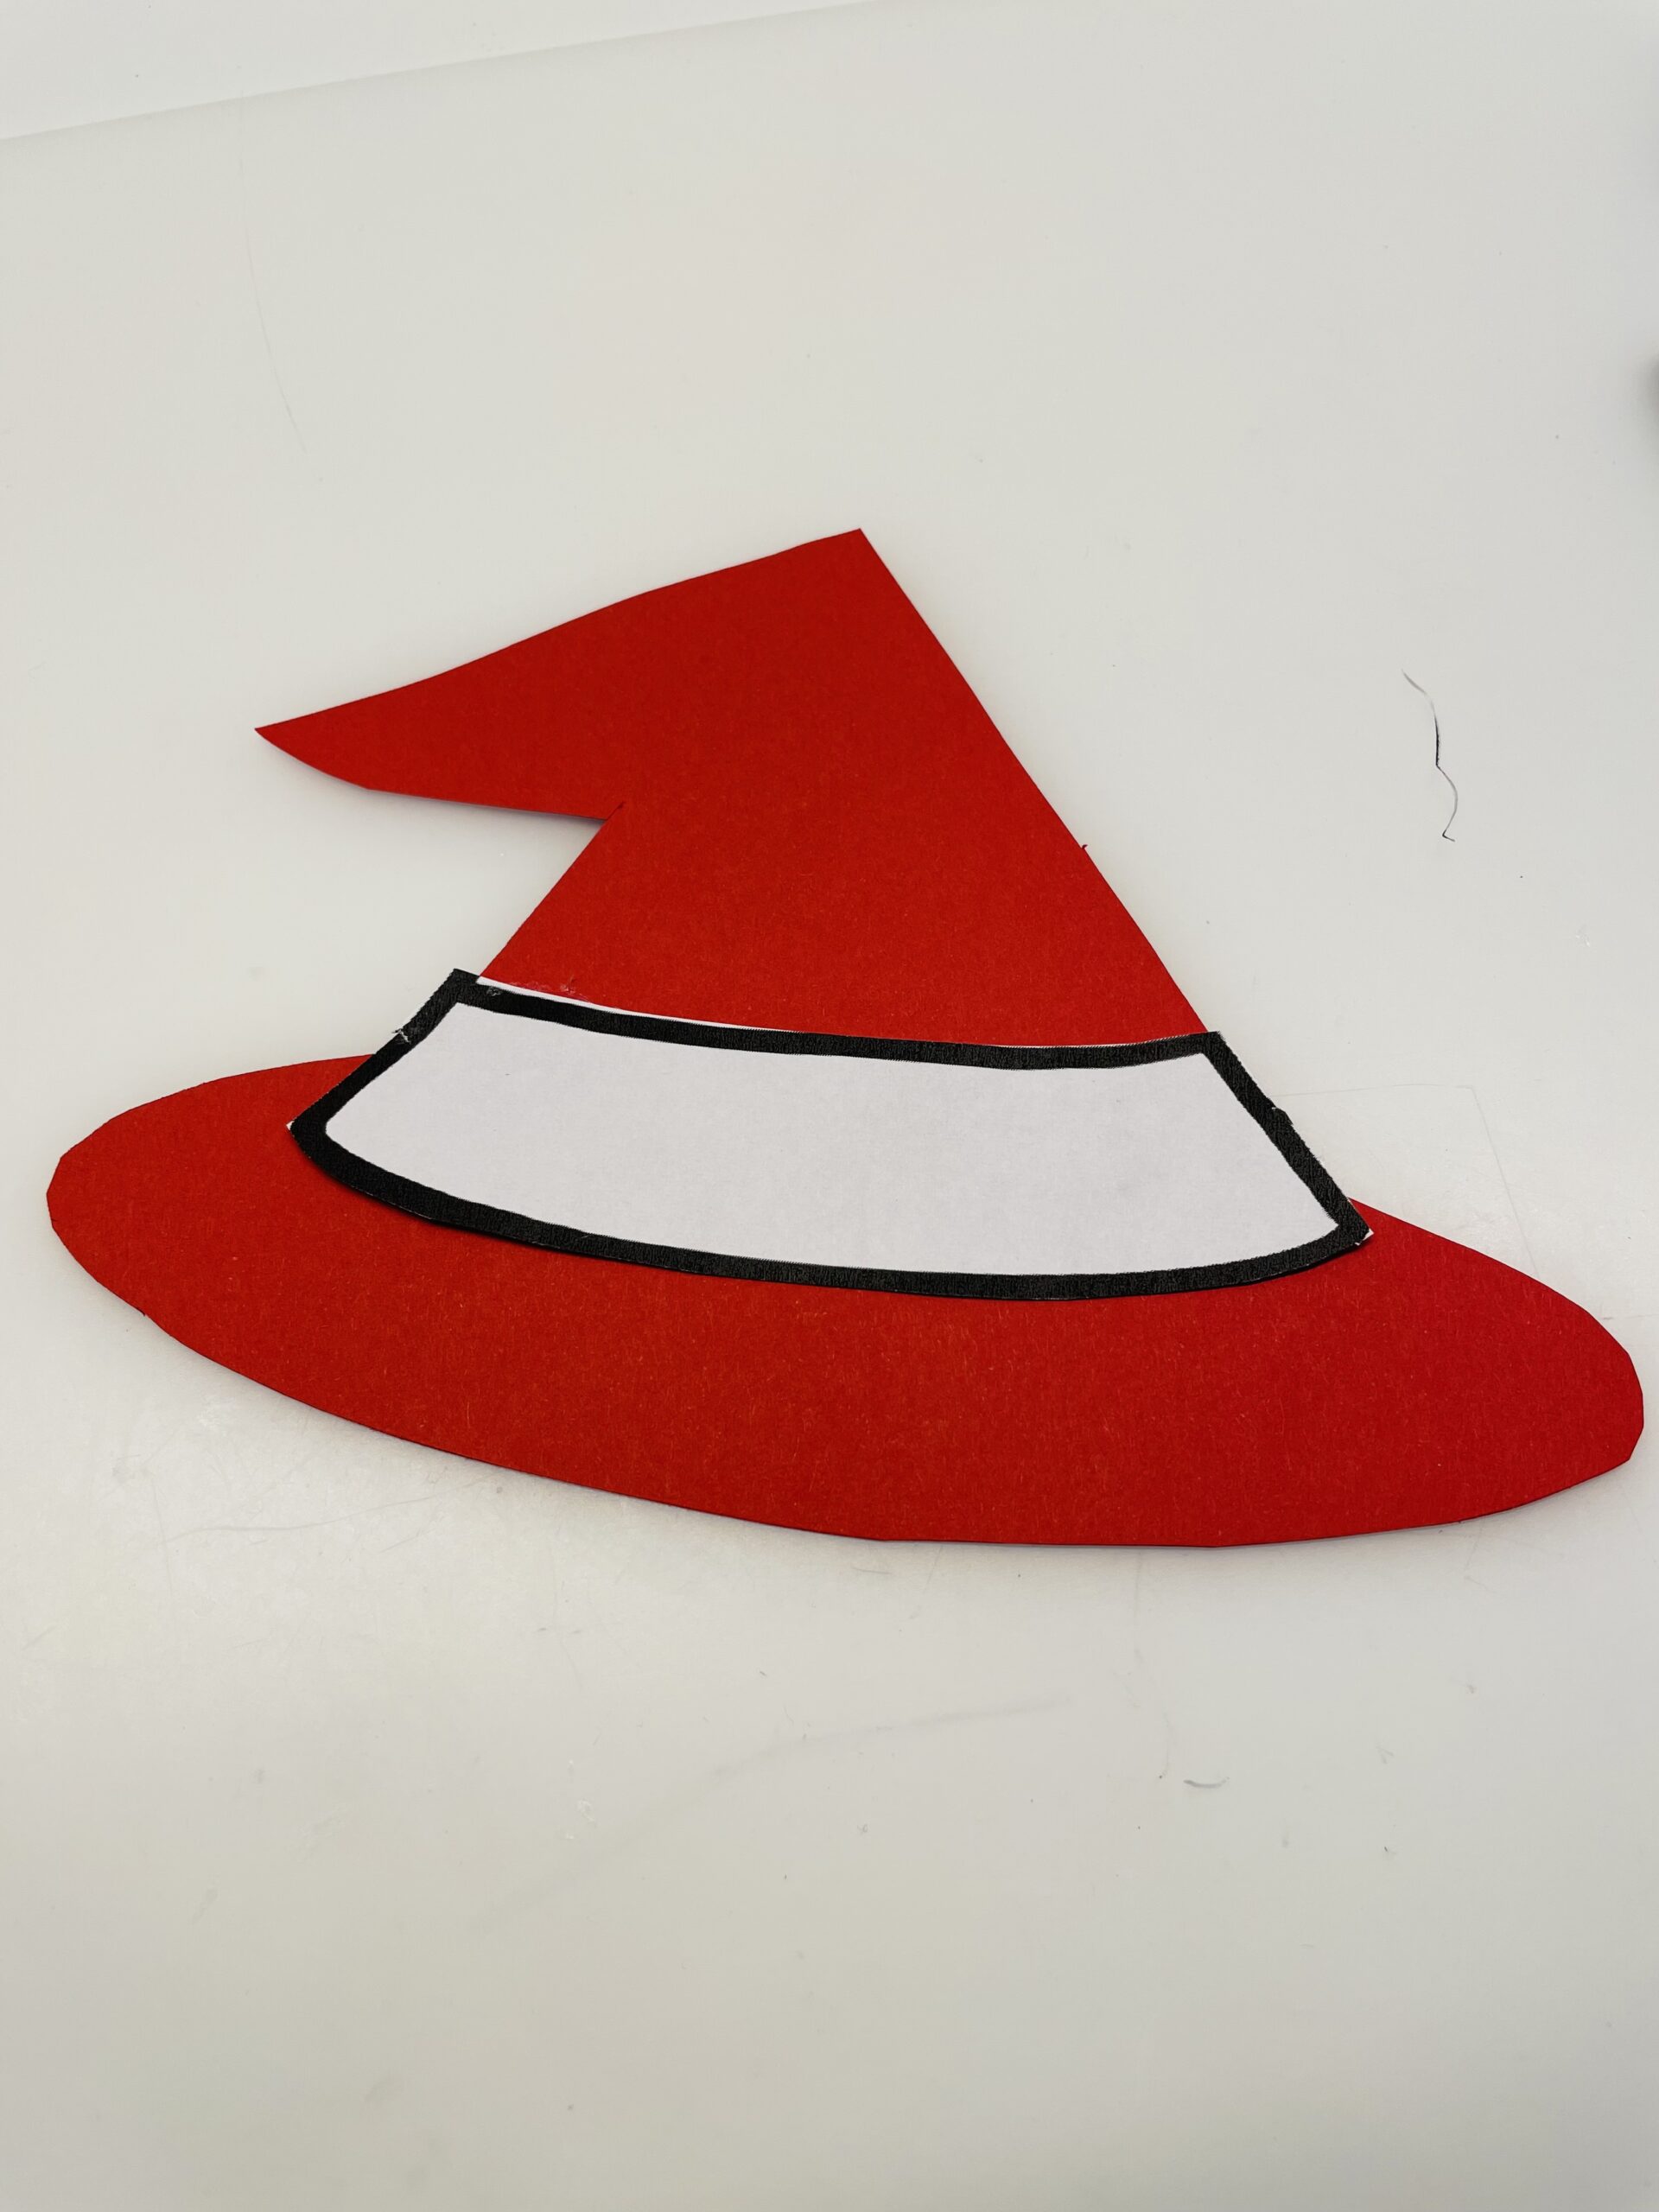
Bild zum Schritt 6 für das Bastel- und DIY-Abenteuer für Kinder: 'Danach legt ihr den mittleren Streifen auf den Hut aus...'

7

Now outline the hat with a black felt pen and then cut out all other items.
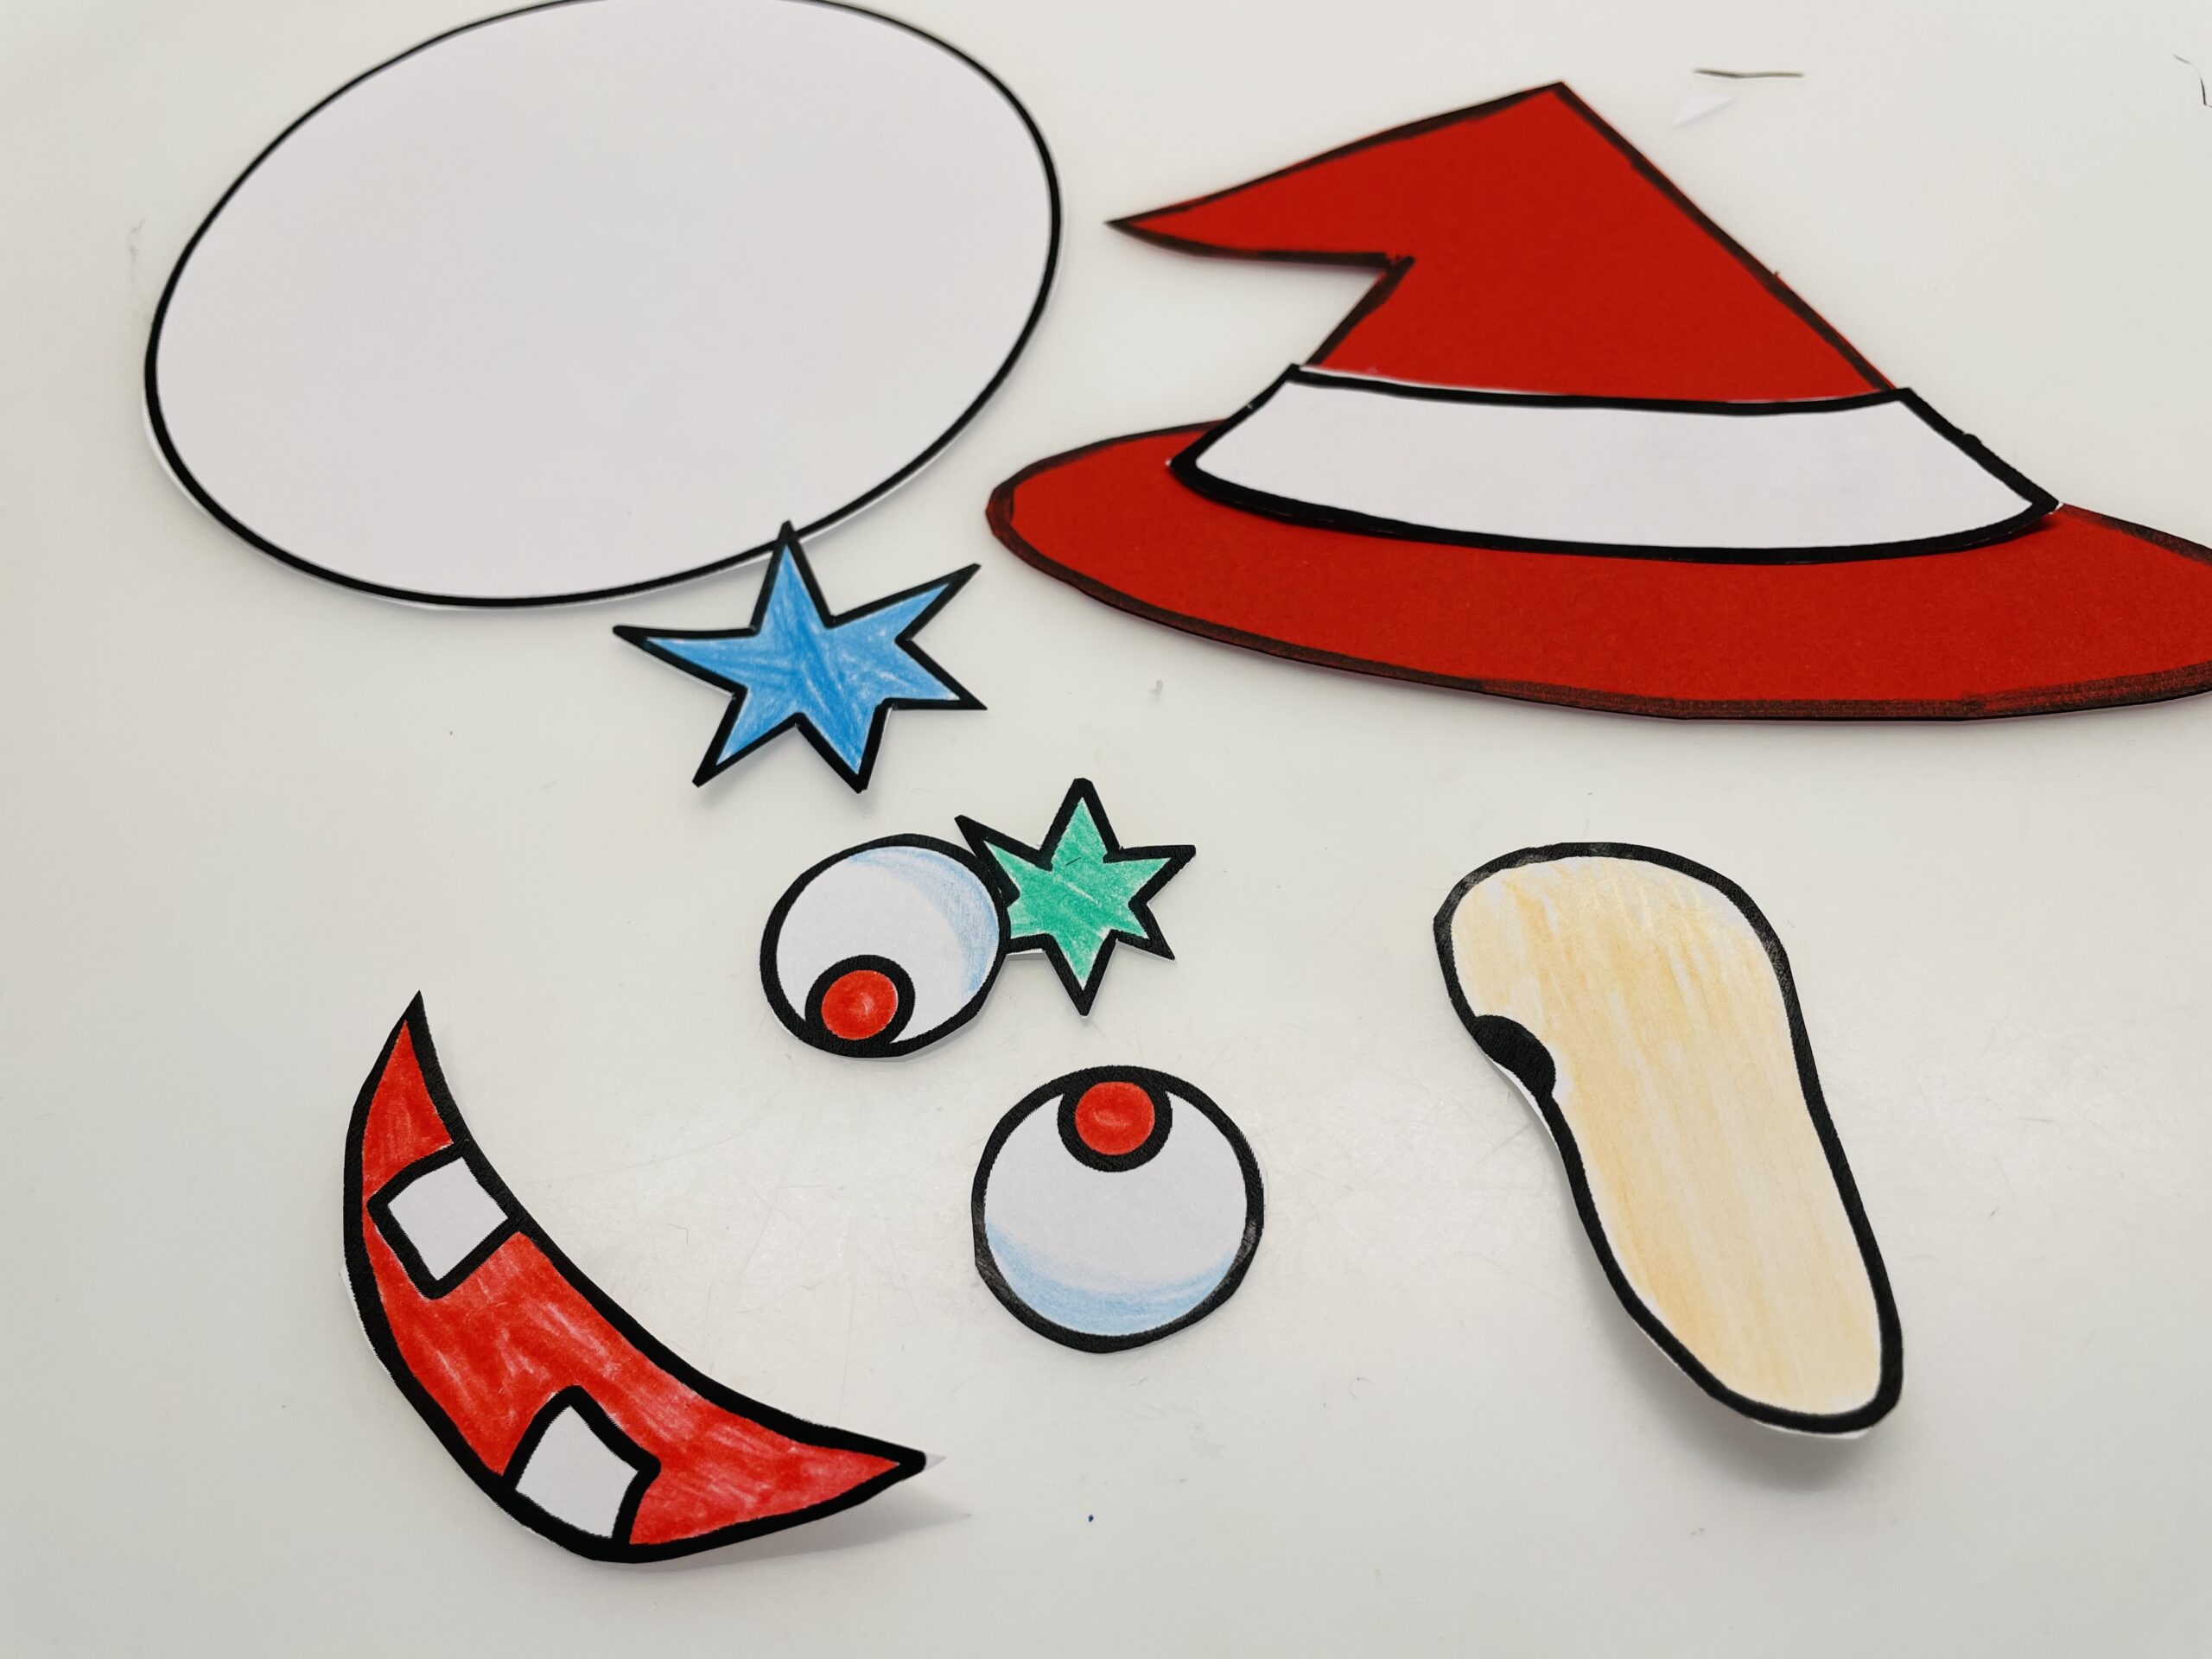
Bild zum Schritt 7 für das Bastel- und DIY-Abenteuer für Kinder: 'Umrandet nun den Hut mit einem schwarzen Filzstift und schneidet...'

8

Now you put everything together to a witch's face and stick everything together - except the hat.
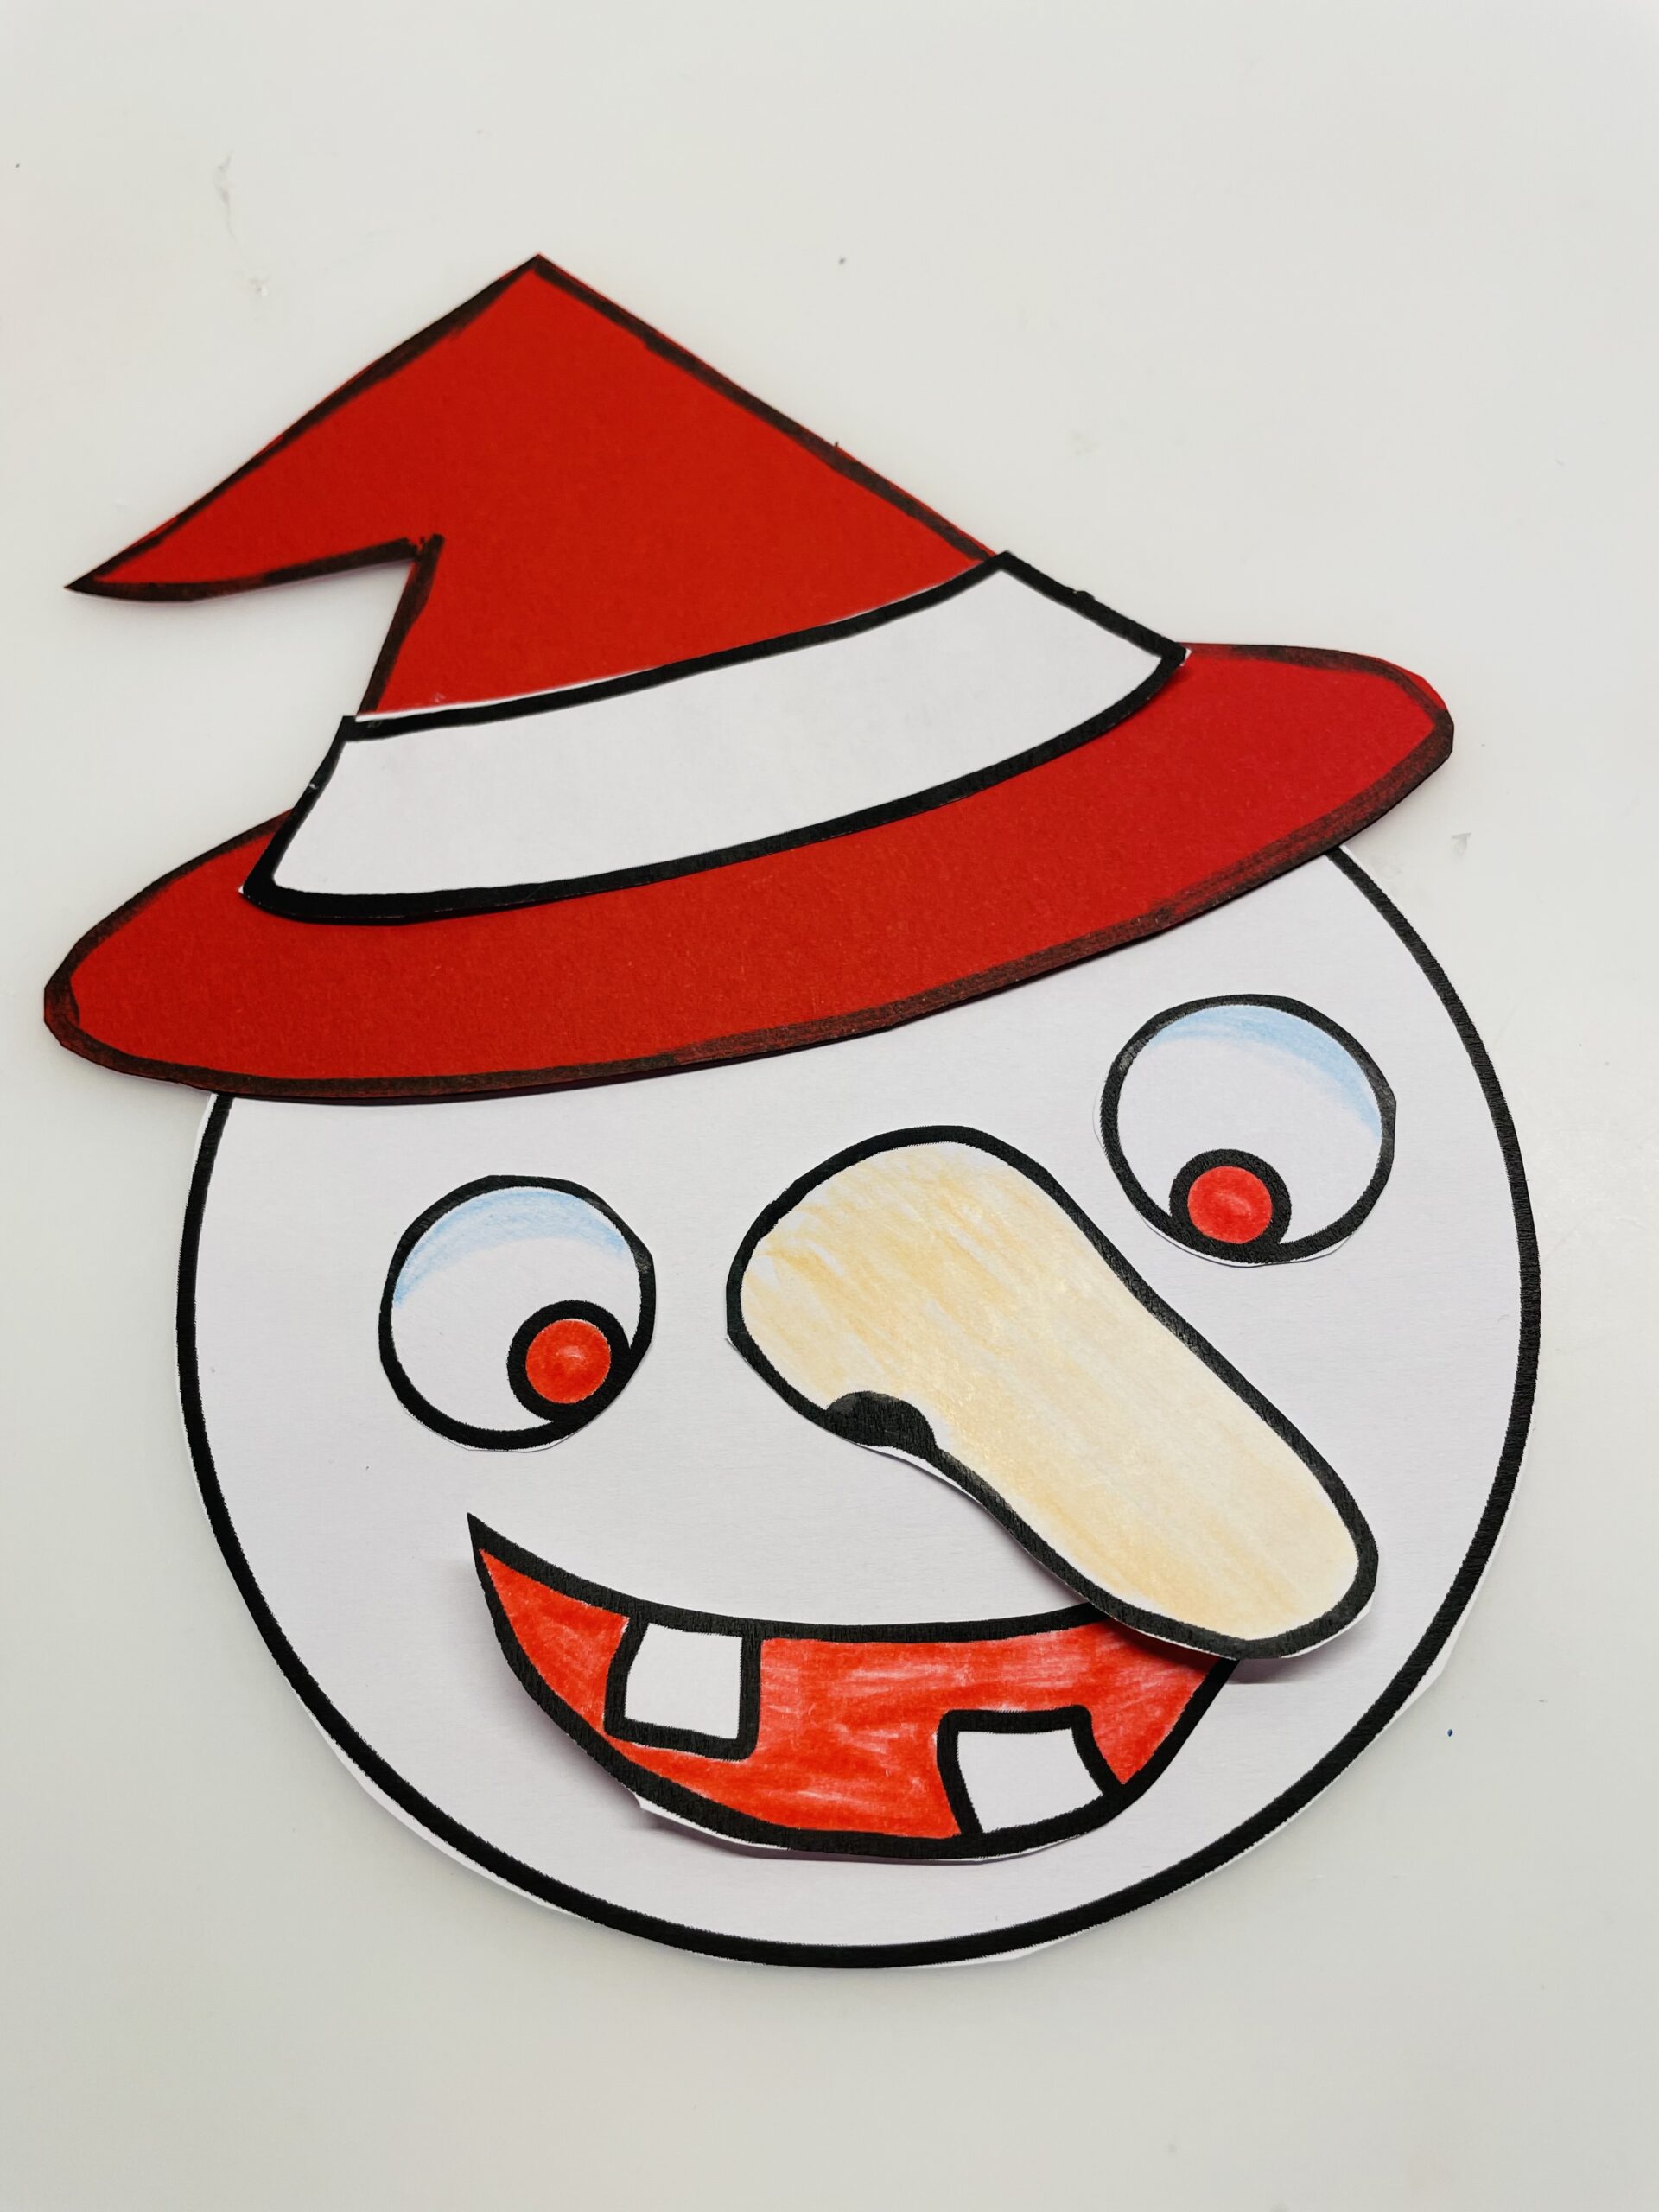
Bild zum Schritt 8 für das Bastel- und DIY-Abenteuer für Kinder: 'Jetzt legt ihr alles zu einem Hexengesicht zusammen und klebt...'

9

2. Bild zum Schritt 8 für das Bastel- und DIY-Abenteuer für Kinder: 'Jetzt legt ihr alles zu einem Hexengesicht zusammen und klebt...'

10

Now put the hat with the back up on the table.
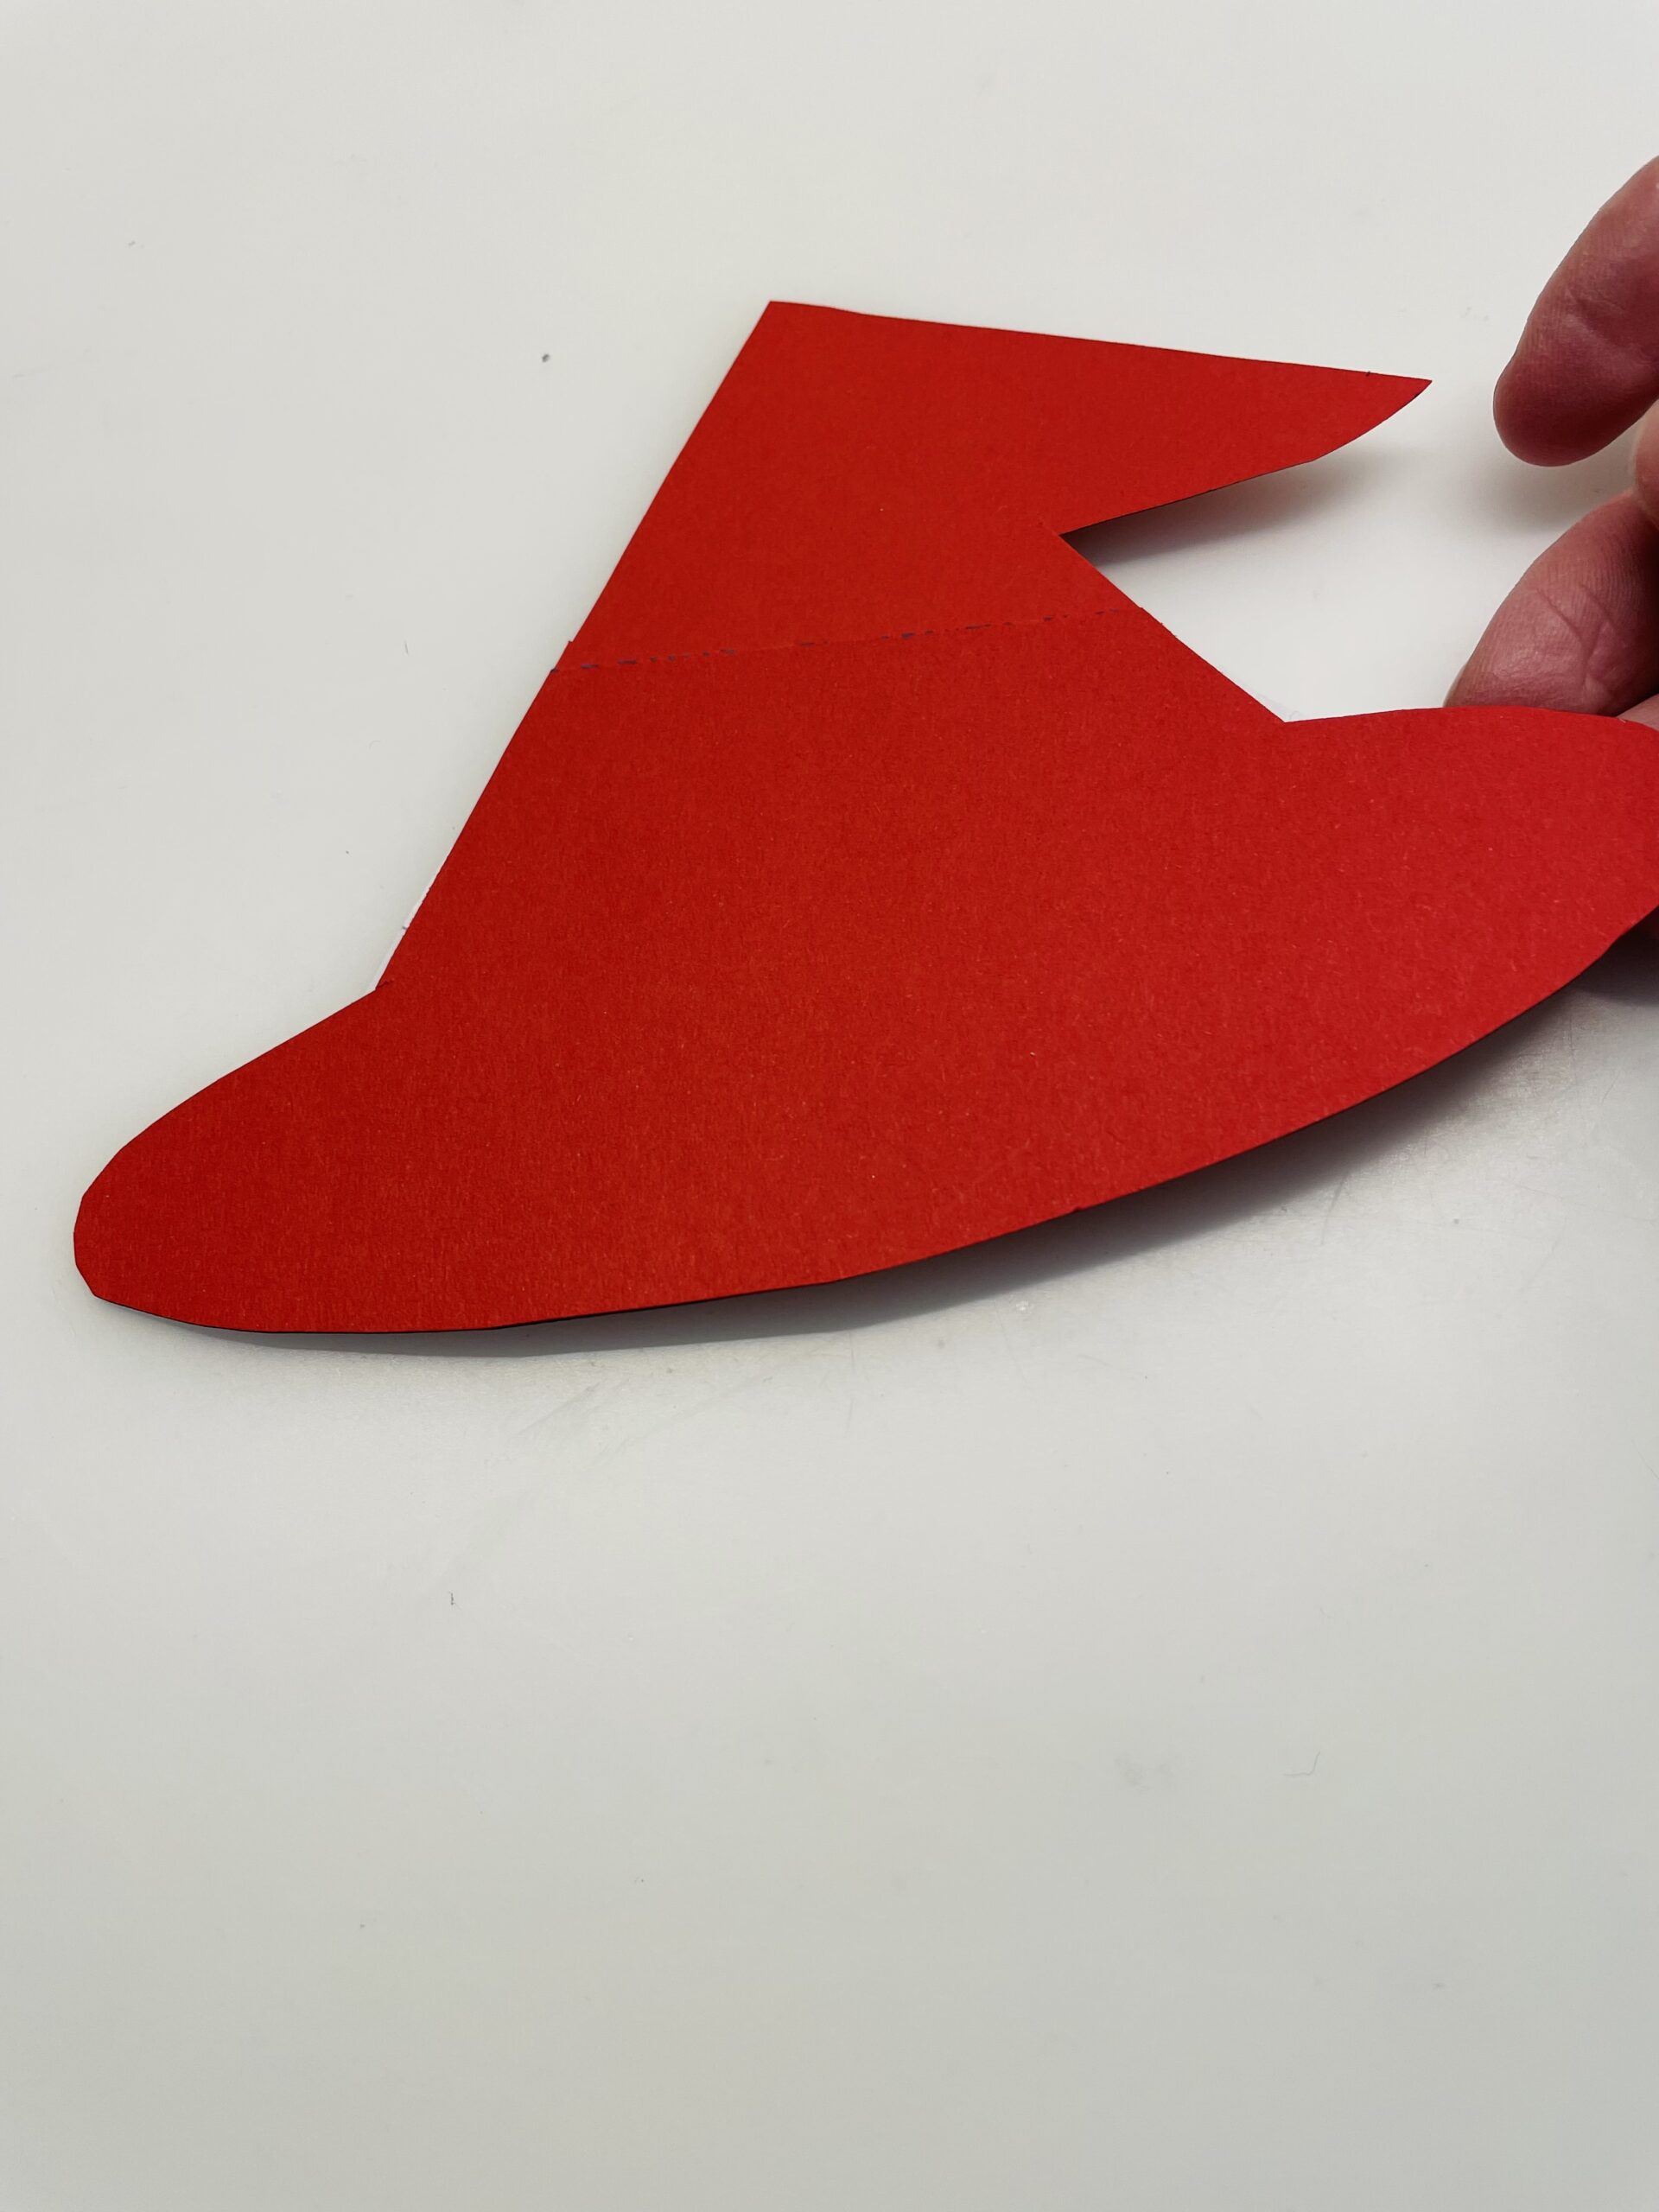
Bild zum Schritt 10 für das Bastel- und DIY-Abenteuer für Kinder: 'Jetzt legt ihr den Hut mit der Rückseite nach oben...'

11

Then you wrap the wool several times around one hand and then cut all the threads with the scissors at once. Then you put the threads on the table.
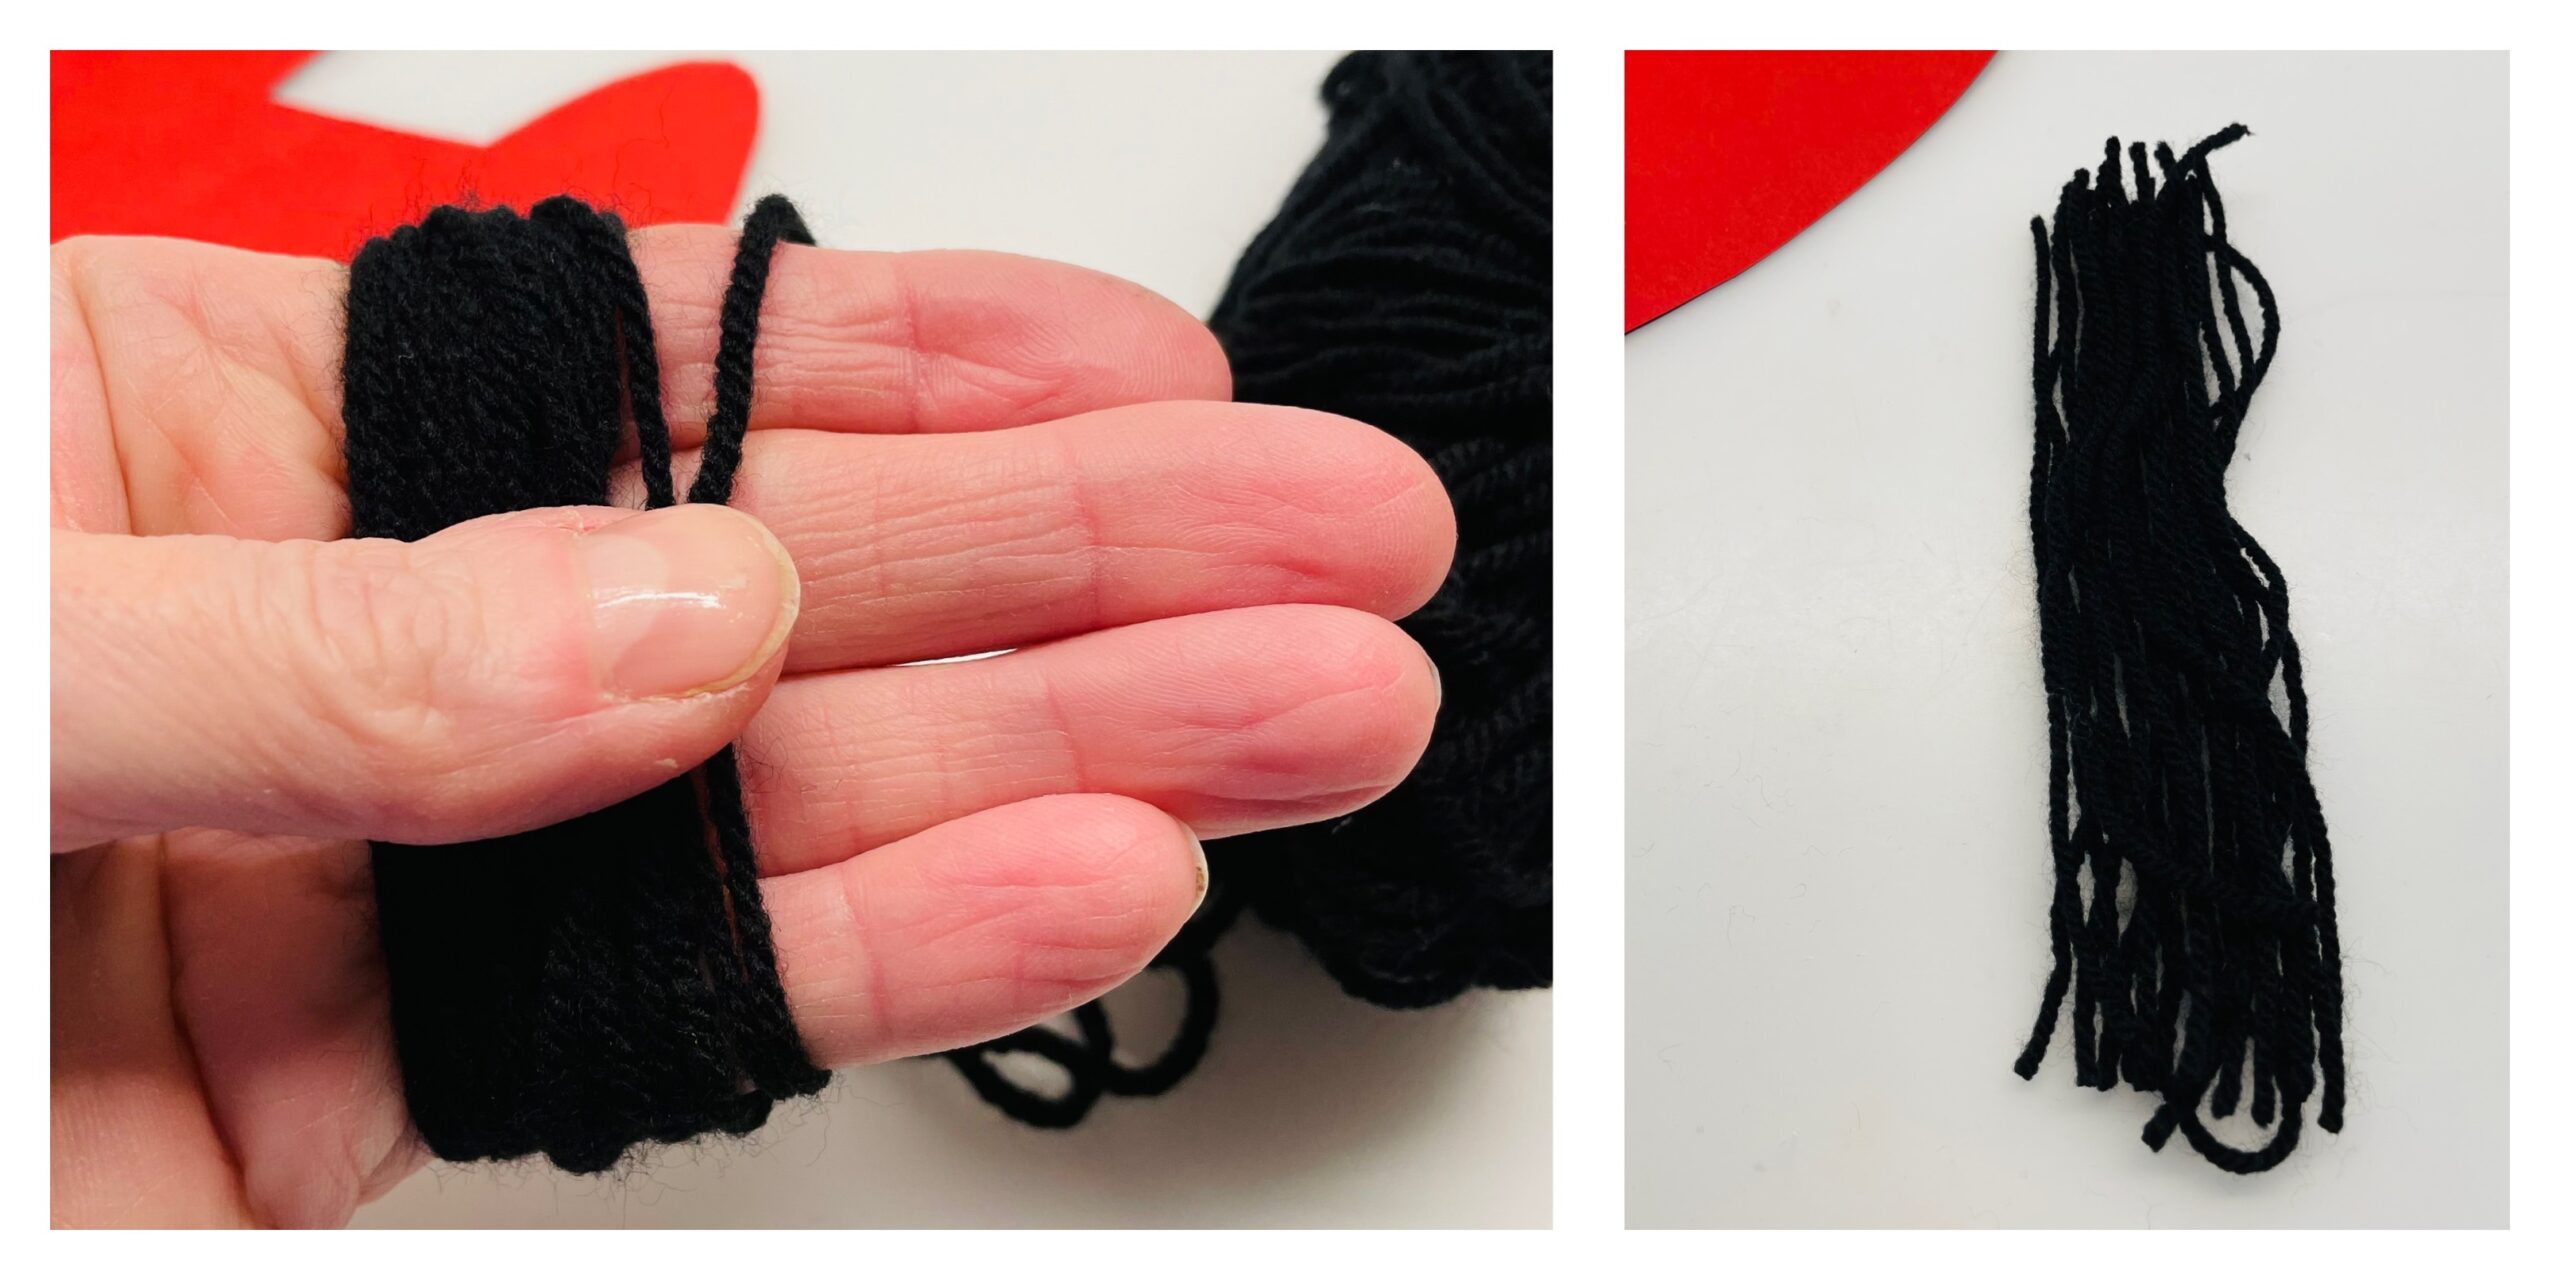
Bild zum Schritt 11 für das Bastel- und DIY-Abenteuer für Kinder: 'Dann wickelt ihr die Wolle mehrmals um eine Hand und...'

12

Now you brush the straight side of the back of the hat one centimeter wide with glue.
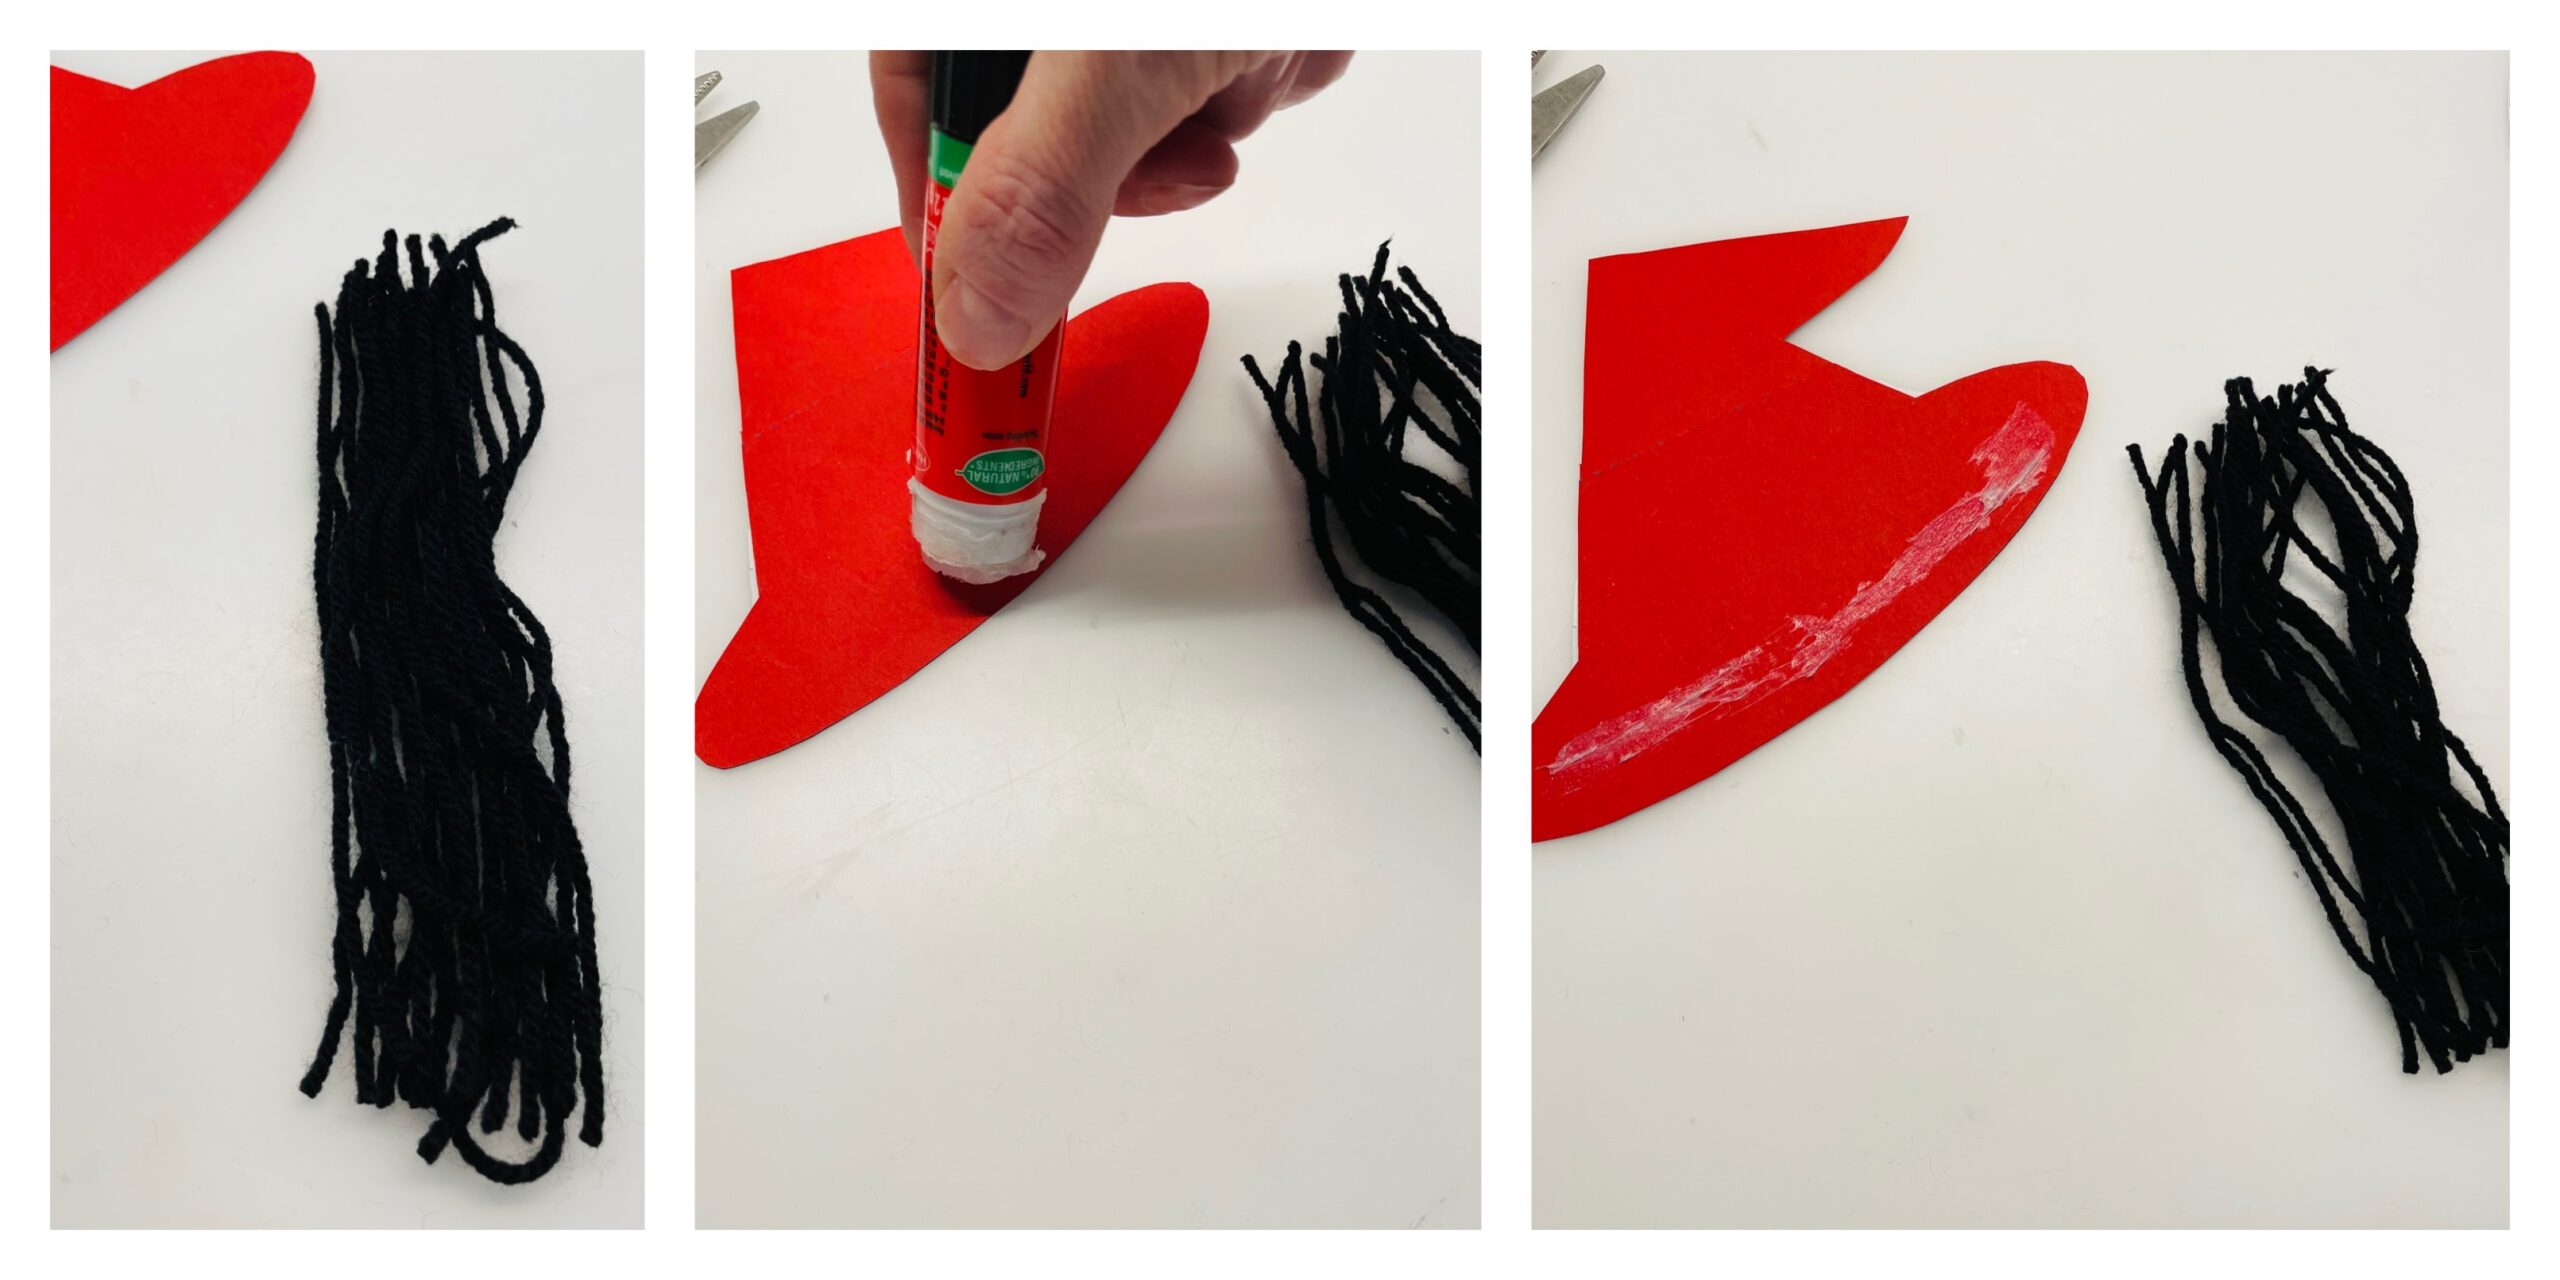
Bild zum Schritt 12 für das Bastel- und DIY-Abenteuer für Kinder: 'Jetzt streicht ihr die gerade Seite der Rückseite des Hutes...'

13

After that, you put the wool on it.
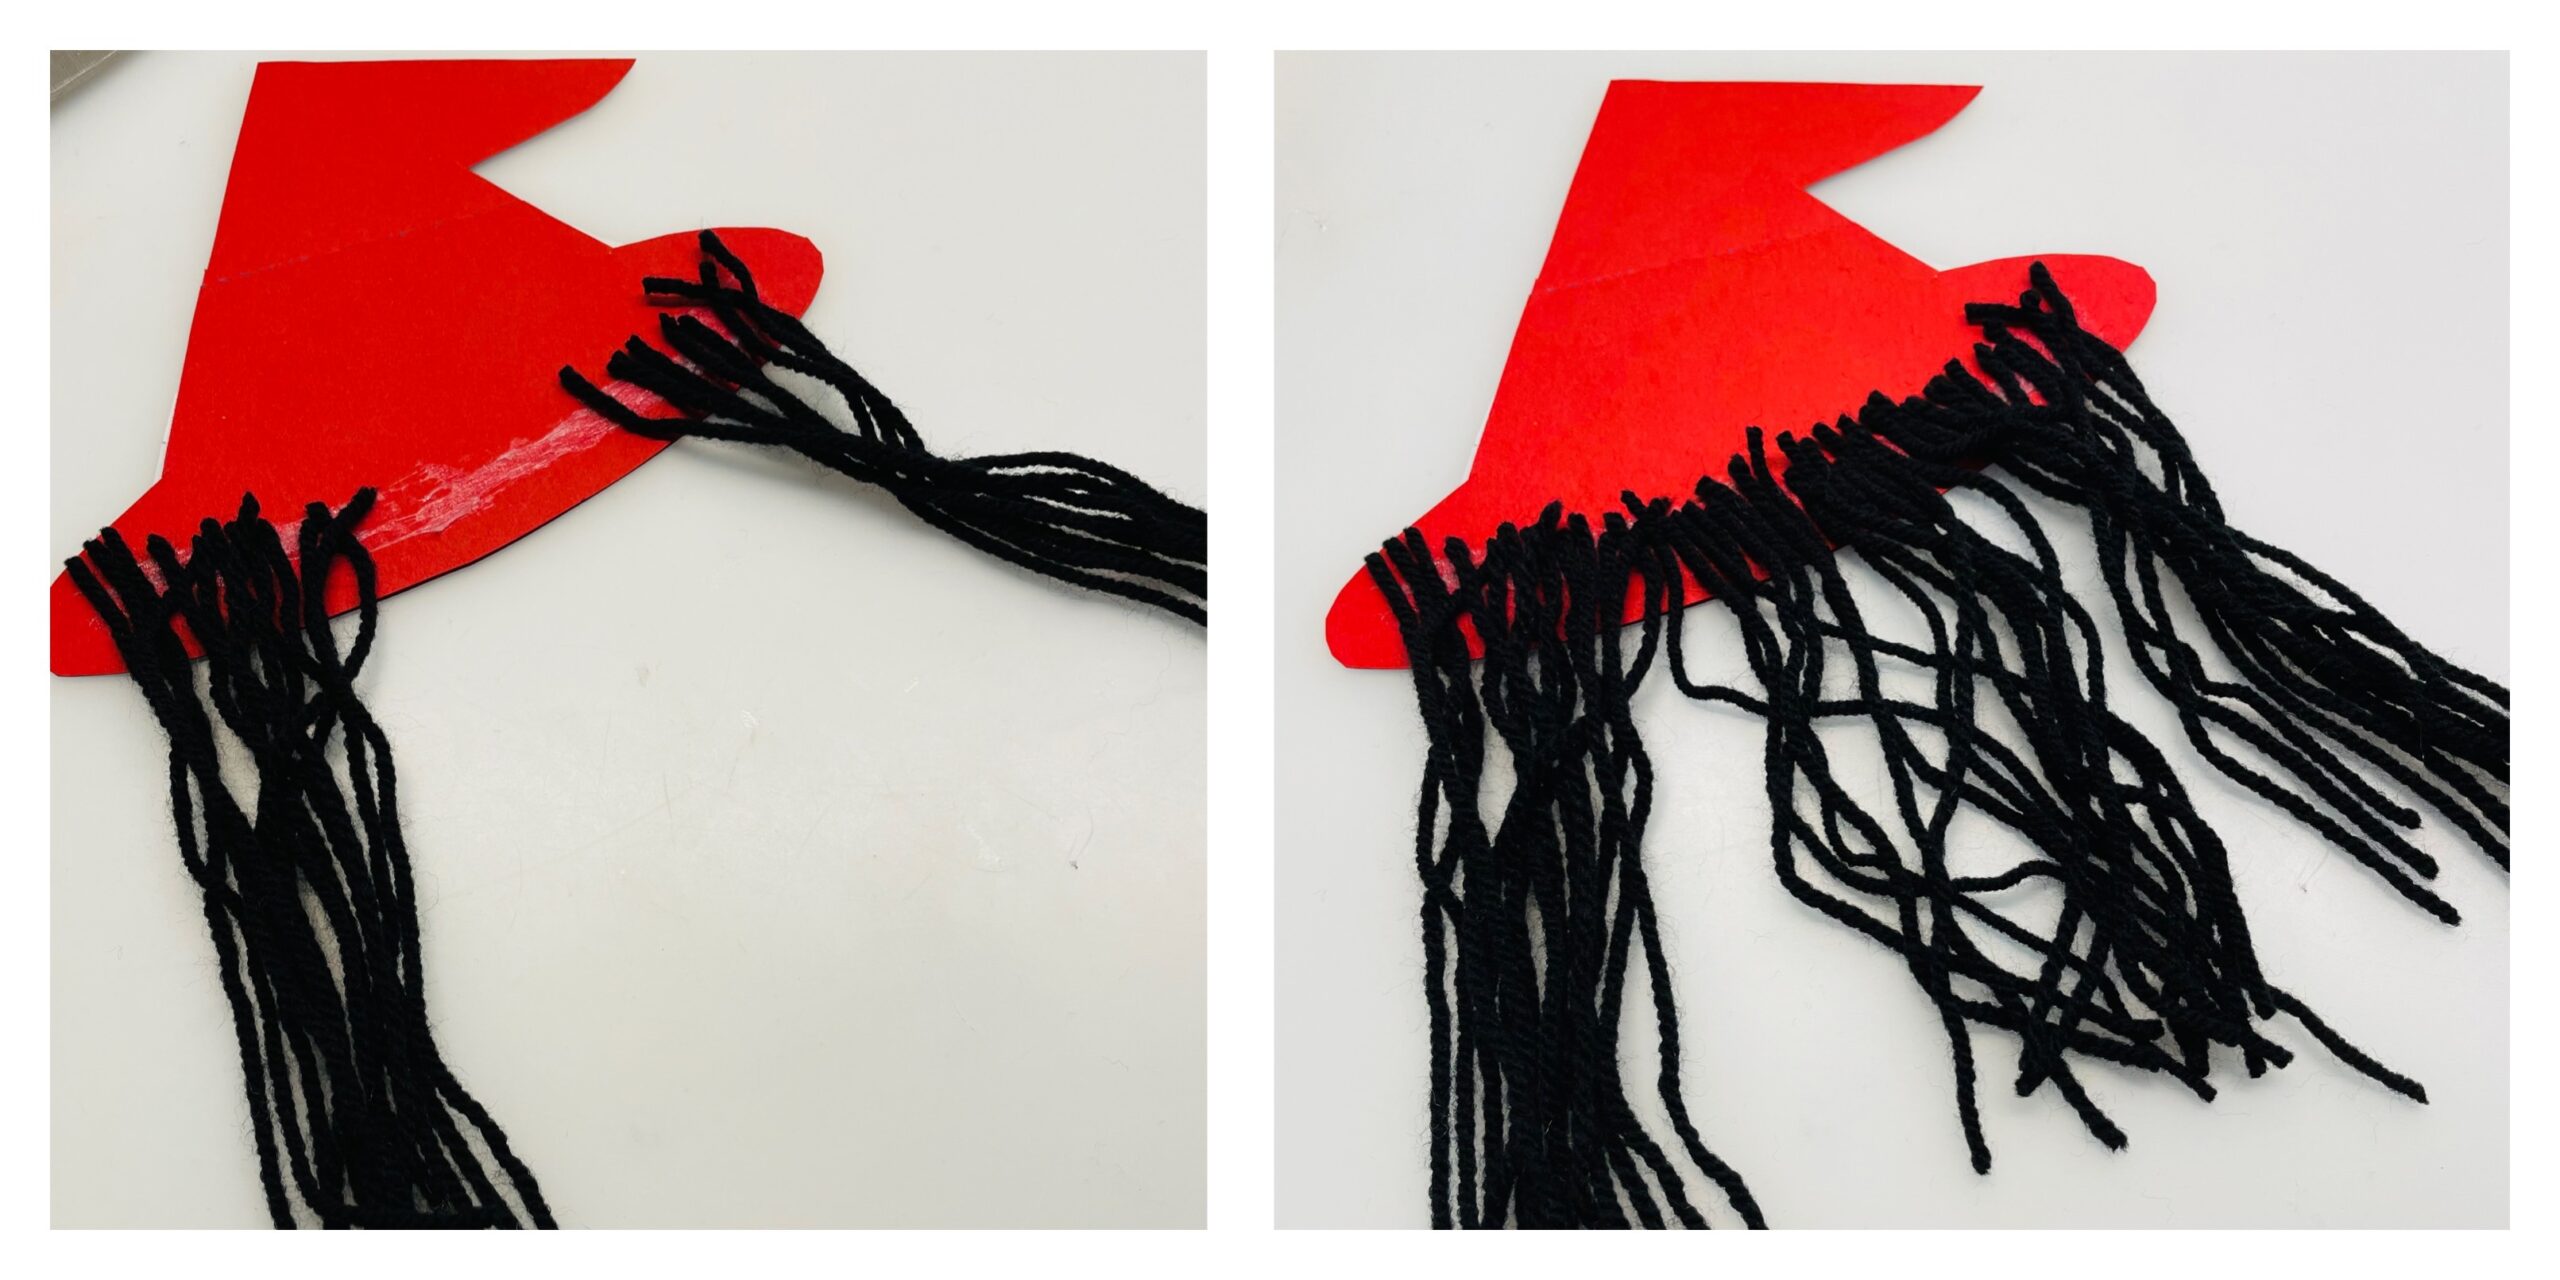
Bild zum Schritt 13 für das Bastel- und DIY-Abenteuer für Kinder: 'Danach klebt ihr die Wolle darauf.'

14

The witch's hat with the hair is finished now.
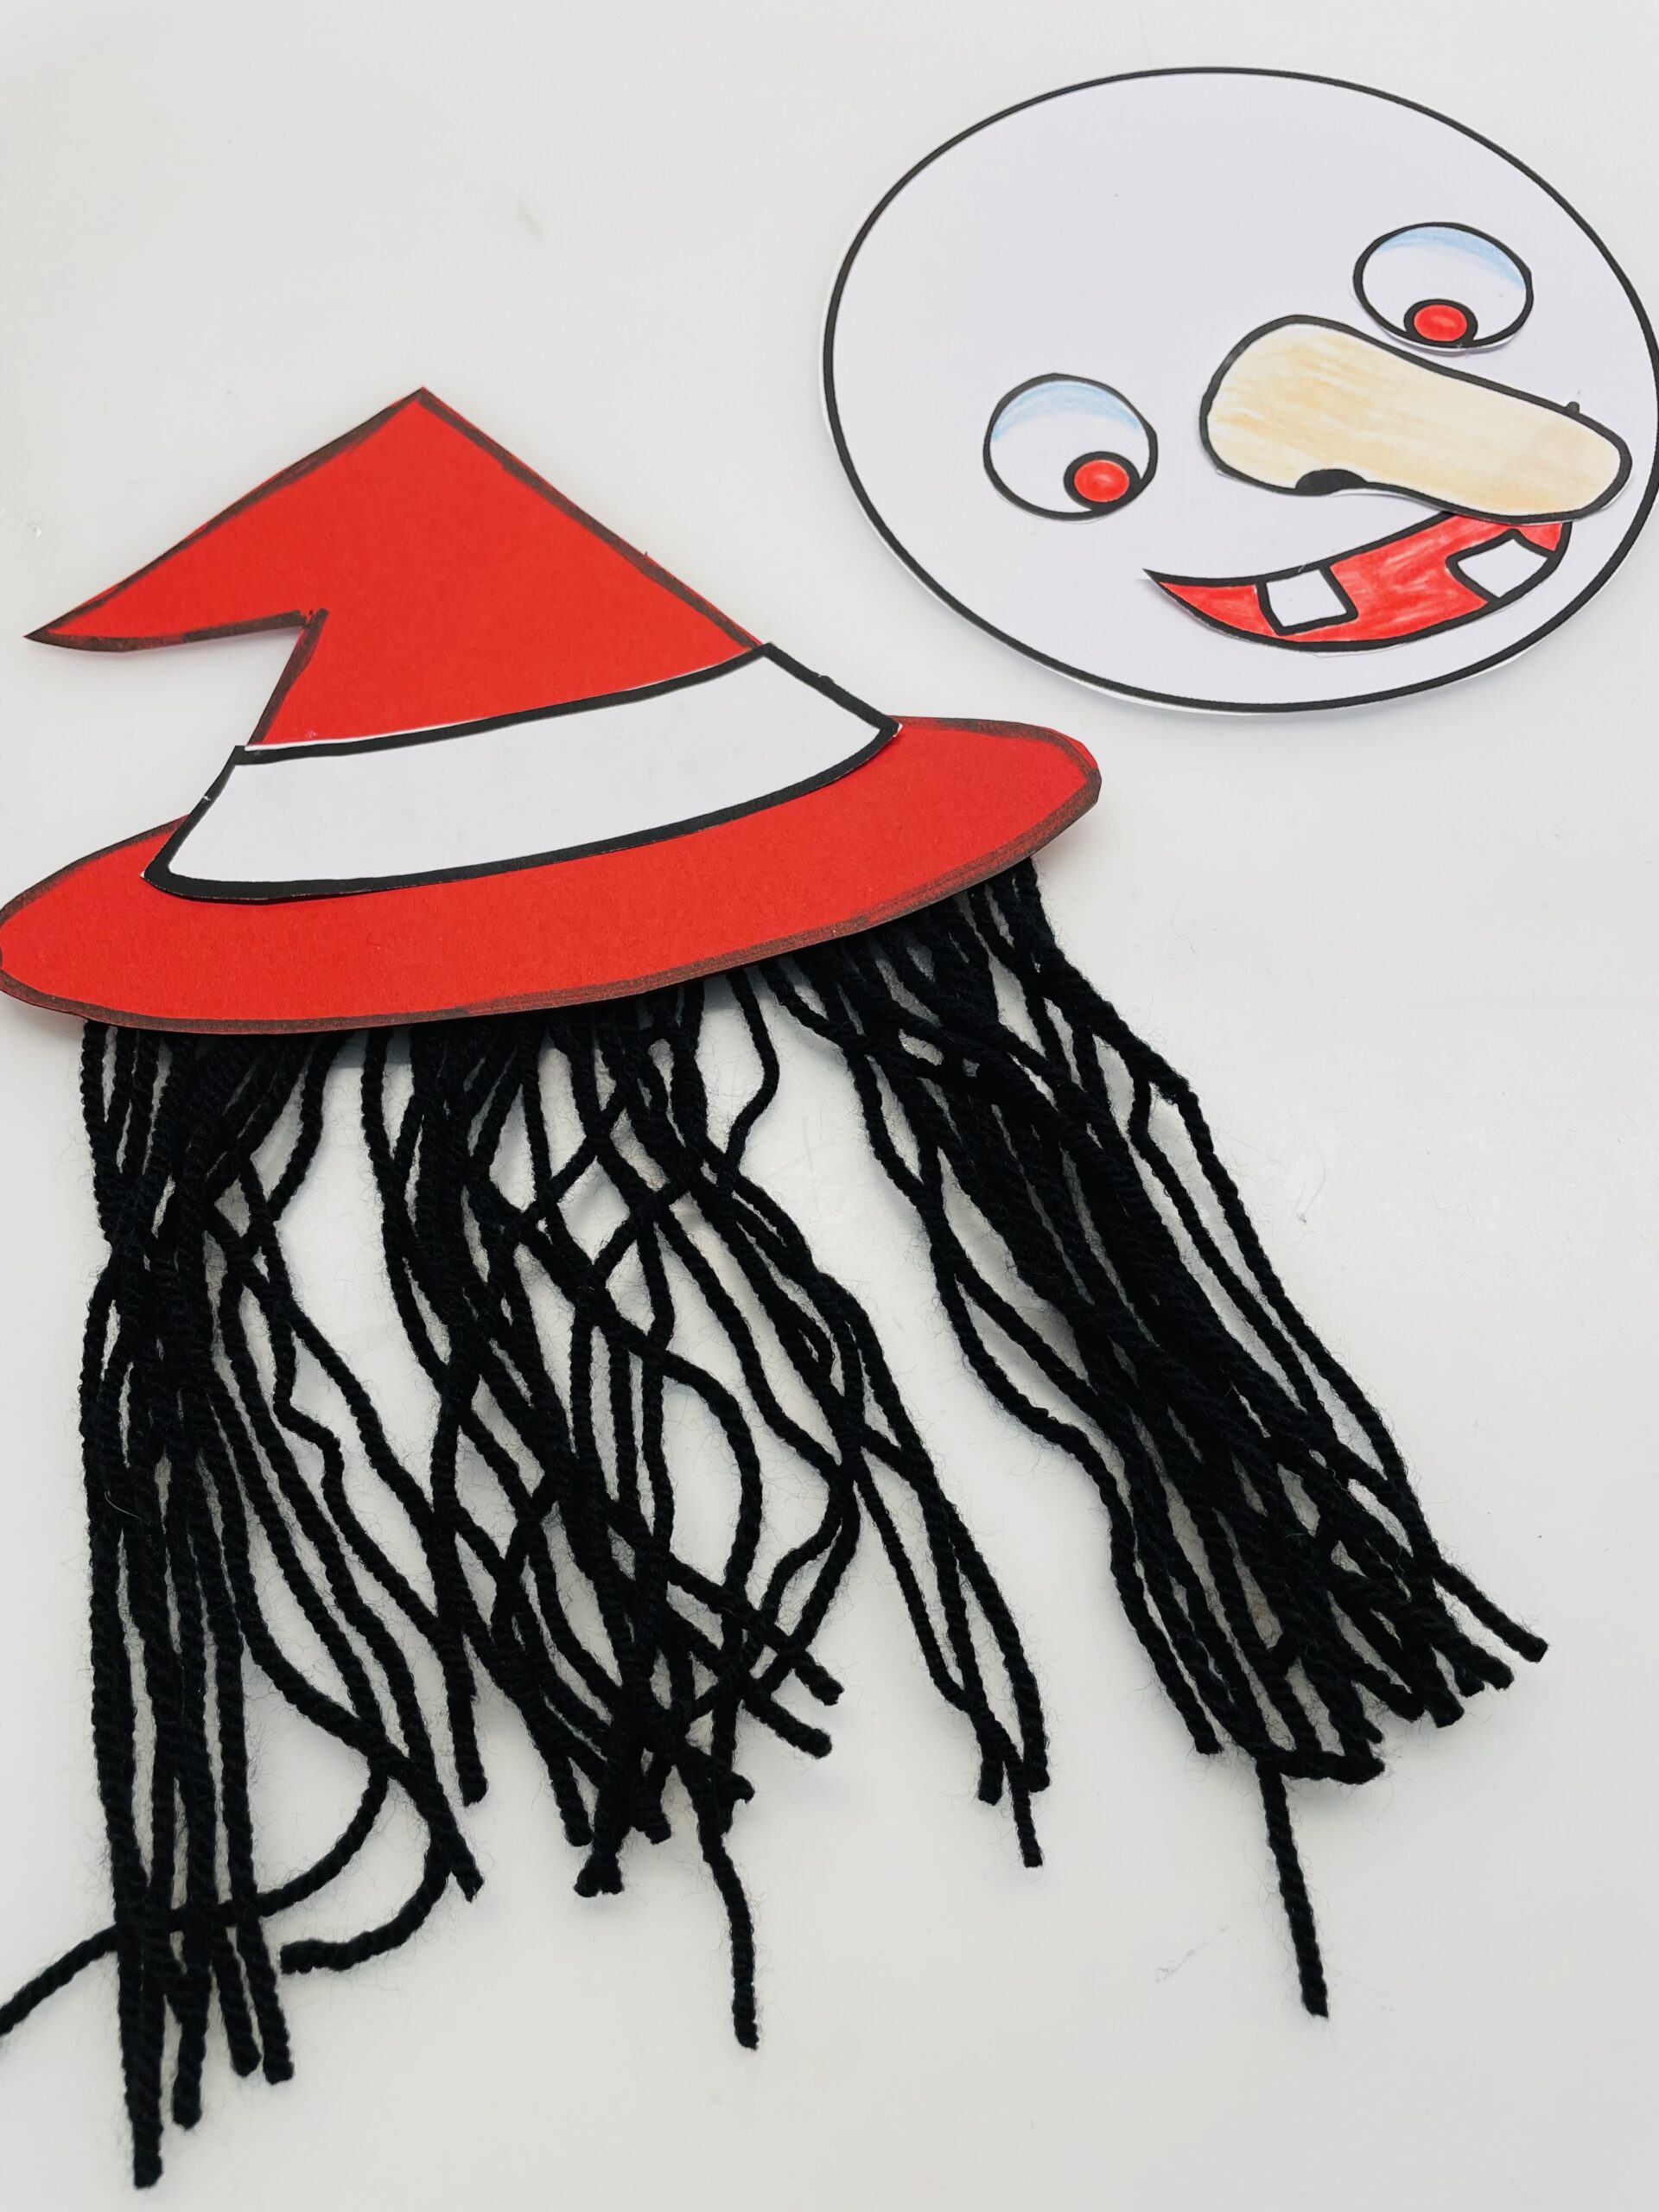
Bild zum Schritt 14 für das Bastel- und DIY-Abenteuer für Kinder: 'Der Hut der Hexe mit den Haaren ist jetzt fertig.'

15

Now put her hat on the witch's head.
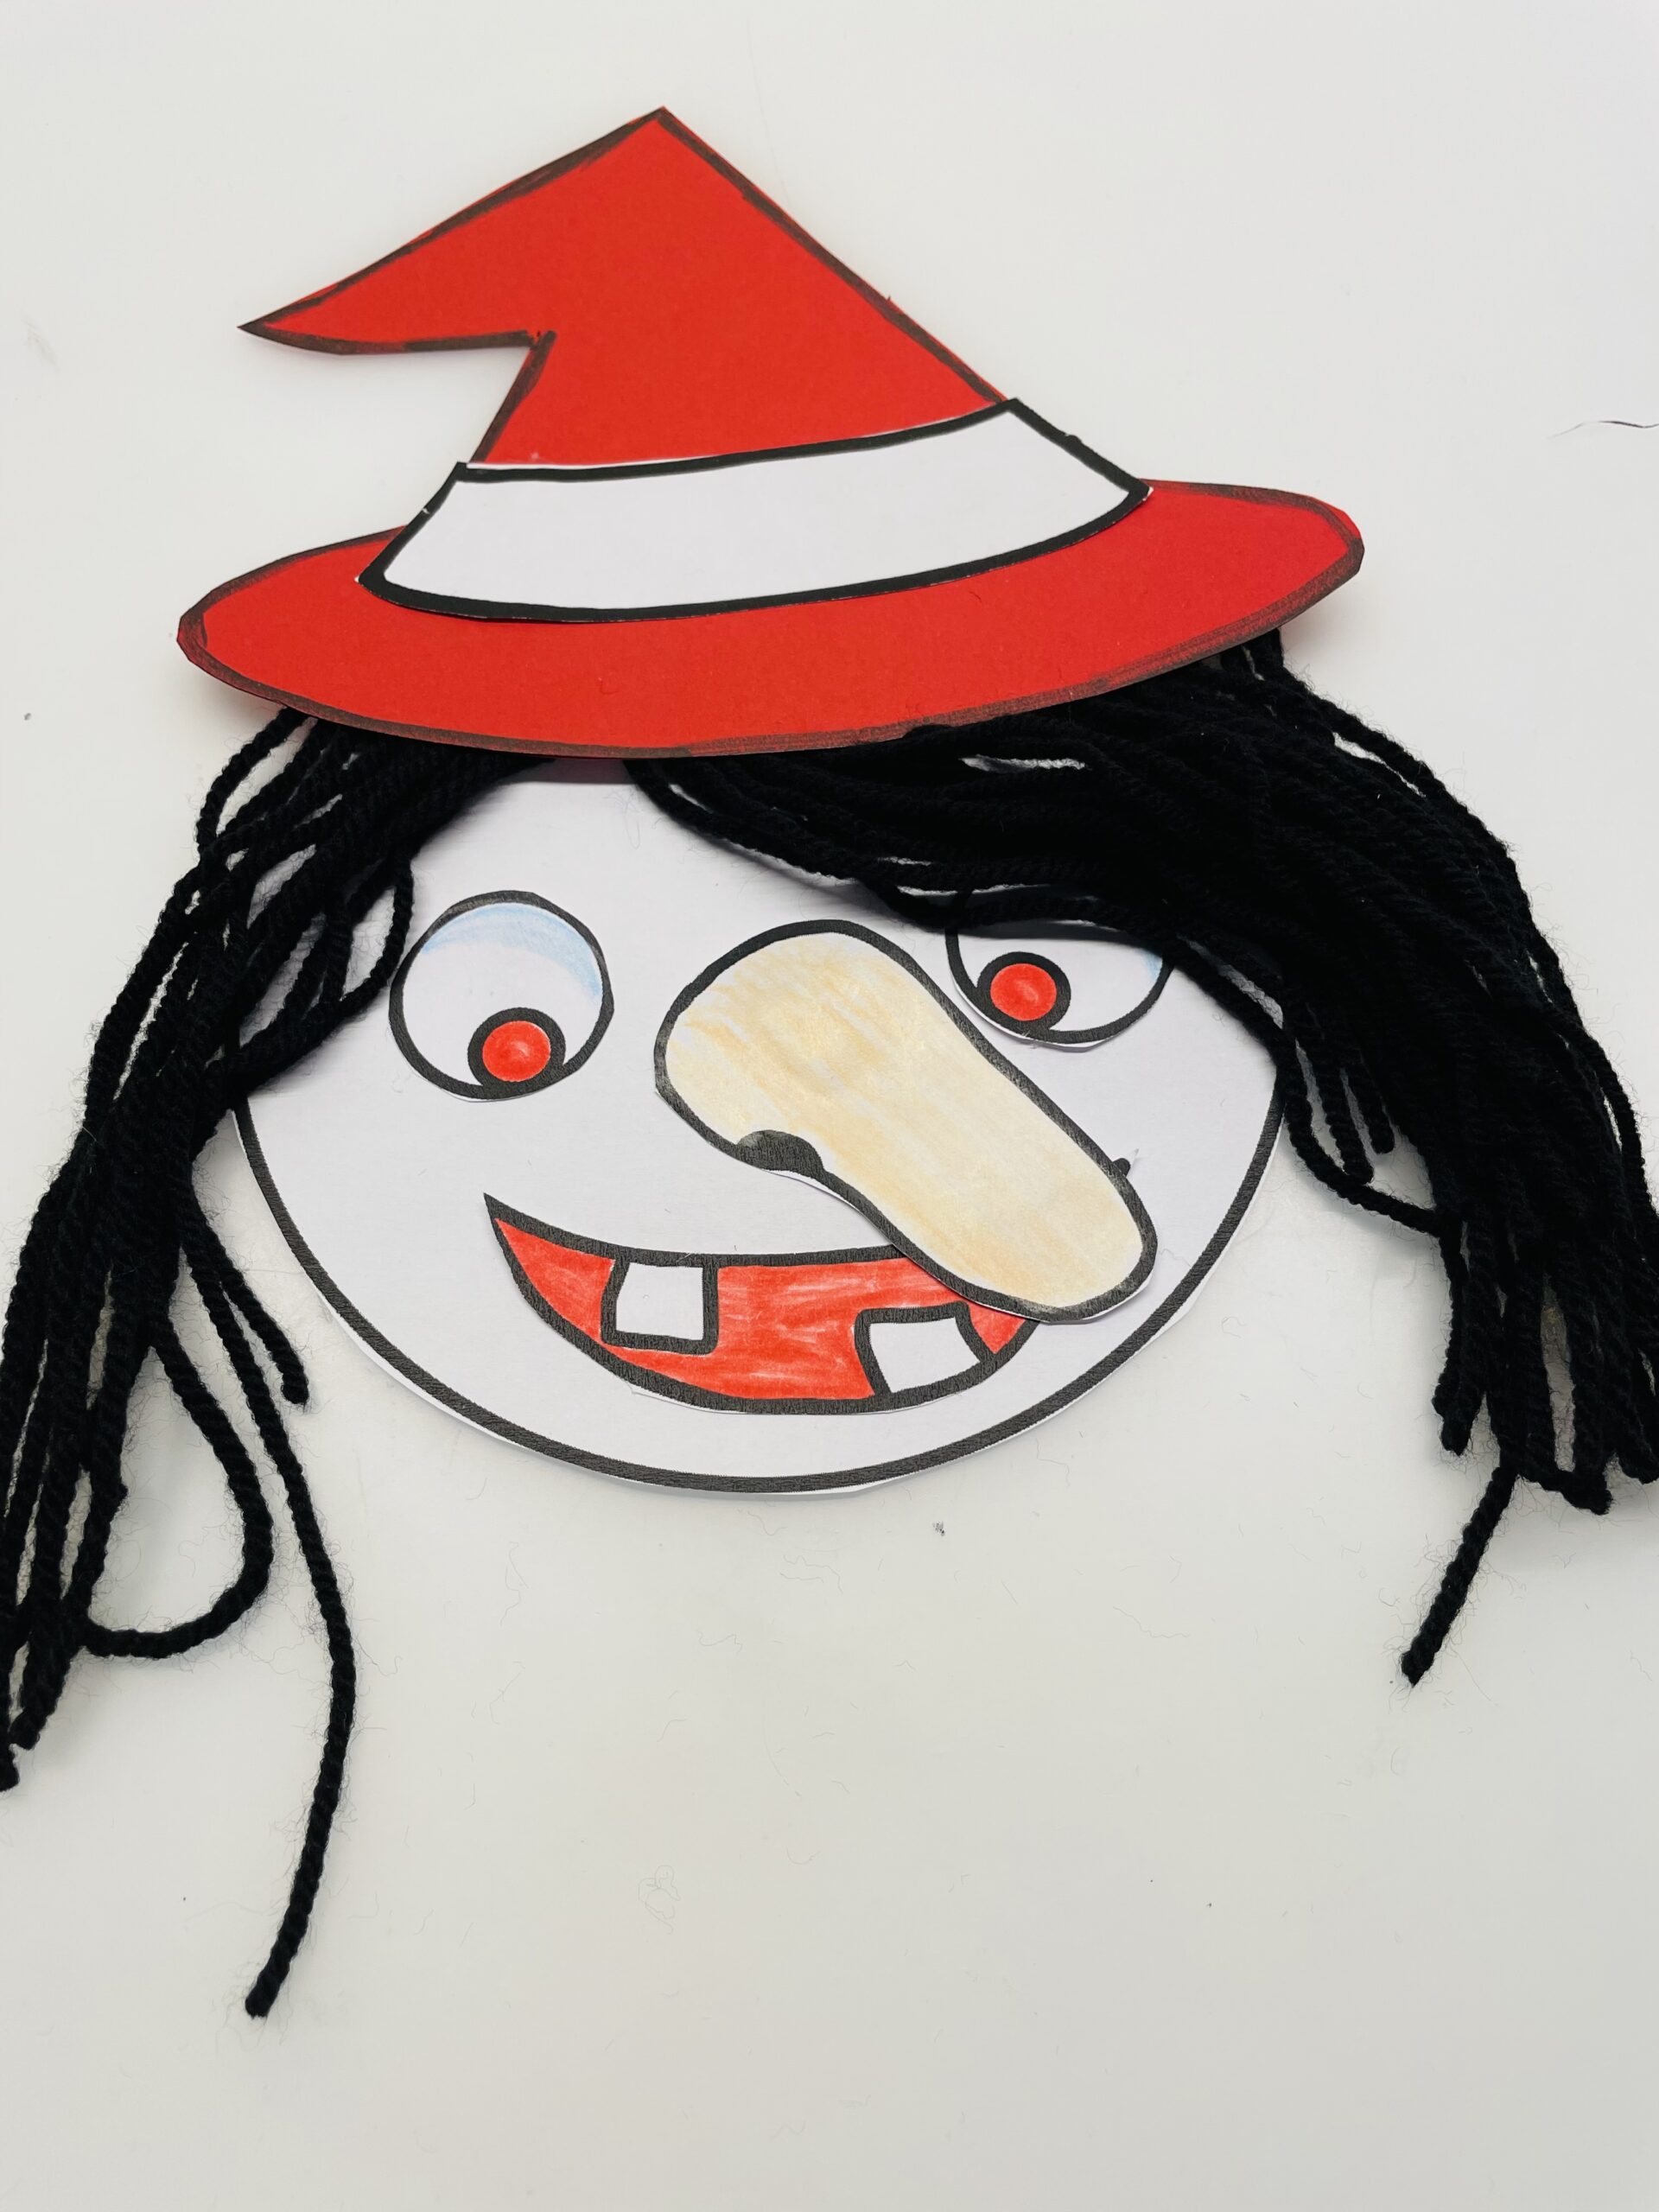
Bild zum Schritt 15 für das Bastel- und DIY-Abenteuer für Kinder: 'Nun klebt ihr den Hut auf den Kopf der Hexe.'

16

After that, you put the stars on.
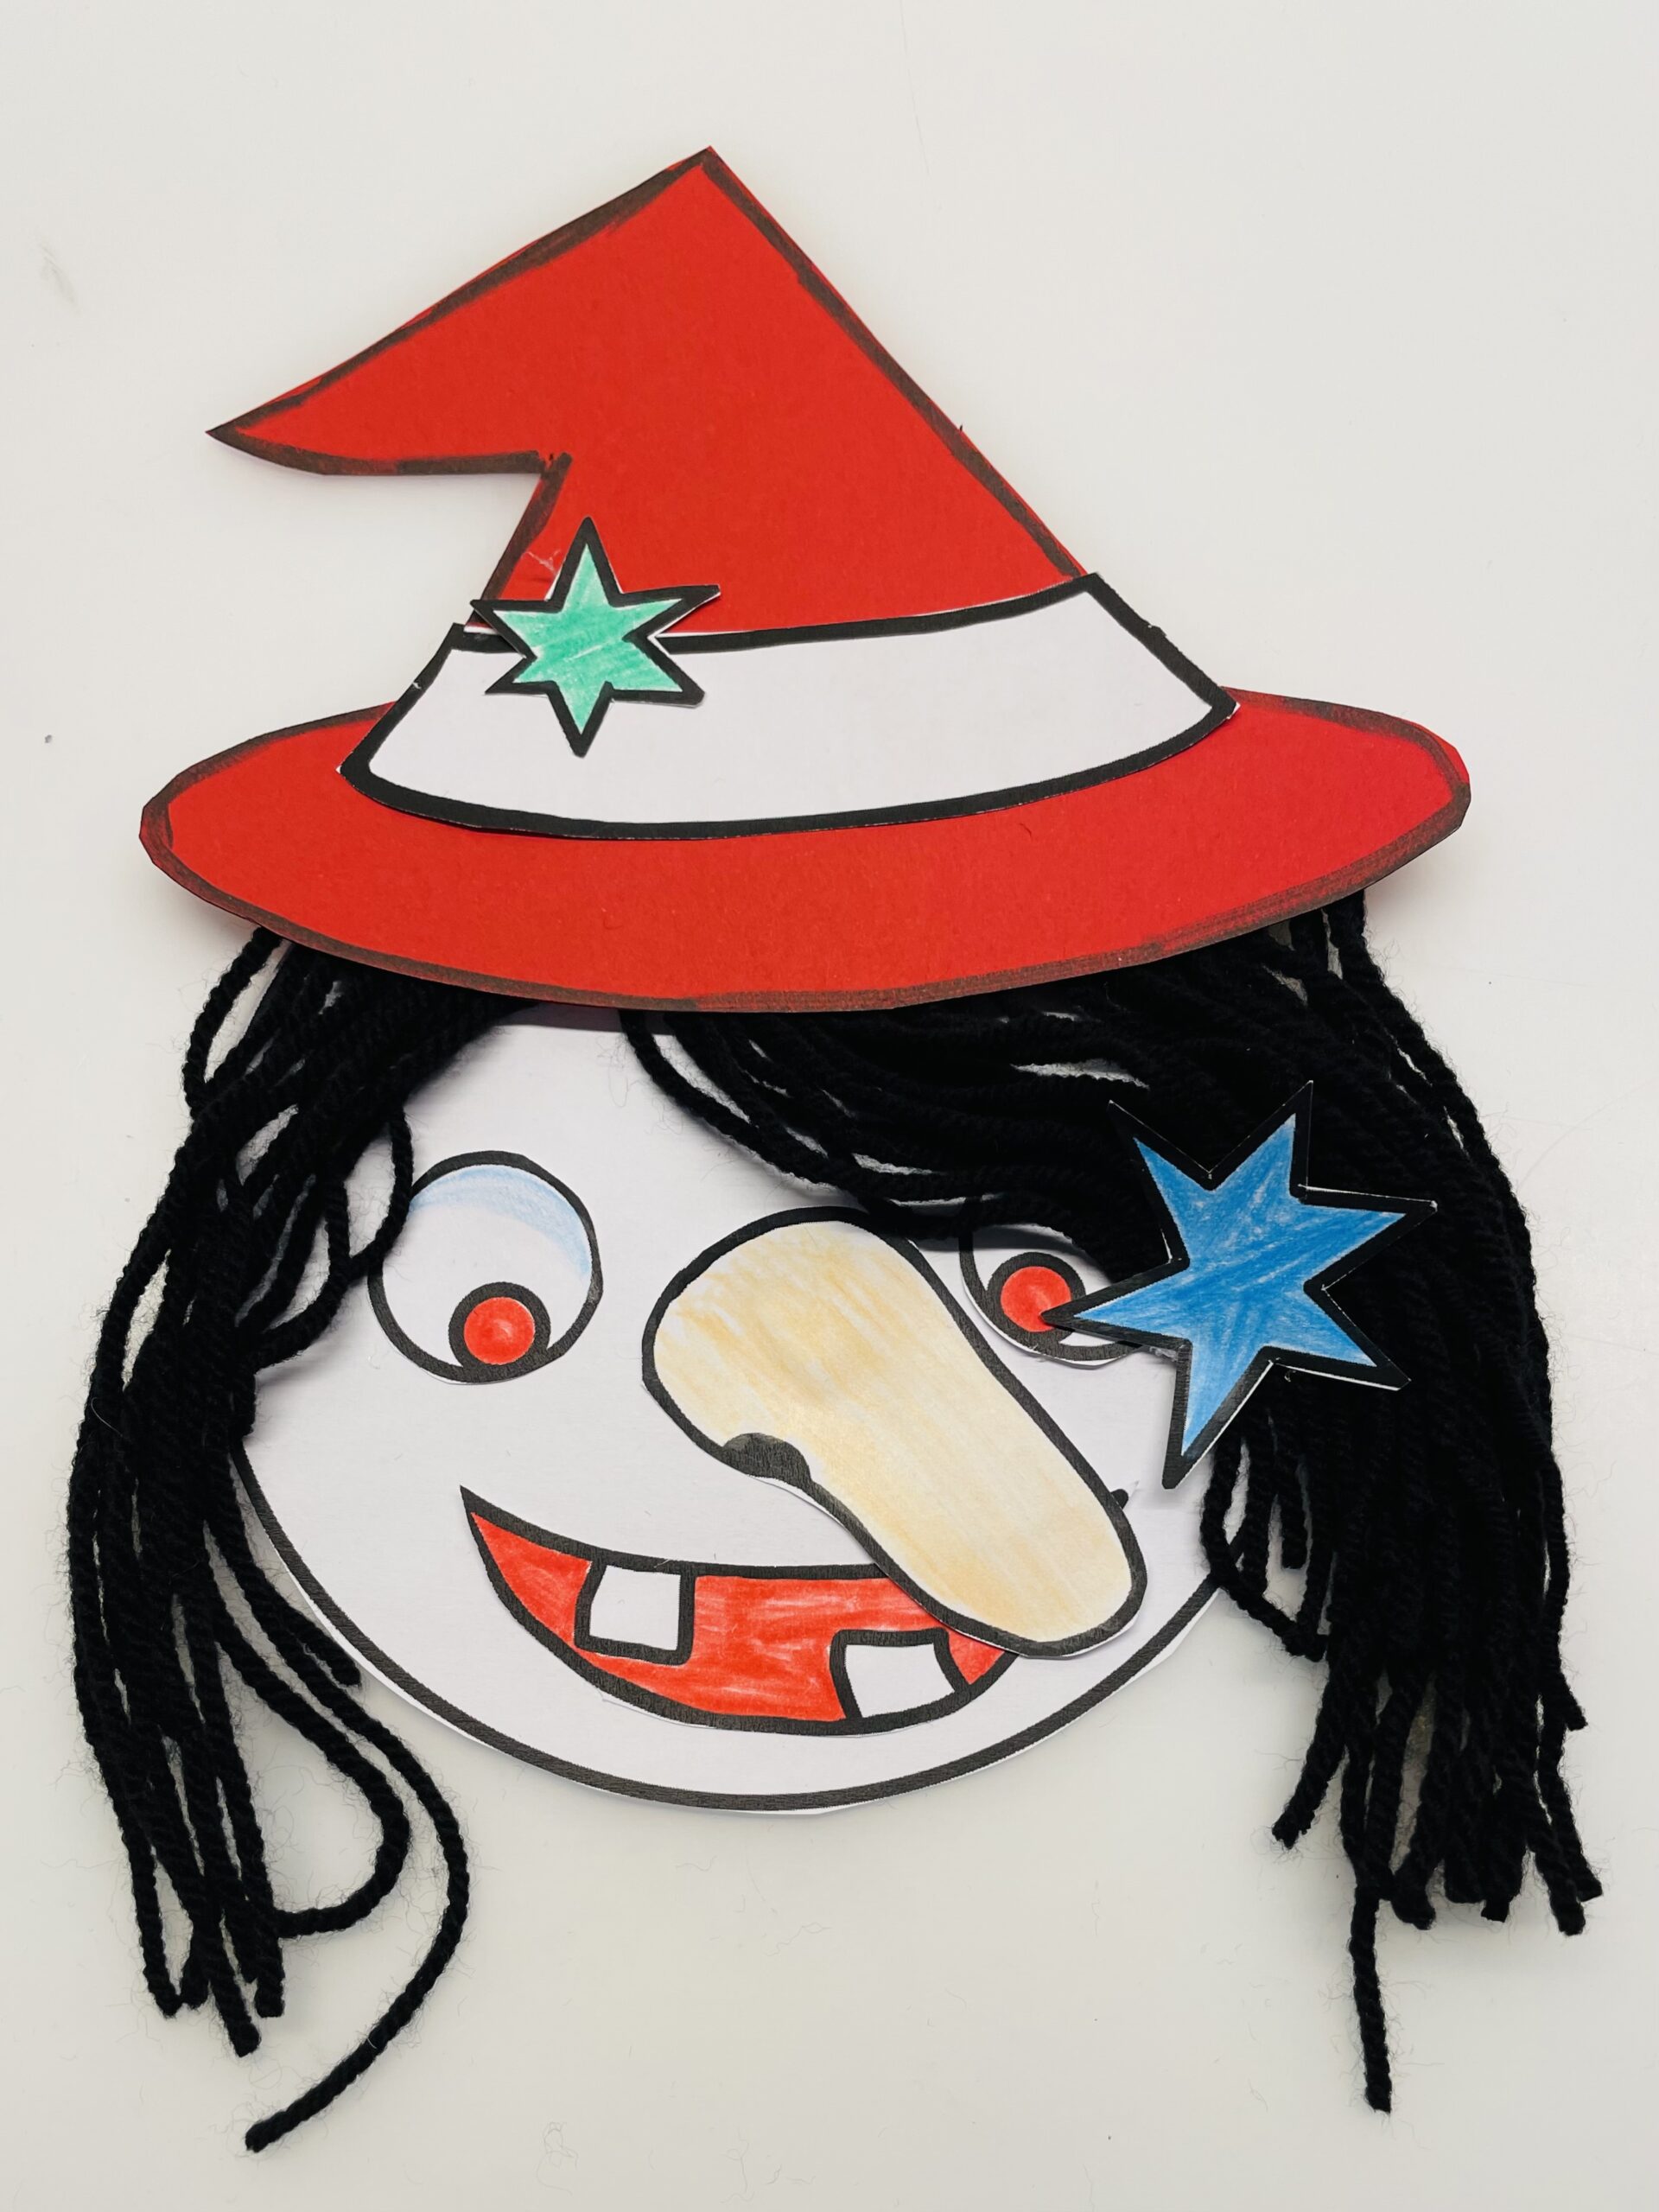
Bild zum Schritt 16 für das Bastel- und DIY-Abenteuer für Kinder: 'Danach klebt ihr die Sterne auf.'

17

Stay creative and design the hat as you like it.
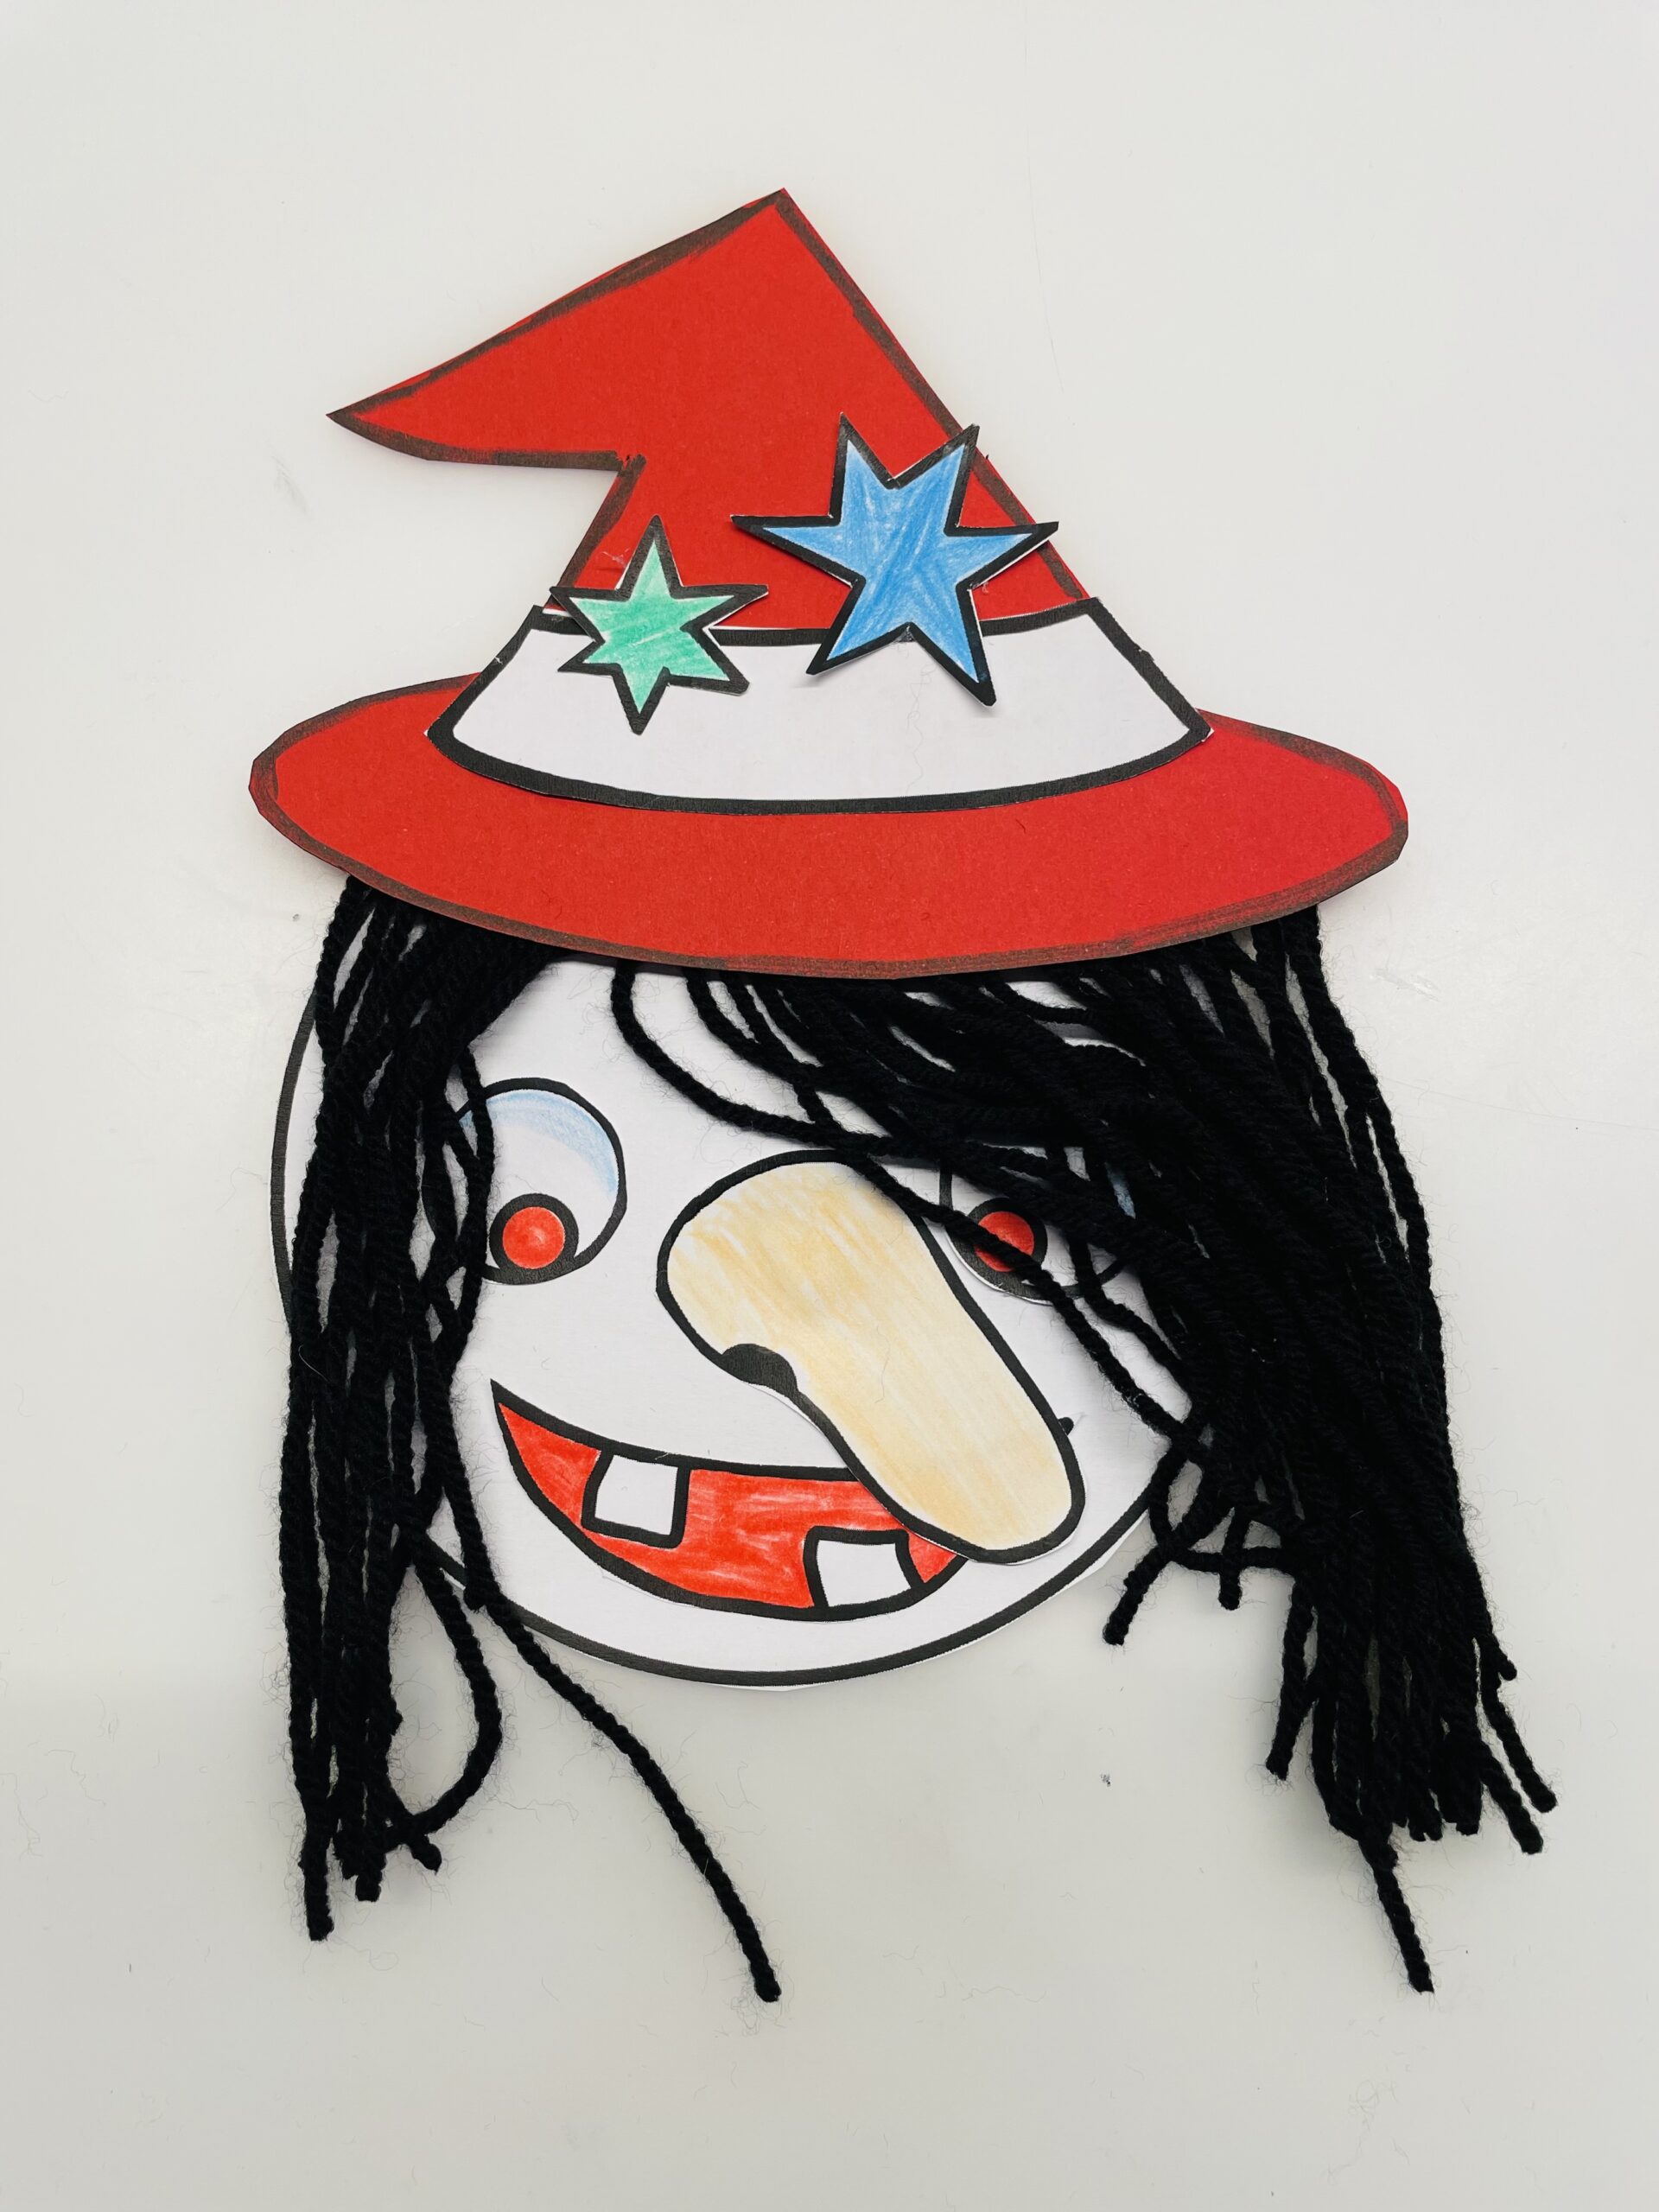
Bild zum Schritt 17 für das Bastel- und DIY-Abenteuer für Kinder: 'Bleibt kreativ und gestaltet den Hut so wie es euch...'

18

Have fun!

Make a witch

Follow us on Facebook , Instagram and Pinterest
Don't miss any more adventures: Our bottle mail

Leave a Reply

Your email address will not be published.

The maximum upload file size: 5 MB. You can upload: image, document. Drop file here