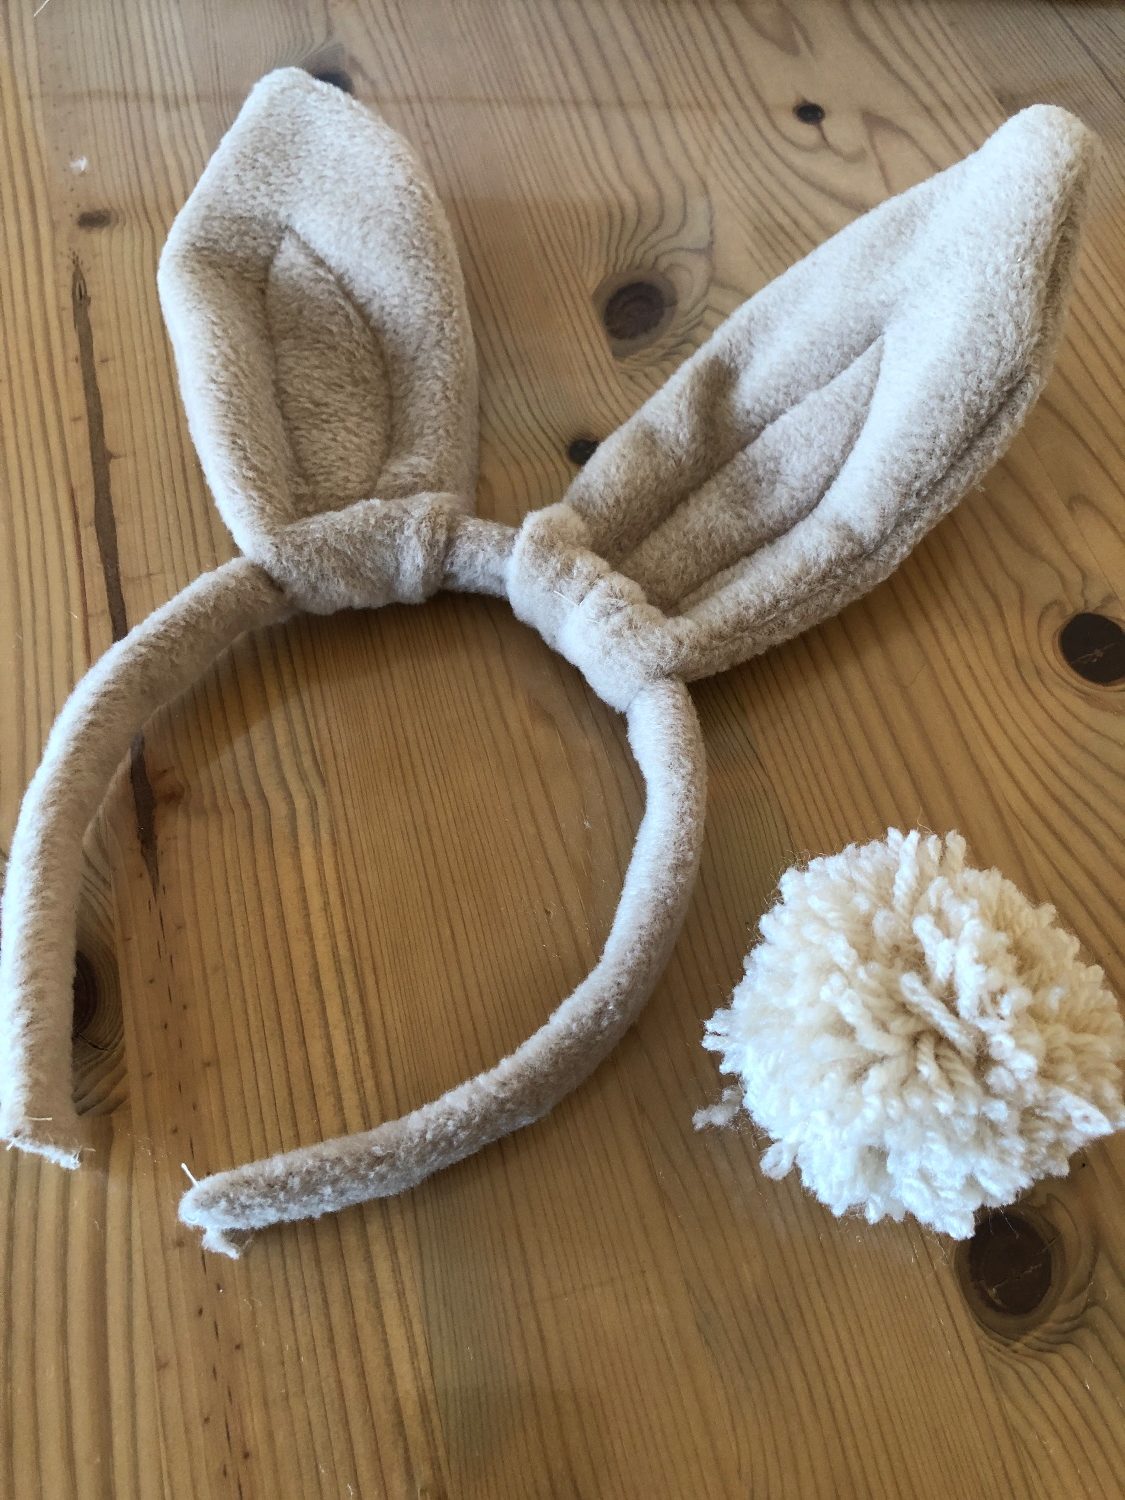
Make haretails

AdventurerKatzi
Rating0.07.3 Thousand times & (0) DifficultyIntermediate

The rabbit ears are available as separate instructions, here comes a very simple wuschel, for crafting!

Titelbild zur Bastel- und DIY-Idee für Kinder '(84) Hasenschwänzchen basteln'
Material for1 Child
Prep Time5 min.Adv. Time20 min.Total Time25 min.
 1 CardboardOr clay paper residue
 1 Pen
 1 Snip glass as a circular templateOr something else round that serves as a template
 Brown wool
 1 Thick blunt needle
All links marked with a shopping cart lead to Amazon - here we have selected products that we would order ourselves and in part also ordered. In a qualified purchase via the advertising link, we as Amazon partner receive a commission, for you there are no costs. You thus support our cost- and advertising banner-free, educational offer.
1

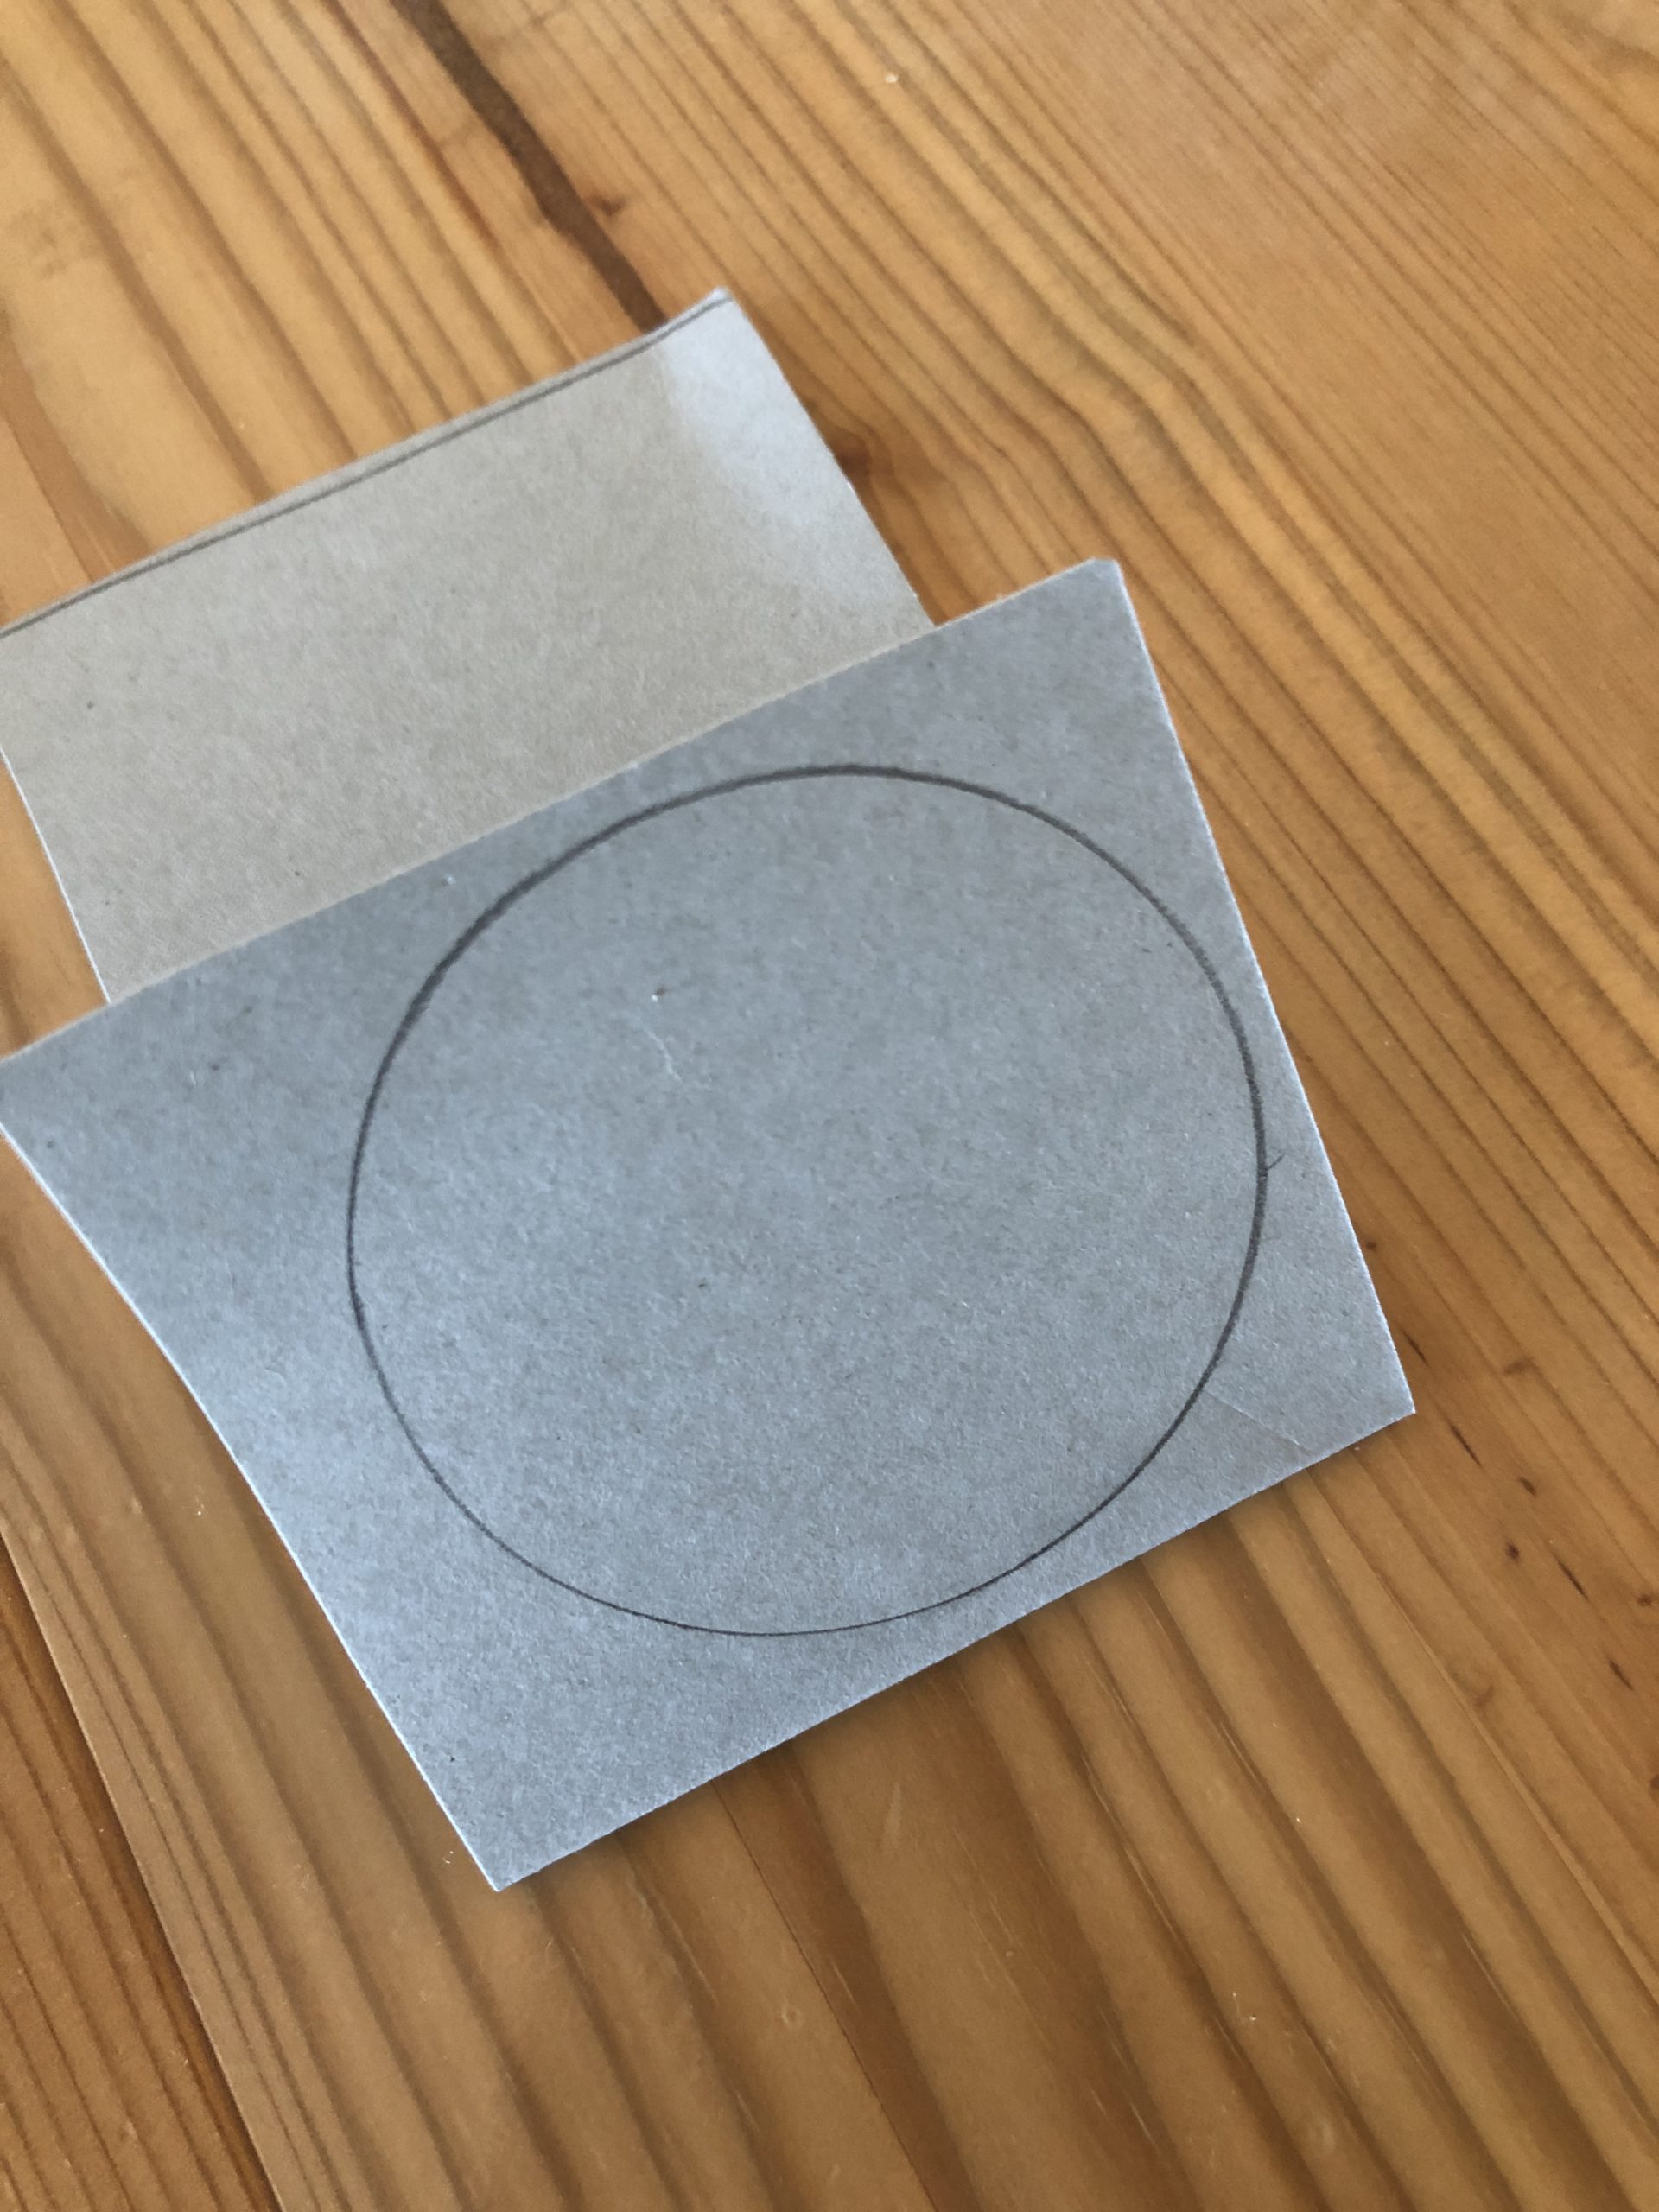
Draw a circle on solid paper or cardboard.
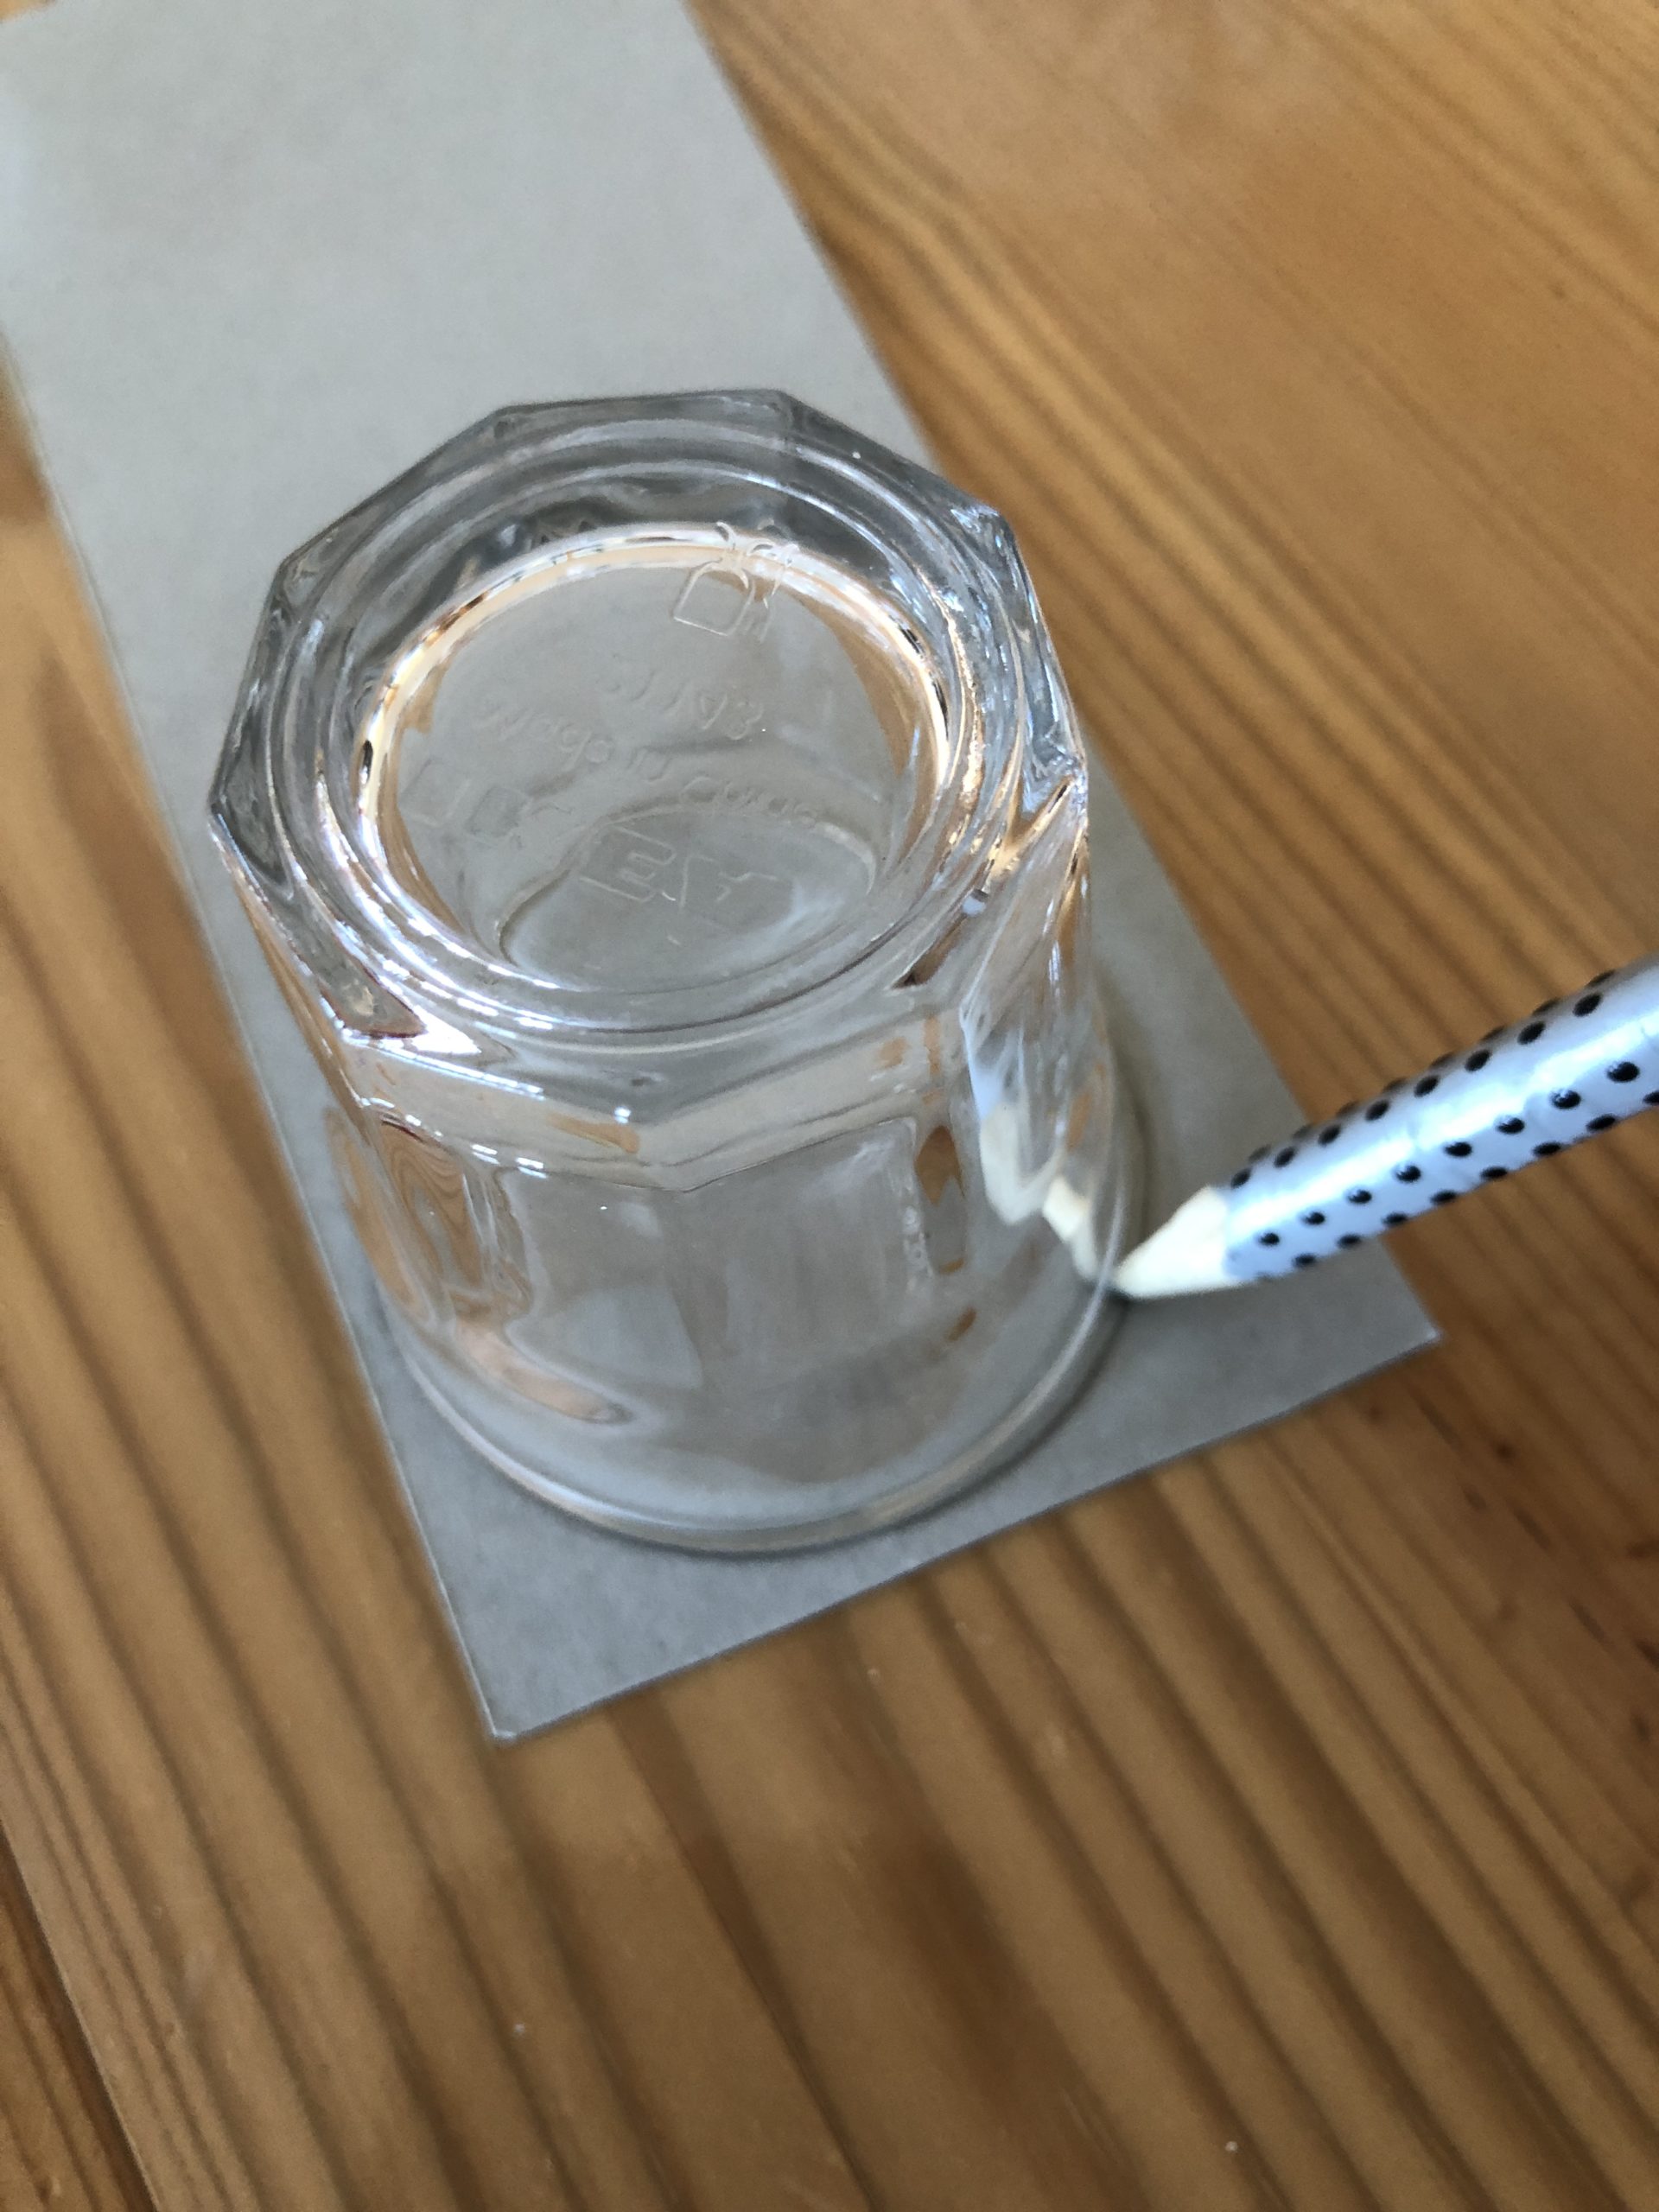
Bild zum Schritt 1 für das Bastel- und DIY-Abenteuer für Kinder: 'Auf Festem Papier oder Karton einen Kreis aufmalen.'

2

Take paper twice.

Bild zum Schritt 2 für das Bastel- und DIY-Abenteuer für Kinder: 'Papier doppelt nehmen.'

3

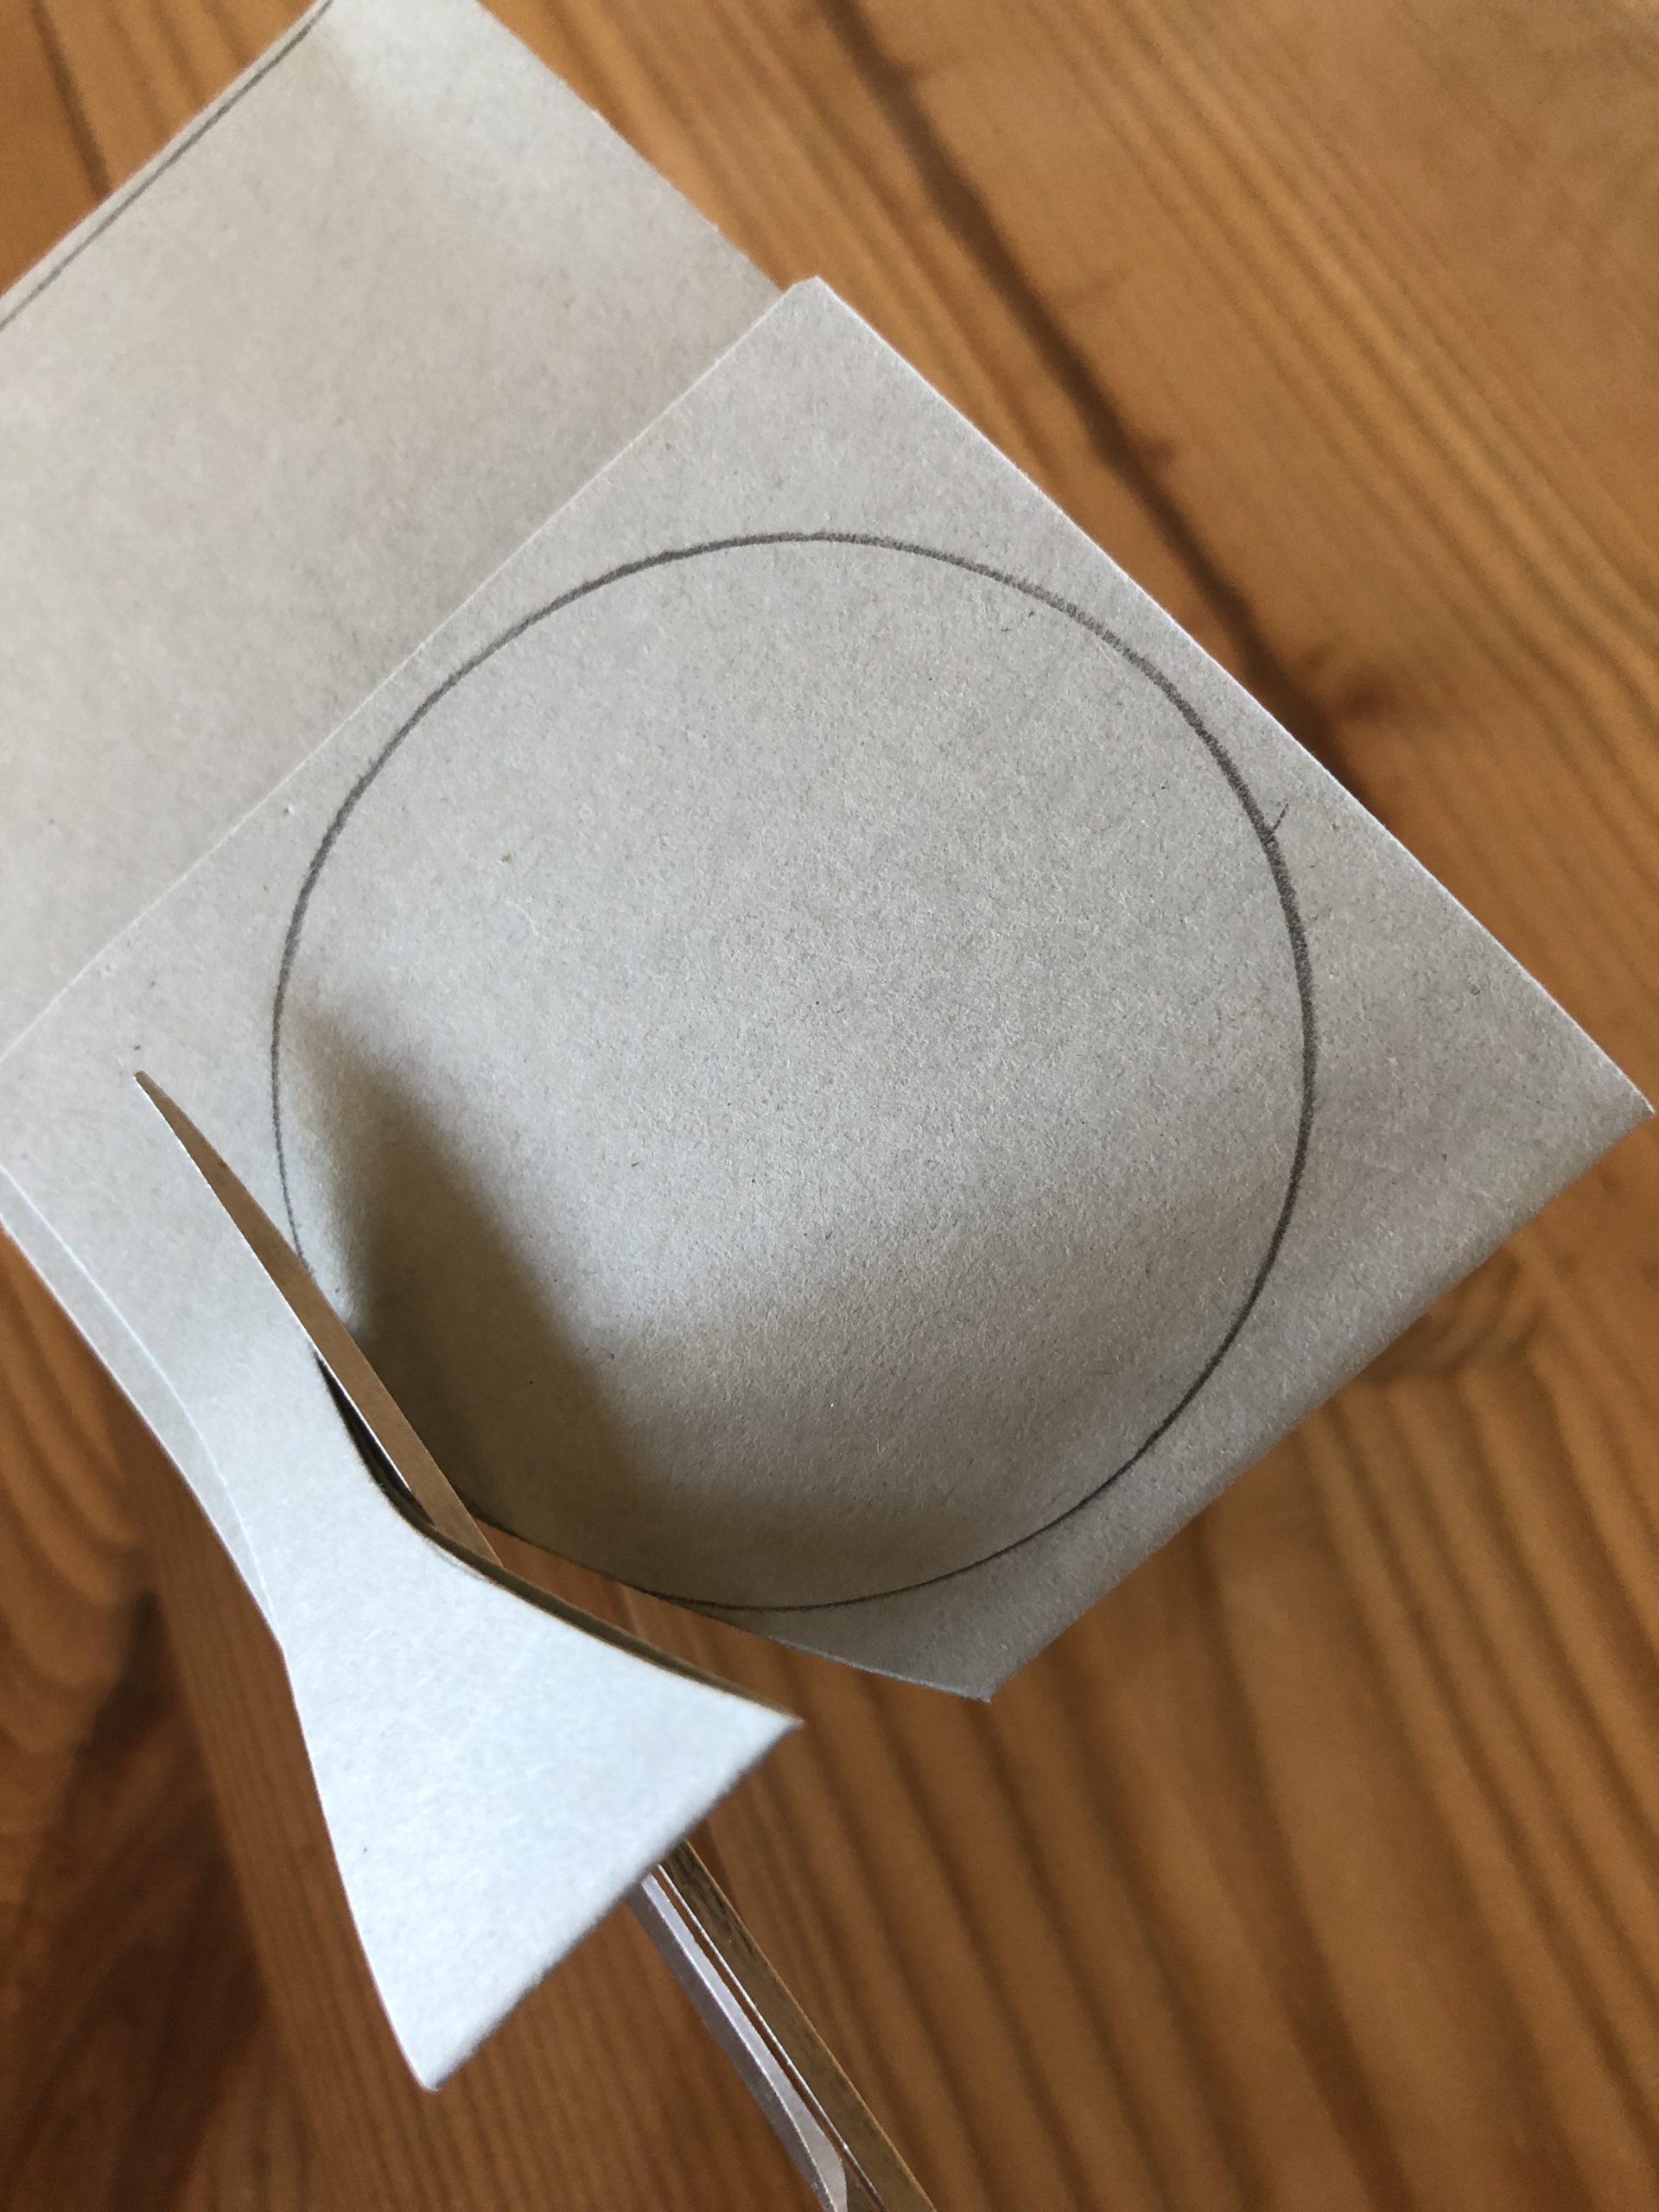
Cut it out.

Bild zum Schritt 3 für das Bastel- und DIY-Abenteuer für Kinder: 'Ausschneiden.'

4

Paint small circle in the middle and cut out as well.
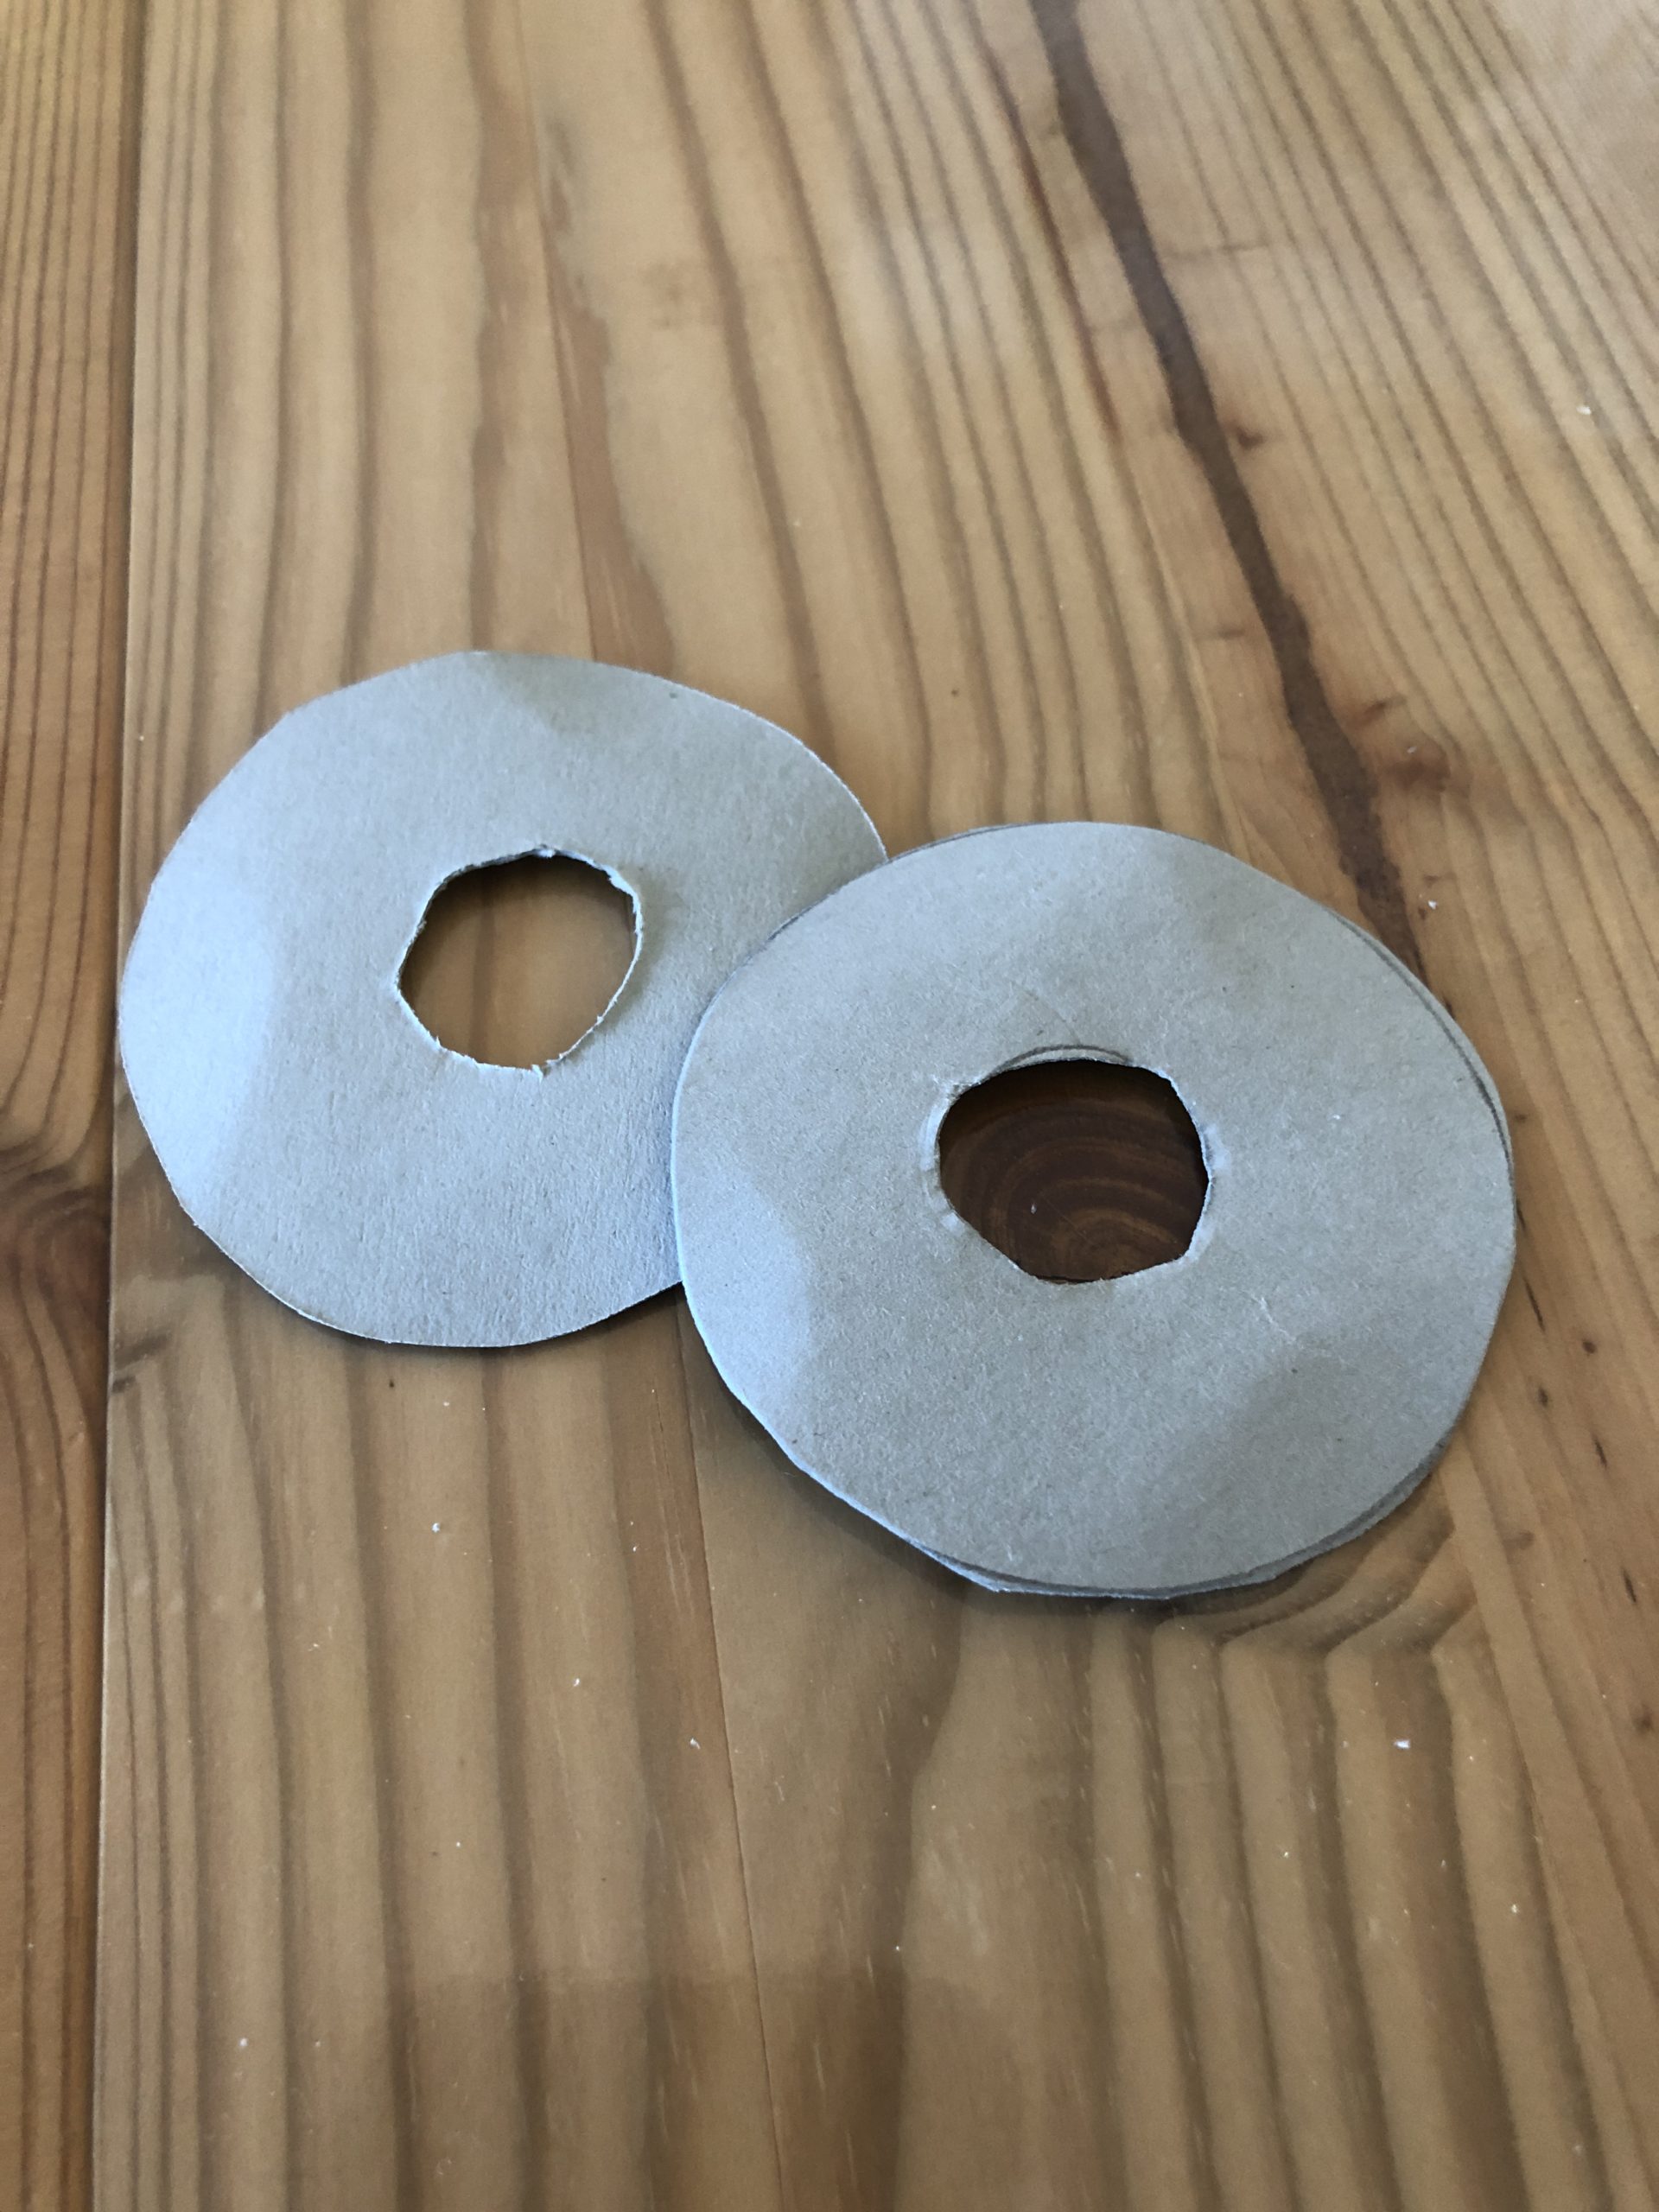
Bild zum Schritt 4 für das Bastel- und DIY-Abenteuer für Kinder: 'Kleinen Kreis in der Mitte aufmalen und ebenfalls ausschneiden.'

5

Cut 1.5 to 2 meters long threads from the wool. Thread several at the same time through a thick round needle and fasten around both cardboard circles.

Bild zum Schritt 5 für das Bastel- und DIY-Abenteuer für Kinder: 'Aus der Wolle 1,5 bis 2 Meter lange Fäden zurecht...'

6

Sew thread again and again through the center of the circle and sew around the complete cardboard circle.

Bild zum Schritt 6 für das Bastel- und DIY-Abenteuer für Kinder: 'Faden immer wieder durch die Kreismitte nähen und so den...'

7

Possibly make up one more thread and sew it until the middle is completely filled.

Bild zum Schritt 7 für das Bastel- und DIY-Abenteuer für Kinder: 'Evtl. Noch einmal Faden nachholen und solange umnähen, bis die...'

8

Cut the threads on one side until the carton is visible.

Bild zum Schritt 8 für das Bastel- und DIY-Abenteuer für Kinder: 'An einer Seite die Fäden aufschneiden, bis der Karton zu...'

9

Use the middle of the washers as a guide for cutting. Do not remove them!!!

Bild zum Schritt 9 für das Bastel- und DIY-Abenteuer für Kinder: 'Die Mitte der Kontonscheiben als Führlinie für das Aufschneiden verwenden....'

10

Place a wool thread about 20 cm long between the carton discs and knot it several times.

Bild zum Schritt 10 für das Bastel- und DIY-Abenteuer für Kinder: 'Zwischen die Kartonscheiben einen Etwa 20 cm langen Wollfaden einlegen...'

11

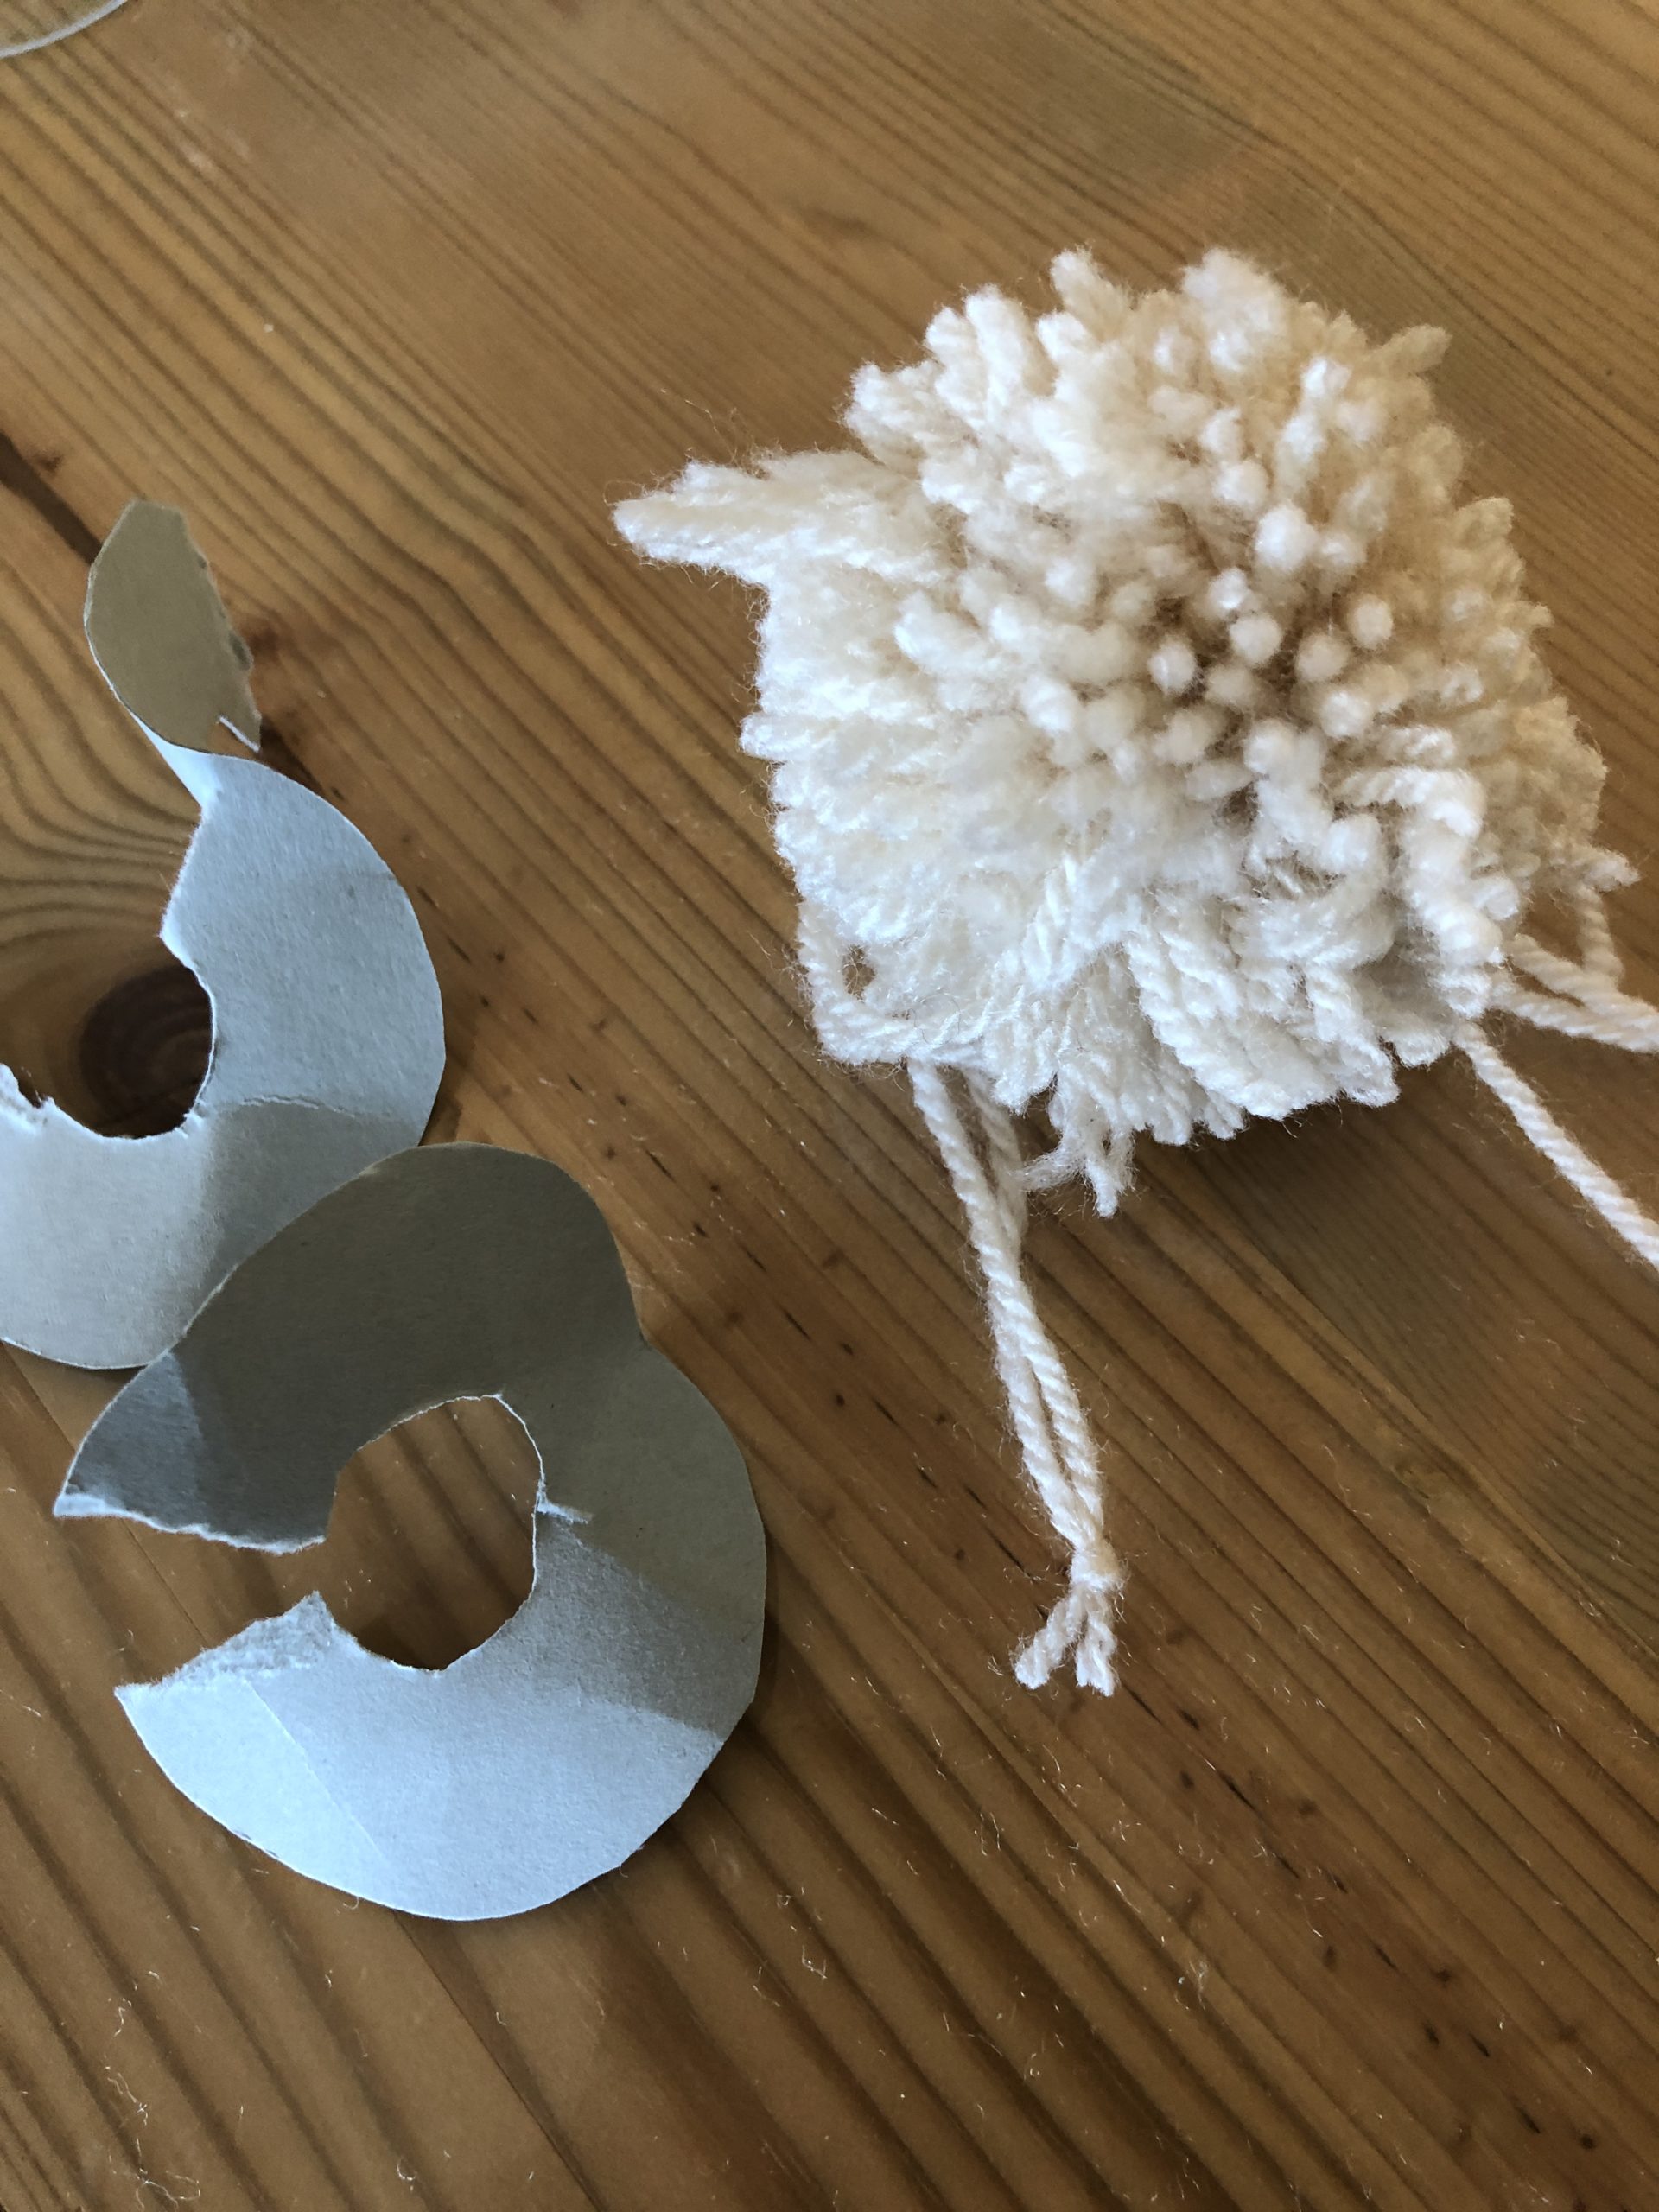
Now enter the carton and carefully remove it.

Bild zum Schritt 11 für das Bastel- und DIY-Abenteuer für Kinder: 'Den Karton nun einreisen und vorsichtig entfernen.'

12

??

Bild zum Schritt 12 für das Bastel- und DIY-Abenteuer für Kinder: '👍🏼'

13

Cut the wuschel "round" with scissors. Do not cut the hanging thread!

Bild zum Schritt 13 für das Bastel- und DIY-Abenteuer für Kinder: 'Mit einer Schere den Wuschel  „rund“ schneiden. Nicht den...'

14

Now you can thread the "Wuschel-tail" on a belt or sew it on a pair of pants as a stubtail.
With the fleece ears (see separate instructions) you can now play "Osterhase".
Have fun?

Bild zum Schritt 14 für das Bastel- und DIY-Abenteuer für Kinder: 'Nun könnt ihr den „Wuschel-Schwanz“ an einem Gürtel auffädeln oder...'

Materials

 1 CardboardOr clay paper residue
 1 Pen
 1 Snip glass as a circular templateOr something else round that serves as a template
 Brown wool
 1 Thick blunt needle
All links marked with a shopping cart lead to Amazon - here we have selected products that we would order ourselves and in part also ordered. In a qualified purchase via the advertising link, we as Amazon partner receive a commission, for you there are no costs. You thus support our cost- and advertising banner-free, educational offer.

Directions

1

Draw a circle on solid paper or cardboard.

Bild zum Schritt 1 für das Bastel- und DIY-Abenteuer für Kinder: 'Auf Festem Papier oder Karton einen Kreis aufmalen.'

2

Take paper twice.

Bild zum Schritt 2 für das Bastel- und DIY-Abenteuer für Kinder: 'Papier doppelt nehmen.'

3

Cut it out.

Bild zum Schritt 3 für das Bastel- und DIY-Abenteuer für Kinder: 'Ausschneiden.'

4

Paint small circle in the middle and cut out as well.

Bild zum Schritt 4 für das Bastel- und DIY-Abenteuer für Kinder: 'Kleinen Kreis in der Mitte aufmalen und ebenfalls ausschneiden.'

5

Cut 1.5 to 2 meters long threads from the wool. Thread several at the same time through a thick round needle and fasten around both cardboard circles.
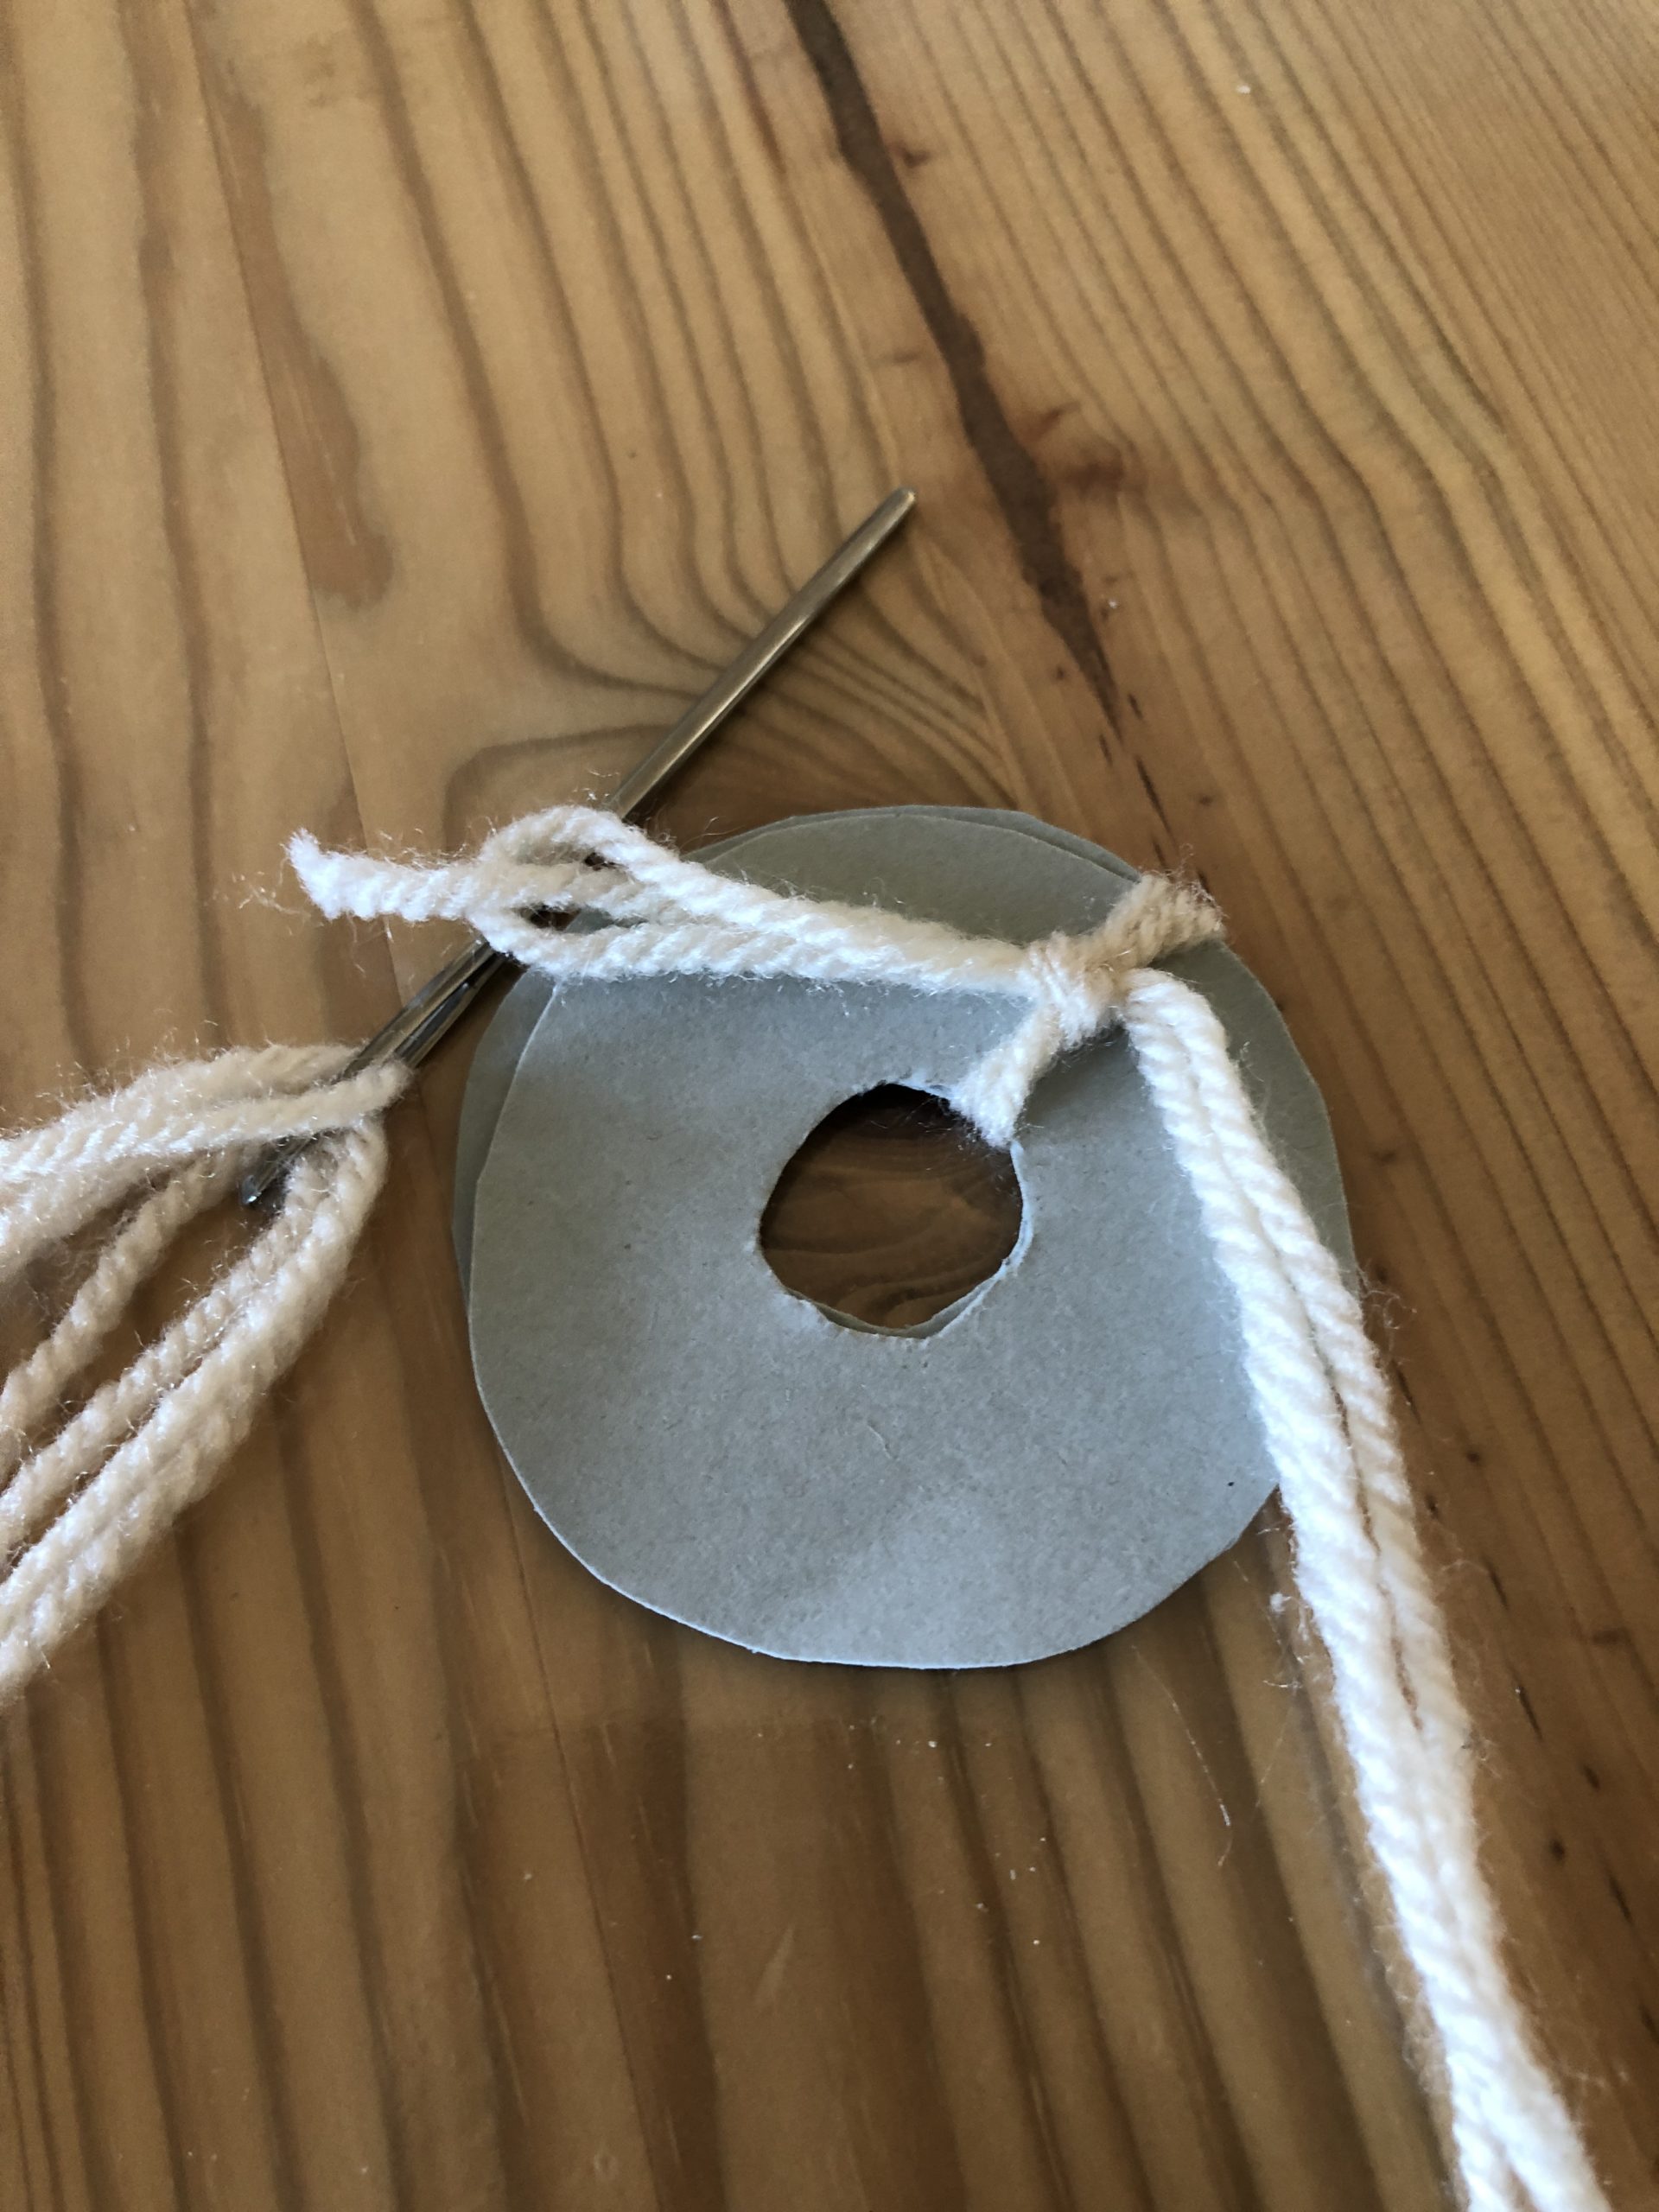
Bild zum Schritt 5 für das Bastel- und DIY-Abenteuer für Kinder: 'Aus der Wolle 1,5 bis 2 Meter lange Fäden zurecht...'

6

Sew thread again and again through the center of the circle and sew around the complete cardboard circle.

Bild zum Schritt 6 für das Bastel- und DIY-Abenteuer für Kinder: 'Faden immer wieder durch die Kreismitte nähen und so den...'

7

Possibly make up one more thread and sew it until the middle is completely filled.
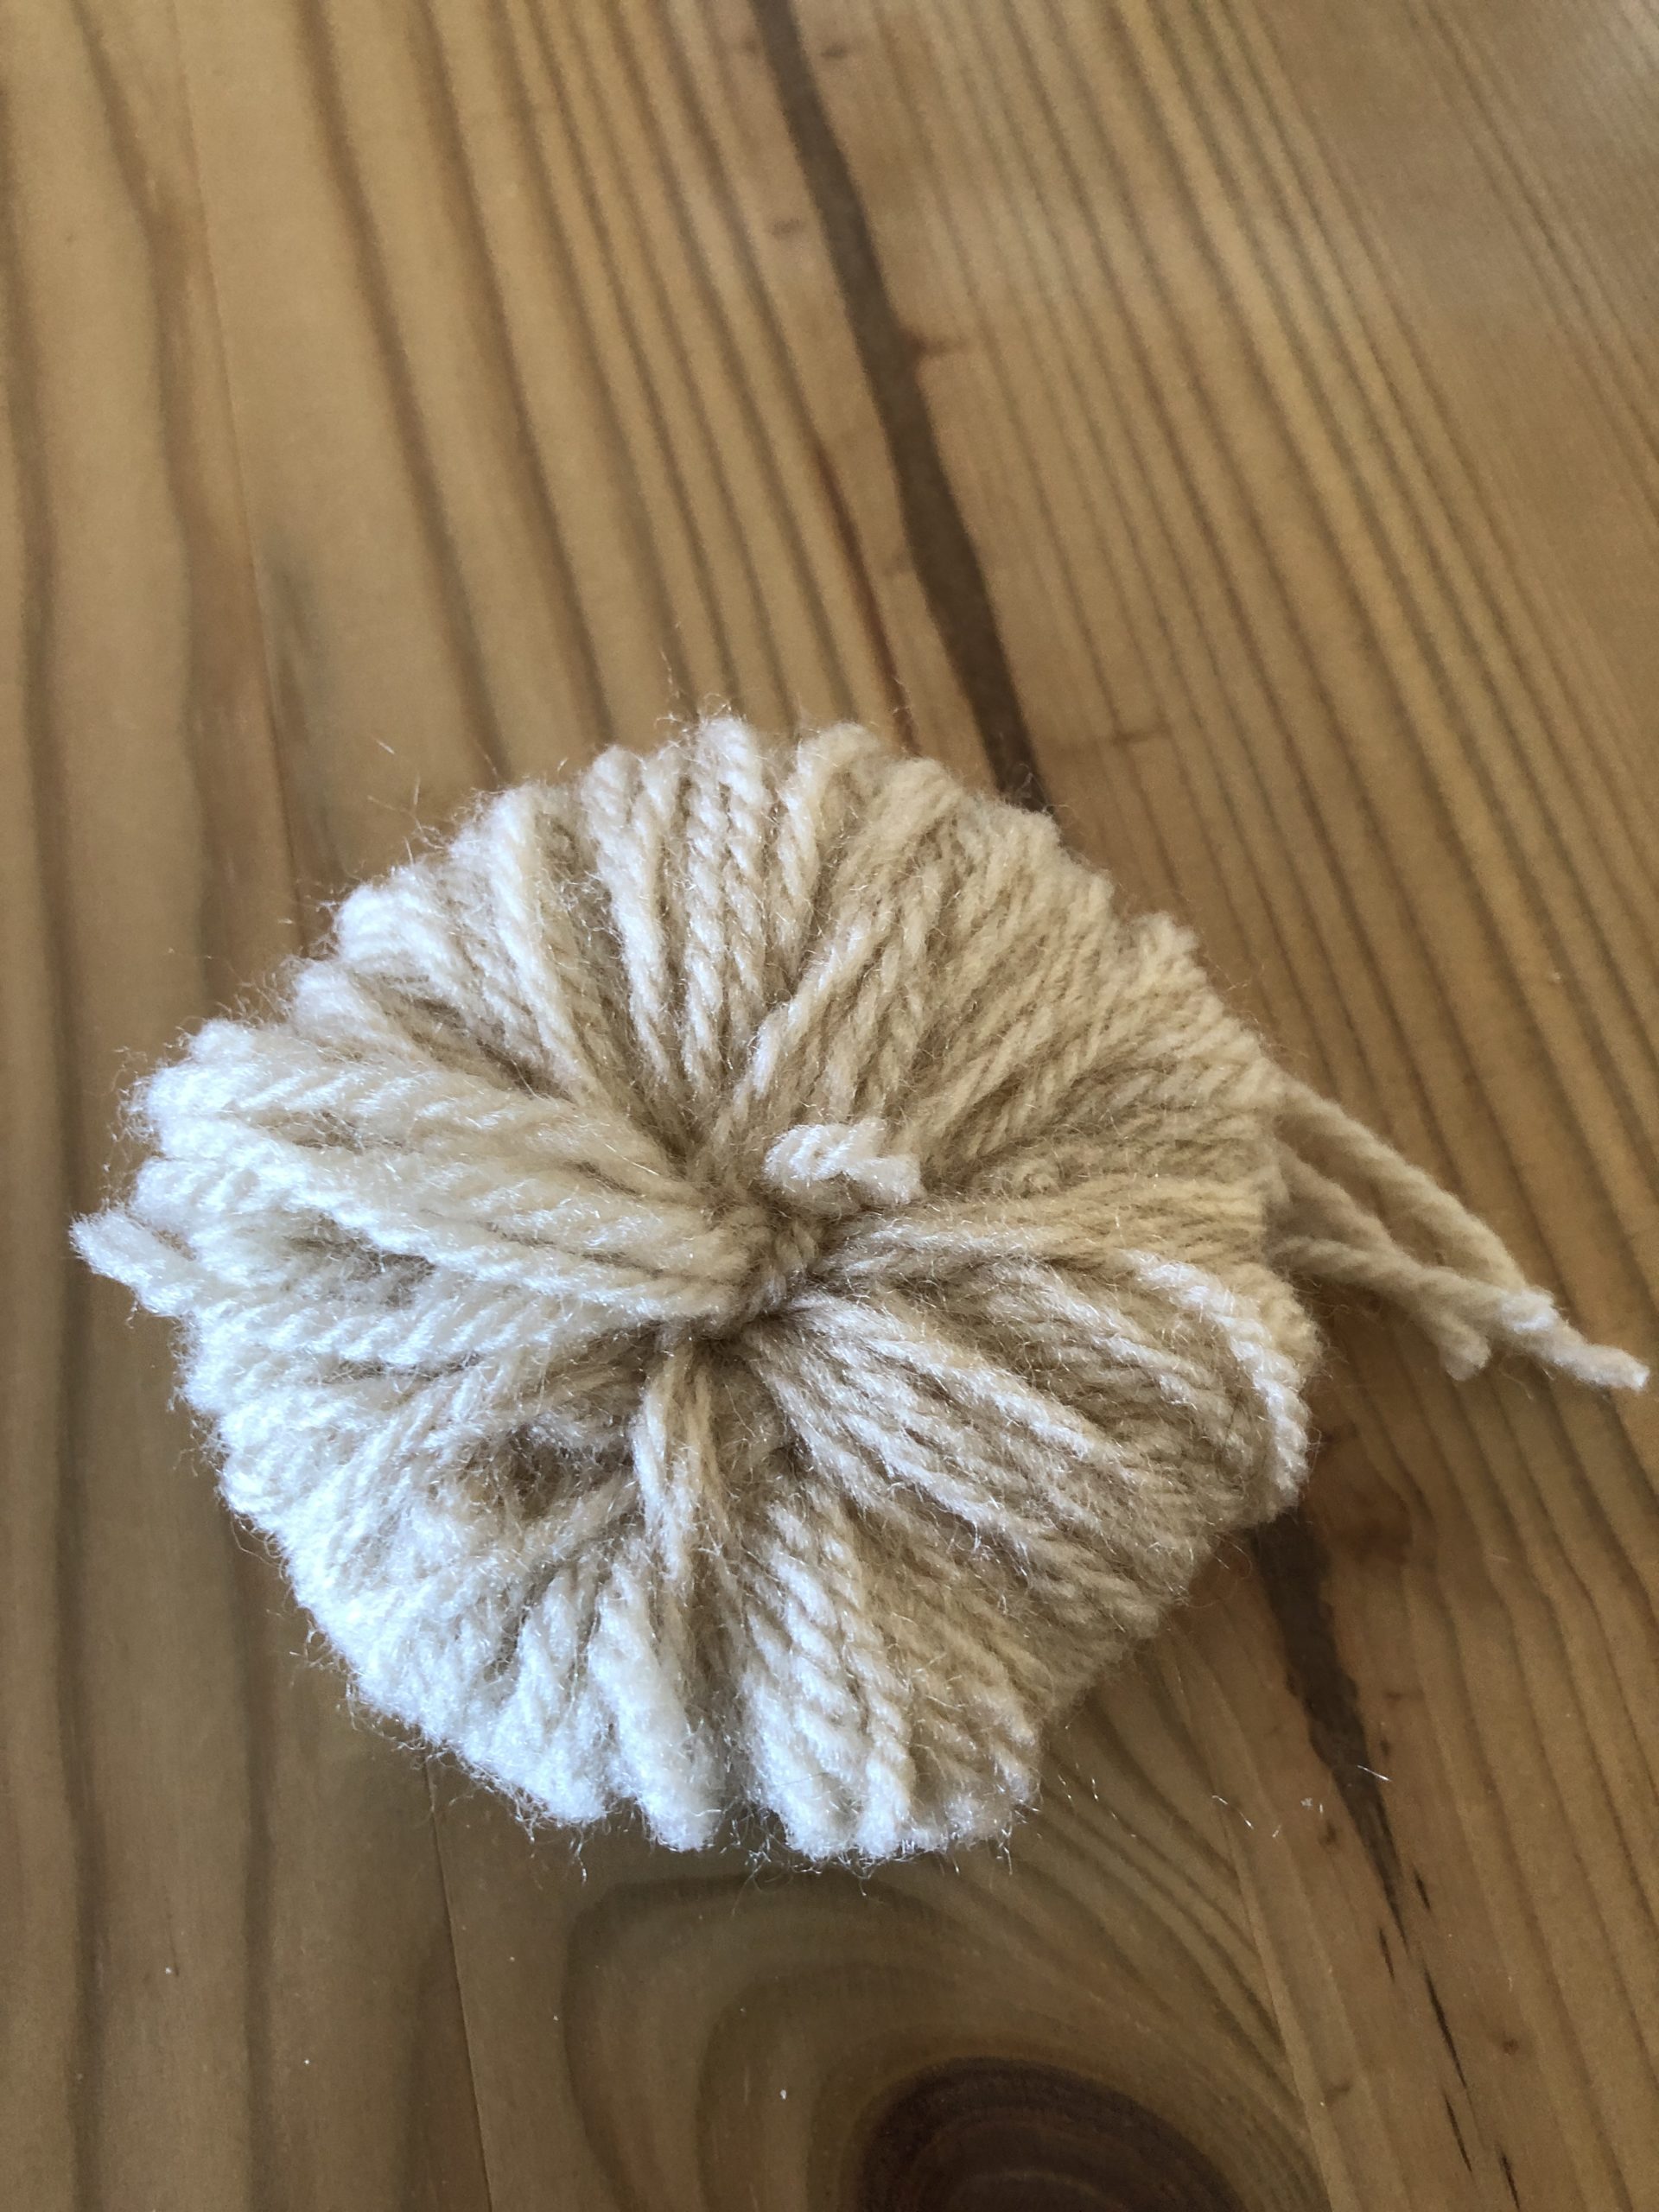
Bild zum Schritt 7 für das Bastel- und DIY-Abenteuer für Kinder: 'Evtl. Noch einmal Faden nachholen und solange umnähen, bis die...'

8

Cut the threads on one side until the carton is visible.

Bild zum Schritt 8 für das Bastel- und DIY-Abenteuer für Kinder: 'An einer Seite die Fäden aufschneiden, bis der Karton zu...'

9

Use the middle of the washers as a guide for cutting. Do not remove them!!!

Bild zum Schritt 9 für das Bastel- und DIY-Abenteuer für Kinder: 'Die Mitte der Kontonscheiben als Führlinie für das Aufschneiden verwenden....'

10

Place a wool thread about 20 cm long between the carton discs and knot it several times.
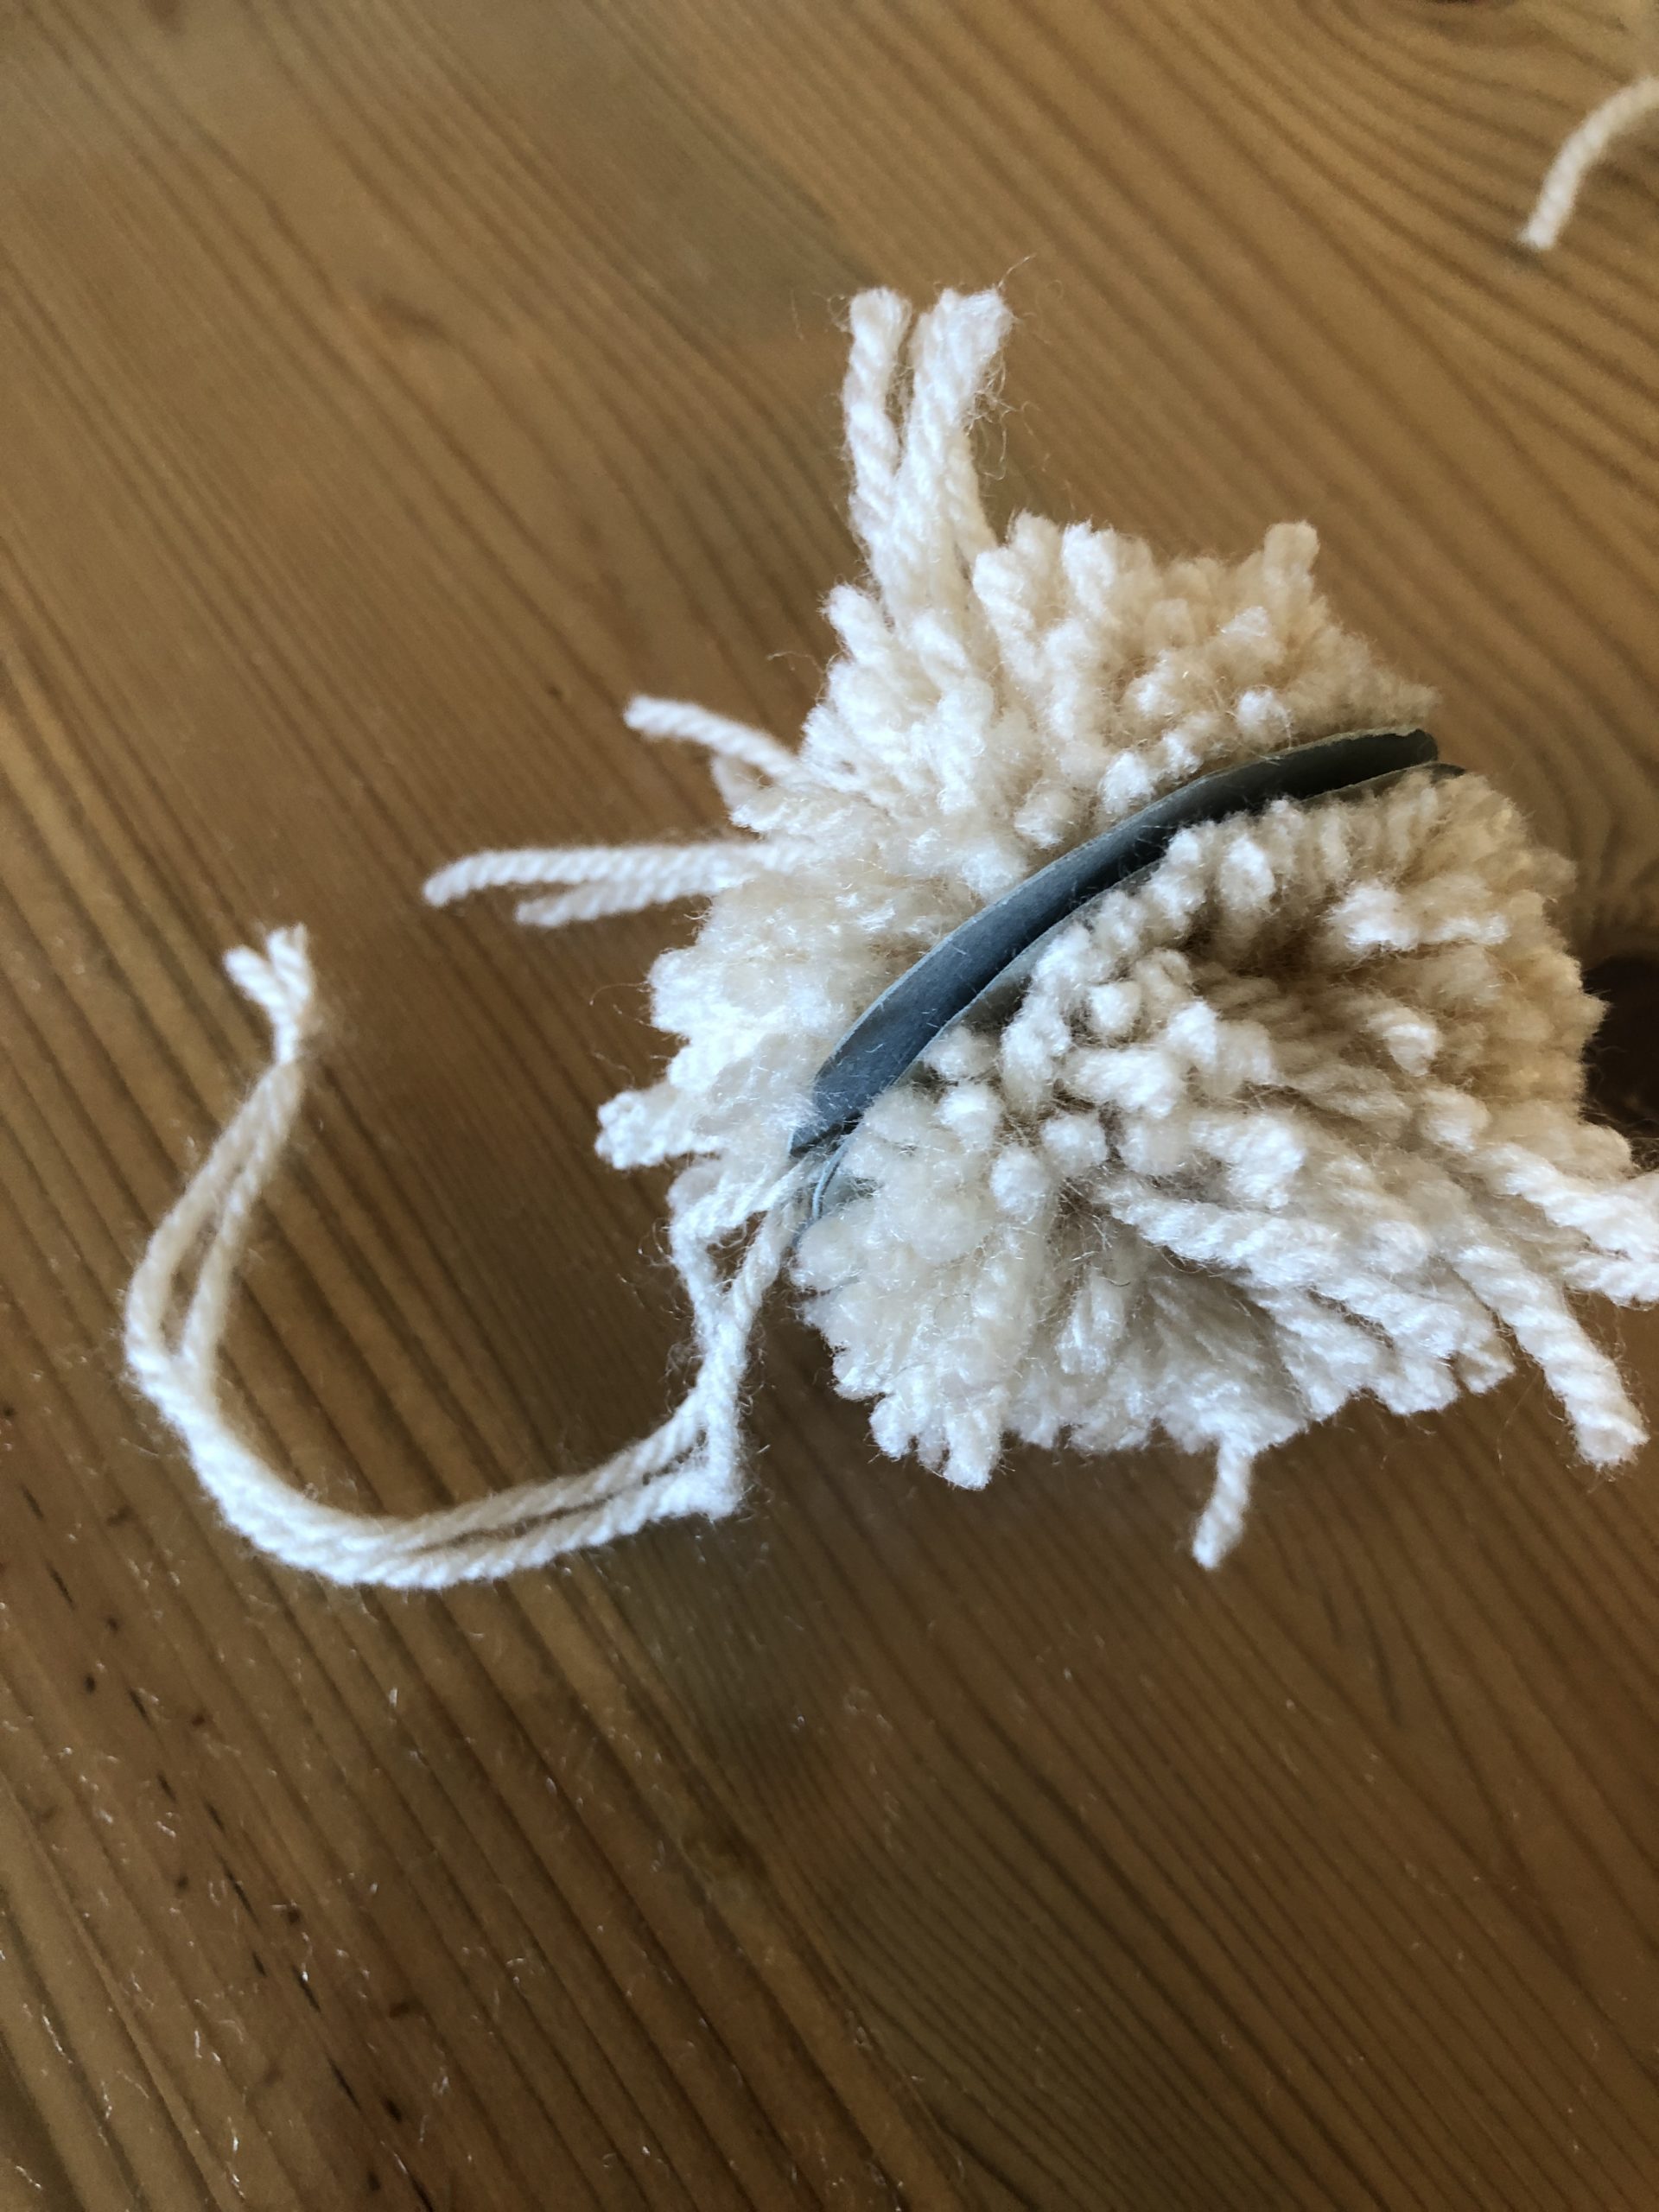
Bild zum Schritt 10 für das Bastel- und DIY-Abenteuer für Kinder: 'Zwischen die Kartonscheiben einen Etwa 20 cm langen Wollfaden einlegen...'

11

Now enter the carton and carefully remove it.
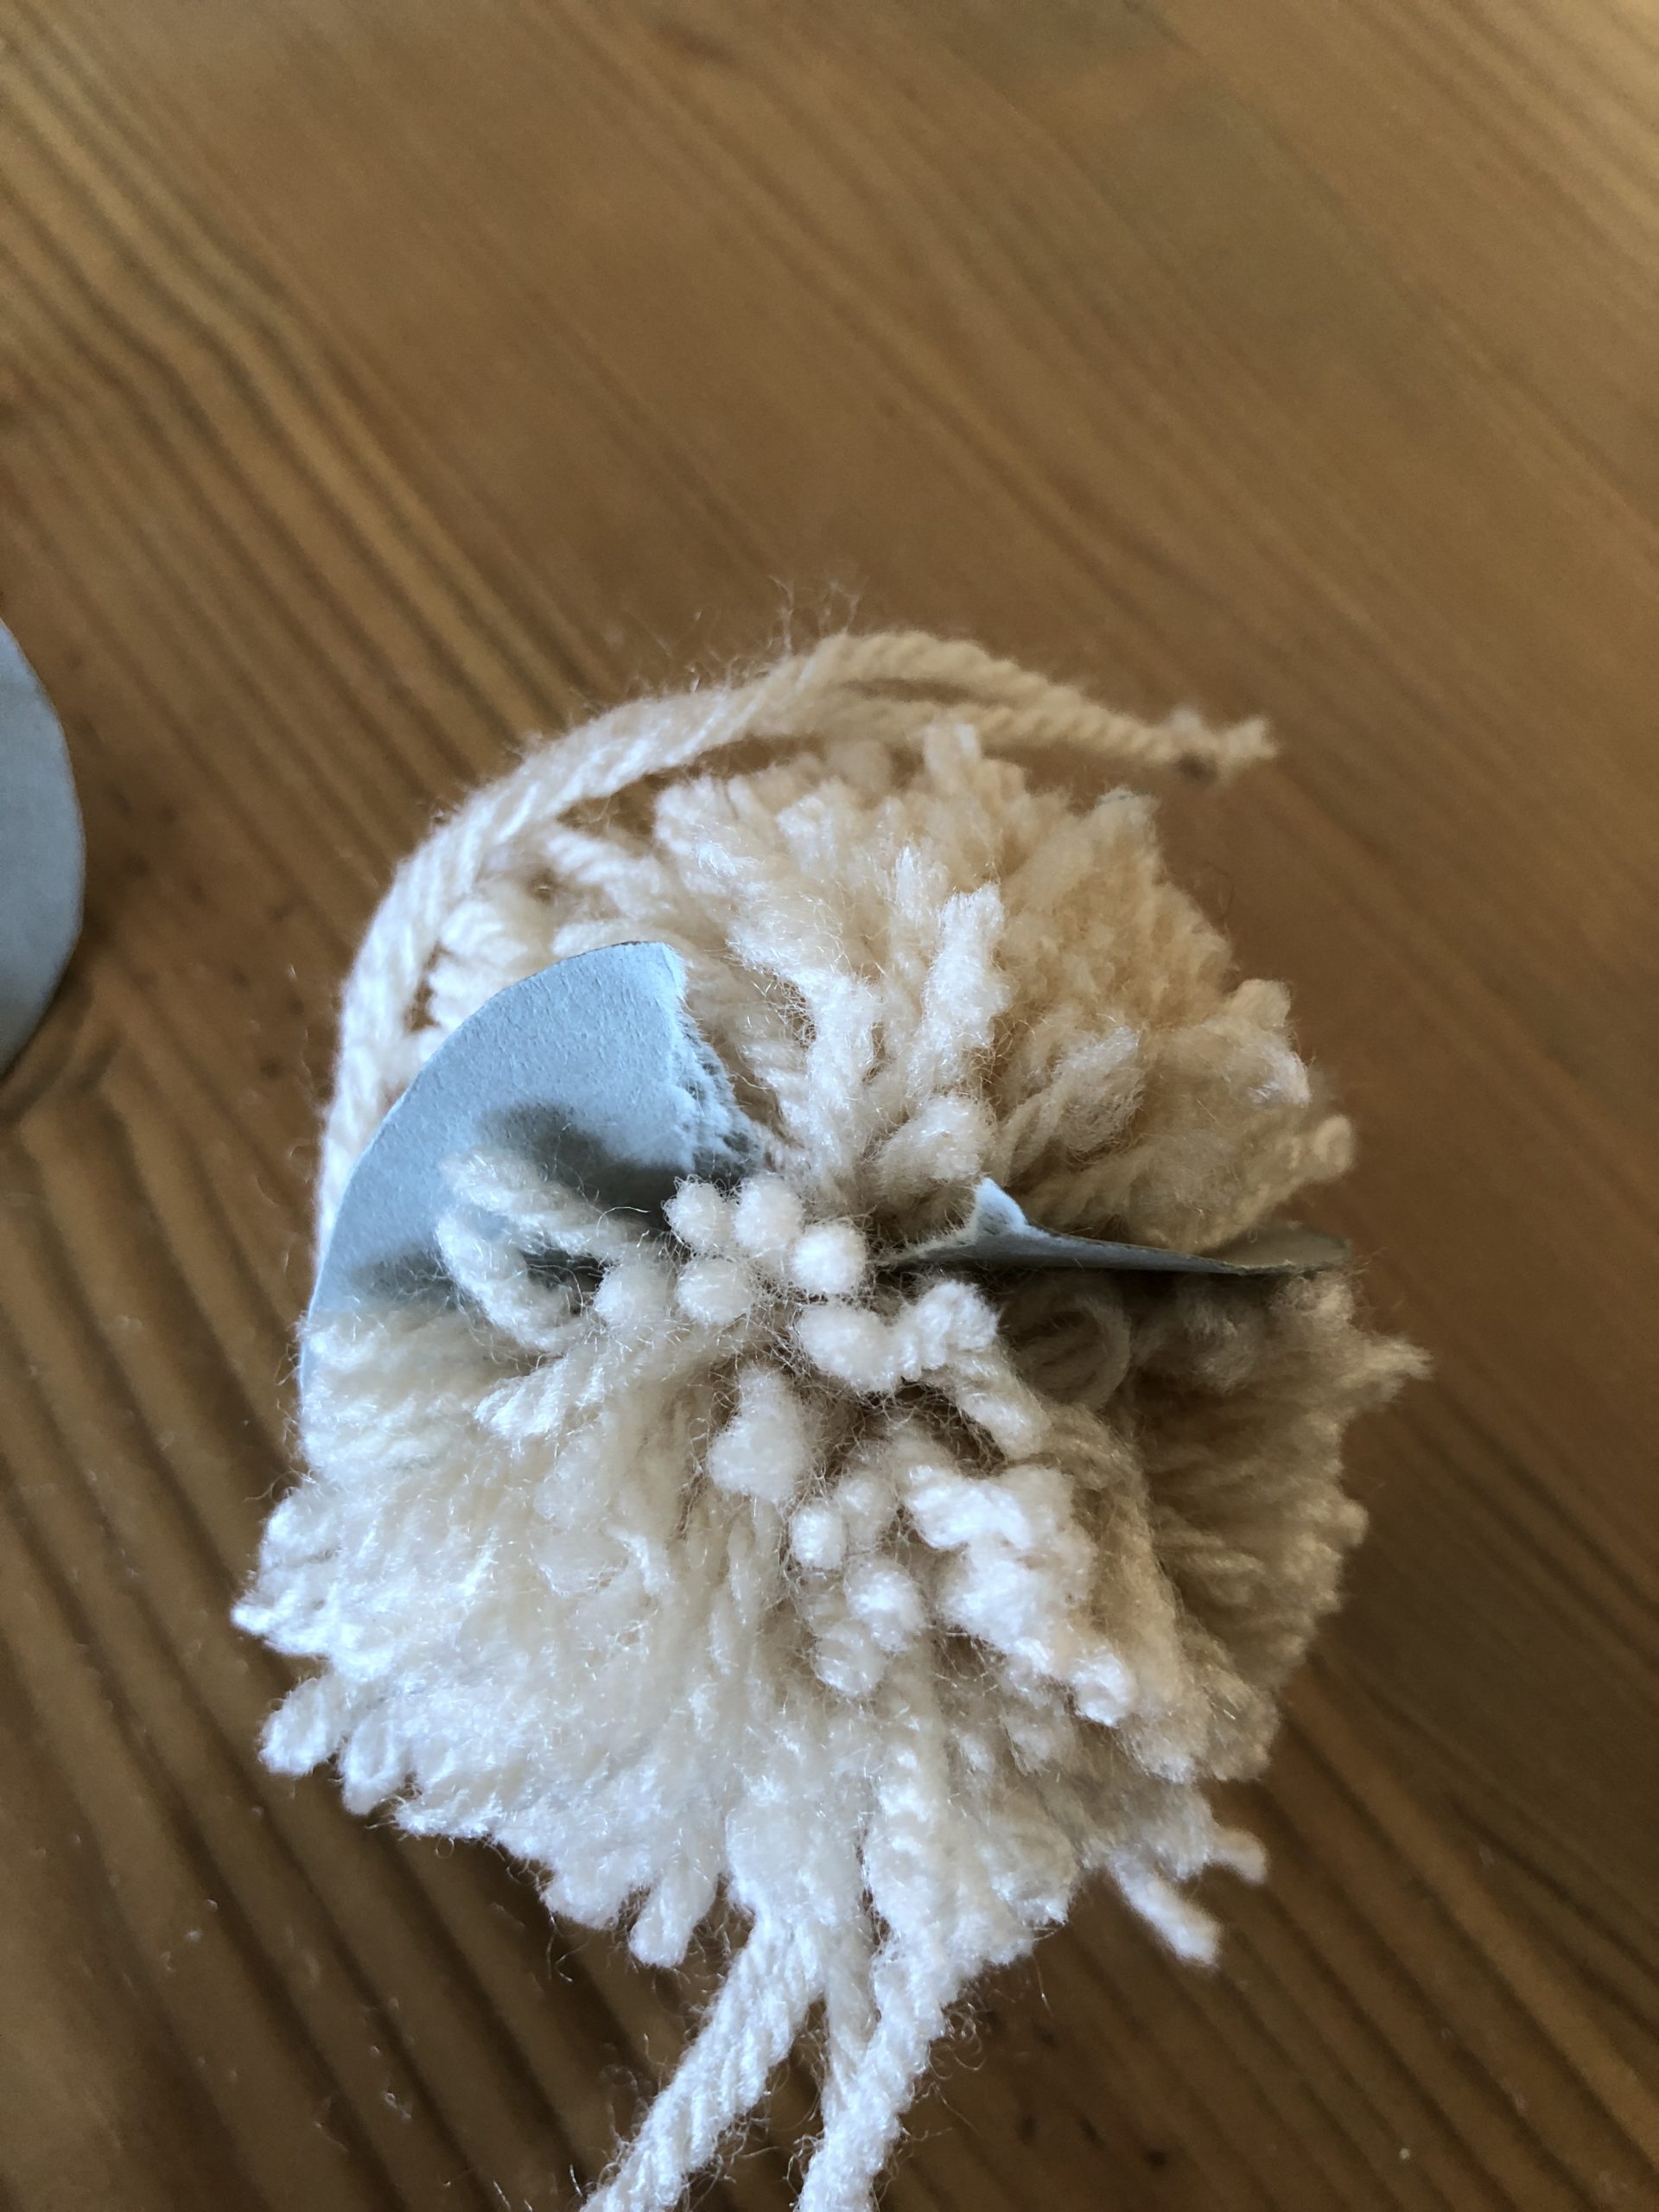
Bild zum Schritt 11 für das Bastel- und DIY-Abenteuer für Kinder: 'Den Karton nun einreisen und vorsichtig entfernen.'

12

??

Bild zum Schritt 12 für das Bastel- und DIY-Abenteuer für Kinder: '👍🏼'

13

Cut the wuschel "round" with scissors. Do not cut the hanging thread!
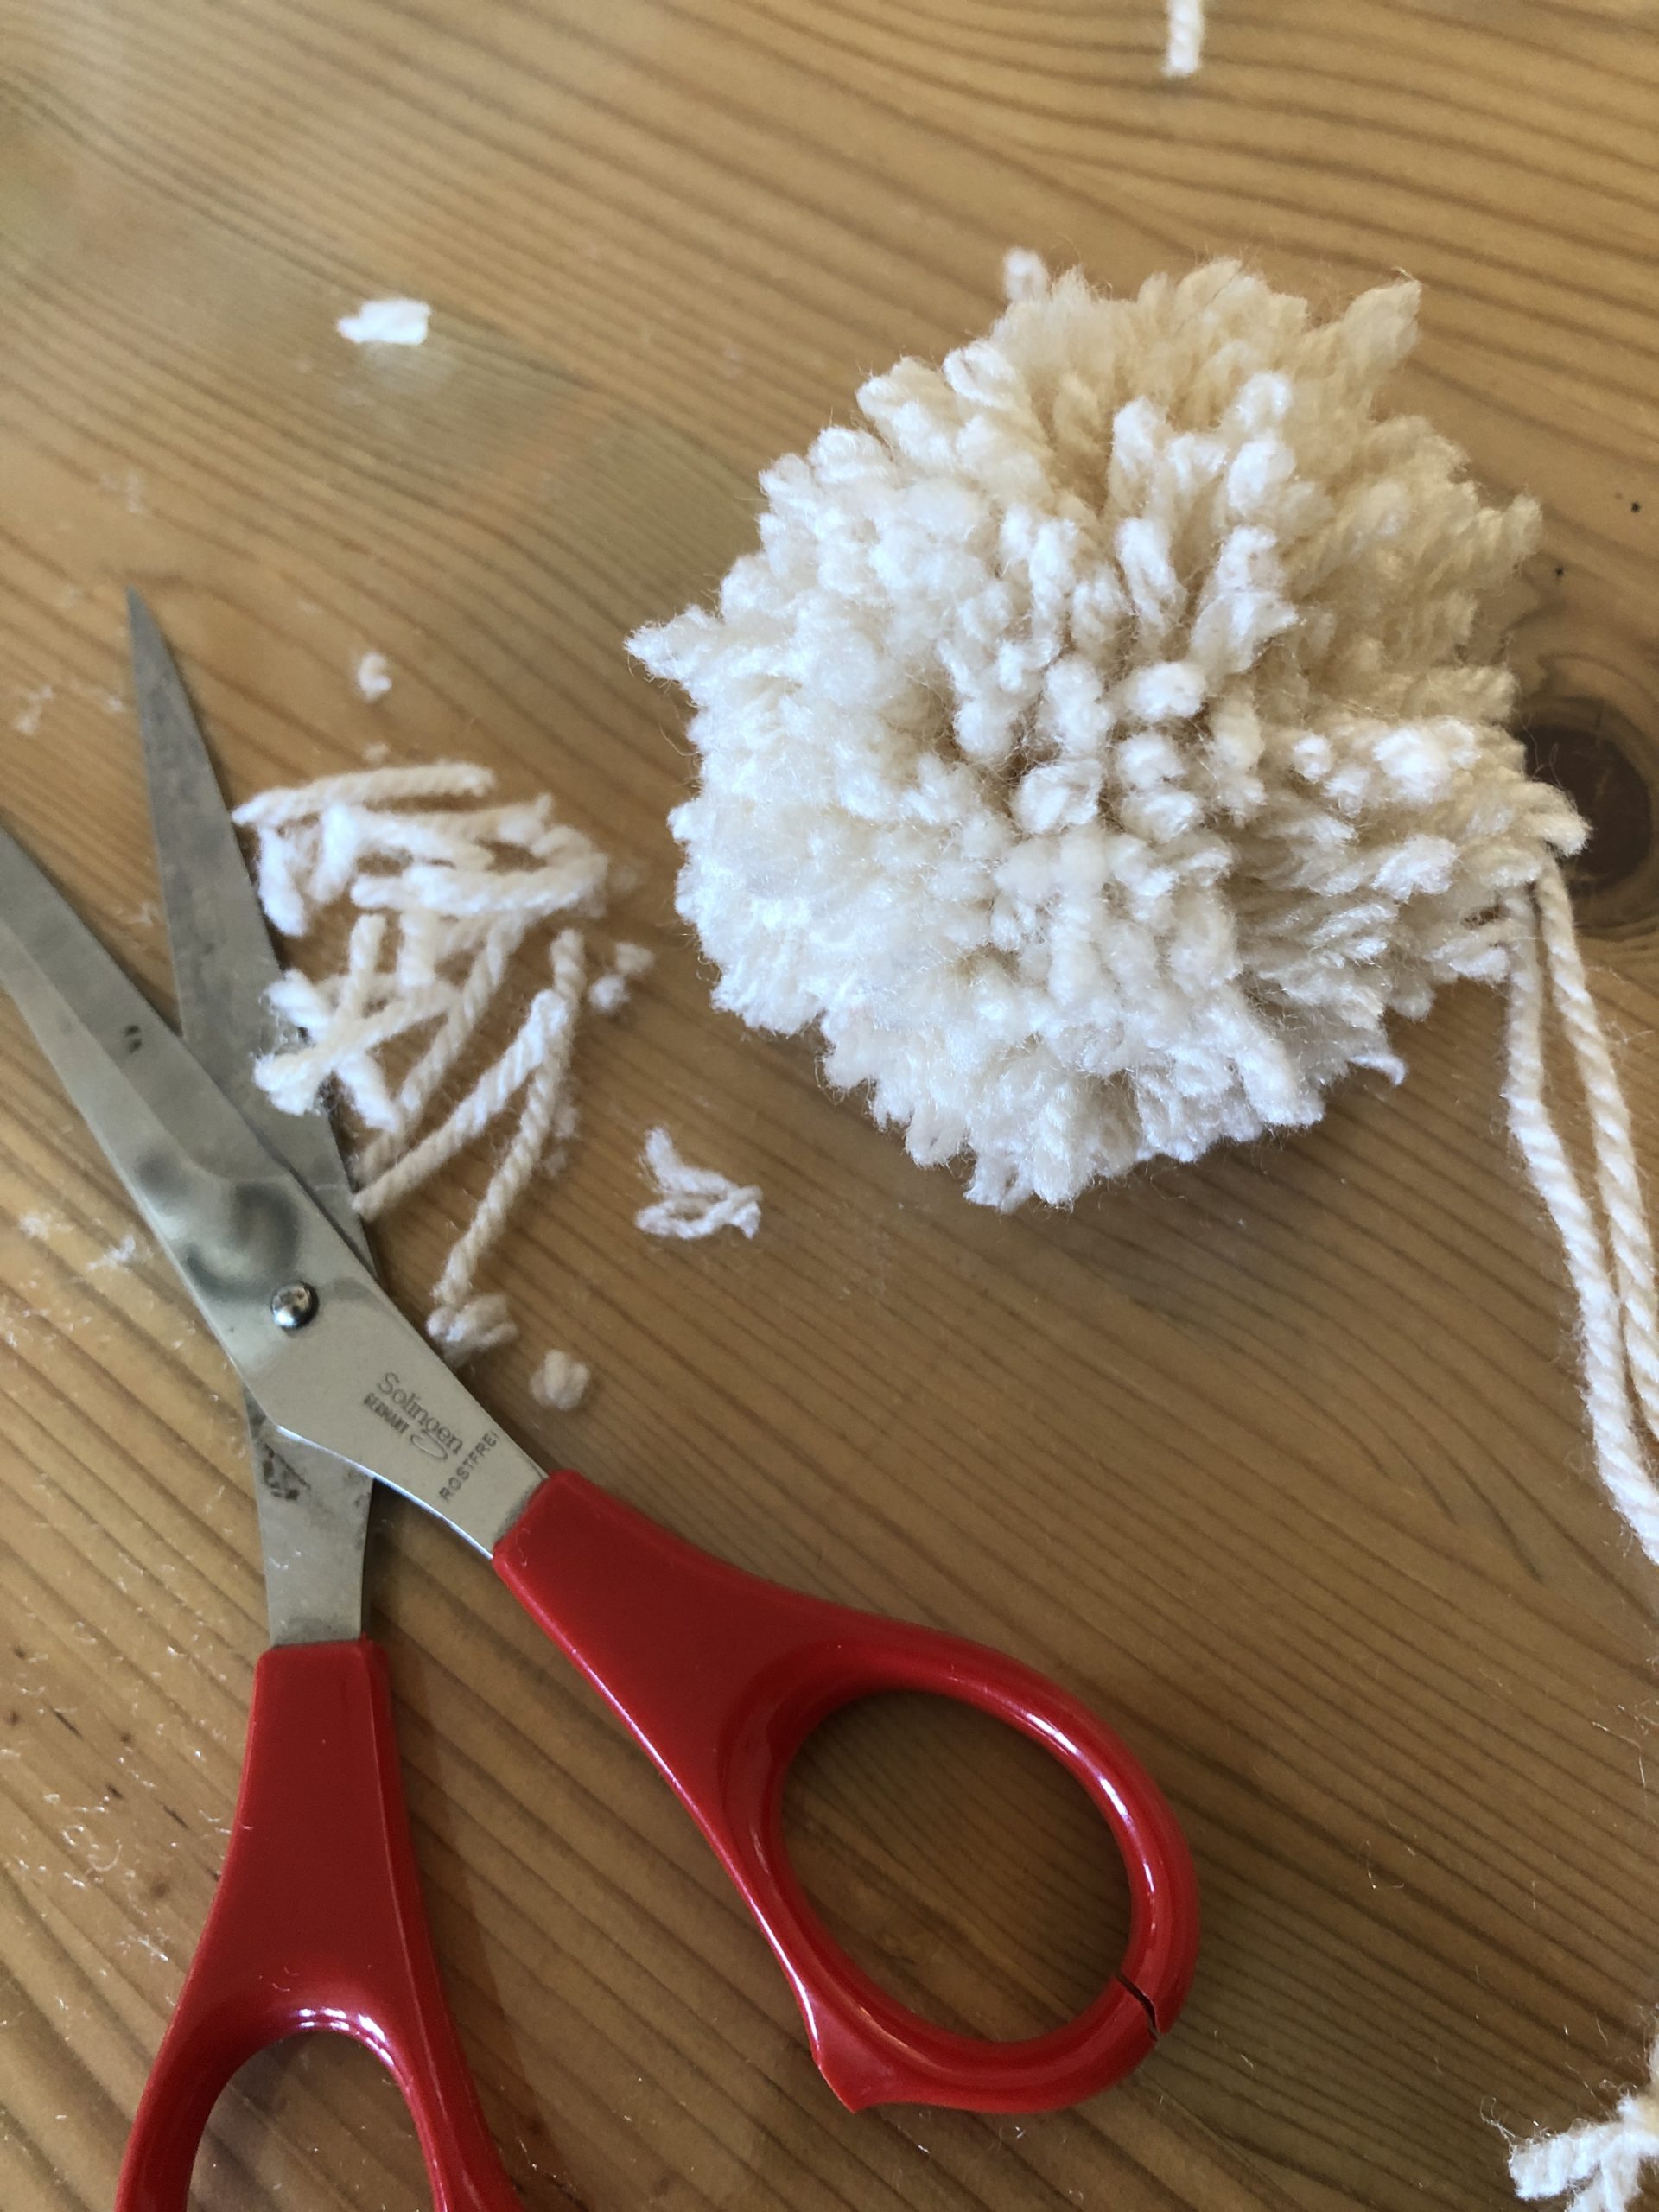
Bild zum Schritt 13 für das Bastel- und DIY-Abenteuer für Kinder: 'Mit einer Schere den Wuschel  „rund“ schneiden. Nicht den...'

14

Now you can thread the "Wuschel-tail" on a belt or sew it on a pair of pants as a stubtail.
With the fleece ears (see separate instructions) you can now play "Osterhase".
Have fun?
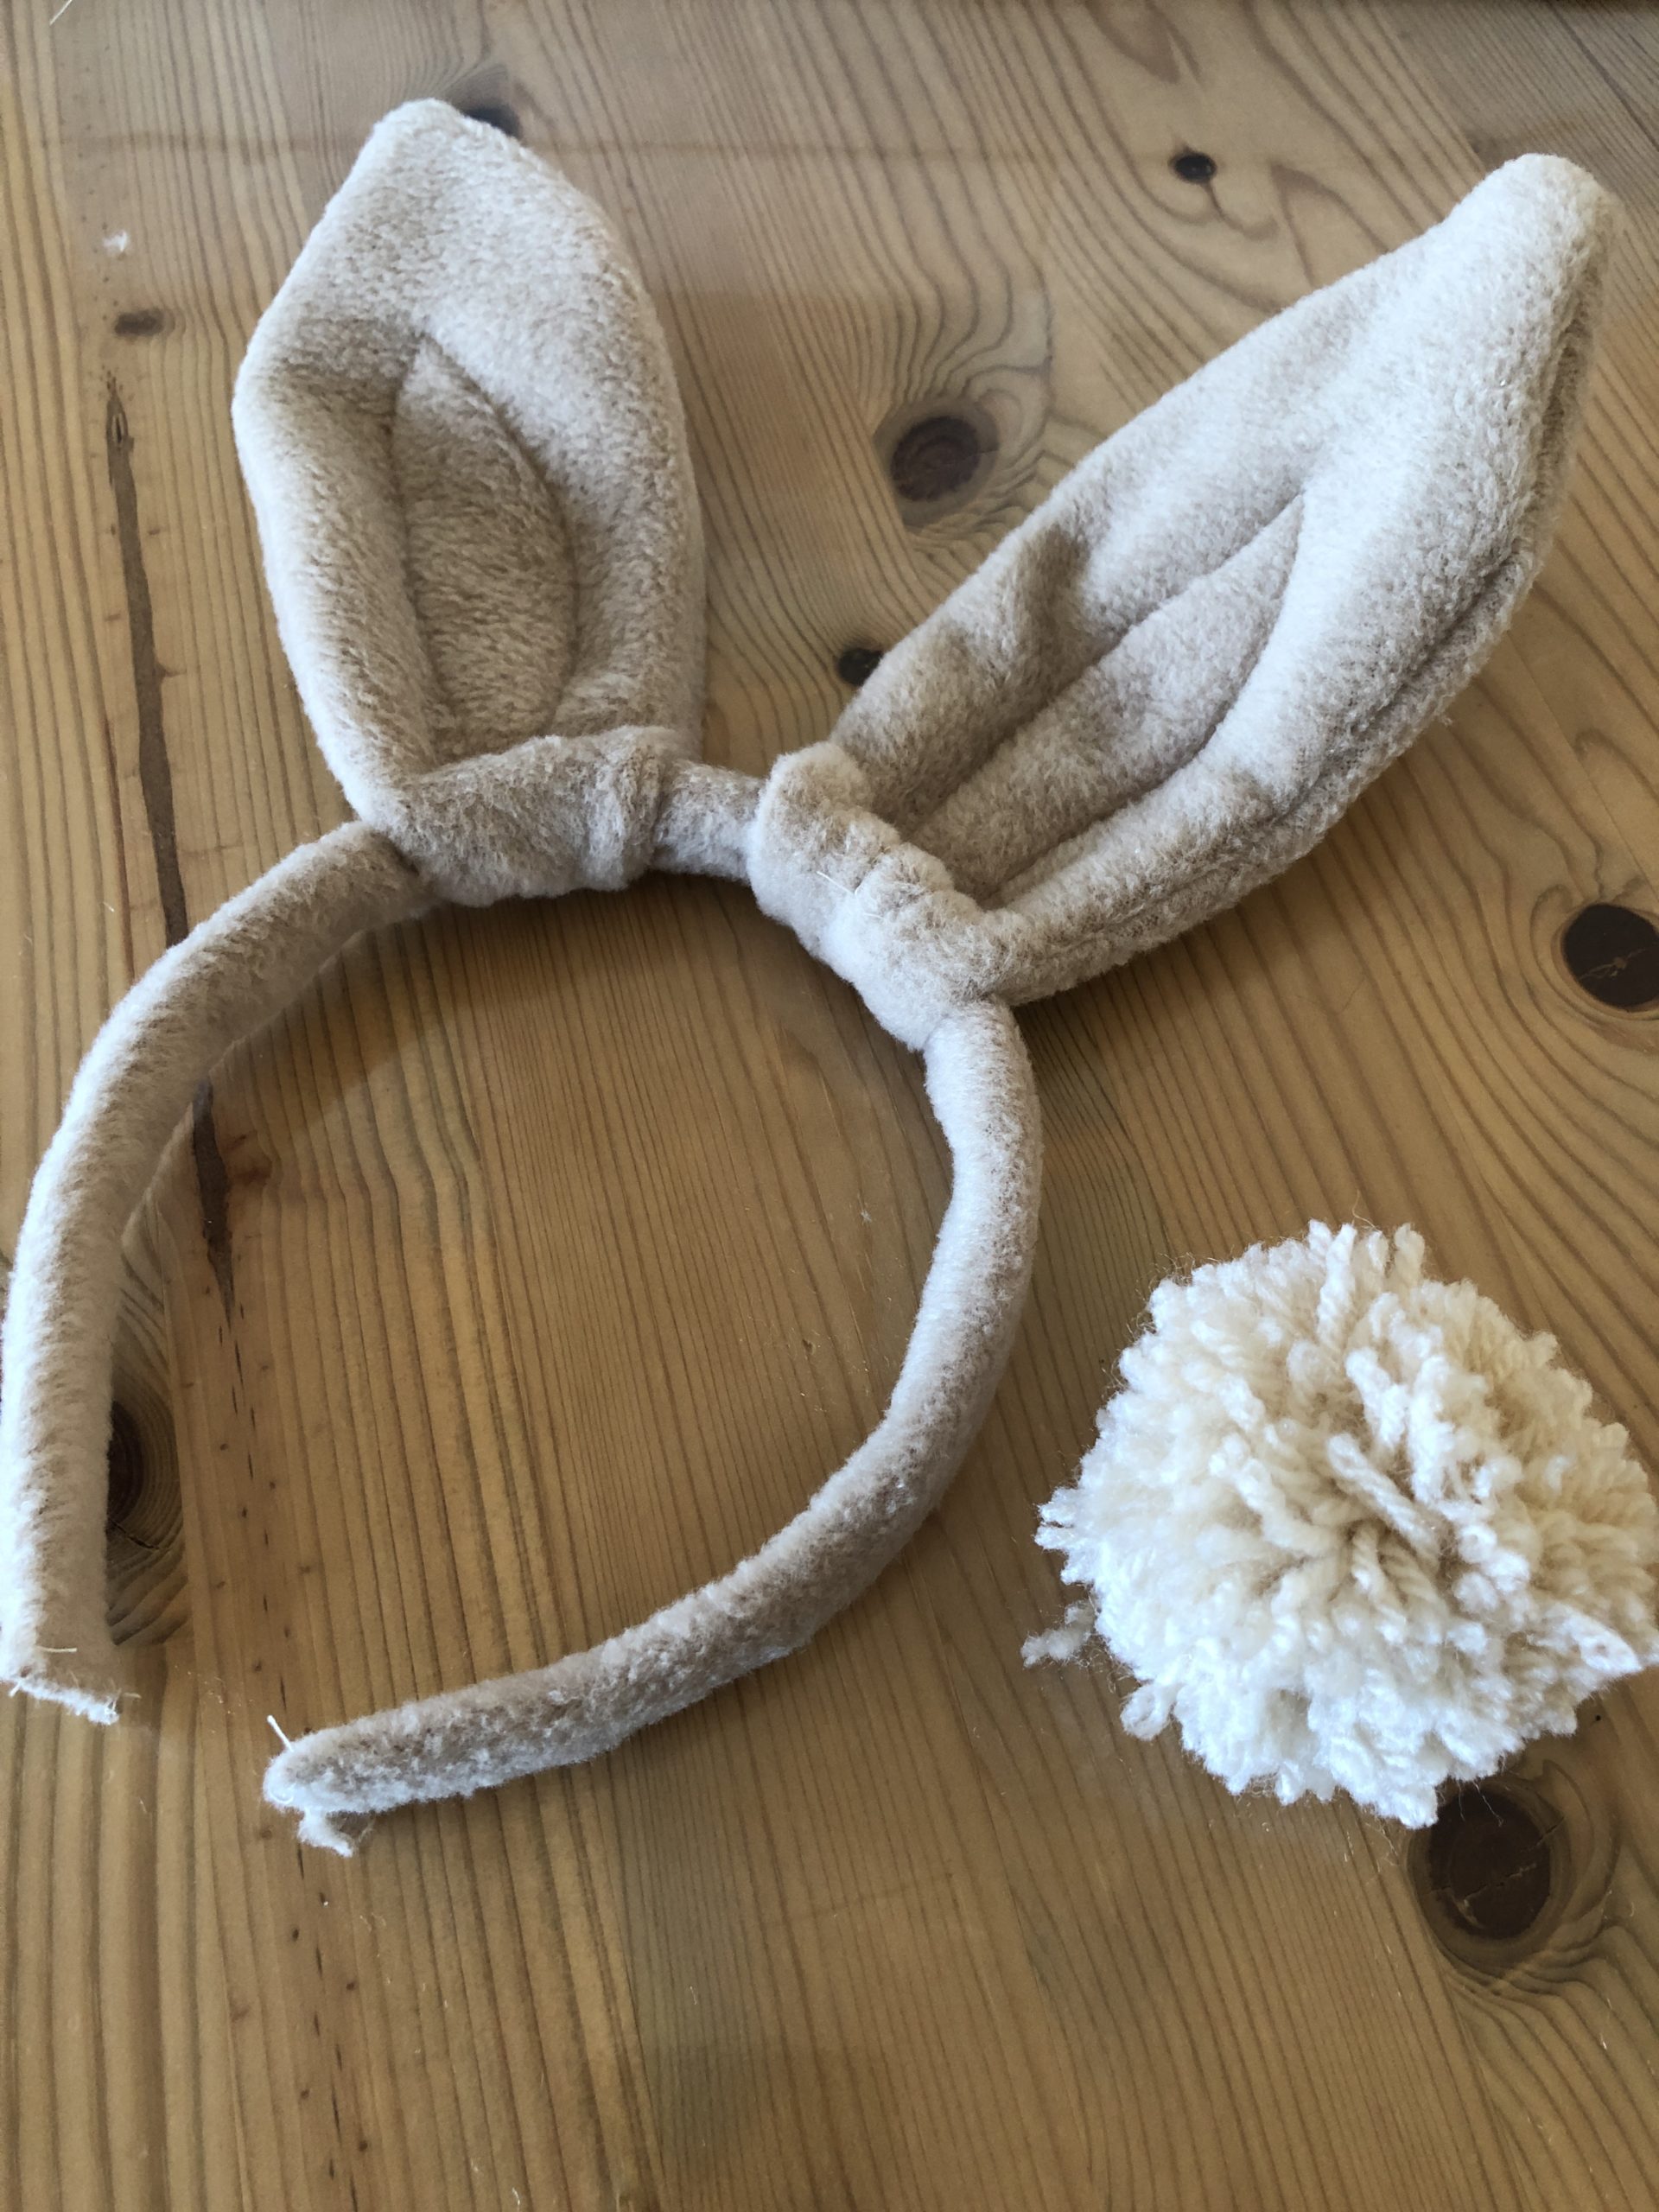
Bild zum Schritt 14 für das Bastel- und DIY-Abenteuer für Kinder: 'Nun könnt ihr den „Wuschel-Schwanz“ an einem Gürtel auffädeln oder...'

Make haretails

Follow us on Facebook , Instagram and Pinterest
Don't miss any more adventures: Our bottle mail

Leave a Reply

Your email address will not be published.

The maximum upload file size: 5 MB. You can upload: image, document. Drop file here