Rabbit as cutlery bag (with template)

AdventurerKatzi
Rating5.03.9 Thousand times & (3) DifficultyAdvanced

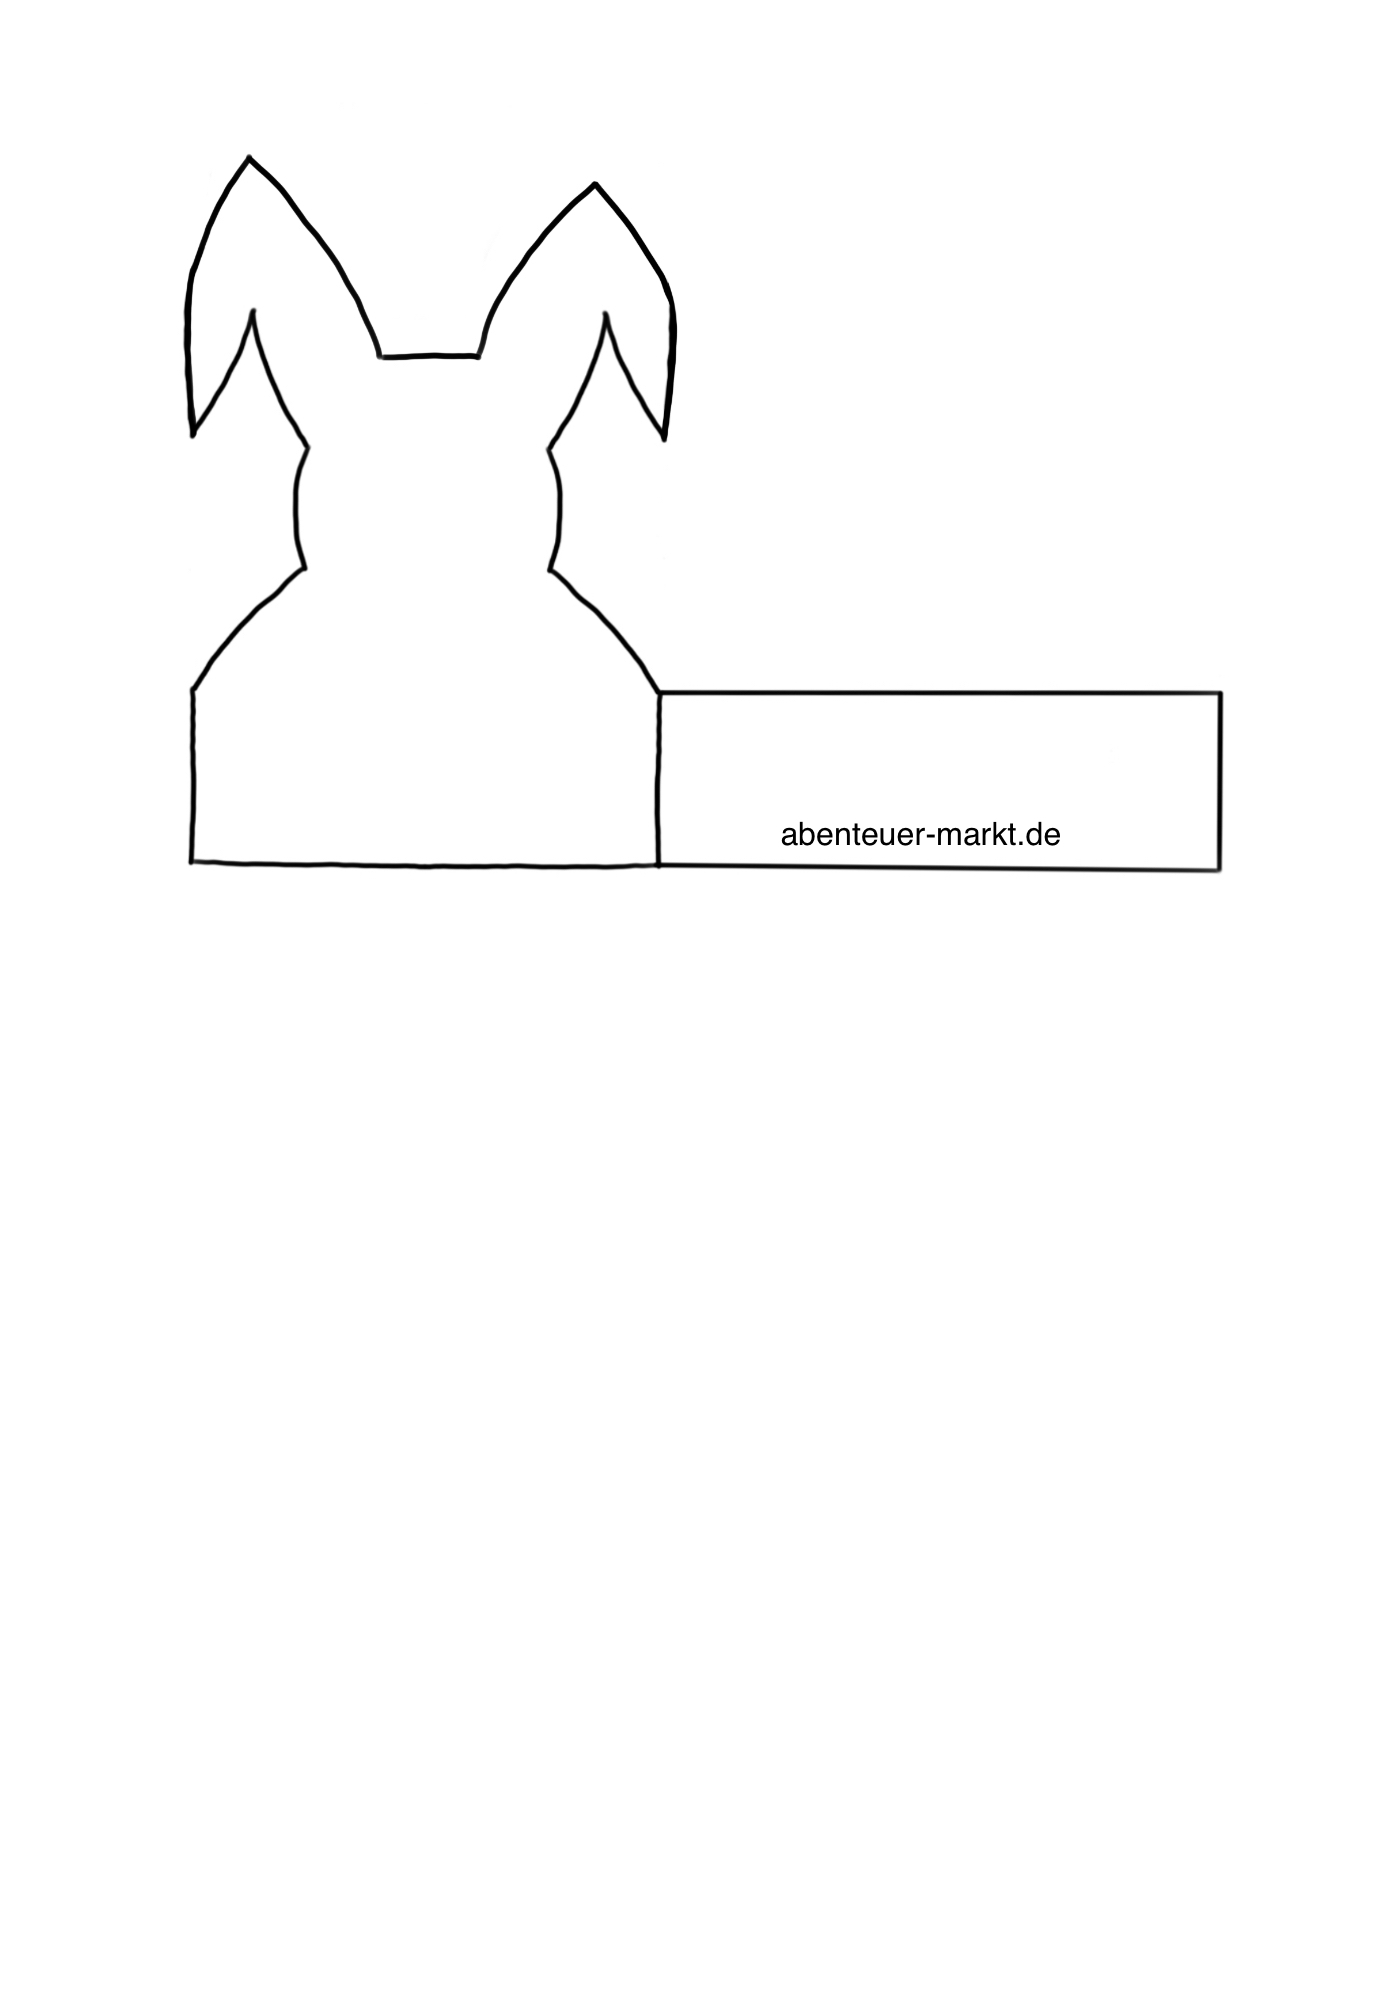
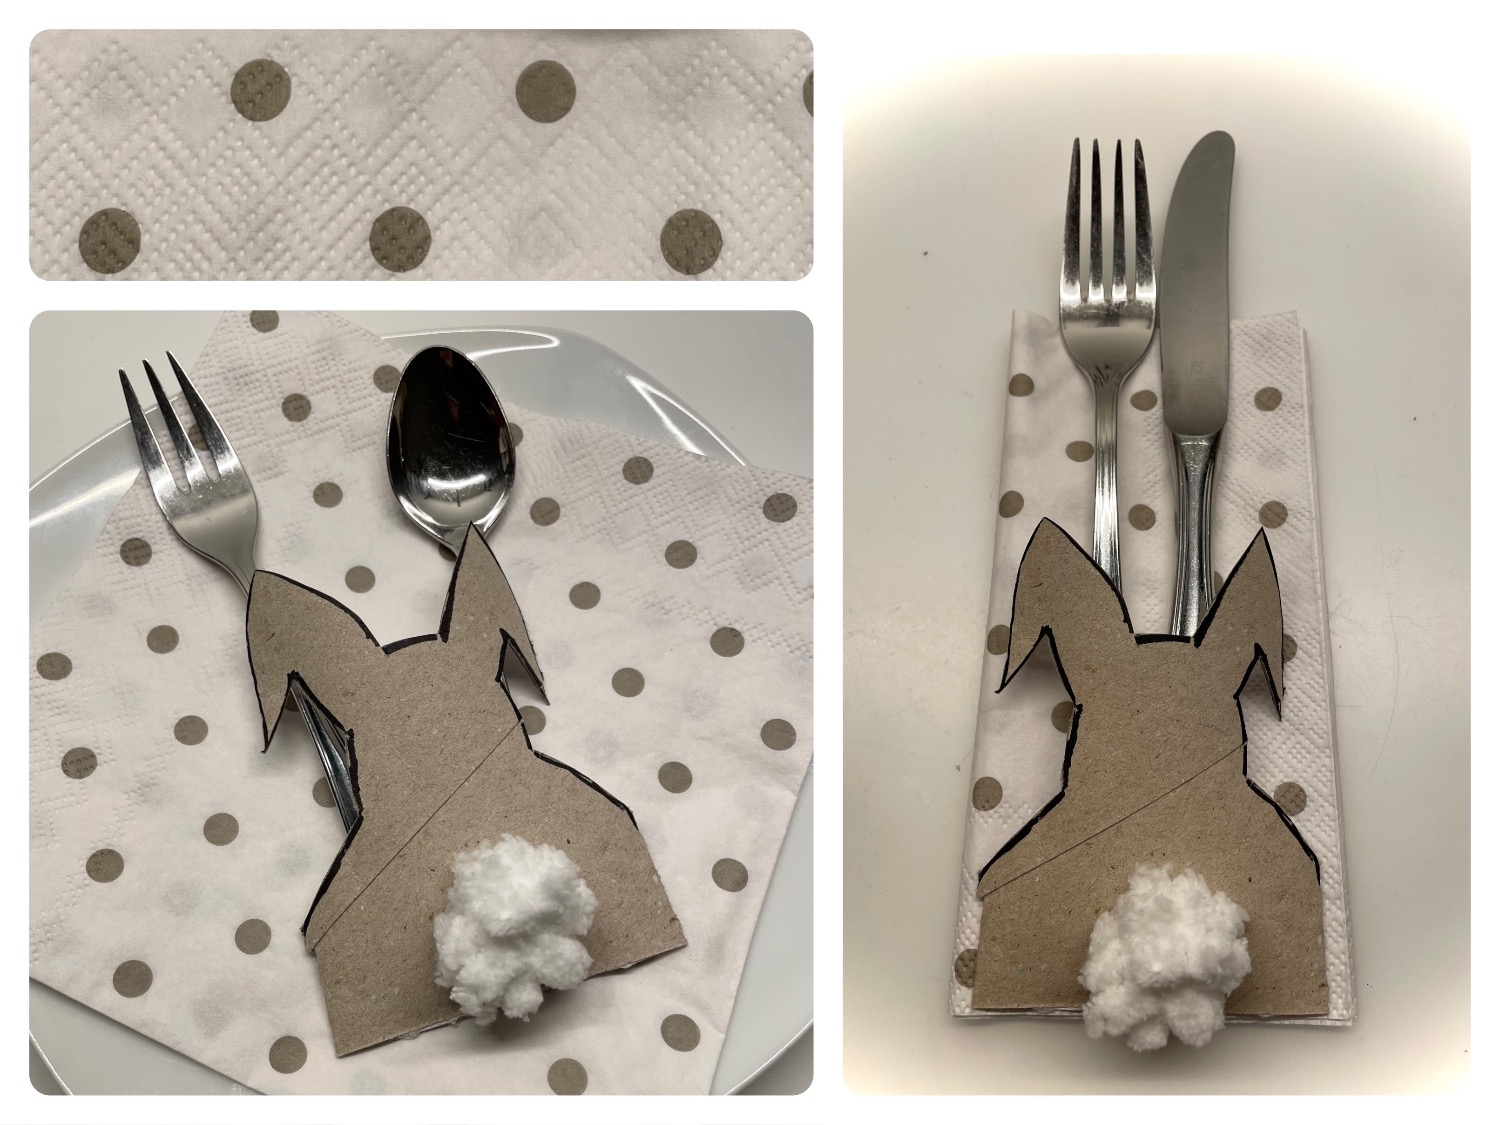
This beautiful cutlery bag for the Easter table is made from a cardboard roll and a cotton cotton ball. First press the cardboard roll flat and paint a rabbit on the front. On the back side only a narrow strip is left standing. After that you cut the cardboard roll and stick the pommel on. Finally you stick the lower opening to it. If the glue is dry, you can set the table. Have fun!

Media Education for Kindergarten and Hort

Kind bastelt eine Rassel mit dem Navi
The Adventure Navi, the app for DIY projects, enables media education for the youngest.

Relief in everyday life, targeted promotion of individual children, independent learning and - without any pre-knowledge already usable by the youngest!


Titelbild zur Bastel- und DIY-Idee für Kinder '(1055) Hase als Bestecktasche (mit Vorlage)'
Material for1 Child
Prep Time5 min.Adv. Time20 min.Total Time25 min.
 1 Rolled paper Toilet roll
 1 Wuschelor wadding ball
 1 Pencil
 1 Felt pen
 2 Brackets
 1 Ruler
 1 Builder's pad
All links marked with a shopping cart lead to Amazon - here we have selected products that we would order ourselves and in part also ordered. In a qualified purchase via the advertising link, we as Amazon partner receive a commission, for you there are no costs. You thus support our cost- and advertising banner-free, educational offer.
1

First, put a cardboard roll on the table and press it flatly.
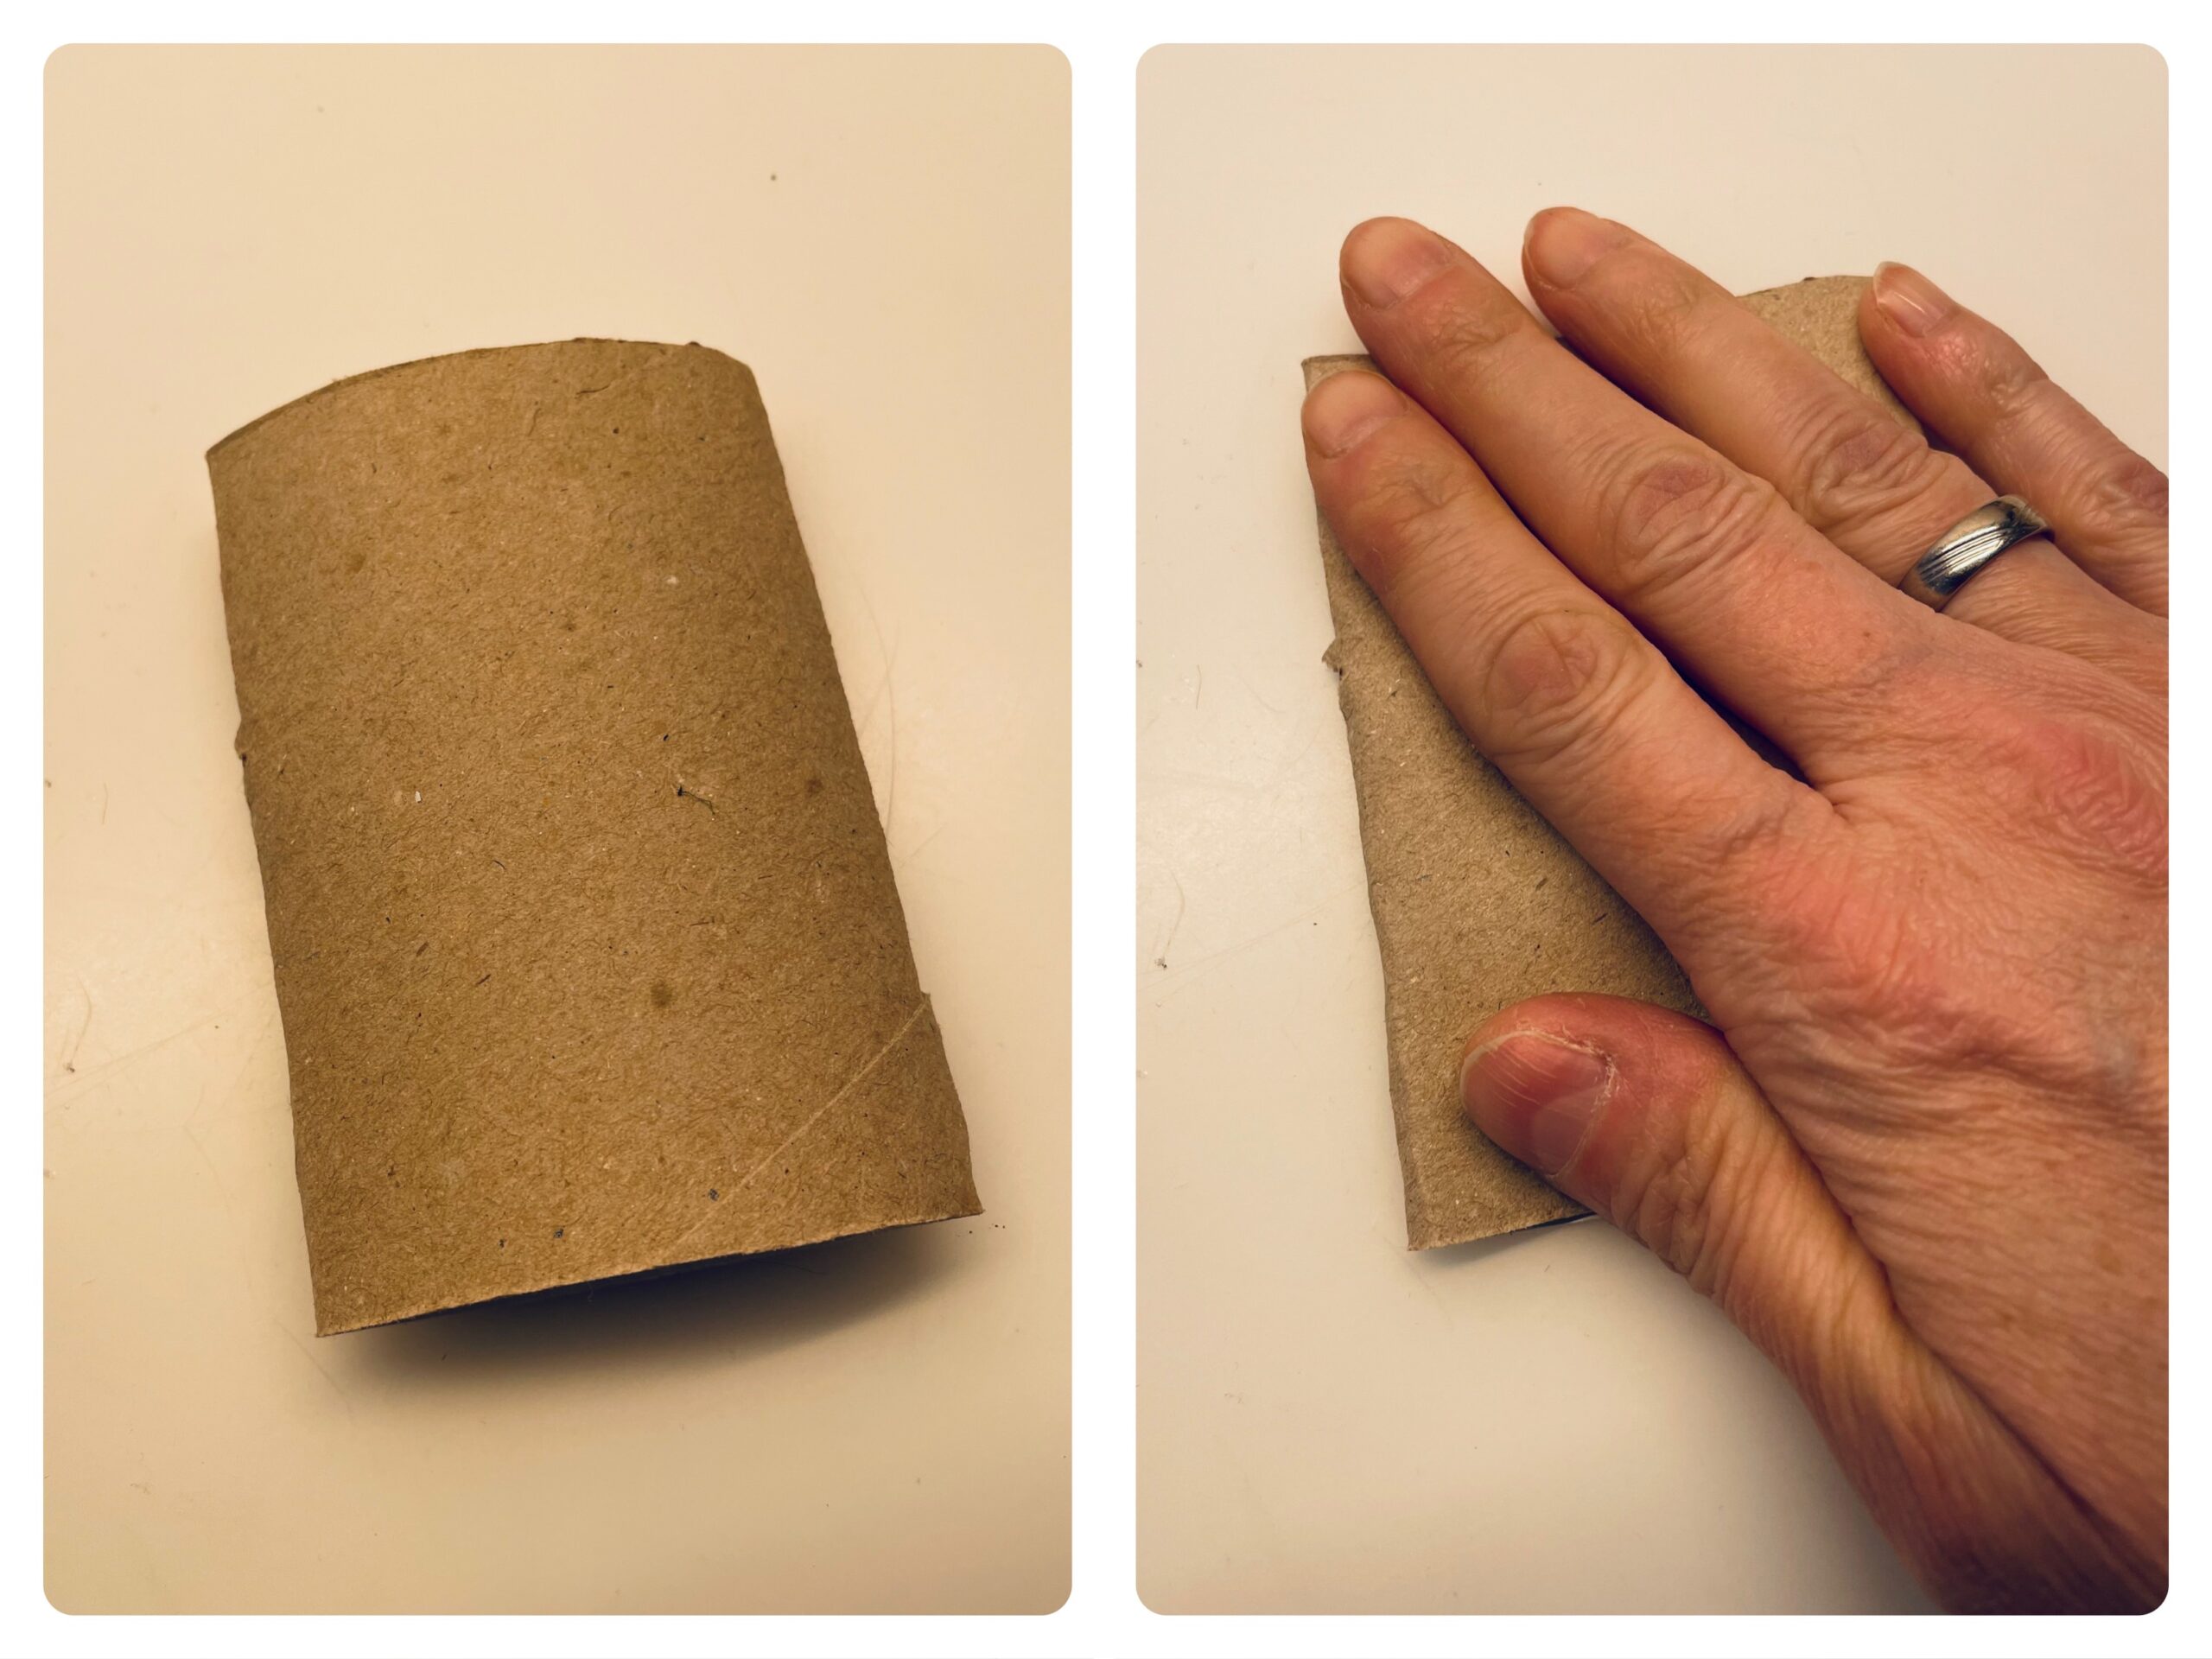
Bild zum Schritt 1 für das Bastel- und DIY-Abenteuer für Kinder: 'Zuerst legt ihr eine Papprolle auf den Tisch und drückt...'

2

Then you paint a rabbit on the front.
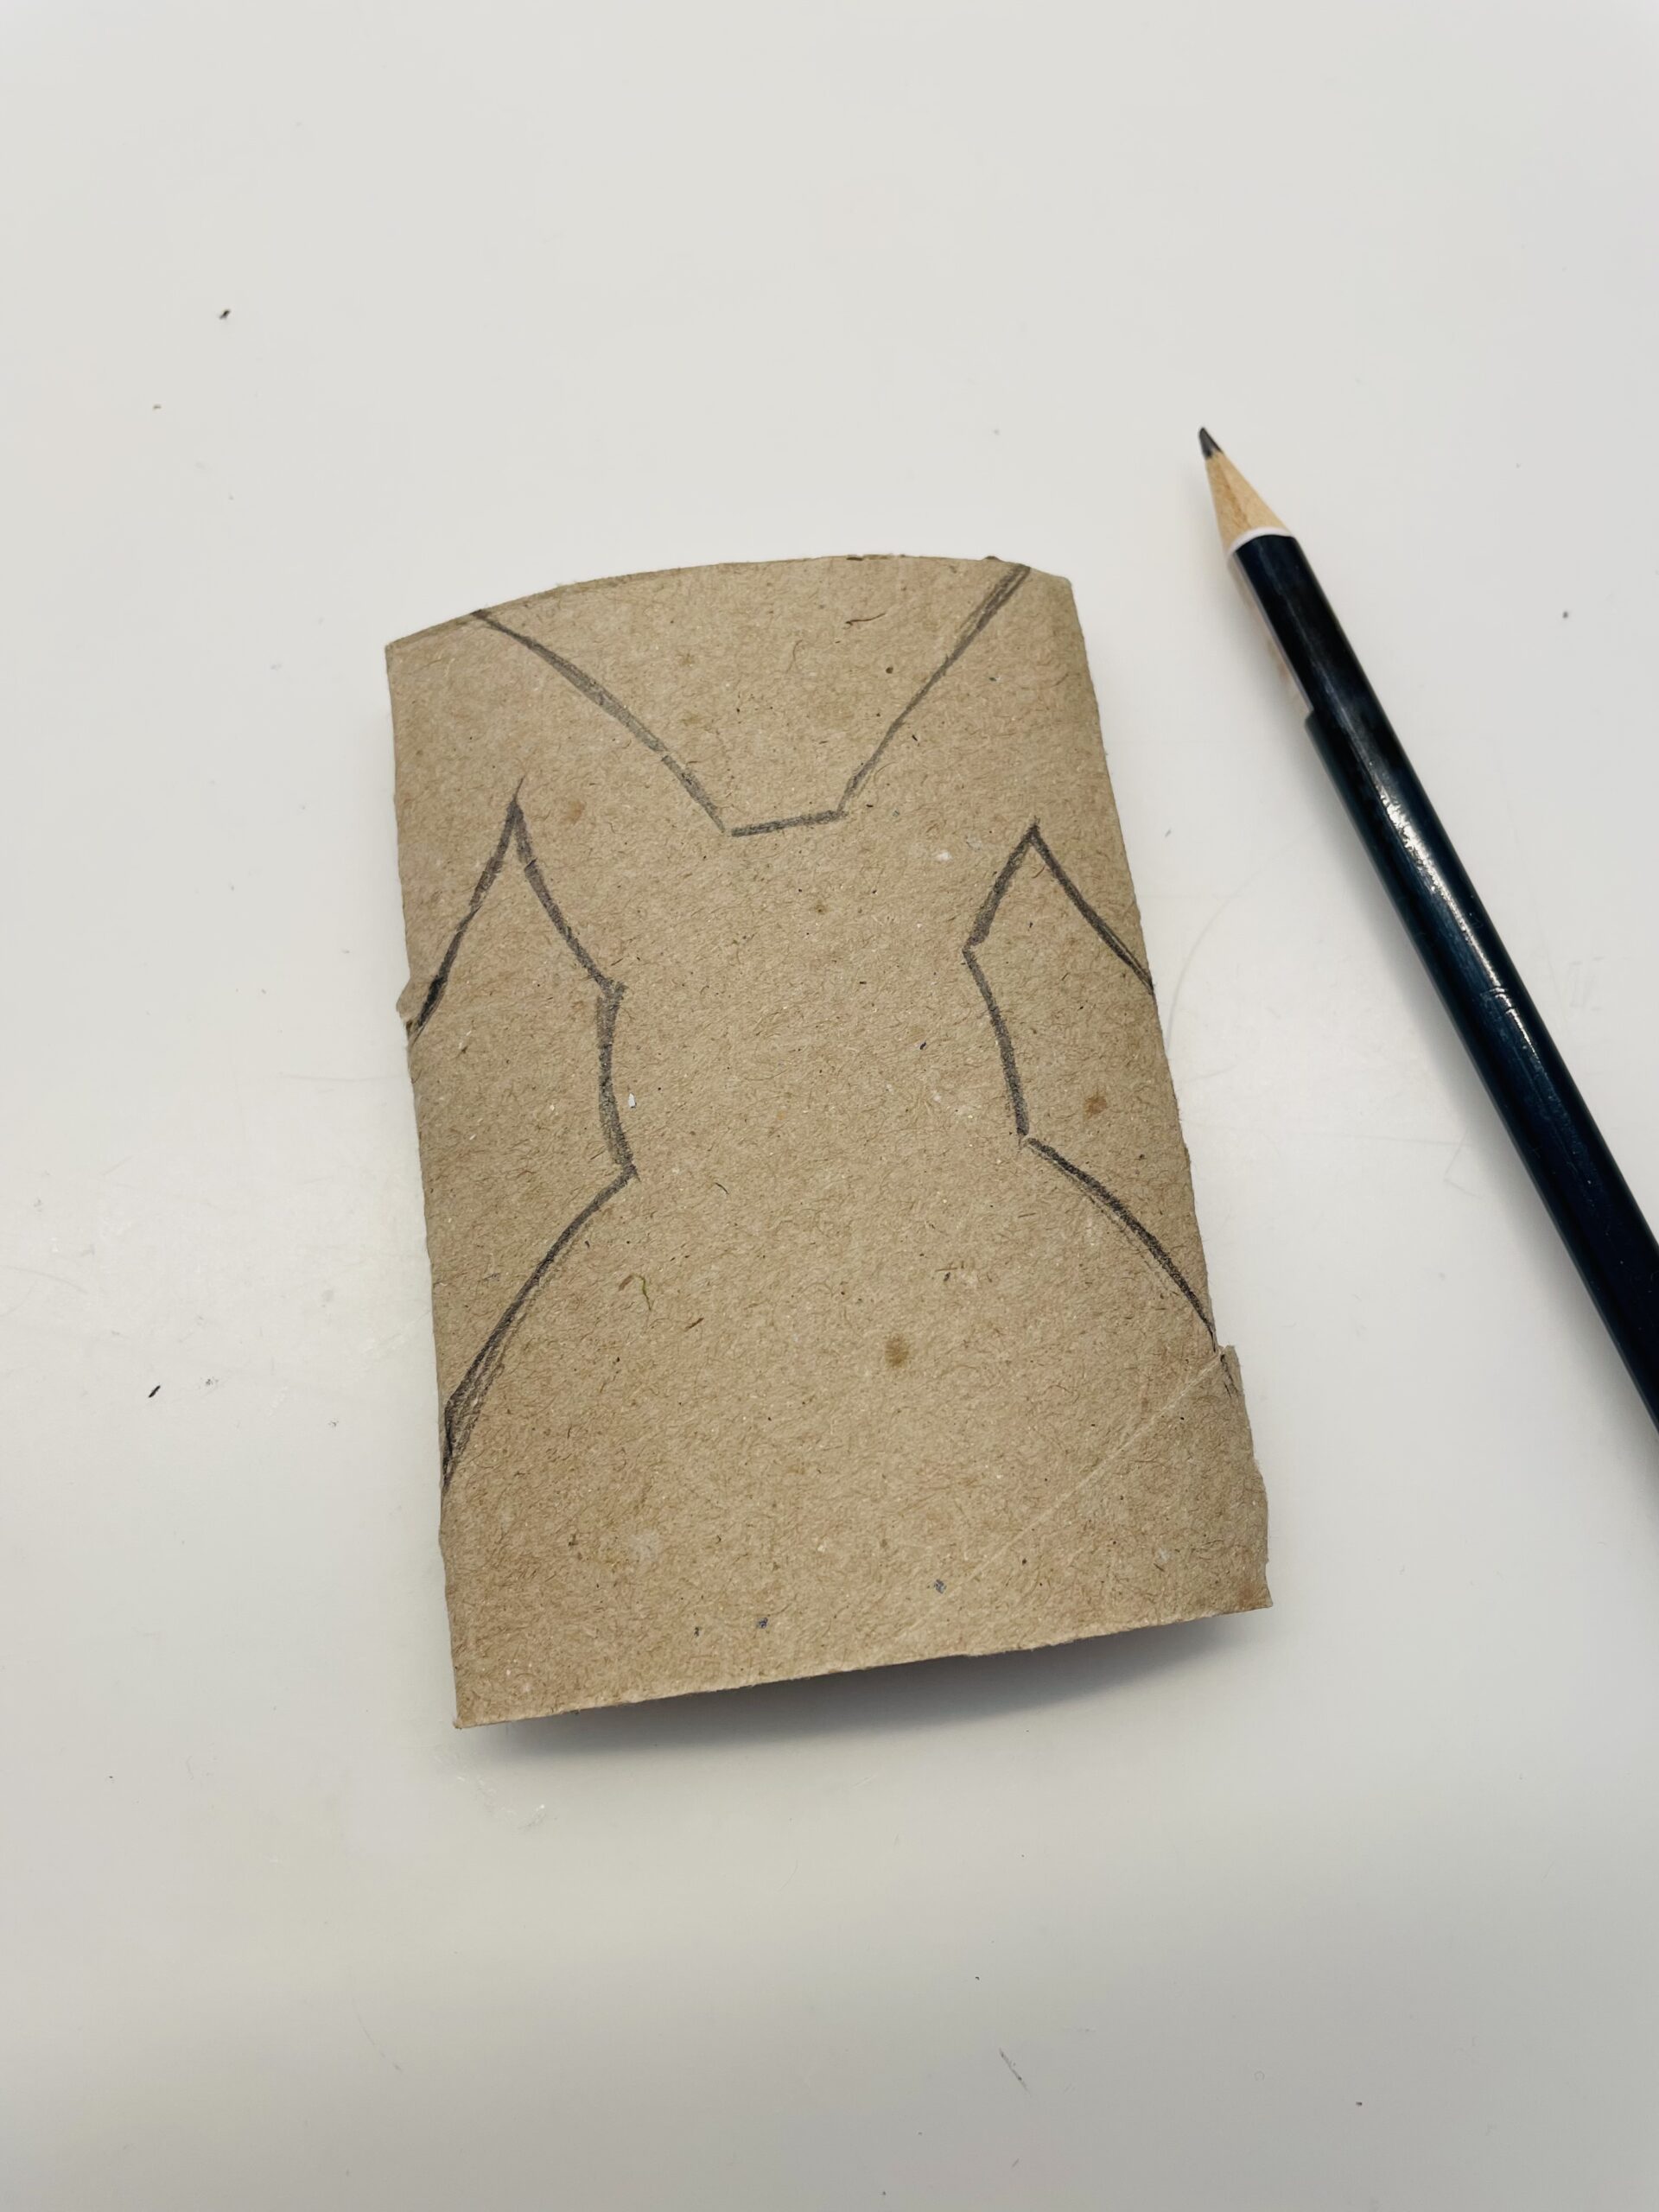
Bild zum Schritt 2 für das Bastel- und DIY-Abenteuer für Kinder: 'Danach malt ihr auf die Vorderseite einen Hasen.'

3

A narrow stripe remains on the back. This should be about 2.5 cm wide.

Bild zum Schritt 3 für das Bastel- und DIY-Abenteuer für Kinder: 'Auf der Rückseite bleibt ein schmaler Streifen stehen. Dieser sollte...'

4

Now you first cut the rear part and then cut it down to the lower strips.

Bild zum Schritt 4 für das Bastel- und DIY-Abenteuer für Kinder: 'Jetzt schneidet ihr zuerst das Rückteil zu und dafür bis...'

5

Then cut out the rabbit on the front.

Bild zum Schritt 5 für das Bastel- und DIY-Abenteuer für Kinder: 'Danach schneidet ihr den Hasen auf der Vorderseite aus.'

6

Now surrounds the outside of the rabbit with a felt pen.

Bild zum Schritt 6 für das Bastel- und DIY-Abenteuer für Kinder: 'Umrandet nun die Außenseite des Hasen mit einem Filzstift.'

7

After that, she sticks a cotton pad to the front.

Bild zum Schritt 7 für das Bastel- und DIY-Abenteuer für Kinder: 'Danach klebt ihr einen Wattebausch auf die Vorderseite.'

8

So that you can put cutlery in the rabbits, you still have to close the bottom.

Bild zum Schritt 8 für das Bastel- und DIY-Abenteuer für Kinder: 'Damit ihr in den Hasen Besteck hineinlegen könnt, müsst ihr...'

9

If the glued edge is pressed together for a few minutes with two clamps, the glue is better fixed.

Bild zum Schritt 9 für das Bastel- und DIY-Abenteuer für Kinder: 'Dafür klebt ihr die untere Öffnung zusammen. Presst die geklebte...'

10

Then remove the brackets. The rabbit cutlery bag is now ready for use.

Bild zum Schritt 10 für das Bastel- und DIY-Abenteuer für Kinder: 'Entfernt anschließend die Klammern. Die Hasen-Bestecktasche ist jetzt einsatzbereit.'

11

For example, put it on a napkin and put a teaspoon and cake fork in it.

Bild zum Schritt 11 für das Bastel- und DIY-Abenteuer für Kinder: 'Legt sie z.B. auf eine Serviette und steckt einen Teelöffel...'

12

Or fold half a napkin and place the bunny cutlery bag on it and place a knife and fork in it.

Bild zum Schritt 12 für das Bastel- und DIY-Abenteuer für Kinder: 'Oder faltet eine Serviette zur Hälfte und legt darauf die...'

13

If you leave the opening open, you can also use the rabbit as a napkin ring.

Bild zum Schritt 13 für das Bastel- und DIY-Abenteuer für Kinder: 'Lasst ihr die Öffnung offen, dann könnt ihr den Hasen...'

14

Have fun trying it out!

Coloring template
15

1. Bild zum Schritt 15 für das Bastel- und DIY-Abenteuer für Kinder: 'Viel Spaß beim Ausprobieren!'

Materials

 1 Rolled paper Toilet roll
 1 Wuschelor wadding ball
 1 Pencil
 1 Felt pen
 2 Brackets
 1 Ruler
 1 Builder's pad
All links marked with a shopping cart lead to Amazon - here we have selected products that we would order ourselves and in part also ordered. In a qualified purchase via the advertising link, we as Amazon partner receive a commission, for you there are no costs. You thus support our cost- and advertising banner-free, educational offer.

Directions

1

First, put a cardboard roll on the table and press it flatly.

Bild zum Schritt 1 für das Bastel- und DIY-Abenteuer für Kinder: 'Zuerst legt ihr eine Papprolle auf den Tisch und drückt...'

2

Then you paint a rabbit on the front.

Bild zum Schritt 2 für das Bastel- und DIY-Abenteuer für Kinder: 'Danach malt ihr auf die Vorderseite einen Hasen.'

3

A narrow stripe remains on the back. This should be about 2.5 cm wide.
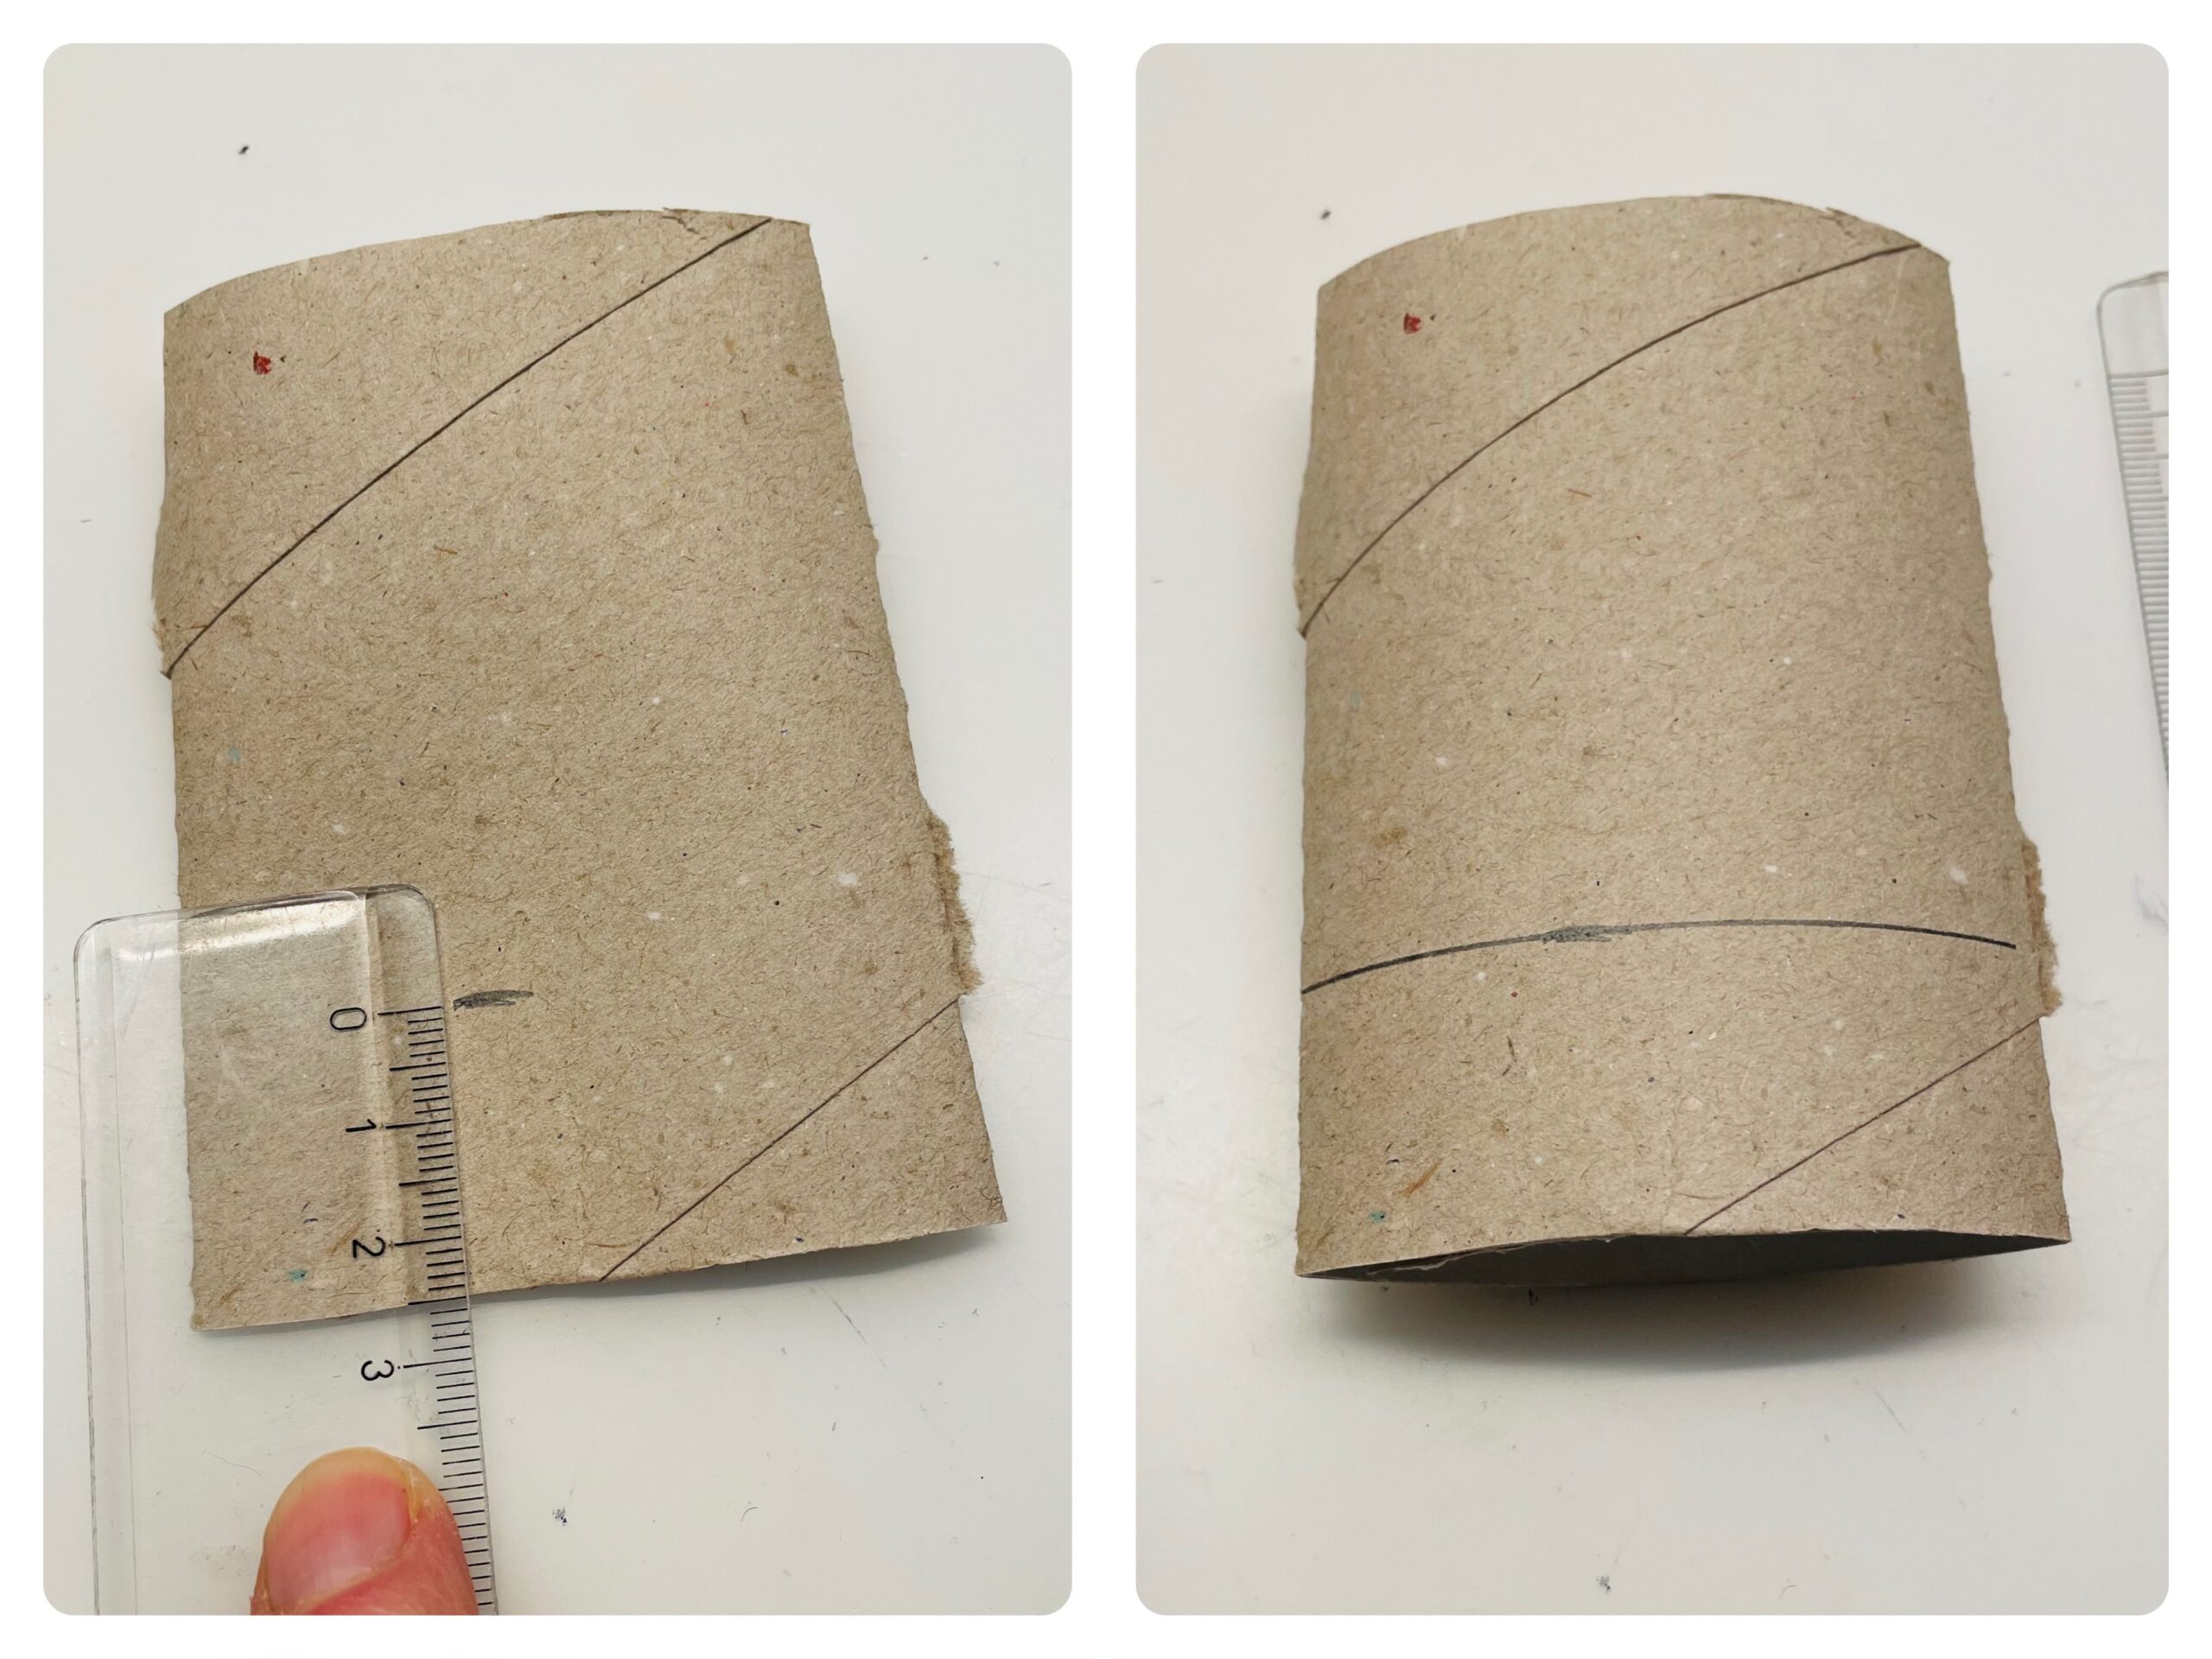
Bild zum Schritt 3 für das Bastel- und DIY-Abenteuer für Kinder: 'Auf der Rückseite bleibt ein schmaler Streifen stehen. Dieser sollte...'

4

Now you first cut the rear part and then cut it down to the lower strips.
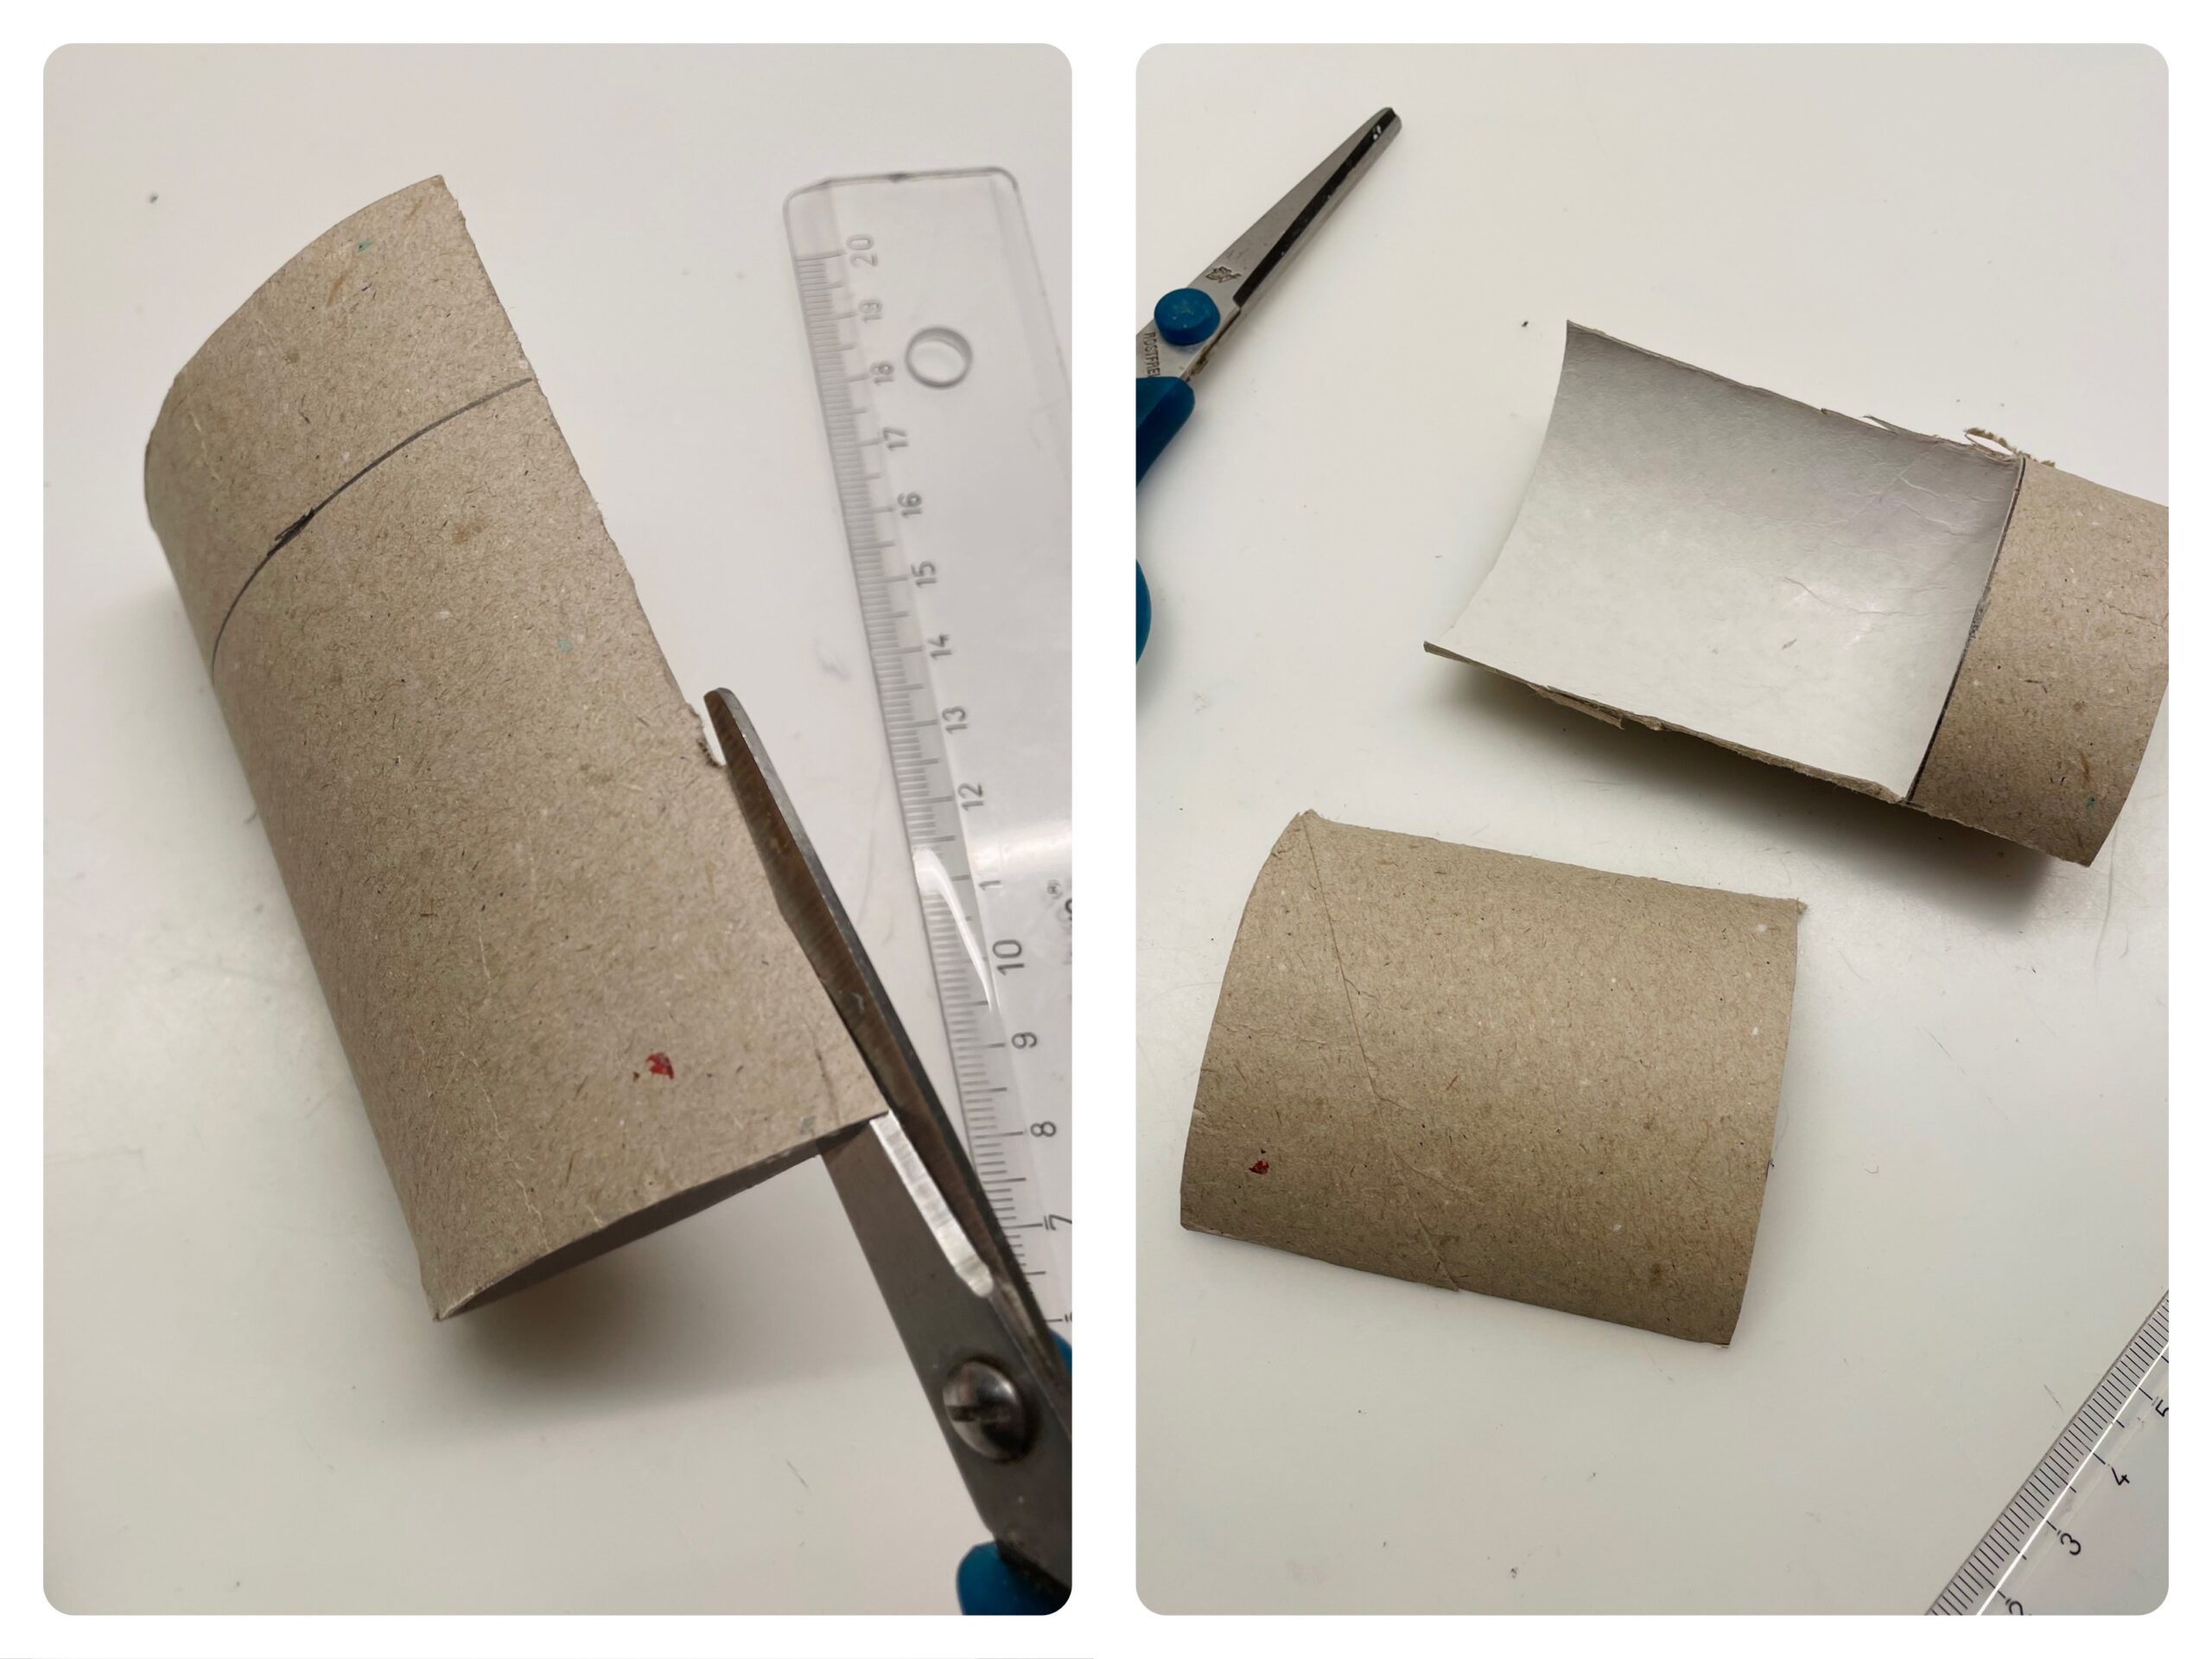
Bild zum Schritt 4 für das Bastel- und DIY-Abenteuer für Kinder: 'Jetzt schneidet ihr zuerst das Rückteil zu und dafür bis...'

5

Then cut out the rabbit on the front.
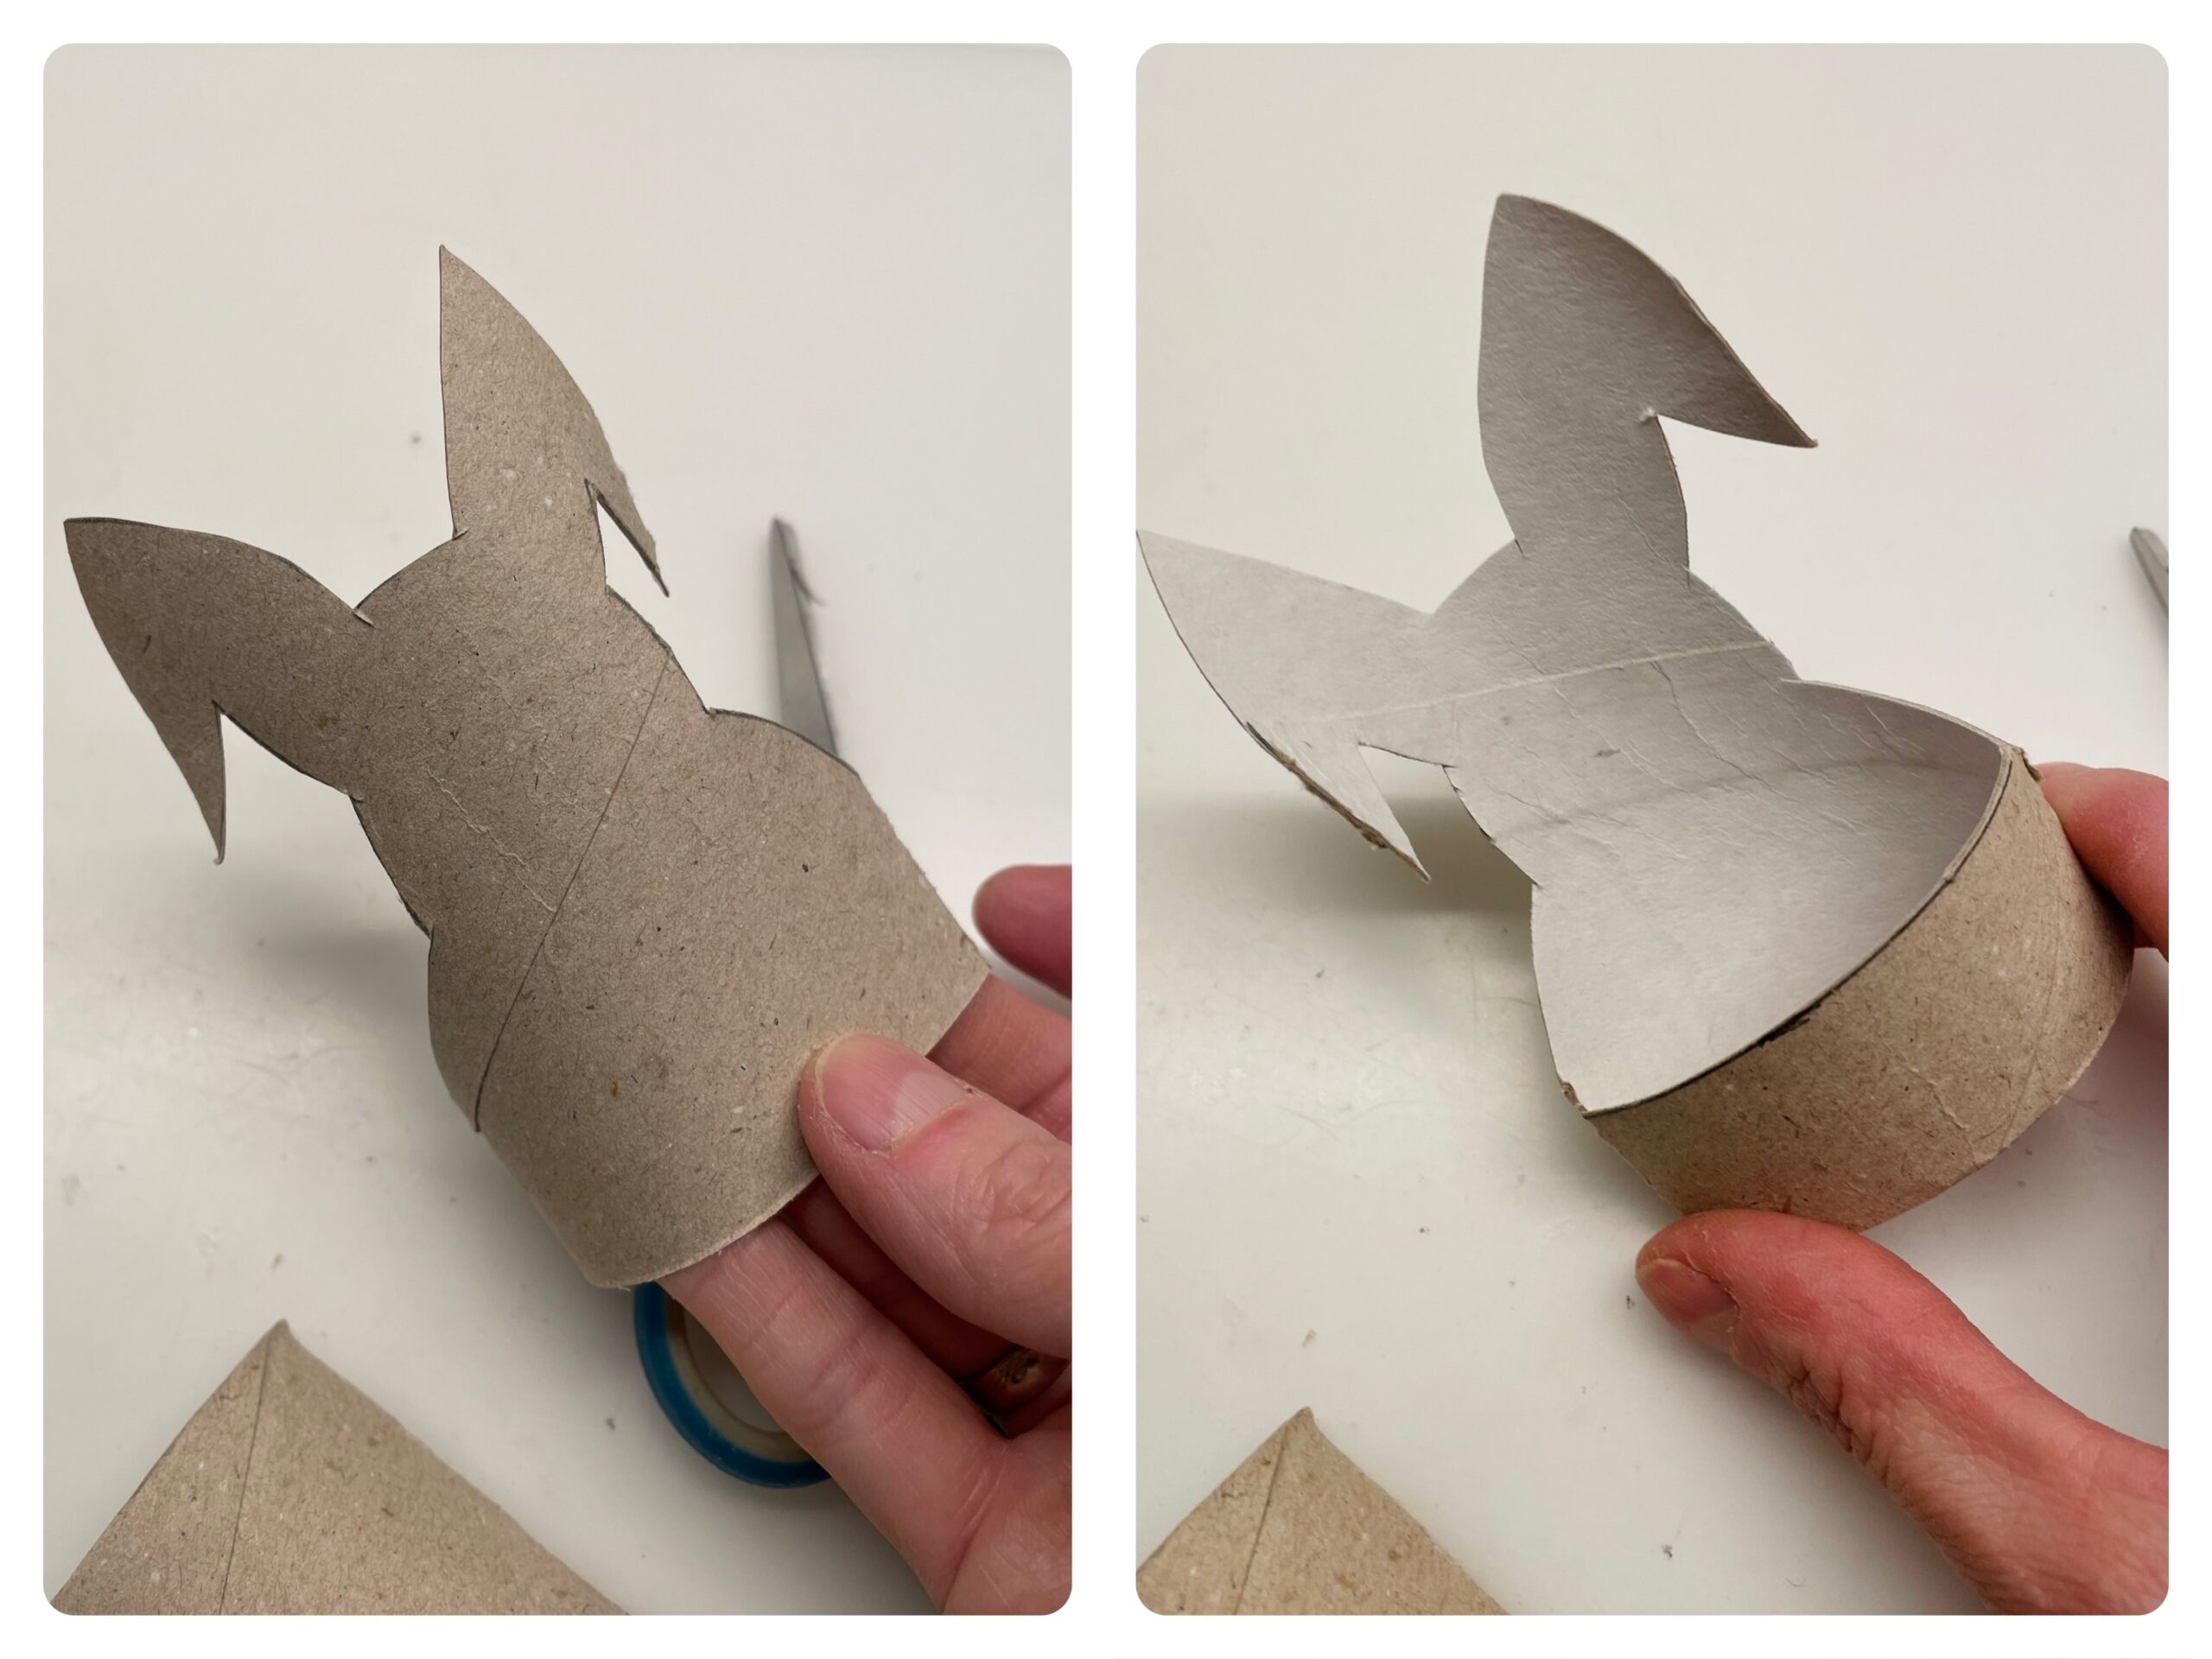
Bild zum Schritt 5 für das Bastel- und DIY-Abenteuer für Kinder: 'Danach schneidet ihr den Hasen auf der Vorderseite aus.'

6

Now surrounds the outside of the rabbit with a felt pen.
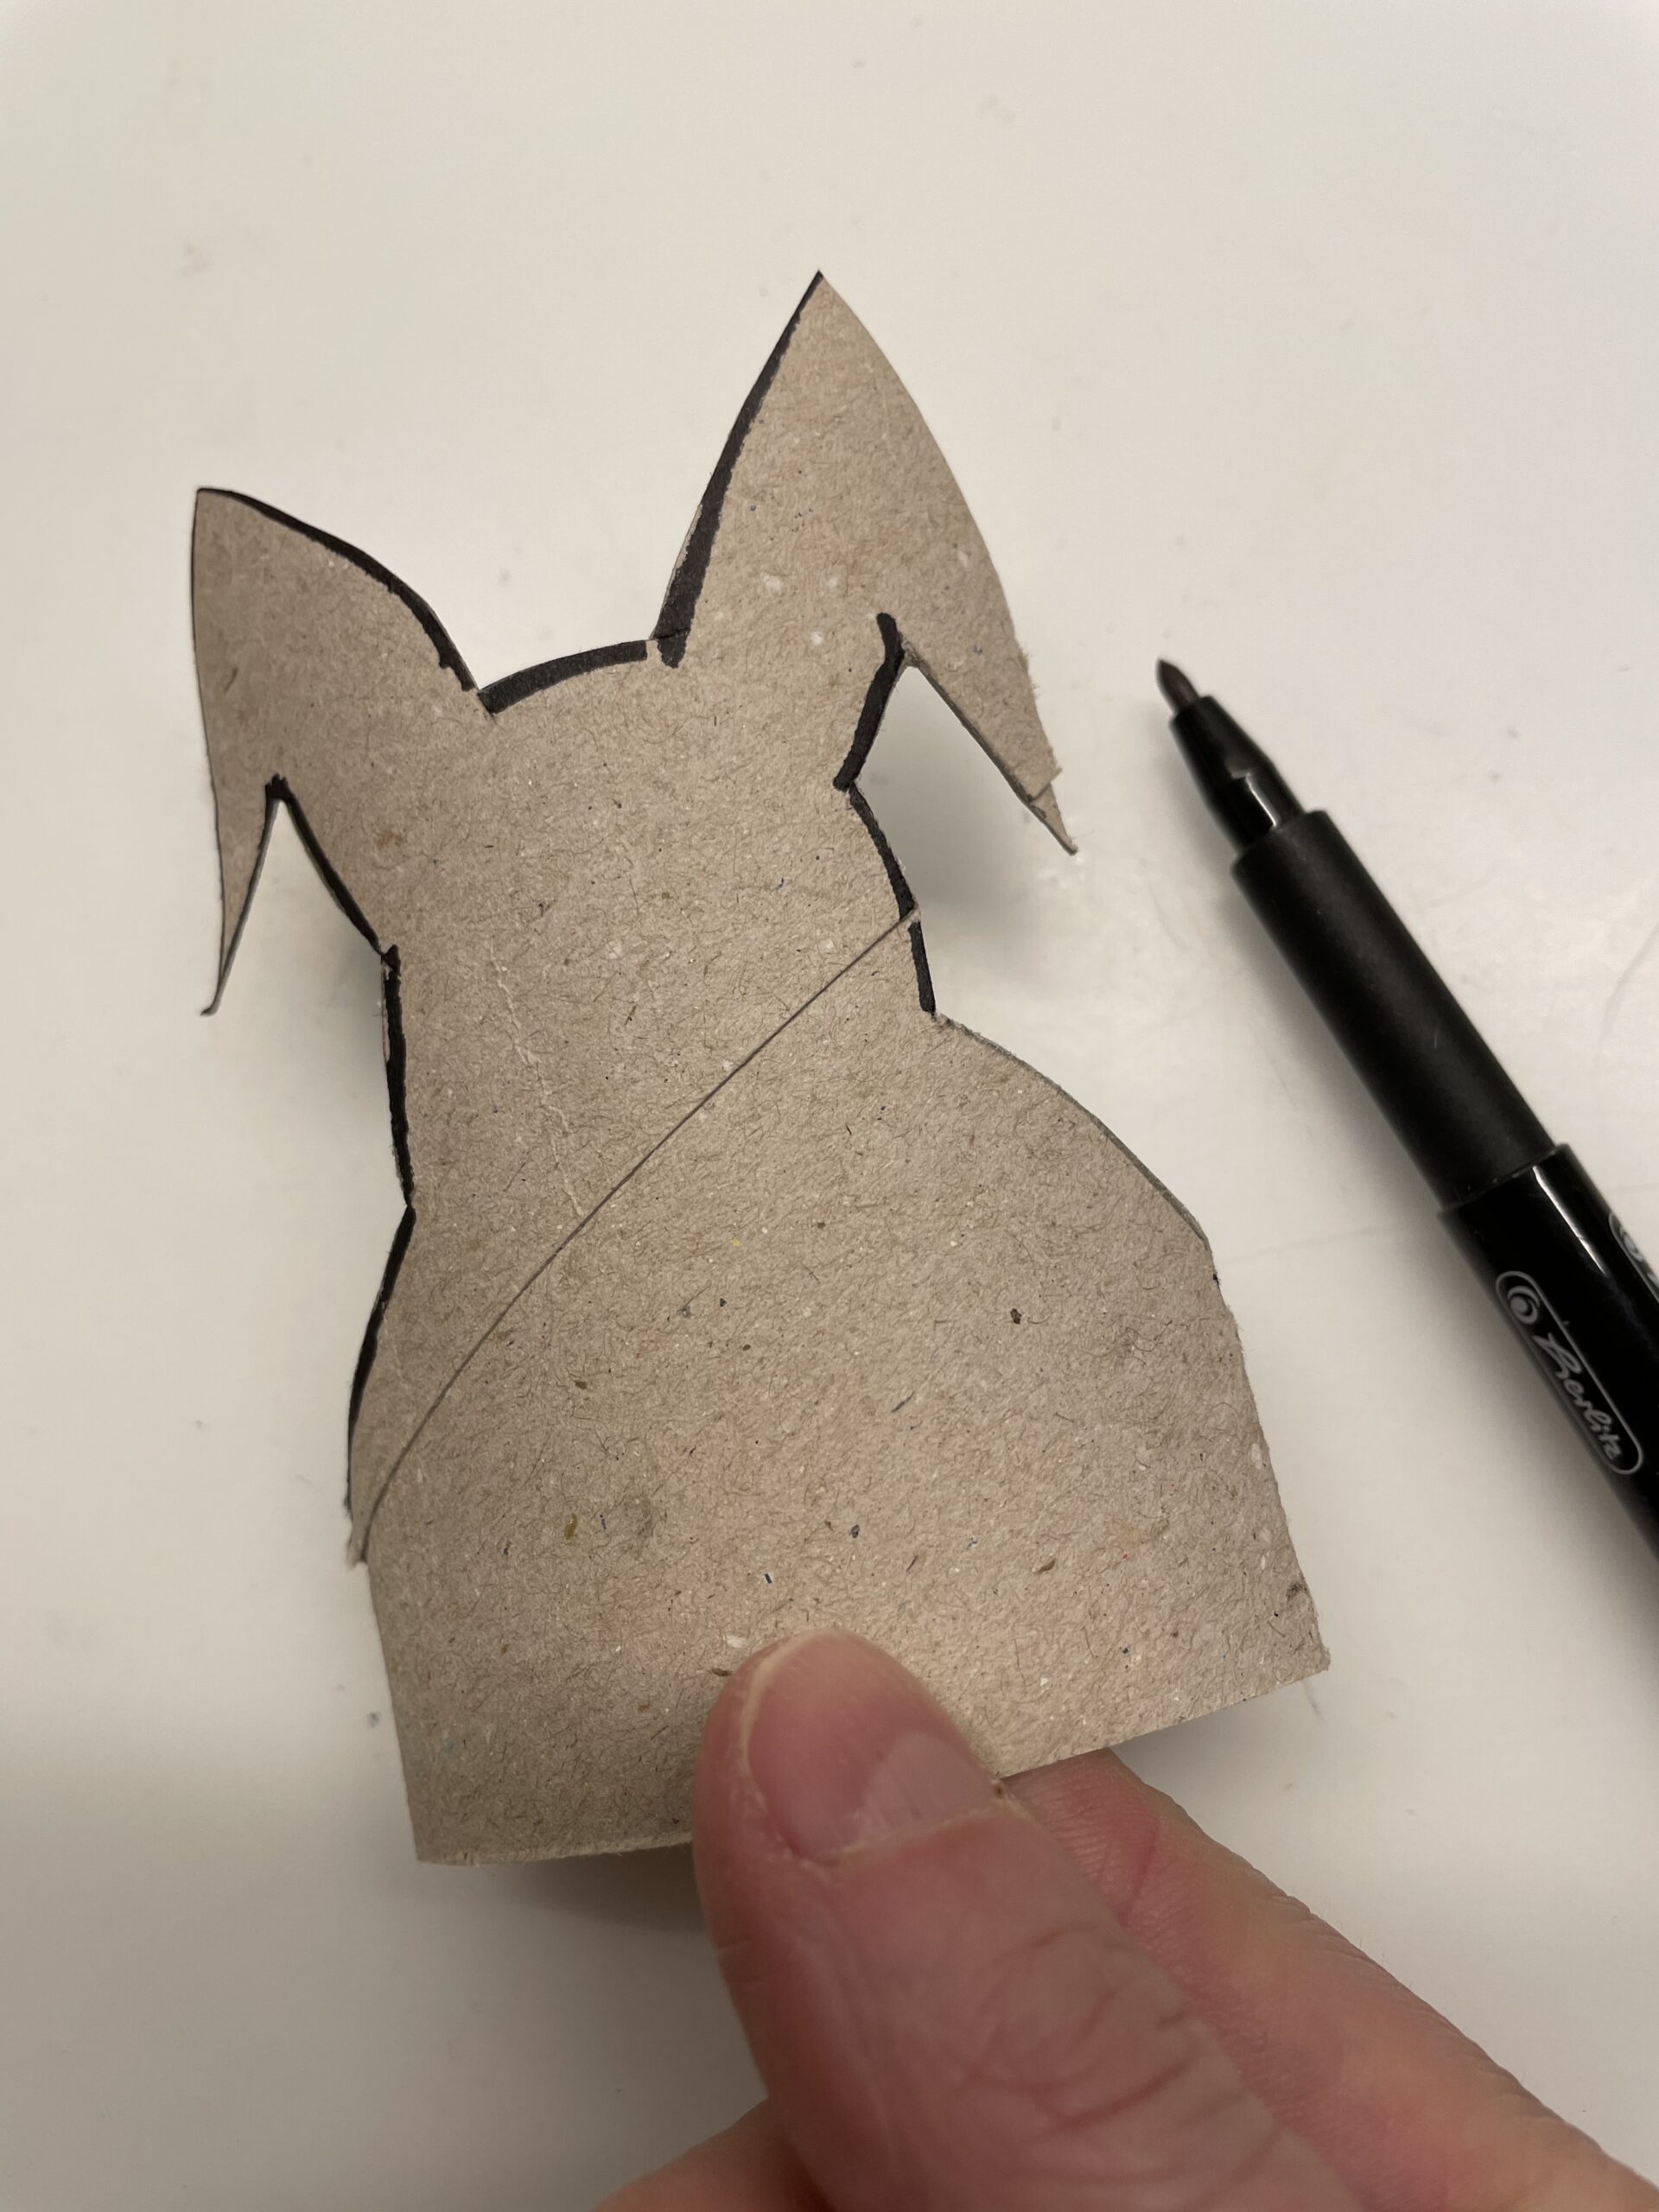
Bild zum Schritt 6 für das Bastel- und DIY-Abenteuer für Kinder: 'Umrandet nun die Außenseite des Hasen mit einem Filzstift.'

7

After that, she sticks a cotton pad to the front.
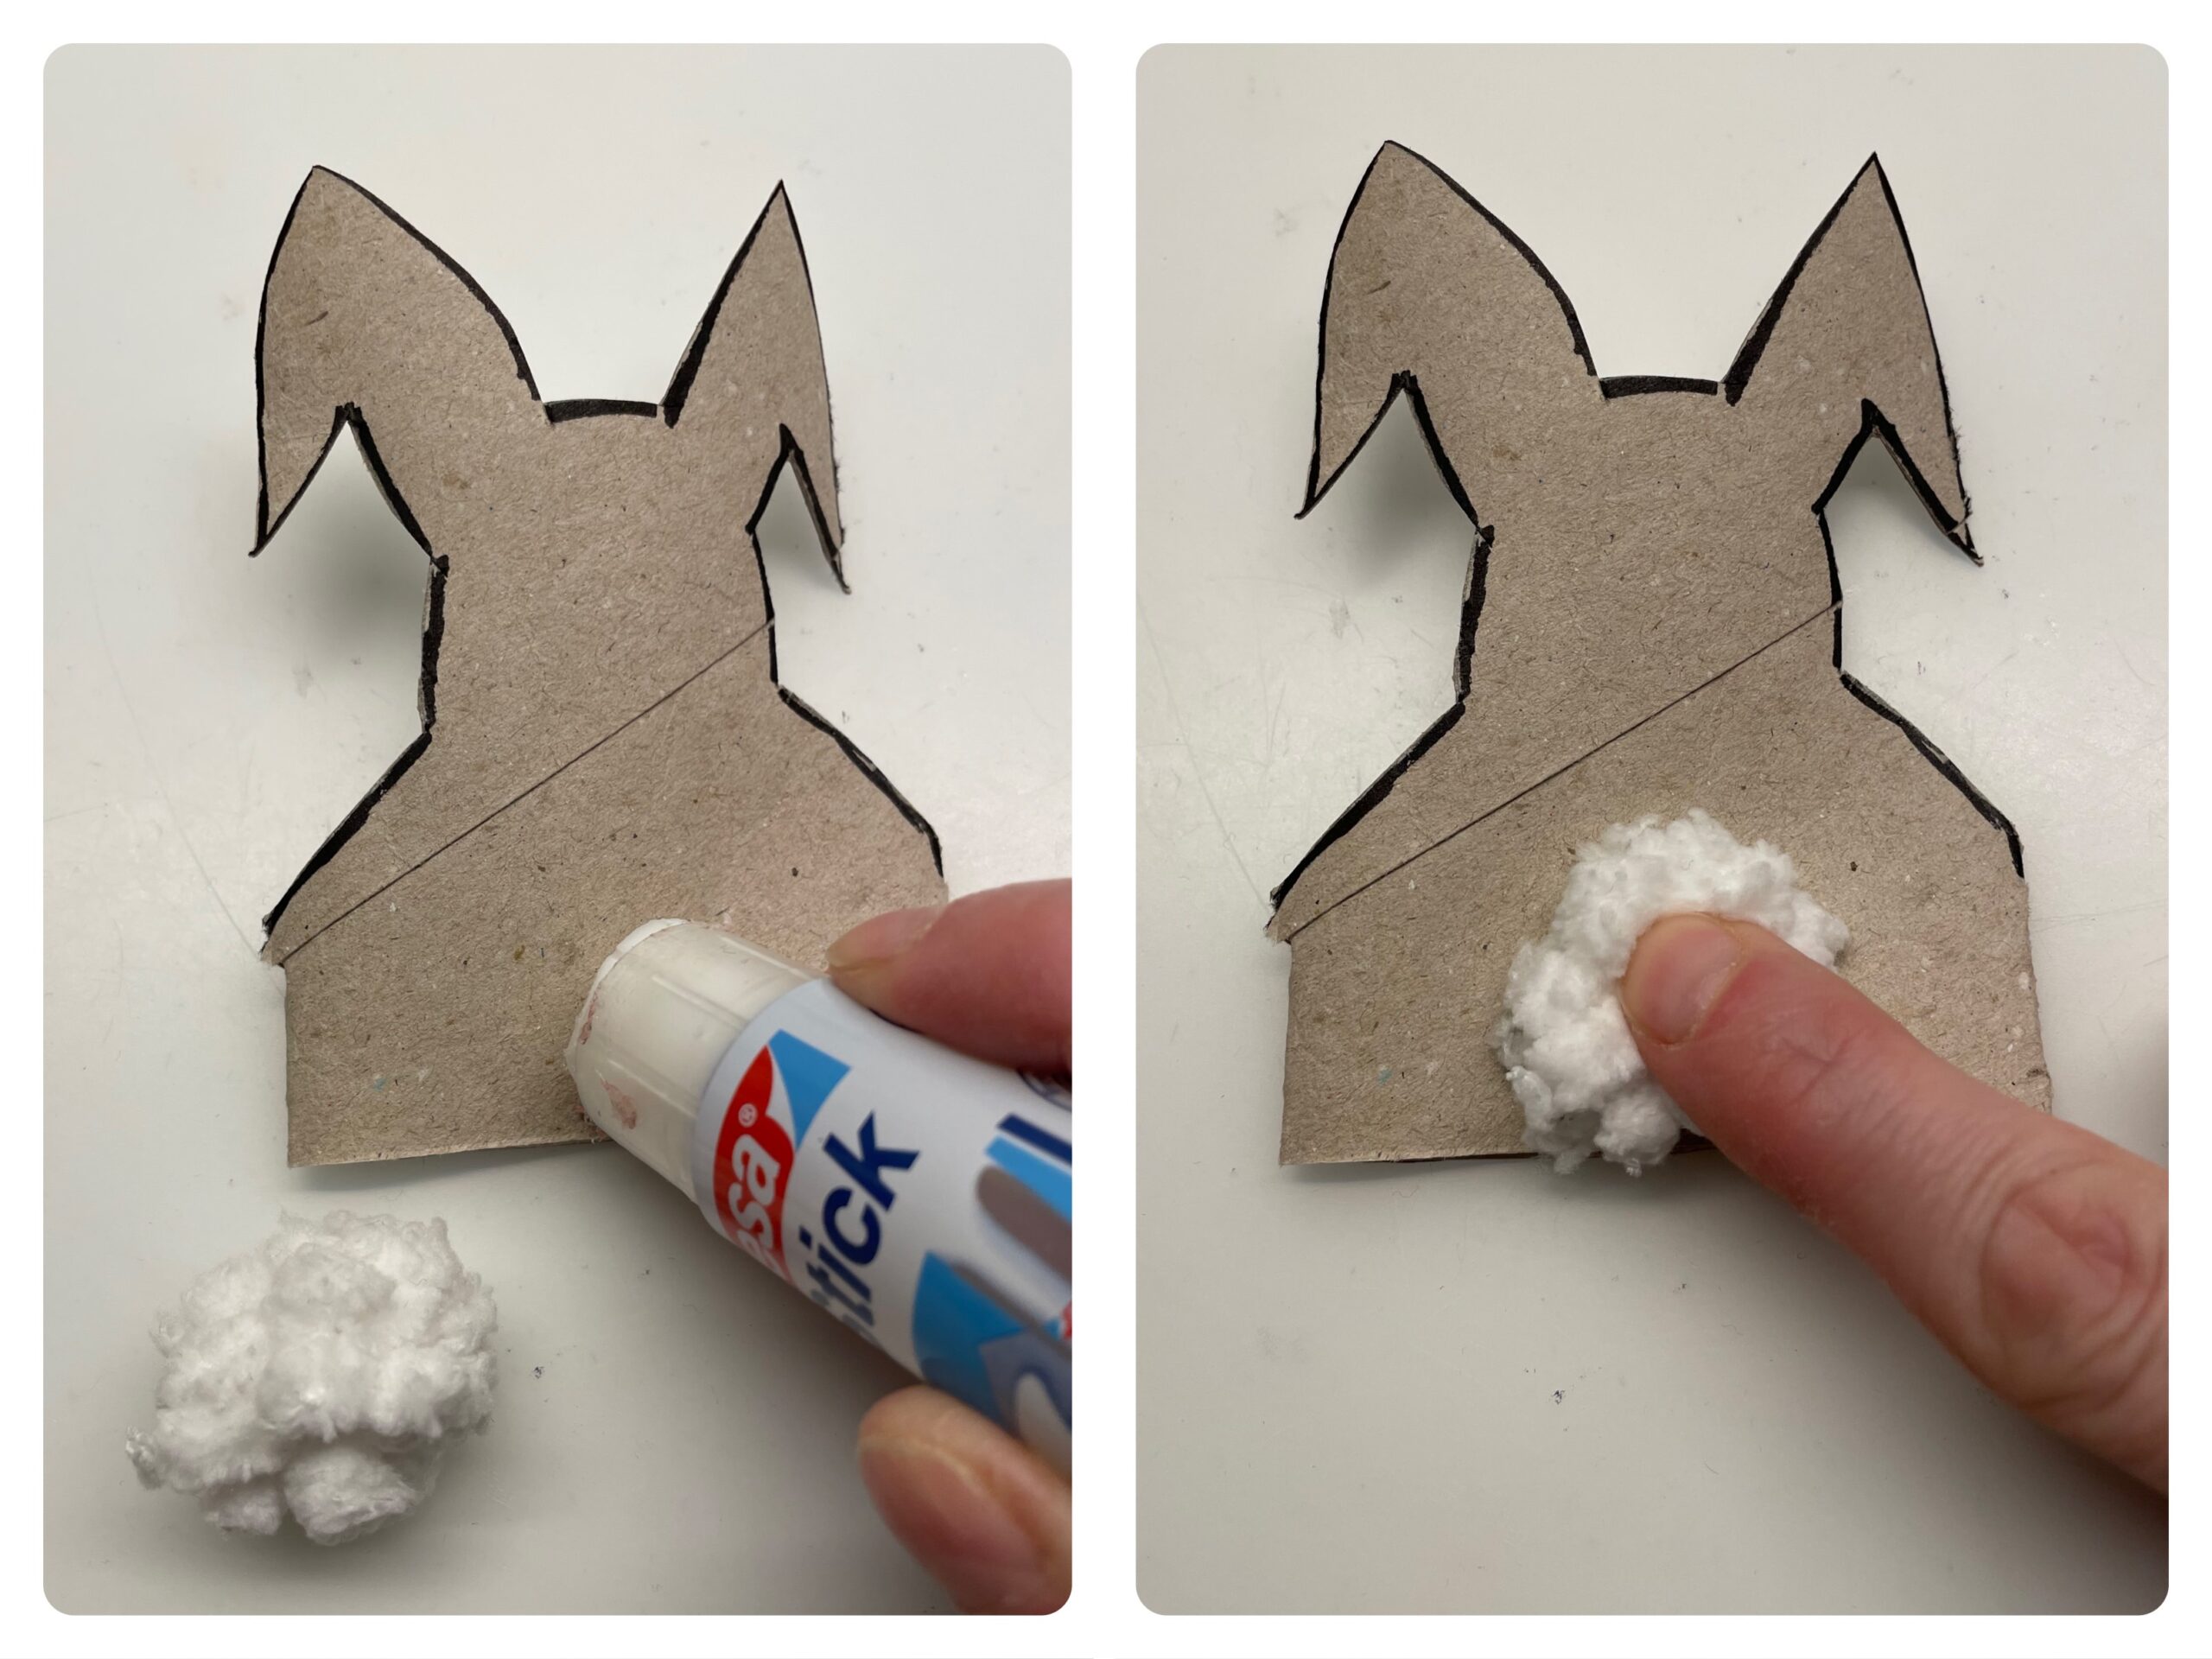
Bild zum Schritt 7 für das Bastel- und DIY-Abenteuer für Kinder: 'Danach klebt ihr einen Wattebausch auf die Vorderseite.'

8

So that you can put cutlery in the rabbits, you still have to close the bottom.
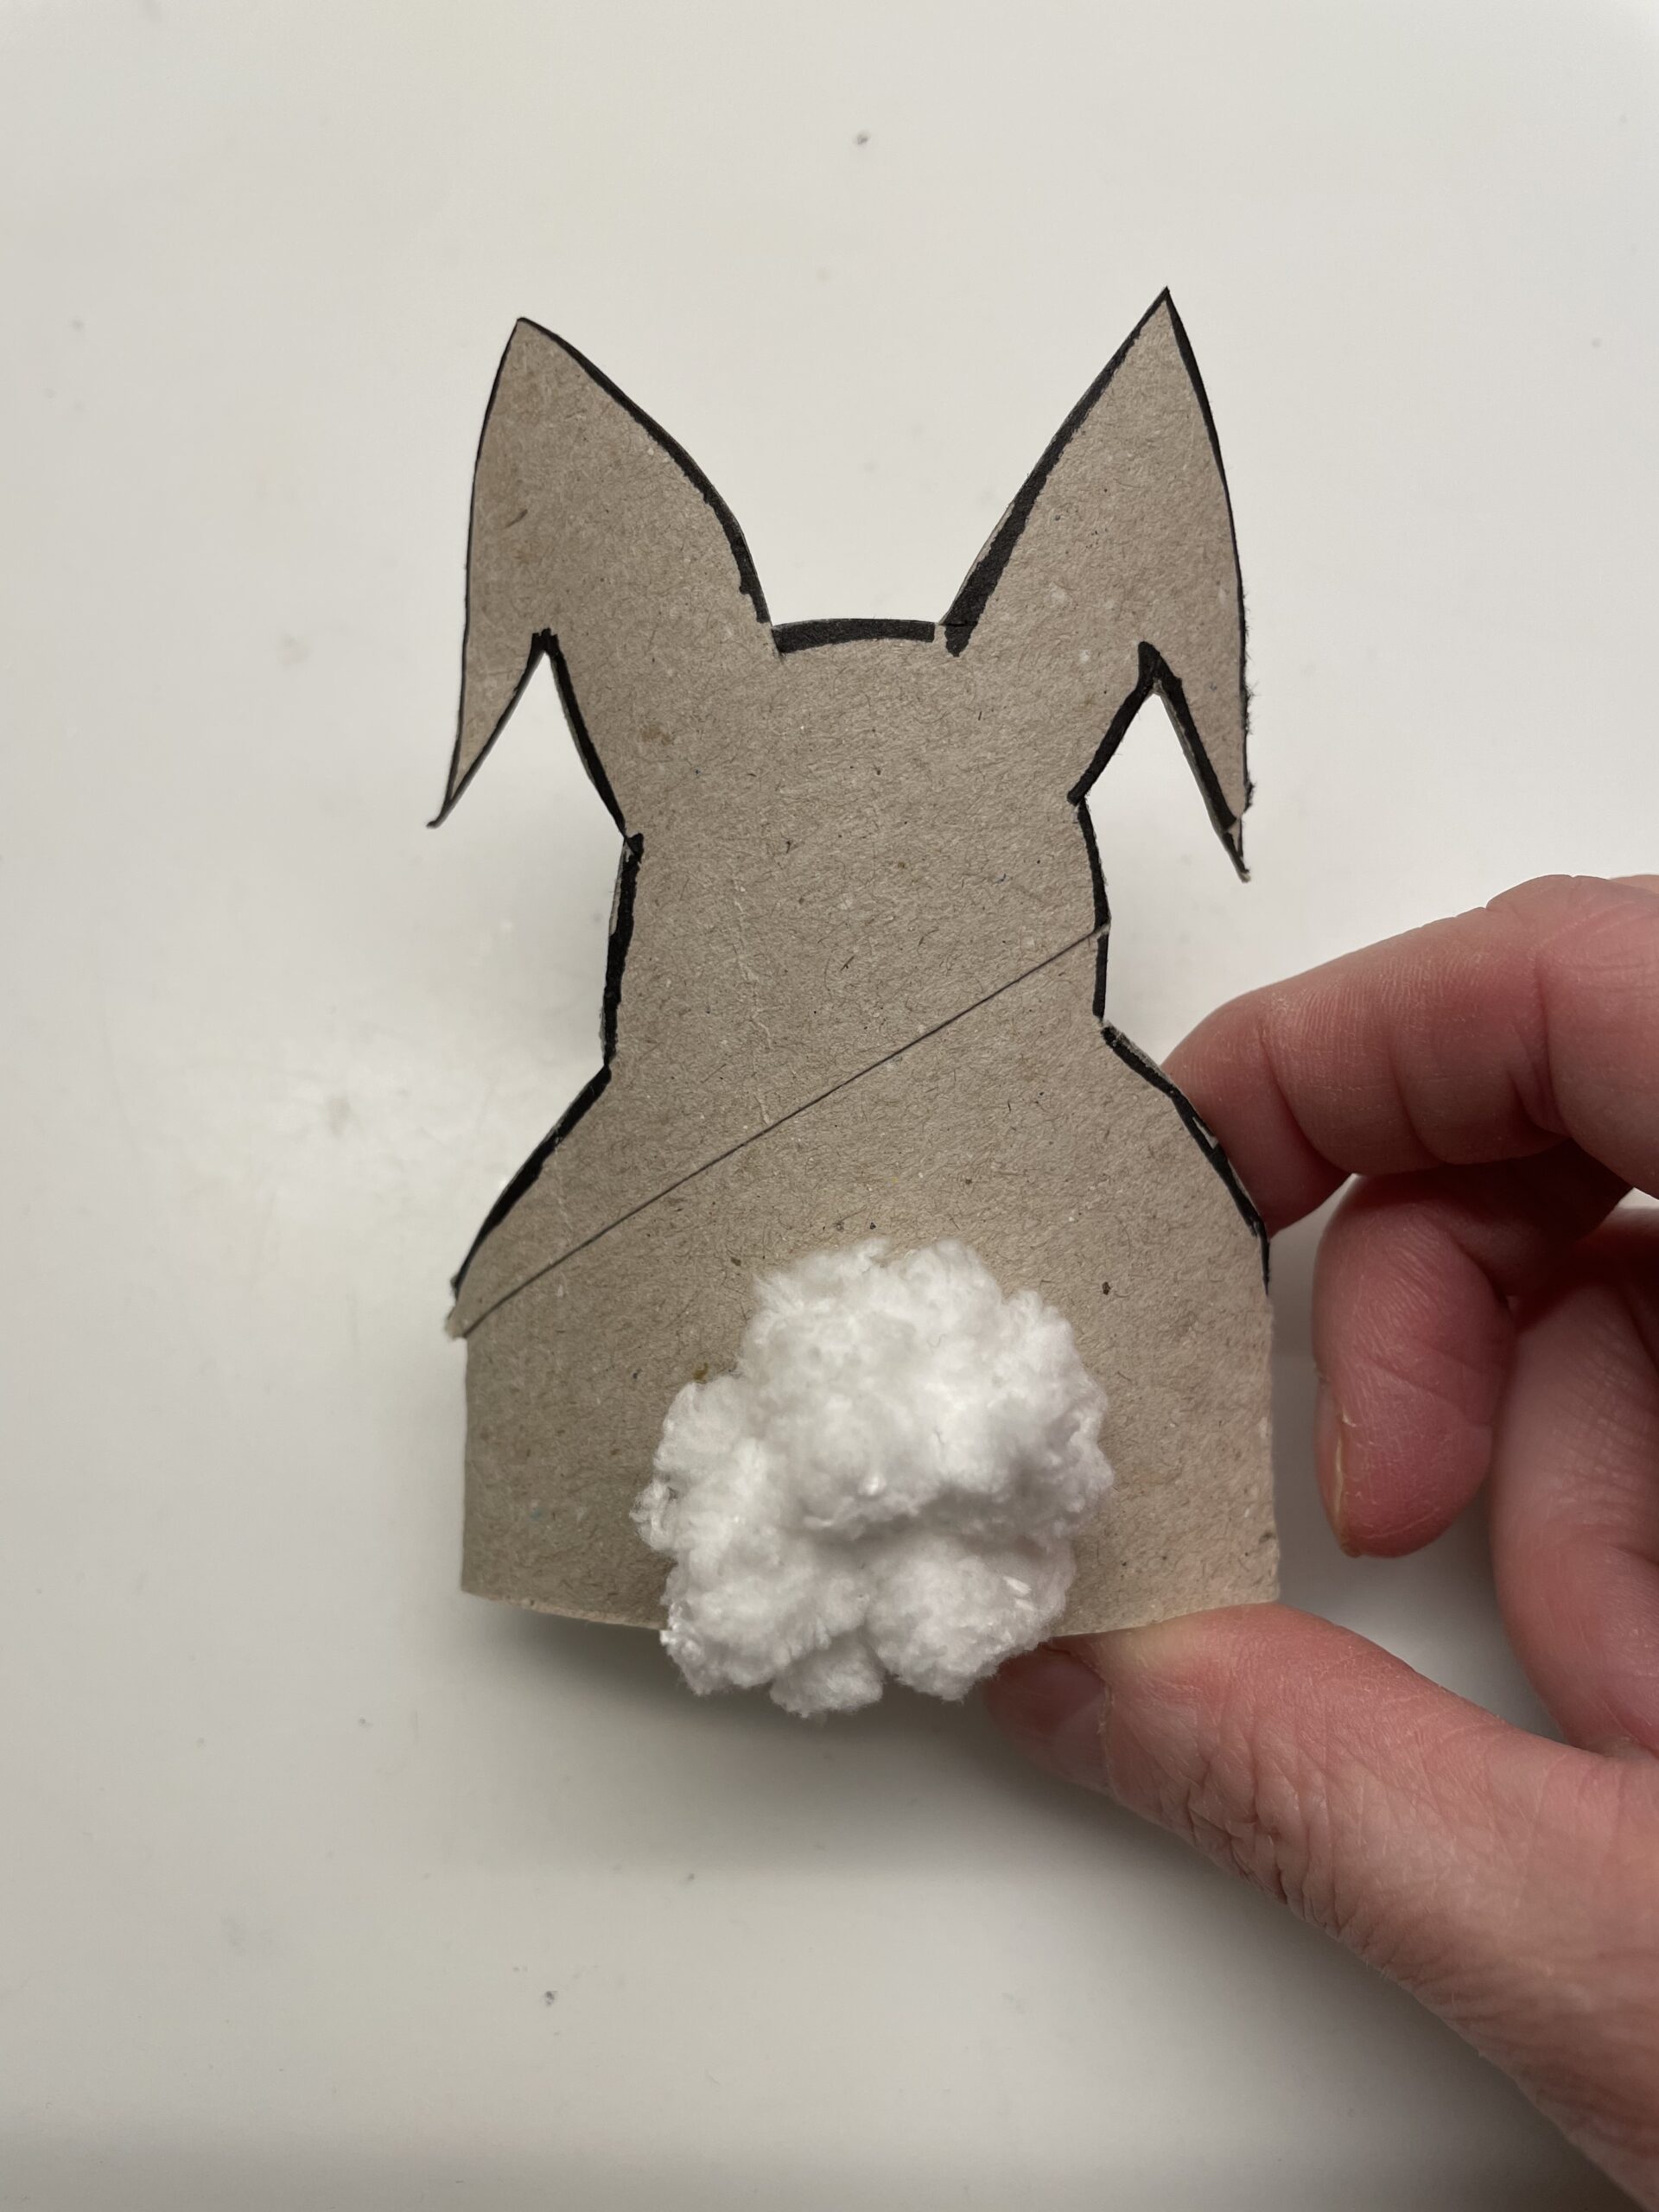
Bild zum Schritt 8 für das Bastel- und DIY-Abenteuer für Kinder: 'Damit ihr in den Hasen Besteck hineinlegen könnt, müsst ihr...'

9

If the glued edge is pressed together for a few minutes with two clamps, the glue is better fixed.
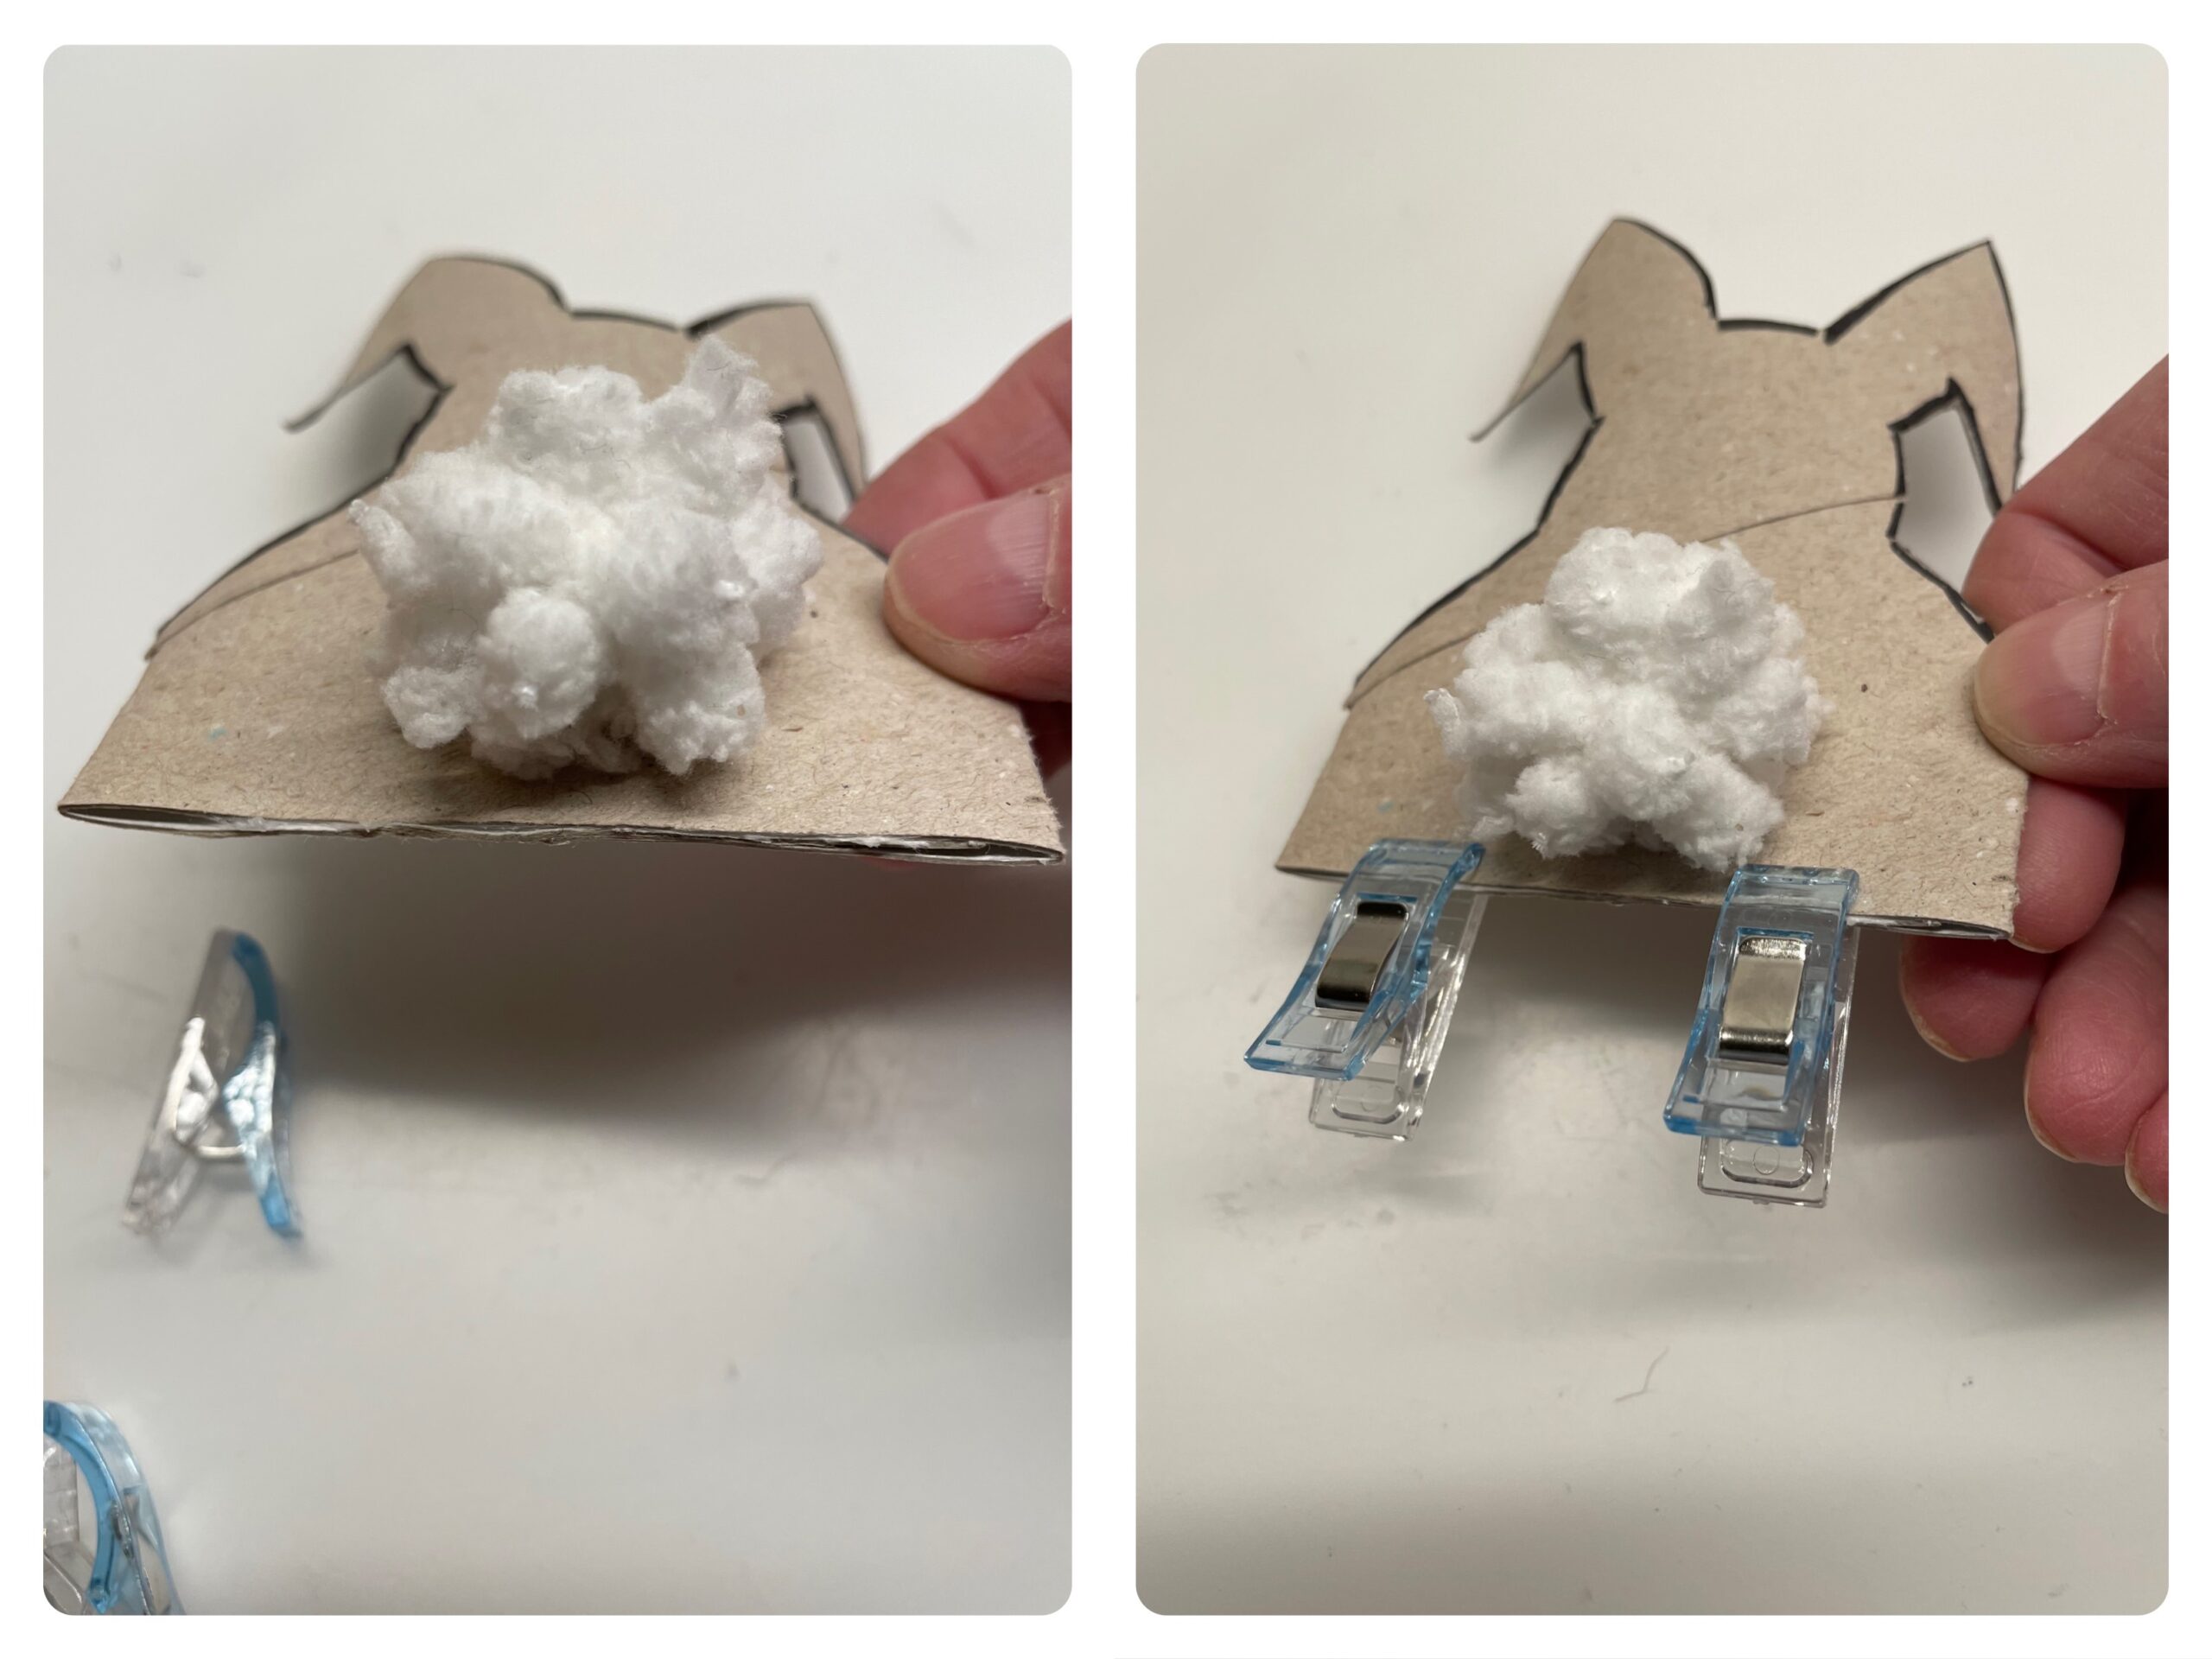
Bild zum Schritt 9 für das Bastel- und DIY-Abenteuer für Kinder: 'Dafür klebt ihr die untere Öffnung zusammen. Presst die geklebte...'

10

Then remove the brackets. The rabbit cutlery bag is now ready for use.
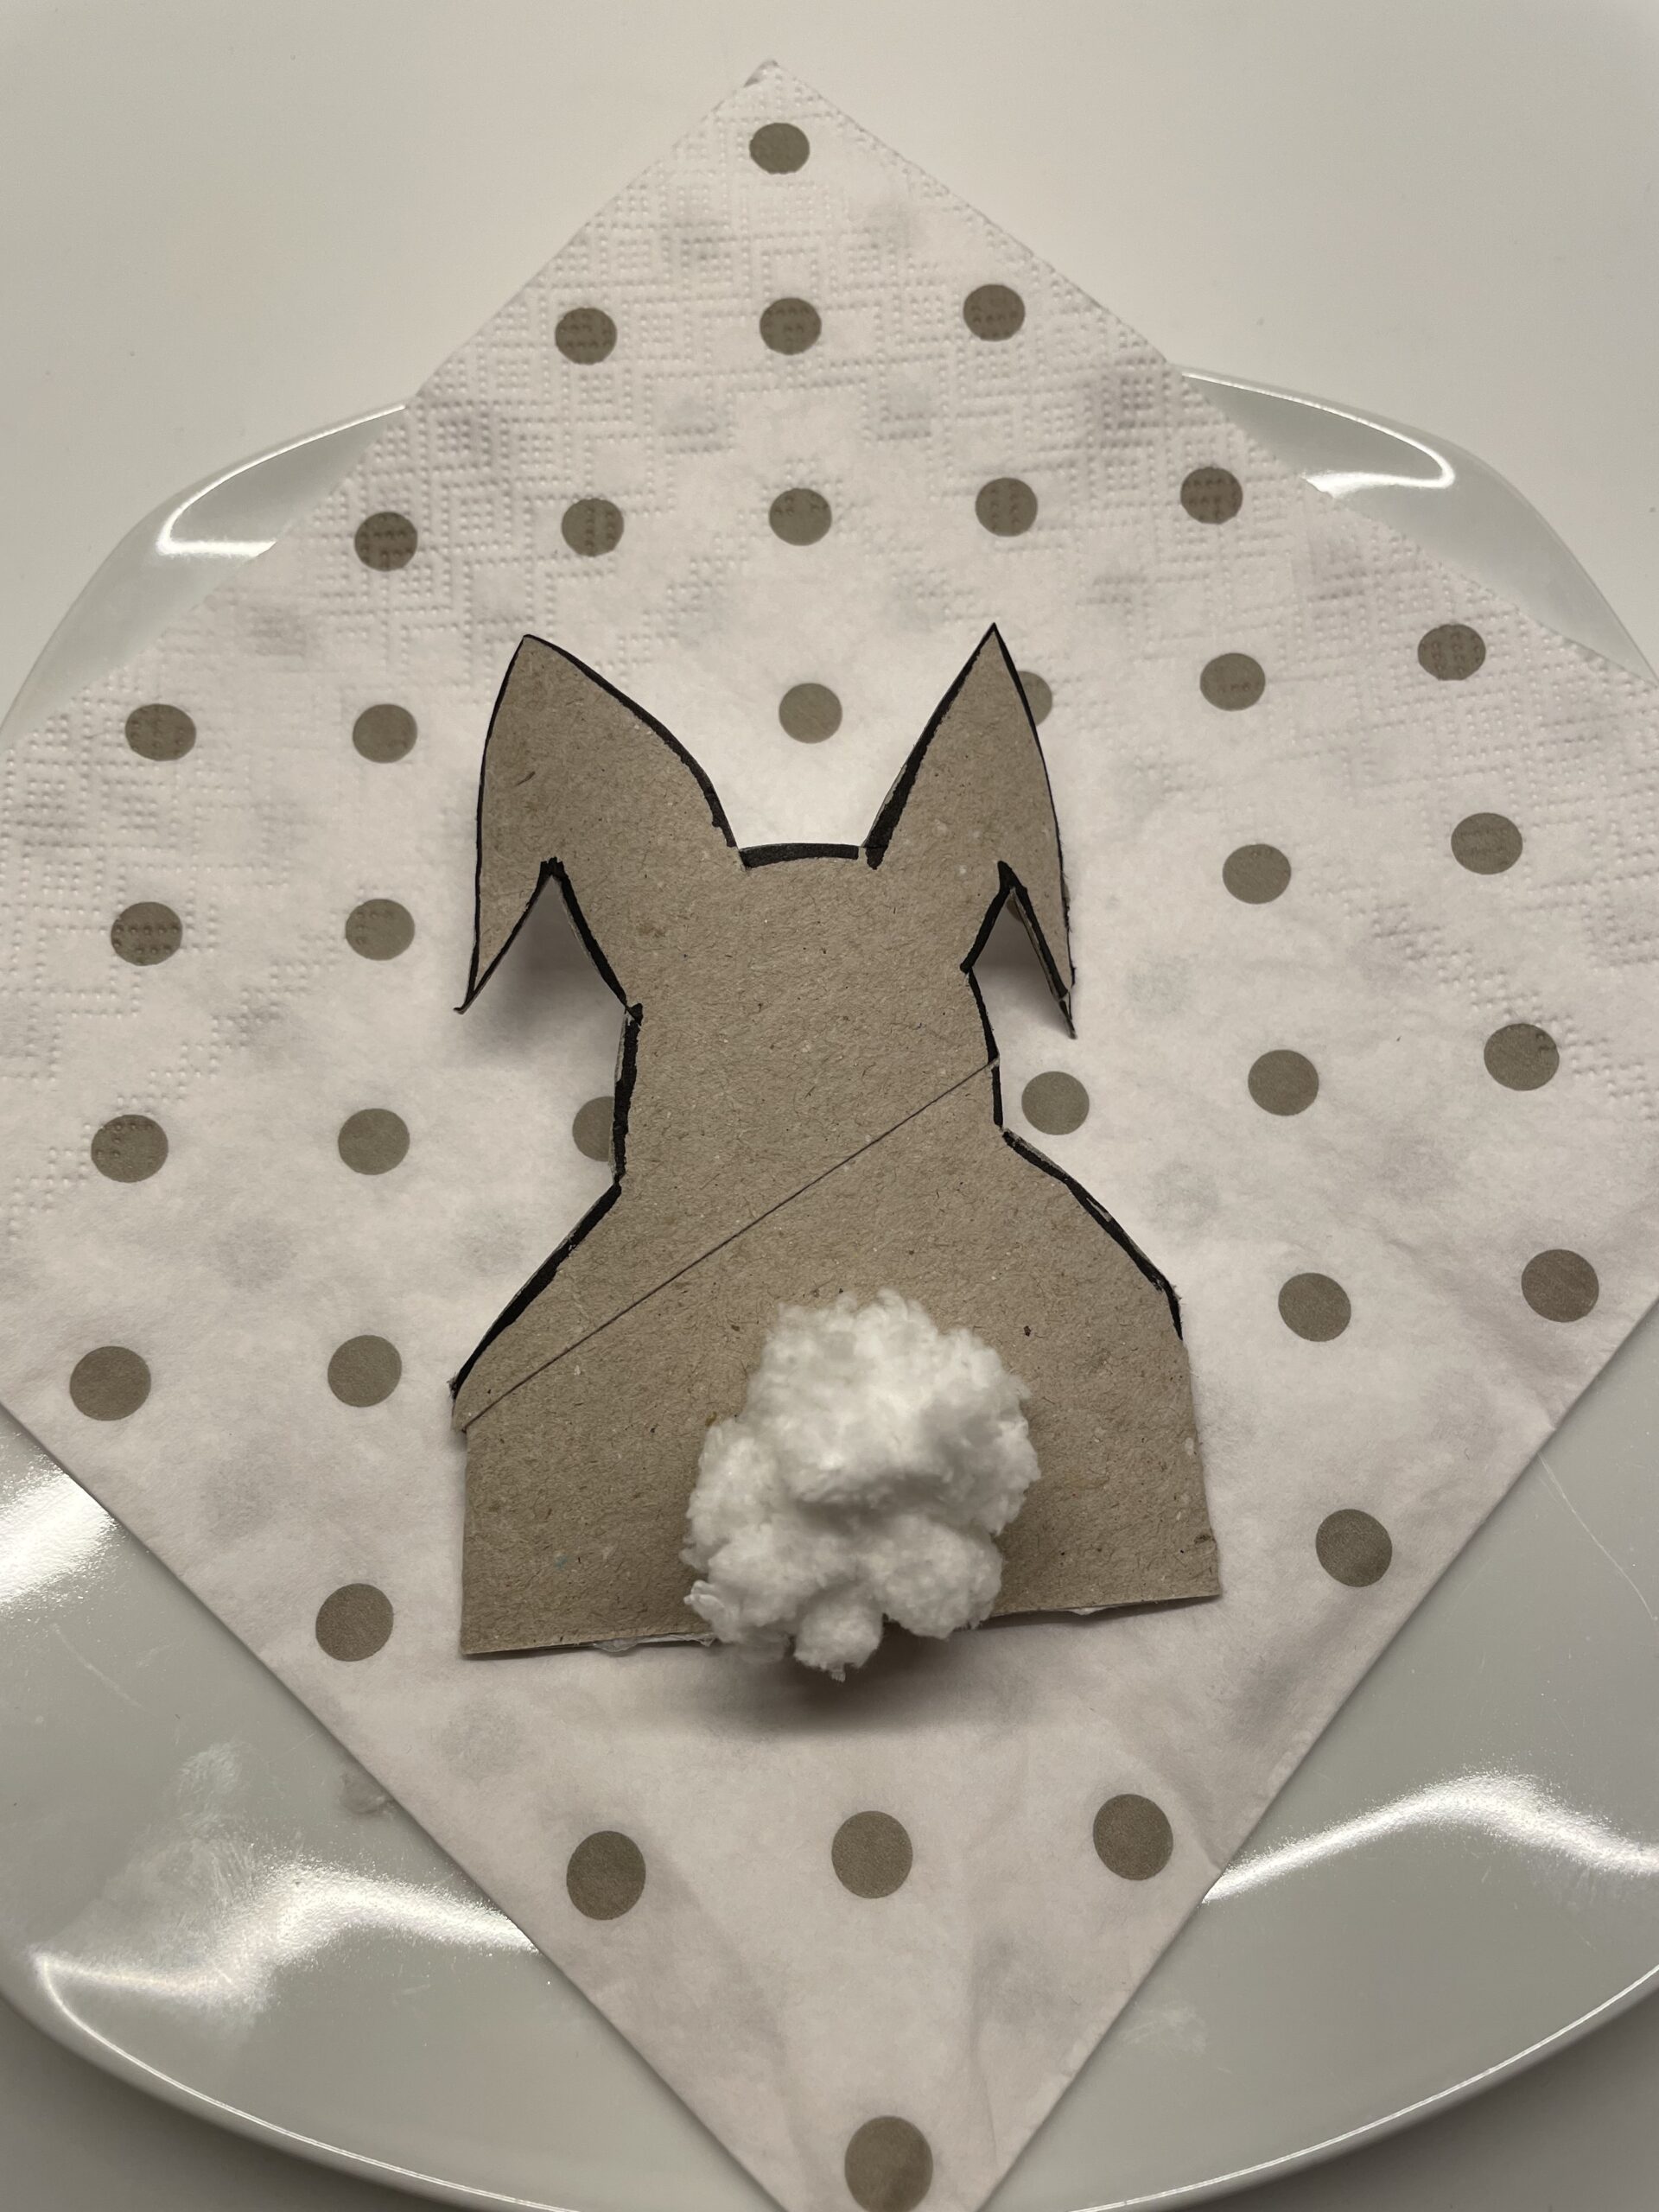
Bild zum Schritt 10 für das Bastel- und DIY-Abenteuer für Kinder: 'Entfernt anschließend die Klammern. Die Hasen-Bestecktasche ist jetzt einsatzbereit.'

11

For example, put it on a napkin and put a teaspoon and cake fork in it.
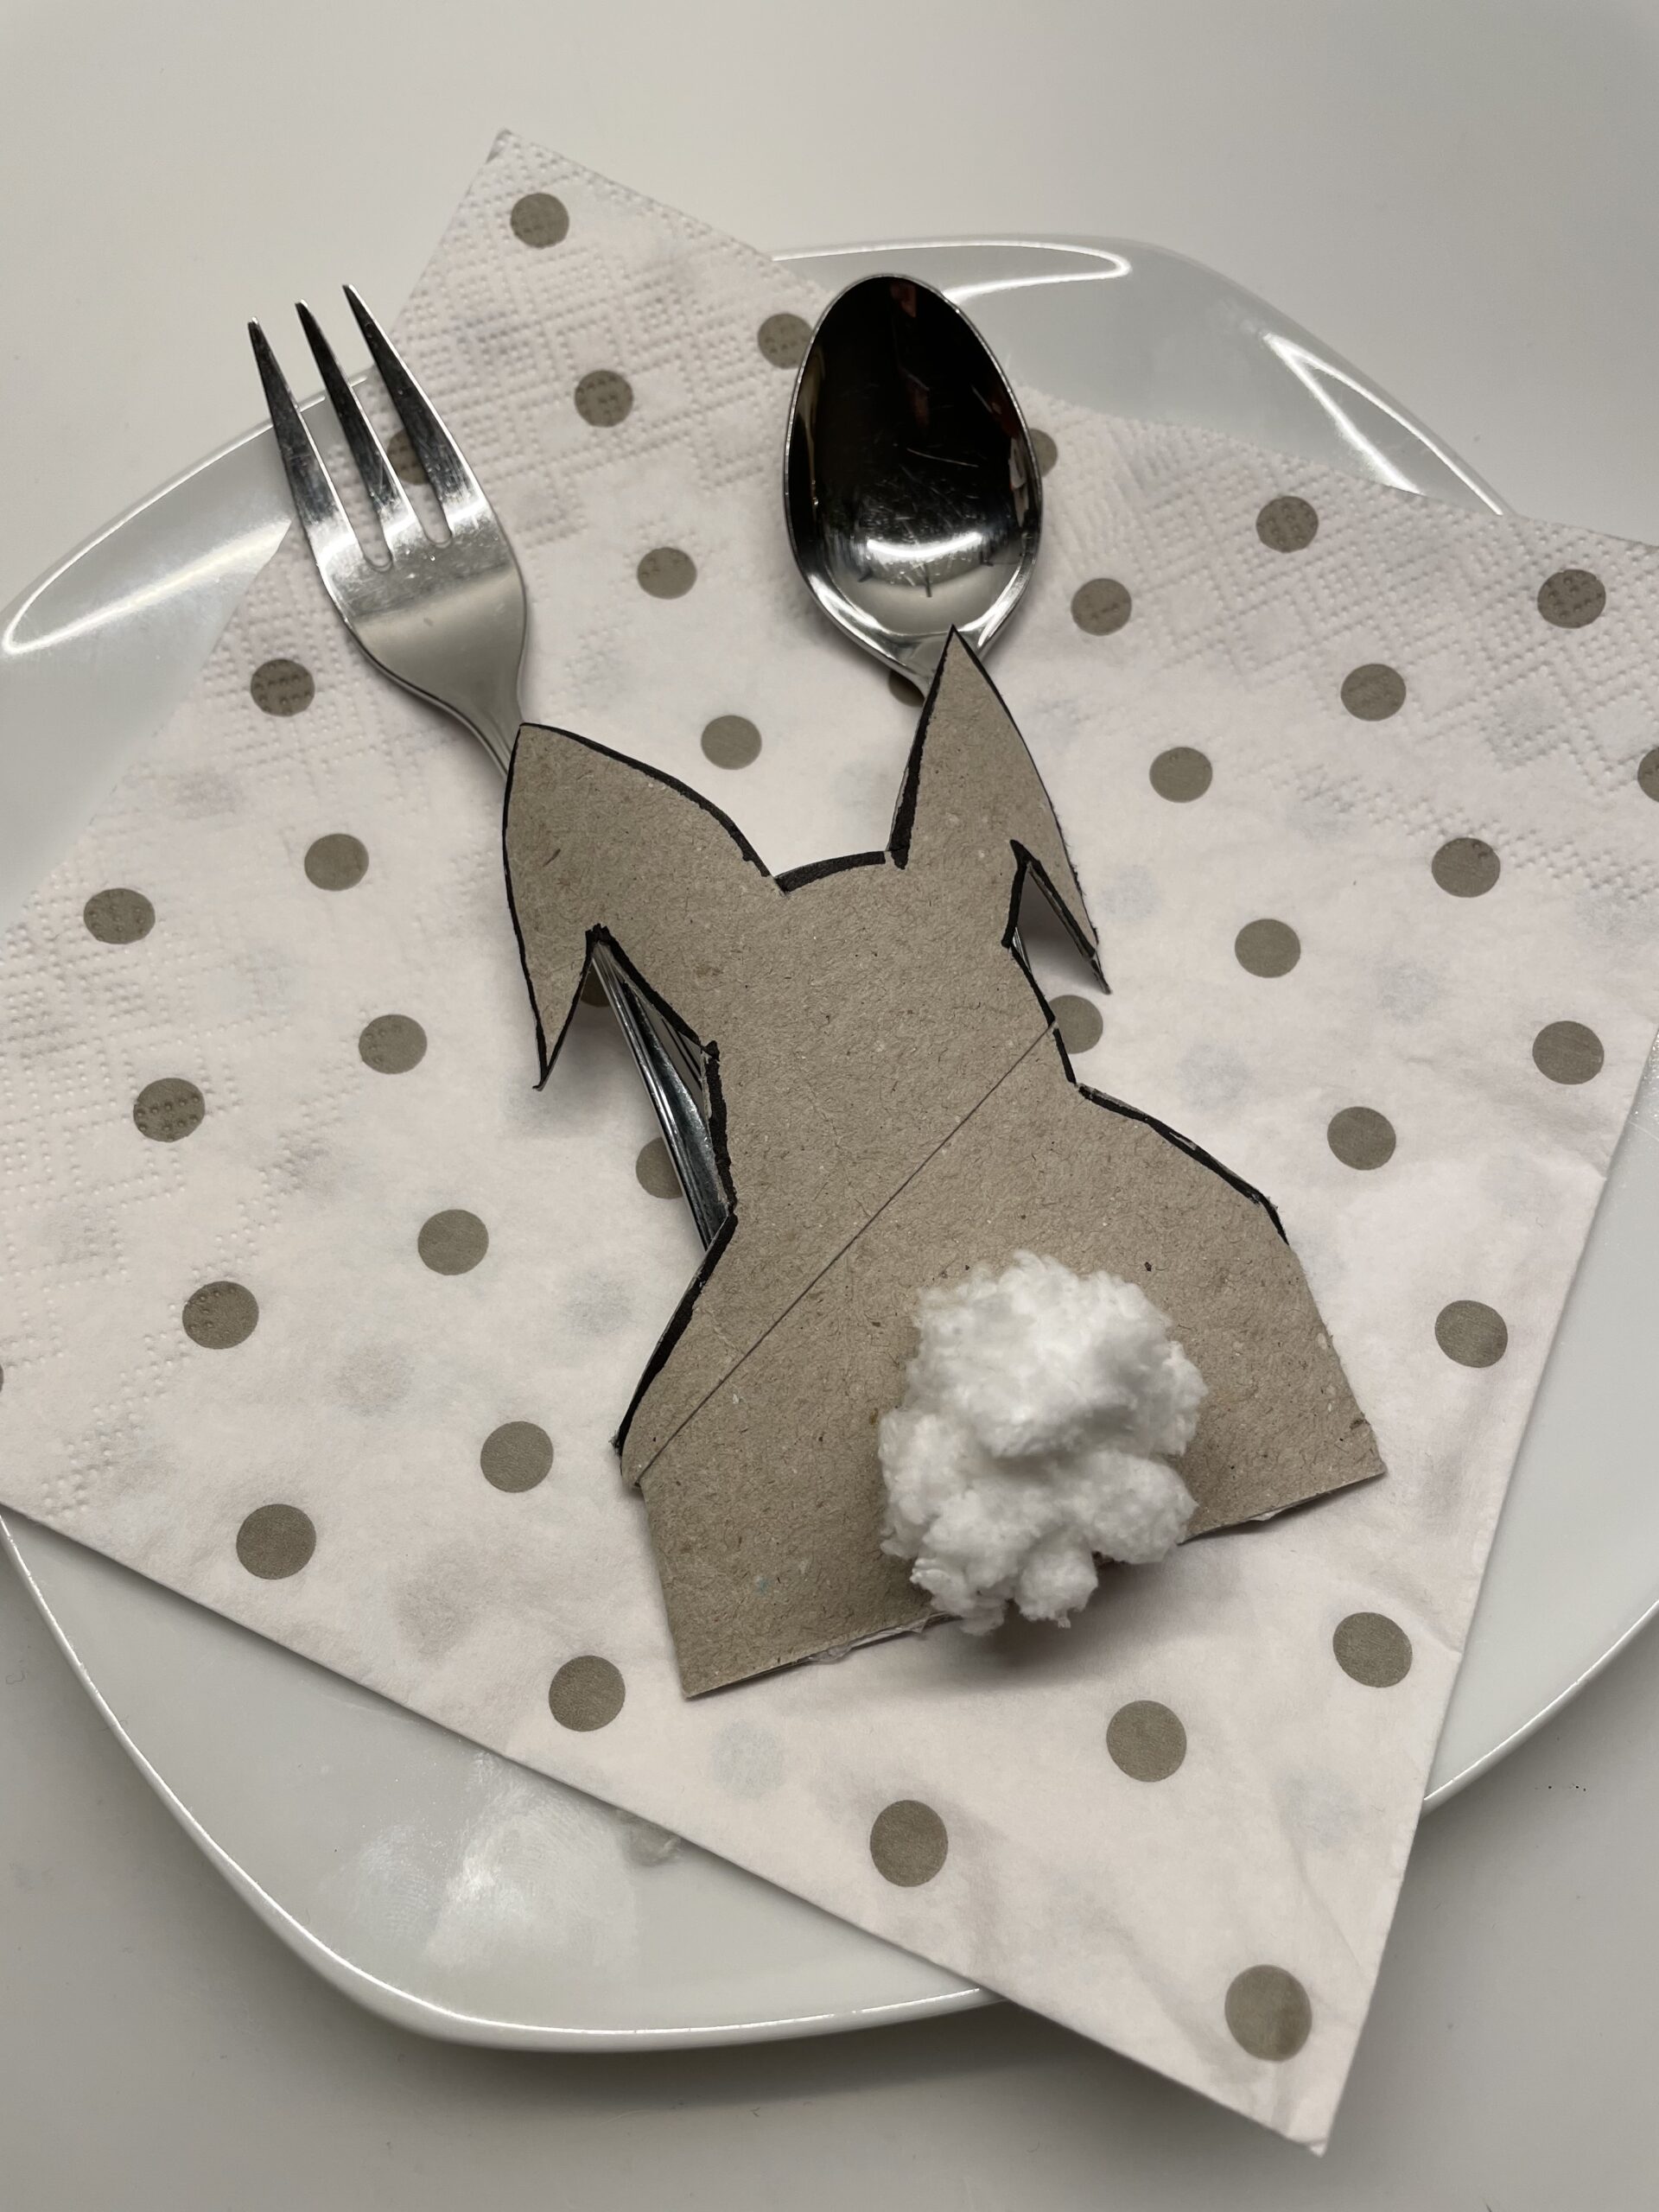
Bild zum Schritt 11 für das Bastel- und DIY-Abenteuer für Kinder: 'Legt sie z.B. auf eine Serviette und steckt einen Teelöffel...'

12

Or fold half a napkin and place the bunny cutlery bag on it and place a knife and fork in it.
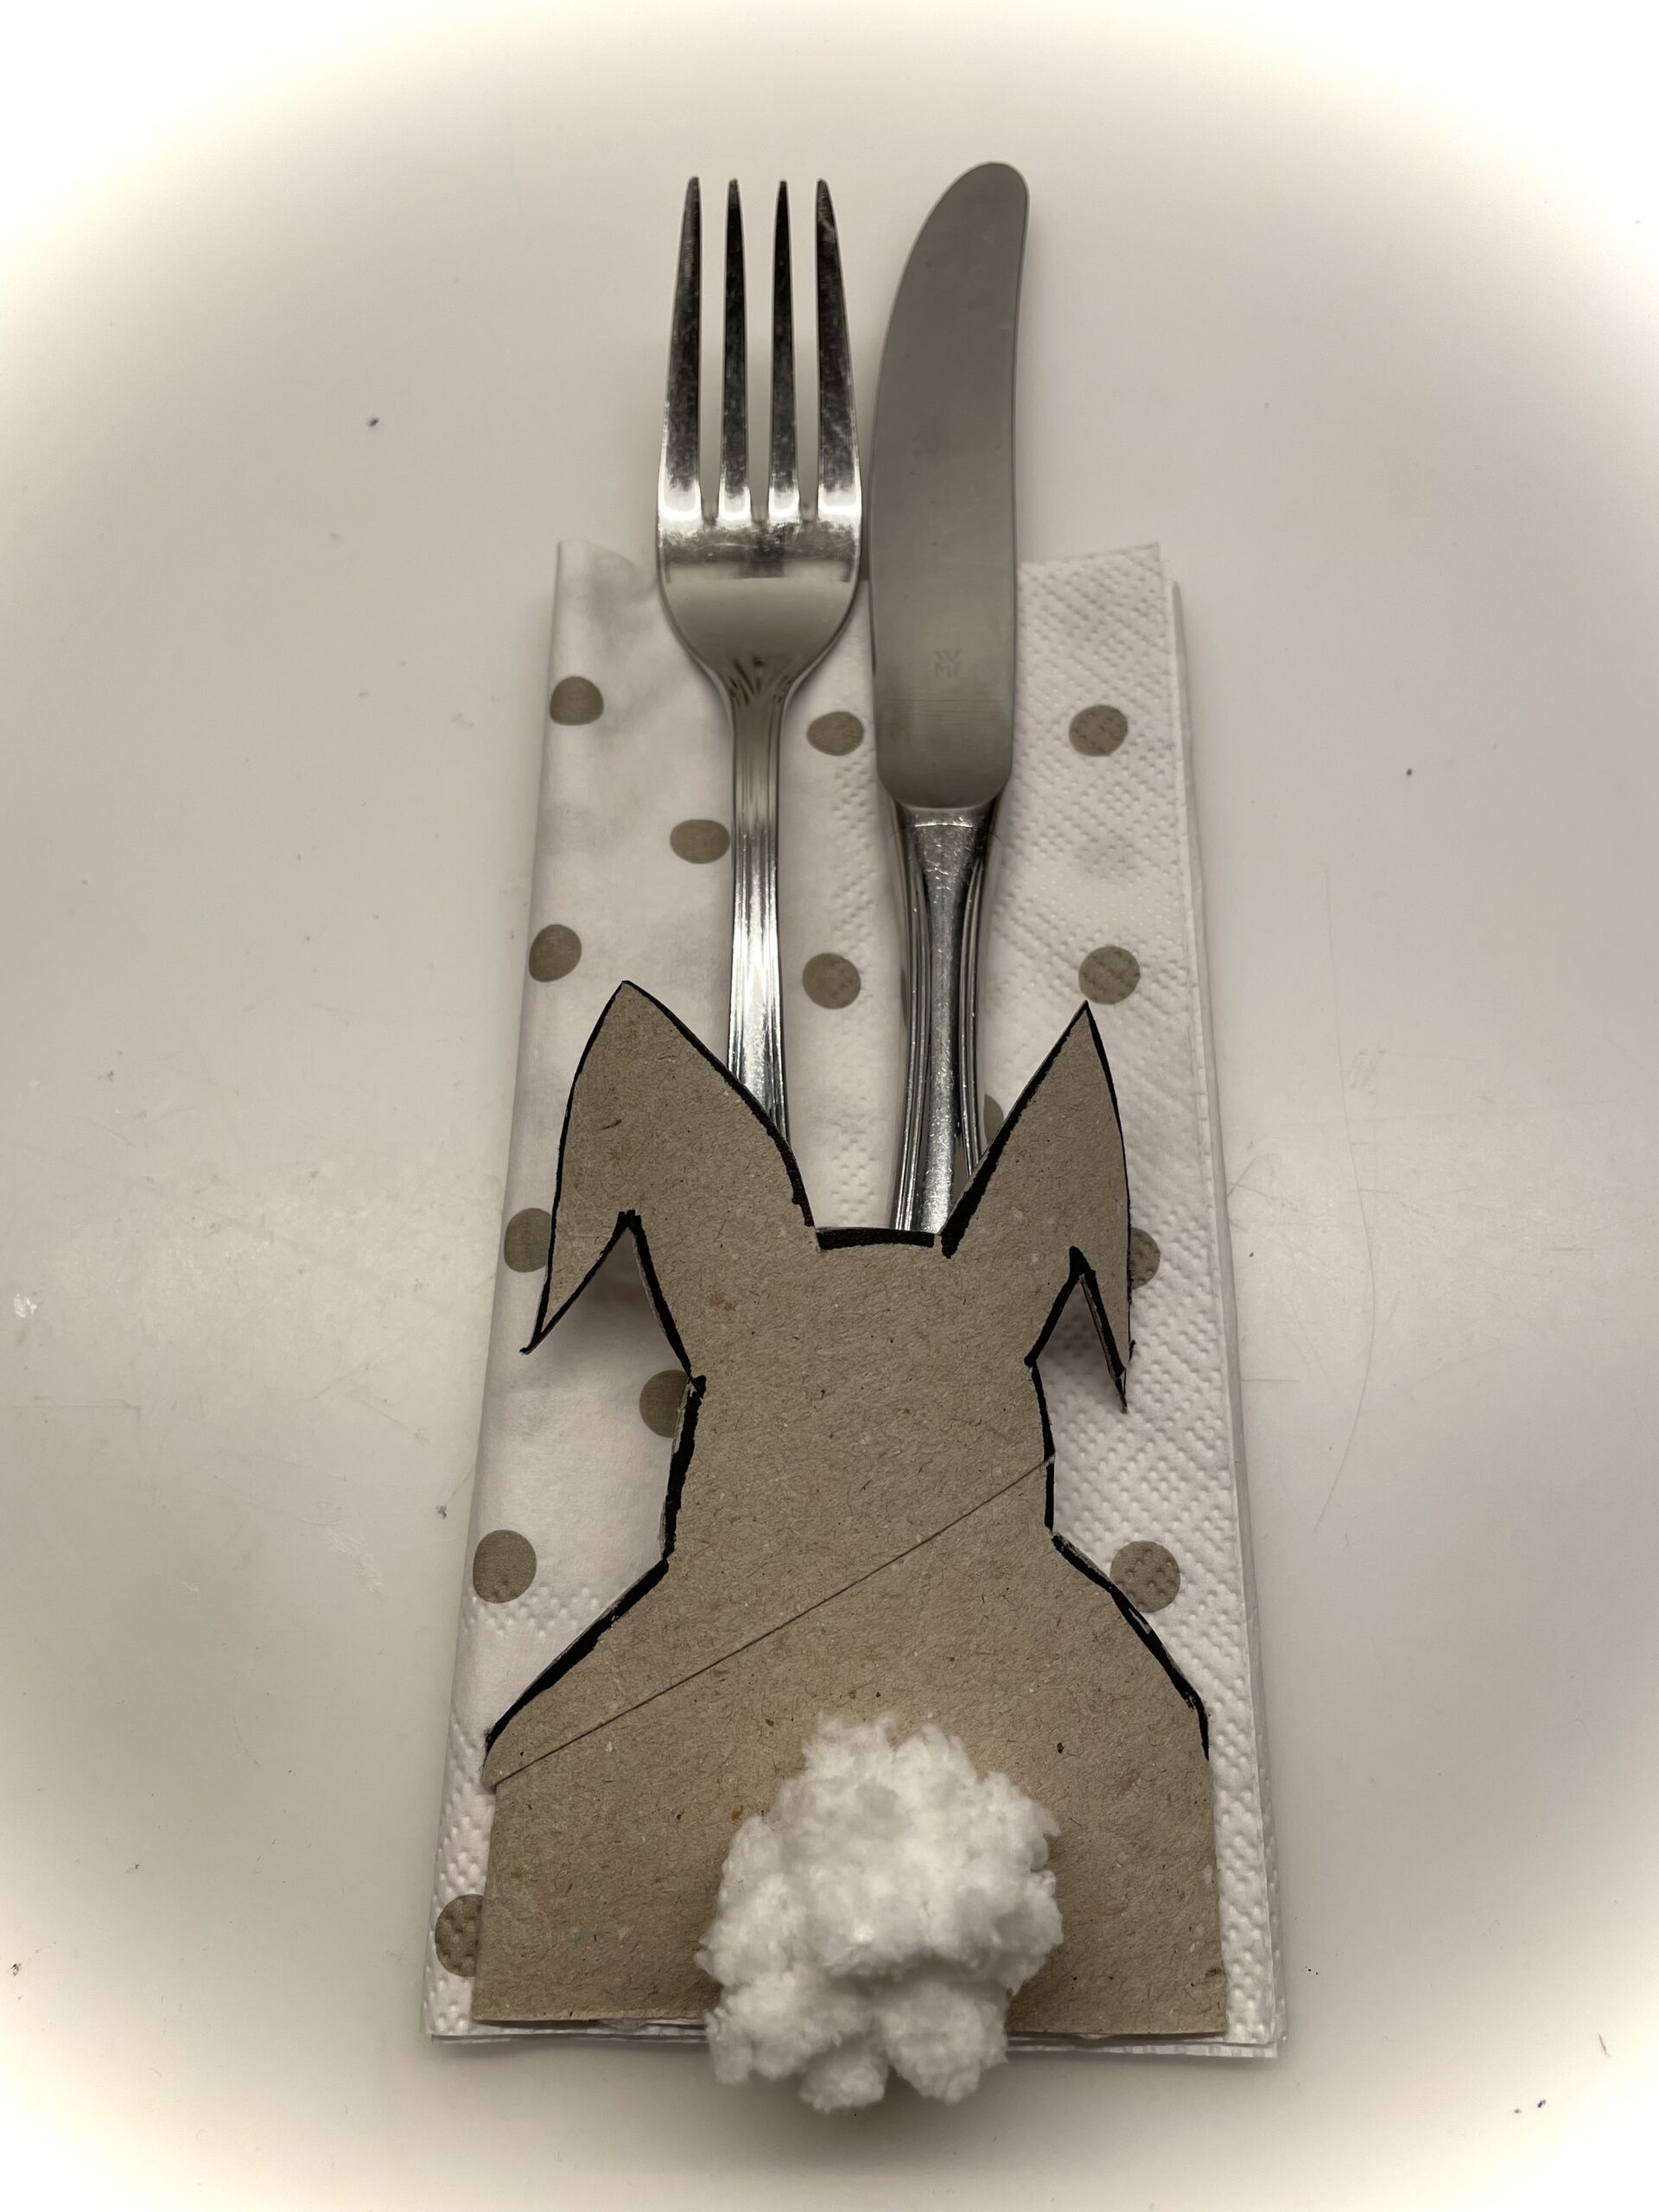
Bild zum Schritt 12 für das Bastel- und DIY-Abenteuer für Kinder: 'Oder faltet eine Serviette zur Hälfte und legt darauf die...'

13

If you leave the opening open, you can also use the rabbit as a napkin ring.

Bild zum Schritt 13 für das Bastel- und DIY-Abenteuer für Kinder: 'Lasst ihr die Öffnung offen, dann könnt ihr den Hasen...'

14

Have fun trying it out!

Coloring template
15

1. Bild zum Schritt 15 für das Bastel- und DIY-Abenteuer für Kinder: 'Viel Spaß beim Ausprobieren!'

Rabbit as cutlery bag (with template)

Follow us on Facebook , Instagram and Pinterest
Don't miss any more adventures: Our bottle mail

Leave a Reply

Your email address will not be published.

The maximum upload file size: 5 MB. You can upload: image, document. Drop file here