AdventurerThe
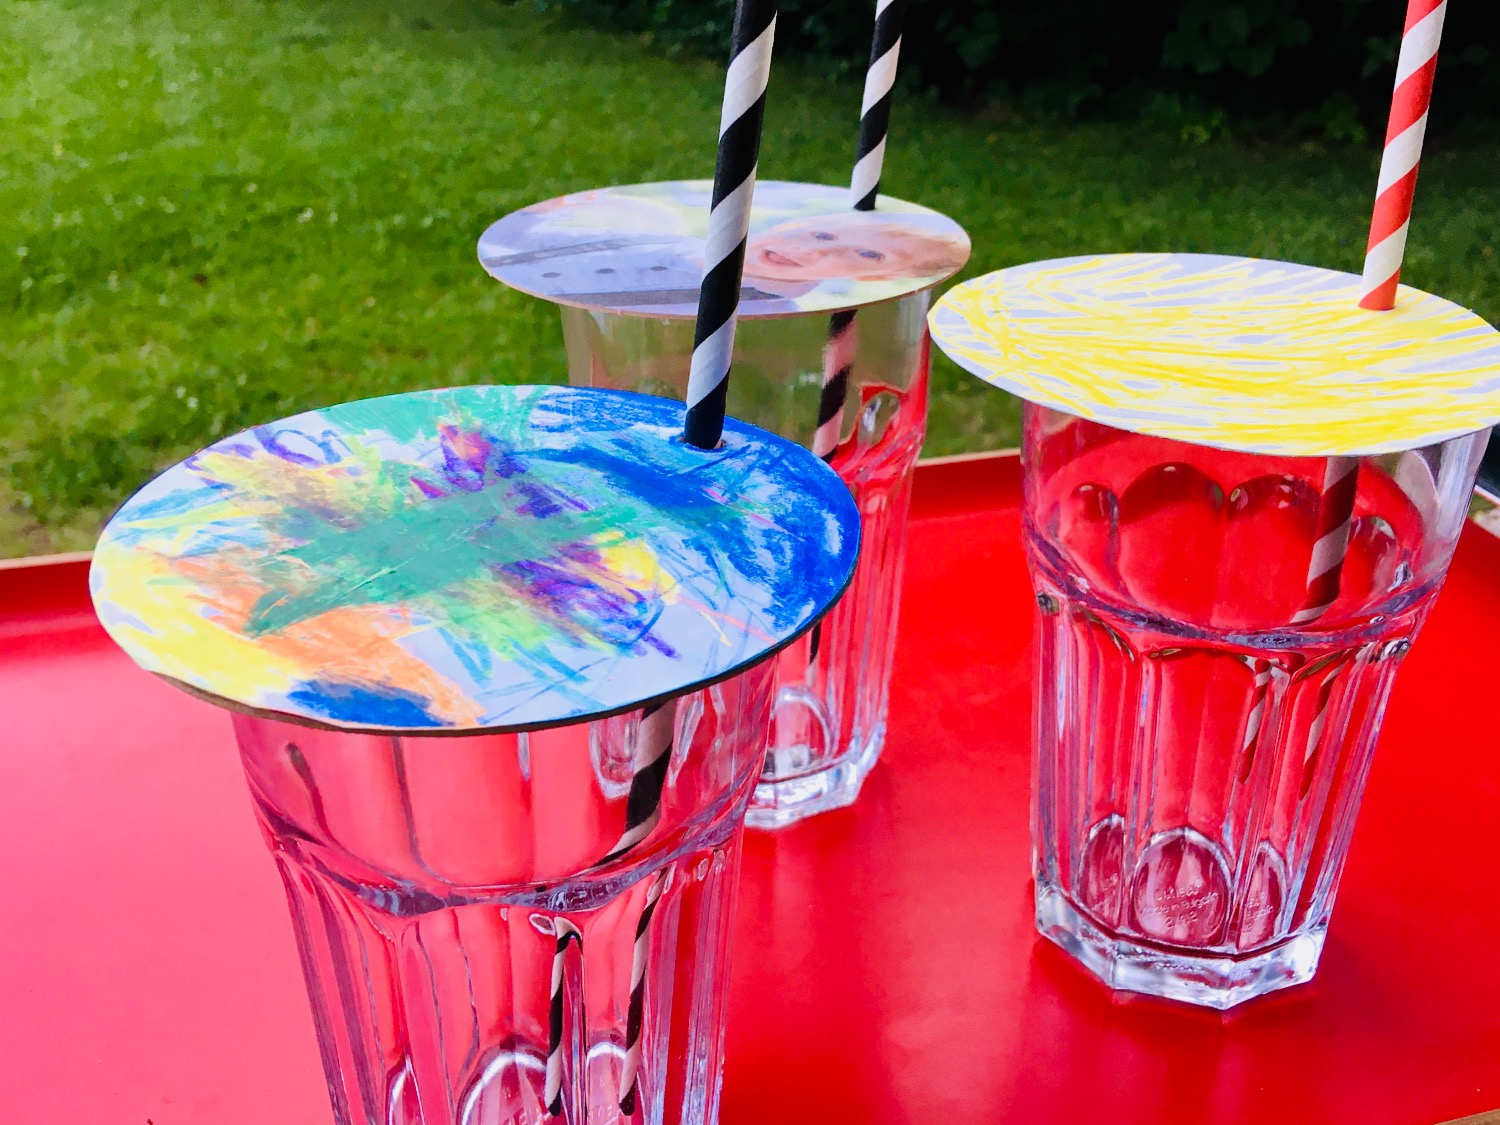
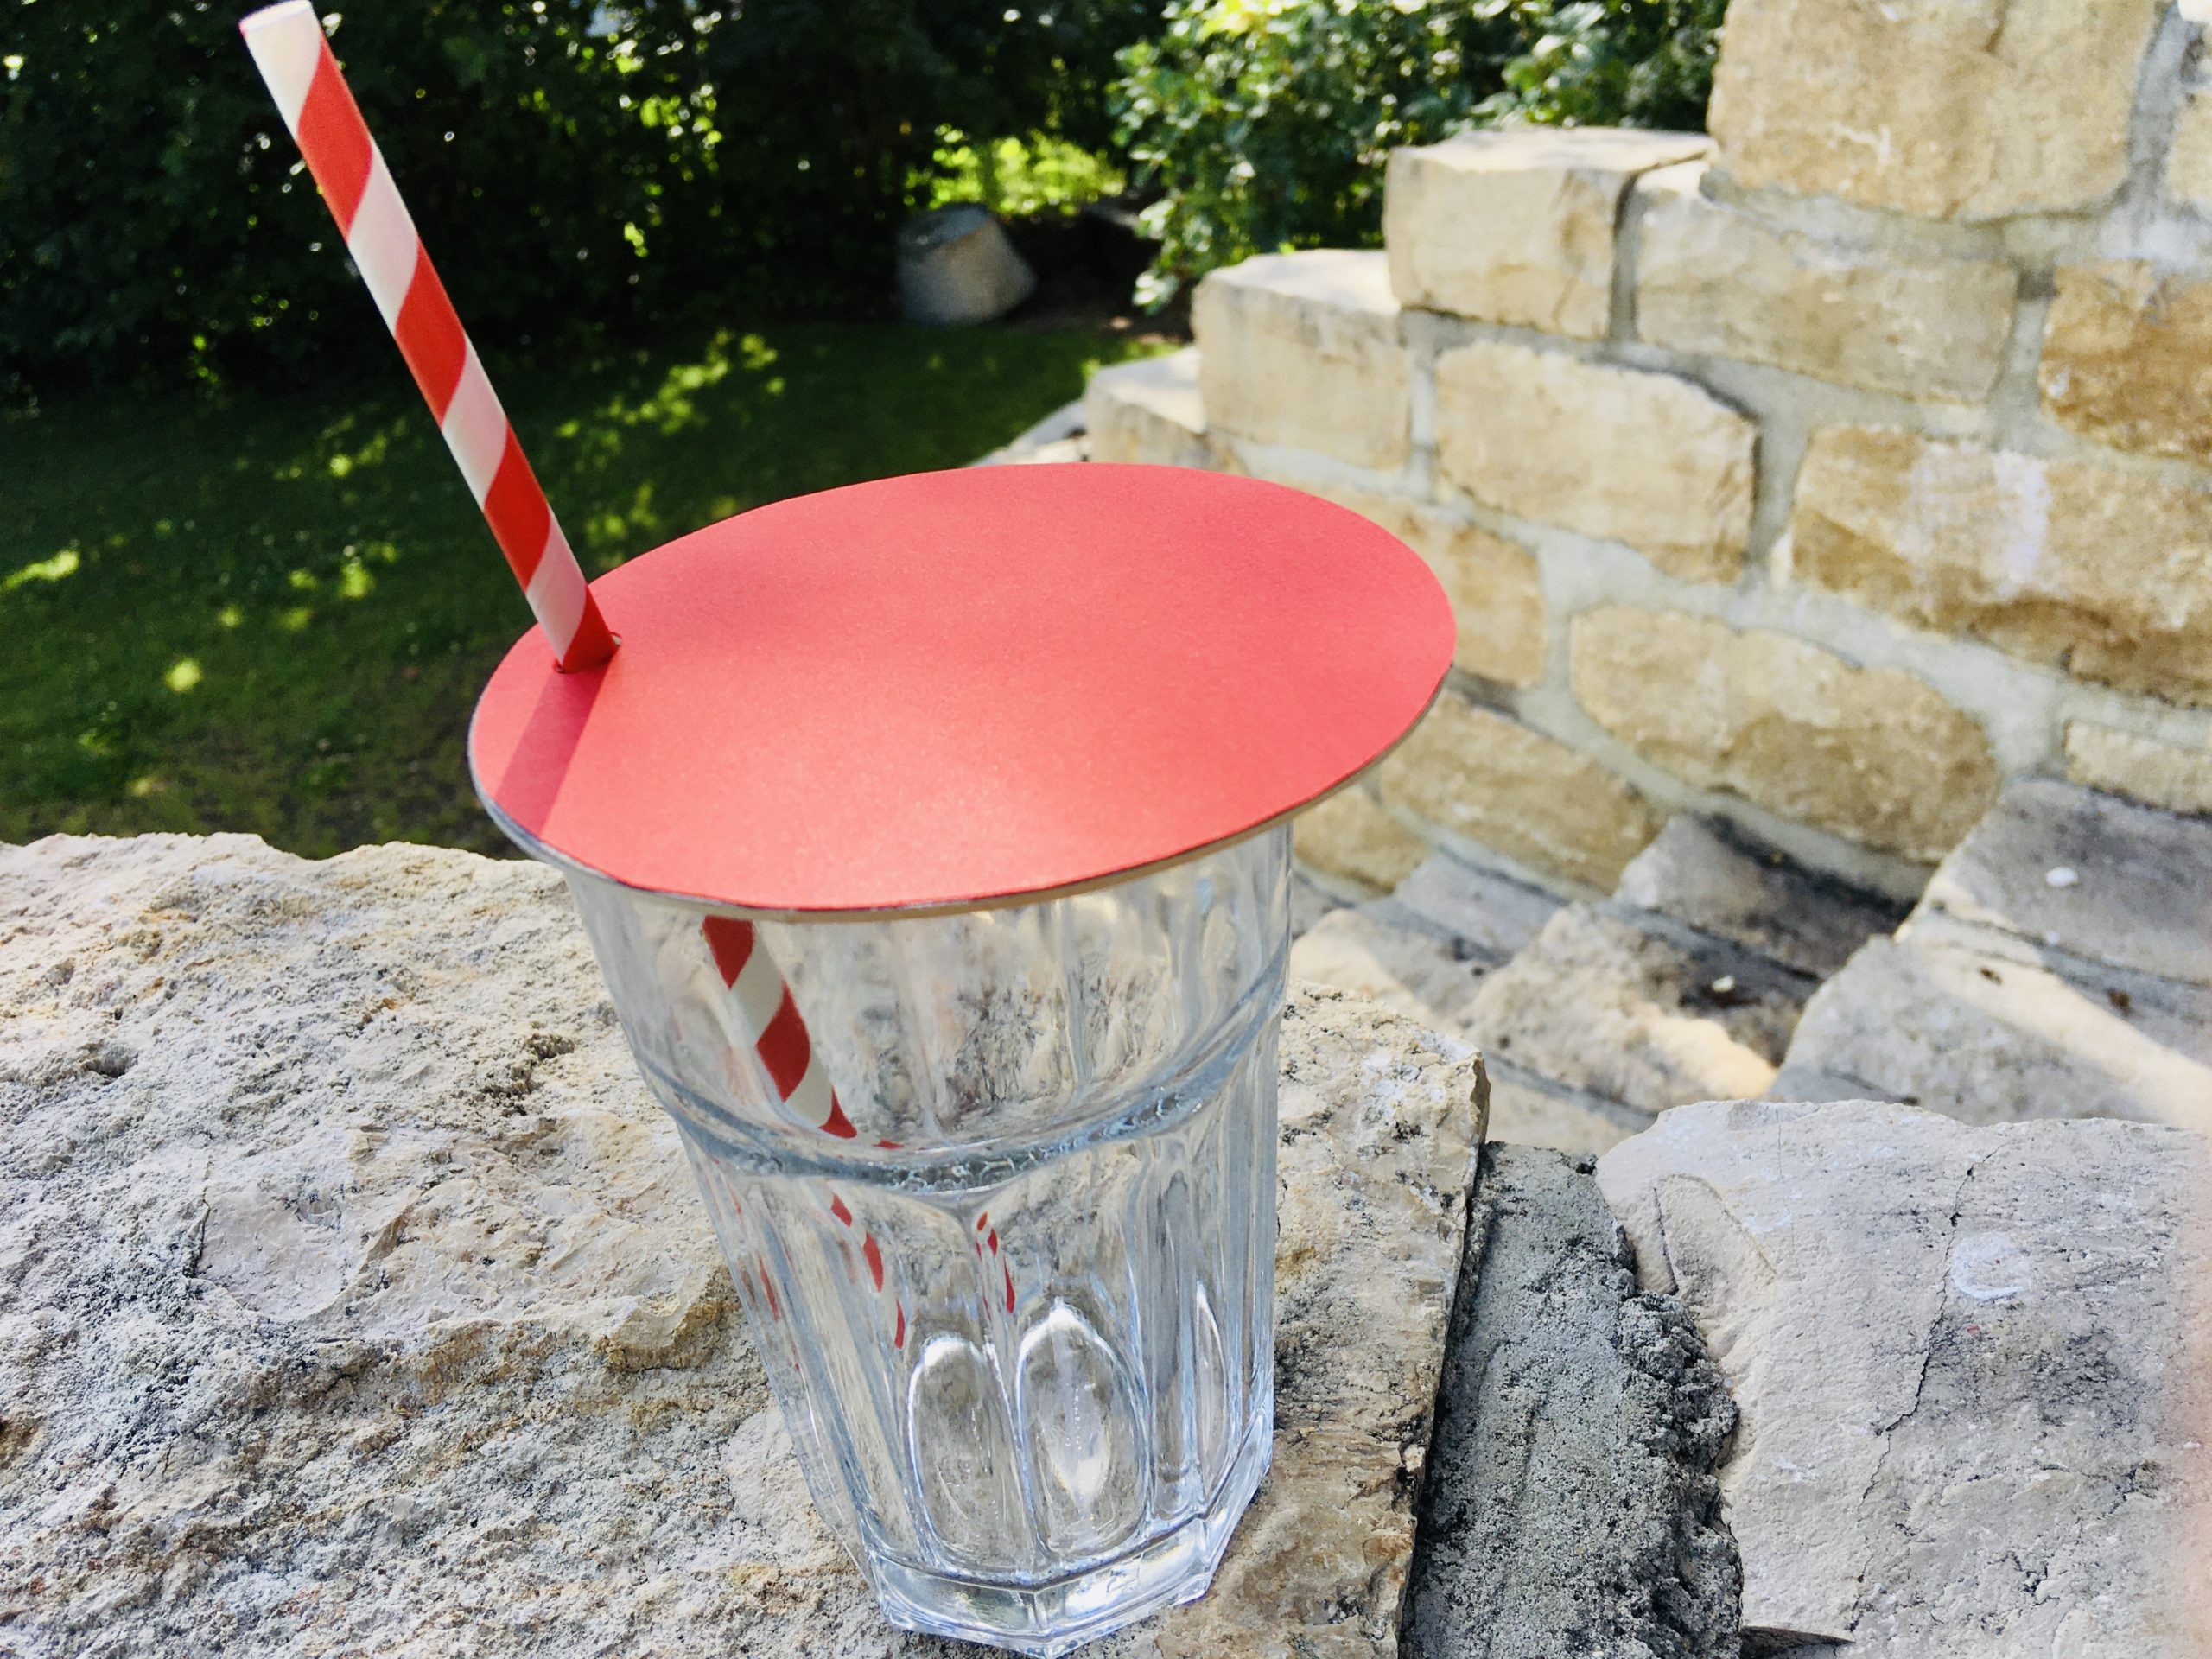
These glass covers are ideal for covering drinks of all kinds. Thus, wasps, small munchies and seeds from the trees have no chance to land in the drink. They fit on each glass, cup and cup. They are all individually designed and an eye-catcher at every garden festival. Also as a design idea for a child's birthday, for an occasion such as a baptismal feast or for gifting.
Media Education for Kindergarten and Hort

Relief in everyday life, targeted promotion of individual children, independent learning and - without any pre-knowledge already usable by the youngest!
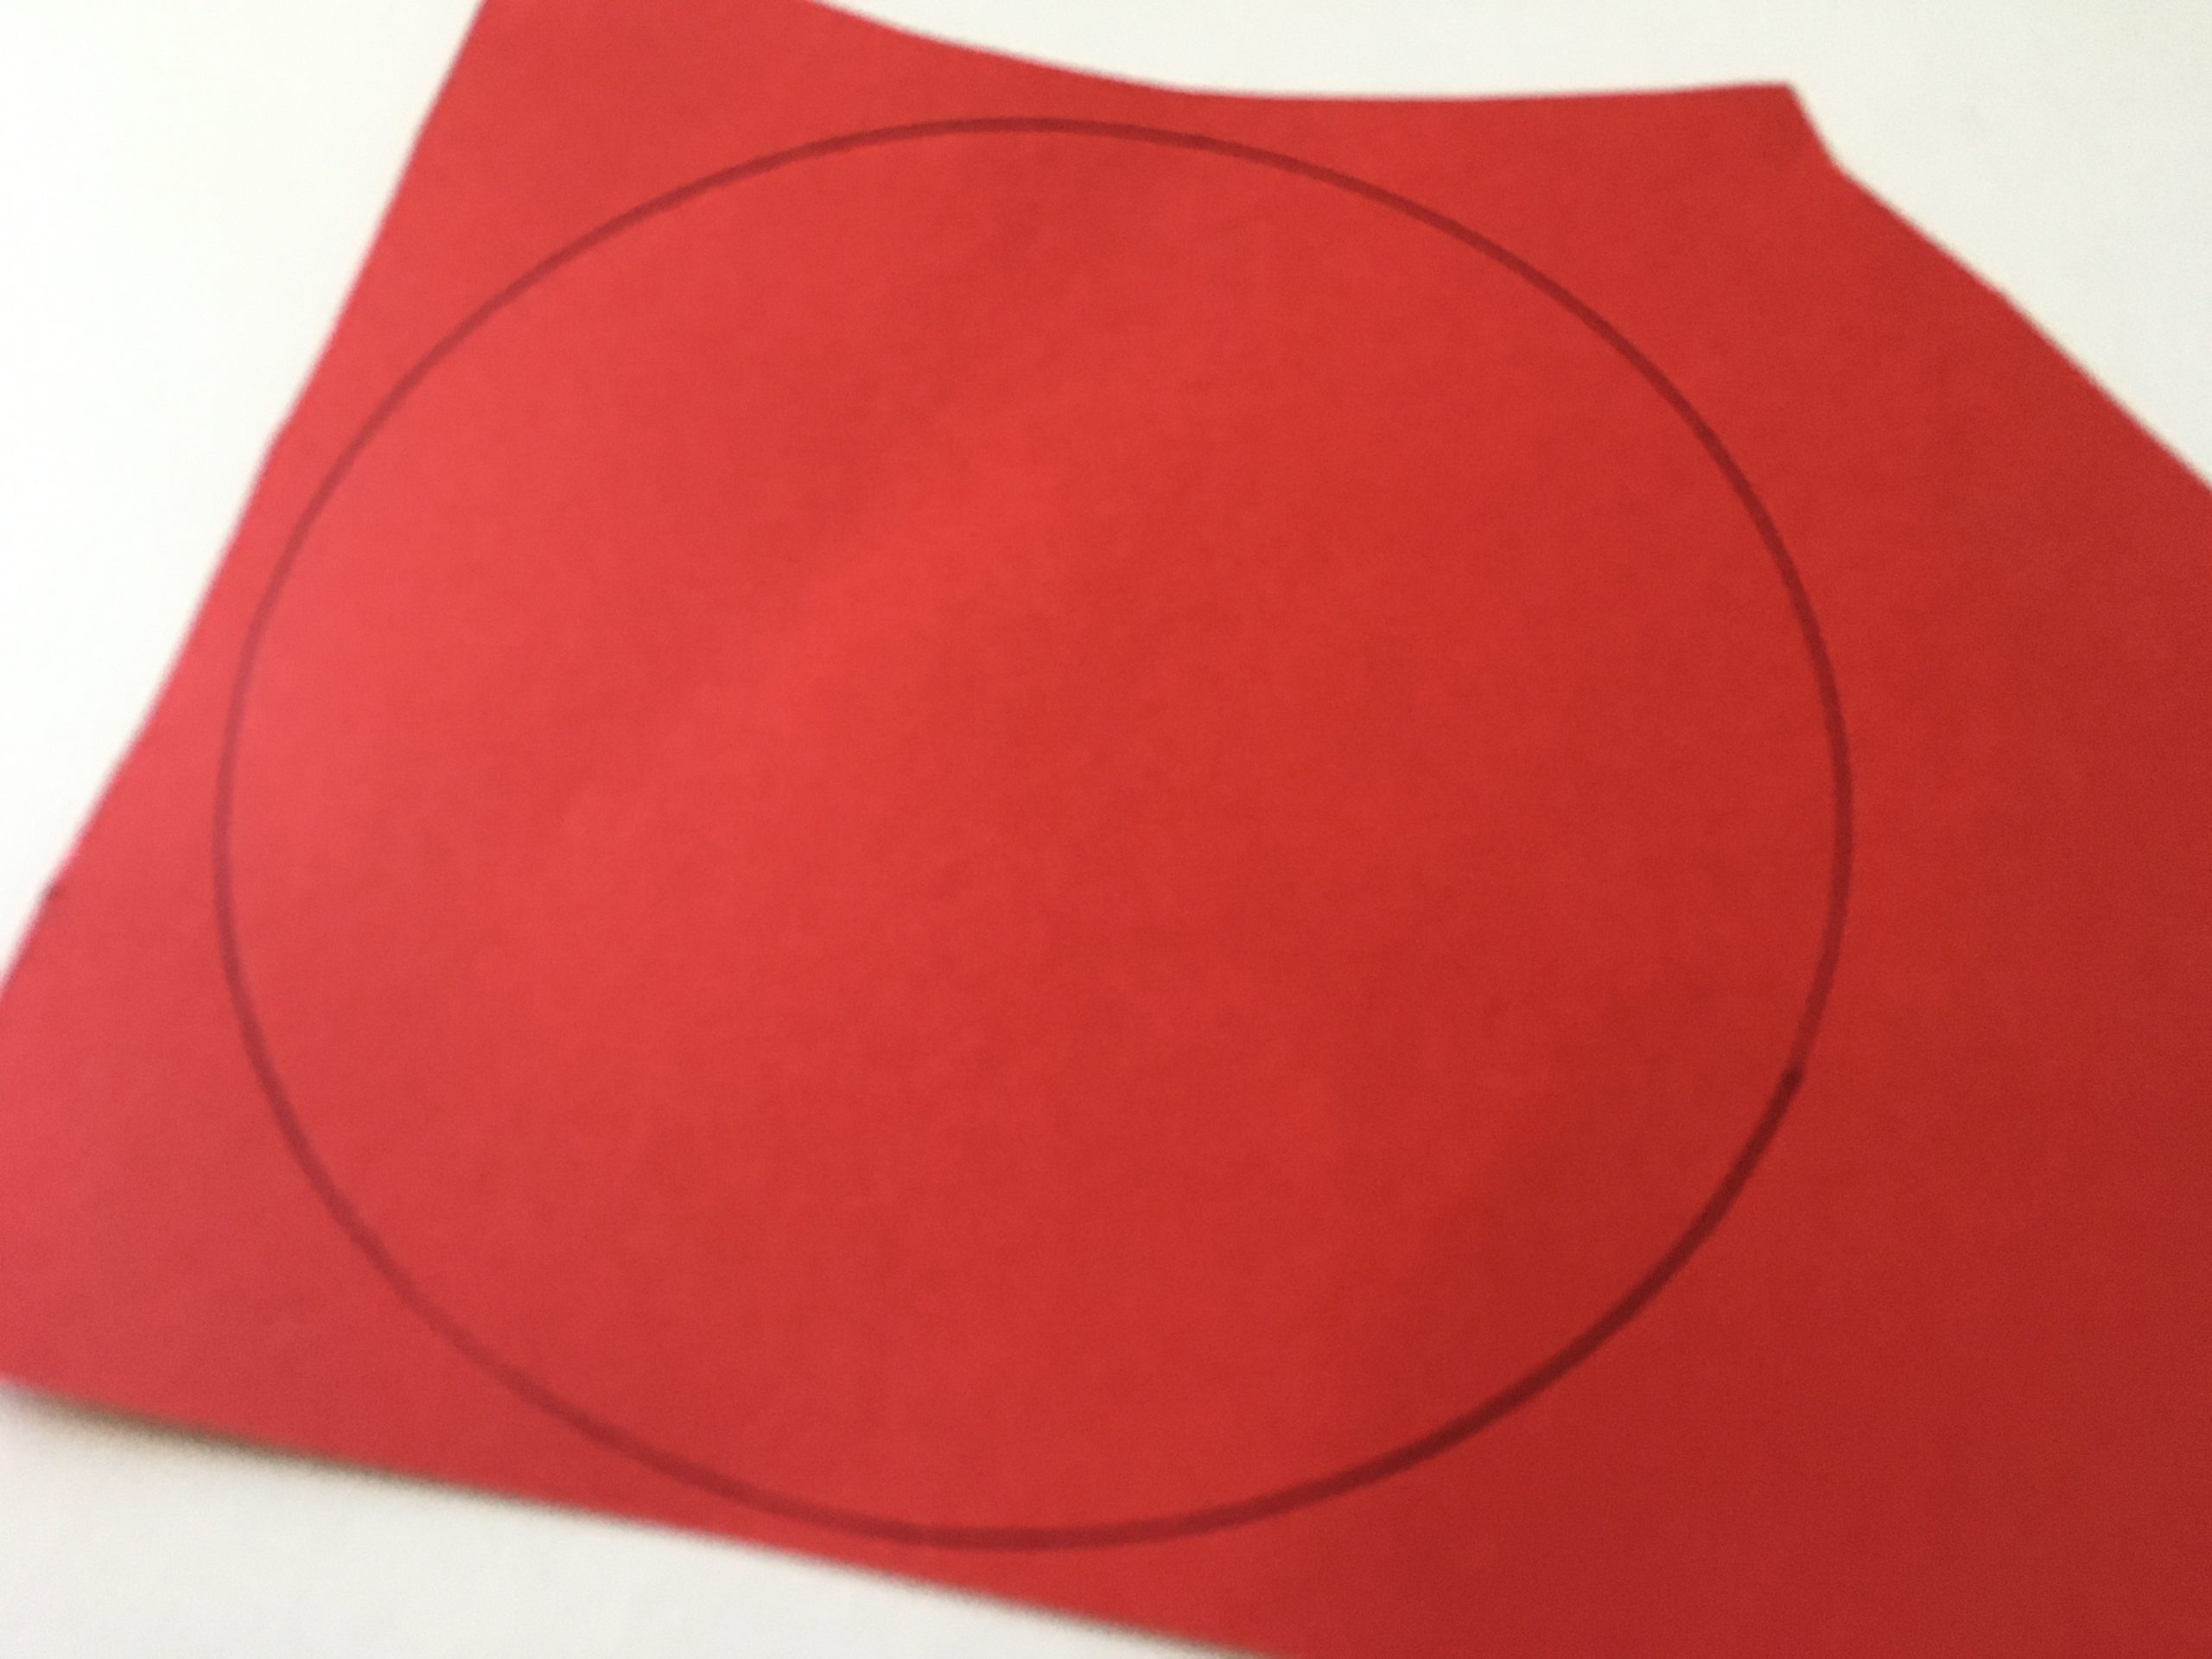
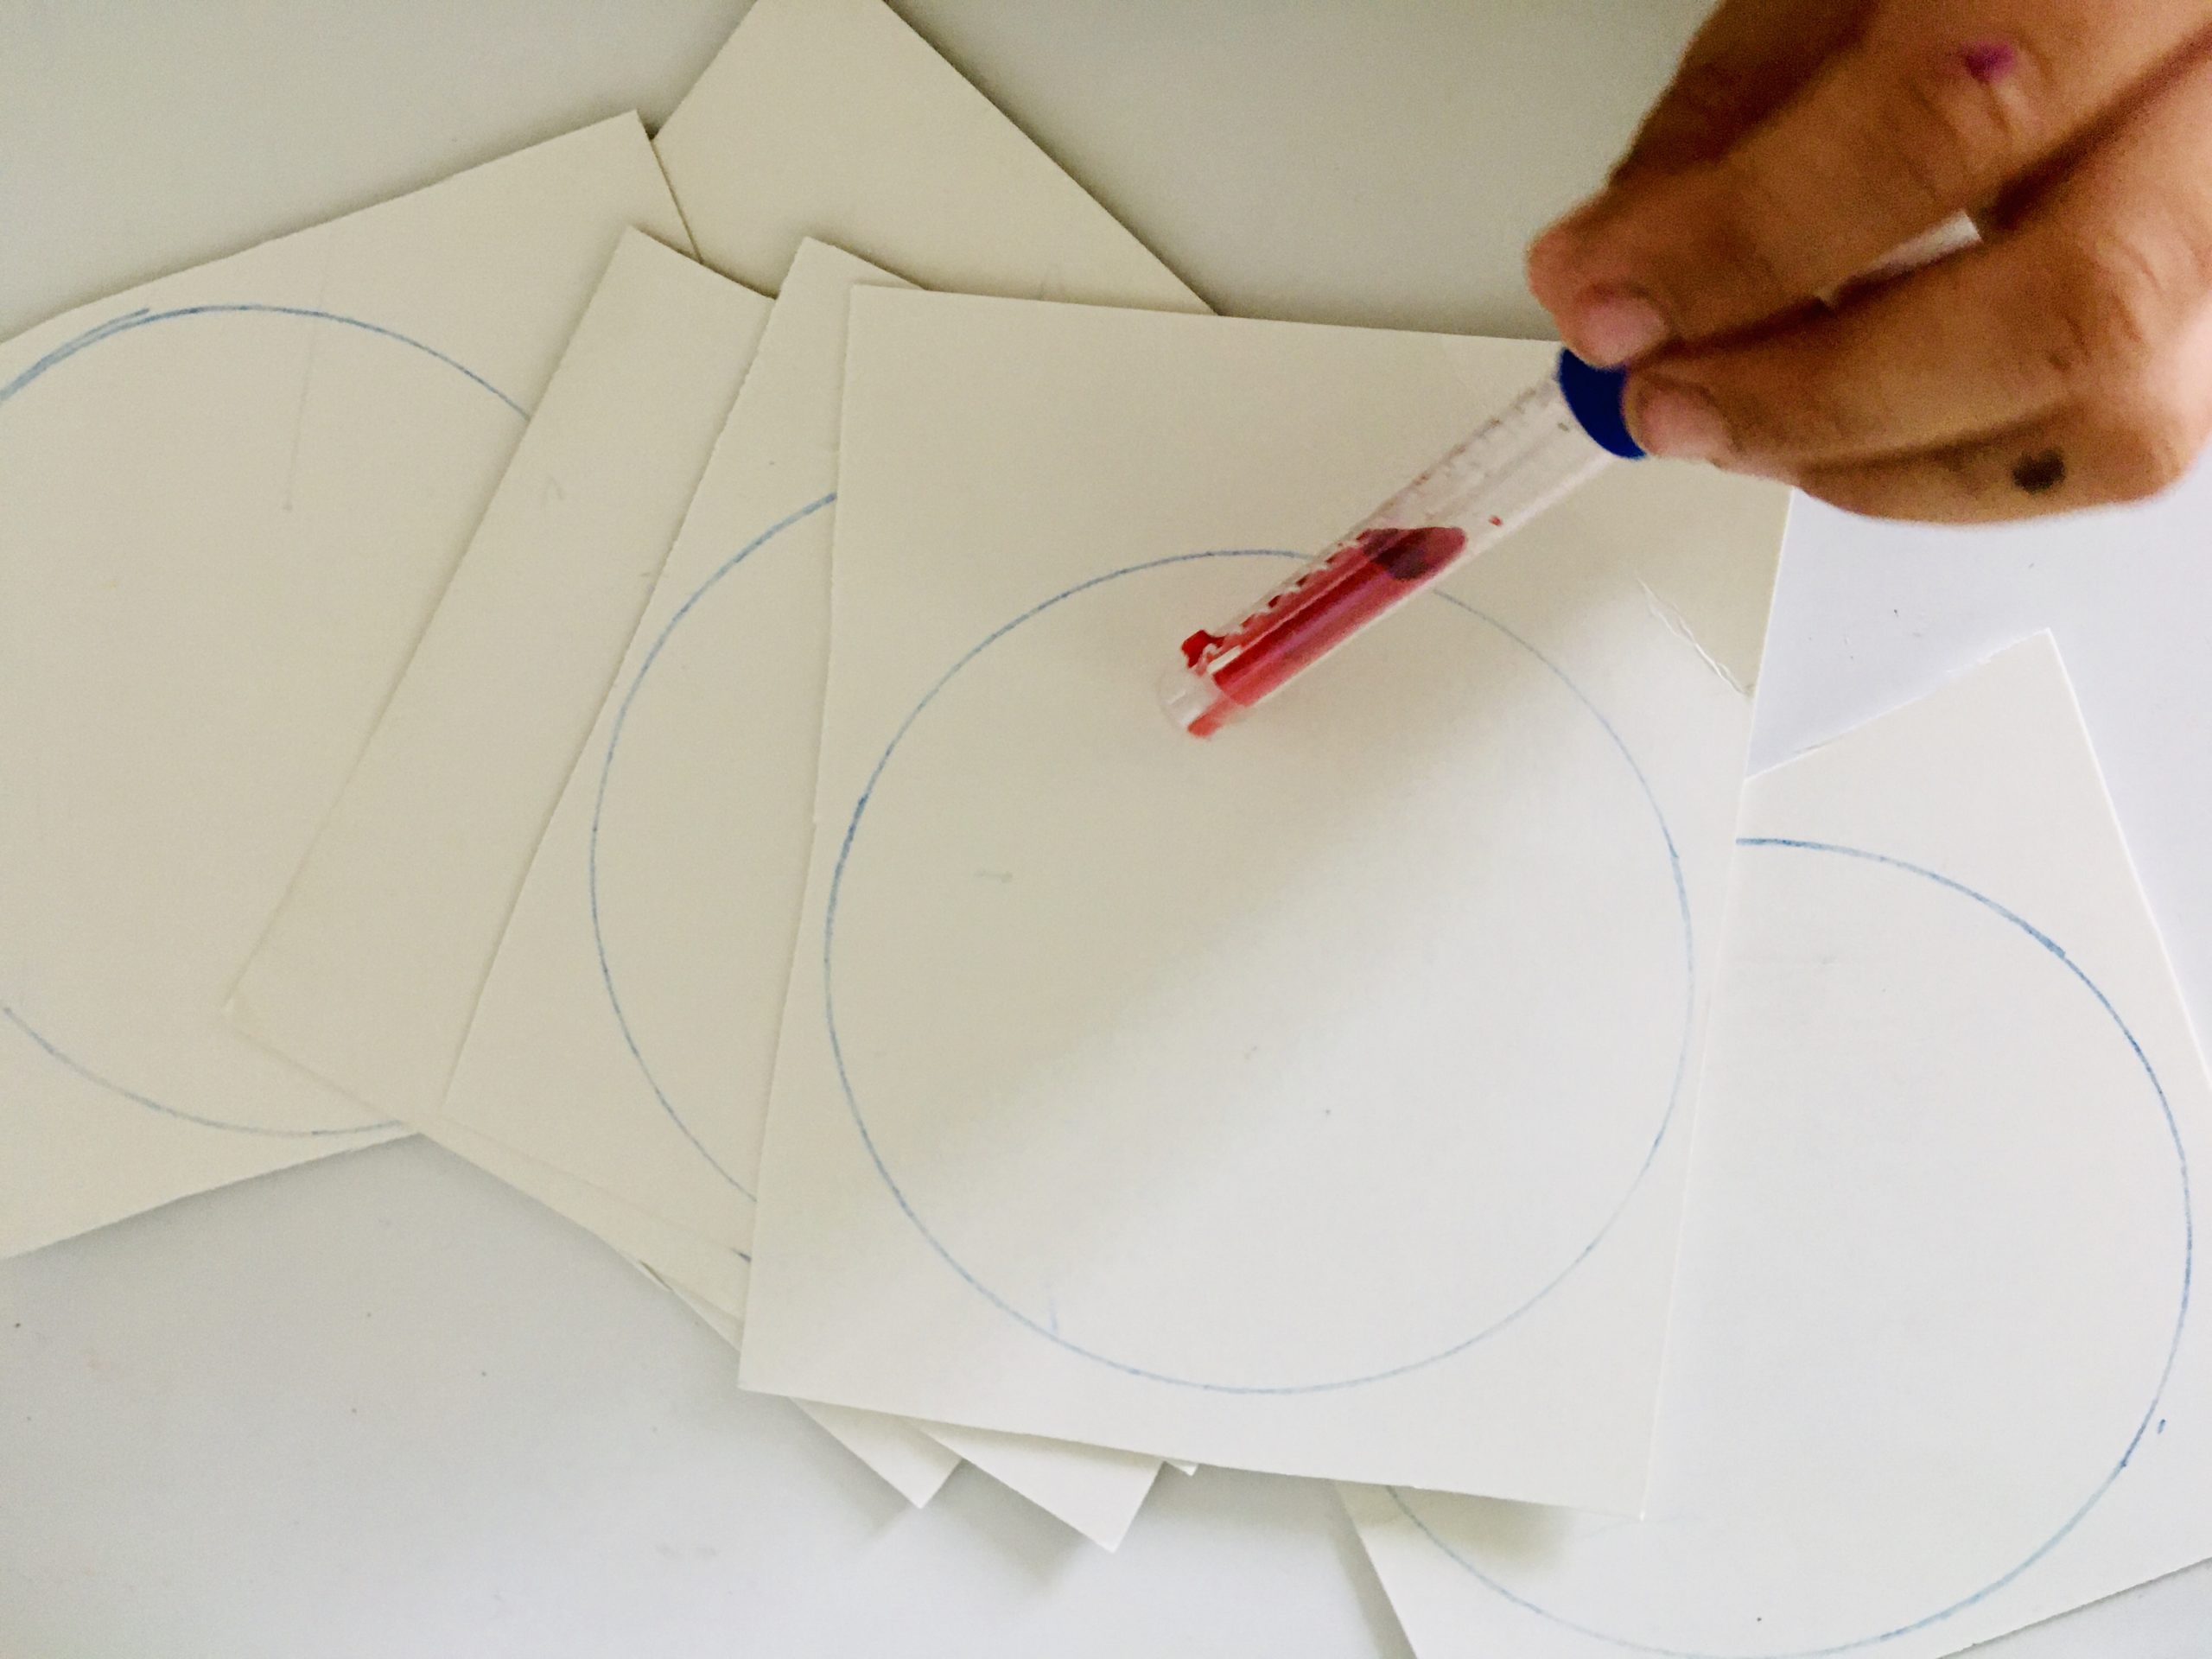
Just take existing beer lids and put it on a clay paper.
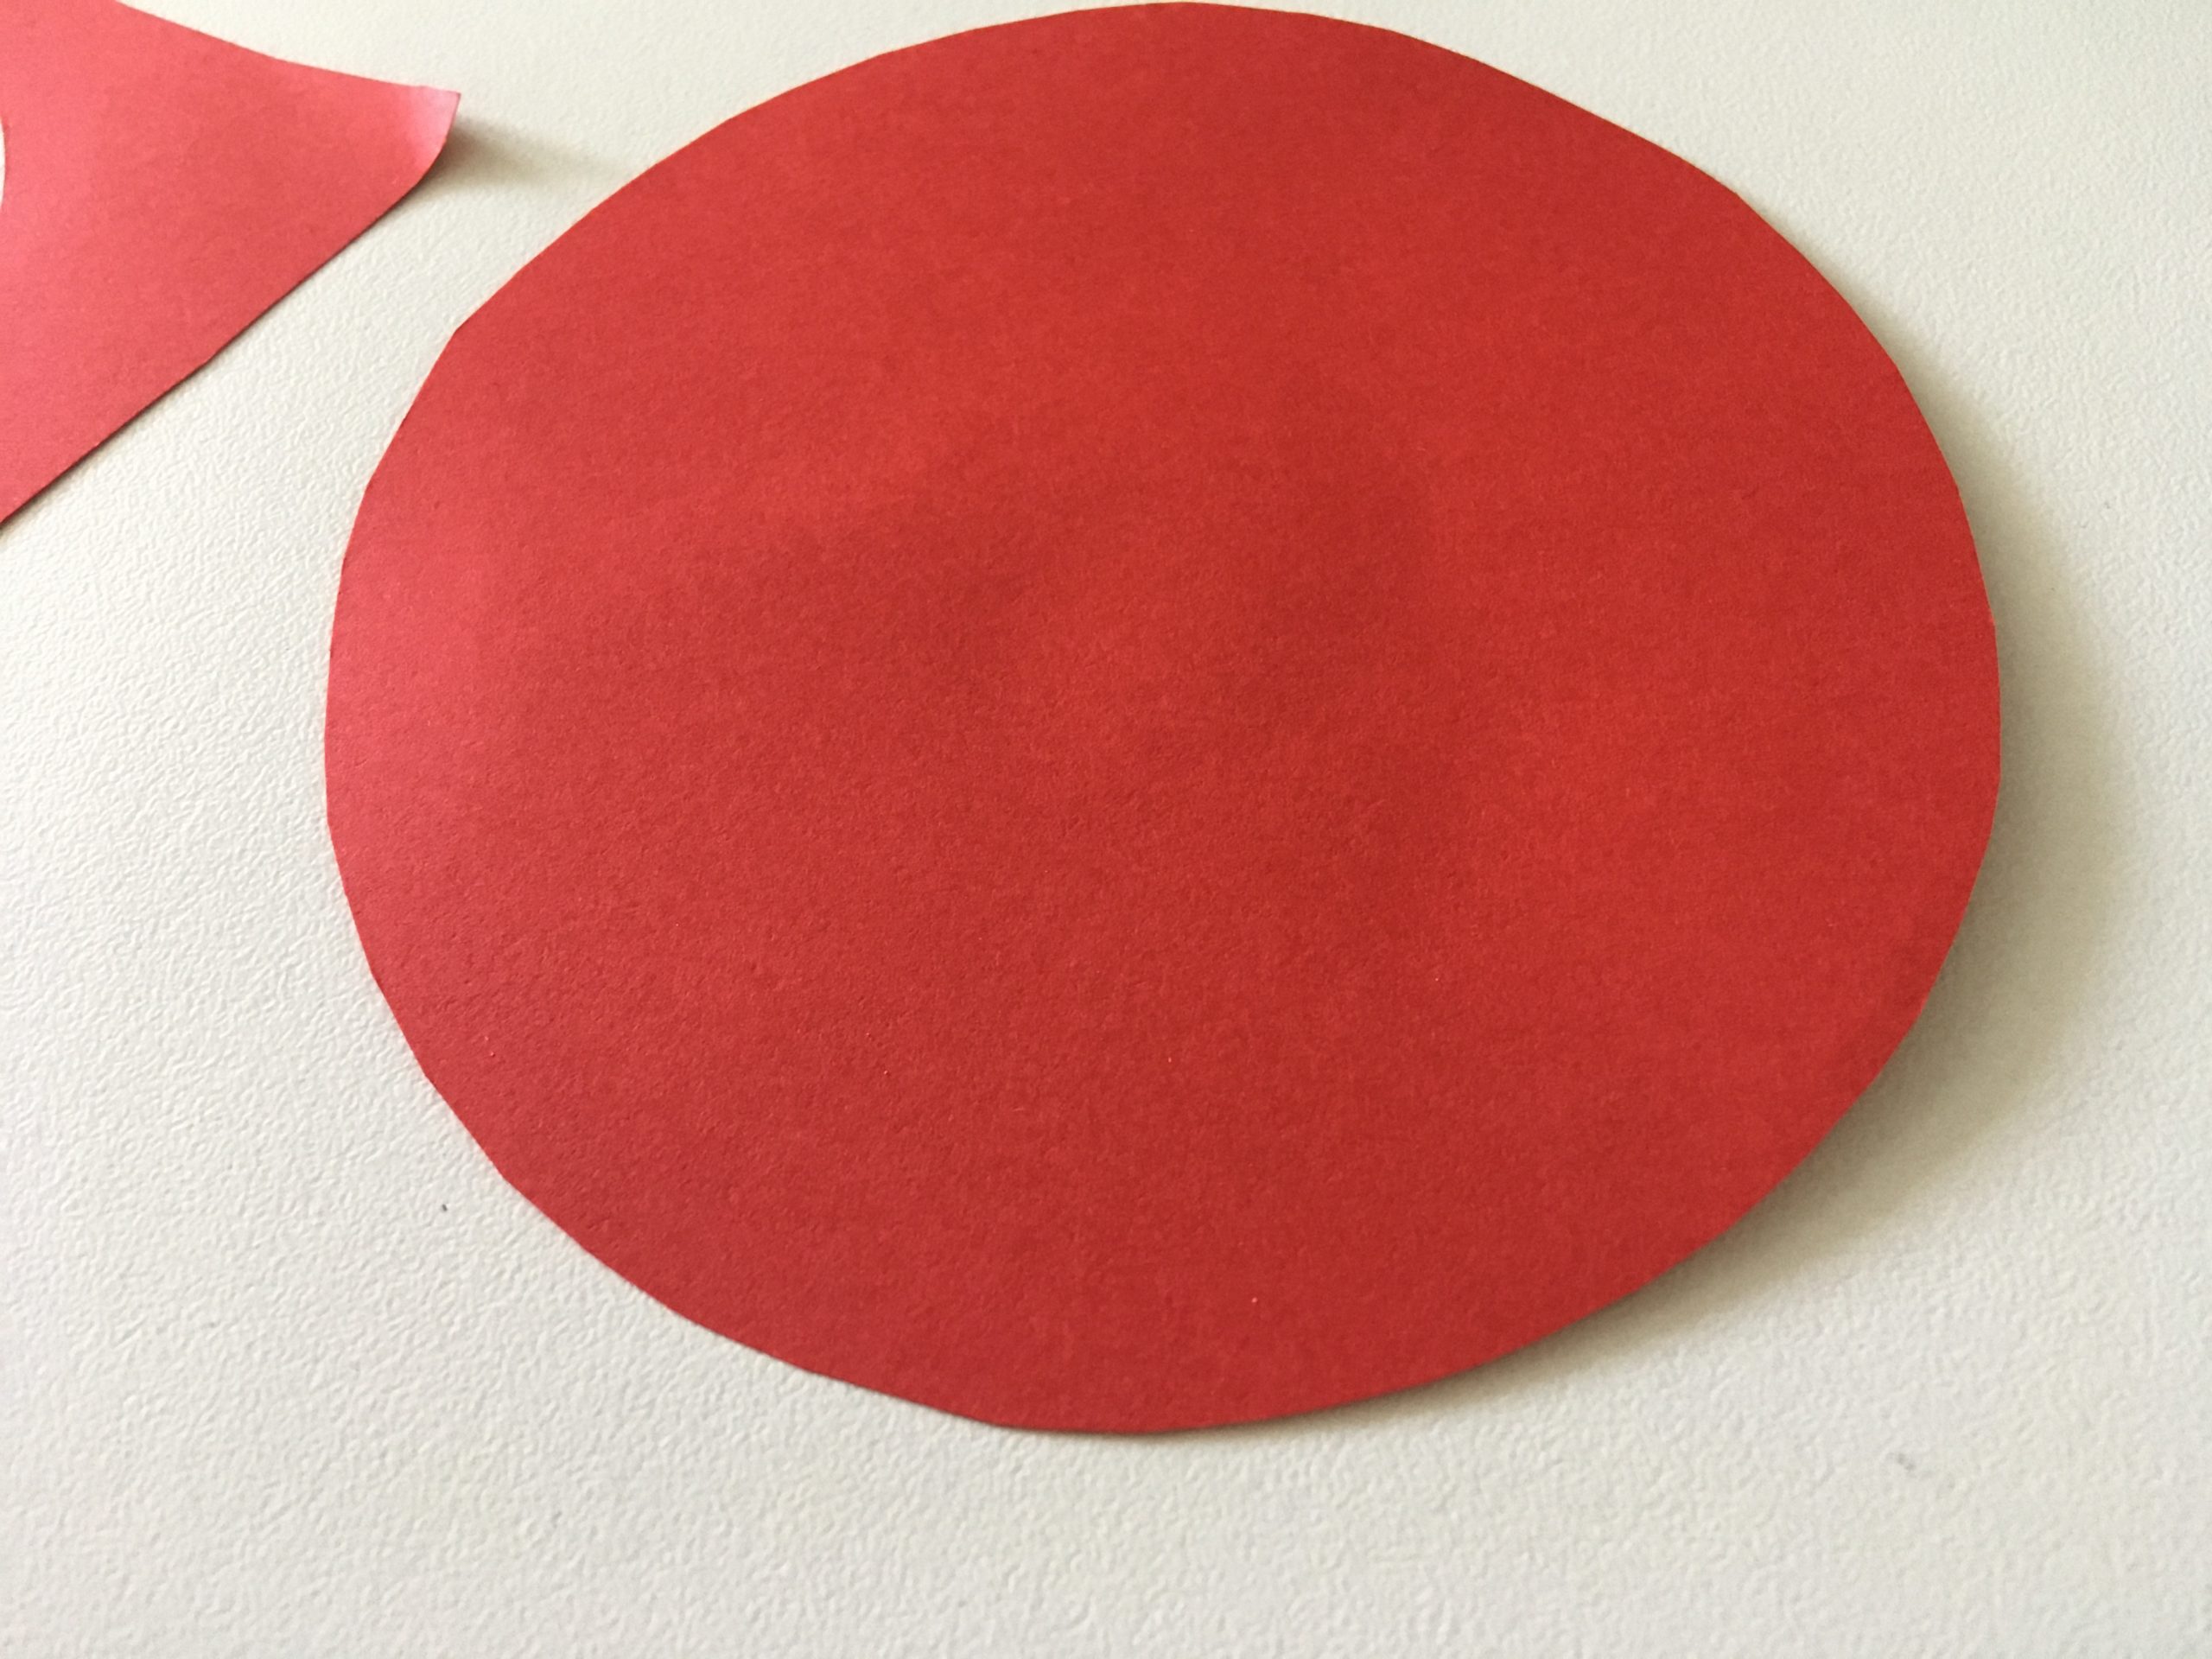
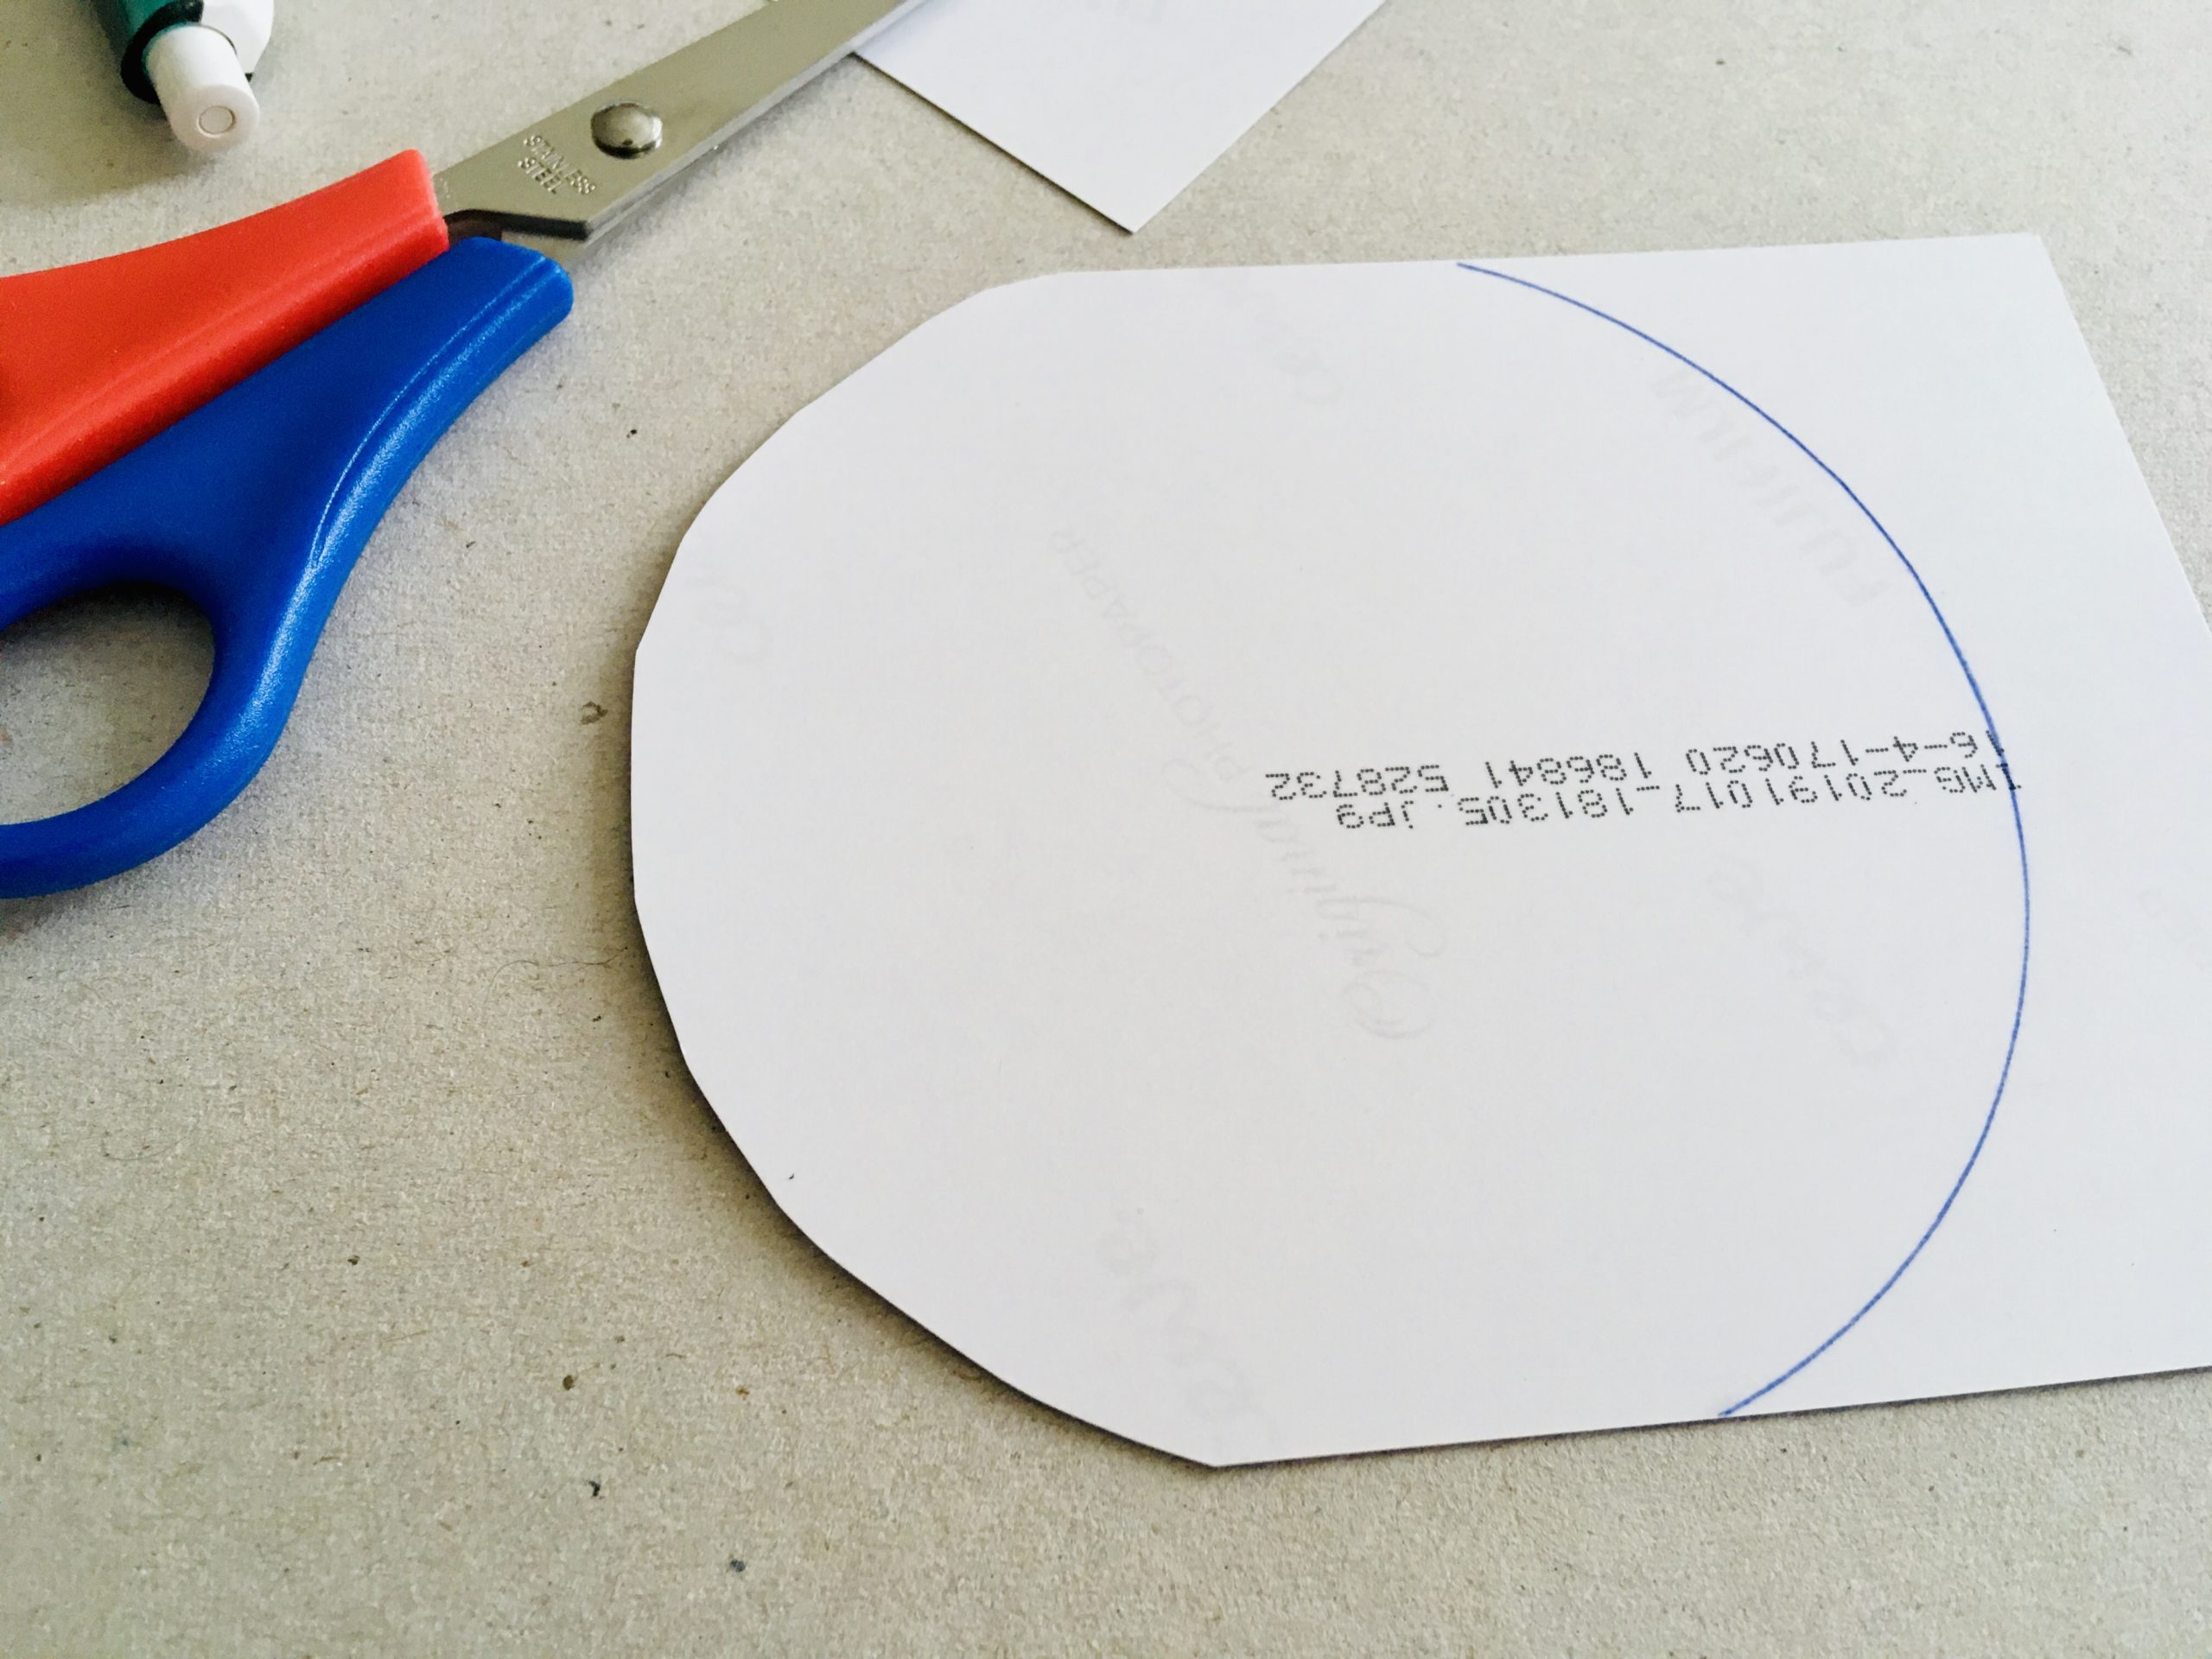
Ride the pen around the beer lid and cut out the clay paper circle.
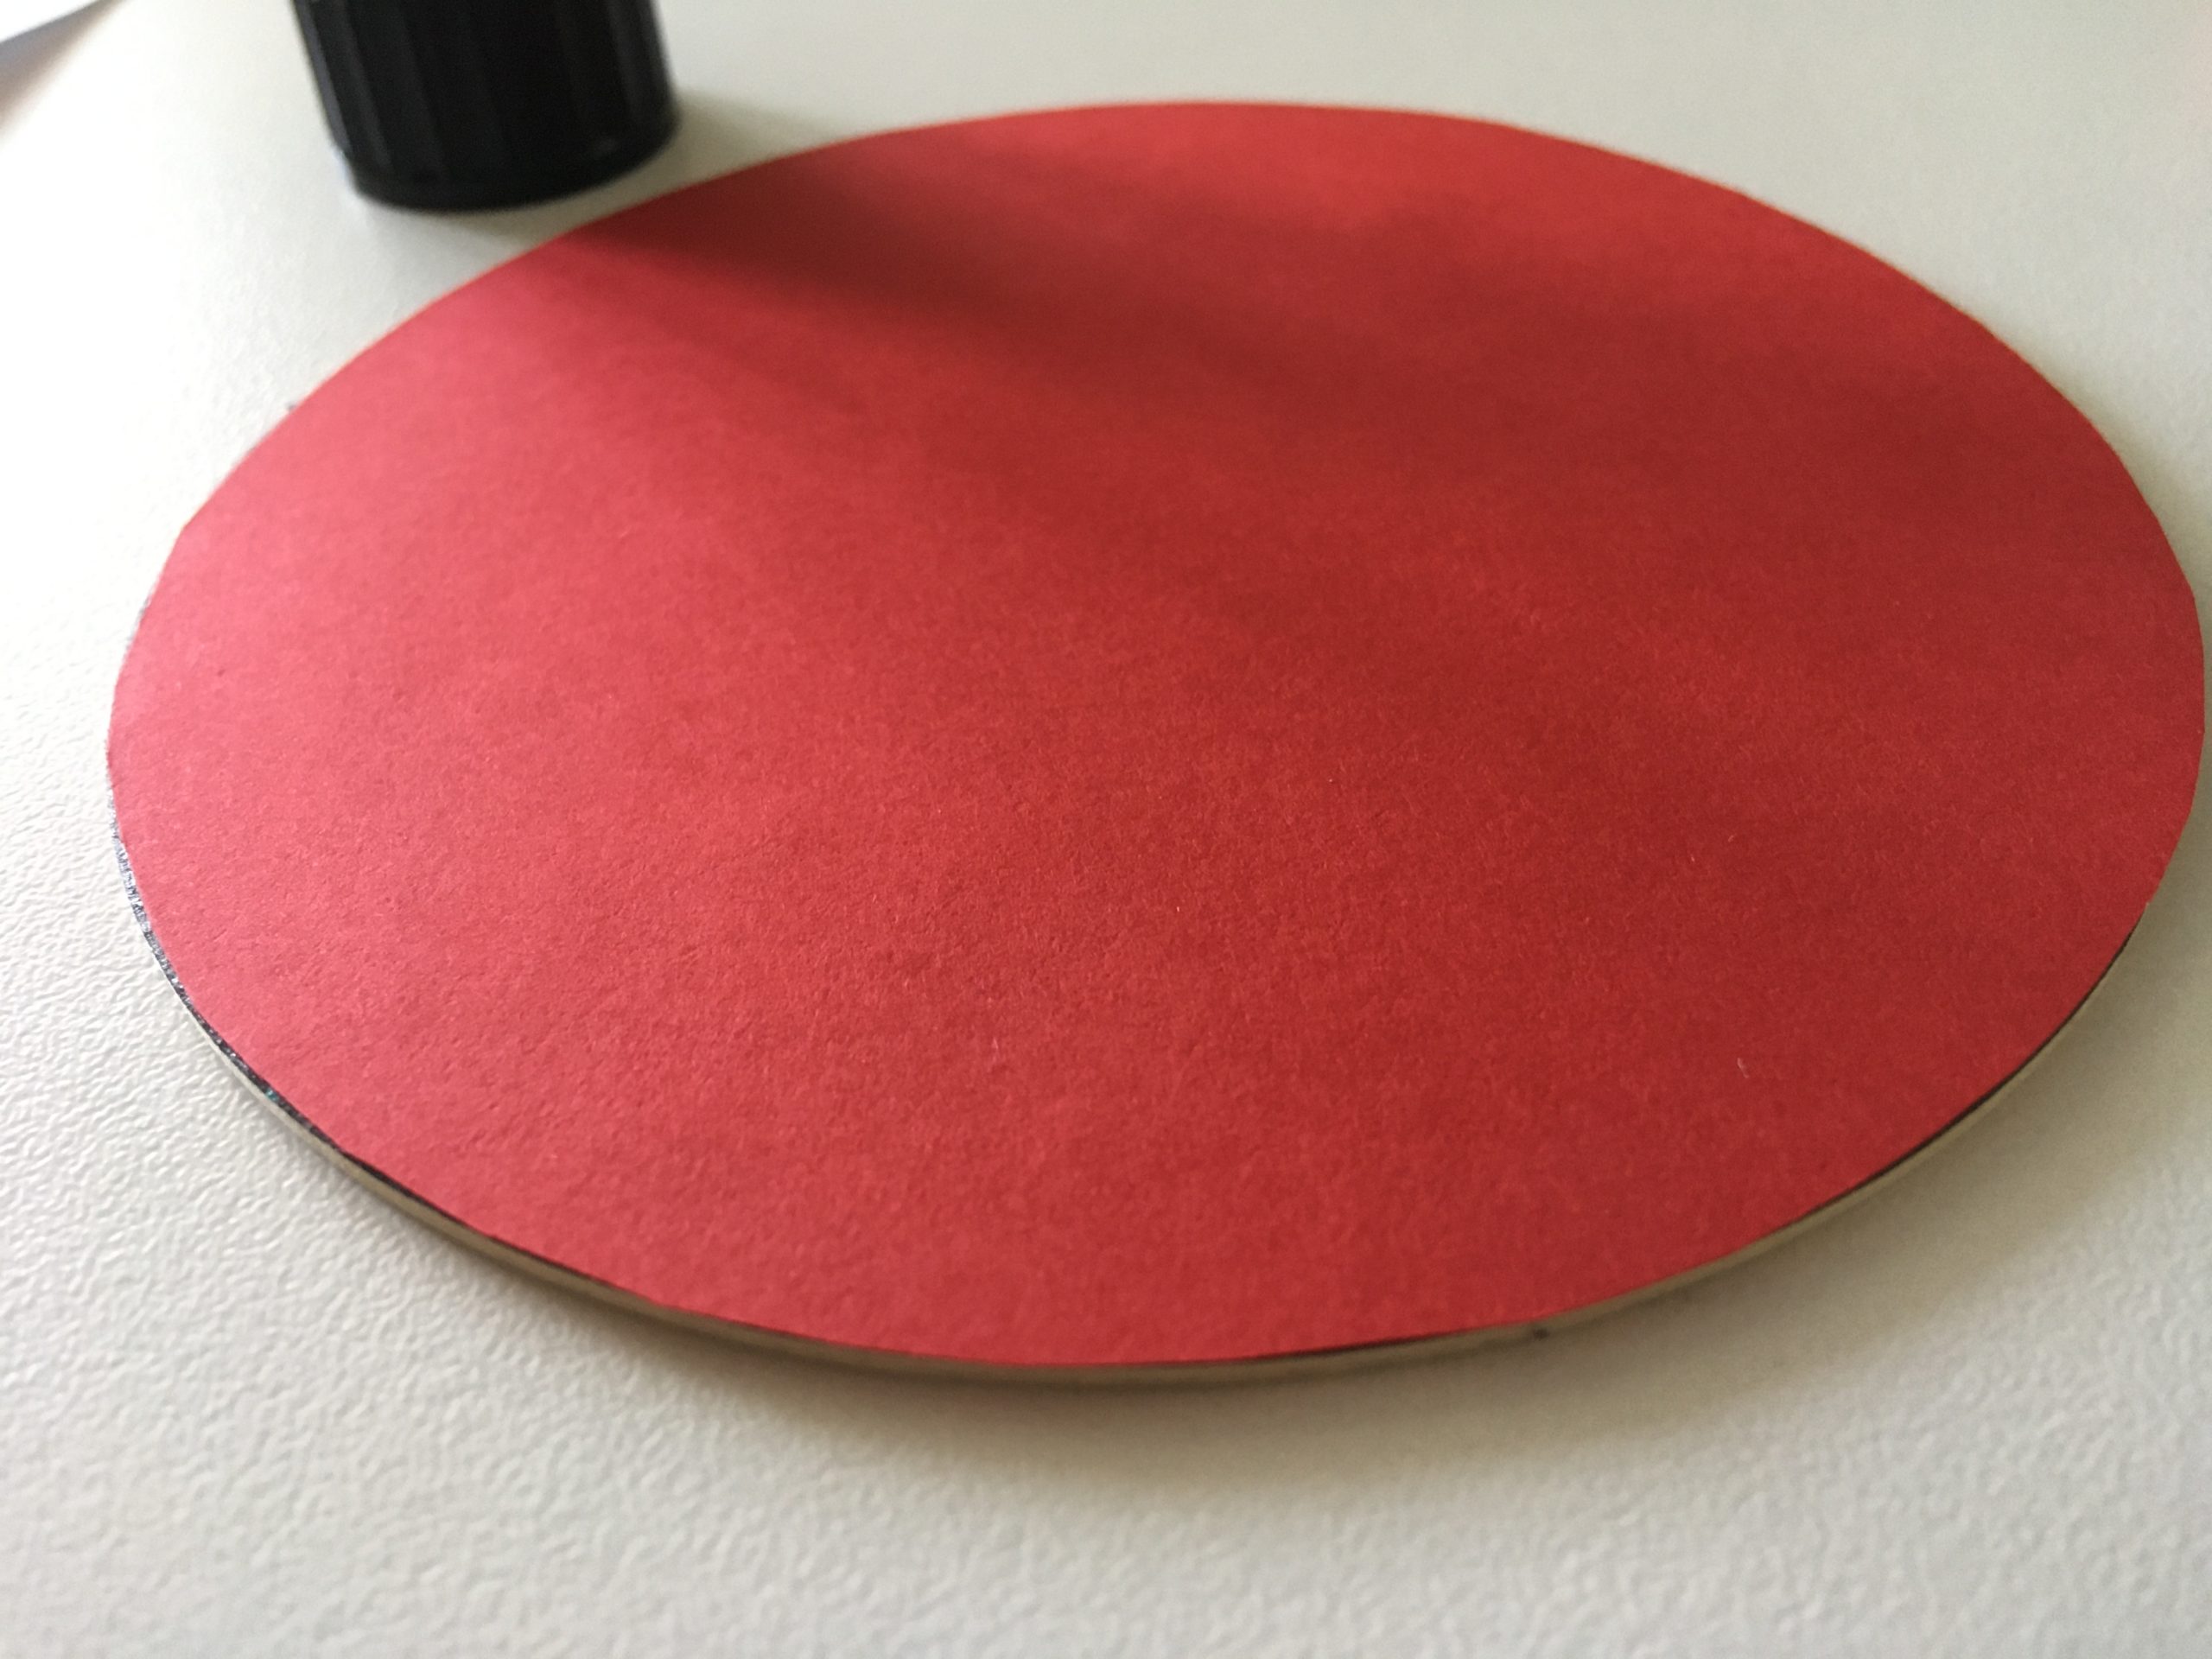
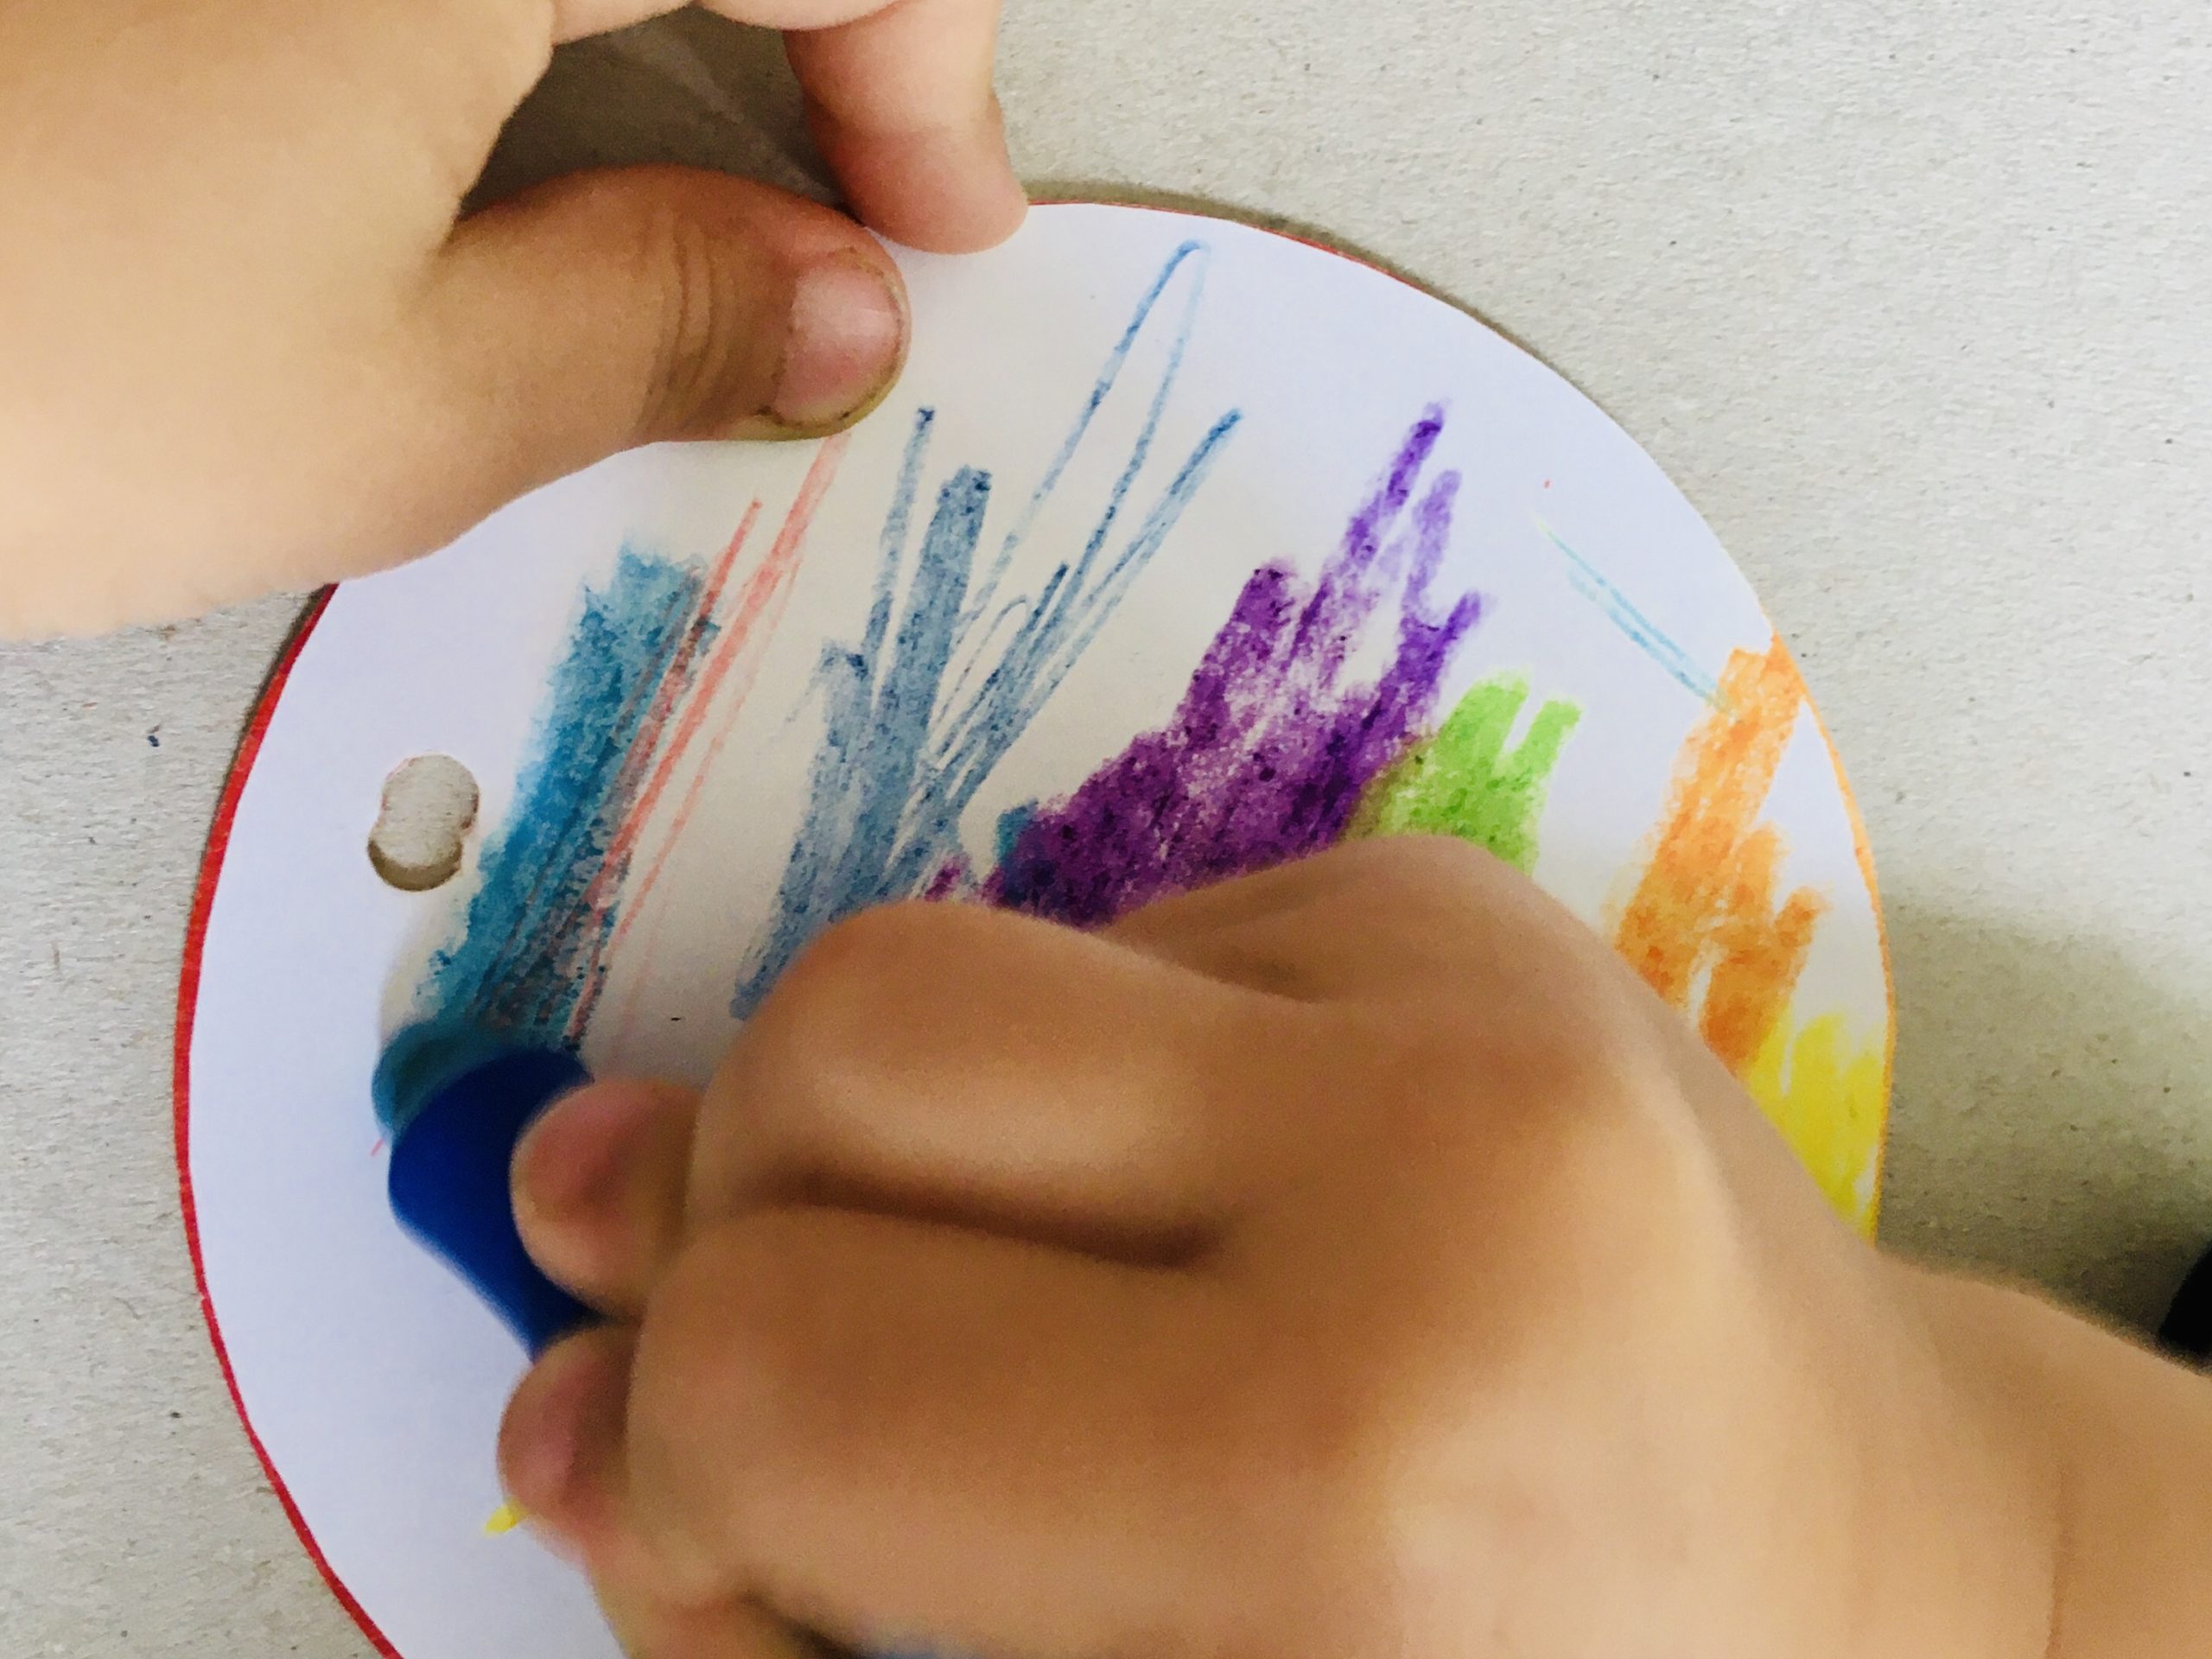
Stick these on the beer lid. Now you can simply glue them monochrome. (See also the tips for the color games with cardboard lids)
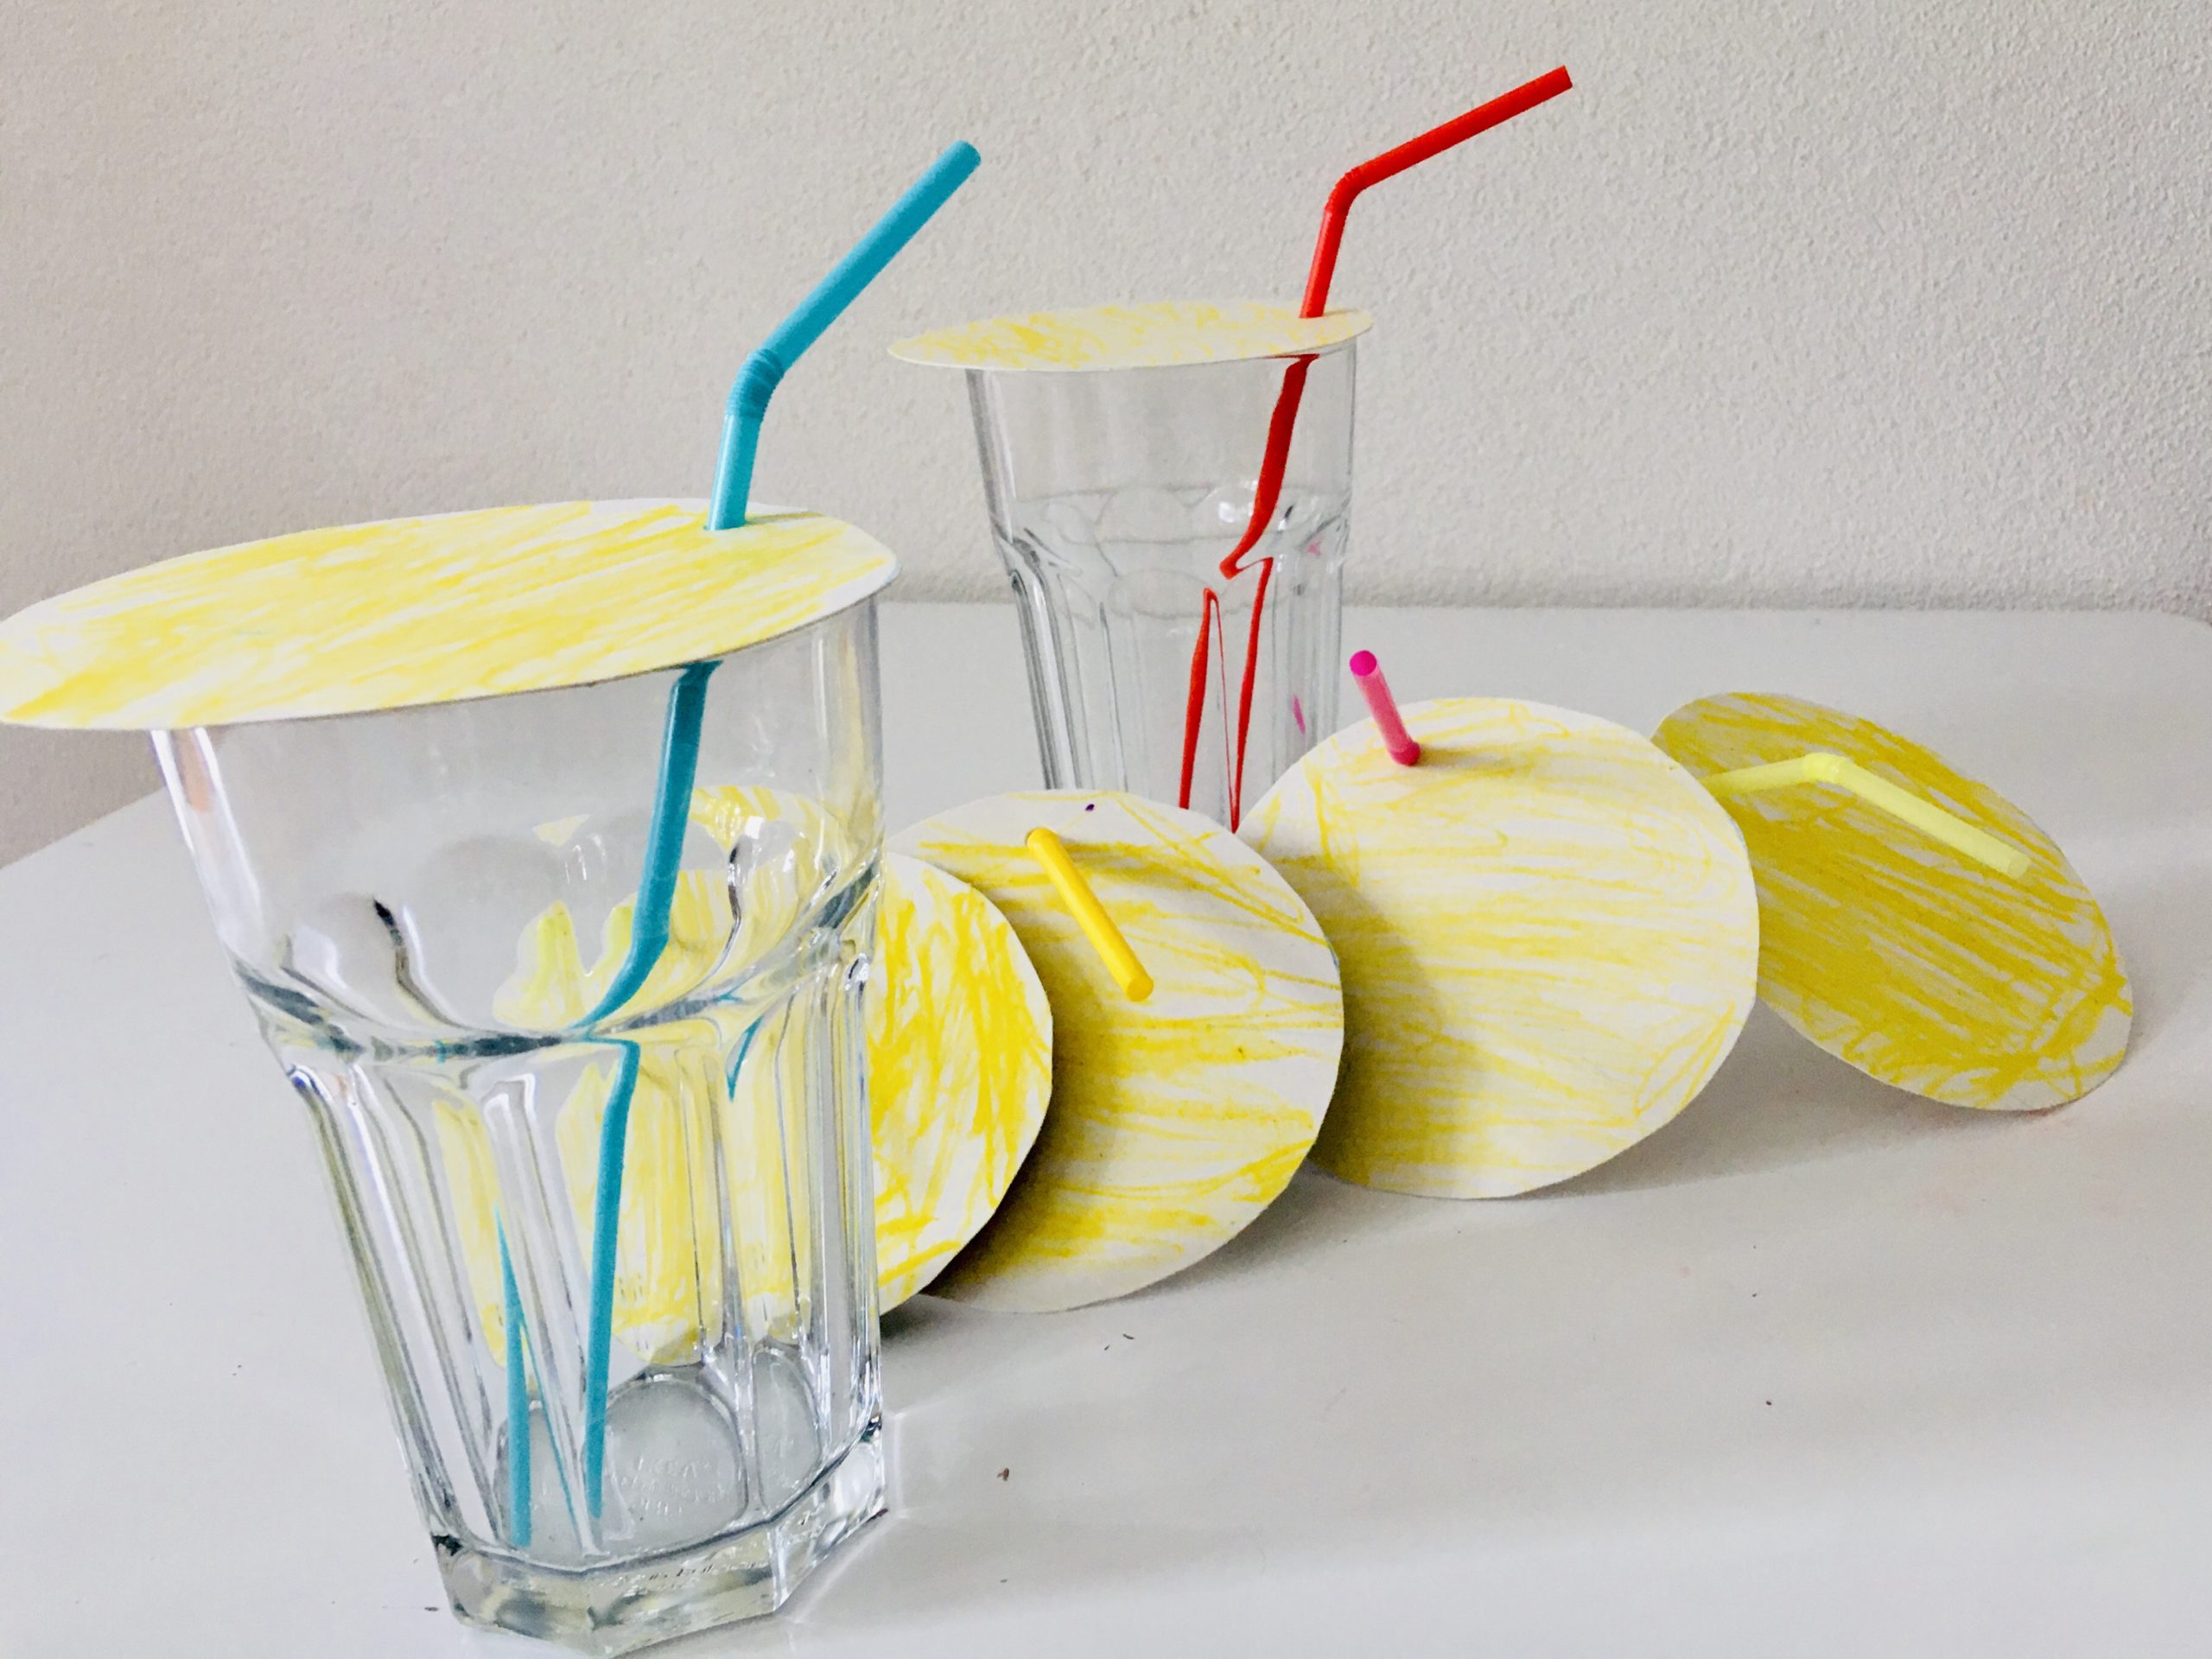
Then take a puncher and punch in it. Make sure that you come in as far as possible. Put the straw through and your beverage cover is ready.
You can all design the same or make lids in different colors. So everyone recognizes their drink.

Ride the pen around the beer lid.
Cut out the circle.
Stick it on the beer lid.
Hole the beer lid.
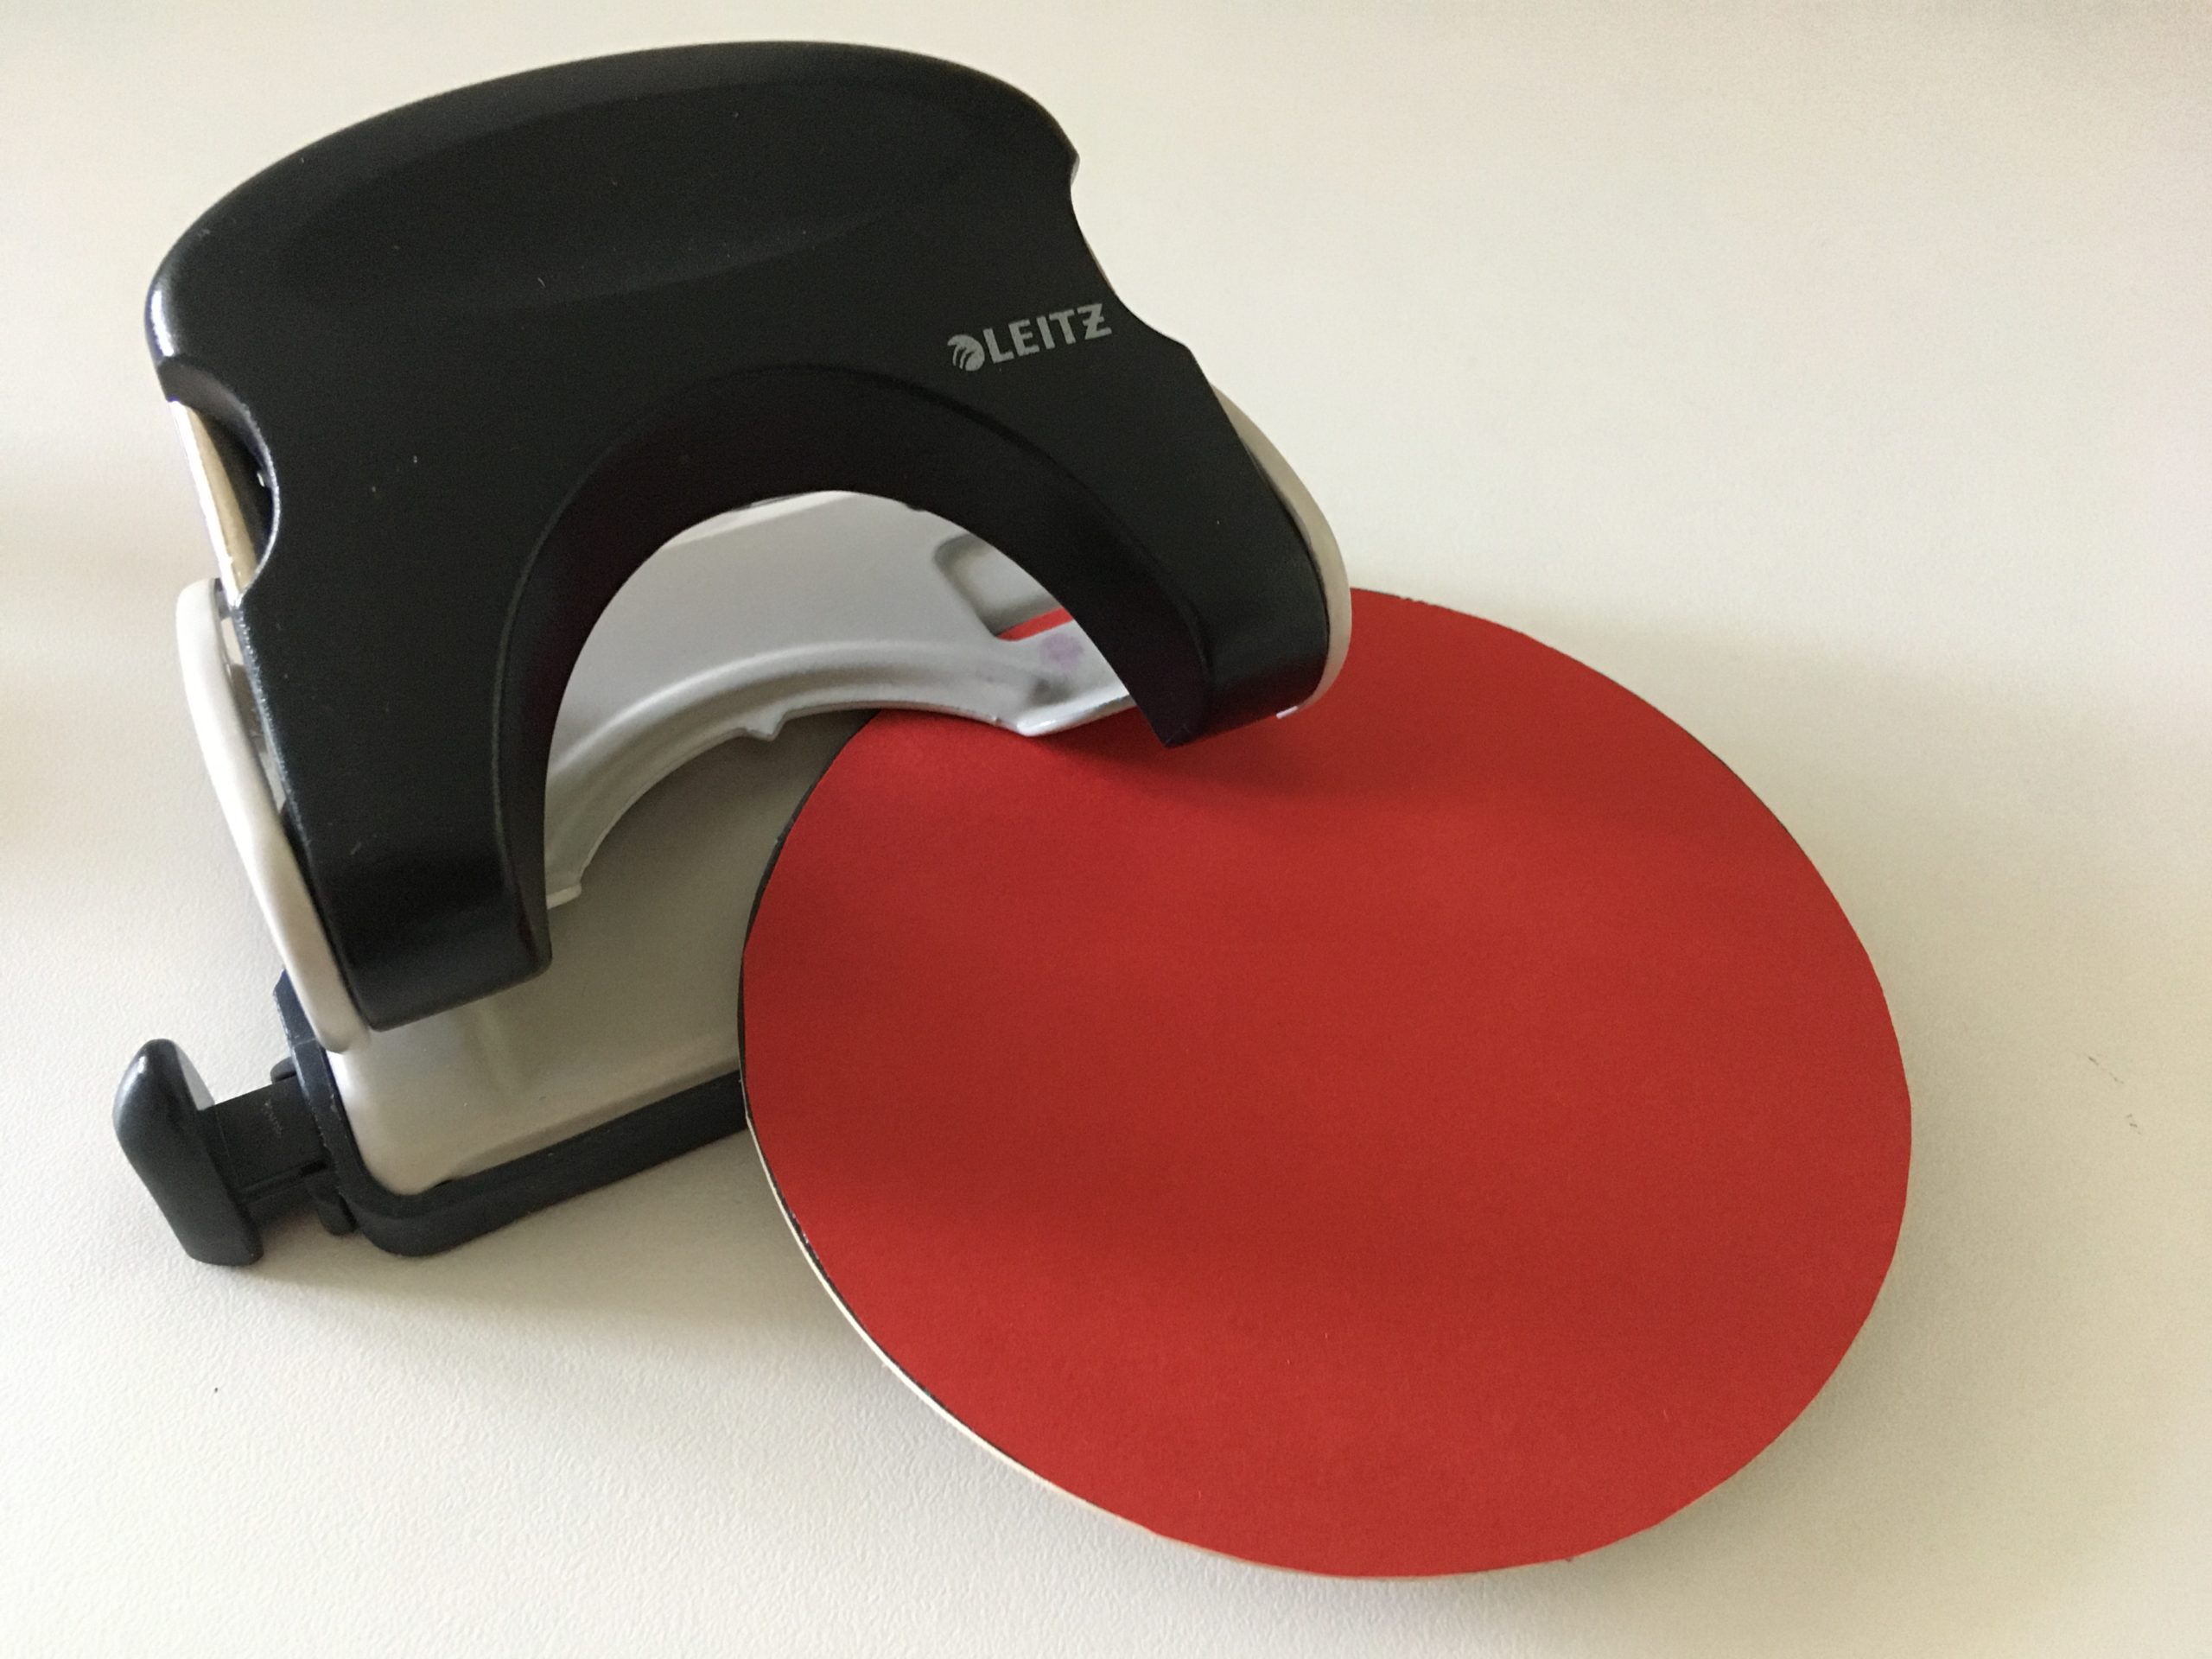
Put straw through. A straw just fits through the hole, if necessary you have to widen it a bit with the scissors.

The glass cover is ready!
You can design several of them. These can be monochrome or colorful.
Of course you can paint the lids.
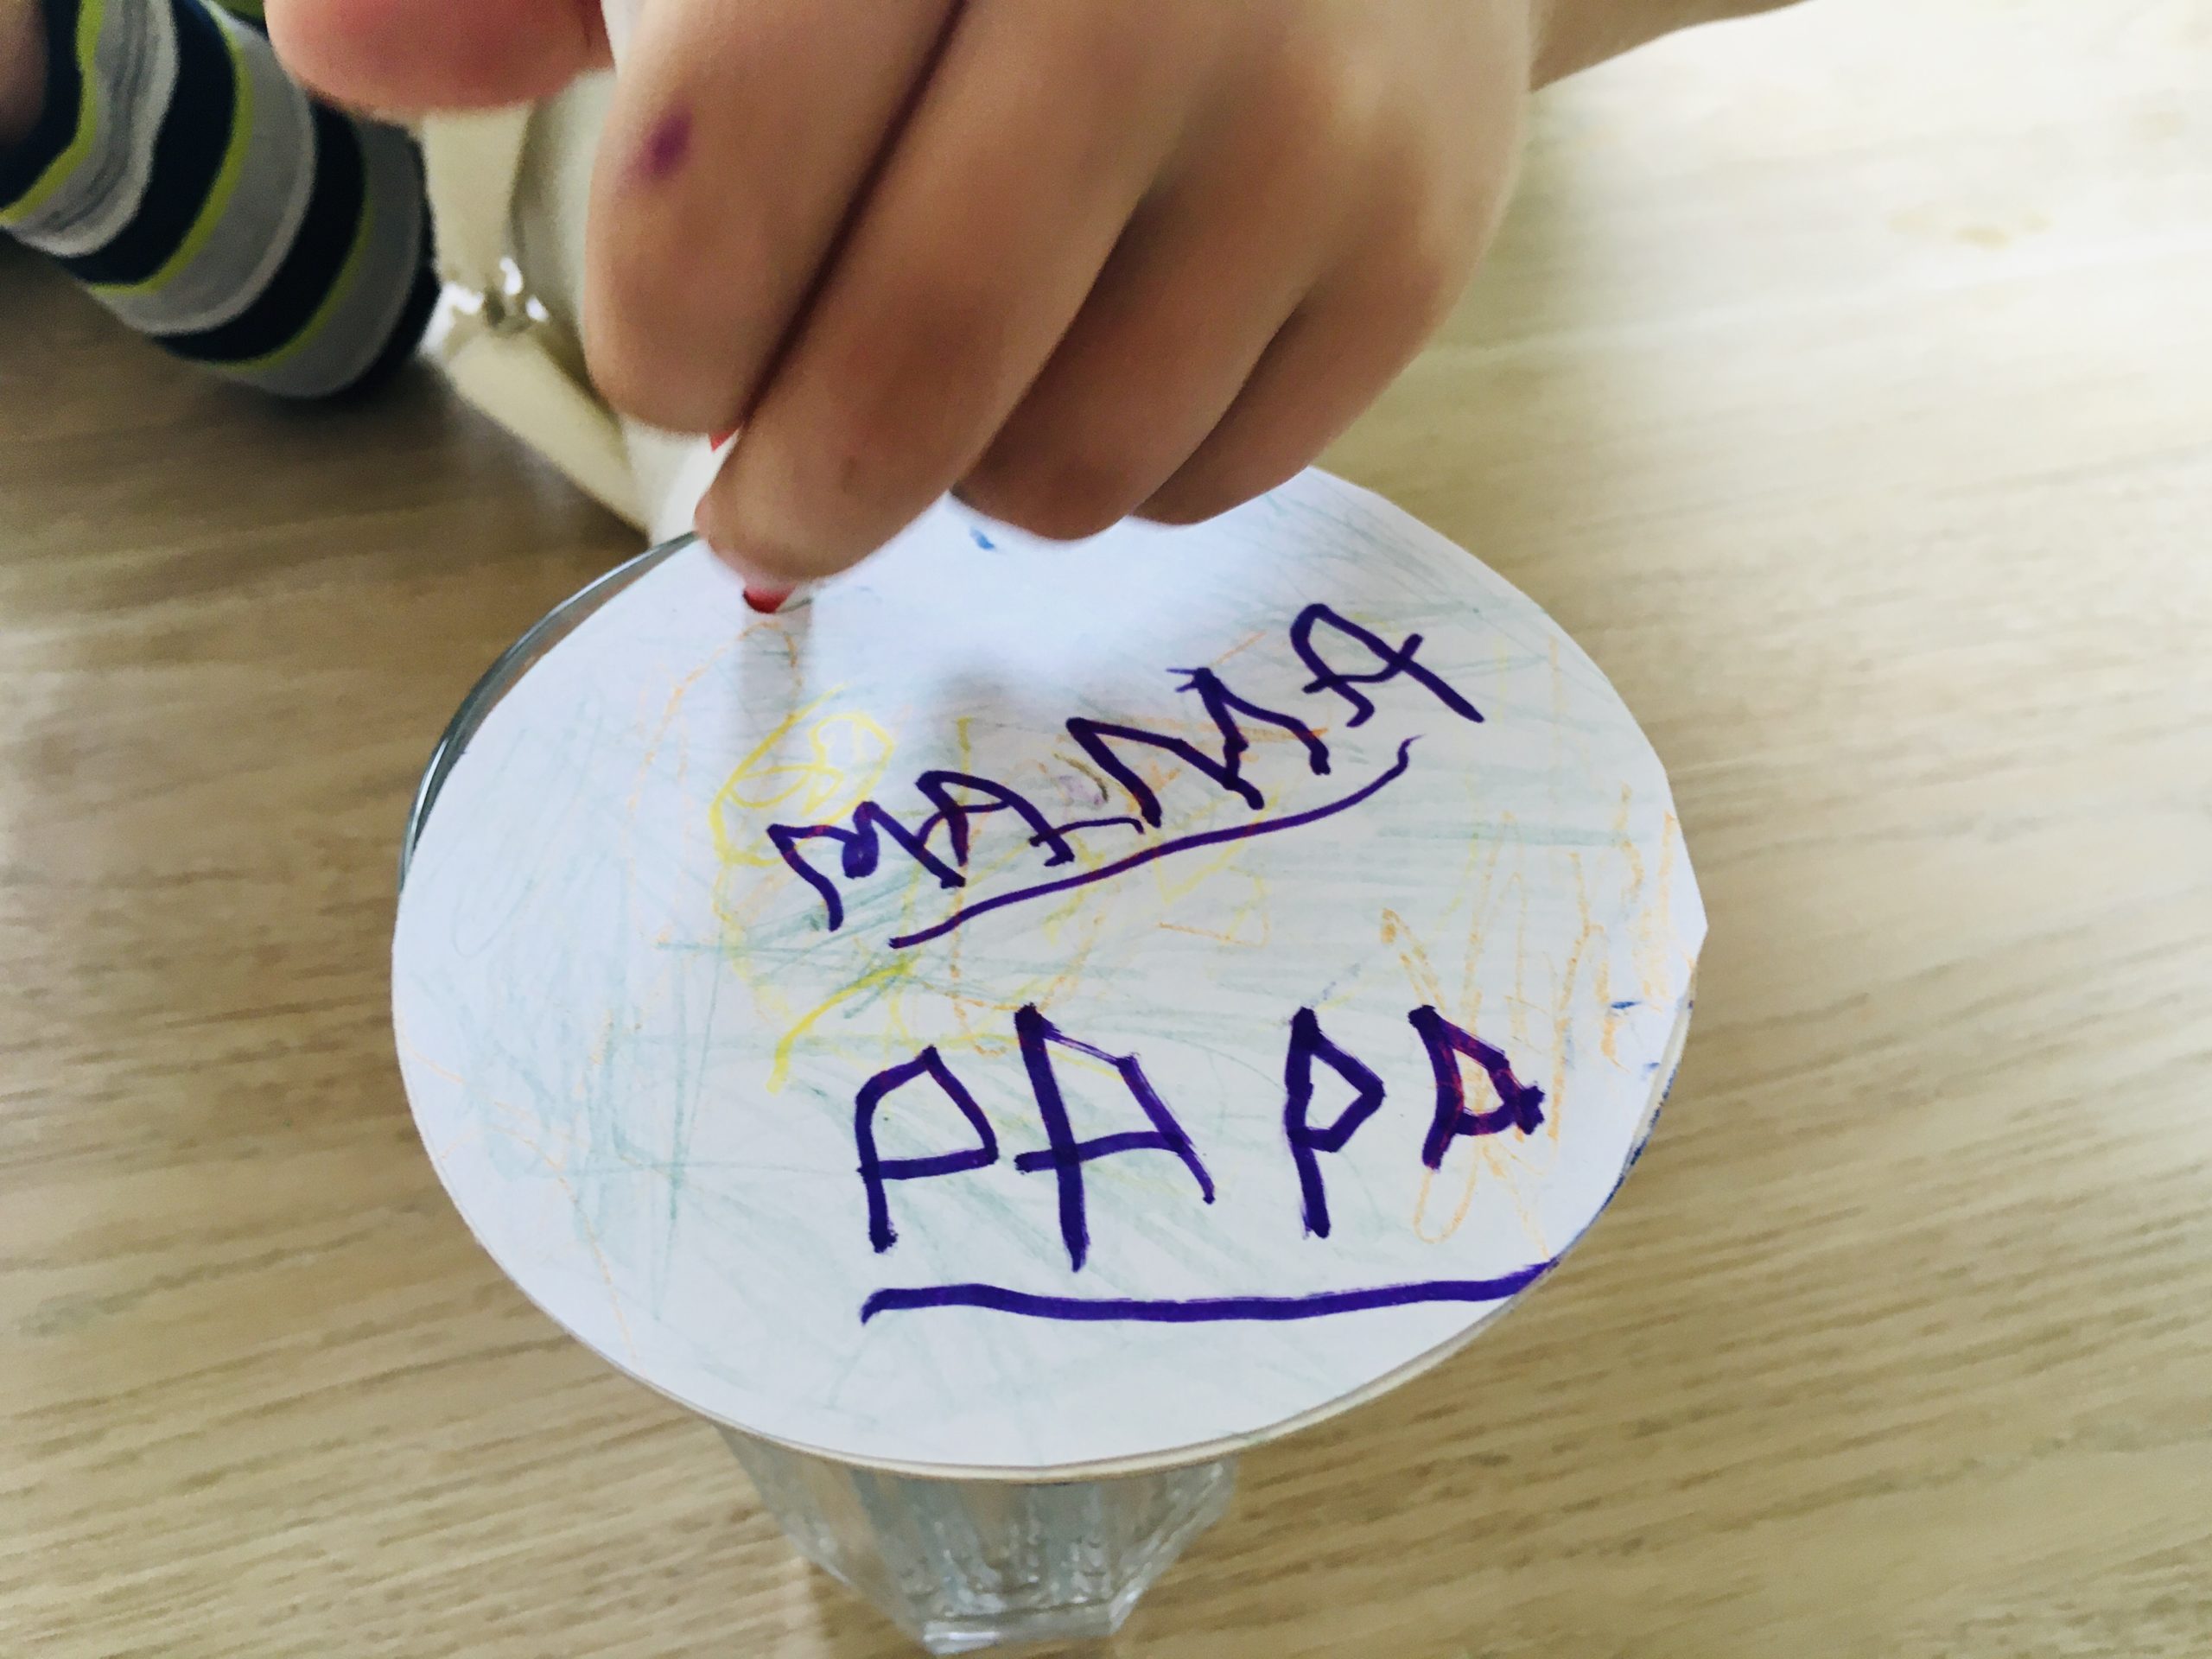
Or write something on it....
Be creative!
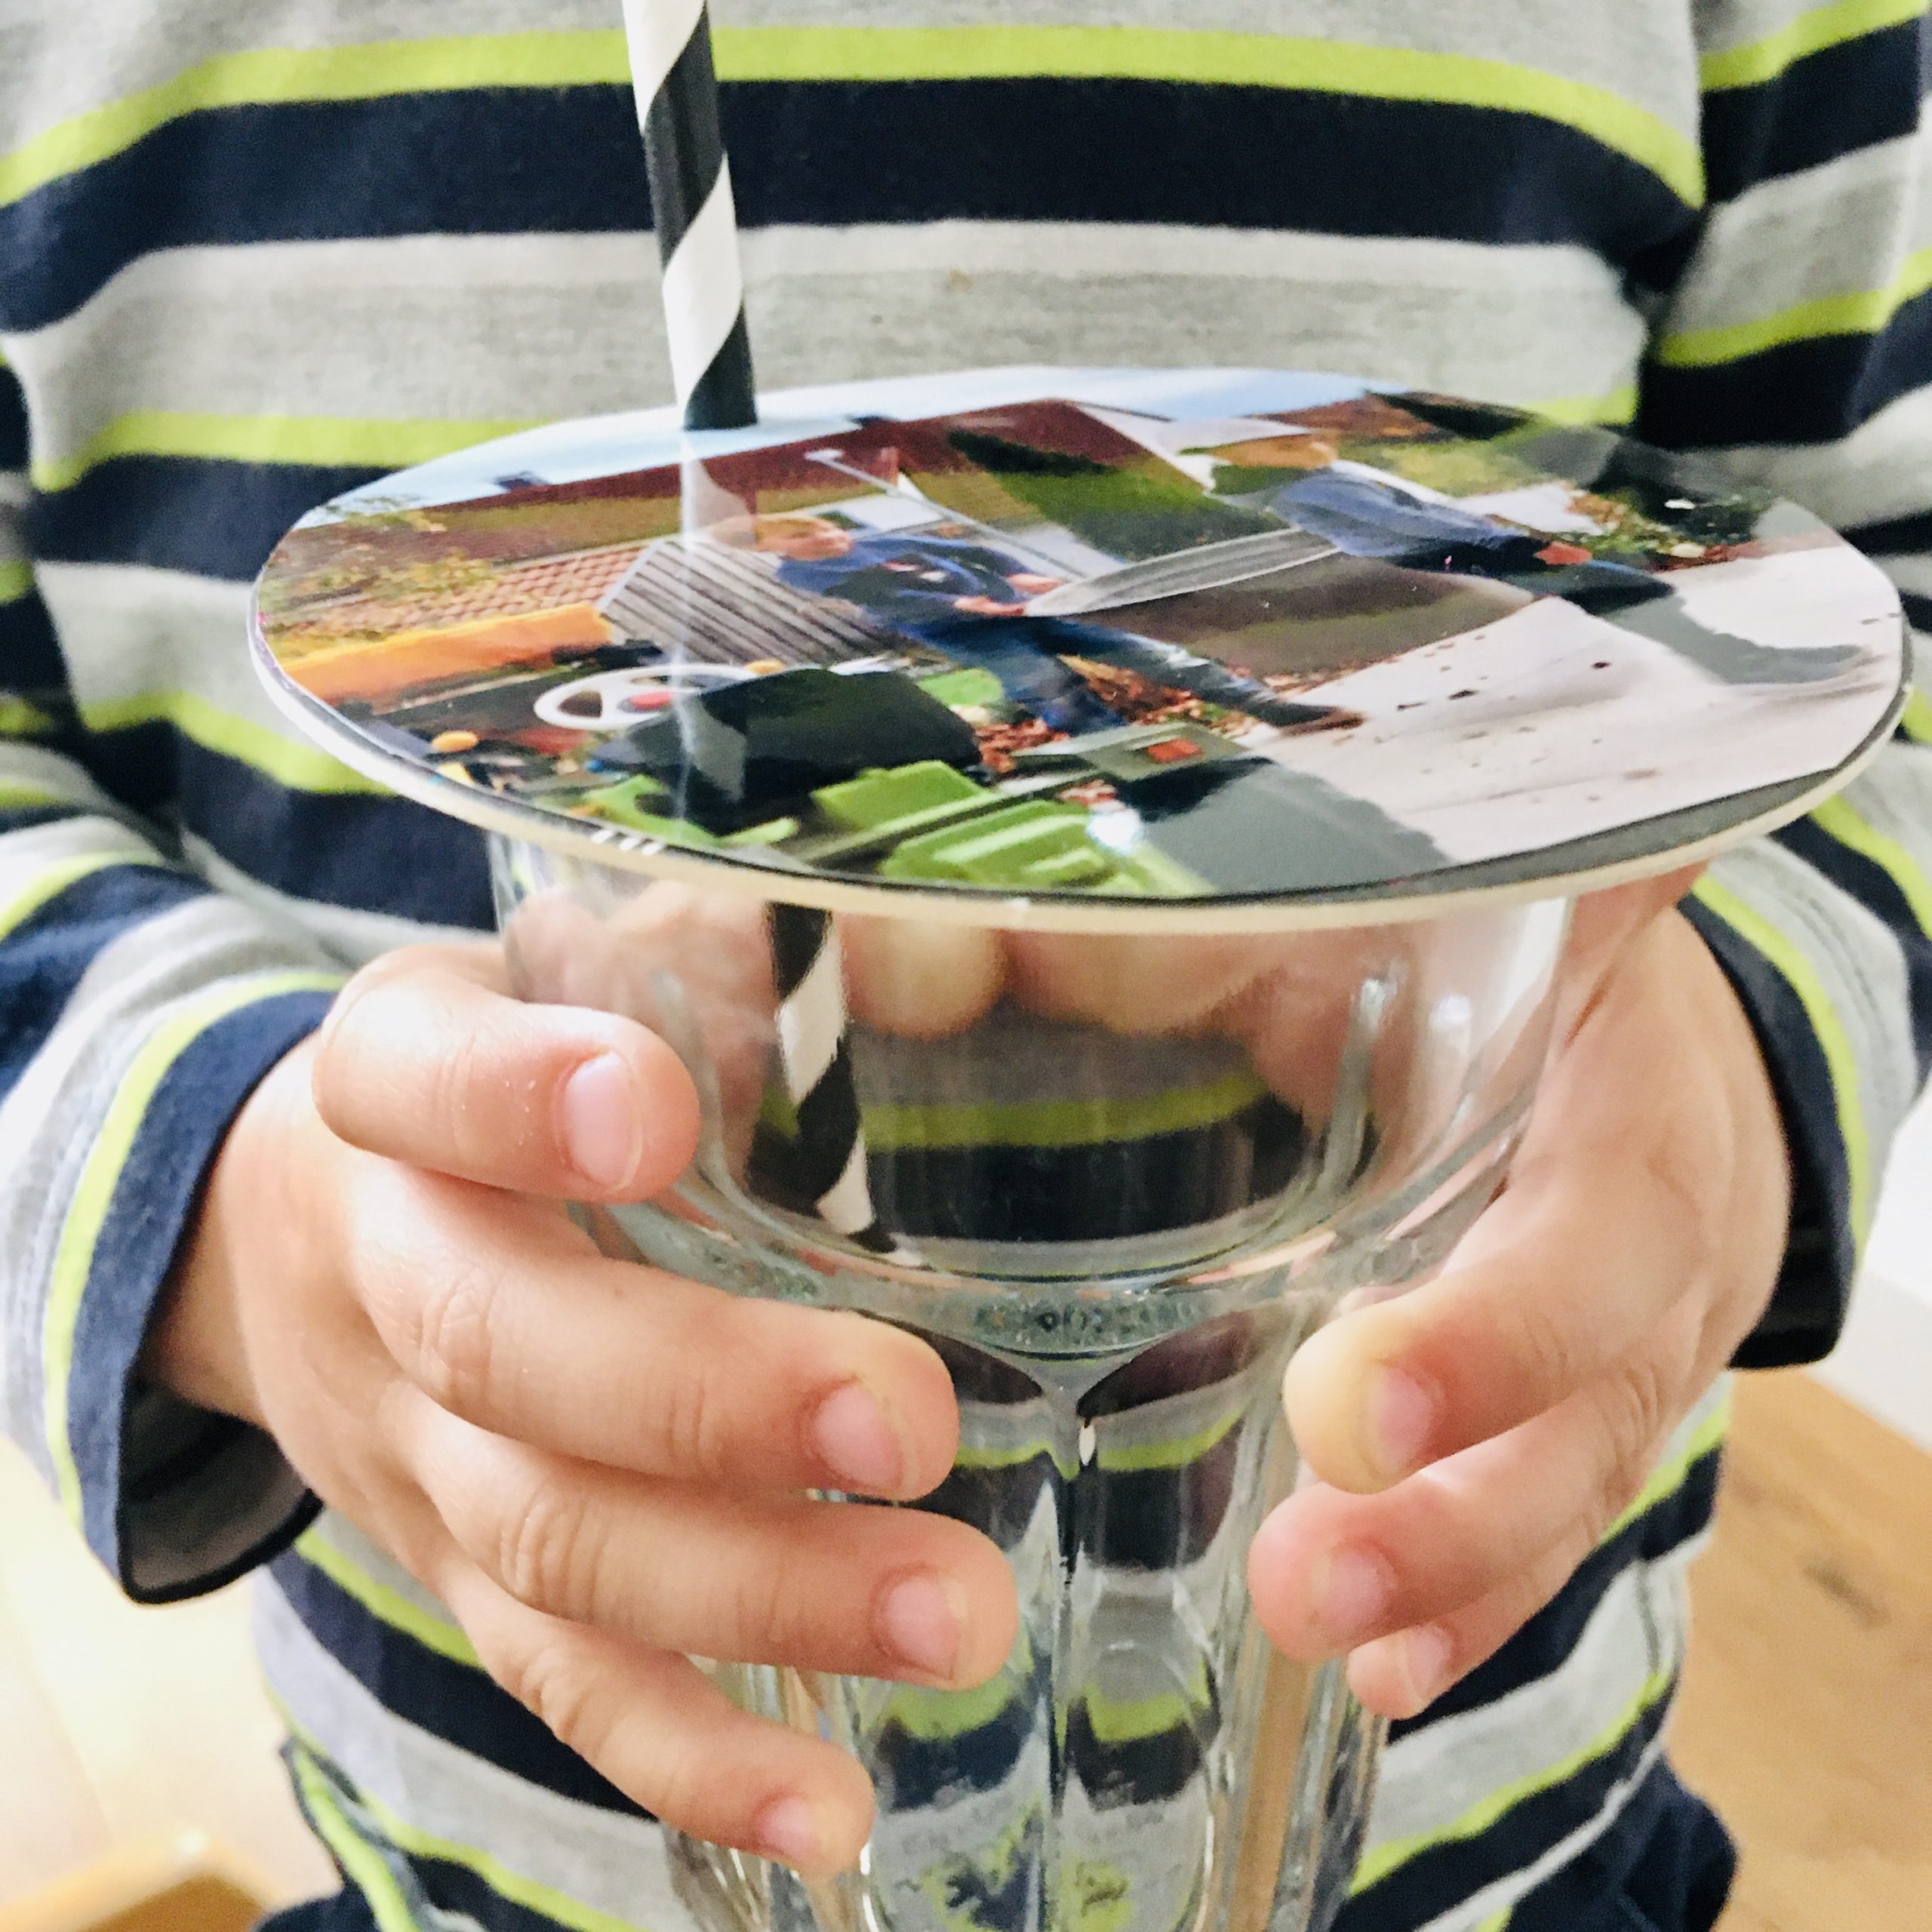
Place a photo on the left side of the table and place the beer lid on it. Make sure that the motif you choose is centered on the beer lid. Then circle the beer lid with a pen and cut the photo.
Now you can put the photo on the beer lid.
Then take a puncher and punch in it. Make sure that you come in as far as possible. Put the straw through and an individual glass cover is ready.
Tip: Matte photos look better than glossy prints in this case.
If you don't have a beer lid at home, you can just take a firmer box. Record a circle with a larger glass or a small bowl and cut it out.
Then you can paint or label the top.
Then a hole for the straw holes in it.
Put the straw through and your beverage cover is ready.
Tip: If you prefer the same glass coverings, different-coloured straws can help to distinguish.
Materials
Directions
Just take existing beer lids and put it on a clay paper.
Ride the pen around the beer lid and cut out the clay paper circle.
Stick these on the beer lid. Now you can simply glue them monochrome. (See also the tips for the color games with cardboard lids)
Then take a puncher and punch in it. Make sure that you come in as far as possible. Put the straw through and your beverage cover is ready.
You can all design the same or make lids in different colors. So everyone recognizes their drink.
Ride the pen around the beer lid.
Cut out the circle.
Stick it on the beer lid.
Hole the beer lid.
Put straw through. A straw just fits through the hole, if necessary you have to widen it a bit with the scissors.
The glass cover is ready!
You can design several of them. These can be monochrome or colorful.
Of course you can paint the lids.
Or write something on it....
Be creative!
Place a photo on the left side of the table and place the beer lid on it. Make sure that the motif you choose is centered on the beer lid. Then circle the beer lid with a pen and cut the photo.
Now you can put the photo on the beer lid.
Then take a puncher and punch in it. Make sure that you come in as far as possible. Put the straw through and an individual glass cover is ready.
Tip: Matte photos look better than glossy prints in this case.
If you don't have a beer lid at home, you can just take a firmer box. Record a circle with a larger glass or a small bowl and cut it out.
Then you can paint or label the top.
Then a hole for the straw holes in it.
Put the straw through and your beverage cover is ready.
Tip: If you prefer the same glass coverings, different-coloured straws can help to distinguish.
Follow us on Facebook , Instagram and Pinterest
Don't miss any more adventures: Our bottle mail