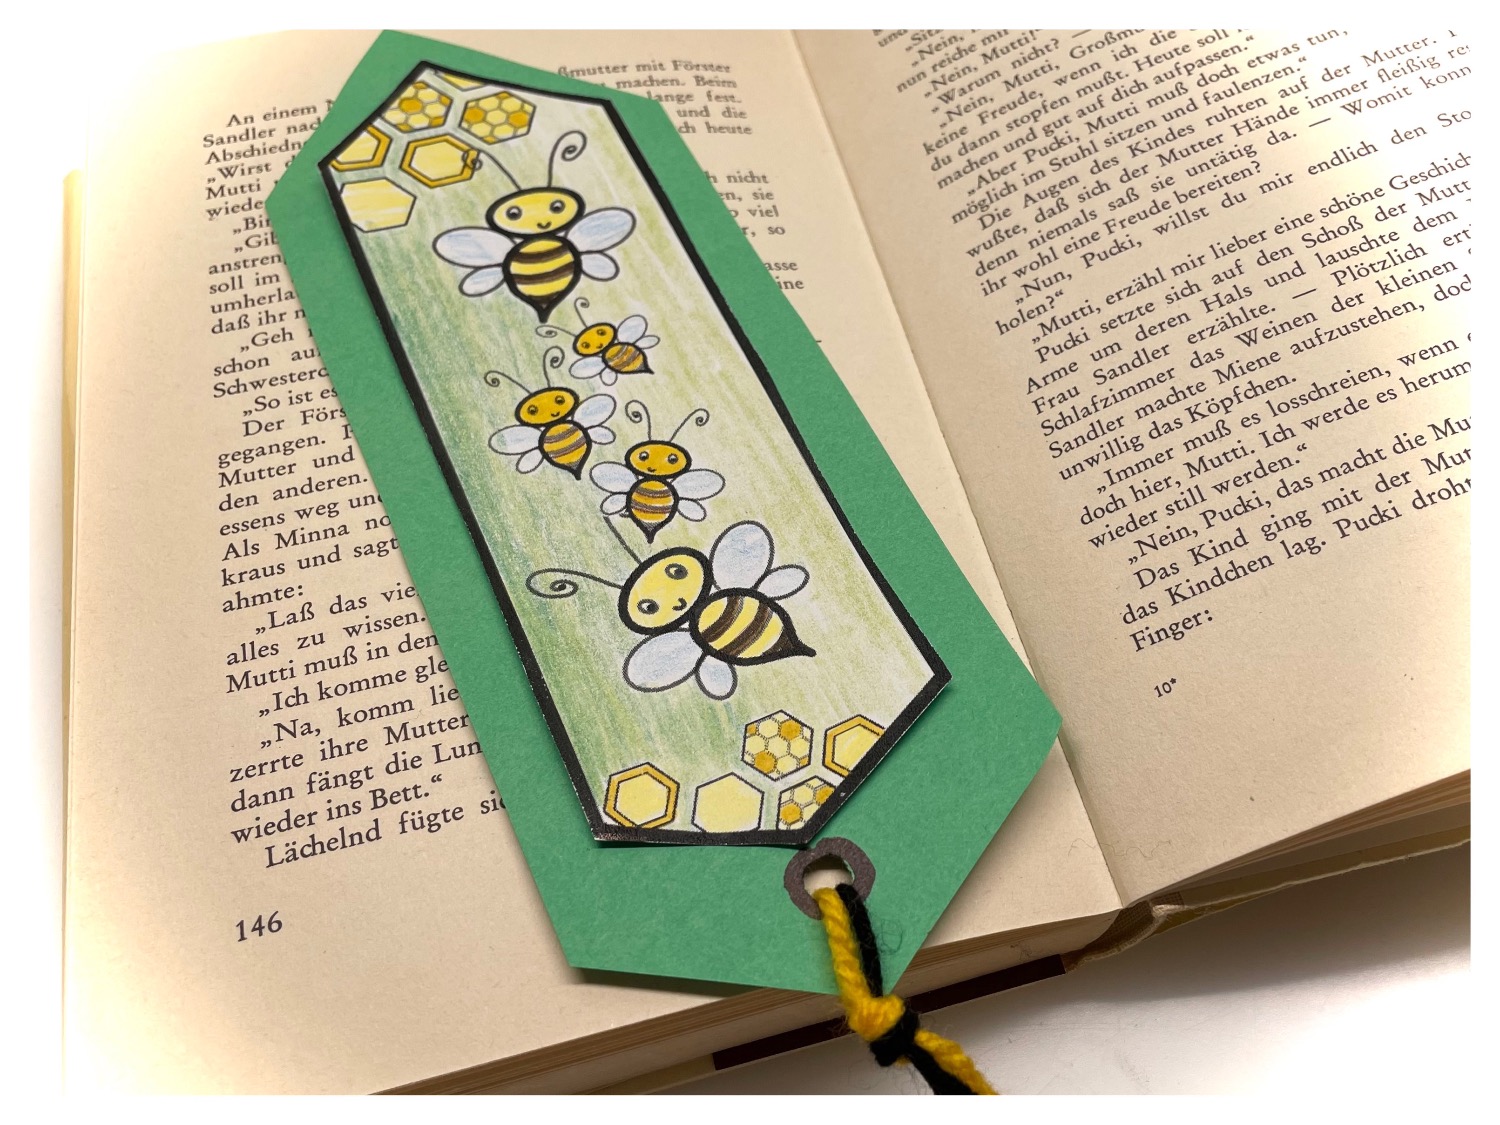
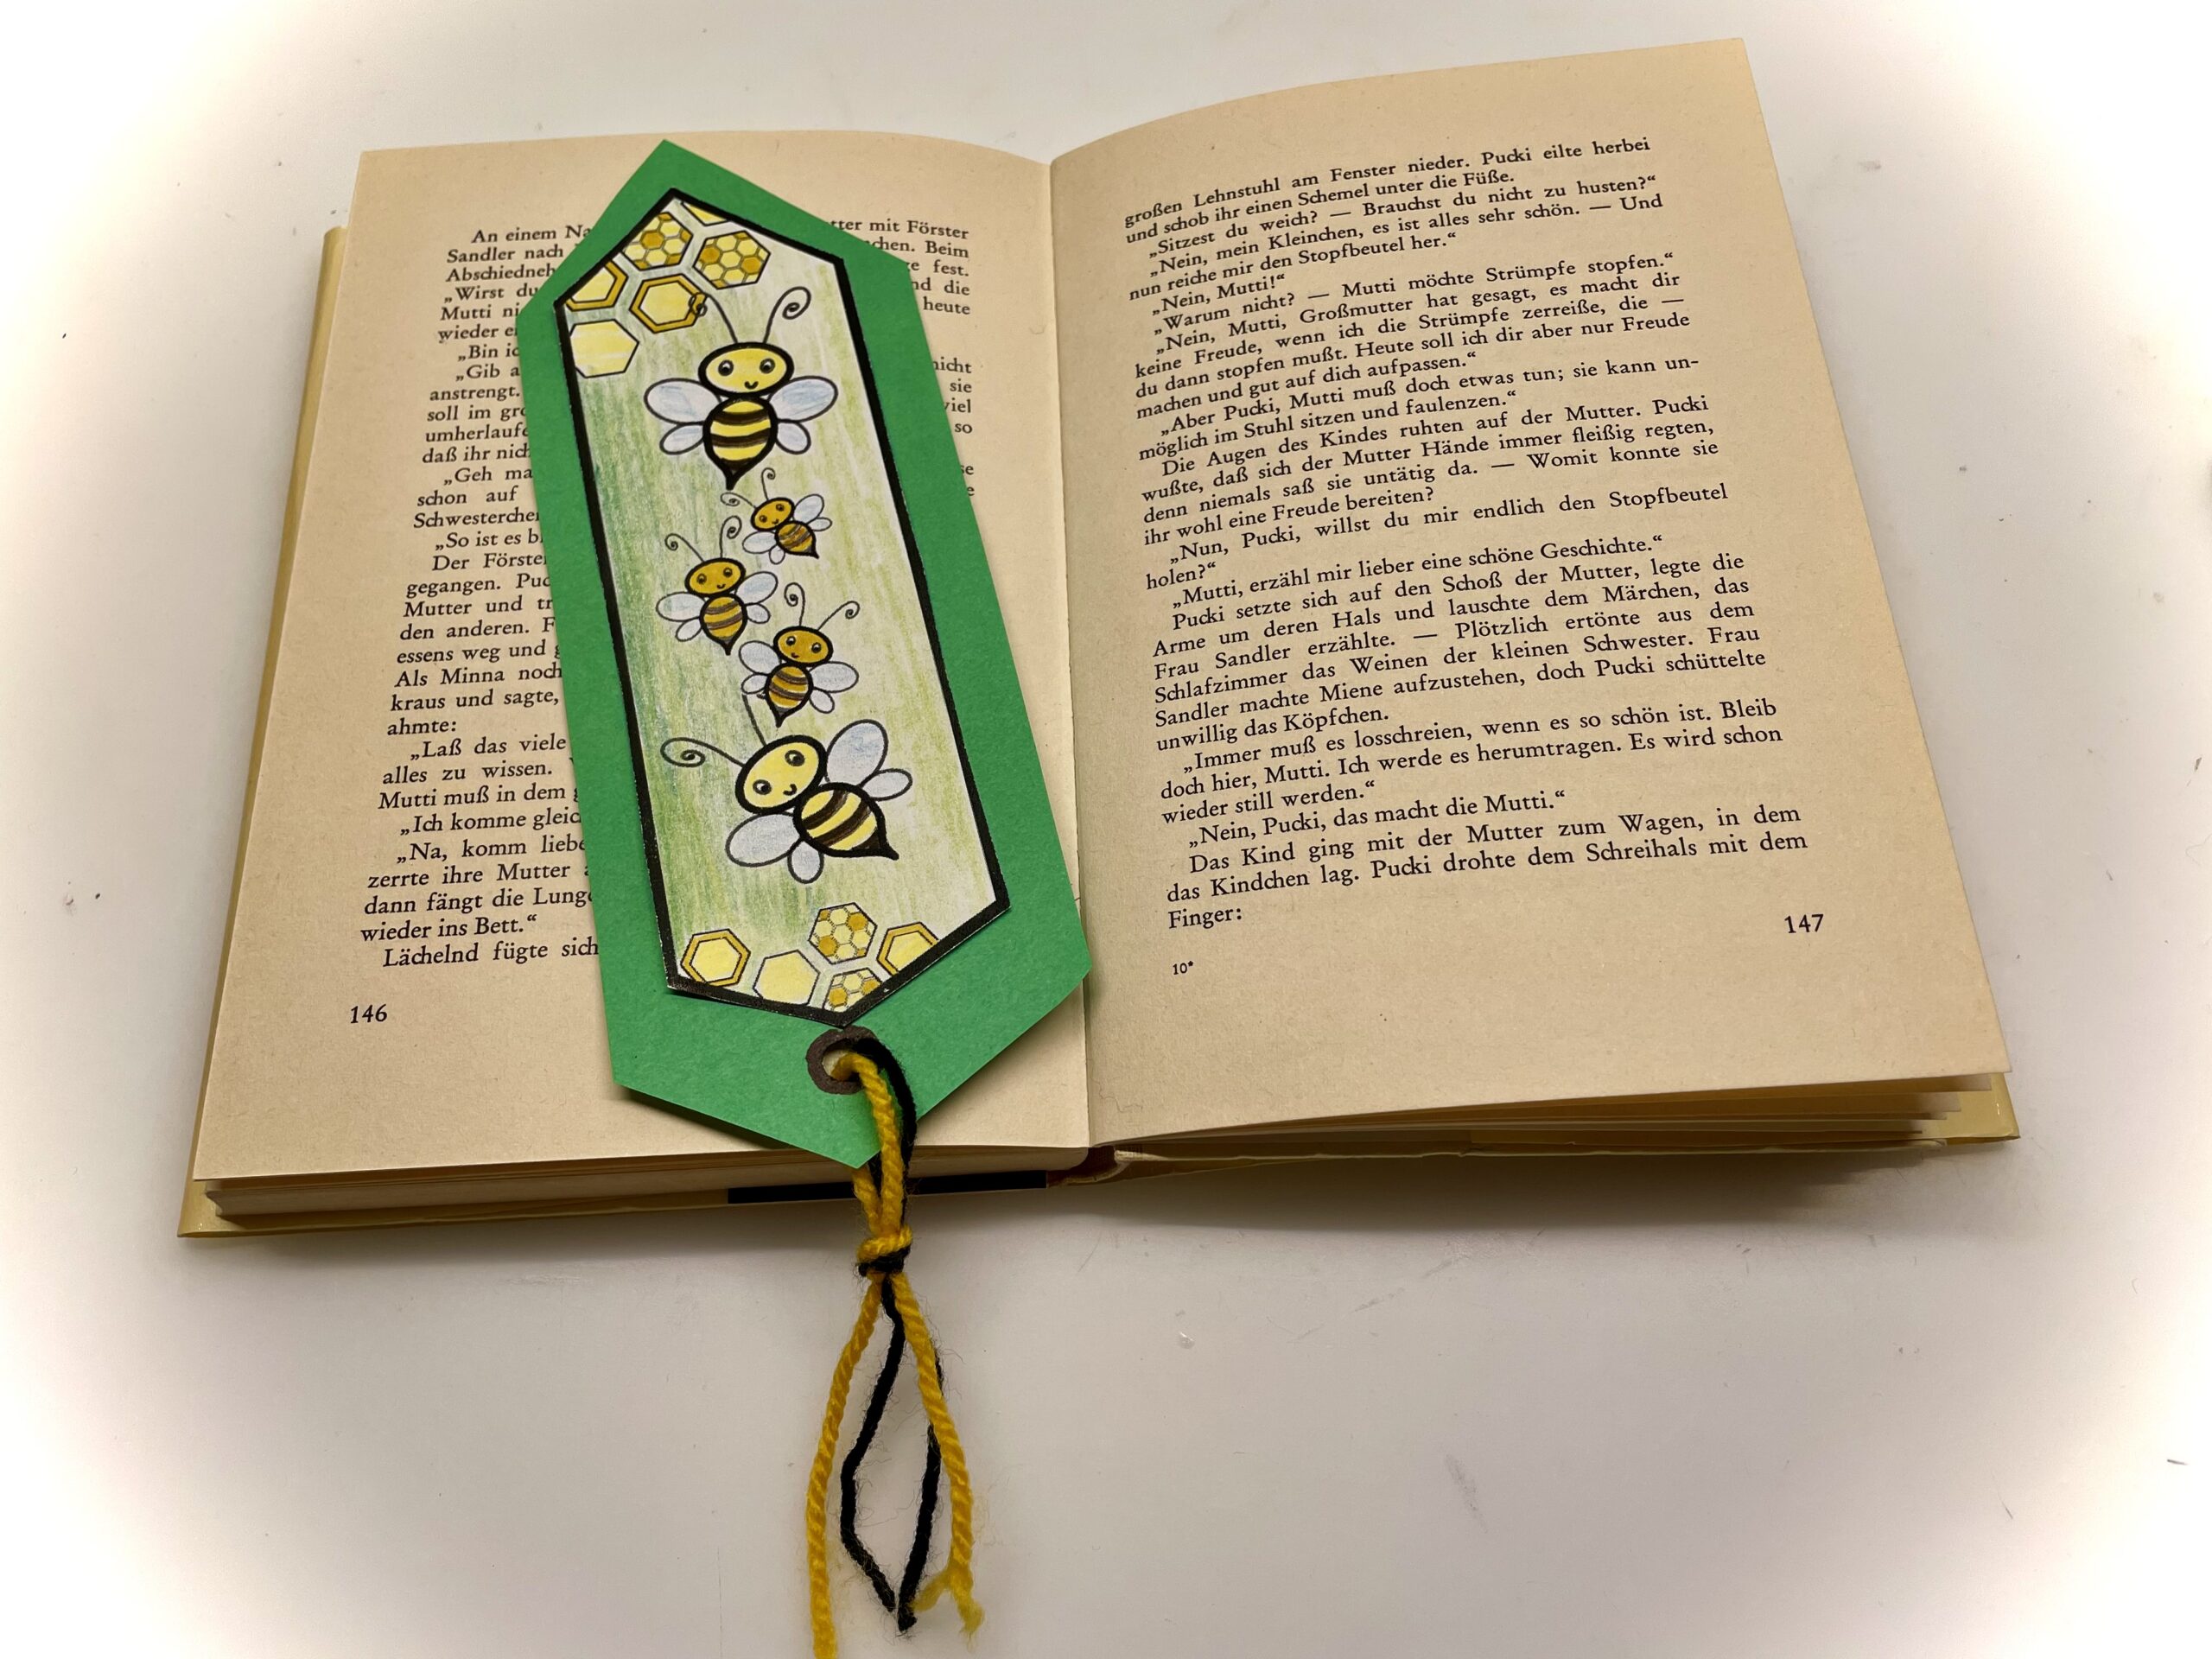
This beautiful bookmark is self-made. With the print template it is quite simple. Print it out, paint it on and glue it on a cardboard box. This creates a beautiful bookmark in no time at all. Maybe you also like to give it away? Have fun making a bookmark.
Media Education for Kindergarten and Hort

Relief in everyday life, targeted promotion of individual children, independent learning and - without any pre-knowledge already usable by the youngest!
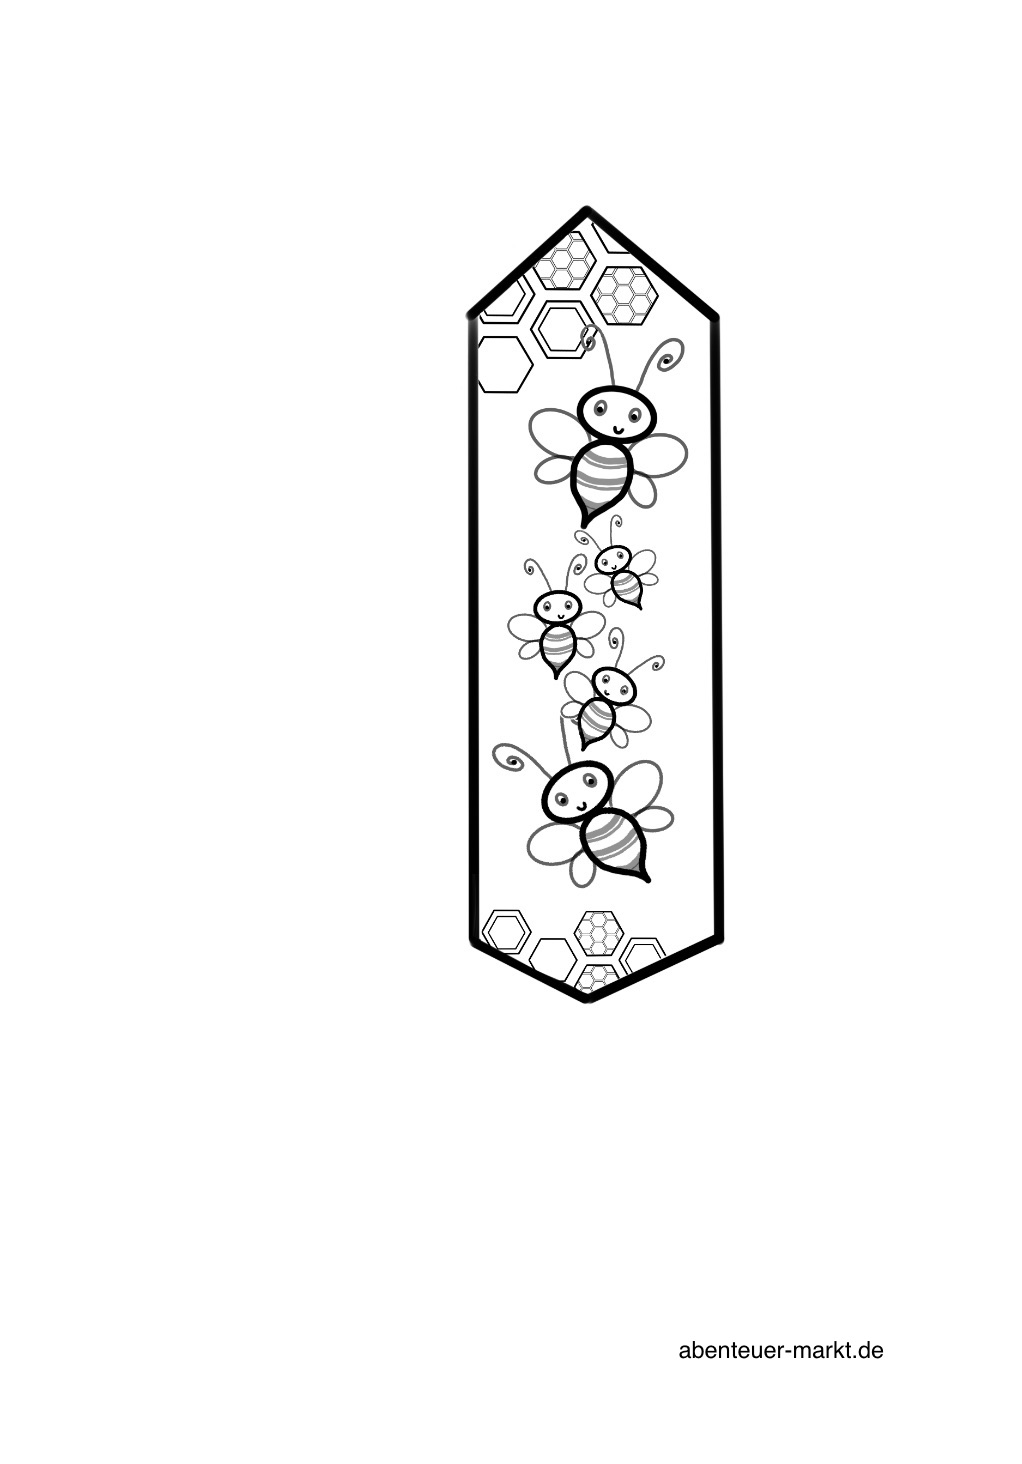
Print this template for a bookmark.
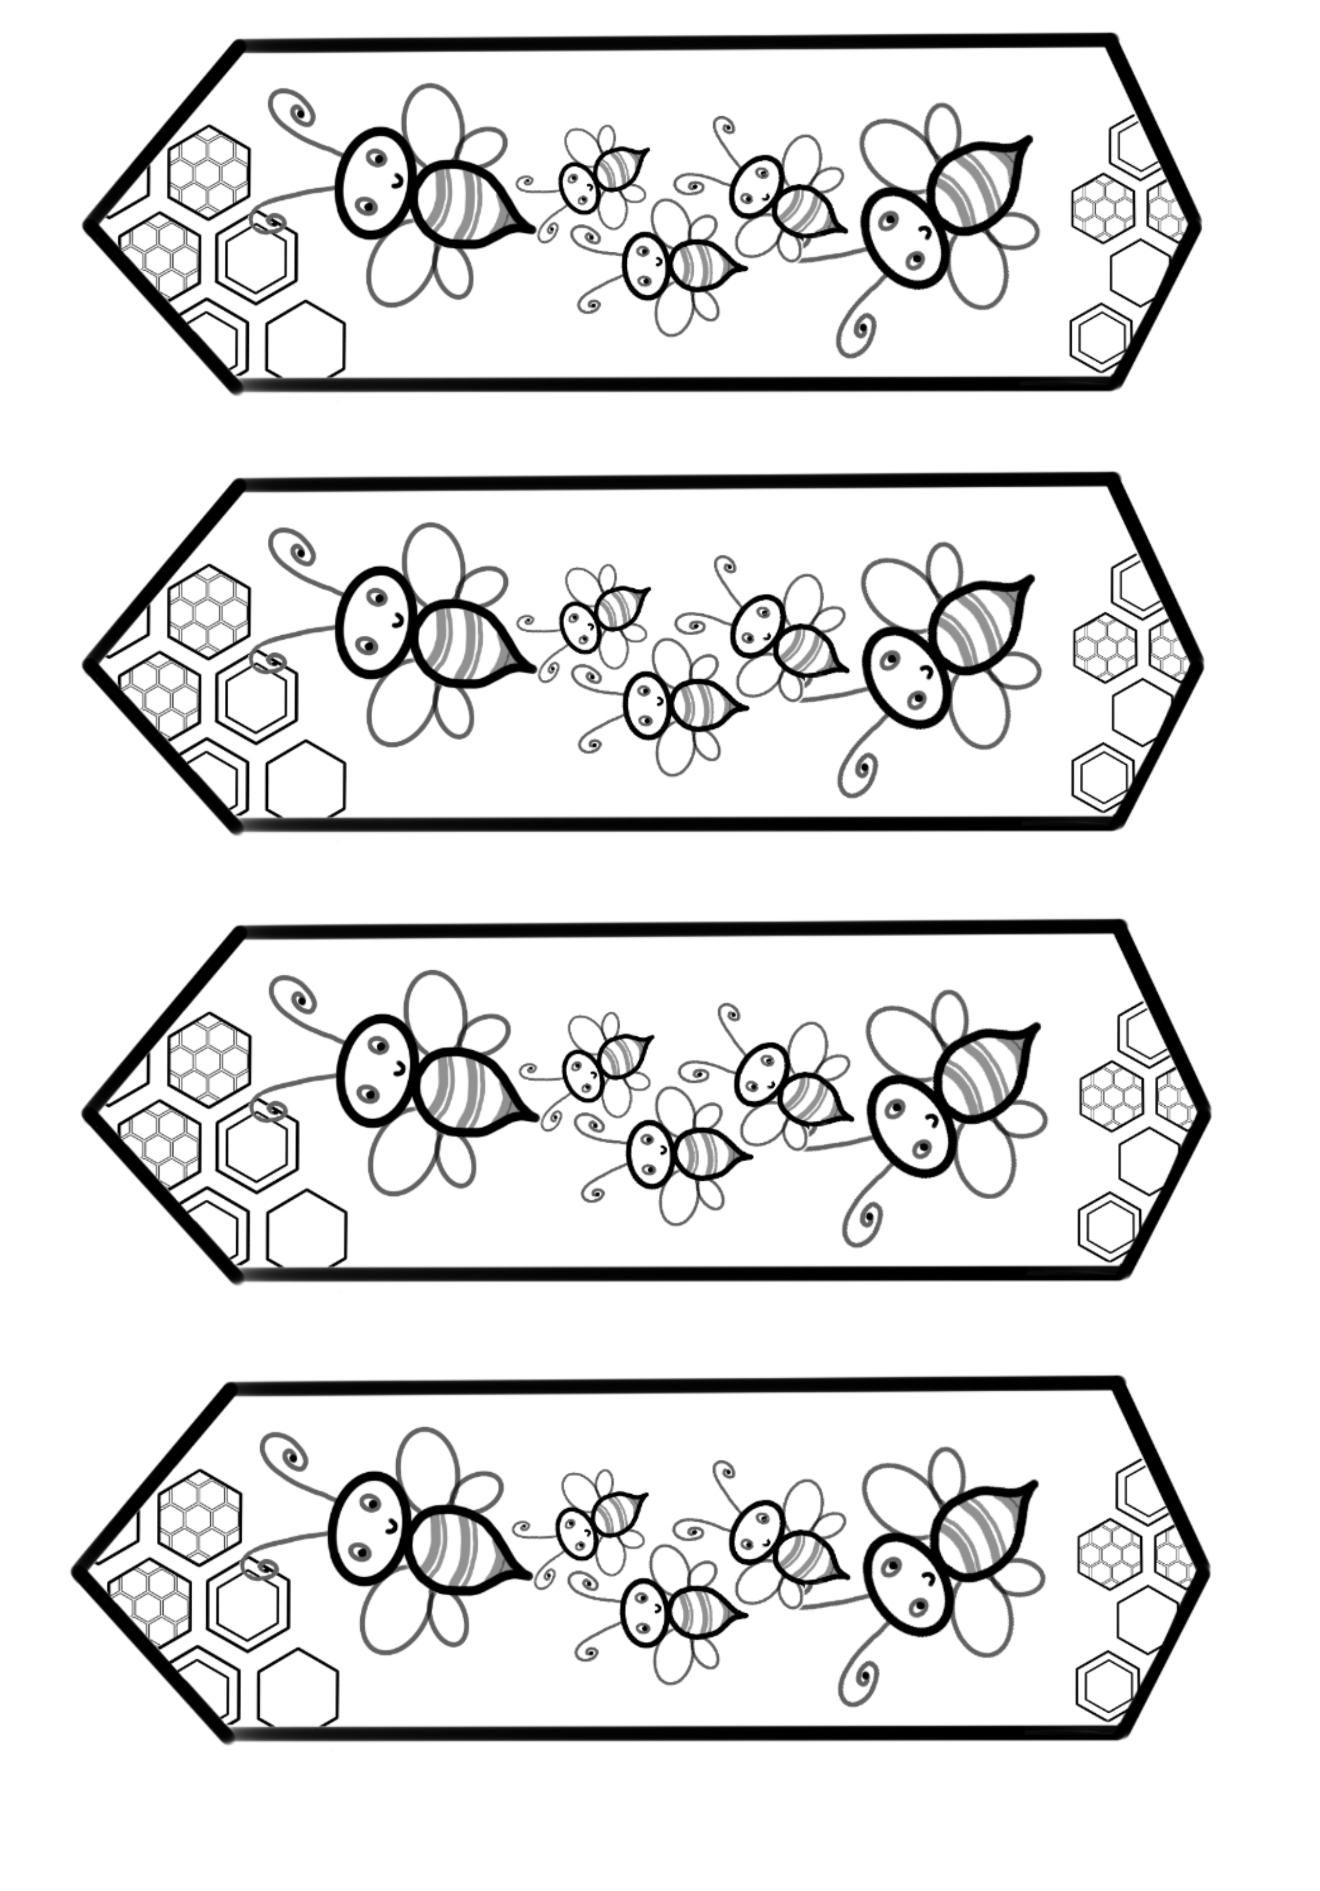
Or you can print this template for several bookmarks.
Tip: The crafting of bookmarks is also suitable for a children's birthday party!
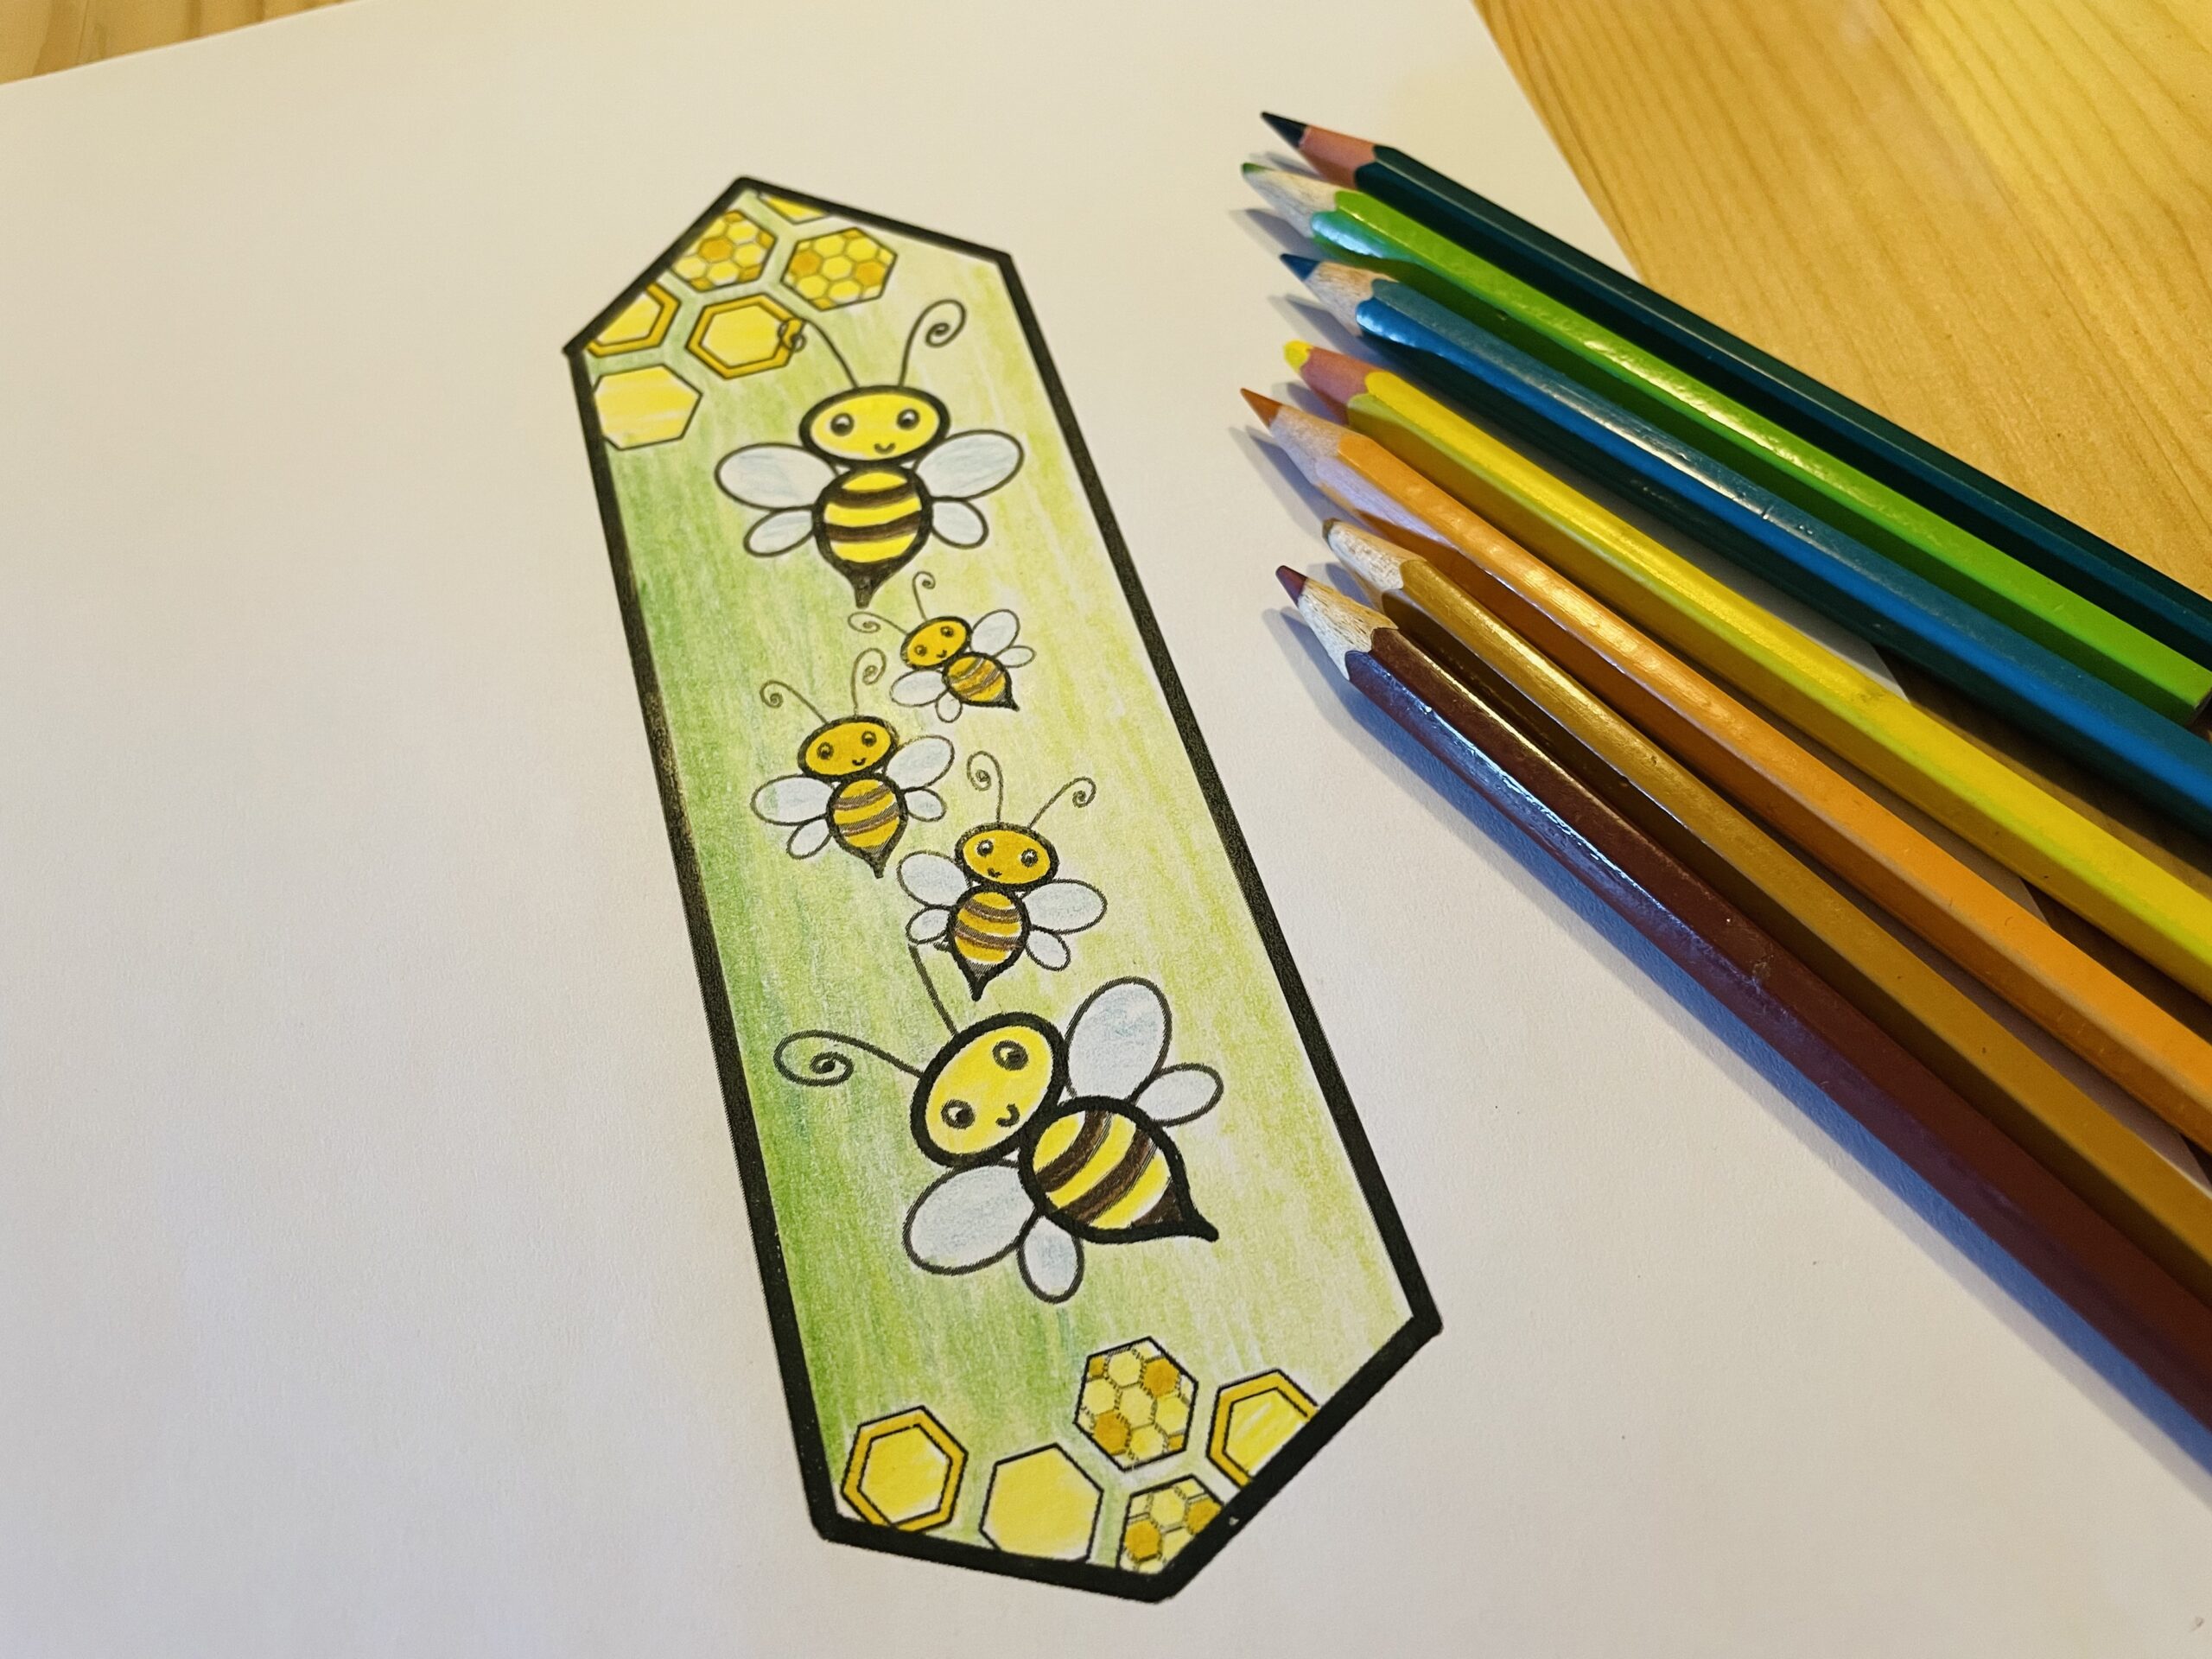
Put out your painting sheet and paint the bee sheet in a colorful way according to your ideas. After that you cut out the bookmark.
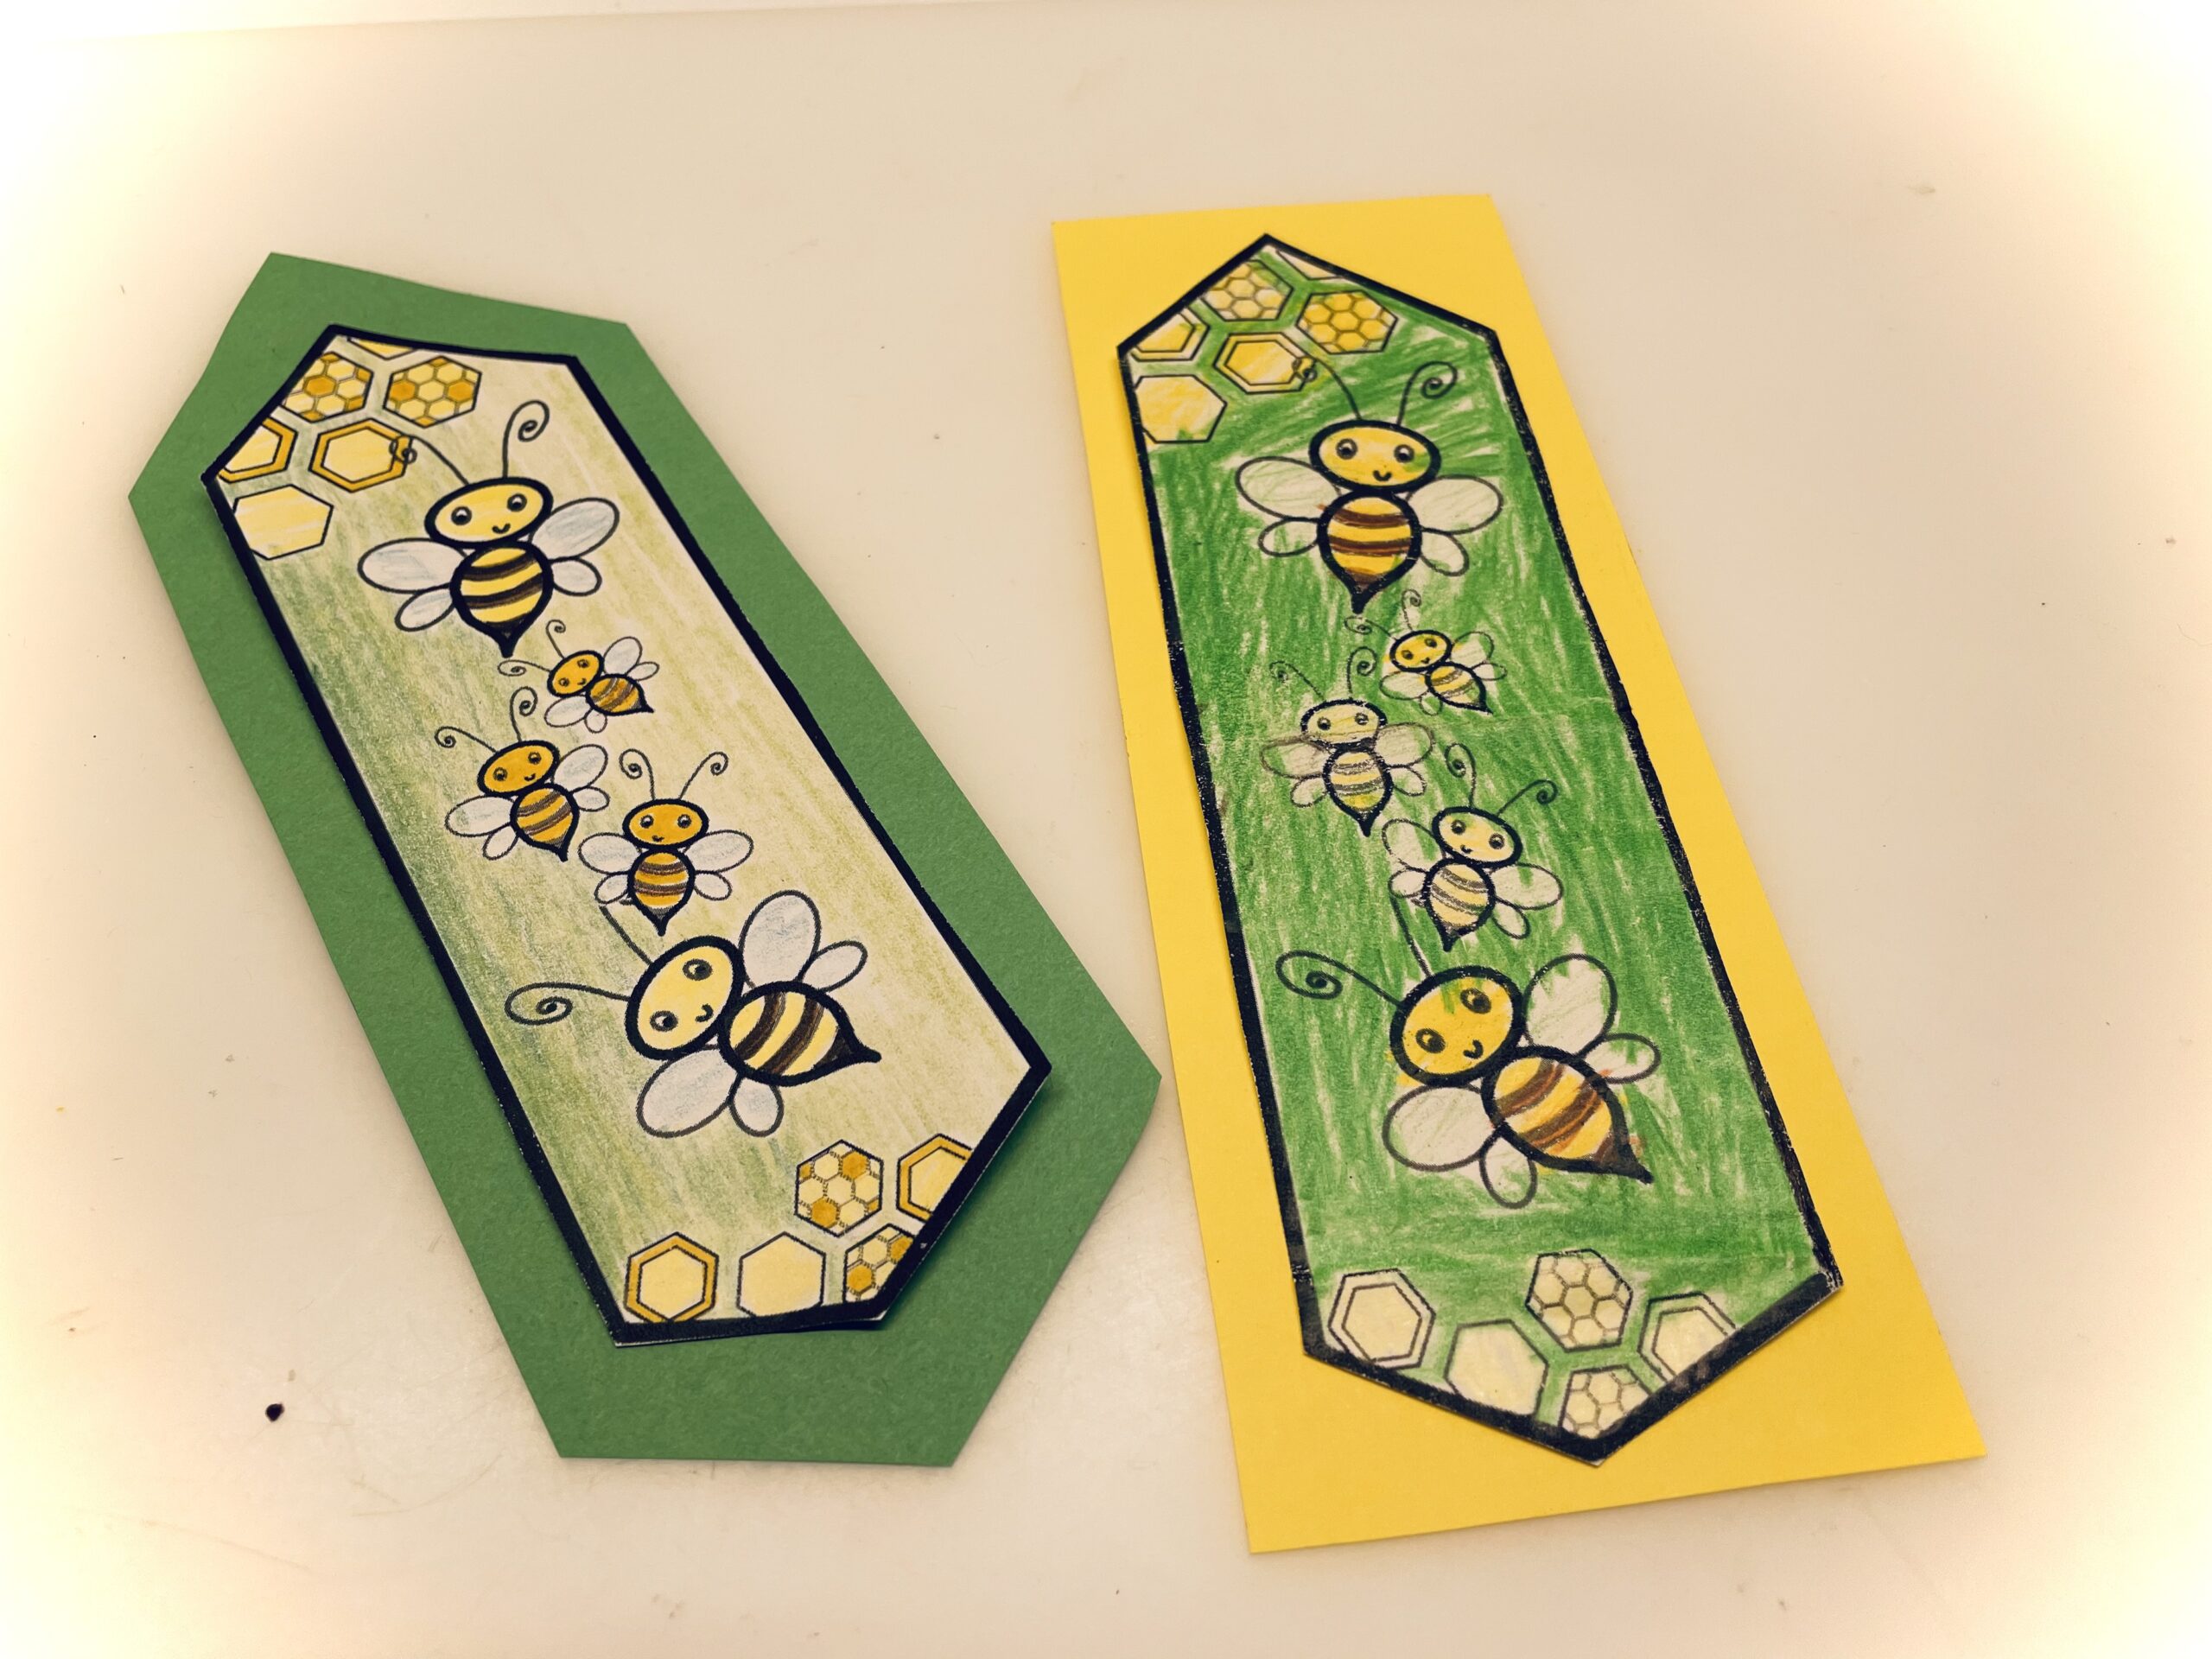
Then you stick the bookmark on a colored clay paper. This makes the bookmark more stable. What shape do you like? Cut the paper rectangular or in the shape of the bookmark. Tip: Make sure it is a little bigger, then it looks like a frame.
Now attach a volume to the bookmark. This will later look out of the book and show which page you are in the book.
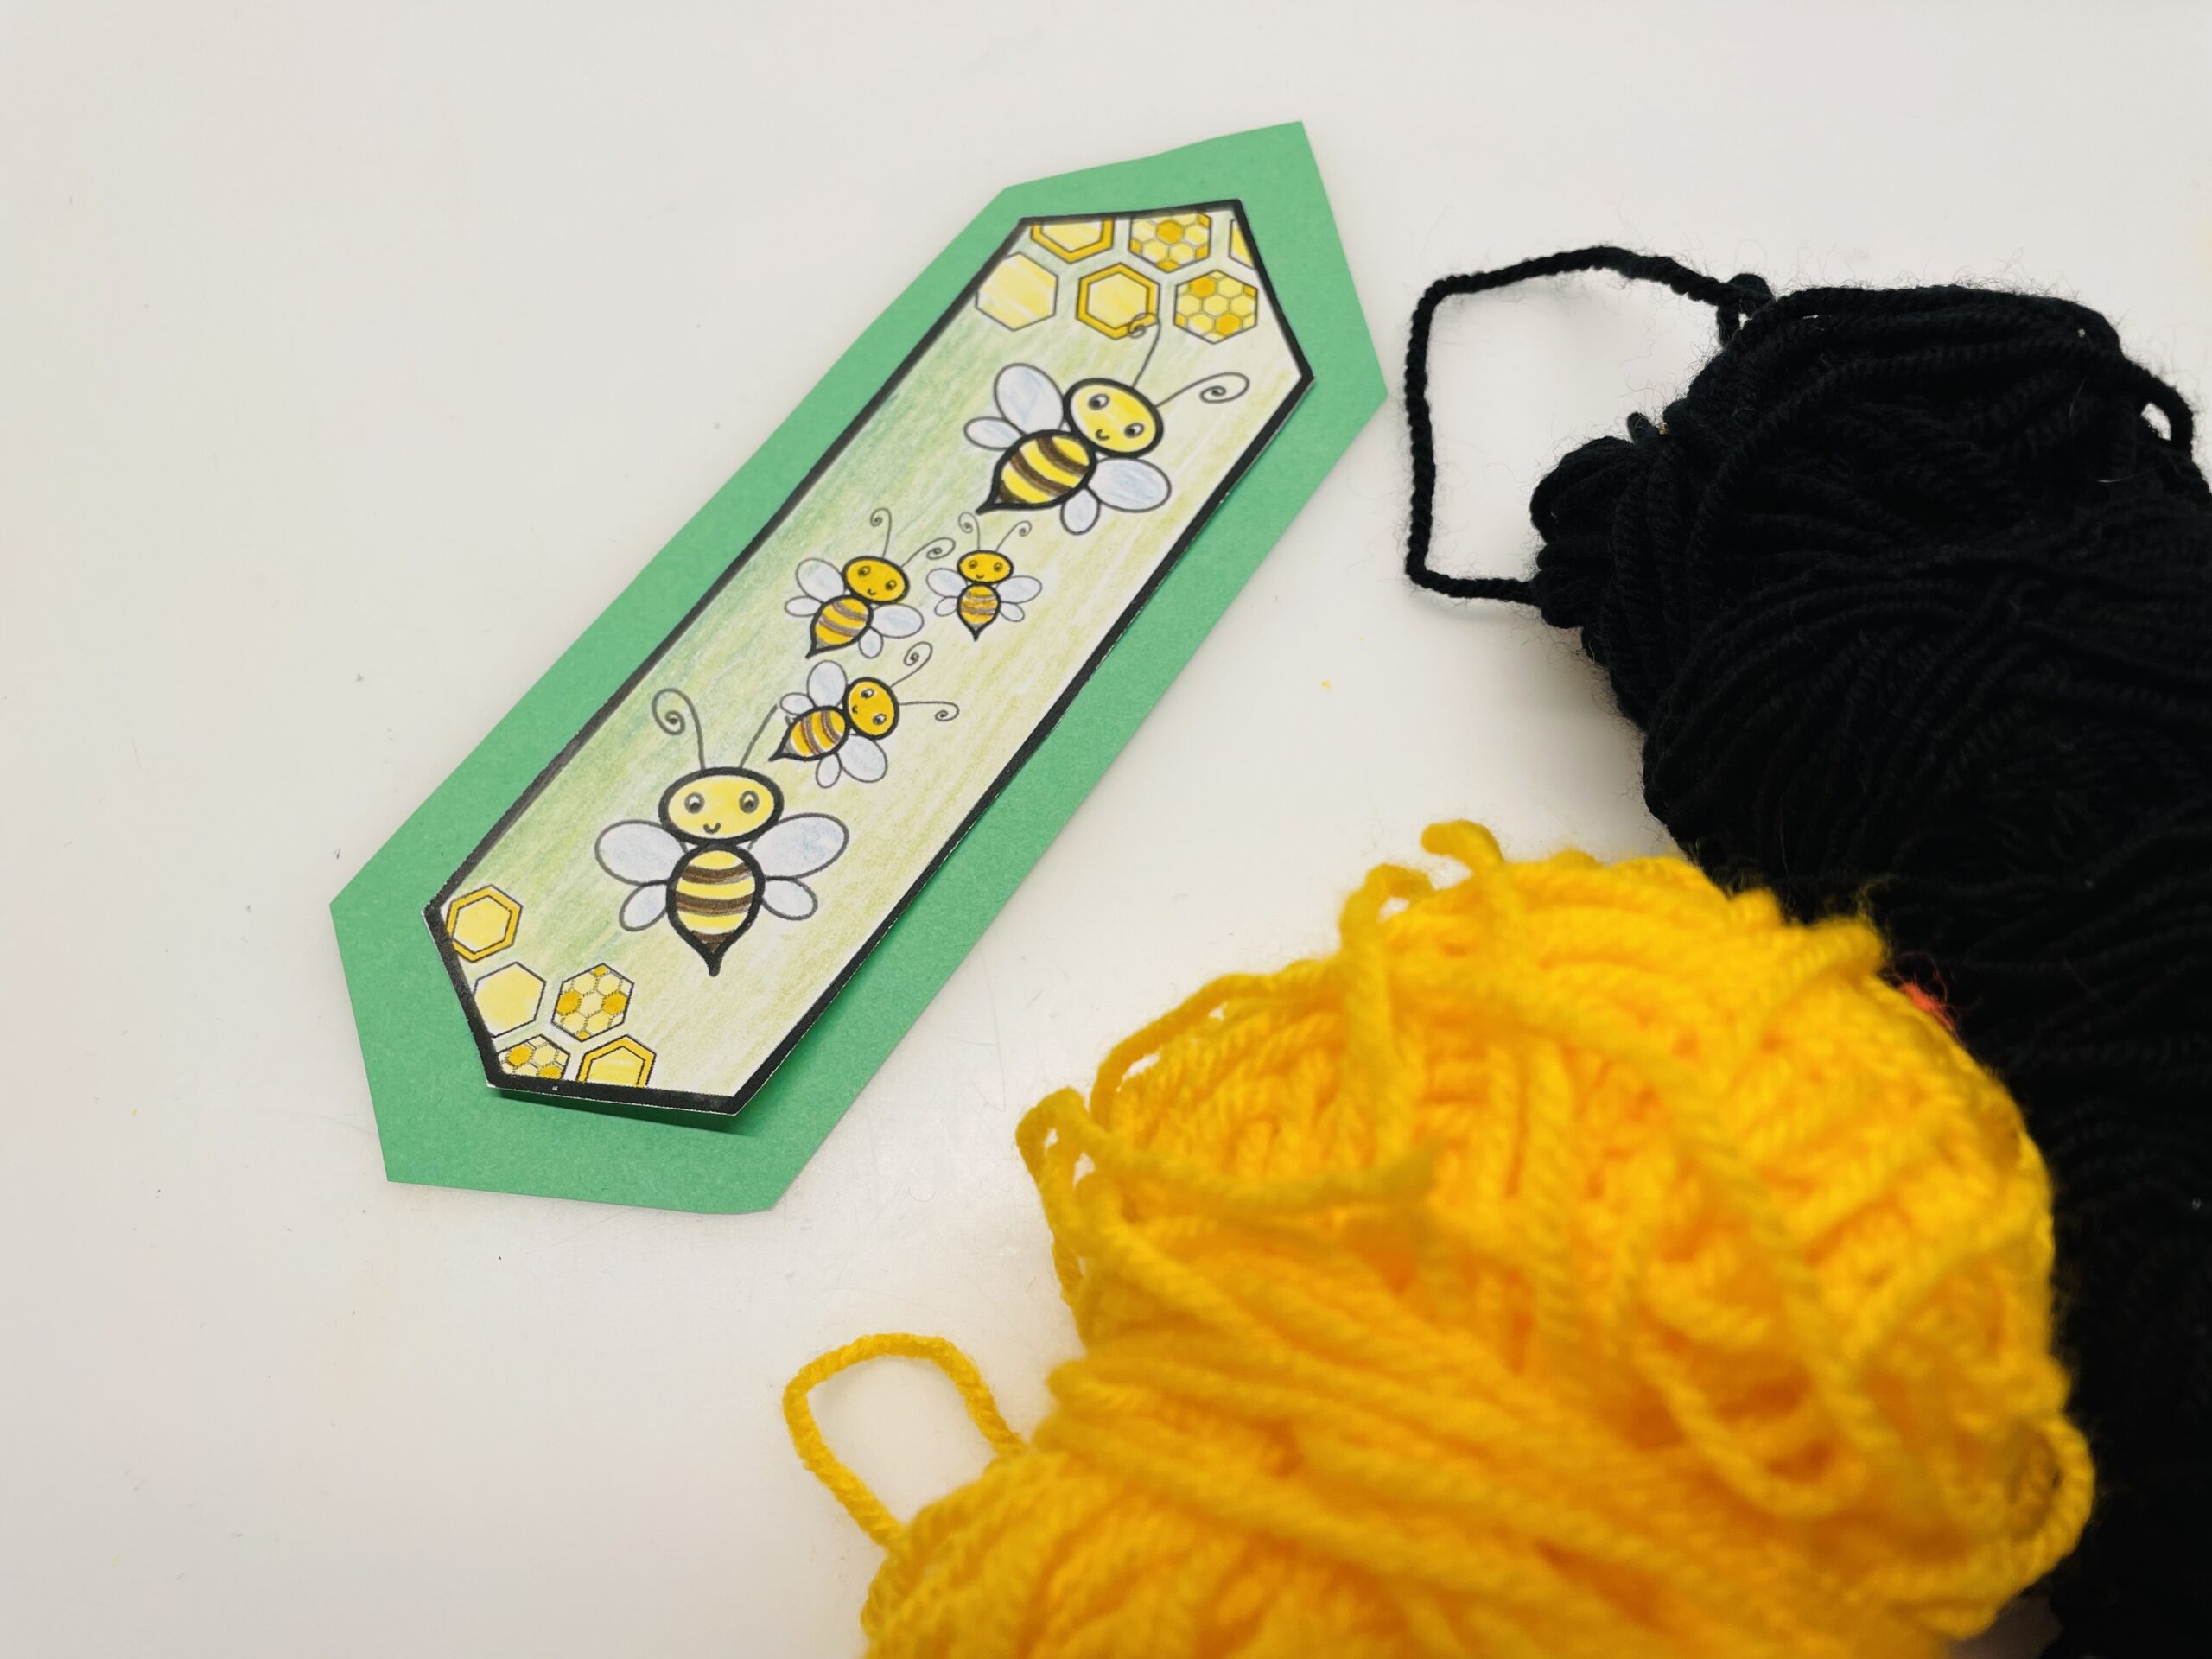
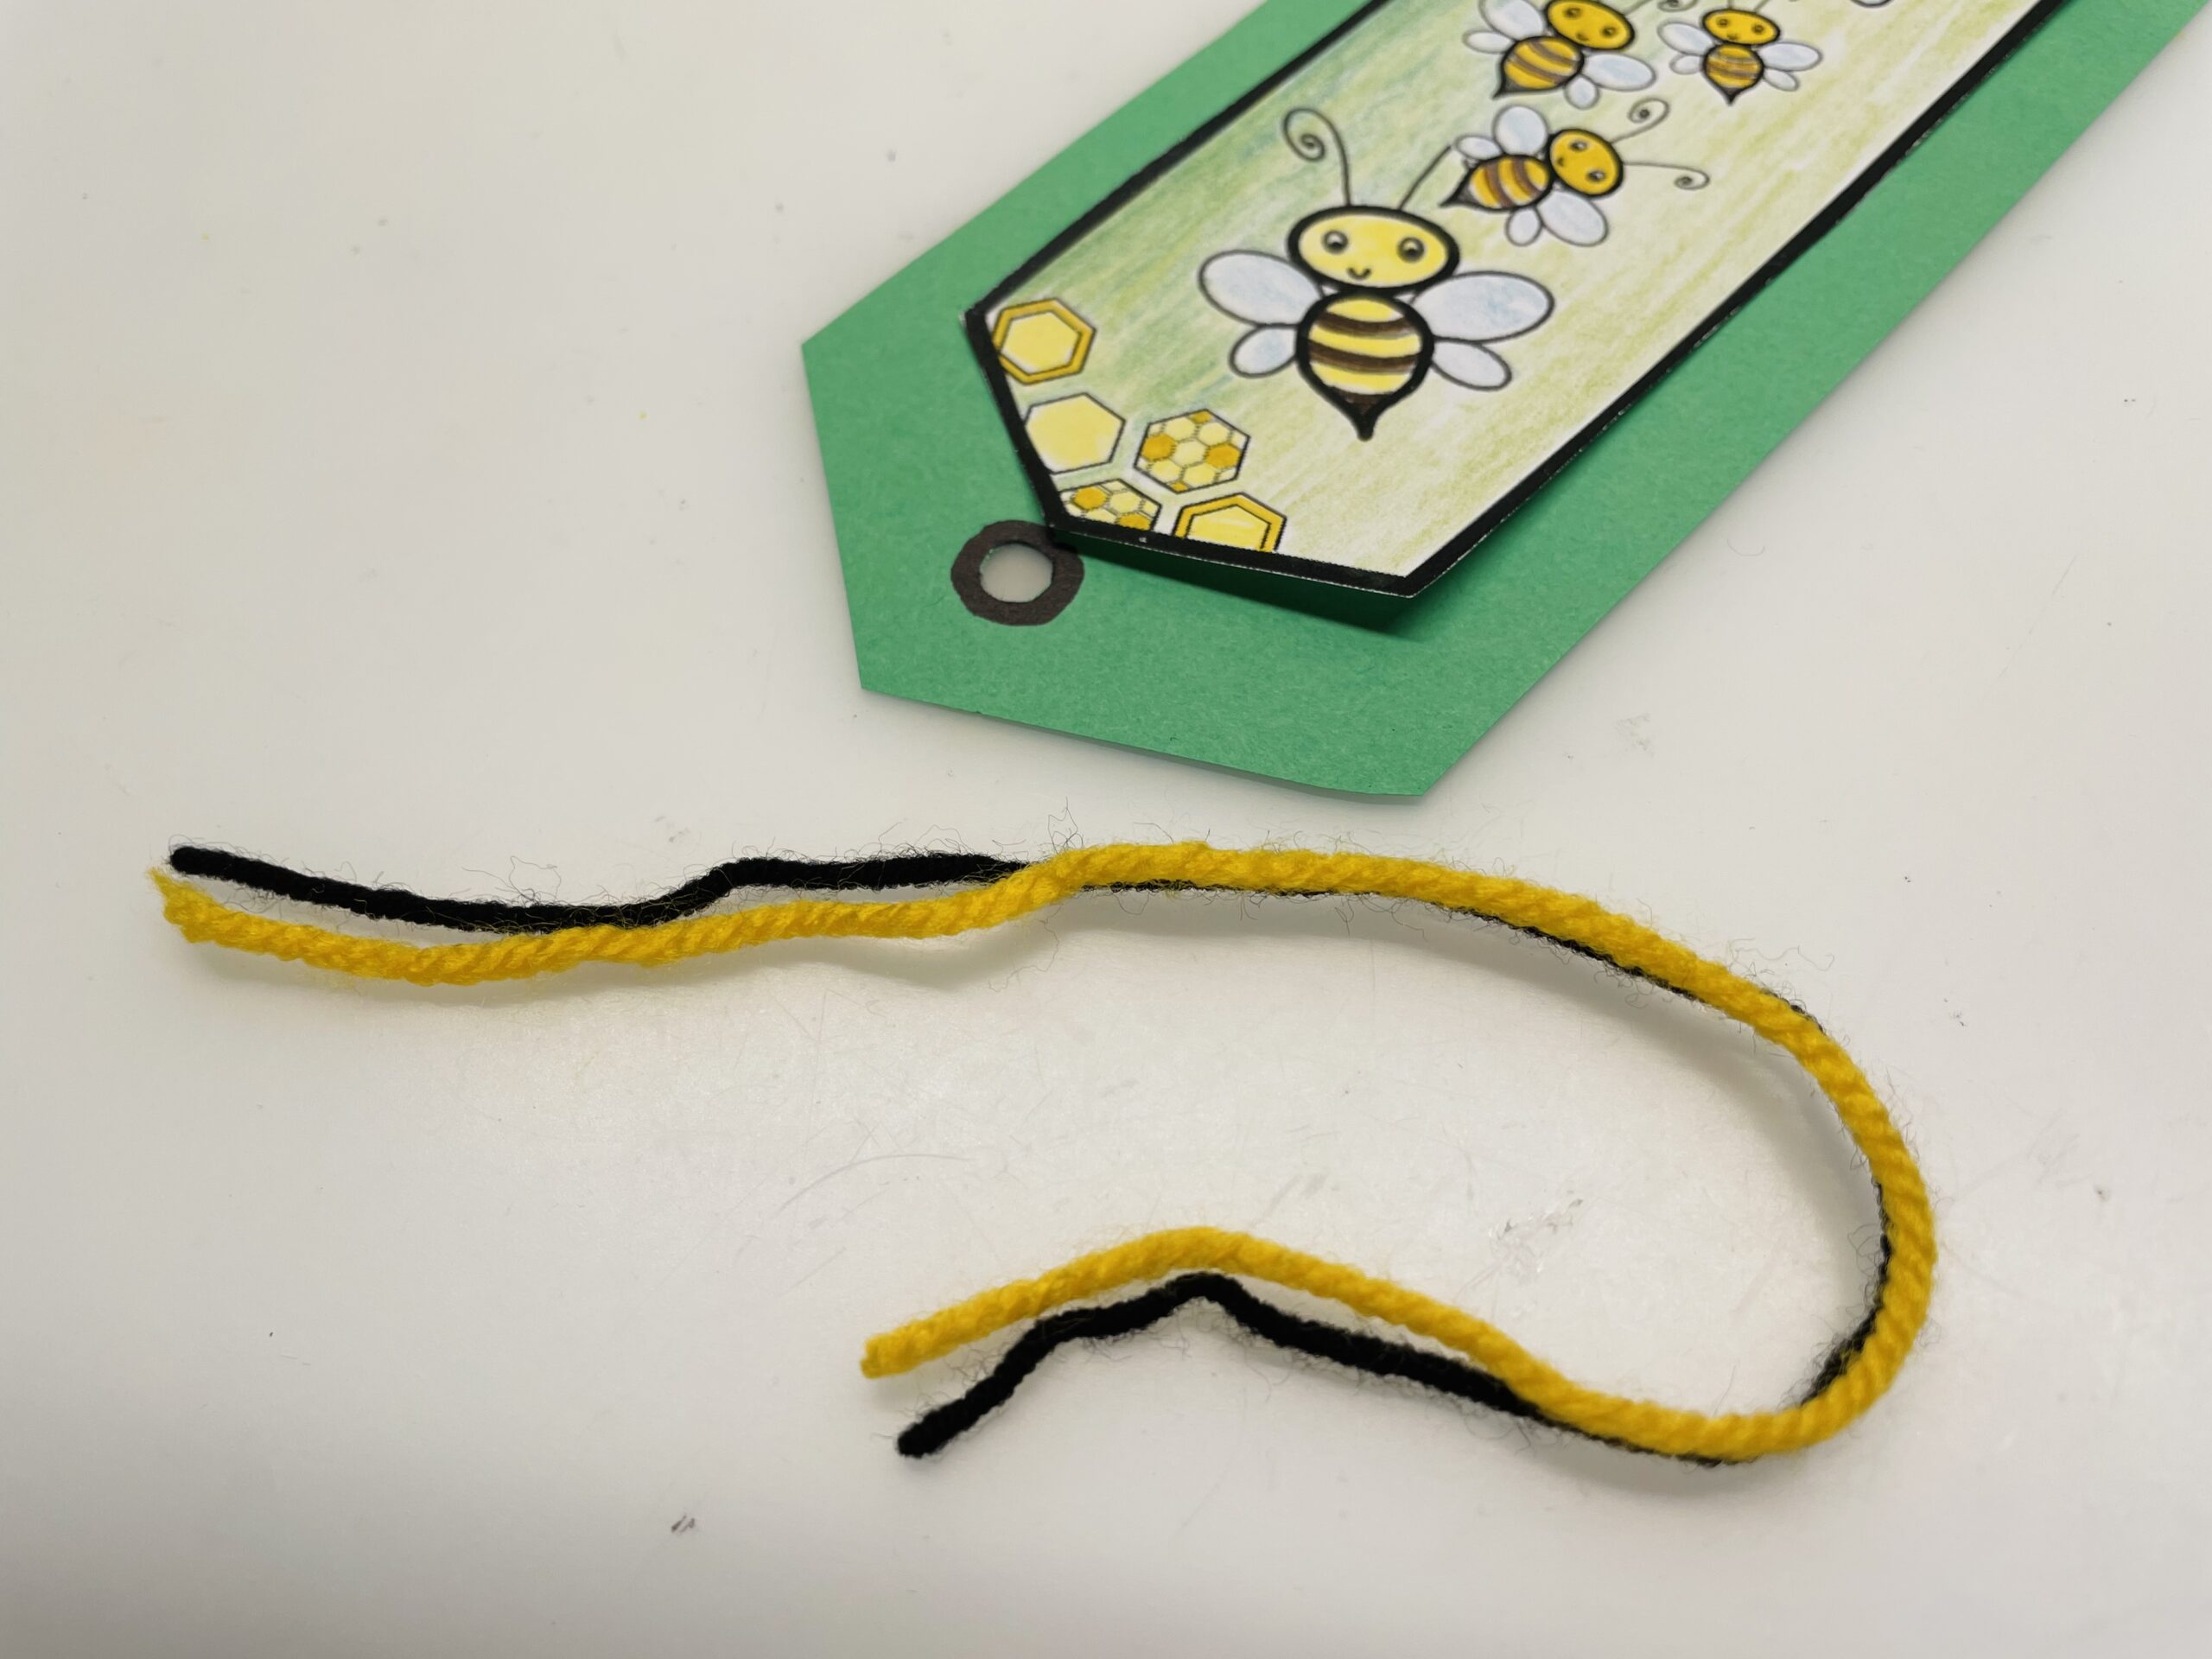
For this you now cut 2-3 bands in the length of approx. 12cm.. Then you make a hole in the underside of the bookmark with the puncher.
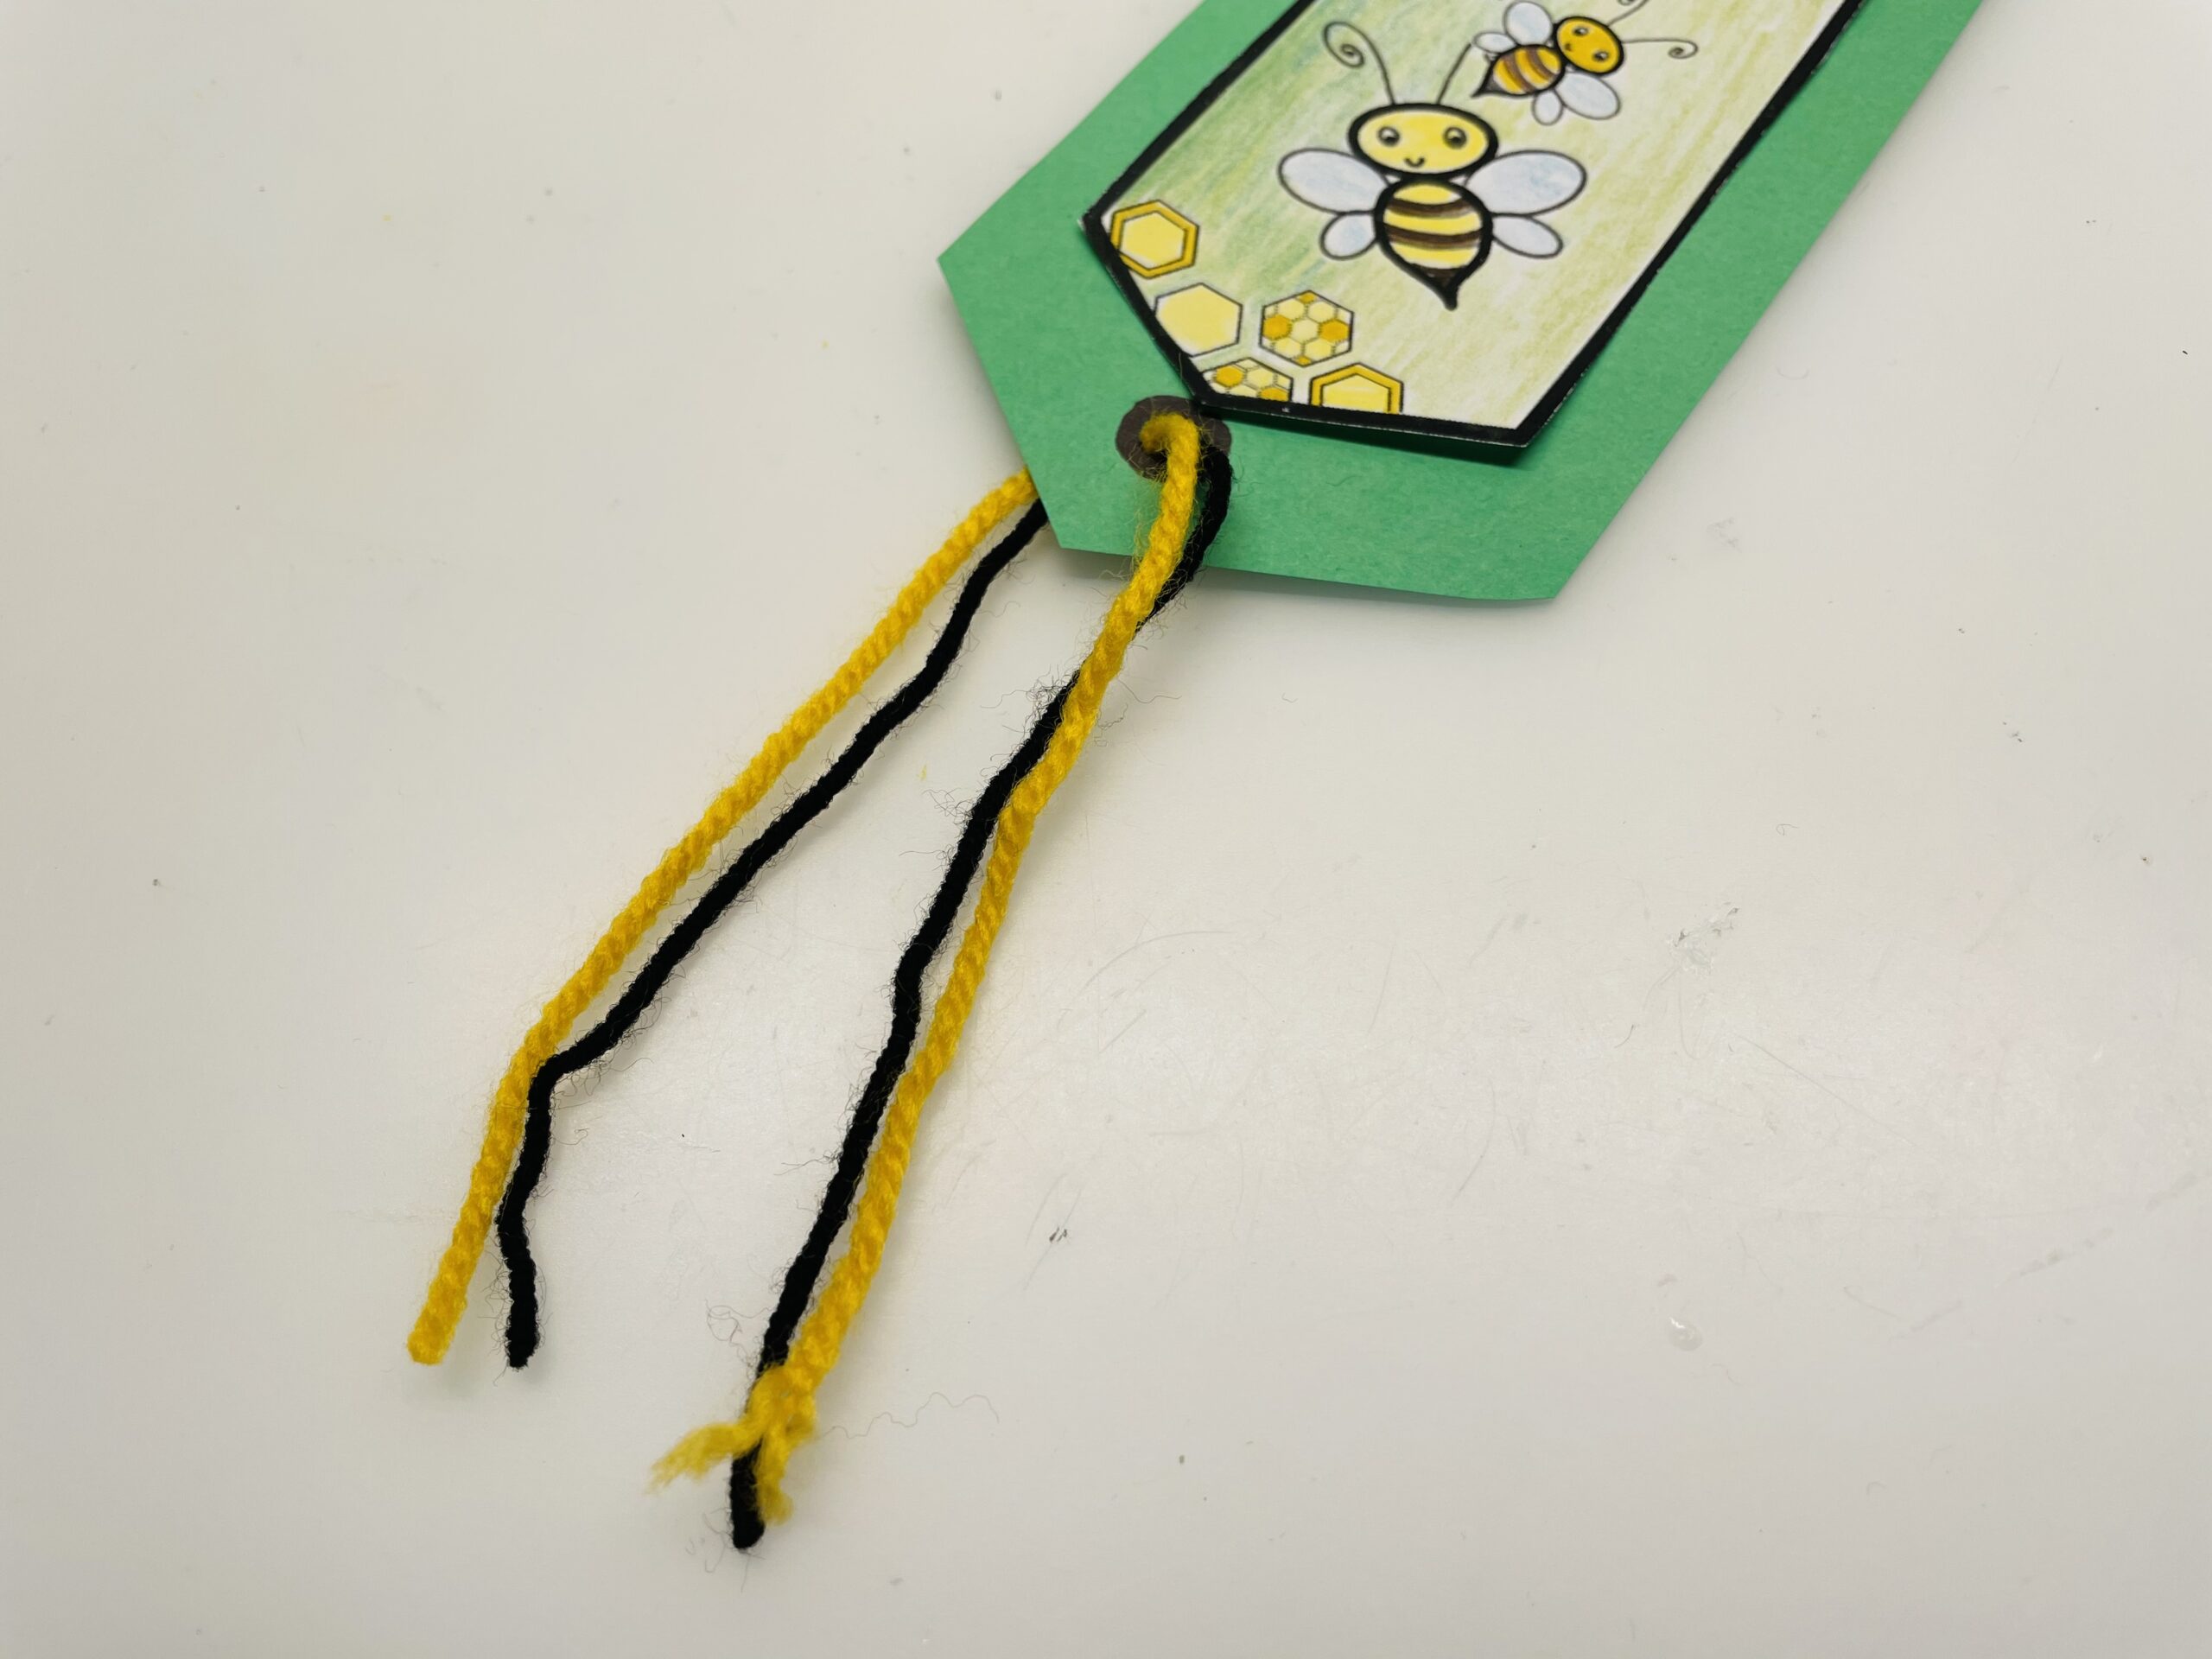
Then thread the wool through the hole and pull it through to half.
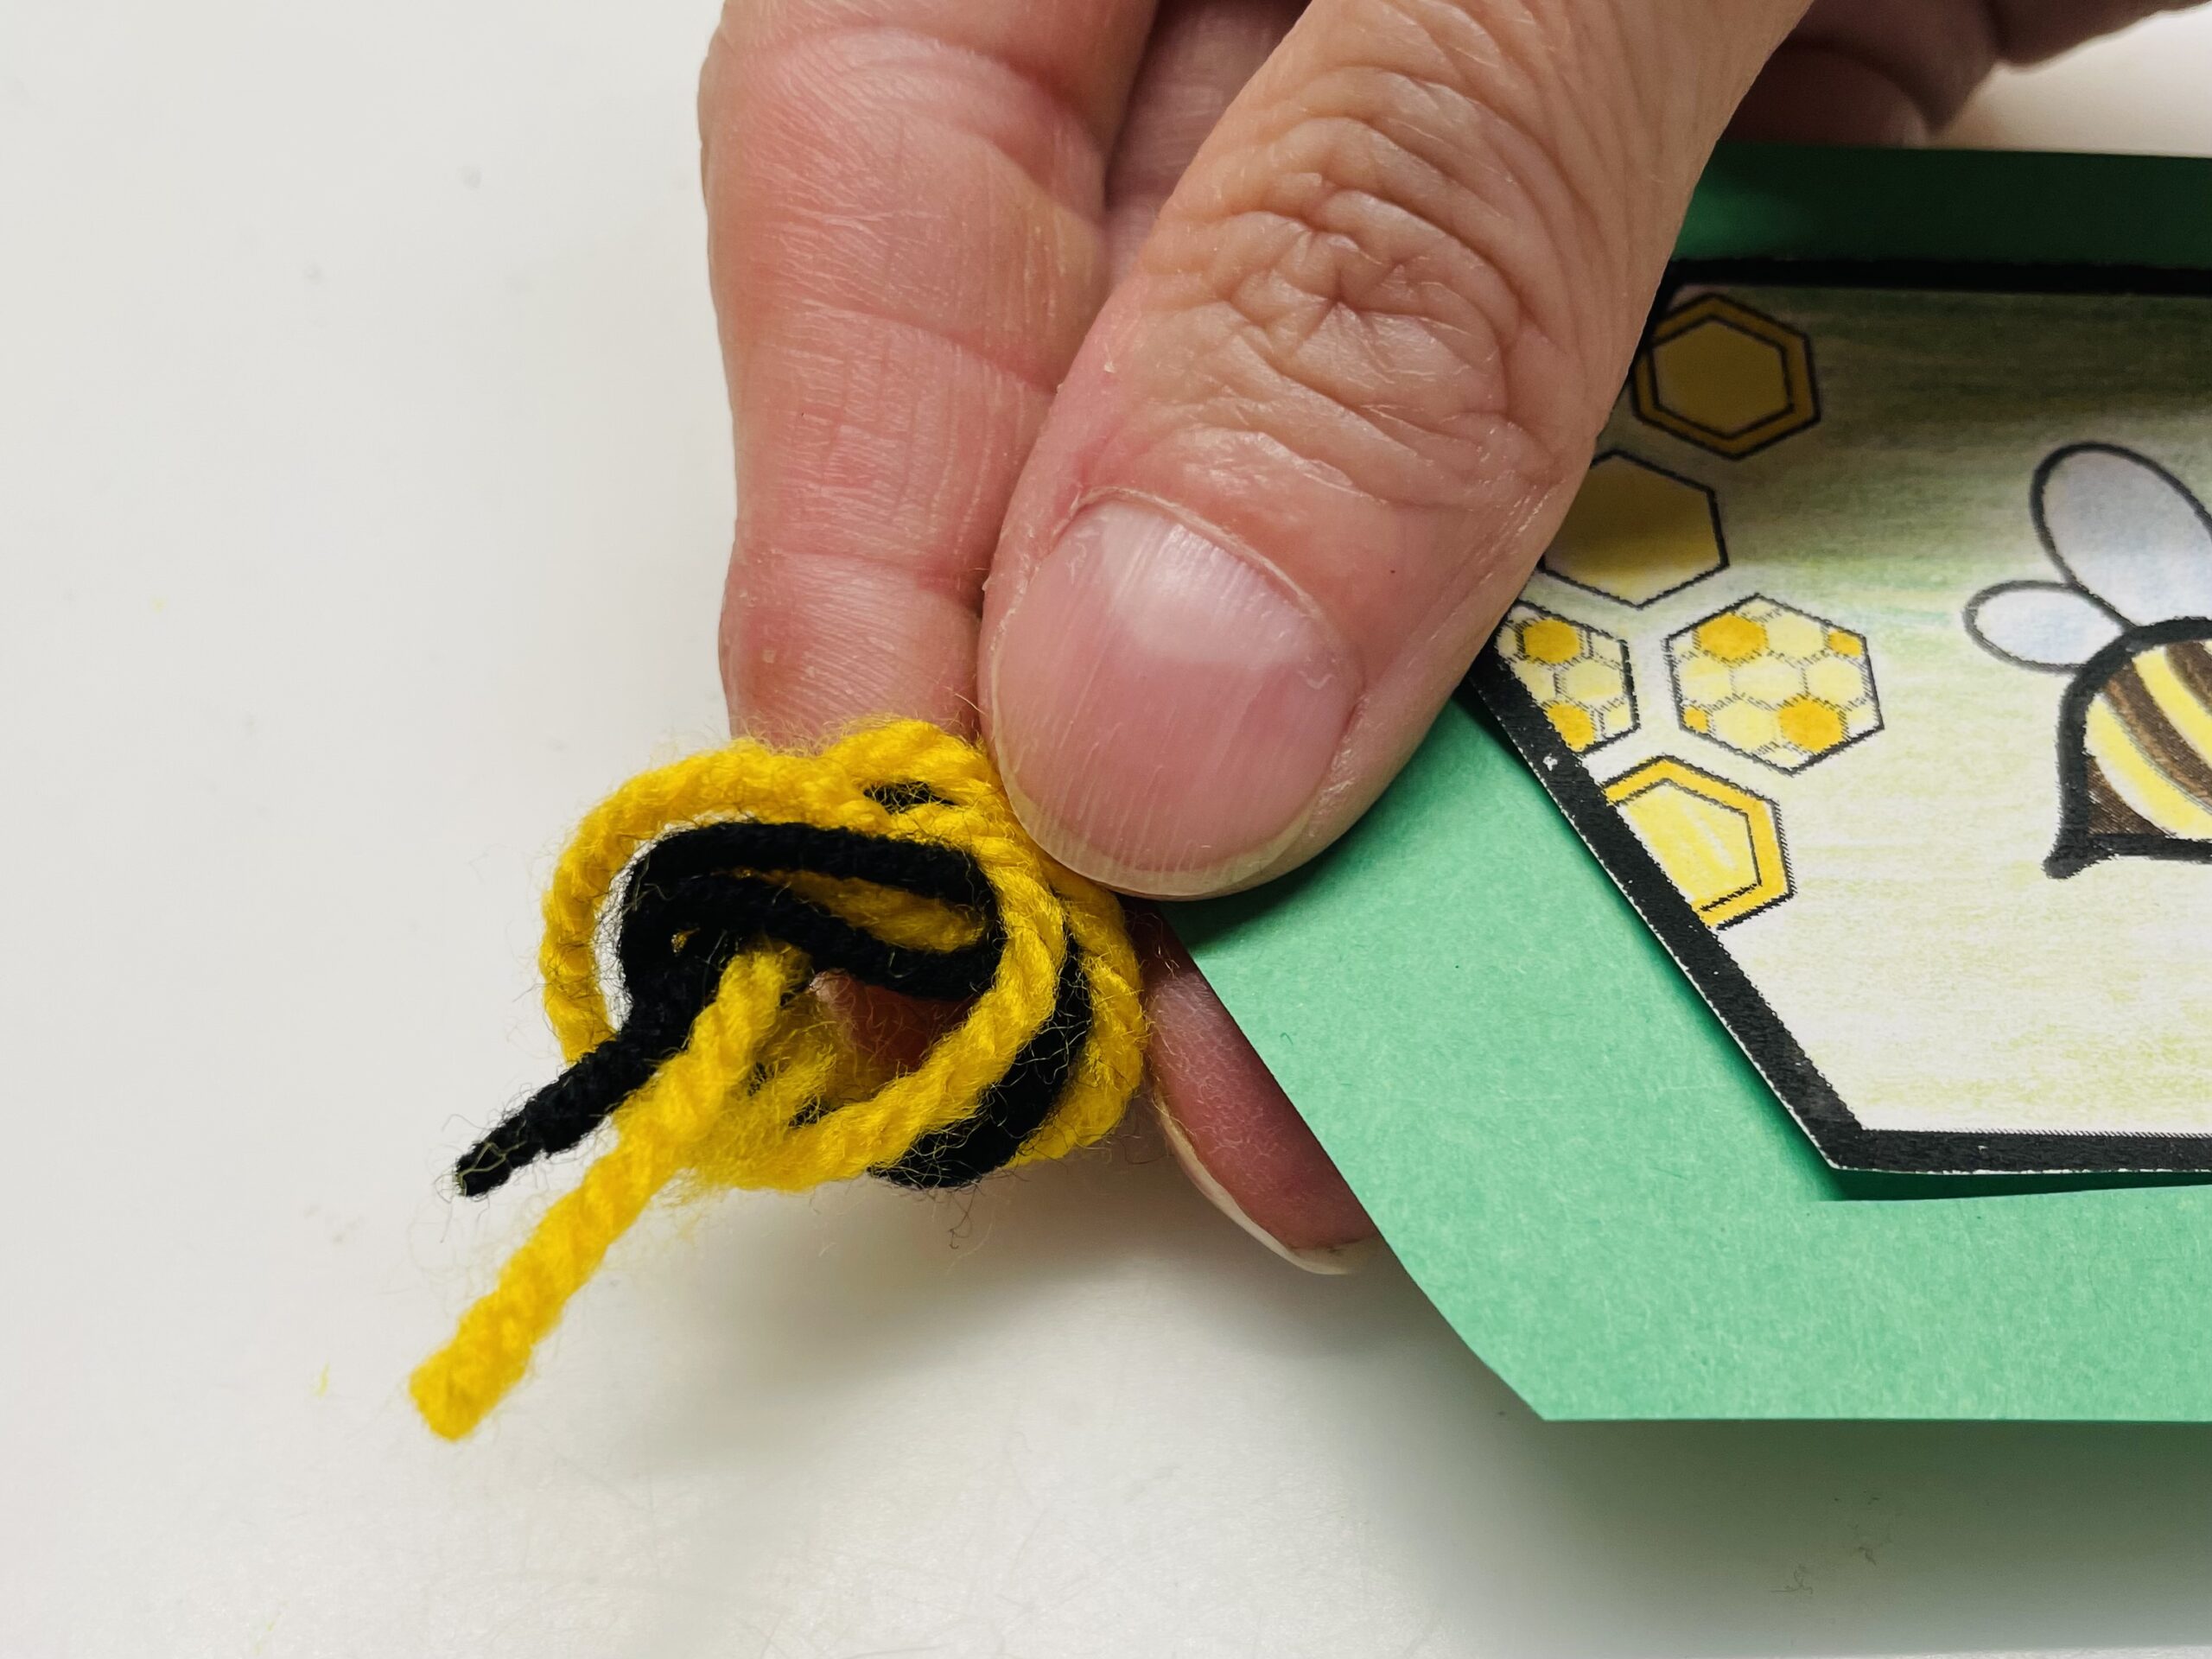
Then you put the wool threads around your index finger as a loop.
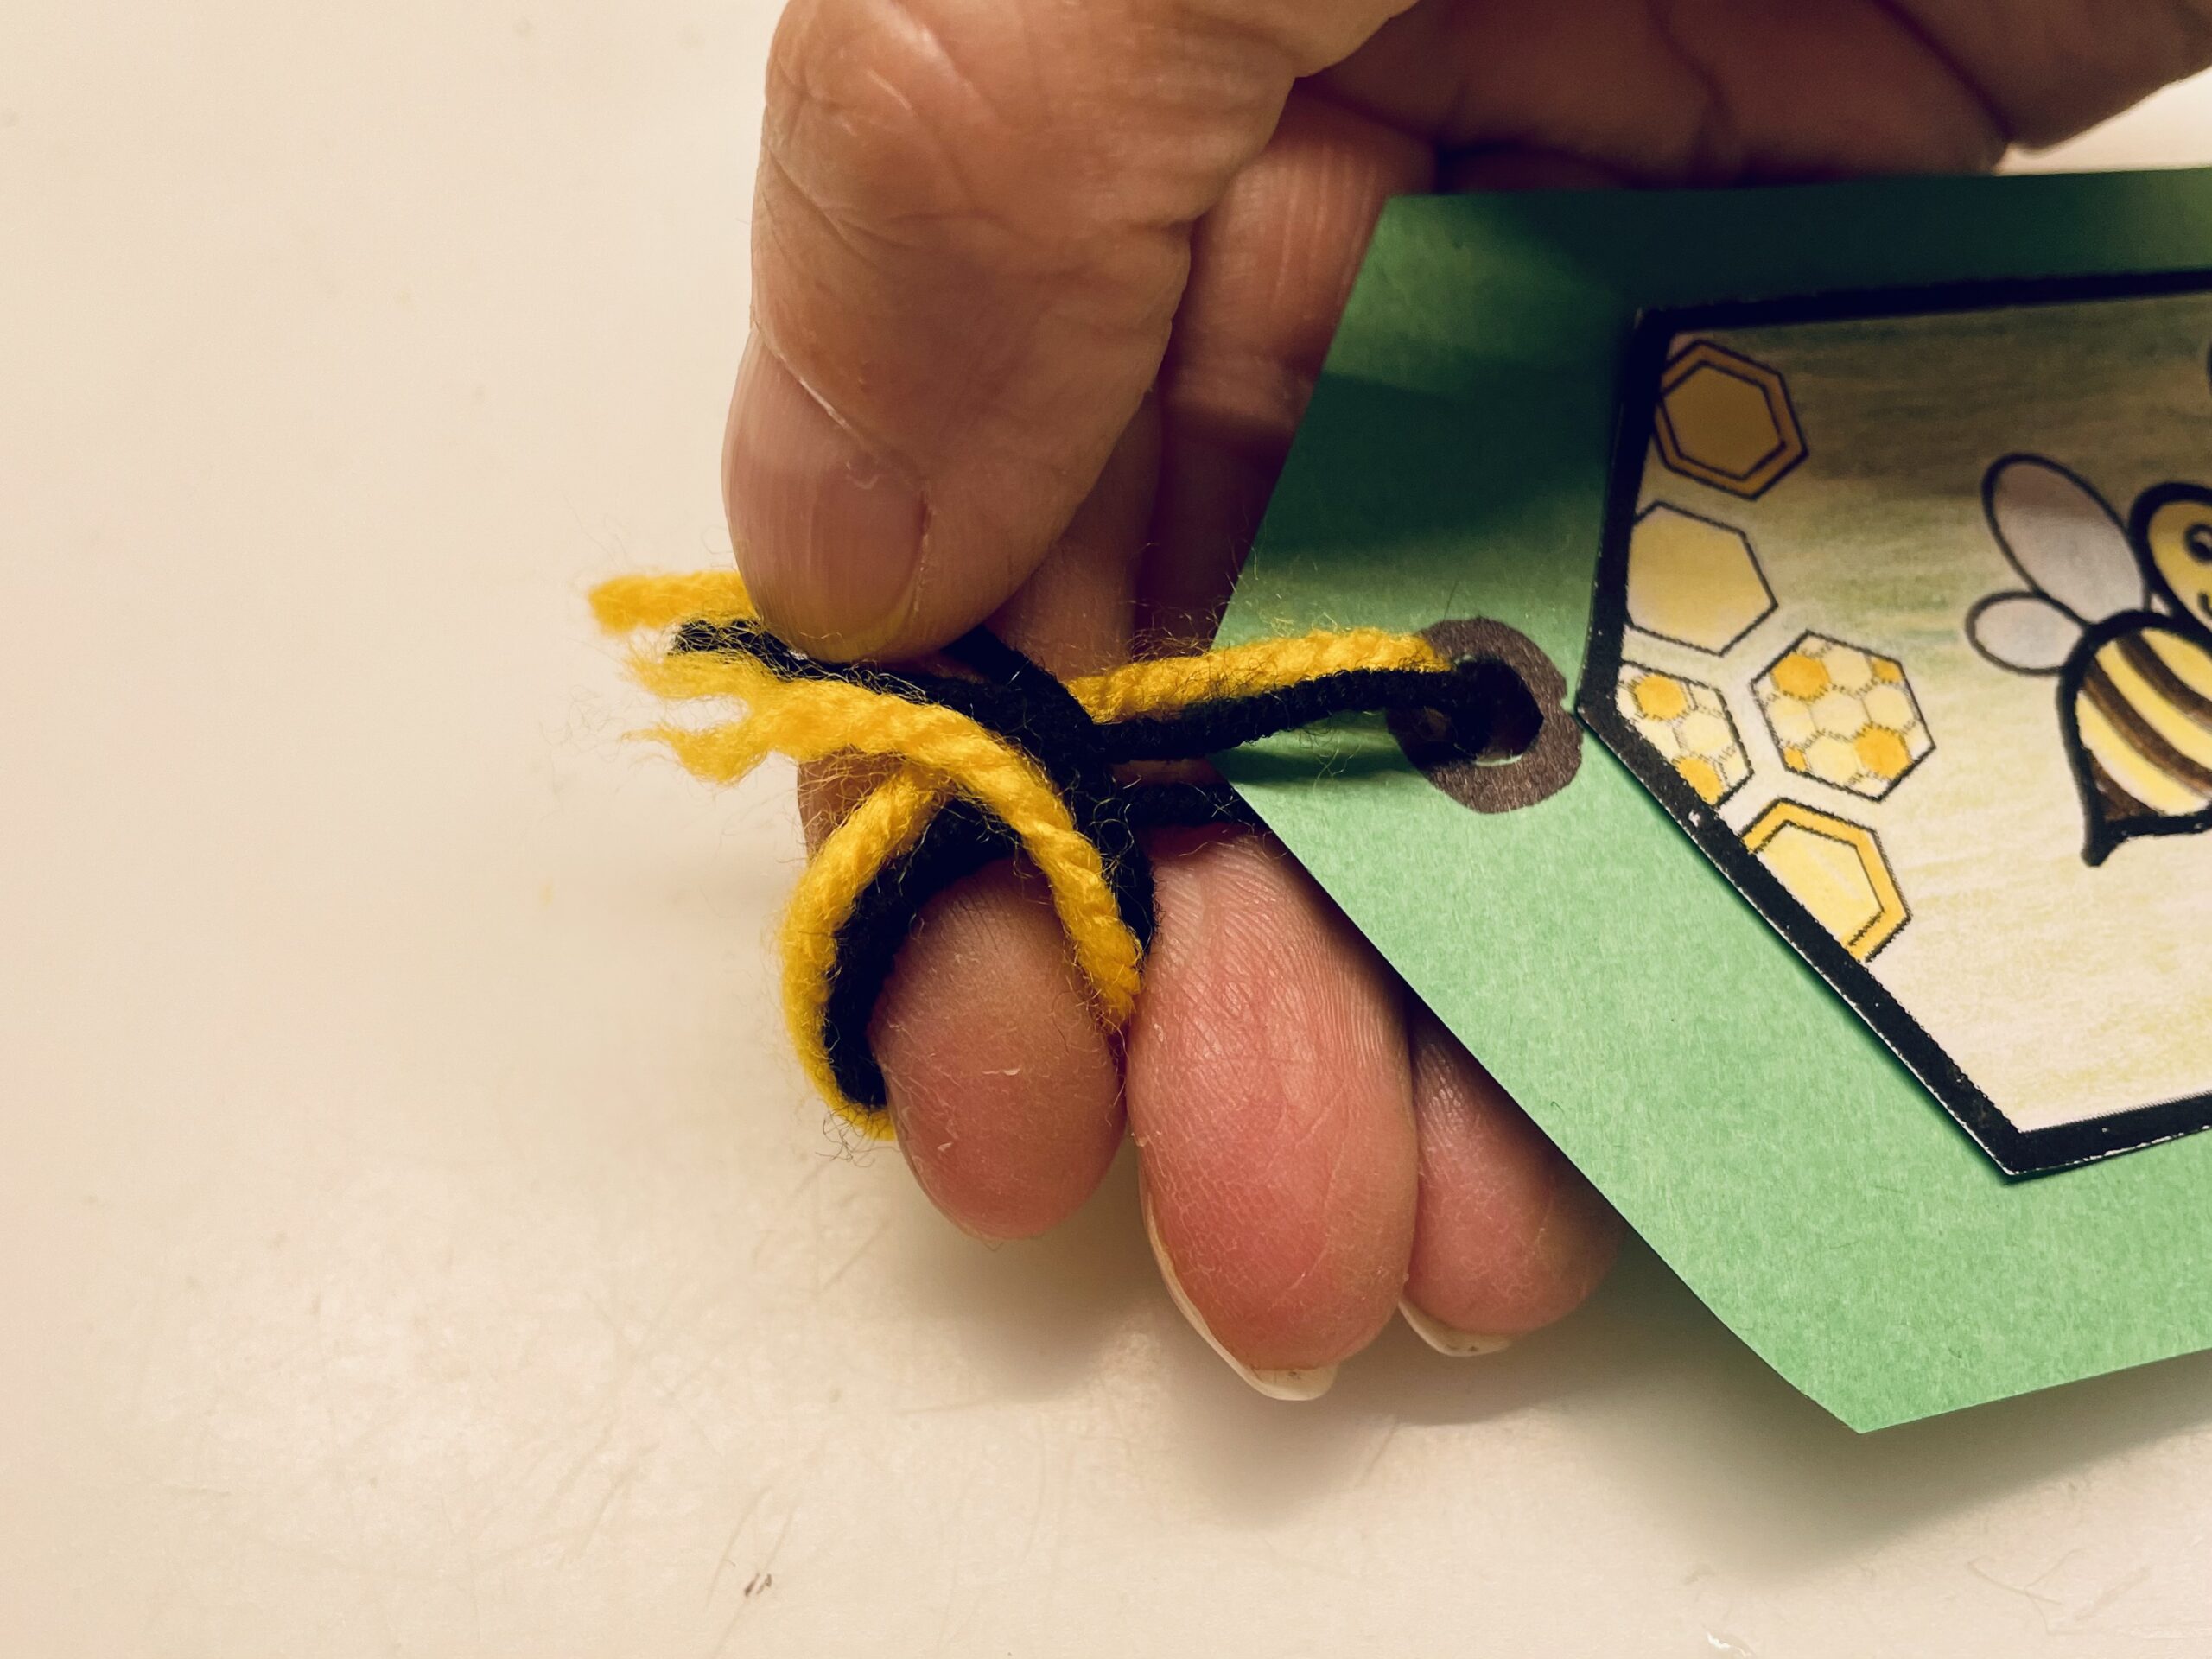
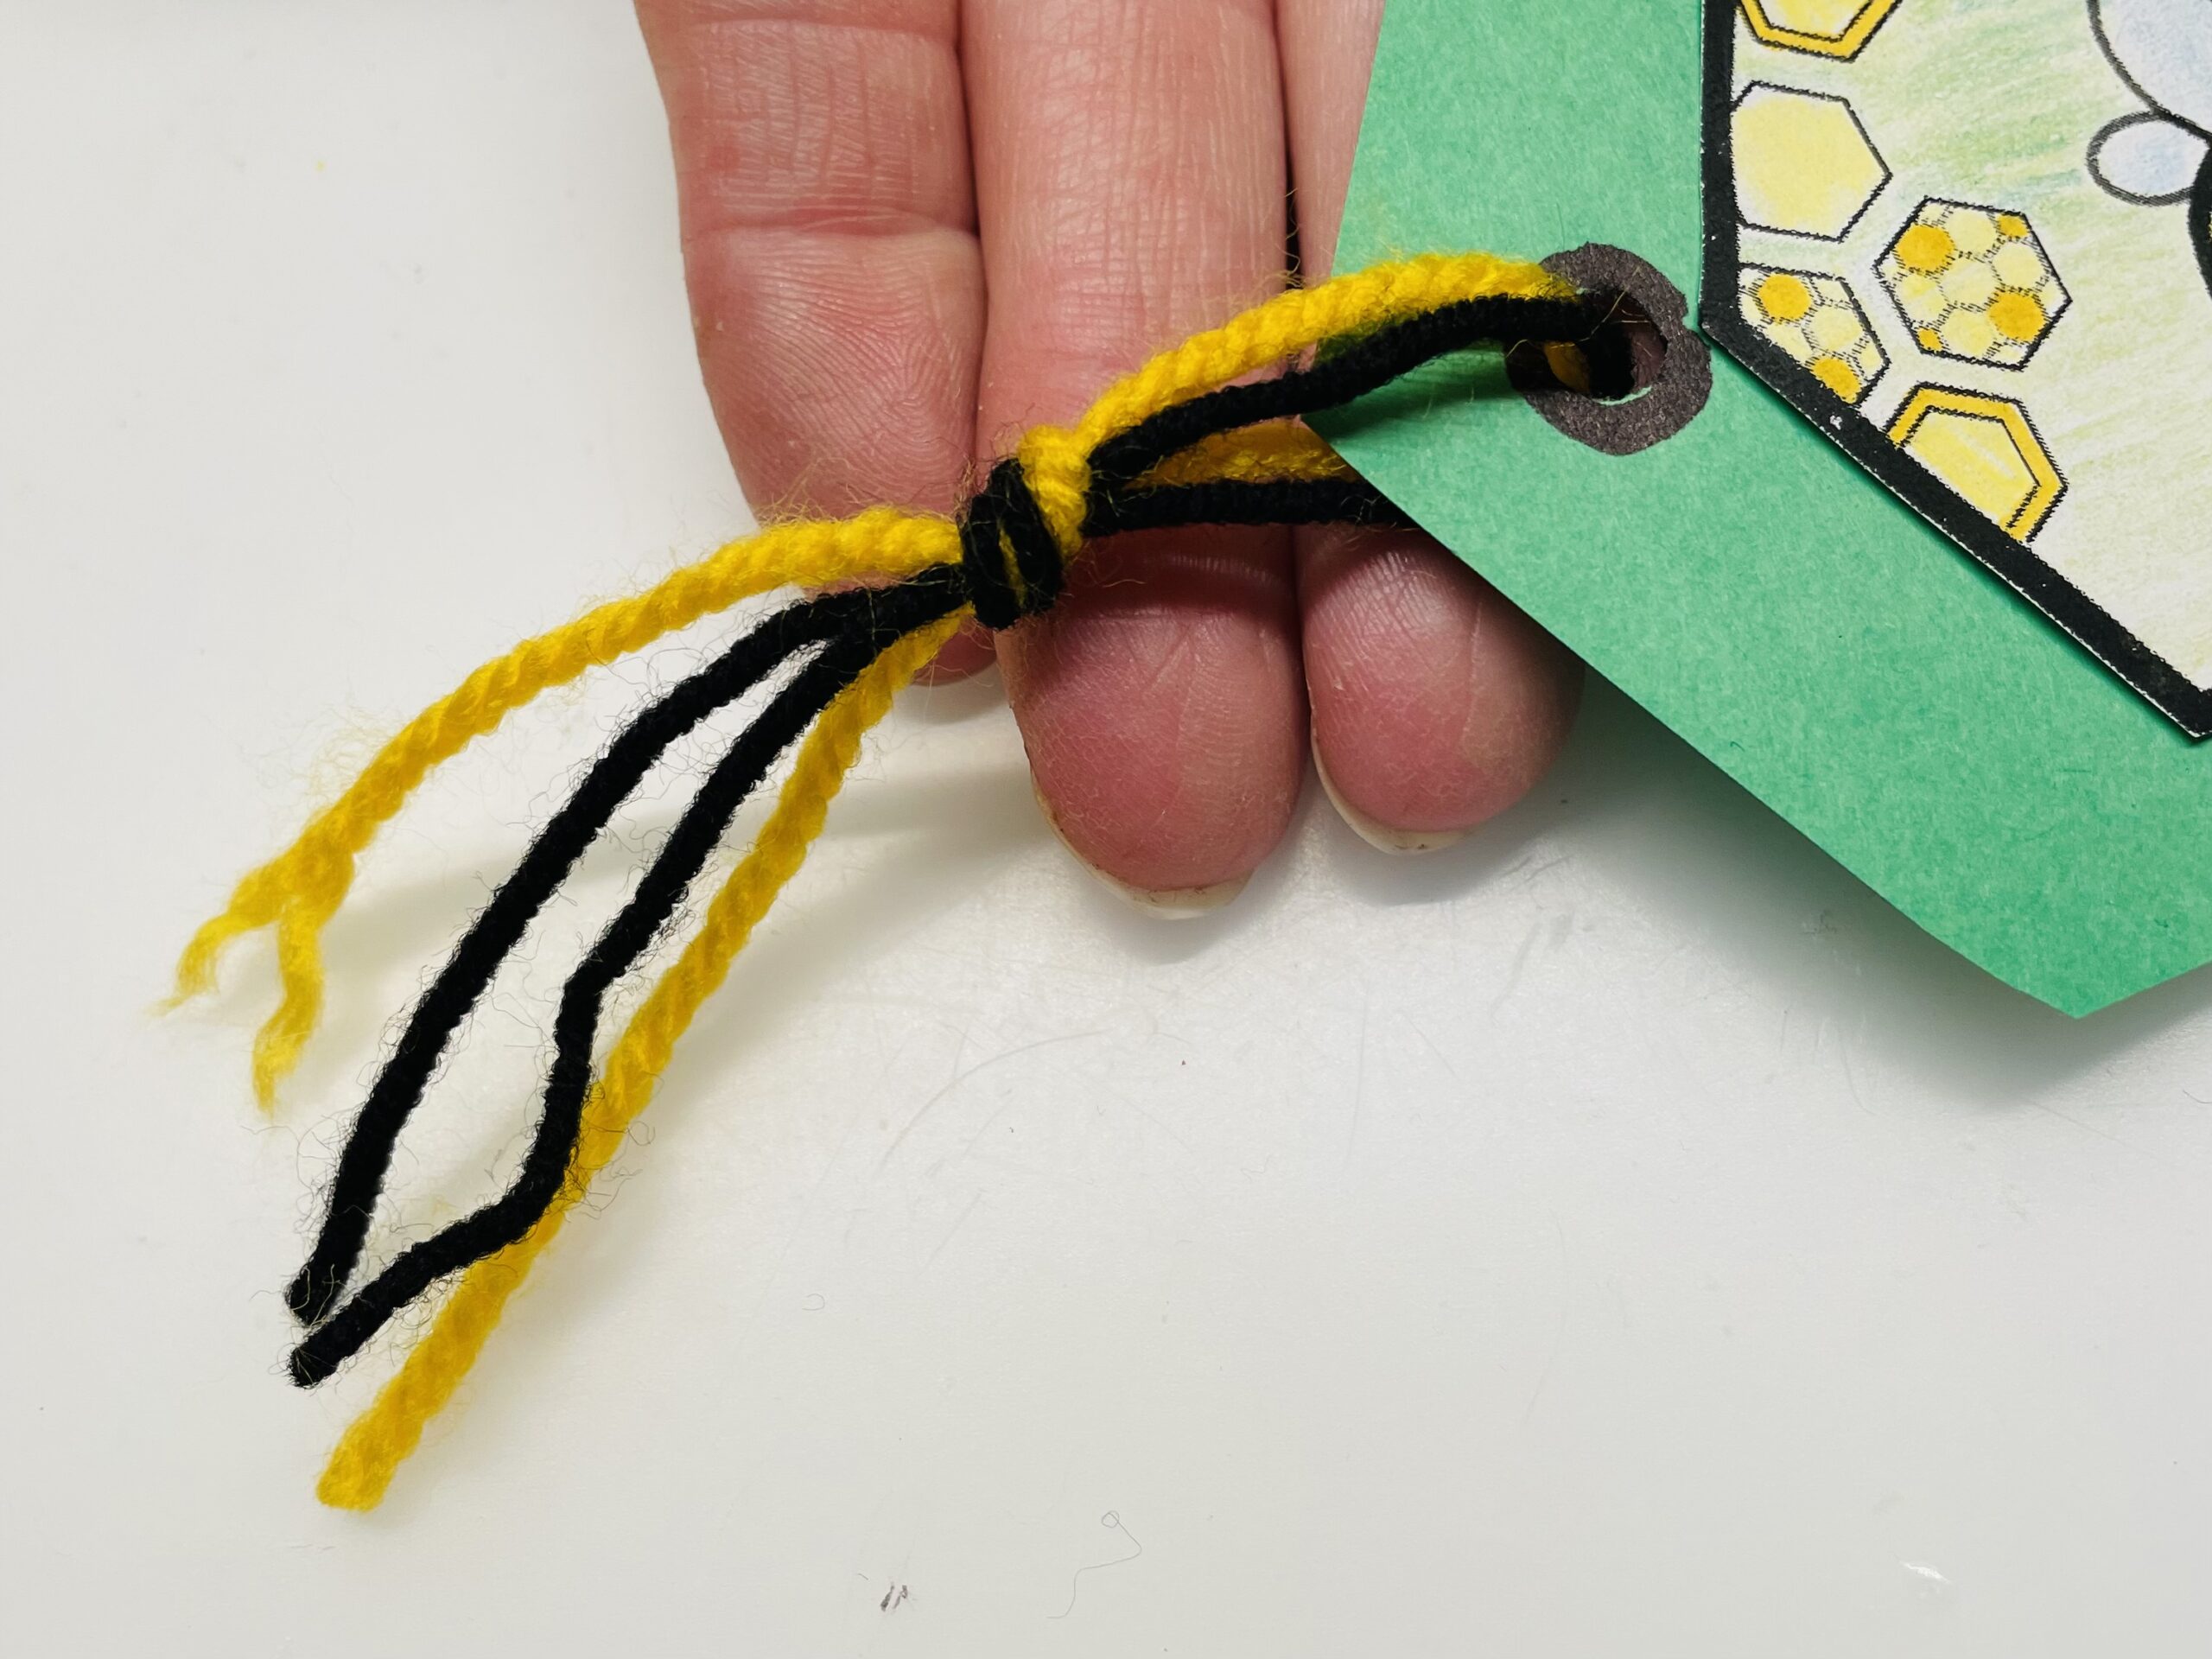
Then pull your finger out and put the ends of the thread through the loop.
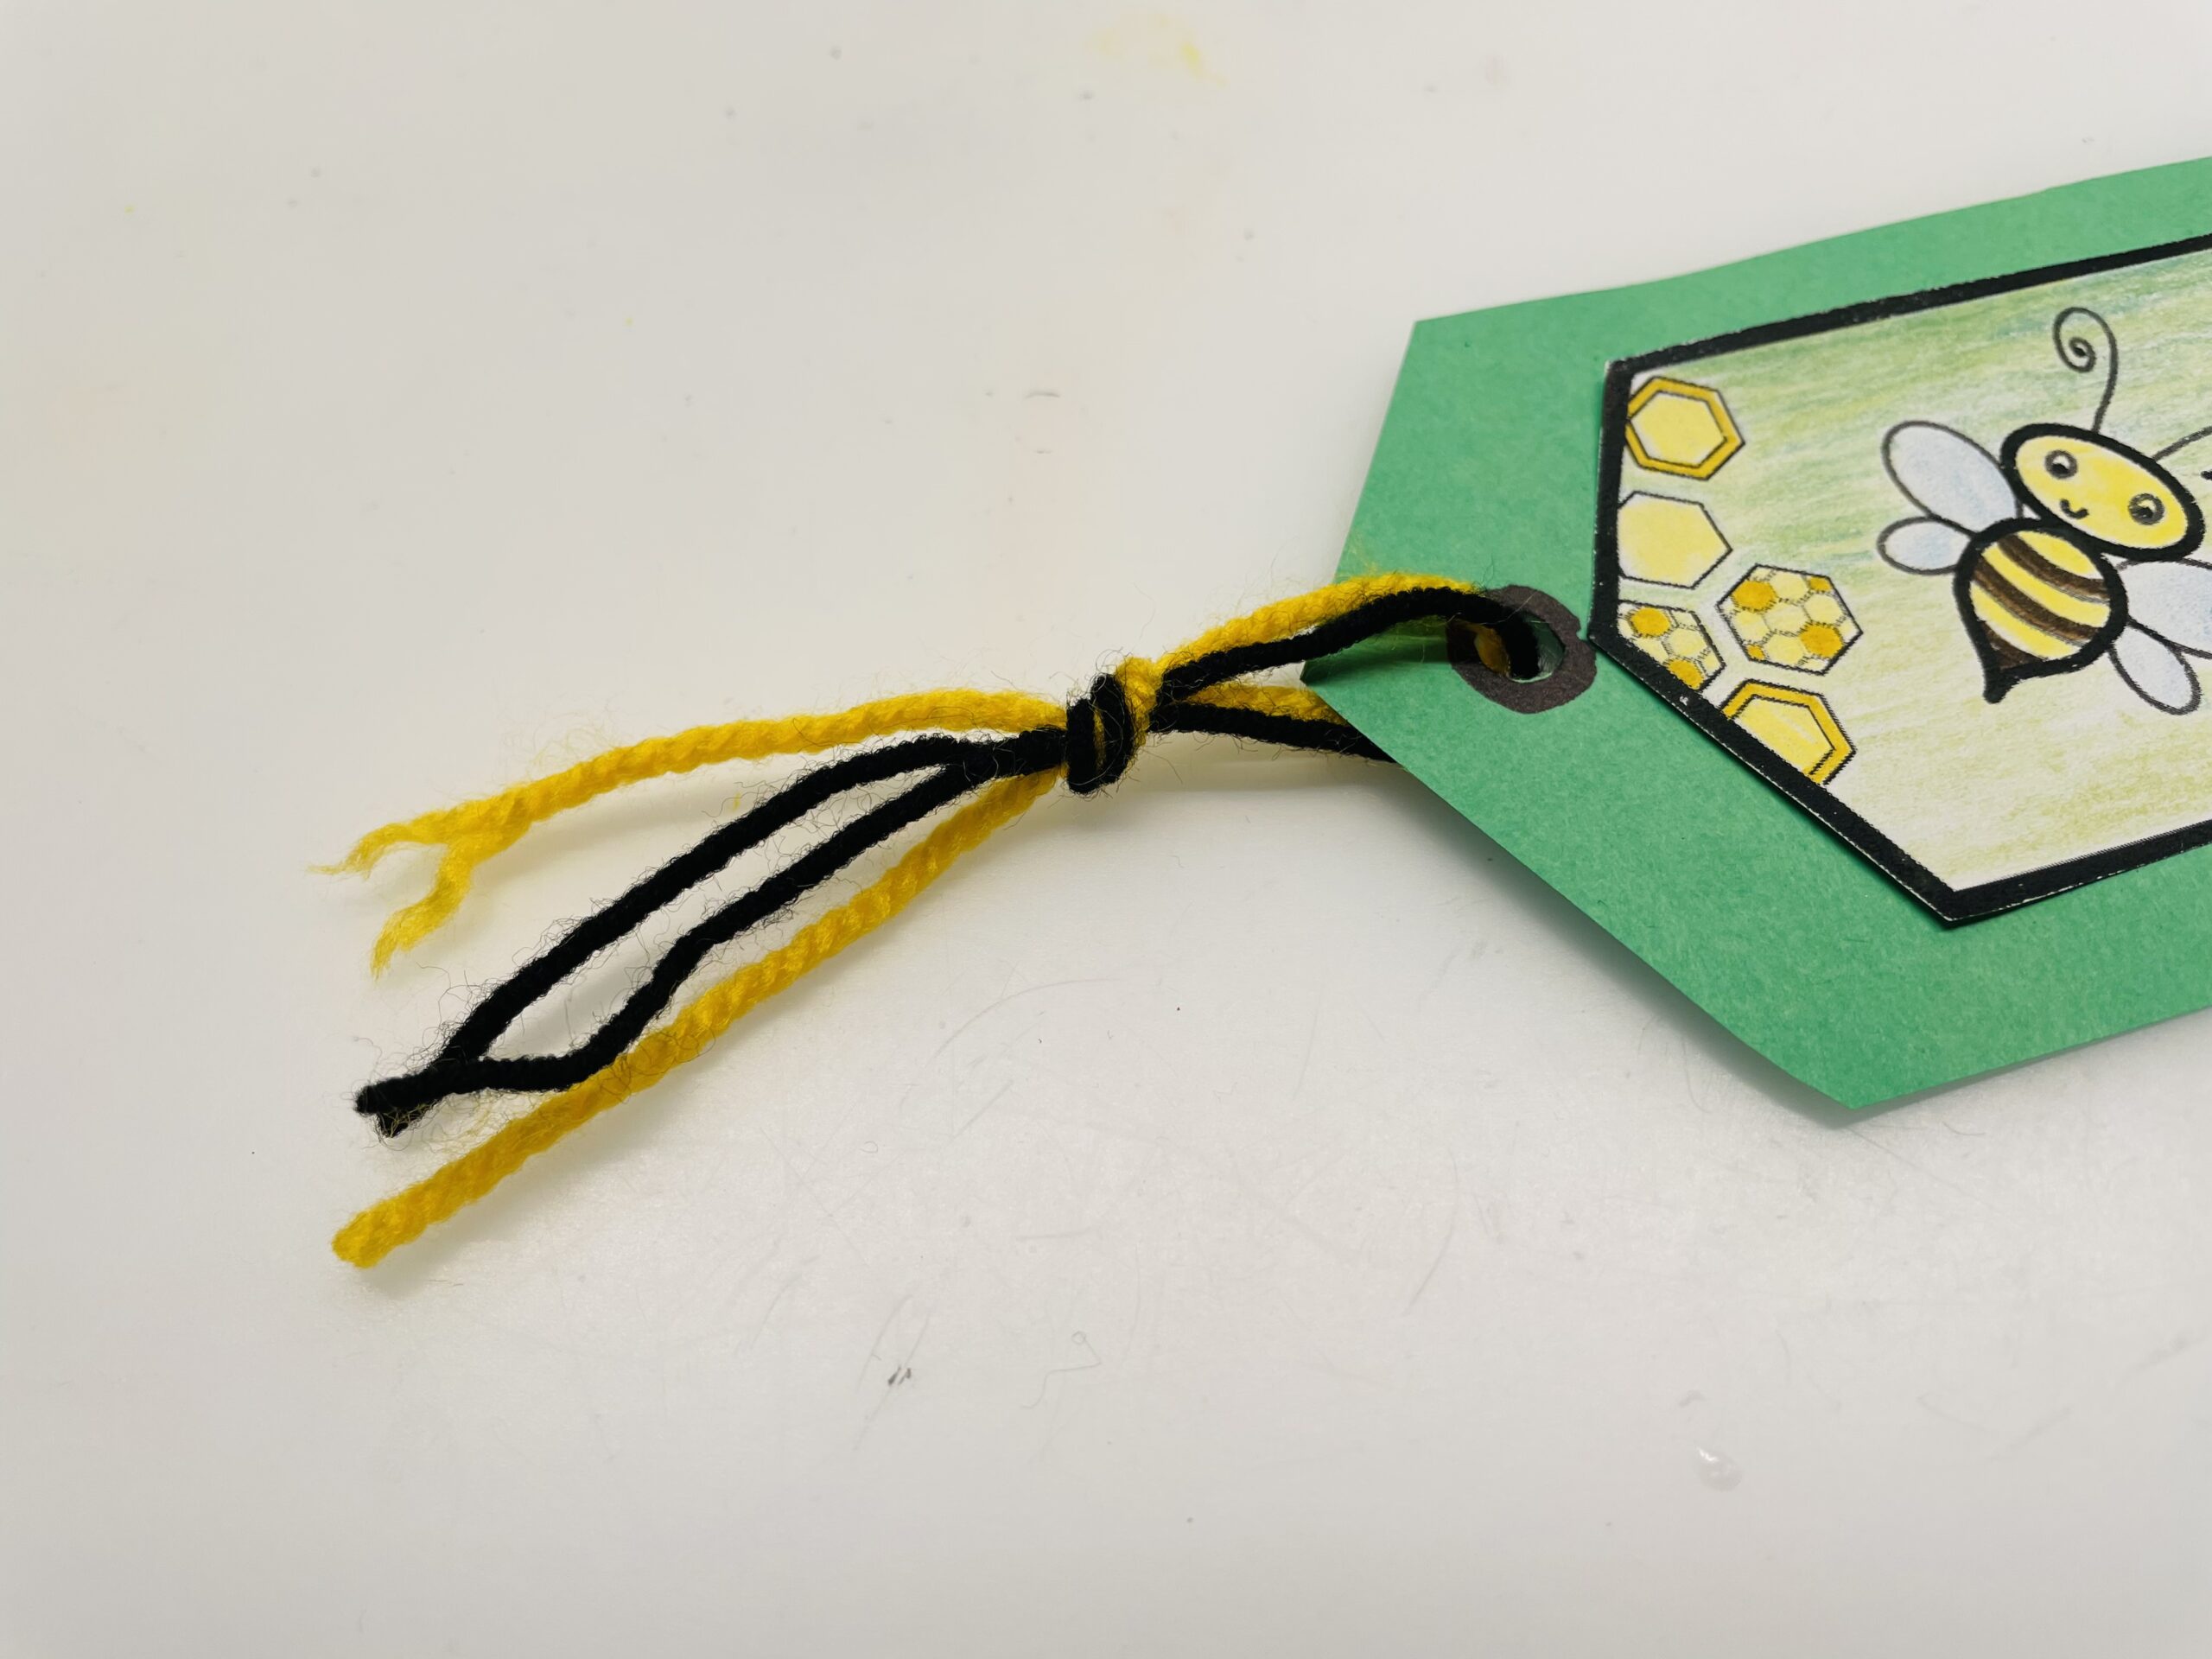
Now slowly tighten the loop, creating a loose knot.
The self-made bookmark is ready.
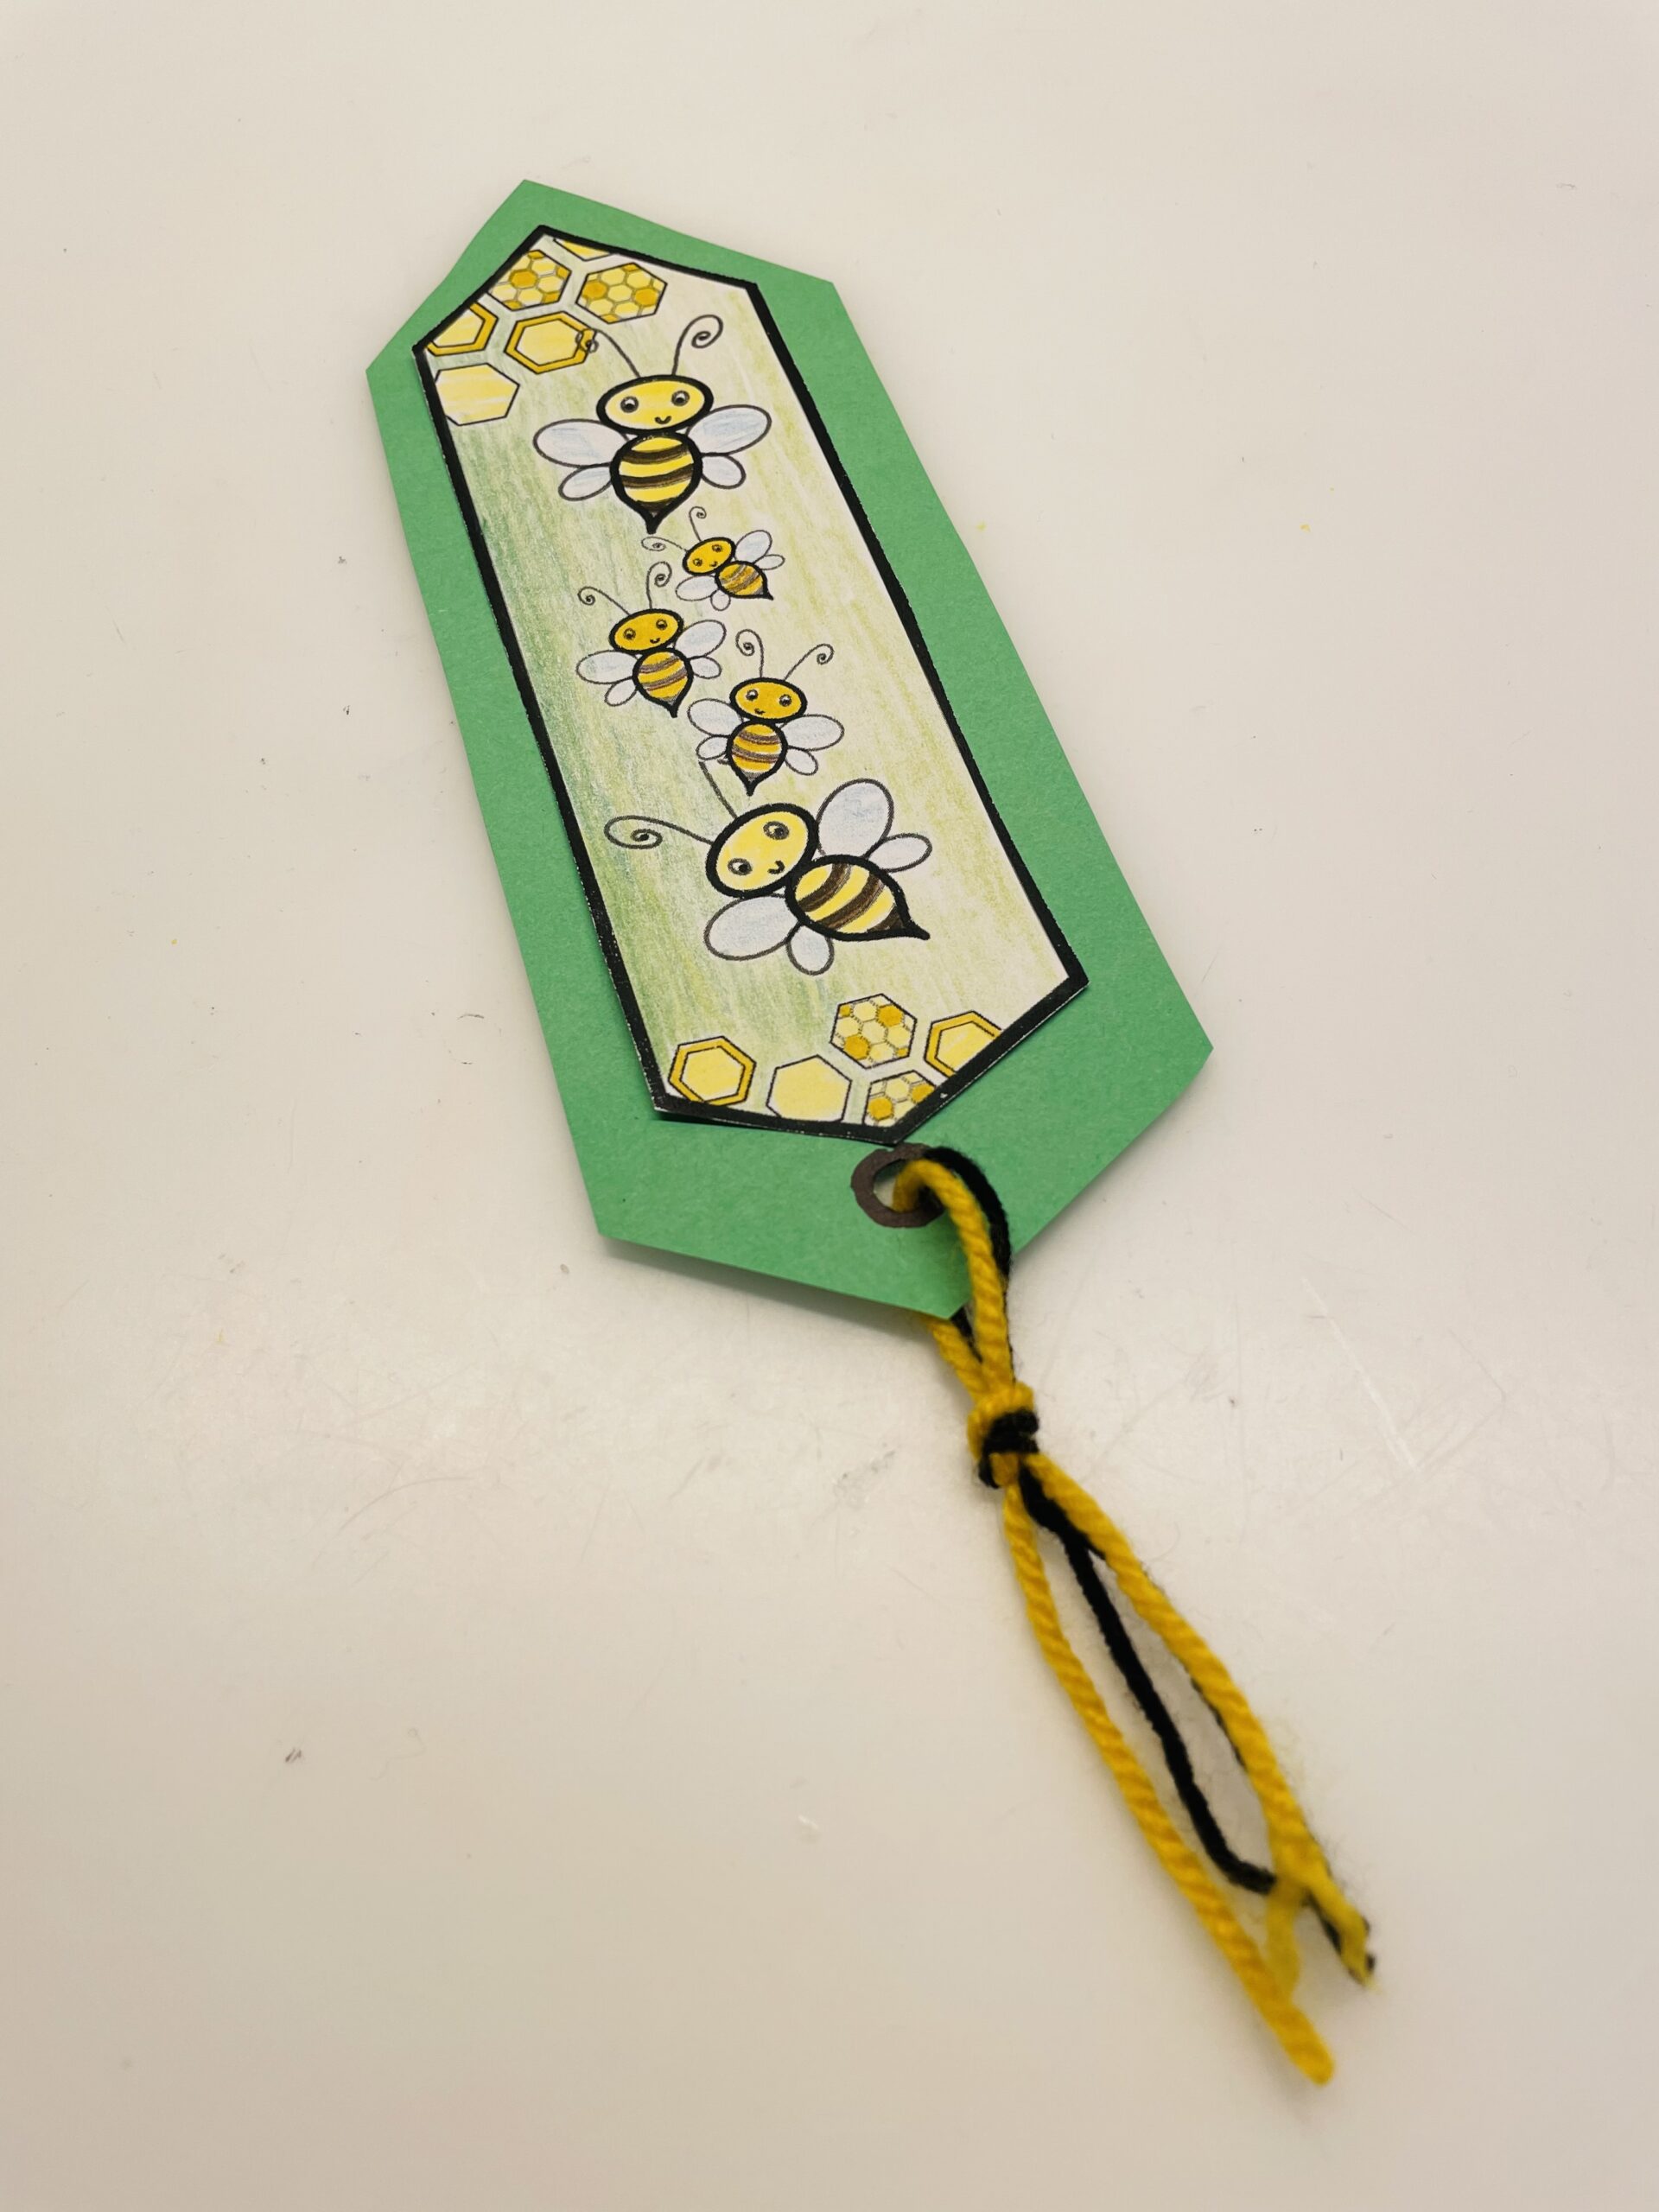
Have fun doing crafts.
Tip: Before you put on the tapes, you can laminate the paper. Because then the bookmark can be used longer.
Materials
Directions
Print this template for a bookmark.
Or you can print this template for several bookmarks.
Tip: The crafting of bookmarks is also suitable for a children's birthday party!
Put out your painting sheet and paint the bee sheet in a colorful way according to your ideas. After that you cut out the bookmark.
Then you stick the bookmark on a colored clay paper. This makes the bookmark more stable. What shape do you like? Cut the paper rectangular or in the shape of the bookmark. Tip: Make sure it is a little bigger, then it looks like a frame.
Now attach a volume to the bookmark. This will later look out of the book and show which page you are in the book.
For this you now cut 2-3 bands in the length of approx. 12cm.. Then you make a hole in the underside of the bookmark with the puncher.
Then thread the wool through the hole and pull it through to half.
Then you put the wool threads around your index finger as a loop.
Then pull your finger out and put the ends of the thread through the loop.
Now slowly tighten the loop, creating a loose knot.
The self-made bookmark is ready.
Have fun doing crafts.
Tip: Before you put on the tapes, you can laminate the paper. Because then the bookmark can be used longer.
Follow us on Facebook , Instagram and Pinterest
Don't miss any more adventures: Our bottle mail