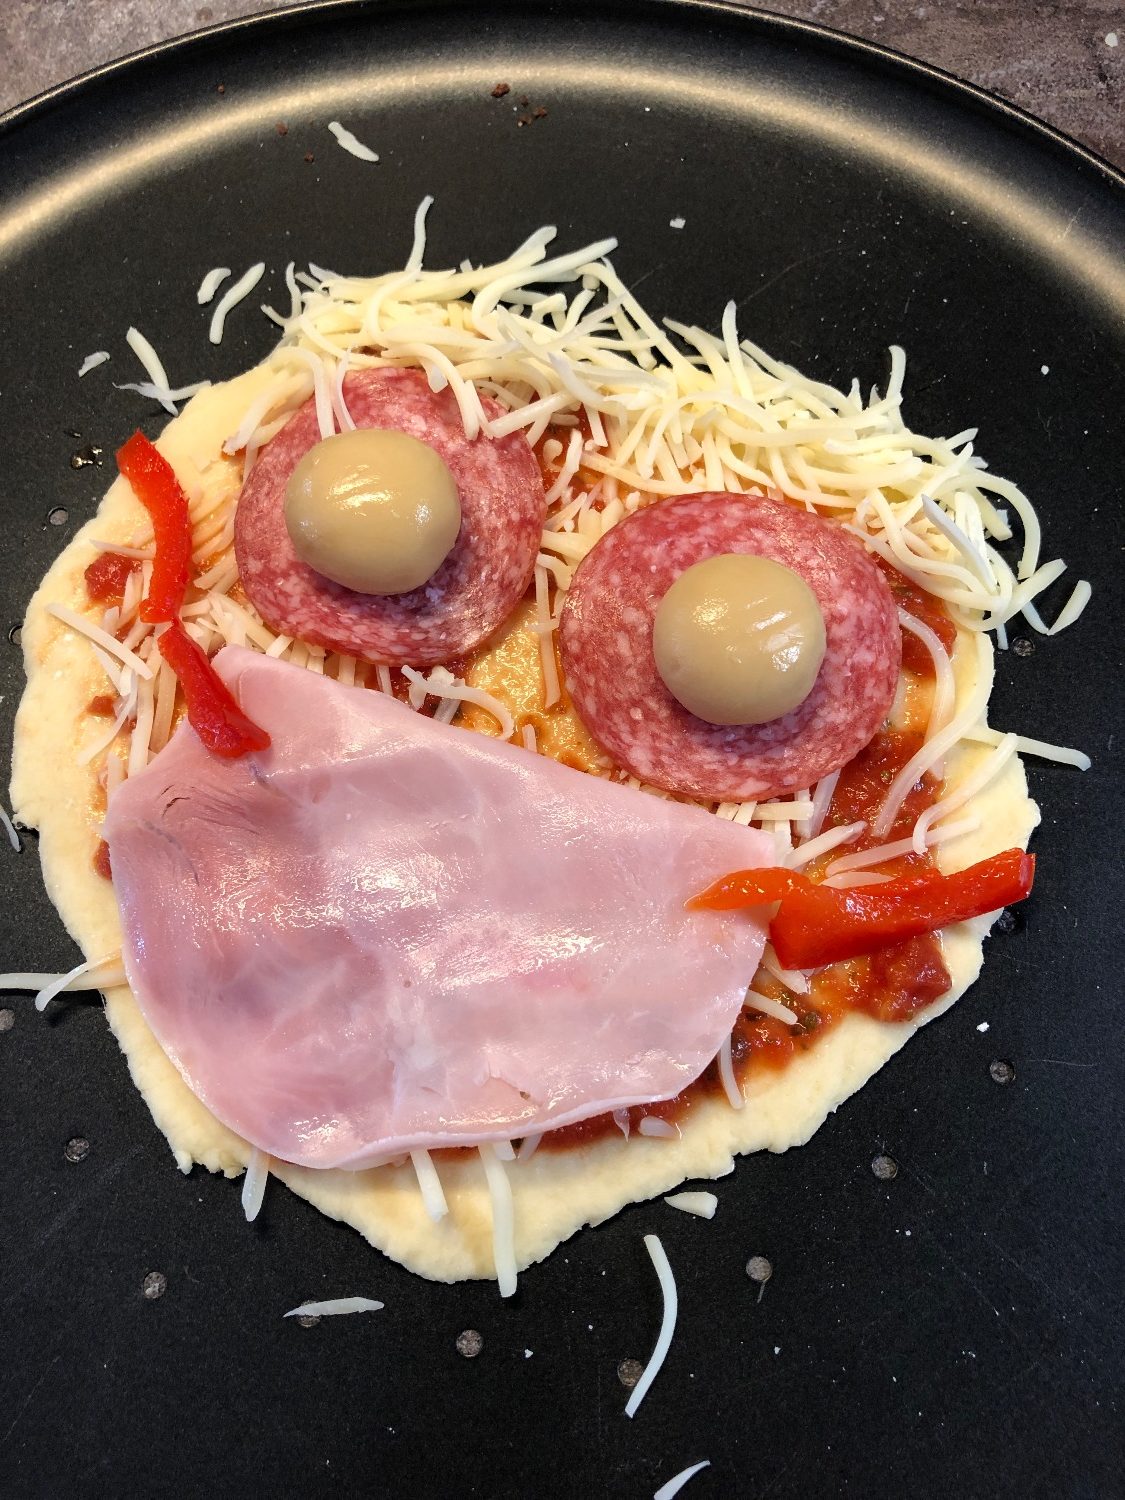
Bake pizza face (with basic recipe pizza dough)

AdventurerKatzi
Rating4.610.5 thousand times & (5) DifficultyIntermediate

First we make a quick pizza dough with a simple basic recipe. Then we prove our pizza face! But our face gets an edible "mouth protection".
Goal: take fear of the mouthguard.

Media Education for Kindergarten and Hort

Kind bastelt eine Rassel mit dem Navi
The Adventure Navi, the app for DIY projects, enables media education for the youngest.

Relief in everyday life, targeted promotion of individual children, independent learning and - without any pre-knowledge already usable by the youngest!


Titelbild zur Bastel- und DIY-Idee für Kinder '(117) Pizza-Gesicht backen (mit Grundrezept Pizzateig)'
Material for1 Child
Prep Time10 min.Adv. Time20 min.Total Time30 min.
 Pizza dough
 Rubber ingredients: cheese, salami, ham, peppers, mushrooms, tomato sauce
 Pasta wood
 Baking plate
1

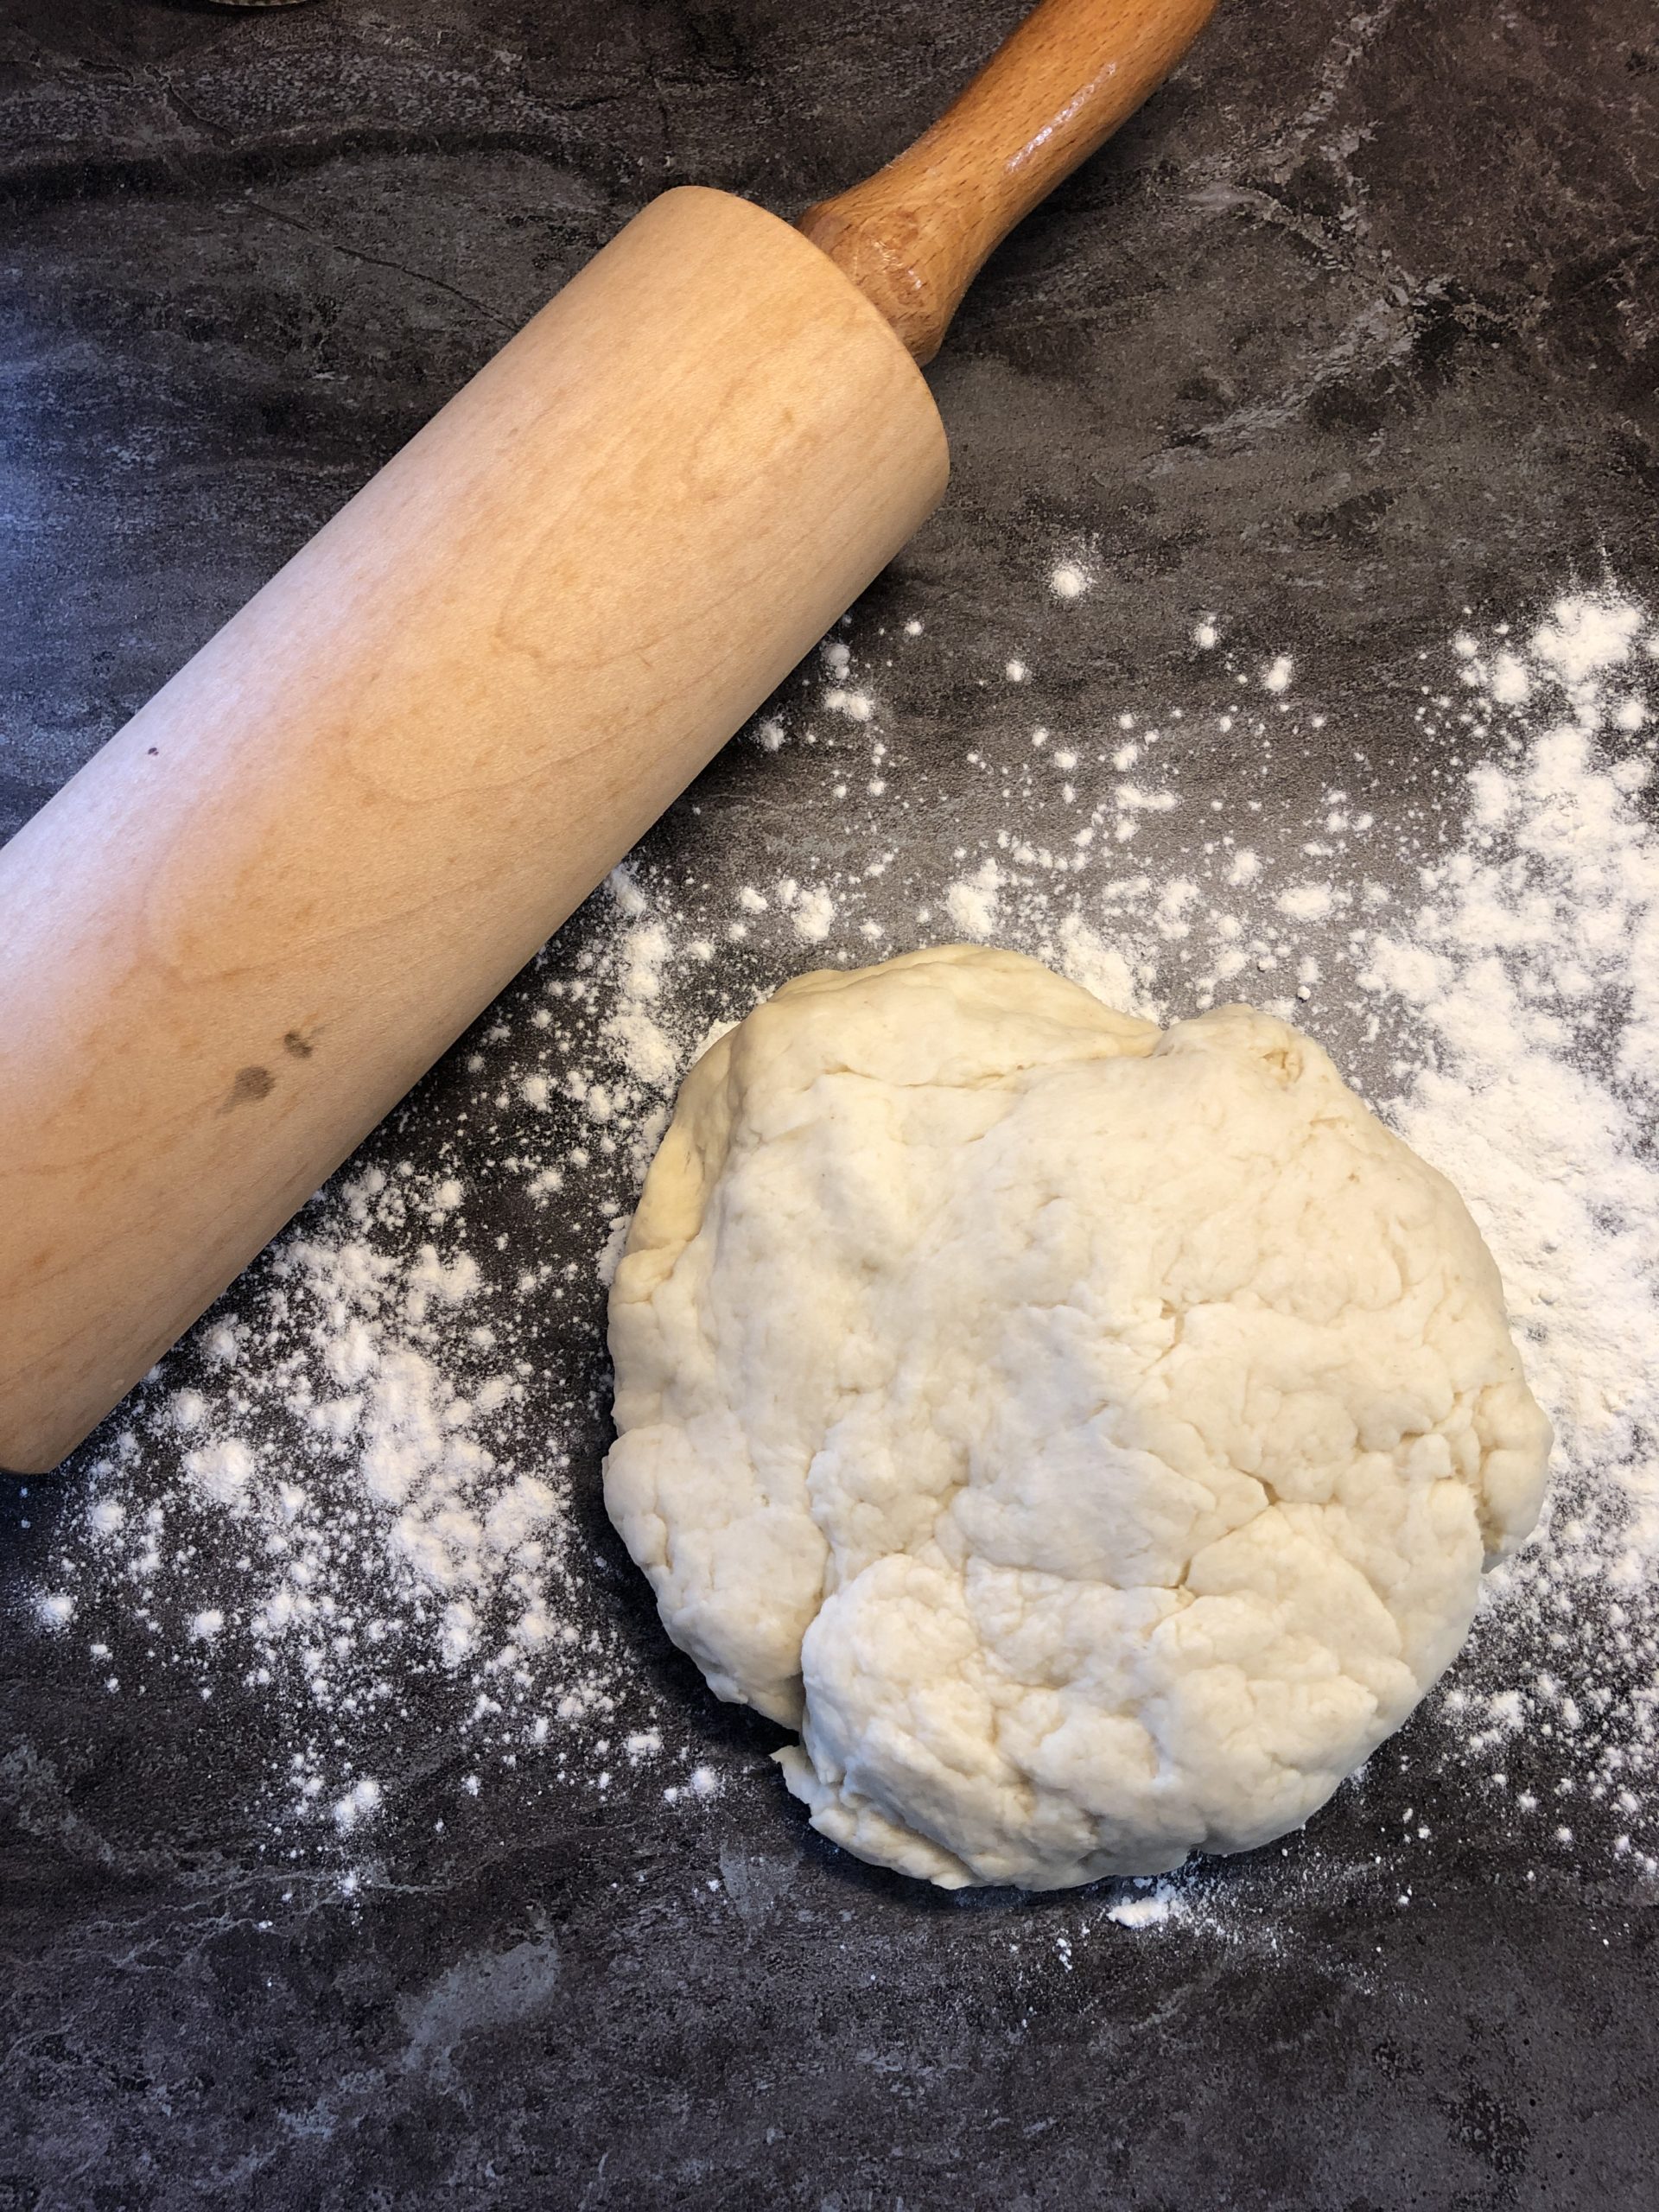
Make pizza dough!
Or take a finished one!
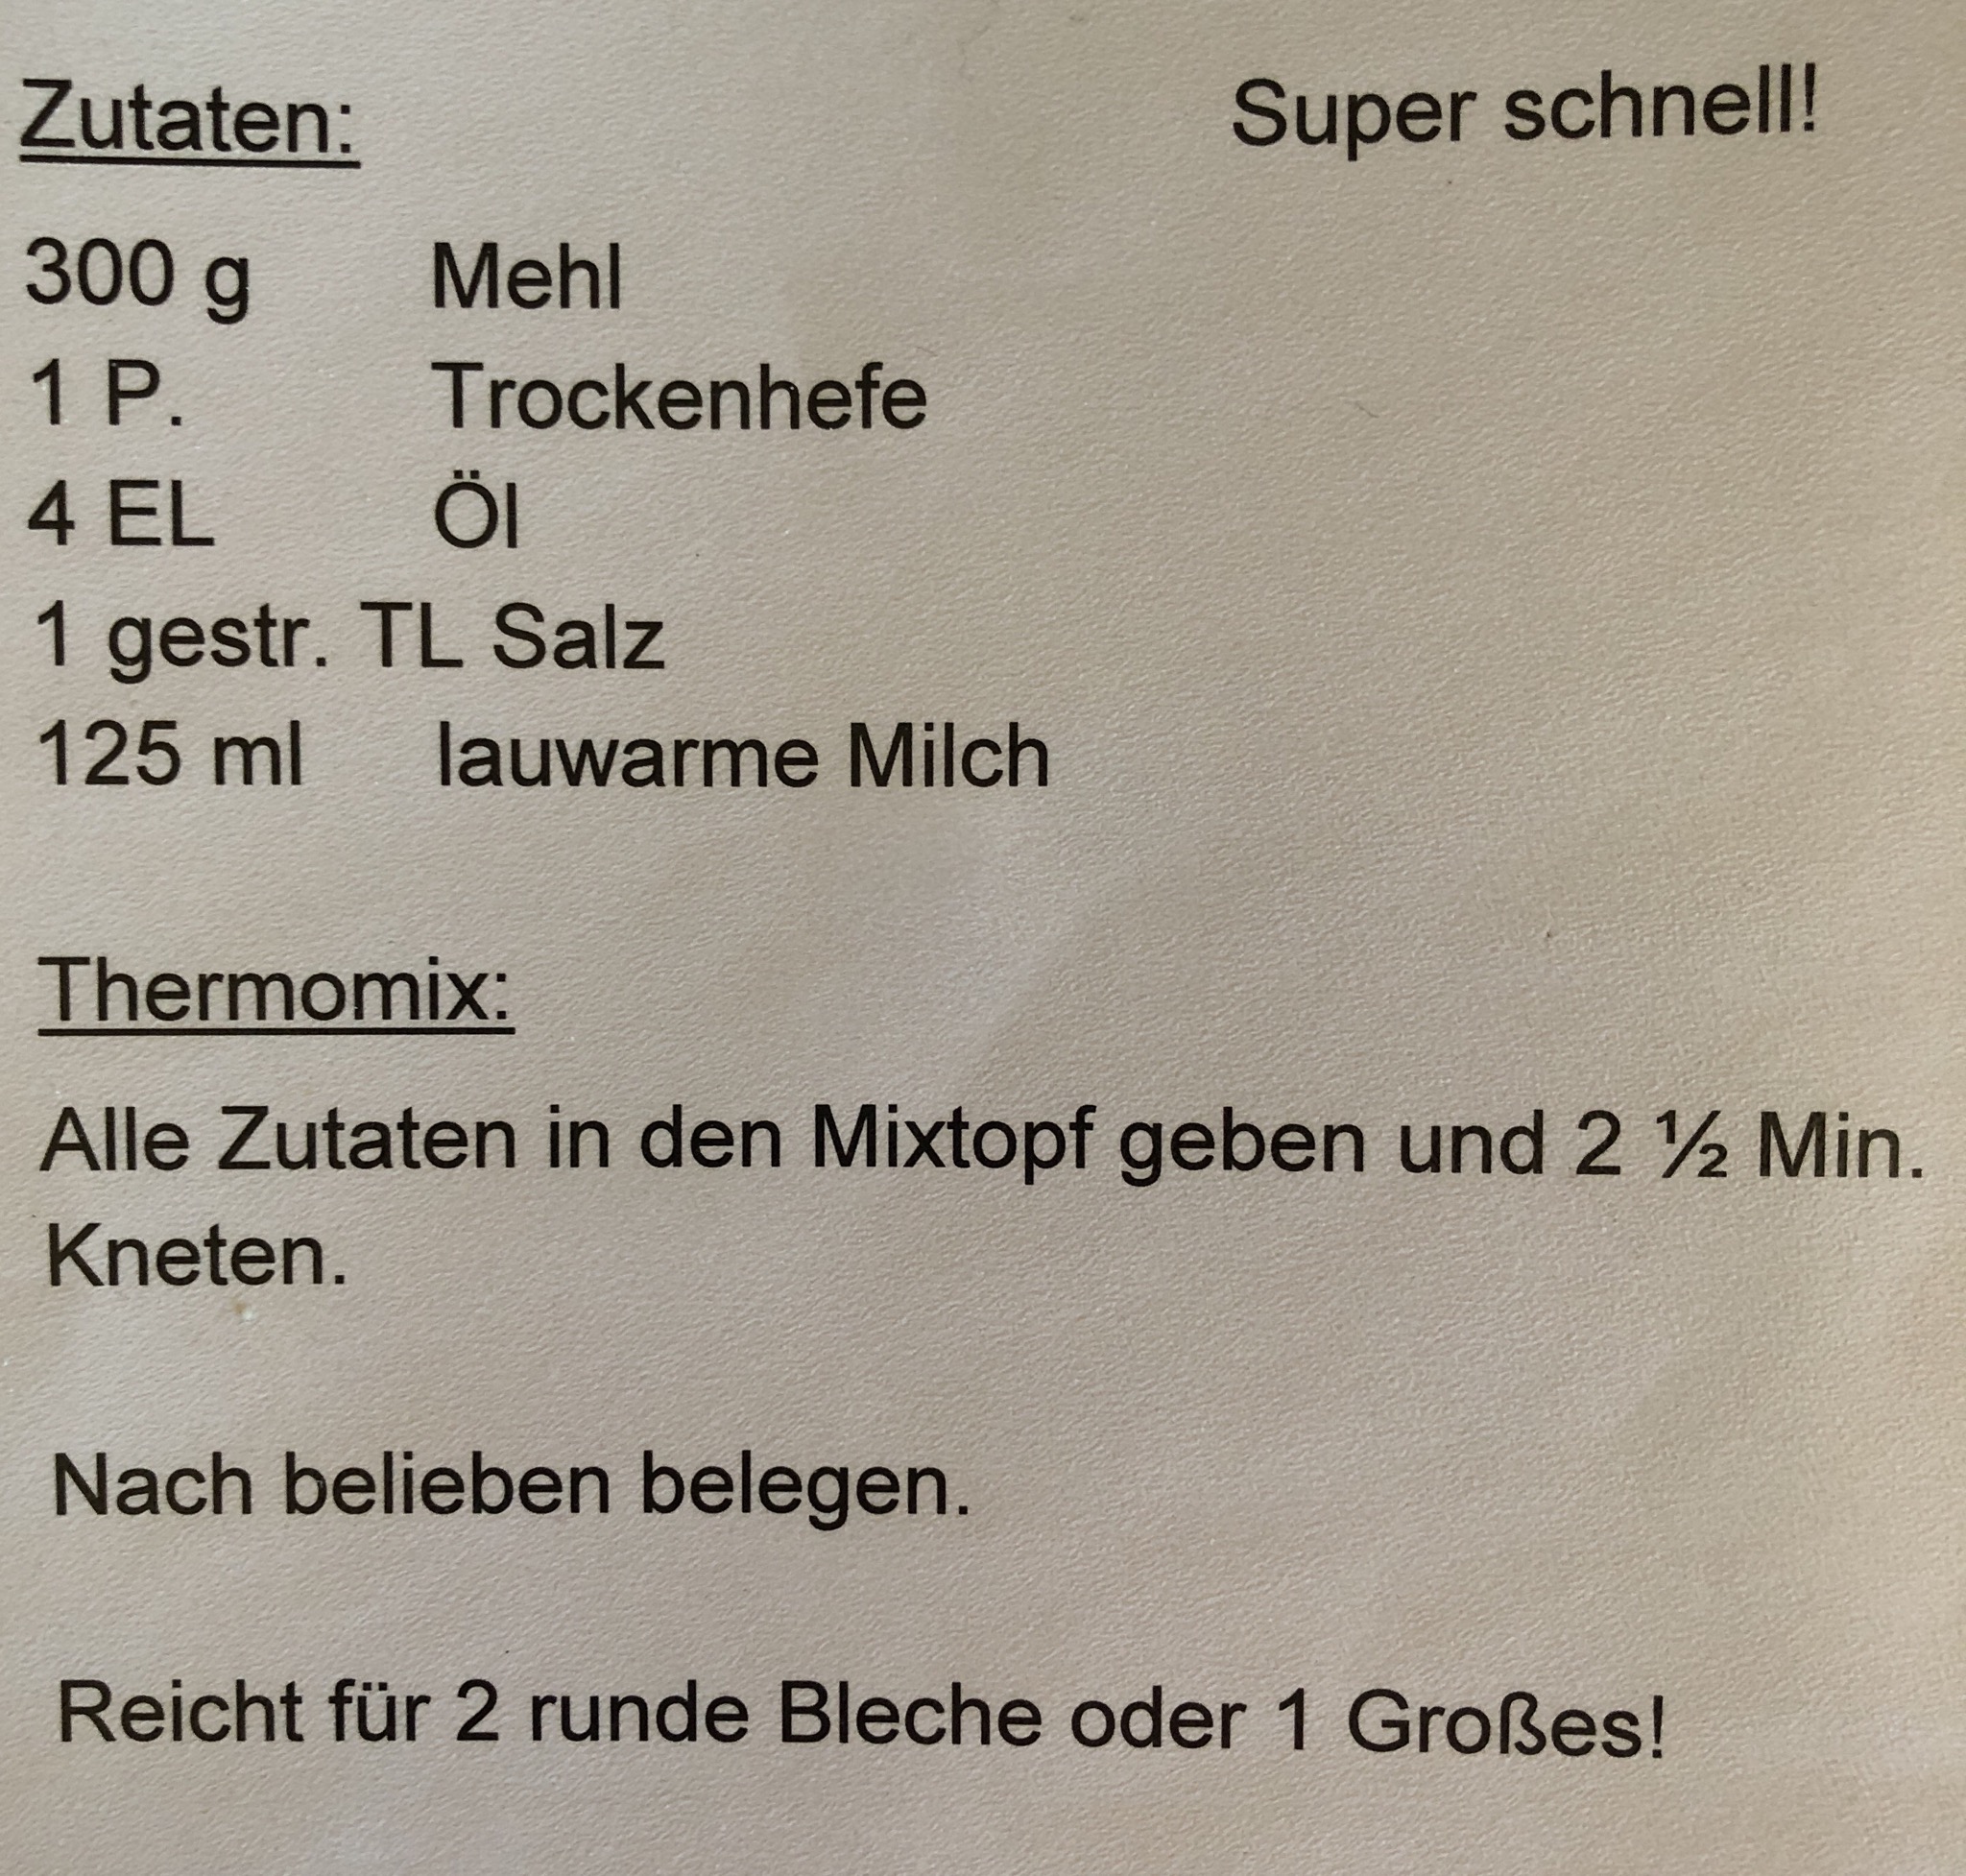
Bild zum Schritt 1 für das Bastel- und DIY-Abenteuer für Kinder: 'Pizzateig herstellen!  Oder einen fertigen nehmen!'

2

Roll out the dough circularly

Bild zum Schritt 2 für das Bastel- und DIY-Abenteuer für Kinder: 'Teig kreisförmig ausrollen'

3

Put on a pizza plate

Bild zum Schritt 3 für das Bastel- und DIY-Abenteuer für Kinder: 'Auf ein Pizzablech geben'

4

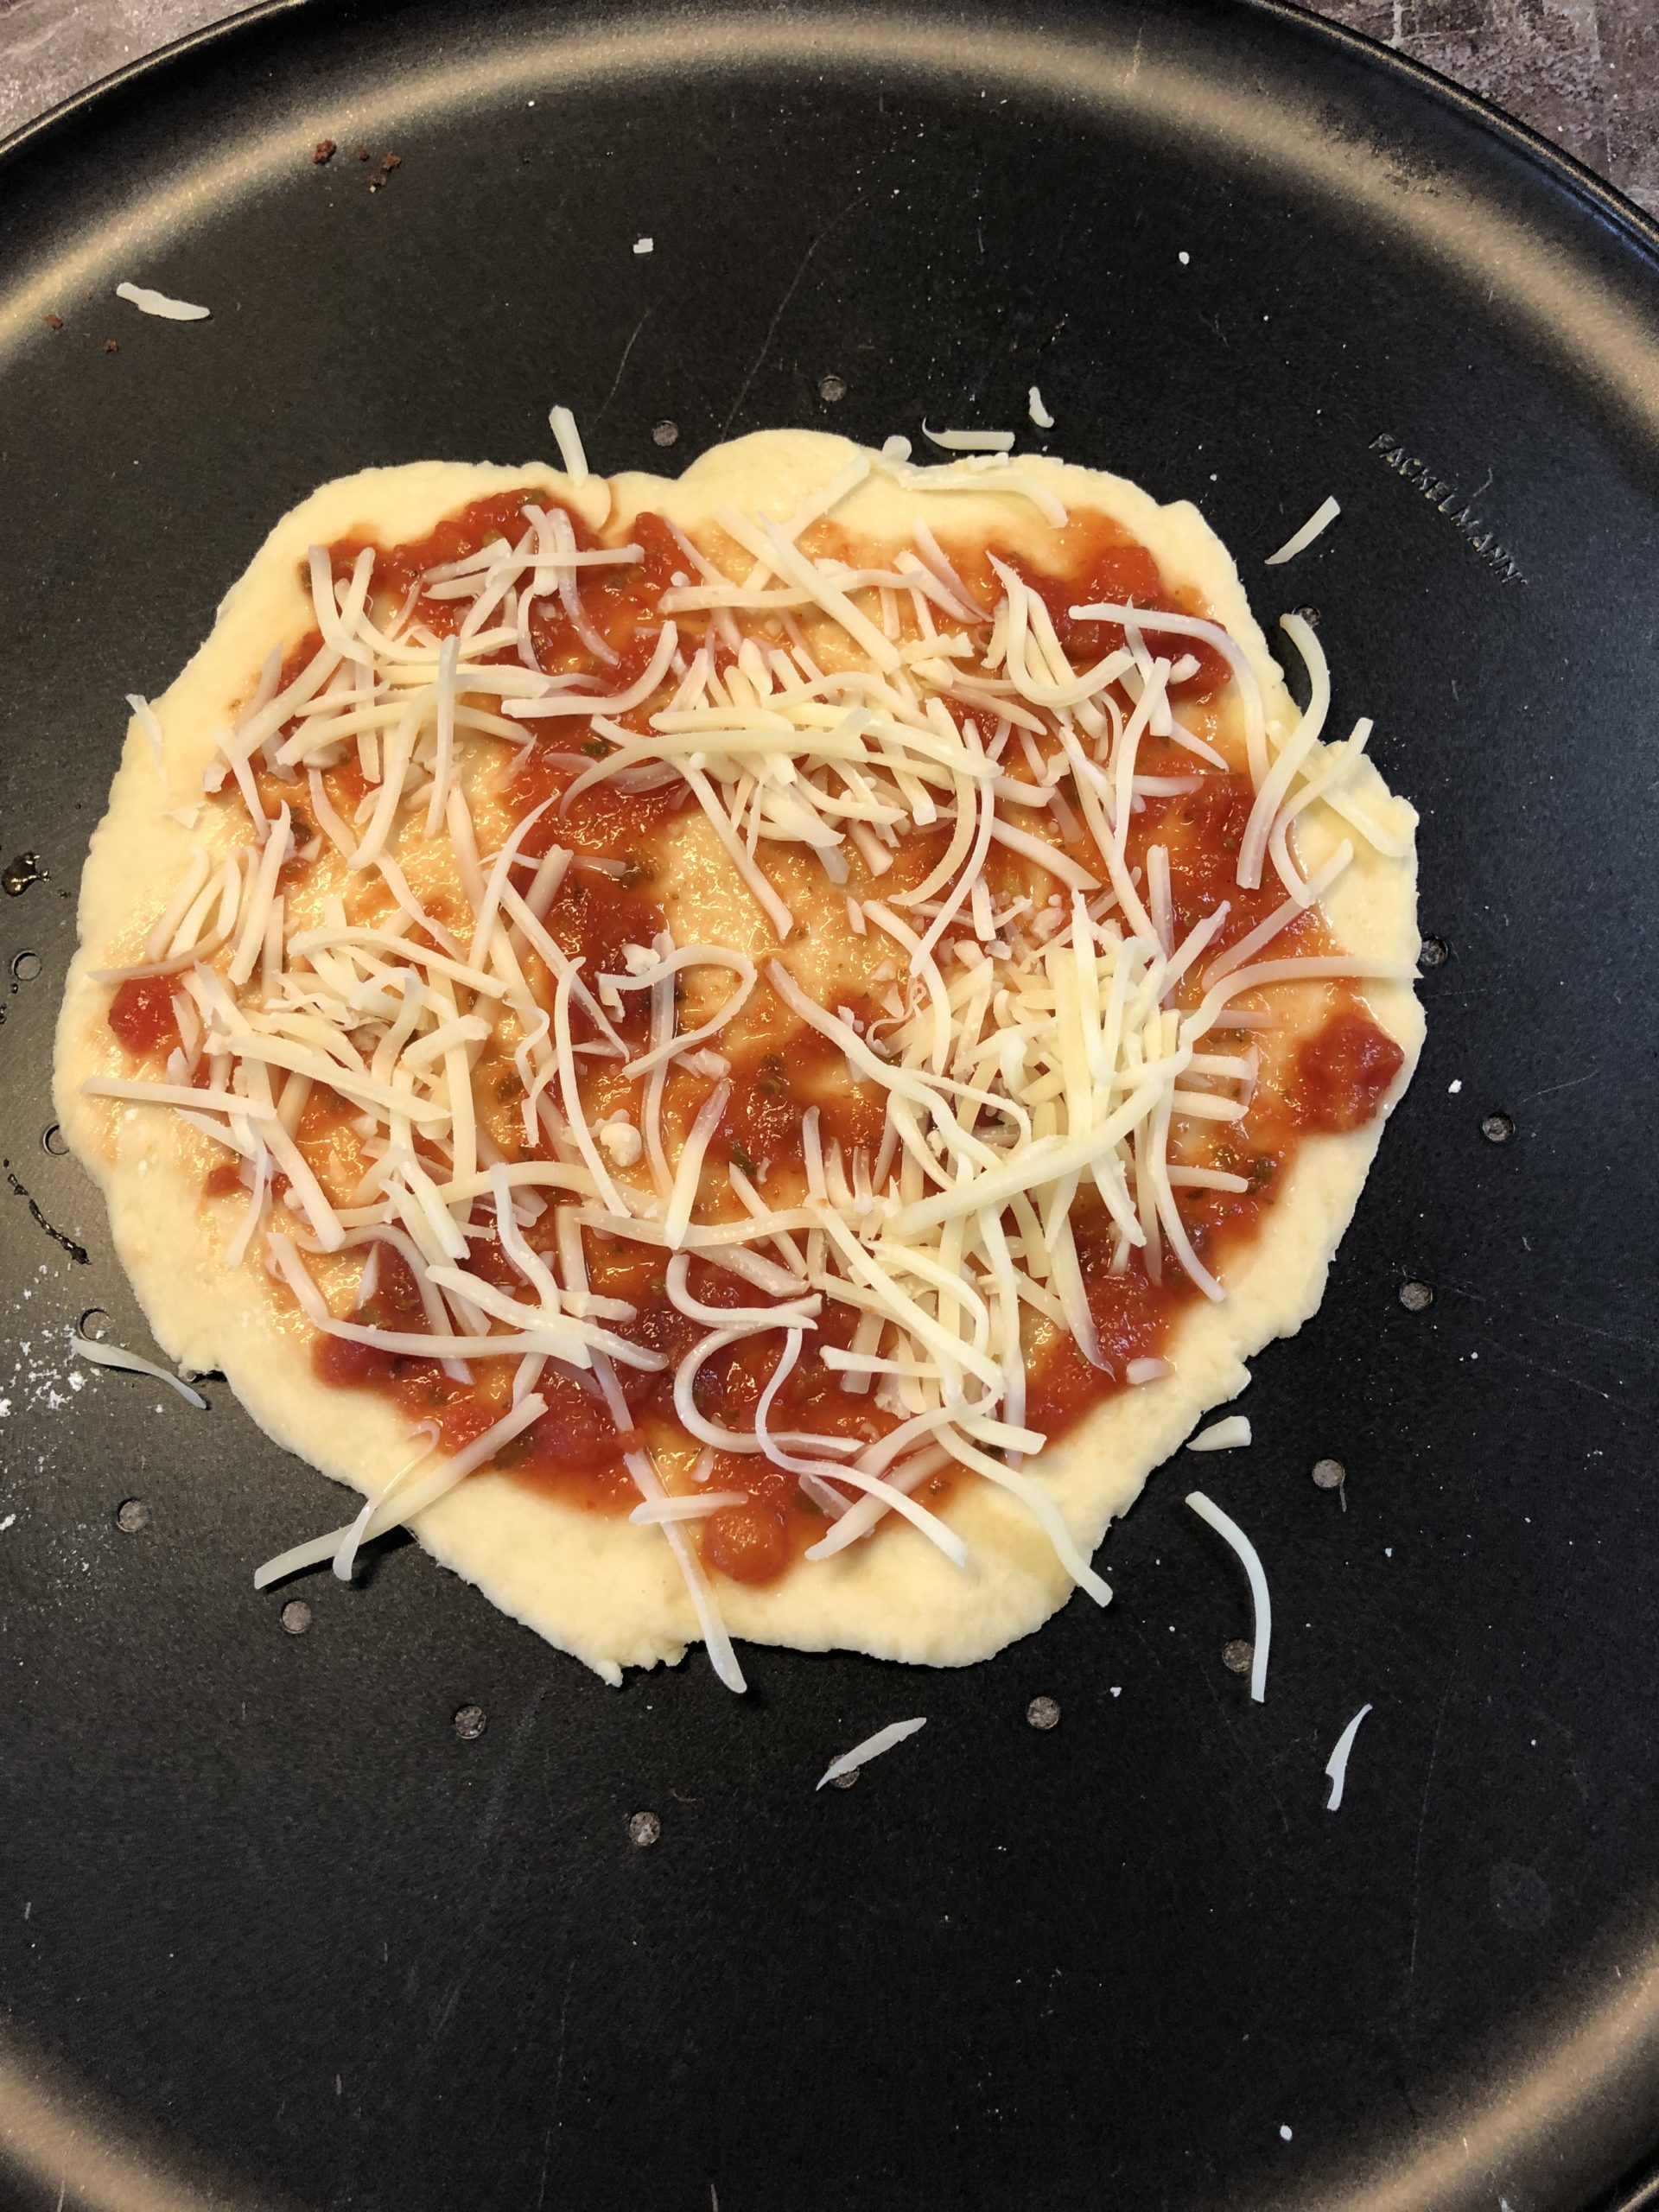
Sprinkle with tomato sauce (pizzatomates)
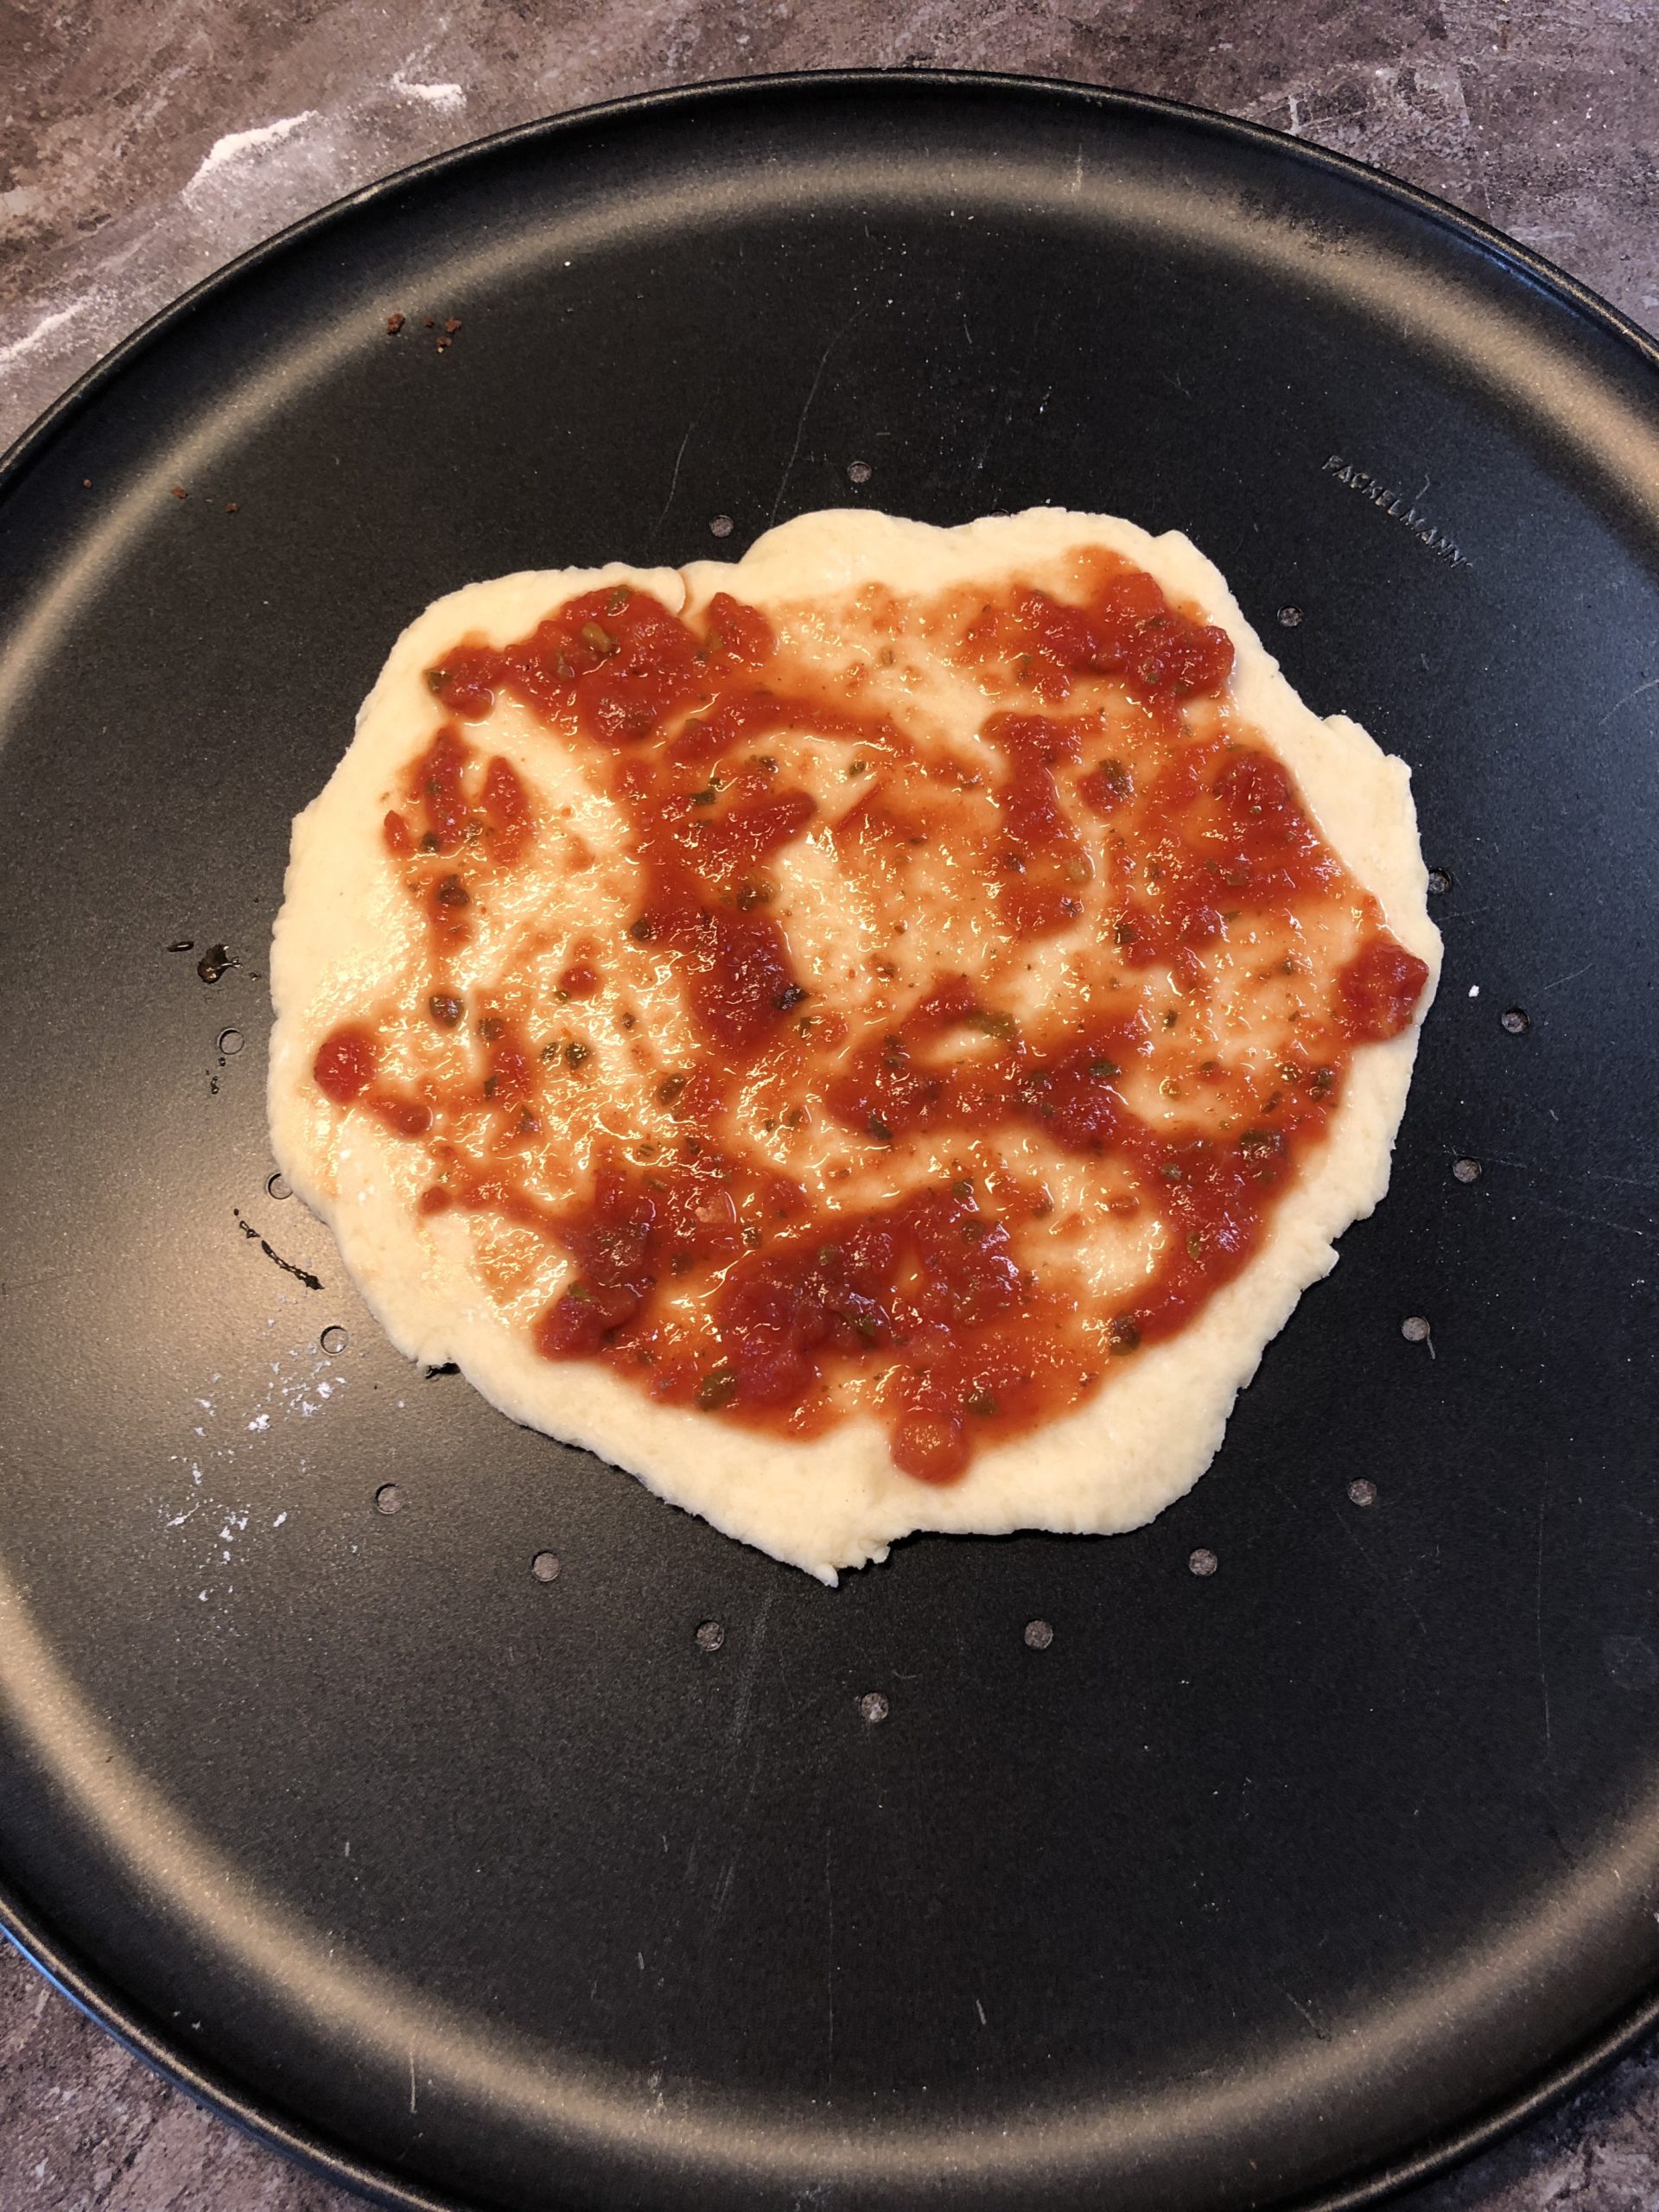
Bild zum Schritt 4 für das Bastel- und DIY-Abenteuer für Kinder: 'Mit Tomatensoße bestreichen (Pizzatomaten)'

5

Provide further coating ingredients.

Bild zum Schritt 5 für das Bastel- und DIY-Abenteuer für Kinder: 'Weitere Belagzutaten bereitstellen.'

6

Sprinkle with cheese

Bild zum Schritt 6 für das Bastel- und DIY-Abenteuer für Kinder: 'Mit Käse bestreuen'

7

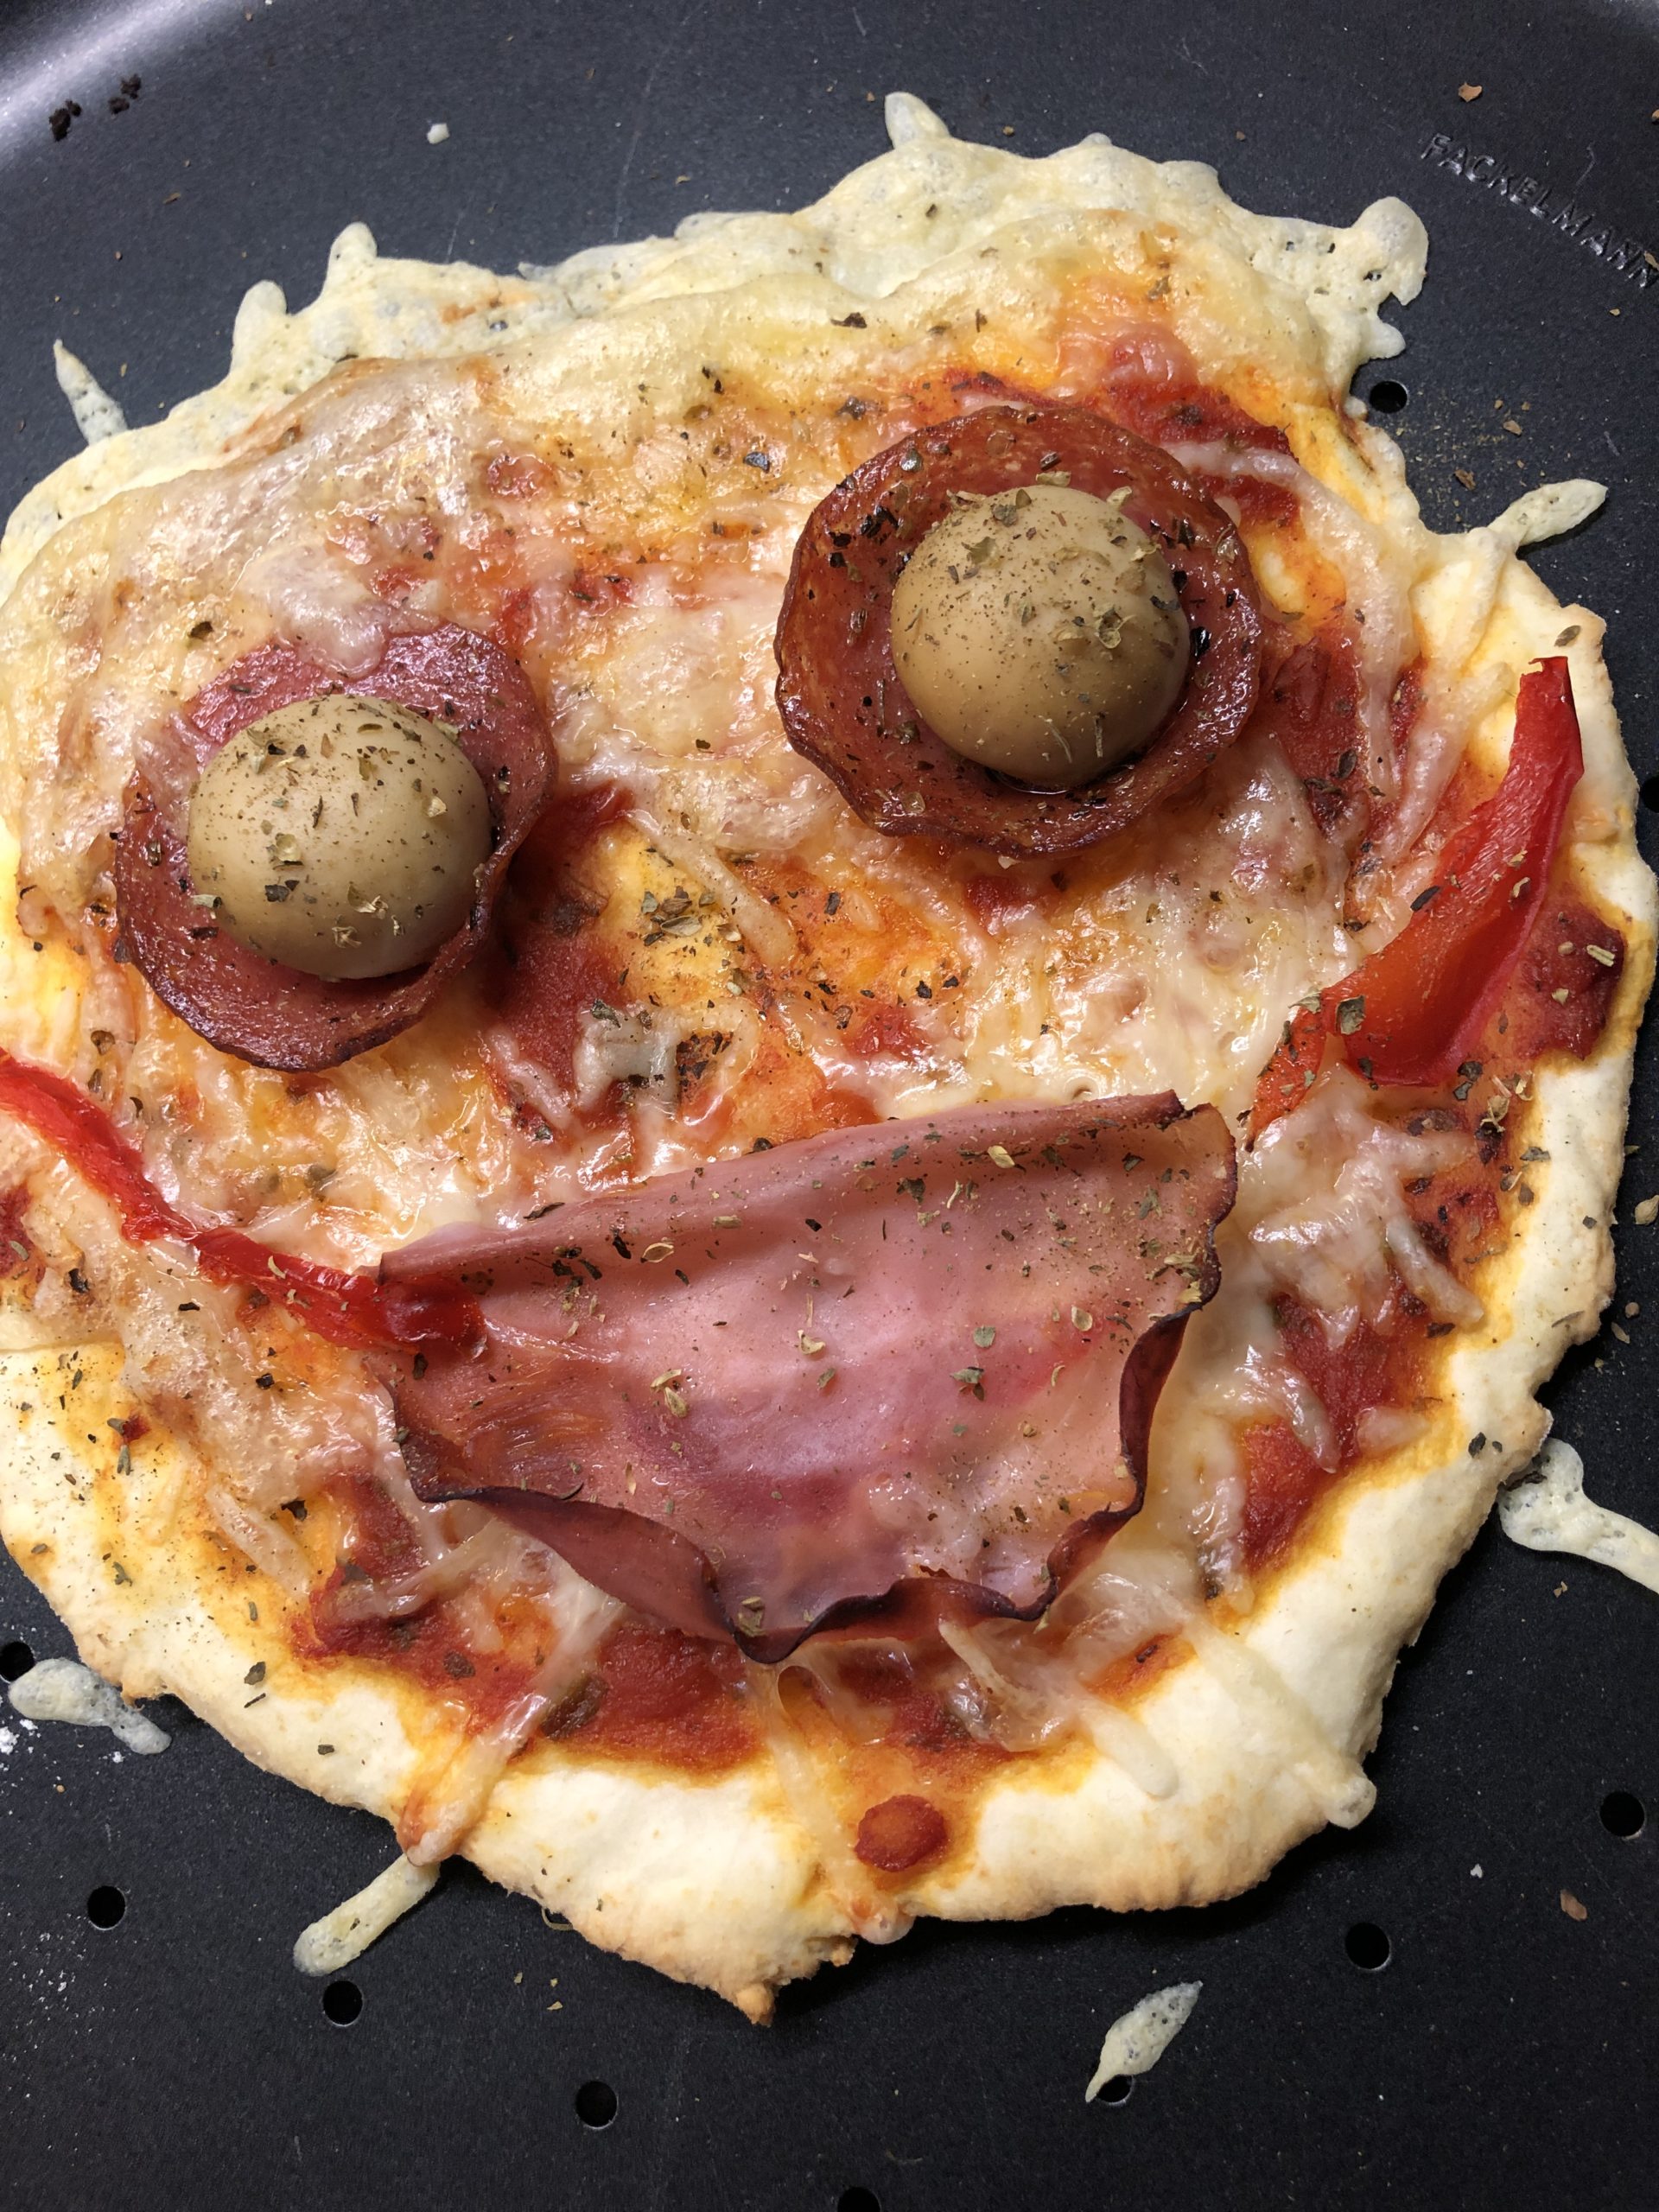
Place the eyes of salami slices and a mushroom and a mouth from a strip of paprika

Bild zum Schritt 7 für das Bastel- und DIY-Abenteuer für Kinder: 'Augen aus Salami-Scheiben und je einem Champignon legen und einen...'

8

The mouthguard is formed from a slice of cooked ham, two more paprika strips are the "rubbish runs" from cheese rasp we make our face still the hair!

Bild zum Schritt 8 für das Bastel- und DIY-Abenteuer für Kinder: 'Aus einer Scheibe gekochtem Schinken entsteht der Mundschutz, zwei weitere...'

9

Now our pizza comes into the oven. Preheat to 220 degrees in hot air and bake for about 15 minutes.

10

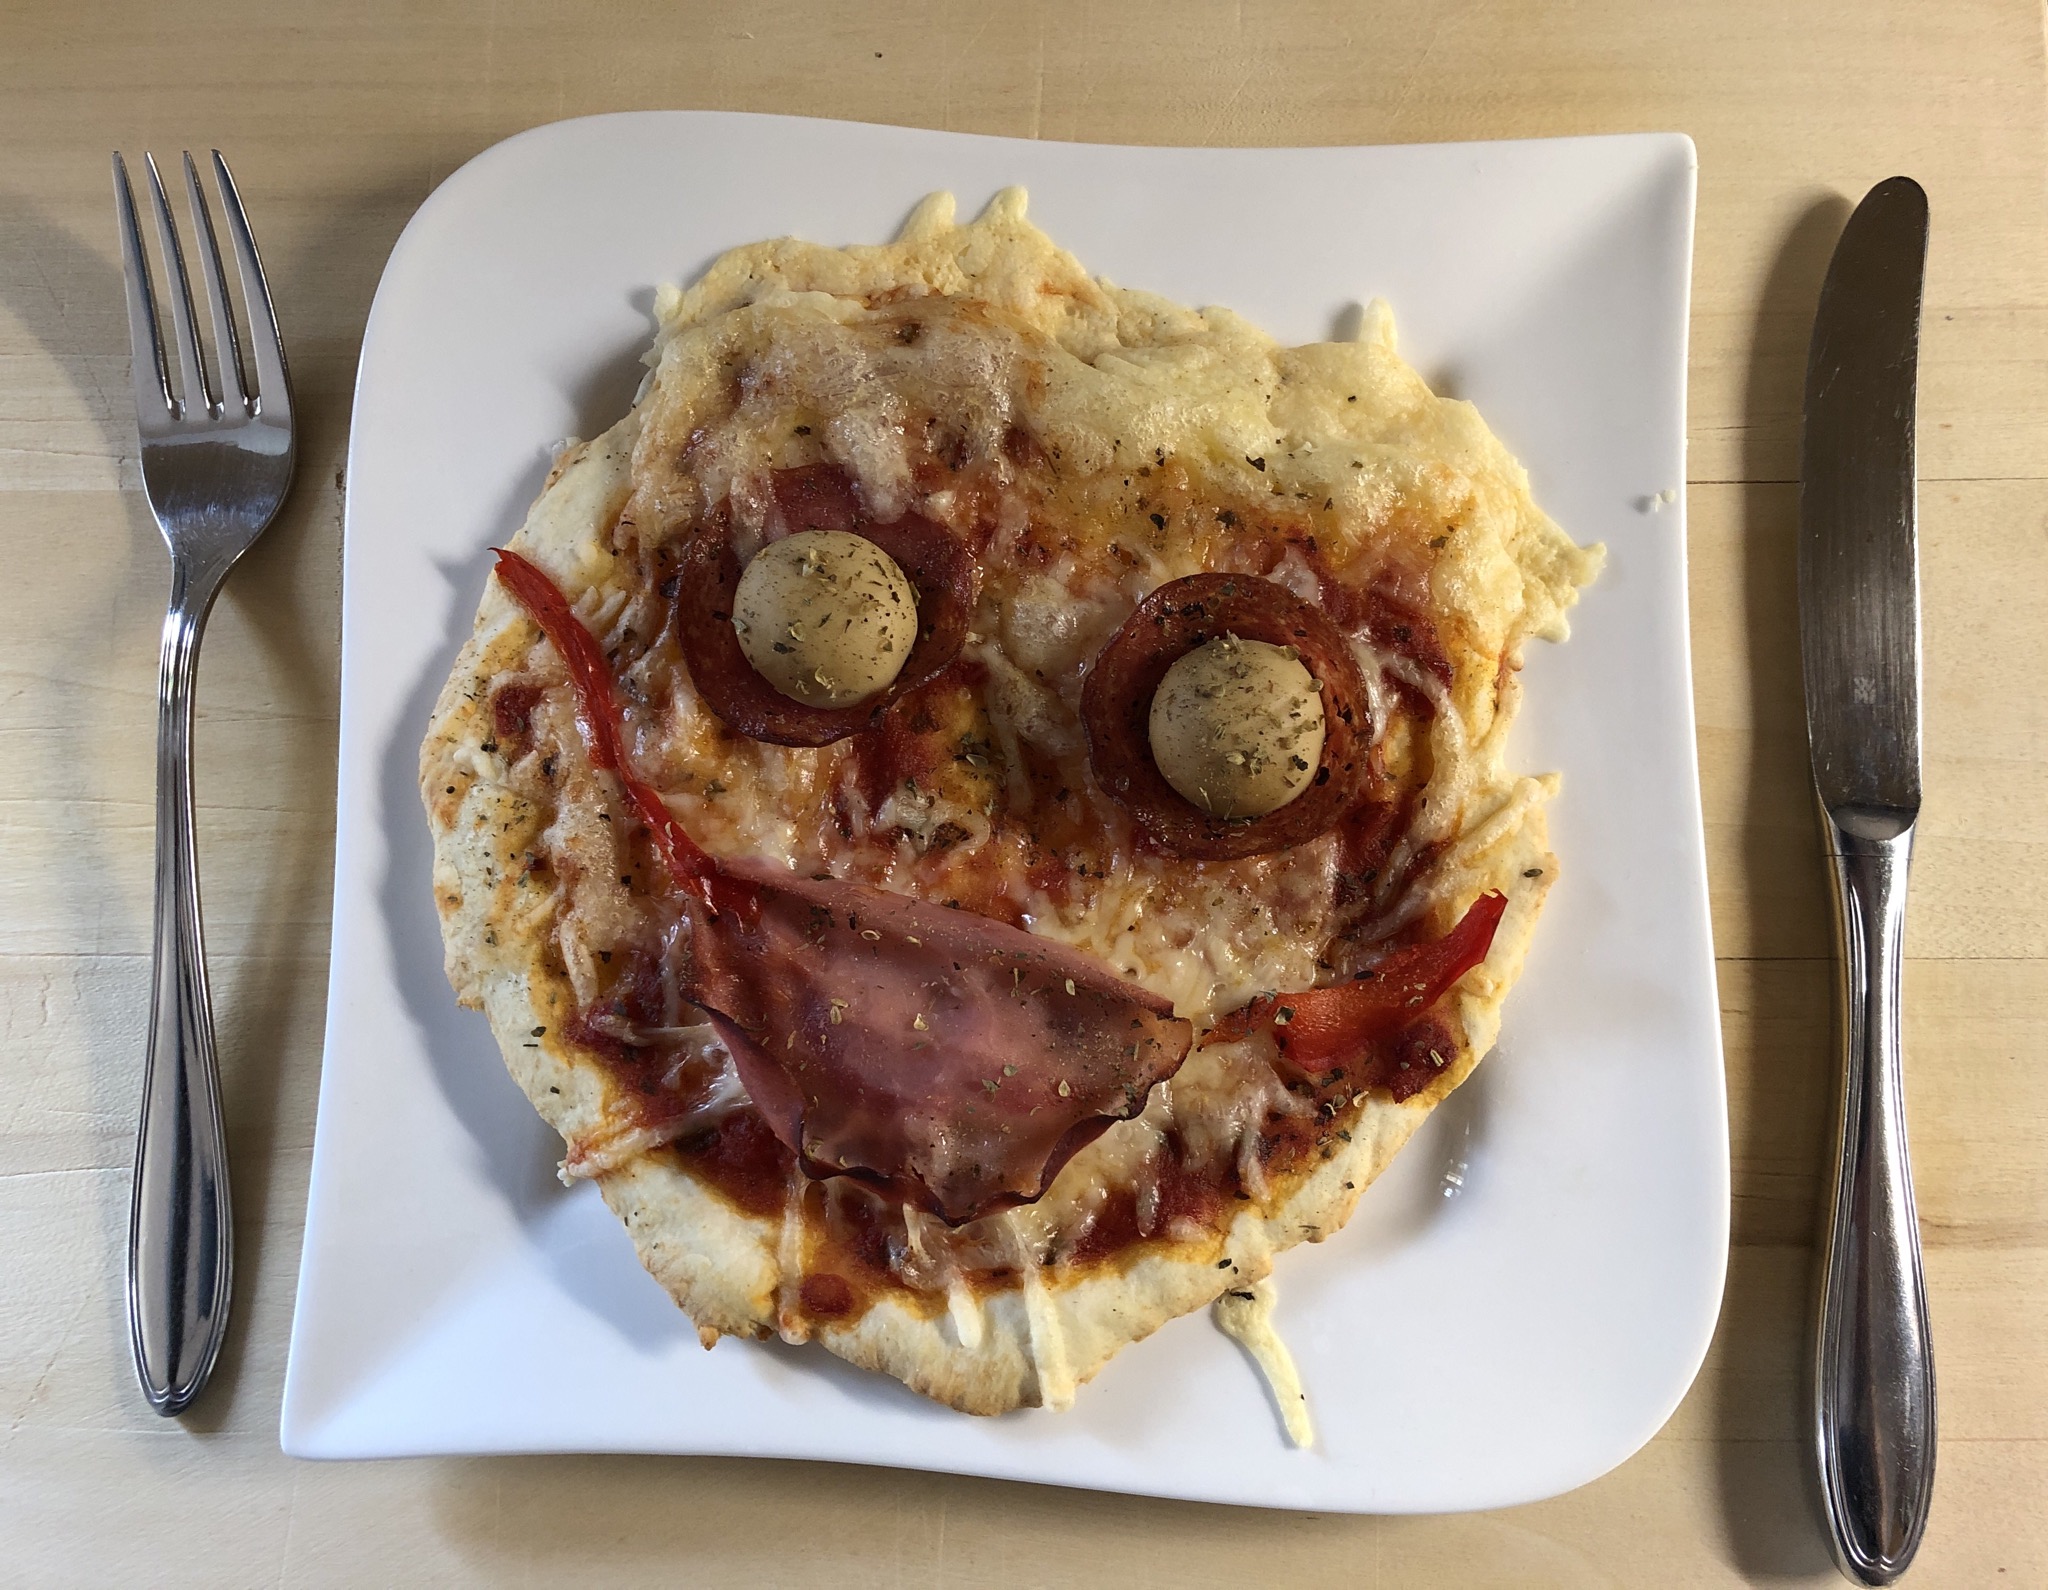
Our pizza with mouthguard is ready!

Bild zum Schritt 10 für das Bastel- und DIY-Abenteuer für Kinder: 'Fertig ist unsere Pizza mit Mundschutz!'

11

Enjoy!

Bild zum Schritt 11 für das Bastel- und DIY-Abenteuer für Kinder: 'Guten Appetit!'

Materials

 Pizza dough
 Rubber ingredients: cheese, salami, ham, peppers, mushrooms, tomato sauce
 Pasta wood
 Baking plate

Directions

1

Make pizza dough!
Or take a finished one!

Bild zum Schritt 1 für das Bastel- und DIY-Abenteuer für Kinder: 'Pizzateig herstellen!  Oder einen fertigen nehmen!'

2

Roll out the dough circularly

Bild zum Schritt 2 für das Bastel- und DIY-Abenteuer für Kinder: 'Teig kreisförmig ausrollen'

3

Put on a pizza plate

Bild zum Schritt 3 für das Bastel- und DIY-Abenteuer für Kinder: 'Auf ein Pizzablech geben'

4

Sprinkle with tomato sauce (pizzatomates)

Bild zum Schritt 4 für das Bastel- und DIY-Abenteuer für Kinder: 'Mit Tomatensoße bestreichen (Pizzatomaten)'

5

Provide further coating ingredients.
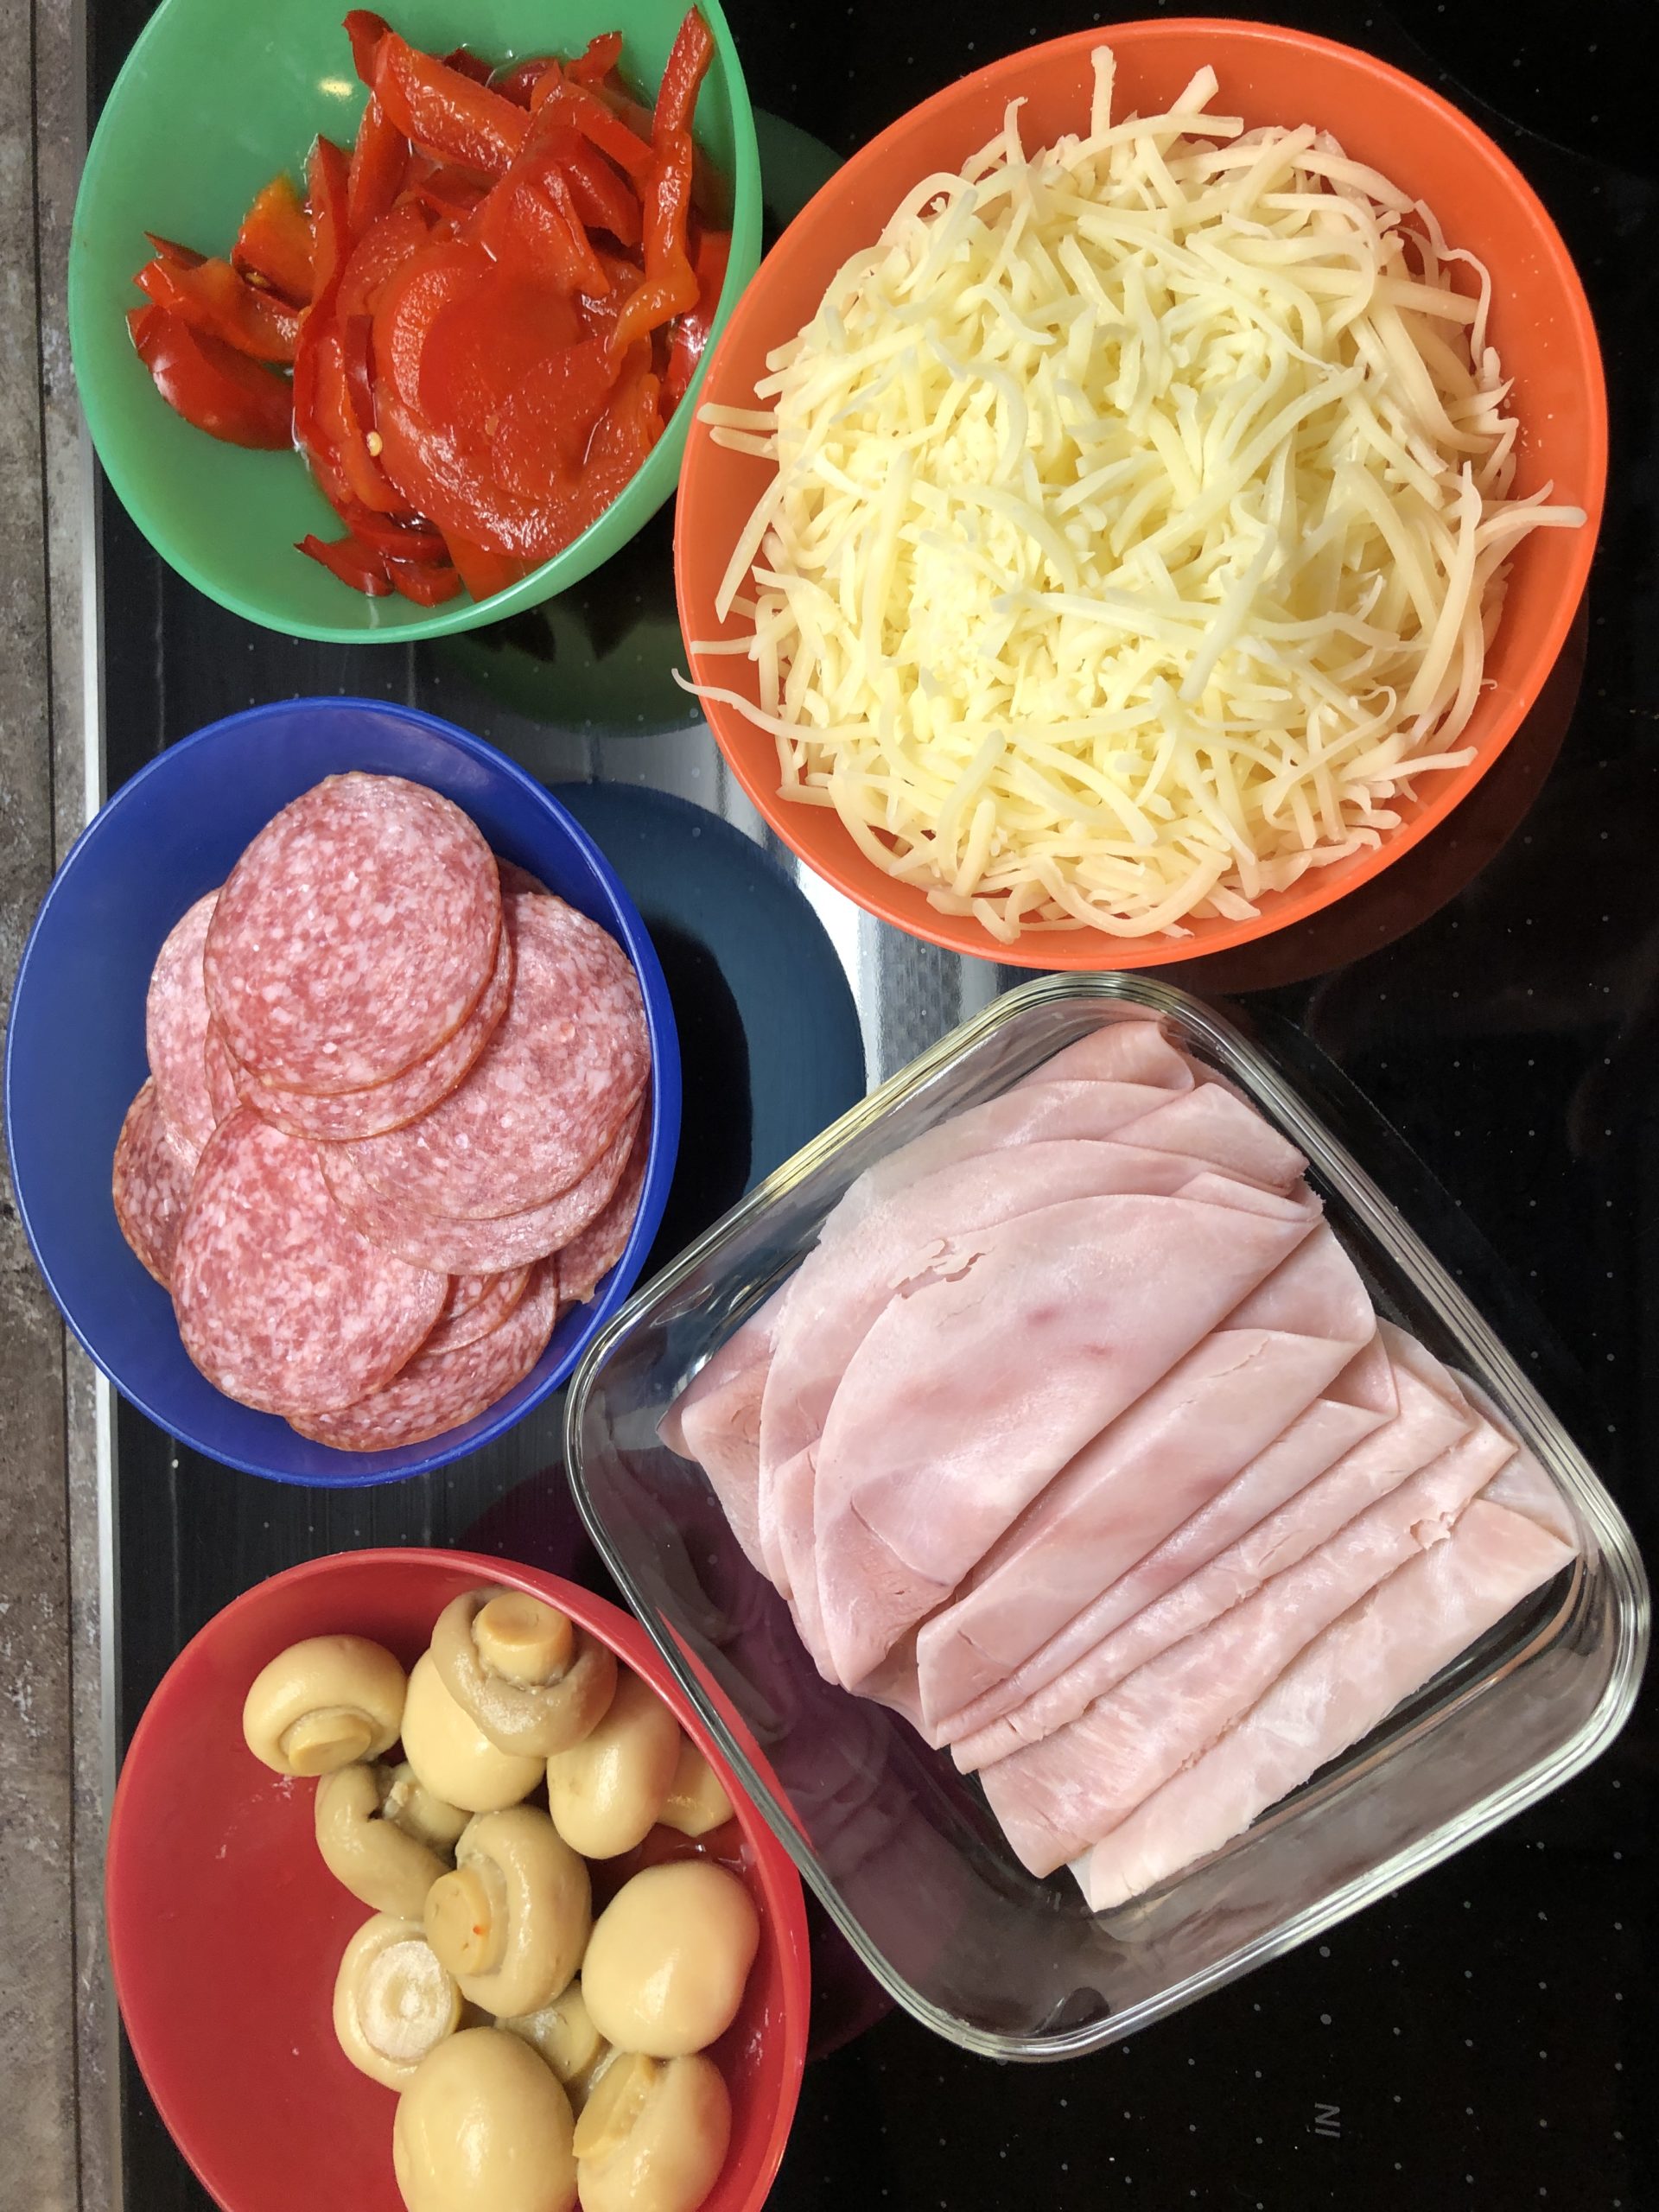
Bild zum Schritt 5 für das Bastel- und DIY-Abenteuer für Kinder: 'Weitere Belagzutaten bereitstellen.'

6

Sprinkle with cheese

Bild zum Schritt 6 für das Bastel- und DIY-Abenteuer für Kinder: 'Mit Käse bestreuen'

7

Place the eyes of salami slices and a mushroom and a mouth from a strip of paprika
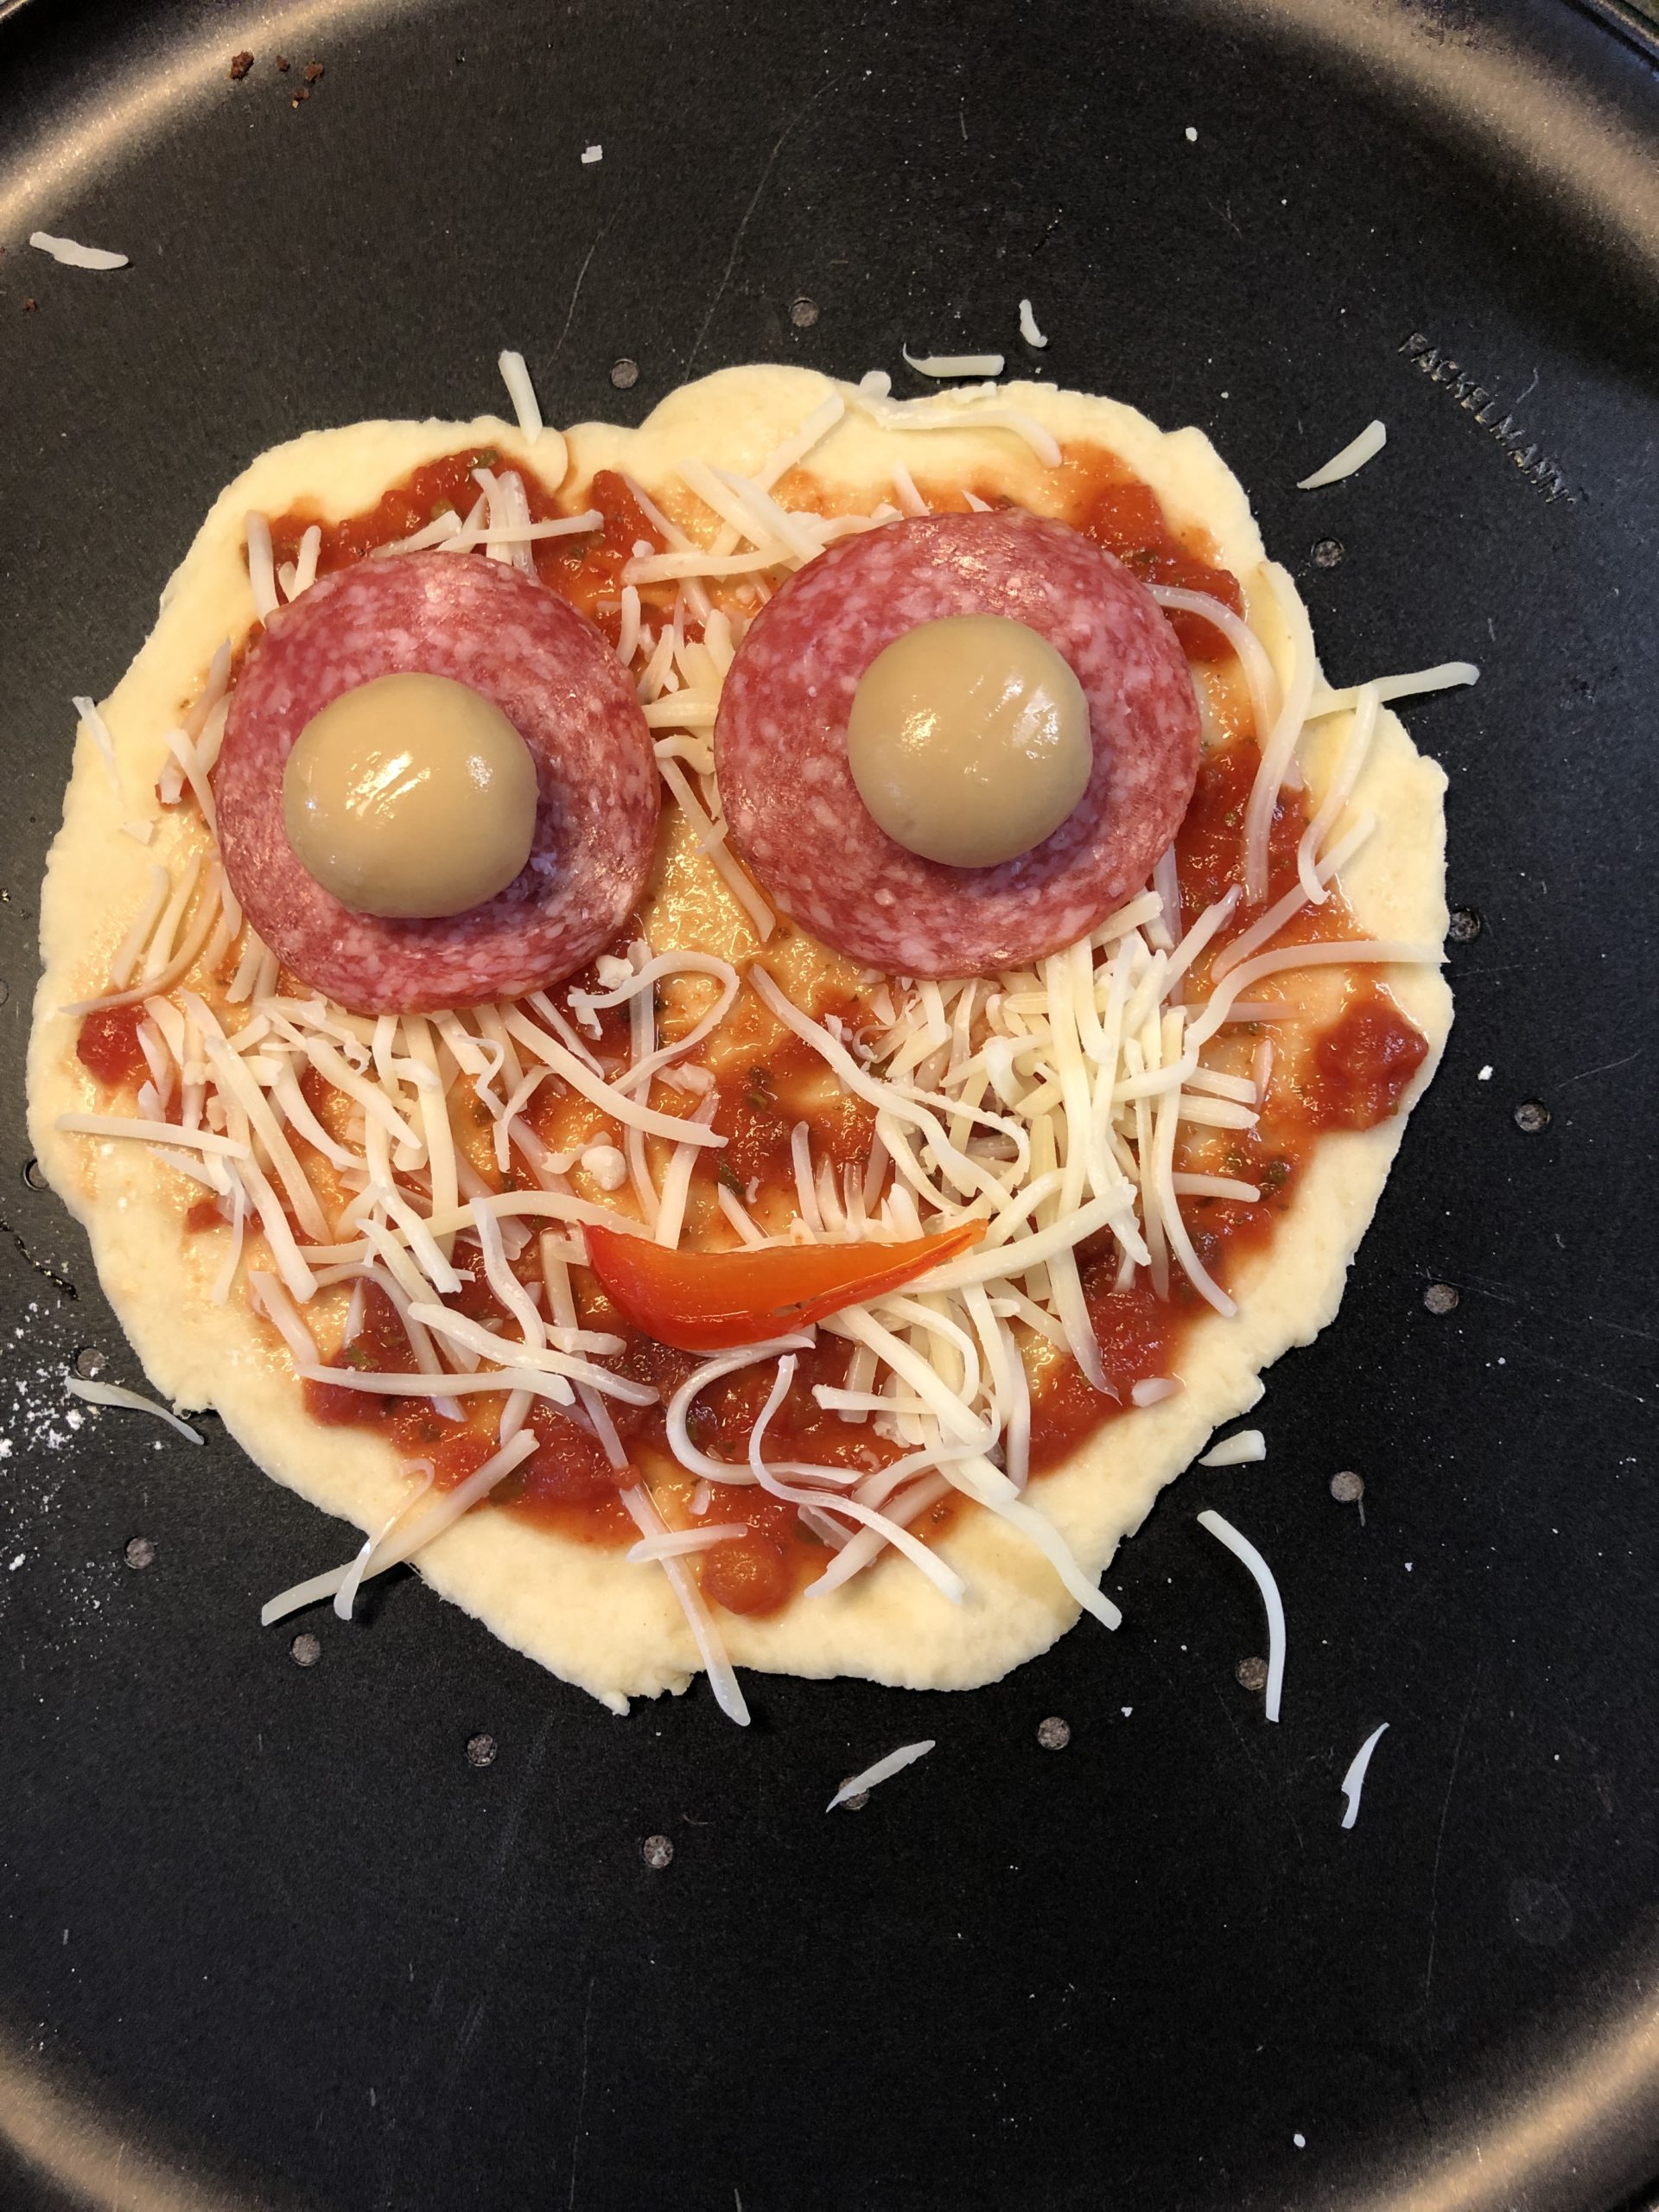
Bild zum Schritt 7 für das Bastel- und DIY-Abenteuer für Kinder: 'Augen aus Salami-Scheiben und je einem Champignon legen und einen...'

8

The mouthguard is formed from a slice of cooked ham, two more paprika strips are the "rubbish runs" from cheese rasp we make our face still the hair!
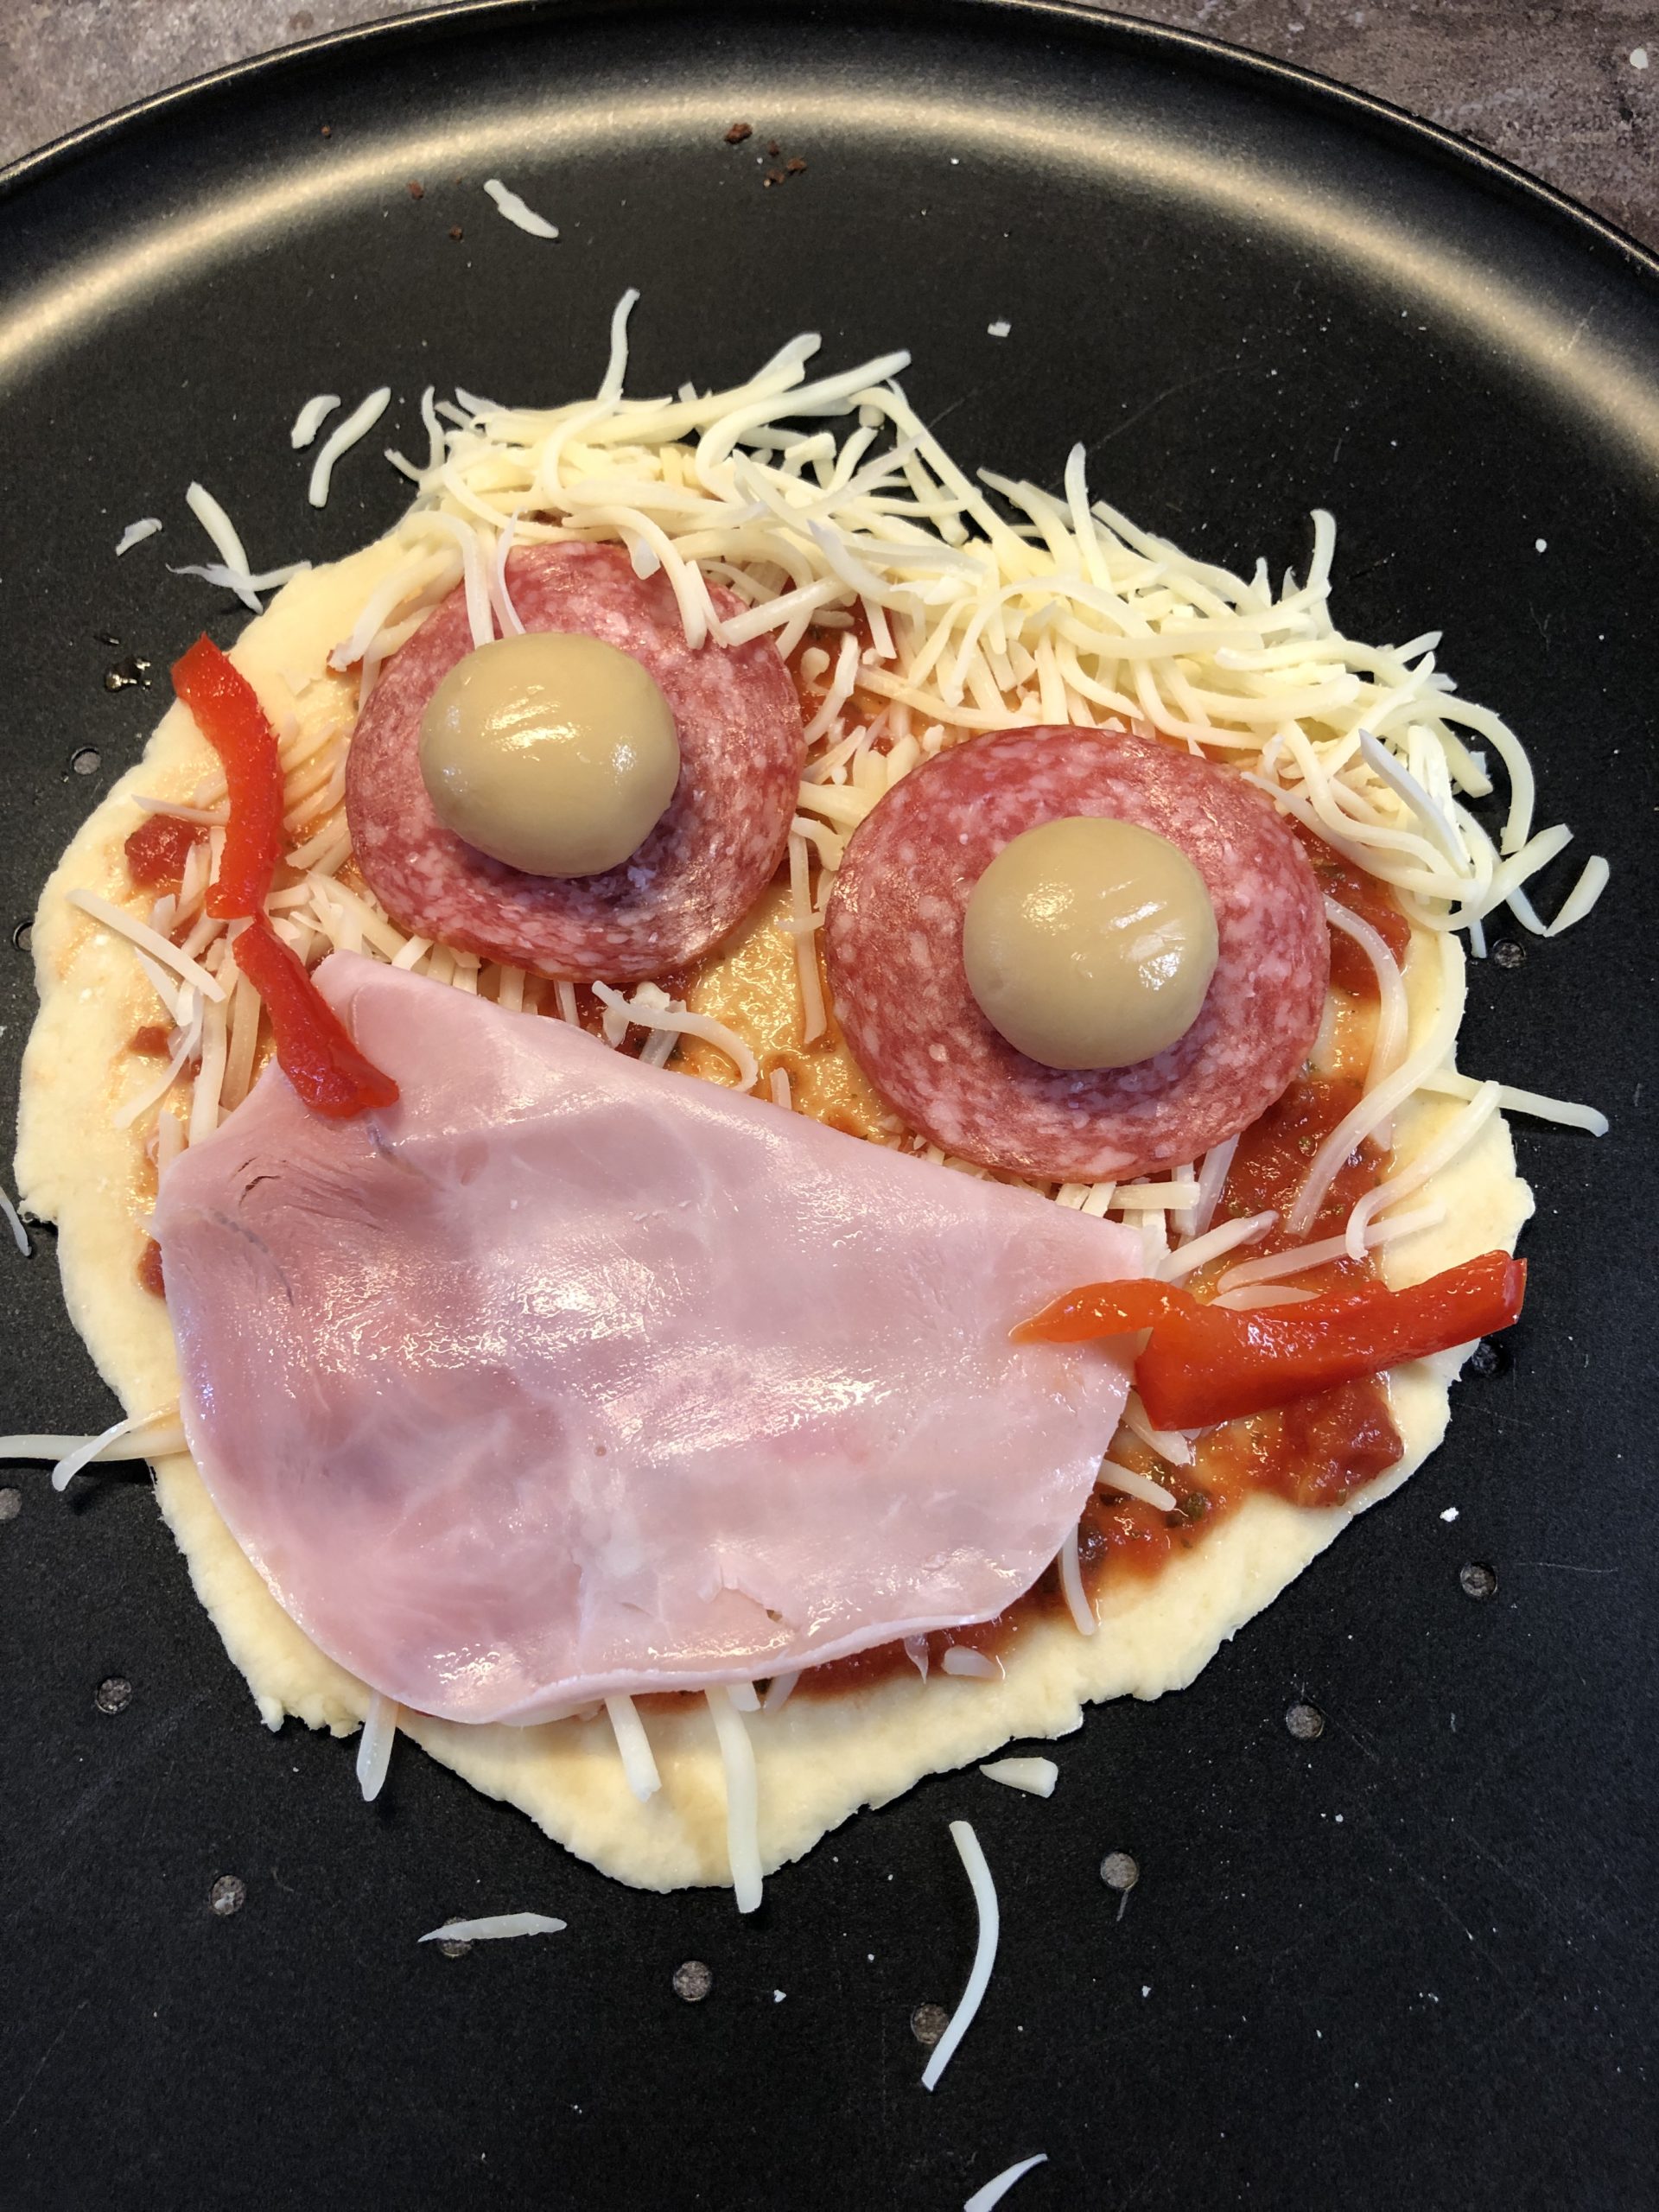
Bild zum Schritt 8 für das Bastel- und DIY-Abenteuer für Kinder: 'Aus einer Scheibe gekochtem Schinken entsteht der Mundschutz, zwei weitere...'

9

Now our pizza comes into the oven. Preheat to 220 degrees in hot air and bake for about 15 minutes.

10

Our pizza with mouthguard is ready!

Bild zum Schritt 10 für das Bastel- und DIY-Abenteuer für Kinder: 'Fertig ist unsere Pizza mit Mundschutz!'

11

Enjoy!

Bild zum Schritt 11 für das Bastel- und DIY-Abenteuer für Kinder: 'Guten Appetit!'

Bake pizza face (with basic recipe pizza dough)

Follow us on Facebook , Instagram and Pinterest
Don't miss any more adventures: Our bottle mail

2 Comments

  1. Hey you! Thanks for the idea – have a sloppy child and such a face is of course much more preferred.
    Had to laugh really well when I saw your pictures. Such a slightly creepy and at the same time incredible funny face??

    1. Yeah great, we're happy?
      Thanks for the feedback. Exactly the „ slang“ we want to reach children too and we are happy if that succeeds?

Leave a Reply

Your email address will not be published.

The maximum upload file size: 5 MB. You can upload: image, document. Drop file here