Crafting Dragon Lantern

AdventurerKatzi
Rating4.56.2 Thousand times & (2) DifficultyAdvanced

Autumn time: lantern time!
Let your dragons rise. When the wind goes, many bring out their dragon and let it rise.
Today we want to make a dragon lantern.

Media Education for Kindergarten and Hort

Kind bastelt eine Rassel mit dem Navi
The Adventure Navi, the app for DIY projects, enables media education for the youngest.

Relief in everyday life, targeted promotion of individual children, independent learning and - without any pre-knowledge already usable by the youngest!


Titelbild zur Bastel- und DIY-Idee für Kinder '(460) Drachen-Laterne basteln'
Material for1 Child
Prep Time5 min.Adv. Time30 min.Total Time35 min.
 Photographic box or taped paper
 Transparent paper
 2 Wax eyes
 Wire
 1 empty plastic bottle
 Perforated pliers and/or perforators
 Wire shears or pliers
 Pen
 possible ruler
 Hot glue gun
 Builder's pad
All links marked with a shopping cart lead to Amazon - here we have selected products that we would order ourselves and in part also ordered. In a qualified purchase via the advertising link, we as Amazon partner receive a commission, for you there are no costs. You thus support our cost- and advertising banner-free, educational offer.
1

First you cut off the bottle neck. Then you punch two opposite holes in the upper edge with a punched tong.

Bild zum Schritt 1 für das Bastel- und DIY-Abenteuer für Kinder: 'Zuerst schneidet ihr den Flaschenhals ab. Dann locht ihr mit...'

2

Now cut off a piece of wire (about 20cm long) which you thread through the holes and twist the ends of the wire so that it sits tight.
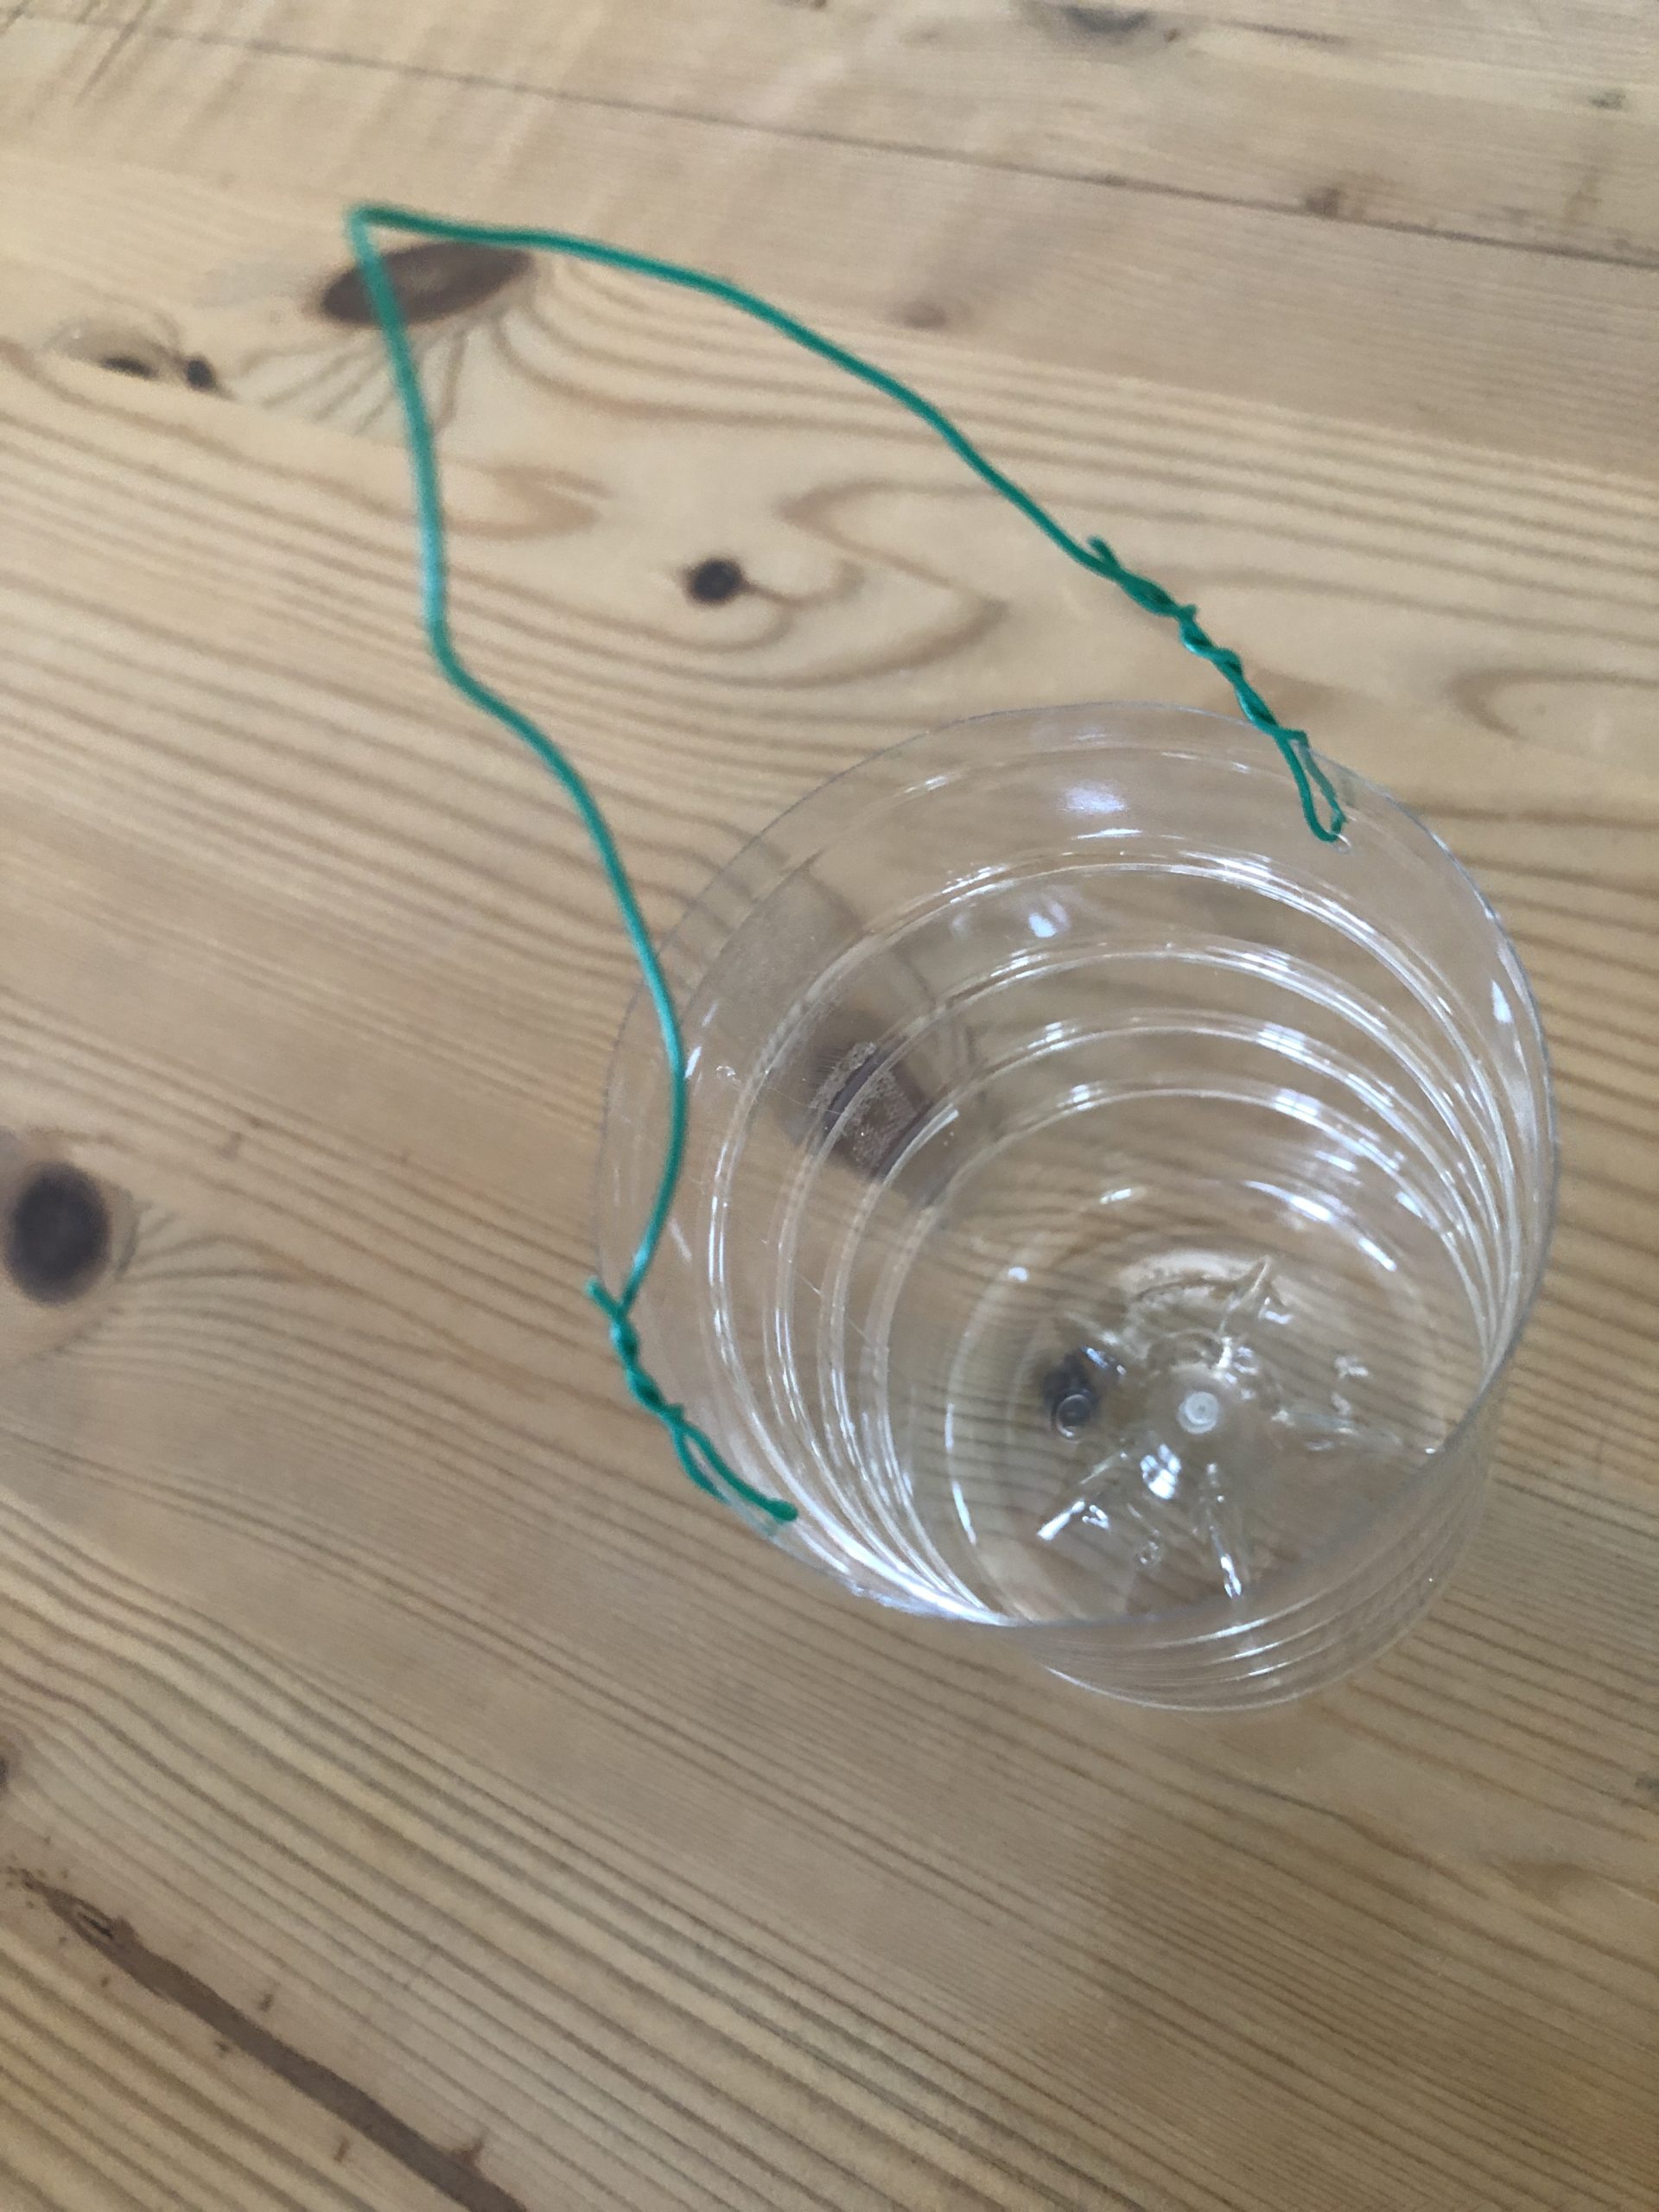
Bild zum Schritt 2 für das Bastel- und DIY-Abenteuer für Kinder: 'Schneidet nun ein Stück Draht ab (ca. 20cm lang). Diesen...'

3

Paint a dragon (see photo). You can use a ruler for this, but you can also paint it freely. Then paint another edge about 1-2 cm further inside and cut out the inside. Attention: small children do not find it difficult to cut the edge. It should now stand a edge about one and a half cm wide.

Bild zum Schritt 3 für das Bastel- und DIY-Abenteuer für Kinder: 'Male einen Drachen (siehe Foto). Dazu kannst du ein Lineal...'

4

This frame of the dragon is now glued with transparent paper.
To do this, cut the transparent paper. Place the dragon frame on the transparent paper and border it with a pen. Then cut the transparent paper. Cut it inside your template. Now stick the transparent paper on the frame.

Bild zum Schritt 4 für das Bastel- und DIY-Abenteuer für Kinder: 'Dieser Rahmen des Drachens wird nun mit Transparentpapier beklebt. ...'

5

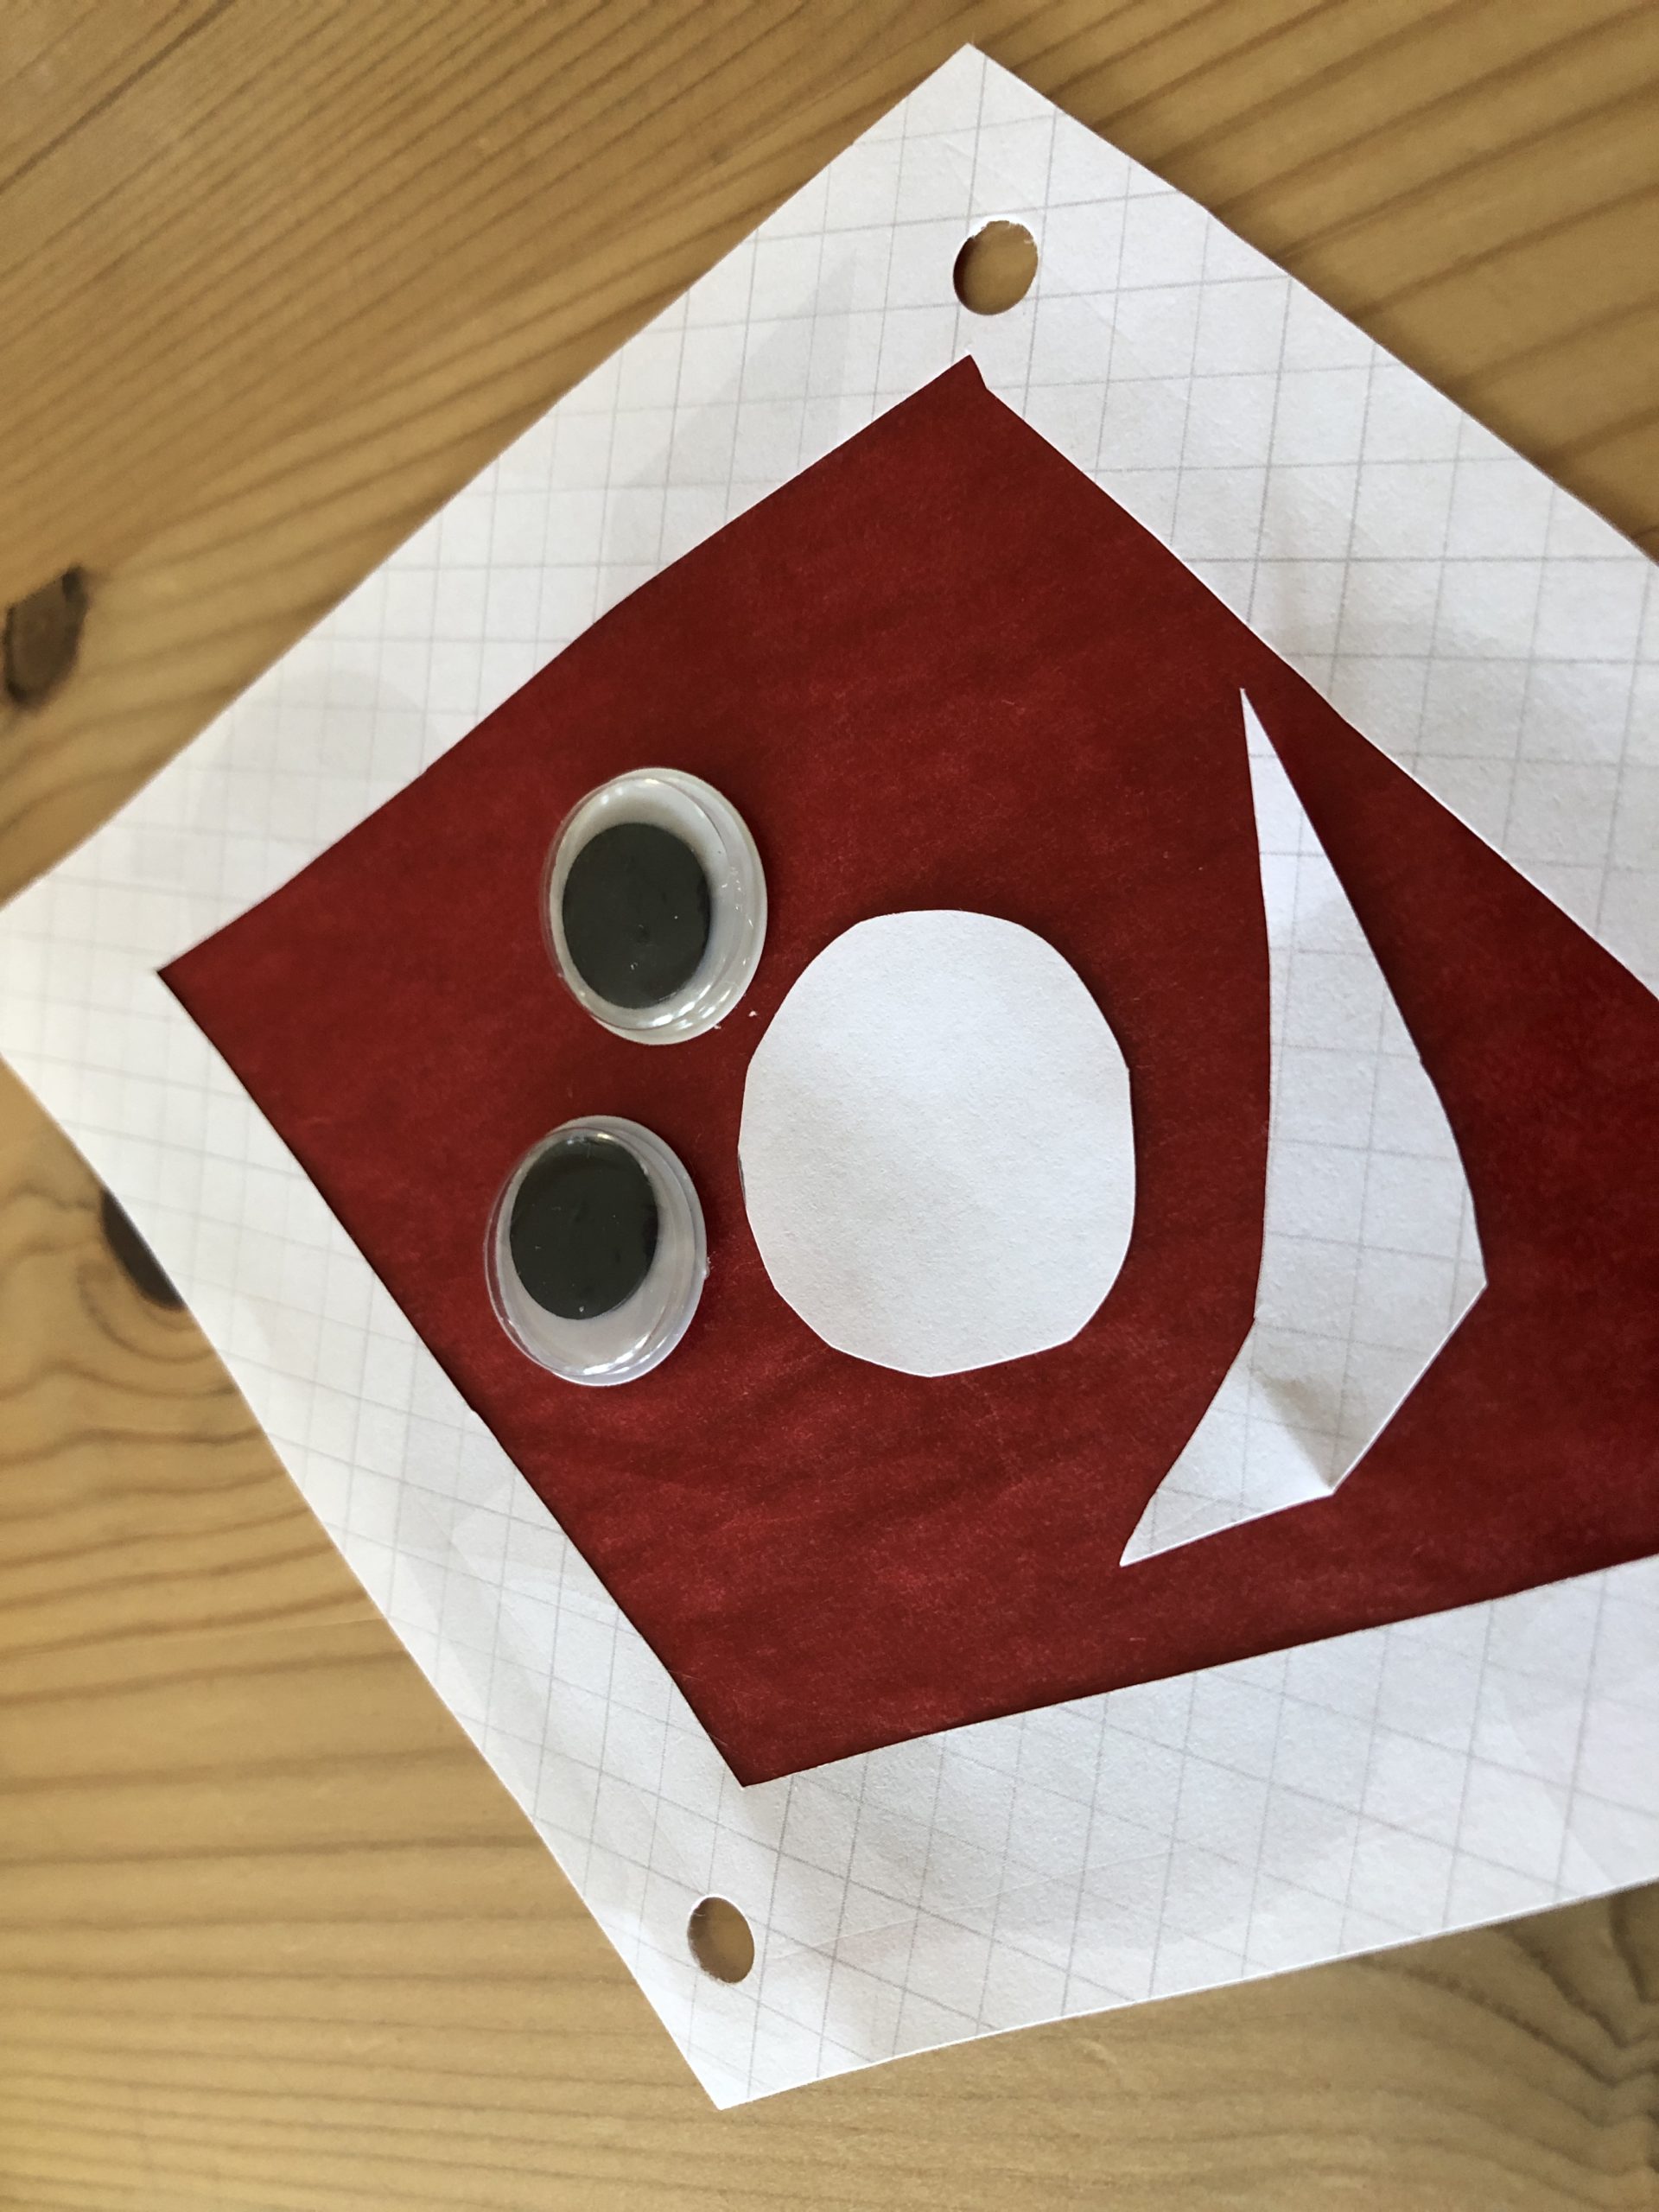
She then sticks two wobble eyes to the front.
If you don't, paint two eyes on a paper and cut them out!

Bild zum Schritt 5 für das Bastel- und DIY-Abenteuer für Kinder: 'Anschließend klebt ihr zwei Wackelaugen auf die Vorderseite.  ...'

6

2. Bild zum Schritt 5 für das Bastel- und DIY-Abenteuer für Kinder: 'Anschließend klebt ihr zwei Wackelaugen auf die Vorderseite.  ...'

7

Now another nose and a mouth and your dragon face is ready.
Of course, you can also make another face.

Bild zum Schritt 7 für das Bastel- und DIY-Abenteuer für Kinder: 'Nun noch eine Nase und einen Mund und fertig ist...'

8

Now cut some equally large paper strips out of the transparent paper.

Bild zum Schritt 8 für das Bastel- und DIY-Abenteuer für Kinder: 'Schneidet nun einige gleich große Papierstreifen aus dem Transparentpapier.'

9

Now you punch a hole in the dragon face on both sides to the left and right. For this you use a puncher or a punch plier.

Bild zum Schritt 9 für das Bastel- und DIY-Abenteuer für Kinder: 'Jetzt locht ihr an den beiden Seiten links und rechts...'

10

2. Bild zum Schritt 9 für das Bastel- und DIY-Abenteuer für Kinder: 'Jetzt locht ihr an den beiden Seiten links und rechts...'

11

Now you cut the transparent paper strips on the side so that a loop is created.

Bild zum Schritt 11 für das Bastel- und DIY-Abenteuer für Kinder: 'Jetzt schneidet ihr die Transparentpapierstreifen seitlich ein, so dass eine...'

12

This loop is now placed in the middle of the hole.

Bild zum Schritt 12 für das Bastel- und DIY-Abenteuer für Kinder: 'Diese Schleife steckt ihr nun durch das Loch platziert sie...'

13

A hole is also punched out at the bottom of the dragon's face.
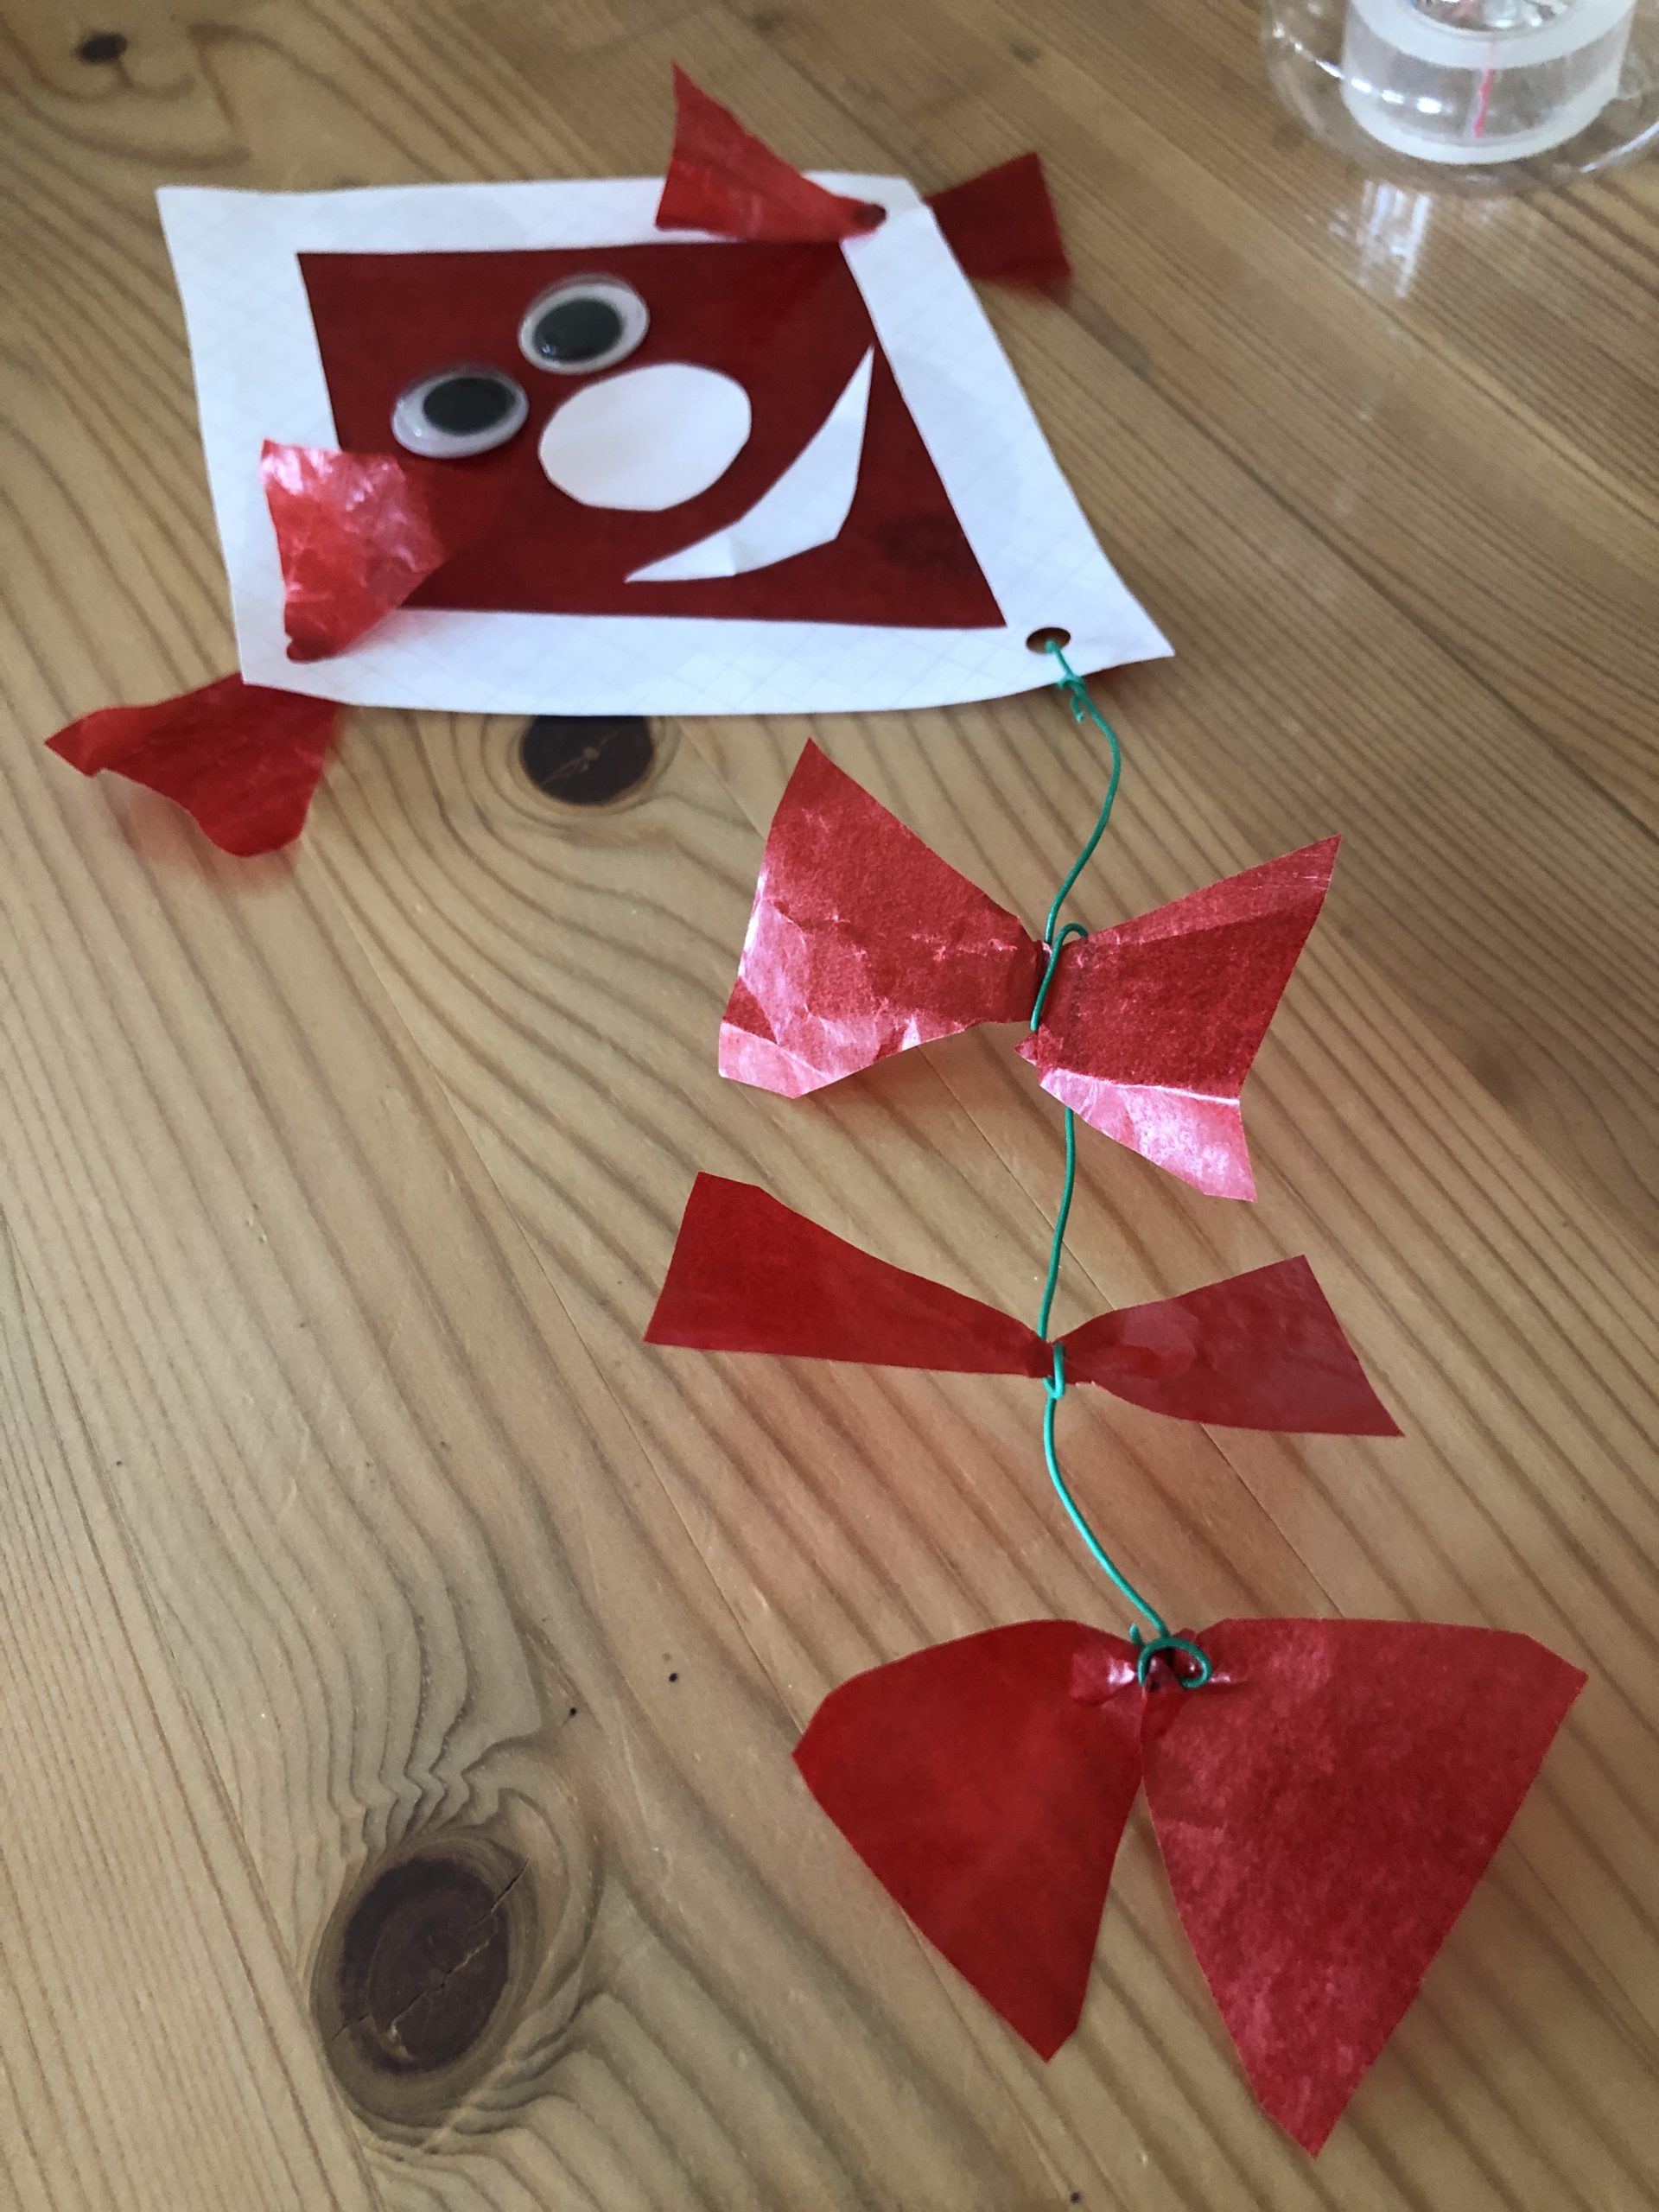
Then cut off a wire in the length of about 30cm. You thread it through the hole and twist the end. Thus, it is attached.
The loops are now tied to the wire by far, in addition to winding the wire around the transparent paper loops and correcting the loops.

Bild zum Schritt 13 für das Bastel- und DIY-Abenteuer für Kinder: 'Am unteren Rand des Drachengesichts wird ebenfalls ein Loch ausgestanzt....'

14

Your dragon is ready.

Bild zum Schritt 14 für das Bastel- und DIY-Abenteuer für Kinder: 'Fertig ist euer Drache.'

15

The dragon is now glued slightly obliquely to the prepared bottle with a hot glue point.

Bild zum Schritt 15 für das Bastel- und DIY-Abenteuer für Kinder: 'Etwas schräg wird der Drache nun mit einem Heißkleberpunkt an...'

16

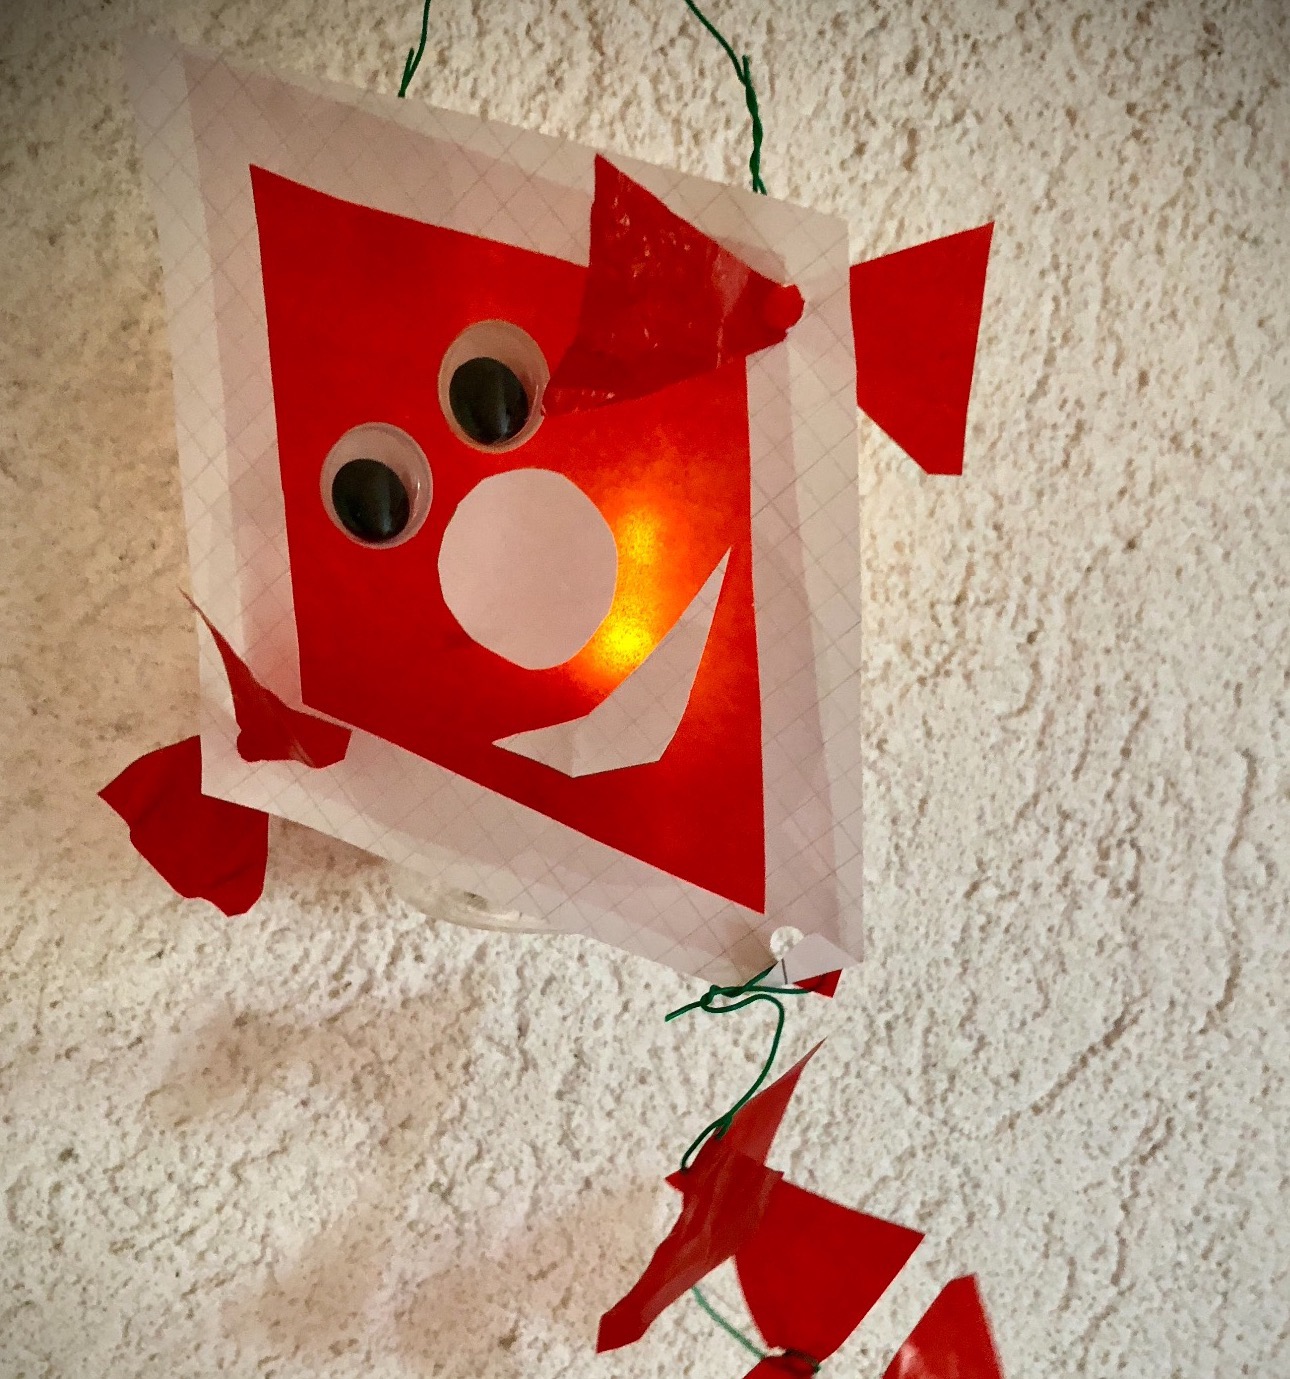
The small dragon lantern is ready. With a button-cell tealight or an electric lantern rod the dragon comes to light.

Bild zum Schritt 16 für das Bastel- und DIY-Abenteuer für Kinder: 'Fertig ist die kleine Drachen-Laterne. Mit einem Knopfzellen-Teelicht oder einem...'

17

Also as decoration the dragon is a beautiful sight.

Bild zum Schritt 17 für das Bastel- und DIY-Abenteuer für Kinder: 'Auch als Dekoration ist der Drache ein schöner Anblick.'

18

Or you hang the little dragon on a branch. It fits wonderfully also to the hetbst decoration.
Have fun!

Bild zum Schritt 18 für das Bastel- und DIY-Abenteuer für Kinder: 'Oder ihr hängt den kleinen Drachen an einen Ast. Er...'

Materials

 Photographic box or taped paper
 Transparent paper
 2 Wax eyes
 Wire
 1 empty plastic bottle
 Perforated pliers and/or perforators
 Wire shears or pliers
 Pen
 possible ruler
 Hot glue gun
 Builder's pad
All links marked with a shopping cart lead to Amazon - here we have selected products that we would order ourselves and in part also ordered. In a qualified purchase via the advertising link, we as Amazon partner receive a commission, for you there are no costs. You thus support our cost- and advertising banner-free, educational offer.

Directions

1

First you cut off the bottle neck. Then you punch two opposite holes in the upper edge with a punched tong.

Bild zum Schritt 1 für das Bastel- und DIY-Abenteuer für Kinder: 'Zuerst schneidet ihr den Flaschenhals ab. Dann locht ihr mit...'

2

Now cut off a piece of wire (about 20cm long) which you thread through the holes and twist the ends of the wire so that it sits tight.

Bild zum Schritt 2 für das Bastel- und DIY-Abenteuer für Kinder: 'Schneidet nun ein Stück Draht ab (ca. 20cm lang). Diesen...'

3

Paint a dragon (see photo). You can use a ruler for this, but you can also paint it freely. Then paint another edge about 1-2 cm further inside and cut out the inside. Attention: small children do not find it difficult to cut the edge. It should now stand a edge about one and a half cm wide.
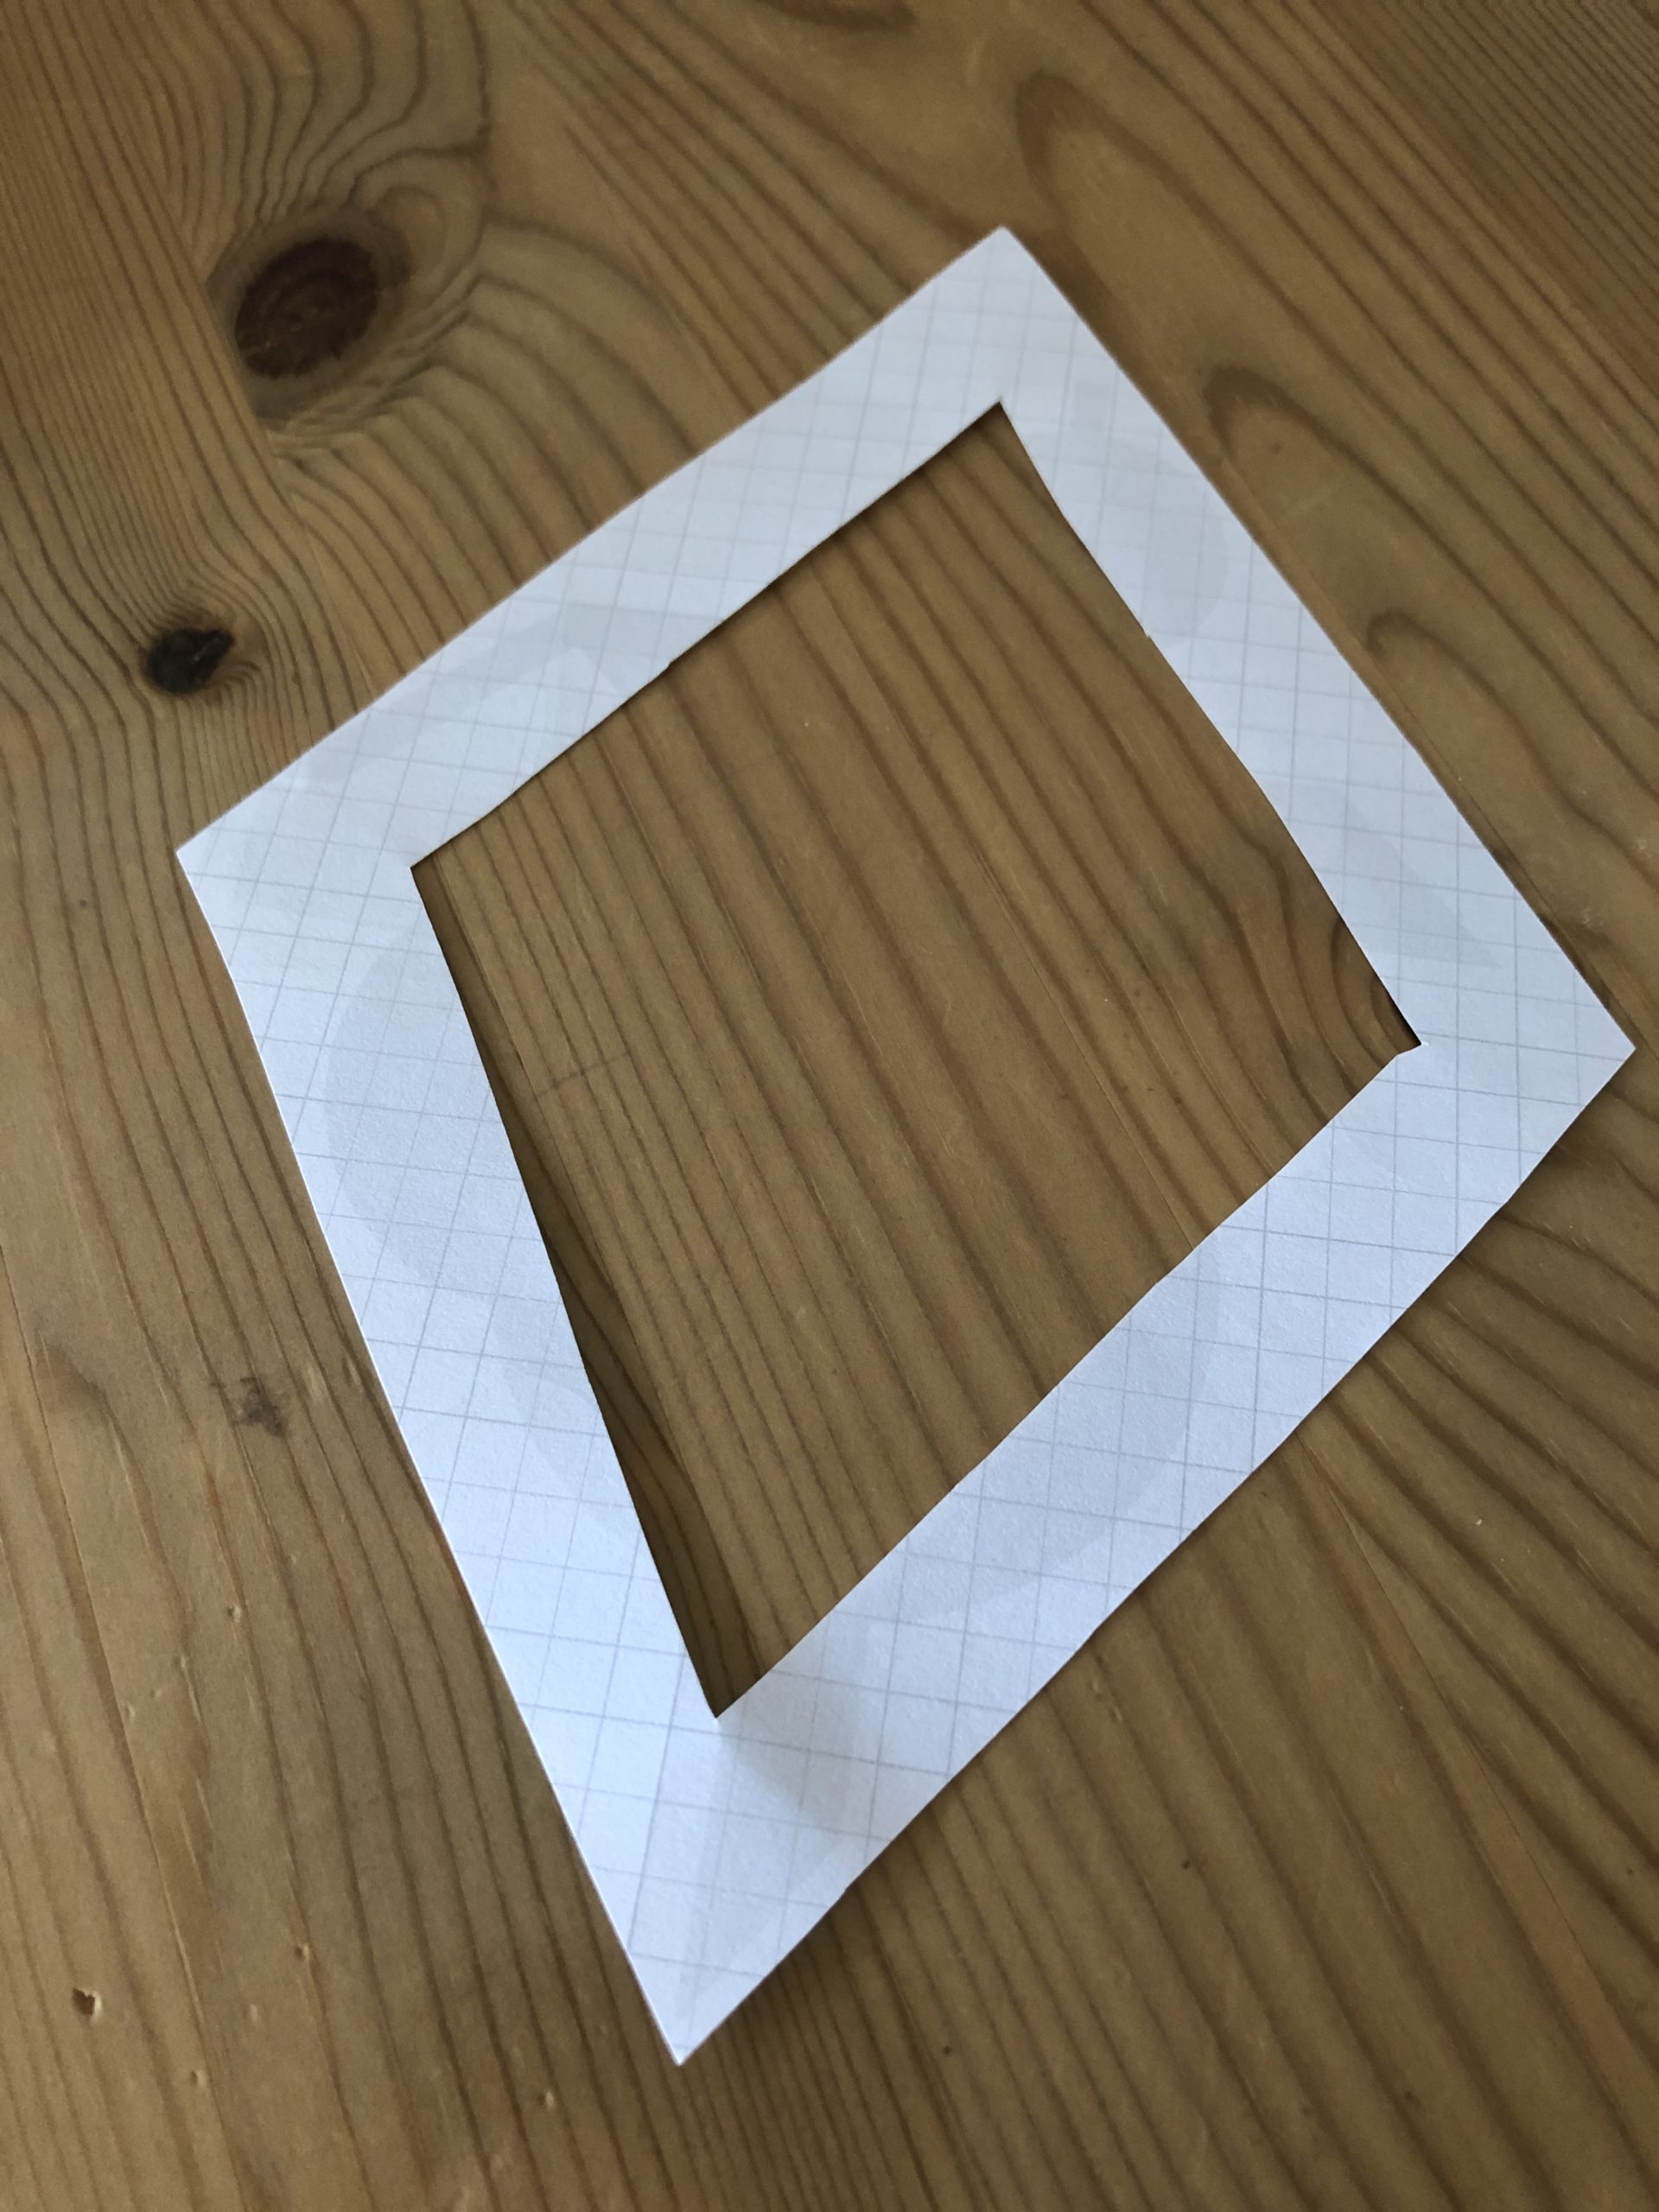
Bild zum Schritt 3 für das Bastel- und DIY-Abenteuer für Kinder: 'Male einen Drachen (siehe Foto). Dazu kannst du ein Lineal...'

4

This frame of the dragon is now glued with transparent paper.
To do this, cut the transparent paper. Place the dragon frame on the transparent paper and border it with a pen. Then cut the transparent paper. Cut it inside your template. Now stick the transparent paper on the frame.
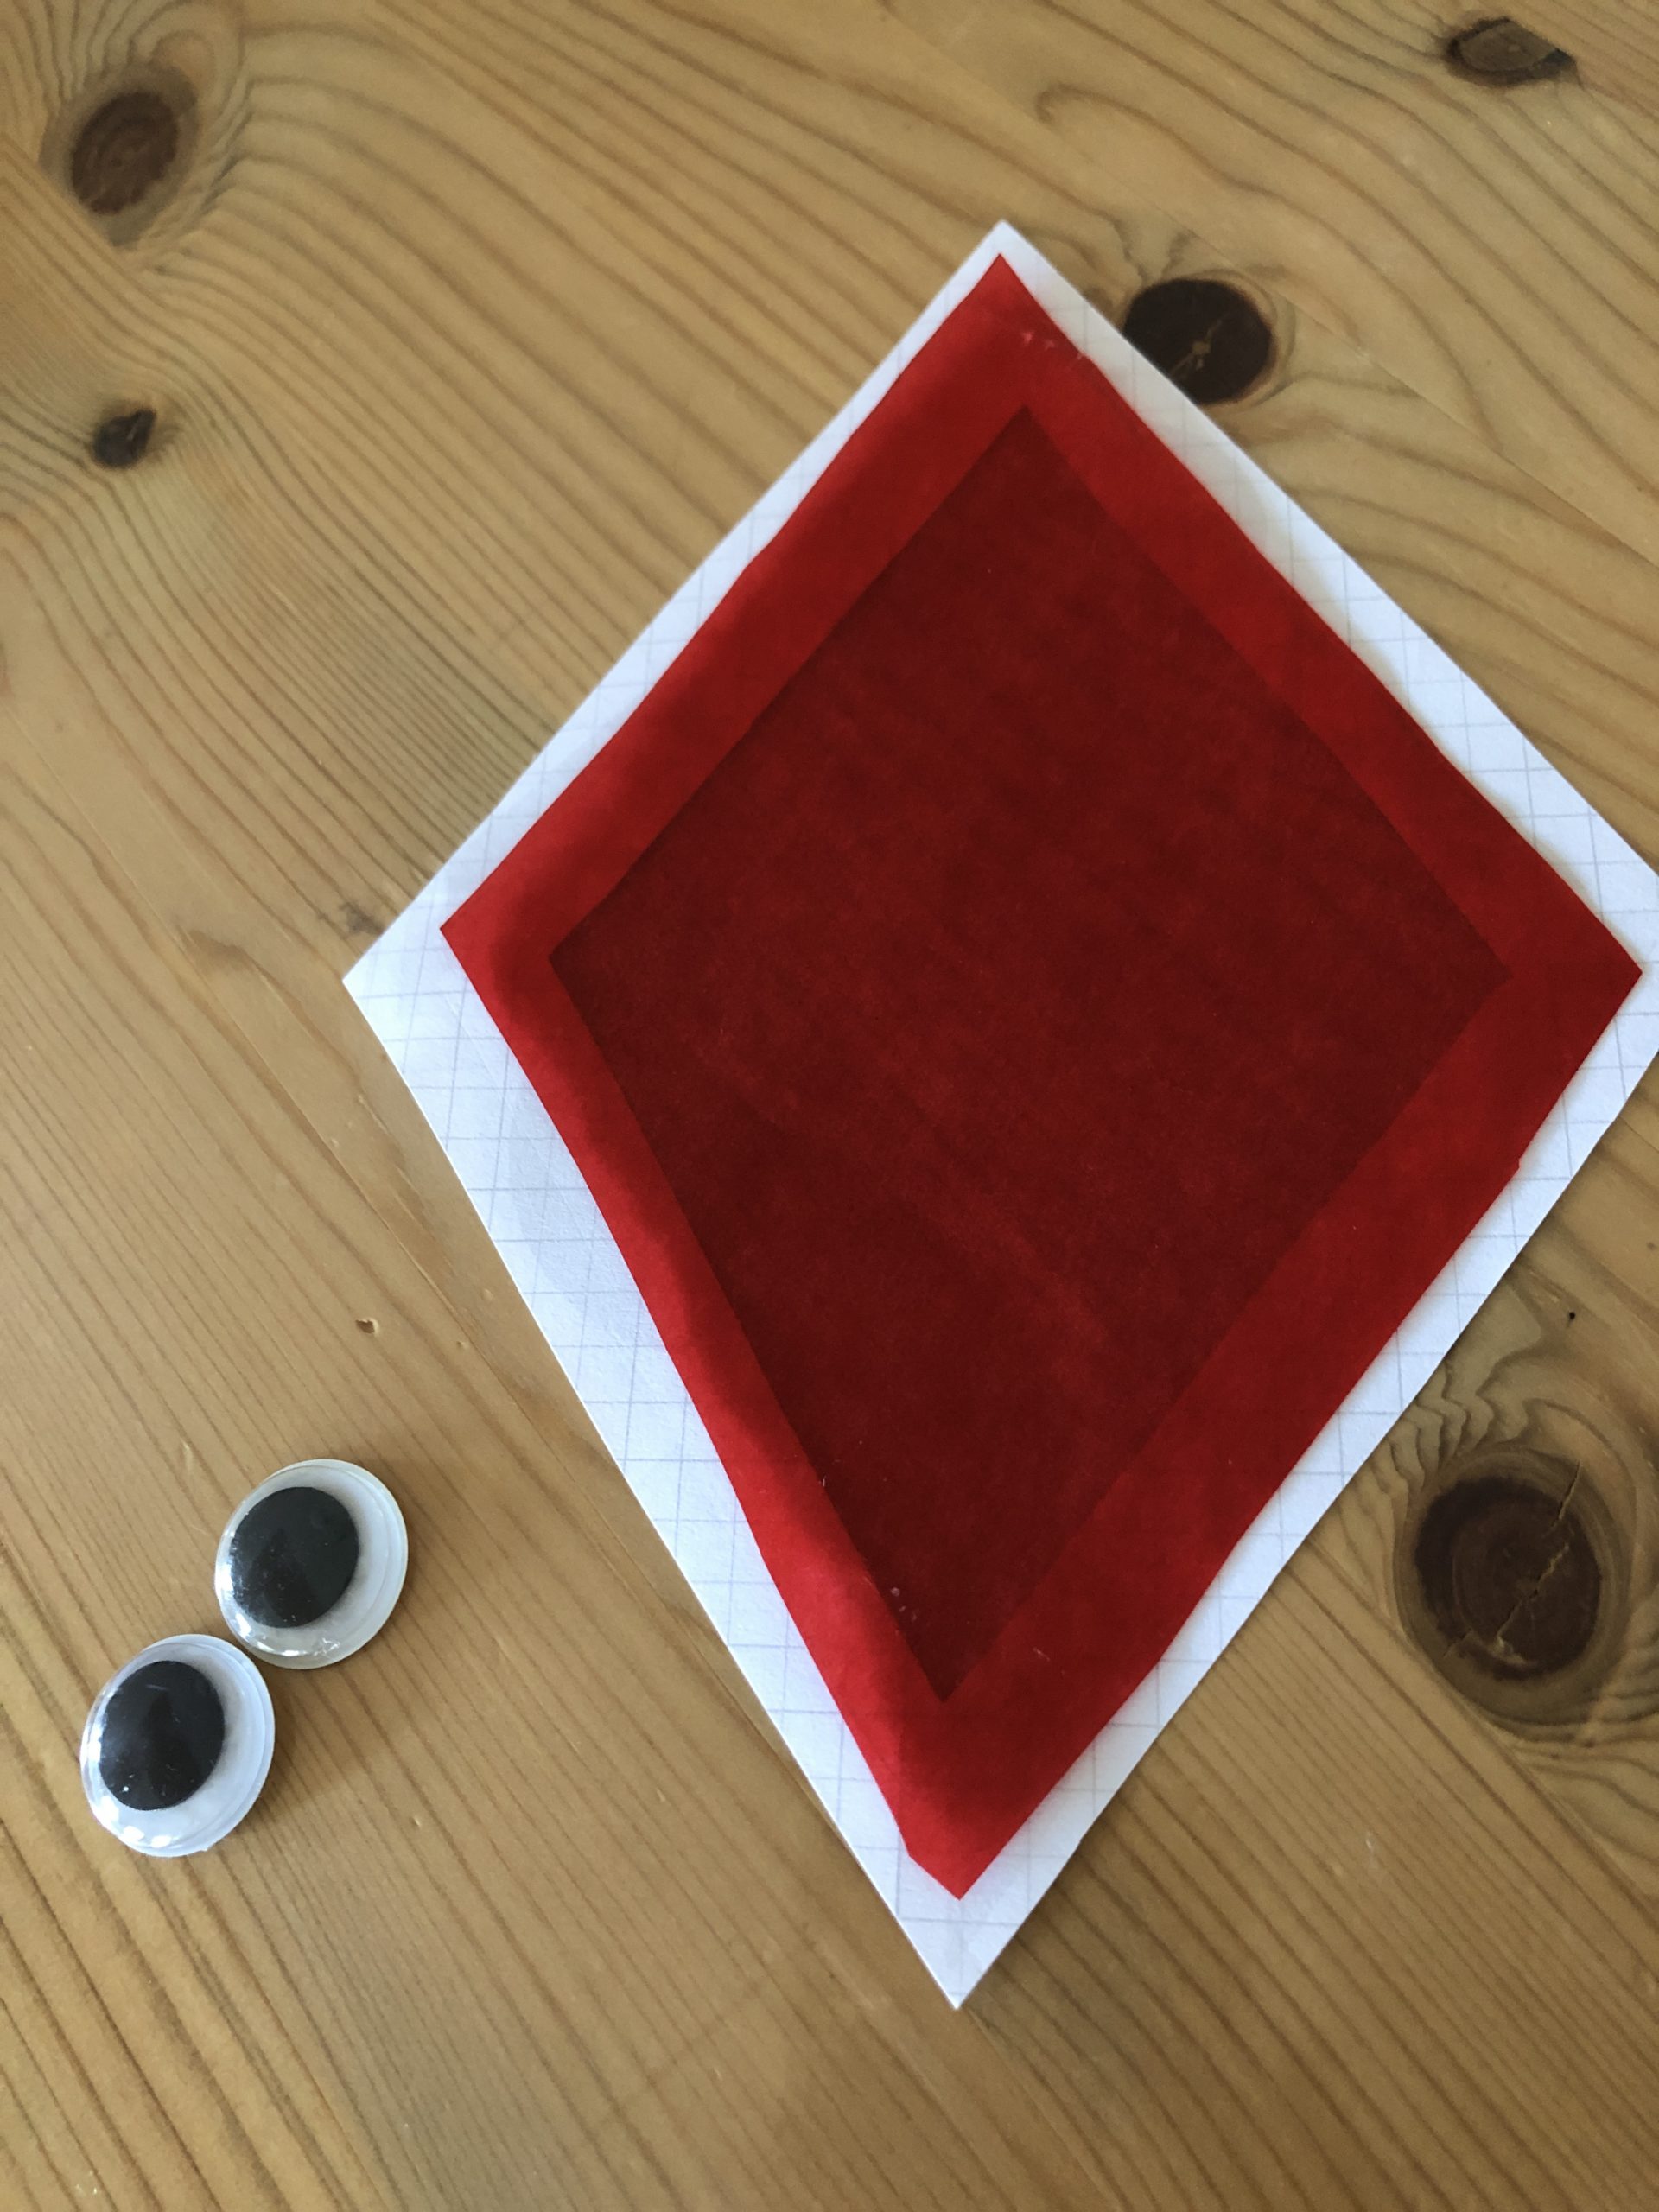
Bild zum Schritt 4 für das Bastel- und DIY-Abenteuer für Kinder: 'Dieser Rahmen des Drachens wird nun mit Transparentpapier beklebt. ...'

5

She then sticks two wobble eyes to the front.
If you don't, paint two eyes on a paper and cut them out!
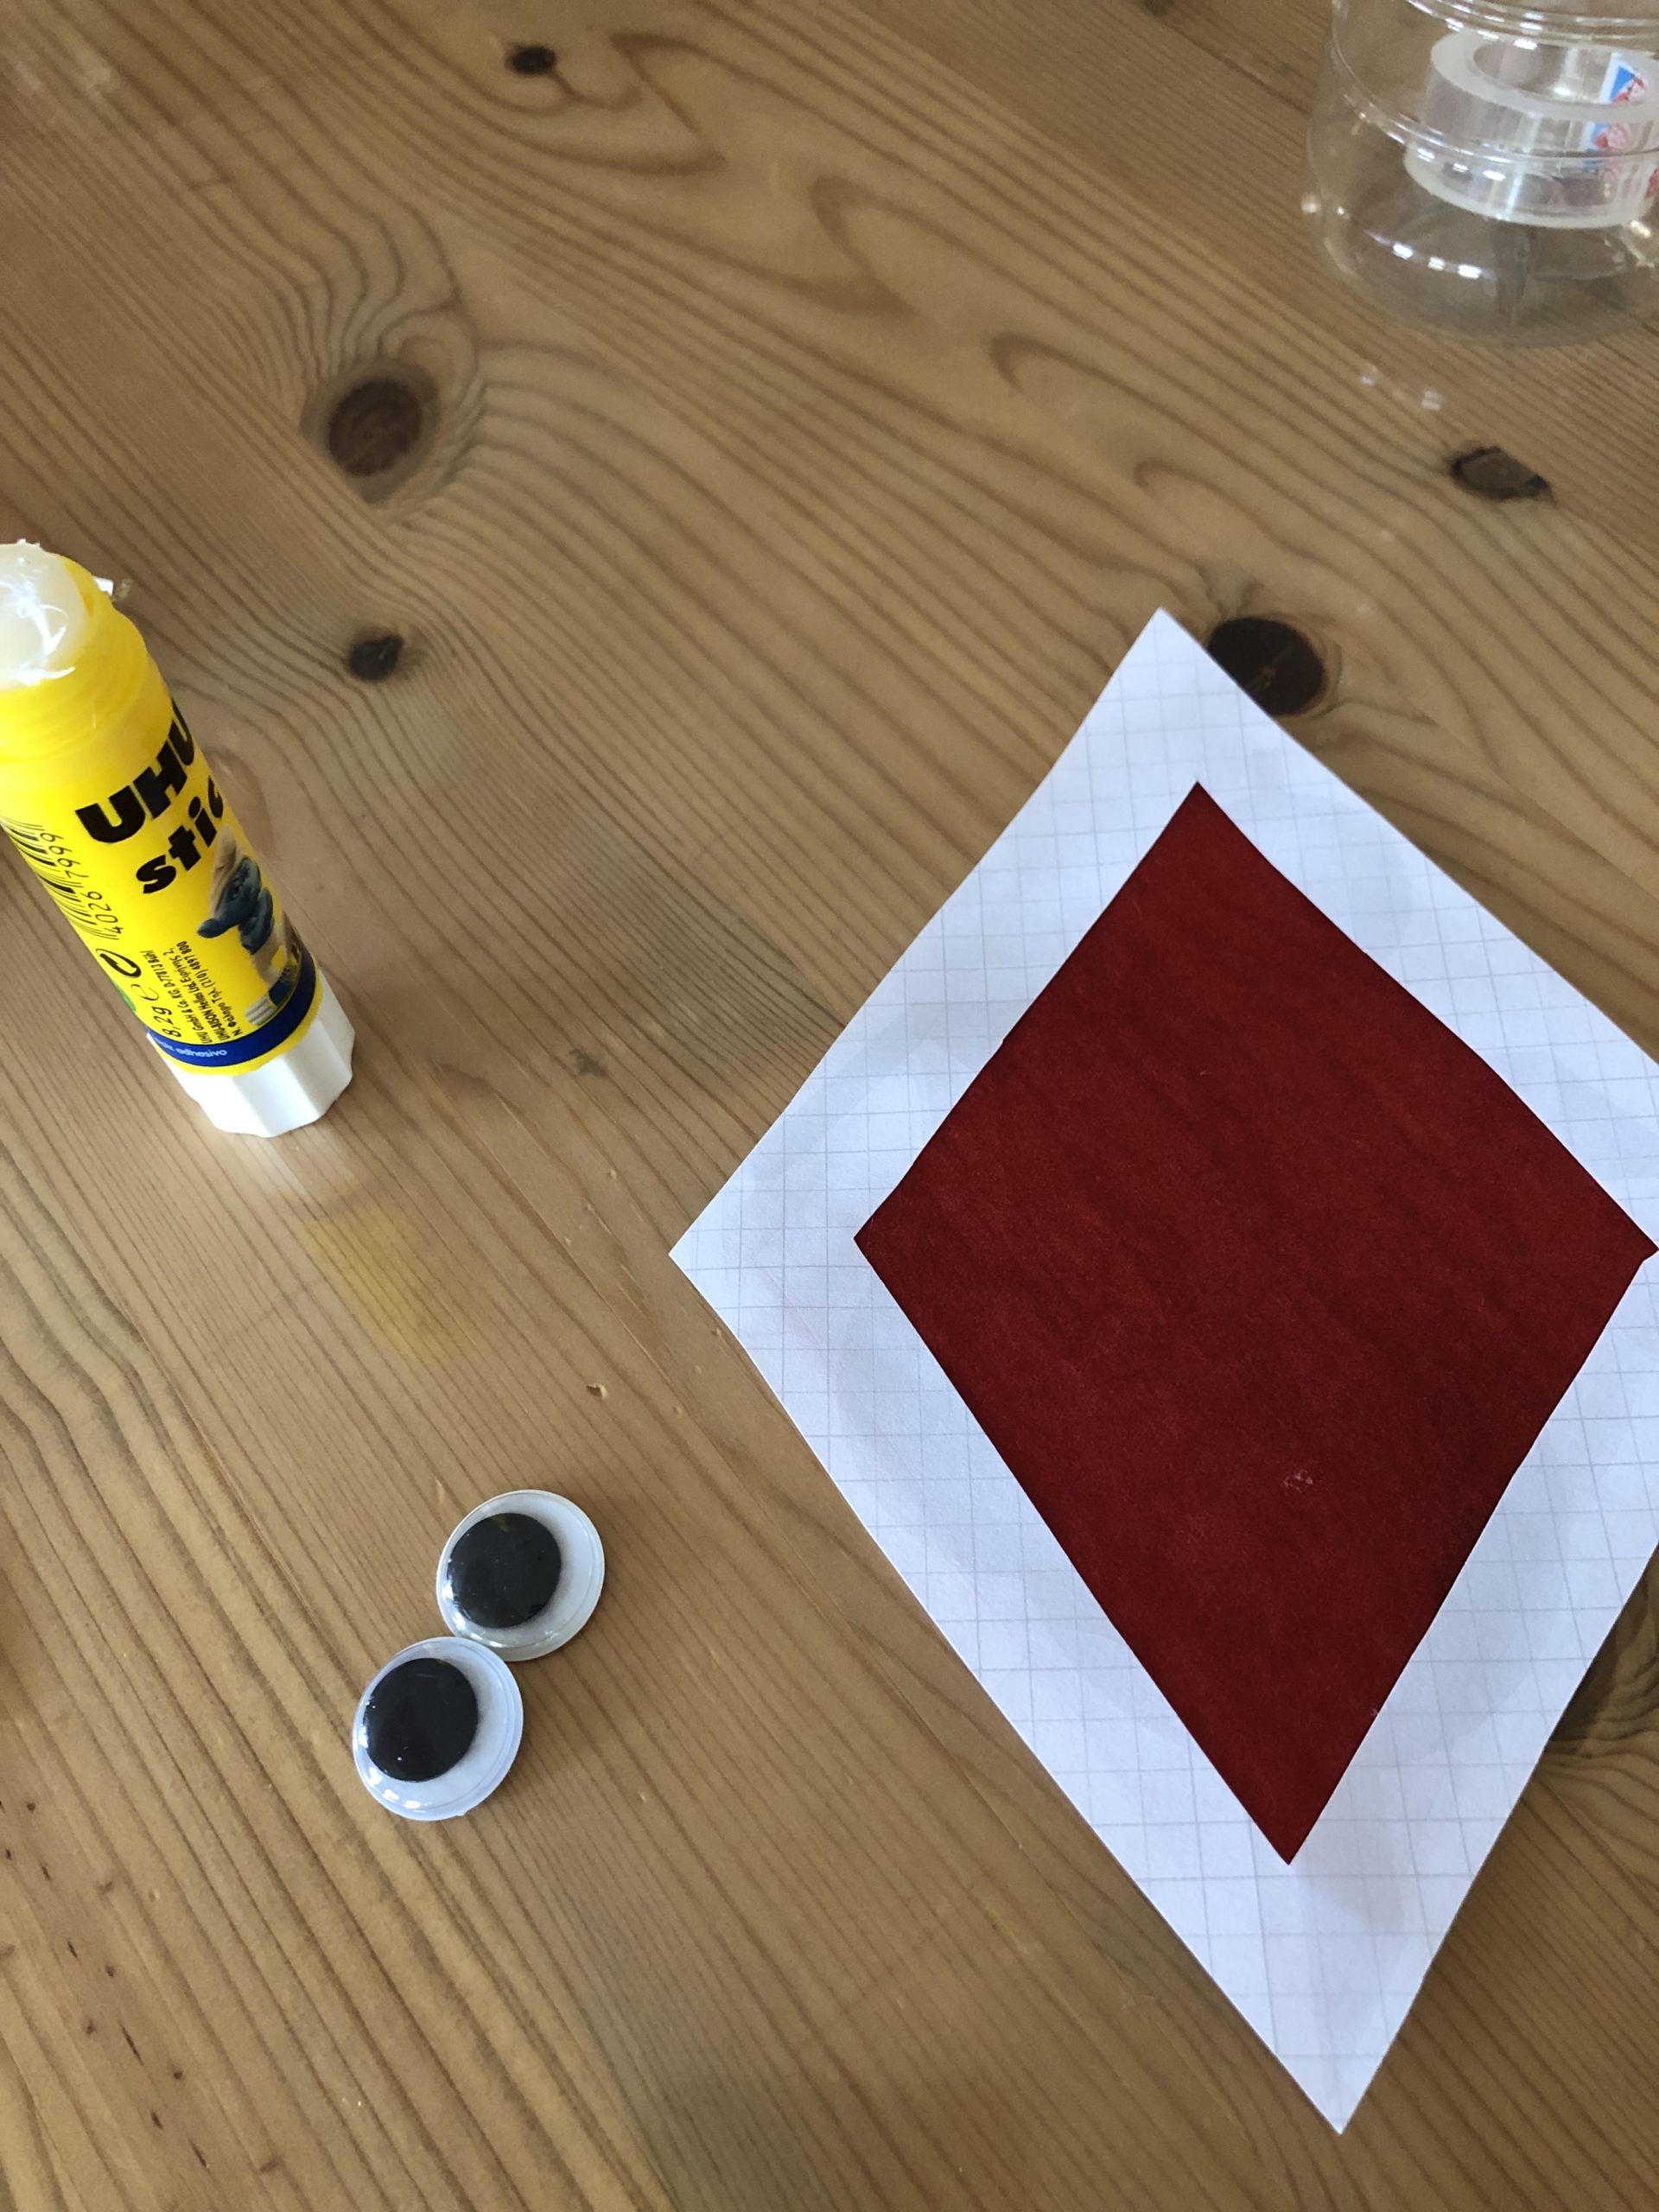
Bild zum Schritt 5 für das Bastel- und DIY-Abenteuer für Kinder: 'Anschließend klebt ihr zwei Wackelaugen auf die Vorderseite.  ...'

6

2. Bild zum Schritt 5 für das Bastel- und DIY-Abenteuer für Kinder: 'Anschließend klebt ihr zwei Wackelaugen auf die Vorderseite.  ...'

7

Now another nose and a mouth and your dragon face is ready.
Of course, you can also make another face.

Bild zum Schritt 7 für das Bastel- und DIY-Abenteuer für Kinder: 'Nun noch eine Nase und einen Mund und fertig ist...'

8

Now cut some equally large paper strips out of the transparent paper.

Bild zum Schritt 8 für das Bastel- und DIY-Abenteuer für Kinder: 'Schneidet nun einige gleich große Papierstreifen aus dem Transparentpapier.'

9

Now you punch a hole in the dragon face on both sides to the left and right. For this you use a puncher or a punch plier.
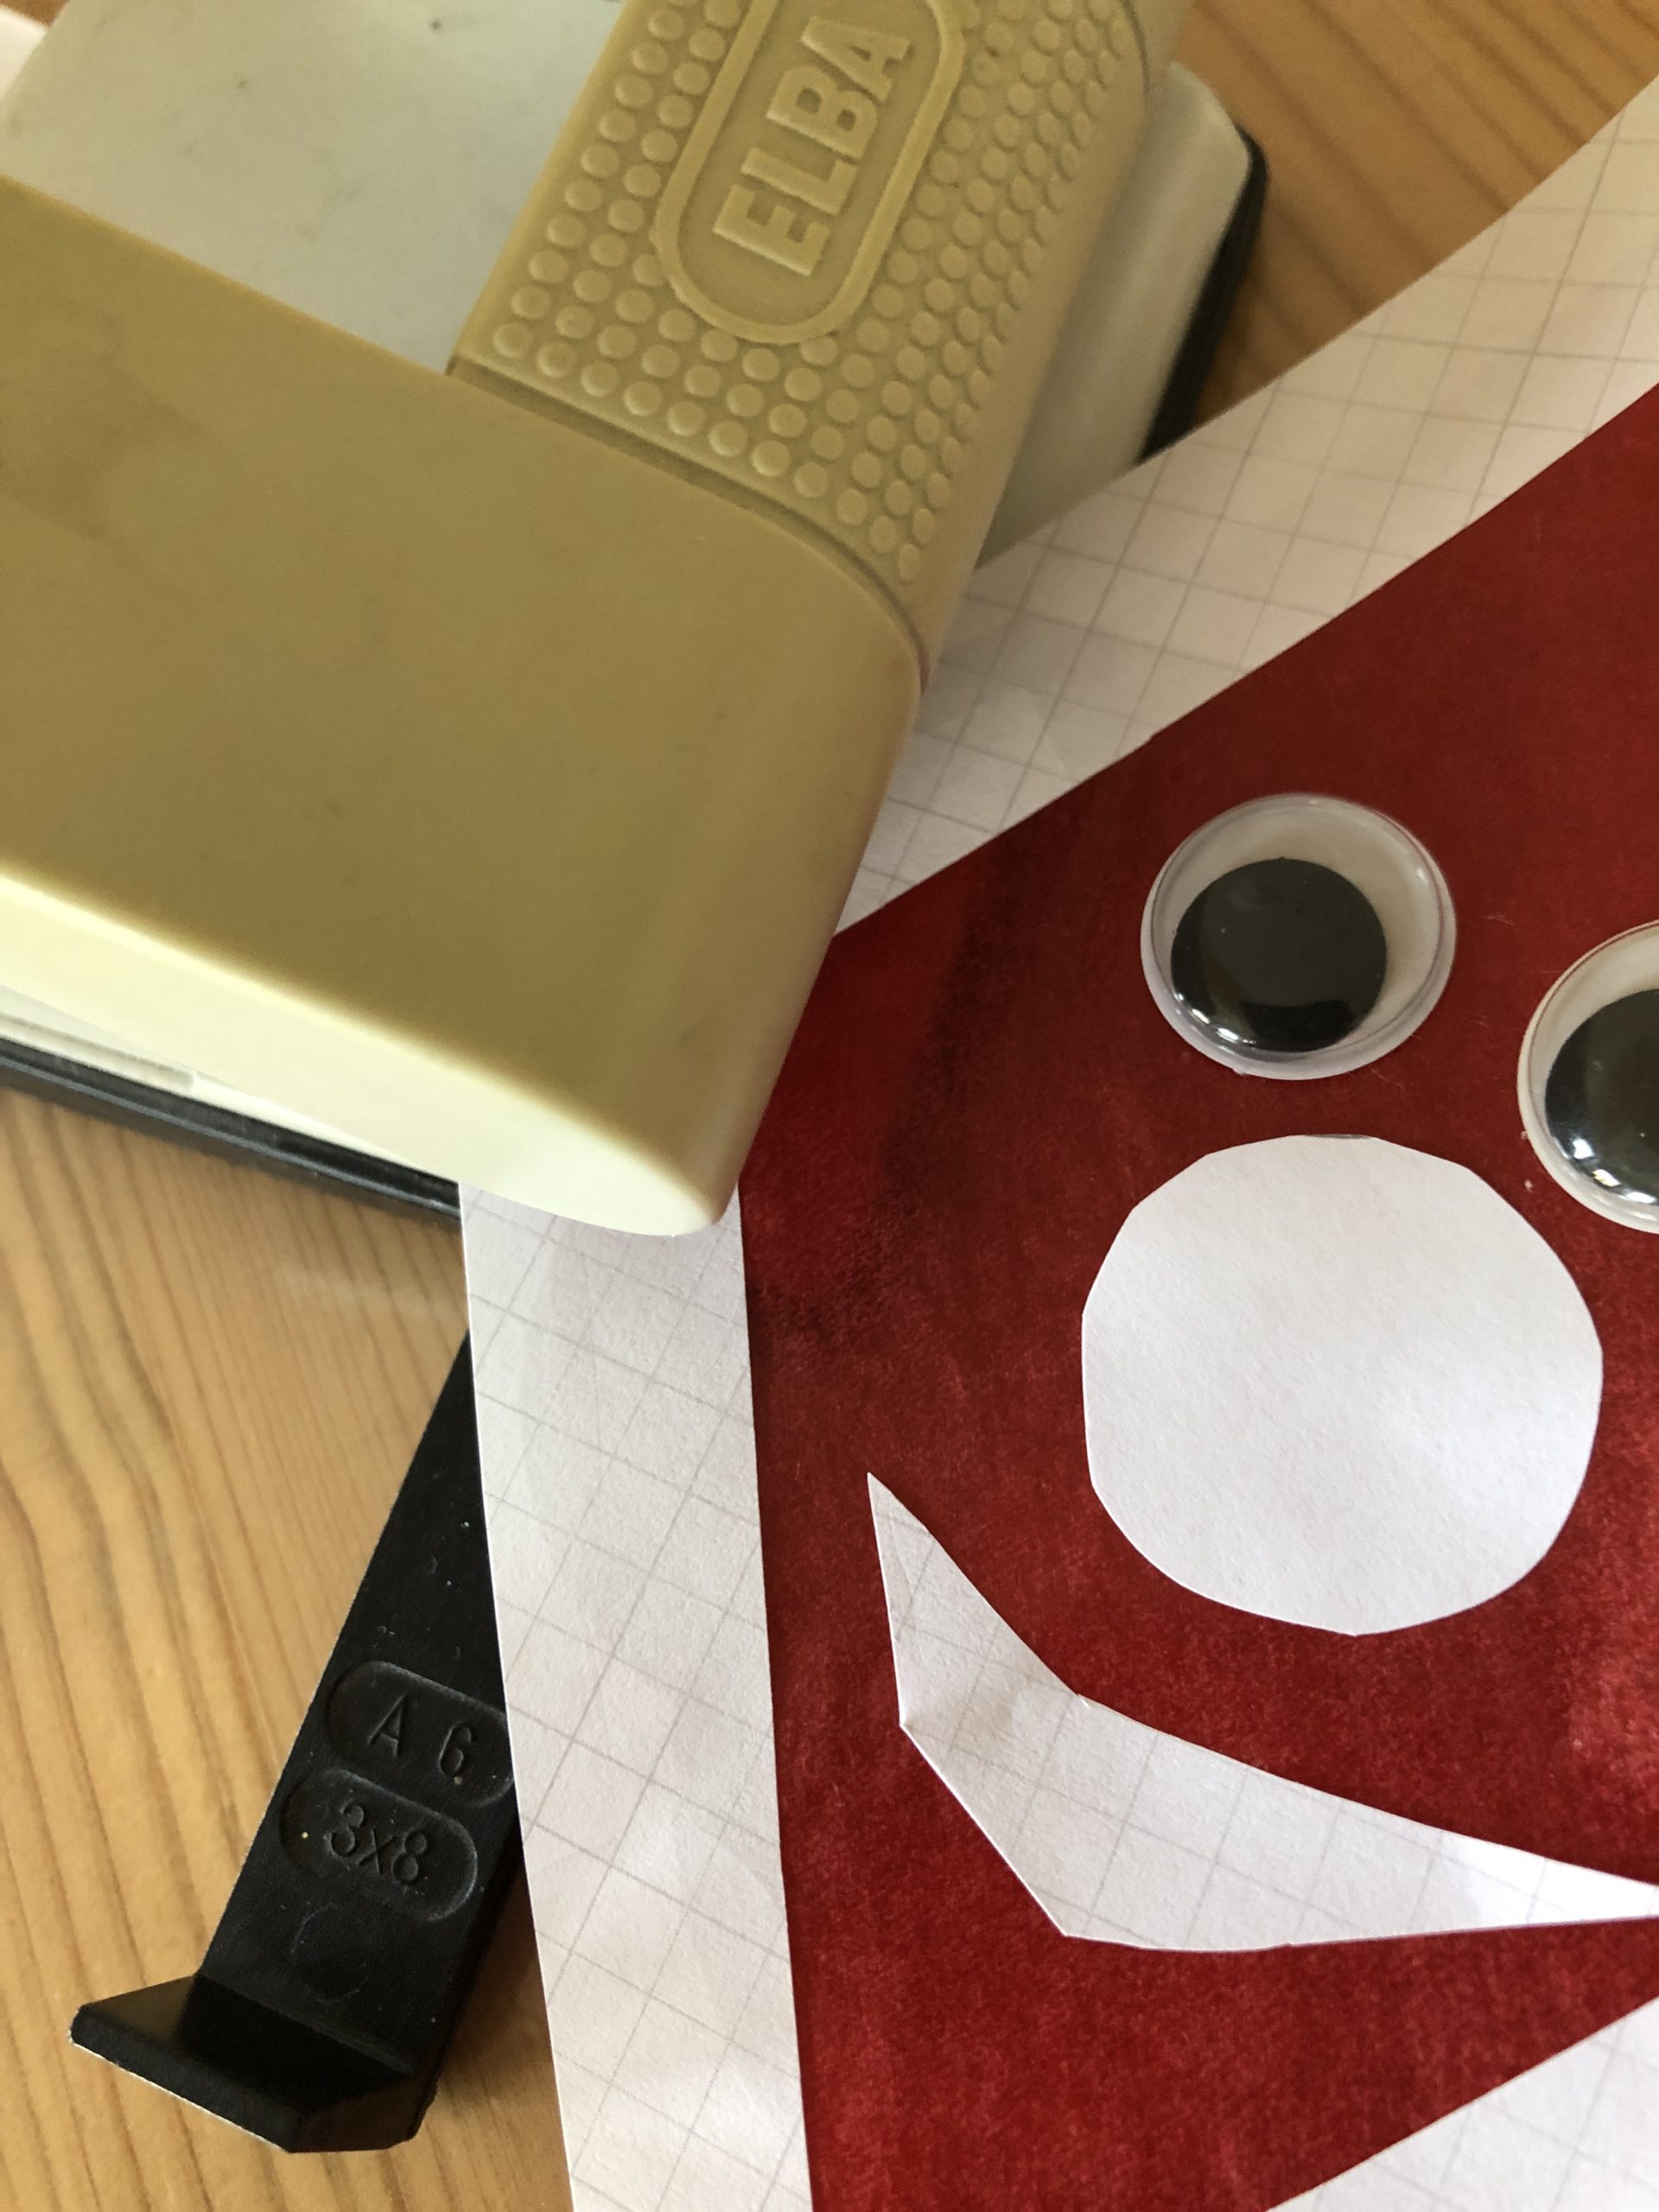
Bild zum Schritt 9 für das Bastel- und DIY-Abenteuer für Kinder: 'Jetzt locht ihr an den beiden Seiten links und rechts...'

10

2. Bild zum Schritt 9 für das Bastel- und DIY-Abenteuer für Kinder: 'Jetzt locht ihr an den beiden Seiten links und rechts...'

11

Now you cut the transparent paper strips on the side so that a loop is created.
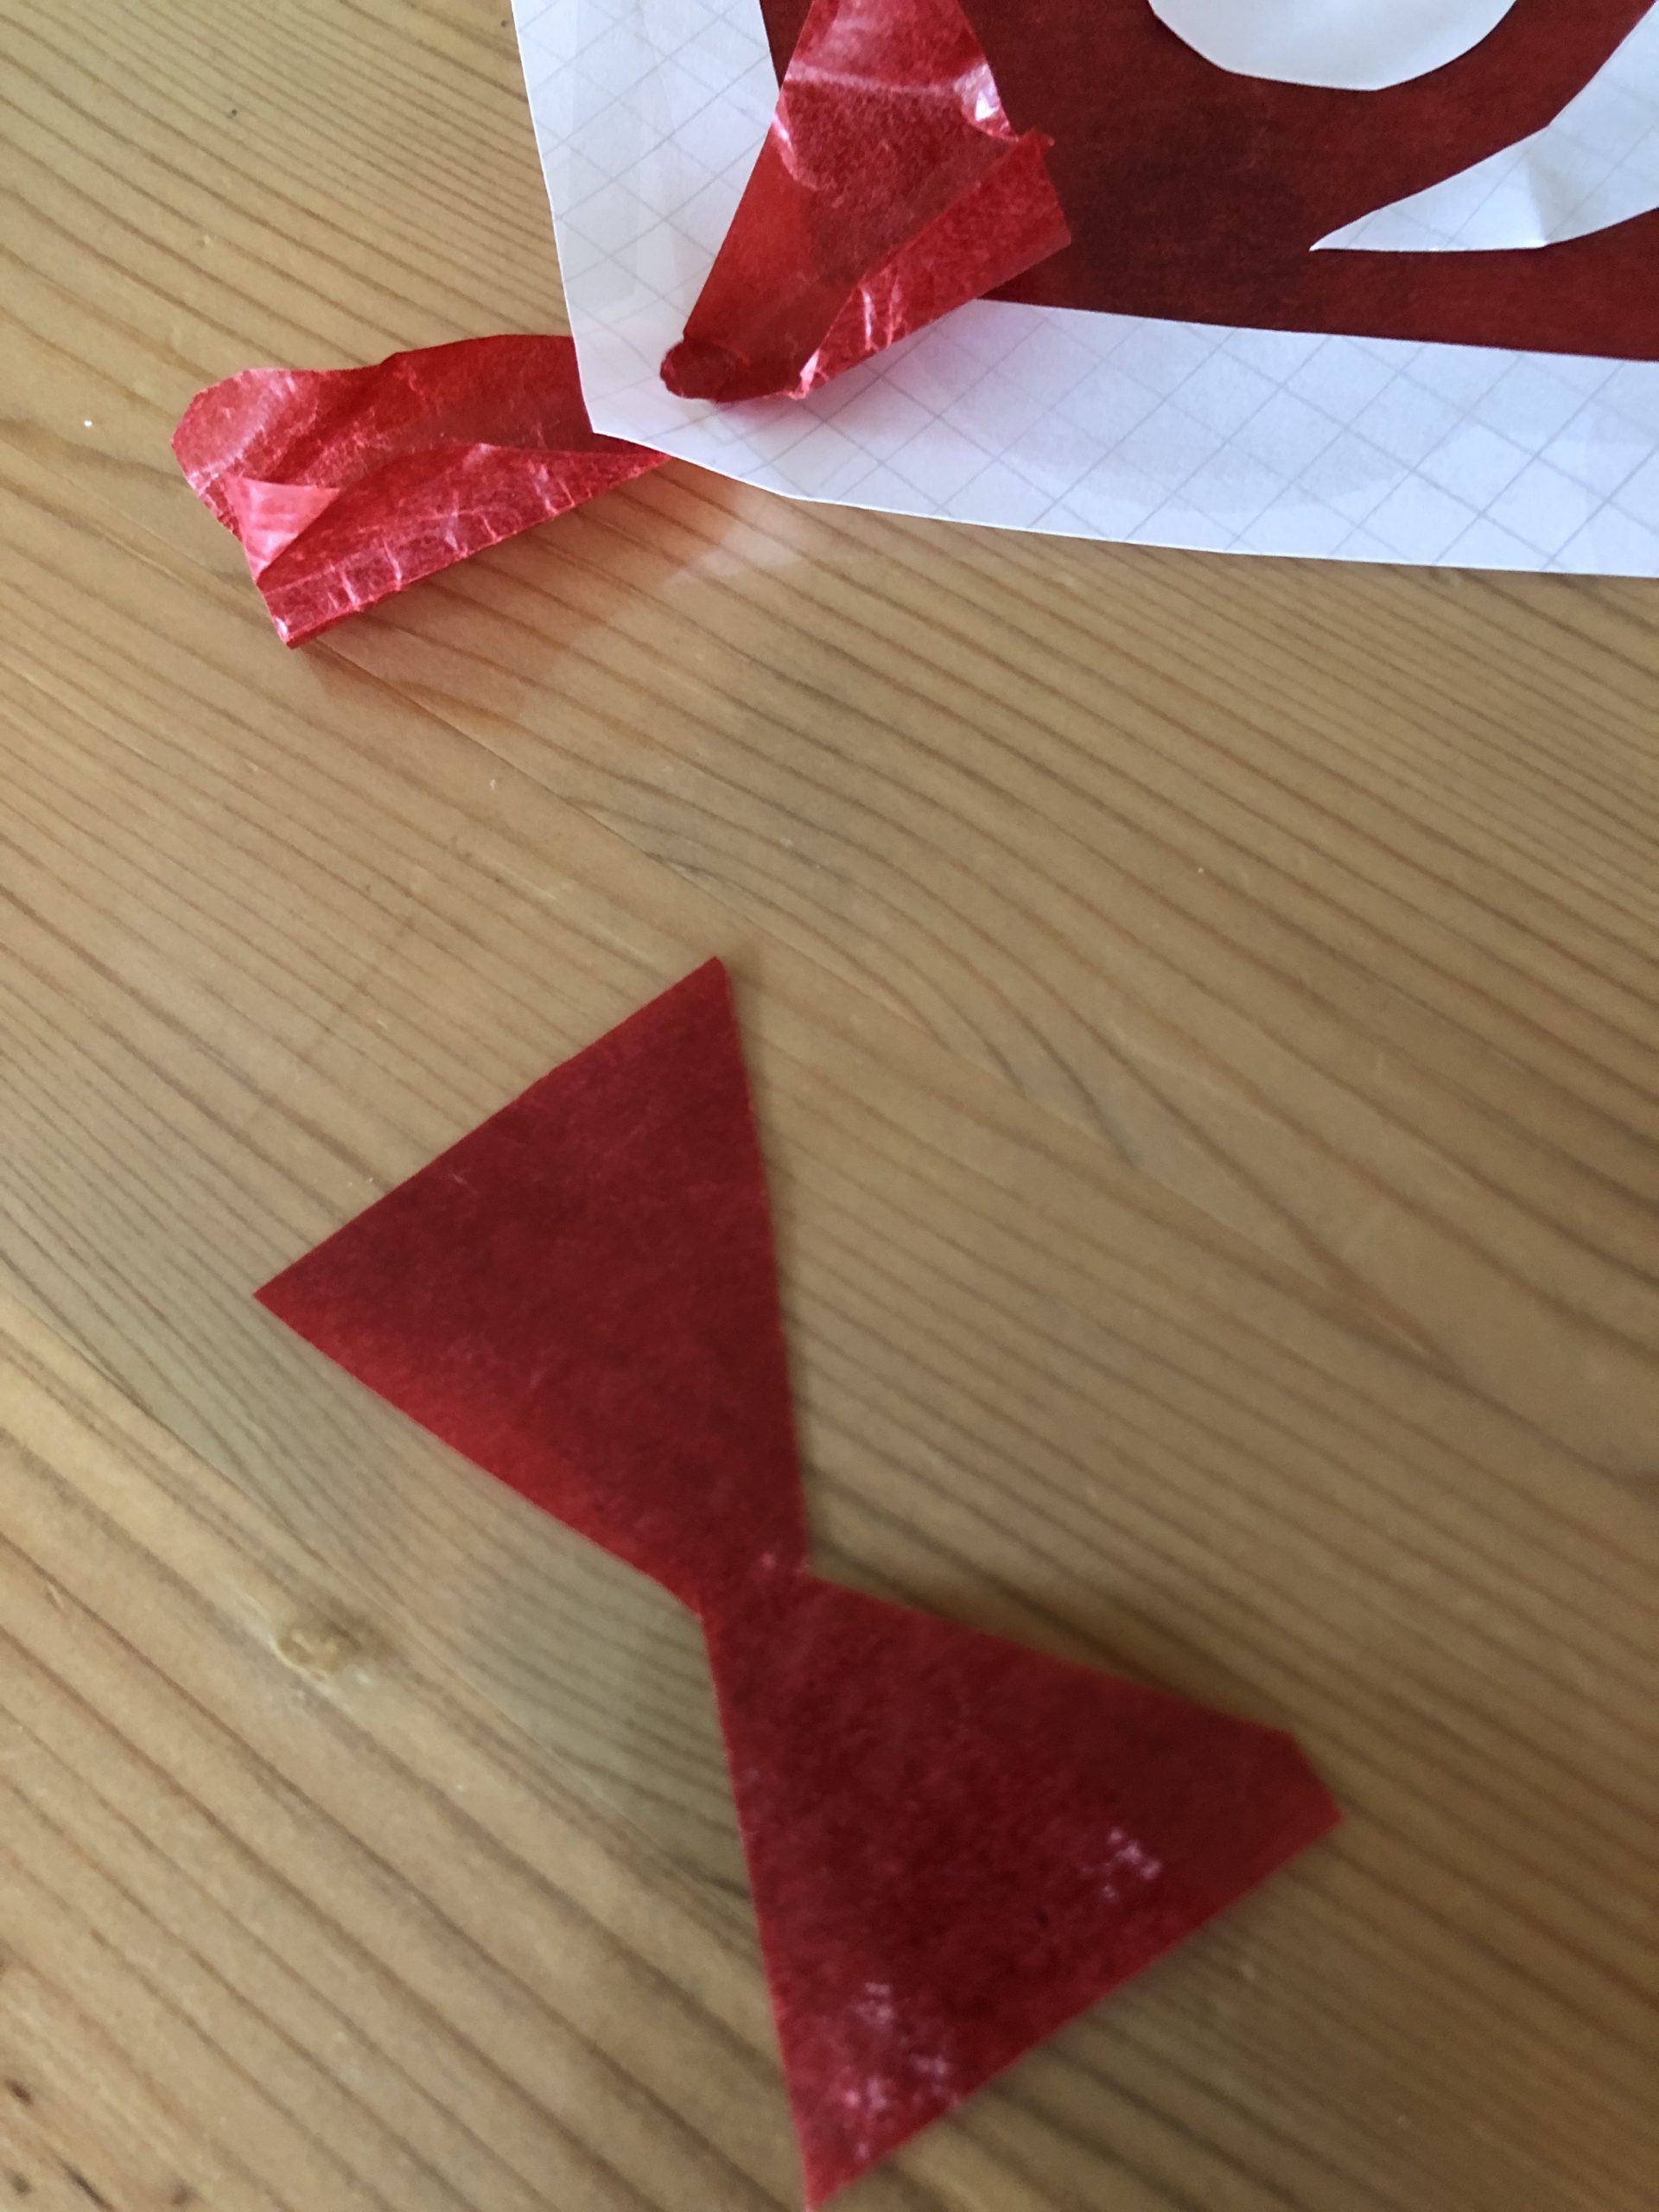
Bild zum Schritt 11 für das Bastel- und DIY-Abenteuer für Kinder: 'Jetzt schneidet ihr die Transparentpapierstreifen seitlich ein, so dass eine...'

12

This loop is now placed in the middle of the hole.

Bild zum Schritt 12 für das Bastel- und DIY-Abenteuer für Kinder: 'Diese Schleife steckt ihr nun durch das Loch platziert sie...'

13

A hole is also punched out at the bottom of the dragon's face.
Then cut off a wire in the length of about 30cm. You thread it through the hole and twist the end. Thus, it is attached.
The loops are now tied to the wire by far, in addition to winding the wire around the transparent paper loops and correcting the loops.
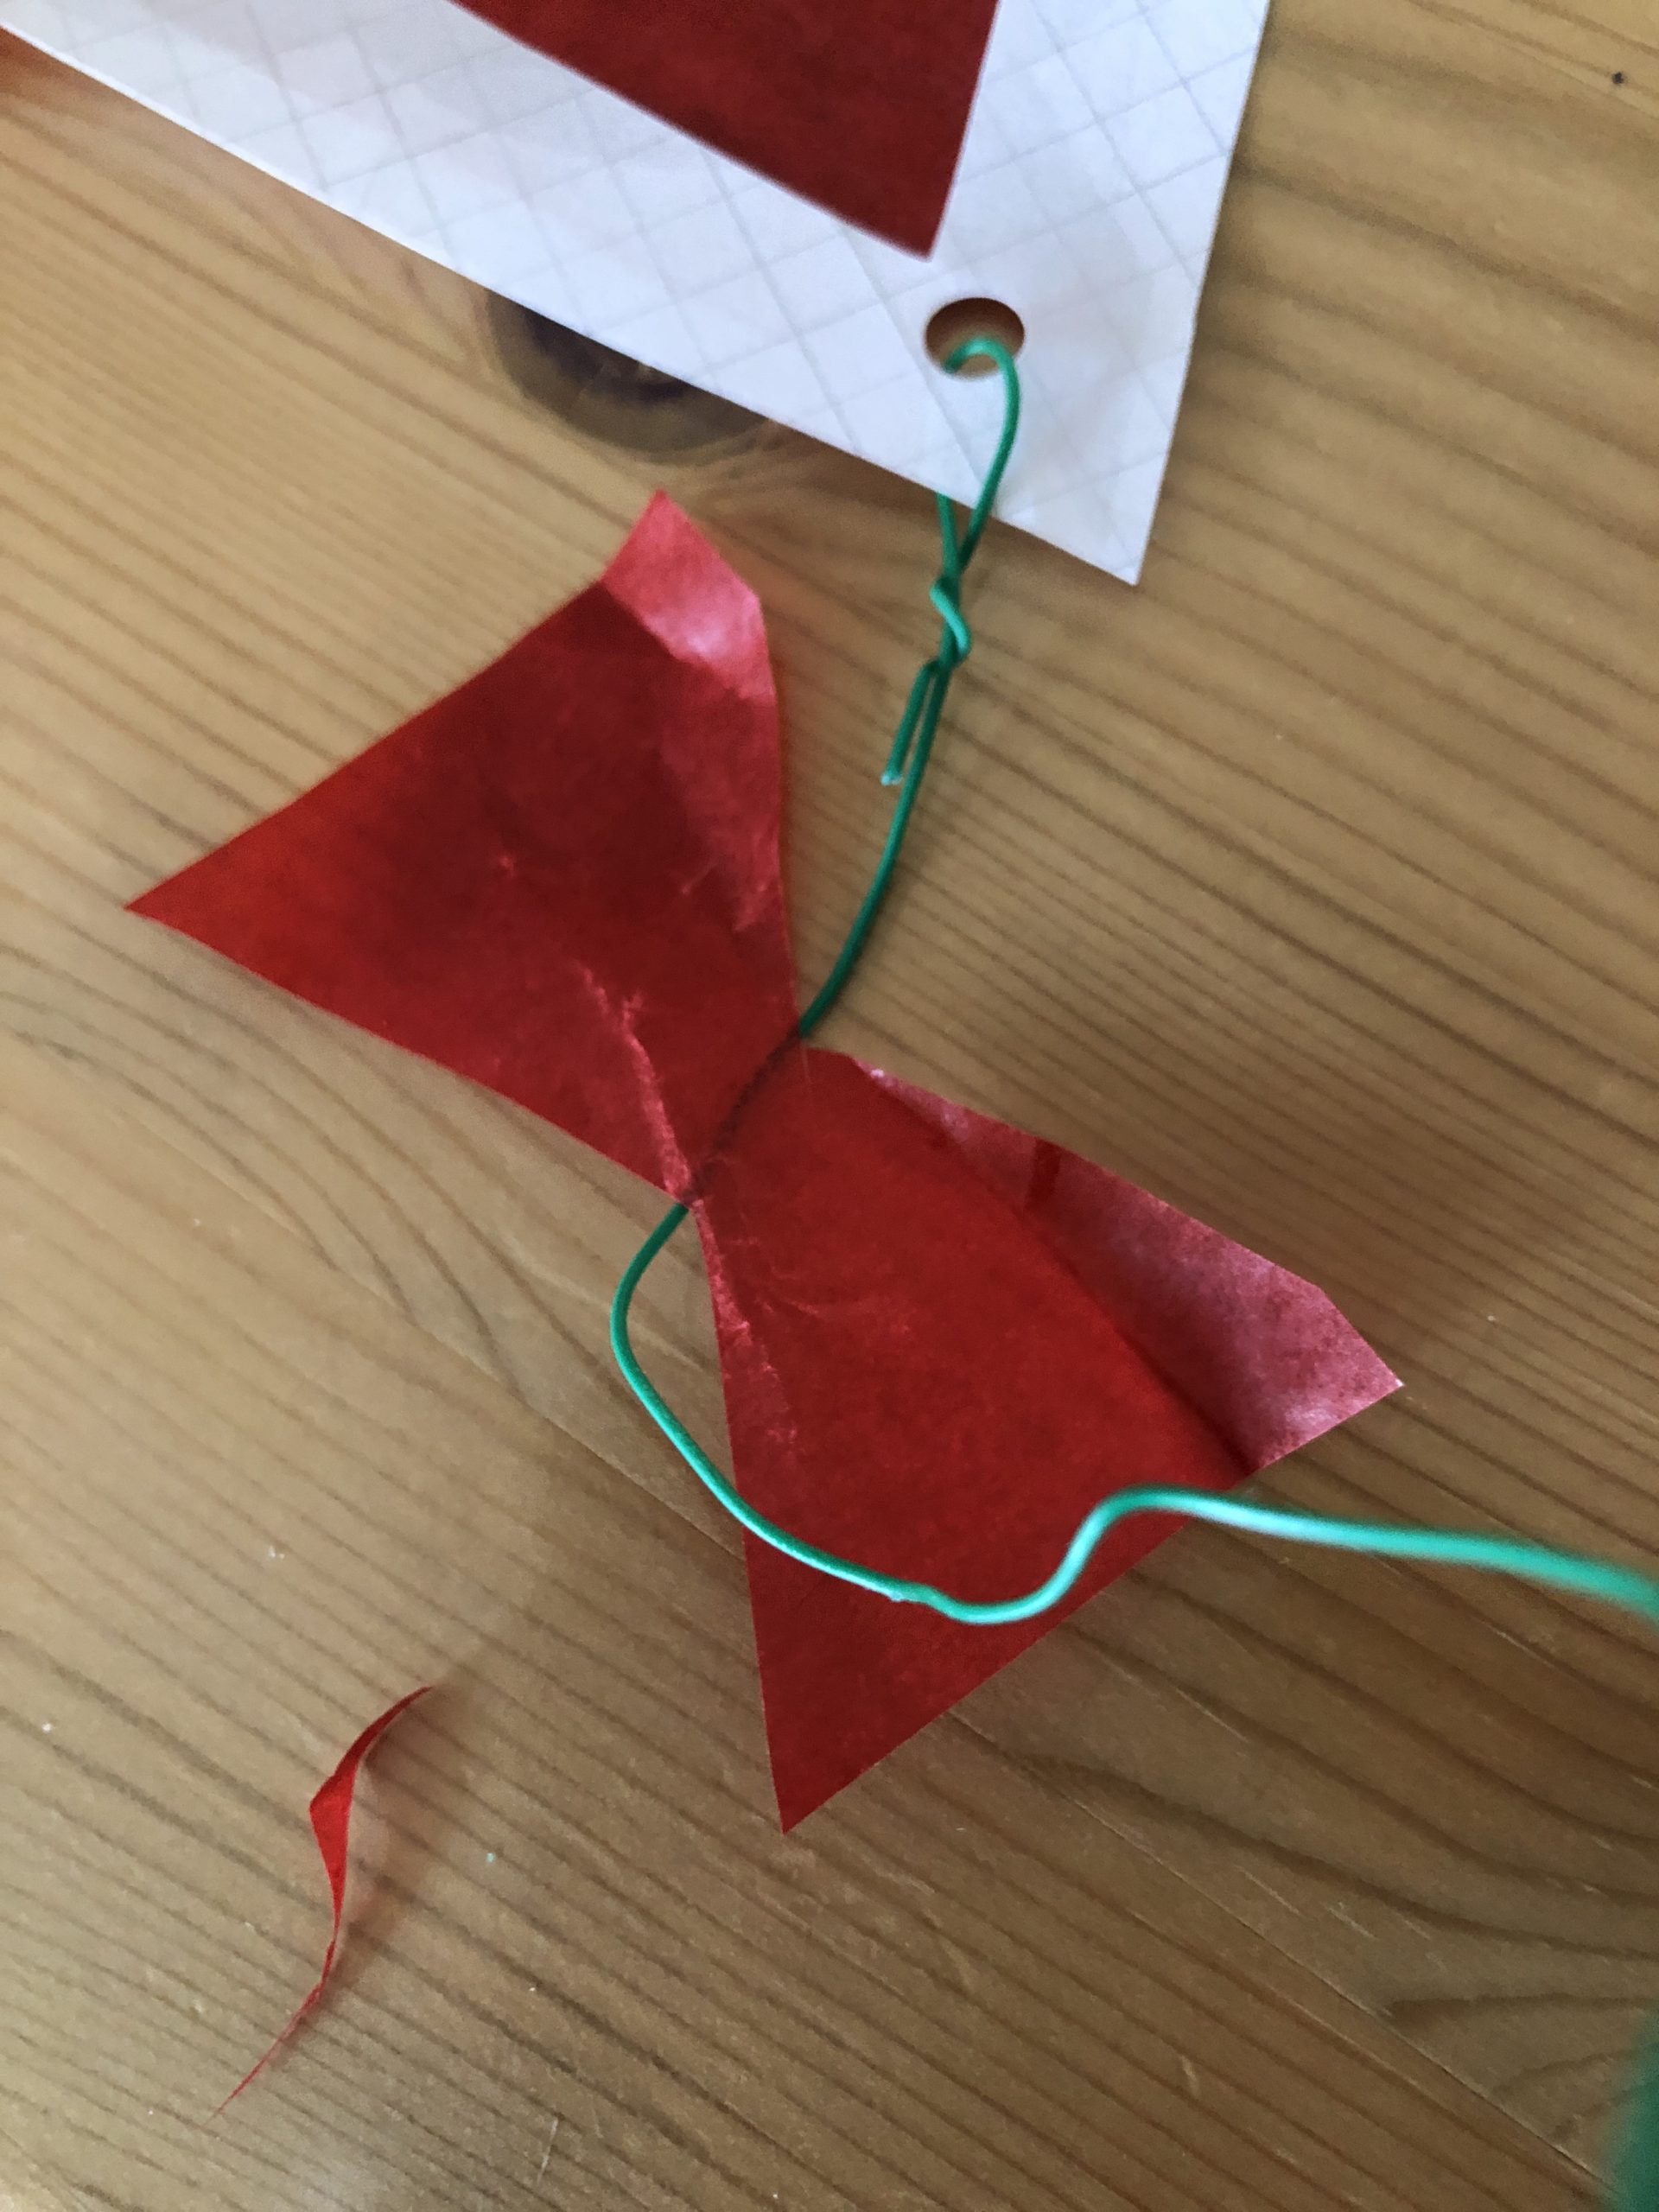
Bild zum Schritt 13 für das Bastel- und DIY-Abenteuer für Kinder: 'Am unteren Rand des Drachengesichts wird ebenfalls ein Loch ausgestanzt....'

14

Your dragon is ready.

Bild zum Schritt 14 für das Bastel- und DIY-Abenteuer für Kinder: 'Fertig ist euer Drache.'

15

The dragon is now glued slightly obliquely to the prepared bottle with a hot glue point.
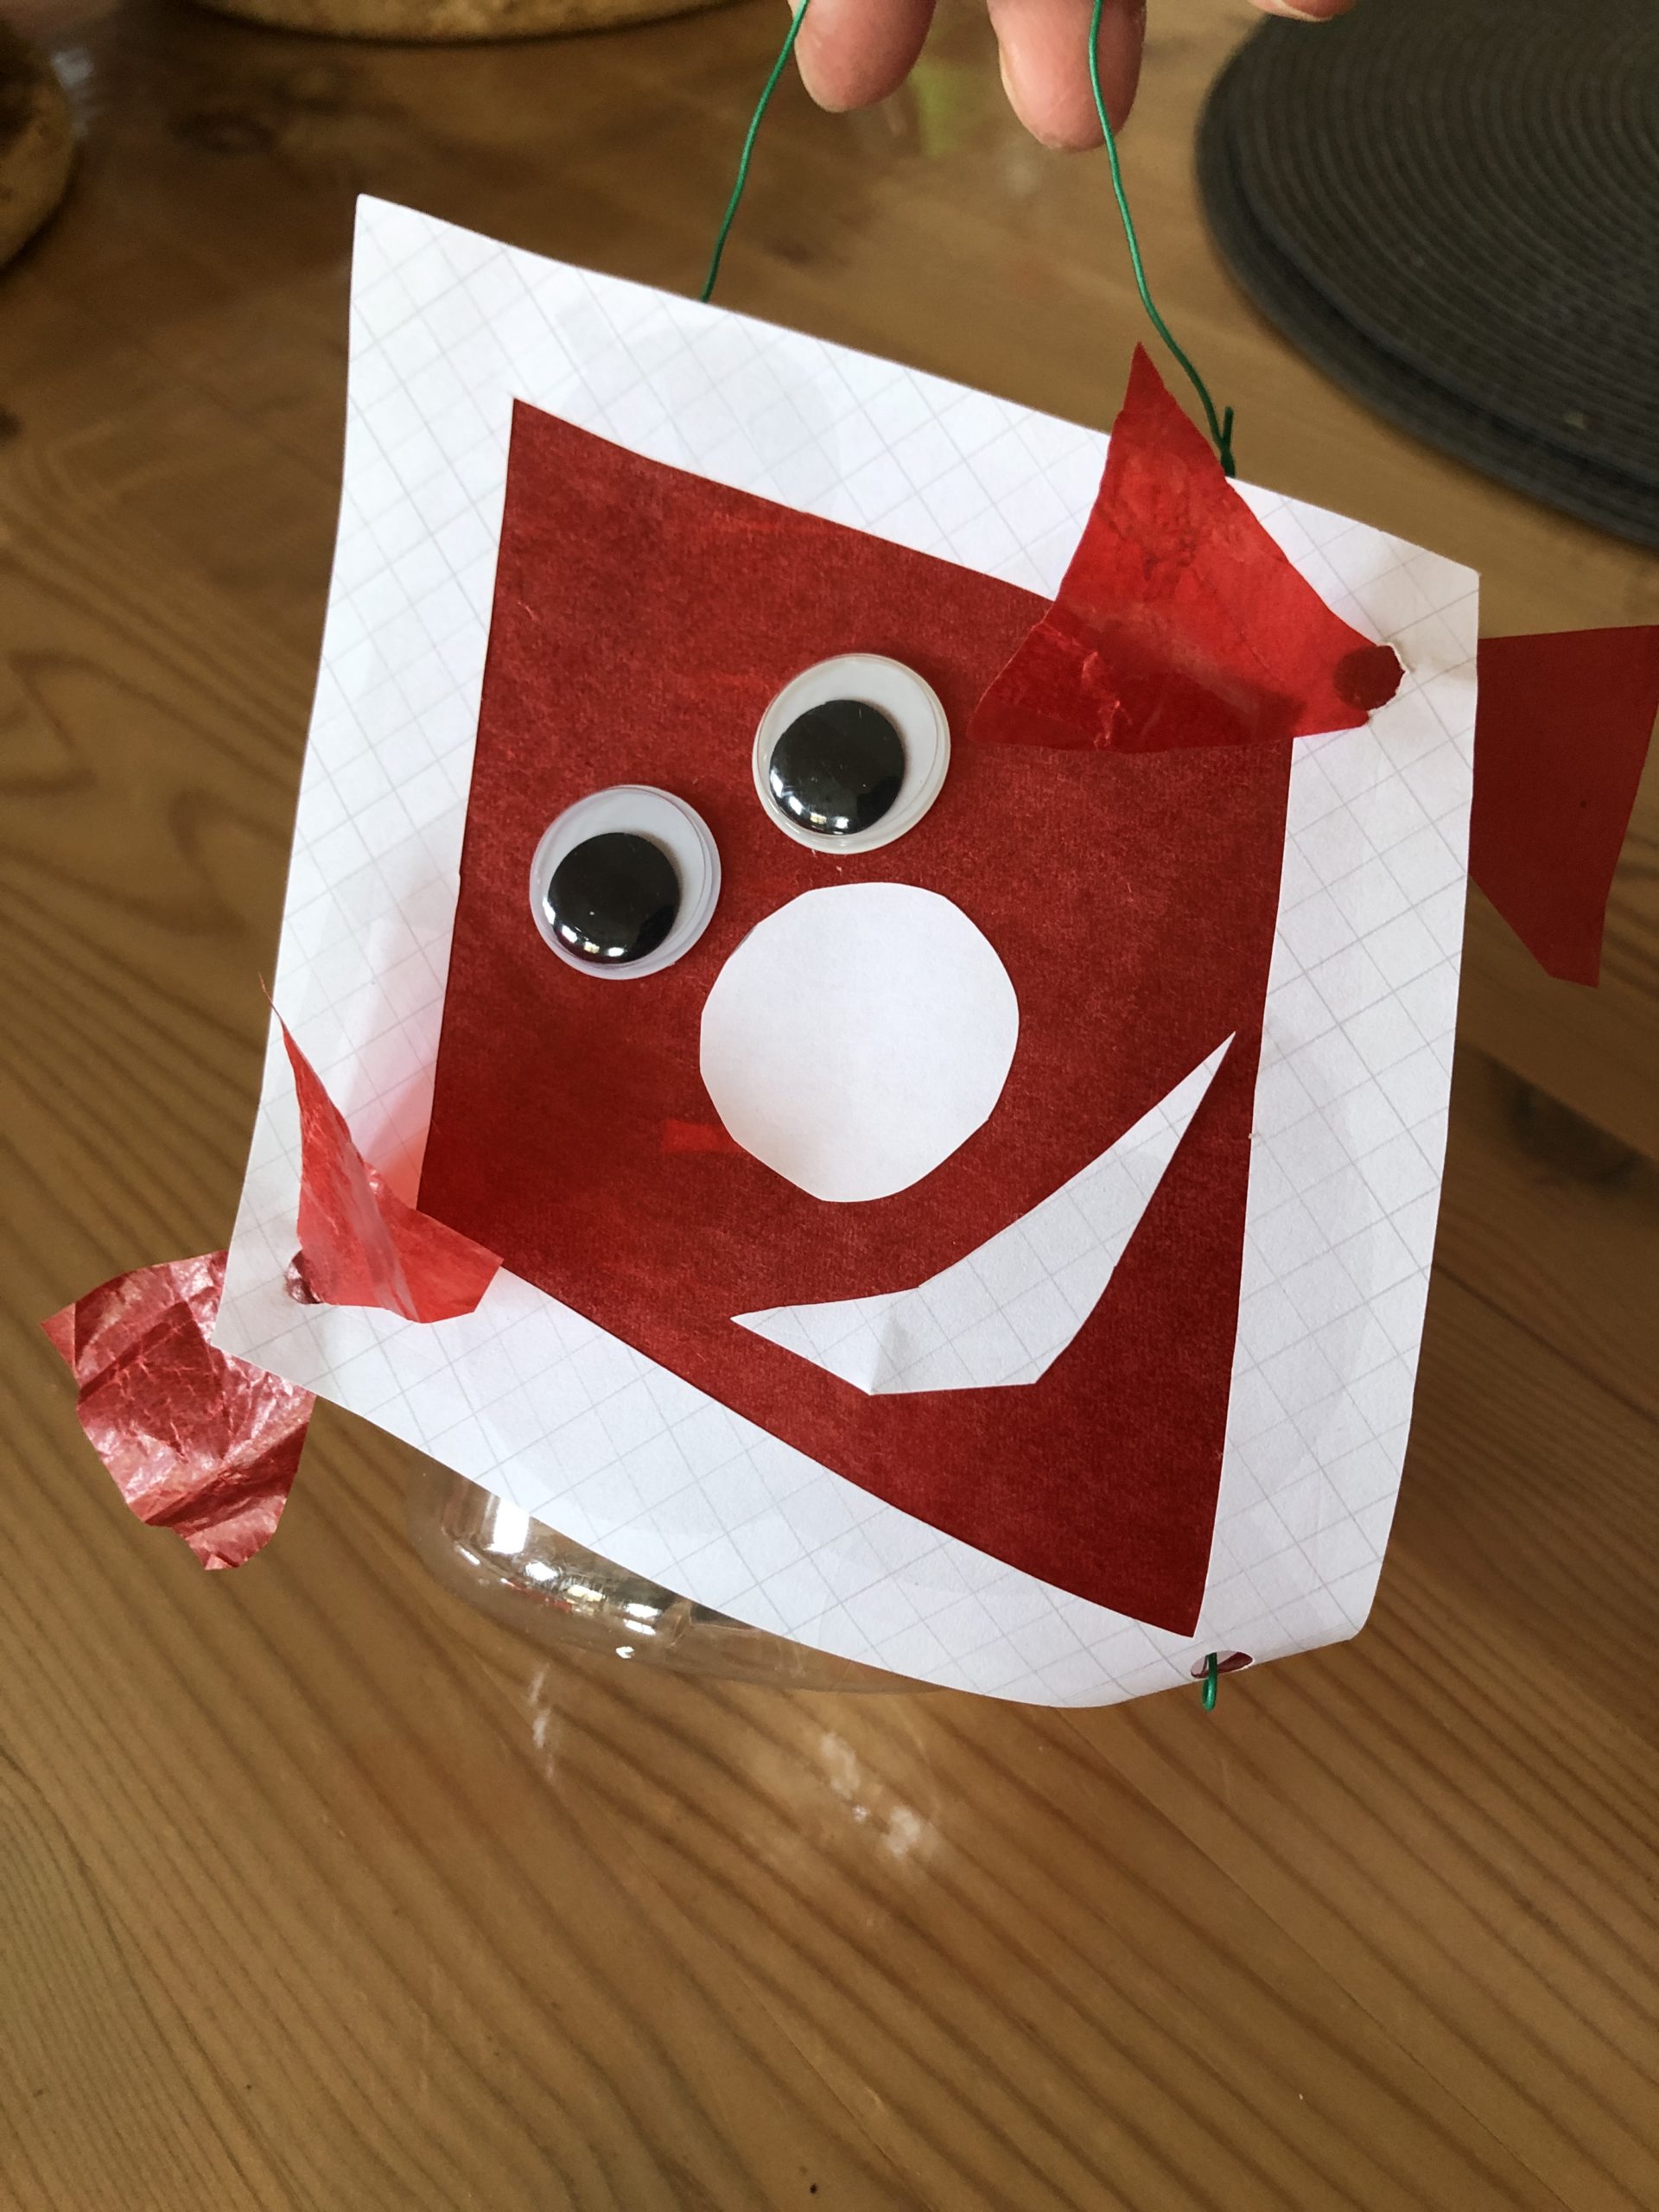
Bild zum Schritt 15 für das Bastel- und DIY-Abenteuer für Kinder: 'Etwas schräg wird der Drache nun mit einem Heißkleberpunkt an...'

16

The small dragon lantern is ready. With a button-cell tealight or an electric lantern rod the dragon comes to light.

Bild zum Schritt 16 für das Bastel- und DIY-Abenteuer für Kinder: 'Fertig ist die kleine Drachen-Laterne. Mit einem Knopfzellen-Teelicht oder einem...'

17

Also as decoration the dragon is a beautiful sight.

Bild zum Schritt 17 für das Bastel- und DIY-Abenteuer für Kinder: 'Auch als Dekoration ist der Drache ein schöner Anblick.'

18

Or you hang the little dragon on a branch. It fits wonderfully also to the hetbst decoration.
Have fun!
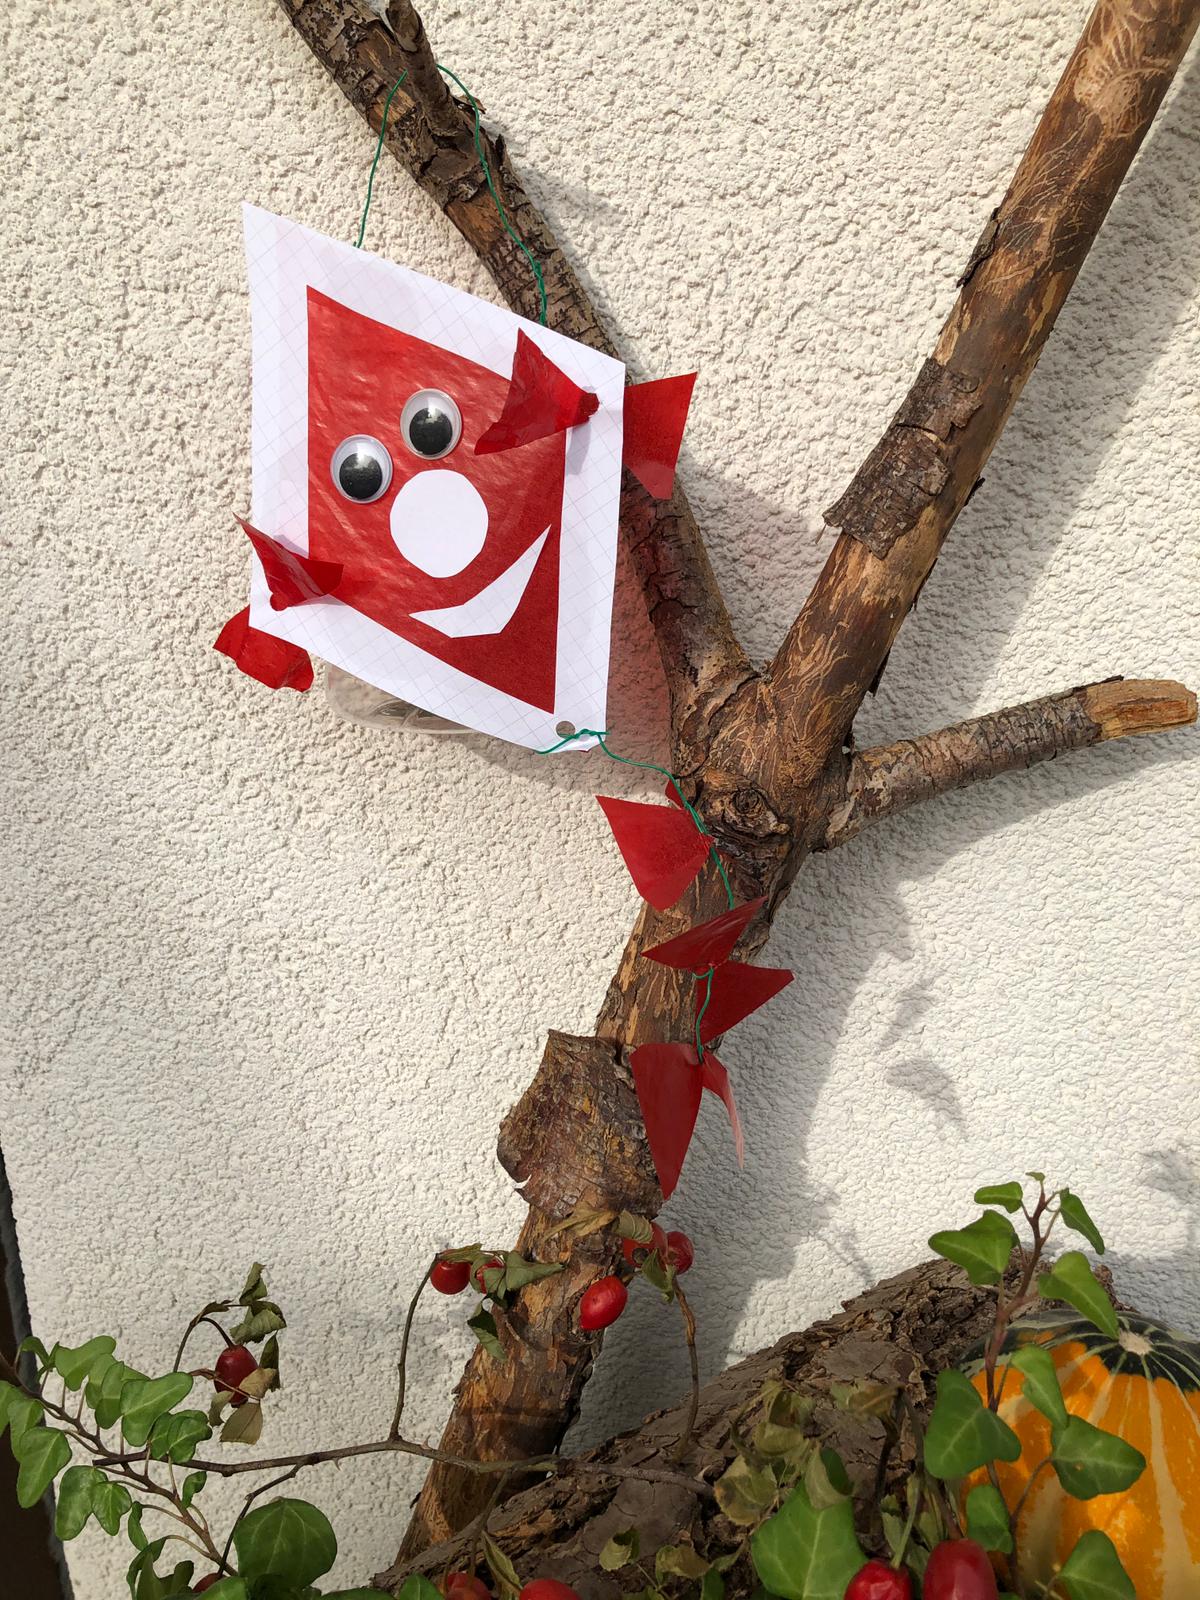
Bild zum Schritt 18 für das Bastel- und DIY-Abenteuer für Kinder: 'Oder ihr hängt den kleinen Drachen an einen Ast. Er...'

Crafting Dragon Lantern

Follow us on Facebook , Instagram and Pinterest
Don't miss any more adventures: Our bottle mail

Leave a Reply

Your email address will not be published.

The maximum upload file size: 5 MB. You can upload: image, document. Drop file here