Create a lucky star or wish star for the new year, for the birthday, for recovery or as a small gift. This star is also suitable as an invitation for a birthday party, as a theme party for space, for a fairy birthday party, etc. For example, hide the invitation in the star or write it on the outside on the zacken.
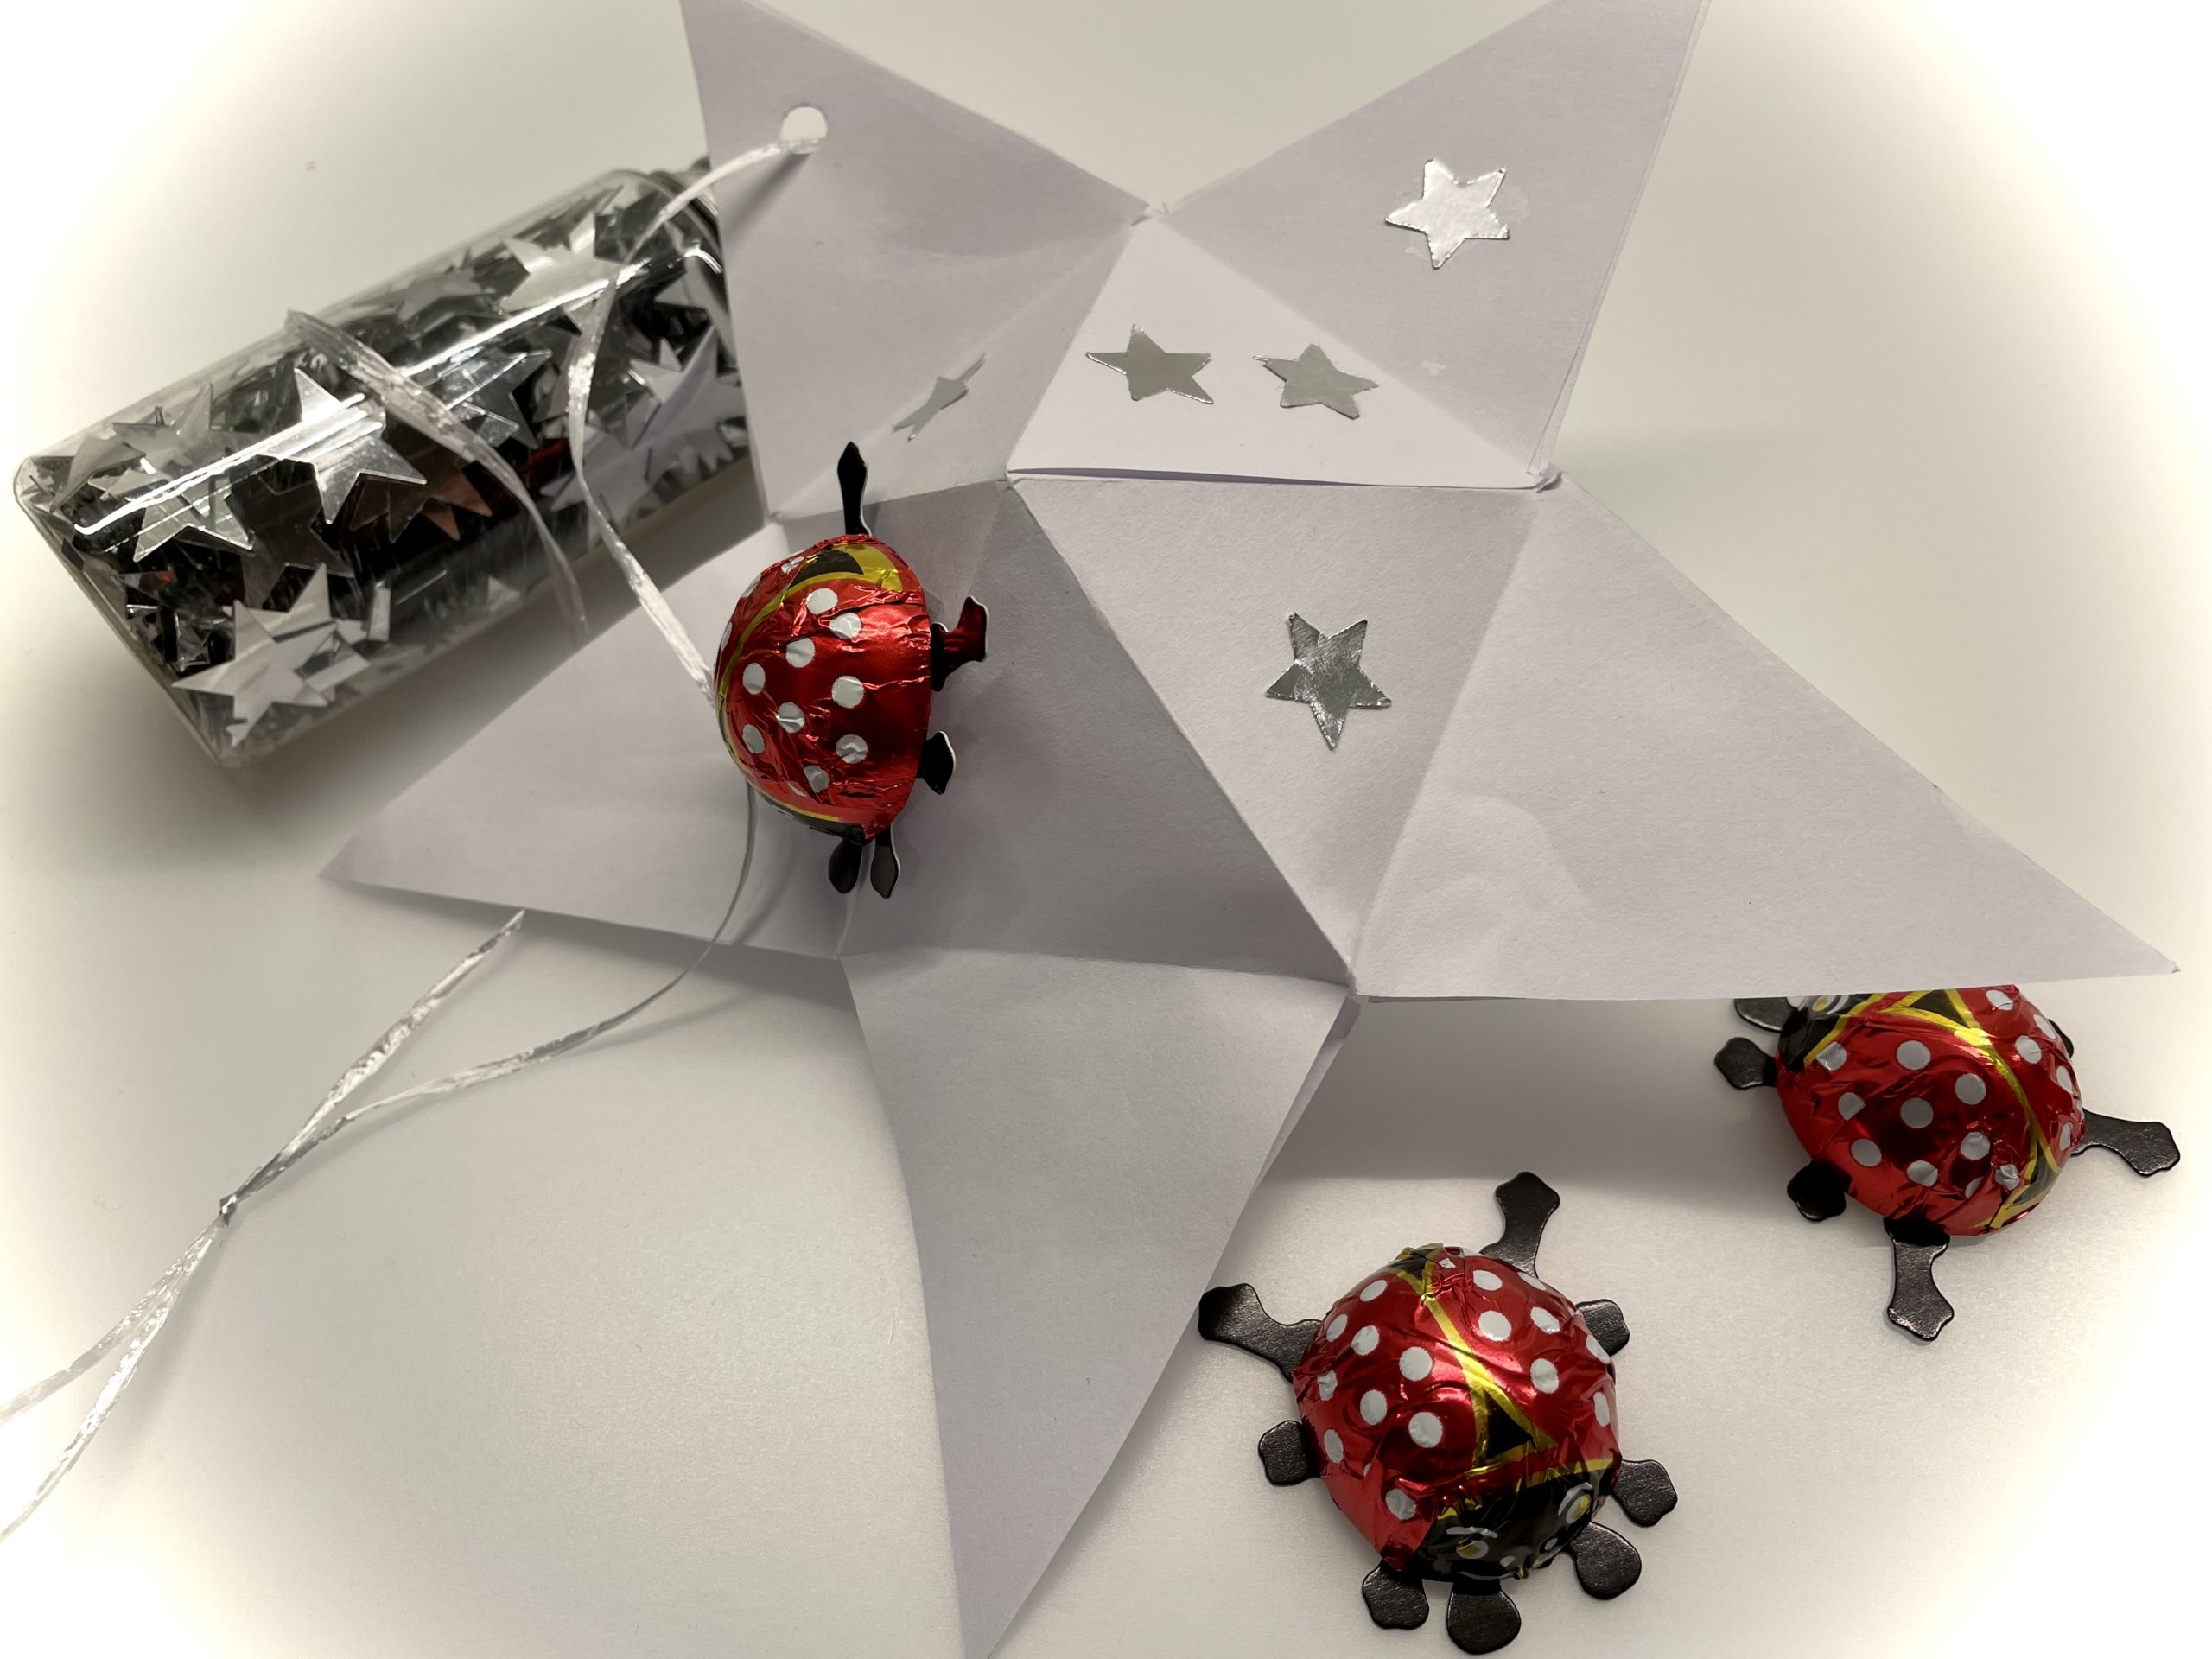
This star can also become a rattle star. You just hide a little something in it. E.g. a lucky beetle or a few gummy bears. For the carnival party you can also fill it with confetti.
Media Education for Kindergarten and Hort

Relief in everyday life, targeted promotion of individual children, independent learning and - without any pre-knowledge already usable by the youngest!

For each finished star you need two cut out stars. You can also use this template.
A star has six points.
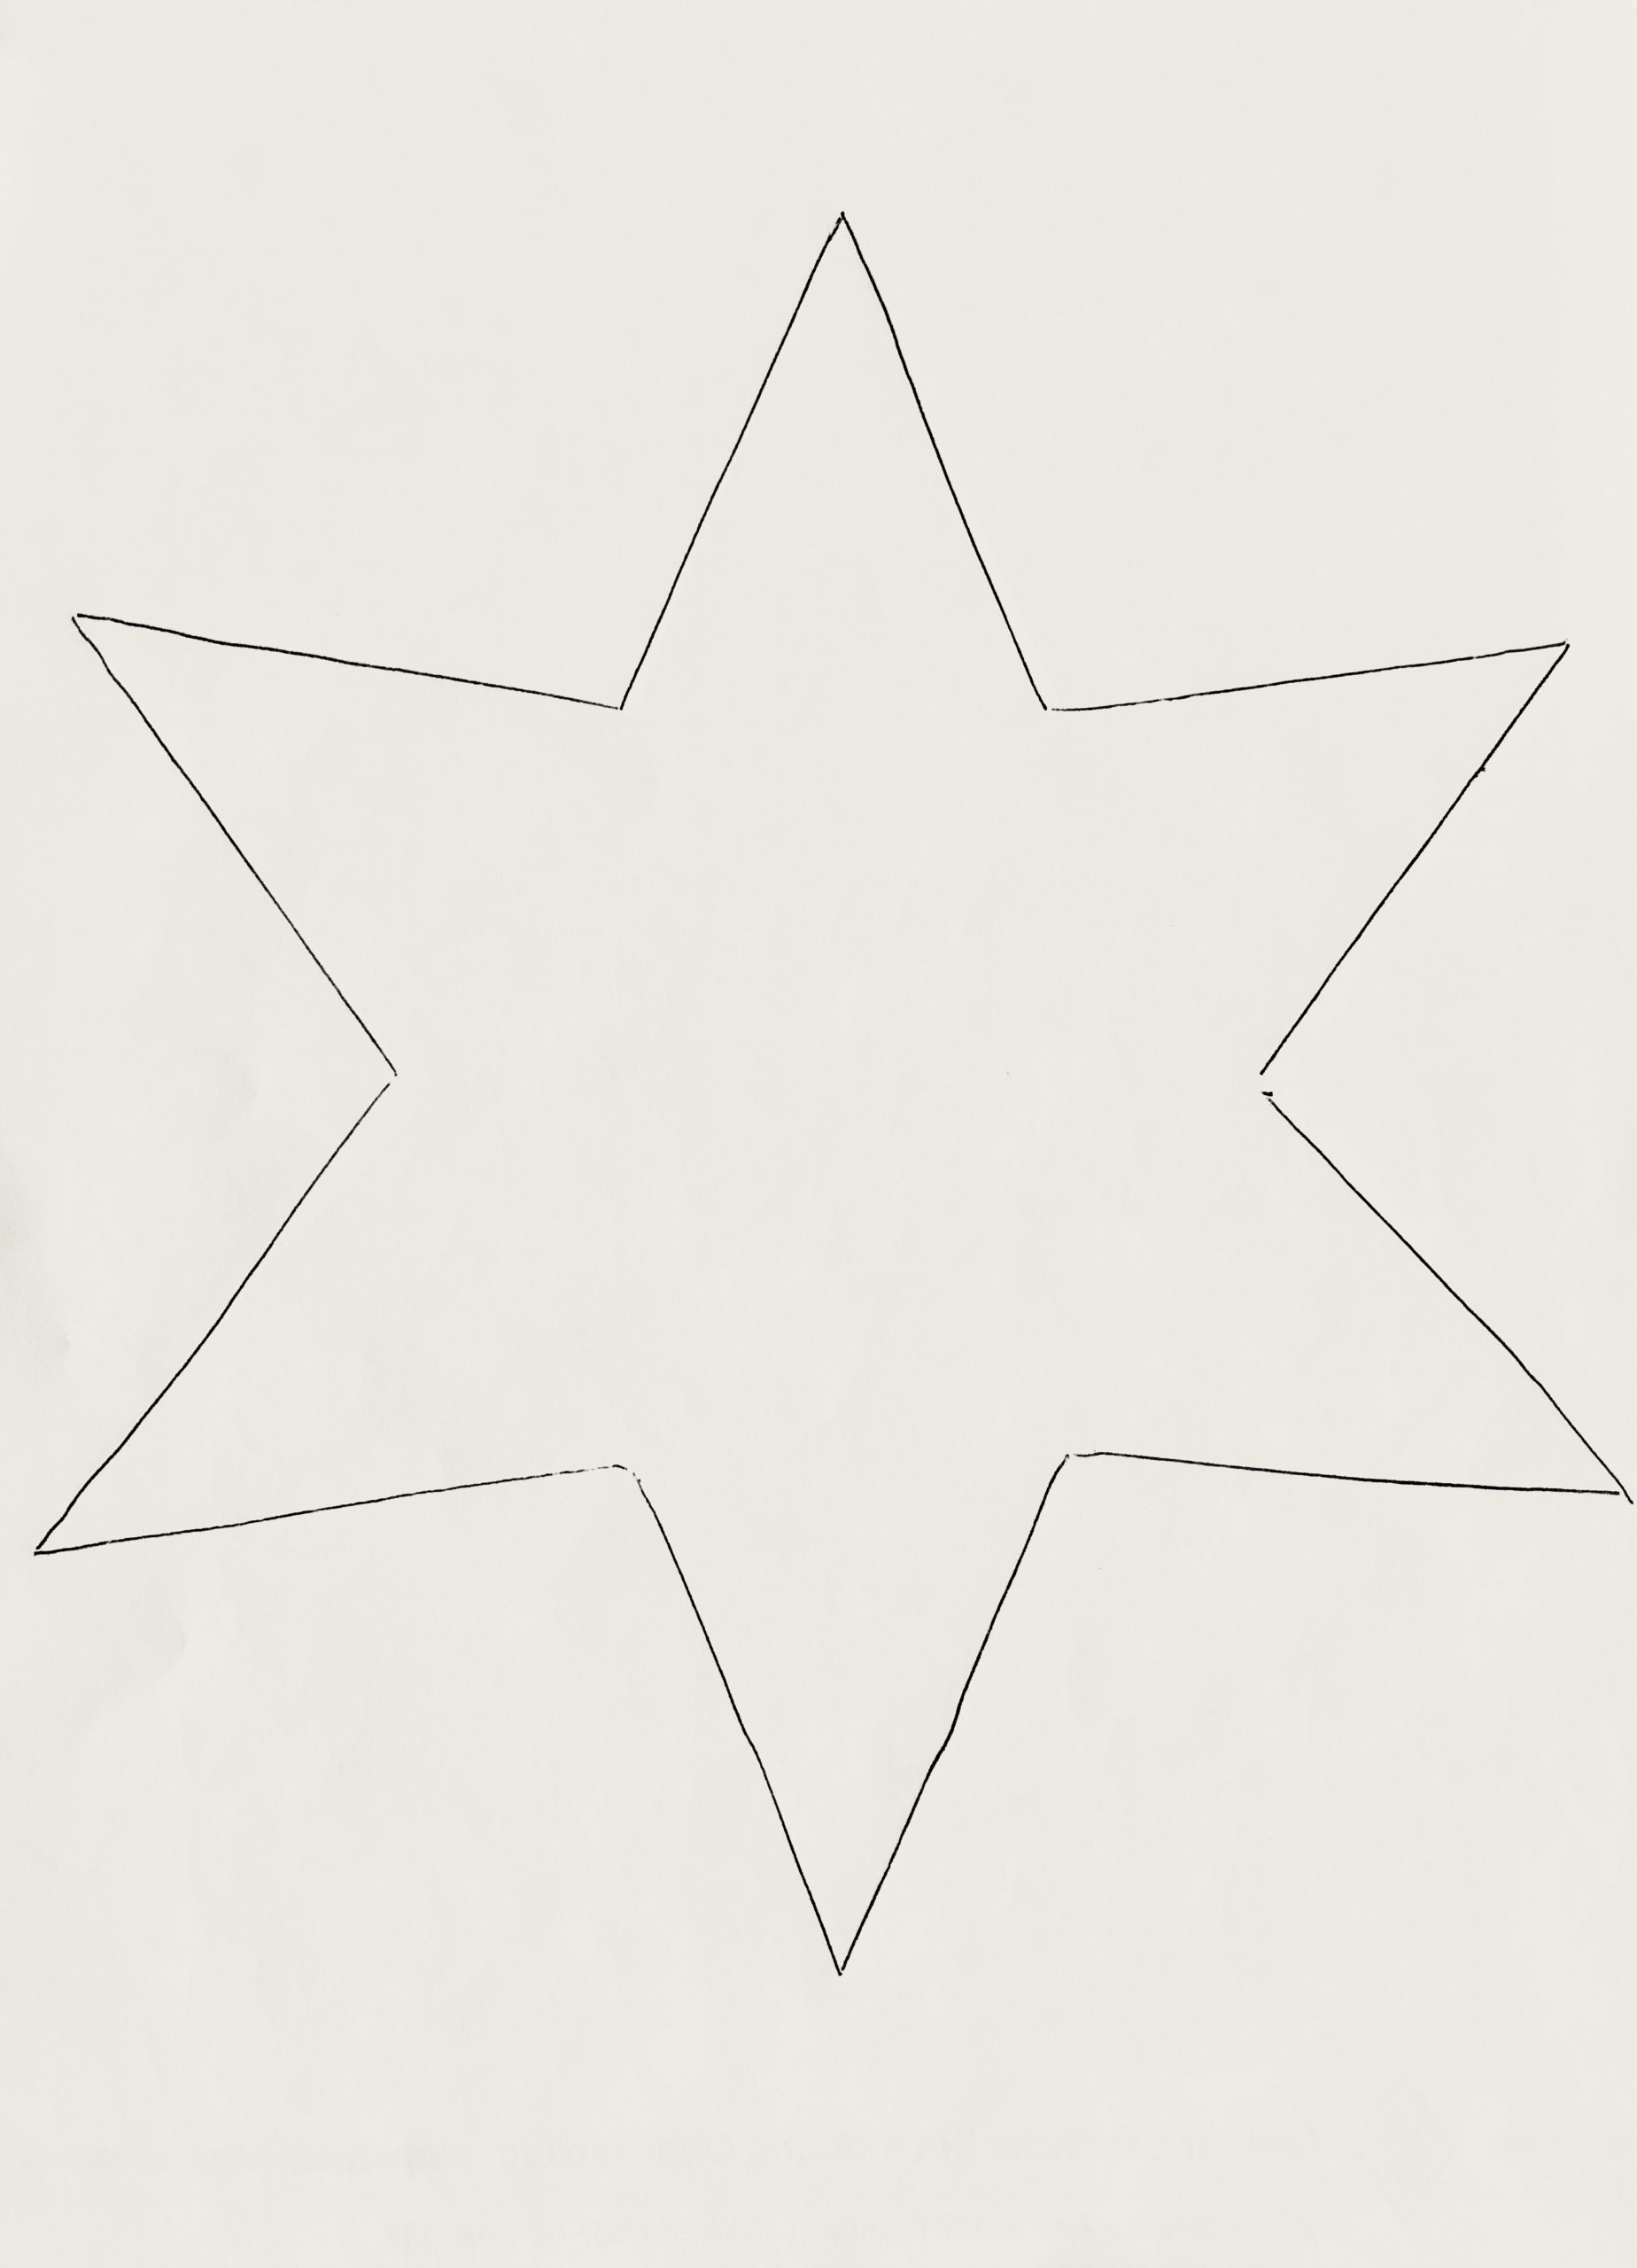
Draw two stars on a DIN A 4 sheet.
Tip: To save paper, a zacke can be incomplete or missing for each star! It will be glued over later.
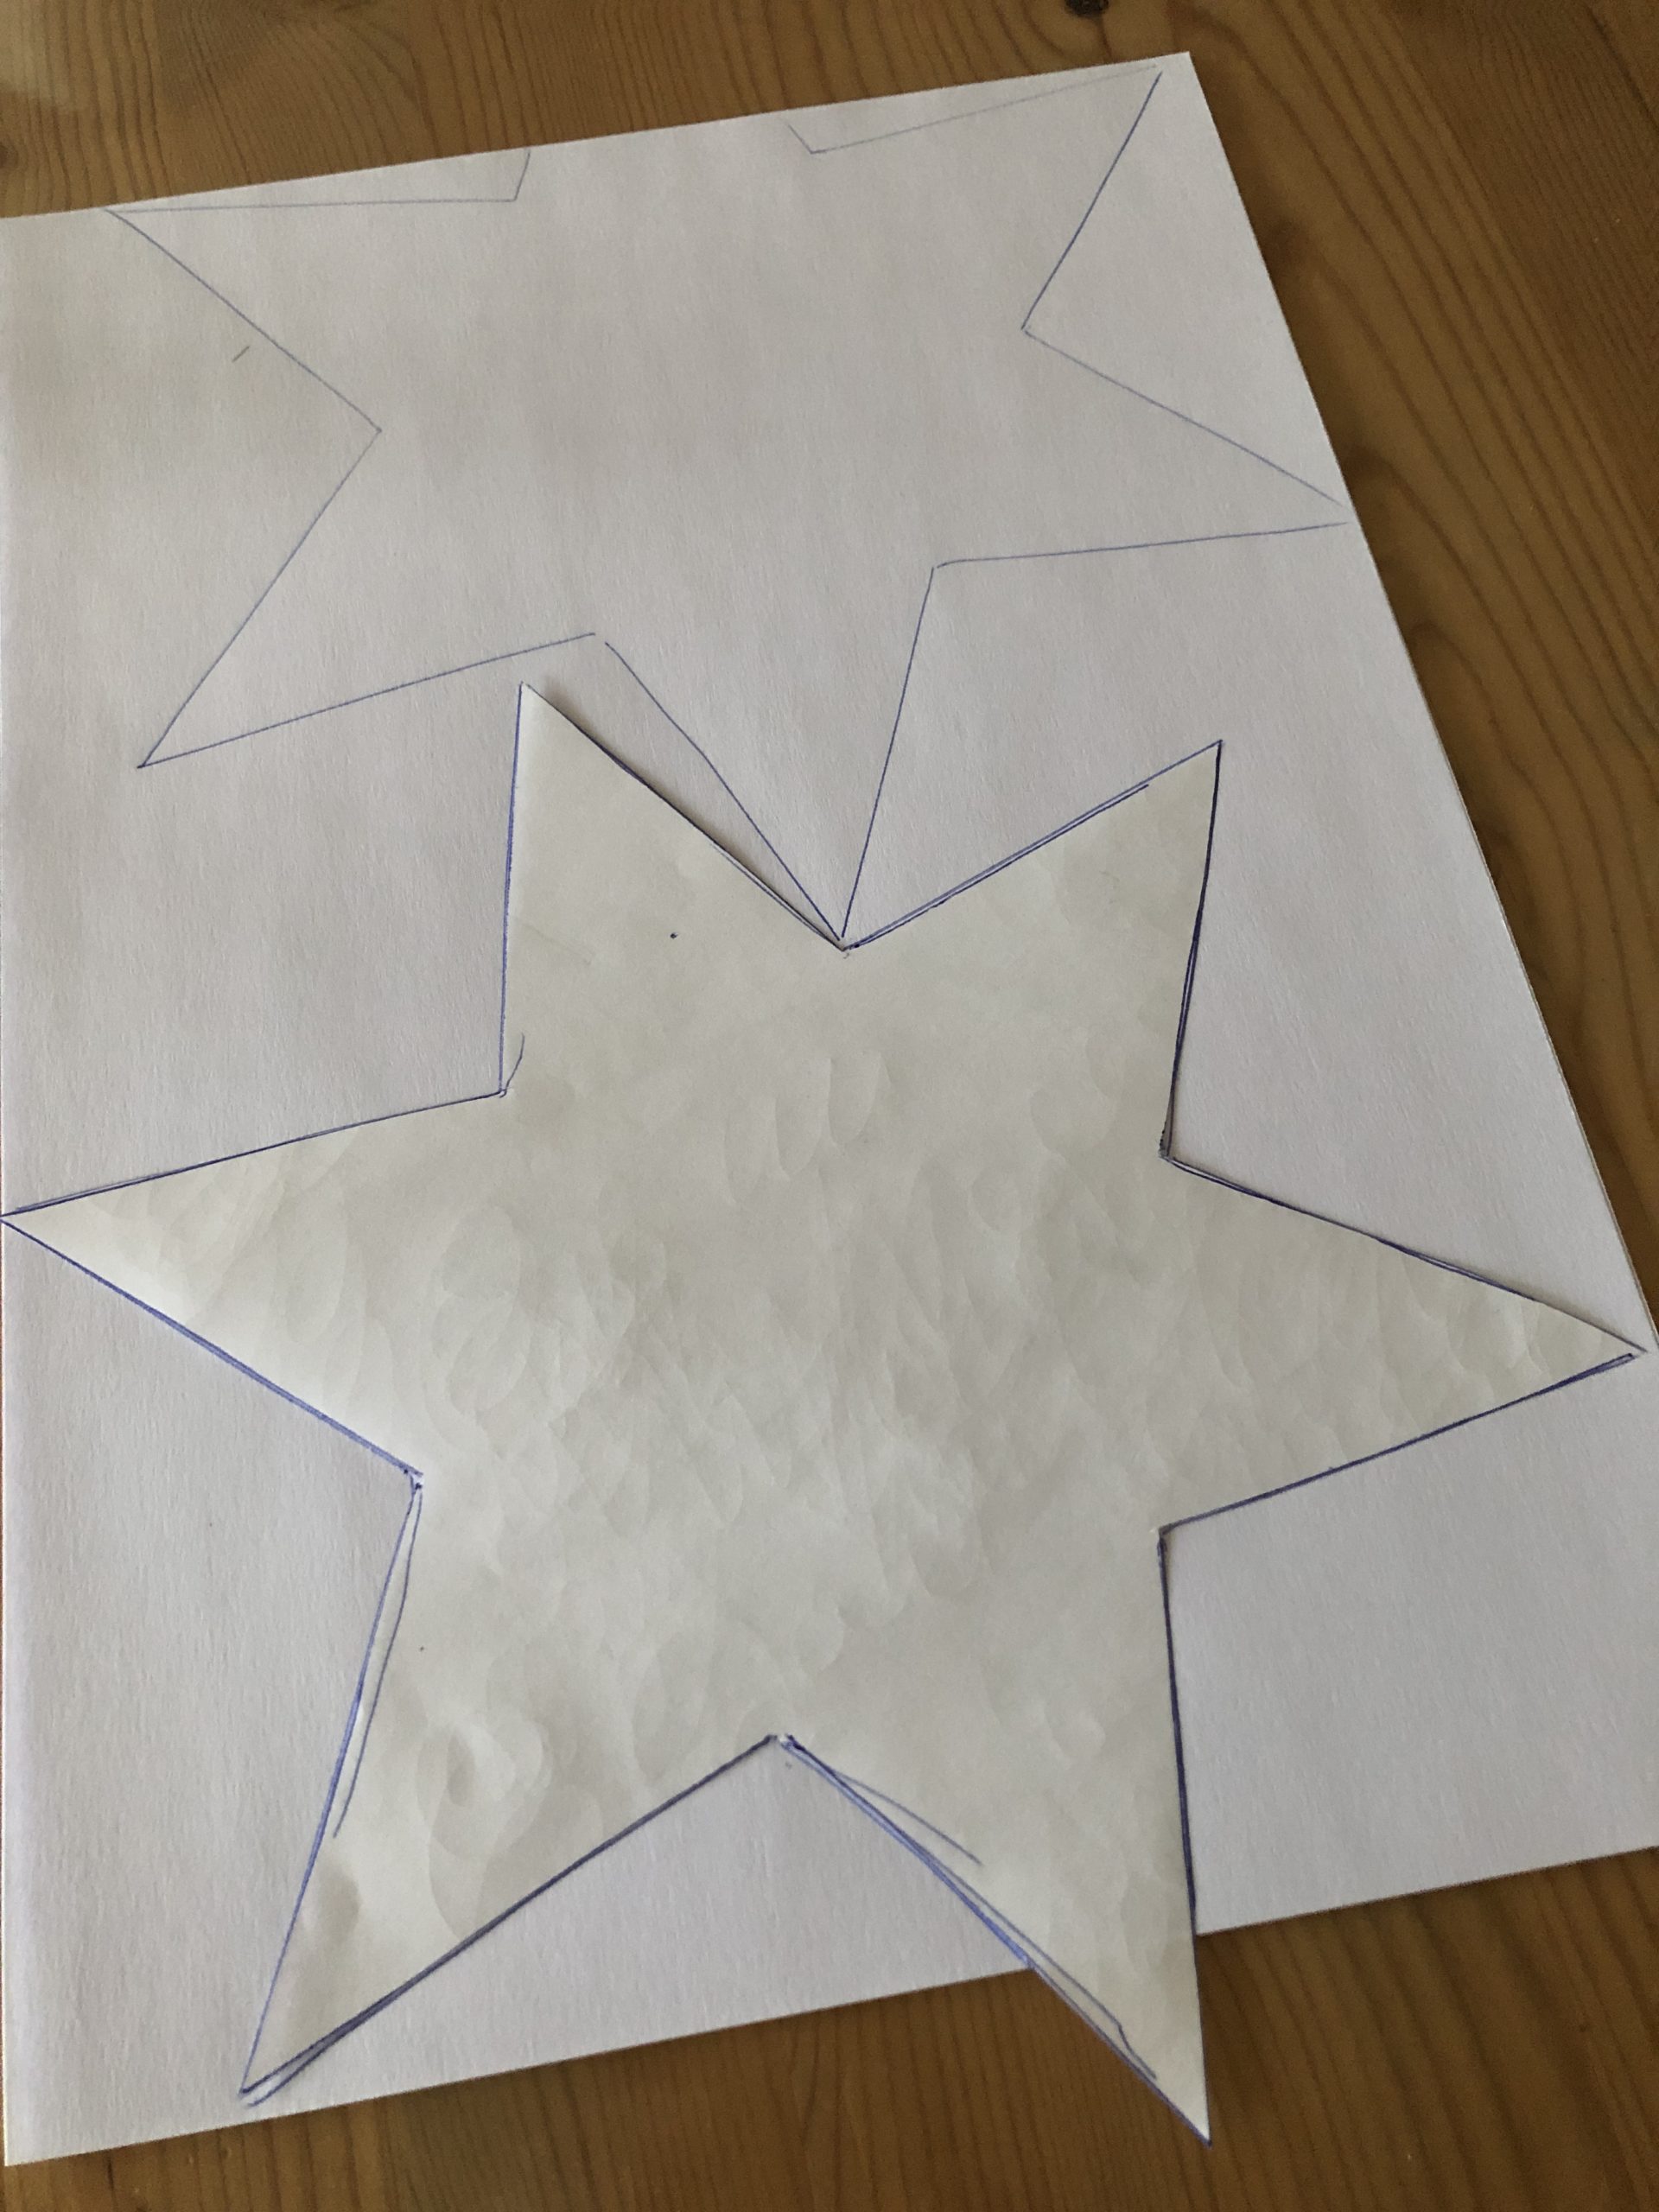
That's what your template might look like.
Cut out both stars.

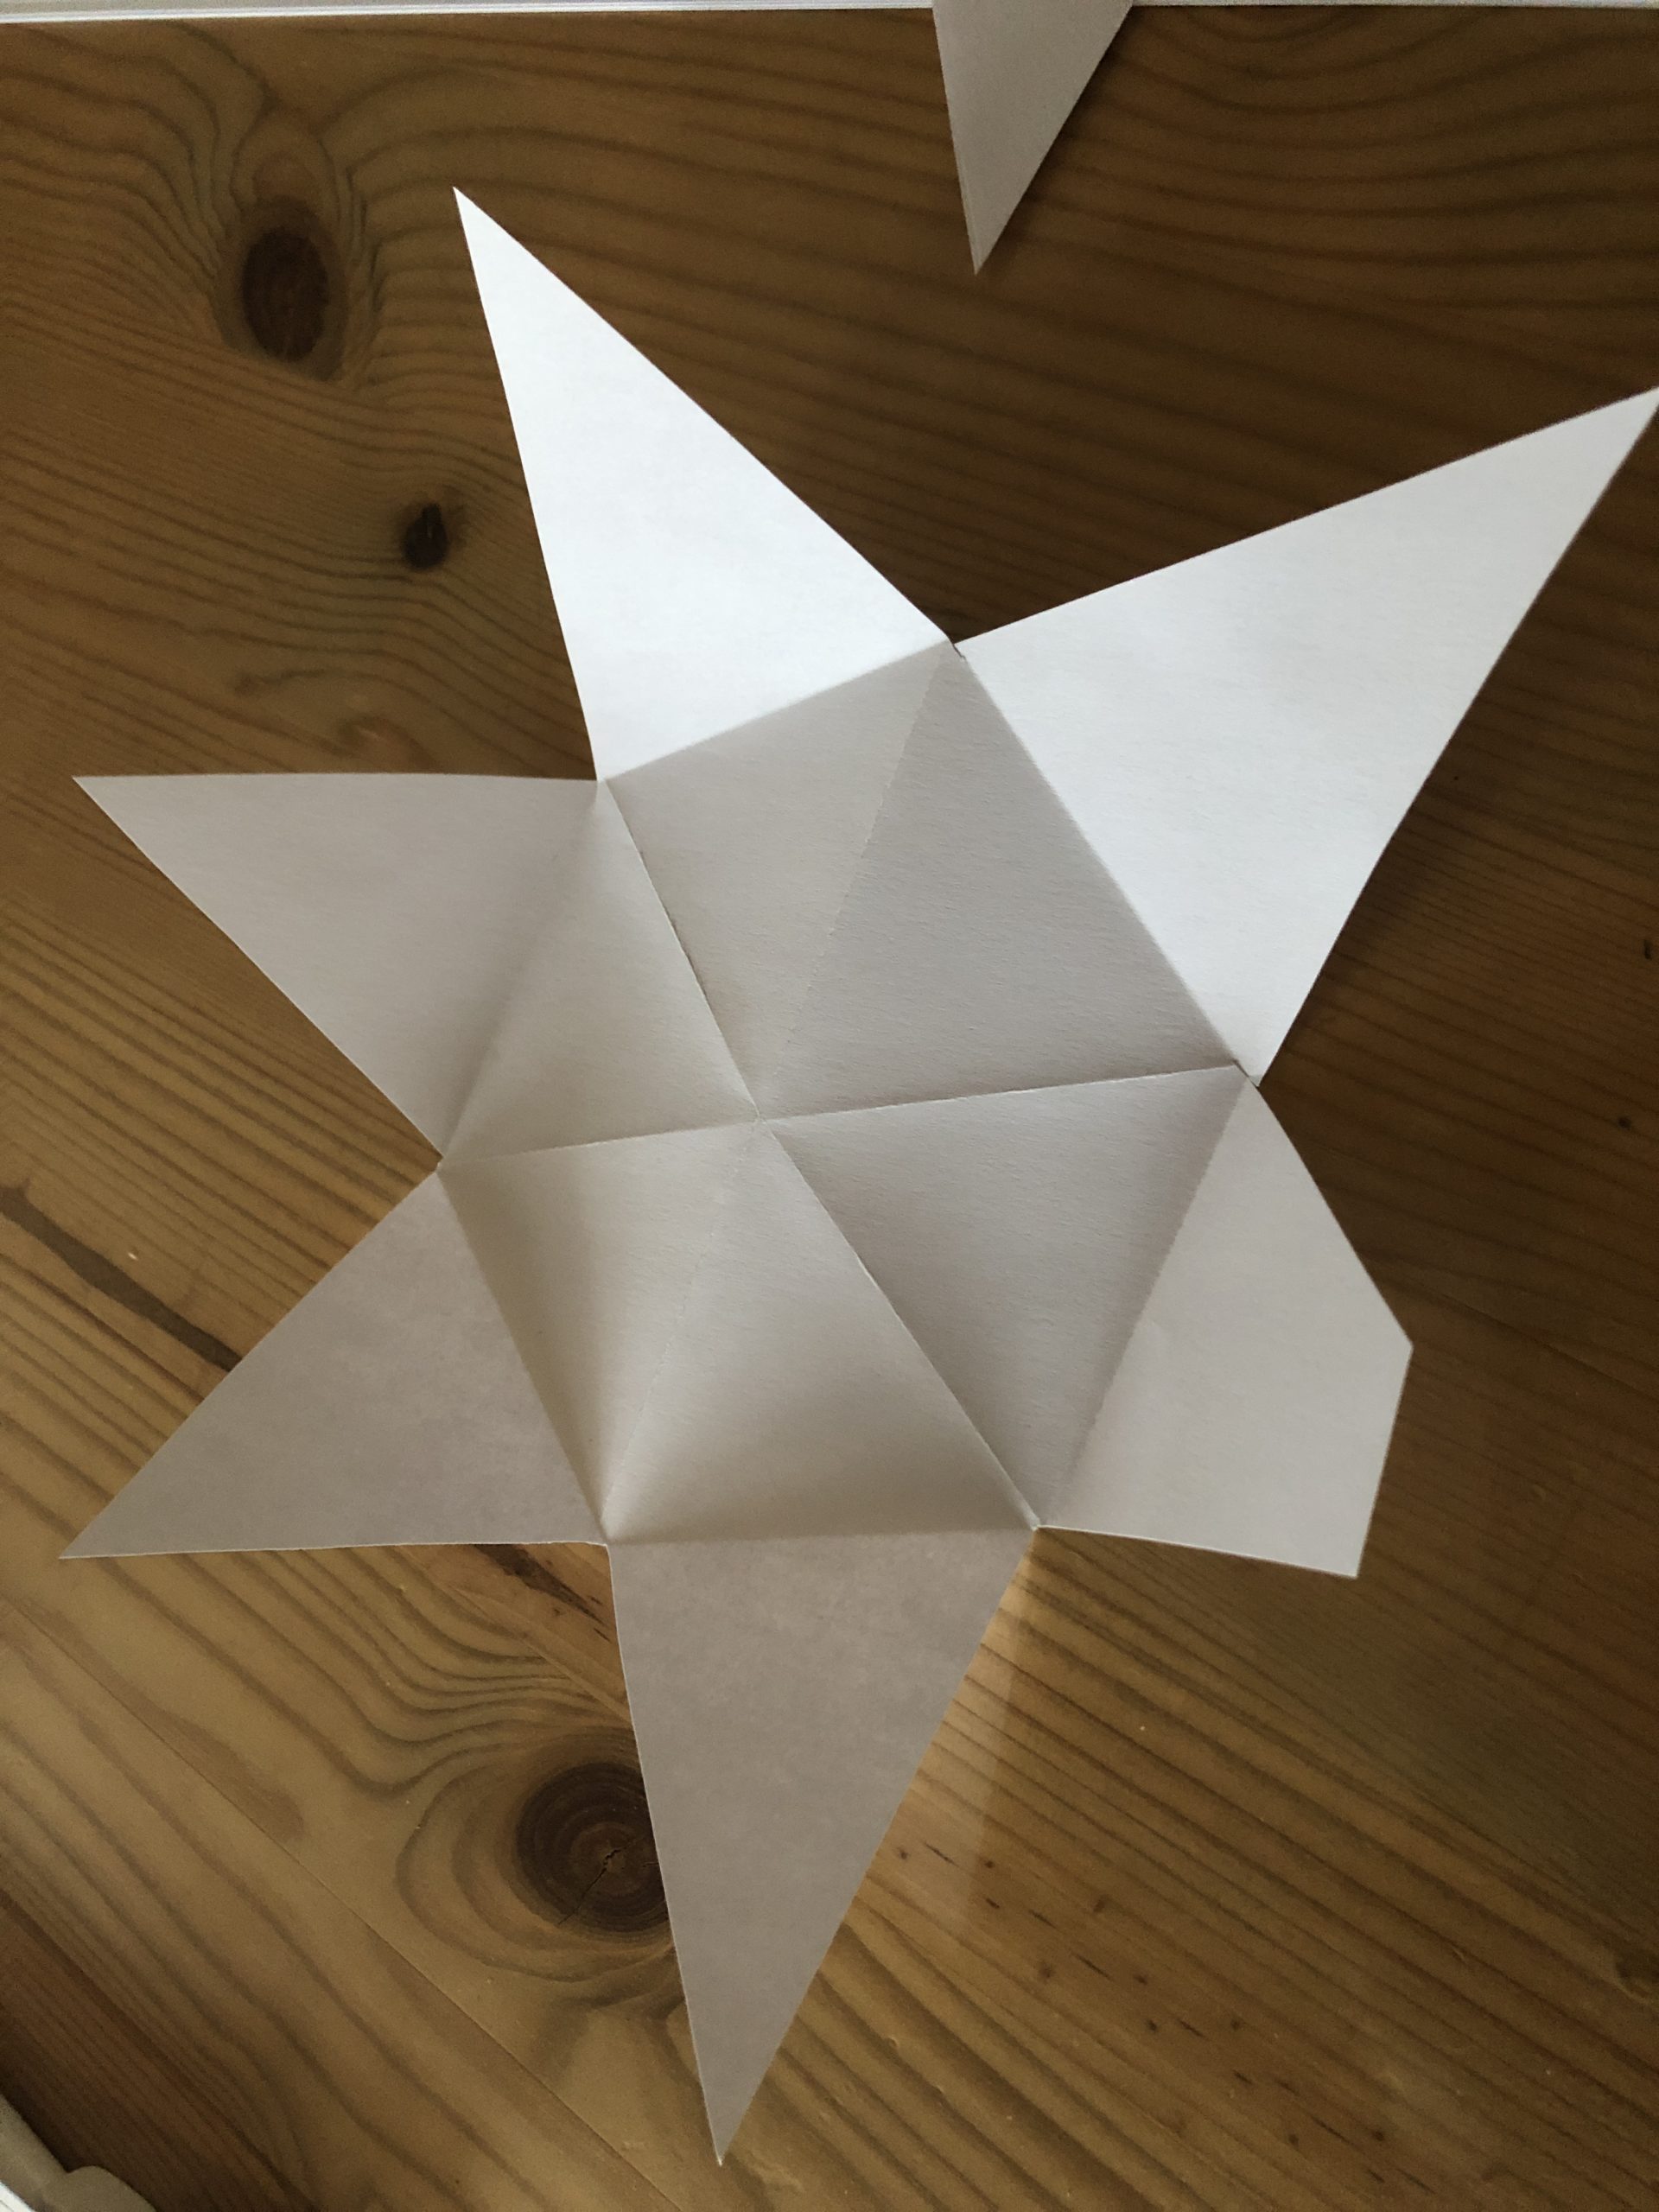
Now fold each star after this template. Each dashed line corresponds to a fold. It will be folded again.
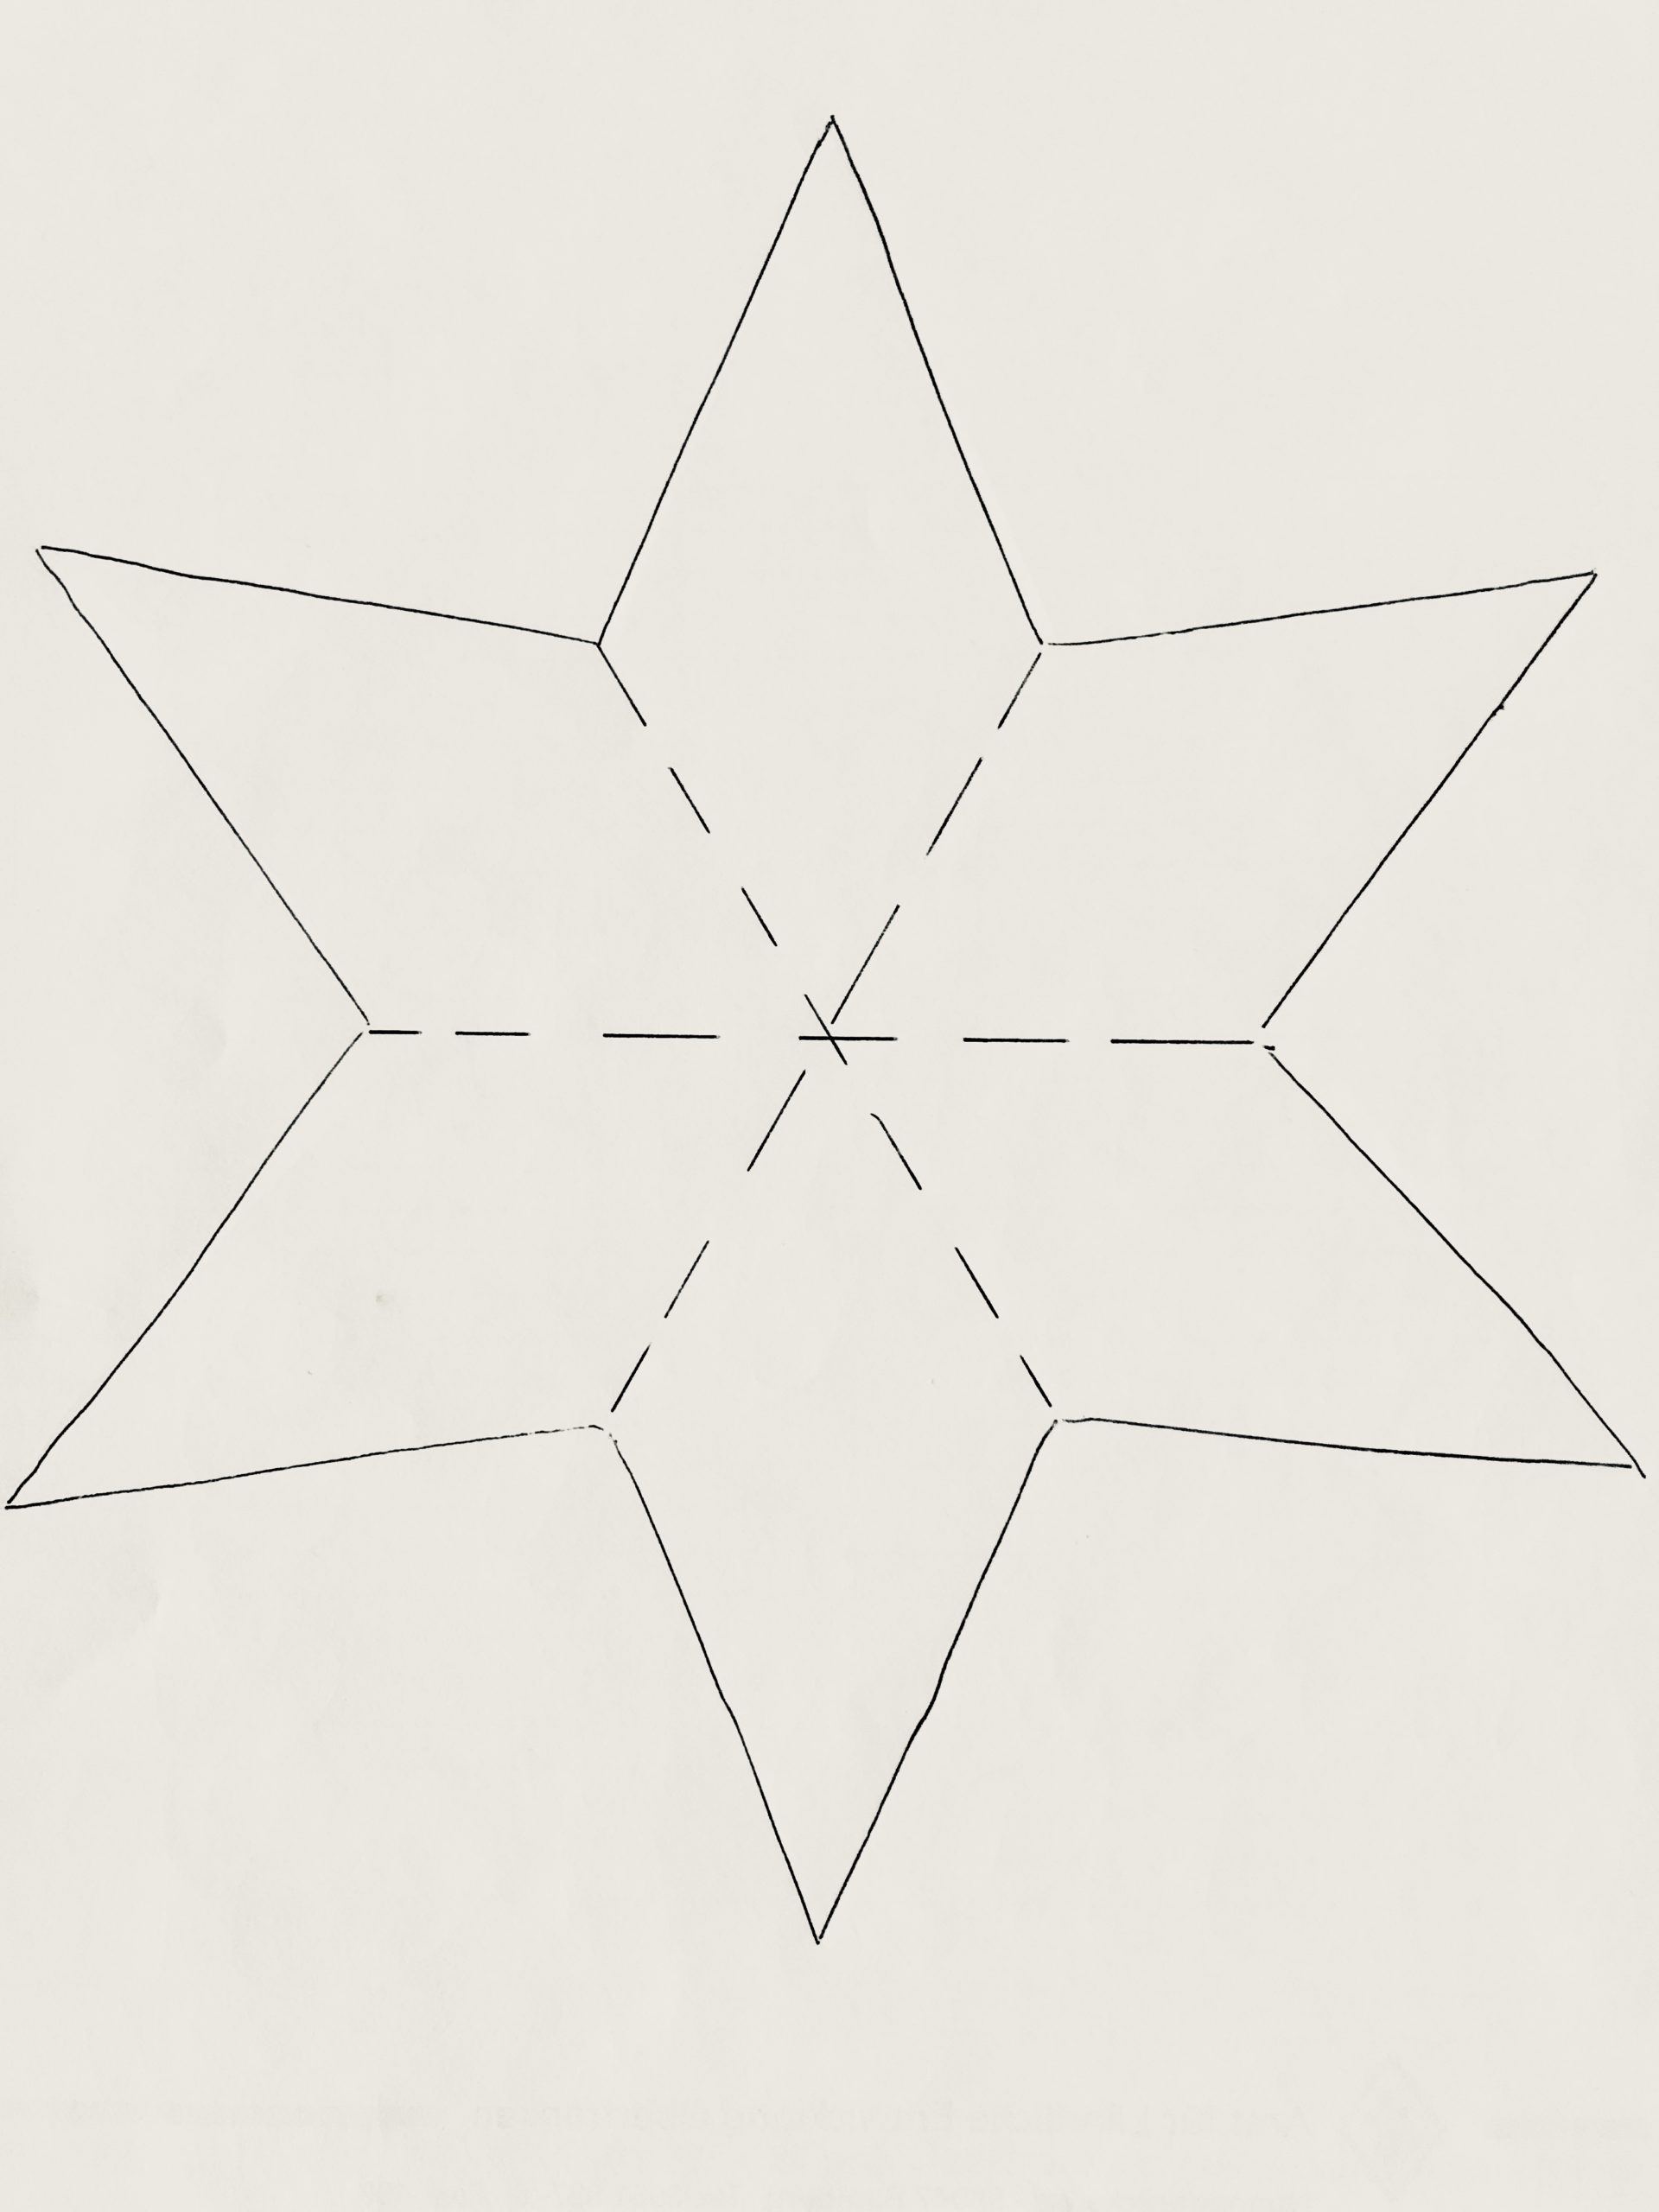
Then turn the entire star around. Now, on the back, the points are folded inwards. These then also fold outwards.
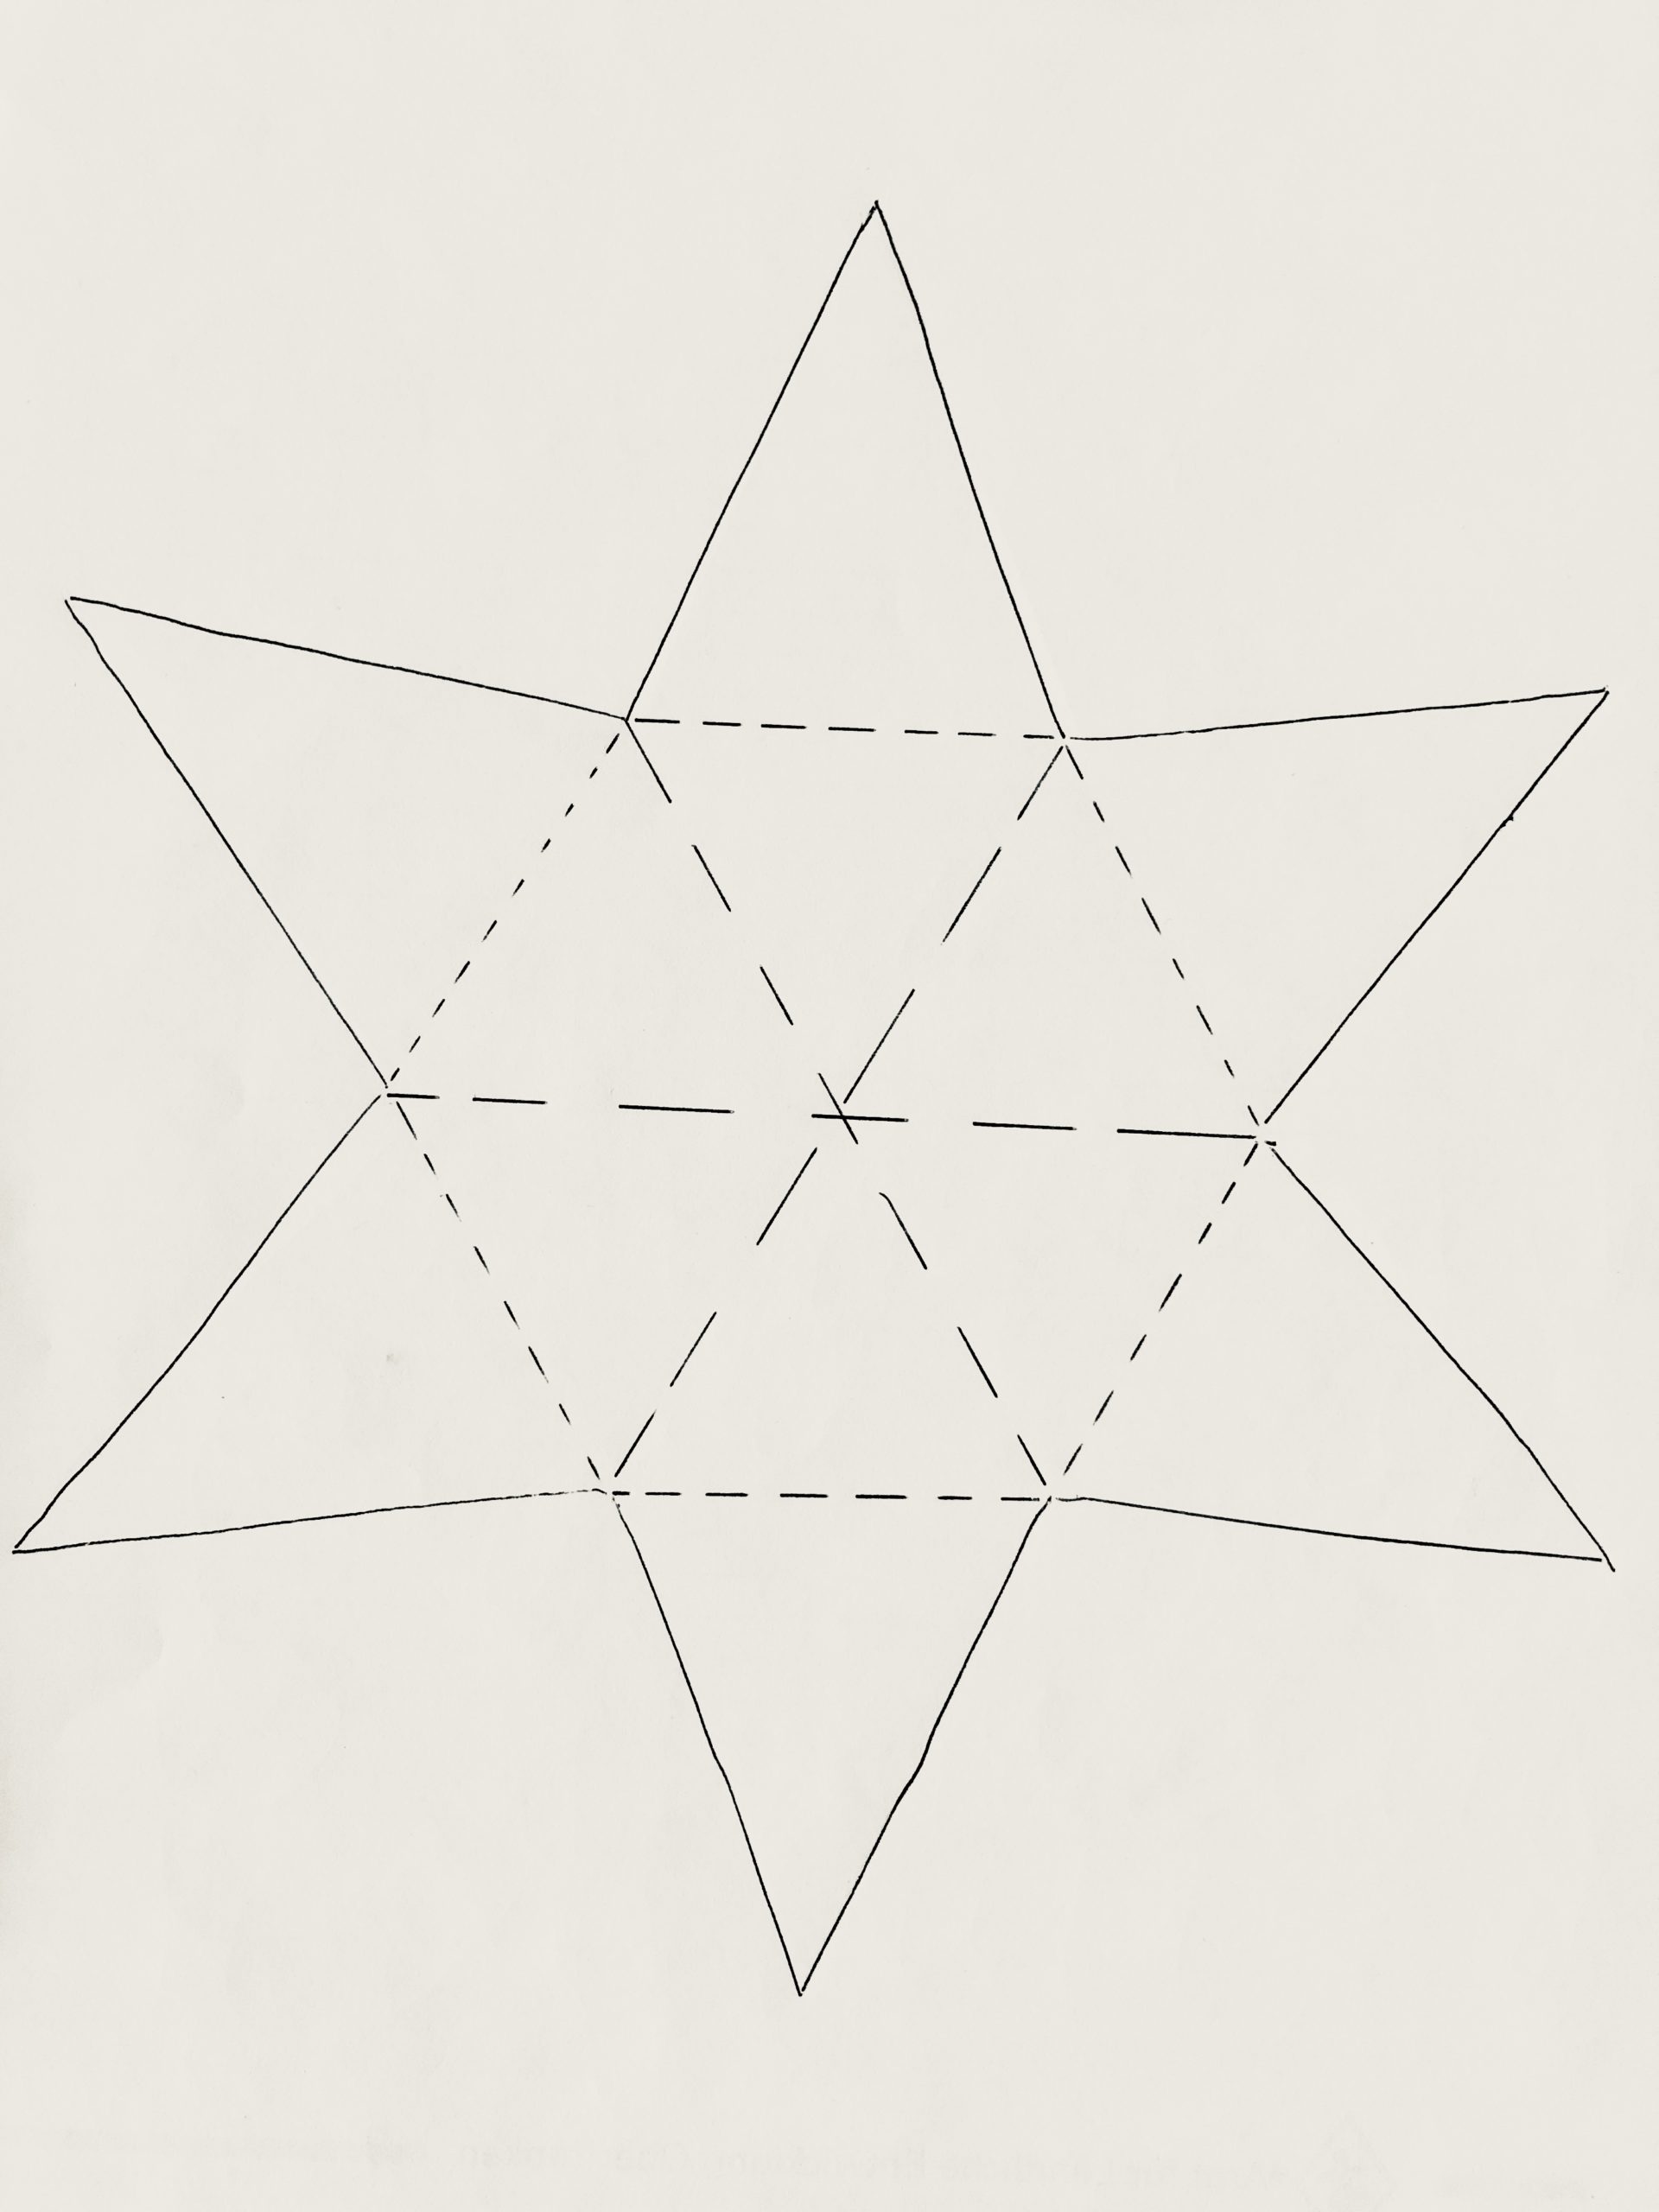
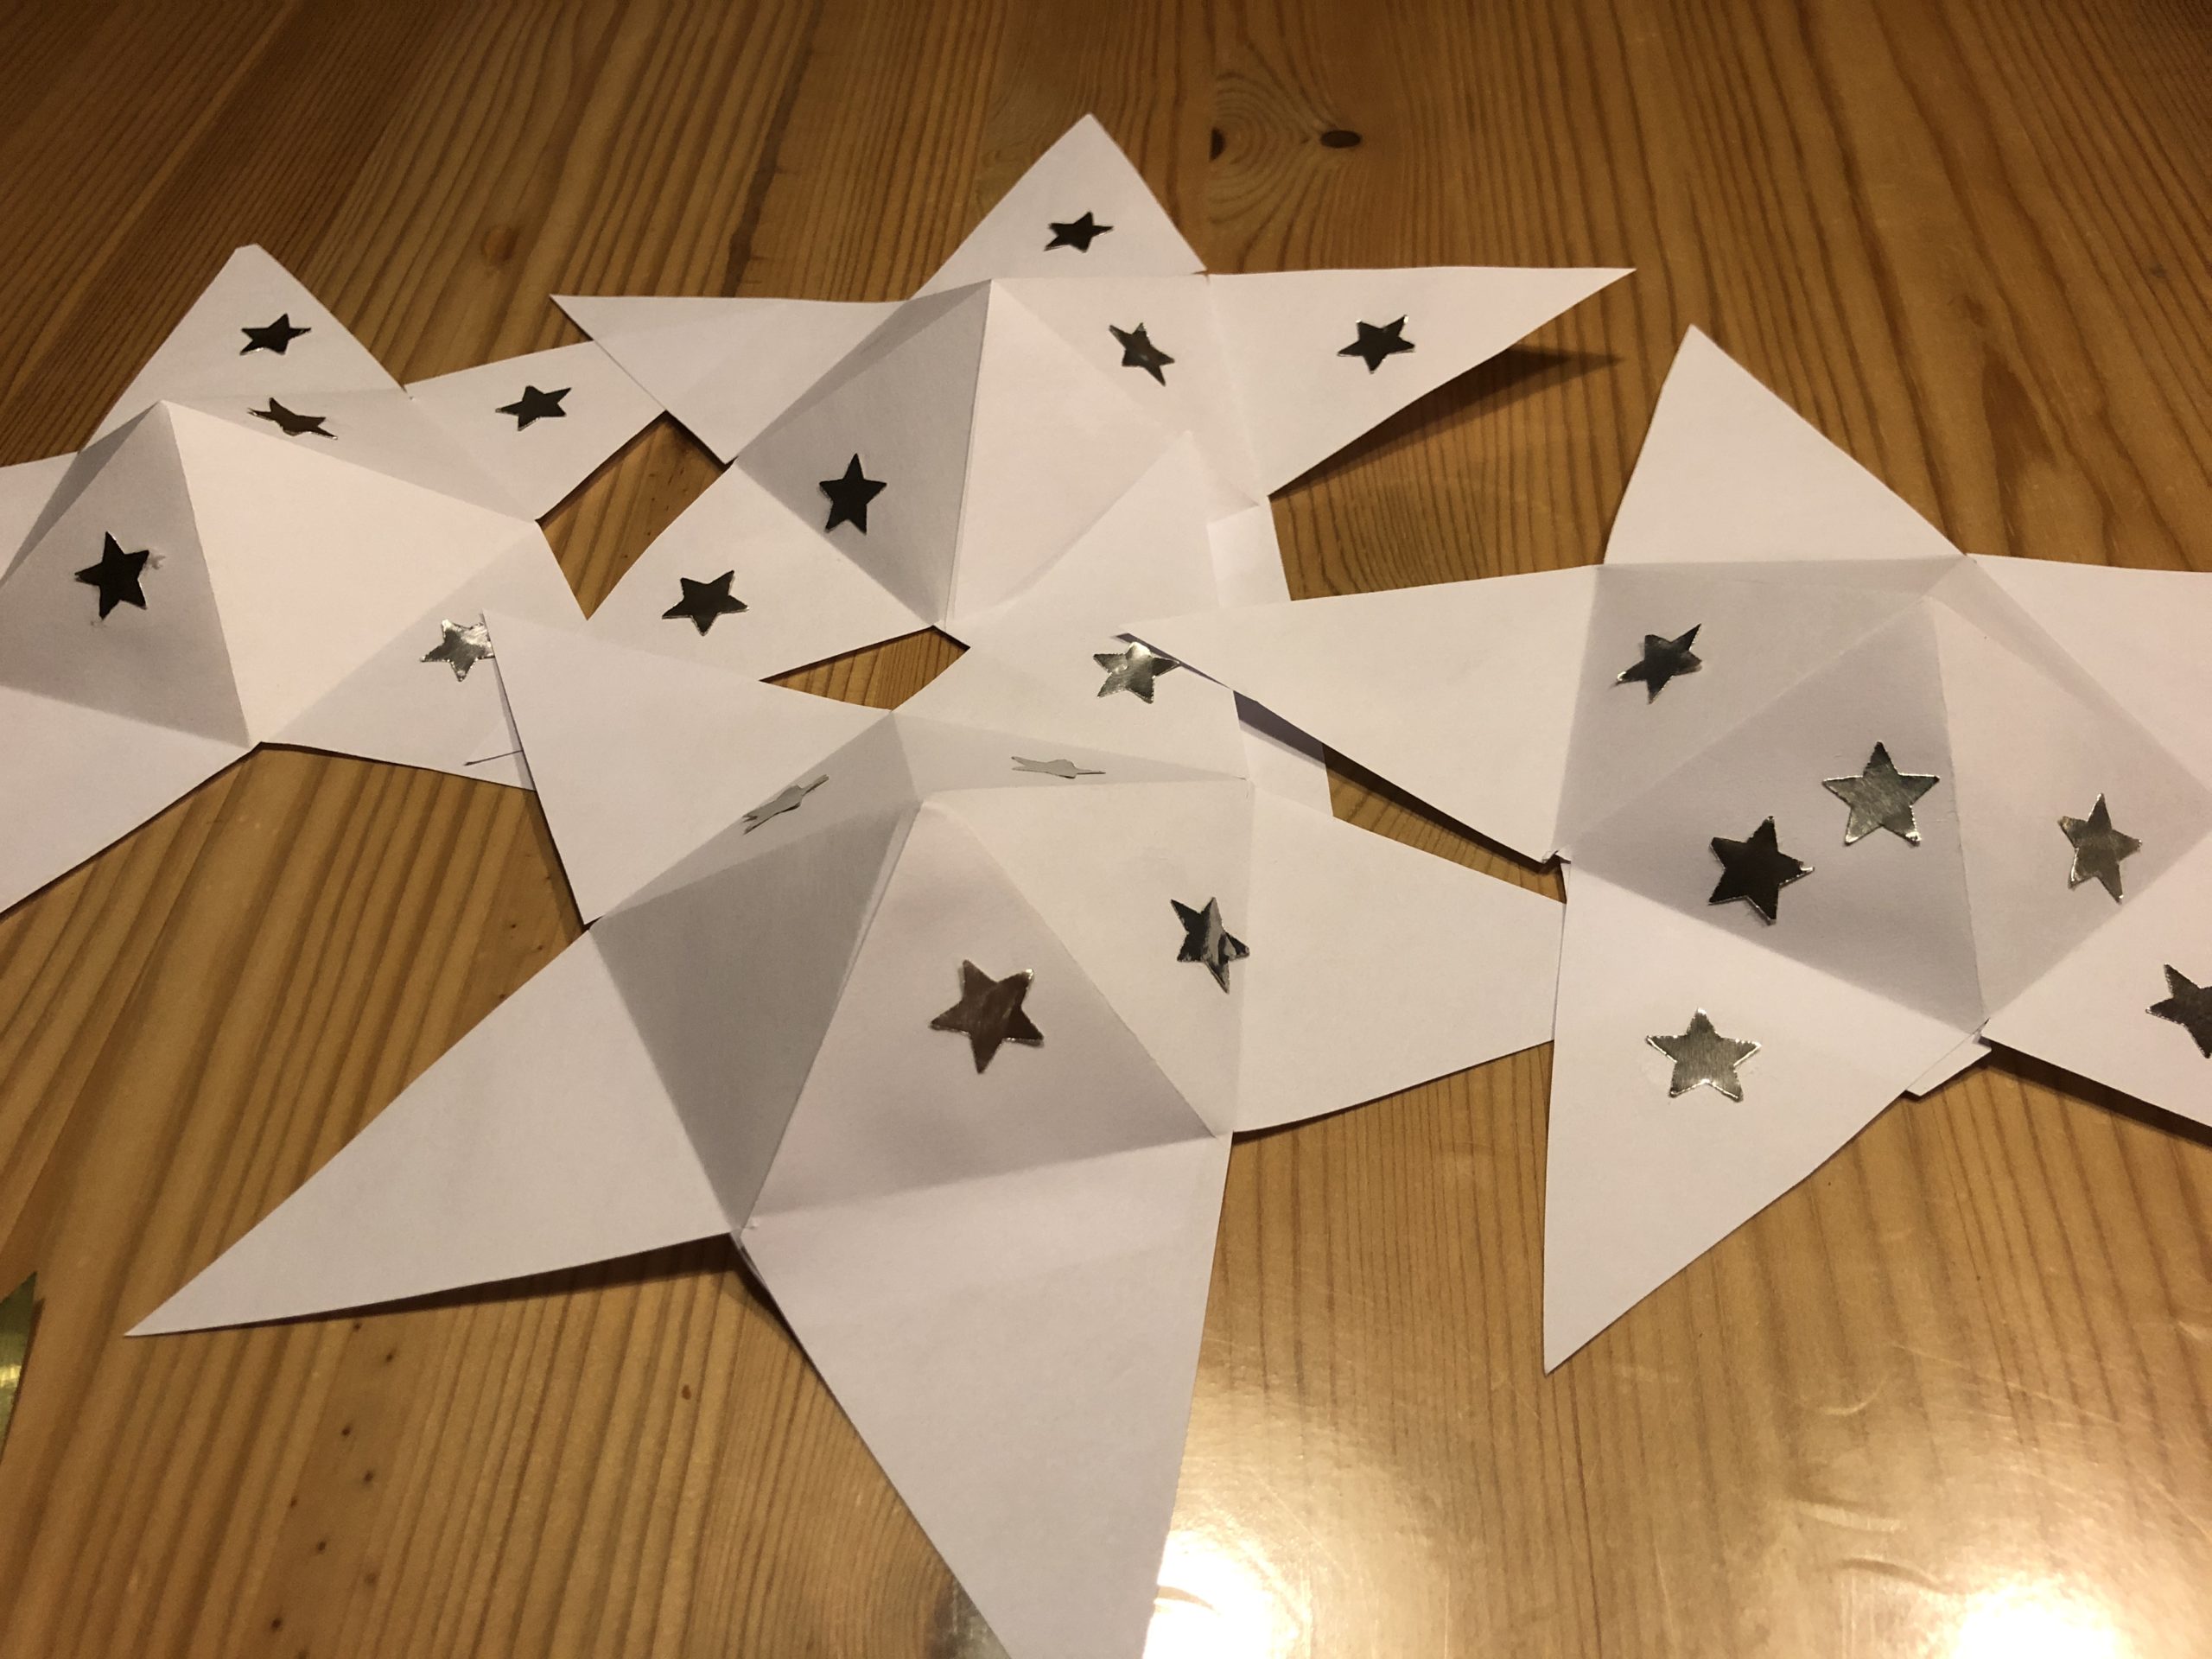
Now the folded star looks like this.
Now you cut the star at a fold between two points. Cut this cut to the middle and it must be next to the missing or incomplete jigs!
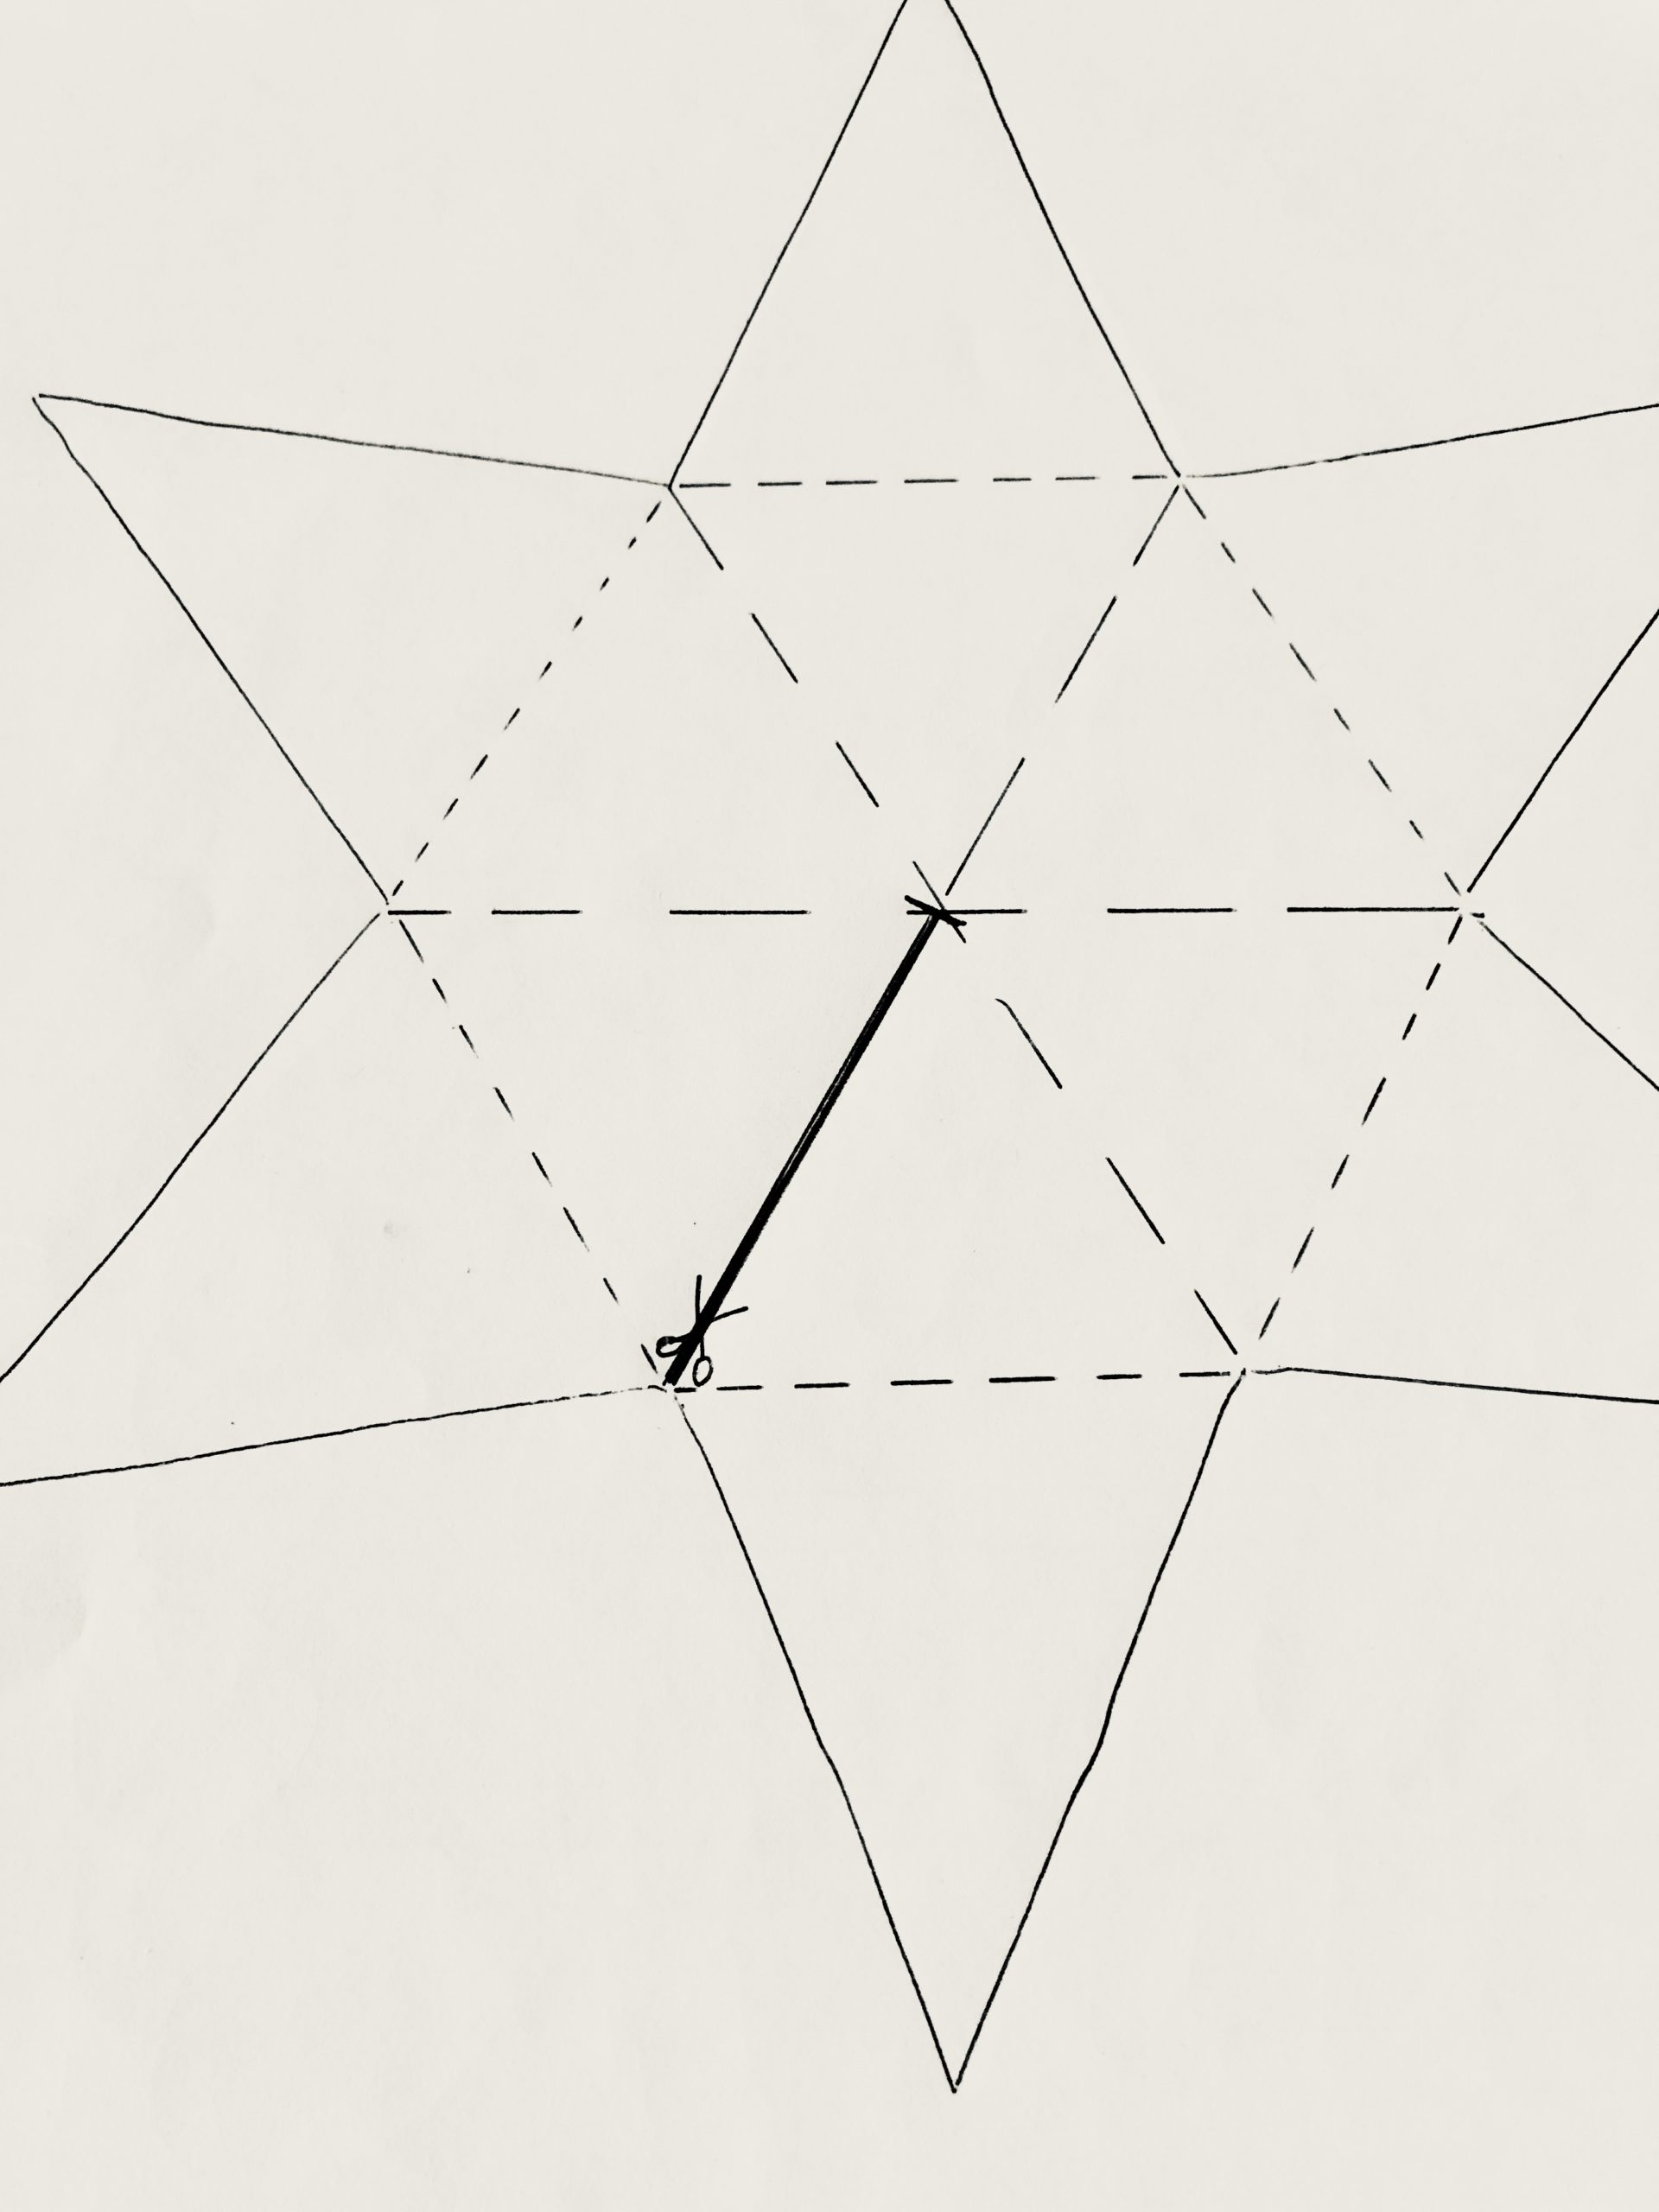
The two points to the left and right of the incision are now glued over each other. The missing/incomplete ingot is under the whole ingot.

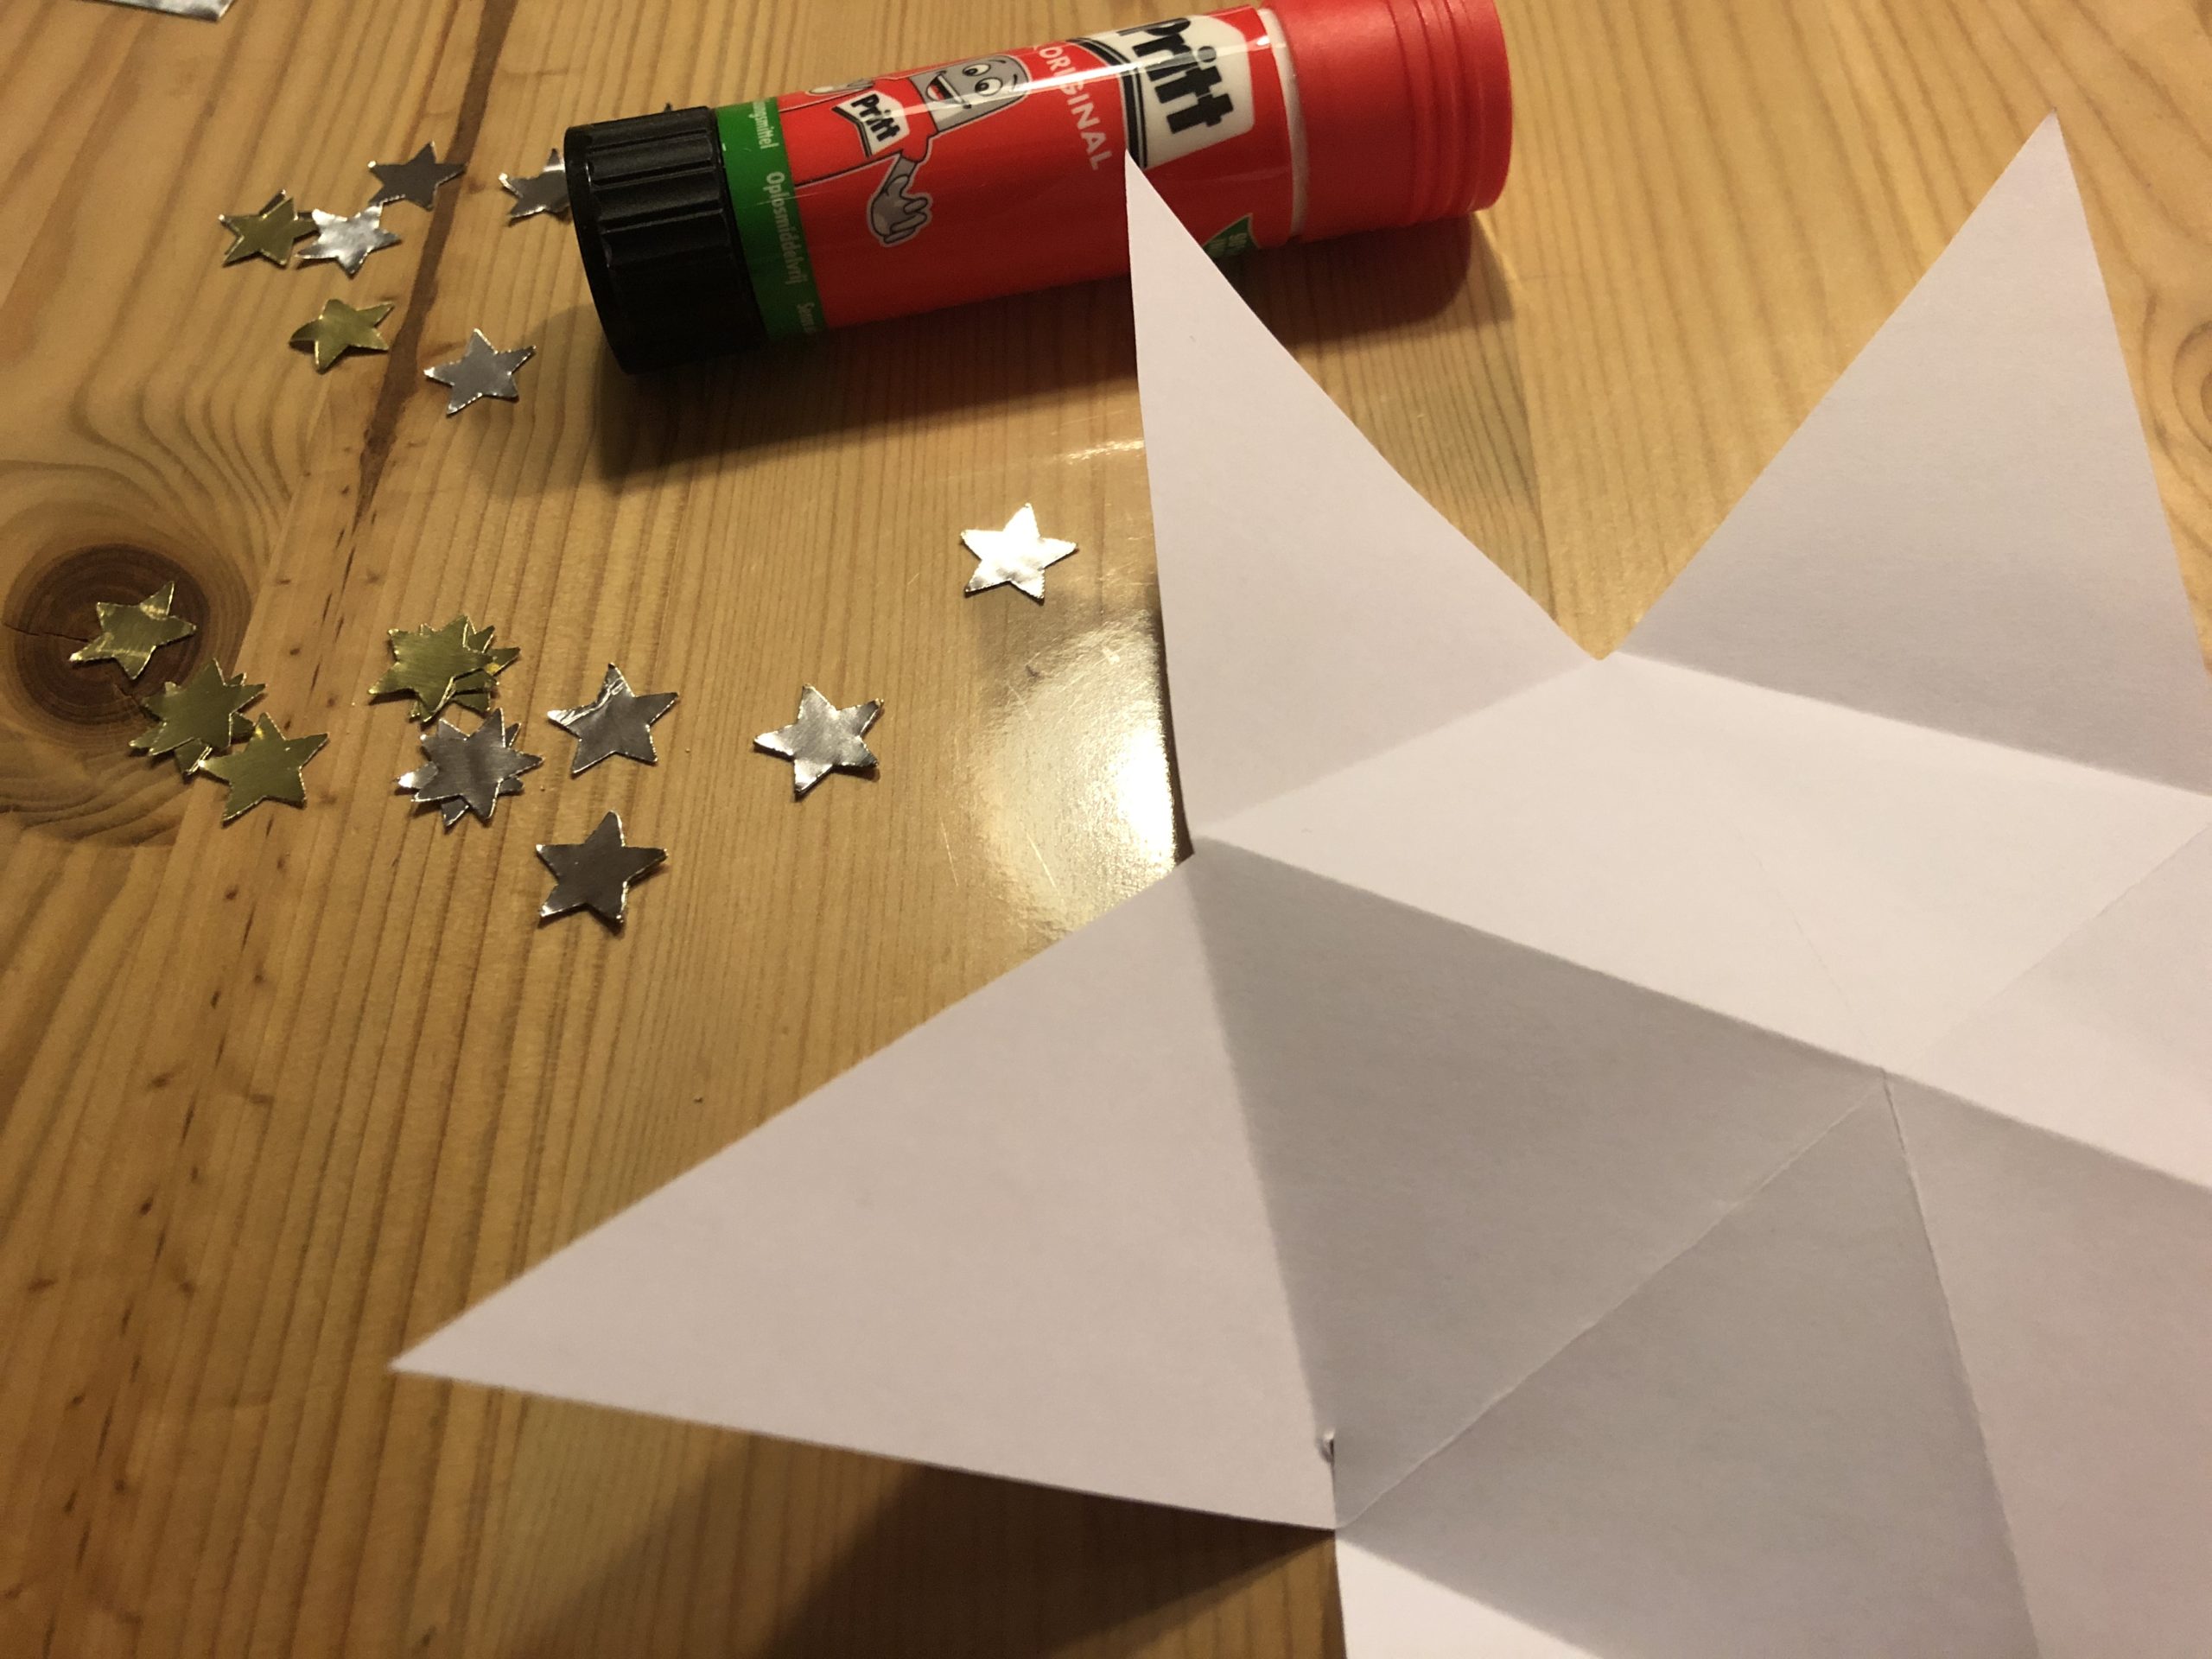
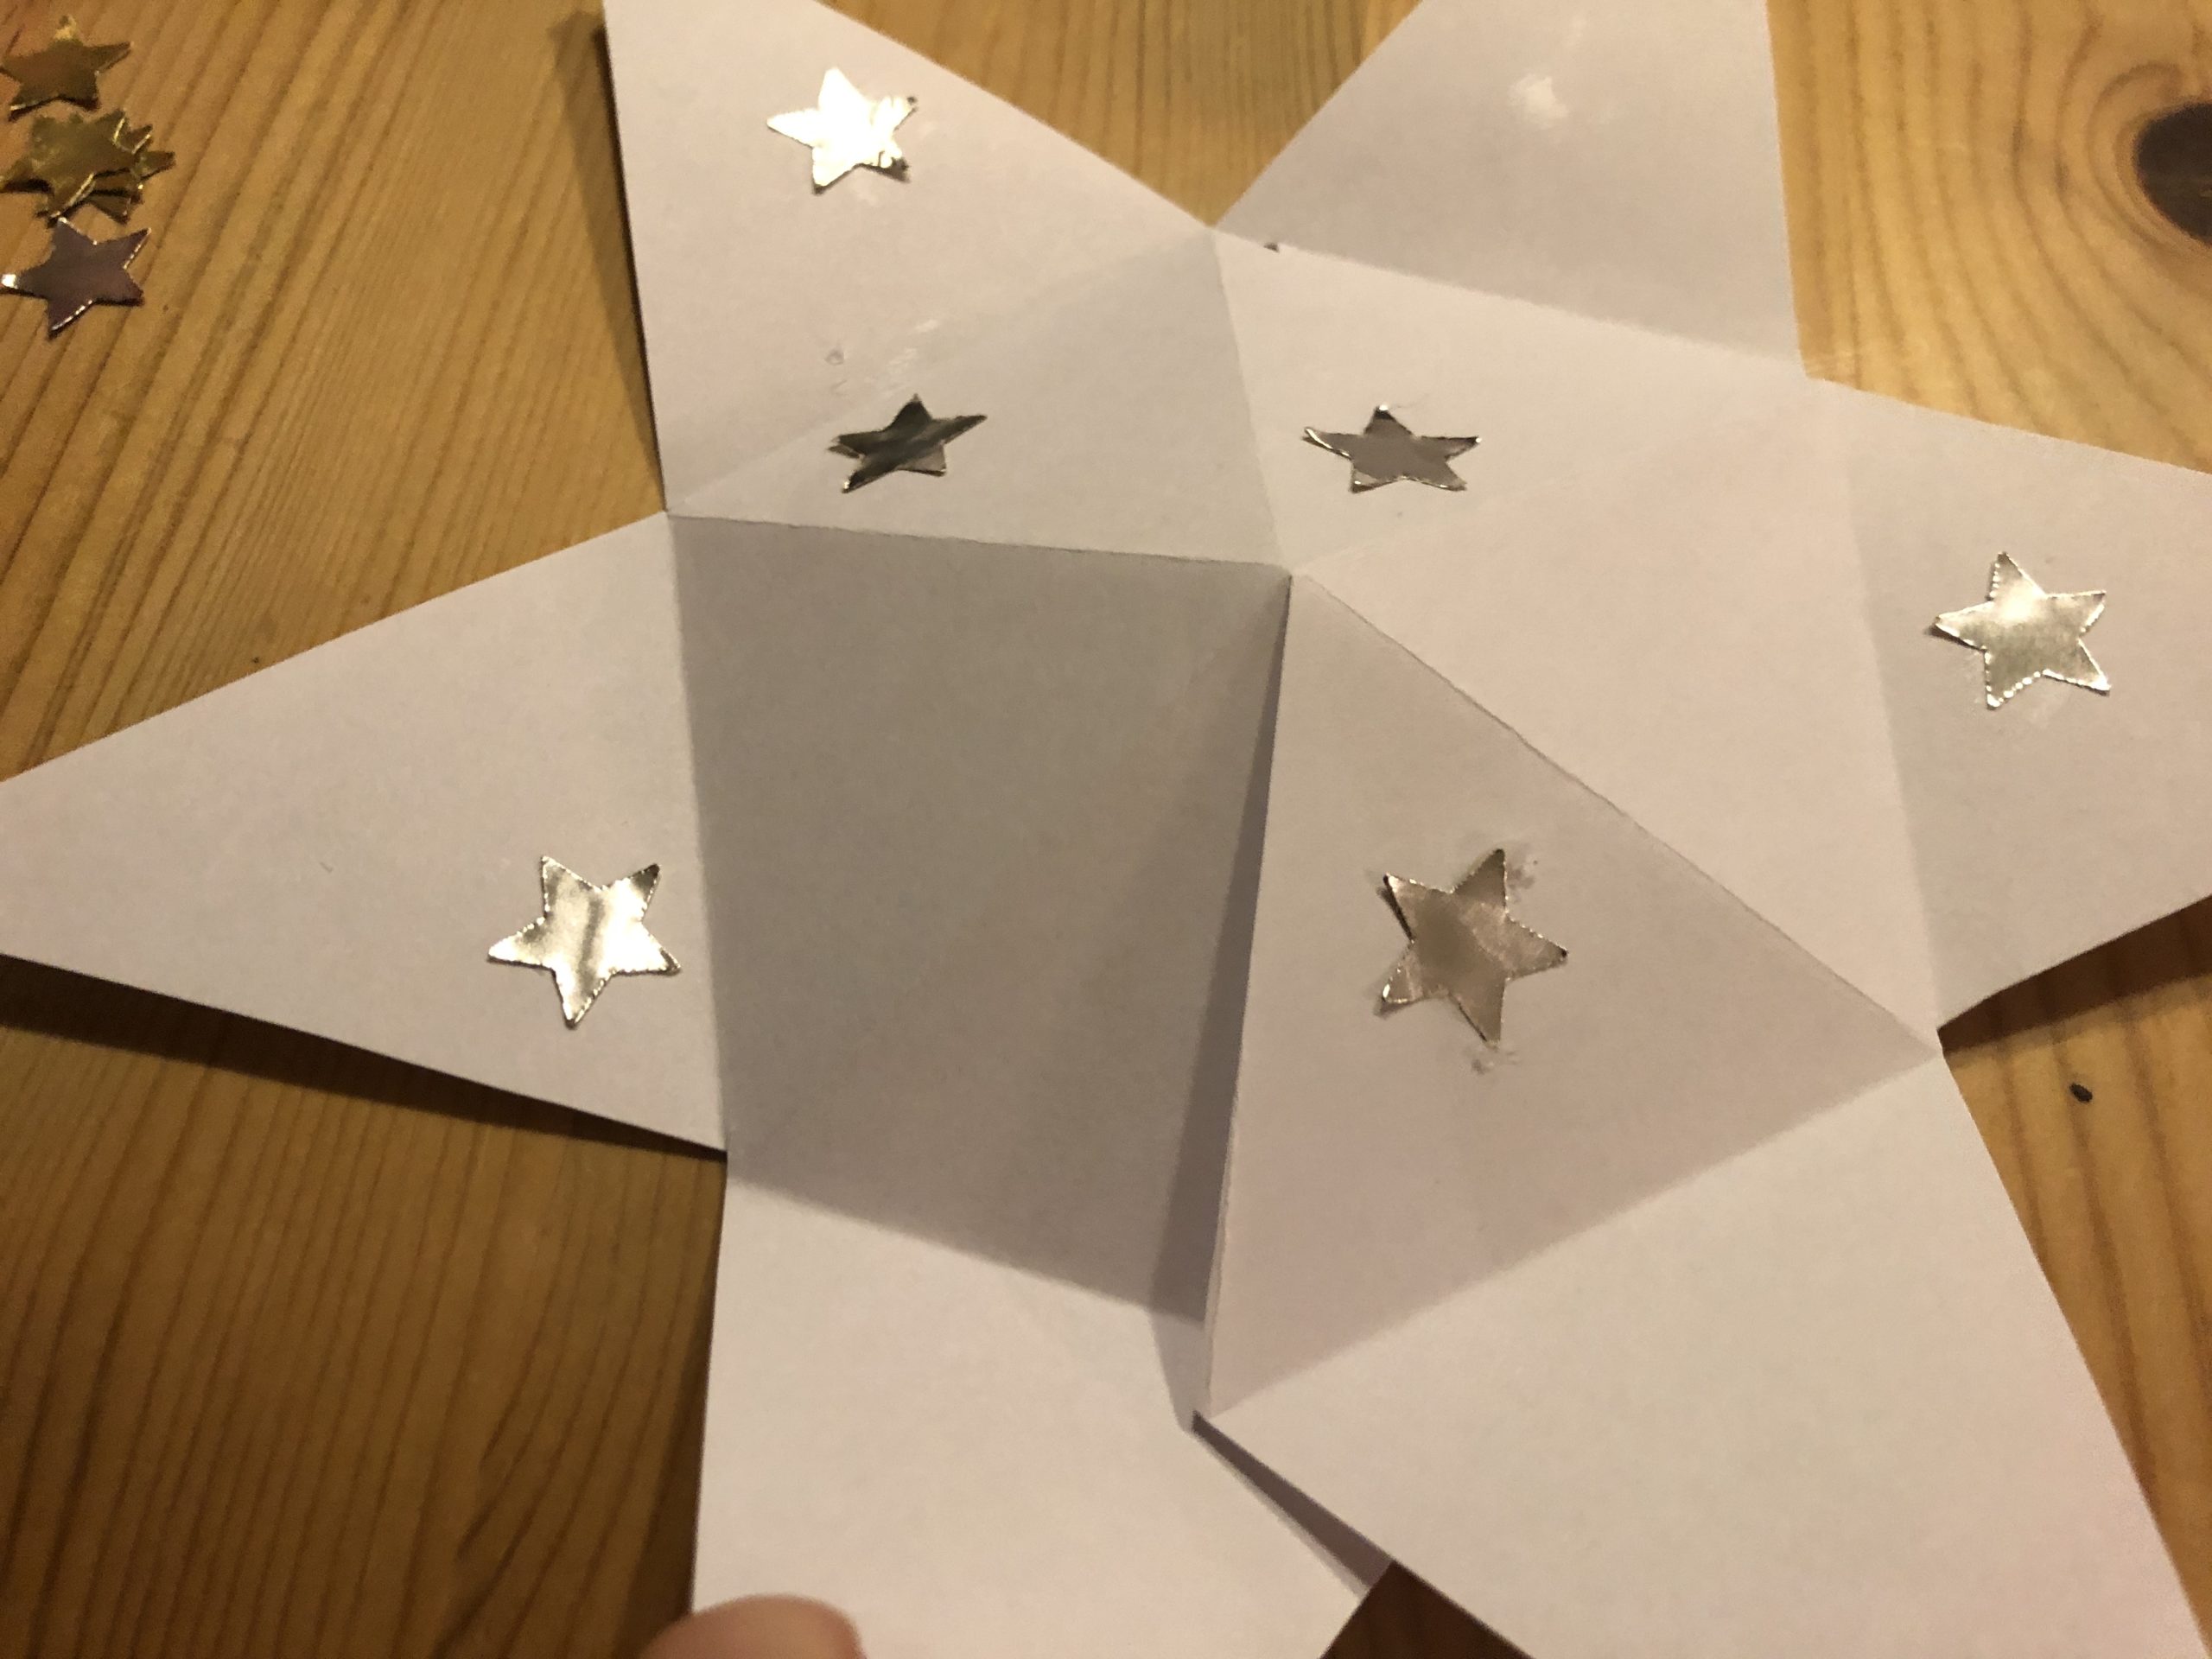
If you want to glue, label or paint the star, do it now.
Because that's easier to do before you stick it together.
This prevents you from squeezing the arched center of the star.
Now you stick the two star halves together so that the center is arched towards the outside. Inside, this creates a cavity.
Attention: leave a jig open so that you can fill the cavity.
Now you have room for a wish list, a nice spell or a little candy. Confetti also fits wonderfully into the star center.
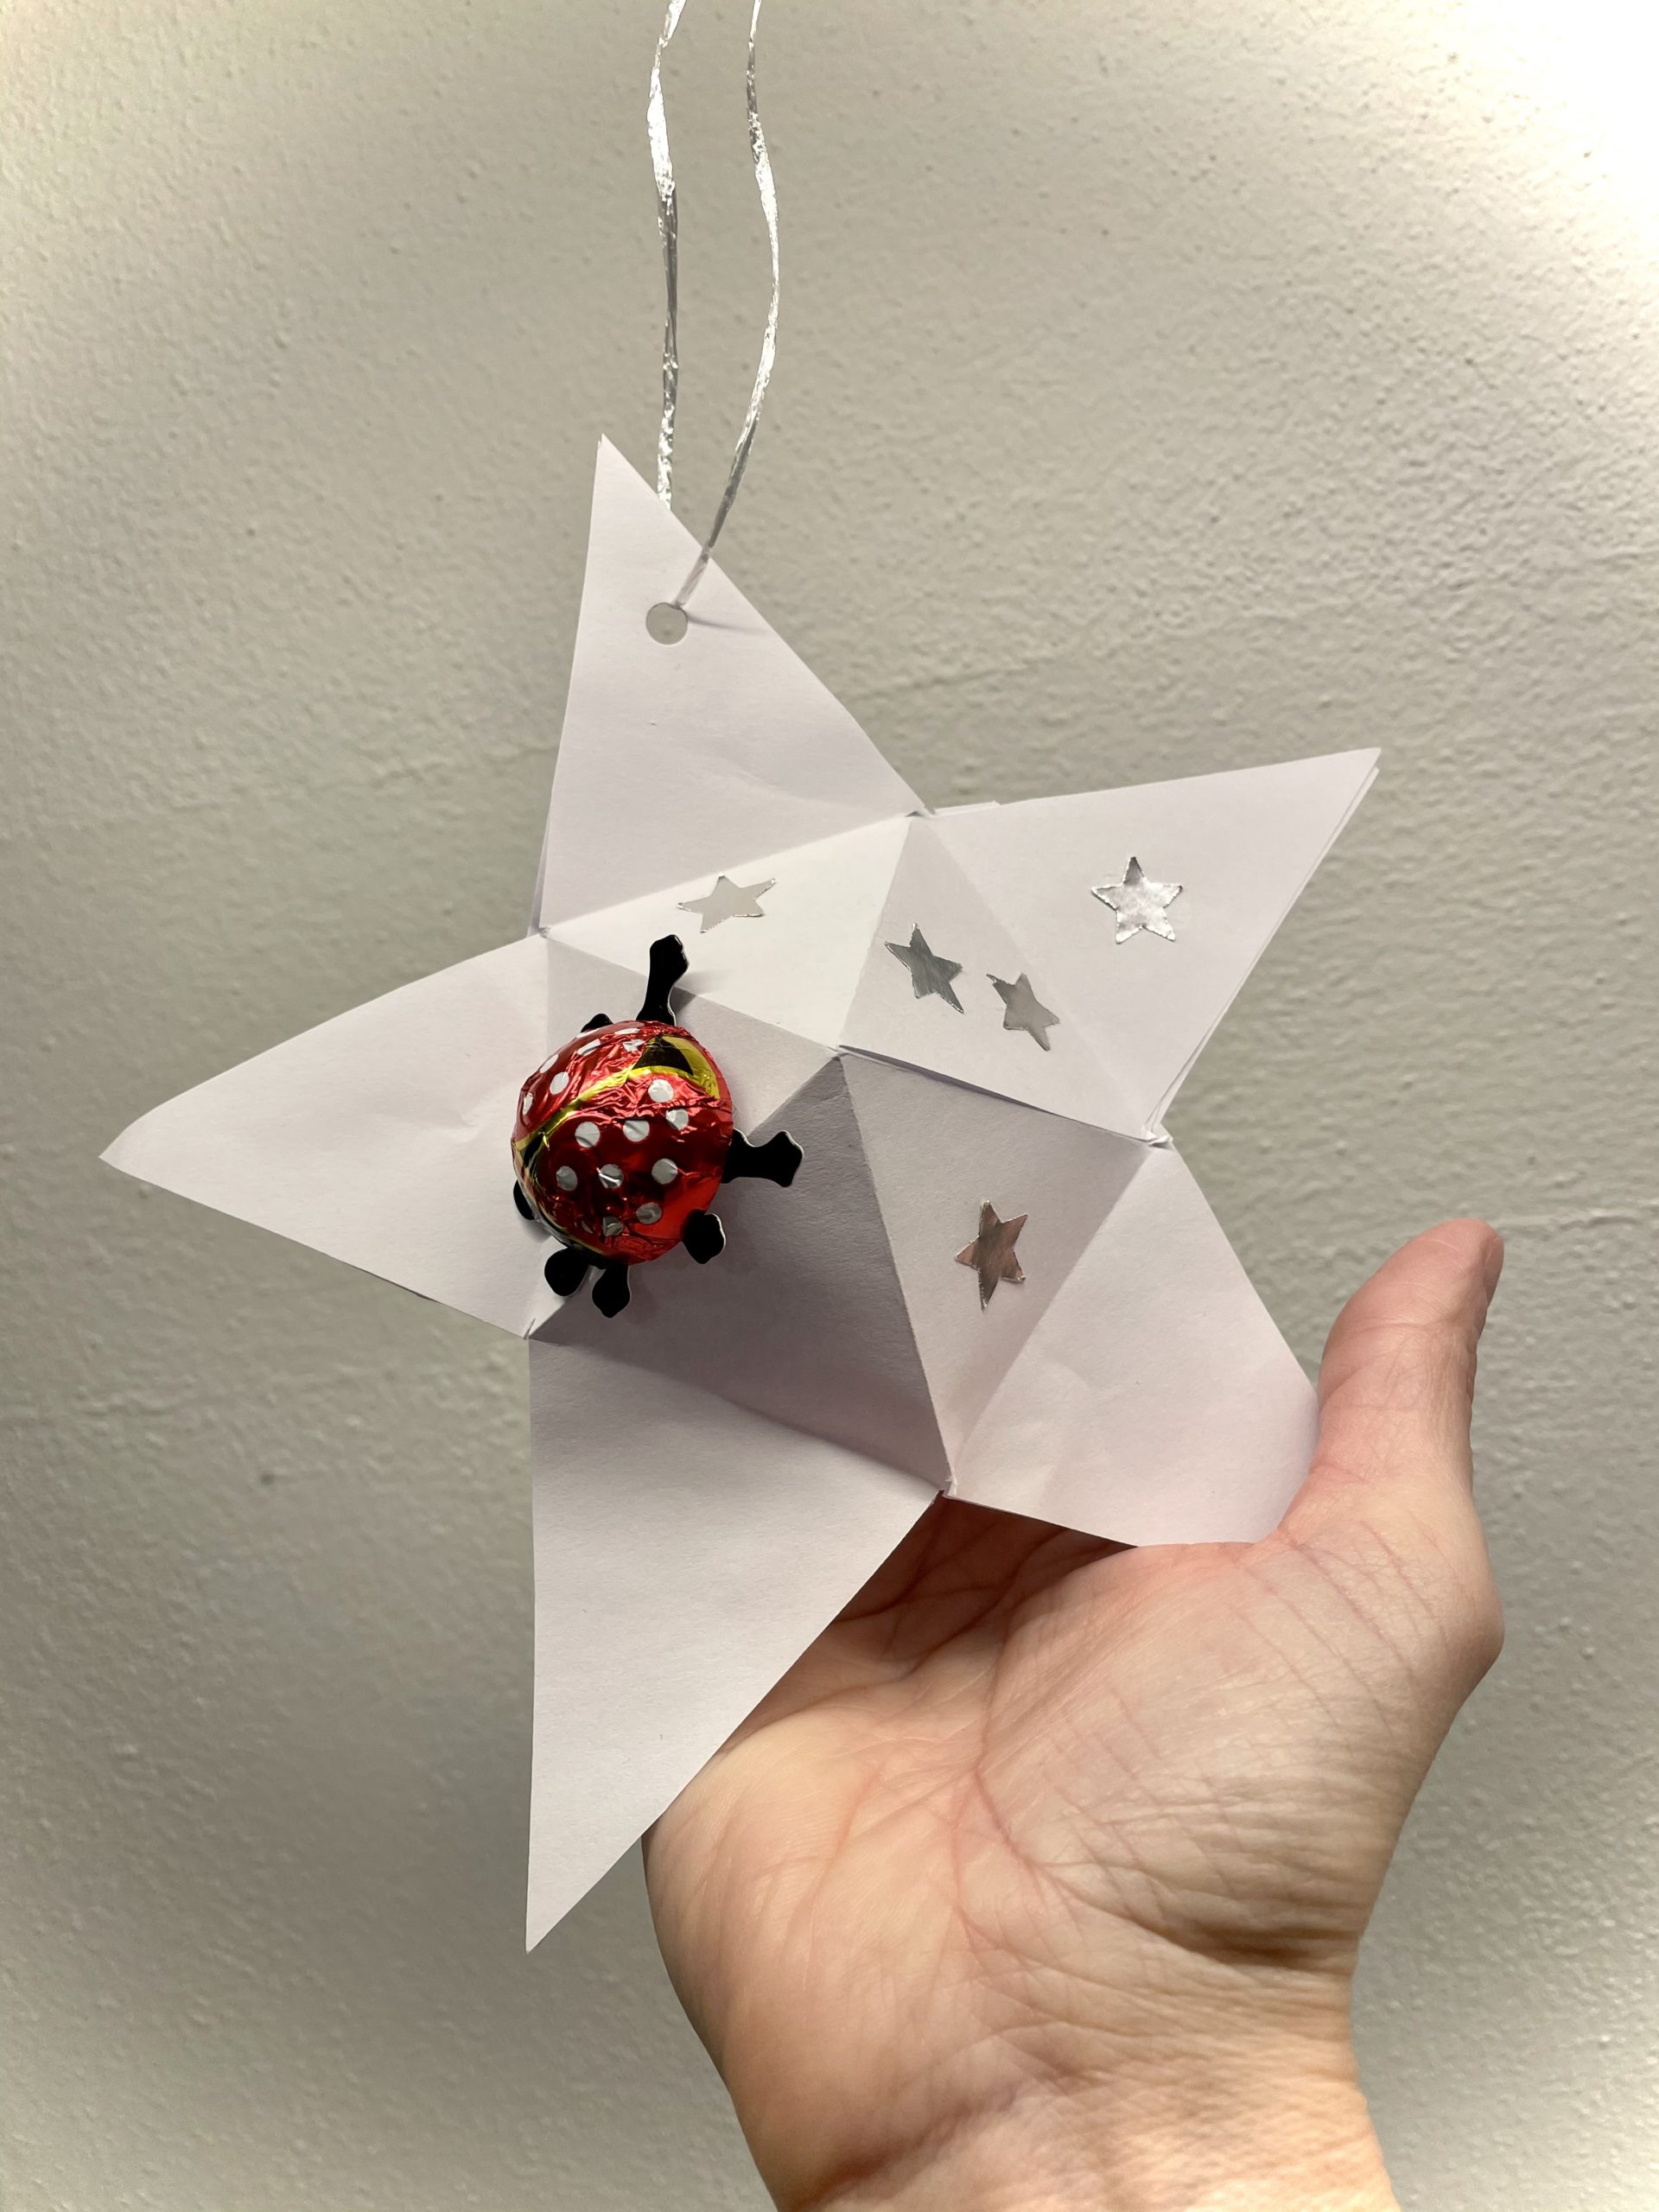
Then you stick the last point together.
Enjoy your gift!
Materials
Directions
For each finished star you need two cut out stars. You can also use this template.
A star has six points.
Draw two stars on a DIN A 4 sheet.
Tip: To save paper, a zacke can be incomplete or missing for each star! It will be glued over later.
That's what your template might look like.
Cut out both stars.
Now fold each star after this template. Each dashed line corresponds to a fold. It will be folded again.
Then turn the entire star around. Now, on the back, the points are folded inwards. These then also fold outwards.
Now the folded star looks like this.
Now you cut the star at a fold between two points. Cut this cut to the middle and it must be next to the missing or incomplete jigs!
The two points to the left and right of the incision are now glued over each other. The missing/incomplete ingot is under the whole ingot.
If you want to glue, label or paint the star, do it now.
Because that's easier to do before you stick it together.
This prevents you from squeezing the arched center of the star.
Now you stick the two star halves together so that the center is arched towards the outside. Inside, this creates a cavity.
Attention: leave a jig open so that you can fill the cavity.
Now you have room for a wish list, a nice spell or a little candy. Confetti also fits wonderfully into the star center.
Then you stick the last point together.
Enjoy your gift!
Follow us on Facebook , Instagram and Pinterest
Don't miss any more adventures: Our bottle mail


