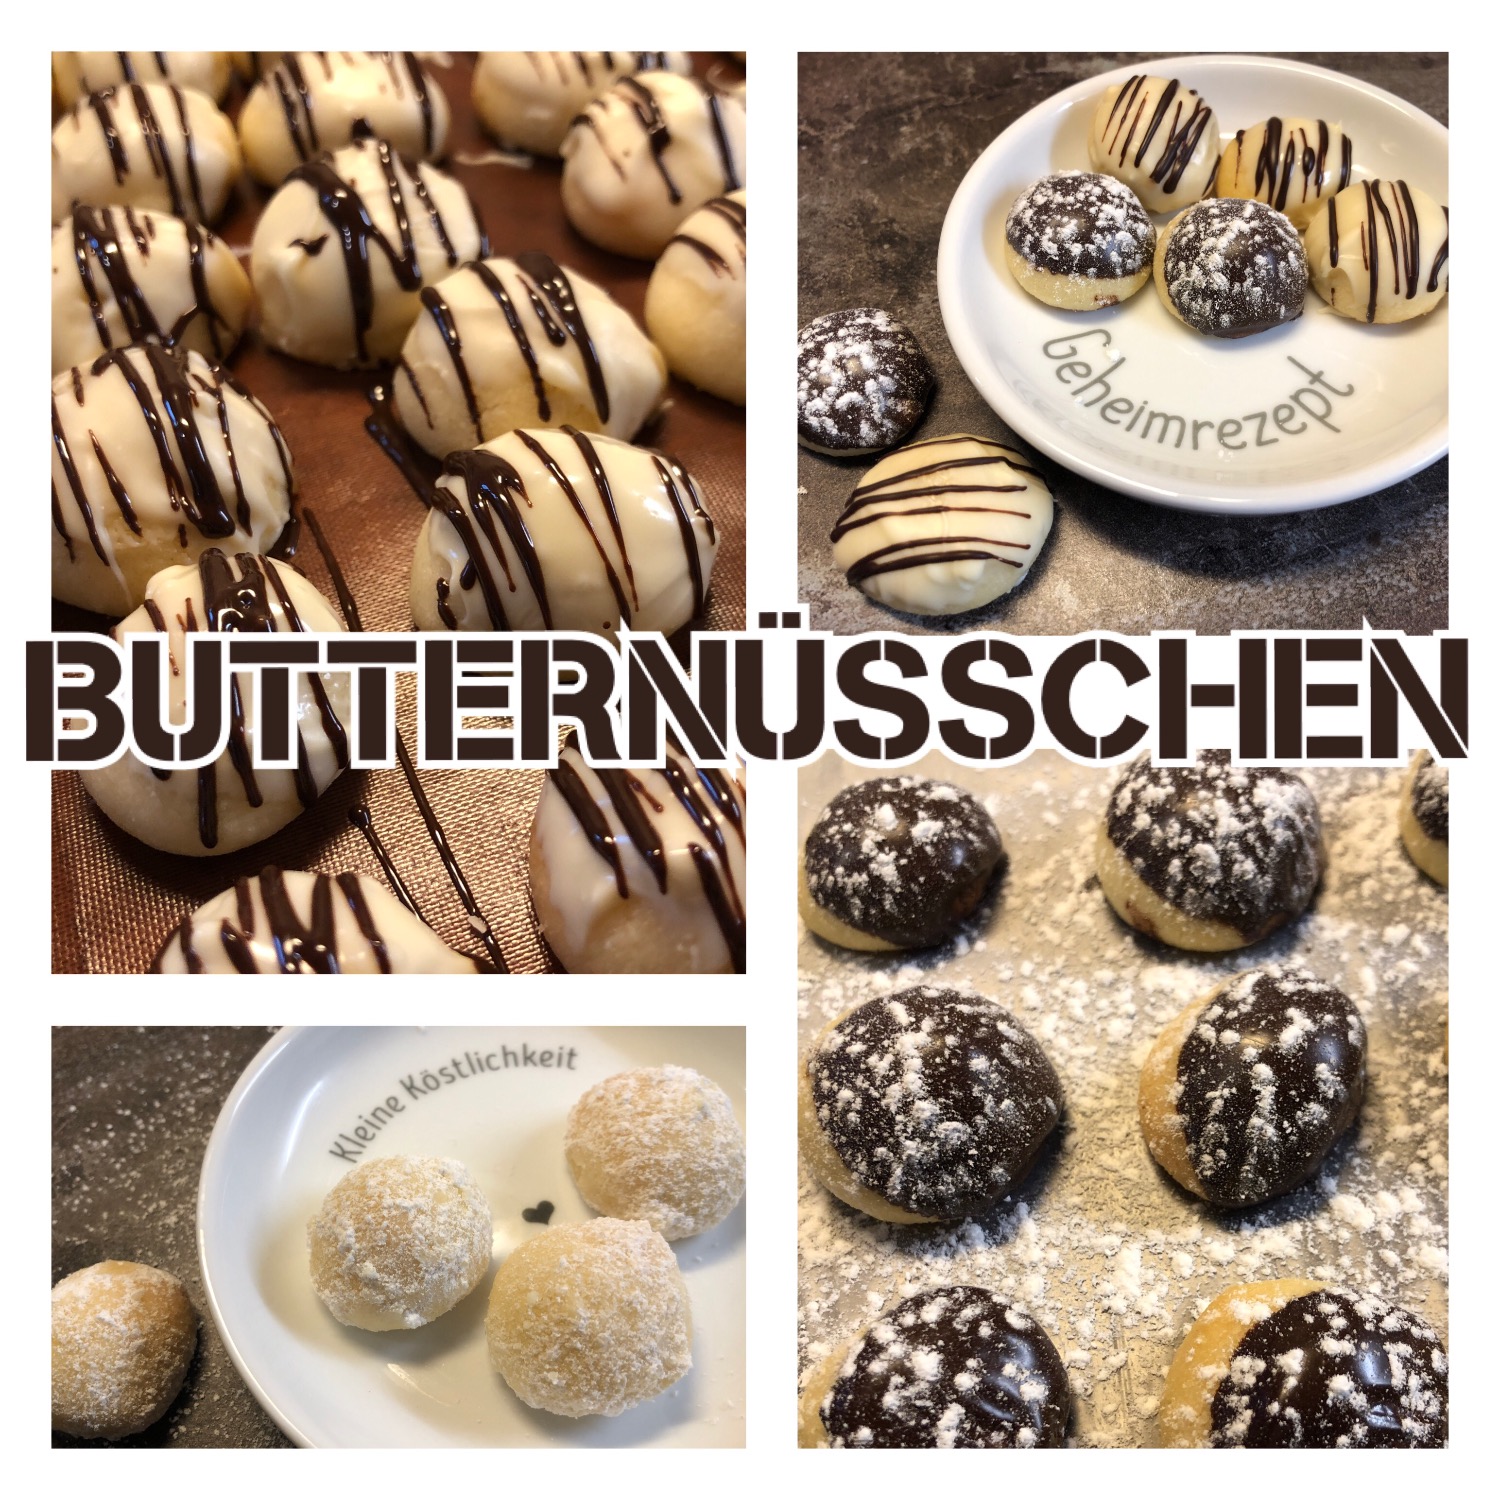
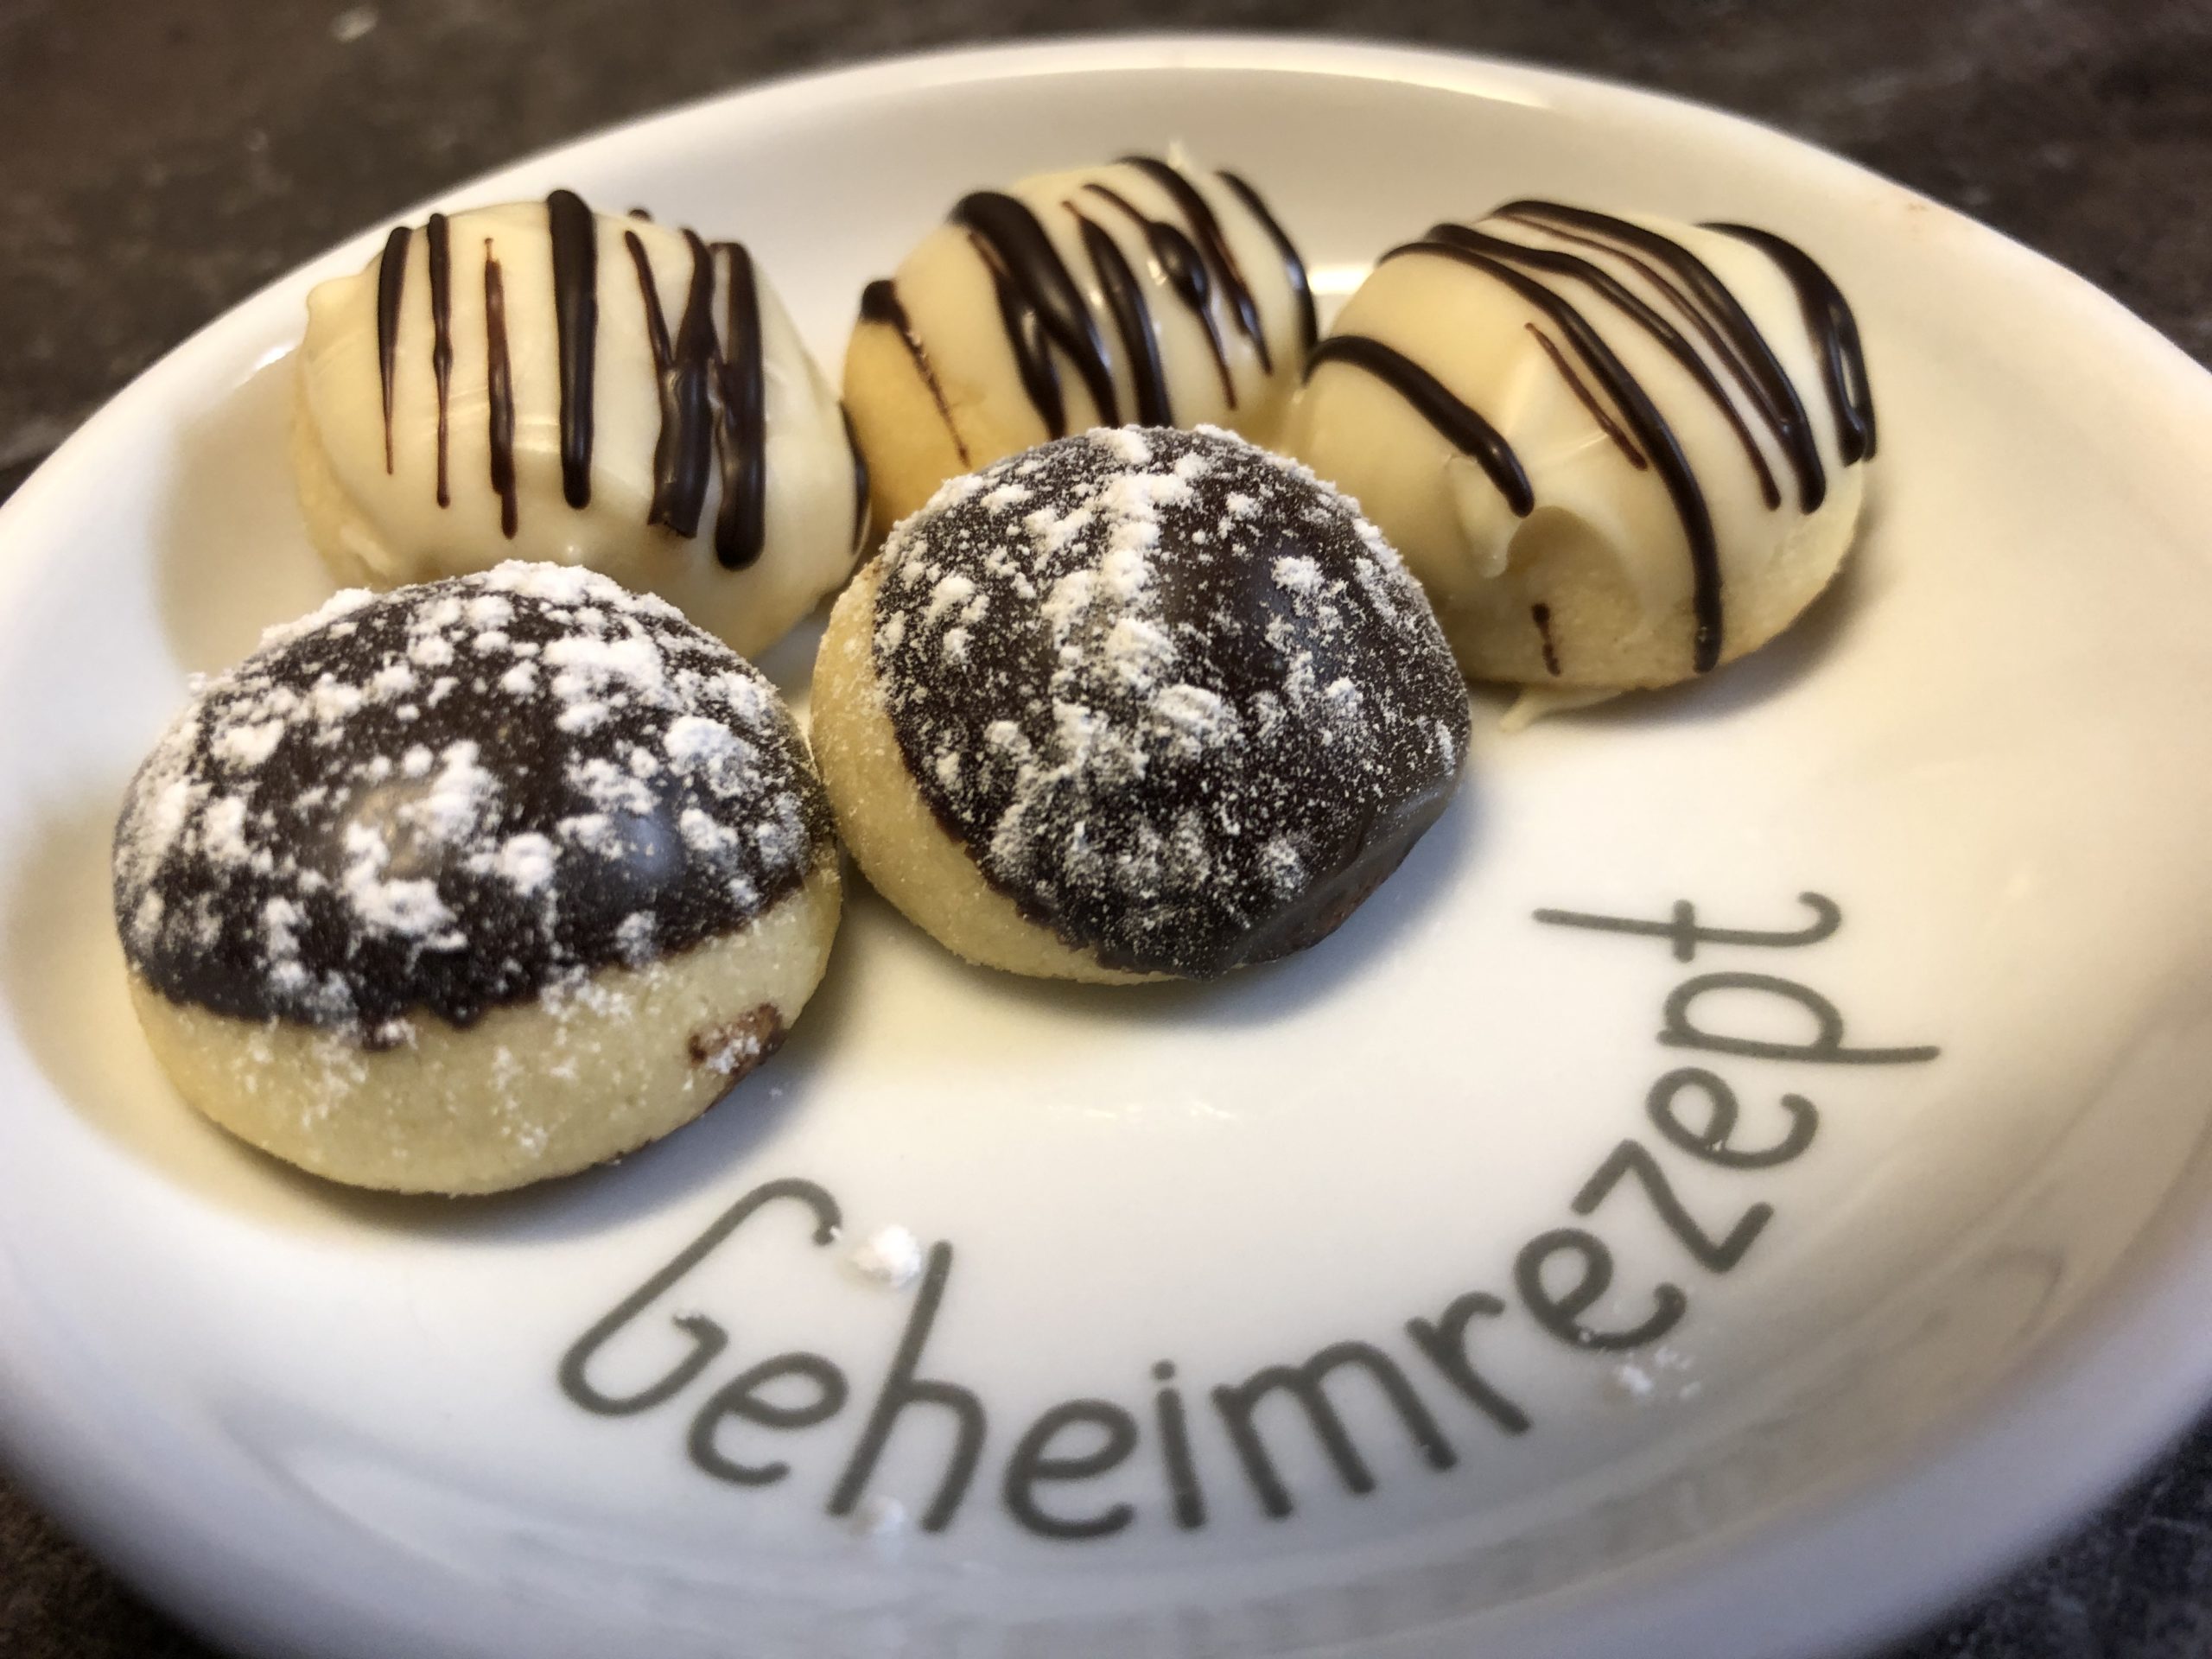
A cookie as big as a small praline - it melts delicately on the tongue.
These cookies are quickly baked. When decorating, you can choose the quick variant and turn the baked balls into powder sugar, or you give everything and create small works of art. Check out the offer and decide for yourself! Enjoy baking!
Media Education for Kindergarten and Hort

Relief in everyday life, targeted promotion of individual children, independent learning and - without any pre-knowledge already usable by the youngest!
First send the children to wash their hands. Then the aprons are put on and then it can start.
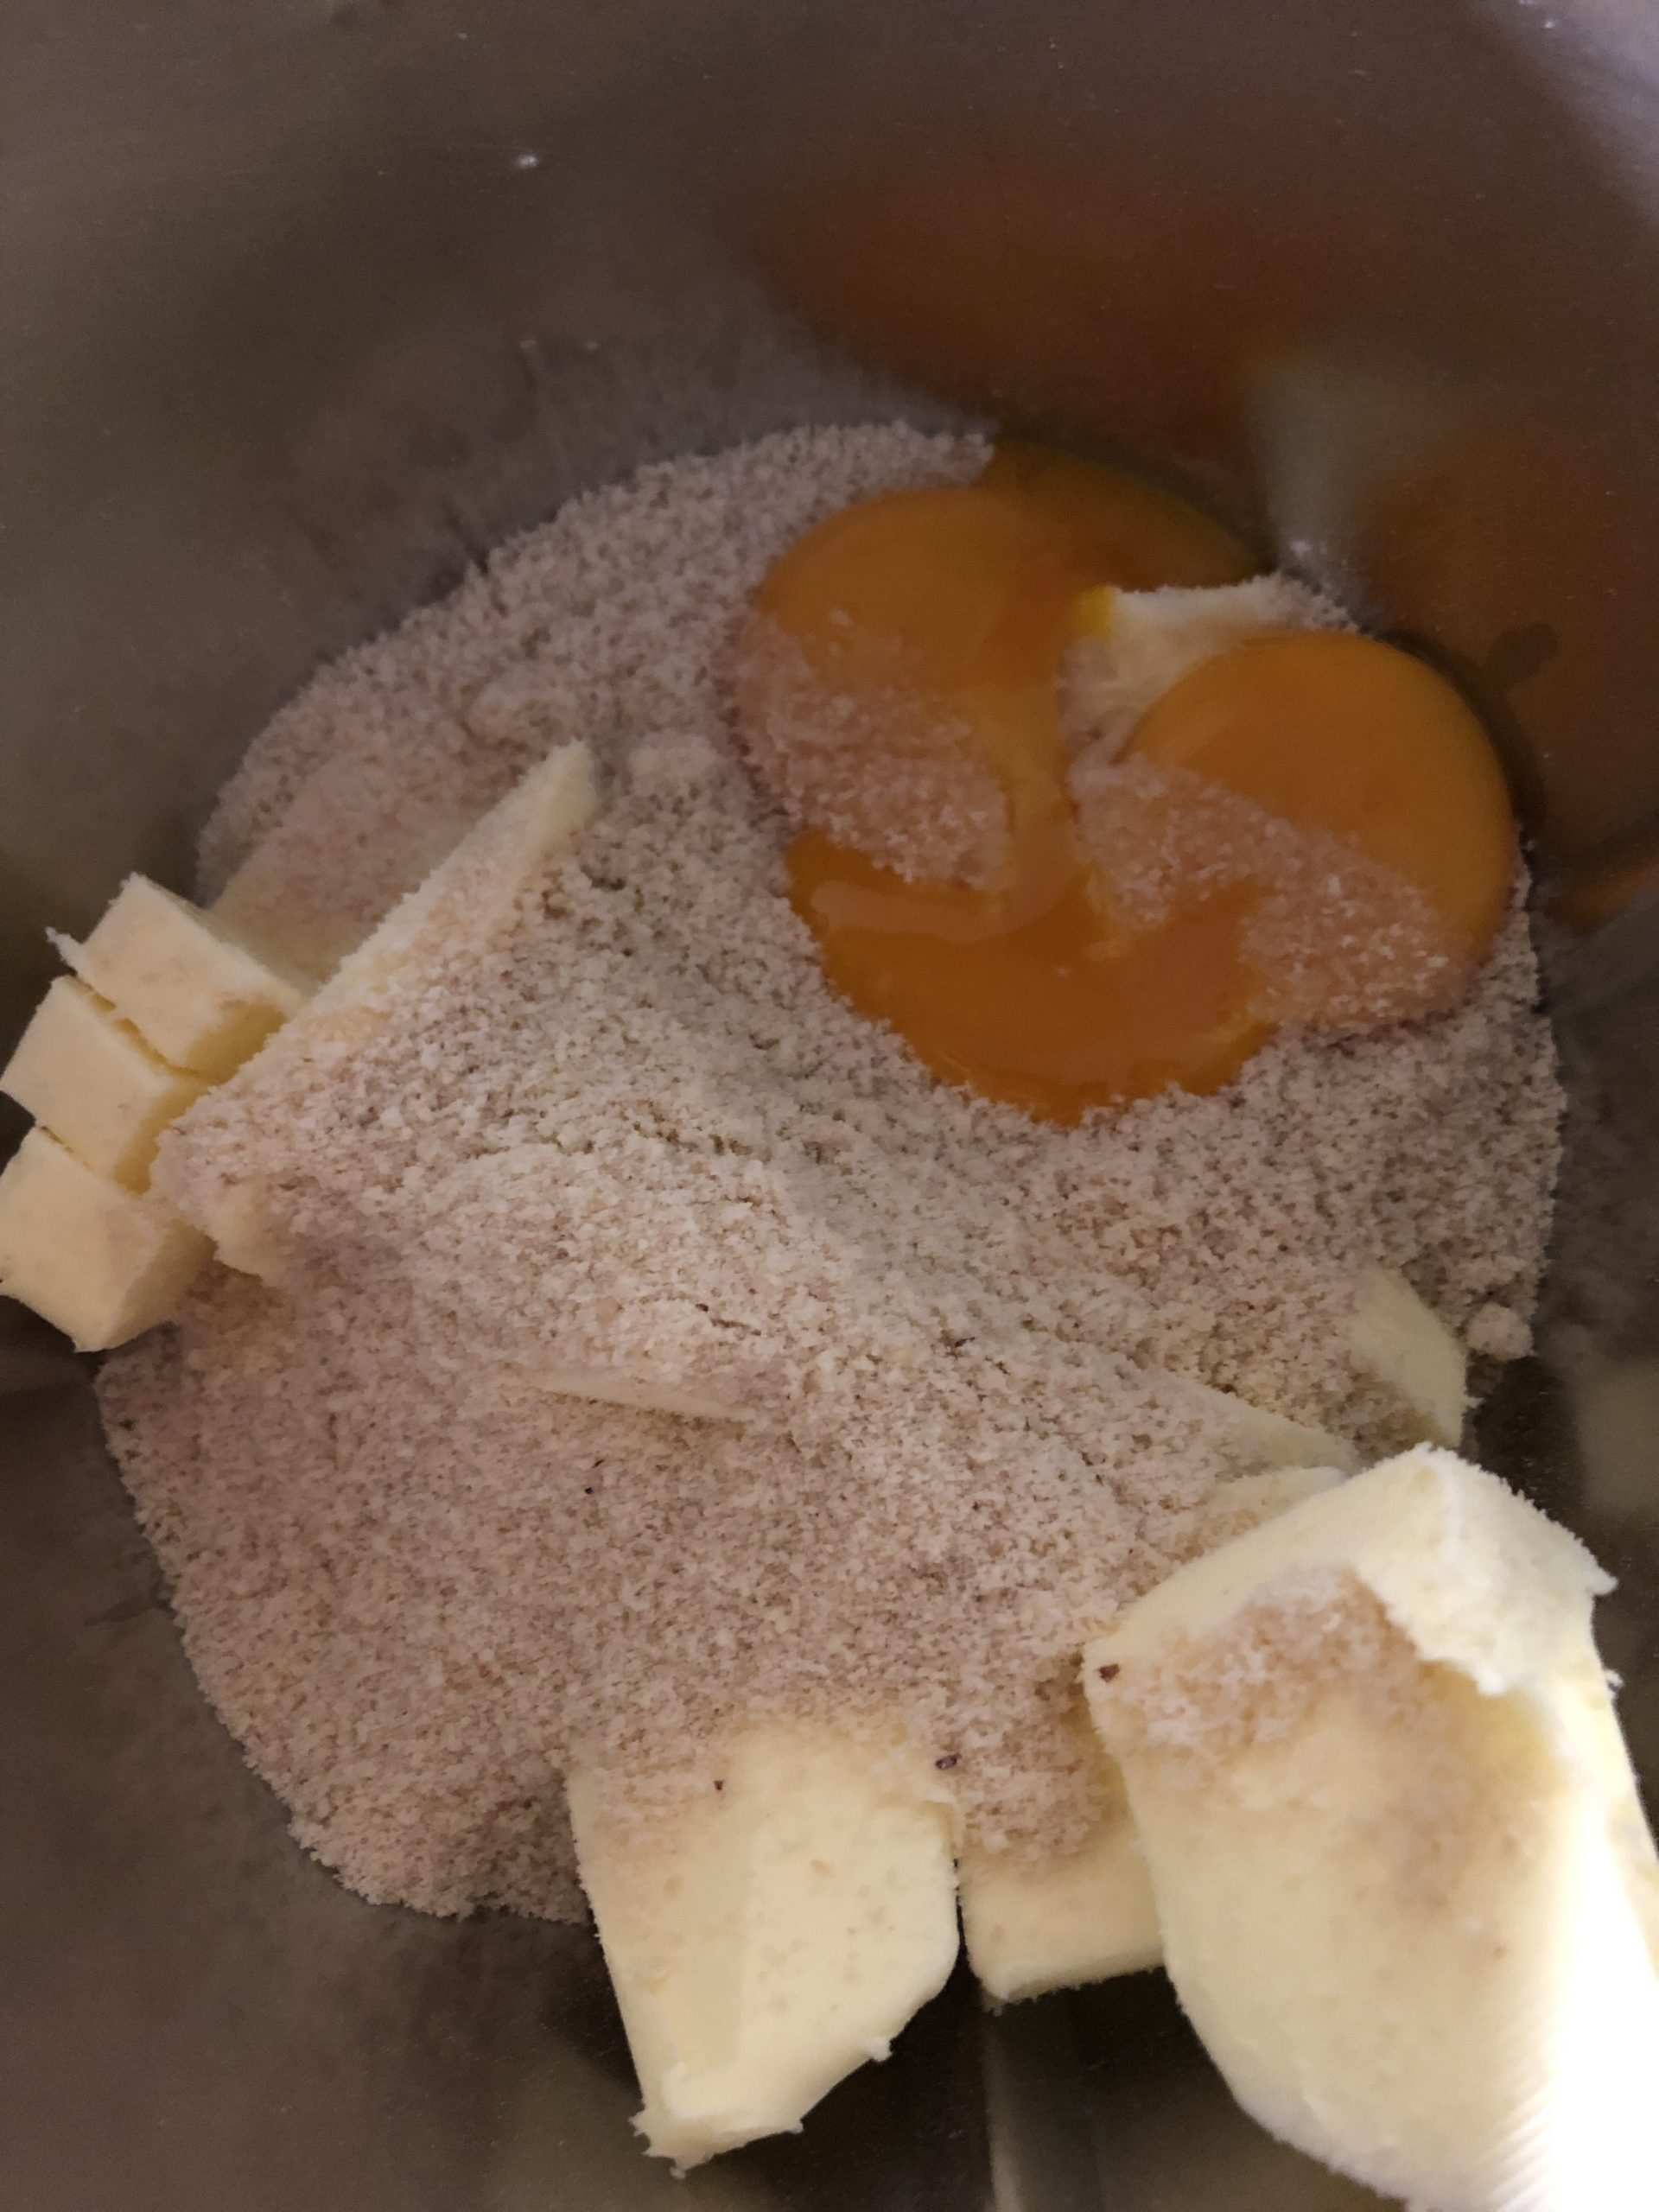
Weighs all the ingredients and puts them in a mixing bowl.
Then knead all the ingredients with the kitchen machine to a smooth dough.
Tip: You can also let the children knead with your hands, which is great fun for many children!
At first, the dough becomes very fine and crumbly during processing.
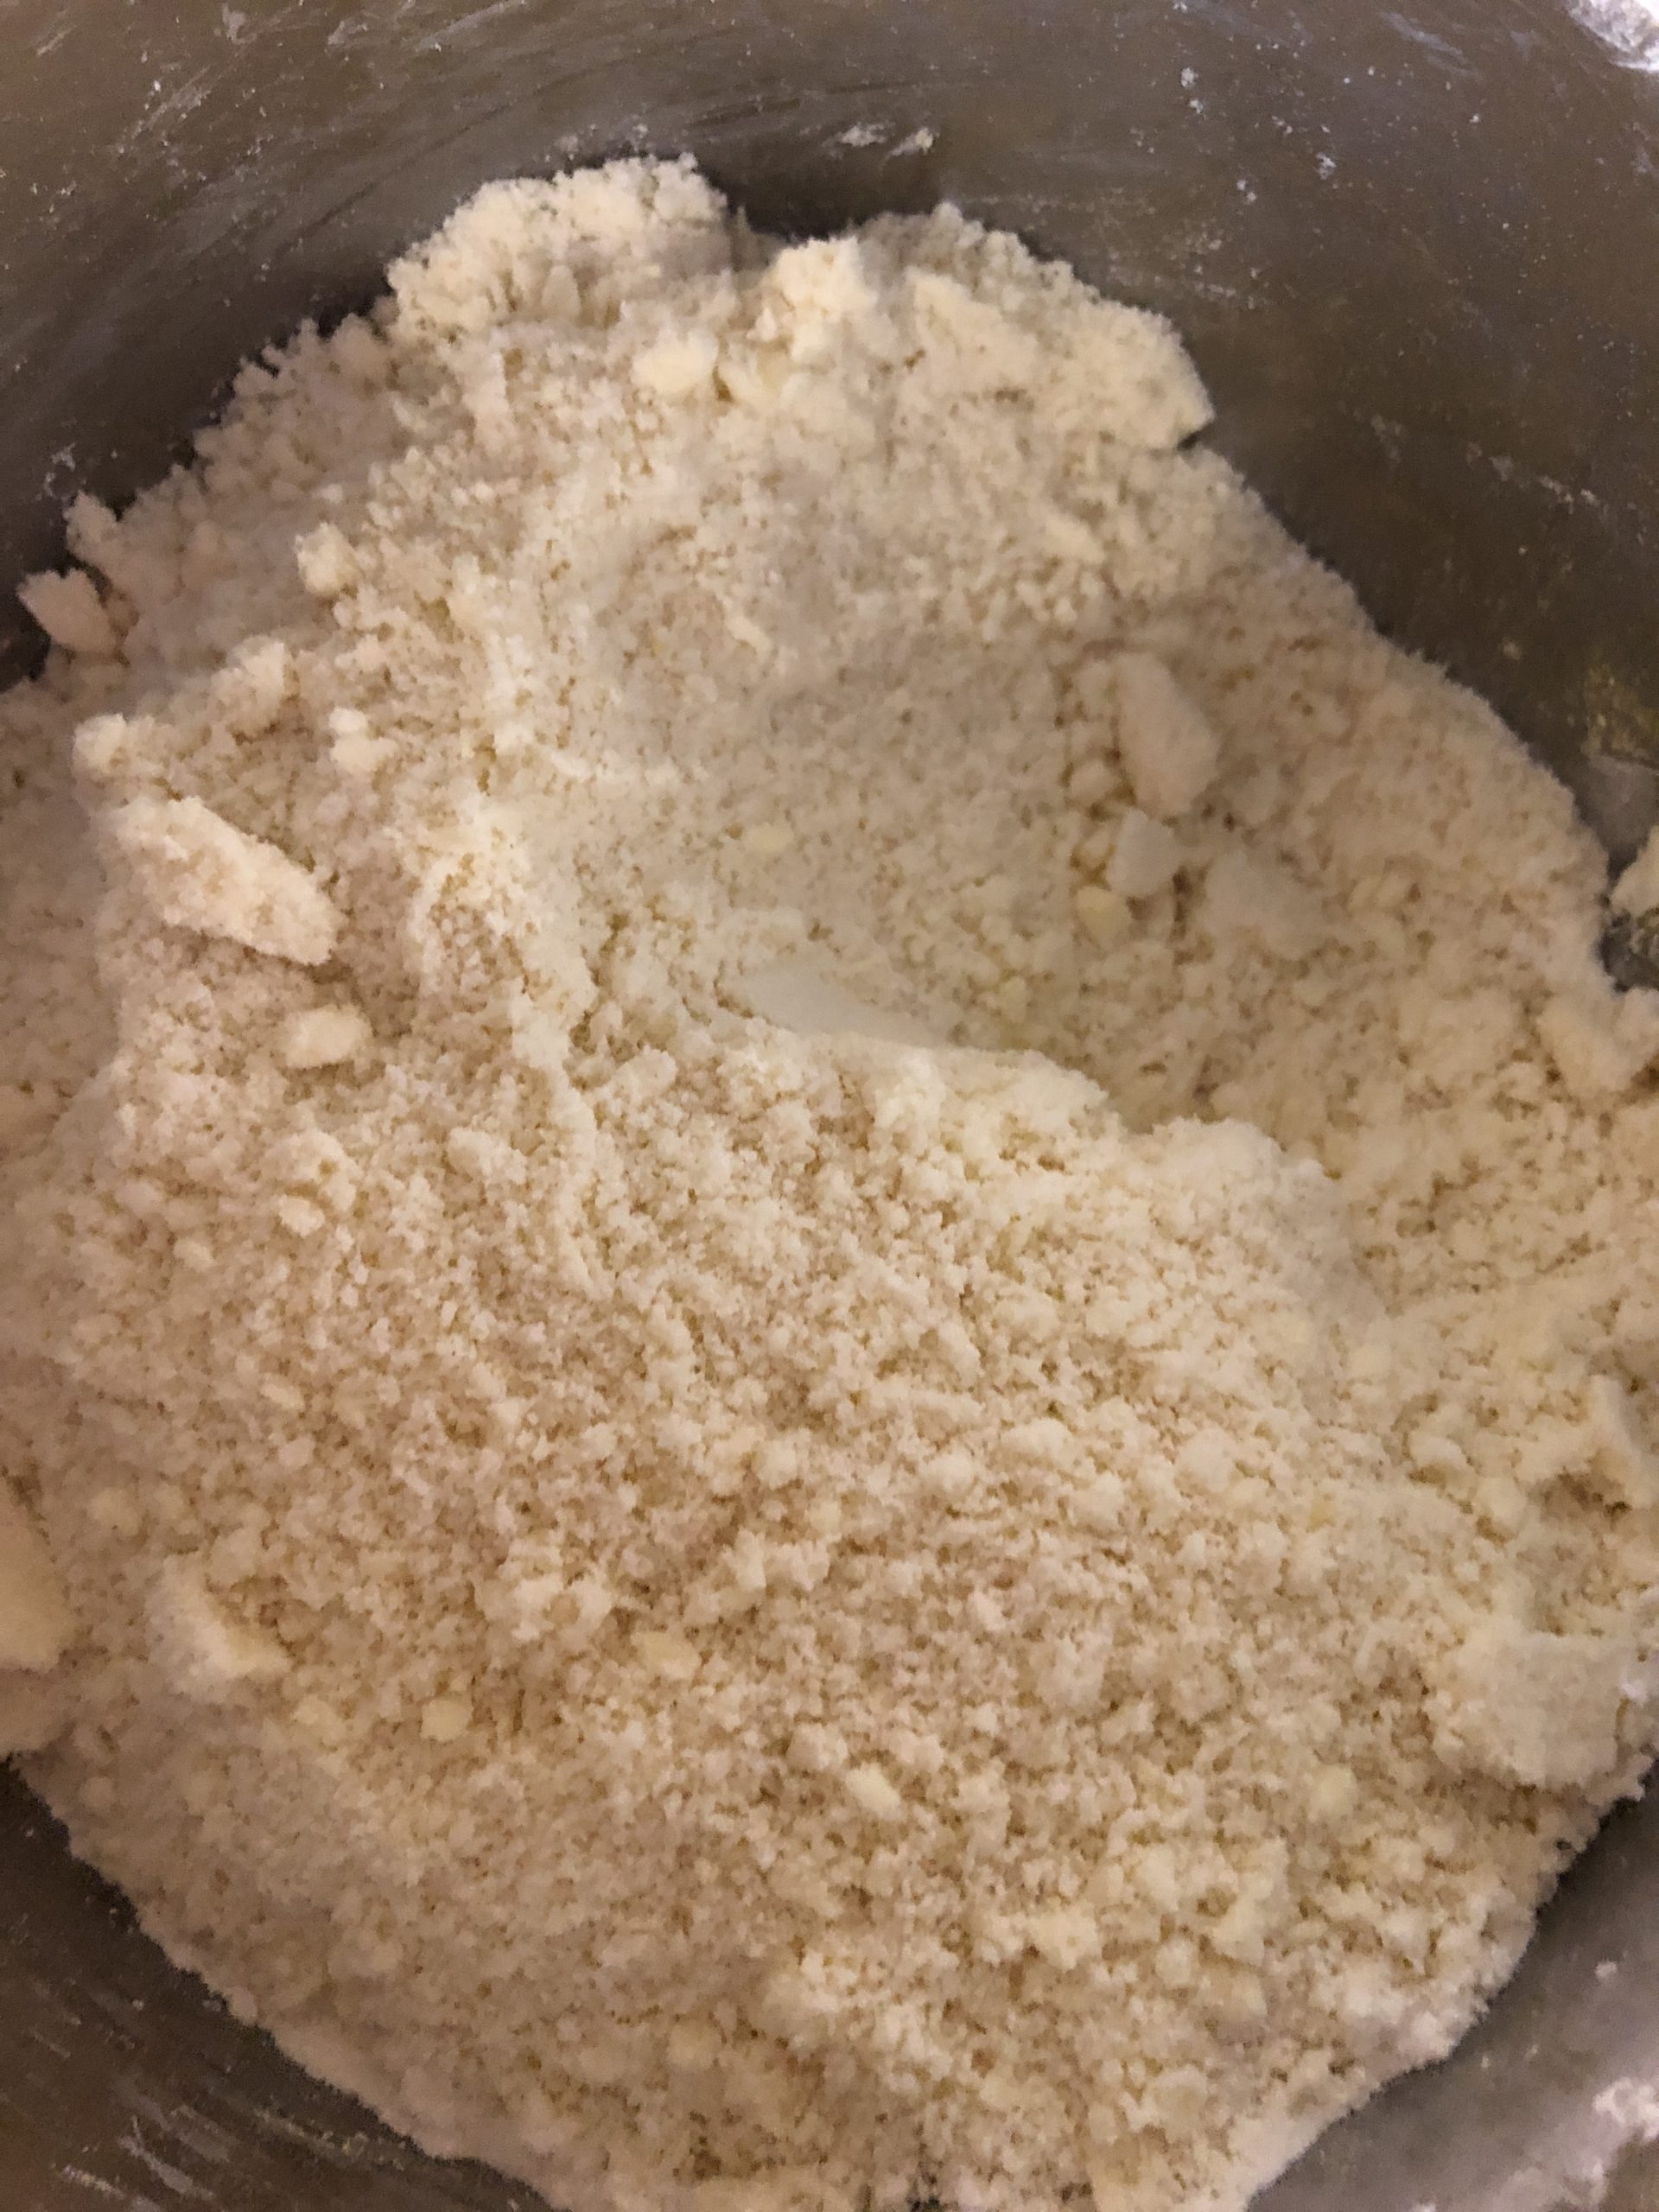
The longer the dough is kneaded, the stronger it becomes.
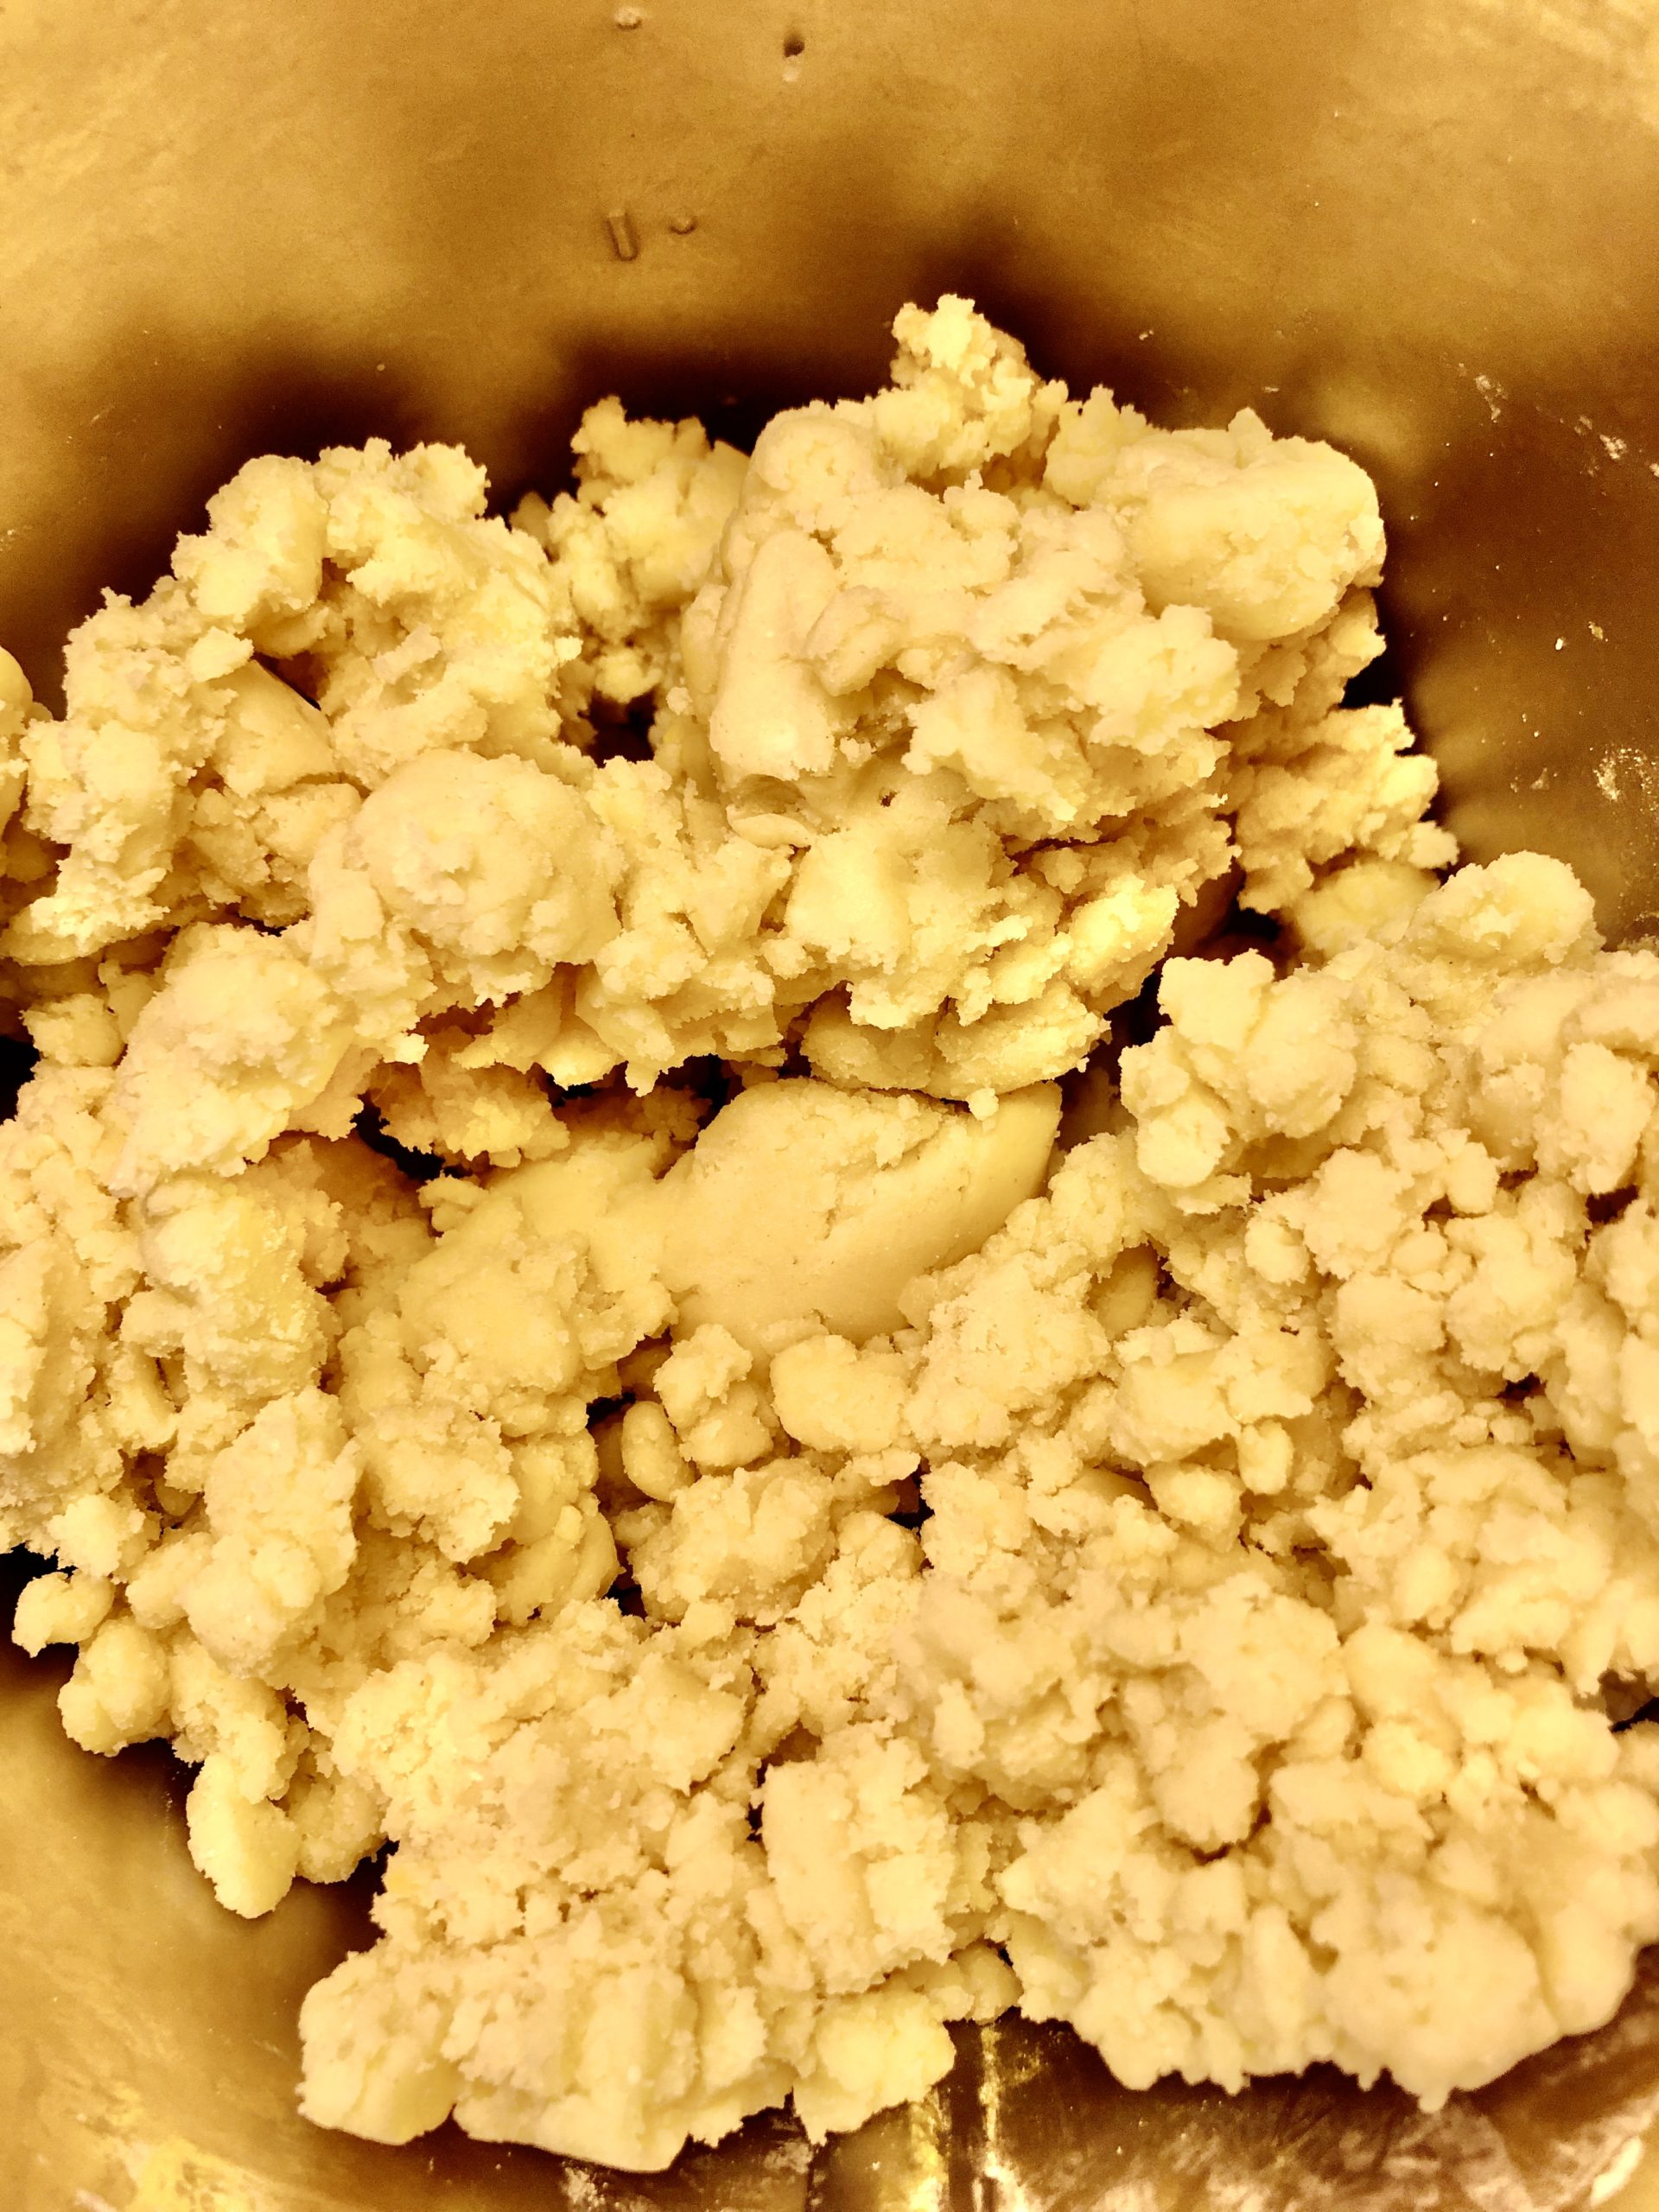
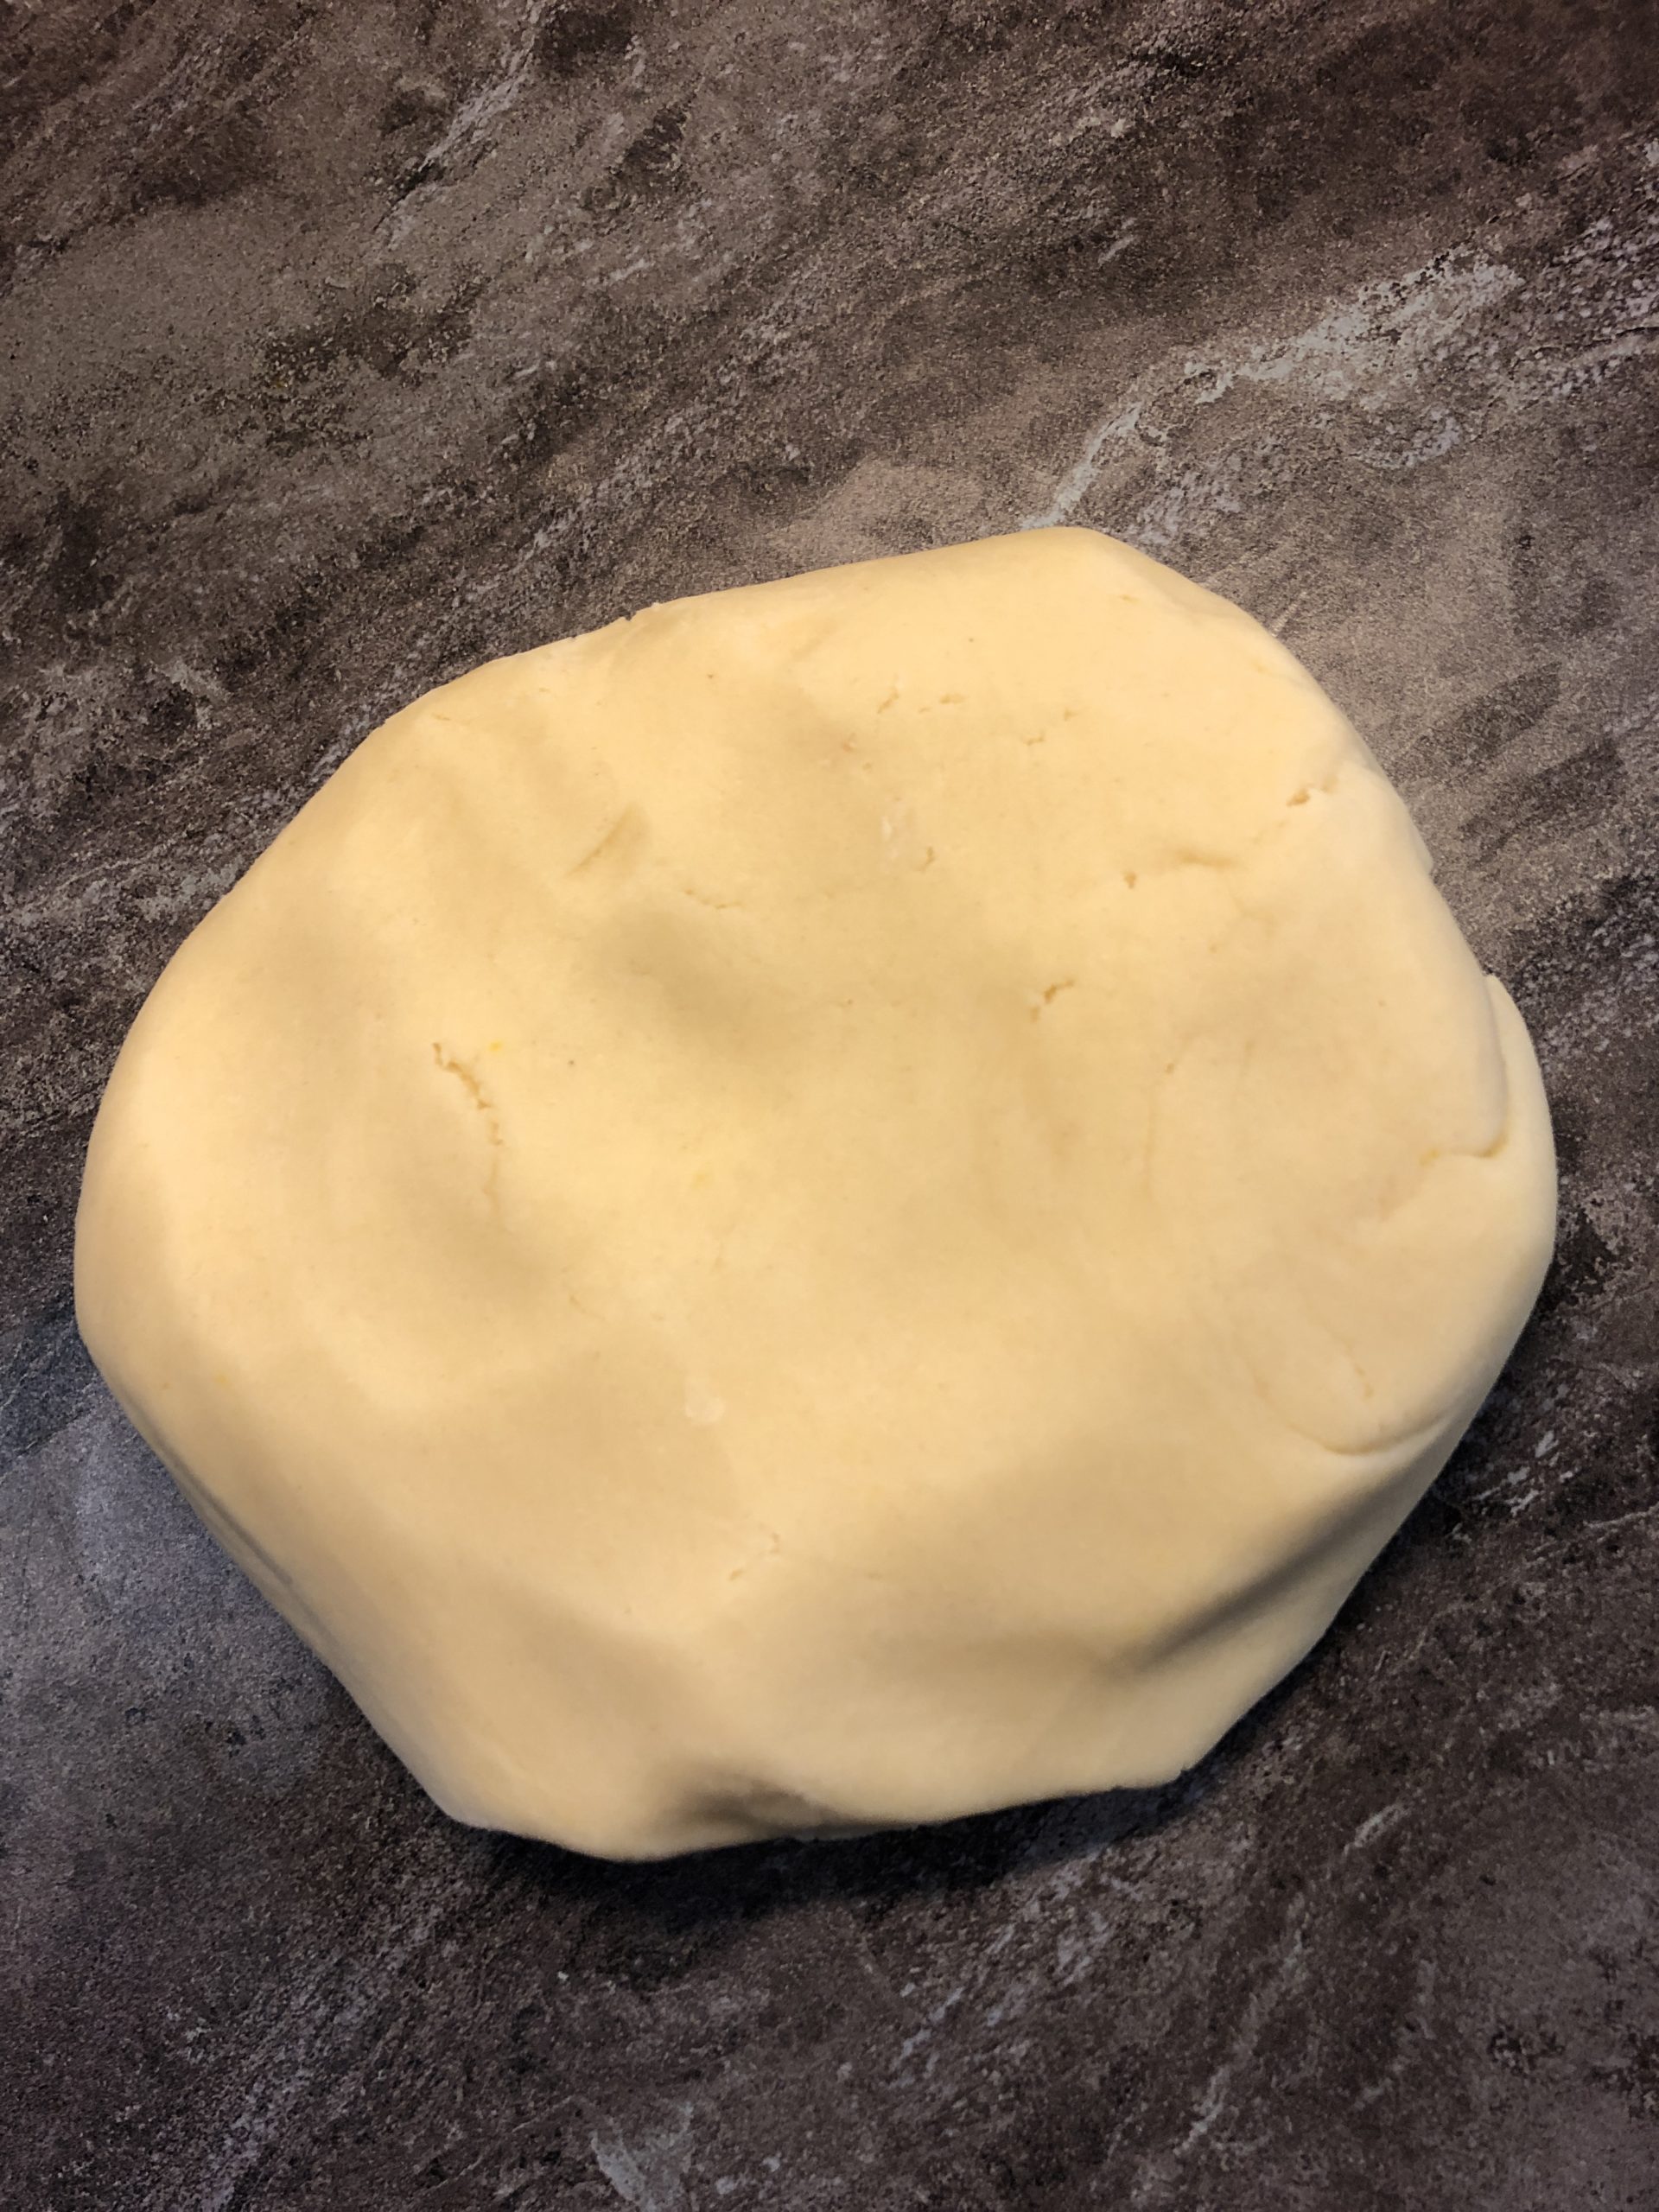
Finally form the dough into a large ball and place it cold for 20 minutes.
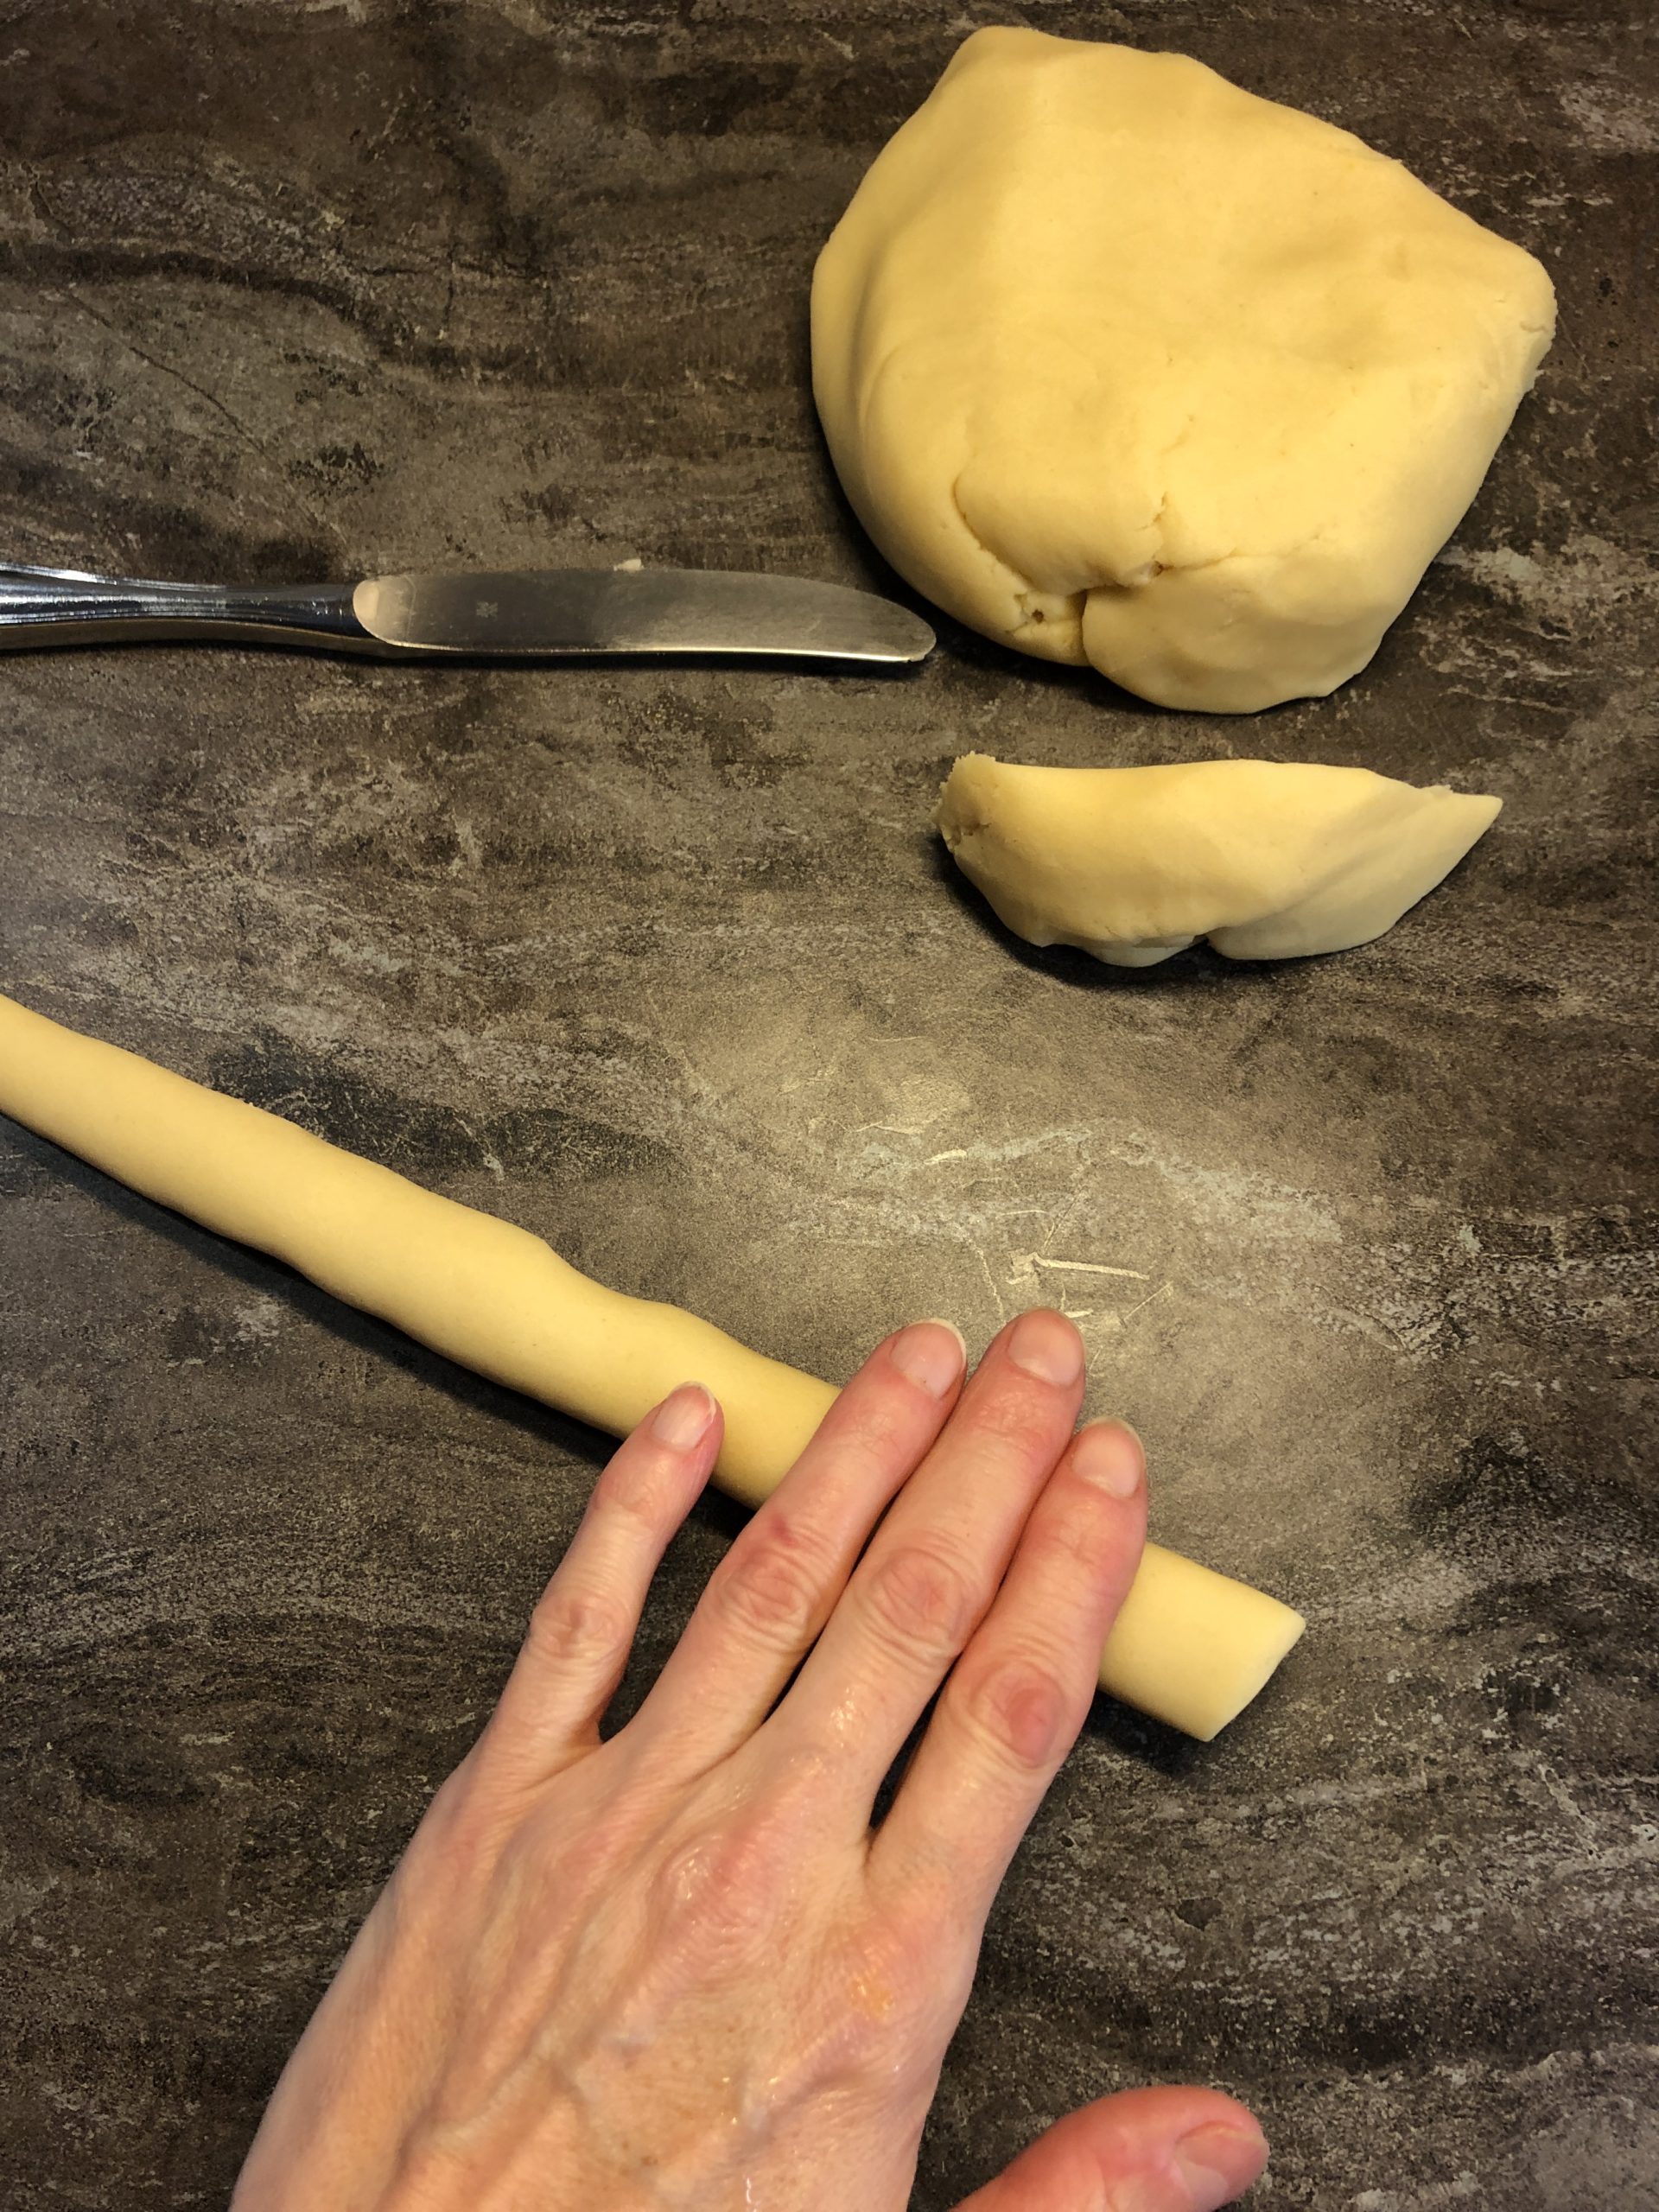
Cut off a piece of the dough and roll a long snake from it.
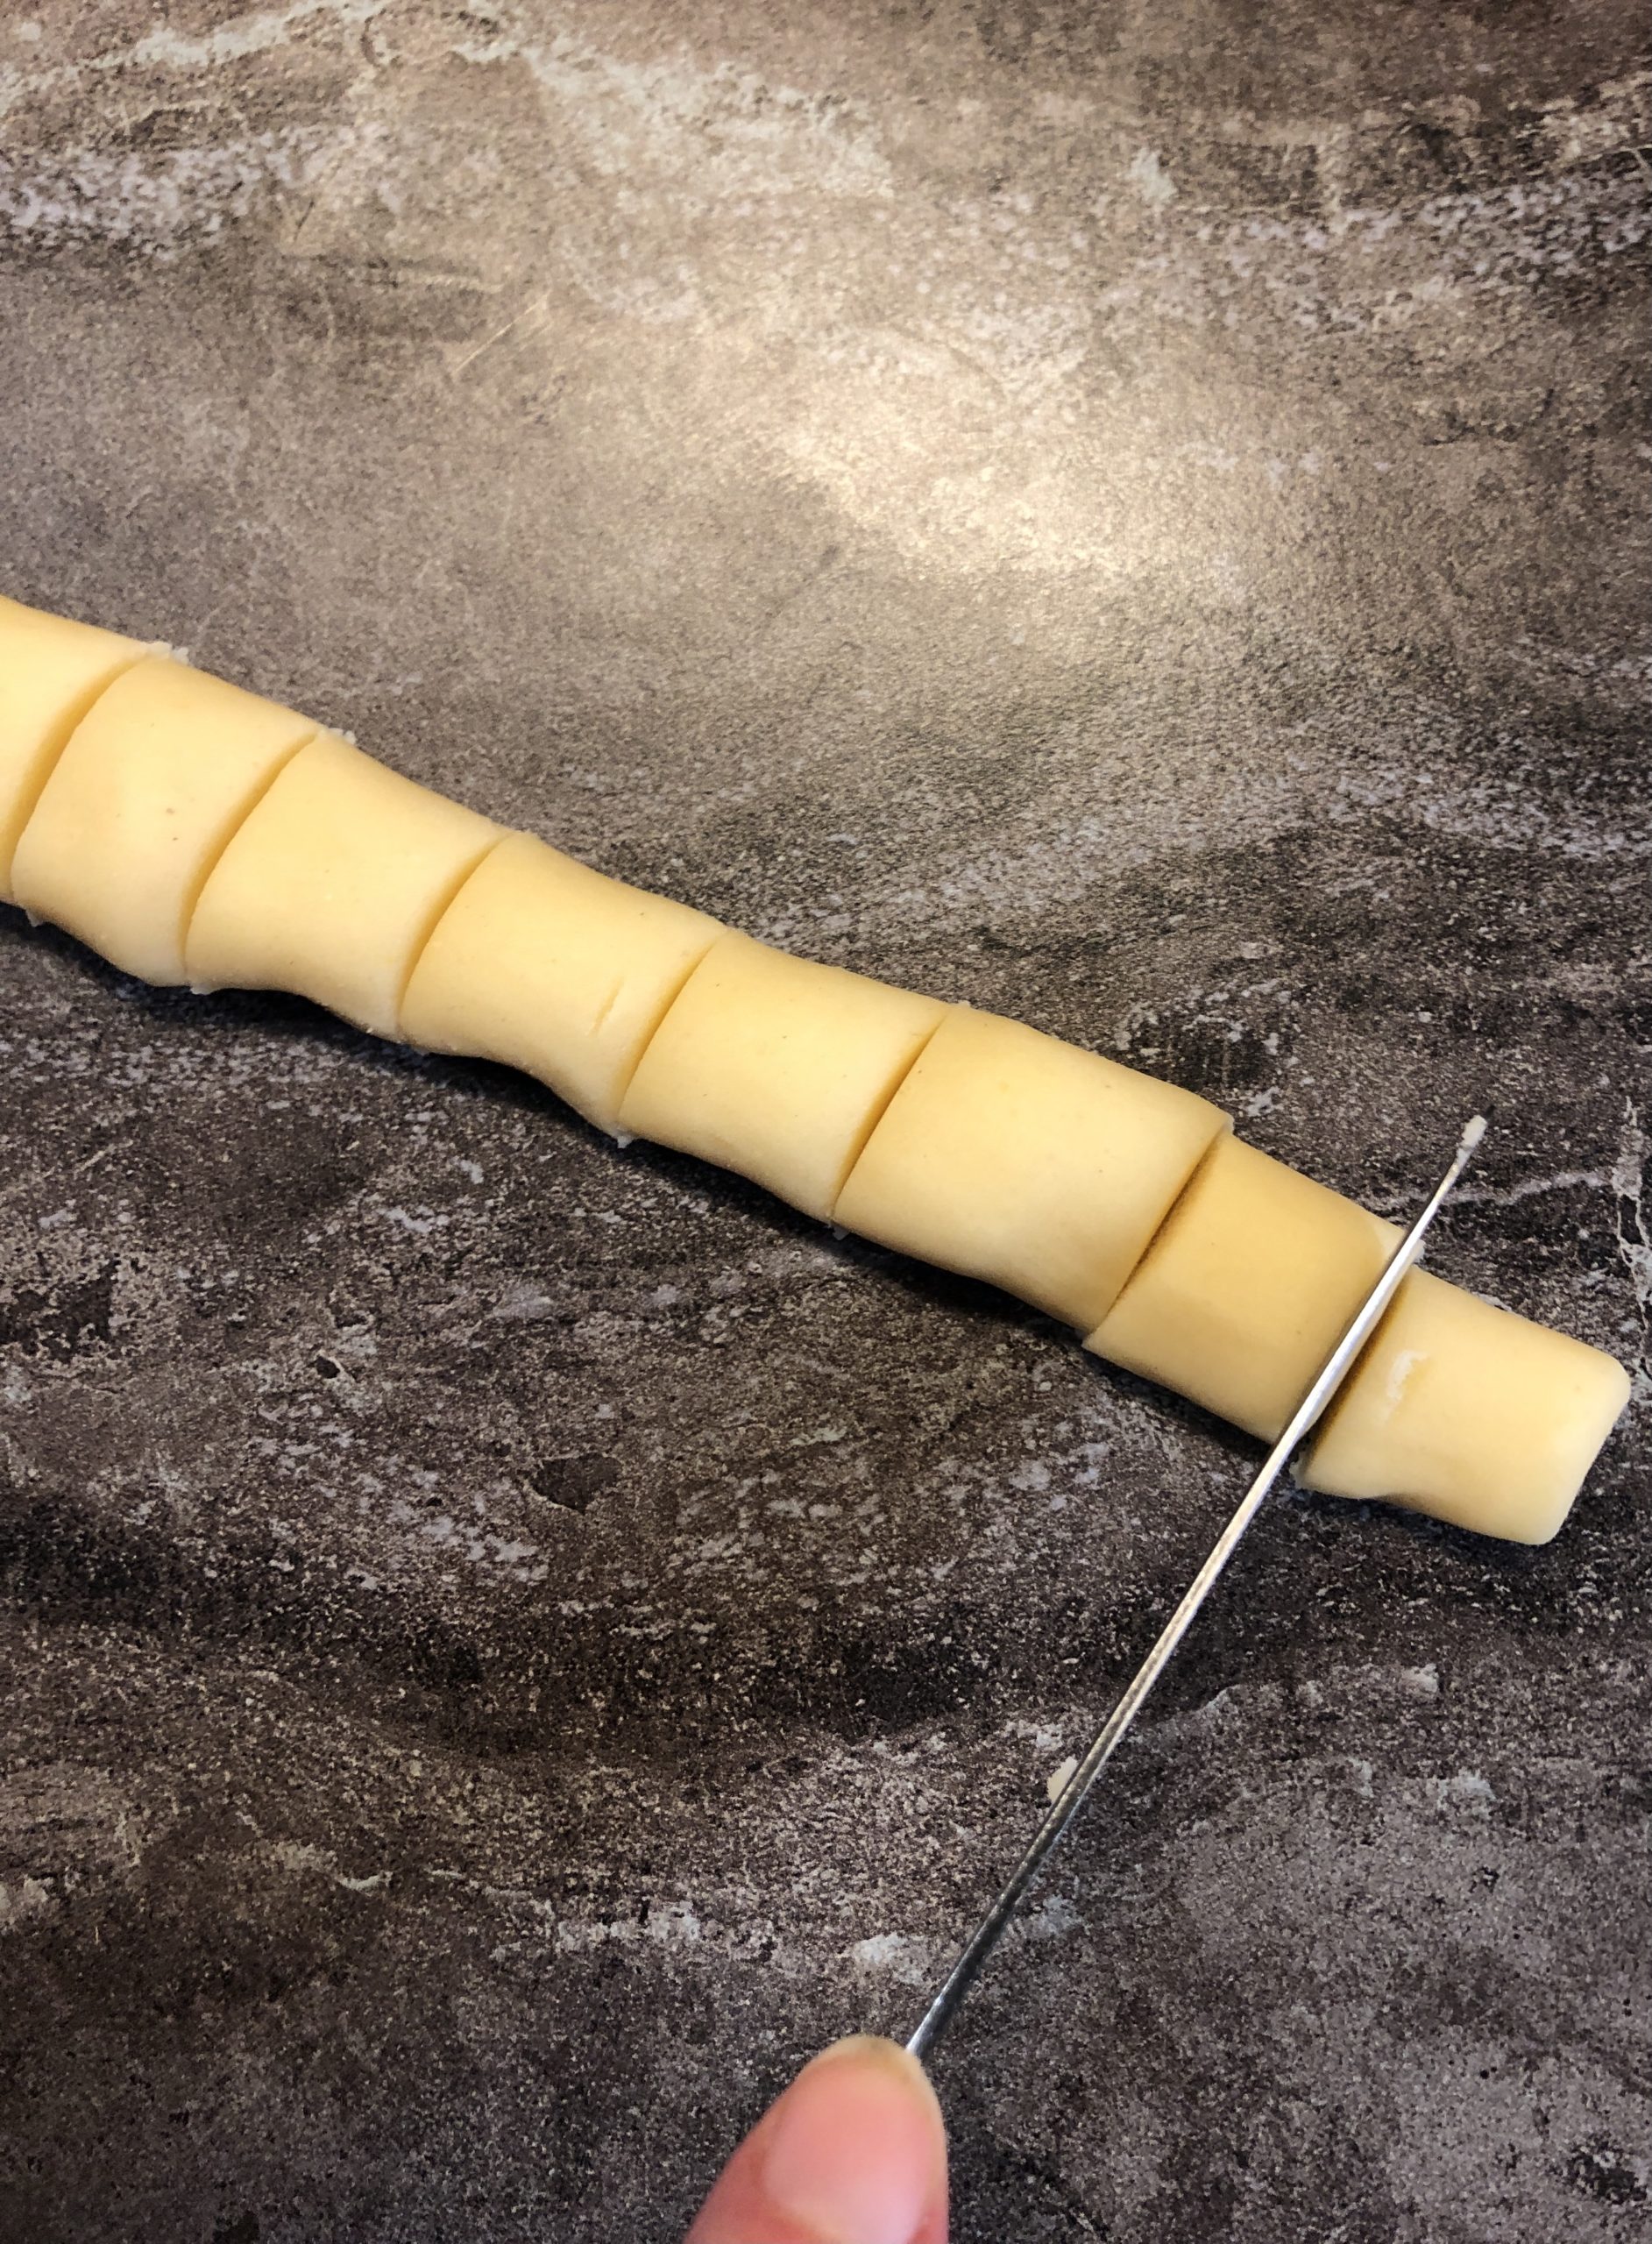
Now cut the snake into evenly large pieces (circa 2cm).
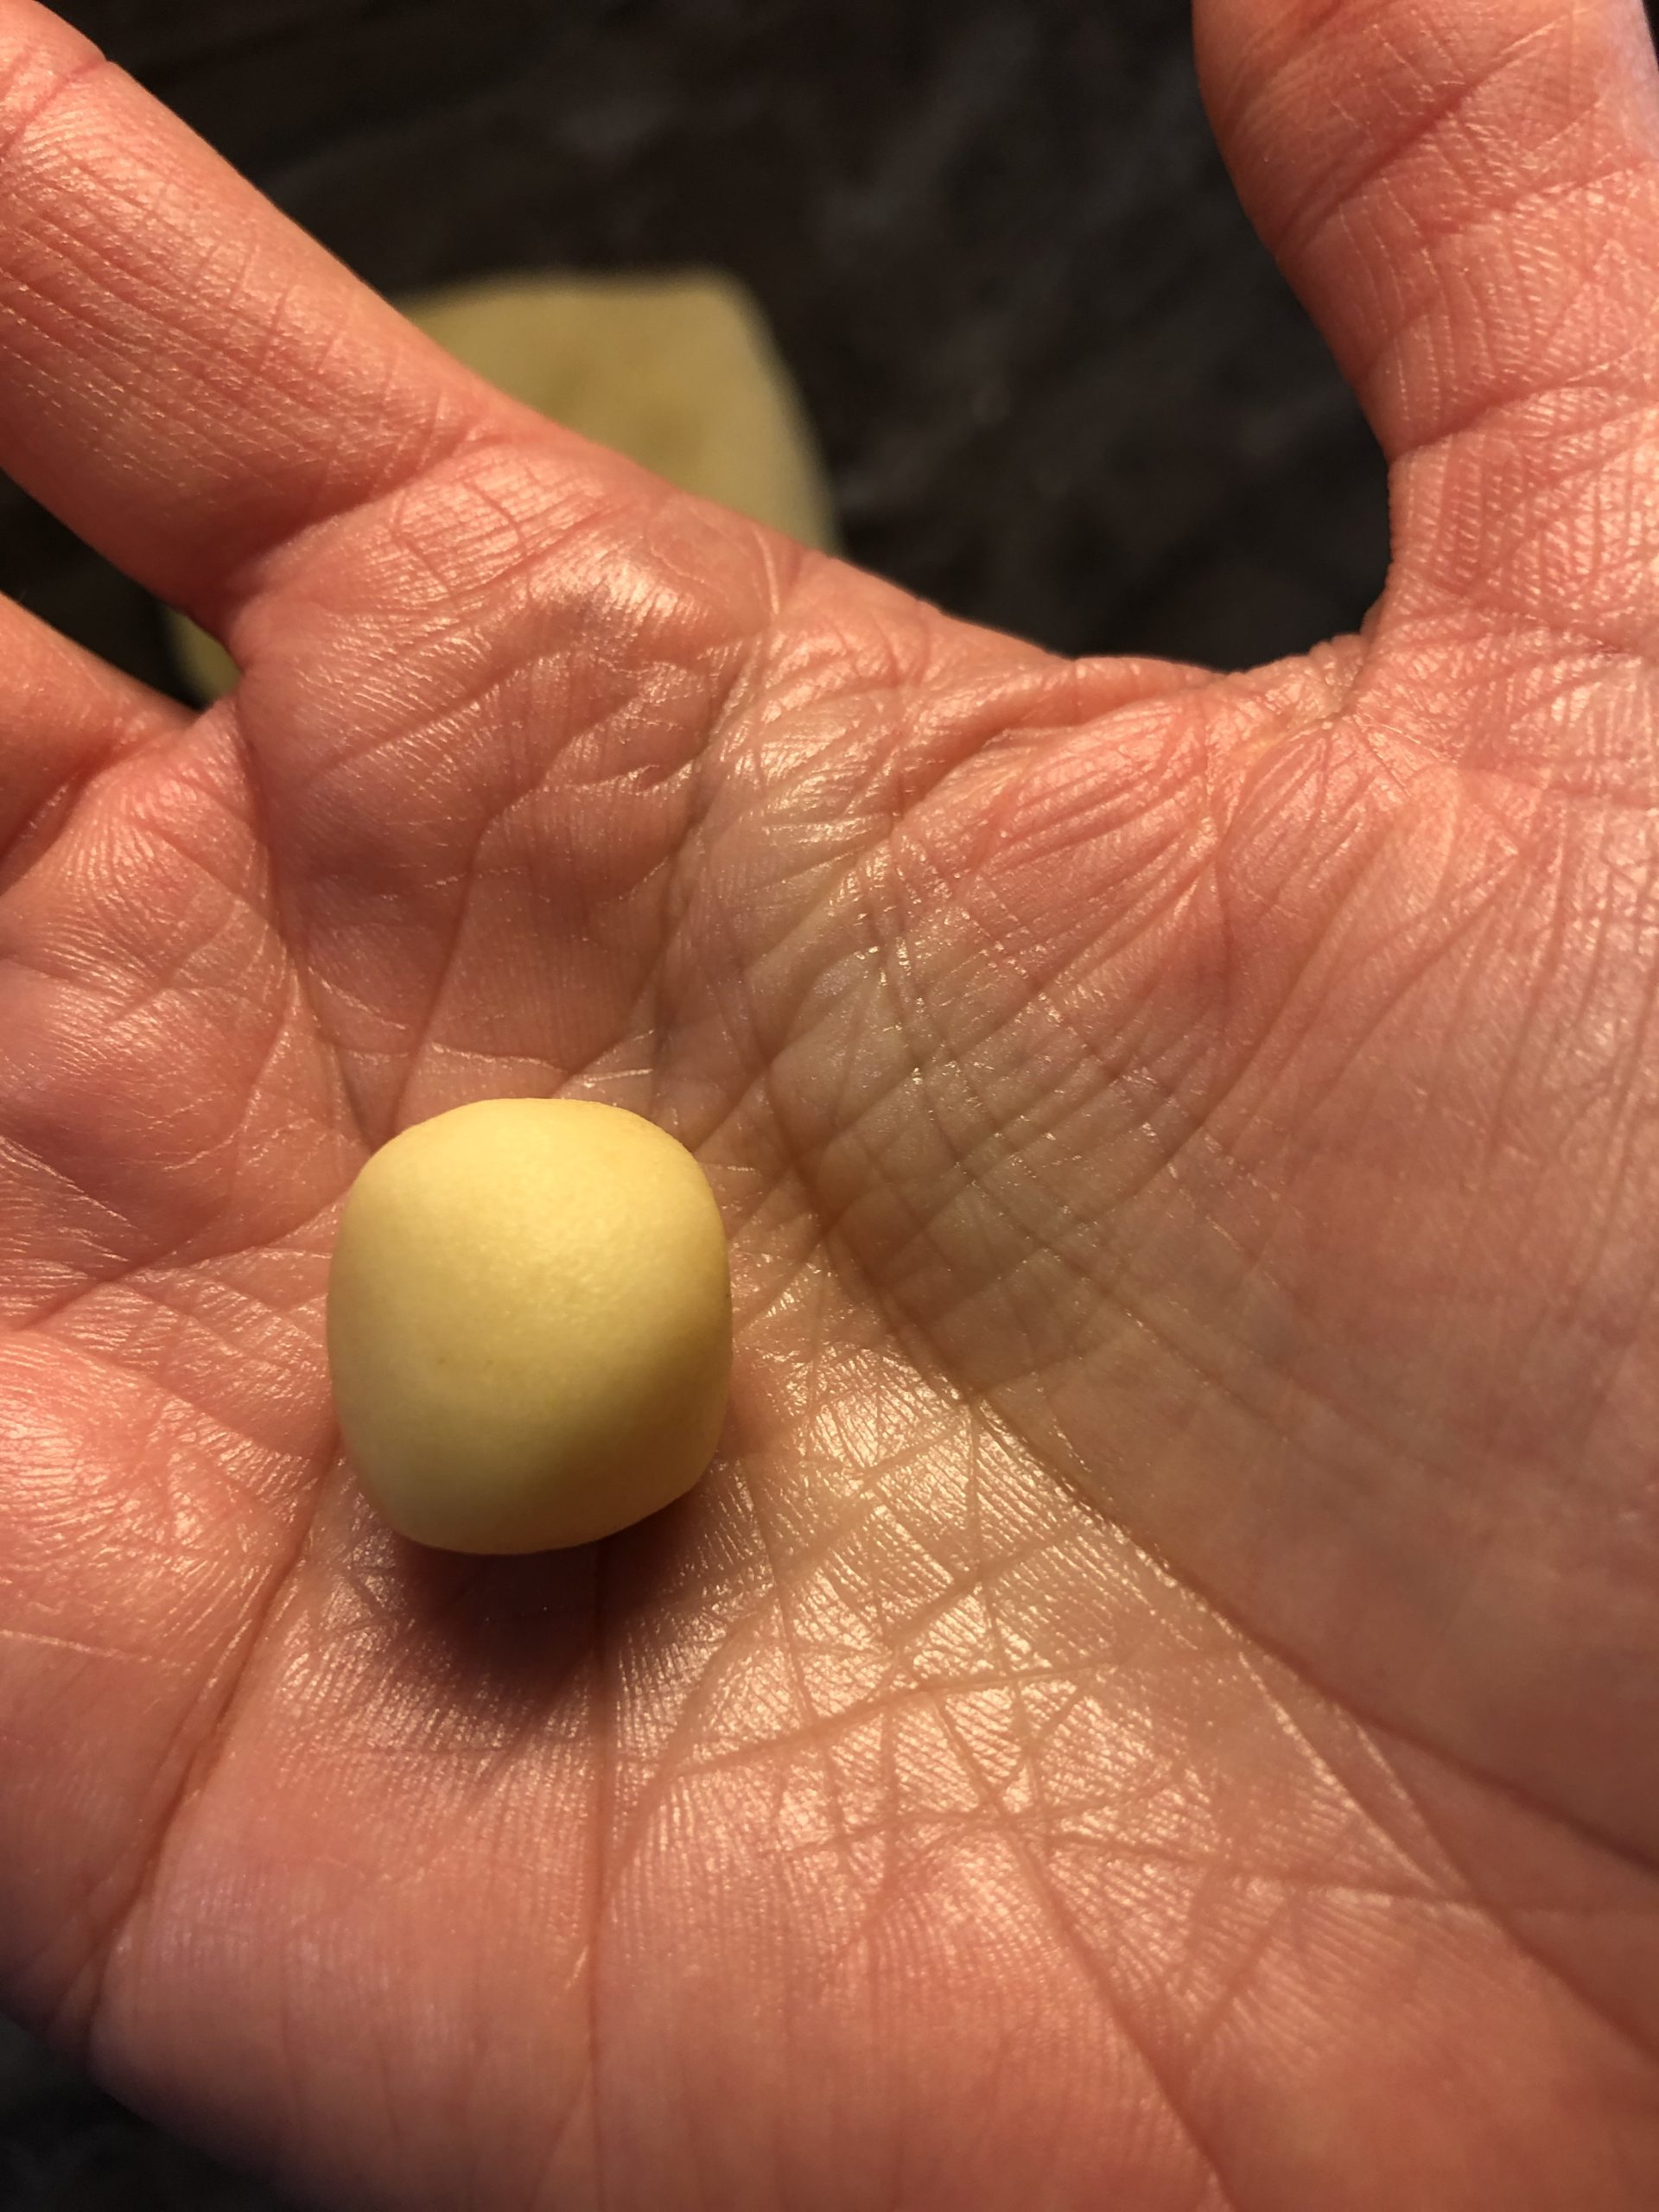
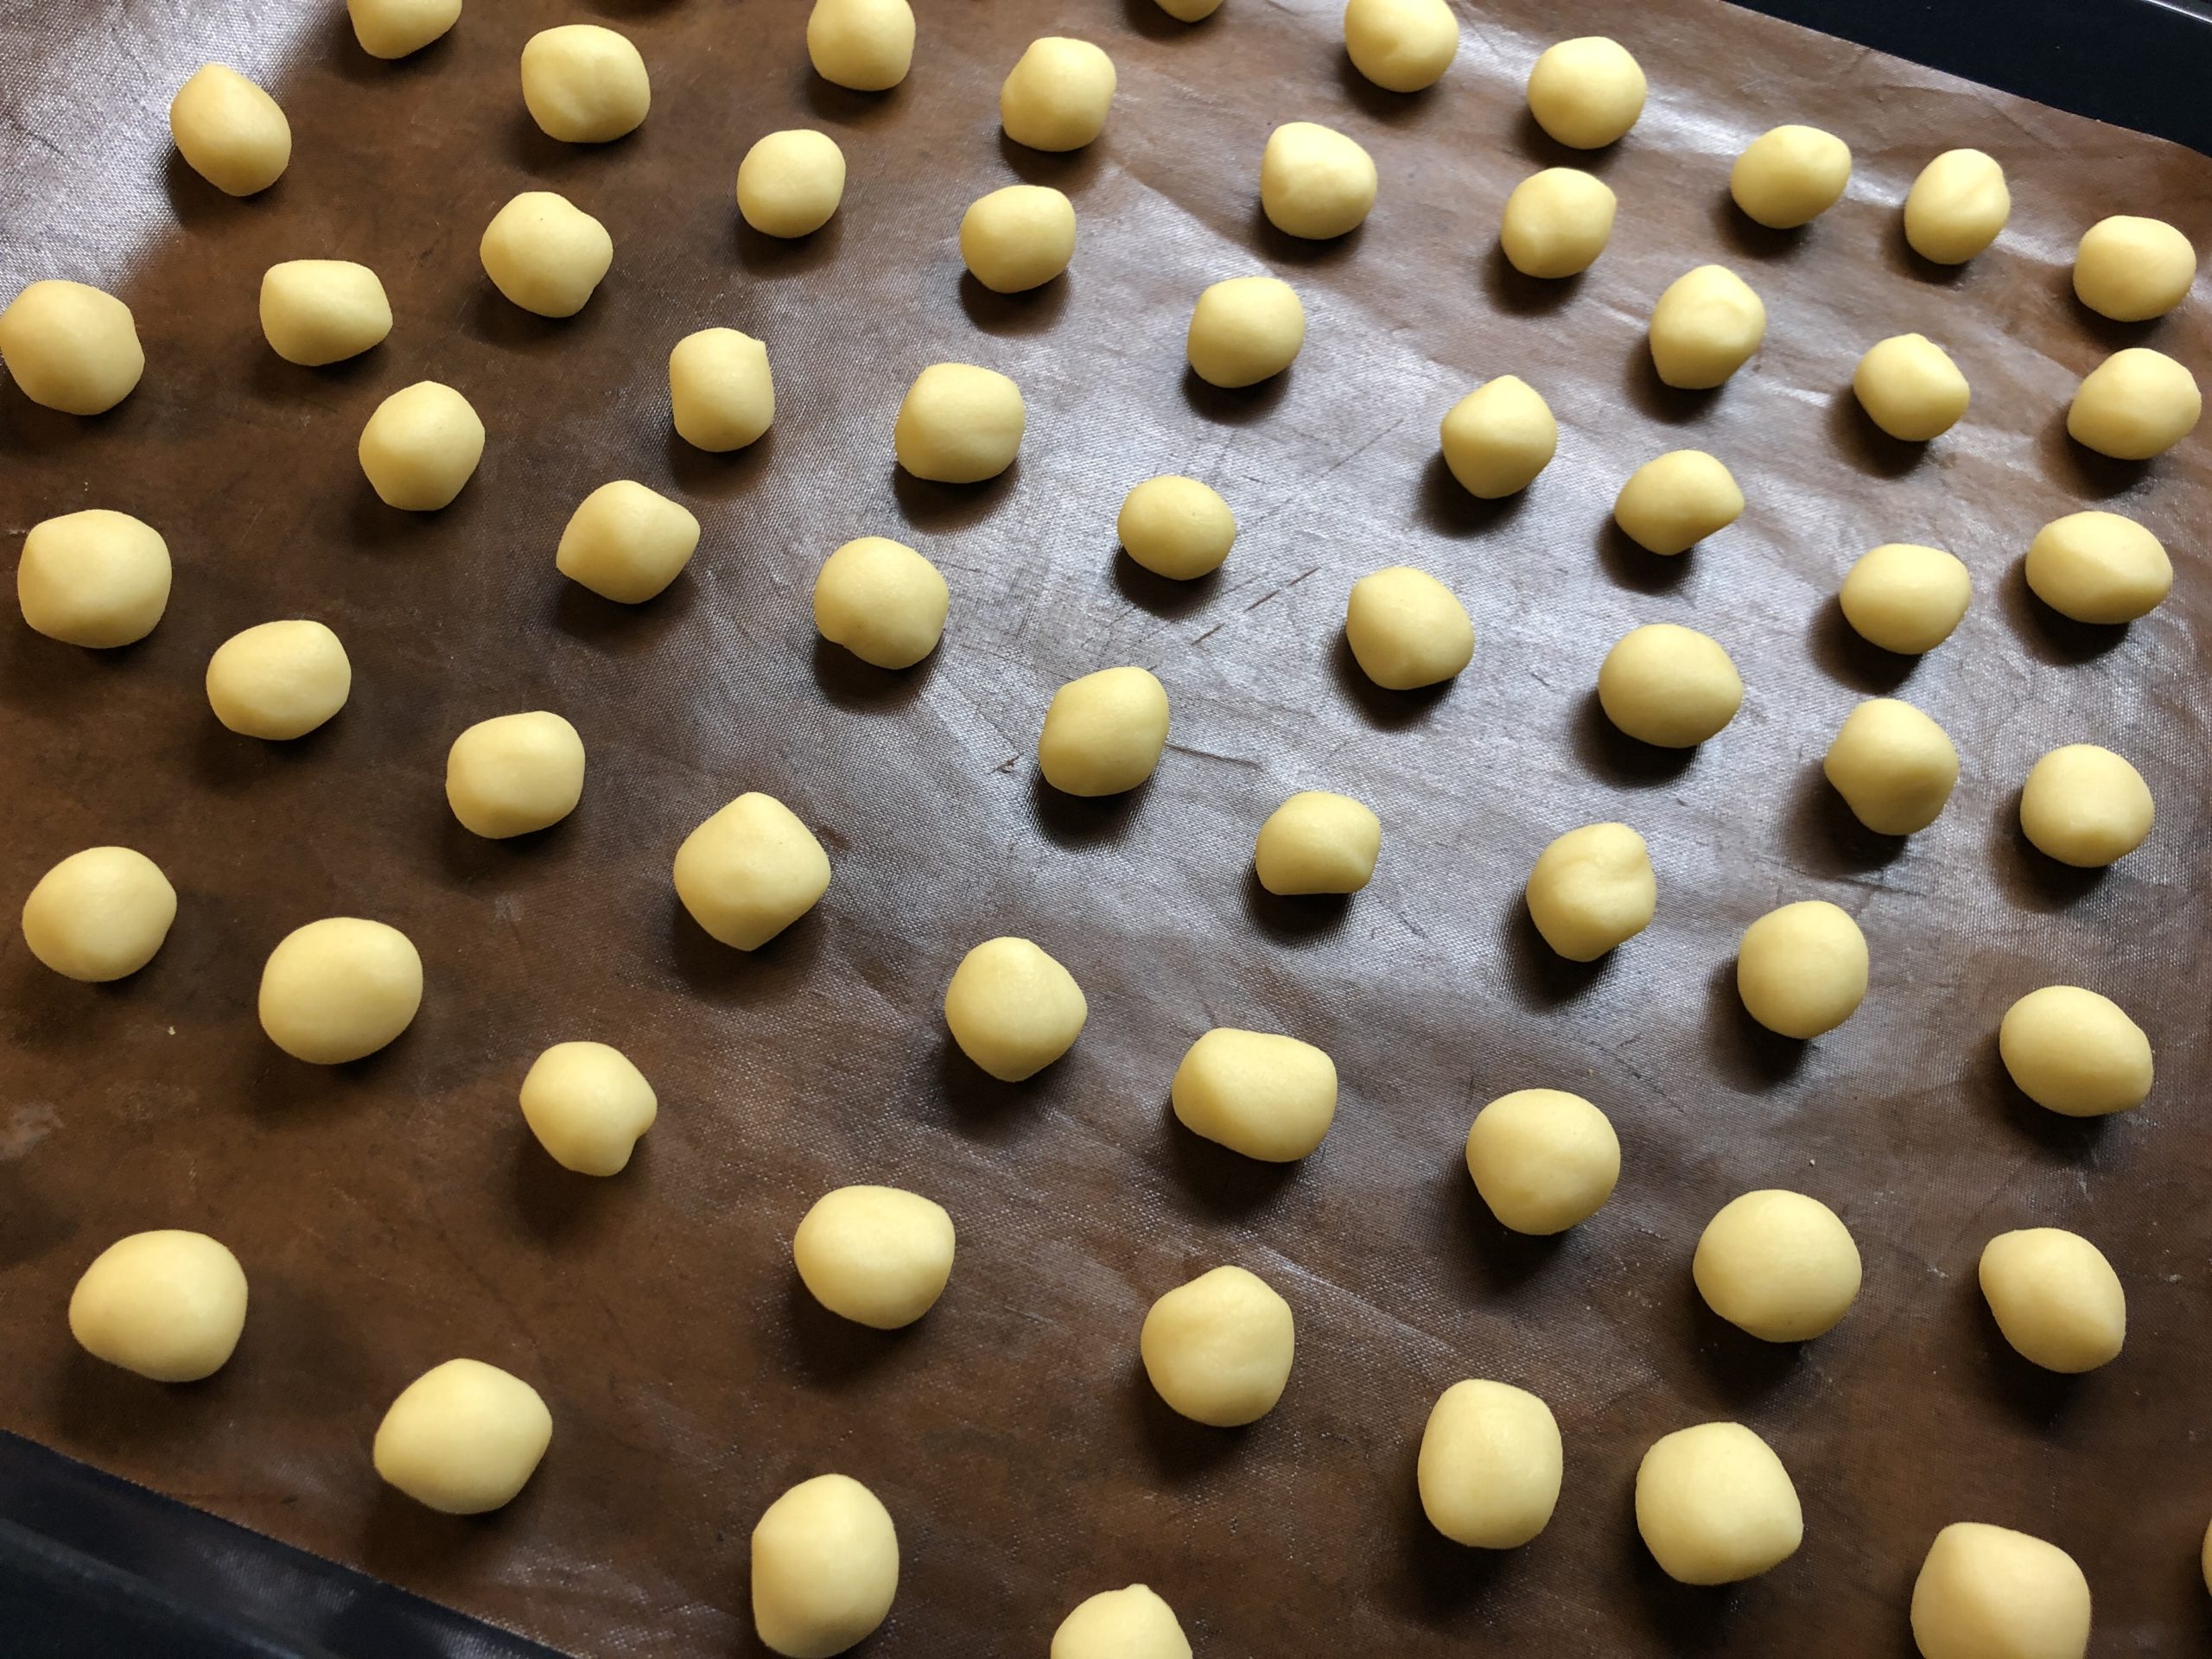
From each piece you now roll a ball in your palms. The ball should not be larger than 2cm.
Place the balls with sufficient distance on a sheet with continuous baking foil or baking paper.
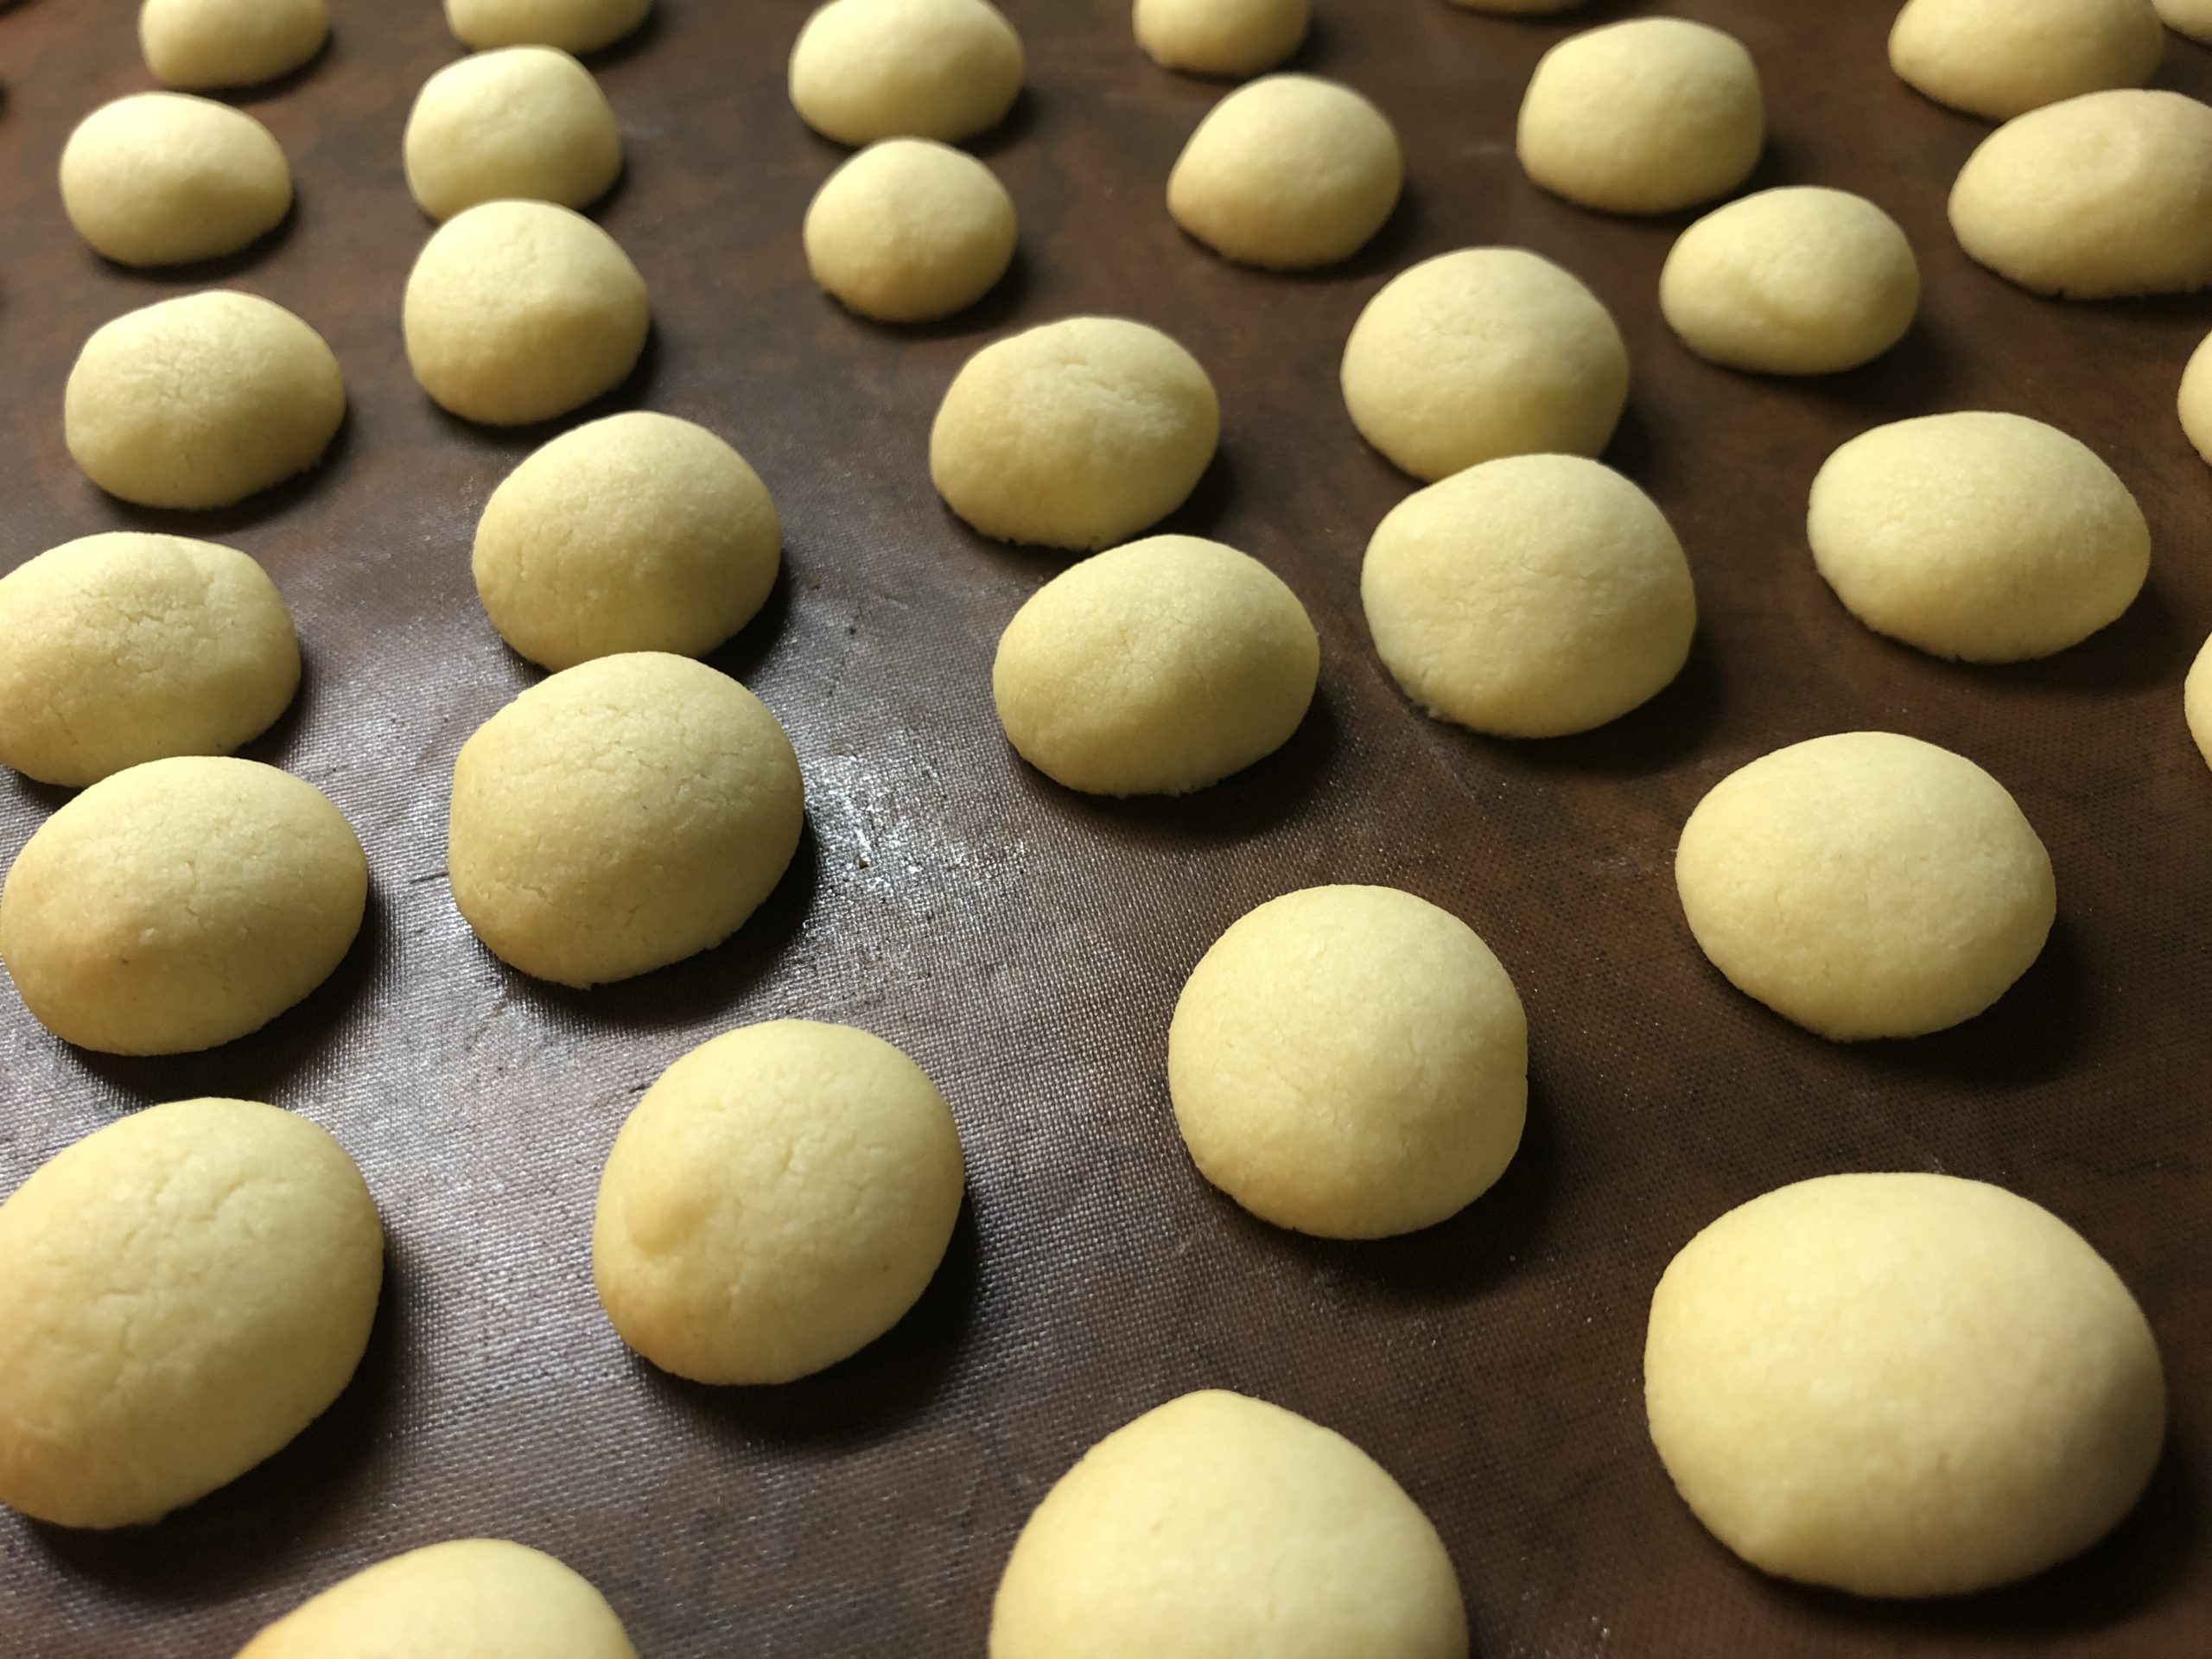
After baking, let the cookies cool down on the sheet for a little while, break them, take them off too hot.
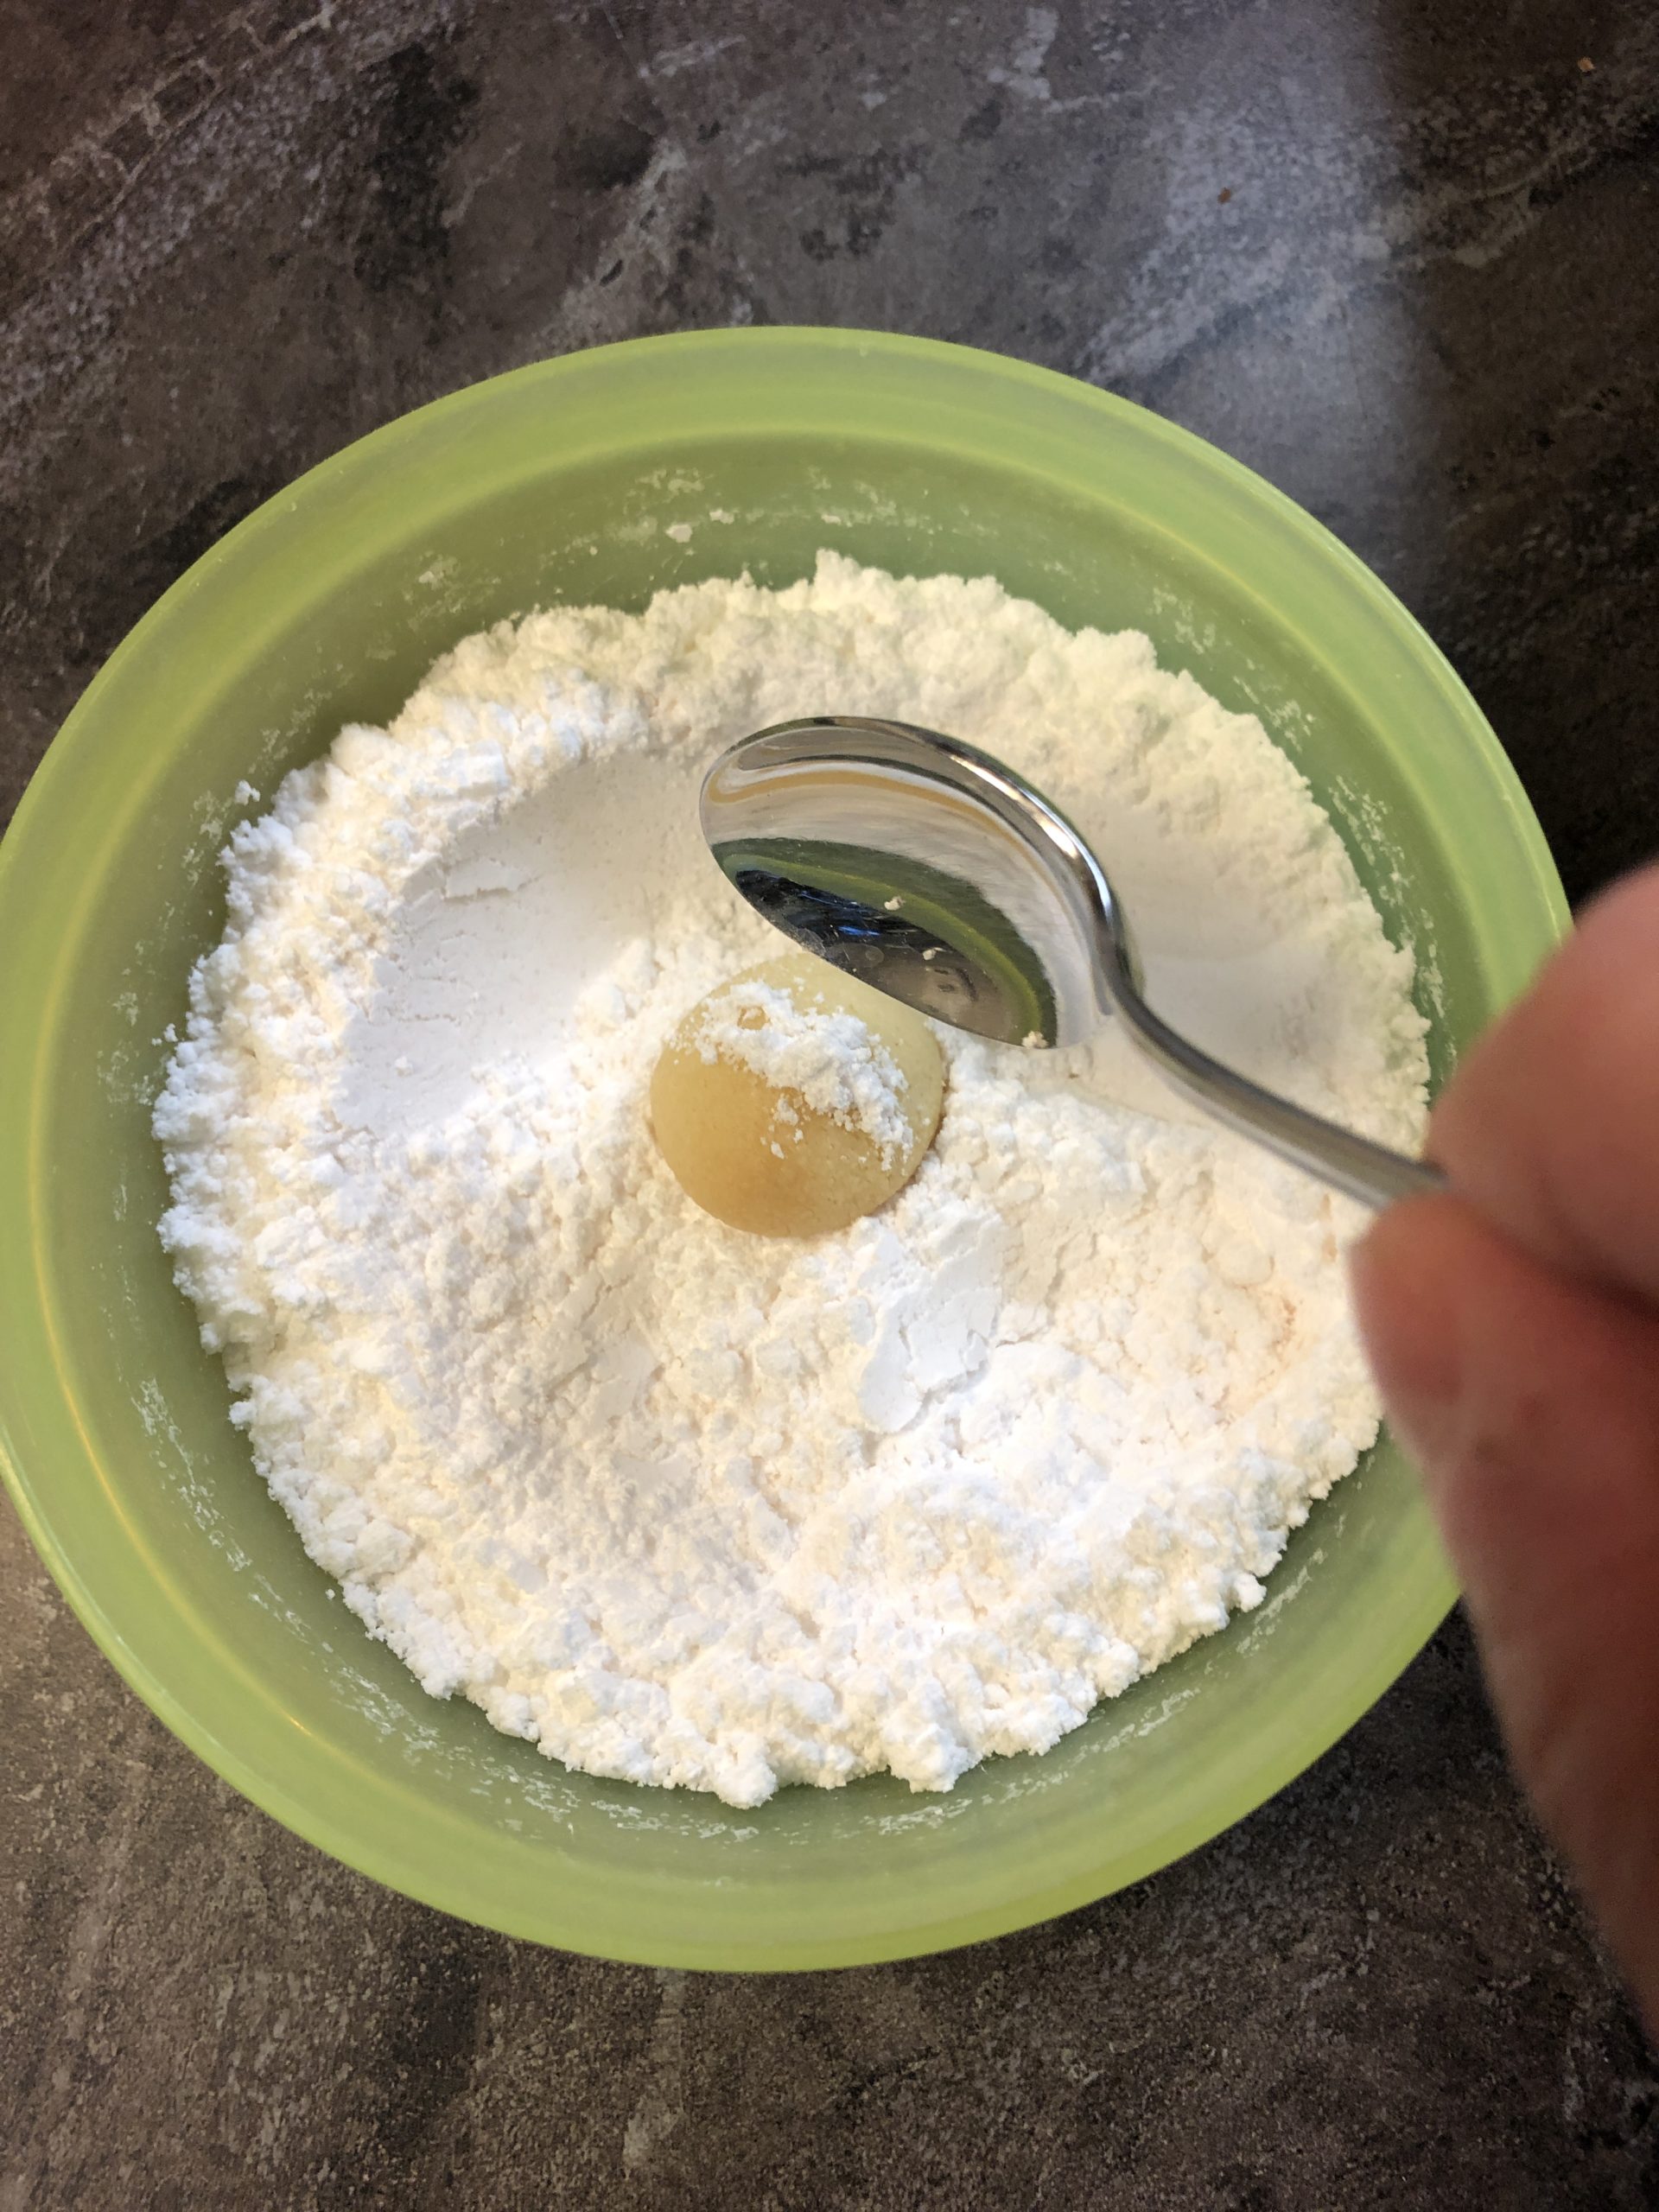
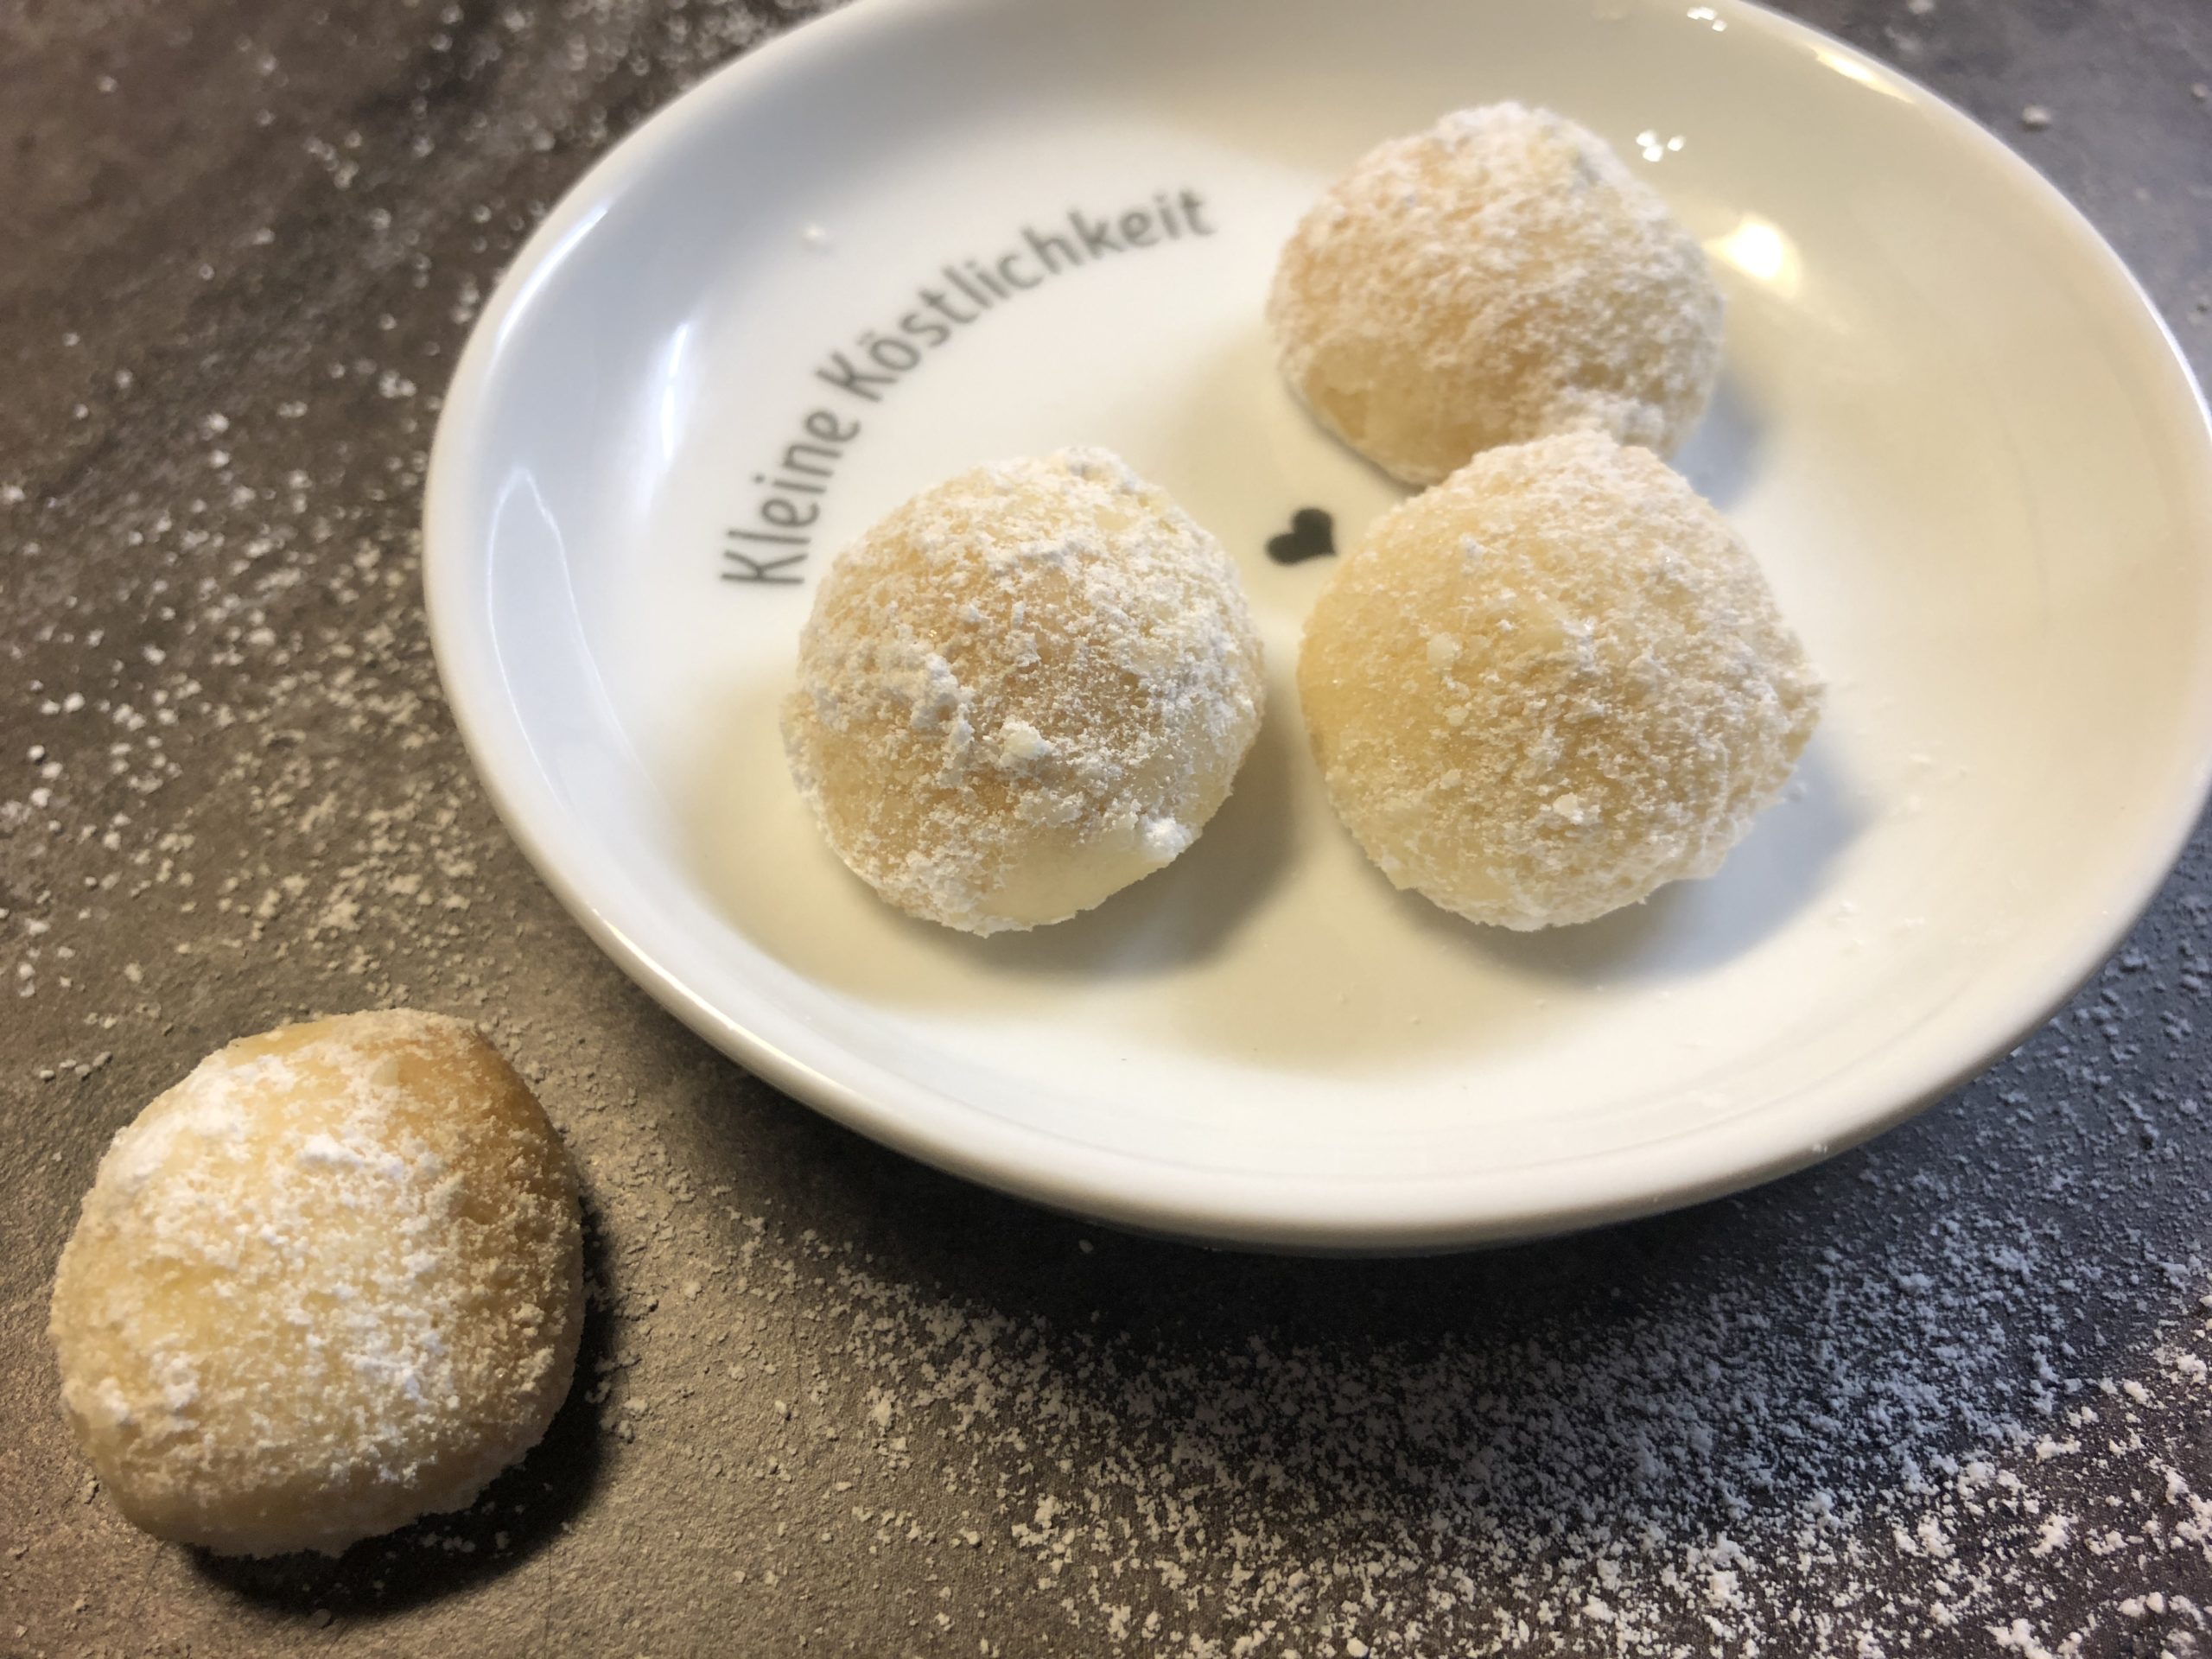
The still warm cookies can be turned in a mixture of powdered sugar and vanilla sugar. Be careful because they are very fragile!
Put them next to each other to cool down.
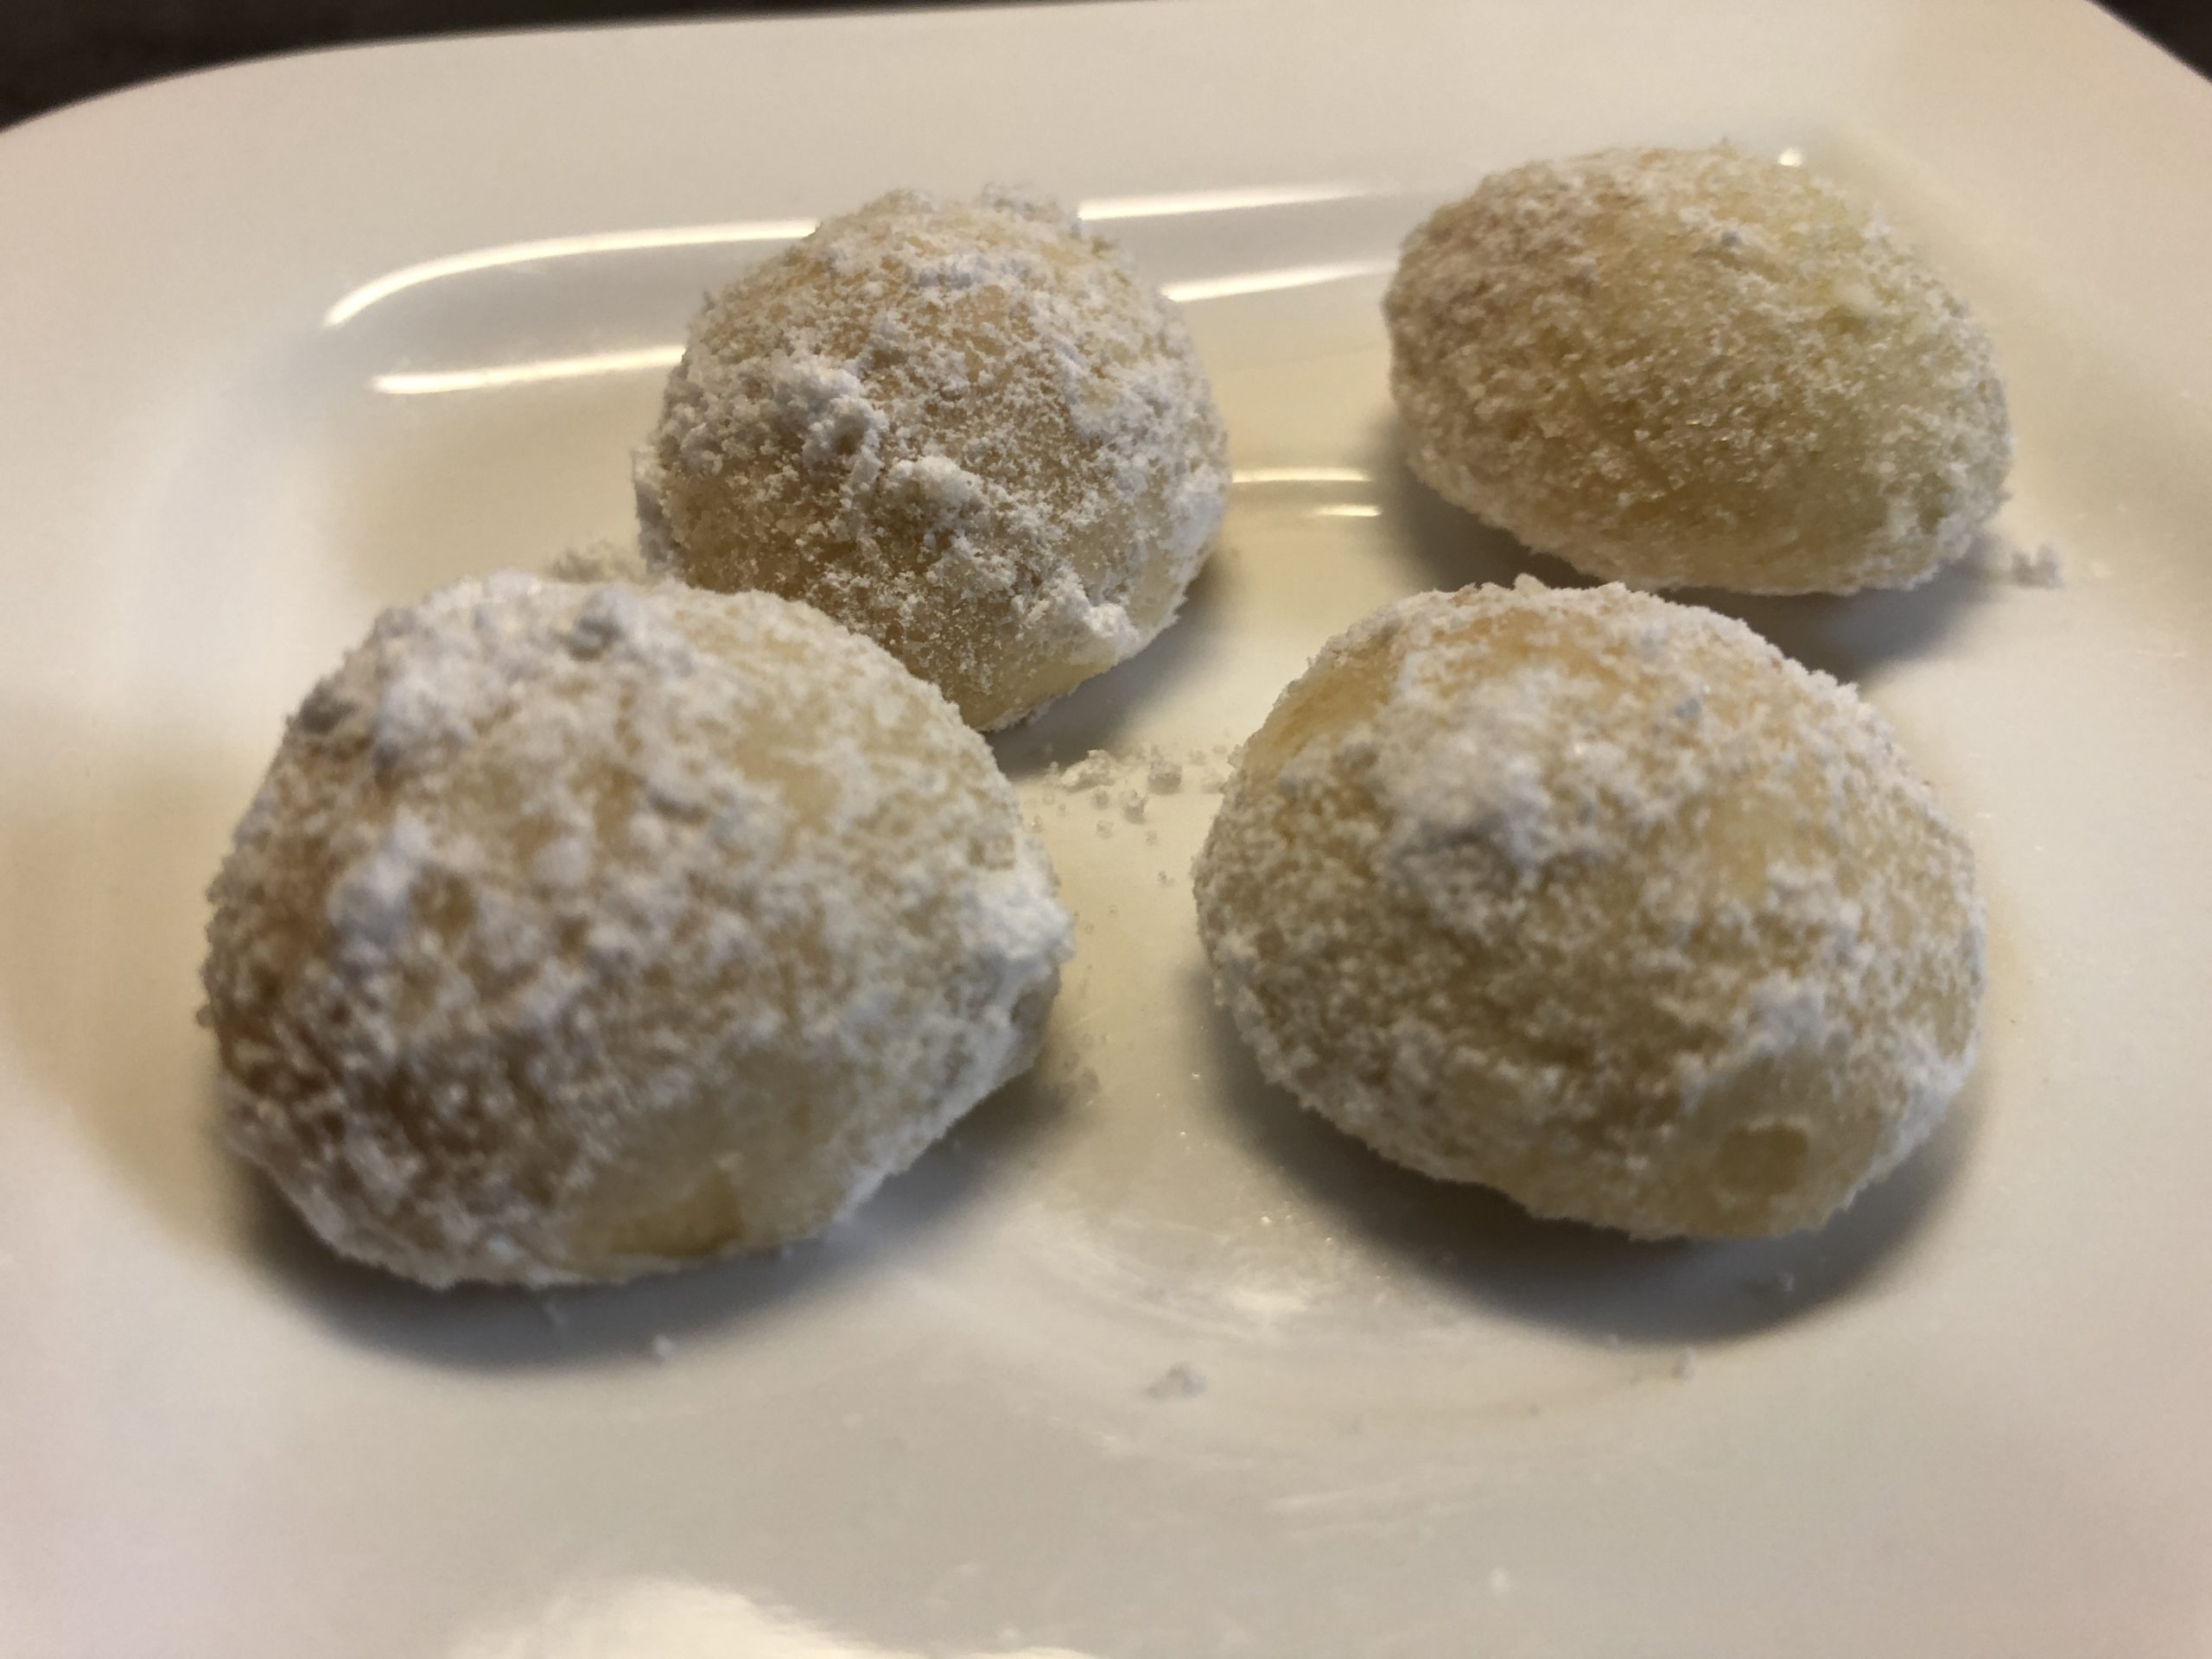
This very fast variant is ready.
This is particularly suitable if children want to try quickly or the children no longer have stamina to bake.
Let the cookies cool down really well!
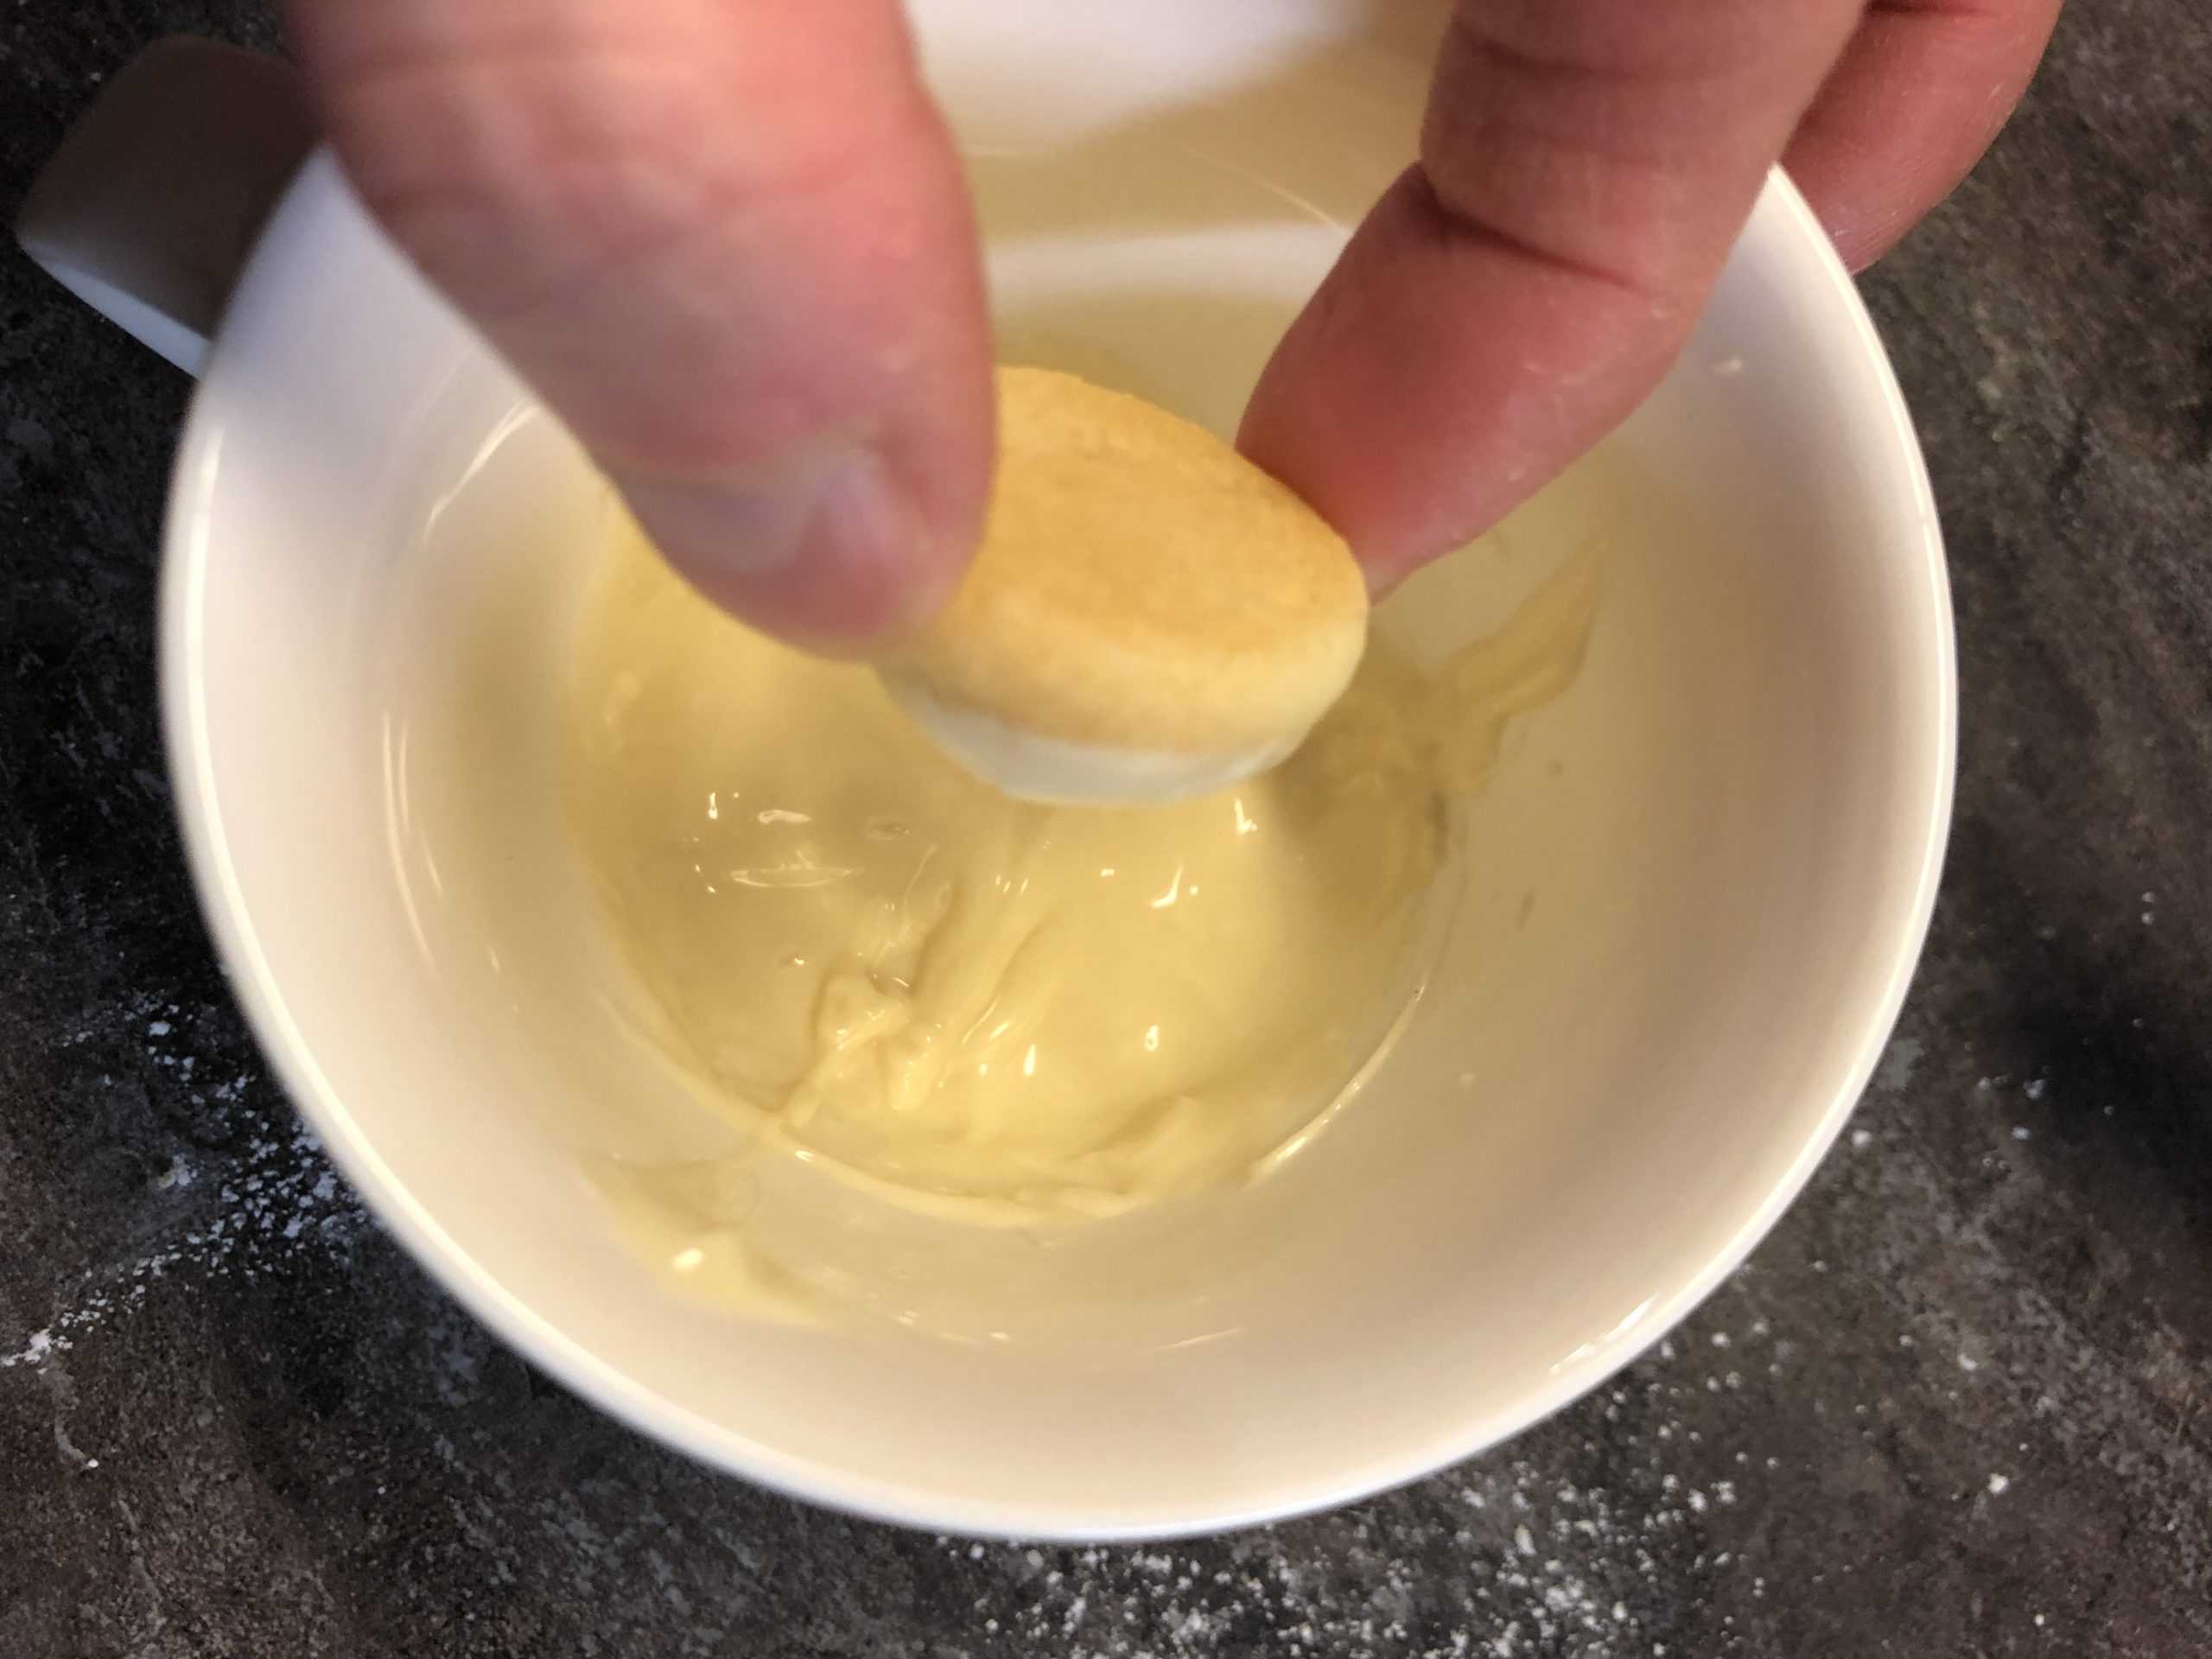
Then melts white envelope. For this, put the envelope into a cup and place the cup in a pot with hot water. Then stir until the envelope melts. Now dive the spot with the top into the envelope.
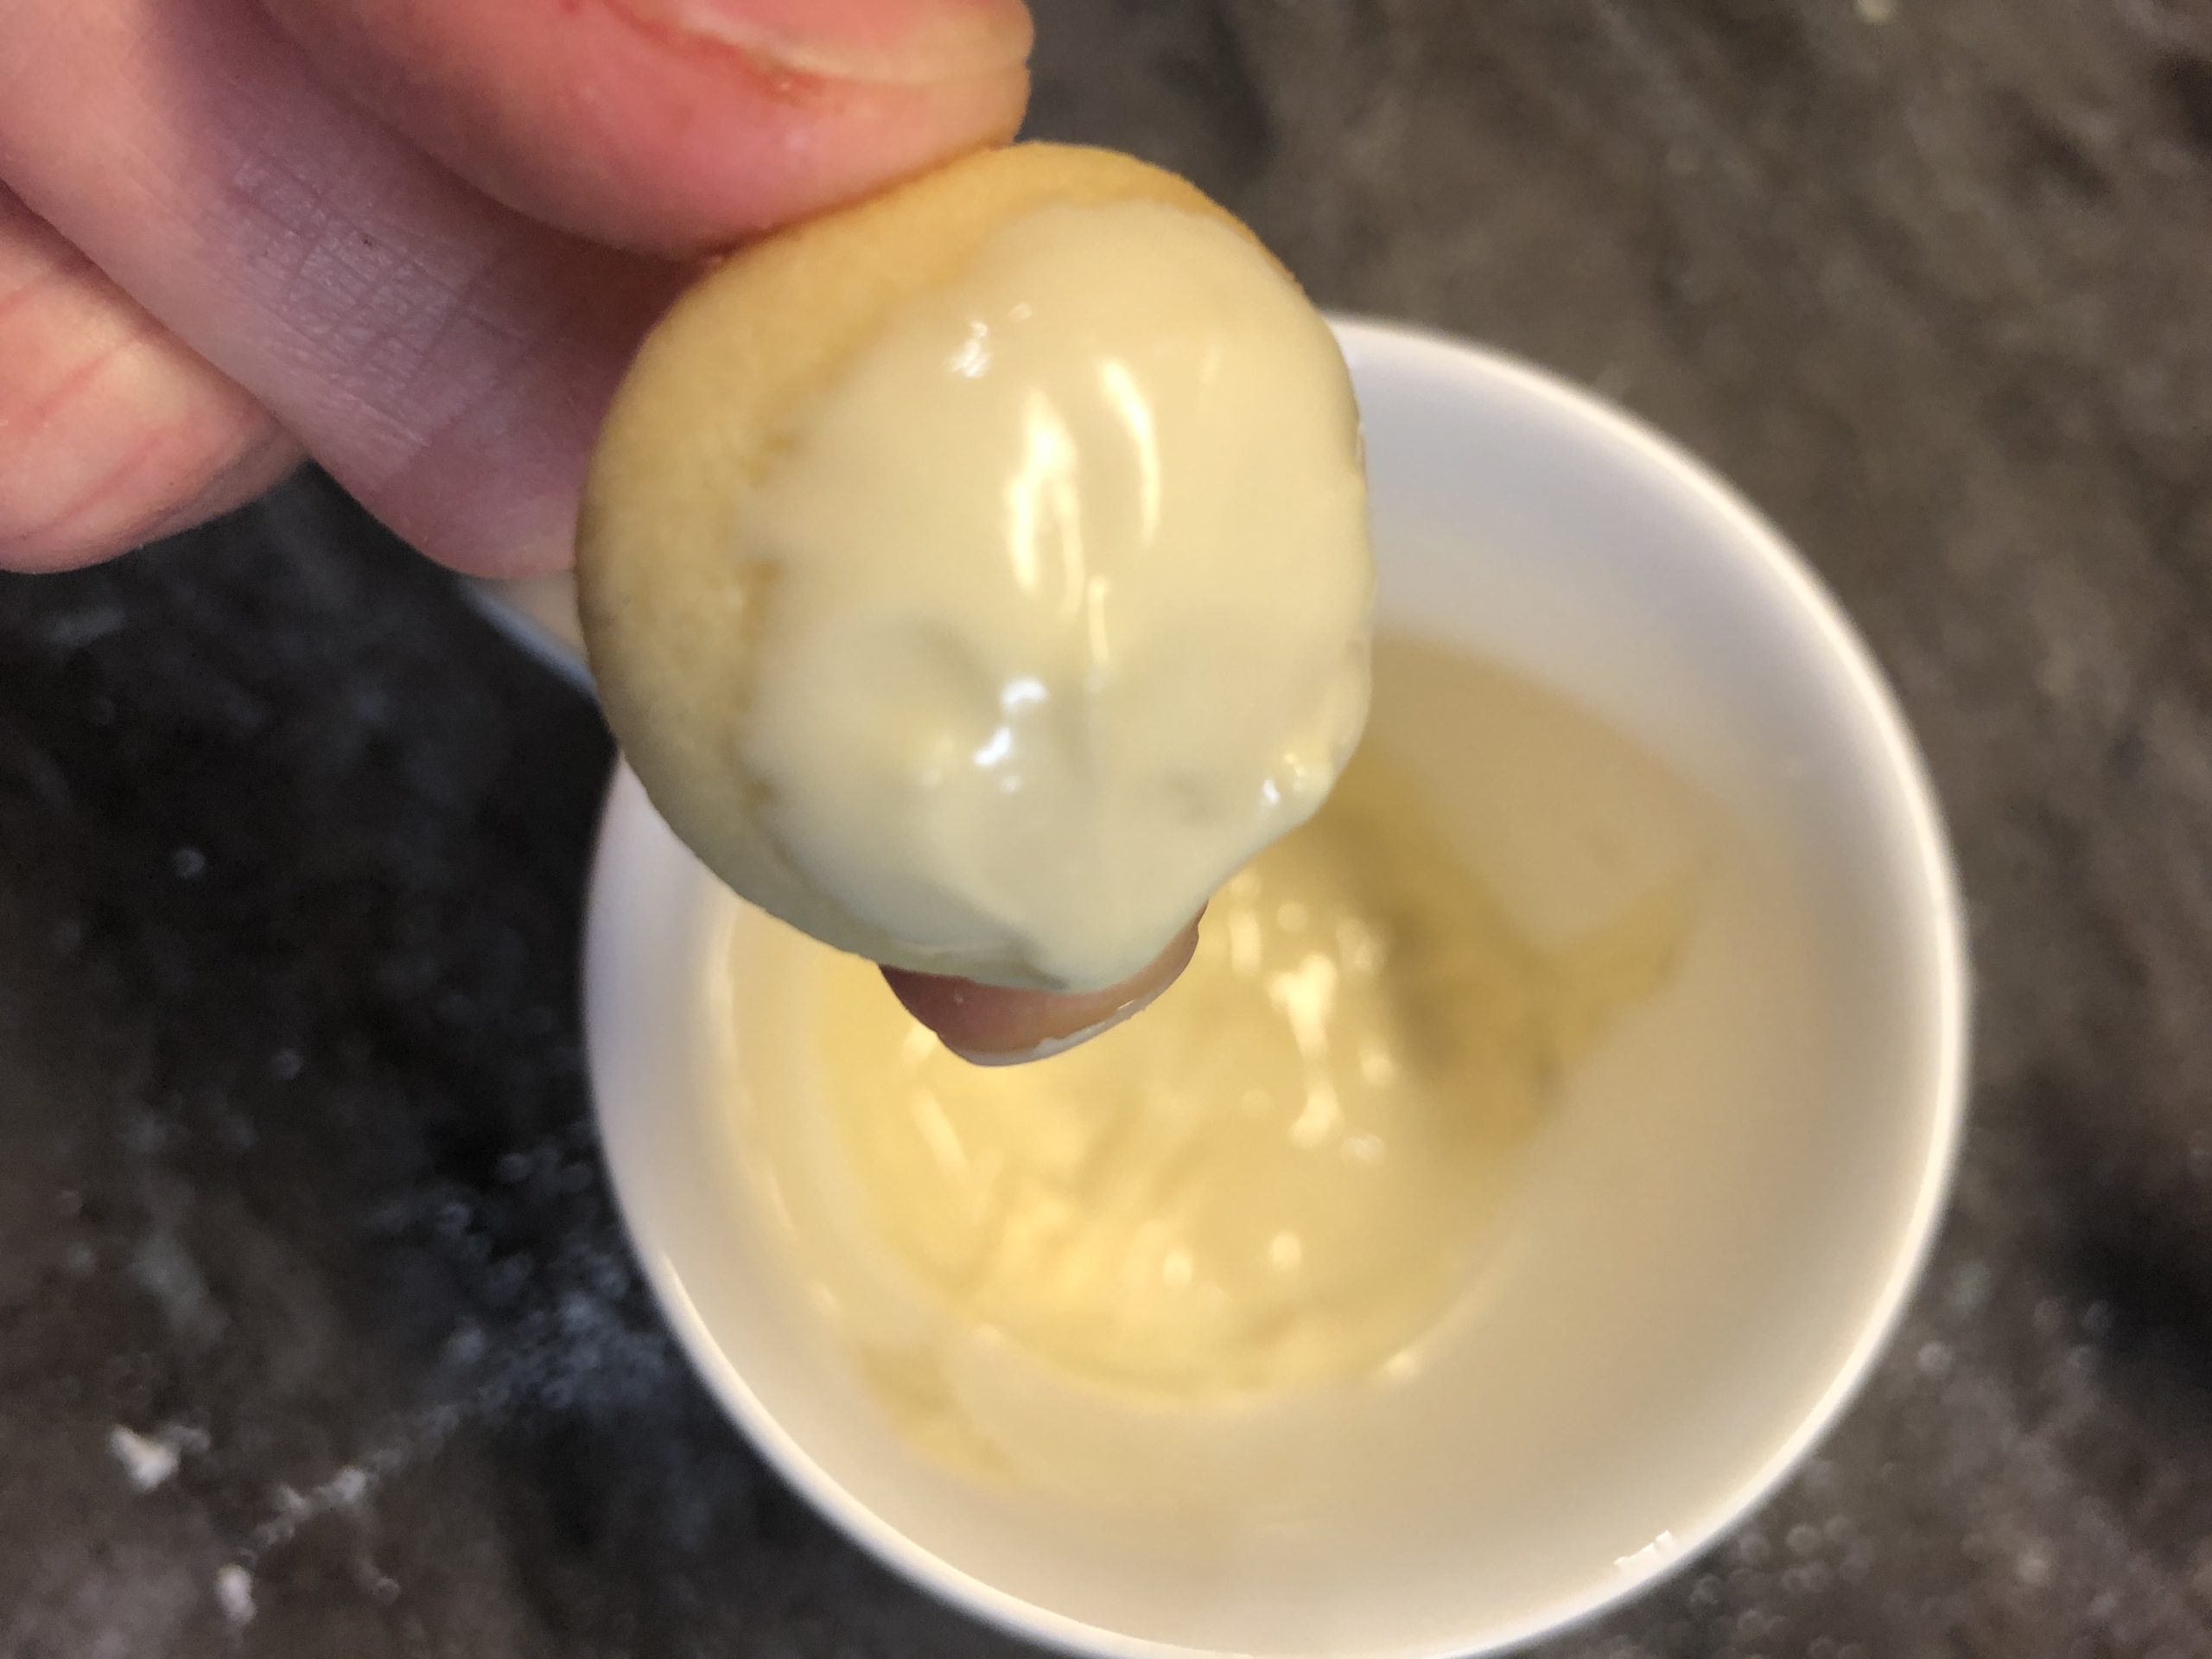
Gently strip off the excess chocolate on the side of the cup.
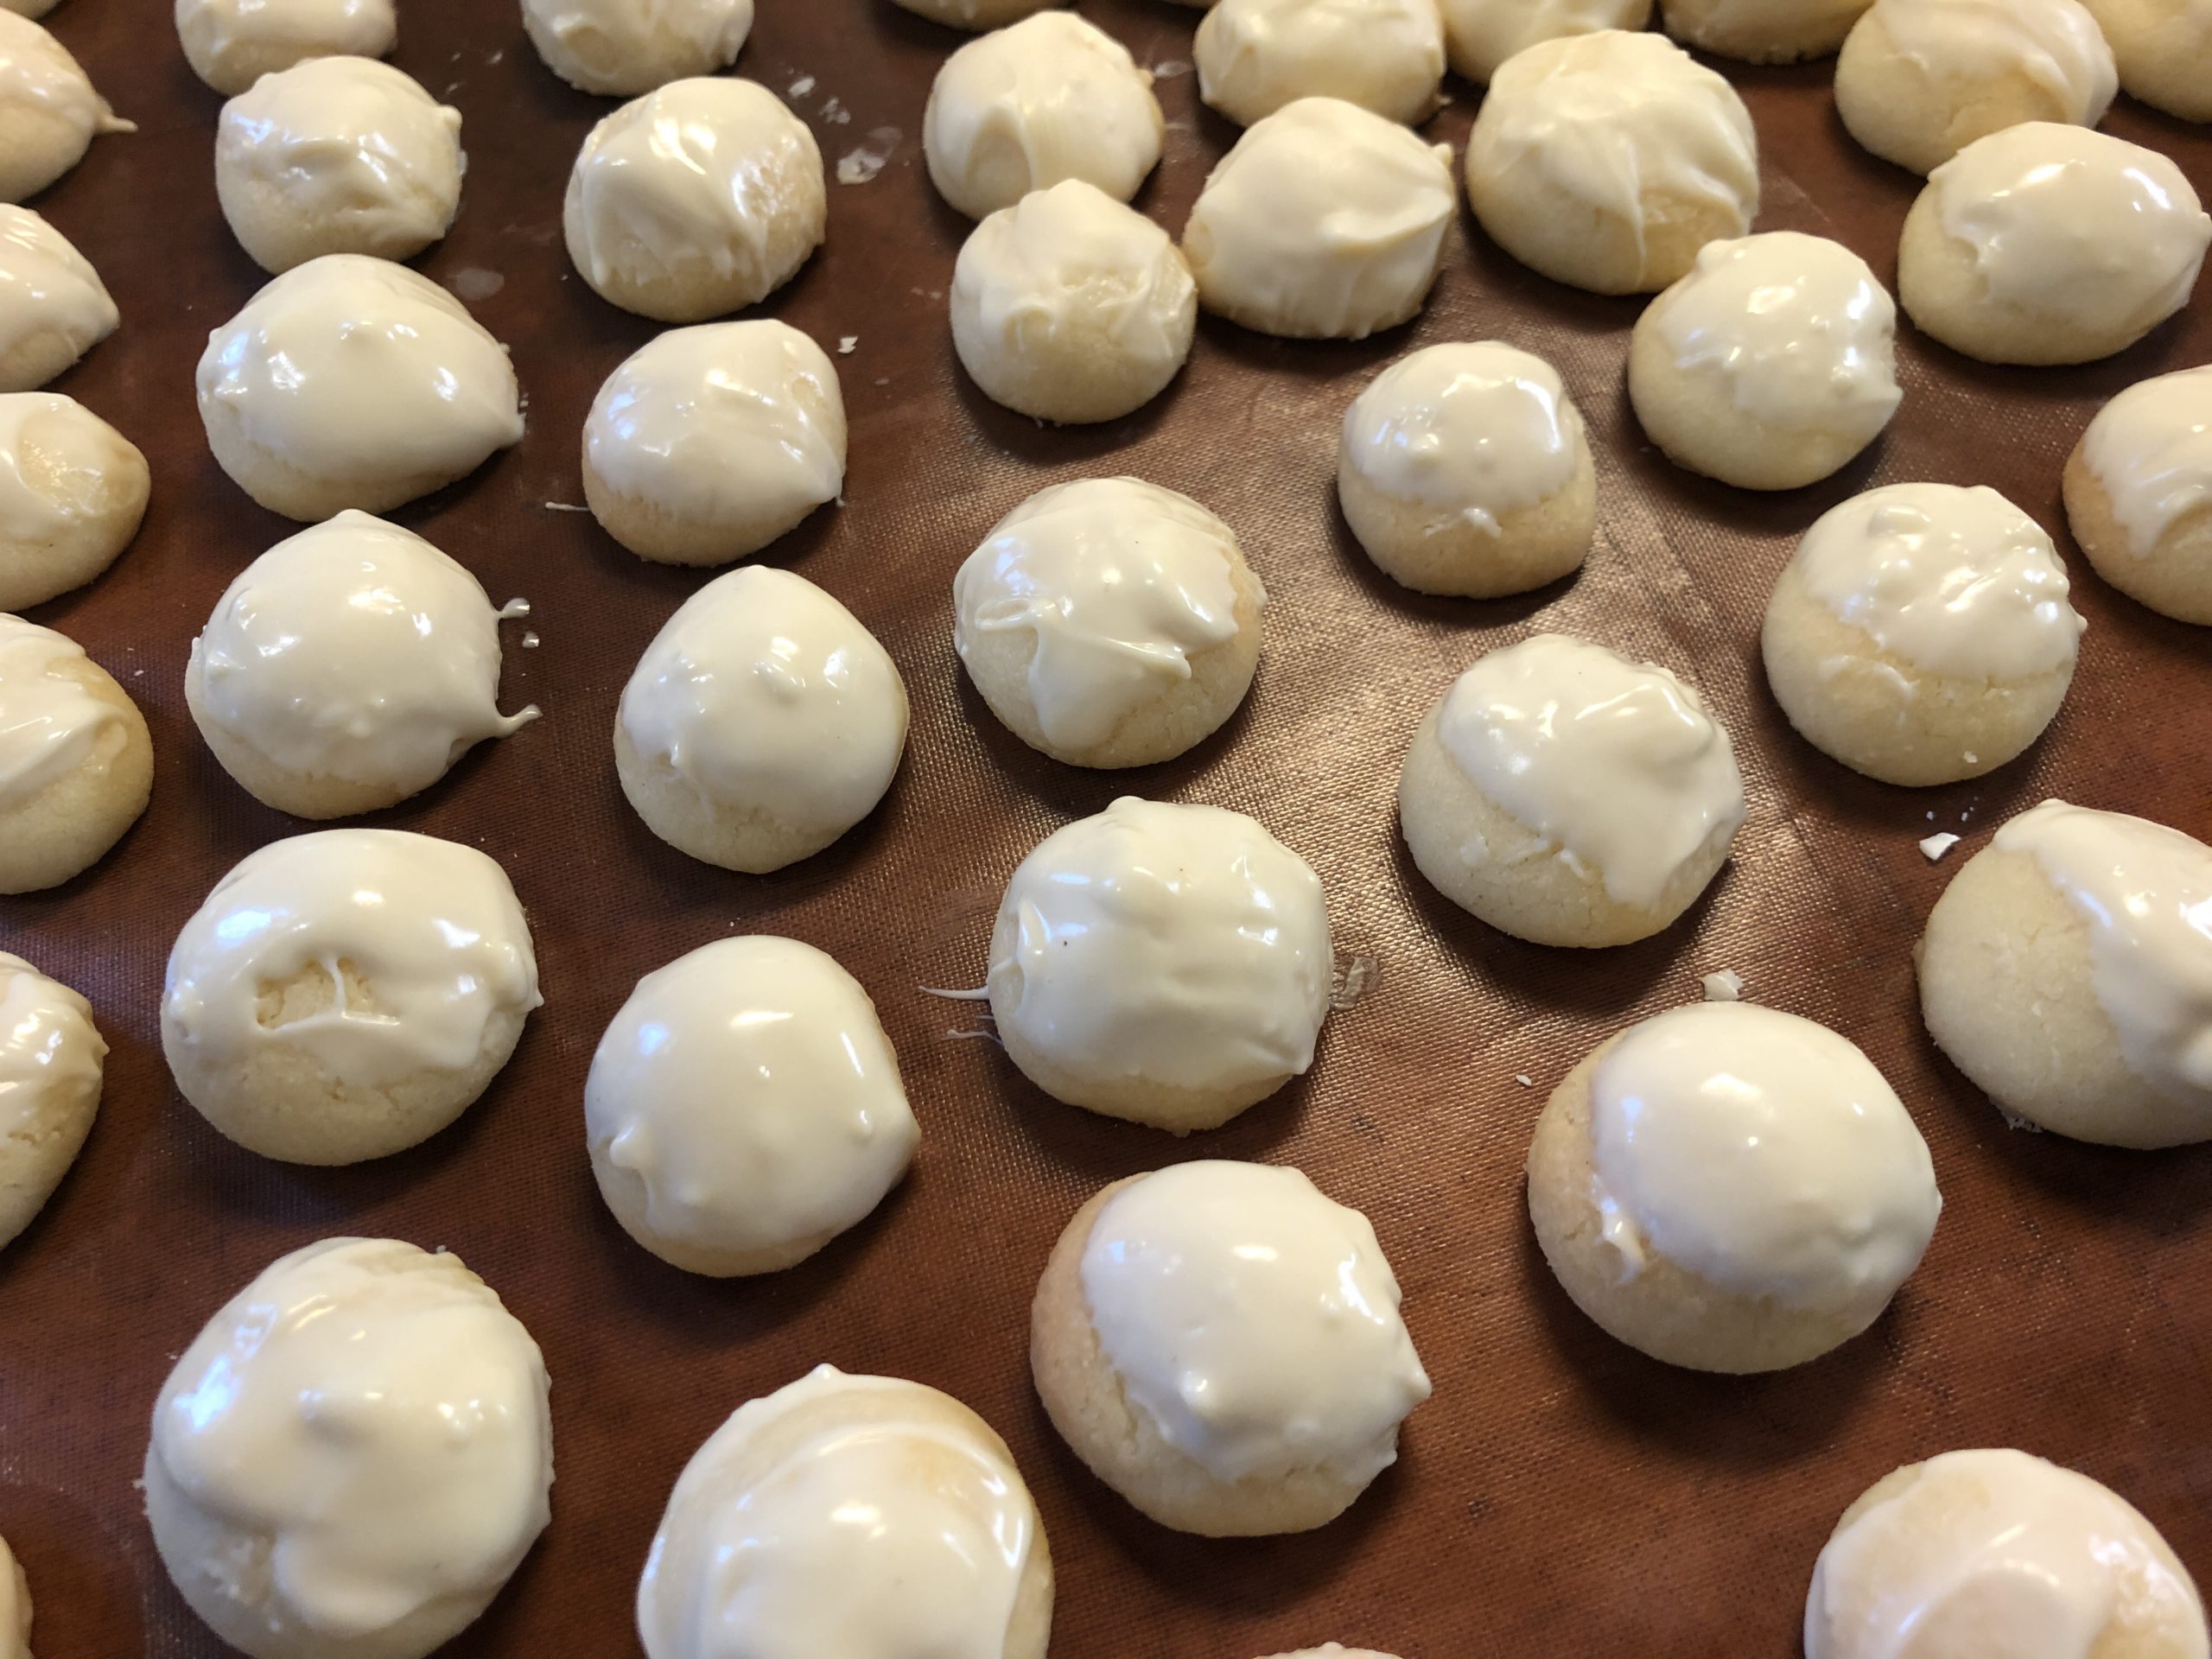
Now put it on the baking paper for drying.
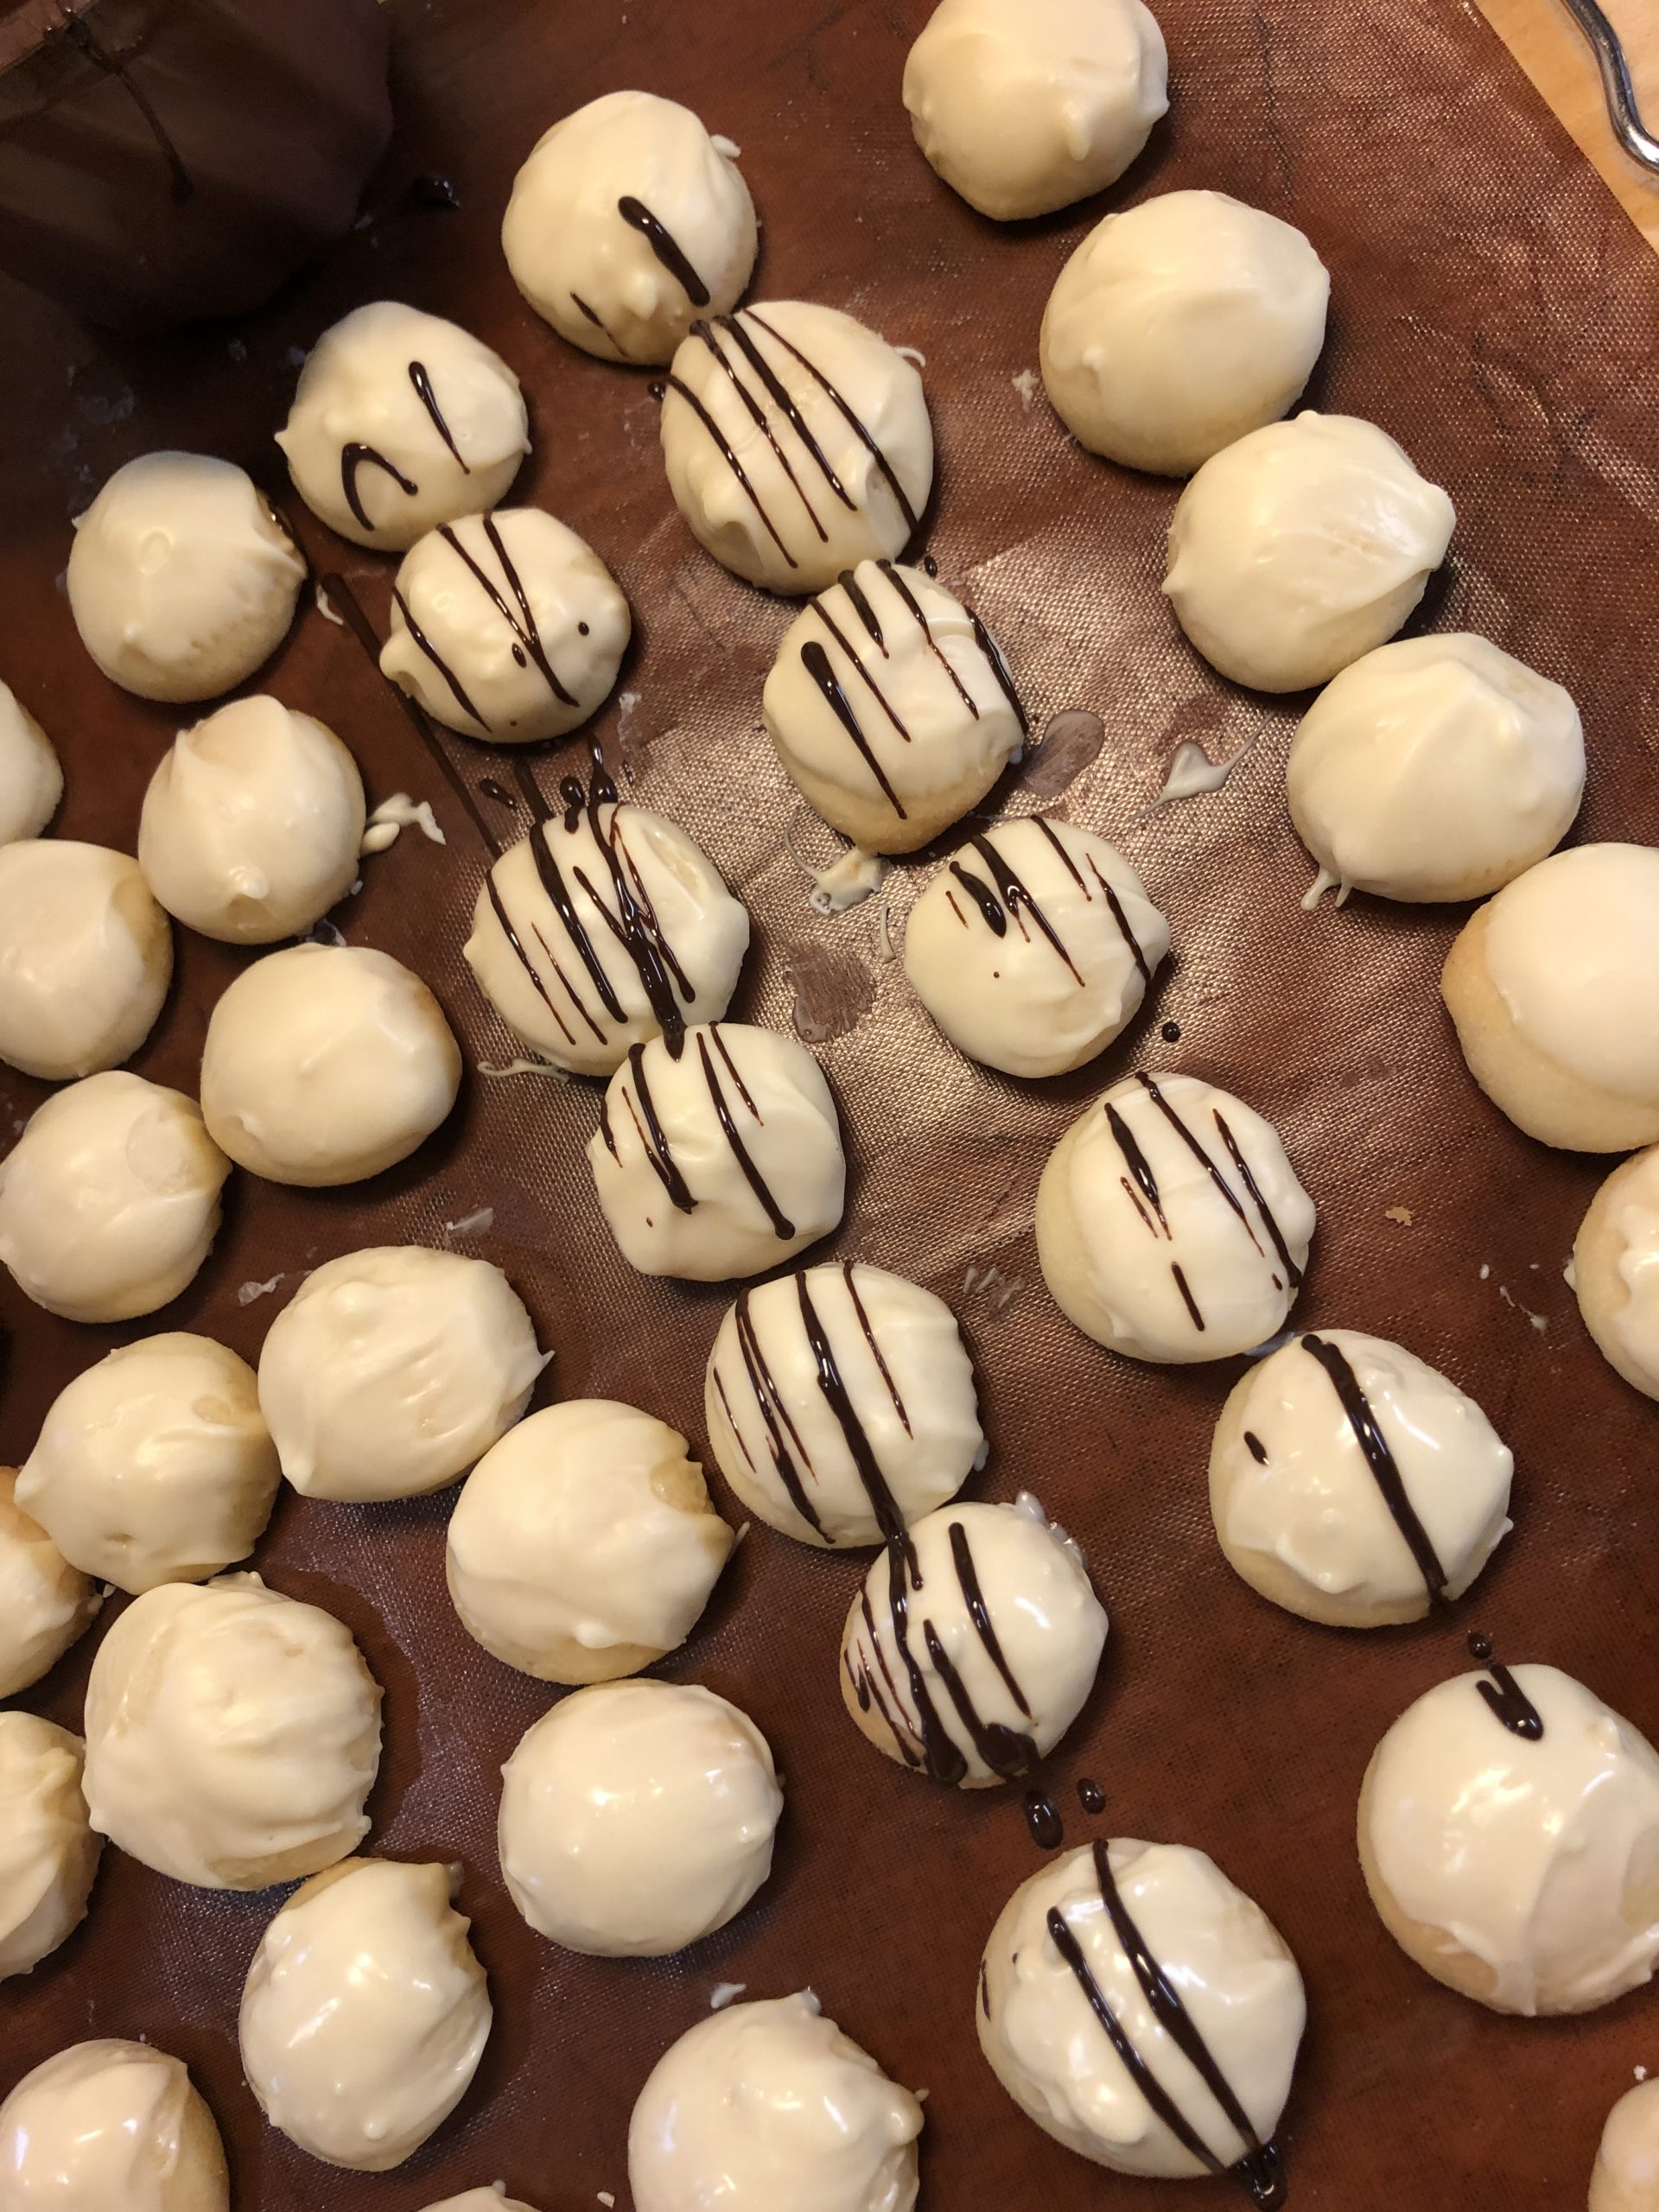
Then you melt the dark chocolate glaze and sprinkle it on the cookies.
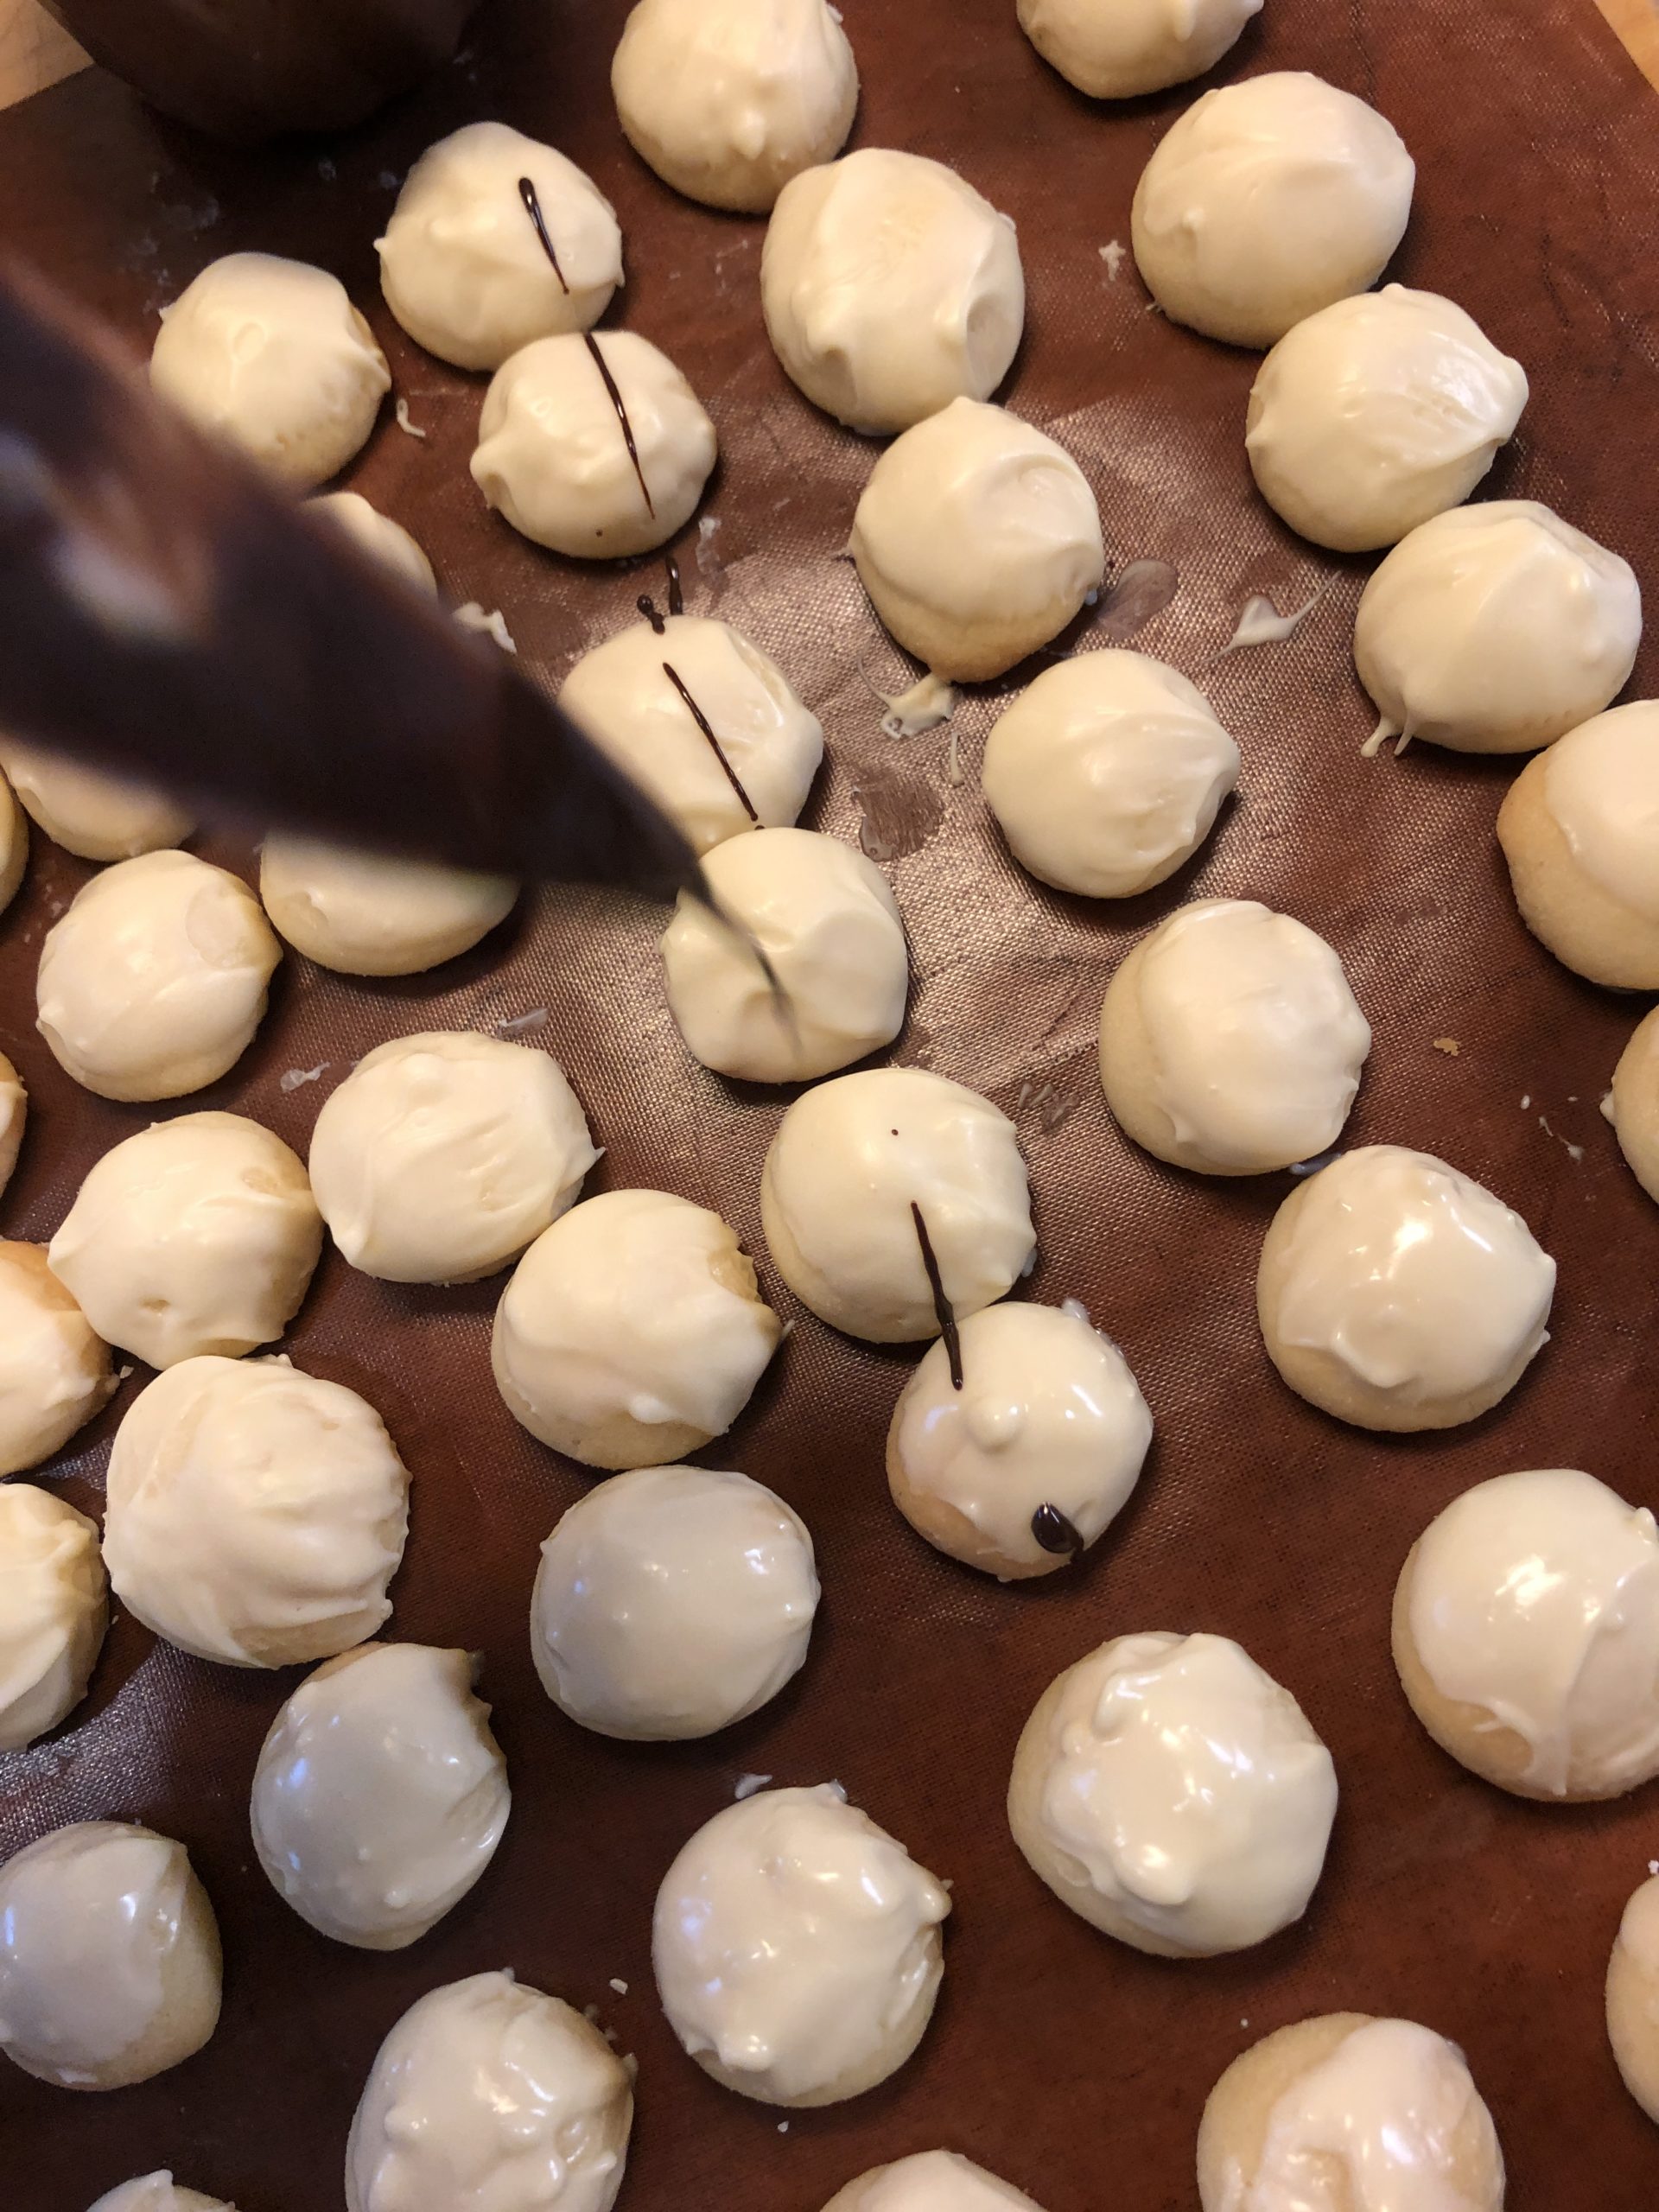
For this you take a pointed knife and dip the tip into the liquid chocolate glaze. Then you move the knife over the spots back and forth. Dive the knife tip again and again into the chocolate glaze and repeat the process until you like the result.
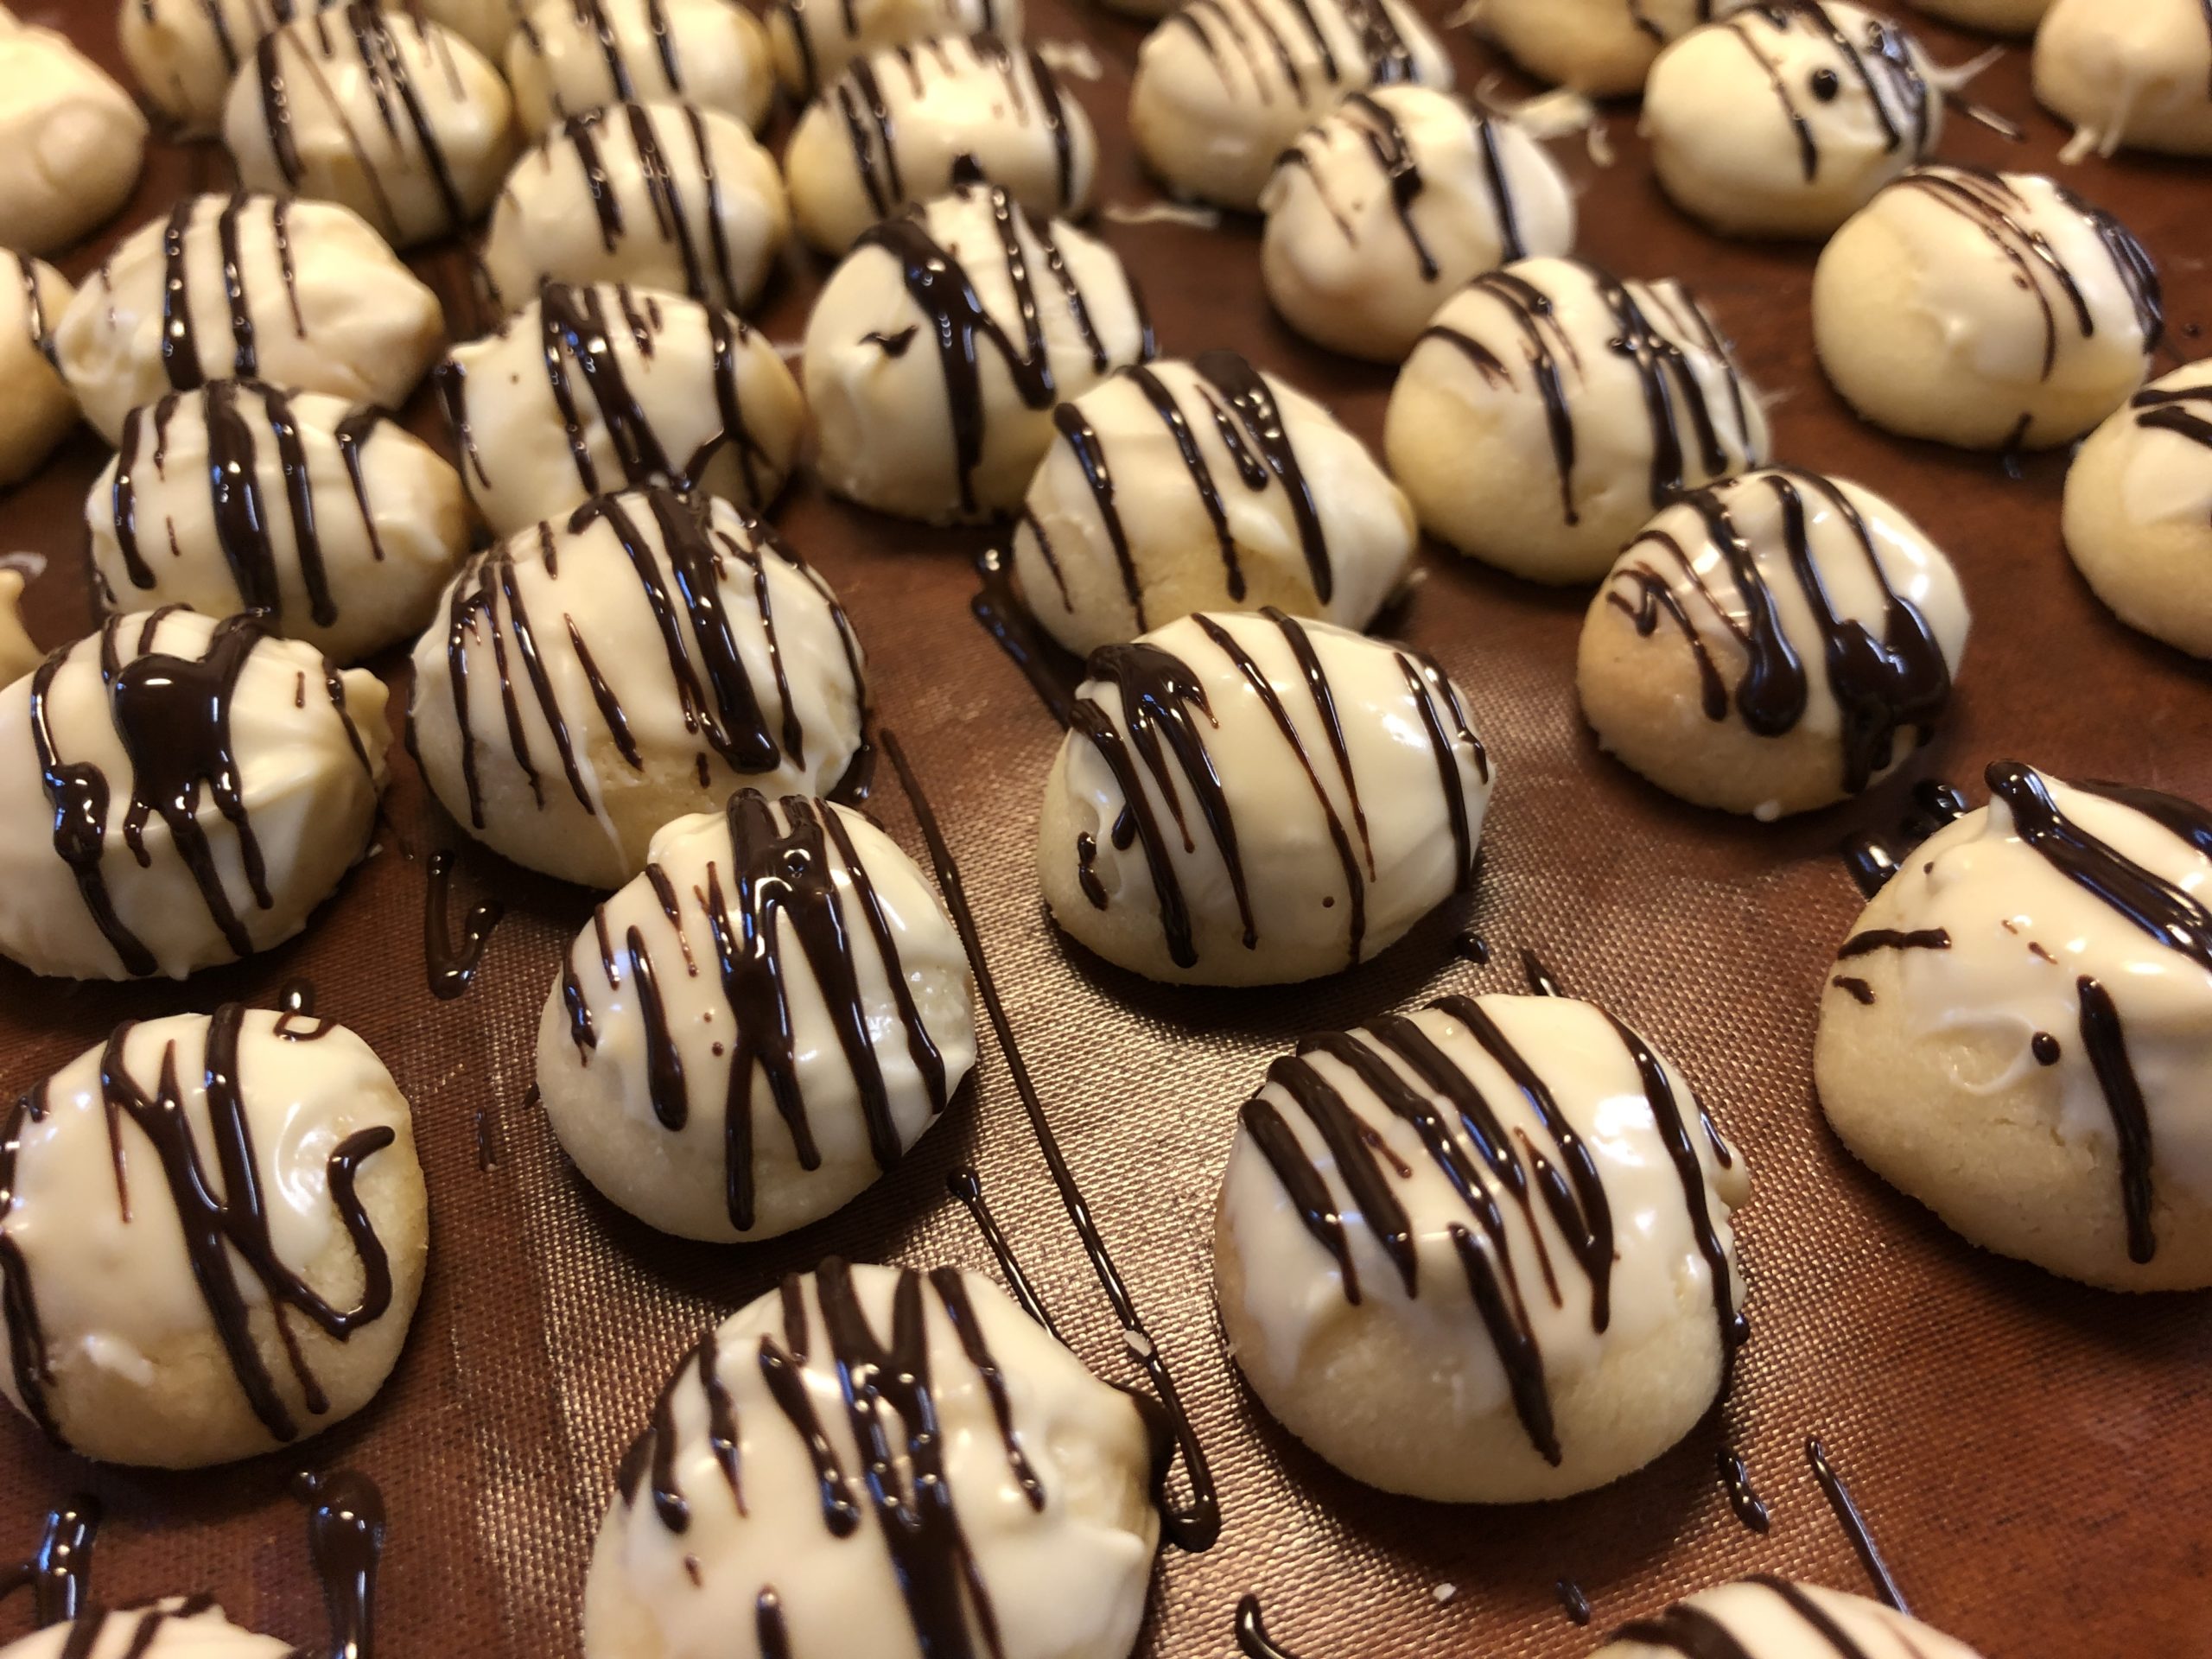
Let the cookie pralines dry well.
Finally, put her in a can to store.
Tip: Place in butterbread paper between the floors for stacking, otherwise they stick to each other.

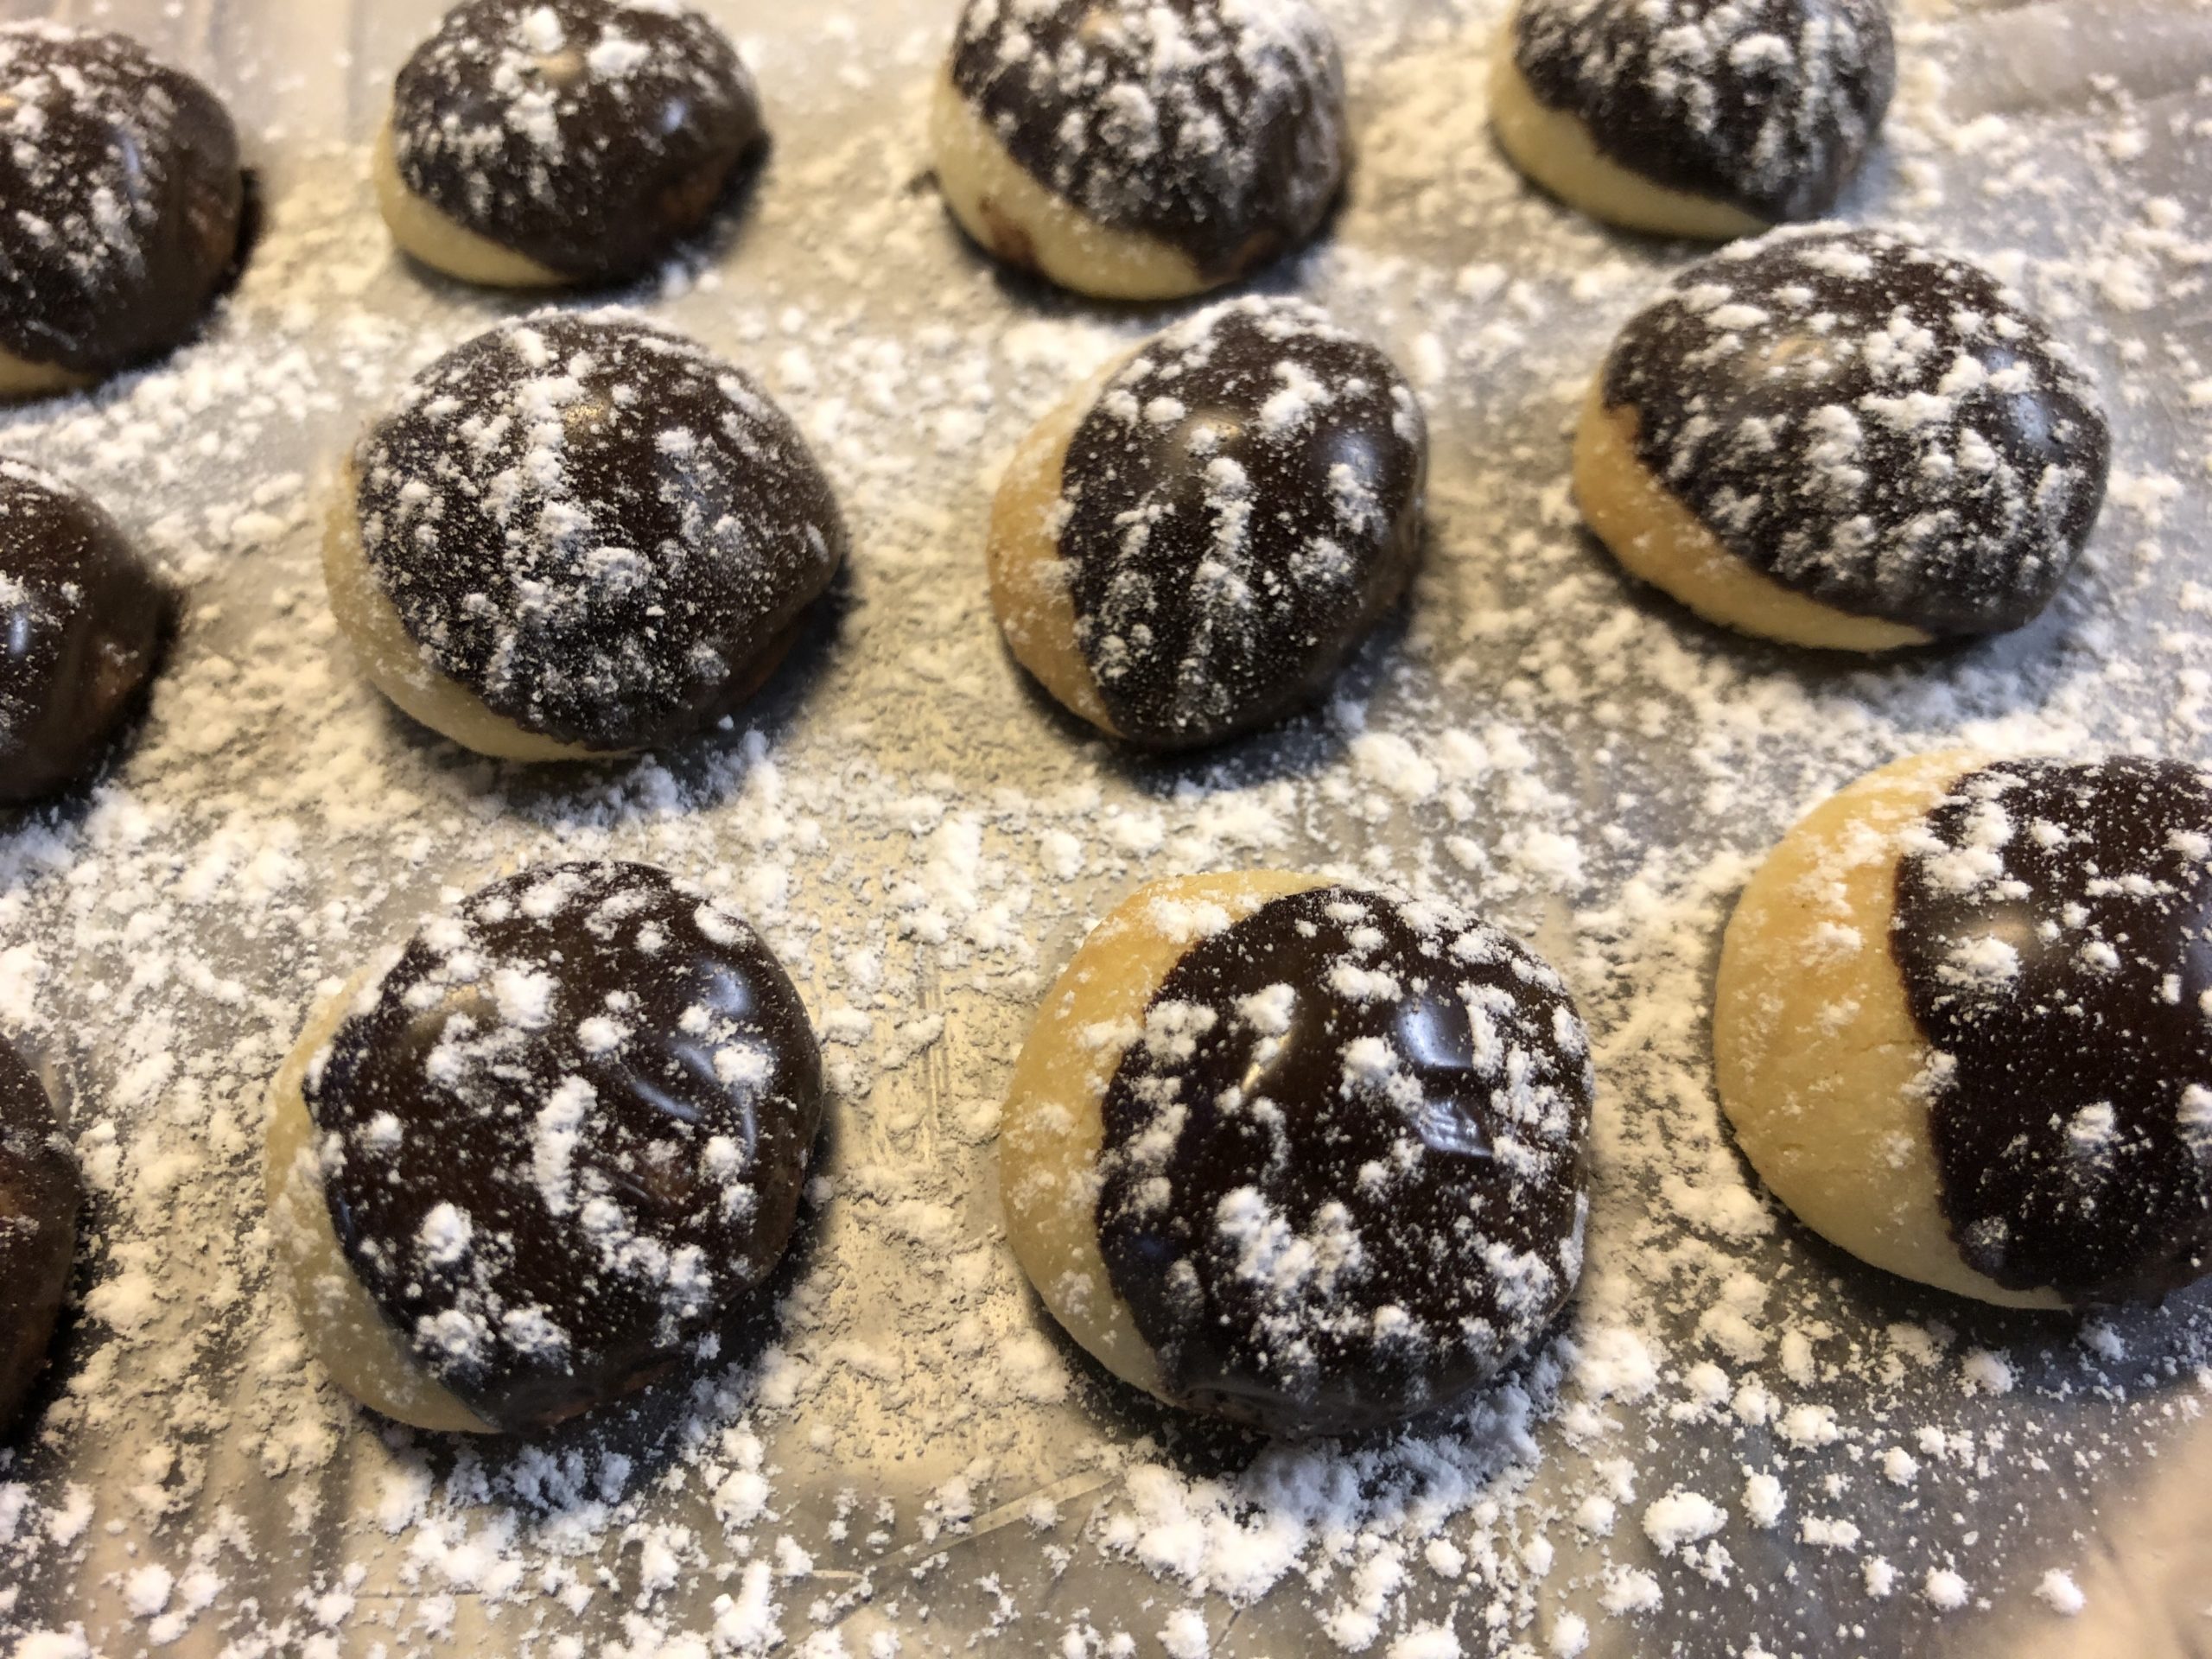
You prefer dark chocolate? Then the cookies dip into a dark chocolate glaze. For this, you put the chocolate in a cup and put the cup in a pot with hot water. Then stir until the chocolate melts.
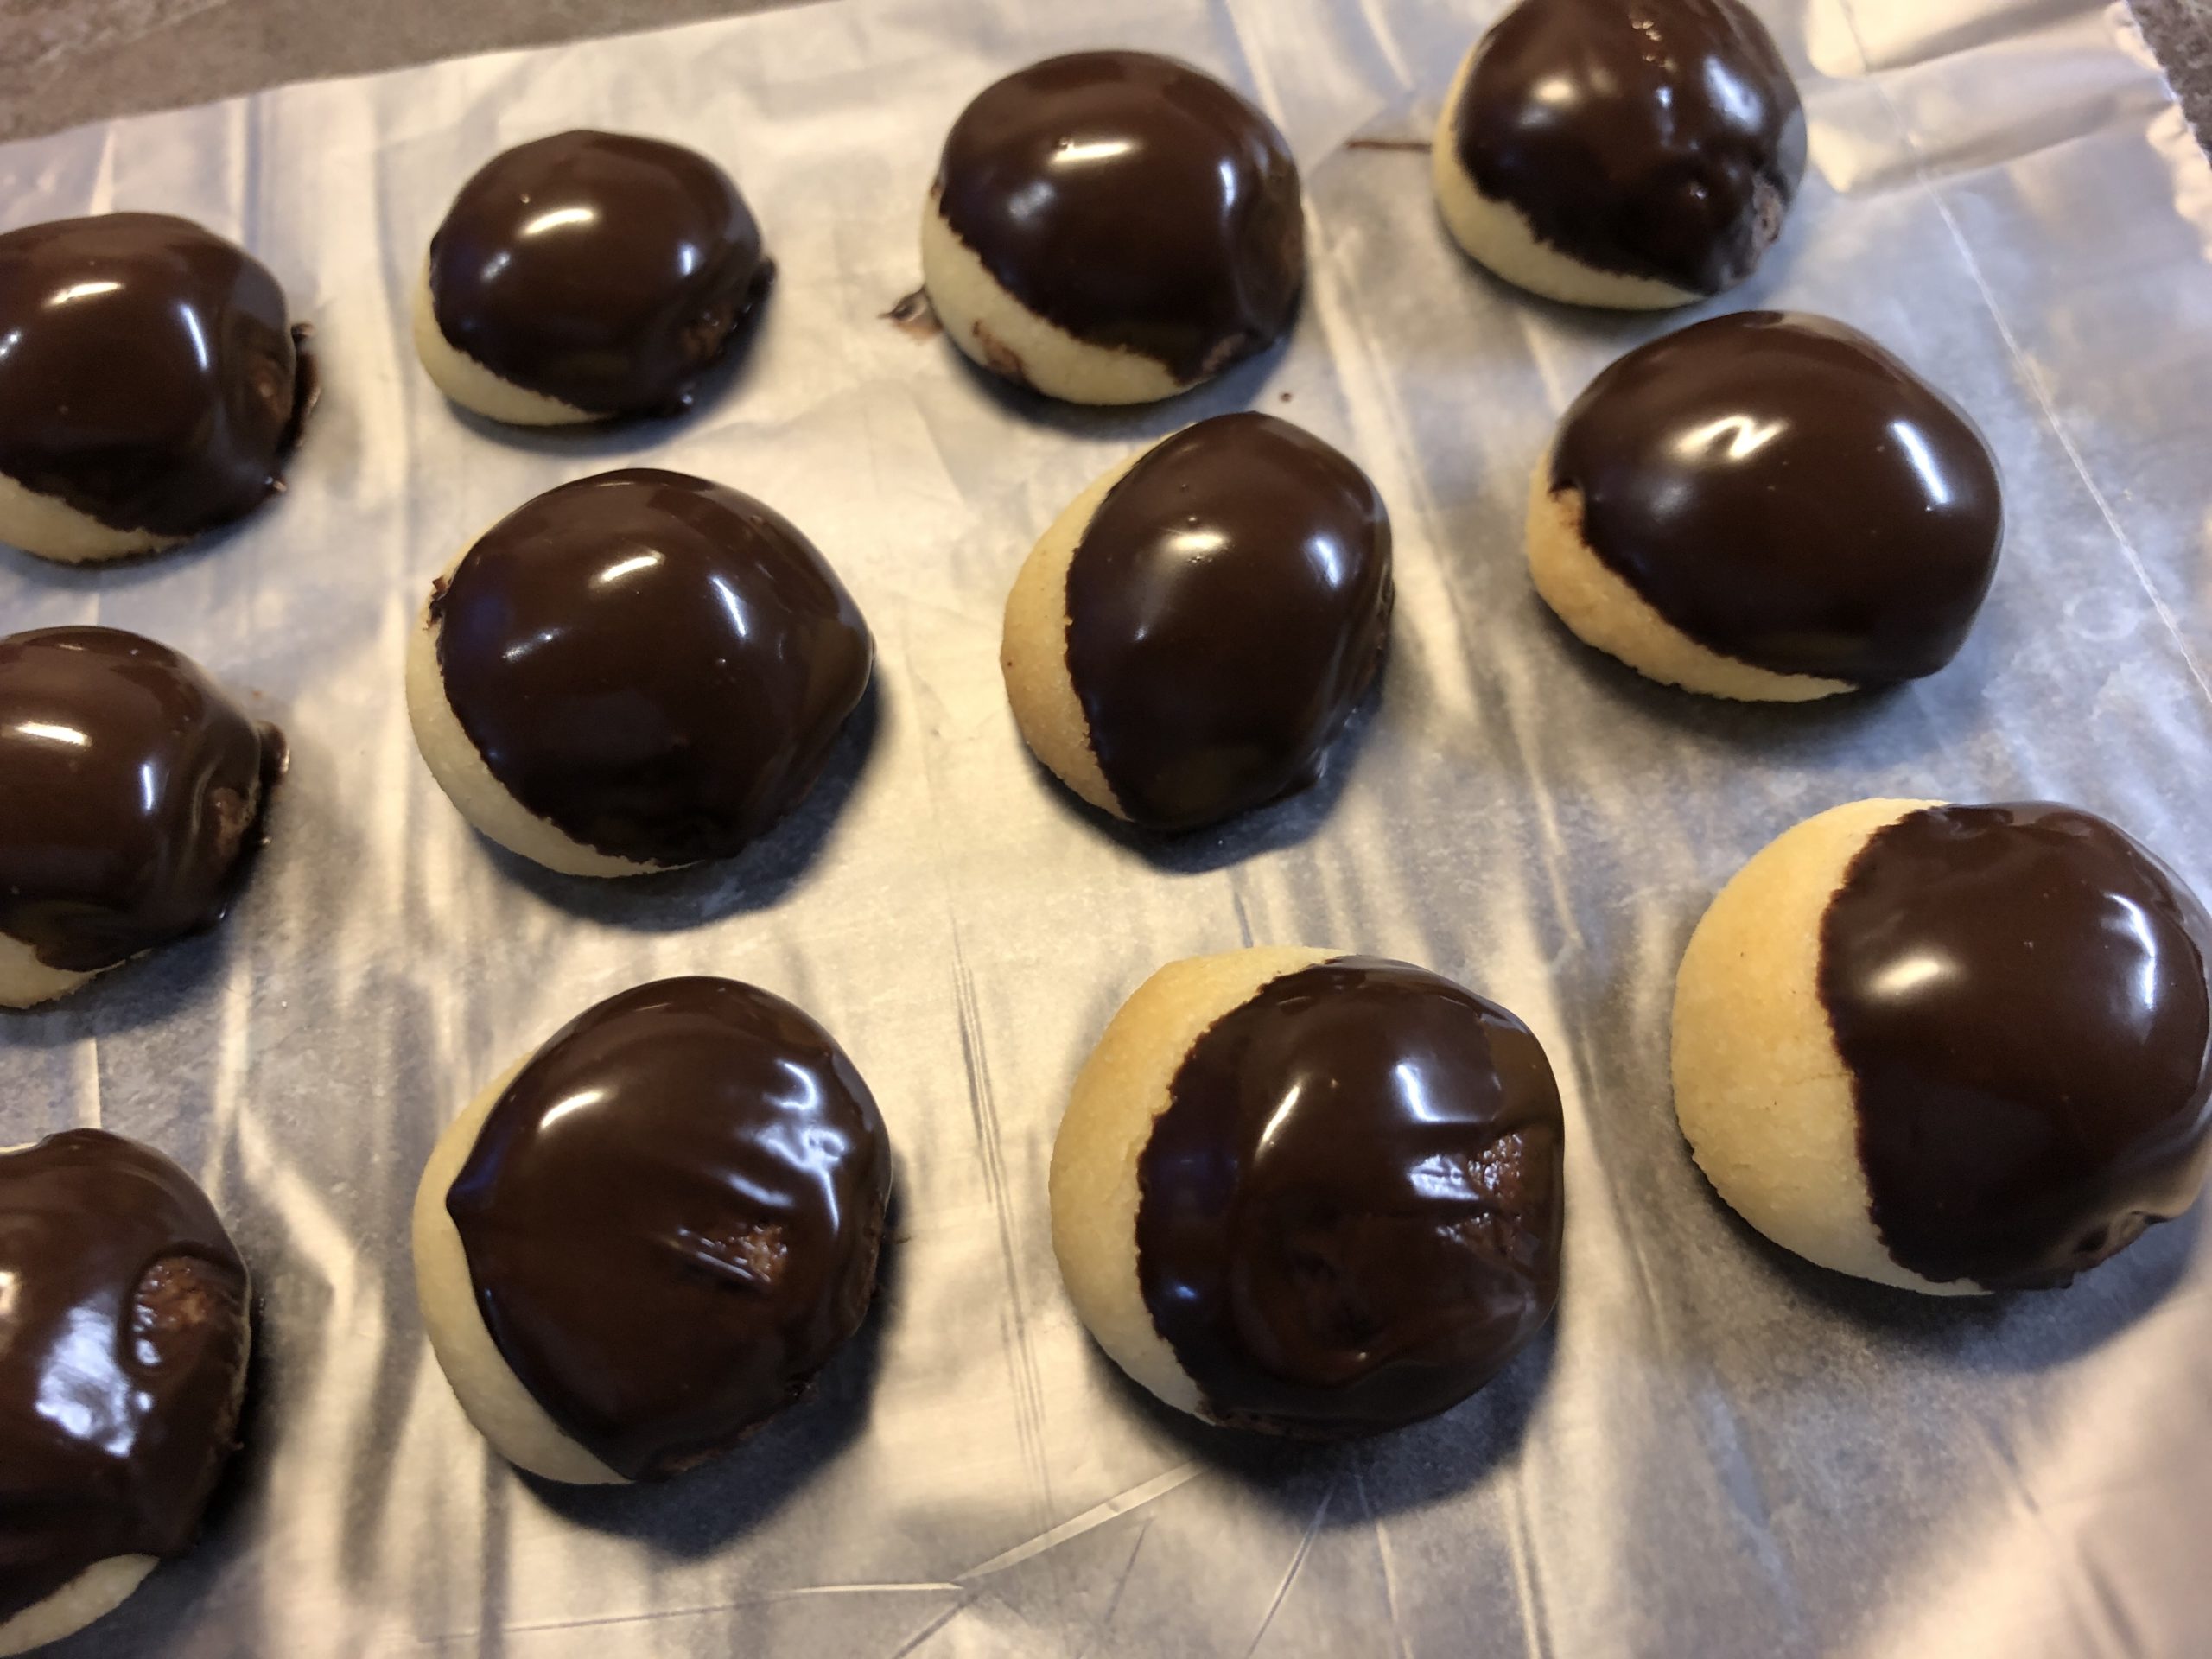
After drying, you pollinate the cookies with some powdered sugar.
Attention: white cuverture is not so good for decorating on the chocolate glaze. The reason is that it is firmer in consistency than the chocolate glaze.
Enjoy baking!
Stay creative and try out. Surely you have more ideas to beautify your cookies.
You're welcome to write to me.
Materials
Directions
First send the children to wash their hands. Then the aprons are put on and then it can start.
Weighs all the ingredients and puts them in a mixing bowl.
Then knead all the ingredients with the kitchen machine to a smooth dough.
Tip: You can also let the children knead with your hands, which is great fun for many children!
At first, the dough becomes very fine and crumbly during processing.
The longer the dough is kneaded, the stronger it becomes.
Finally form the dough into a large ball and place it cold for 20 minutes.
Cut off a piece of the dough and roll a long snake from it.
Now cut the snake into evenly large pieces (circa 2cm).
From each piece you now roll a ball in your palms. The ball should not be larger than 2cm.
Place the balls with sufficient distance on a sheet with continuous baking foil or baking paper.
After baking, let the cookies cool down on the sheet for a little while, break them, take them off too hot.
The still warm cookies can be turned in a mixture of powdered sugar and vanilla sugar. Be careful because they are very fragile!
Put them next to each other to cool down.
This very fast variant is ready.
This is particularly suitable if children want to try quickly or the children no longer have stamina to bake.
Let the cookies cool down really well!
Then melts white envelope. For this, put the envelope into a cup and place the cup in a pot with hot water. Then stir until the envelope melts. Now dive the spot with the top into the envelope.
Gently strip off the excess chocolate on the side of the cup.
Now put it on the baking paper for drying.
Then you melt the dark chocolate glaze and sprinkle it on the cookies.
For this you take a pointed knife and dip the tip into the liquid chocolate glaze. Then you move the knife over the spots back and forth. Dive the knife tip again and again into the chocolate glaze and repeat the process until you like the result.
Let the cookie pralines dry well.
Finally, put her in a can to store.
Tip: Place in butterbread paper between the floors for stacking, otherwise they stick to each other.
You prefer dark chocolate? Then the cookies dip into a dark chocolate glaze. For this, you put the chocolate in a cup and put the cup in a pot with hot water. Then stir until the chocolate melts.
After drying, you pollinate the cookies with some powdered sugar.
Attention: white cuverture is not so good for decorating on the chocolate glaze. The reason is that it is firmer in consistency than the chocolate glaze.
Enjoy baking!
Stay creative and try out. Surely you have more ideas to beautify your cookies.
You're welcome to write to me.
Follow us on Facebook , Instagram and Pinterest
Don't miss any more adventures: Our bottle mail


