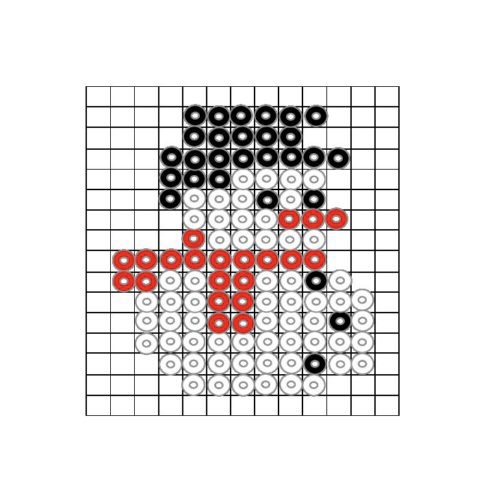
A great occupation with a cute result. A little snowman. You need ironing beads in the colors white, red and black. Print out the template or place it next to your plug-in plate.
It can start already. Even kindergarten children are enthusiastic and manage after some practice almost without help. Try it out.
Media Education for Kindergarten and Hort

Relief in everyday life, targeted promotion of individual children, independent learning and - without any pre-knowledge already usable by the youngest!
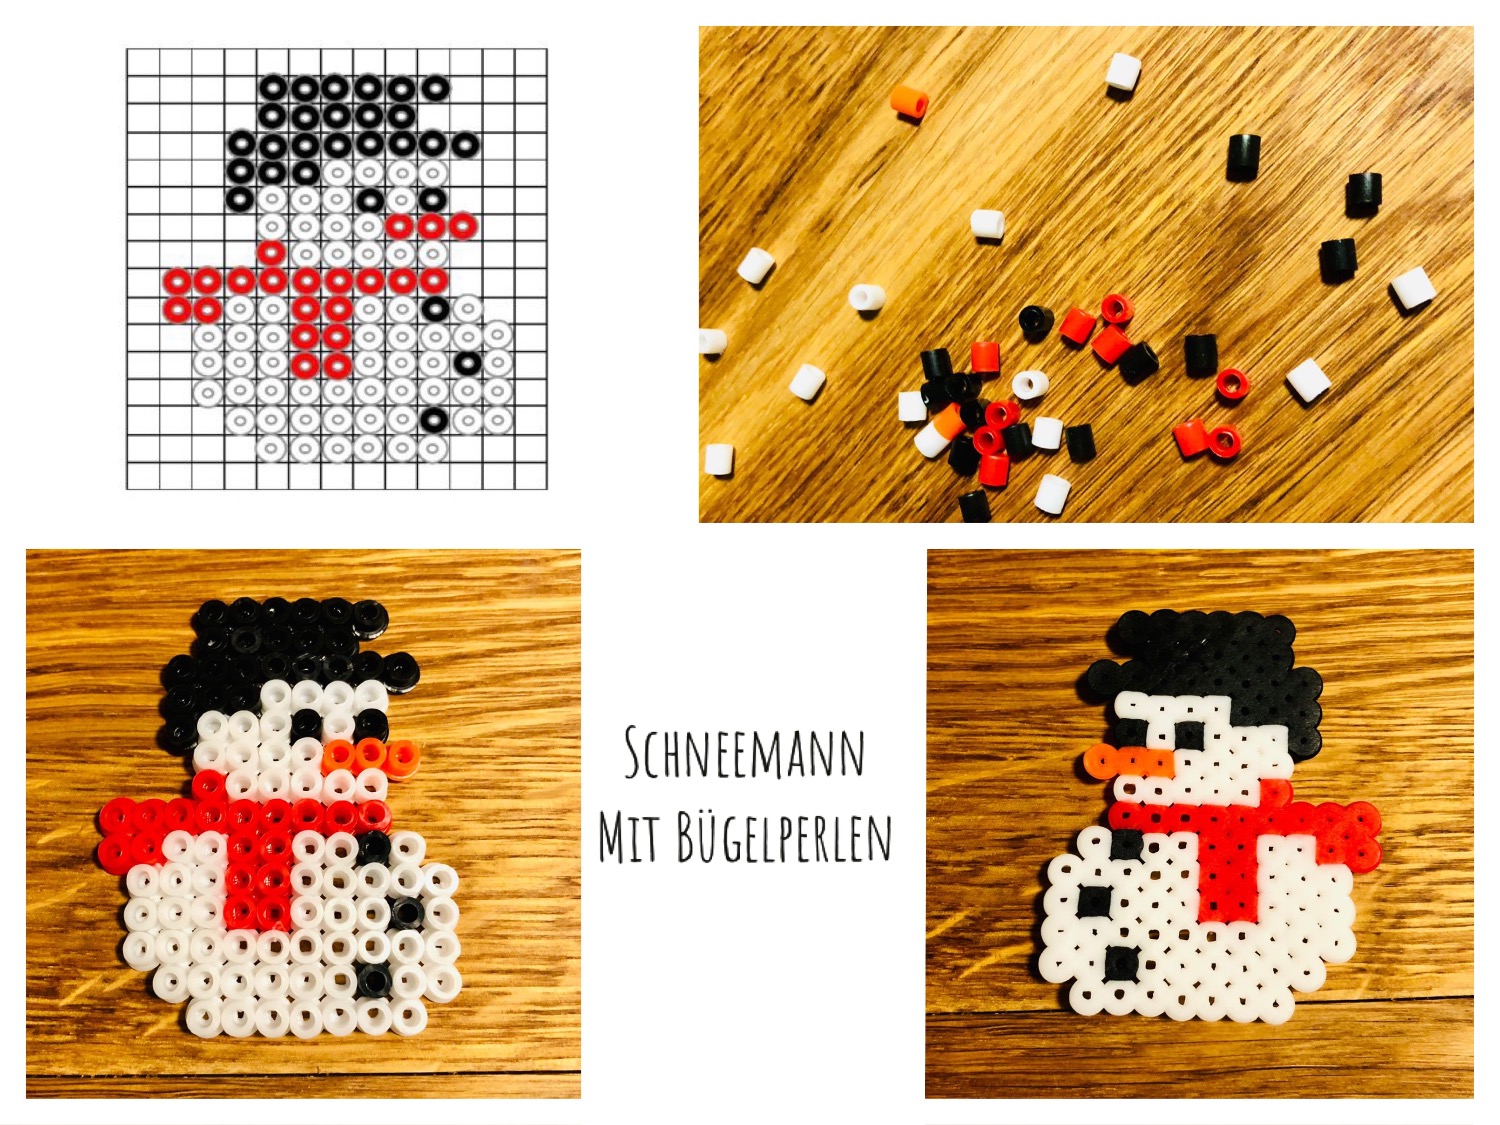
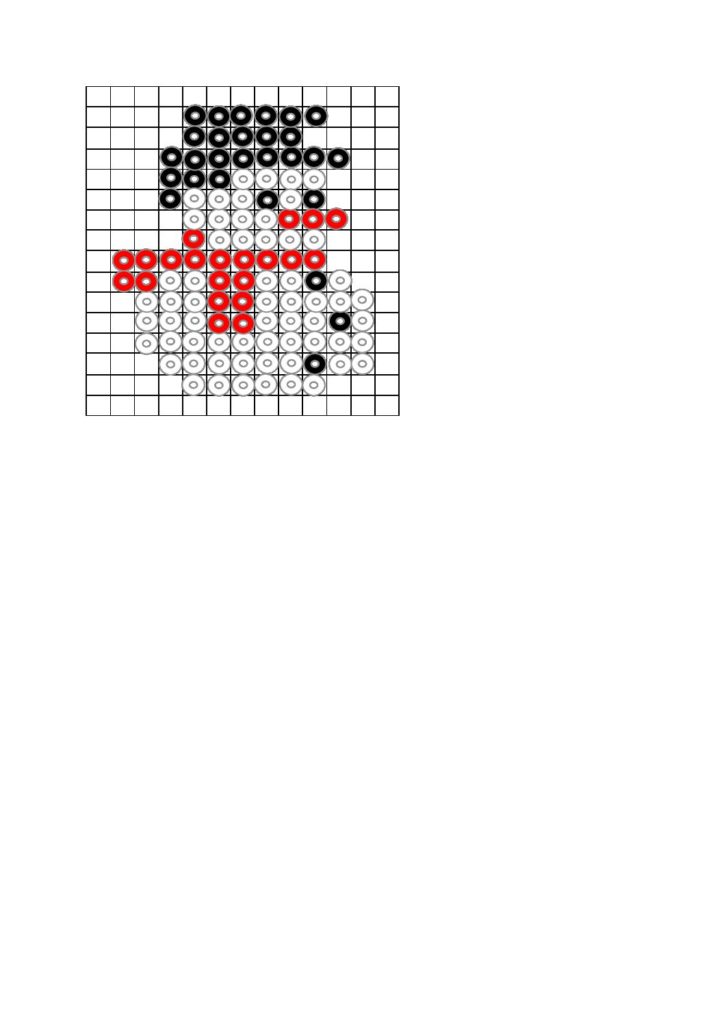
This is the template for your snowman.
Print out the template.
Put iron beads in the colors red, white and black ready.
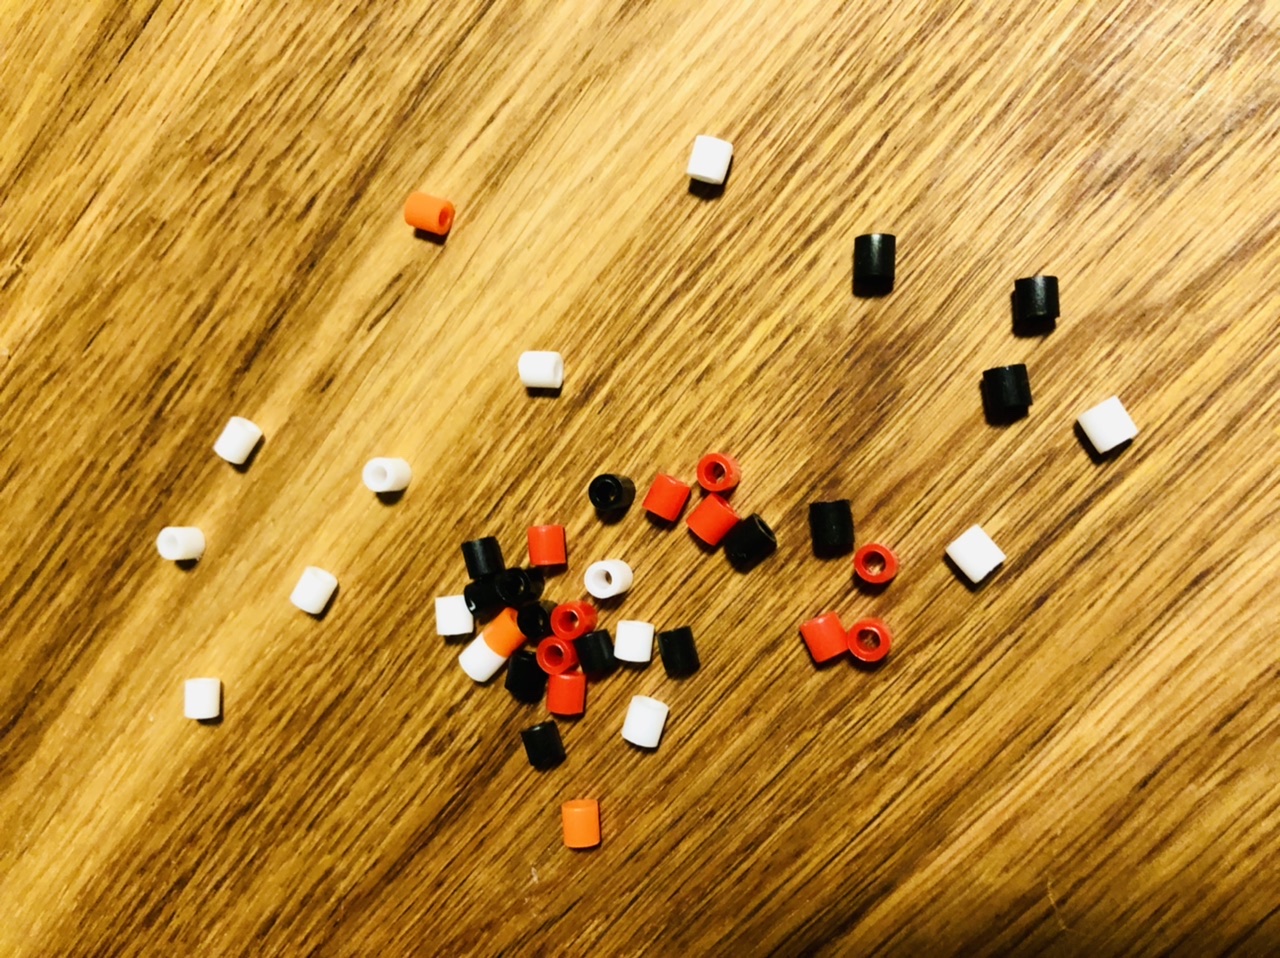


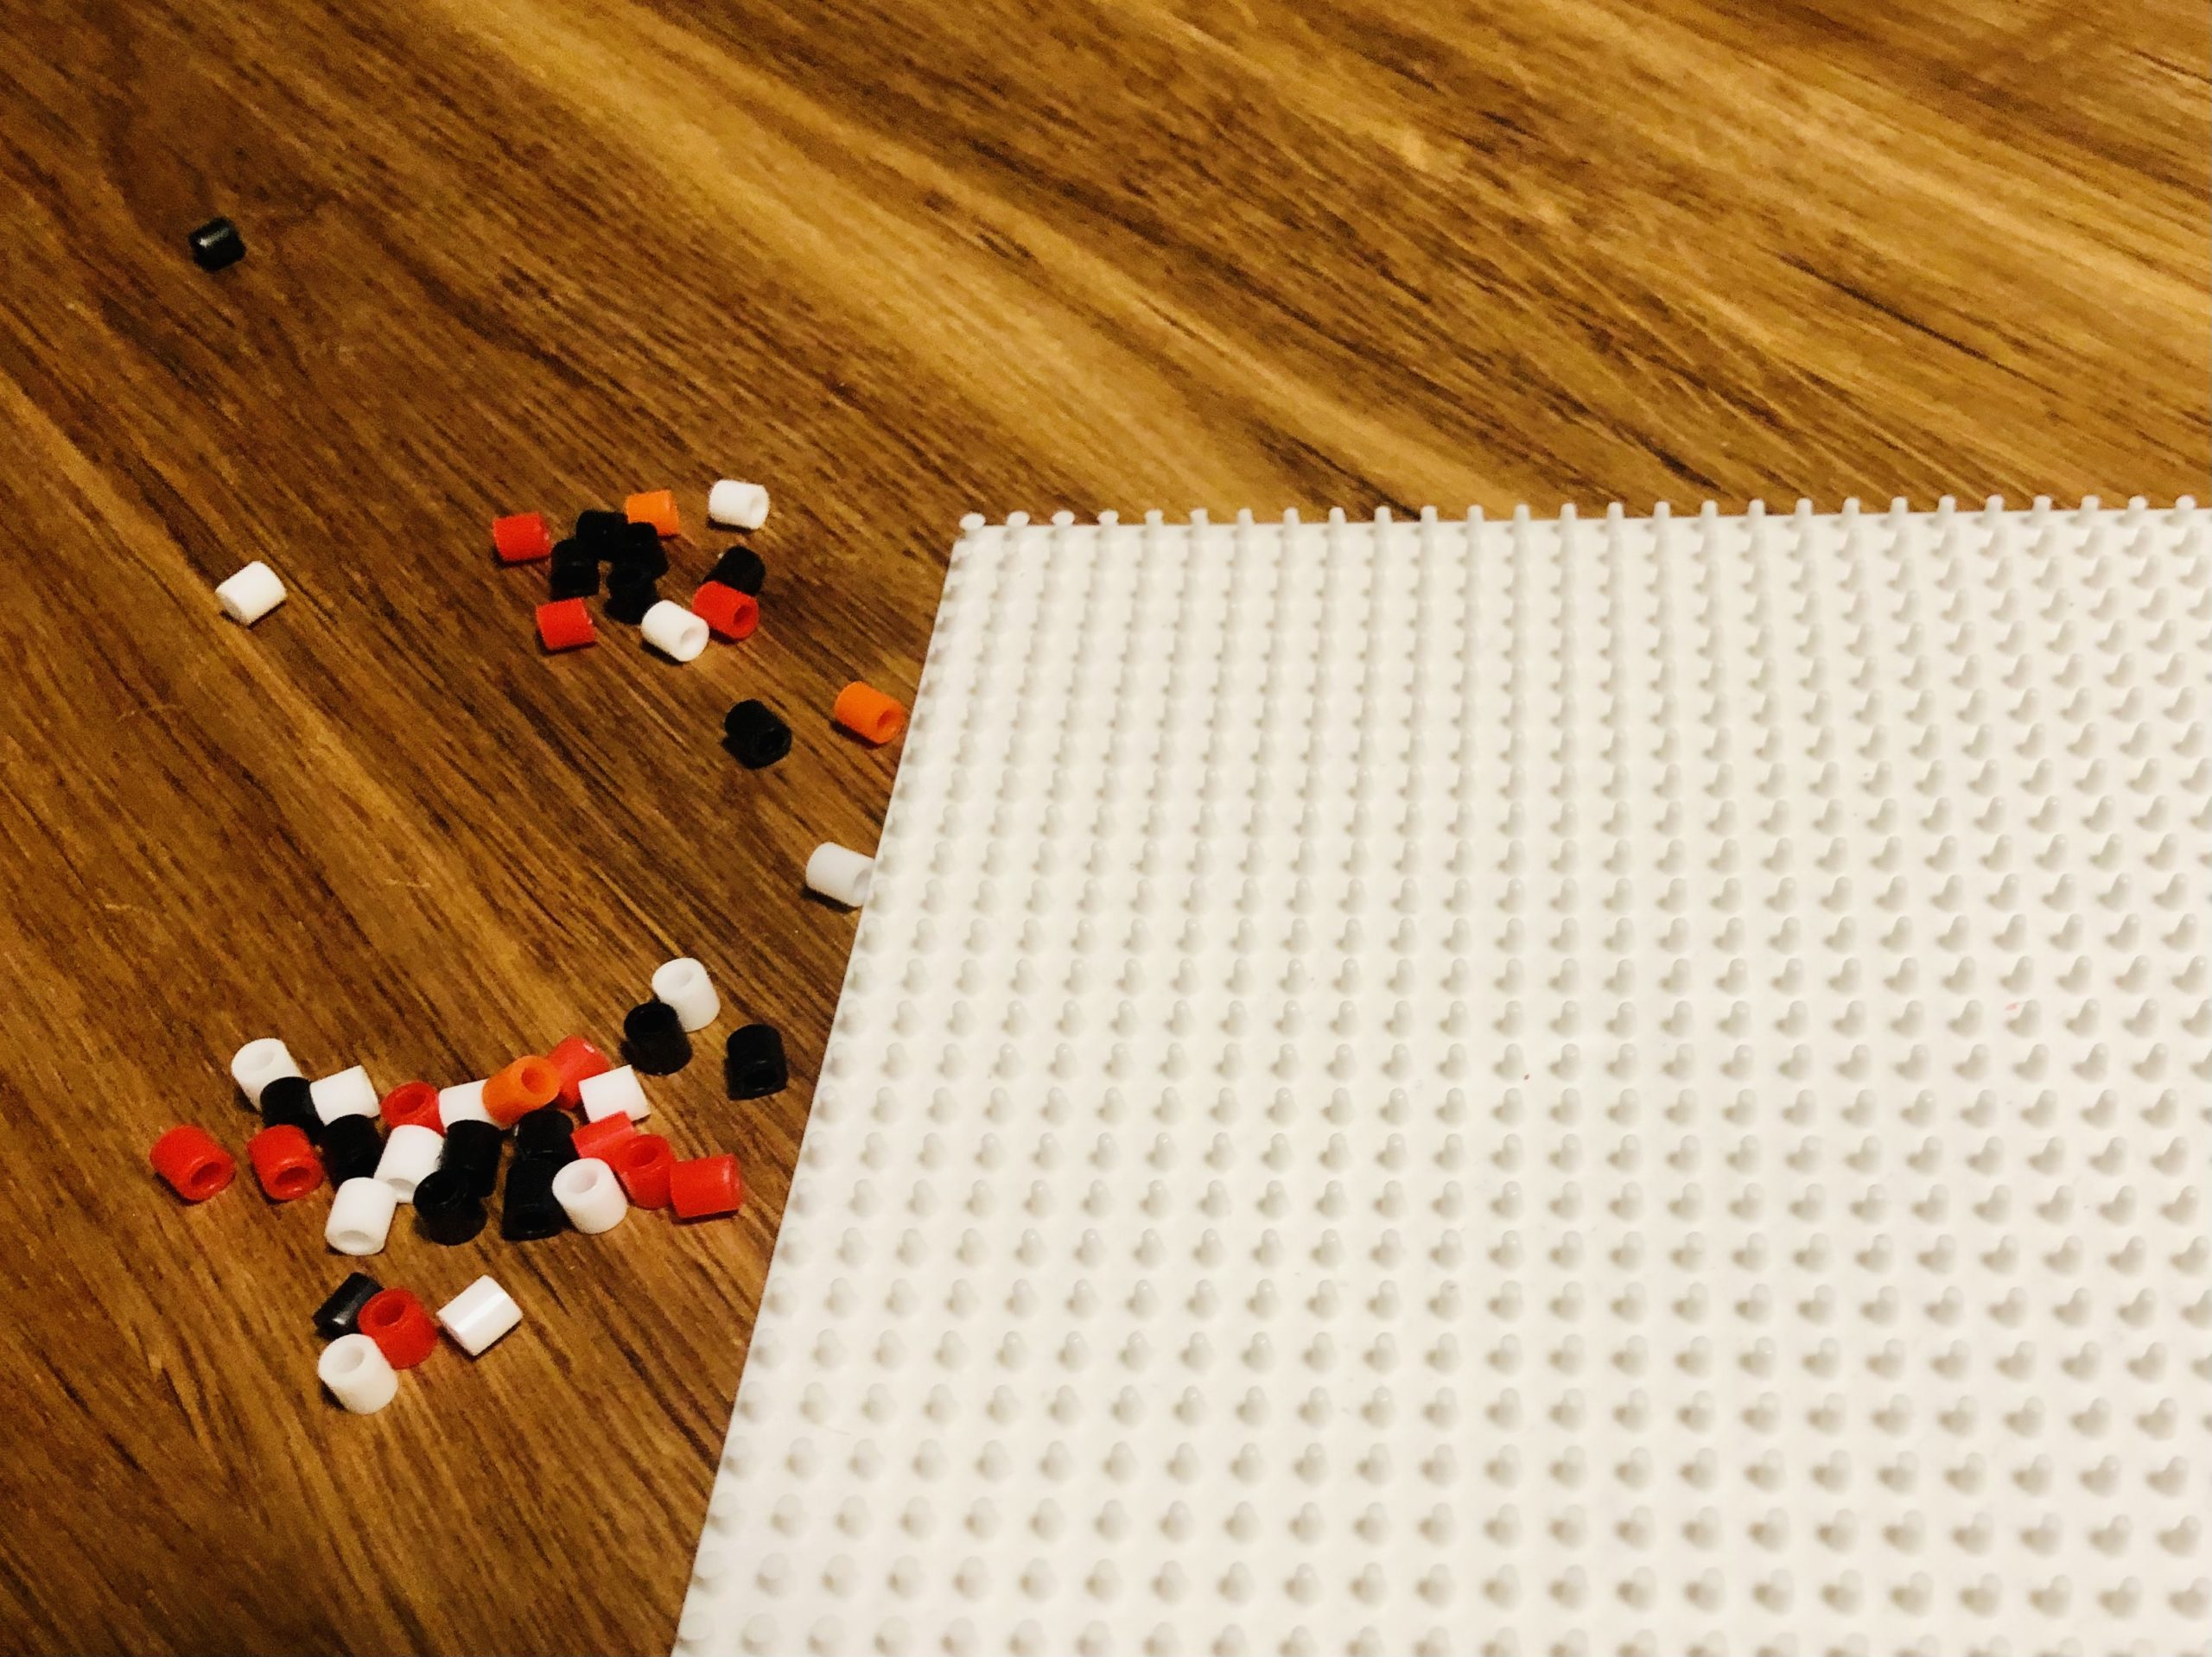
Uses a plug-in plate for temple beads.
You can place the template under the plug-in palette if yours is transparent.
If your plug-in palette is not transparent, put your template next to it and count the bead rows and colors. This is a good training for children, where counting is promoted as well as the eye-hand coordination.


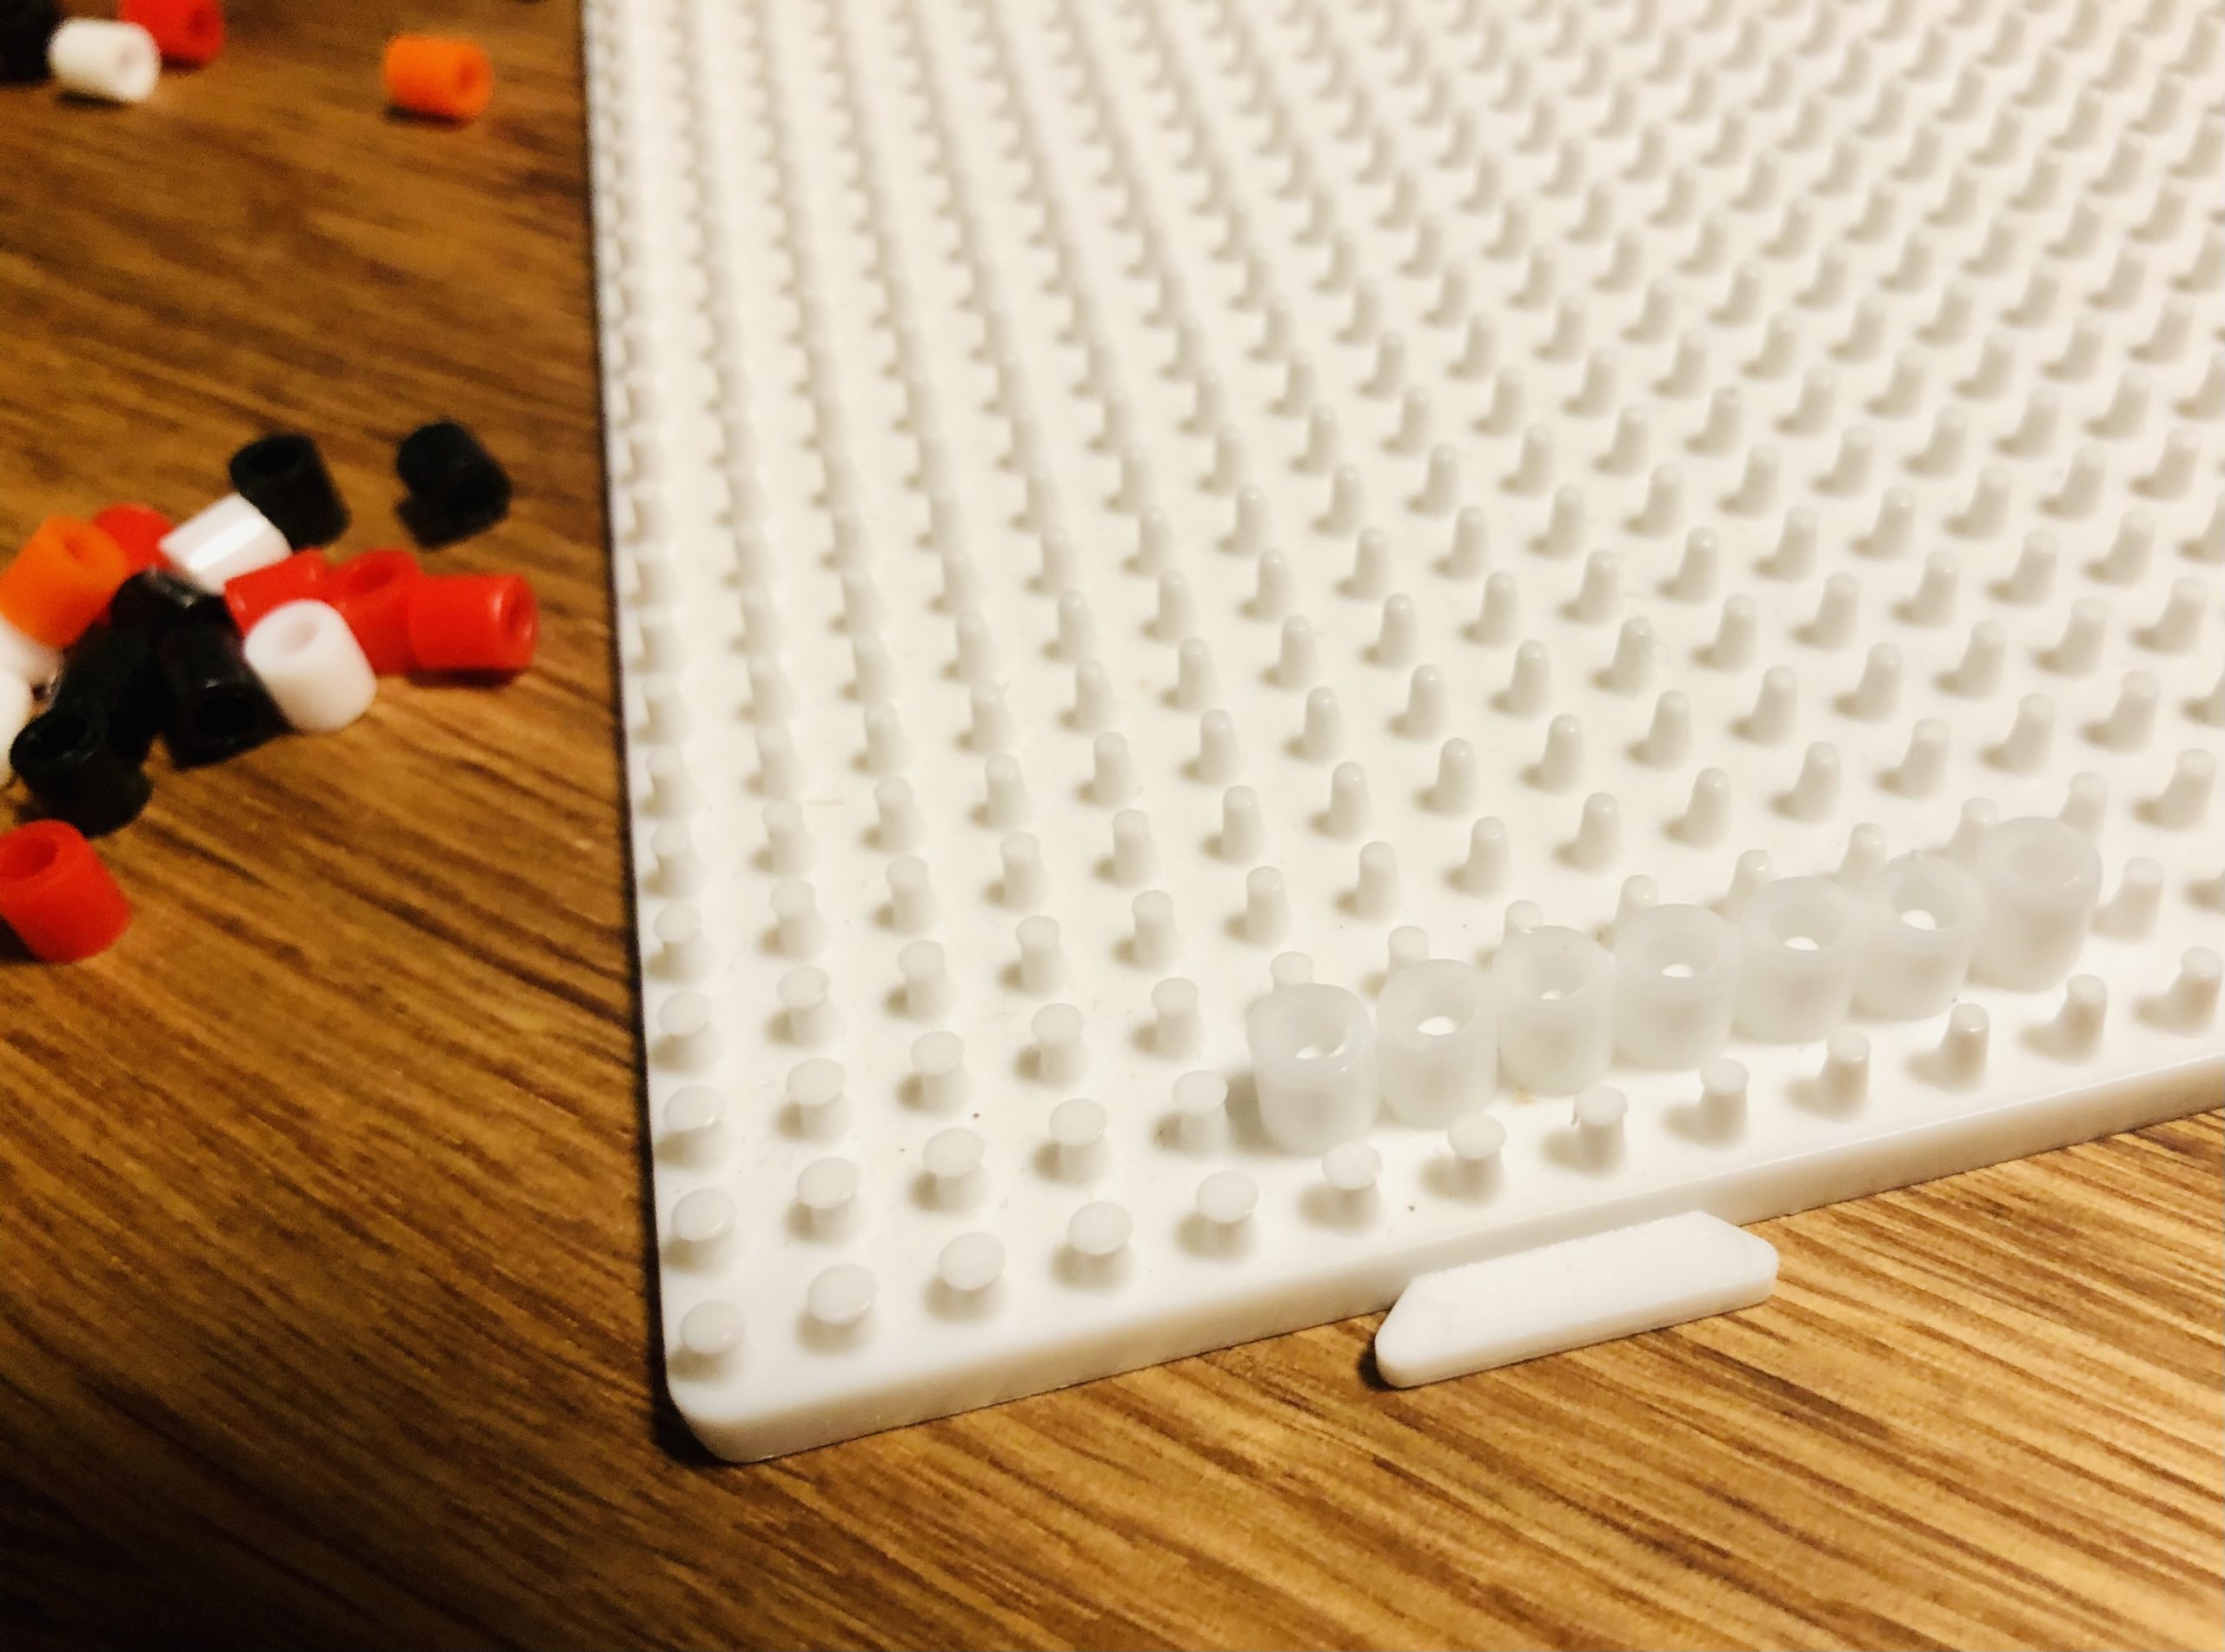
Tip: Start from bottom to top. Let the bottom row go free, because this way you avoid the beads falling out too easily.


Insert the complete snowman with temple beads into your plug-in plate.


When you're done ironing the snowman so that the pearls melt together.
Attention: Let an adult help you with this!
It would be a pity if your snowman glued to the plug-in plate or did not hold together completely when ironing.
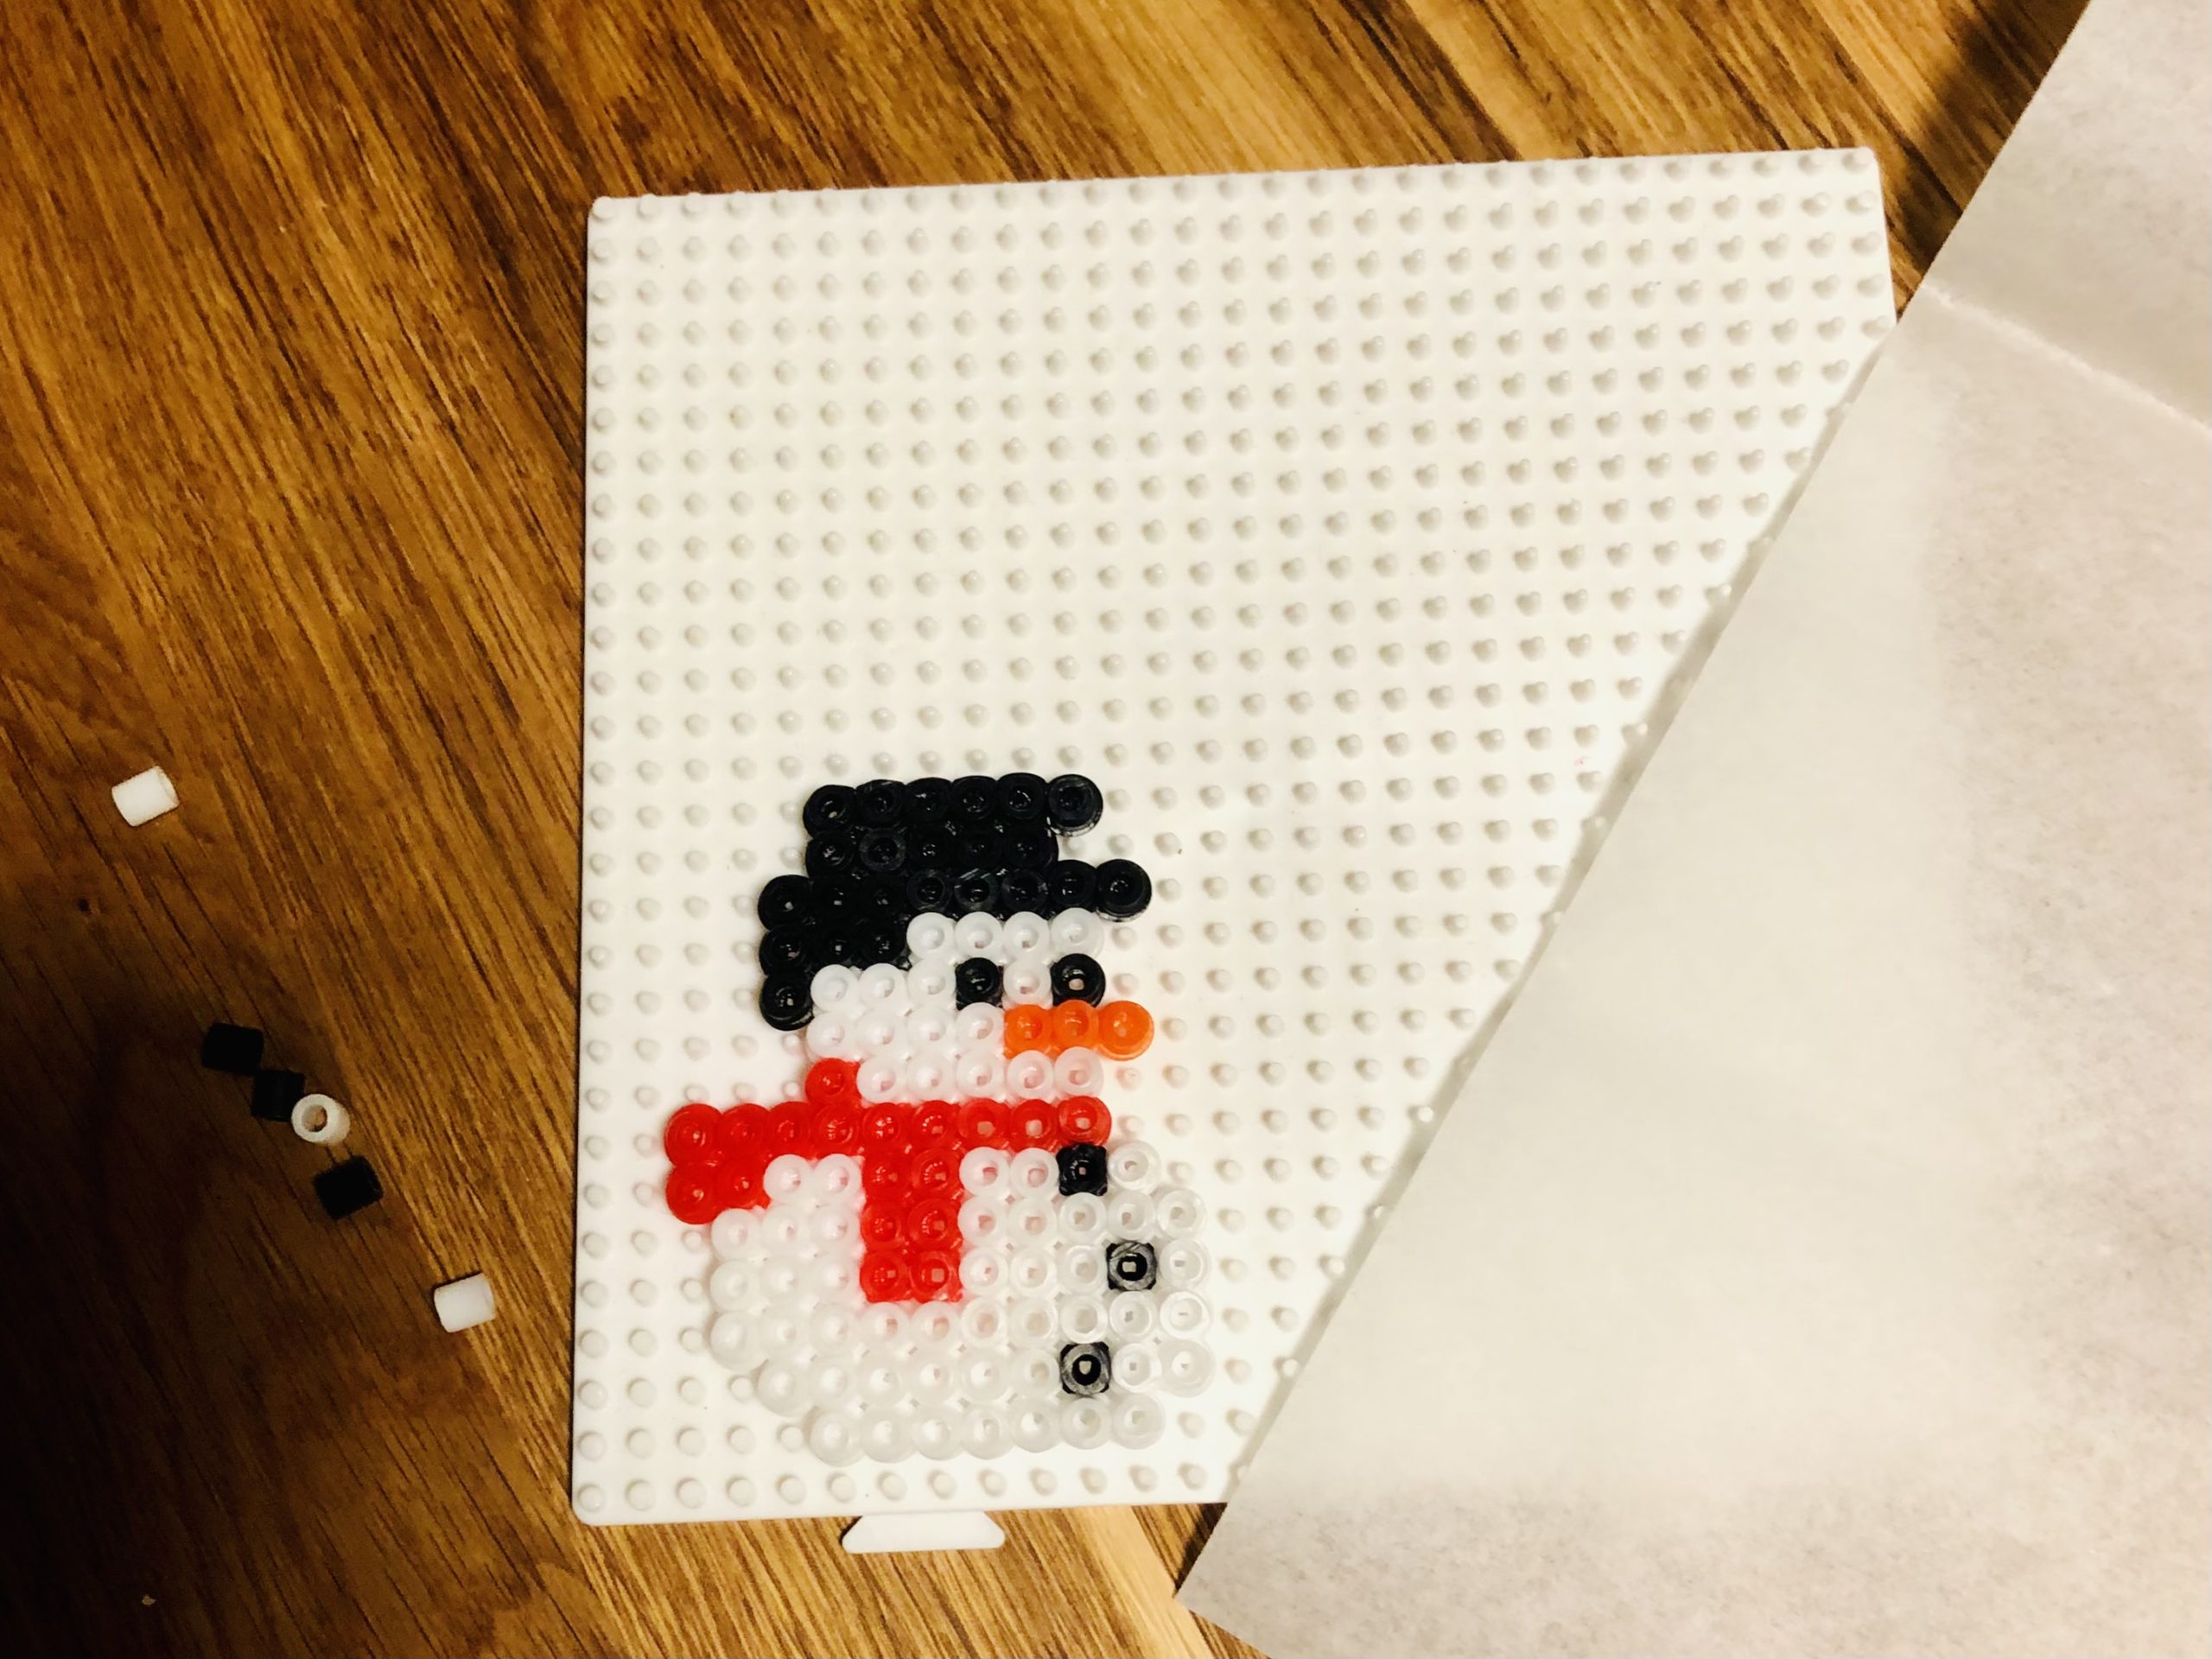


Now heat the iron for it. Then you put a butterbread paper over the snowman.
Now you iron carefully over the complete snowman. Avoid touching the plate around the snowman with the iron.
Irons carefully and controlled by lifting the butterbread paper again and again how far the individual beads have already fused together.
If all beads are connected together, the ironing process is finished.
Now carefully pull off the paper and put it back on the snowman.
Now turn the snowman once and put it on the butterbread paper.
Now the plate is on top and the butterbread paper is on the ironing board.
Raise the plate carefully. The snowman is now lying on the butterbread paper. Now you put a second piece of butterbread paper on the snowman and iron it from this side. So the beads on both sides merge. This makes your snowman more stable.
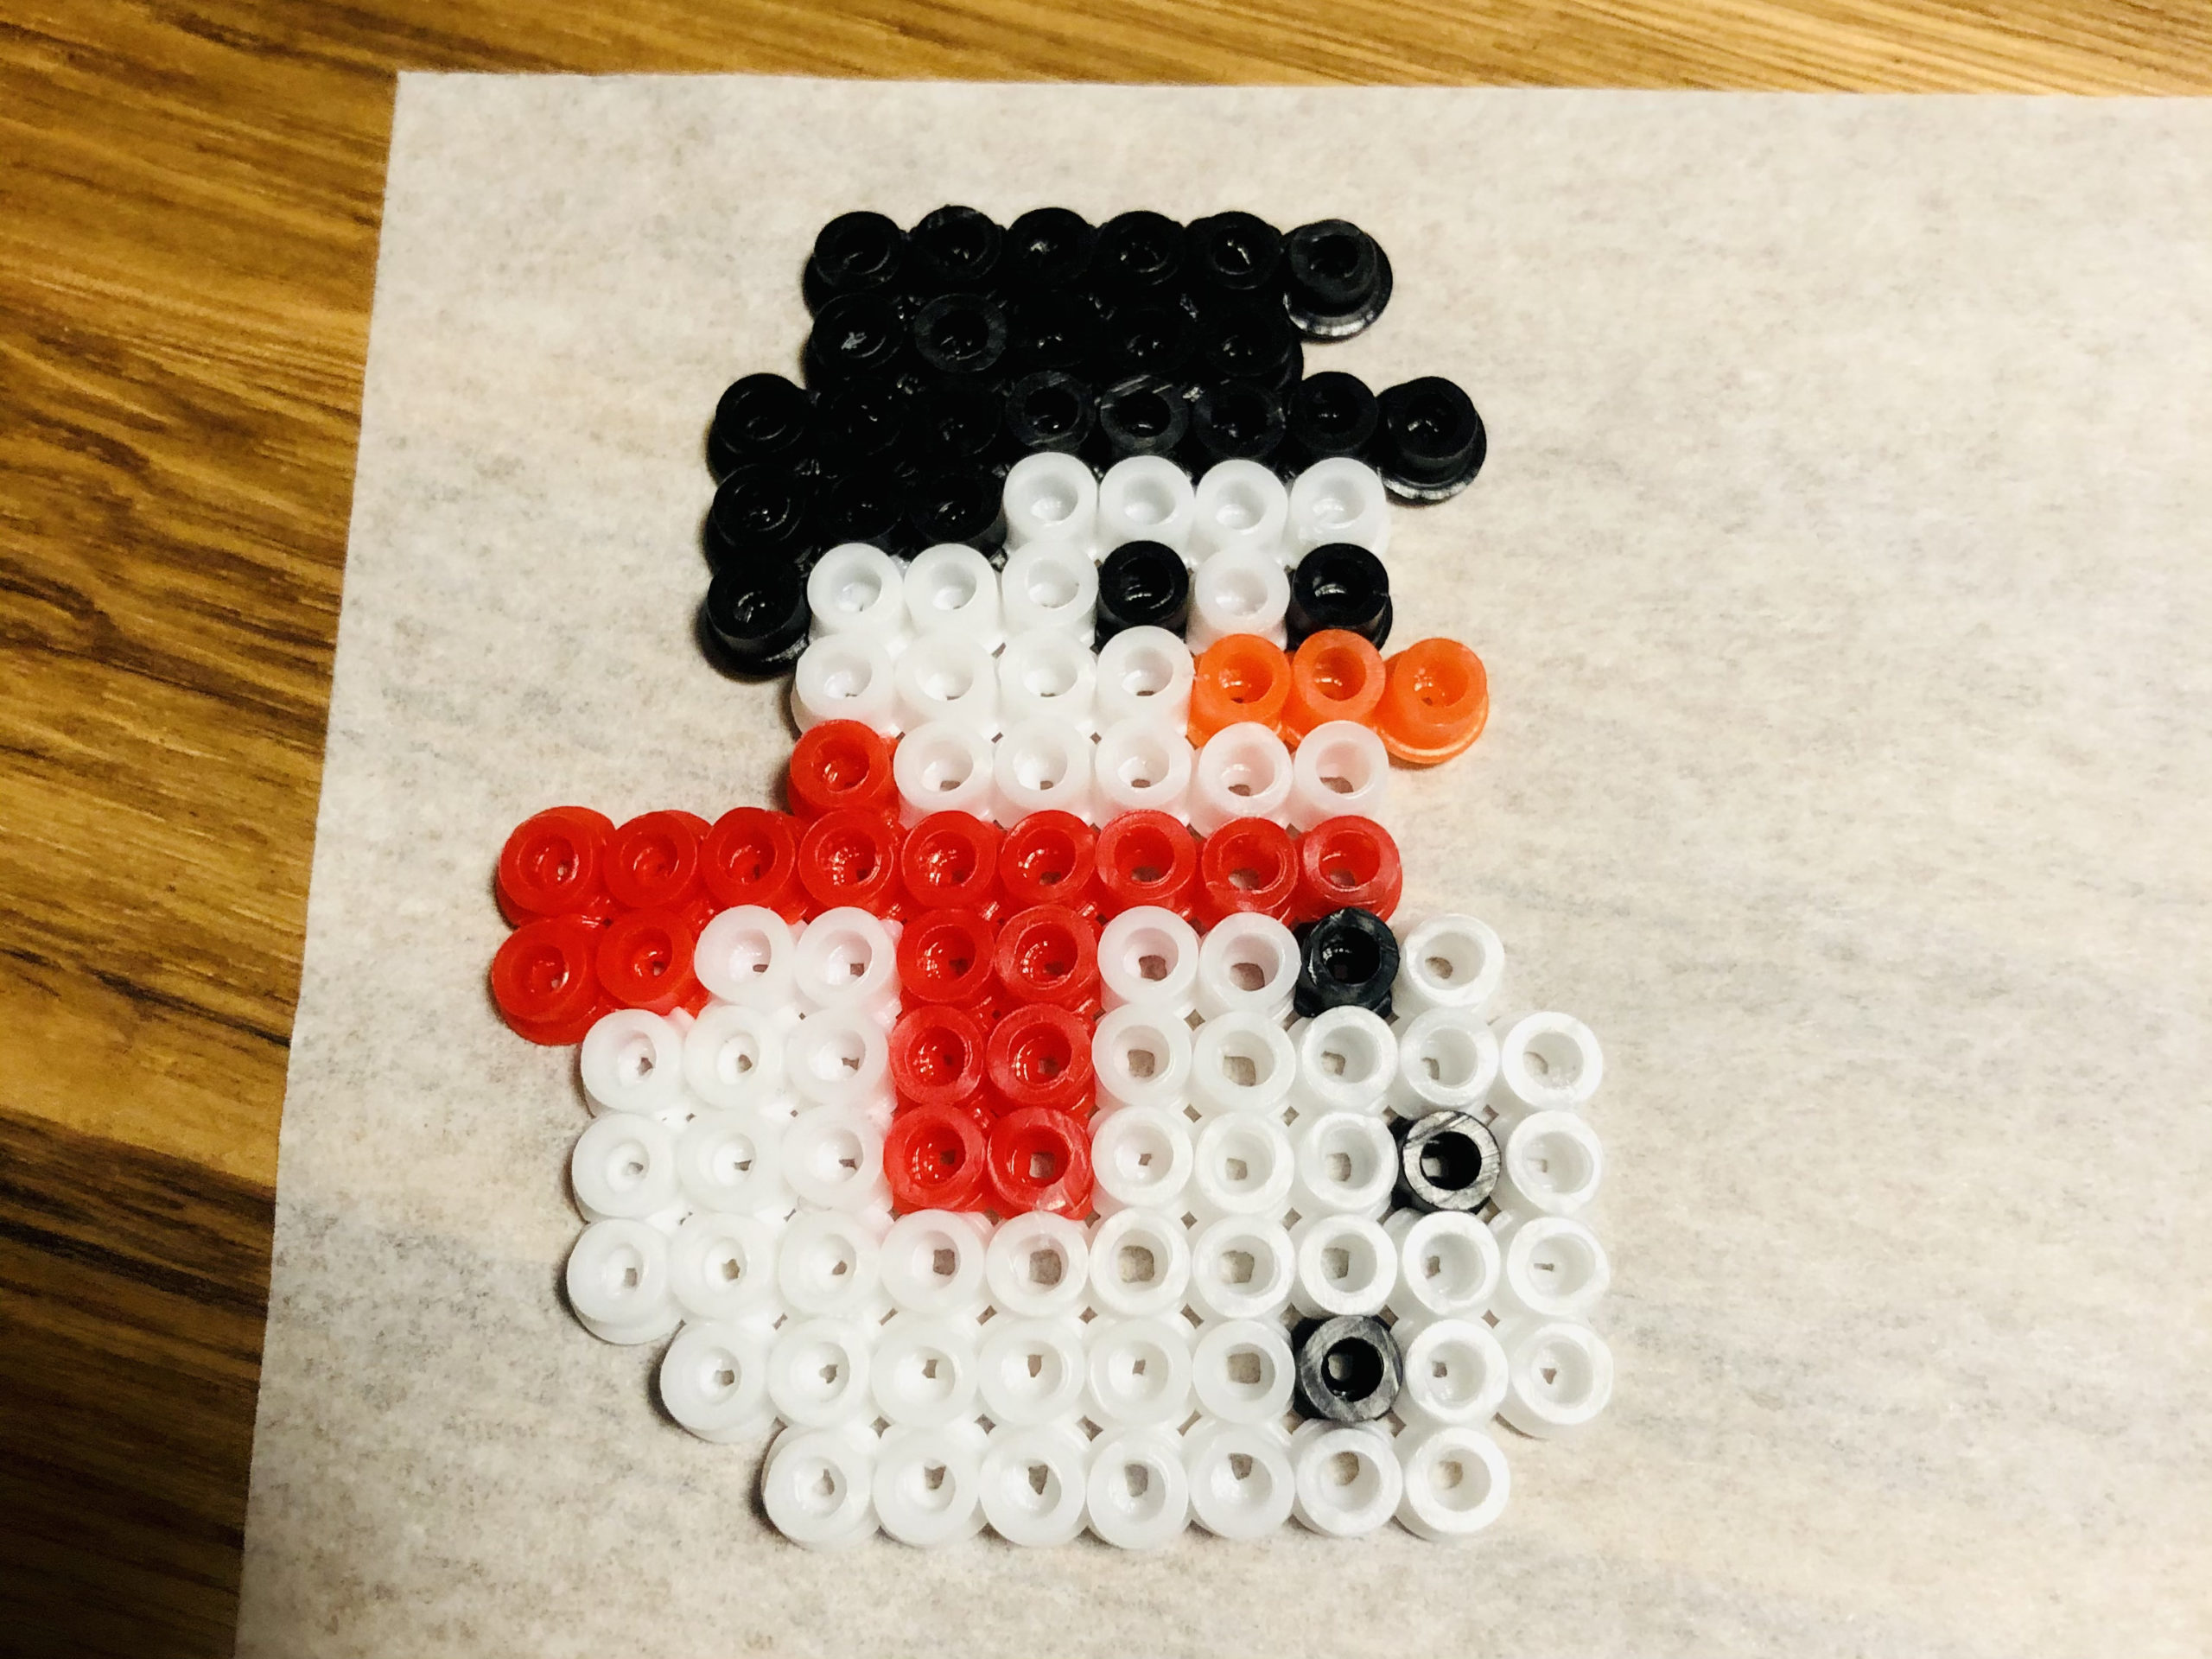


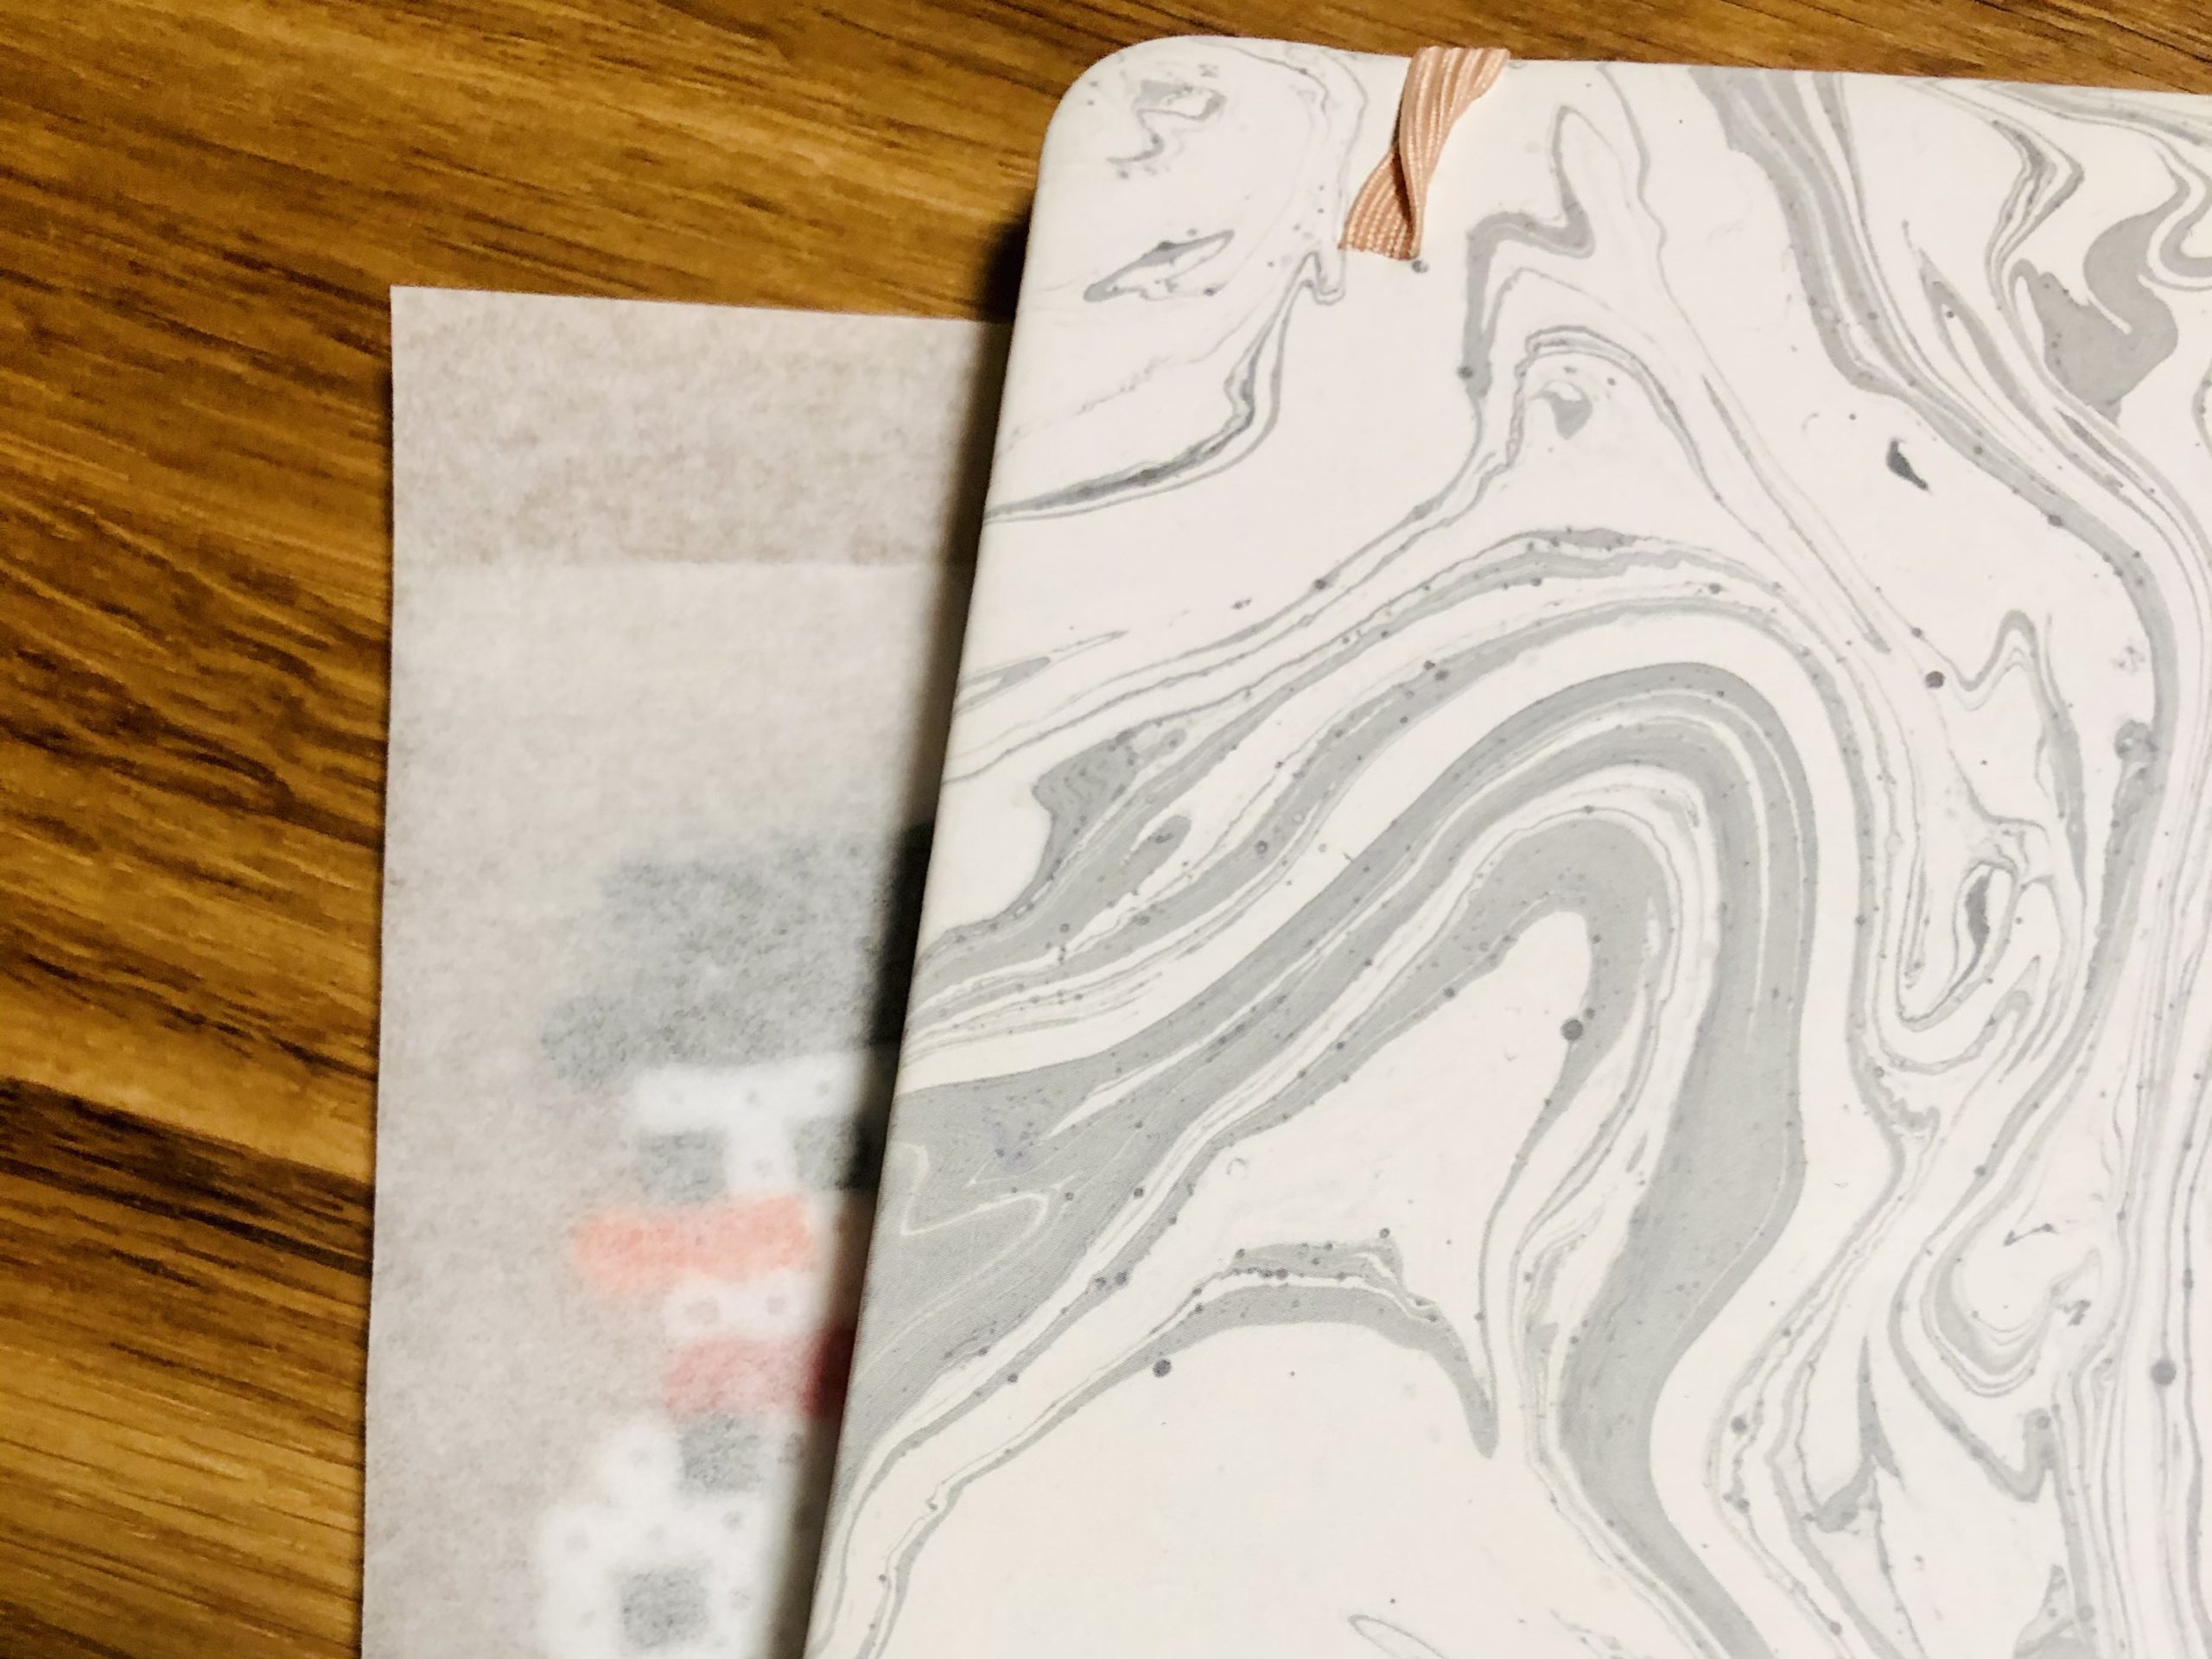
So that the snowman does not bend when cooling, put it under a board or book for about 5 minutes with the butterbread paper.


Now your snowman is ready!
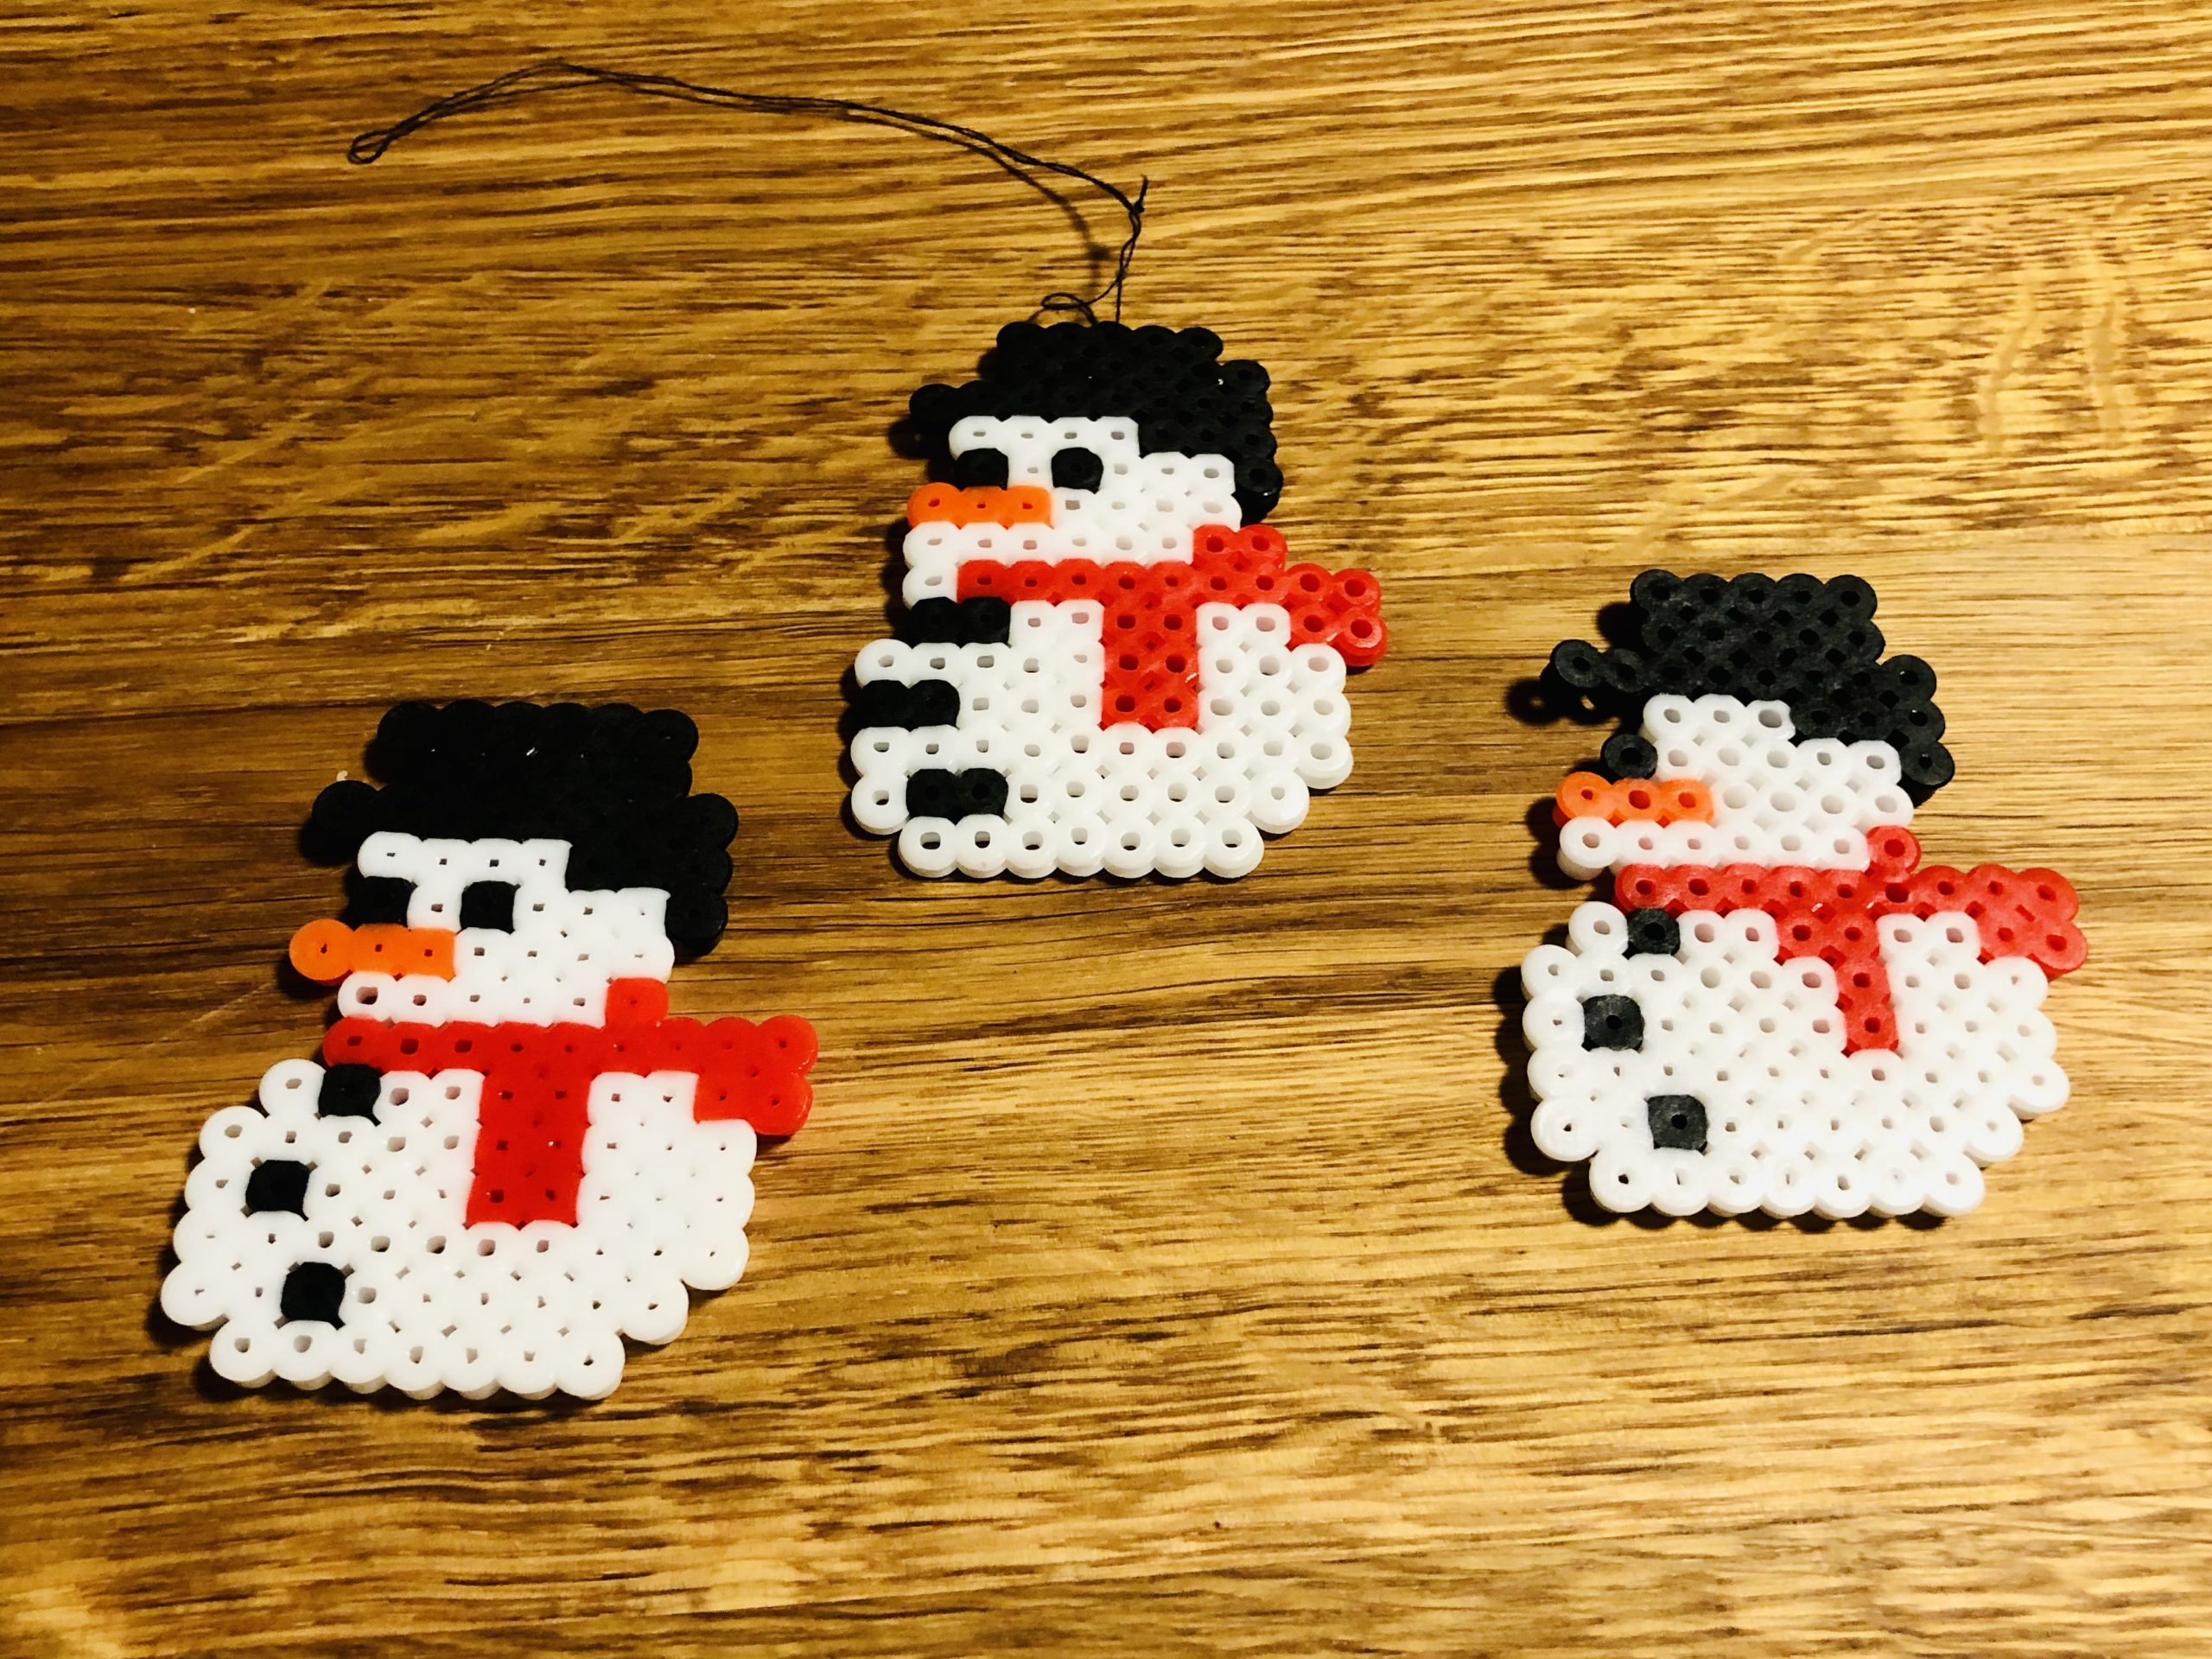


Maybe you can thread another thread through a temple bead, then you can hang it on the window or on the Christmas tree.
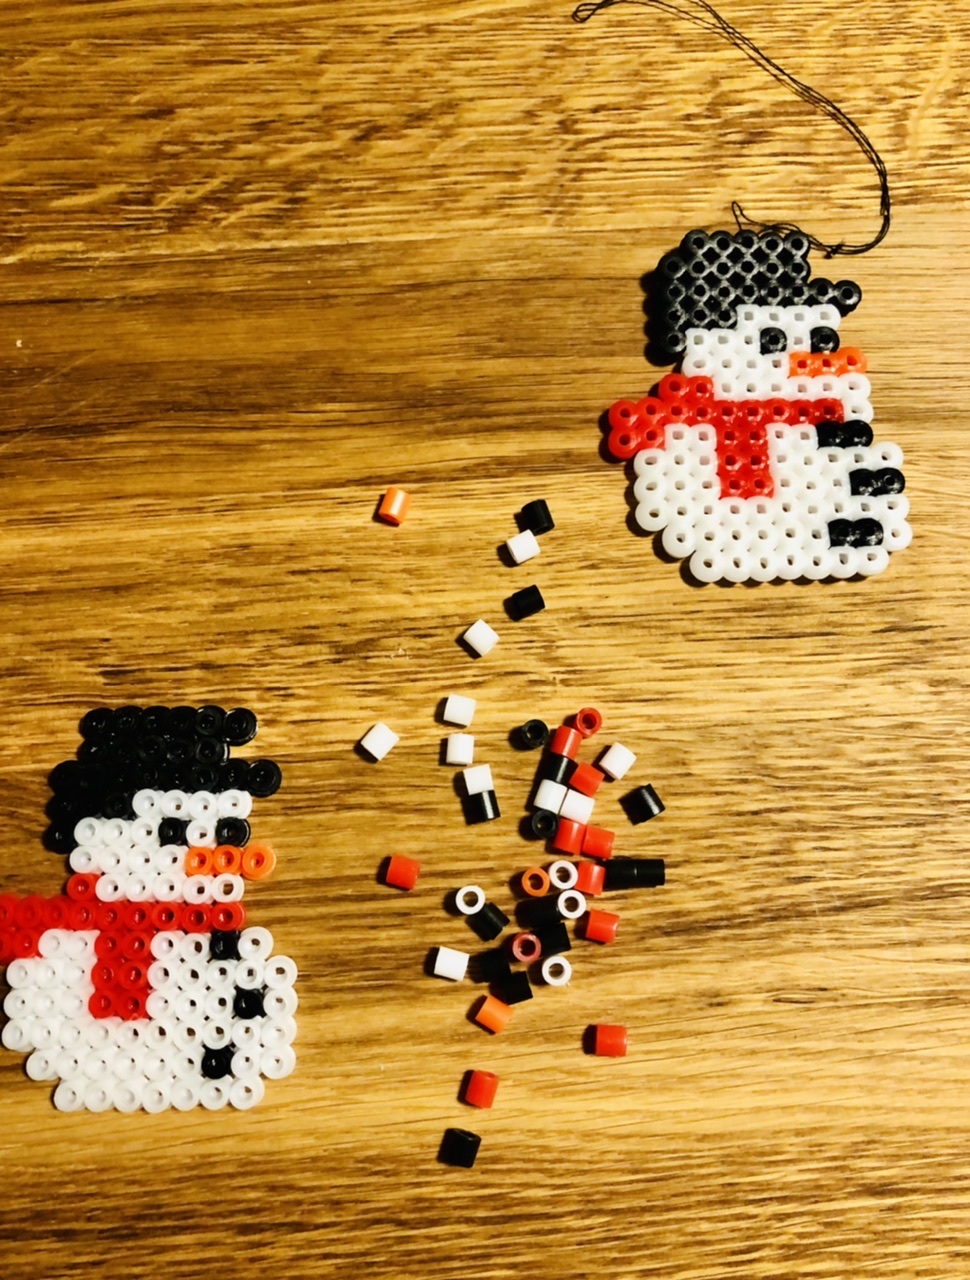


Have fun!
Materials
Directions
This is the template for your snowman.
Print out the template.


Put iron beads in the colors red, white and black ready.


Uses a plug-in plate for temple beads.
You can place the template under the plug-in palette if yours is transparent.
If your plug-in palette is not transparent, put your template next to it and count the bead rows and colors. This is a good training for children, where counting is promoted as well as the eye-hand coordination.


Tip: Start from bottom to top. Let the bottom row go free, because this way you avoid the beads falling out too easily.


Insert the complete snowman with temple beads into your plug-in plate.


When you're done ironing the snowman so that the pearls melt together.
Attention: Let an adult help you with this!
It would be a pity if your snowman glued to the plug-in plate or did not hold together completely when ironing.


Now heat the iron for it. Then you put a butterbread paper over the snowman.
Now you iron carefully over the complete snowman. Avoid touching the plate around the snowman with the iron.
Irons carefully and controlled by lifting the butterbread paper again and again how far the individual beads have already fused together.
If all beads are connected together, the ironing process is finished.
Now carefully pull off the paper and put it back on the snowman.
Now turn the snowman once and put it on the butterbread paper.
Now the plate is on top and the butterbread paper is on the ironing board.
Raise the plate carefully. The snowman is now lying on the butterbread paper. Now you put a second piece of butterbread paper on the snowman and iron it from this side. So the beads on both sides merge. This makes your snowman more stable.


So that the snowman does not bend when cooling, put it under a board or book for about 5 minutes with the butterbread paper.


Now your snowman is ready!


Maybe you can thread another thread through a temple bead, then you can hang it on the window or on the Christmas tree.


Have fun!
Follow us on Facebook , Instagram and Pinterest
Don't miss any more adventures: Our bottle mail


