Packing a letter as a gift

AdventurerKatzi
Rating0.02.6 thousand times & (0) DifficultyIntermediate

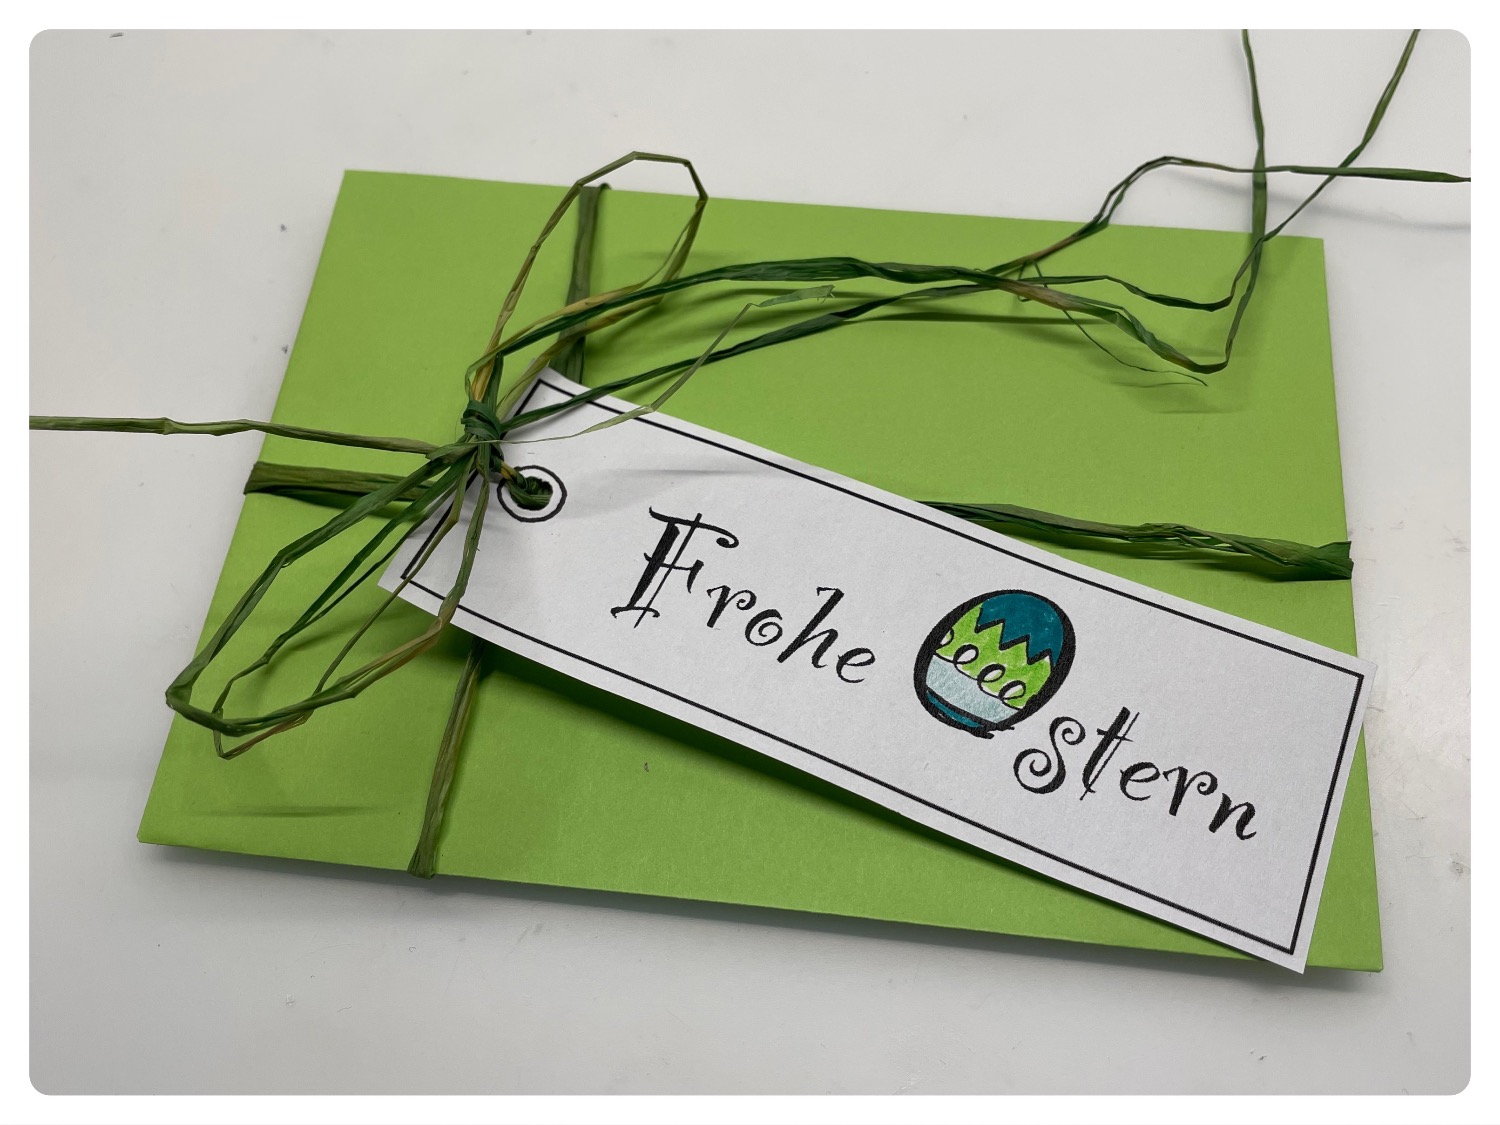
You can make a letter very beautiful as a gift with colorful bast and a self-painted pendant.

Media Education for Kindergarten and Hort

Kind bastelt eine Rassel mit dem Navi
The Adventure Navi, the app for DIY projects, enables media education for the youngest.

Relief in everyday life, targeted promotion of individual children, independent learning and - without any pre-knowledge already usable by the youngest!


Titelbild zur Bastel- und DIY-Idee für Kinder '(1039) Brief als Geschenk einpacken'
Material for1 Child
Prep Time5 min.Adv. Time5 min.Total Time10 min.
 1 Letter envelope
 1 Gift ribbon/bast
 1 Gift Pendants
All links marked with a shopping cart lead to Amazon - here we have selected products that we would order ourselves and in part also ordered. In a qualified purchase via the advertising link, we as Amazon partner receive a commission, for you there are no costs. You thus support our cost- and advertising banner-free, educational offer.
1

Cut off a generous piece of gift ribbon. Put the gift ribbon on the table and place the folded letter on it. Both ends should be the same length. Now take both ends of the bast or gift ribbon and place it on the letter.

Bild zum Schritt 1 für das Bastel- und DIY-Abenteuer für Kinder: 'Schneidet ein großzügiges Stück Geschenkband ab. Legt das Geschenkband auf...'

2

In the middle you cross the sides of the gift ribbon and pull carefully on both strands. Now you have to turn the letter around.

Bild zum Schritt 2 für das Bastel- und DIY-Abenteuer für Kinder: 'In der Mitte kreuzt ihr die Seiten des Geschenkbandes und...'

3

Then you put the band under the lying band.

Bild zum Schritt 3 für das Bastel- und DIY-Abenteuer für Kinder: 'Anschließend legt ihr das Band jeweils unter das liegende Band.'

4

So you can knot it well.

Bild zum Schritt 4 für das Bastel- und DIY-Abenteuer für Kinder: 'So könnt ihr es gut verknoten.'

5

If you want, you can add another pendant. You can create it with text or a picture.

Bild zum Schritt 5 für das Bastel- und DIY-Abenteuer für Kinder: 'Wenn ihr wollt, könnt ihr noch einen Anhänger anbringen. Diesen...'

Materials

 1 Letter envelope
 1 Gift ribbon/bast
 1 Gift Pendants
All links marked with a shopping cart lead to Amazon - here we have selected products that we would order ourselves and in part also ordered. In a qualified purchase via the advertising link, we as Amazon partner receive a commission, for you there are no costs. You thus support our cost- and advertising banner-free, educational offer.

Directions

1

Cut off a generous piece of gift ribbon. Put the gift ribbon on the table and place the folded letter on it. Both ends should be the same length. Now take both ends of the bast or gift ribbon and place it on the letter.

Bild zum Schritt 1 für das Bastel- und DIY-Abenteuer für Kinder: 'Schneidet ein großzügiges Stück Geschenkband ab. Legt das Geschenkband auf...'

2

In the middle you cross the sides of the gift ribbon and pull carefully on both strands. Now you have to turn the letter around.

Bild zum Schritt 2 für das Bastel- und DIY-Abenteuer für Kinder: 'In der Mitte kreuzt ihr die Seiten des Geschenkbandes und...'

3

Then you put the band under the lying band.

Bild zum Schritt 3 für das Bastel- und DIY-Abenteuer für Kinder: 'Anschließend legt ihr das Band jeweils unter das liegende Band.'

4

So you can knot it well.

Bild zum Schritt 4 für das Bastel- und DIY-Abenteuer für Kinder: 'So könnt ihr es gut verknoten.'

5

If you want, you can add another pendant. You can create it with text or a picture.

Bild zum Schritt 5 für das Bastel- und DIY-Abenteuer für Kinder: 'Wenn ihr wollt, könnt ihr noch einen Anhänger anbringen. Diesen...'

Packing a letter as a gift

Follow us on Facebook , Instagram and Pinterest
Don't miss any more adventures: Our bottle mail

Leave a Reply

Your email address will not be published.

The maximum upload file size: 5 MB. You can upload: image, document. Drop file here