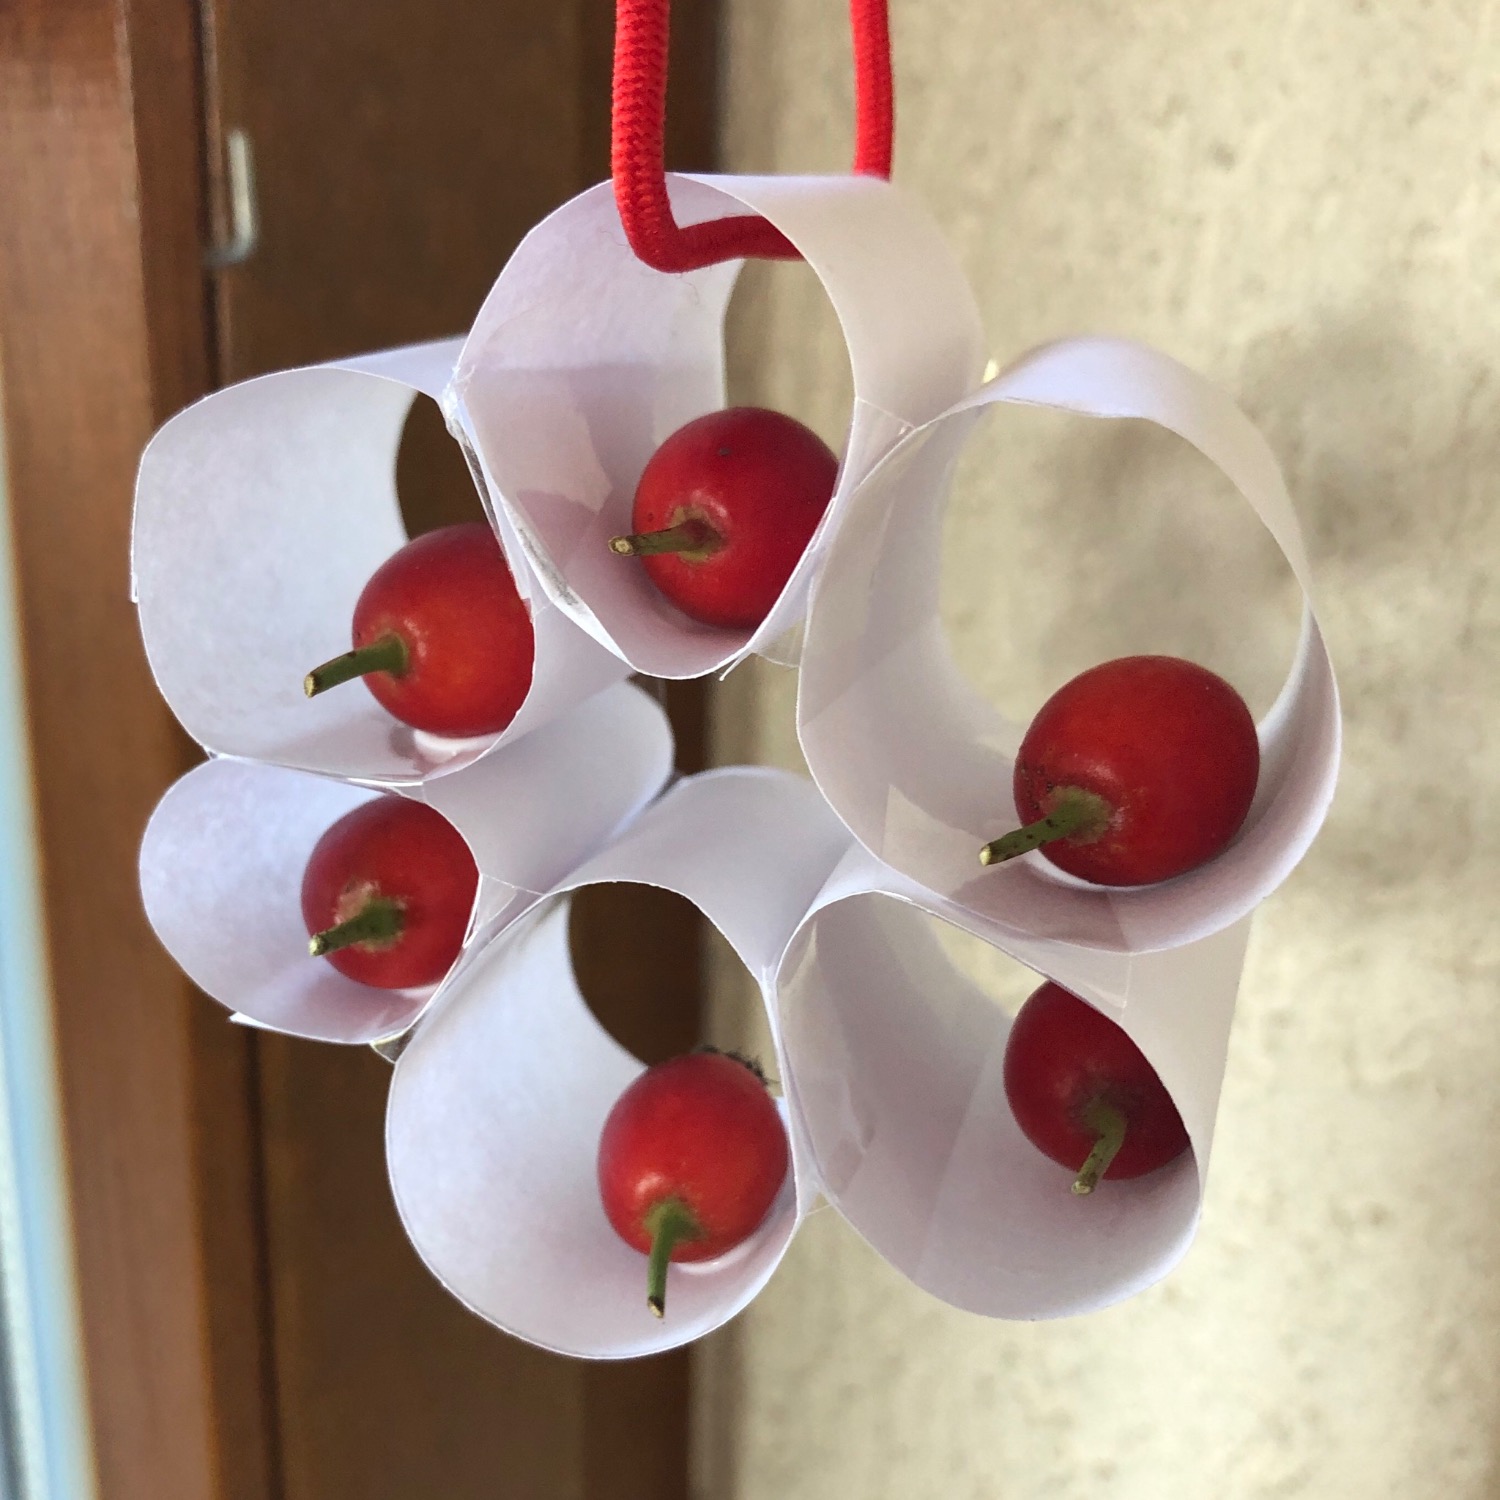
This small crafting requires skill, eye-hand coordination and concentration. First make a flower made of paper rolls and then stick a rose hip or acorn in each roll. So you have a small autumn mobile, which looks beautiful in the window, for example.
Media Education for Kindergarten and Hort

Relief in everyday life, targeted promotion of individual children, independent learning and - without any pre-knowledge already usable by the youngest!
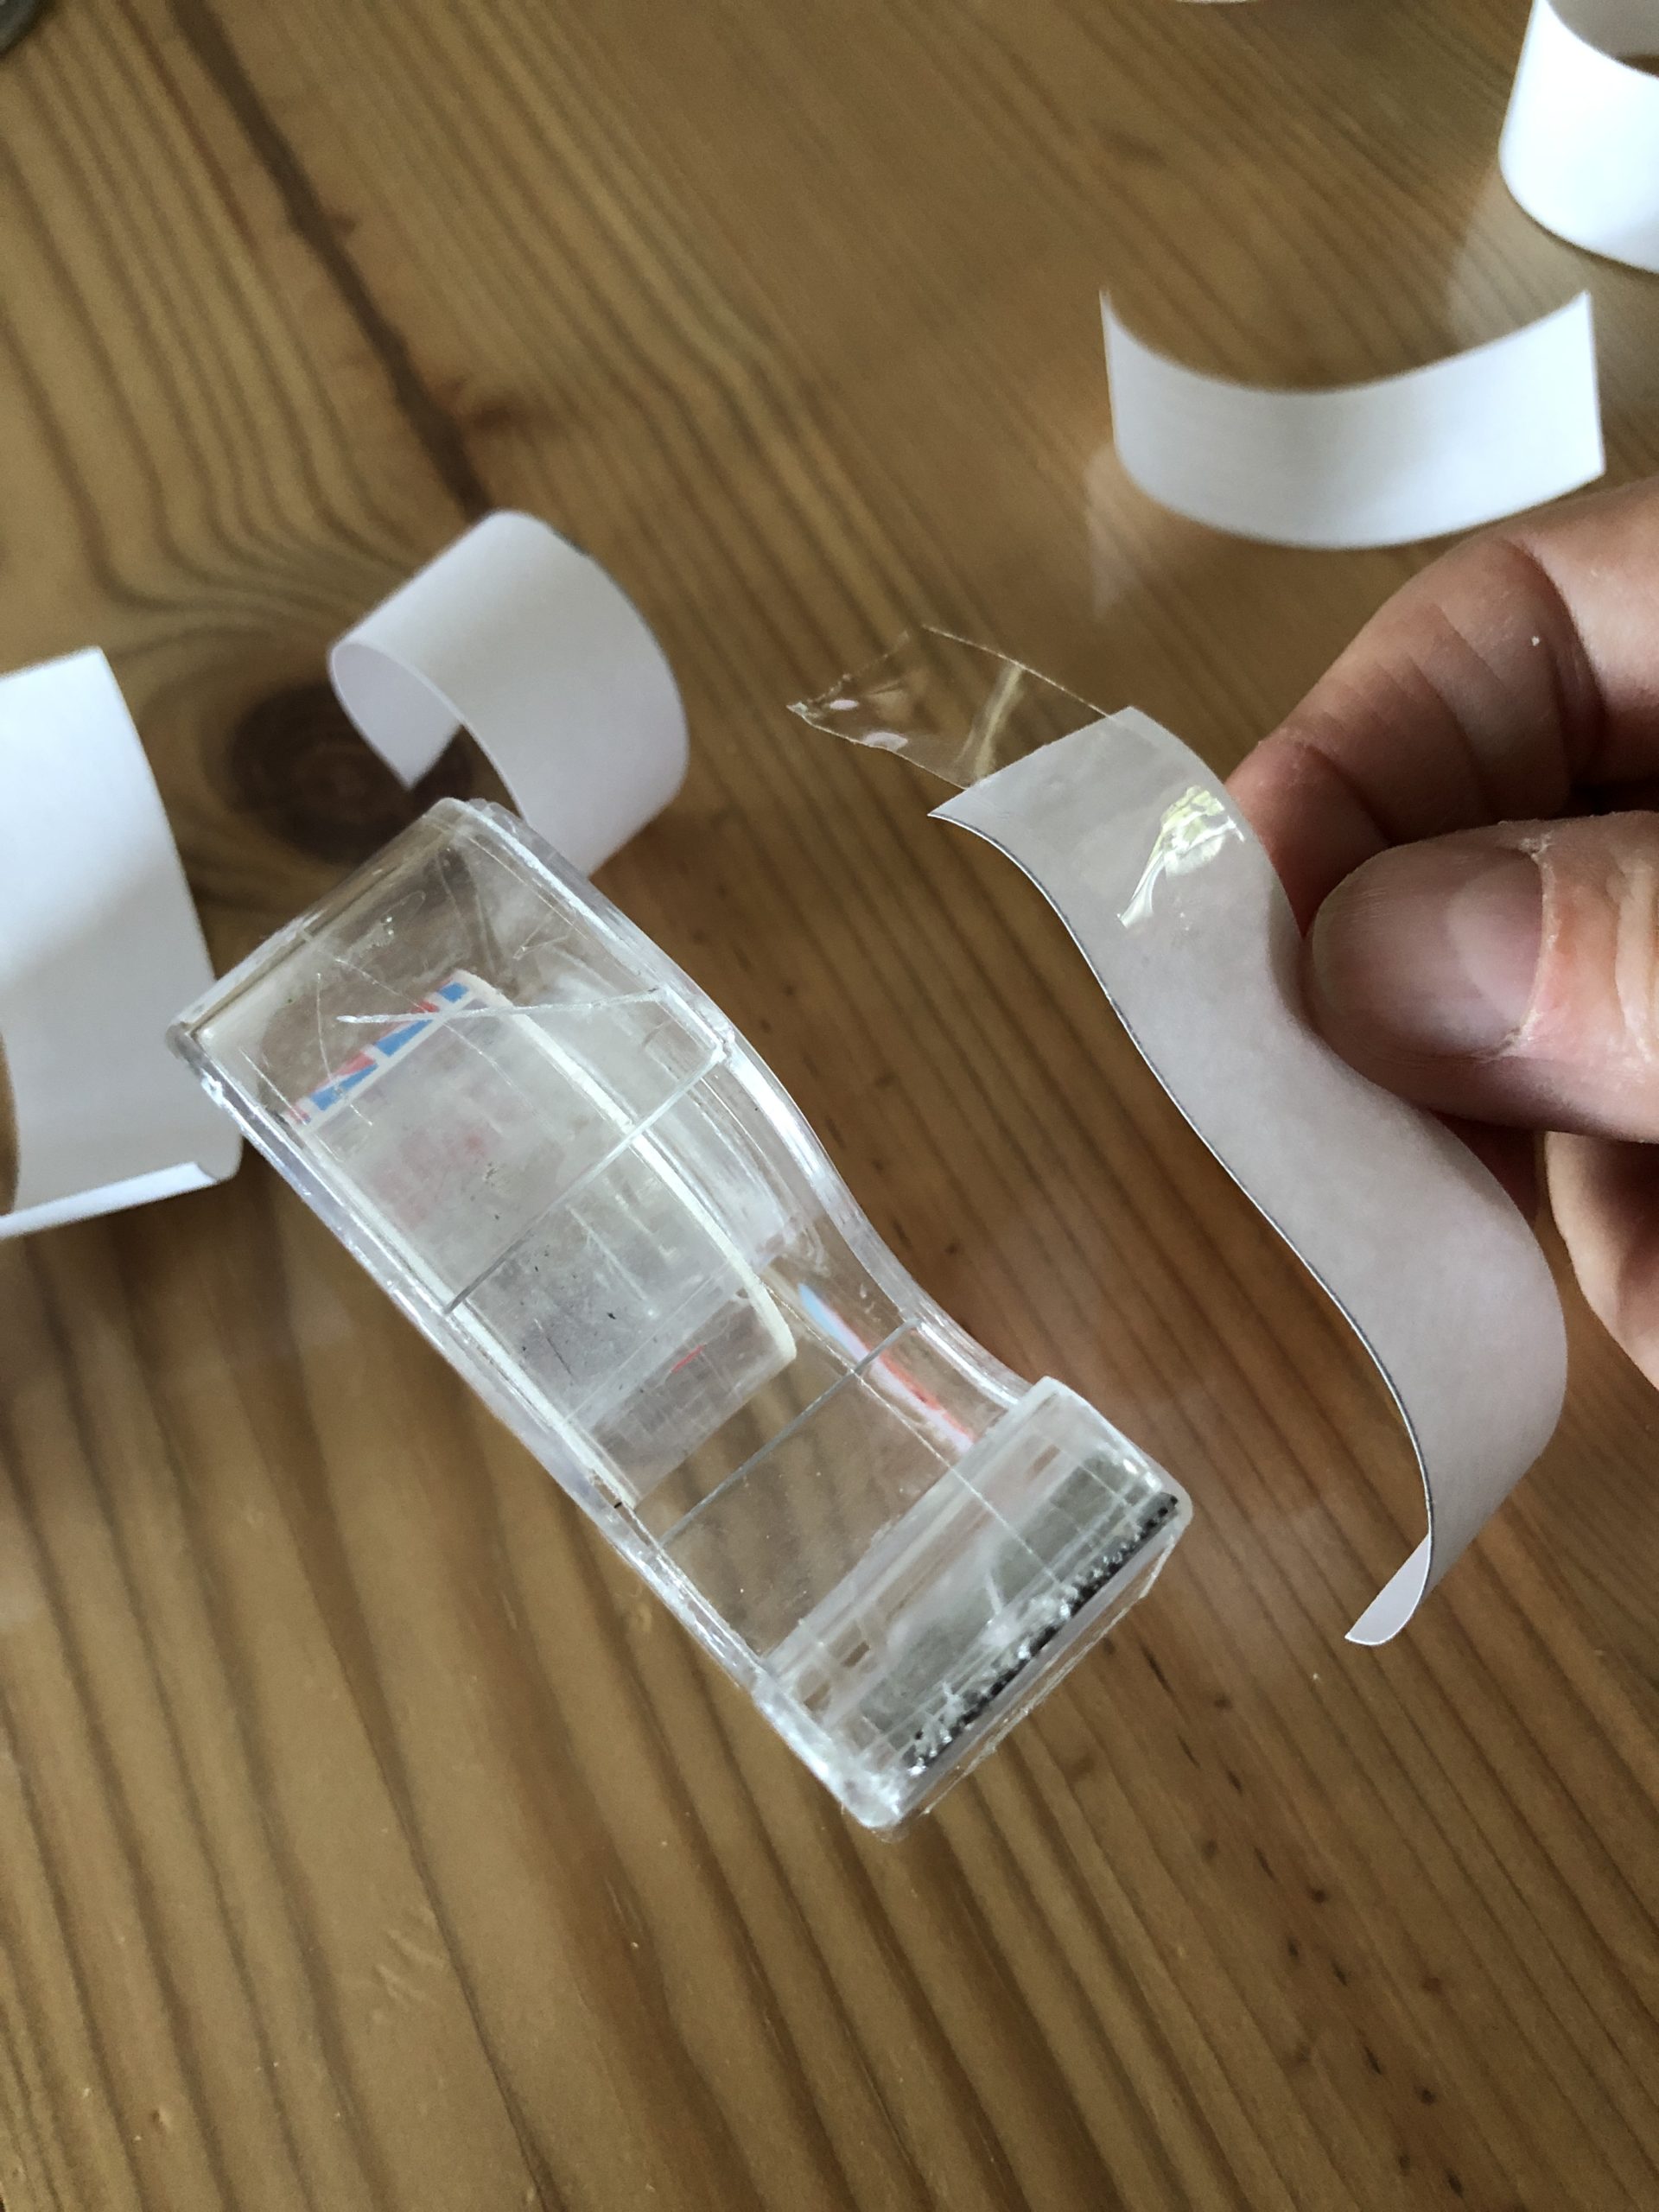
Draw on your paper about 2 cm wide strips. Cut them off and shorten them so that you get about 8-10 cm long pieces.

At the ends, this glues her together with a piece of adhesive tape to form a paper ring.
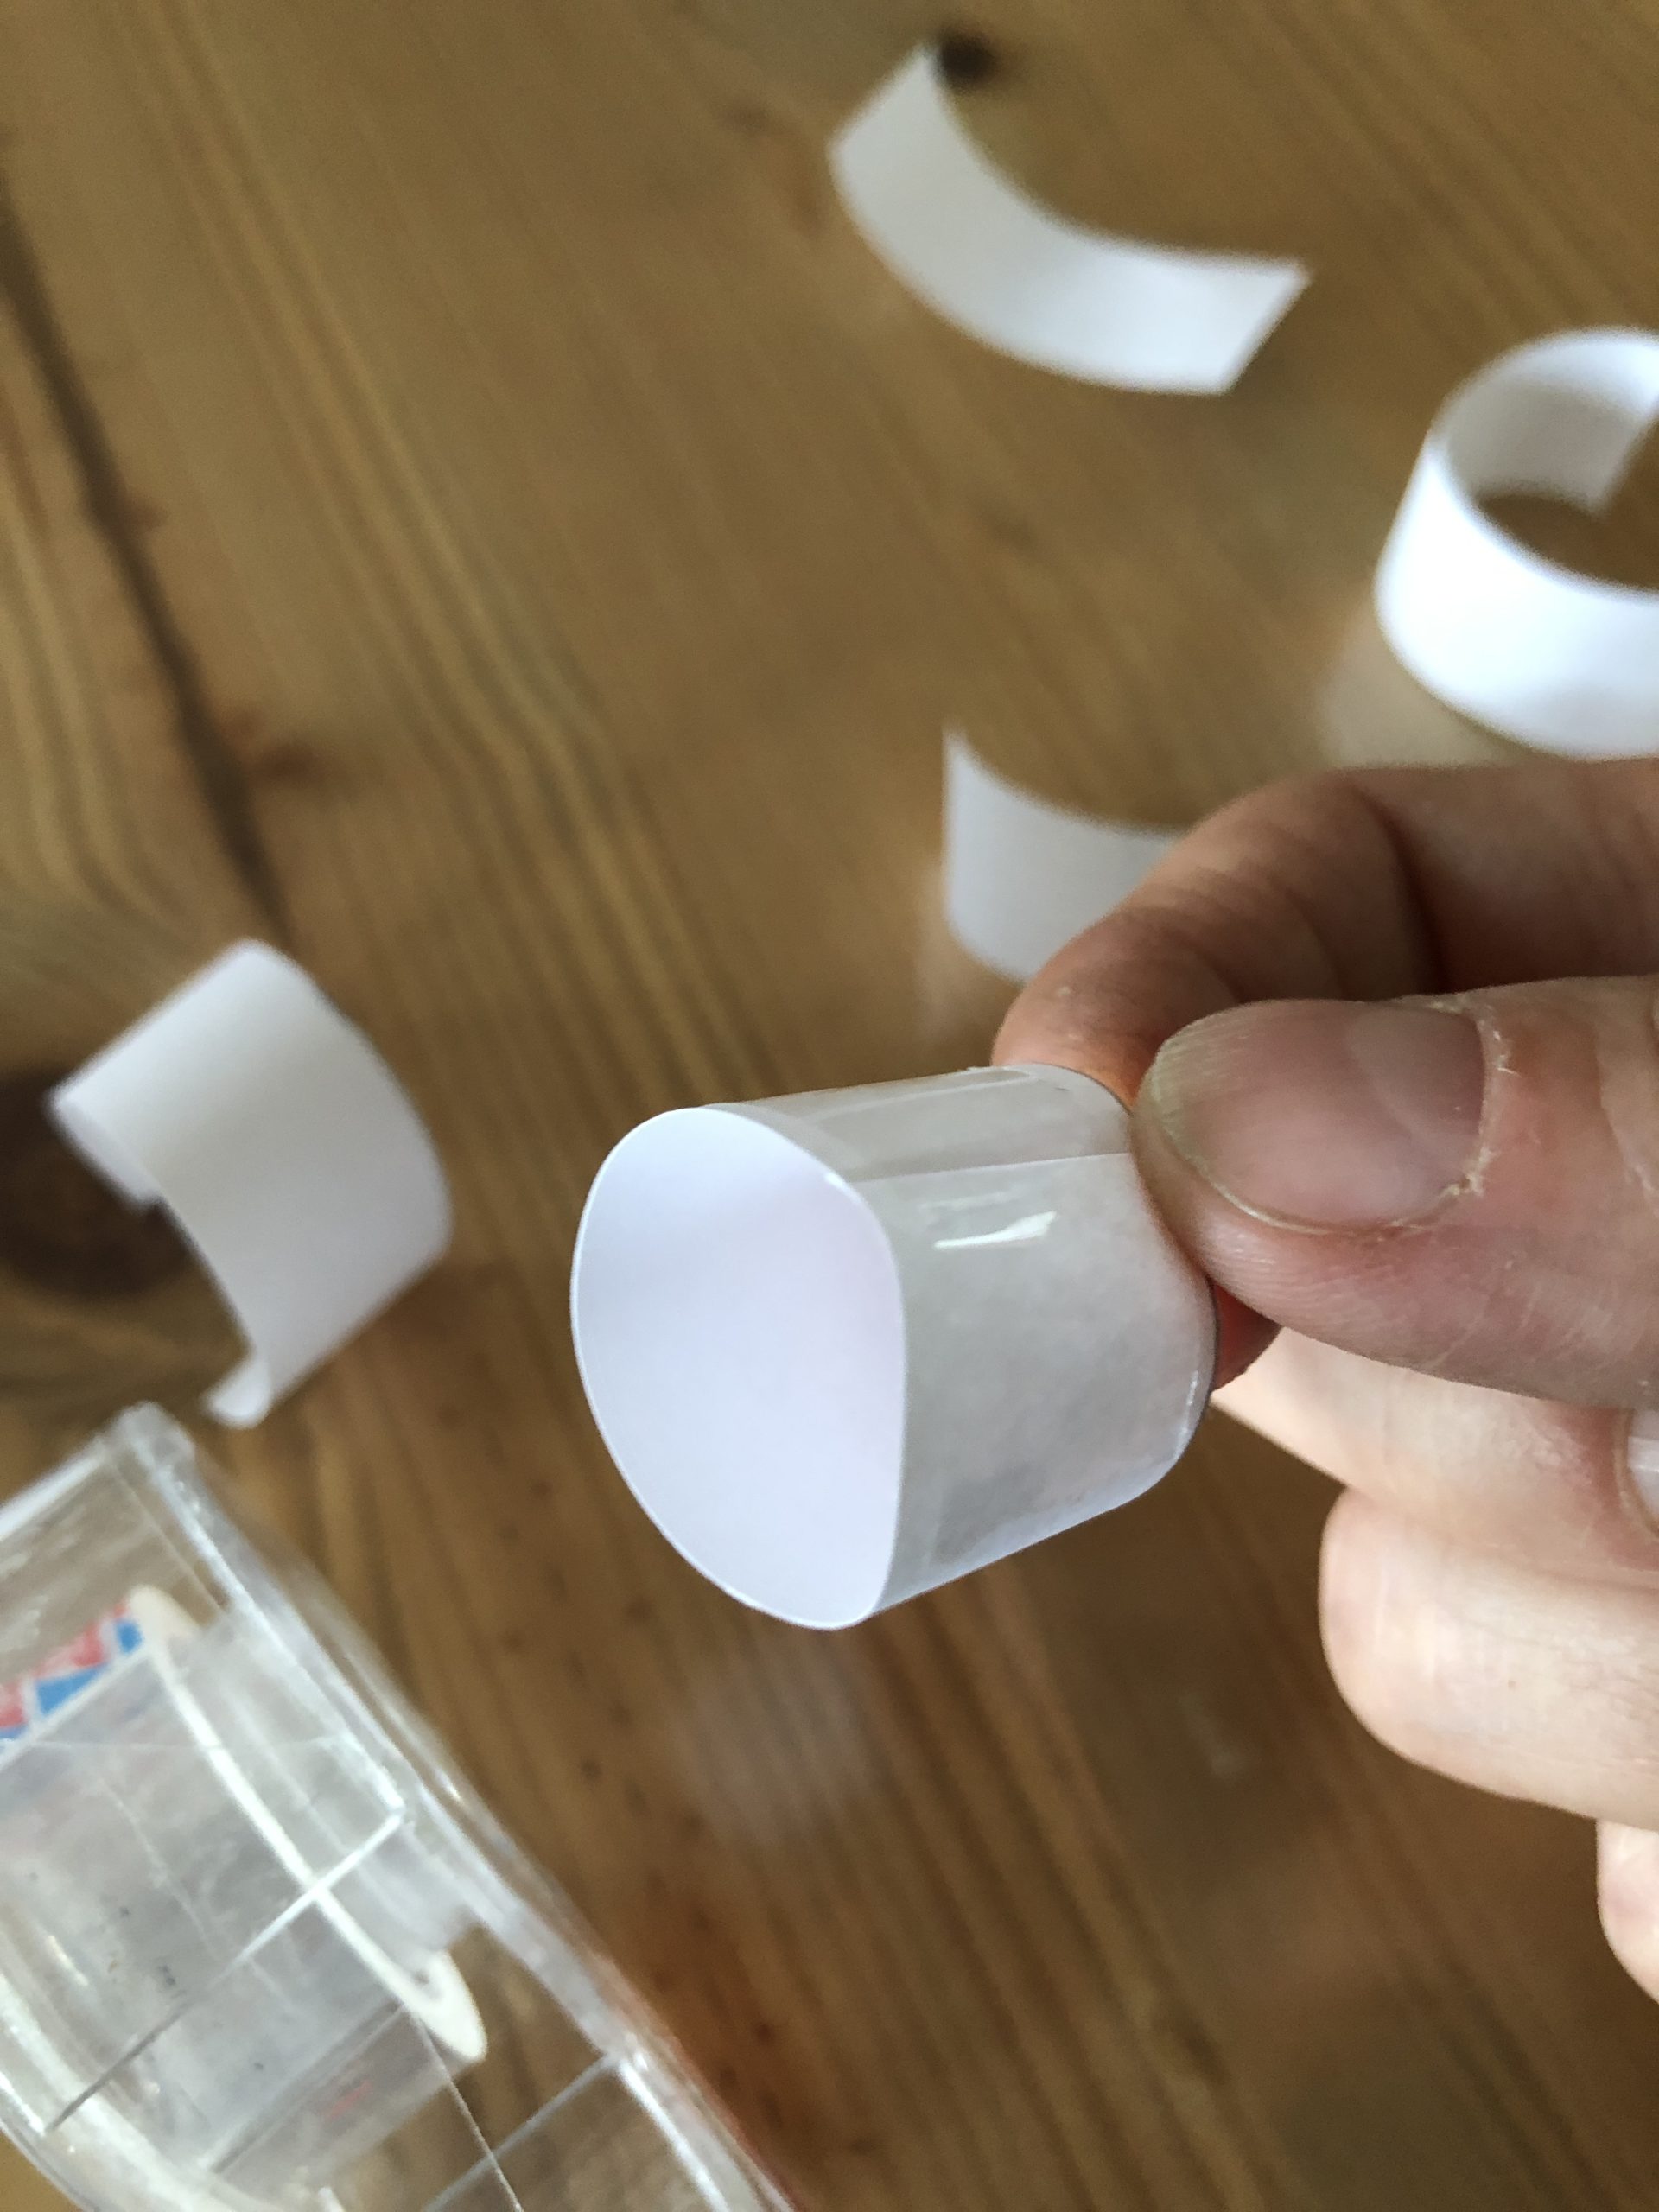
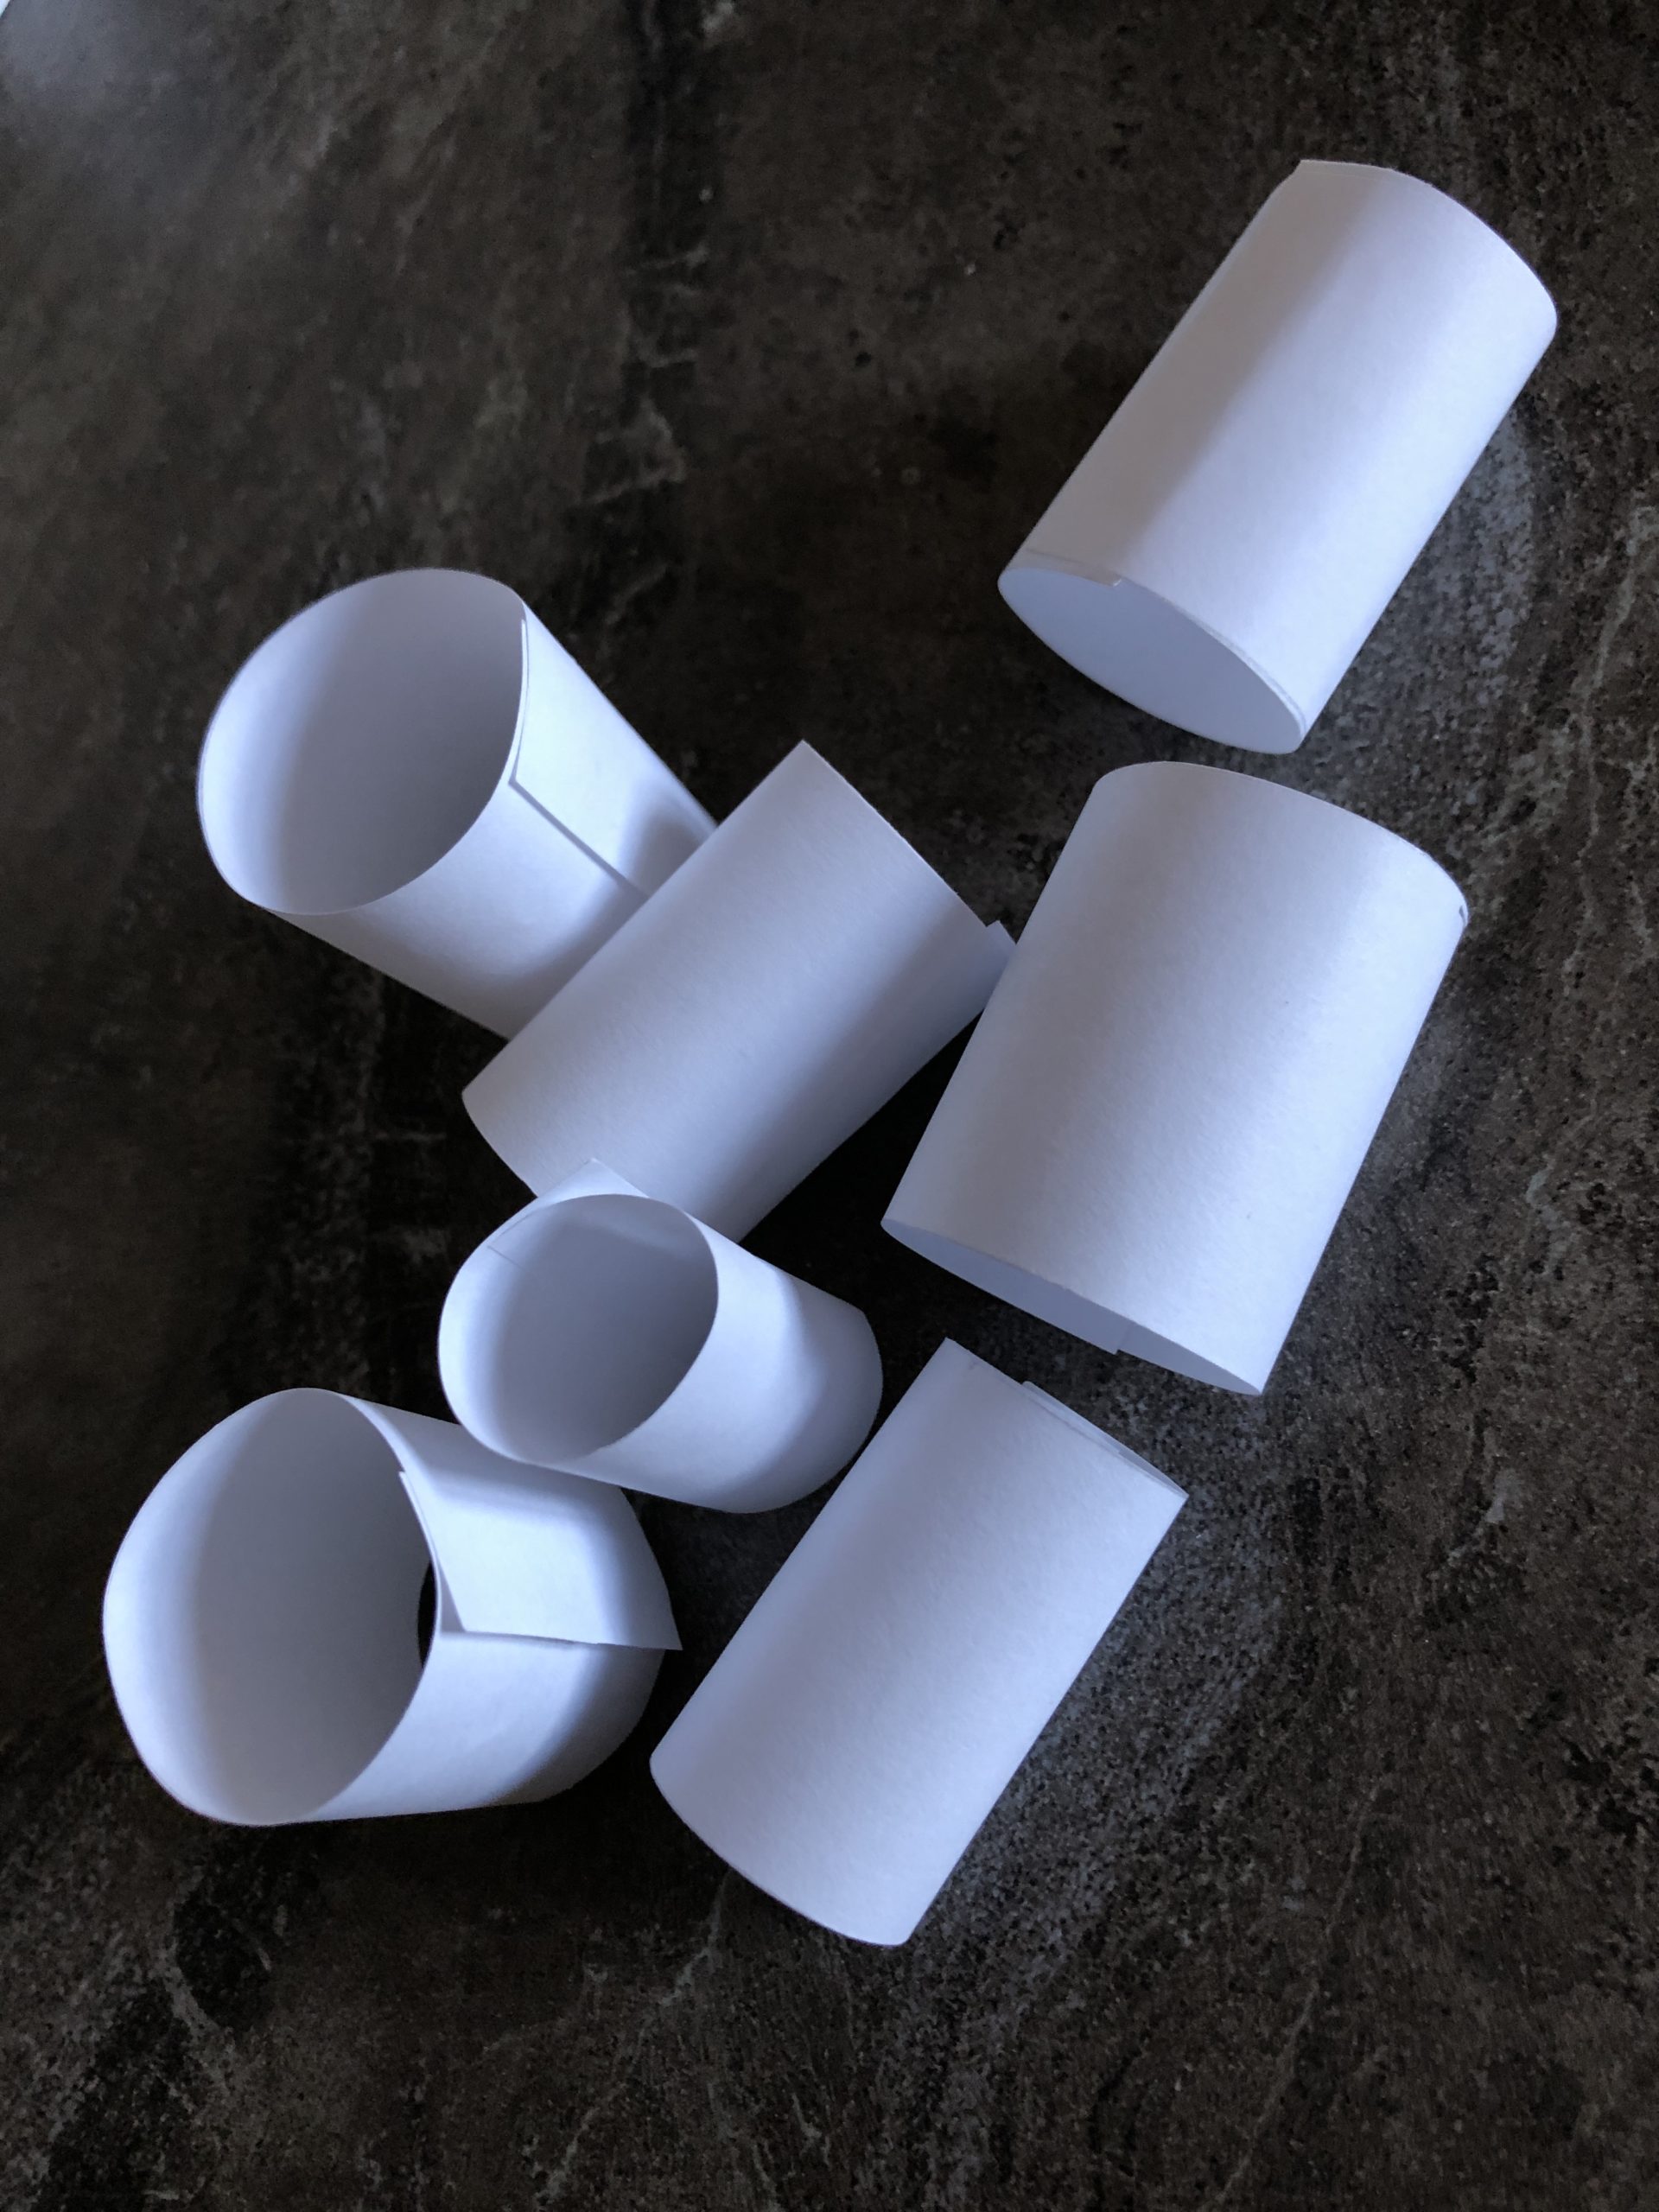
Creates several rings. These can have quiet different sizes. Important: there is no "wrong".?
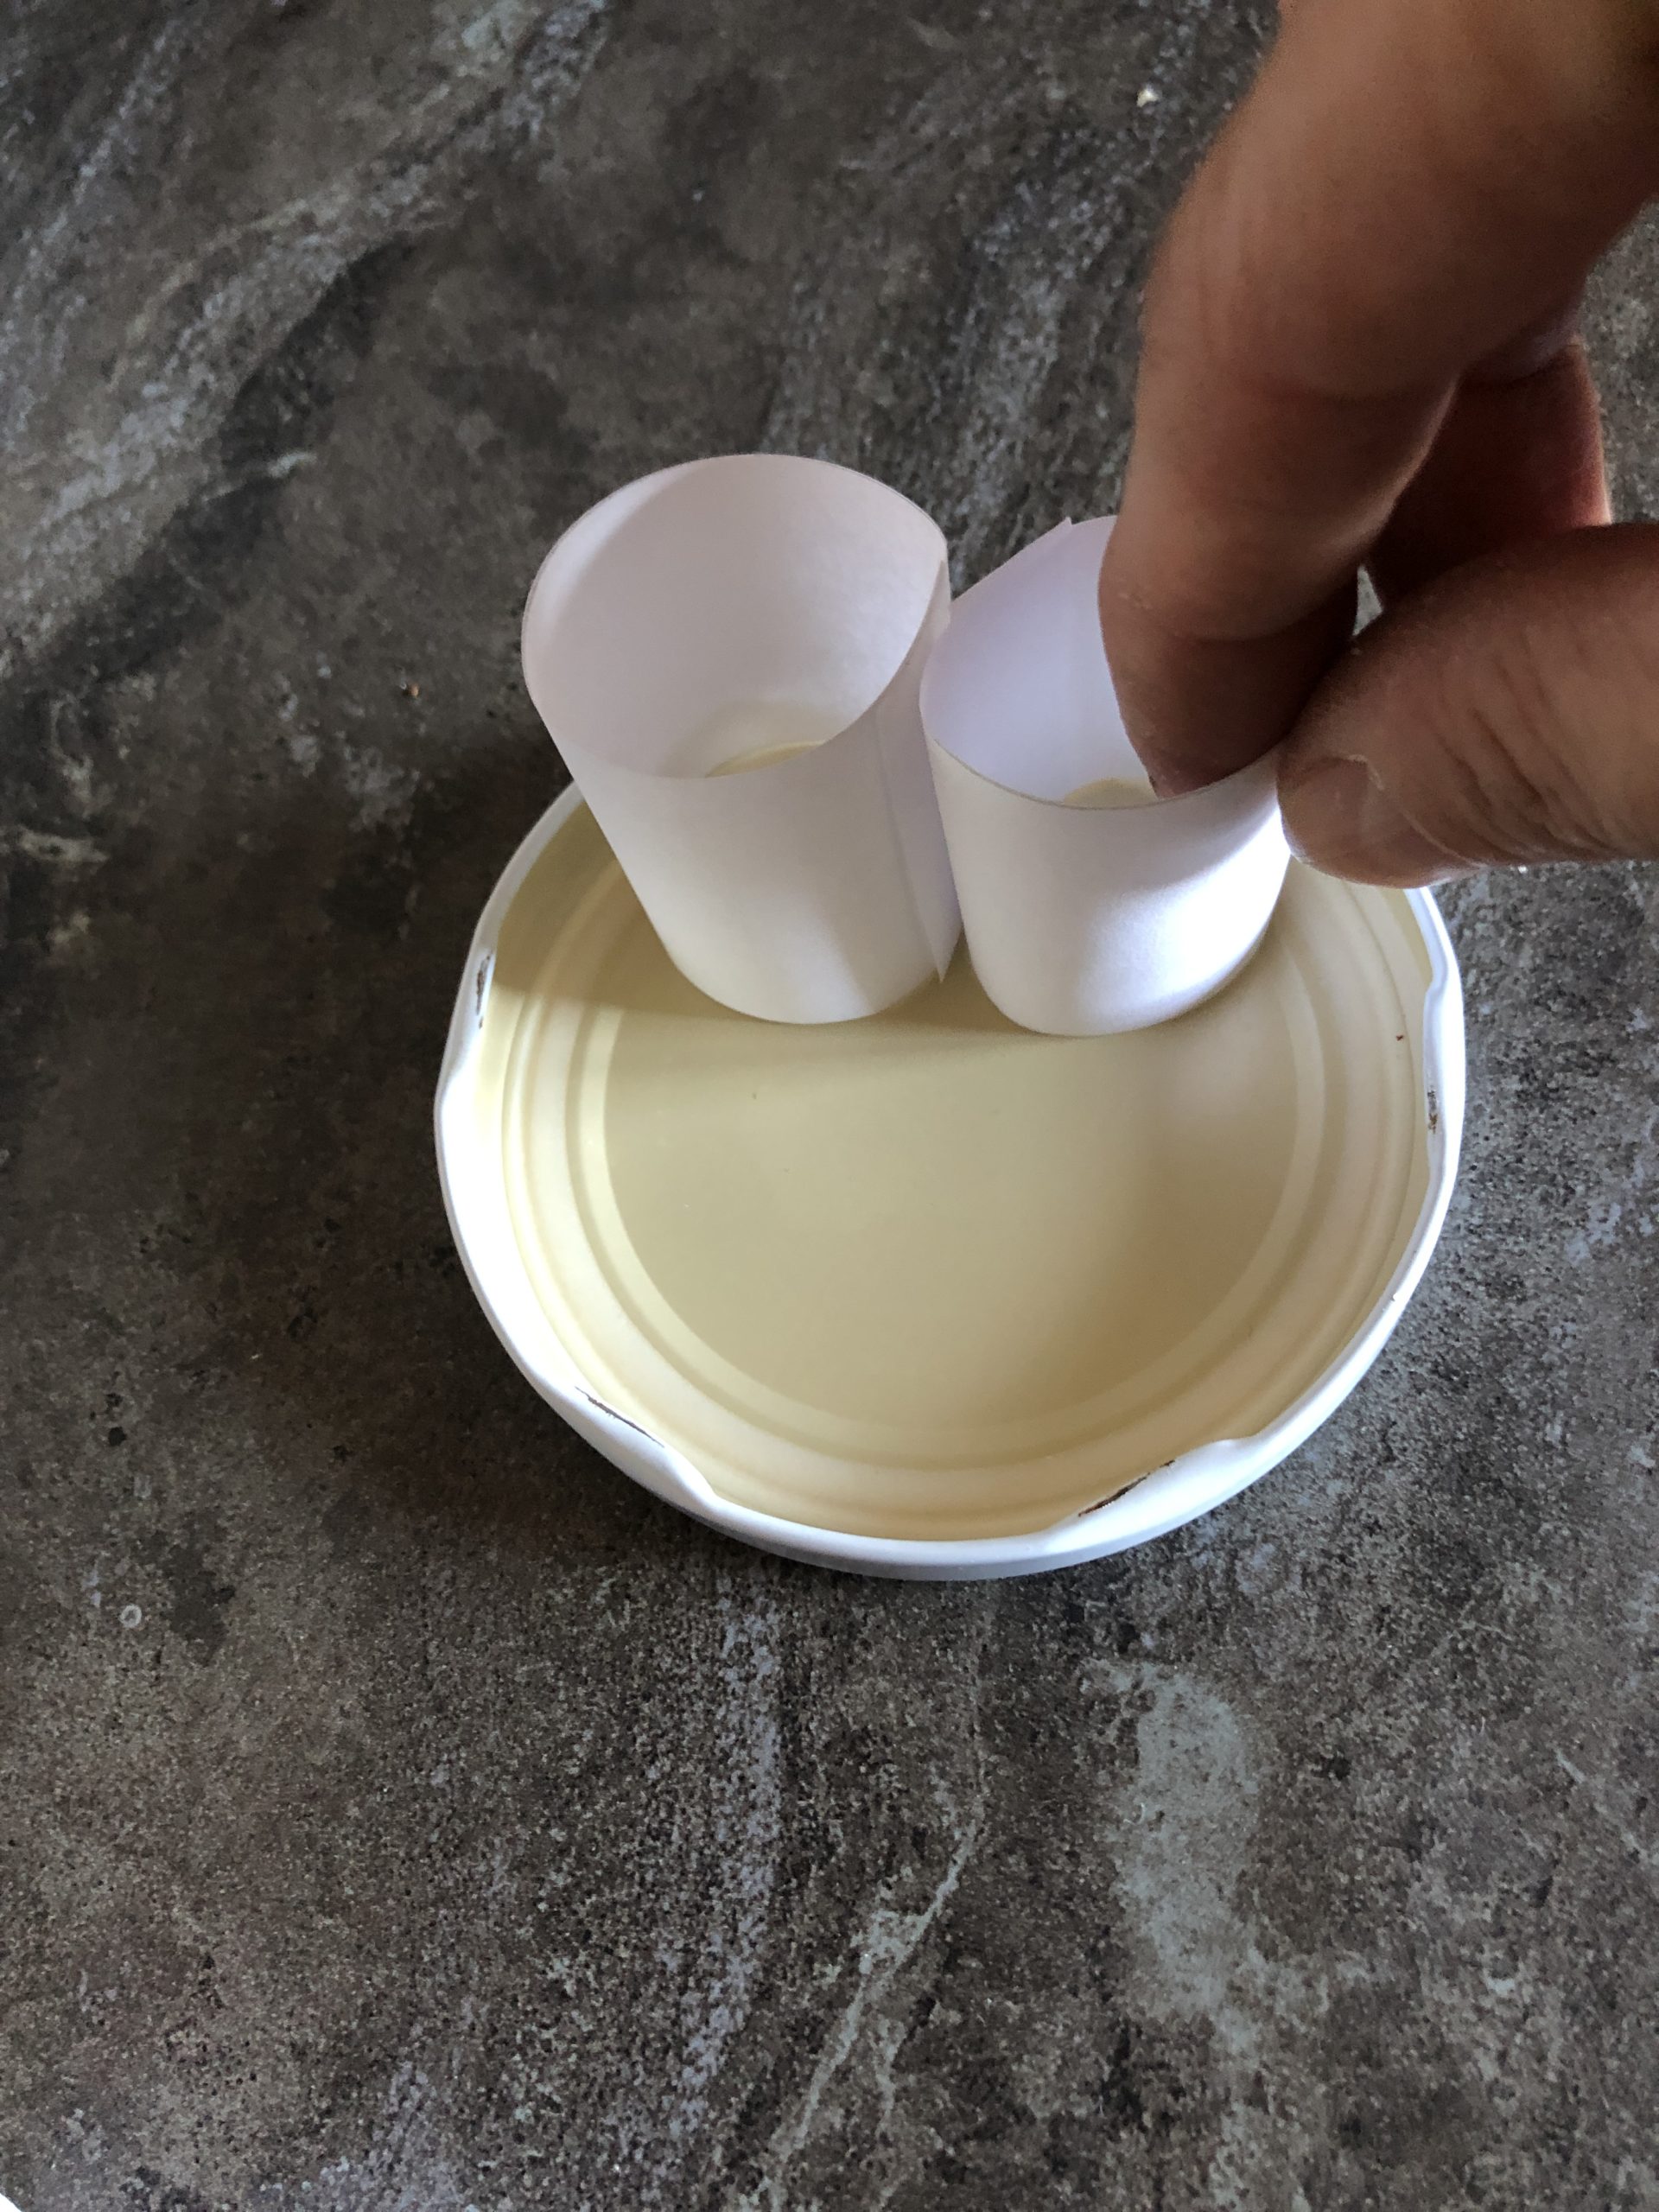
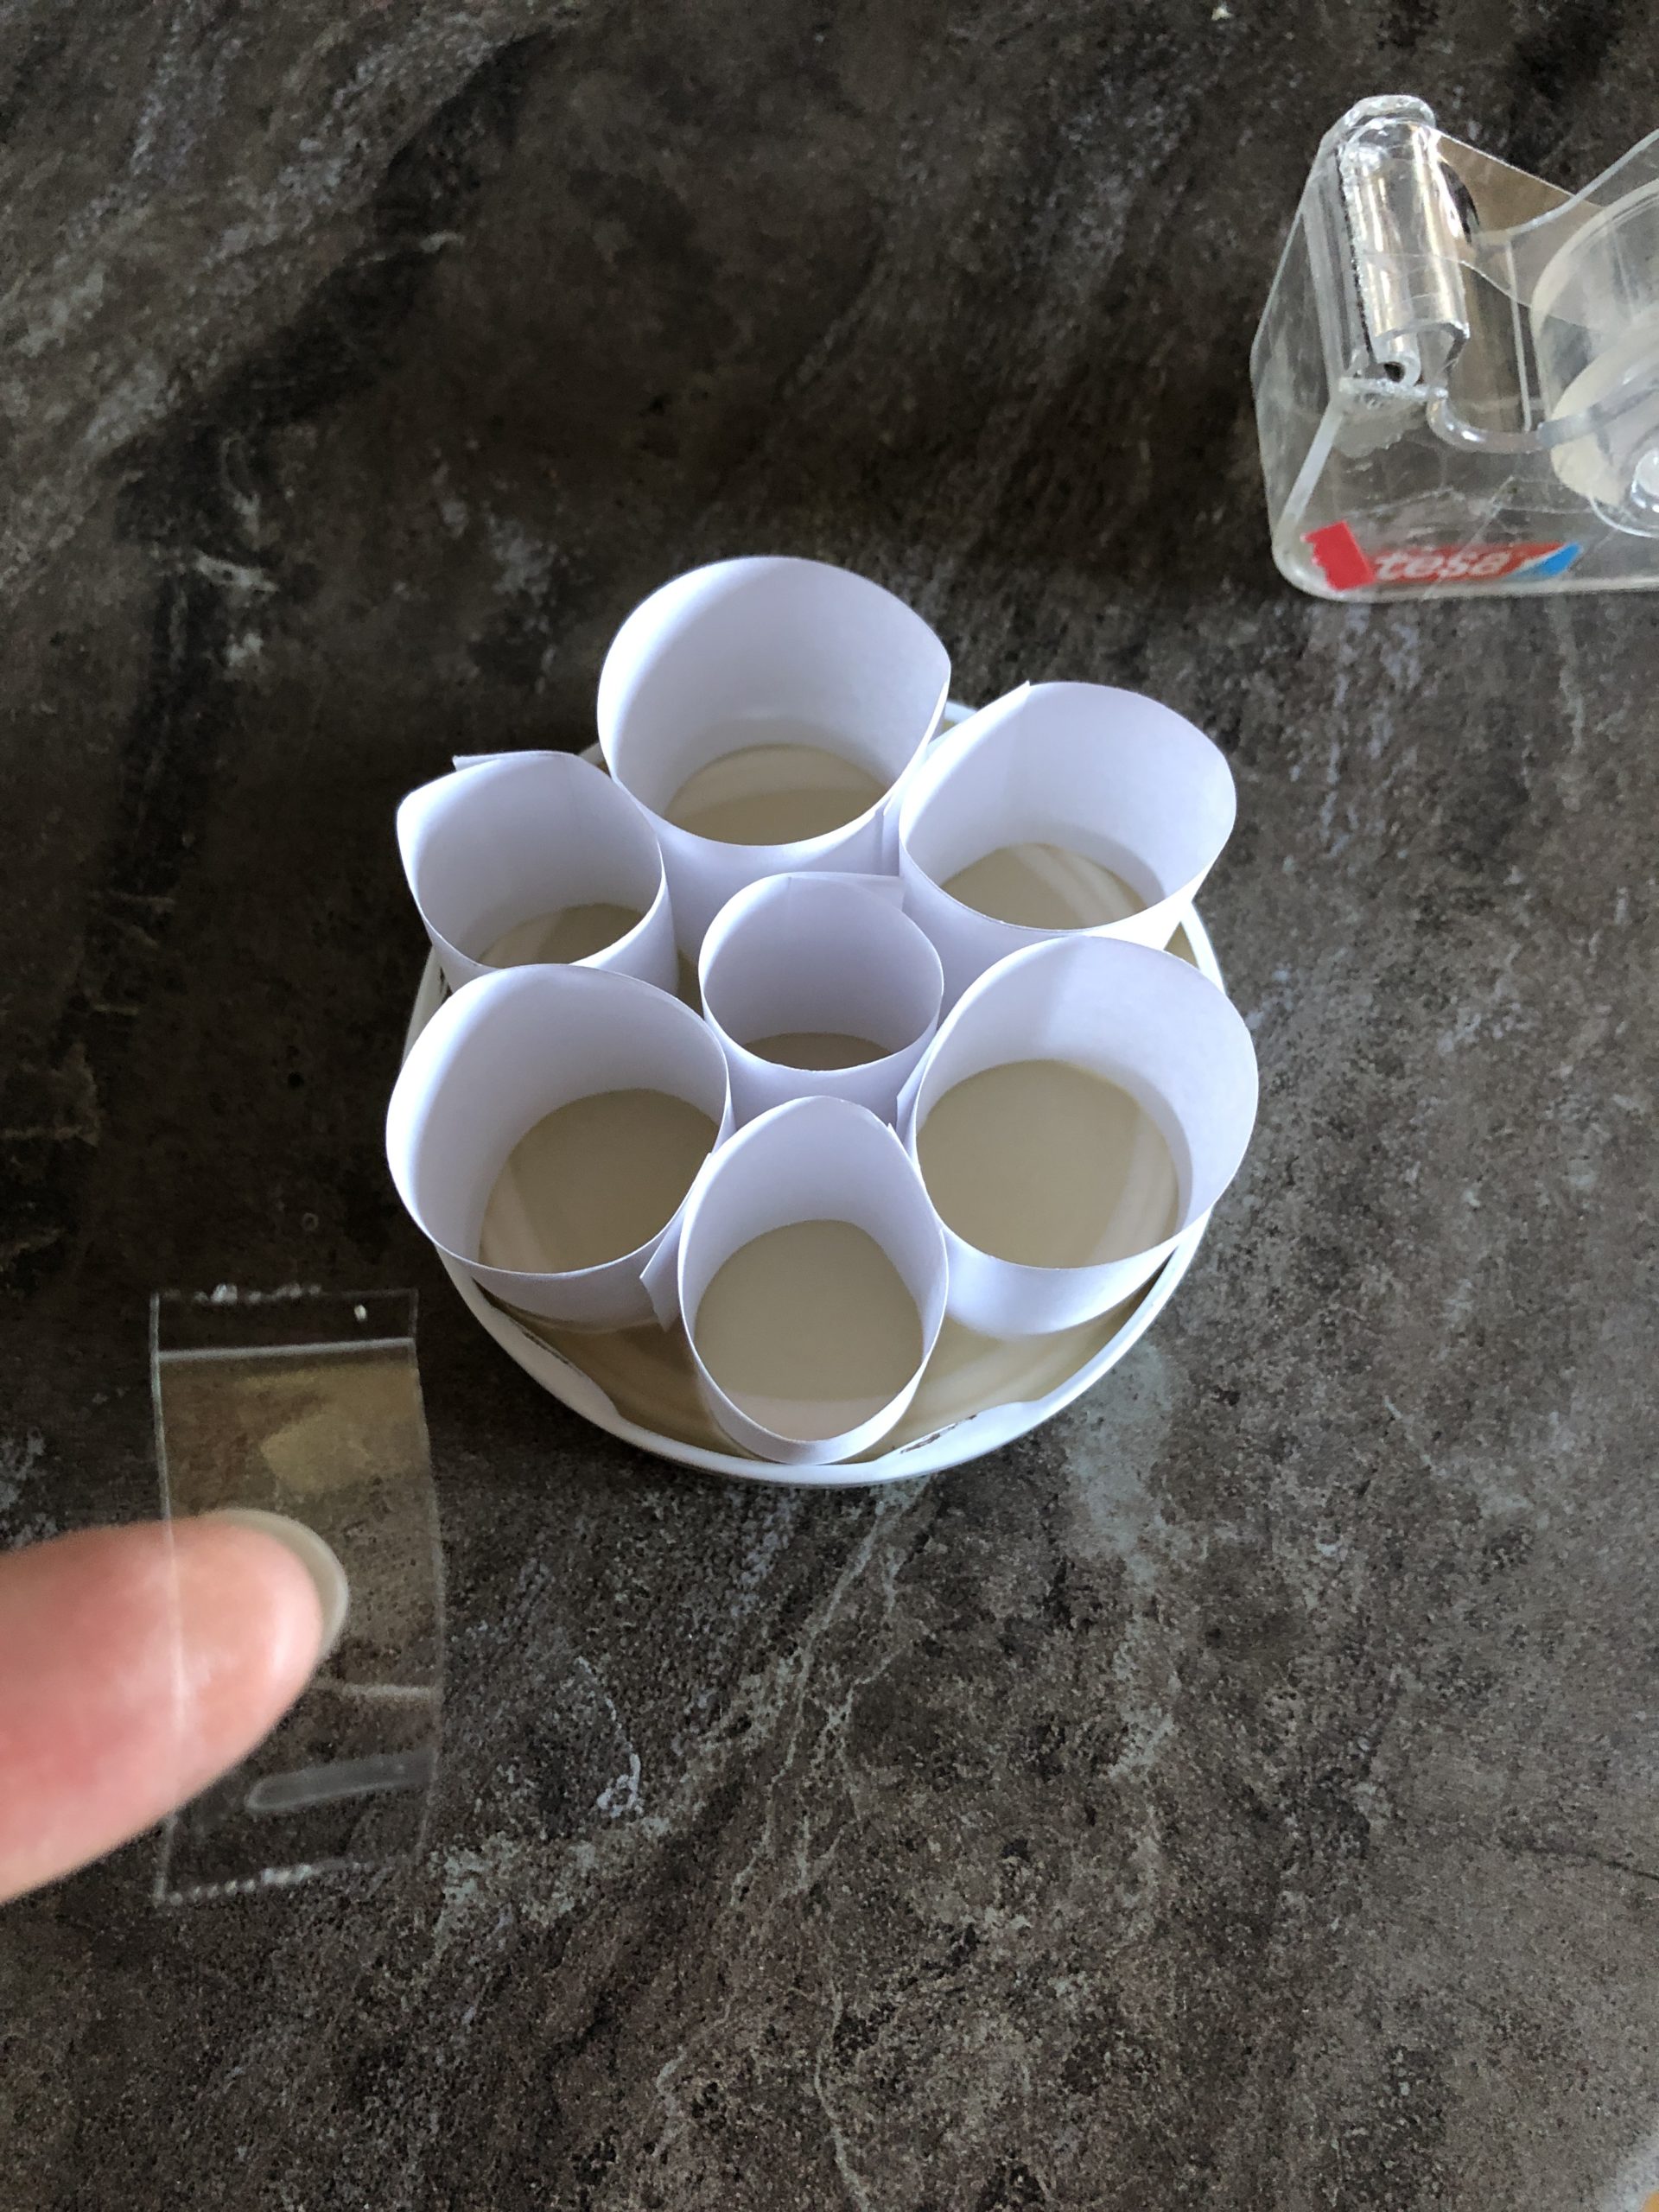
Use a screw glass lid as a frame for your flower shape.

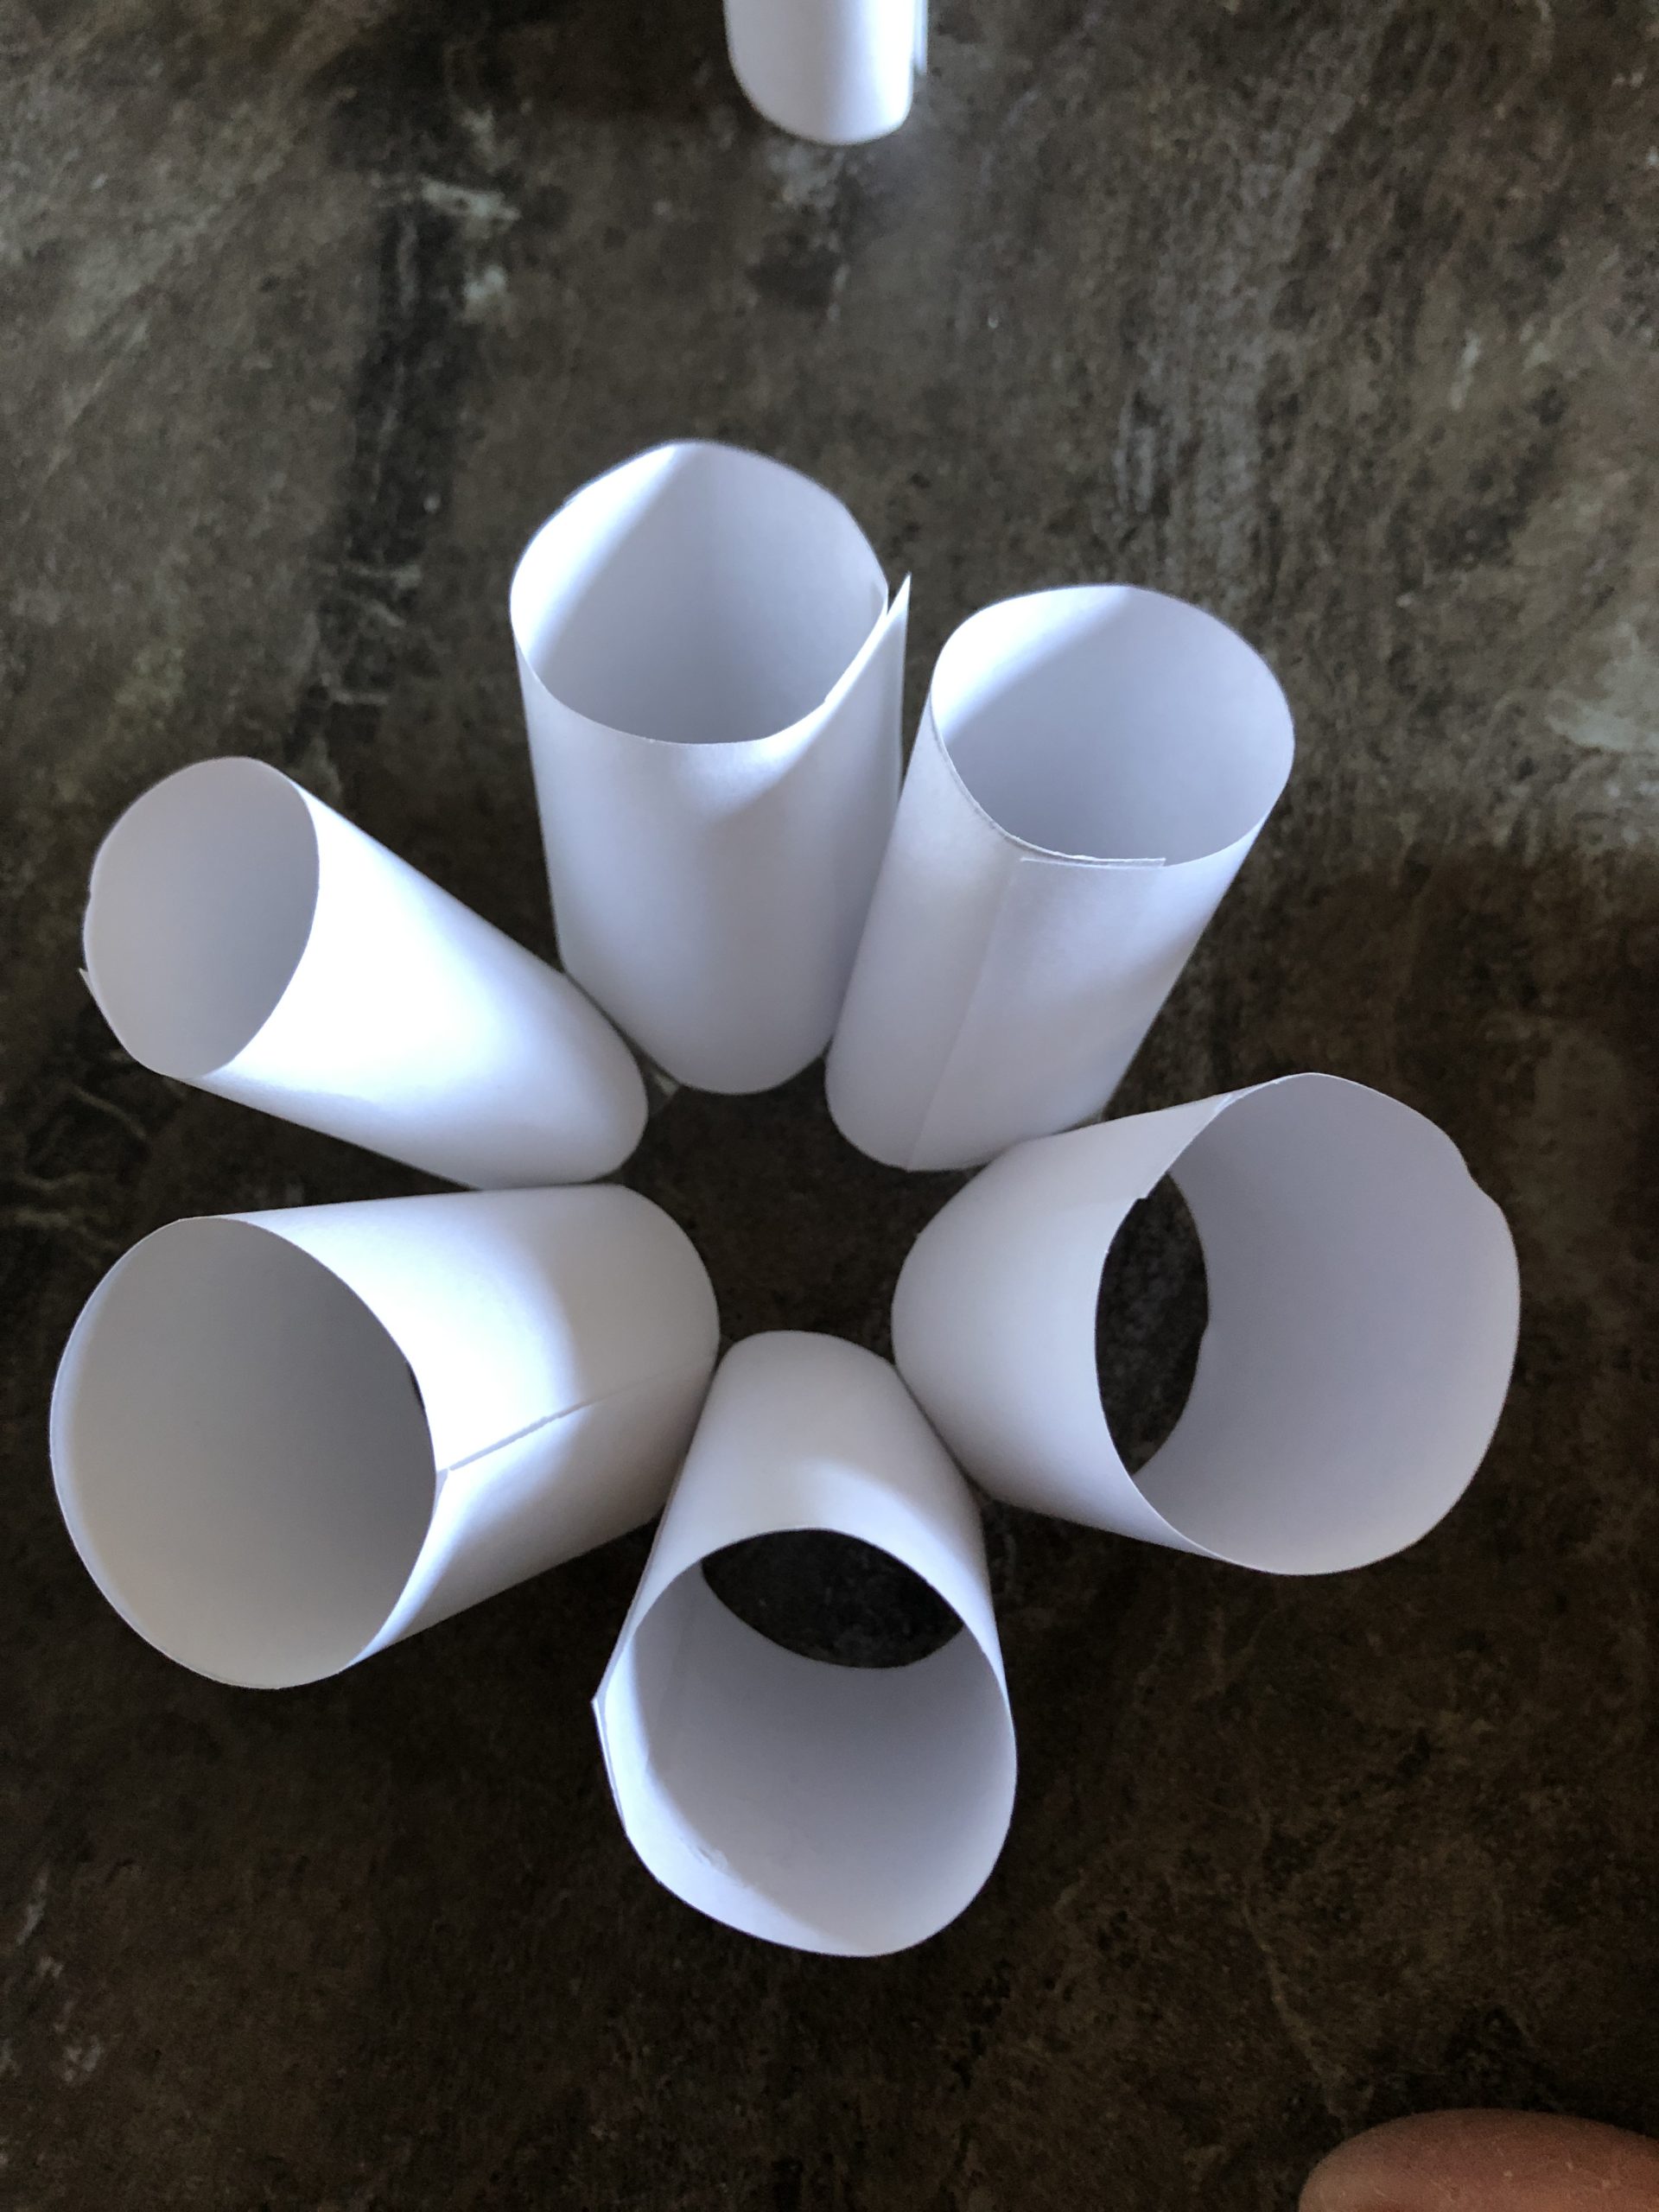
You put this on the table, then put your paper rolls in the lid to create a flower.
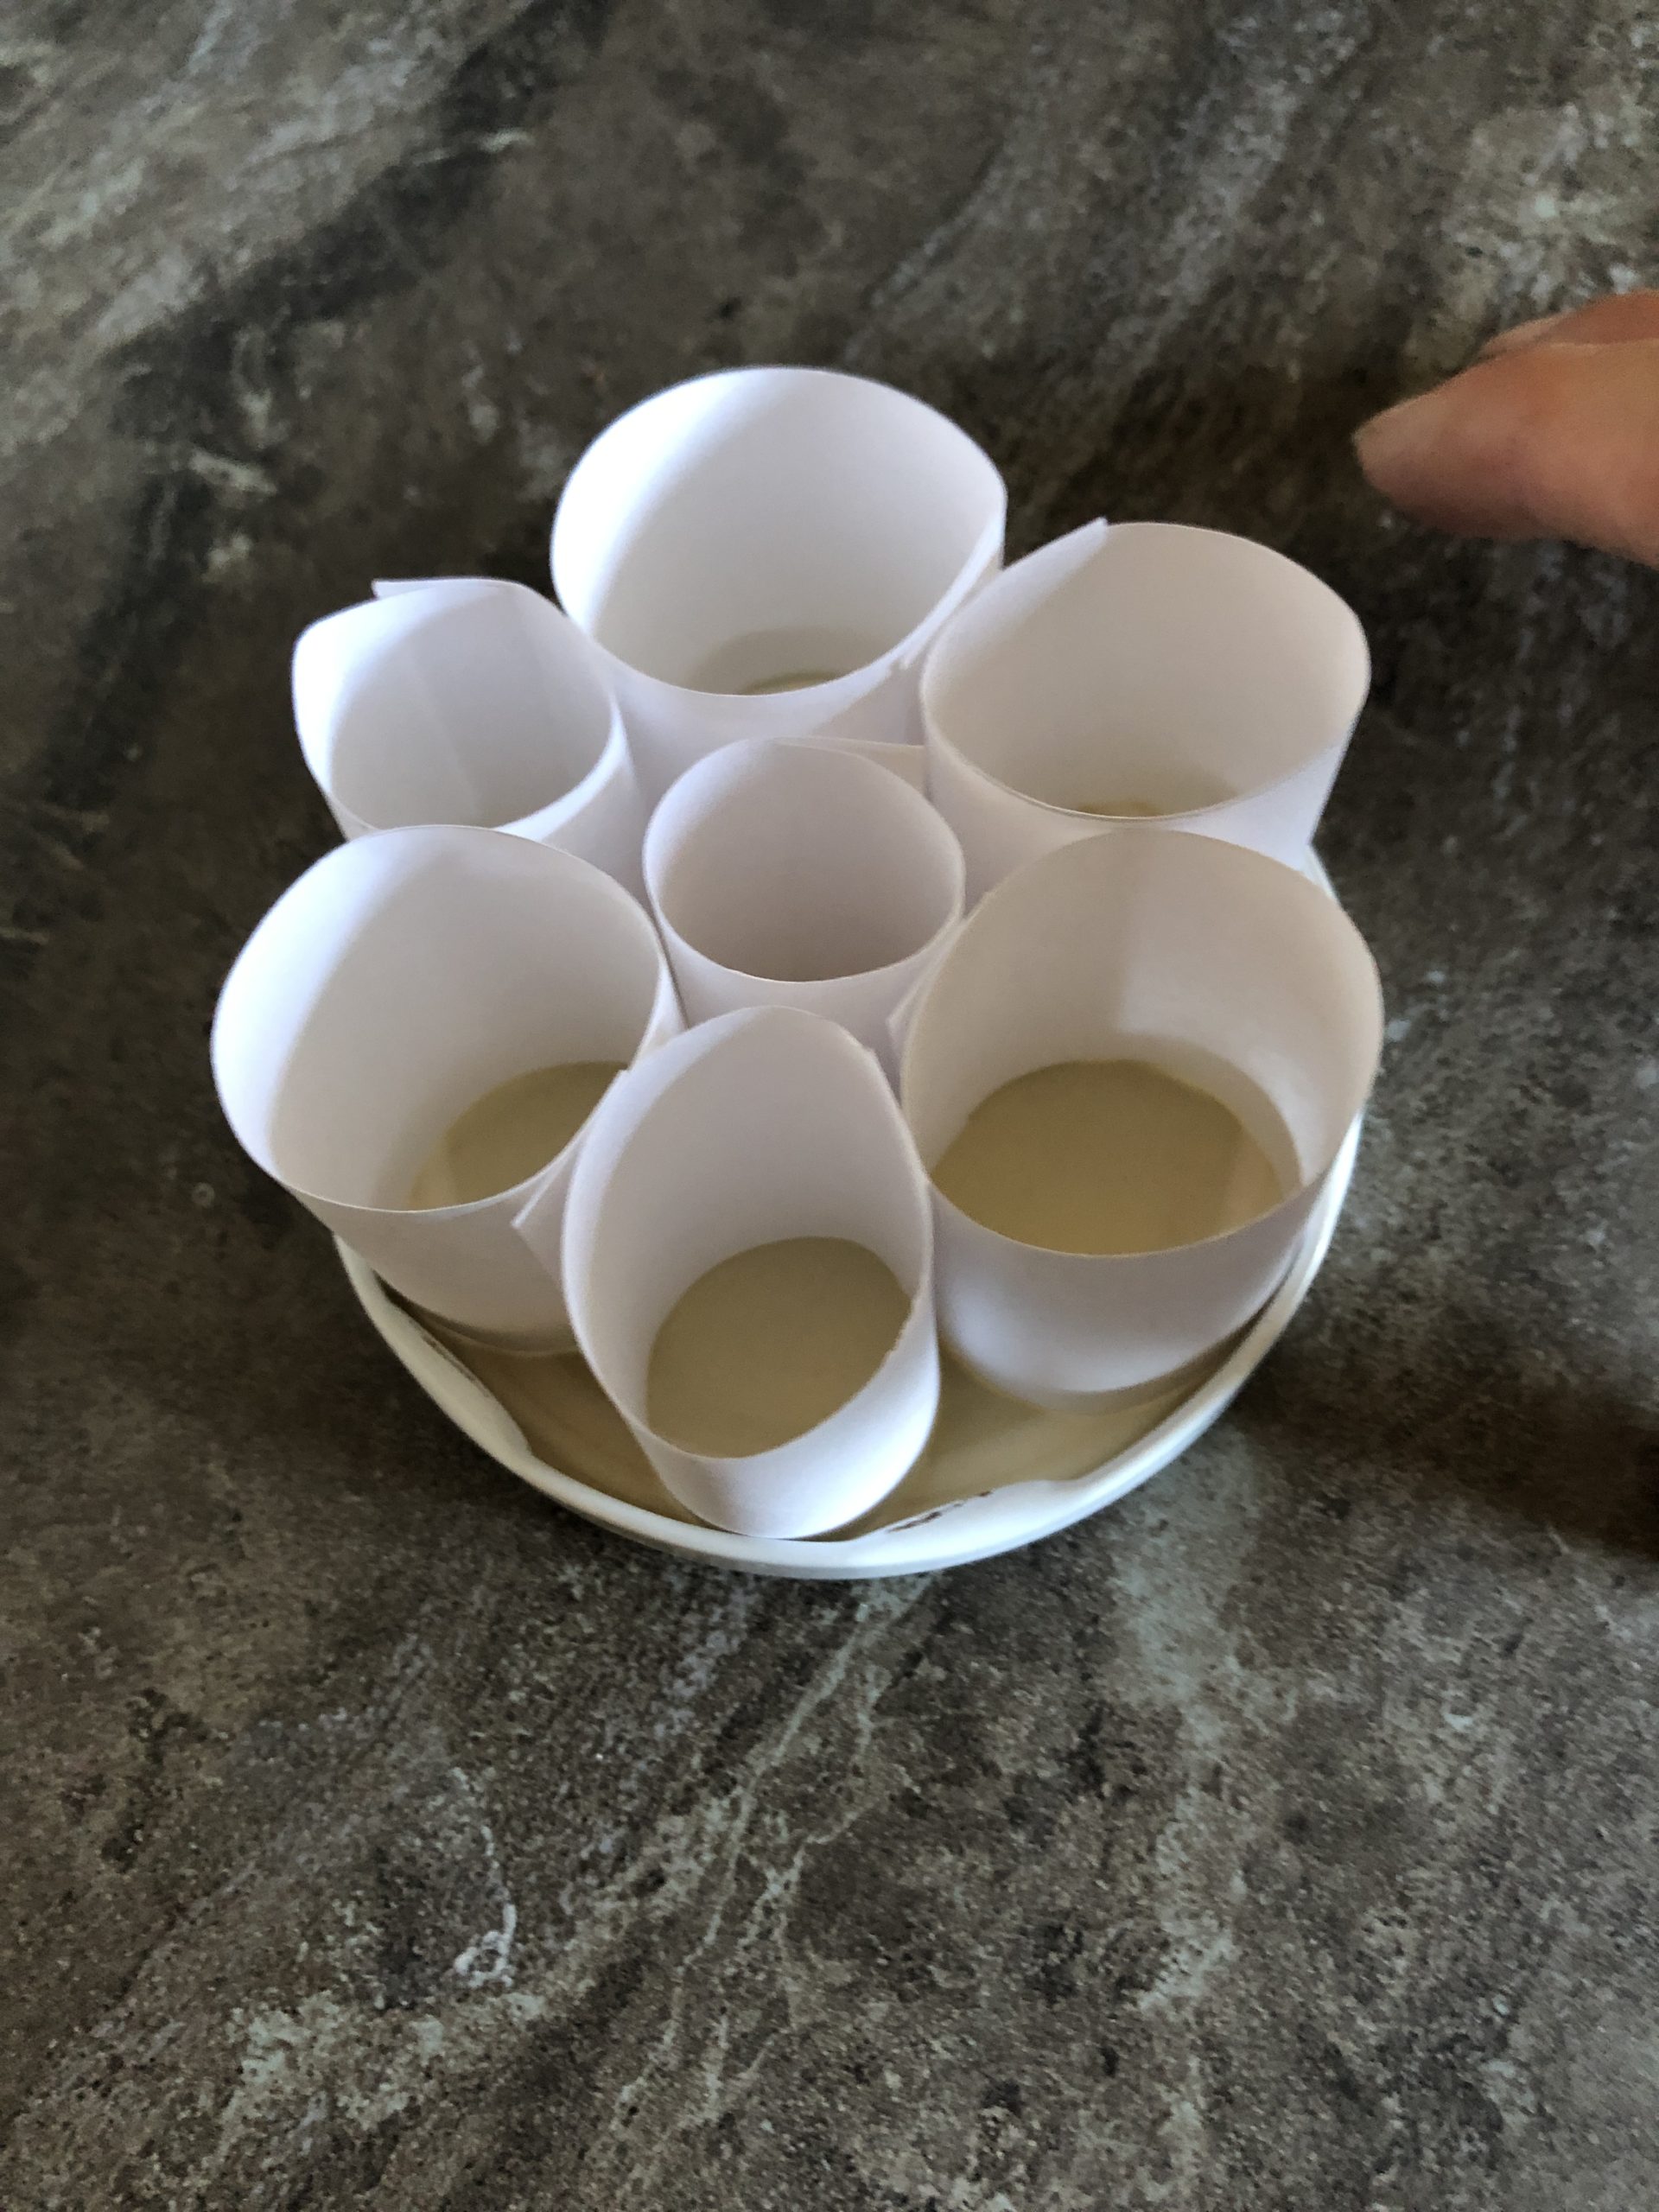
Important: The outer rolls must touch each other in one place!
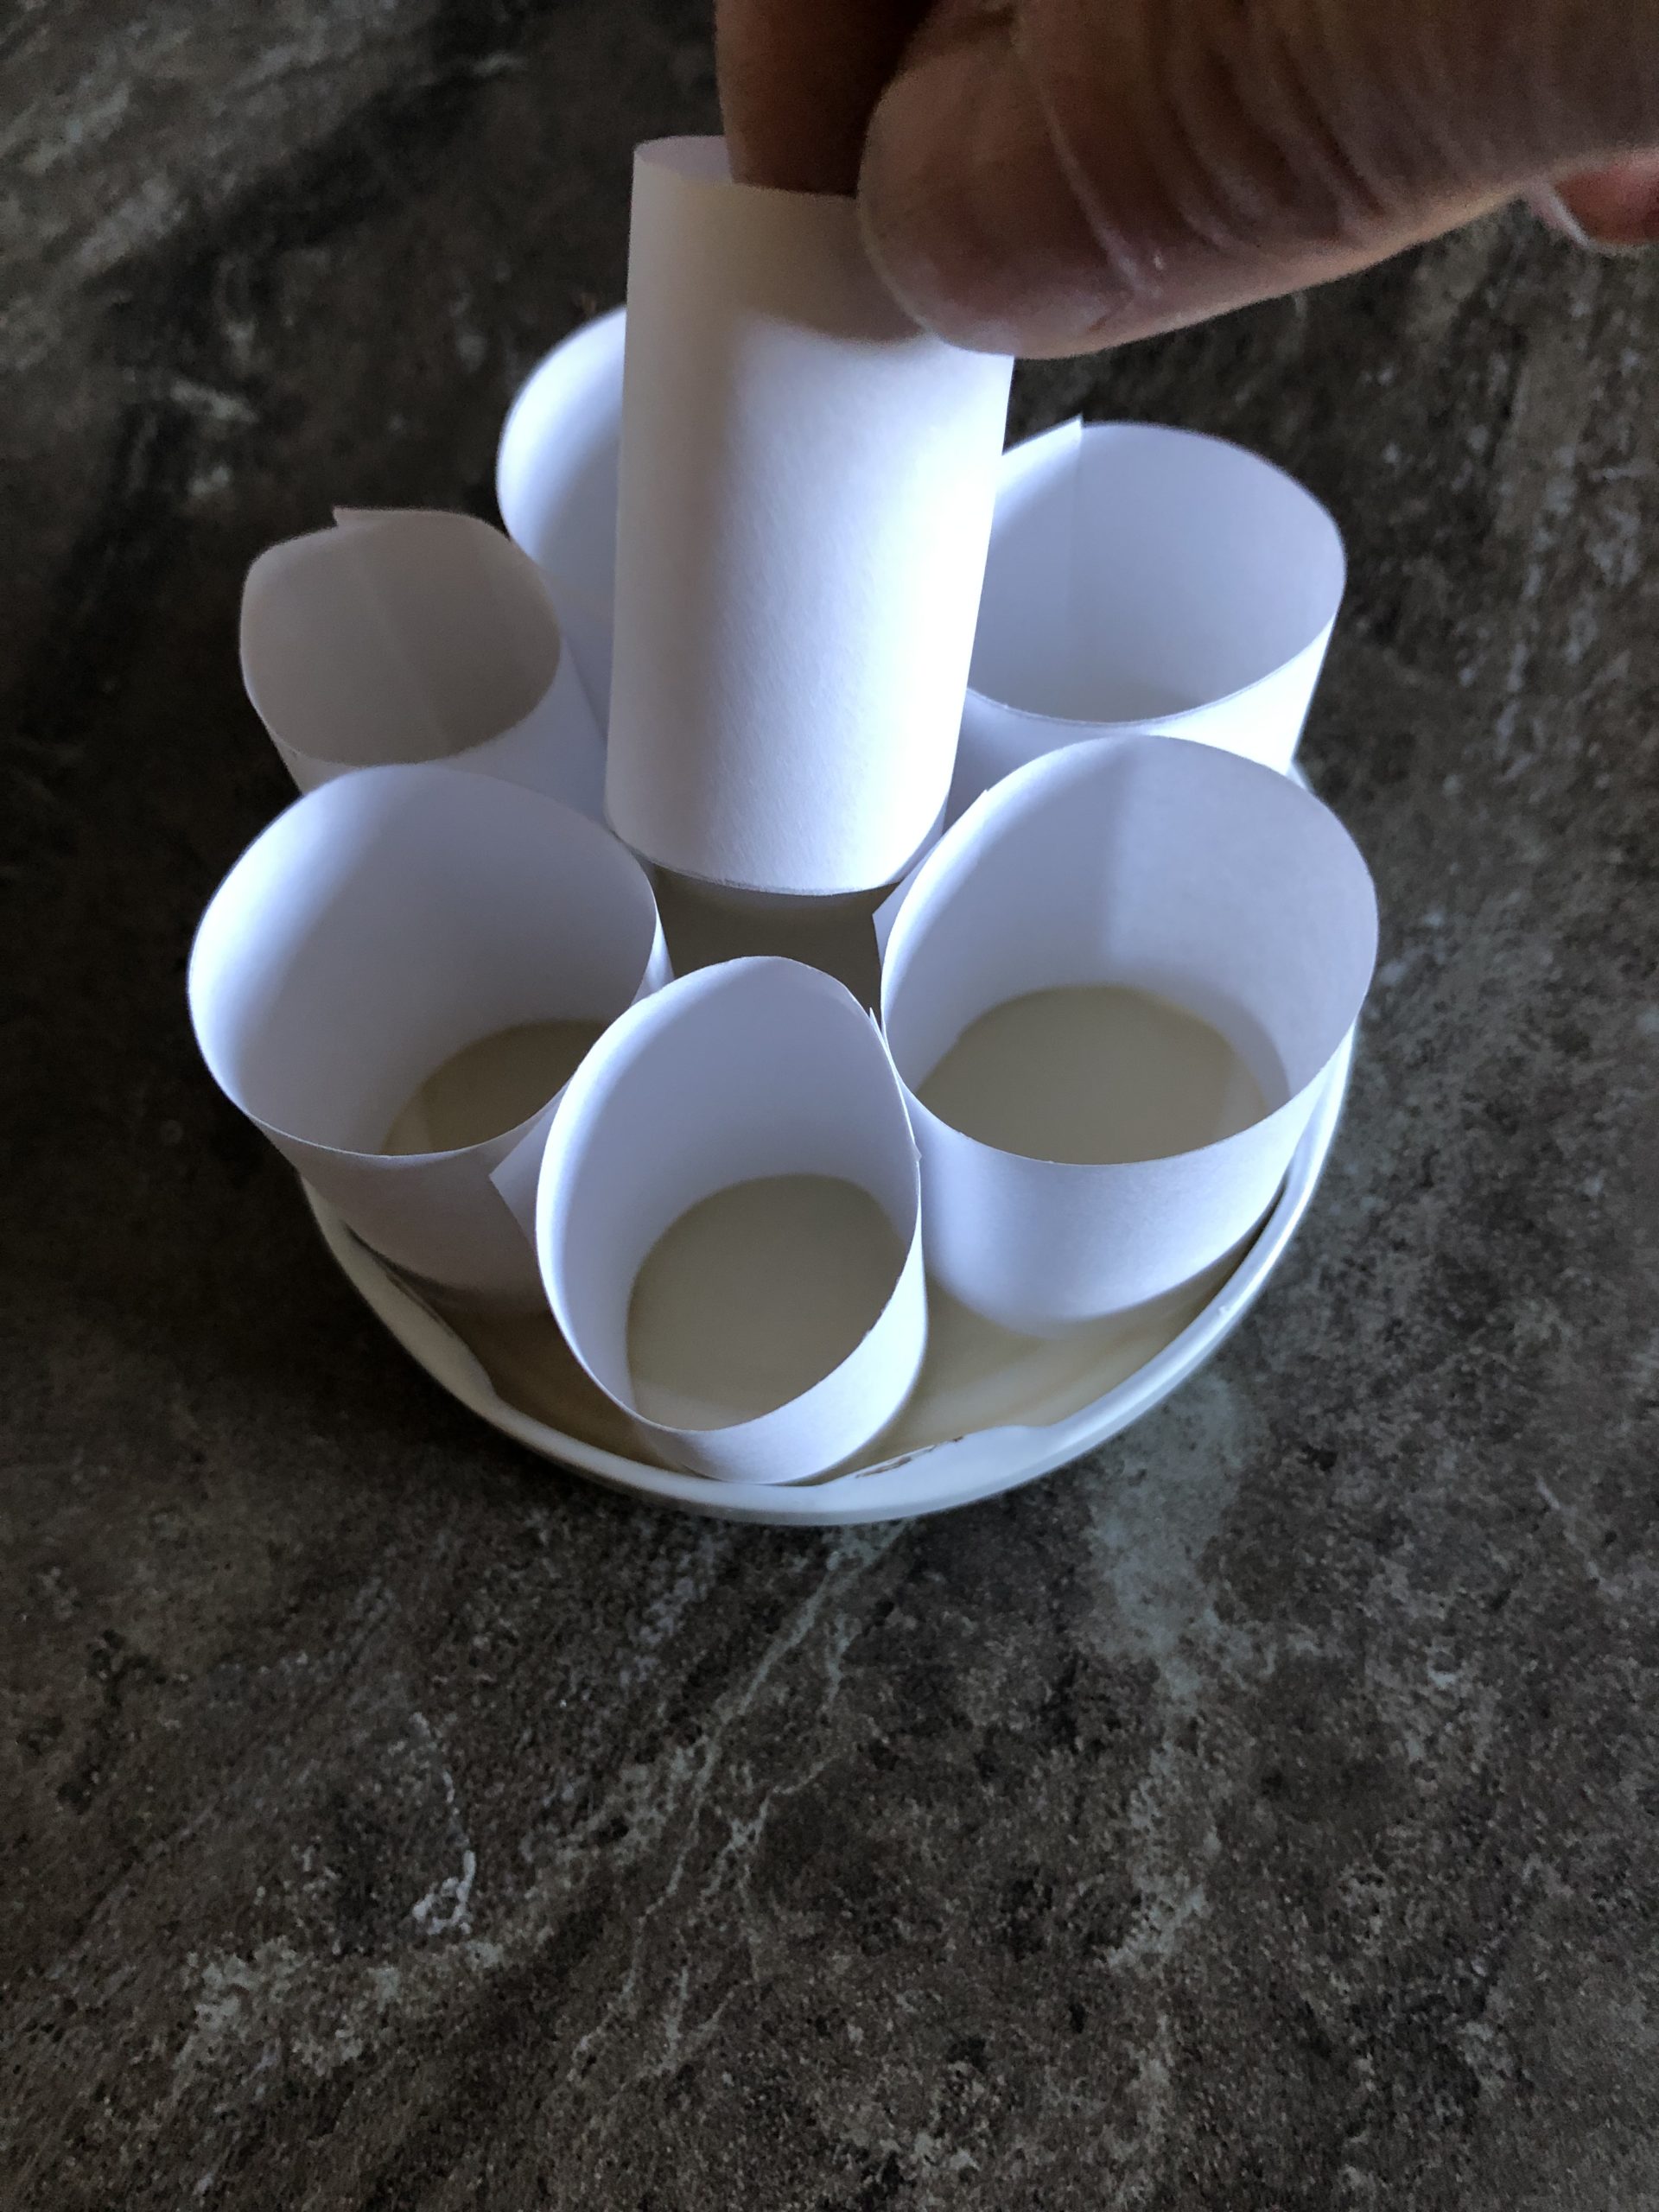
Try to arrange your rolls until they fit well.
Tip: should your rolls have become very large, then look for a bigger lid.
Now you need the tape.
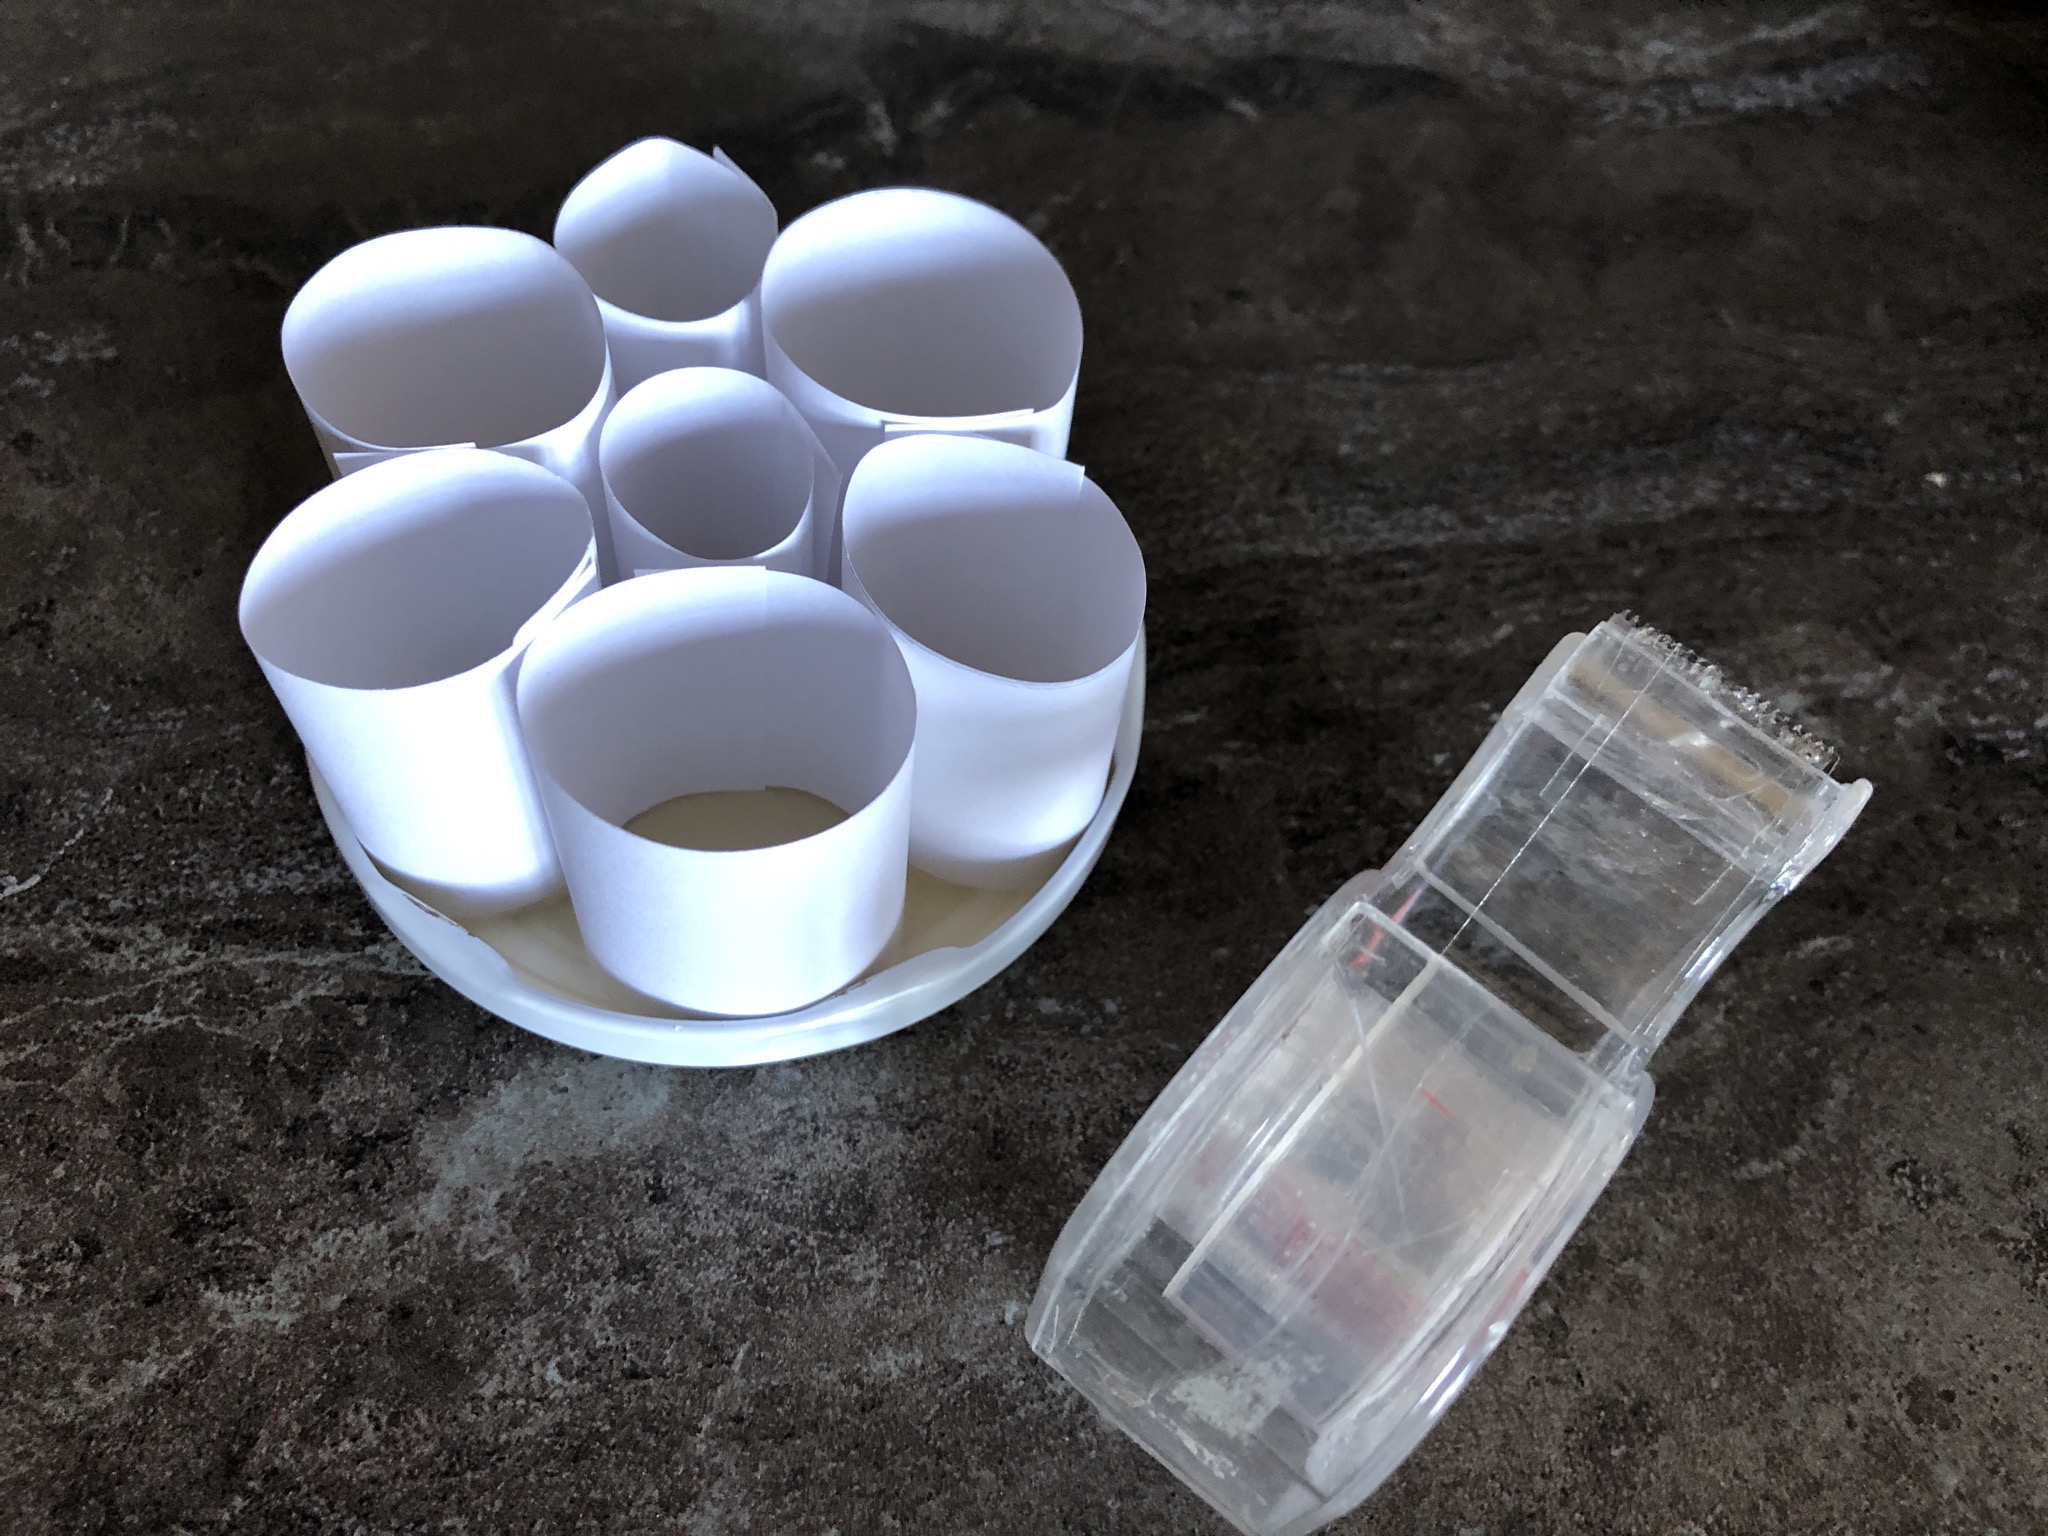
Take off a little piece of tape.
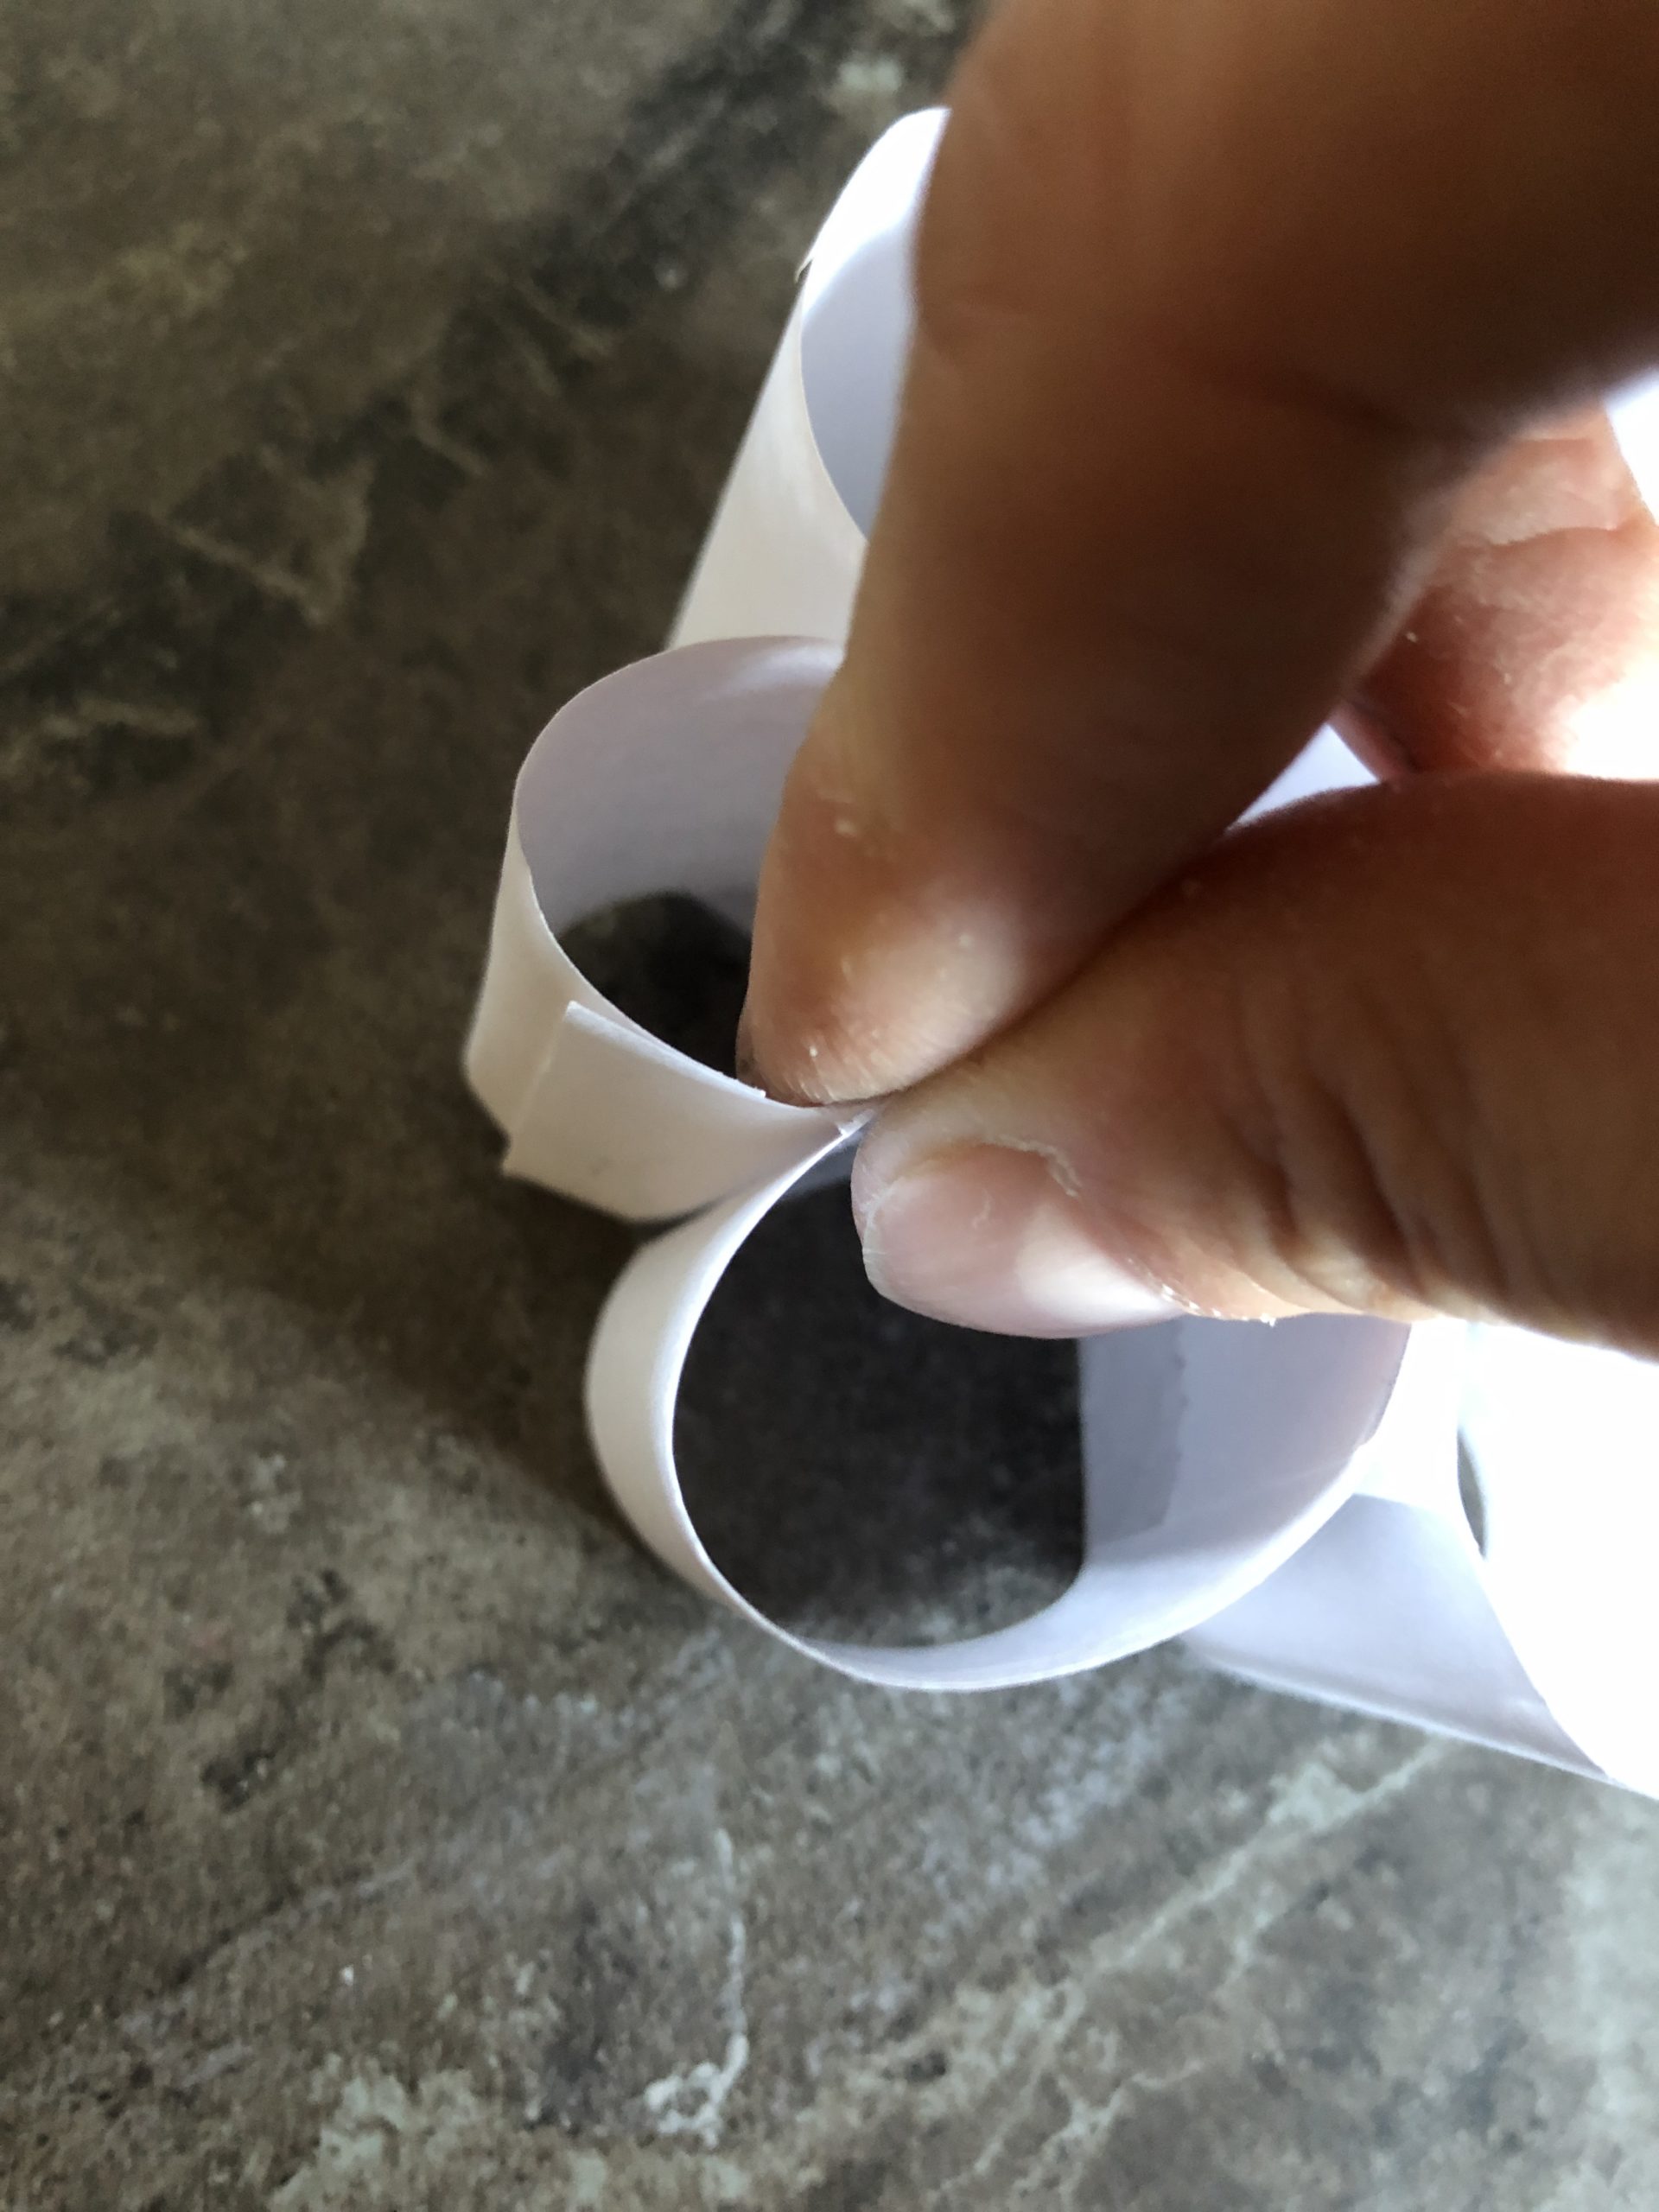
You put this tape over the spot where two outside rolls touch each other.

Now put your thumb and index finger in these two rolls and glue the two together.
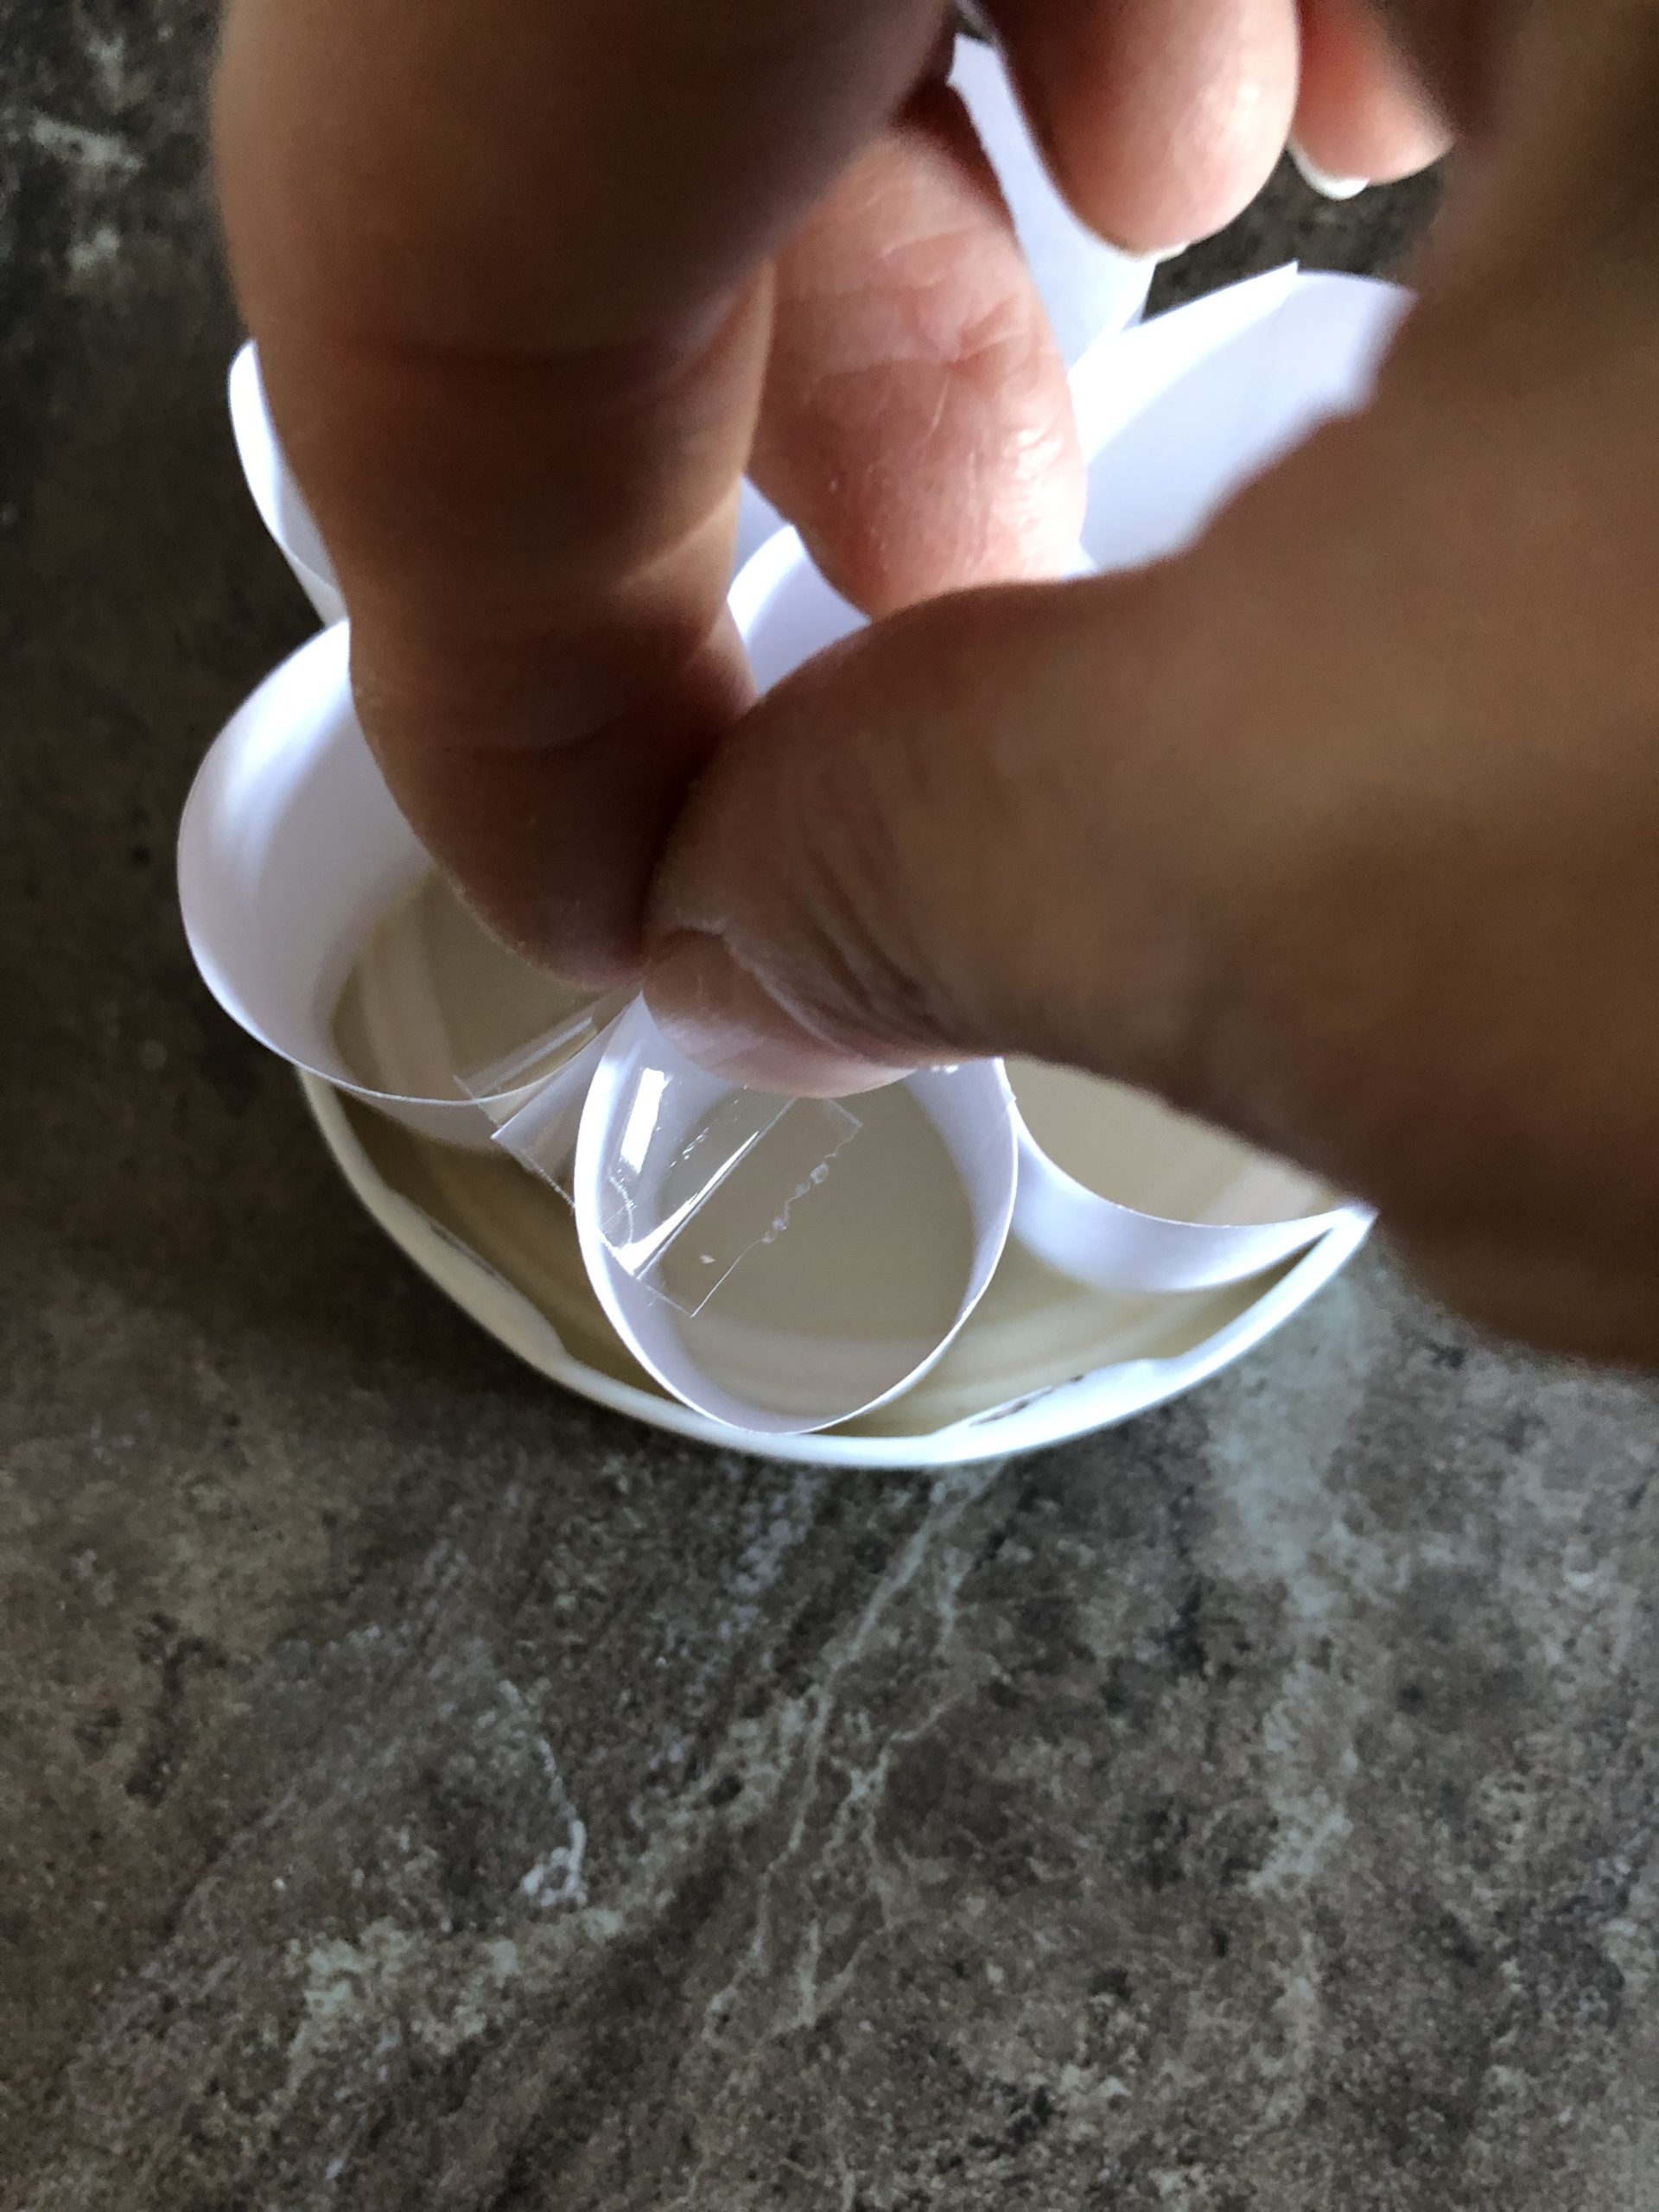
With all the outside rolls you also travel like this.

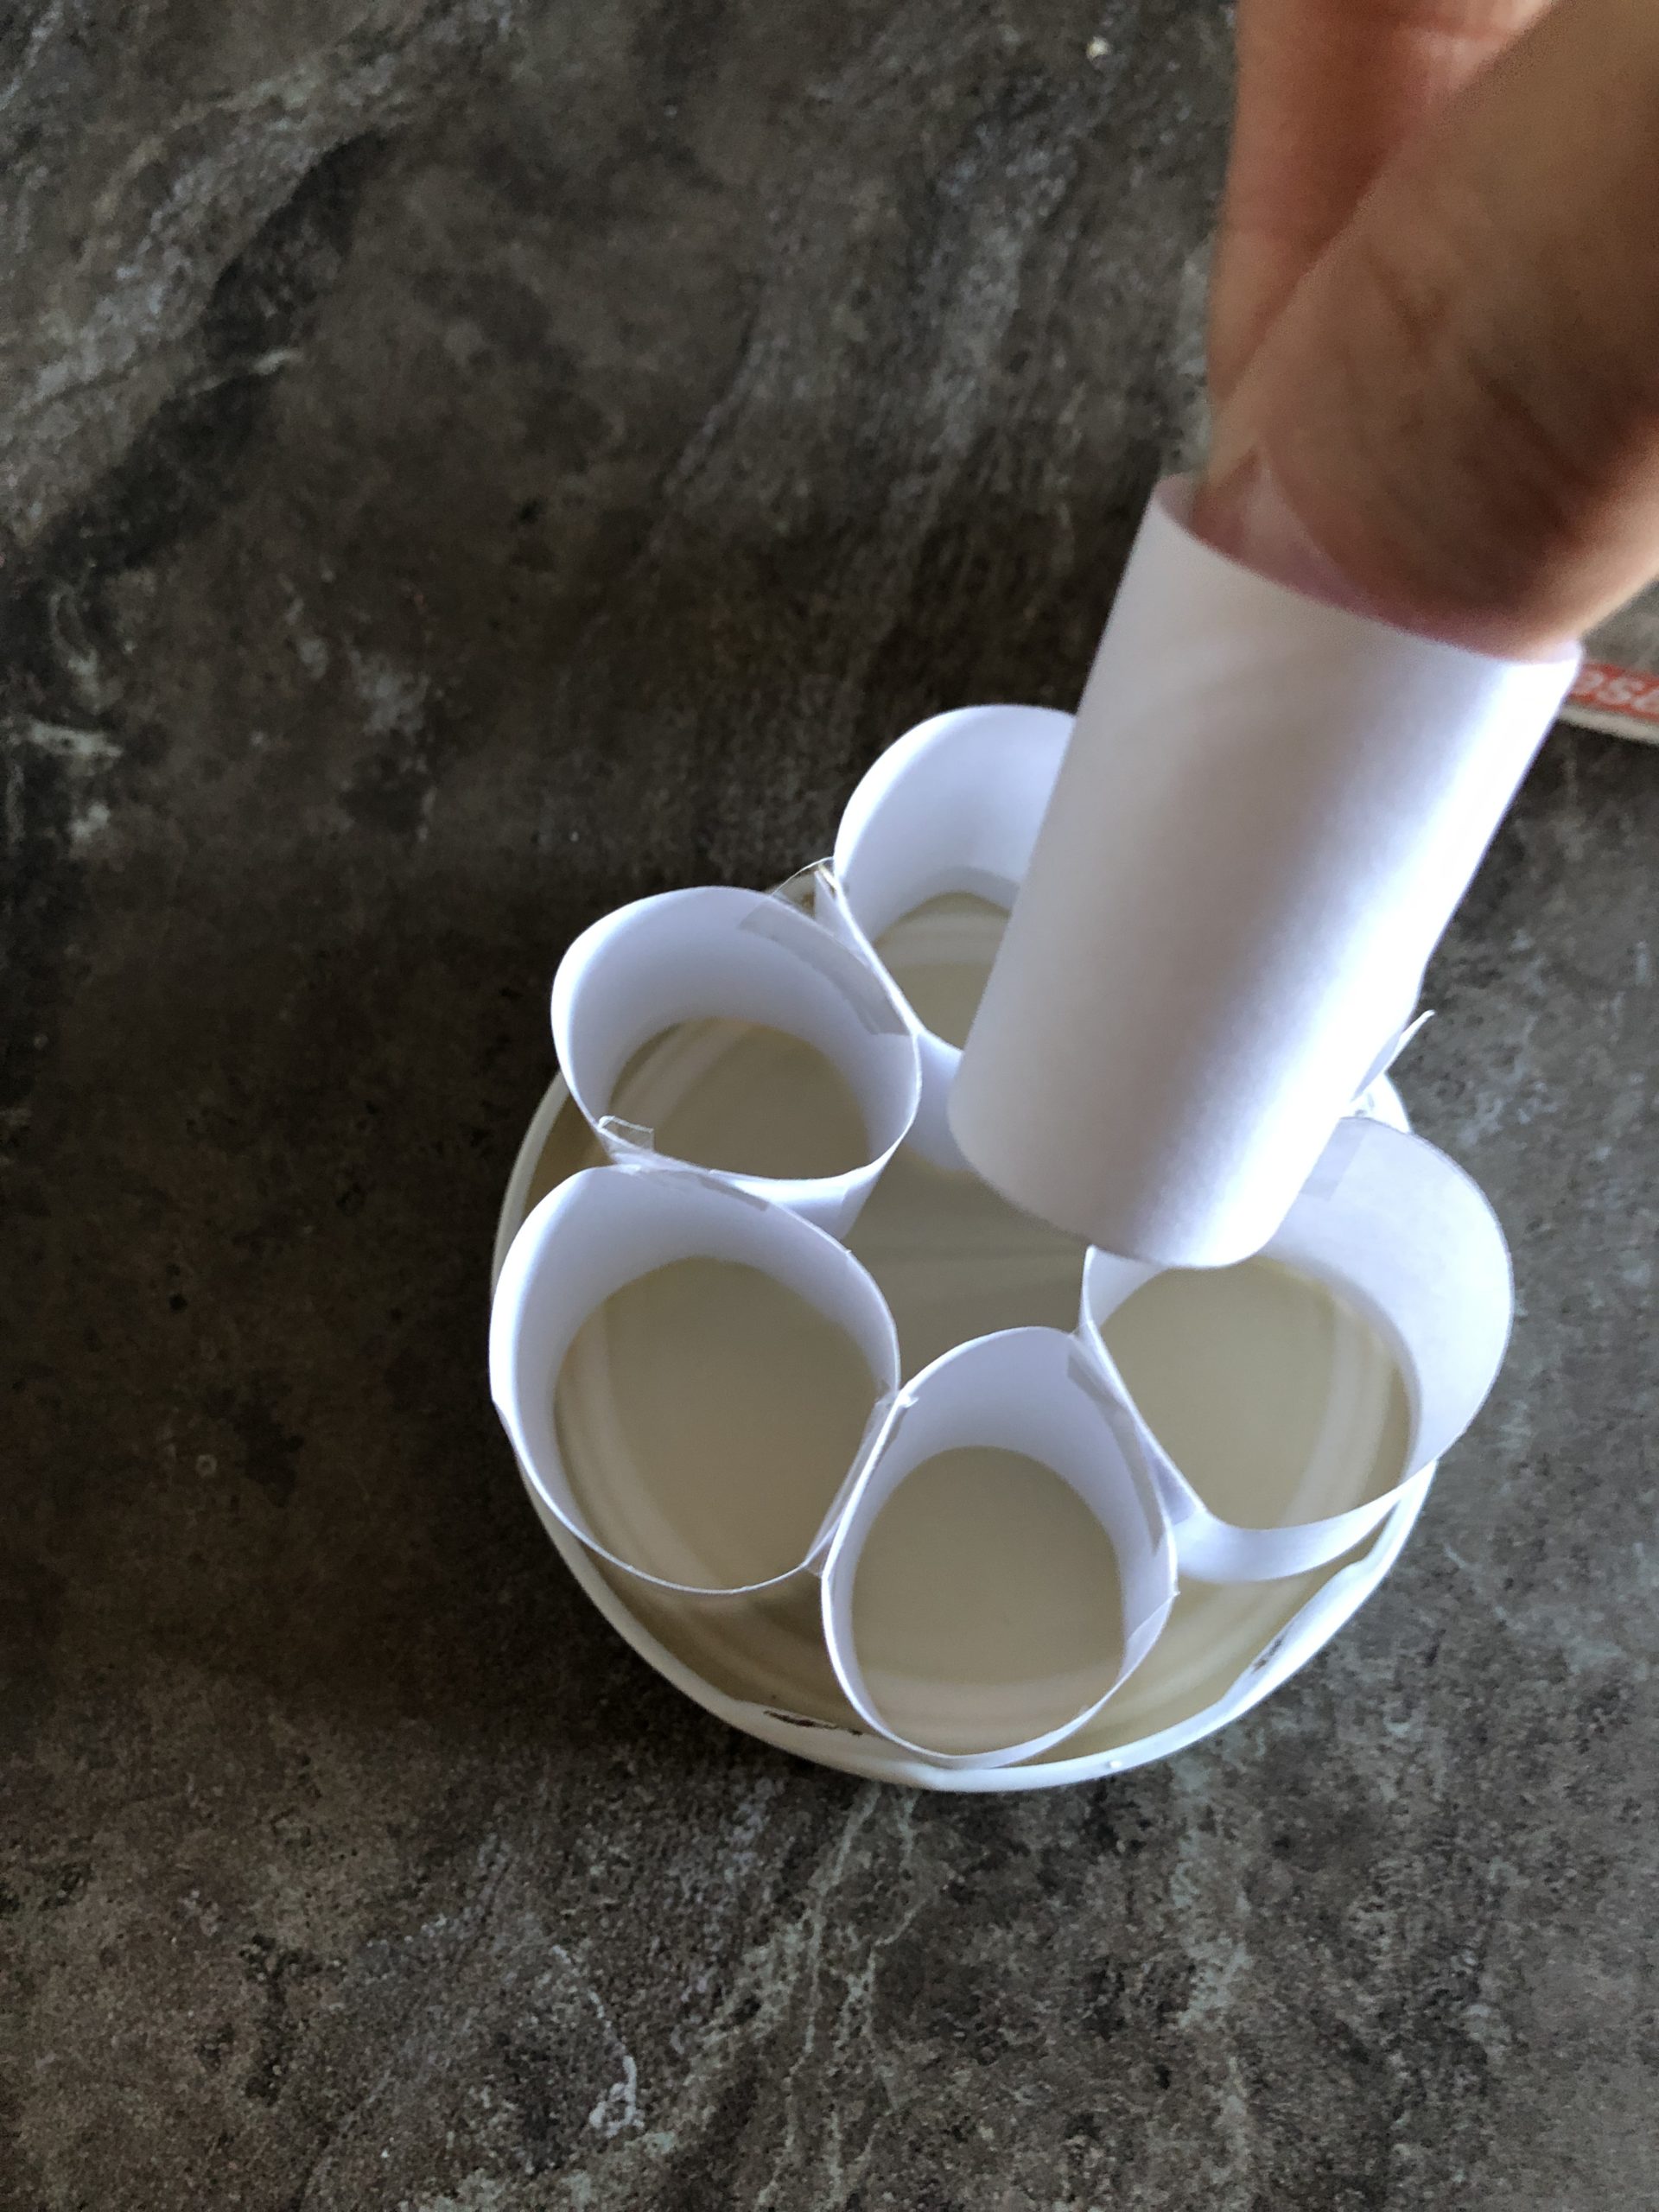
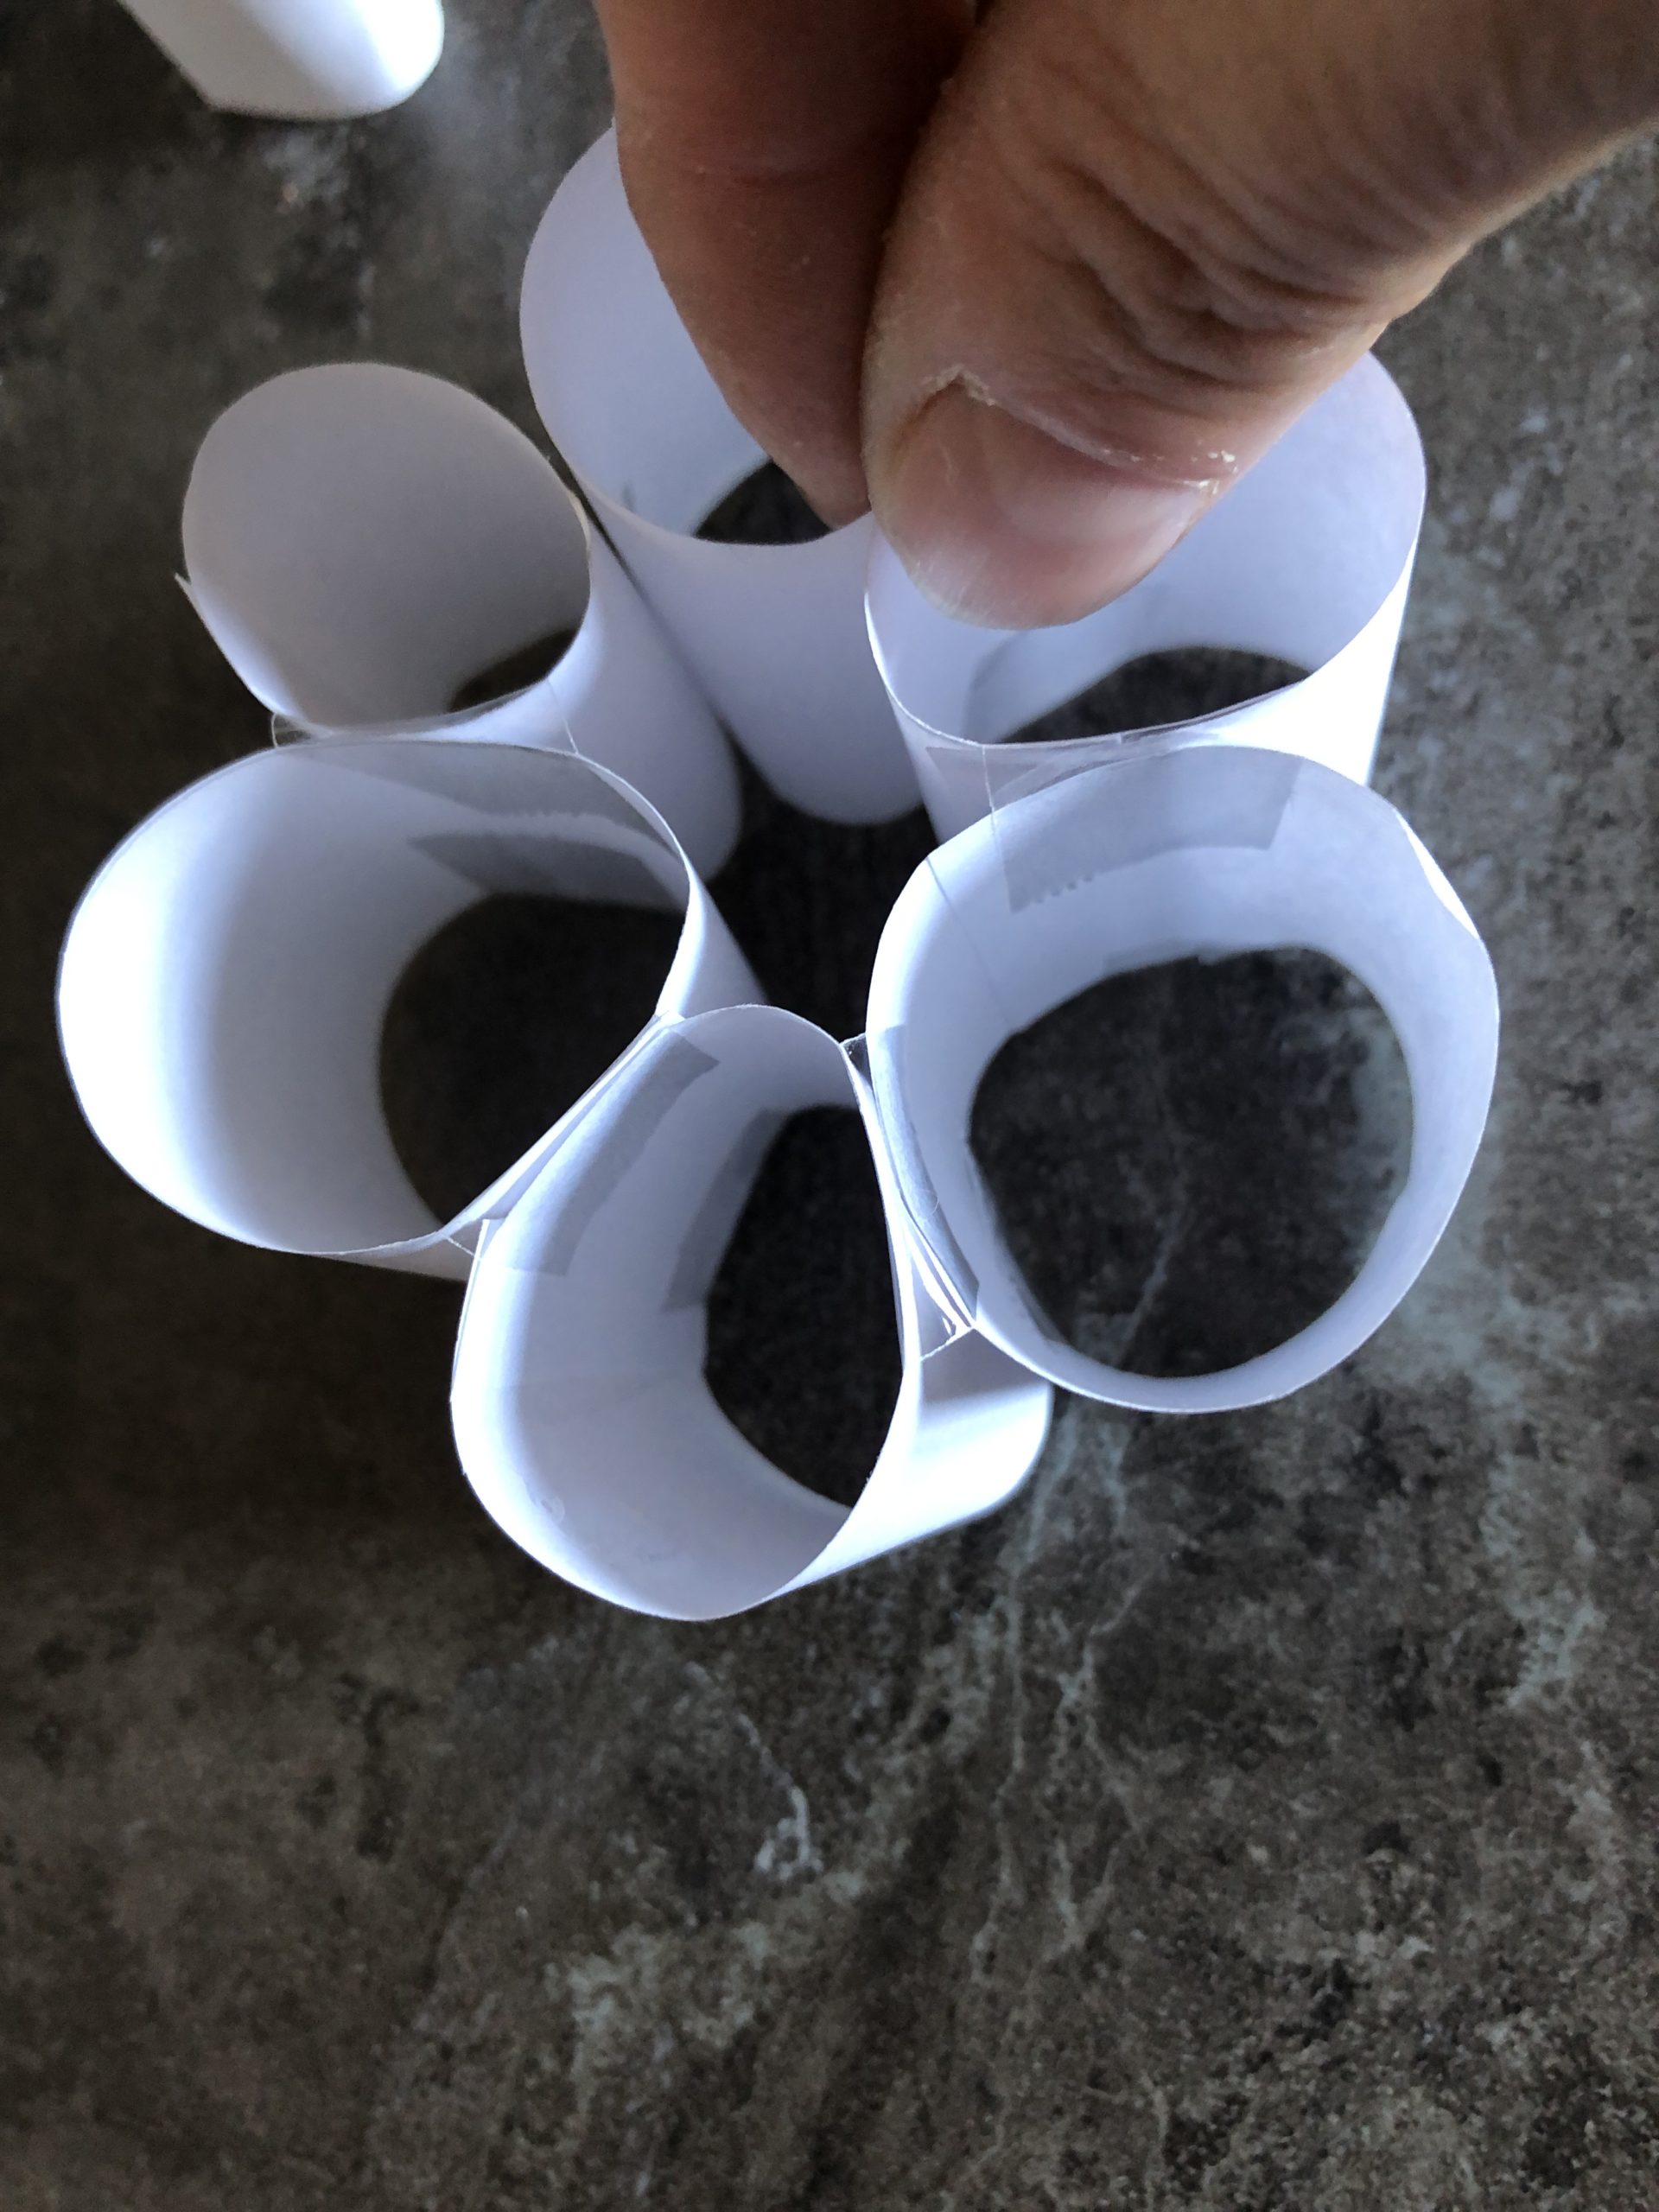
Now all outer rolls are connected to each other. Only the middle is loose. This removes you now carefully. Because this served us only as placeholder!
The "flower" is taken out of the lid - which served us only as a "frame" - and turned around.
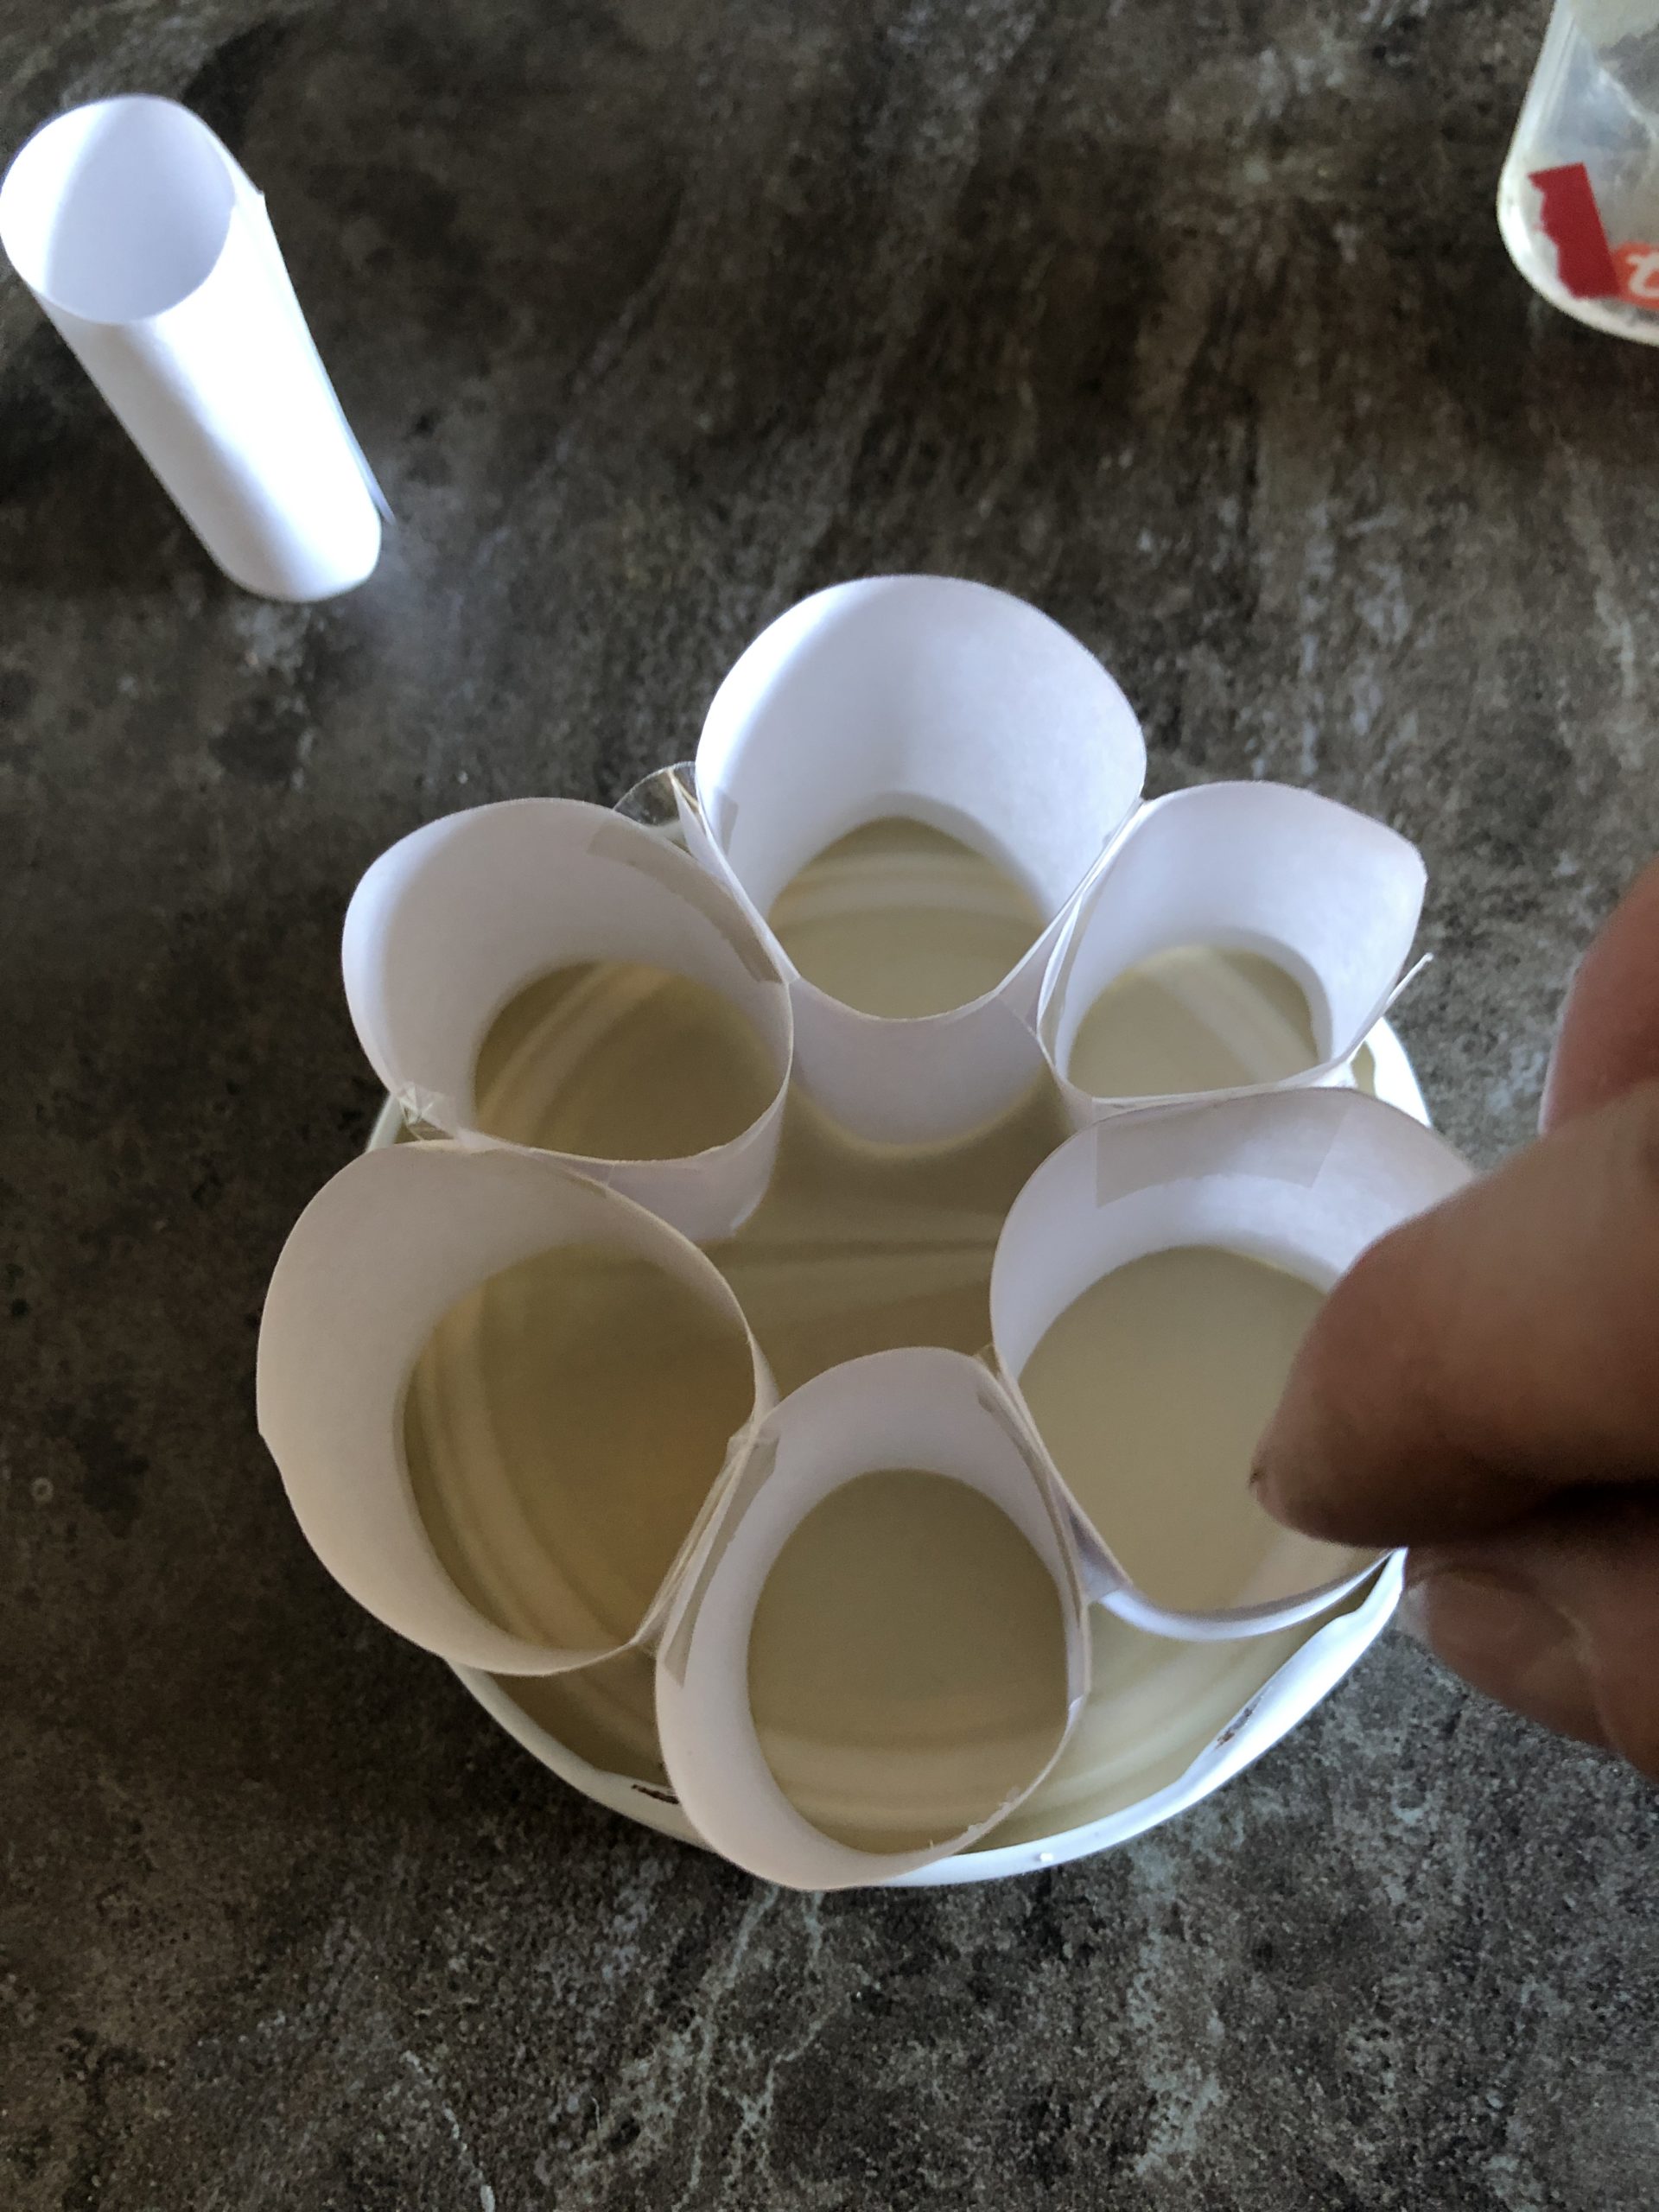
The rolls tilt slightly apart.
As on the underside, adjacent rolls are now glued together with an adhesive tape on the top.
Our paper flower is ready!
Now it can be embellished as desired.
Here are two possibilities:
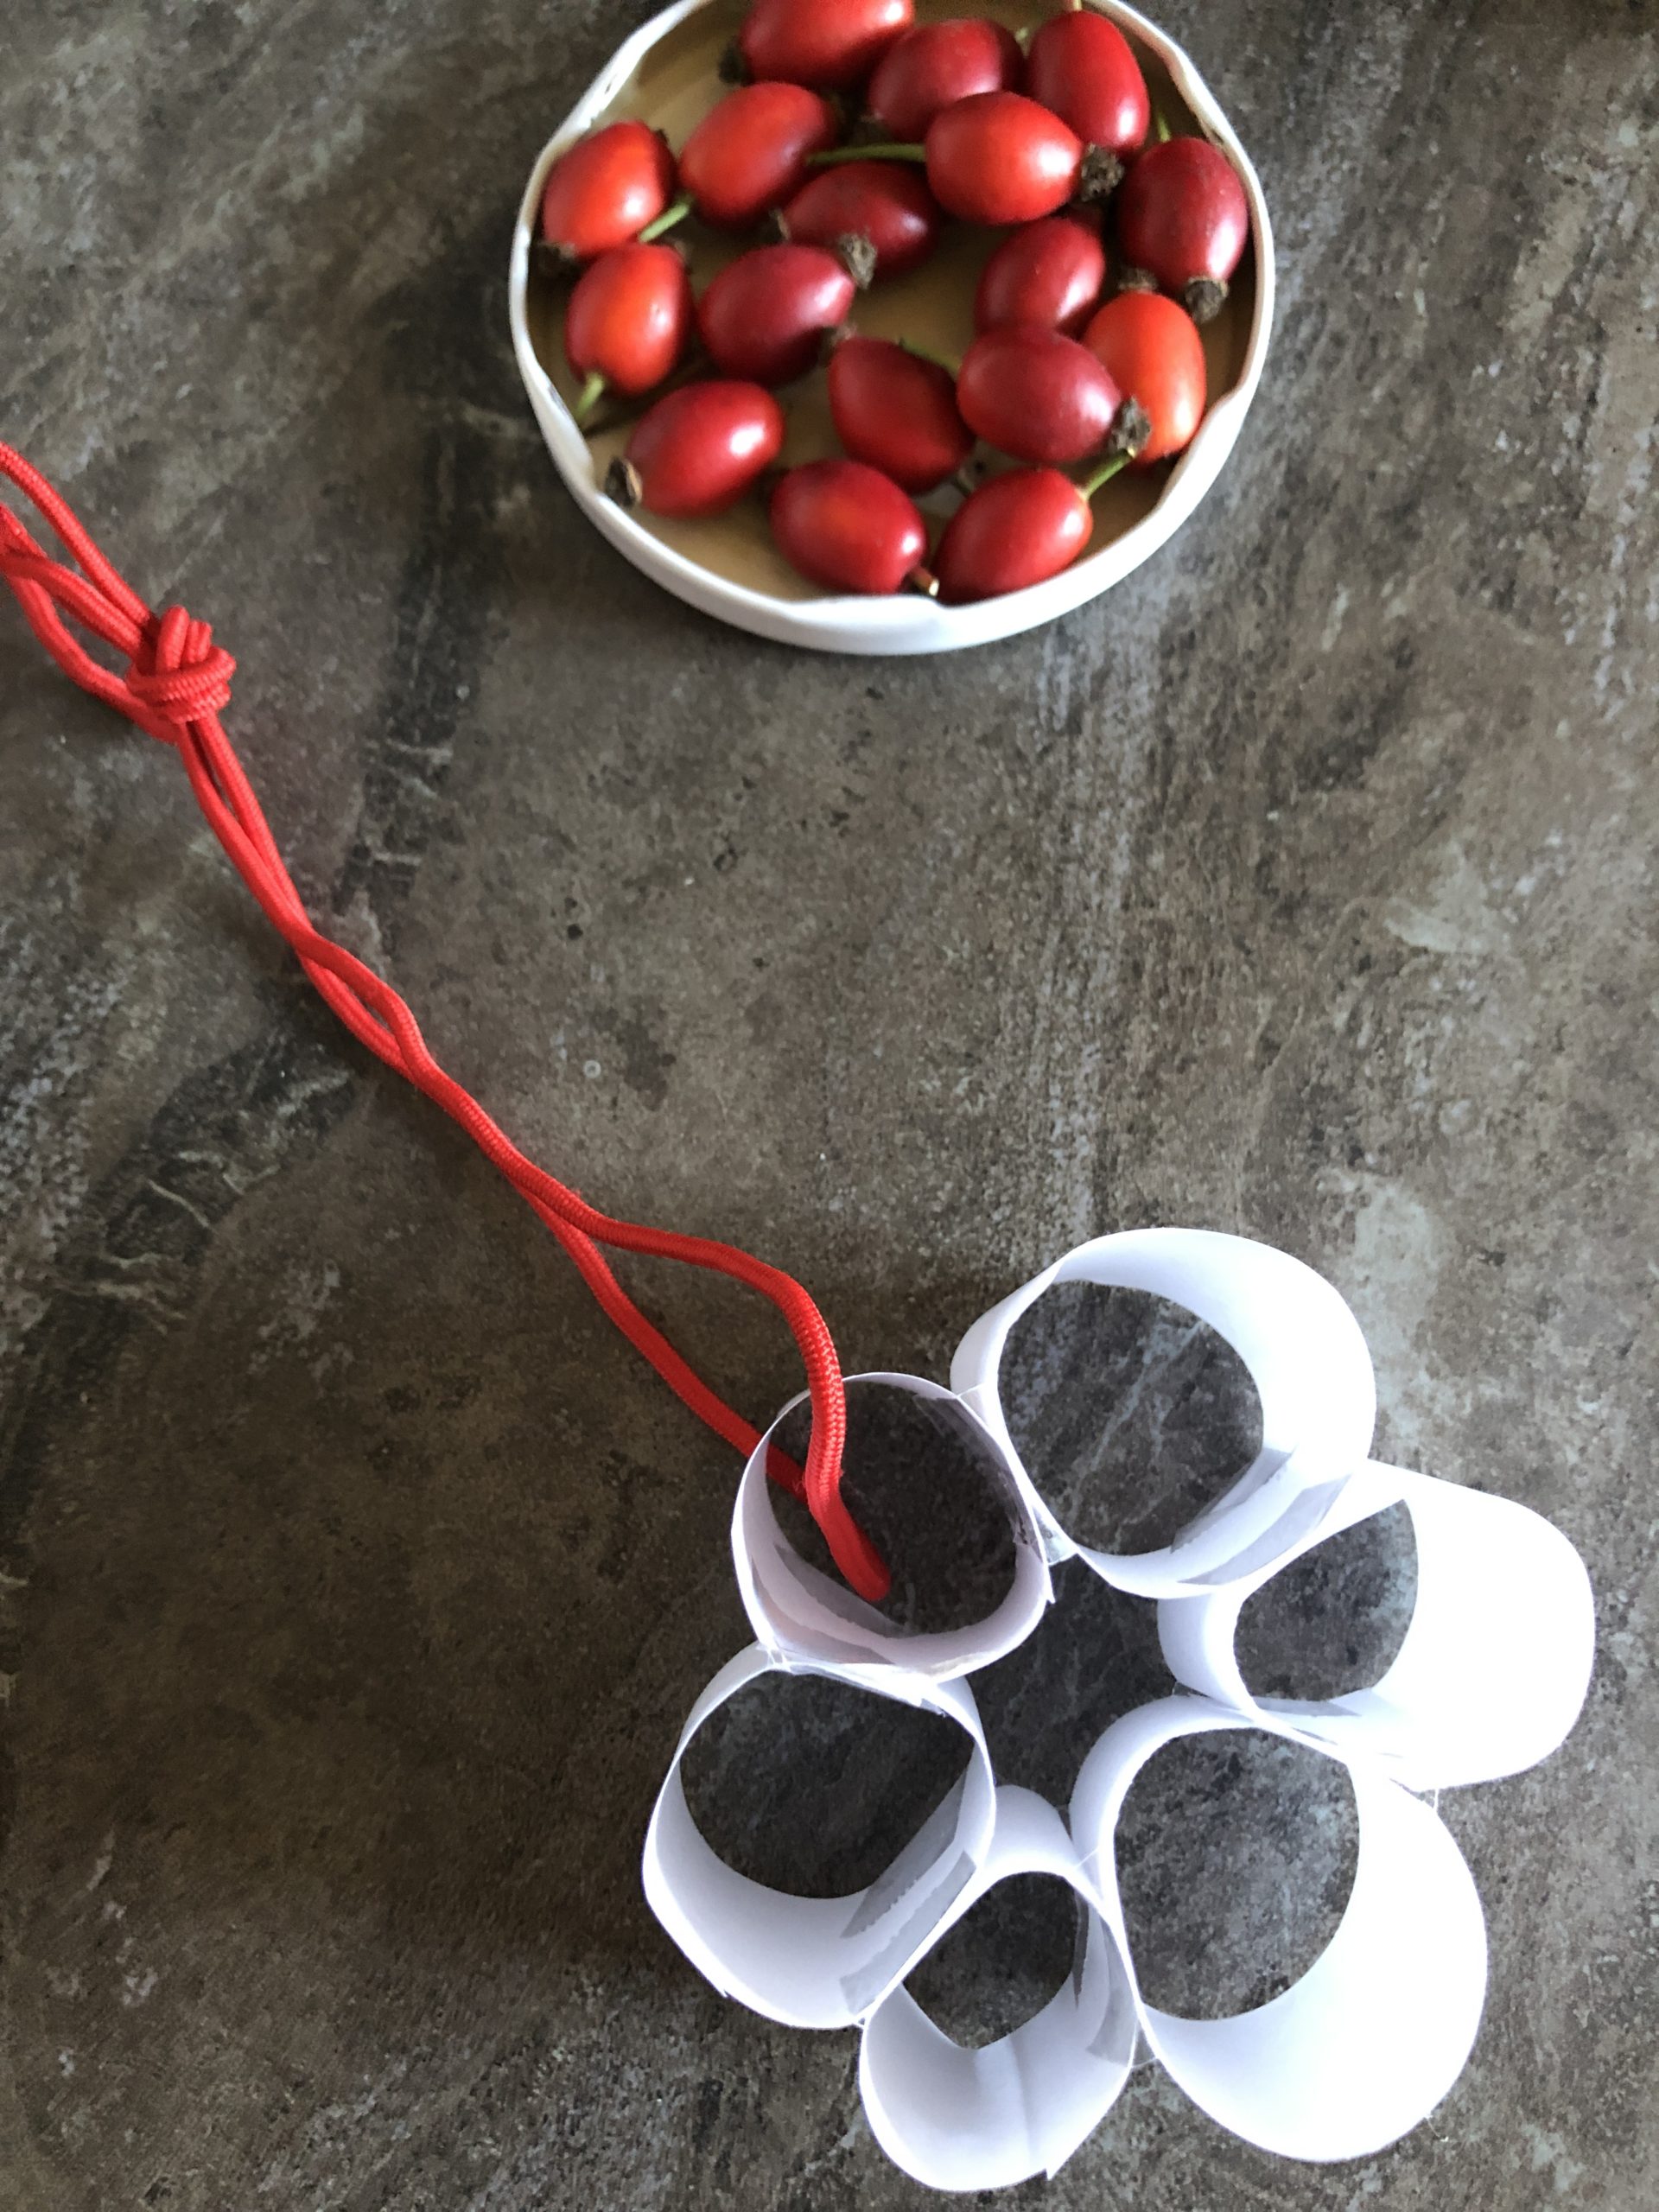
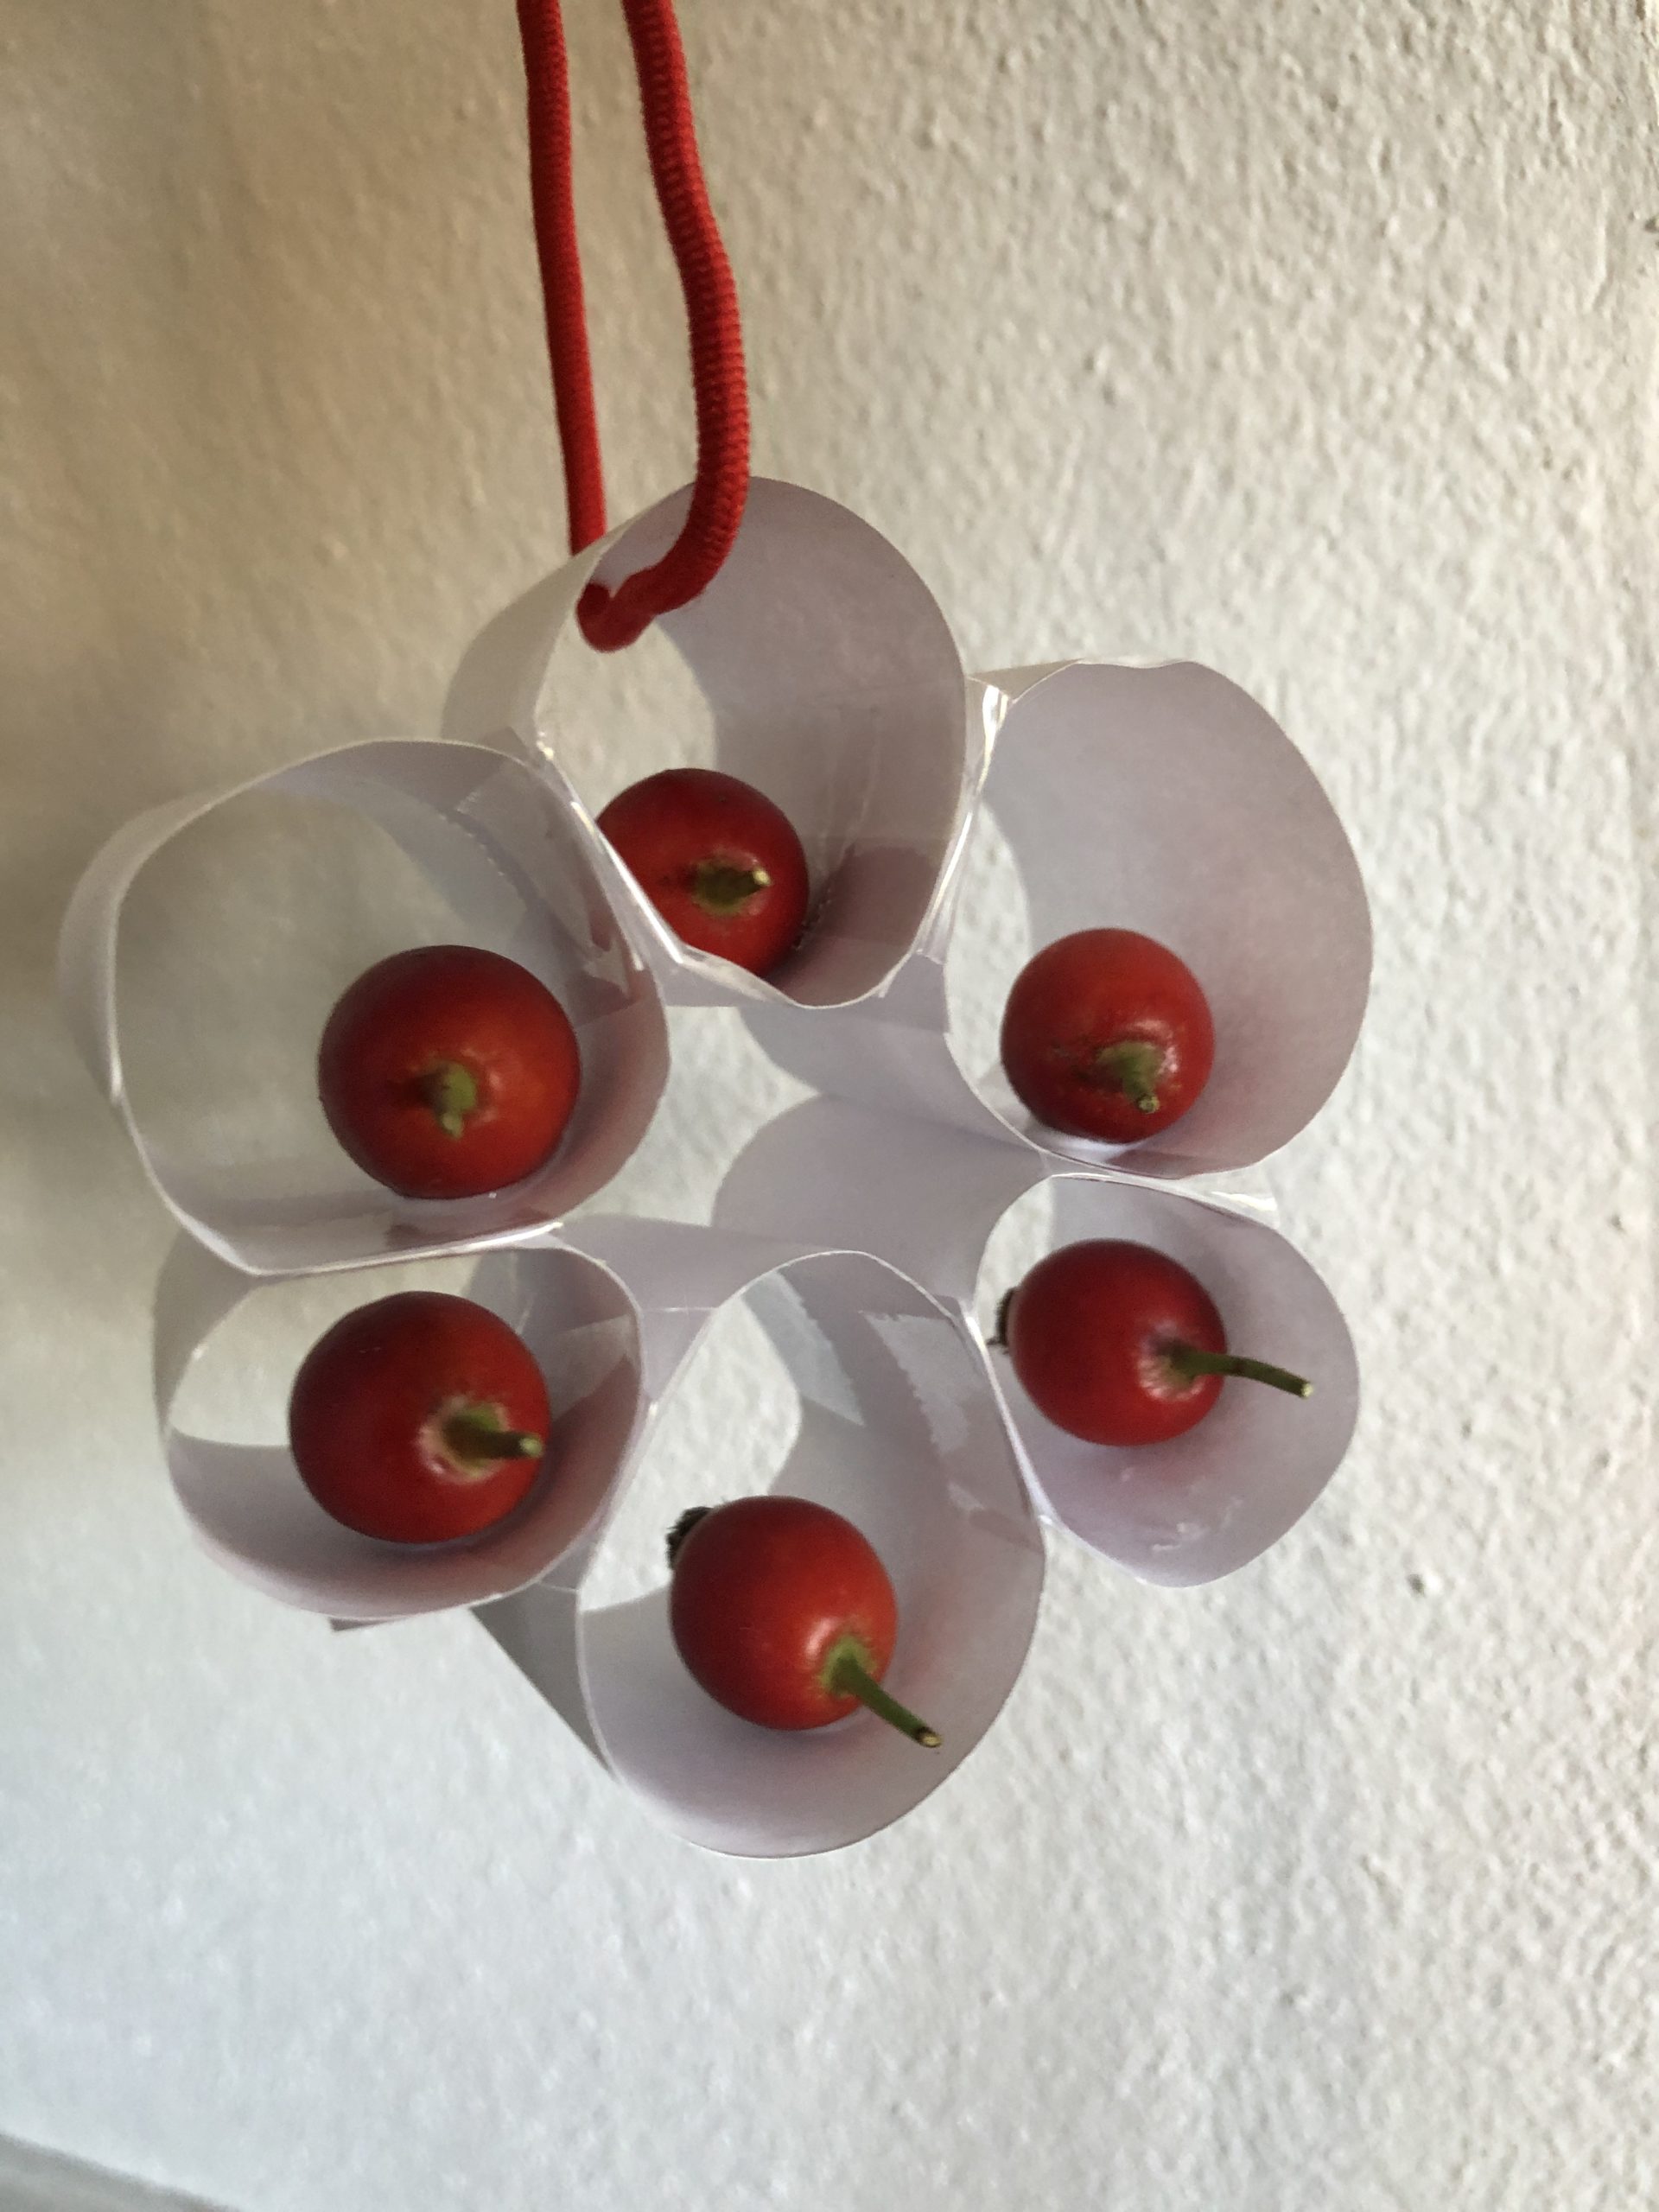
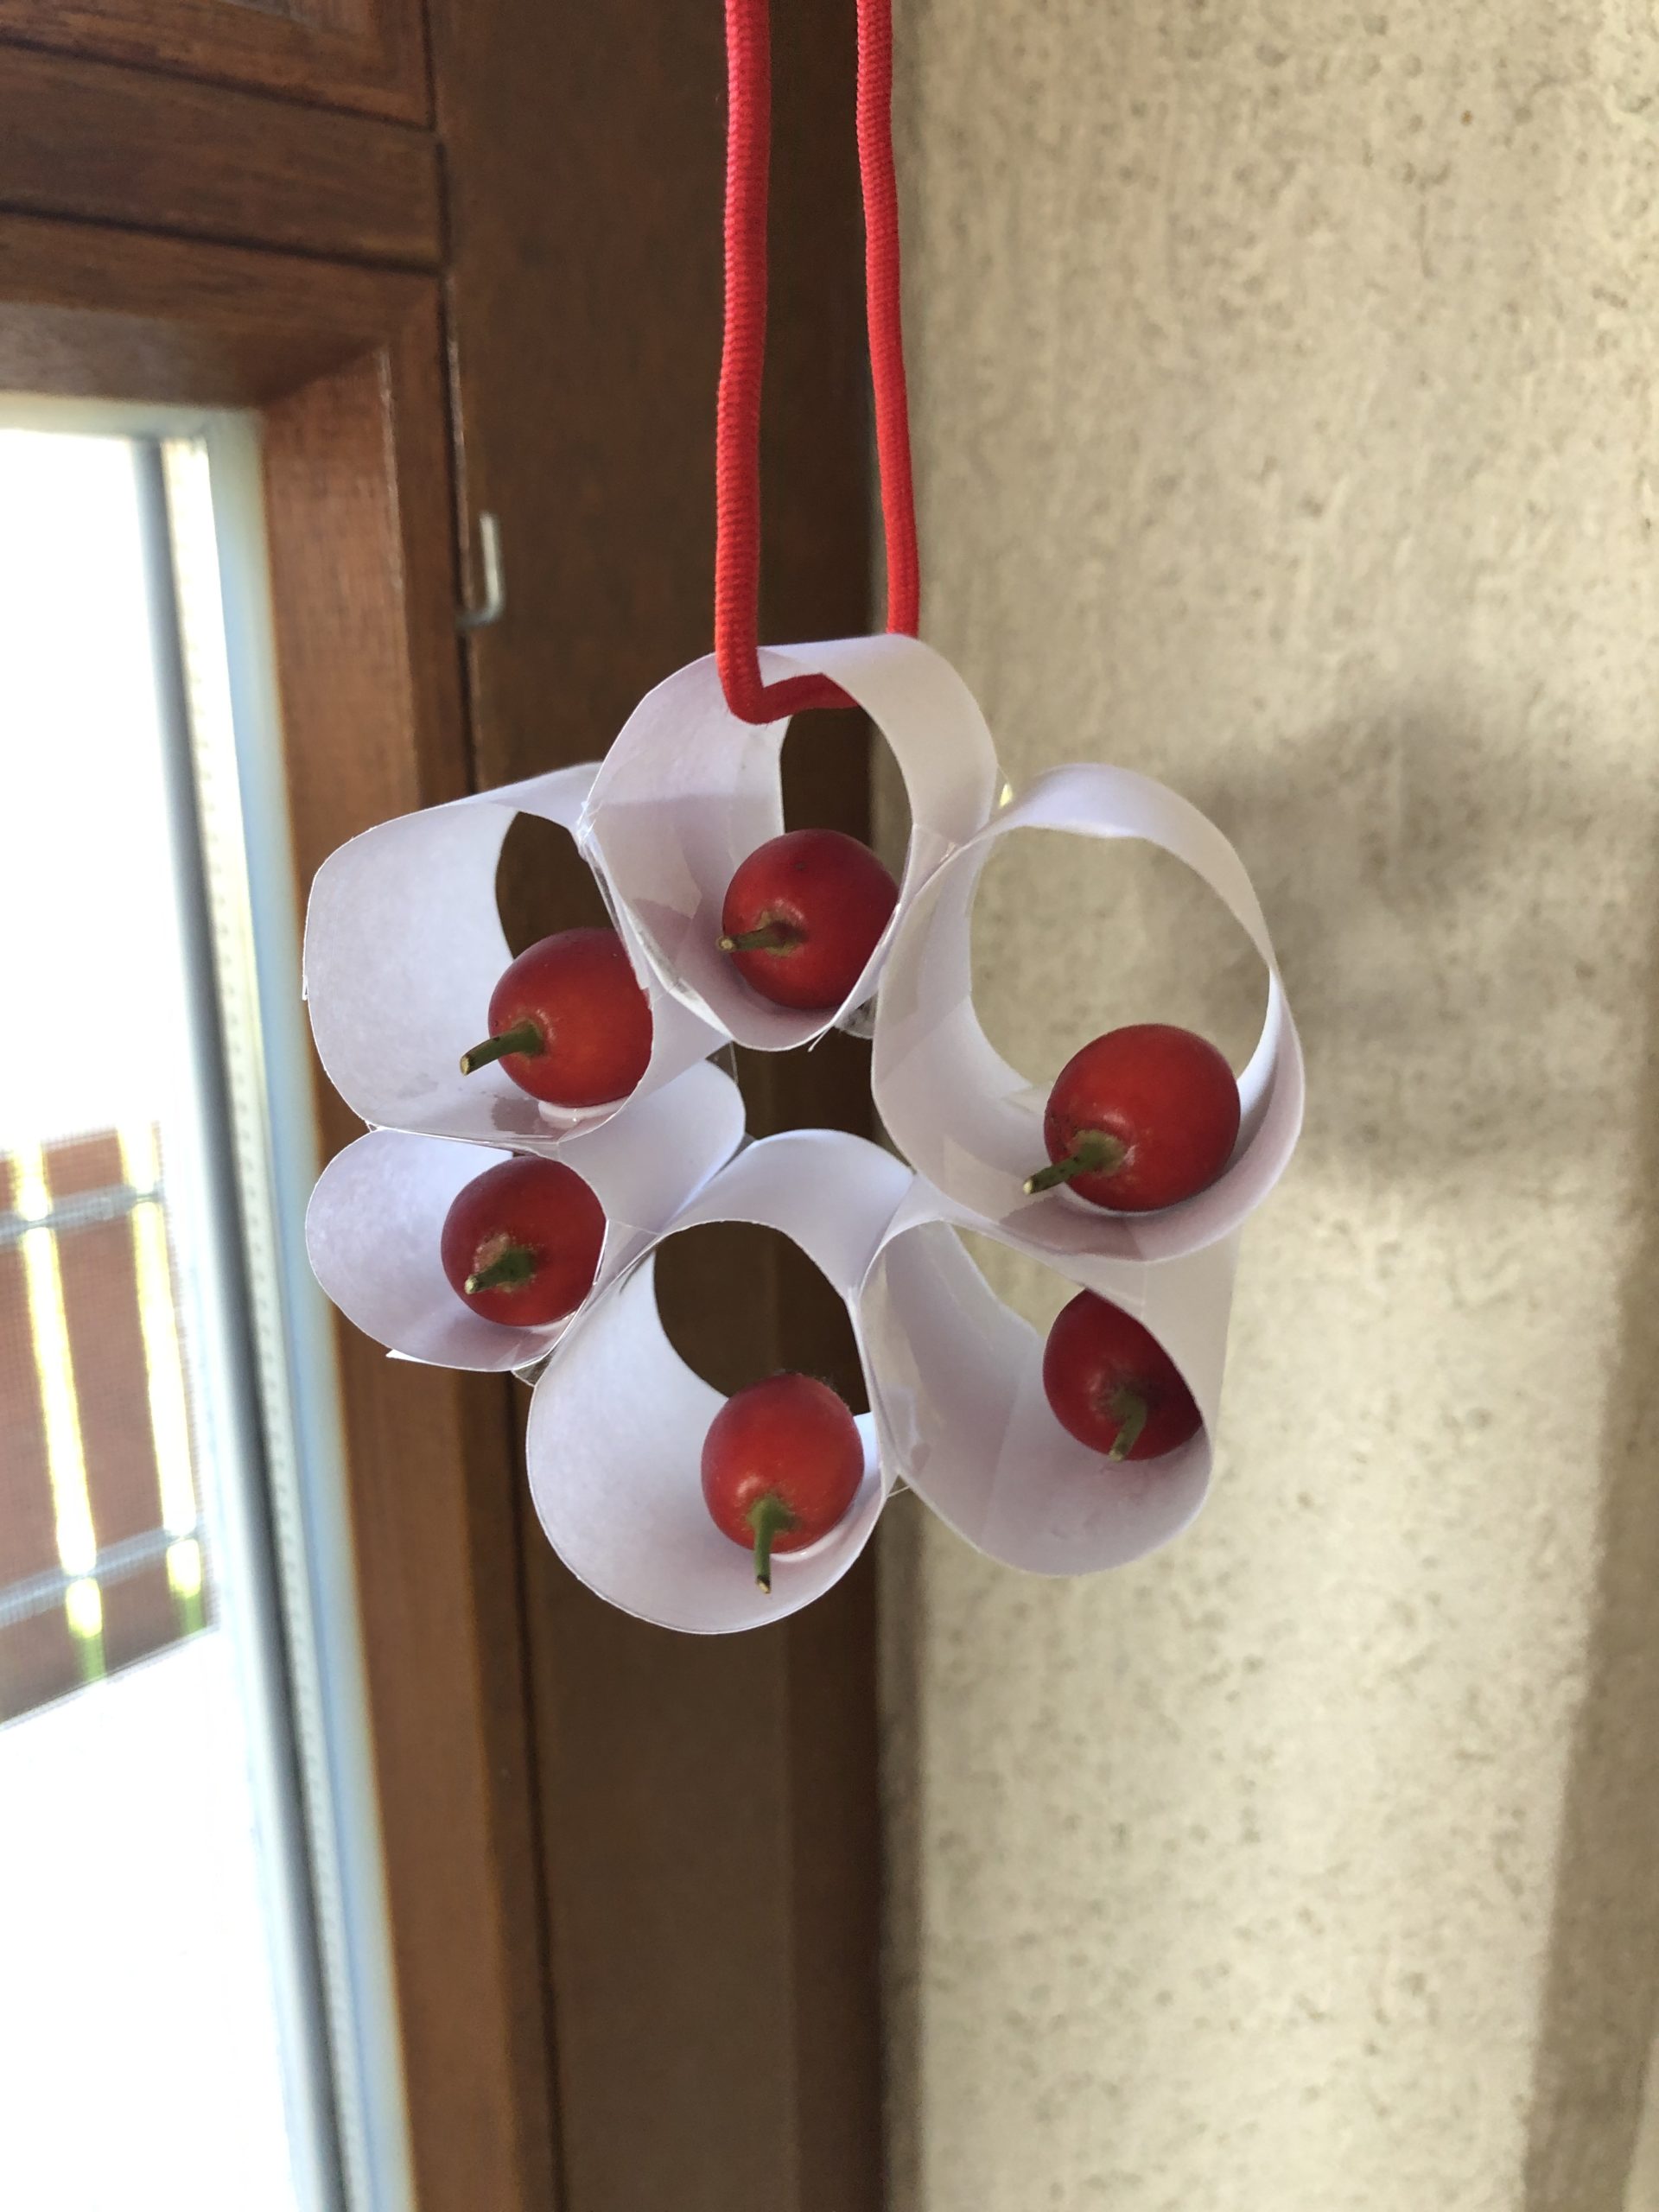
Now you need a red thread to hang up the flower cart, and a few red rose hips, which depend on the number of rolls of your flower.
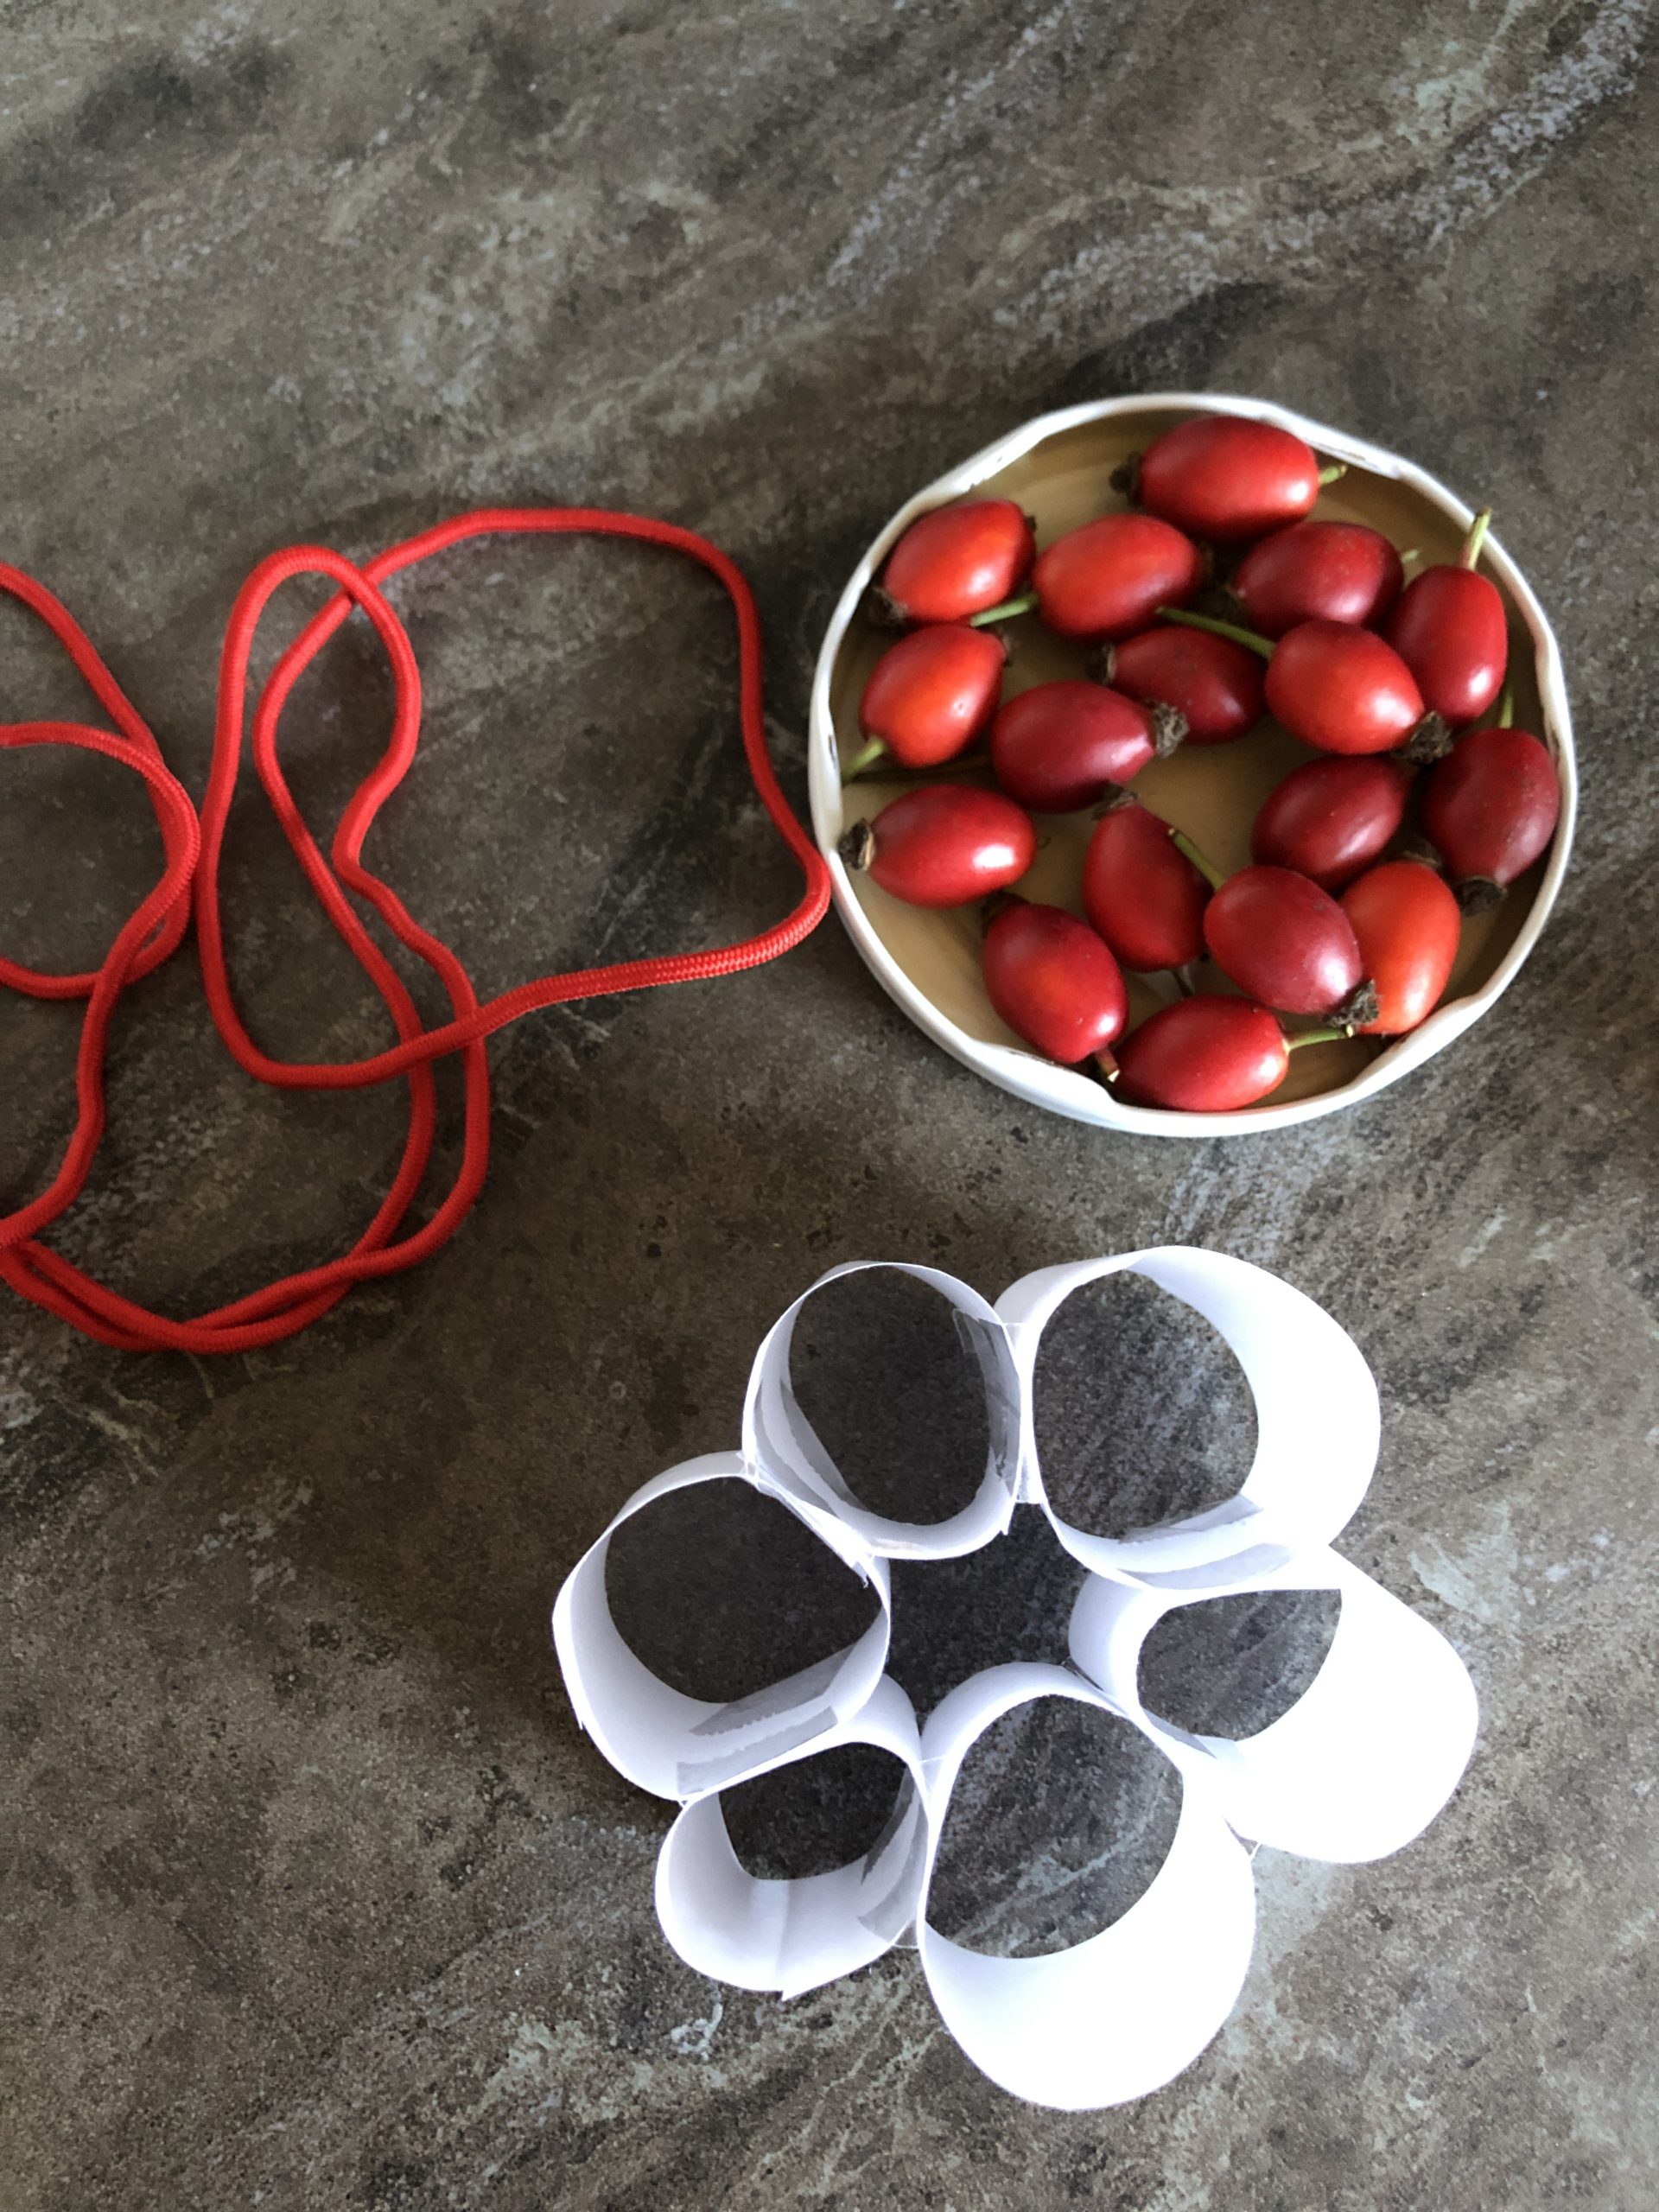
Thread the thread through a roll and knot it.
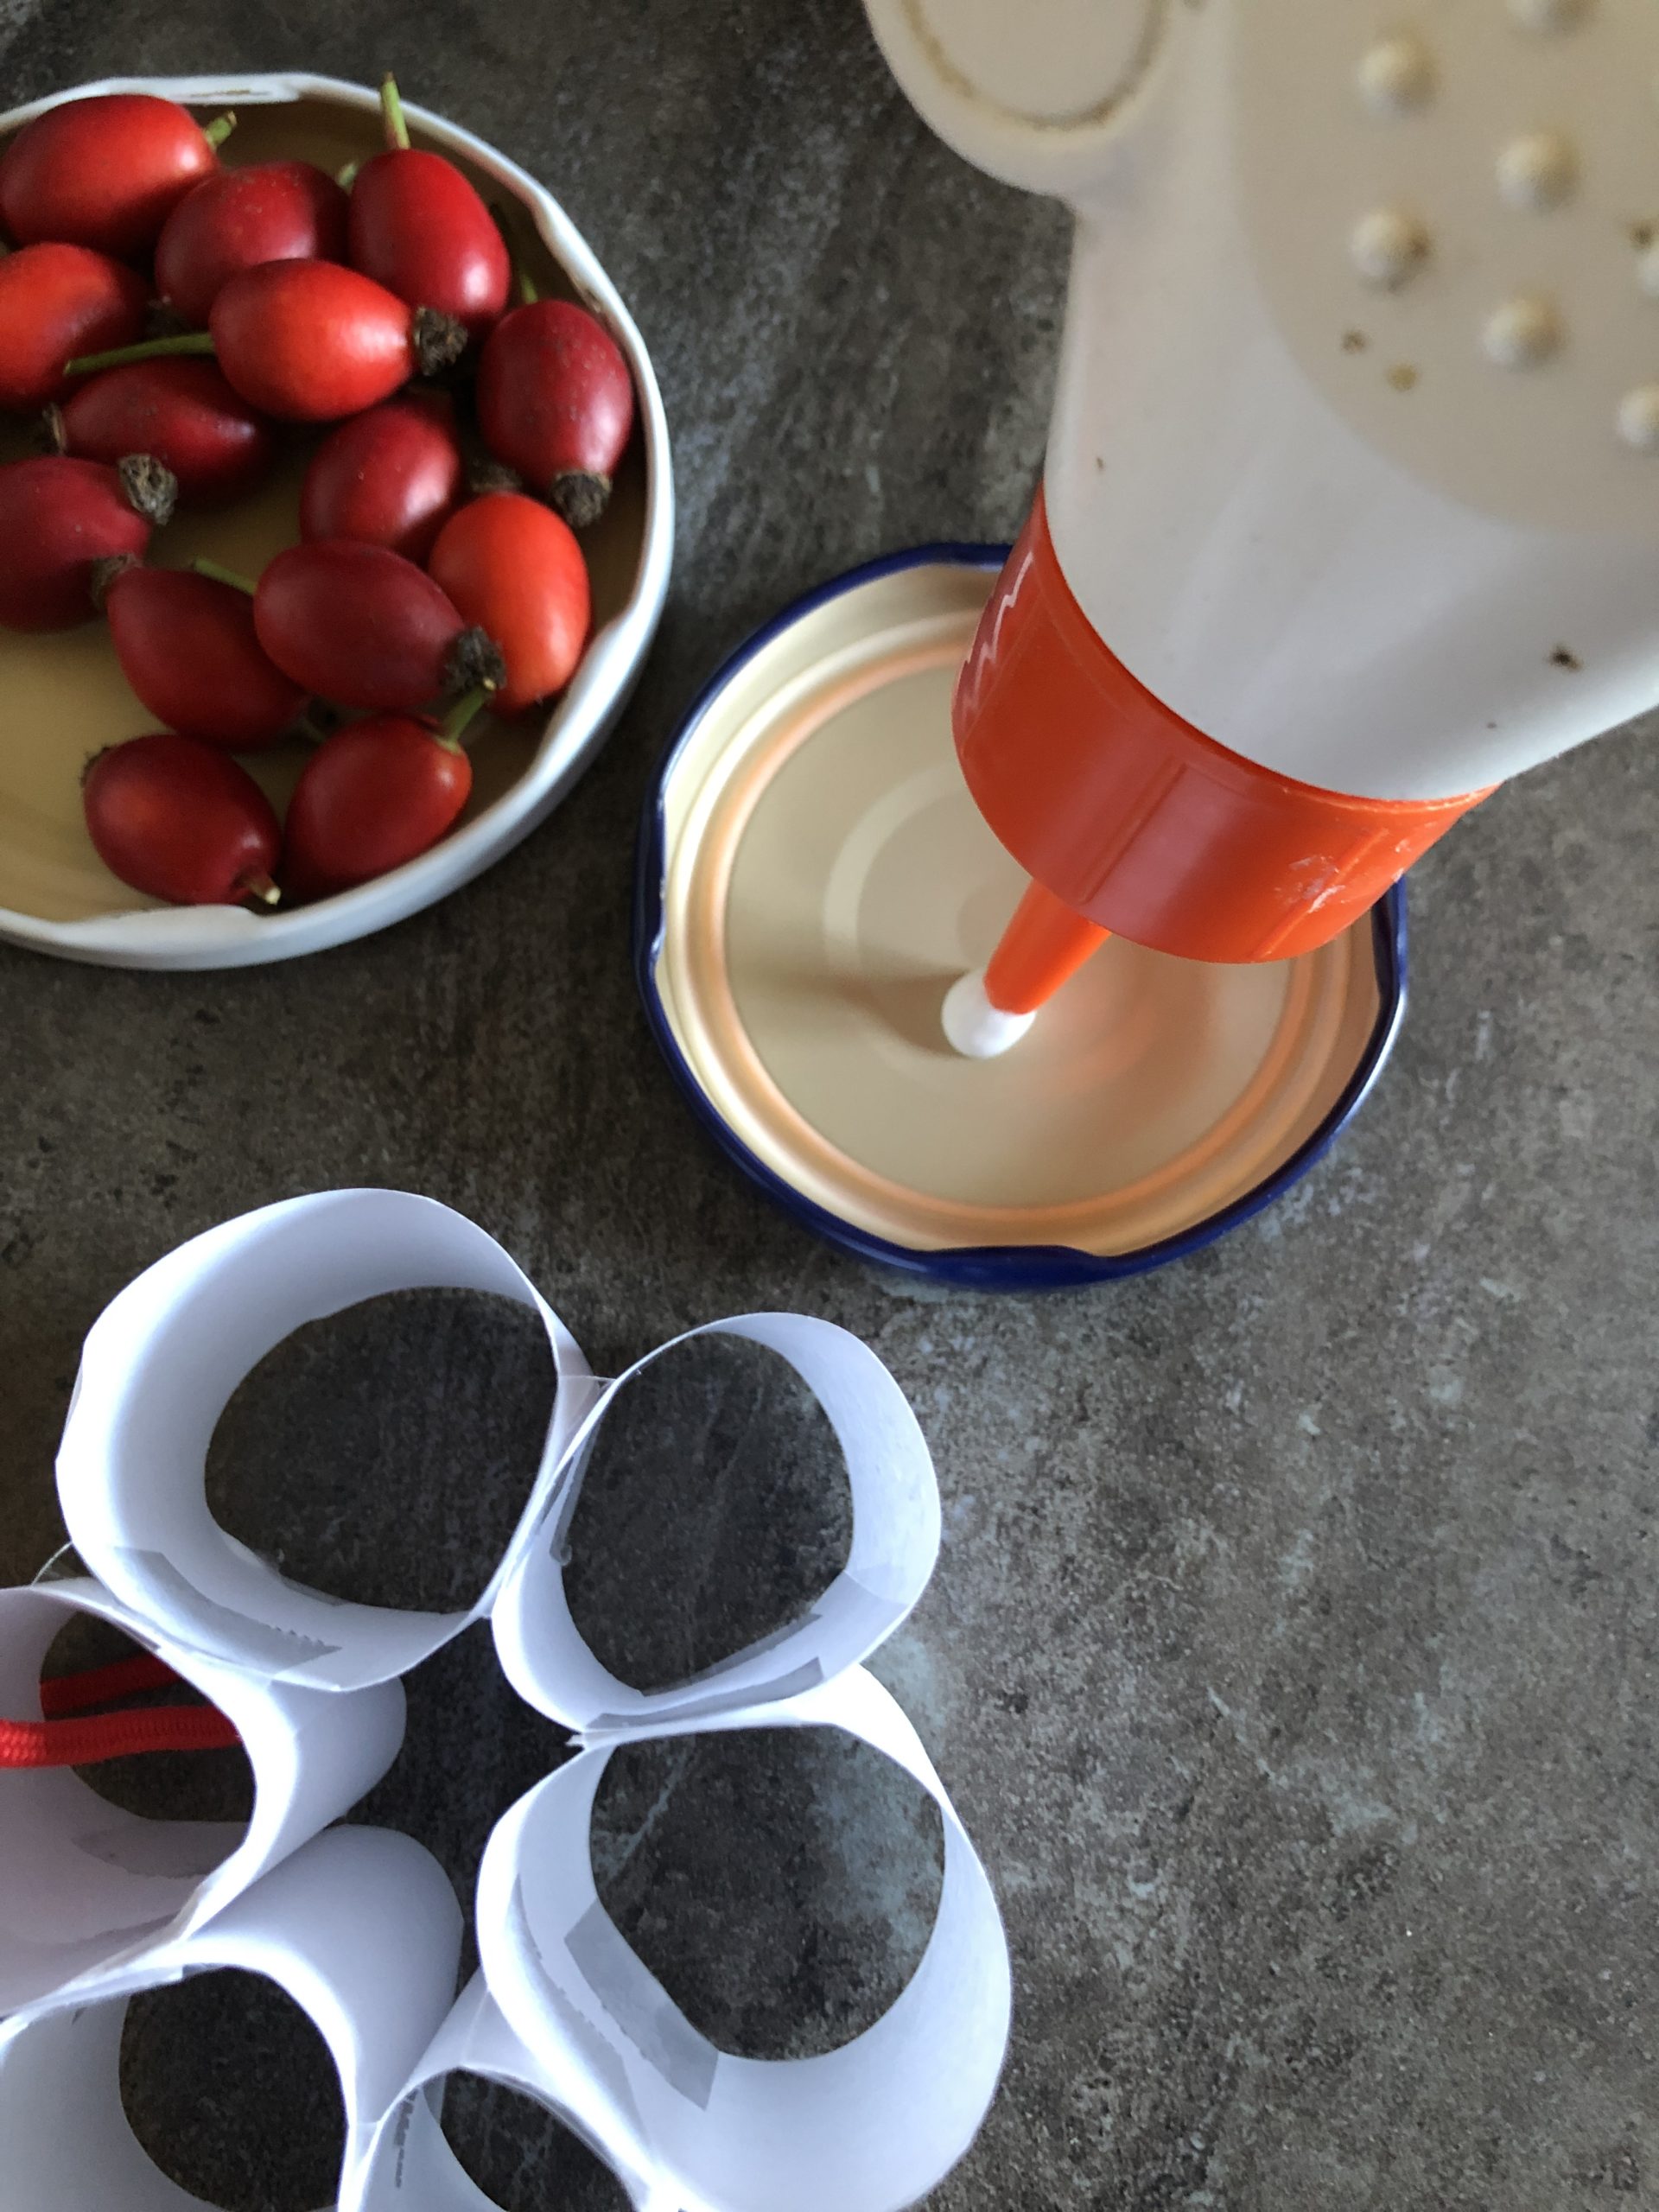
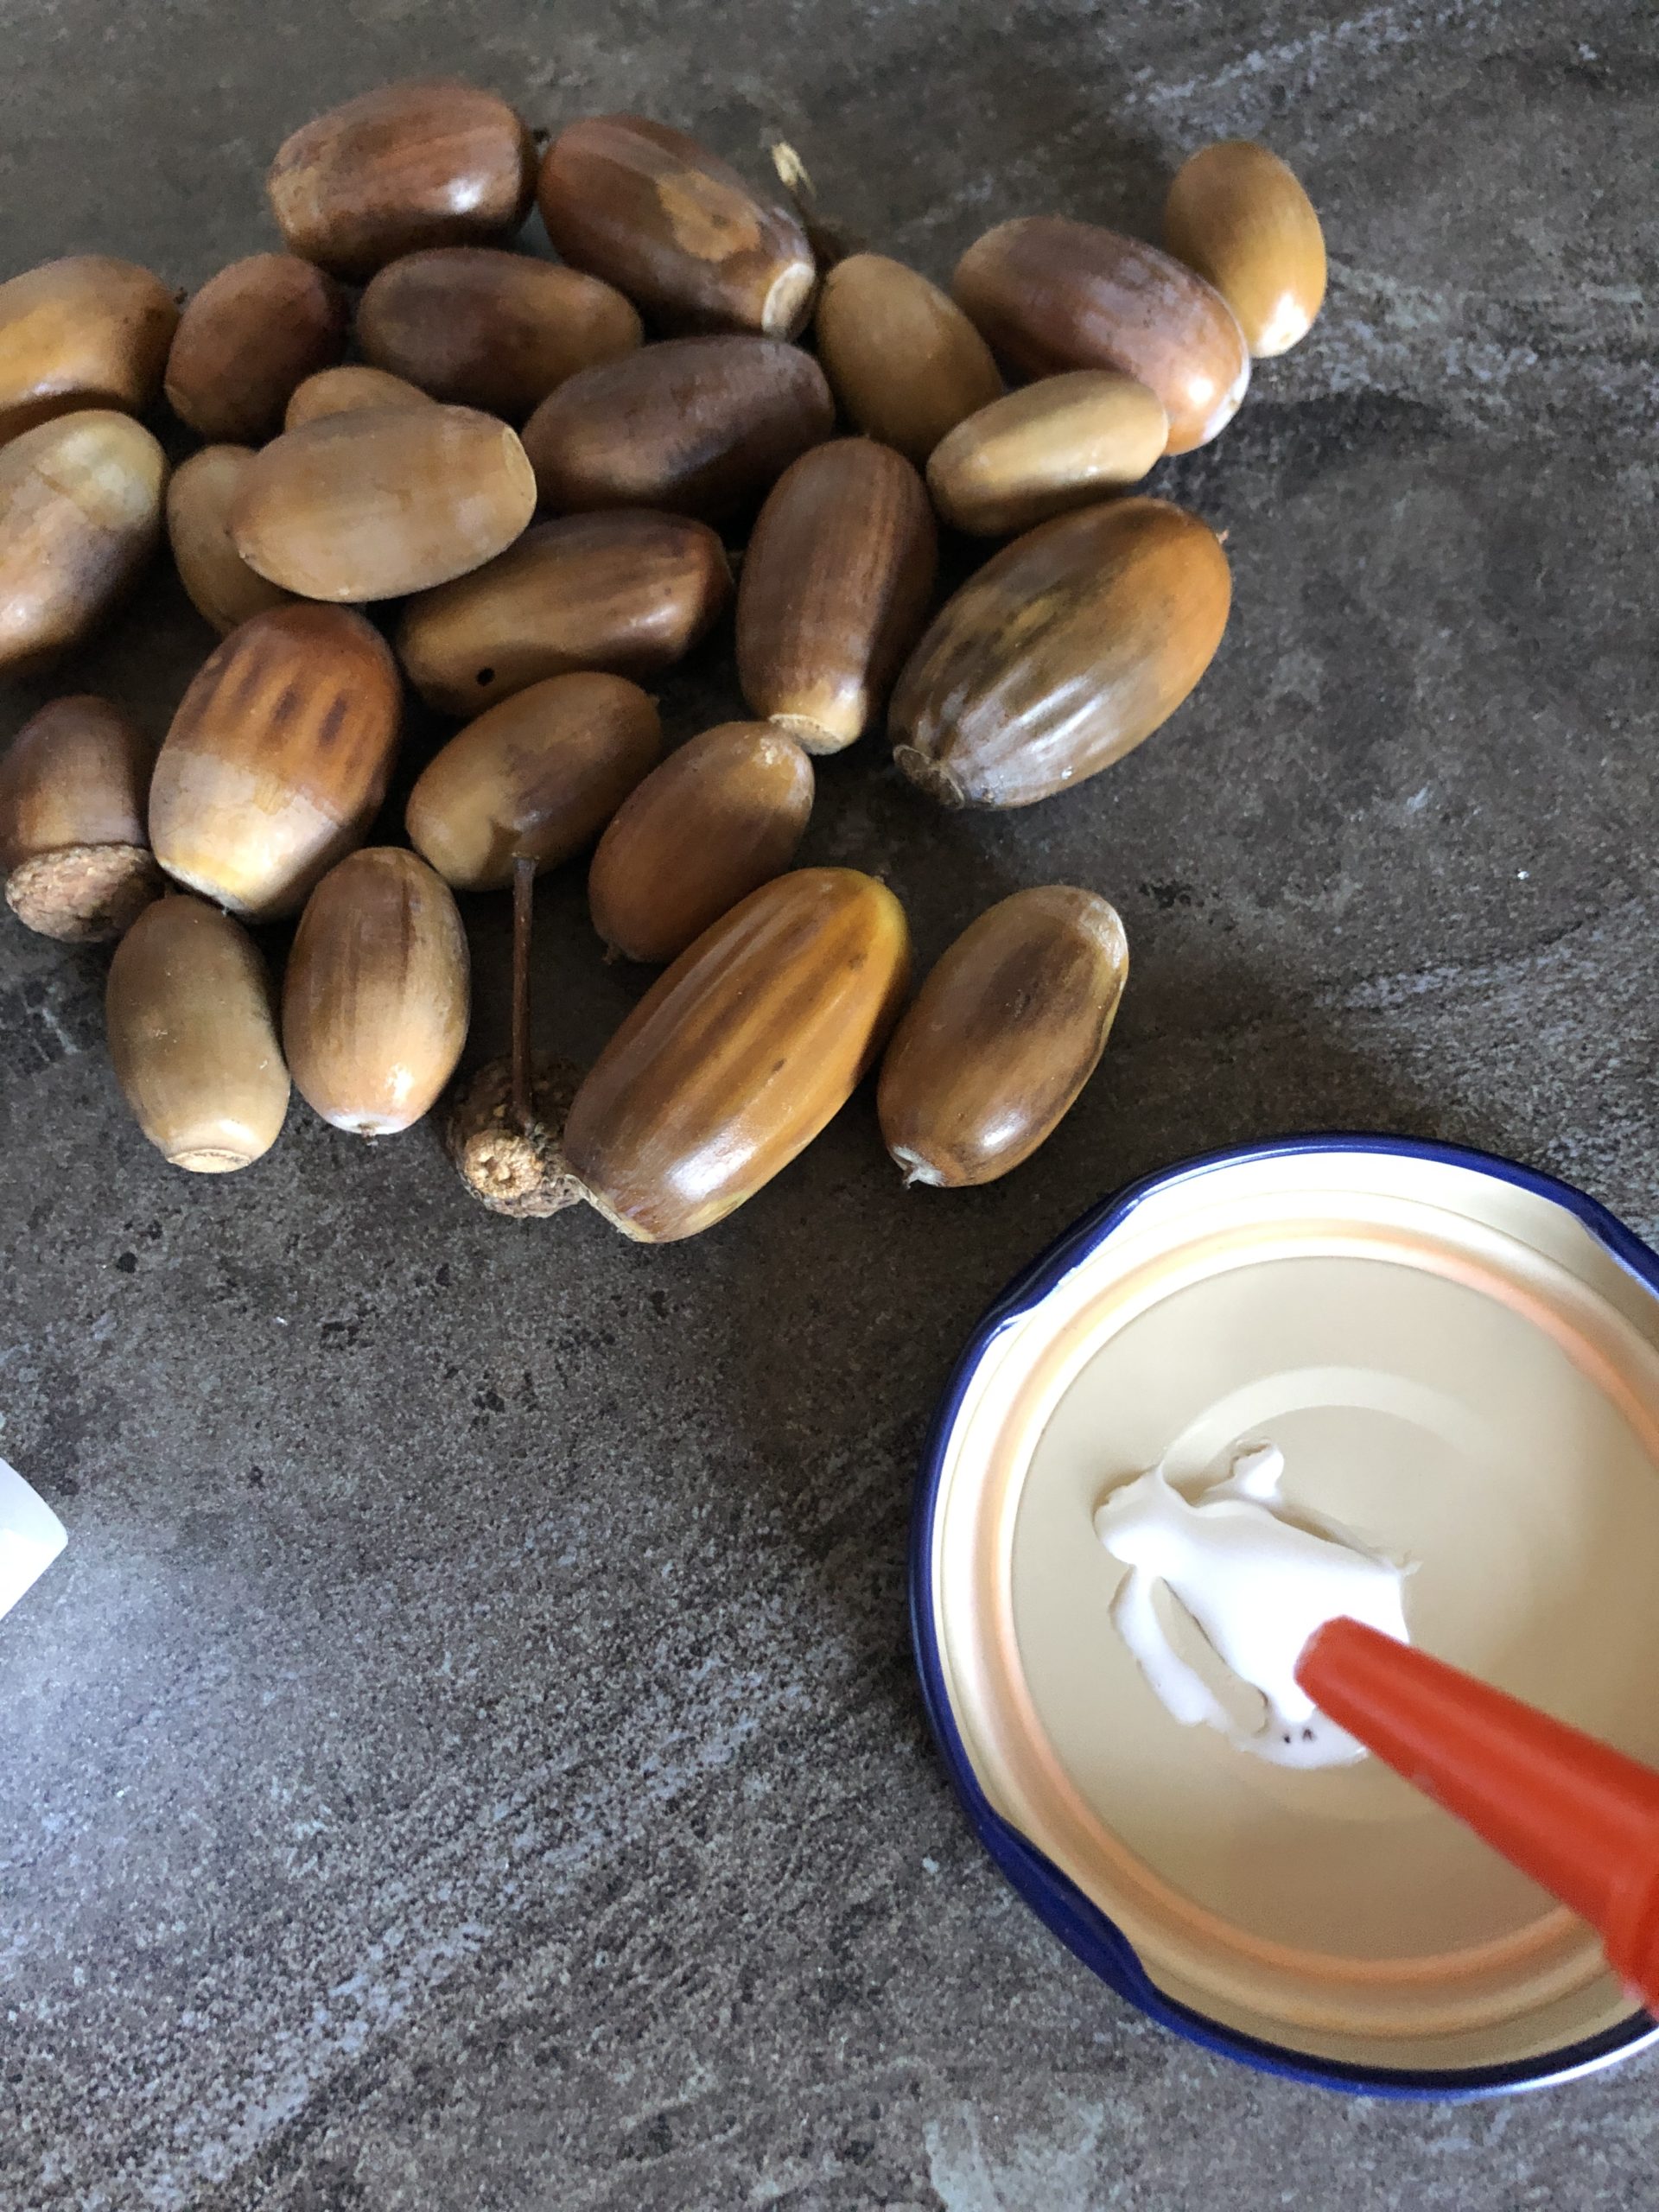
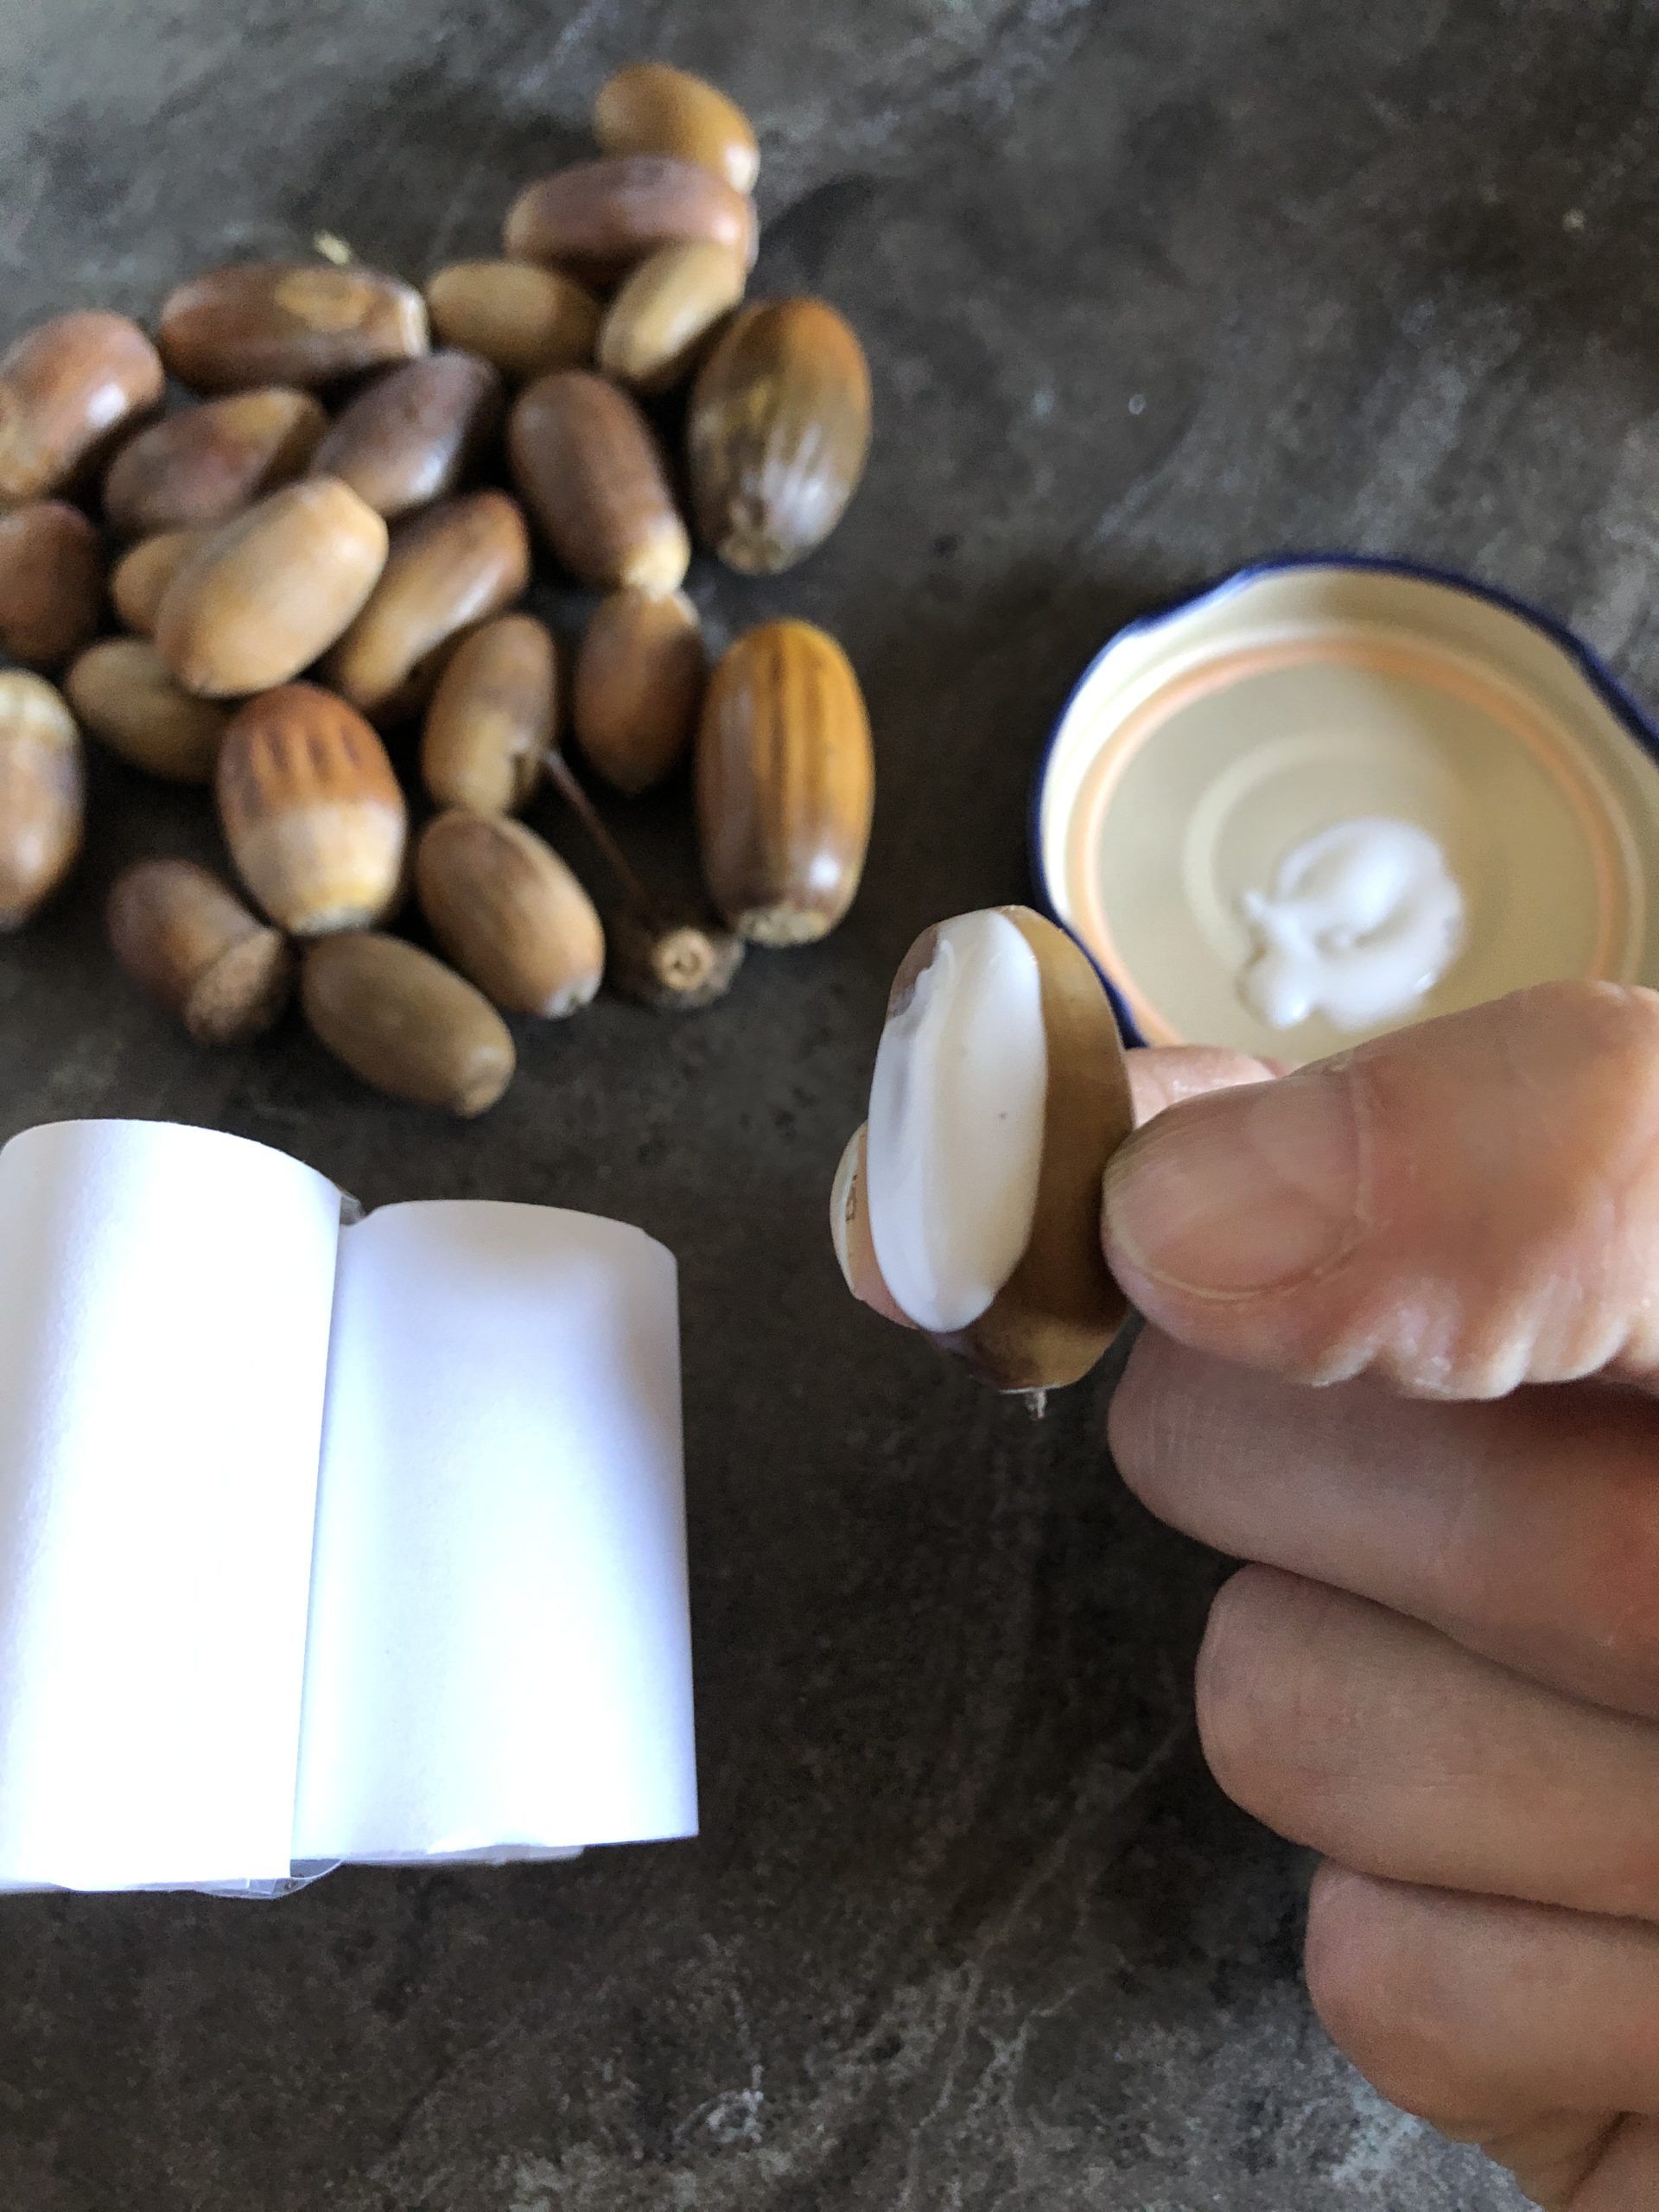
Take the wood glue and put a hazelnut-sized quantity on e.g. a screw glass lid (or on a piece of cardboard, empty yoghurt cups or similar...)
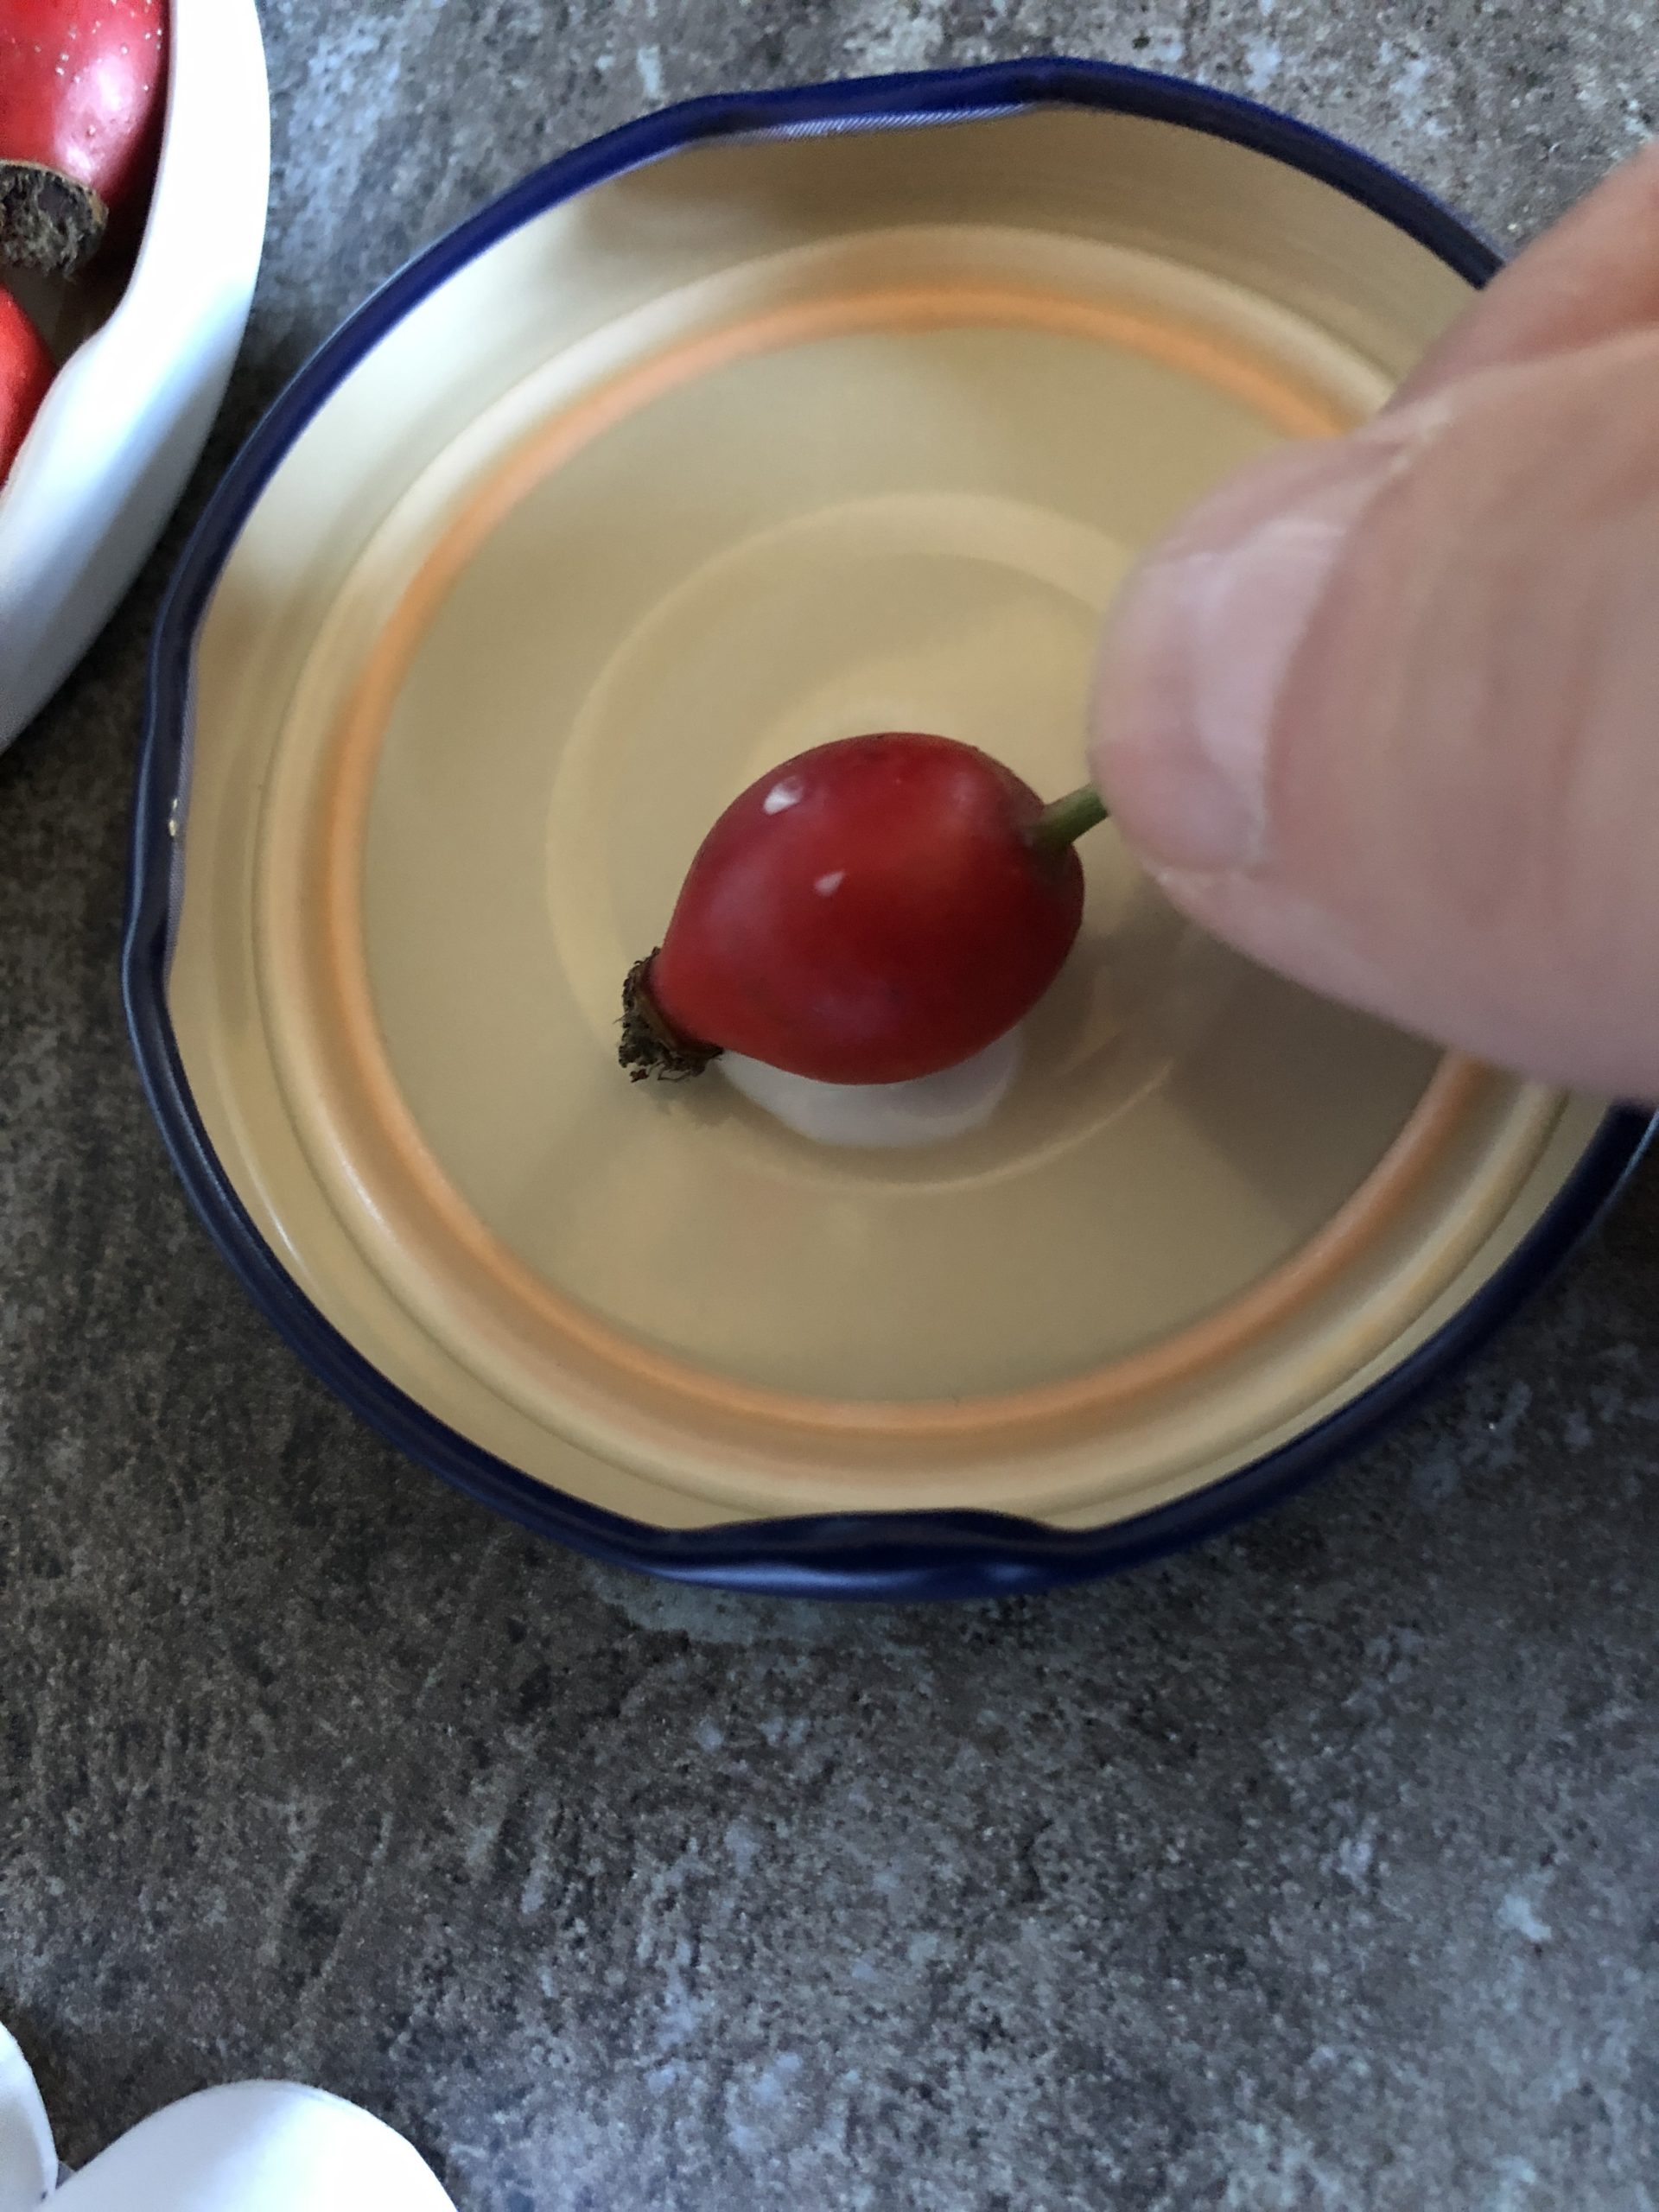
A rose hip is now immersed on one side in the wood glue and glued with the glued side into a paper roll.
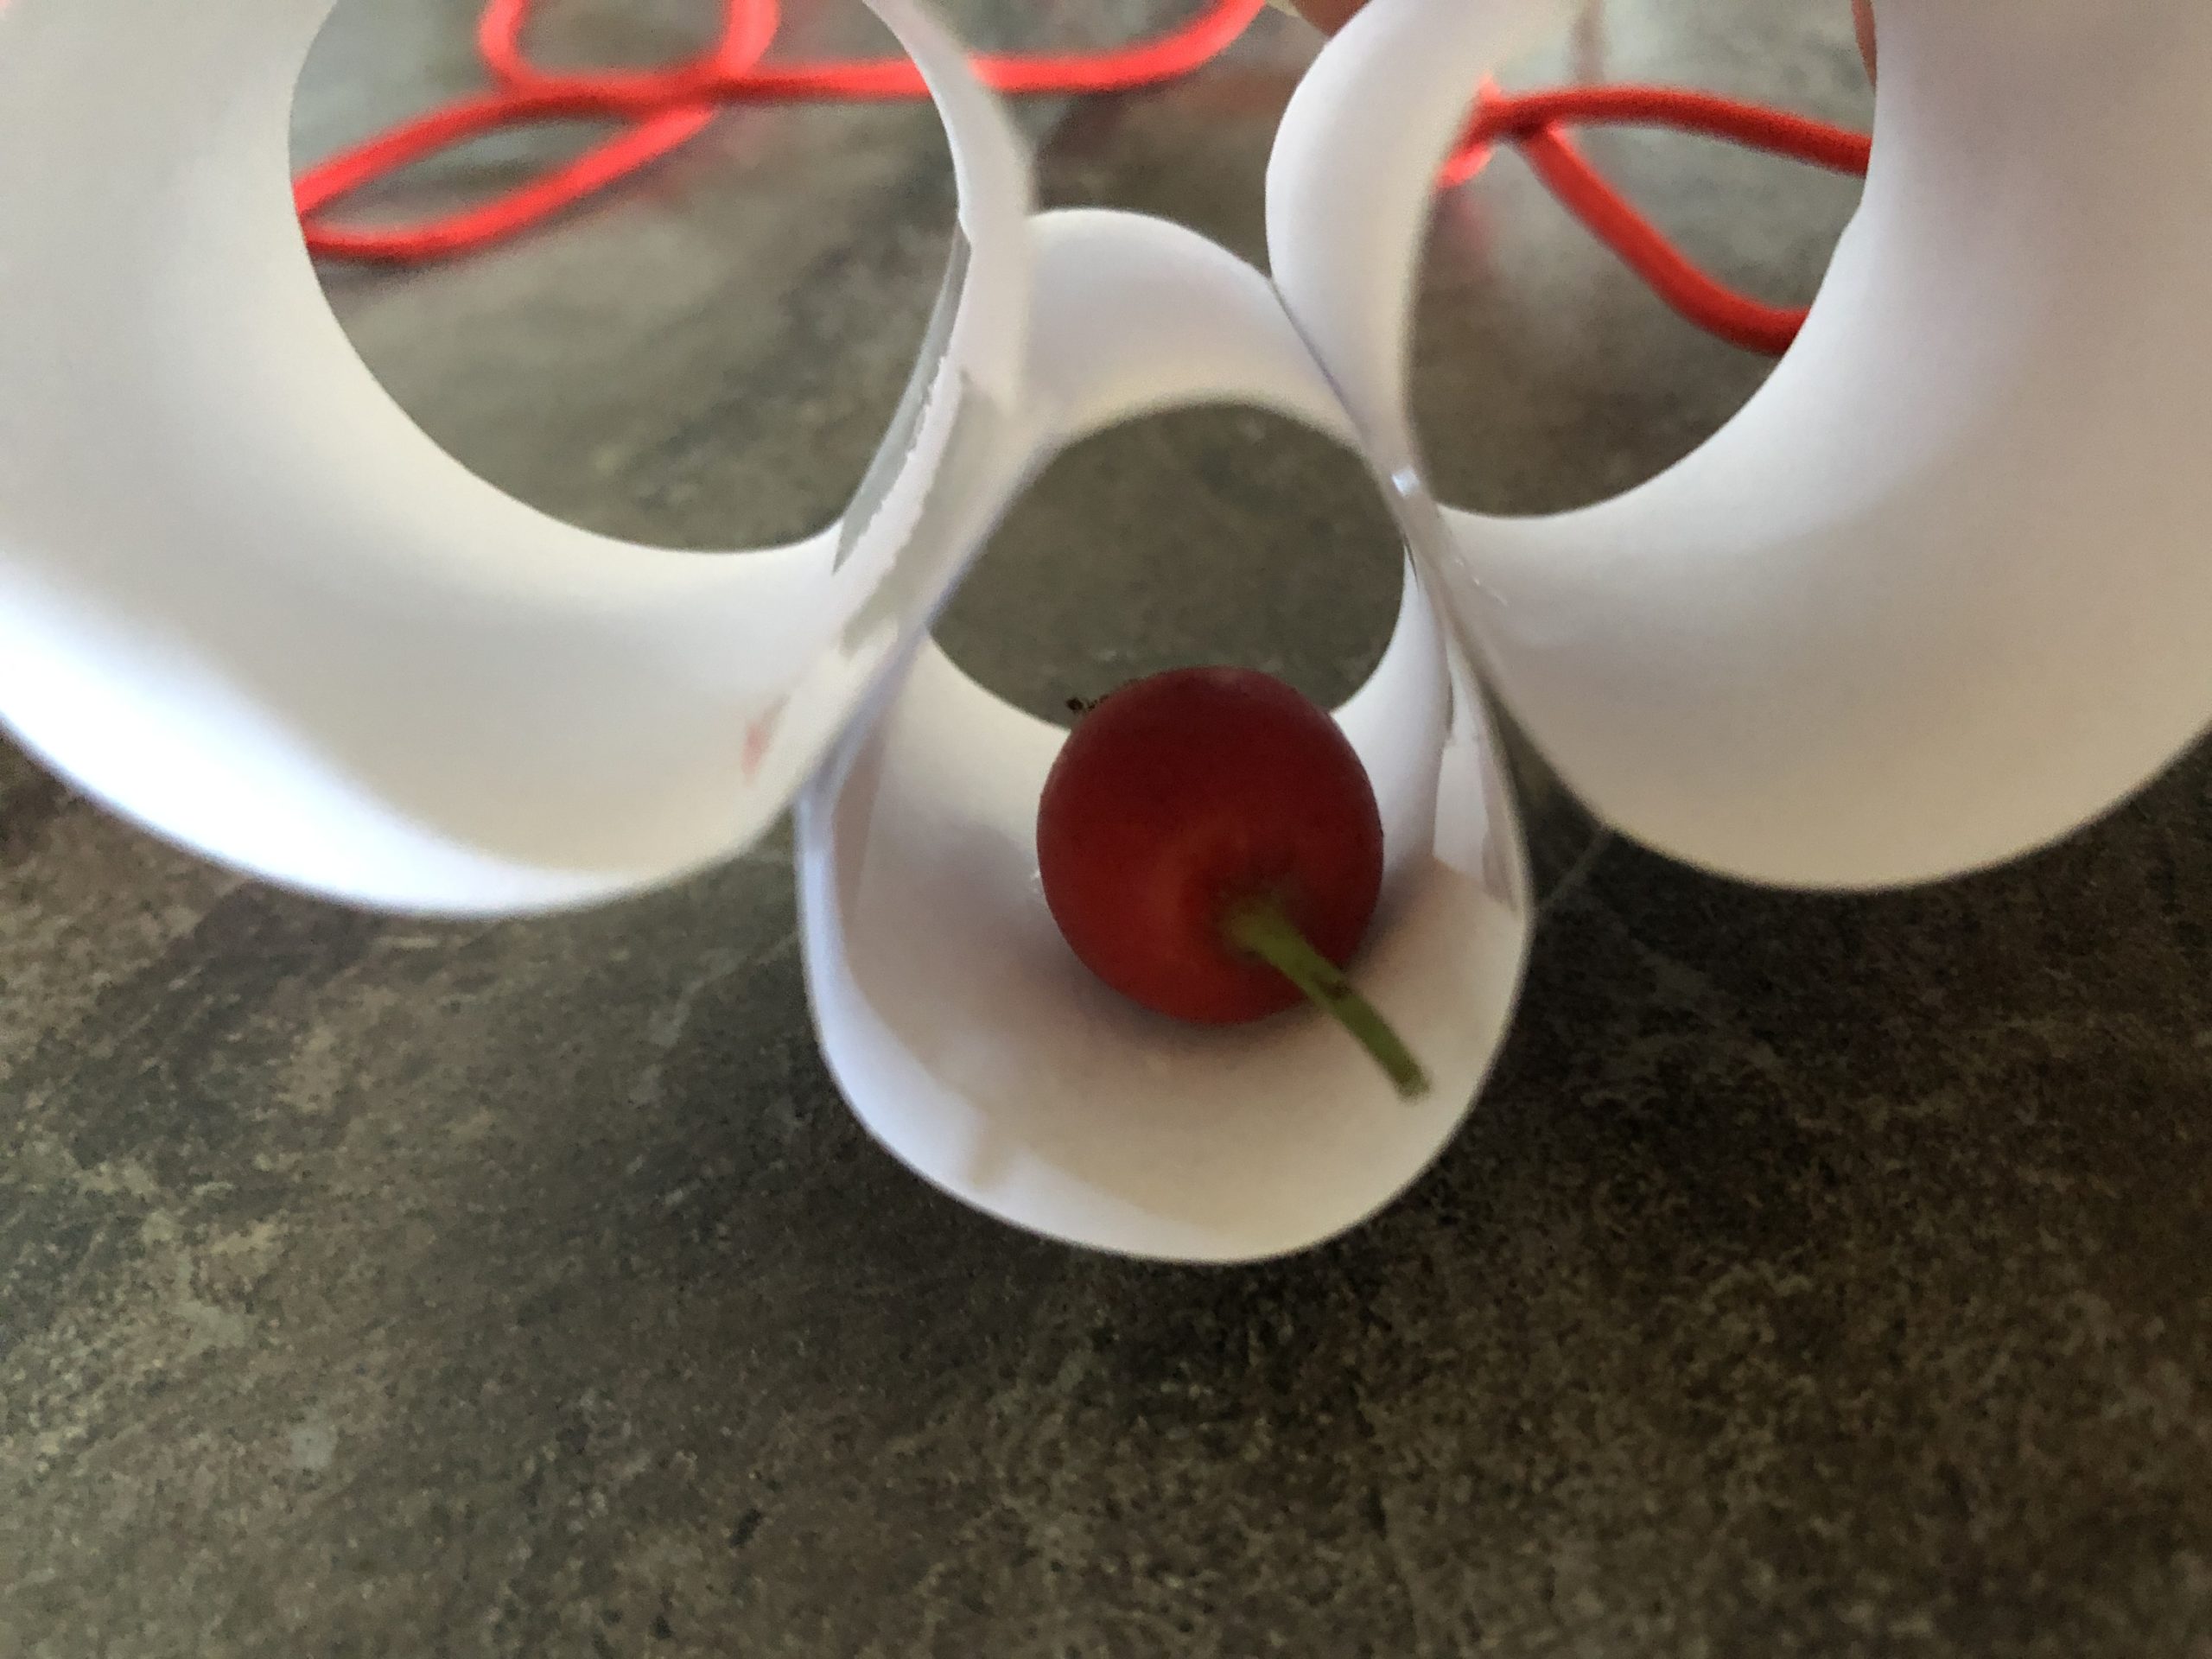
You repeat this process every time you roll.

The flowermobile is ready!
Tip: Wood glue is ideal for crafting with natural material. It is viscous, dries quickly, has good adhesive strength and is transparent in dry condition!
Put wood glue on a screw glass lid and dip one side of the acorn in the glue.
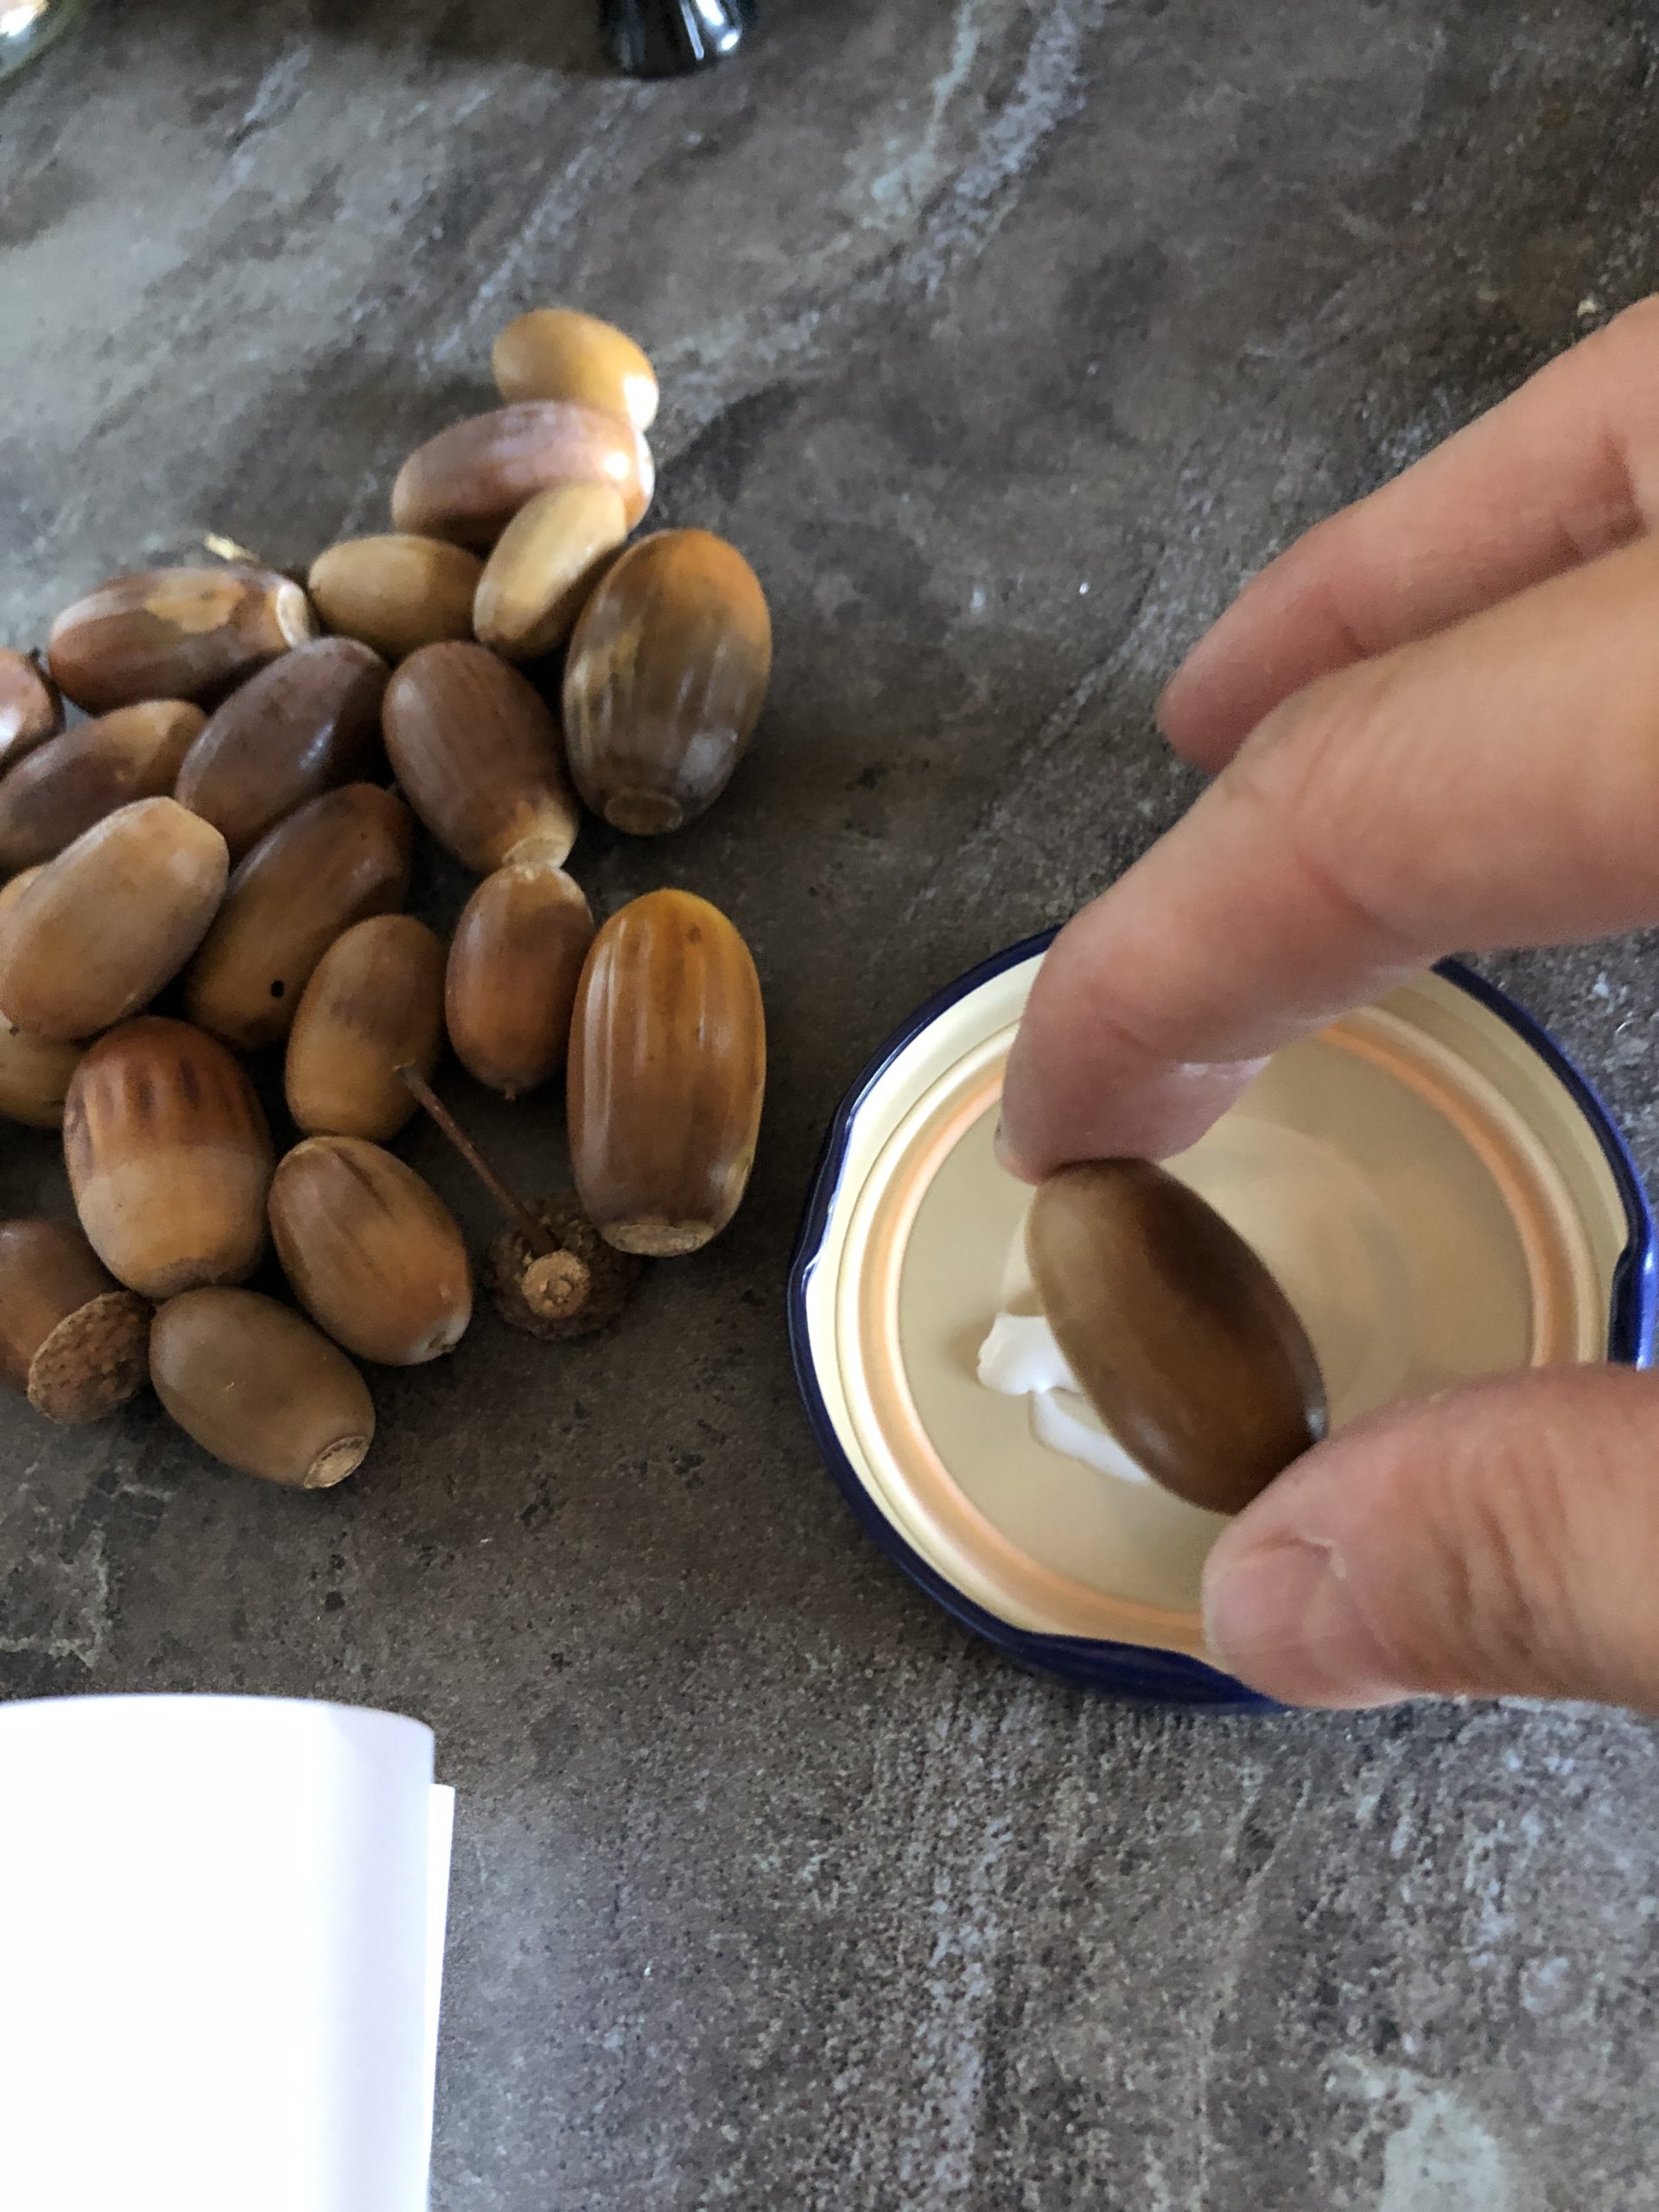
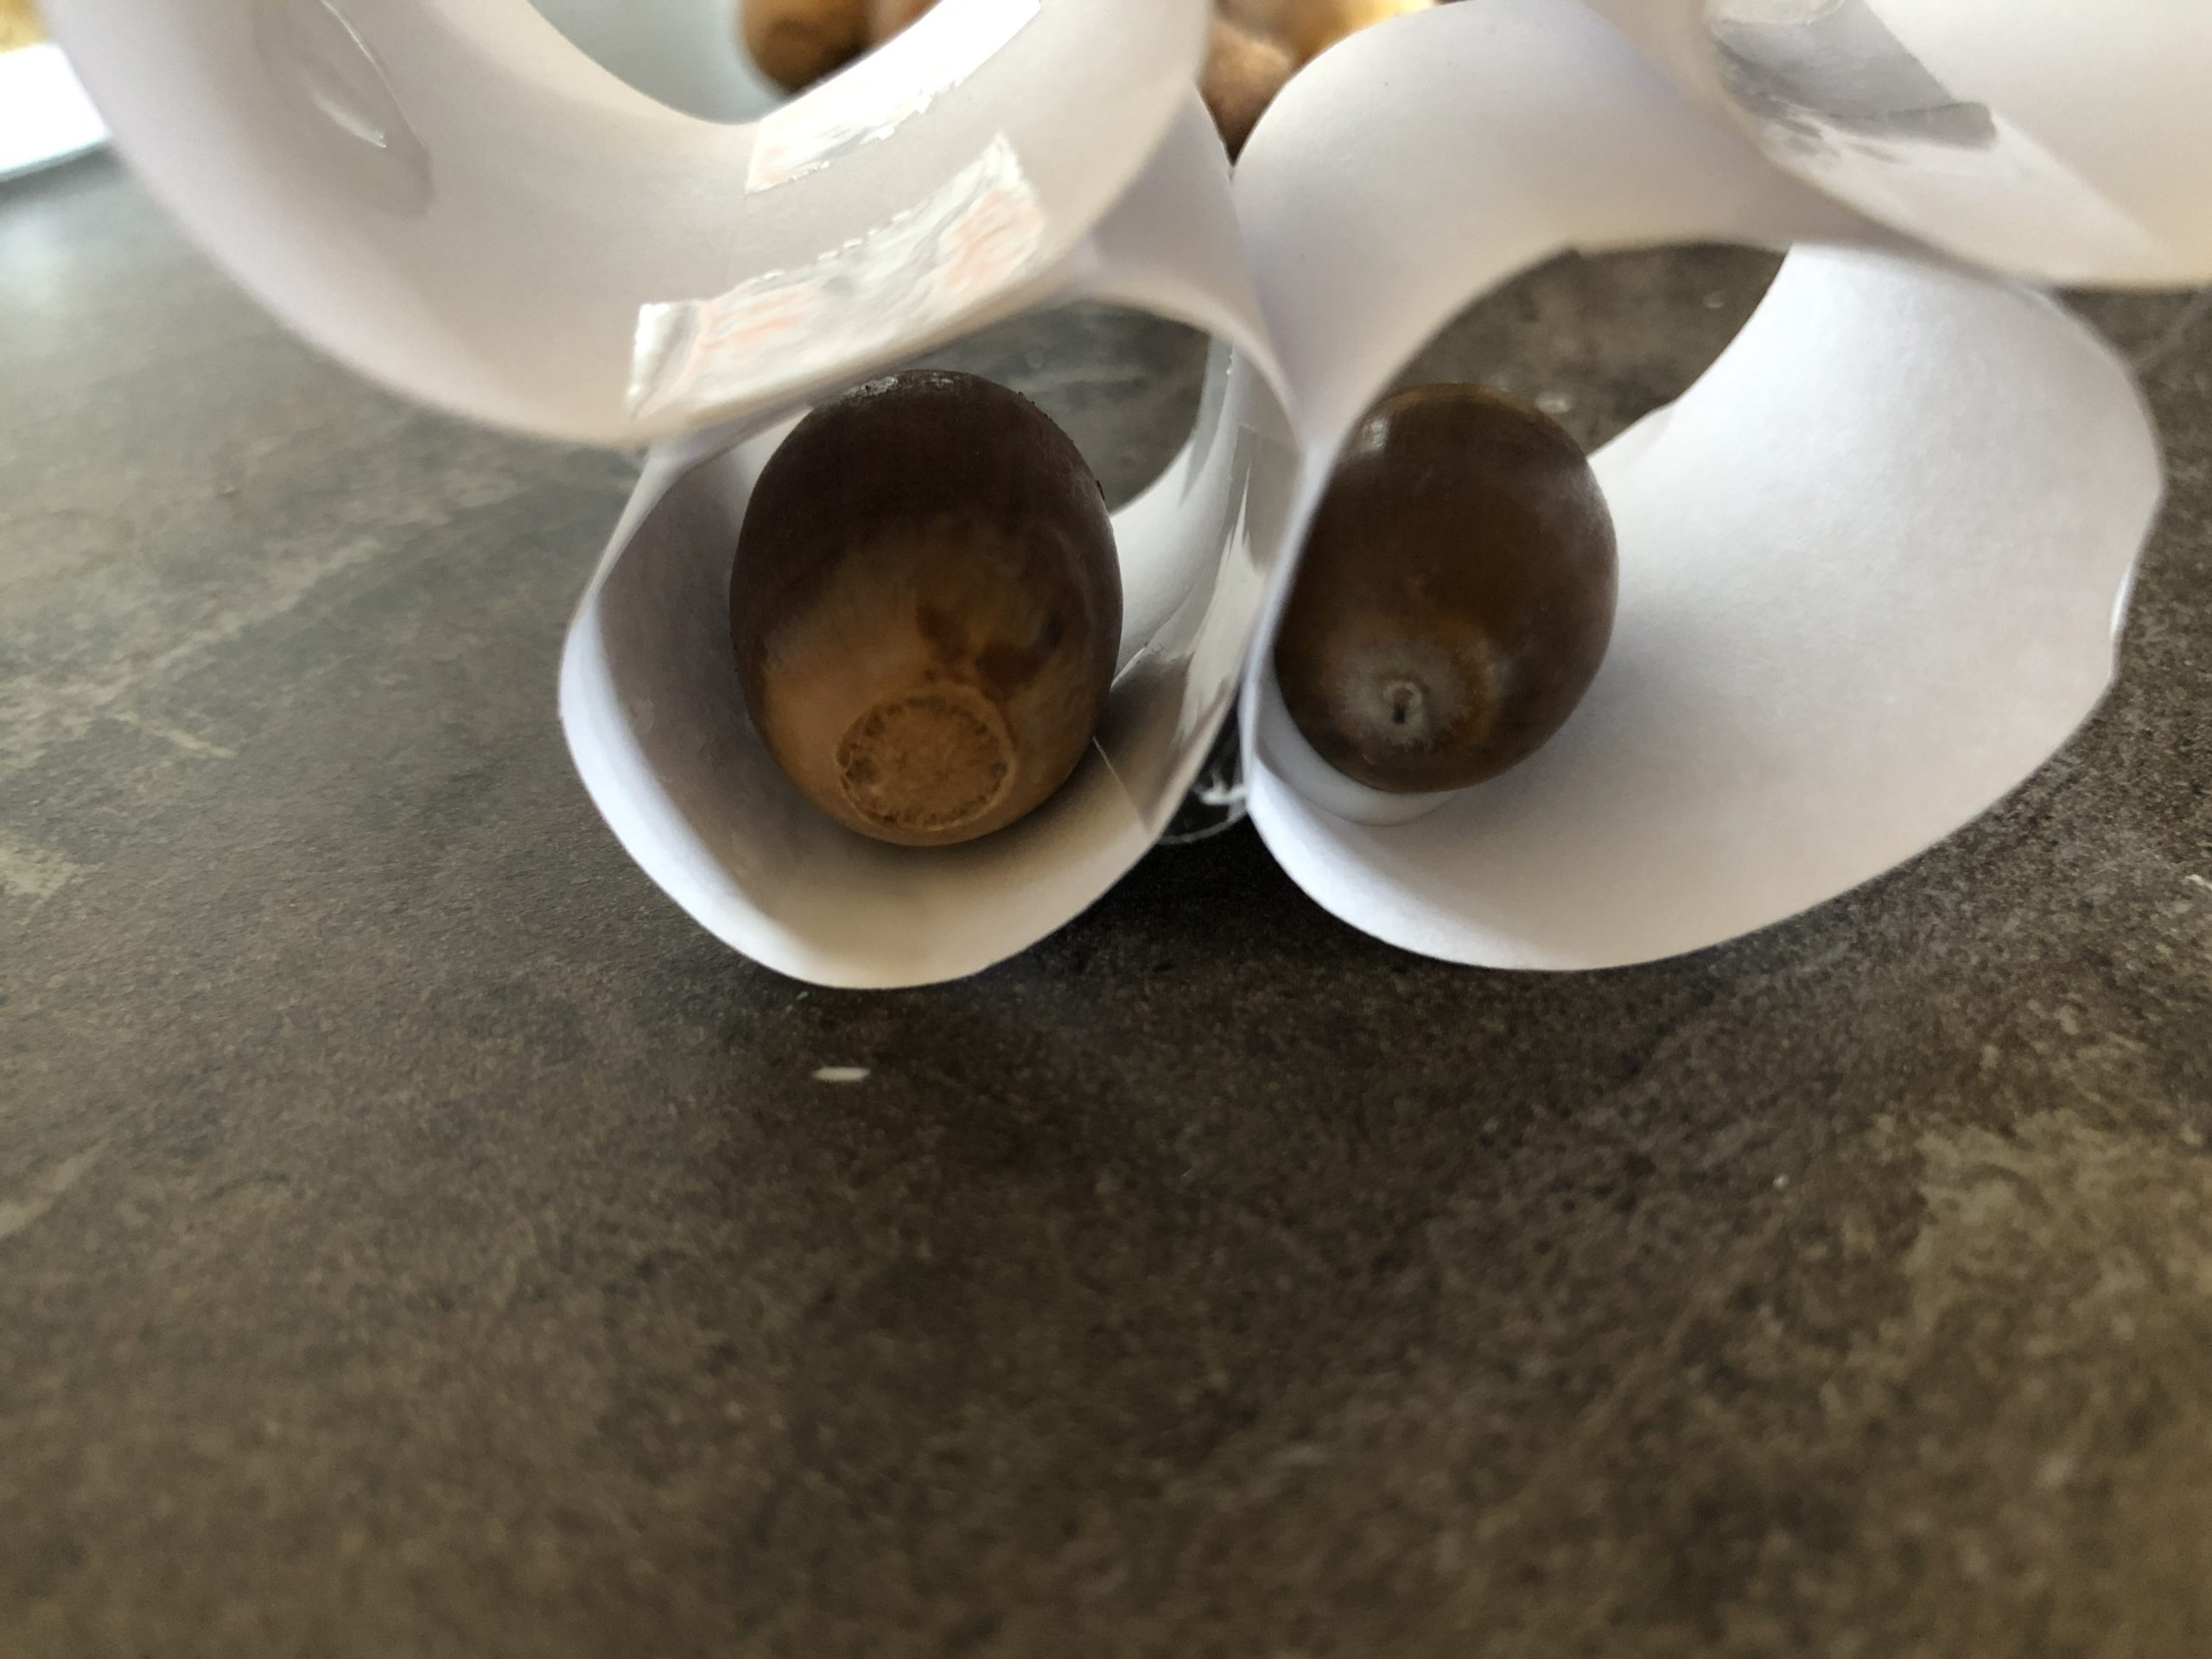
Now press the glans with the glue side in one of the rolls. Repeat the process with all other rolls.
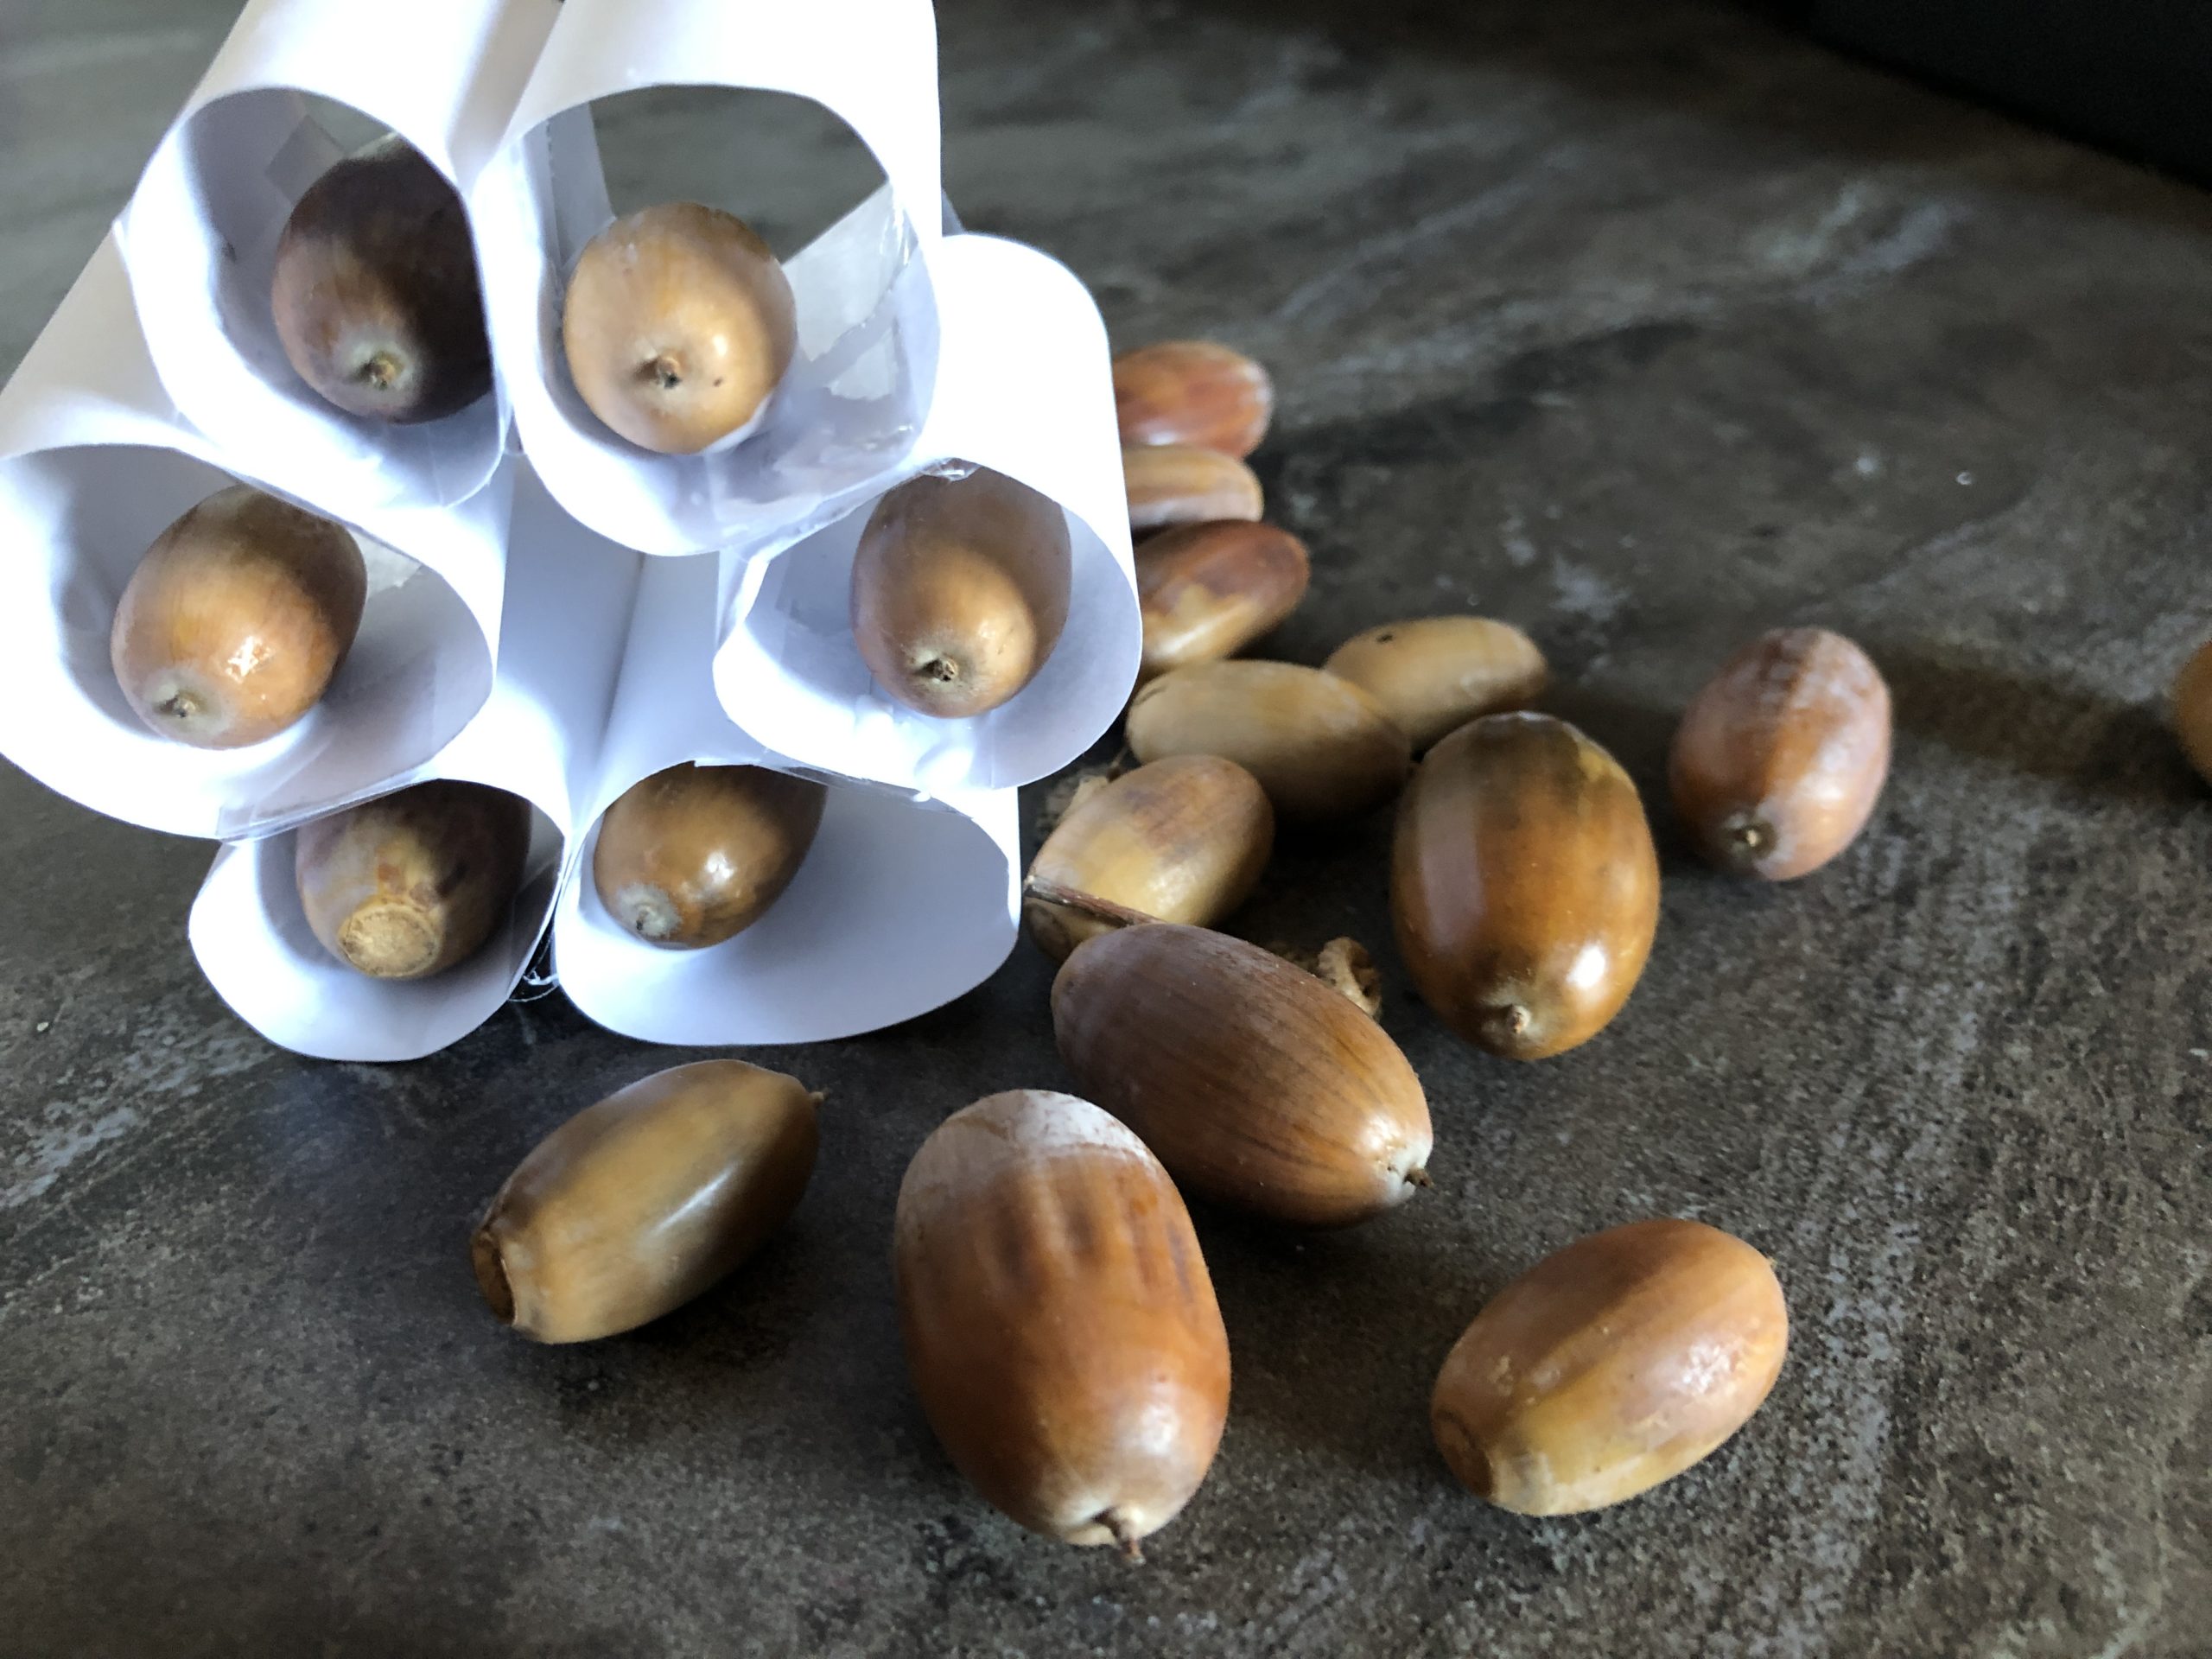
The acorn flower is ready.
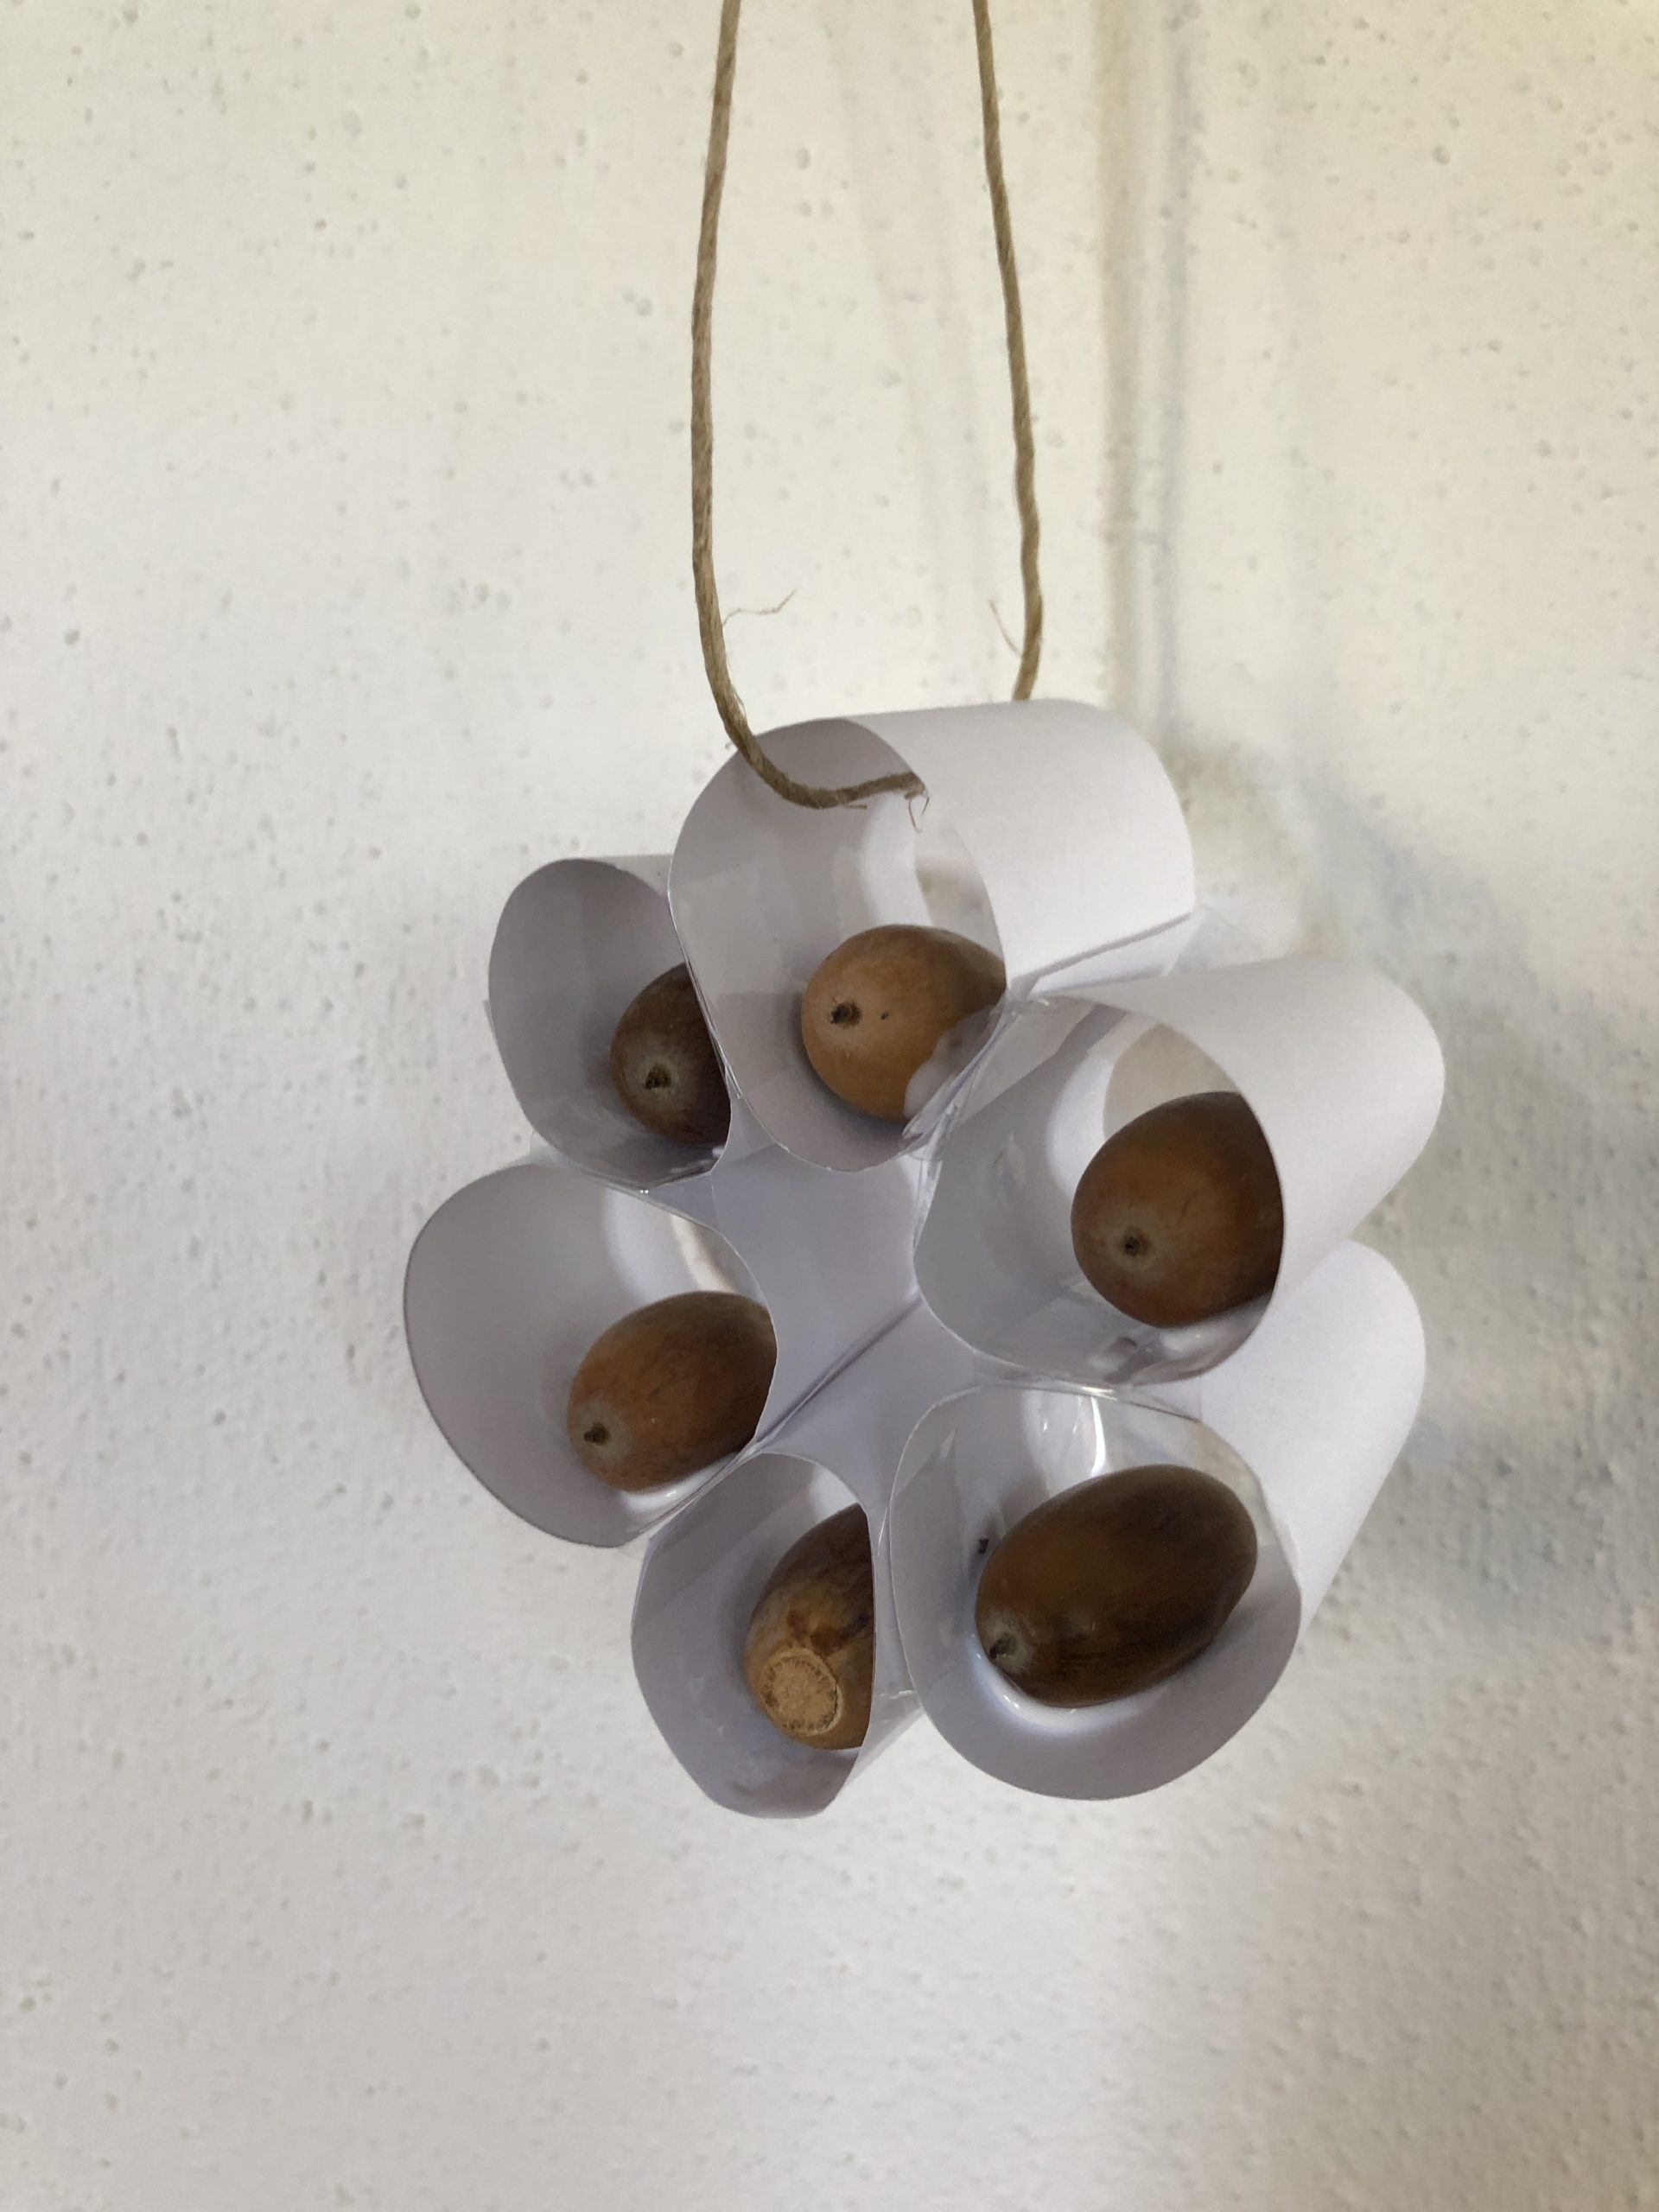
To the acorn flower a brown package cord is threaded through a roll to hang up. Knead the ends together and look for a place to hang up.

Have fun making it up!
Materials
Directions
Draw on your paper about 2 cm wide strips. Cut them off and shorten them so that you get about 8-10 cm long pieces.
At the ends, this glues her together with a piece of adhesive tape to form a paper ring.
Creates several rings. These can have quiet different sizes. Important: there is no "wrong".?
Use a screw glass lid as a frame for your flower shape.
You put this on the table, then put your paper rolls in the lid to create a flower.
Important: The outer rolls must touch each other in one place!
Try to arrange your rolls until they fit well.
Tip: should your rolls have become very large, then look for a bigger lid.
Now you need the tape.
Take off a little piece of tape.
You put this tape over the spot where two outside rolls touch each other.
Now put your thumb and index finger in these two rolls and glue the two together.
With all the outside rolls you also travel like this.
Now all outer rolls are connected to each other. Only the middle is loose. This removes you now carefully. Because this served us only as placeholder!
The "flower" is taken out of the lid - which served us only as a "frame" - and turned around.
The rolls tilt slightly apart.
As on the underside, adjacent rolls are now glued together with an adhesive tape on the top.
Our paper flower is ready!
Now it can be embellished as desired.
Here are two possibilities:
Now you need a red thread to hang up the flower cart, and a few red rose hips, which depend on the number of rolls of your flower.
Thread the thread through a roll and knot it.
Take the wood glue and put a hazelnut-sized quantity on e.g. a screw glass lid (or on a piece of cardboard, empty yoghurt cups or similar...)
A rose hip is now immersed on one side in the wood glue and glued with the glued side into a paper roll.
You repeat this process every time you roll.
The flowermobile is ready!
Tip: Wood glue is ideal for crafting with natural material. It is viscous, dries quickly, has good adhesive strength and is transparent in dry condition!
Put wood glue on a screw glass lid and dip one side of the acorn in the glue.
Now press the glans with the glue side in one of the rolls. Repeat the process with all other rolls.
The acorn flower is ready.
To the acorn flower a brown package cord is threaded through a roll to hang up. Knead the ends together and look for a place to hang up.
Have fun making it up!
Follow us on Facebook , Instagram and Pinterest
Don't miss any more adventures: Our bottle mail


