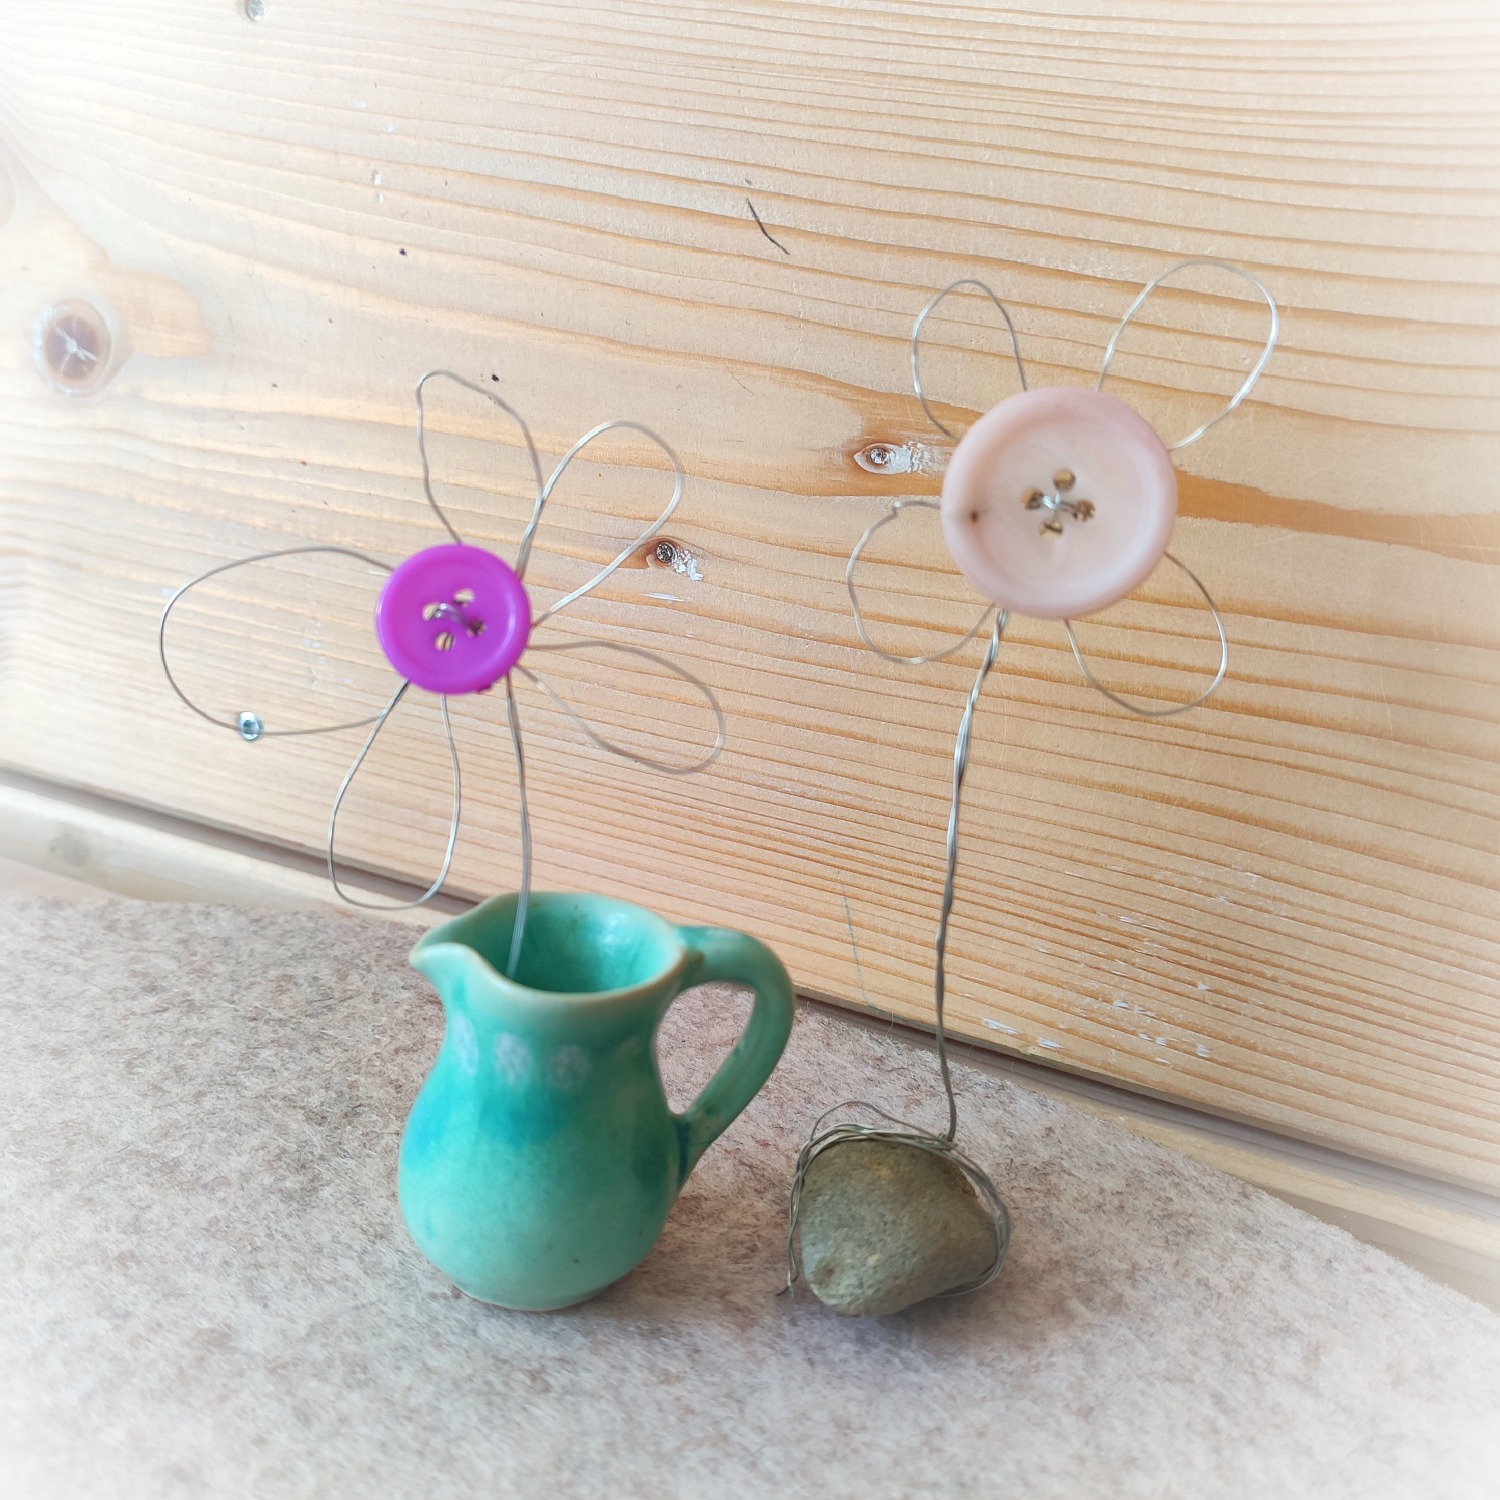
Magic with a little wire and a button these beautiful flowers. These are excellent for giving away and decorating. You don't need much and can start with wire and button and a stone for fixings.
Have fun trying it out!
Media Education for Kindergarten and Hort

Relief in everyday life, targeted promotion of individual children, independent learning and - without any pre-knowledge already usable by the youngest!
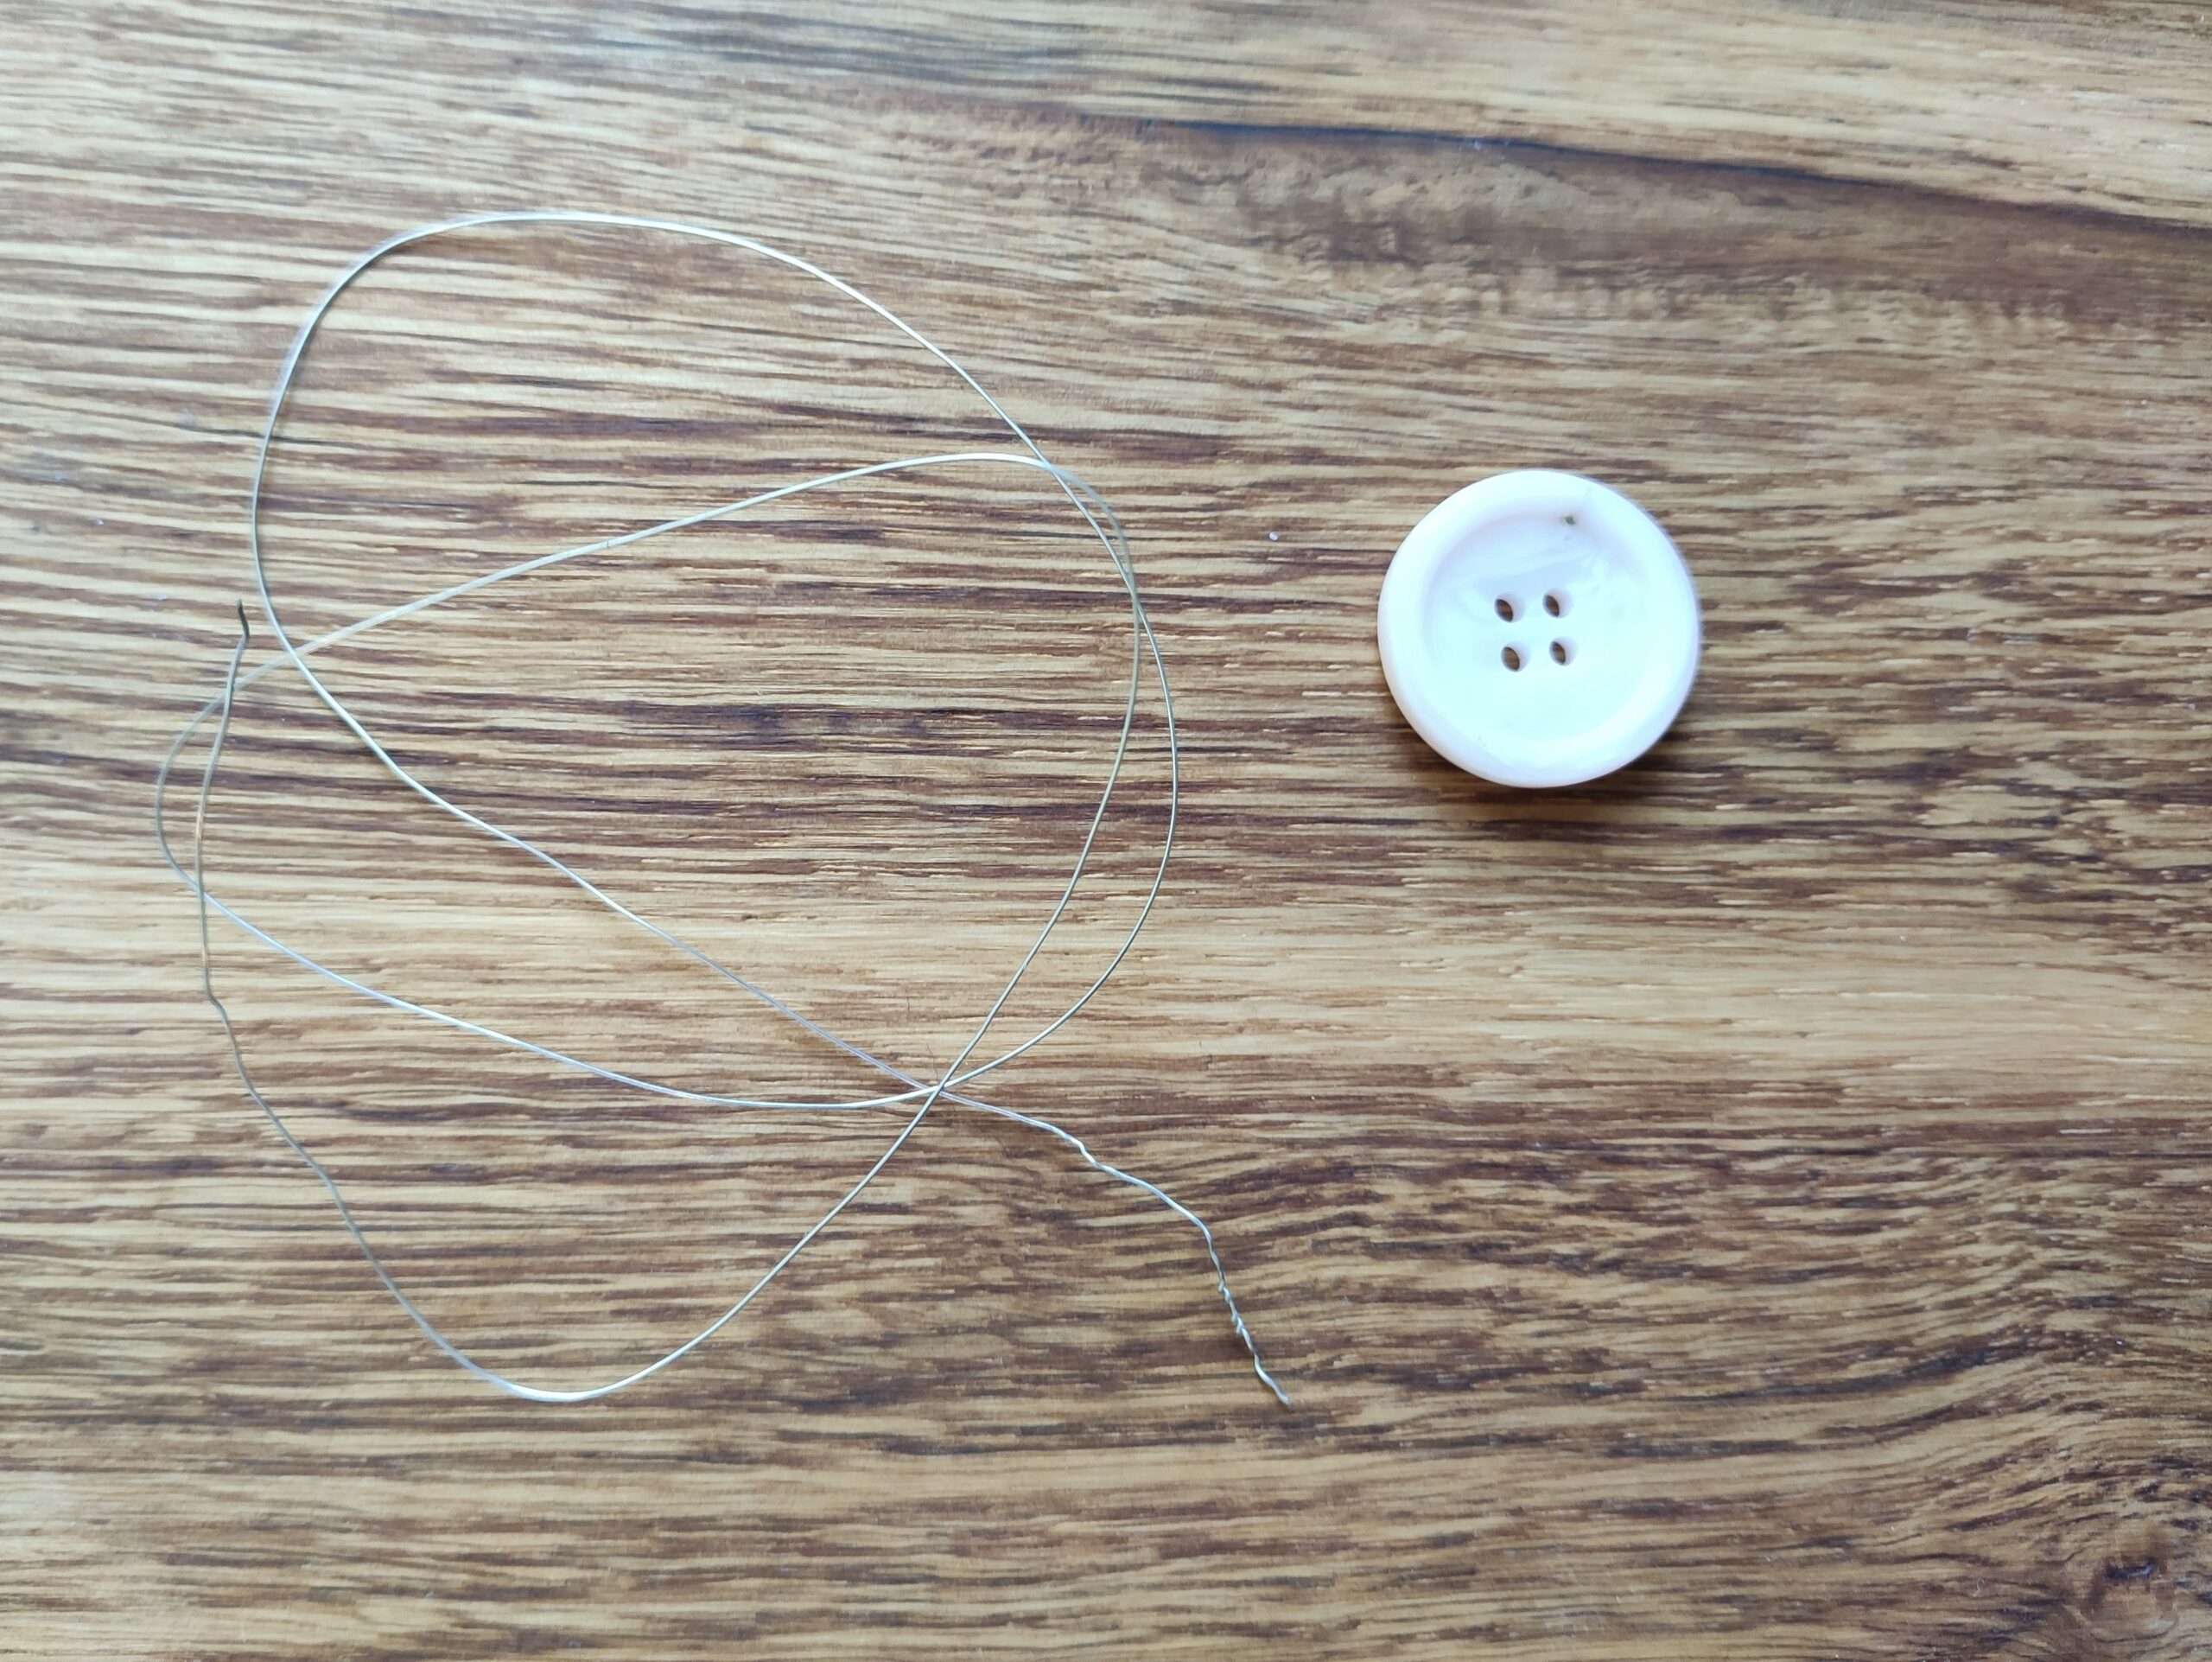
Cut two pieces of wire in the length of about 50 cm and bend it to a loop.
Tip: Uses thin wire, because it can be easily shaped.
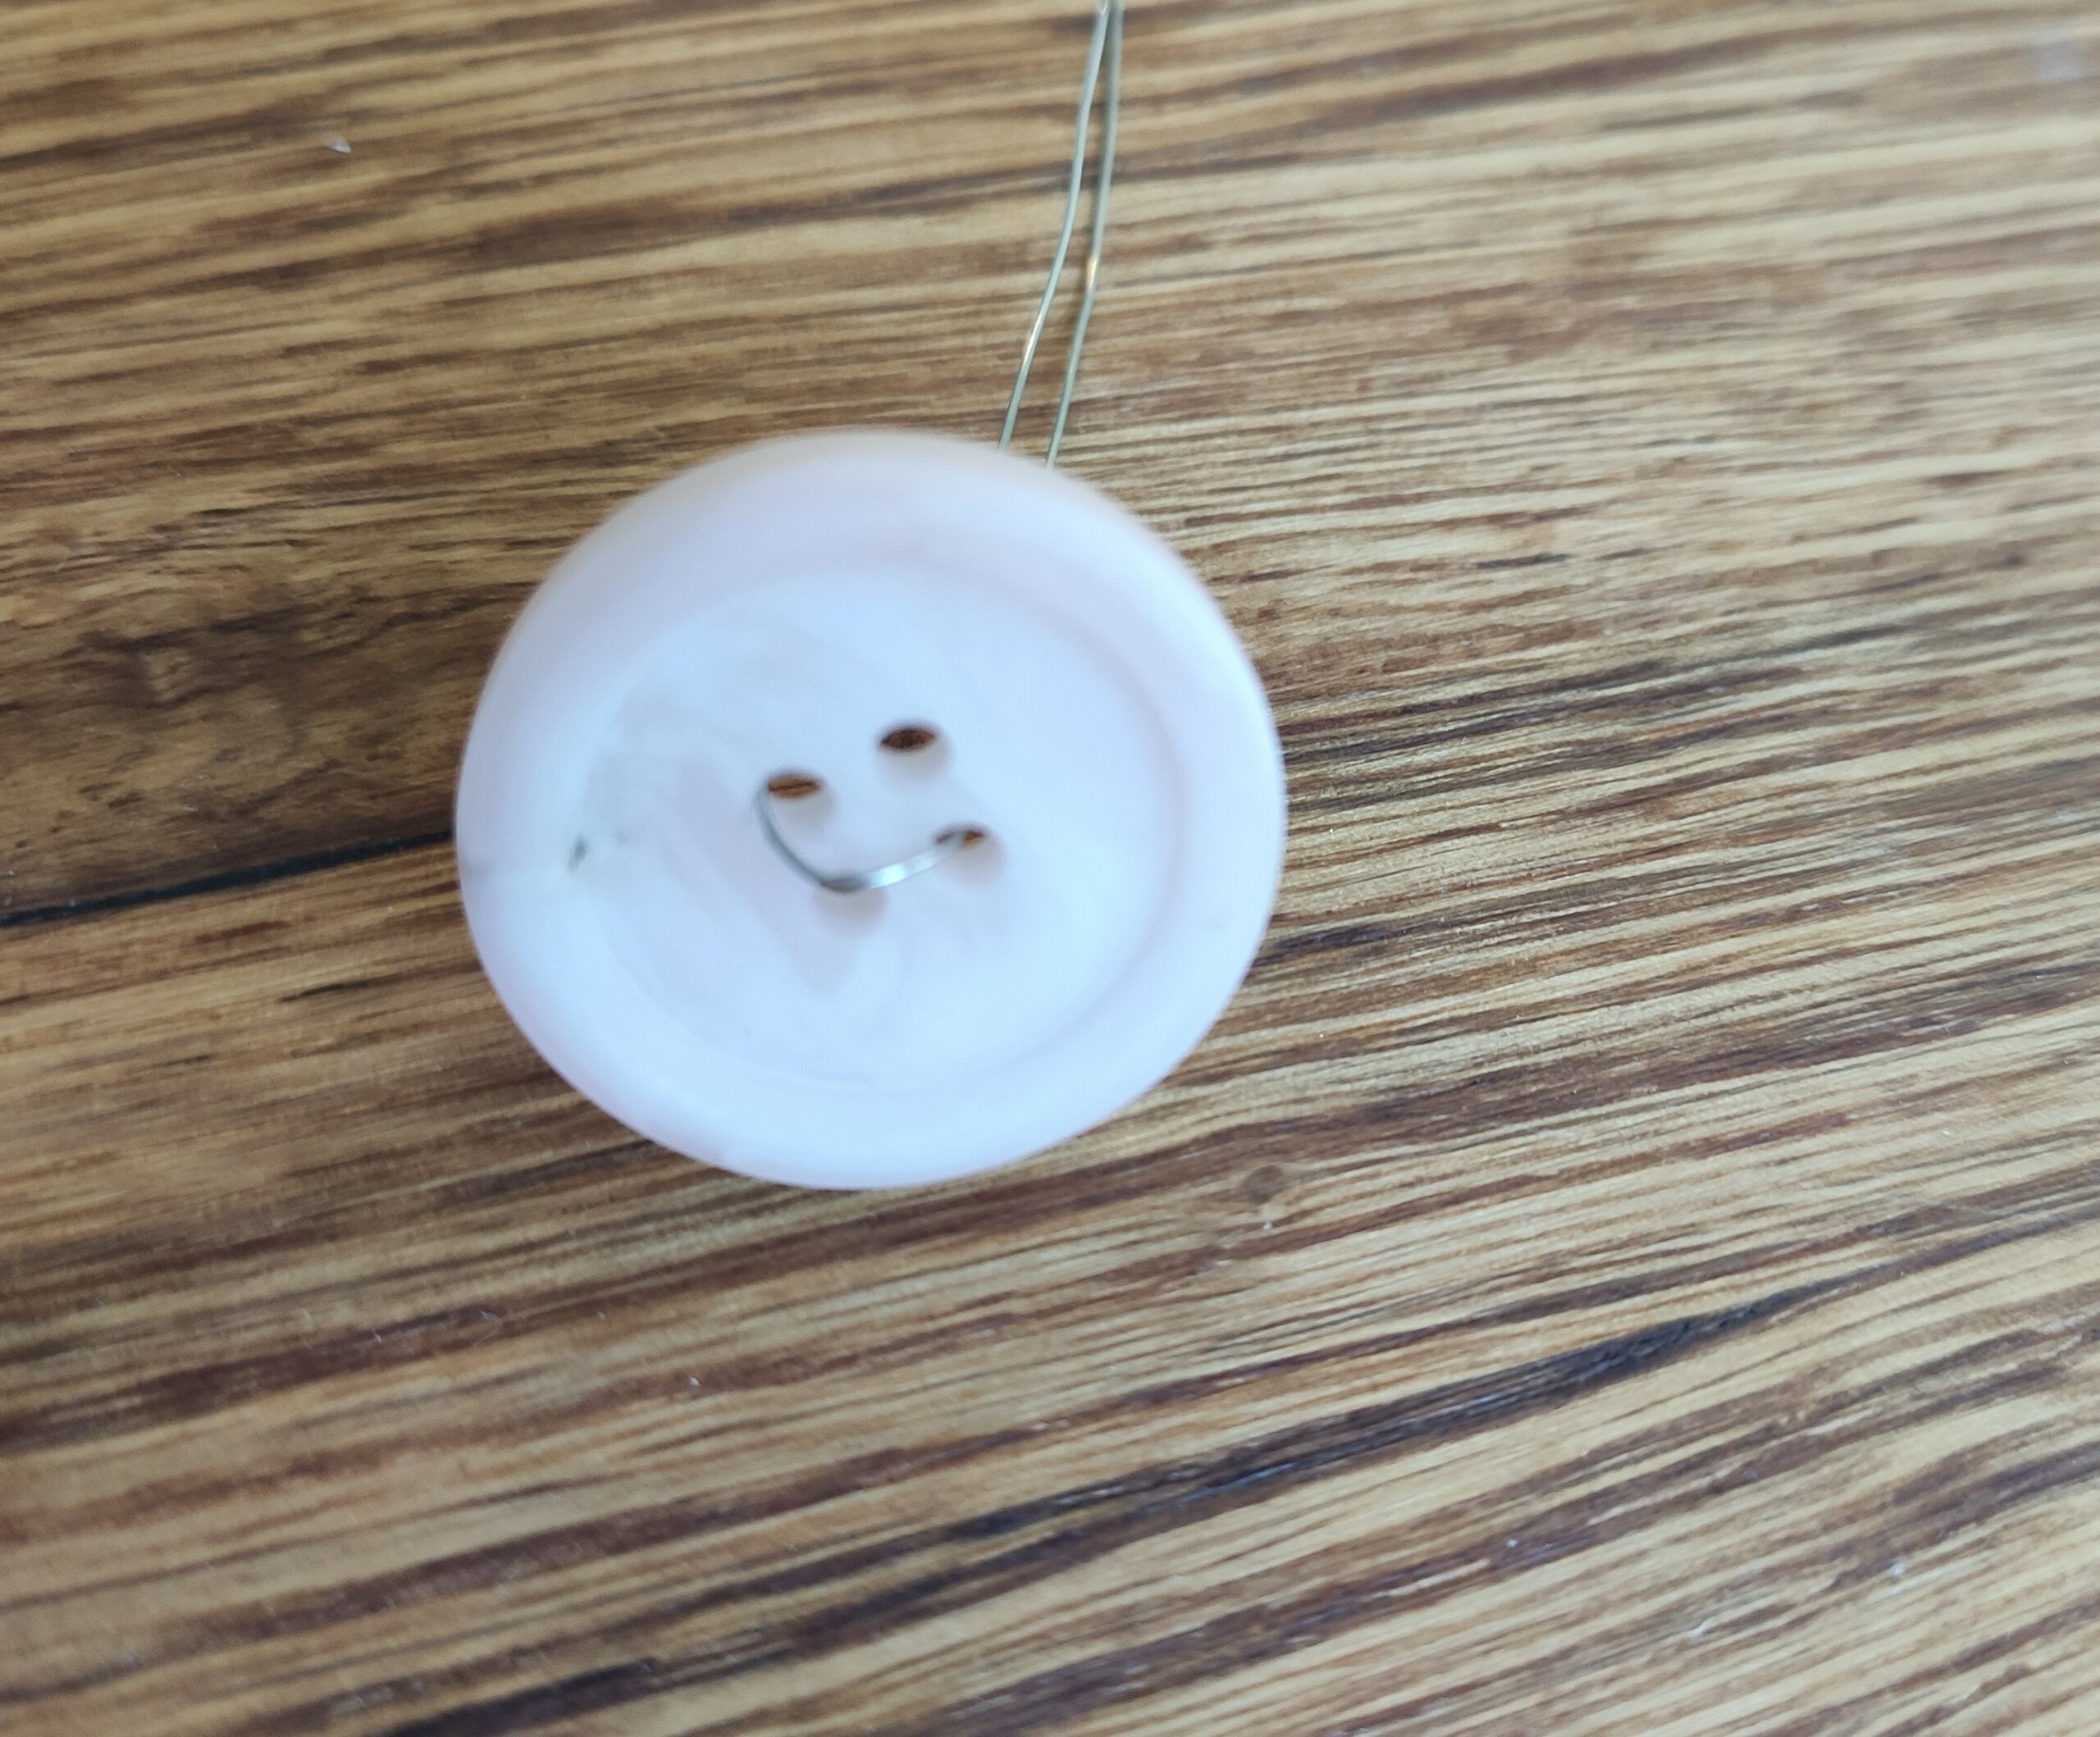
Next, thread the wire from the back to the front through a buttonhole. Then thread the wire back through another buttonhole.


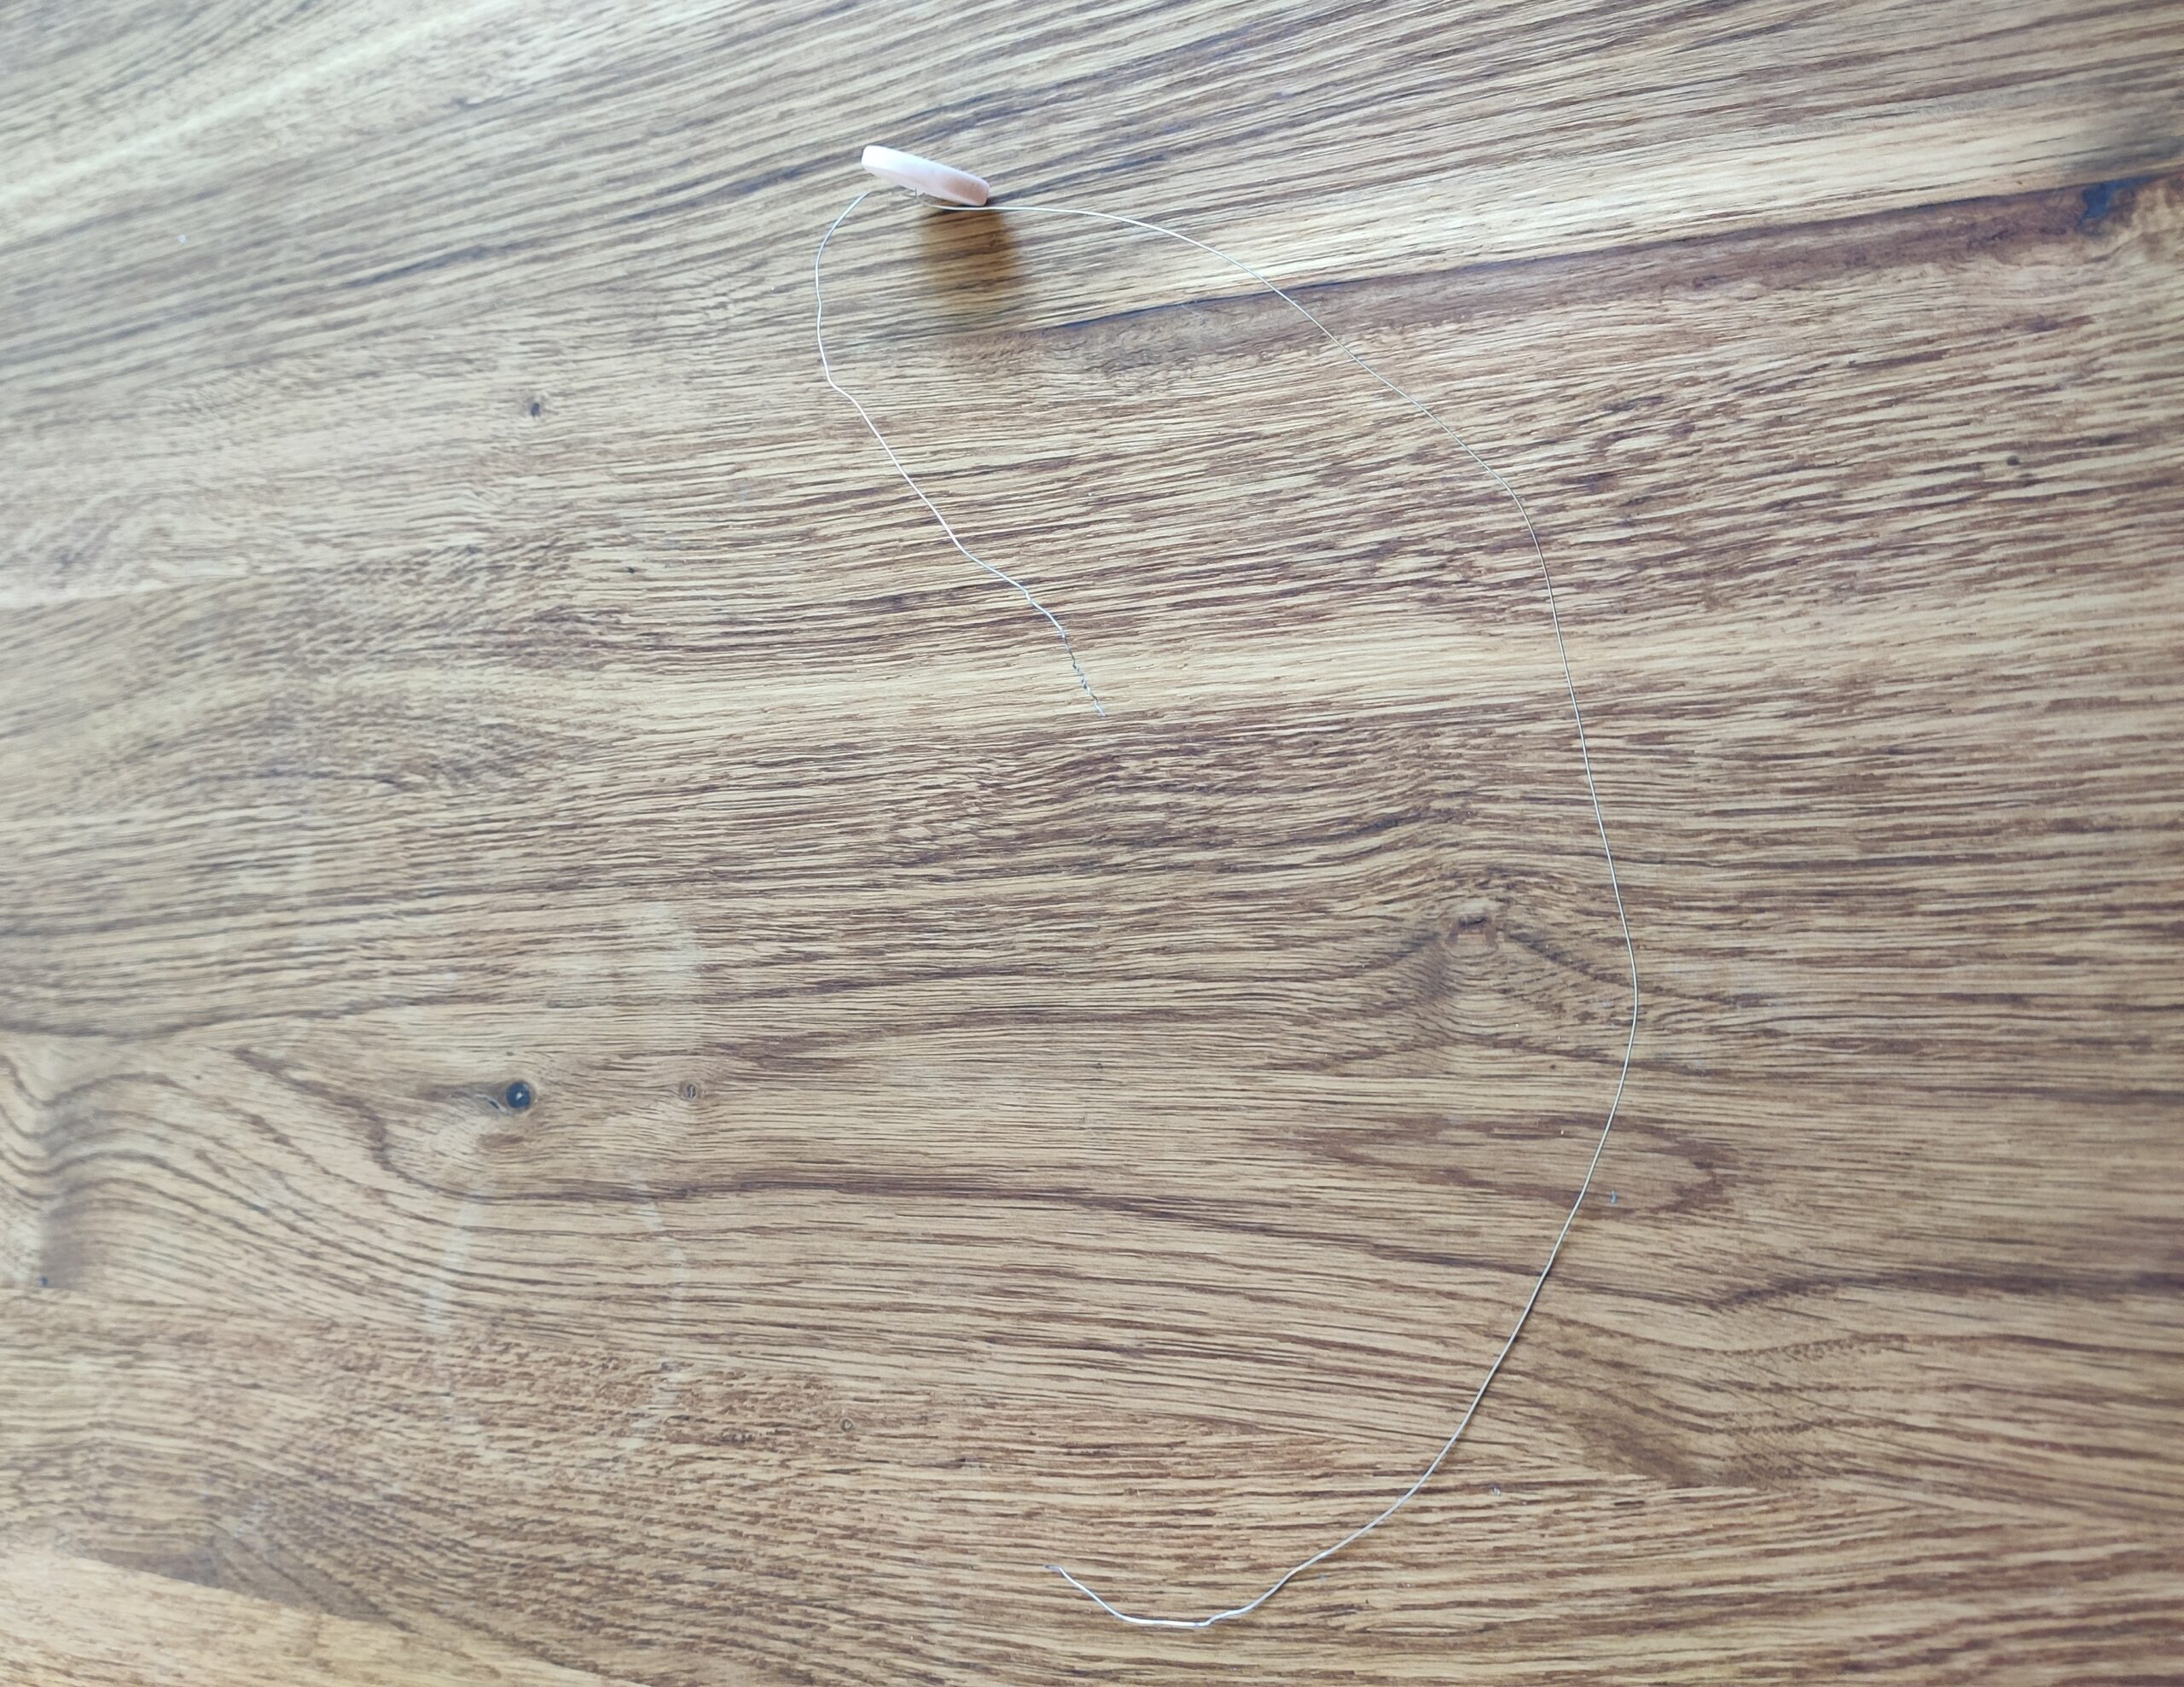
The ends of the wire are different lengths.


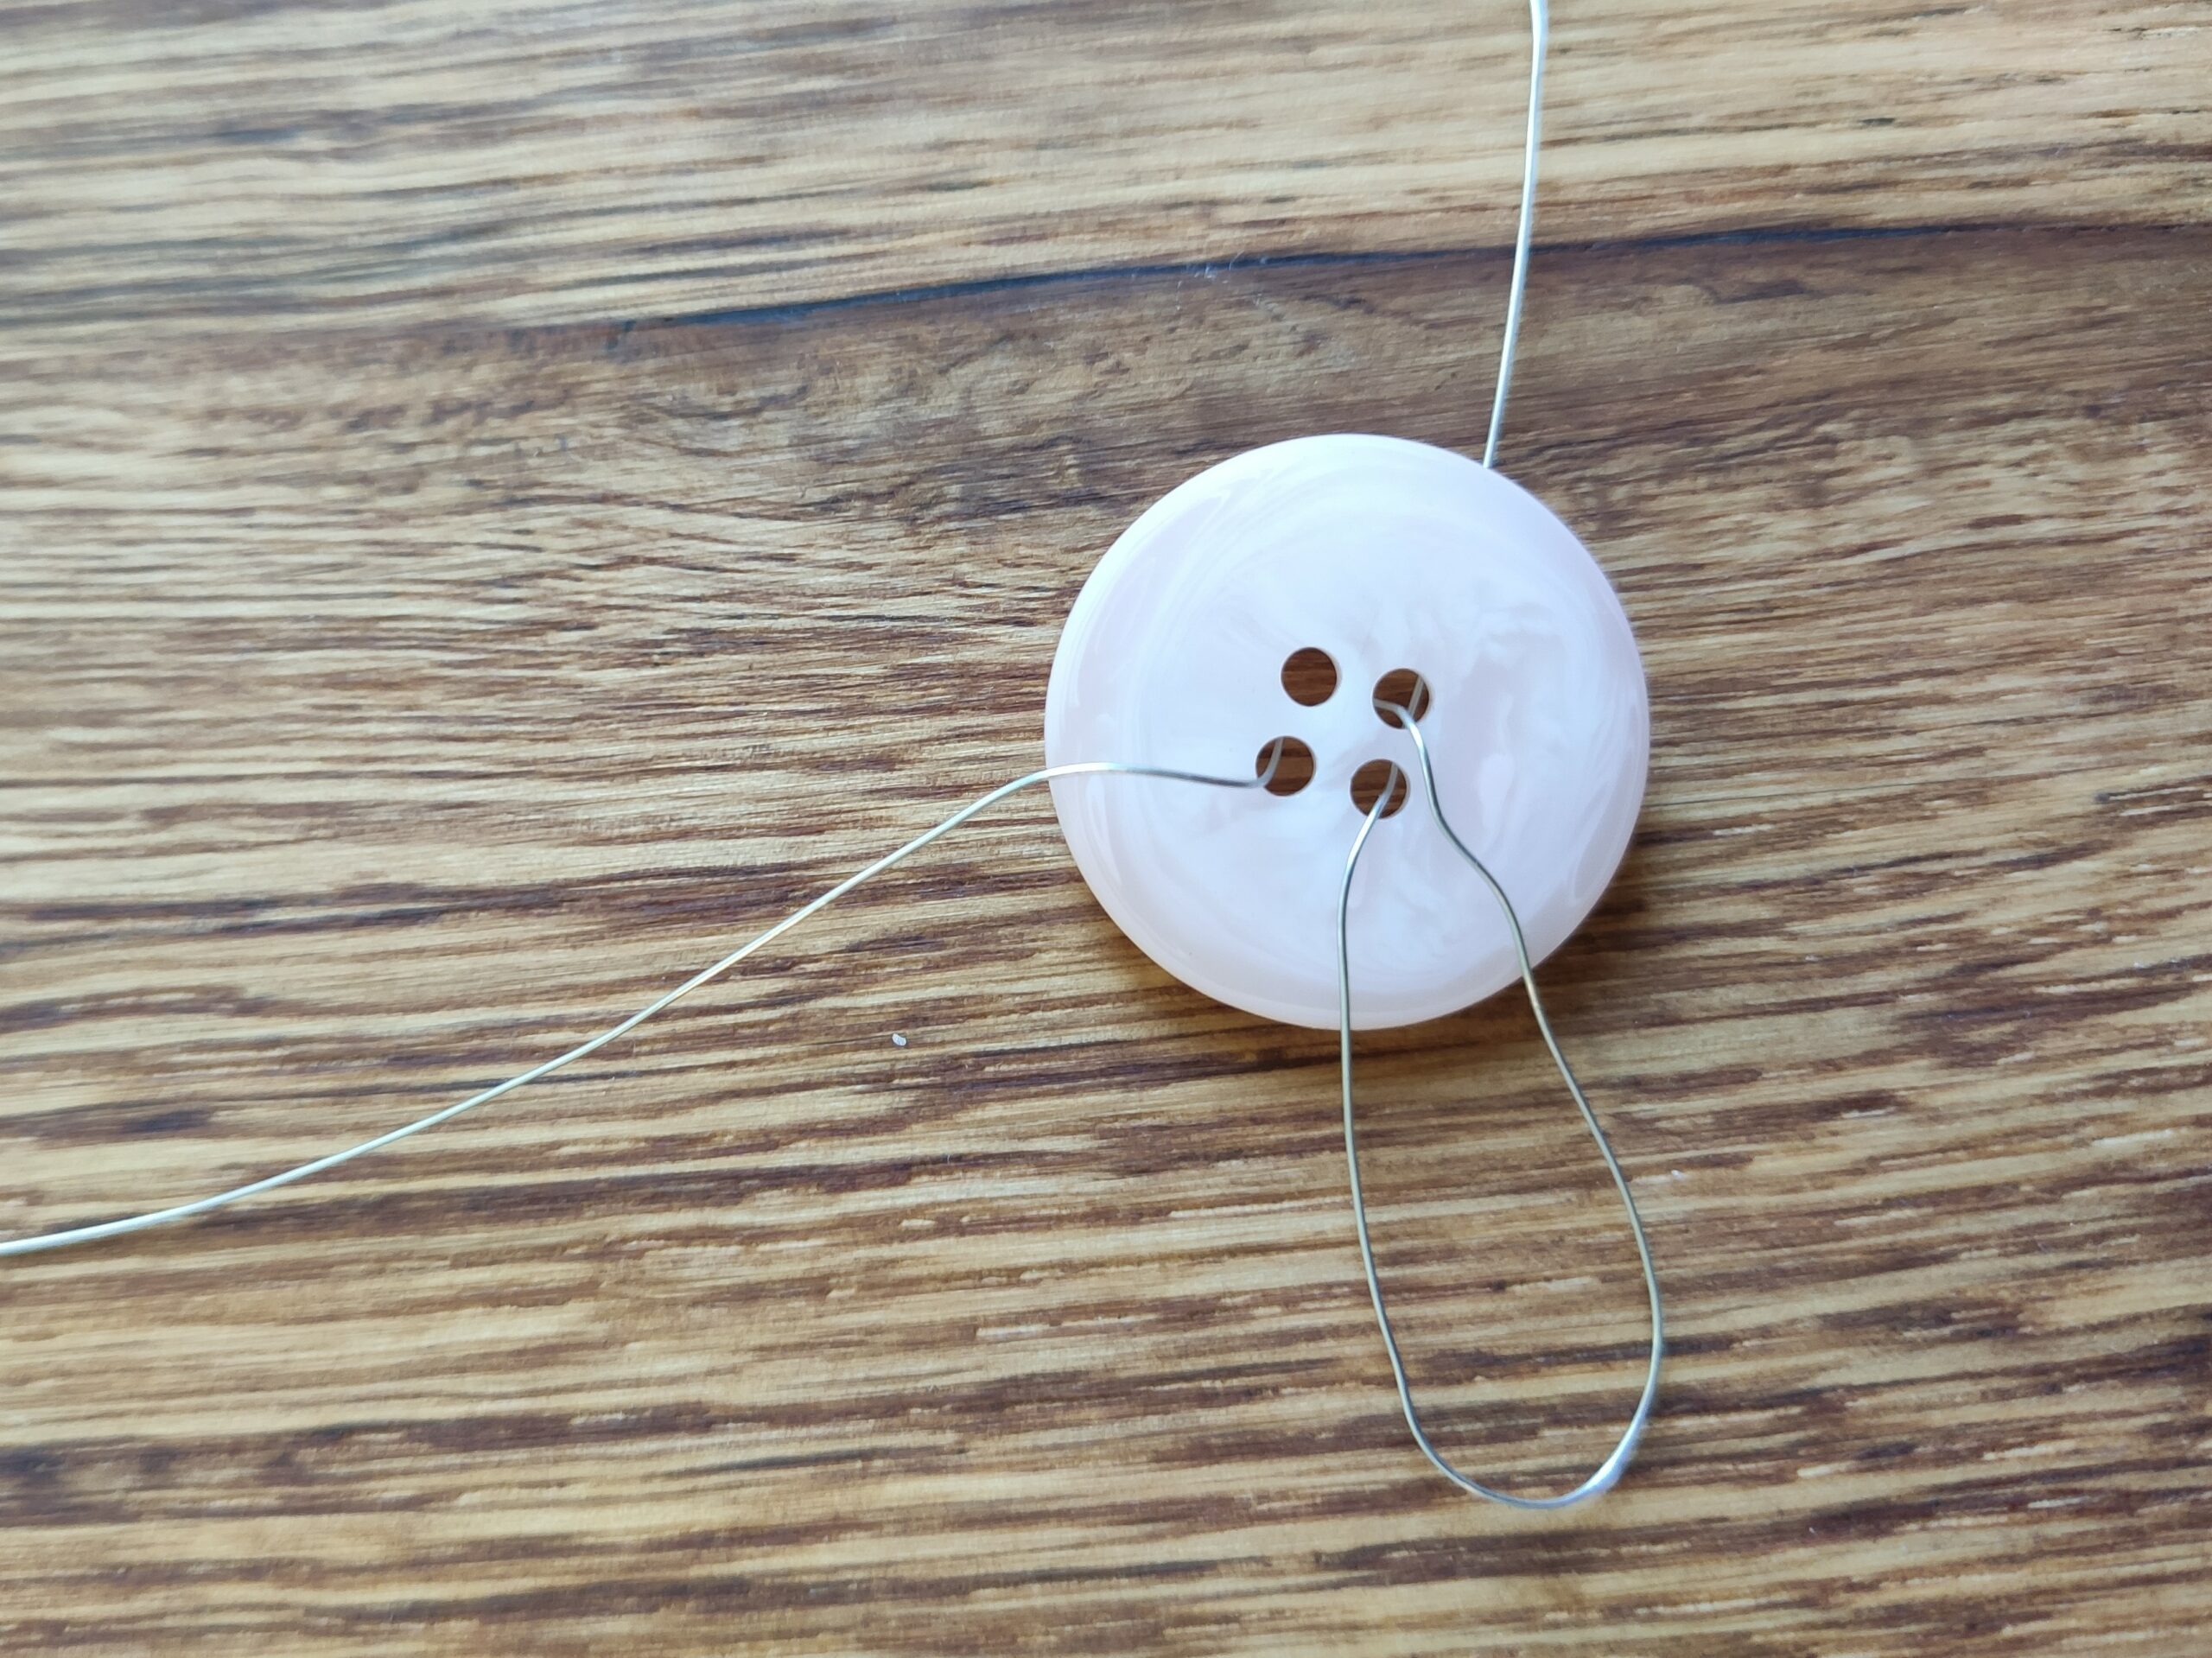
Now you thread the short end of the wire again from the back to the front through a buttonhole. Now you do not pull the wire completely through, but leave a loop. This creates the first petal on the back of the button.


Now thread the short wire end from front to back, form a second petal. Now wrap the remaining wire around the petals on the back of the button.


So now both petals as well as the long and short end of the wire are on the back of the button.
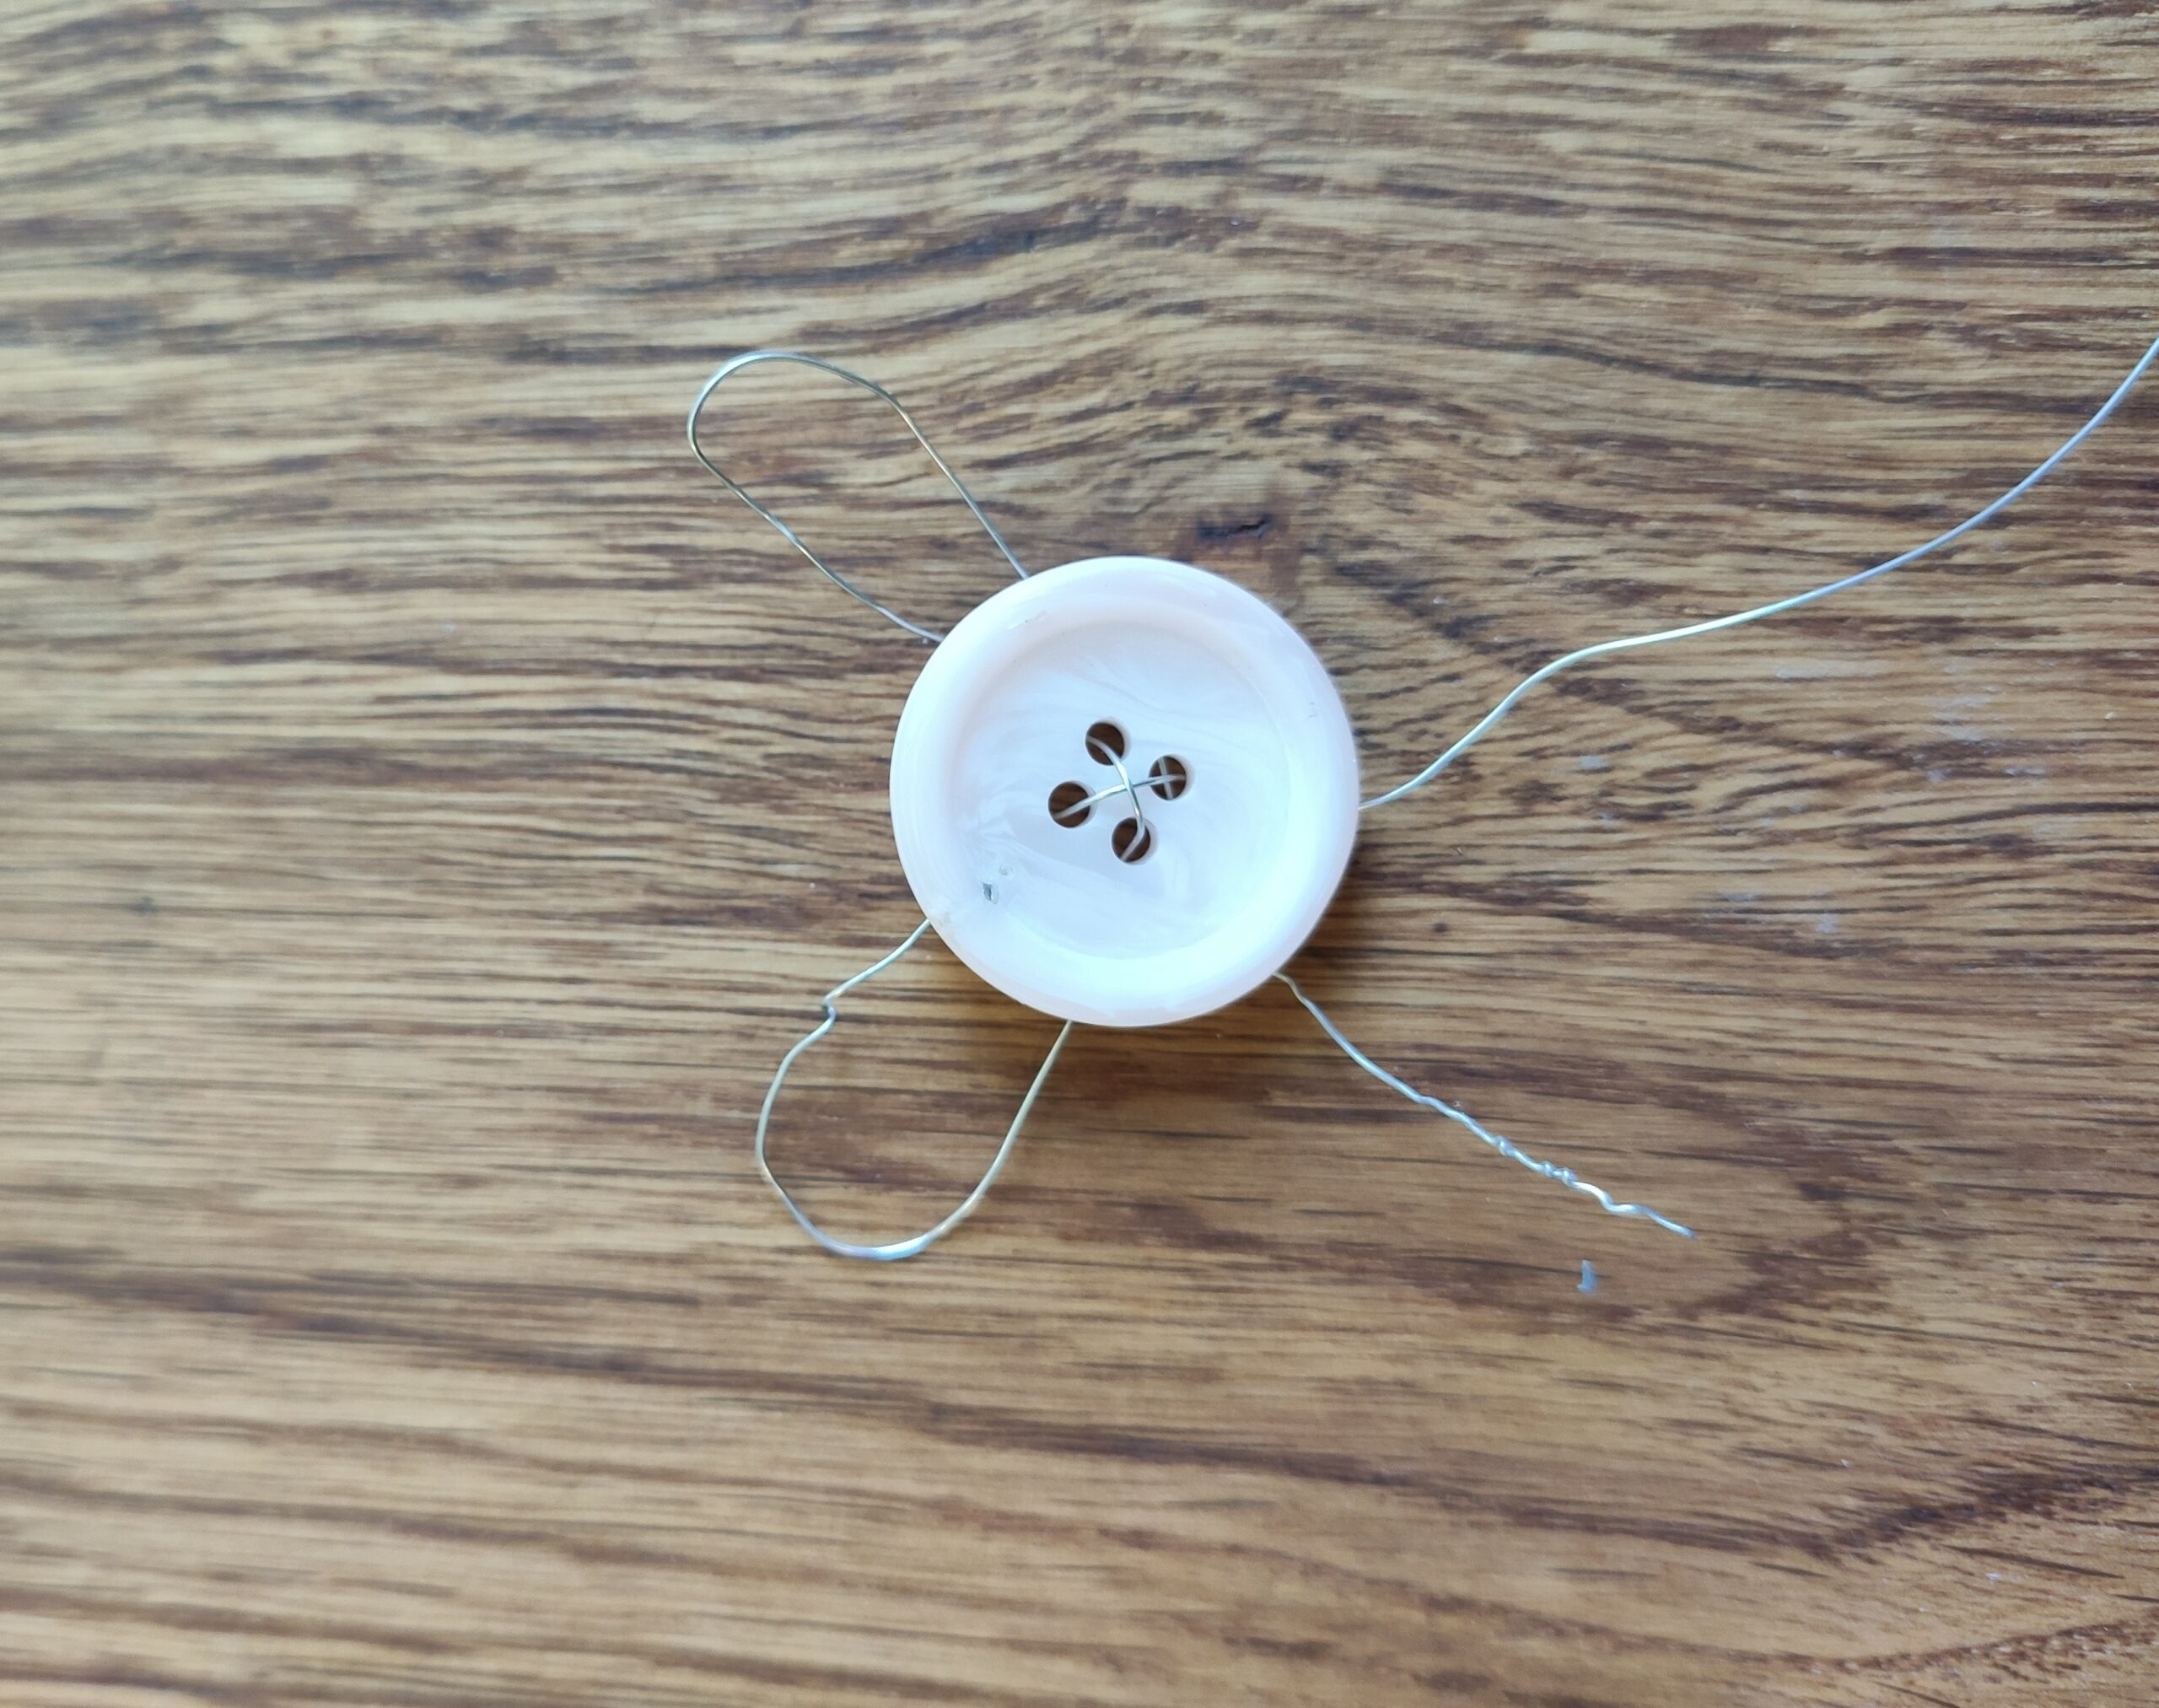


Now you form a third petal from the long end of the wire.
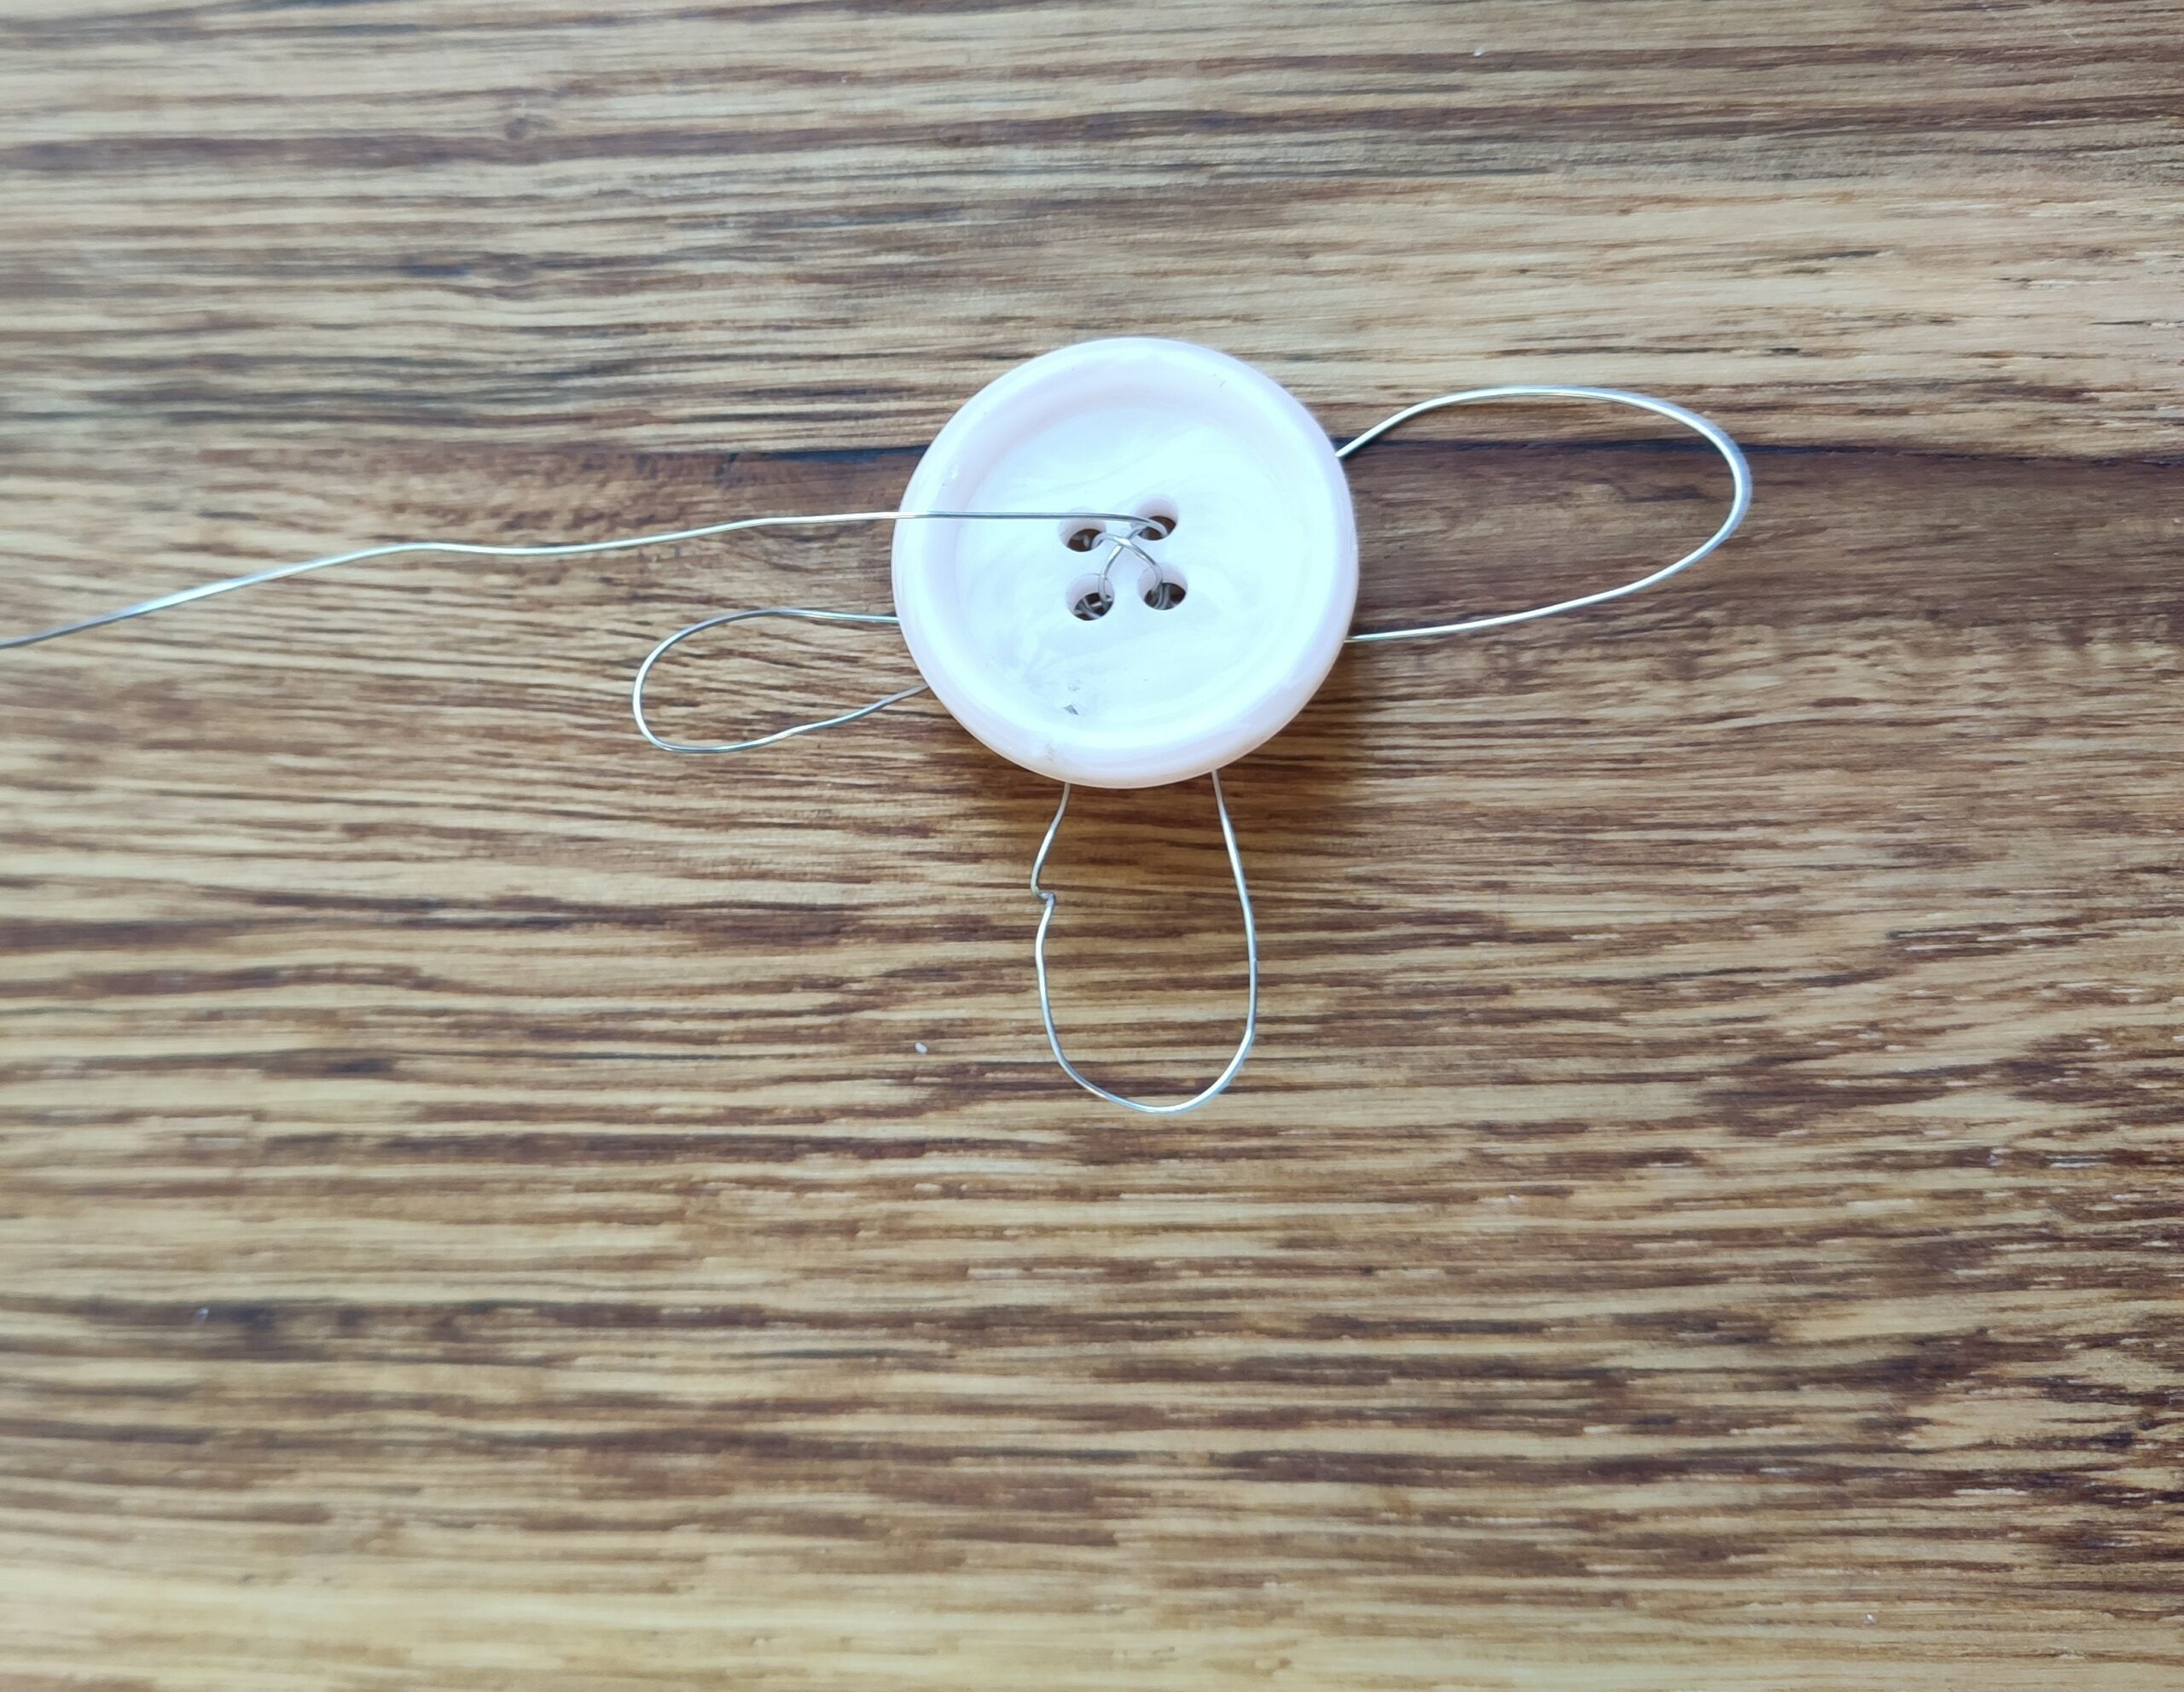


Then you put the long end back on the back of the button.


Then you form the fourth petal on the back.
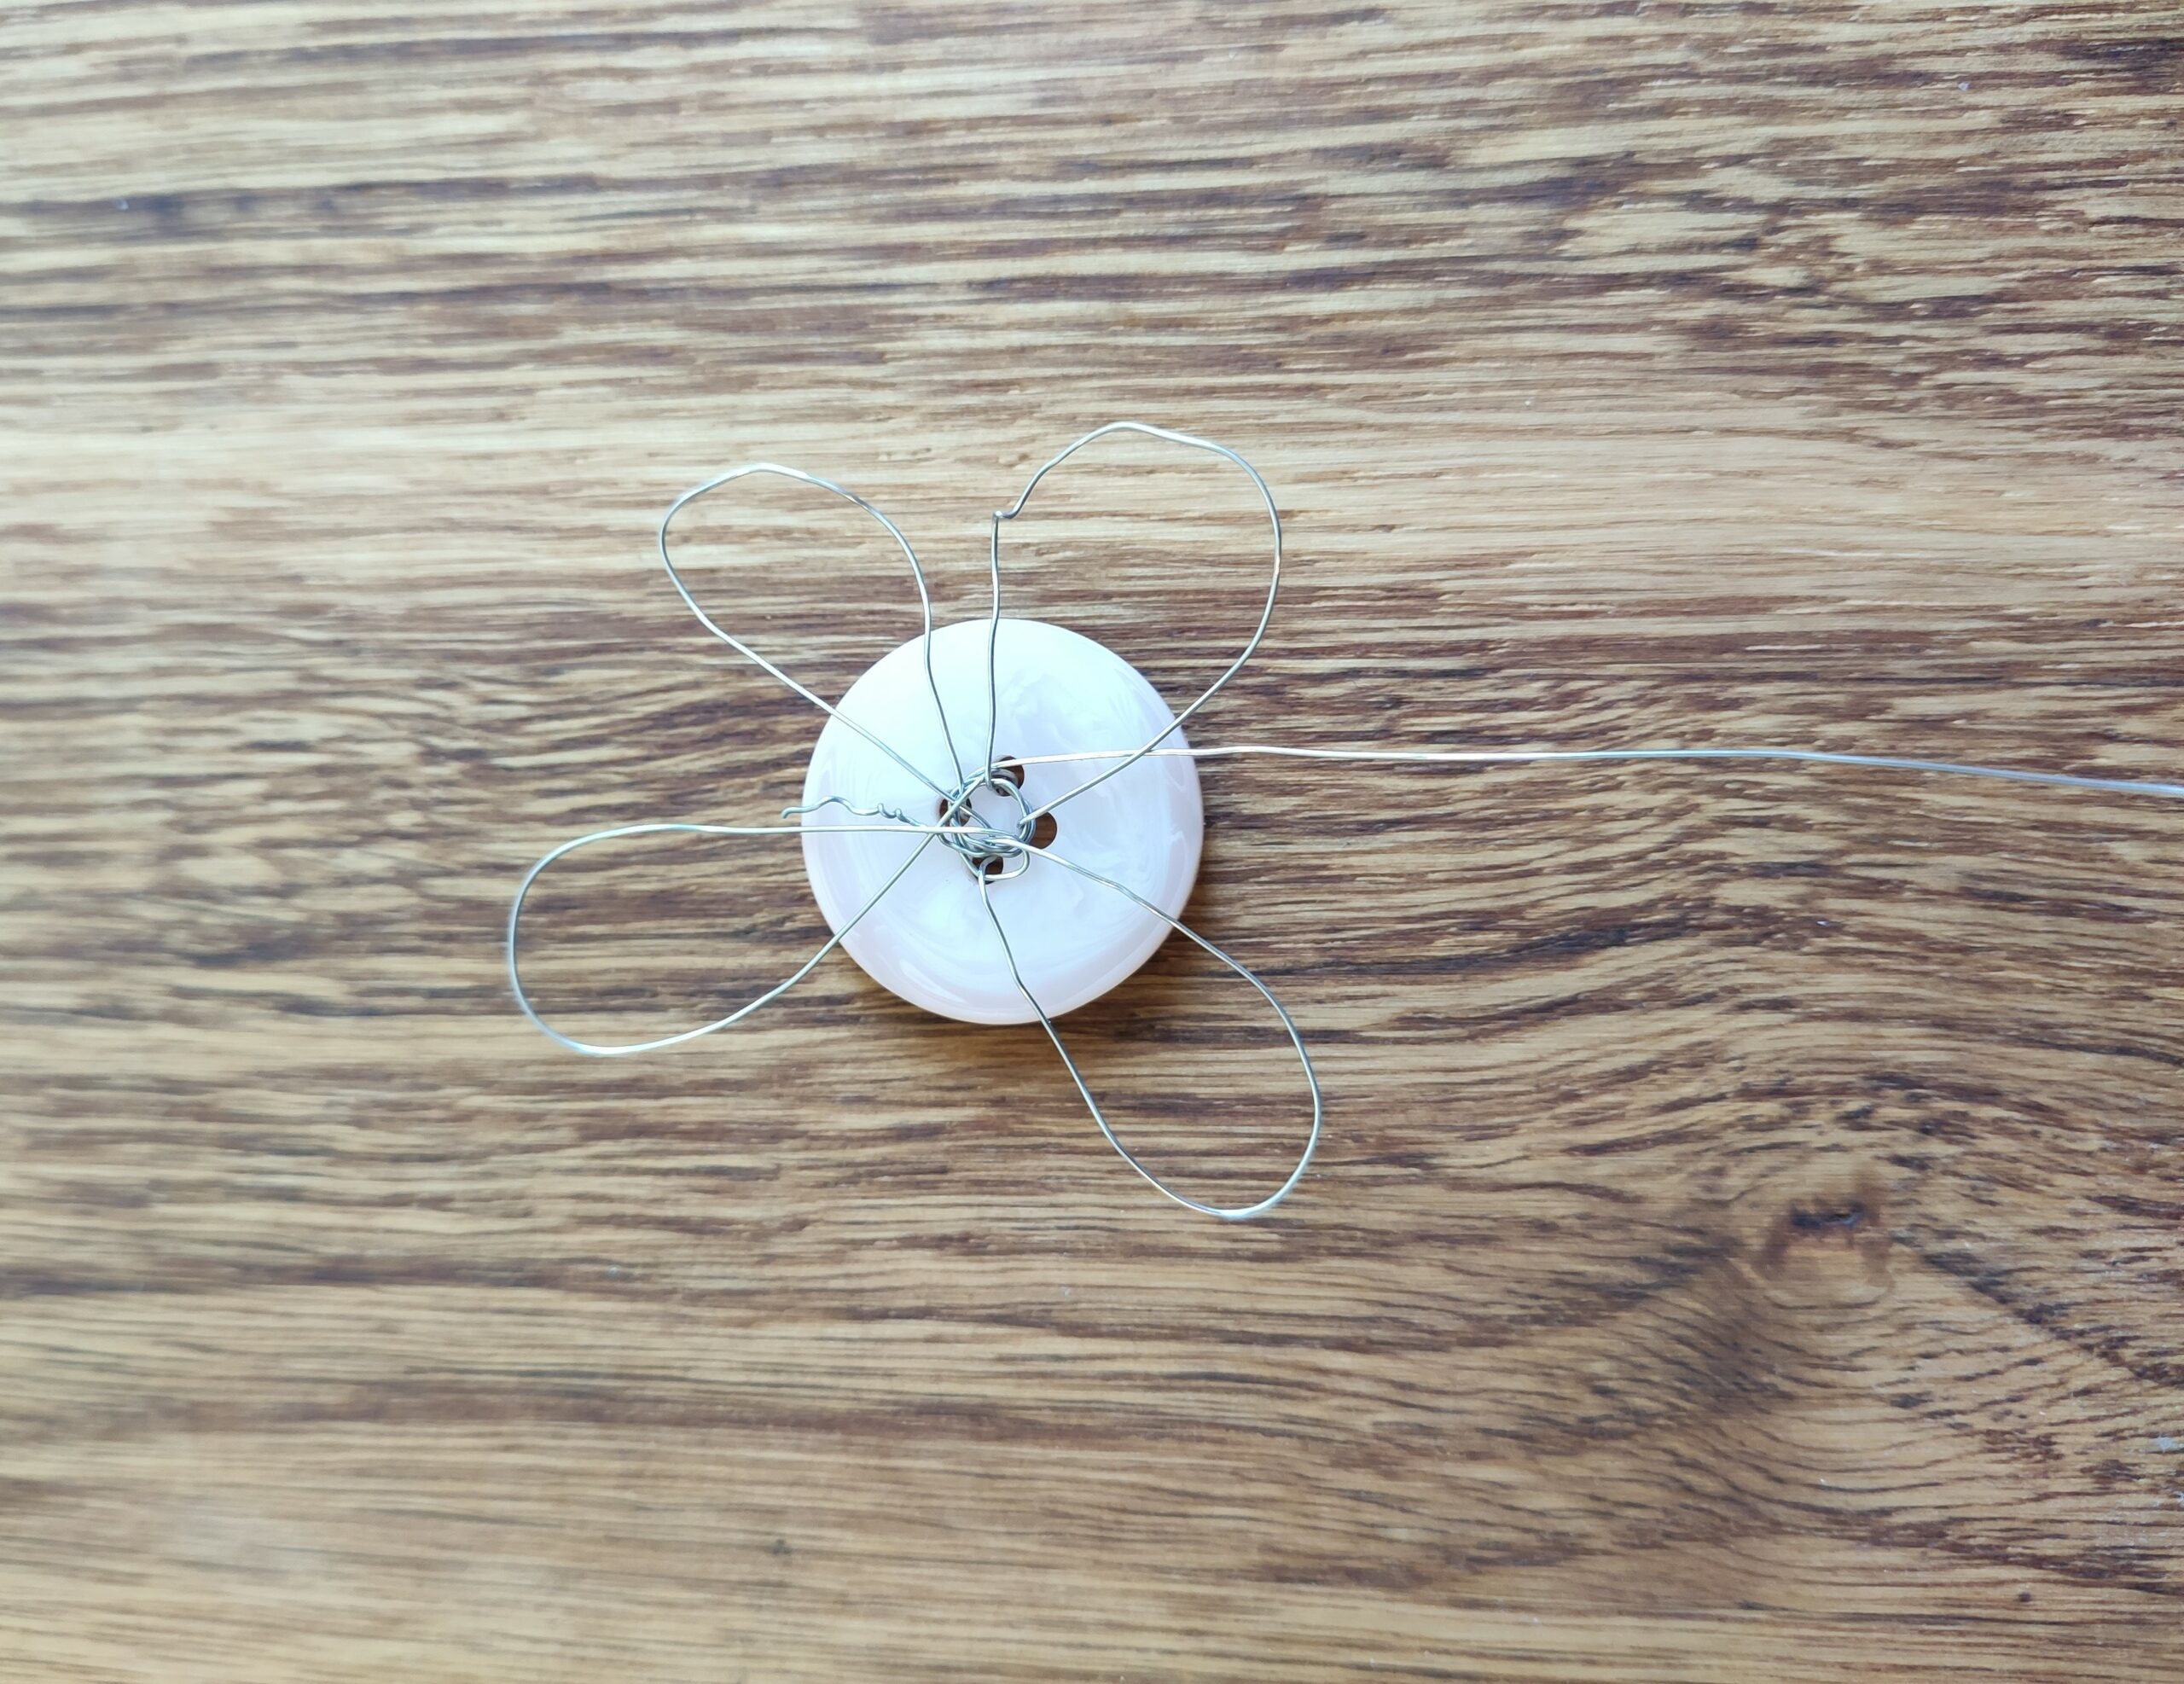


This is what the flower looks like from the front.
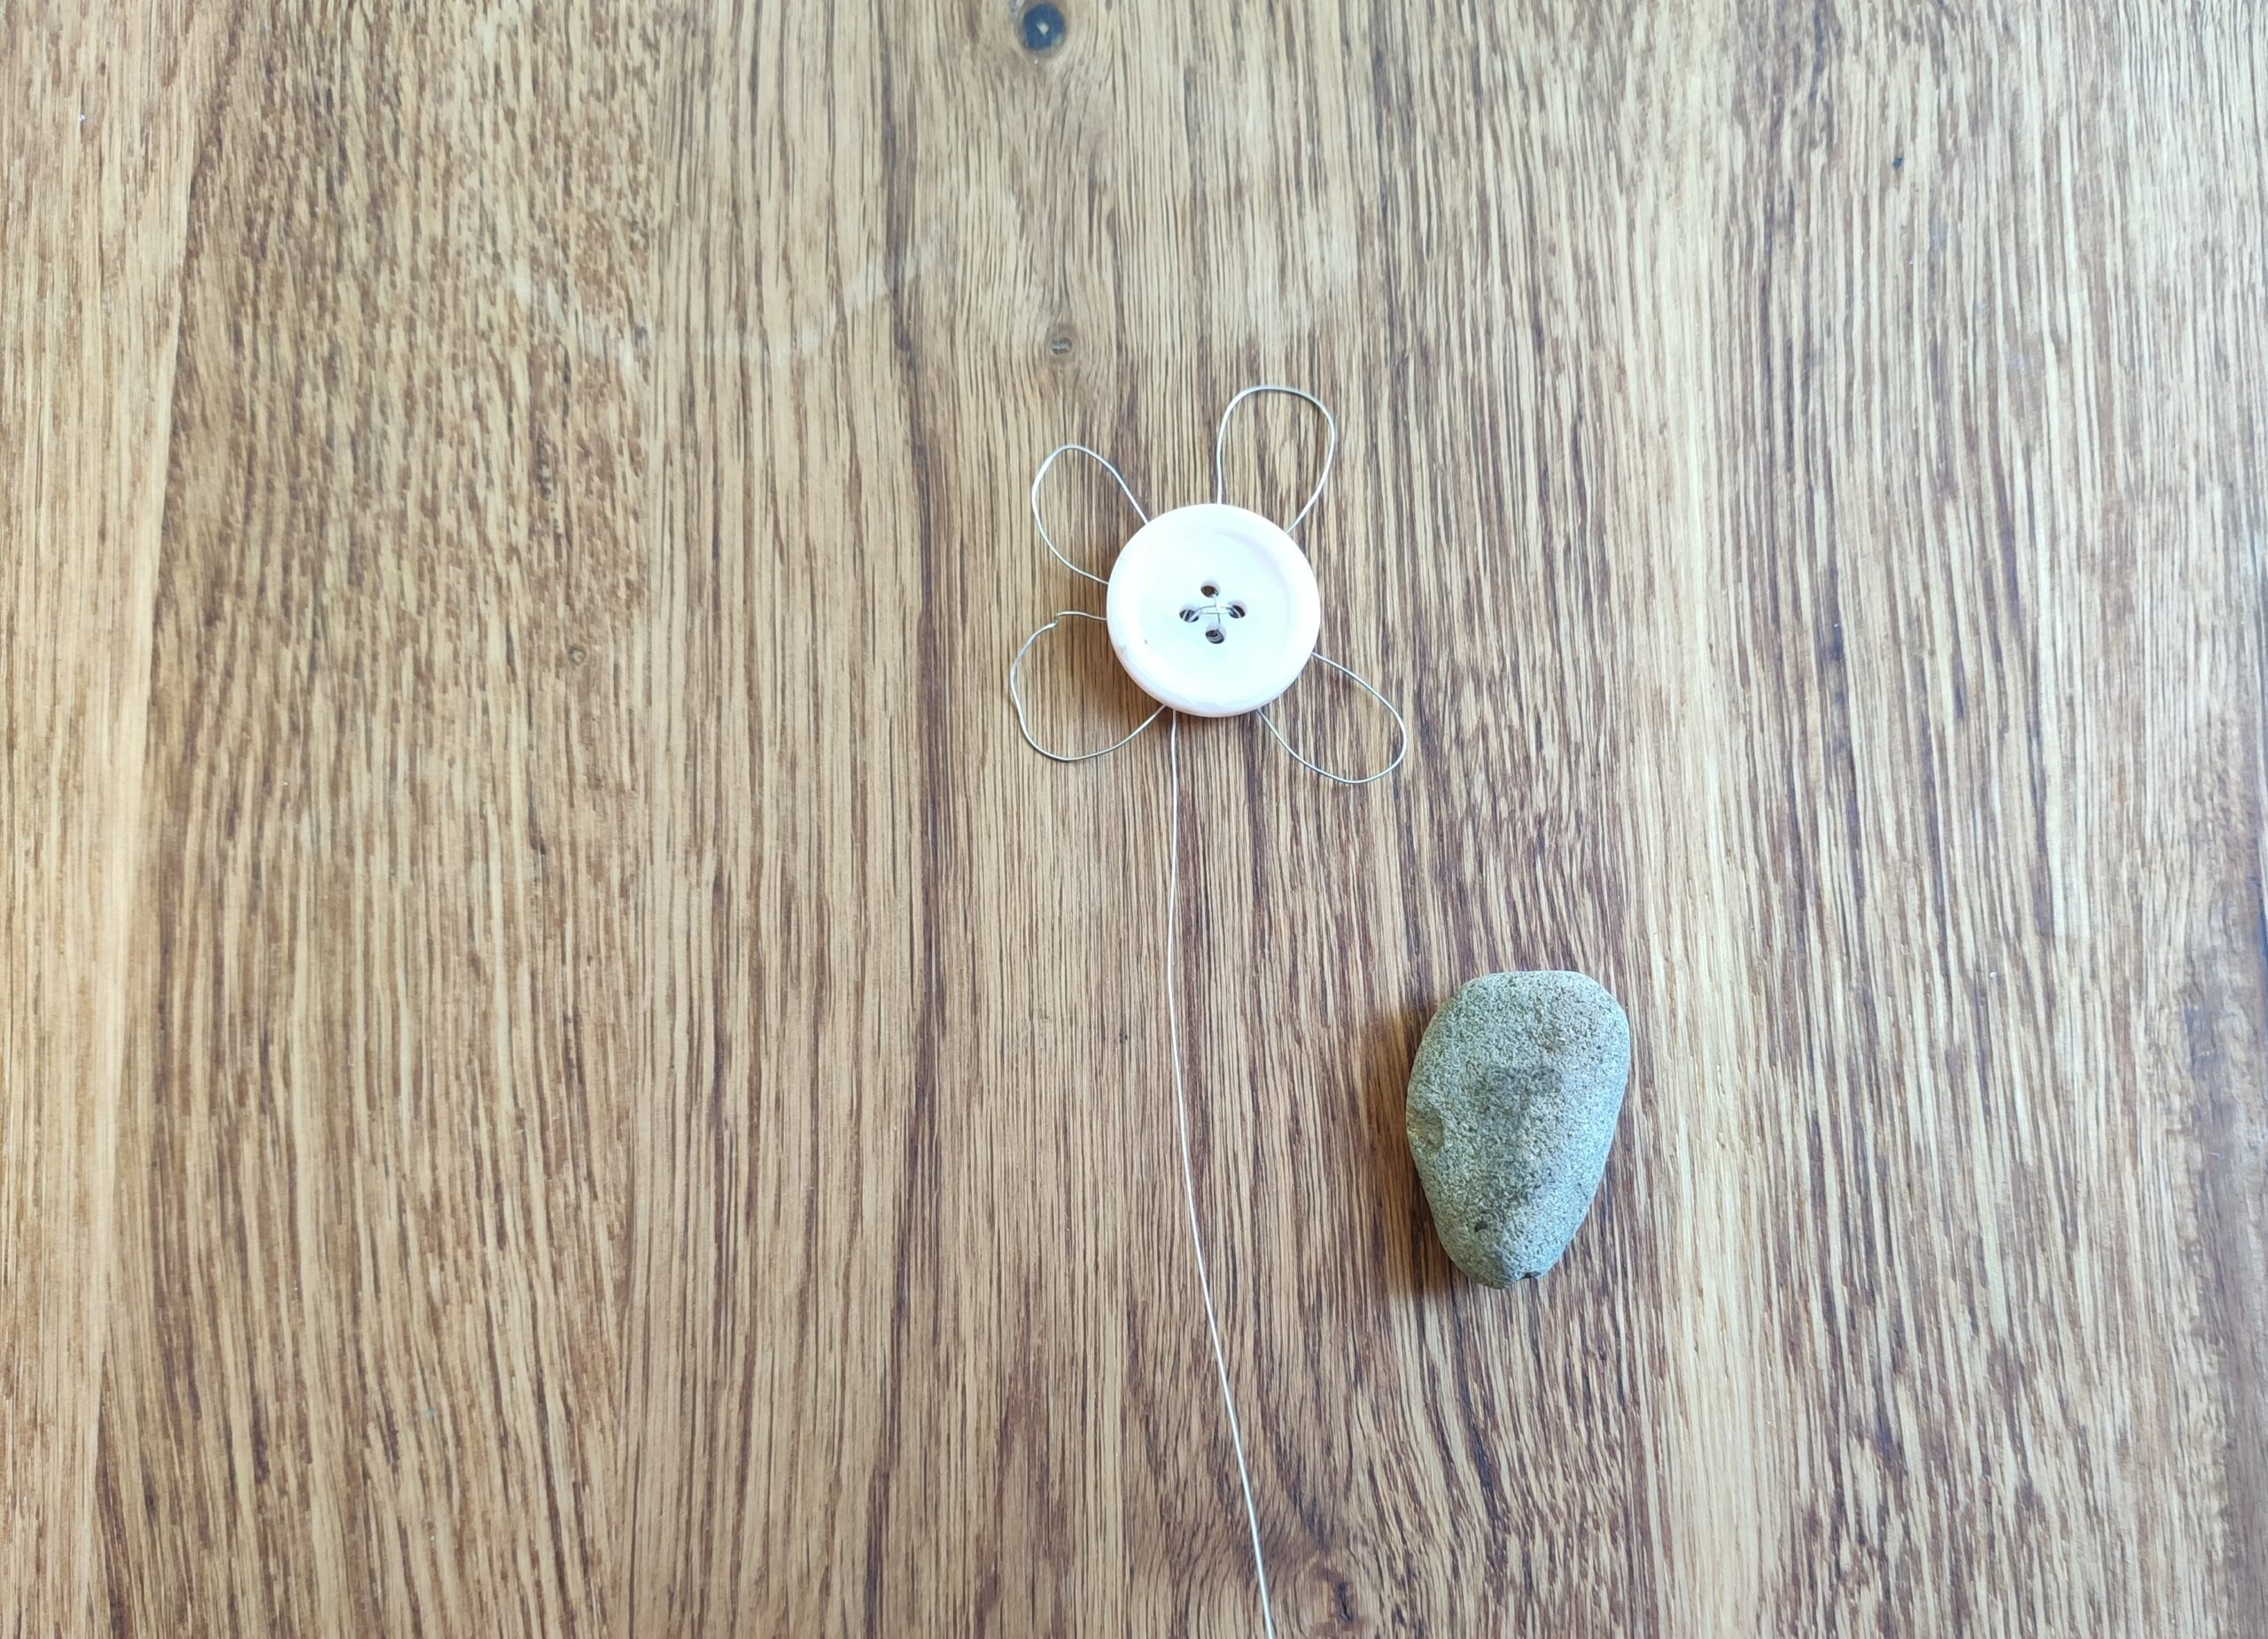


Next, take the second piece of wire with a length of about 50 cm.


Then you bend the wire in half and place the loop around all four petals.
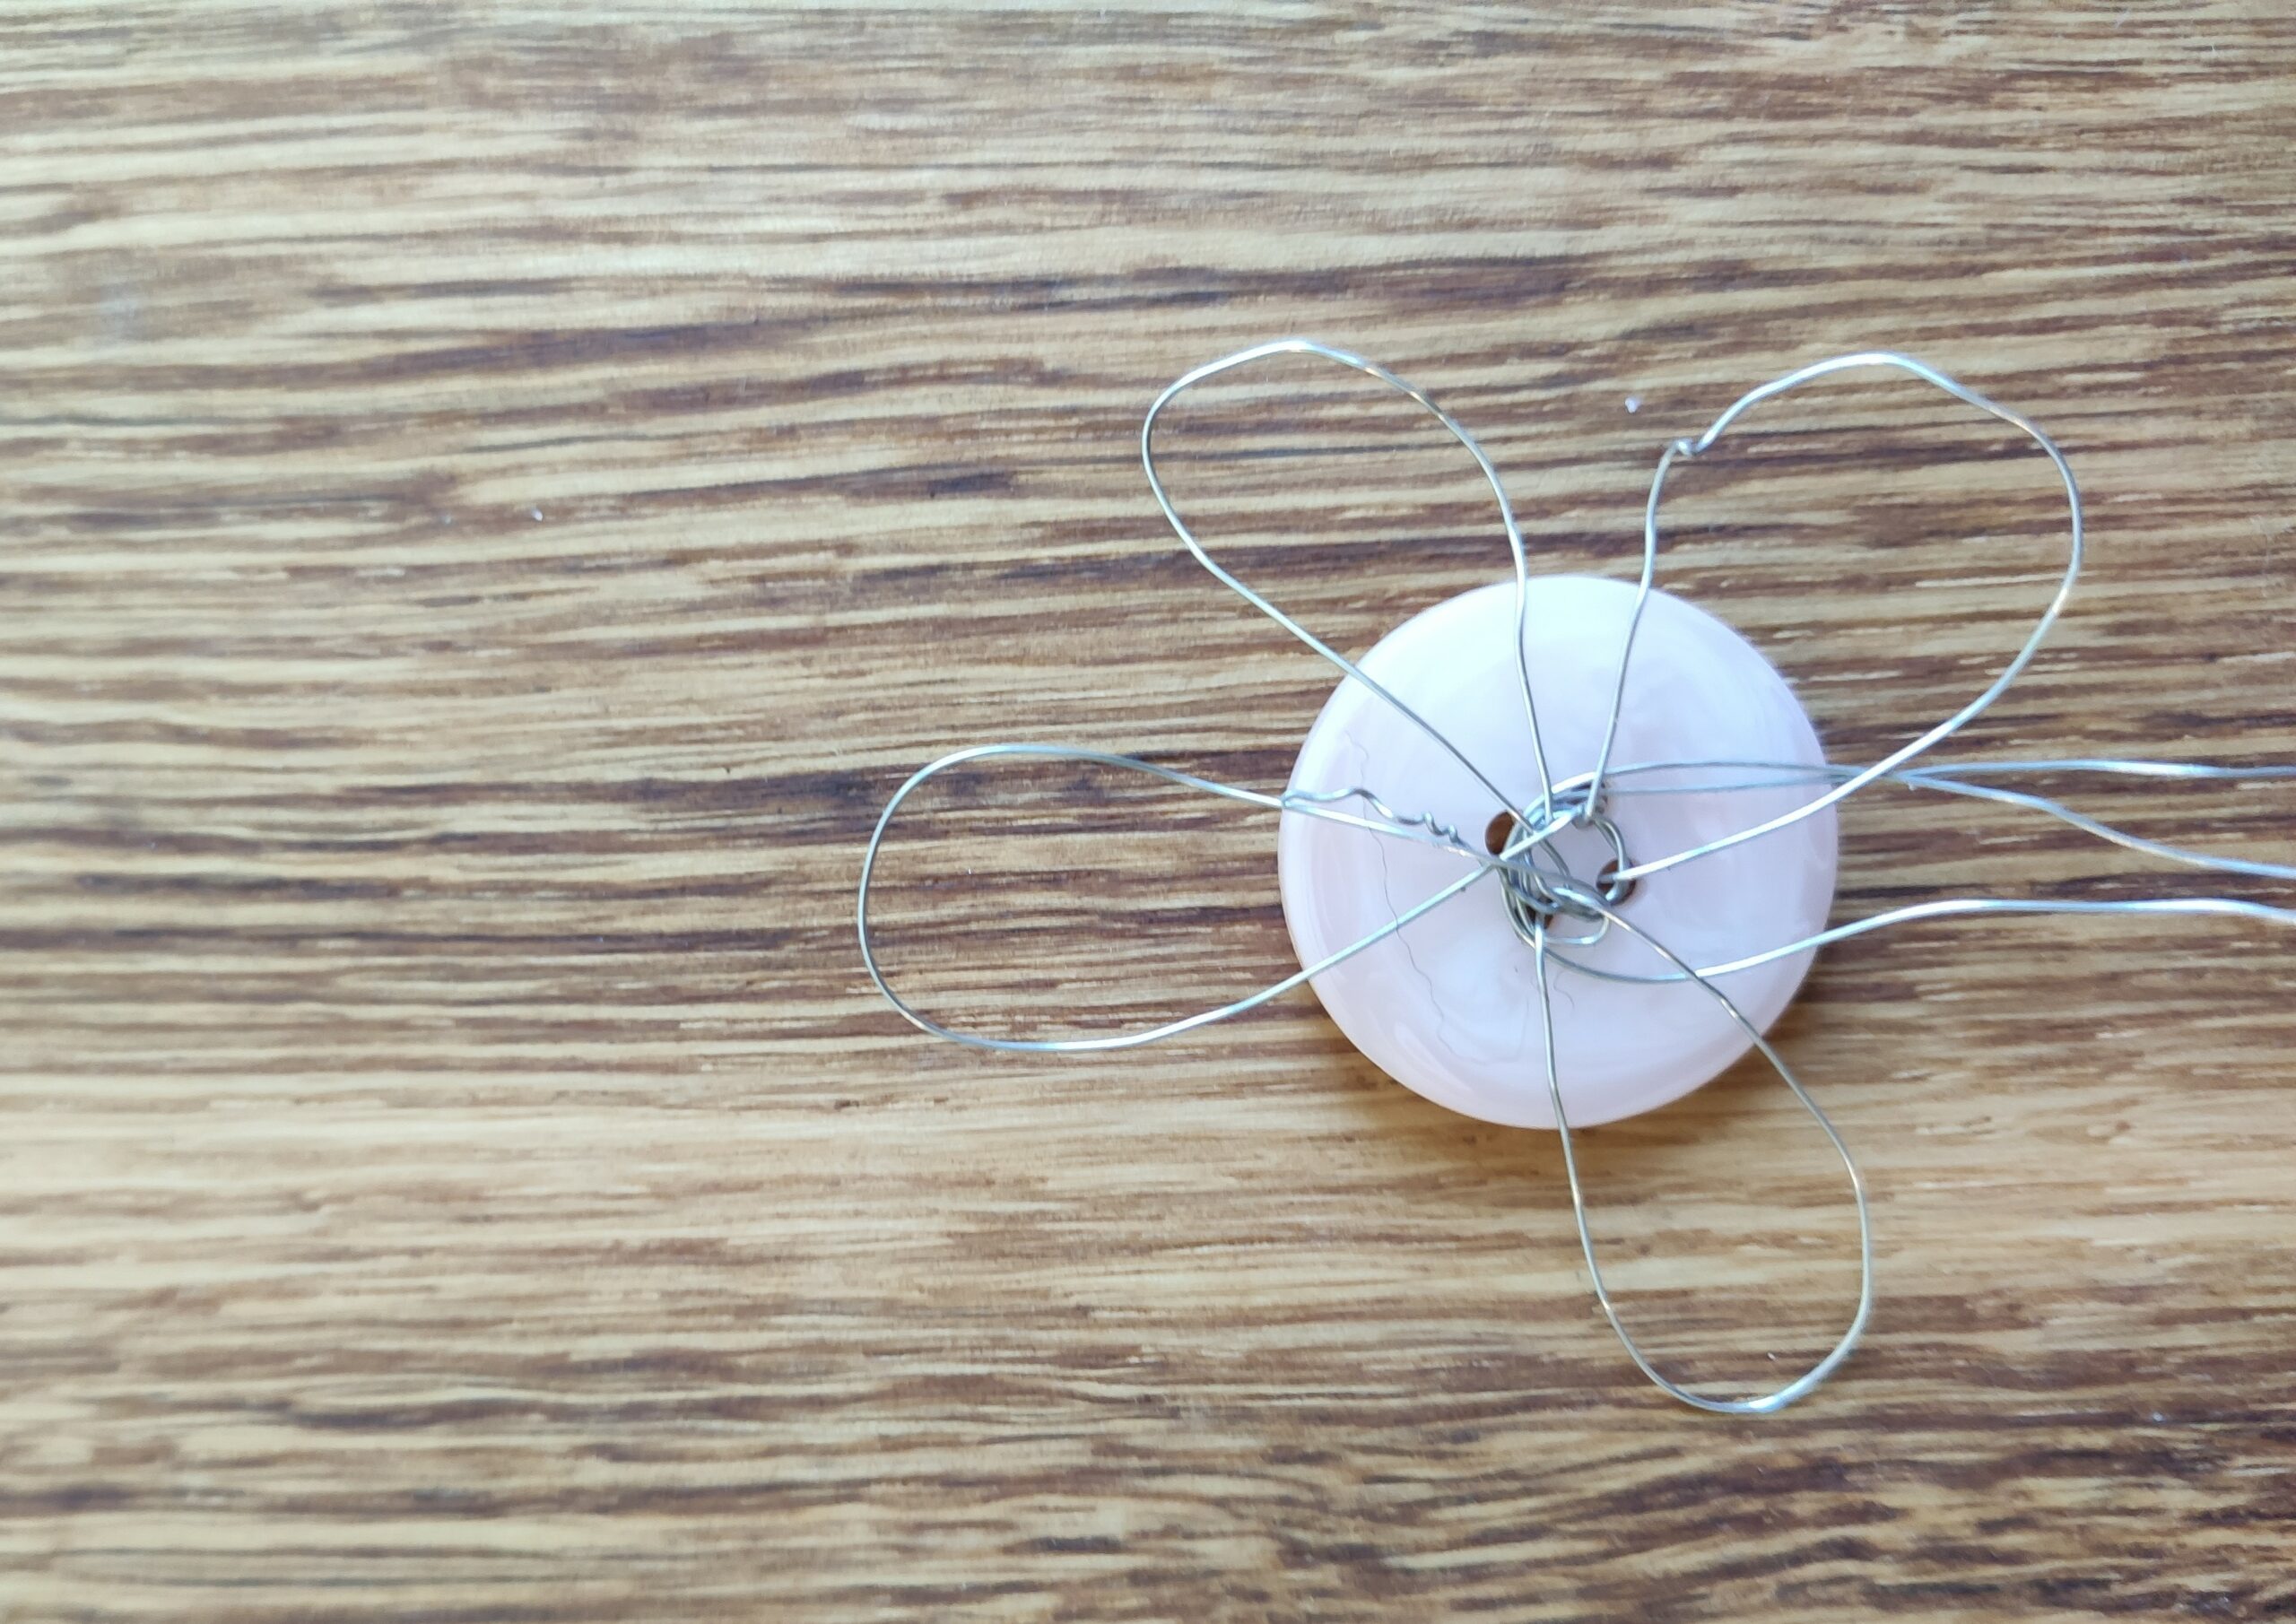


Now you twist the three wires around each other, creating a stable stalk for your flower.
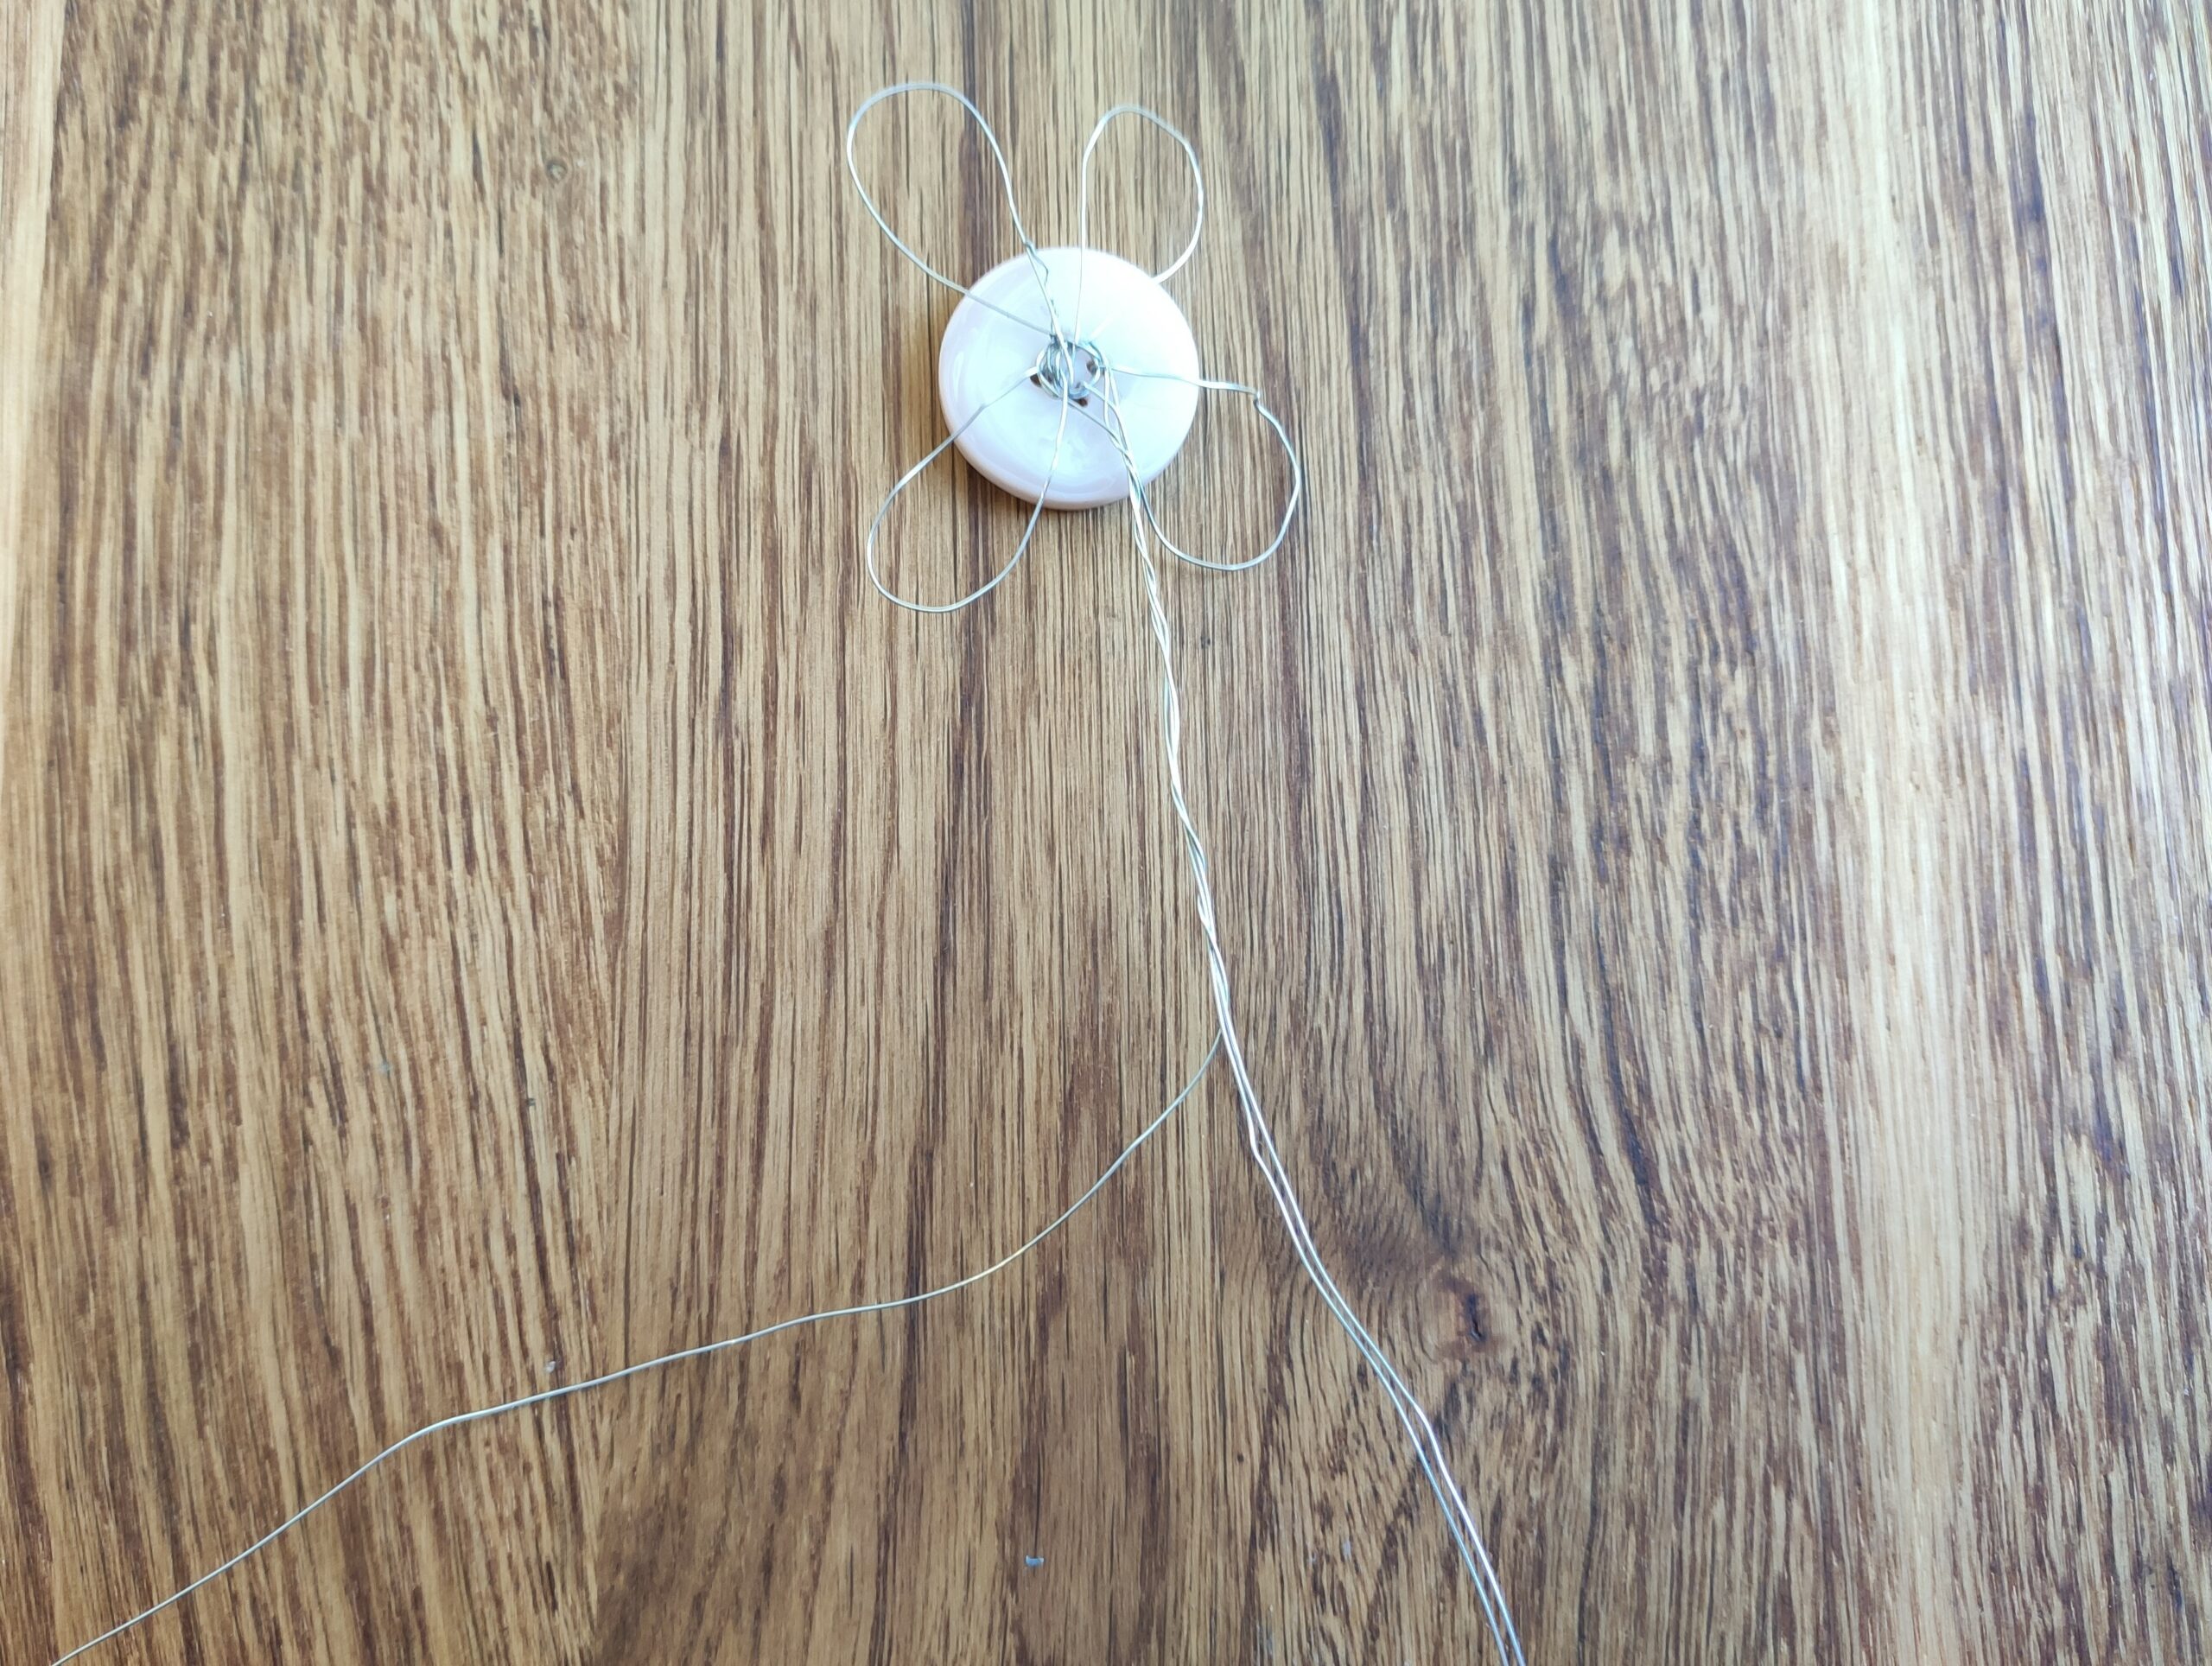


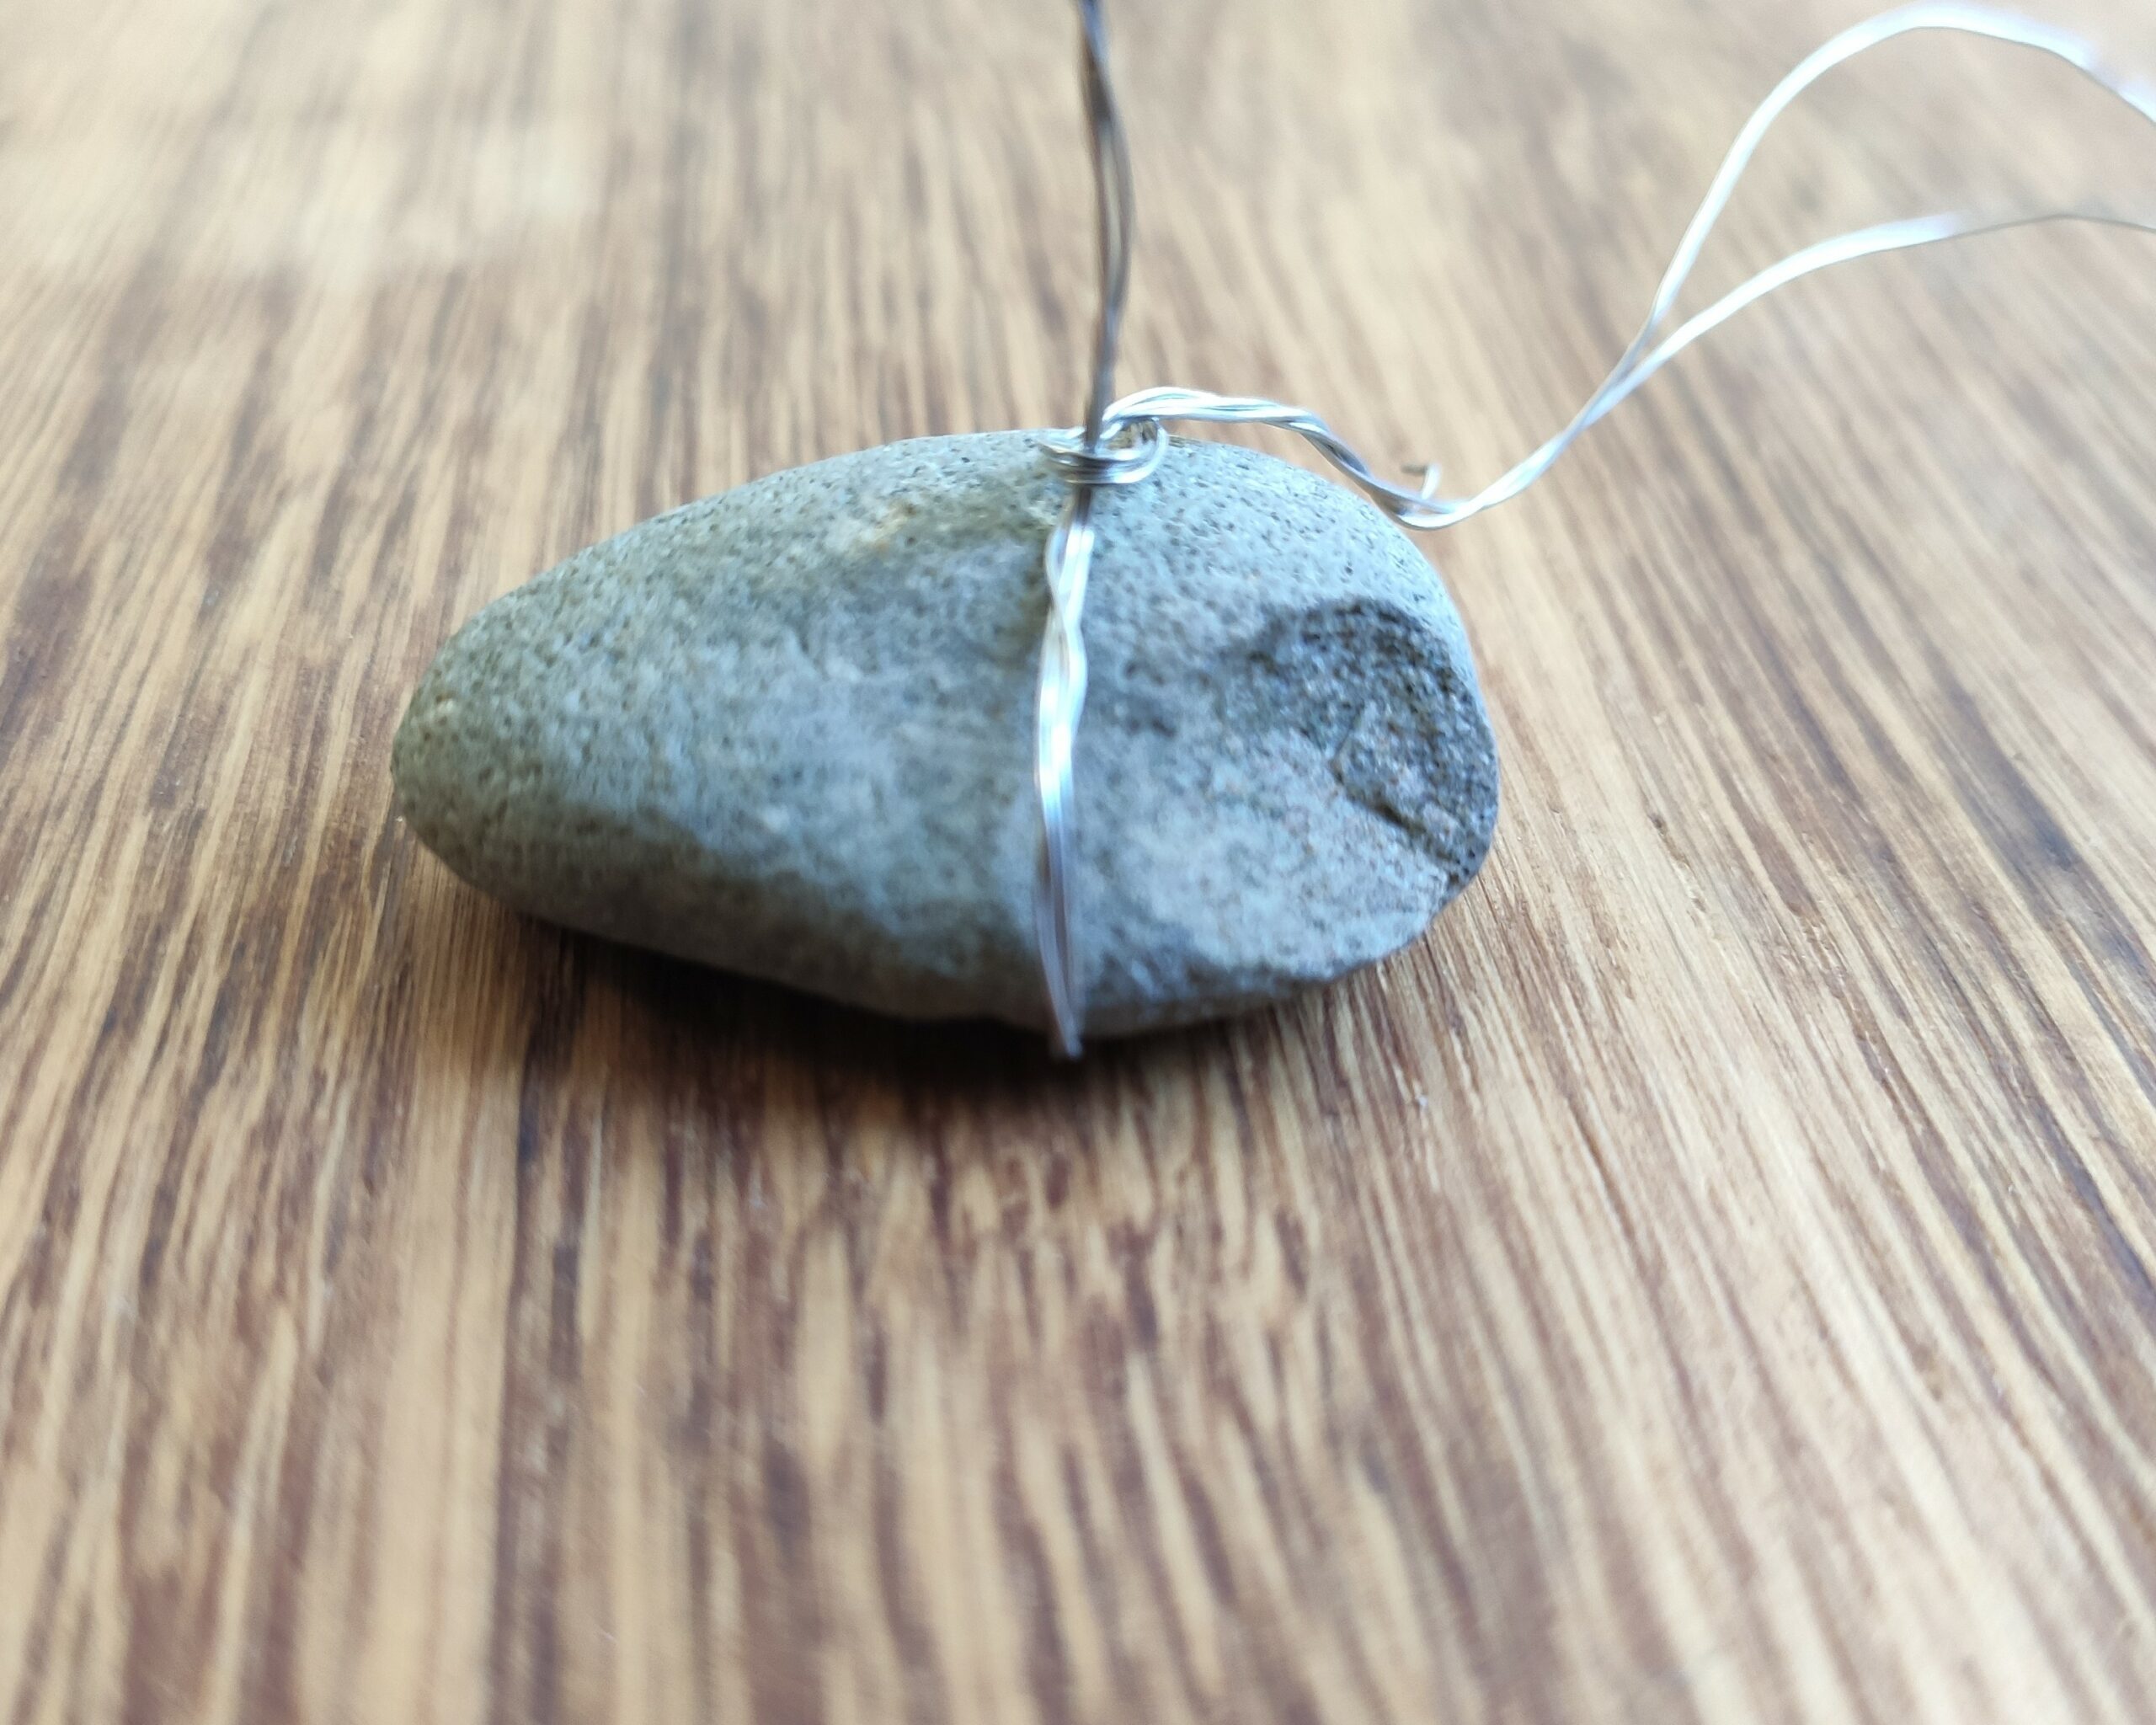
Finally, you attach your flower to a stone, so it's stable.


Alternatively, you can place the flowers in a small vase or put them in a flower pot in the ground.
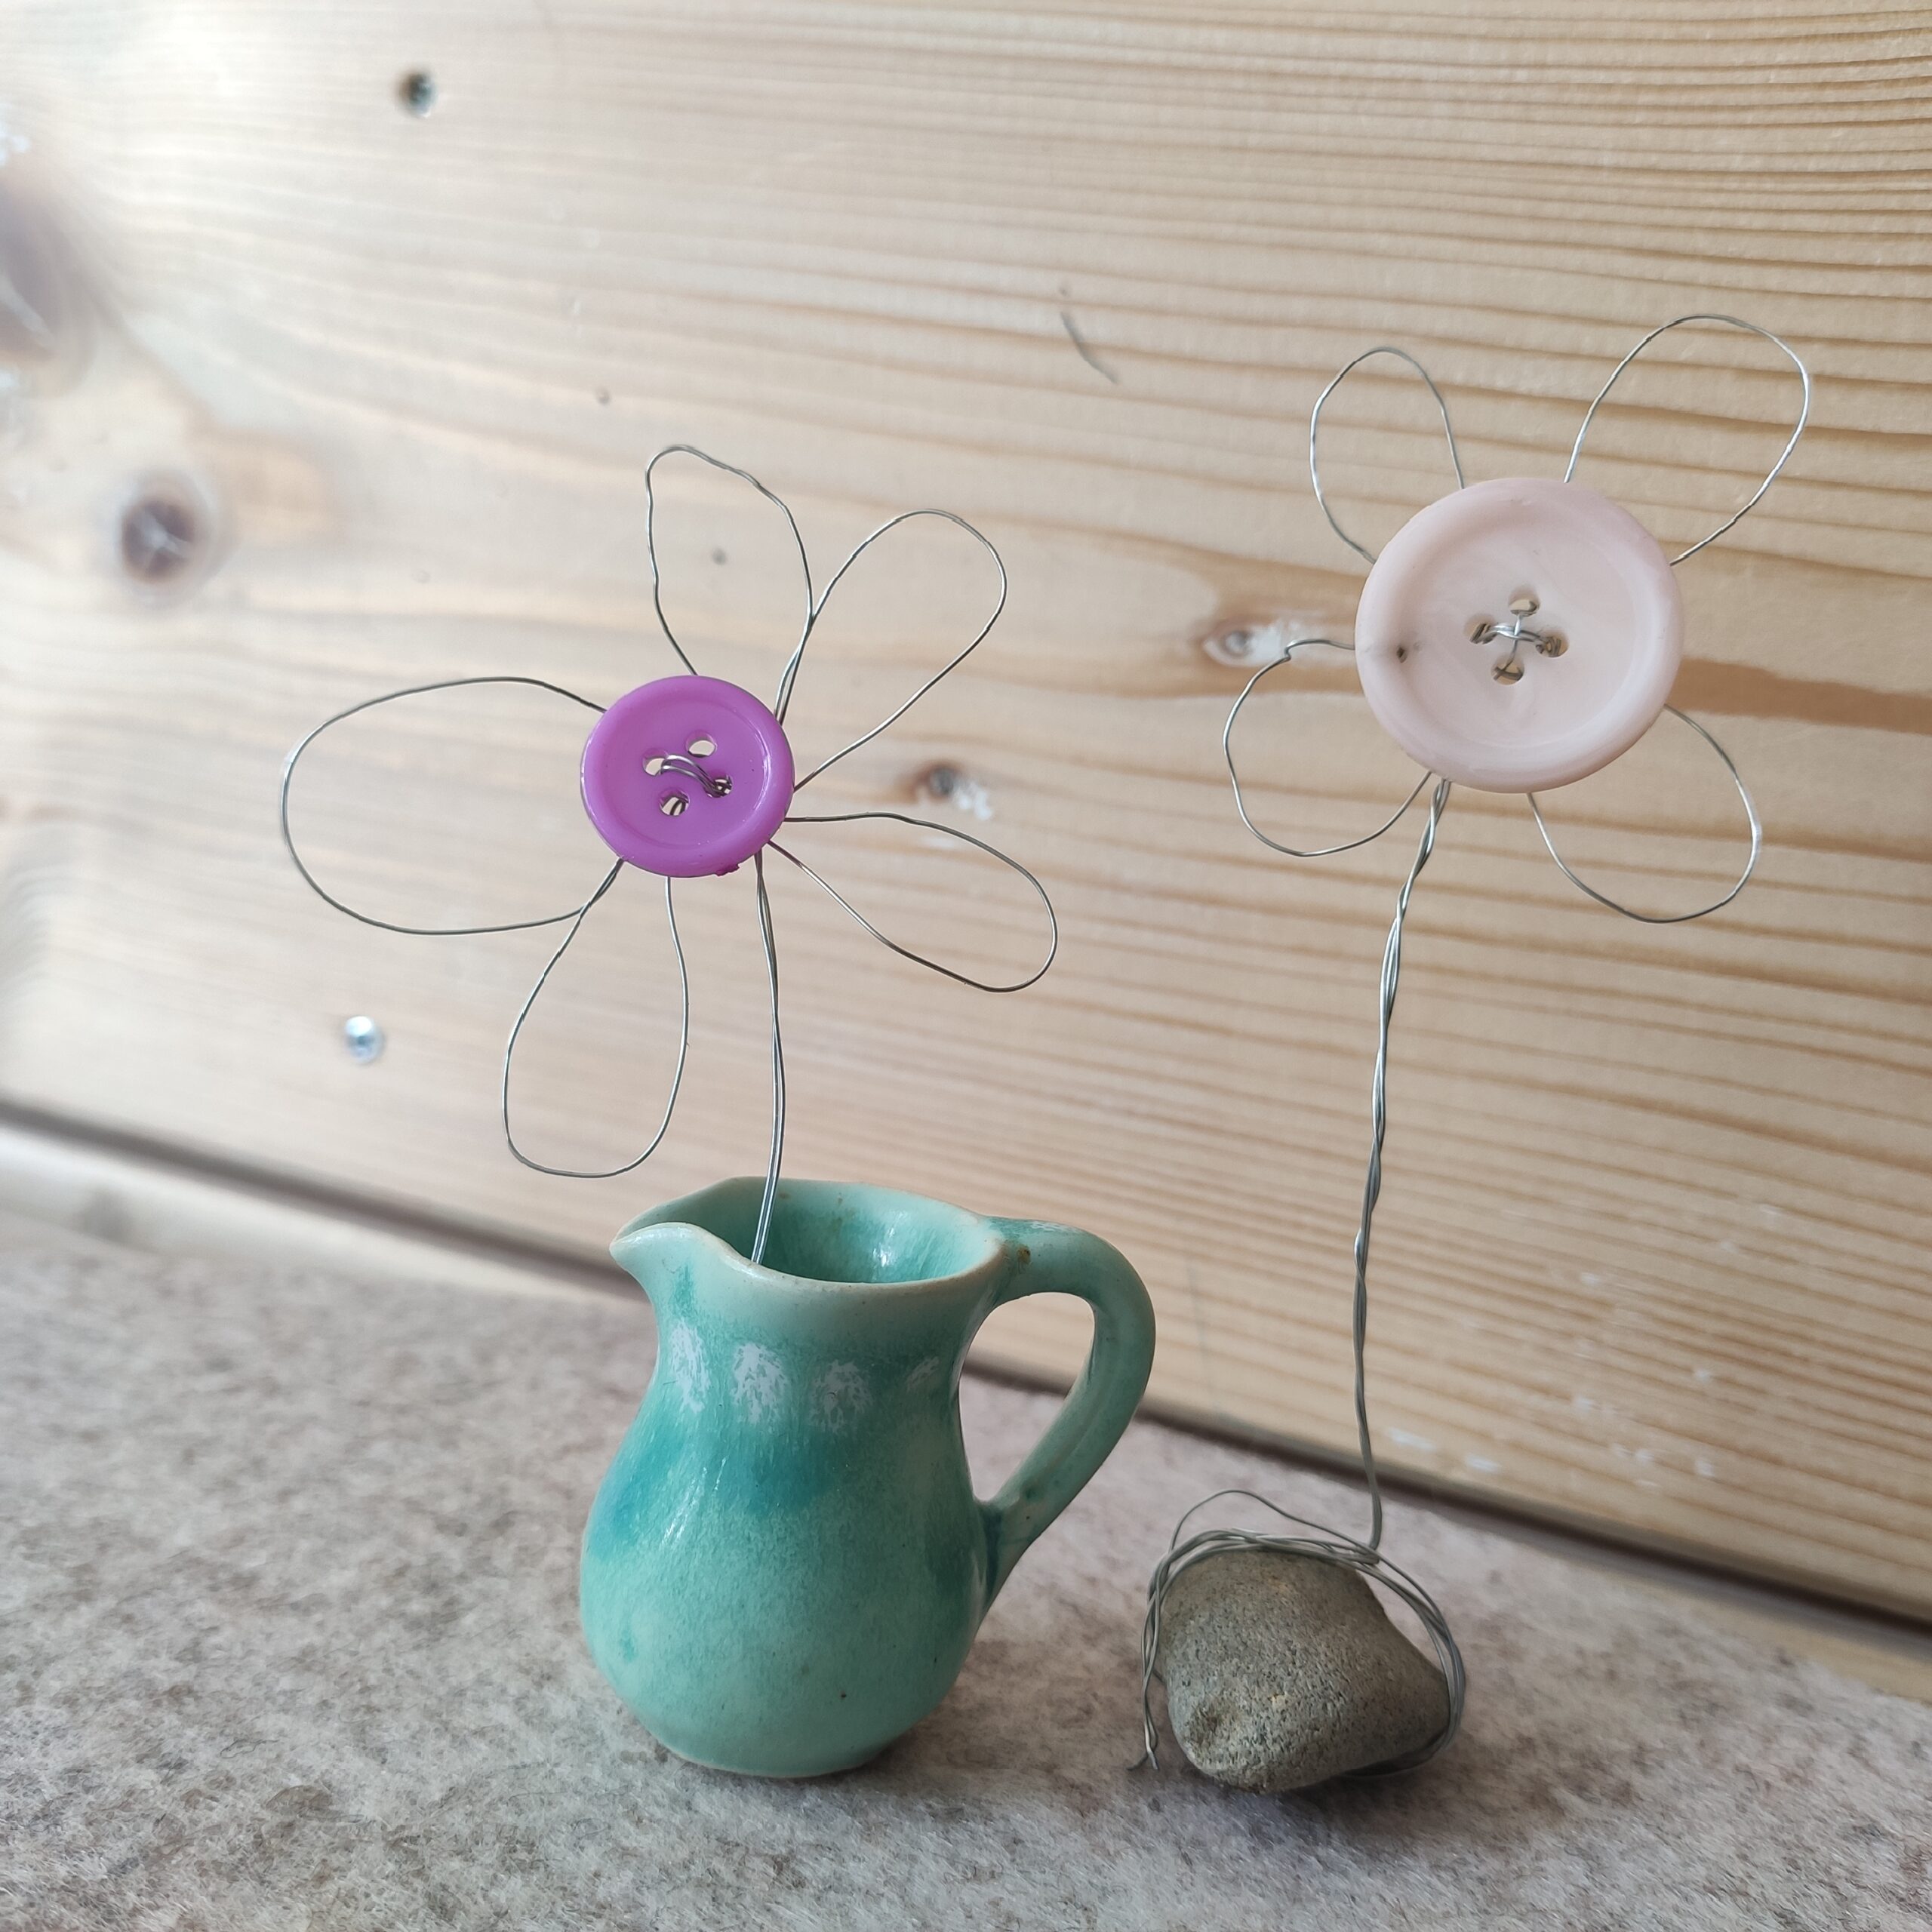


Have fun doing crafts with children!
Materials
Directions
Cut two pieces of wire in the length of about 50 cm and bend it to a loop.
Tip: Uses thin wire, because it can be easily shaped.


Next, thread the wire from the back to the front through a buttonhole. Then thread the wire back through another buttonhole.


The ends of the wire are different lengths.


Now you thread the short end of the wire again from the back to the front through a buttonhole. Now you do not pull the wire completely through, but leave a loop. This creates the first petal on the back of the button.


Now thread the short wire end from front to back, form a second petal. Now wrap the remaining wire around the petals on the back of the button.


So now both petals as well as the long and short end of the wire are on the back of the button.


Now you form a third petal from the long end of the wire.


Then you put the long end back on the back of the button.


Then you form the fourth petal on the back.


This is what the flower looks like from the front.


Next, take the second piece of wire with a length of about 50 cm.


Then you bend the wire in half and place the loop around all four petals.


Now you twist the three wires around each other, creating a stable stalk for your flower.


Finally, you attach your flower to a stone, so it's stable.


Alternatively, you can place the flowers in a small vase or put them in a flower pot in the ground.


Have fun doing crafts with children!
Follow us on Facebook , Instagram and Pinterest
Don't miss any more adventures: Our bottle mail


