Crafting with wooden branches

AdventurerKatzi
Rating4.75.3 Thousand times & (3) DifficultyAdvanced

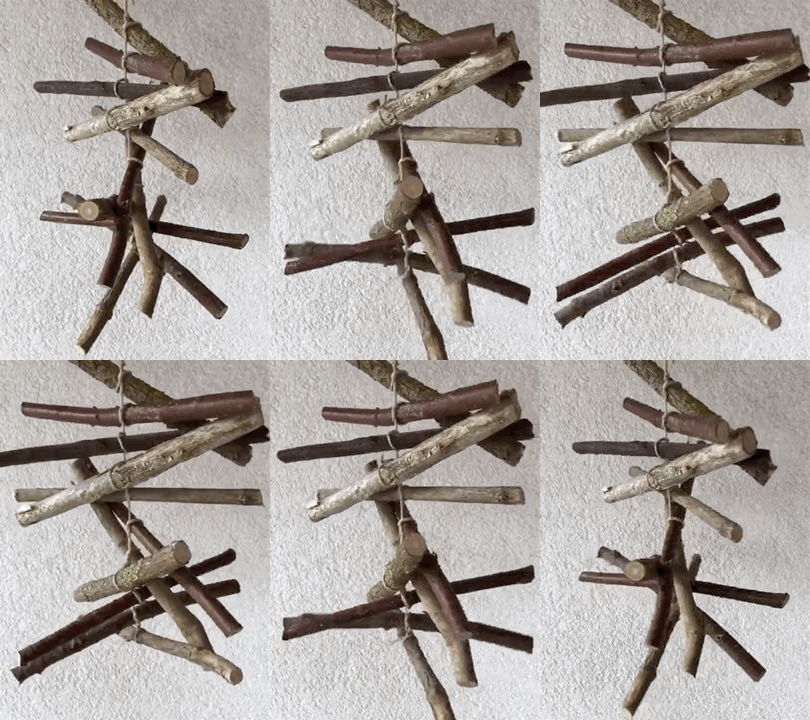
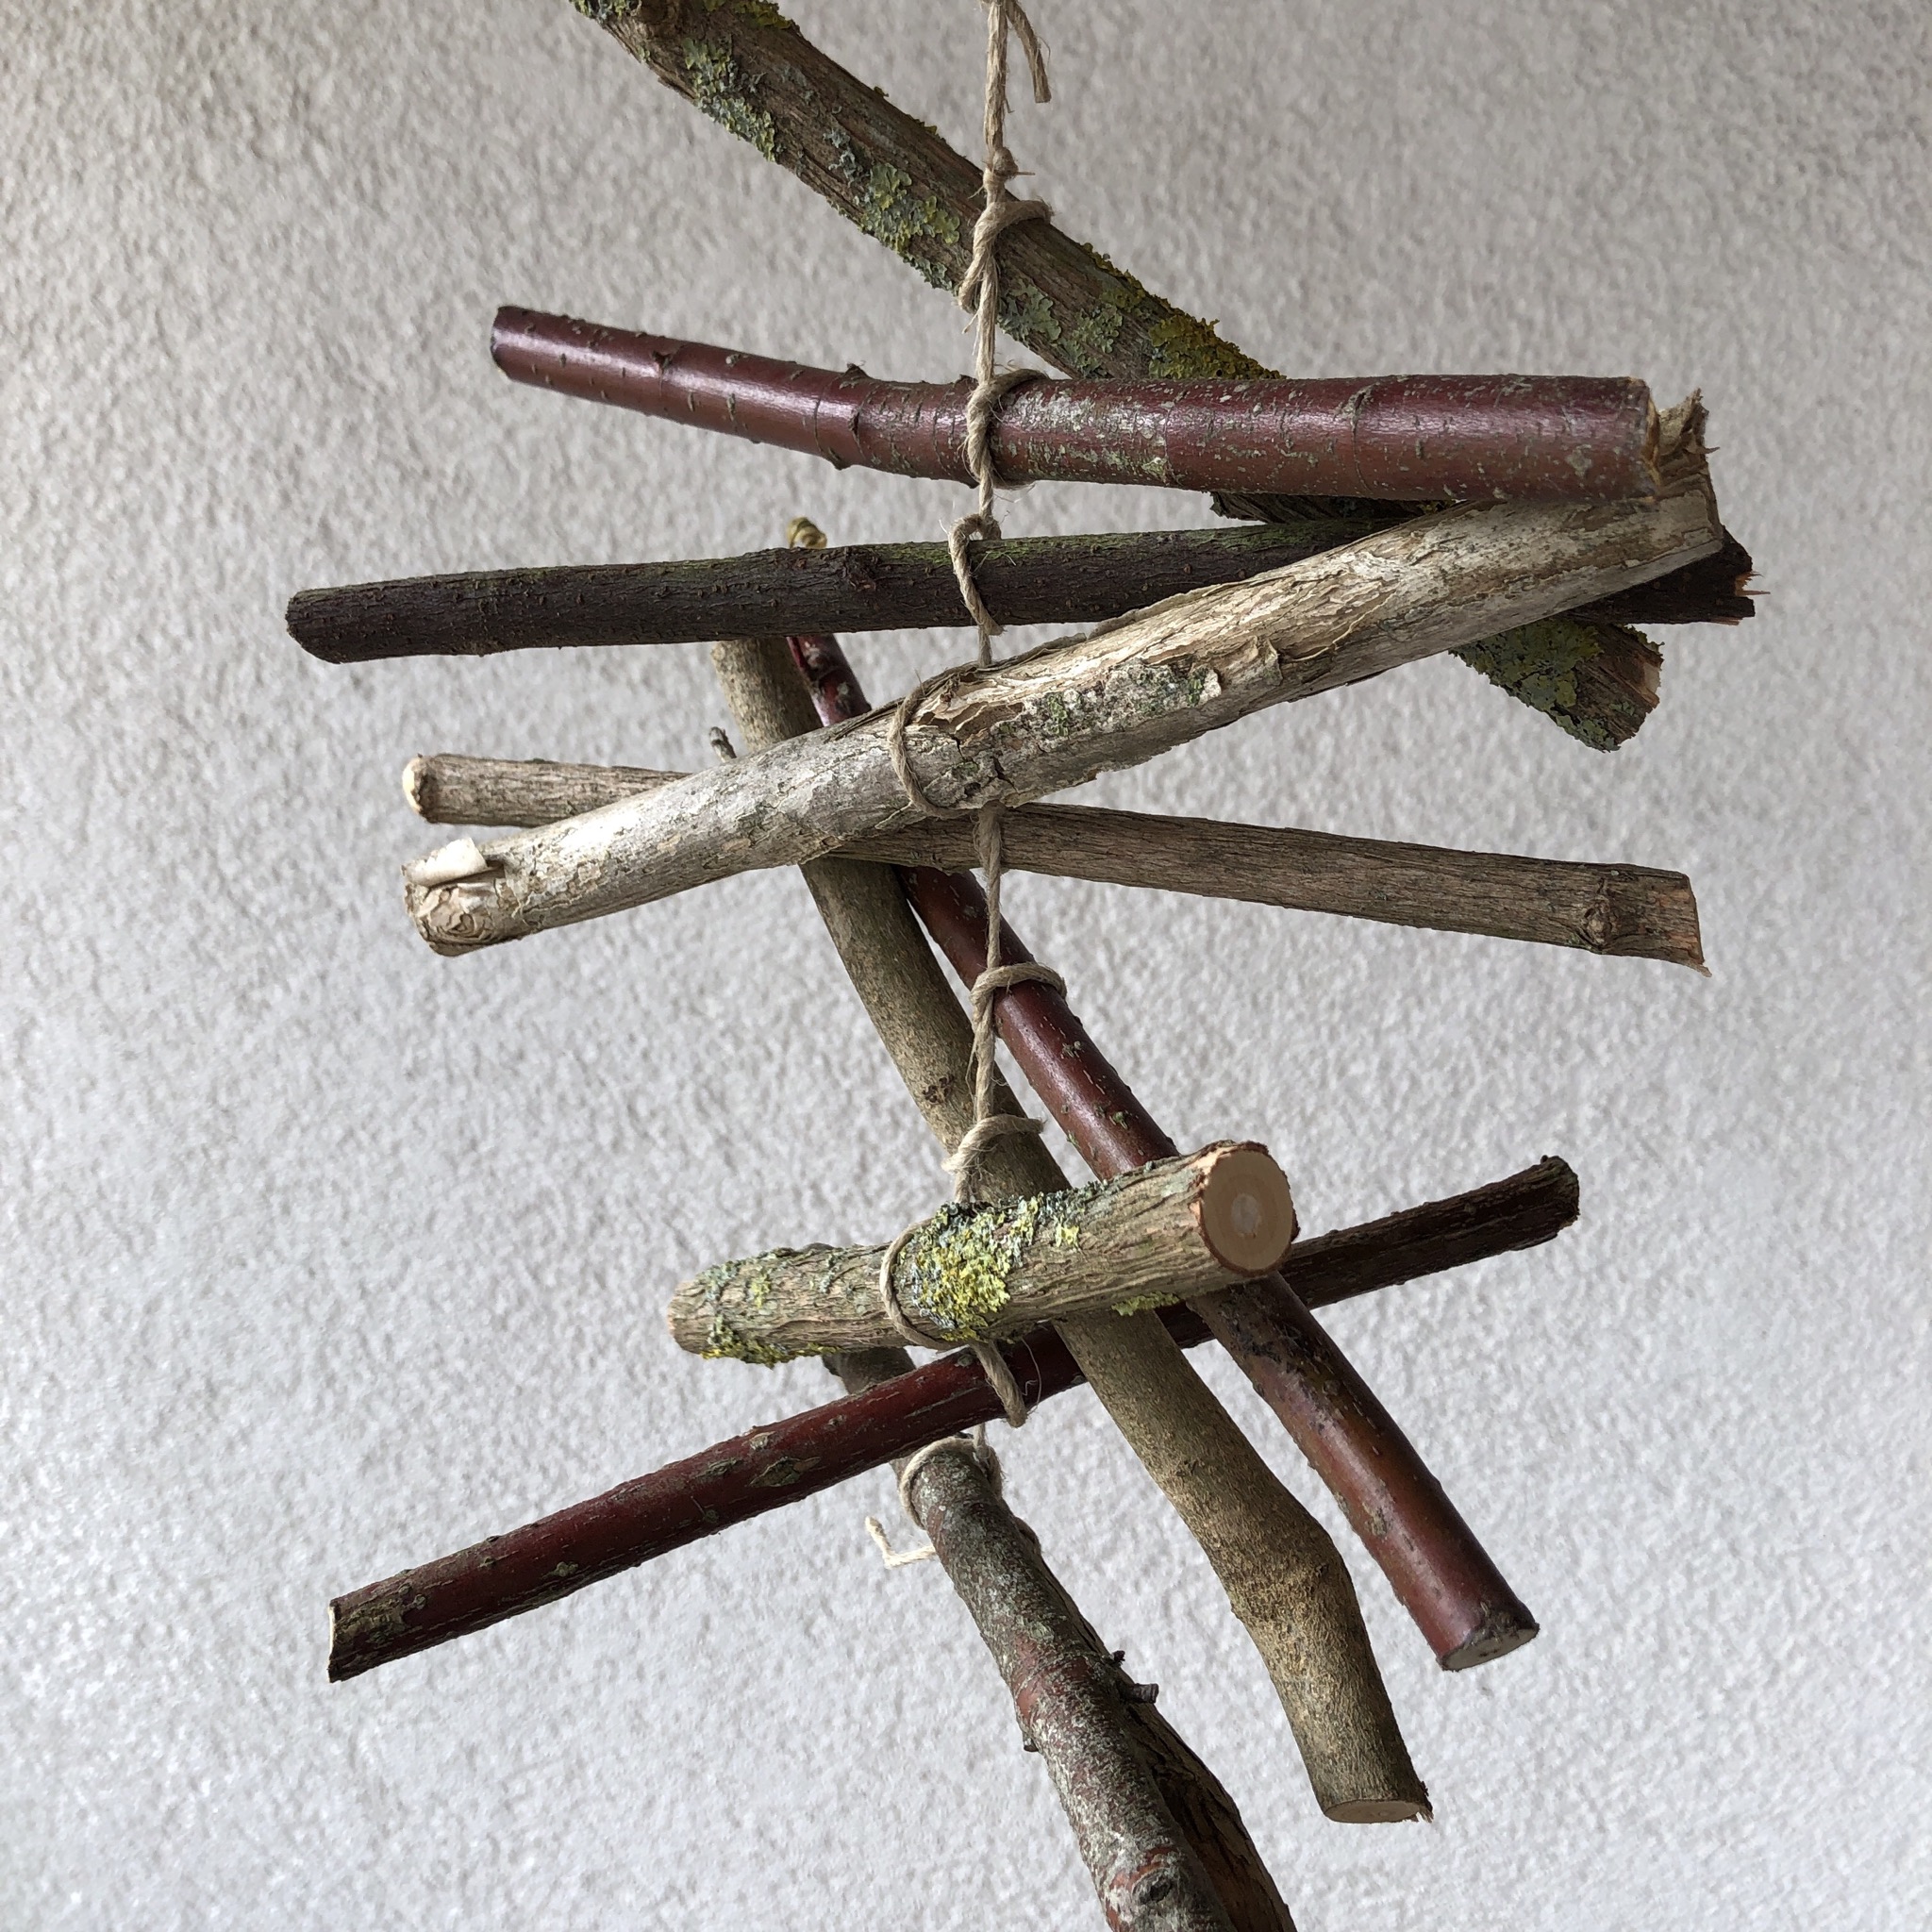
A mobile from wooden branches was created with us after a long walk. In which we searched for beautiful branches.
At home we shortened the branches to a similar length and then knotted the branches together with a thick package line. The finished mobile now decorates the hallway. Just try it out!

Titelbild zur Bastel- und DIY-Idee für Kinder '(395) Basteln mit Holzästen'
Material for1 Child
Prep Time20 min.Adv. Time20 min.Total Time40 min.
 Branches
 1 Garten shears
 Package cord
All links marked with a shopping cart lead to Amazon - here we have selected products that we would order ourselves and in part also ordered. In a qualified purchase via the advertising link, we as Amazon partner receive a commission, for you there are no costs. You thus support our cost- and advertising banner-free, educational offer.
1

Cut different branches with a garden shear to approximately the same length.
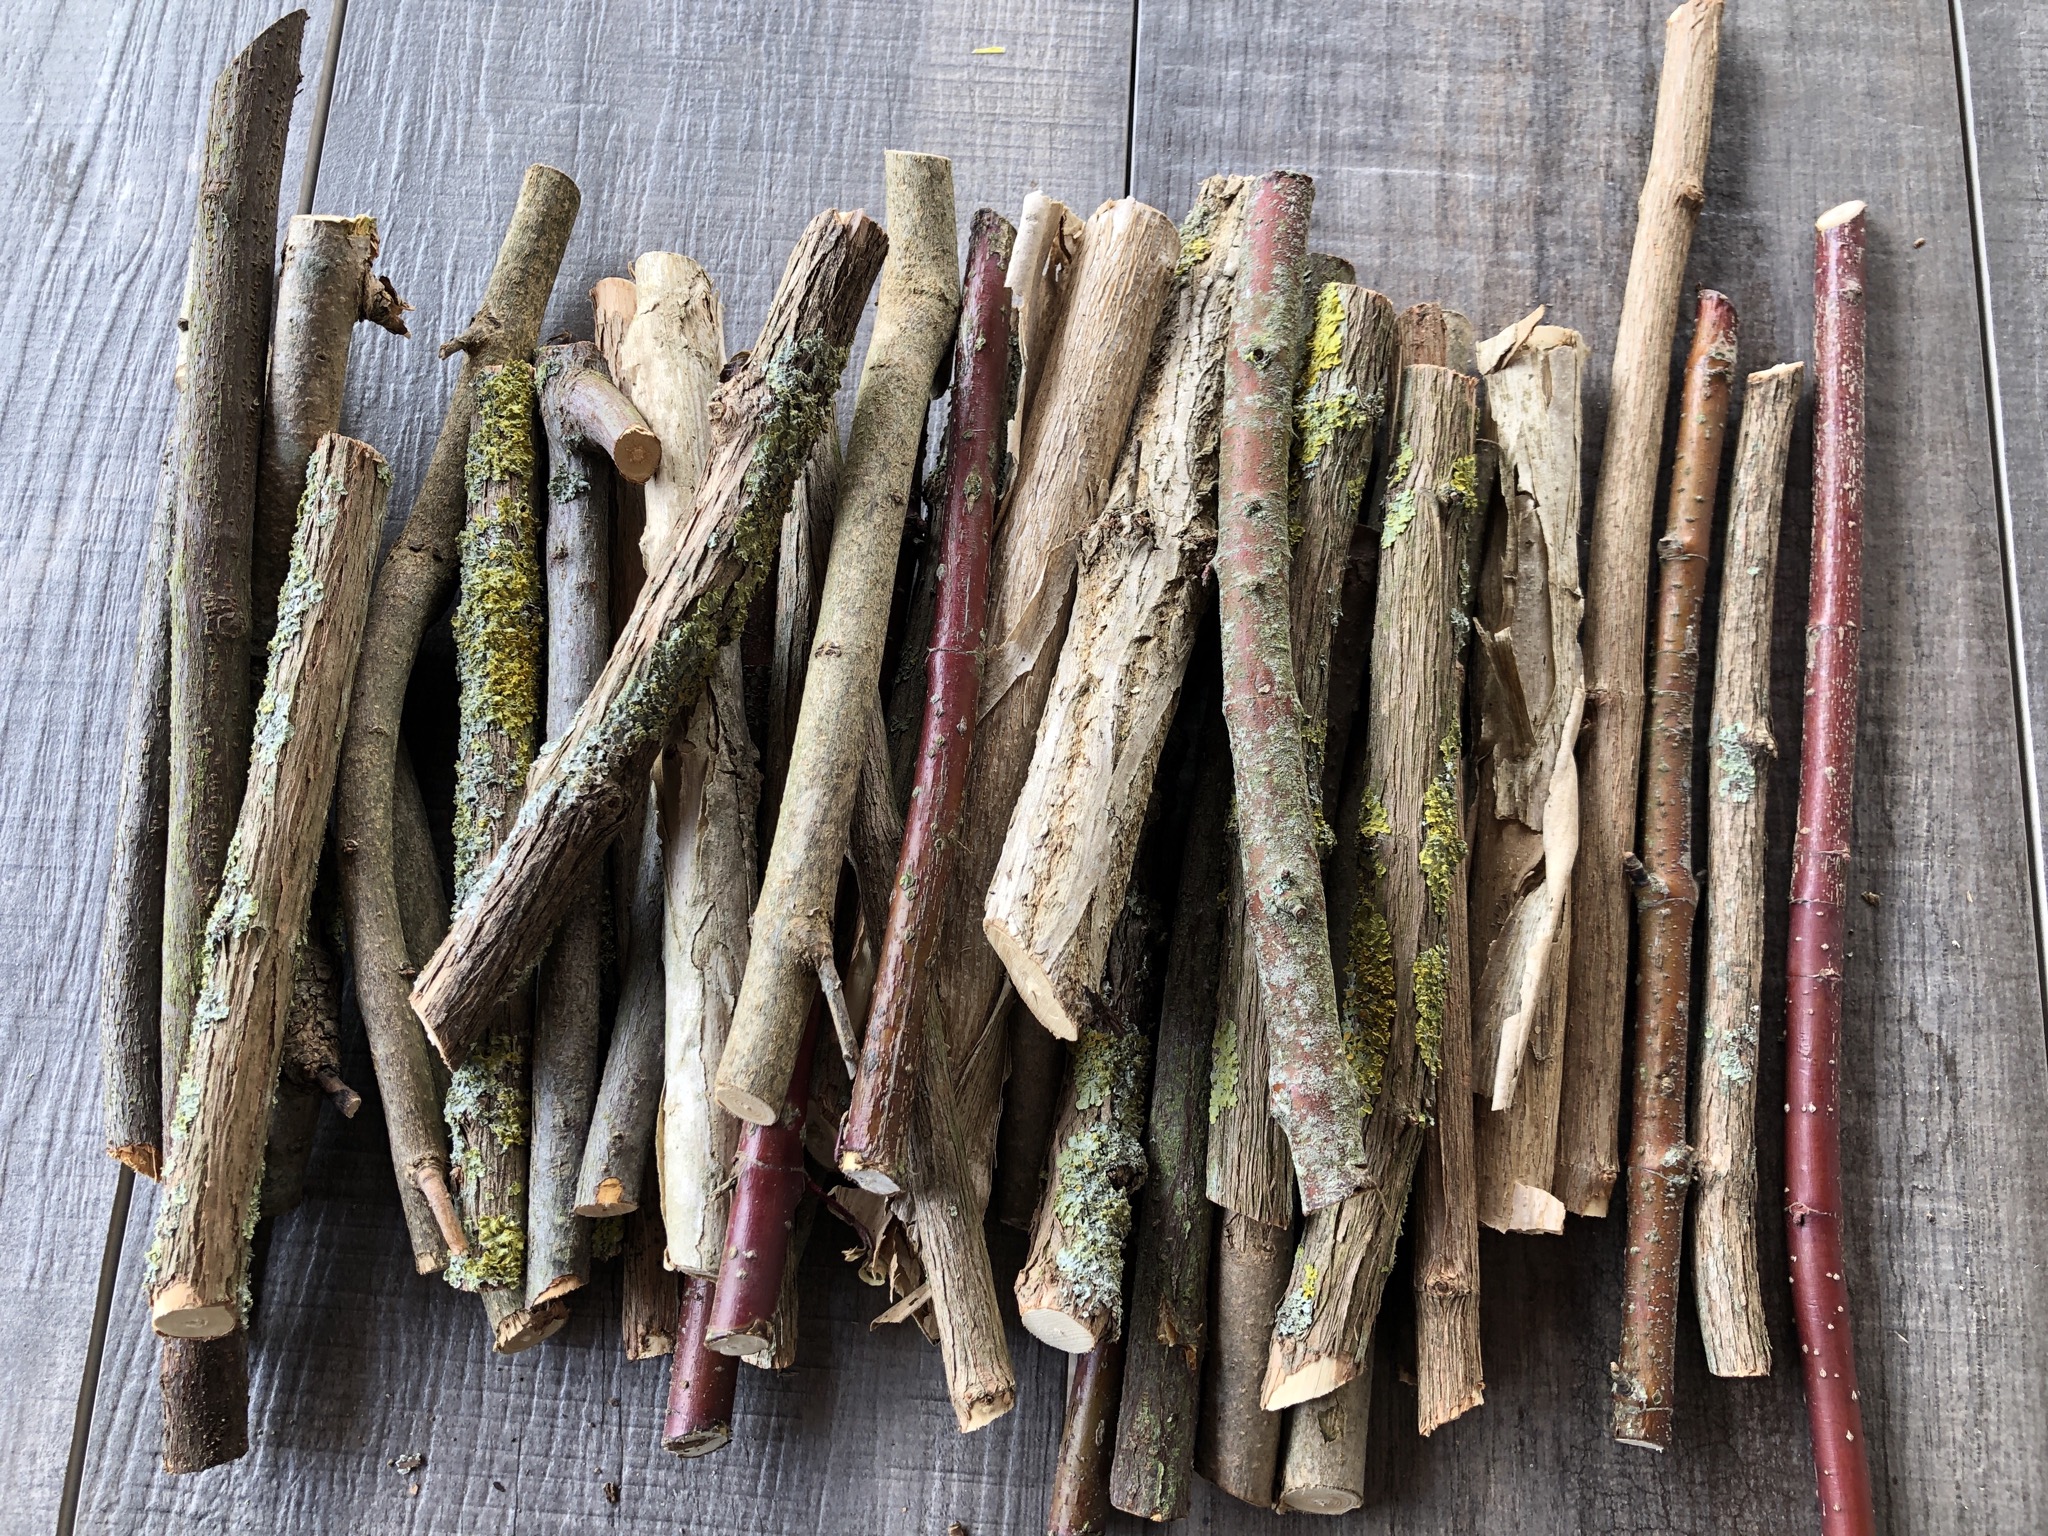
Bild zum Schritt 1 für das Bastel- und DIY-Abenteuer für Kinder: 'Unterschiedliche Äste mit einer Gartenschere auf eine annähernd gleiche Länge...'

2

Cut off about 50 cm of the cord from a package cord.
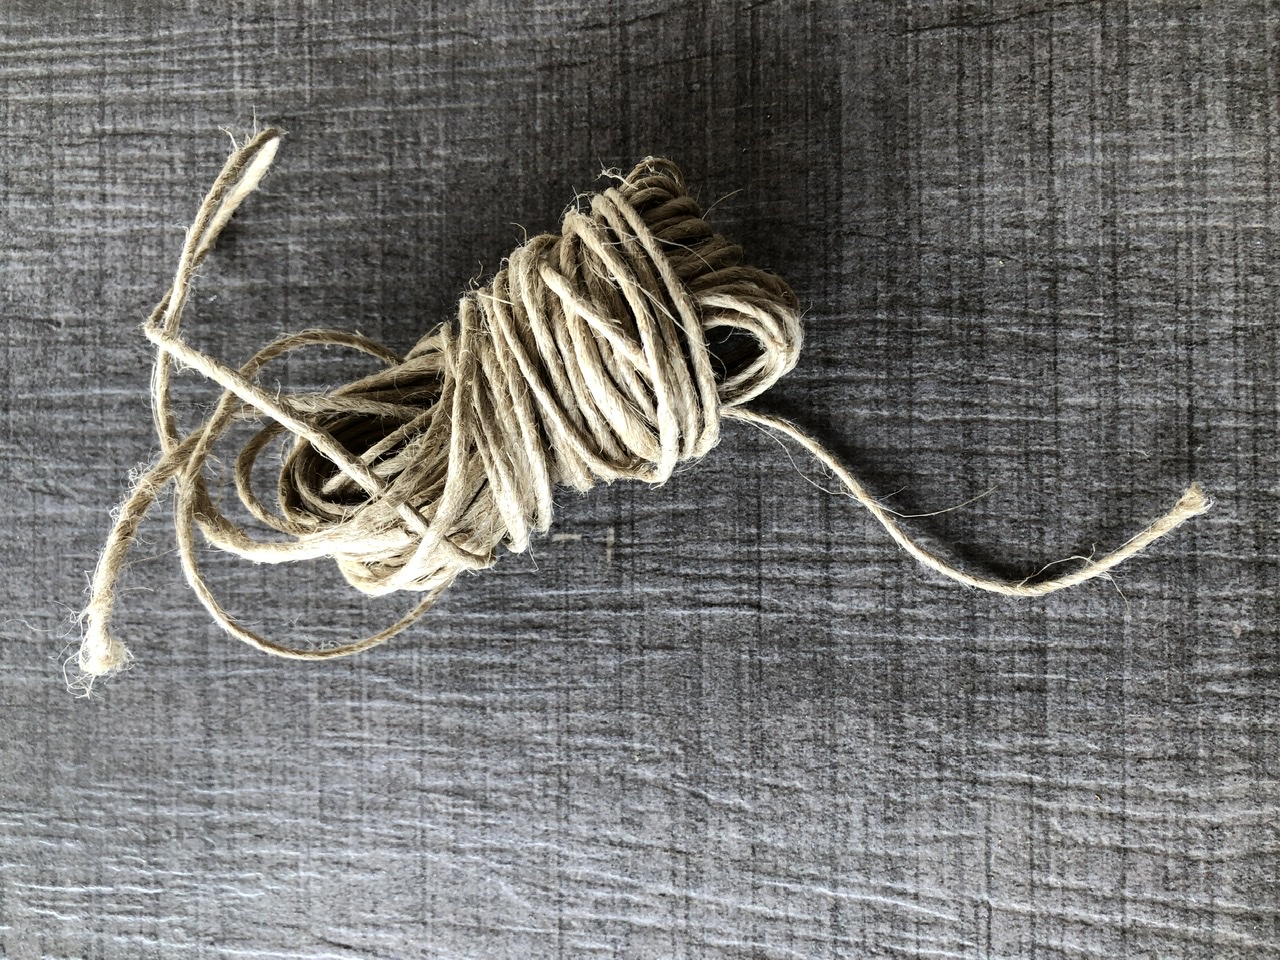
Bild zum Schritt 2 für das Bastel- und DIY-Abenteuer für Kinder: 'Von einer Paketschnur ca. 50 cm der Schnur abschneiden.'

3

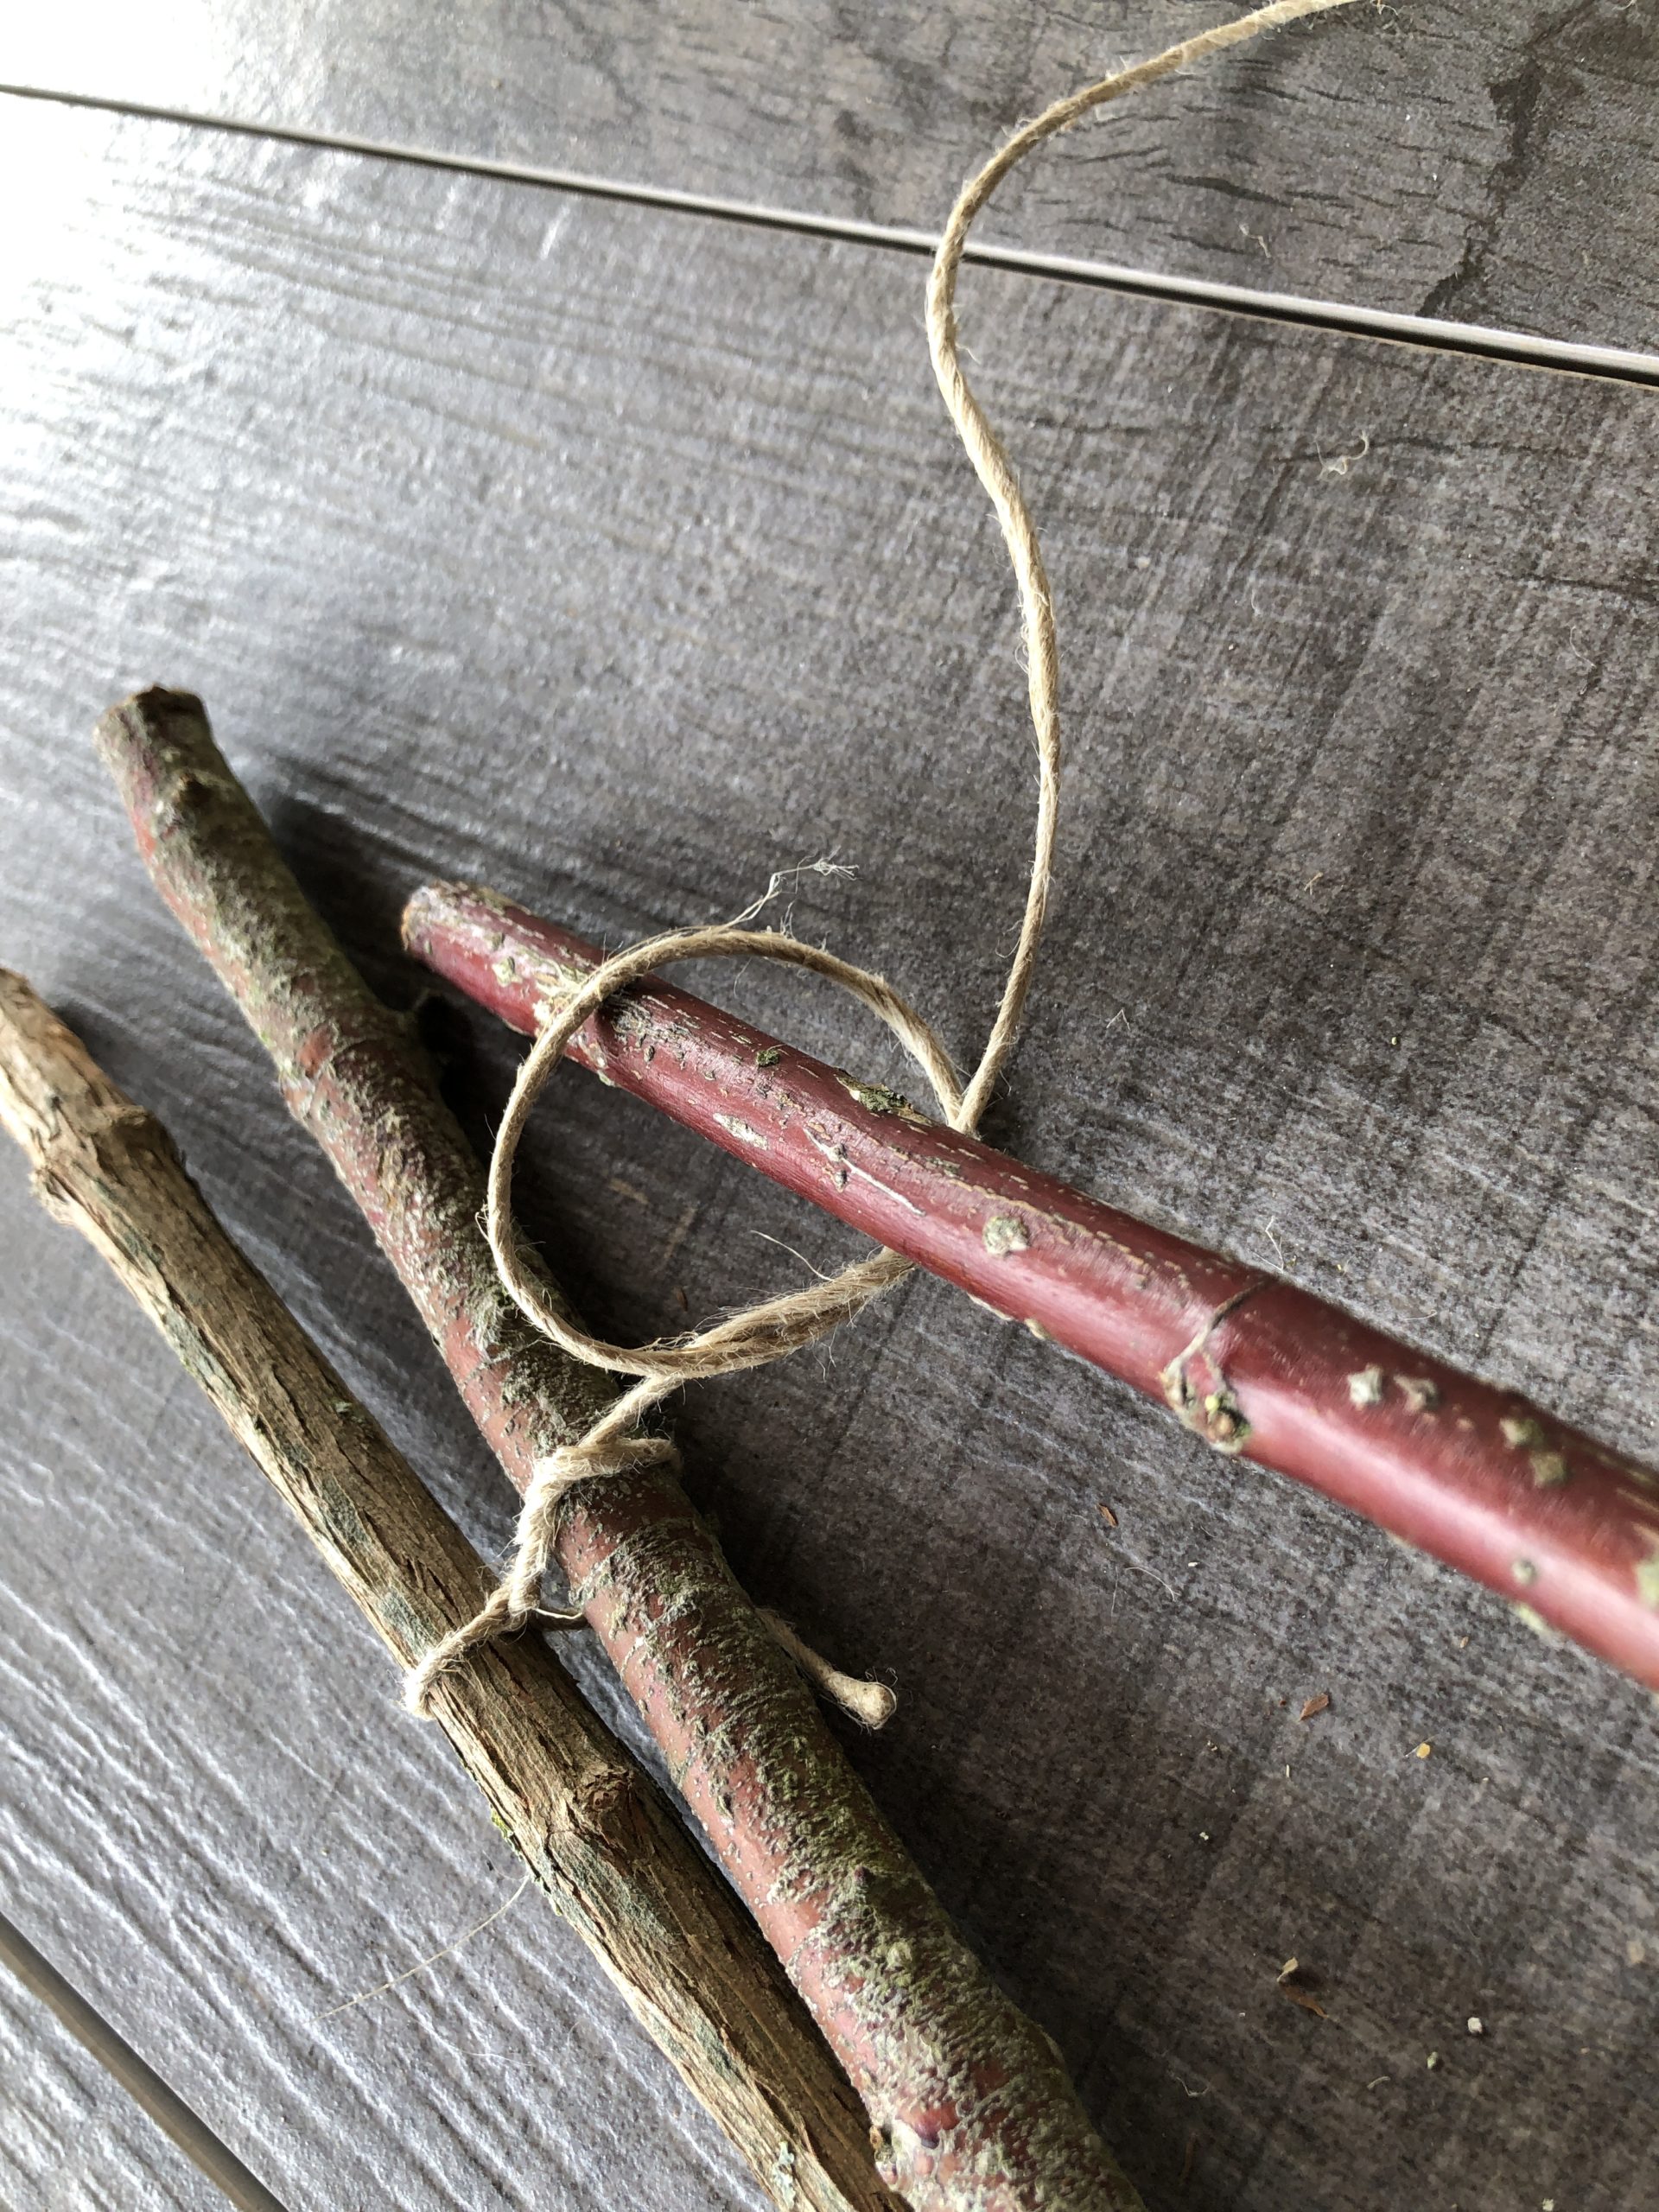
Select a plug and tie the cord as follows:
First you lay a loop.

Bild zum Schritt 3 für das Bastel- und DIY-Abenteuer für Kinder: 'Einen Stecken auswählen und die Schnur, wie folgt, festbinden: ...'

4

Then you put the end of the cord through the loop.

Bild zum Schritt 4 für das Bastel- und DIY-Abenteuer für Kinder: 'Dann steckt ihr das Schnurende durch die Schlaufe.'

5

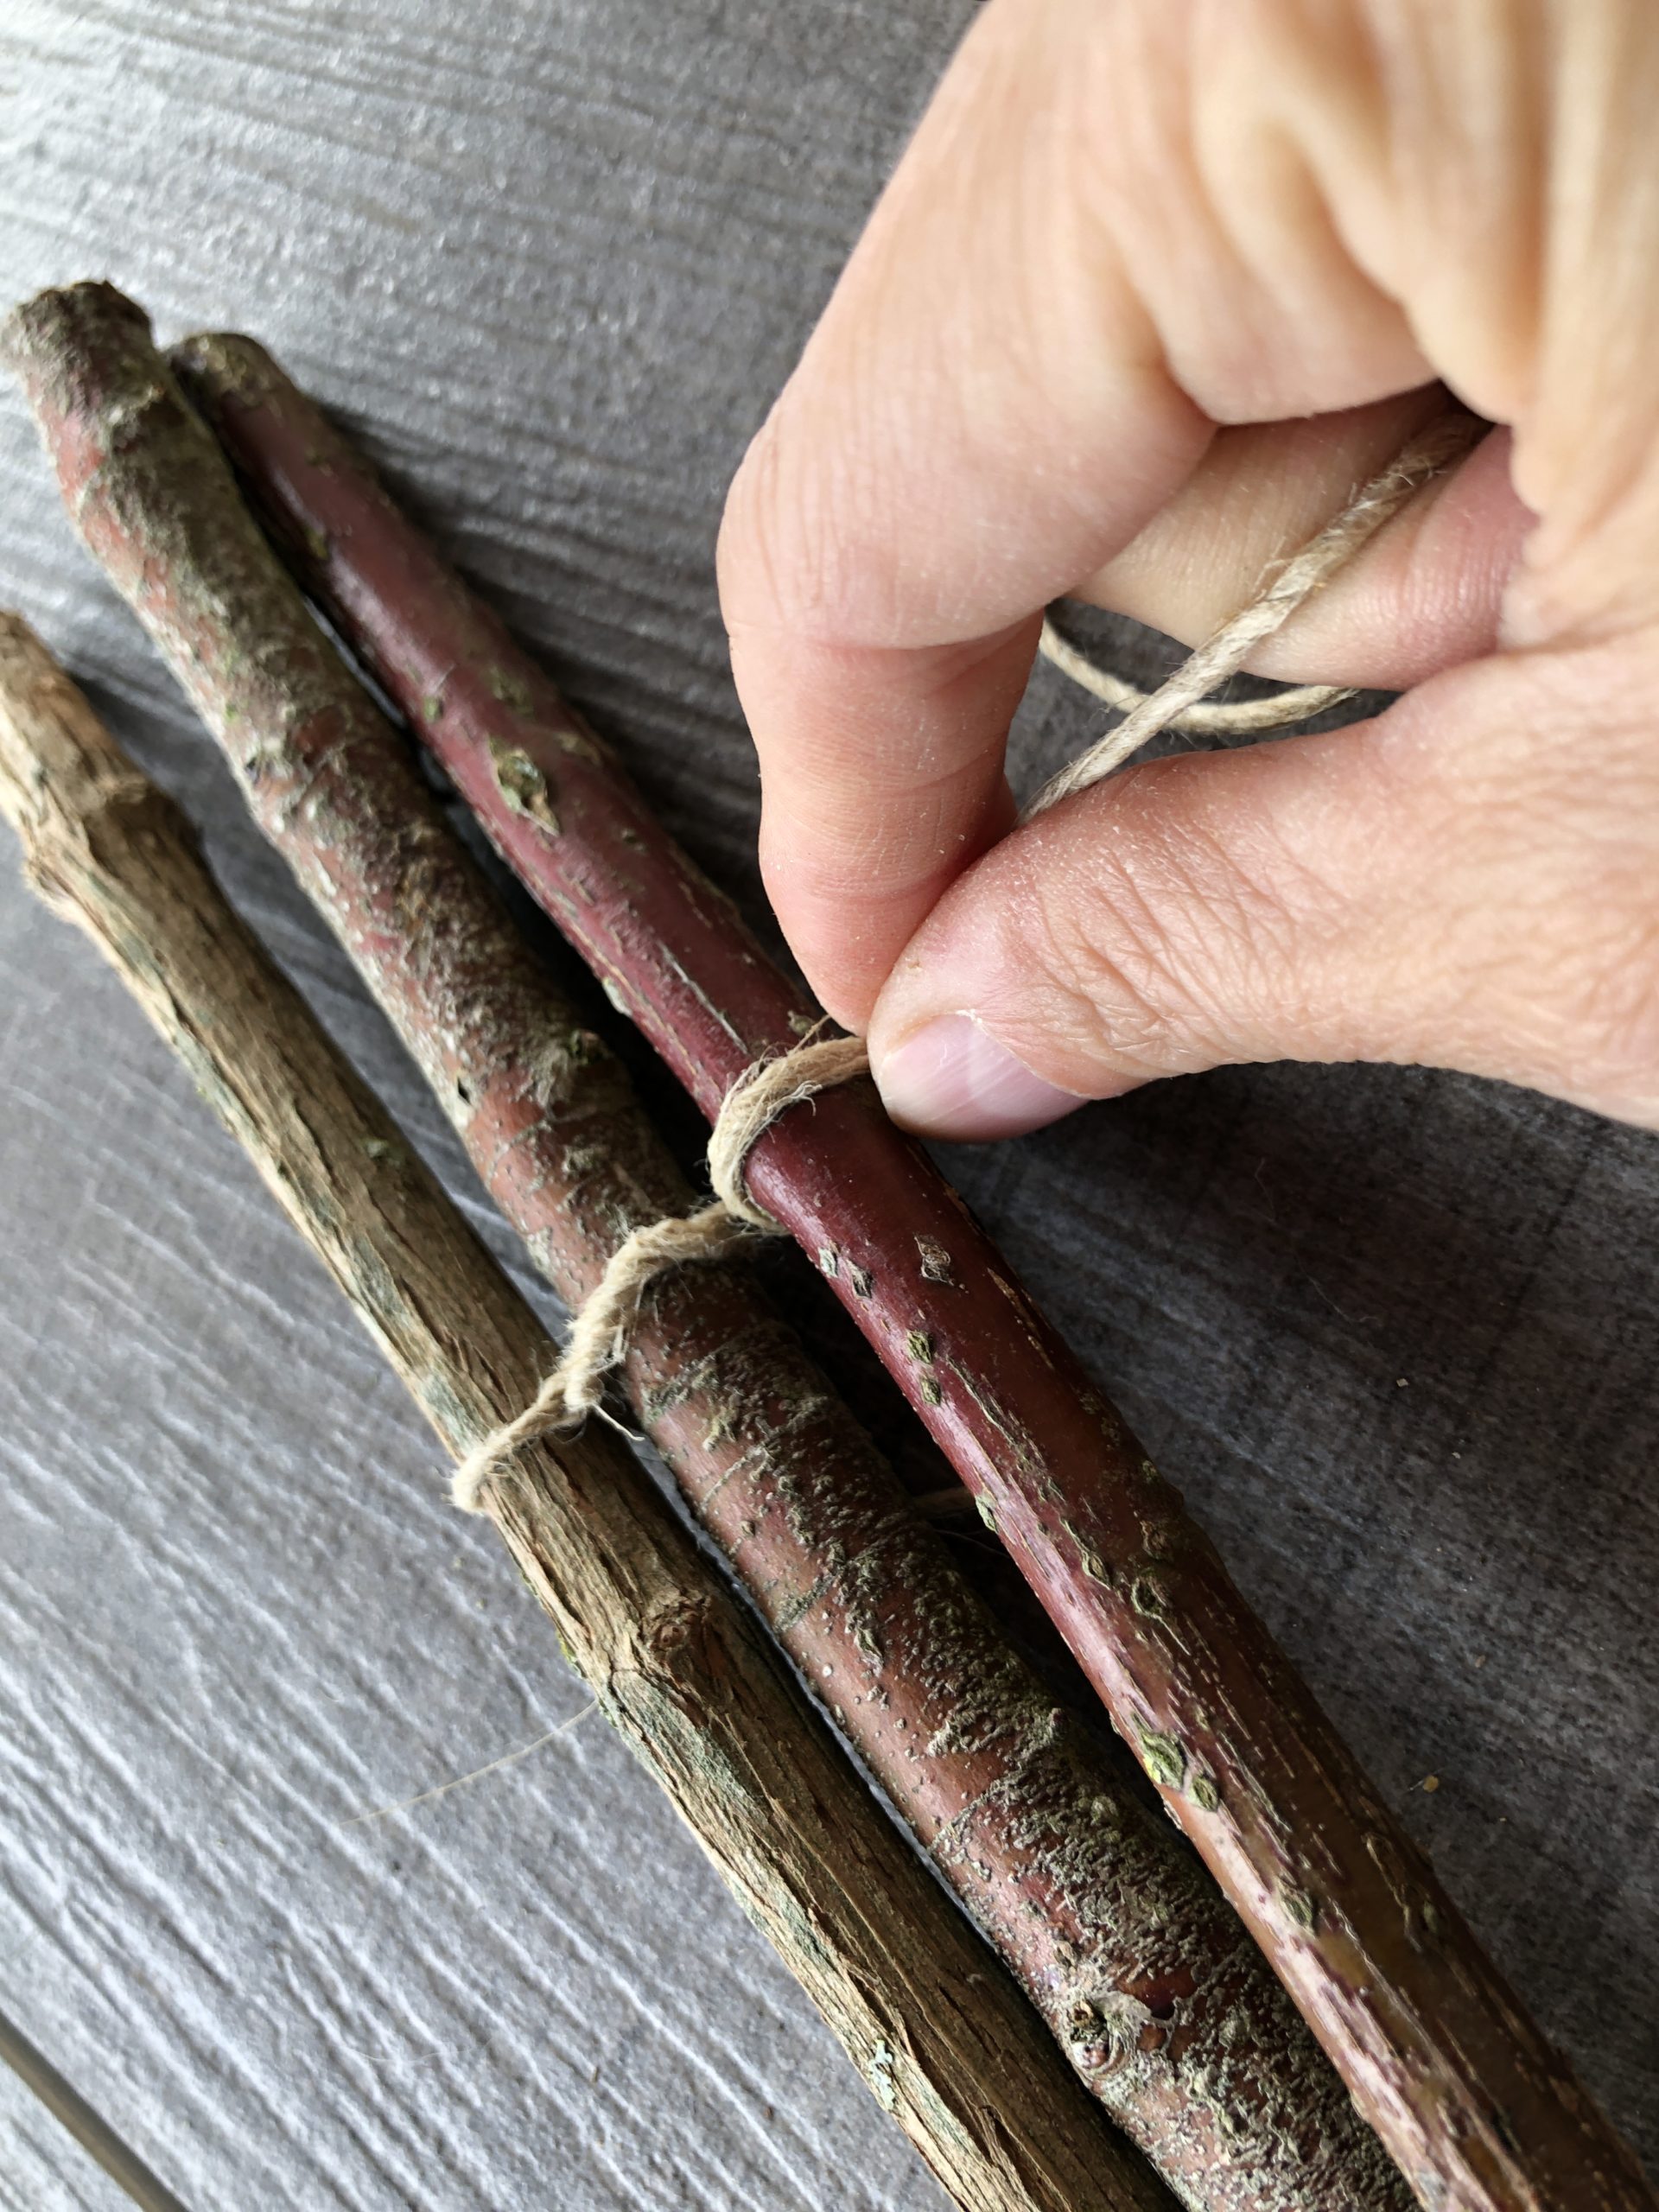
Now you pull the cord tight.

Bild zum Schritt 5 für das Bastel- und DIY-Abenteuer für Kinder: 'Jetzt zieht ihr die Schnur fest.'

6

Repeats the process so that a node is created.
Then tie a knot to it.

Bild zum Schritt 6 für das Bastel- und DIY-Abenteuer für Kinder: 'Wiederholt den Vorgang, so dass ein Knoten entsteht.  ...'

7

Now take a second wooden stick.
Puts a loose loop again with the cord.

Bild zum Schritt 7 für das Bastel- und DIY-Abenteuer für Kinder: 'Jetzt nehmt ihr einen zweiten Holzstab.   Legt erneut...'

8

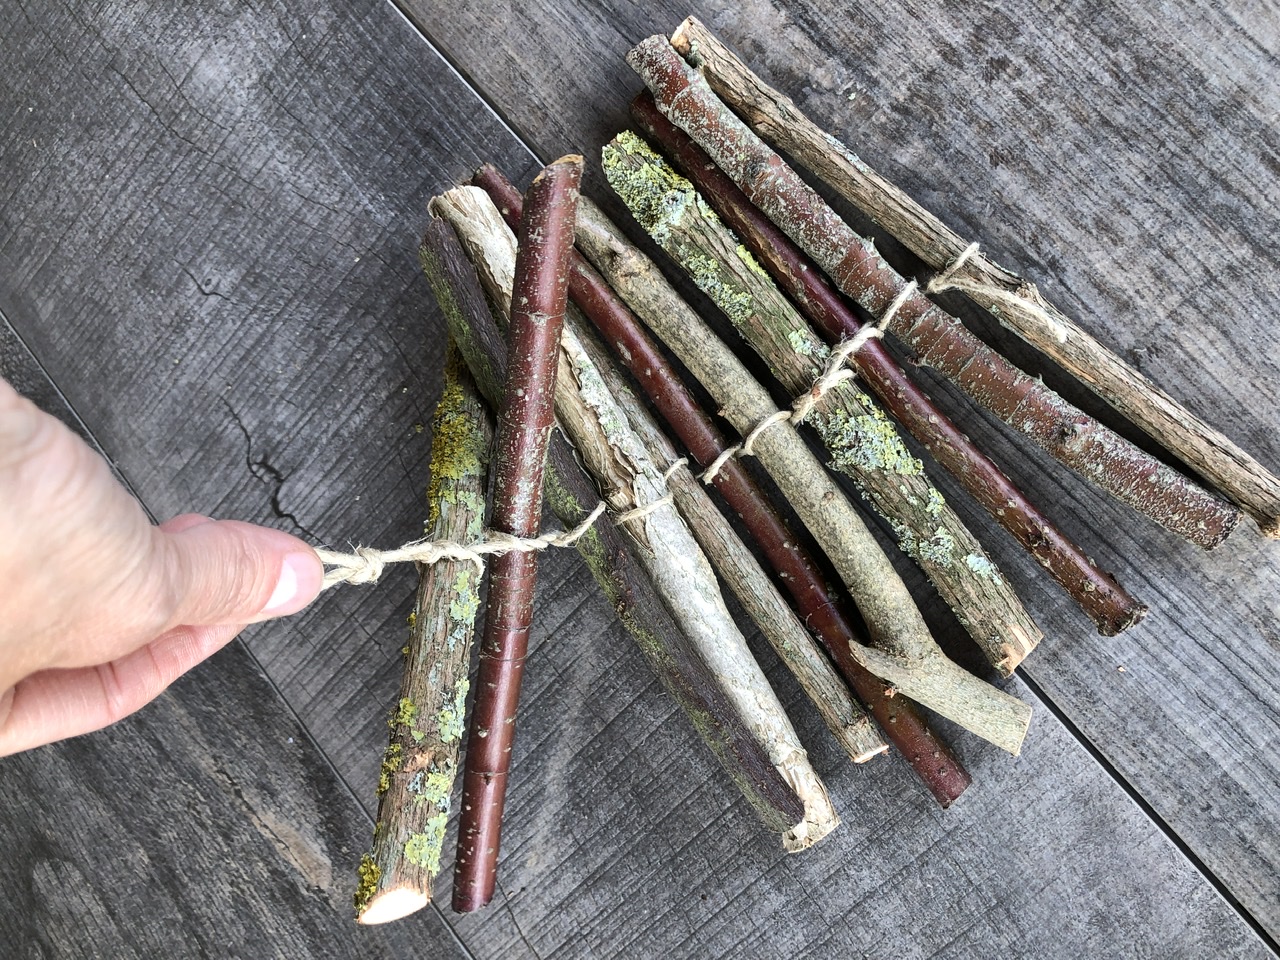
Now push the wooden stick through the loop. Make sure that the branches lie as close to each other as possible and then tighten the cord.

Bild zum Schritt 8 für das Bastel- und DIY-Abenteuer für Kinder: 'Nun schiebt ihr den Holzstab durch die Schlaufe. Achtet darauf,...'

9

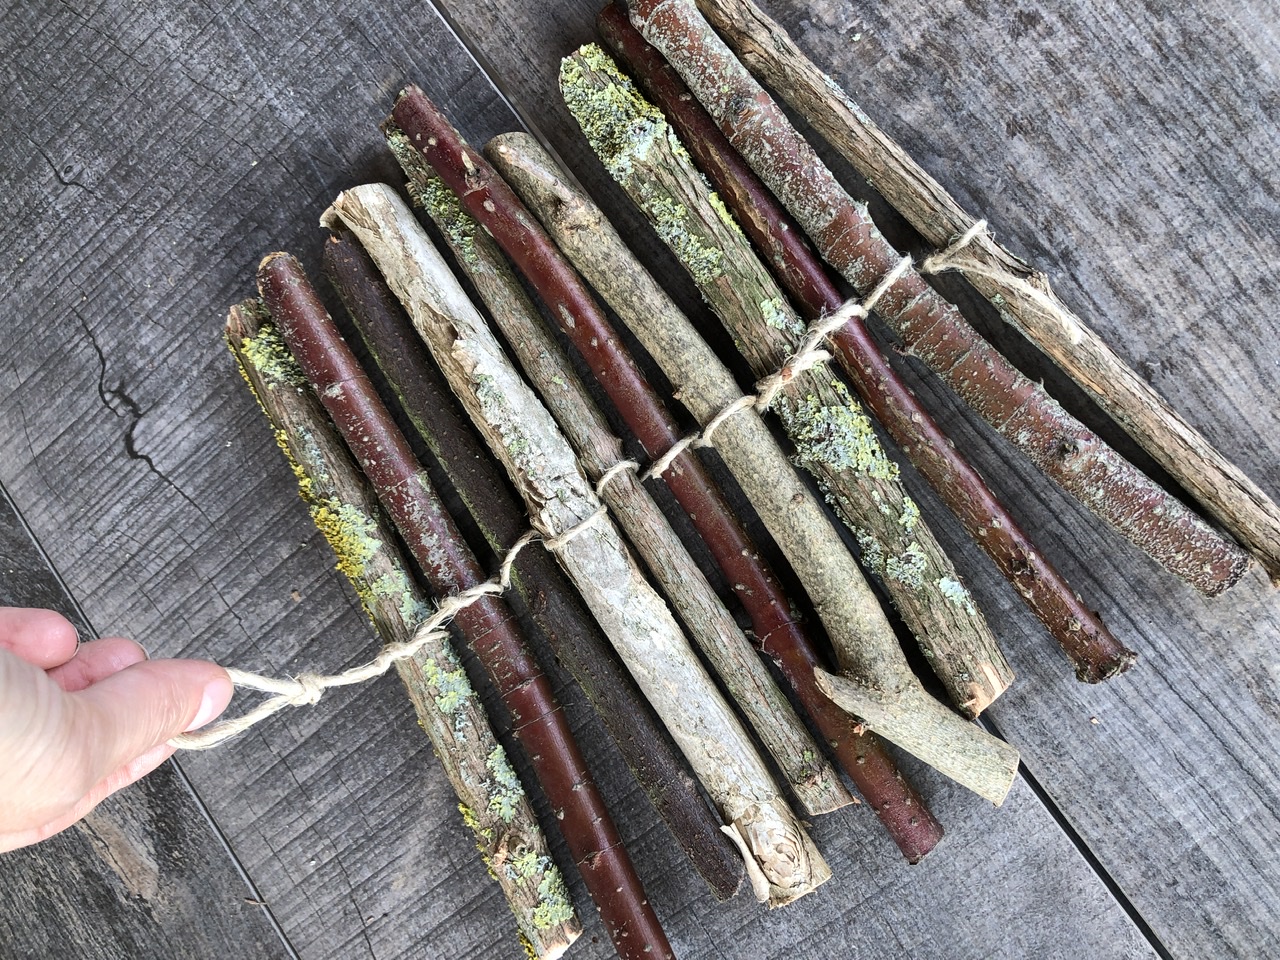
Repeat the process and place another loop, push through the next rod and tighten the cord again. You do this until the desired length of your mobile is reached. Make sure that the cord sits in the middle of the individual rods so that the branches can not slip out later.

Bild zum Schritt 9 für das Bastel- und DIY-Abenteuer für Kinder: 'Wiederholt den Vorgang und legt eine weitere Schlaufe, schiebt den...'

10

2. Bild zum Schritt 9 für das Bastel- und DIY-Abenteuer für Kinder: 'Wiederholt den Vorgang und legt eine weitere Schlaufe, schiebt den...'

11

3. Bild zum Schritt 10 für das Bastel- und DIY-Abenteuer für Kinder: 'Wiederholt den Vorgang und legt eine weitere Schlaufe, schiebt den...'

12

We have used 10 to 12 wooden sticks. However, it also depends on the thick of your wooden sticks.
Leave some more string to tie a loop to hang up.

Bild zum Schritt 12 für das Bastel- und DIY-Abenteuer für Kinder: 'Wir haben 10 bis 12 Holzstäbe verwendet. Allerdings kommt es...'

13

Put a large loop and tie a knot.

Bild zum Schritt 13 für das Bastel- und DIY-Abenteuer für Kinder: 'Legt dafür eine große Schlaufe und bindet einen Knoten.'

14

At the suspension you lift your bound branches very slowly.

Bild zum Schritt 14 für das Bastel- und DIY-Abenteuer für Kinder: 'An der Aufhängun hebt ihr nun ganz langsam eure gebundenen...'

15

2. Bild zum Schritt 14 für das Bastel- und DIY-Abenteuer für Kinder: 'An der Aufhängun hebt ihr nun ganz langsam eure gebundenen...'

16

3. Bild zum Schritt 15 für das Bastel- und DIY-Abenteuer für Kinder: 'An der Aufhängun hebt ihr nun ganz langsam eure gebundenen...'

17

4. Bild zum Schritt 16 für das Bastel- und DIY-Abenteuer für Kinder: 'An der Aufhängun hebt ihr nun ganz langsam eure gebundenen...'

18

Finished is your mobile. Find a nice place where it can turn easily!

Bild zum Schritt 18 für das Bastel- und DIY-Abenteuer für Kinder: 'Fertig ist euer Mobile. Sucht euch einen schönen Platz, an...'

19

2. Bild zum Schritt 18 für das Bastel- und DIY-Abenteuer für Kinder: 'Fertig ist euer Mobile. Sucht euch einen schönen Platz, an...'

20

Have fun trying it out!

Does the garden also look beautiful on a tree or branch??

Materials

 Branches
 1 Garten shears
 Package cord
All links marked with a shopping cart lead to Amazon - here we have selected products that we would order ourselves and in part also ordered. In a qualified purchase via the advertising link, we as Amazon partner receive a commission, for you there are no costs. You thus support our cost- and advertising banner-free, educational offer.

Directions

1

Cut different branches with a garden shear to approximately the same length.

Bild zum Schritt 1 für das Bastel- und DIY-Abenteuer für Kinder: 'Unterschiedliche Äste mit einer Gartenschere auf eine annähernd gleiche Länge...'

2

Cut off about 50 cm of the cord from a package cord.

Bild zum Schritt 2 für das Bastel- und DIY-Abenteuer für Kinder: 'Von einer Paketschnur ca. 50 cm der Schnur abschneiden.'

3

Select a plug and tie the cord as follows:
First you lay a loop.
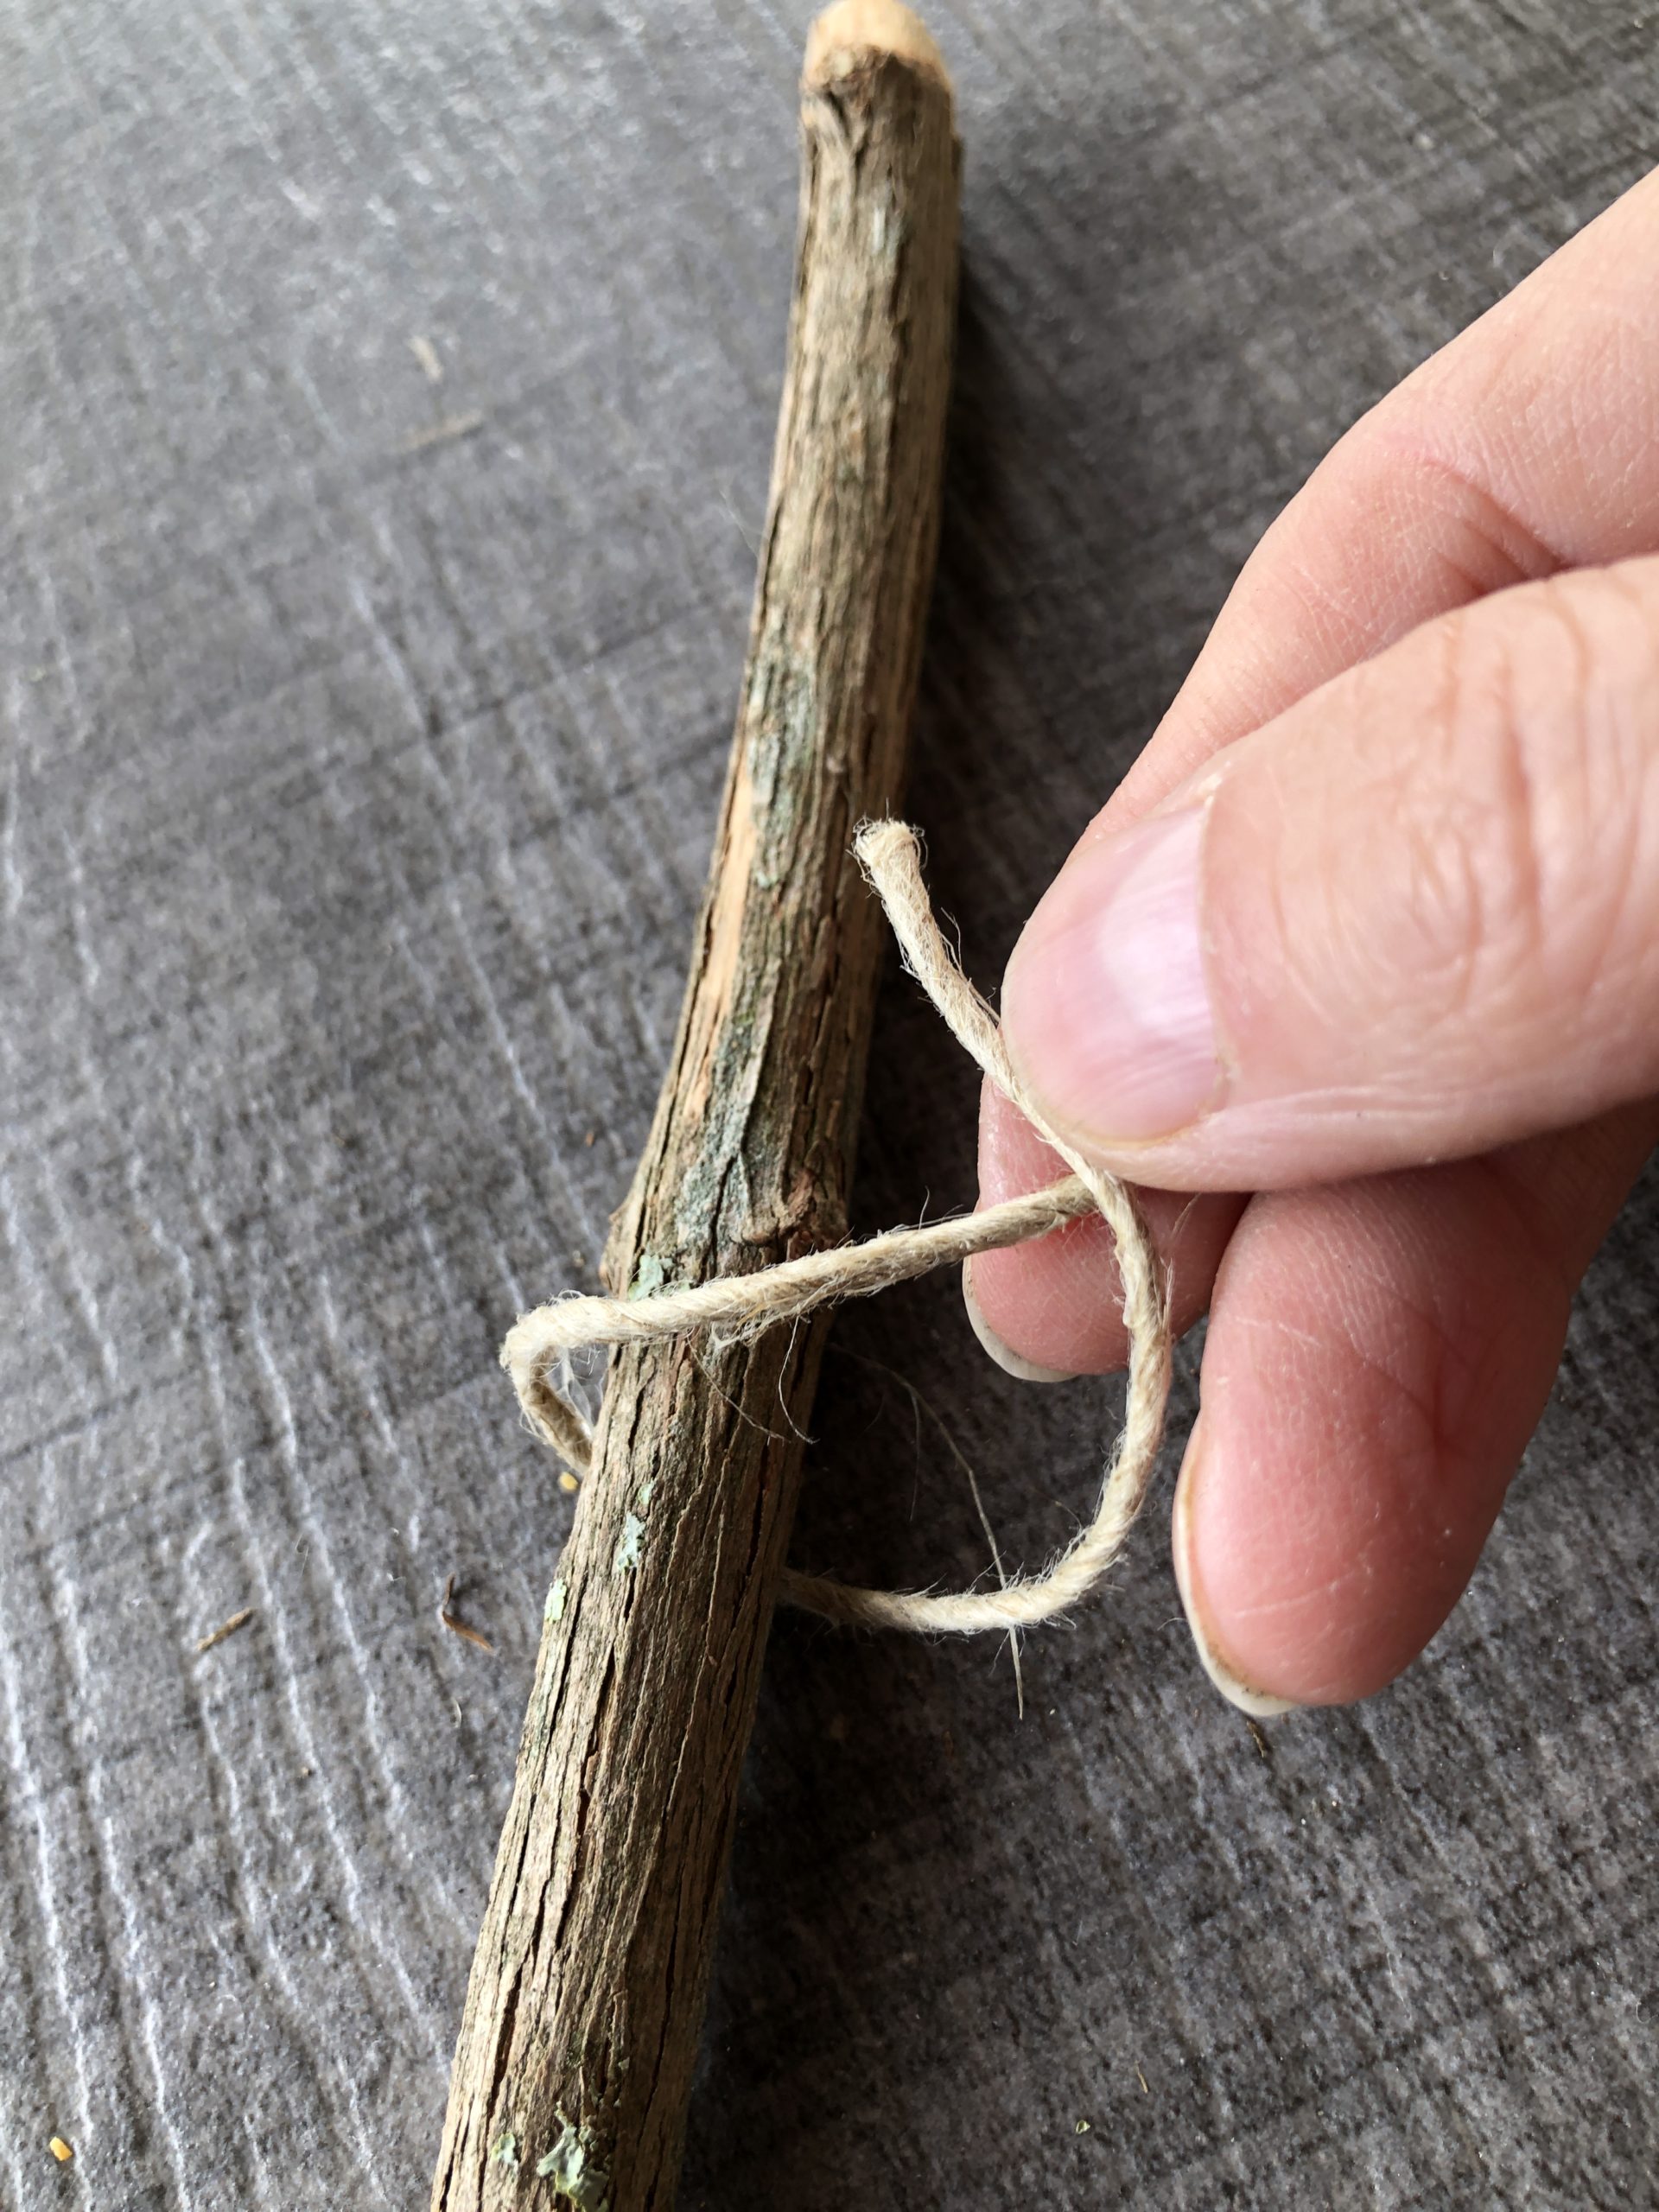
Bild zum Schritt 3 für das Bastel- und DIY-Abenteuer für Kinder: 'Einen Stecken auswählen und die Schnur, wie folgt, festbinden: ...'

4

Then you put the end of the cord through the loop.

Bild zum Schritt 4 für das Bastel- und DIY-Abenteuer für Kinder: 'Dann steckt ihr das Schnurende durch die Schlaufe.'

5

Now you pull the cord tight.

Bild zum Schritt 5 für das Bastel- und DIY-Abenteuer für Kinder: 'Jetzt zieht ihr die Schnur fest.'

6

Repeats the process so that a node is created.
Then tie a knot to it.
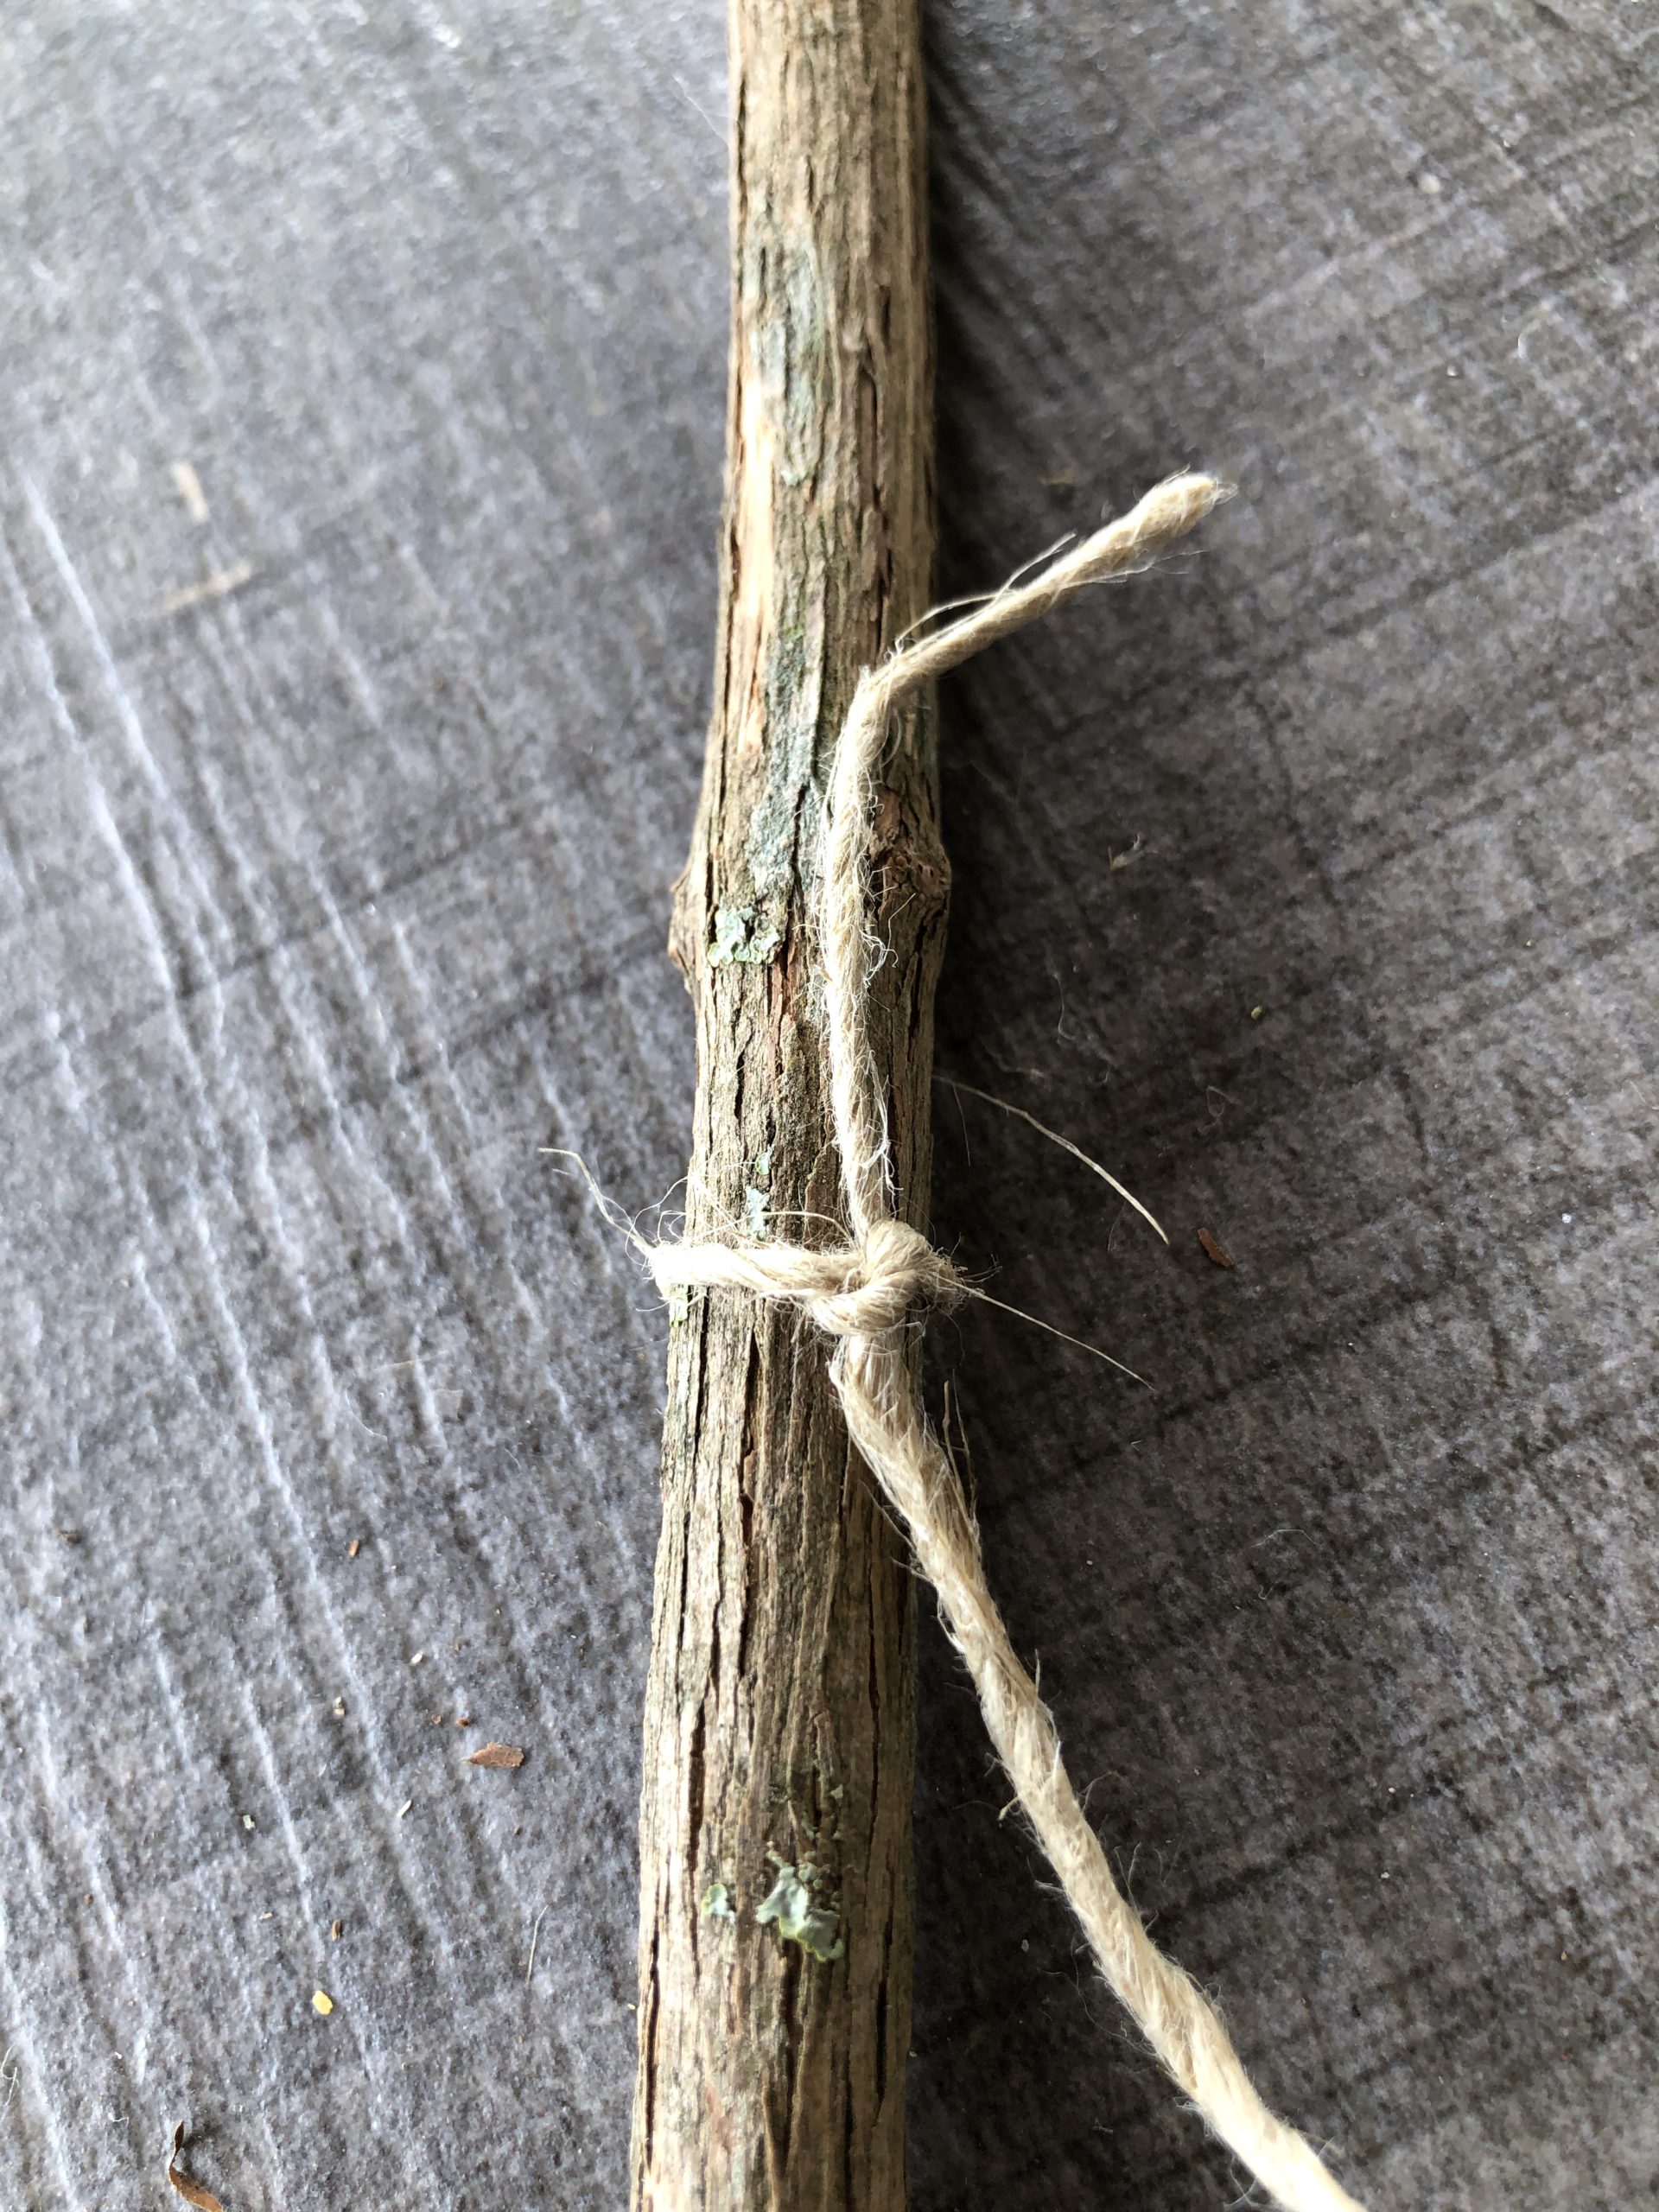
Bild zum Schritt 6 für das Bastel- und DIY-Abenteuer für Kinder: 'Wiederholt den Vorgang, so dass ein Knoten entsteht.  ...'

7

Now take a second wooden stick.
Puts a loose loop again with the cord.
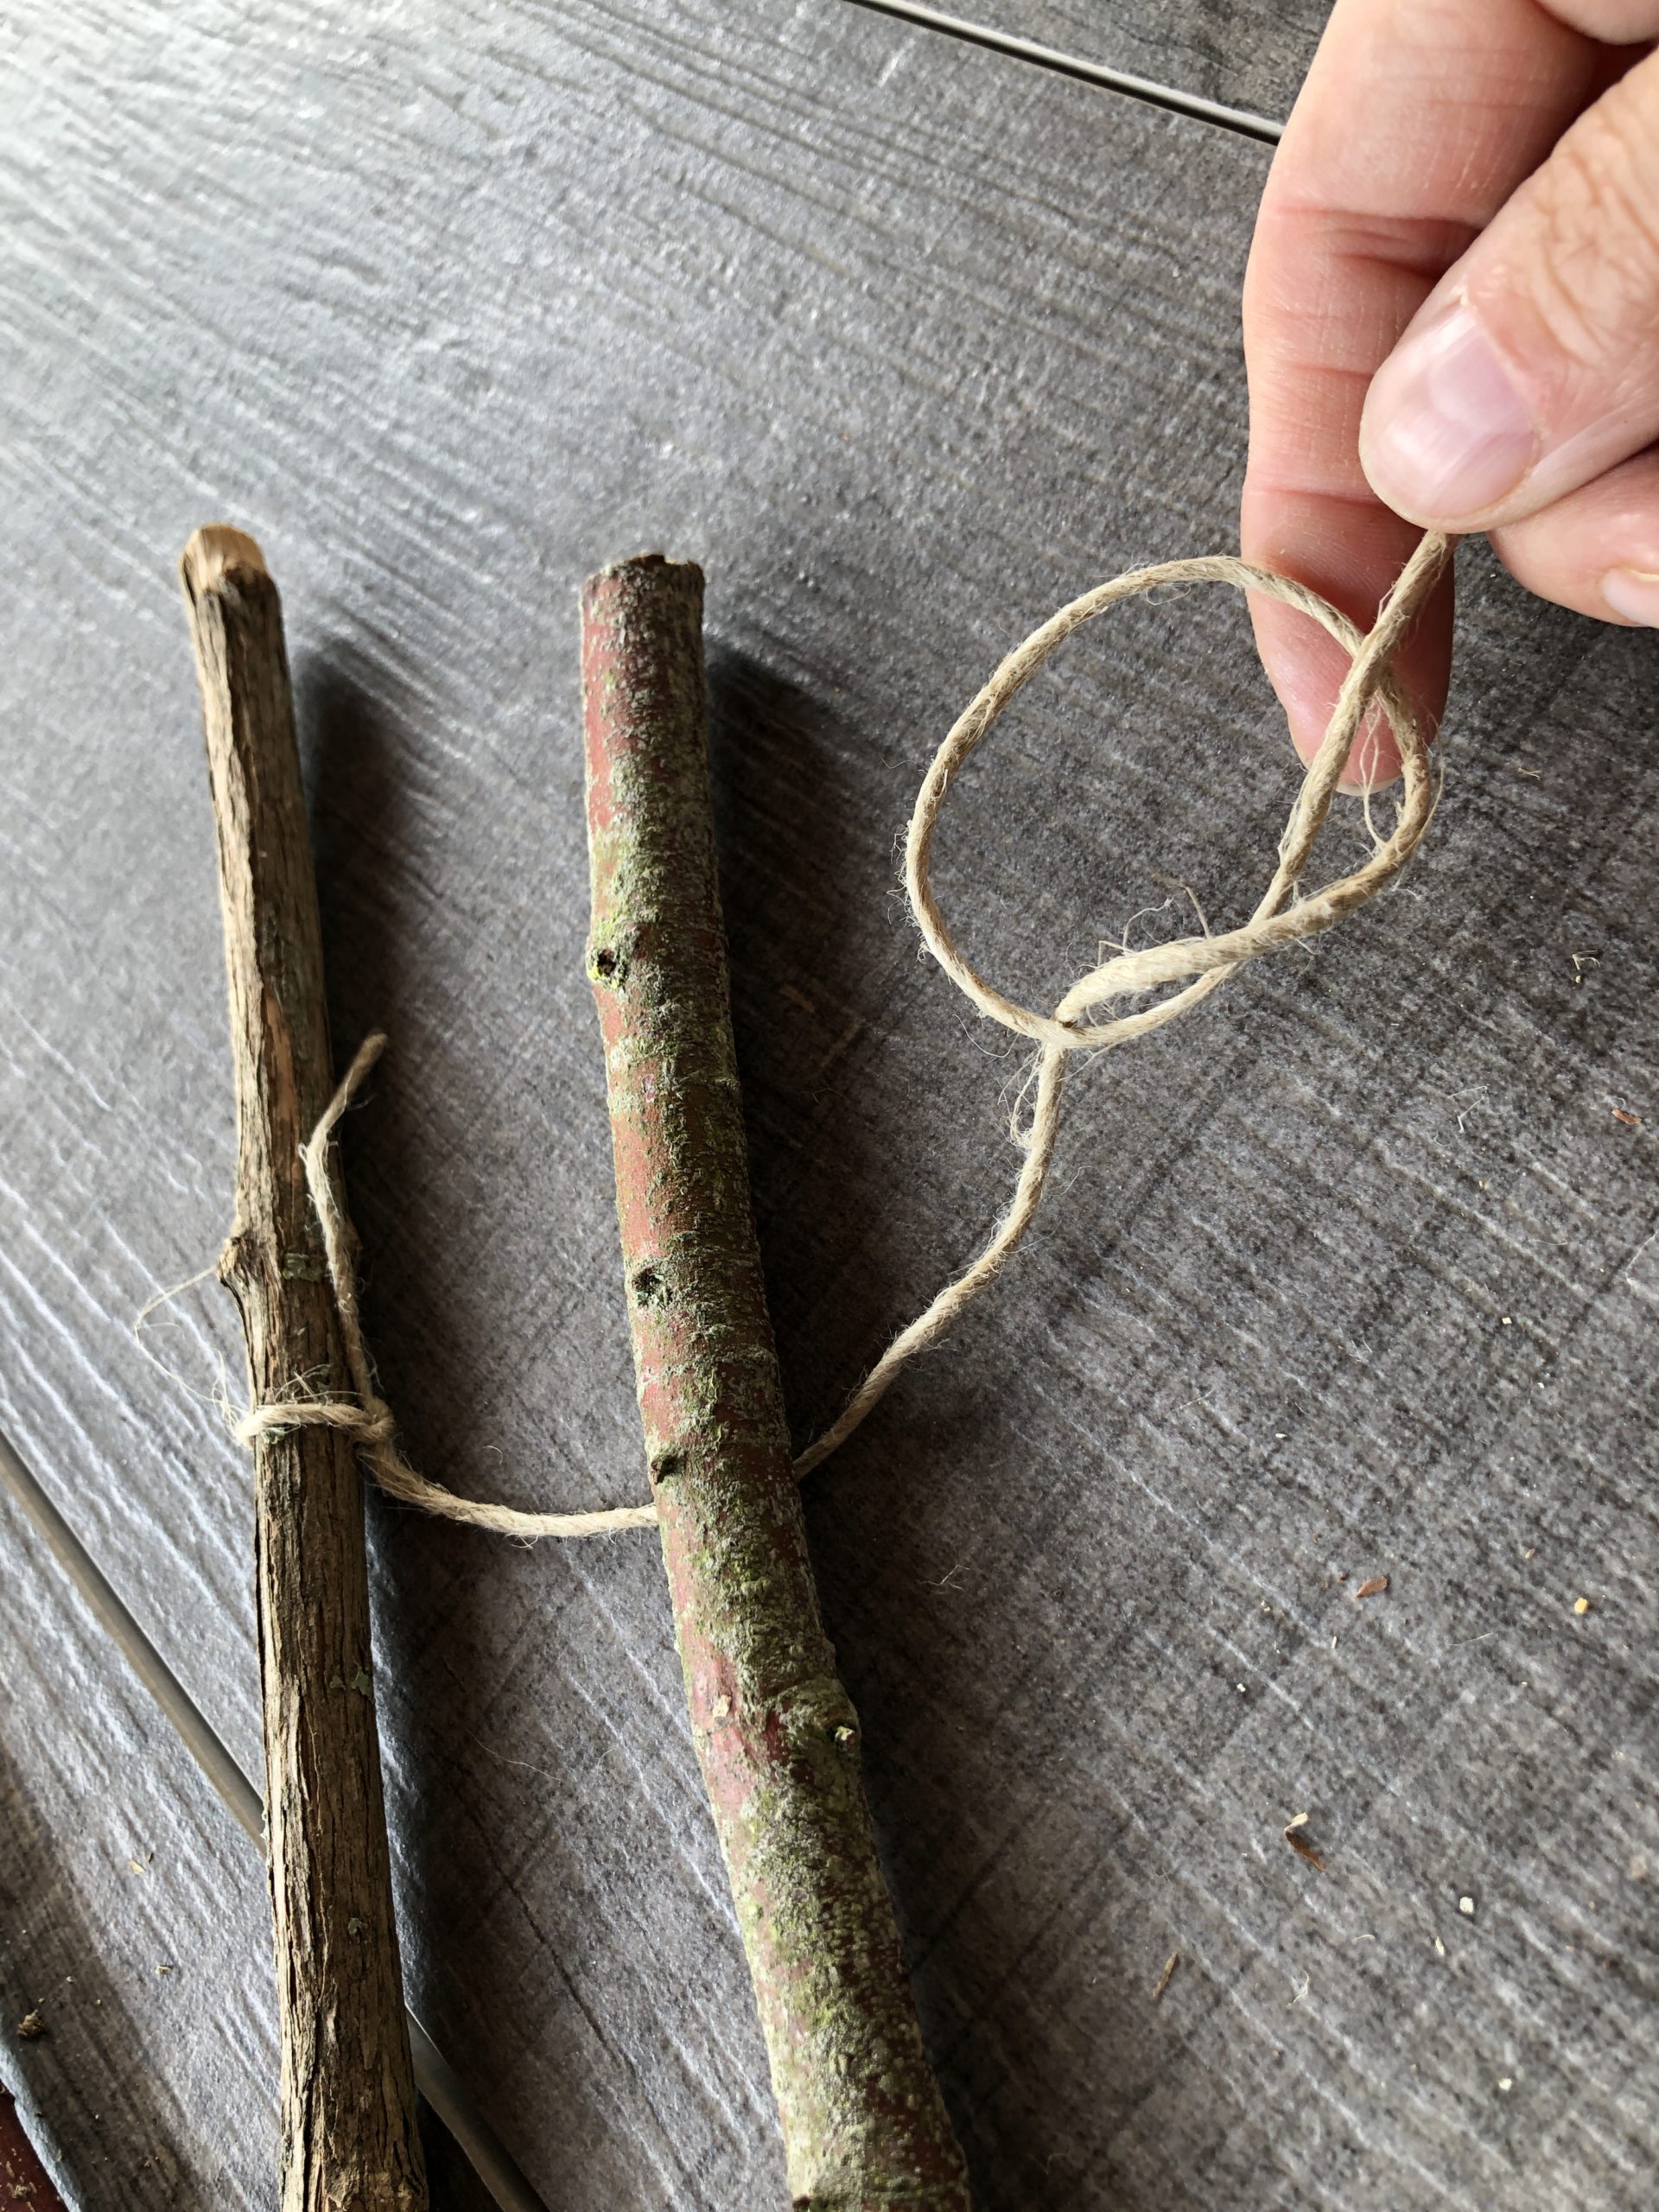
Bild zum Schritt 7 für das Bastel- und DIY-Abenteuer für Kinder: 'Jetzt nehmt ihr einen zweiten Holzstab.   Legt erneut...'

8

Now push the wooden stick through the loop. Make sure that the branches lie as close to each other as possible and then tighten the cord.
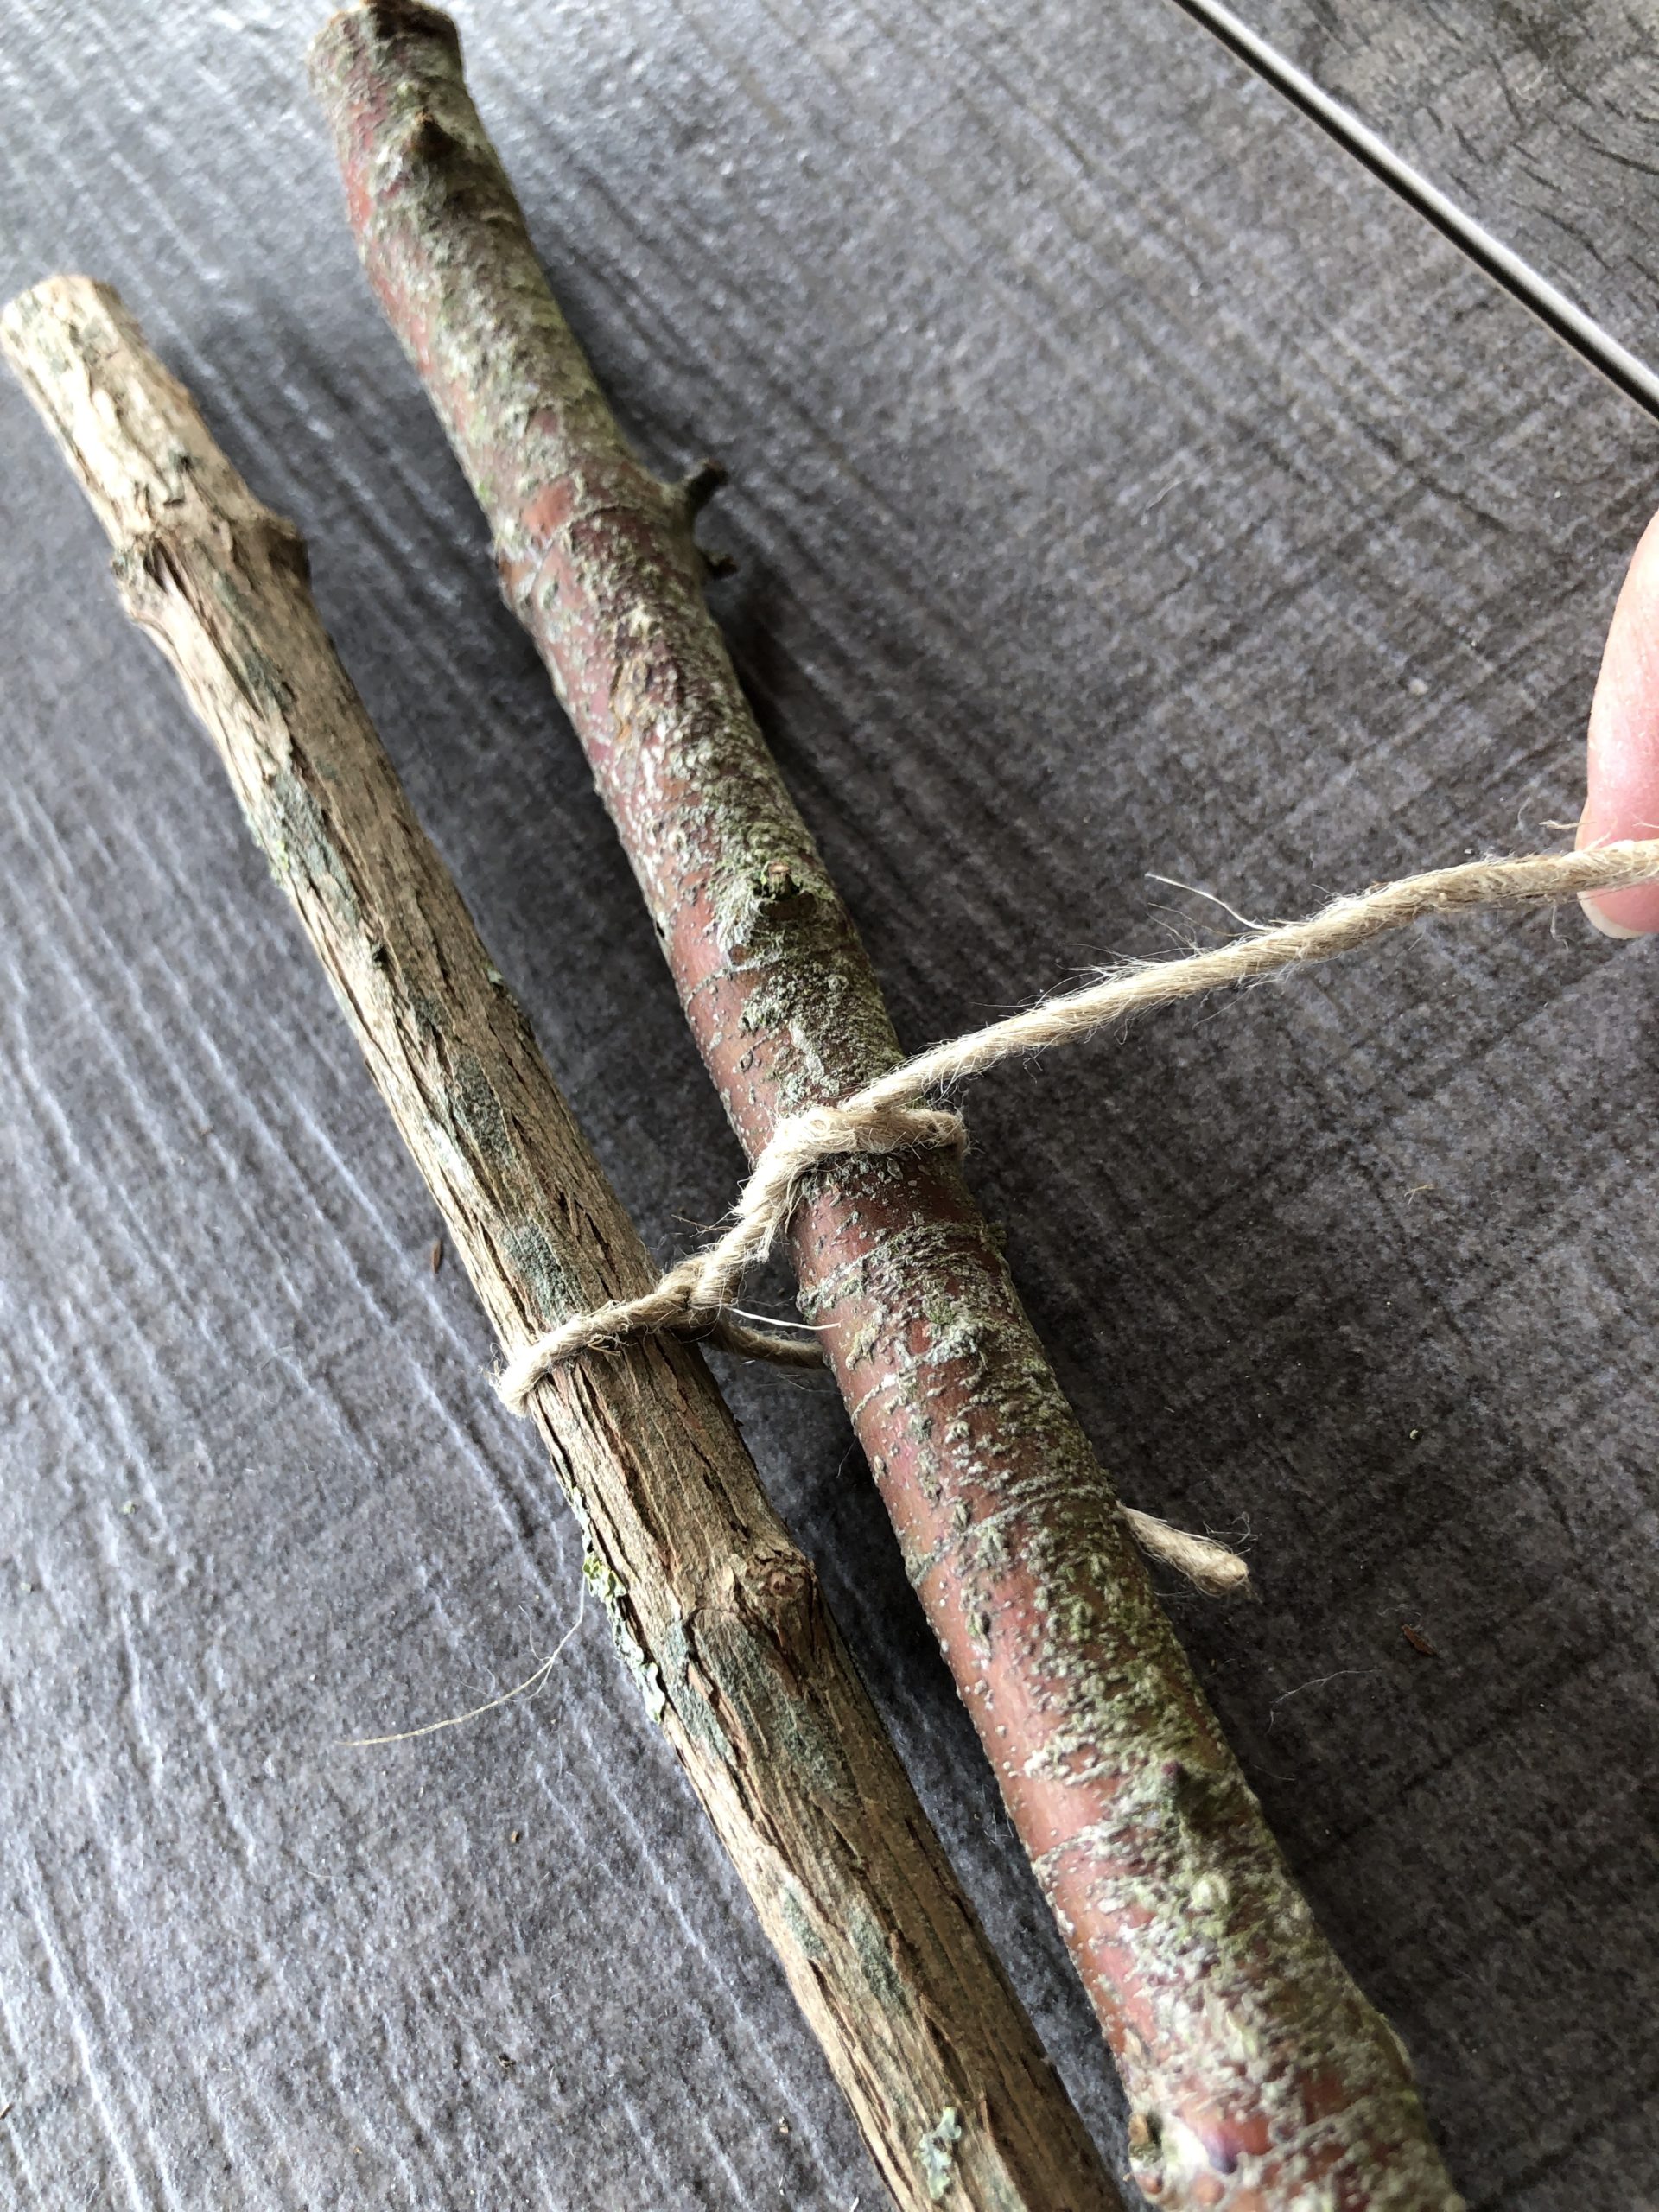
Bild zum Schritt 8 für das Bastel- und DIY-Abenteuer für Kinder: 'Nun schiebt ihr den Holzstab durch die Schlaufe. Achtet darauf,...'

9

Repeat the process and place another loop, push through the next rod and tighten the cord again. You do this until the desired length of your mobile is reached. Make sure that the cord sits in the middle of the individual rods so that the branches can not slip out later.
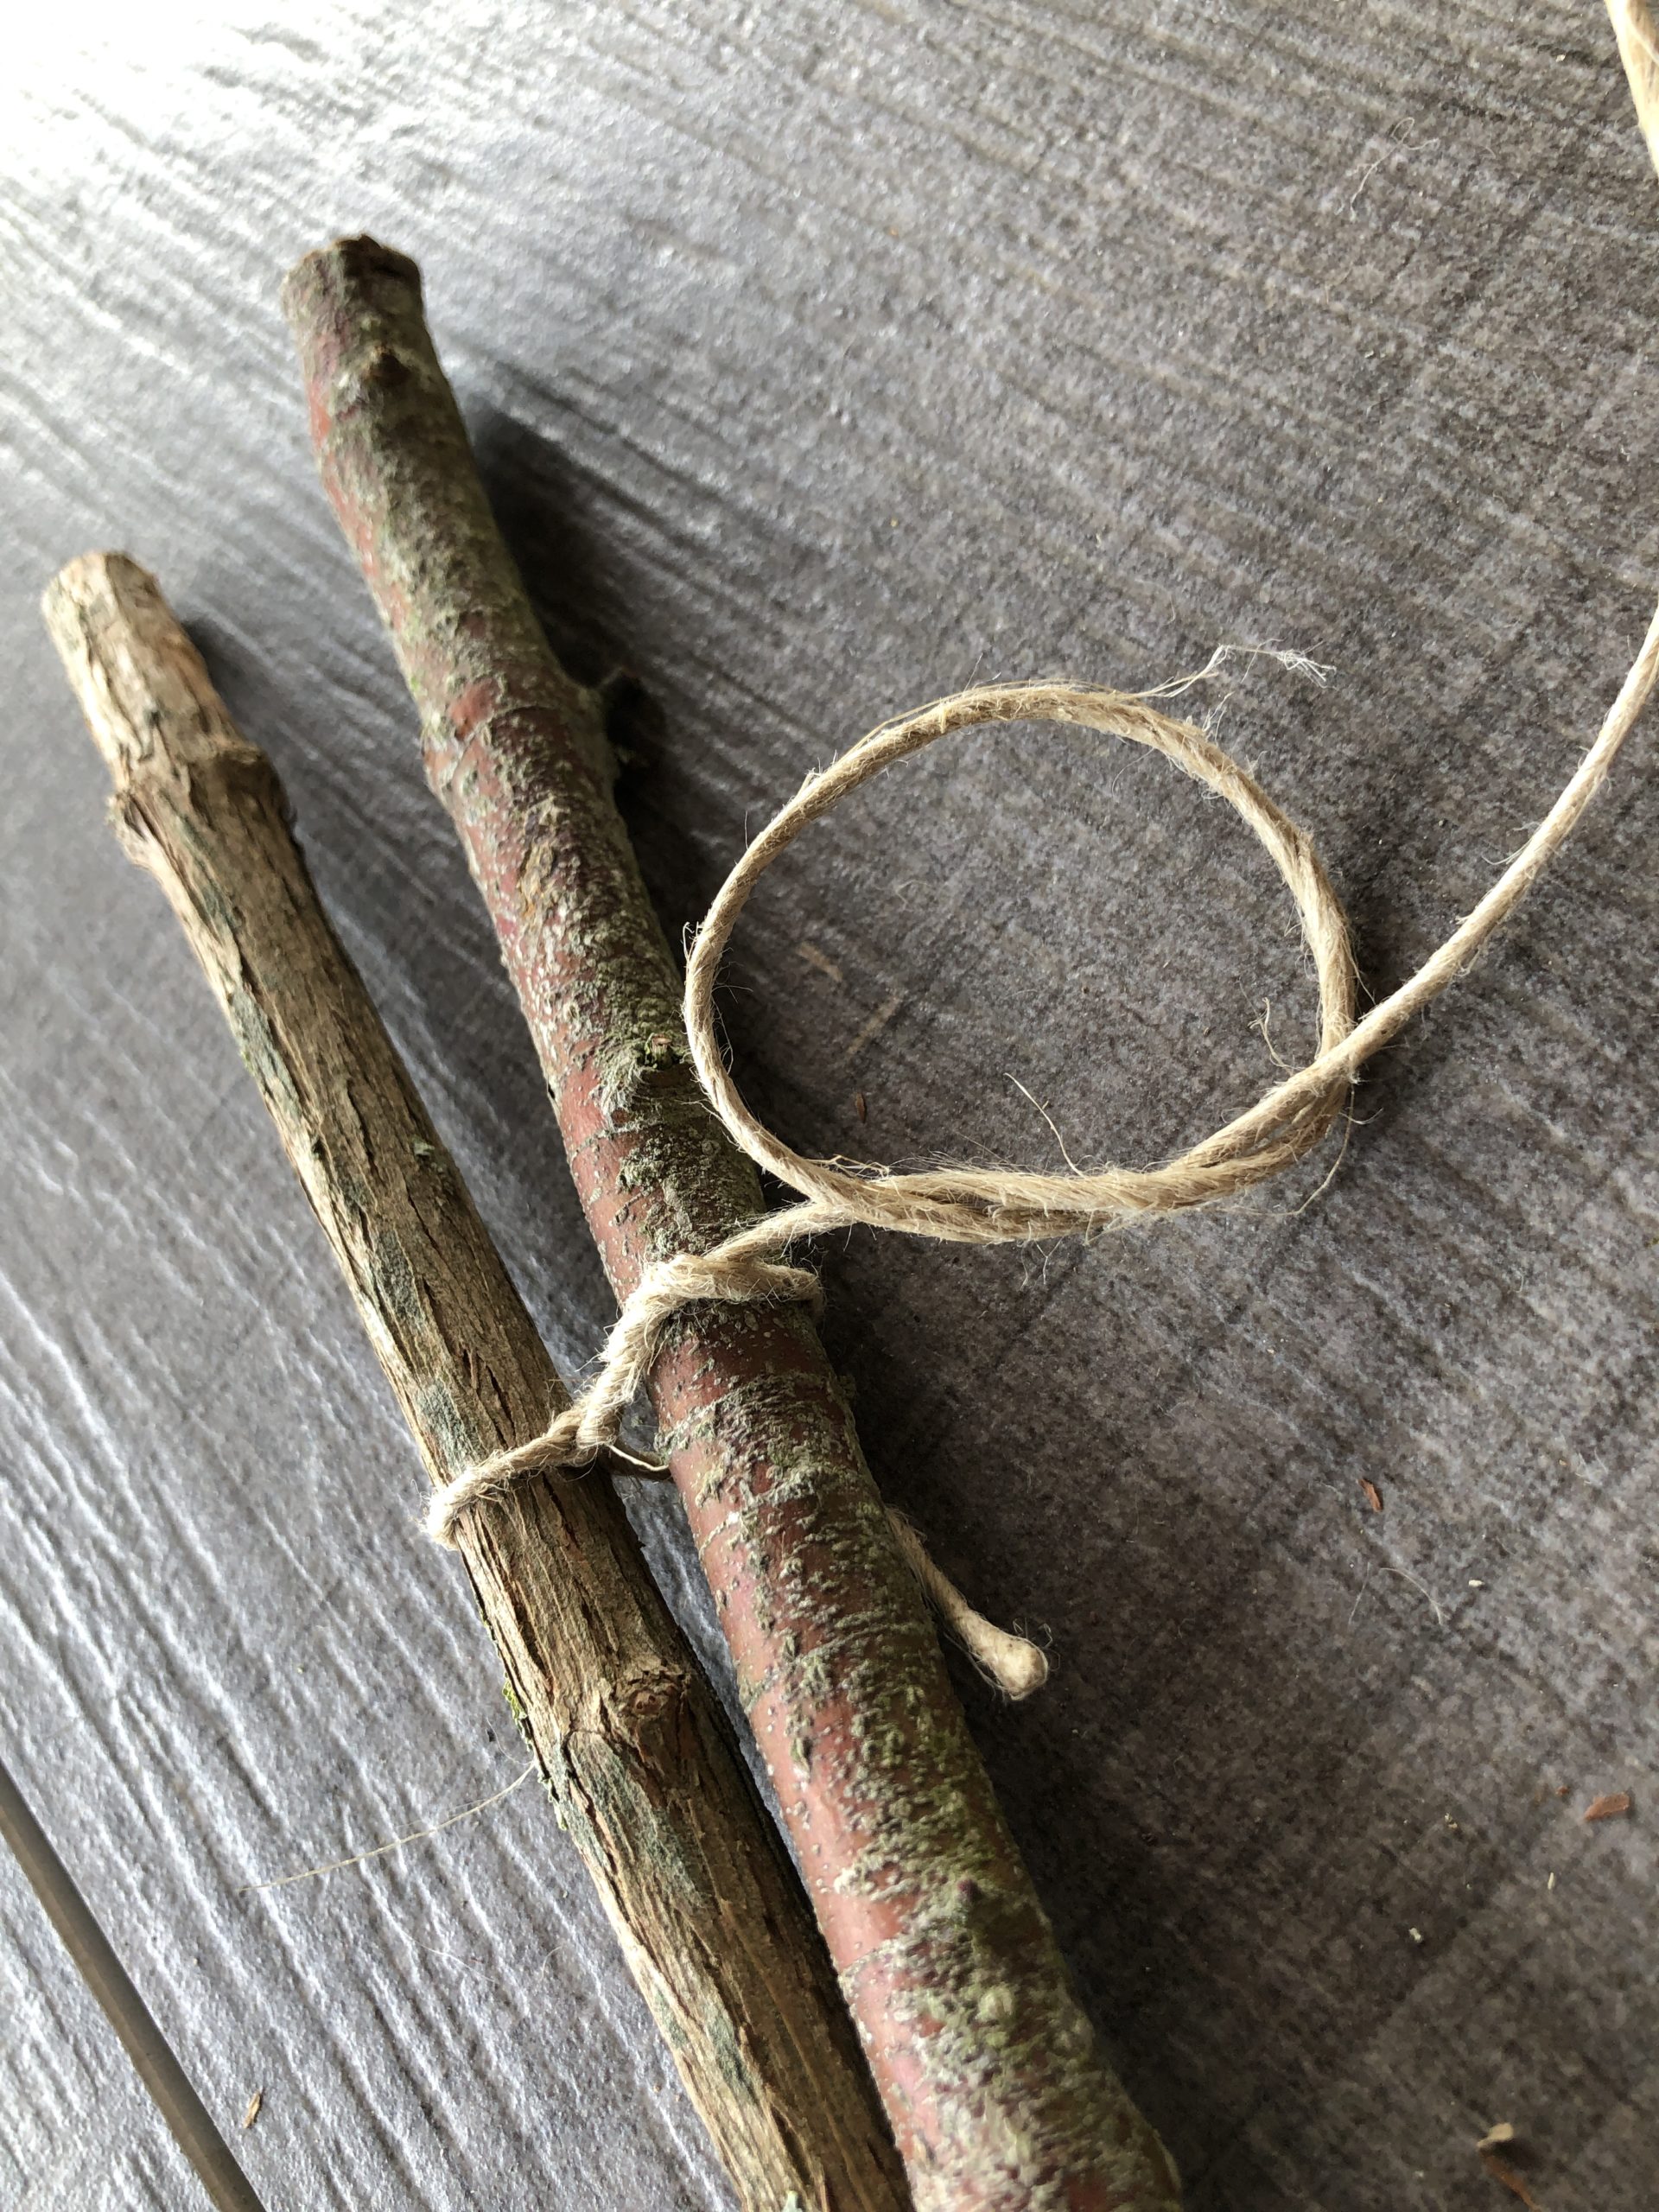
Bild zum Schritt 9 für das Bastel- und DIY-Abenteuer für Kinder: 'Wiederholt den Vorgang und legt eine weitere Schlaufe, schiebt den...'

10

2. Bild zum Schritt 9 für das Bastel- und DIY-Abenteuer für Kinder: 'Wiederholt den Vorgang und legt eine weitere Schlaufe, schiebt den...'

11

3. Bild zum Schritt 10 für das Bastel- und DIY-Abenteuer für Kinder: 'Wiederholt den Vorgang und legt eine weitere Schlaufe, schiebt den...'

12

We have used 10 to 12 wooden sticks. However, it also depends on the thick of your wooden sticks.
Leave some more string to tie a loop to hang up.
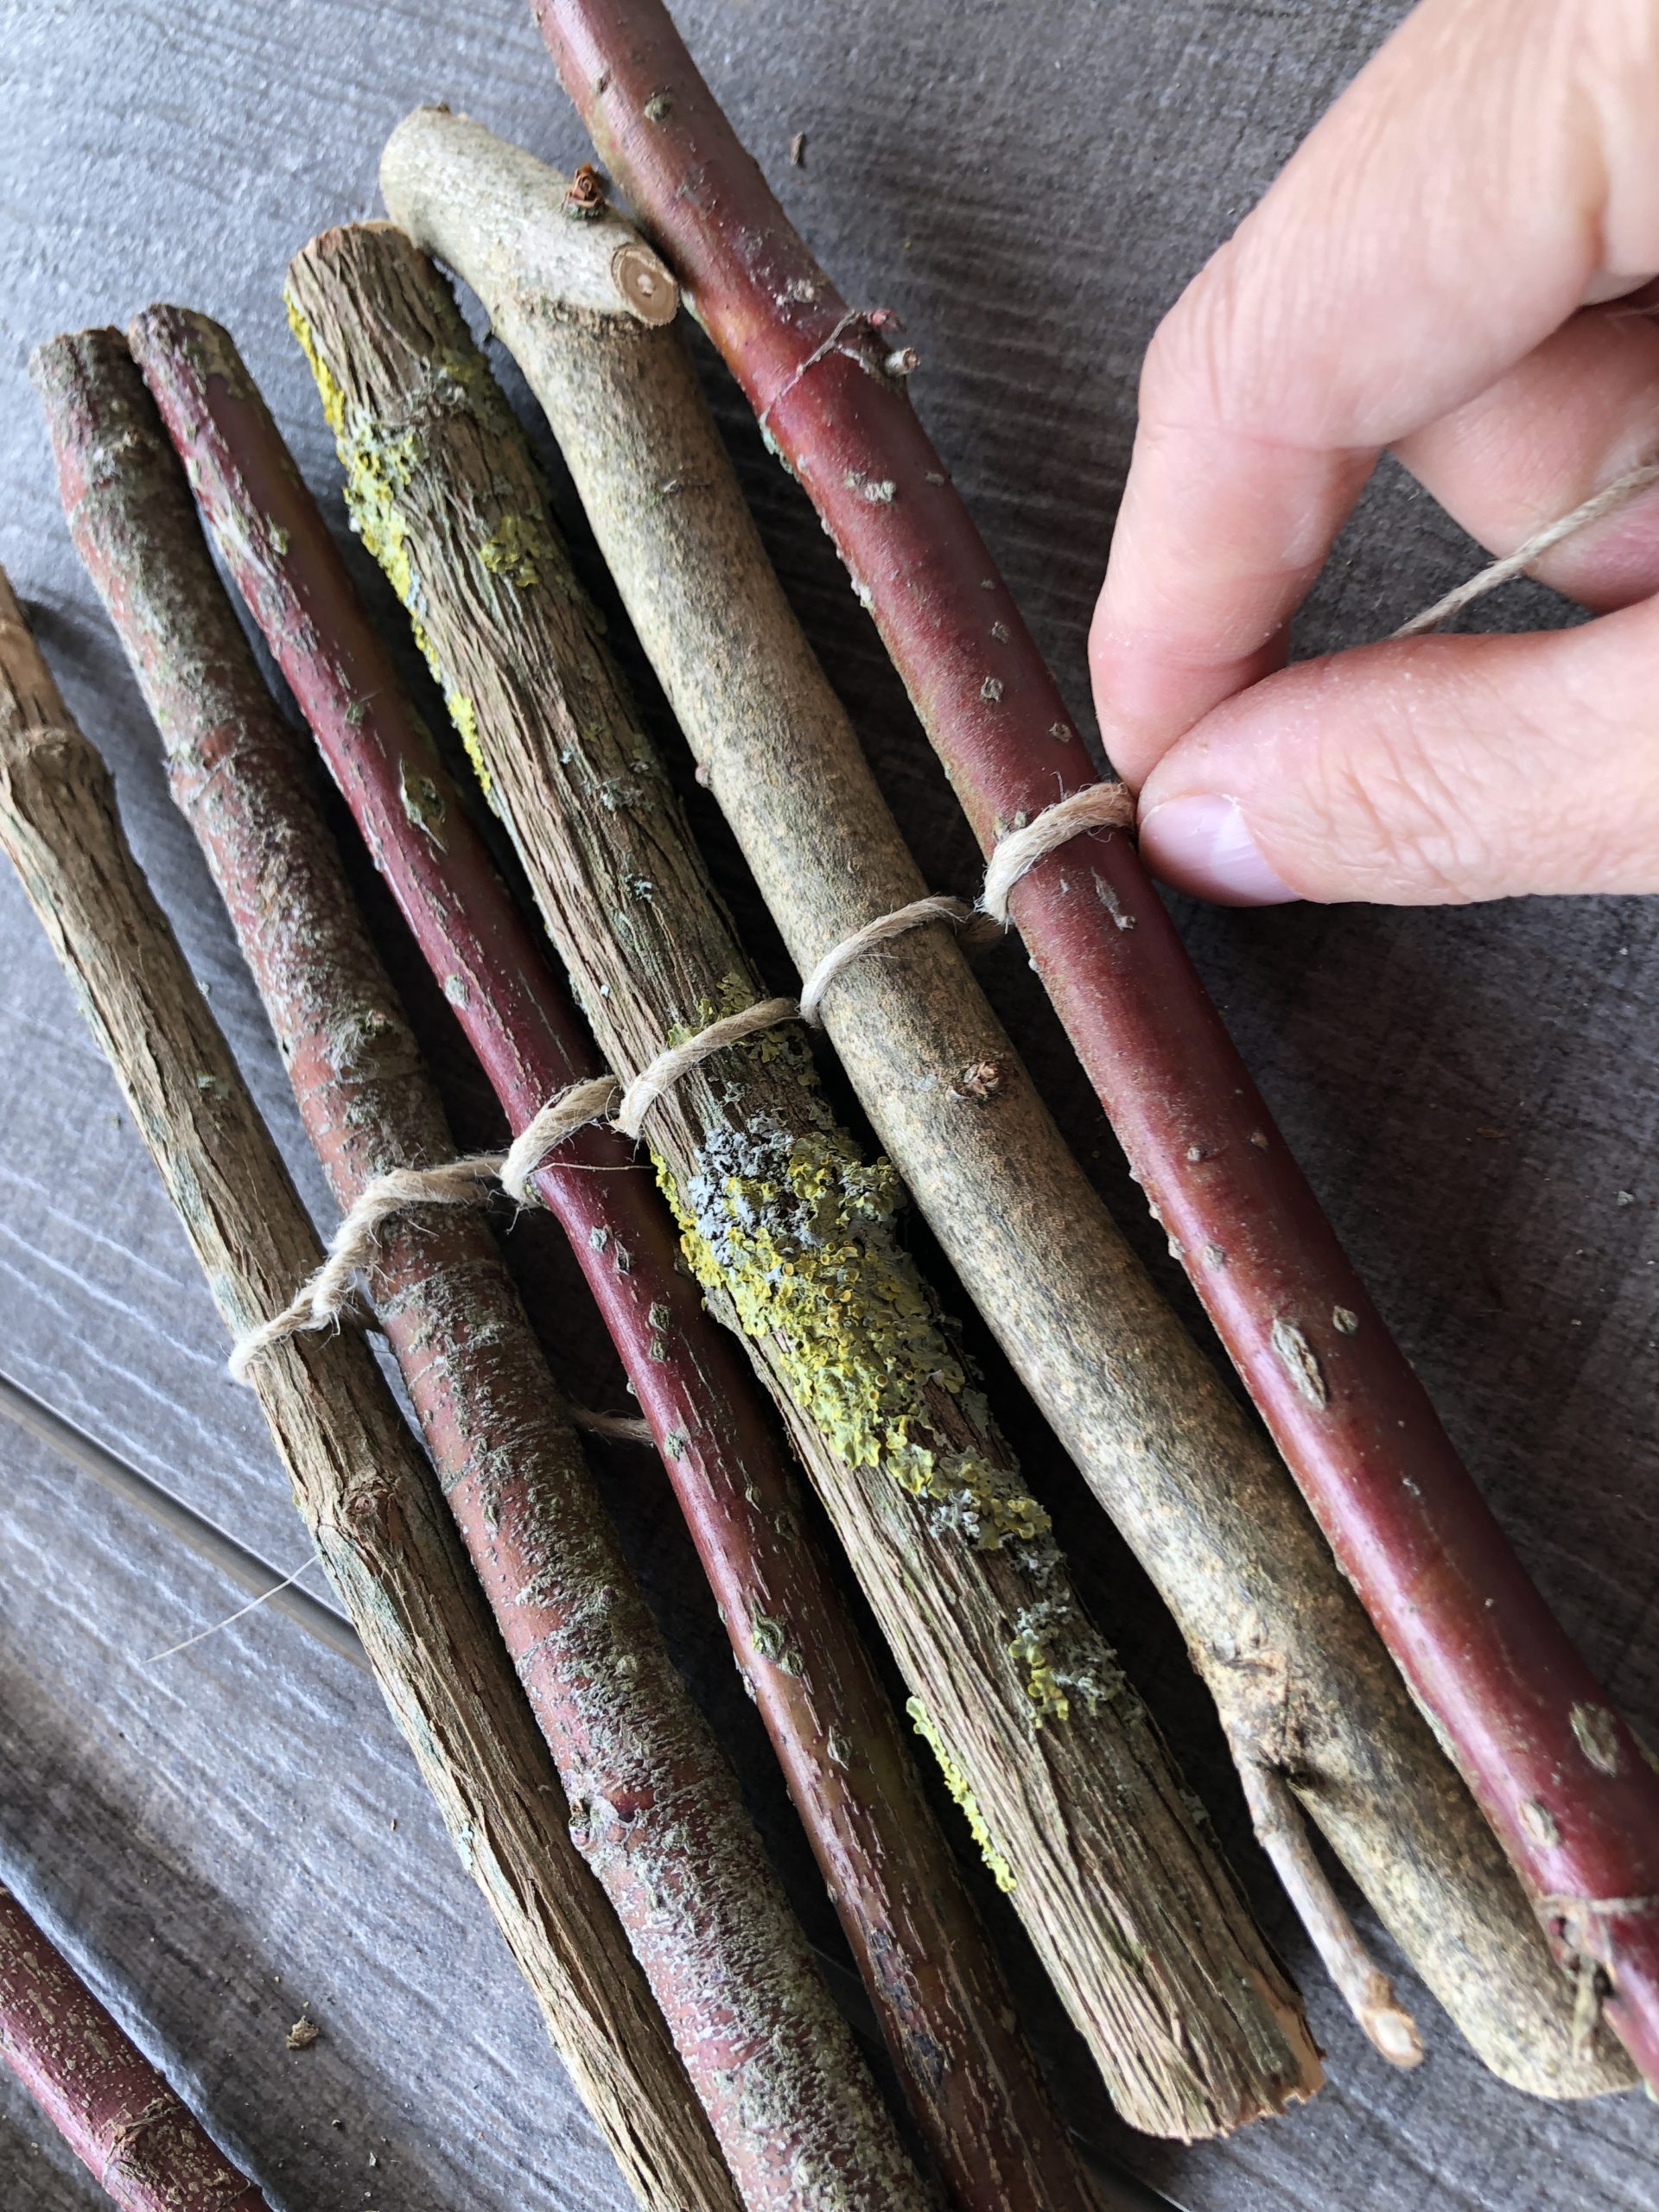
Bild zum Schritt 12 für das Bastel- und DIY-Abenteuer für Kinder: 'Wir haben 10 bis 12 Holzstäbe verwendet. Allerdings kommt es...'

13

Put a large loop and tie a knot.

Bild zum Schritt 13 für das Bastel- und DIY-Abenteuer für Kinder: 'Legt dafür eine große Schlaufe und bindet einen Knoten.'

14

At the suspension you lift your bound branches very slowly.
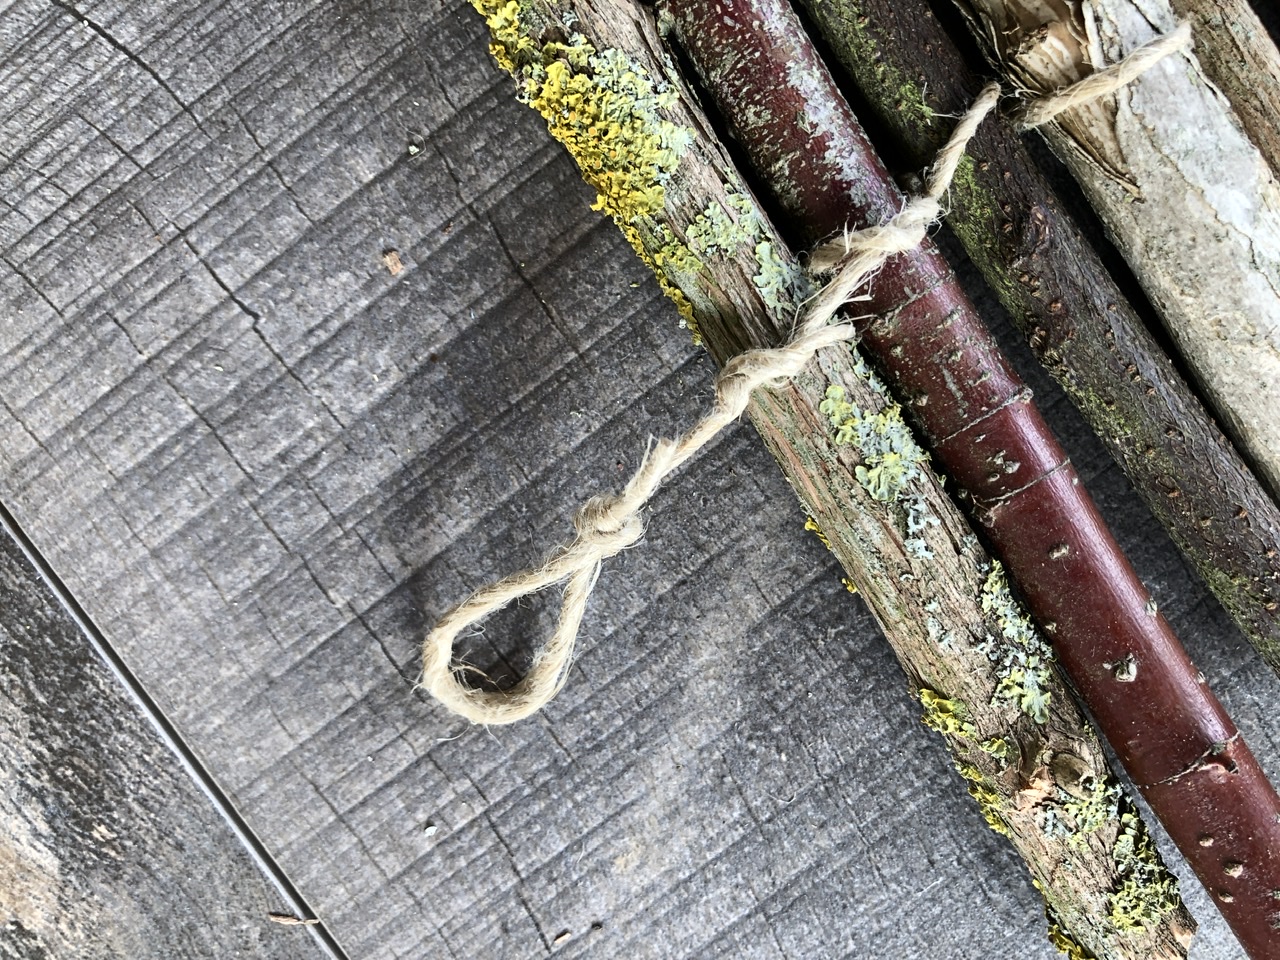
Bild zum Schritt 14 für das Bastel- und DIY-Abenteuer für Kinder: 'An der Aufhängun hebt ihr nun ganz langsam eure gebundenen...'

15

2. Bild zum Schritt 14 für das Bastel- und DIY-Abenteuer für Kinder: 'An der Aufhängun hebt ihr nun ganz langsam eure gebundenen...'

16

3. Bild zum Schritt 15 für das Bastel- und DIY-Abenteuer für Kinder: 'An der Aufhängun hebt ihr nun ganz langsam eure gebundenen...'

17

4. Bild zum Schritt 16 für das Bastel- und DIY-Abenteuer für Kinder: 'An der Aufhängun hebt ihr nun ganz langsam eure gebundenen...'

18

Finished is your mobile. Find a nice place where it can turn easily!
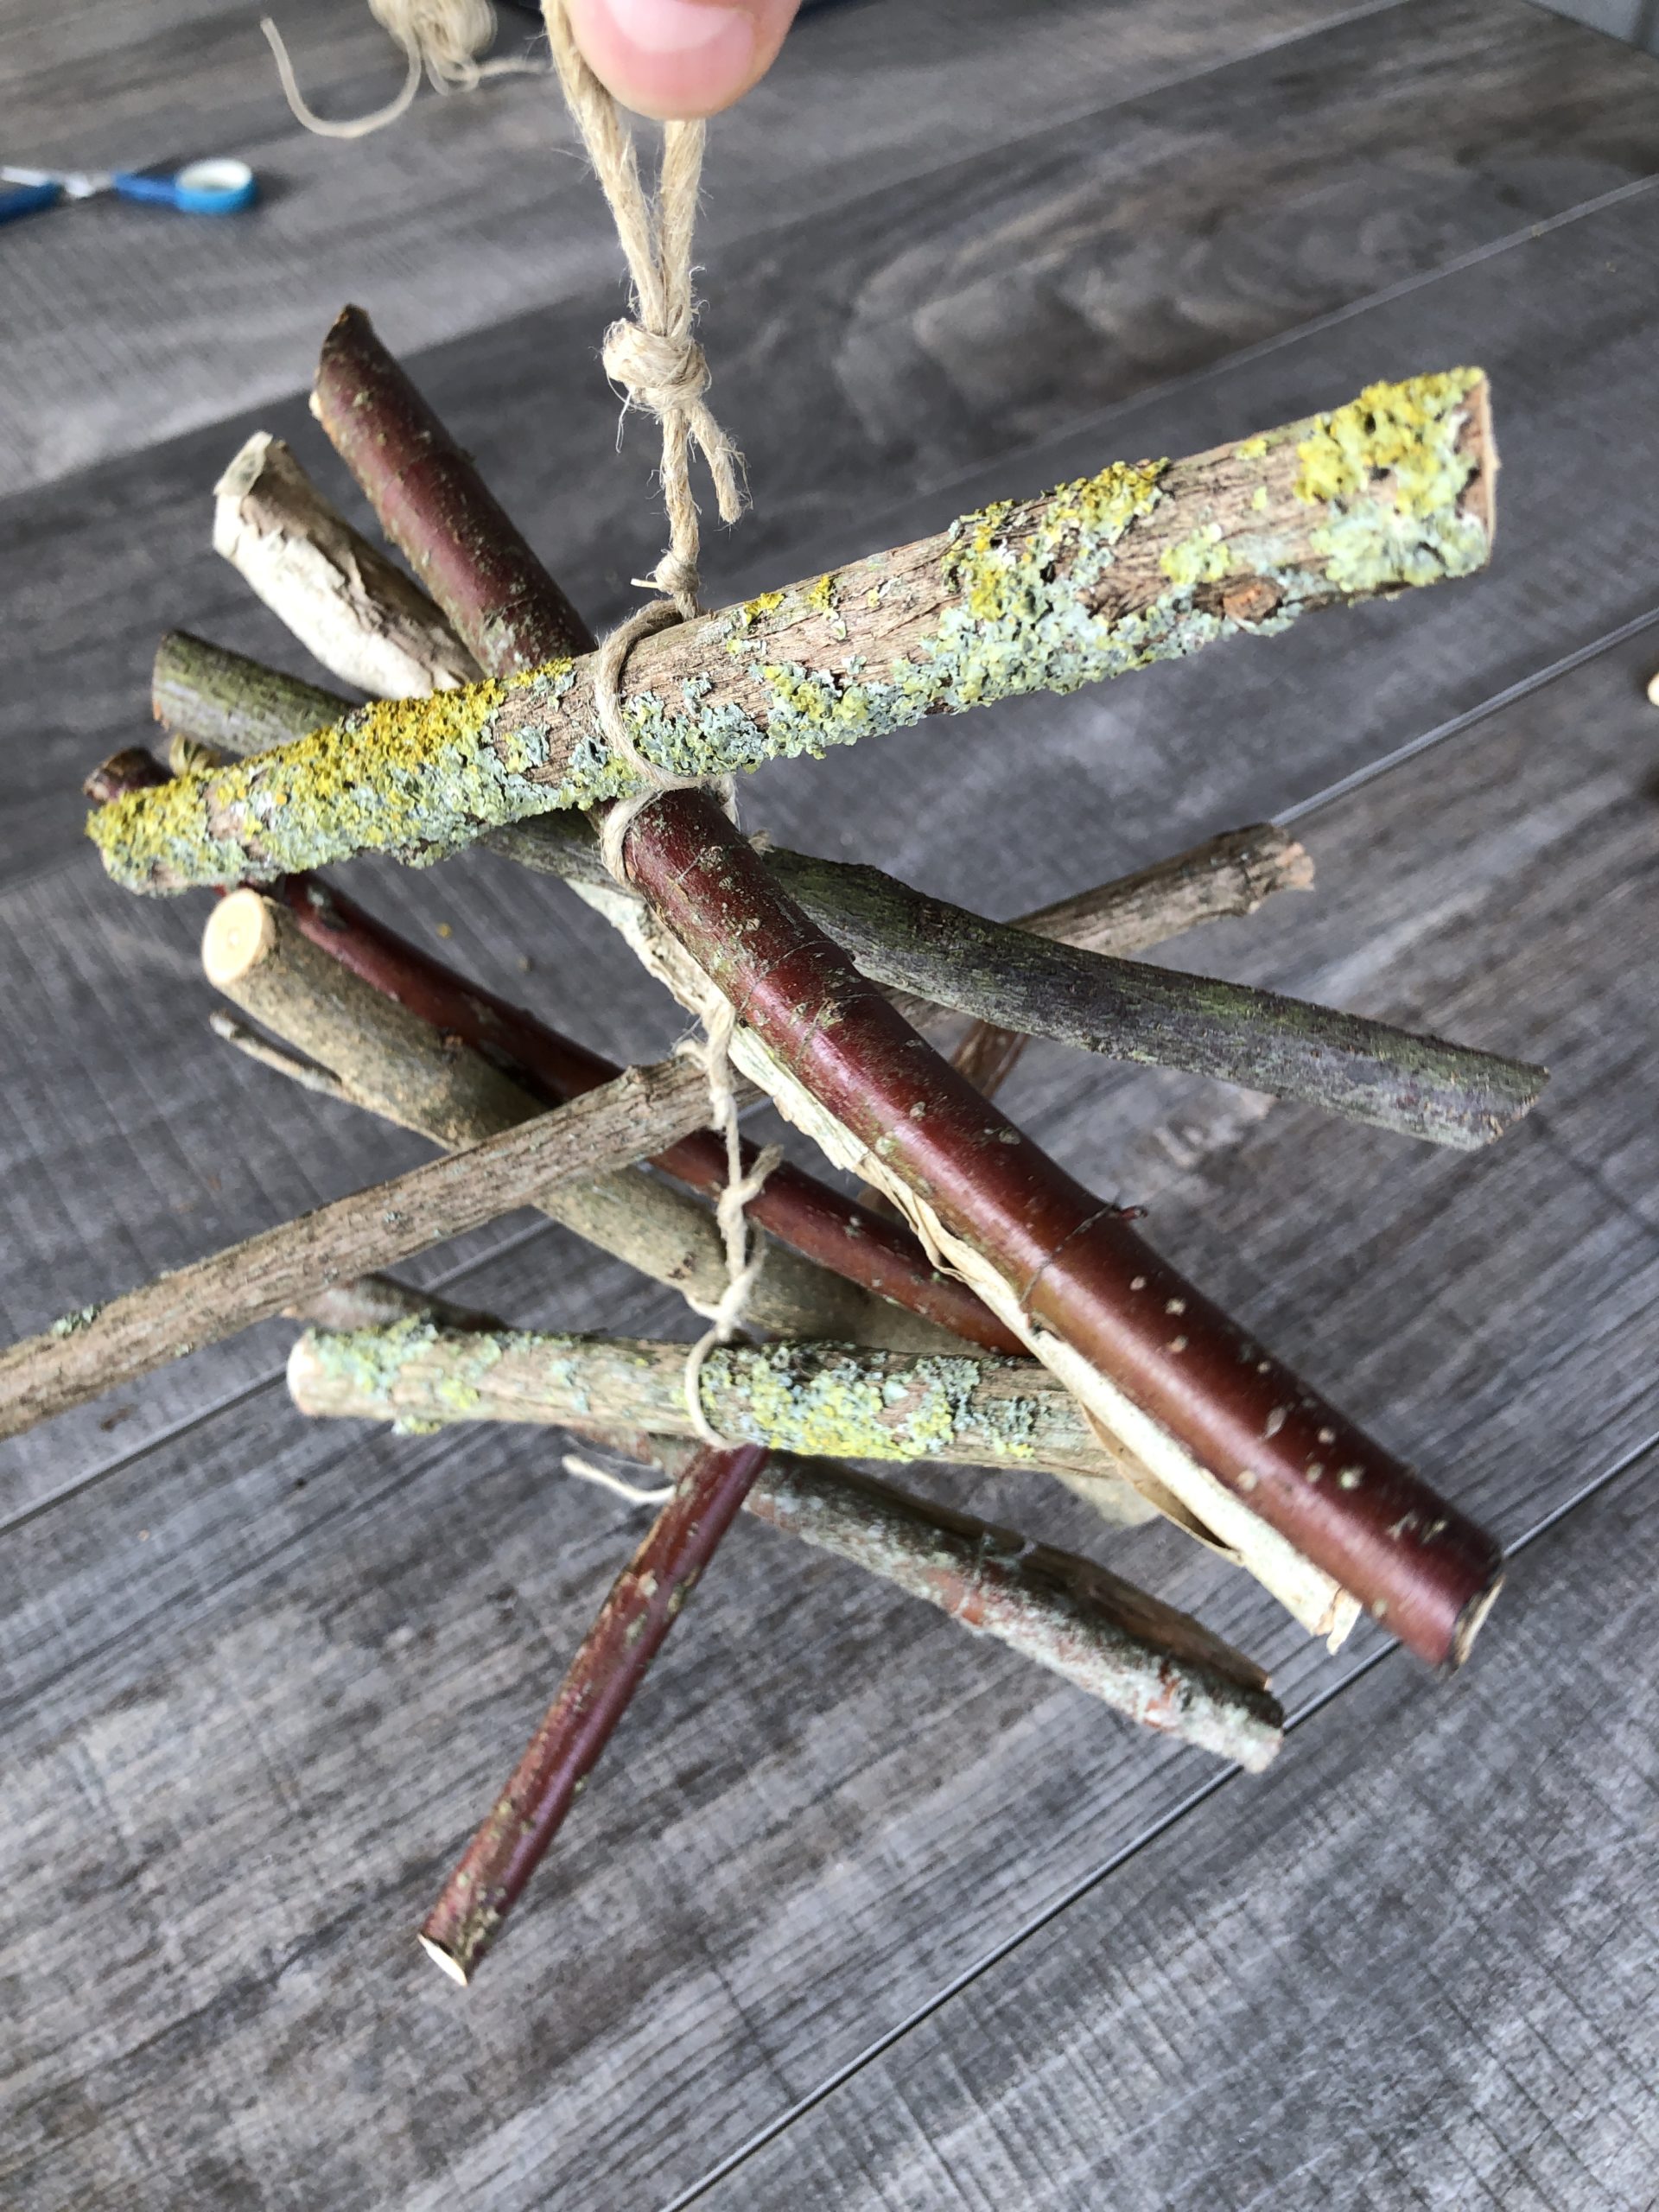
Bild zum Schritt 18 für das Bastel- und DIY-Abenteuer für Kinder: 'Fertig ist euer Mobile. Sucht euch einen schönen Platz, an...'

19

2. Bild zum Schritt 18 für das Bastel- und DIY-Abenteuer für Kinder: 'Fertig ist euer Mobile. Sucht euch einen schönen Platz, an...'

20

Have fun trying it out!

Does the garden also look beautiful on a tree or branch??

Crafting with wooden branches

Follow us on Facebook , Instagram and Pinterest
Don't miss any more adventures: Our bottle mail

Leave a Reply

Your email address will not be published.

The maximum upload file size: 5 MB. You can upload: image, document. Drop file here