With a few cuts, a dark red glowing apple becomes a fly mushroom.
Children do not always like to eat the peel of the apple, but this is the "Hingucker" with the fly fungus!
Therefore, the fly mushroom is a way to move the children to eat the bowl. Children's eyes will shine, and the apple will certainly love to be eaten.
Here is the instructions: You need a red apple, a knife and, if necessary, an apple cutter.
Media Education for Kindergarten and Hort

Relief in everyday life, targeted promotion of individual children, independent learning and - without any pre-knowledge already usable by the youngest!
All set.

The core house stands out.
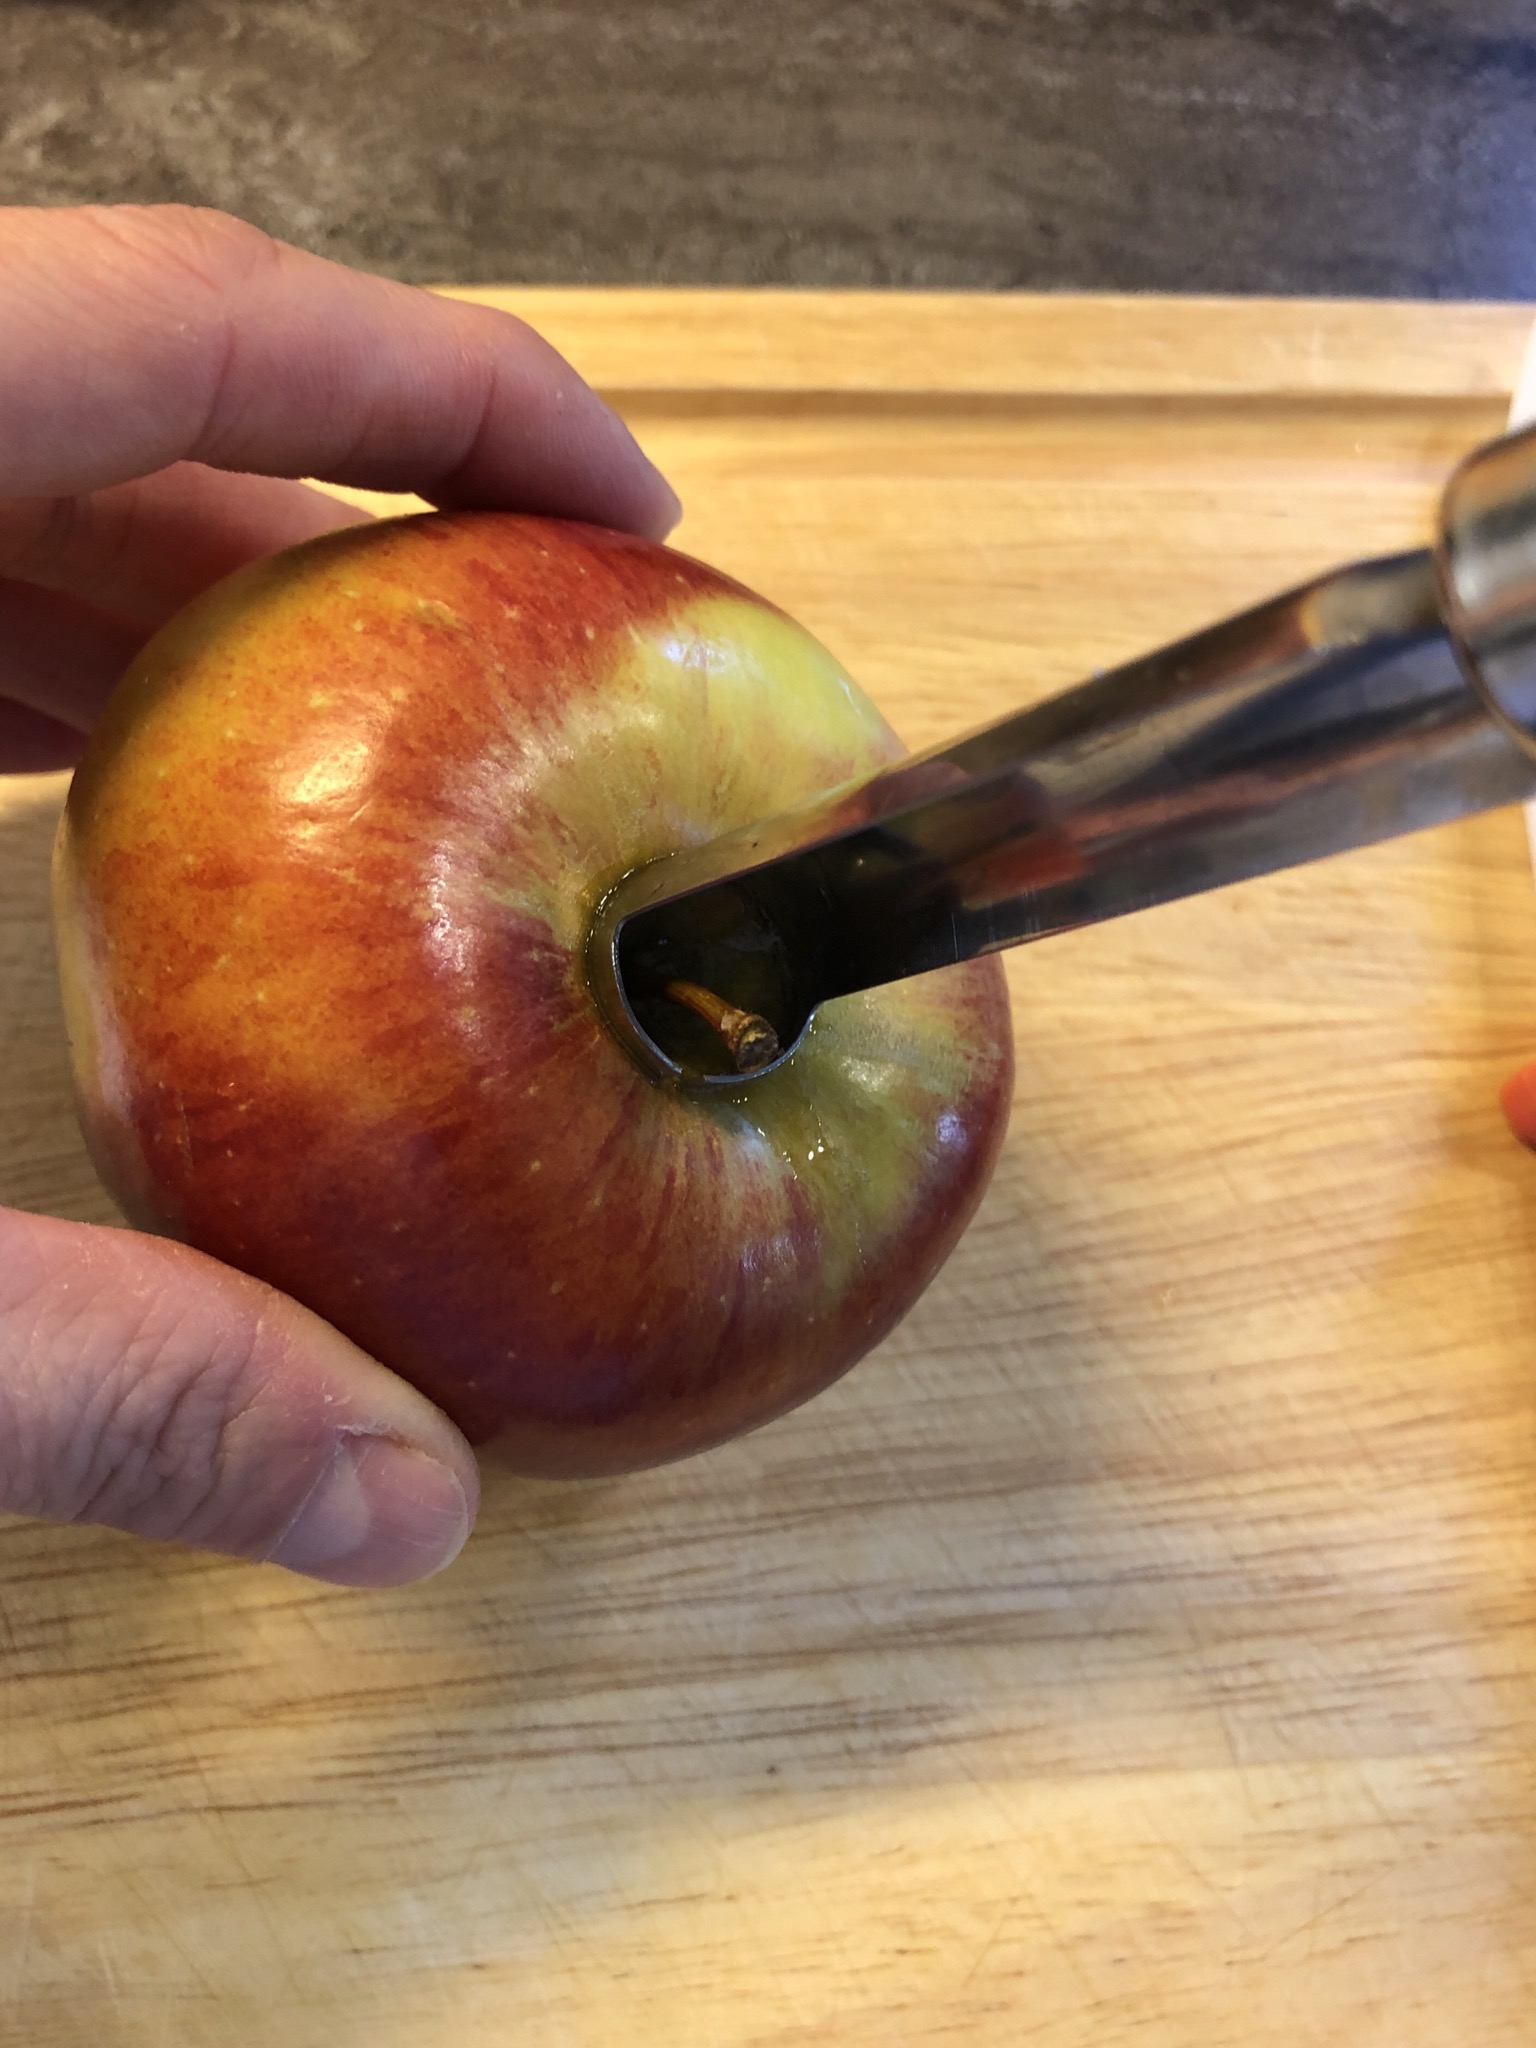


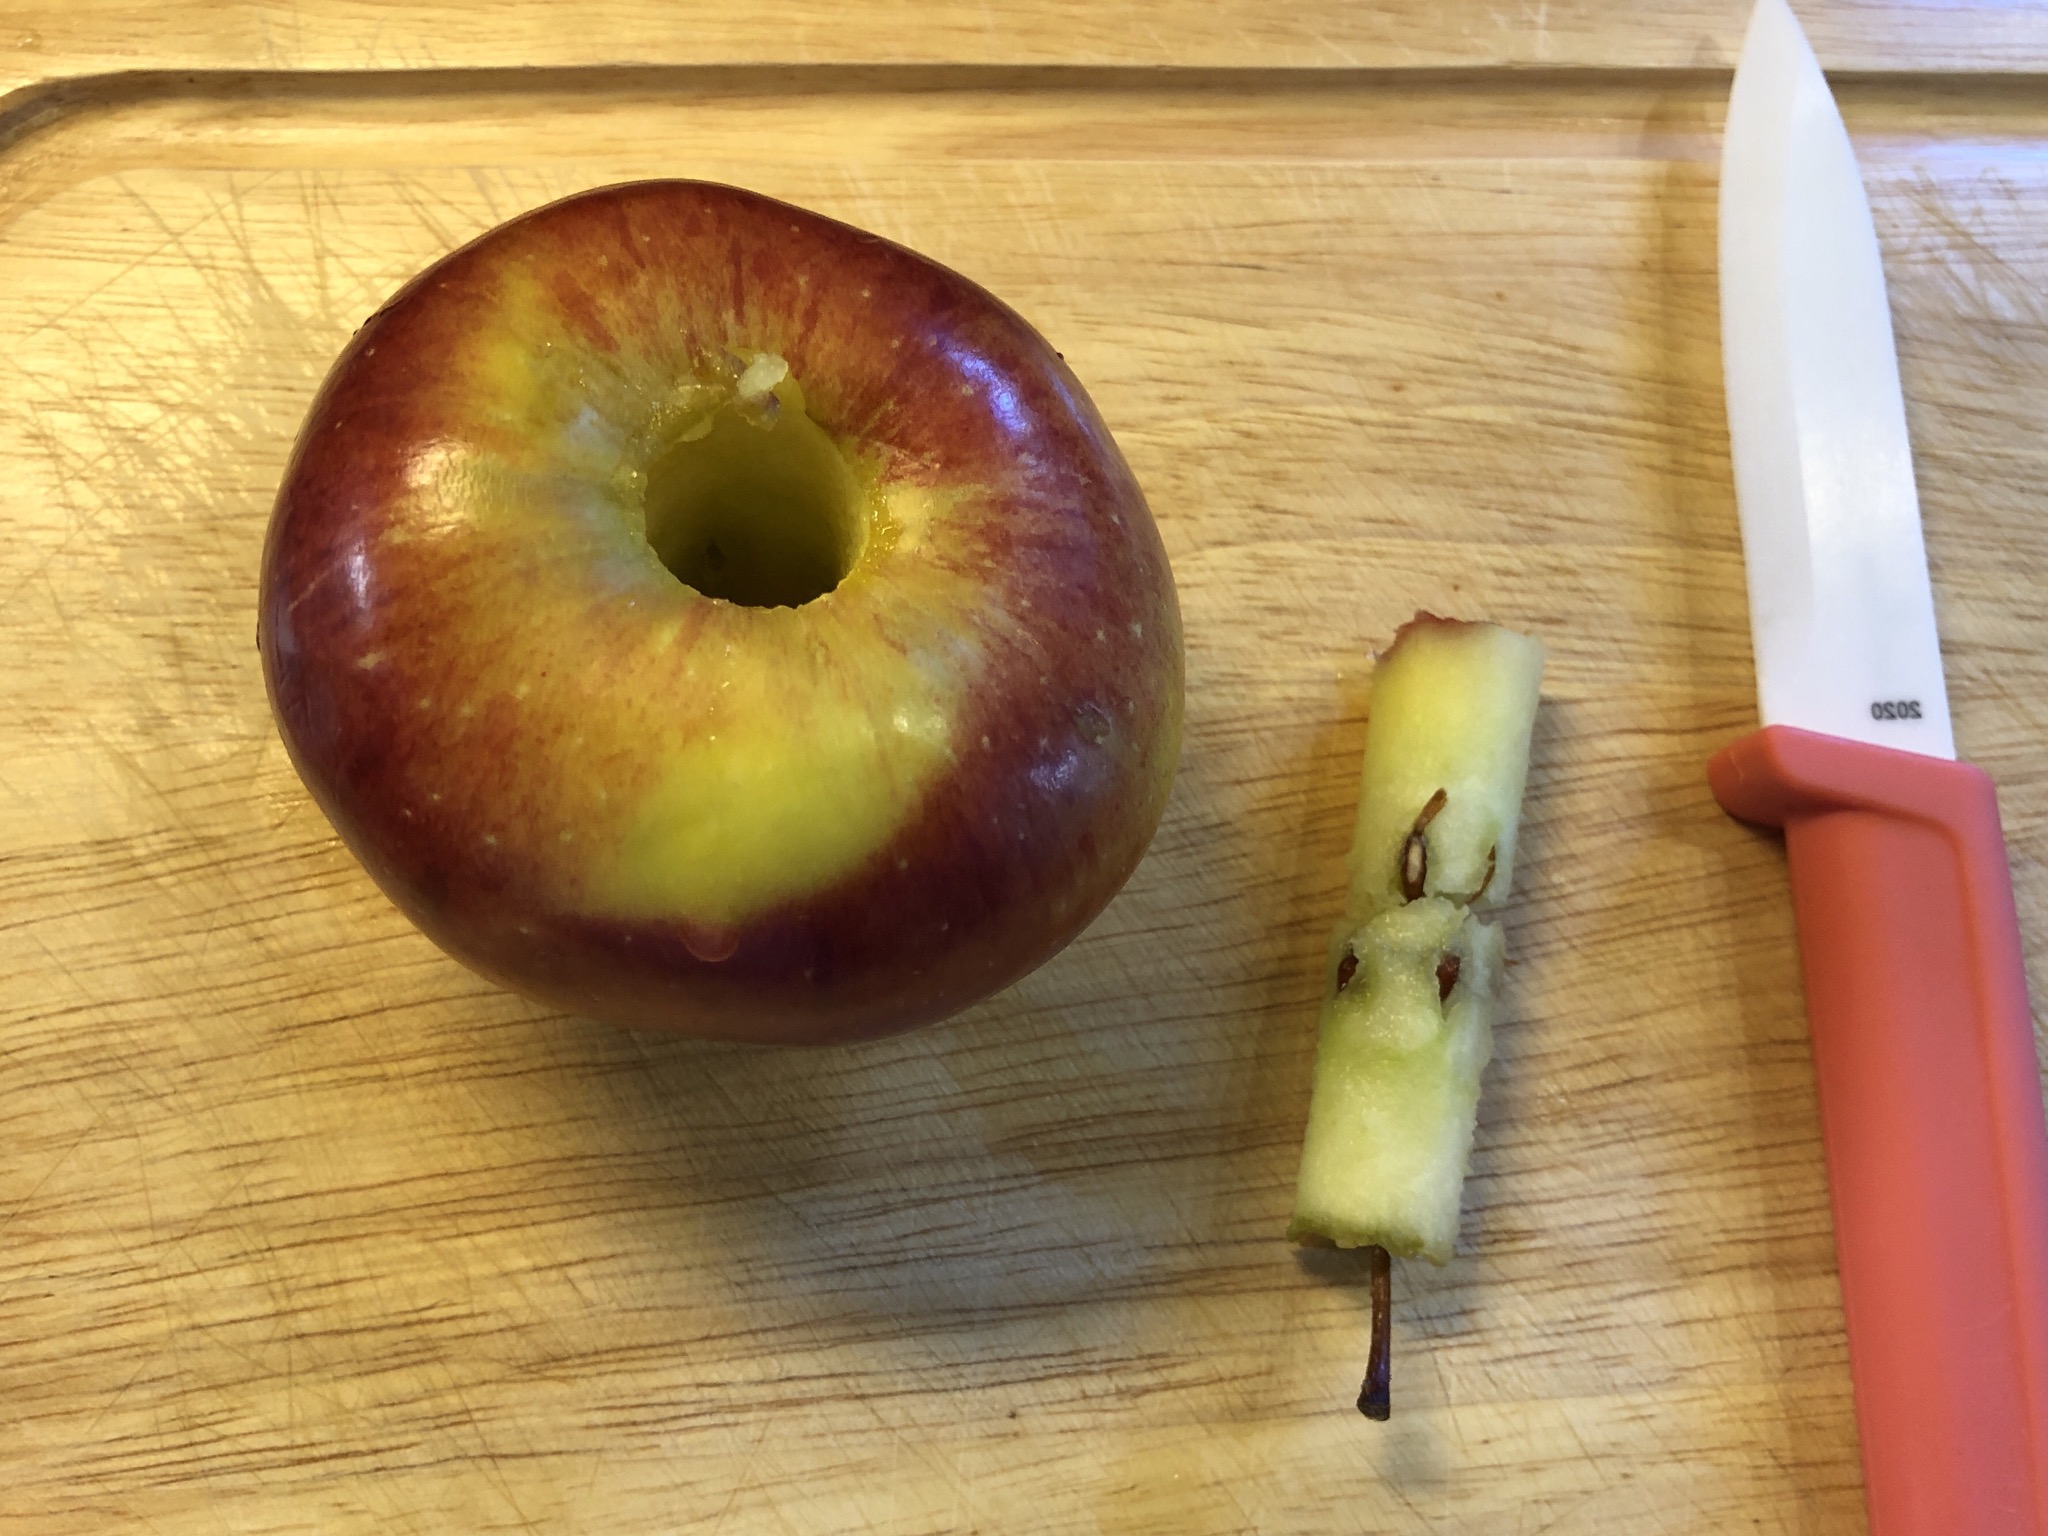


Cut the apple all round in the middle. DO NOT cut!!!!
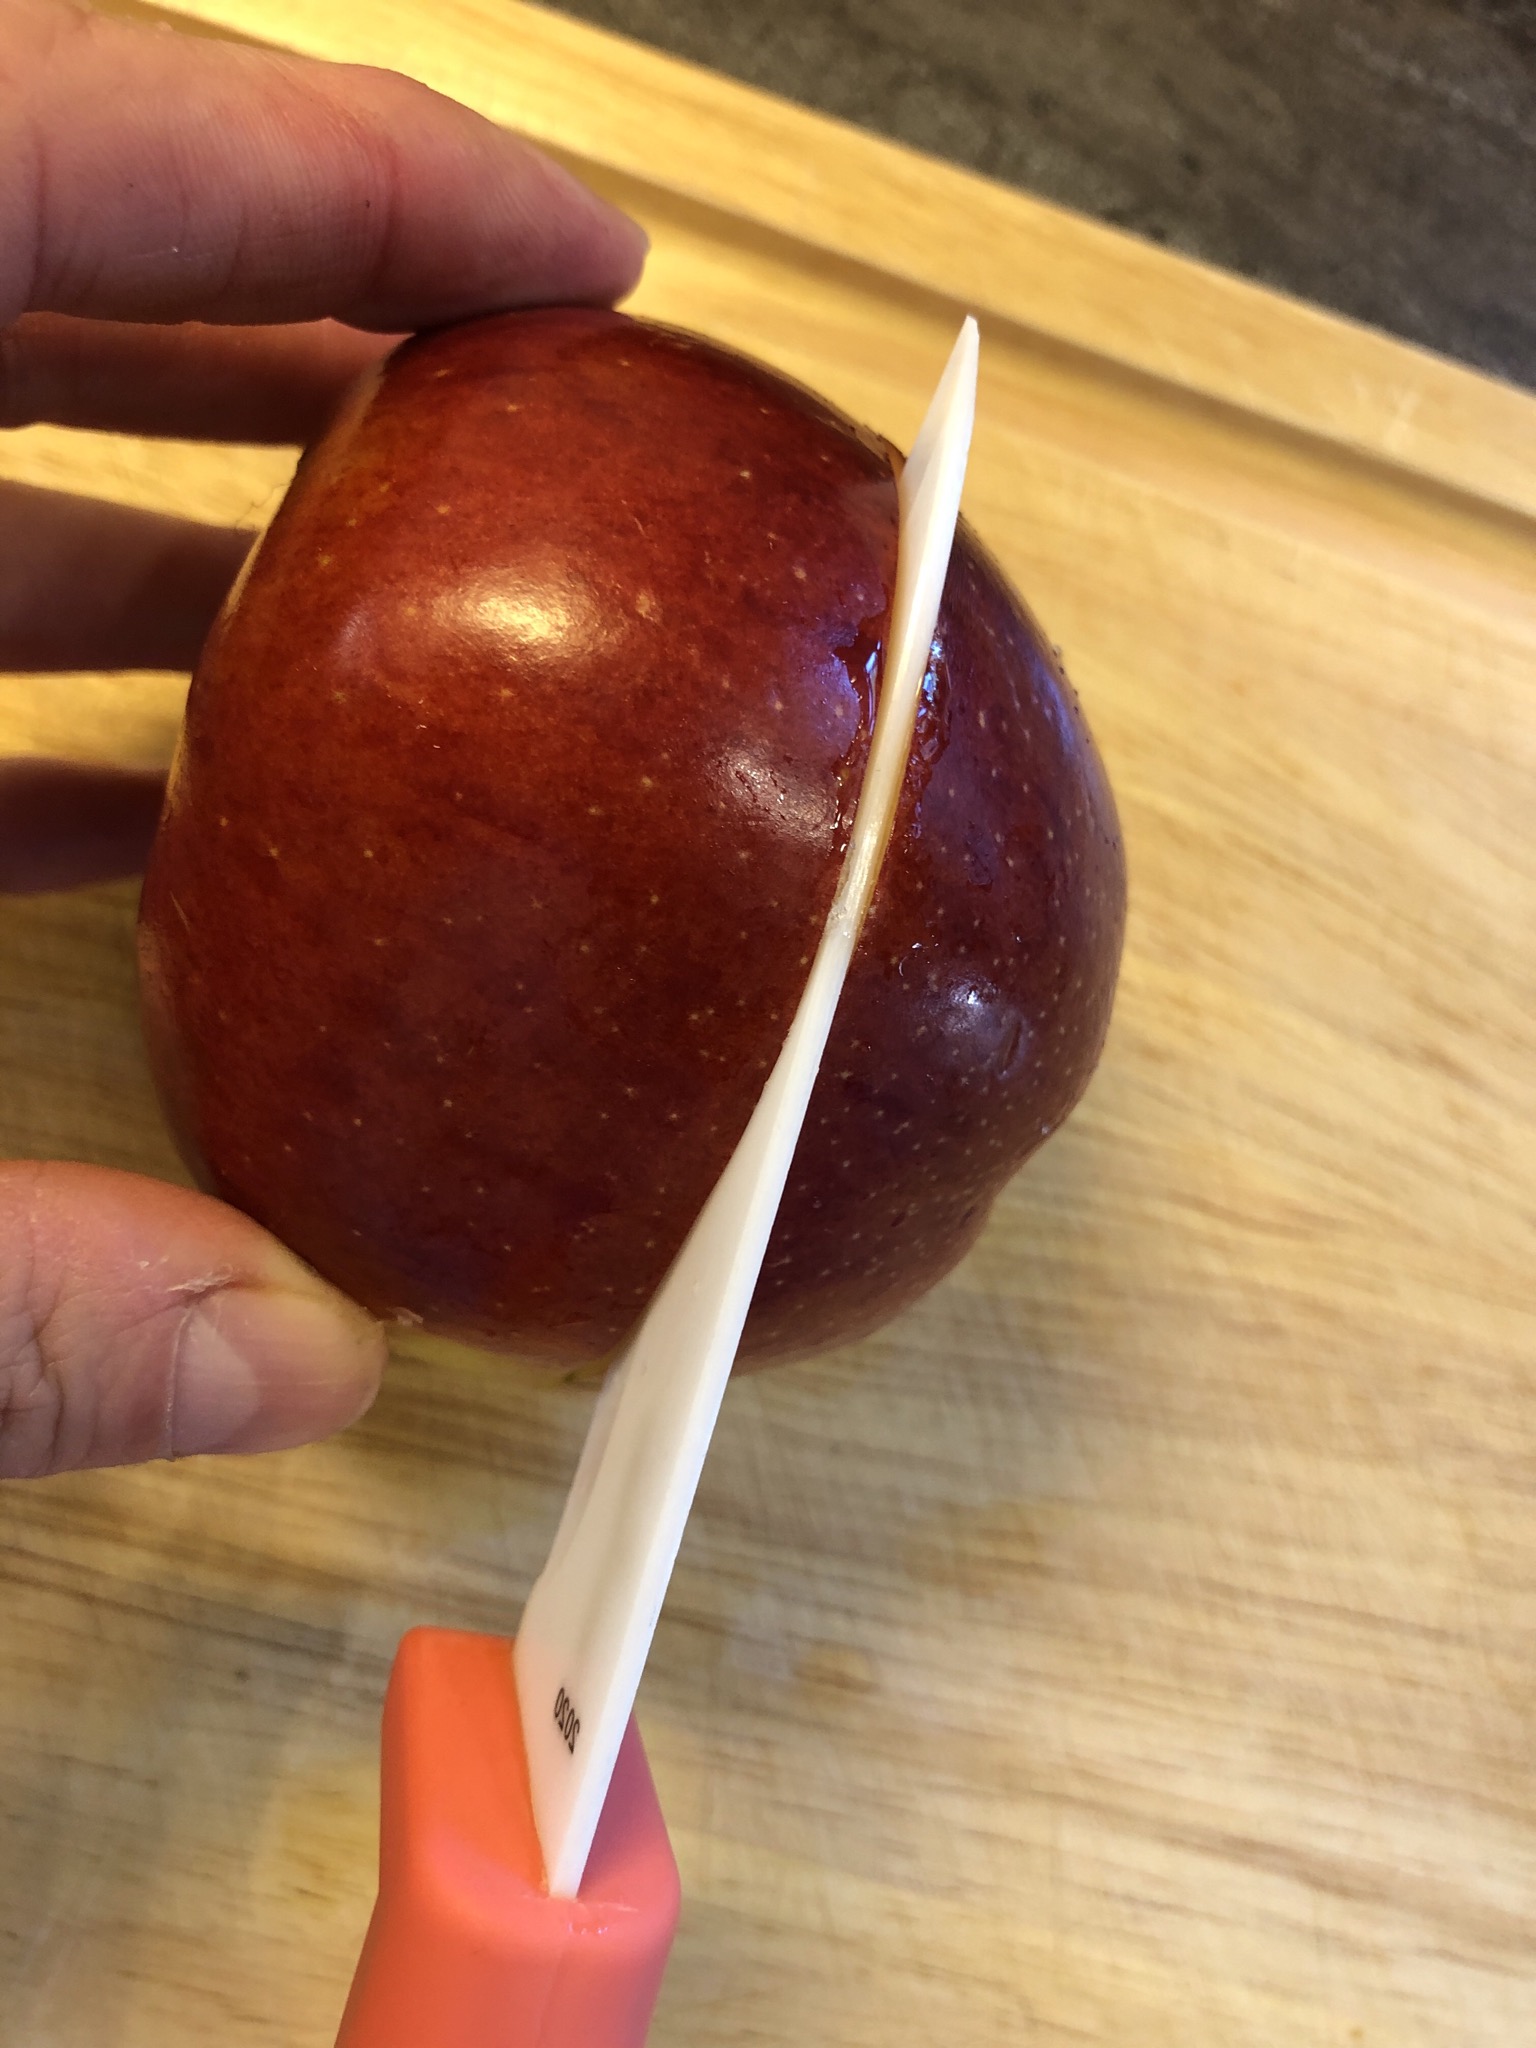


The lower side of the finished mushroom now shows upwards. We cut to the left and right of the pierced hole to the middle. There is the cross-section that we made with the knife before.
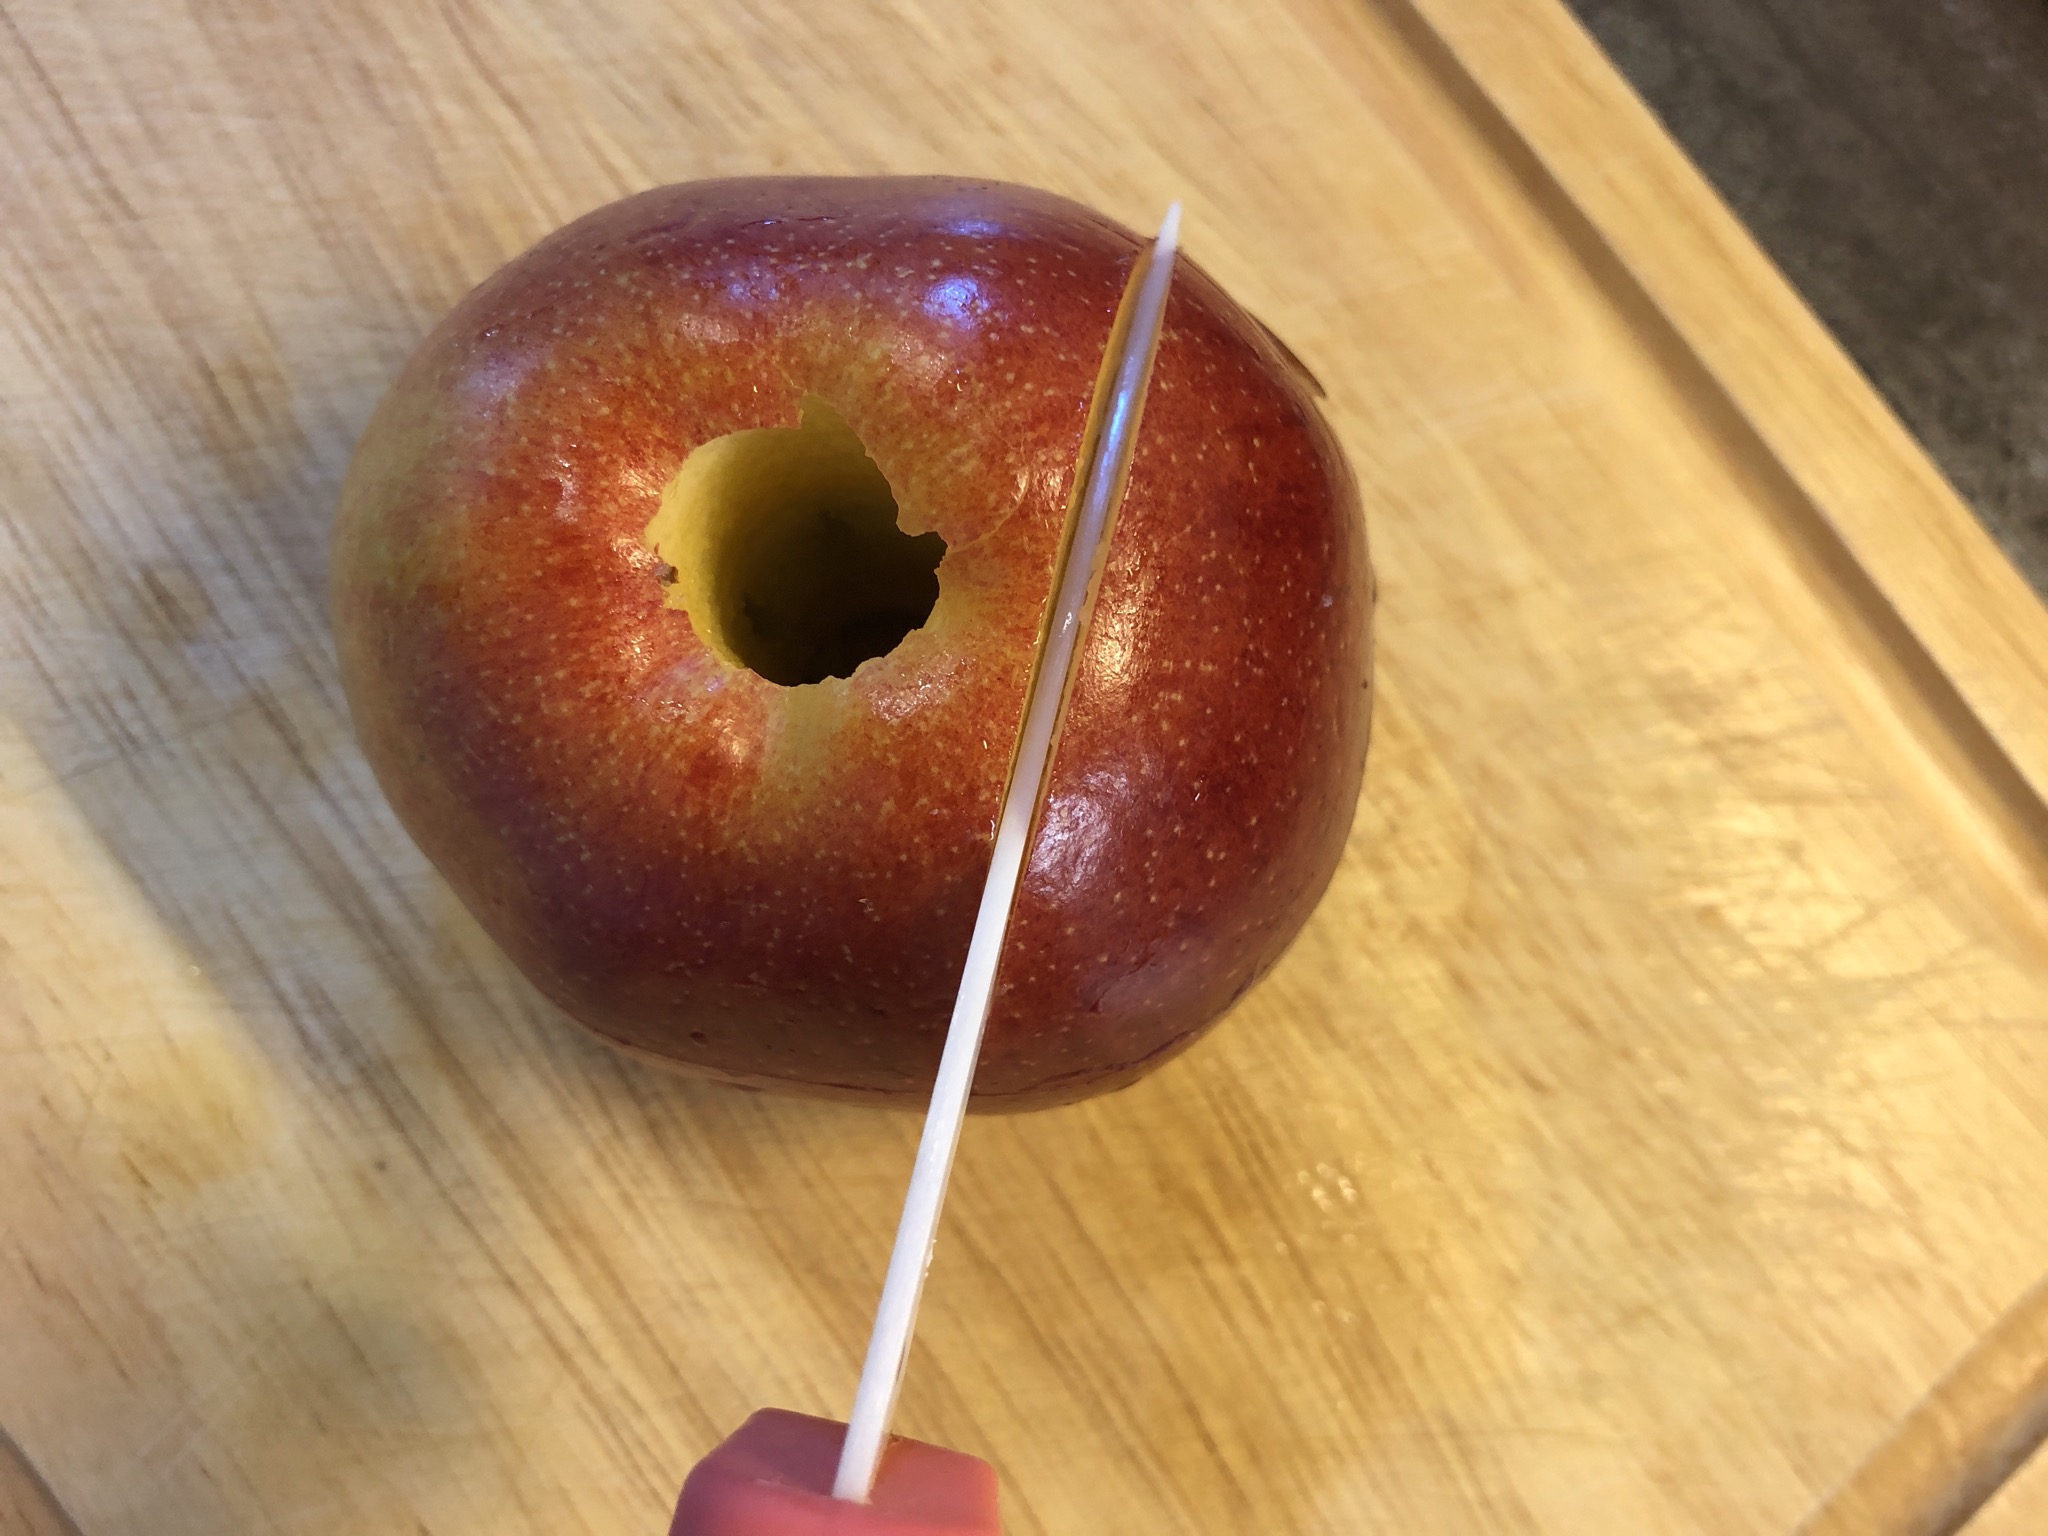


This is what the apple looks like! We put the two side pieces of apple to the side.
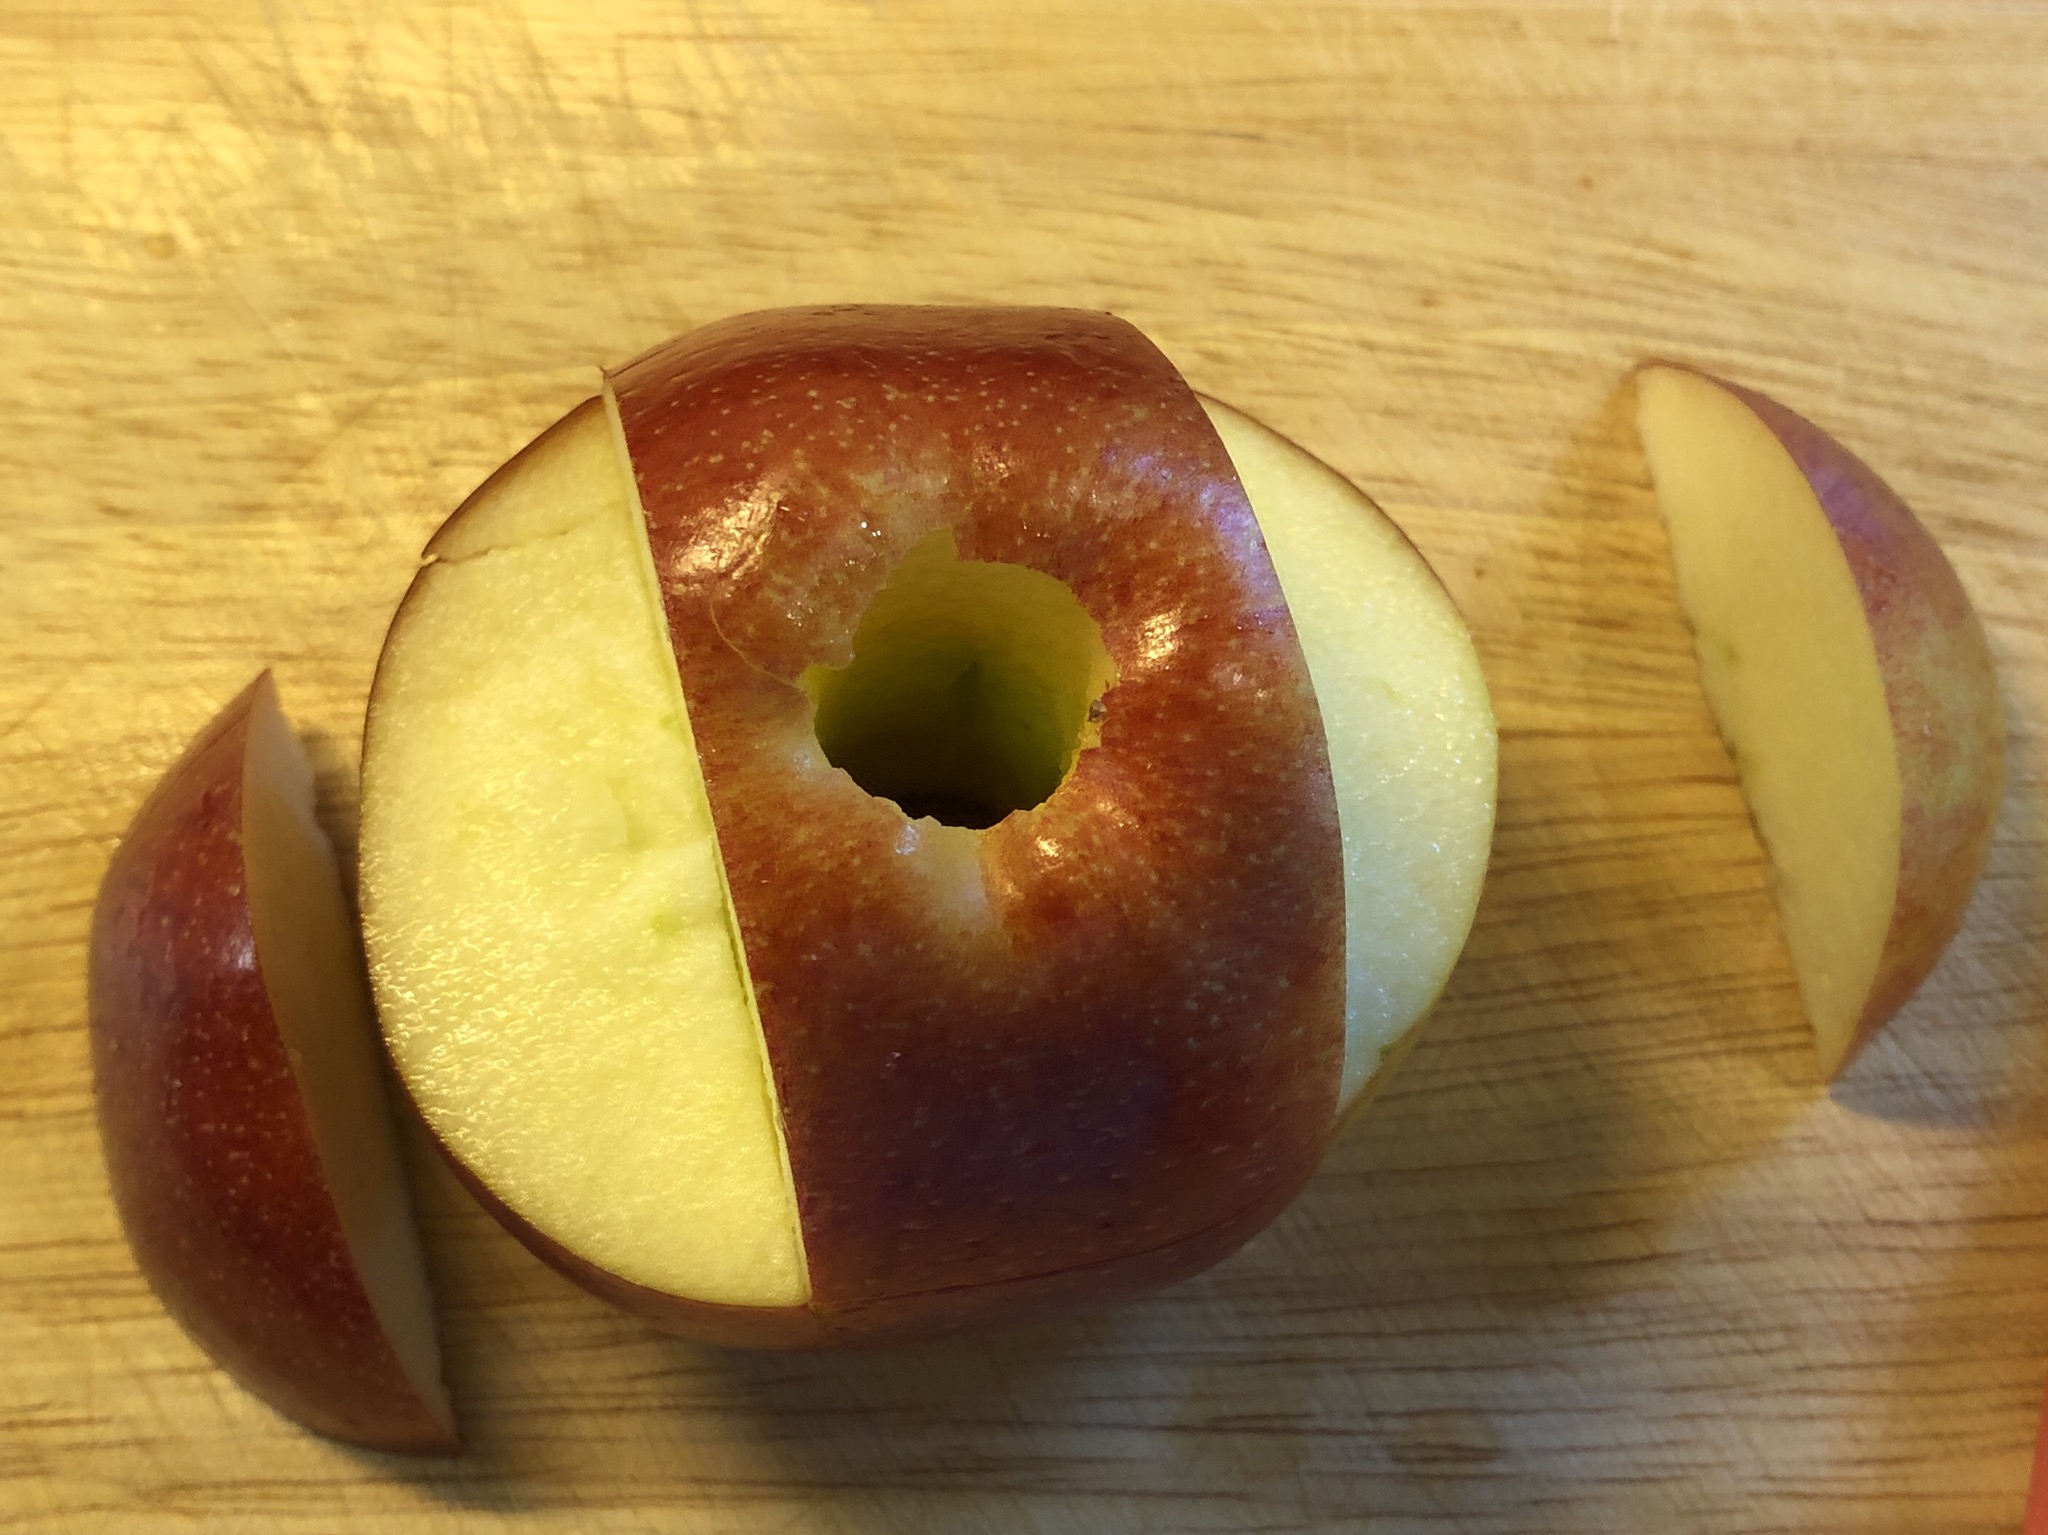


We cut the other two sides in the same way. That's how the mushroom foot is created.
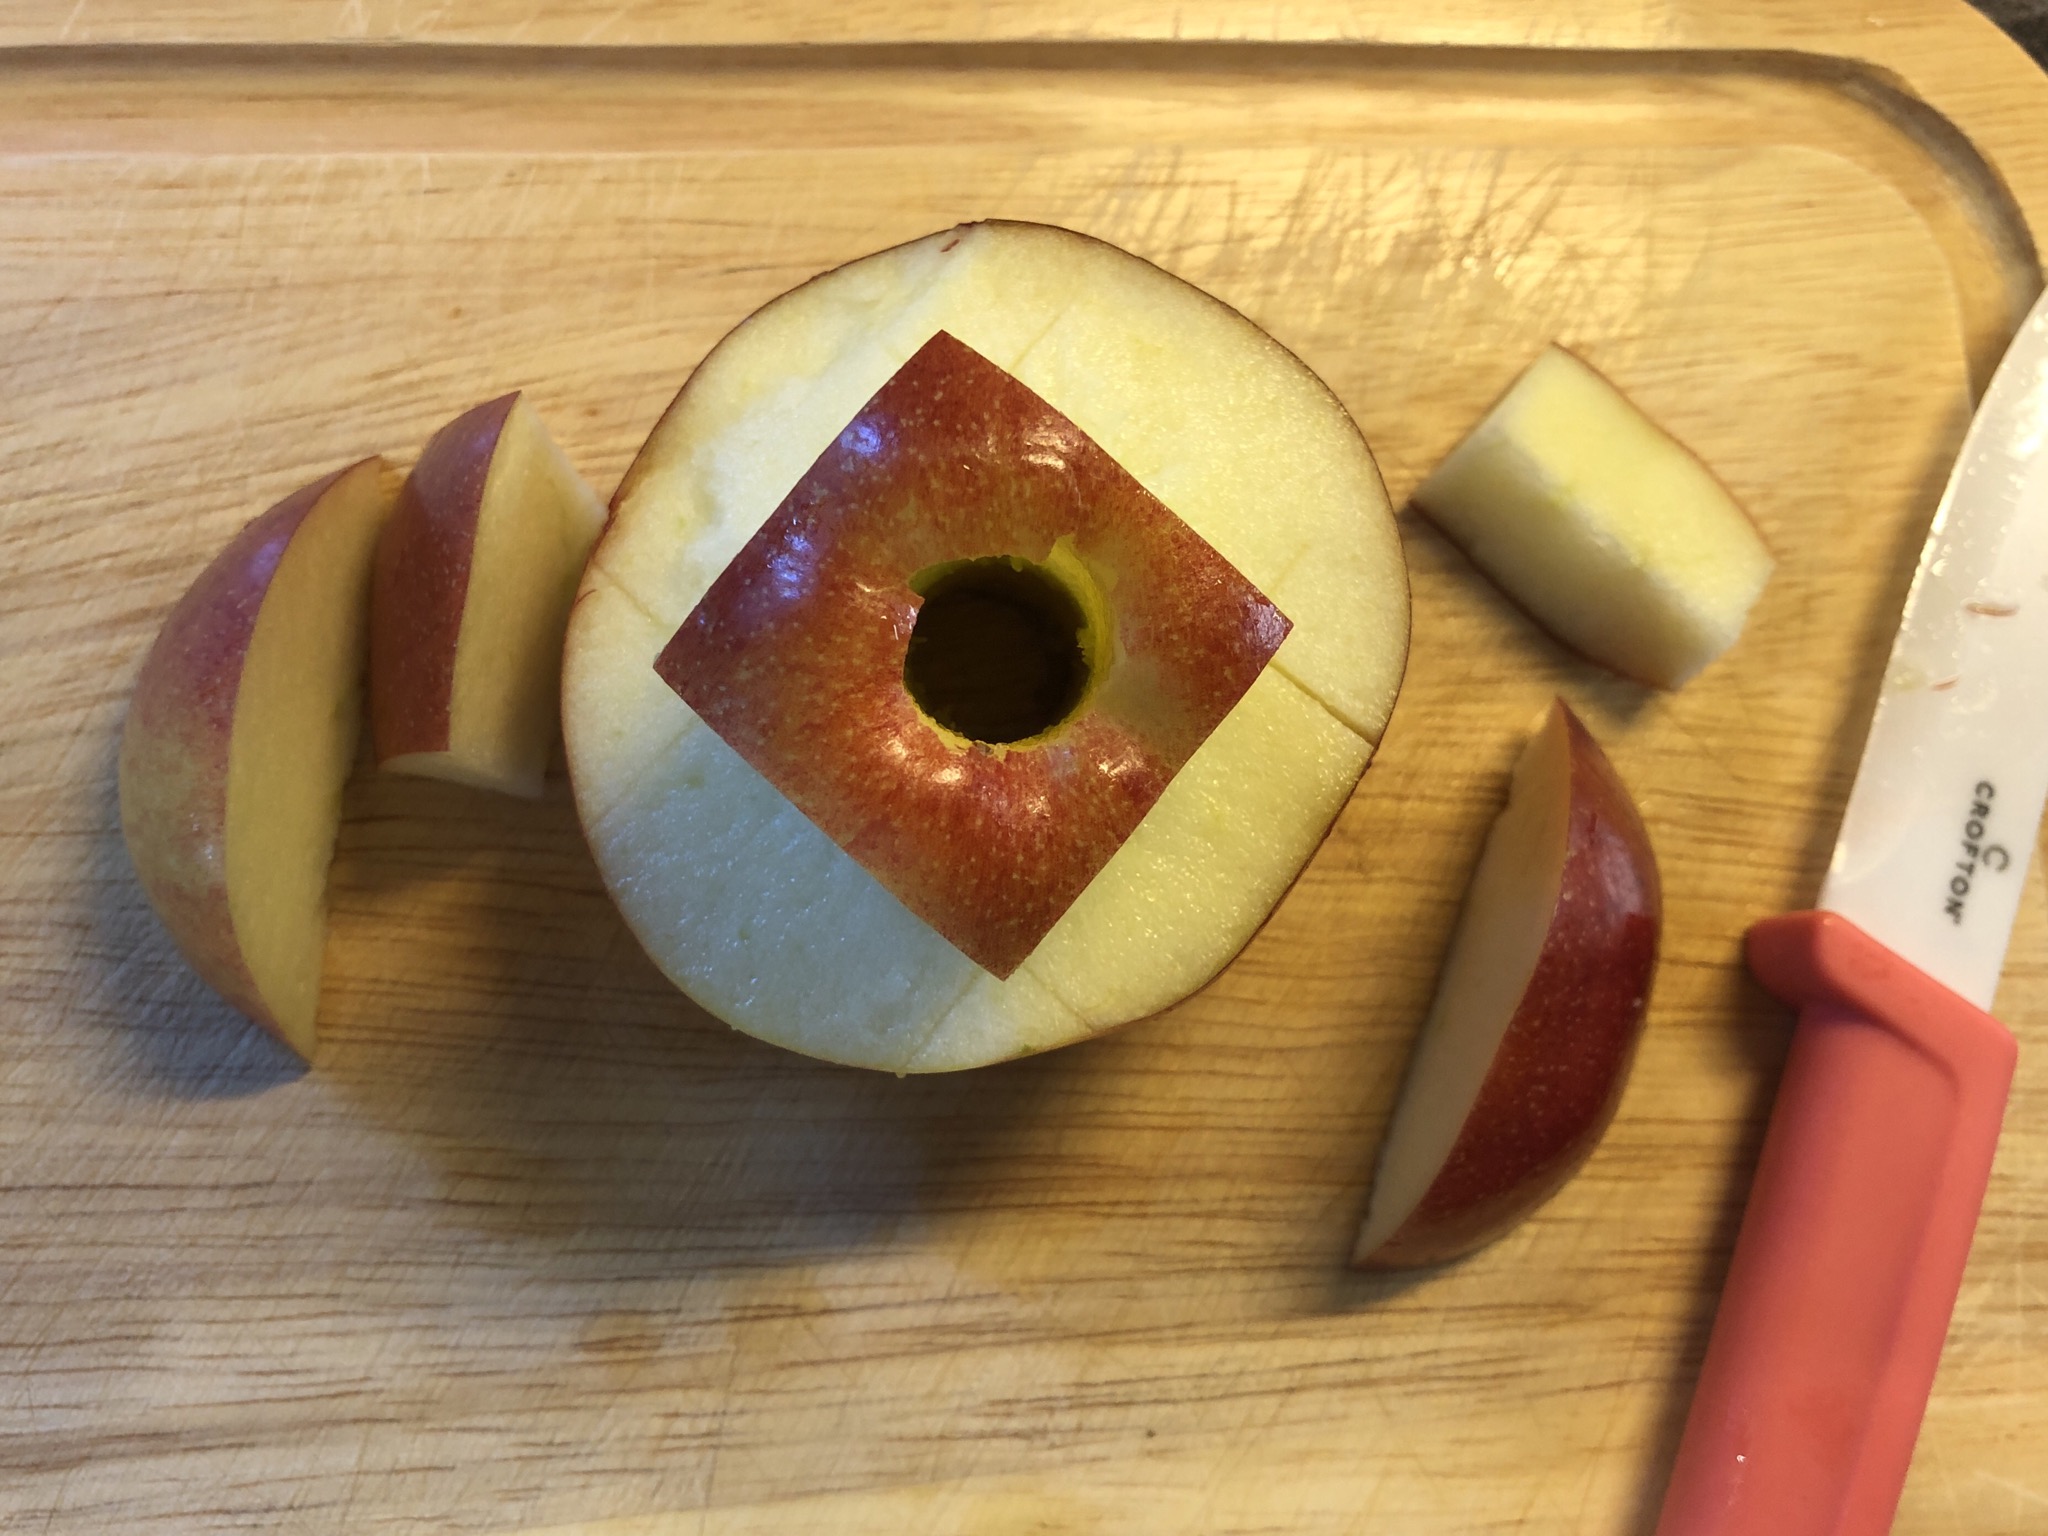


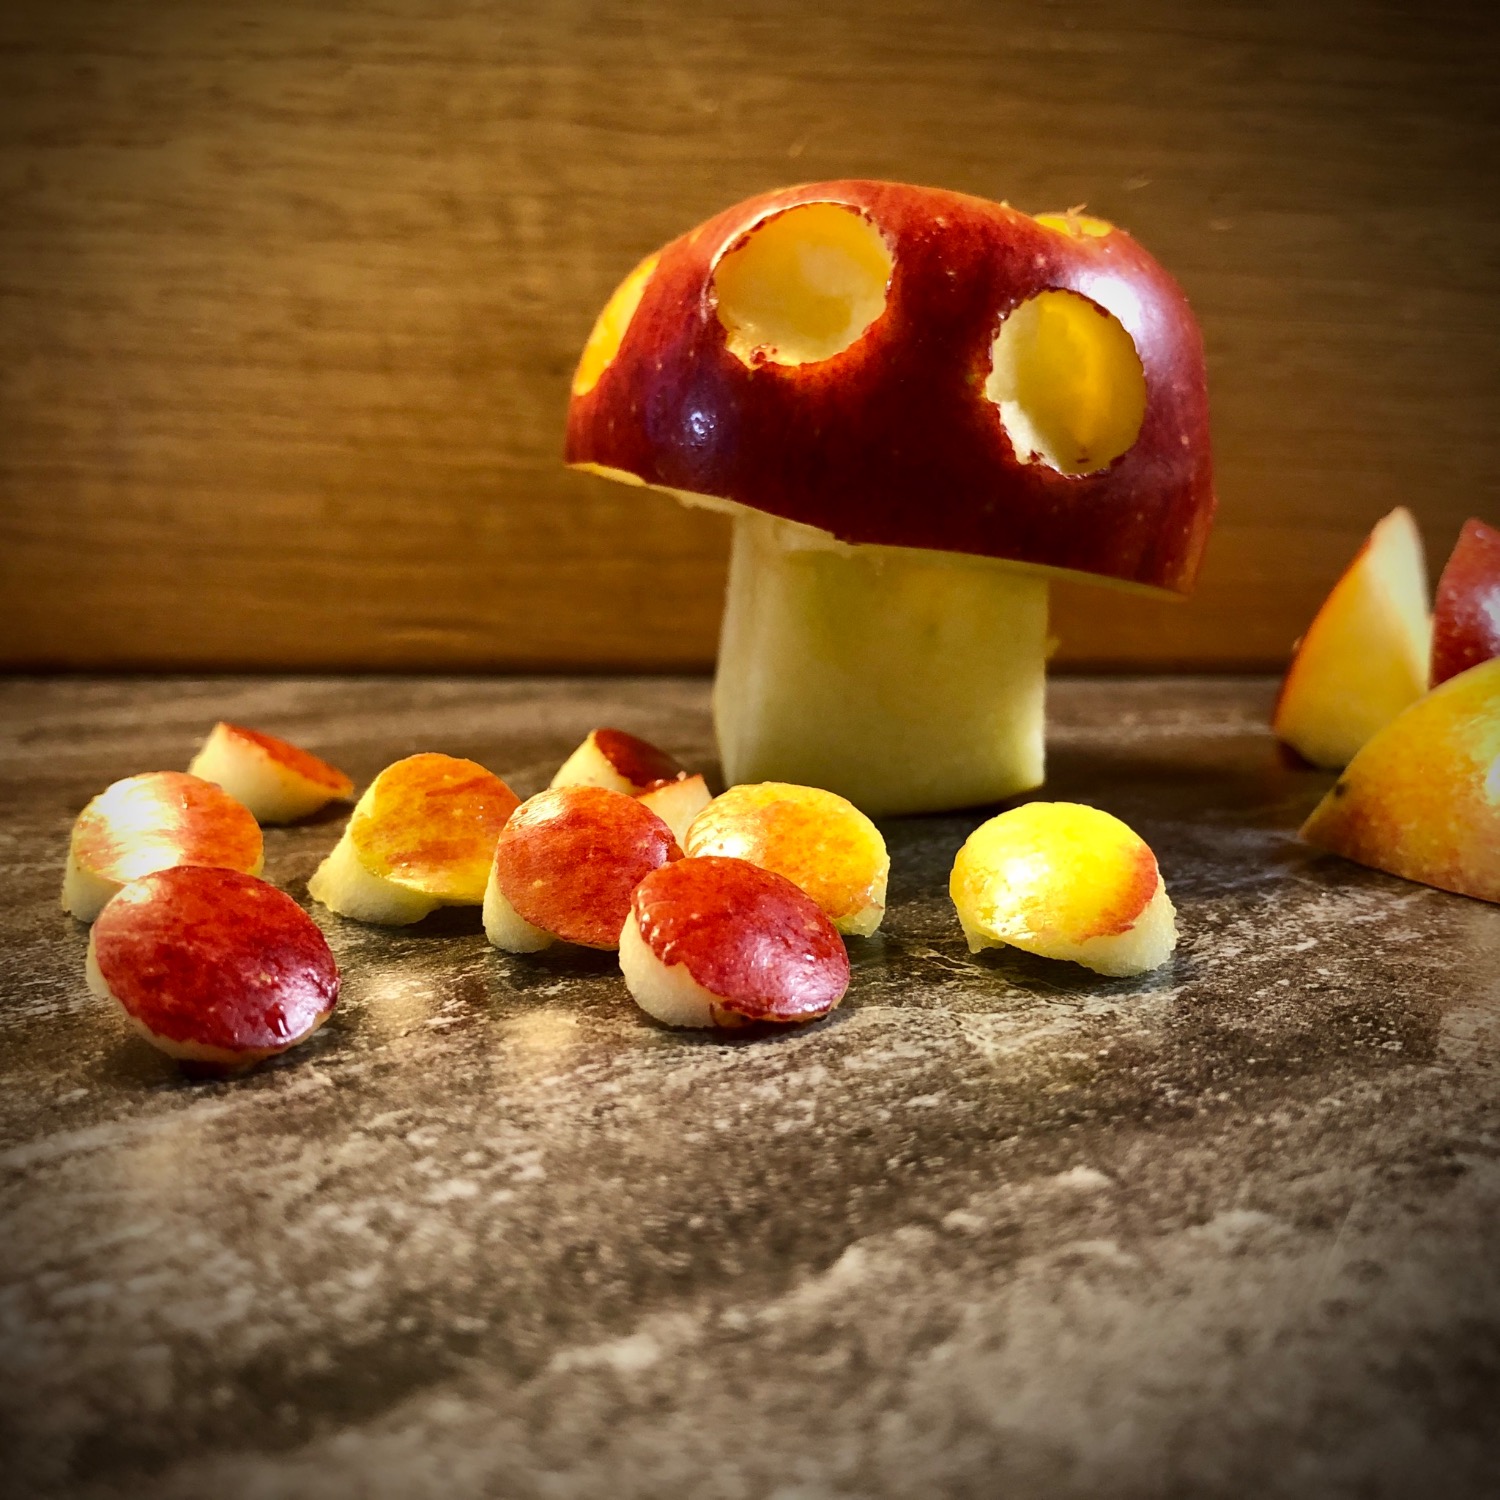
We turn the apple around and now take care of the top of the mushroom. Now the typical white dots of the fly mushroom are missing.
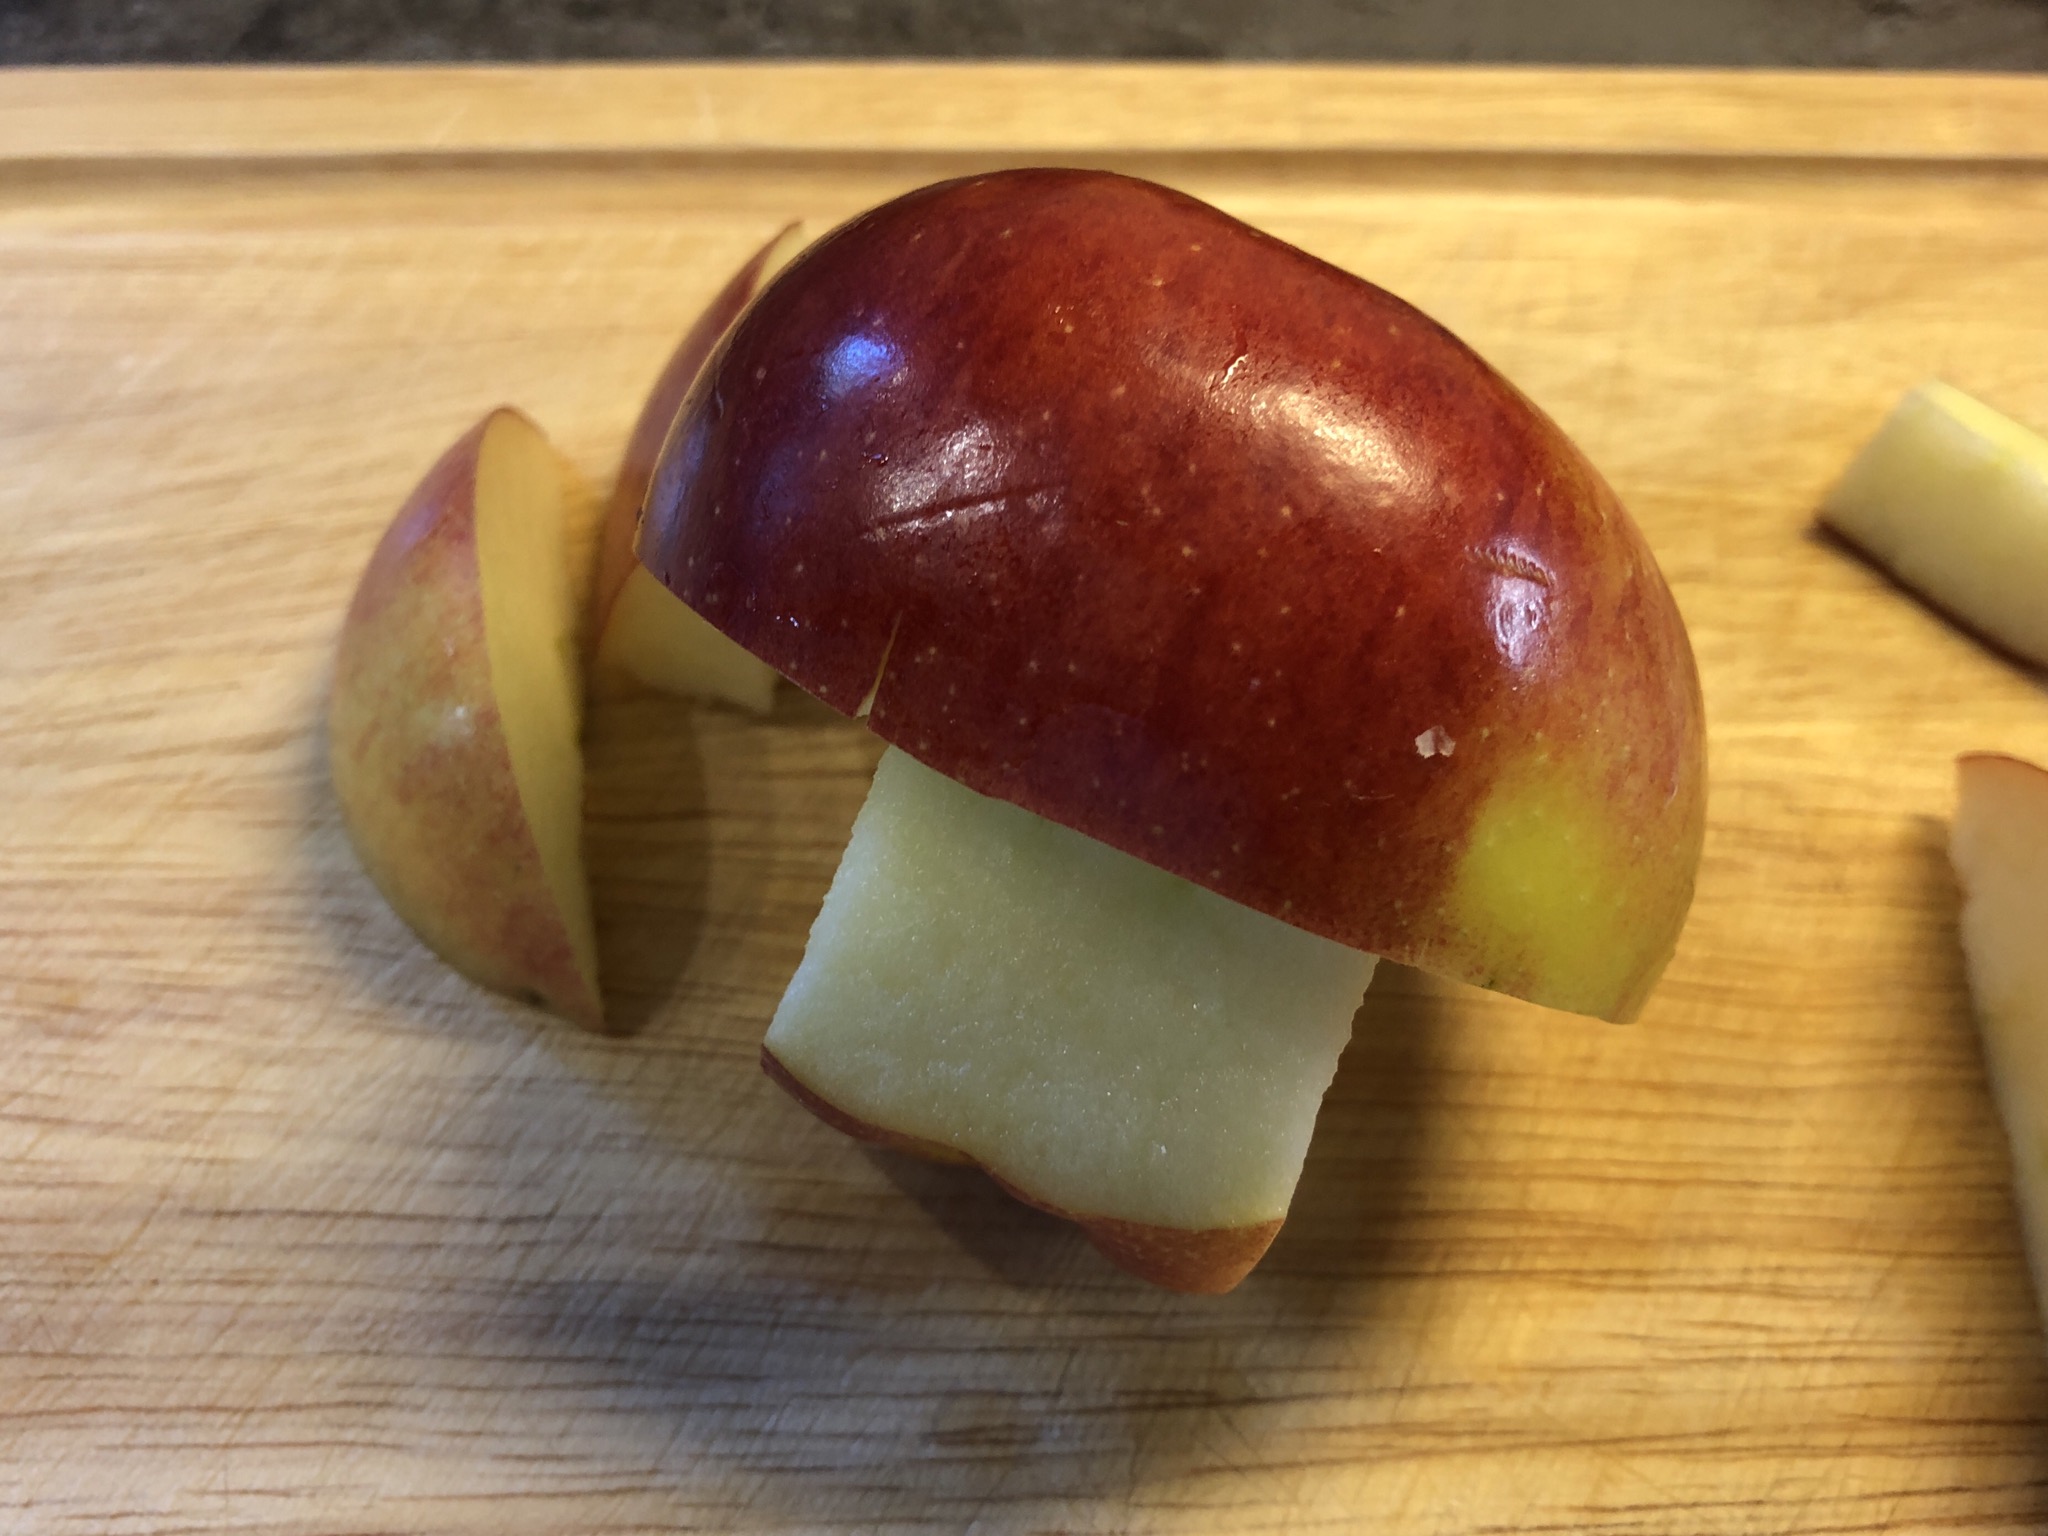


To do this, cut circles out of the apple with the apple cutter or a pointed knife.
For this you stick the apple cutter a small piece into the apple and pull it out again.
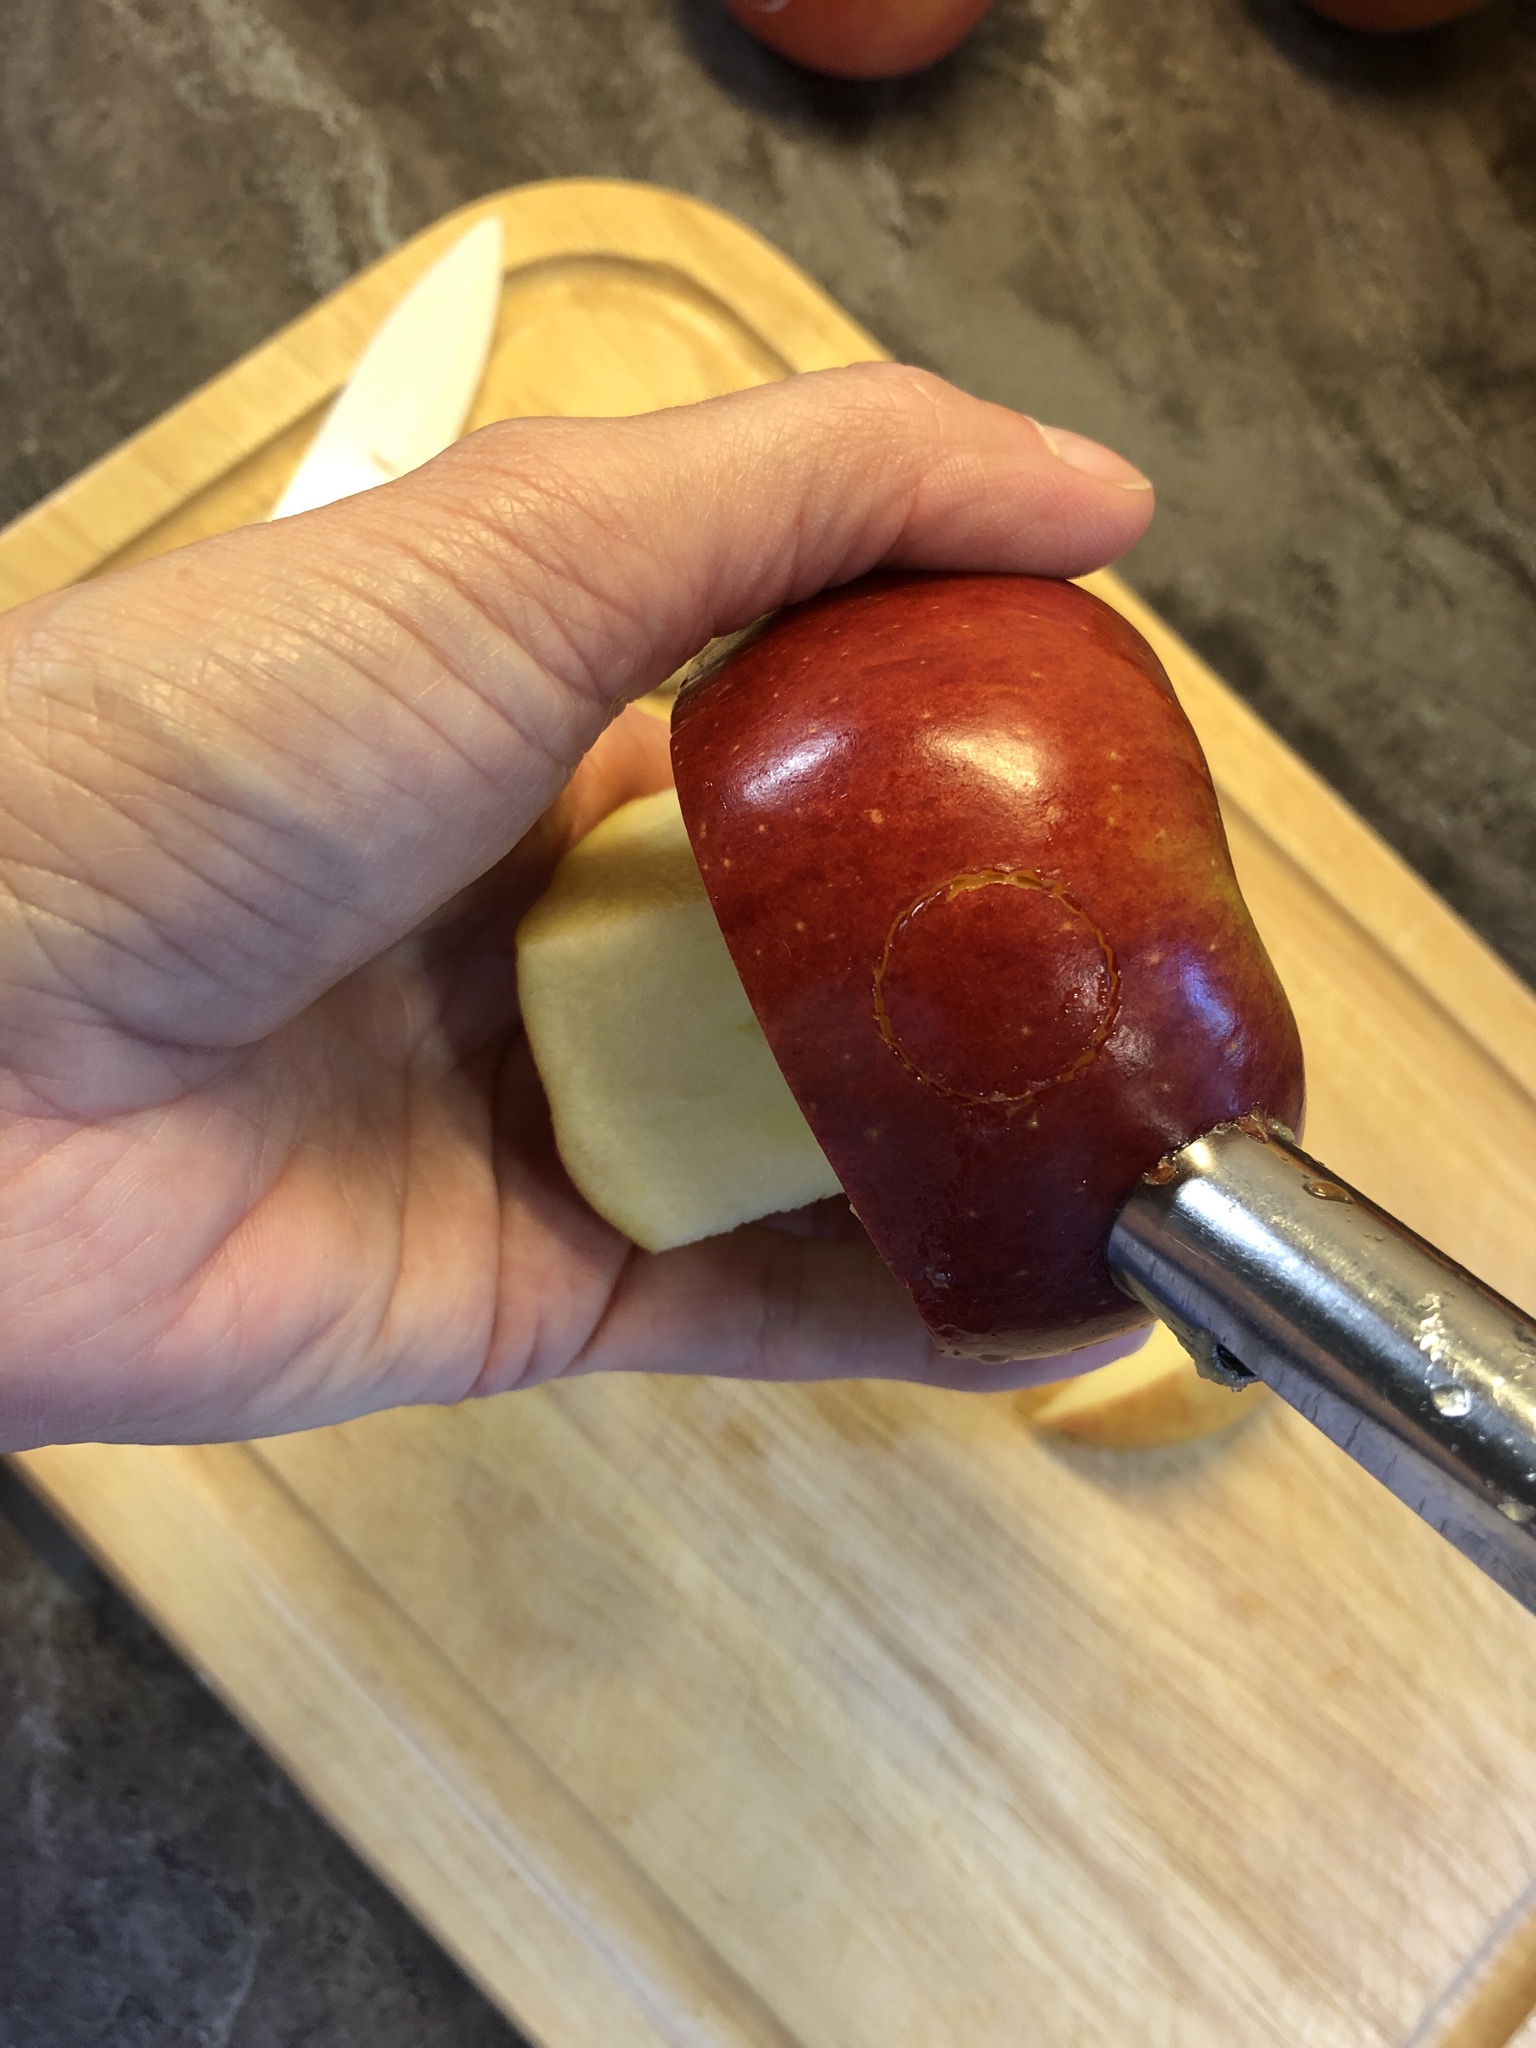


Then you can pull out the pre-cut circles with a knife.
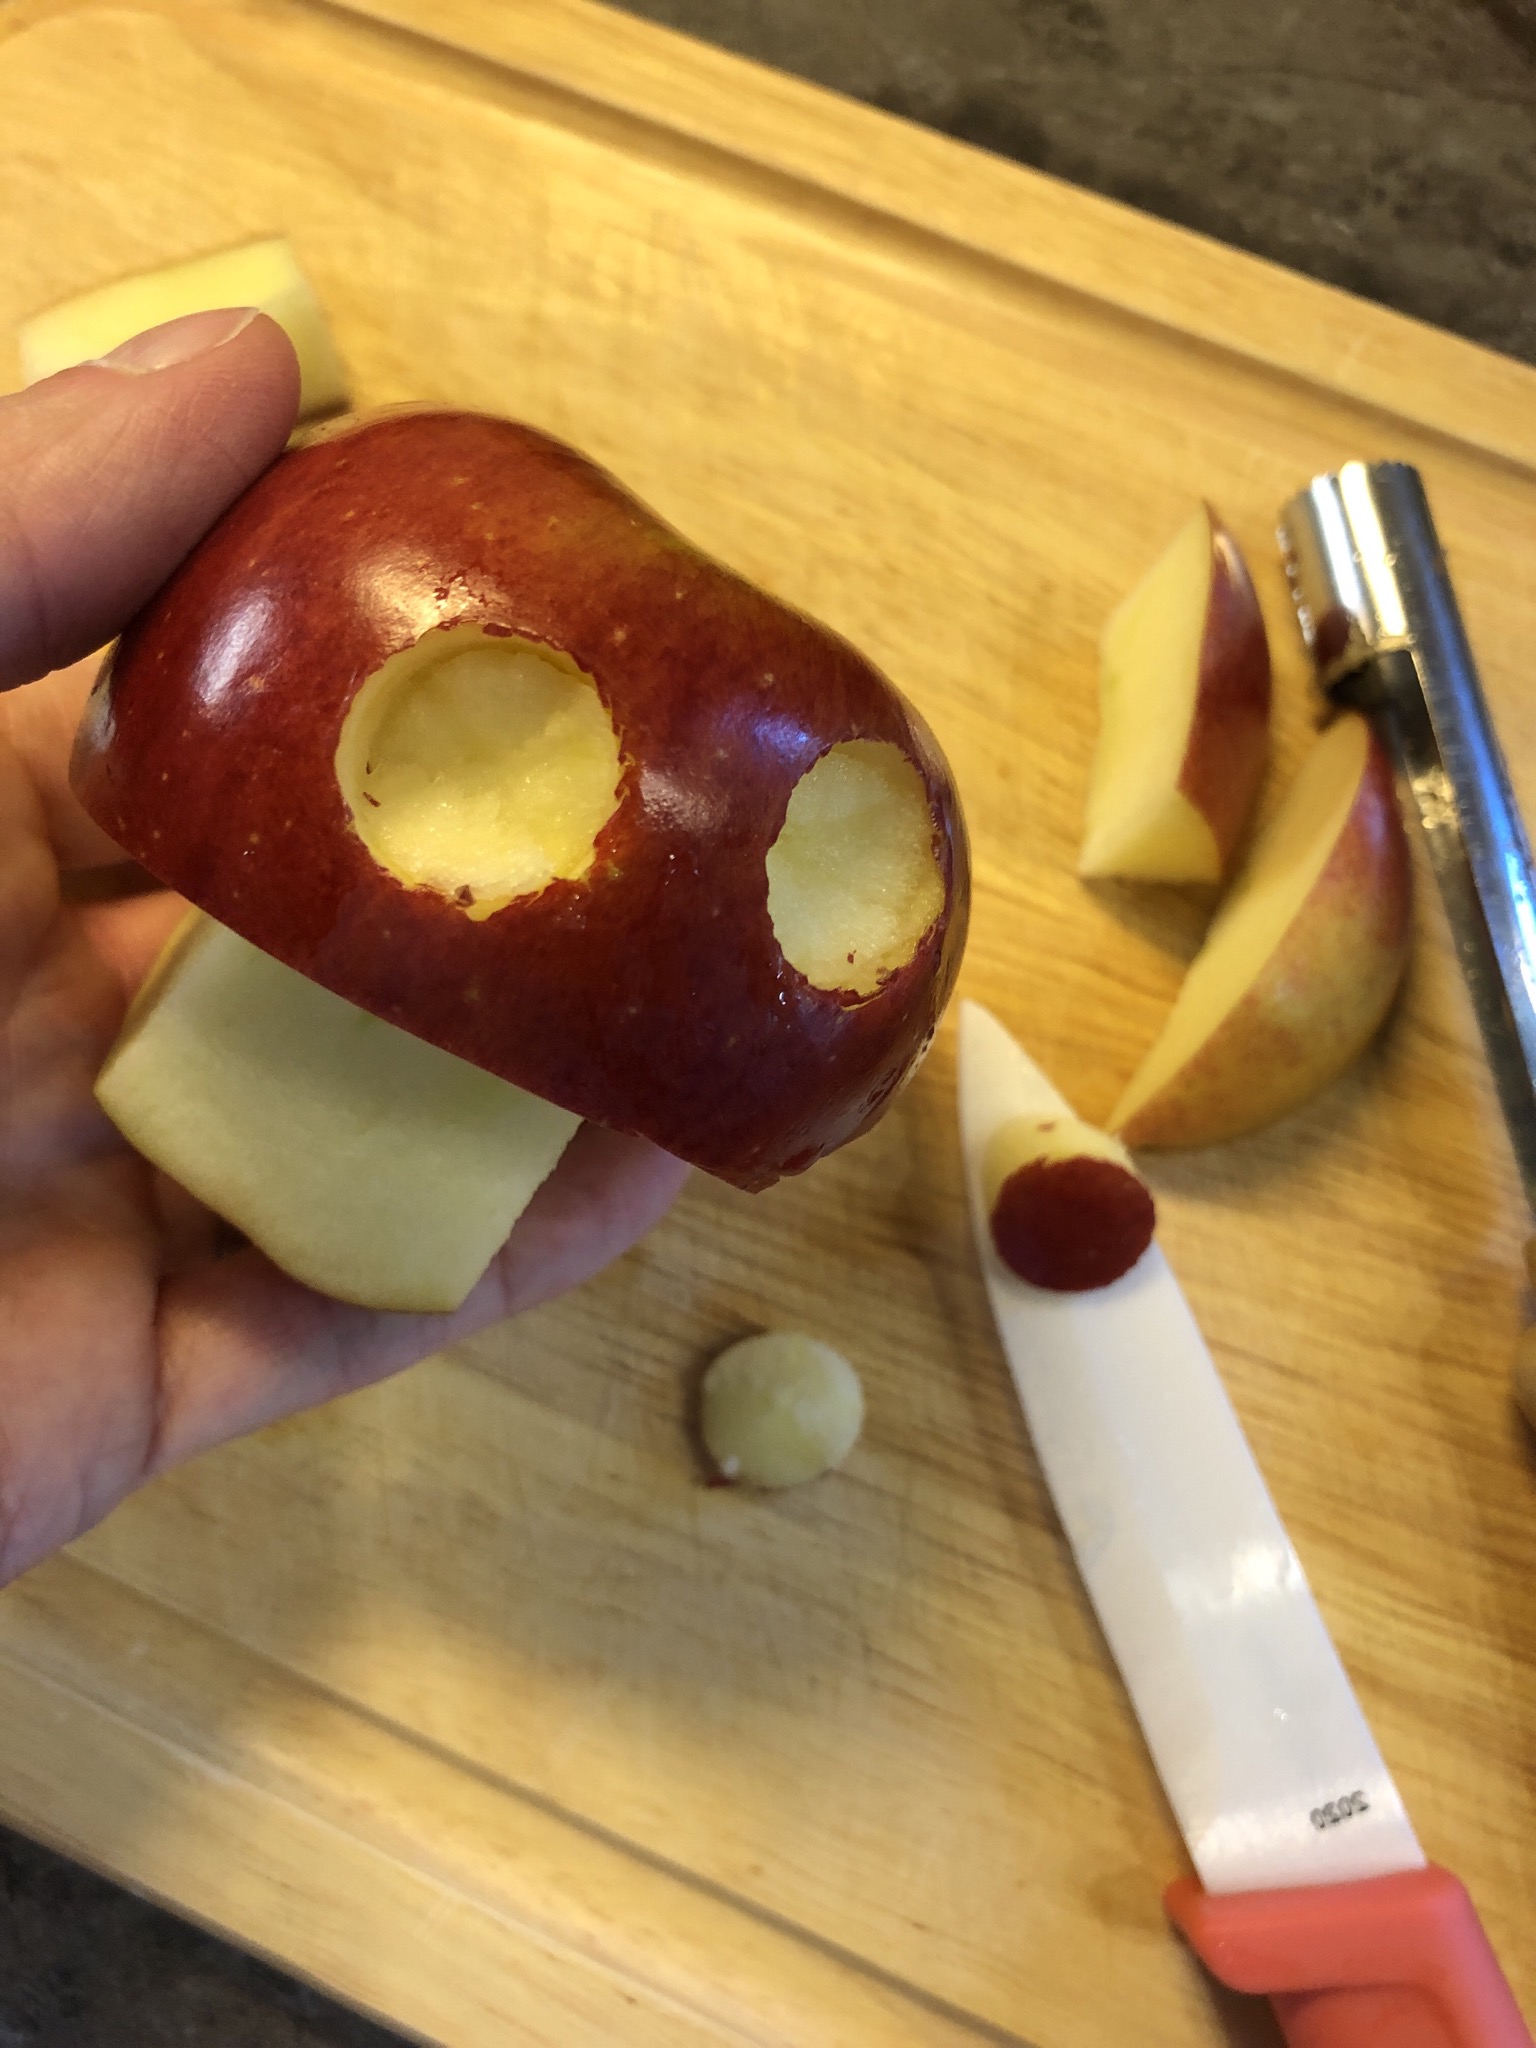


The apple mushroom is ready!
All cut apple pieces can already be snatched by the children when carving. Children like to watch. They are usually quite fascinated to watch how an apple slowly produces a fly mushroom.
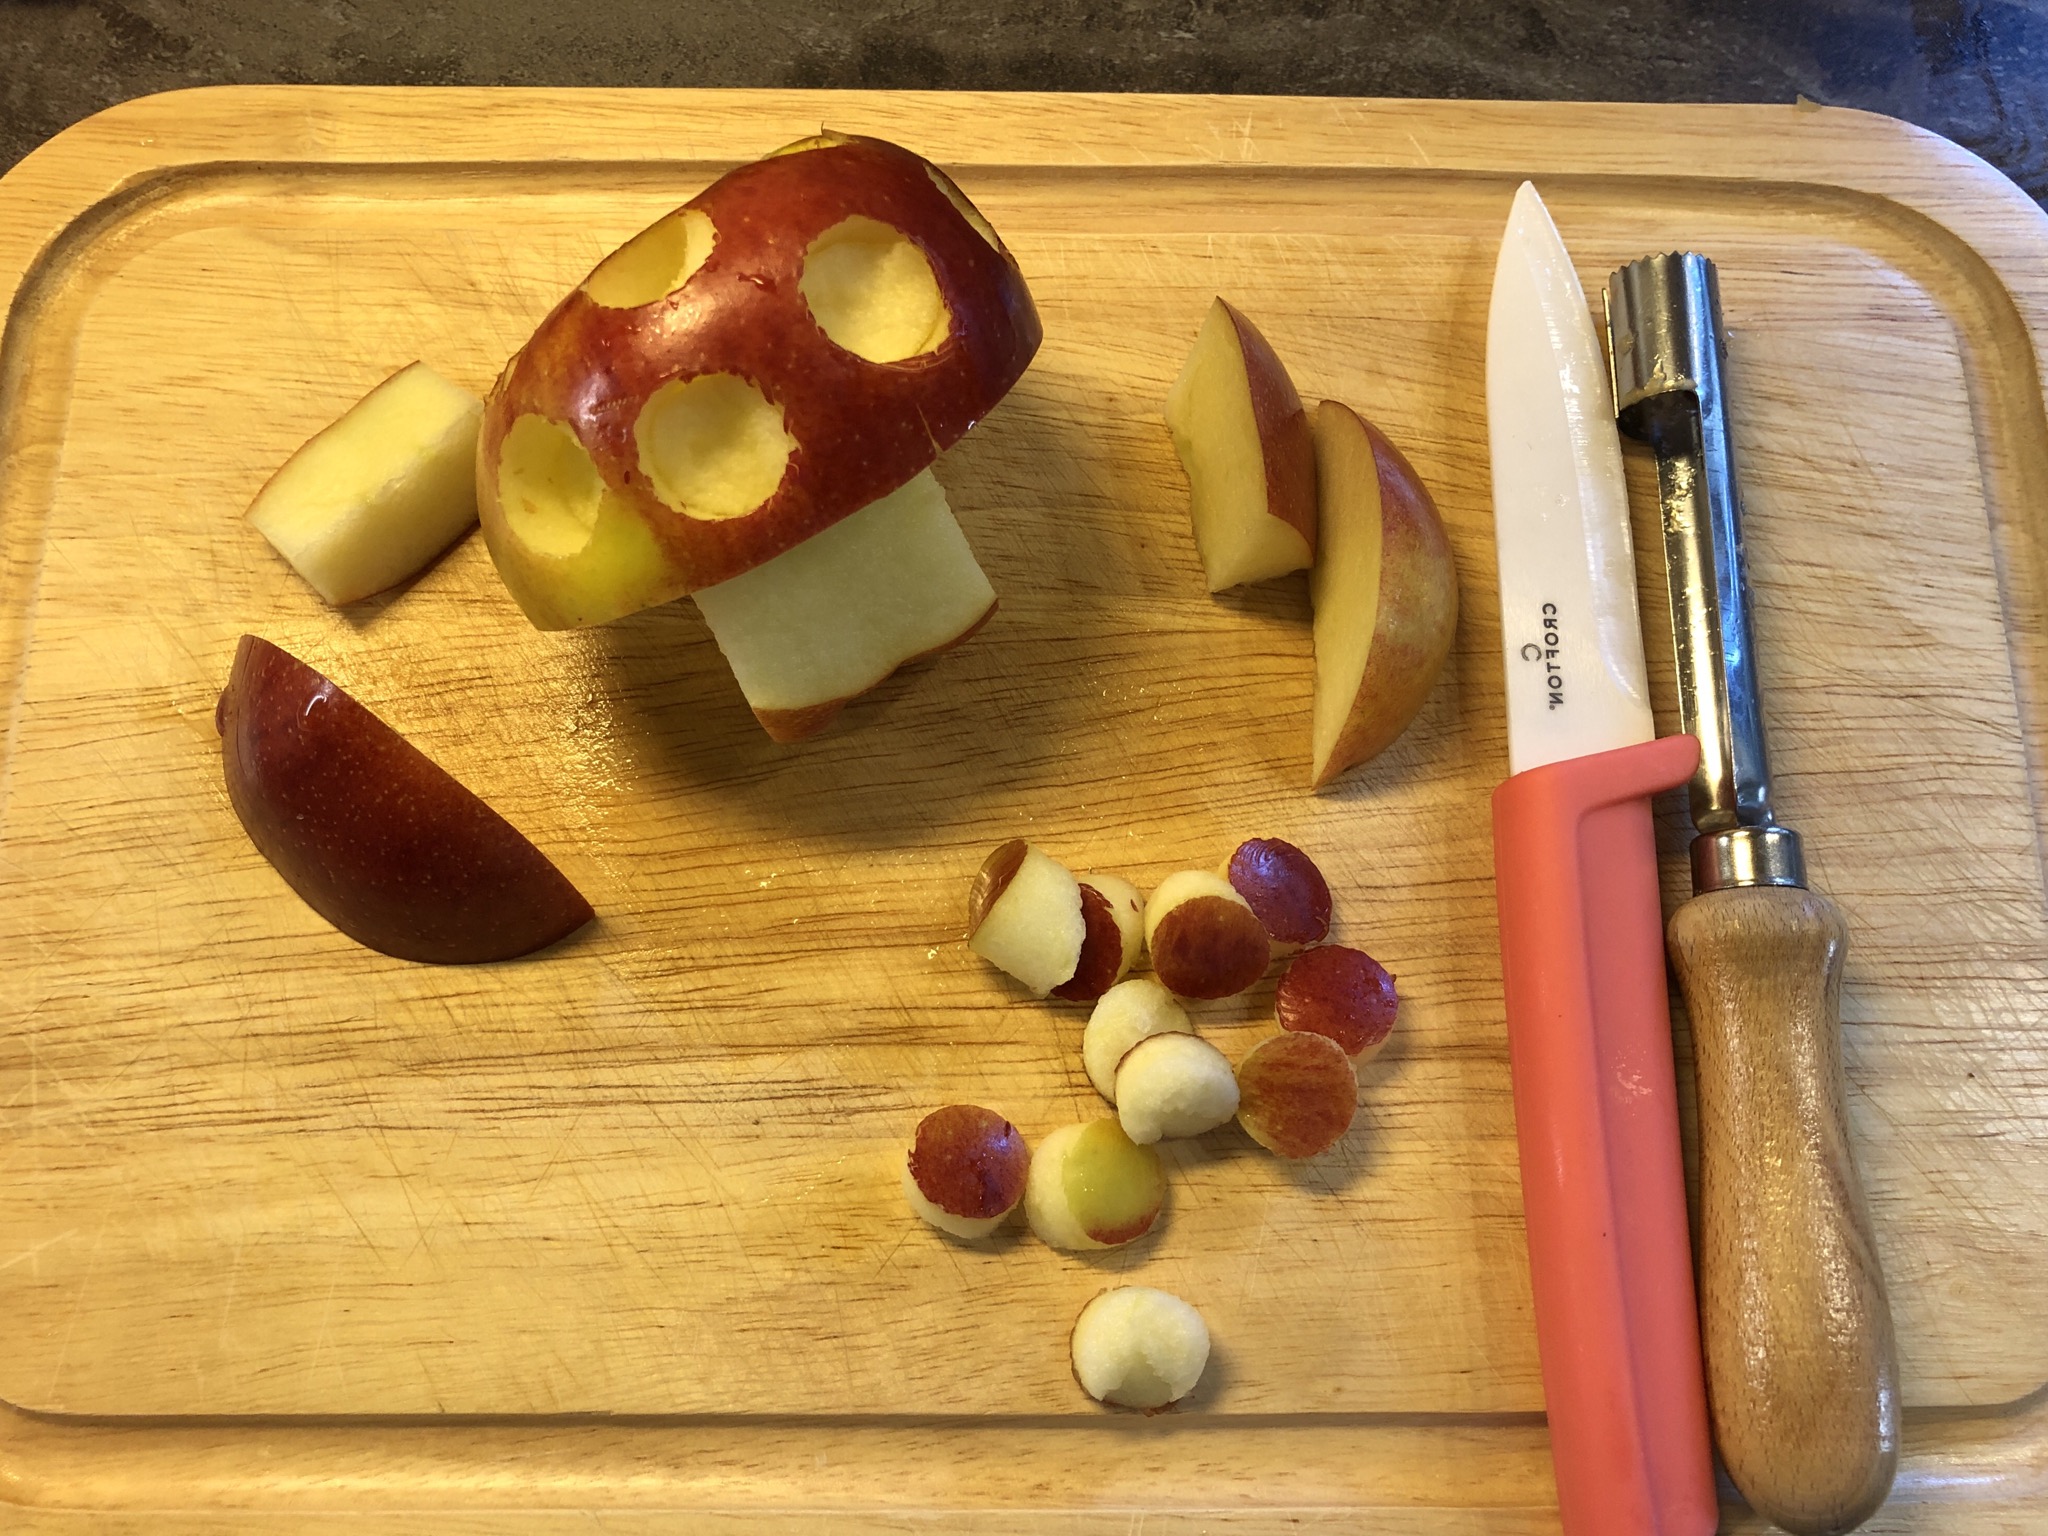


Have fun with apple carving and apple snack!!!
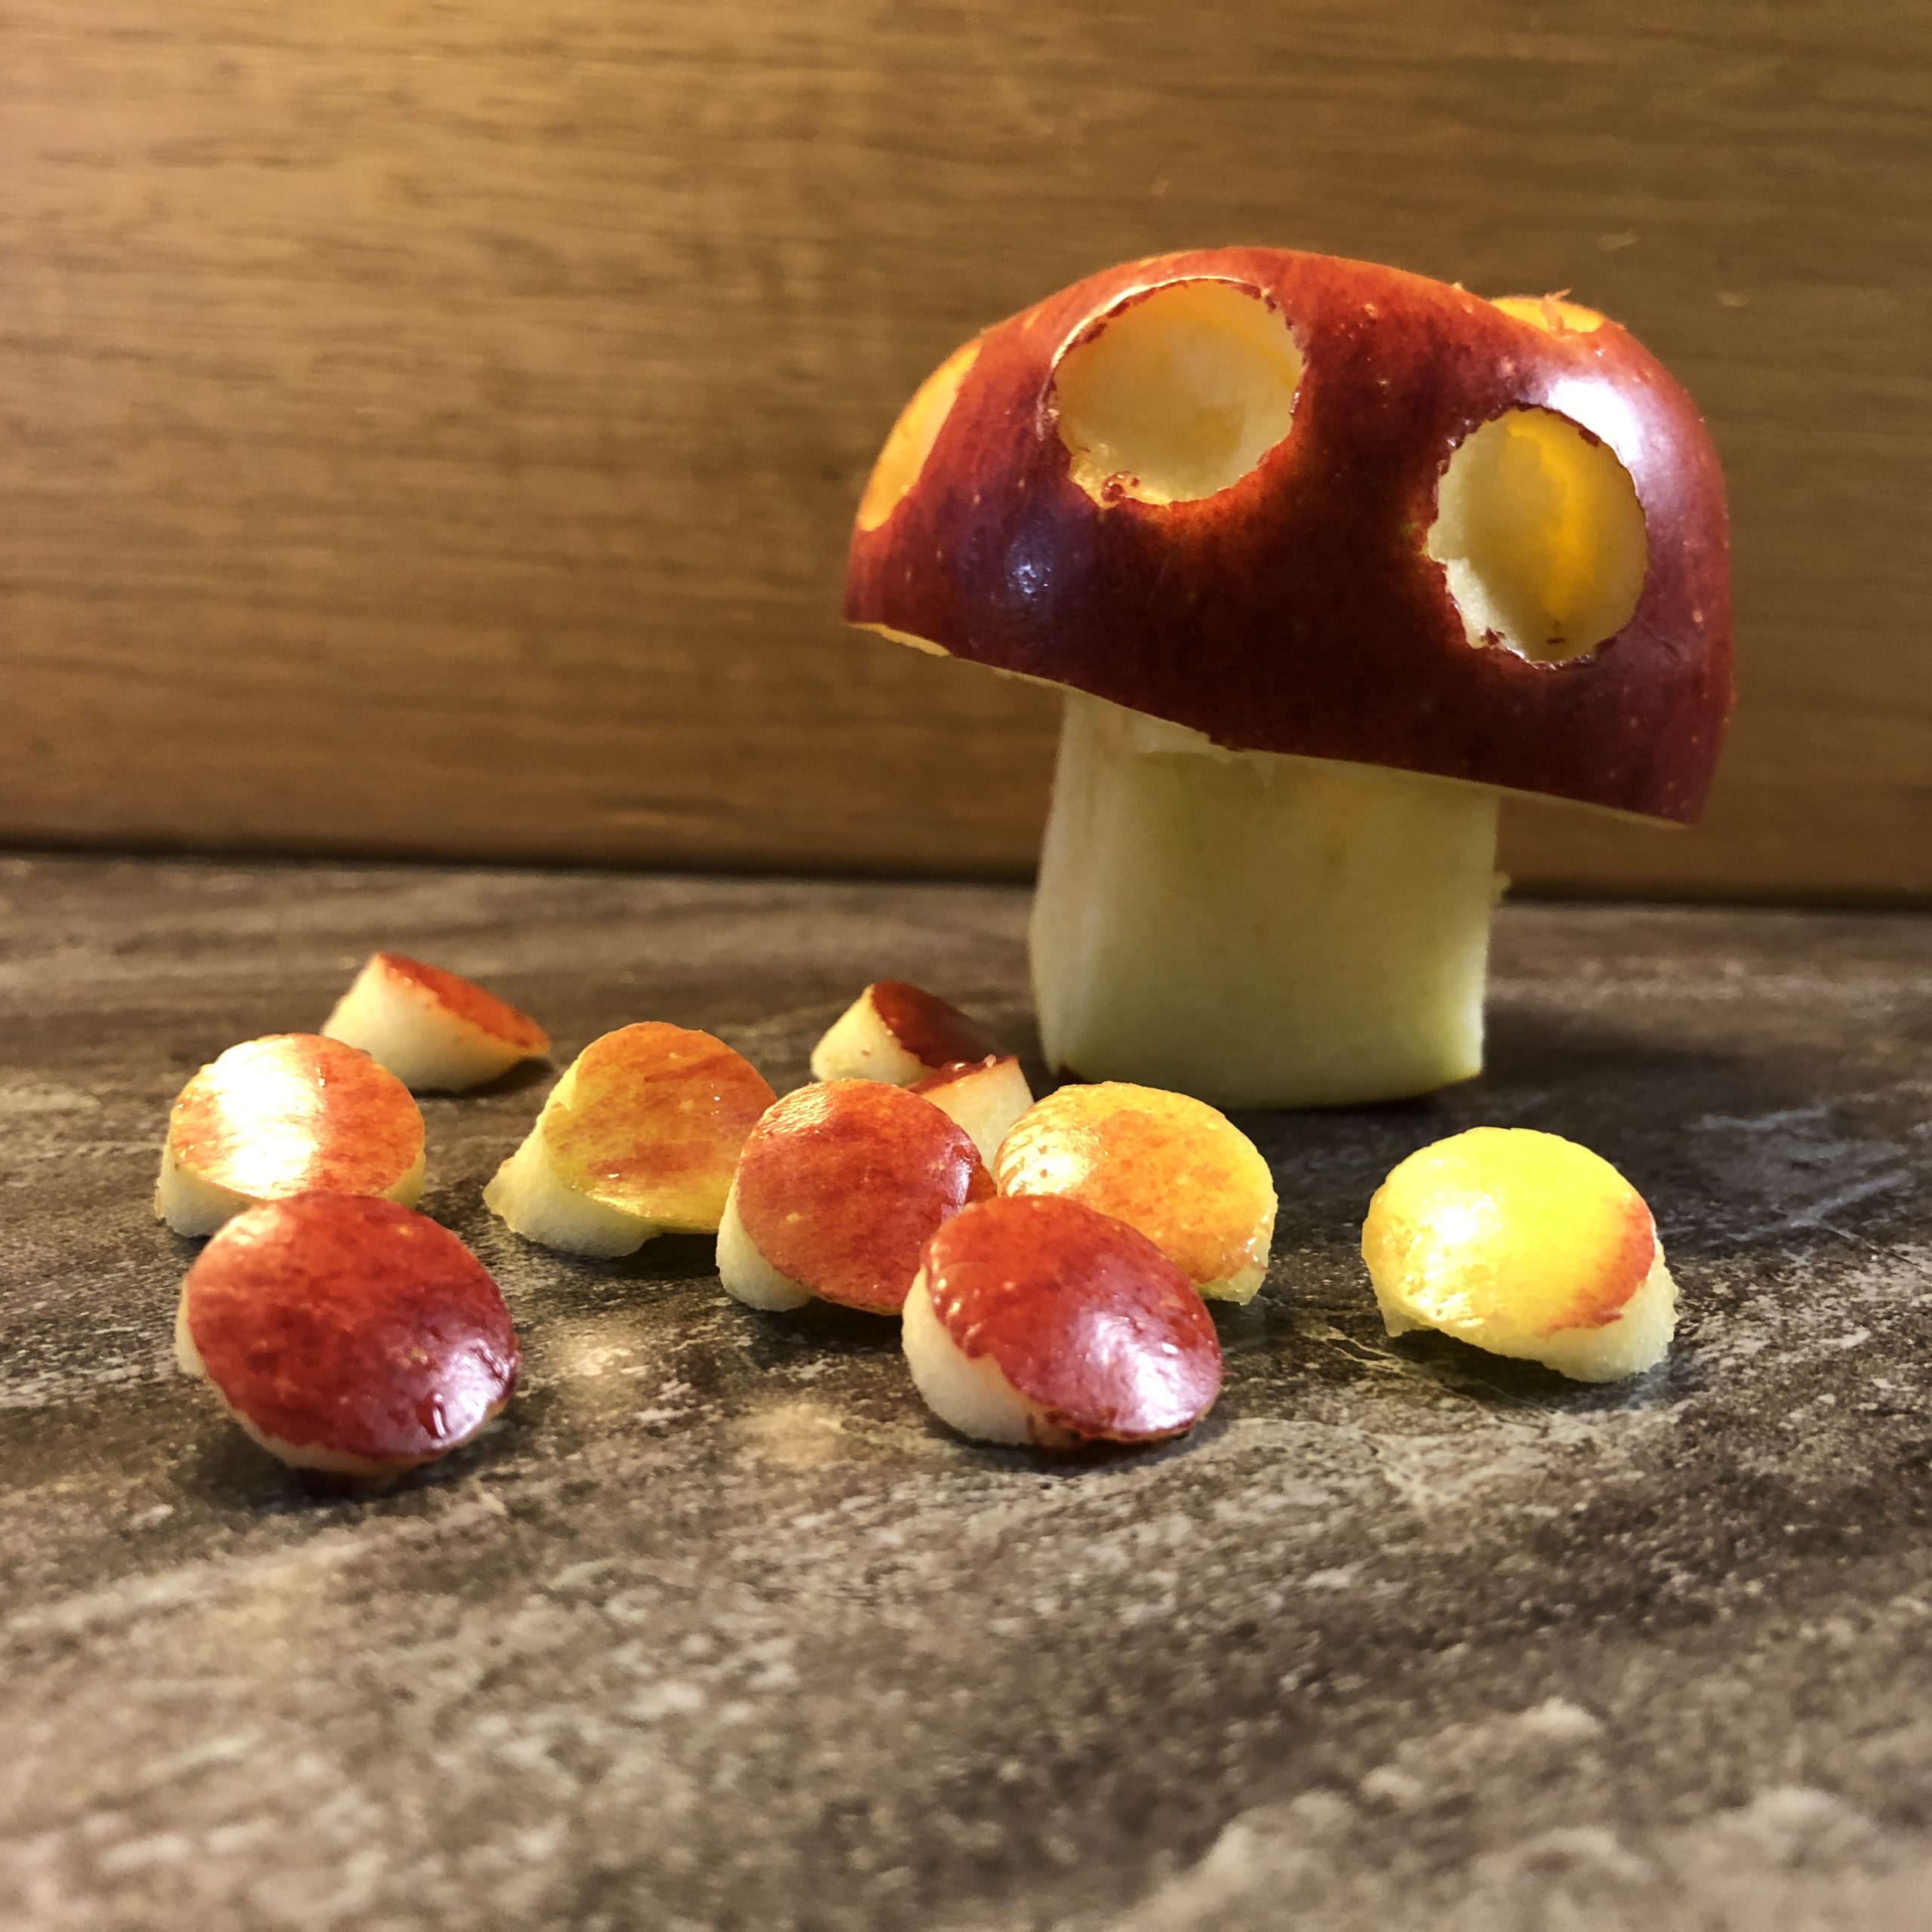


This is also a nice autumn adventure! When you come home hungry from mushroom picking or apple harvest!
Materials
Directions
All set.


The core house stands out.


Cut the apple all round in the middle. DO NOT cut!!!!


The lower side of the finished mushroom now shows upwards. We cut to the left and right of the pierced hole to the middle. There is the cross-section that we made with the knife before.


This is what the apple looks like! We put the two side pieces of apple to the side.


We cut the other two sides in the same way. That's how the mushroom foot is created.


We turn the apple around and now take care of the top of the mushroom. Now the typical white dots of the fly mushroom are missing.


To do this, cut circles out of the apple with the apple cutter or a pointed knife.
For this you stick the apple cutter a small piece into the apple and pull it out again.


Then you can pull out the pre-cut circles with a knife.


The apple mushroom is ready!
All cut apple pieces can already be snatched by the children when carving. Children like to watch. They are usually quite fascinated to watch how an apple slowly produces a fly mushroom.


Have fun with apple carving and apple snack!!!


This is also a nice autumn adventure! When you come home hungry from mushroom picking or apple harvest!
Follow us on Facebook , Instagram and Pinterest
Don't miss any more adventures: Our bottle mail


