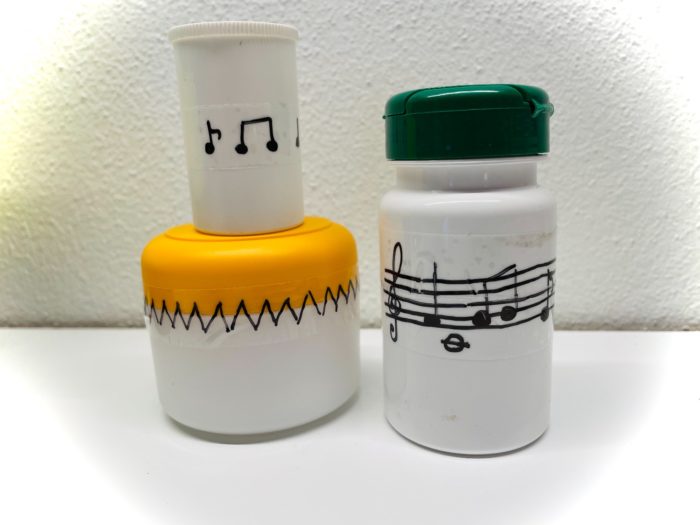
Adding Box – Build Instruments

AdventurerKatzi
Rating0.05.6 Thousand times & (0) DifficultyIntermediate

Building instruments yourself is not difficult at all. Find an angular tin can without a lid, a paper and felt pens for optical design and a few household rubbers for this can. How the can is built, that I show you here.

Media Education for Kindergarten and Hort

Kind bastelt eine Rassel mit dem Navi
The Adventure Navi, the app for DIY projects, enables media education for the youngest.

Relief in everyday life, targeted promotion of individual children, independent learning and - without any pre-knowledge already usable by the youngest!
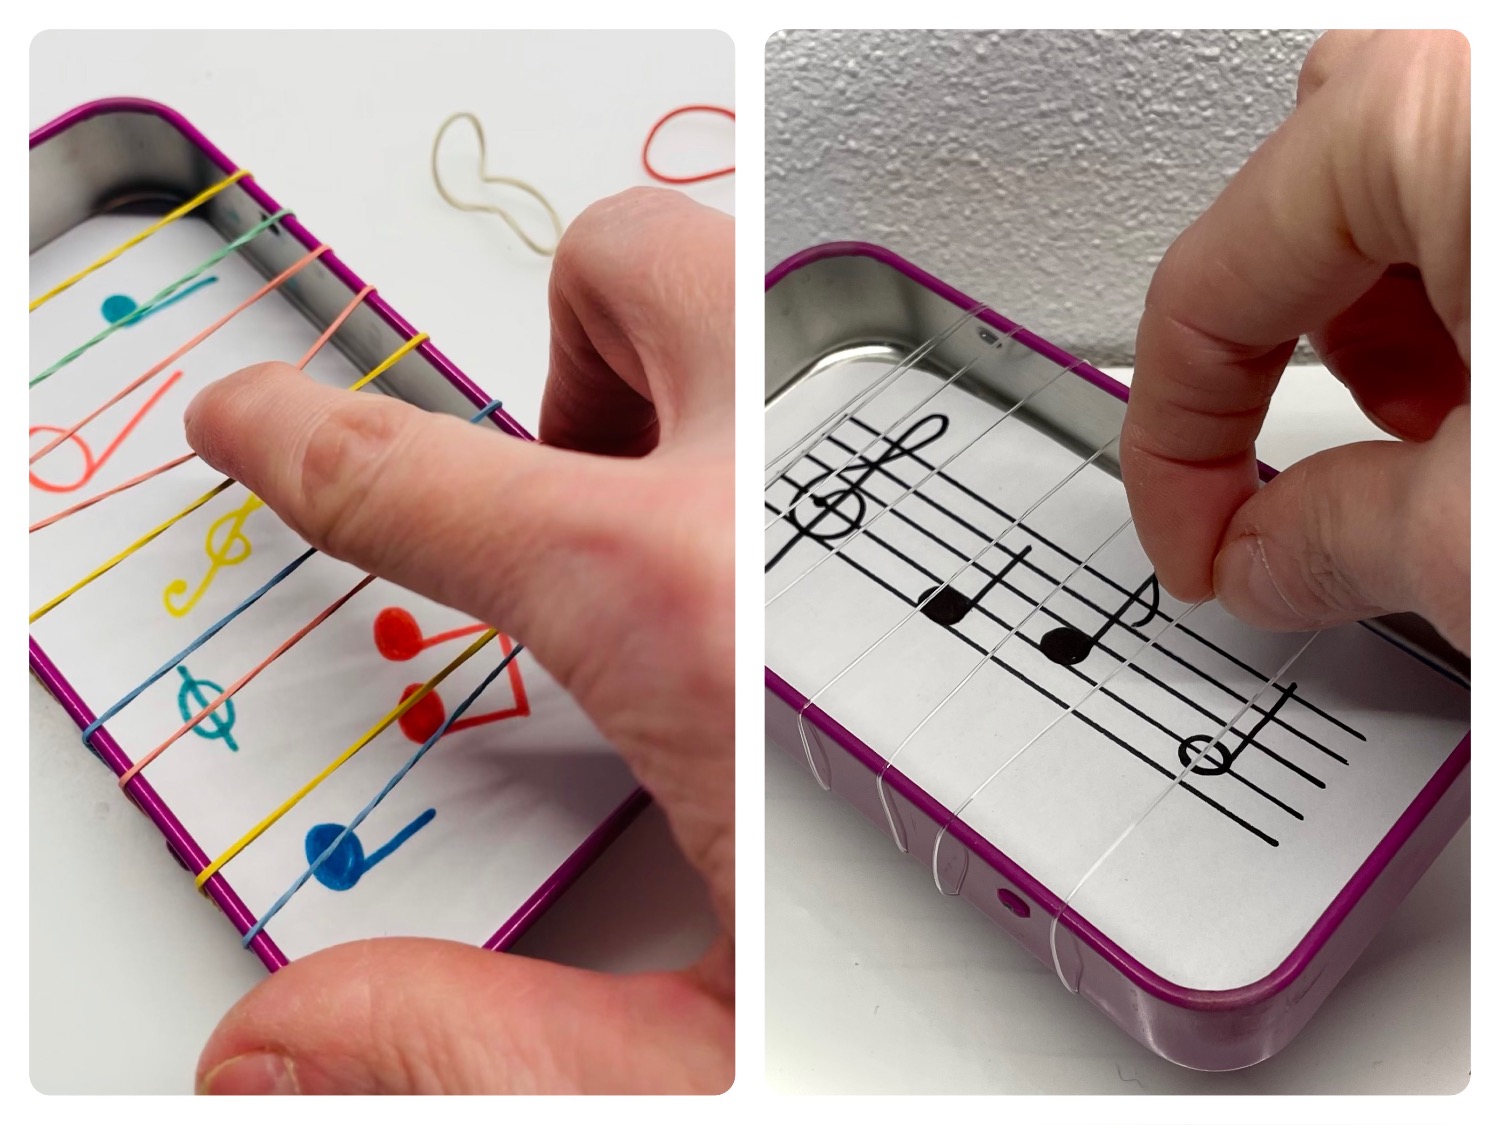


Titelbild zur Bastel- und DIY-Idee für Kinder '(642) Zupfdose – Instrumente bauen'
Material for1 Child
Prep Time5 min.Adv. Time15 min.Total Time20 min.
 1 Tin can angularWithout lid
 8-10 Household rubbers or nylon cord
 1 Paper
 Felt pins
 Hot glue gun
 Builder's pad
All links marked with a shopping cart lead to Amazon - here we have selected products that we would order ourselves and in part also ordered. In a qualified purchase via the advertising link, we as Amazon partner receive a commission, for you there are no costs. You thus support our cost- and advertising banner-free, educational offer.
1

Find your materials together and put out the craft pad. First you need the square tin can.
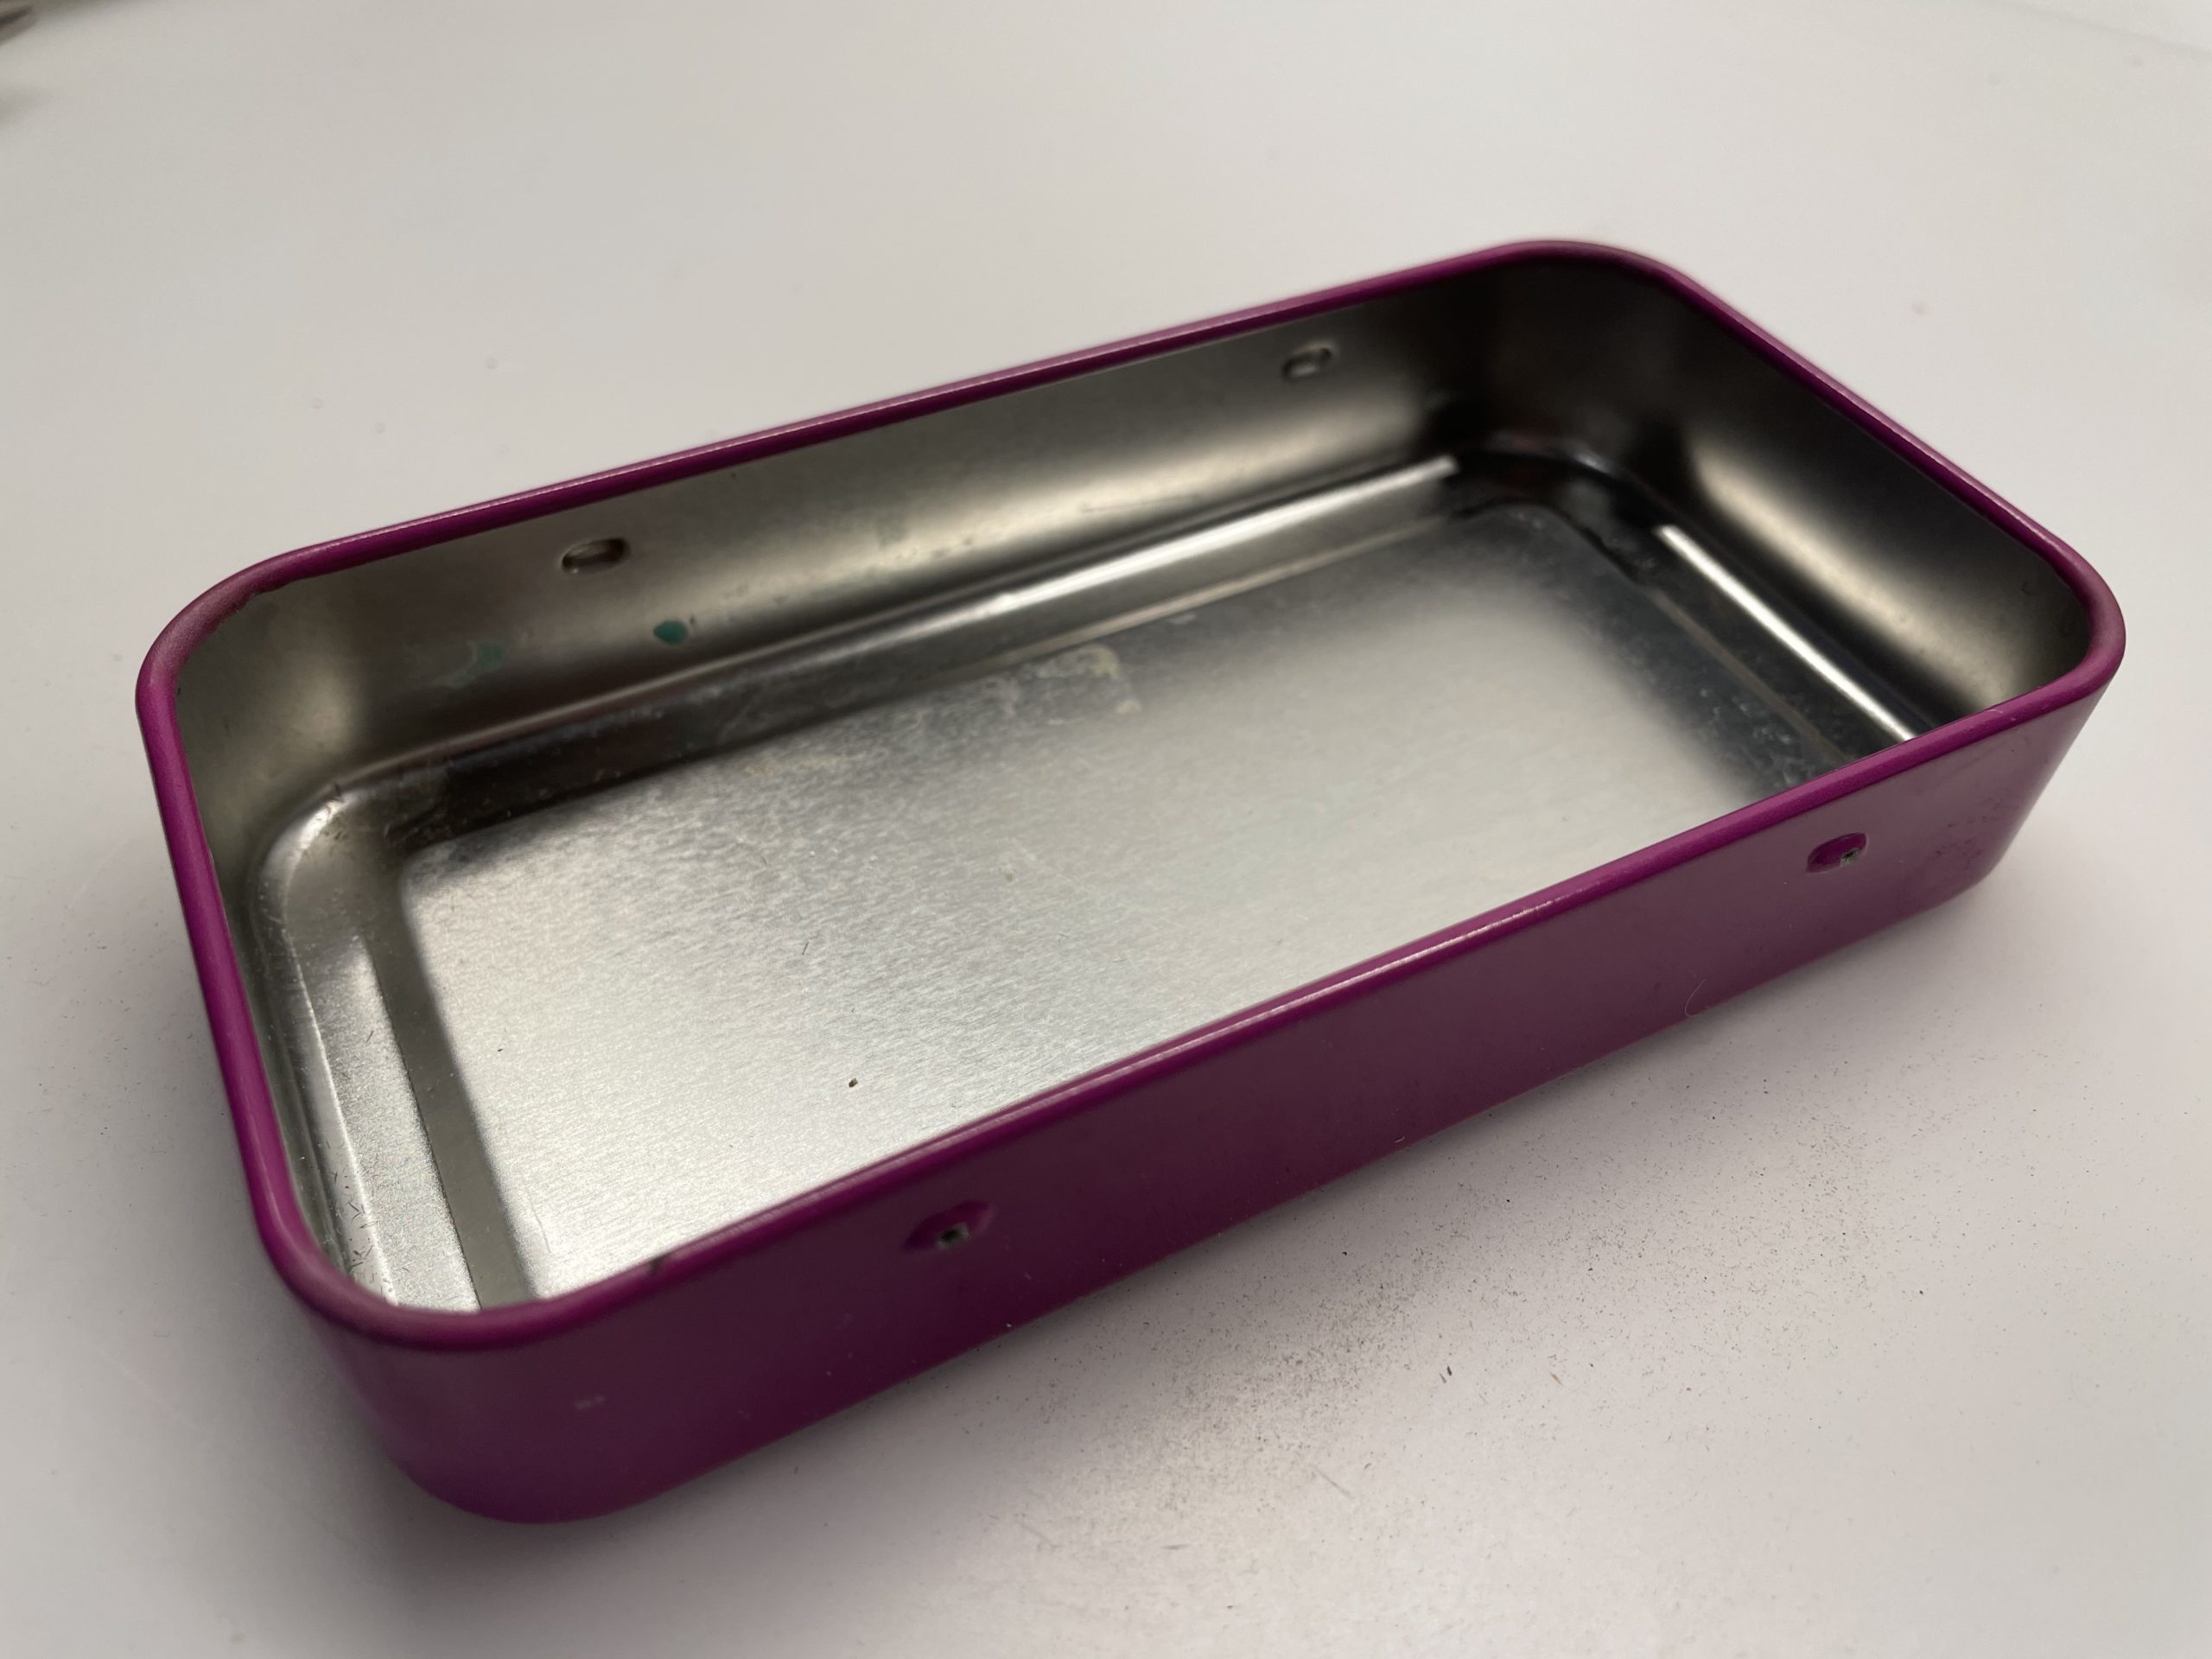
Bild zum Schritt 1 für das Bastel- und DIY-Abenteuer für Kinder: 'Sucht eure Materialien zusammen und legt die Bastelunterlage aus. Zuerst...'

Variant 1:
2

Create a insert sheet in the size of your tin can. To do this, cut a paper to the size of your tin can. Then, for example, you paint music notes, note keys, etc. on it.
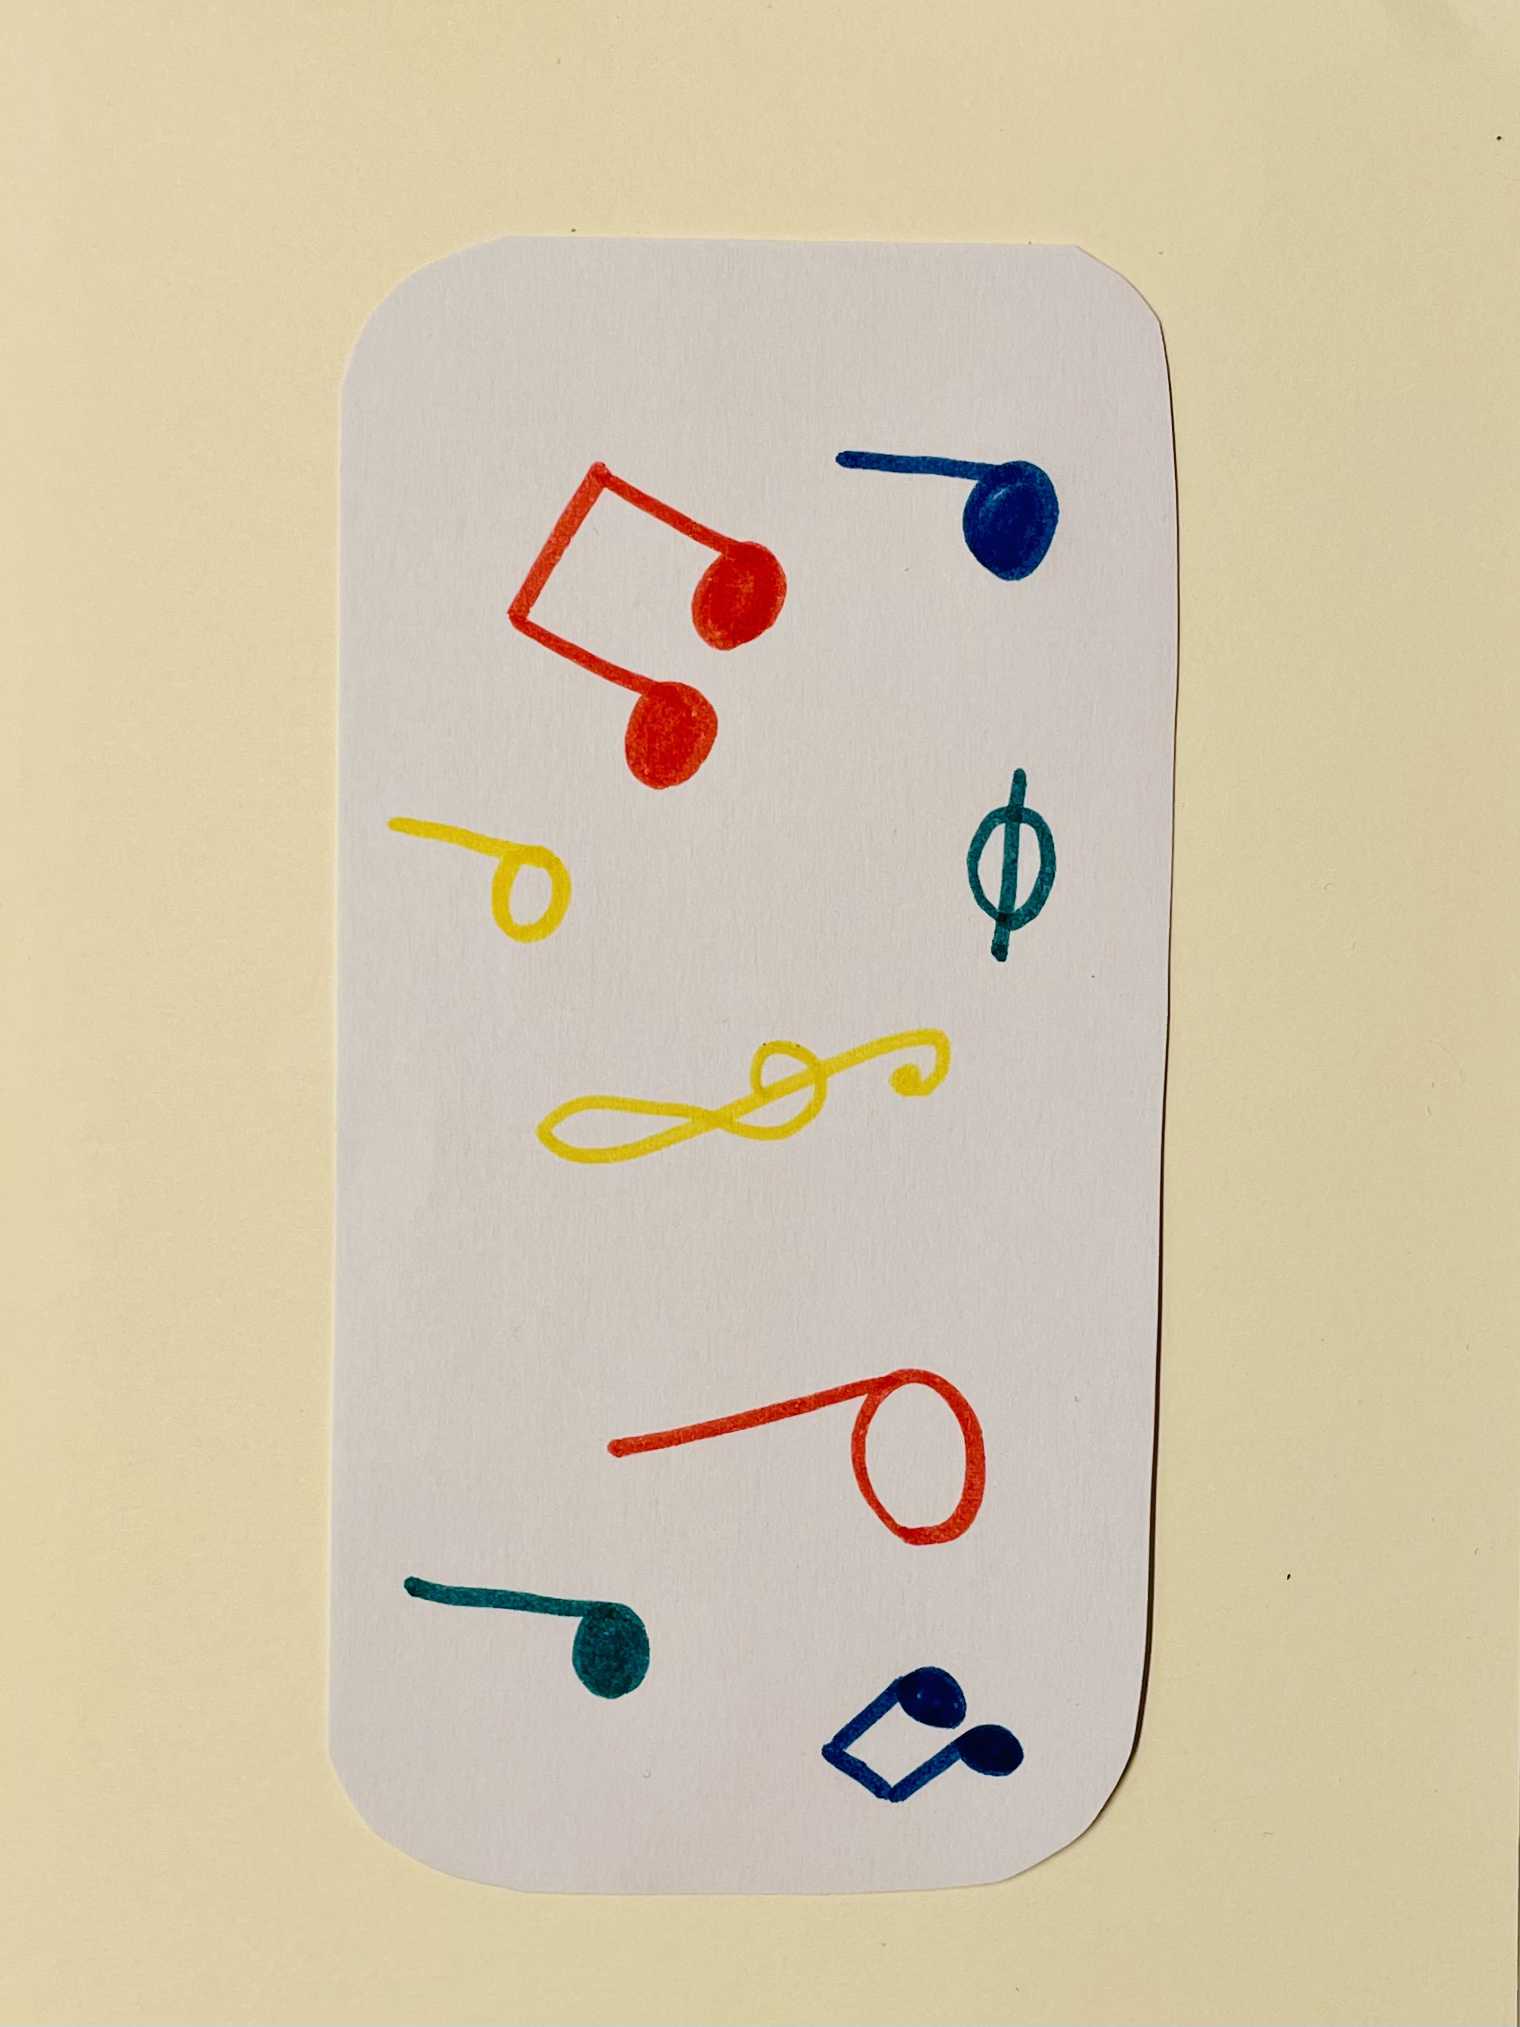
Bild zum Schritt 3 für das Bastel- und DIY-Abenteuer für Kinder: 'Gestaltet ein Einlegeblatt in der Größe eurer Blechdose. Dazu schneidet...'

3

Then put the insert in the can. Fix it with an adhesive point.

Bild zum Schritt 4 für das Bastel- und DIY-Abenteuer für Kinder: 'Dann legt ihr das Einlegeblatt in die Dose. Fixiert es...'

4

Now you need the colorful household rubbers.

Bild zum Schritt 5 für das Bastel- und DIY-Abenteuer für Kinder: 'Jetzt braucht ihr die bunten Haushaltsgummis.'

5

Stretch a rubber between your fingers and put it over the can.

Bild zum Schritt 6 für das Bastel- und DIY-Abenteuer für Kinder: 'Dehnt einen Gummi zwischen euren Fingern auf und stülpt diesen...'

6

Repeats the process for all 8-10 additional rubbers.

Bild zum Schritt 7 für das Bastel- und DIY-Abenteuer für Kinder: 'Wiederholt den Vorgang bei allen 8-10 weiteren Gummis.'

7

You always leave a little distance between the rubbers.

Bild zum Schritt 8 für das Bastel- und DIY-Abenteuer für Kinder: 'Dabei lasst ihr zwischen den Gummis immer etwas Abstand.'

8

That's what the back of the can might look like.

Bild zum Schritt 9 für das Bastel- und DIY-Abenteuer für Kinder: 'So könnte die Rückseite der Dose aussehen.'

9

Now you can put your fingers over the rubbers and make them snap.

Bild zum Schritt 10 für das Bastel- und DIY-Abenteuer für Kinder: 'Fertig ist die Zupfdose. Nun könnt ihr mit den Fingern...'

10

Or you pick the rubbers by pulling them up slightly and then letting them go.
Have fun!

Bild zum Schritt 11 für das Bastel- und DIY-Abenteuer für Kinder: 'Oder ihr zupft die Gummis, indem er sie leicht nach...'

Variant 2:
11

Instead of the household rubbers, you use a nylon cord for this.

Bild zum Schritt 13 für das Bastel- und DIY-Abenteuer für Kinder: 'Hierfür verwendet ihr statt der Haushaltsgummis eine Nylonschnur.'

12

First tie the nylon cord around the can and fix it with a double knot.

Bild zum Schritt 14 für das Bastel- und DIY-Abenteuer für Kinder: 'Bindet zuerst die Nylonschnur um die Dose und fixiert sie...'

13

Then push the knot to the back of the can.
The nylon cord must be tightened!

Bild zum Schritt 15 für das Bastel- und DIY-Abenteuer für Kinder: 'Anschließend schiebt ihr den Knoten auf die Rückseite der Dose....'

14

Now wrap the nylon cord around the can several times with a little distance.

Bild zum Schritt 16 für das Bastel- und DIY-Abenteuer für Kinder: 'Nun wickelt ihr die Nylonschnur mit etwas Abstand mehrmals um...'

15

Make sure you keep the nylon thread on tension.

Bild zum Schritt 17 für das Bastel- und DIY-Abenteuer für Kinder: 'Achtet darauf, dass ihr den Nylonfaden auf Spannung haltet.'

16

After wrapping, the nylon cord ends on the back. Now glues the nylon thread with a hot glue point to the back of the can. Cuts off the overstanding nylon cord only then.

Bild zum Schritt 18 für das Bastel- und DIY-Abenteuer für Kinder: 'Nachdem Umwickeln endet die Nylonschnur auf die Rückseite. Klebt nun...'

17

Now paint another insert for your can.

Bild zum Schritt 19 für das Bastel- und DIY-Abenteuer für Kinder: 'Malt euch nun noch ein Einlegebild für eure Dose.'

18

2. Bild zum Schritt 19 für das Bastel- und DIY-Abenteuer für Kinder: 'Malt euch nun noch ein Einlegebild für eure Dose.'

19

You can slide this into the can under the tensioned nylon threads on the side.

Bild zum Schritt 21 für das Bastel- und DIY-Abenteuer für Kinder: 'Dieses könnt ihr seitlich unter die gespannten Nylonfäden in die...'

20

Positions the paper so that it lies perfectly inside the can.

Bild zum Schritt 22 für das Bastel- und DIY-Abenteuer für Kinder: 'Positioniert das Papier, so dass es perfekt im Inneren der...'

21

Now the can is ready to be used. You can pluck the nylon threads with your fingers, or use a firm overstrip to make the blade ring.

Bild zum Schritt 23 für das Bastel- und DIY-Abenteuer für Kinder: 'Nun ist die Dose bereit zum Einsatz. Ihr könnt die...'

22

Try it out and enjoy accompanying your songs musically, plucking rhythms or creating your own melodies.

Materials

 1 Tin can angularWithout lid
 8-10 Household rubbers or nylon cord
 1 Paper
 Felt pins
 Hot glue gun
 Builder's pad
All links marked with a shopping cart lead to Amazon - here we have selected products that we would order ourselves and in part also ordered. In a qualified purchase via the advertising link, we as Amazon partner receive a commission, for you there are no costs. You thus support our cost- and advertising banner-free, educational offer.

Directions

1

Find your materials together and put out the craft pad. First you need the square tin can.

Bild zum Schritt 1 für das Bastel- und DIY-Abenteuer für Kinder: 'Sucht eure Materialien zusammen und legt die Bastelunterlage aus. Zuerst...'

Variant 1:
2

Create a insert sheet in the size of your tin can. To do this, cut a paper to the size of your tin can. Then, for example, you paint music notes, note keys, etc. on it.

Bild zum Schritt 3 für das Bastel- und DIY-Abenteuer für Kinder: 'Gestaltet ein Einlegeblatt in der Größe eurer Blechdose. Dazu schneidet...'

3

Then put the insert in the can. Fix it with an adhesive point.
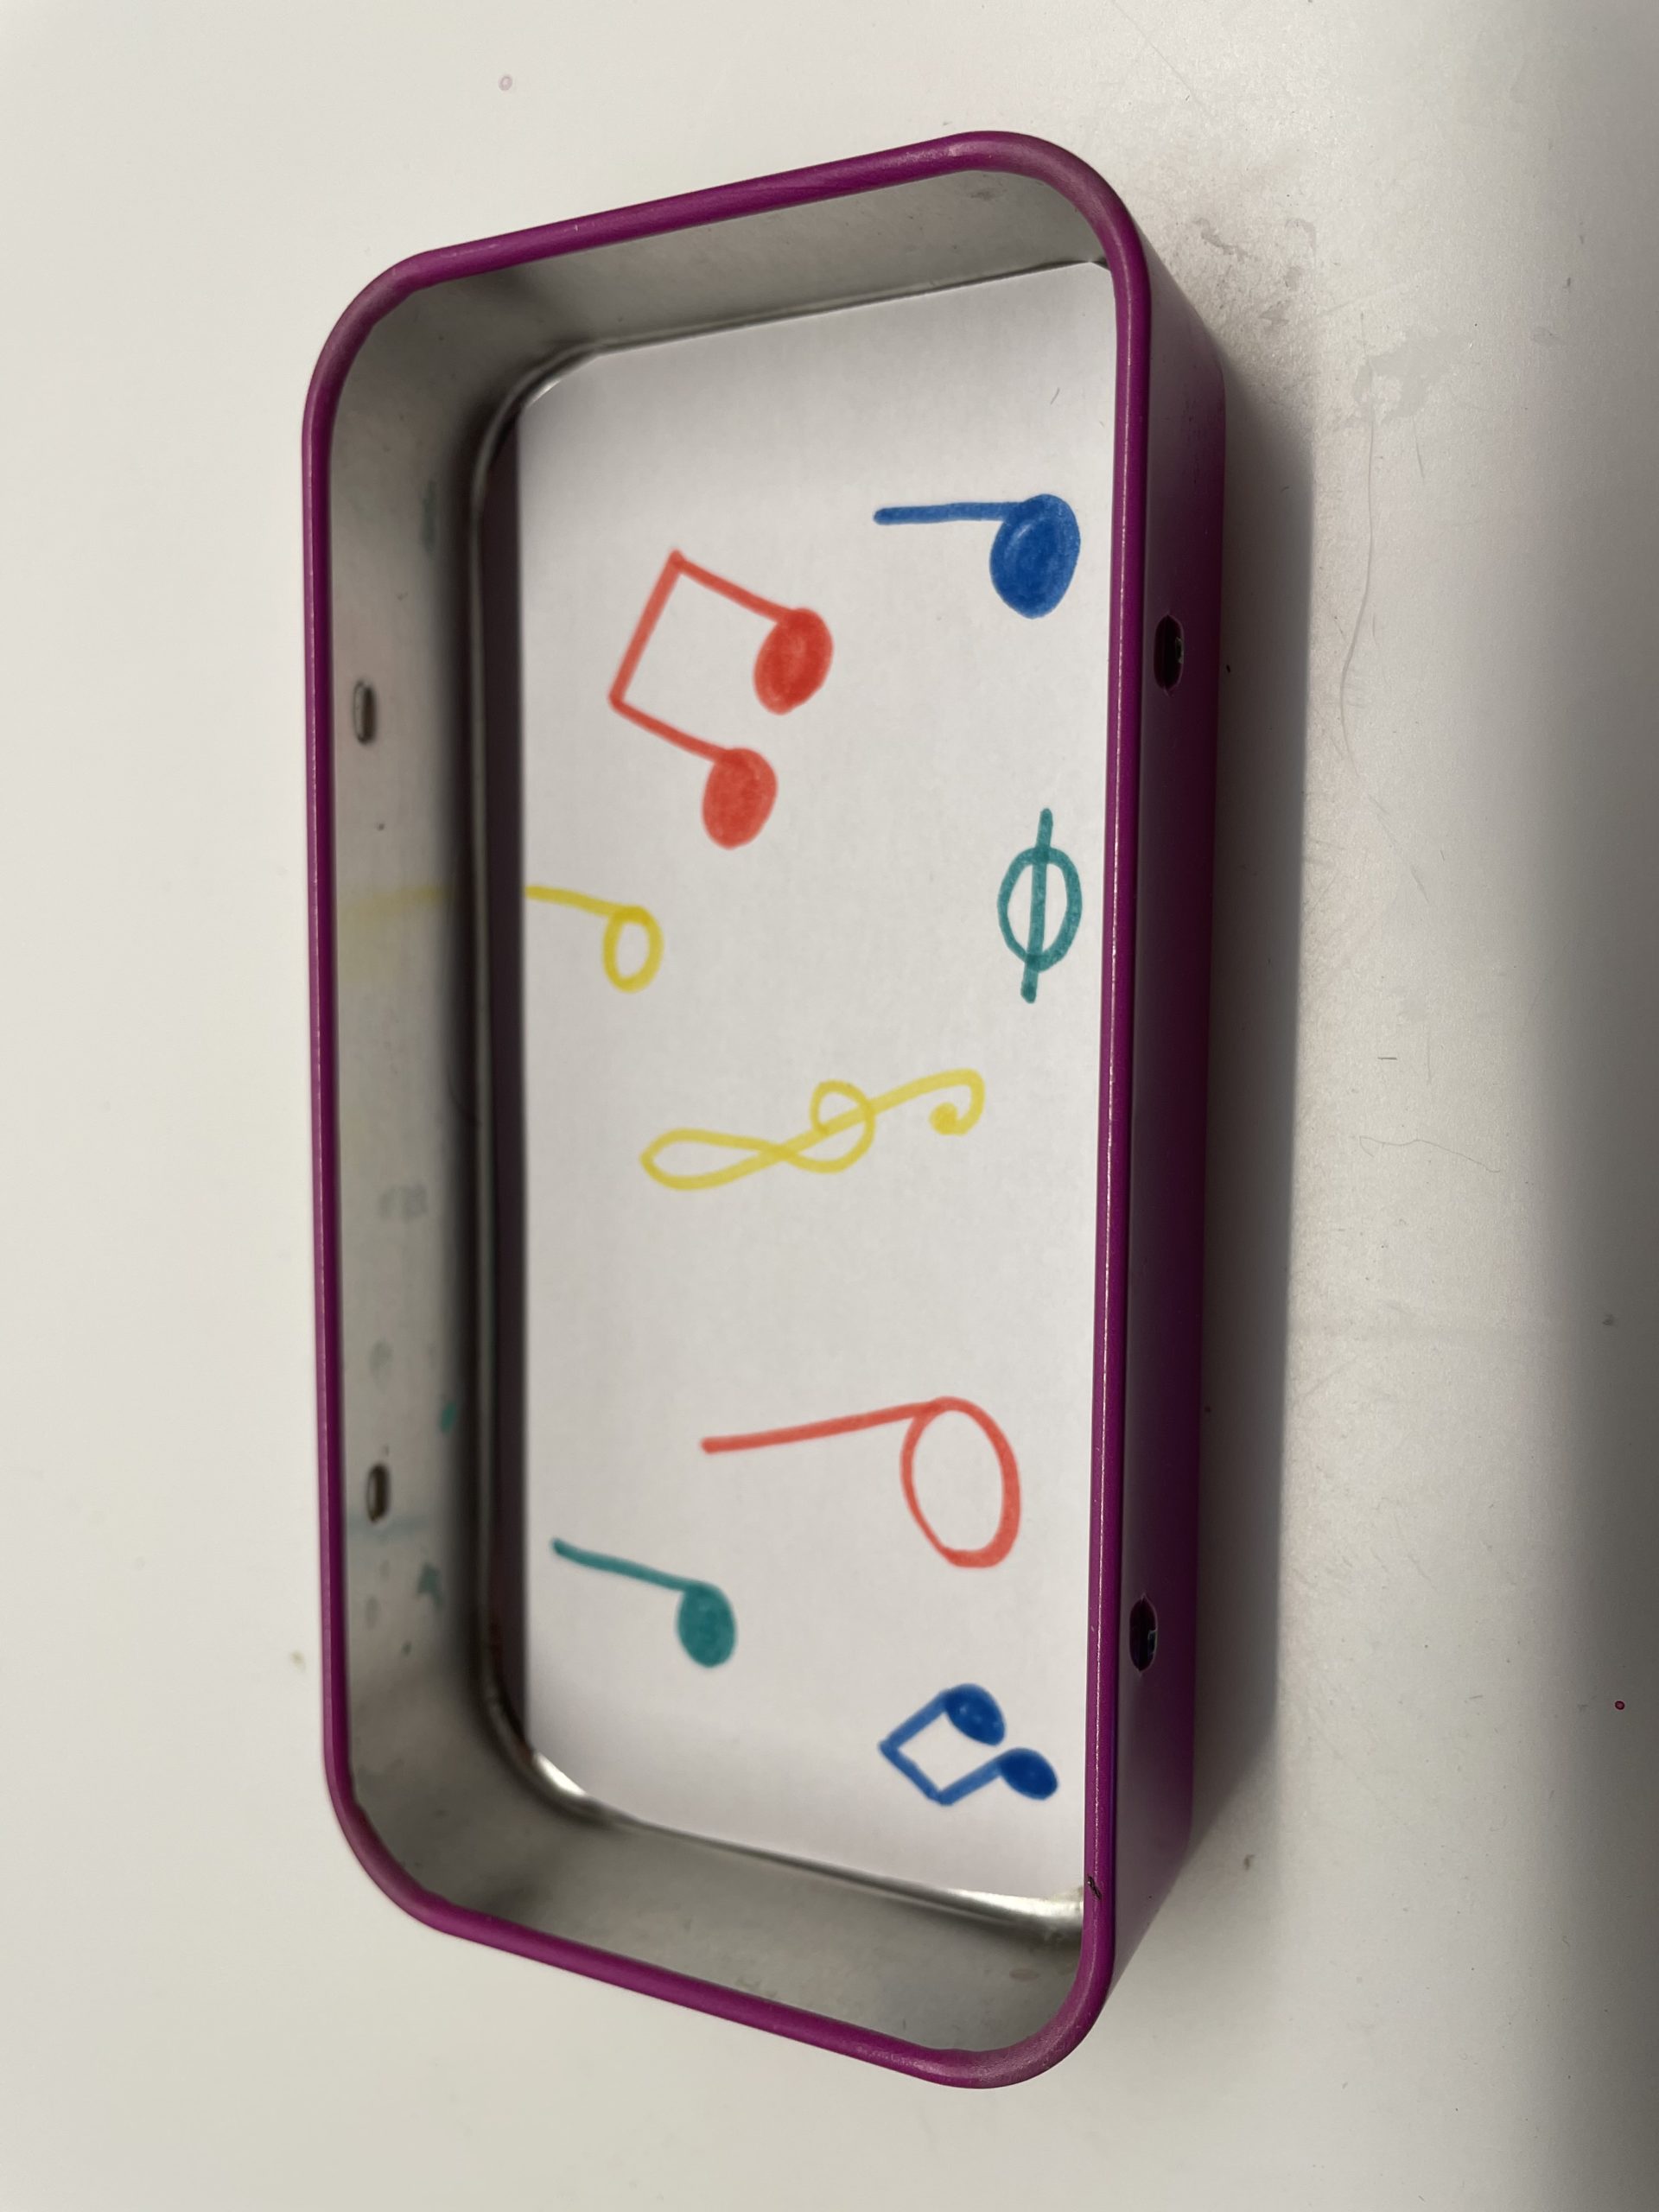
Bild zum Schritt 4 für das Bastel- und DIY-Abenteuer für Kinder: 'Dann legt ihr das Einlegeblatt in die Dose. Fixiert es...'

4

Now you need the colorful household rubbers.
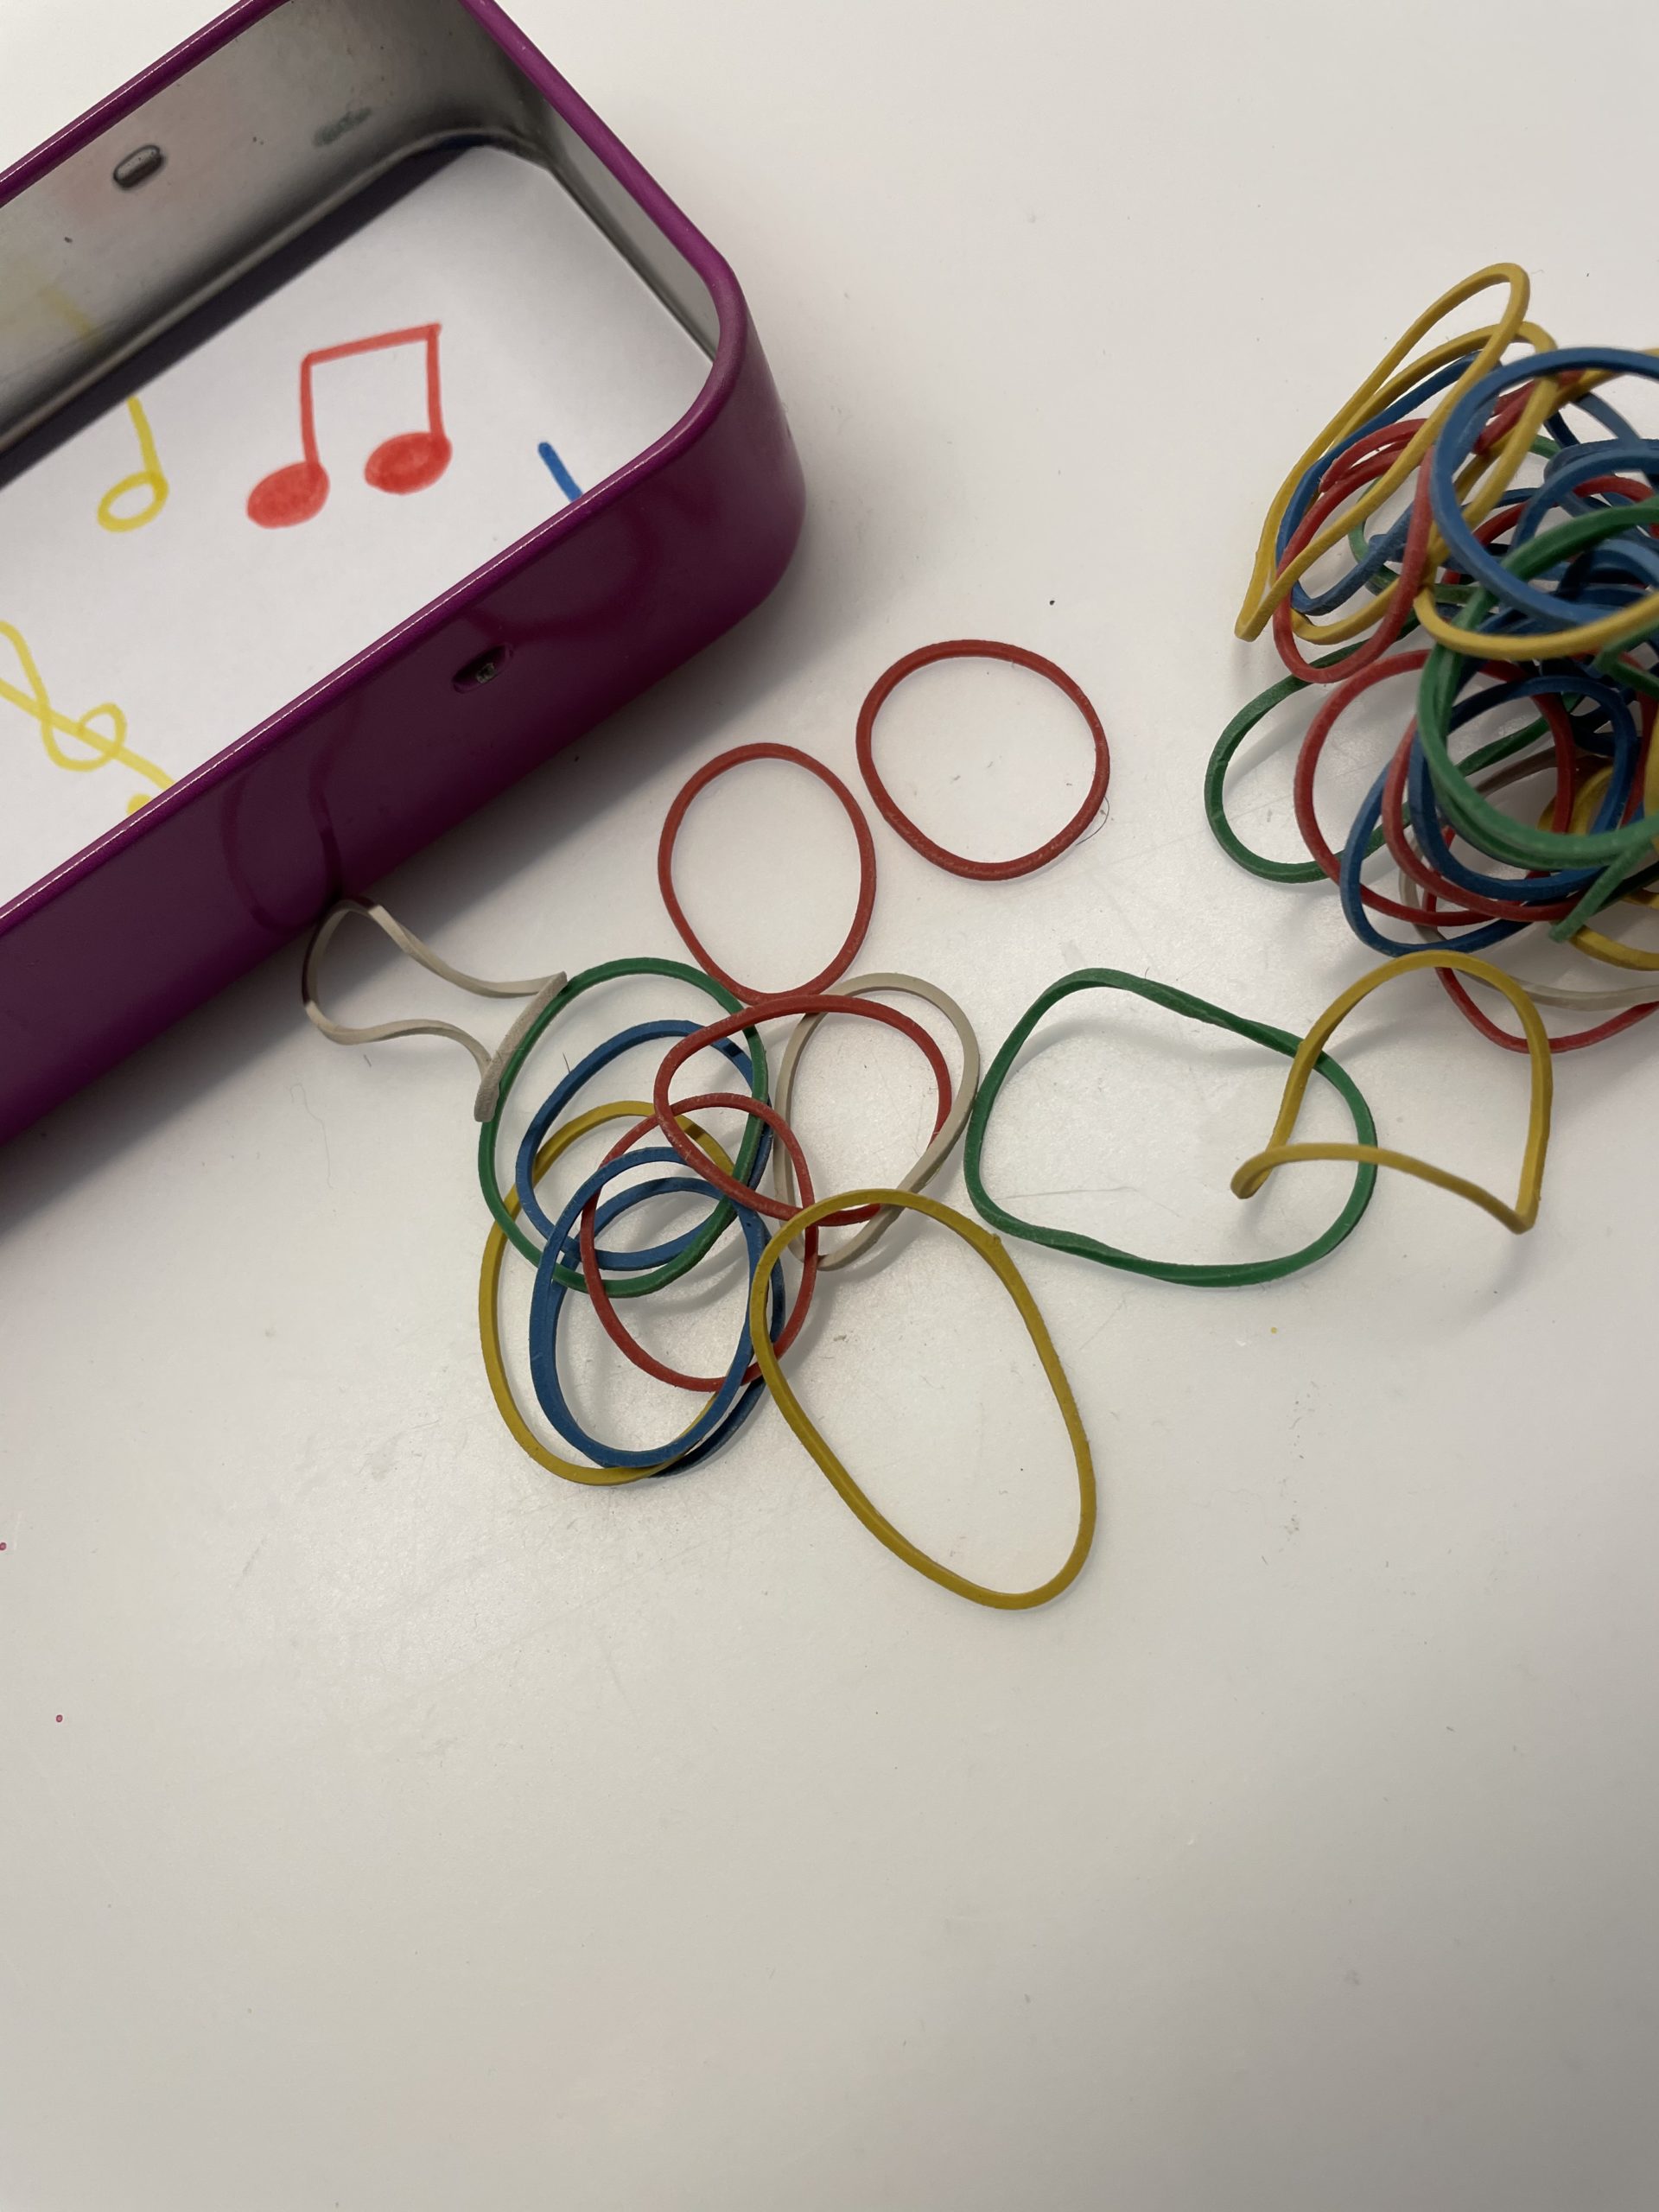
Bild zum Schritt 5 für das Bastel- und DIY-Abenteuer für Kinder: 'Jetzt braucht ihr die bunten Haushaltsgummis.'

5

Stretch a rubber between your fingers and put it over the can.

Bild zum Schritt 6 für das Bastel- und DIY-Abenteuer für Kinder: 'Dehnt einen Gummi zwischen euren Fingern auf und stülpt diesen...'

6

Repeats the process for all 8-10 additional rubbers.
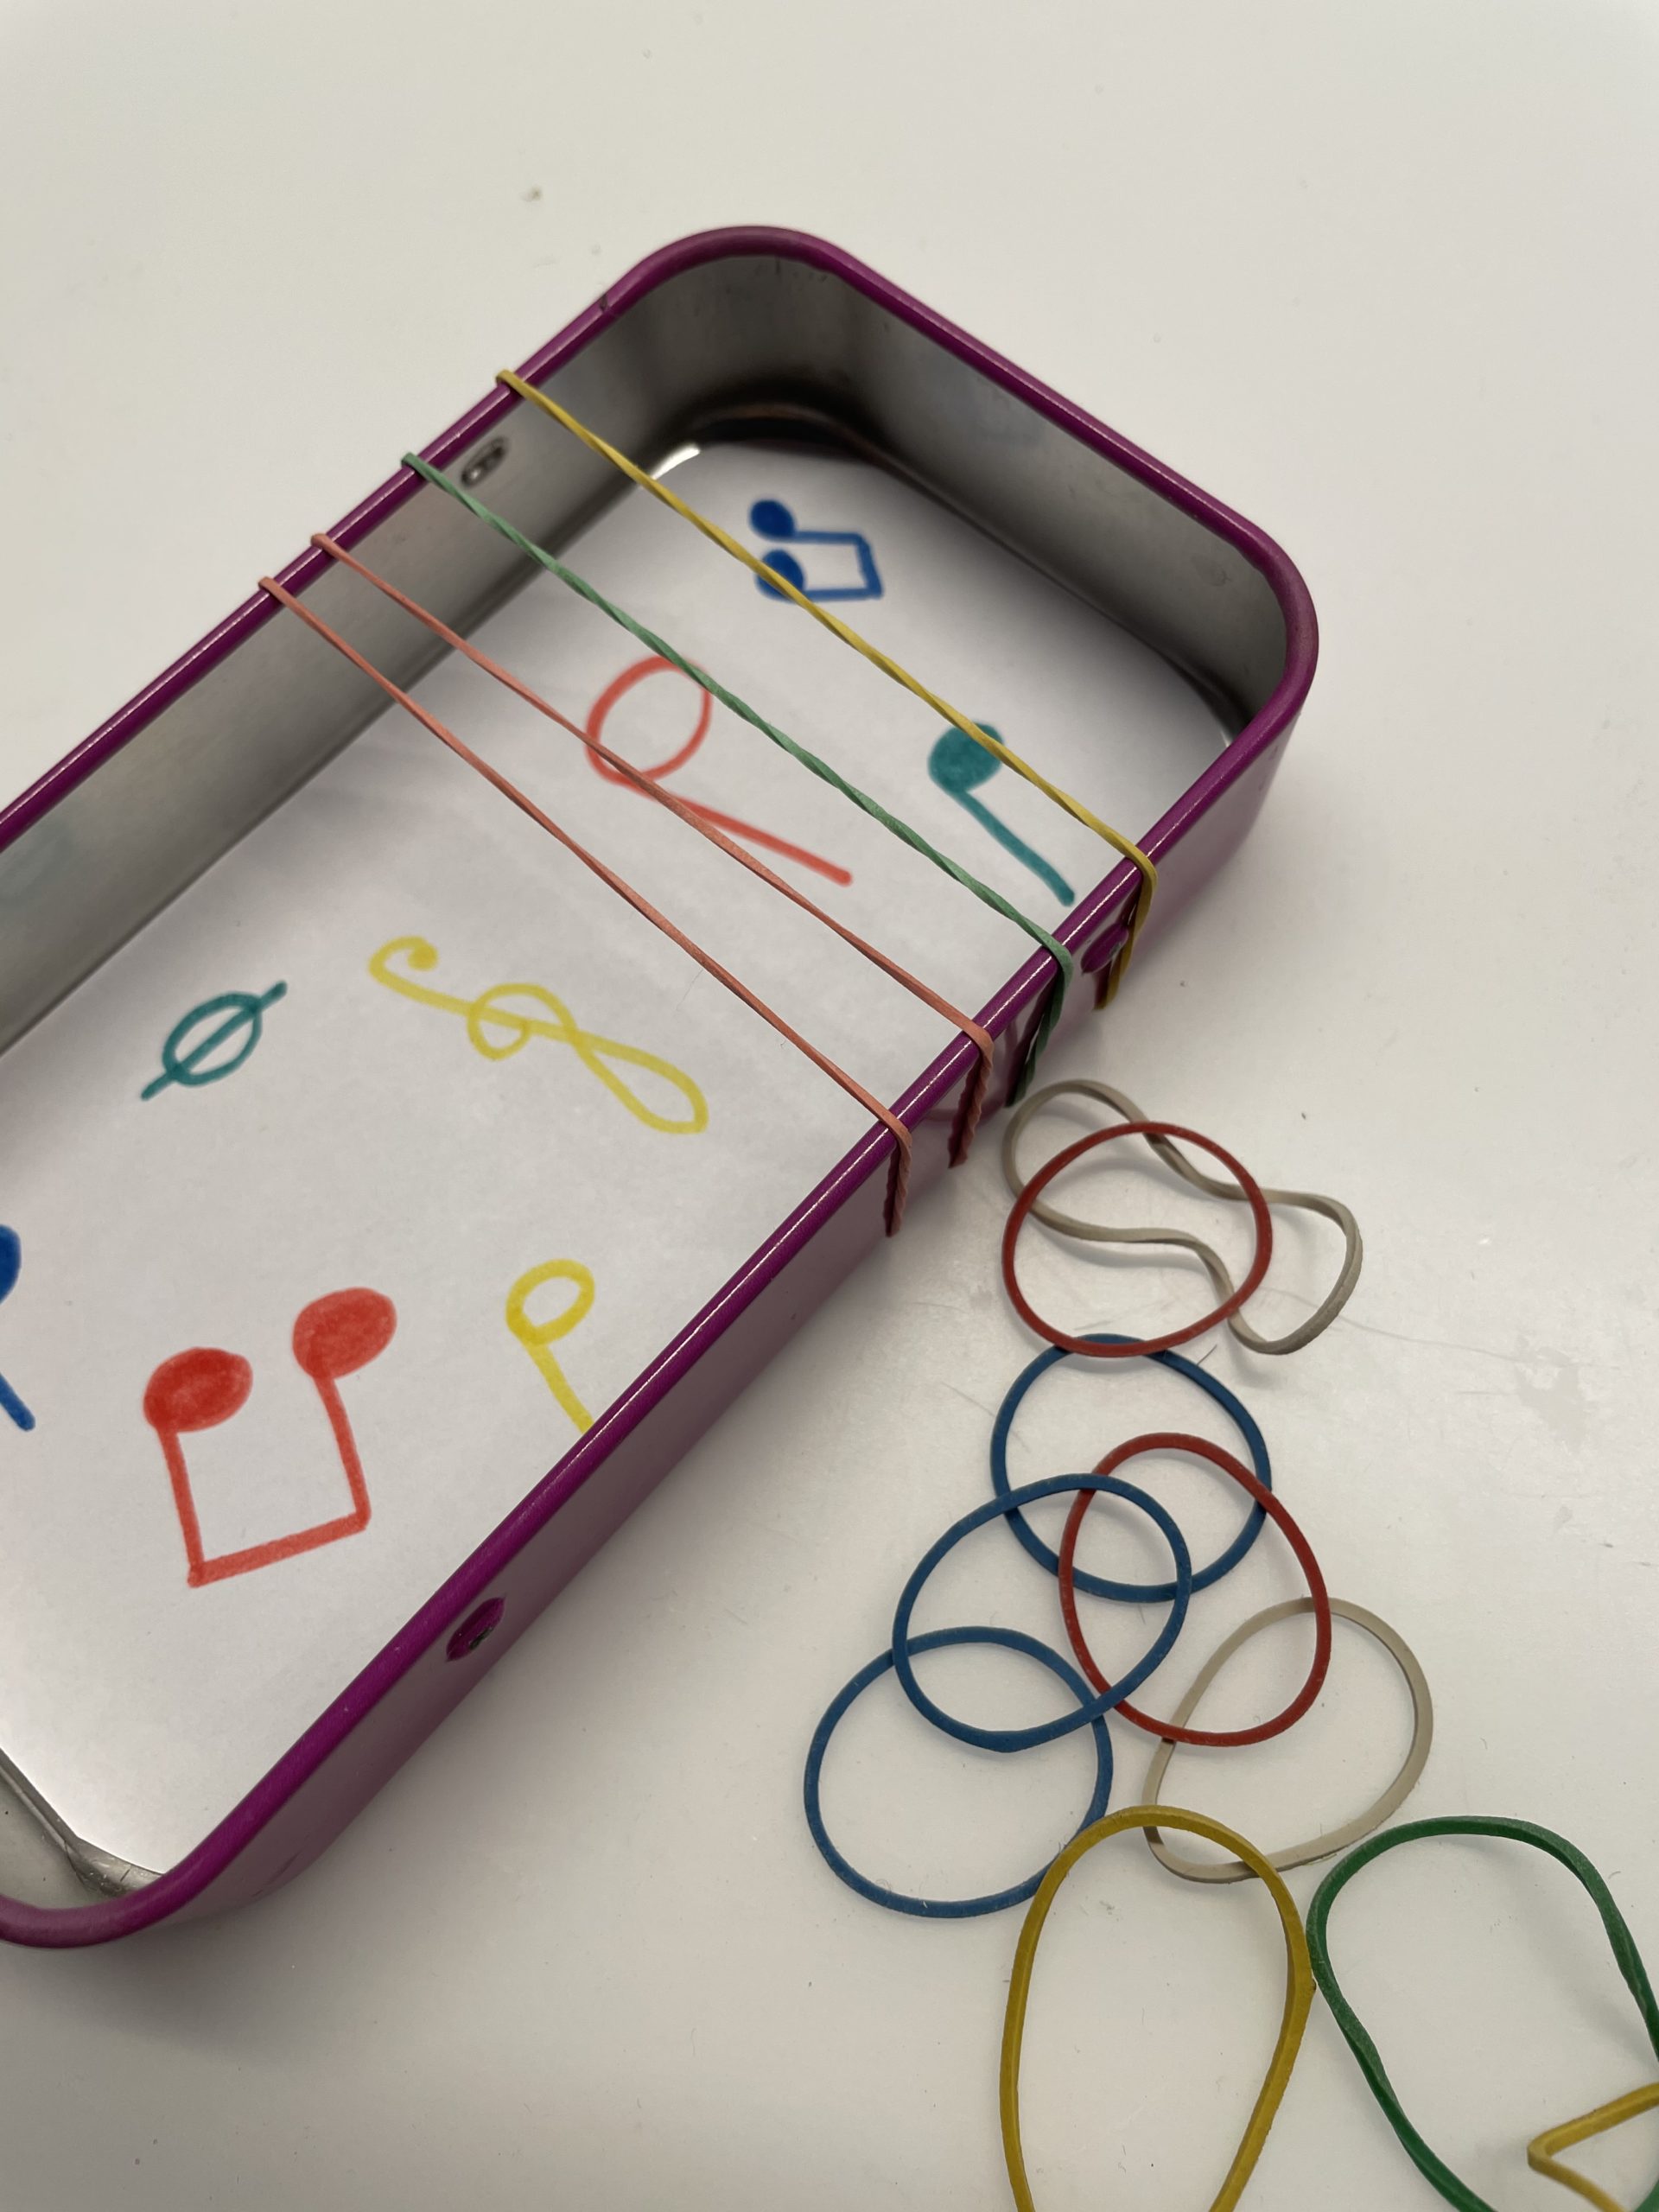
Bild zum Schritt 7 für das Bastel- und DIY-Abenteuer für Kinder: 'Wiederholt den Vorgang bei allen 8-10 weiteren Gummis.'

7

You always leave a little distance between the rubbers.
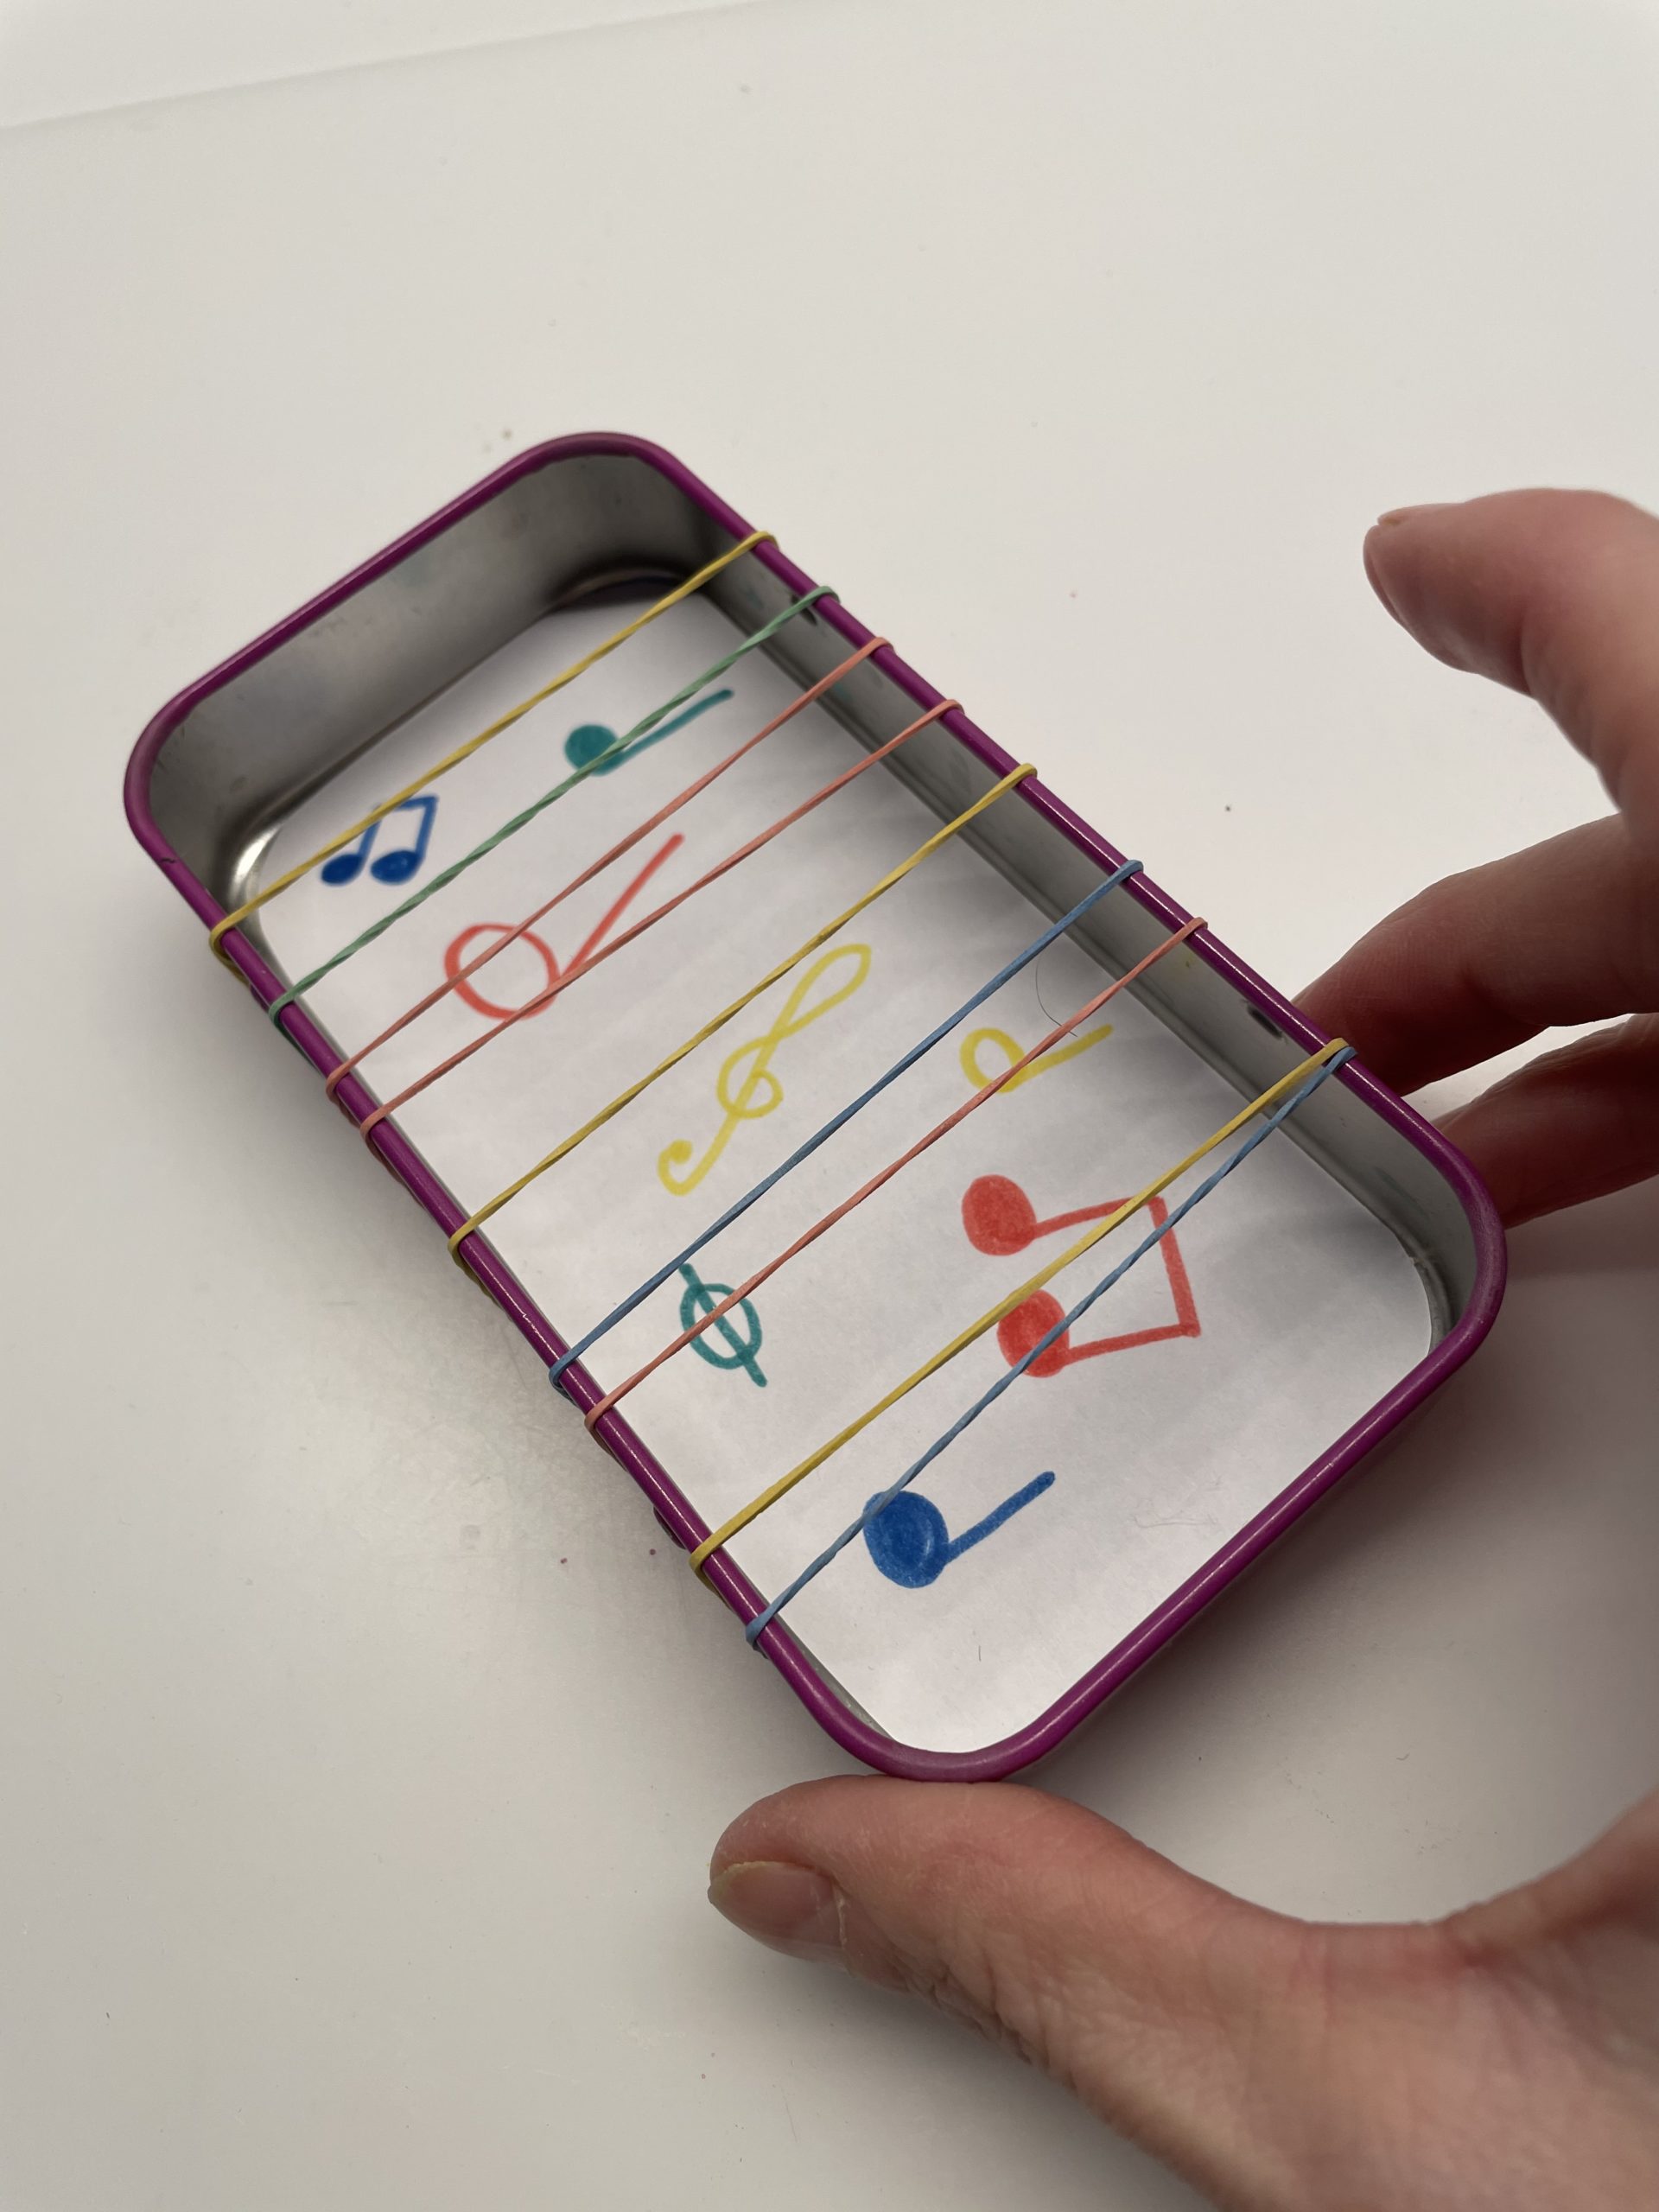
Bild zum Schritt 8 für das Bastel- und DIY-Abenteuer für Kinder: 'Dabei lasst ihr zwischen den Gummis immer etwas Abstand.'

8

That's what the back of the can might look like.
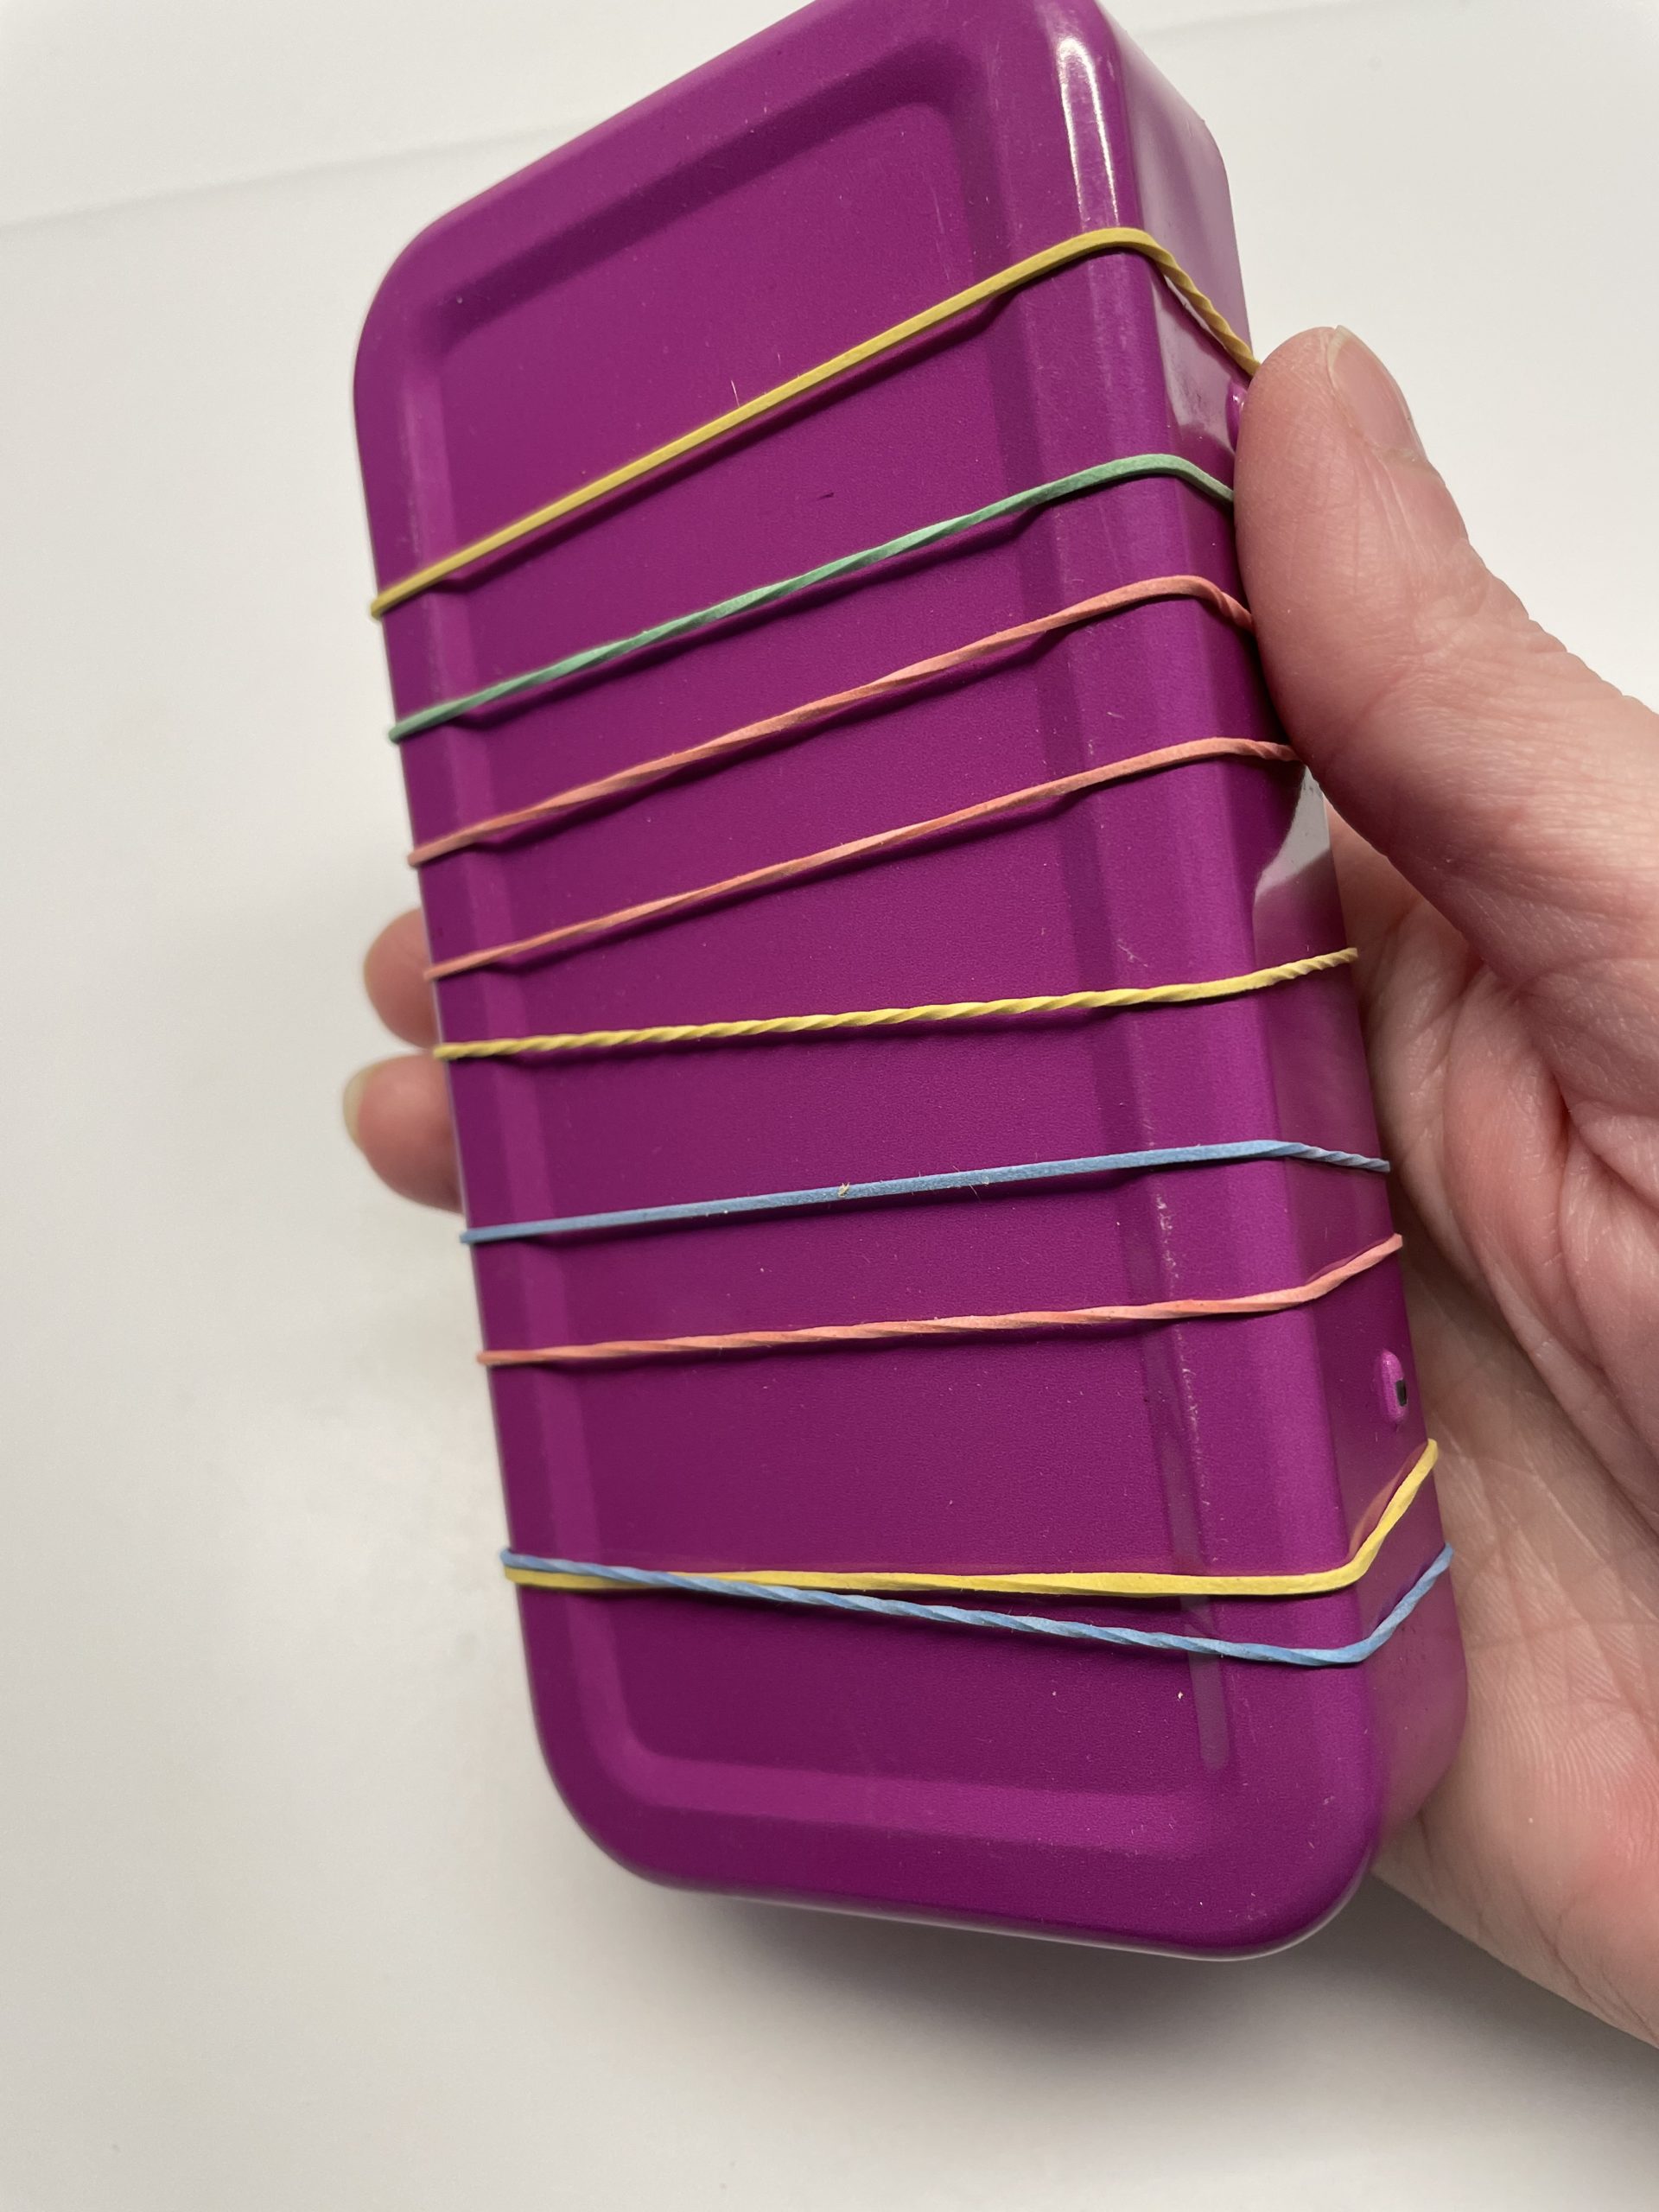
Bild zum Schritt 9 für das Bastel- und DIY-Abenteuer für Kinder: 'So könnte die Rückseite der Dose aussehen.'

9

Now you can put your fingers over the rubbers and make them snap.
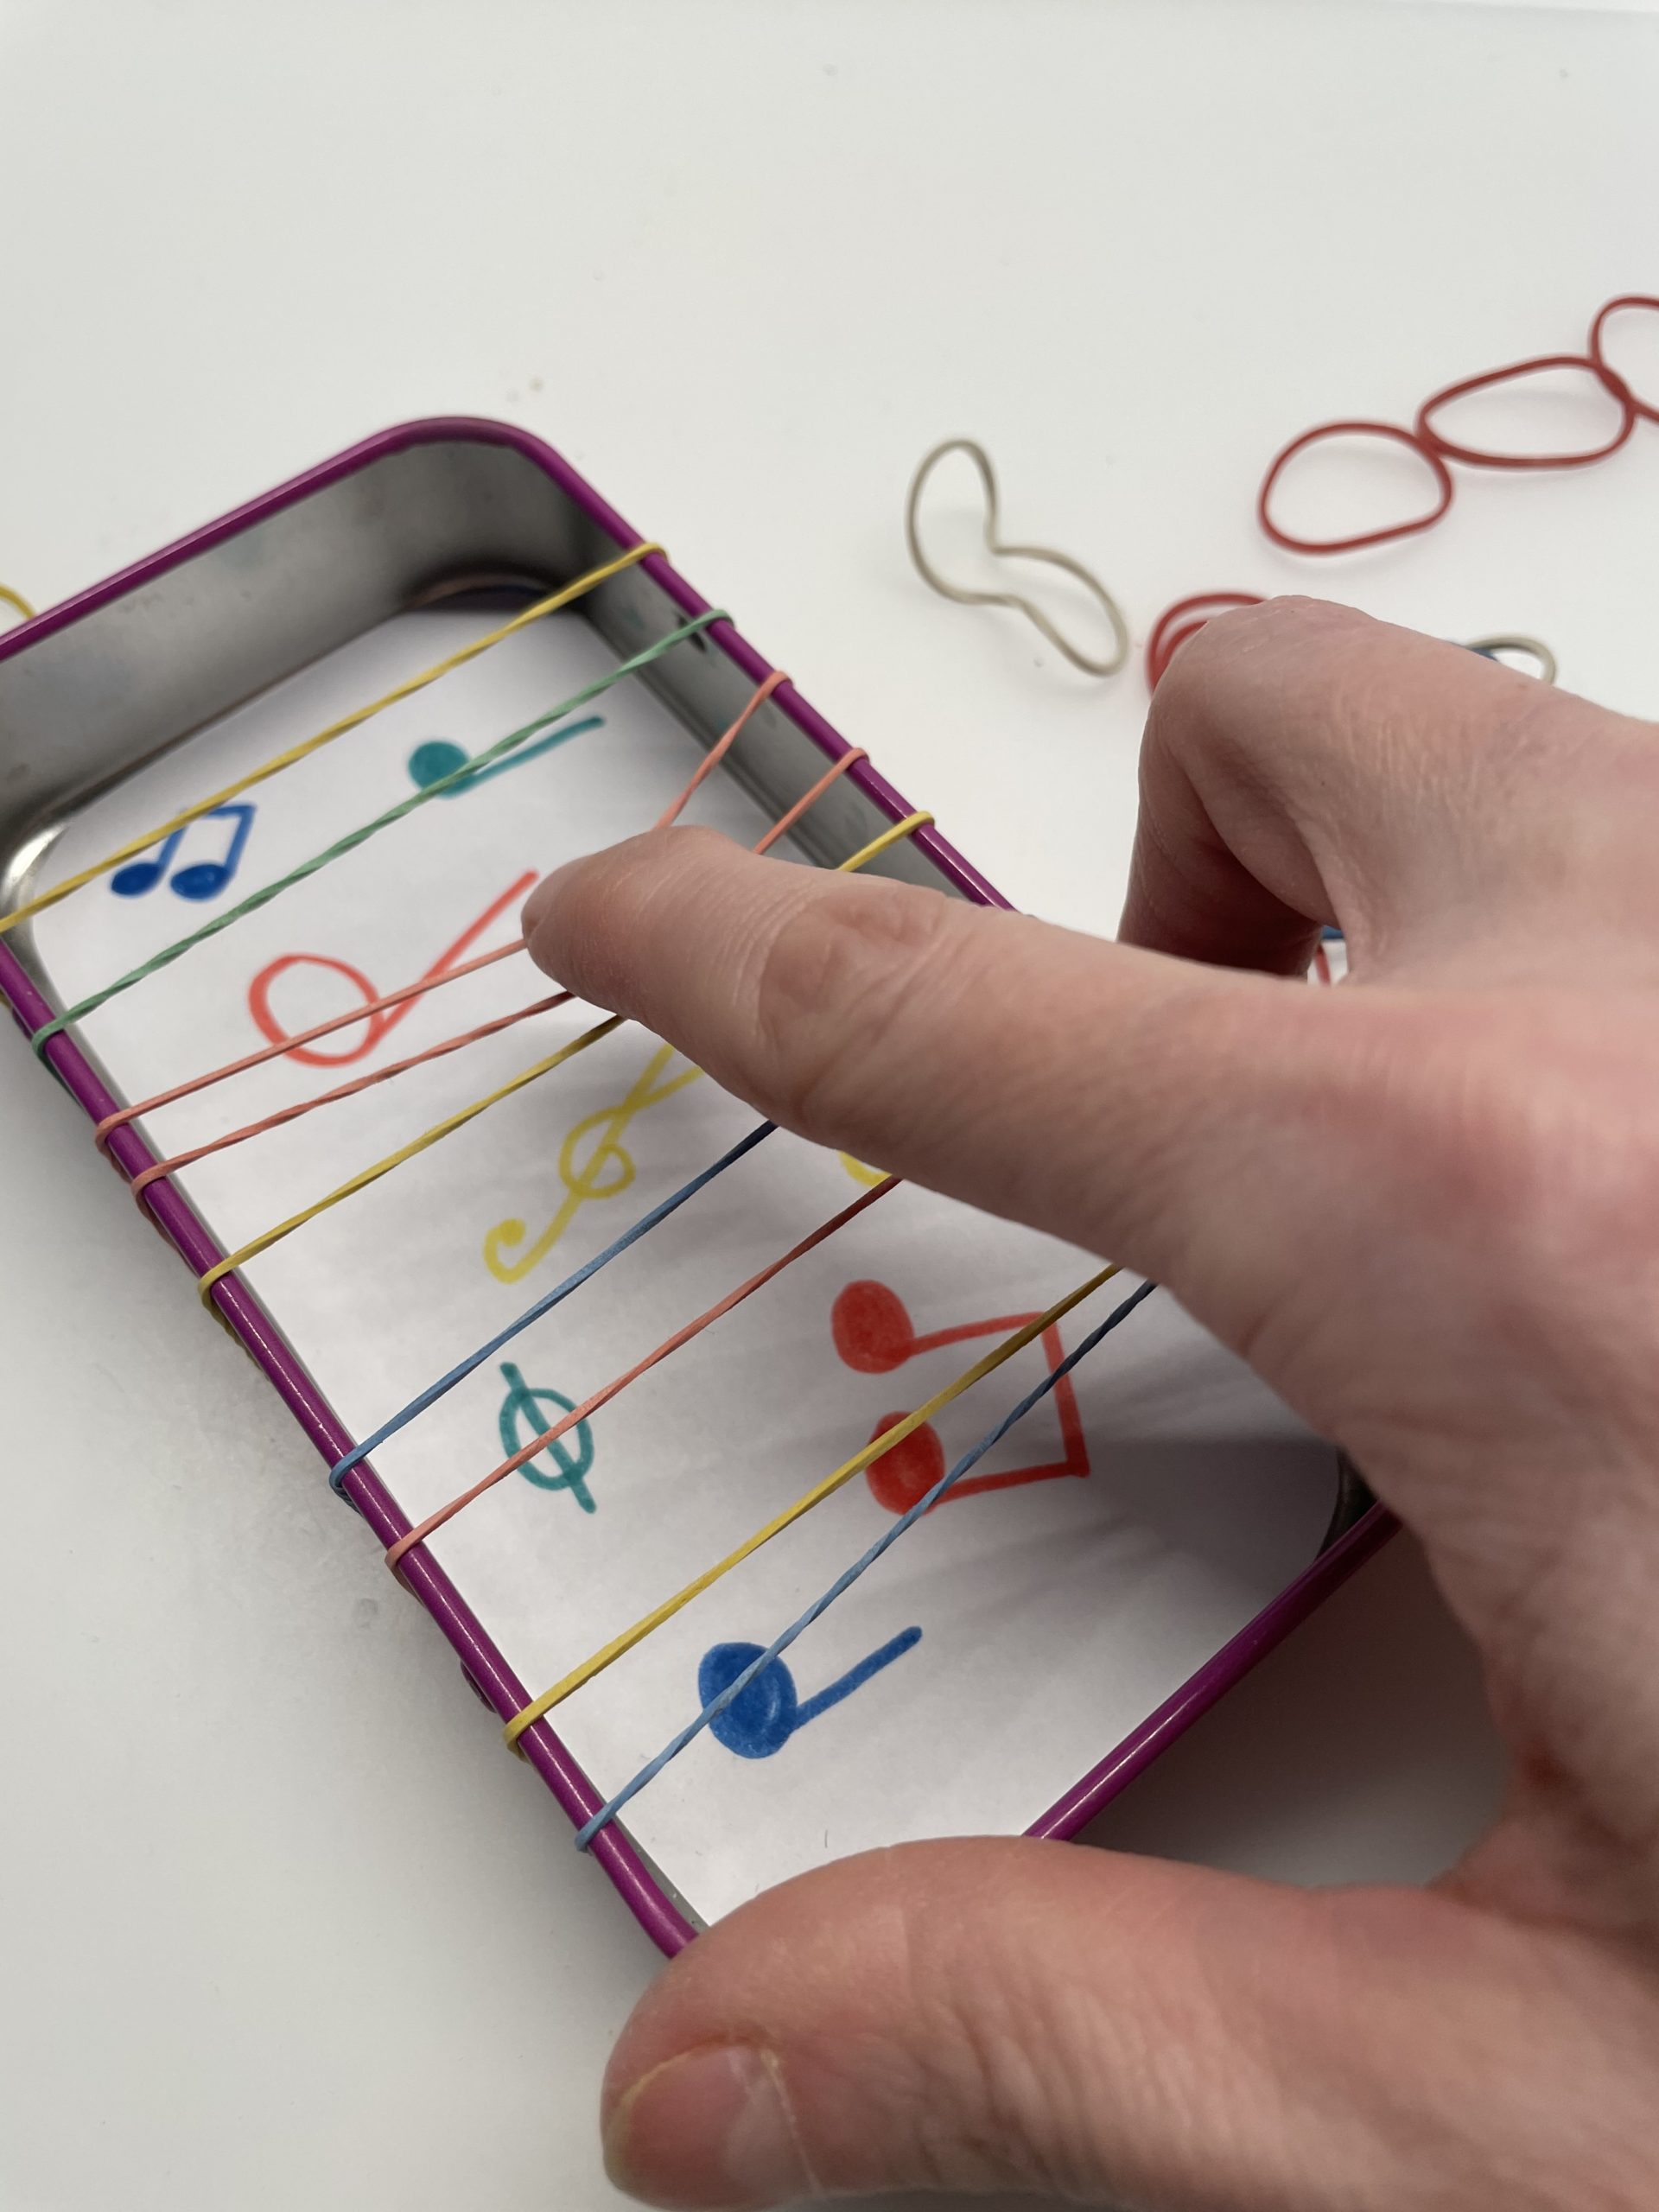
Bild zum Schritt 10 für das Bastel- und DIY-Abenteuer für Kinder: 'Fertig ist die Zupfdose. Nun könnt ihr mit den Fingern...'

10

Or you pick the rubbers by pulling them up slightly and then letting them go.
Have fun!
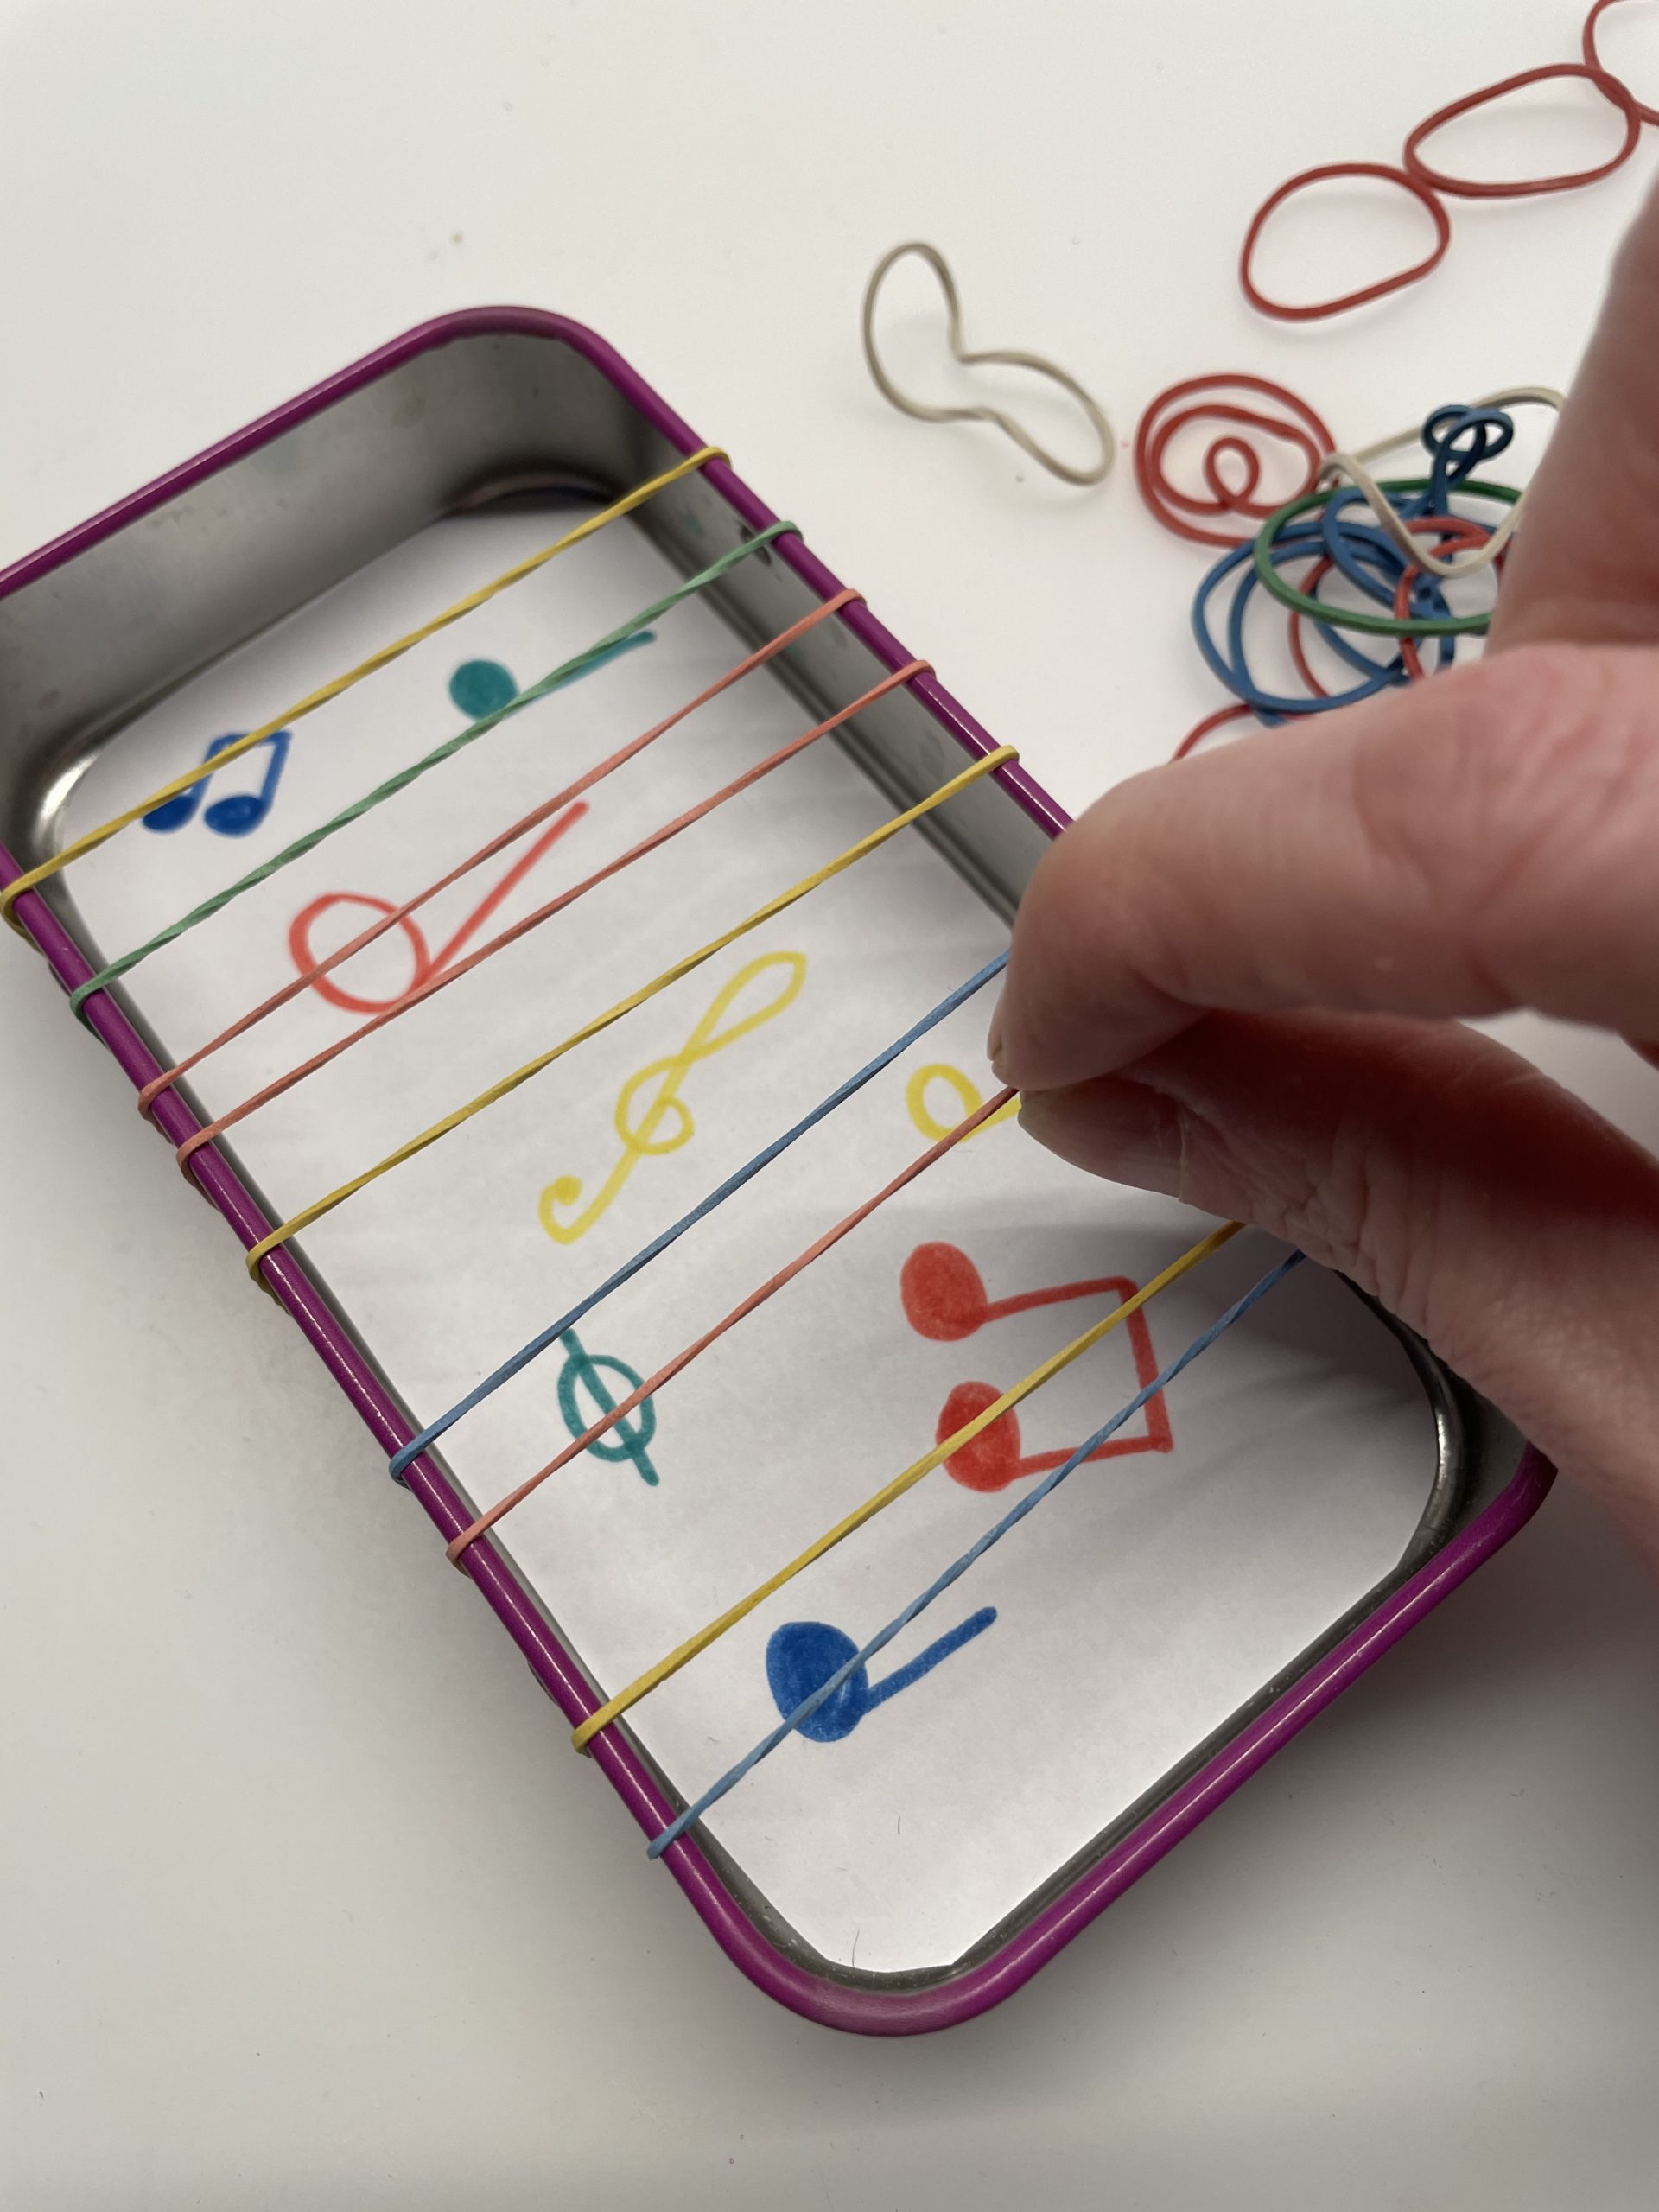
Bild zum Schritt 11 für das Bastel- und DIY-Abenteuer für Kinder: 'Oder ihr zupft die Gummis, indem er sie leicht nach...'

Variant 2:
11

Instead of the household rubbers, you use a nylon cord for this.
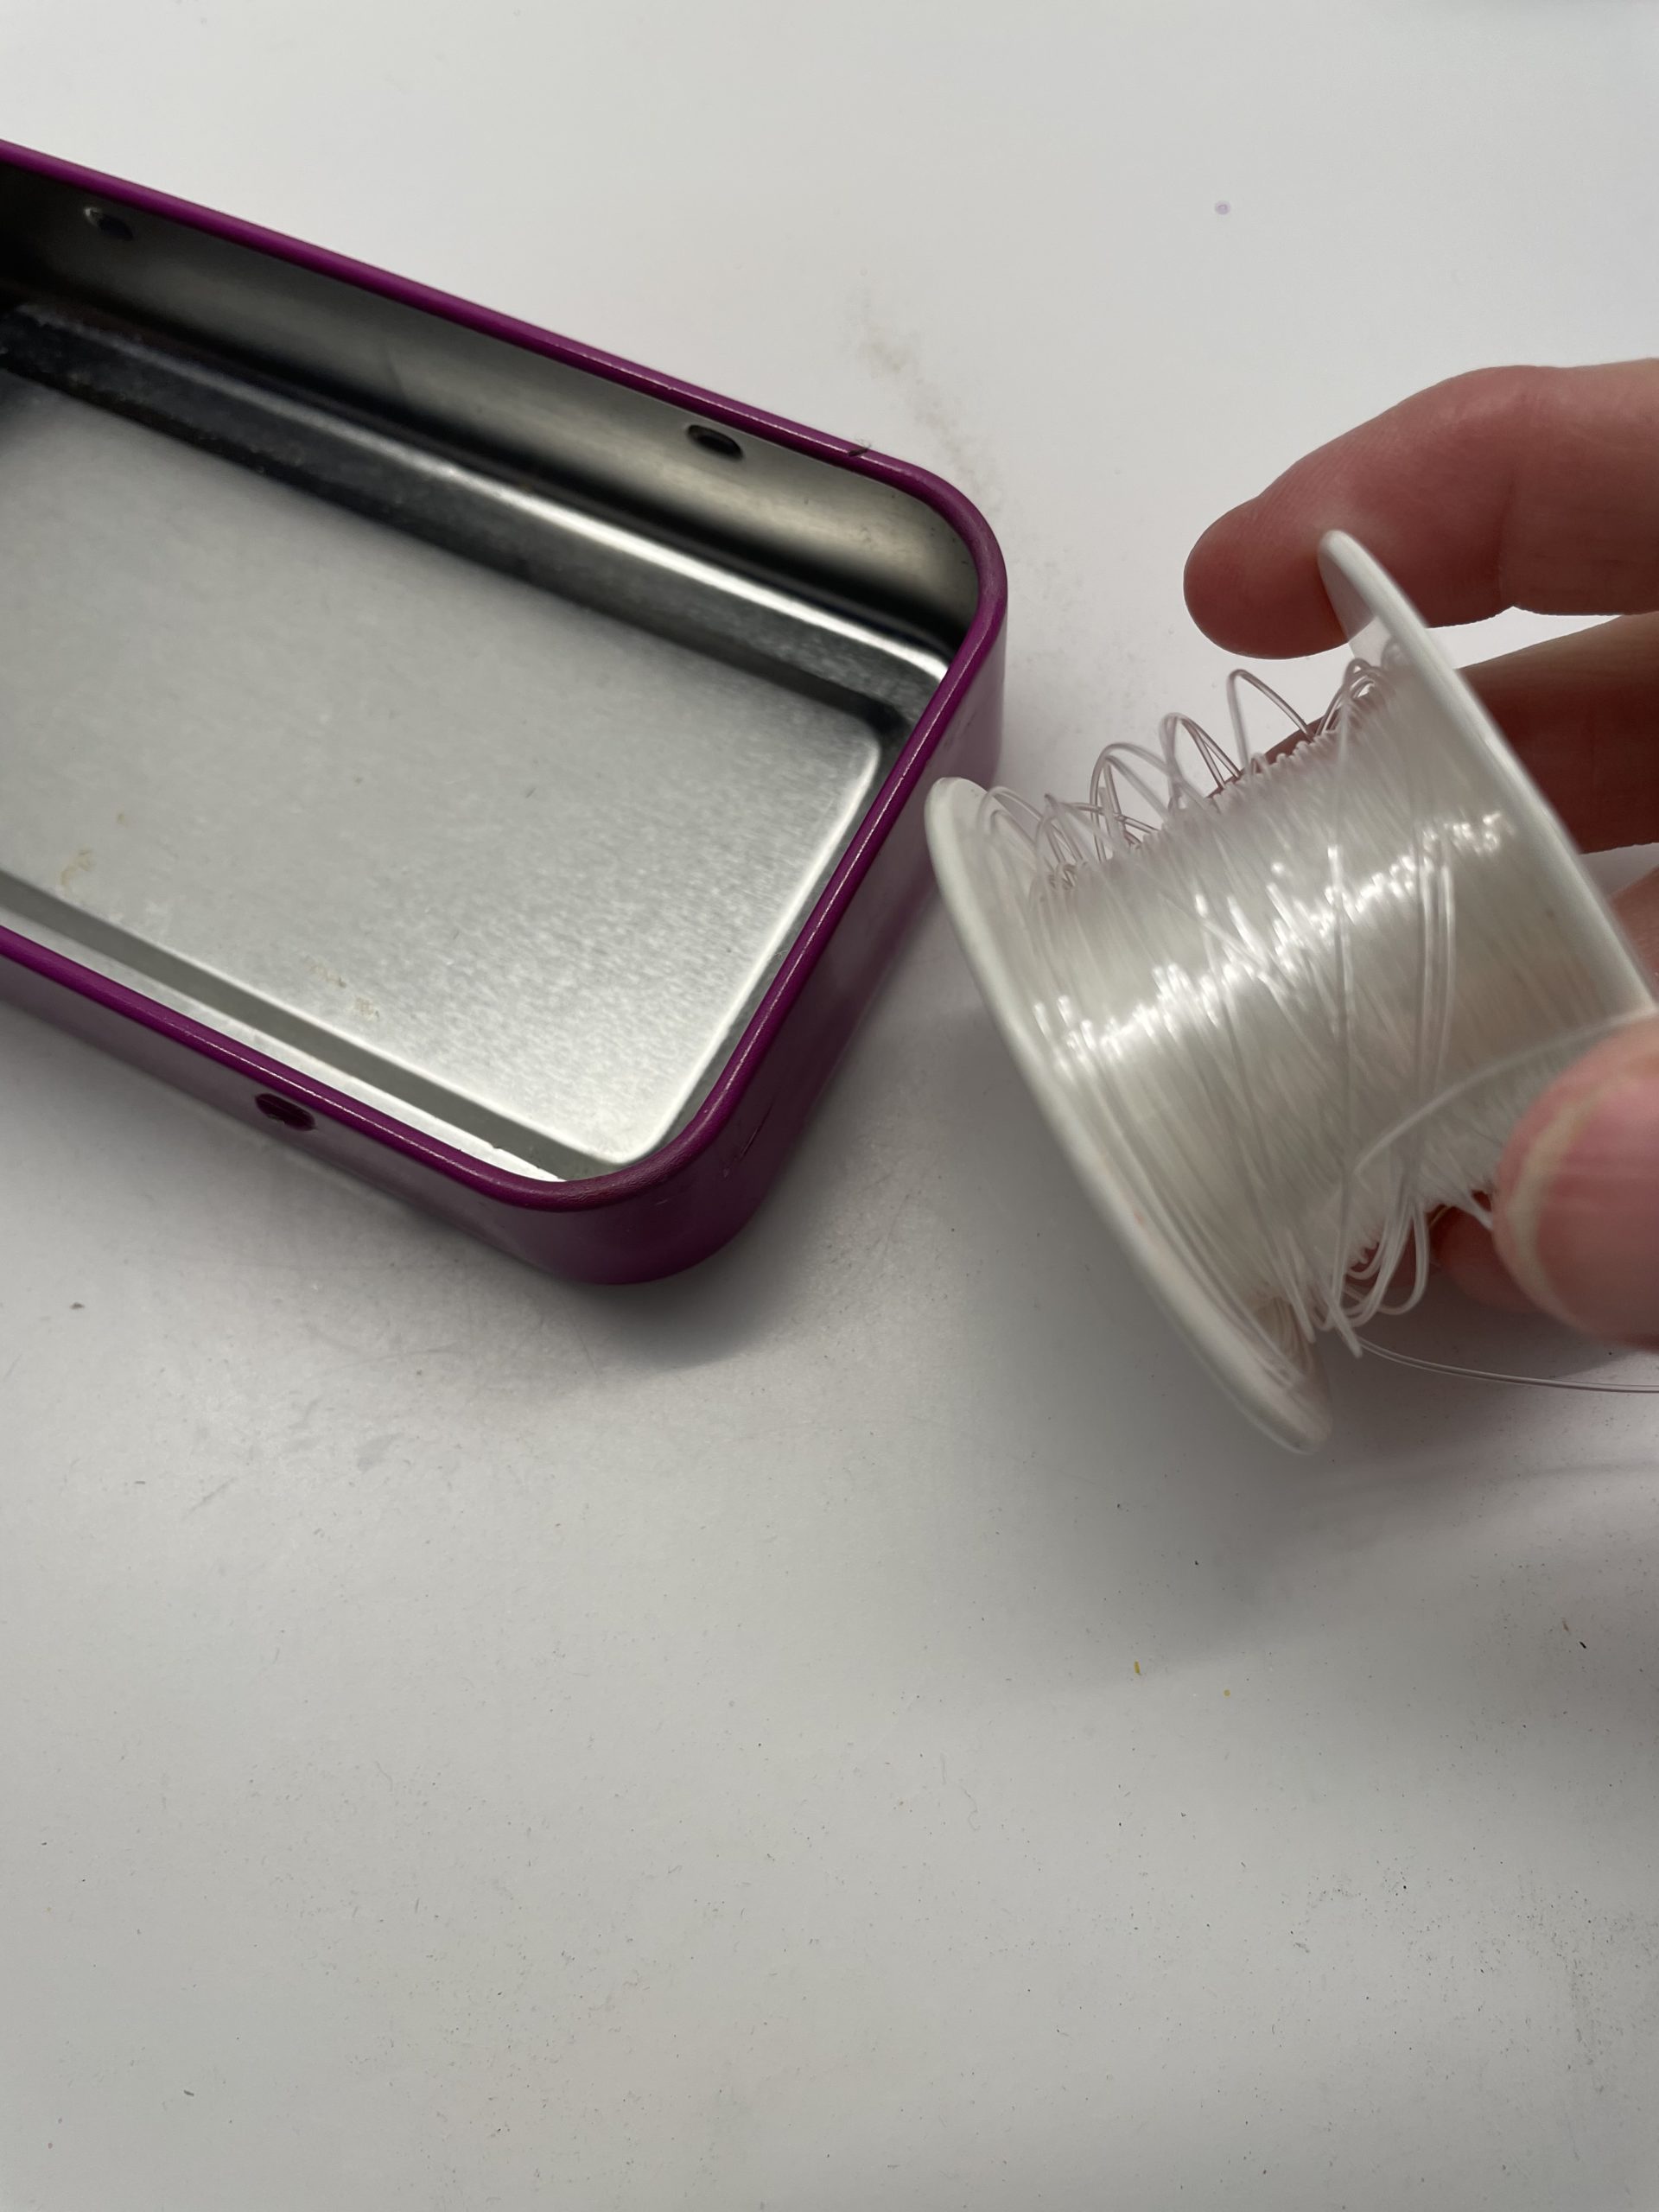
Bild zum Schritt 13 für das Bastel- und DIY-Abenteuer für Kinder: 'Hierfür verwendet ihr statt der Haushaltsgummis eine Nylonschnur.'

12

First tie the nylon cord around the can and fix it with a double knot.

Bild zum Schritt 14 für das Bastel- und DIY-Abenteuer für Kinder: 'Bindet zuerst die Nylonschnur um die Dose und fixiert sie...'

13

Then push the knot to the back of the can.
The nylon cord must be tightened!
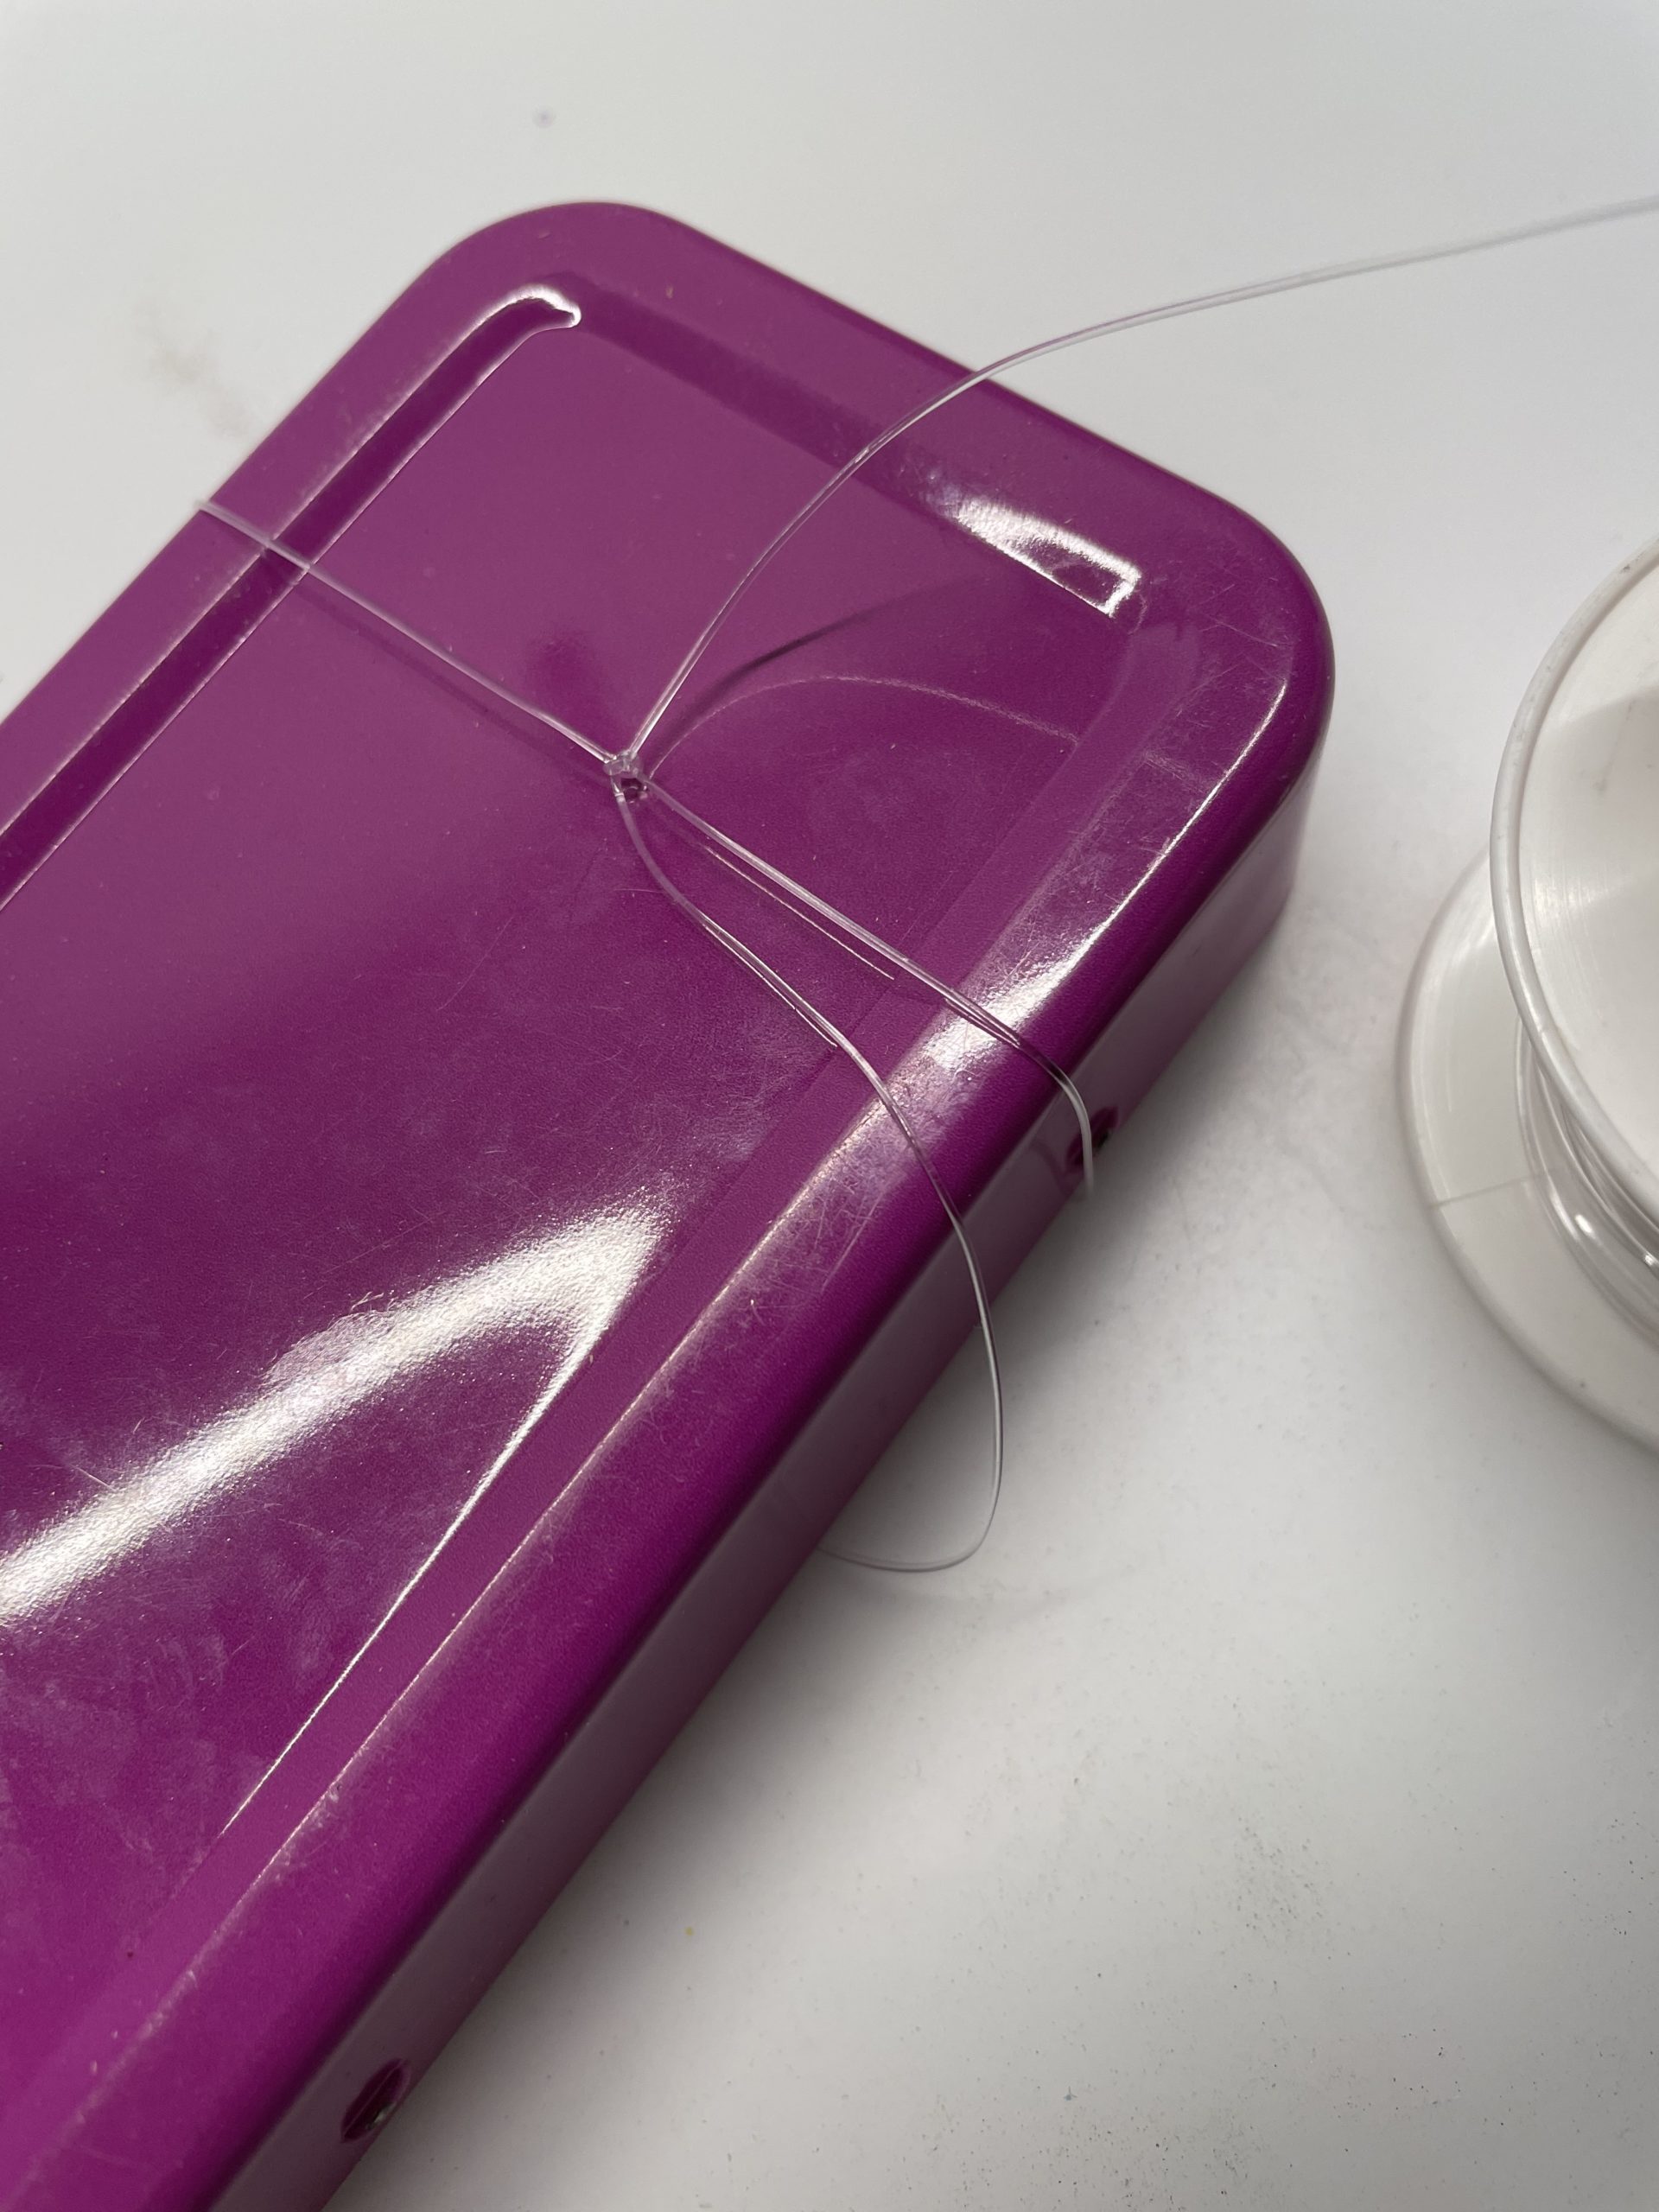
Bild zum Schritt 15 für das Bastel- und DIY-Abenteuer für Kinder: 'Anschließend schiebt ihr den Knoten auf die Rückseite der Dose....'

14

Now wrap the nylon cord around the can several times with a little distance.
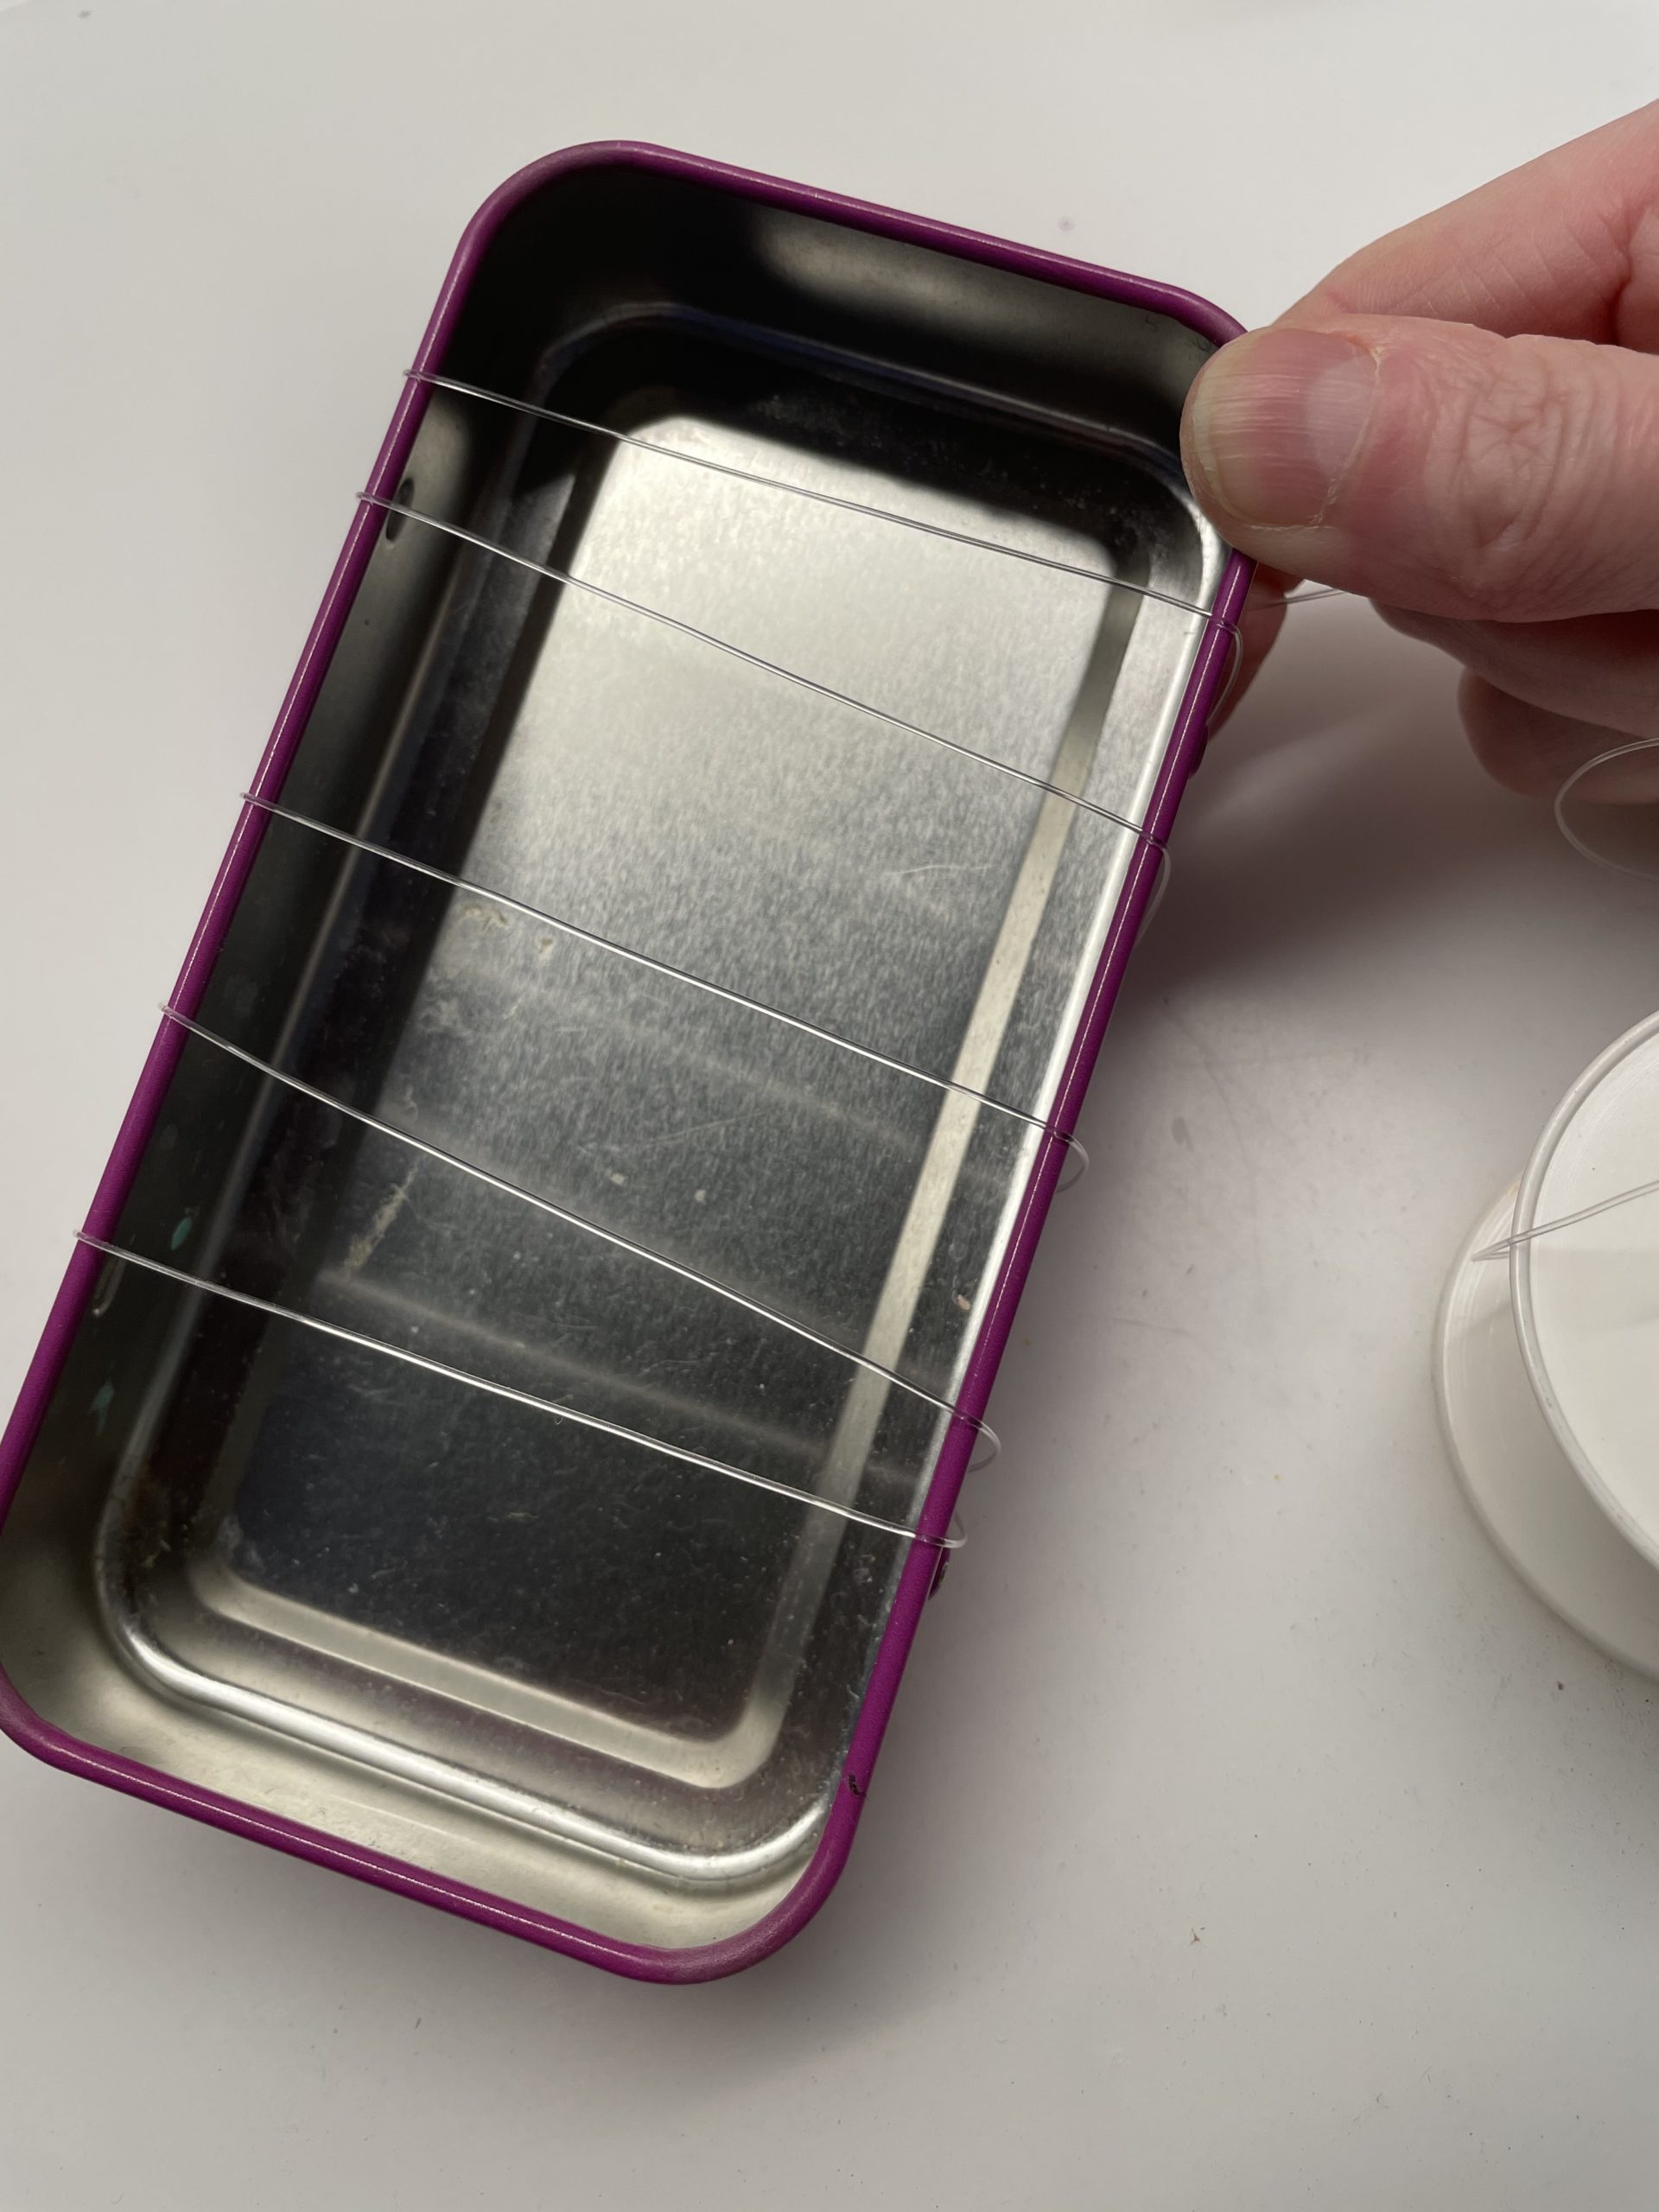
Bild zum Schritt 16 für das Bastel- und DIY-Abenteuer für Kinder: 'Nun wickelt ihr die Nylonschnur mit etwas Abstand mehrmals um...'

15

Make sure you keep the nylon thread on tension.
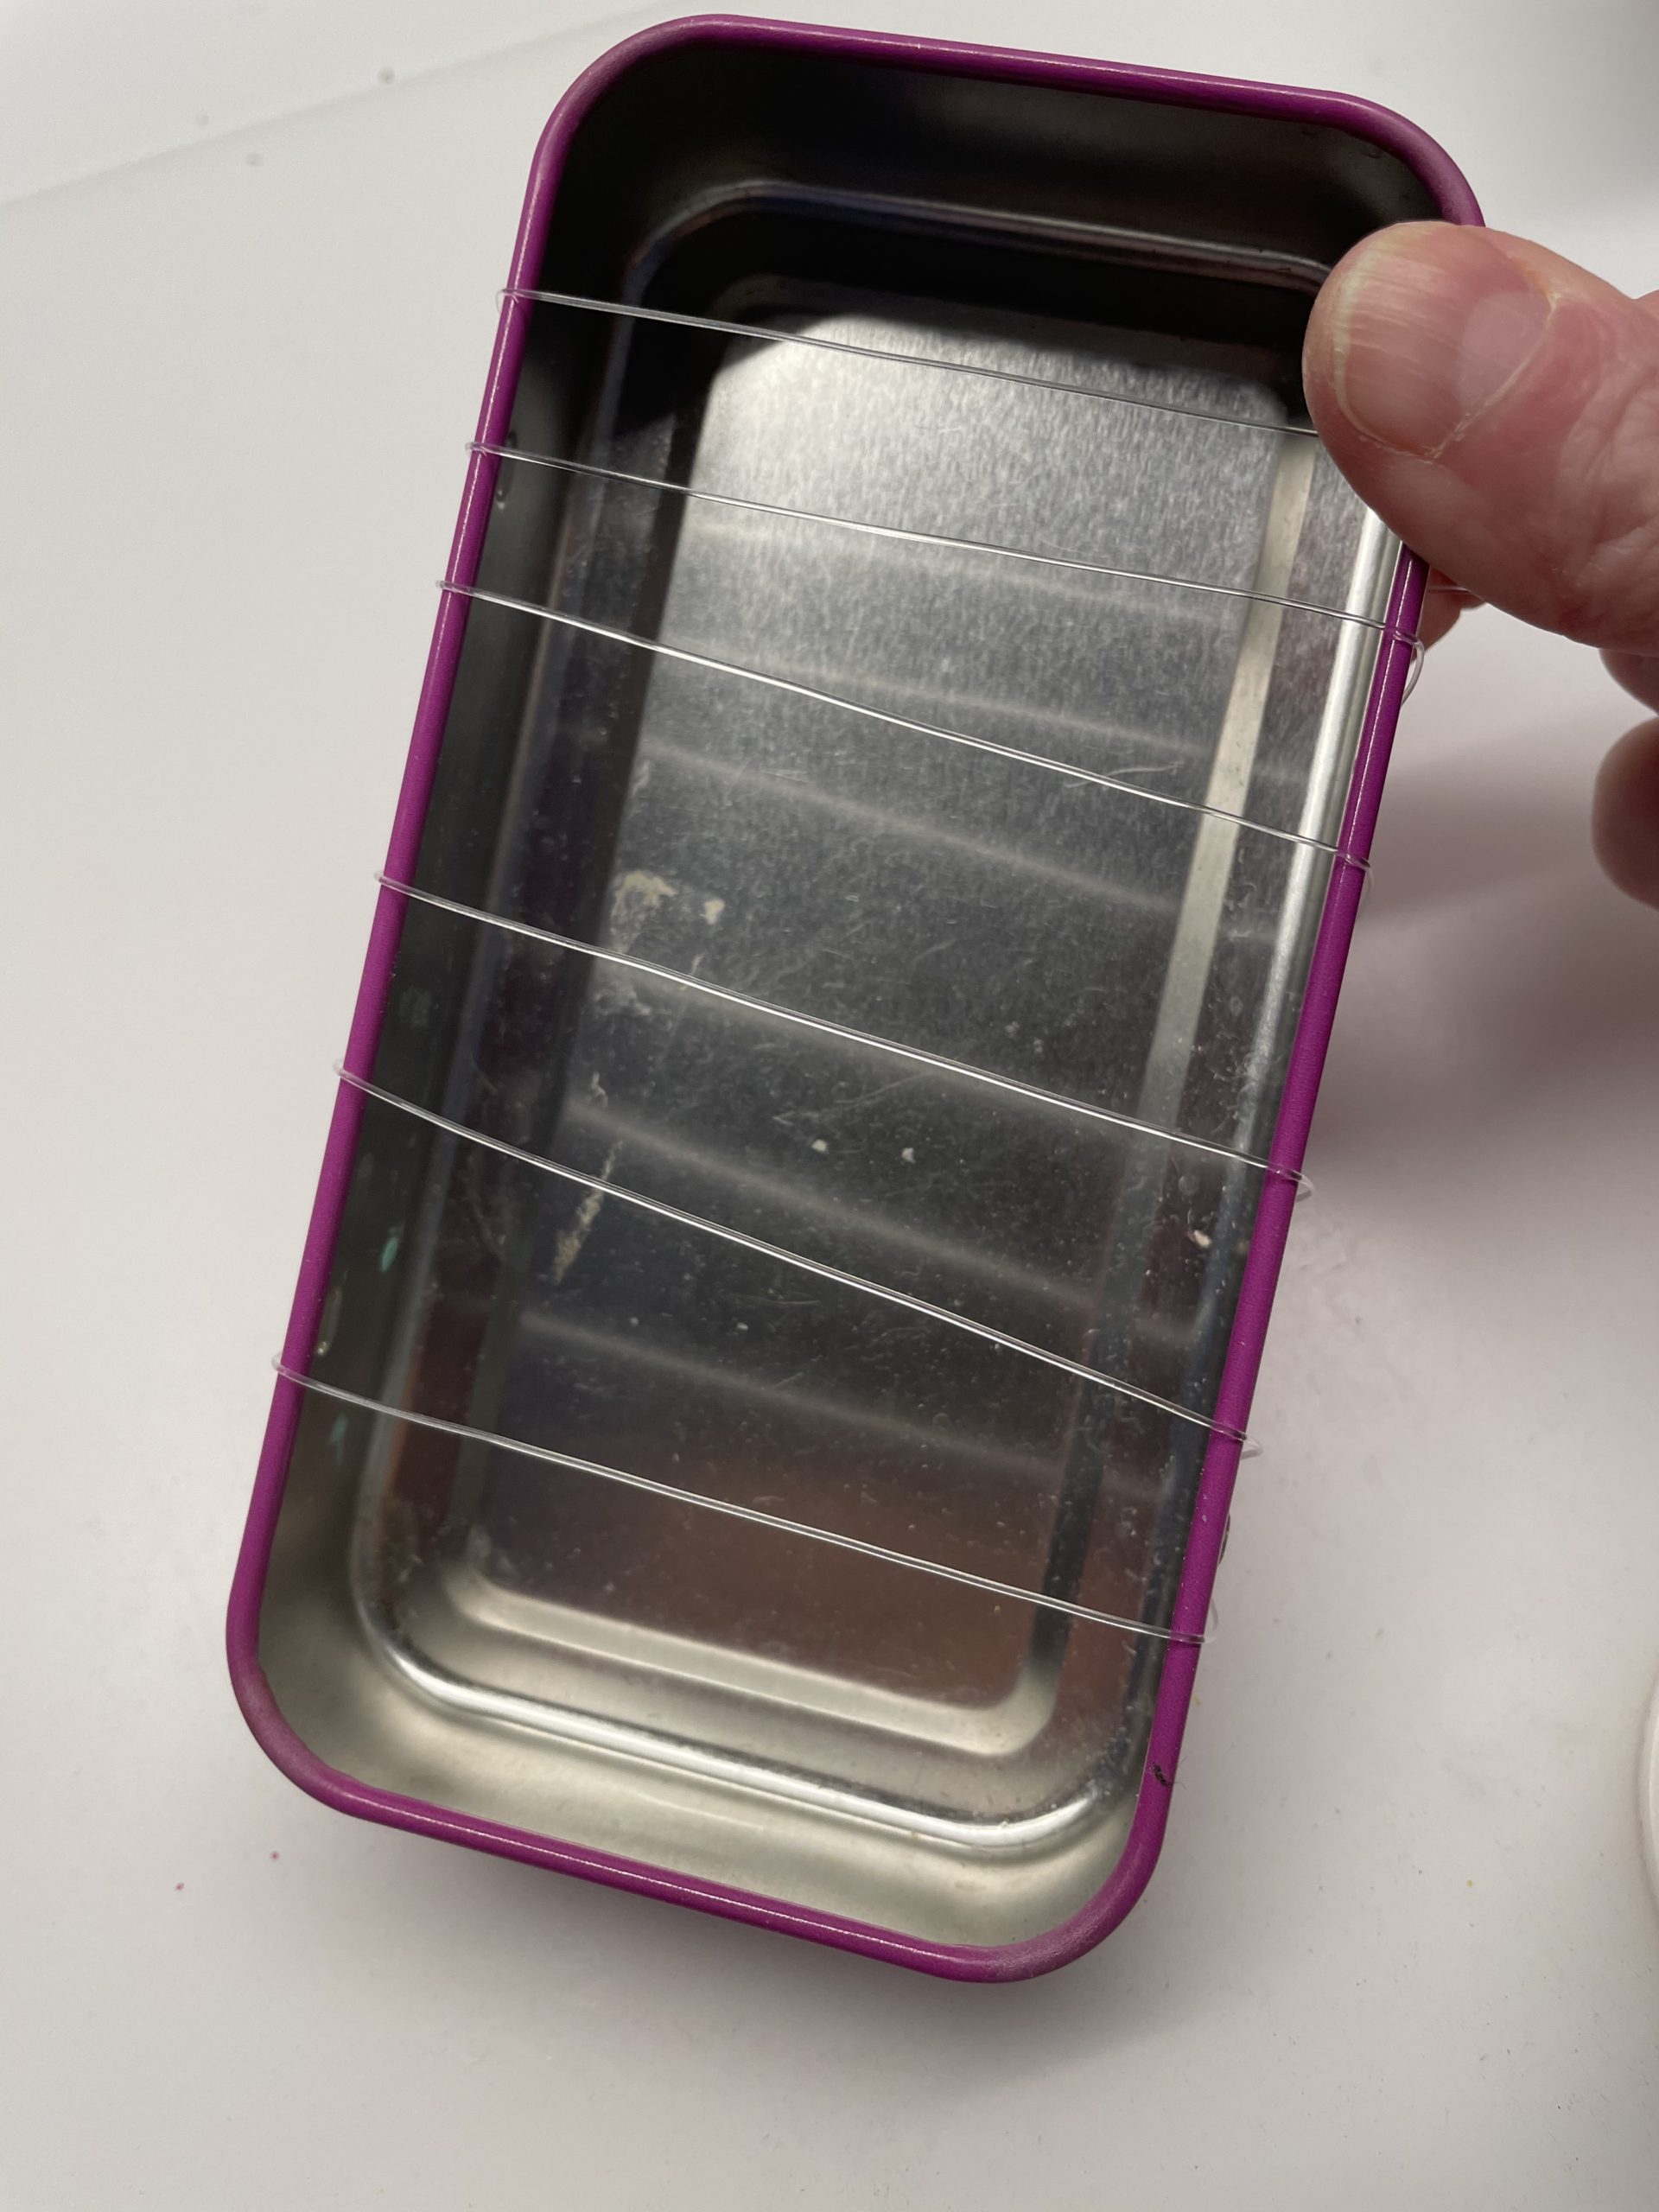
Bild zum Schritt 17 für das Bastel- und DIY-Abenteuer für Kinder: 'Achtet darauf, dass ihr den Nylonfaden auf Spannung haltet.'

16

After wrapping, the nylon cord ends on the back. Now glues the nylon thread with a hot glue point to the back of the can. Cuts off the overstanding nylon cord only then.
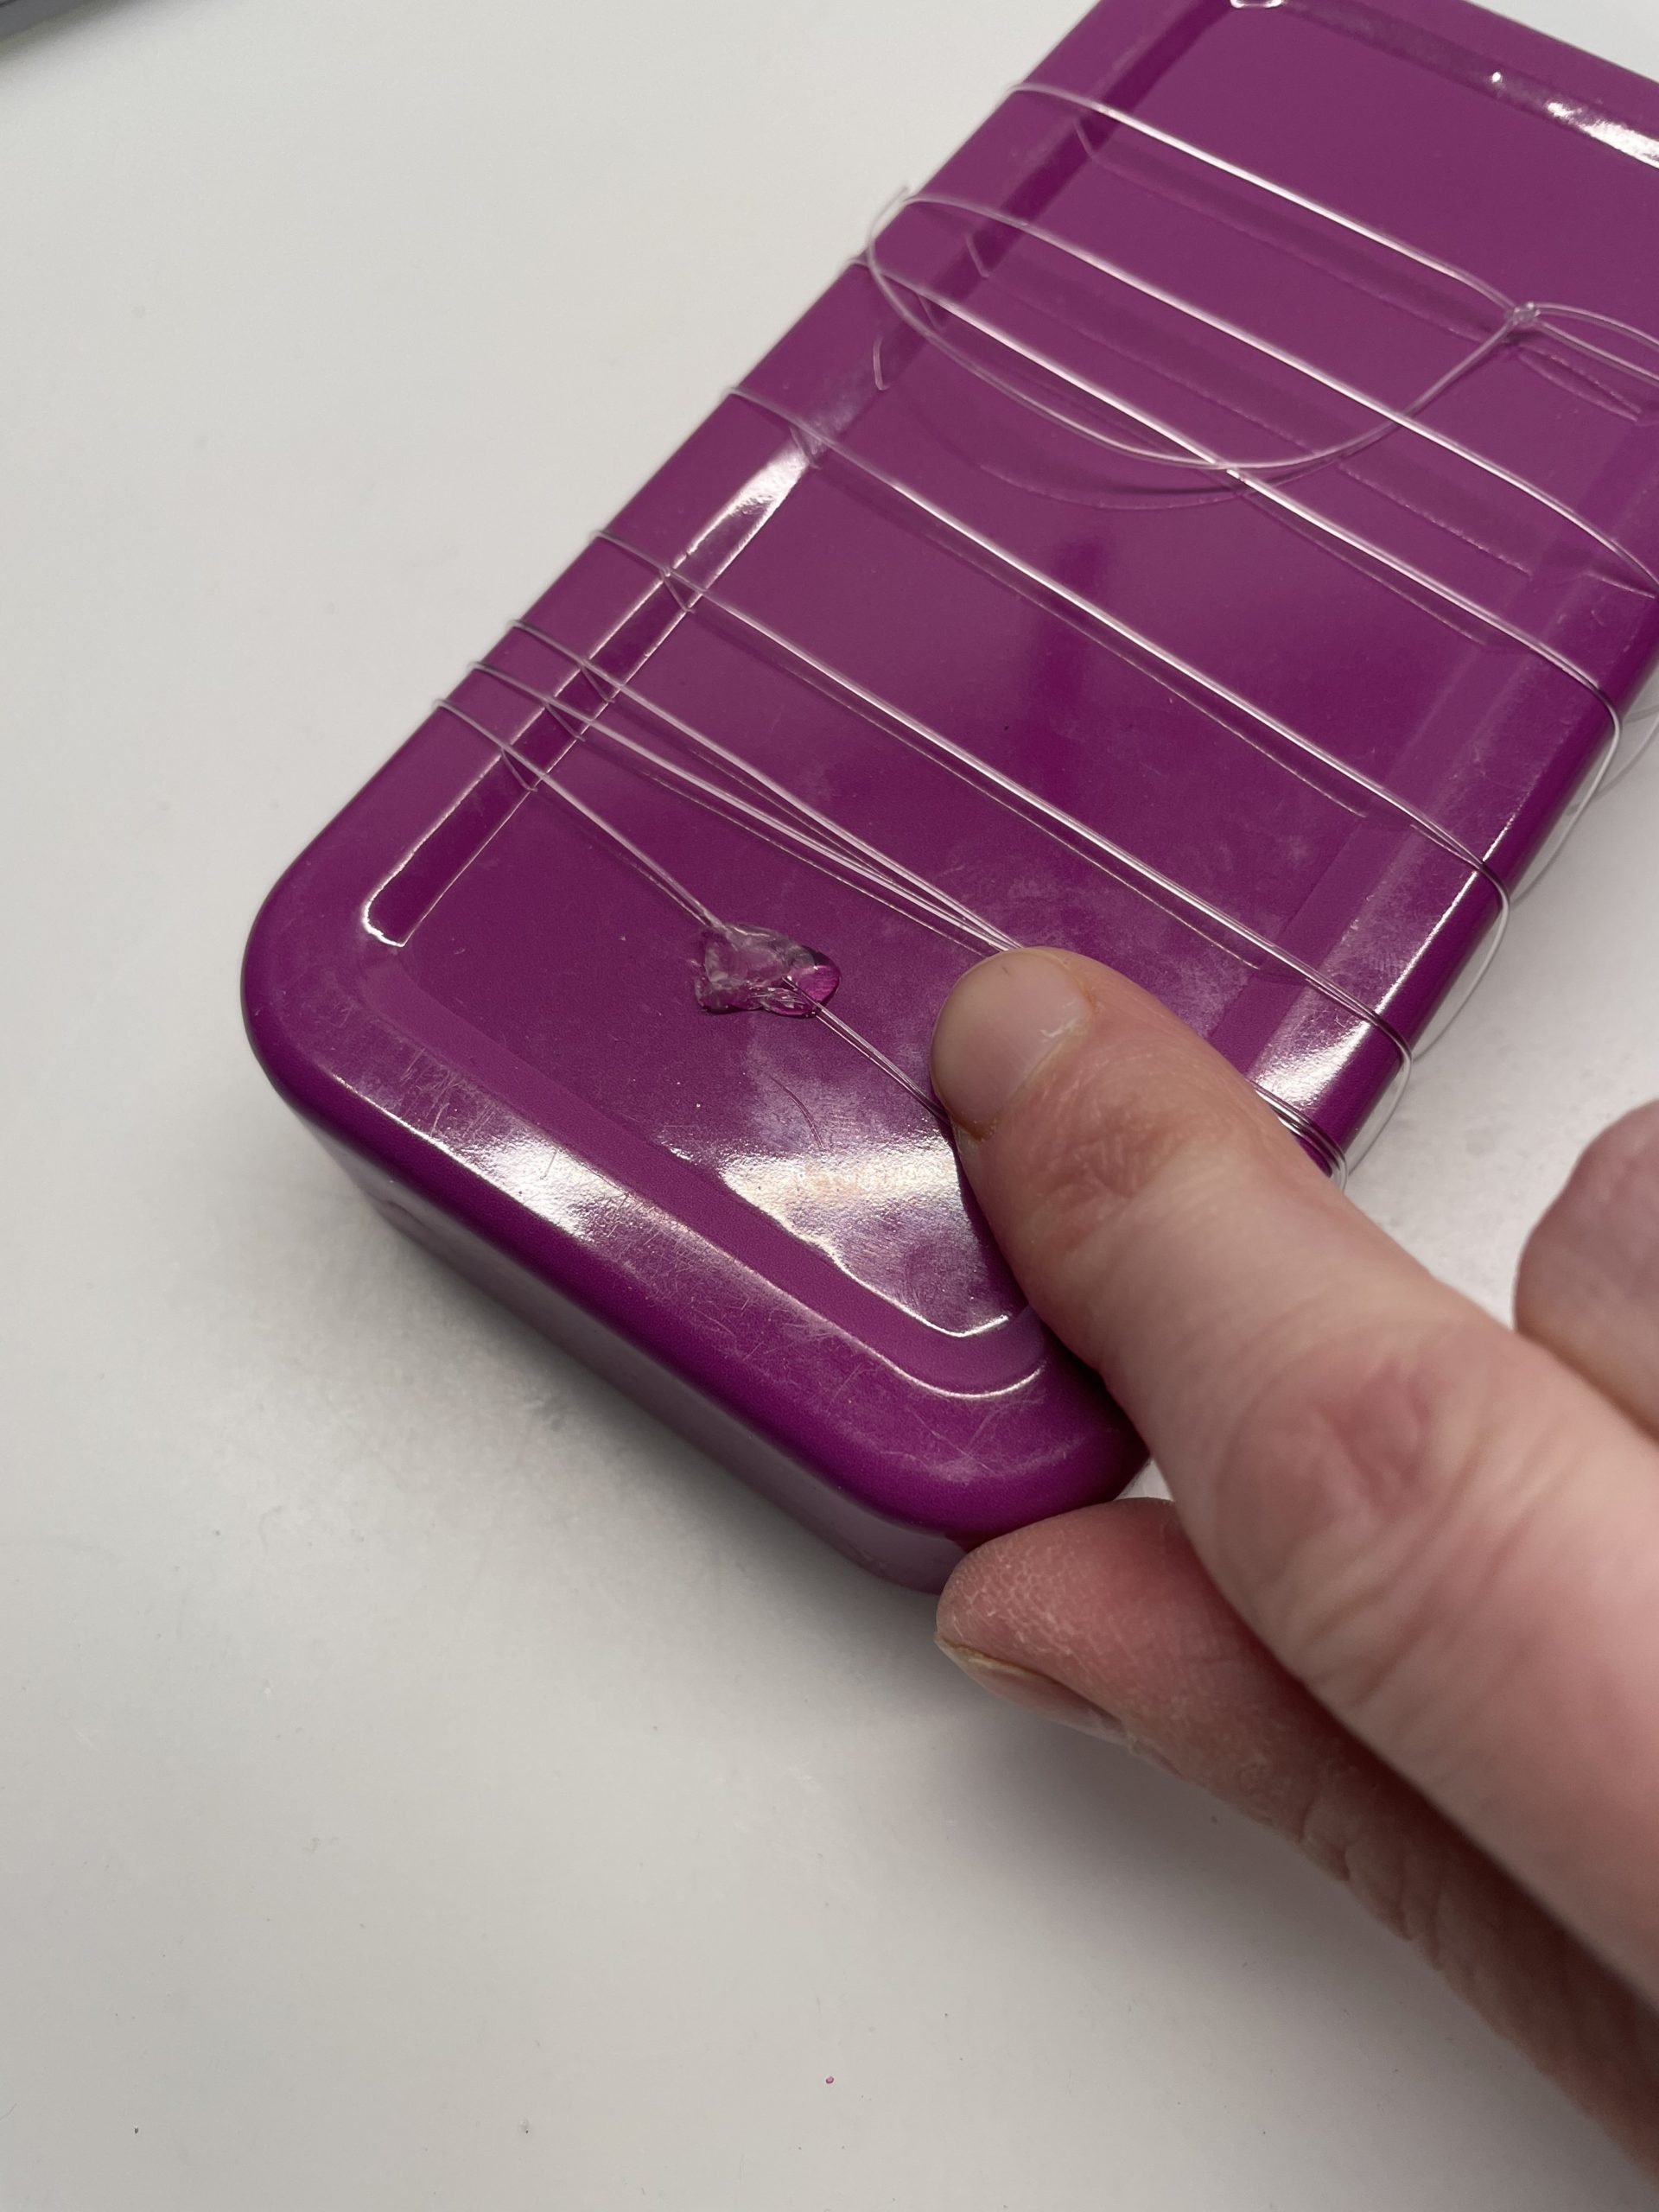
Bild zum Schritt 18 für das Bastel- und DIY-Abenteuer für Kinder: 'Nachdem Umwickeln endet die Nylonschnur auf die Rückseite. Klebt nun...'

17

Now paint another insert for your can.
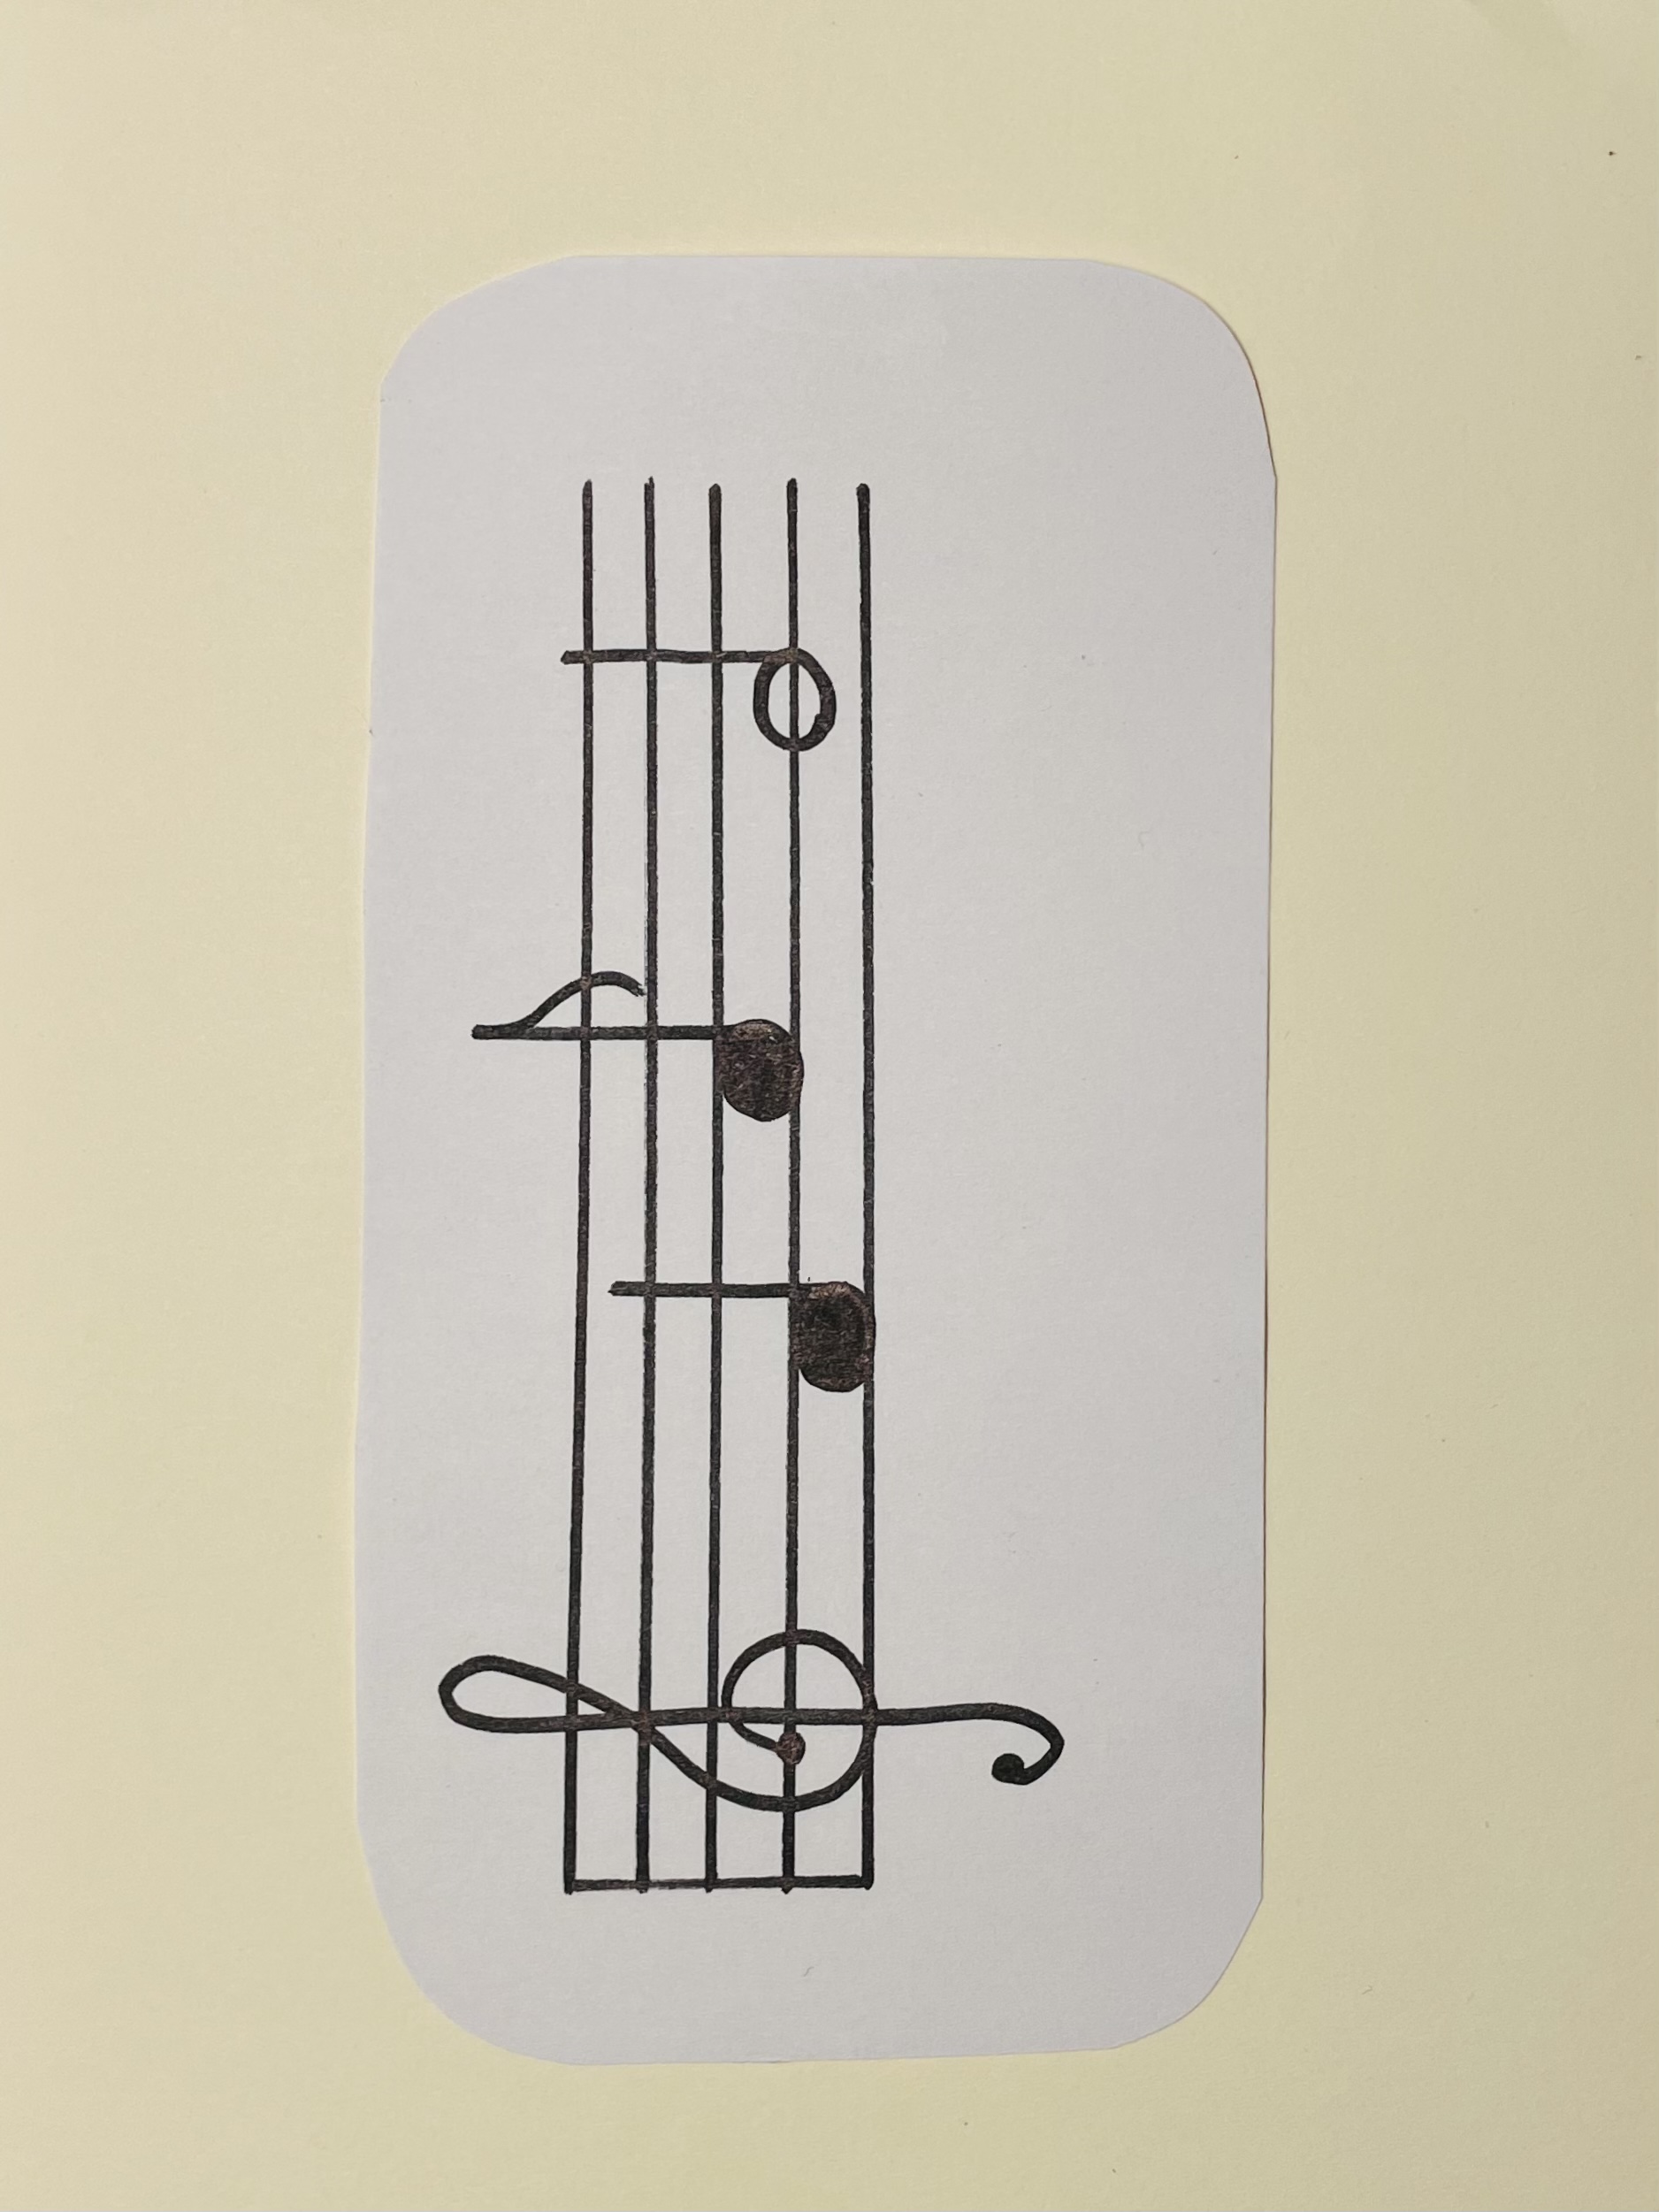
Bild zum Schritt 19 für das Bastel- und DIY-Abenteuer für Kinder: 'Malt euch nun noch ein Einlegebild für eure Dose.'

18

2. Bild zum Schritt 19 für das Bastel- und DIY-Abenteuer für Kinder: 'Malt euch nun noch ein Einlegebild für eure Dose.'

19

You can slide this into the can under the tensioned nylon threads on the side.
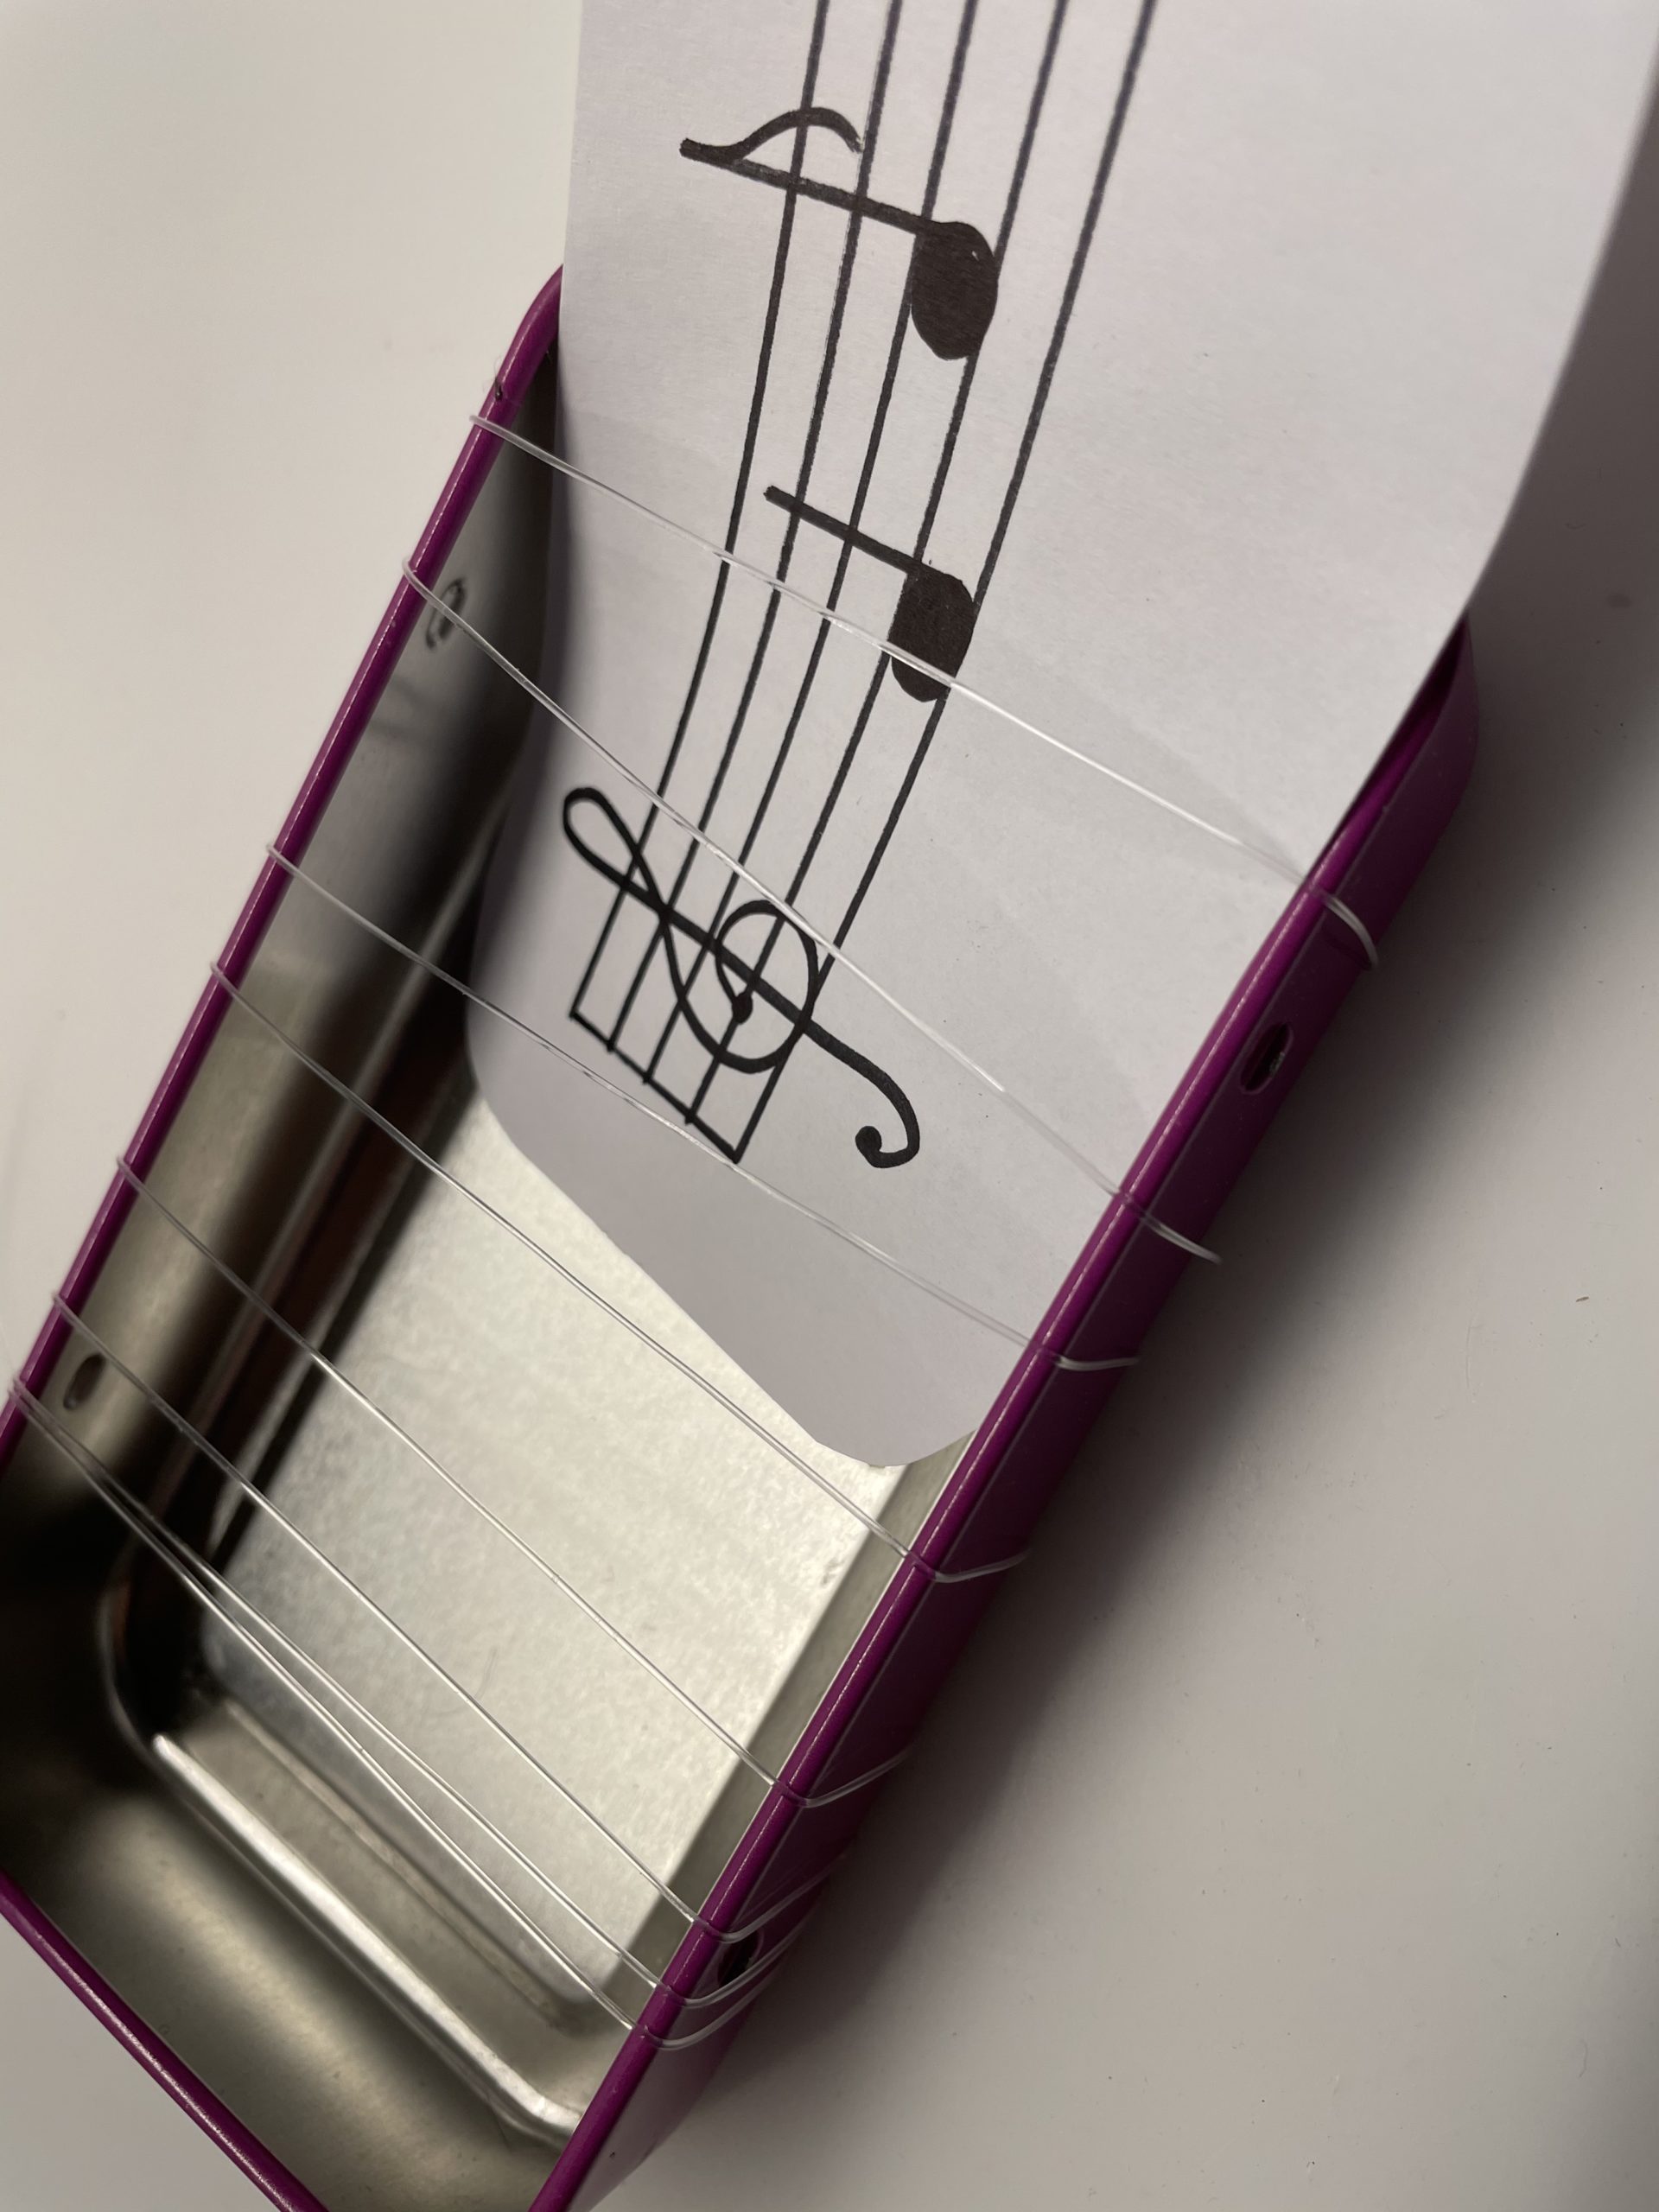
Bild zum Schritt 21 für das Bastel- und DIY-Abenteuer für Kinder: 'Dieses könnt ihr seitlich unter die gespannten Nylonfäden in die...'

20

Positions the paper so that it lies perfectly inside the can.
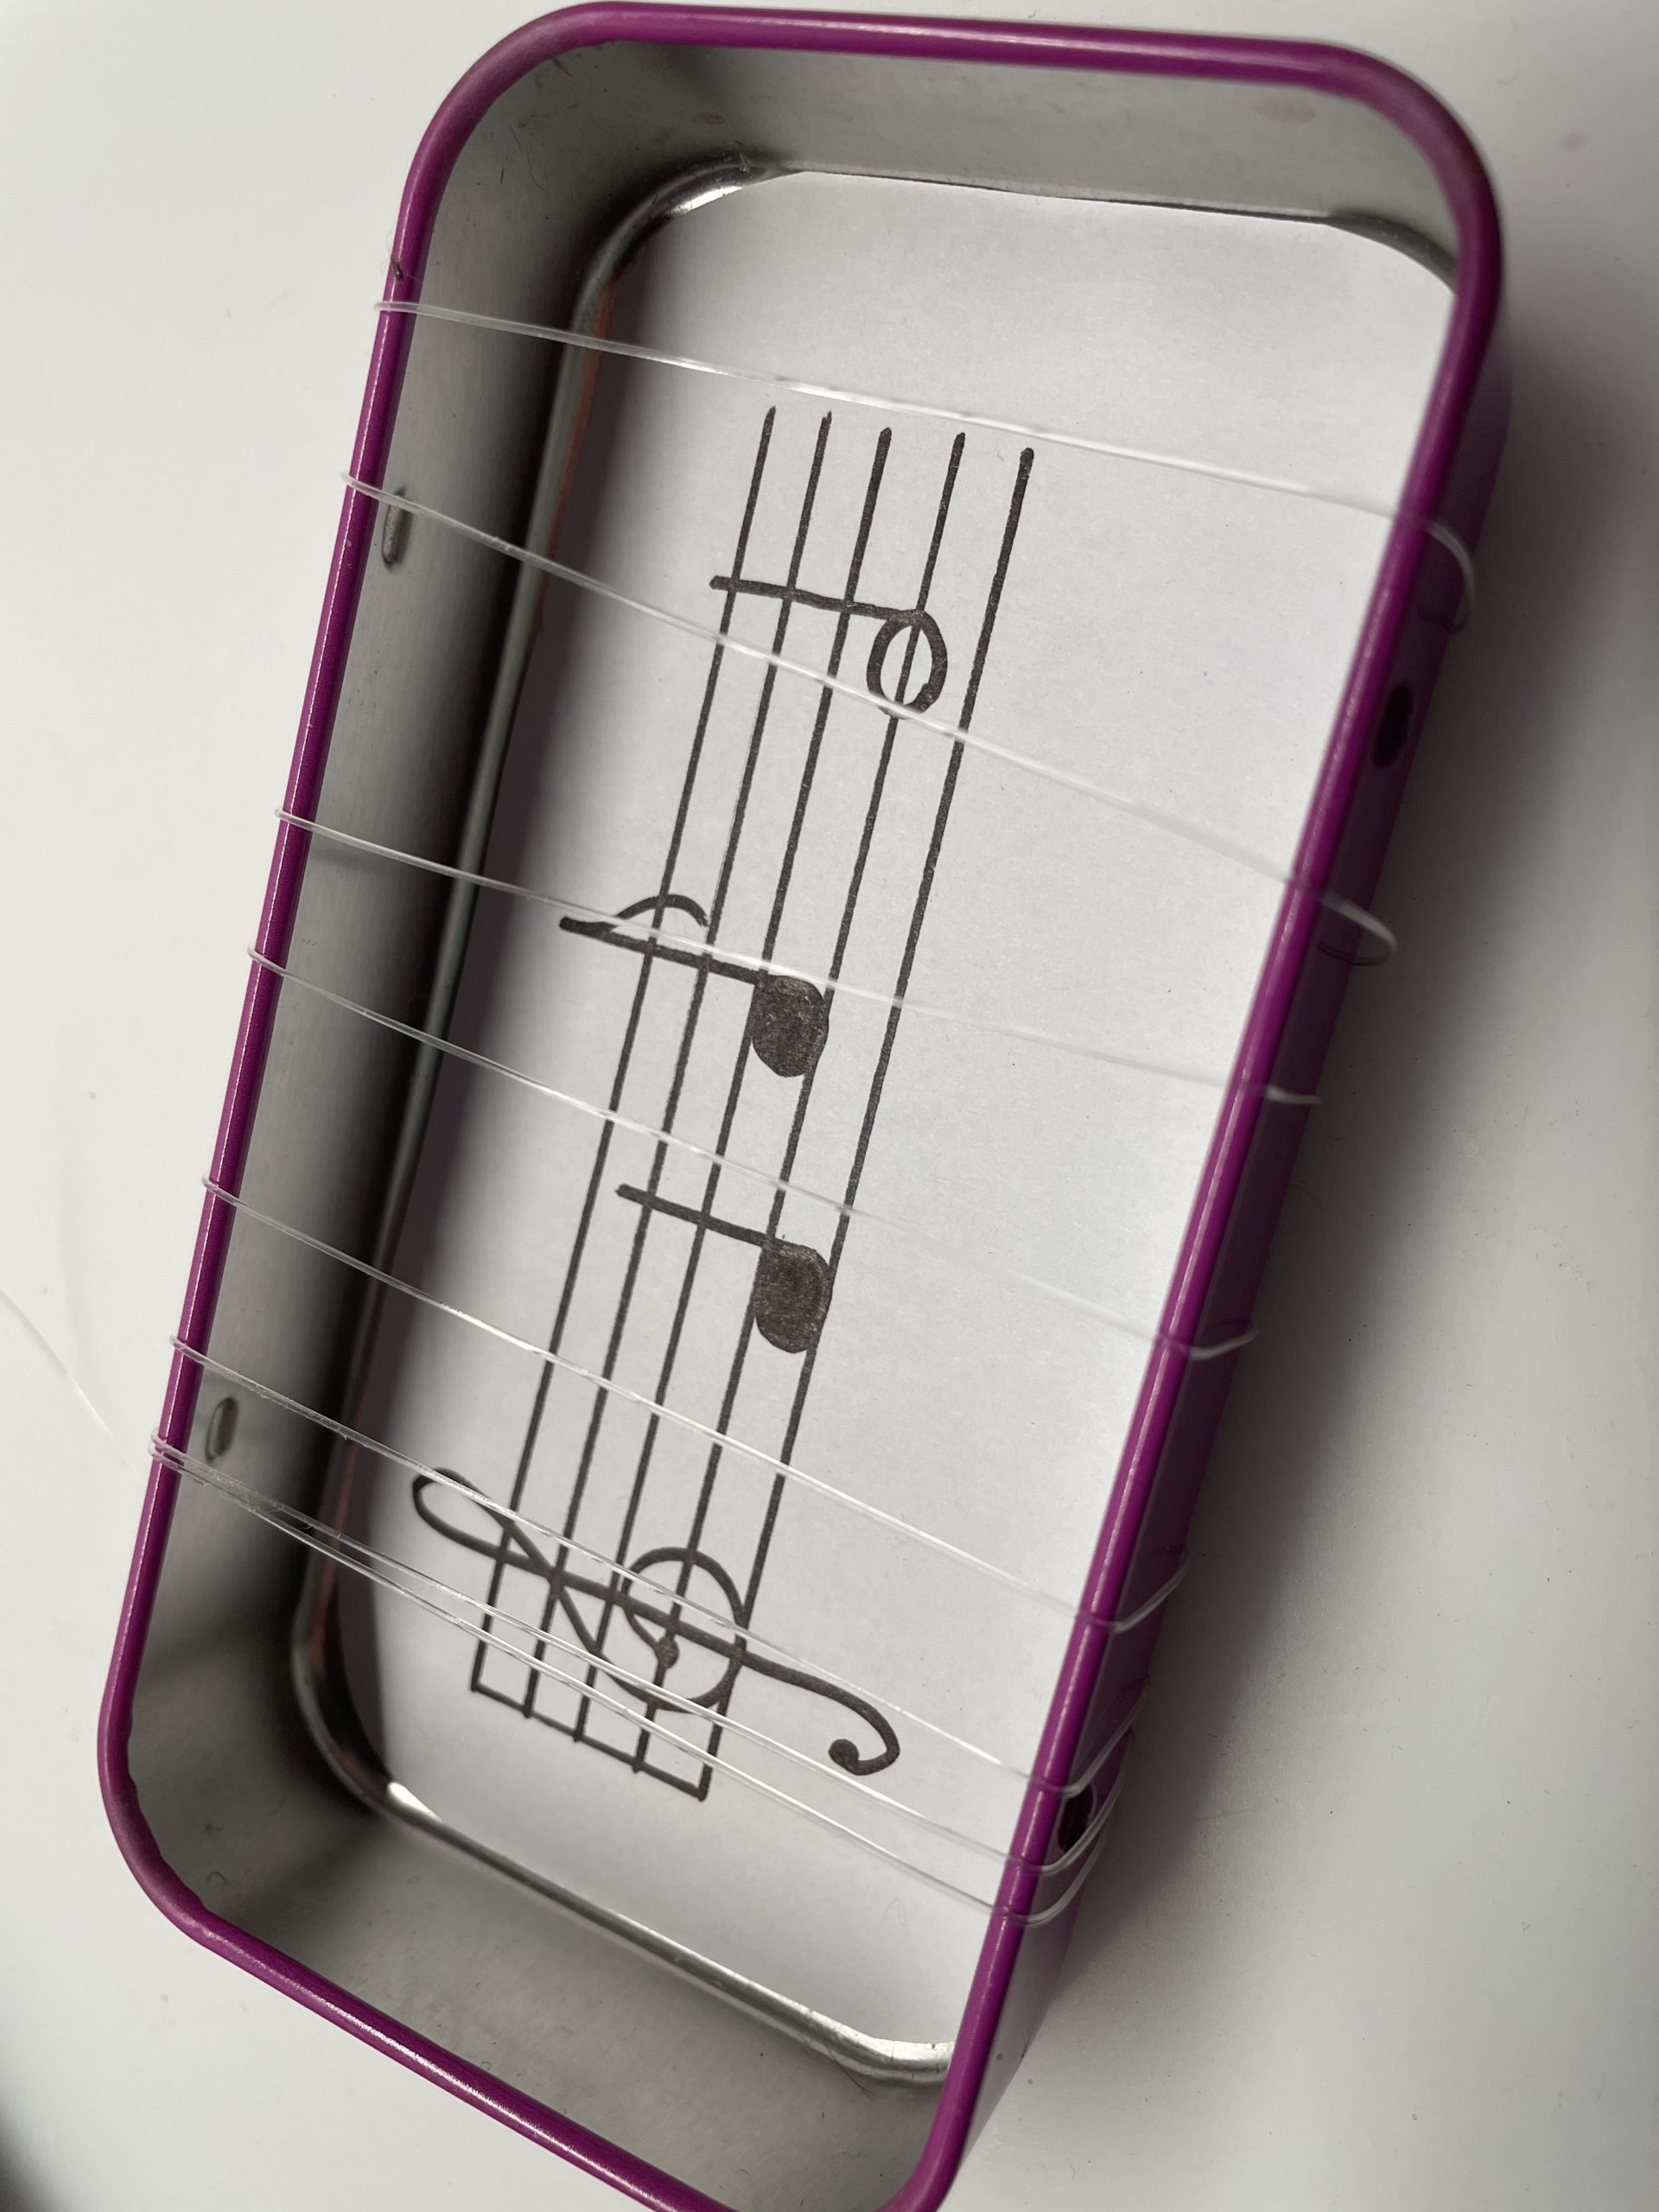
Bild zum Schritt 22 für das Bastel- und DIY-Abenteuer für Kinder: 'Positioniert das Papier, so dass es perfekt im Inneren der...'

21

Now the can is ready to be used. You can pluck the nylon threads with your fingers, or use a firm overstrip to make the blade ring.

Bild zum Schritt 23 für das Bastel- und DIY-Abenteuer für Kinder: 'Nun ist die Dose bereit zum Einsatz. Ihr könnt die...'

22

Try it out and enjoy accompanying your songs musically, plucking rhythms or creating your own melodies.

Adding Box – Build Instruments

Follow us on Facebook , Instagram and Pinterest
Don't miss any more adventures: Our bottle mail

Leave a Reply

Your email address will not be published.

The maximum upload file size: 5 MB. You can upload: image, document. Drop file here