Wish glass for Mother's Day or Father's Day

AdventurerKatzi
Rating5.06.7 thousand times & (2) DifficultyIntermediate

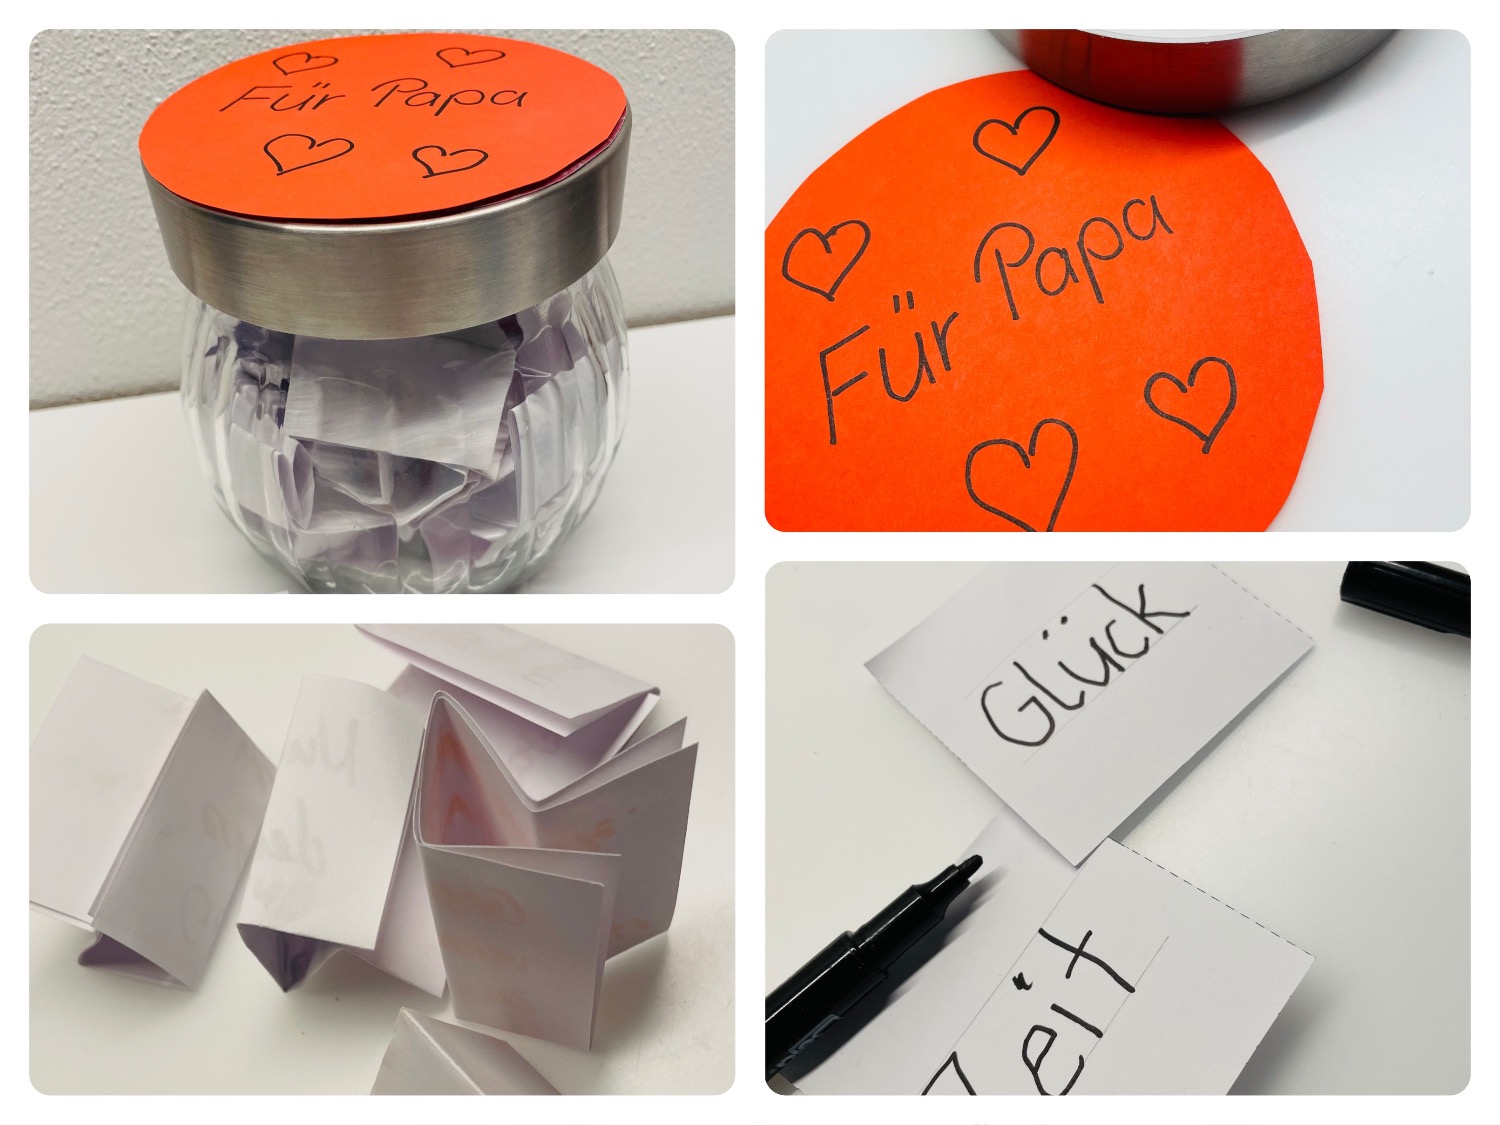
A glass full of wishes, which spread over a whole year! A beautiful gift idea for Mother's Day or Father's Day. Kindergarten children have as much pleasure in this as school children.
Smaller children can paint their wishes or have an adult write them down.
Fold your wish list and place the notes in a large glass, in a can or box.
The desired glass is finished. Finally a nicely designed lid, a label and finished is a nice gift.

Media Education for Kindergarten and Hort

Kind bastelt eine Rassel mit dem Navi
The Adventure Navi, the app for DIY projects, enables media education for the youngest.

Relief in everyday life, targeted promotion of individual children, independent learning and - without any pre-knowledge already usable by the youngest!


Titelbild zur Bastel- und DIY-Idee für Kinder '(671) Wunschglas zum Mutter- oder Vatertag'
Material for1 Child
Prep Time5 min.Adv. Time15 min.Total Time20 min.
 1 Large glassor tin, box
 12 Notepad-Zettel
 1 Pen
 Coloured paper
 Builder's pad
All links marked with a shopping cart lead to Amazon - here we have selected products that we would order ourselves and in part also ordered. In a qualified purchase via the advertising link, we as Amazon partner receive a commission, for you there are no costs. You thus support our cost- and advertising banner-free, educational offer.
1

Find a very large glass (e.g. a candy glass or a large olive glass).
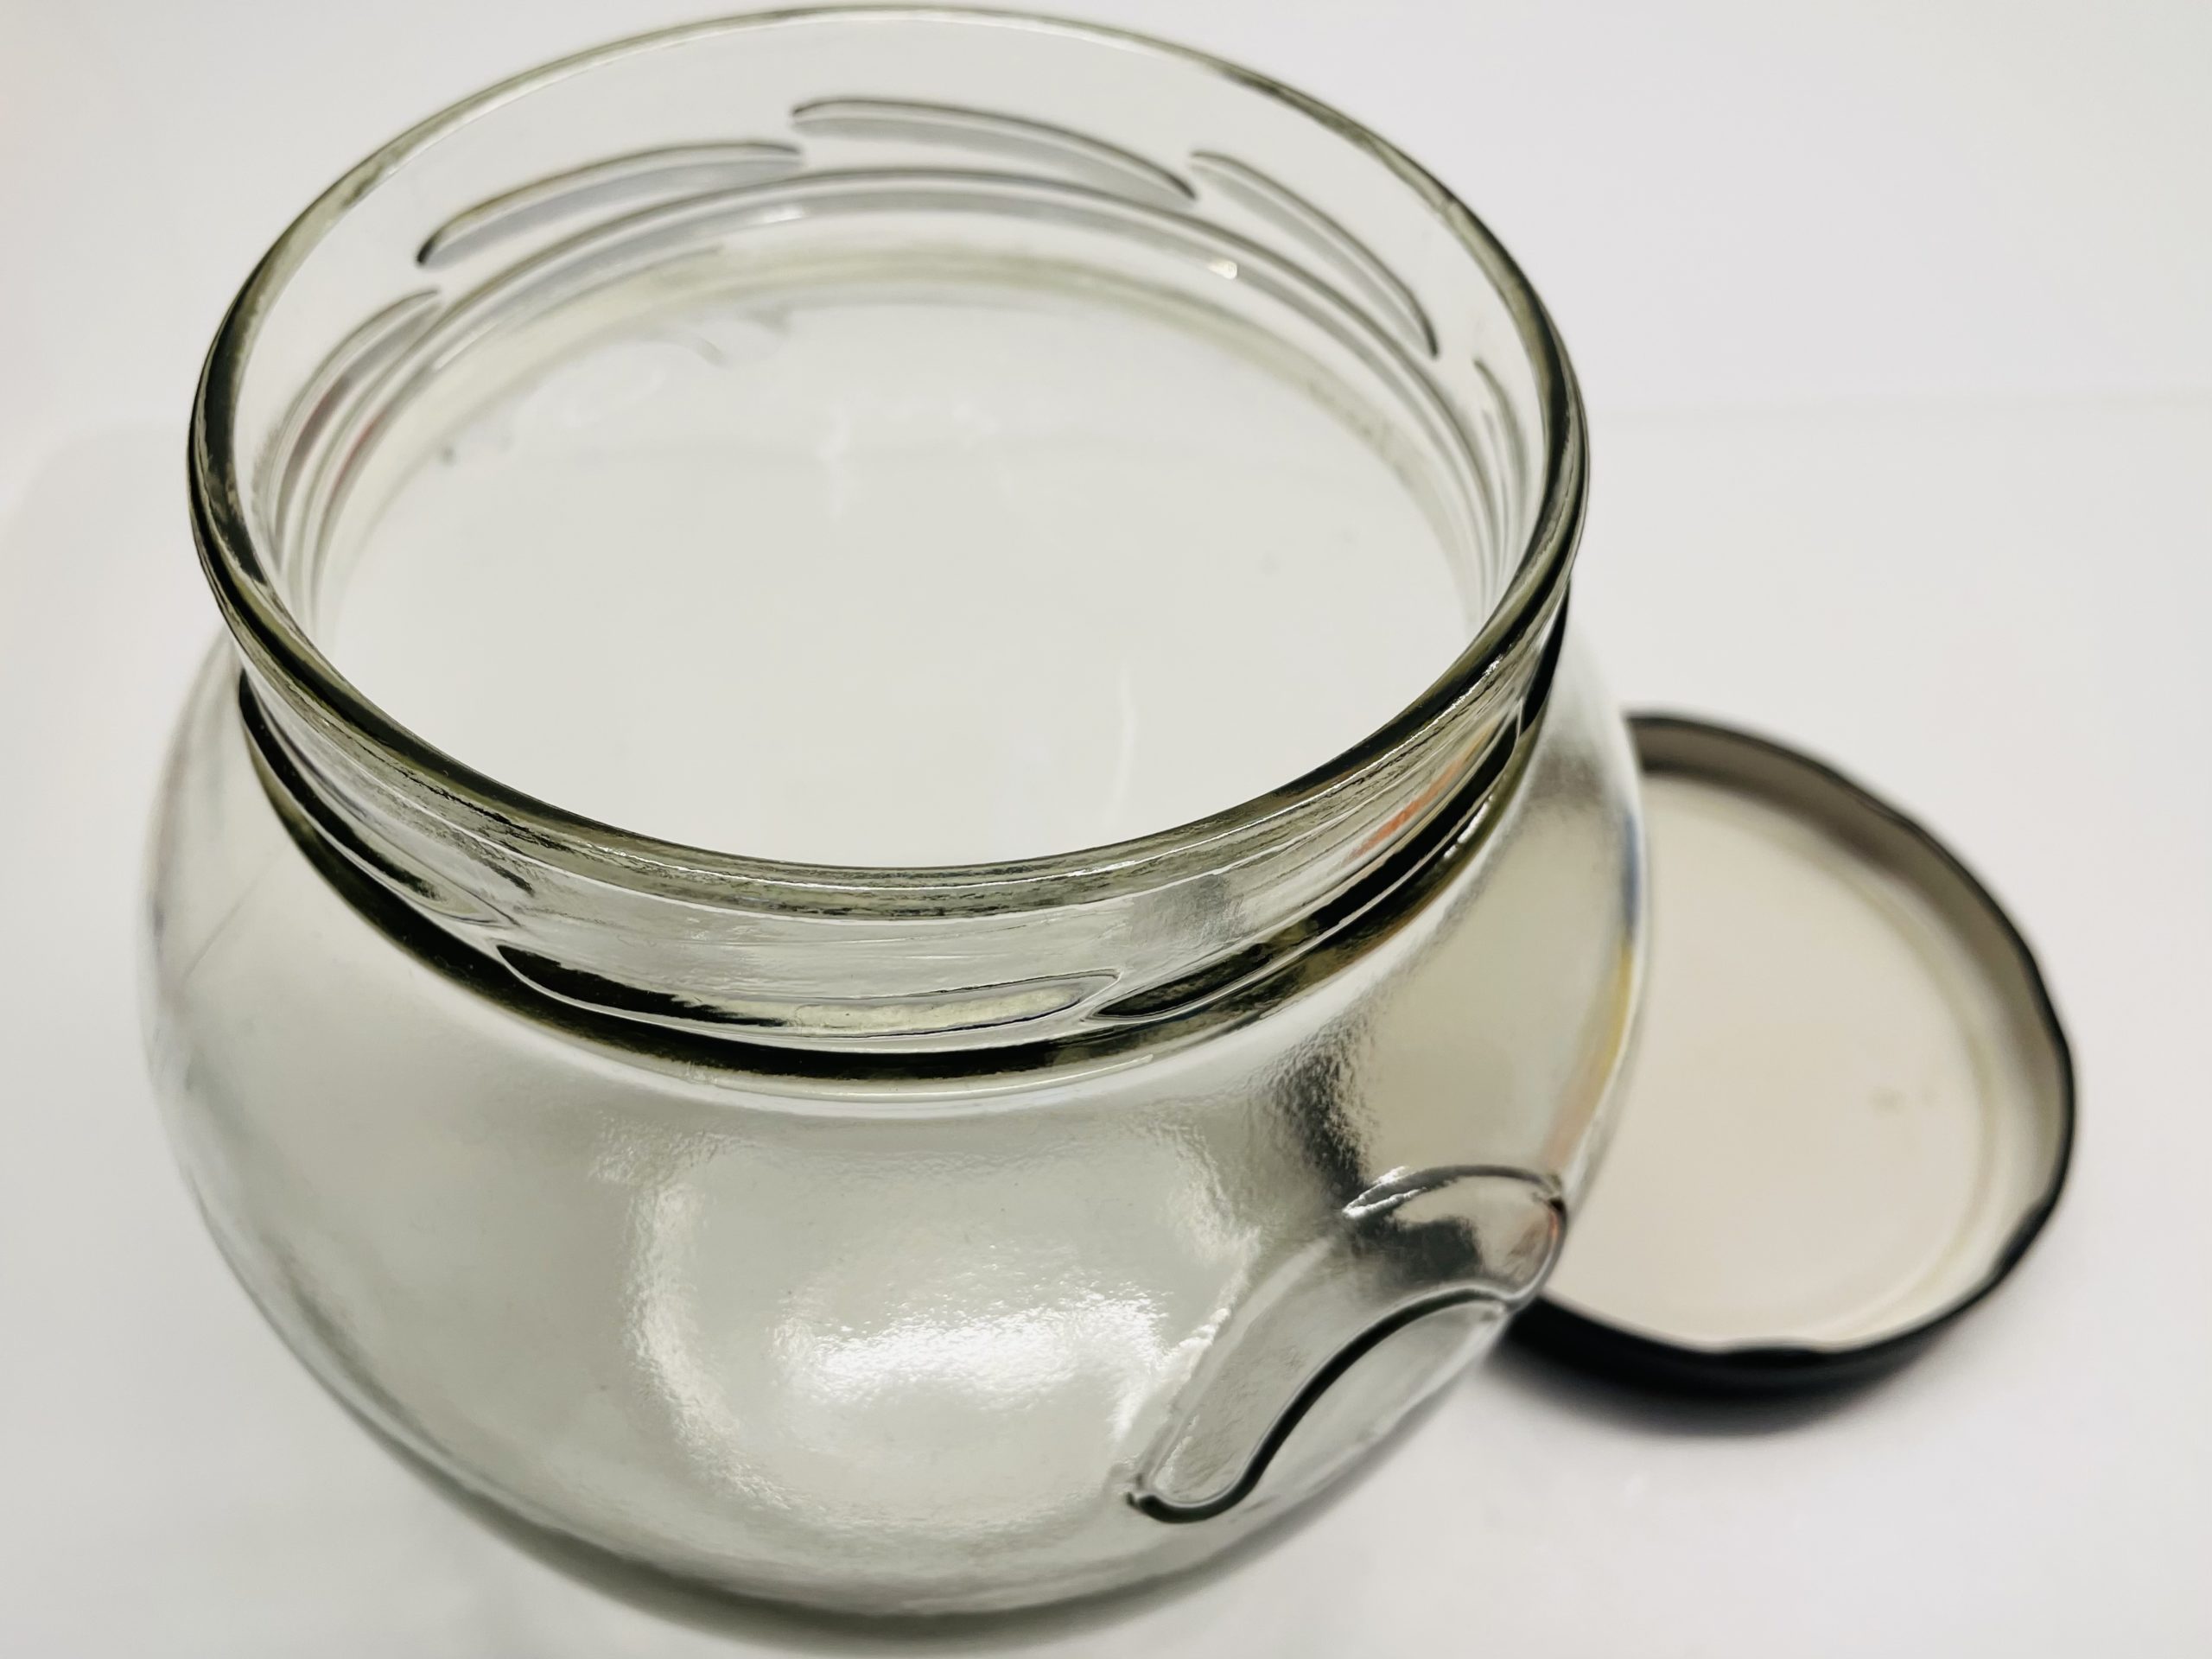
Bild zum Schritt 1 für das Bastel- und DIY-Abenteuer für Kinder: 'Sucht euch ein ganz großes Glas (Z.B. ein Bonbonglas oder...'

2

Then lay out your craft file. Now you use the notepad plates or you cut small cards.
Would you like to write down a request for each month? Then choose 12 cards.
Do you want to write down a wish for each week? Then you need 52 cards.
Then write or paint a wish.
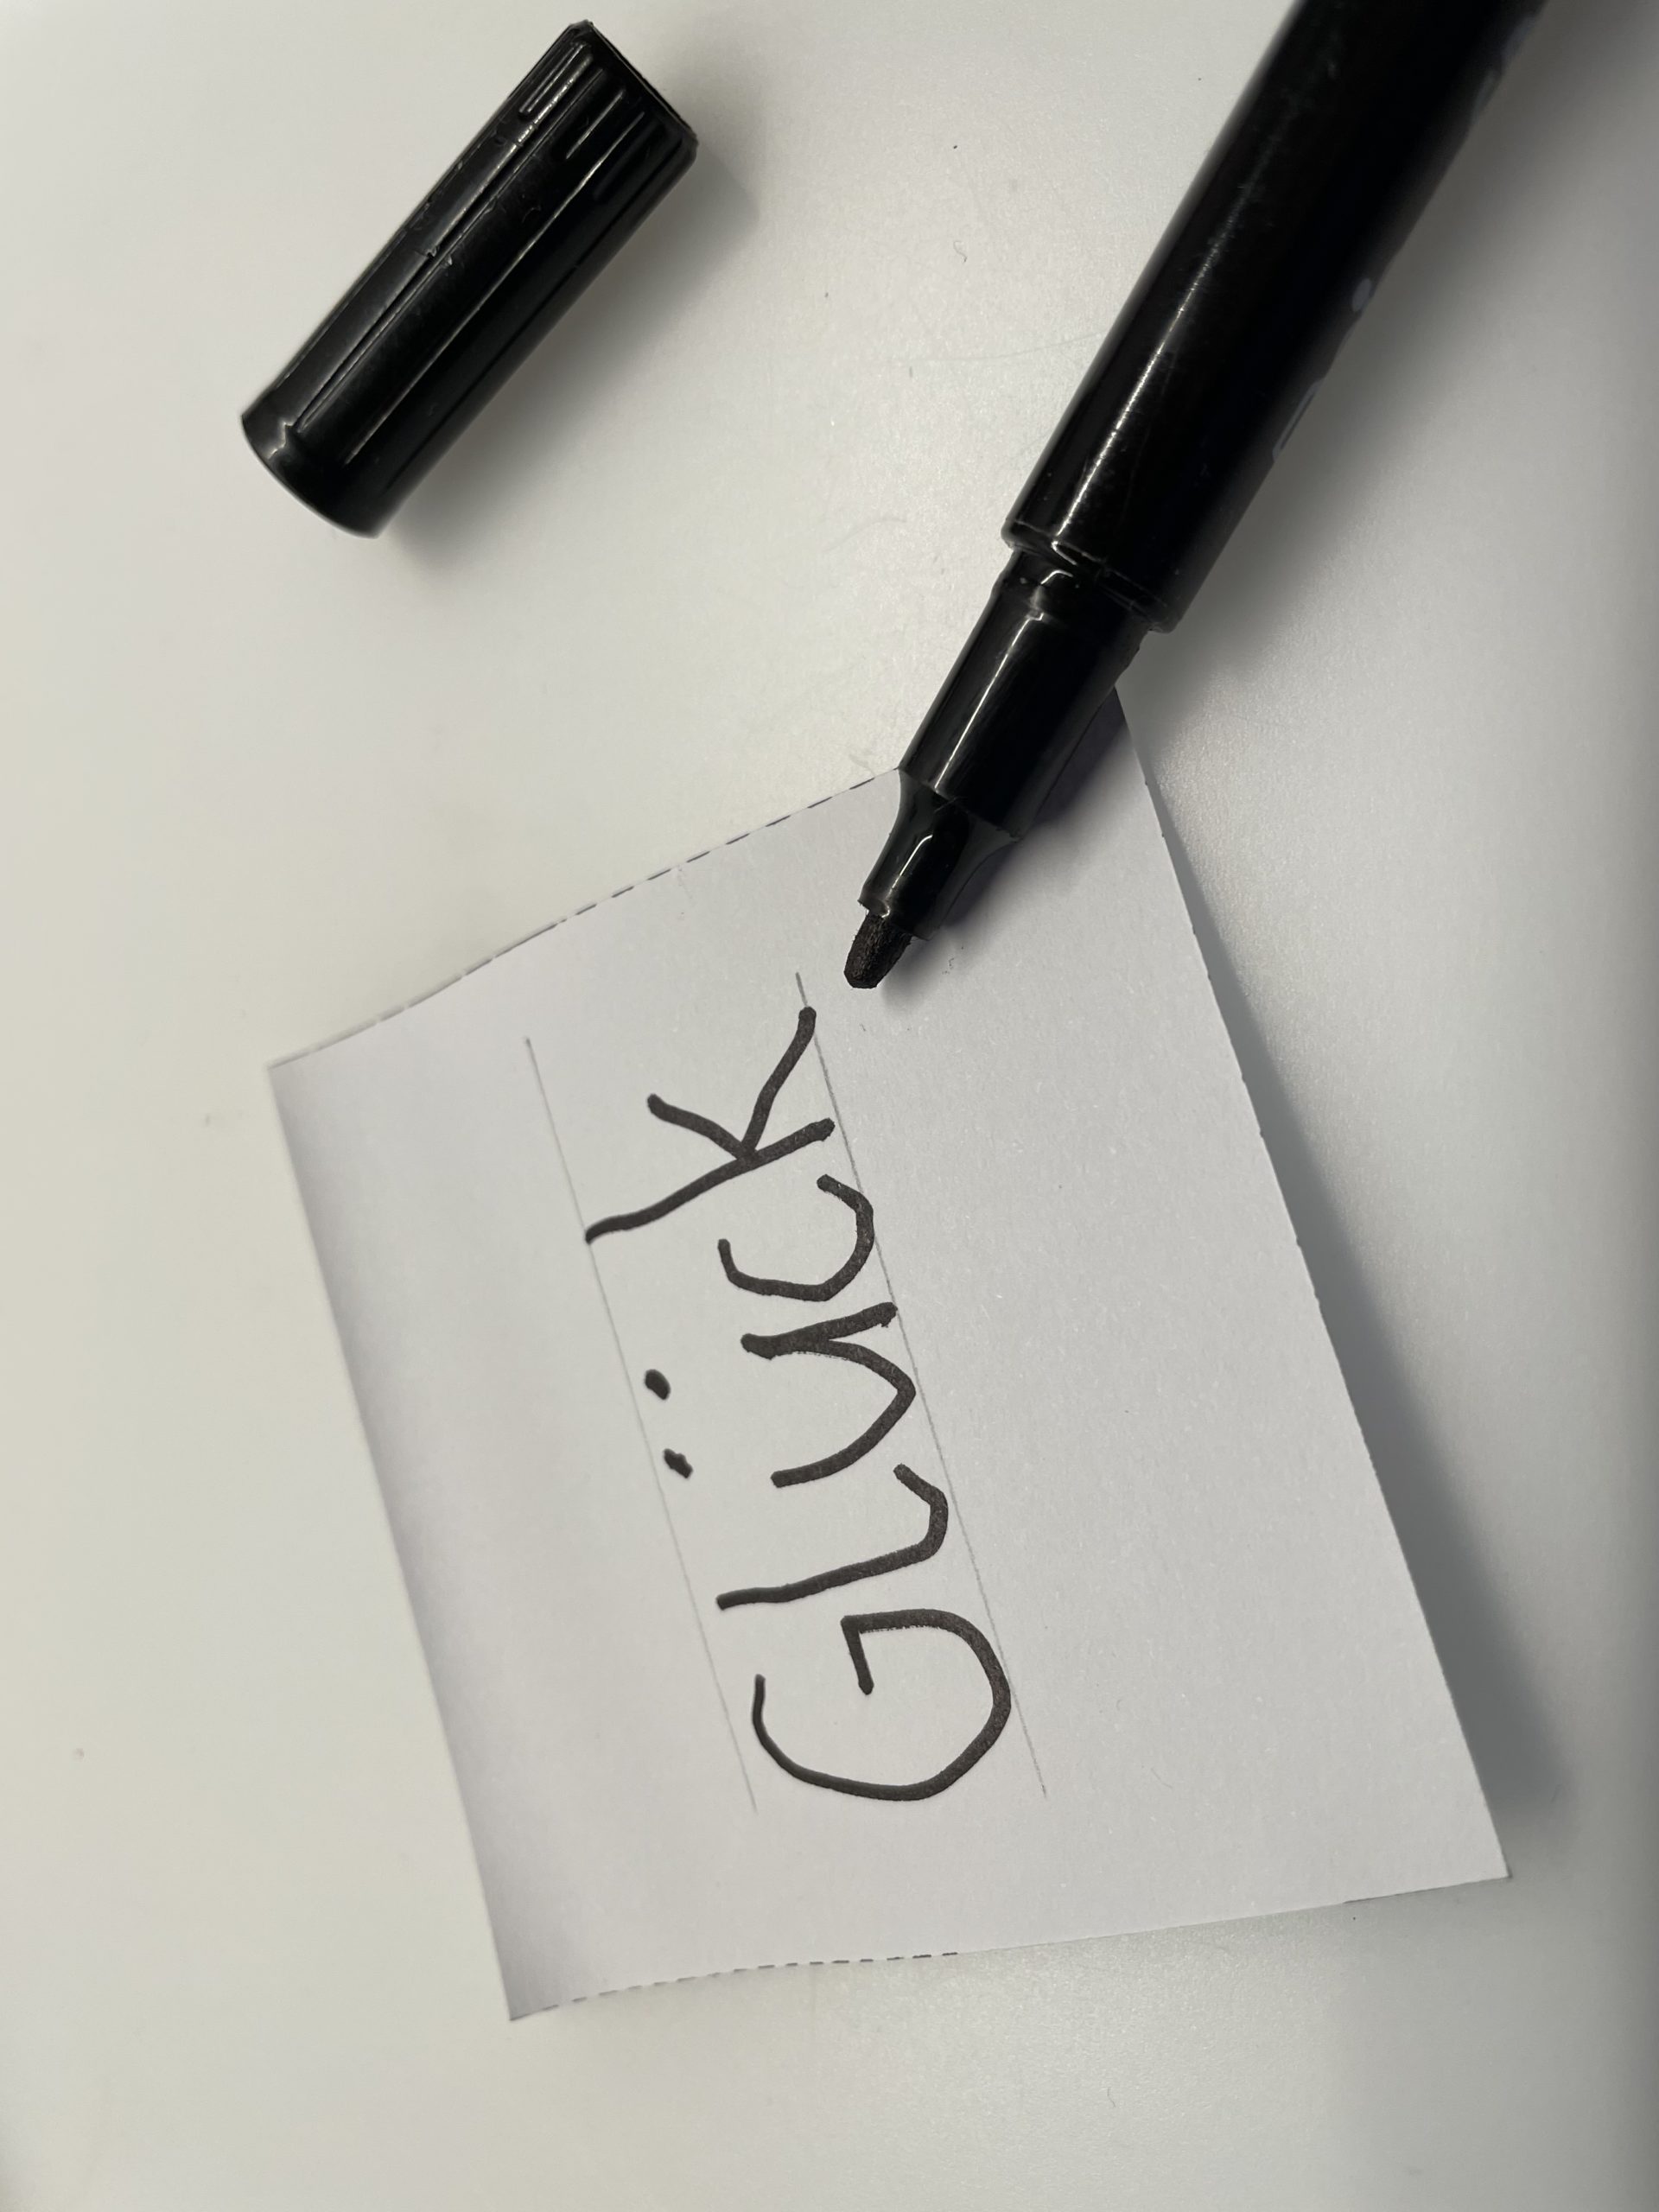
Bild zum Schritt 2 für das Bastel- und DIY-Abenteuer für Kinder: 'Dann legt euch eure Bastelunterlage aus. Jetzt nutzt ihr die...'

3

Then write or paint a wish.

Bild zum Schritt 3 für das Bastel- und DIY-Abenteuer für Kinder: 'Anschließend schreibt oder malt ihr einen Wunsch auf.'

4

Here is a collection of ideas for possible wishes.

Bild zum Schritt 4 für das Bastel- und DIY-Abenteuer für Kinder: 'Hier eine Ideensammlung für mögliche Wünsche.'

5

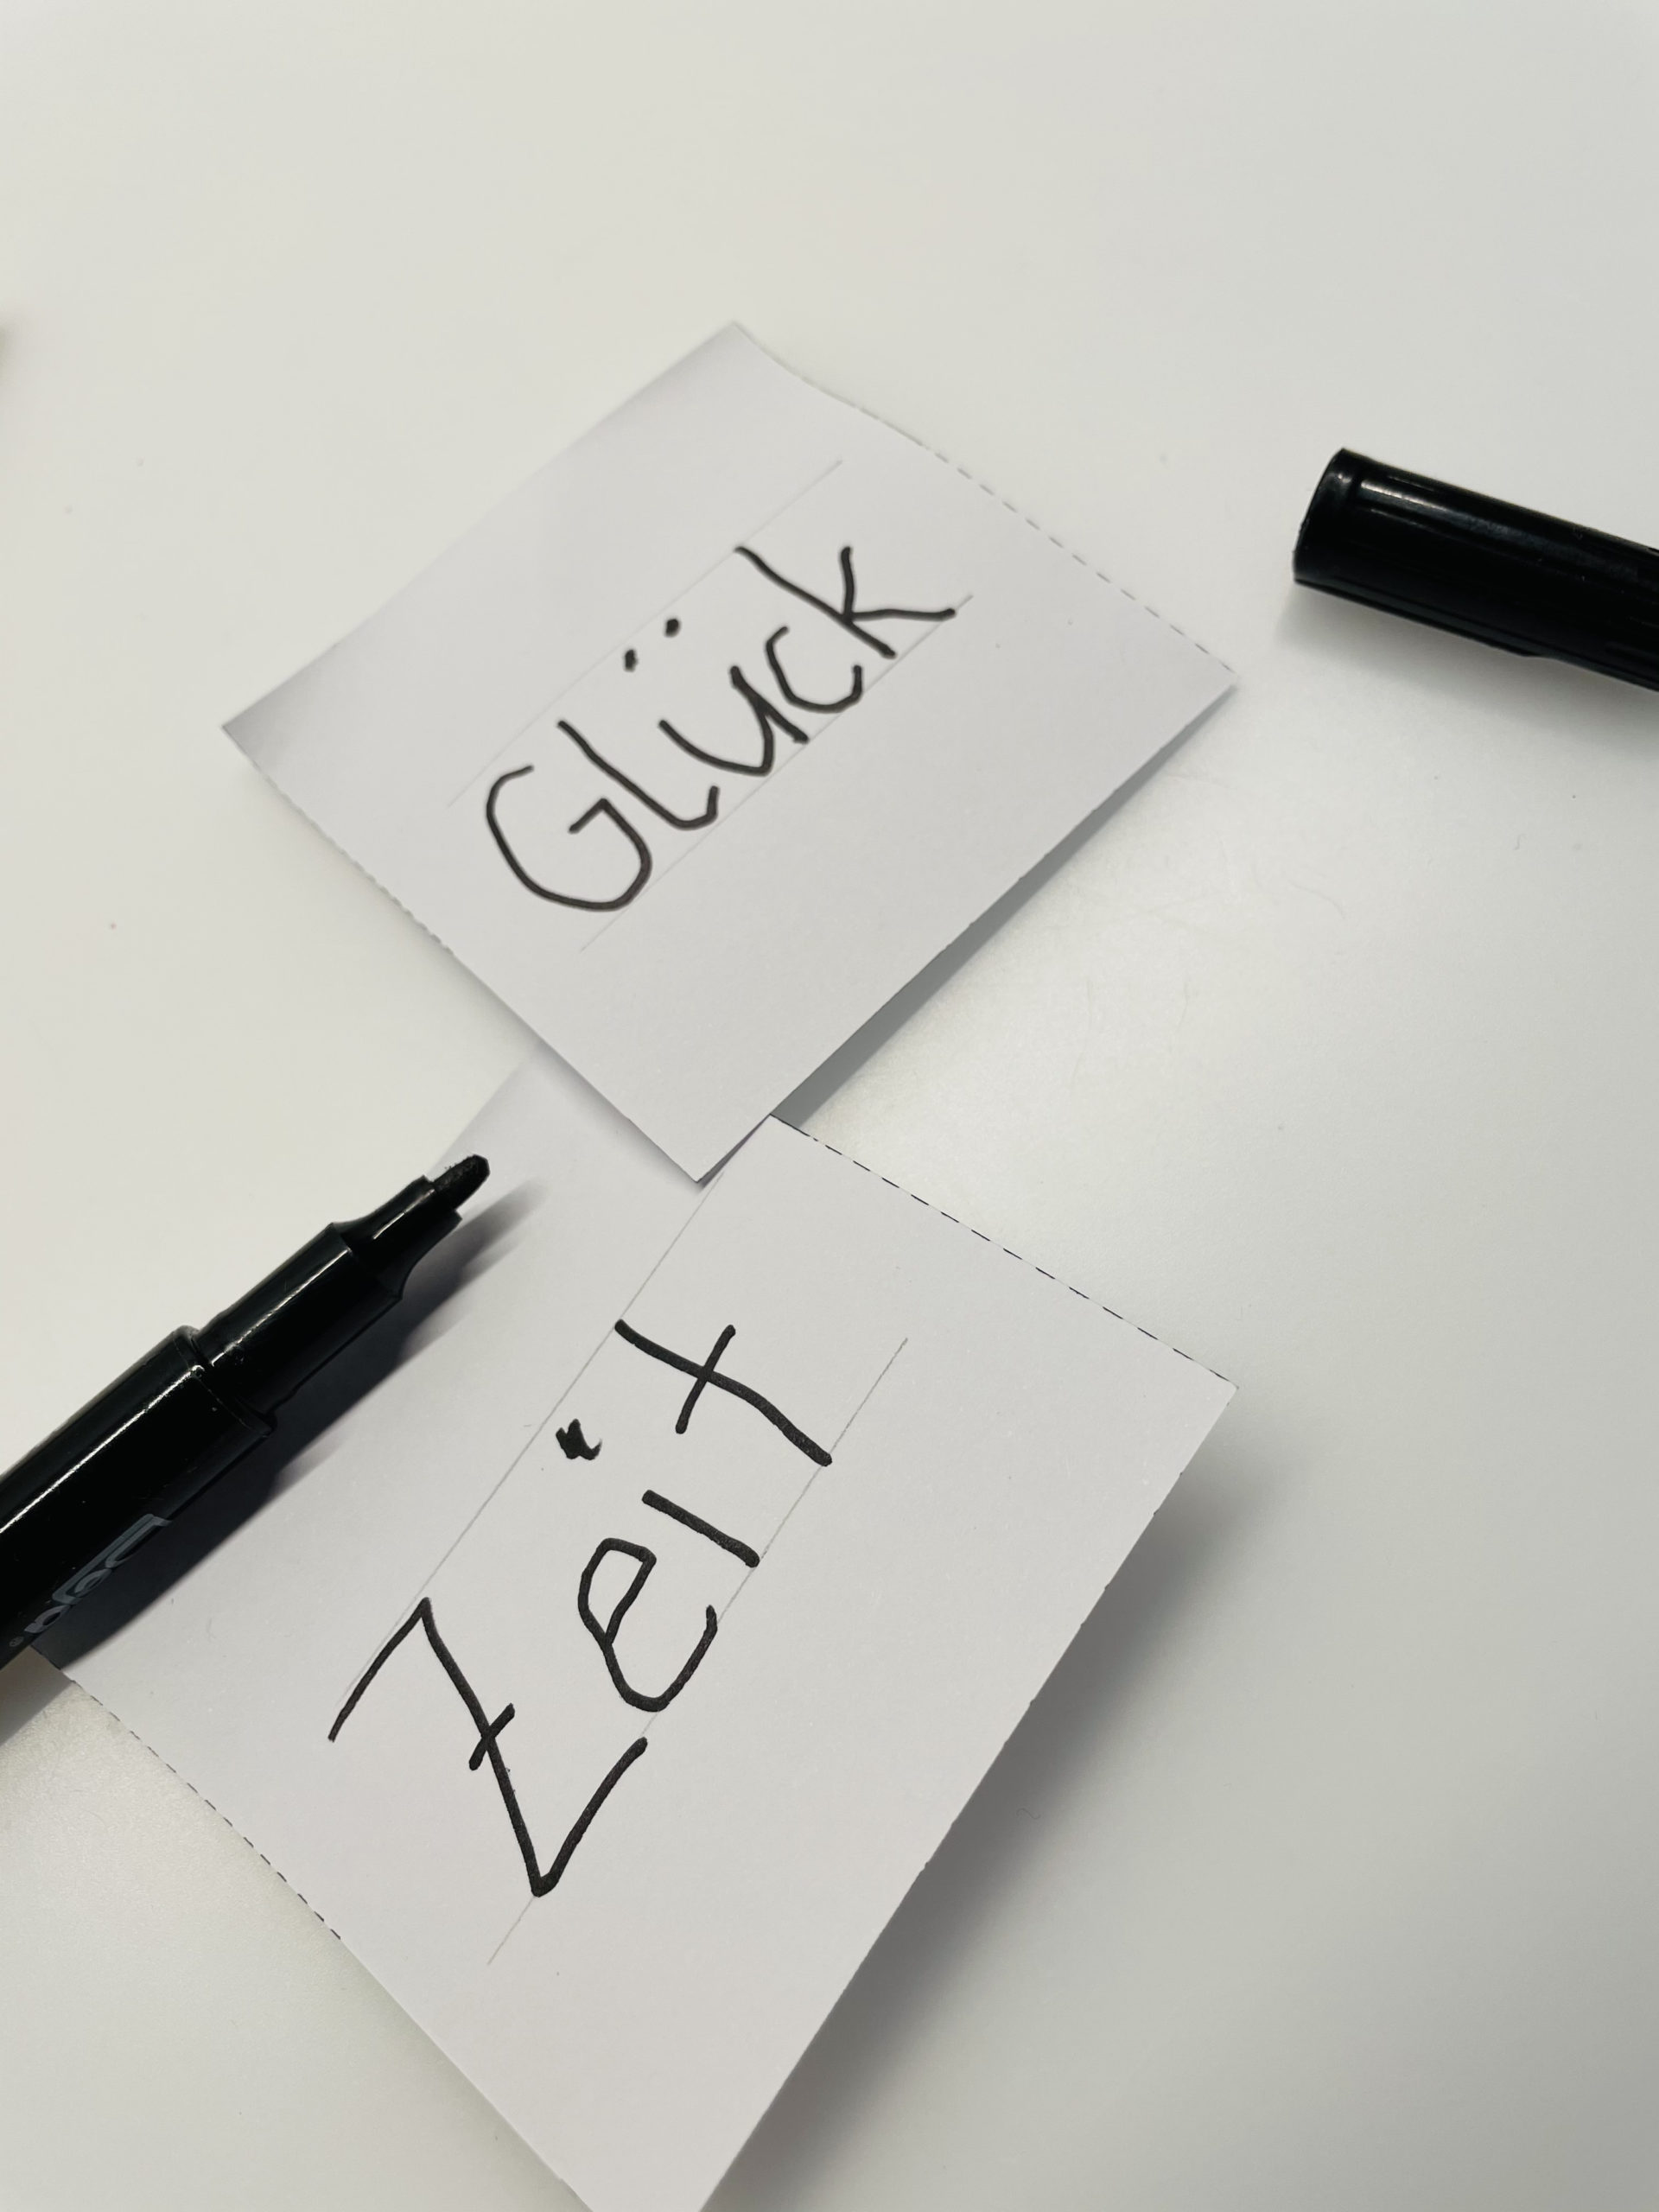
Older children can write on notepad-cettel proverbs, sayings, wisdoms or congratulations.

Bild zum Schritt 5 für das Bastel- und DIY-Abenteuer für Kinder: 'Ältere Kinder können auf Notizblock-Zettel Sprichwörter, Sprüche, Lebebsweisheiten oder Glückwünsche...'

6

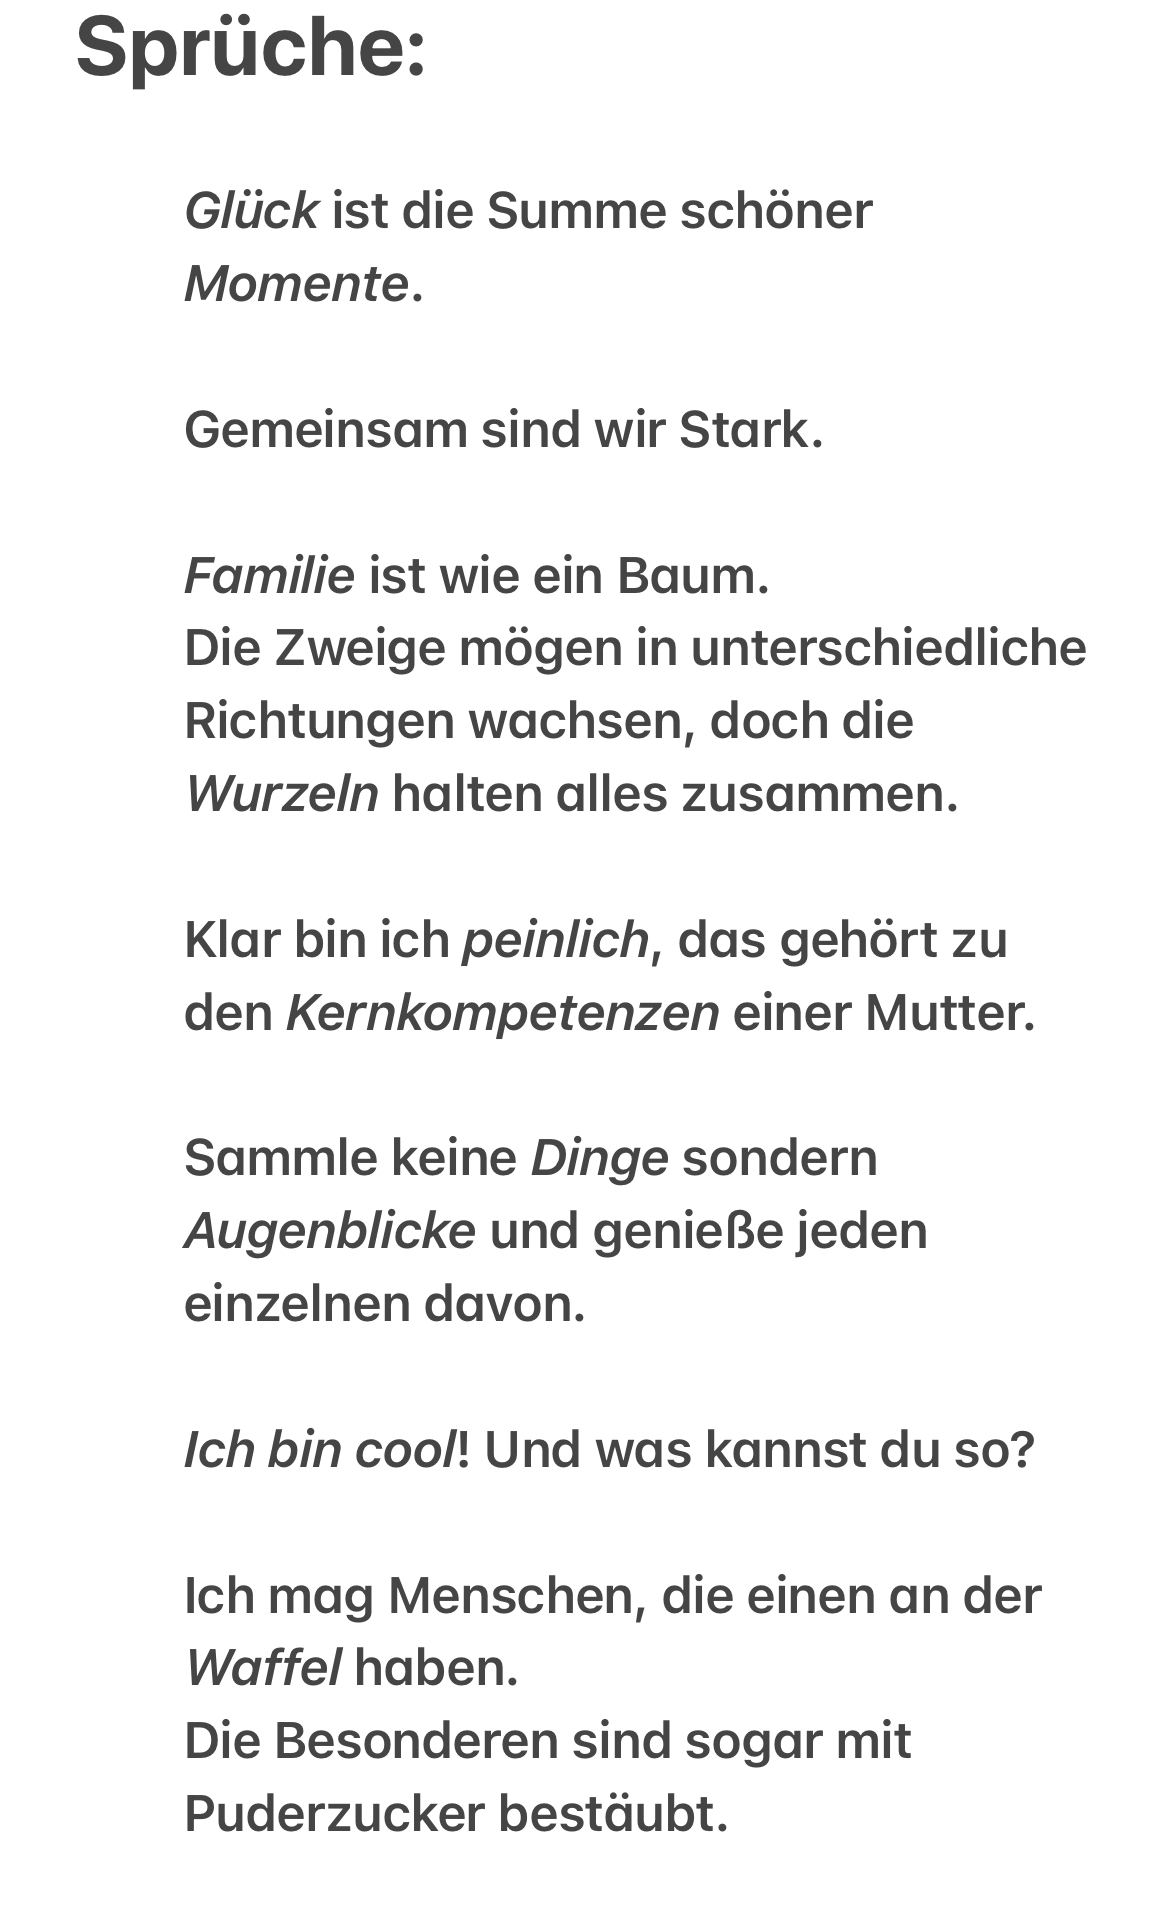
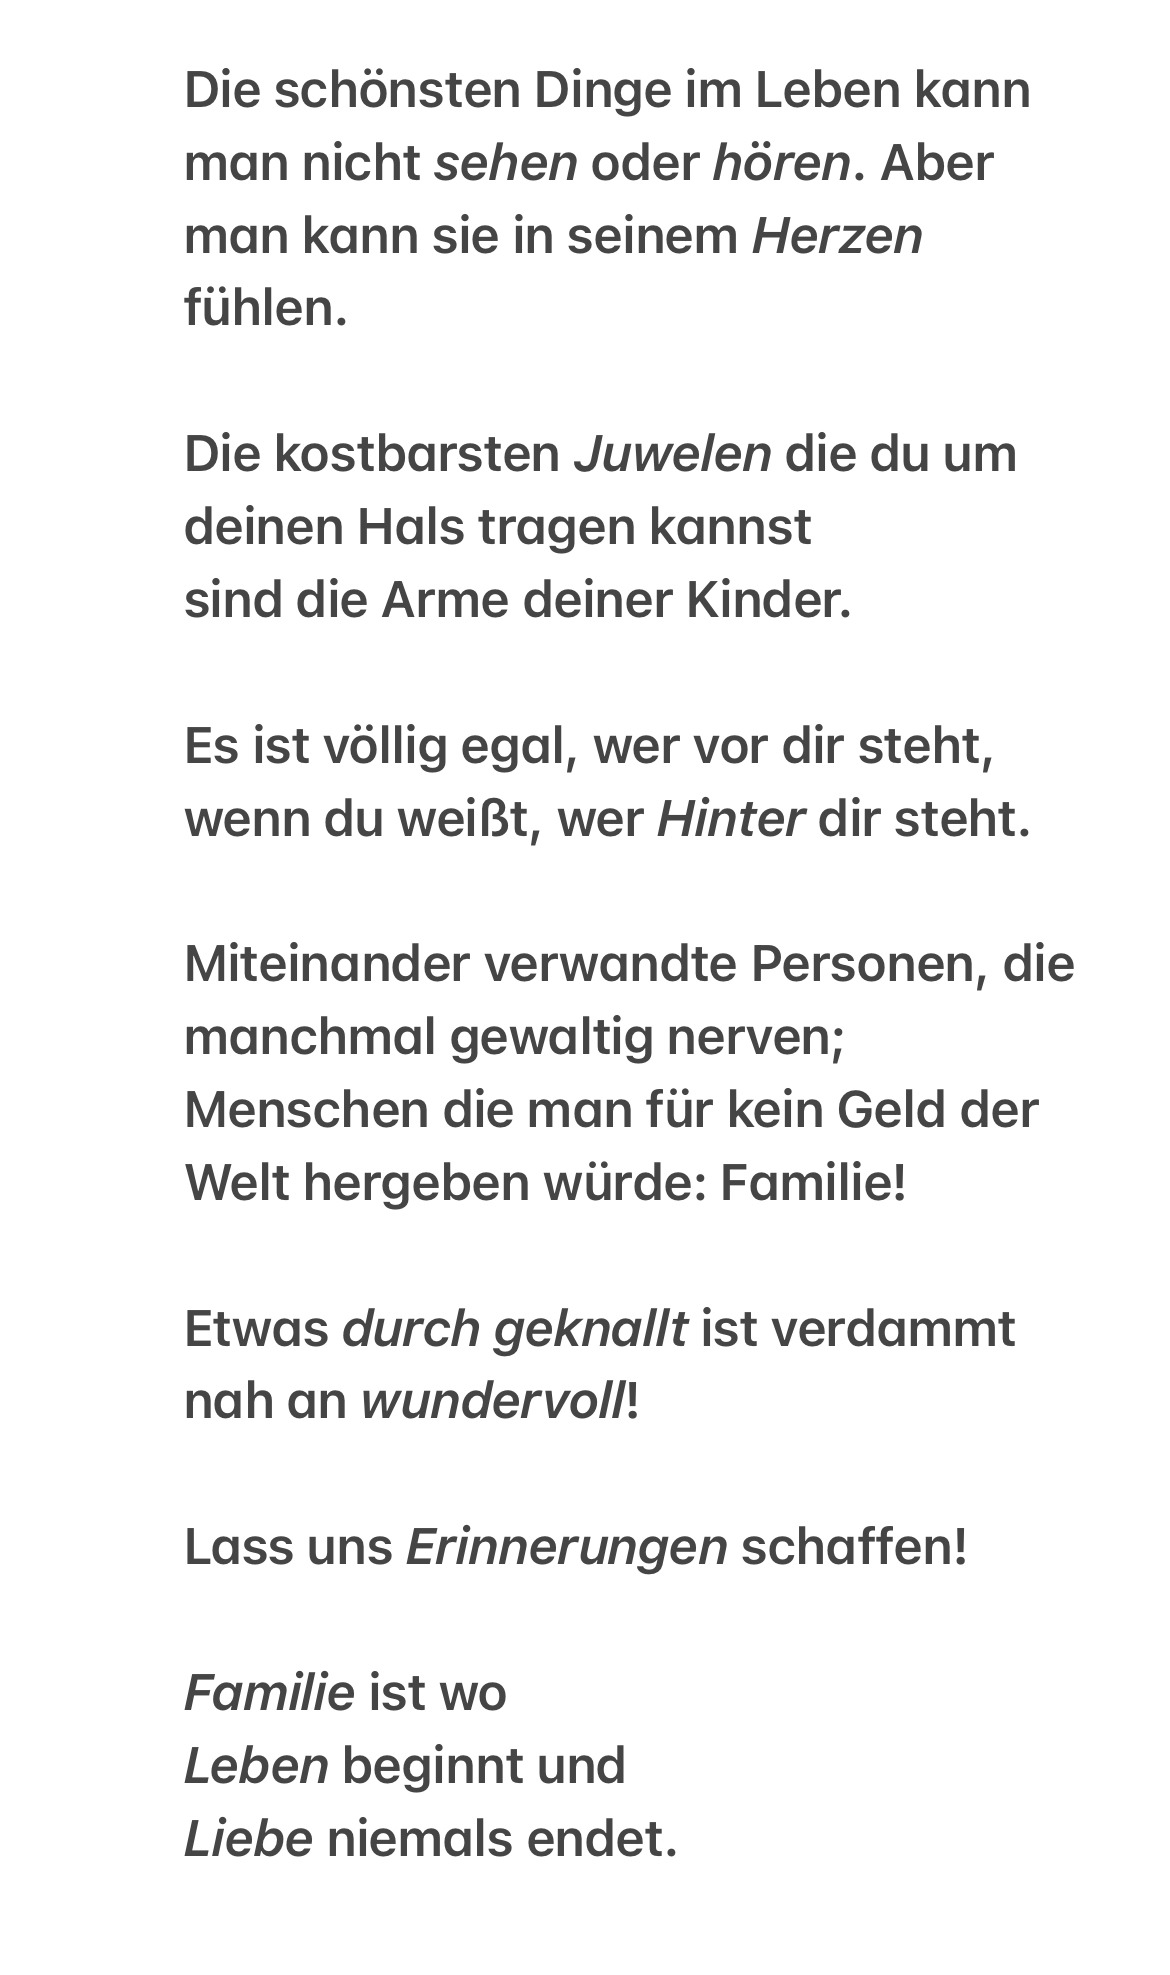
Here are some suggestions:

Bild zum Schritt 6 für das Bastel- und DIY-Abenteuer für Kinder: 'Hier ein paar Anregungen:'

7

2. Bild zum Schritt 6 für das Bastel- und DIY-Abenteuer für Kinder: 'Hier ein paar Anregungen:'

8

Then fold the small pieces of paper together.

Bild zum Schritt 8 für das Bastel- und DIY-Abenteuer für Kinder: 'Anschließend faltet ihr die kleinen Zettel zusammen.'

9

Now put the notes in the glass.
Now a wish list can be viewed or read at each beginning of the month.

Bild zum Schritt 9 für das Bastel- und DIY-Abenteuer für Kinder: 'Legt nun die Zettel in das Glas.  Jetzt kann...'

10

Now design the lid with a coloured clay paper. To do this, cut the paper in the size of the lid. Place the lid on the clay paper and border the lid. Then cut the circle.

Bild zum Schritt 10 für das Bastel- und DIY-Abenteuer für Kinder: 'Gestaltet nun den Deckel mit einem farbigen Tonpapier. Dafür schneidet...'

11

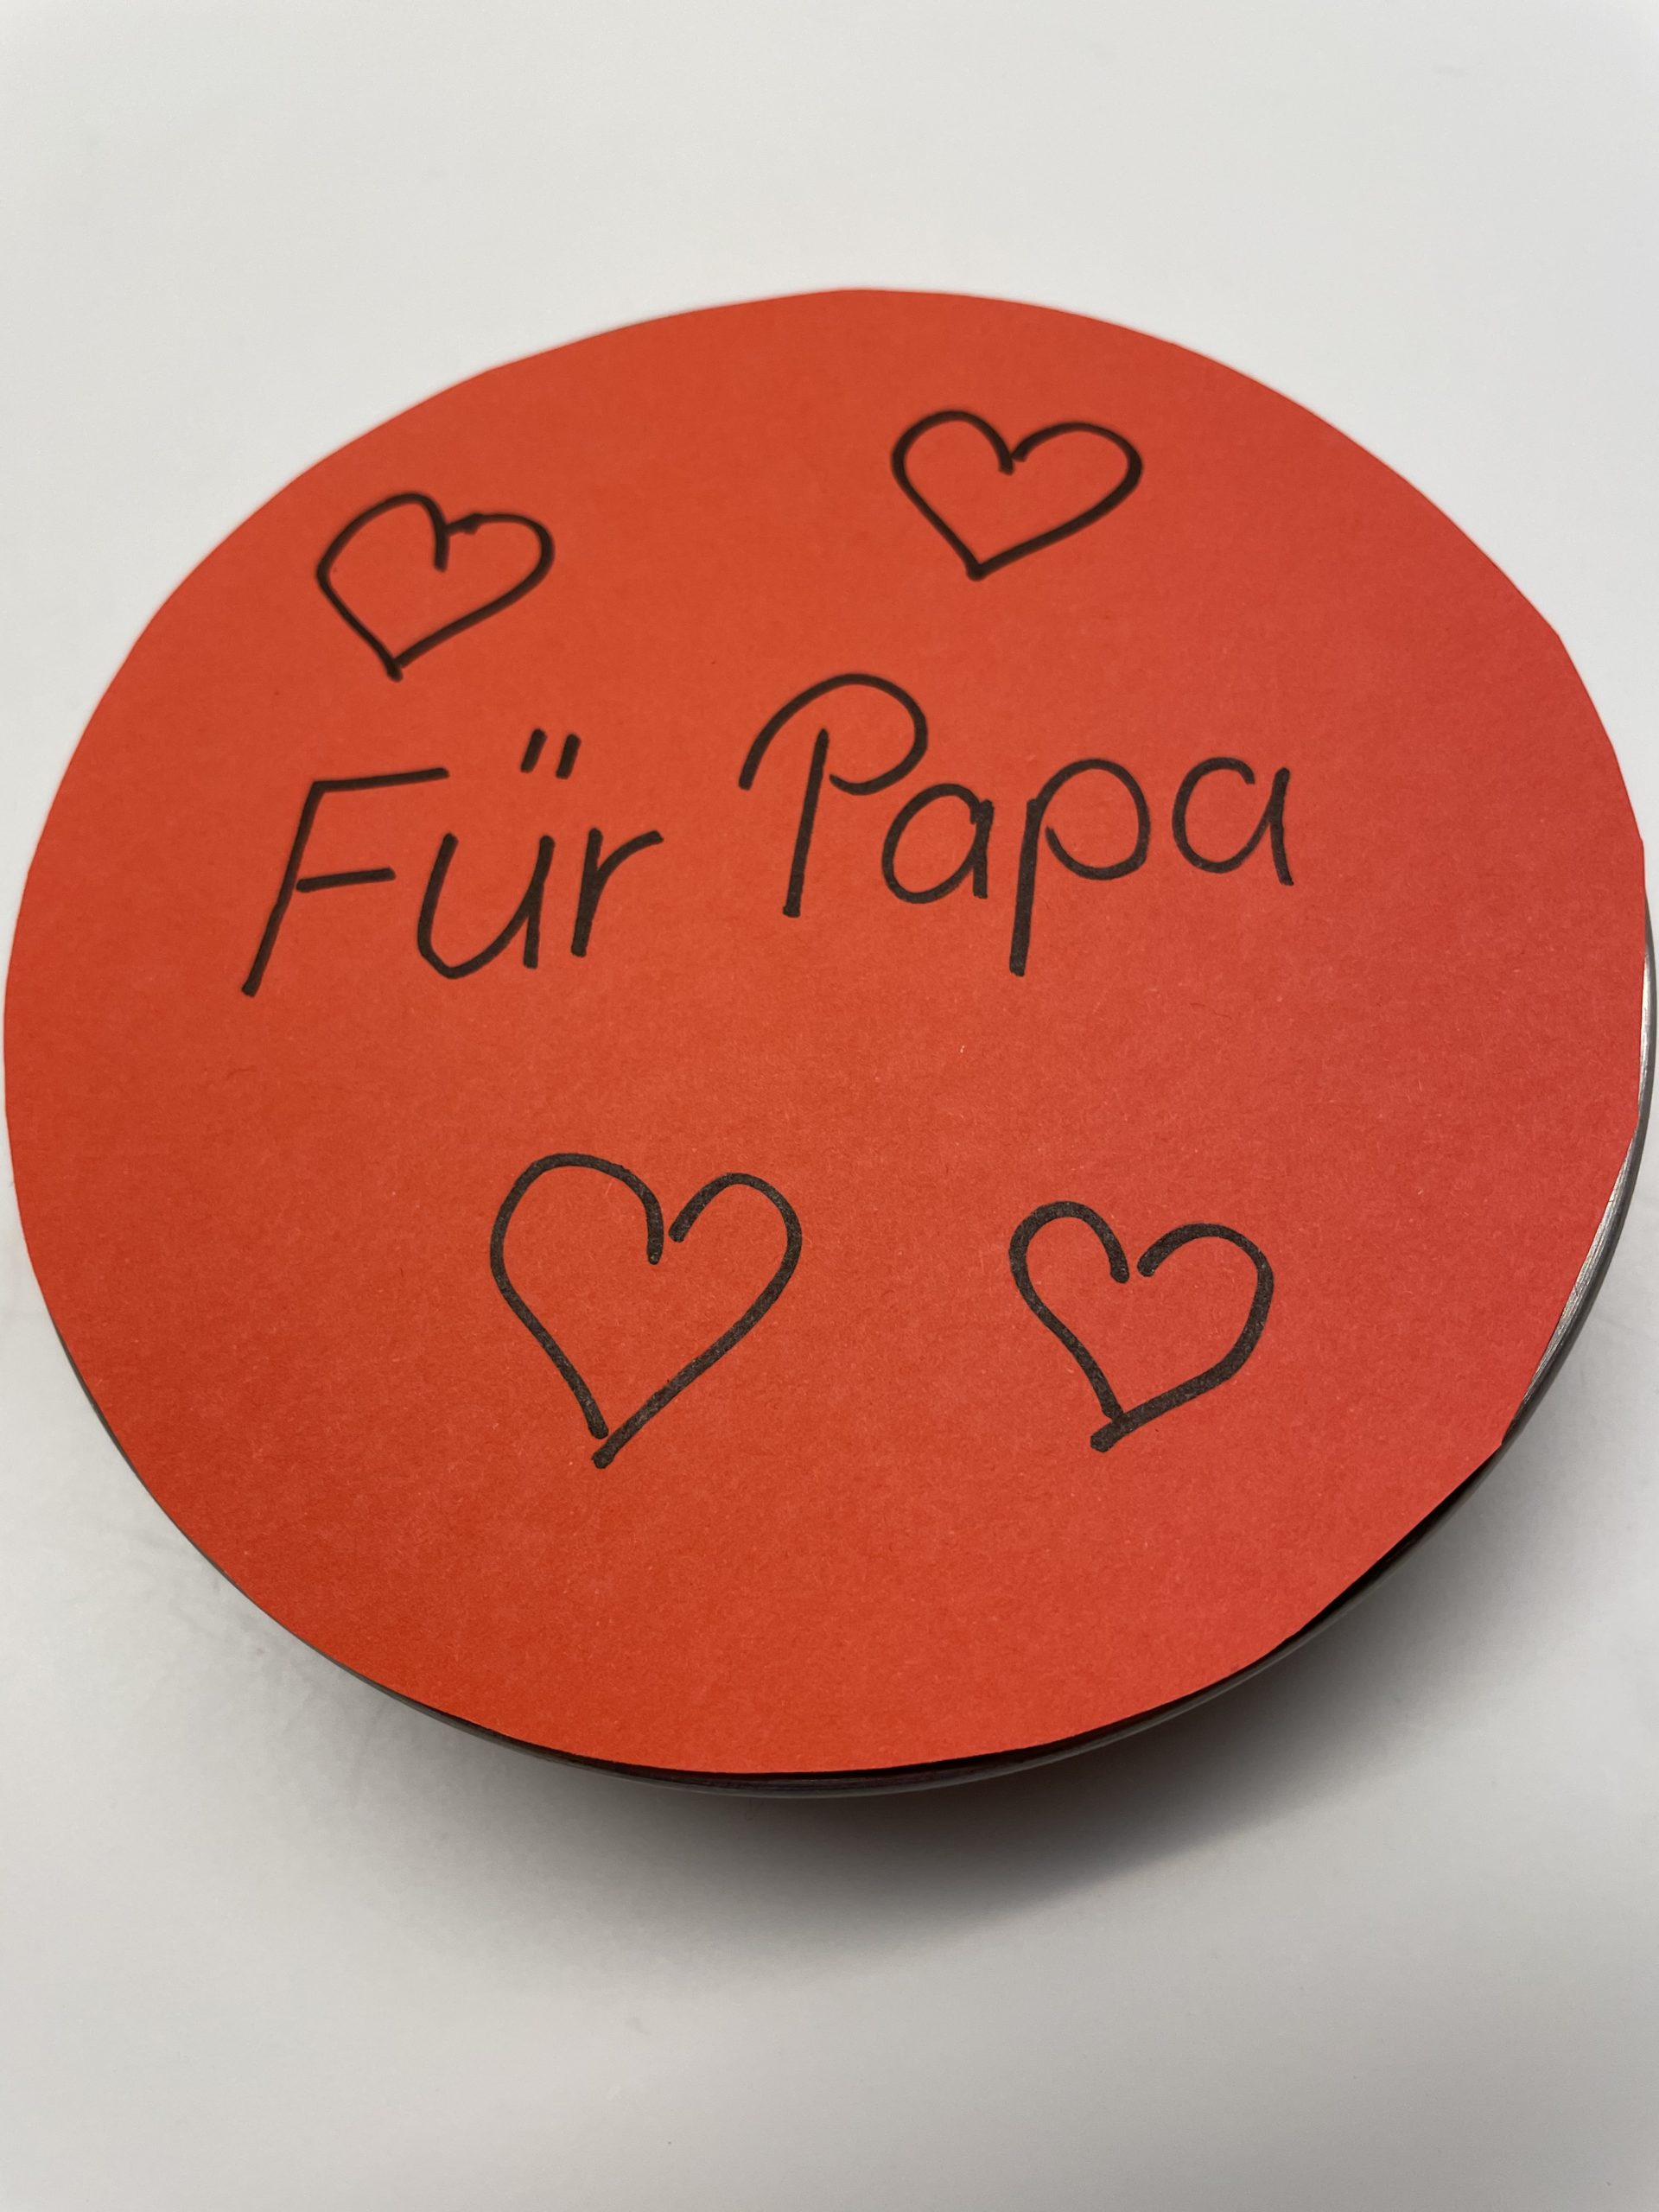
Now paint and write her some more on the paper circuit.

Bild zum Schritt 11 für das Bastel- und DIY-Abenteuer für Kinder: 'Jetzt malt und schreibt ihr noch etwas auf den Tonpapierkreis.'

12

2. Bild zum Schritt 11 für das Bastel- und DIY-Abenteuer für Kinder: 'Jetzt malt und schreibt ihr noch etwas auf den Tonpapierkreis.'

13

Close the glass with the lid and give it away!

Bild zum Schritt 13 für das Bastel- und DIY-Abenteuer für Kinder: 'Verschließt das Glas mit dem Deckel und verschenkt es!'

14

Enjoy crafting and giftgiving!
Surely you still have your own ideas and only take this variant as an inspiration. Share them with us and write them to us in the comments.

Materials

 1 Large glassor tin, box
 12 Notepad-Zettel
 1 Pen
 Coloured paper
 Builder's pad
All links marked with a shopping cart lead to Amazon - here we have selected products that we would order ourselves and in part also ordered. In a qualified purchase via the advertising link, we as Amazon partner receive a commission, for you there are no costs. You thus support our cost- and advertising banner-free, educational offer.

Directions

1

Find a very large glass (e.g. a candy glass or a large olive glass).

Bild zum Schritt 1 für das Bastel- und DIY-Abenteuer für Kinder: 'Sucht euch ein ganz großes Glas (Z.B. ein Bonbonglas oder...'

2

Then lay out your craft file. Now you use the notepad plates or you cut small cards.
Would you like to write down a request for each month? Then choose 12 cards.
Do you want to write down a wish for each week? Then you need 52 cards.
Then write or paint a wish.

Bild zum Schritt 2 für das Bastel- und DIY-Abenteuer für Kinder: 'Dann legt euch eure Bastelunterlage aus. Jetzt nutzt ihr die...'

3

Then write or paint a wish.

Bild zum Schritt 3 für das Bastel- und DIY-Abenteuer für Kinder: 'Anschließend schreibt oder malt ihr einen Wunsch auf.'

4

Here is a collection of ideas for possible wishes.
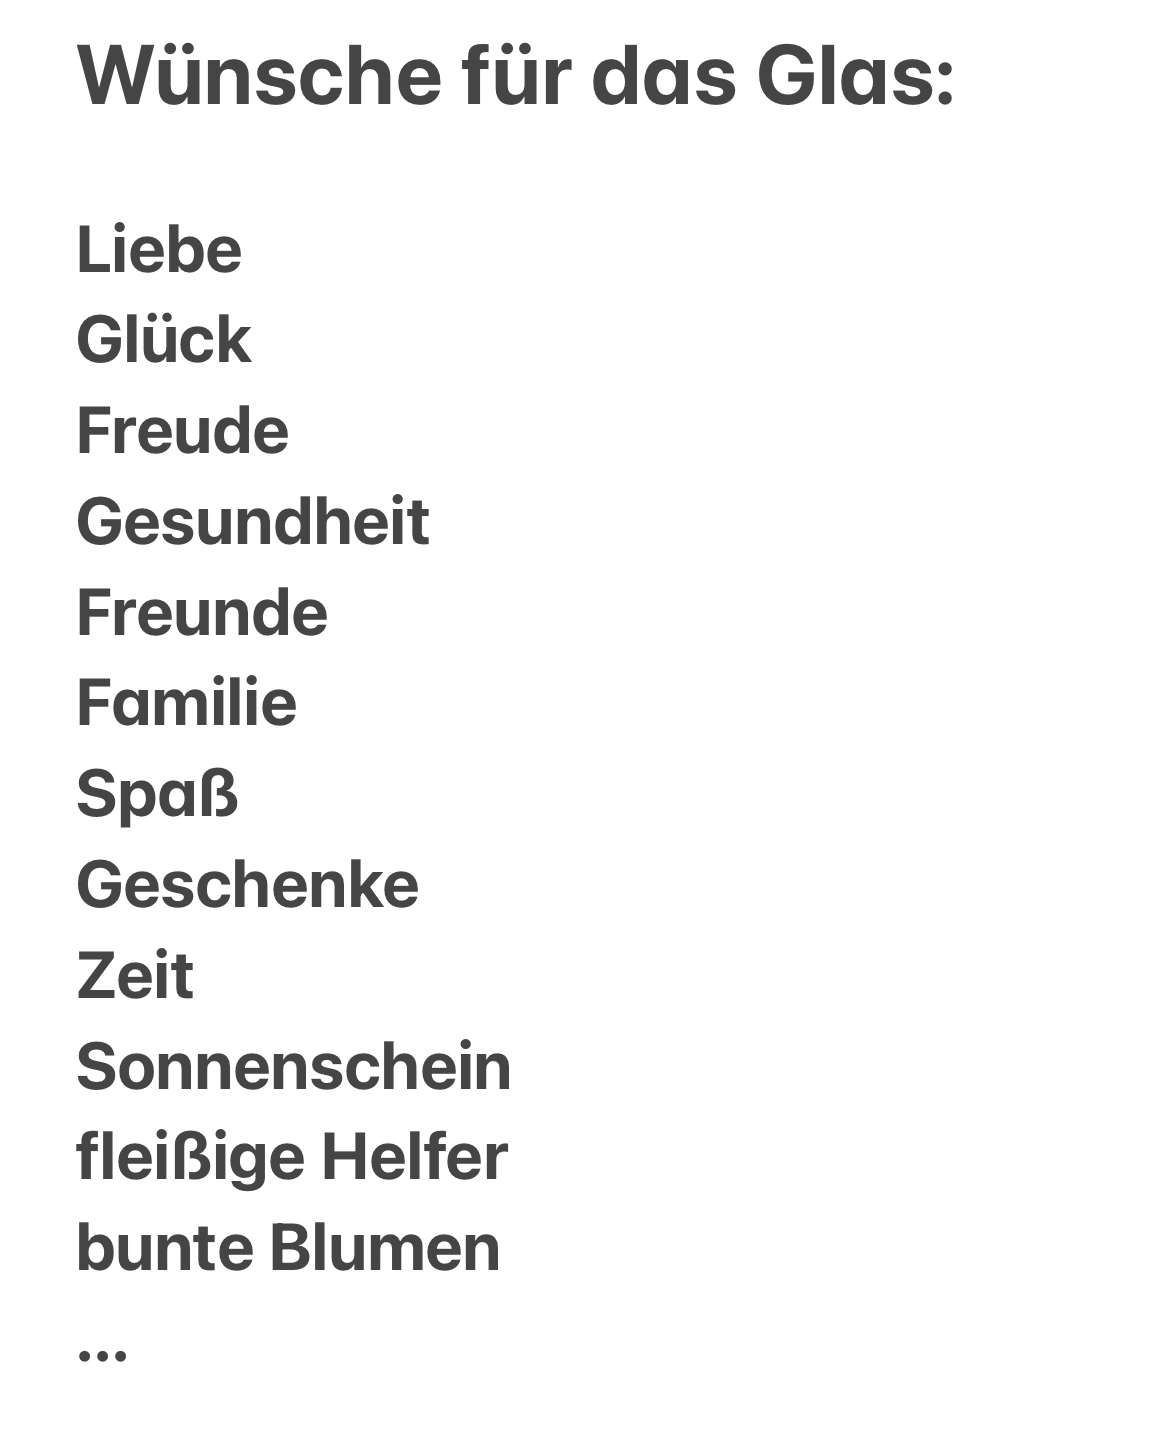
Bild zum Schritt 4 für das Bastel- und DIY-Abenteuer für Kinder: 'Hier eine Ideensammlung für mögliche Wünsche.'

5

Older children can write on notepad-cettel proverbs, sayings, wisdoms or congratulations.
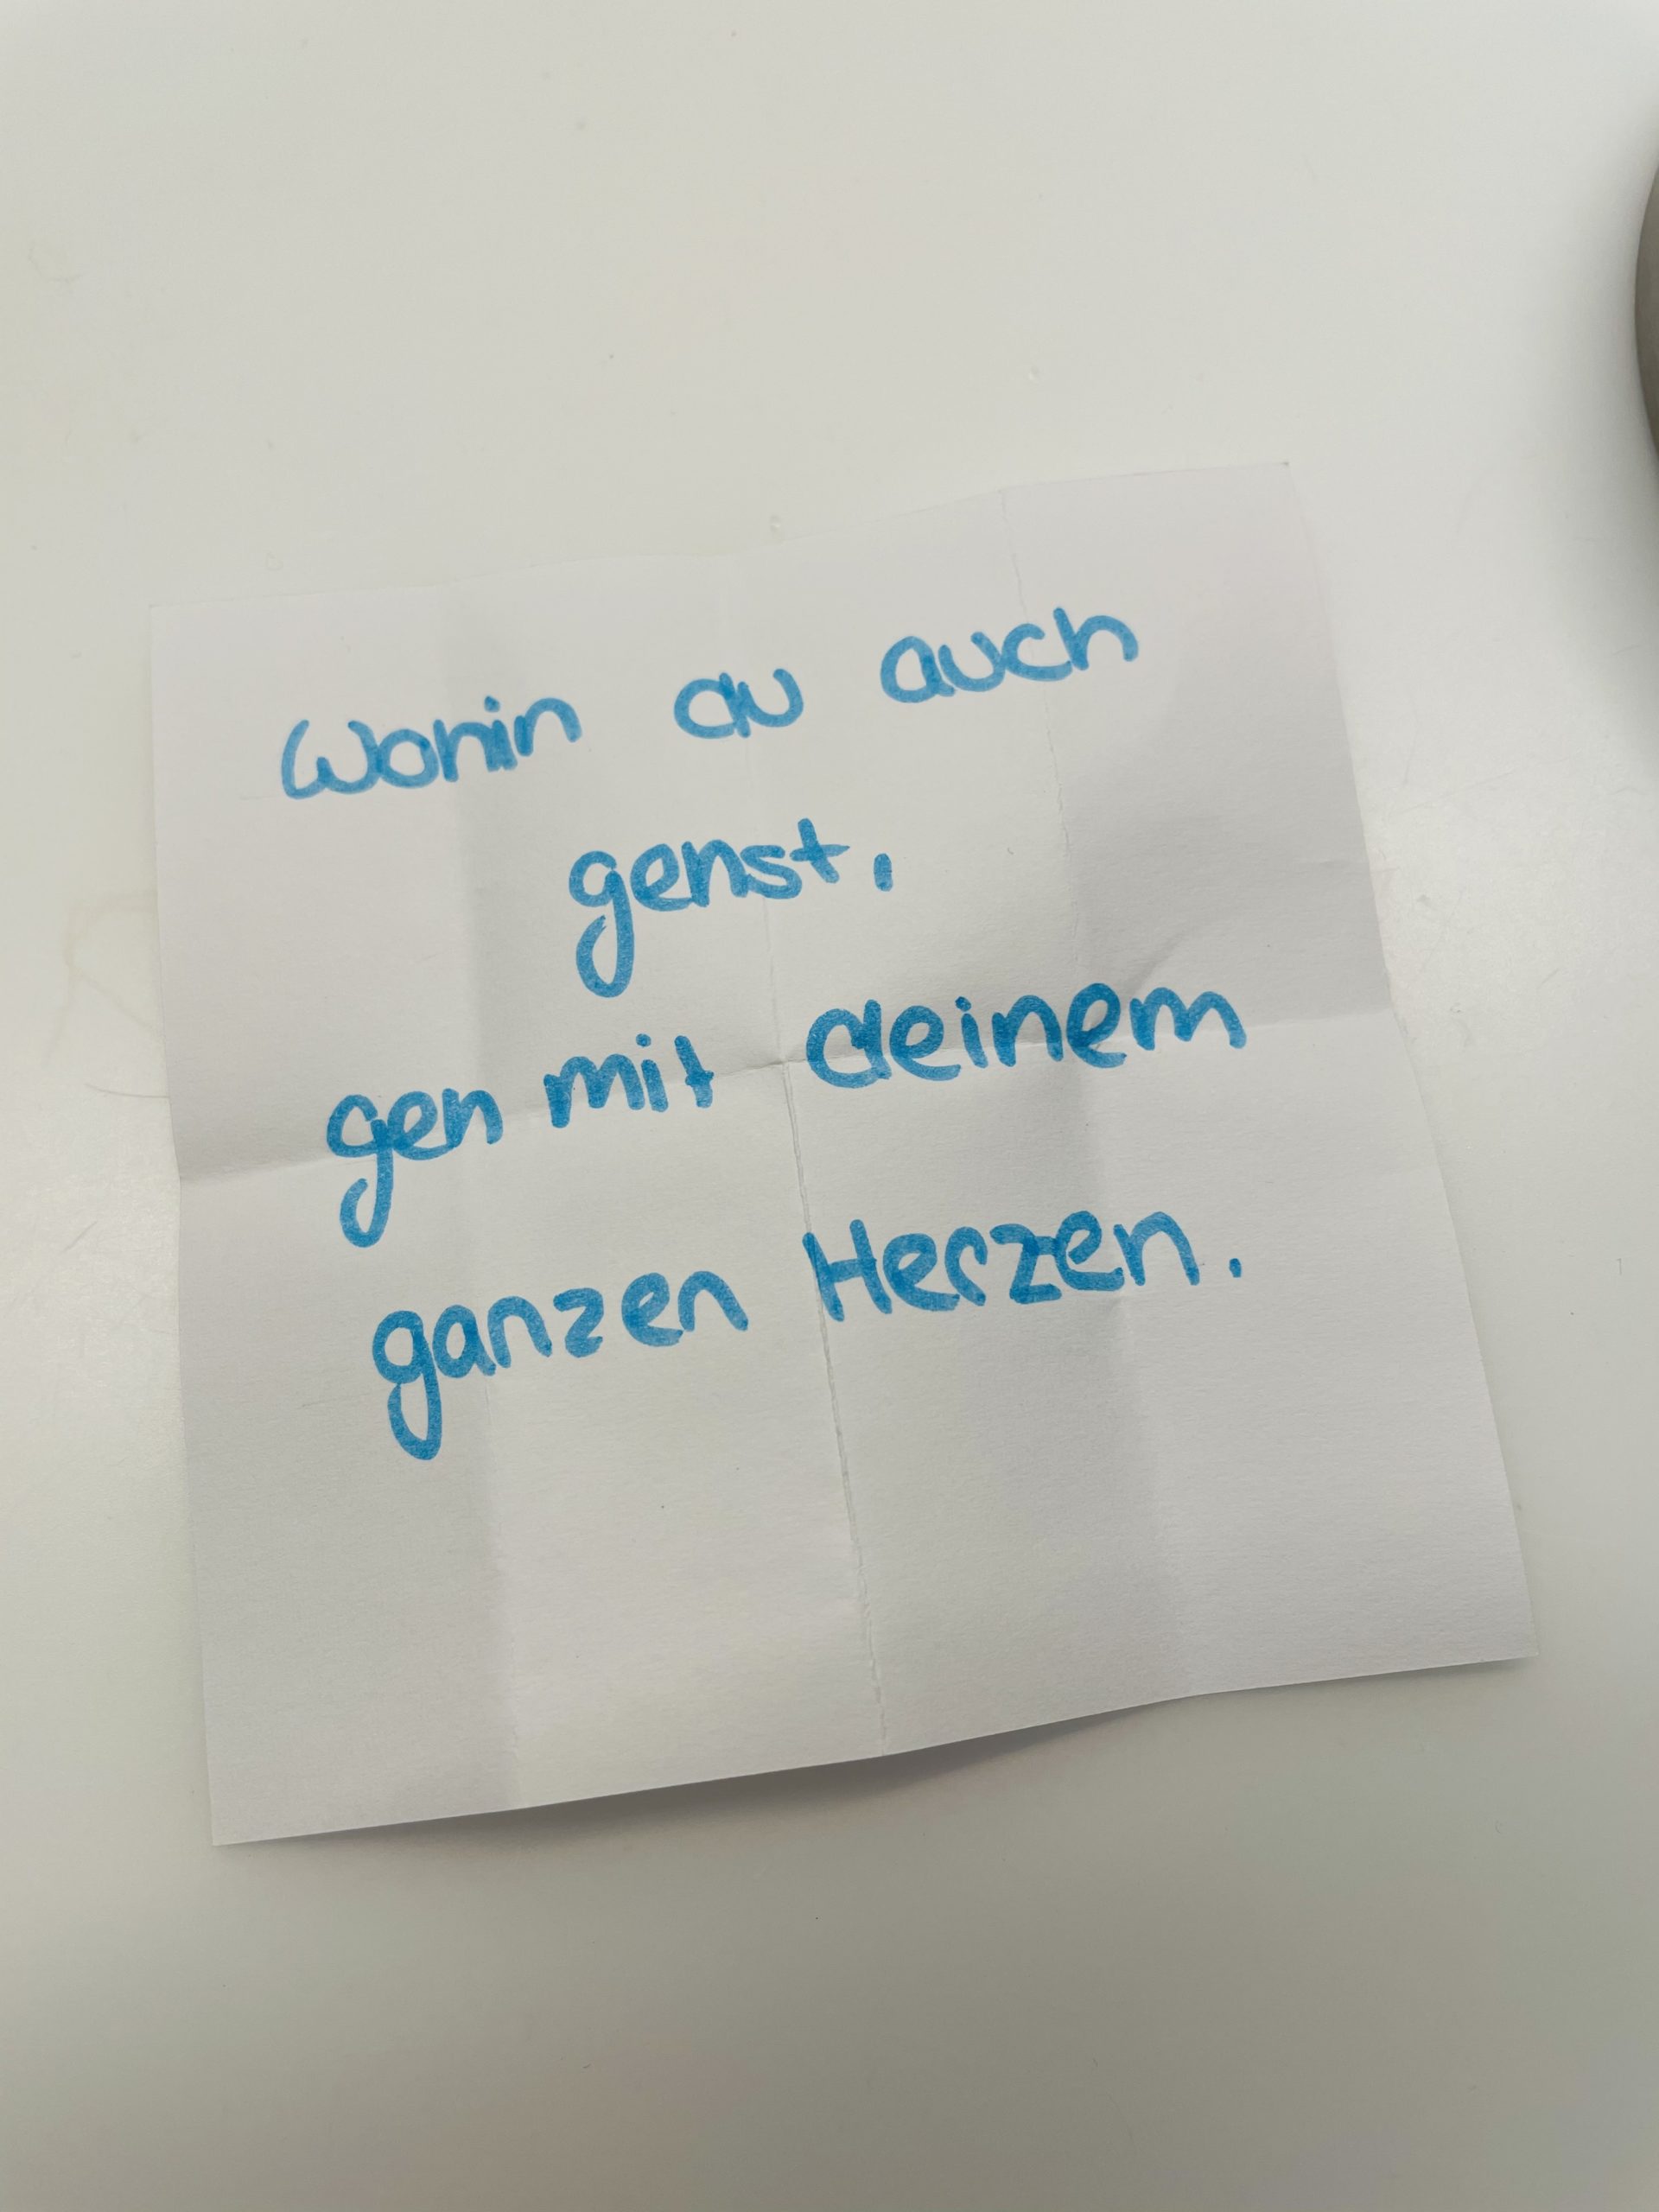
Bild zum Schritt 5 für das Bastel- und DIY-Abenteuer für Kinder: 'Ältere Kinder können auf Notizblock-Zettel Sprichwörter, Sprüche, Lebebsweisheiten oder Glückwünsche...'

6

Here are some suggestions:

Bild zum Schritt 6 für das Bastel- und DIY-Abenteuer für Kinder: 'Hier ein paar Anregungen:'

7

2. Bild zum Schritt 6 für das Bastel- und DIY-Abenteuer für Kinder: 'Hier ein paar Anregungen:'

8

Then fold the small pieces of paper together.
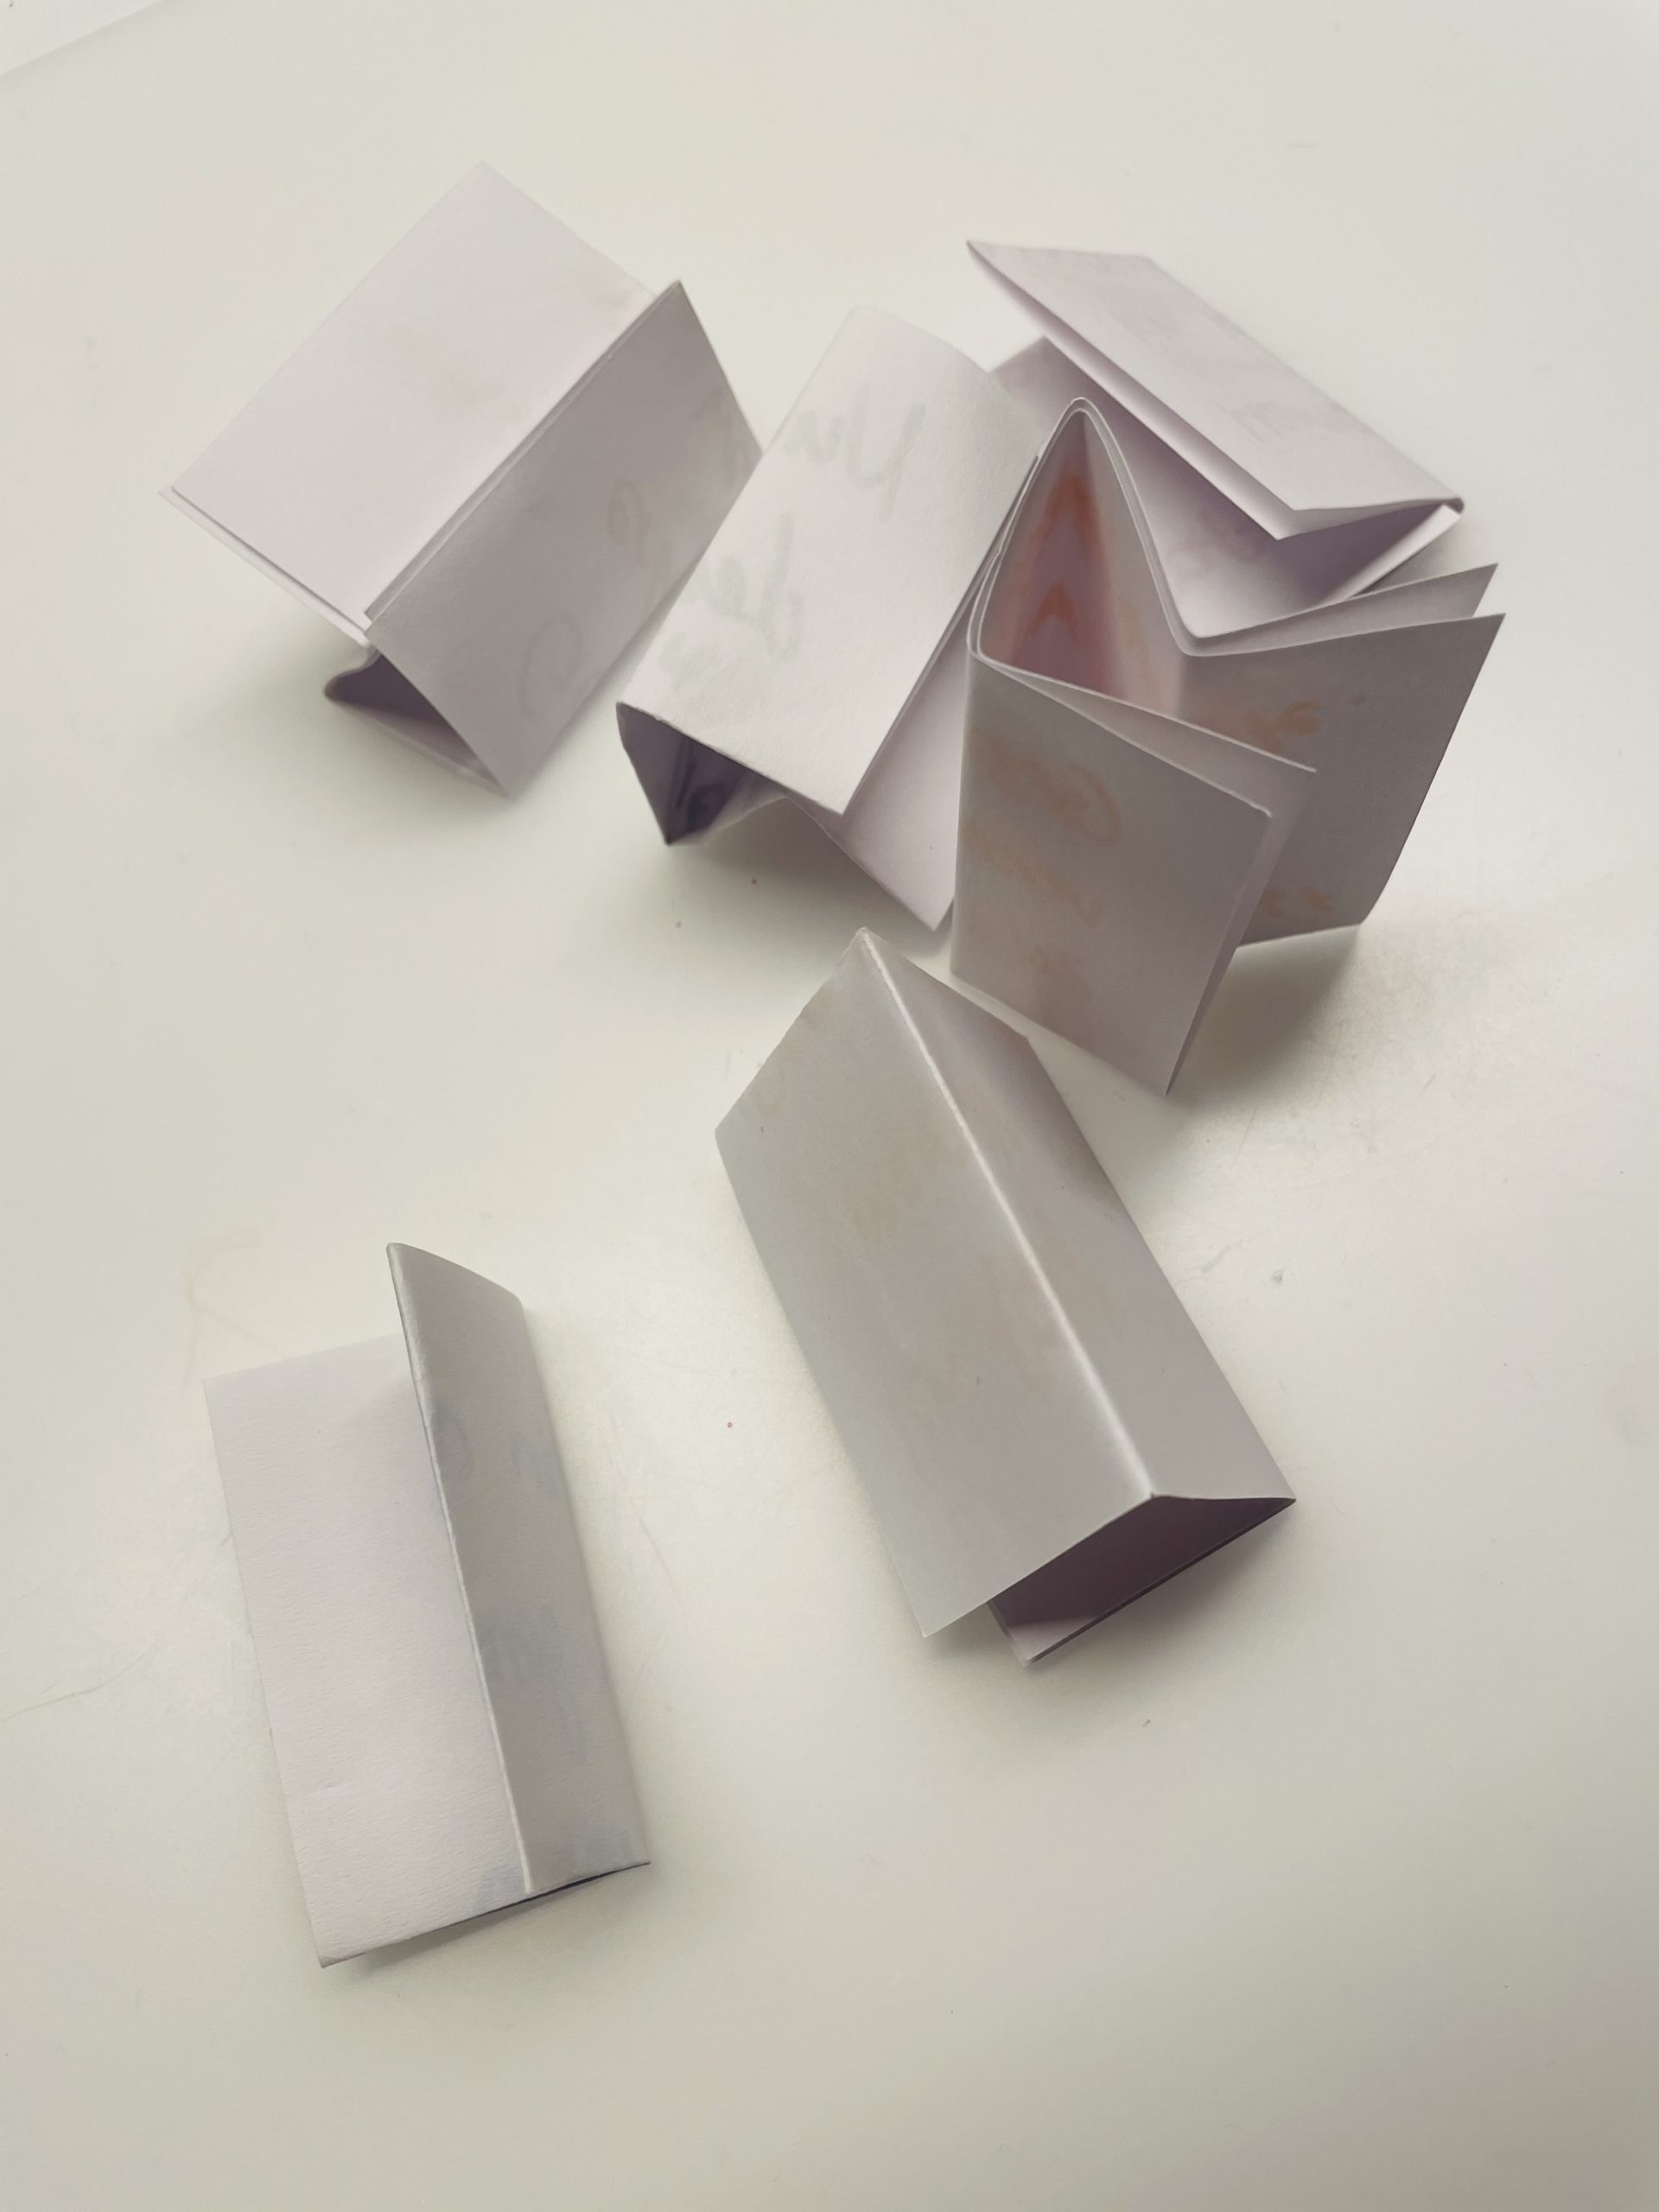
Bild zum Schritt 8 für das Bastel- und DIY-Abenteuer für Kinder: 'Anschließend faltet ihr die kleinen Zettel zusammen.'

9

Now put the notes in the glass.
Now a wish list can be viewed or read at each beginning of the month.
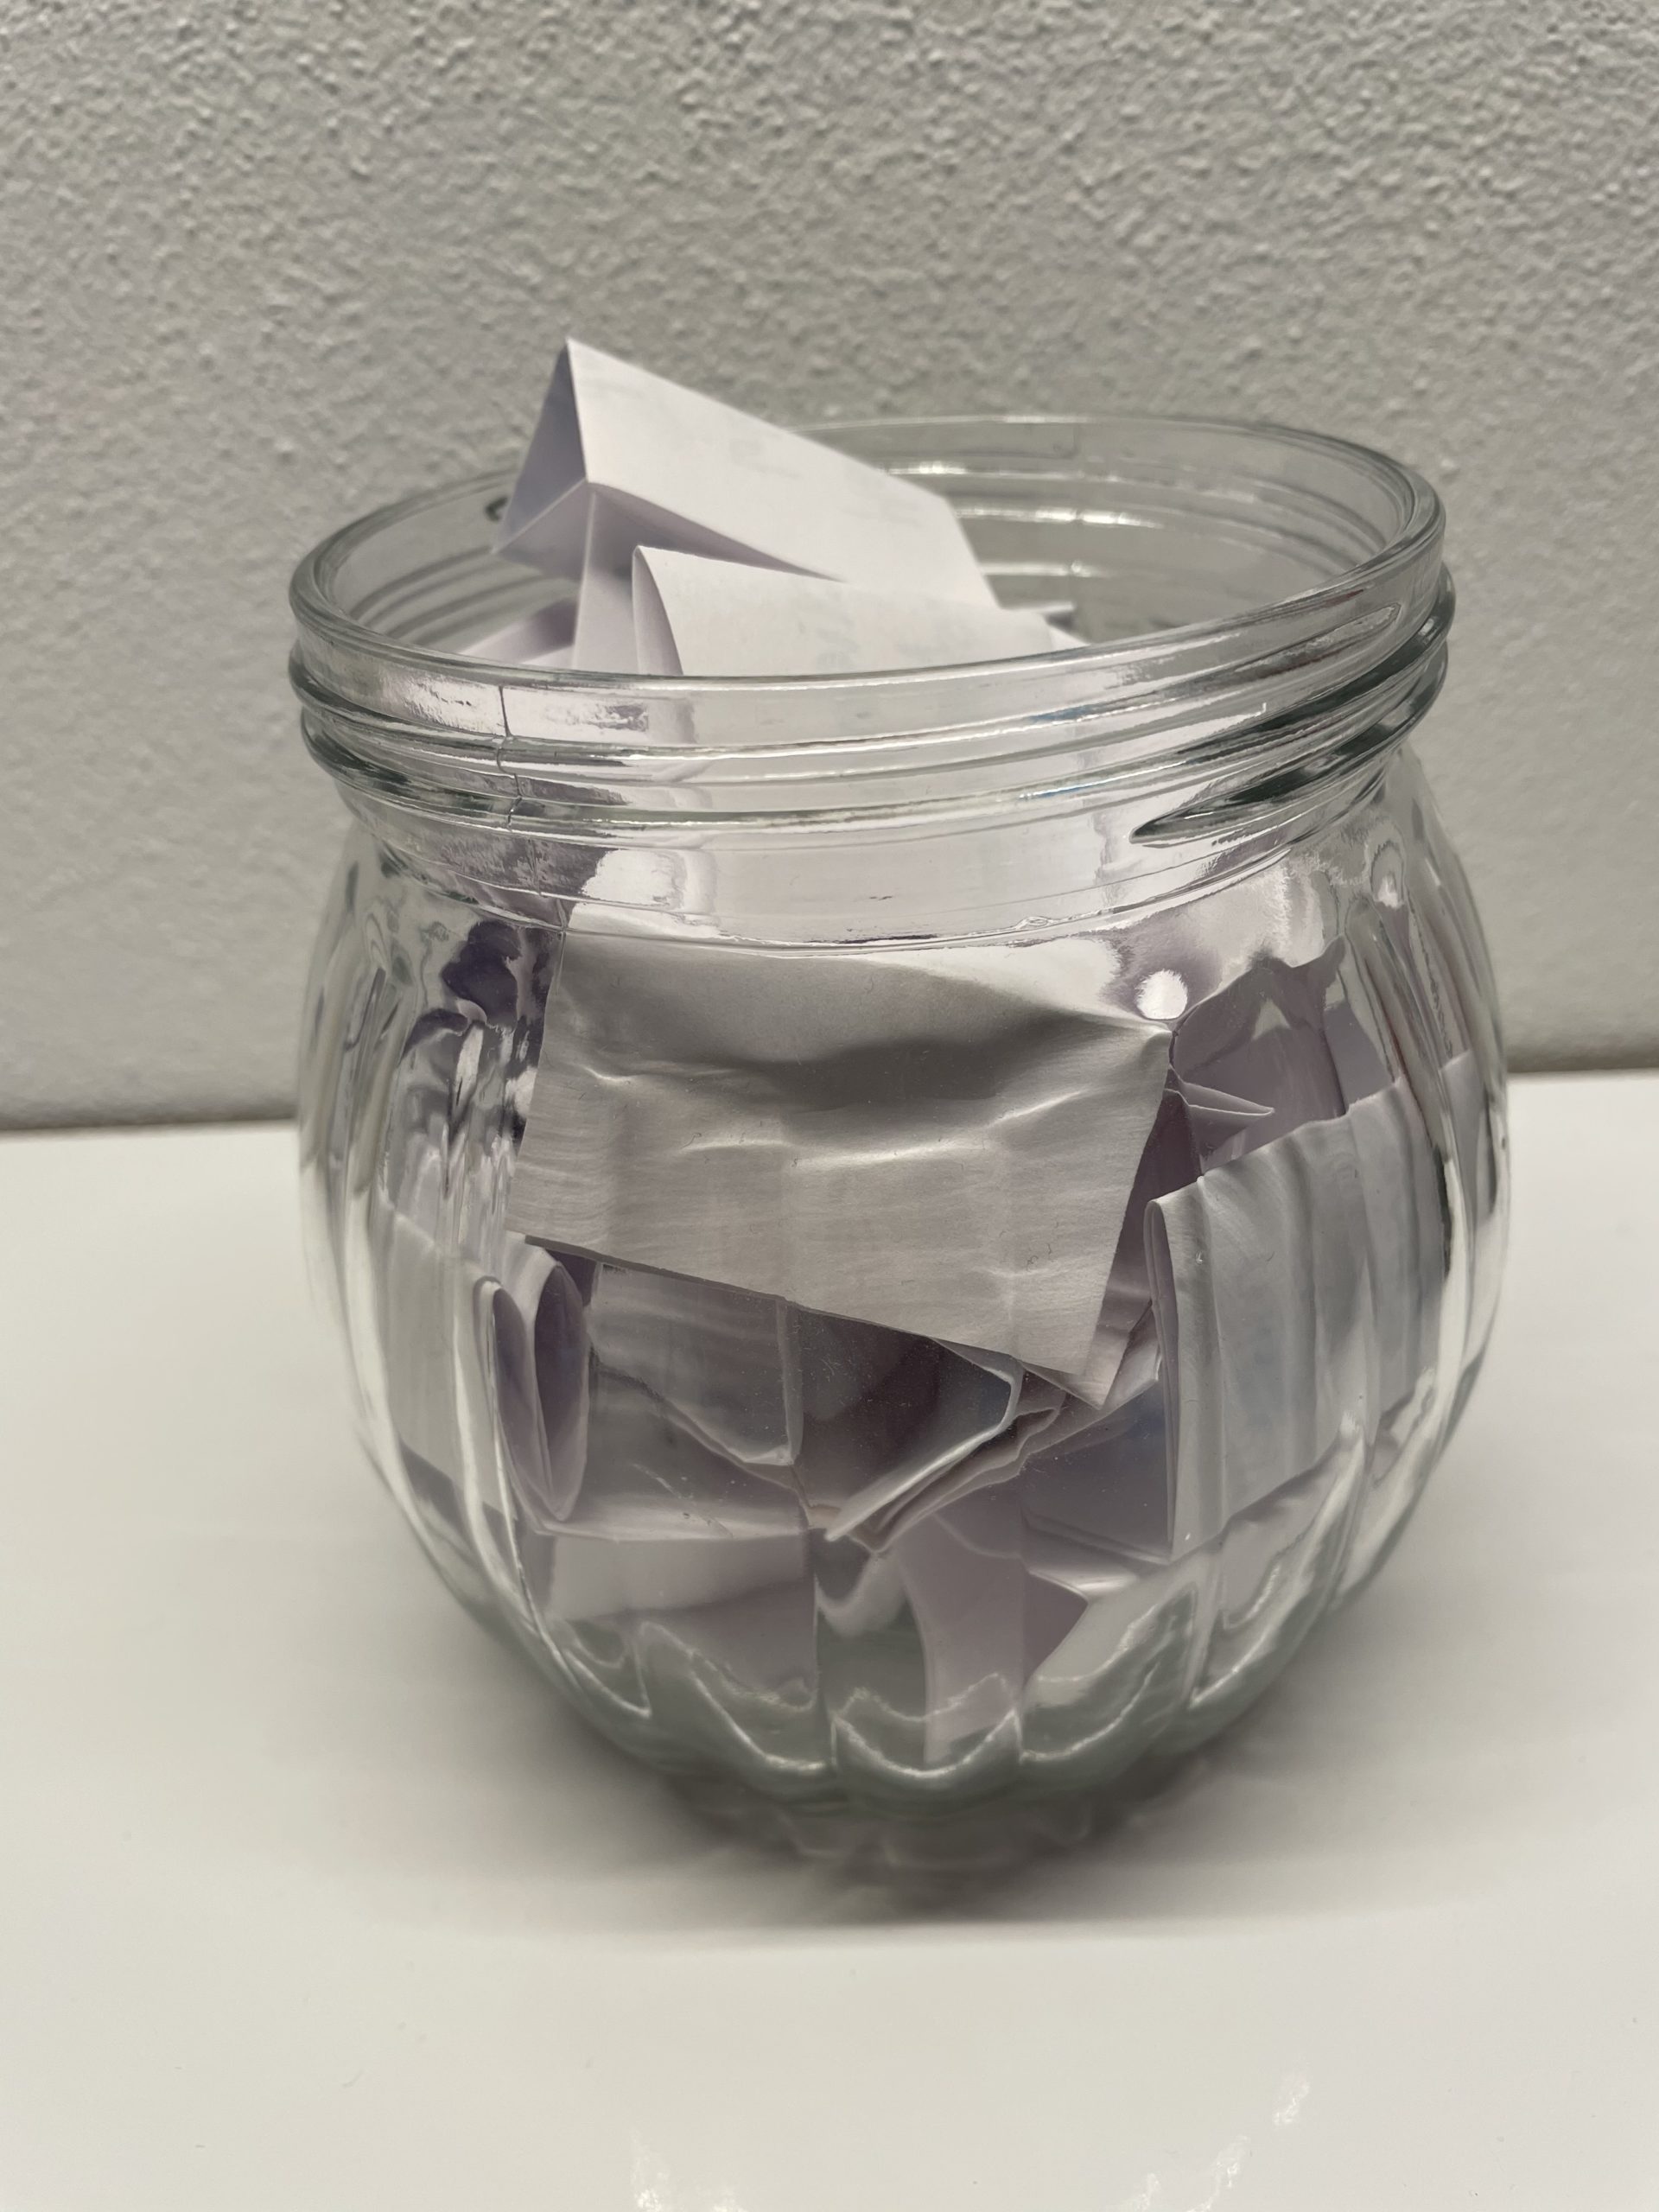
Bild zum Schritt 9 für das Bastel- und DIY-Abenteuer für Kinder: 'Legt nun die Zettel in das Glas.  Jetzt kann...'

10

Now design the lid with a coloured clay paper. To do this, cut the paper in the size of the lid. Place the lid on the clay paper and border the lid. Then cut the circle.

Bild zum Schritt 10 für das Bastel- und DIY-Abenteuer für Kinder: 'Gestaltet nun den Deckel mit einem farbigen Tonpapier. Dafür schneidet...'

11

Now paint and write her some more on the paper circuit.
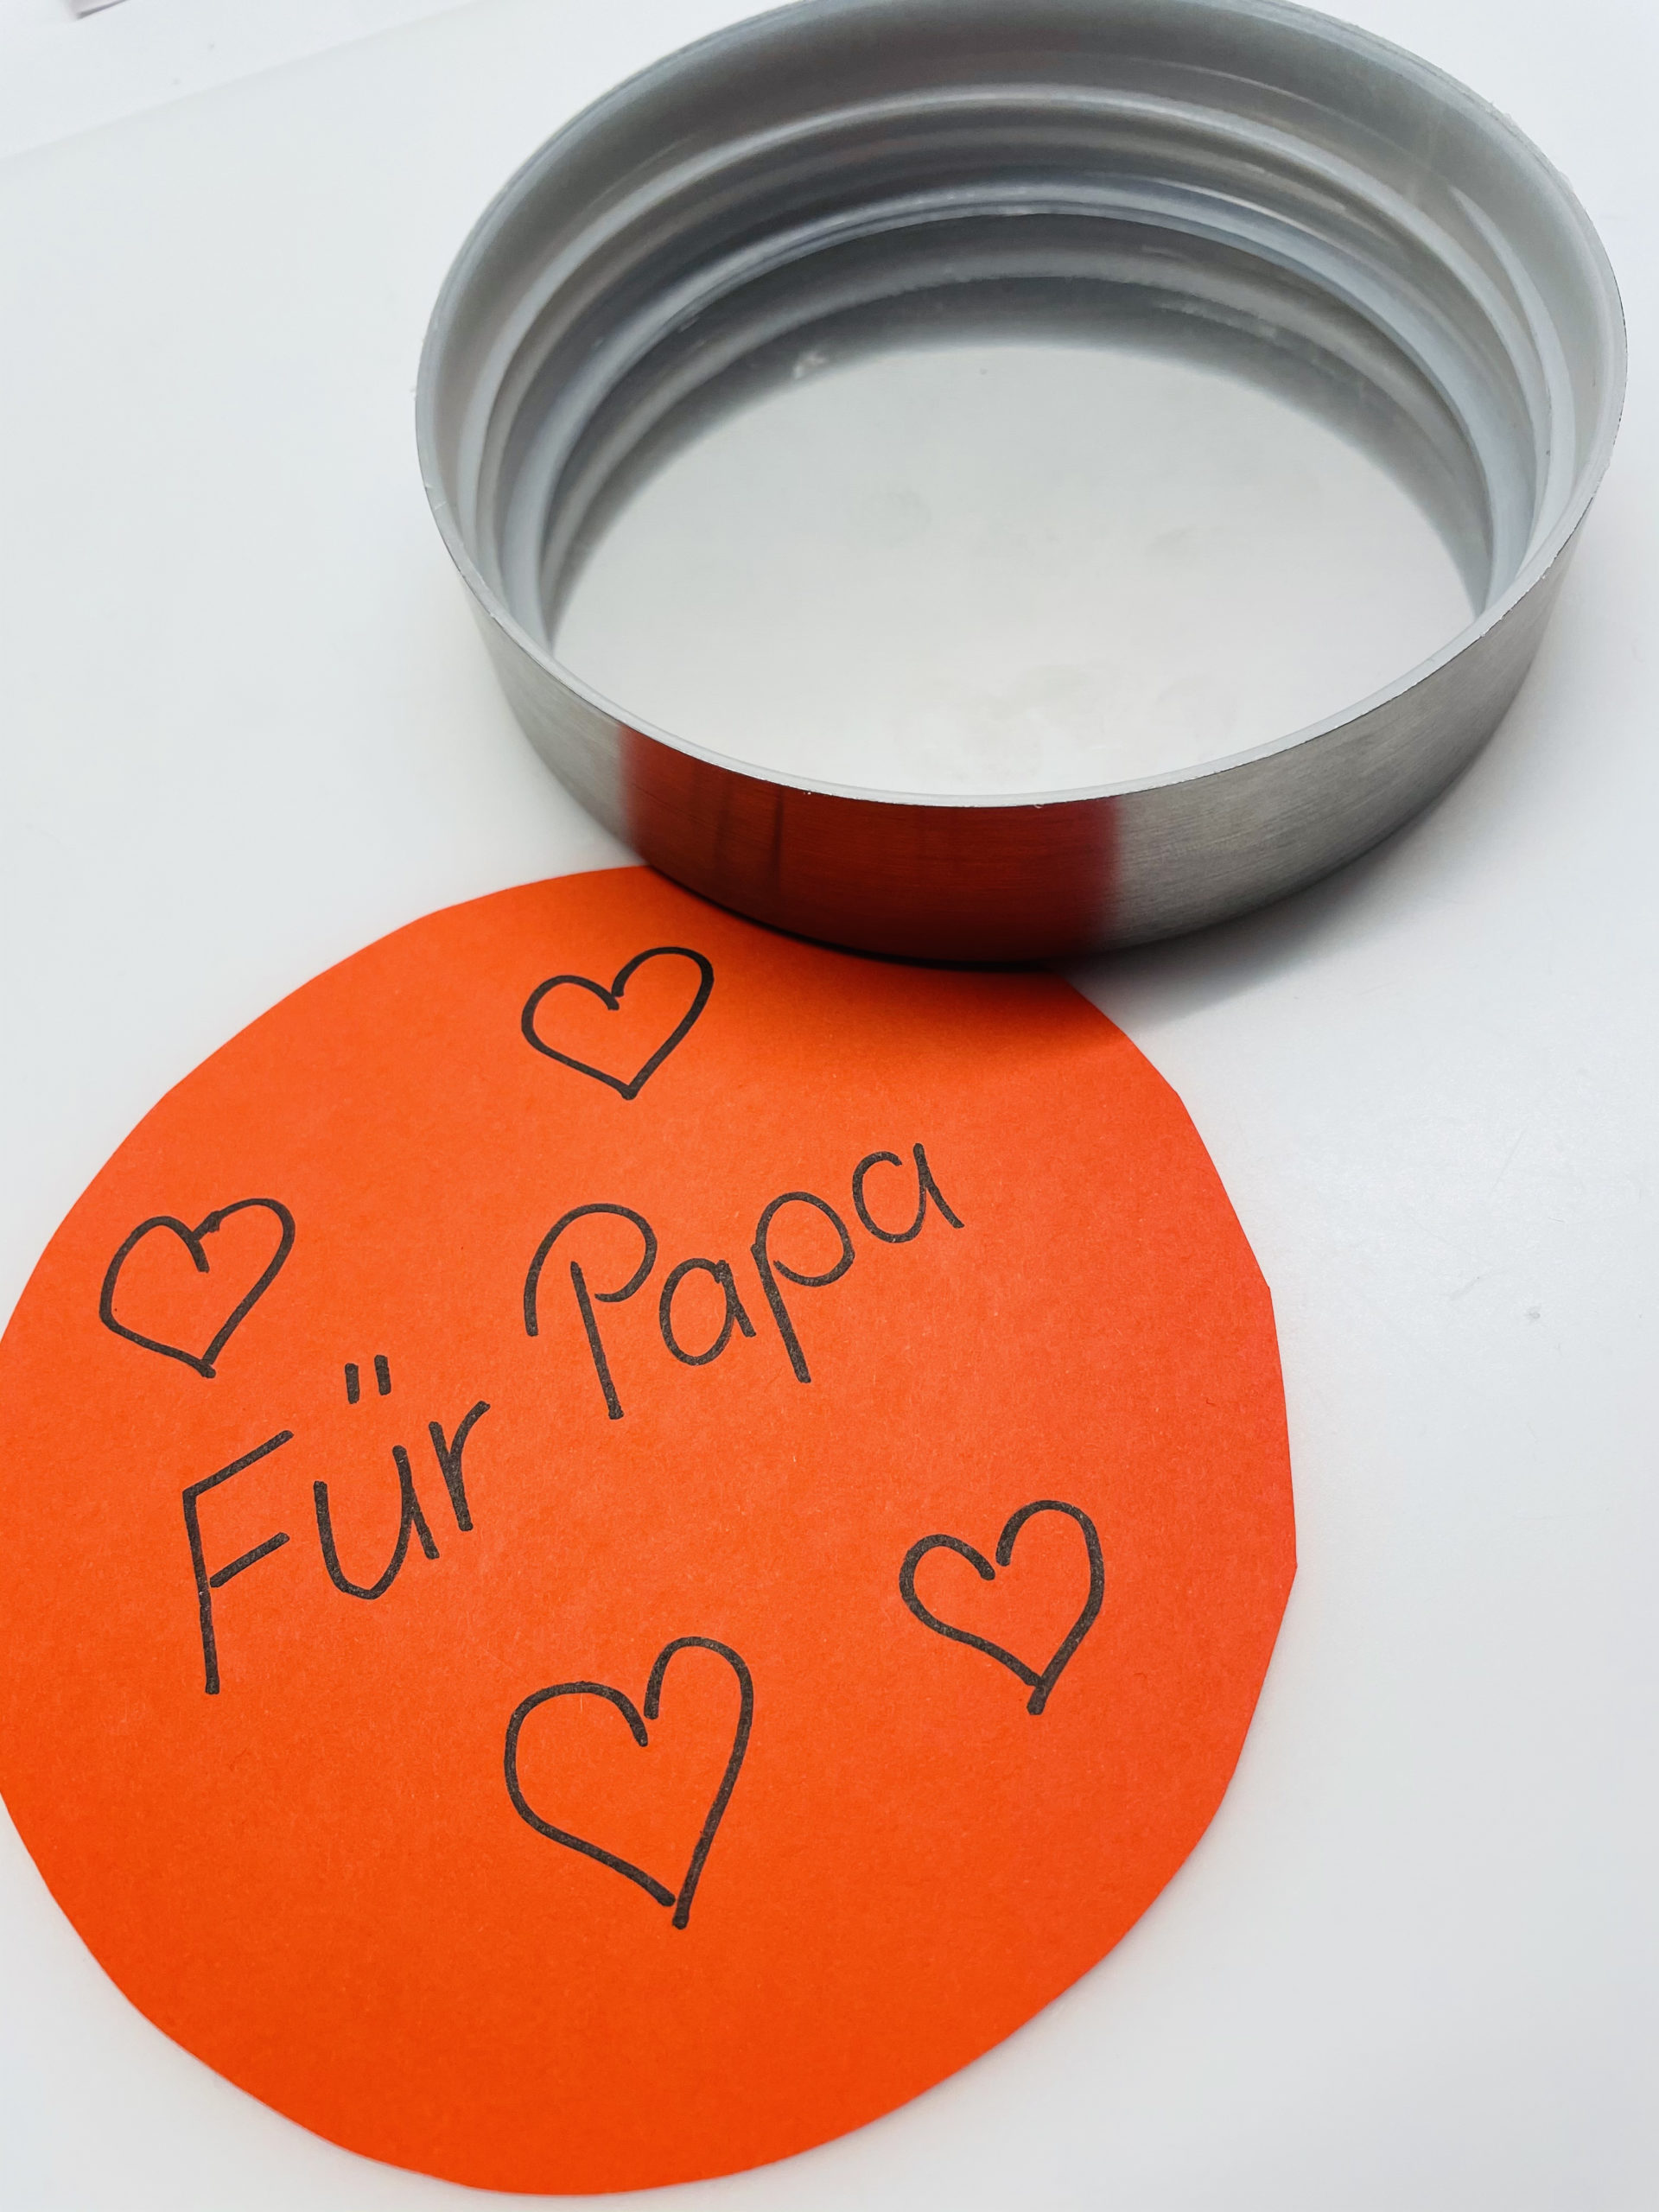
Bild zum Schritt 11 für das Bastel- und DIY-Abenteuer für Kinder: 'Jetzt malt und schreibt ihr noch etwas auf den Tonpapierkreis.'

12

2. Bild zum Schritt 11 für das Bastel- und DIY-Abenteuer für Kinder: 'Jetzt malt und schreibt ihr noch etwas auf den Tonpapierkreis.'

13

Close the glass with the lid and give it away!
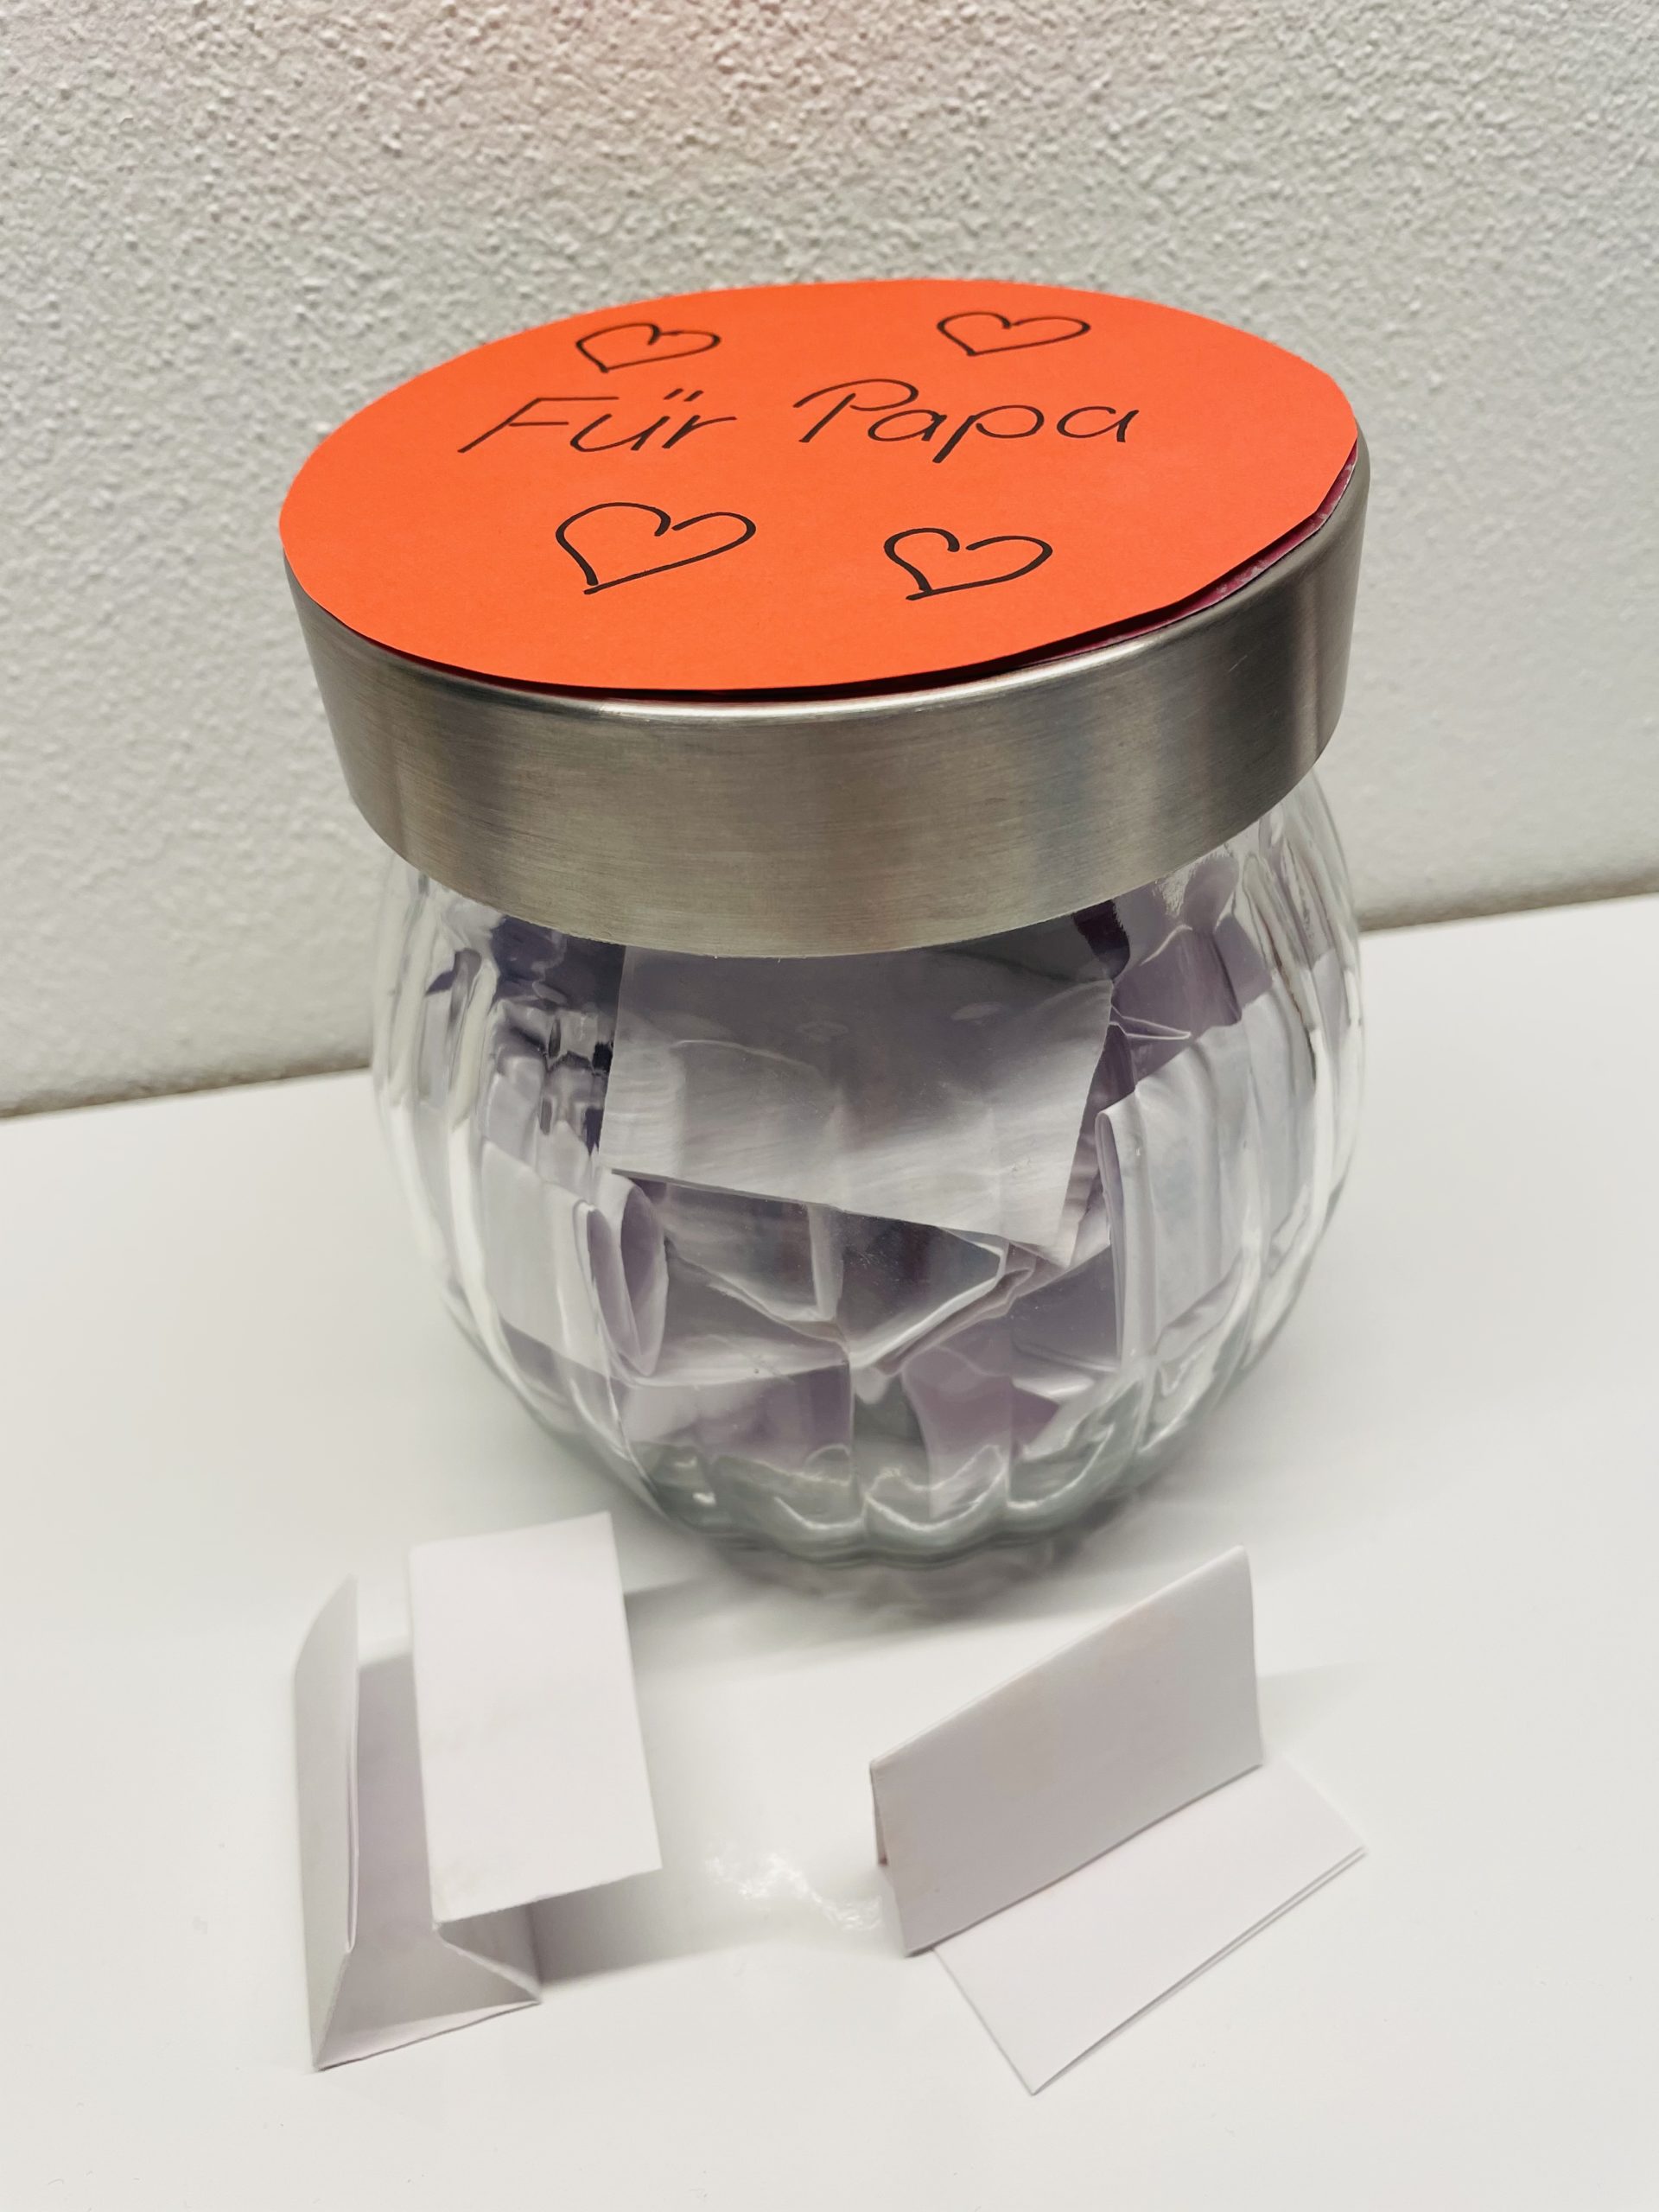
Bild zum Schritt 13 für das Bastel- und DIY-Abenteuer für Kinder: 'Verschließt das Glas mit dem Deckel und verschenkt es!'

14

Enjoy crafting and giftgiving!
Surely you still have your own ideas and only take this variant as an inspiration. Share them with us and write them to us in the comments.

Wish glass for Mother's Day or Father's Day

Follow us on Facebook , Instagram and Pinterest
Don't miss any more adventures: Our bottle mail

Leave a Reply

Your email address will not be published.

The maximum upload file size: 5 MB. You can upload: image, document. Drop file here