Summer time is also harvest time for cereals.
Why not tinker with grain grains? A lantern for the garden table from a small mini can is quickly made. Look at how it works!
Media Education for Kindergarten and Hort

Relief in everyday life, targeted promotion of individual children, independent learning and - without any pre-knowledge already usable by the youngest!

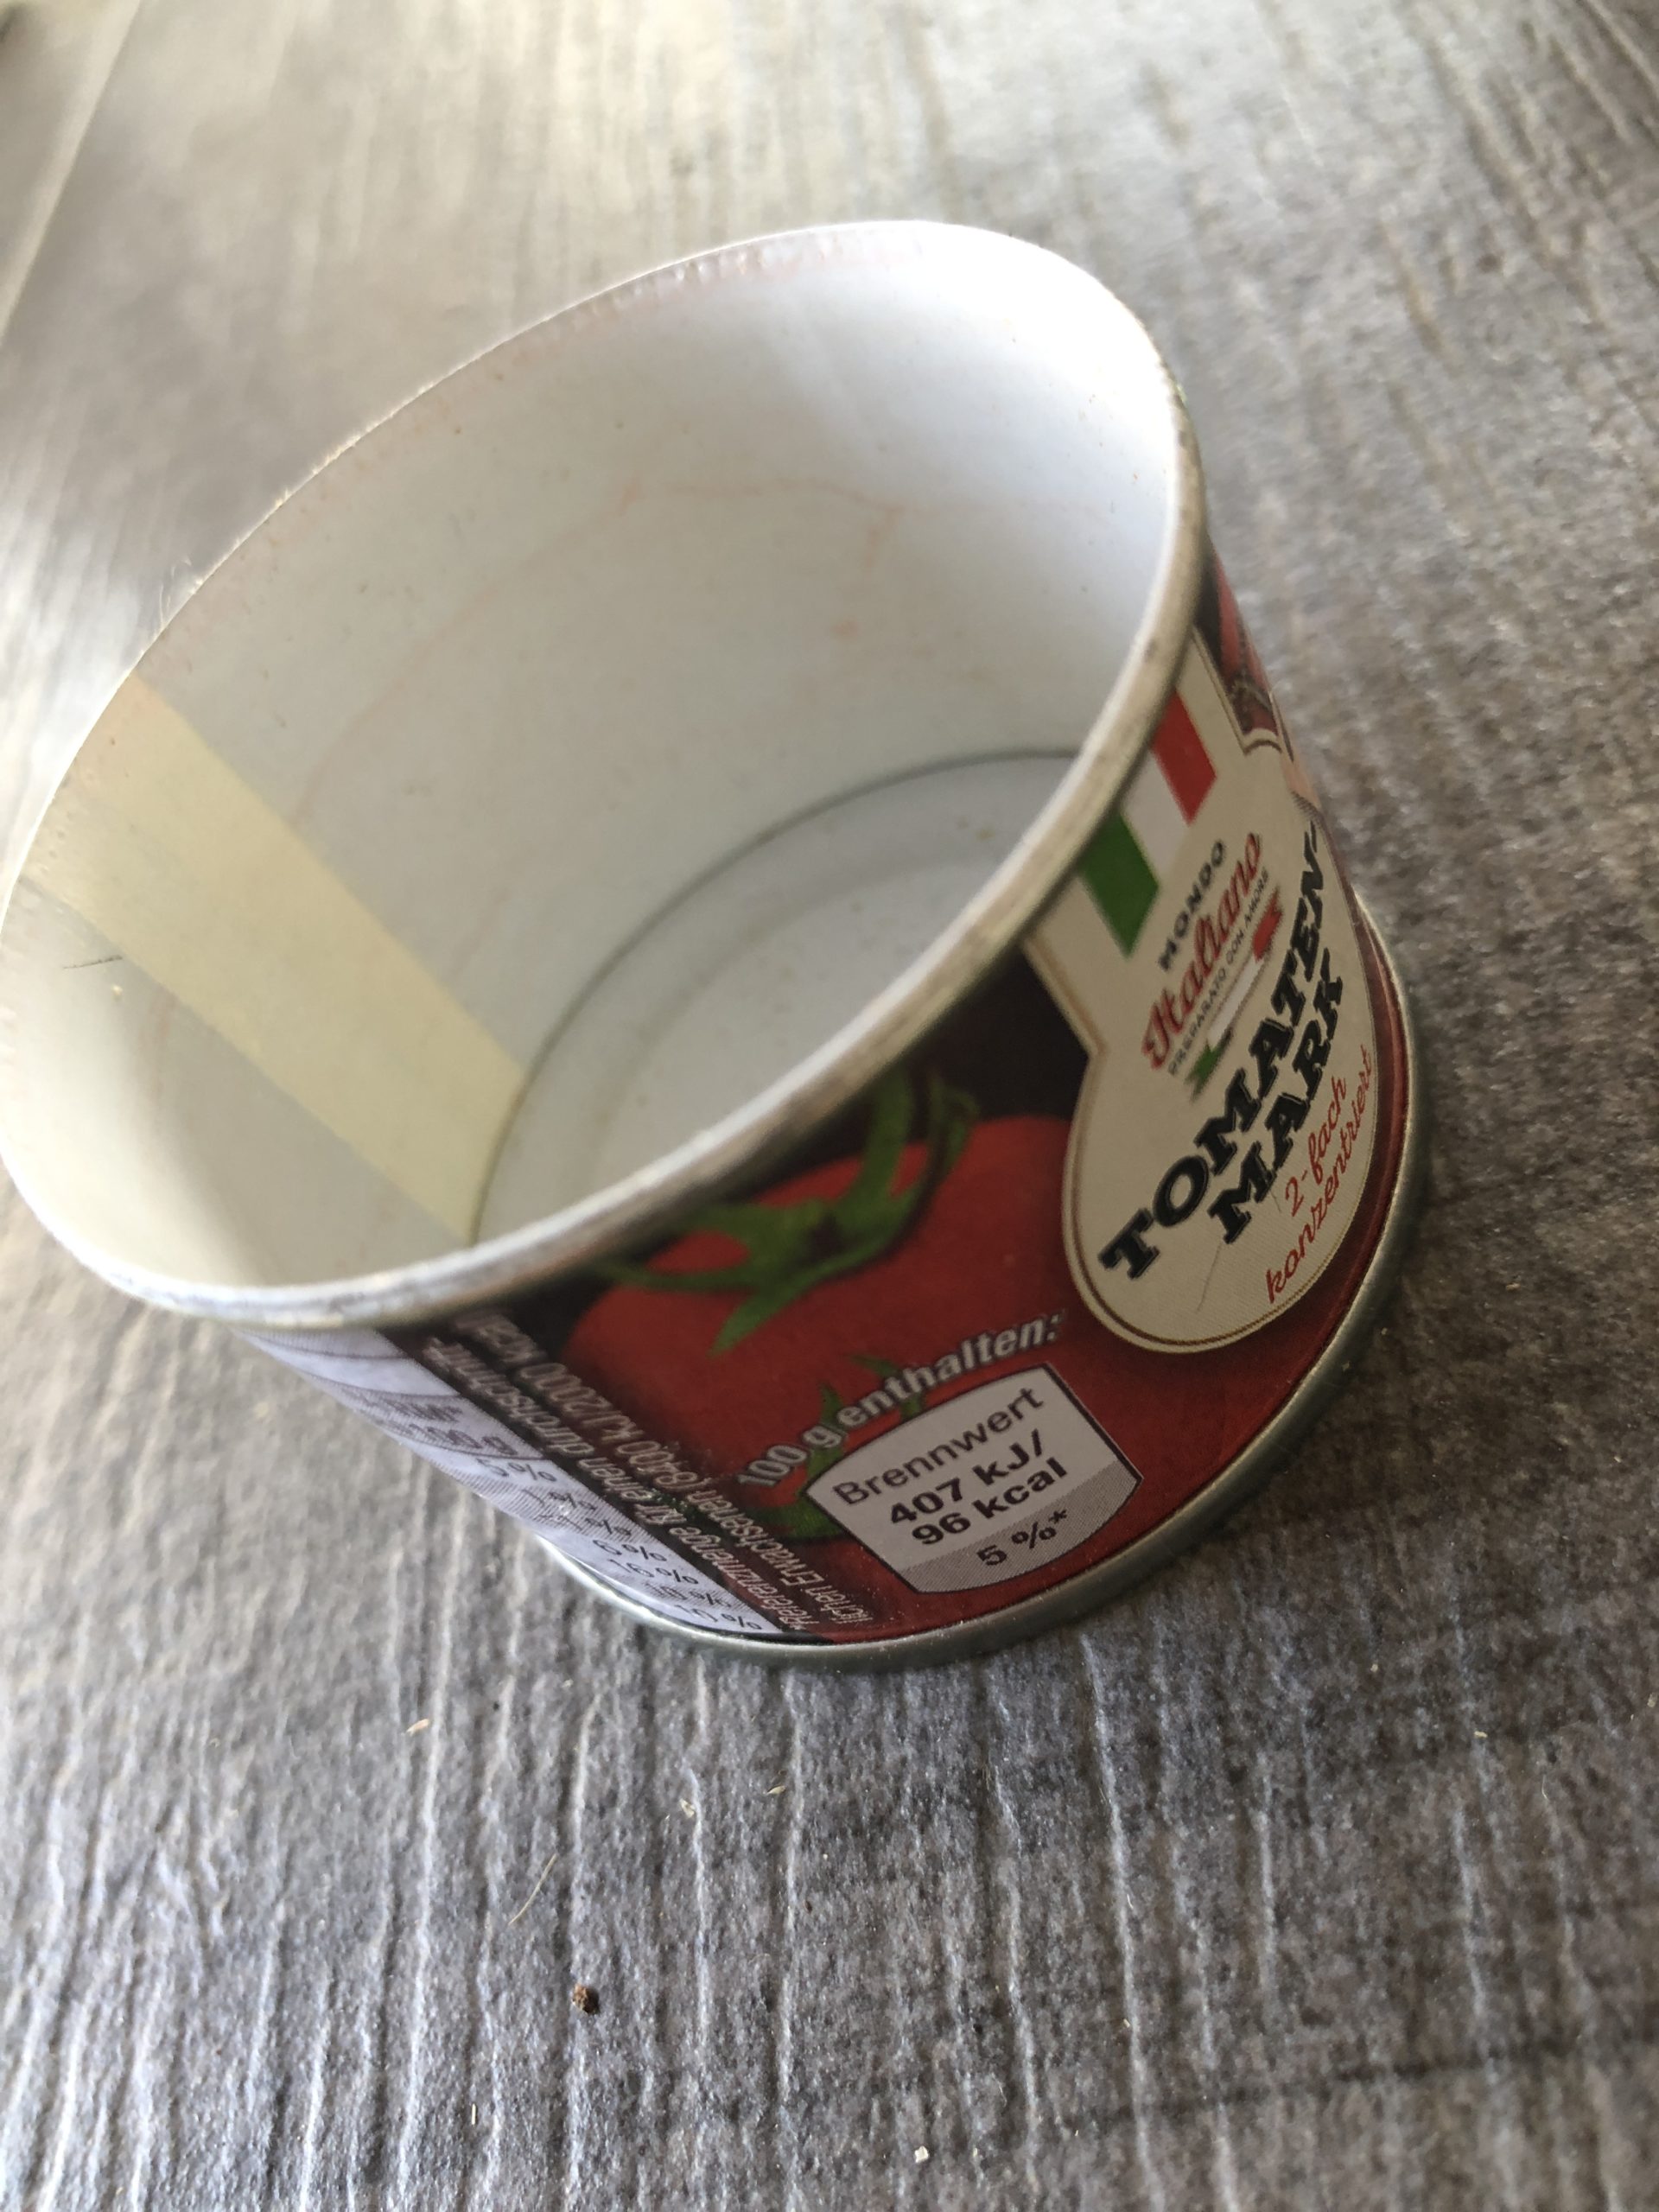
Open the can with a can opener that rounds off the edges. (Attention: for sharp edges there is risk of injury!)
Rinse the empty can and dry.
Paint about a third of the can with wood glue.

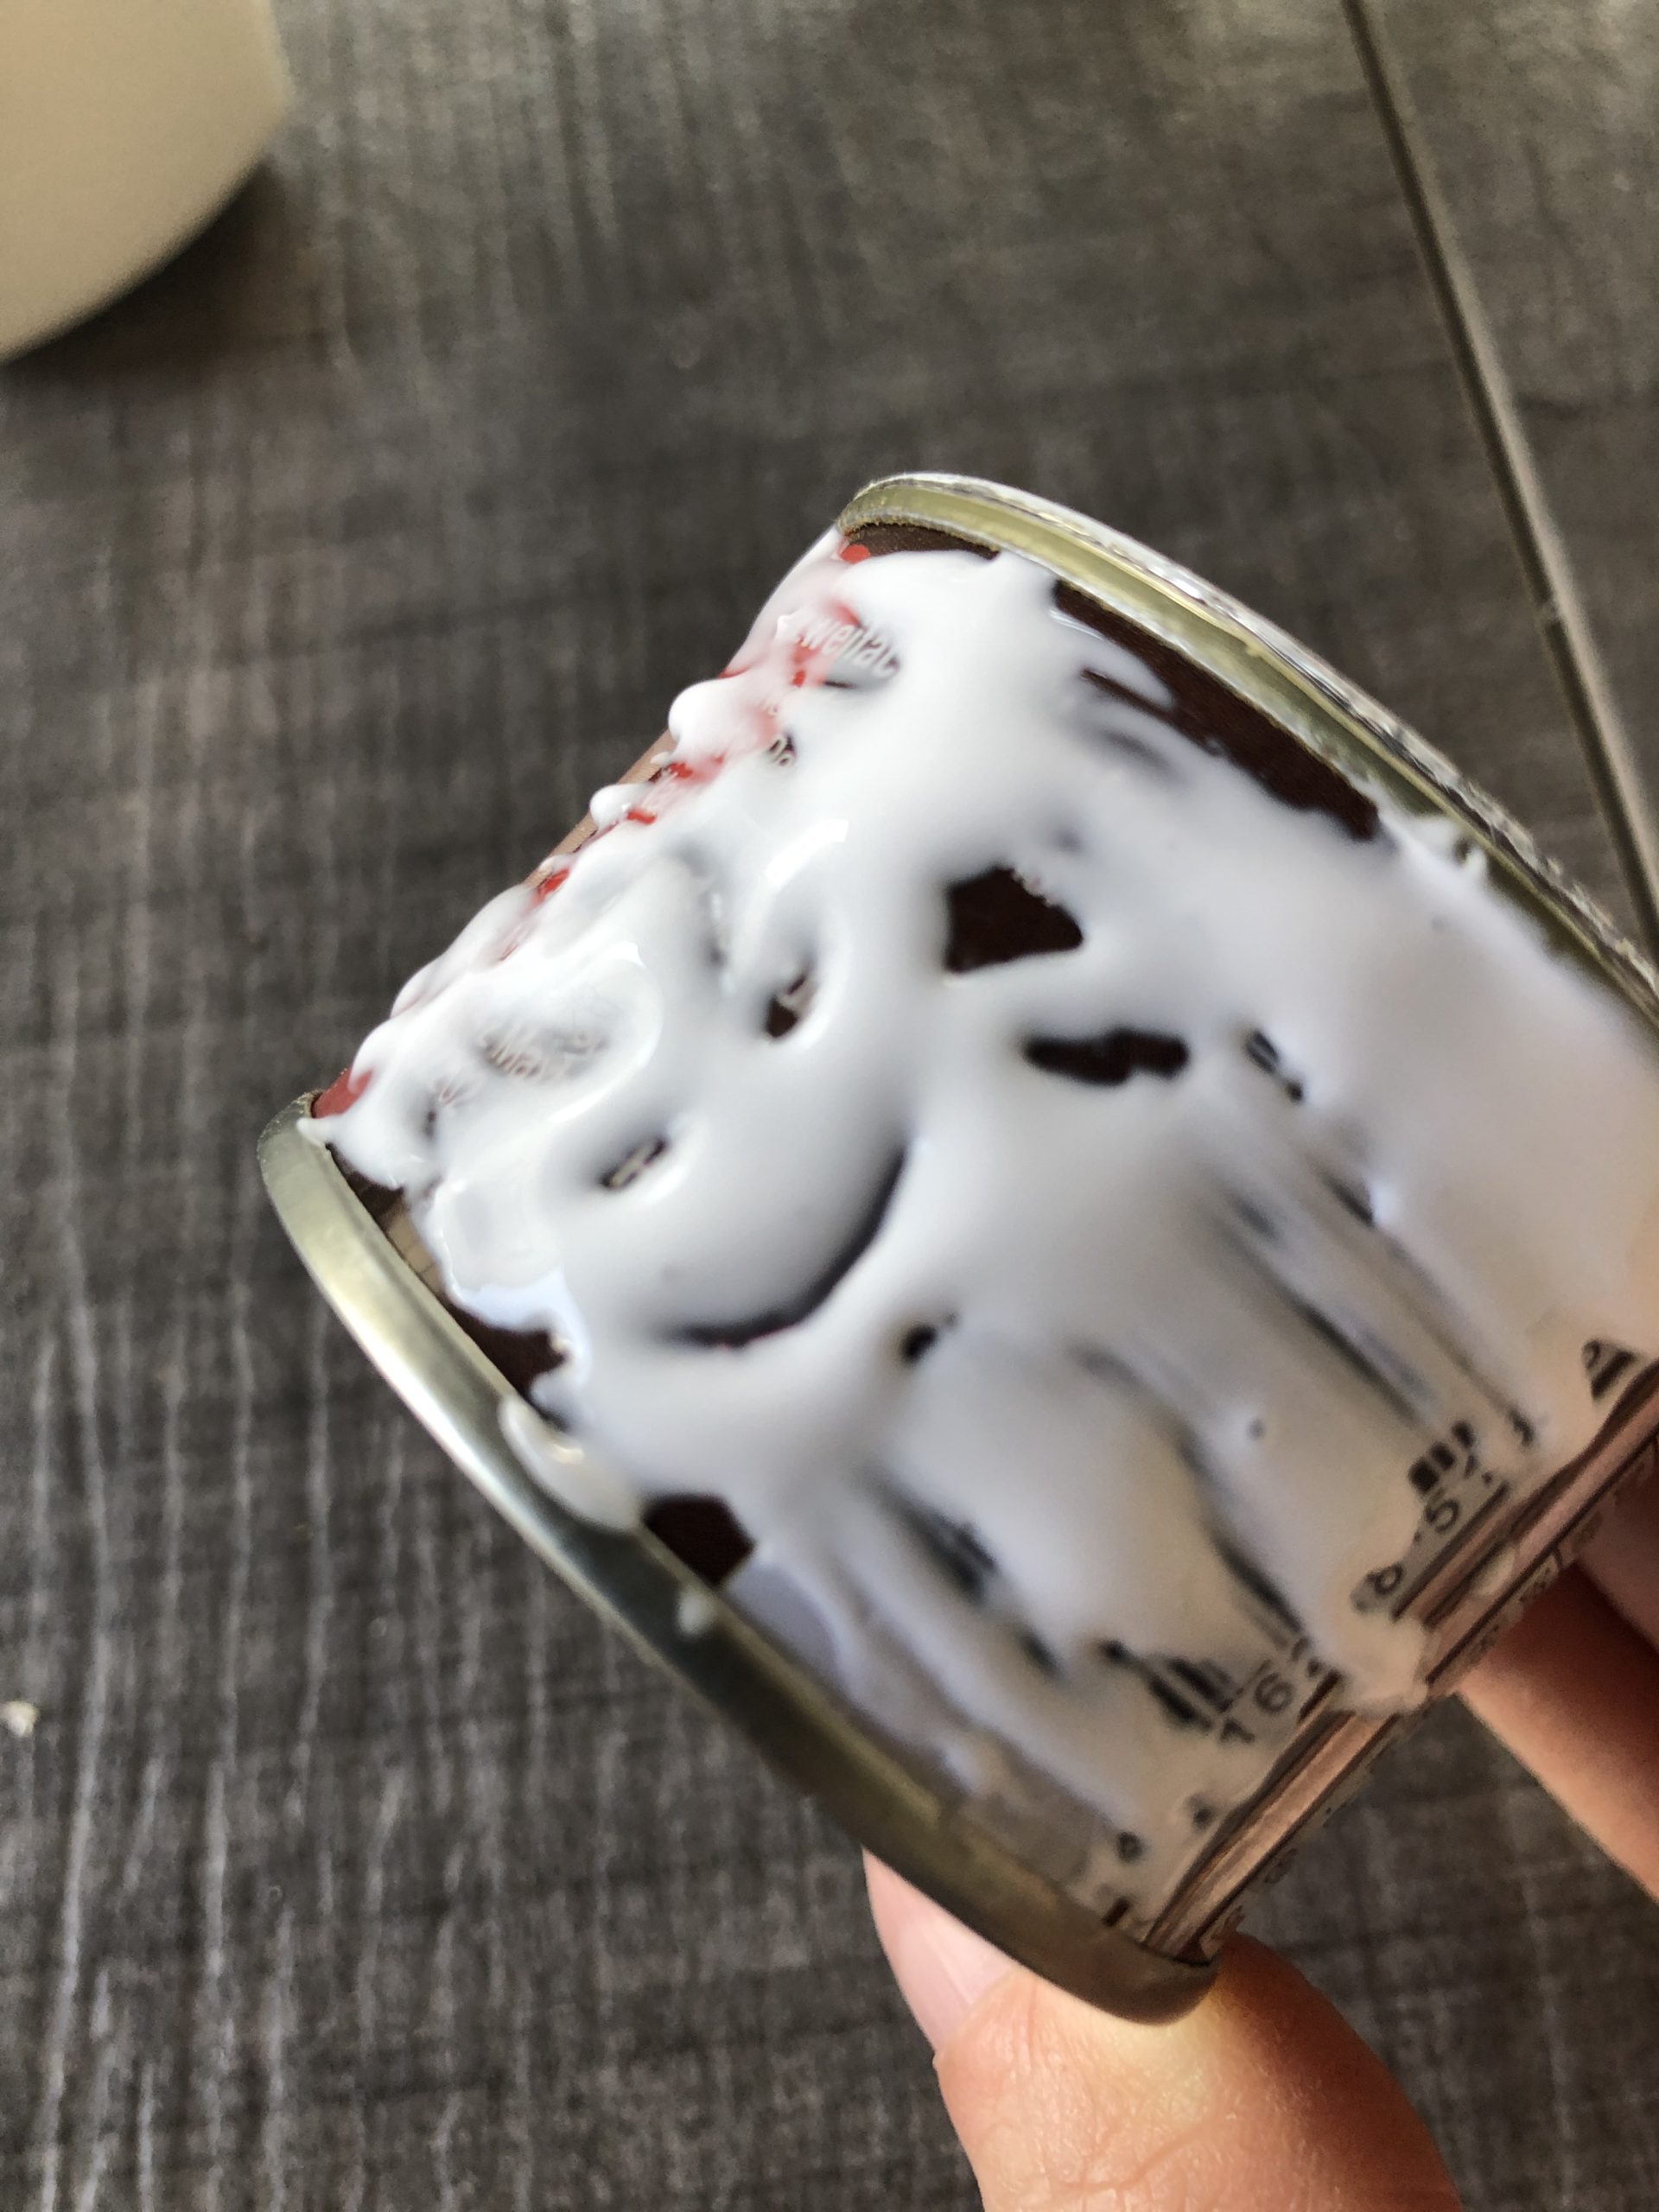
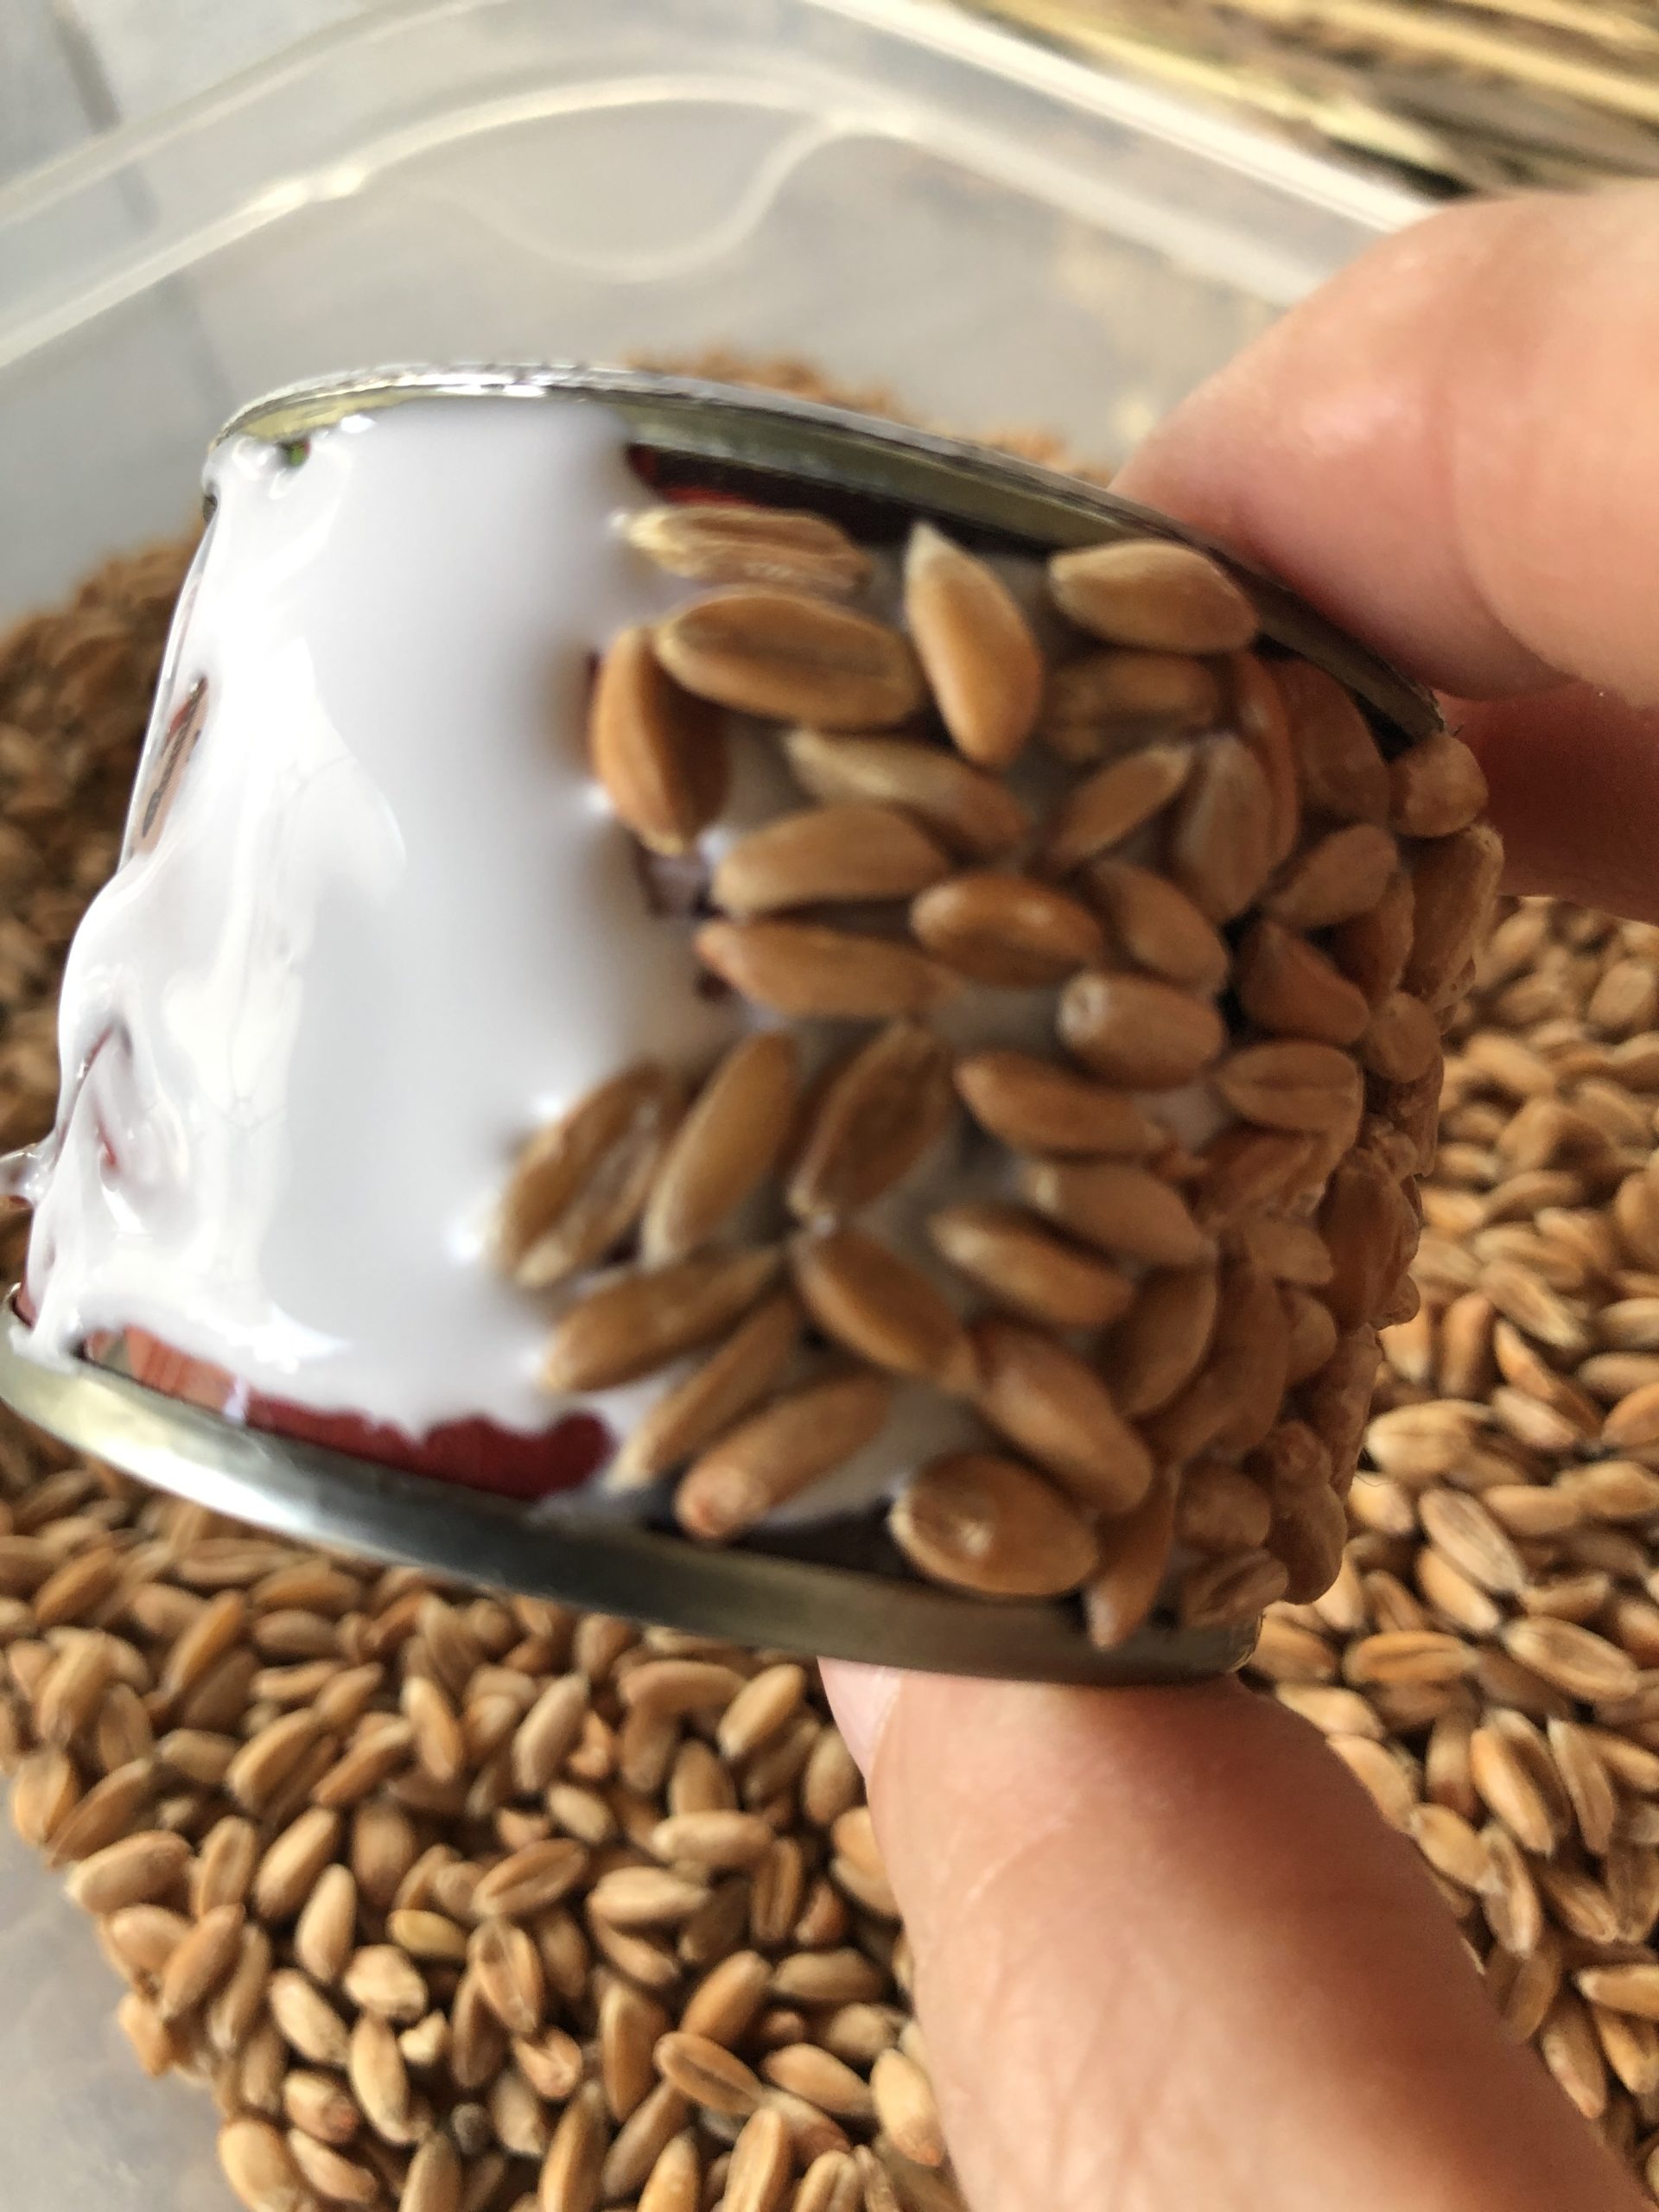
Keep the can with the glue over the bowl with the grains and sprinkle grains over the glue.

Push the grains slightly with your fingers and push something right if necessary. This is very good, because the glue is not immediately tight!

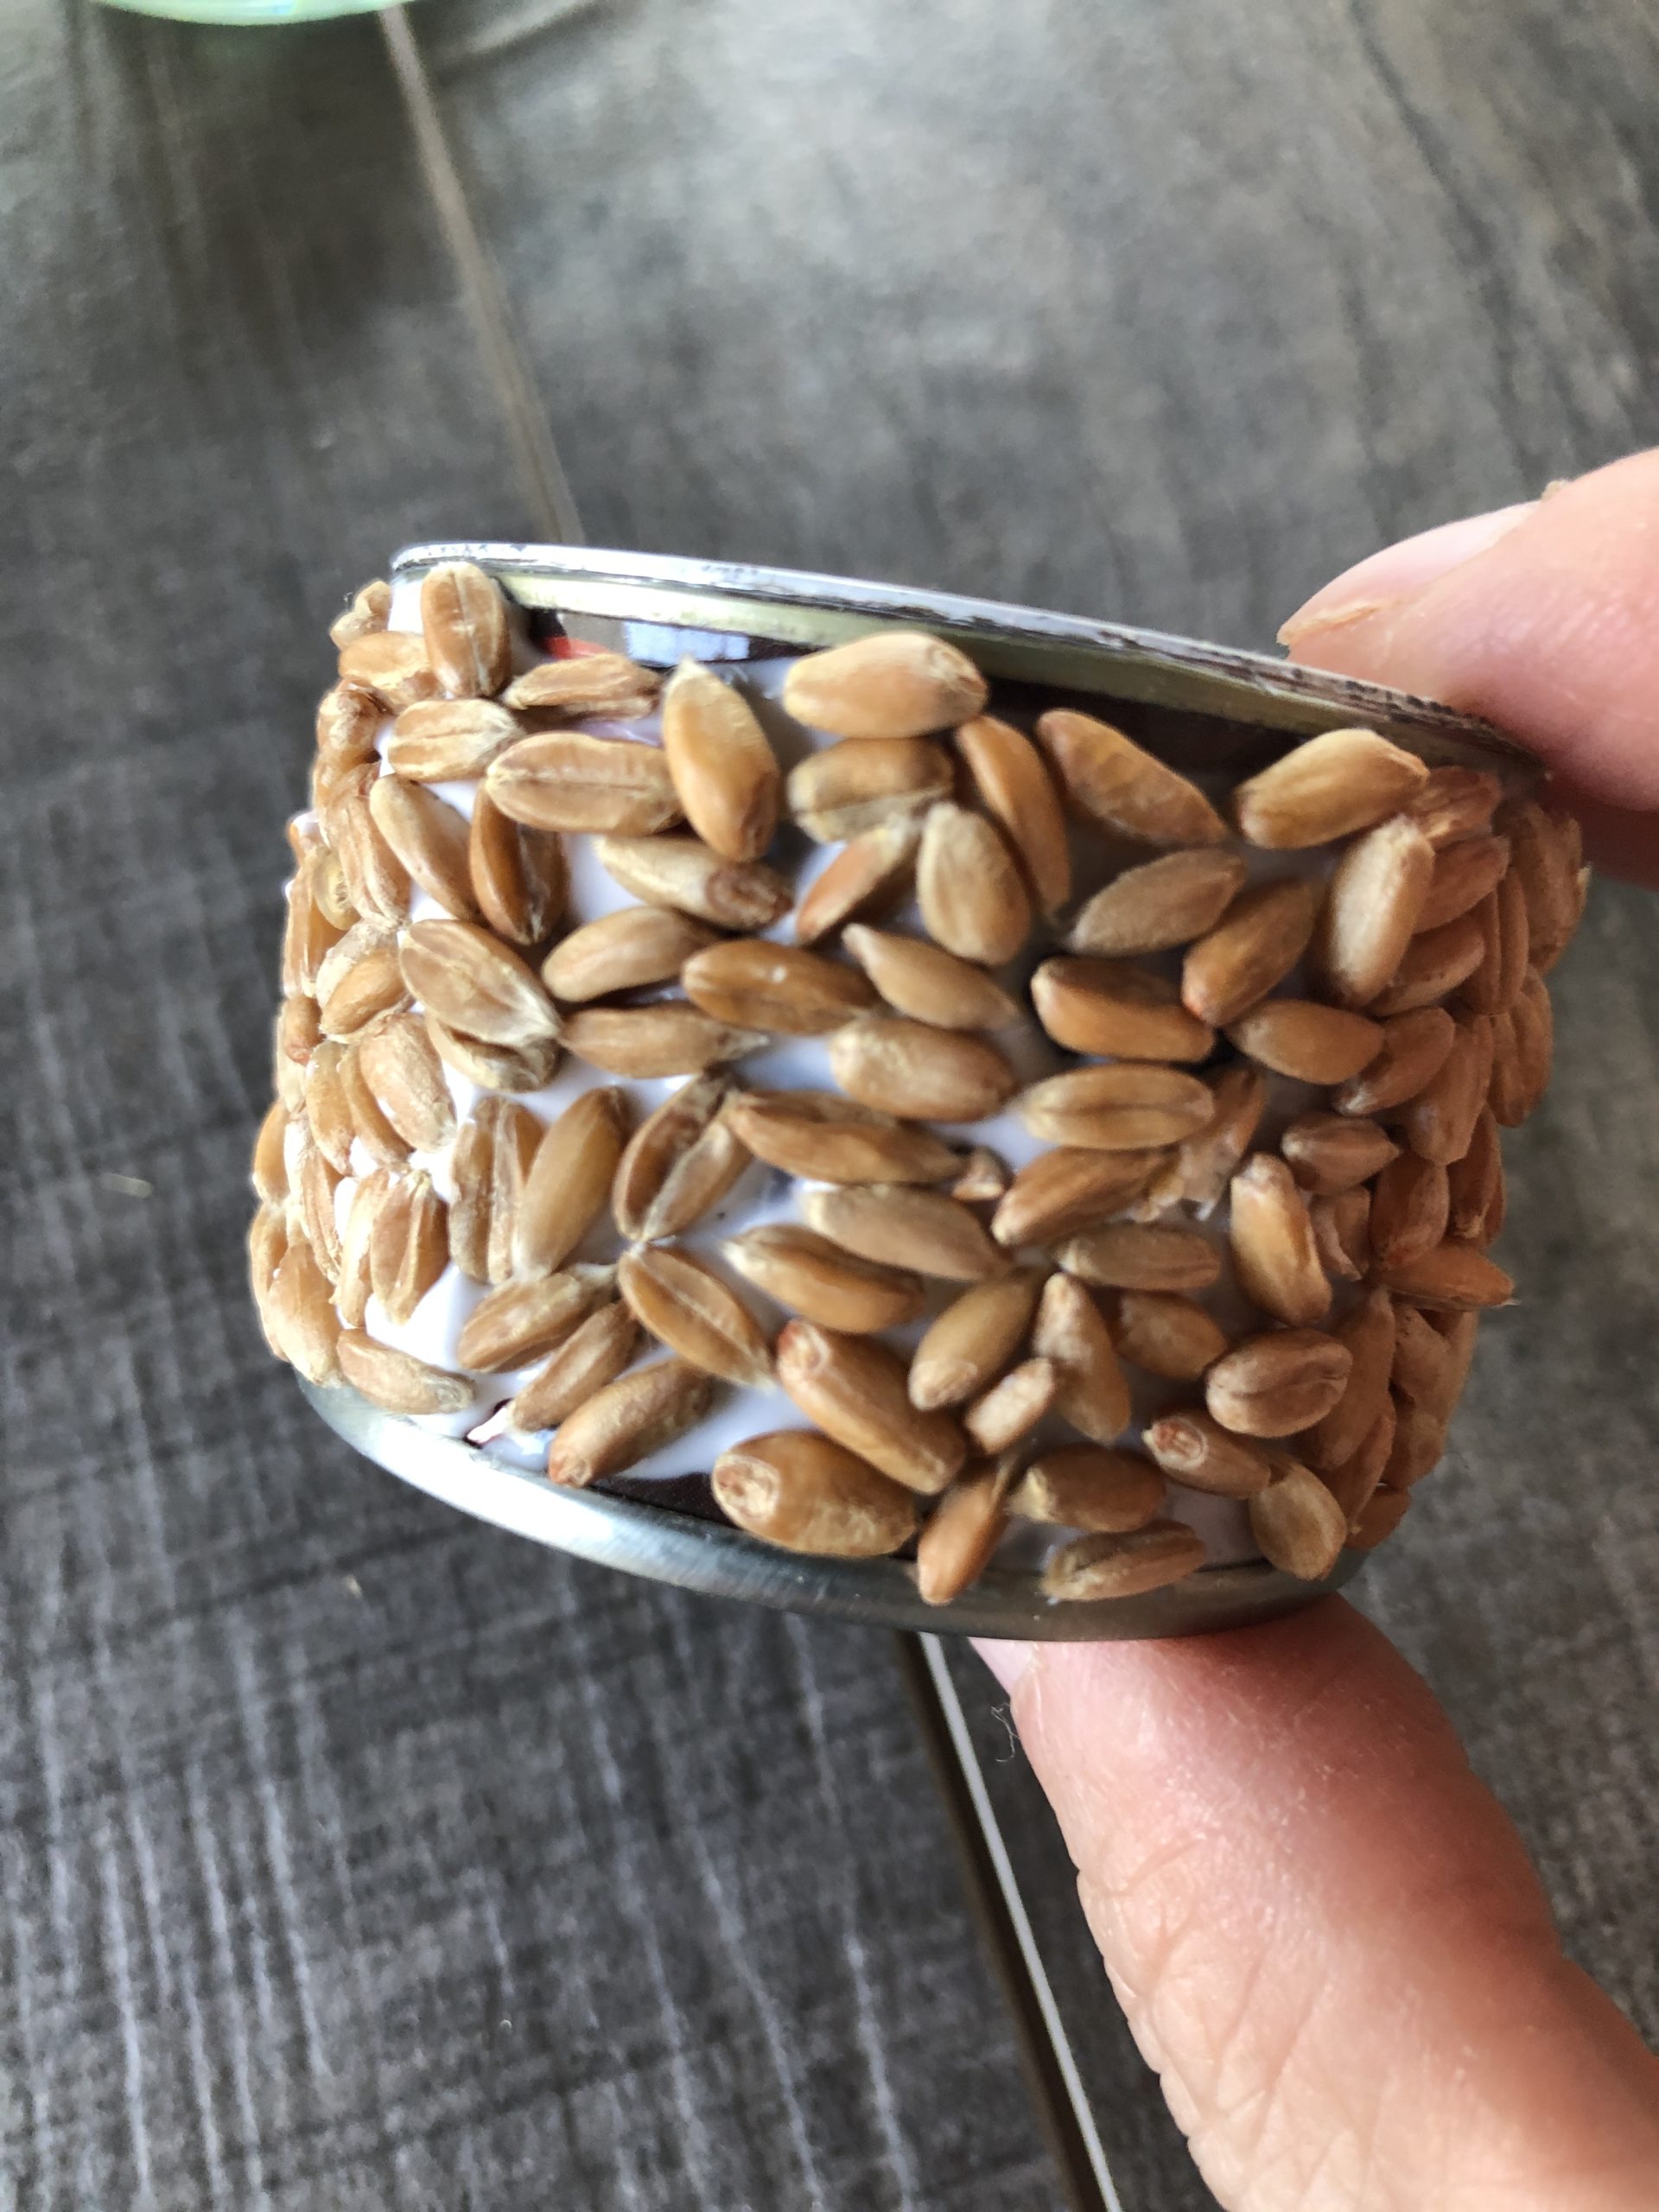
Then brush another piece with glue and repeat the process until the can is glued with grains all around.
Now put the can to dry. The wood glue becomes transparent after drying!
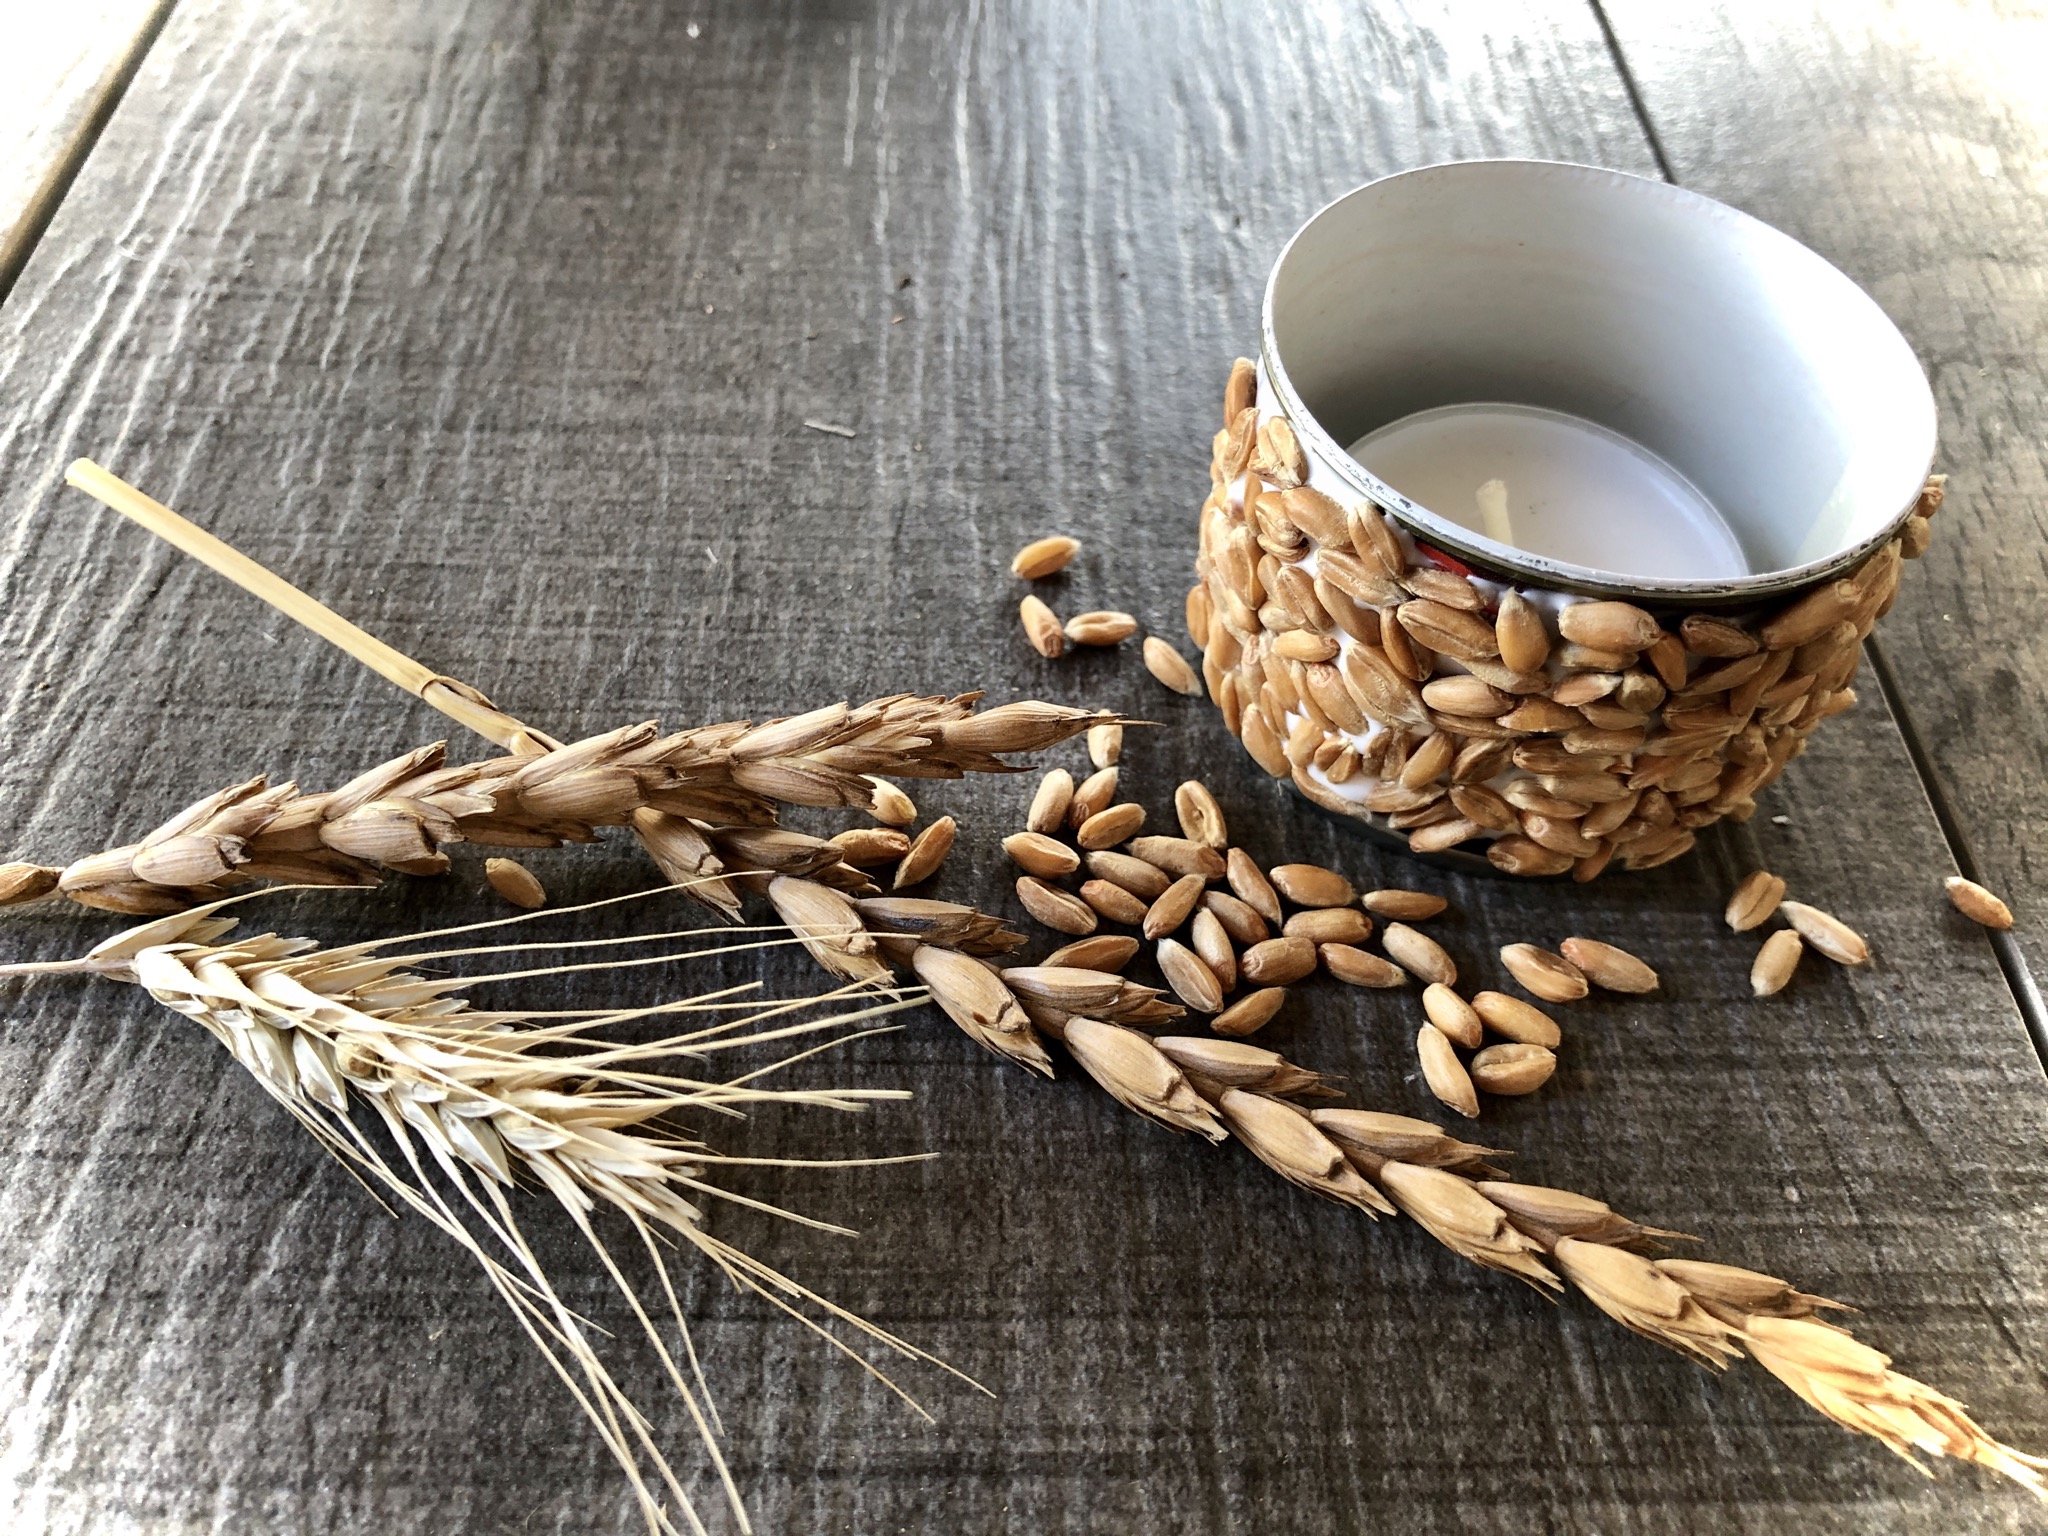
Put a tea light in the can.
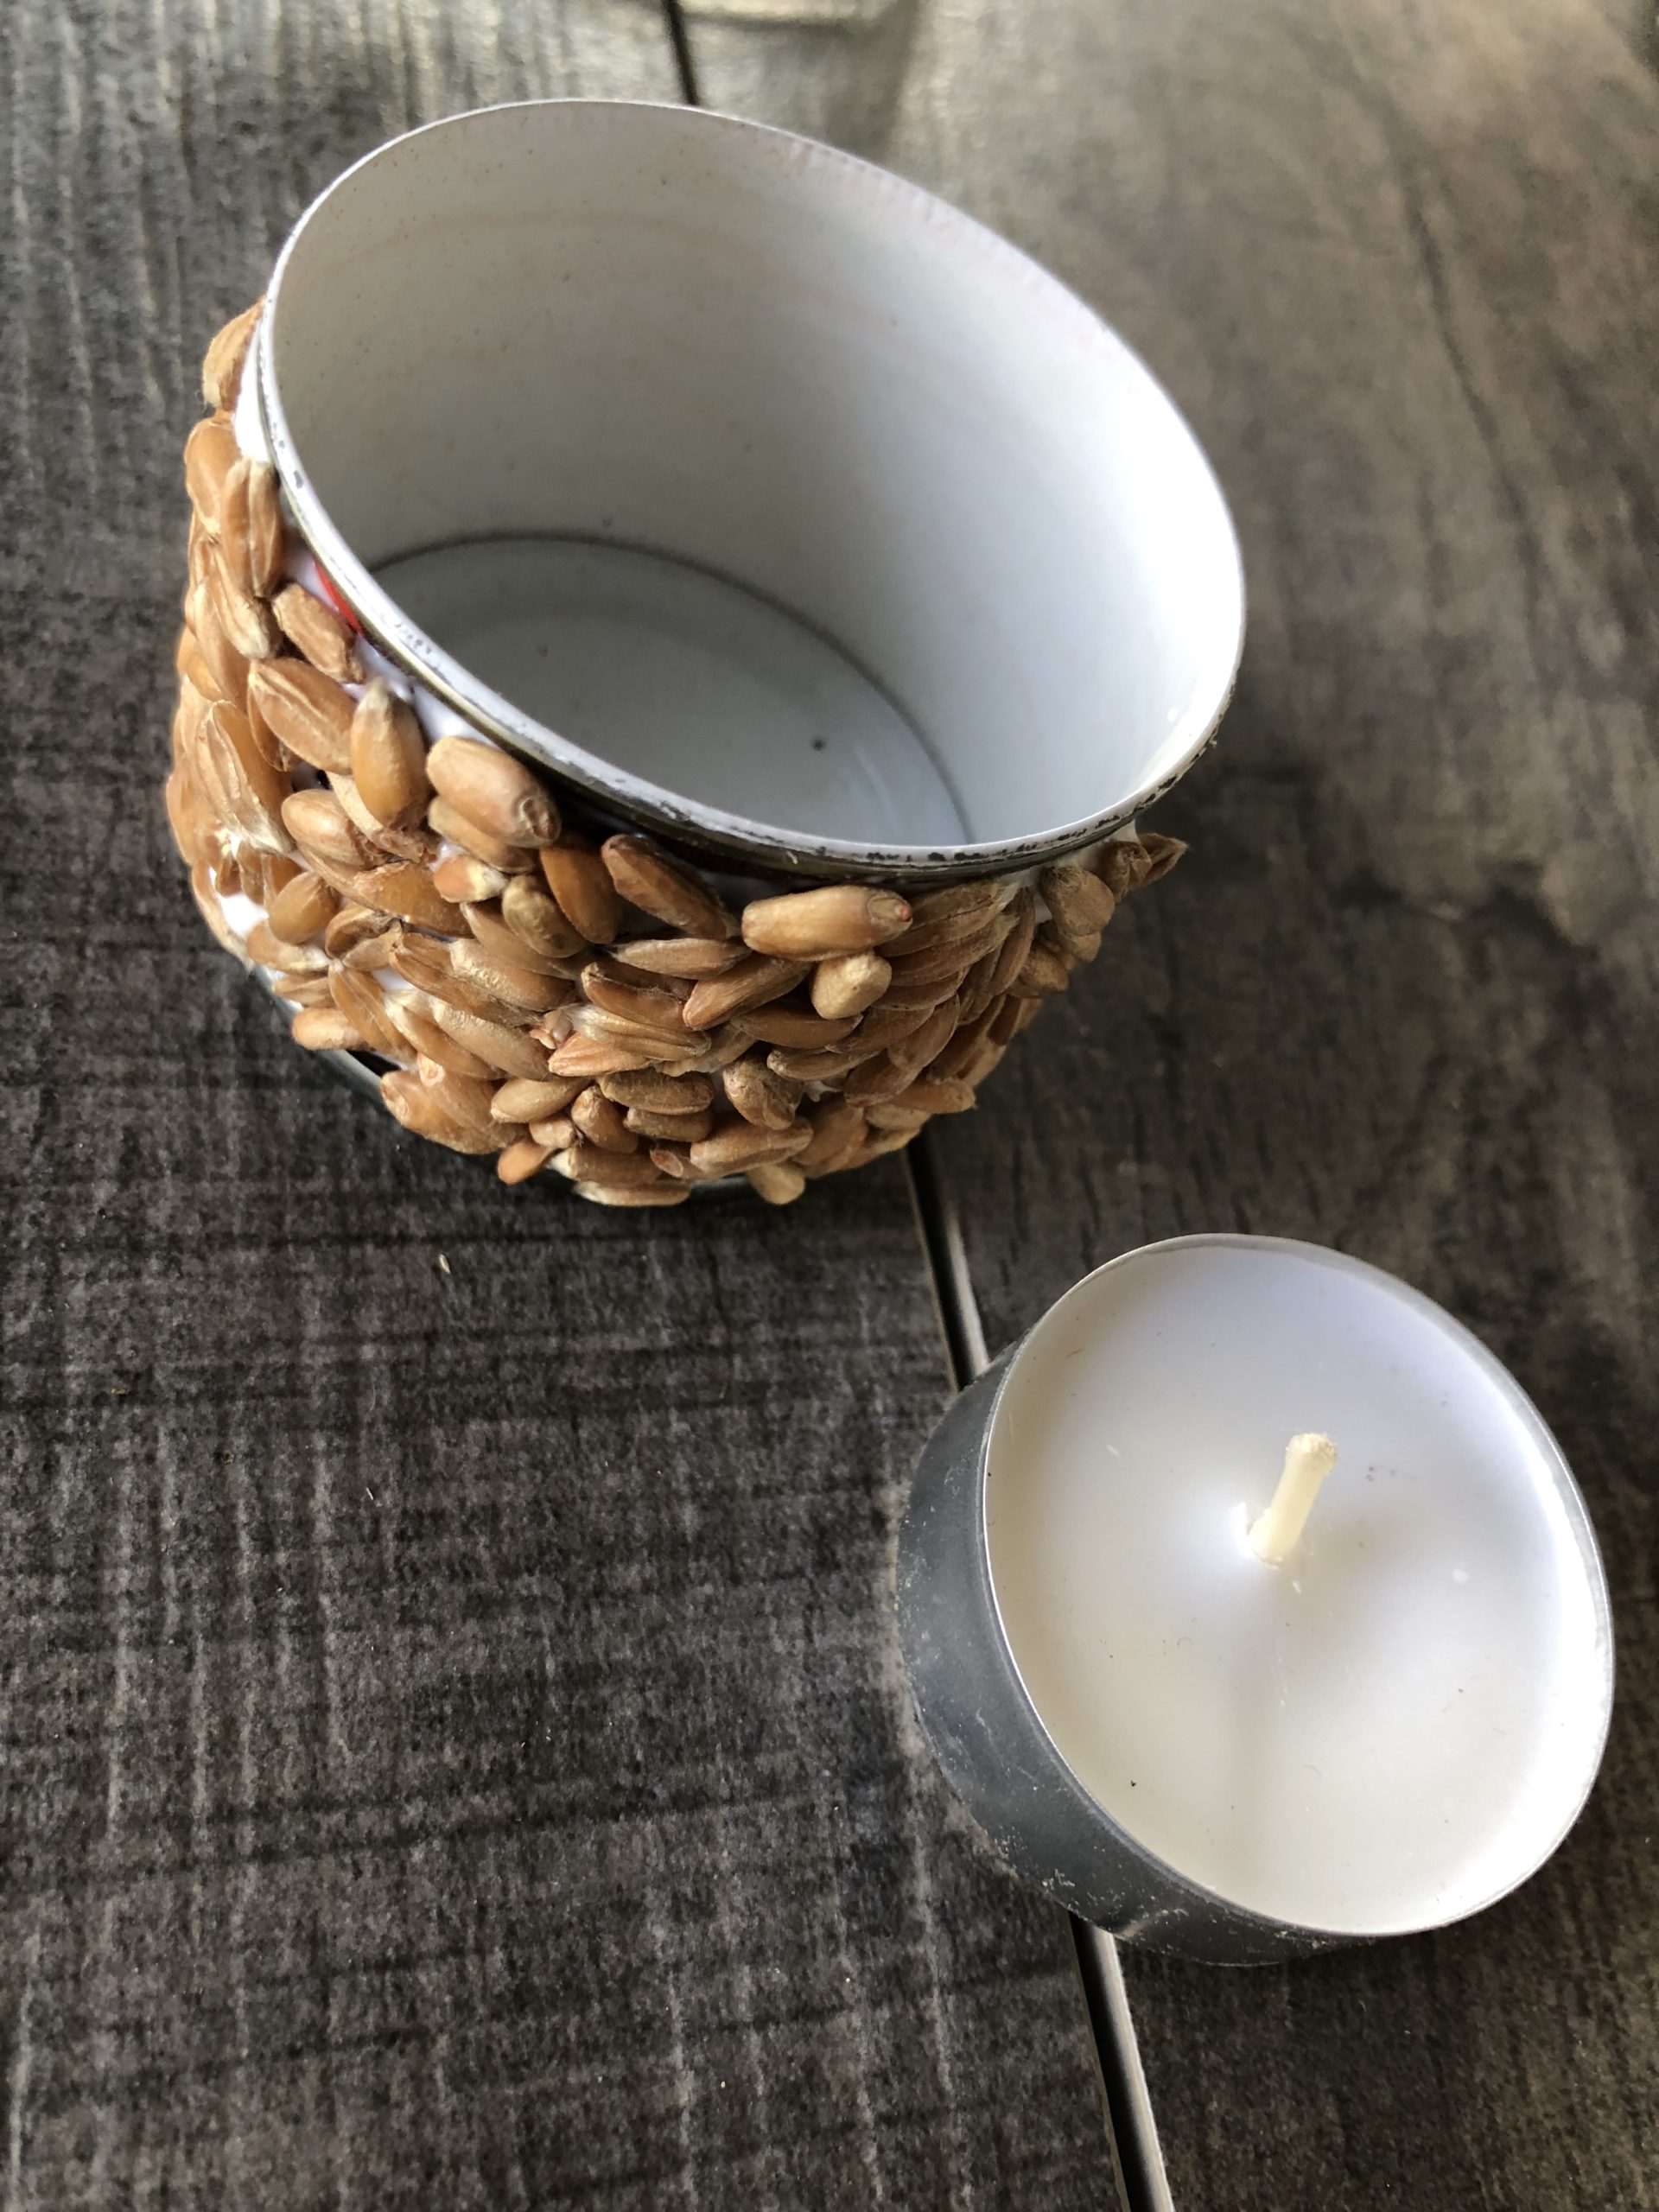

Along with a few grains you have a summery table decoration.
I'm sure your children have more ideas.
Have fun!
Materials
Directions
Open the can with a can opener that rounds off the edges. (Attention: for sharp edges there is risk of injury!)
Rinse the empty can and dry.
Paint about a third of the can with wood glue.
Keep the can with the glue over the bowl with the grains and sprinkle grains over the glue.
Push the grains slightly with your fingers and push something right if necessary. This is very good, because the glue is not immediately tight!
Then brush another piece with glue and repeat the process until the can is glued with grains all around.
Now put the can to dry. The wood glue becomes transparent after drying!
Put a tea light in the can.
Along with a few grains you have a summery table decoration.
I'm sure your children have more ideas.
Have fun!
Follow us on Facebook , Instagram and Pinterest
Don't miss any more adventures: Our bottle mail