Windlight Ghosts

AdventurerEagle
Rating5.04.7 thousand times & (1) DifficultyIntermediate

For these lanterns you only need a butterbread bag, an empty jam jar and a tea light. These ghosts are quickly crafted and a great table decoration for the autumn time around Halloween.
Have fun!

Media Education for Kindergarten and Hort

Kind bastelt eine Rassel mit dem Navi
The Adventure Navi, the app for DIY projects, enables media education for the youngest.

Relief in everyday life, targeted promotion of individual children, independent learning and - without any pre-knowledge already usable by the youngest!
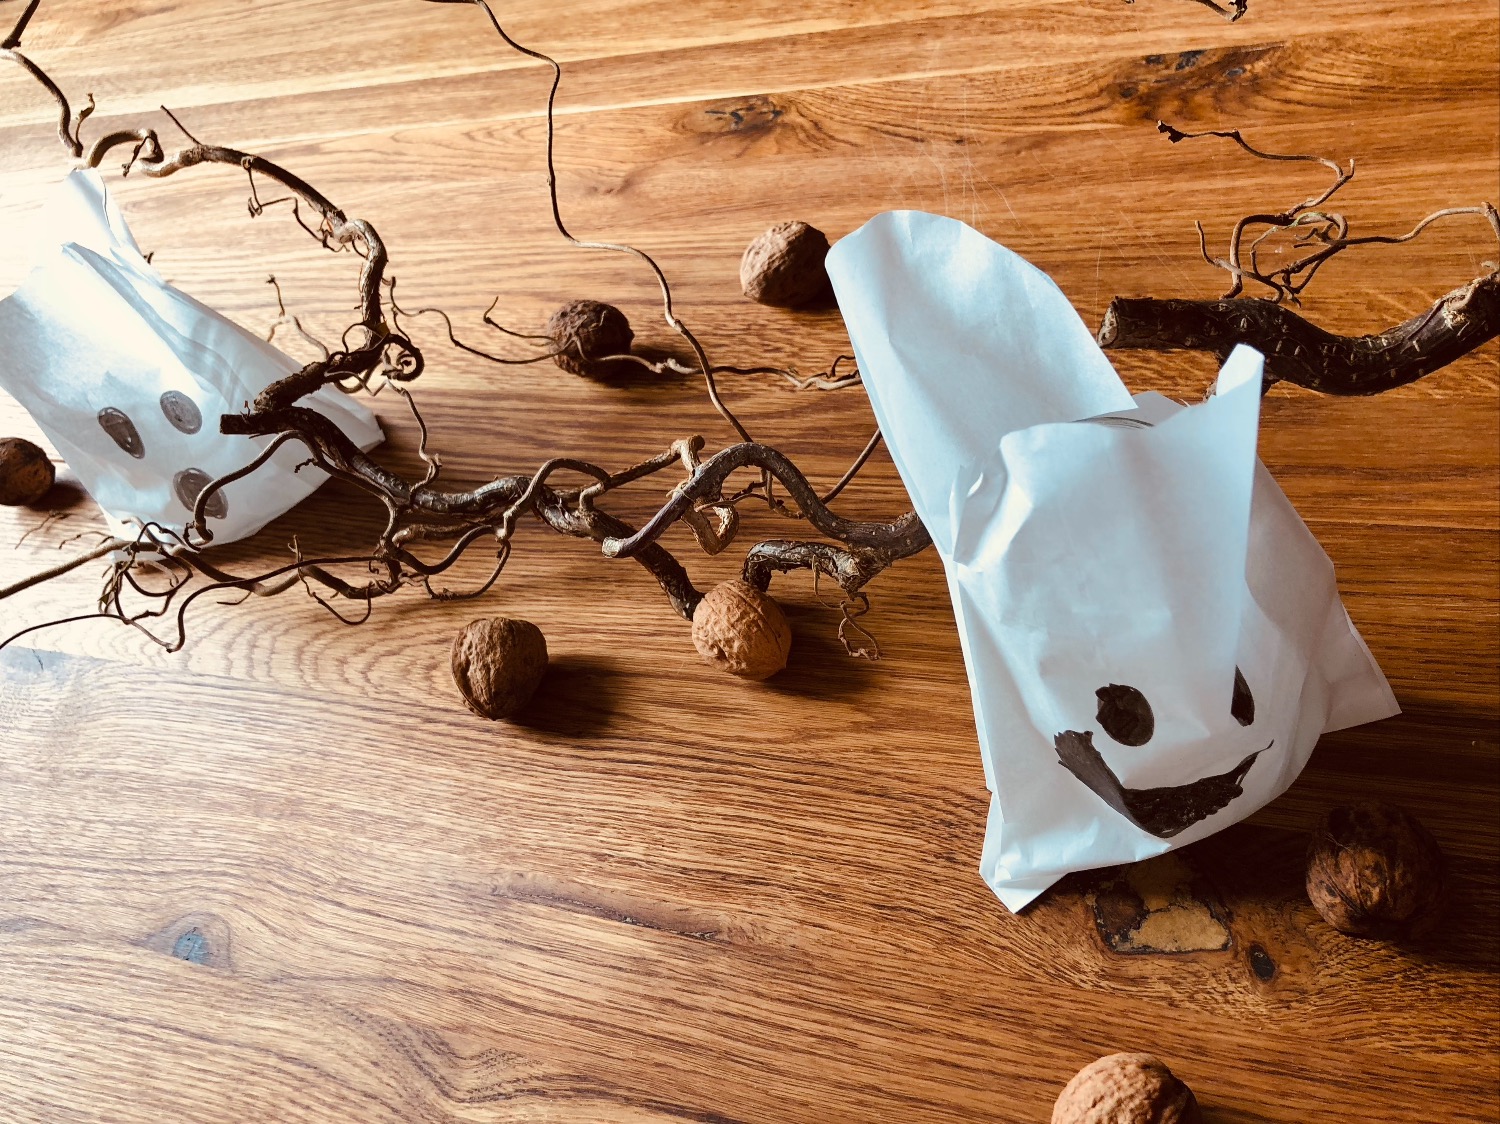


Titelbild zur Bastel- und DIY-Idee für Kinder '(852) Windlicht Gespenster'
Material for1 Child
Adv. Time15 min.Total Time15 min.
 1 Butterbread bag
 1 Jam jar empty
 1 Tealight
 Pen black
 Builder's pad
All links marked with a shopping cart lead to Amazon - here we have selected products that we would order ourselves and in part also ordered. In a qualified purchase via the advertising link, we as Amazon partner receive a commission, for you there are no costs. You thus support our cost- and advertising banner-free, educational offer.
1

First, look for the materials together.
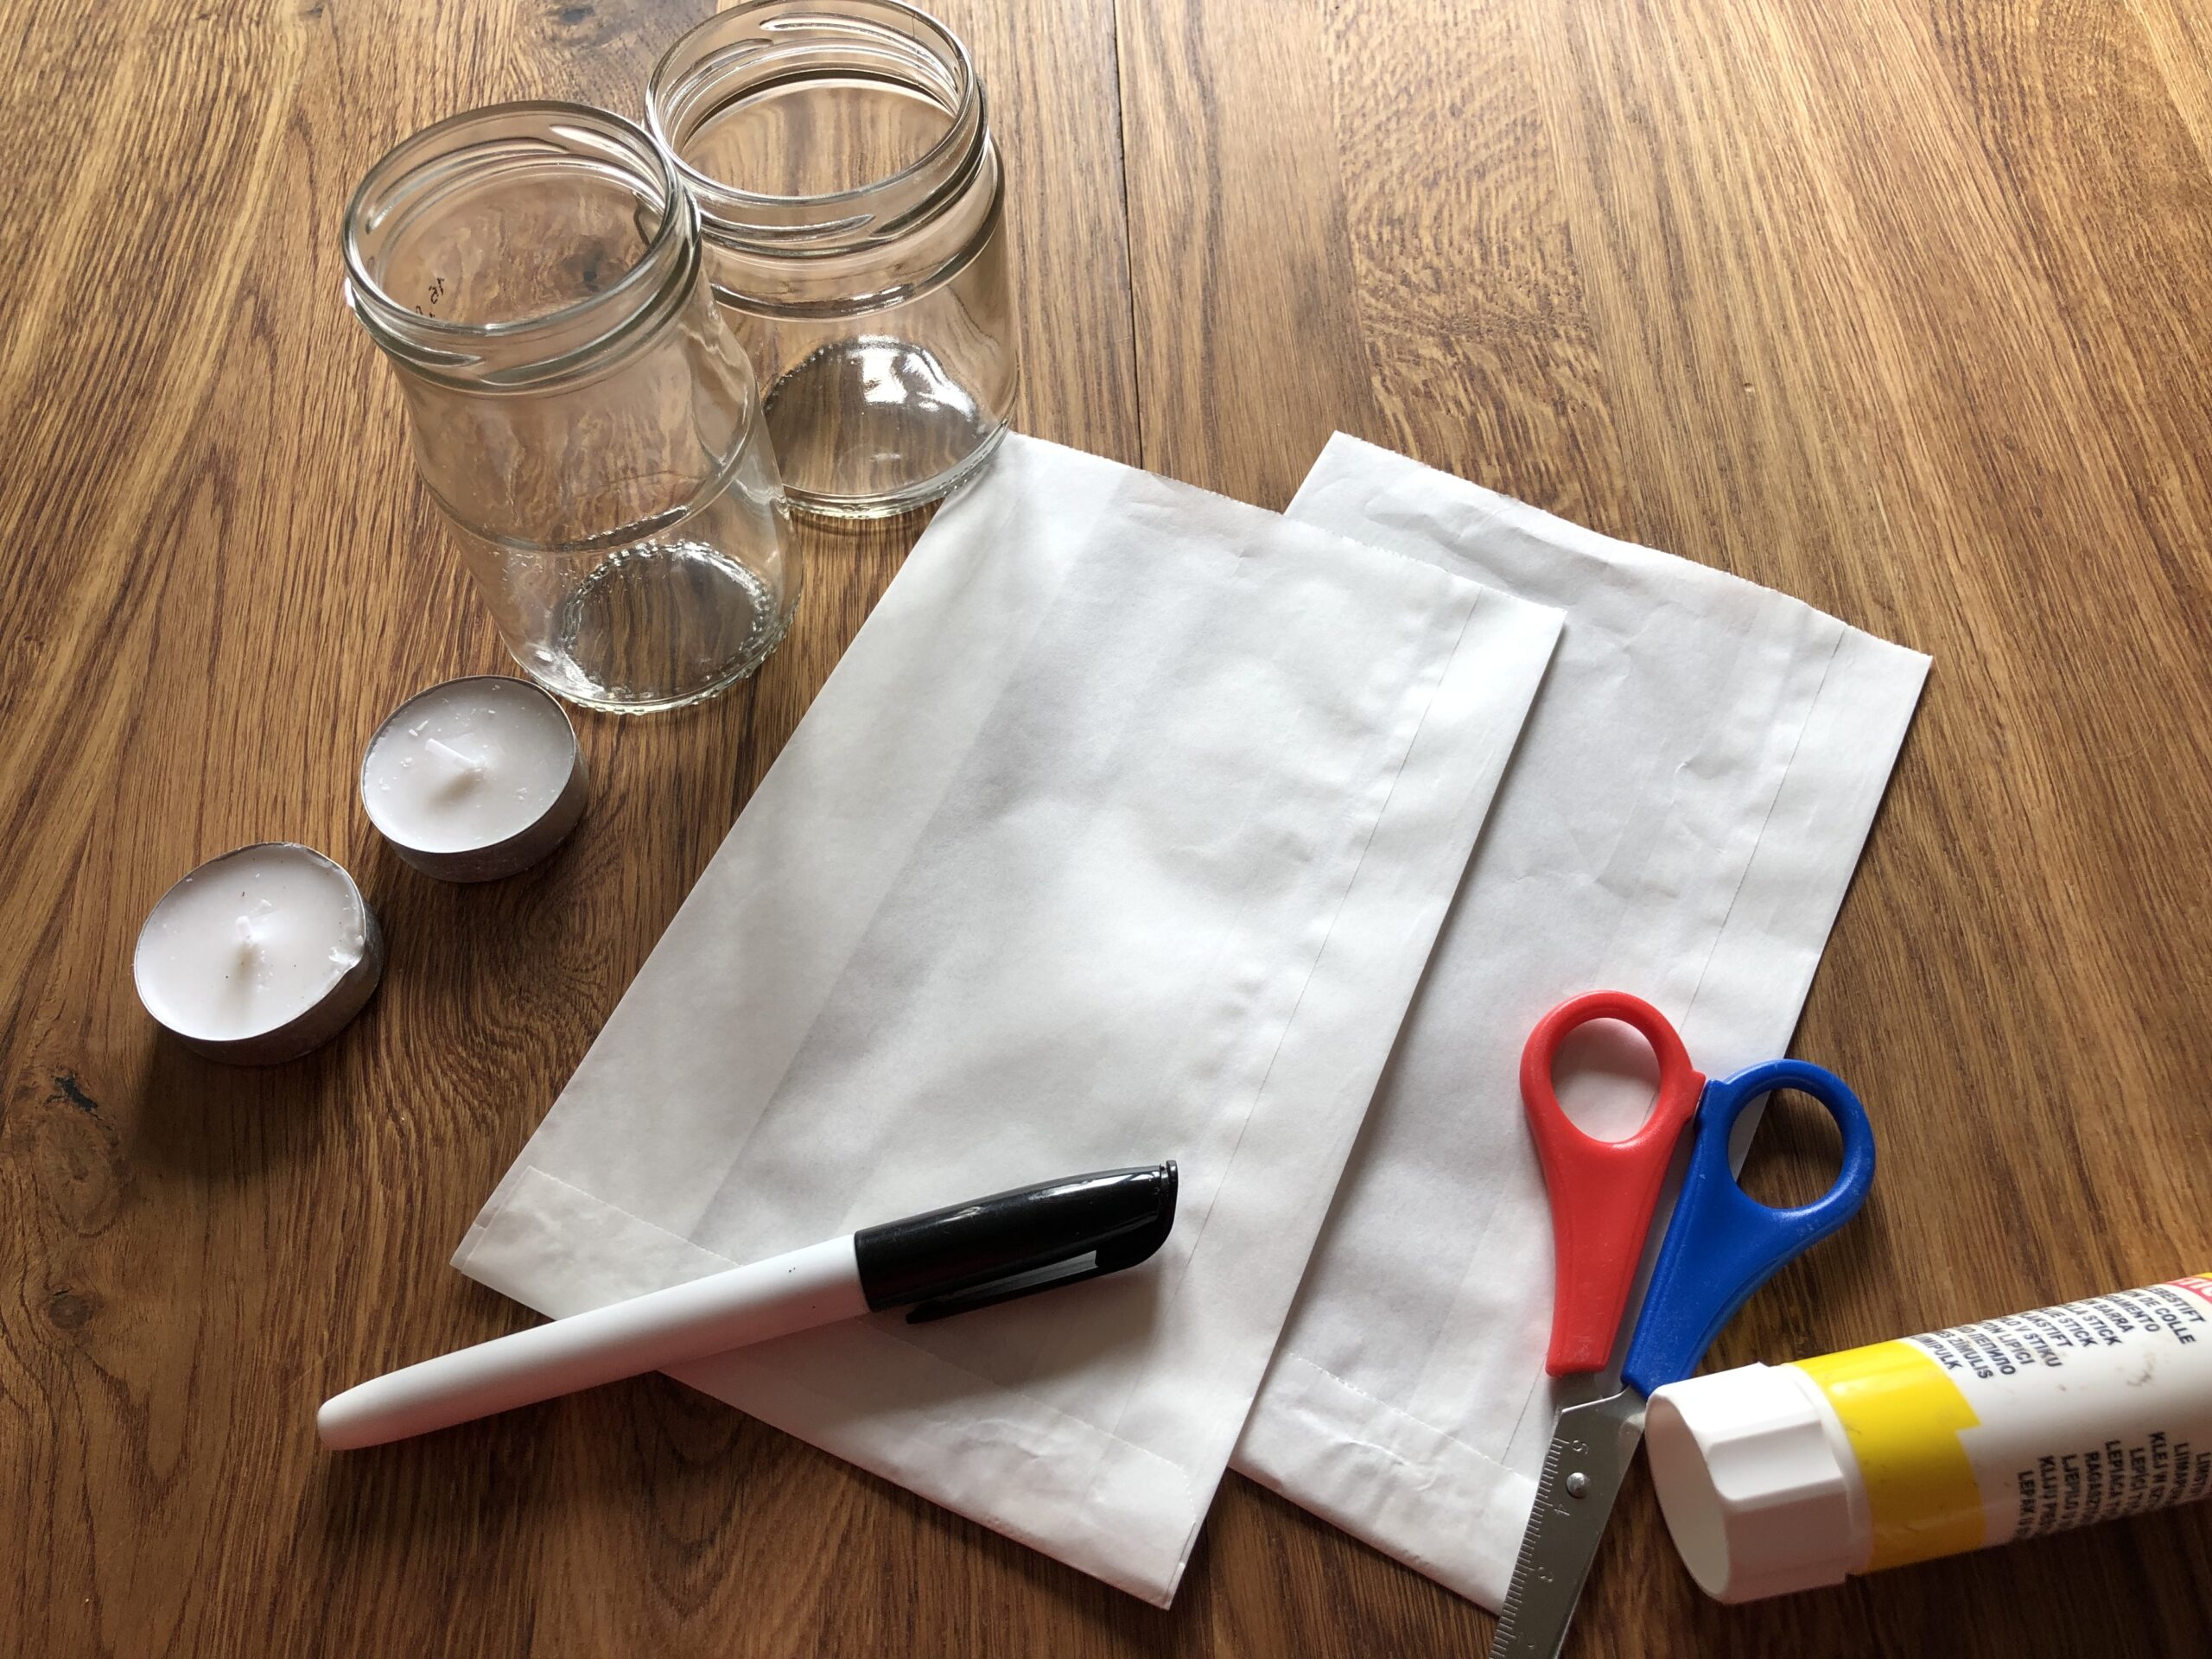
Bild zum Schritt 1 für das Bastel- und DIY-Abenteuer für Kinder: 'Sucht zuerst die Materialien zusammen.'

2

Then paint a bow at the opening of the butterbread bag.

Tip: Let the children paint two opposite points in the upper third of the bag to the left and right. Then connect these two points with a large bow. The points serve for orientation.
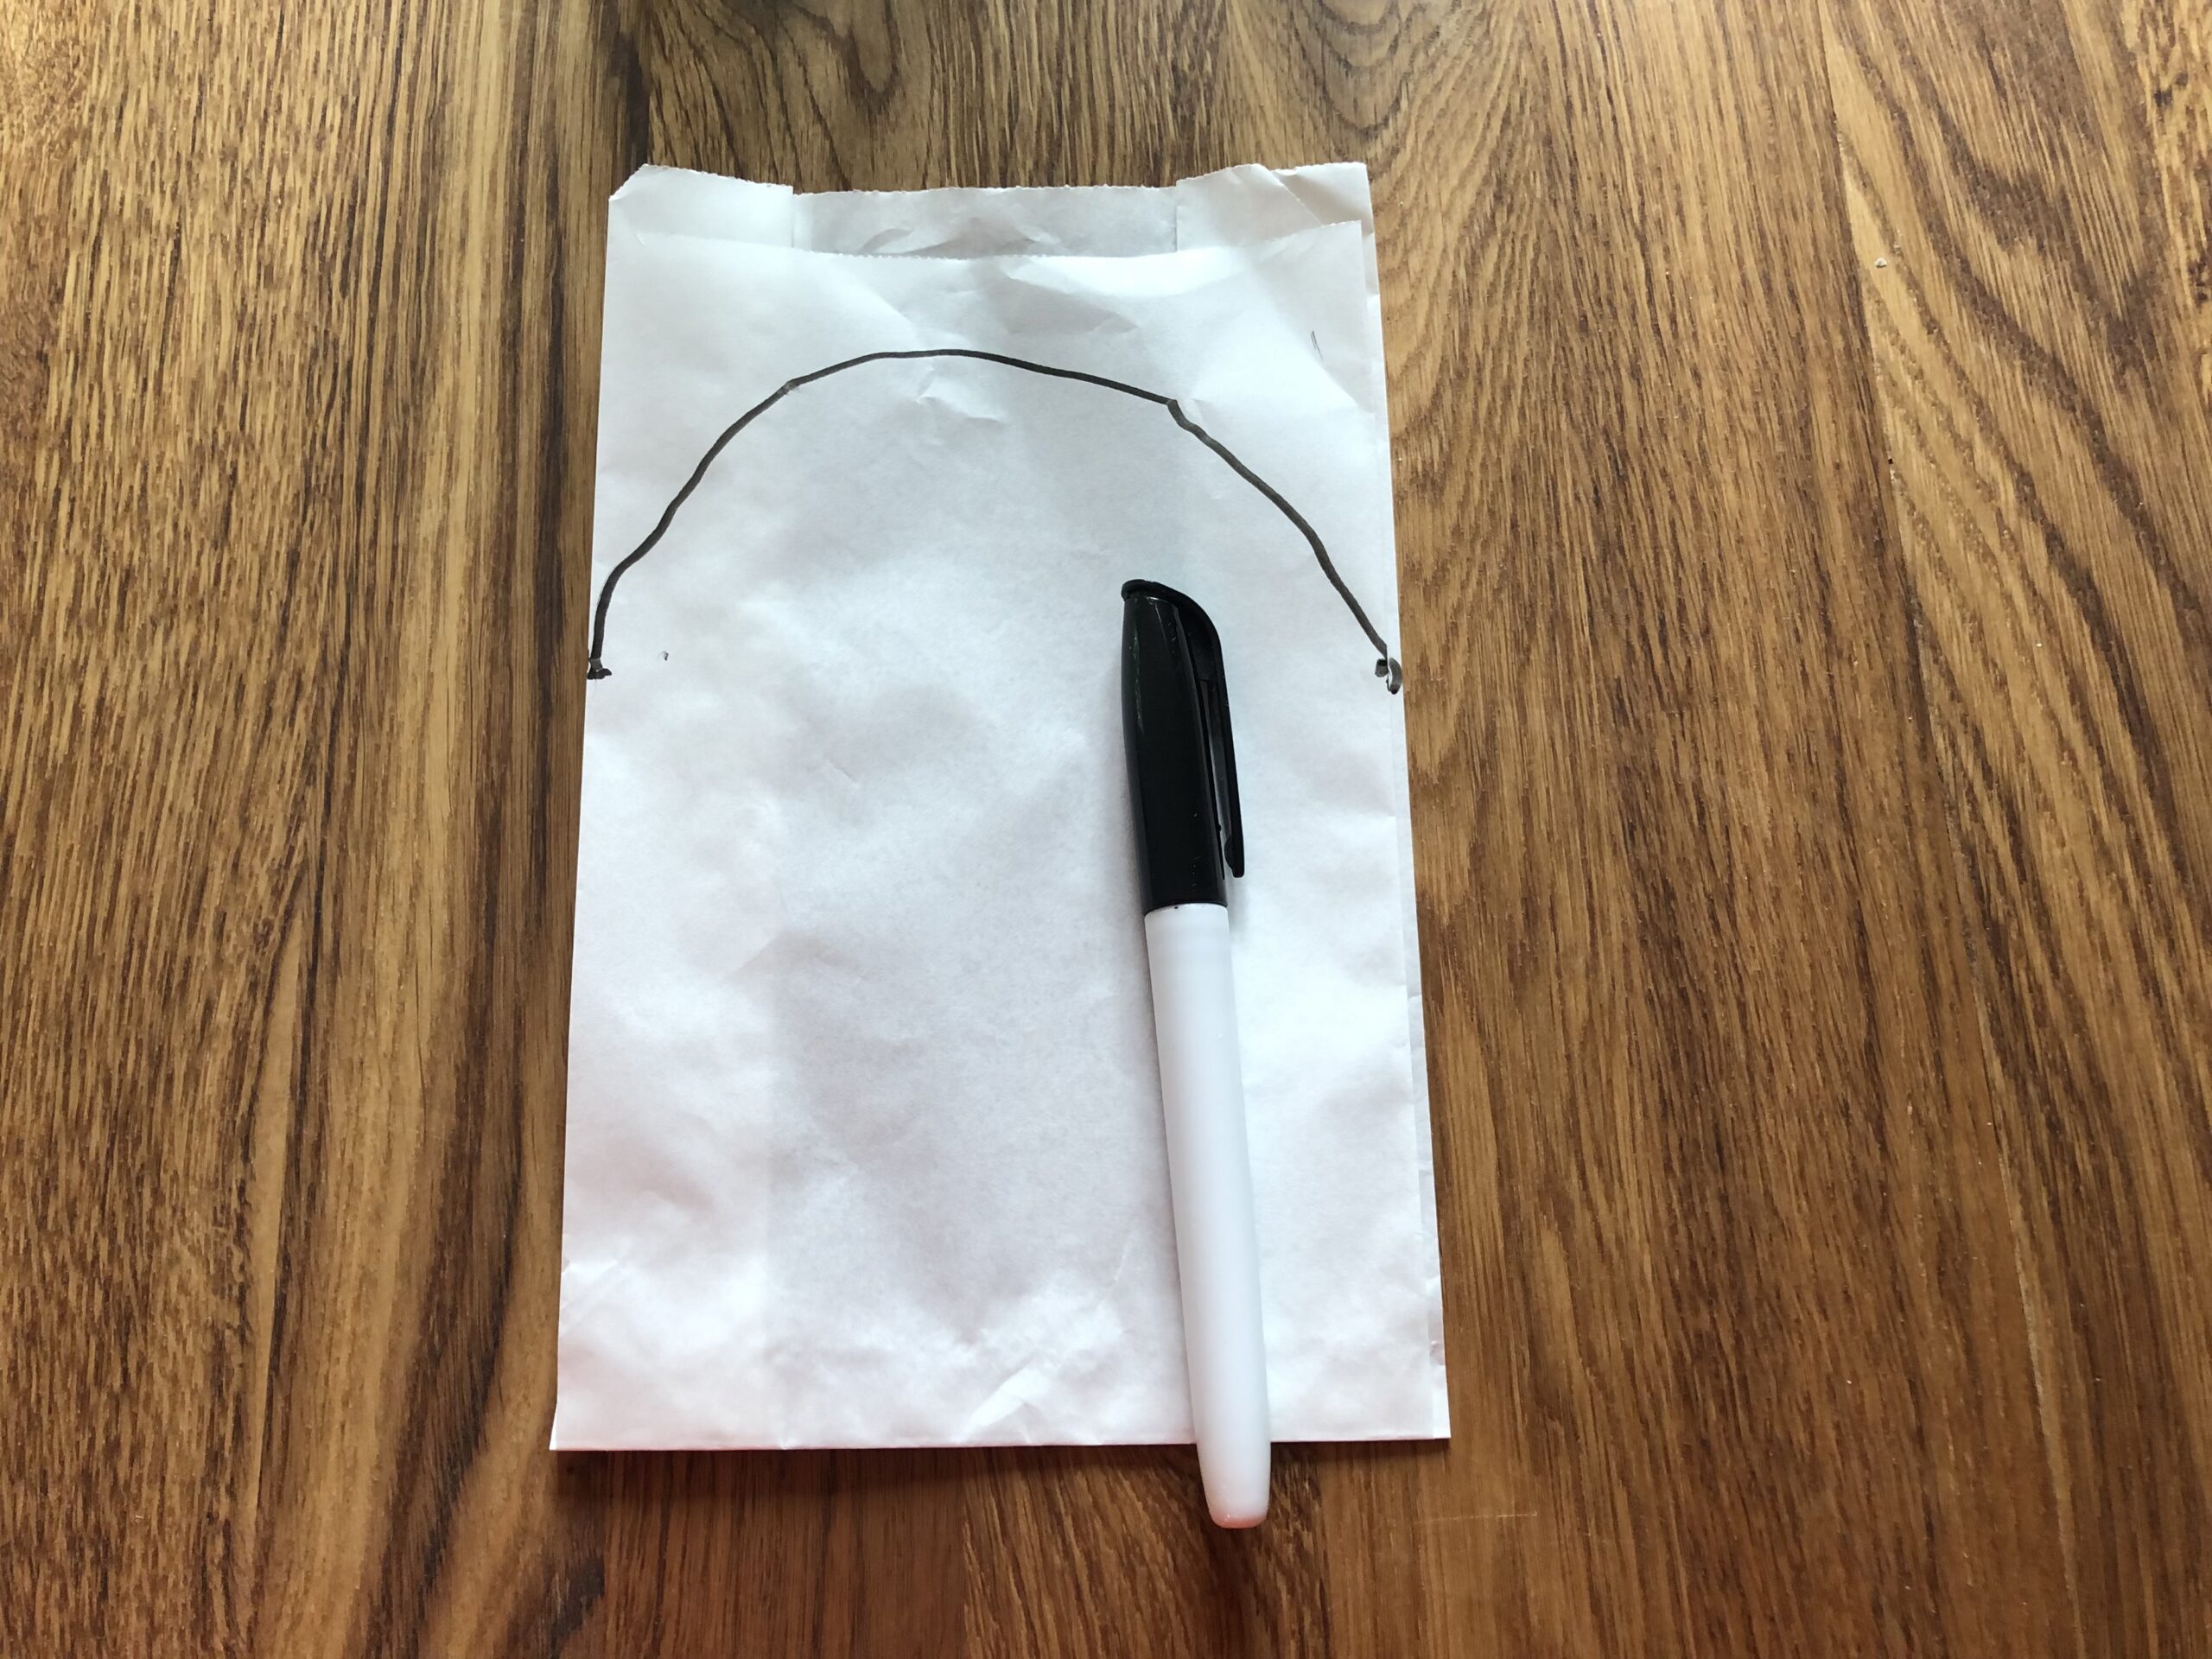
Bild zum Schritt 2 für das Bastel- und DIY-Abenteuer für Kinder: 'Dann malt ihr einen Bogen an die Öffnung der Butterbrottüte....'

3

Then you cut the bag along the line.

Bild zum Schritt 3 für das Bastel- und DIY-Abenteuer für Kinder: 'Anschließend schneidet ihr auf der Linie entlang die Tüte zu.'

4

Now cut off the protruding corners on the inside of the bag.
Cut them off on both sides.

Bild zum Schritt 4 für das Bastel- und DIY-Abenteuer für Kinder: 'Nun schneidet ihr die abstehenden Ecken an den Innenseiten der...'

5

Then glue the loose sides to the left and right with a glue stick.

Bild zum Schritt 5 für das Bastel- und DIY-Abenteuer für Kinder: 'Anschließend klebt ihr die losen Seiten links und rechts mit...'

6

Now you paint a face on the bags, creating beautiful, creepy ghosts.

Bild zum Schritt 6 für das Bastel- und DIY-Abenteuer für Kinder: 'Jetzt malt ihr ein Gesicht auf die Tüten. So entstehen...'

7

Then put the empty jam jar in the bag.

Bild zum Schritt 7 für das Bastel- und DIY-Abenteuer für Kinder: 'Danach stellt ihr das leere Marmeladenglas in die Tüte.'

8

Then you put a tealight in it. Ready are the windlight ghosts.

Bild zum Schritt 8 für das Bastel- und DIY-Abenteuer für Kinder: 'Dann legt ihr noch ein Teelicht hinein. Fertig sind die...'

9

Finally, the windlight decorates ghosts with a branch and nuts or with pumpkins. Use what you have at home.

Bild zum Schritt 9 für das Bastel- und DIY-Abenteuer für Kinder: 'Abschließend dekoriert die Windlicht Gespenster mit einem Zweig und Nüssen...'

10

Have fun!

Materials

 1 Butterbread bag
 1 Jam jar empty
 1 Tealight
 Pen black
 Builder's pad
All links marked with a shopping cart lead to Amazon - here we have selected products that we would order ourselves and in part also ordered. In a qualified purchase via the advertising link, we as Amazon partner receive a commission, for you there are no costs. You thus support our cost- and advertising banner-free, educational offer.

Directions

1

First, look for the materials together.

Bild zum Schritt 1 für das Bastel- und DIY-Abenteuer für Kinder: 'Sucht zuerst die Materialien zusammen.'

2

Then paint a bow at the opening of the butterbread bag.

Tip: Let the children paint two opposite points in the upper third of the bag to the left and right. Then connect these two points with a large bow. The points serve for orientation.

Bild zum Schritt 2 für das Bastel- und DIY-Abenteuer für Kinder: 'Dann malt ihr einen Bogen an die Öffnung der Butterbrottüte....'

3

Then you cut the bag along the line.
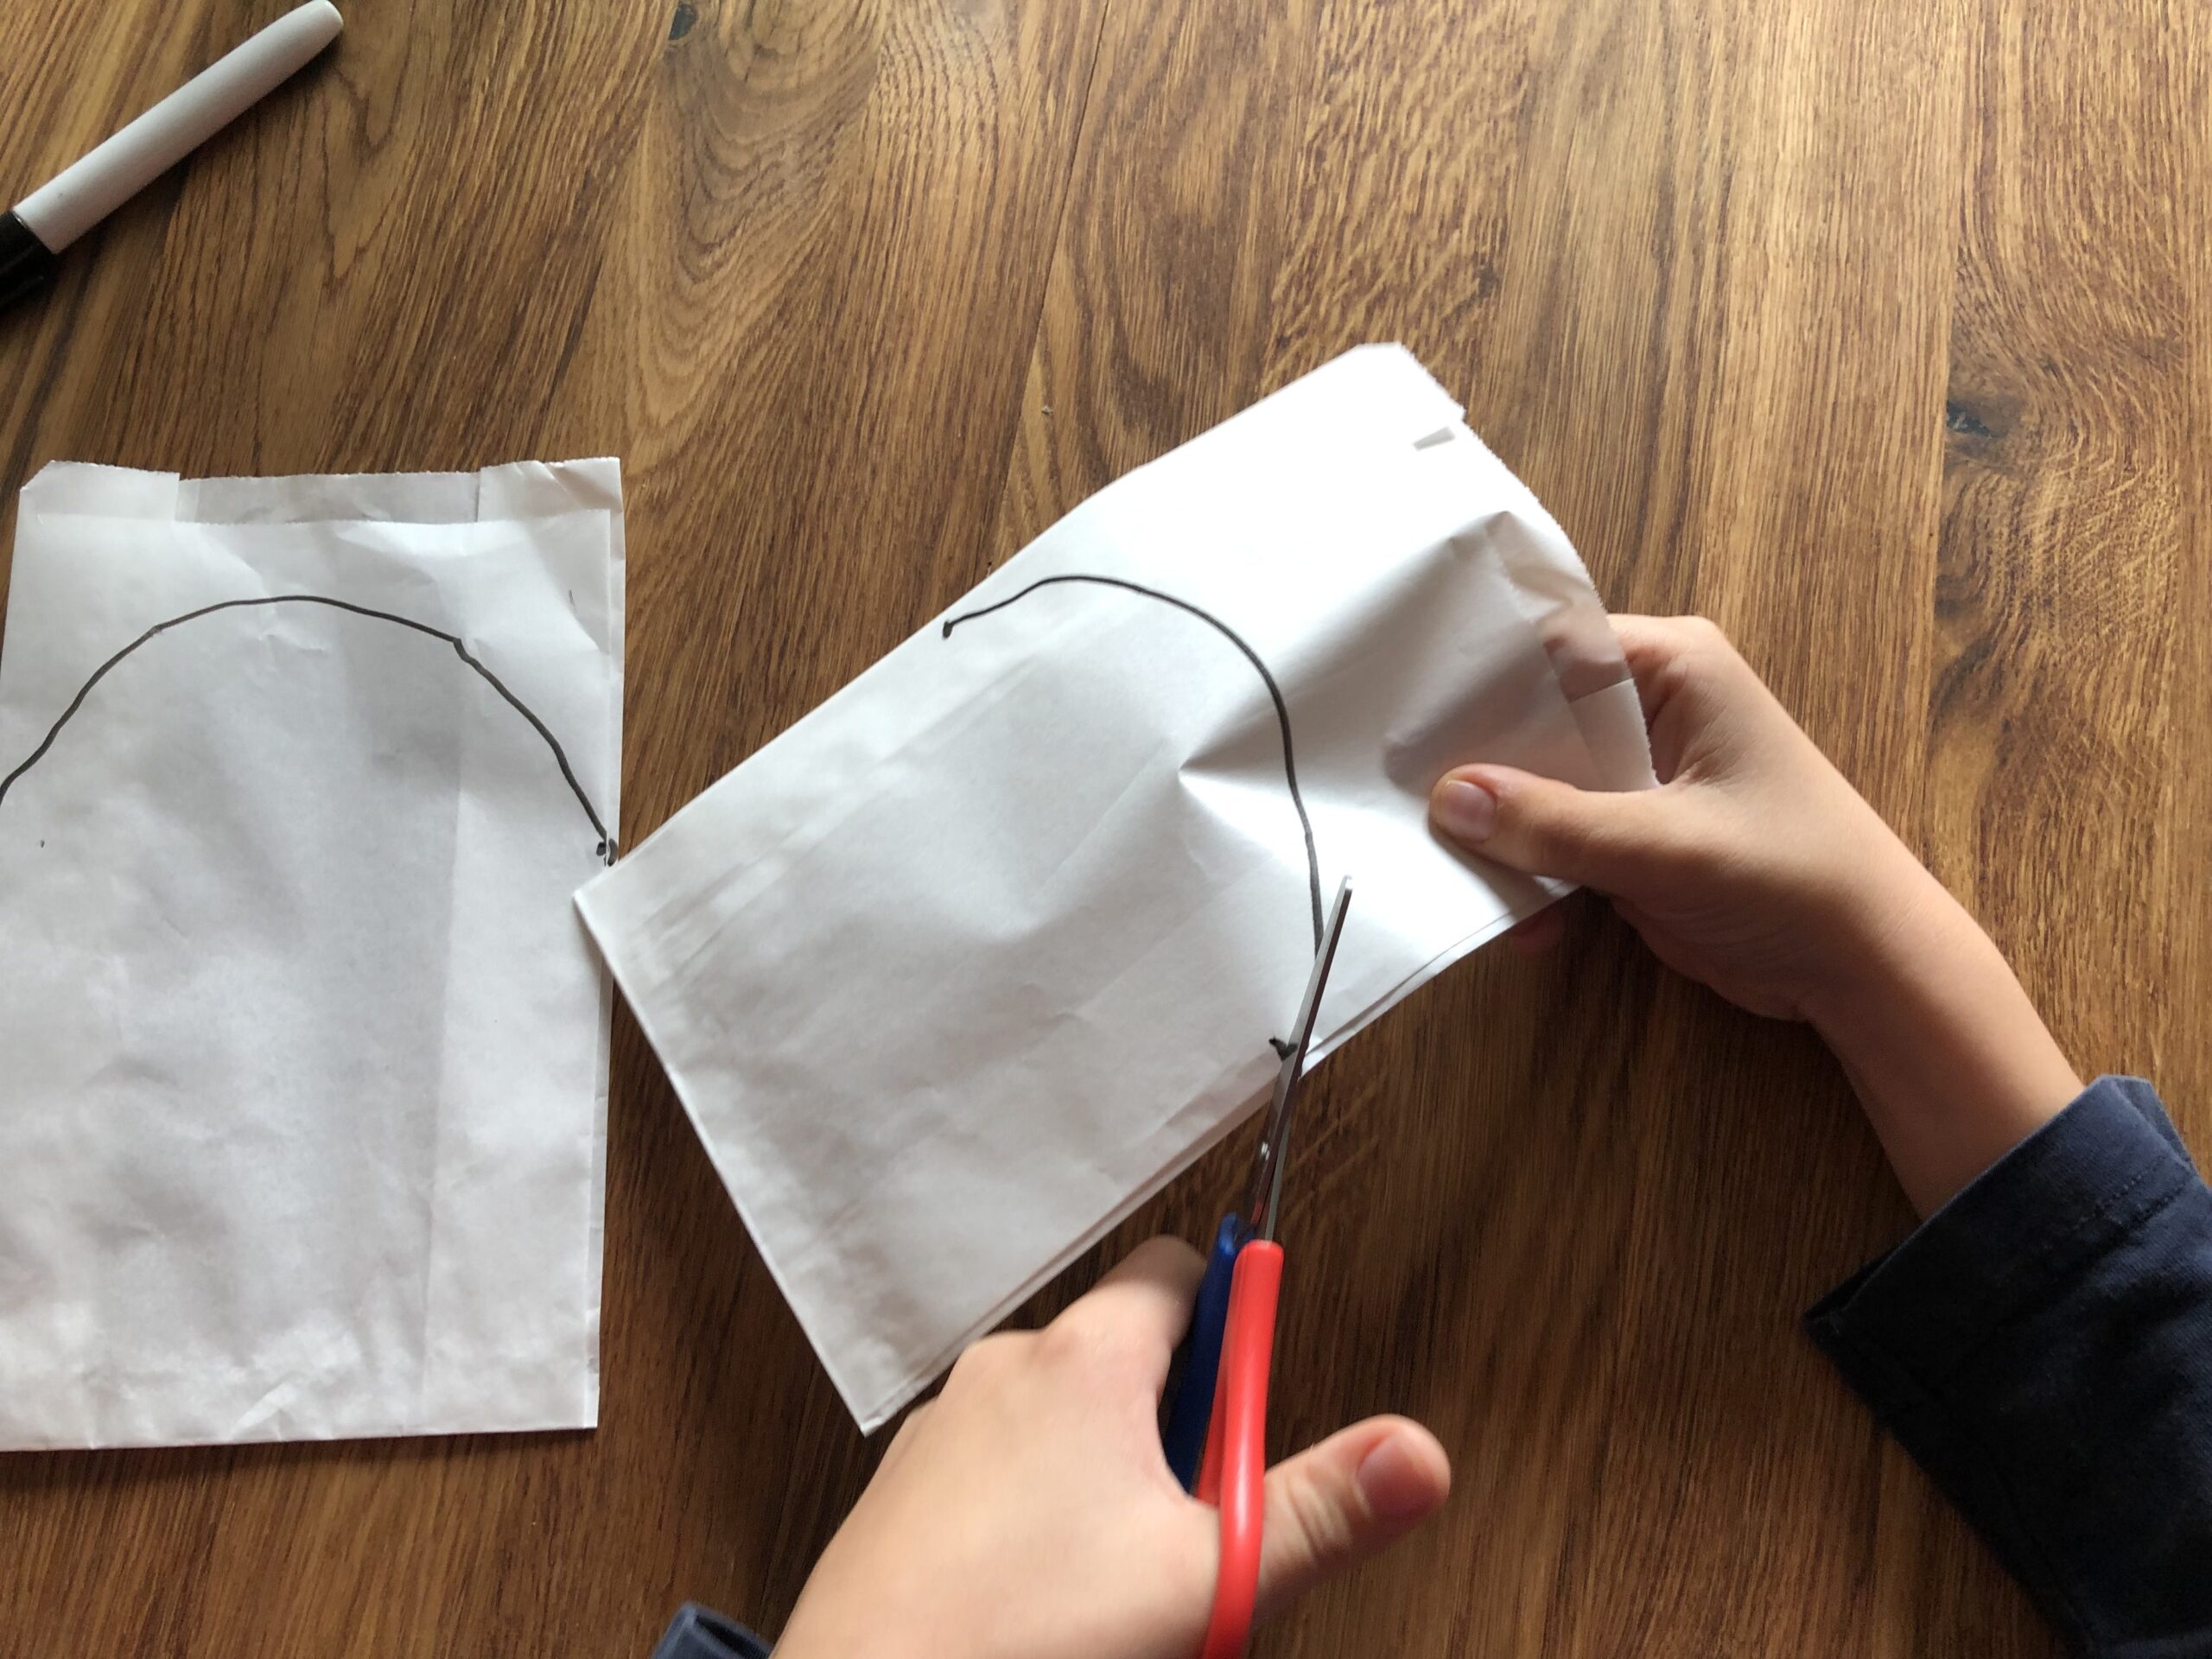
Bild zum Schritt 3 für das Bastel- und DIY-Abenteuer für Kinder: 'Anschließend schneidet ihr auf der Linie entlang die Tüte zu.'

4

Now cut off the protruding corners on the inside of the bag.
Cut them off on both sides.
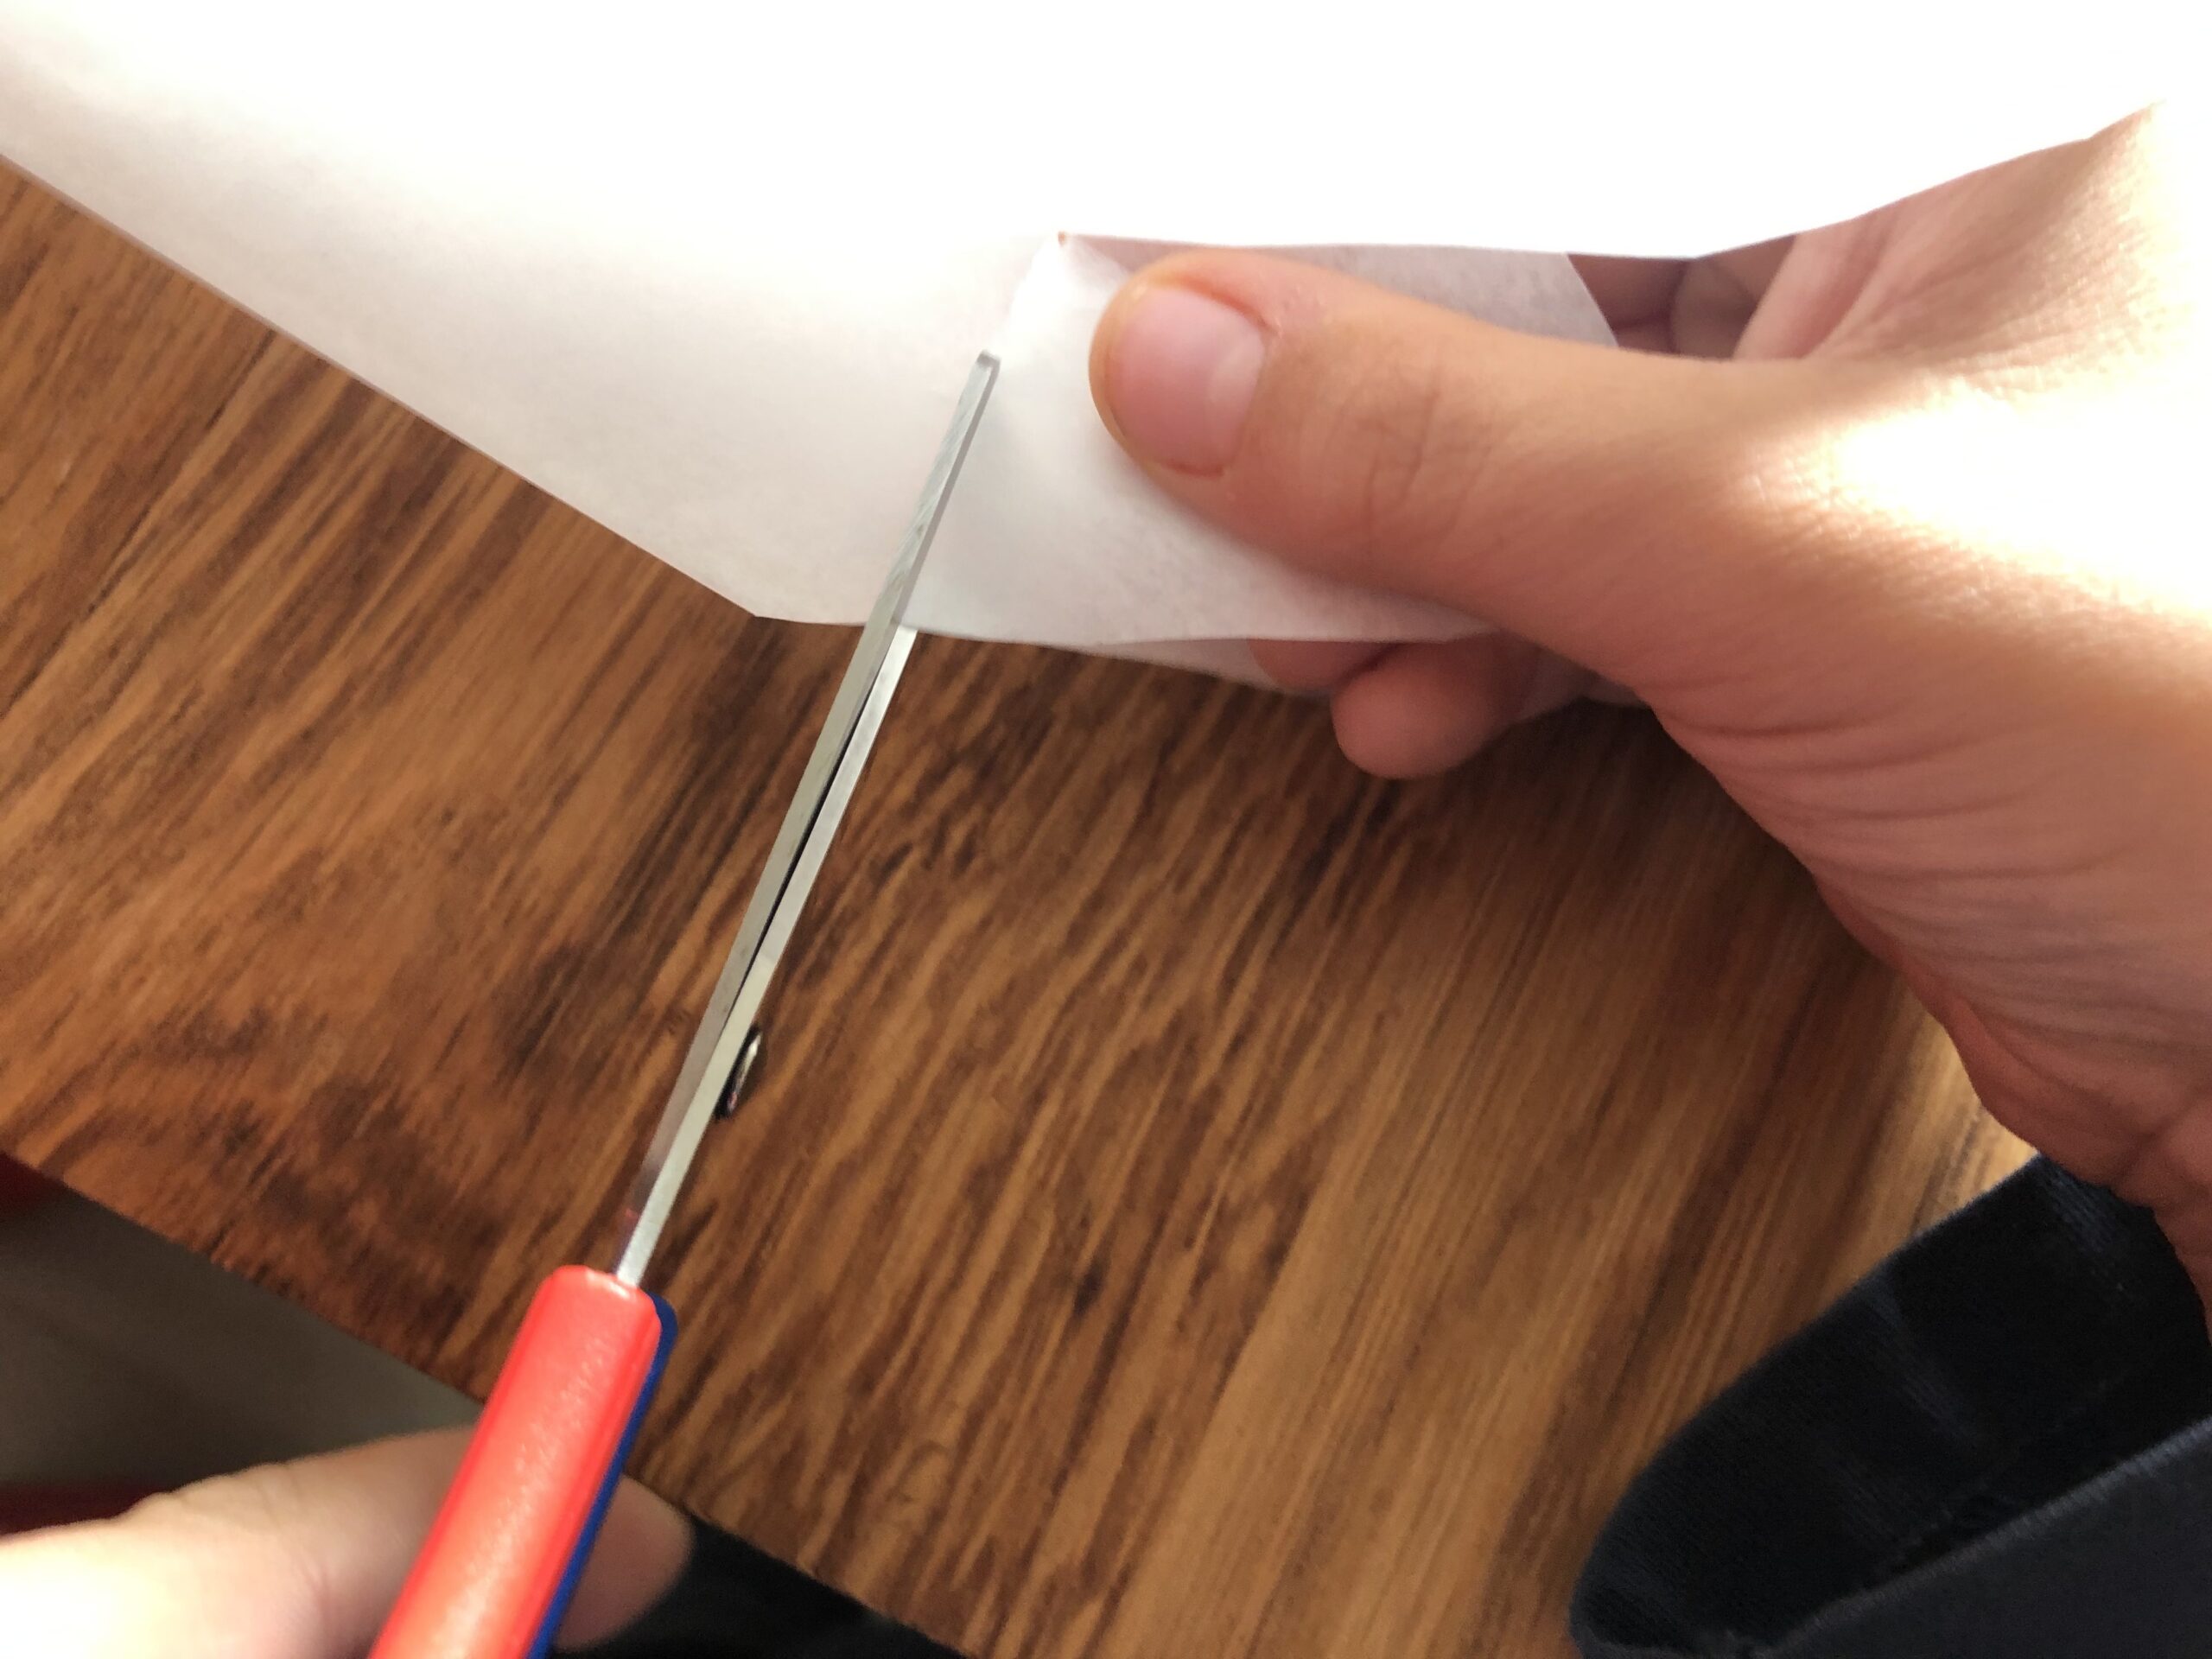
Bild zum Schritt 4 für das Bastel- und DIY-Abenteuer für Kinder: 'Nun schneidet ihr die abstehenden Ecken an den Innenseiten der...'

5

Then glue the loose sides to the left and right with a glue stick.
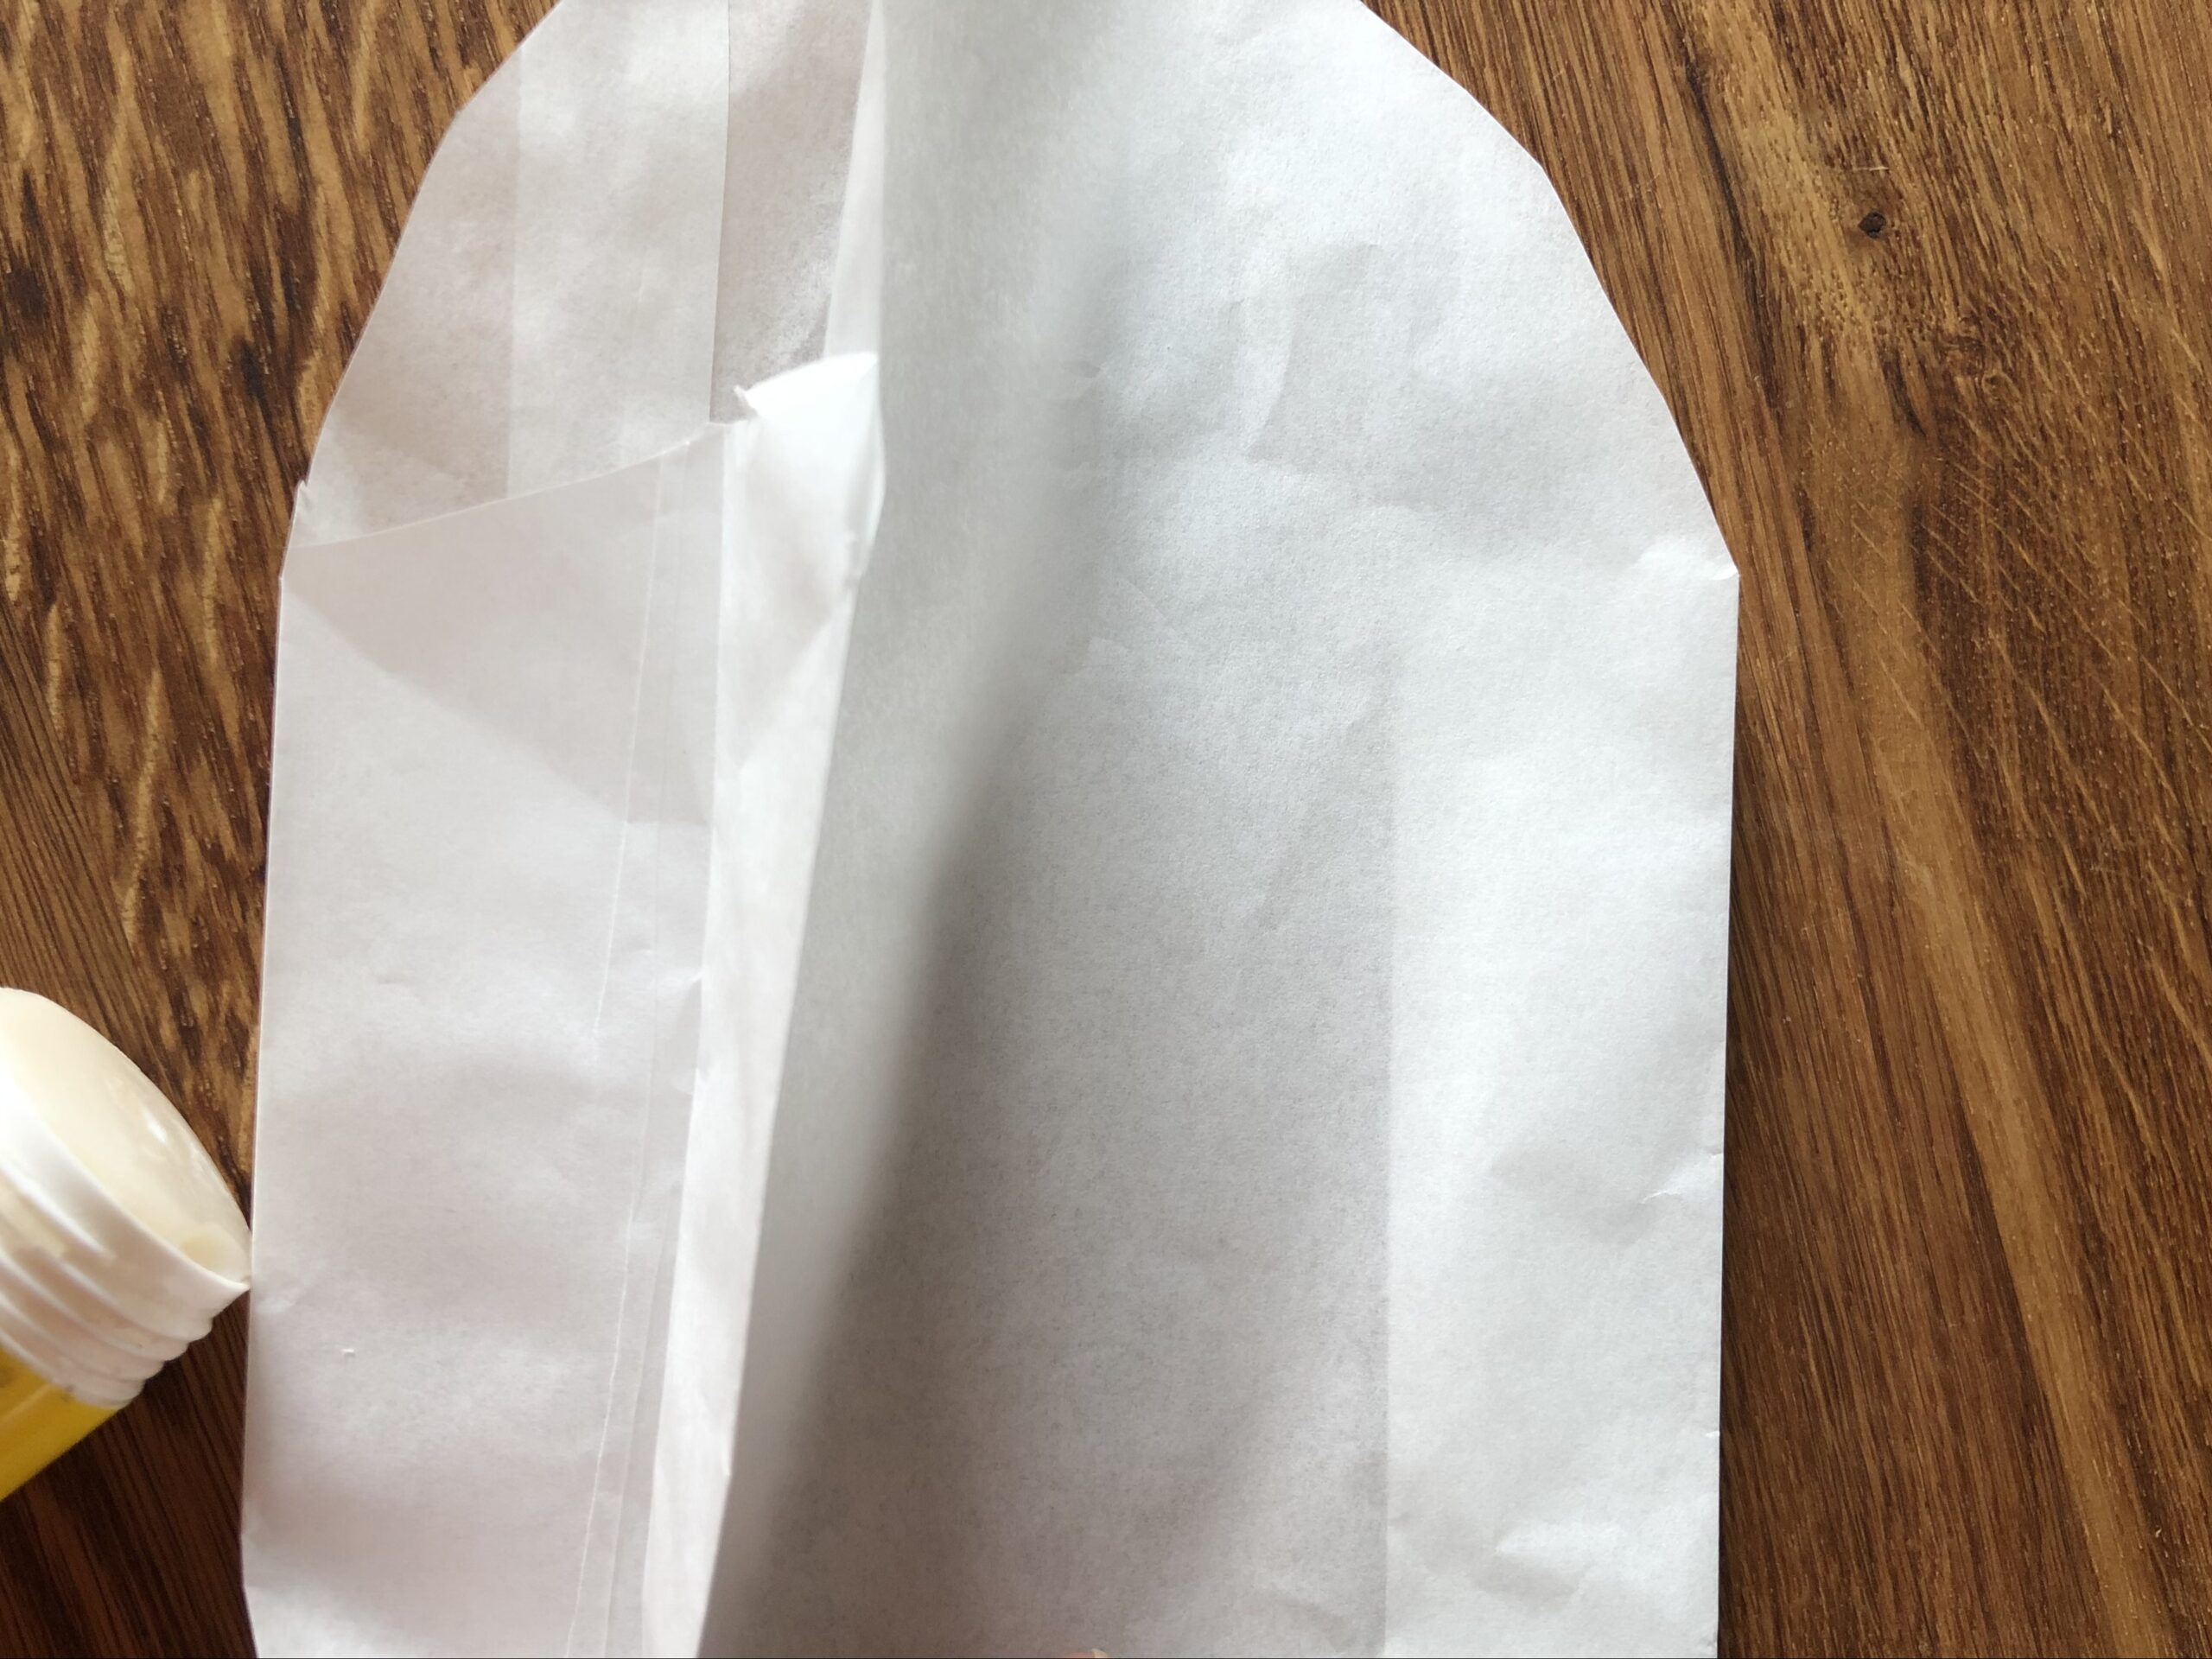
Bild zum Schritt 5 für das Bastel- und DIY-Abenteuer für Kinder: 'Anschließend klebt ihr die losen Seiten links und rechts mit...'

6

Now you paint a face on the bags, creating beautiful, creepy ghosts.
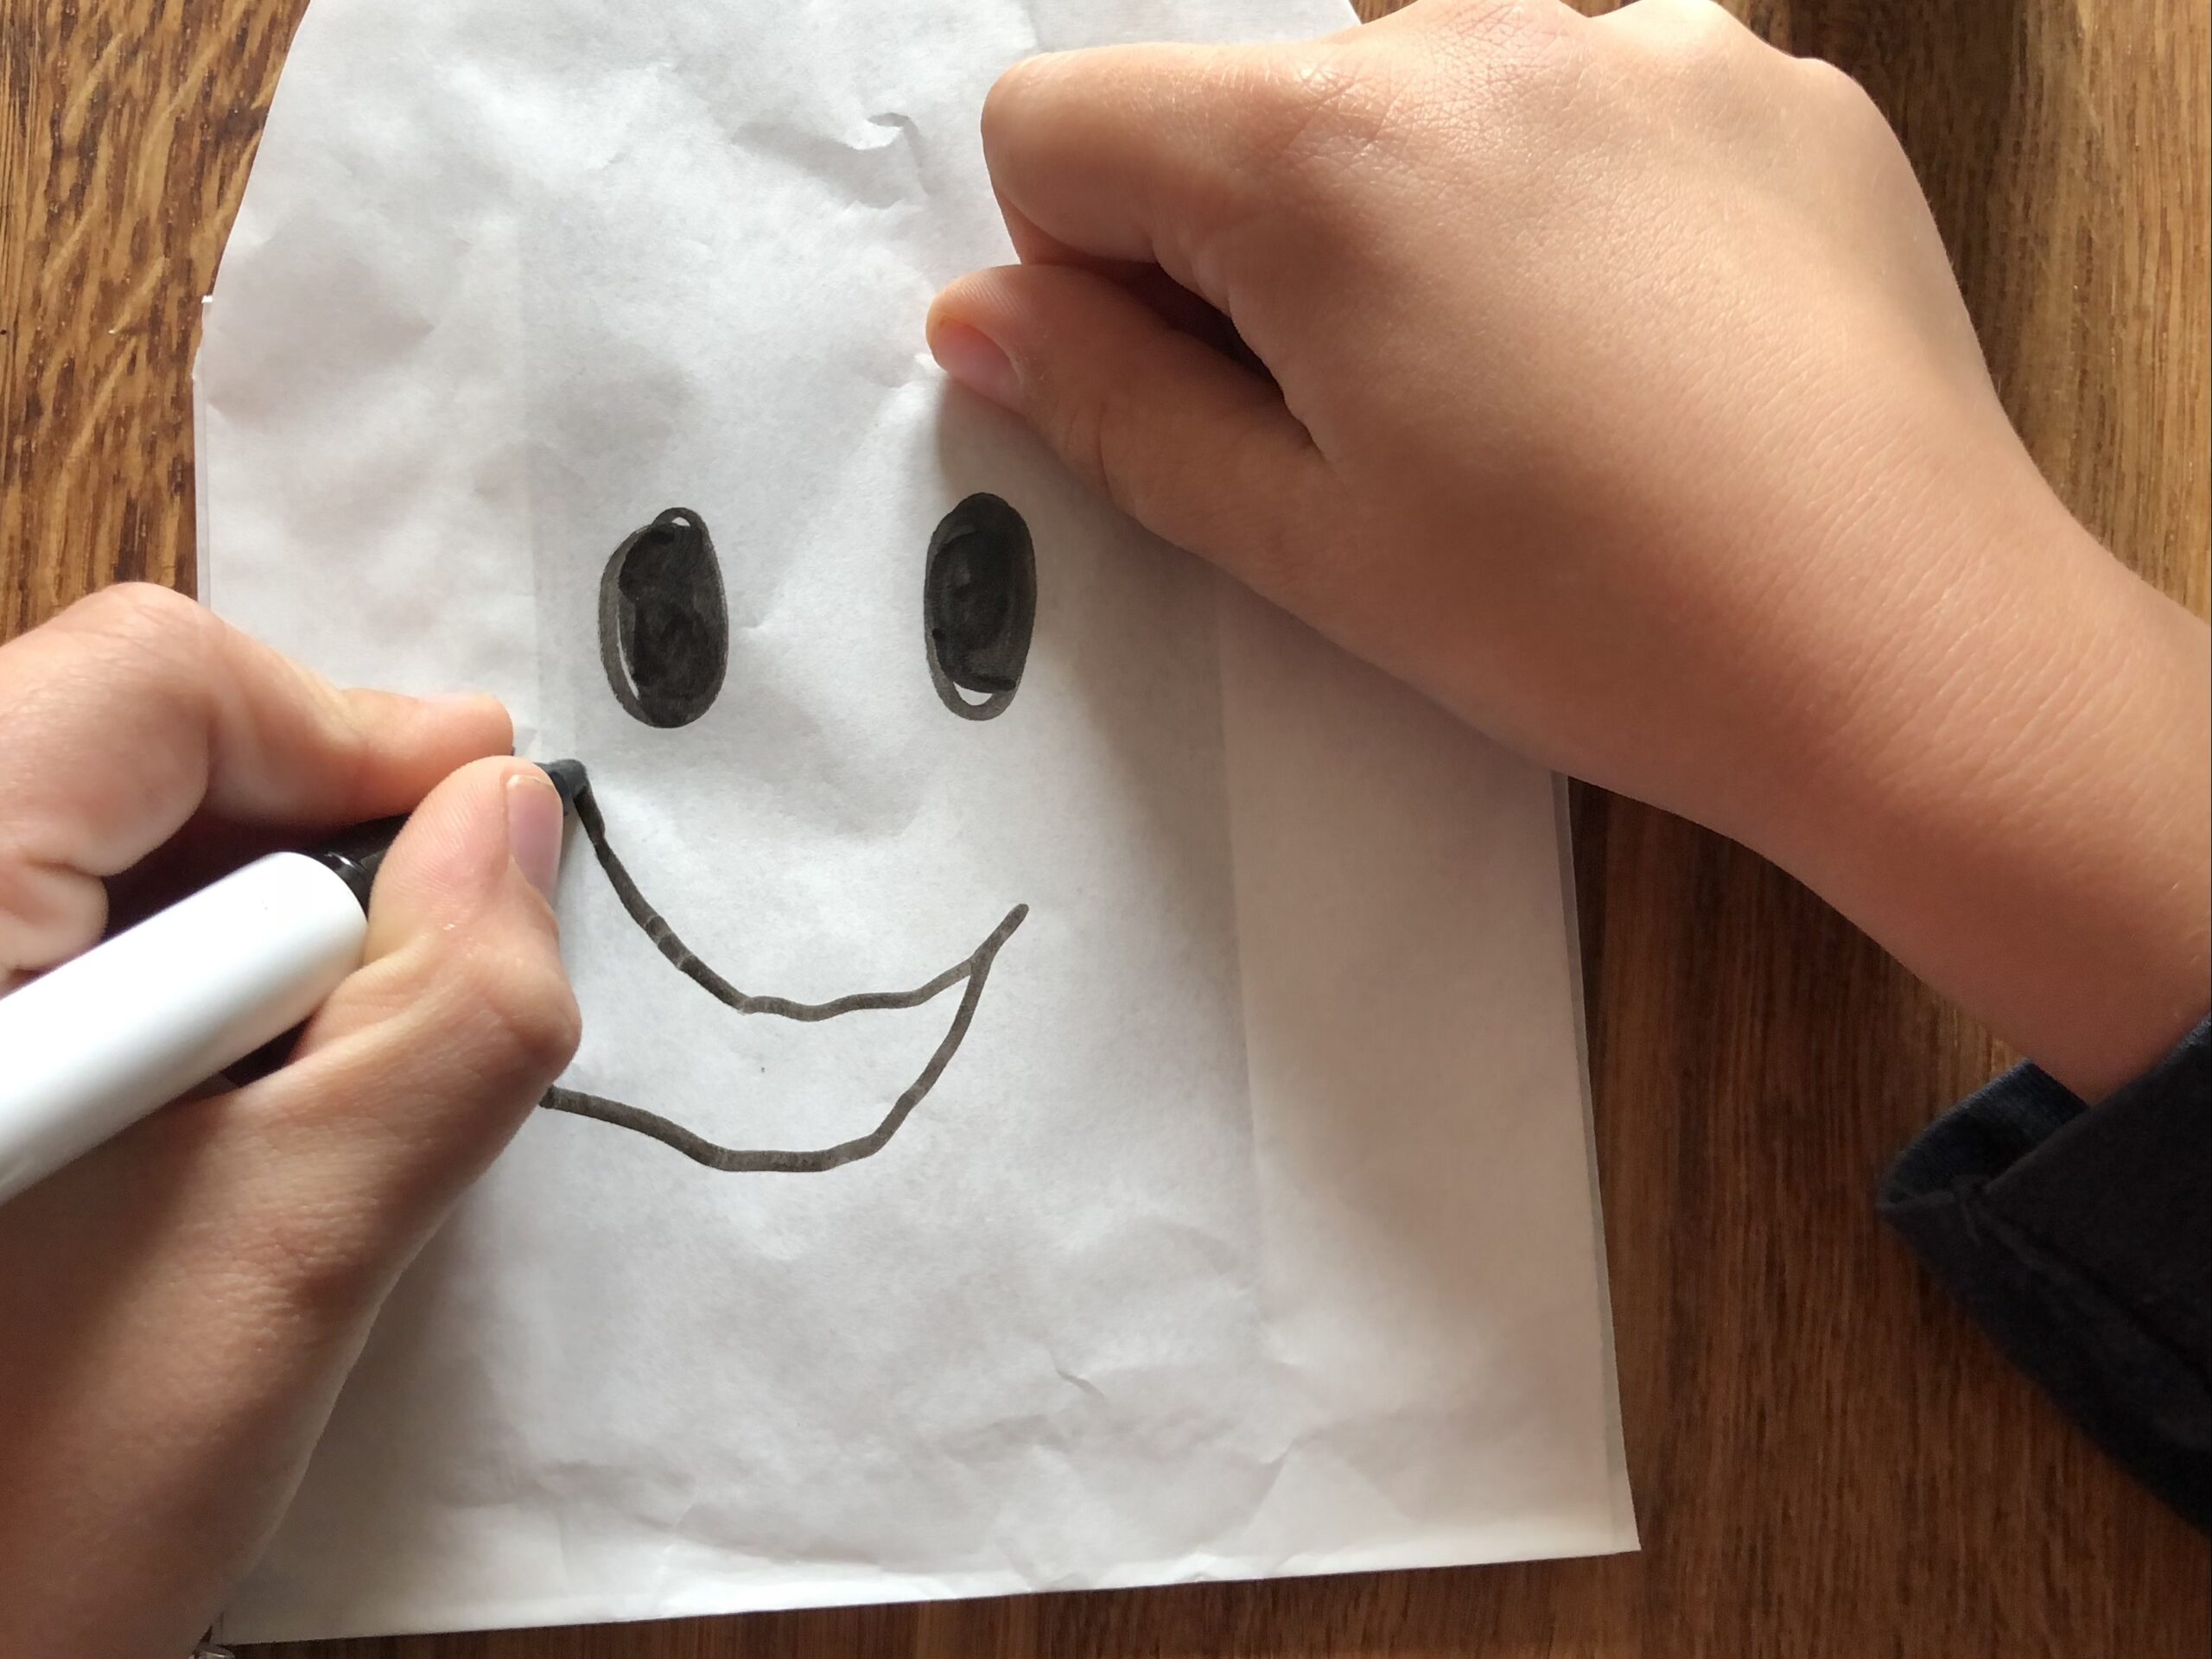
Bild zum Schritt 6 für das Bastel- und DIY-Abenteuer für Kinder: 'Jetzt malt ihr ein Gesicht auf die Tüten. So entstehen...'

7

Then put the empty jam jar in the bag.
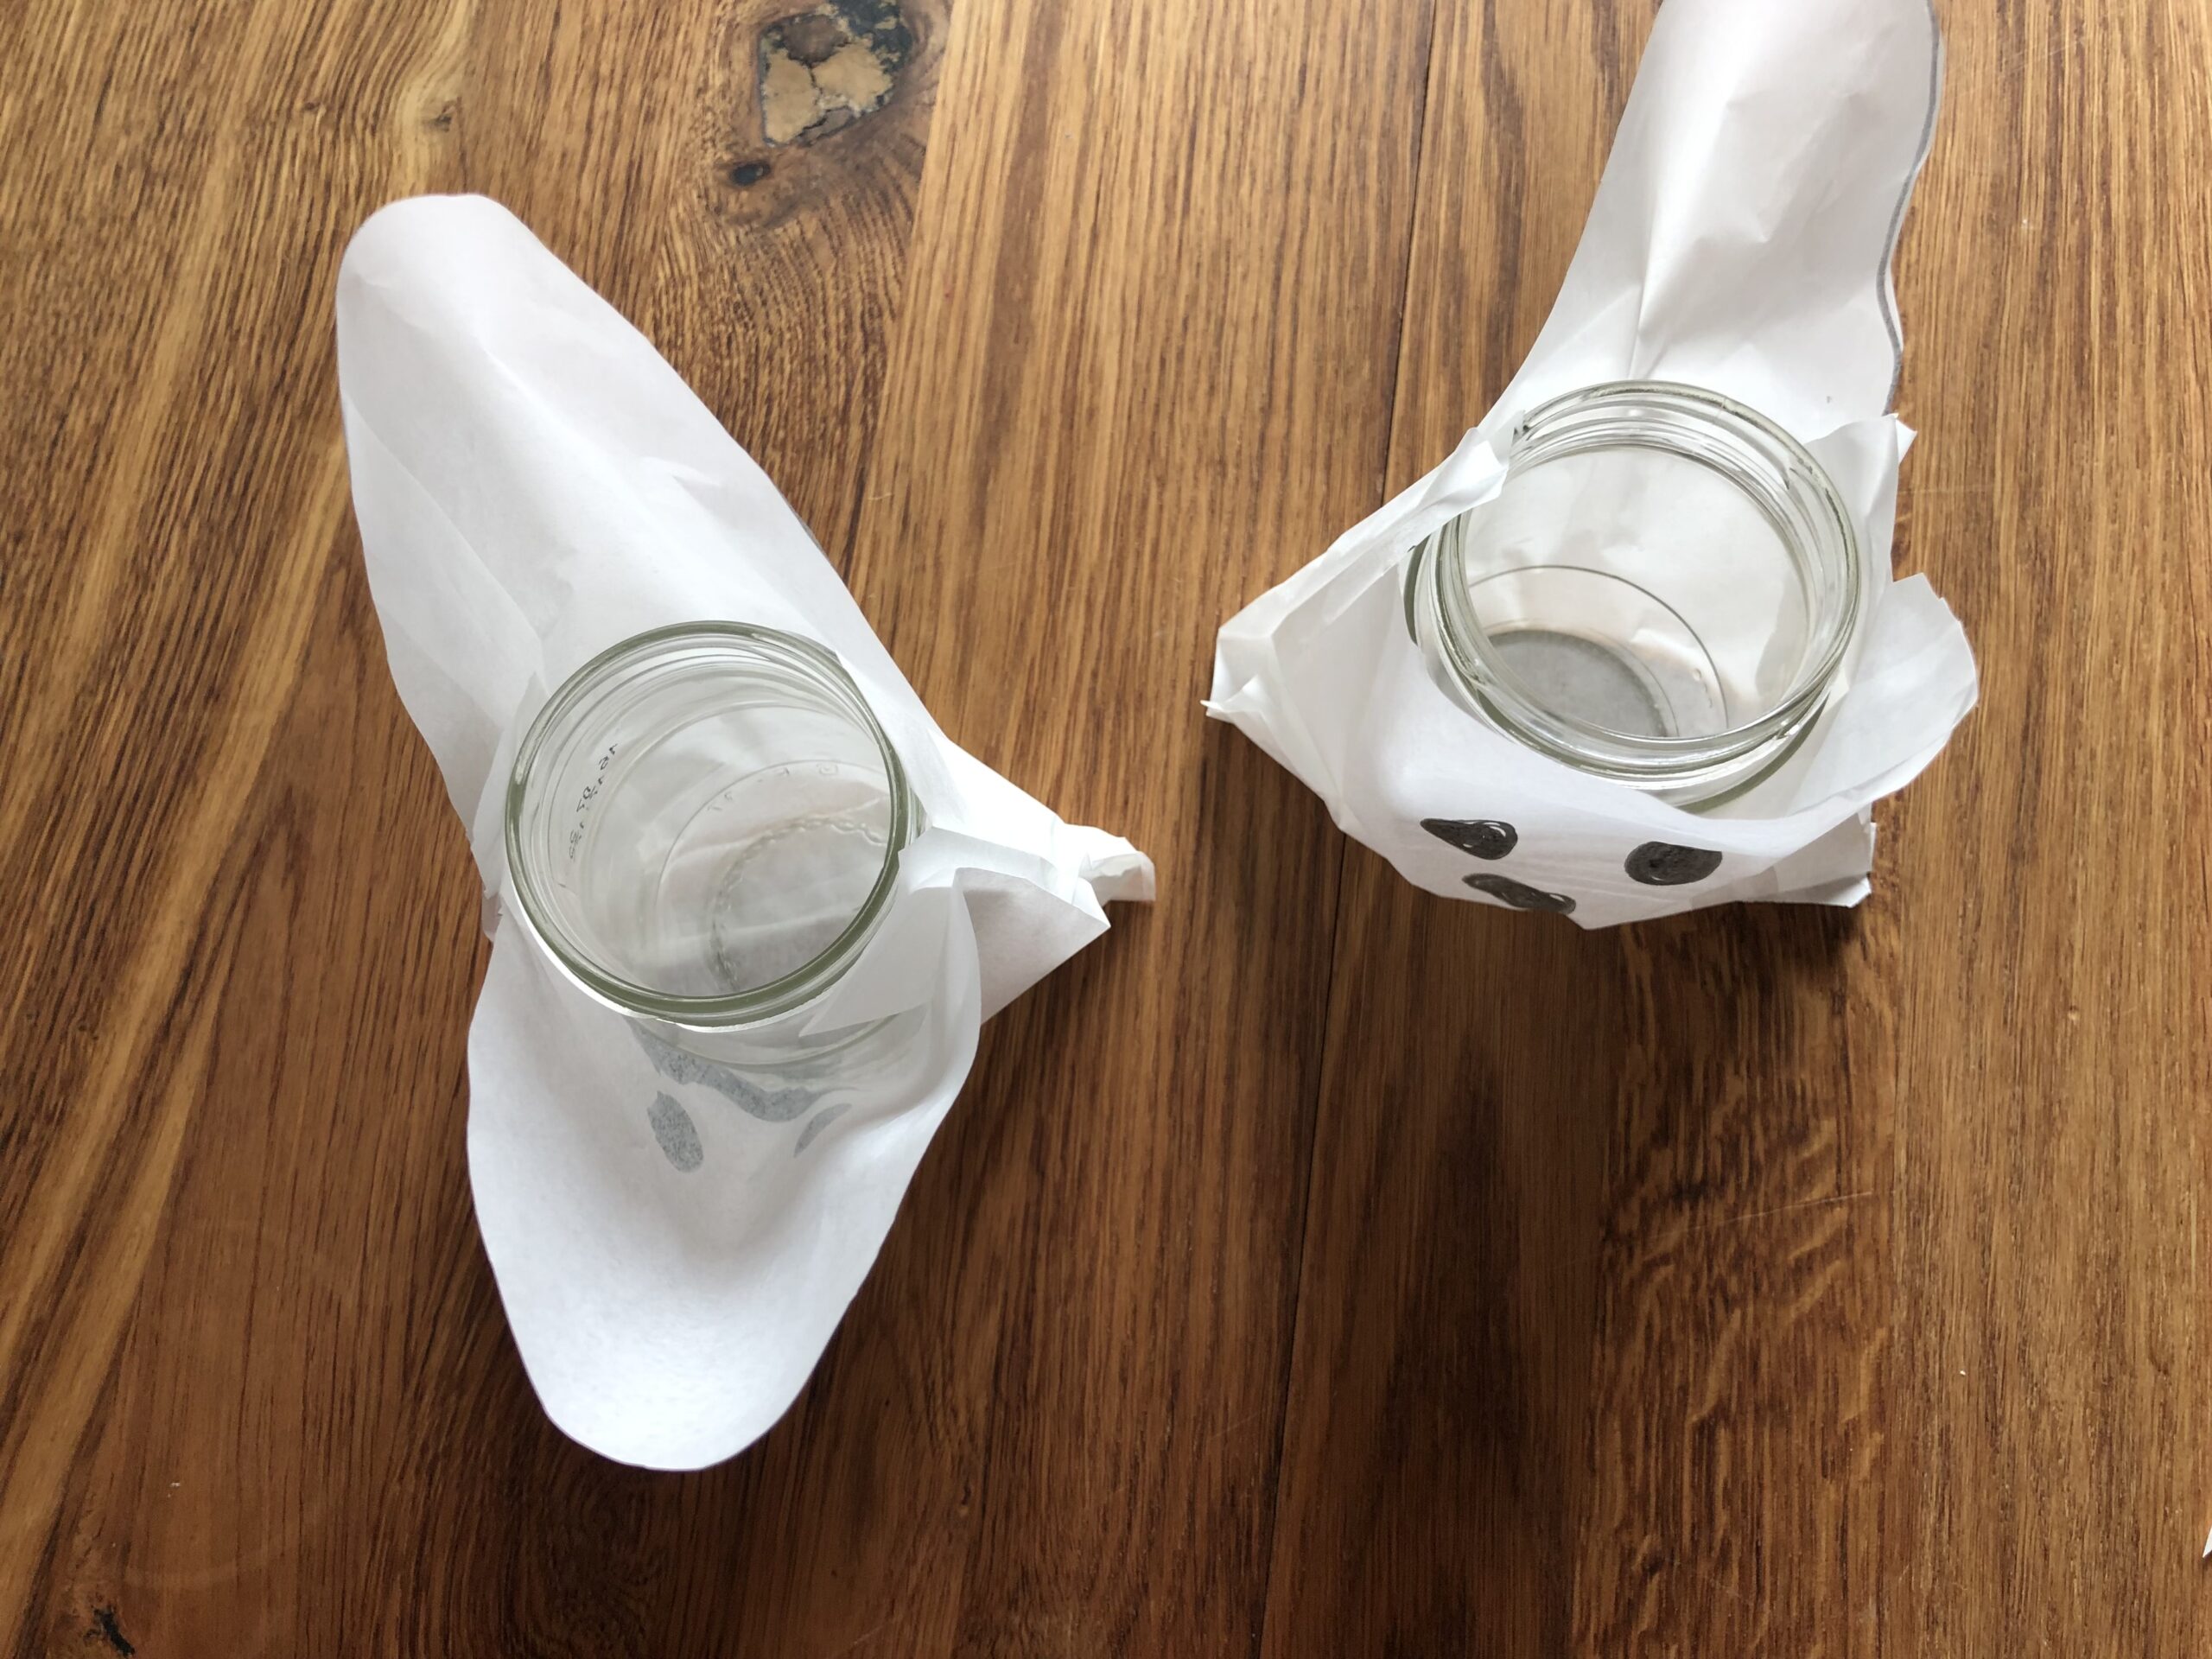
Bild zum Schritt 7 für das Bastel- und DIY-Abenteuer für Kinder: 'Danach stellt ihr das leere Marmeladenglas in die Tüte.'

8

Then you put a tealight in it. Ready are the windlight ghosts.
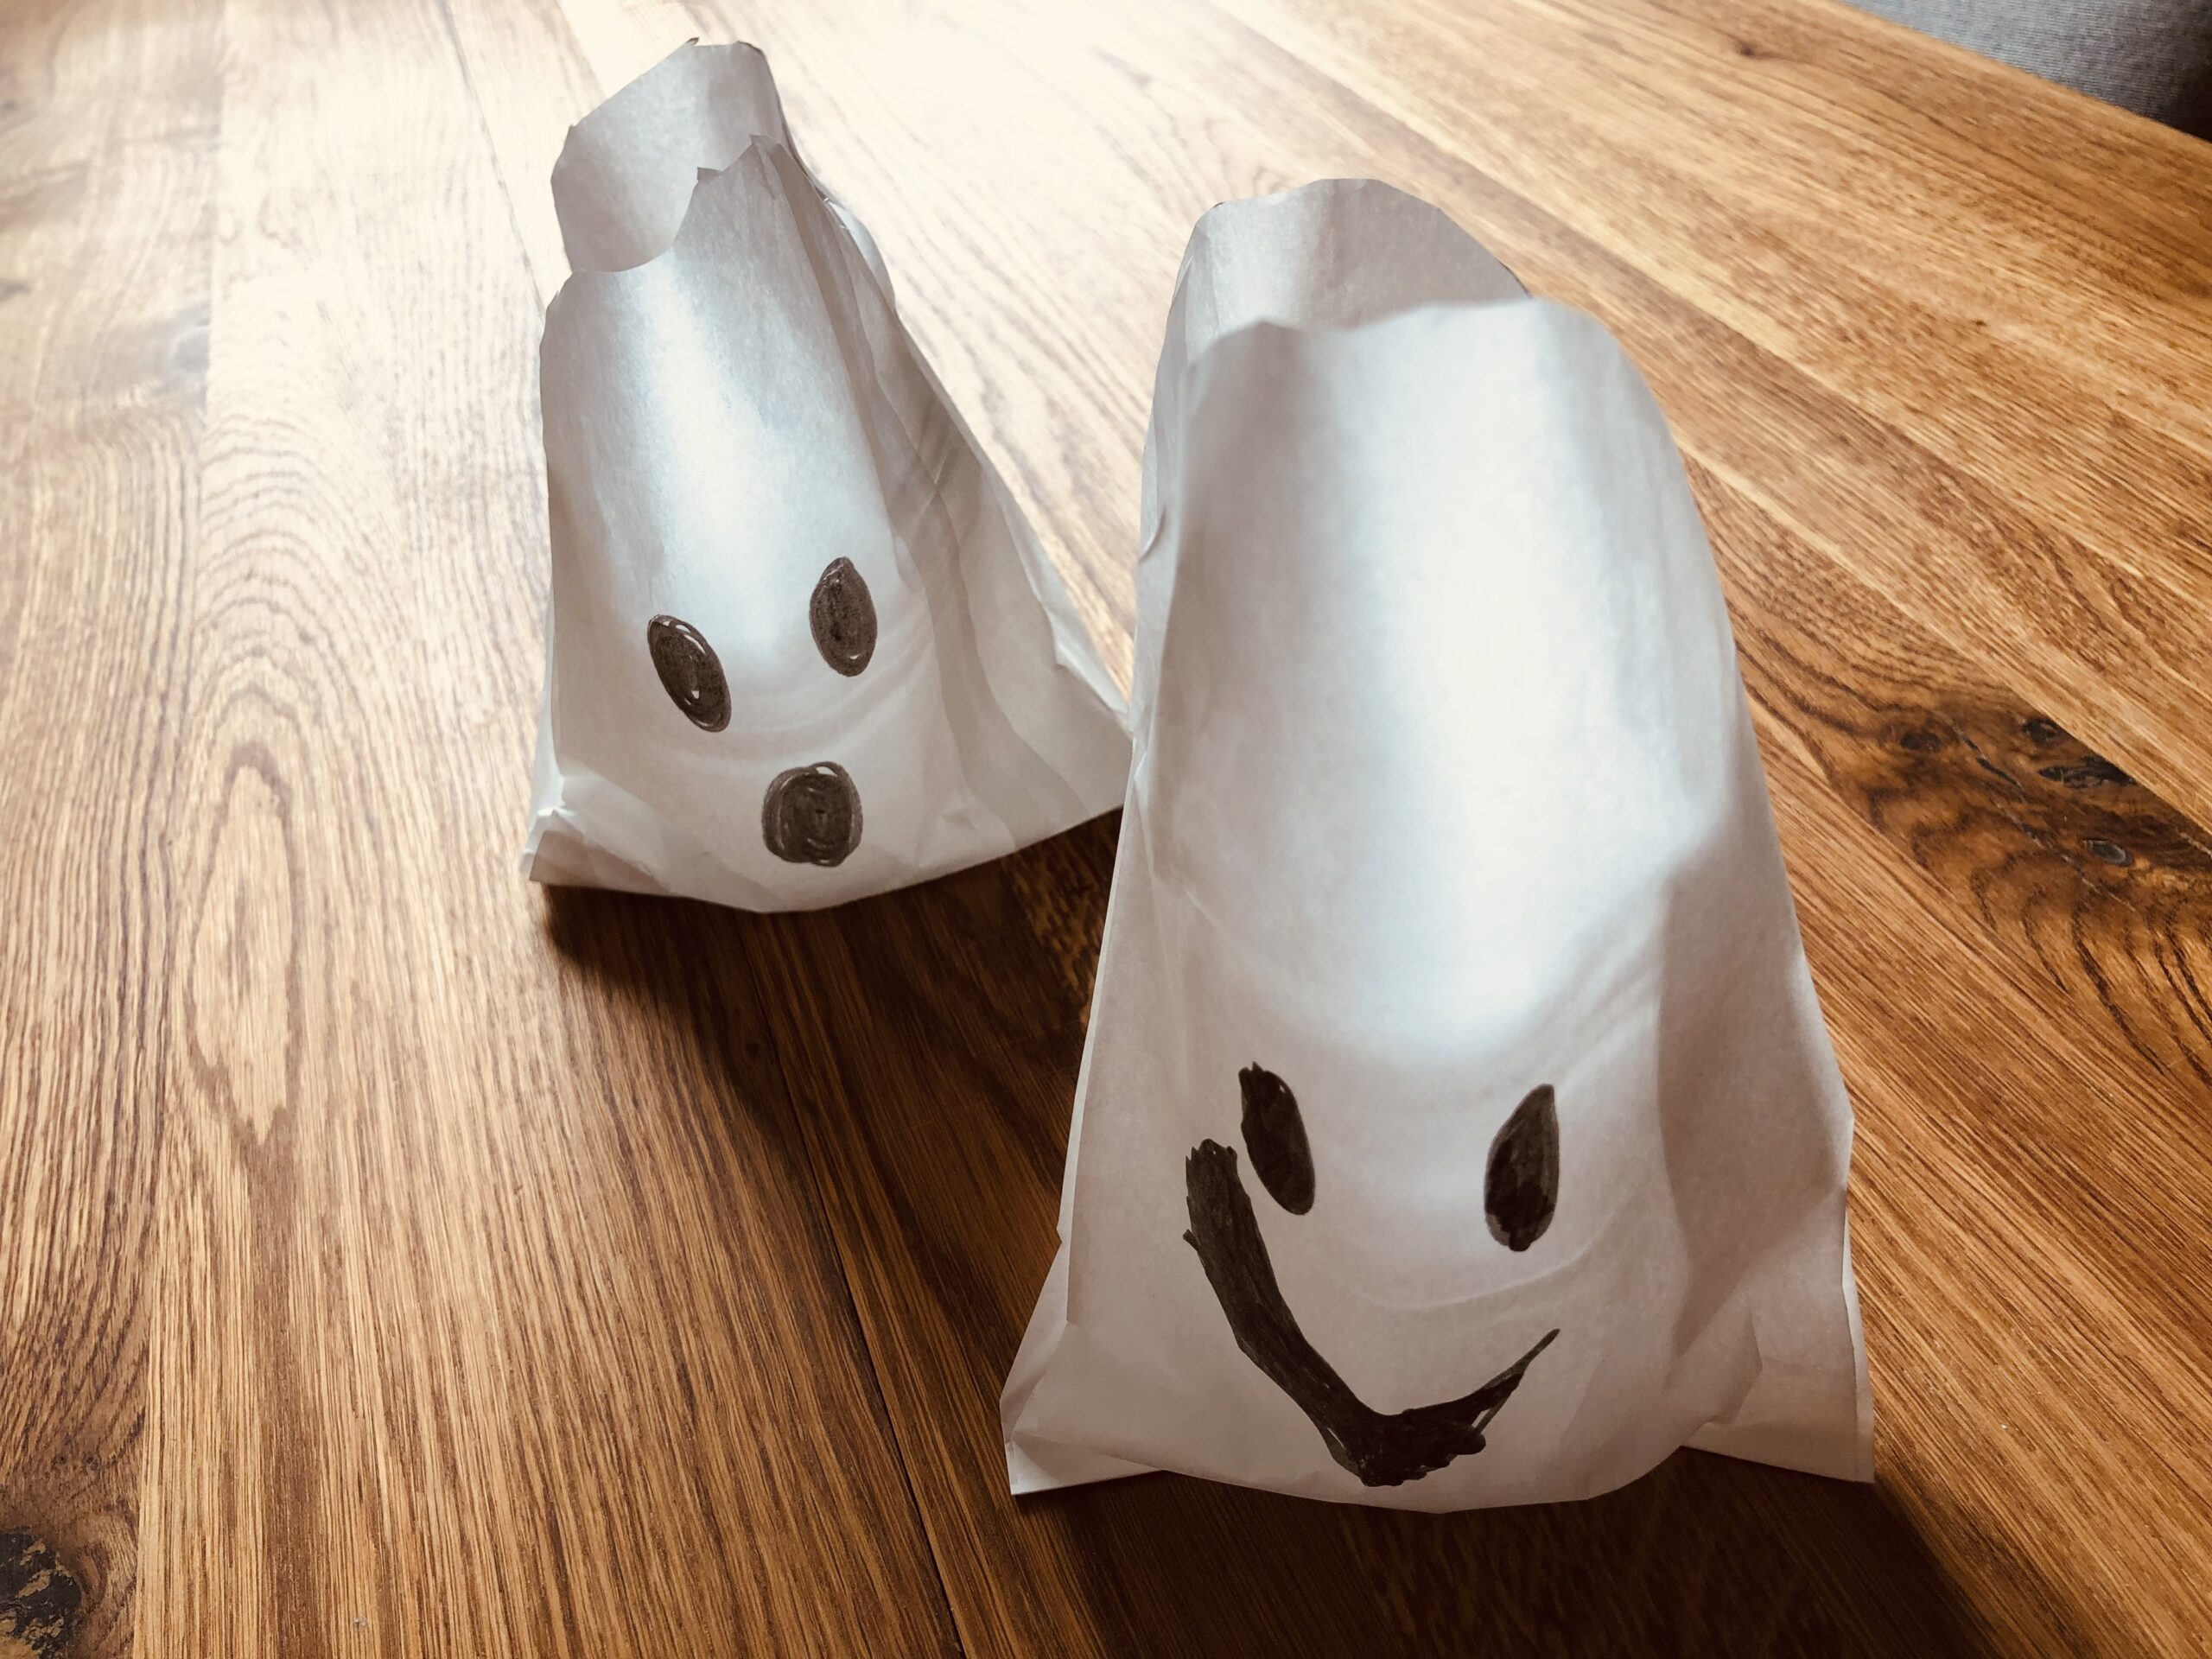
Bild zum Schritt 8 für das Bastel- und DIY-Abenteuer für Kinder: 'Dann legt ihr noch ein Teelicht hinein. Fertig sind die...'

9

Finally, the windlight decorates ghosts with a branch and nuts or with pumpkins. Use what you have at home.
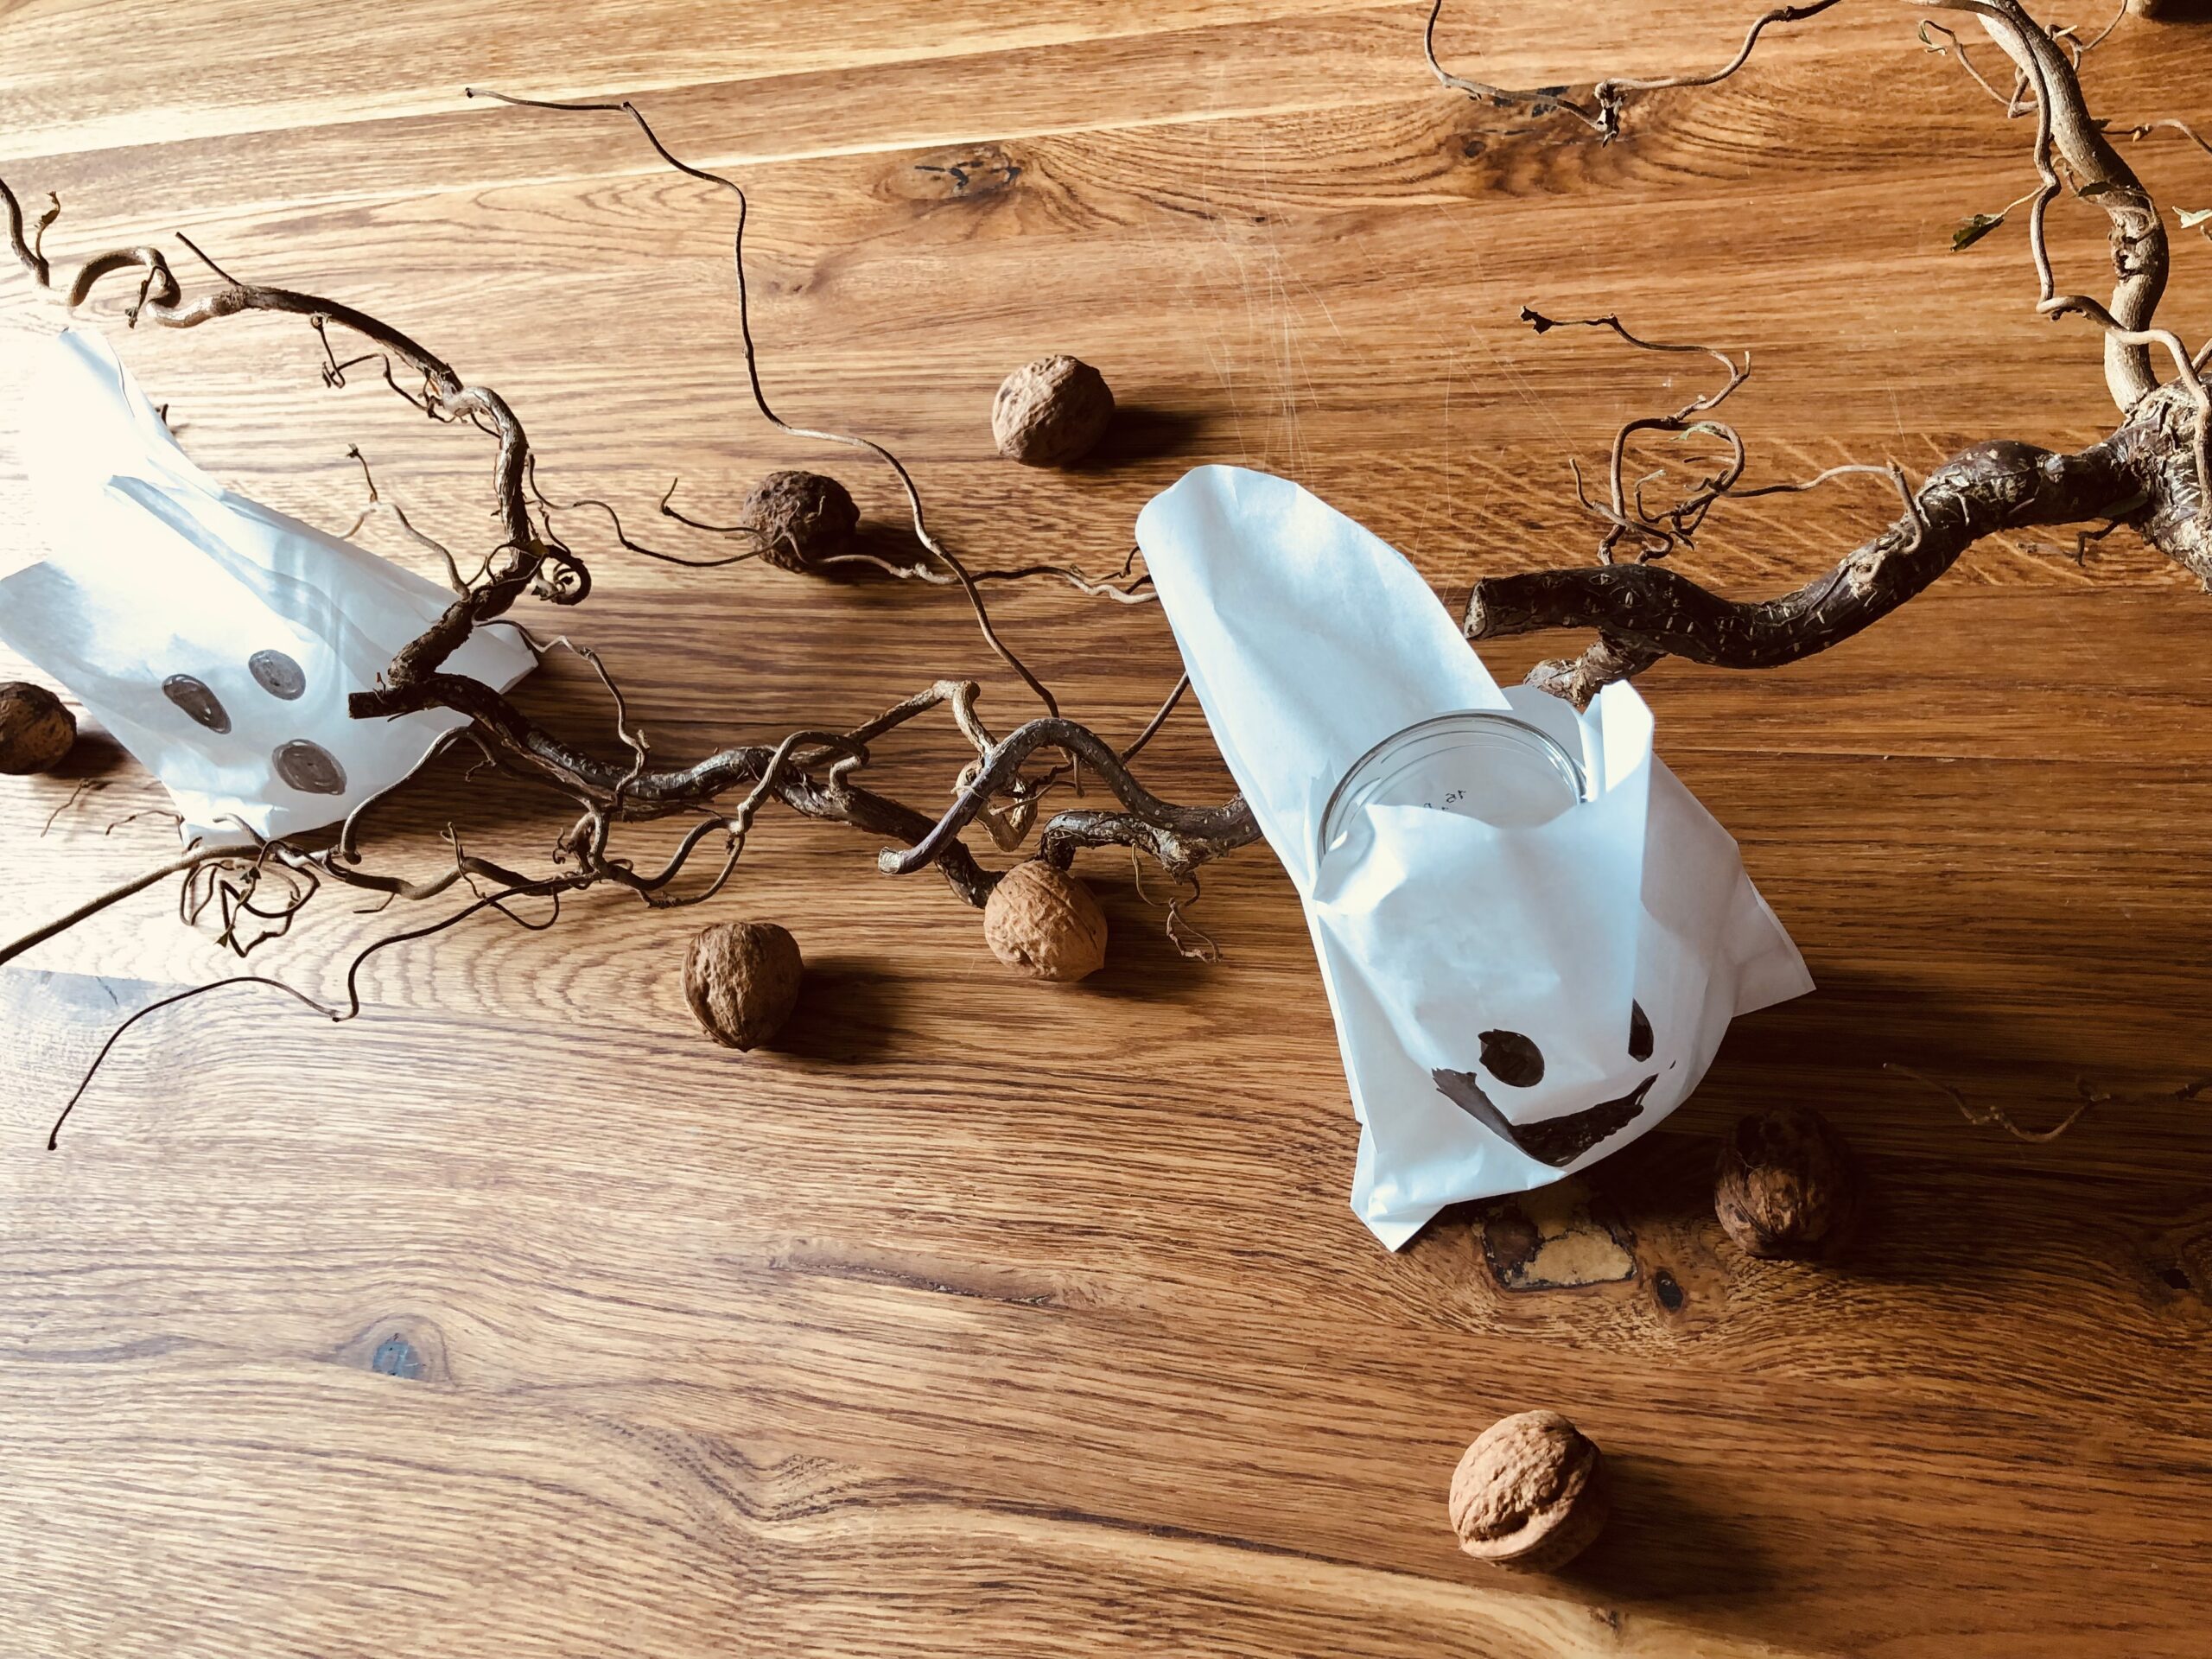
Bild zum Schritt 9 für das Bastel- und DIY-Abenteuer für Kinder: 'Abschließend dekoriert die Windlicht Gespenster mit einem Zweig und Nüssen...'

10

Have fun!

Windlight Ghosts

Follow us on Facebook , Instagram and Pinterest
Don't miss any more adventures: Our bottle mail

Leave a Reply

Your email address will not be published.

The maximum upload file size: 5 MB. You can upload: image, document. Drop file here