Weather – crafting frog in glass

AdventurerKatzi
Rating0.03.9 Thousand times & (0) DifficultyAdvanced

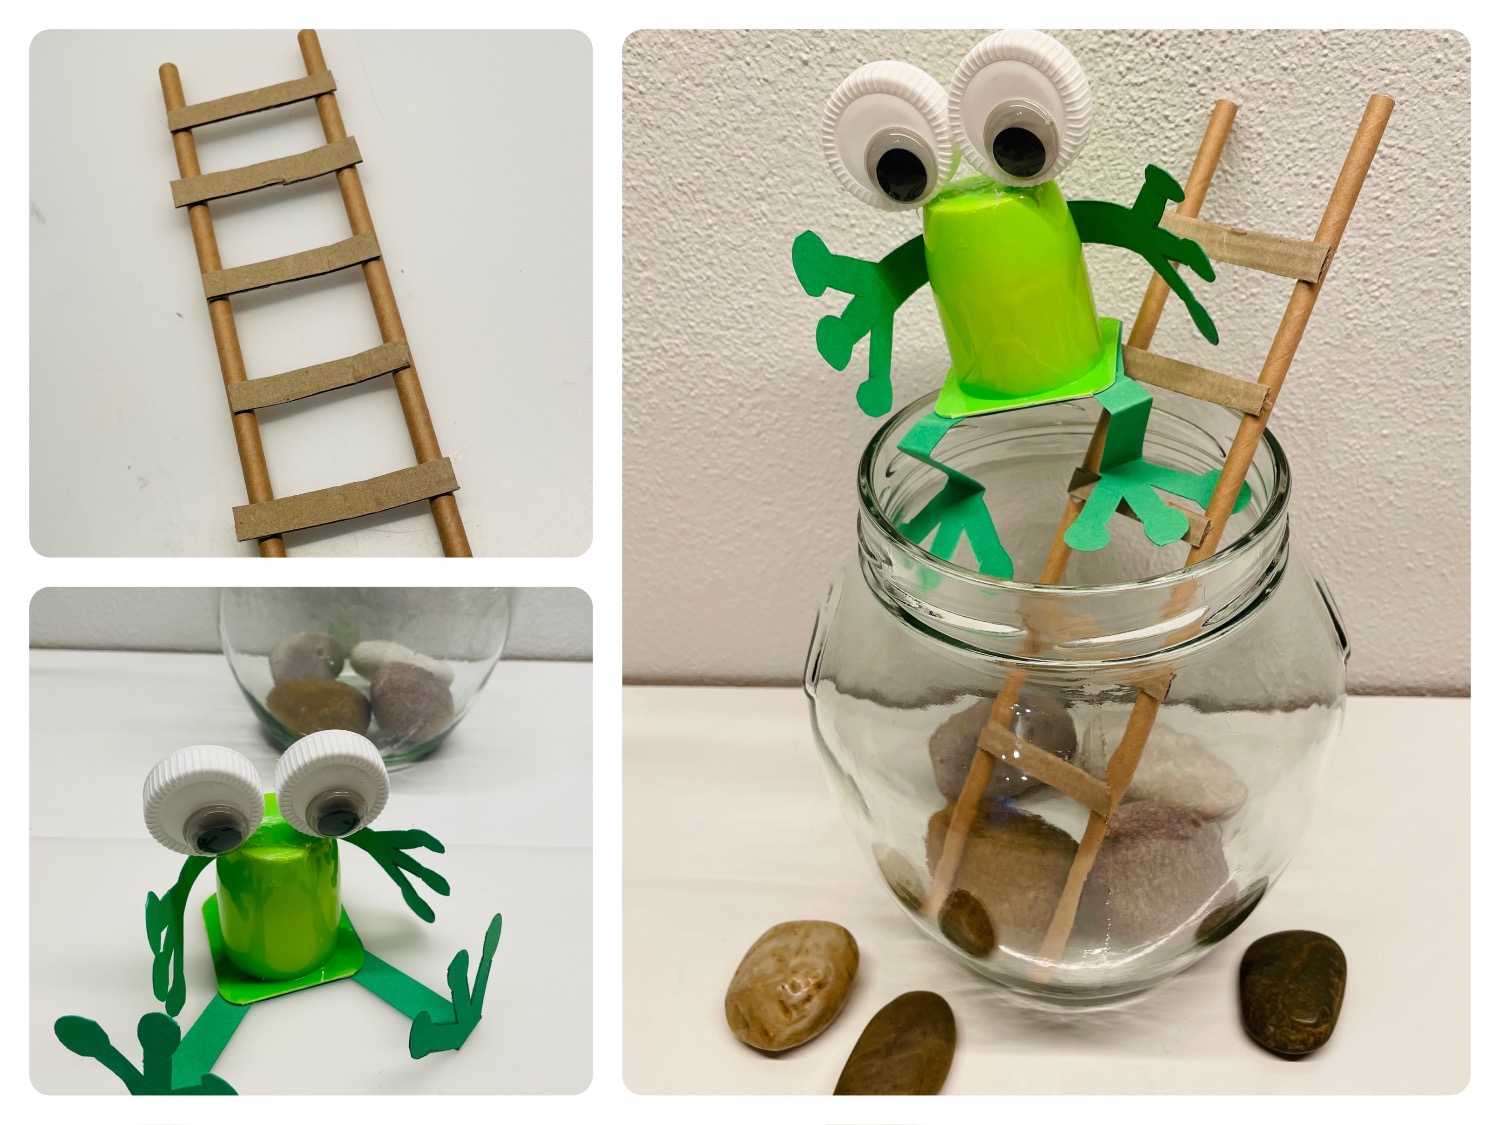
You're dealing with the subject of weather? Then you've probably already asked yourself, "Is there a weather frog?" Here's one for you! And how you can make it yourself, we'll show you step by step.
Find a large bulbous glass (or a wake-up glass) and a large round of stones. Then you make a ladder that you put into the glass. Then you put the frog on it. We made it out of a yoghurt cup. But maybe you also have a plush frog at home that you want to use. Have fun and stay creative!

Media Education for Kindergarten and Hort

Kind bastelt eine Rassel mit dem Navi
The Adventure Navi, the app for DIY projects, enables media education for the youngest.

Relief in everyday life, targeted promotion of individual children, independent learning and - without any pre-knowledge already usable by the youngest!


Titelbild zur Bastel- und DIY-Idee für Kinder '(958) Wetter – Frosch im Glas basteln'
Material for1 Child
Prep Time10 min.Adv. Time40 min.Total Time50 min.
Frog of yoghurt cup:
Weather glass:
 1 Glass very large and bulbous
 Stones large rounded
 2 Paper strawsor cardboard box
 Cardboard strips
 1 Adhesive penor hot glue gun
 1 Builder's pad
All links marked with a shopping cart lead to Amazon - here we have selected products that we would order ourselves and in part also ordered. In a qualified purchase via the advertising link, we as Amazon partner receive a commission, for you there are no costs. You thus support our cost- and advertising banner-free, educational offer.
1

Get the glass and the stones ready first.
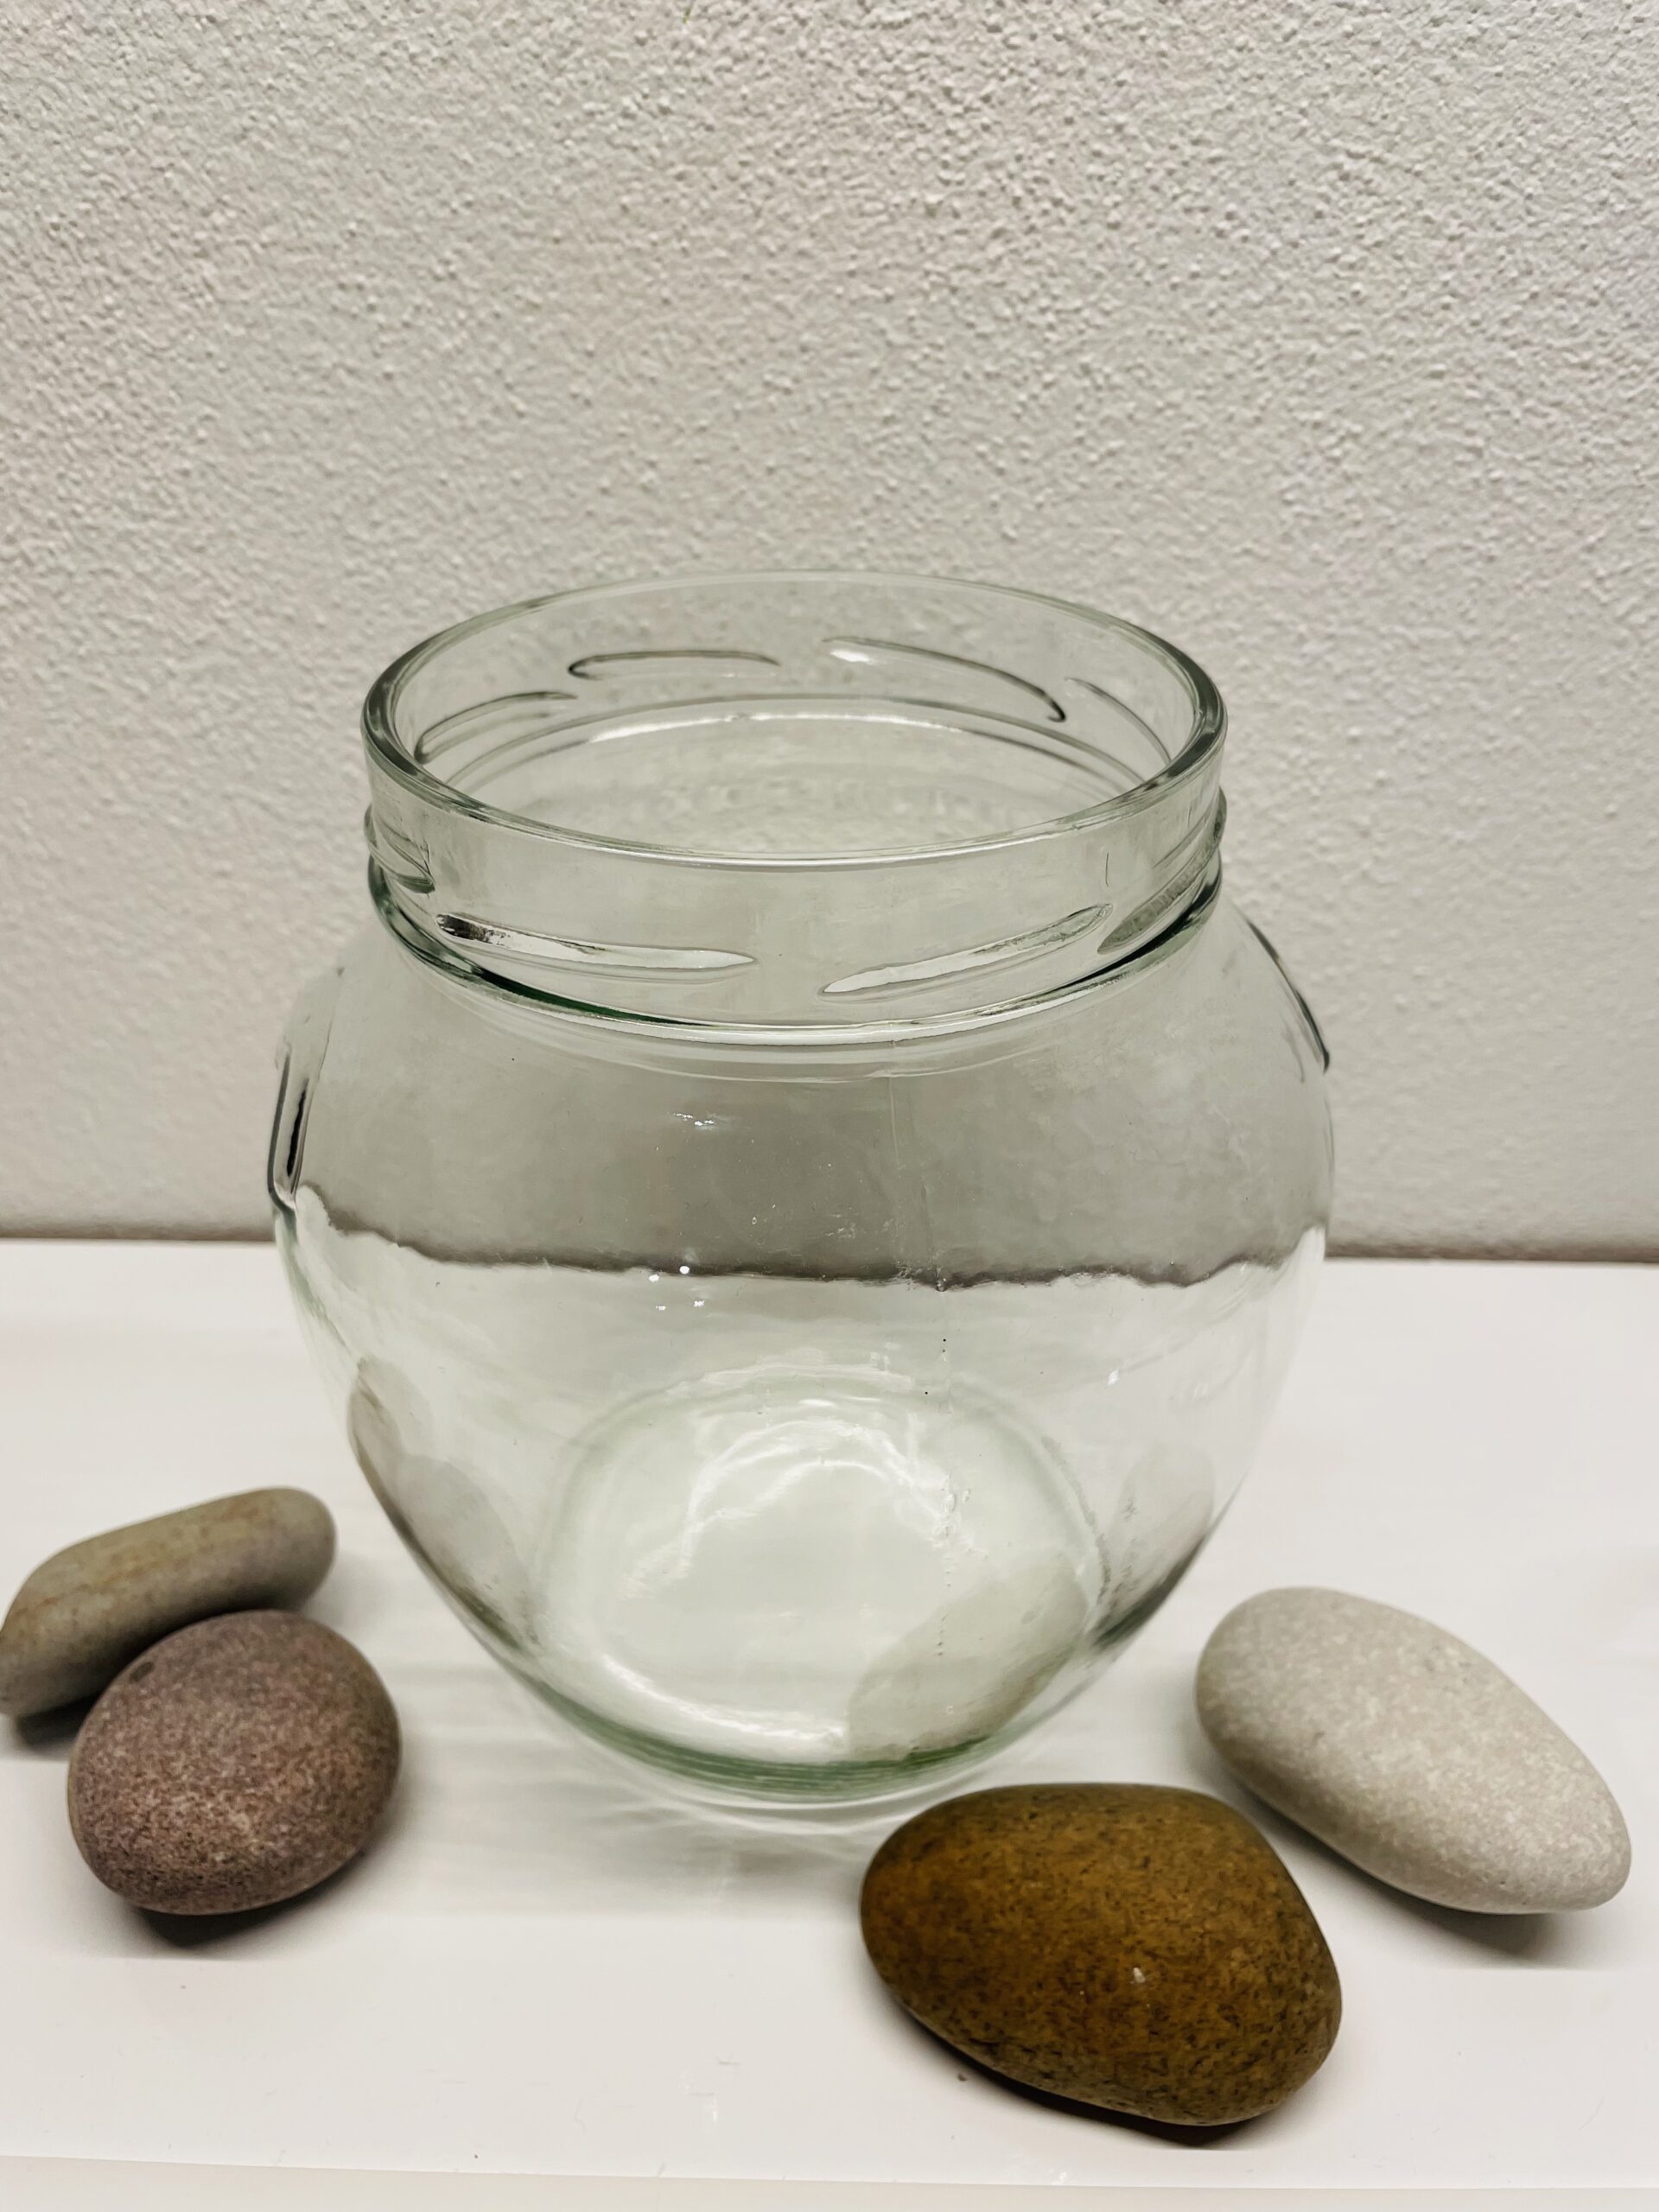
Bild zum Schritt 1 für das Bastel- und DIY-Abenteuer für Kinder: 'Legt euch zuerst das Glas und die Steine bereit.'

2

Then carefully put the clean stones in the glass.
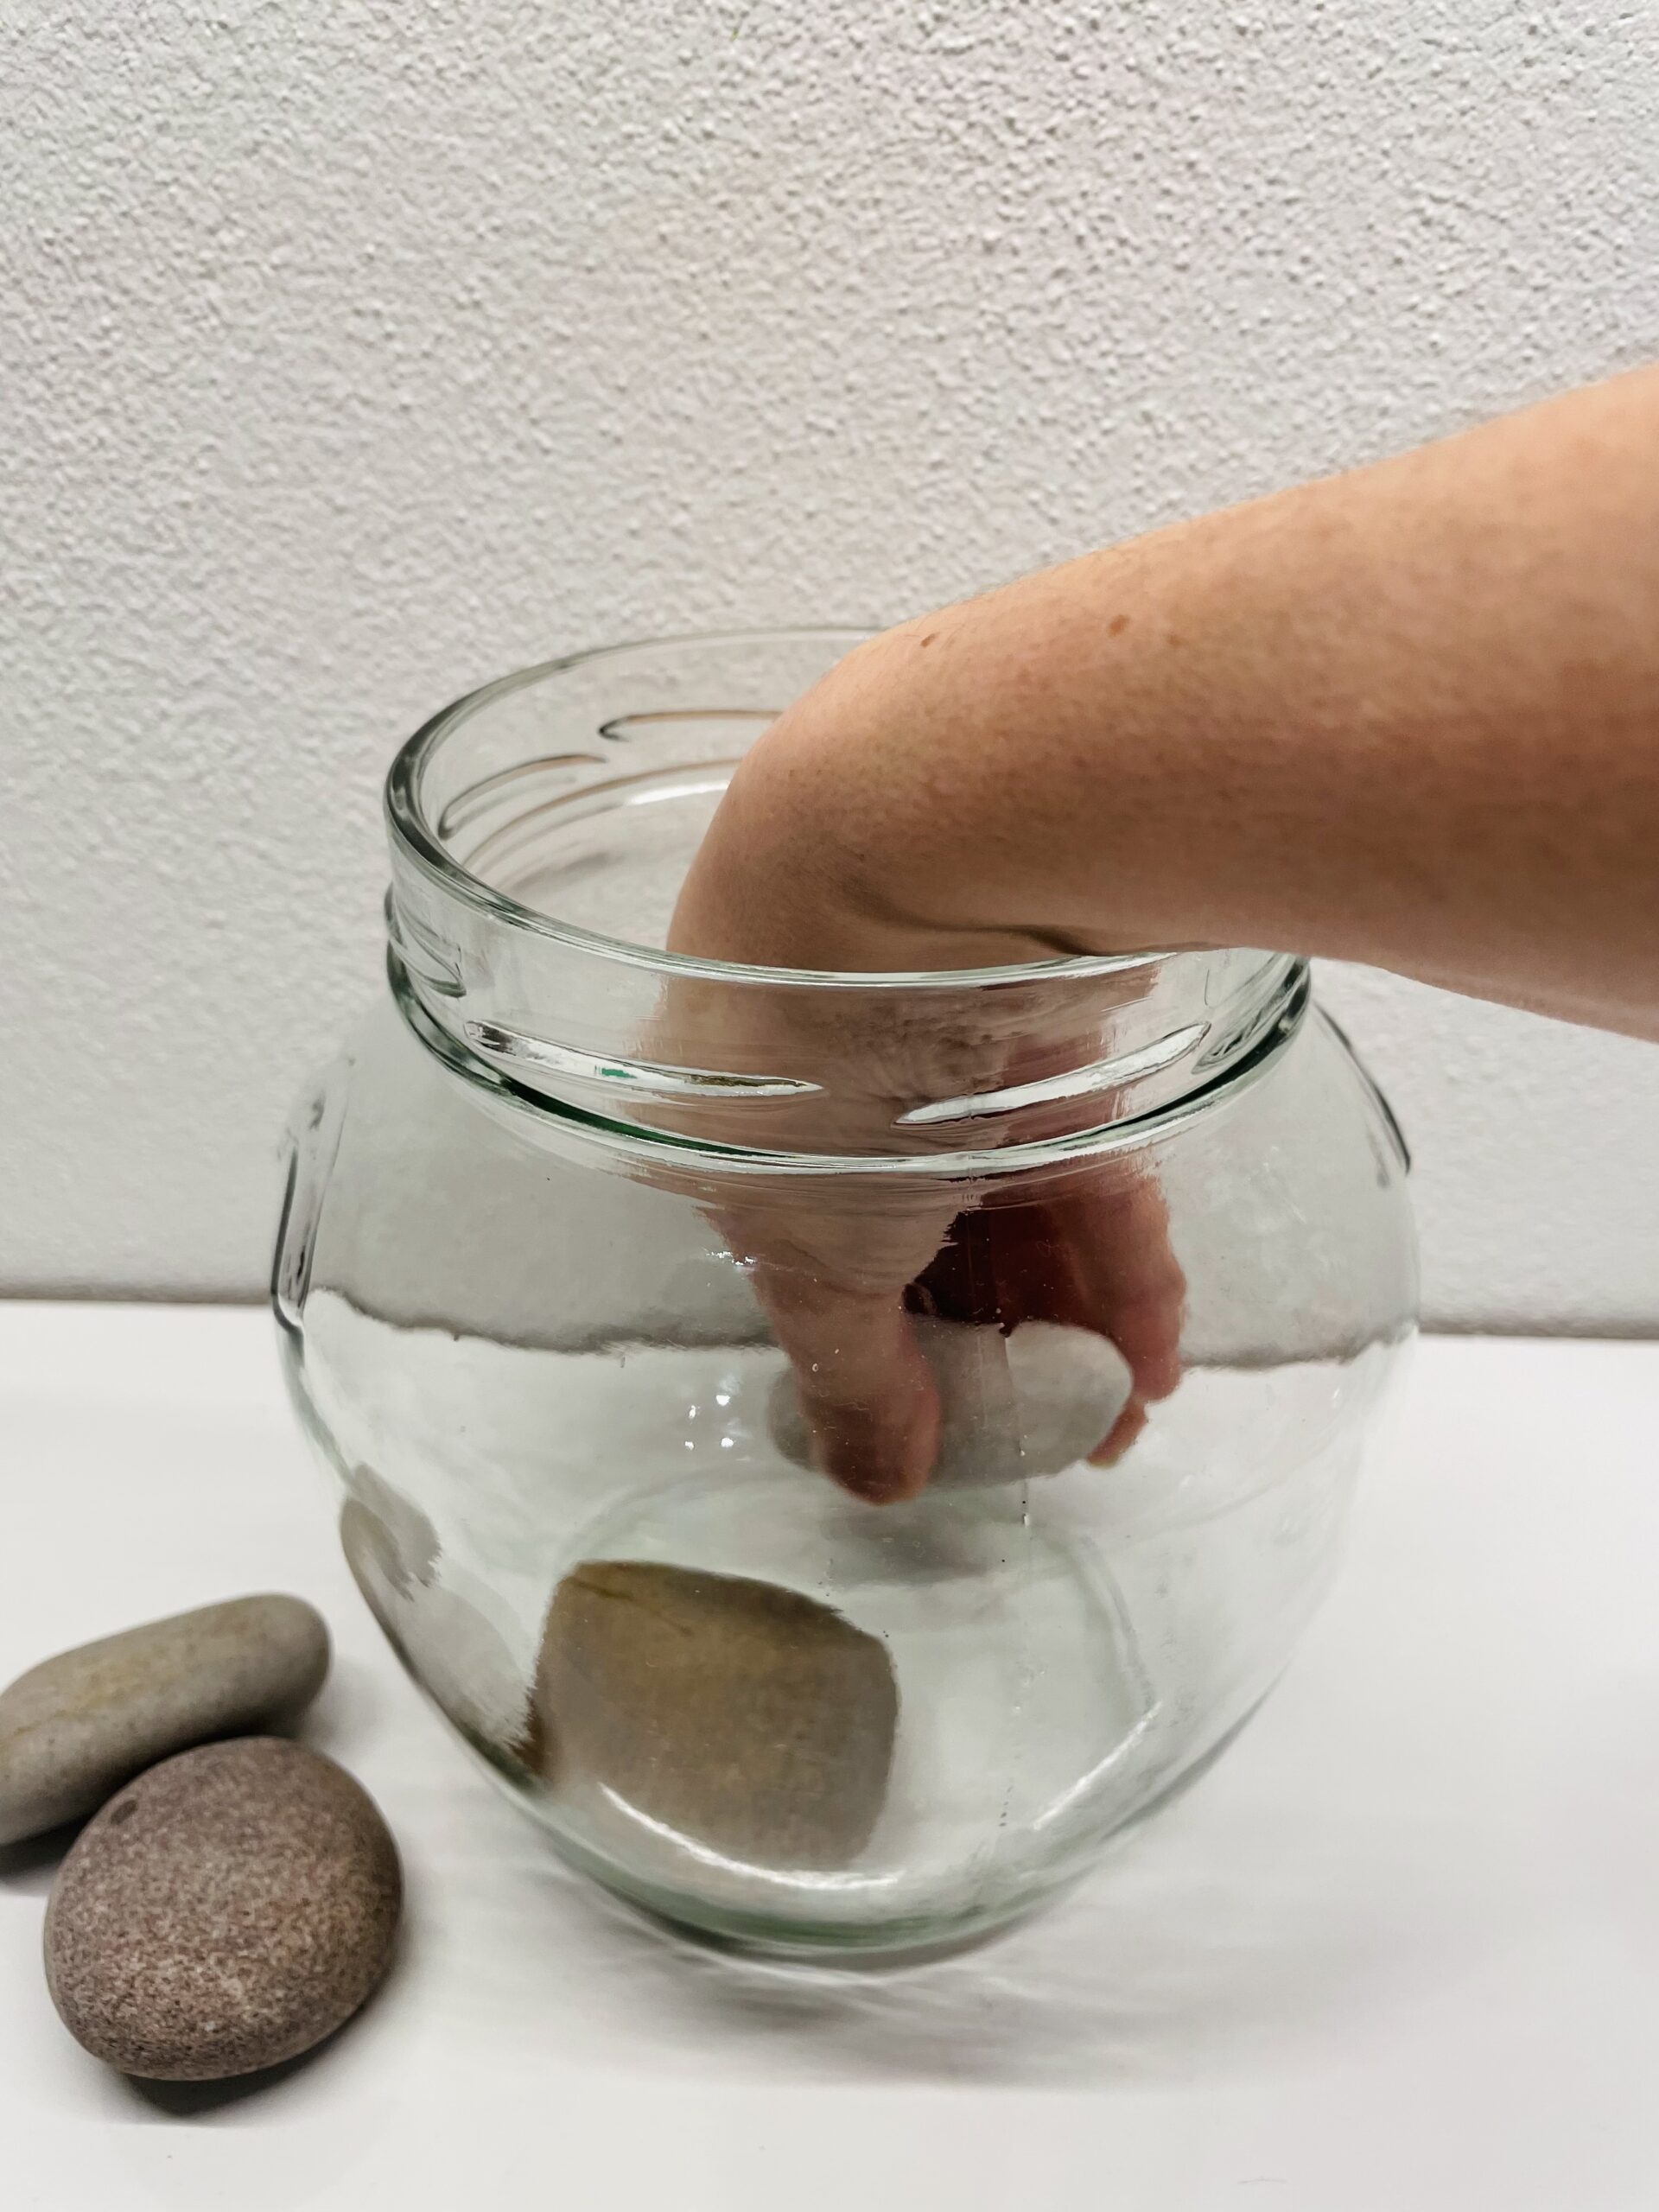
Bild zum Schritt 2 für das Bastel- und DIY-Abenteuer für Kinder: 'Dann legt ihr die sauberen Steine vorsichtig in das Glas.'

3

Some stones are enough for this. It doesn't have to be covered with the whole floor.

Bild zum Schritt 3 für das Bastel- und DIY-Abenteuer für Kinder: 'Dafür reichen einige Steine aus. Es muss nicht der ganze...'

Ladders make:
4

Then you make a small ladder out of 2 paper straws and a strip of cardboard. The length of straws is a good measure for this. Cut 6 strips out of the cardboard with a length of 5cm and a width of 0.5cm.

Bild zum Schritt 5 für das Bastel- und DIY-Abenteuer für Kinder: 'Danach bastelt ihr aus 2 Papier-Strohhalmen und einem Streifen Karton...'

5

Then put on the straws at a distance of 5cm and fasten these short crossbars to the straws.

Bild zum Schritt 6 für das Bastel- und DIY-Abenteuer für Kinder: 'Dann legt ihr die Strohhalme im Abstand von 5cm auf...'

6

Spreads the short cardboard strips evenly and leaves some space below and above.

Bild zum Schritt 7 für das Bastel- und DIY-Abenteuer für Kinder: 'Verteilt die kurzen Kartonstreifen gleichmäßig und lasst unten und oben...'

7

This creates a ladder, which is placed in the glass after a short drying.

Bild zum Schritt 8 für das Bastel- und DIY-Abenteuer für Kinder: 'So entsteht eine Leiter, die ihr nach kurzem Trocknen in...'

Frogs make:
8

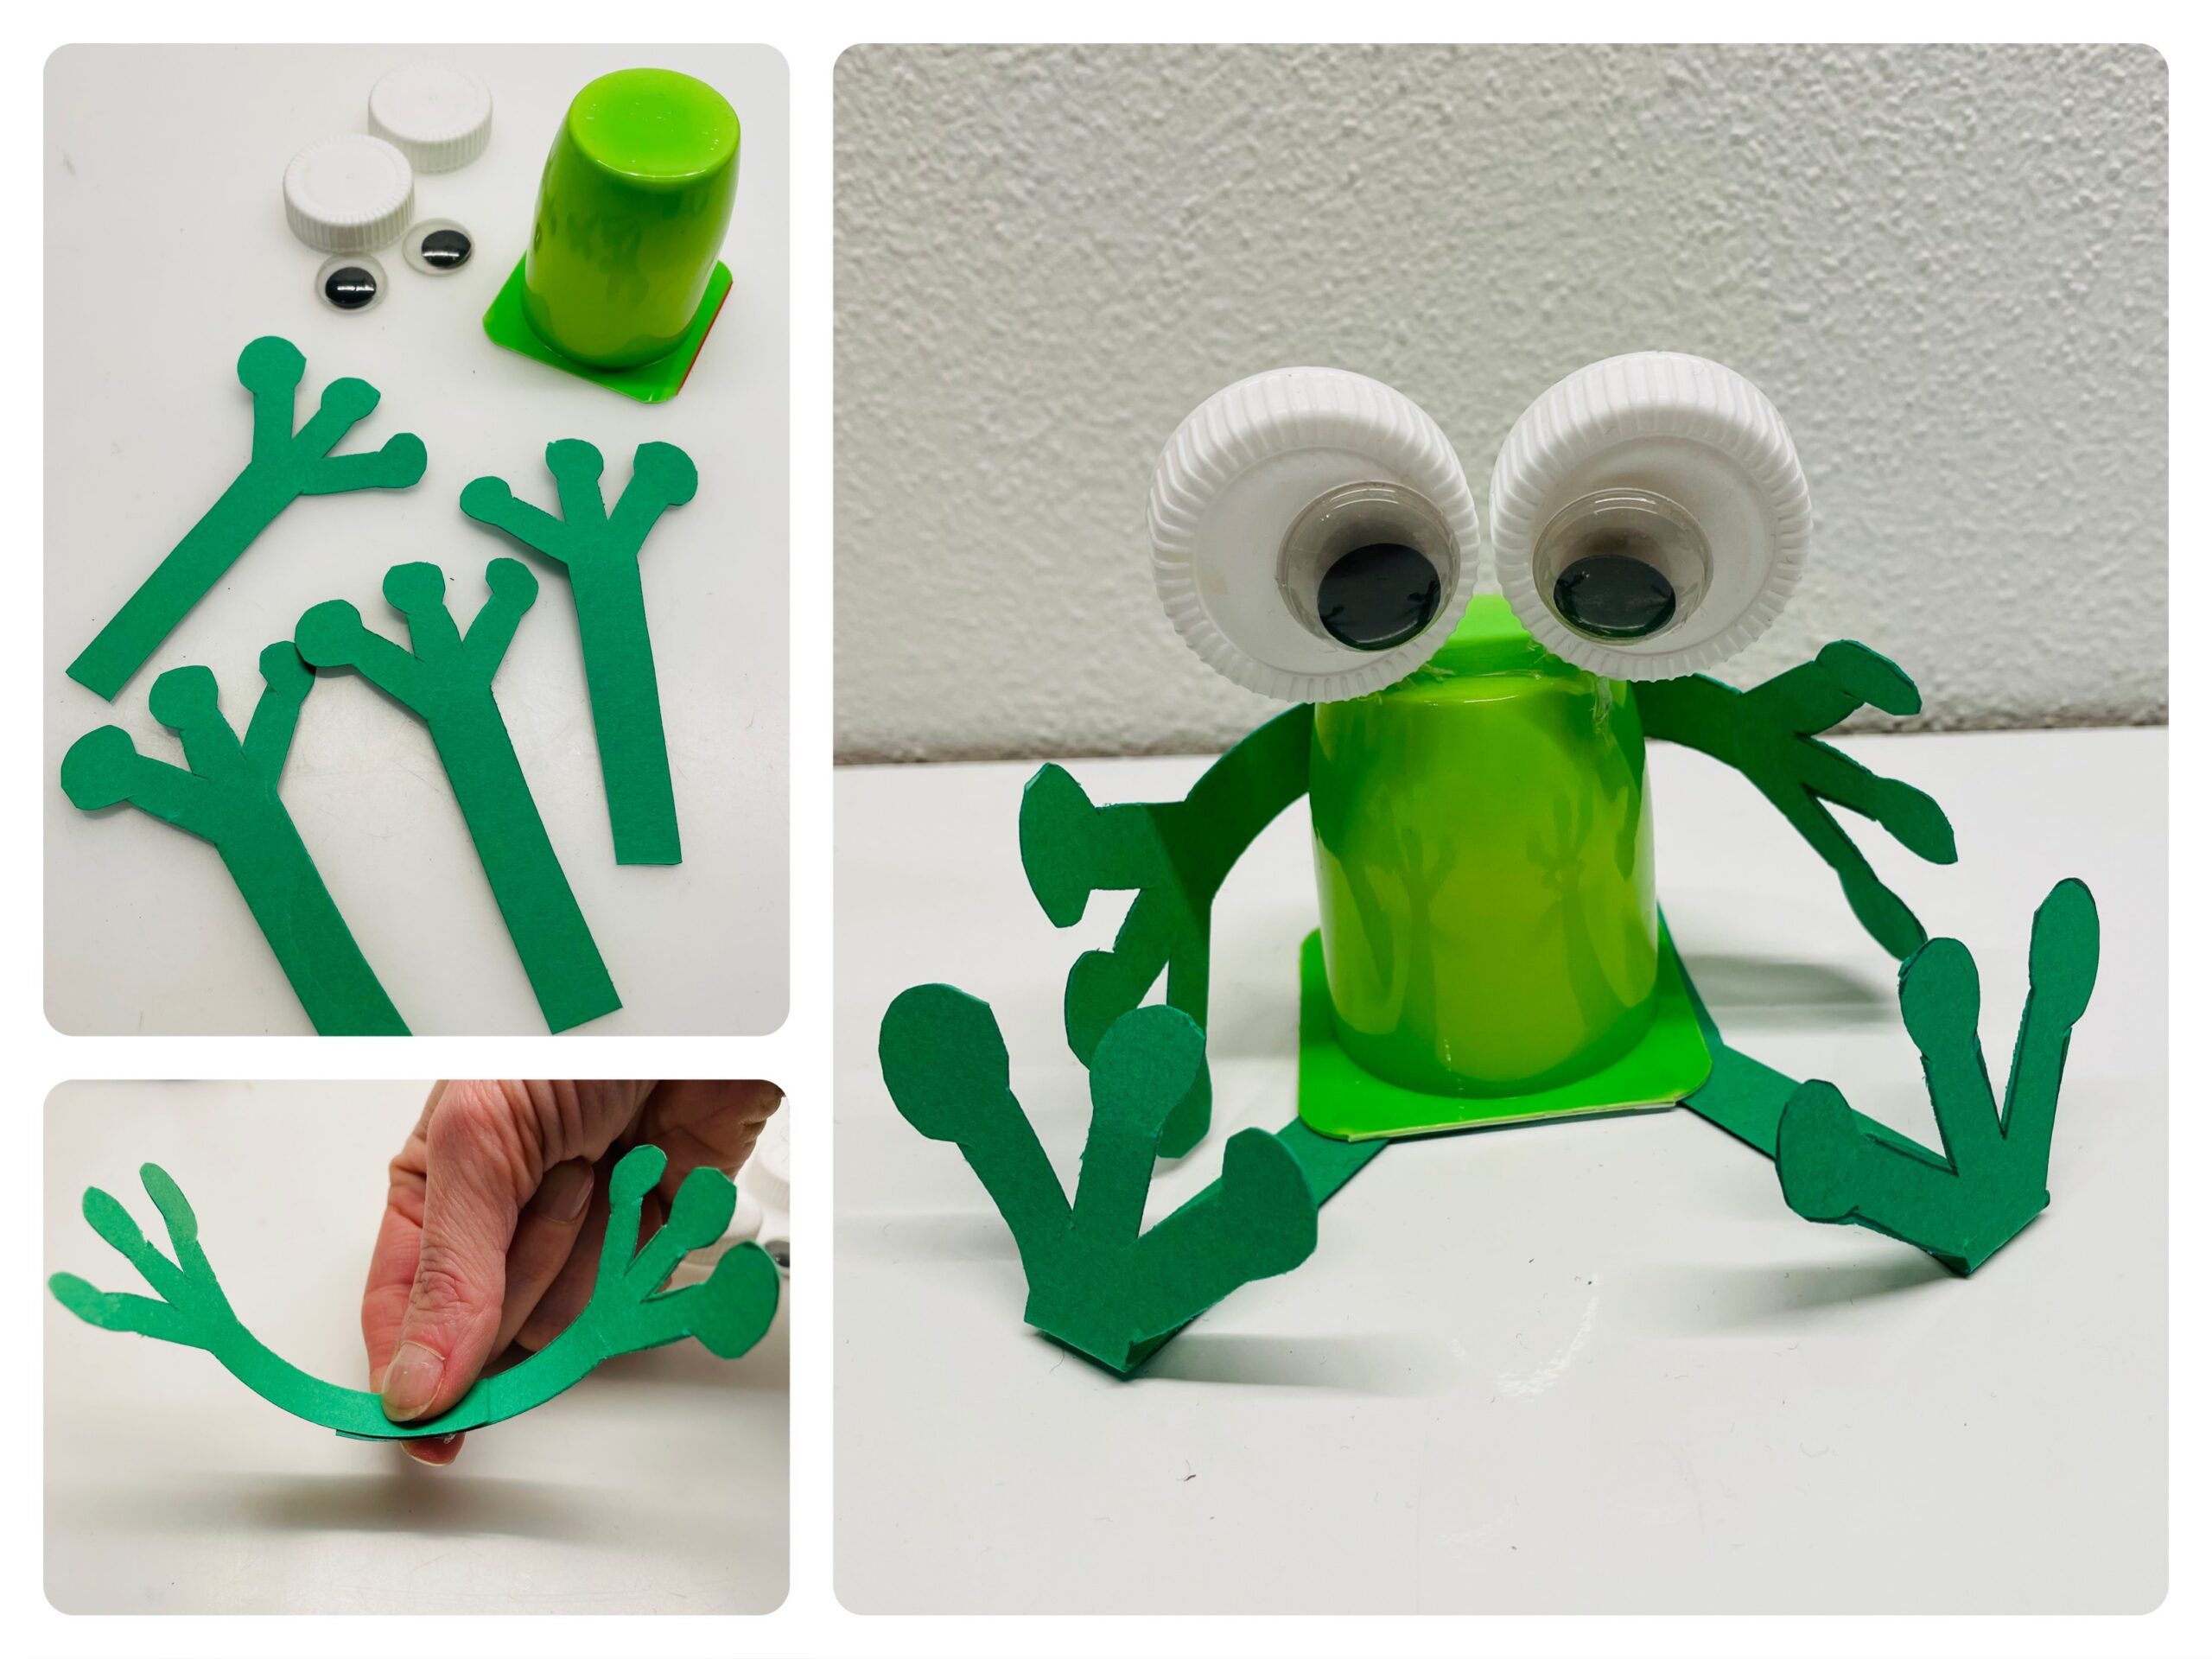
Here we show you how to Frog tinkering (Parliament adopted the legislative resolution)

Bild zum Schritt 10 für das Bastel- und DIY-Abenteuer für Kinder: 'Hier zeigen wir euch, wie ihr diesen Frosch...'

9

Knock over the frog's legs so he can sit on the edge of the glass.

Bild zum Schritt 11 für das Bastel- und DIY-Abenteuer für Kinder: 'Knickt die Beine des Frosches um, damit er auf dem...'

10

Finally put the frog on the glass edge.
Your weather frog is ready.

Bild zum Schritt 12 für das Bastel- und DIY-Abenteuer für Kinder: 'Setzt abschließend den Frosch auf den Glasrand.   Fertig...'

11

Have fun doing crafts and playing.

Materials

Frog of yoghurt cup:
Weather glass:
 1 Glass very large and bulbous
 Stones large rounded
 2 Paper strawsor cardboard box
 Cardboard strips
 1 Adhesive penor hot glue gun
 1 Builder's pad
All links marked with a shopping cart lead to Amazon - here we have selected products that we would order ourselves and in part also ordered. In a qualified purchase via the advertising link, we as Amazon partner receive a commission, for you there are no costs. You thus support our cost- and advertising banner-free, educational offer.

Directions

1

Get the glass and the stones ready first.

Bild zum Schritt 1 für das Bastel- und DIY-Abenteuer für Kinder: 'Legt euch zuerst das Glas und die Steine bereit.'

2

Then carefully put the clean stones in the glass.

Bild zum Schritt 2 für das Bastel- und DIY-Abenteuer für Kinder: 'Dann legt ihr die sauberen Steine vorsichtig in das Glas.'

3

Some stones are enough for this. It doesn't have to be covered with the whole floor.
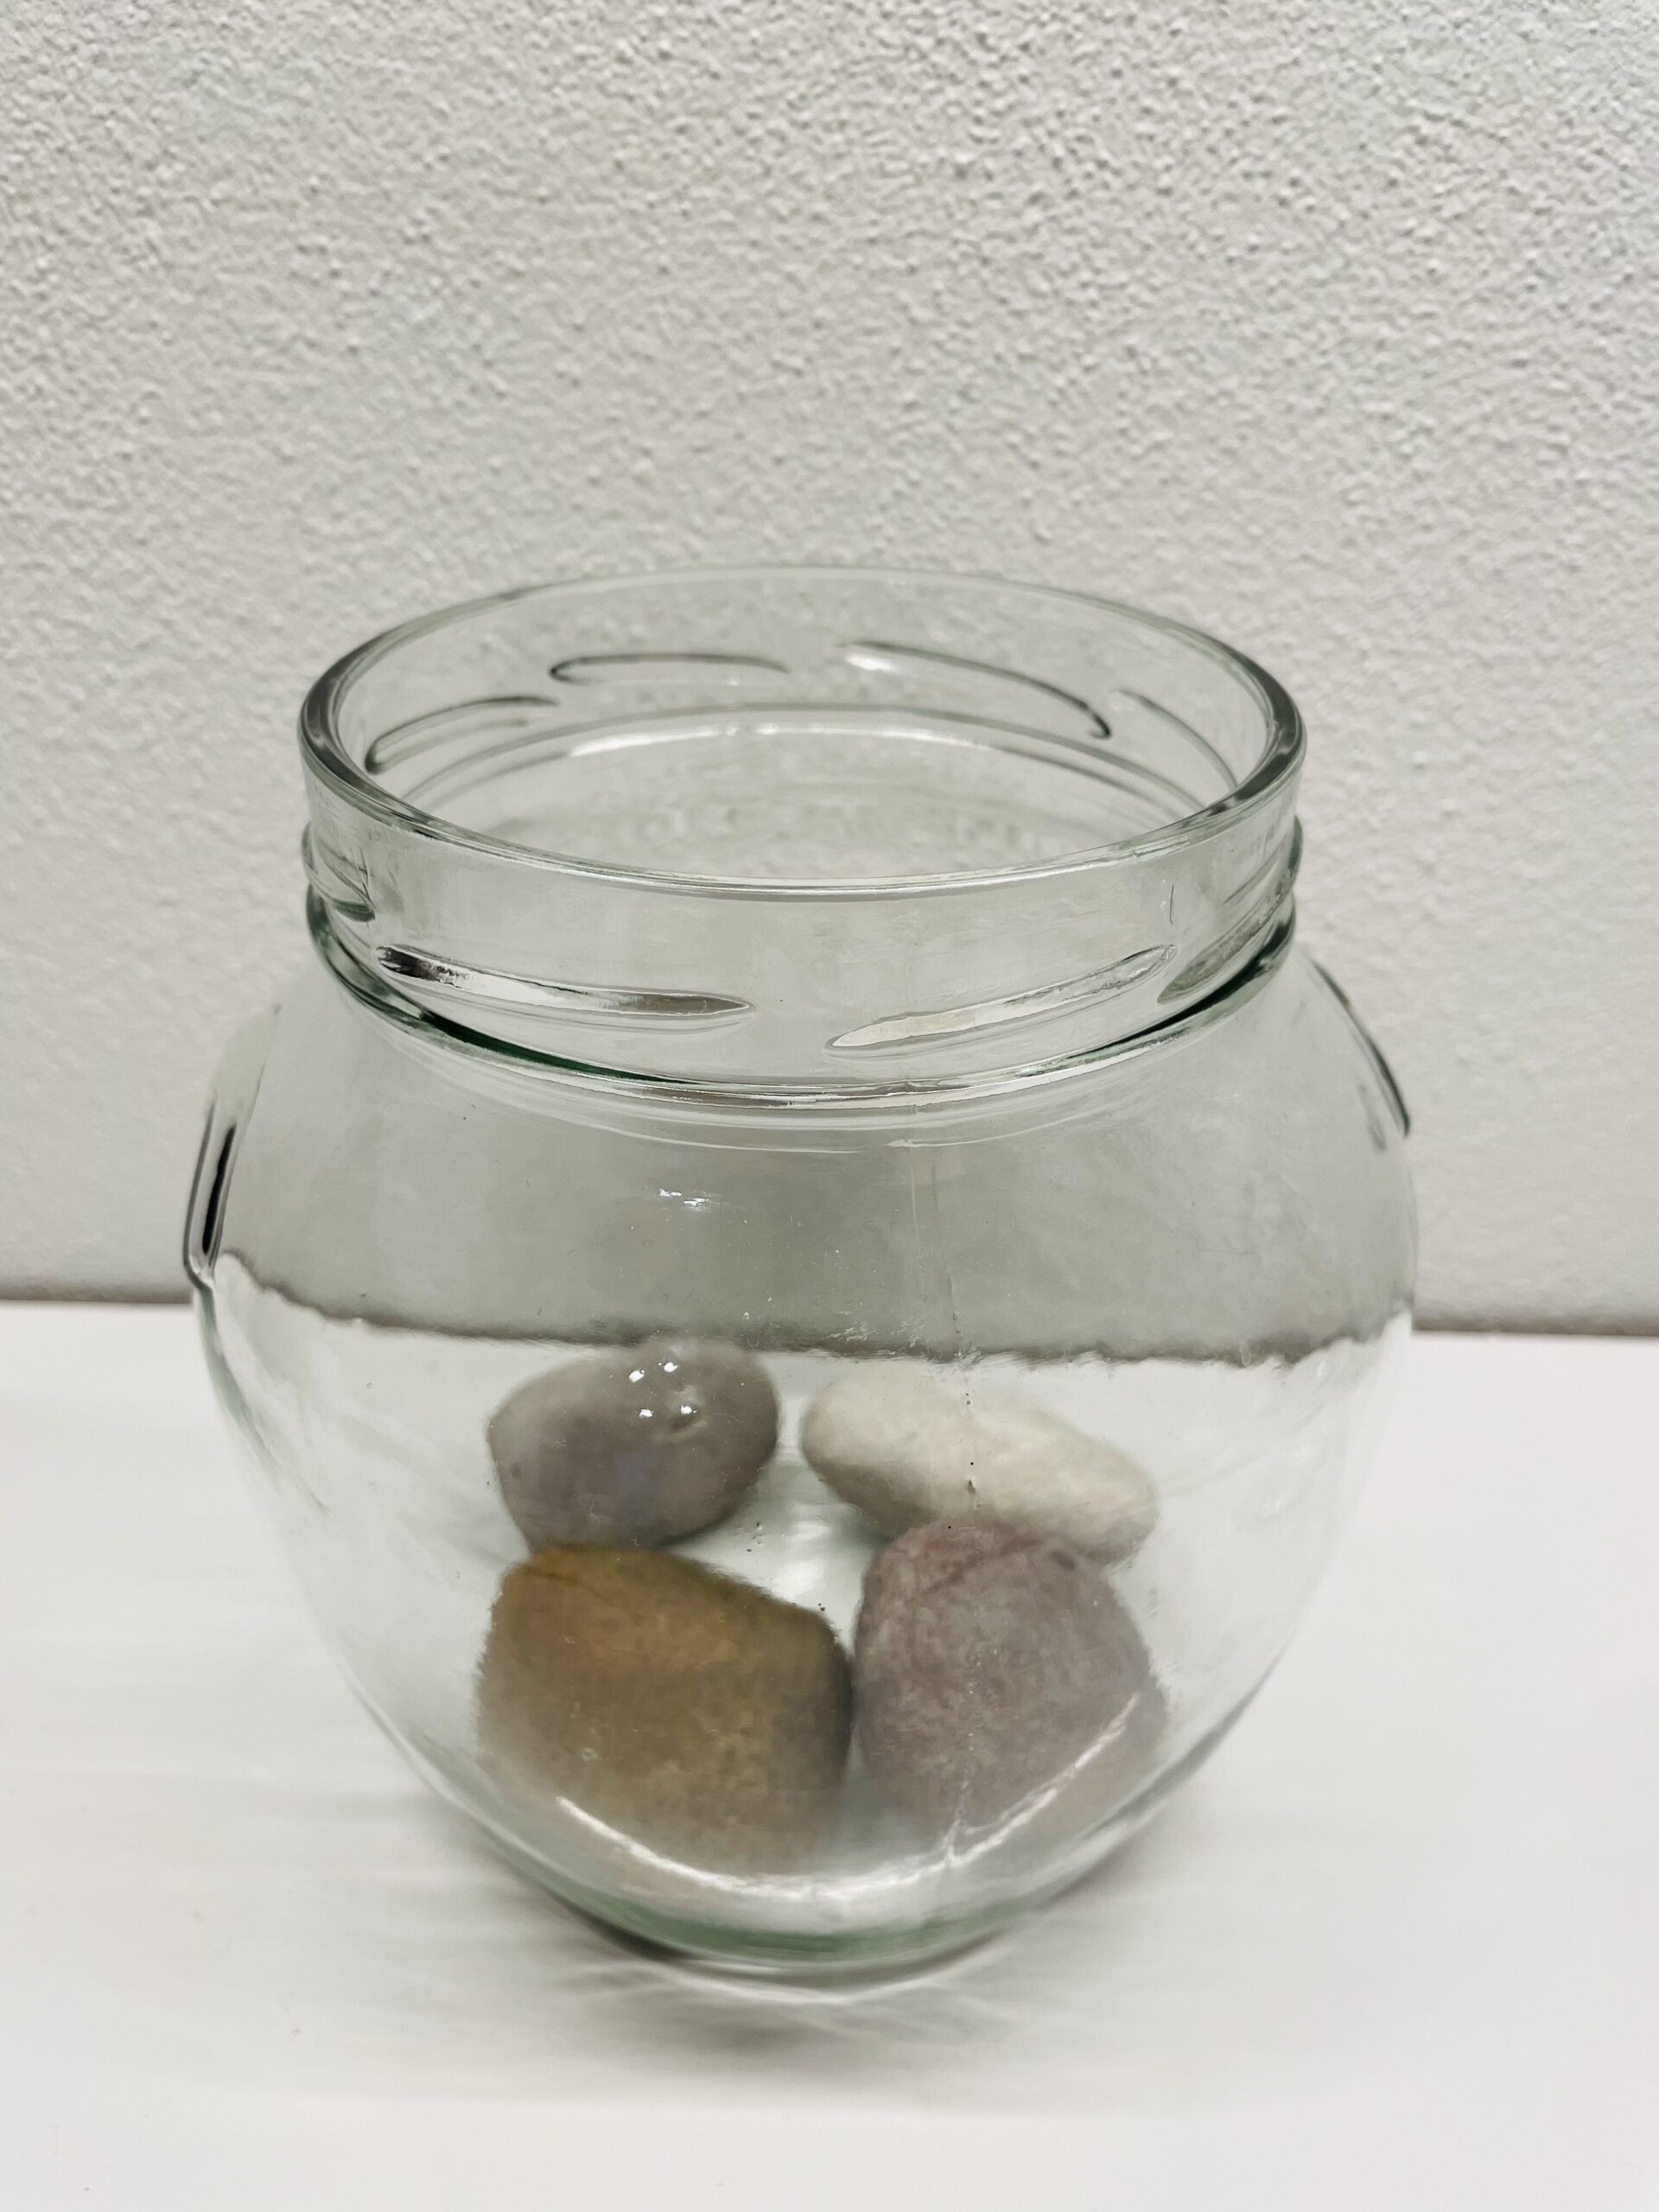
Bild zum Schritt 3 für das Bastel- und DIY-Abenteuer für Kinder: 'Dafür reichen einige Steine aus. Es muss nicht der ganze...'

Ladders make:
4

Then you make a small ladder out of 2 paper straws and a strip of cardboard. The length of straws is a good measure for this. Cut 6 strips out of the cardboard with a length of 5cm and a width of 0.5cm.
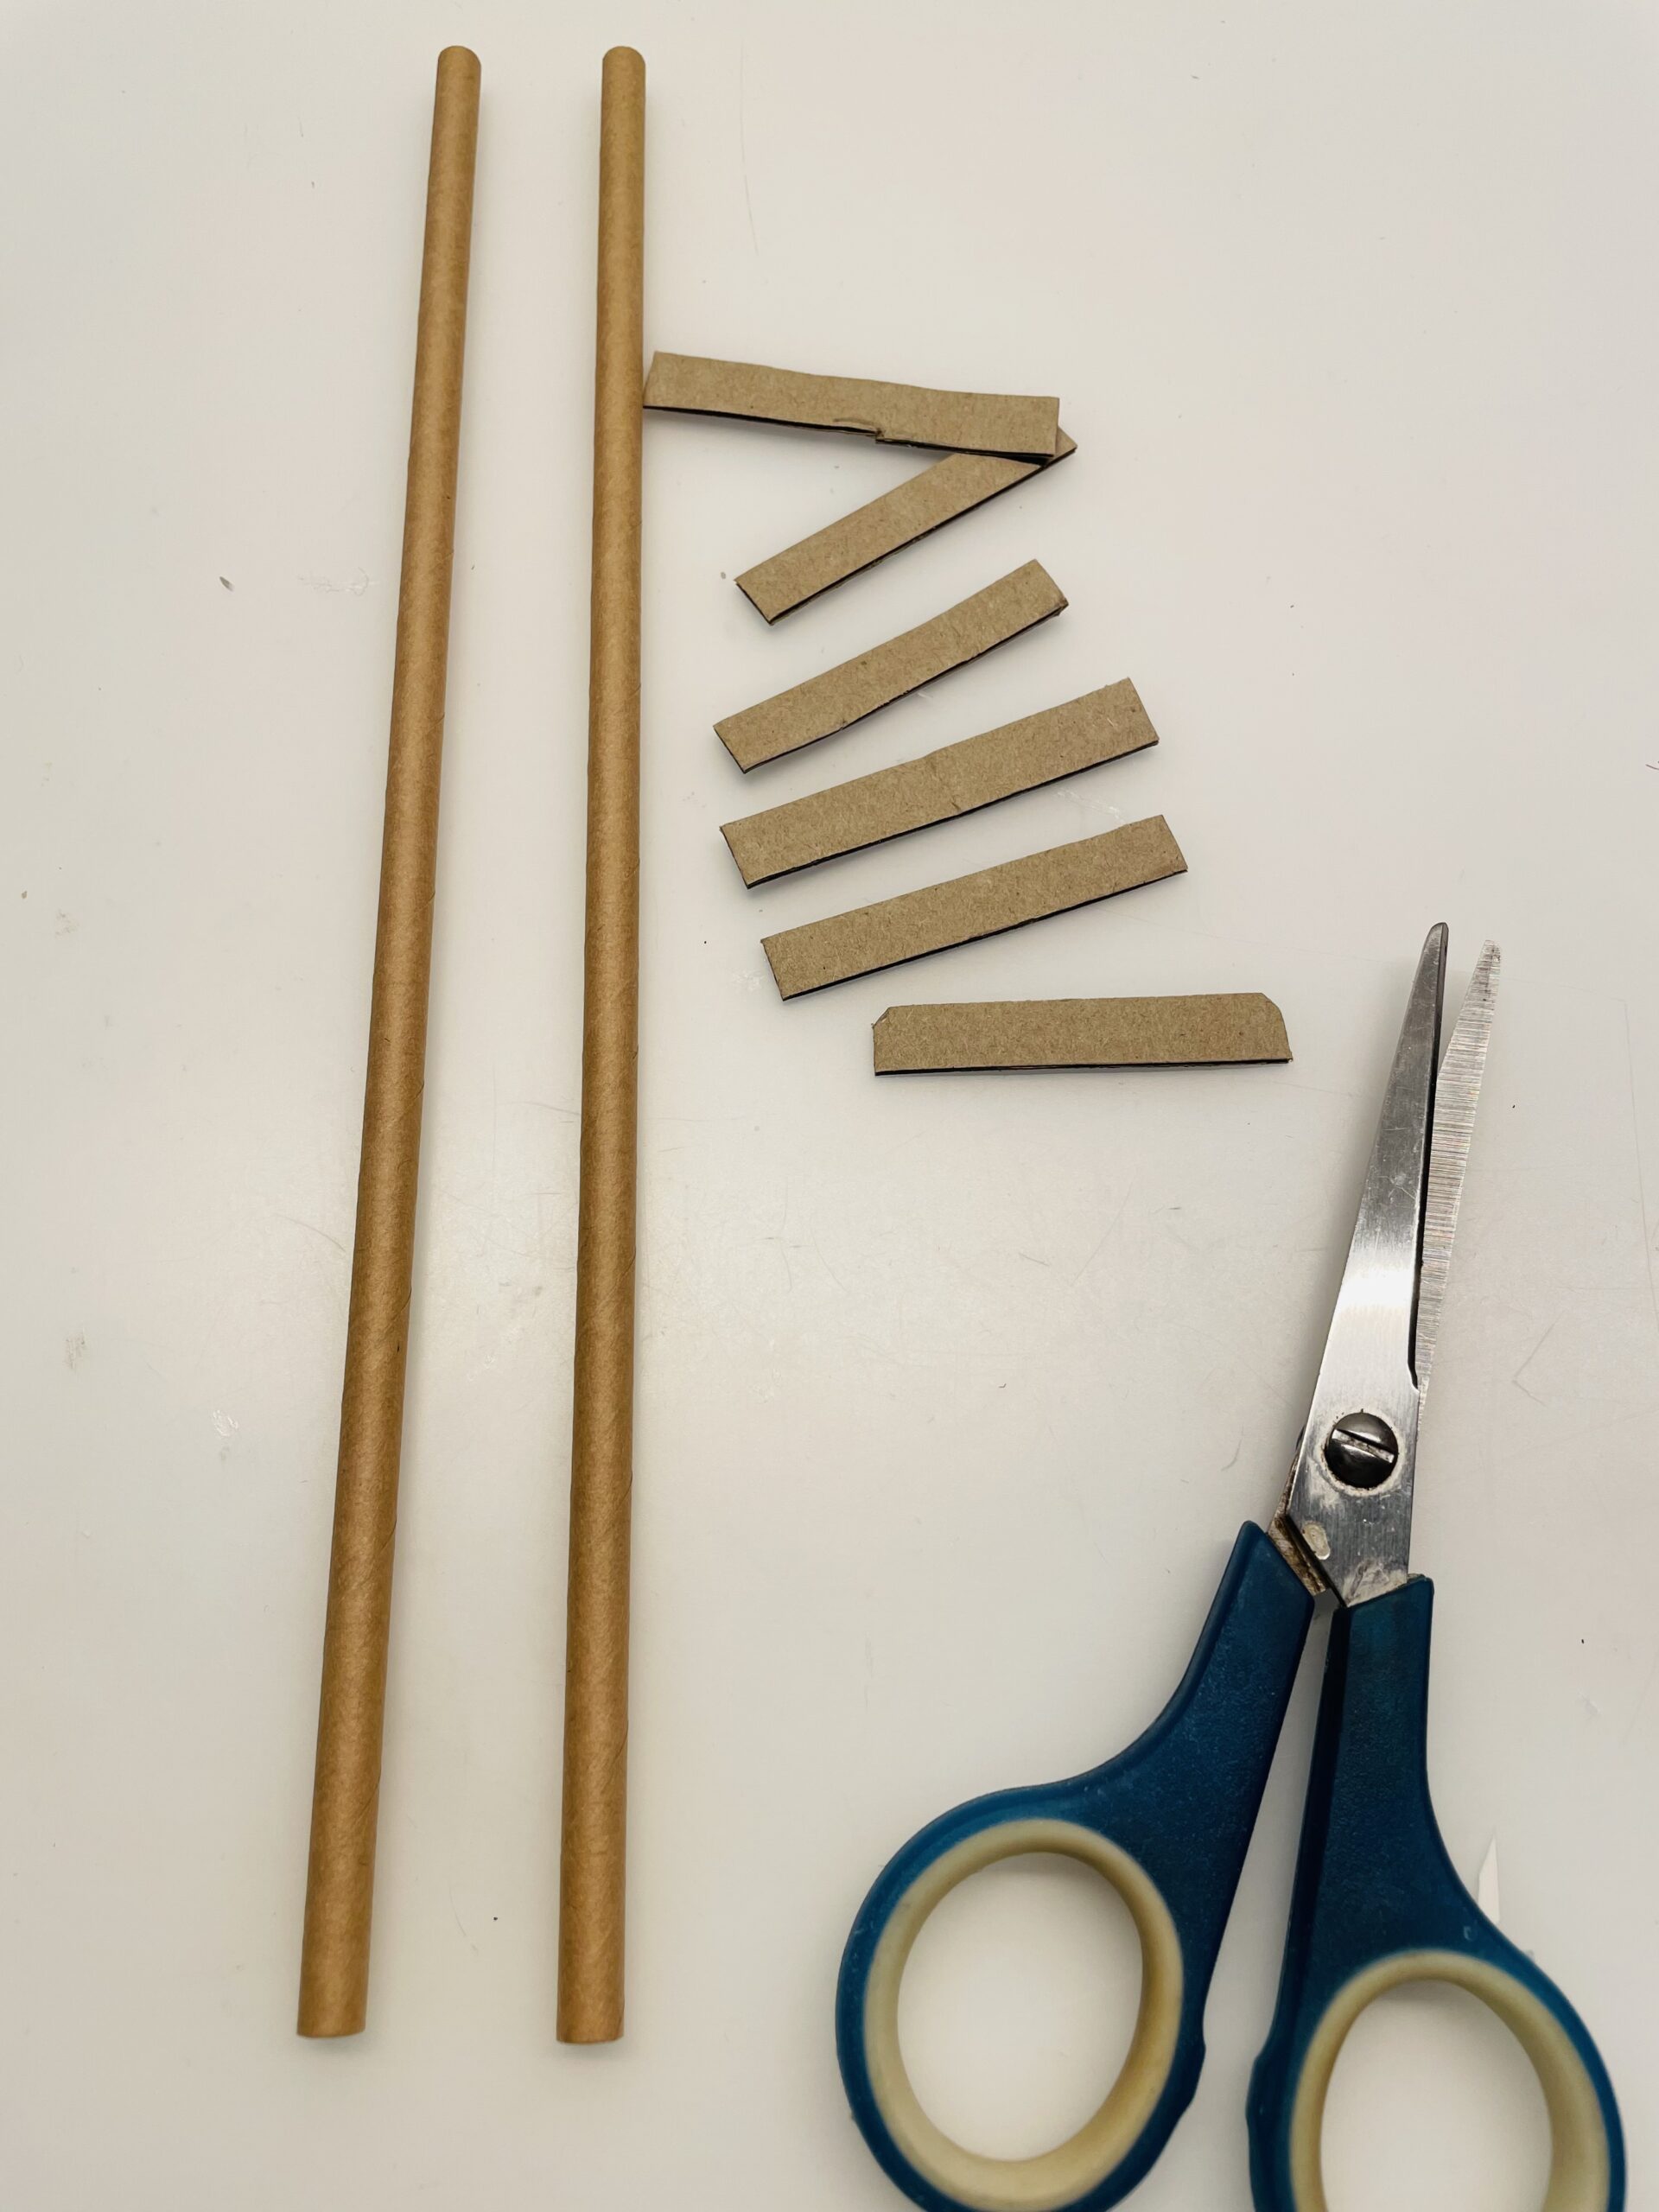
Bild zum Schritt 5 für das Bastel- und DIY-Abenteuer für Kinder: 'Danach bastelt ihr aus 2 Papier-Strohhalmen und einem Streifen Karton...'

5

Then put on the straws at a distance of 5cm and fasten these short crossbars to the straws.

Bild zum Schritt 6 für das Bastel- und DIY-Abenteuer für Kinder: 'Dann legt ihr die Strohhalme im Abstand von 5cm auf...'

6

Spreads the short cardboard strips evenly and leaves some space below and above.
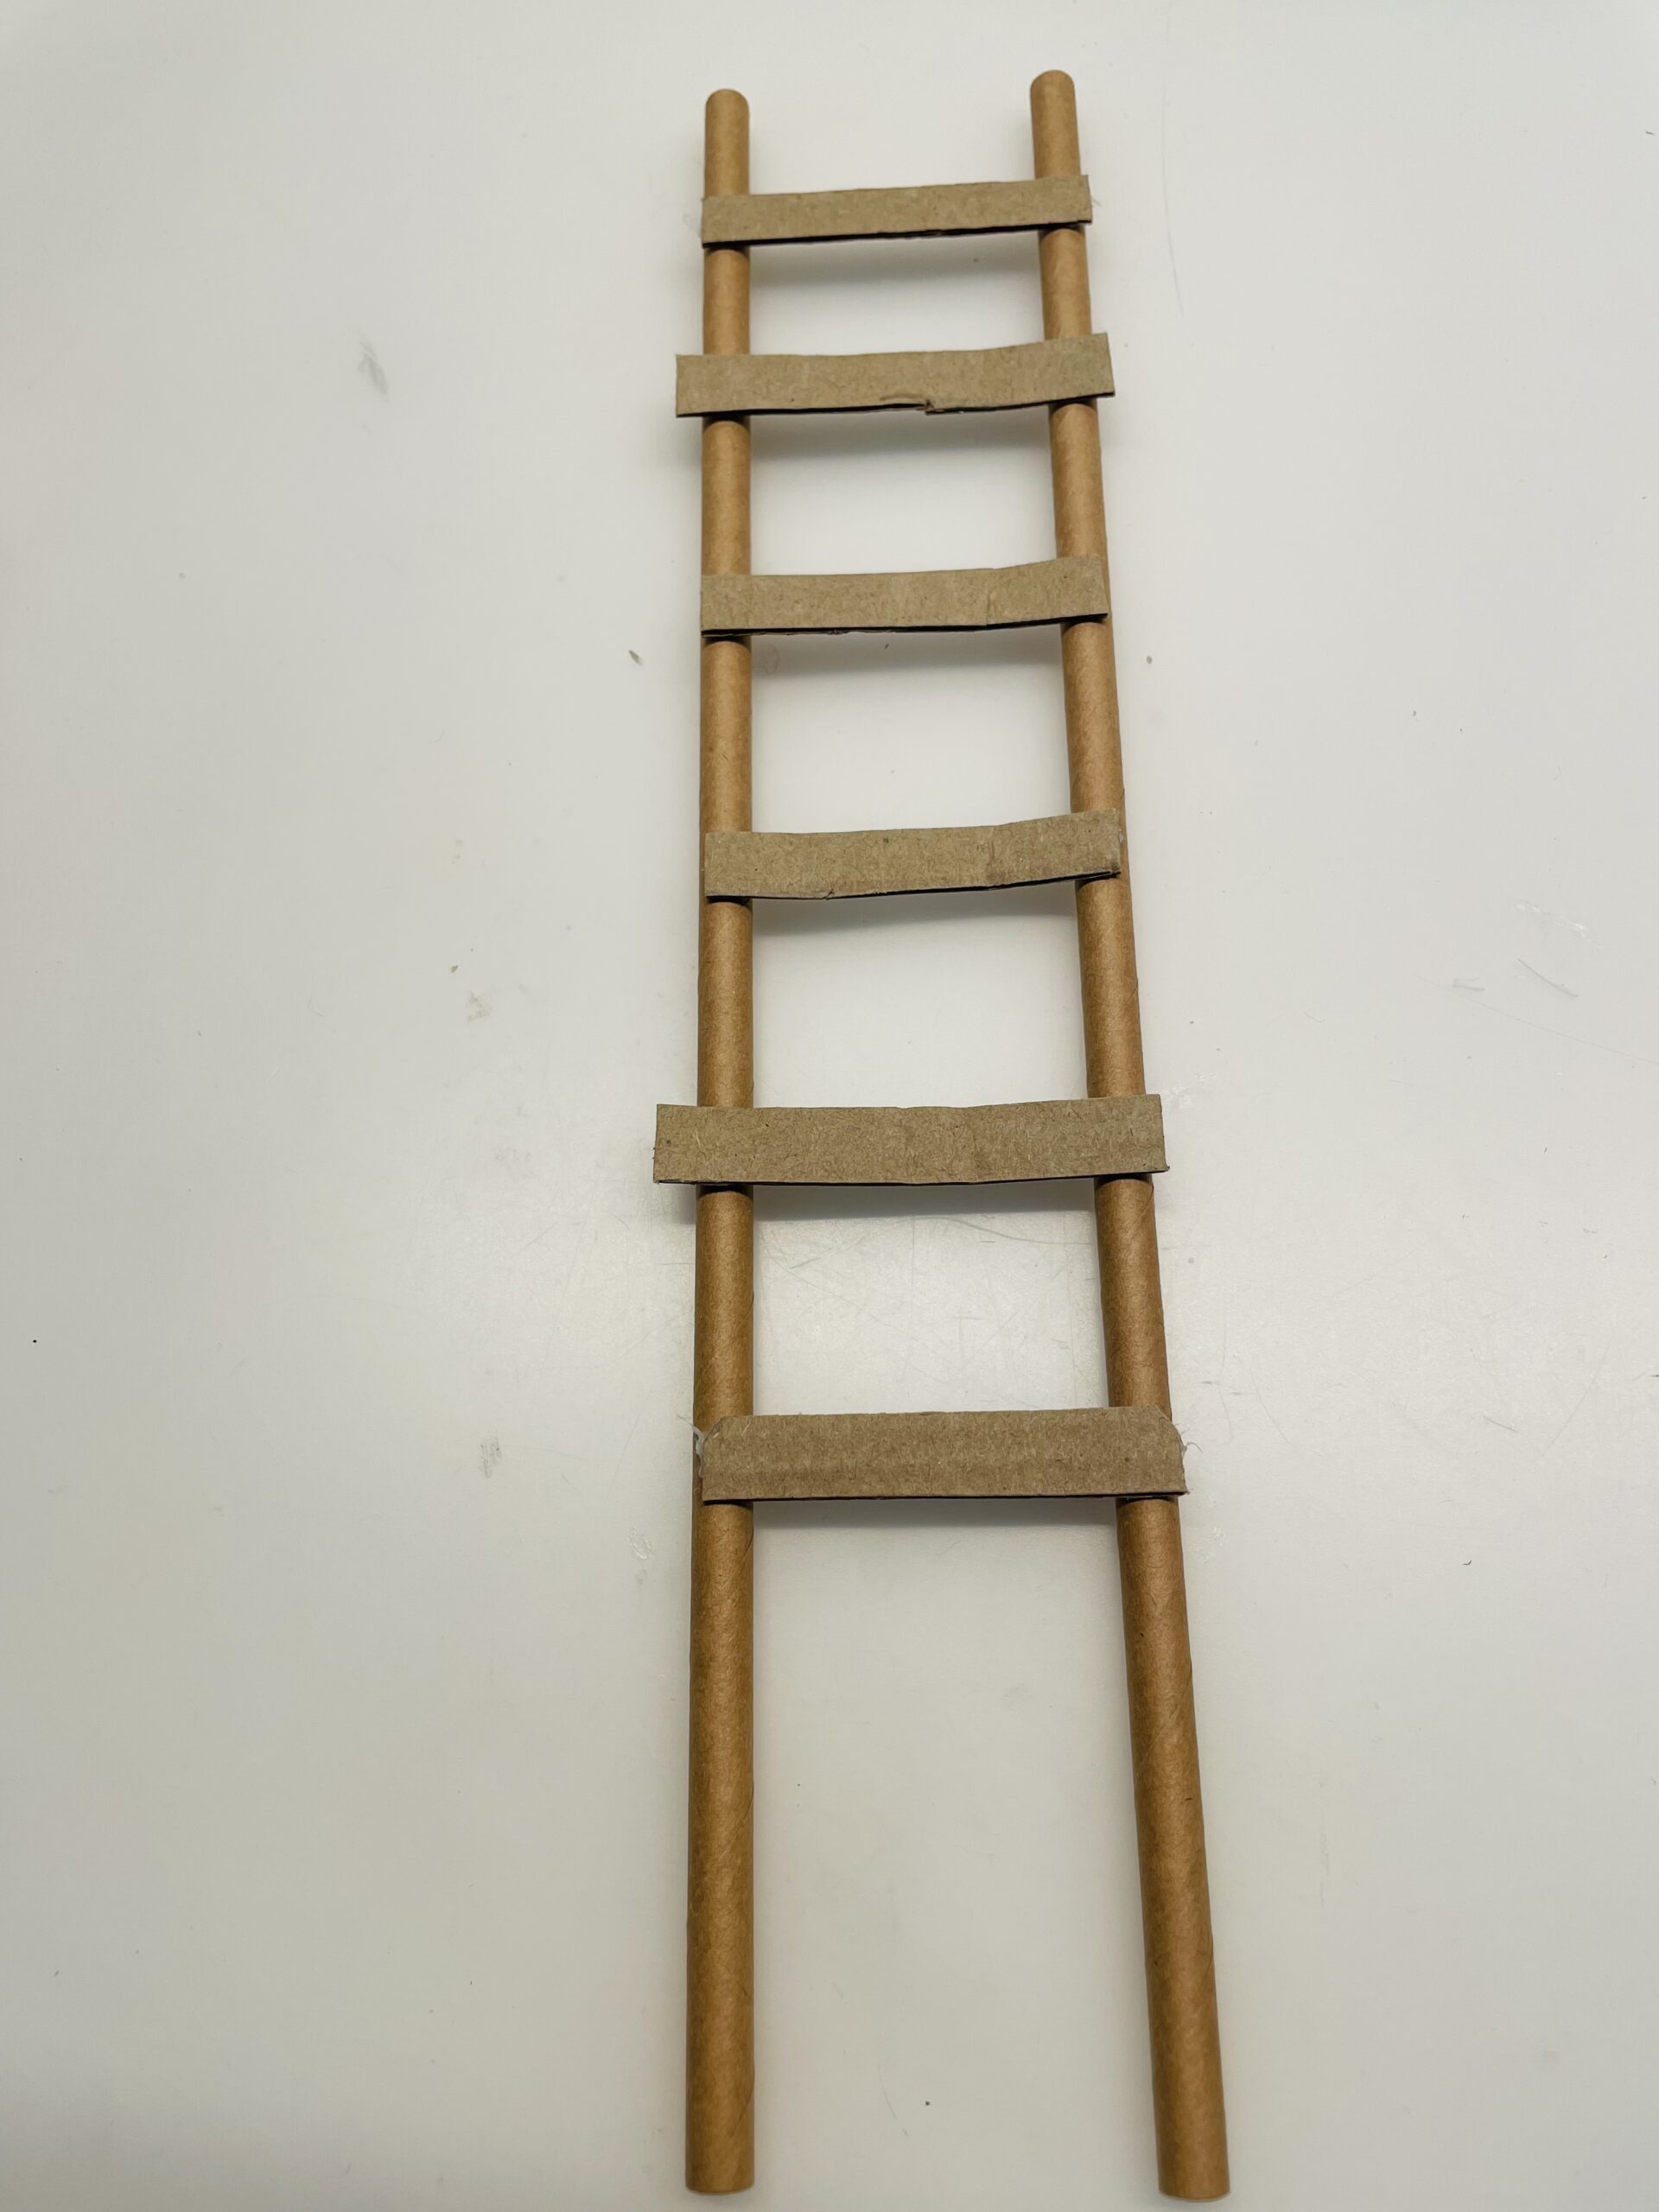
Bild zum Schritt 7 für das Bastel- und DIY-Abenteuer für Kinder: 'Verteilt die kurzen Kartonstreifen gleichmäßig und lasst unten und oben...'

7

This creates a ladder, which is placed in the glass after a short drying.
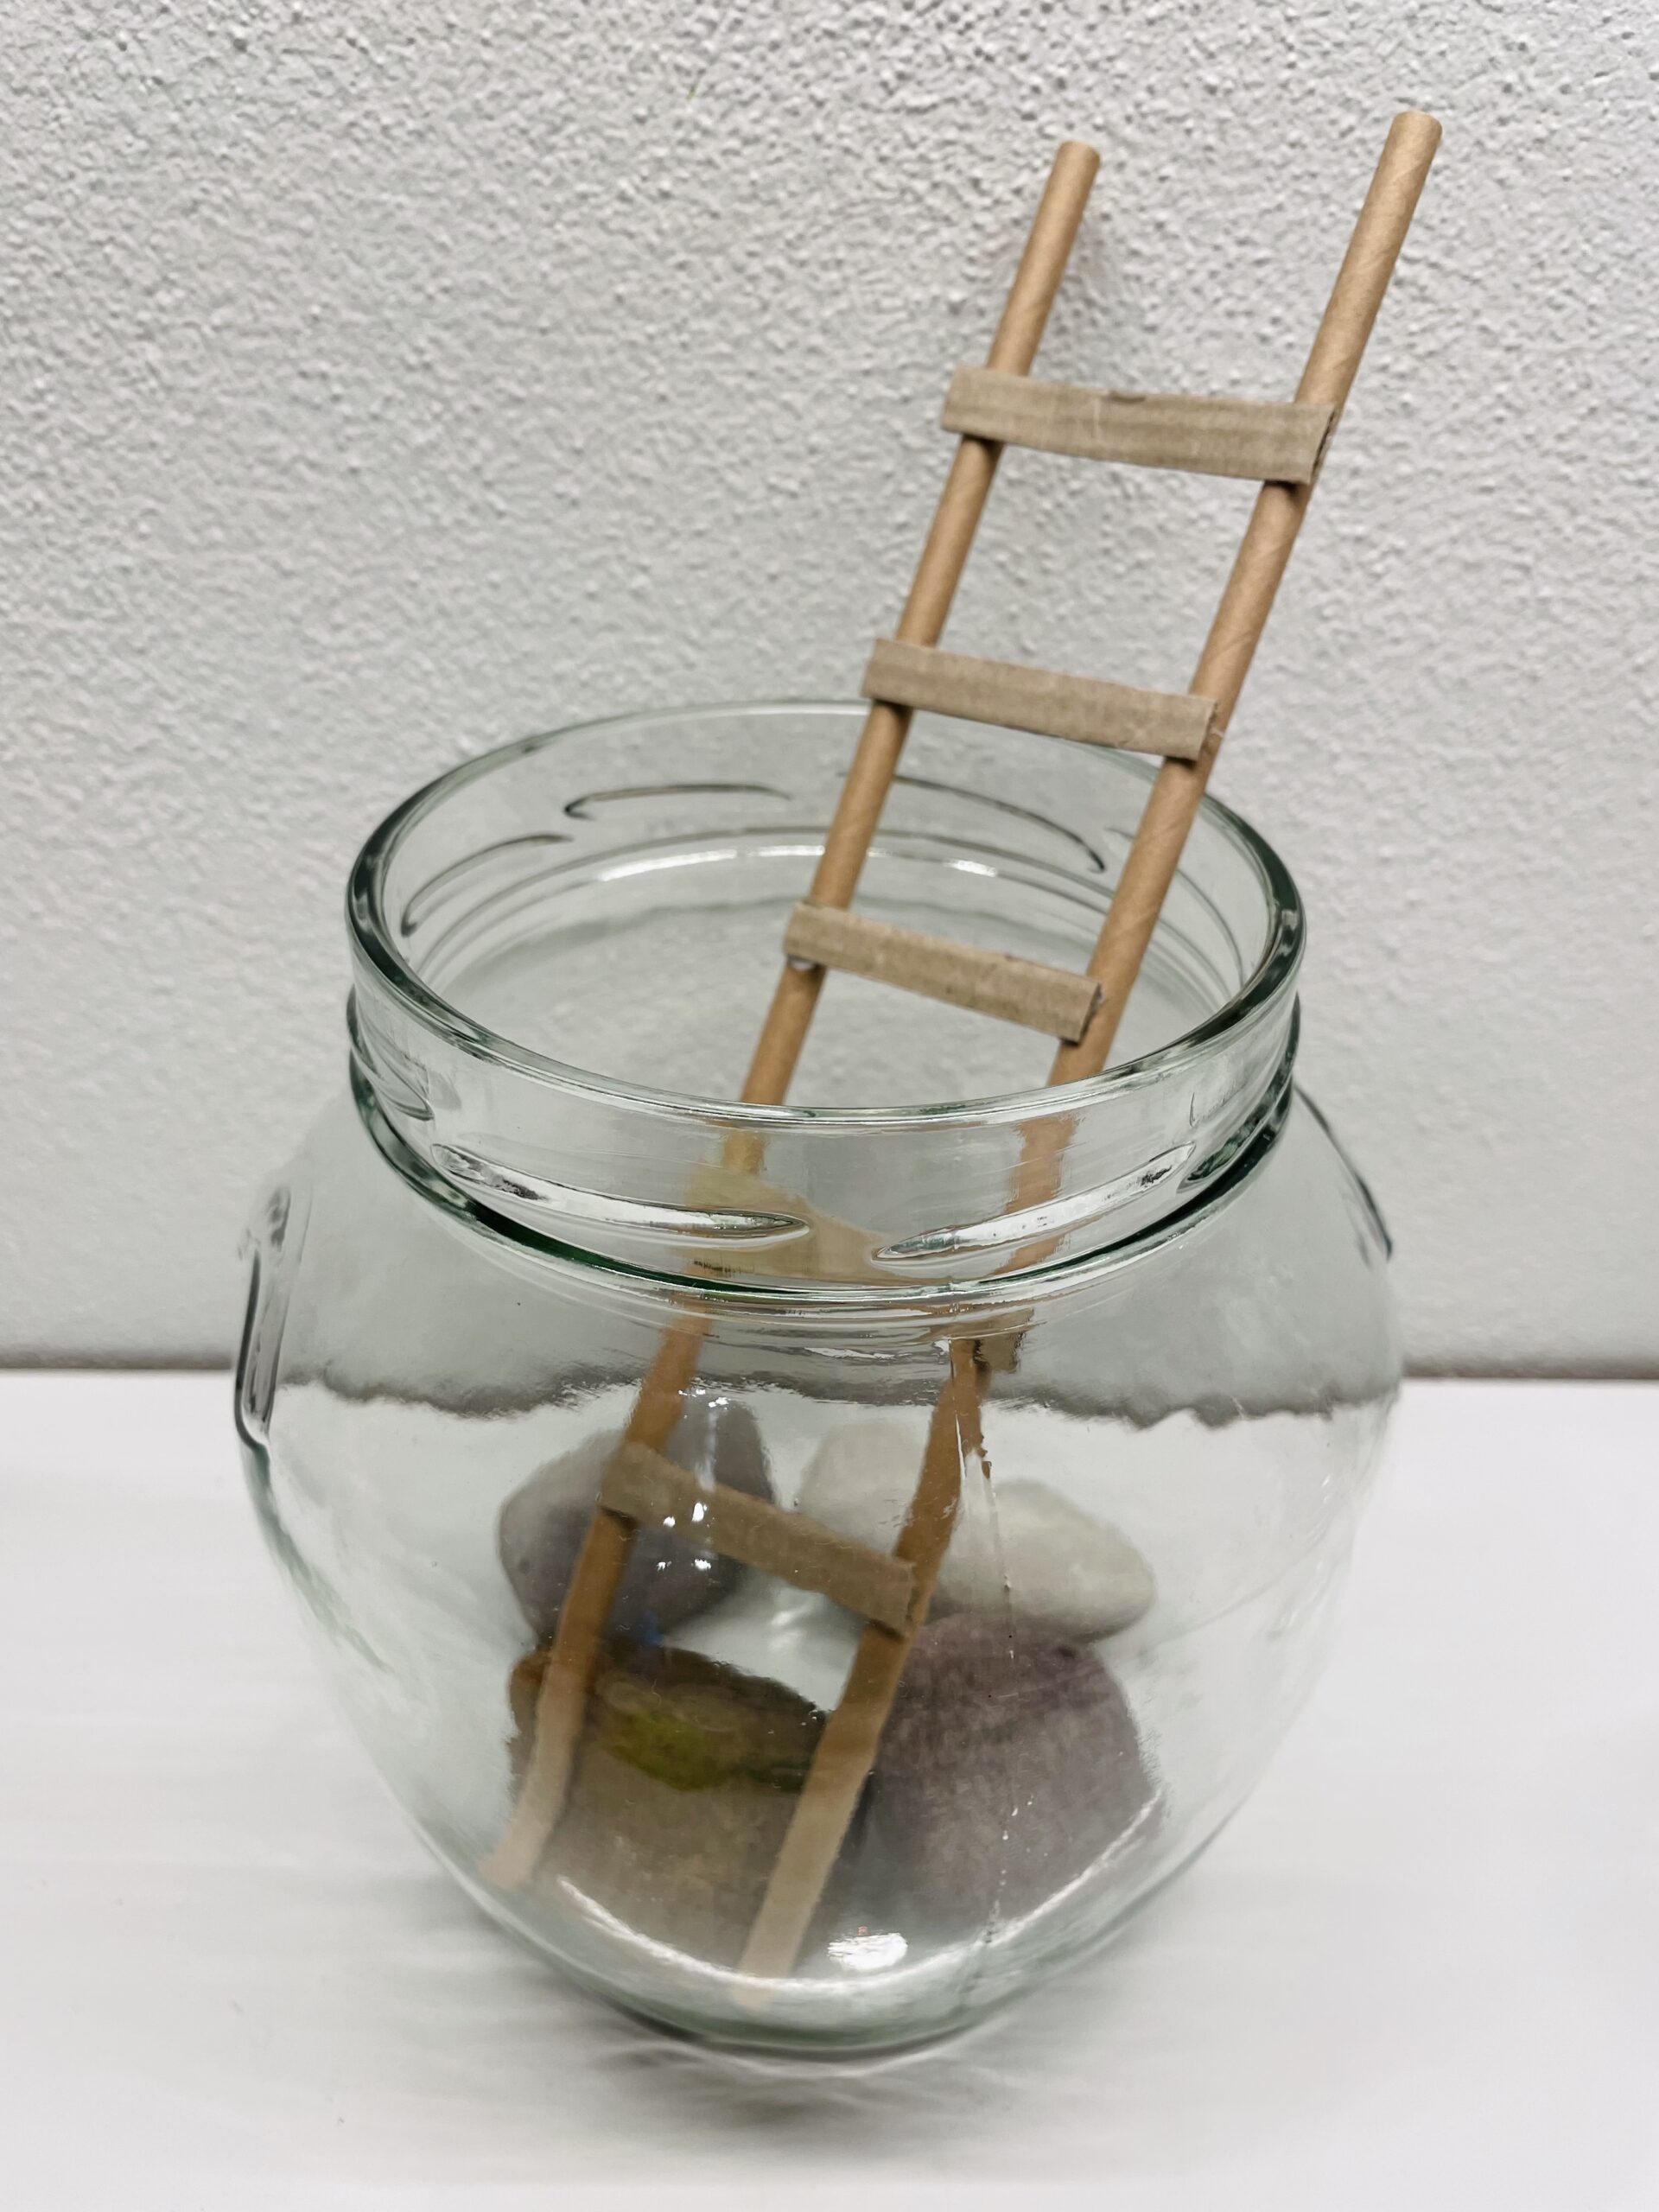
Bild zum Schritt 8 für das Bastel- und DIY-Abenteuer für Kinder: 'So entsteht eine Leiter, die ihr nach kurzem Trocknen in...'

Frogs make:
8

Here we show you how to Frog tinkering (Parliament adopted the legislative resolution)

Bild zum Schritt 10 für das Bastel- und DIY-Abenteuer für Kinder: 'Hier zeigen wir euch, wie ihr diesen Frosch...'

9

Knock over the frog's legs so he can sit on the edge of the glass.
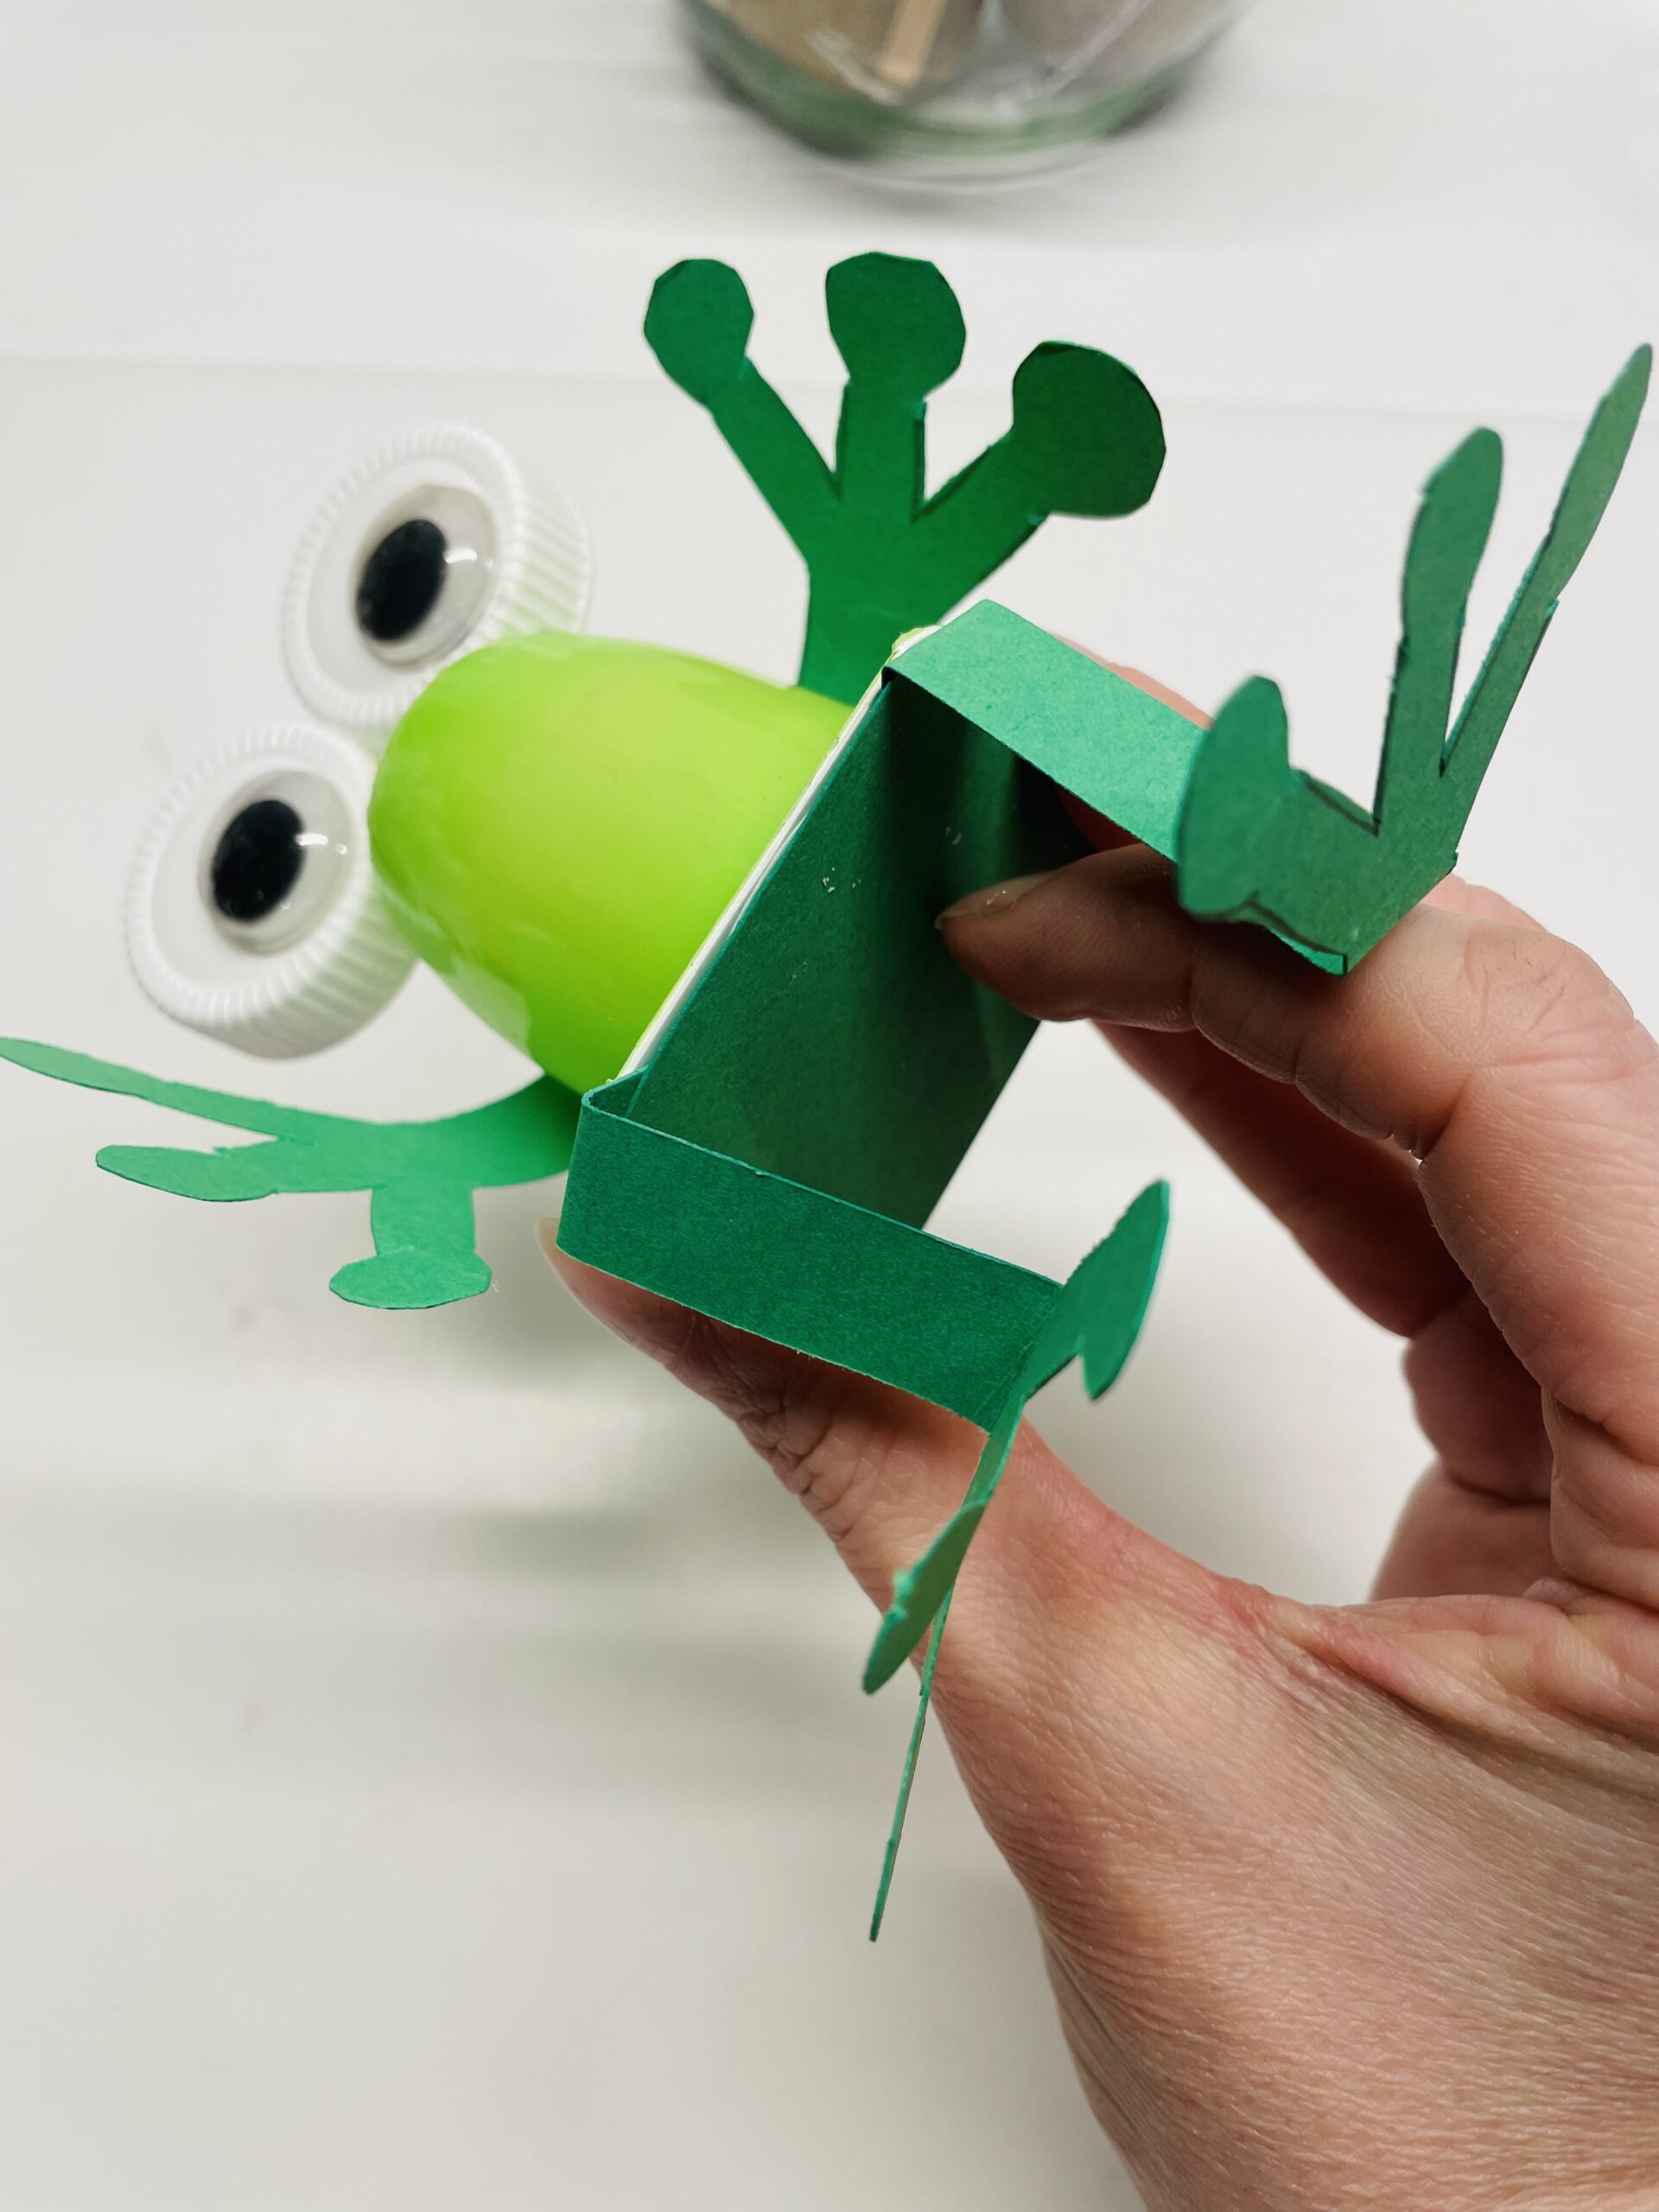
Bild zum Schritt 11 für das Bastel- und DIY-Abenteuer für Kinder: 'Knickt die Beine des Frosches um, damit er auf dem...'

10

Finally put the frog on the glass edge.
Your weather frog is ready.
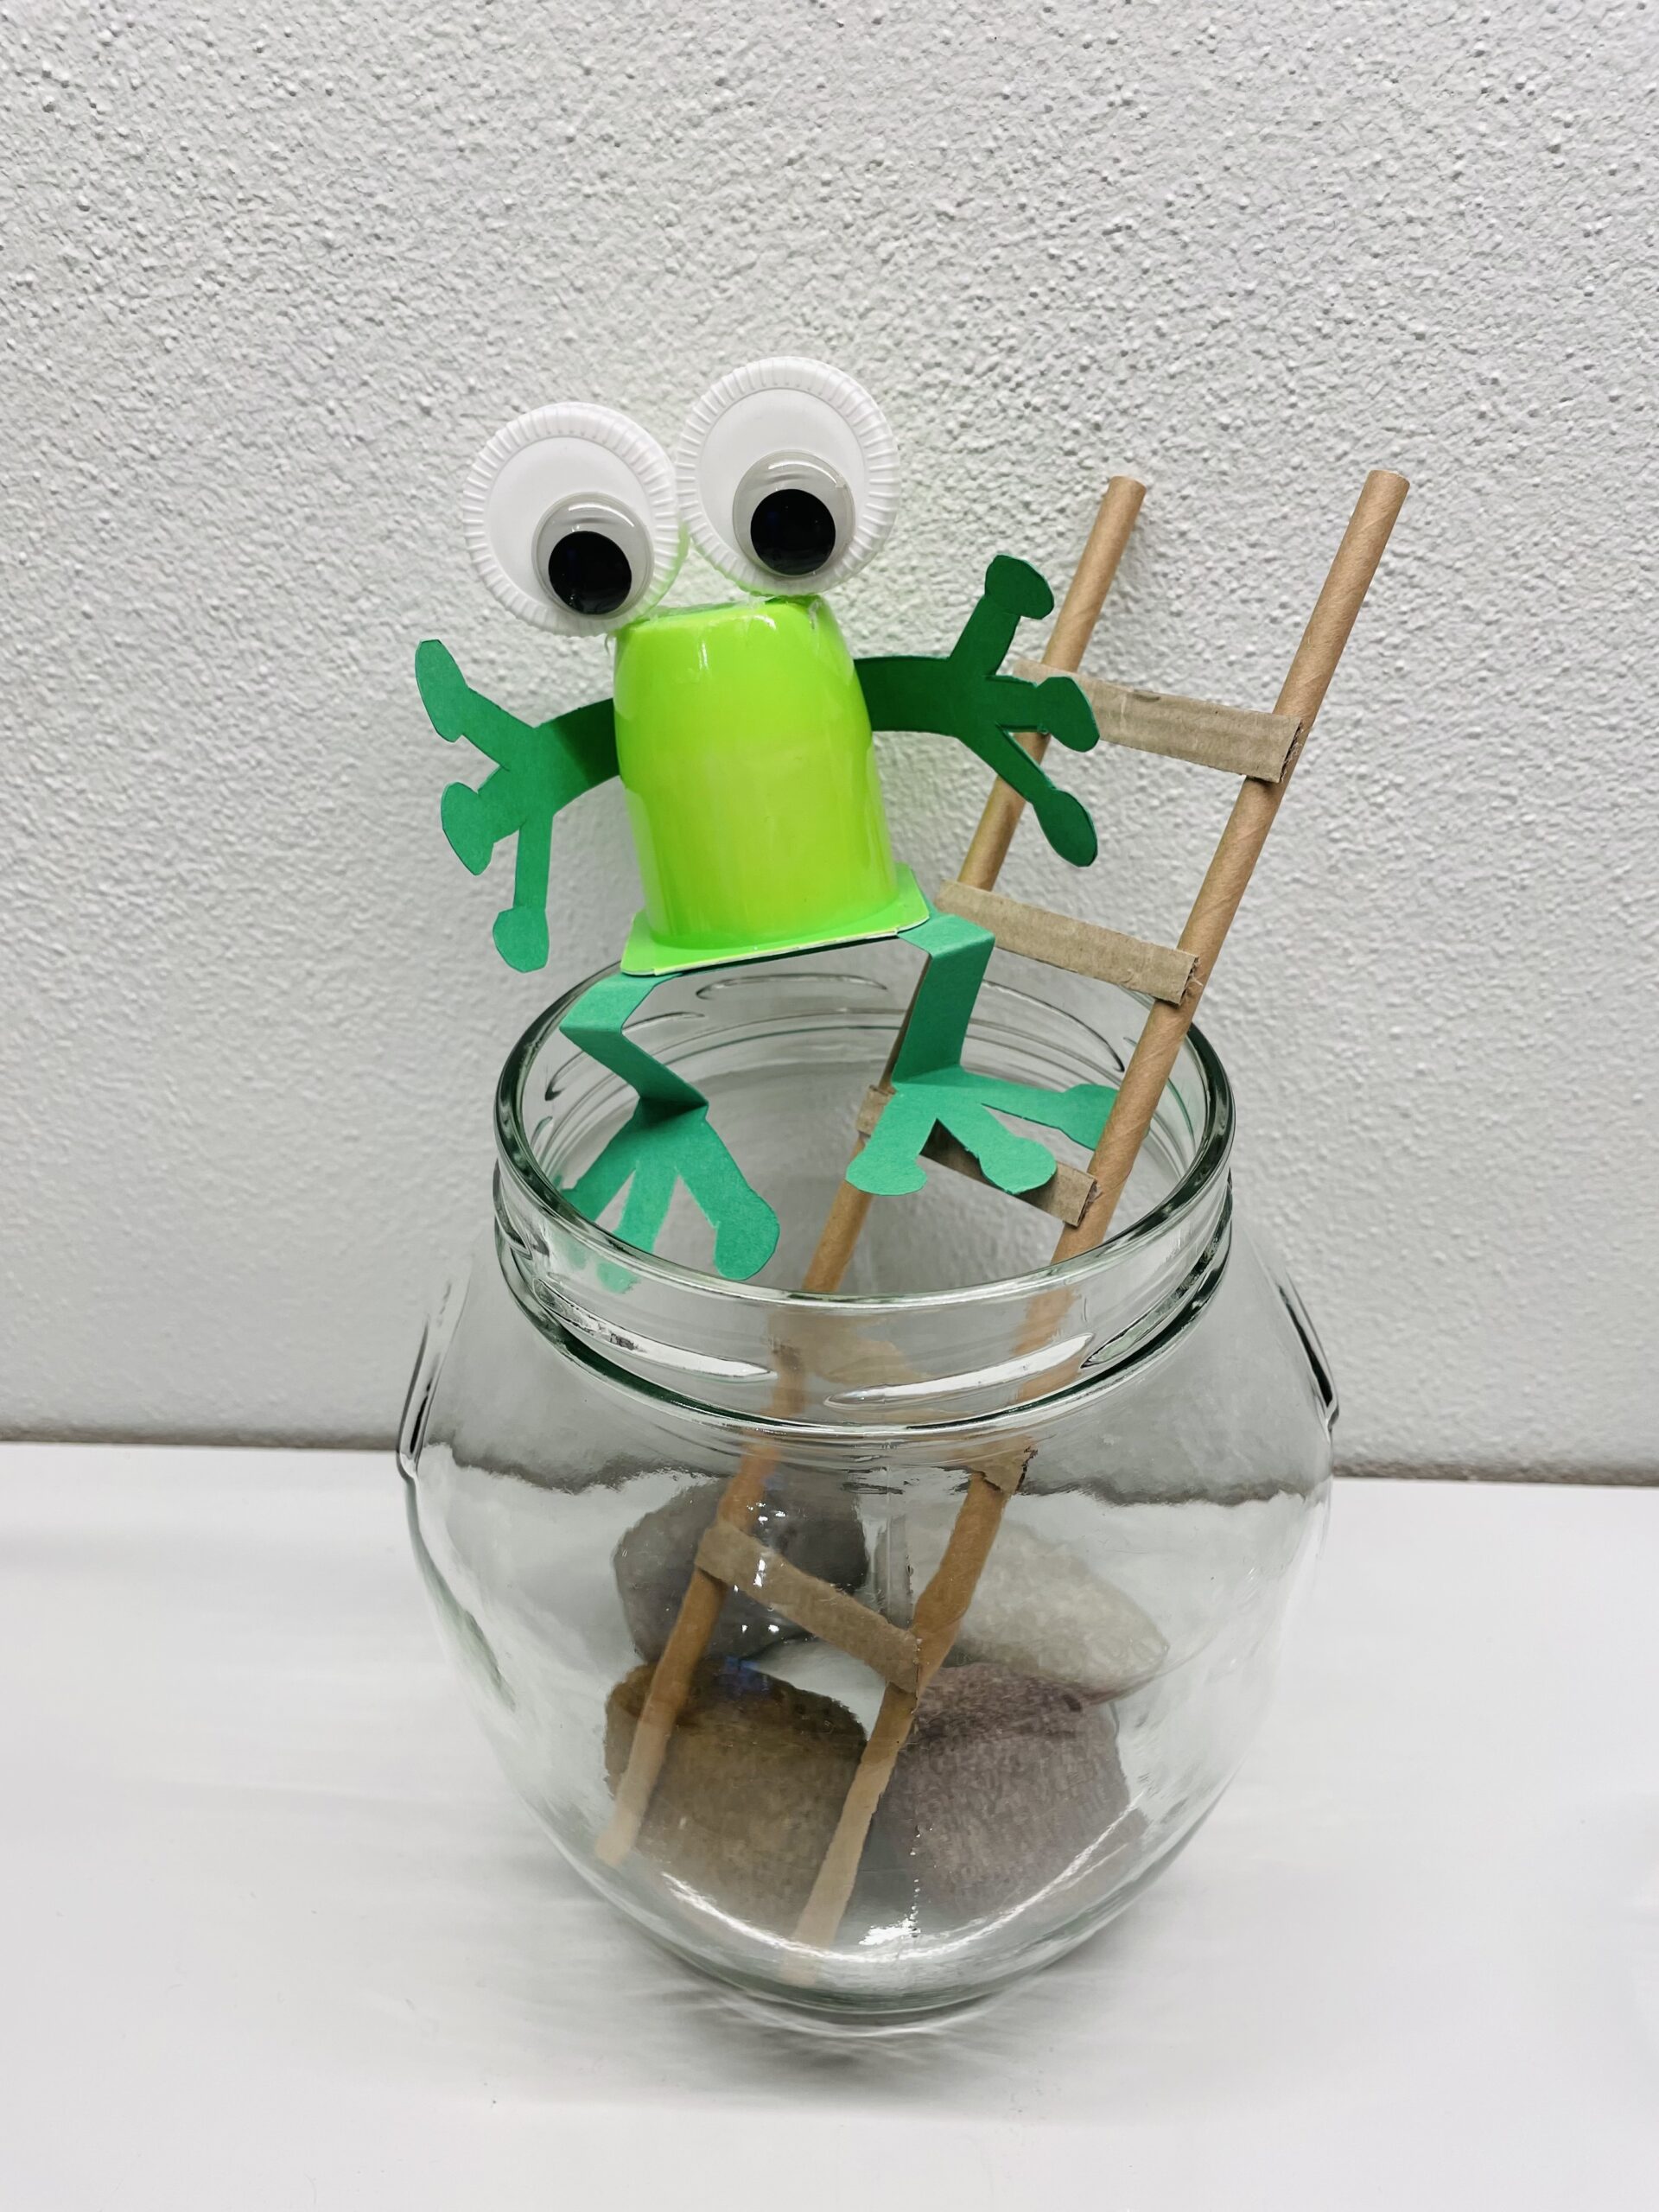
Bild zum Schritt 12 für das Bastel- und DIY-Abenteuer für Kinder: 'Setzt abschließend den Frosch auf den Glasrand.   Fertig...'

11

Have fun doing crafts and playing.

Weather – crafting frog in glass

Follow us on Facebook , Instagram and Pinterest
Don't miss any more adventures: Our bottle mail

Leave a Reply

Your email address will not be published.

The maximum upload file size: 5 MB. You can upload: image, document. Drop file here