Papp tulips (with paste recipe)

AdventurerKatzi
Rating4.822.7 thousand times. (9) DifficultyIntermediate

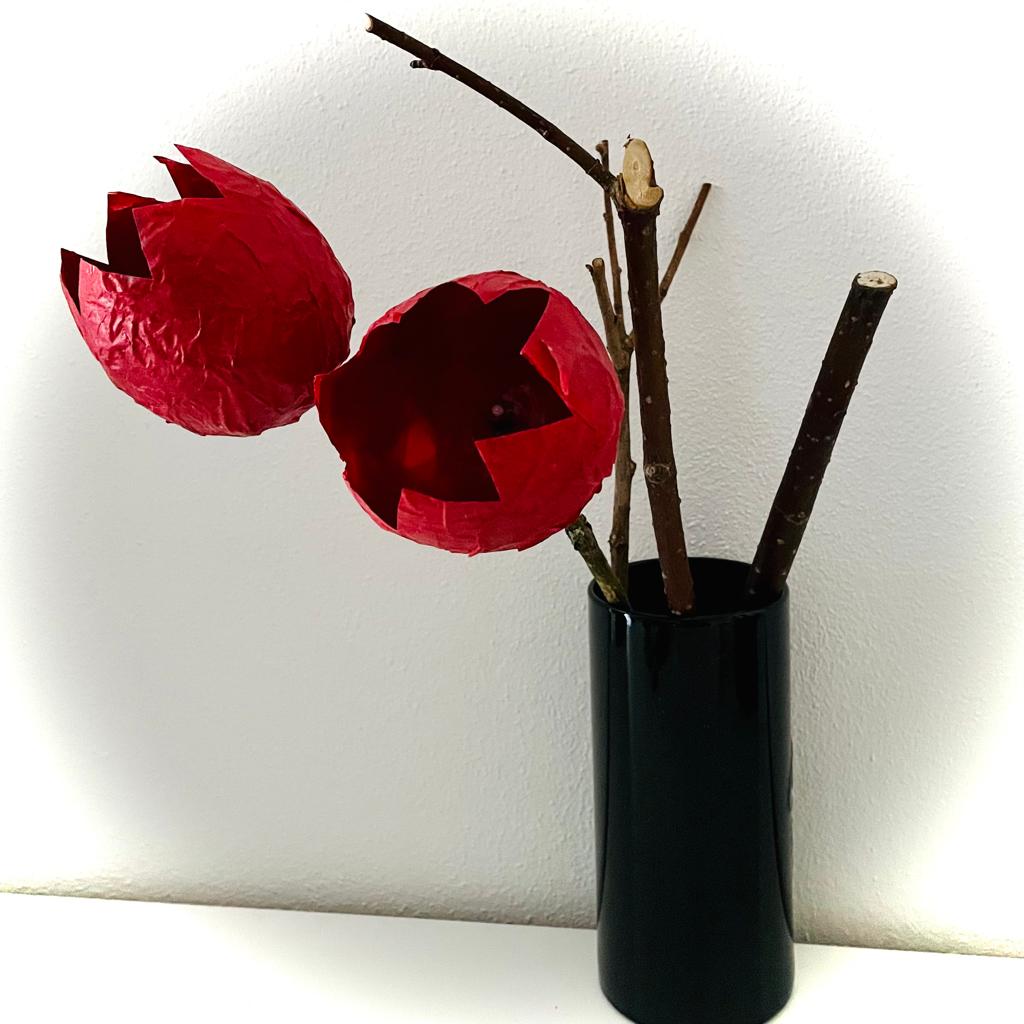
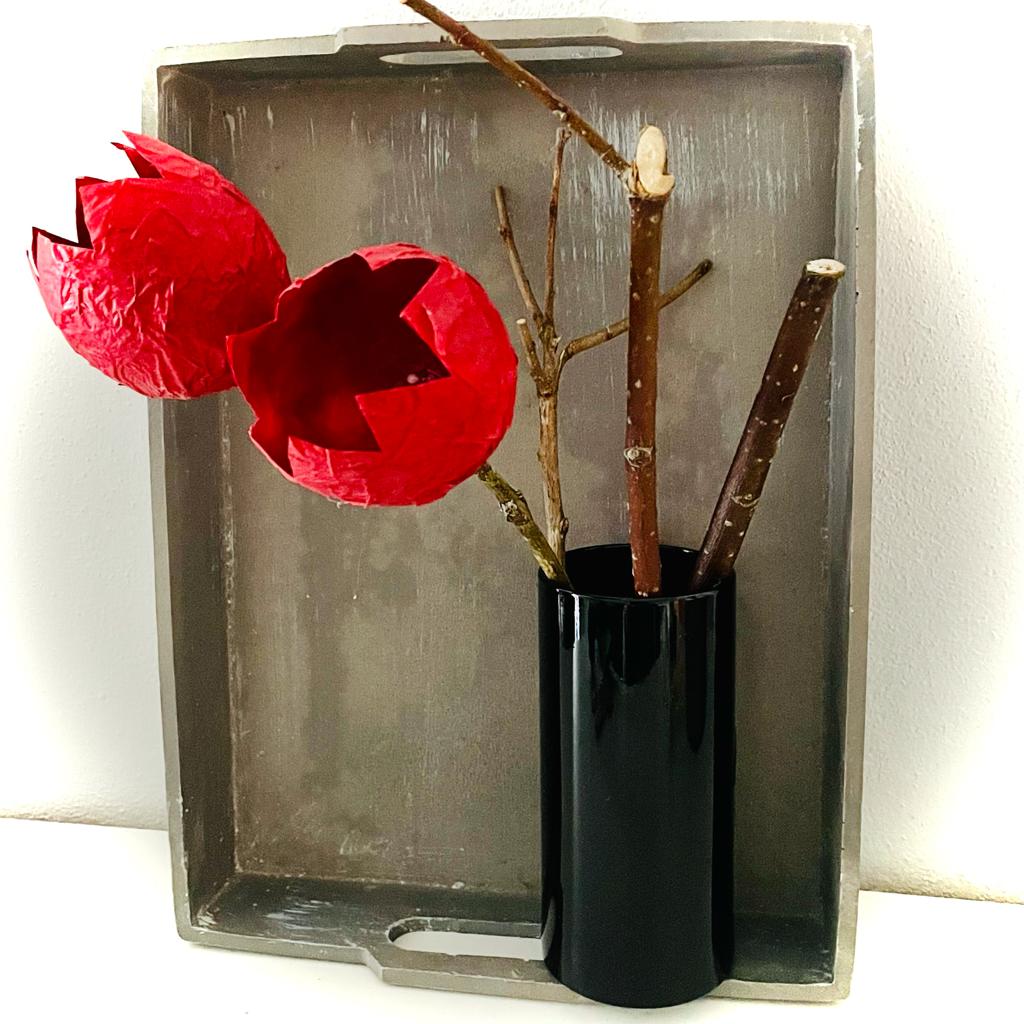
From "water bombs" balloons will be beautiful flowers that look great on a branch! A beautiful decoration idea for spring and also arrives well as a gift for birthday or Mother's Day.

Media Education for Kindergarten and Hort

Kind bastelt eine Rassel mit dem Navi
The Adventure Navi, the app for DIY projects, enables media education for the youngest.

Relief in everyday life, targeted promotion of individual children, independent learning and - without any pre-knowledge already usable by the youngest!
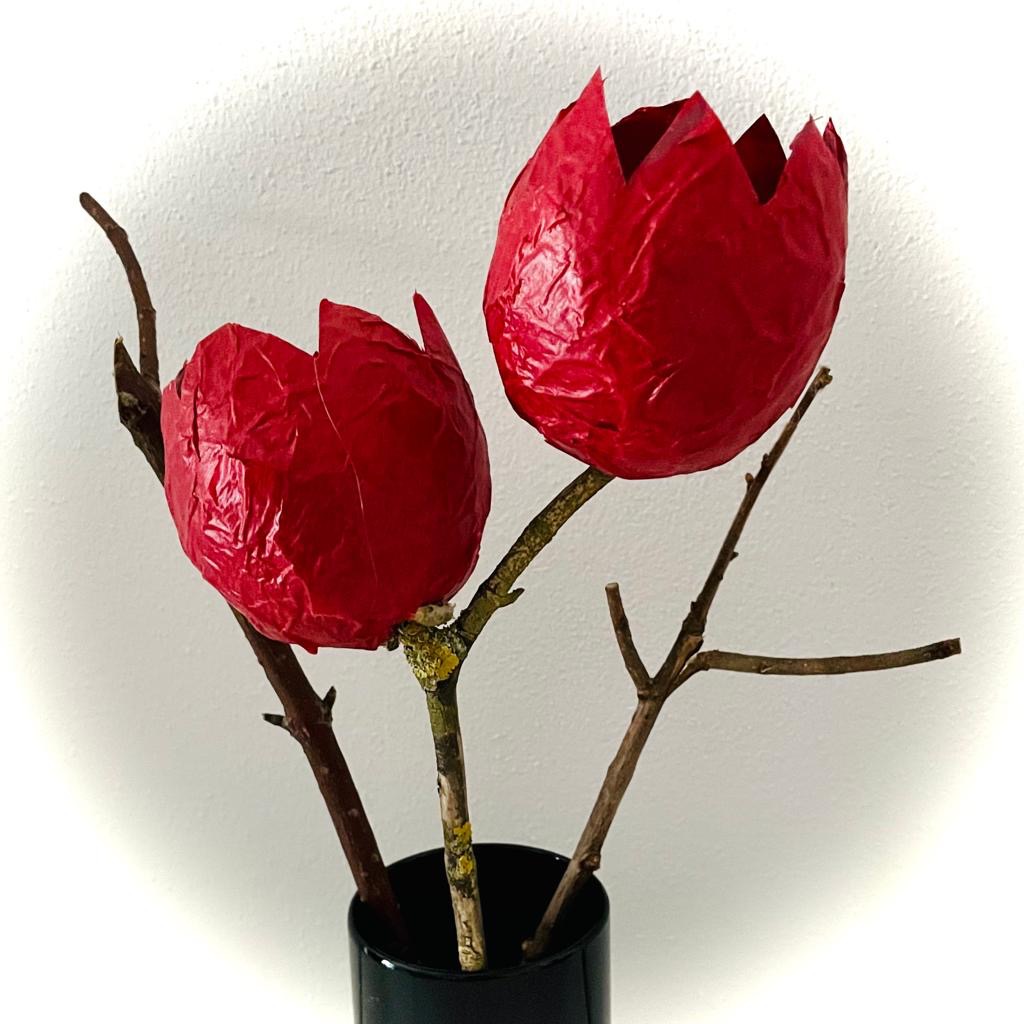


Titelbild zur Bastel- und DIY-Idee für Kinder '(54) Tulpen aus Pappmaschee (mit Kleister-Rezept)'
Material for1 Child
Prep Time5 min.Adv. Time30 min.Total Time35 min.
 Wallpaper pastesRecipe to make paste yourself see below
 3 Small balloonse.g. water bomb balloons
 1 Bowl for the wallpaper paste
 1 larger brush
 1 Sheet transparent paper in one colore.g. red
 1 Clothes clipFor hanging up for drying
 1 Pen
 1 Hot glue
 1 Beautiful branchapprox. 30 to 40 cm long
All links marked with a shopping cart lead to Amazon - here we have selected products that we would order ourselves and in part also ordered. In a qualified purchase via the advertising link, we as Amazon partner receive a commission, for you there are no costs. You thus support our cost- and advertising banner-free, educational offer.
1

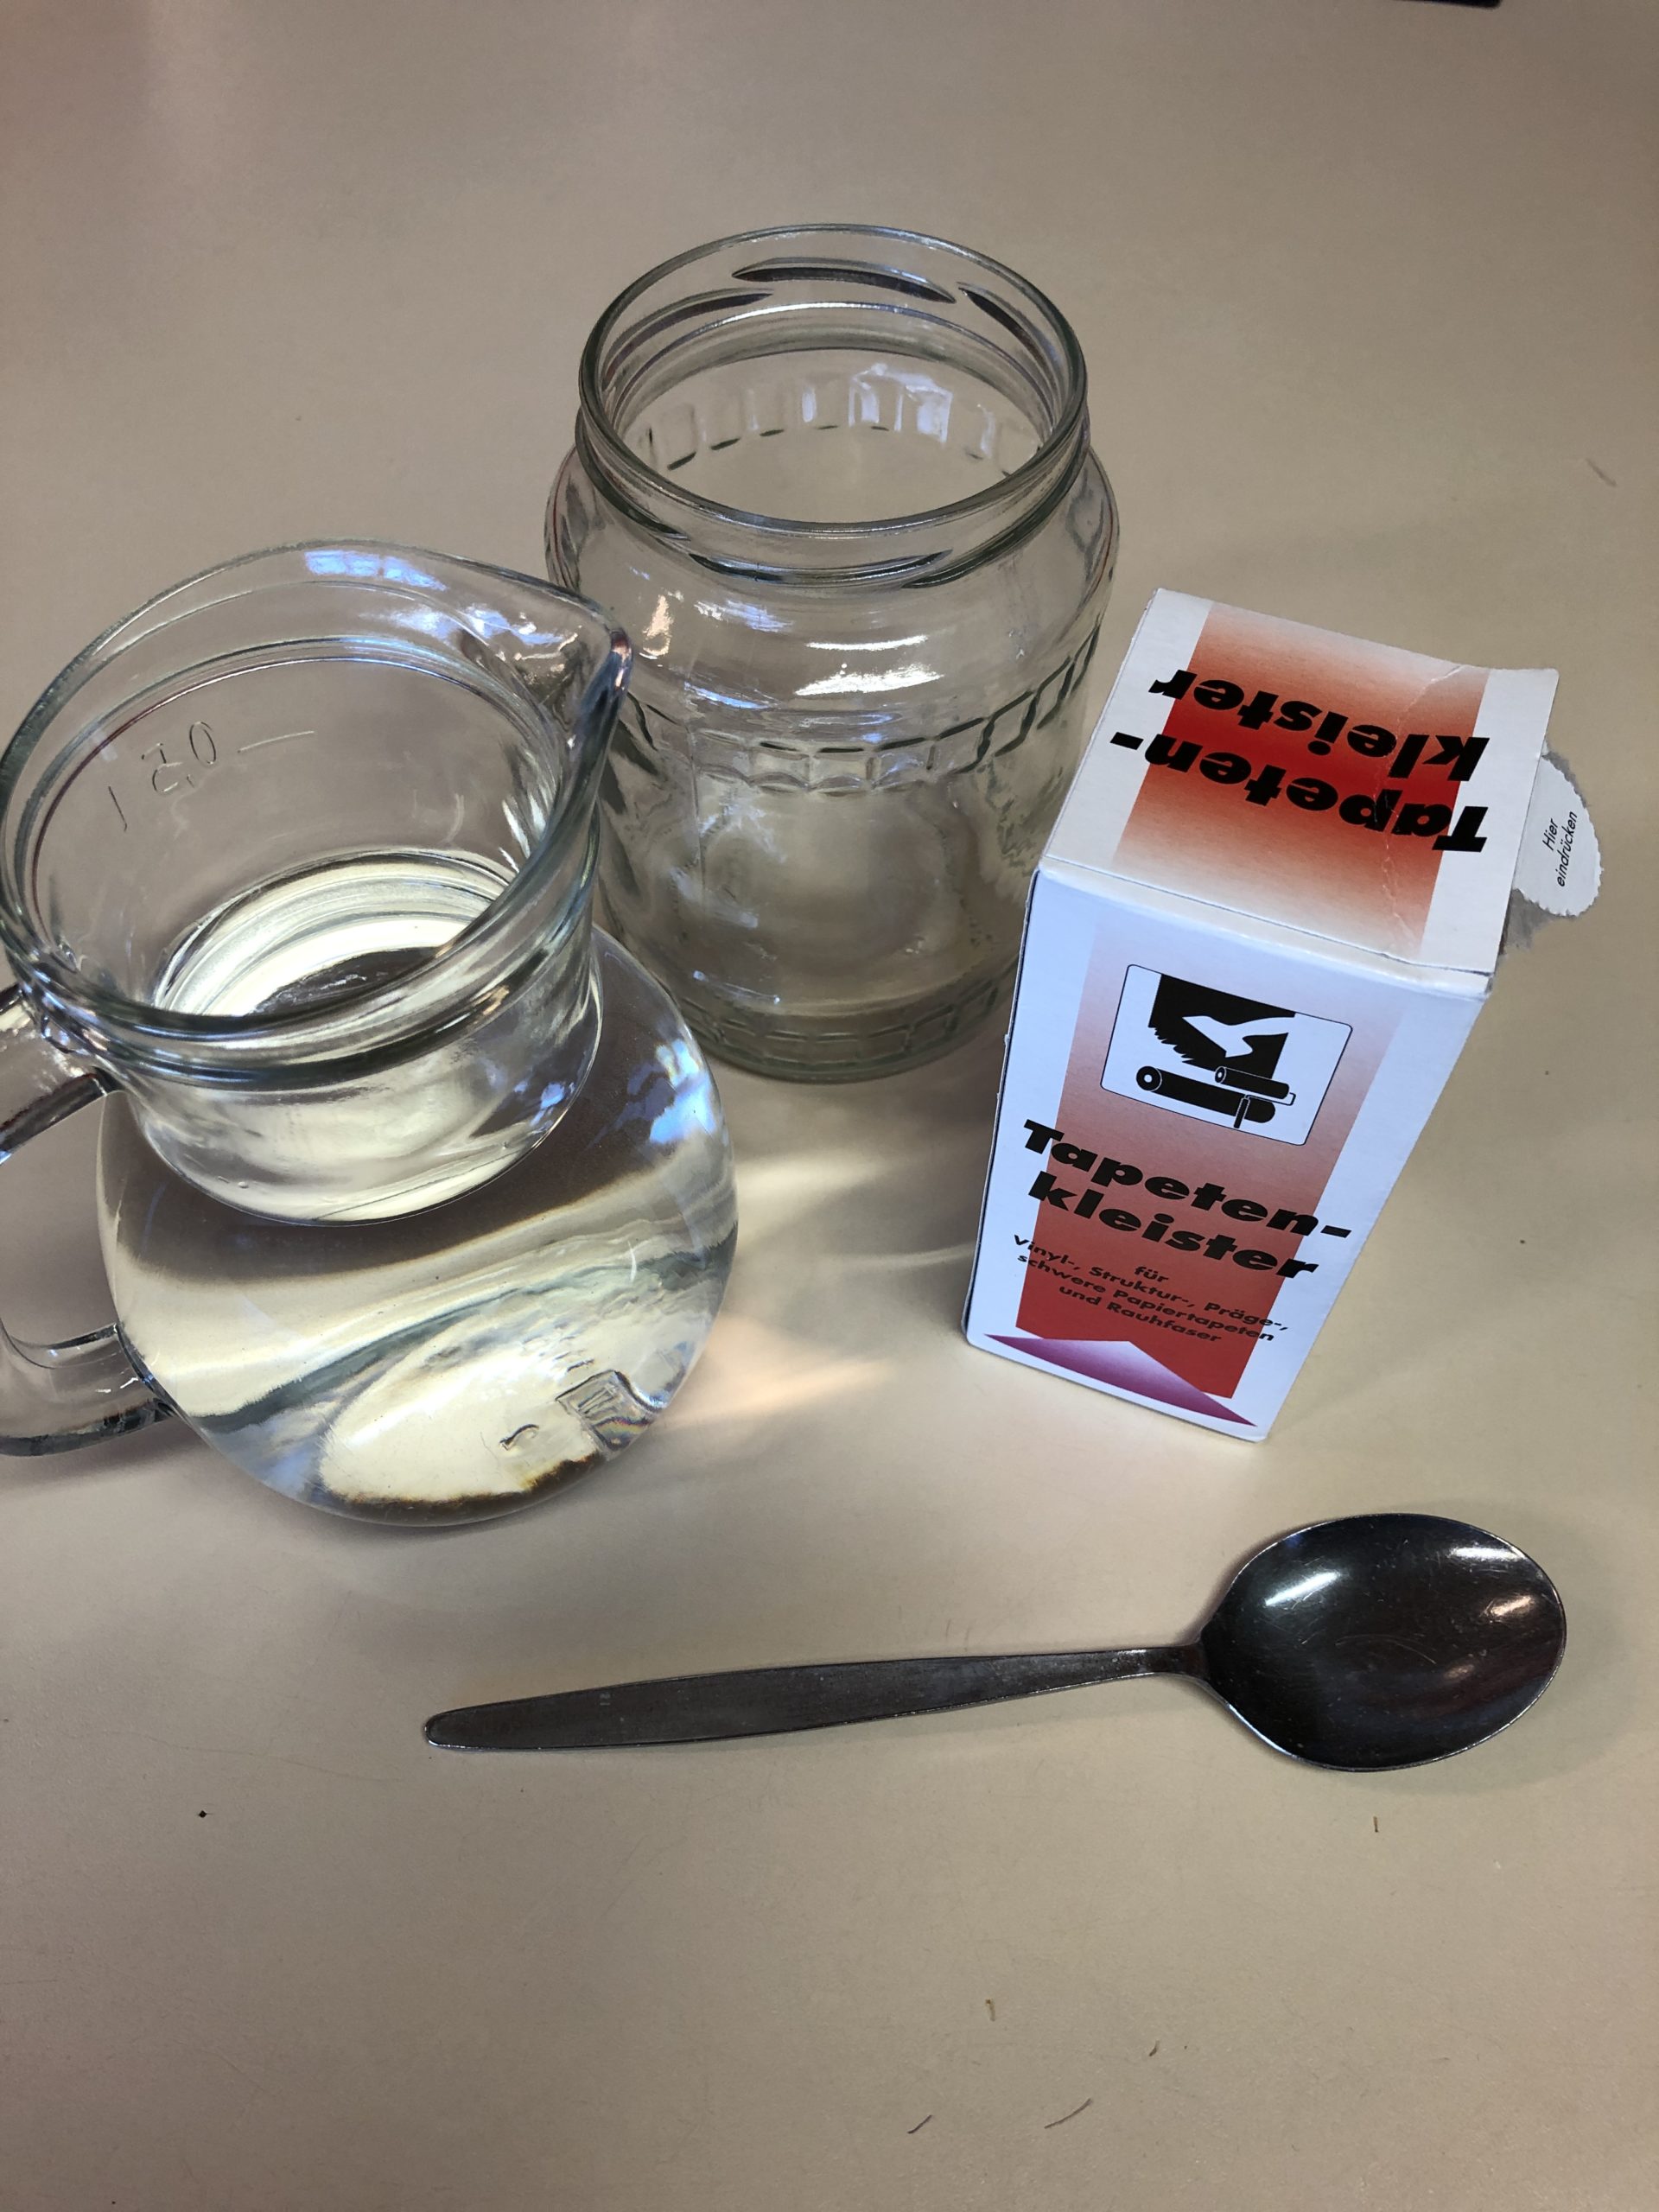
Mix the wallpaper paste! Mix the water and paste powder well!
Prepare according to the package and leave for at least half an hour!

You can also make the paste yourself from flour and water. Here you can find the recipe for the Natural pastes.

Bild zum Schritt 1 für das Bastel- und DIY-Abenteuer für Kinder: 'Tapetenkleister anrühren! Wasser und Kleisterpulver gut verrühren!  Nach Packungsangabe...'

2

Tear transparent paper into small snippets. Approx. 3 to 4 cm in size.
Inflate balloon and close with a knot.
Put paste in a bowl.
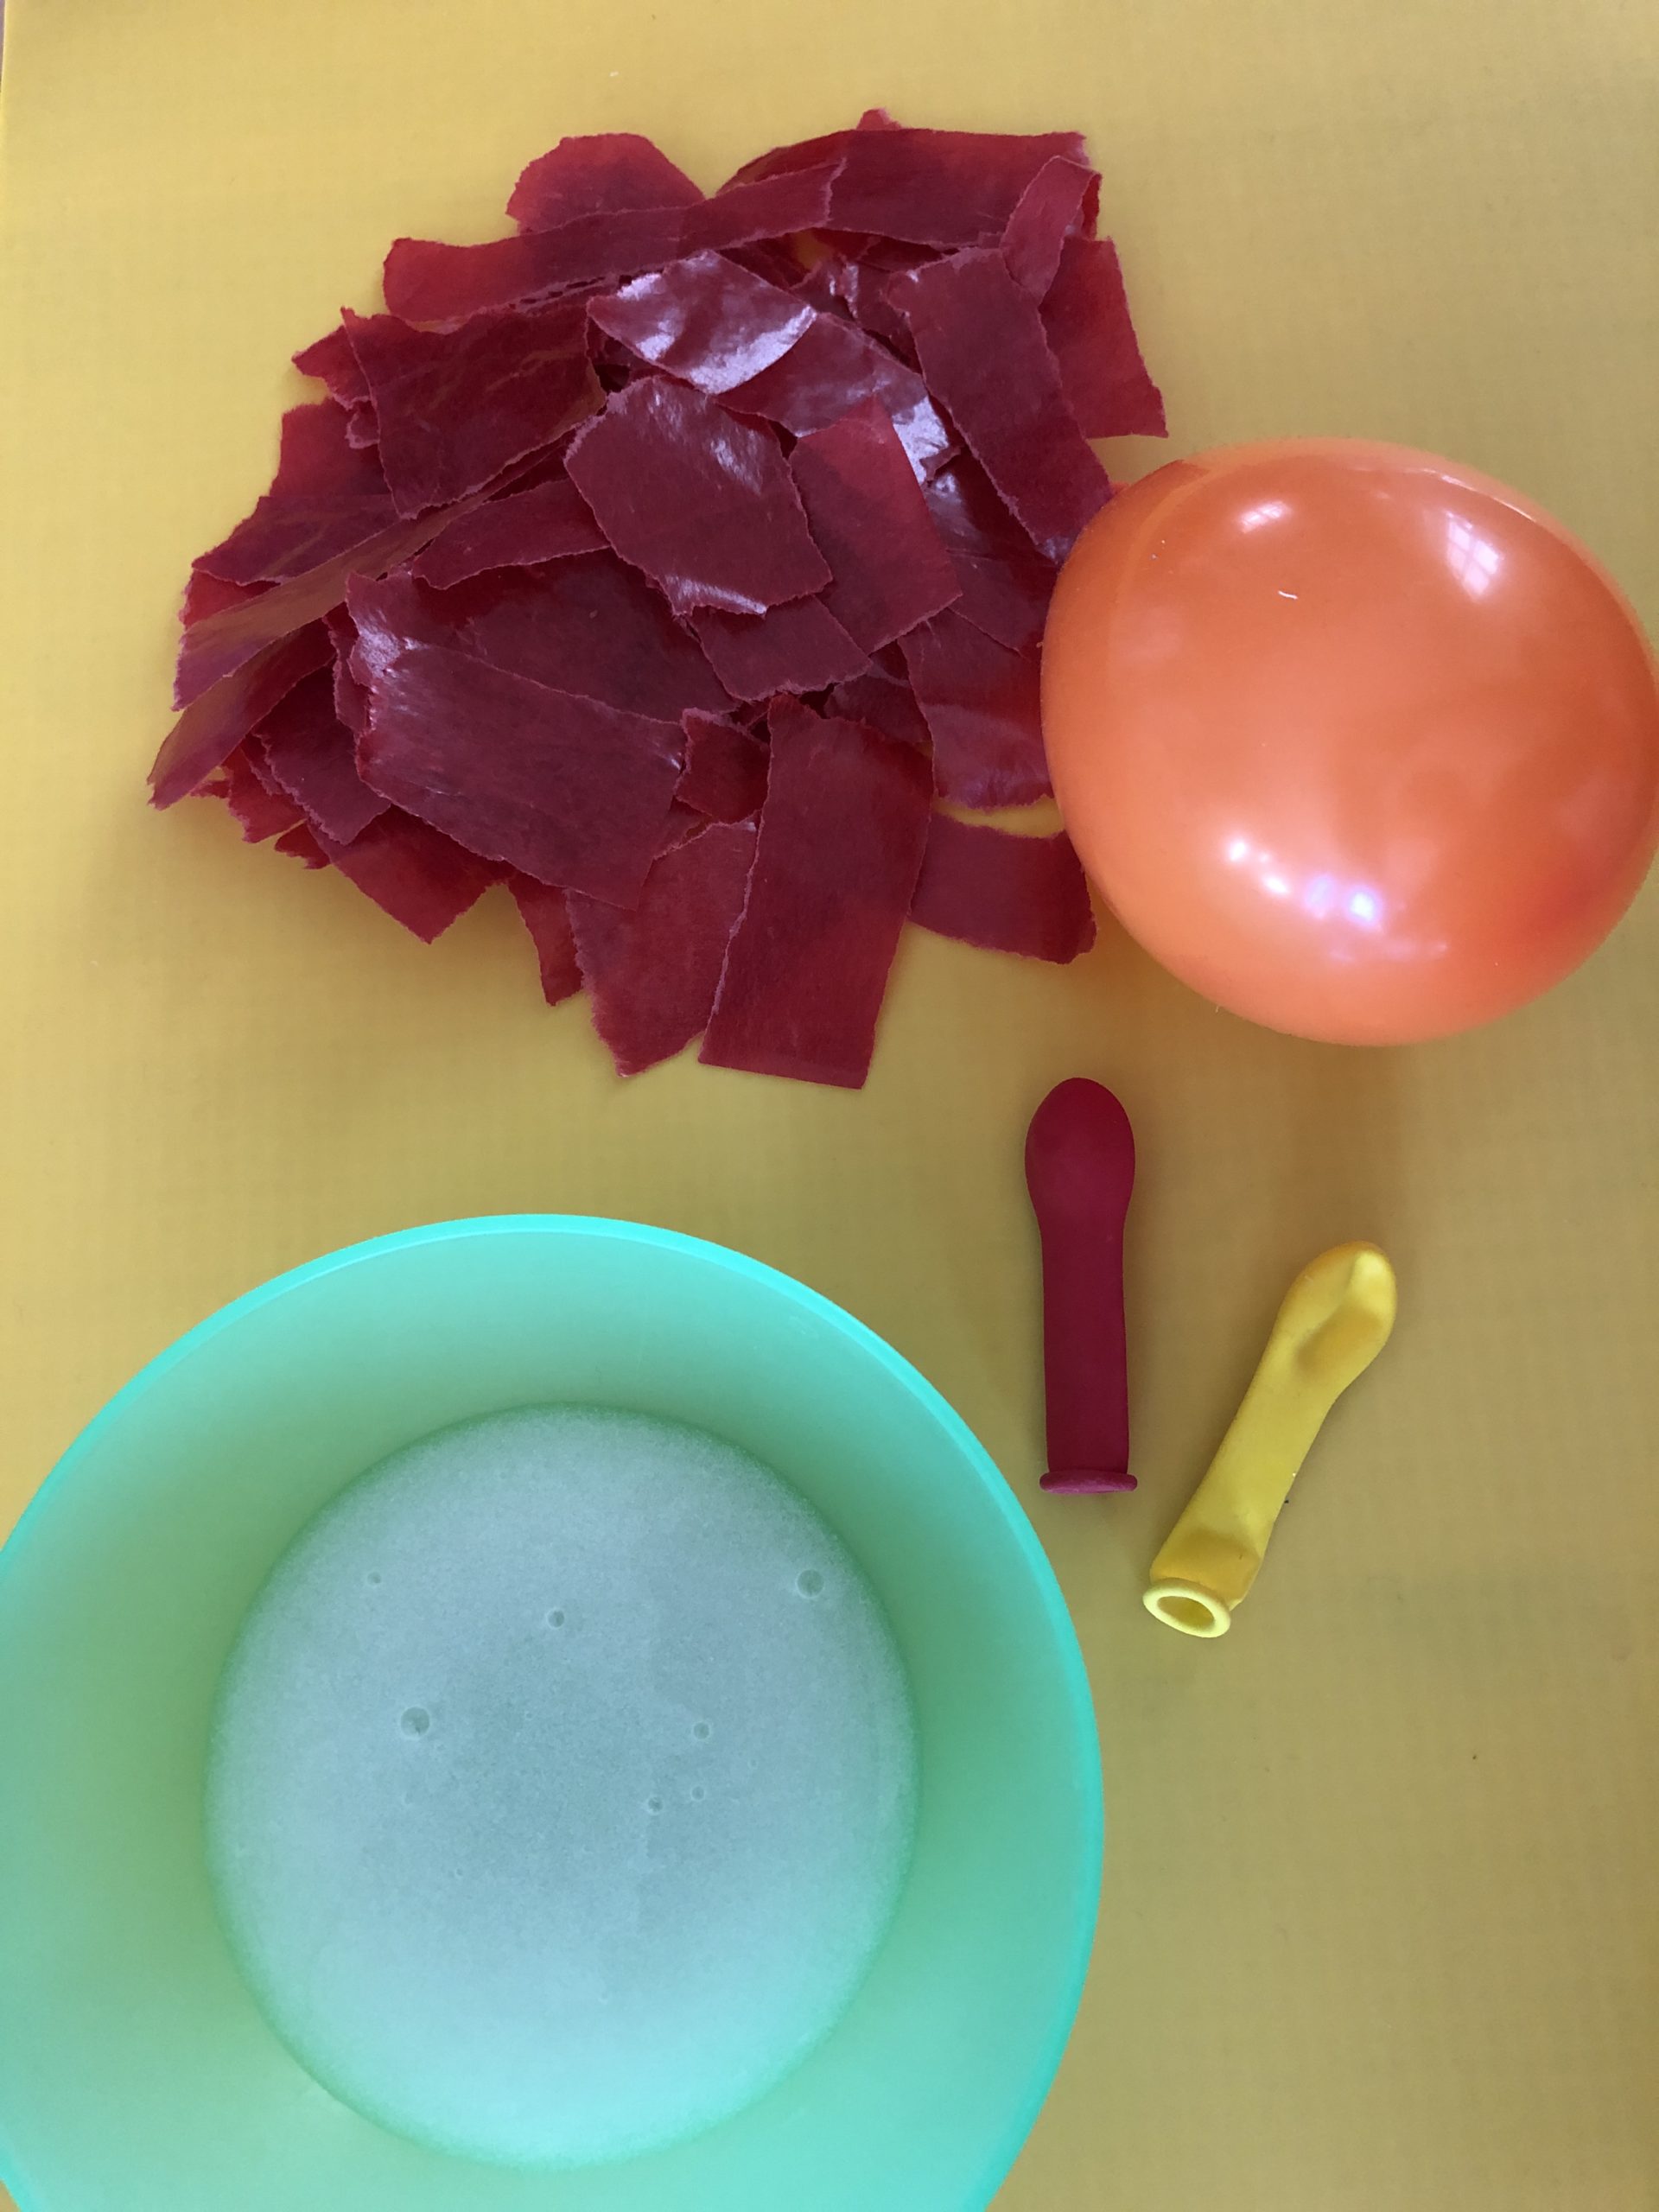
Bild zum Schritt 2 für das Bastel- und DIY-Abenteuer für Kinder: 'Transparentpapier in kleine Schnipsel reißen. Ca. 3 bis 4 cm...'

3

Sprinkle balloon with paste and glue with the transparent paper snippets, use a lot of paste and cover the paper completely with it. Three to four layers of paper must be glued on top of each other. At the top end (at the knot) the balloon can remain free.

Bild zum Schritt 3 für das Bastel- und DIY-Abenteuer für Kinder: 'Luftballon mit Kleister bestreichen und mit den Transparentpapier- Schnipseln bekleben,...'

4

Glued balloon to dry hang on a leash with clothespin.
The balloon has to dry overnight! It's getting dry and firm!

Bild zum Schritt 4 für das Bastel- und DIY-Abenteuer für Kinder: 'beklebten Luftballon zum Trocknen an eine Leine mit Wäscheklammer hängen....'

5

Cut the balloon the next day with scissors. It detachs from the paper and can then be removed.

Bild zum Schritt 5 für das Bastel- und DIY-Abenteuer für Kinder: 'Am nächsten Tag den Luftballon mit einer Schere kaputt schneiden....'

6

Paint a zigzag pattern around with a pen at the top.

Bild zum Schritt 6 für das Bastel- und DIY-Abenteuer für Kinder: 'Mit einem Stift am oberen Ende ein Zick-Zack- Muster rundherum...'

7

Cut the upper edge with the scissors in the zigzag.

Bild zum Schritt 7 für das Bastel- und DIY-Abenteuer für Kinder: 'Den oberen Rand mit der Schere im Zick-Zack einschneiden.'

8

Make the hot glue hot.
Attach the finished balloon tulip with hot glue on the branch.
Possibly it is necessary to put the branch through the tulip so that it has more hold. Nevertheless fix there with hot glue.

Bild zum Schritt 8 für das Bastel- und DIY-Abenteuer für Kinder: 'Den Heißkleber heiß machen.  Die fertige Luftballon-Tulpe mit Heißkleber...'

9

Now you can decorate the tulip.

Bild zum Schritt 9 für das Bastel- und DIY-Abenteuer für Kinder: 'Fertig! Jetzt könnt ihr die Tulpe dekorieren.'

10

Have fun!

Bild zum Schritt 10 für das Bastel- und DIY-Abenteuer für Kinder: 'Viel Freude!'

Materials

 Wallpaper pastesRecipe to make paste yourself see below
 3 Small balloonse.g. water bomb balloons
 1 Bowl for the wallpaper paste
 1 larger brush
 1 Sheet transparent paper in one colore.g. red
 1 Clothes clipFor hanging up for drying
 1 Pen
 1 Hot glue
 1 Beautiful branchapprox. 30 to 40 cm long
All links marked with a shopping cart lead to Amazon - here we have selected products that we would order ourselves and in part also ordered. In a qualified purchase via the advertising link, we as Amazon partner receive a commission, for you there are no costs. You thus support our cost- and advertising banner-free, educational offer.

Directions

1

Mix the wallpaper paste! Mix the water and paste powder well!
Prepare according to the package and leave for at least half an hour!

You can also make the paste yourself from flour and water. Here you can find the recipe for the Natural pastes.

Bild zum Schritt 1 für das Bastel- und DIY-Abenteuer für Kinder: 'Tapetenkleister anrühren! Wasser und Kleisterpulver gut verrühren!  Nach Packungsangabe...'

2

Tear transparent paper into small snippets. Approx. 3 to 4 cm in size.
Inflate balloon and close with a knot.
Put paste in a bowl.

Bild zum Schritt 2 für das Bastel- und DIY-Abenteuer für Kinder: 'Transparentpapier in kleine Schnipsel reißen. Ca. 3 bis 4 cm...'

3

Sprinkle balloon with paste and glue with the transparent paper snippets, use a lot of paste and cover the paper completely with it. Three to four layers of paper must be glued on top of each other. At the top end (at the knot) the balloon can remain free.
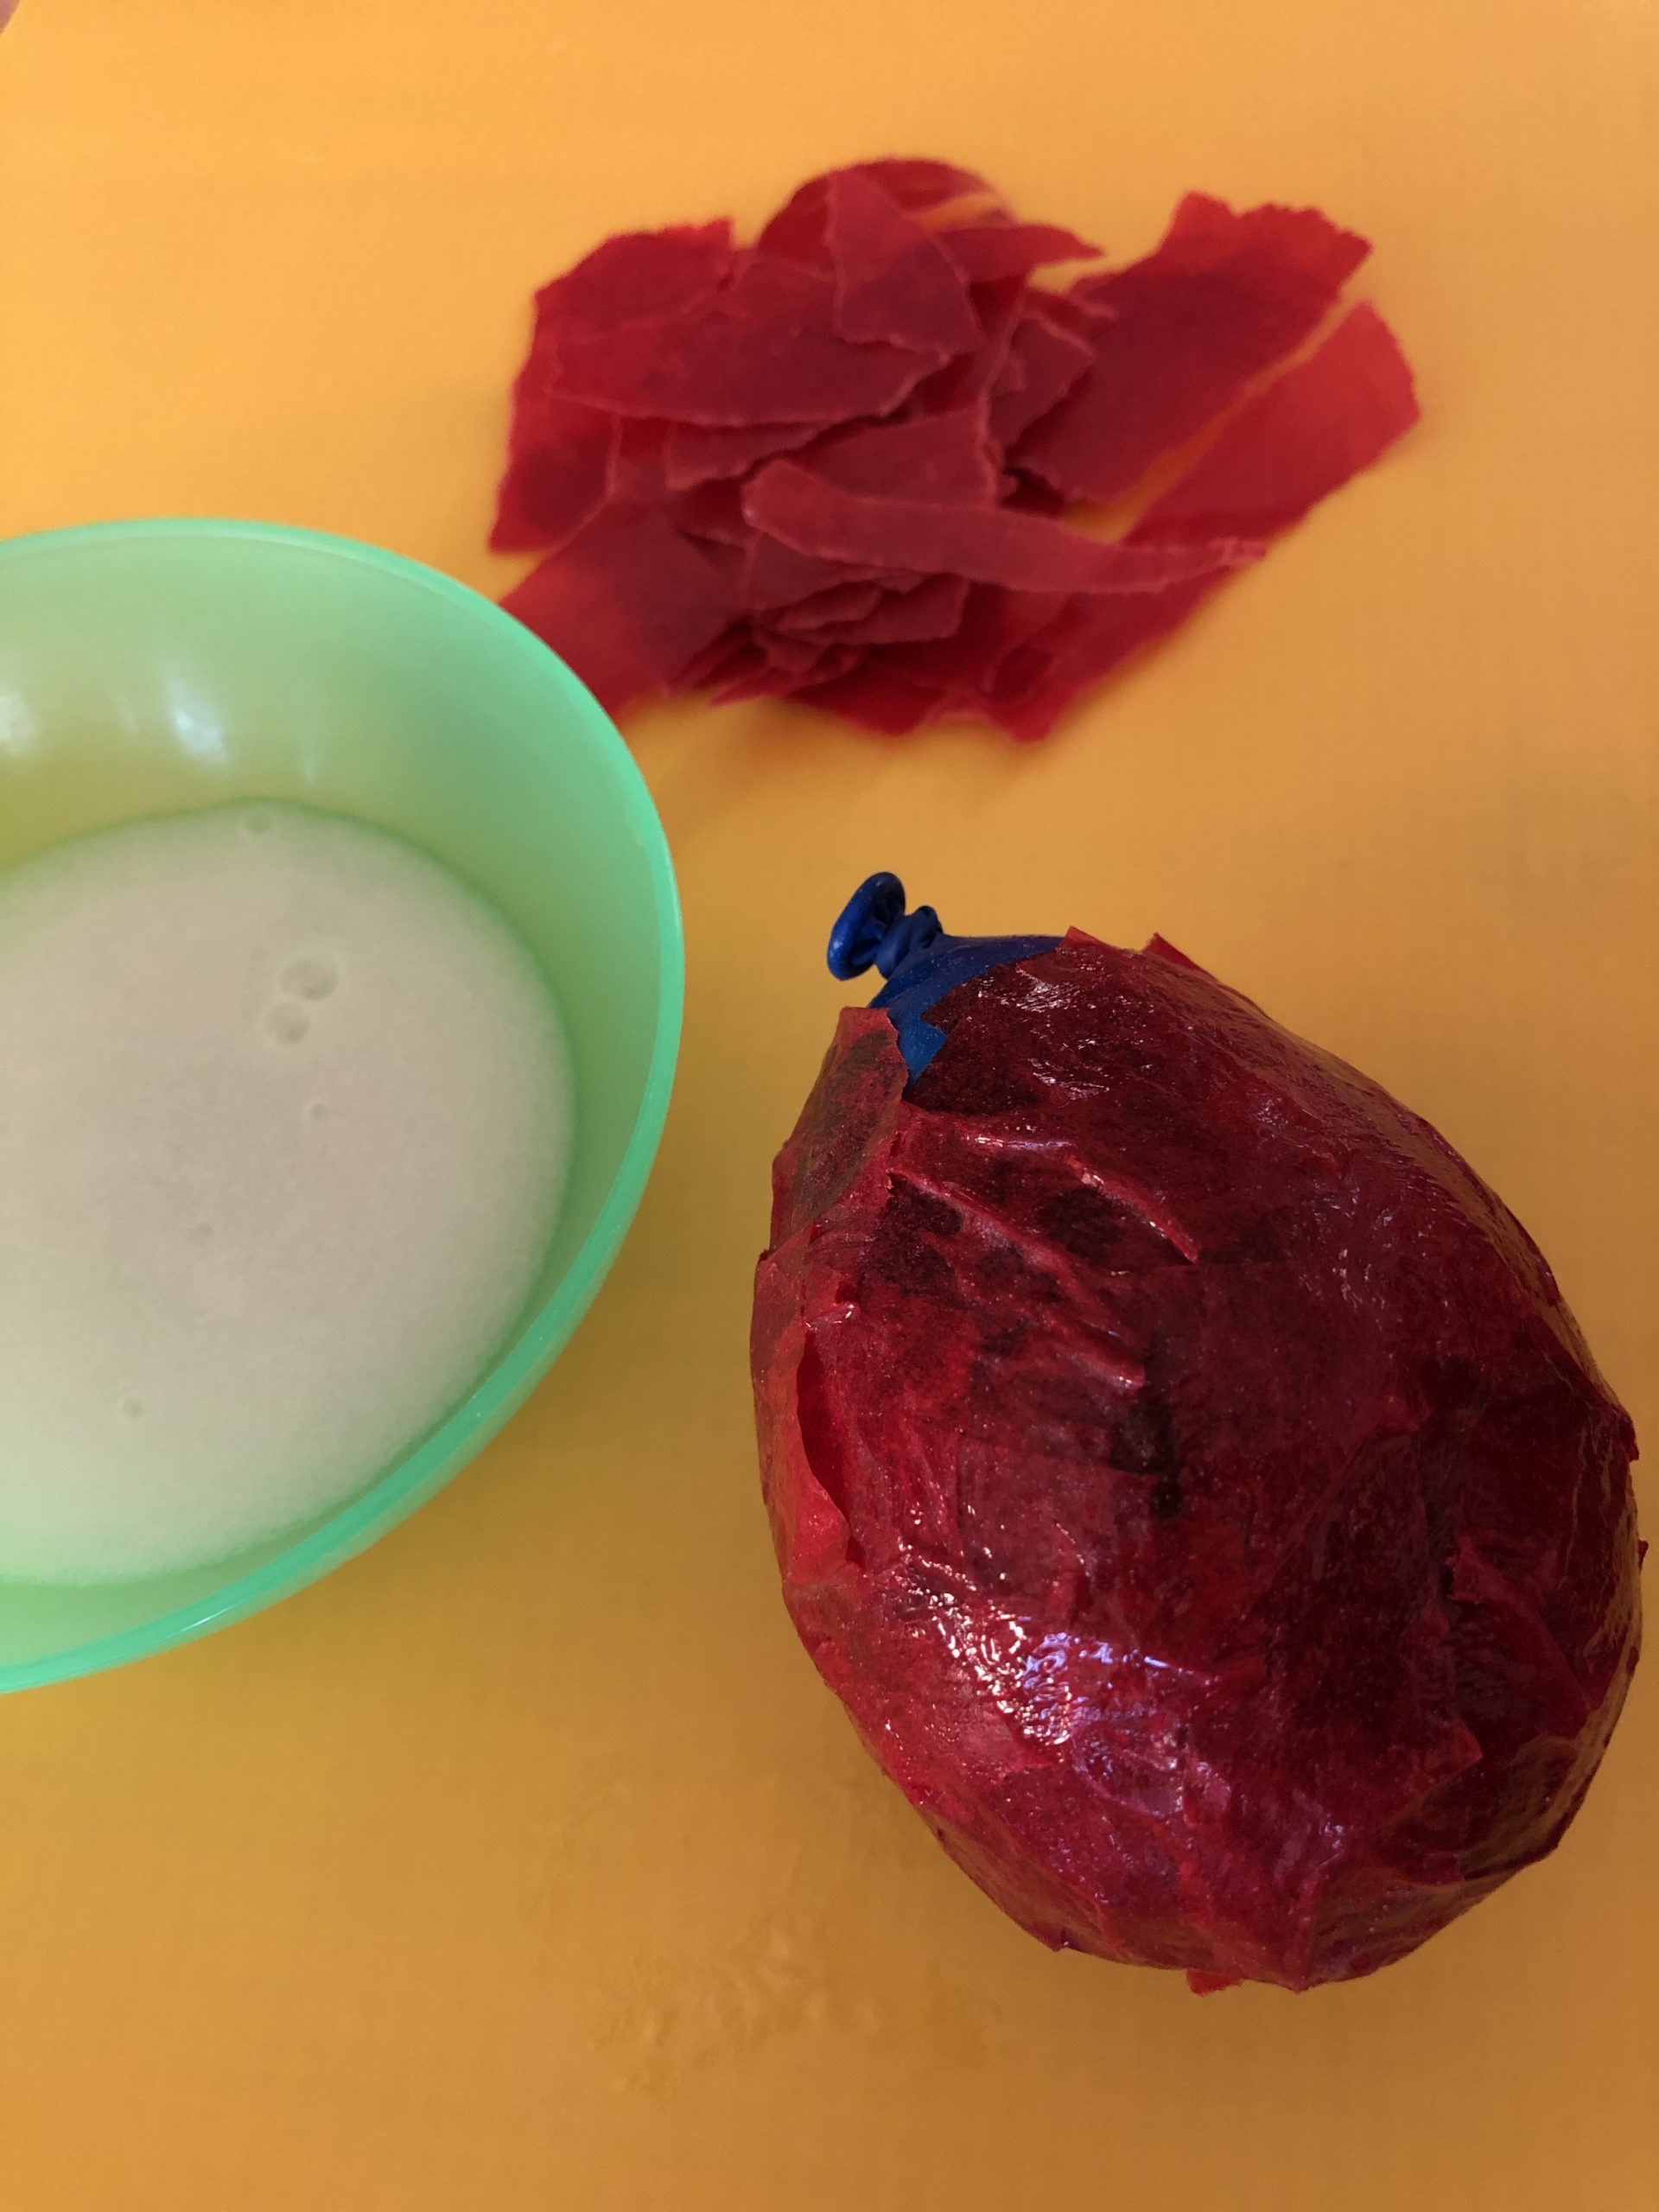
Bild zum Schritt 3 für das Bastel- und DIY-Abenteuer für Kinder: 'Luftballon mit Kleister bestreichen und mit den Transparentpapier- Schnipseln bekleben,...'

4

Glued balloon to dry hang on a leash with clothespin.
The balloon has to dry overnight! It's getting dry and firm!

Bild zum Schritt 4 für das Bastel- und DIY-Abenteuer für Kinder: 'beklebten Luftballon zum Trocknen an eine Leine mit Wäscheklammer hängen....'

5

Cut the balloon the next day with scissors. It detachs from the paper and can then be removed.
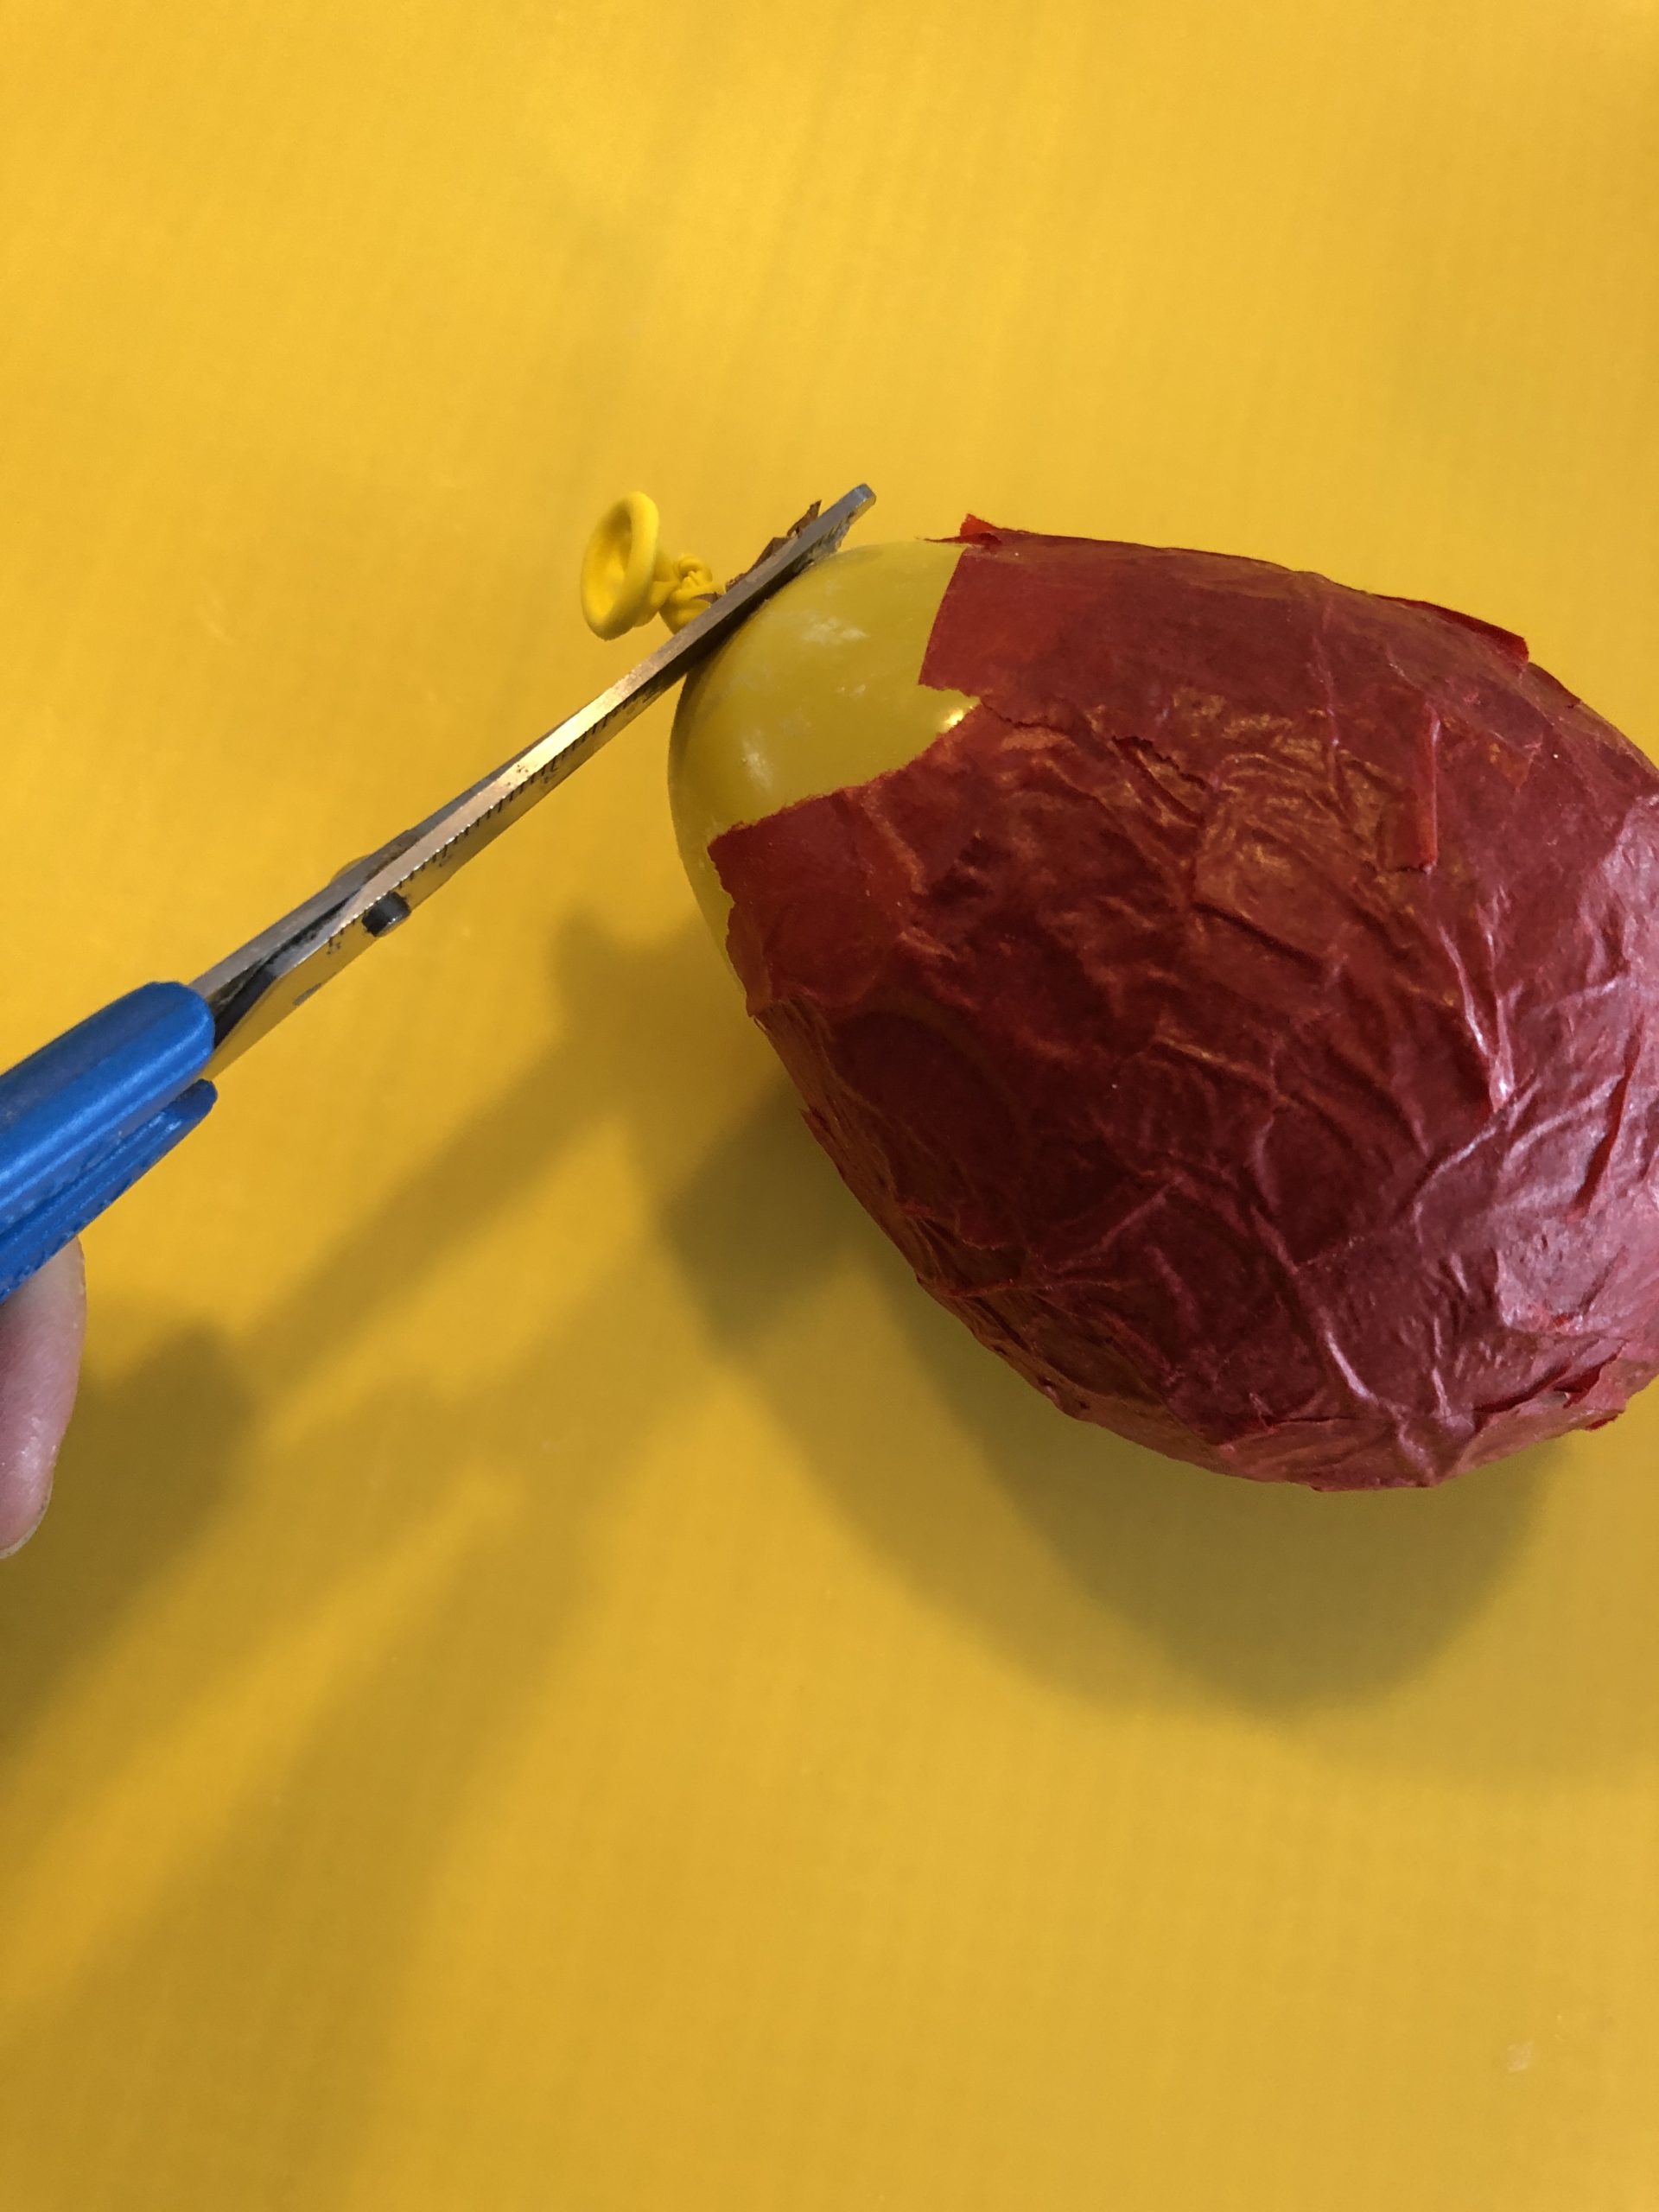
Bild zum Schritt 5 für das Bastel- und DIY-Abenteuer für Kinder: 'Am nächsten Tag den Luftballon mit einer Schere kaputt schneiden....'

6

Paint a zigzag pattern around with a pen at the top.
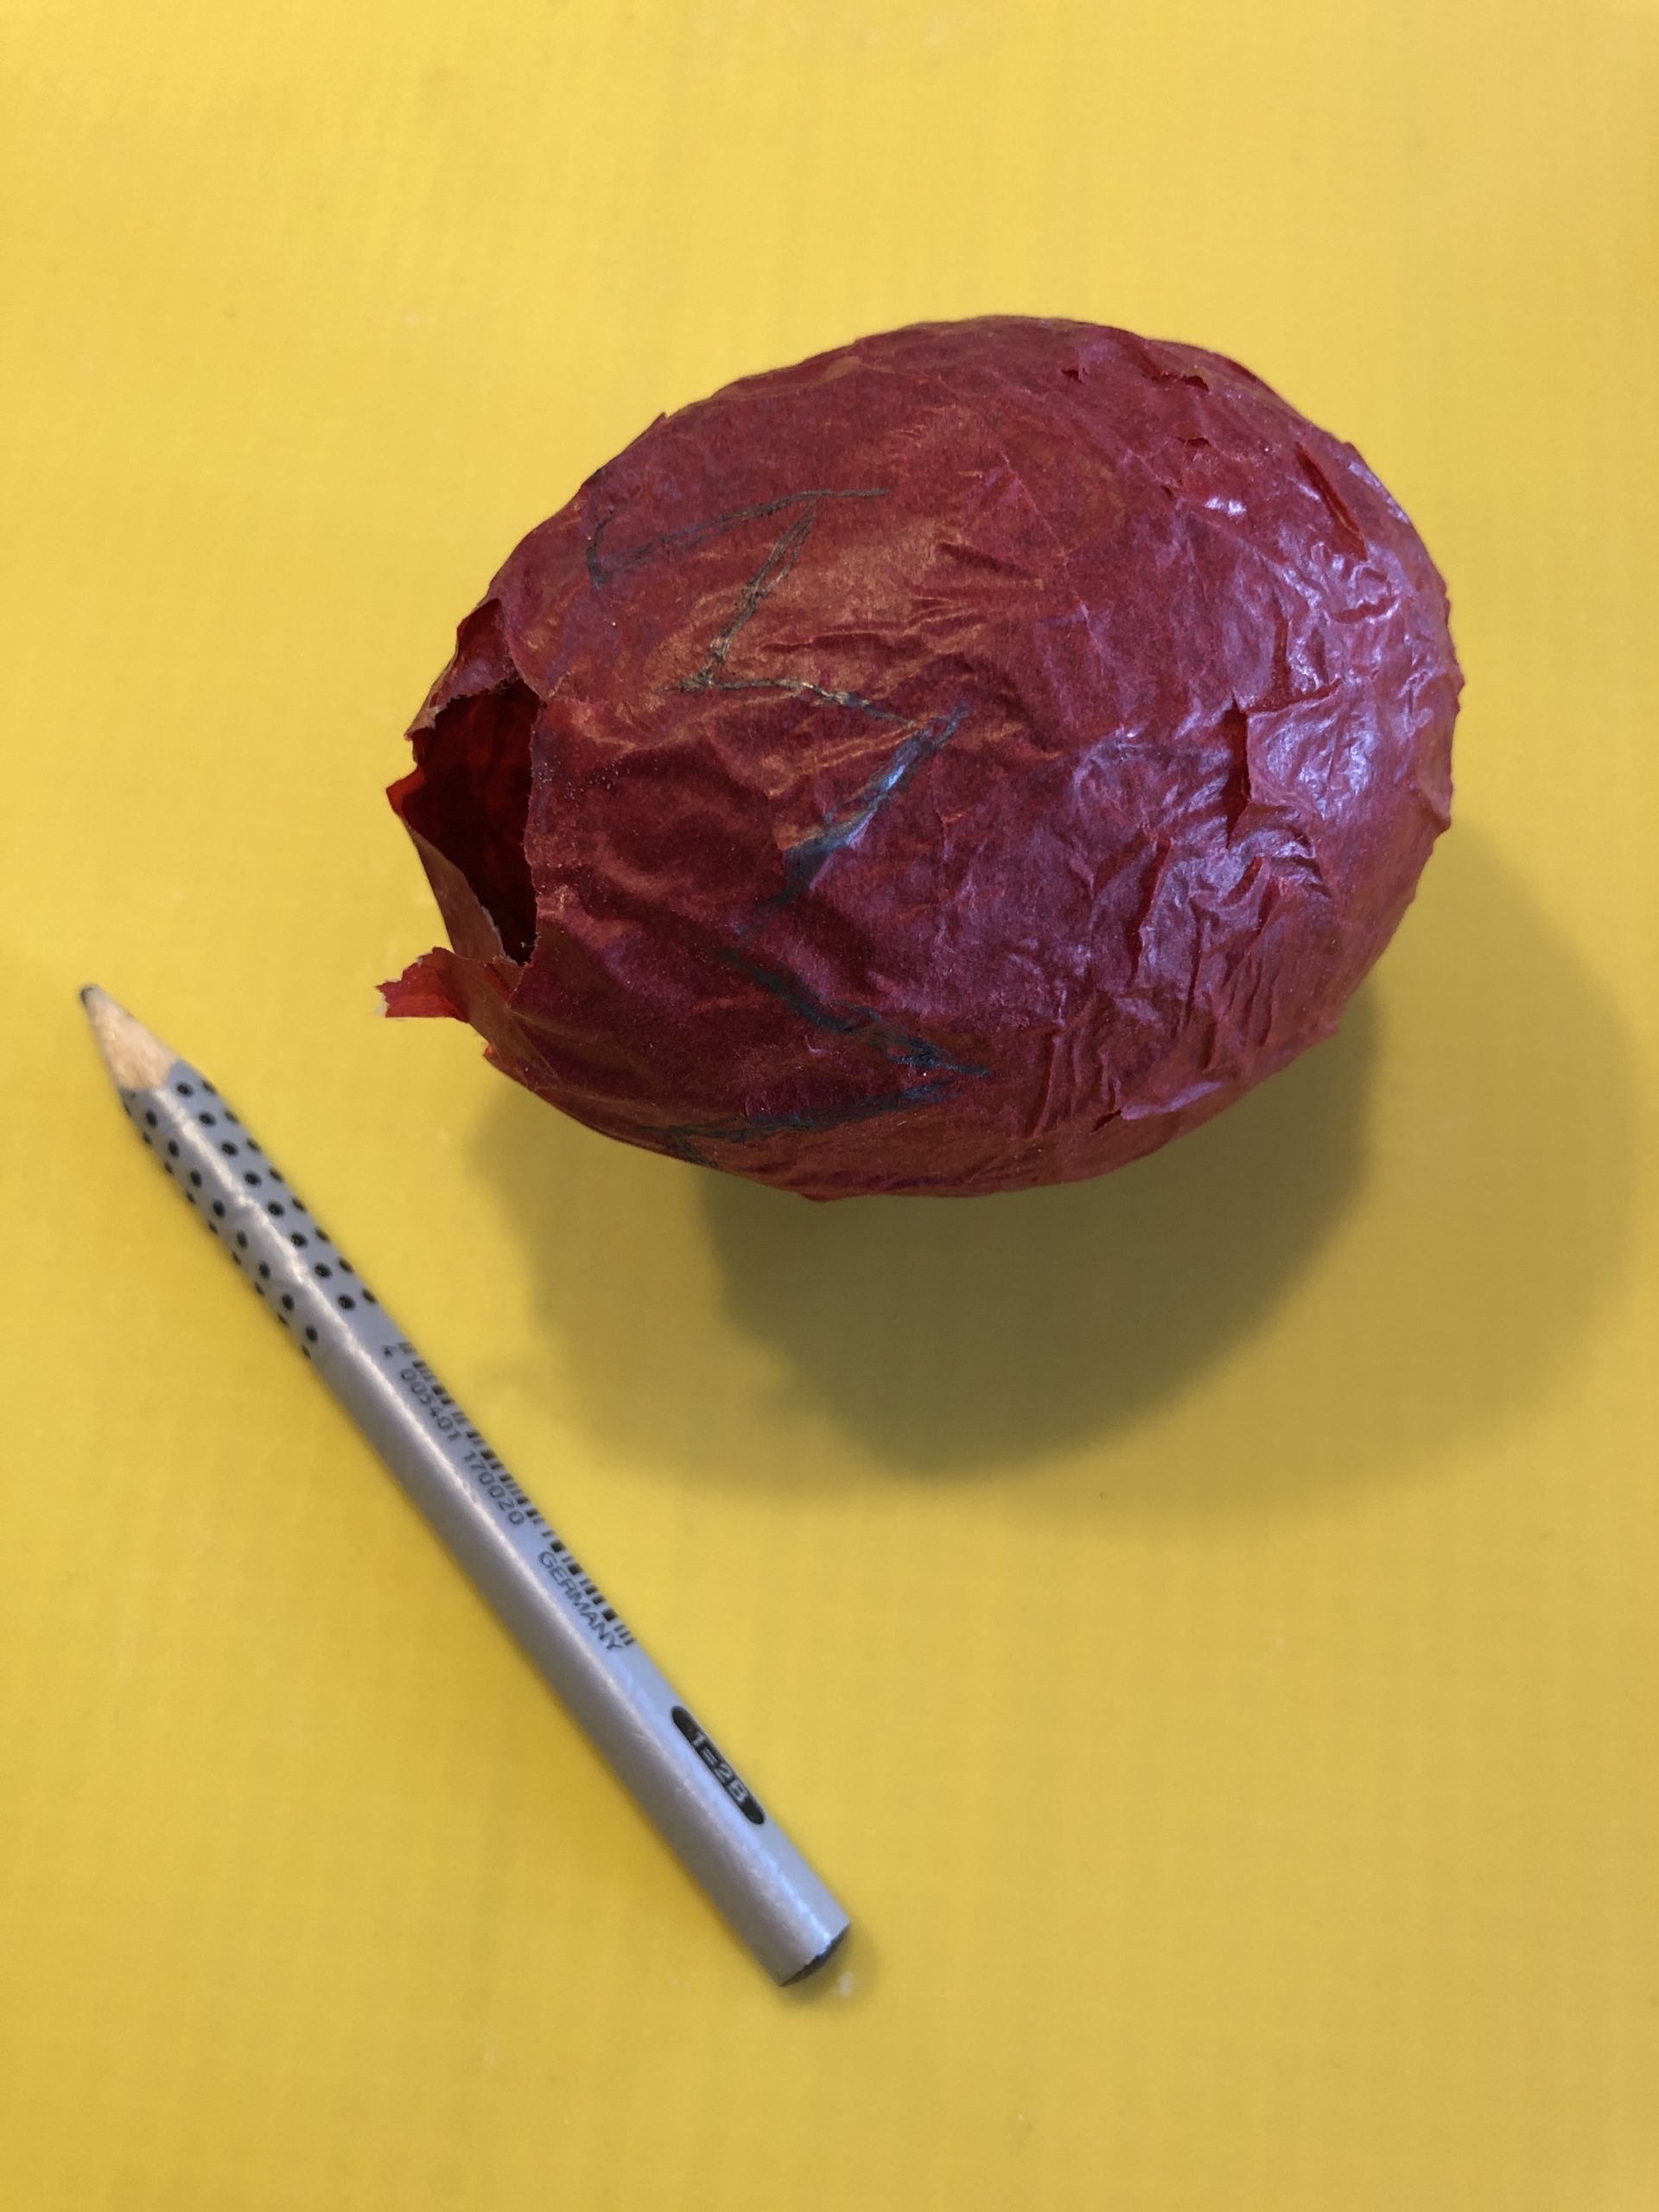
Bild zum Schritt 6 für das Bastel- und DIY-Abenteuer für Kinder: 'Mit einem Stift am oberen Ende ein Zick-Zack- Muster rundherum...'

7

Cut the upper edge with the scissors in the zigzag.

Bild zum Schritt 7 für das Bastel- und DIY-Abenteuer für Kinder: 'Den oberen Rand mit der Schere im Zick-Zack einschneiden.'

8

Make the hot glue hot.
Attach the finished balloon tulip with hot glue on the branch.
Possibly it is necessary to put the branch through the tulip so that it has more hold. Nevertheless fix there with hot glue.
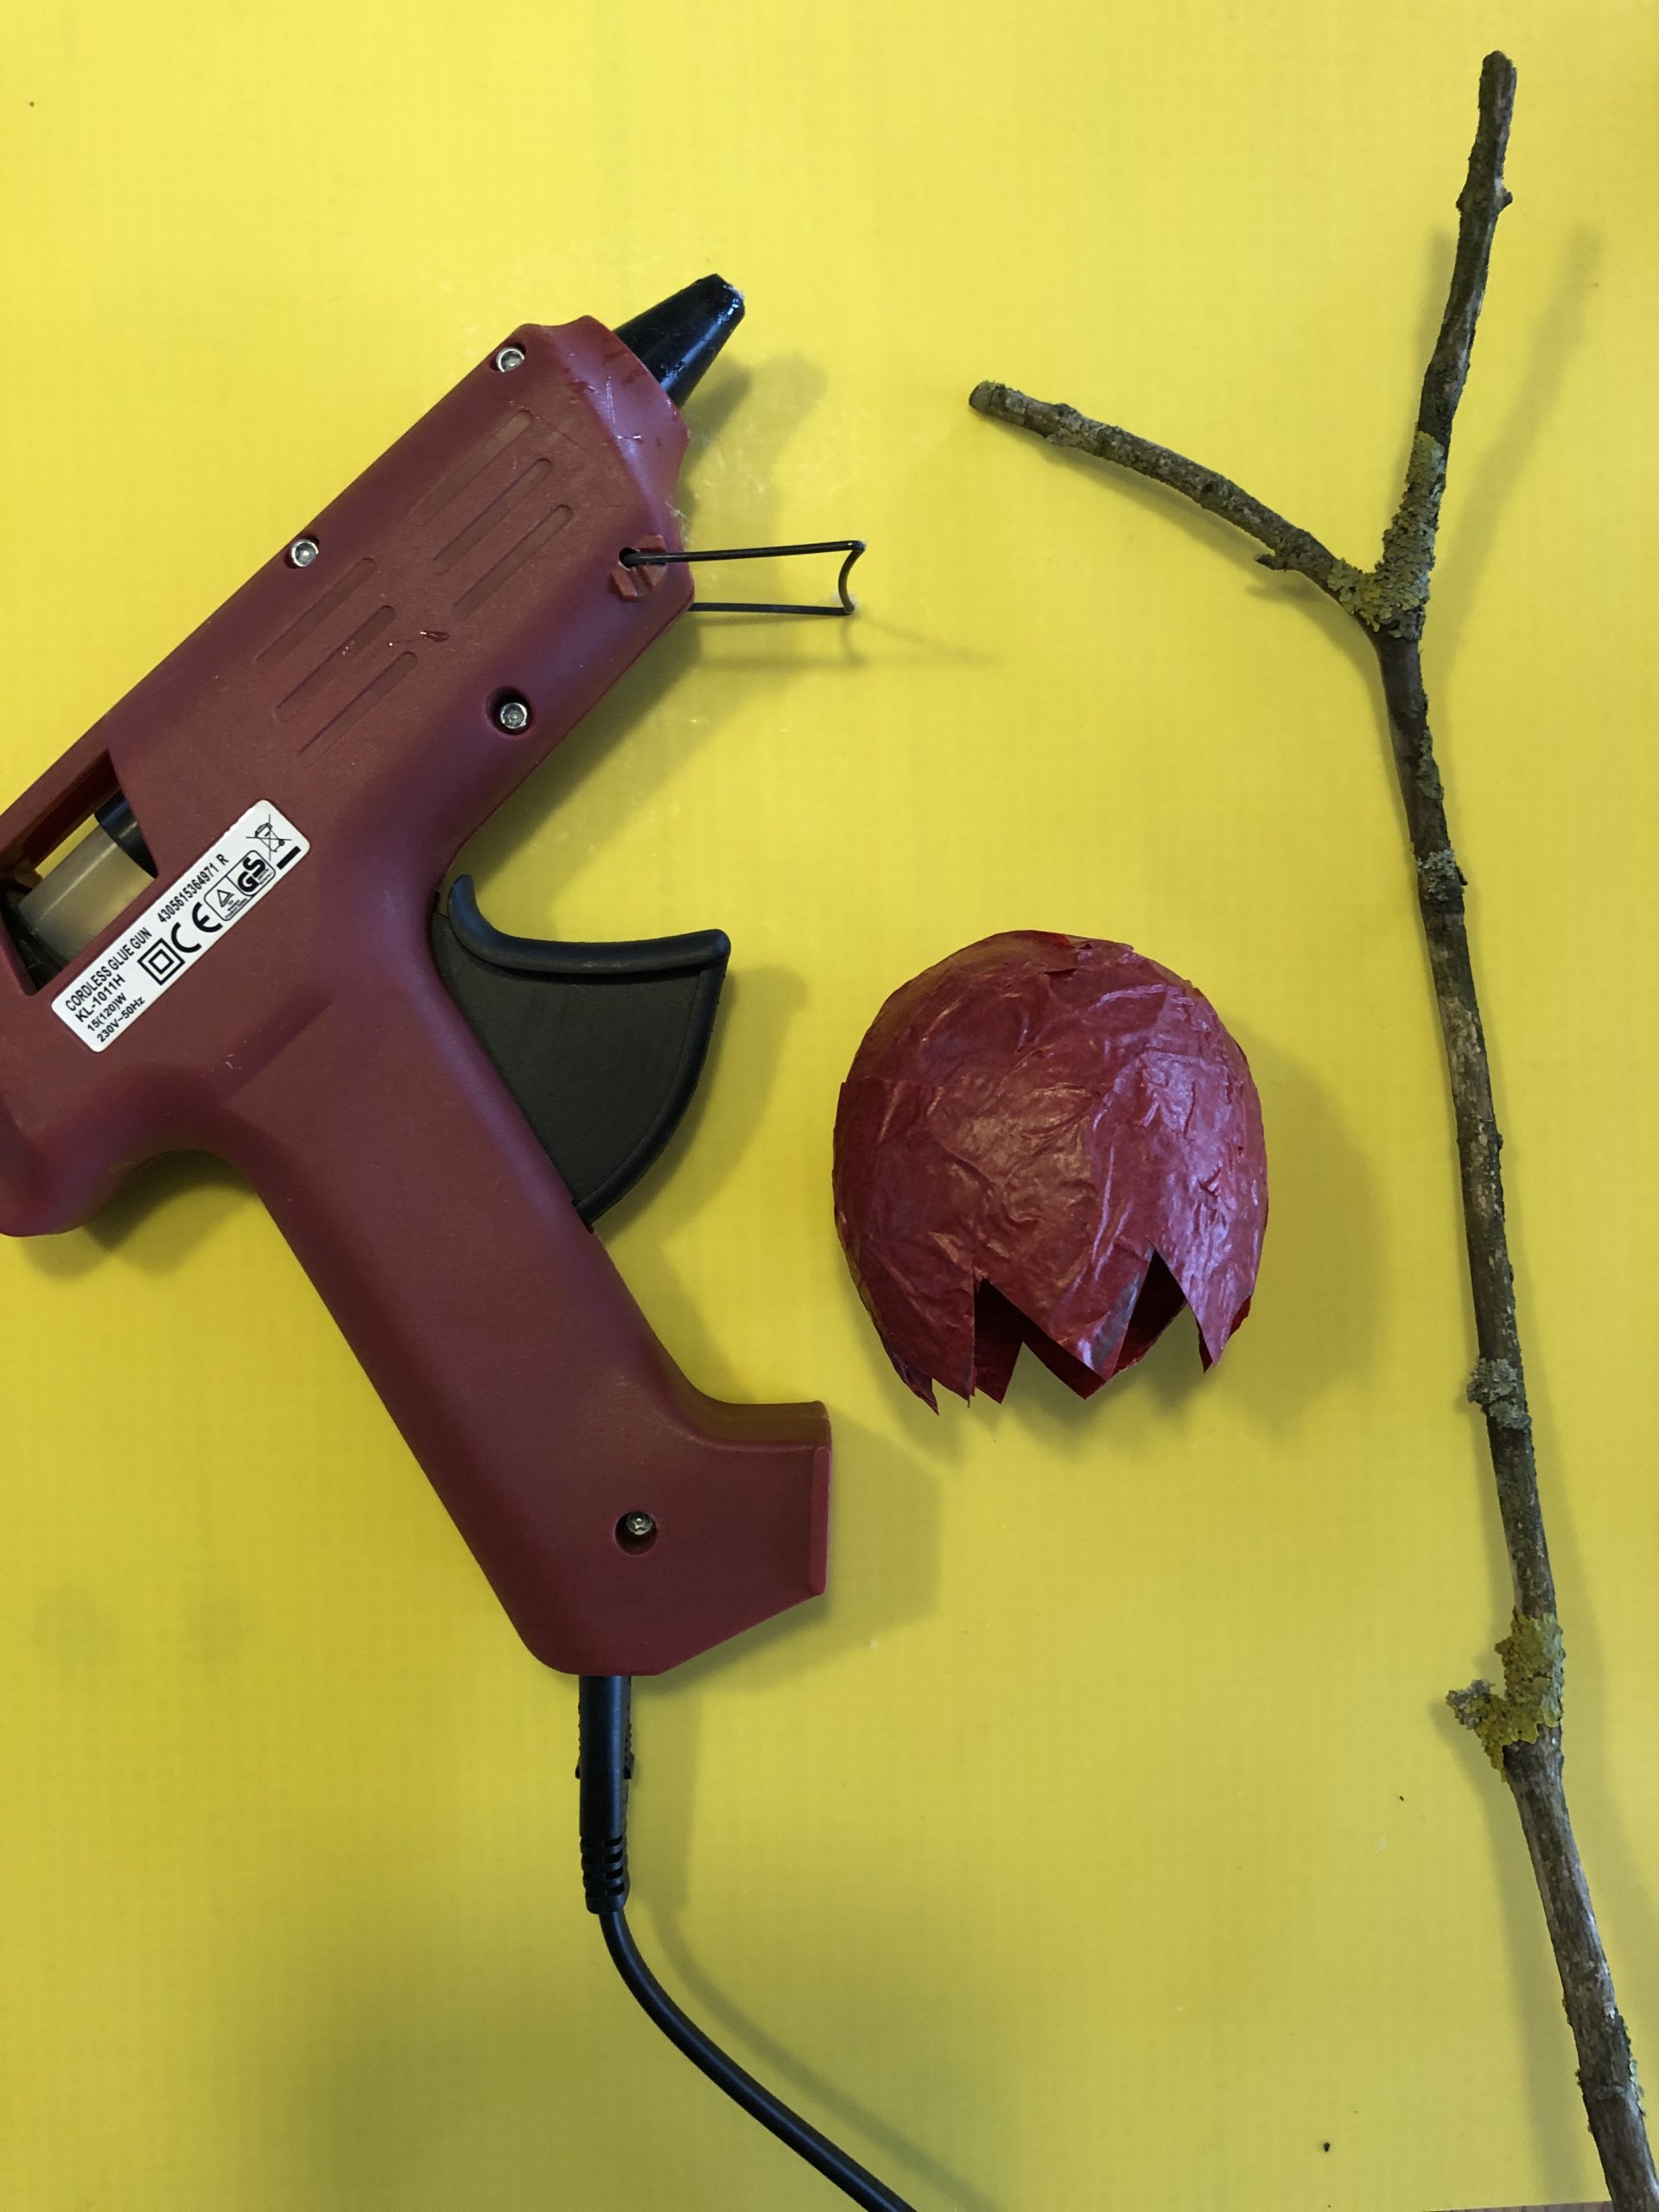
Bild zum Schritt 8 für das Bastel- und DIY-Abenteuer für Kinder: 'Den Heißkleber heiß machen.  Die fertige Luftballon-Tulpe mit Heißkleber...'

9

Now you can decorate the tulip.

Bild zum Schritt 9 für das Bastel- und DIY-Abenteuer für Kinder: 'Fertig! Jetzt könnt ihr die Tulpe dekorieren.'

10

Have fun!

Bild zum Schritt 10 für das Bastel- und DIY-Abenteuer für Kinder: 'Viel Freude!'

Papp tulips (with paste recipe)

Follow us on Facebook , Instagram and Pinterest
Don't miss any more adventures: Our bottle mail

Leave a Reply

Your email address will not be published.

The maximum upload file size: 5 MB. You can upload: image, document. Drop file here