AdventurerKitaForst
For this table lamp you only need a sheet of white copy paper and clay paper leftovers. A tablespoon of salad oil later makes the paper transparent, so no extraordinary handicraft material is necessary. You can see how easy it is to make this craft here. Have fun trying it out.
Media Education for Kindergarten and Hort

Relief in everyday life, targeted promotion of individual children, independent learning and - without any pre-knowledge already usable by the youngest!
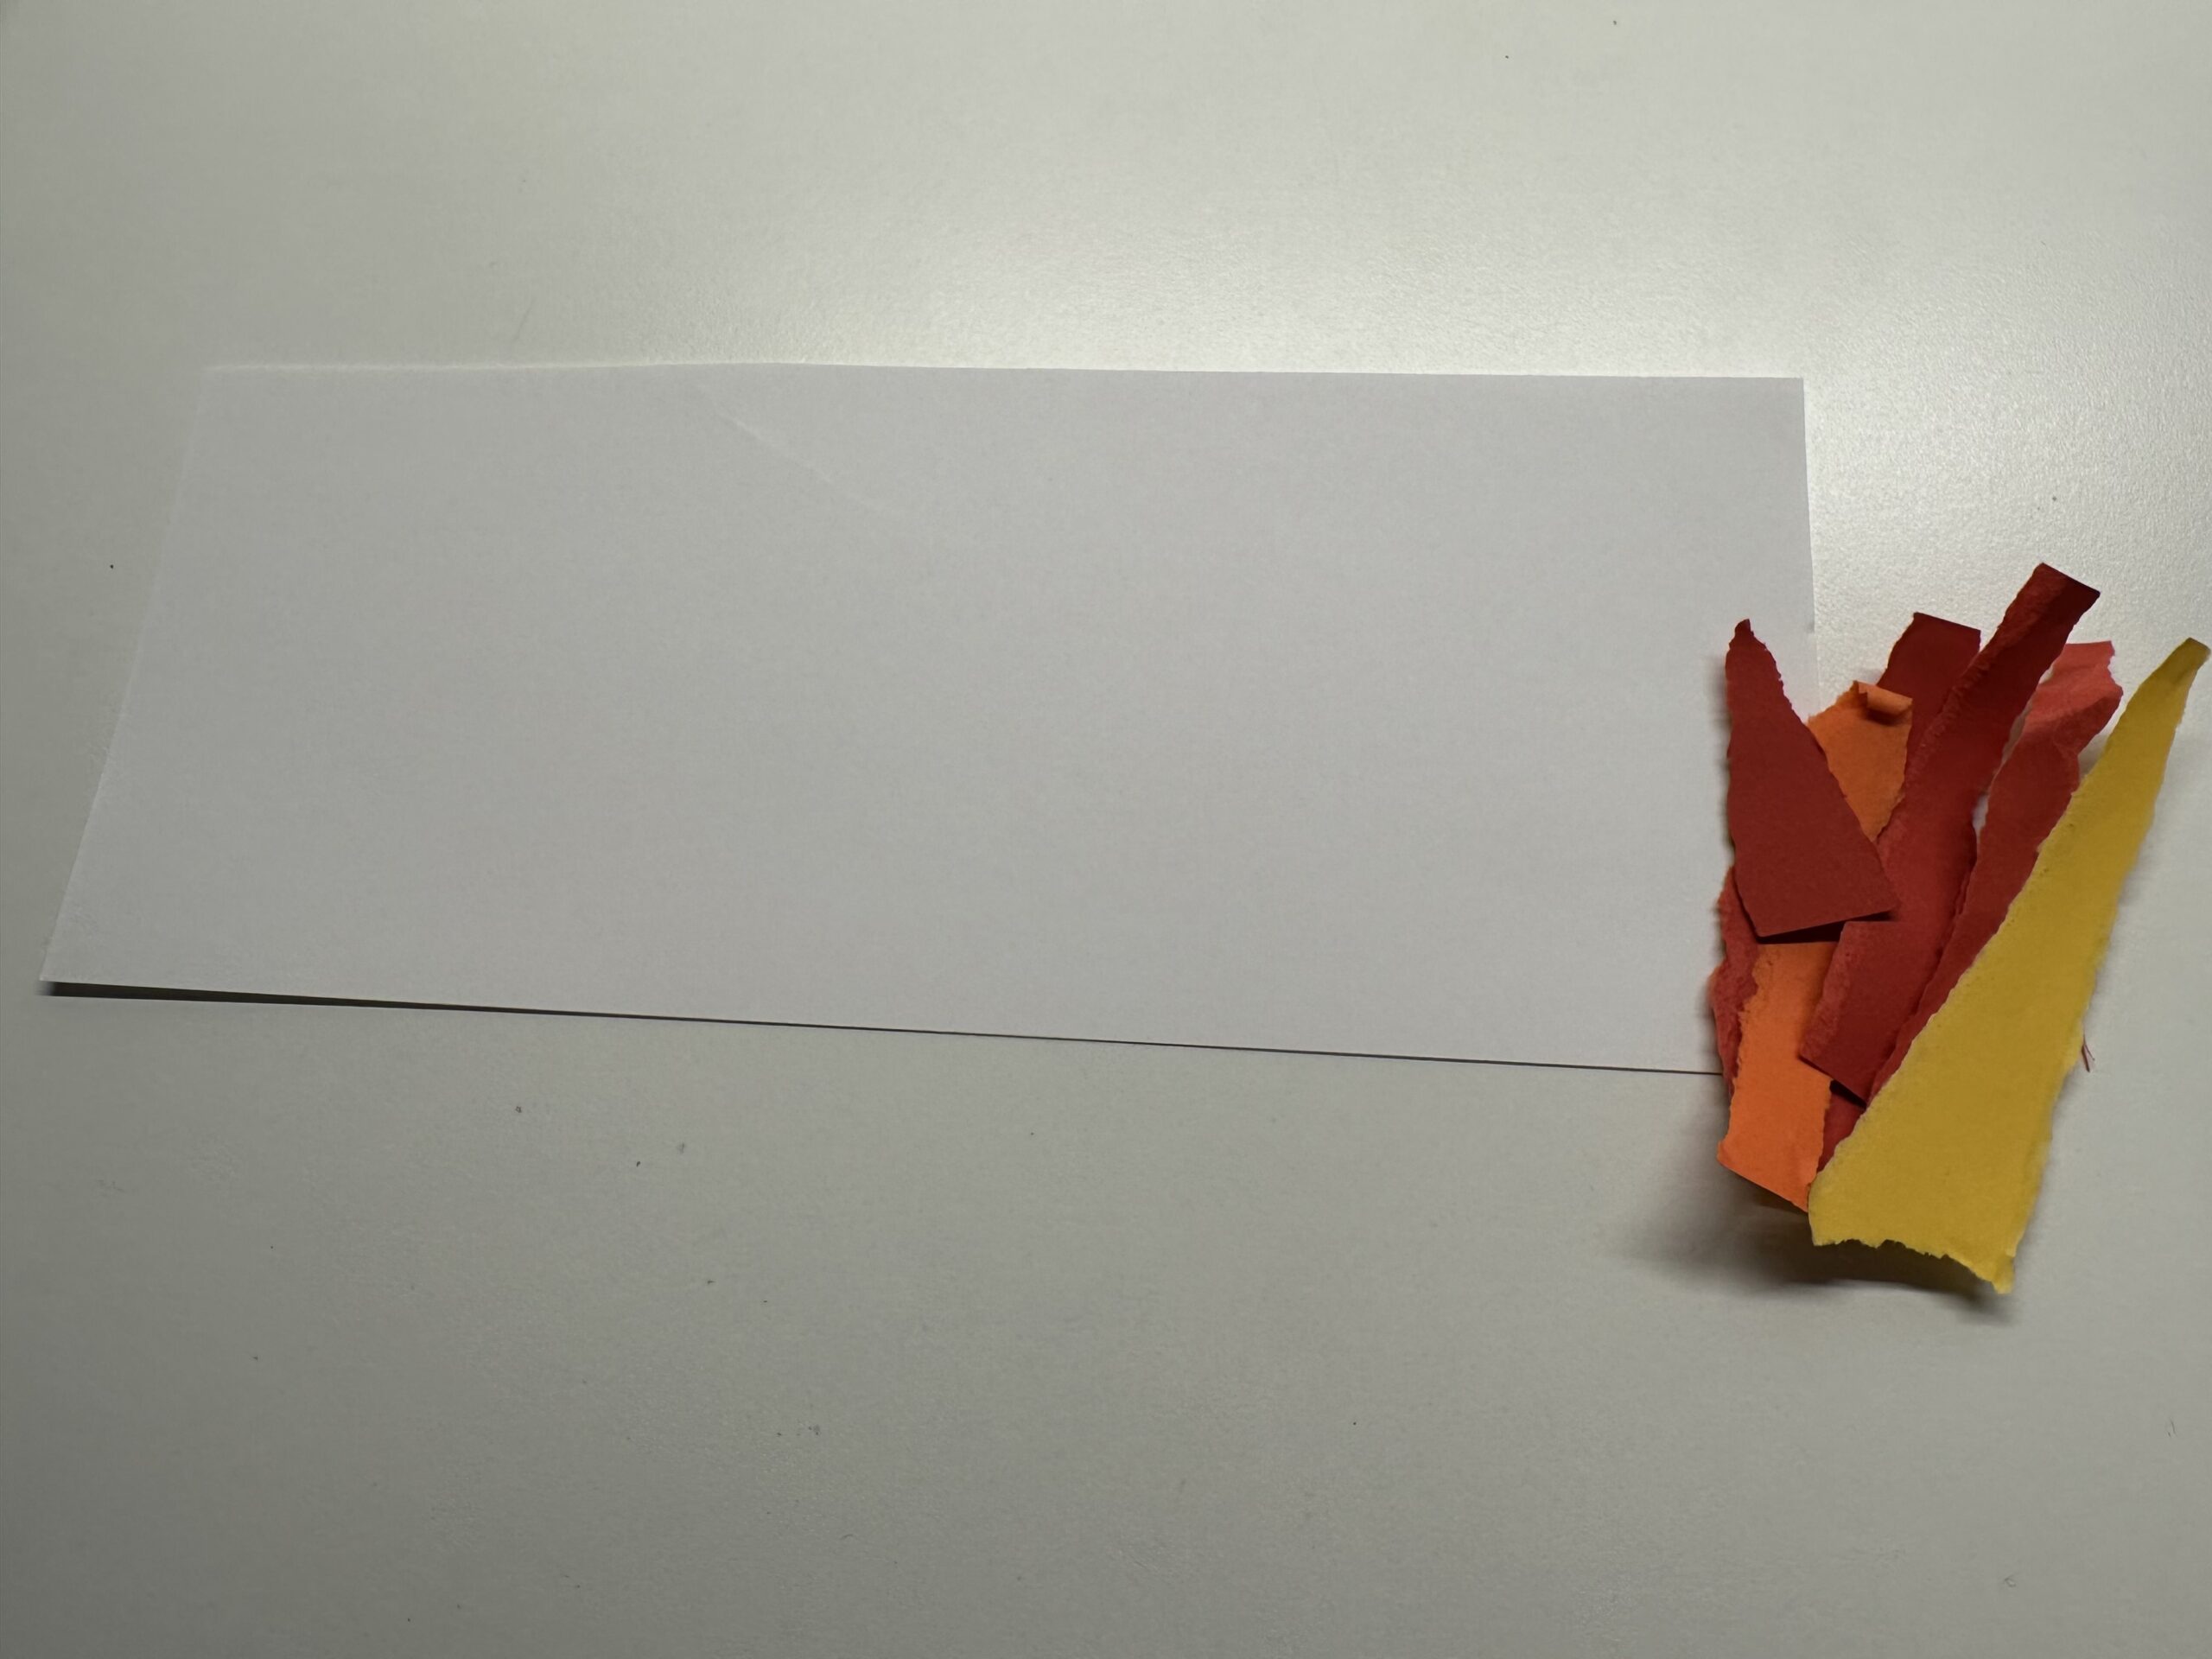
Get all the craft materials ready.
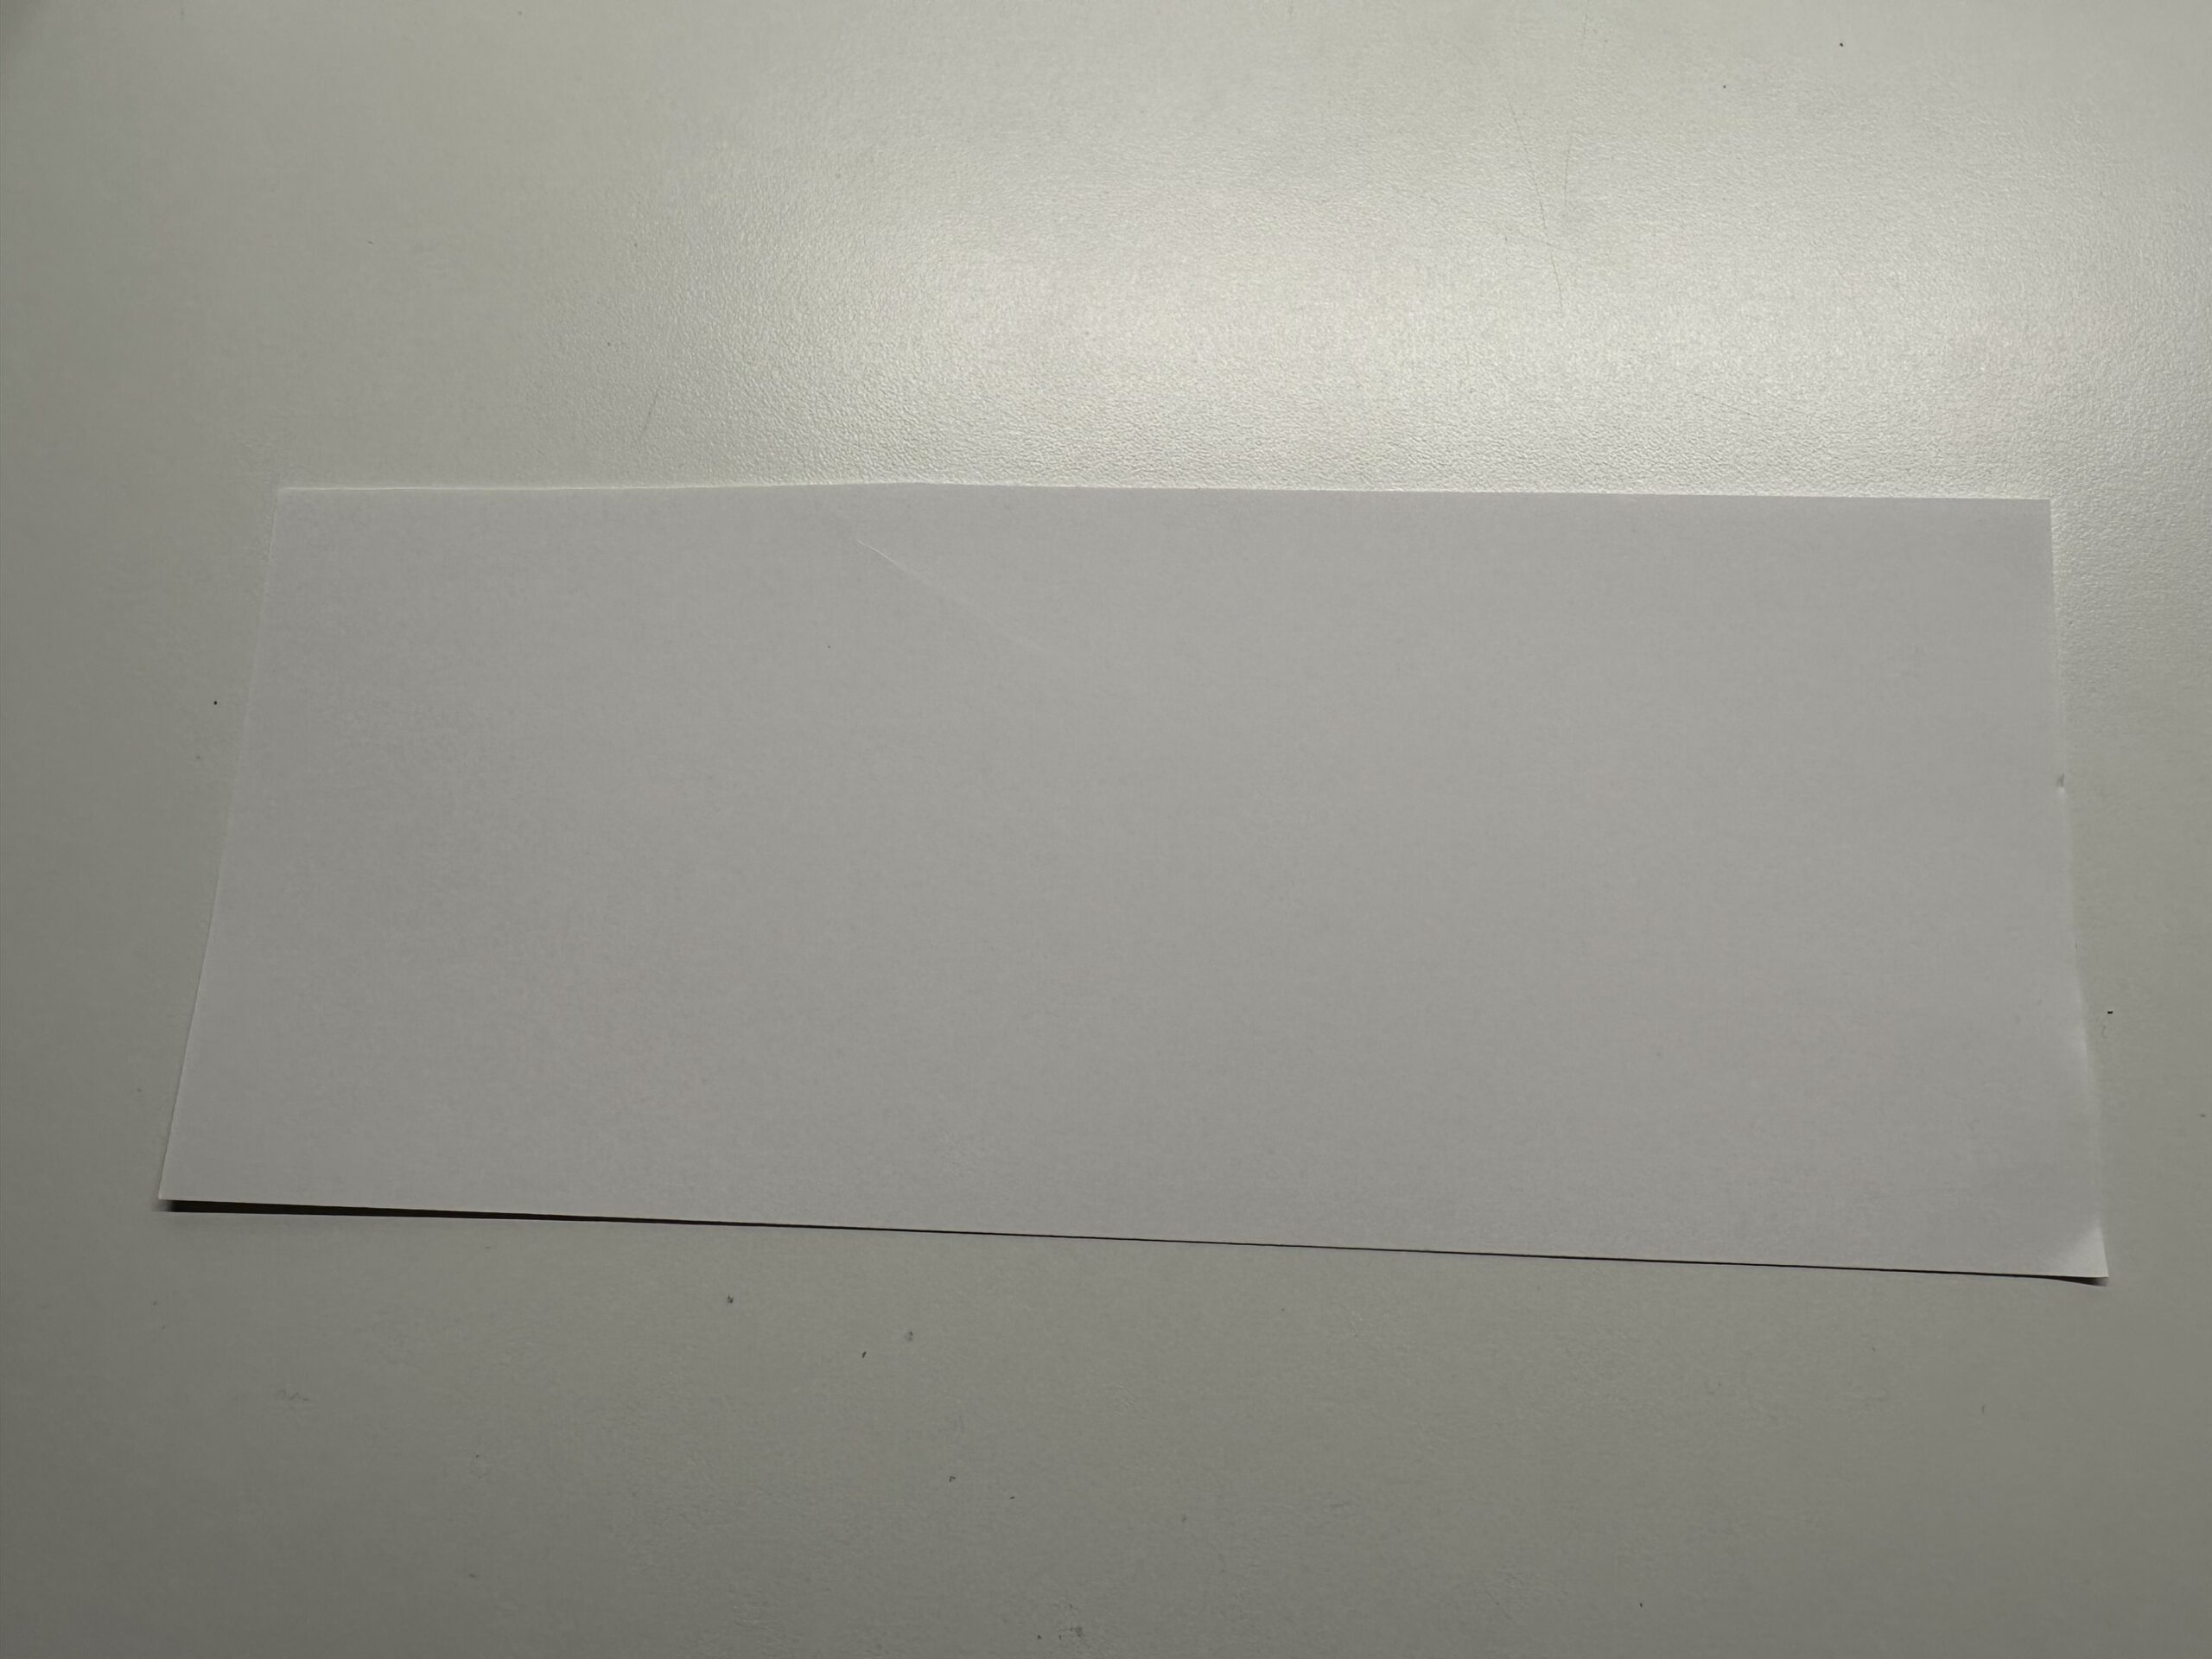
Now cut off the white paper. Consider how big your lantern is to be.
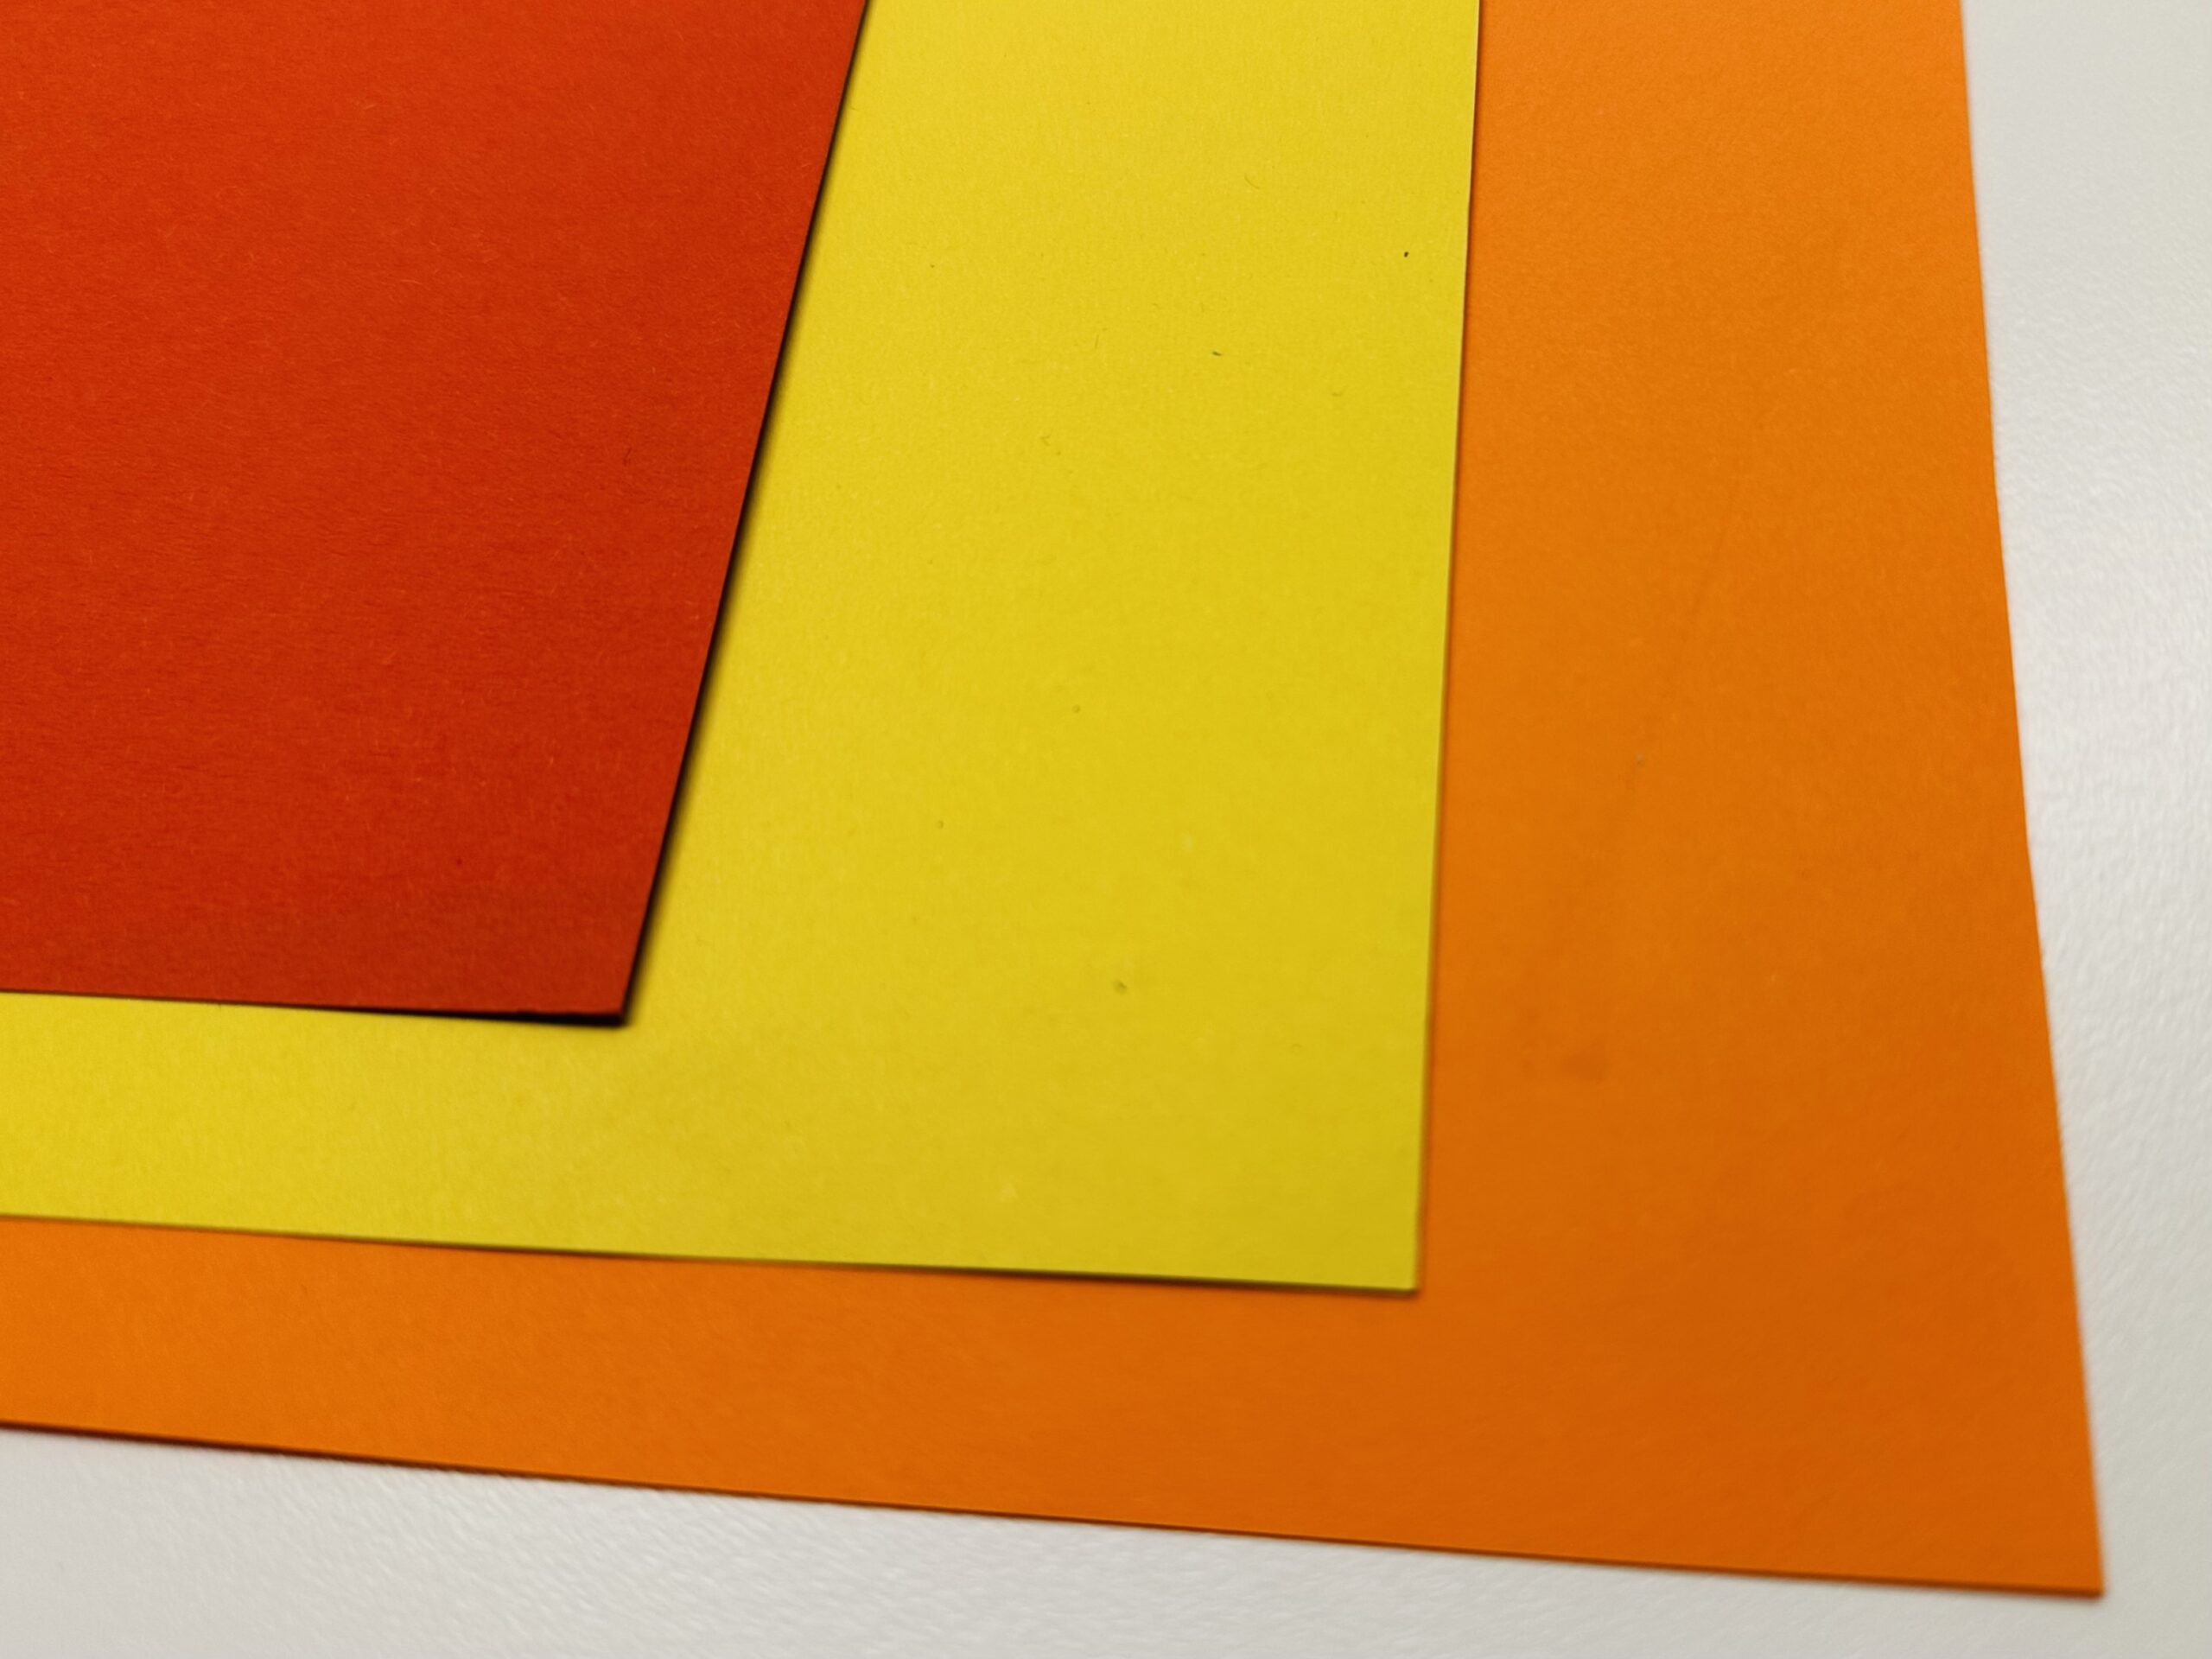
You also need red, yellow and orange clay paper.
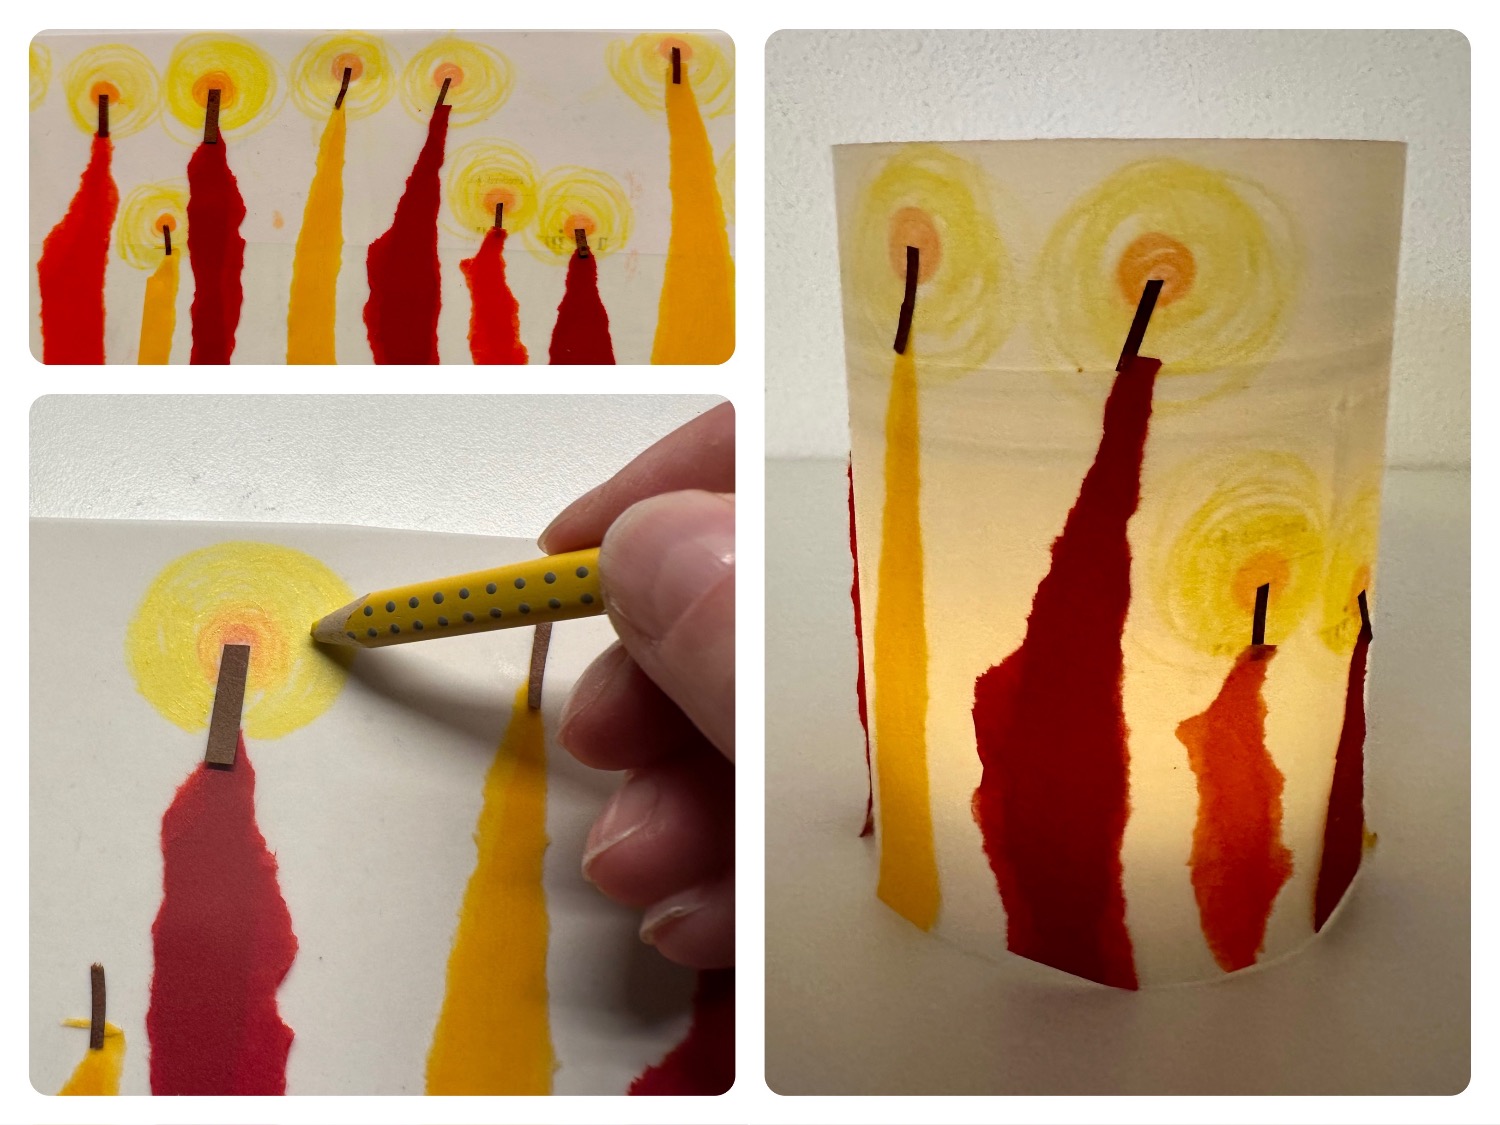
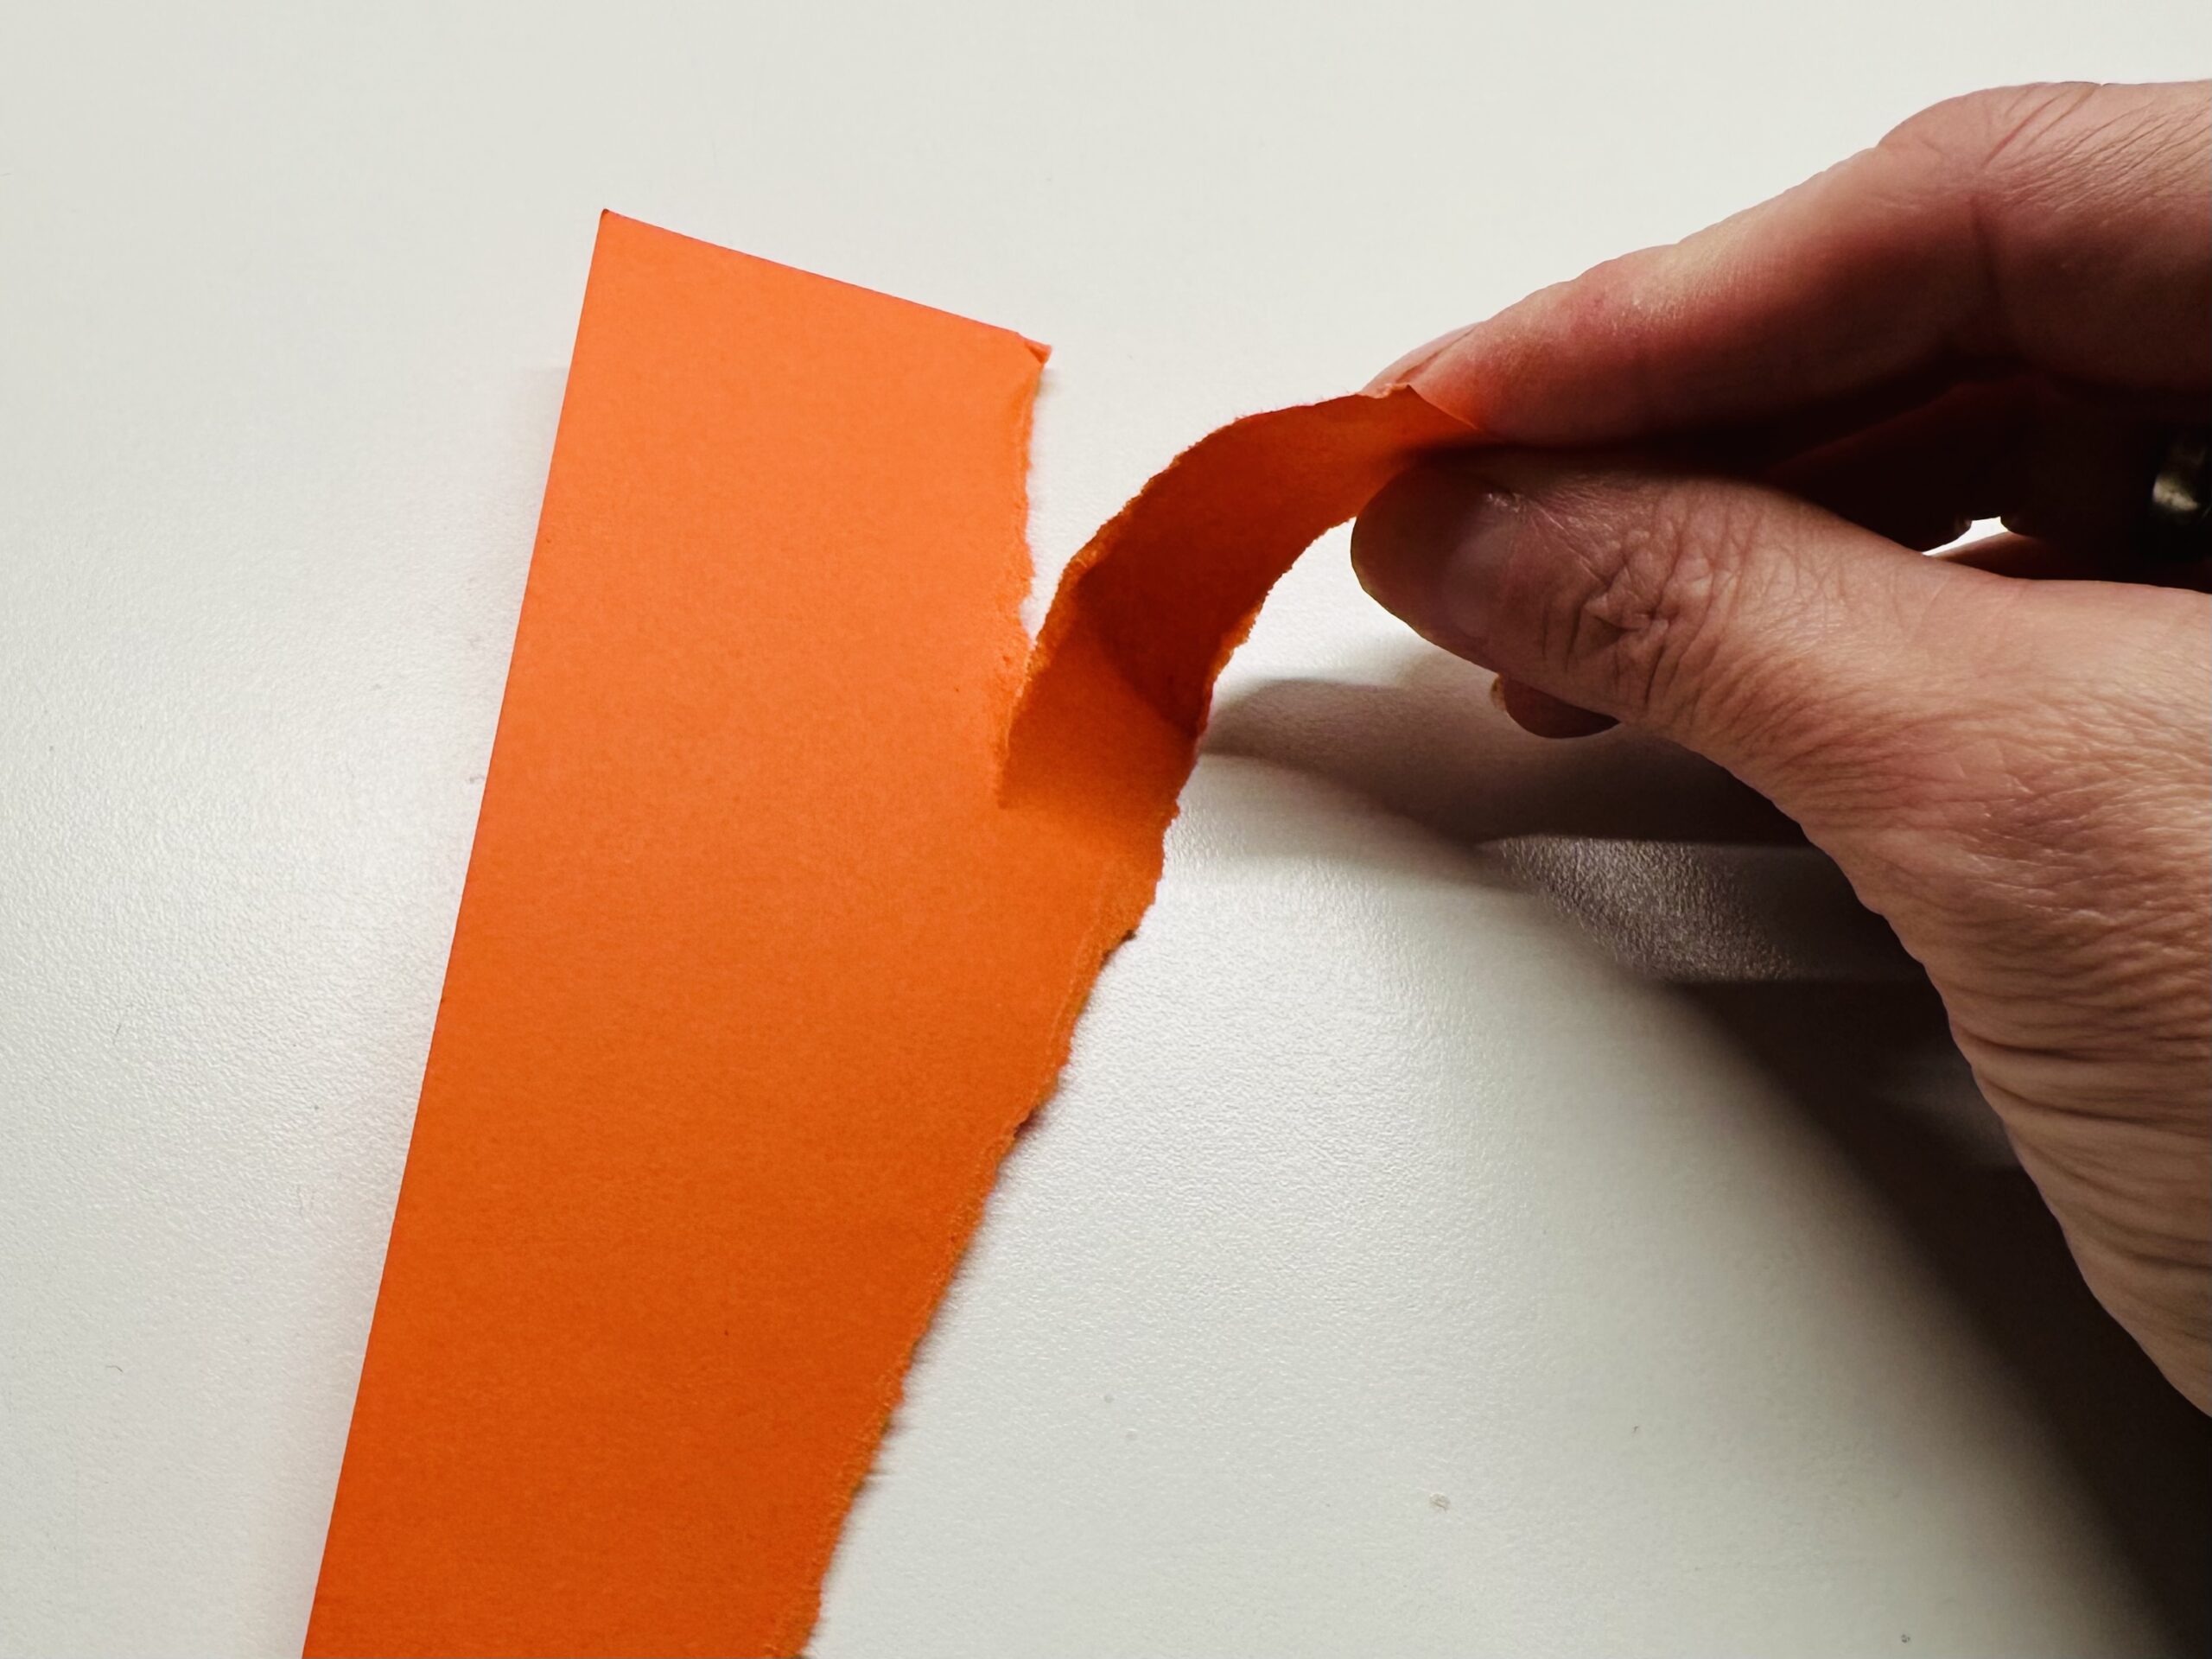
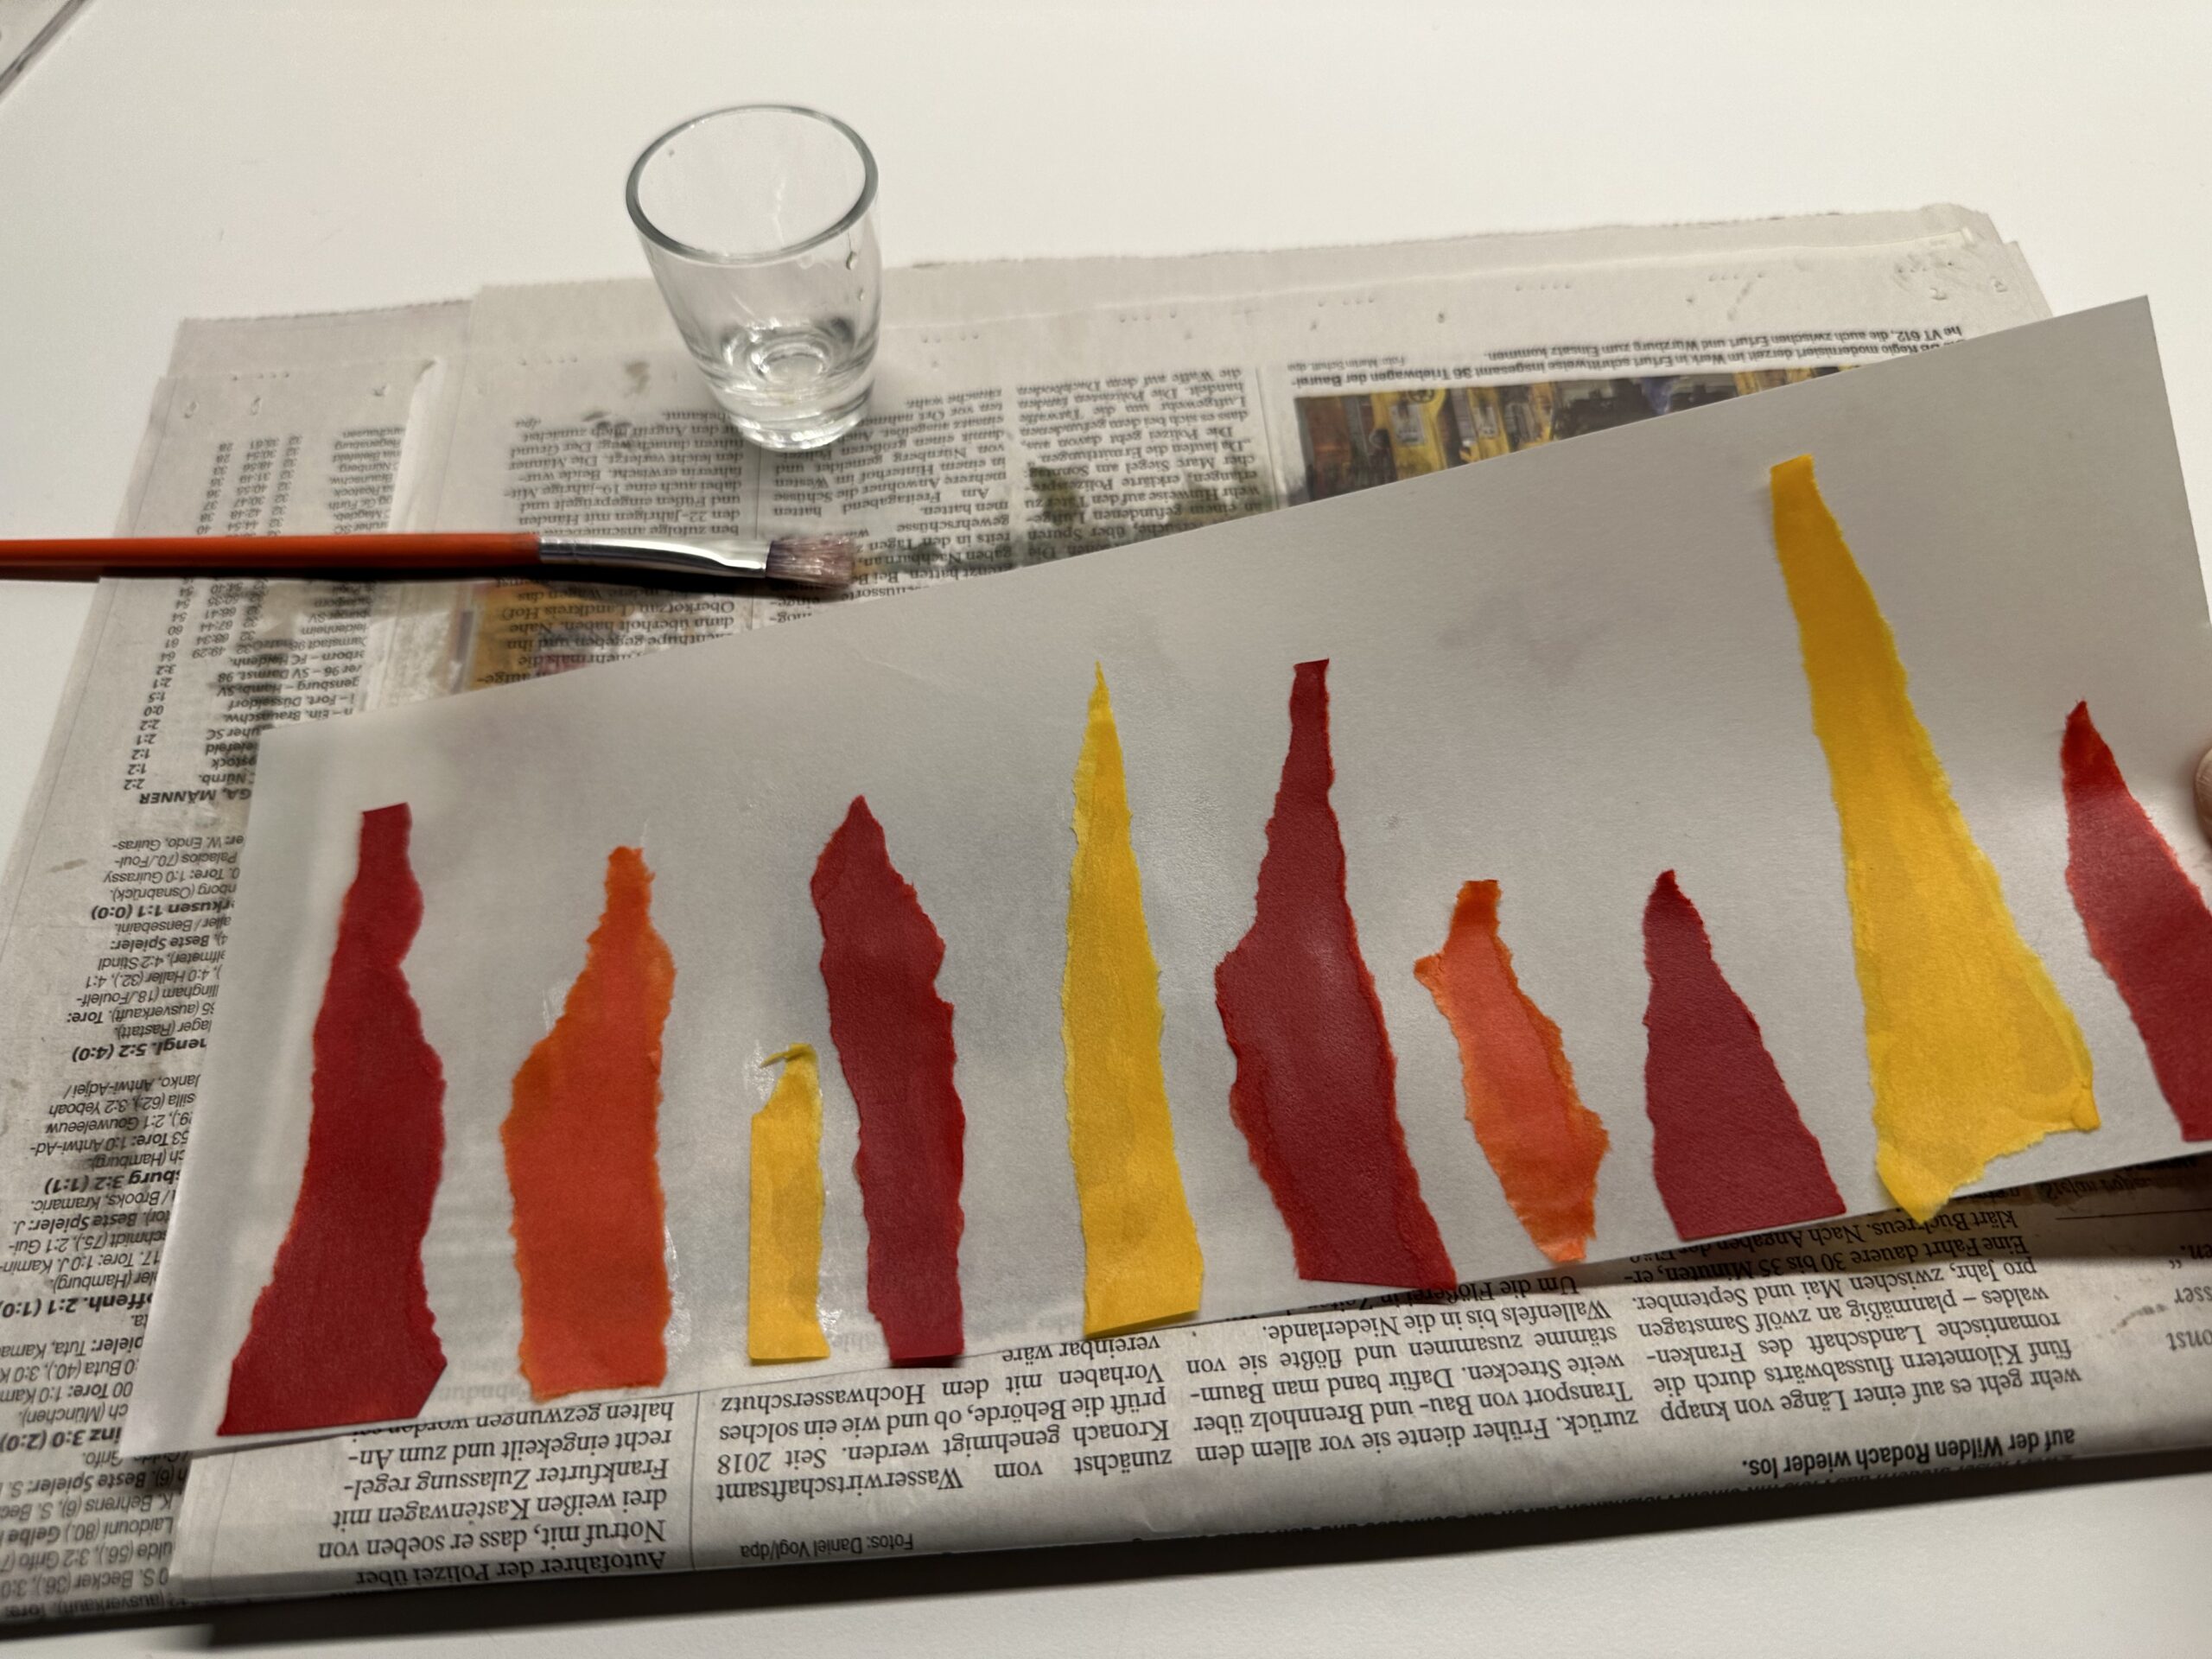
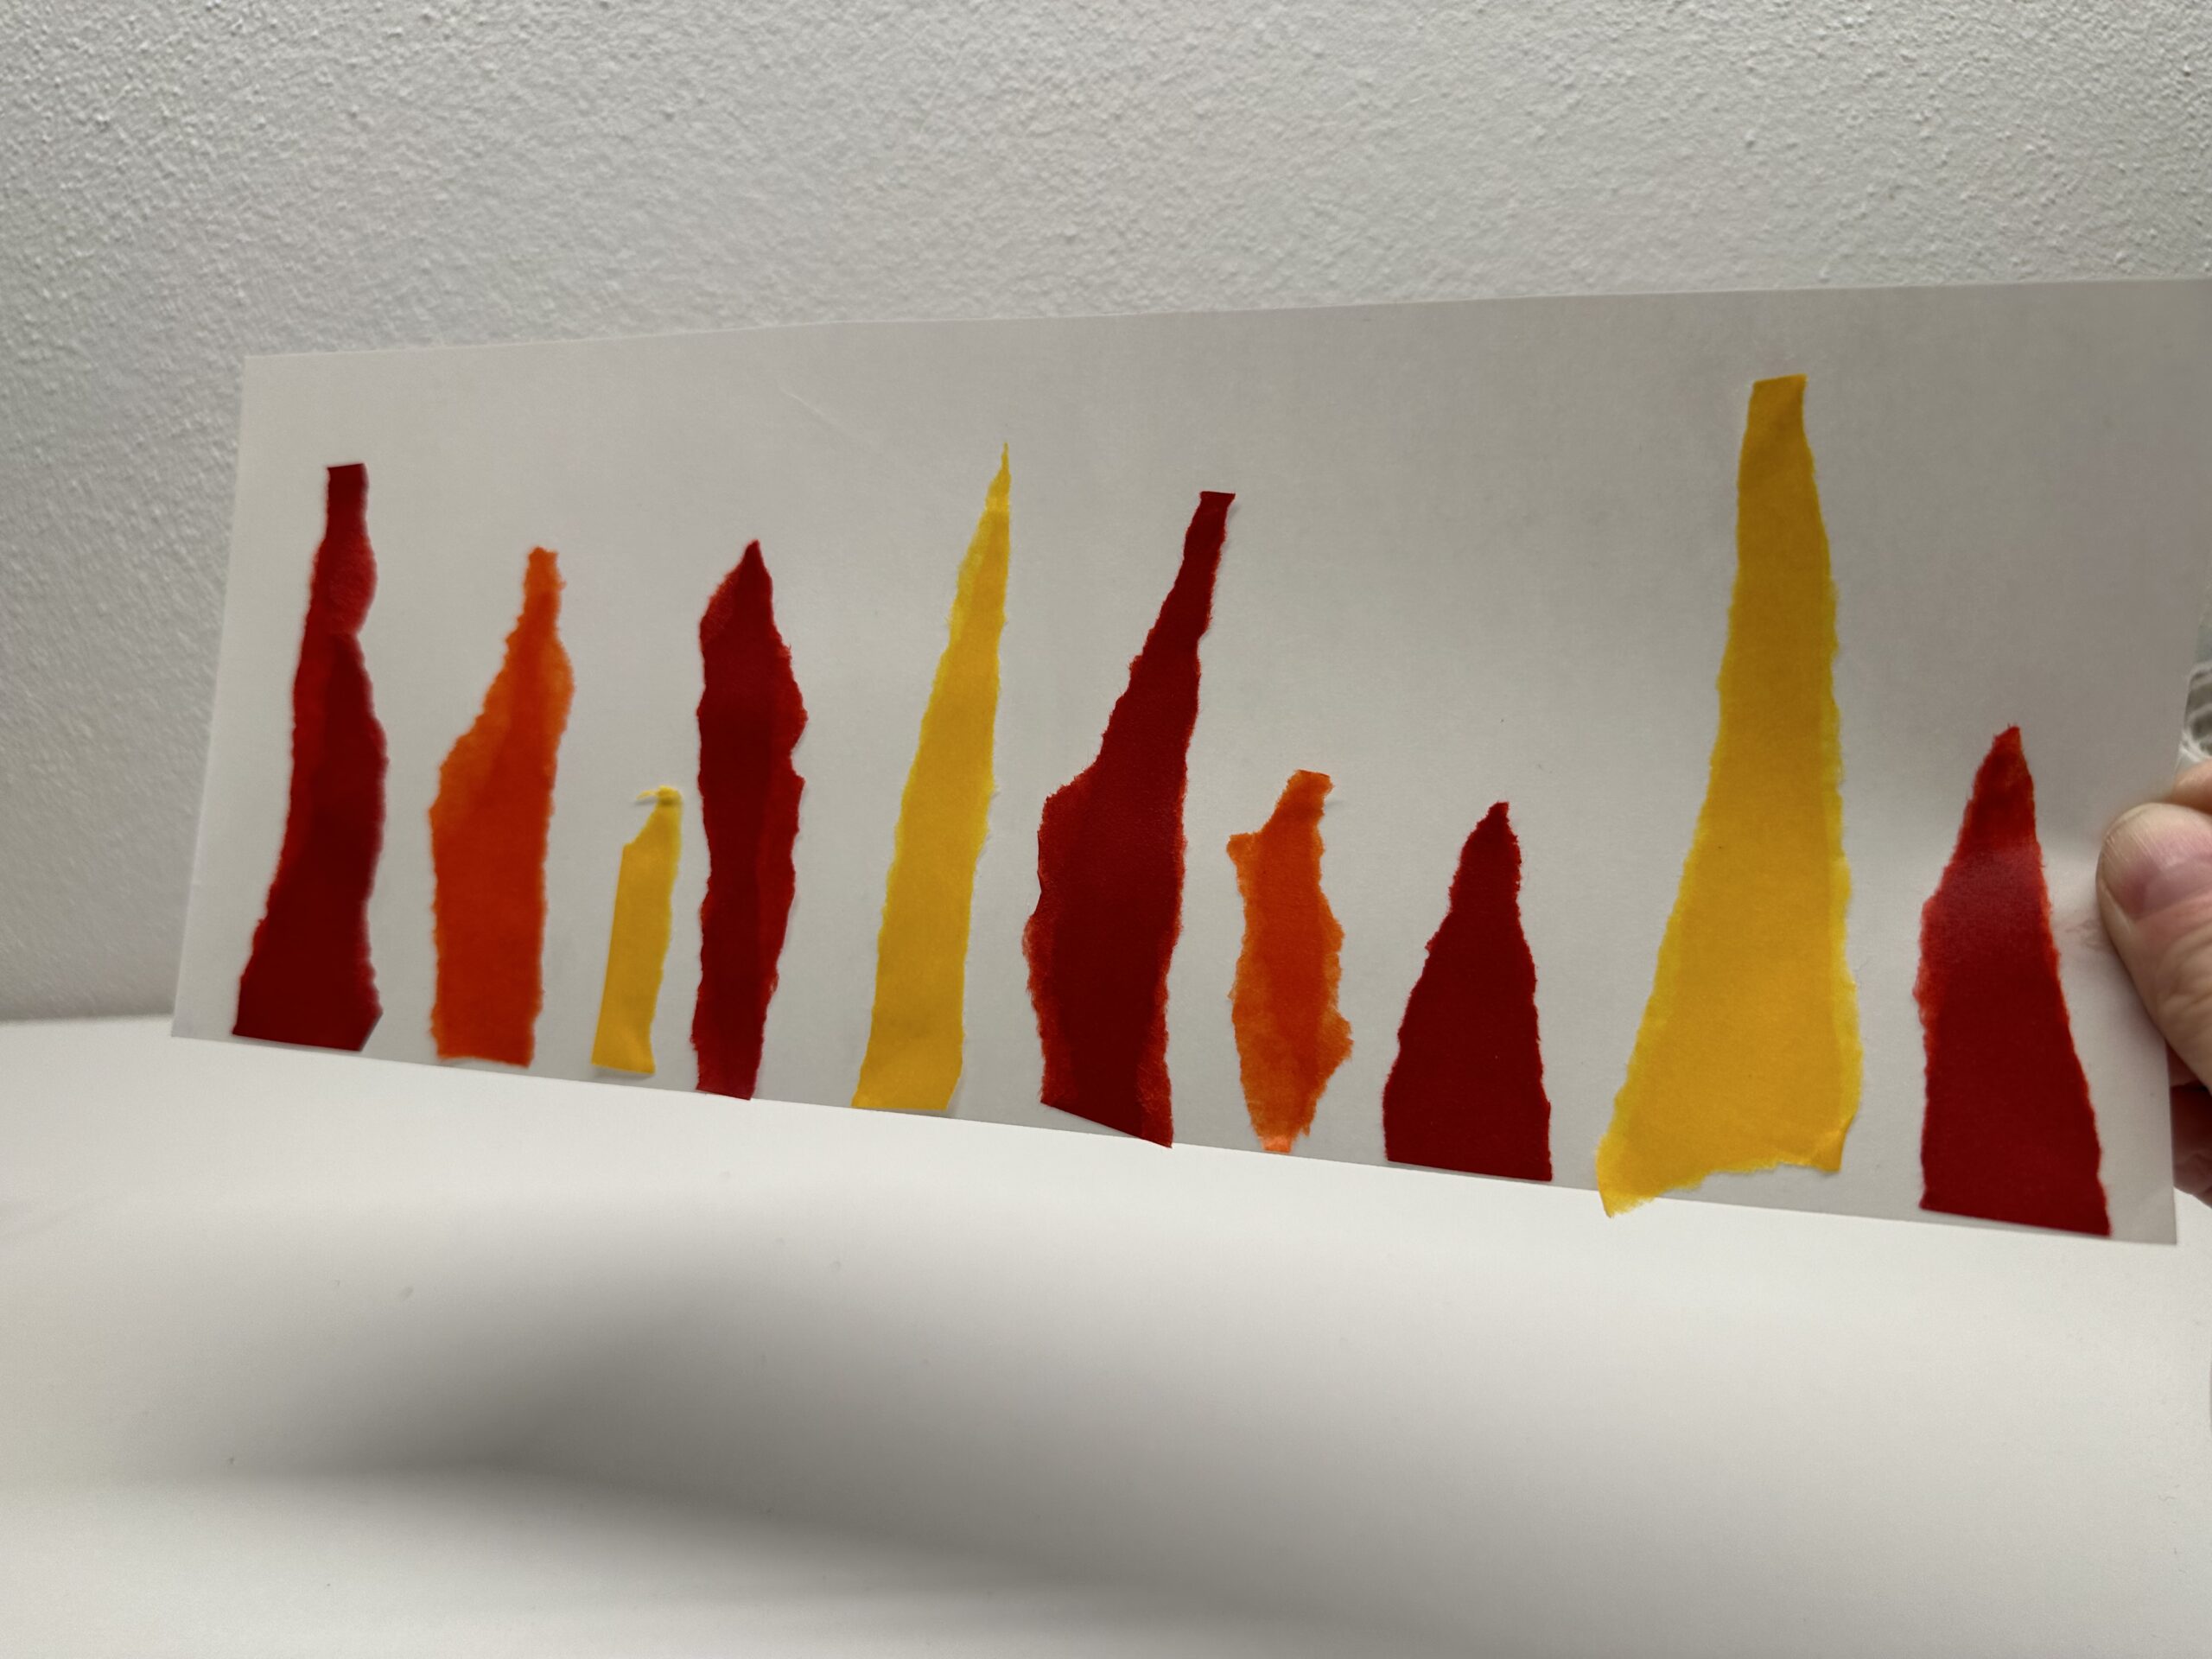
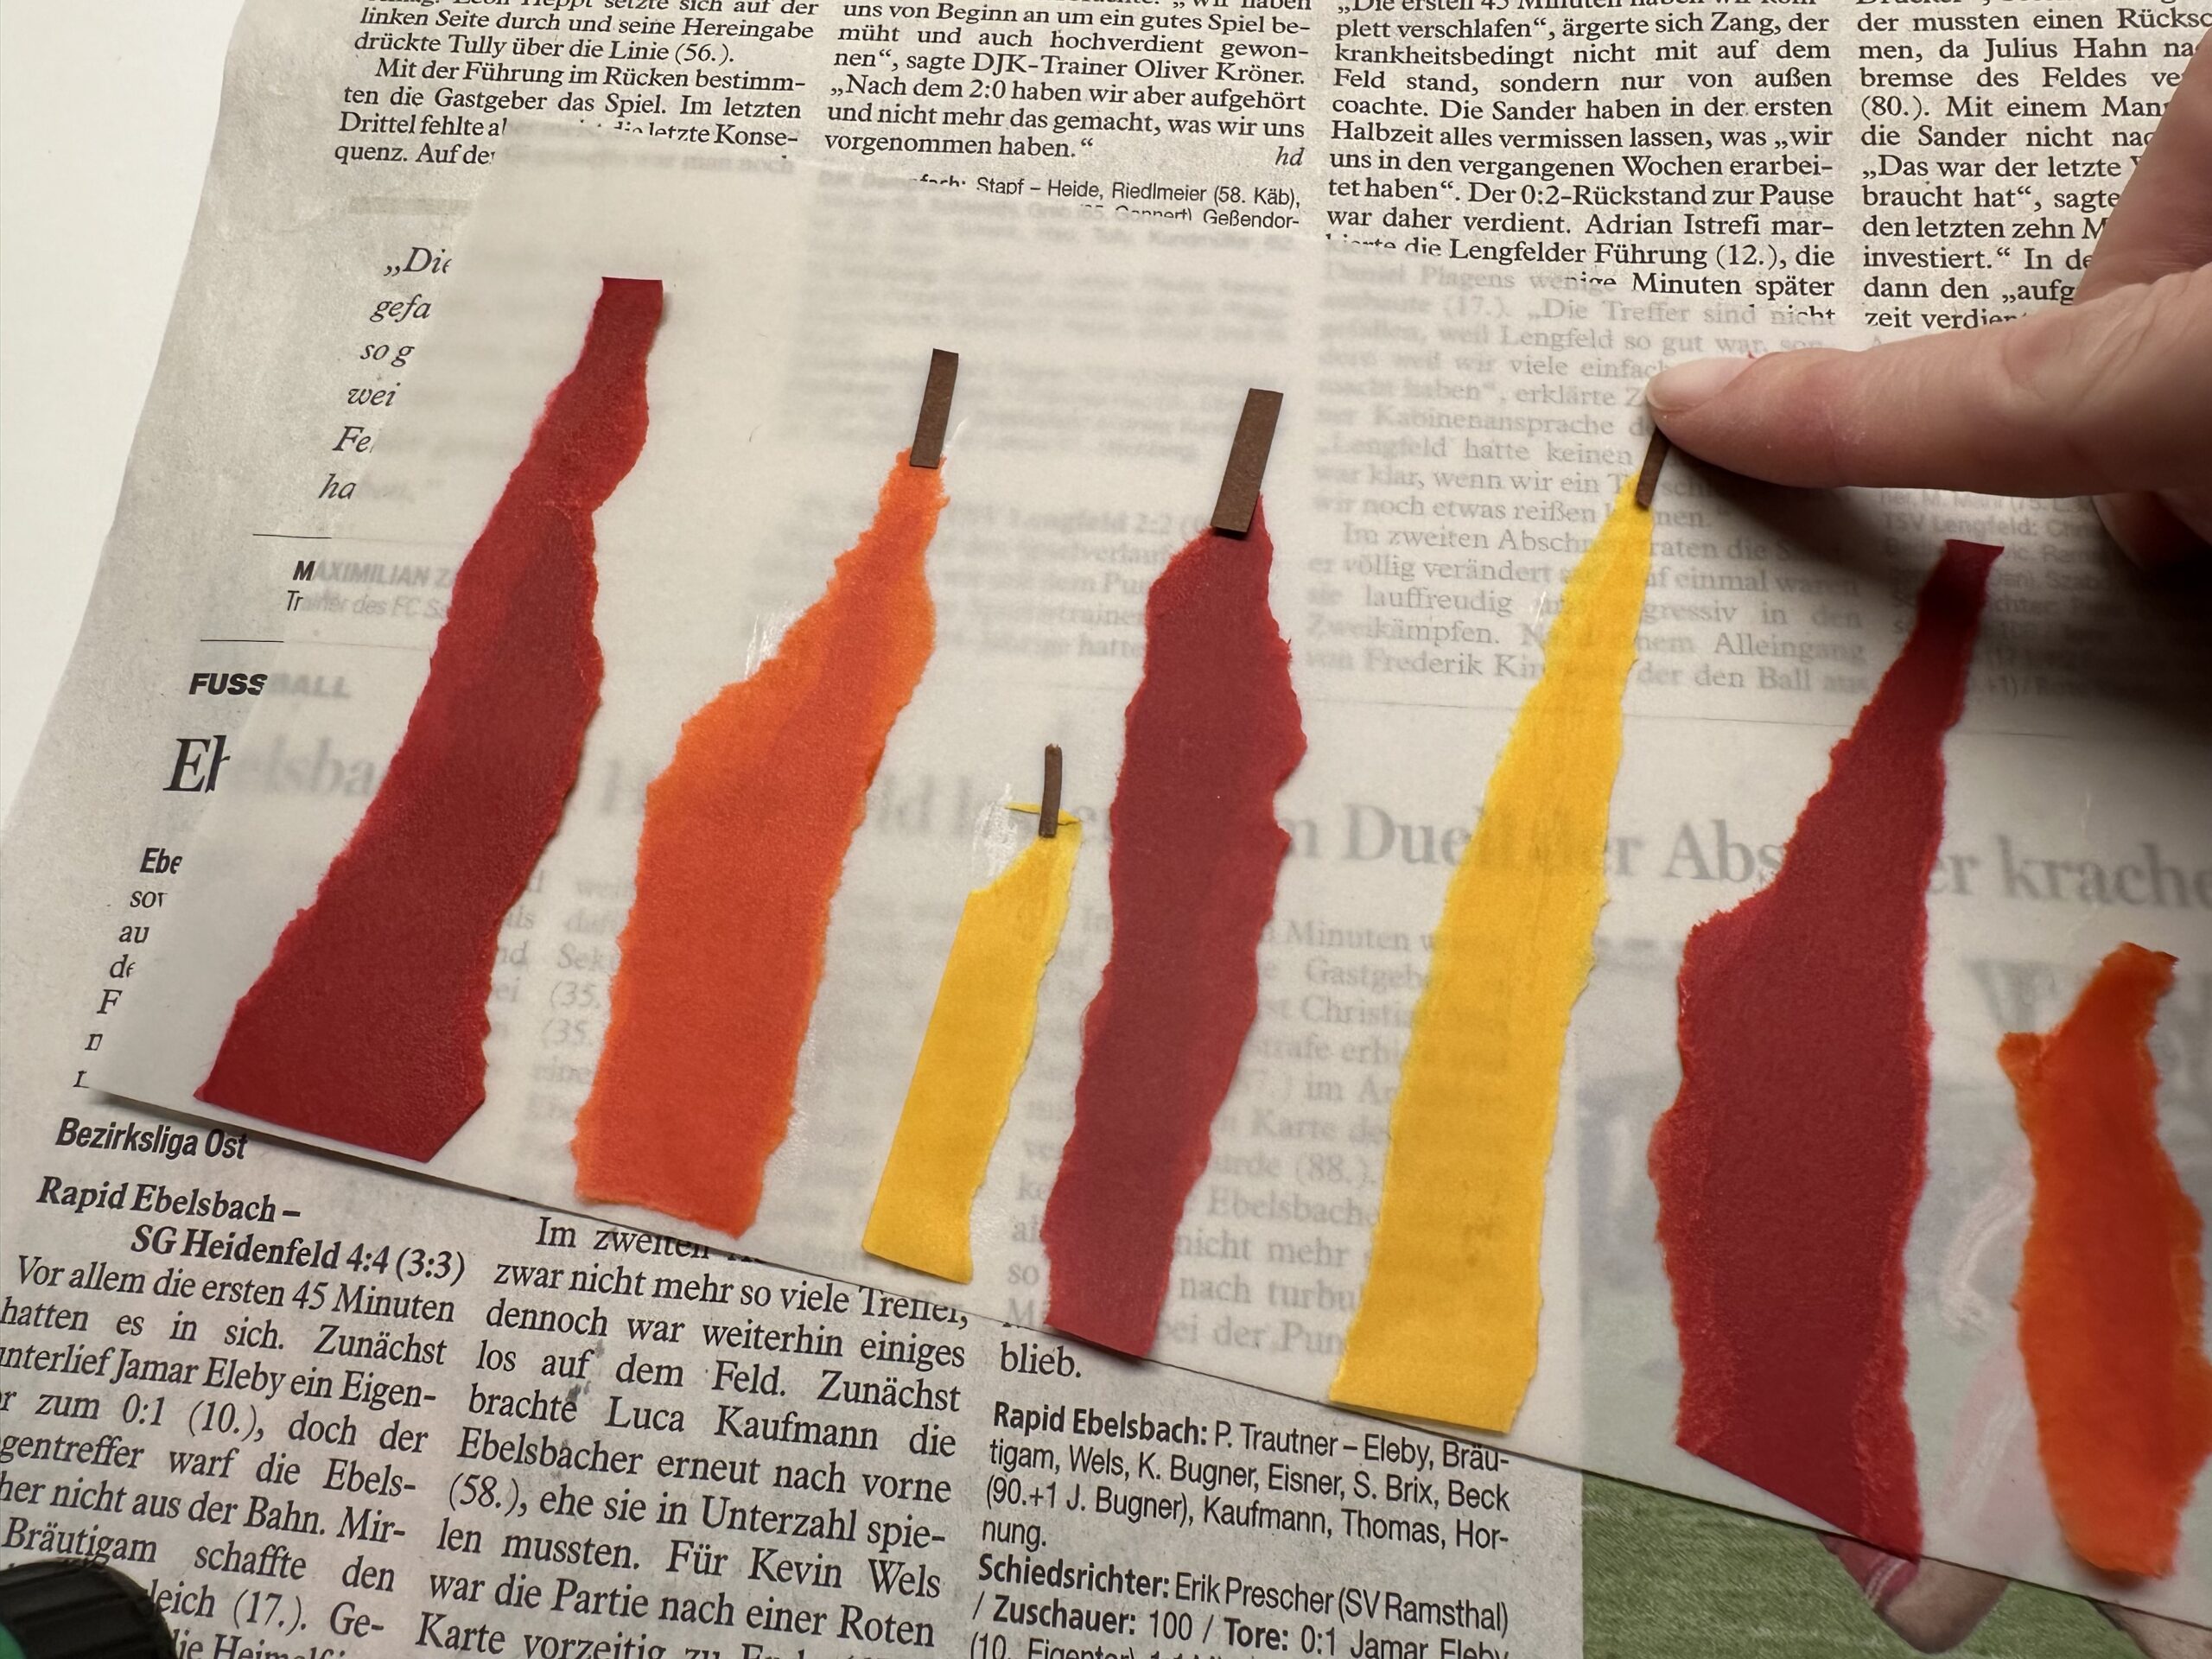
Now tear off the clay paper strips. These strips should become the candles.
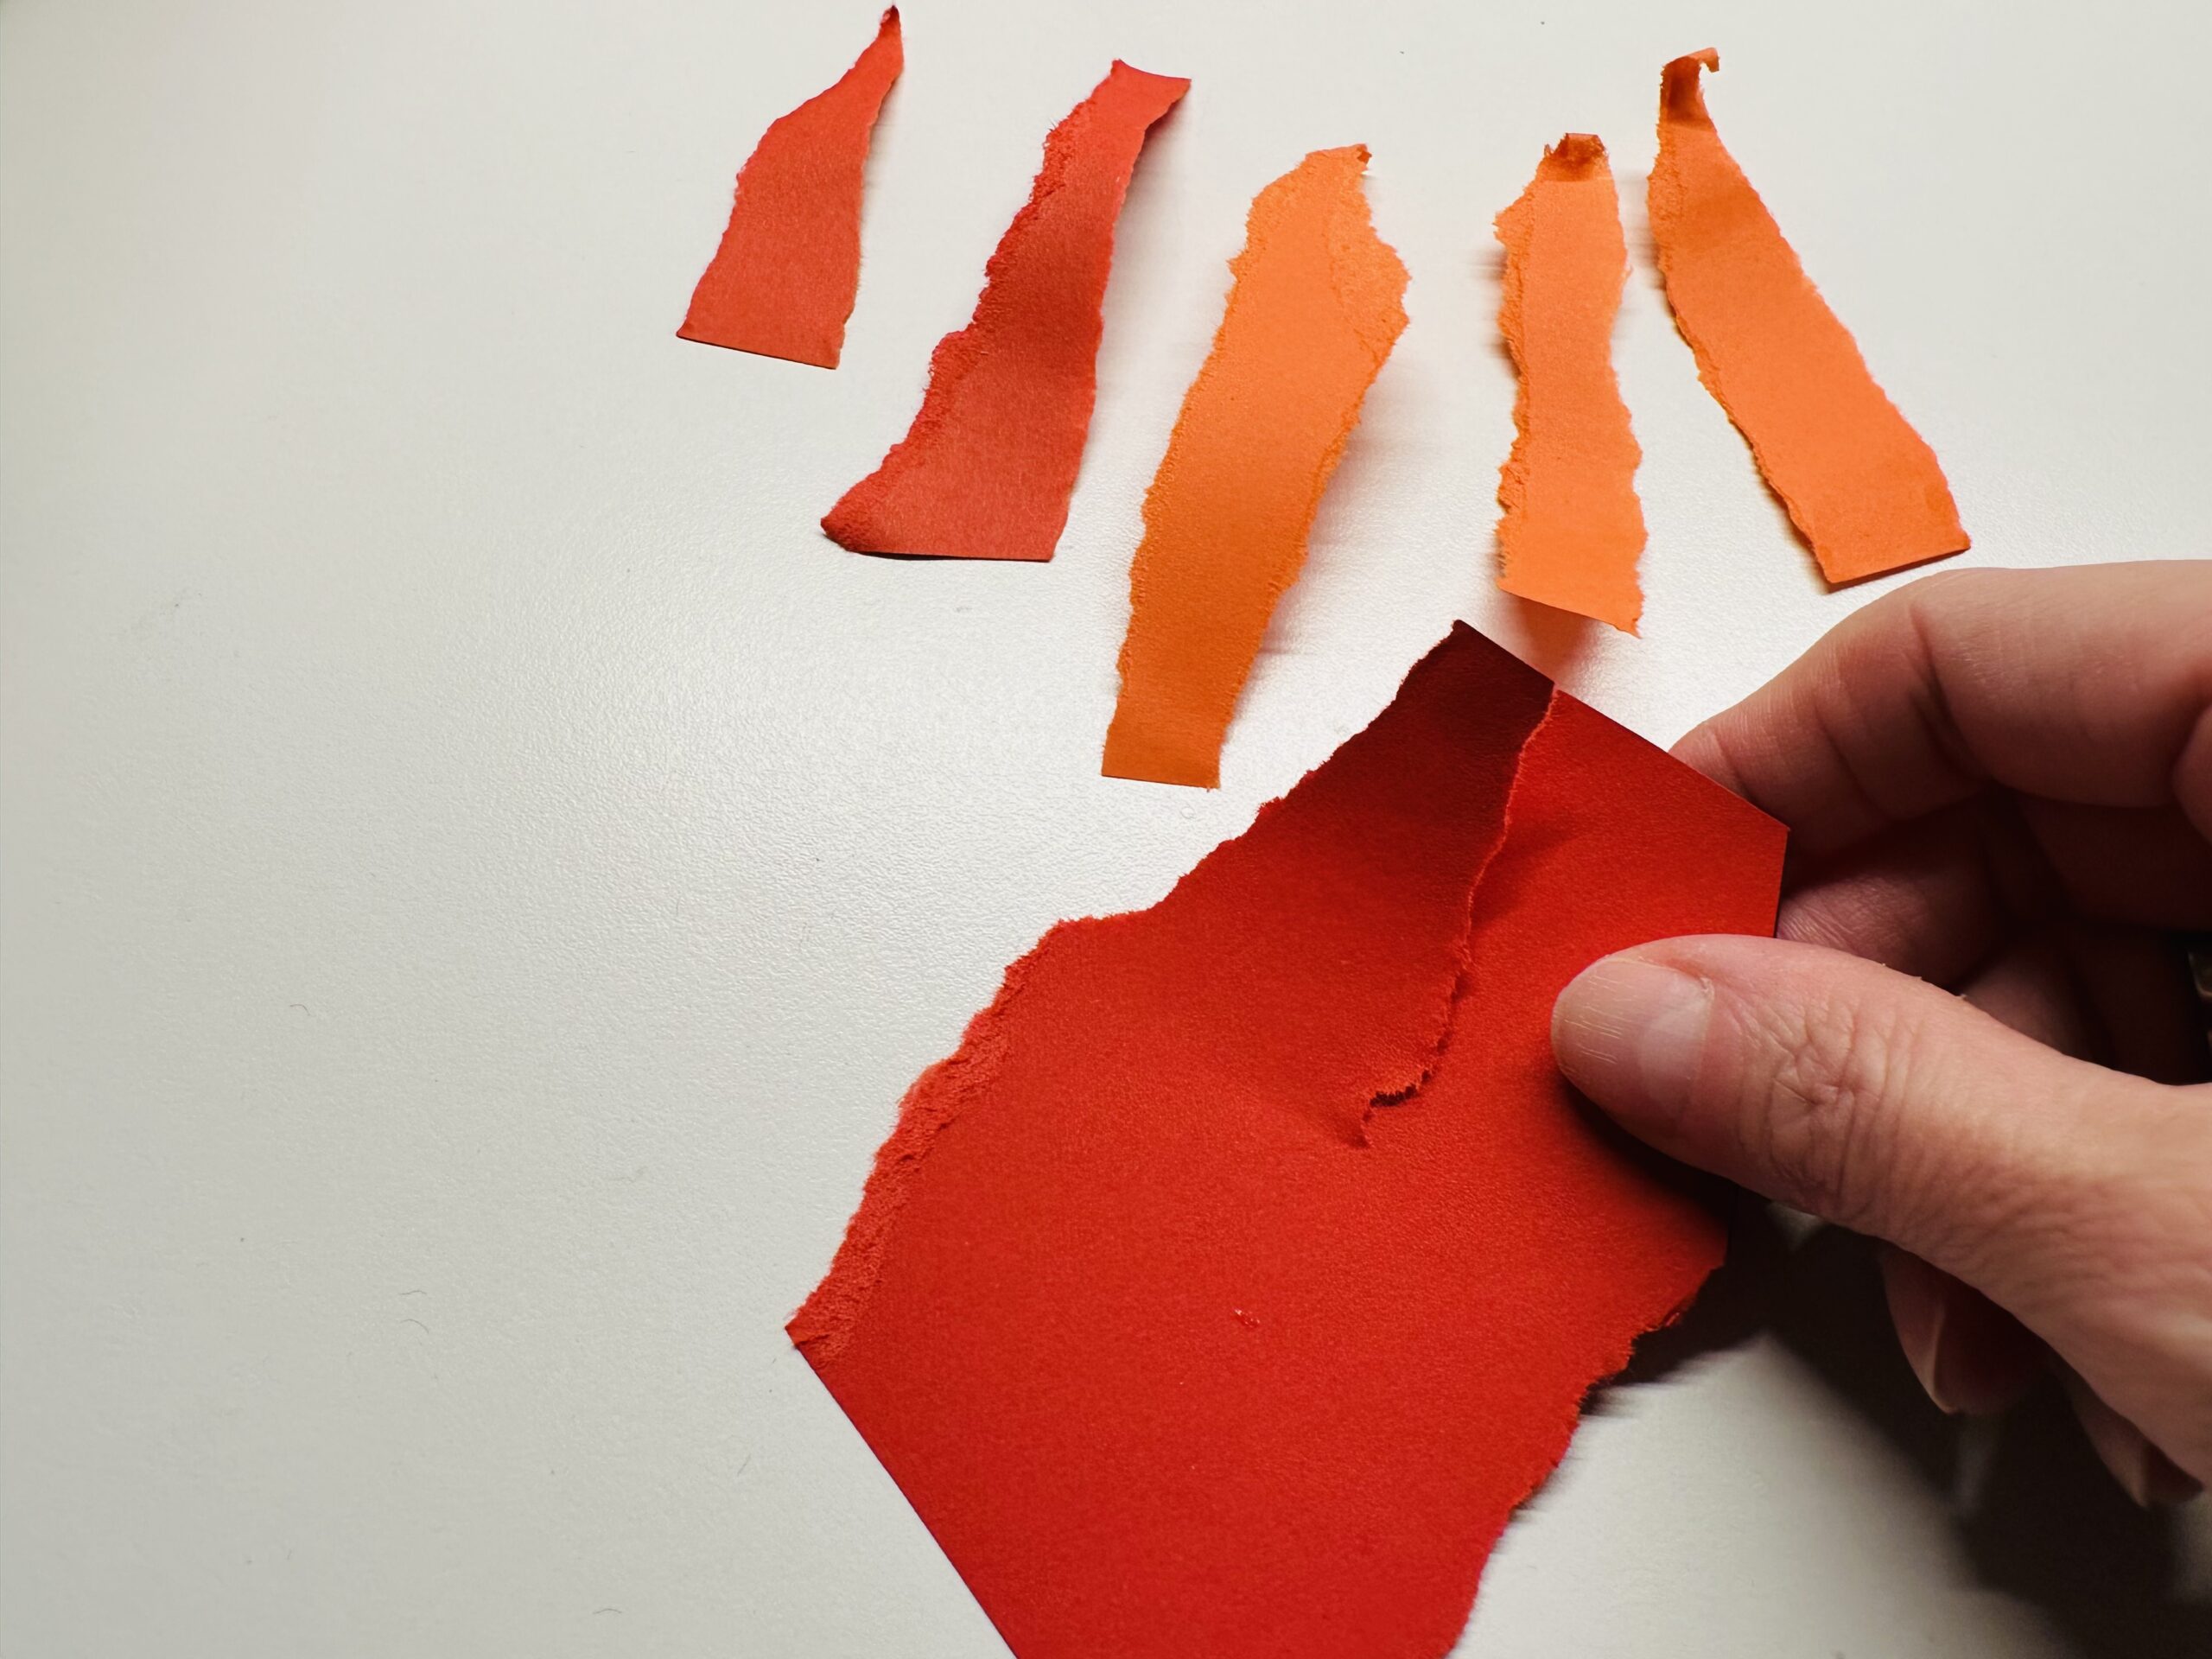
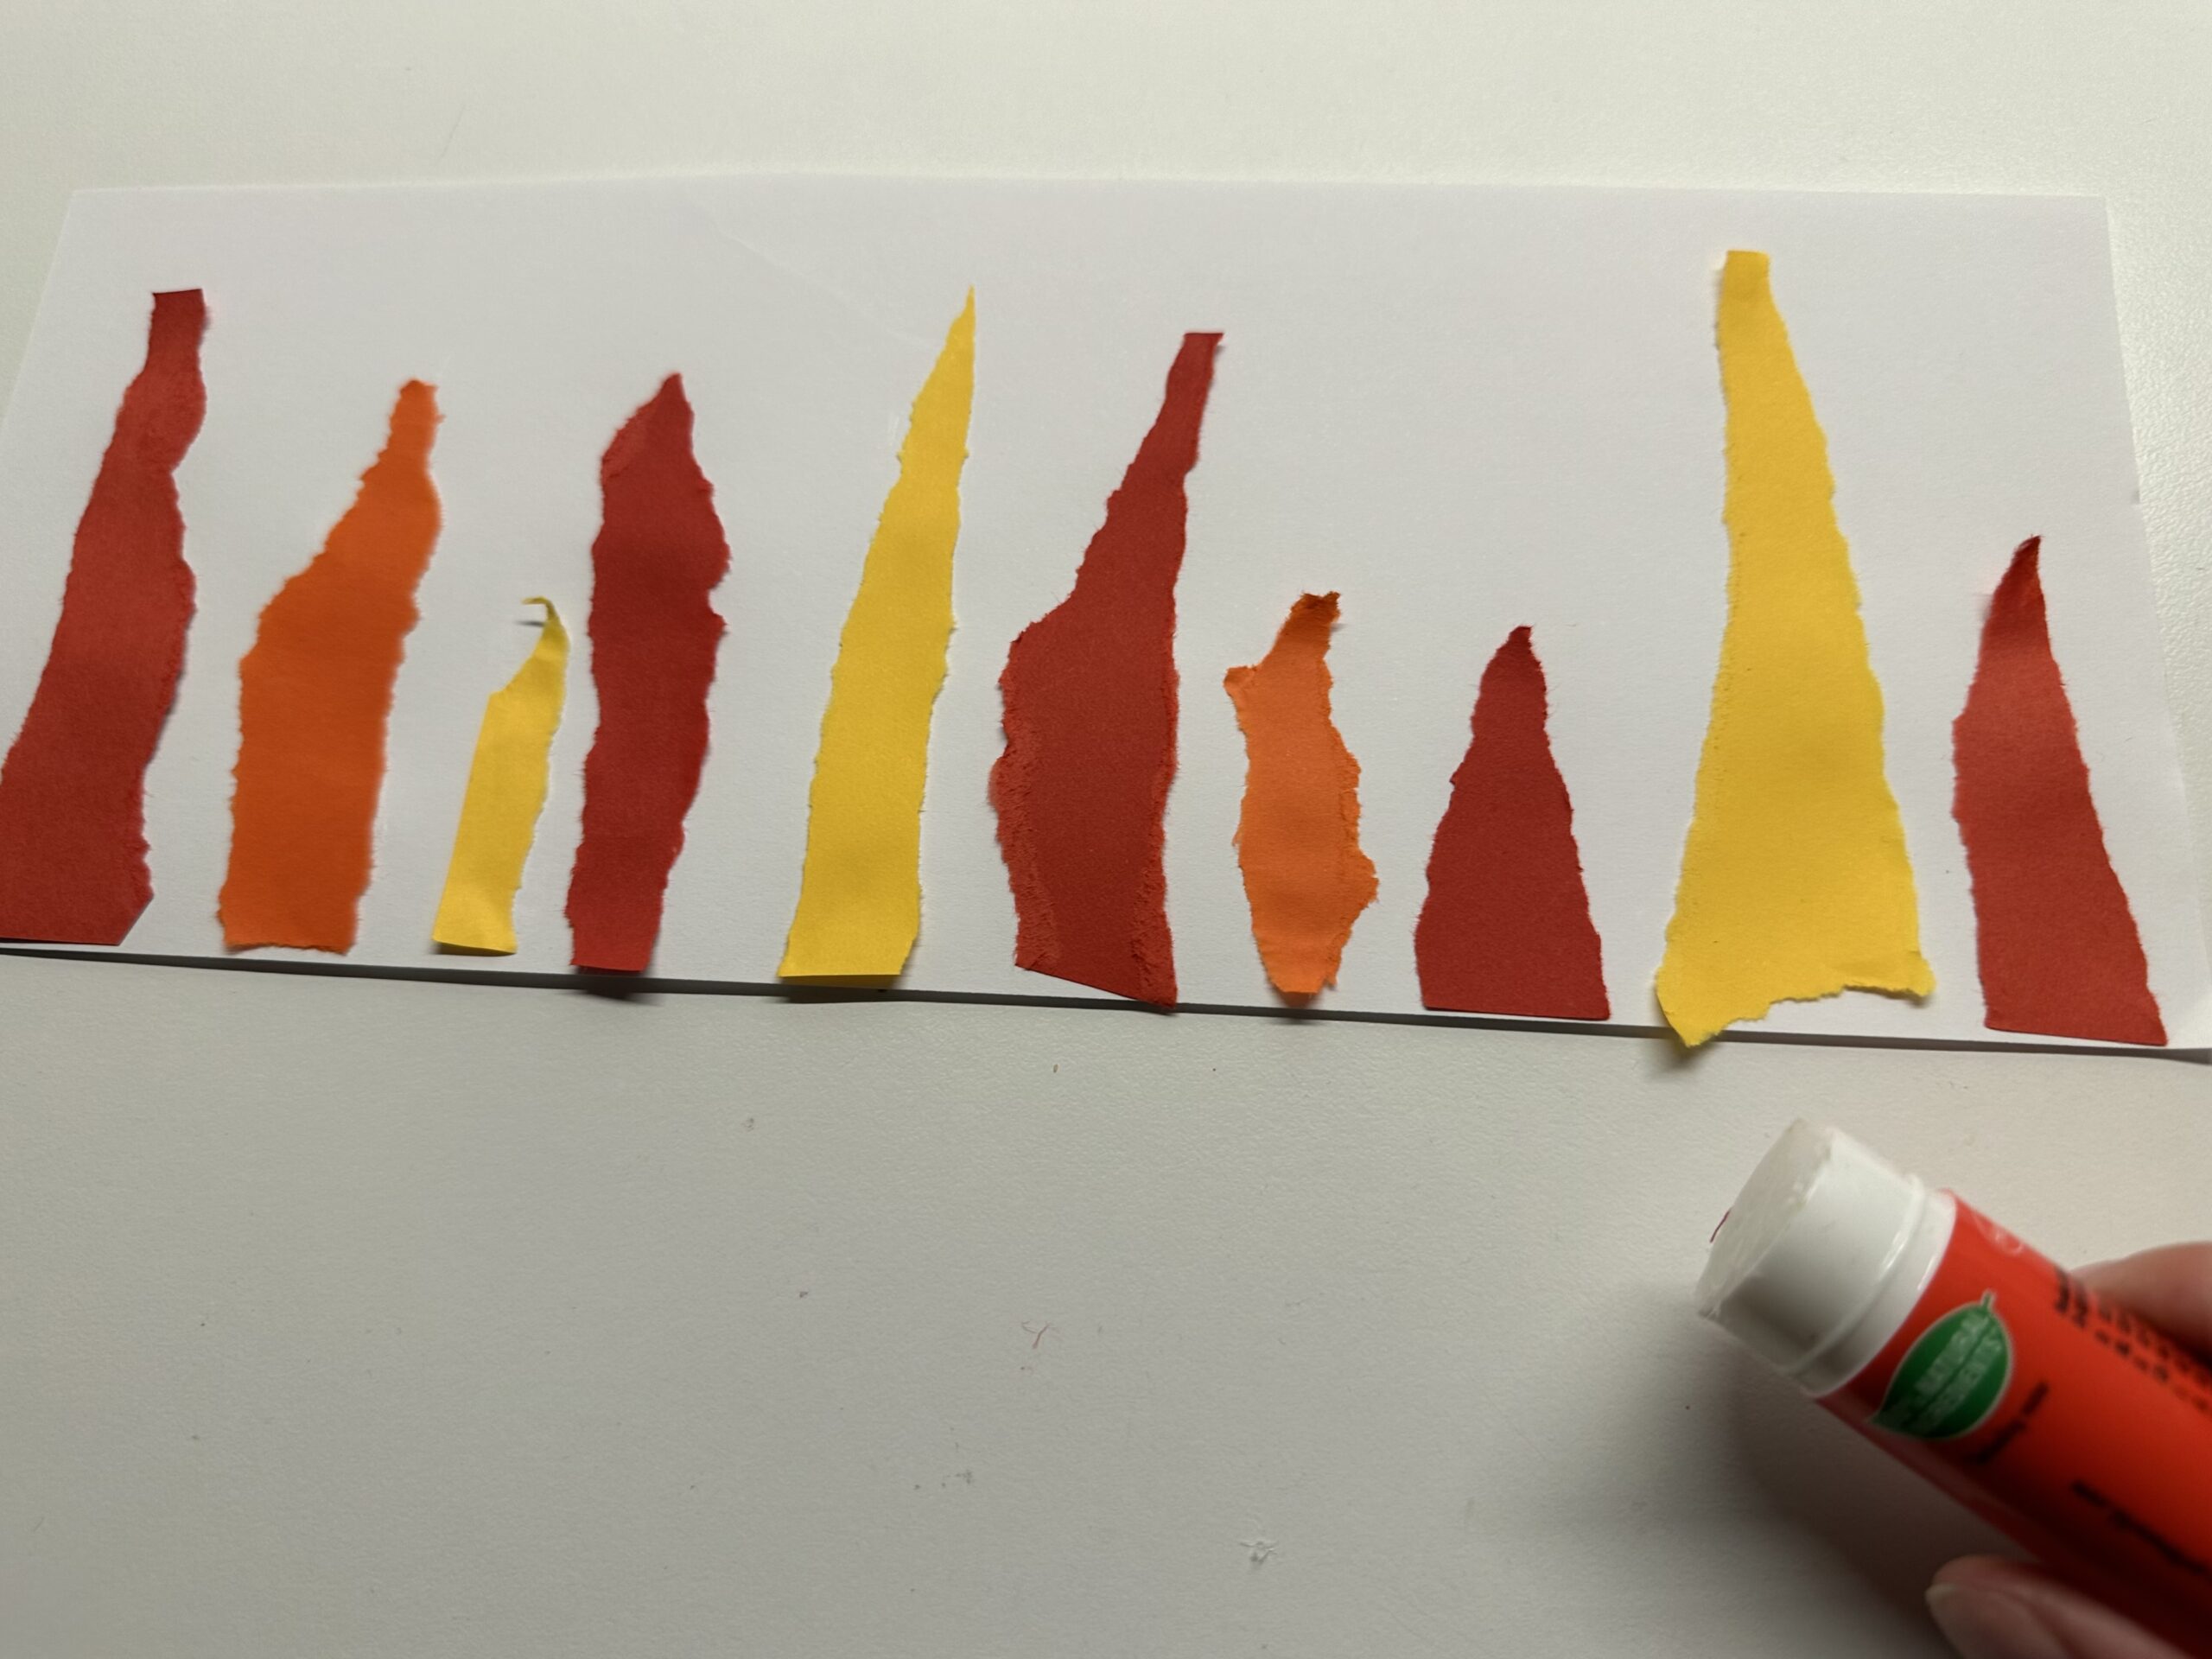
You need a few stripes in all colors. Remember that you should stick the candles on your white paper. You have to put the white paper across it.
Then you get the white paper and the glue. Place the white paper so that it lies with the long side at the edge of the table.
Now stick the candles on the white paper. At the upper edge you have to leave room for the wick and the flame.
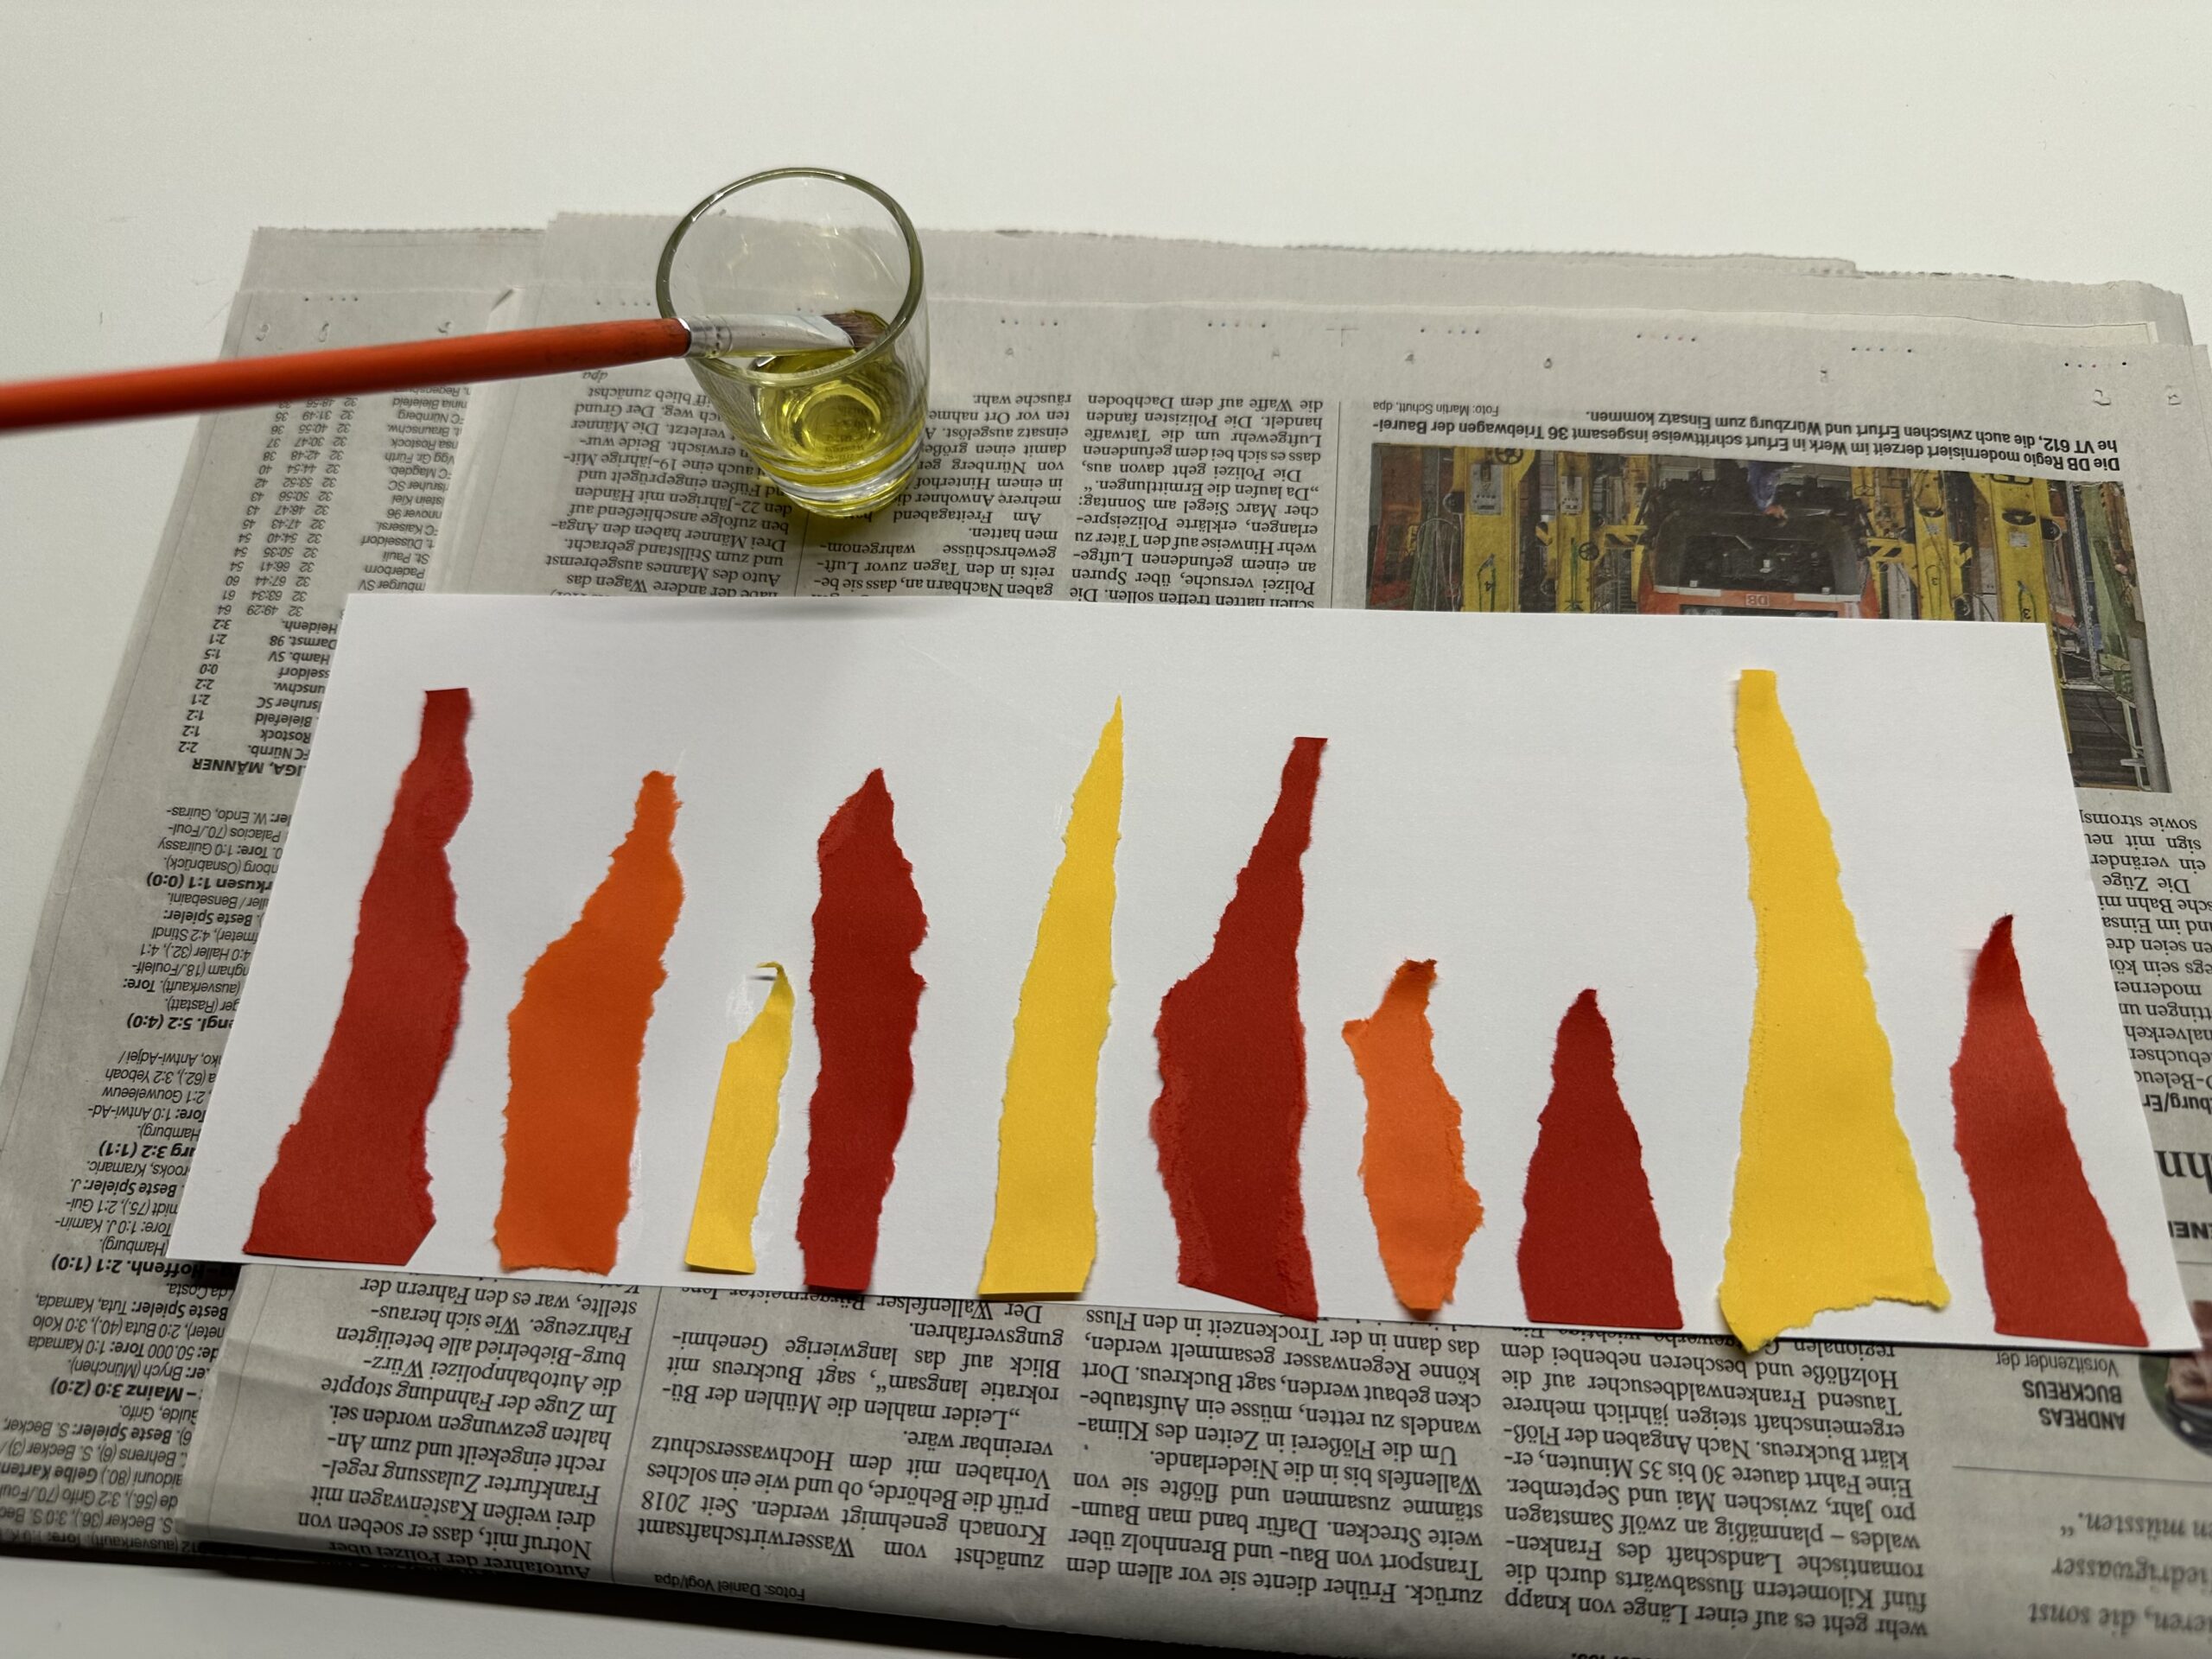
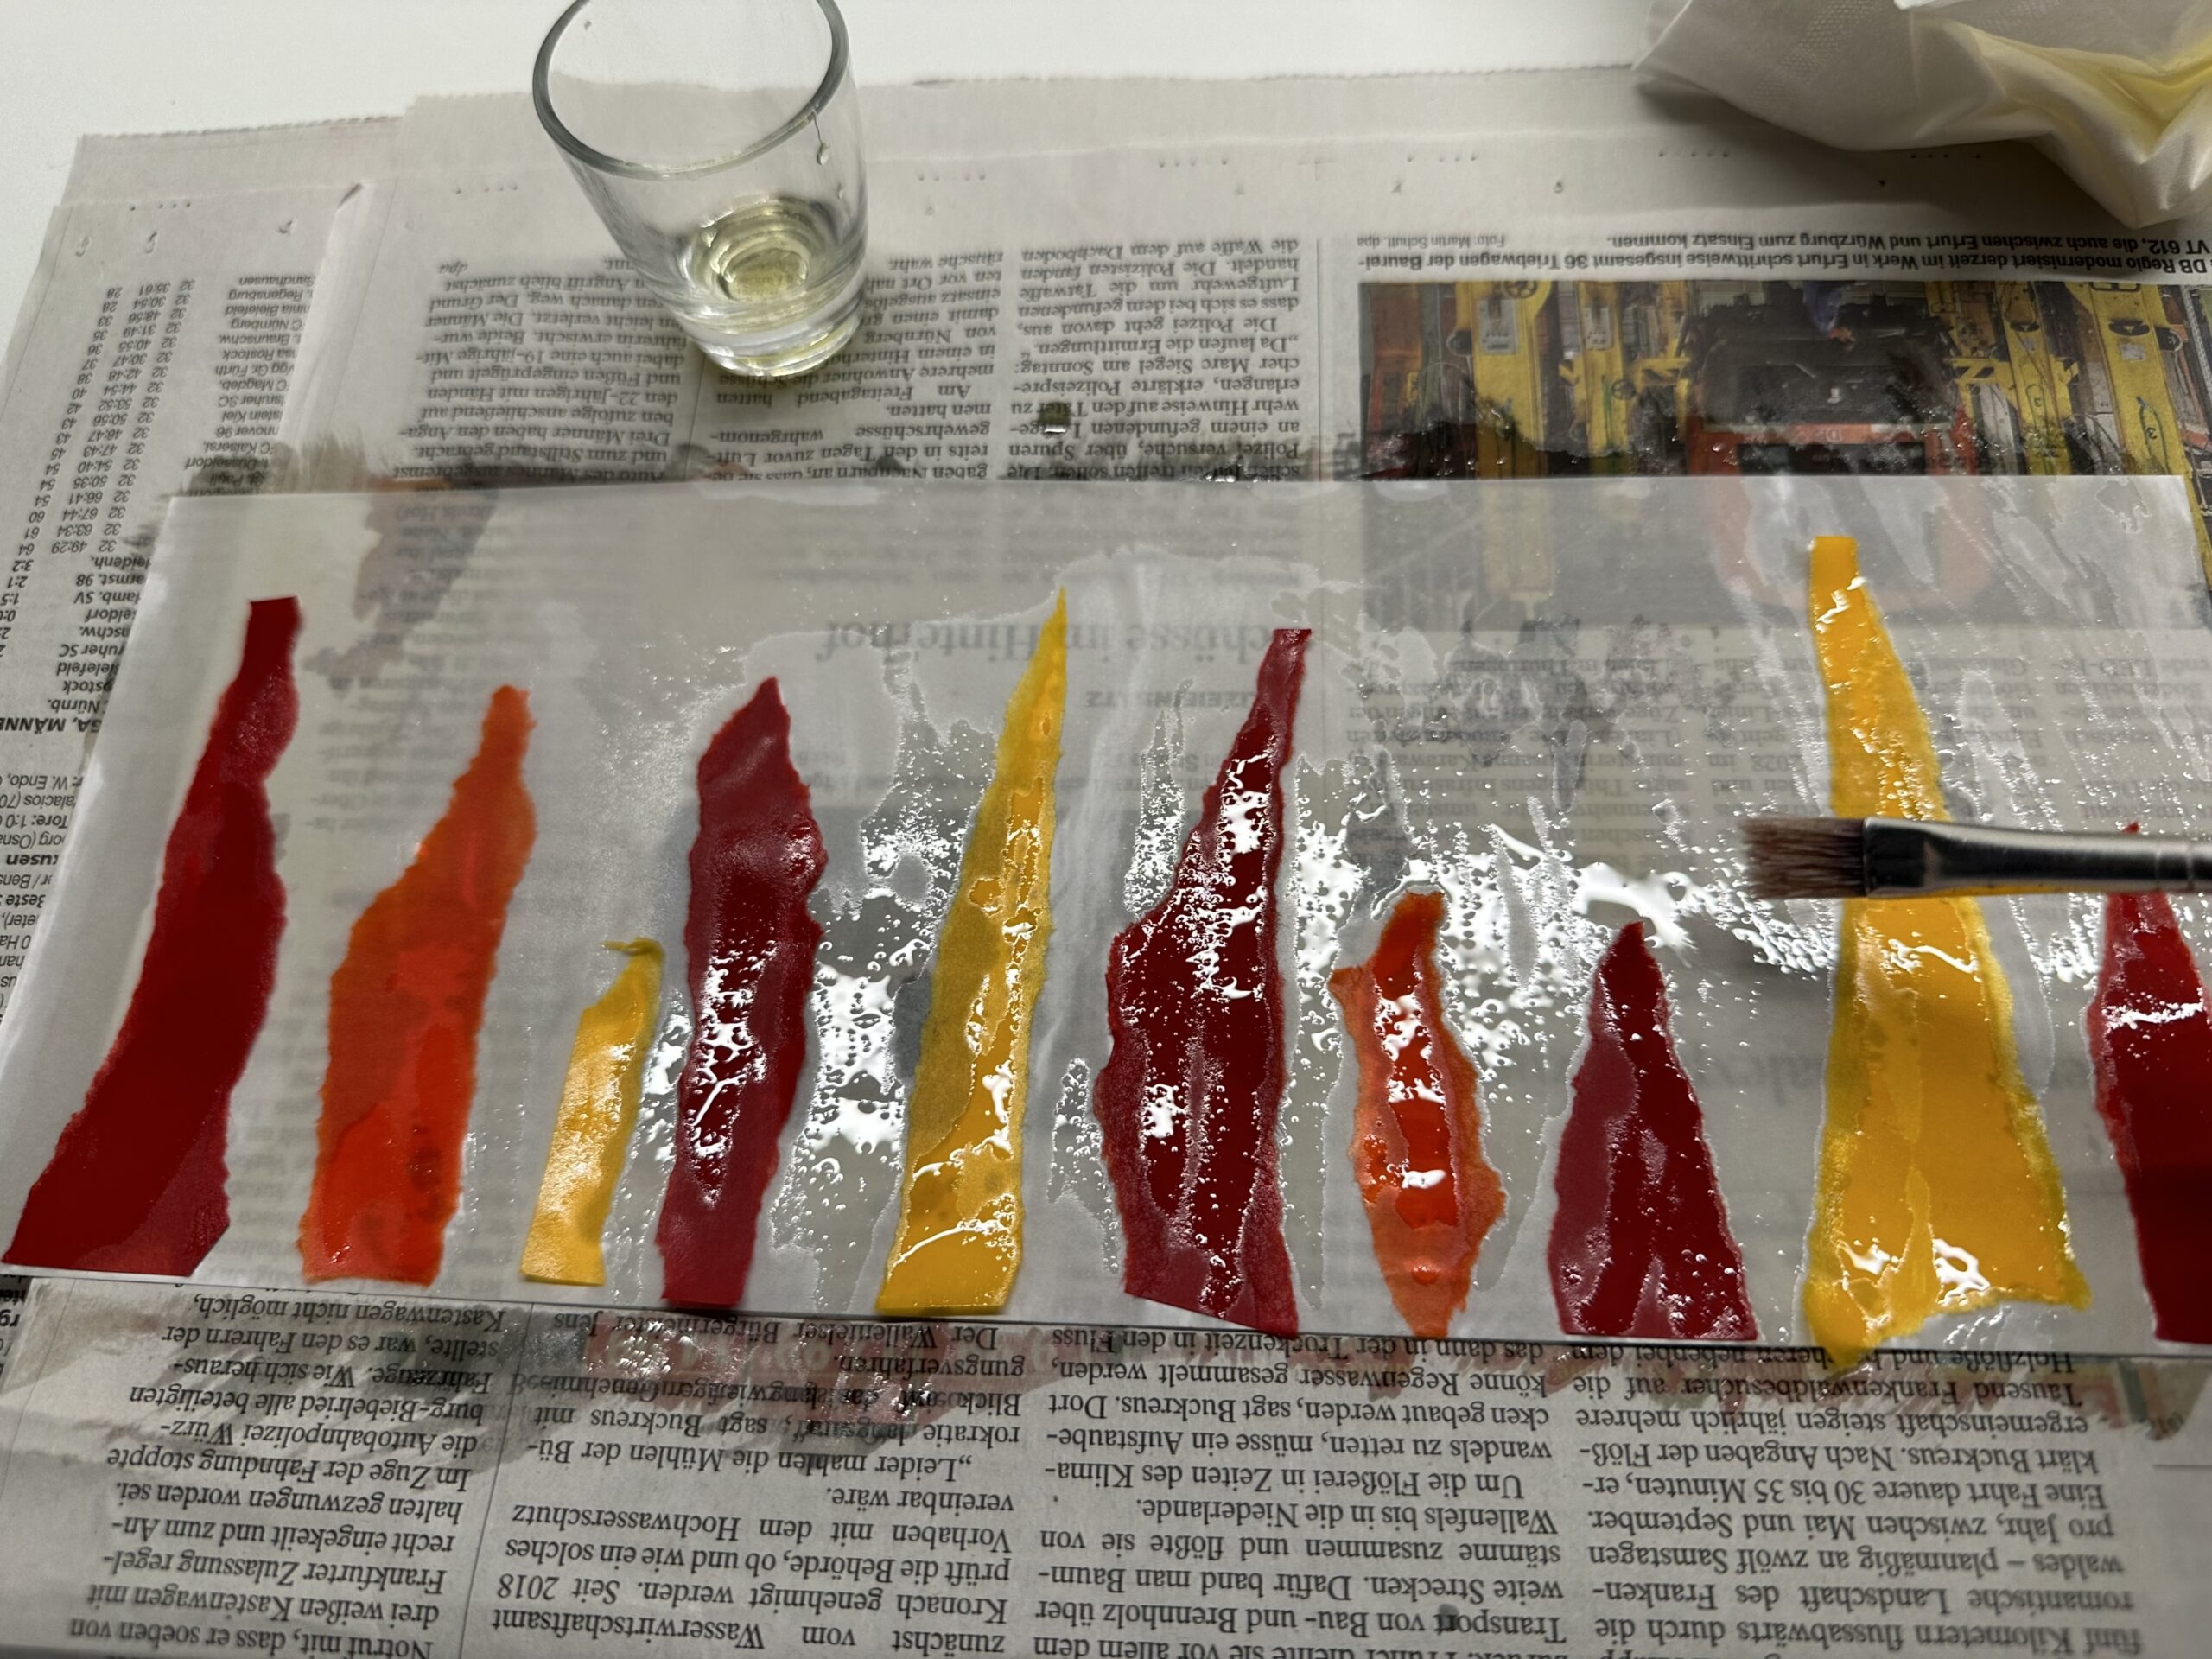
Now bring a small gas with edible oil and a brush.
Now paint over the entire paper, with the brush, the oil on the paper.
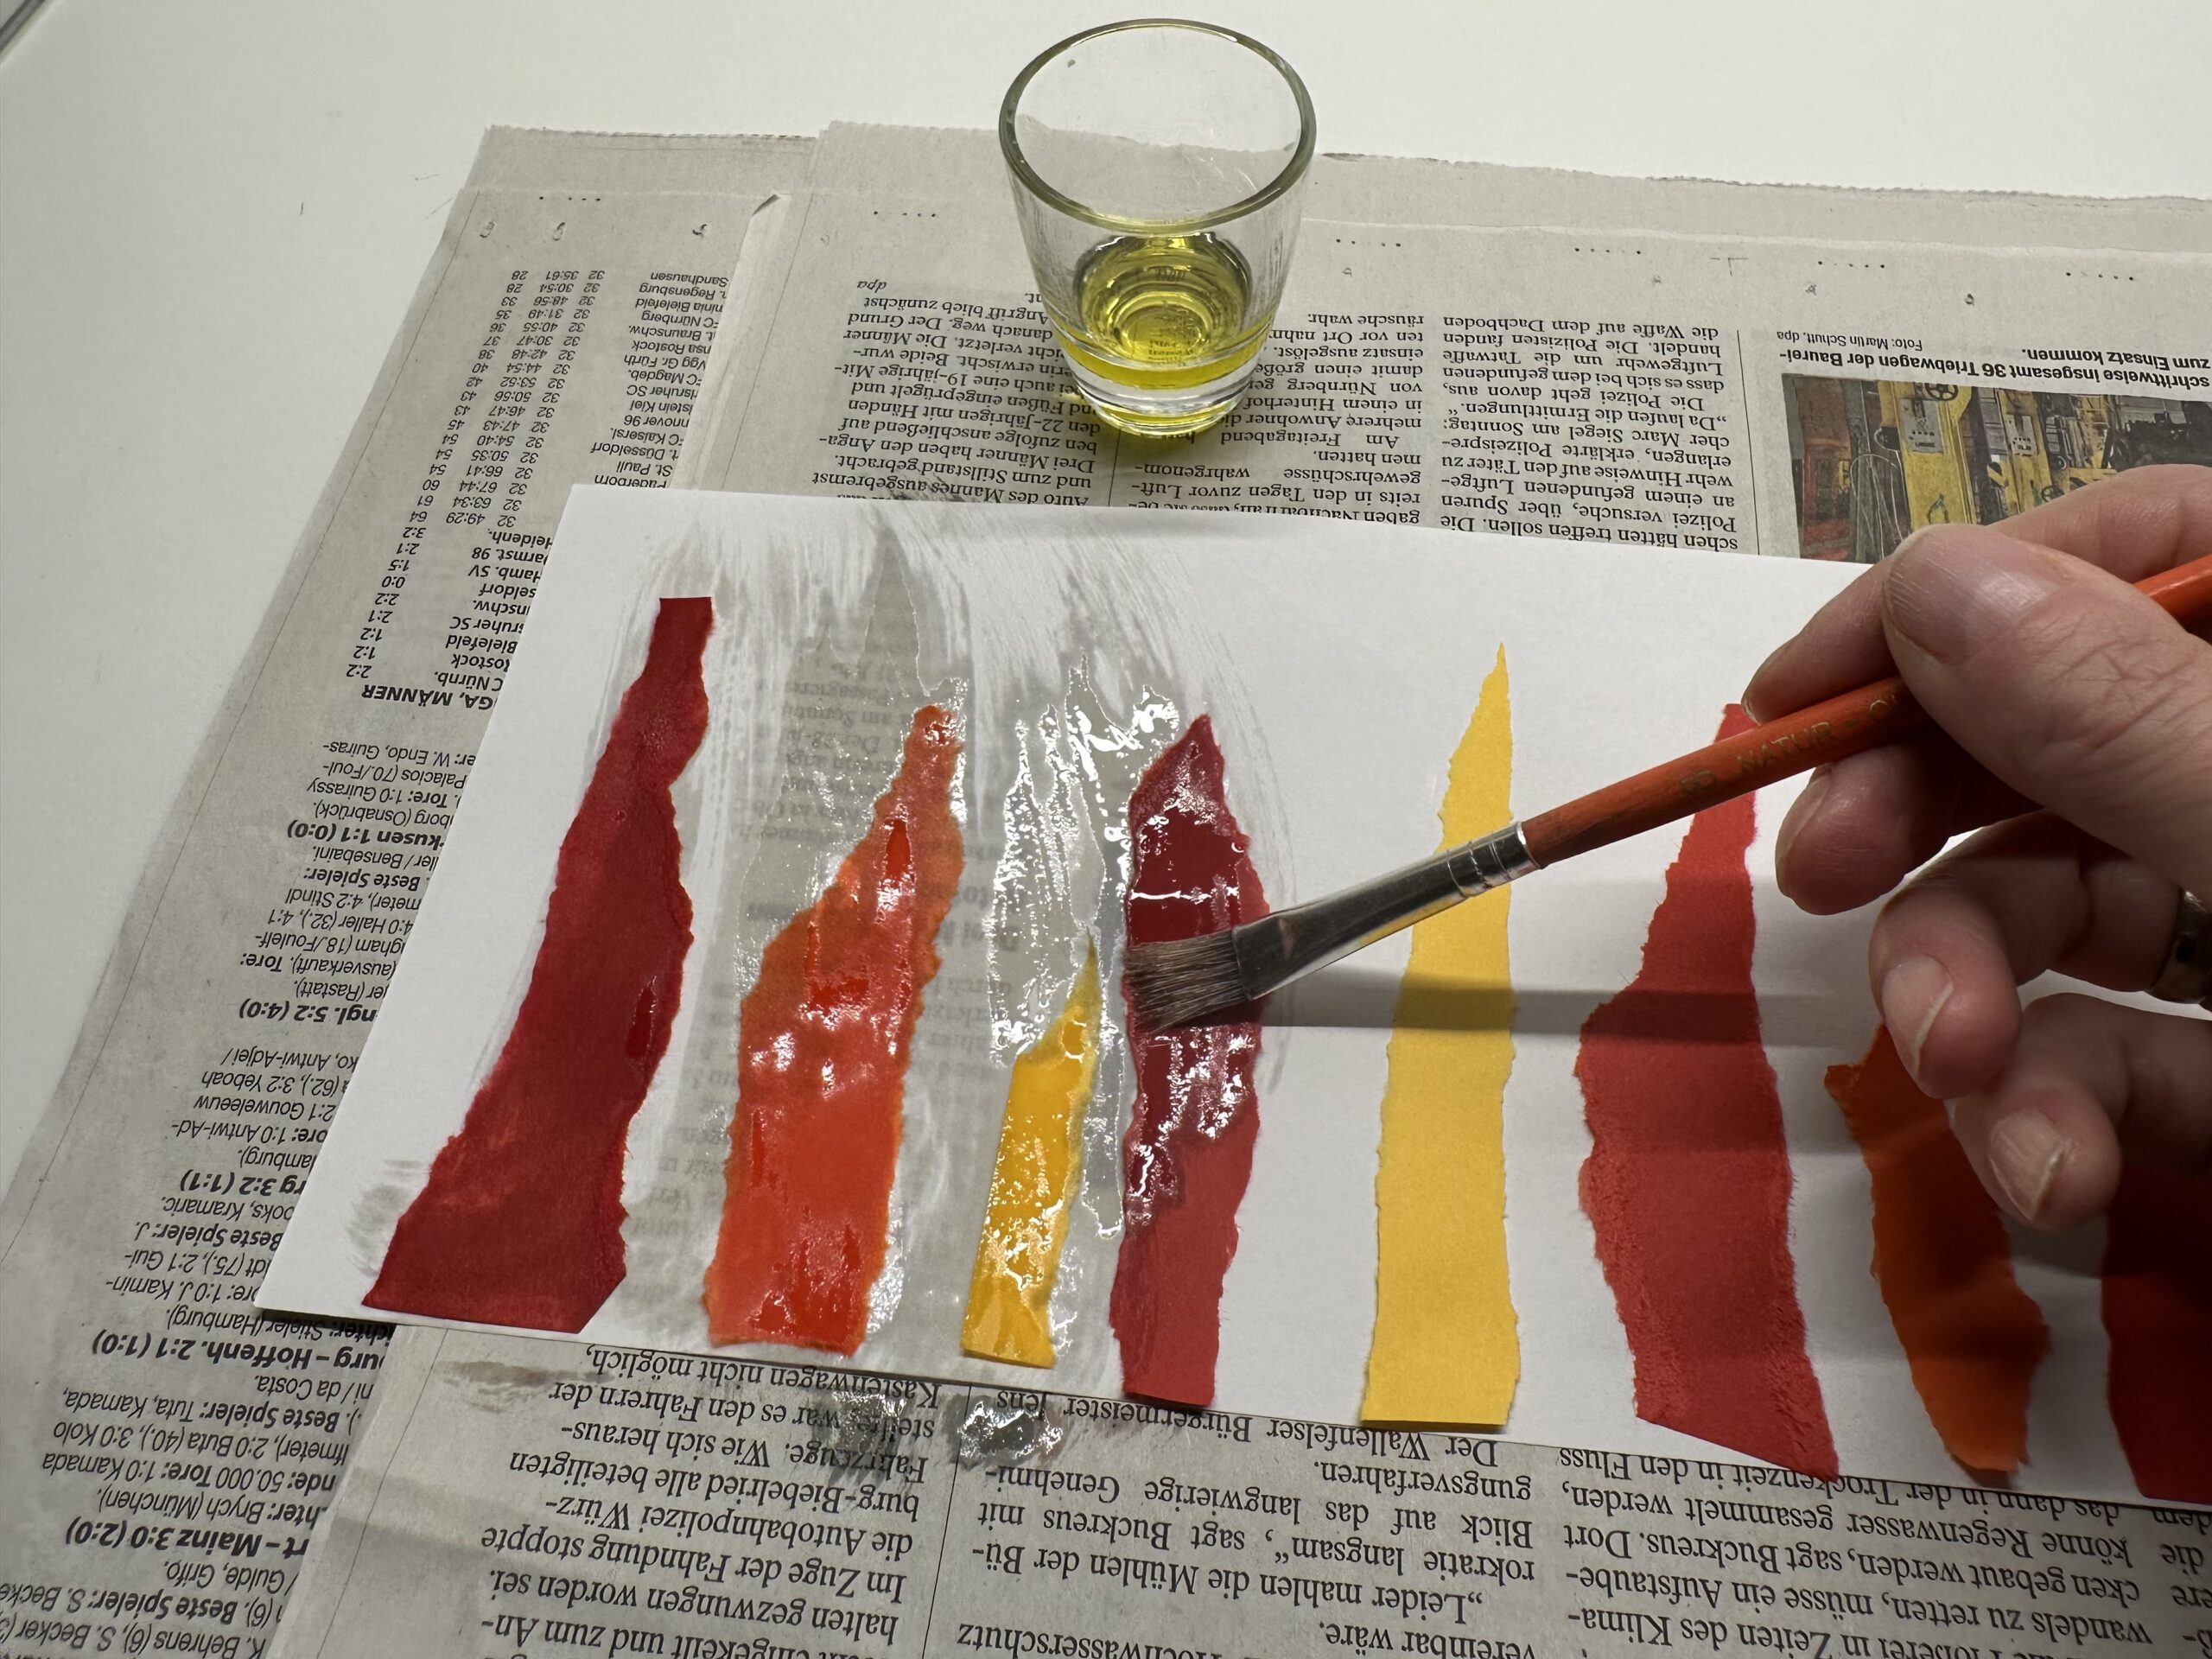
It's supposed to be oil everywhere.
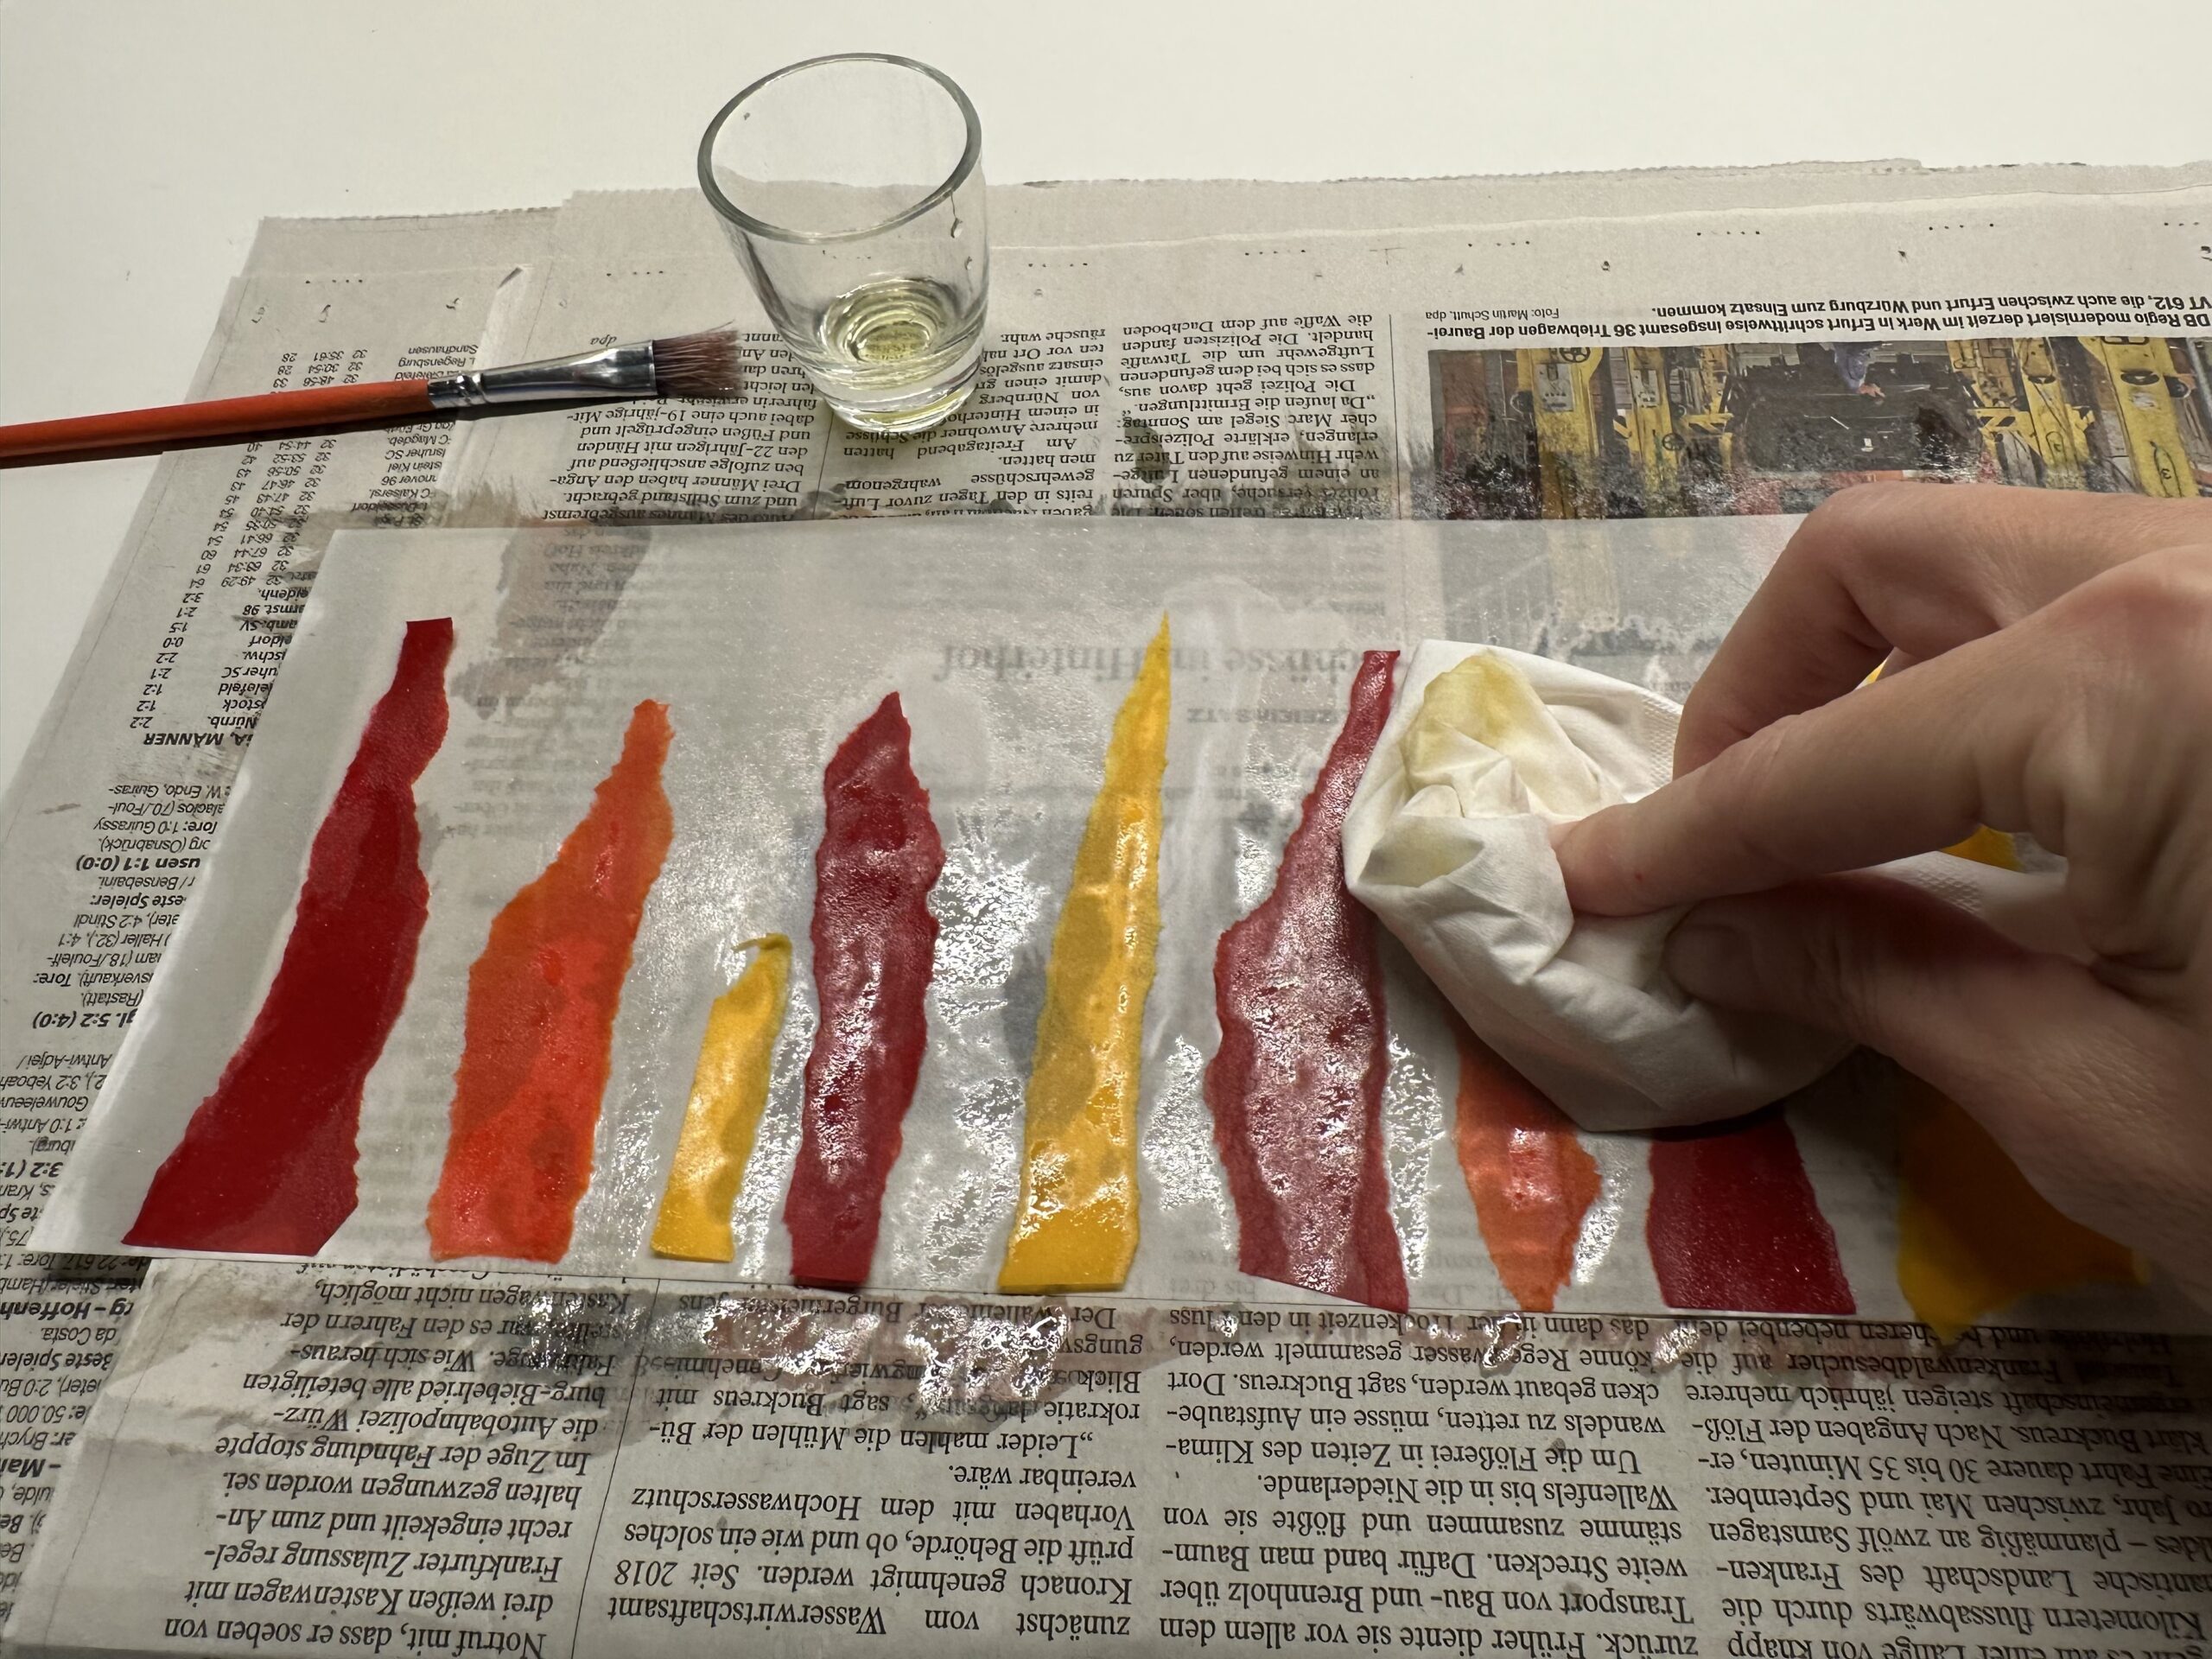
Now pick up a kitchen paper and soak up the excess oil.
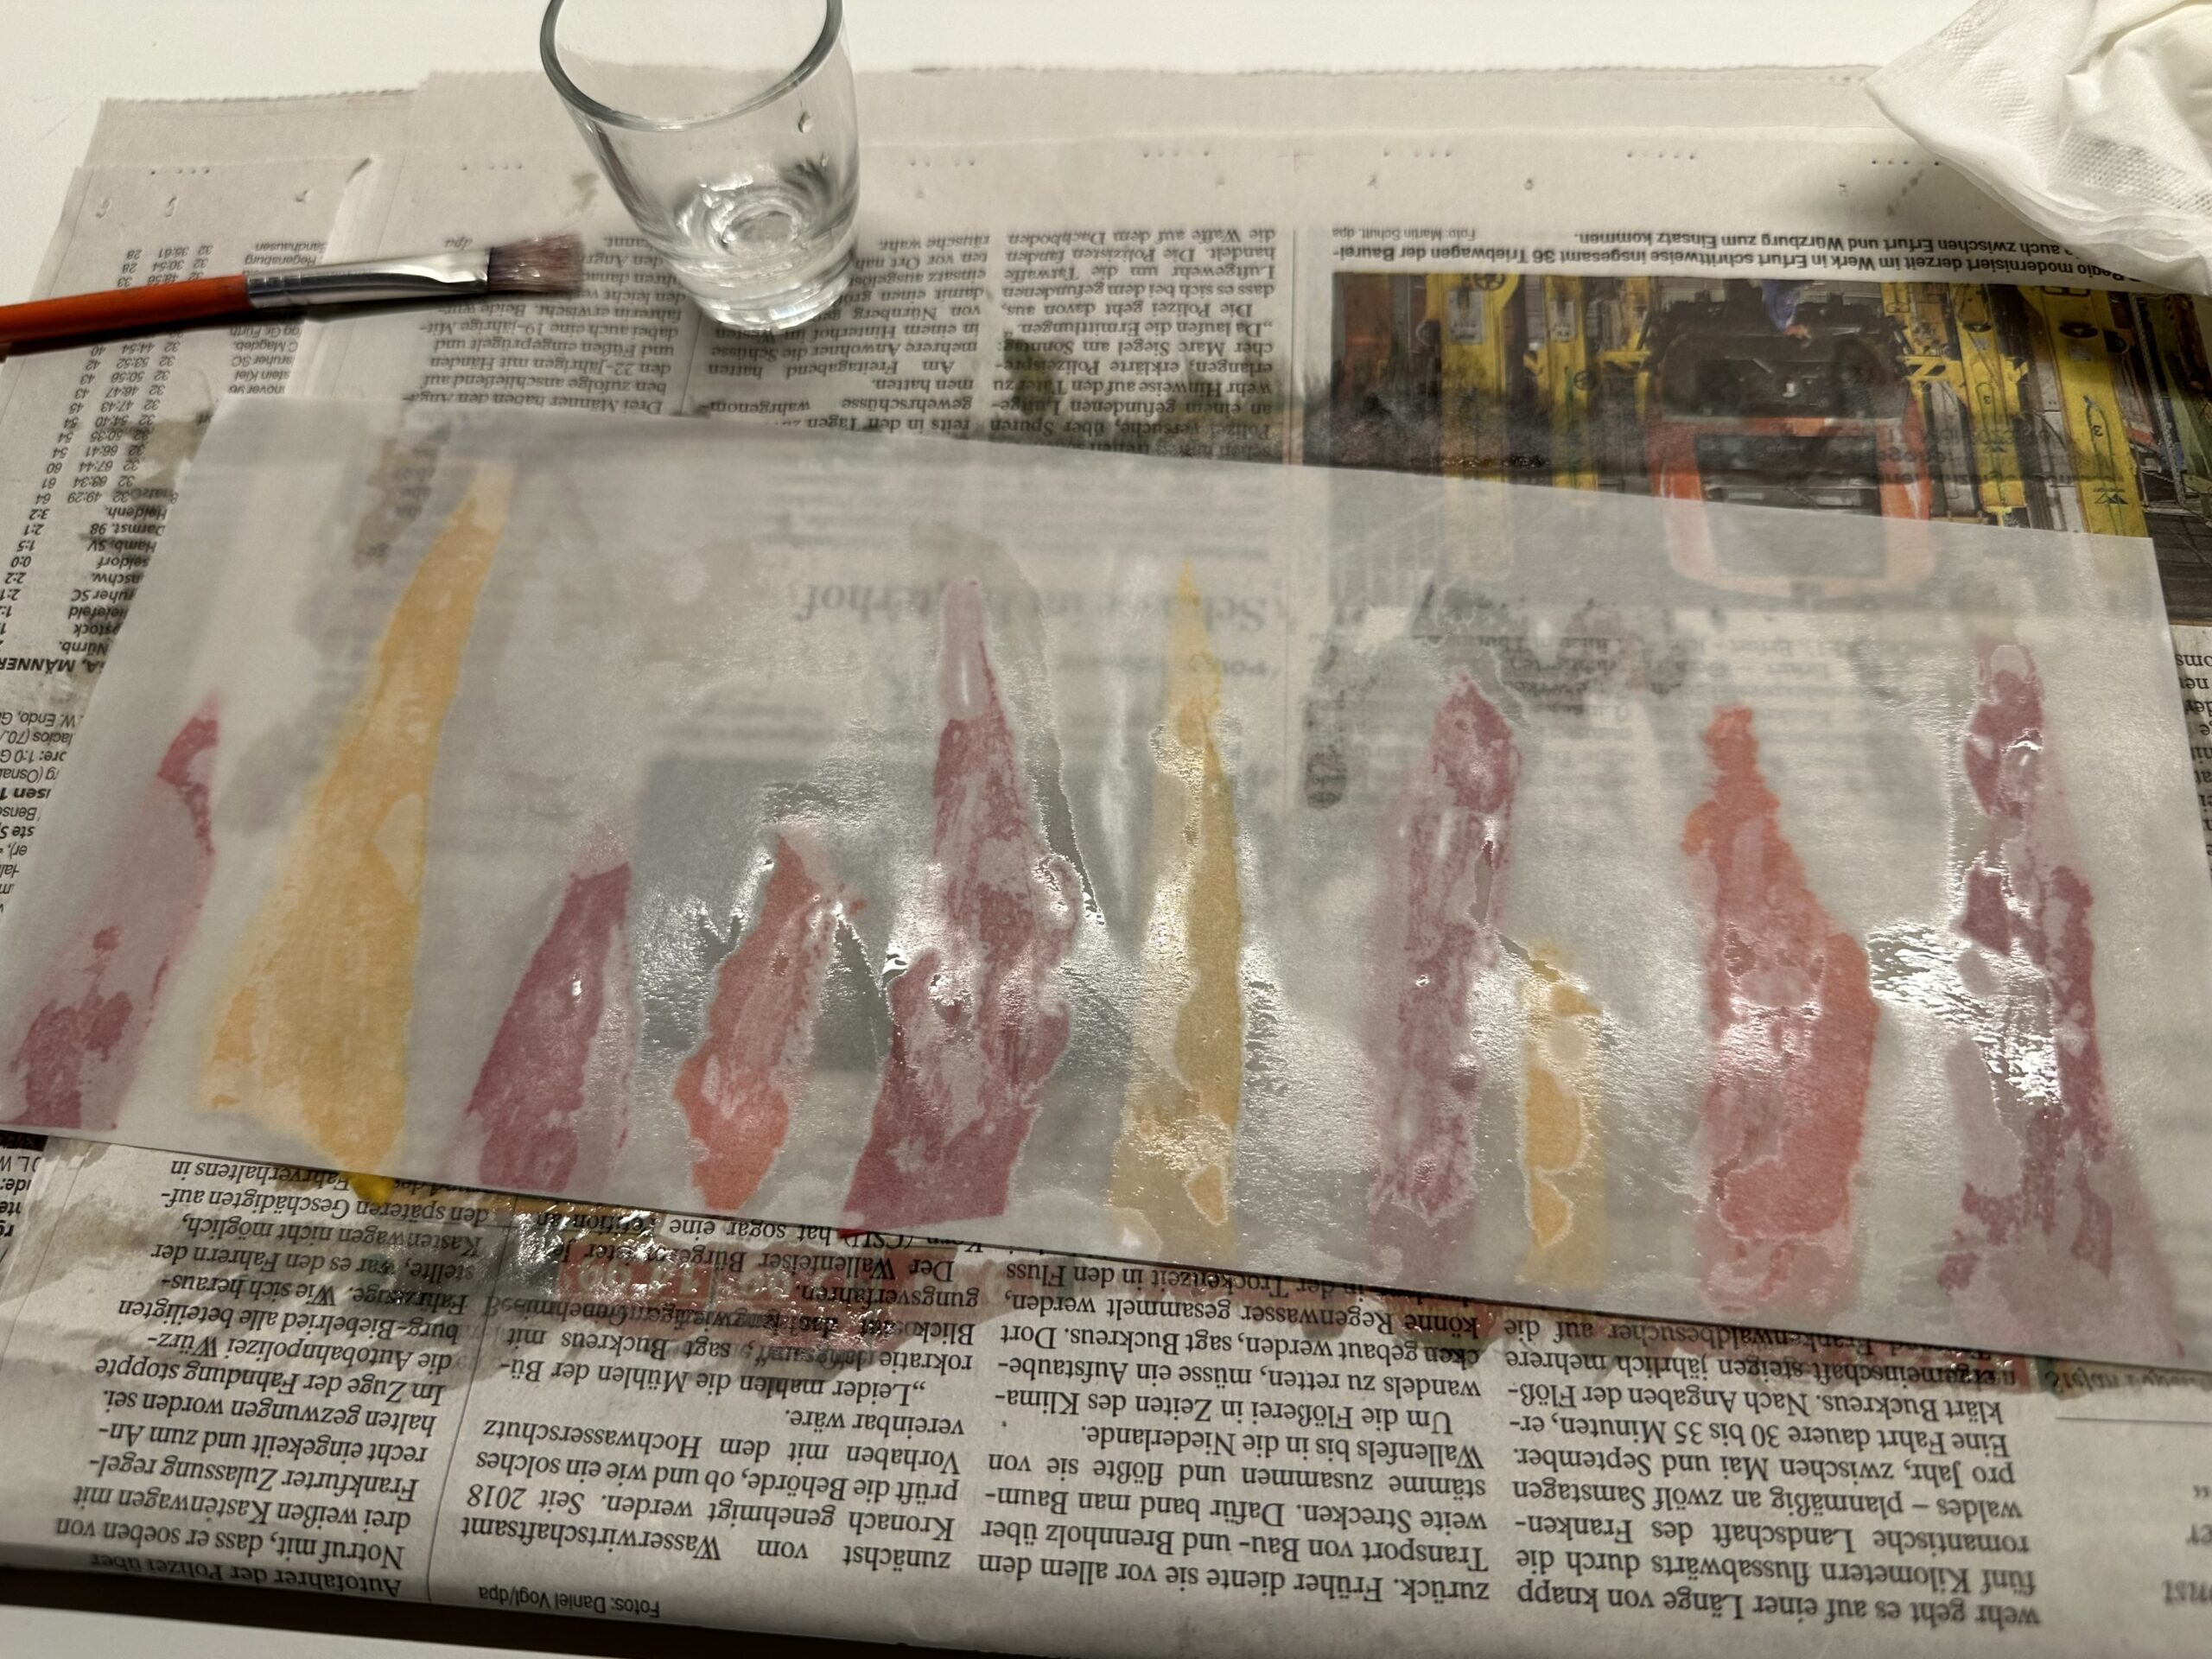
Turn around your template so you can see exactly where oil is still missing. Take the brush and rub it in with oil.

Now you can see what it looks like.
Turn your lantern back to the right side and let the oil dry.
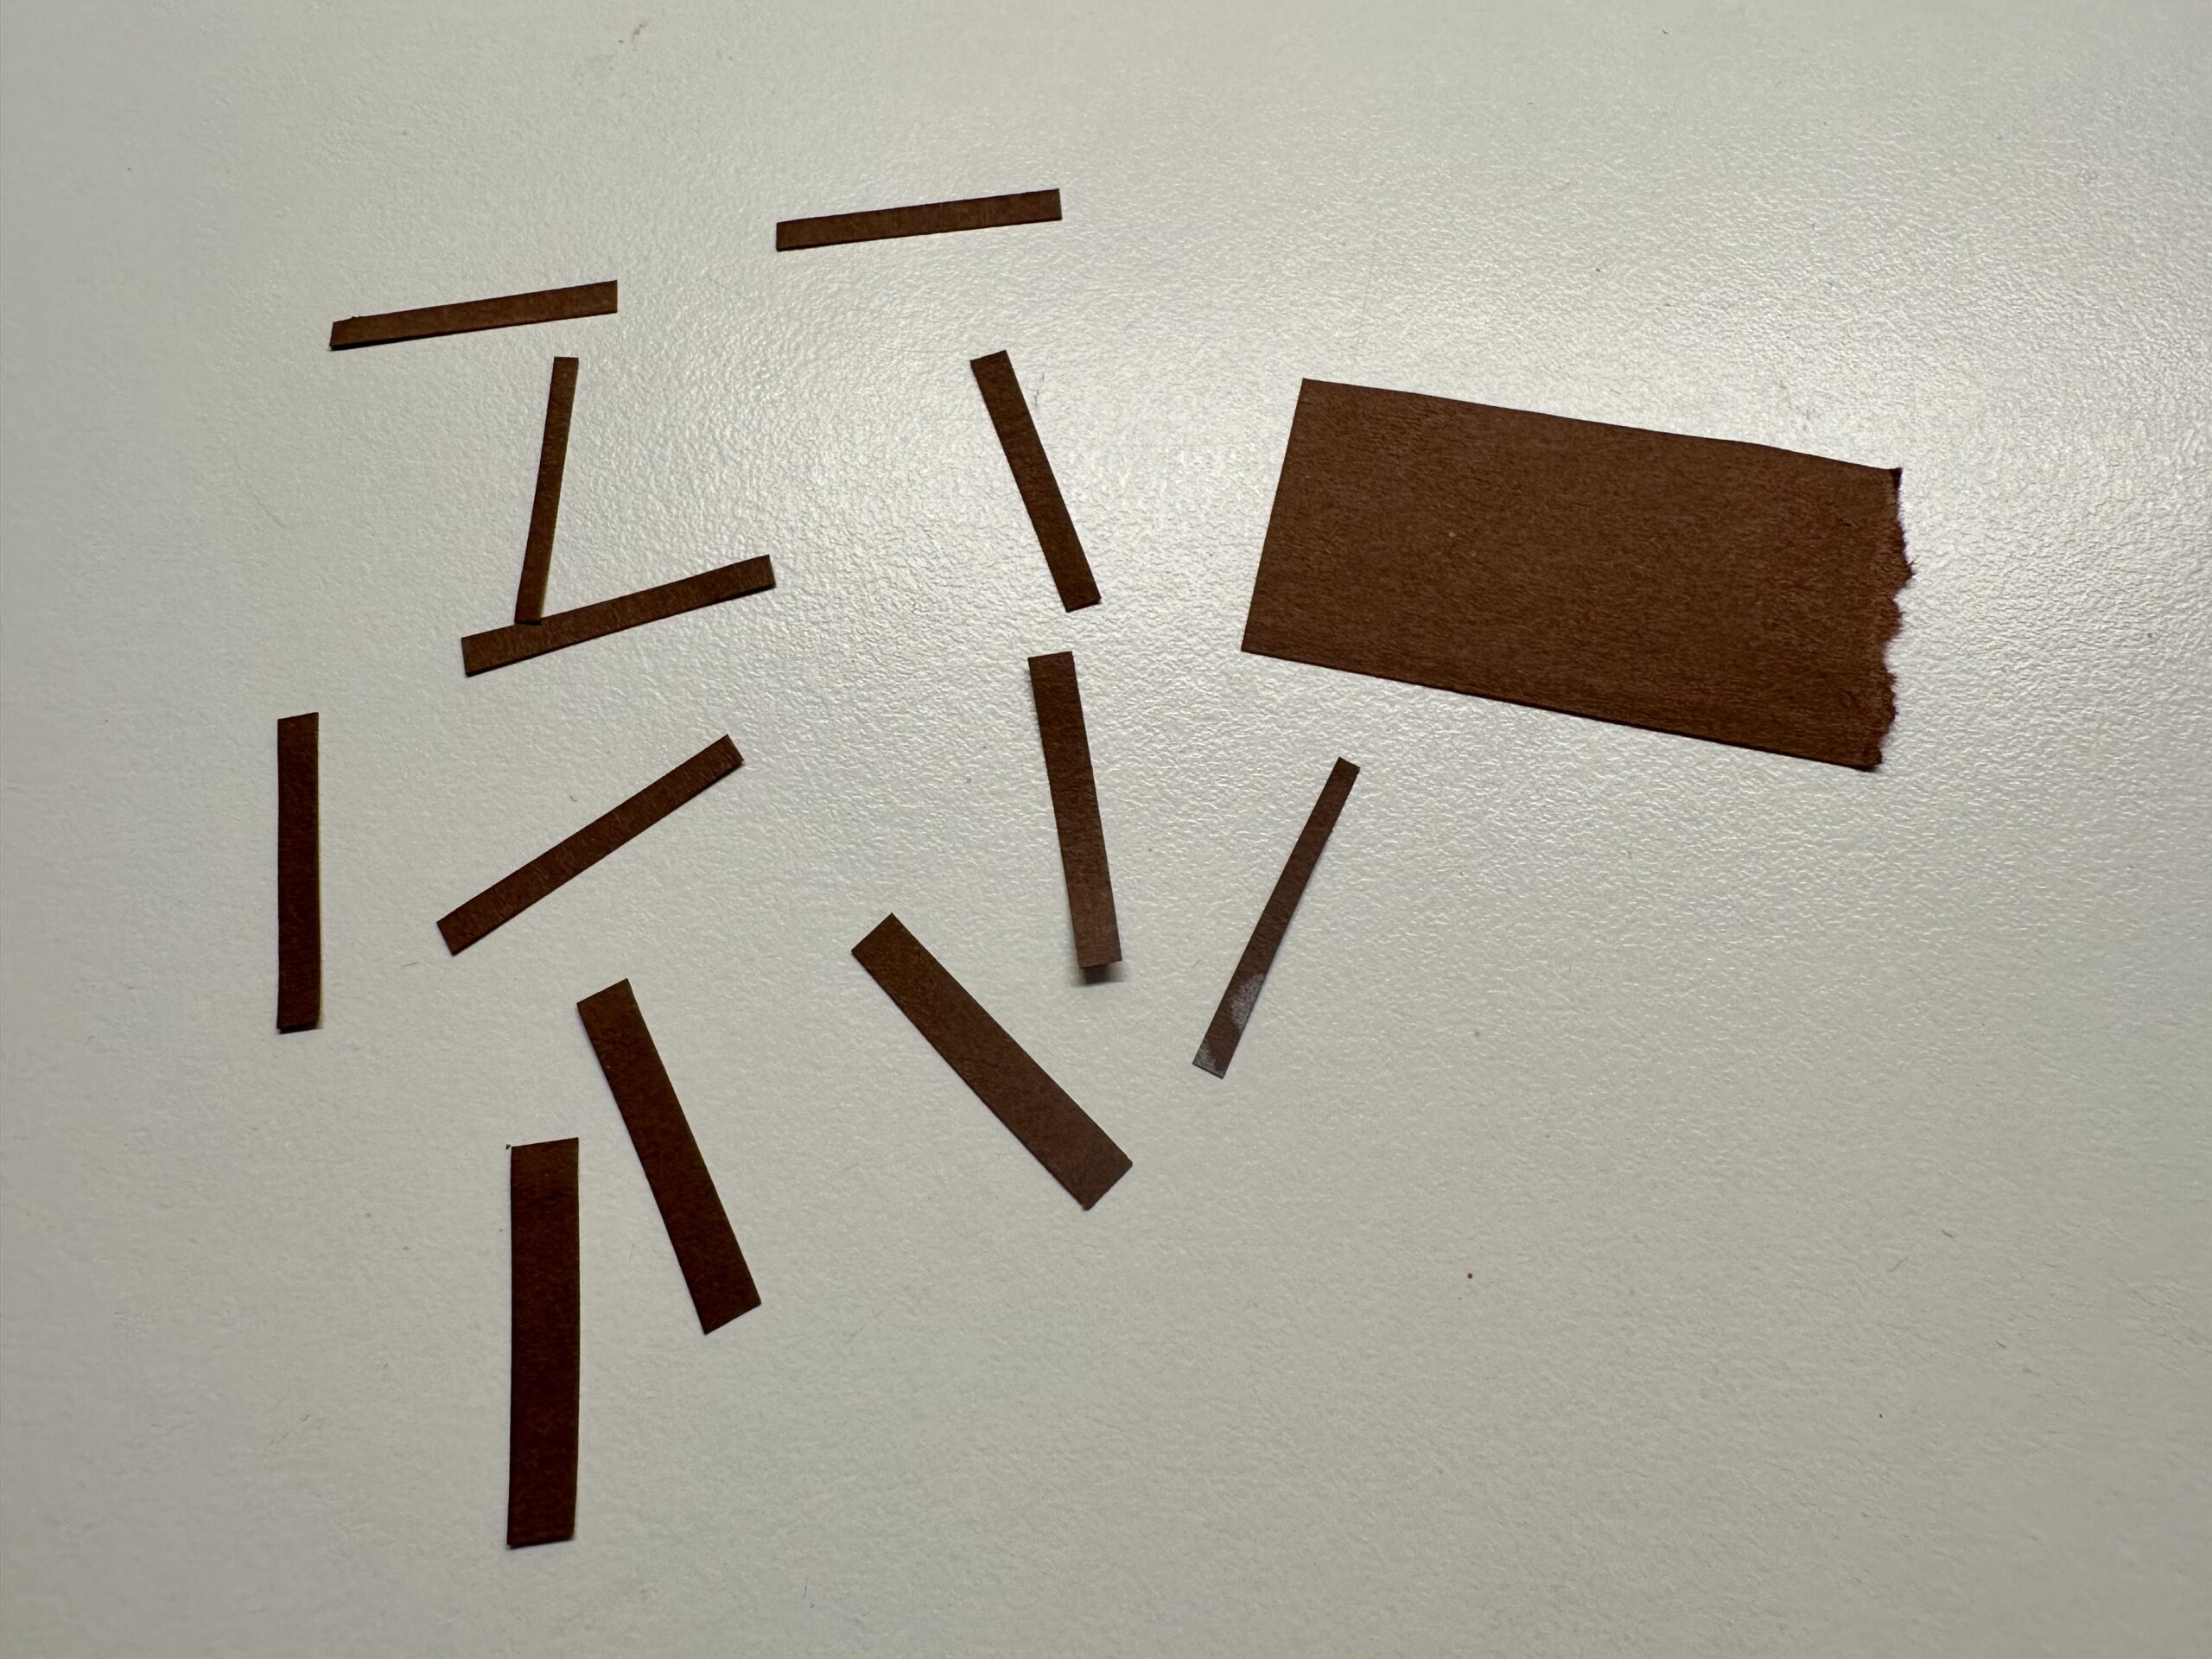
Now you've done a lot, and next thing you know, you need scissors and brown clay paper.
Cut the wick to your candles.
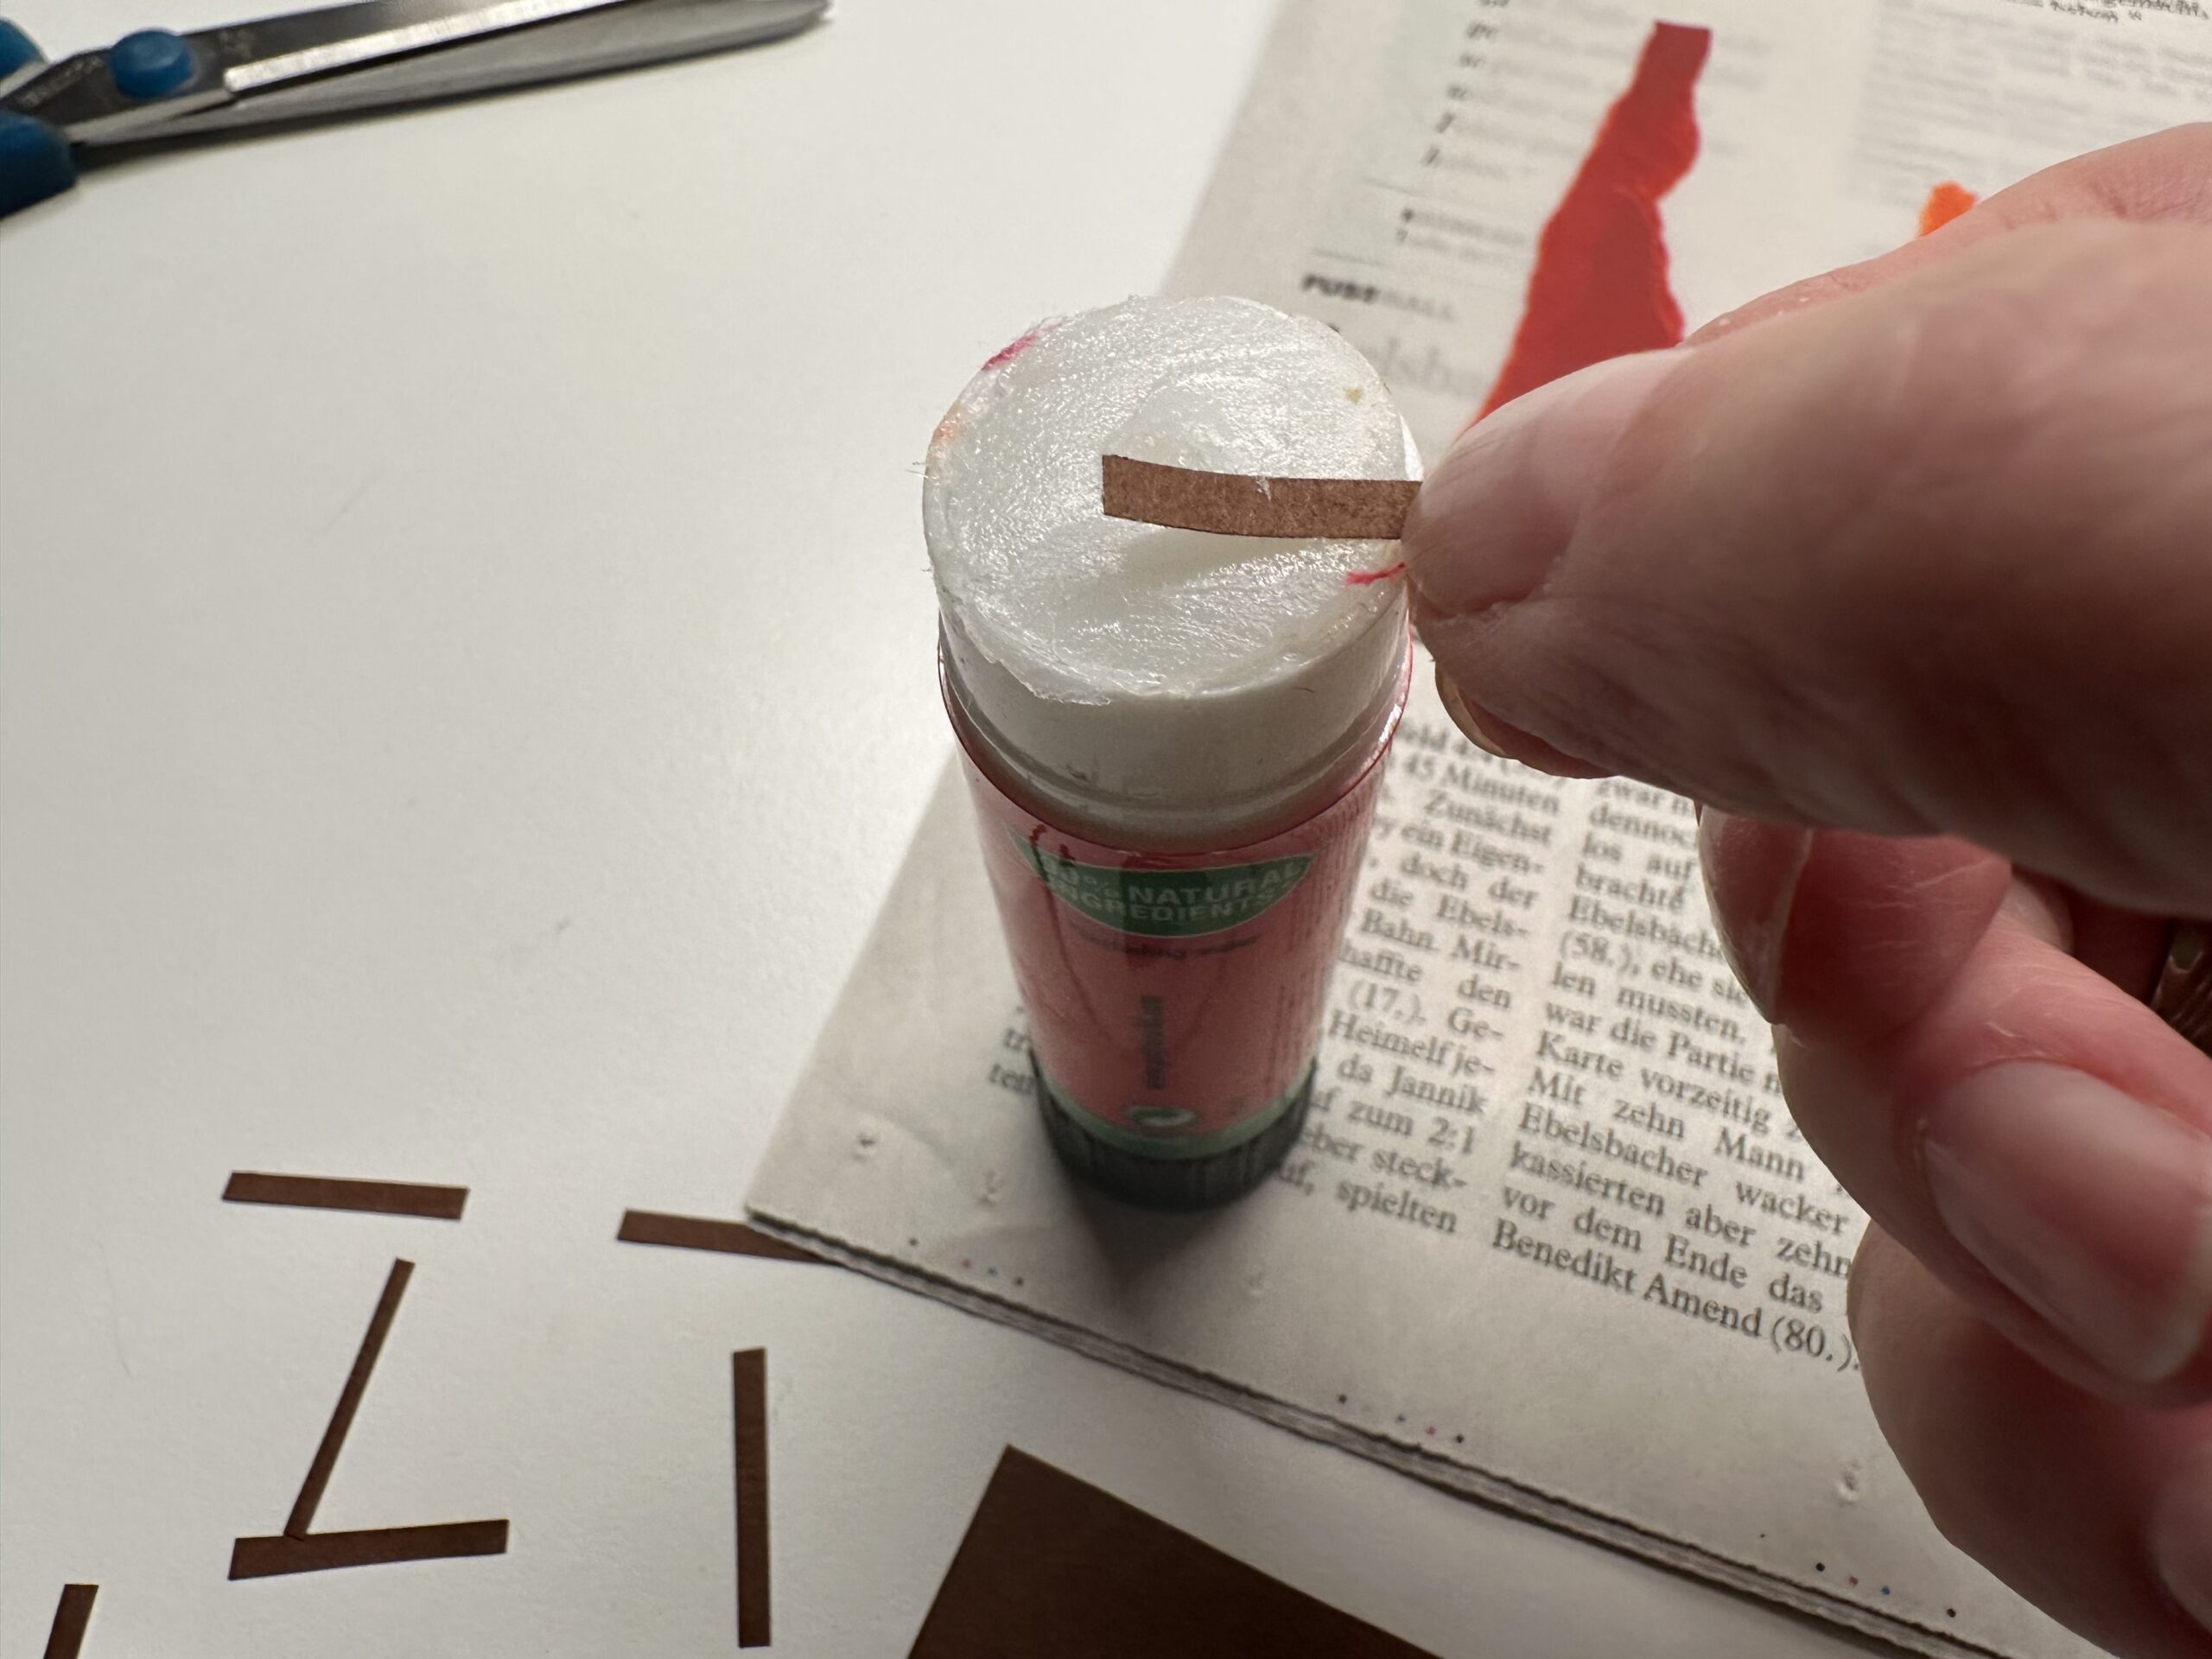
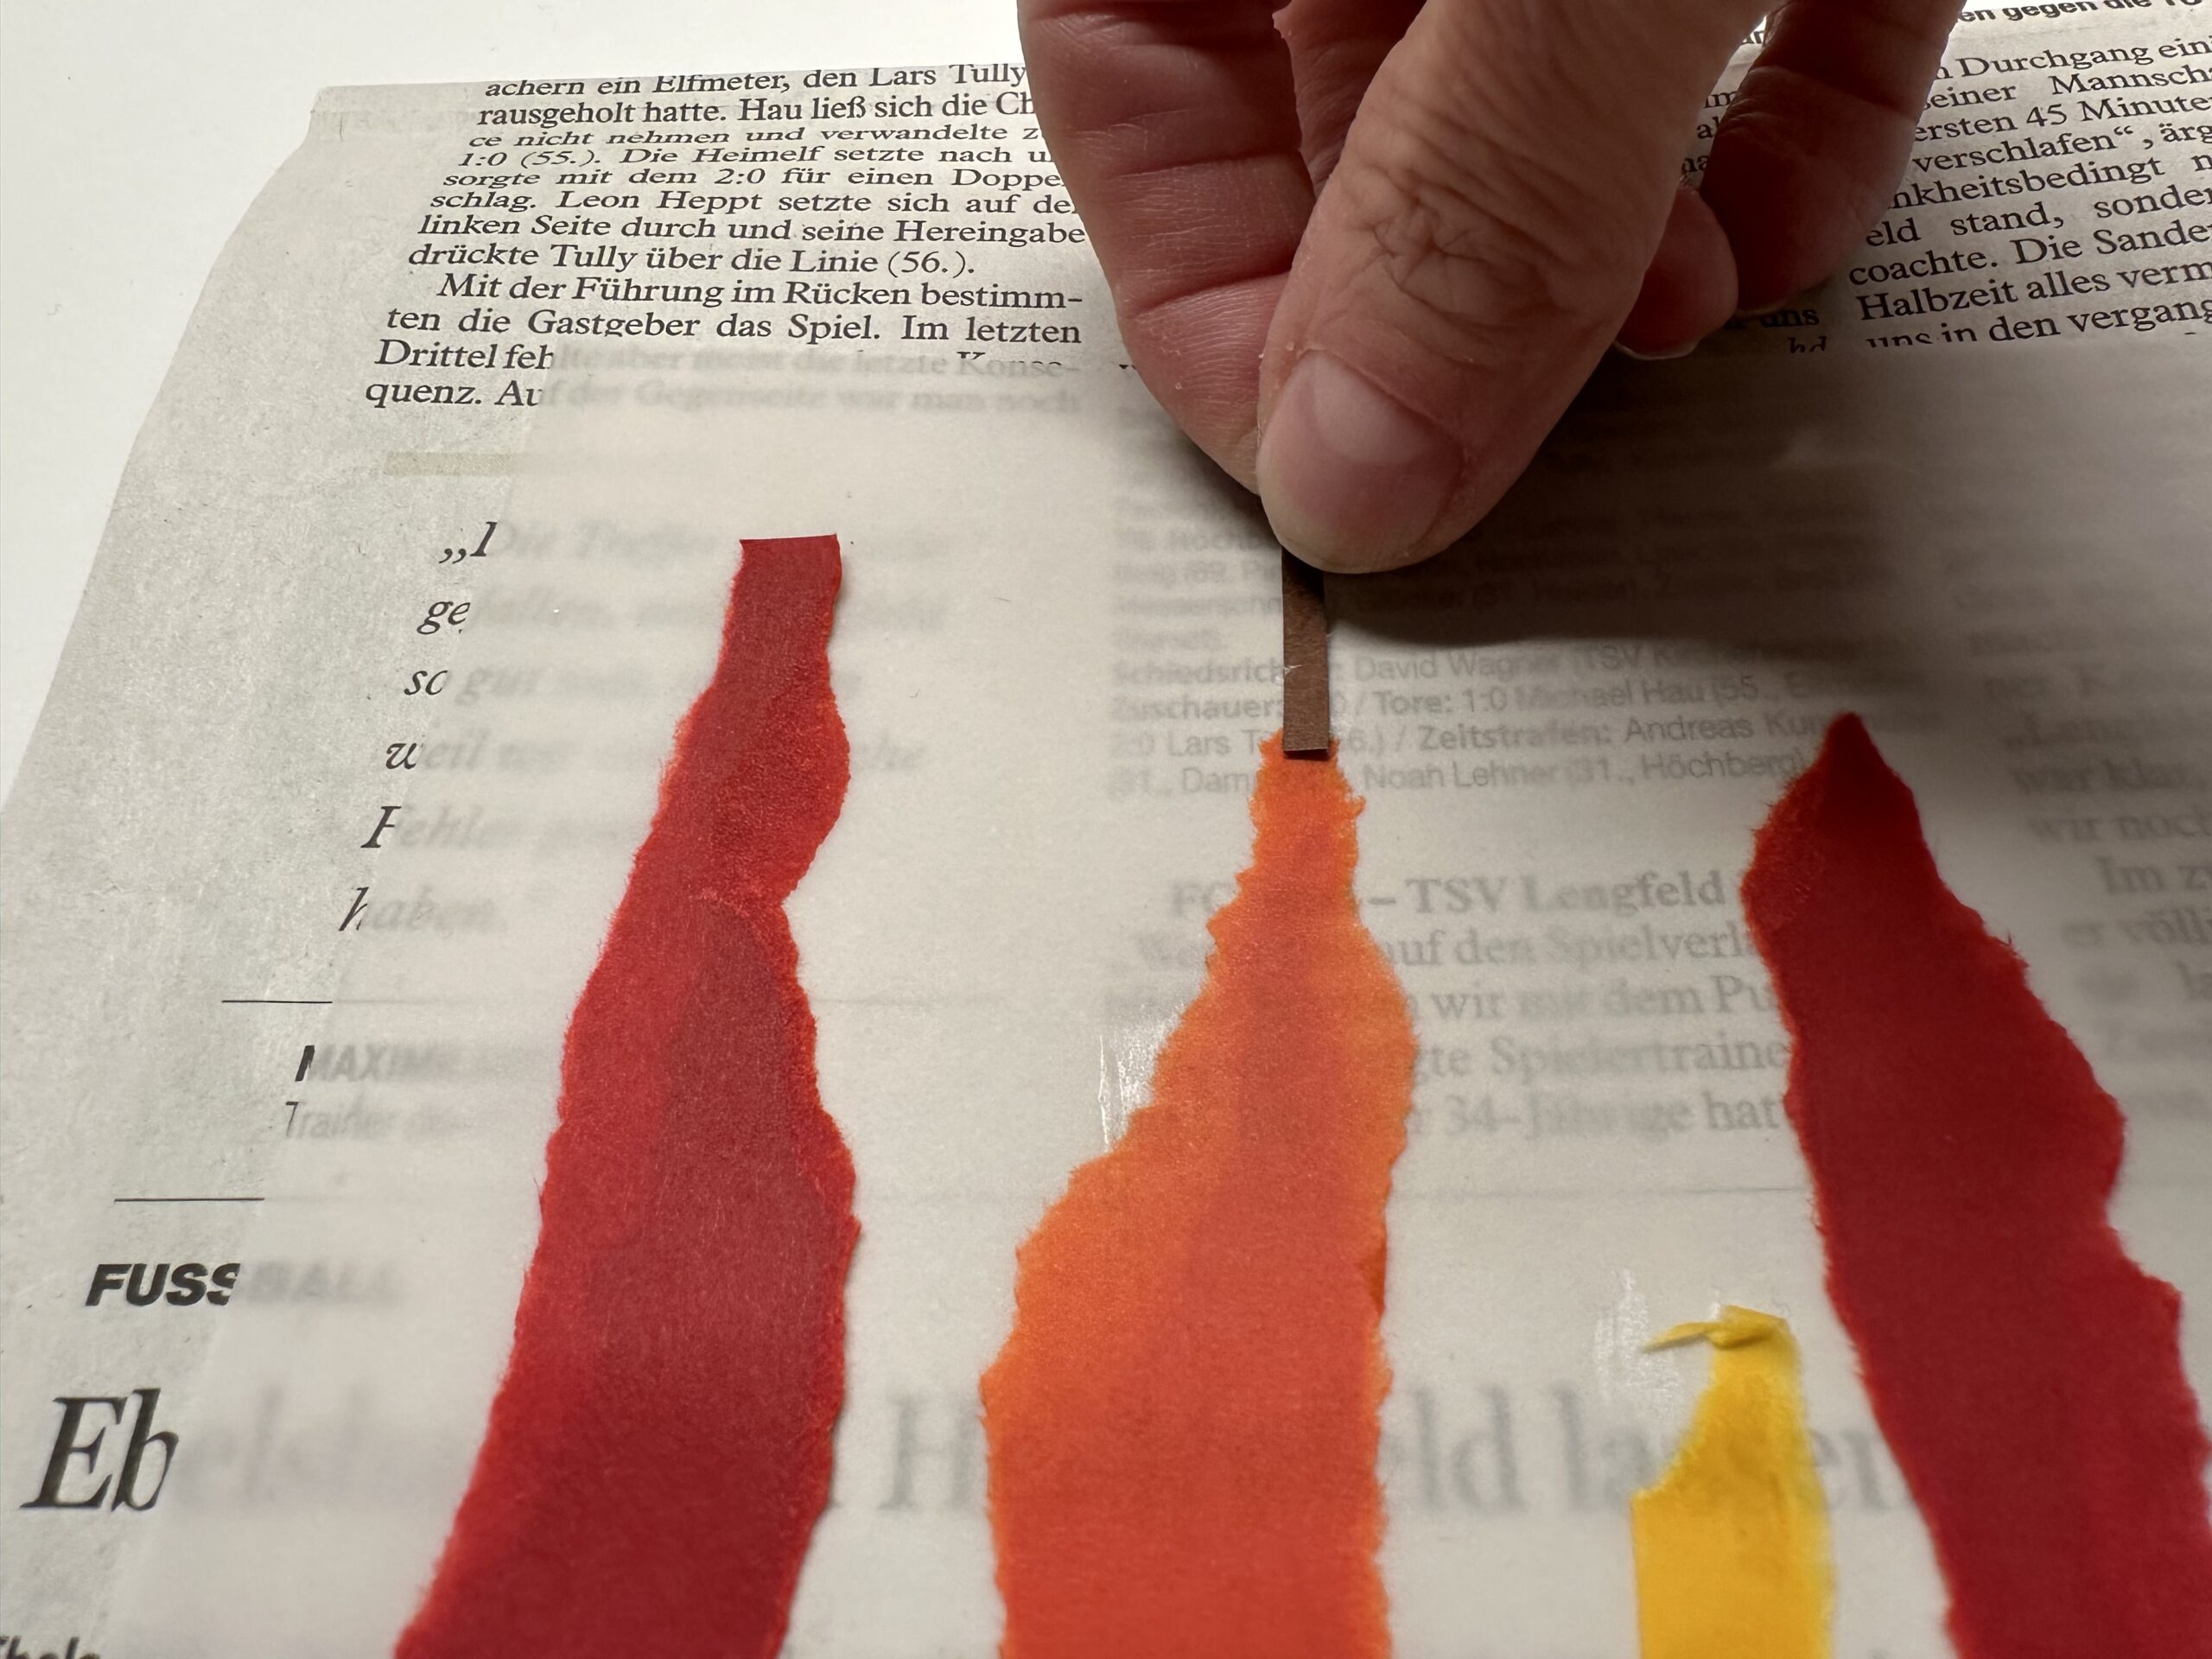
Sticks a wick to the candles.
That's it!
Now all candles have a wick.
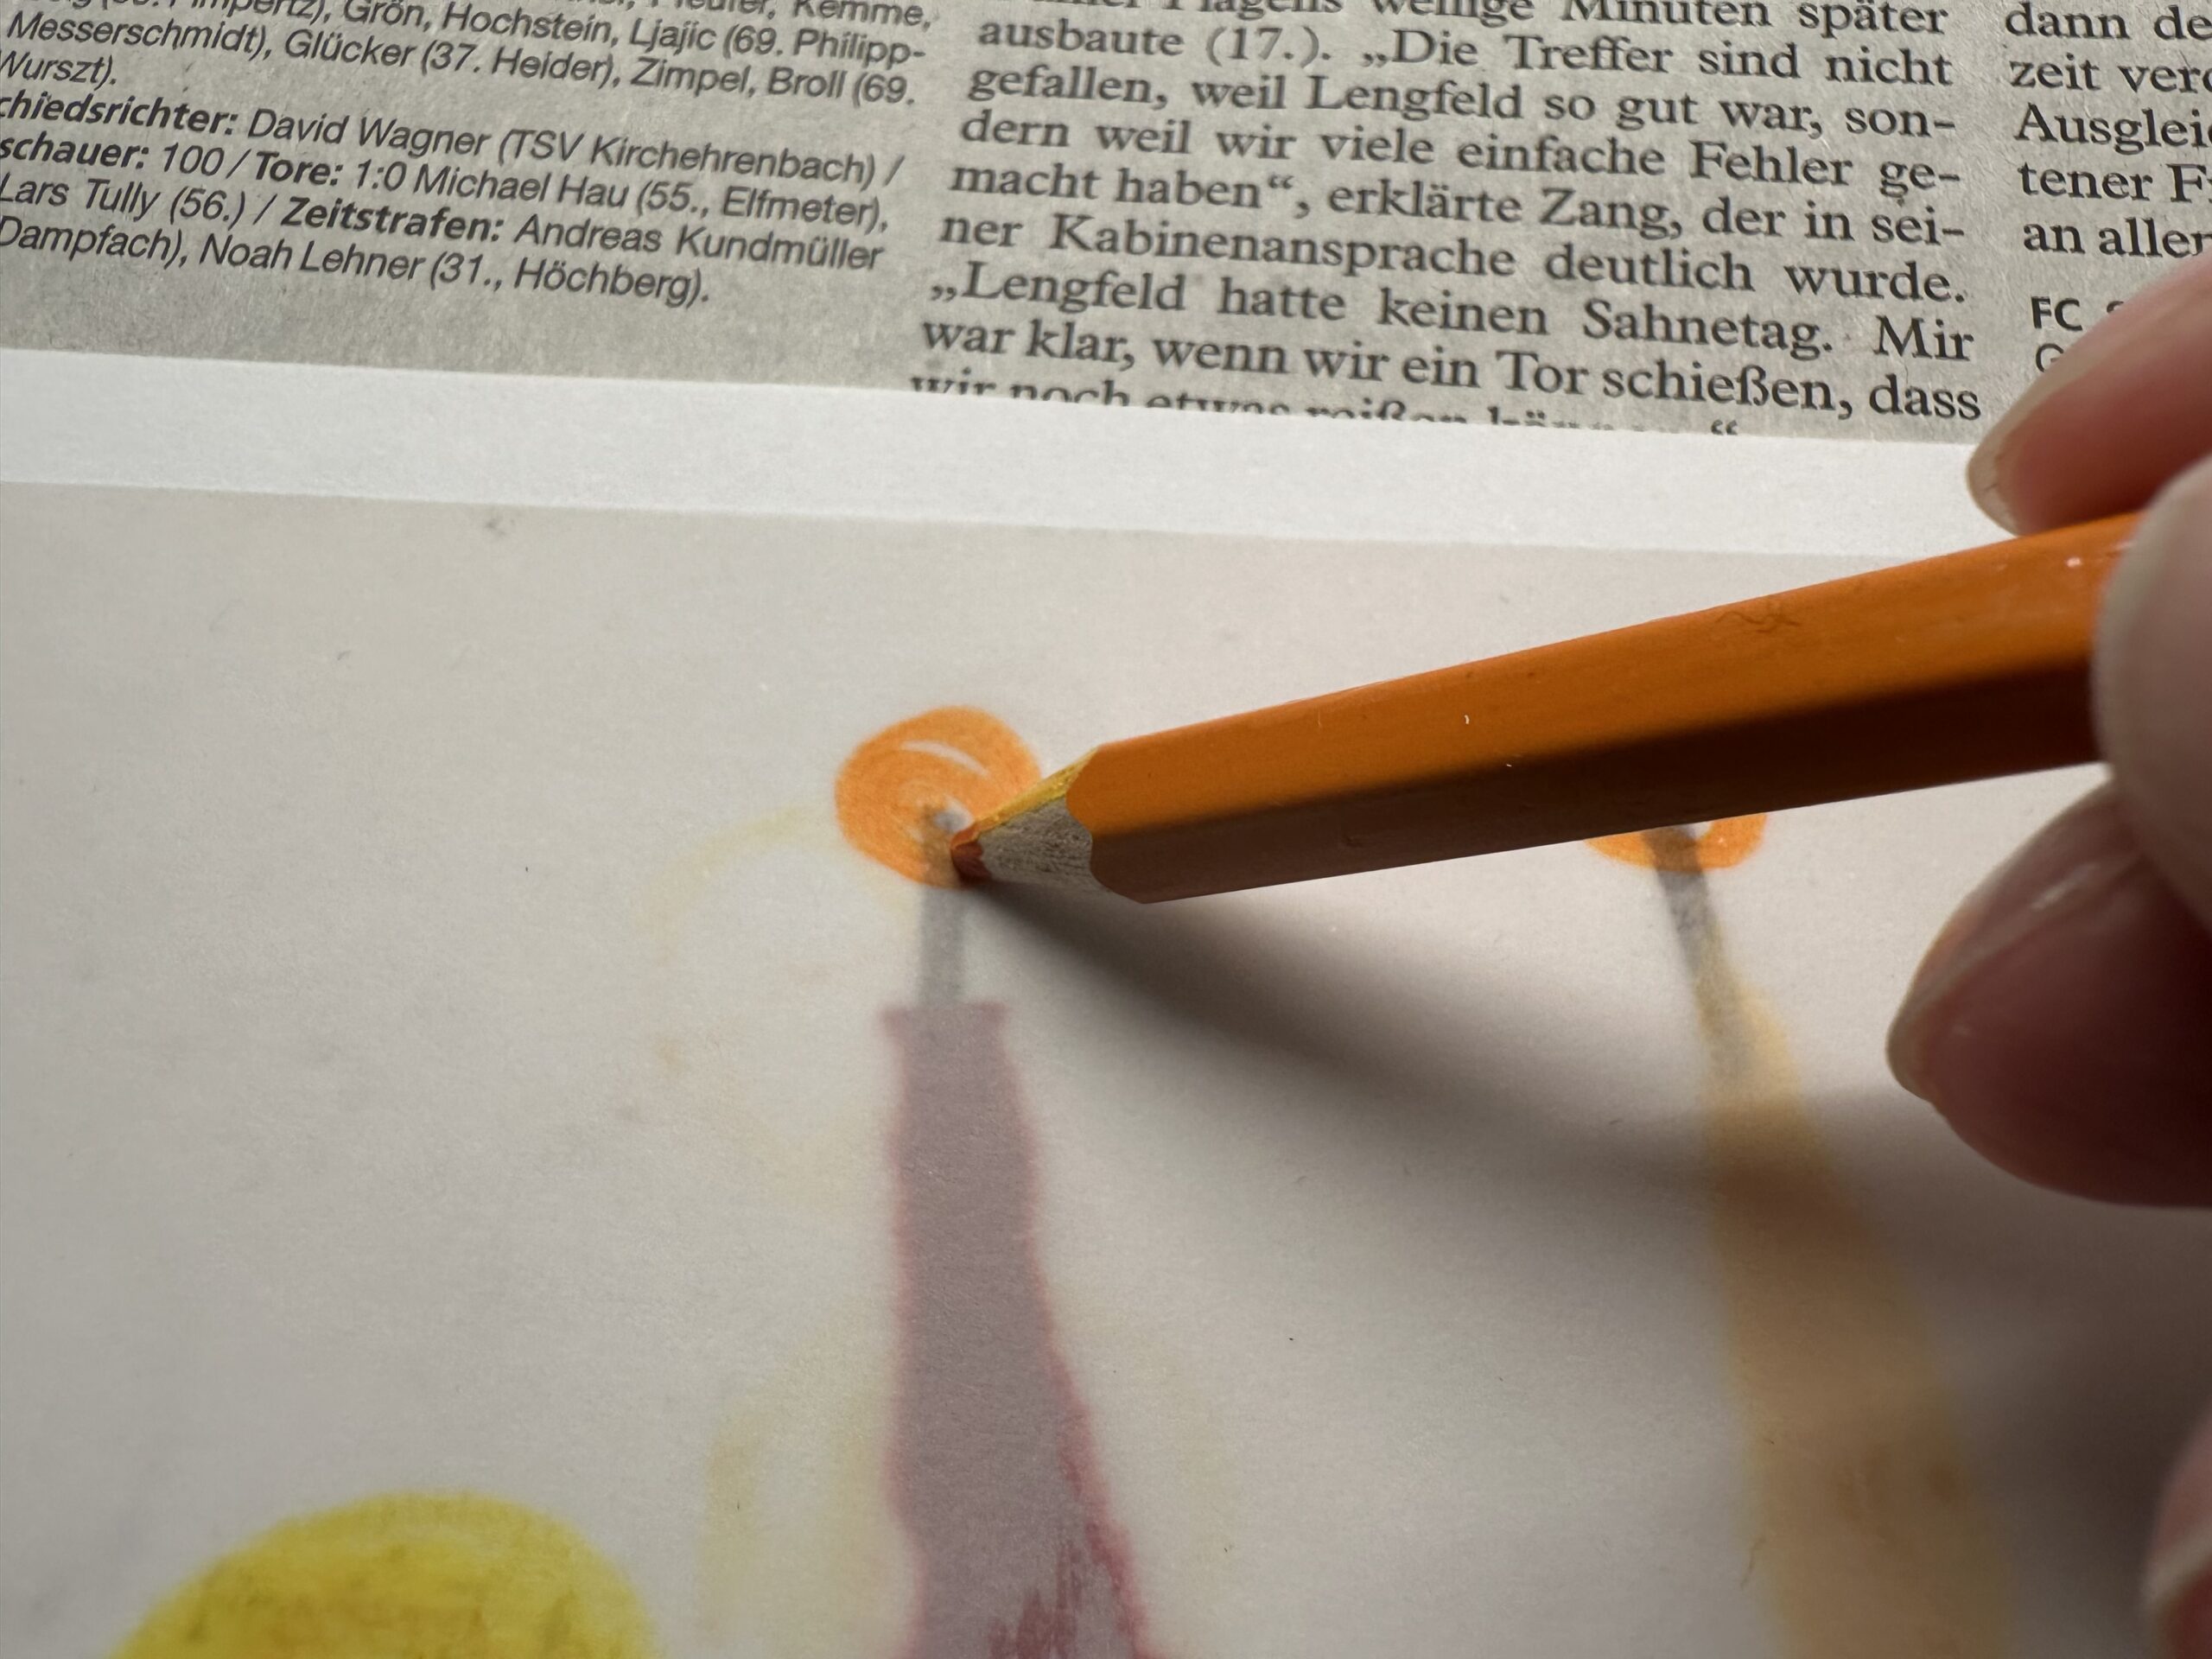
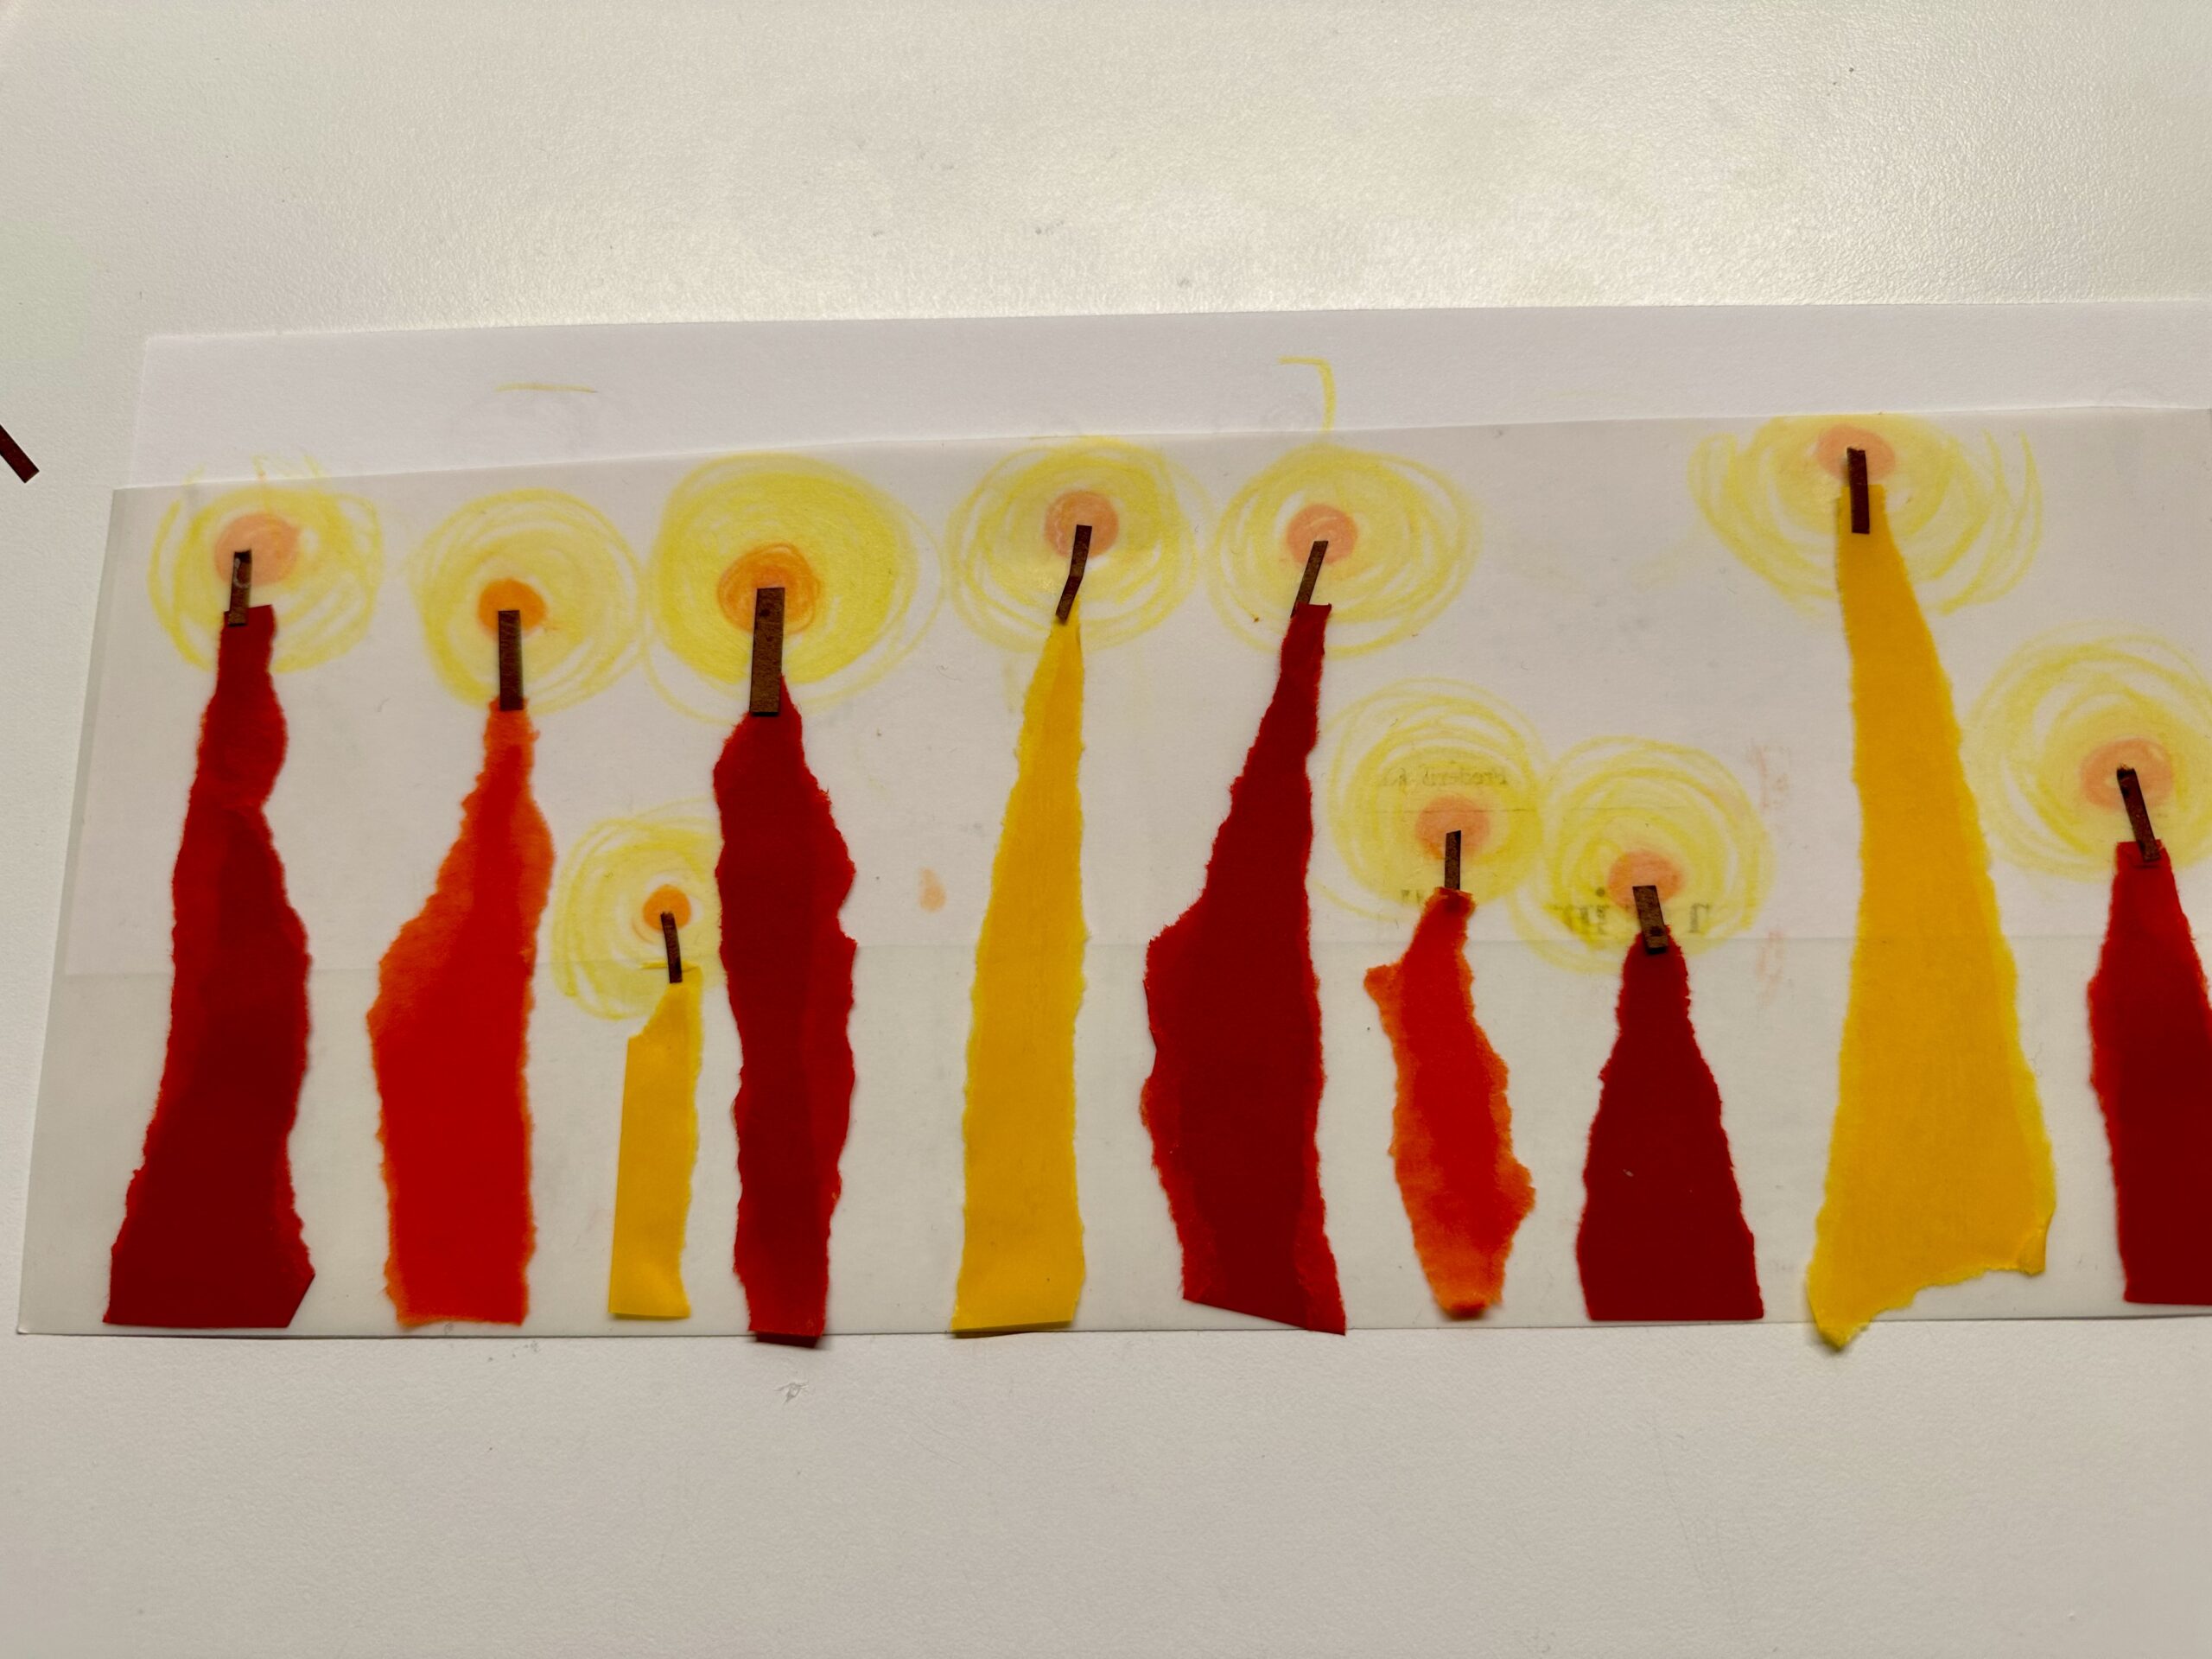
Turn your template around again. Now take her an orange wooden pencil and paint a small circle at the top of the wick.
Now take a yellow wooden pencil and paint as you can see in the picture an even larger circle around the orange circle.
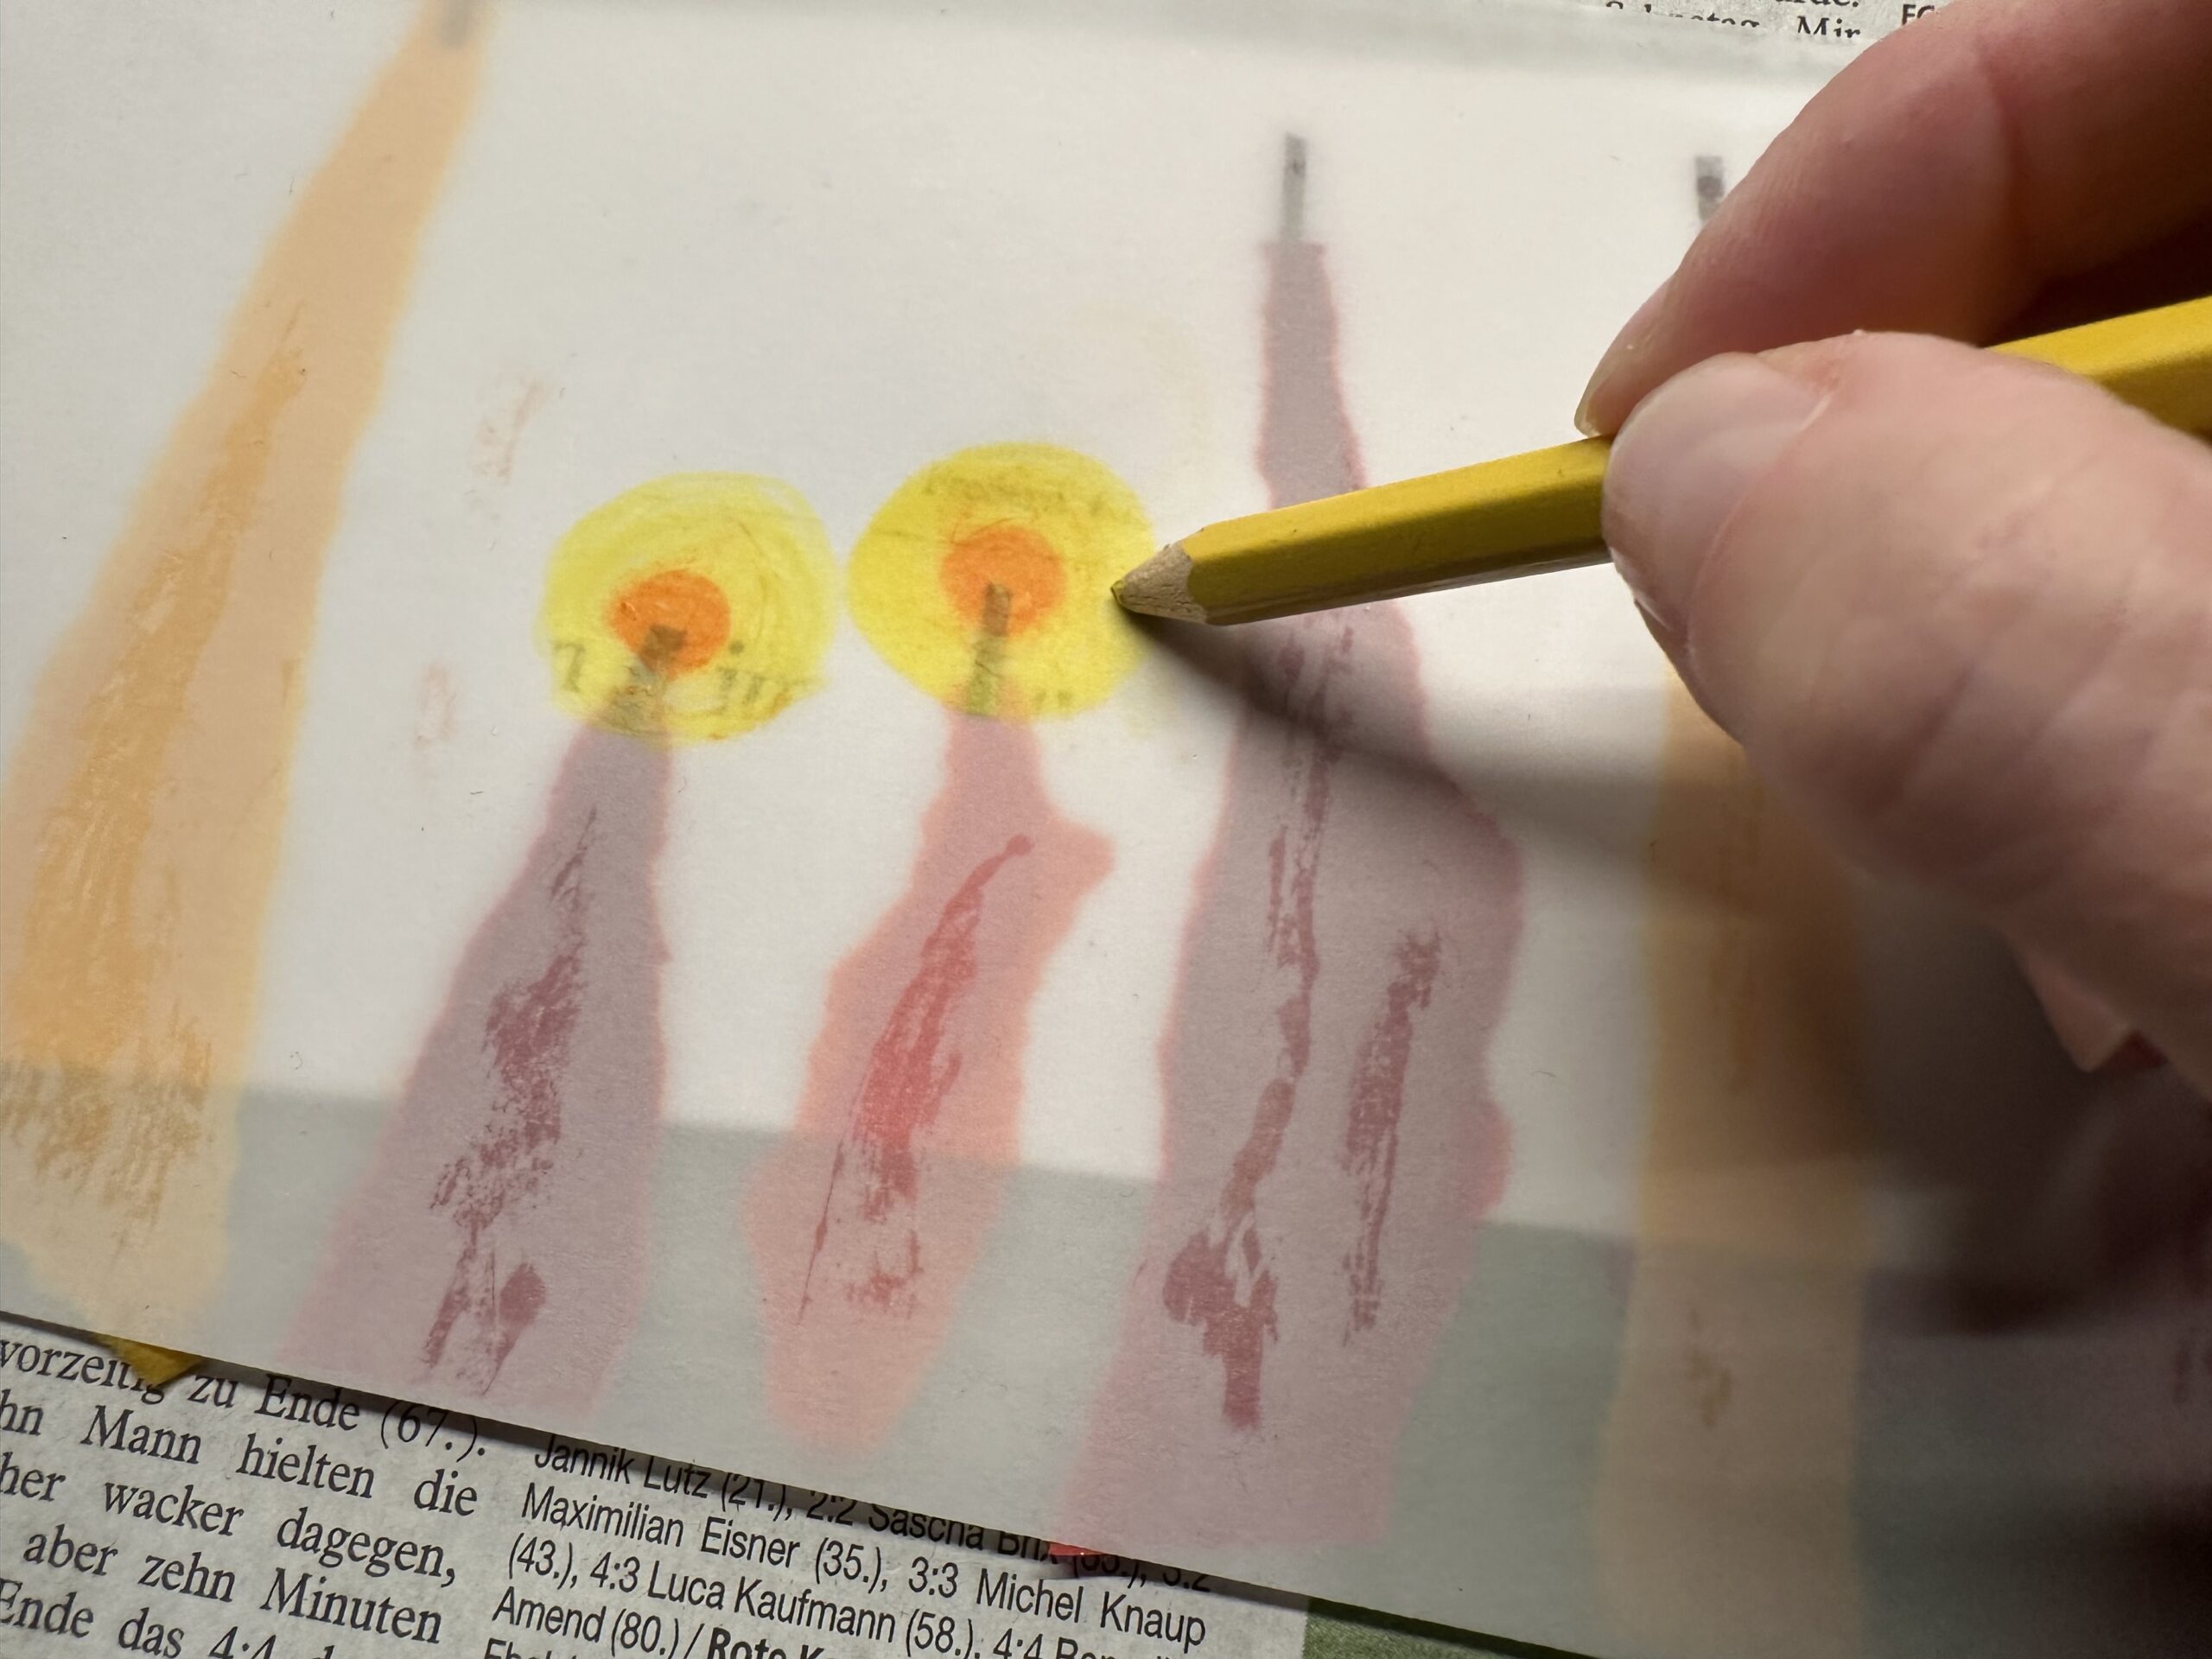
So now all candles have a flame.

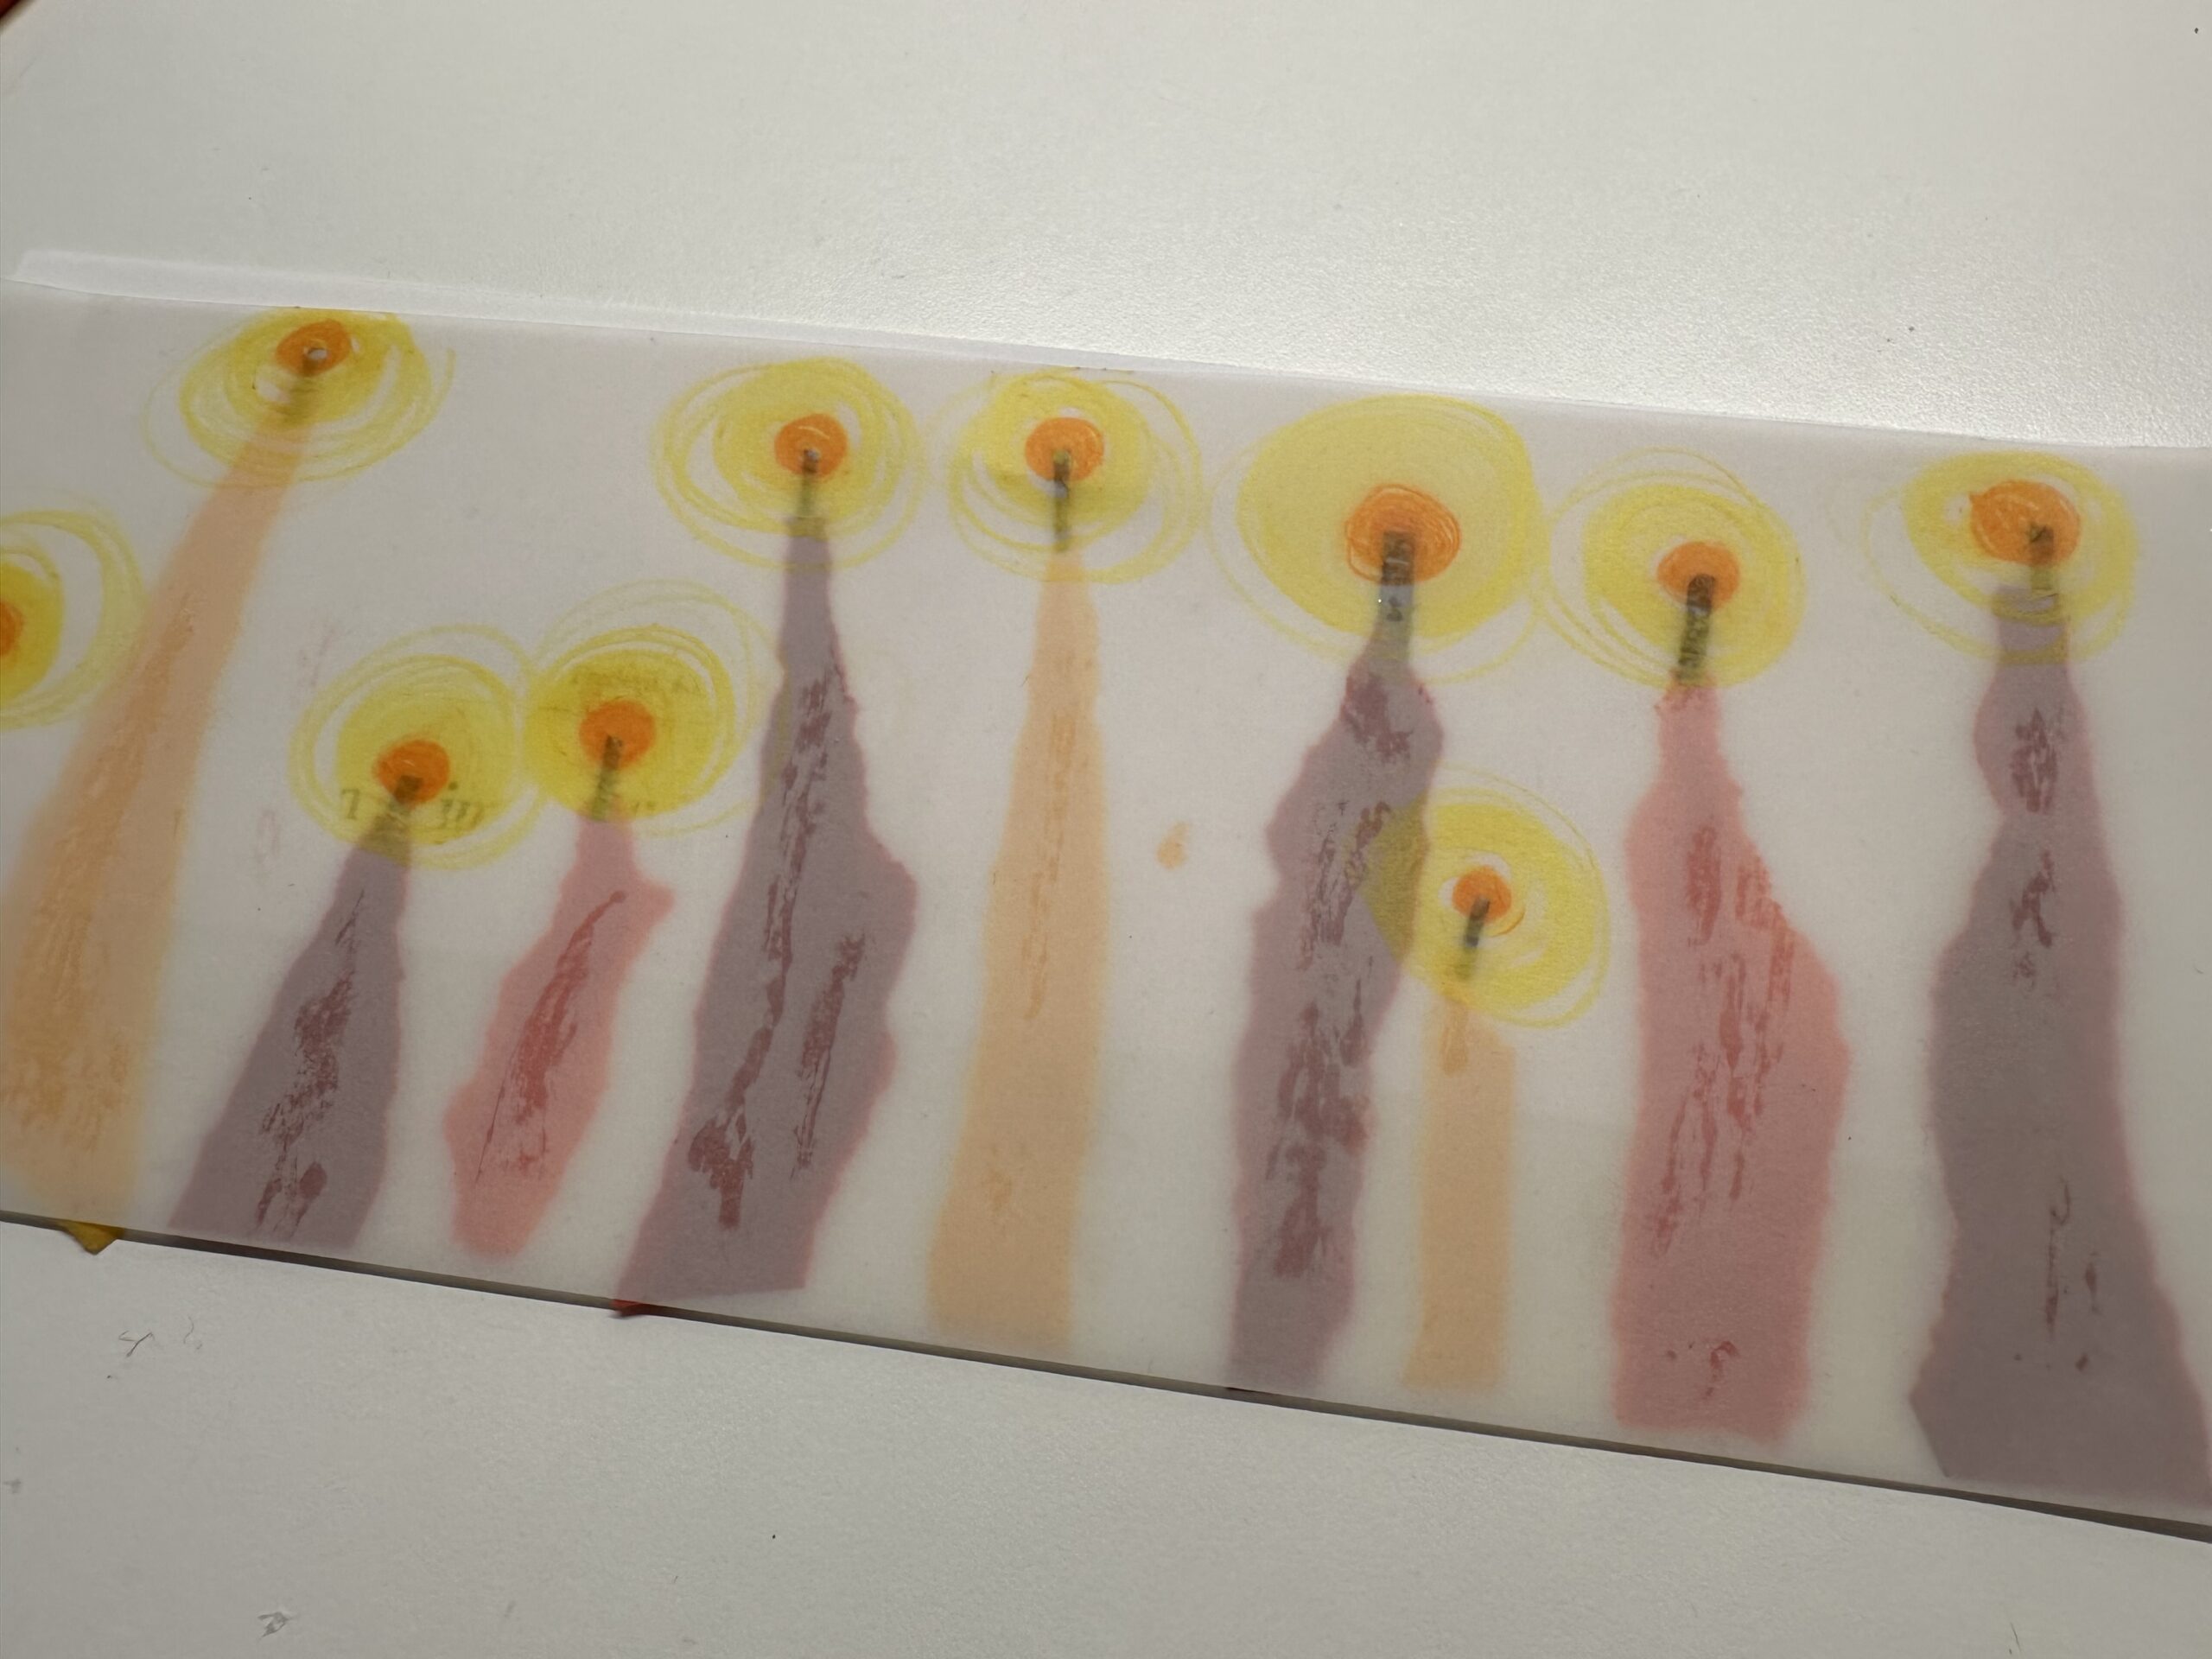
All candles are burning now. Turn your template around again.
Now you have to get your glue.
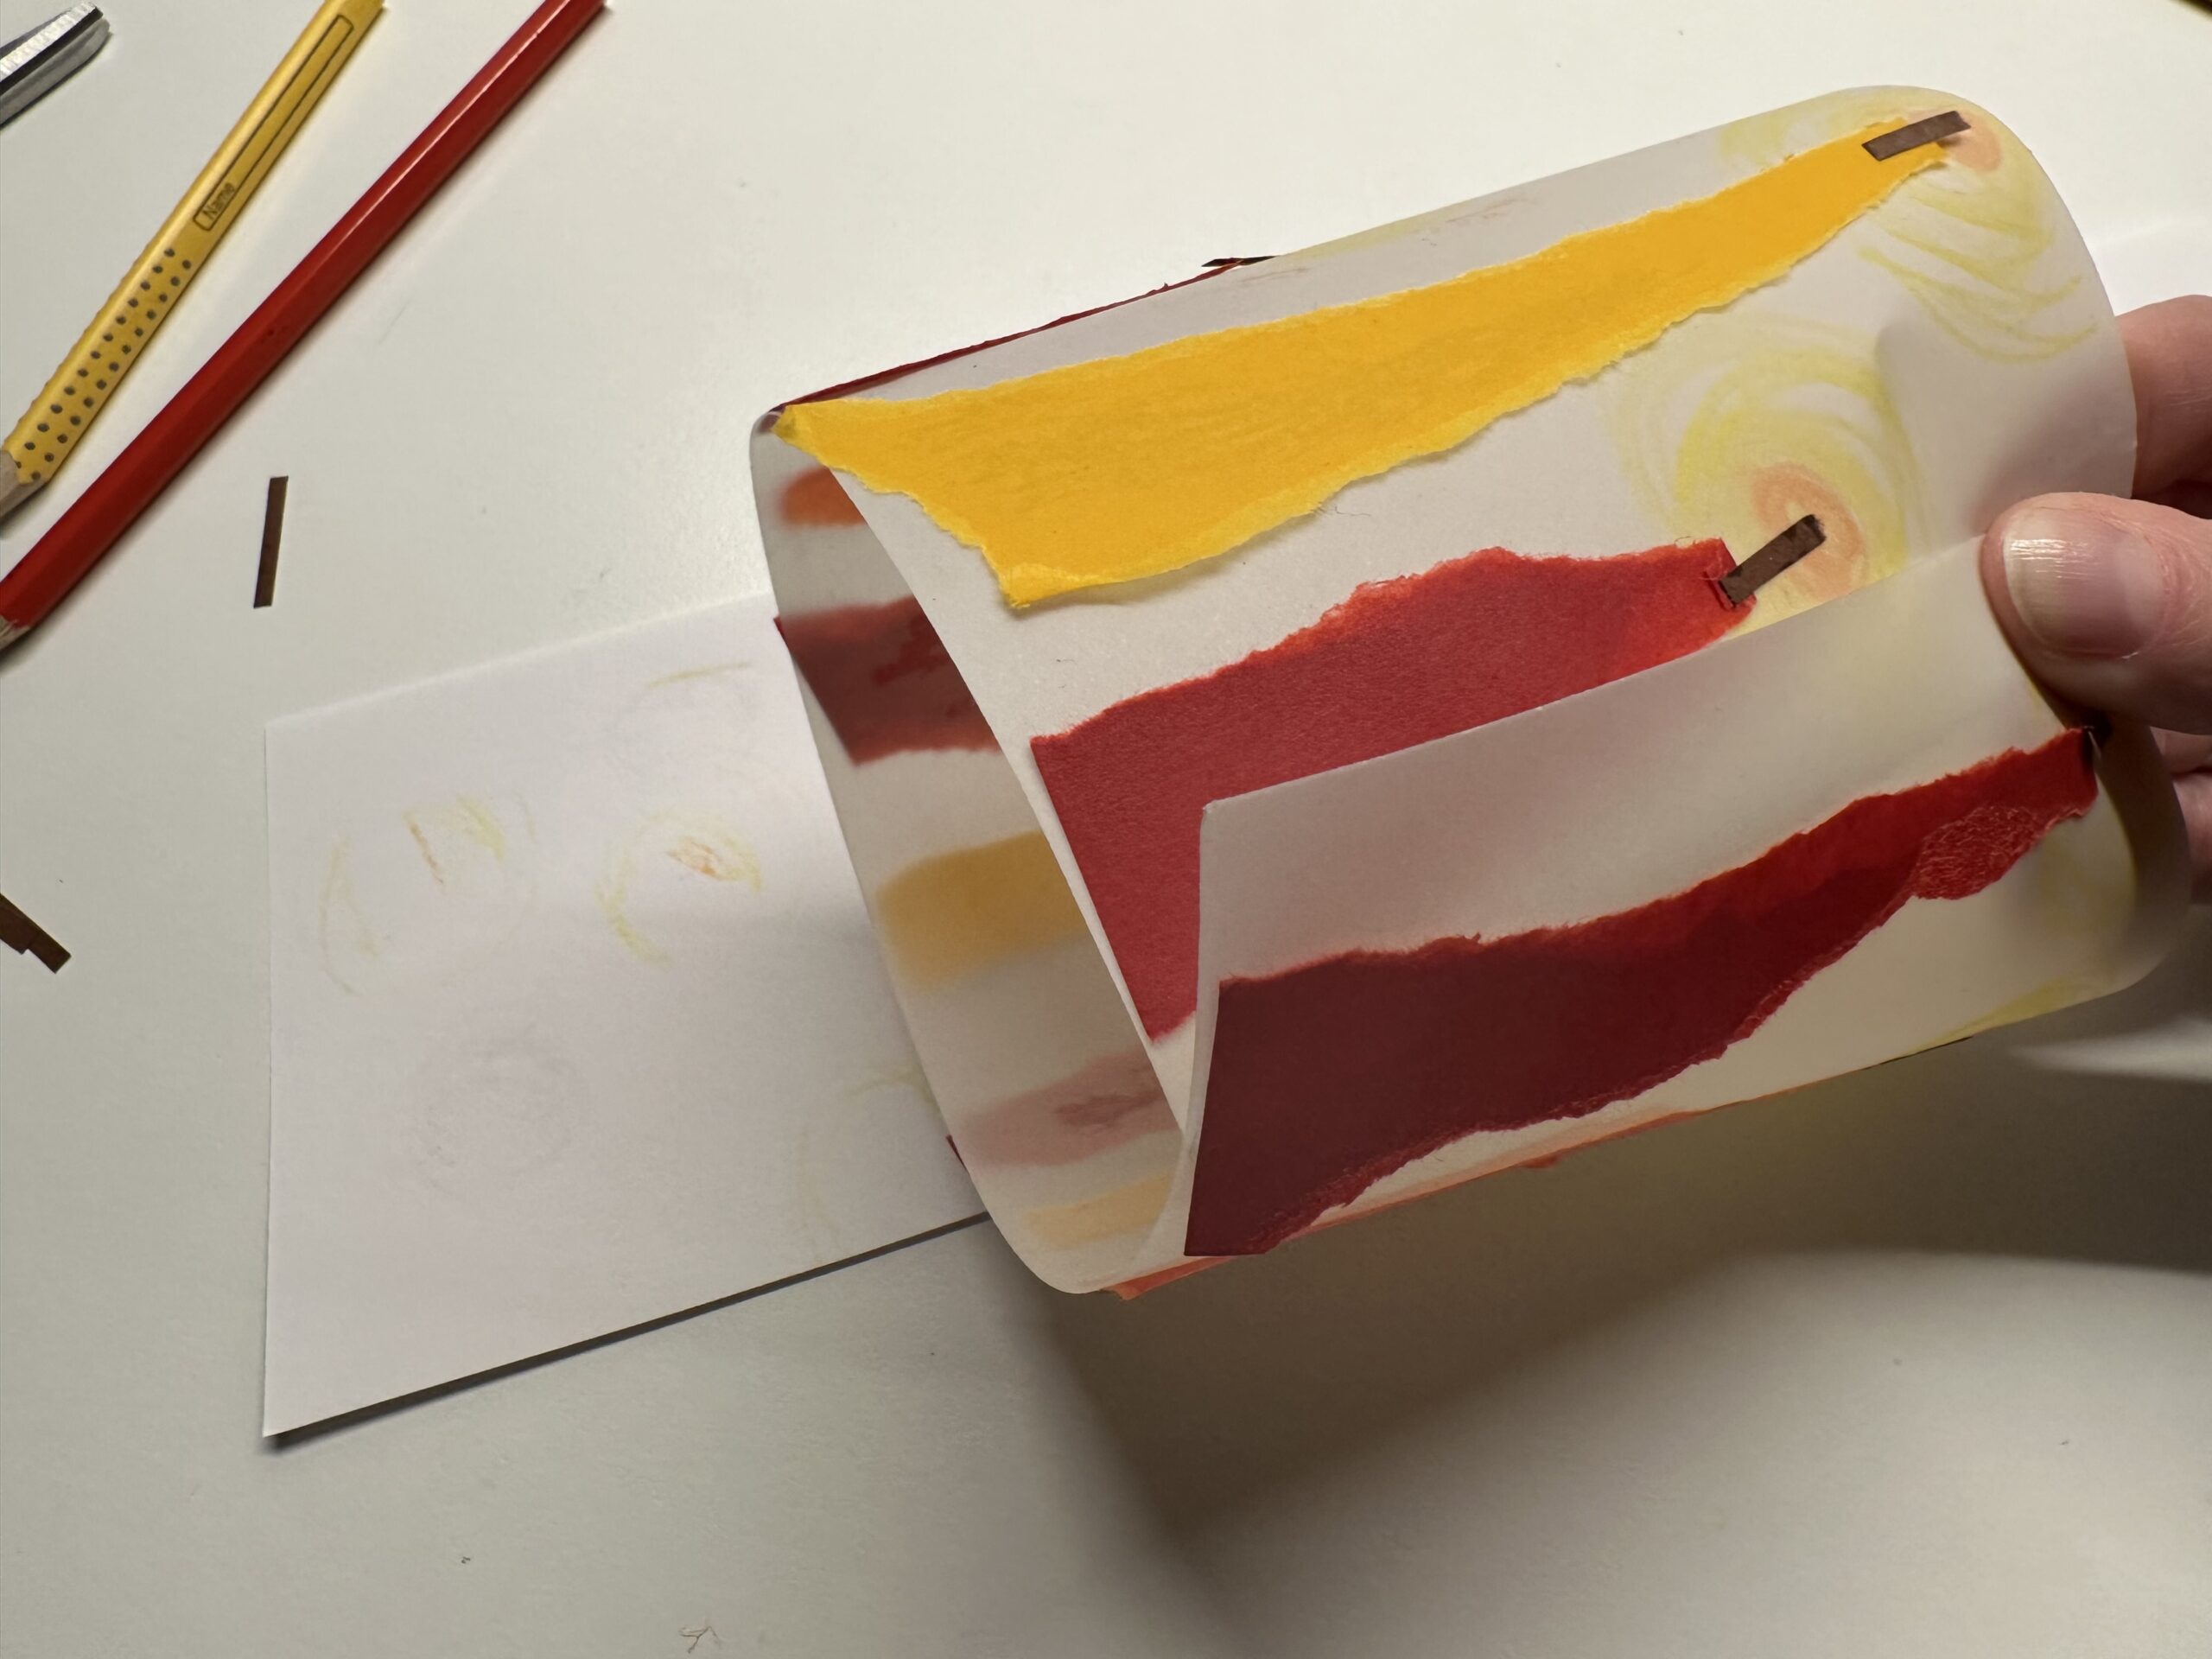
Bends the candle picture so that the two short sides overlap finger width. The glued candles are outside.
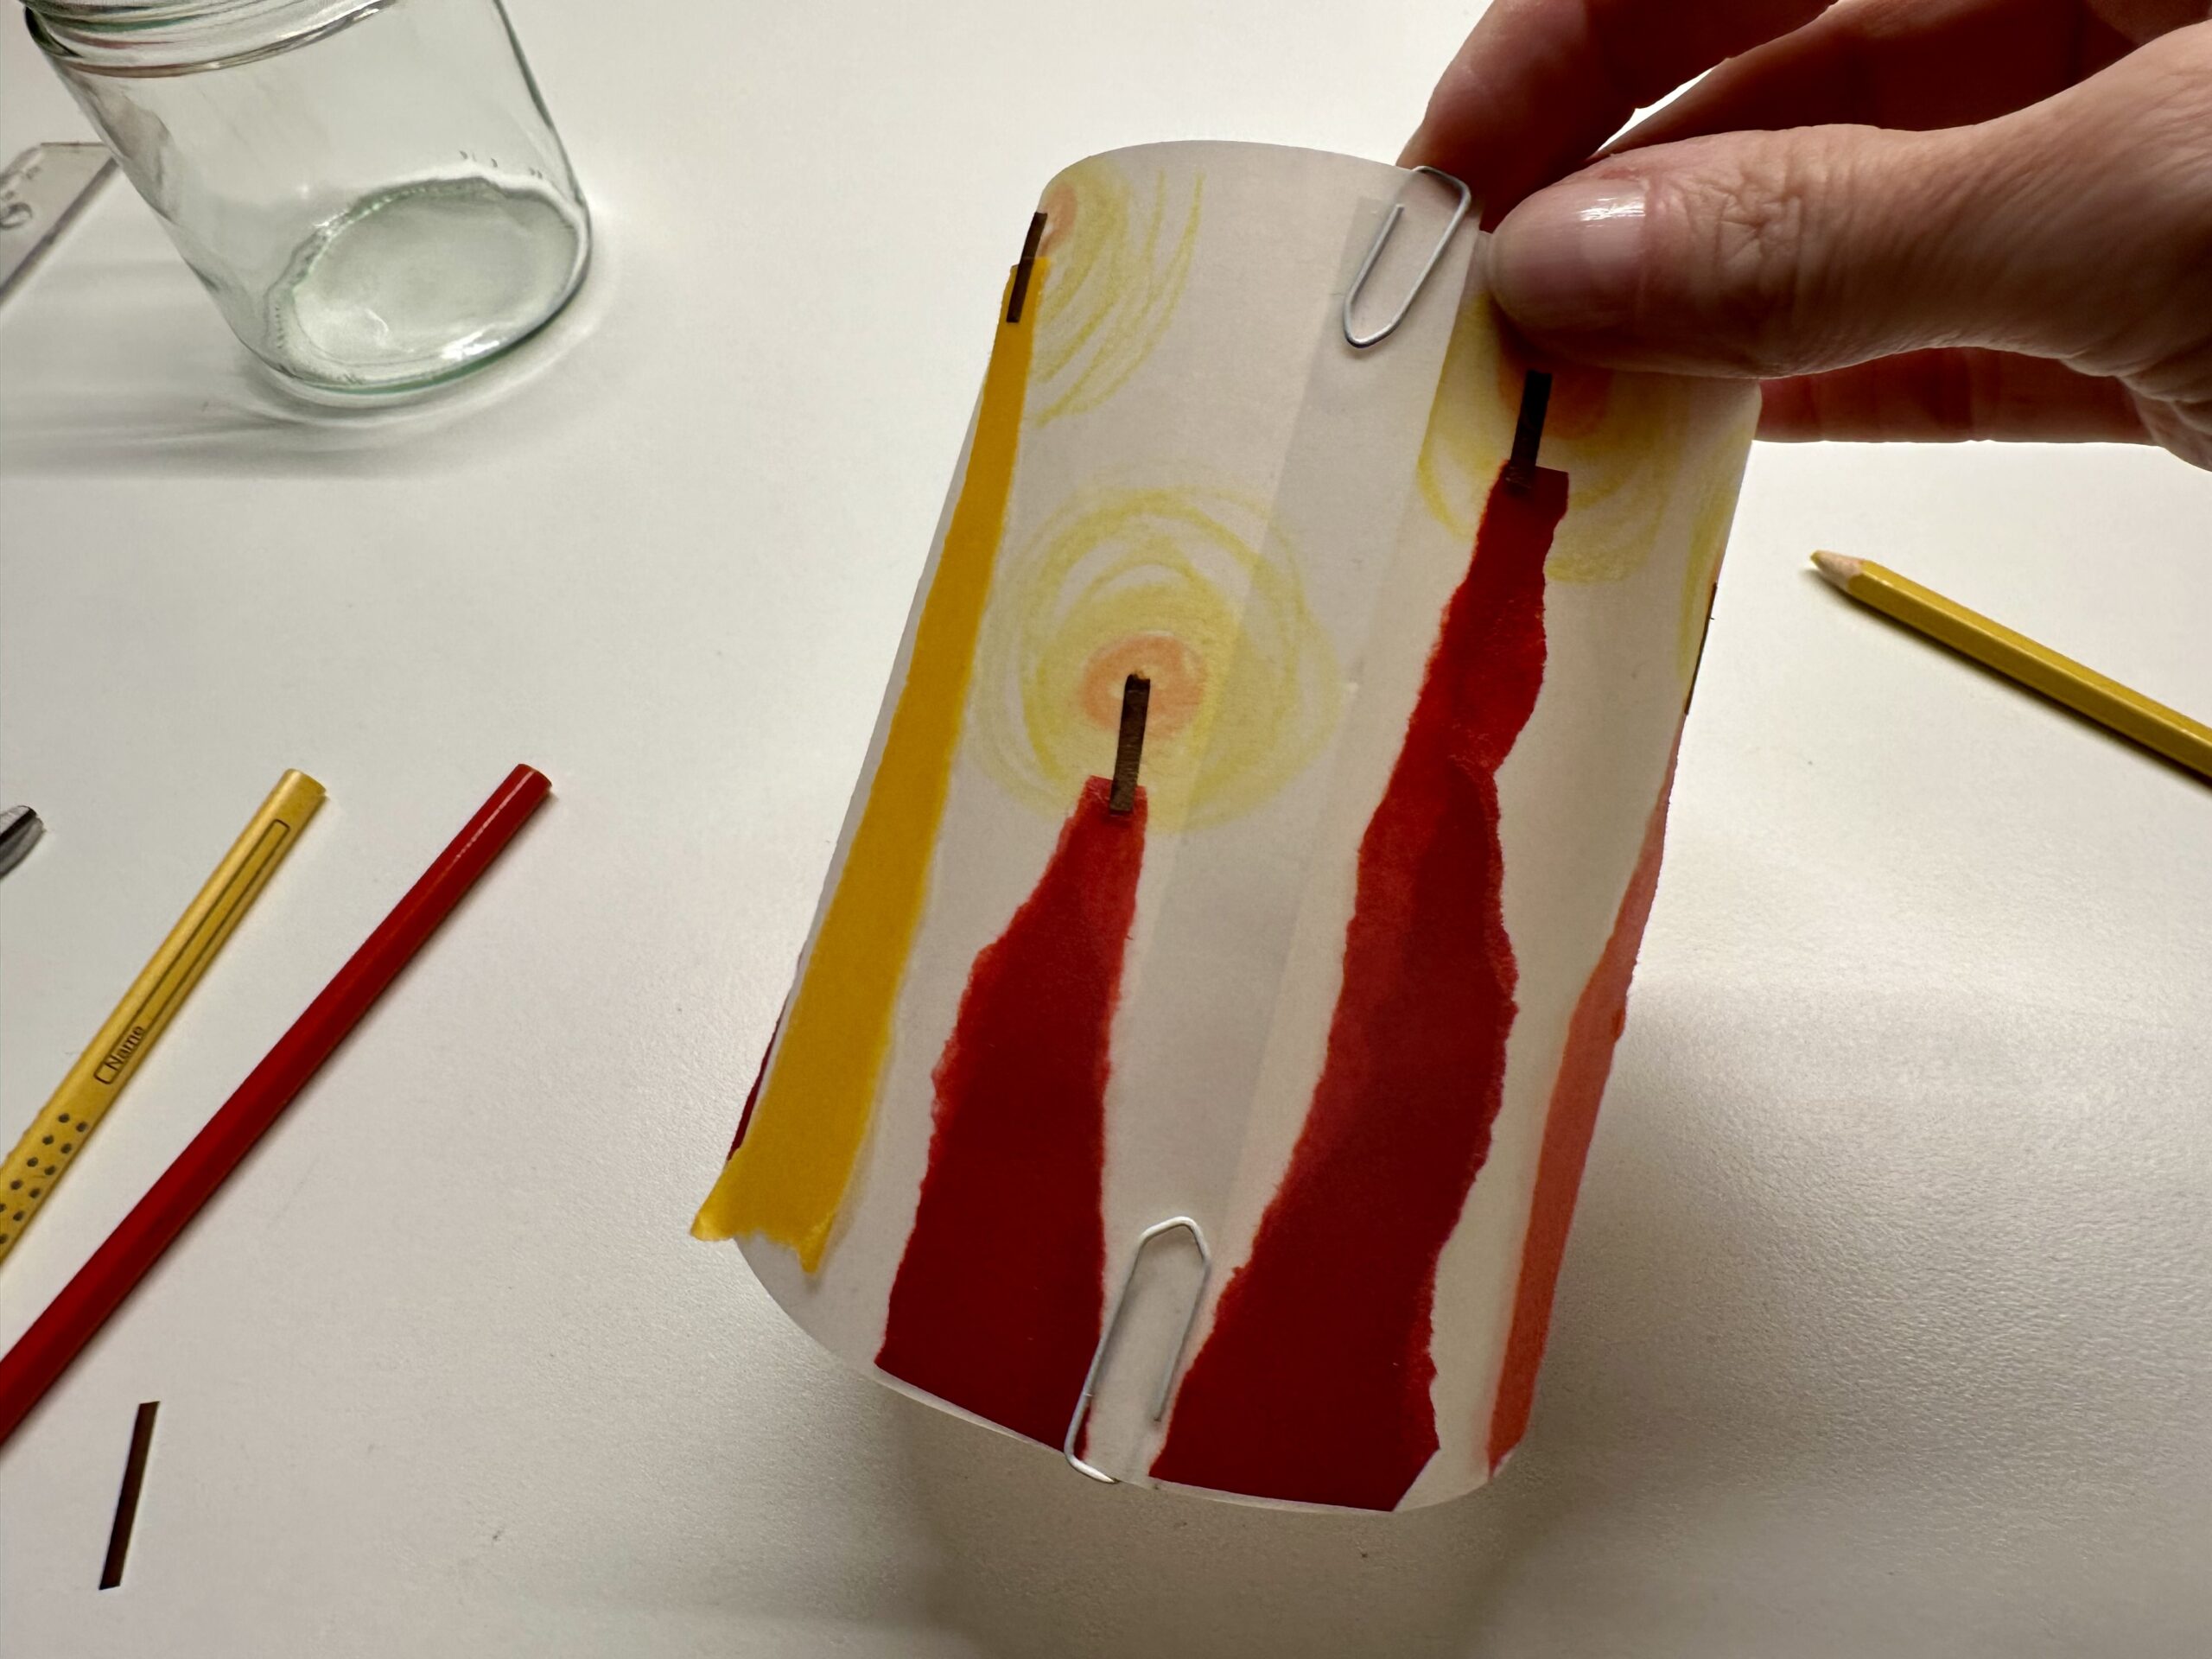
Stick the paper here with paper clips.
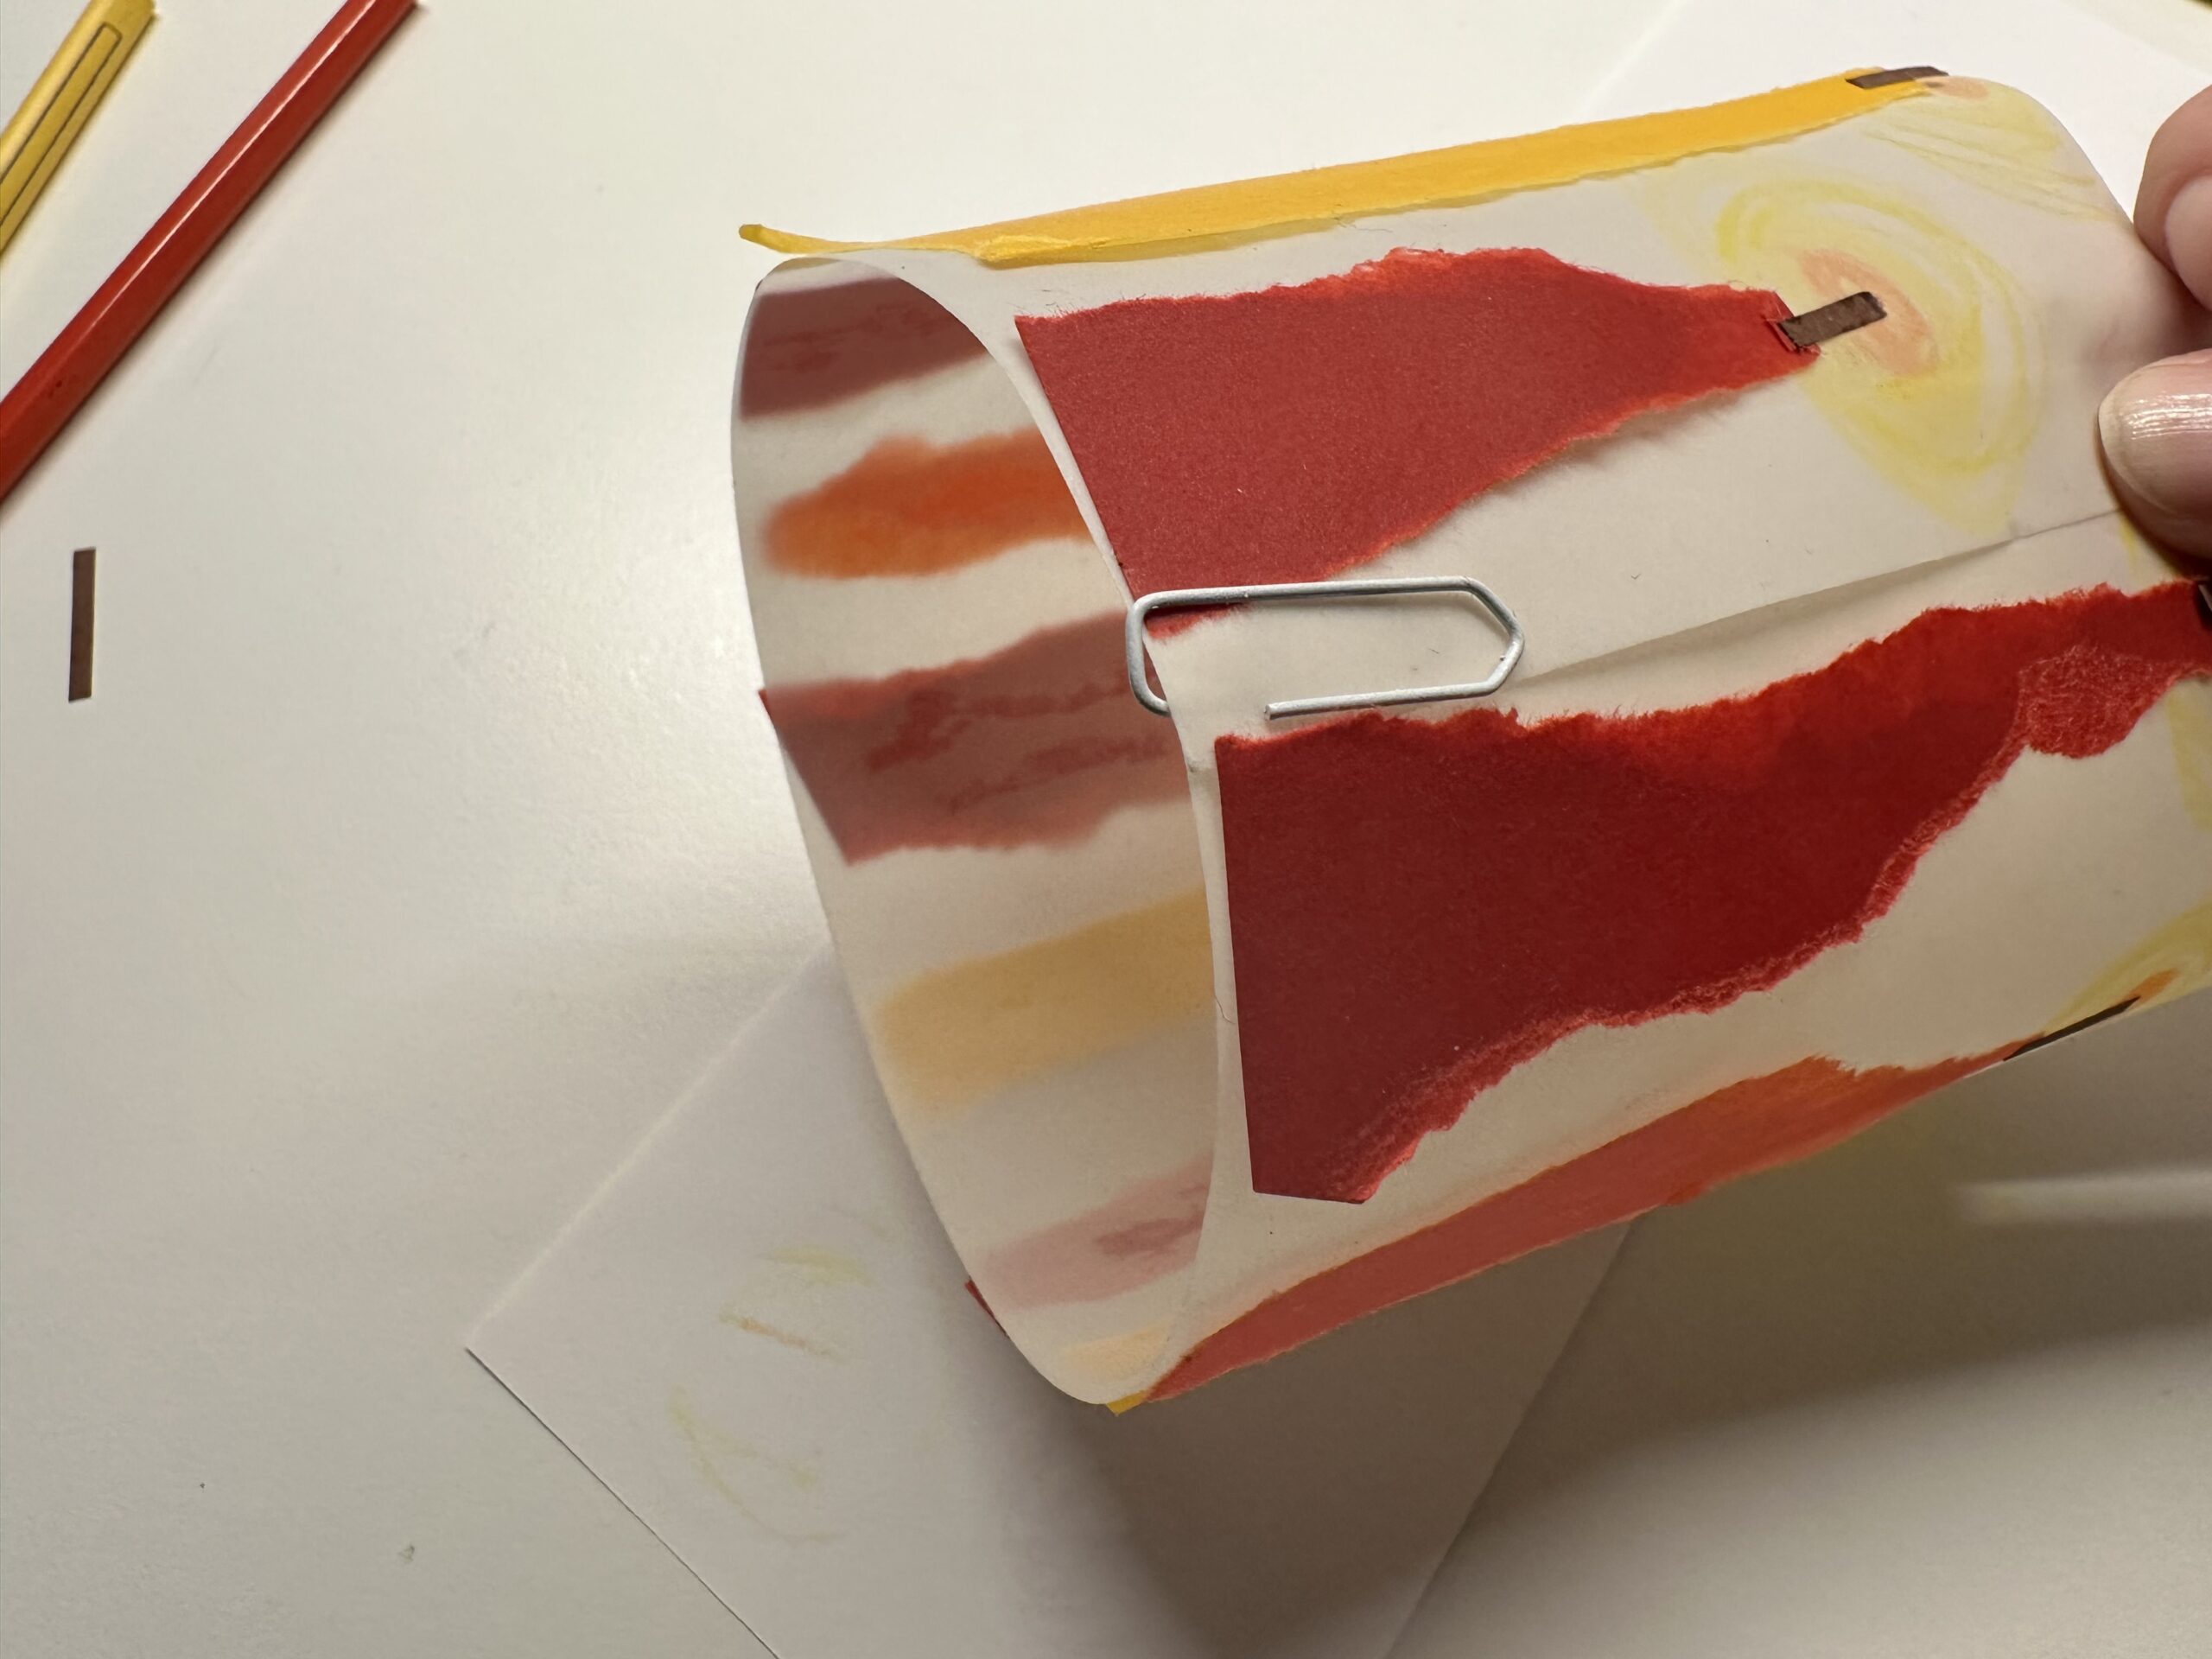
The same way you do it on the other side. If the glue is dried, you can remove the paper clips.
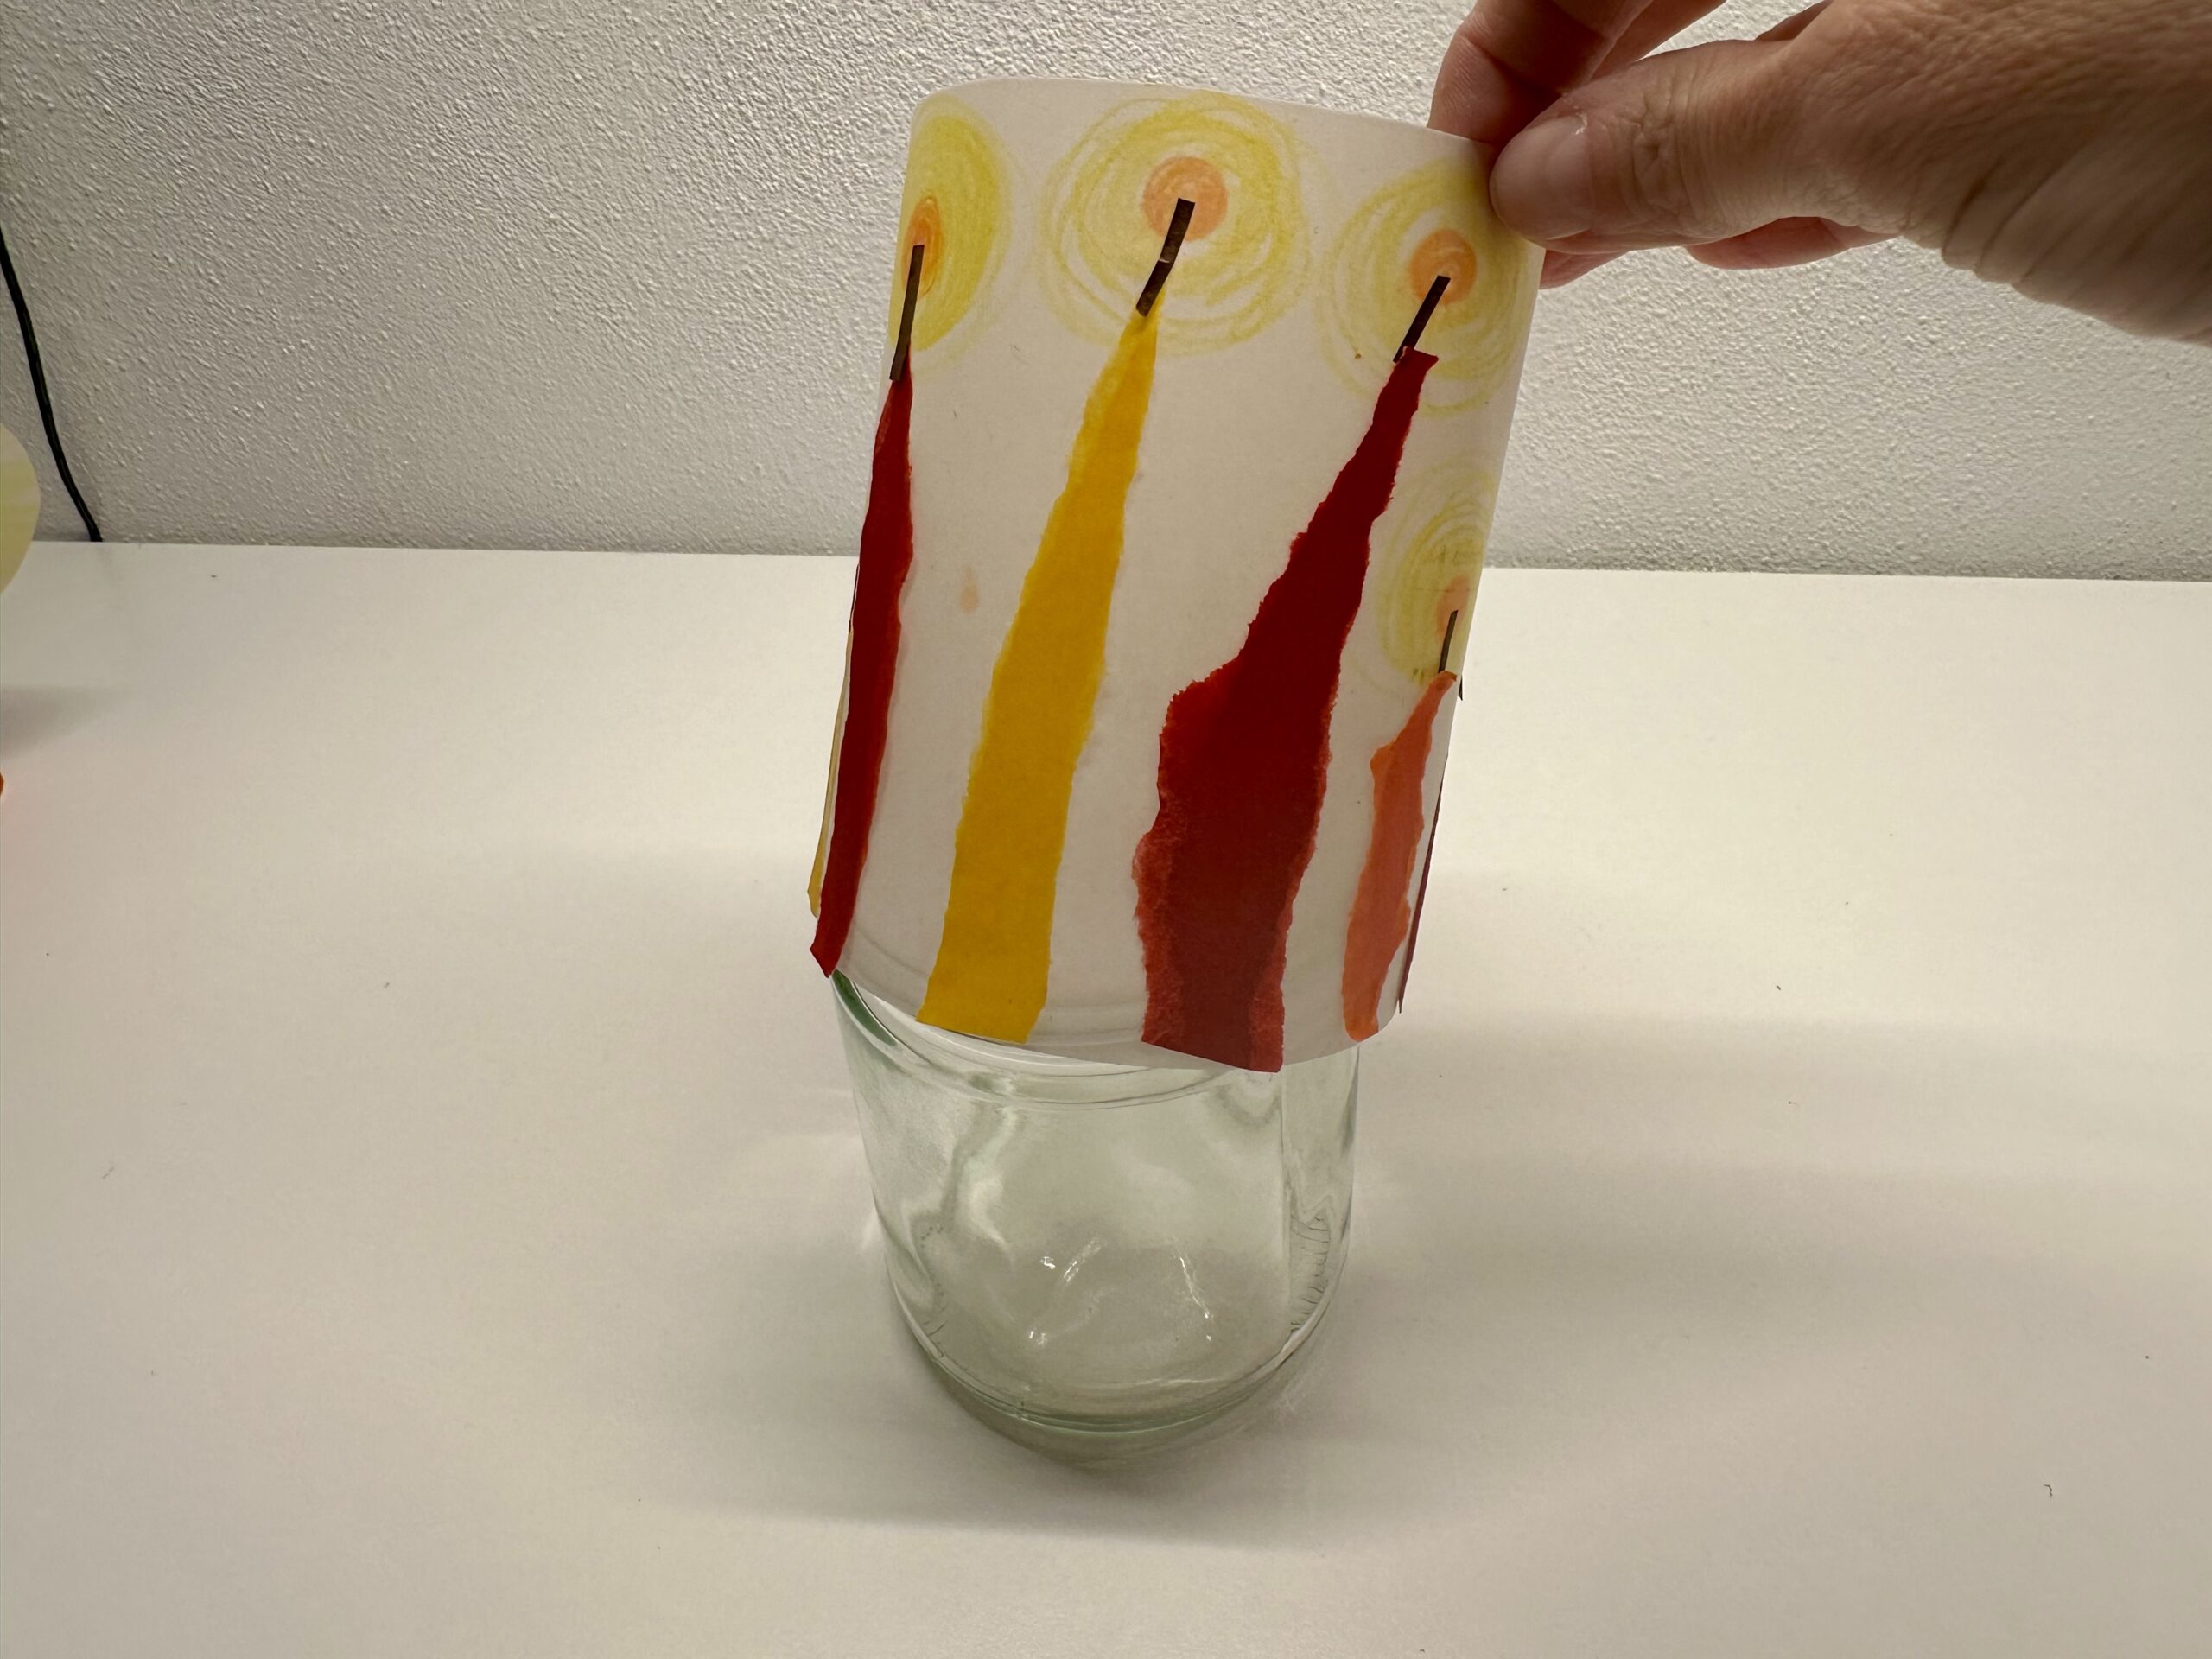
Your table lamp is ready. Place a glass on the table and put a lantern on top of it.
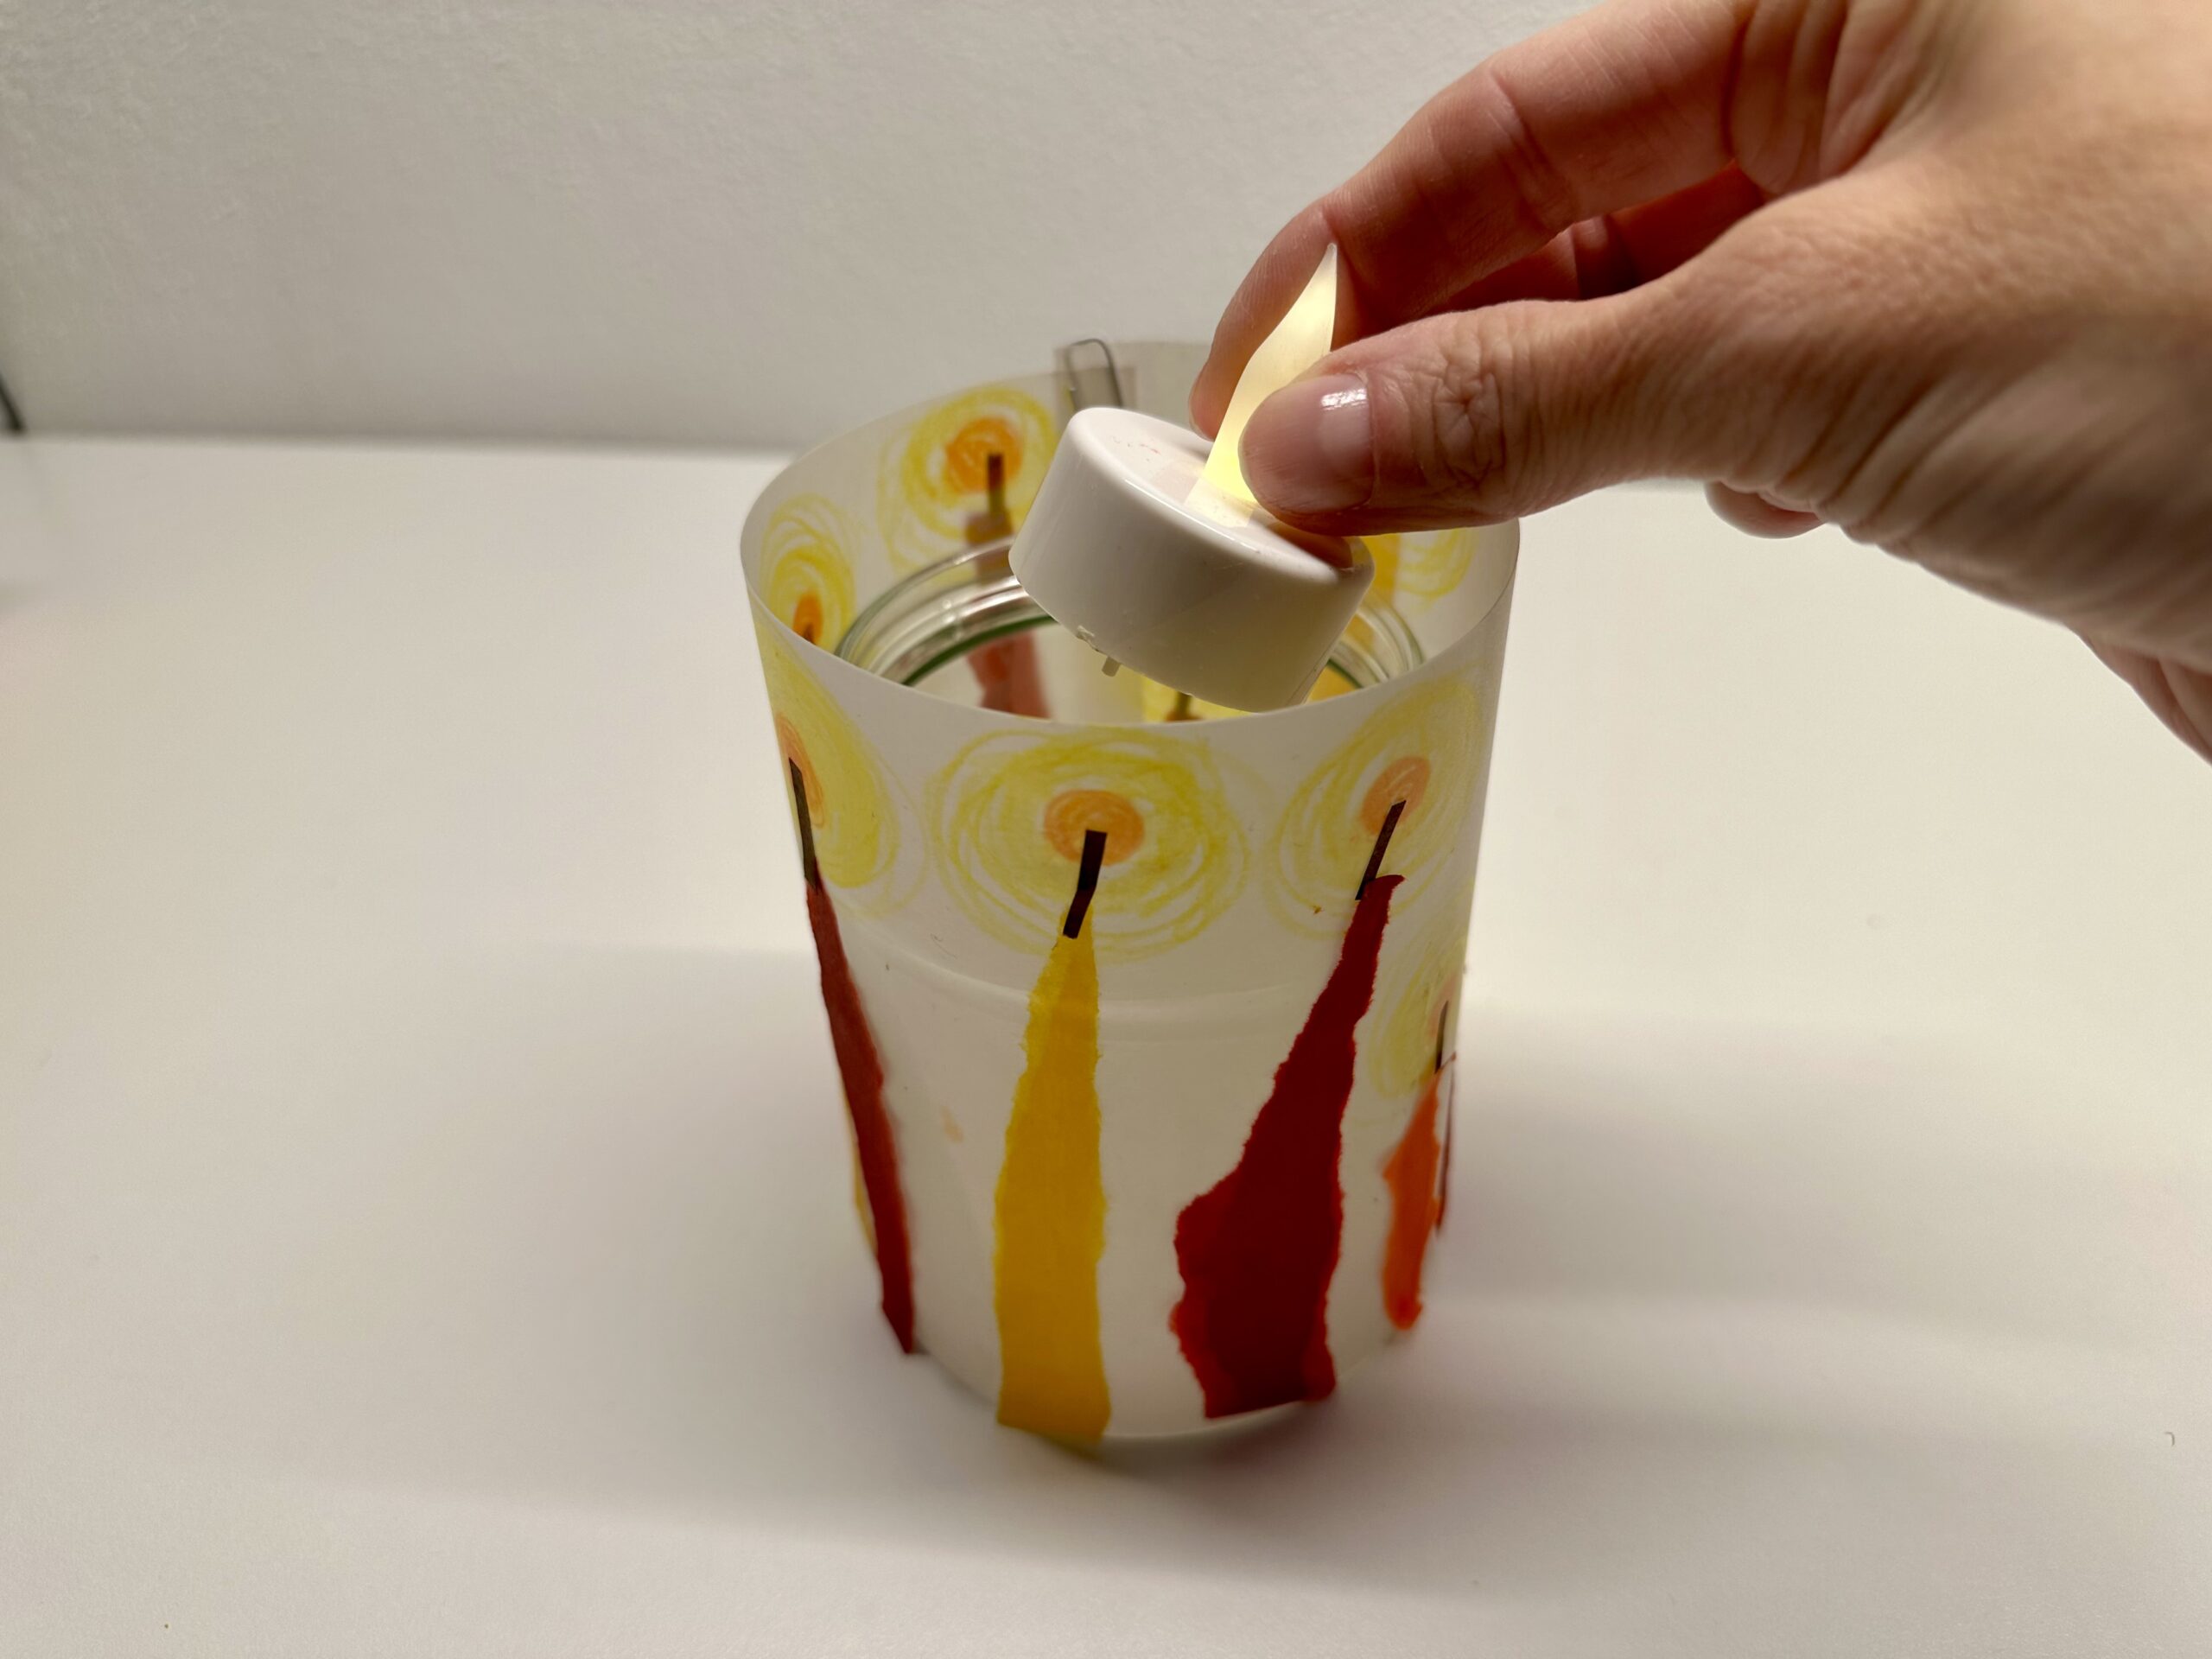
Finally, a Led puts tea light in the glass.
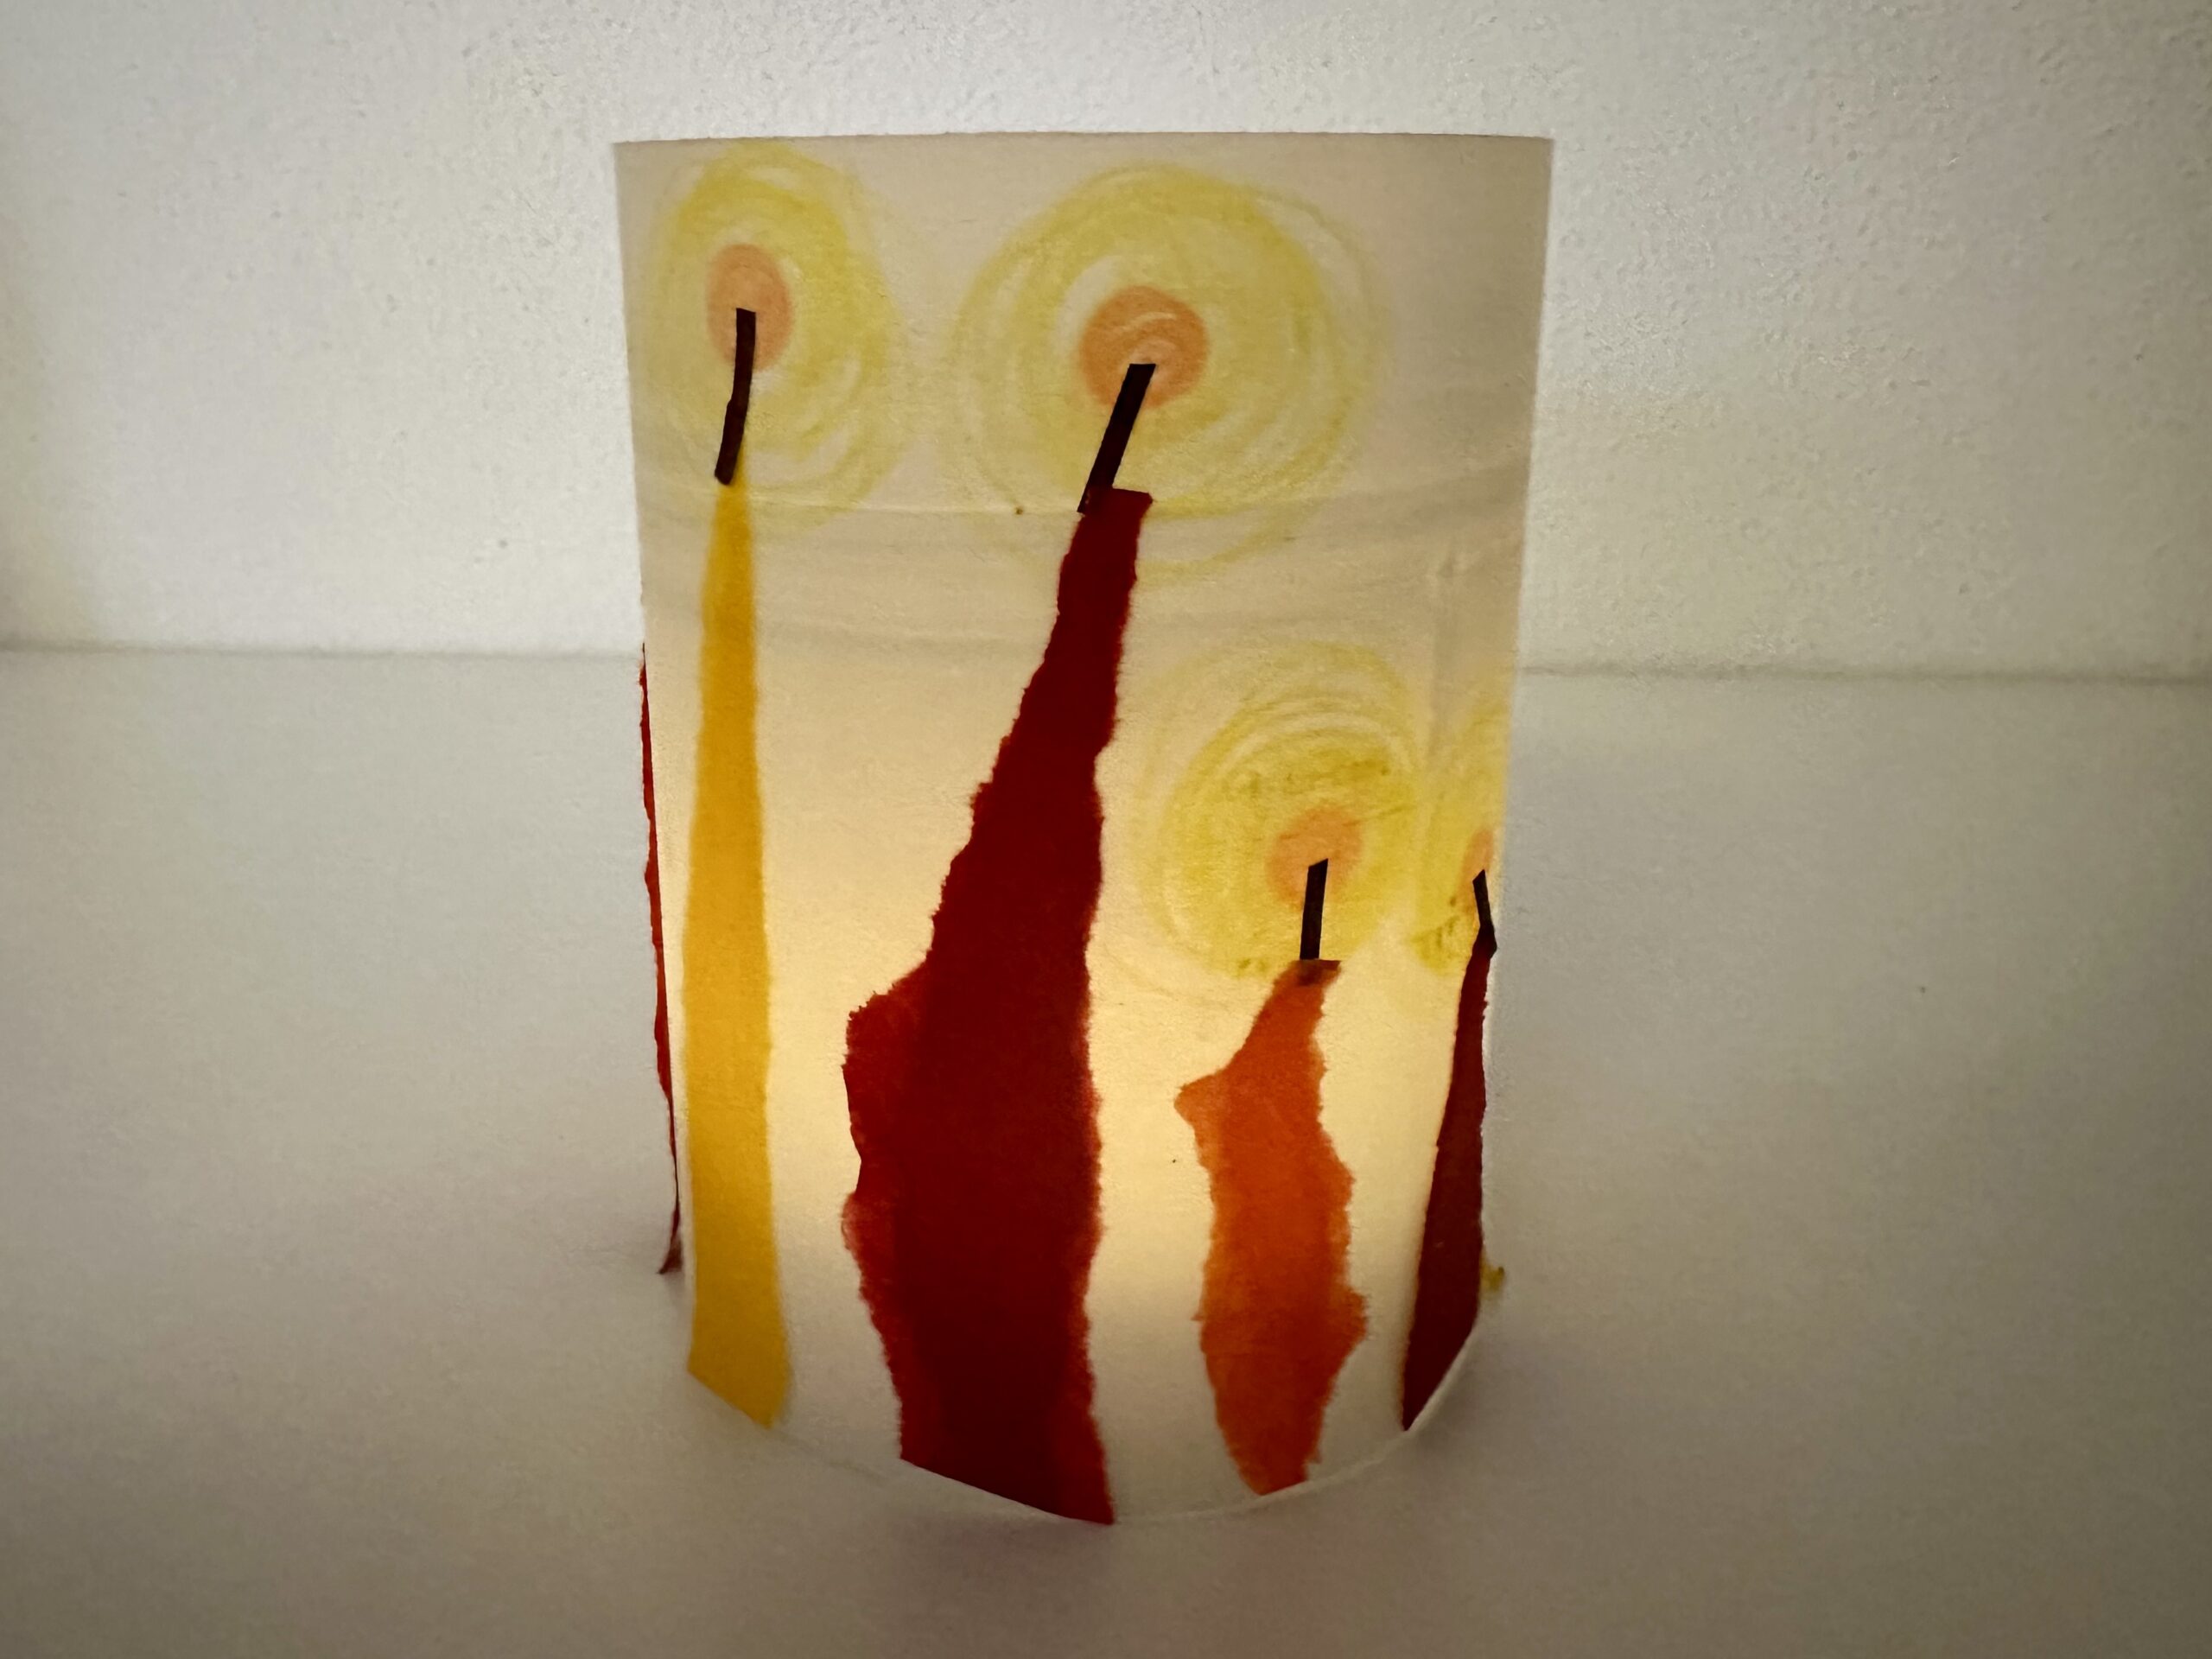
It looks very nice now.
Have fun trying it out.
Materials
Directions
Get all the craft materials ready.
Now cut off the white paper. Consider how big your lantern is to be.
You also need red, yellow and orange clay paper.
Now tear off the clay paper strips. These strips should become the candles.
You need a few stripes in all colors. Remember that you should stick the candles on your white paper. You have to put the white paper across it.
Then you get the white paper and the glue. Place the white paper so that it lies with the long side at the edge of the table.
Now stick the candles on the white paper. At the upper edge you have to leave room for the wick and the flame.
Now bring a small gas with edible oil and a brush.
Now paint over the entire paper, with the brush, the oil on the paper.
It's supposed to be oil everywhere.
Now pick up a kitchen paper and soak up the excess oil.
Turn around your template so you can see exactly where oil is still missing. Take the brush and rub it in with oil.
Now you can see what it looks like.
Turn your lantern back to the right side and let the oil dry.
Now you've done a lot, and next thing you know, you need scissors and brown clay paper.
Cut the wick to your candles.
Sticks a wick to the candles.
That's it!
Now all candles have a wick.
Turn your template around again. Now take her an orange wooden pencil and paint a small circle at the top of the wick.
Now take a yellow wooden pencil and paint as you can see in the picture an even larger circle around the orange circle.
So now all candles have a flame.
All candles are burning now. Turn your template around again.
Now you have to get your glue.
Bends the candle picture so that the two short sides overlap finger width. The glued candles are outside.
Stick the paper here with paper clips.
The same way you do it on the other side. If the glue is dried, you can remove the paper clips.
Your table lamp is ready. Place a glass on the table and put a lantern on top of it.
Finally, a Led puts tea light in the glass.
It looks very nice now.
Have fun trying it out.
Follow us on Facebook , Instagram and Pinterest
Don't miss any more adventures: Our bottle mail