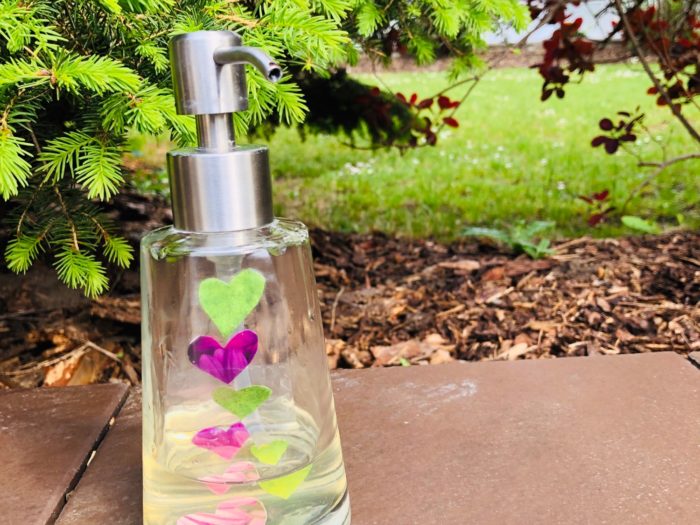
This little gift idea is perfect for beginners. Trust yourself! I explain step by step with many pictures how to sew this small bag. Of course you can also use it for cosmetic products or pens. Also, it is a great last minute gift.
Media Education for Kindergarten and Hort

Relief in everyday life, targeted promotion of individual children, independent learning and - without any pre-knowledge already usable by the youngest!
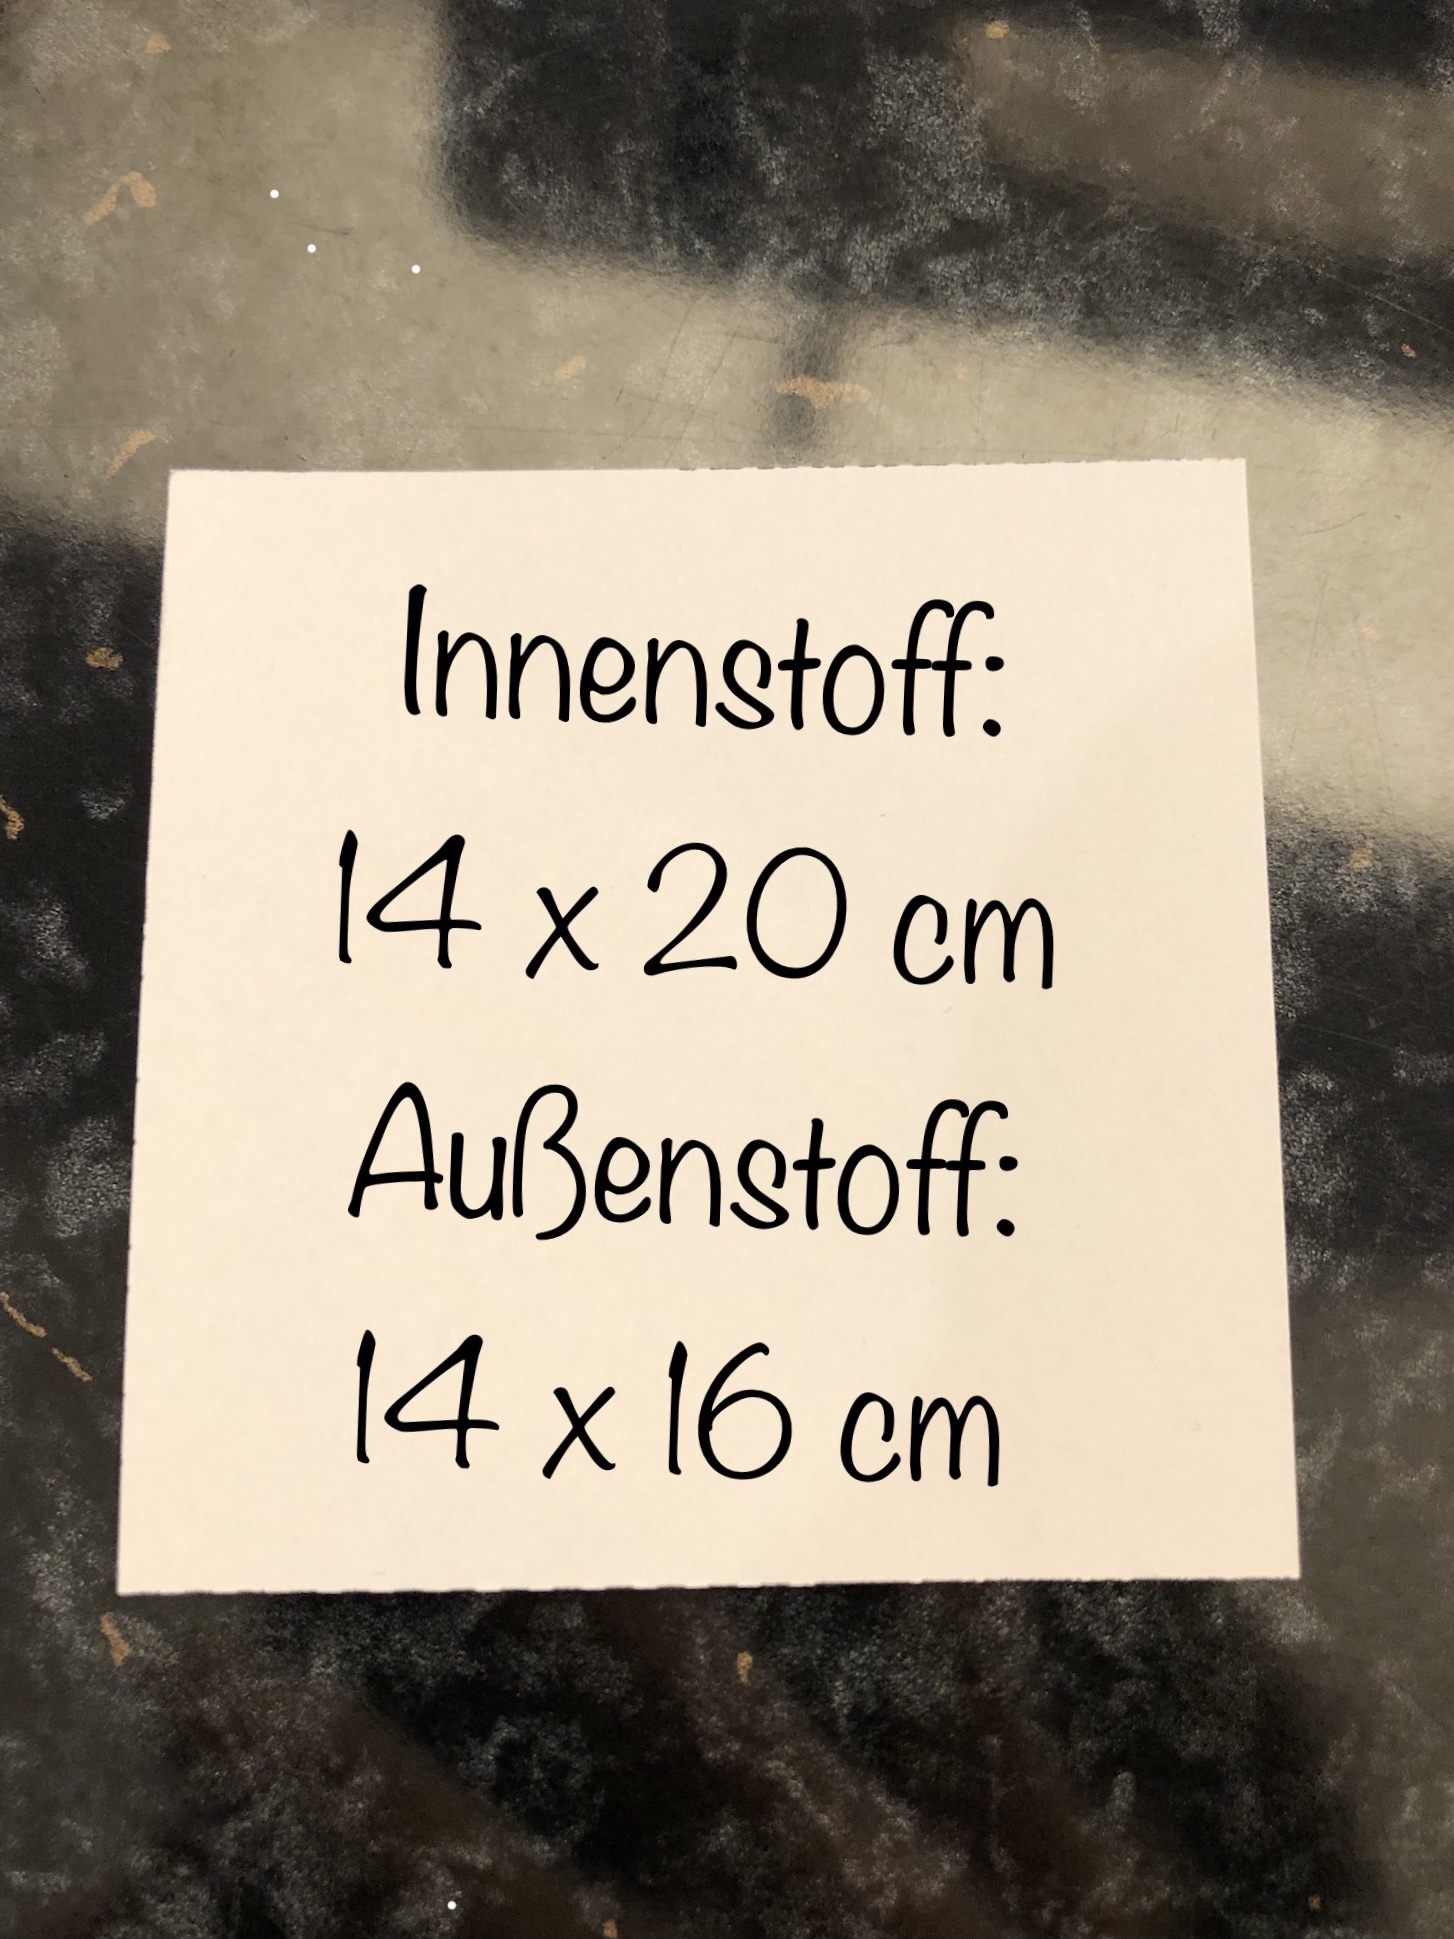
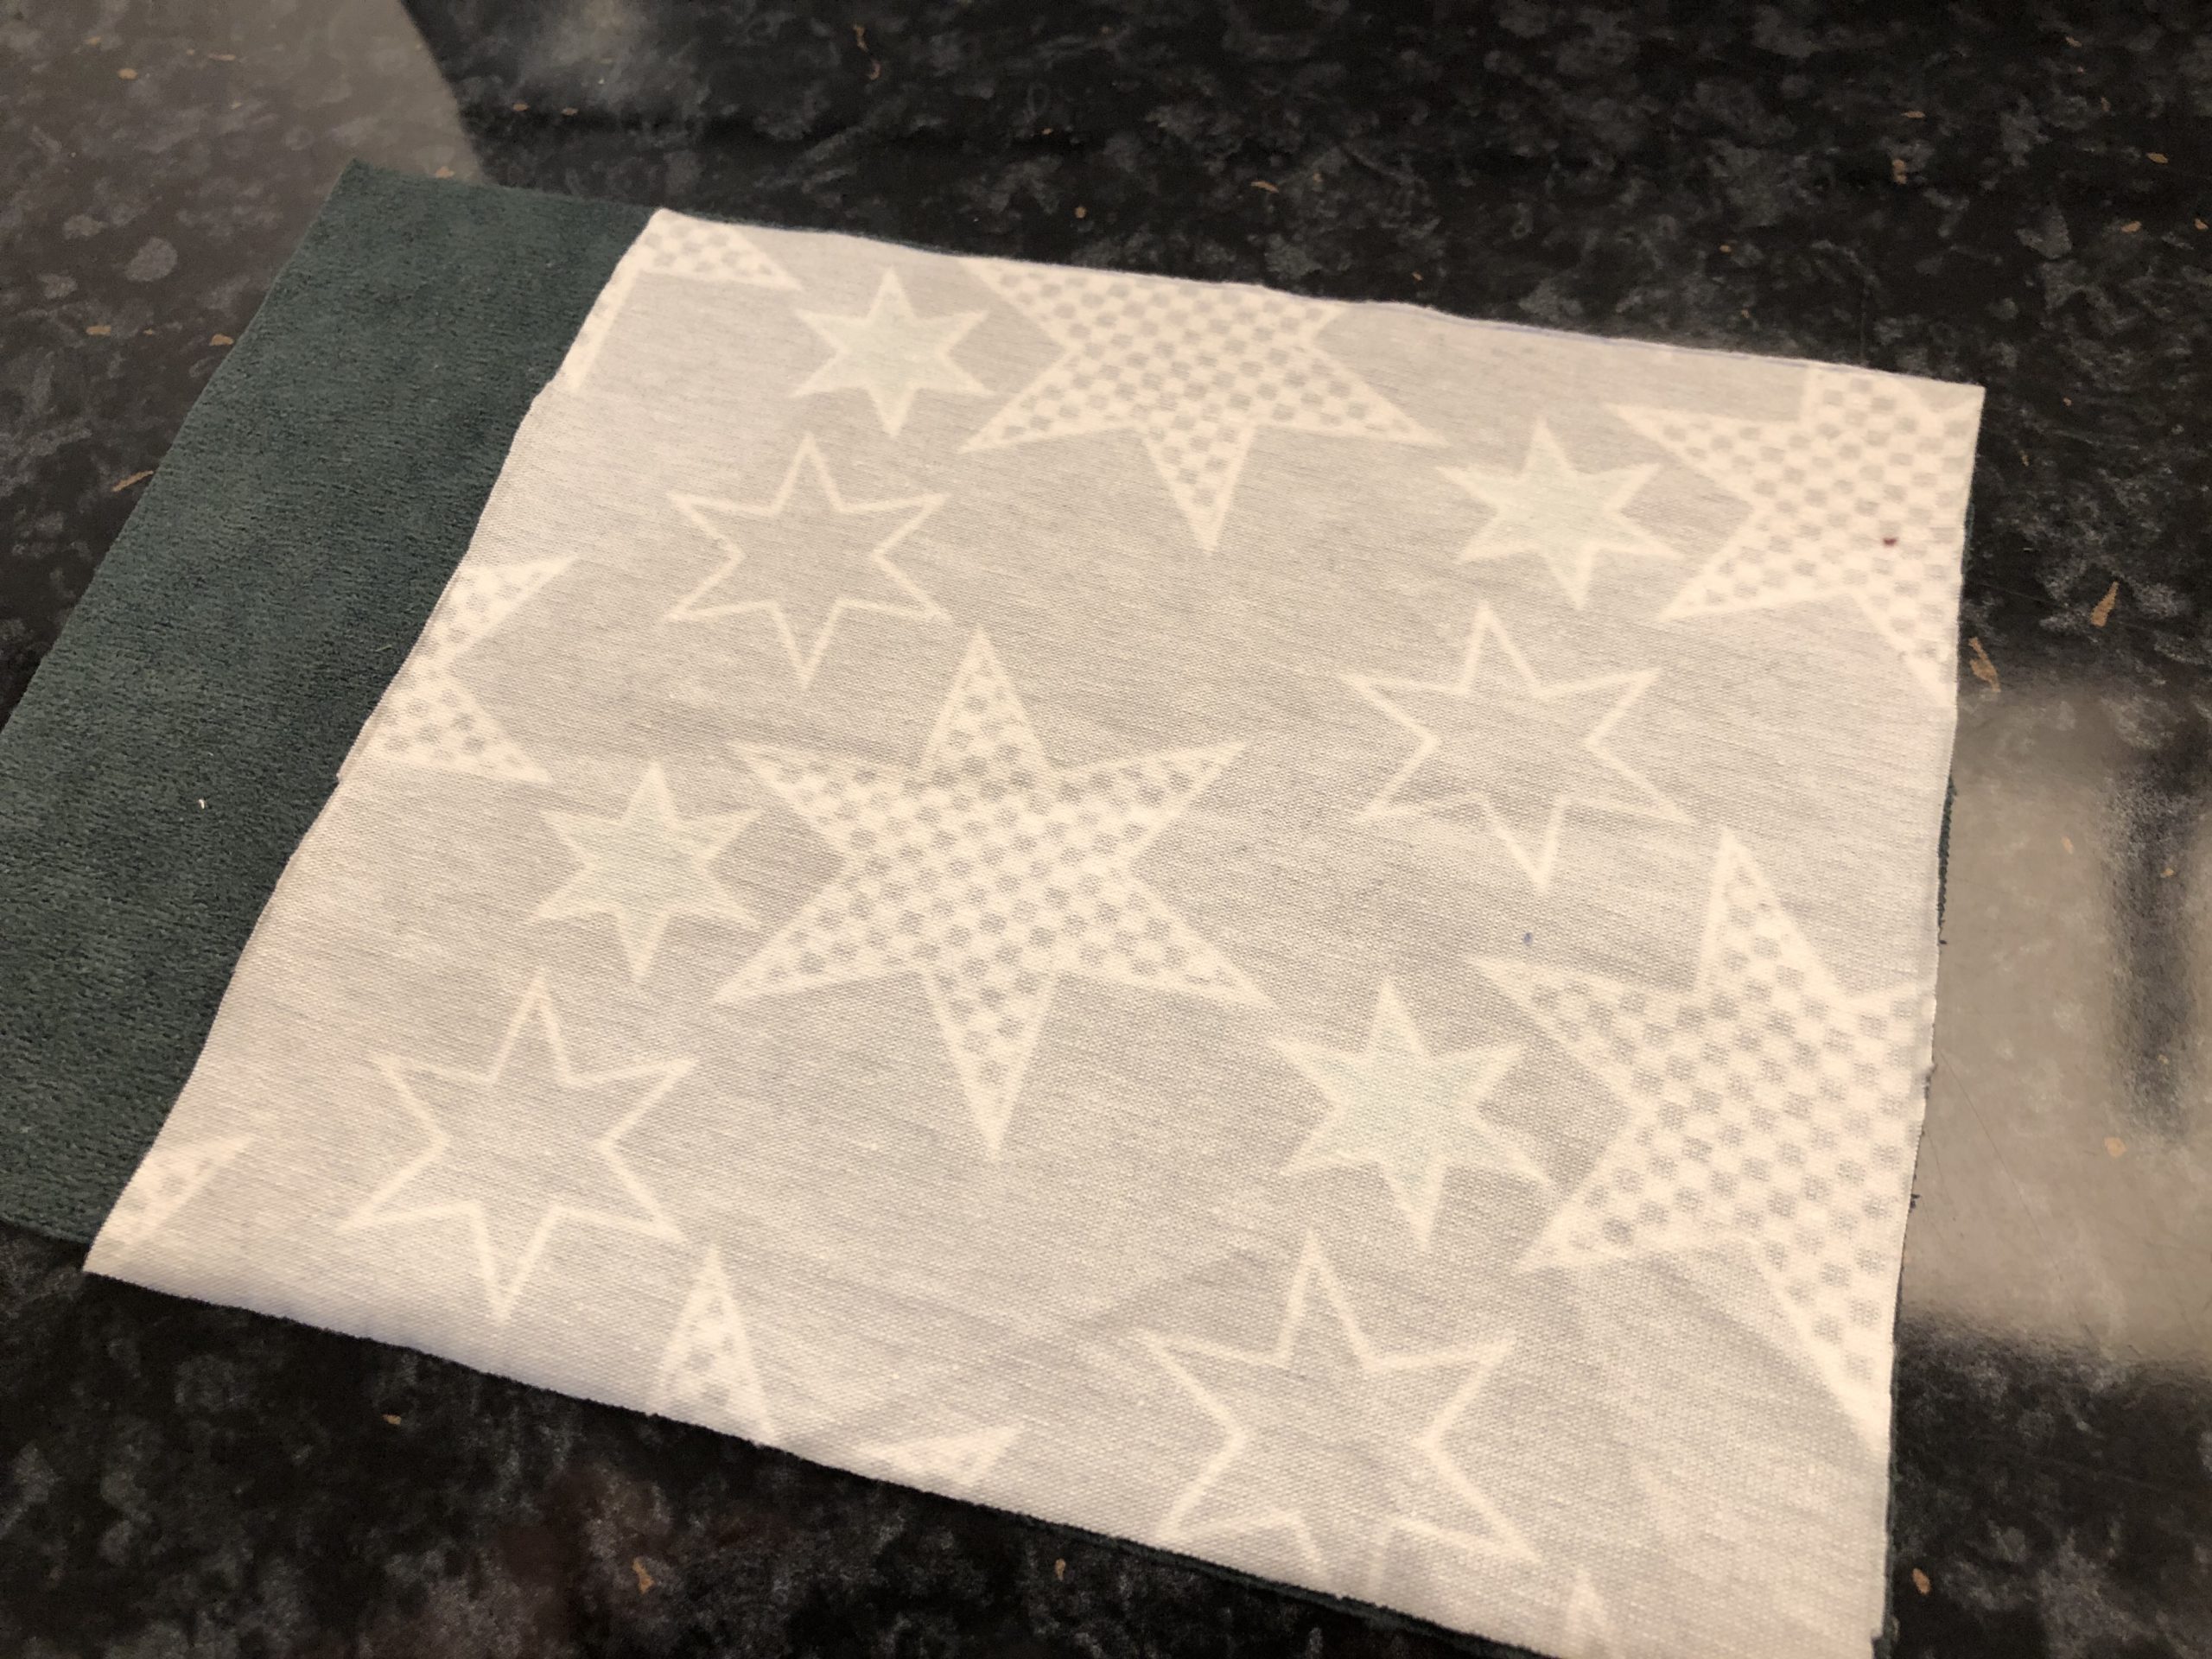
First cut two fabrics with the specified dimensions.
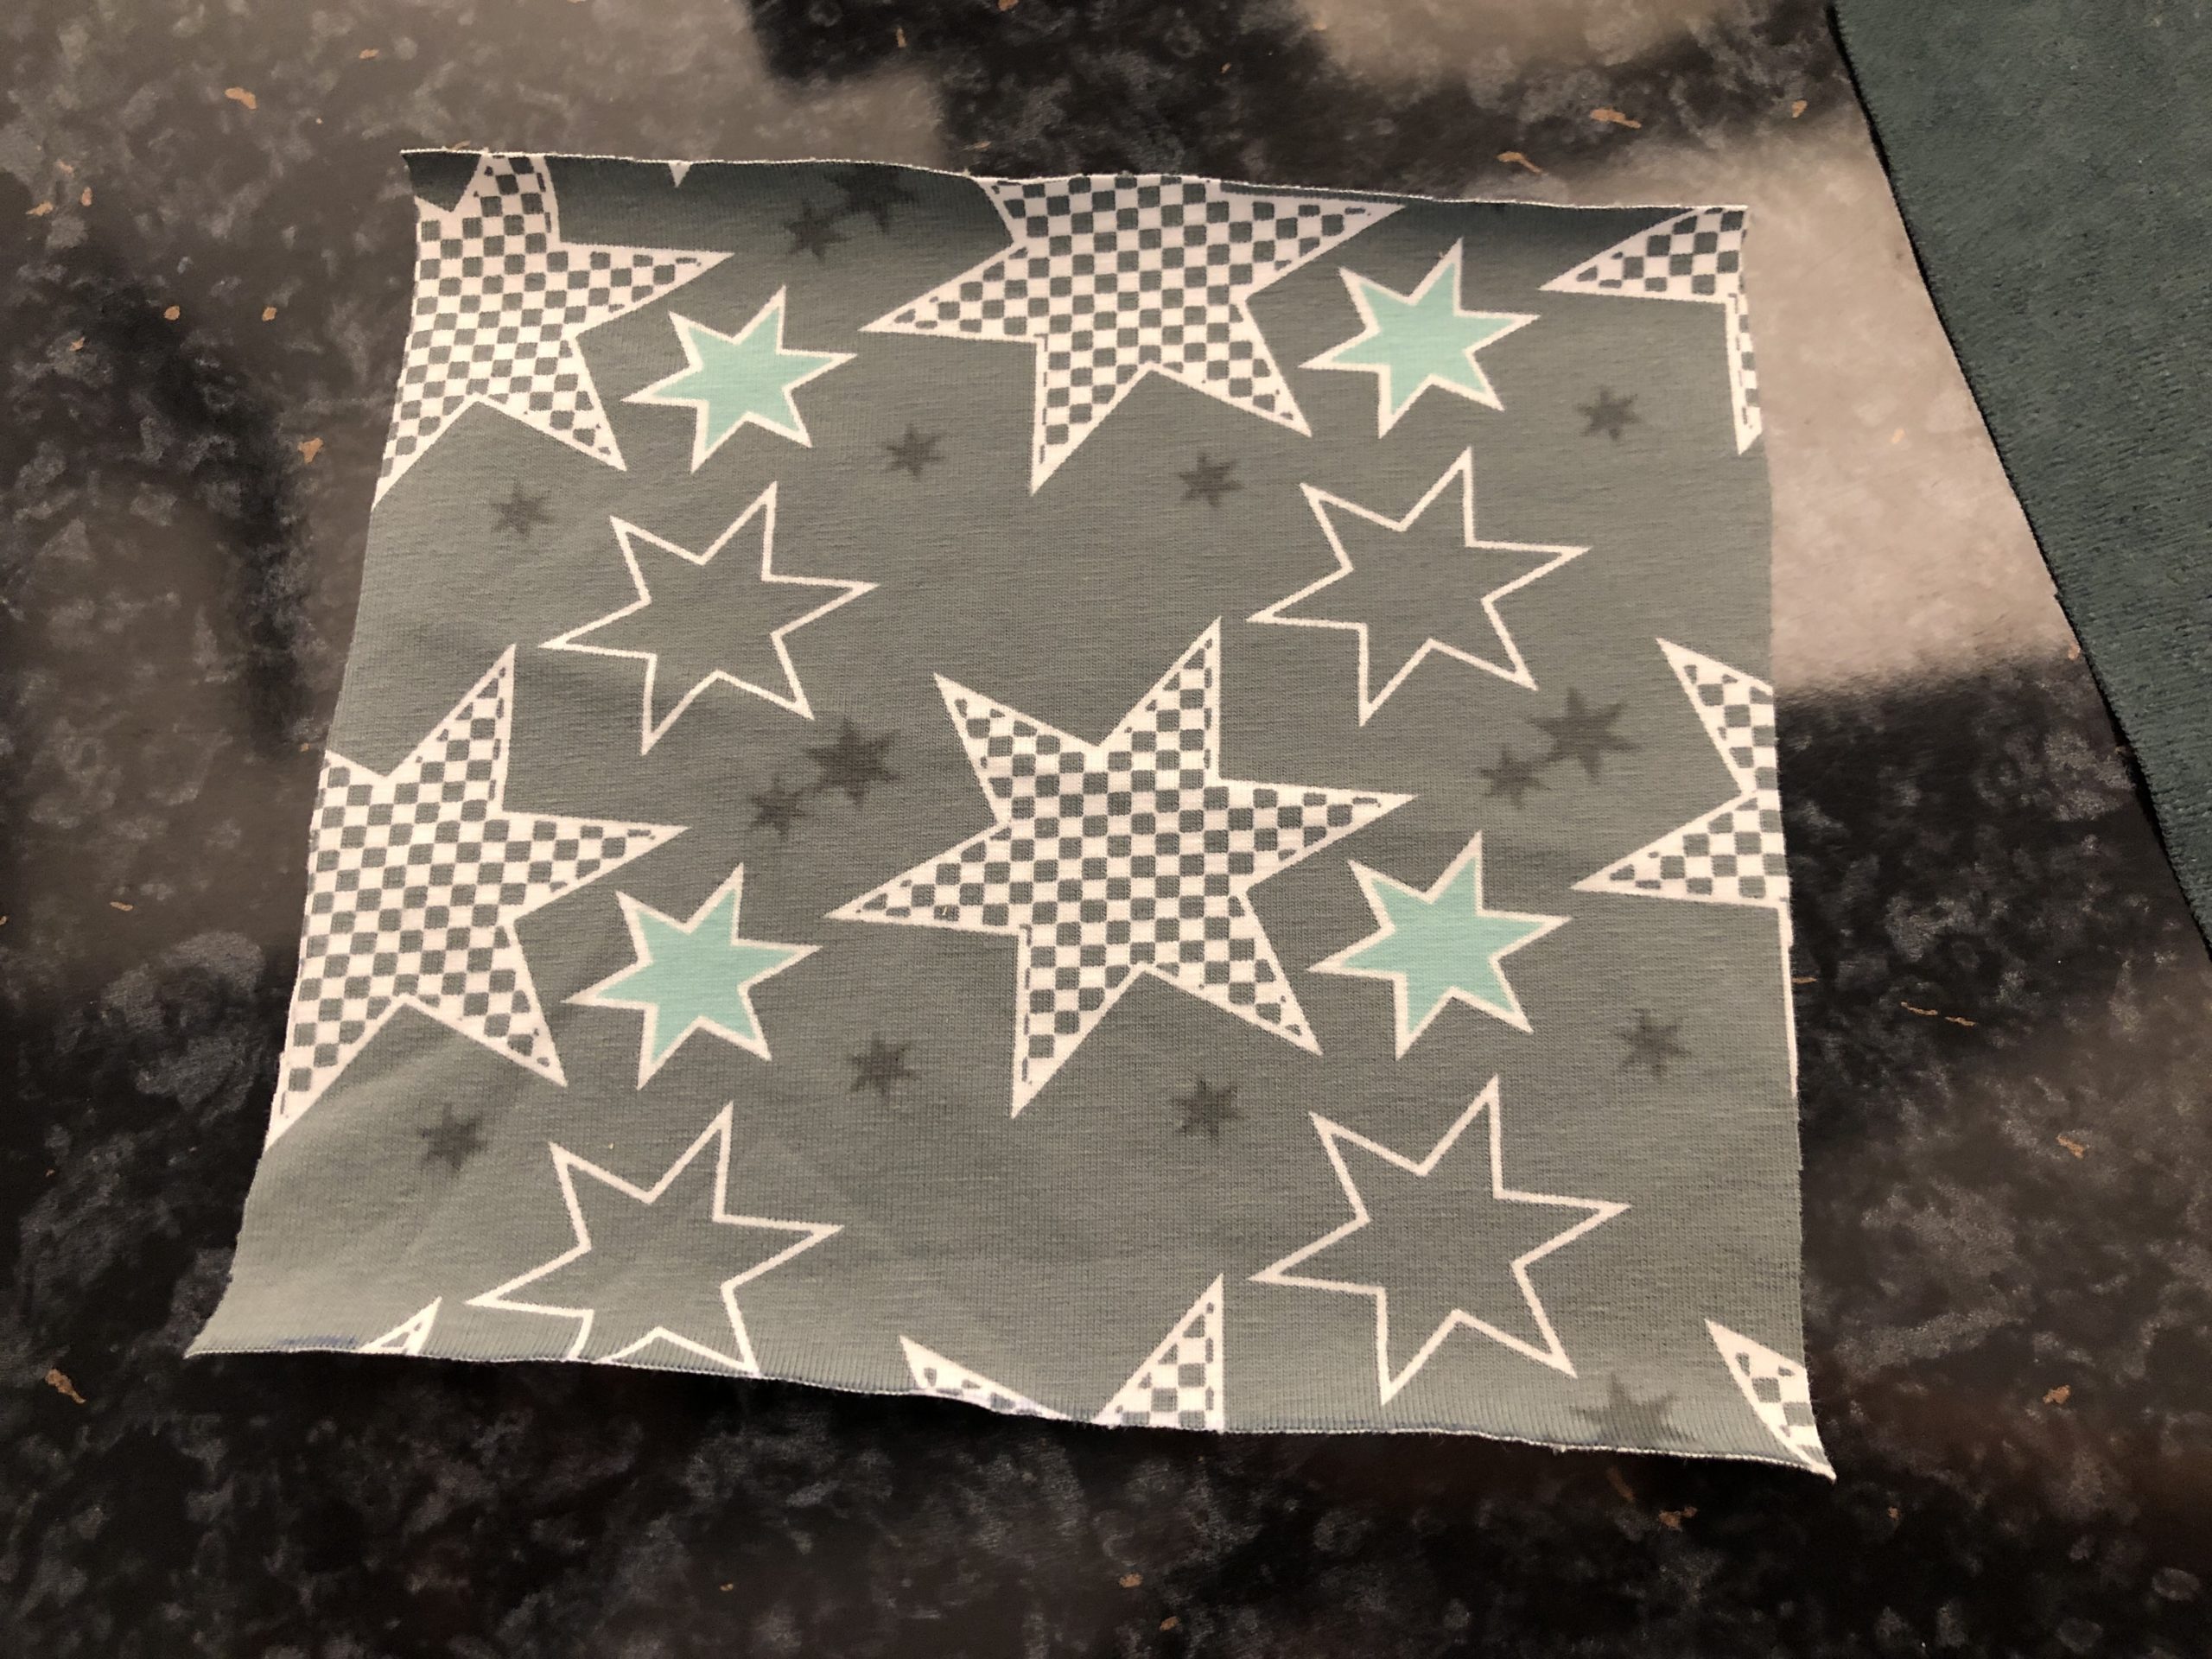
That's my outer material.
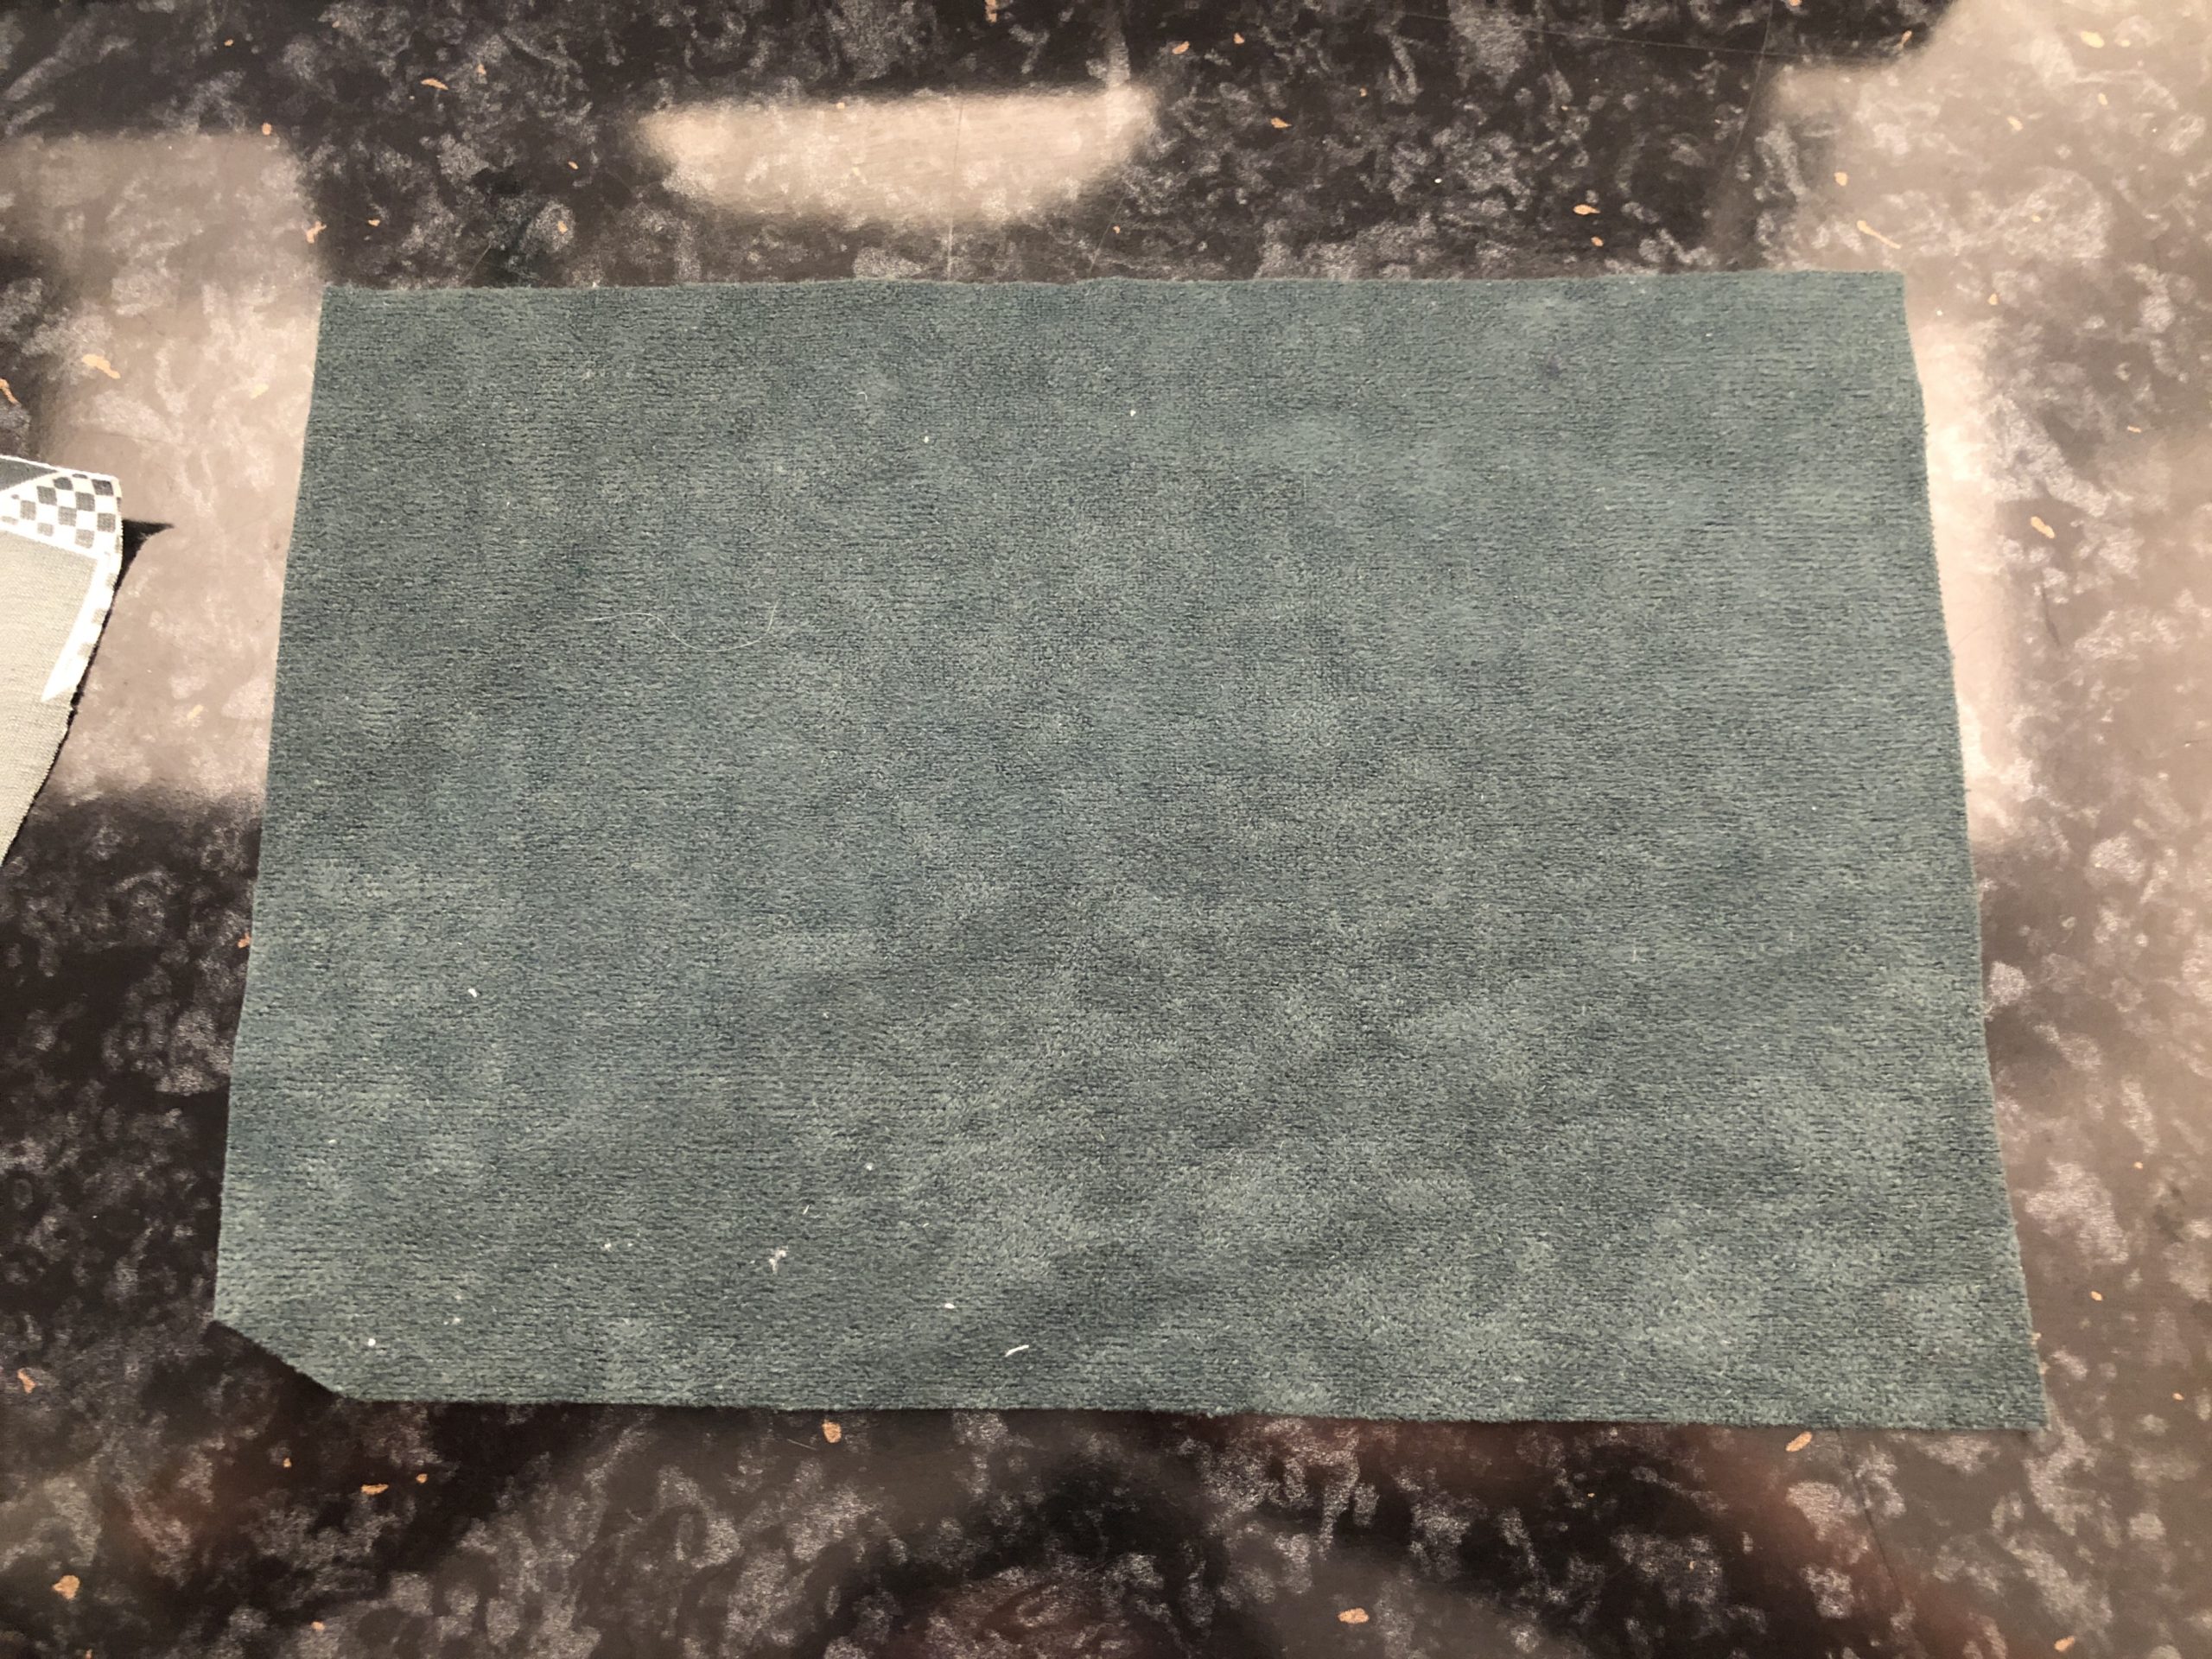
That's my inner fabric.
Now put both fabrics together with the beautiful side (outside sides). The fabrics must lie flush on each other. Now sew them together with a straight stitch.
Now push the fabrics in such a way that the opposite edges of the fabric lie on each other. Then you sew the fabrics together with a straight stitch.
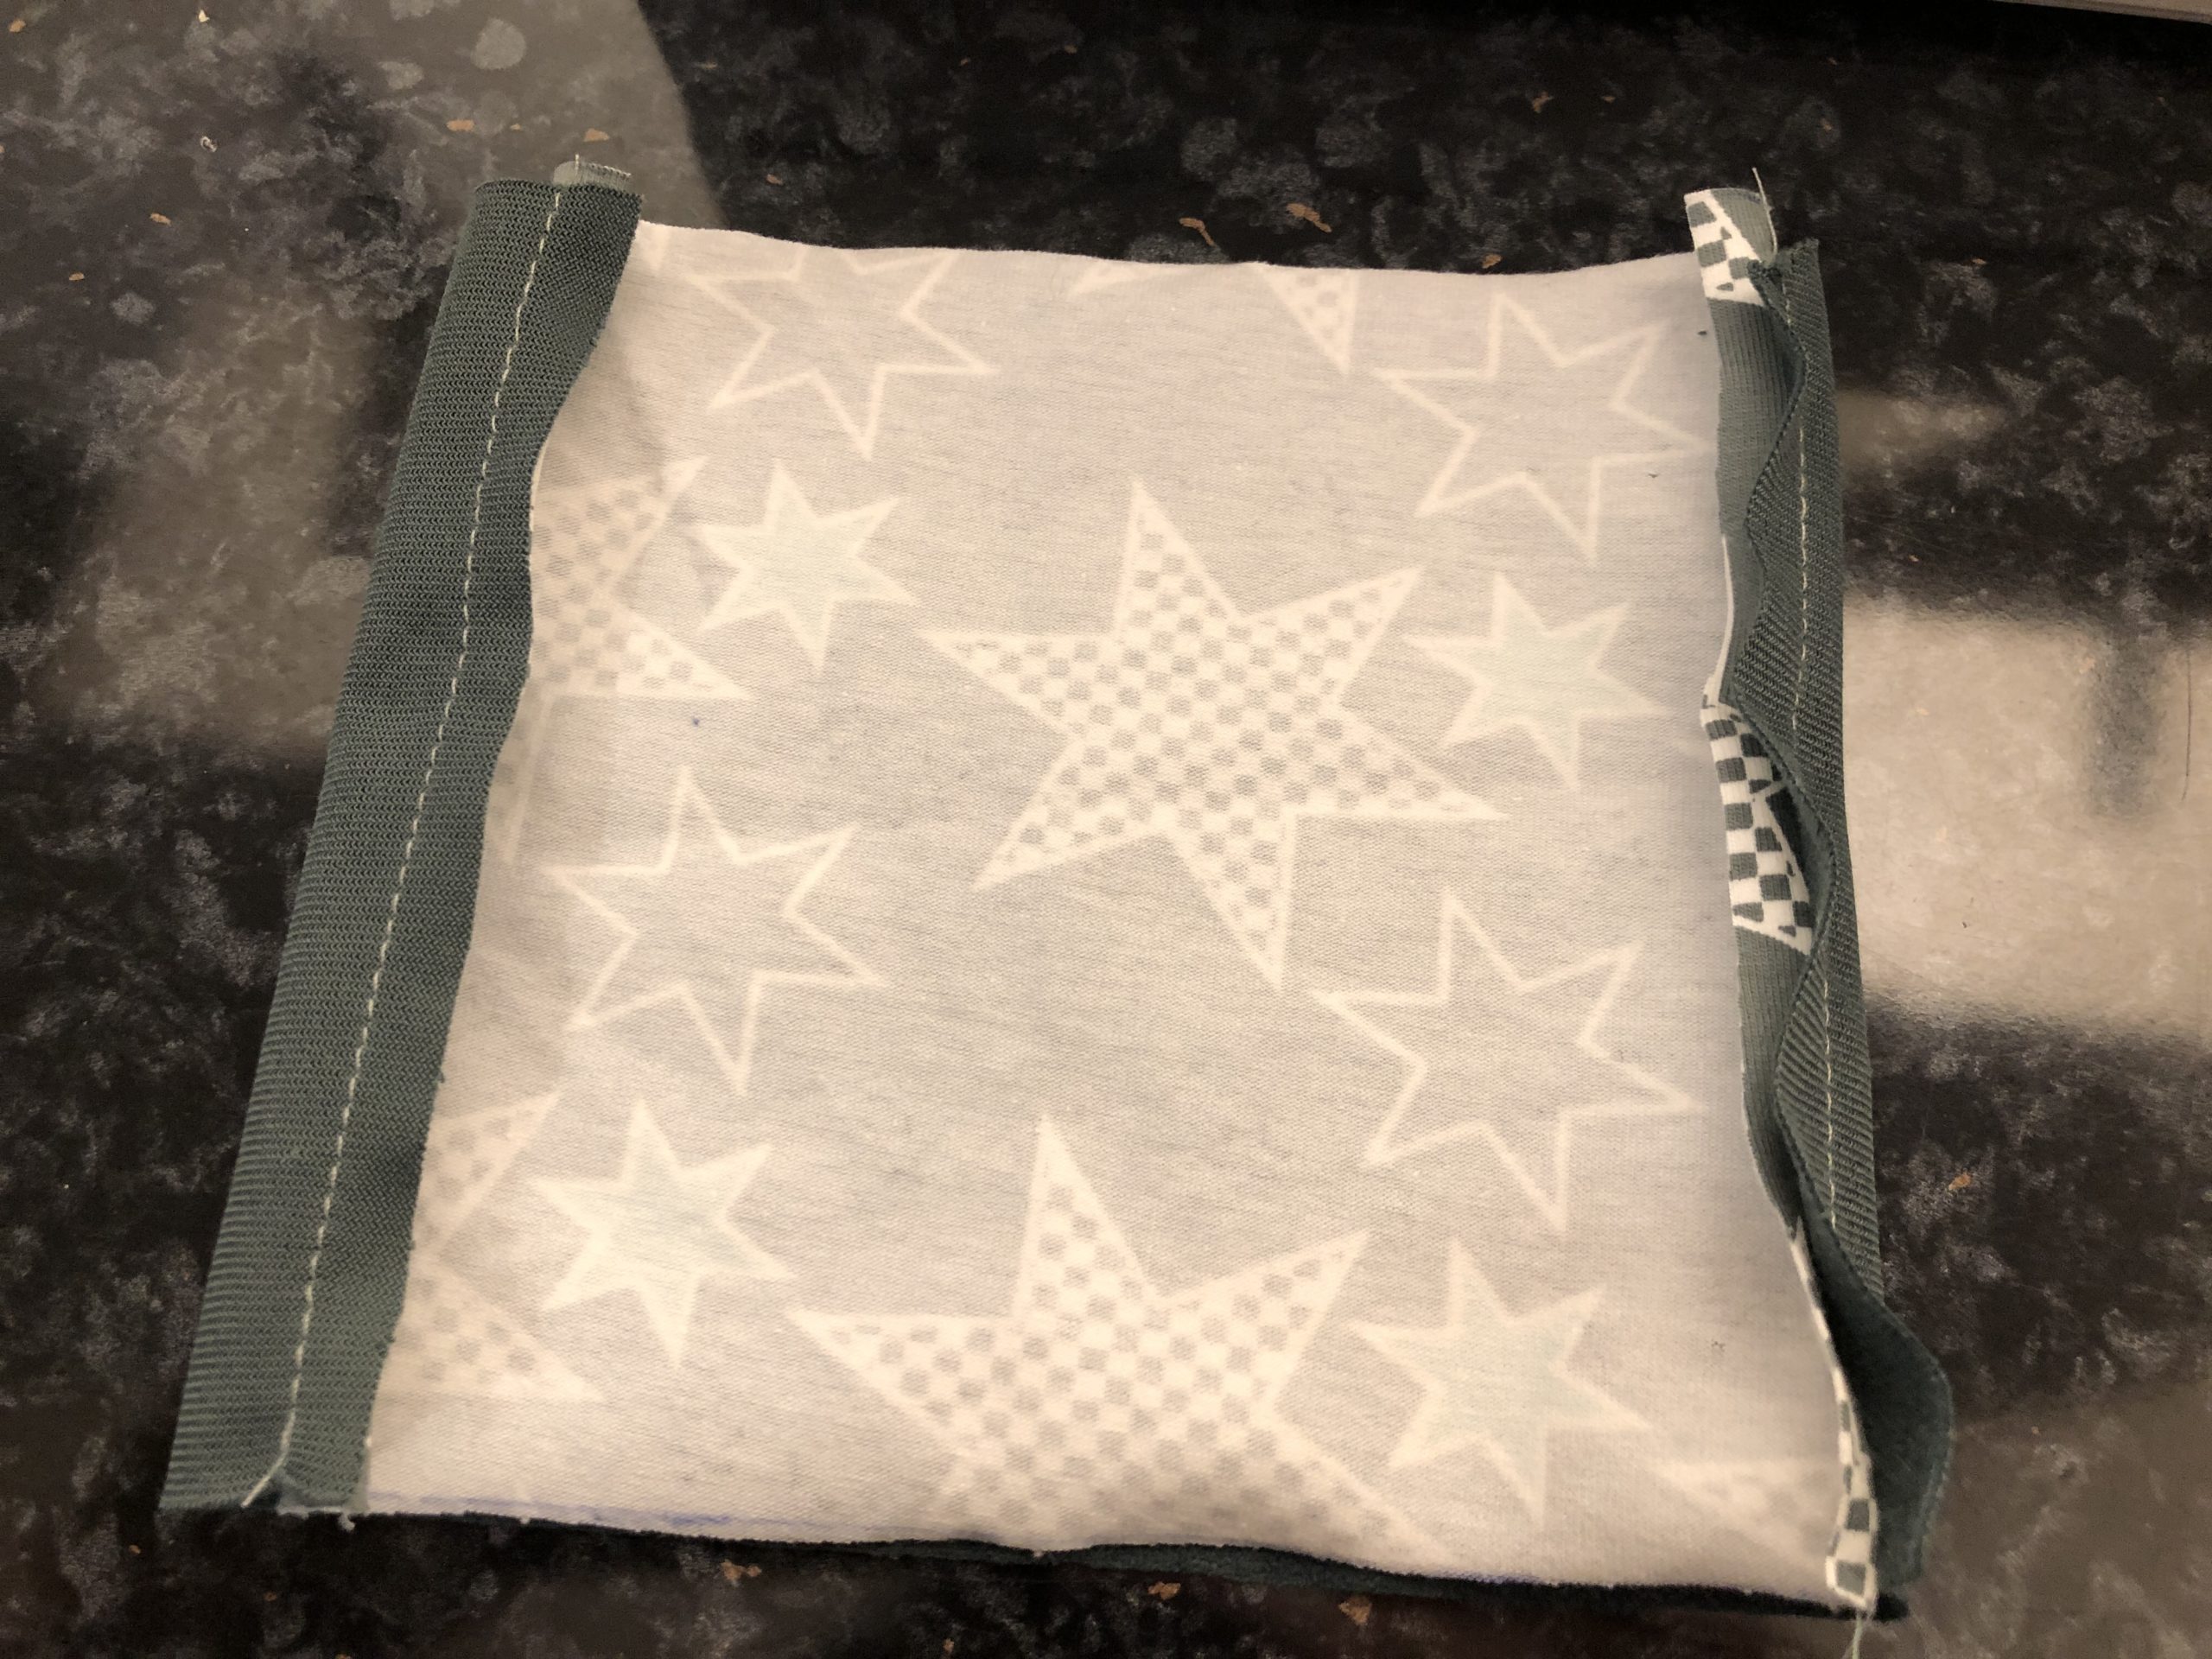
The opposite sides are now sewn together.
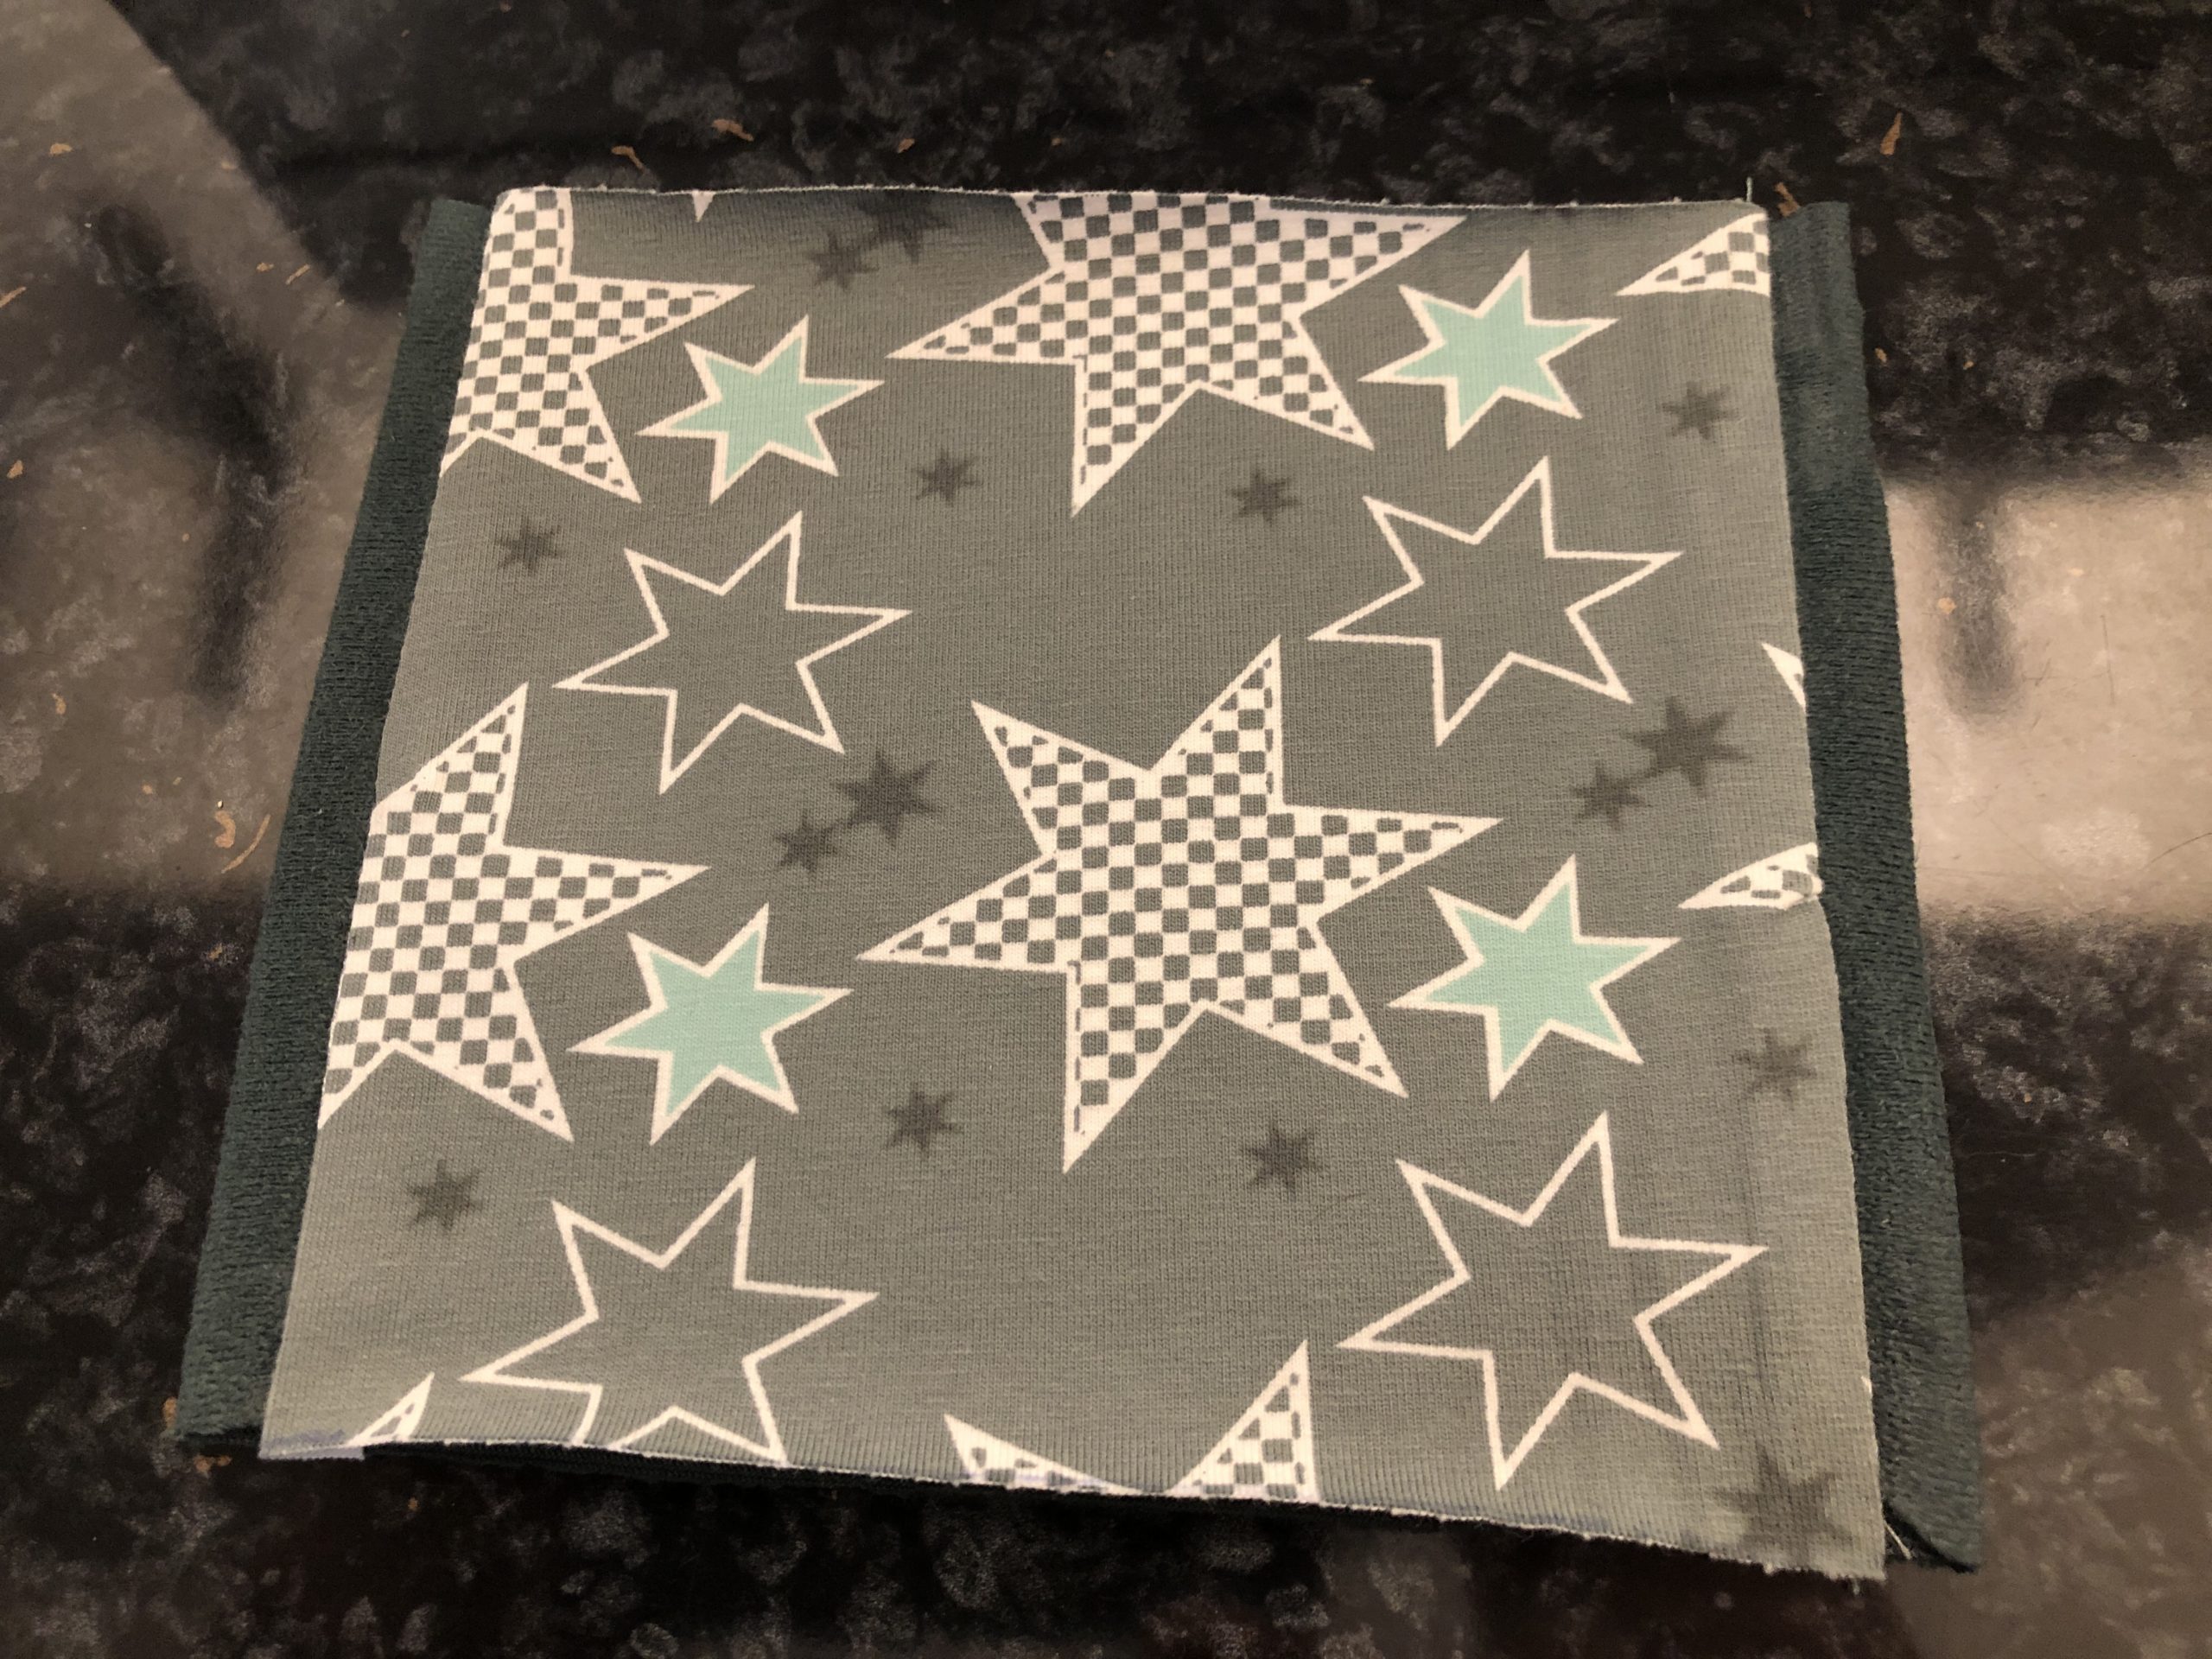
Now you turn the stuff around.

Put it down properly. The outer fabric must be centered and the inner fabric must be visible on the side.
Tip: If the fabric is pressed now, it will lie down better for sewing.
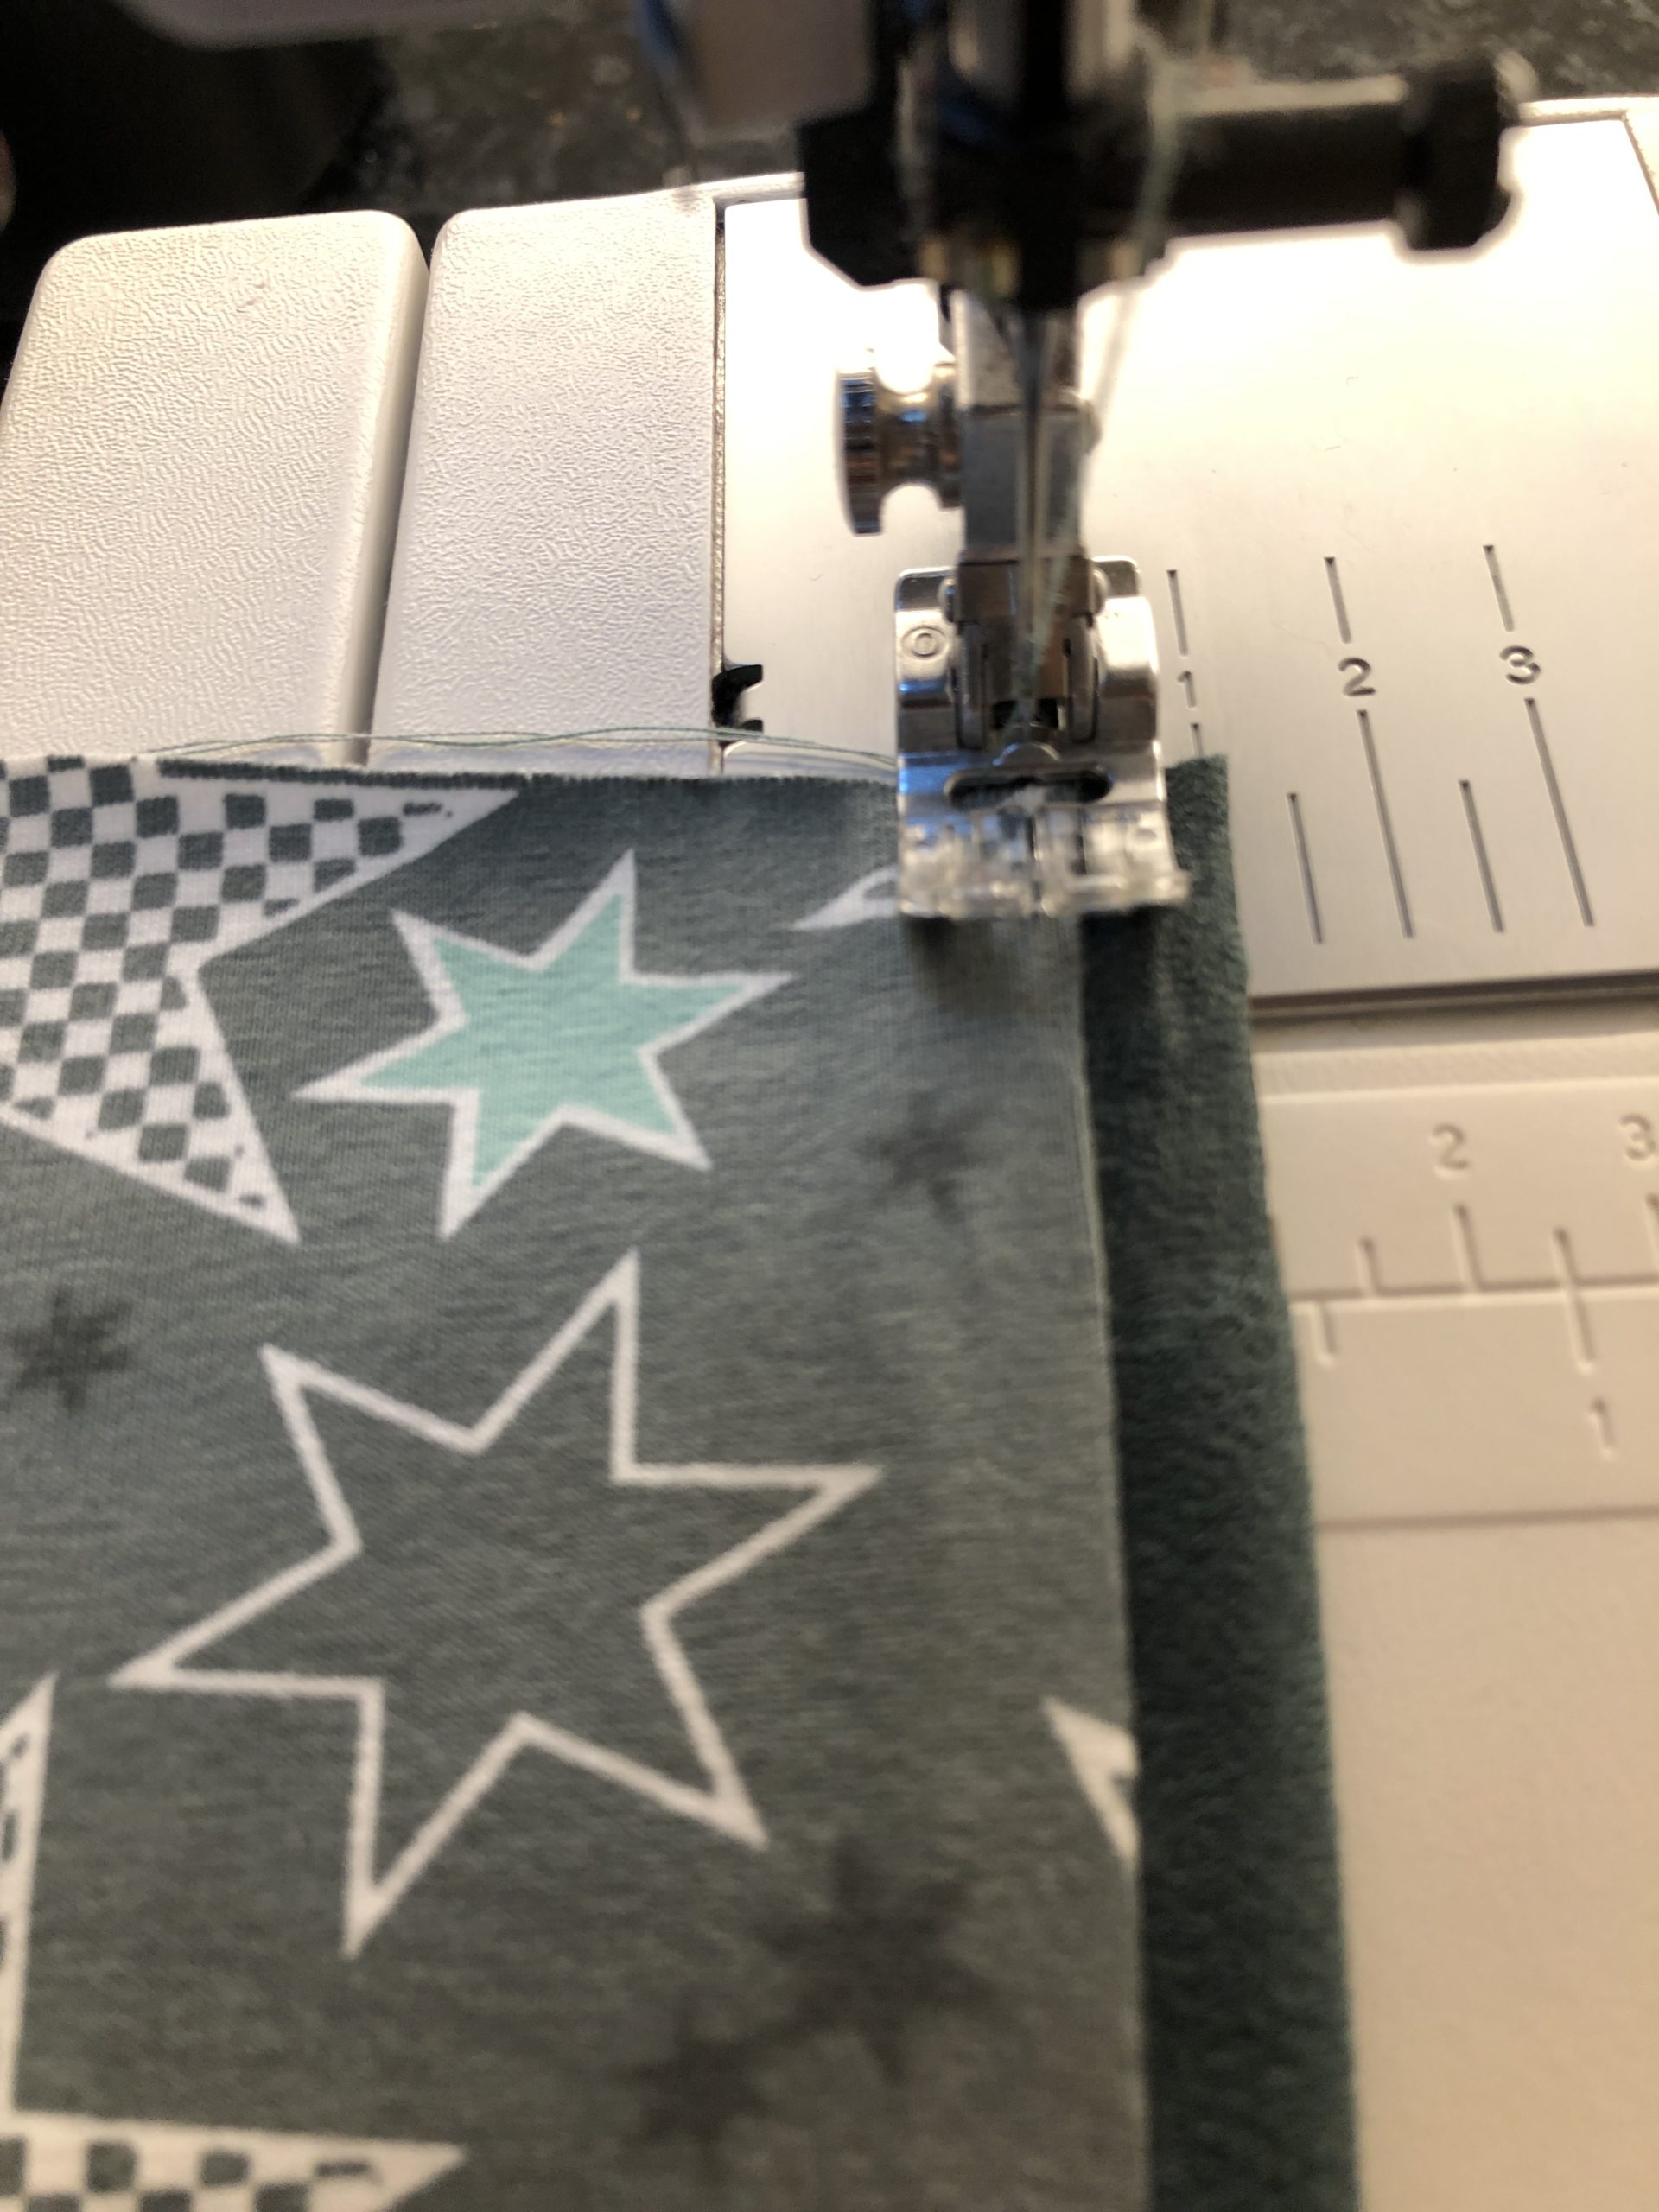
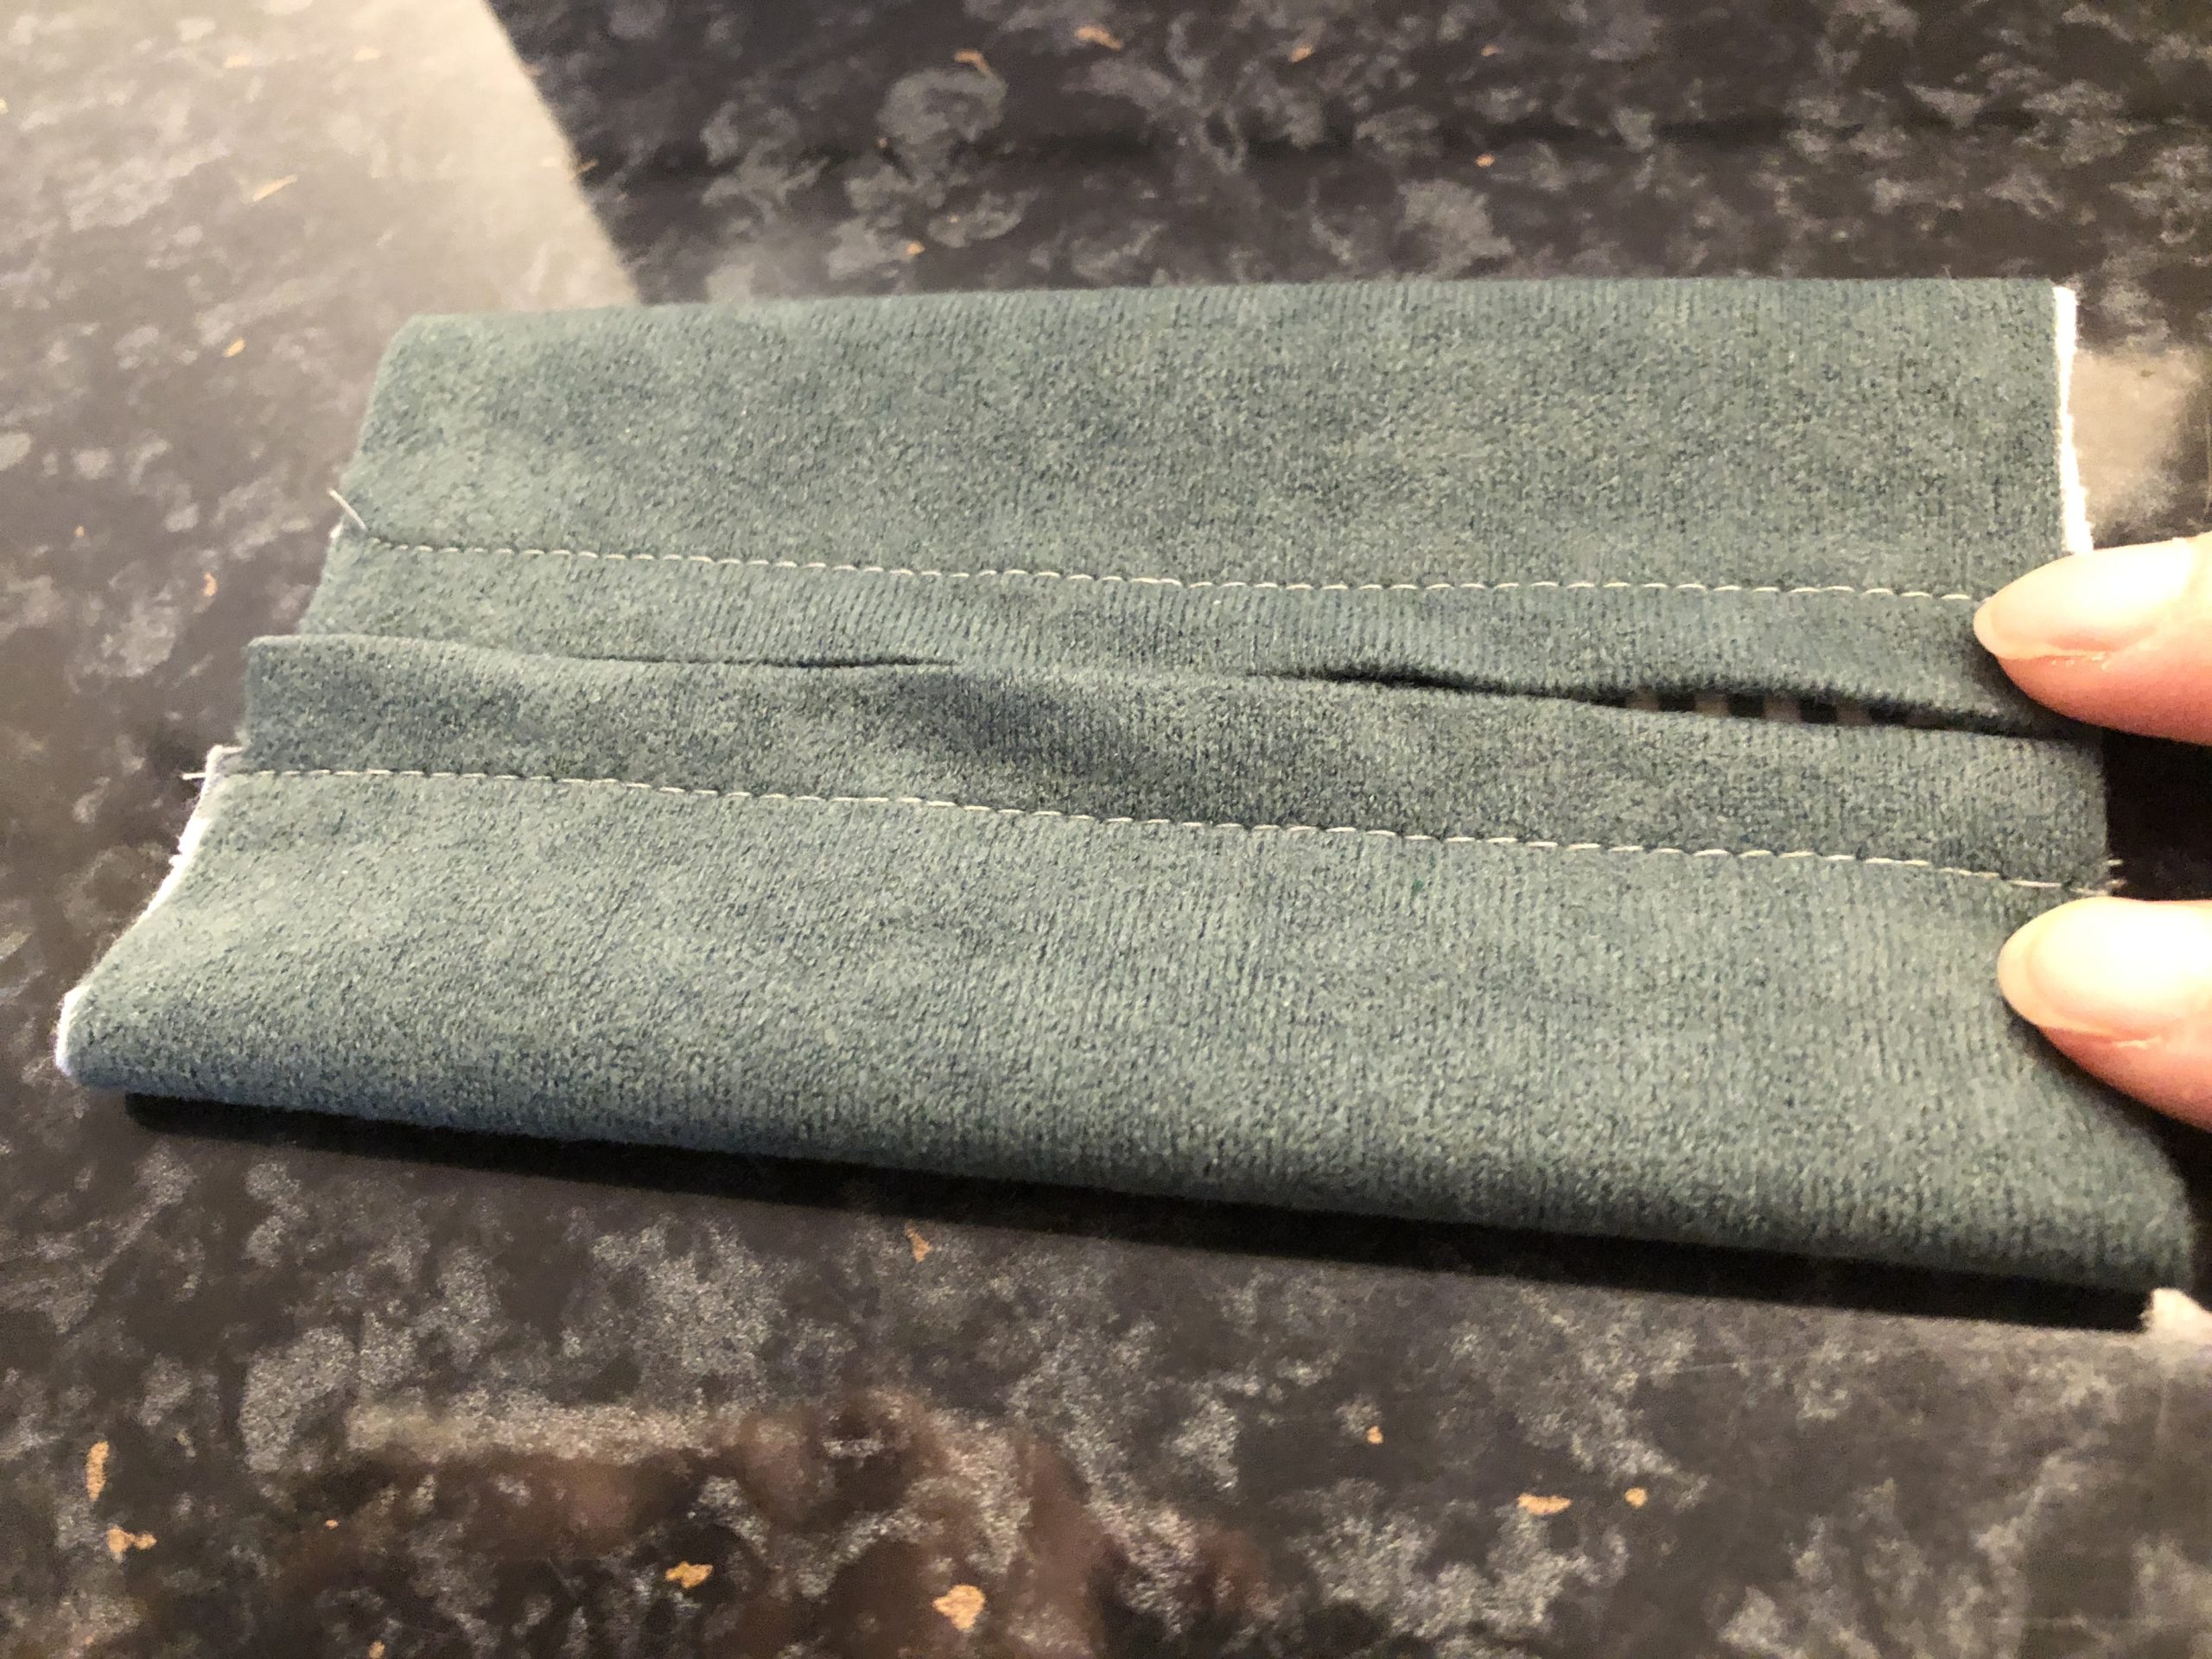
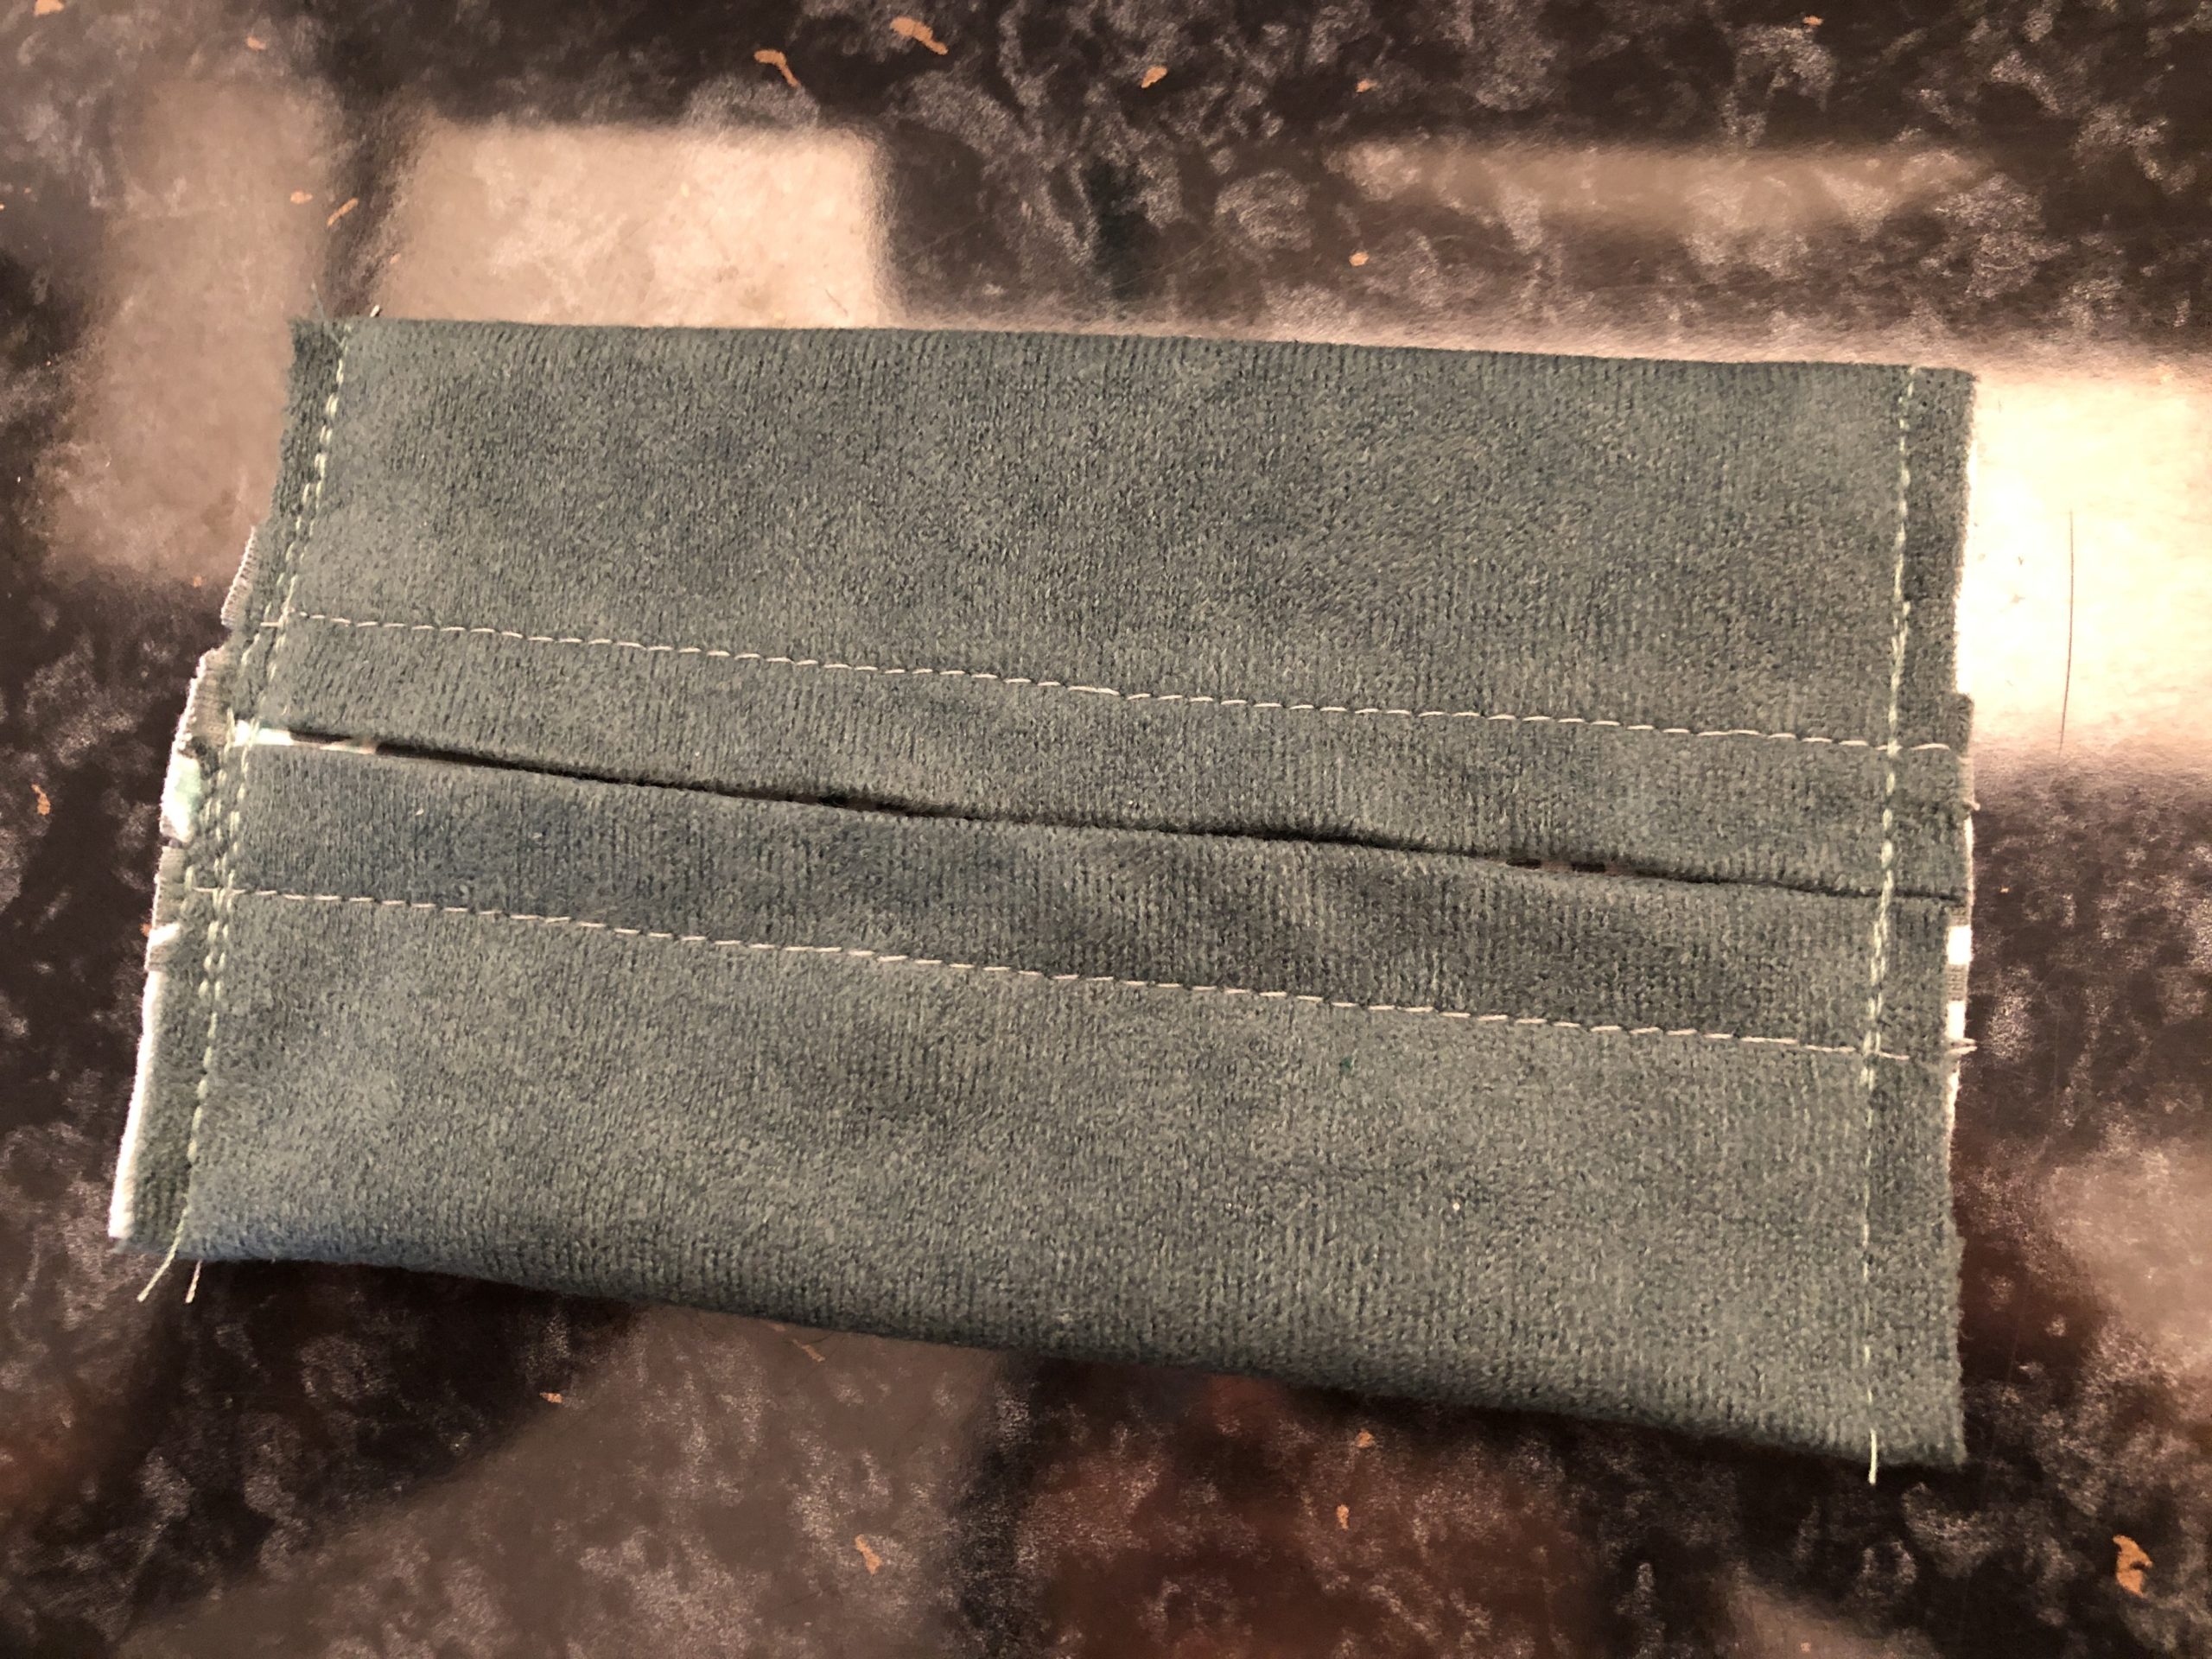
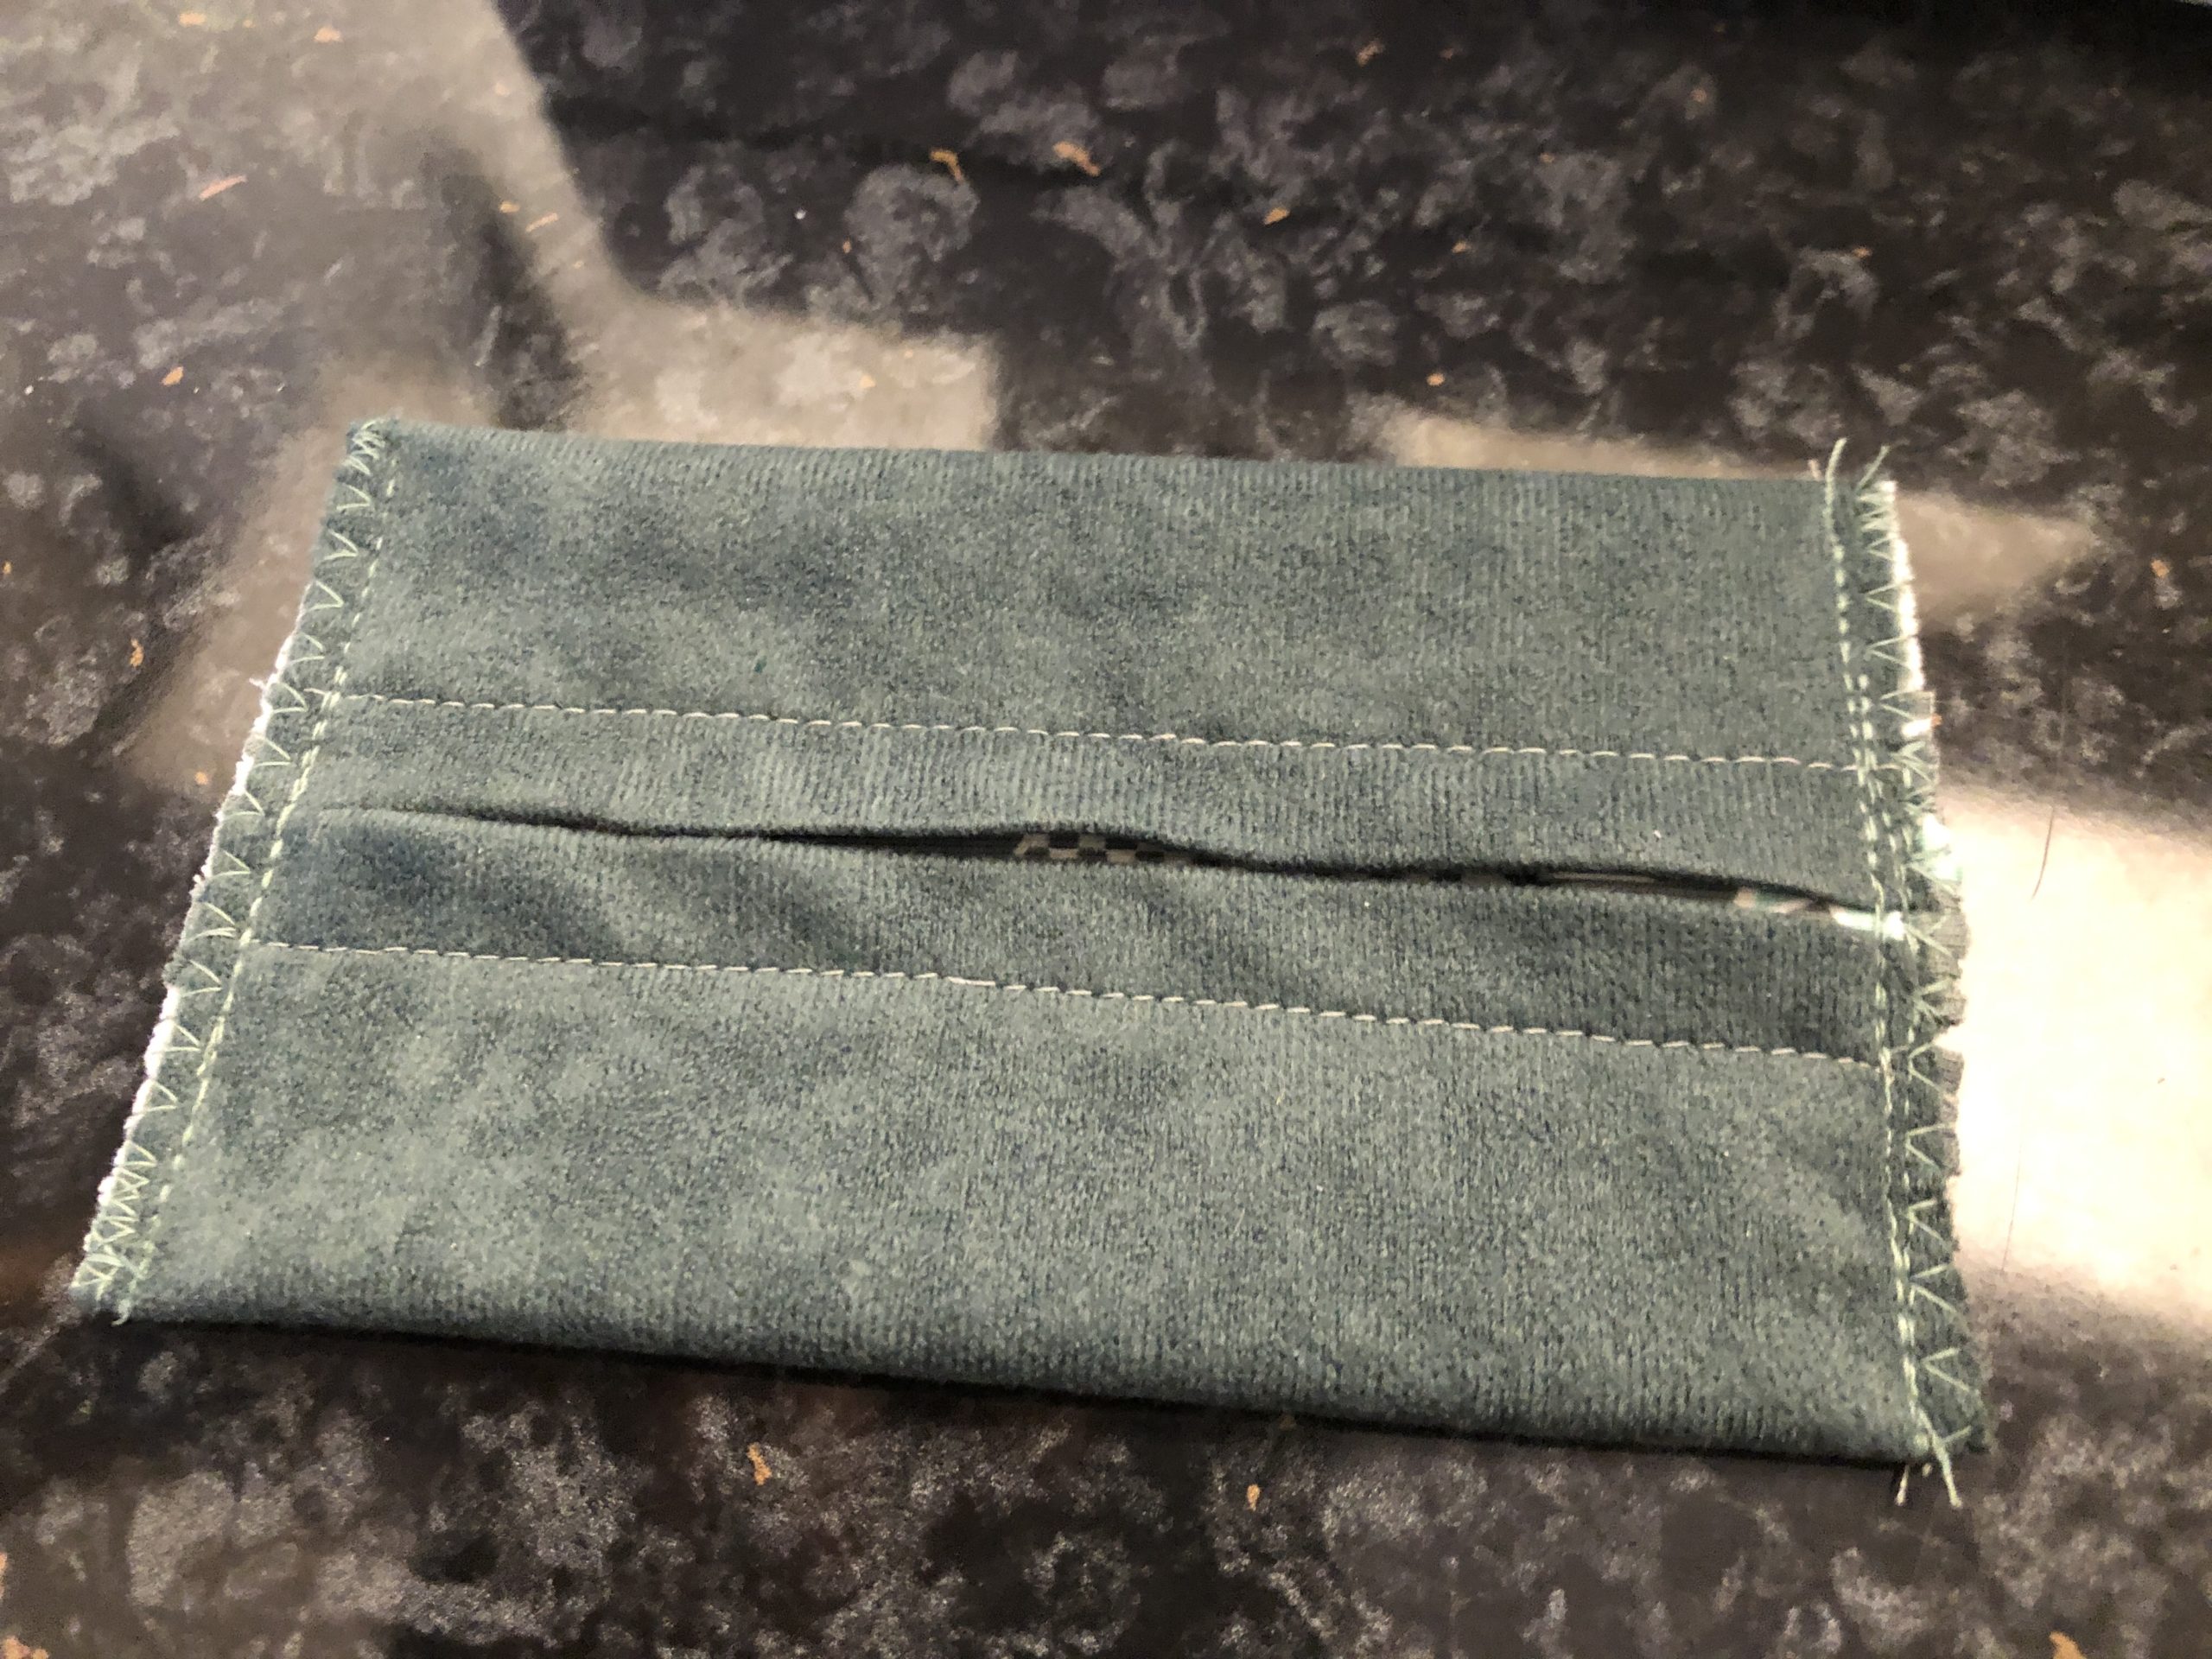
Now you sew a decorative seam on the outside on the left and right. With this you fix the fabrics again. Attention: You don't necessarily have to do these decorative seams, it also works without!
Then folds the two sewn sides inwards. Now the inner fabric lies outside!
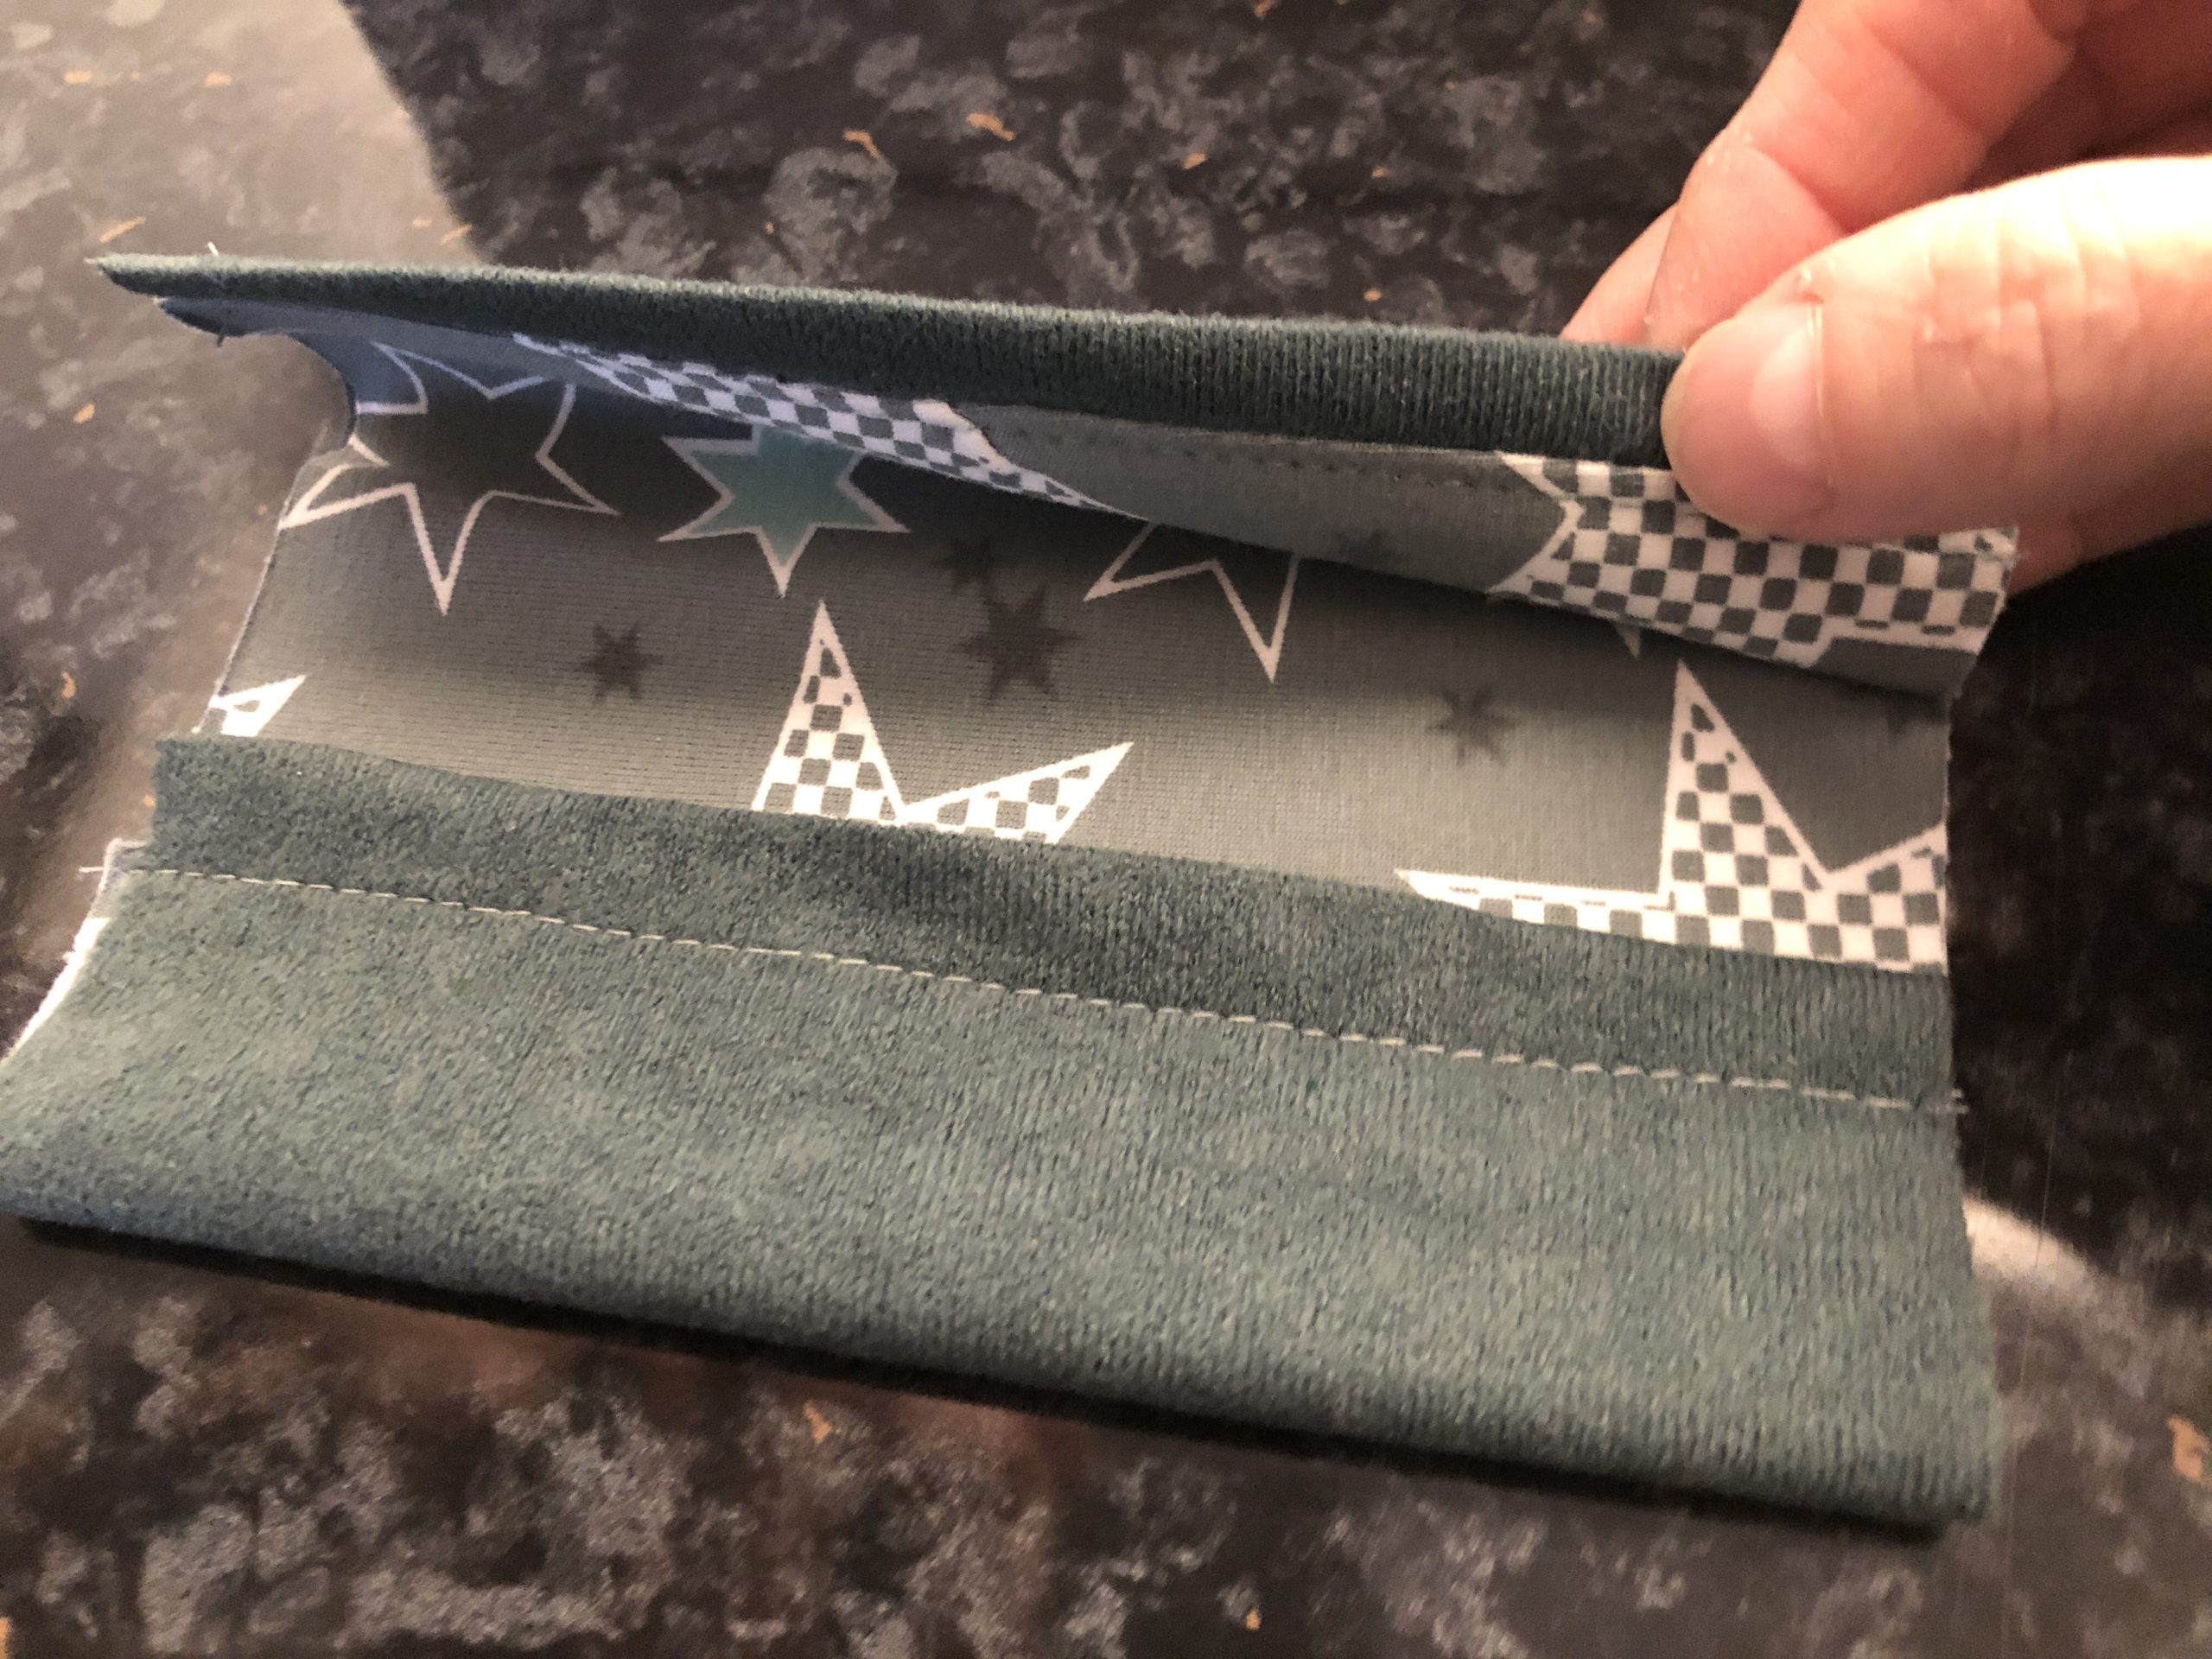
The edges touch each other.
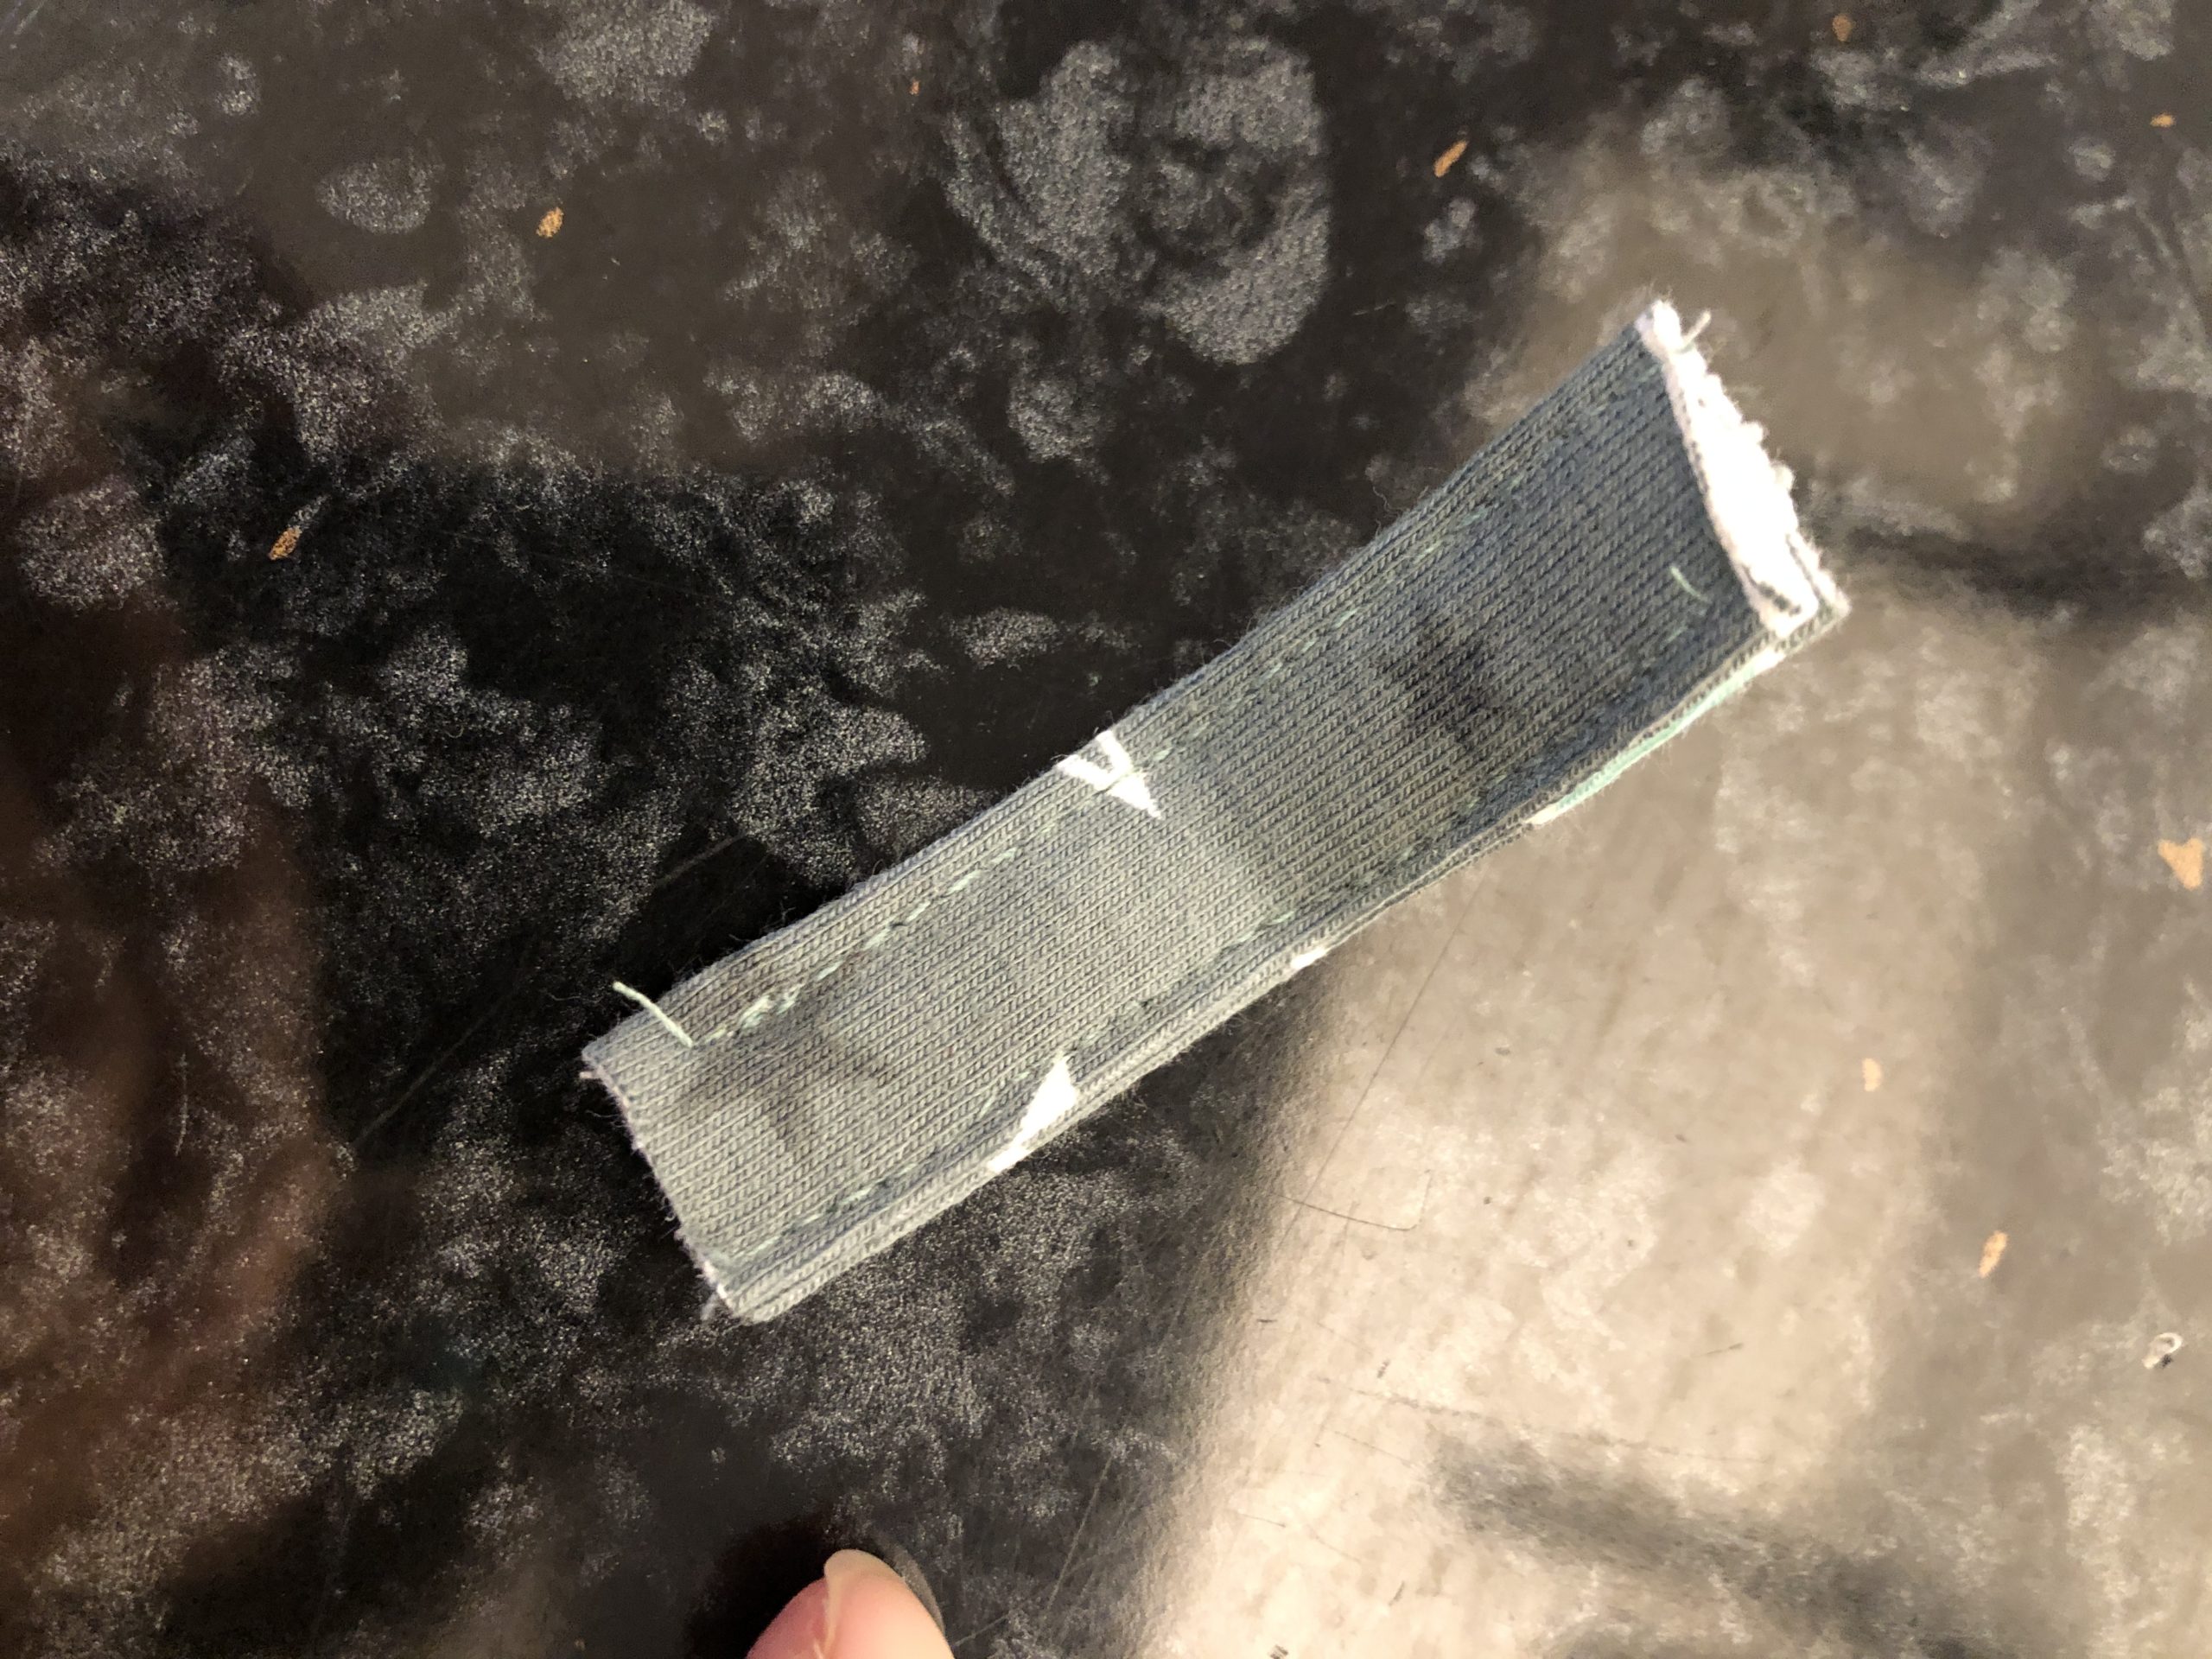
Take a piece of tape or cord.
Tip: I folded a narrow strip of fabric and sewn it together to form a band.
Fold the tape half and place it in the folded fabric.
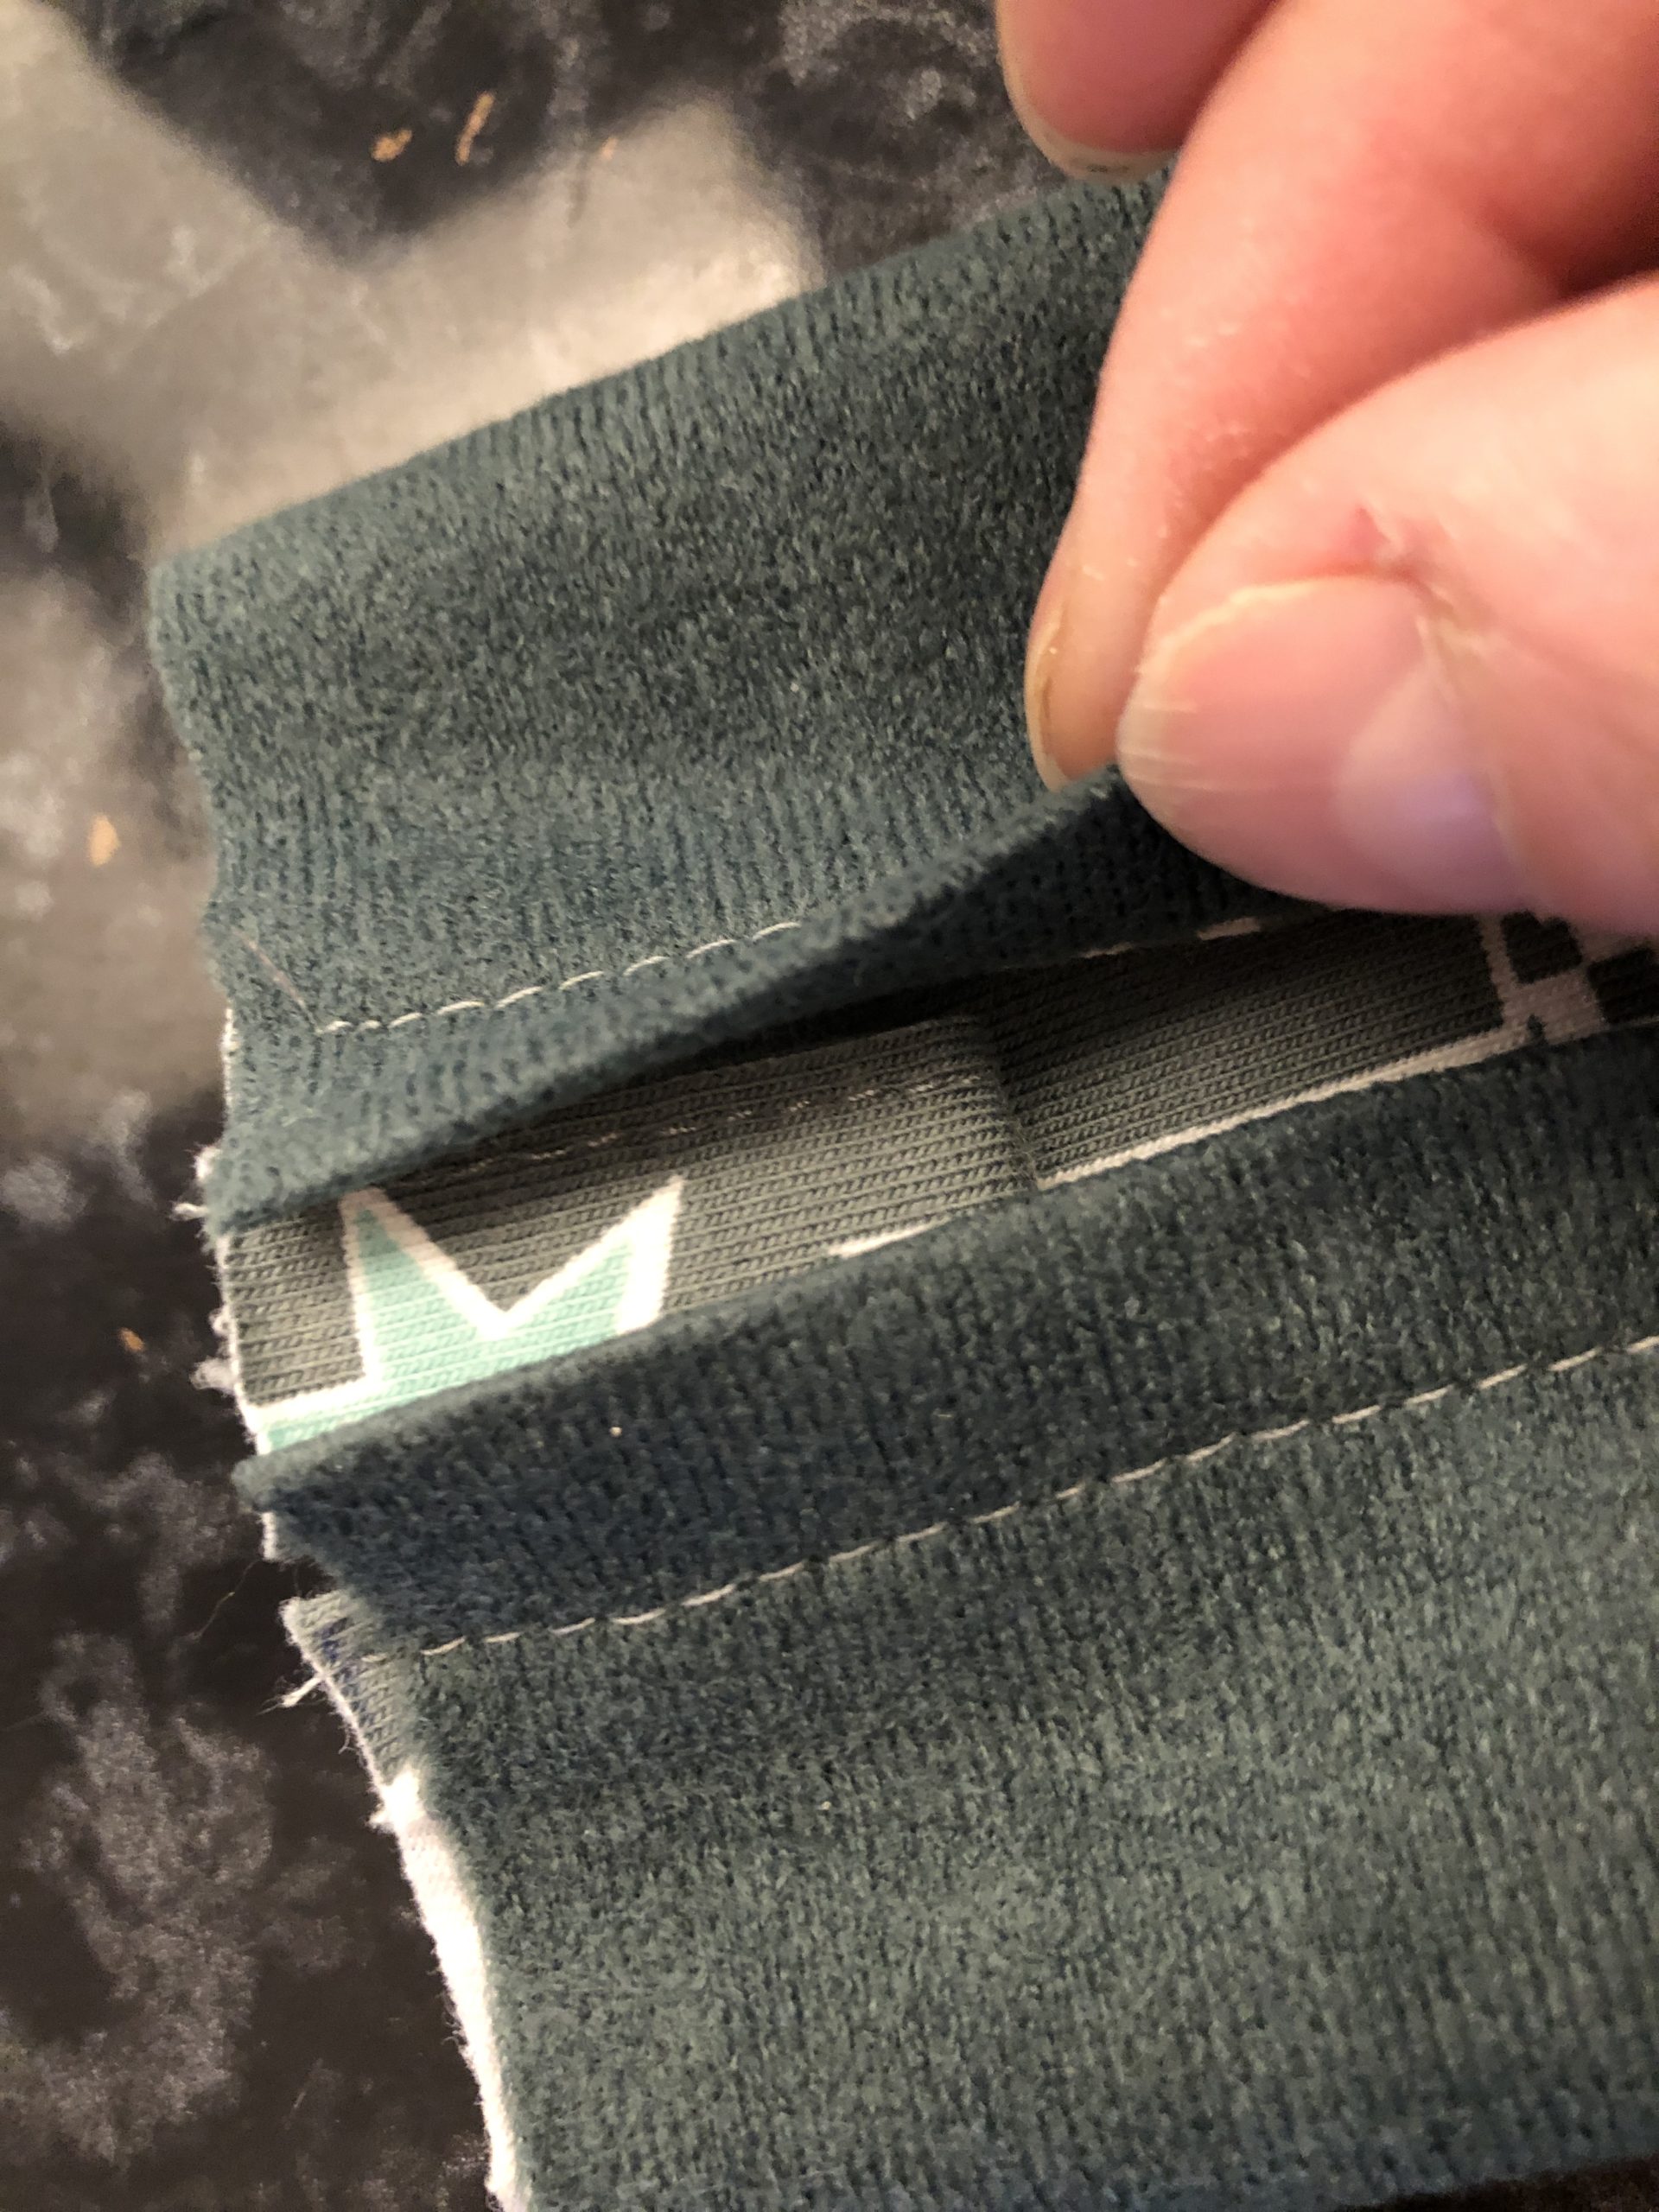
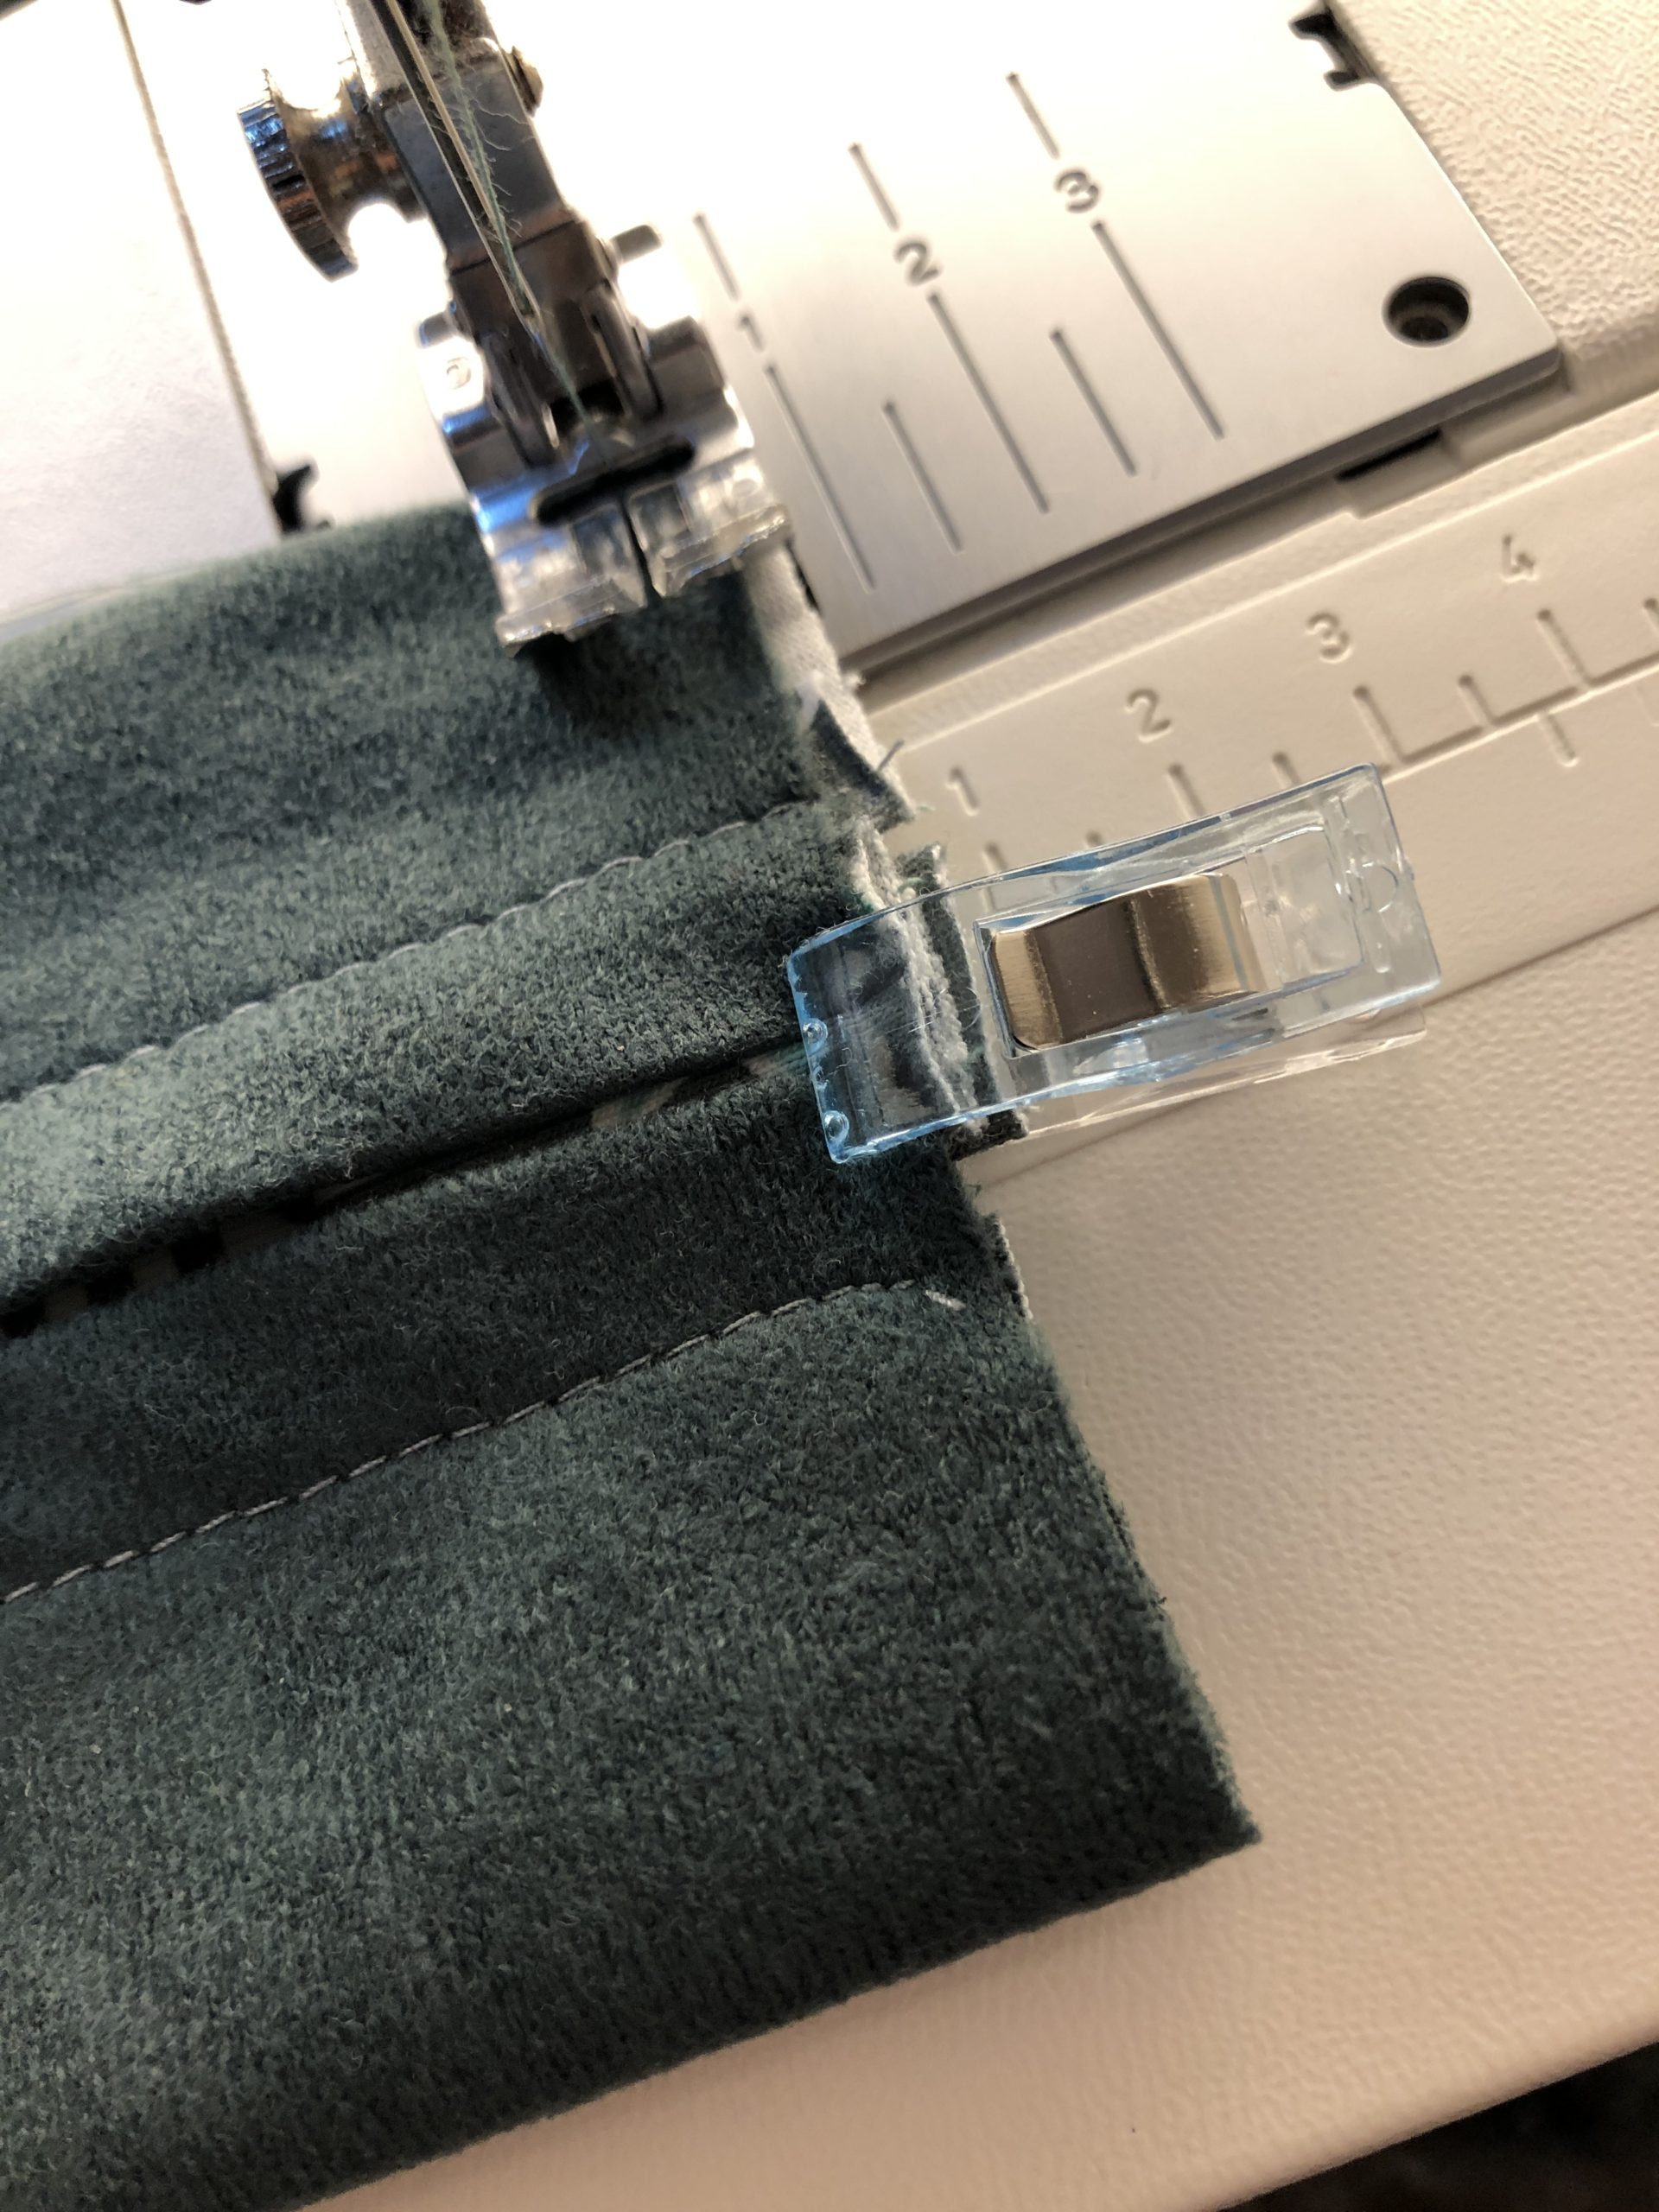
Now fix the tape with a fabric clamp or pin in the bag.
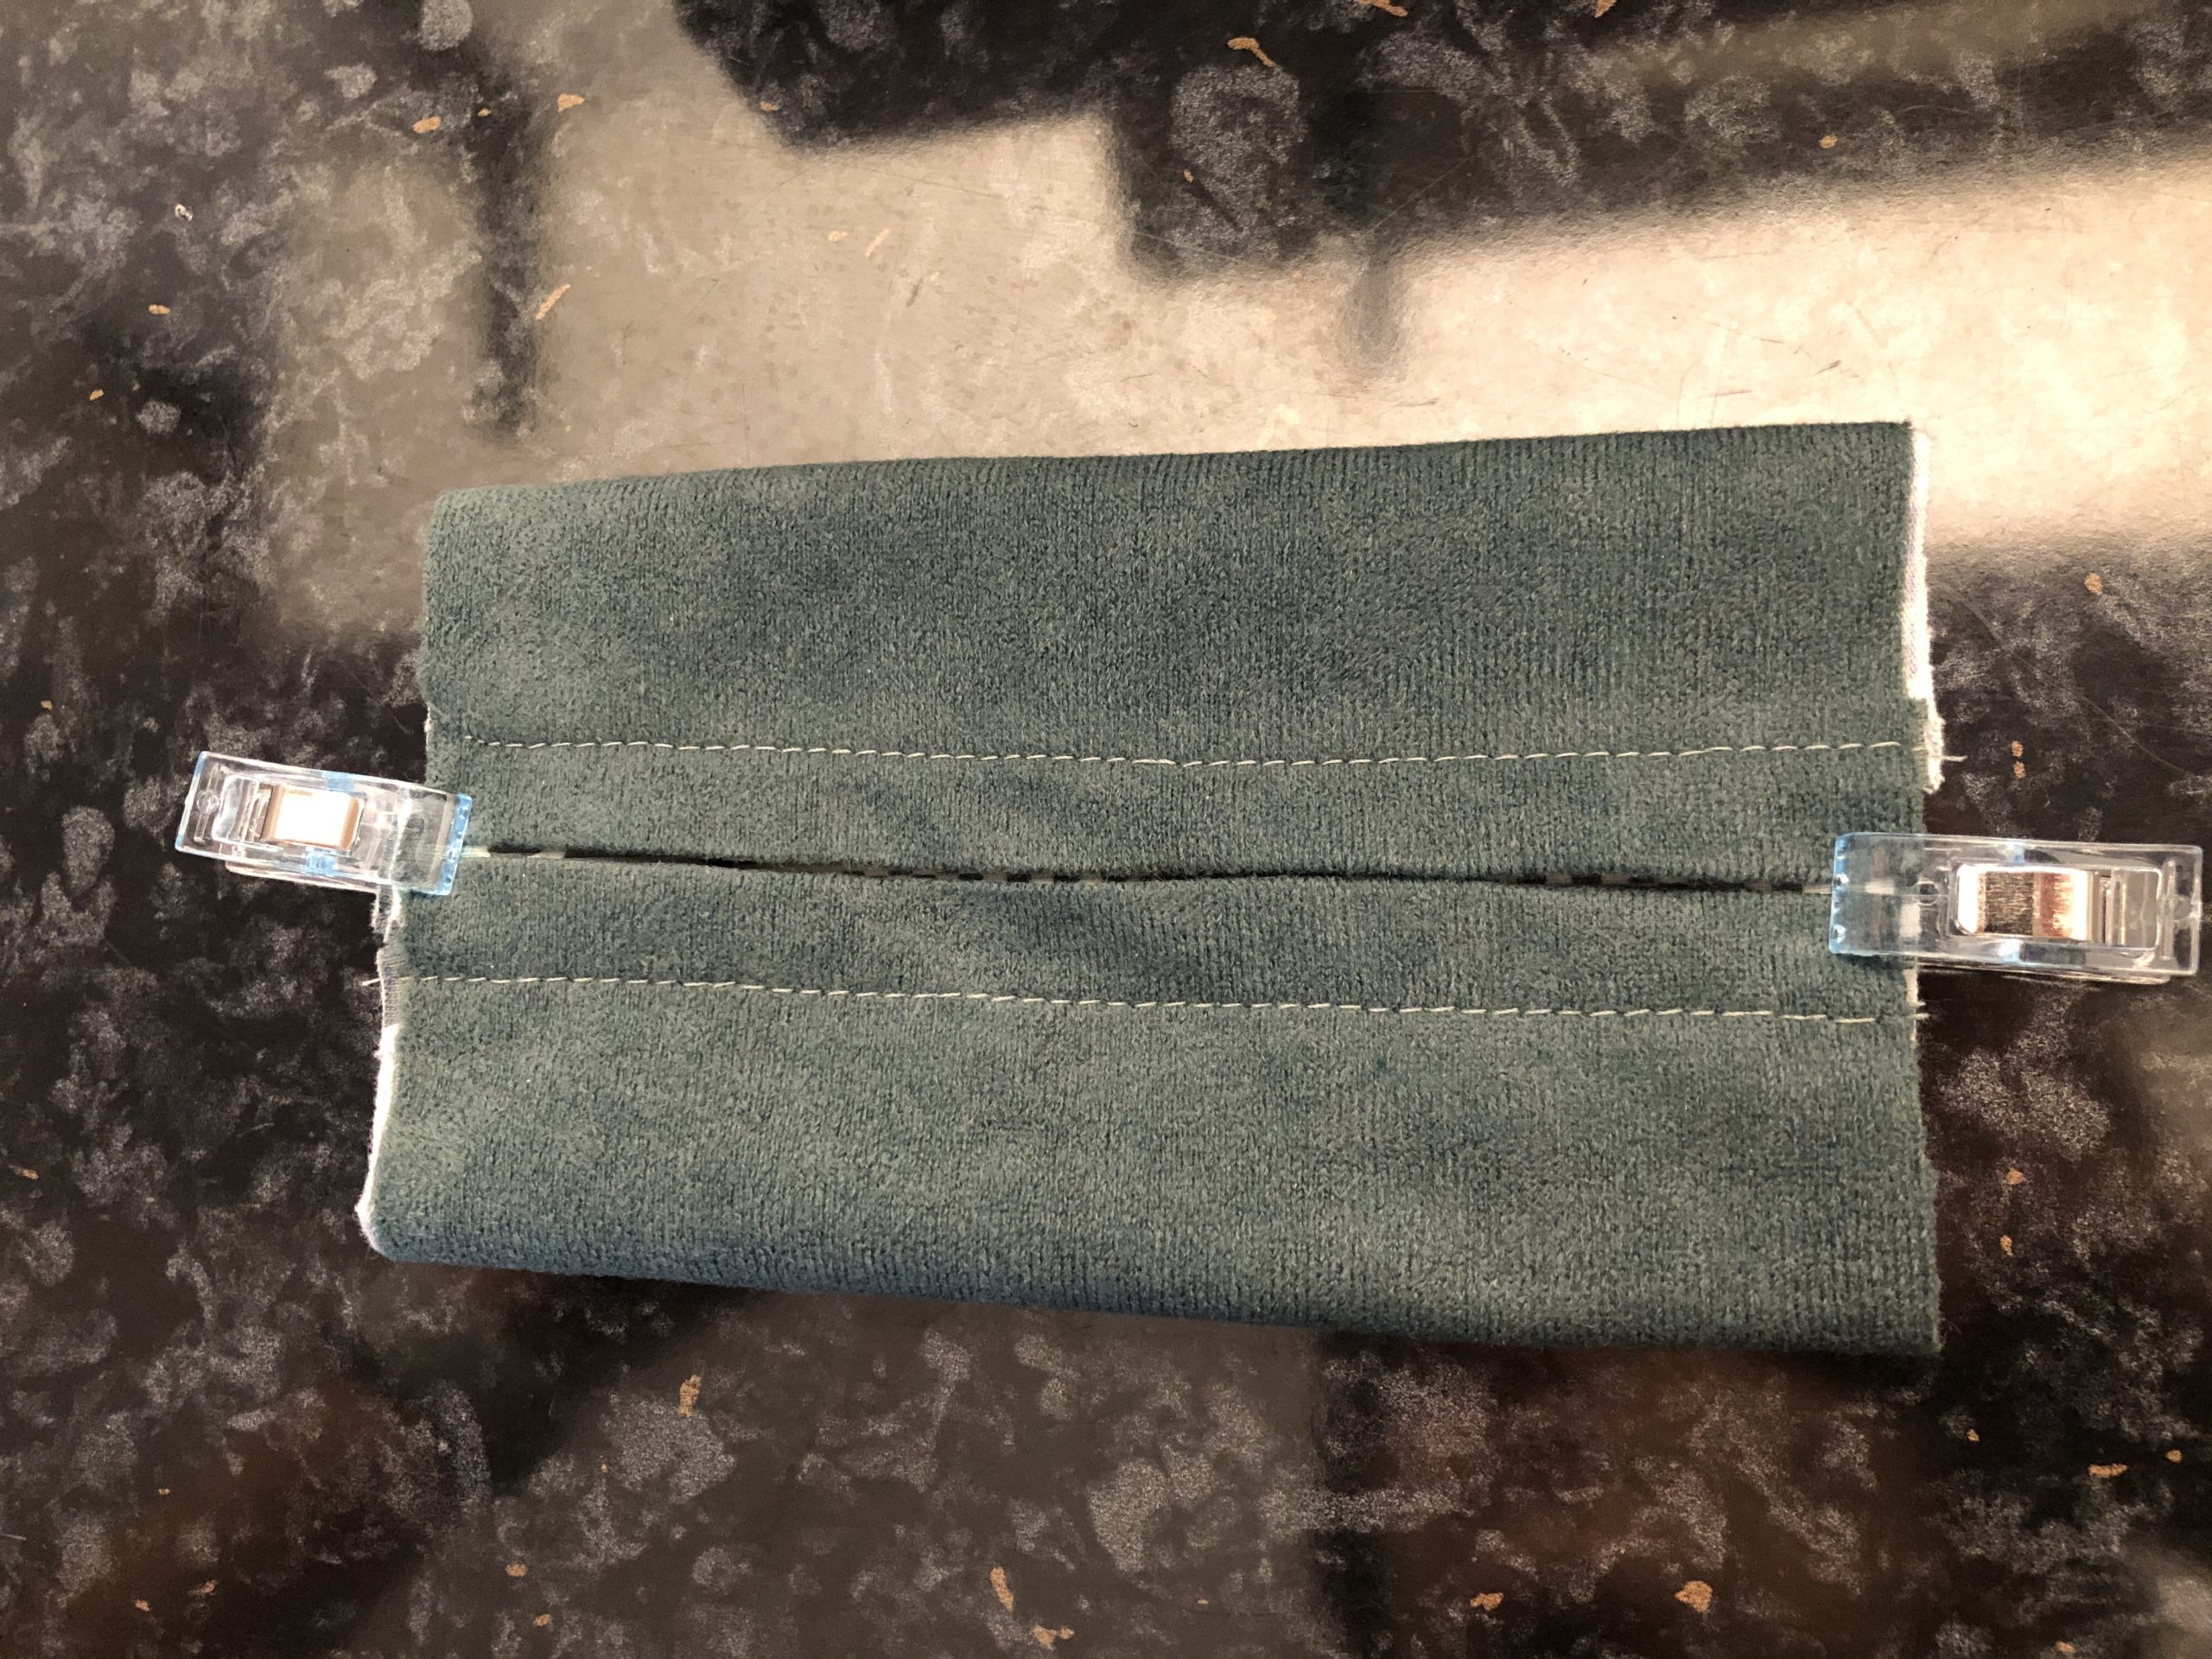
Now sew off the edge with a straight stitch.
Then you sew a second seam on the left and right with a zigzag stitch. This serves to prevent the fabric from fraying.
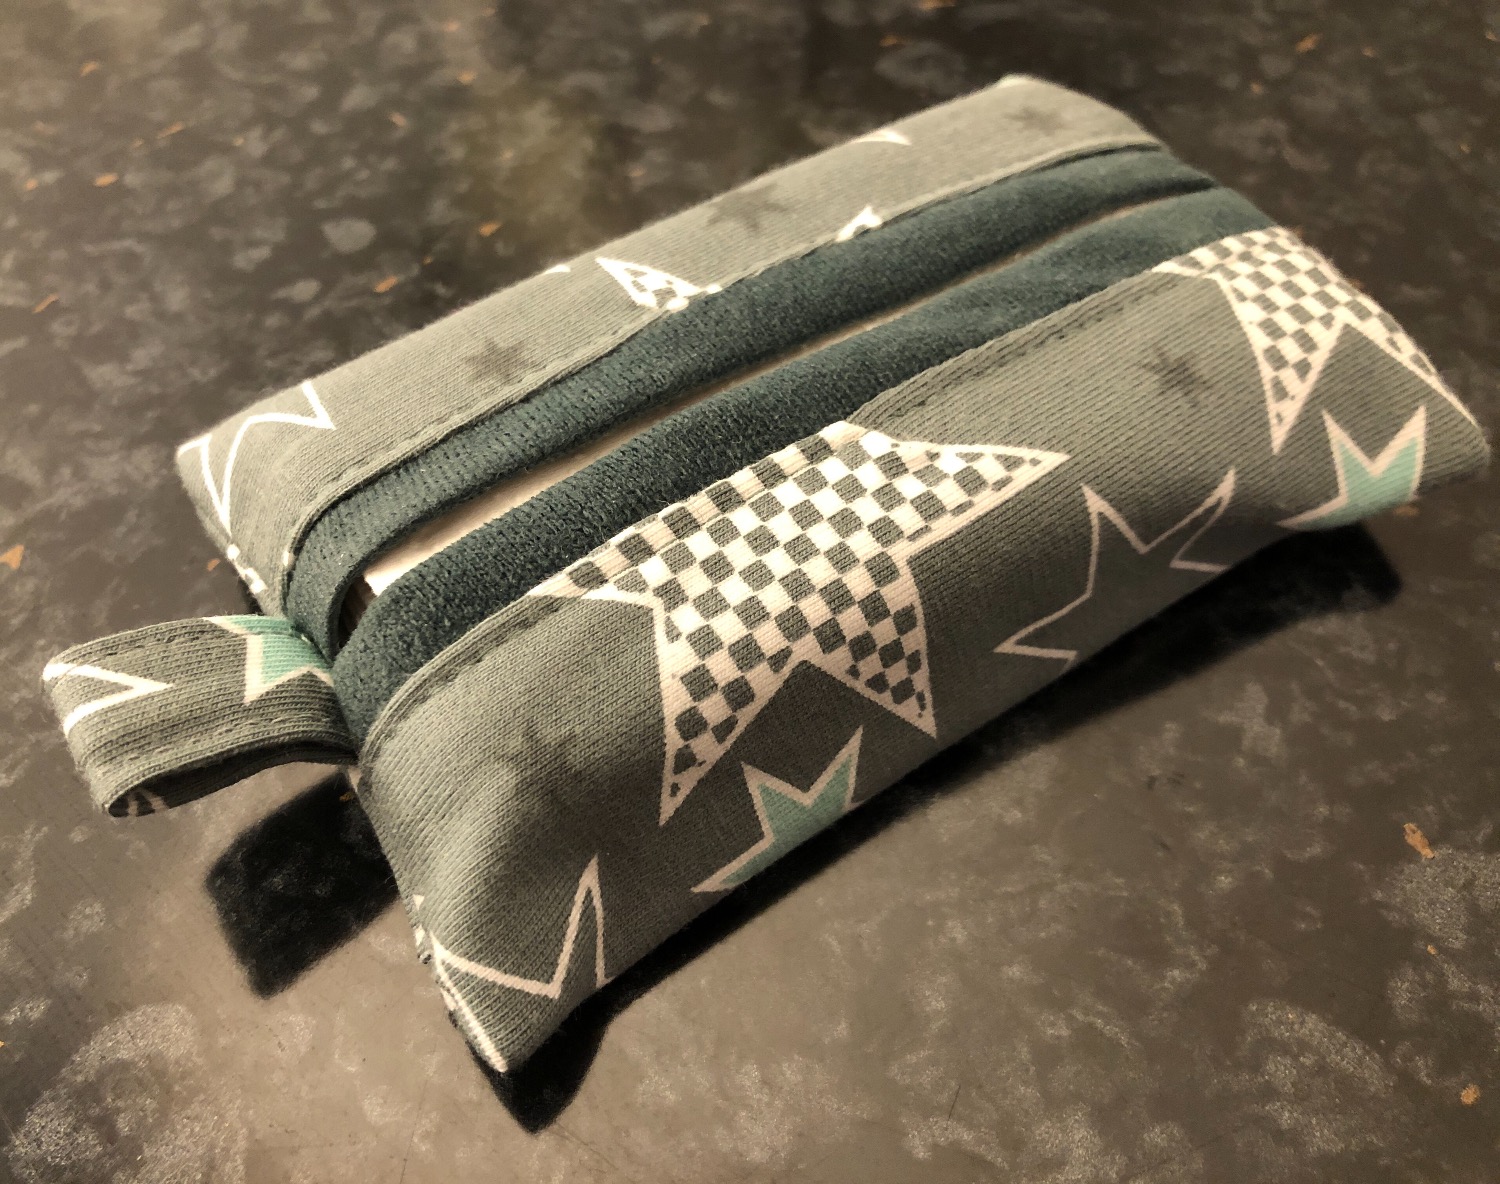
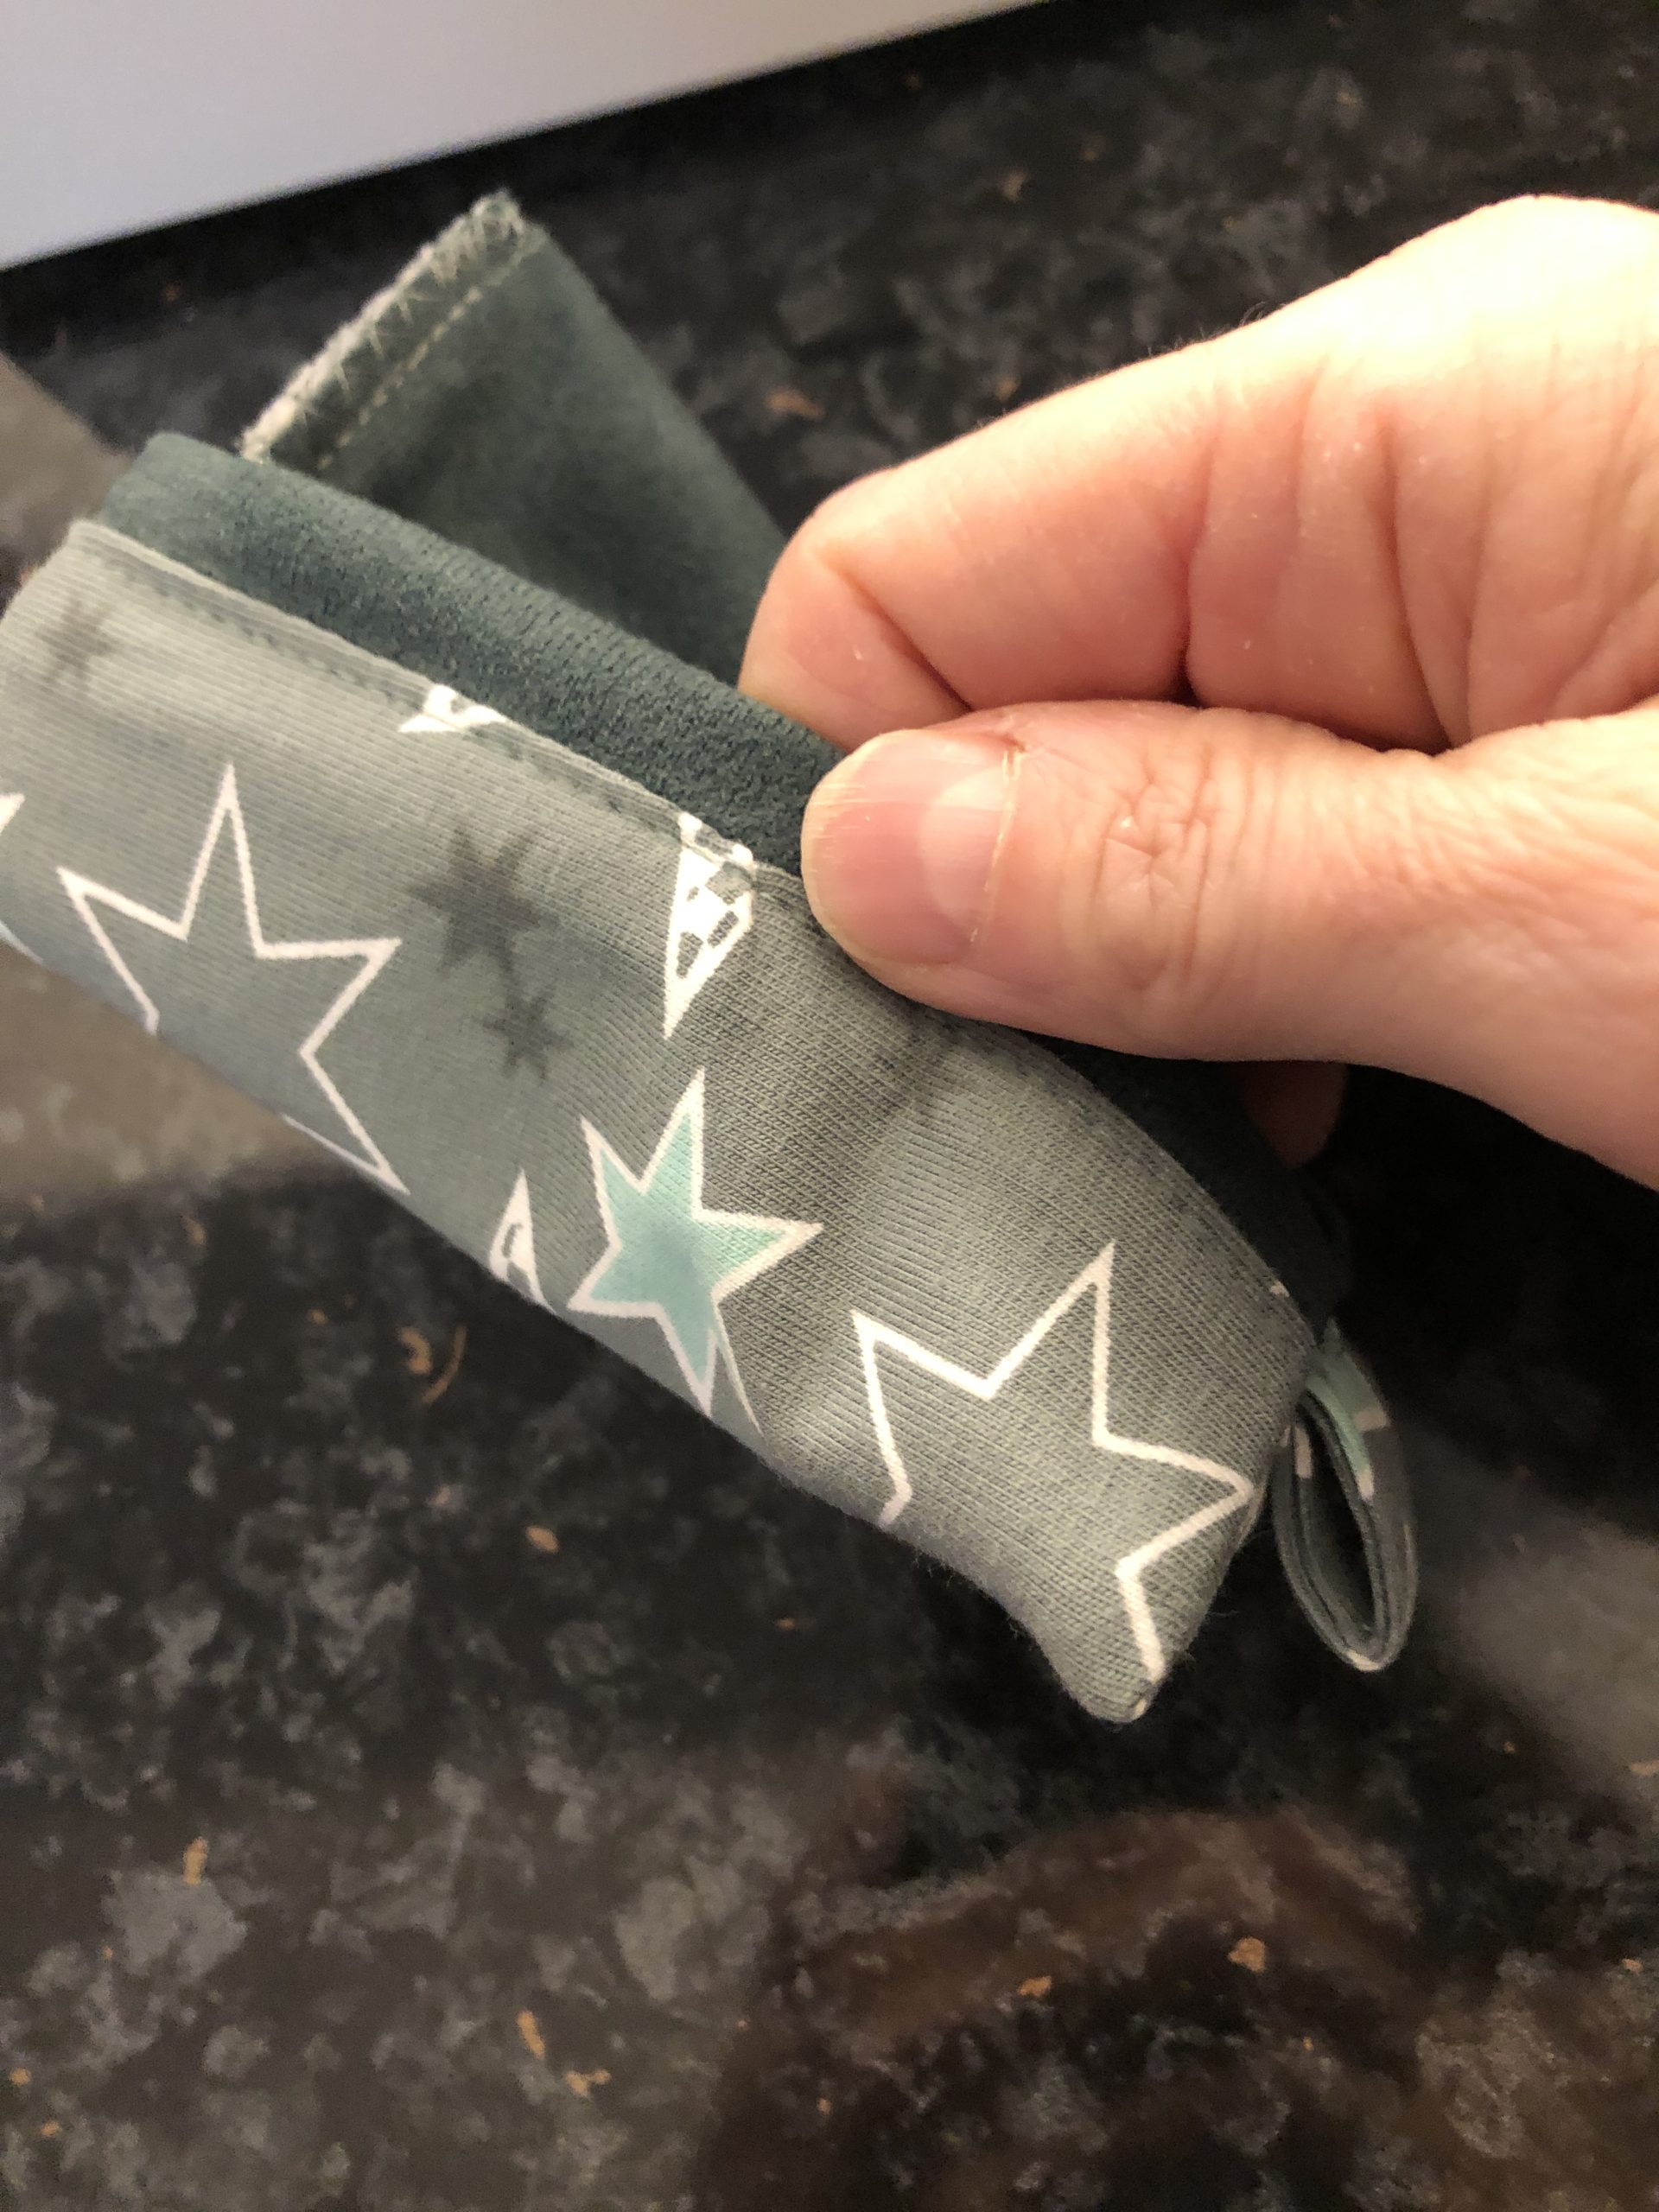
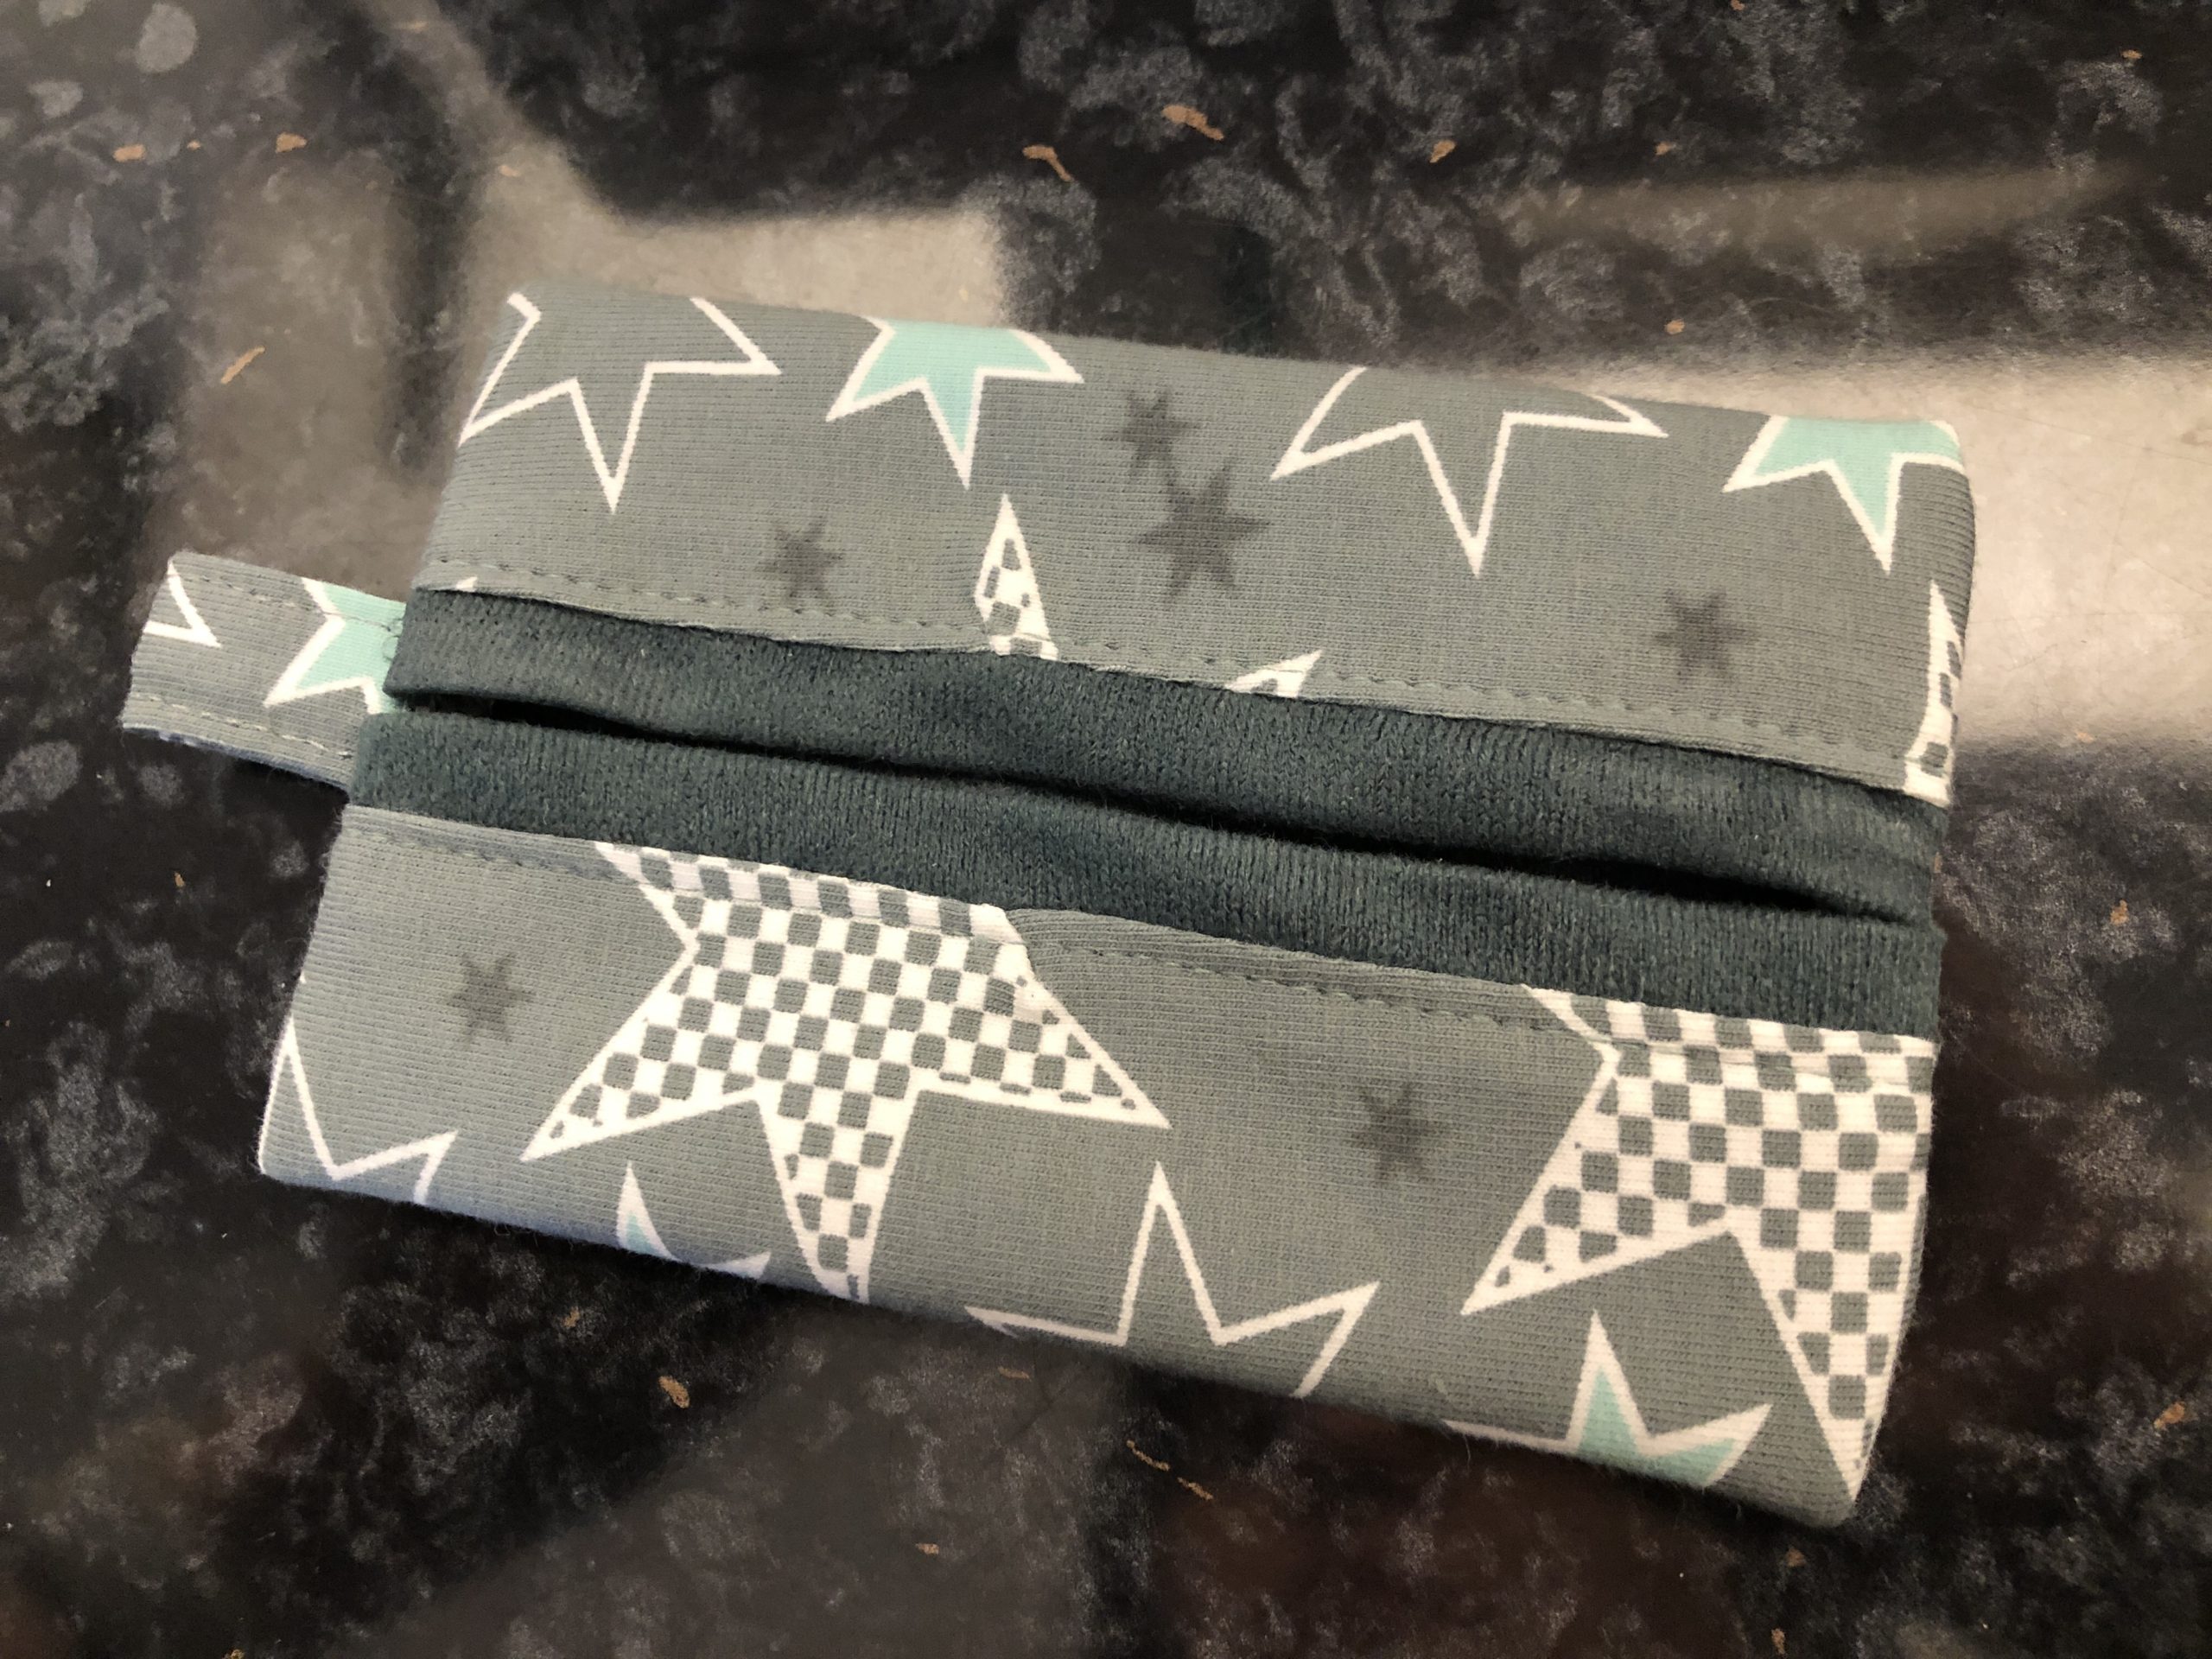
The bag is ready.
Now you're turning the stuff around.
Presses the corners well outwards.
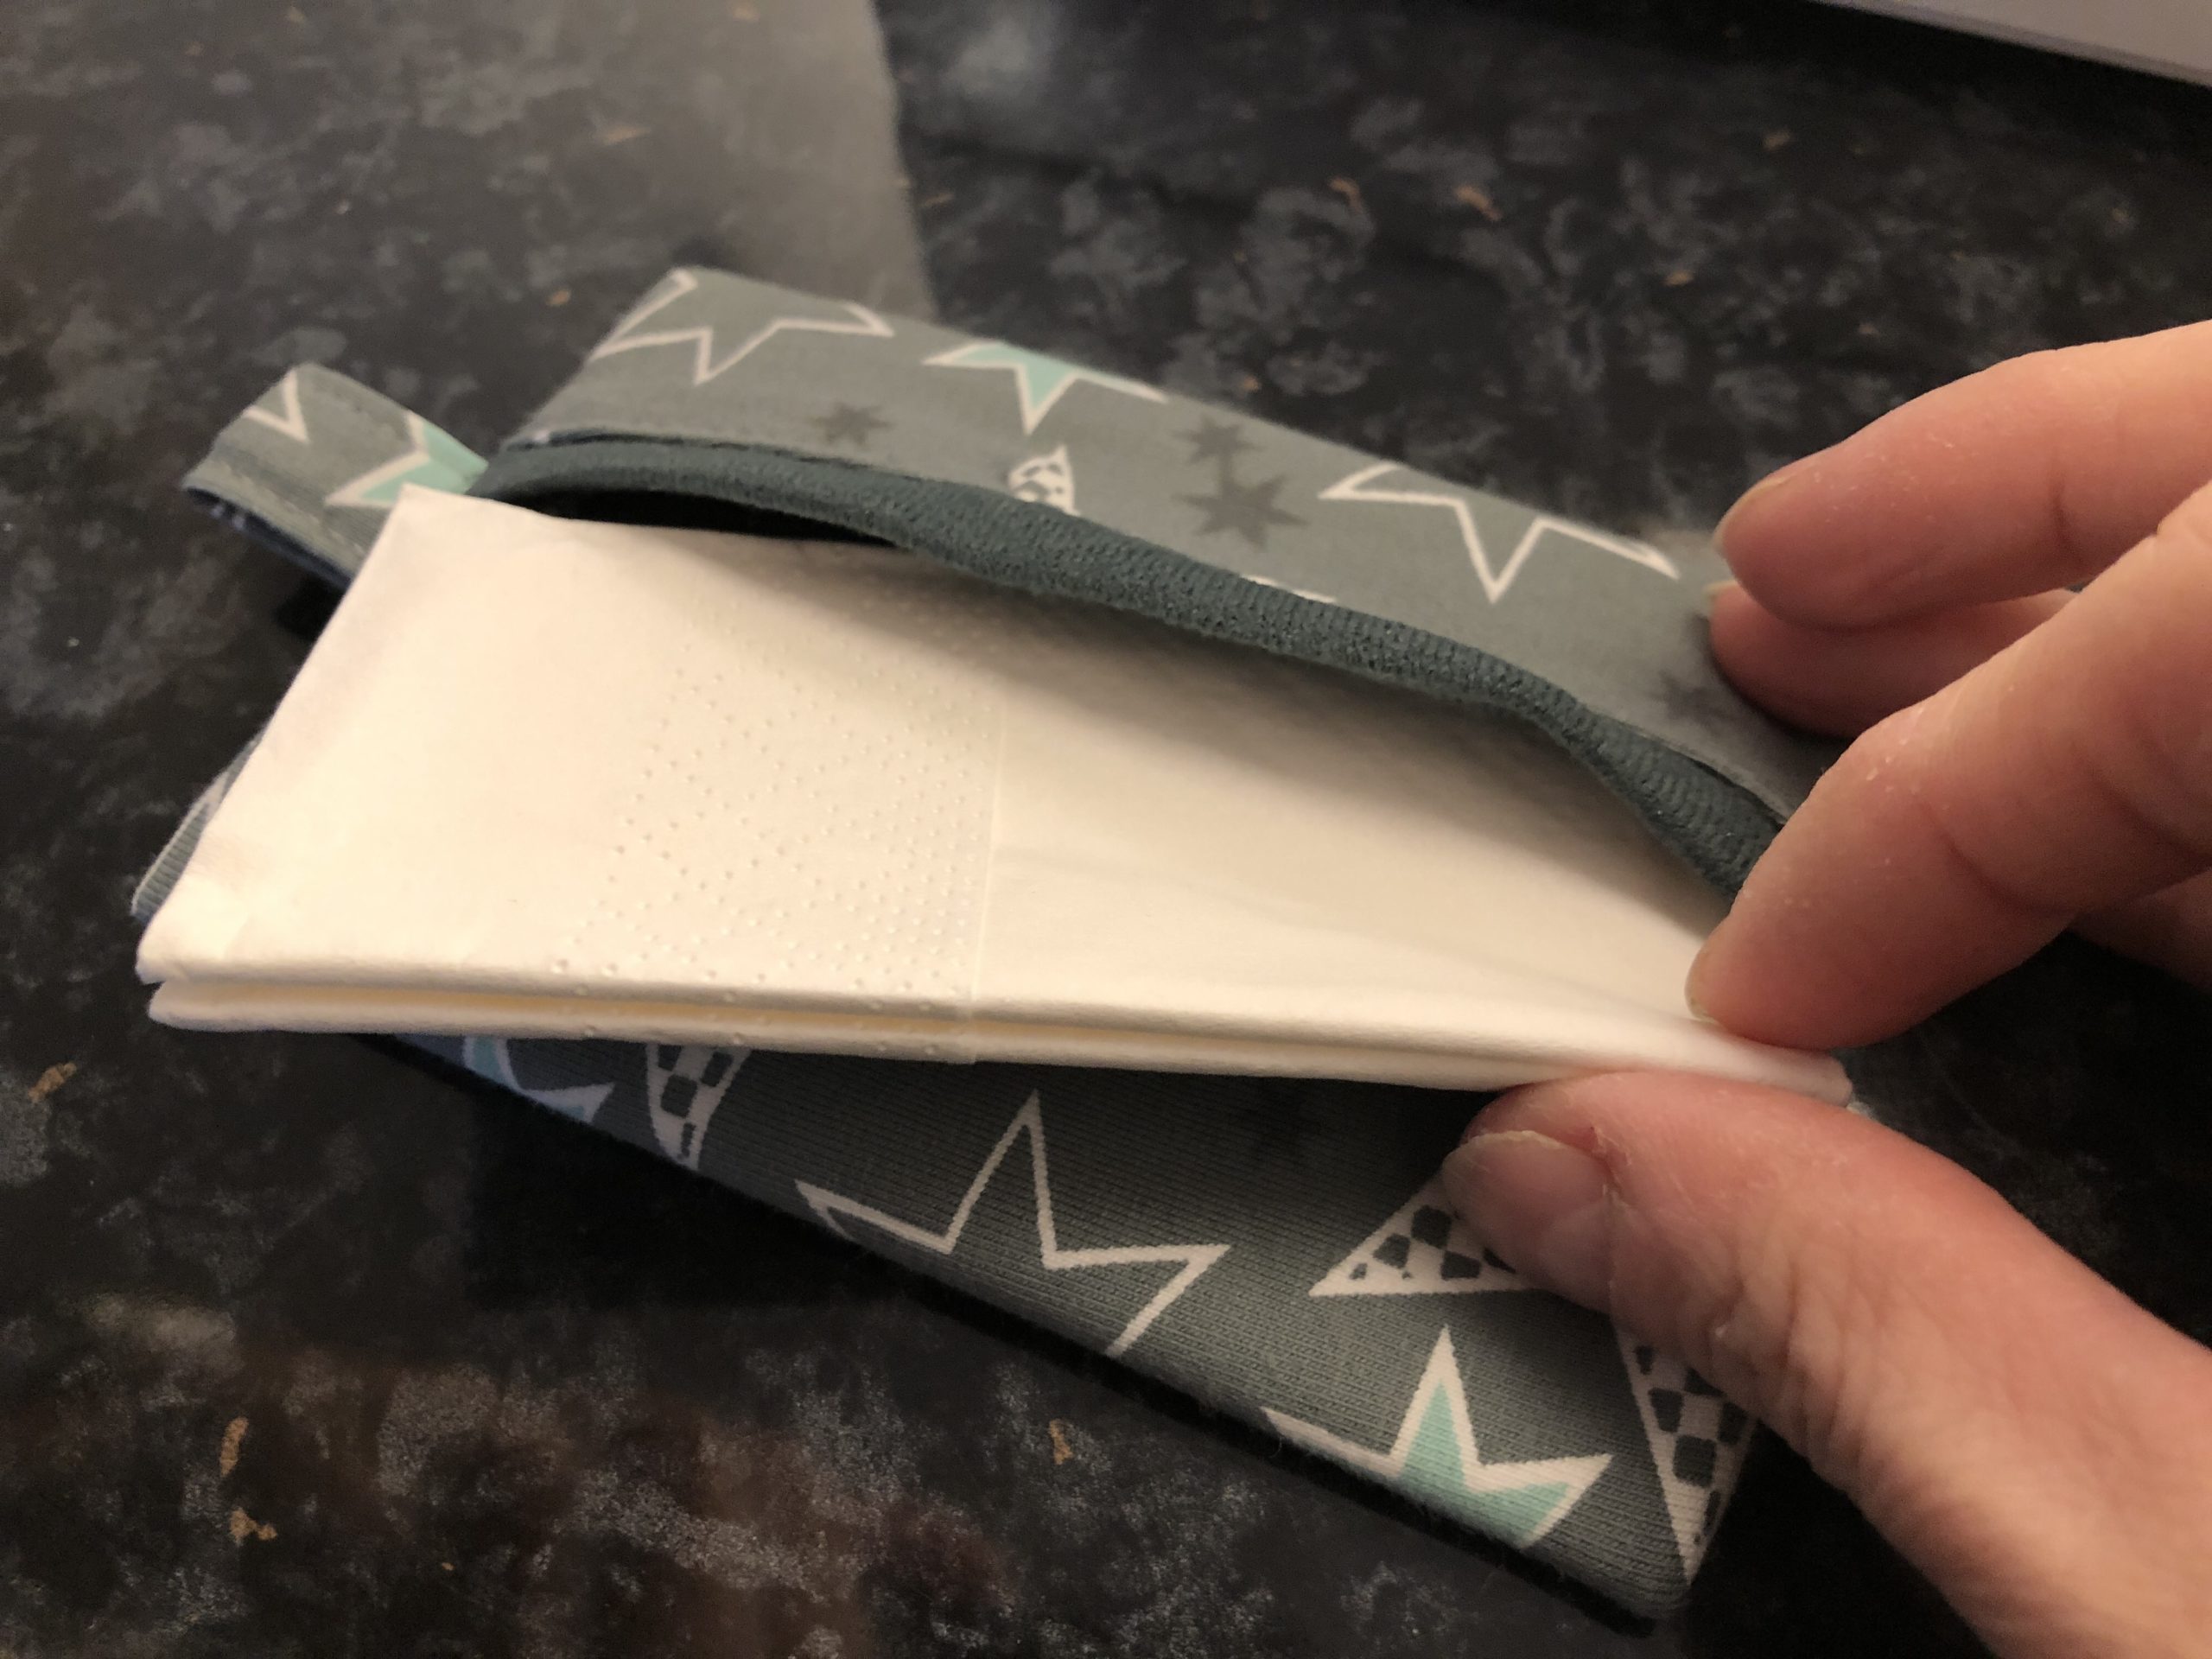
Put some handkerchiefs in it.
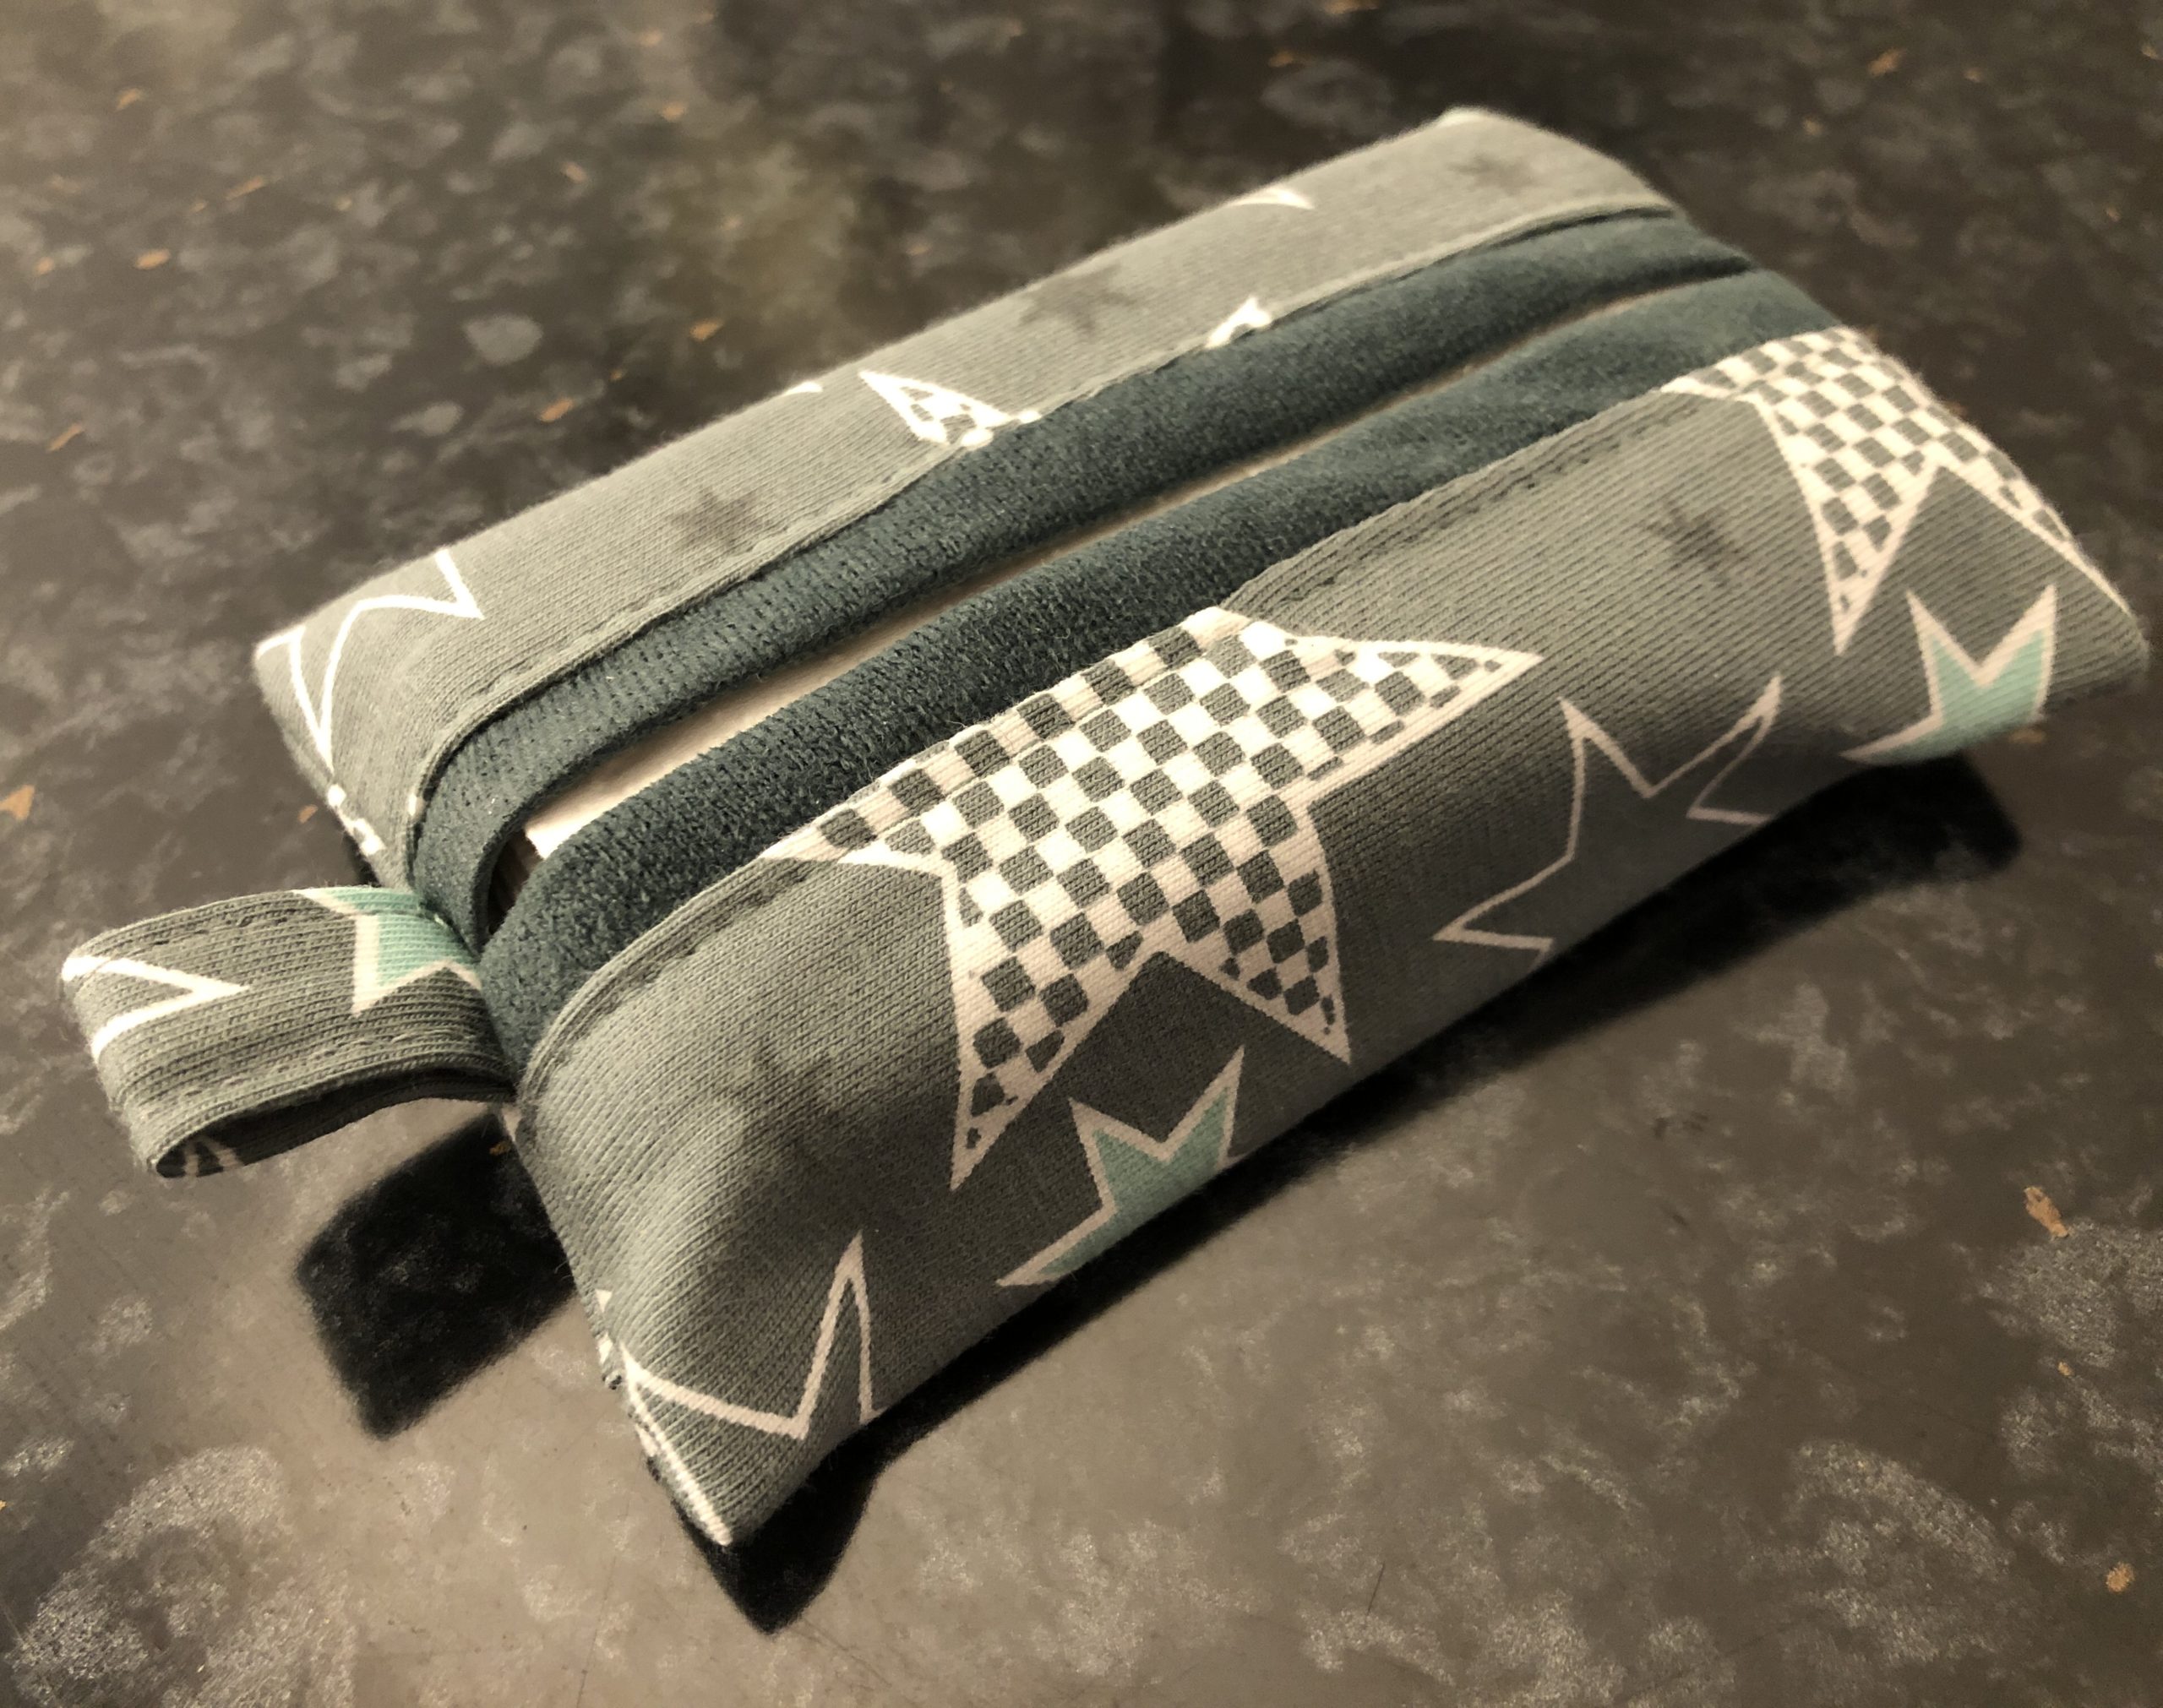
The last minute gift is ready!
Materials
Directions
First cut two fabrics with the specified dimensions.
That's my outer material.
That's my inner fabric.
Now put both fabrics together with the beautiful side (outside sides). The fabrics must lie flush on each other. Now sew them together with a straight stitch.
Now push the fabrics in such a way that the opposite edges of the fabric lie on each other. Then you sew the fabrics together with a straight stitch.
The opposite sides are now sewn together.
Now you turn the stuff around.
Put it down properly. The outer fabric must be centered and the inner fabric must be visible on the side.
Tip: If the fabric is pressed now, it will lie down better for sewing.
Now you sew a decorative seam on the outside on the left and right. With this you fix the fabrics again. Attention: You don't necessarily have to do these decorative seams, it also works without!
Then folds the two sewn sides inwards. Now the inner fabric lies outside!
The edges touch each other.
Take a piece of tape or cord.
Tip: I folded a narrow strip of fabric and sewn it together to form a band.
Fold the tape half and place it in the folded fabric.
Now fix the tape with a fabric clamp or pin in the bag.
Now sew off the edge with a straight stitch.
Then you sew a second seam on the left and right with a zigzag stitch. This serves to prevent the fabric from fraying.
The bag is ready.
Now you're turning the stuff around.
Presses the corners well outwards.
Put some handkerchiefs in it.
The last minute gift is ready!
Follow us on Facebook , Instagram and Pinterest
Don't miss any more adventures: Our bottle mail