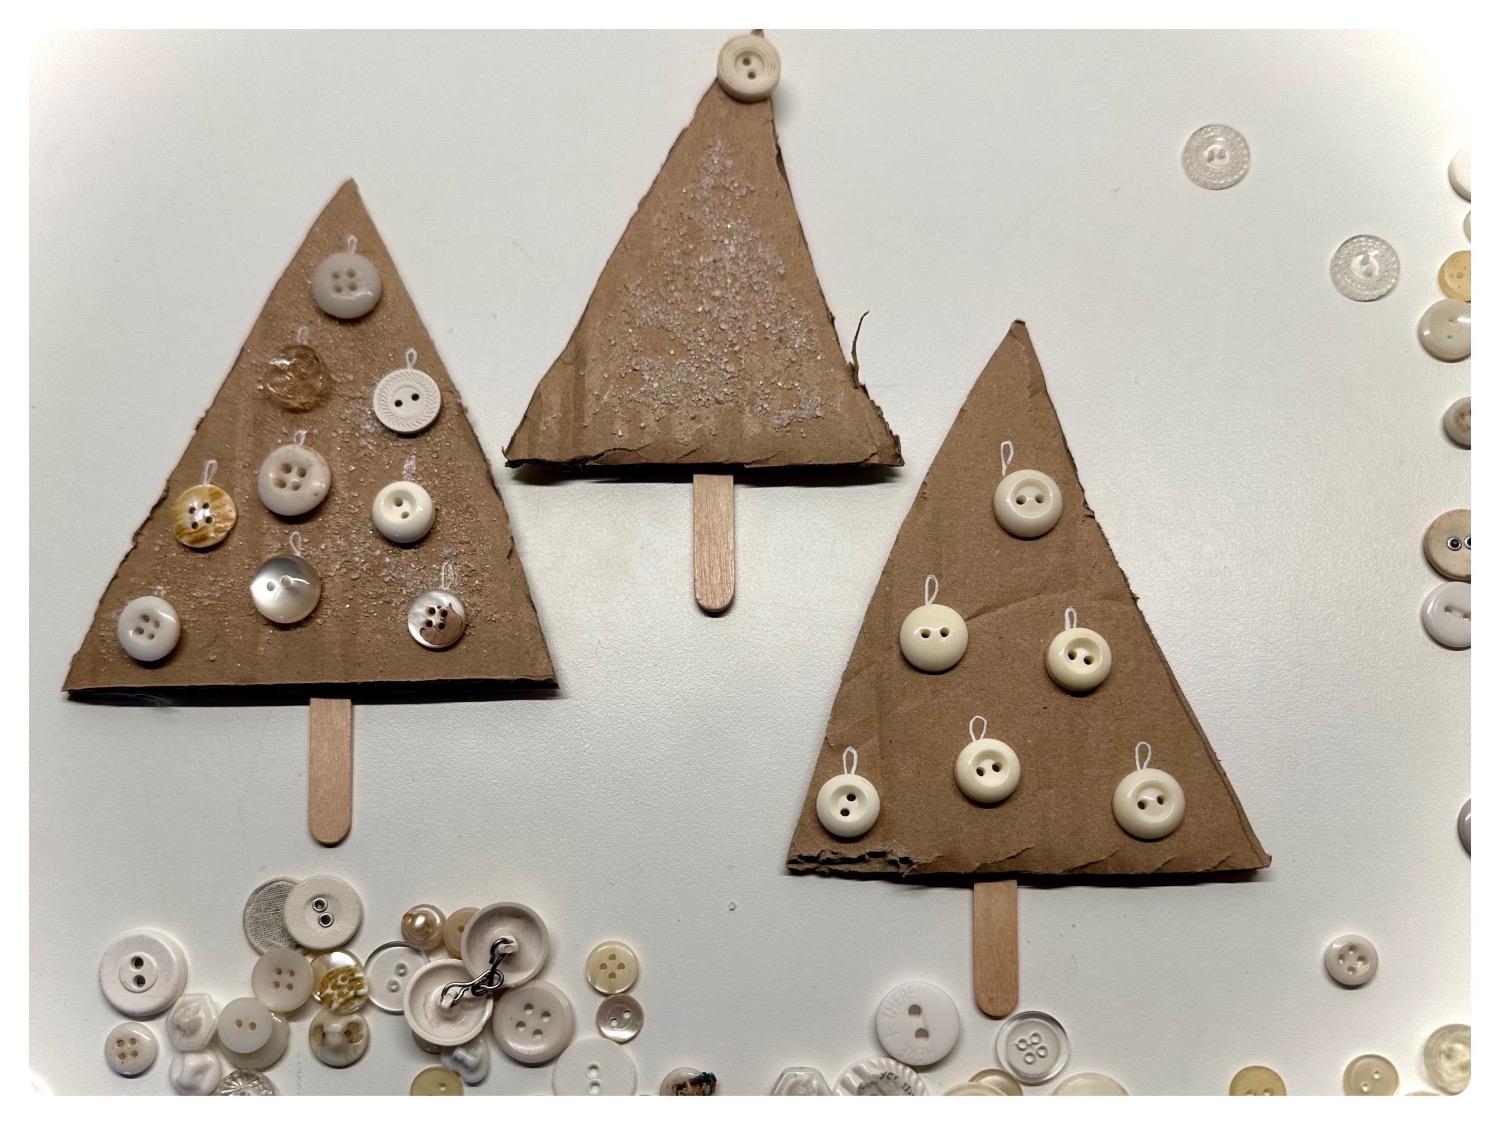
Fir trees made of cardboard and buttons are a nice inexpensive craft, an upcycled project, so to speak.
Adhesive work already loves very small children, the individual design is wanted here. Try it out and have fun with it.
Media Education for Kindergarten and Hort

Relief in everyday life, targeted promotion of individual children, independent learning and - without any pre-knowledge already usable by the youngest!
Get your craft material and all the materials ready.
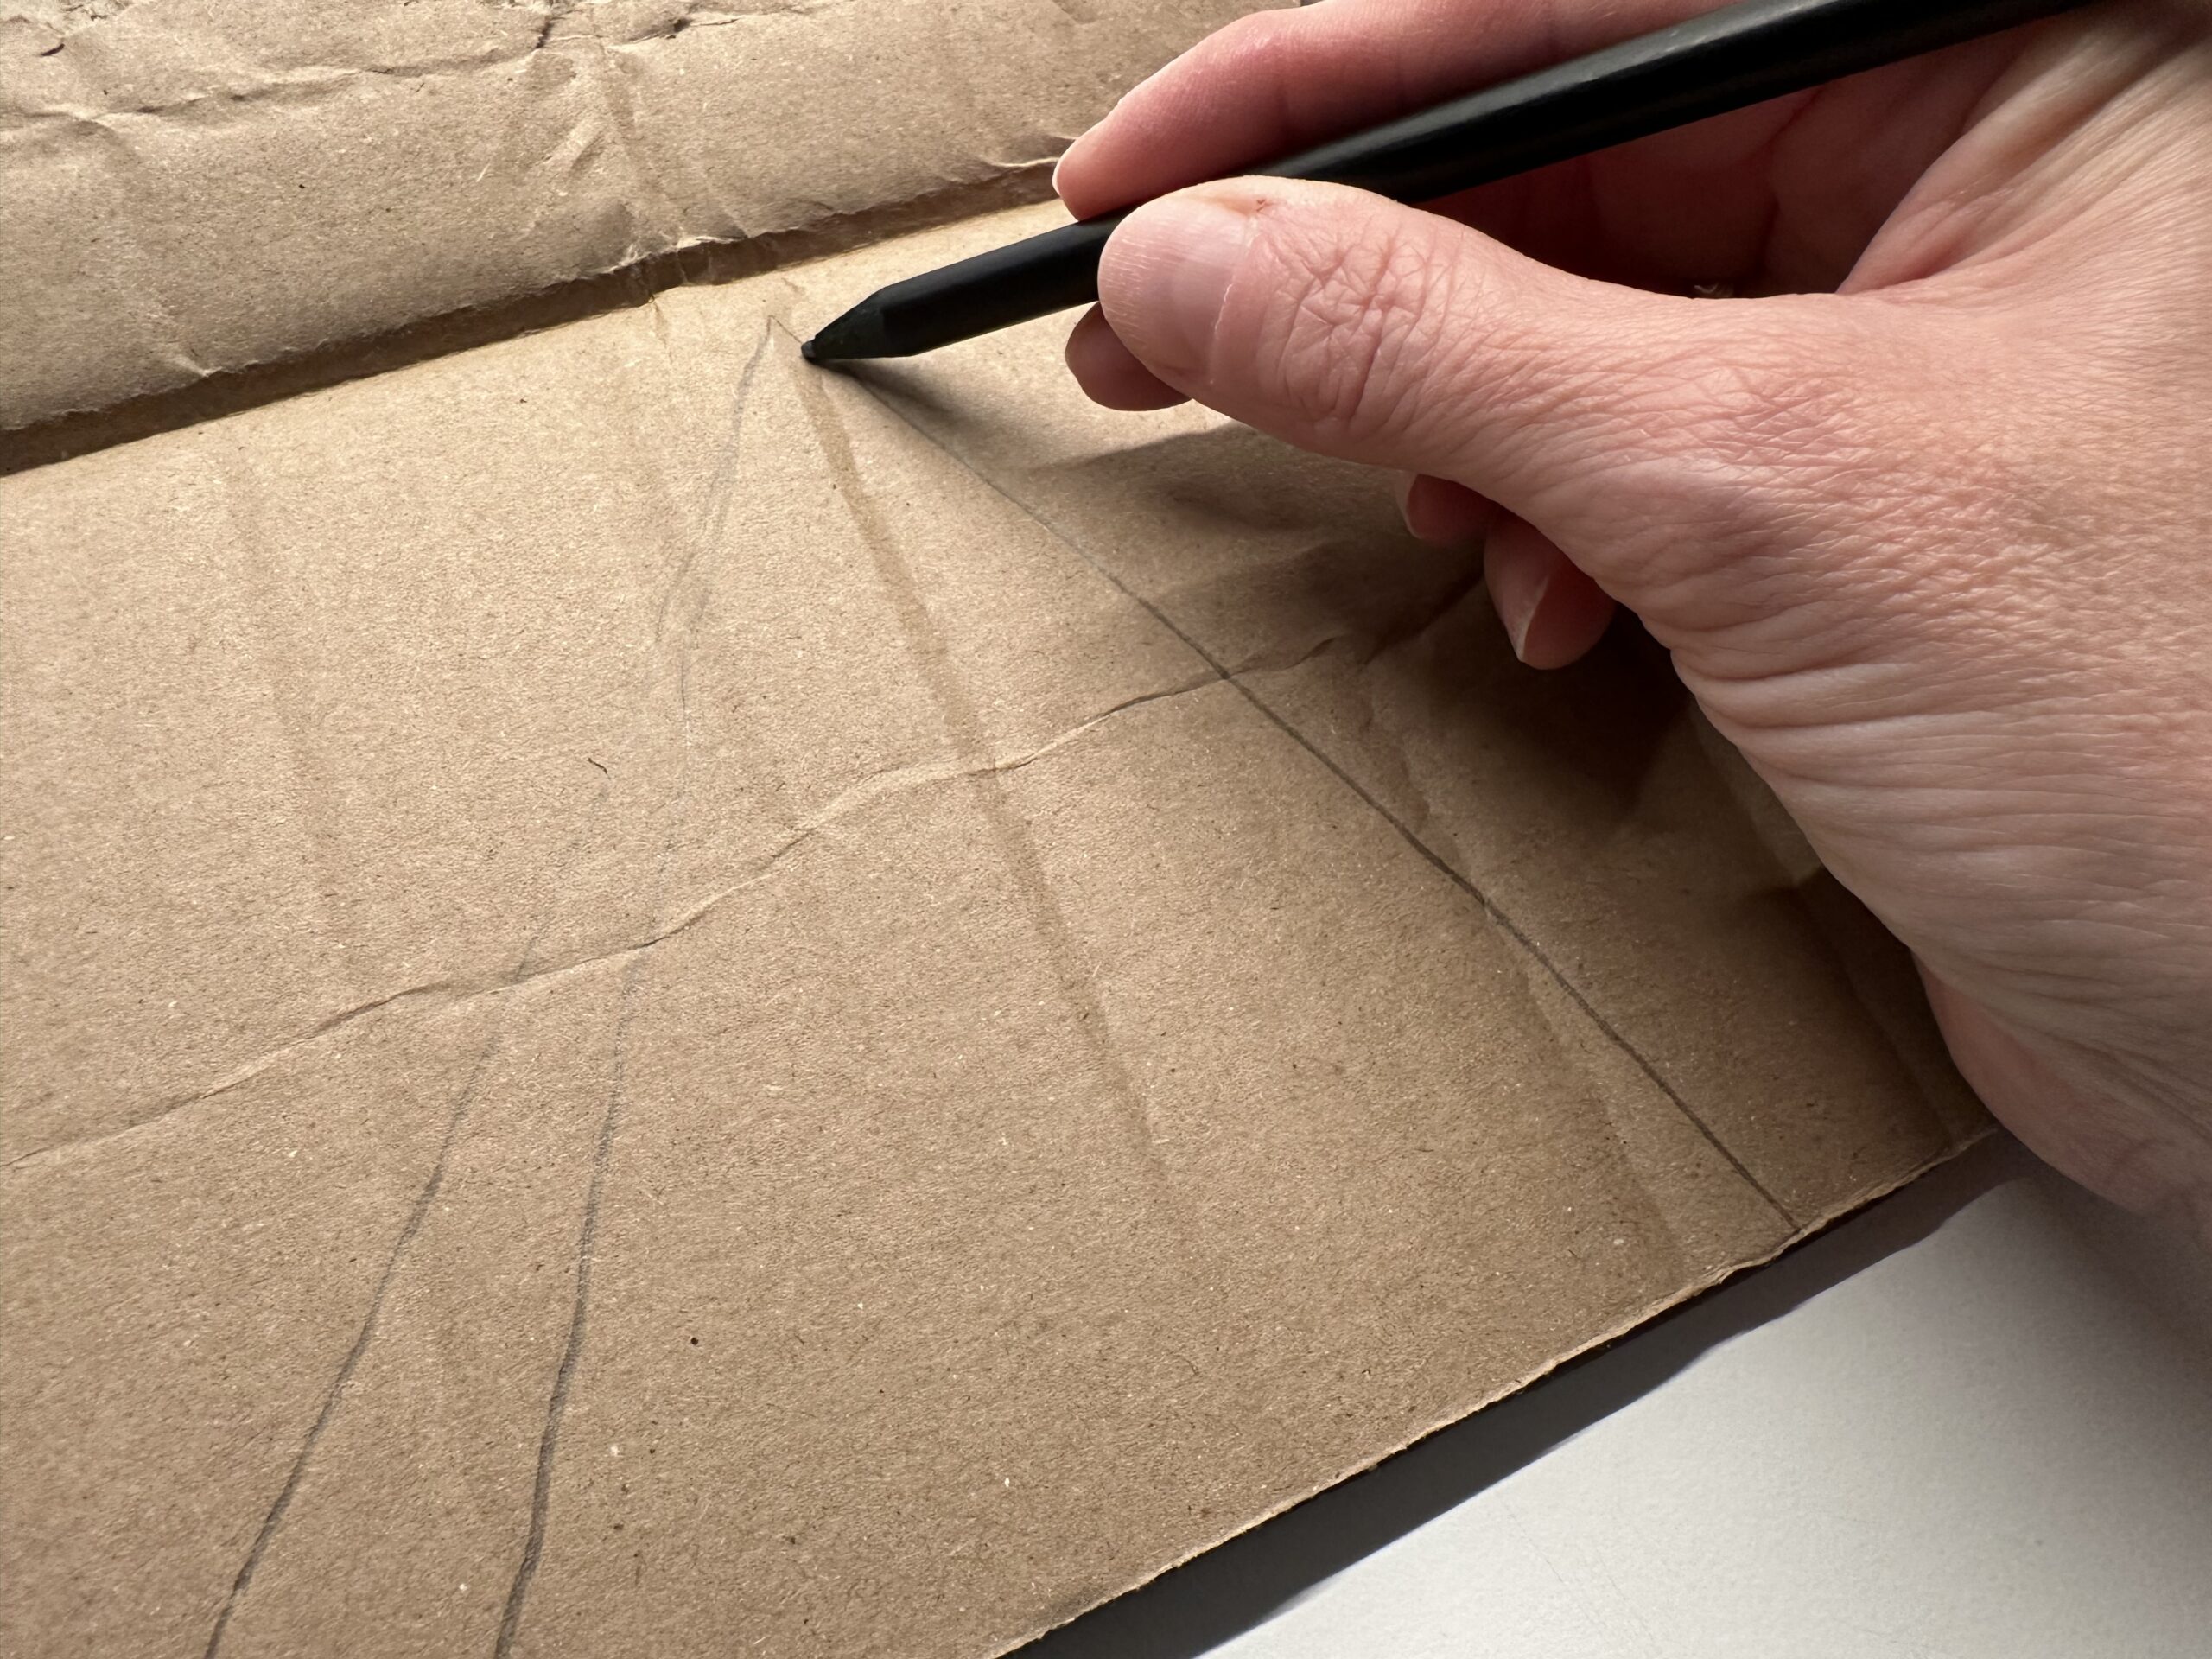
First take the box and paint a large triangle on it with a pencil.
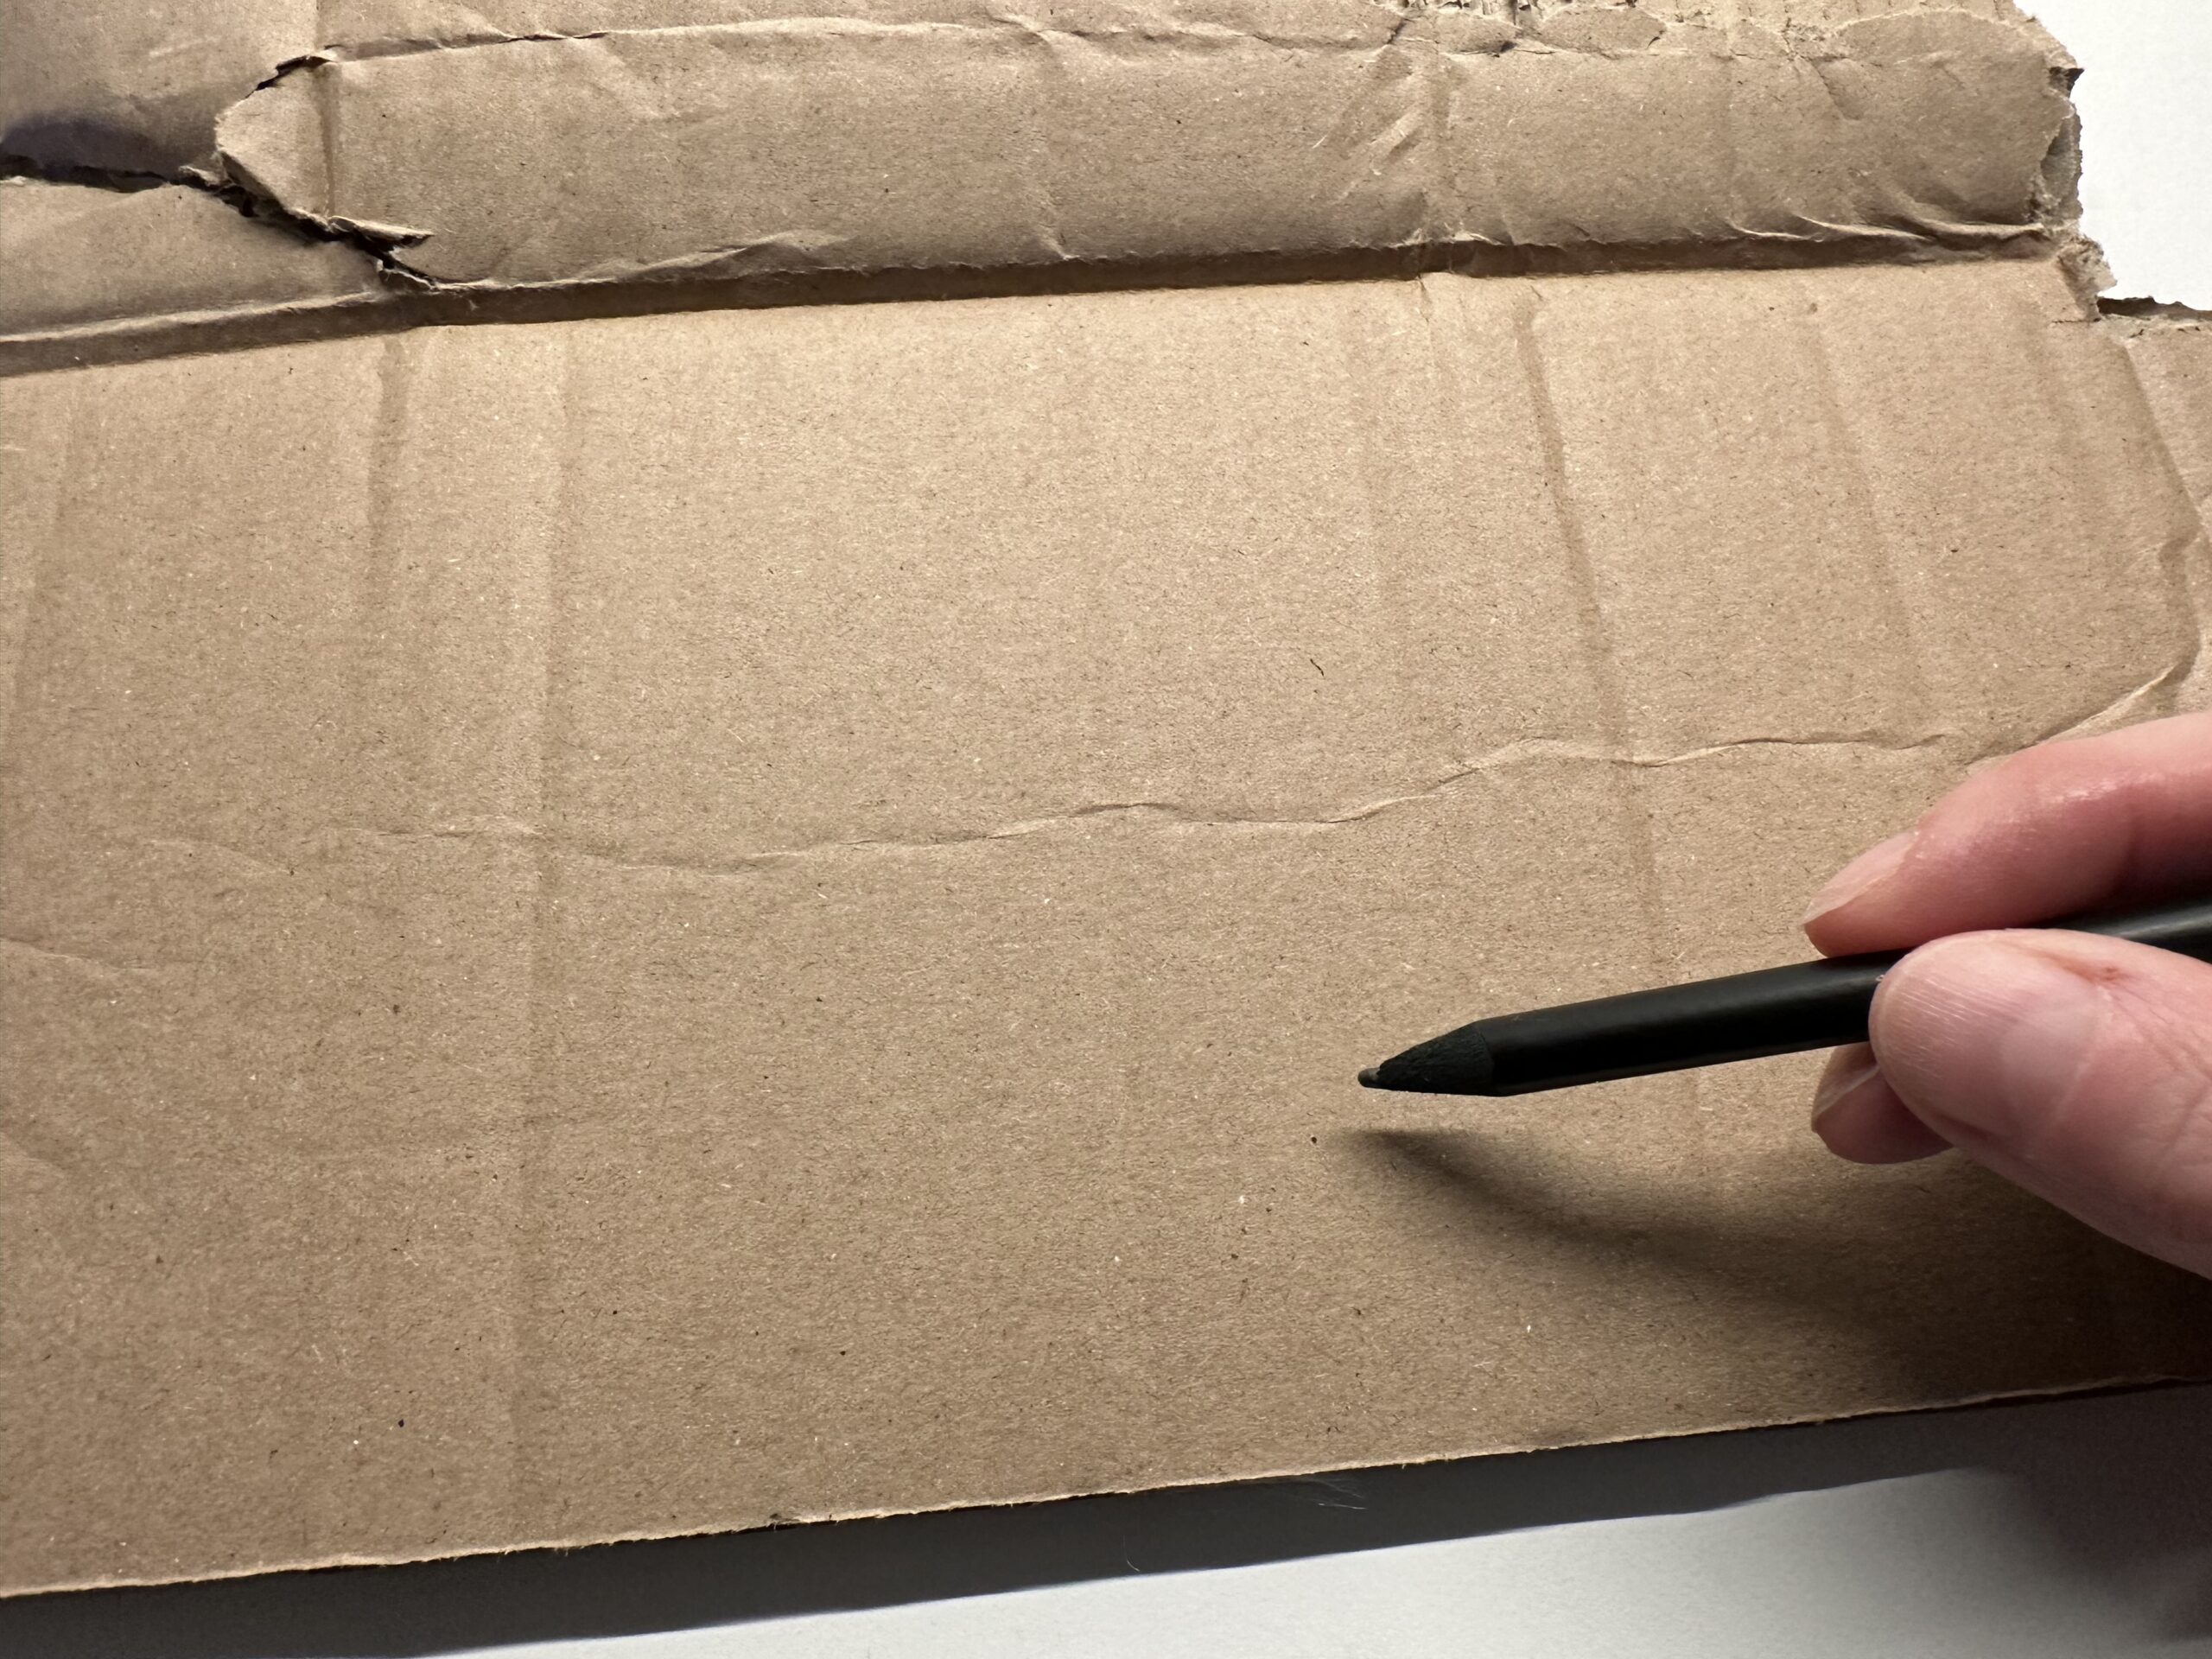
The triangle can have the size of a child's hand and does not have to be accurately painted.
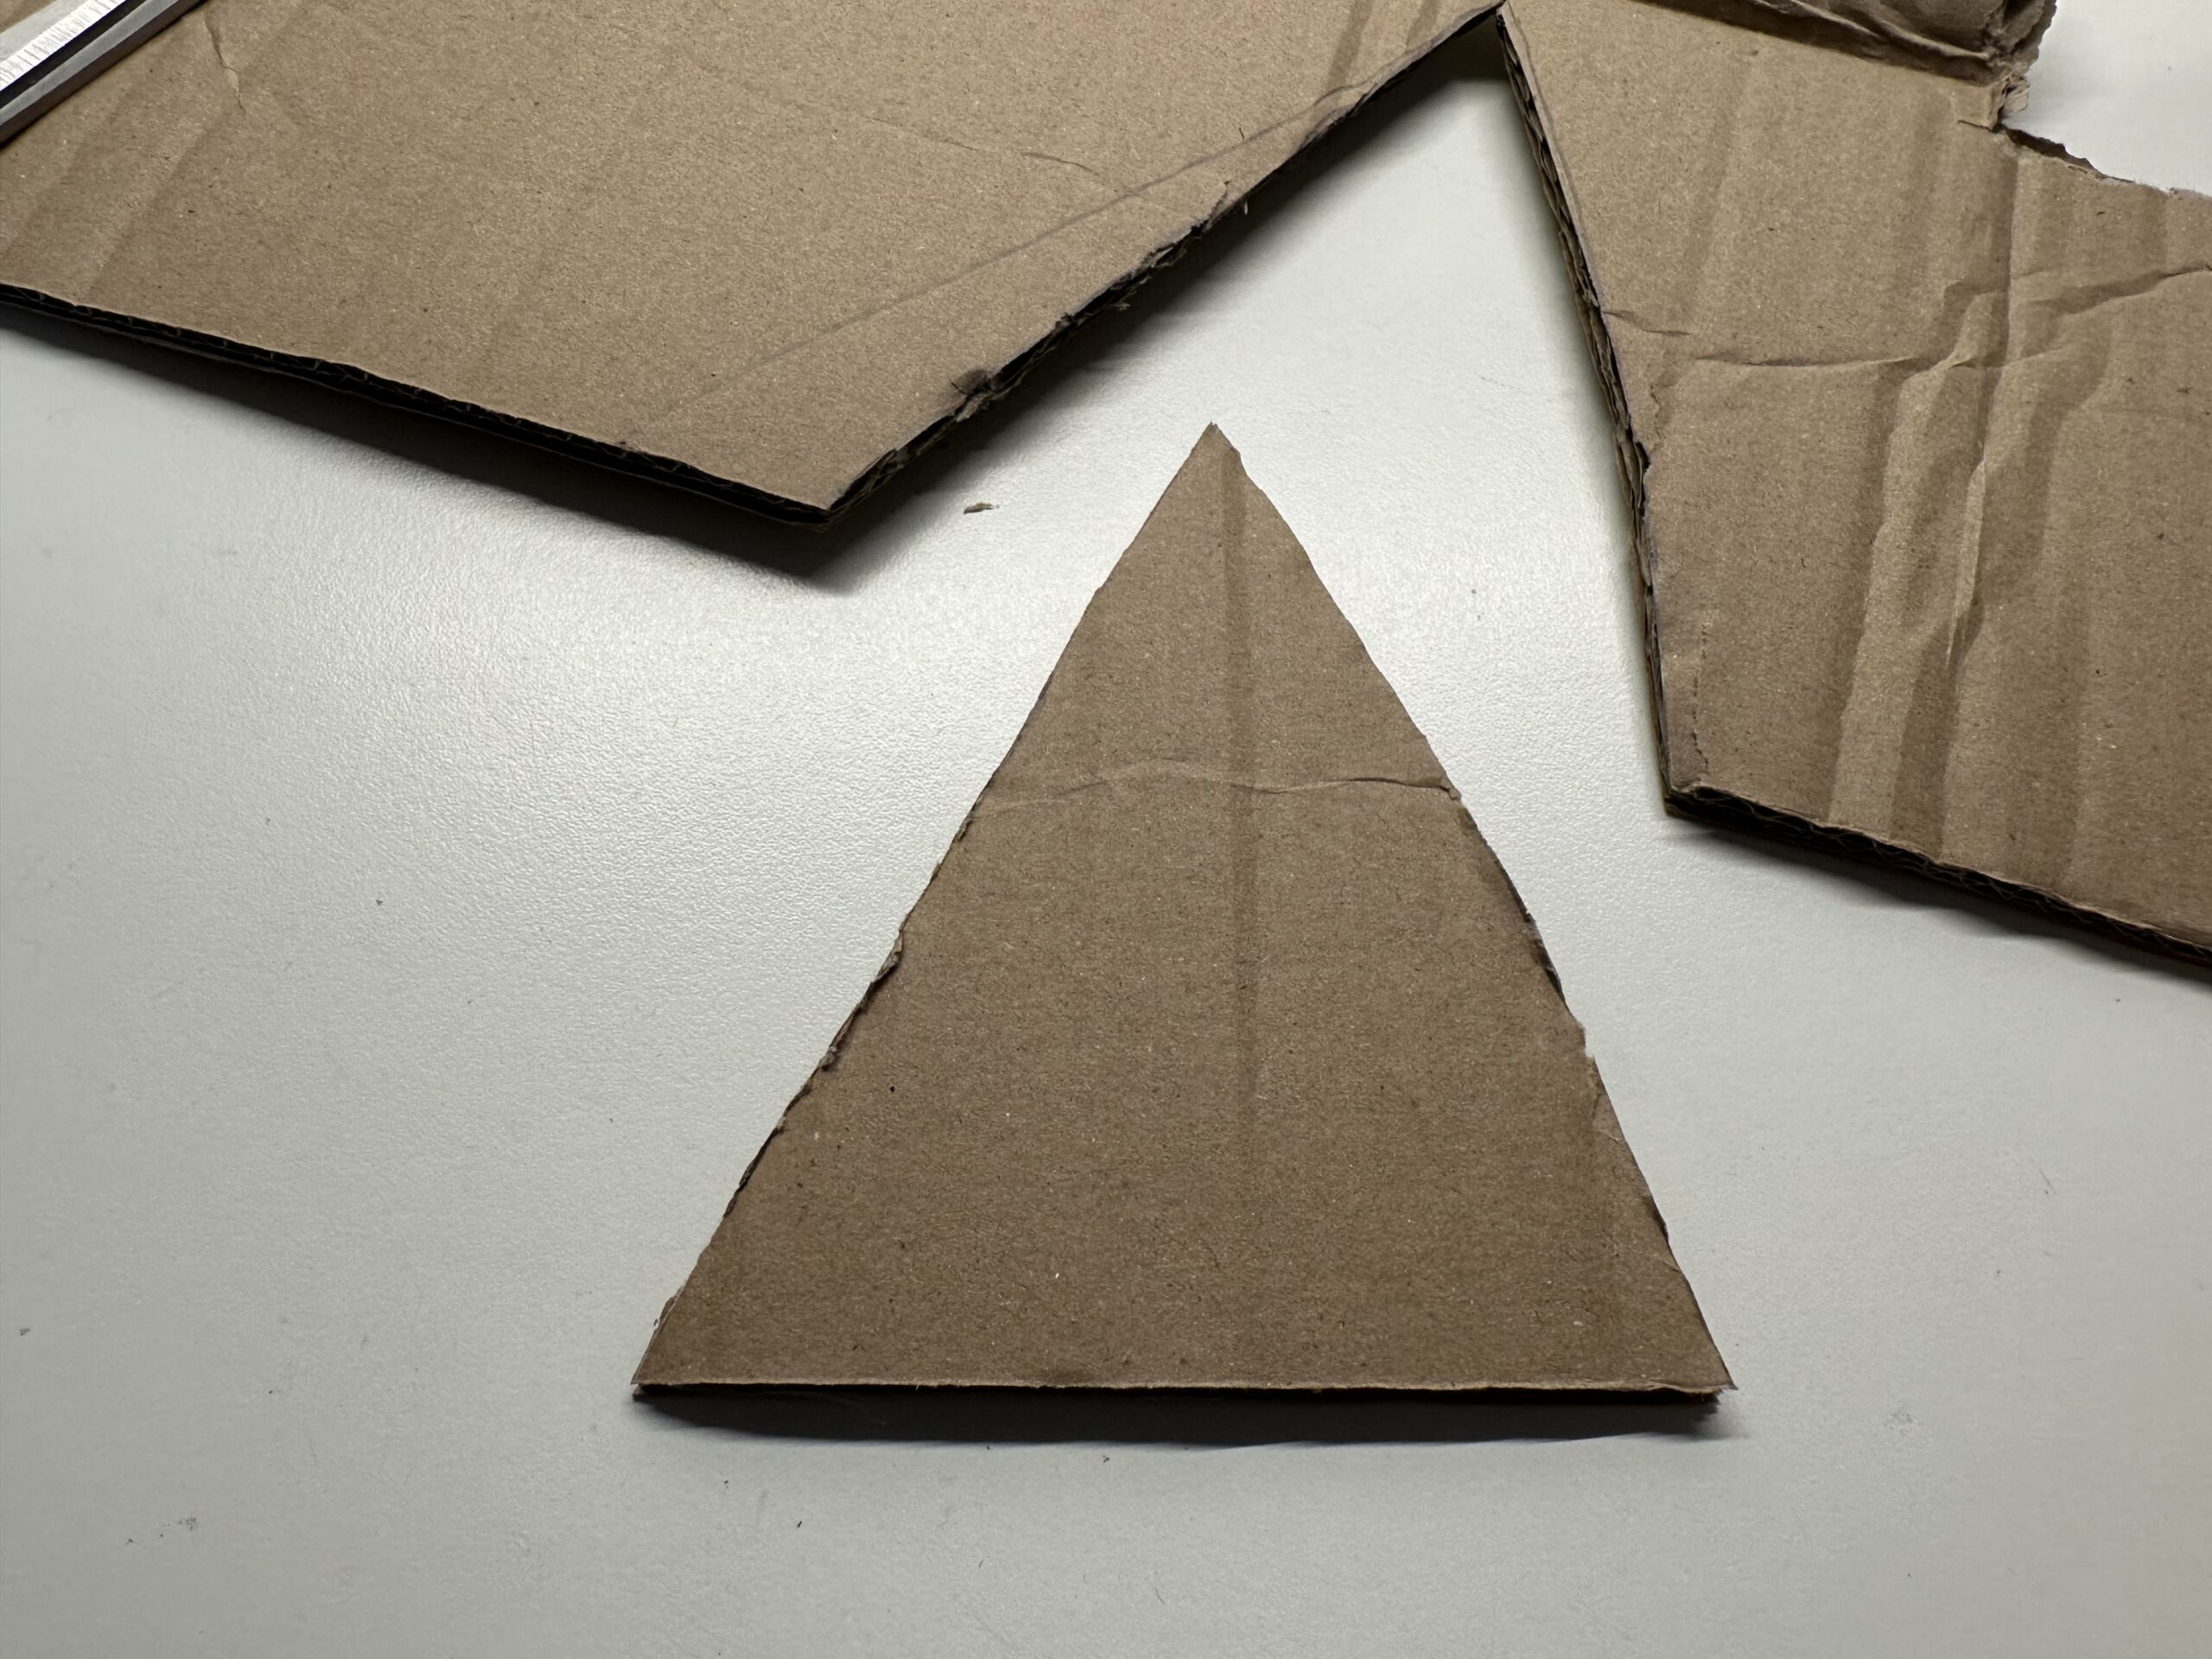
Cut out the triangle with the scissors.
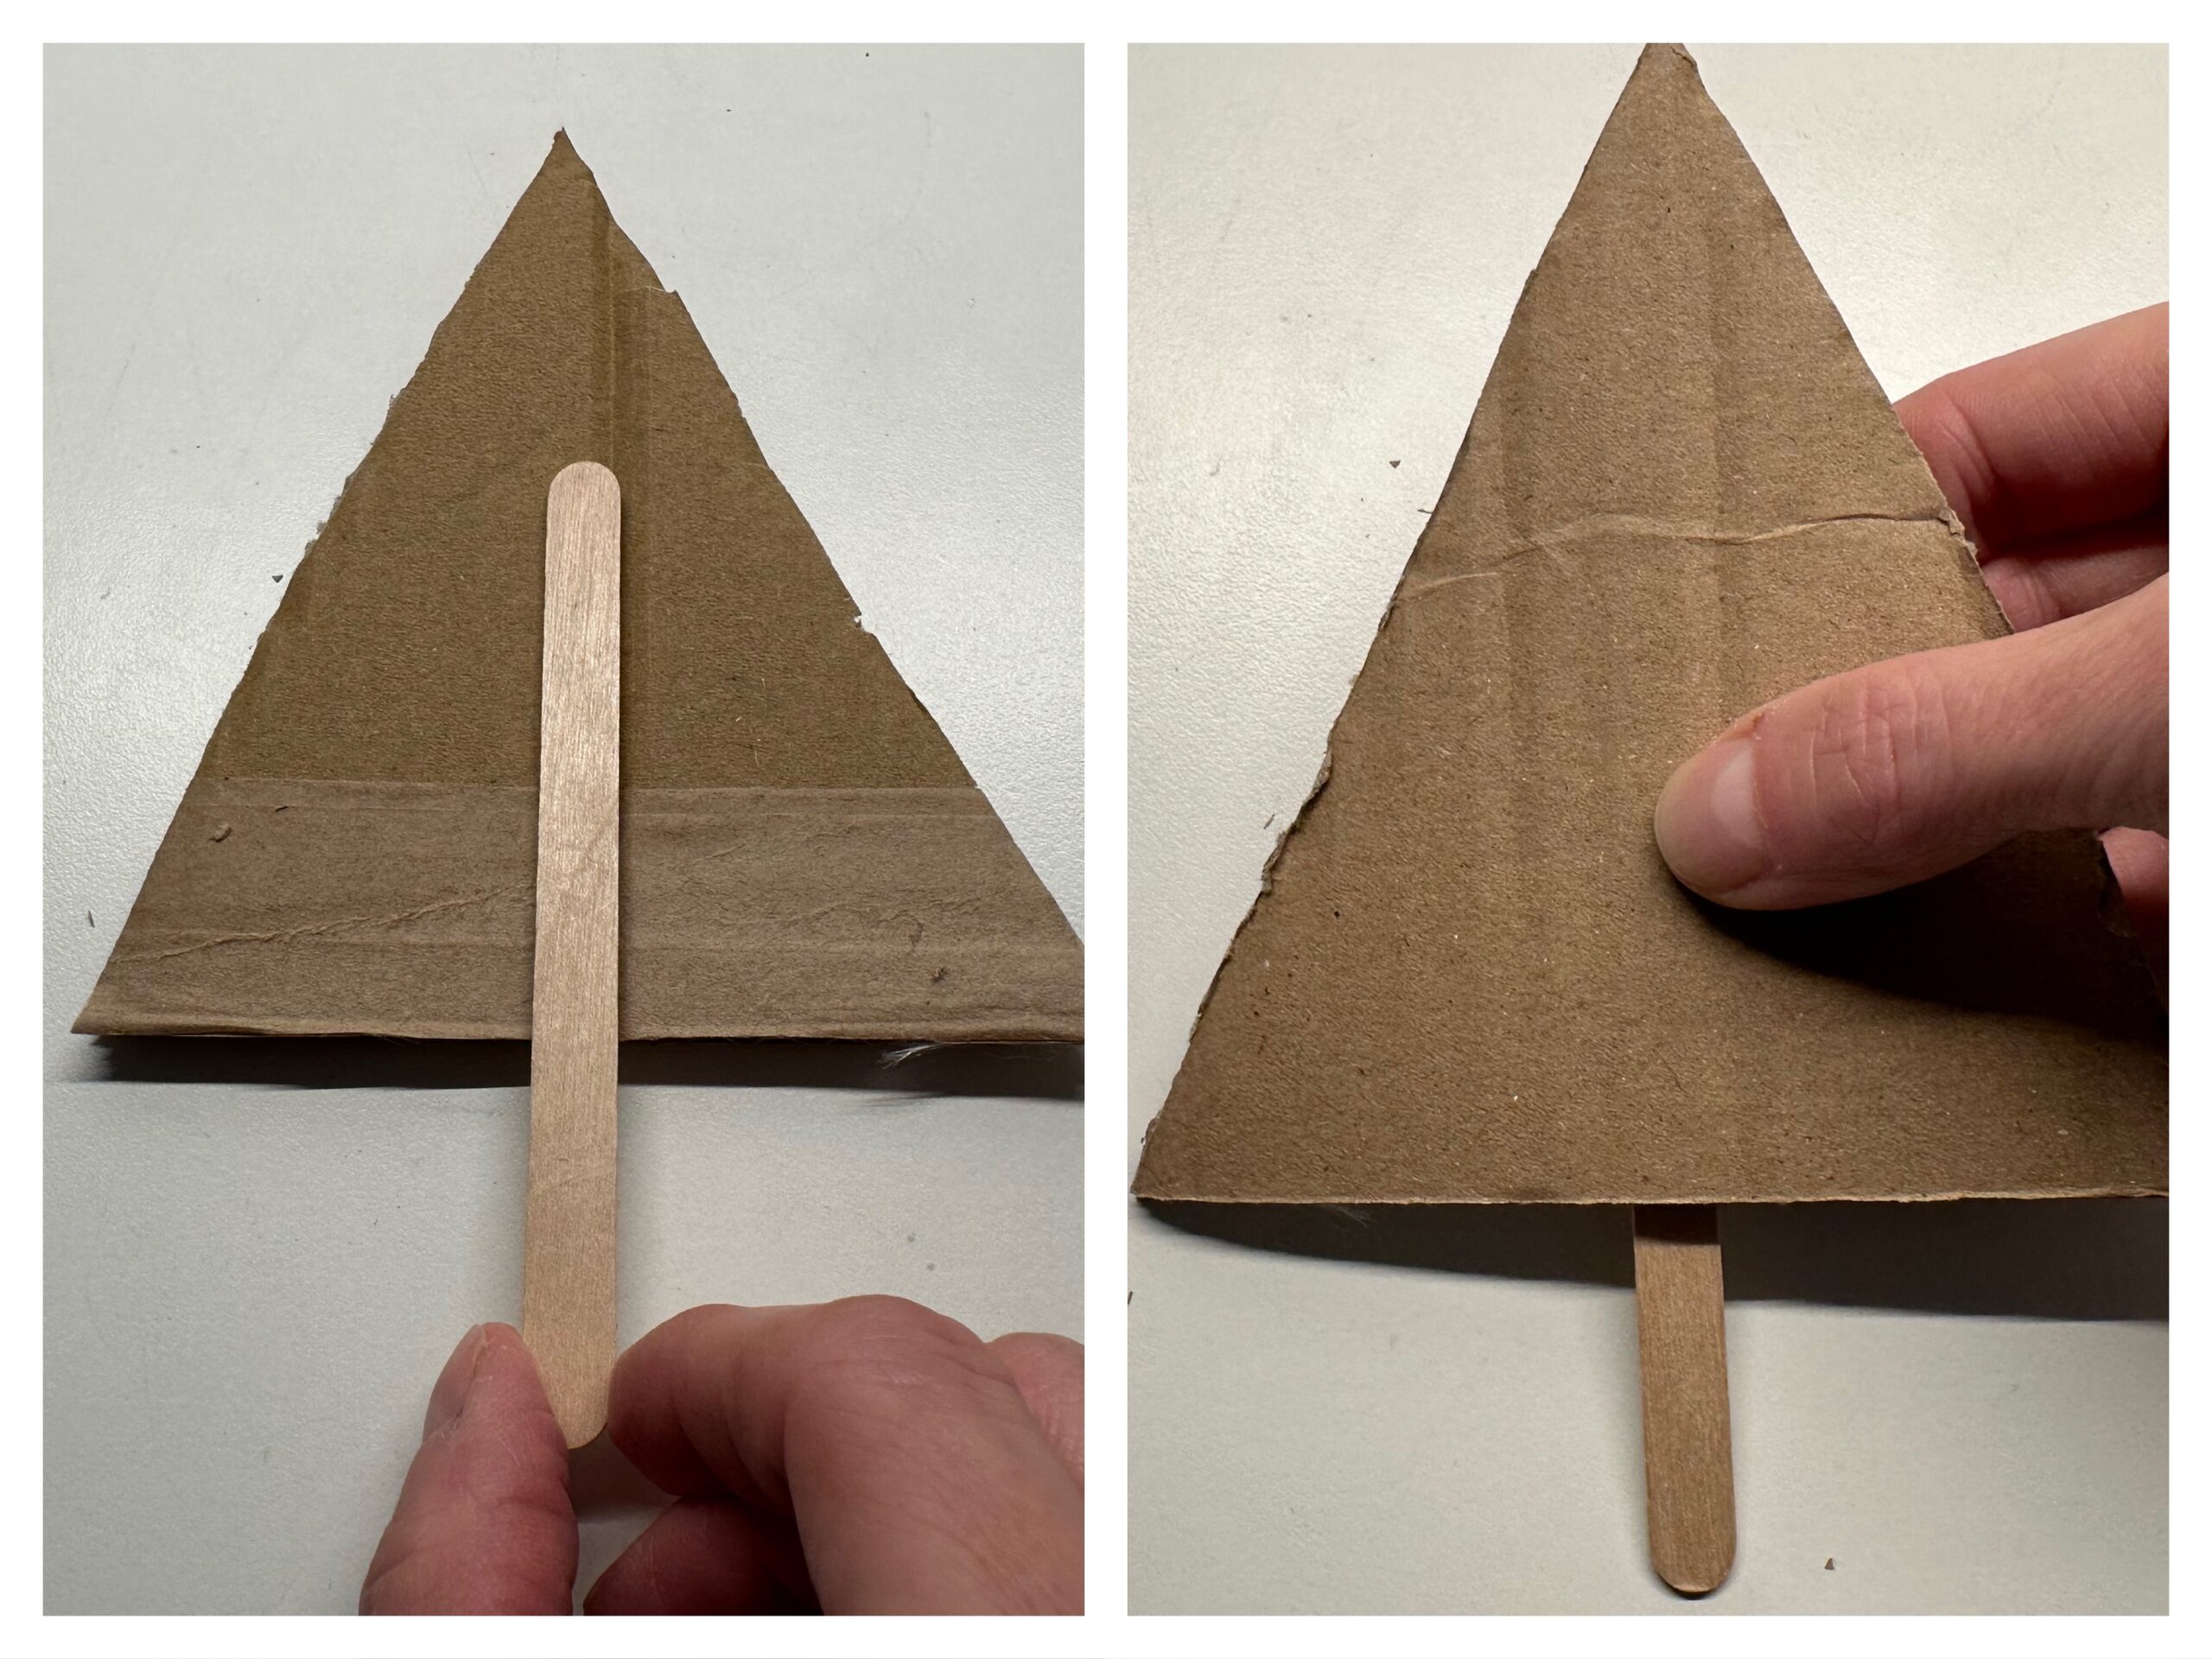
Then you need a wooden stick/ice stick. Stick it on the back of the box. The wooden stick is the trunk of the small fir tree. Then turn the tree on the front.
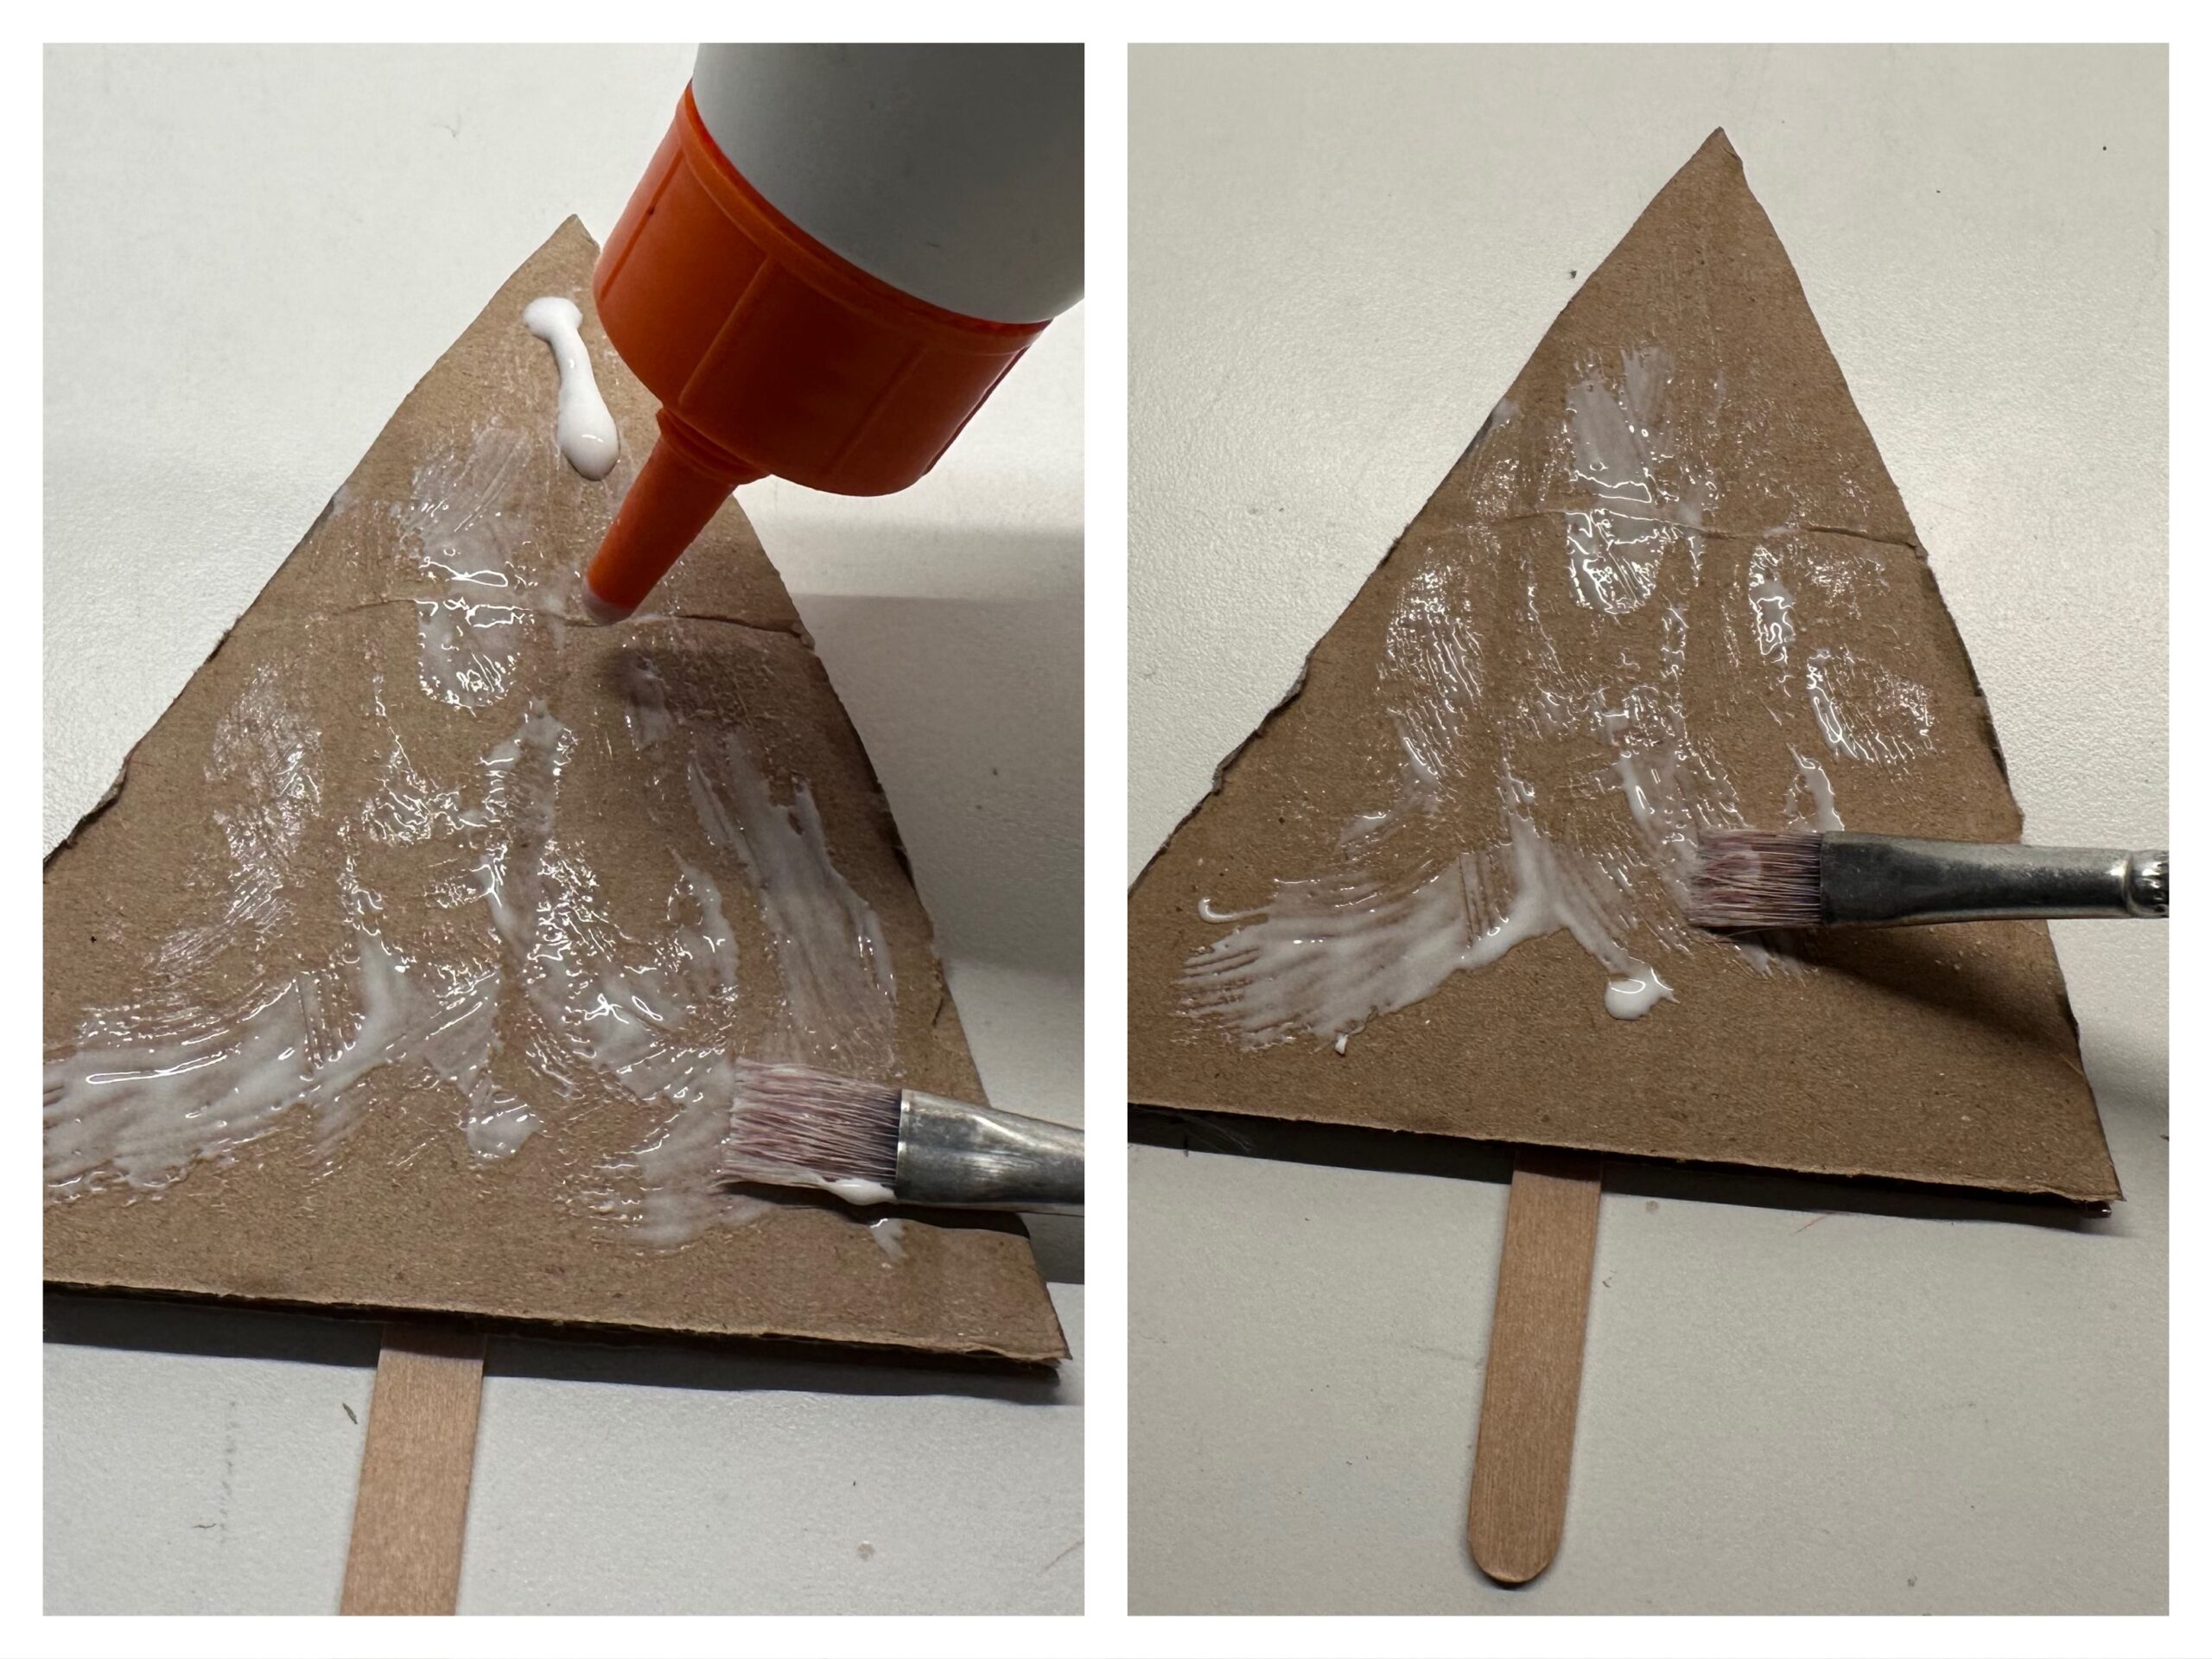
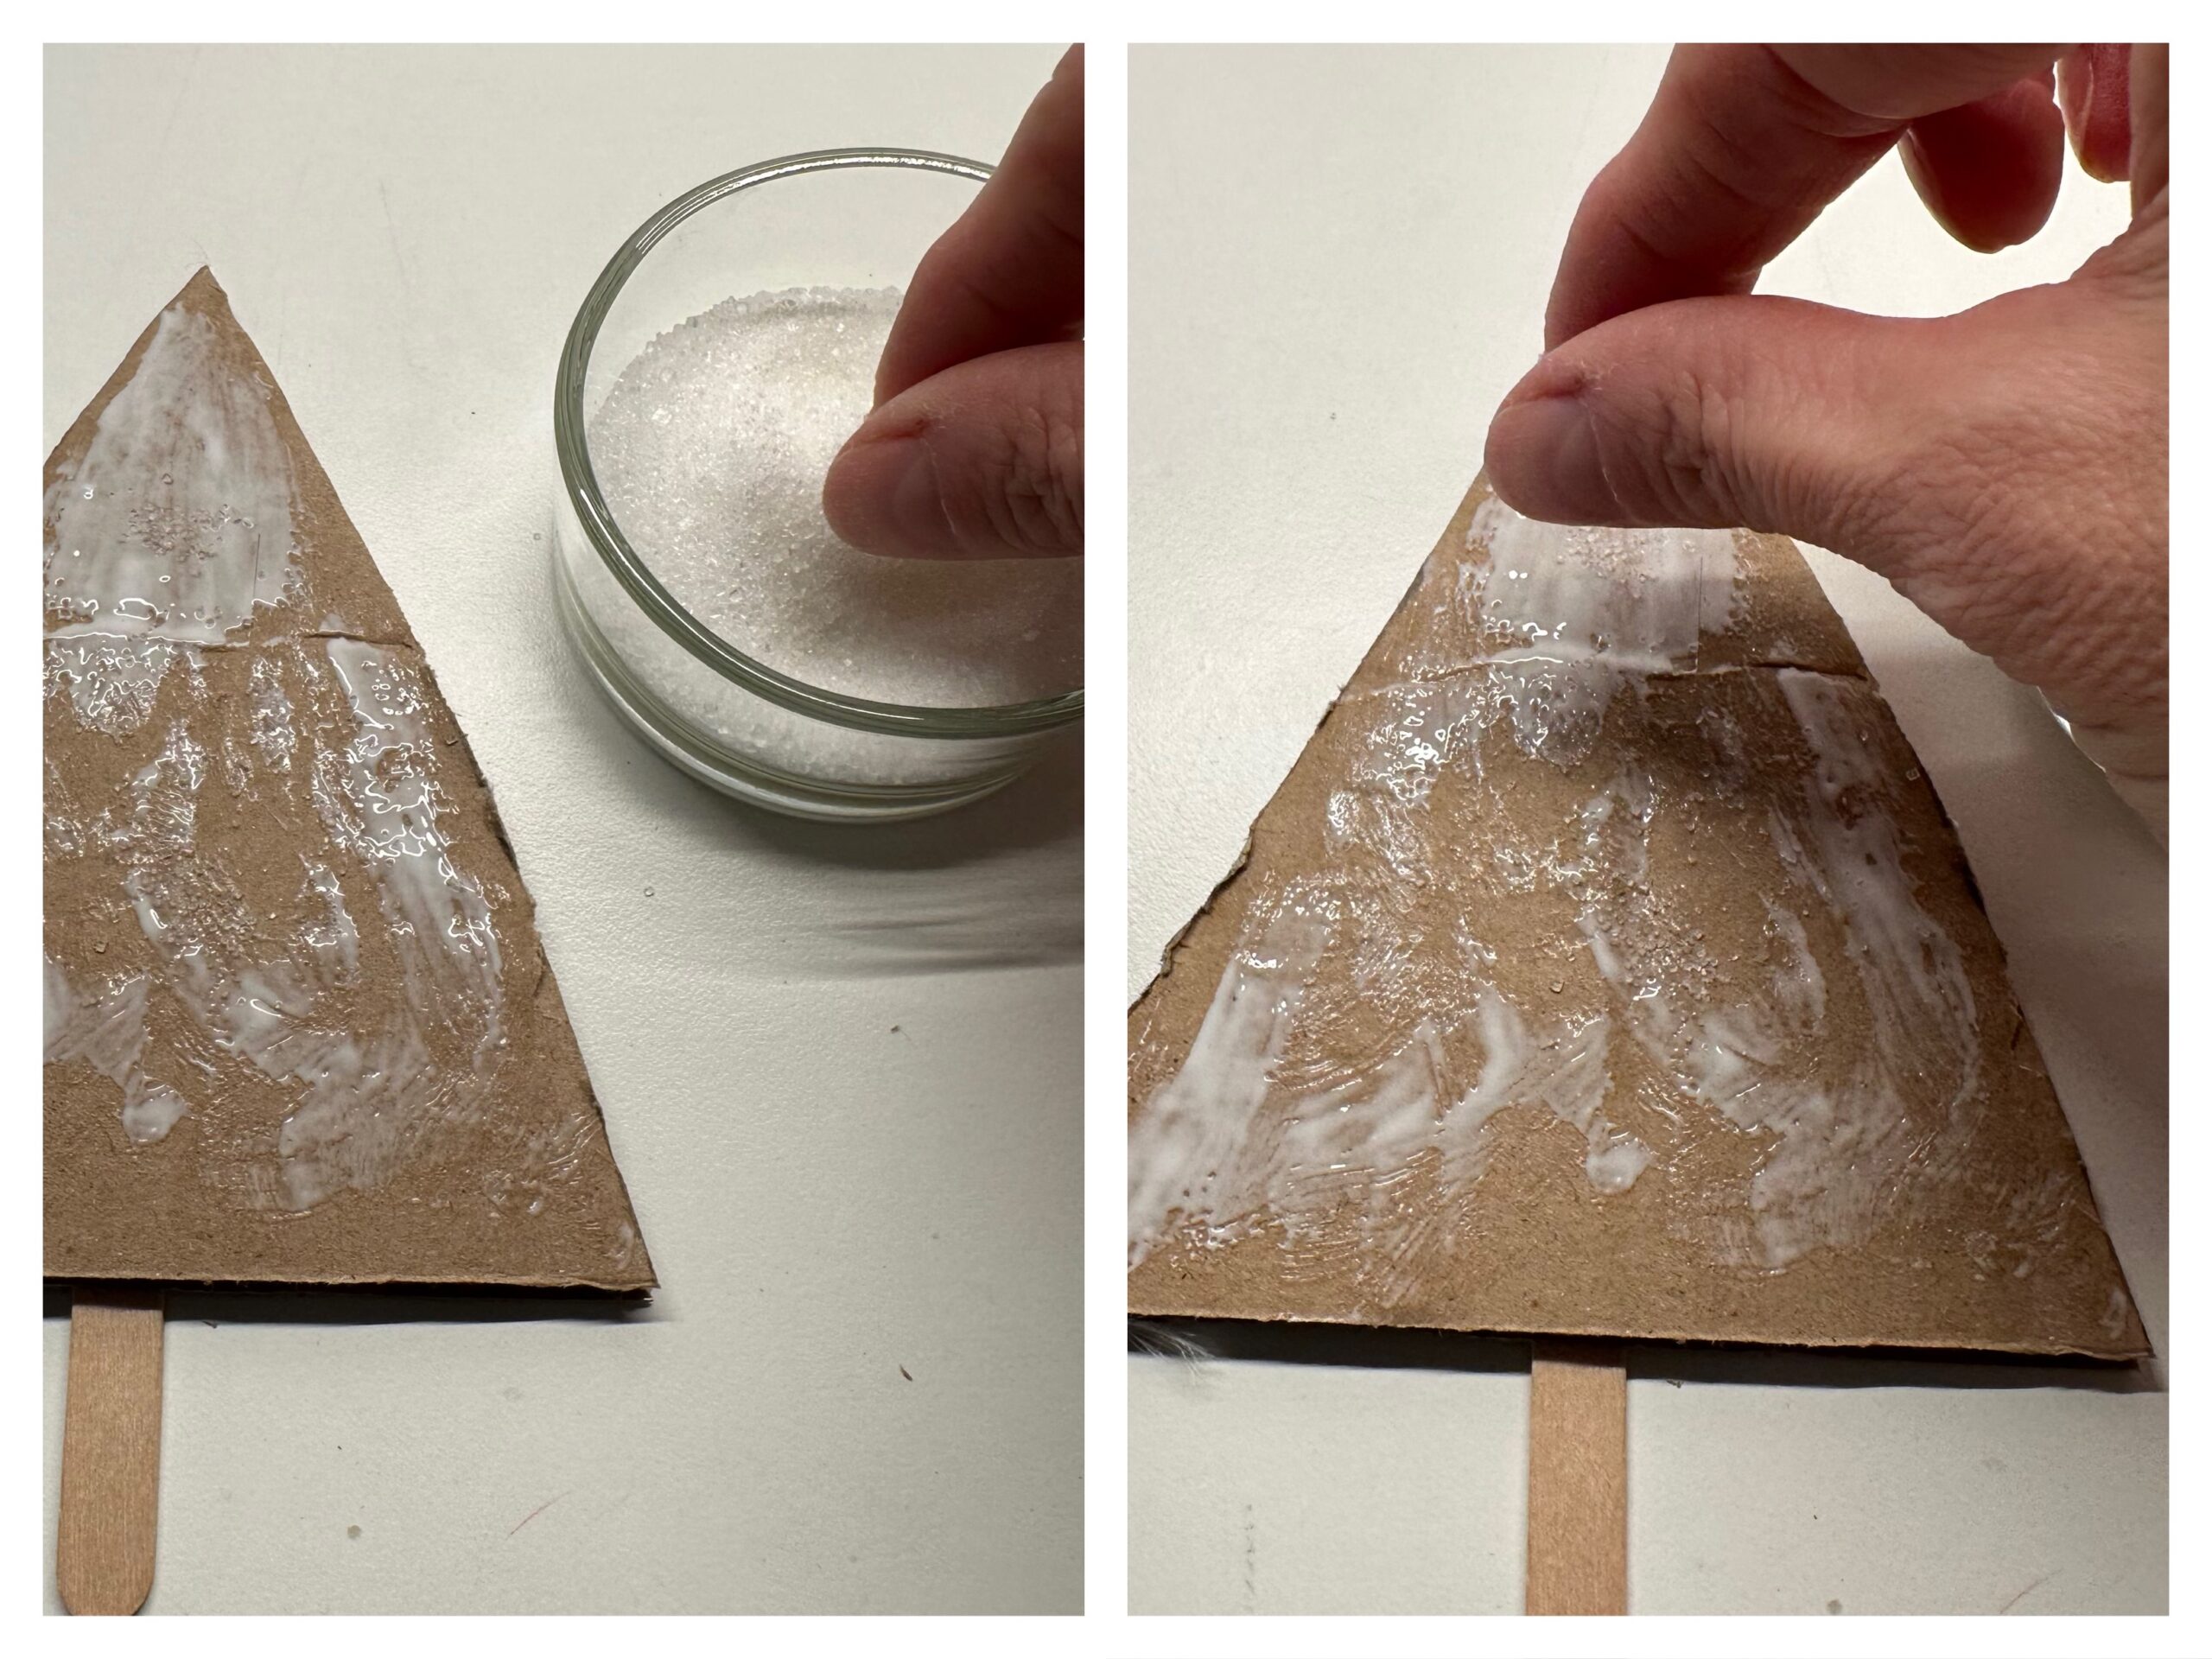
Covers the front with wood glue or craft glue.
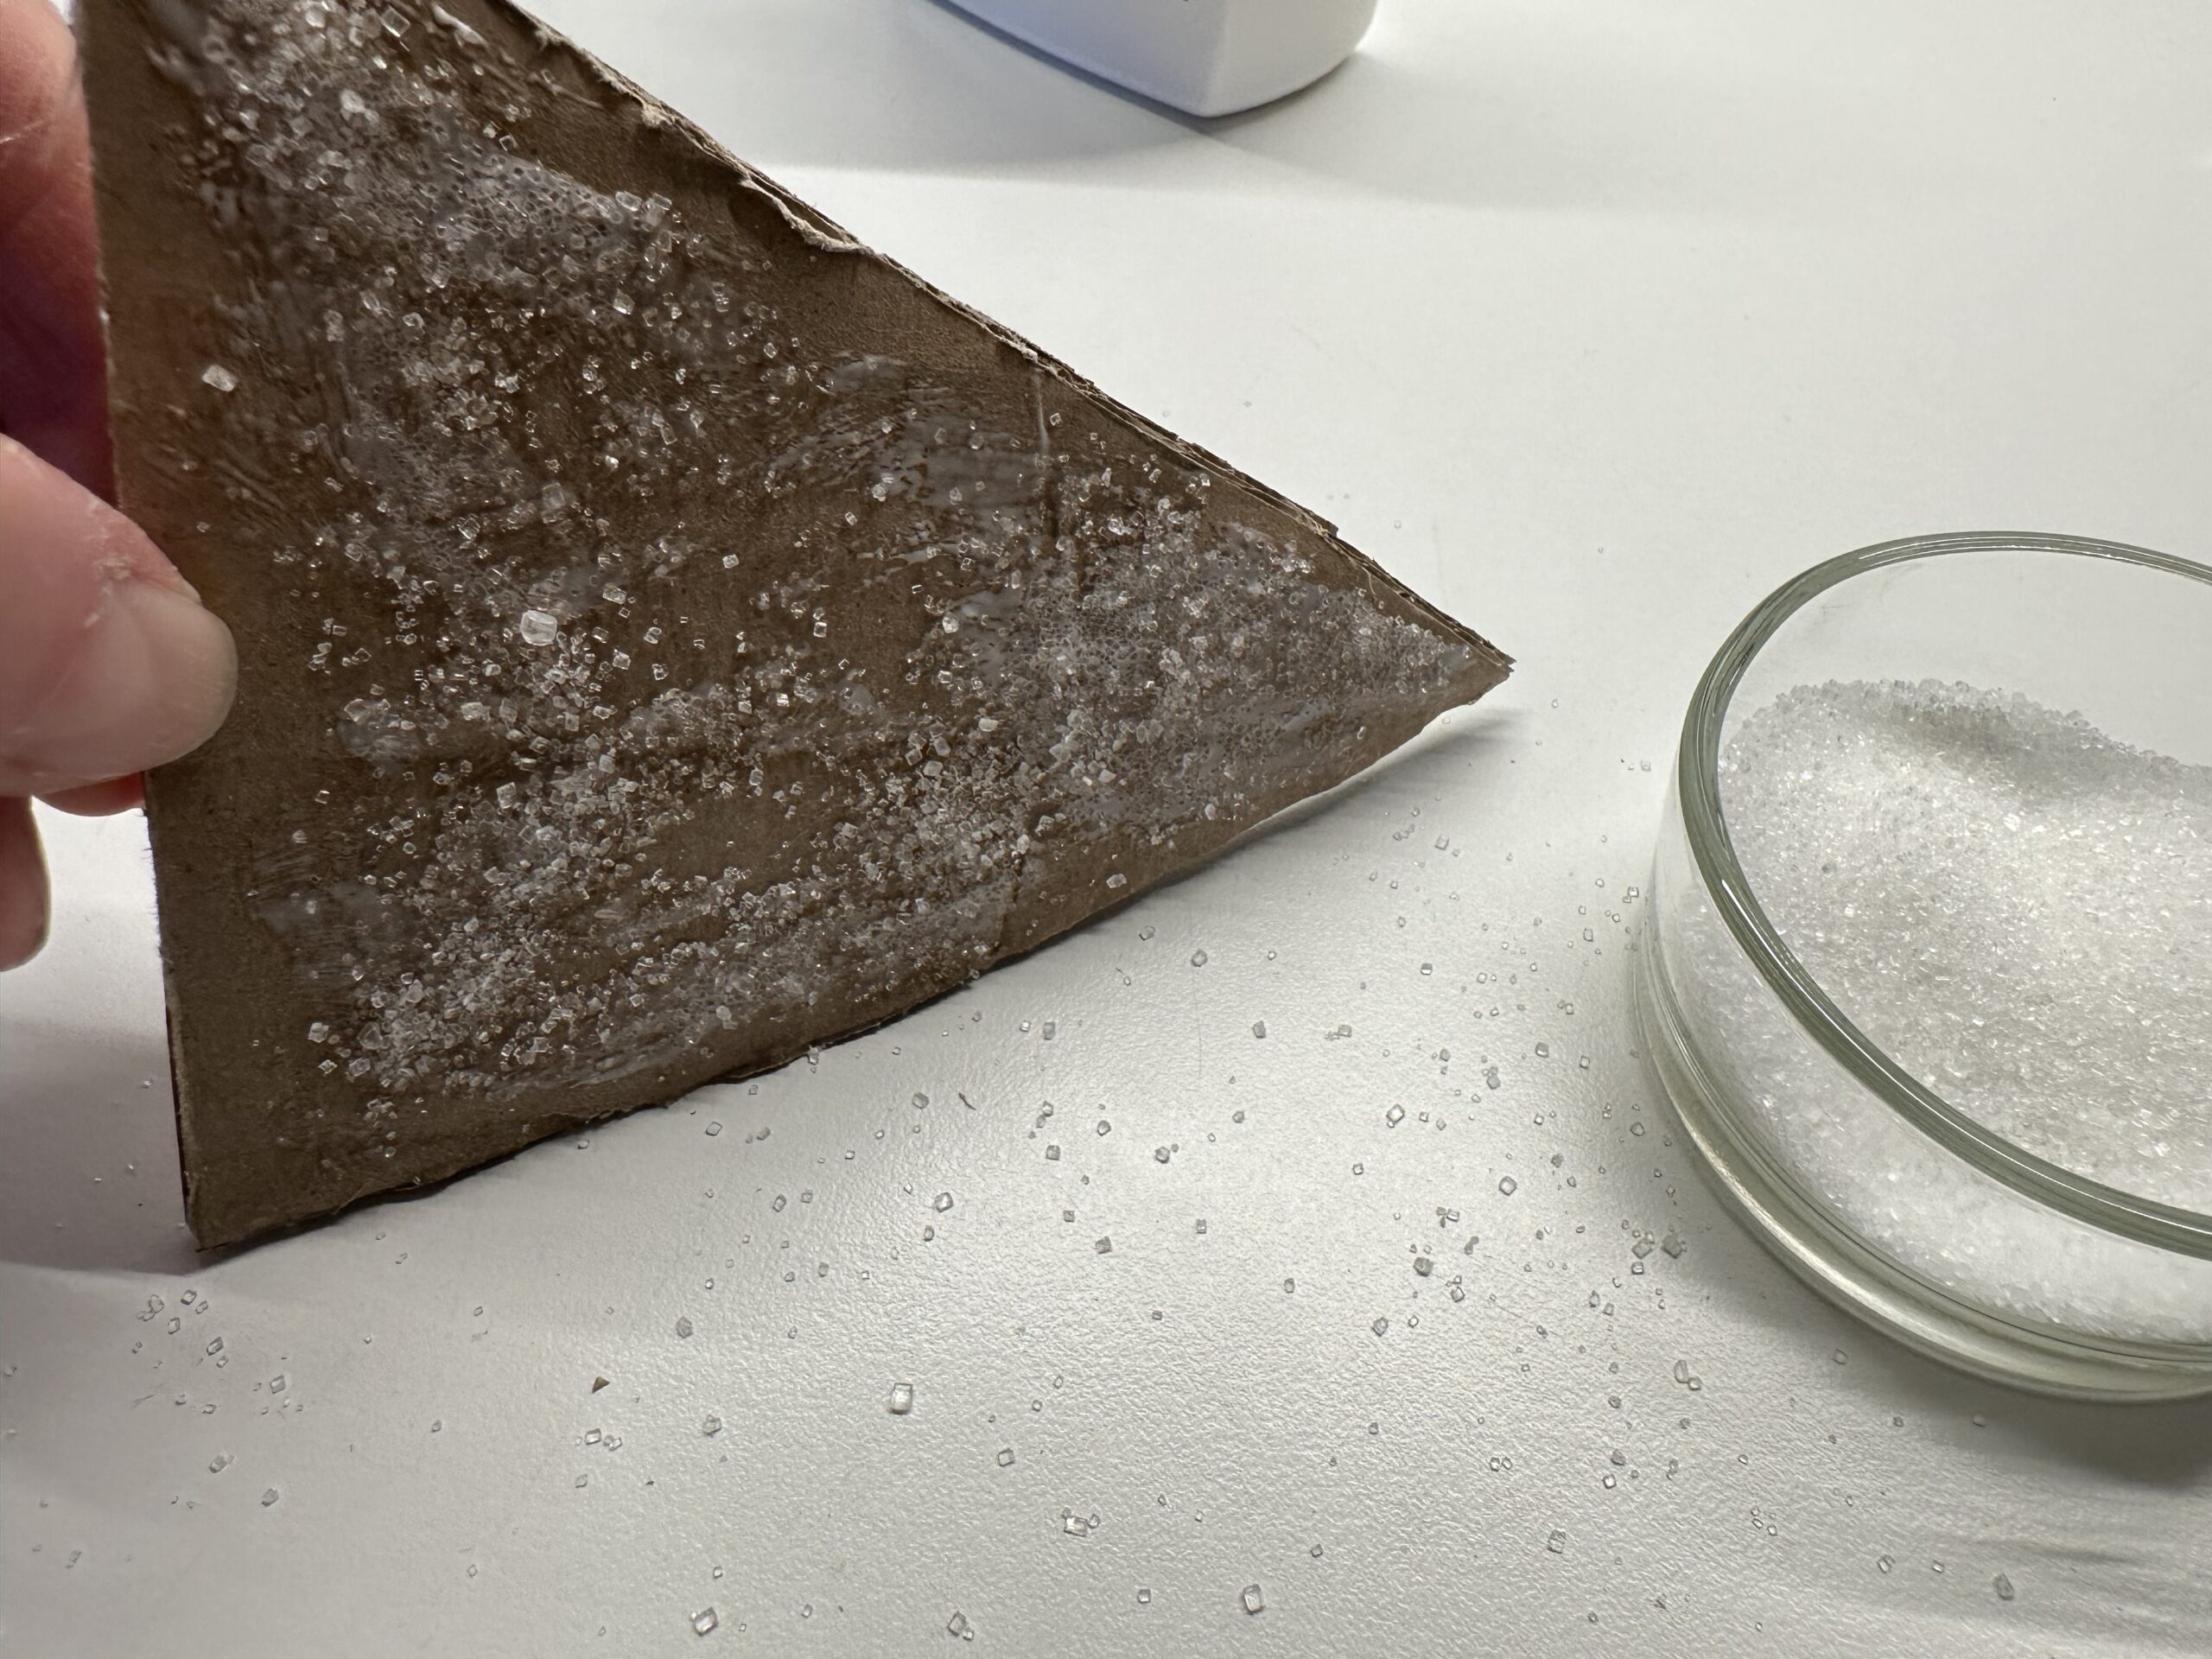
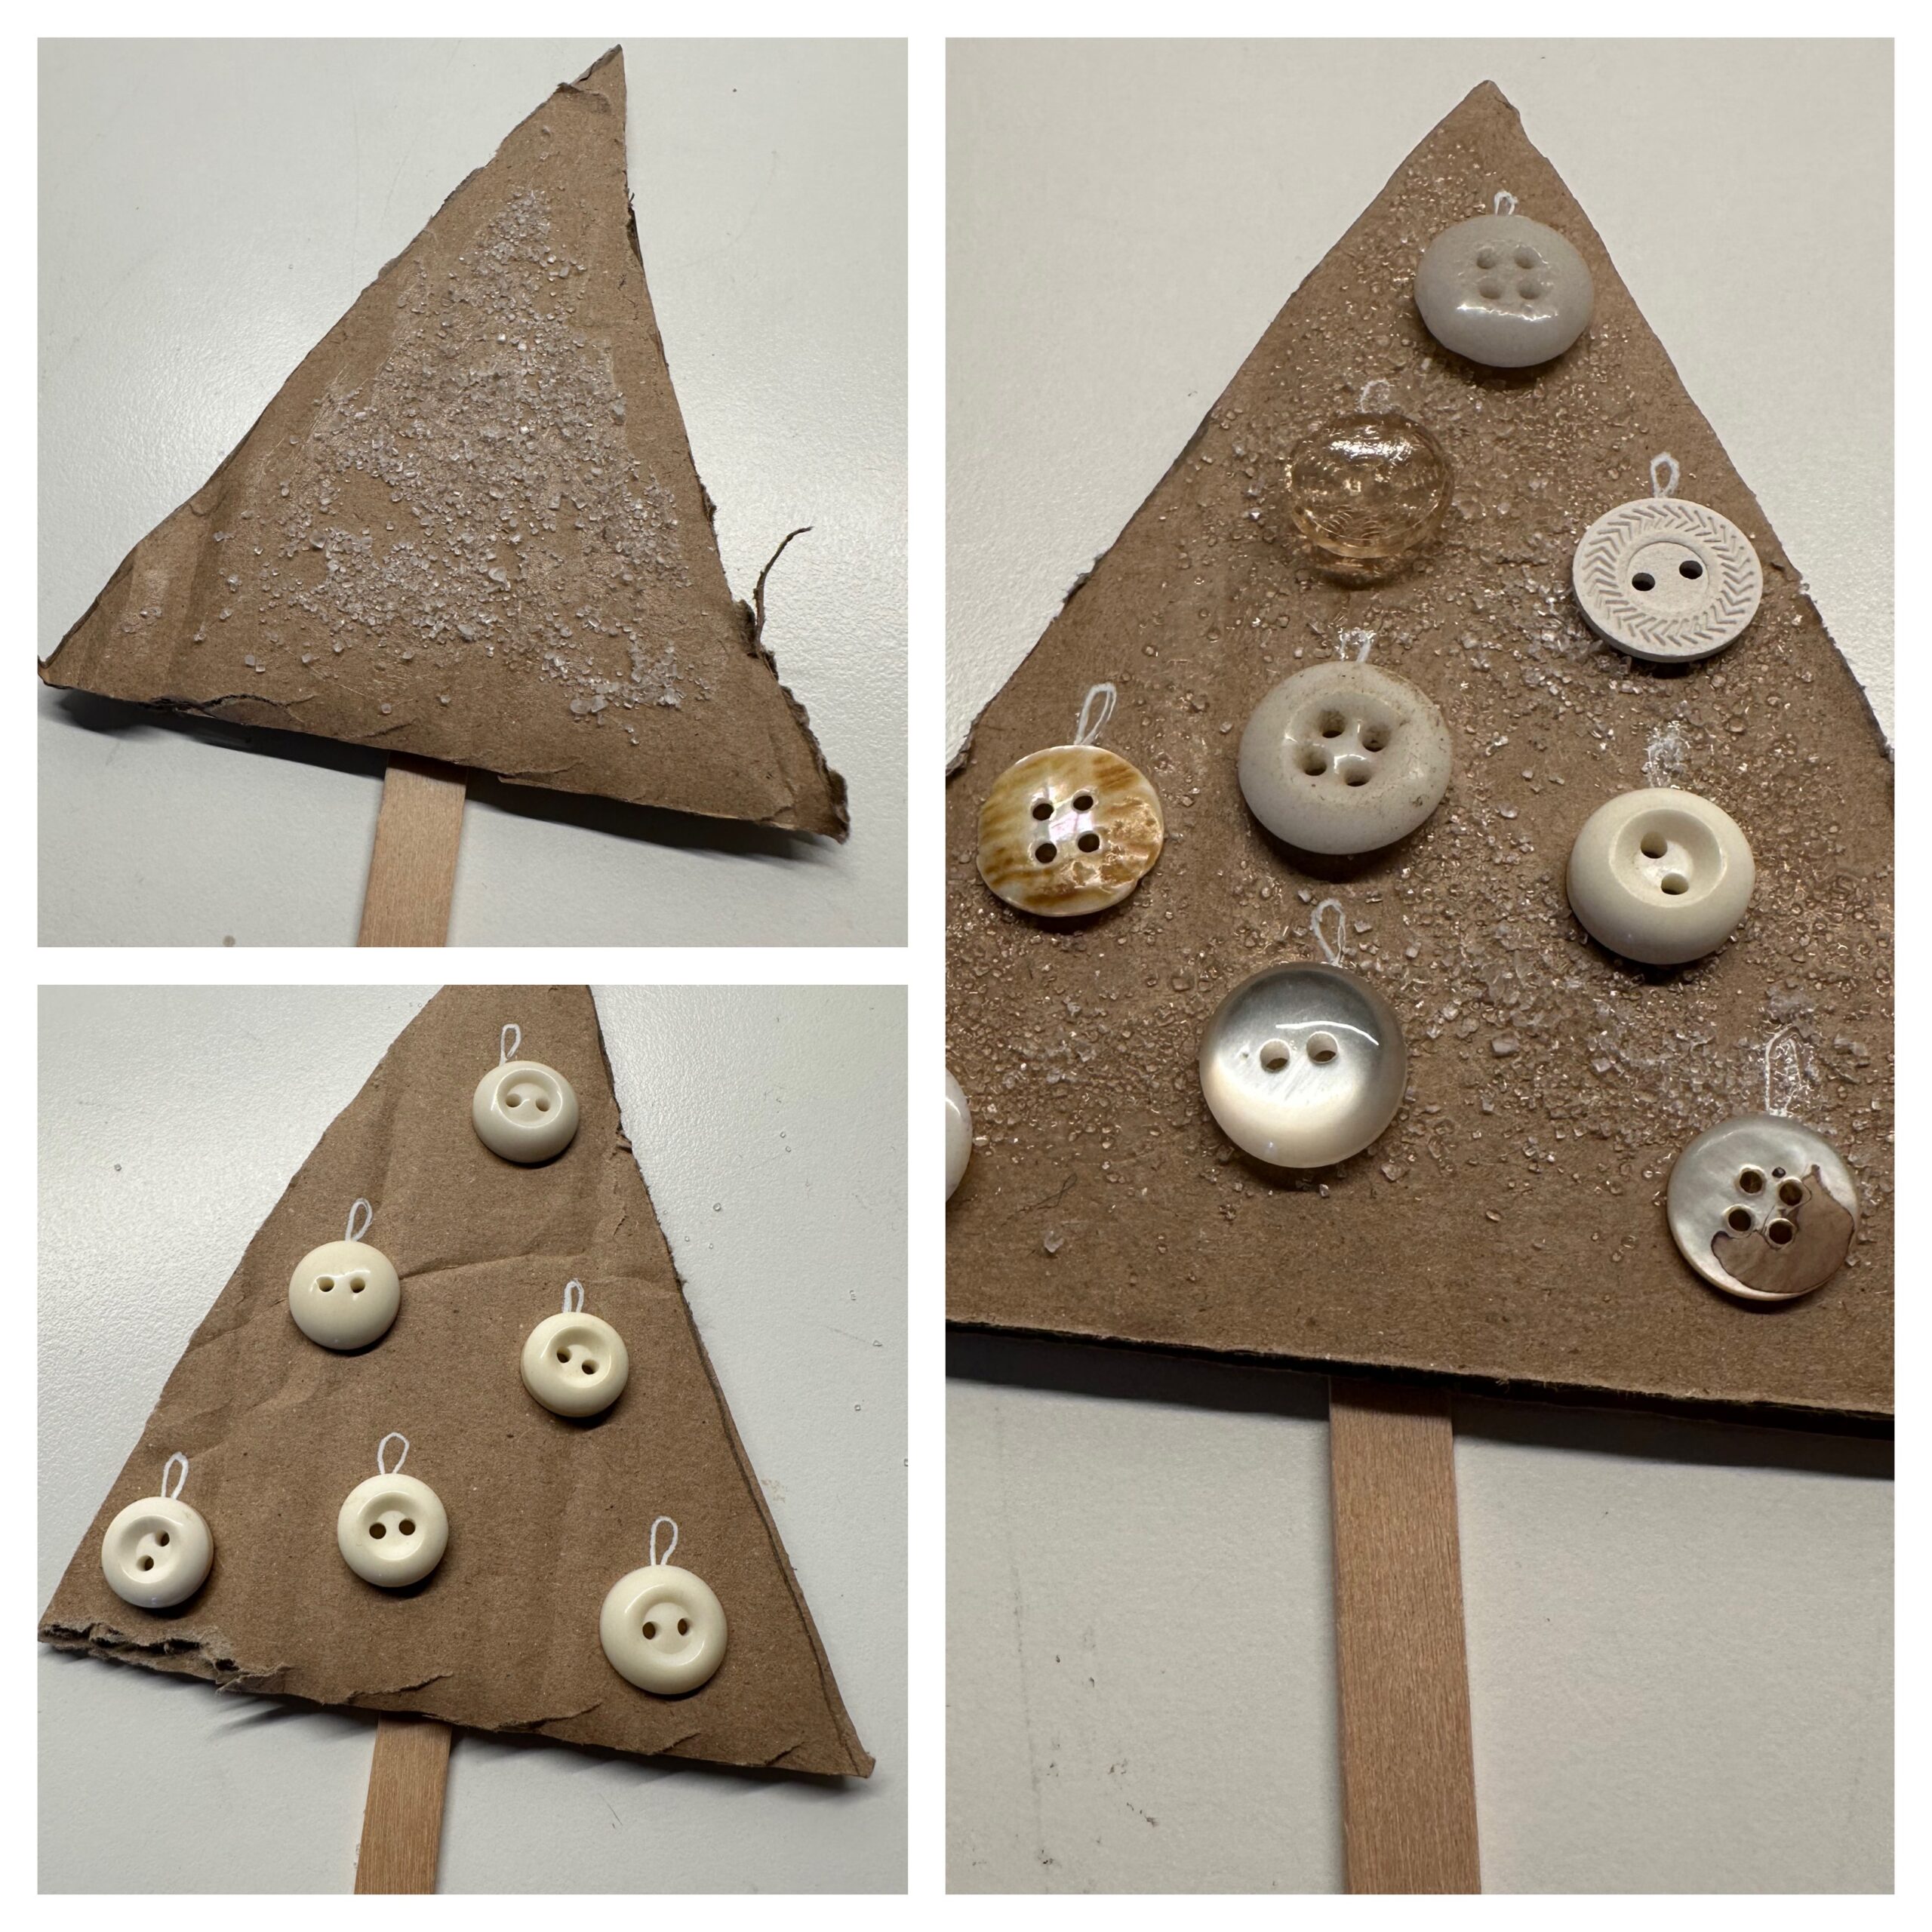
Sugar is immediately spread on the moist glue. Take sugar between thumb and index finger and let it pour over the fir tree.
You can shake off excess sugar by putting it up.
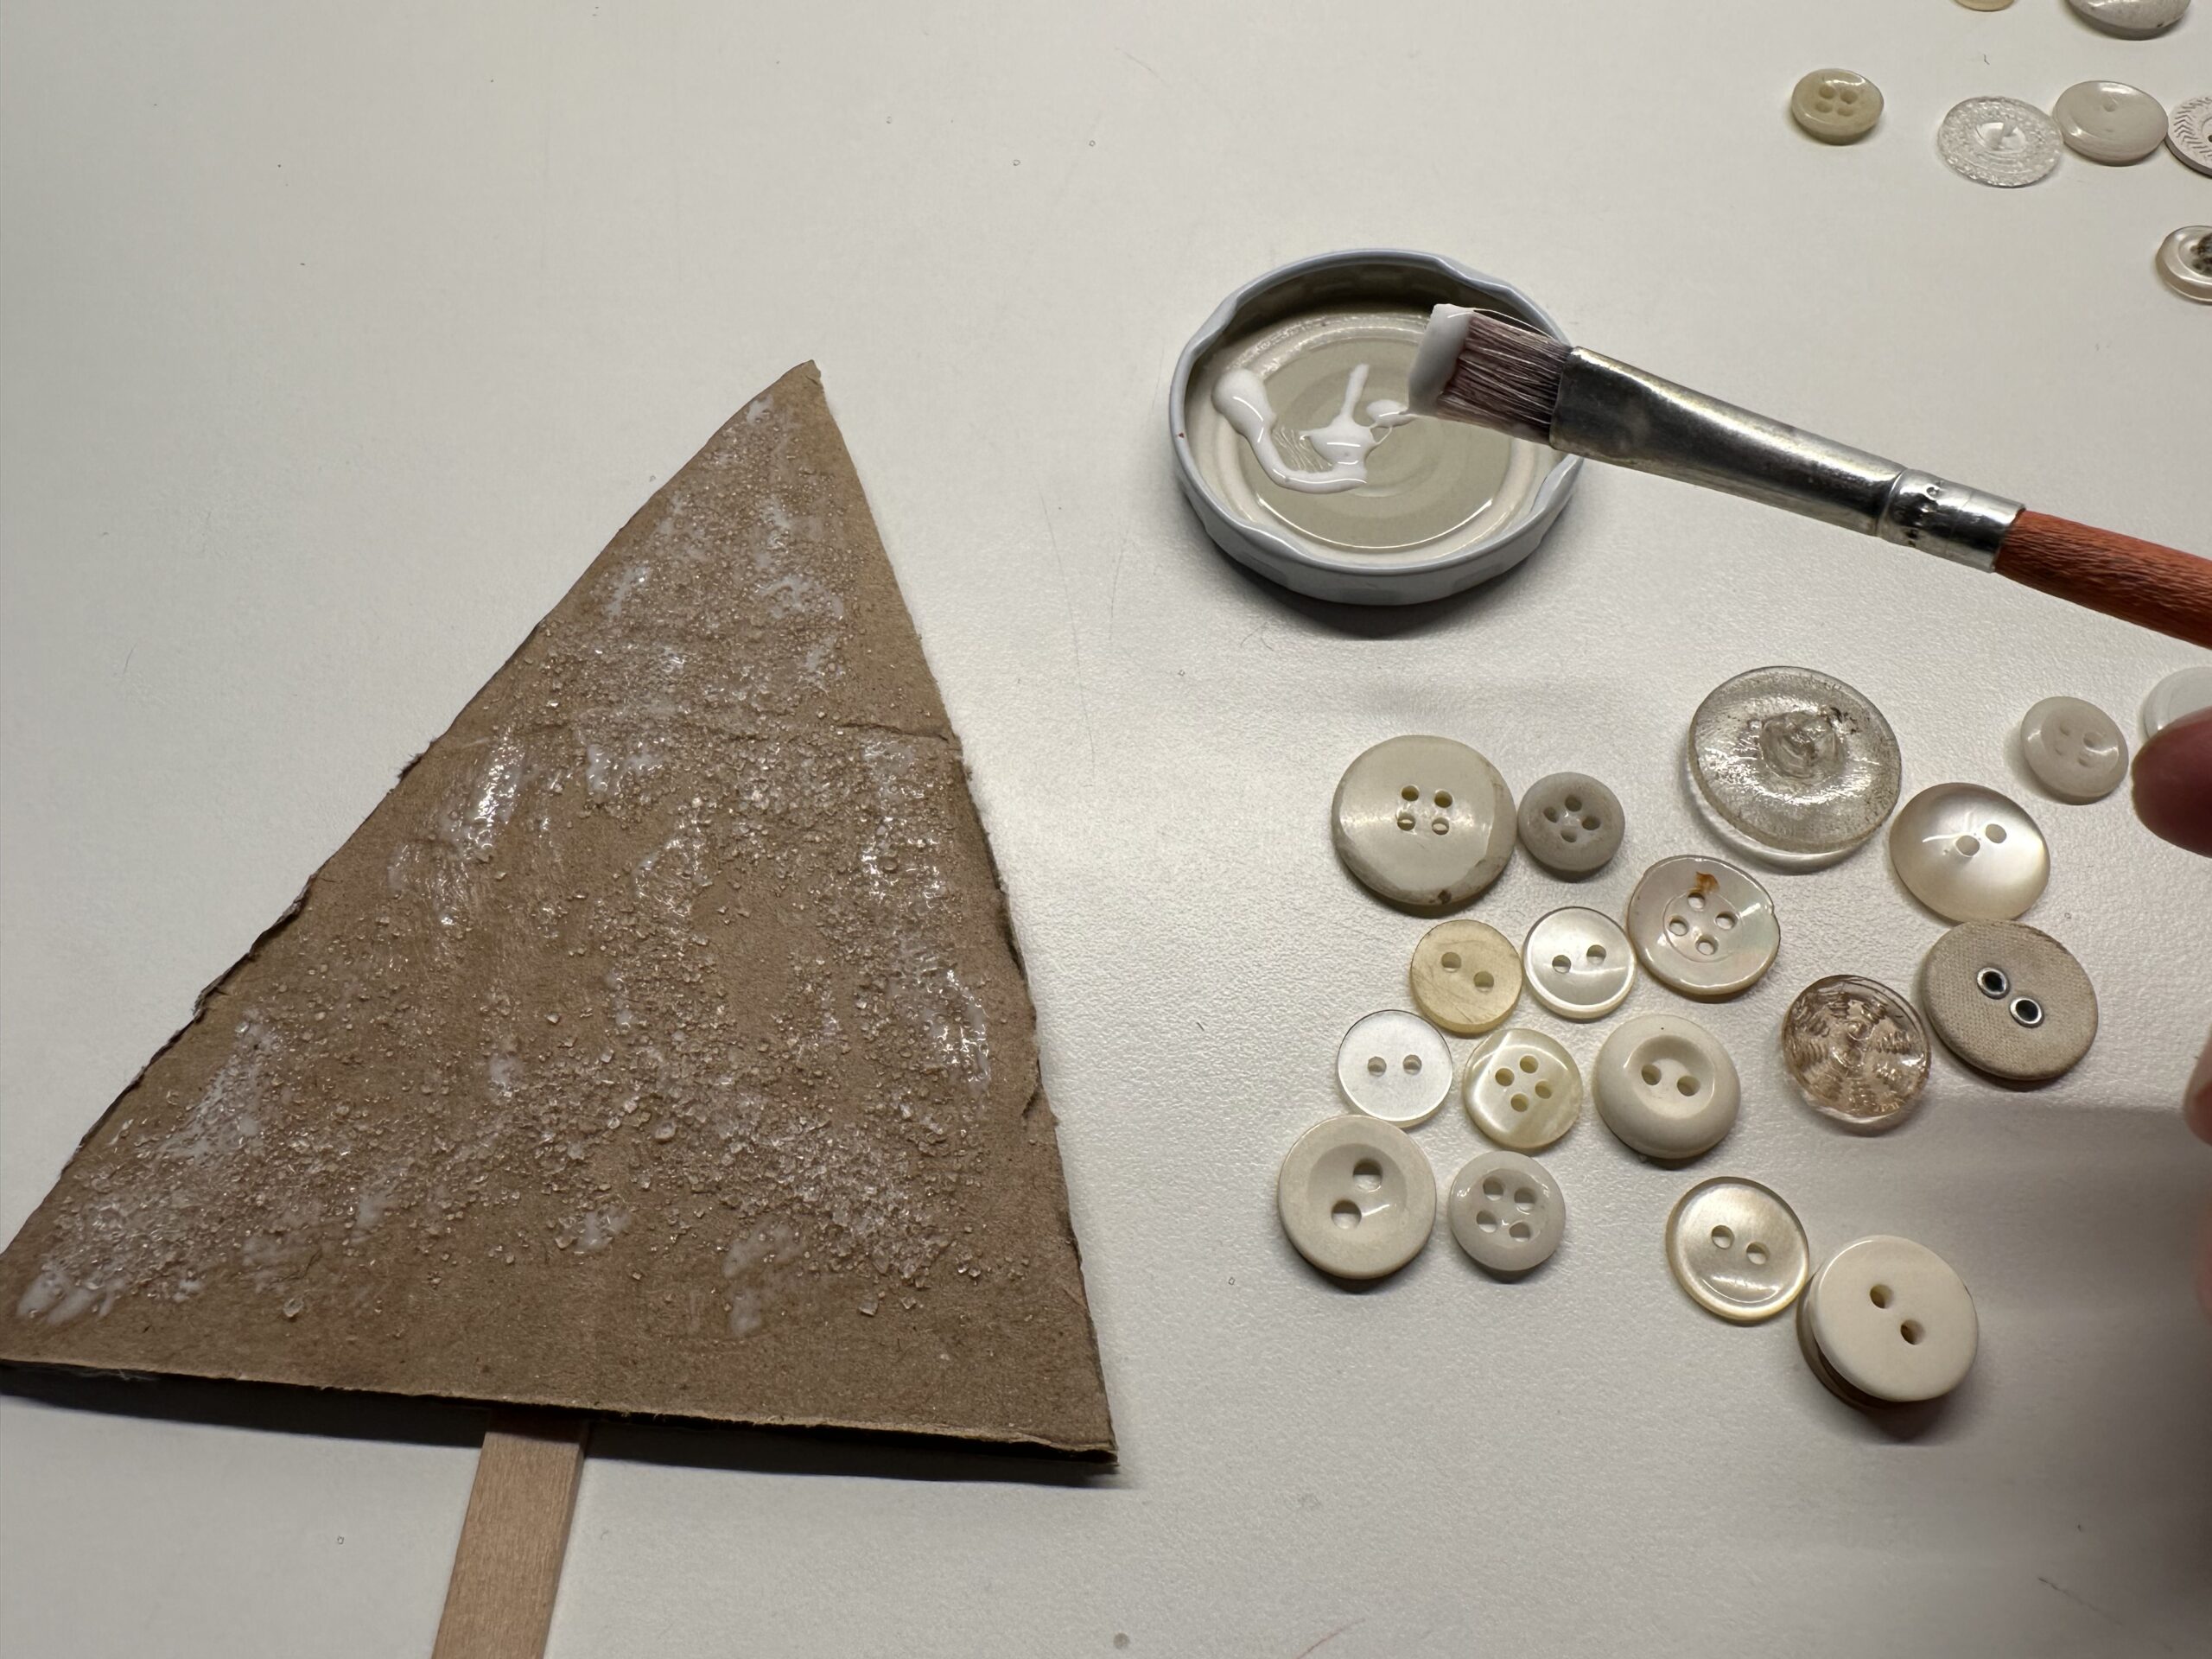
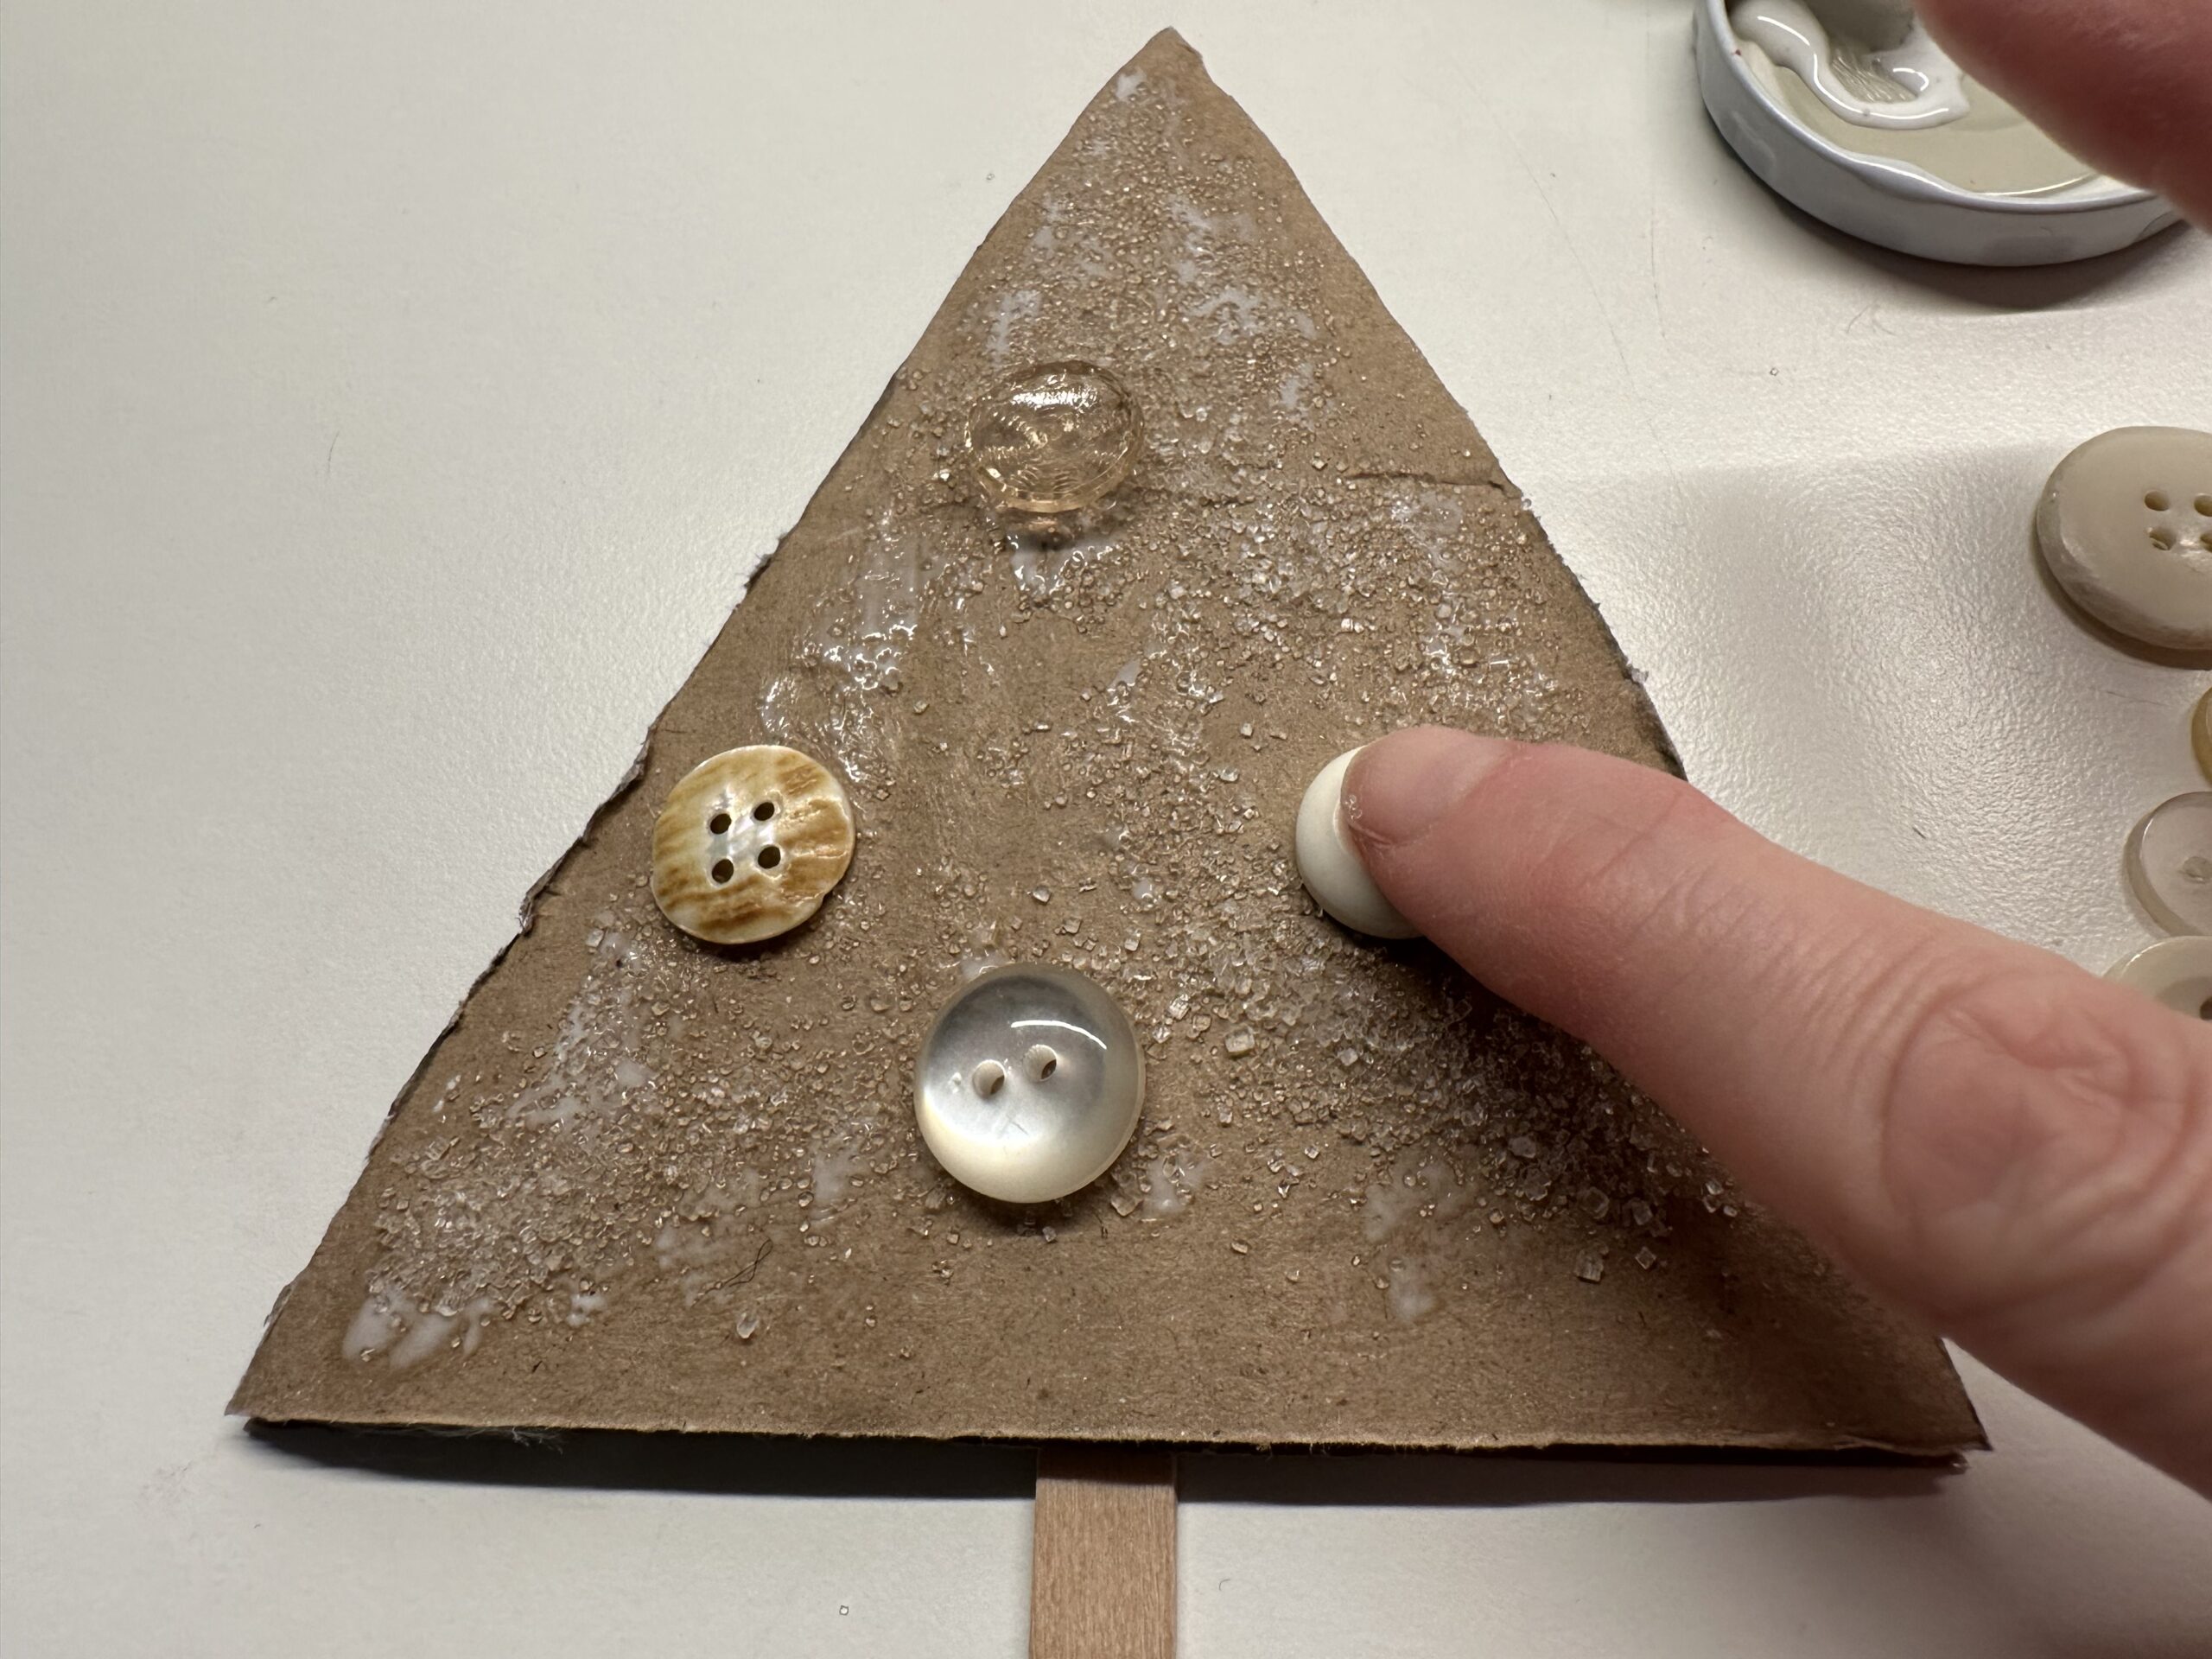
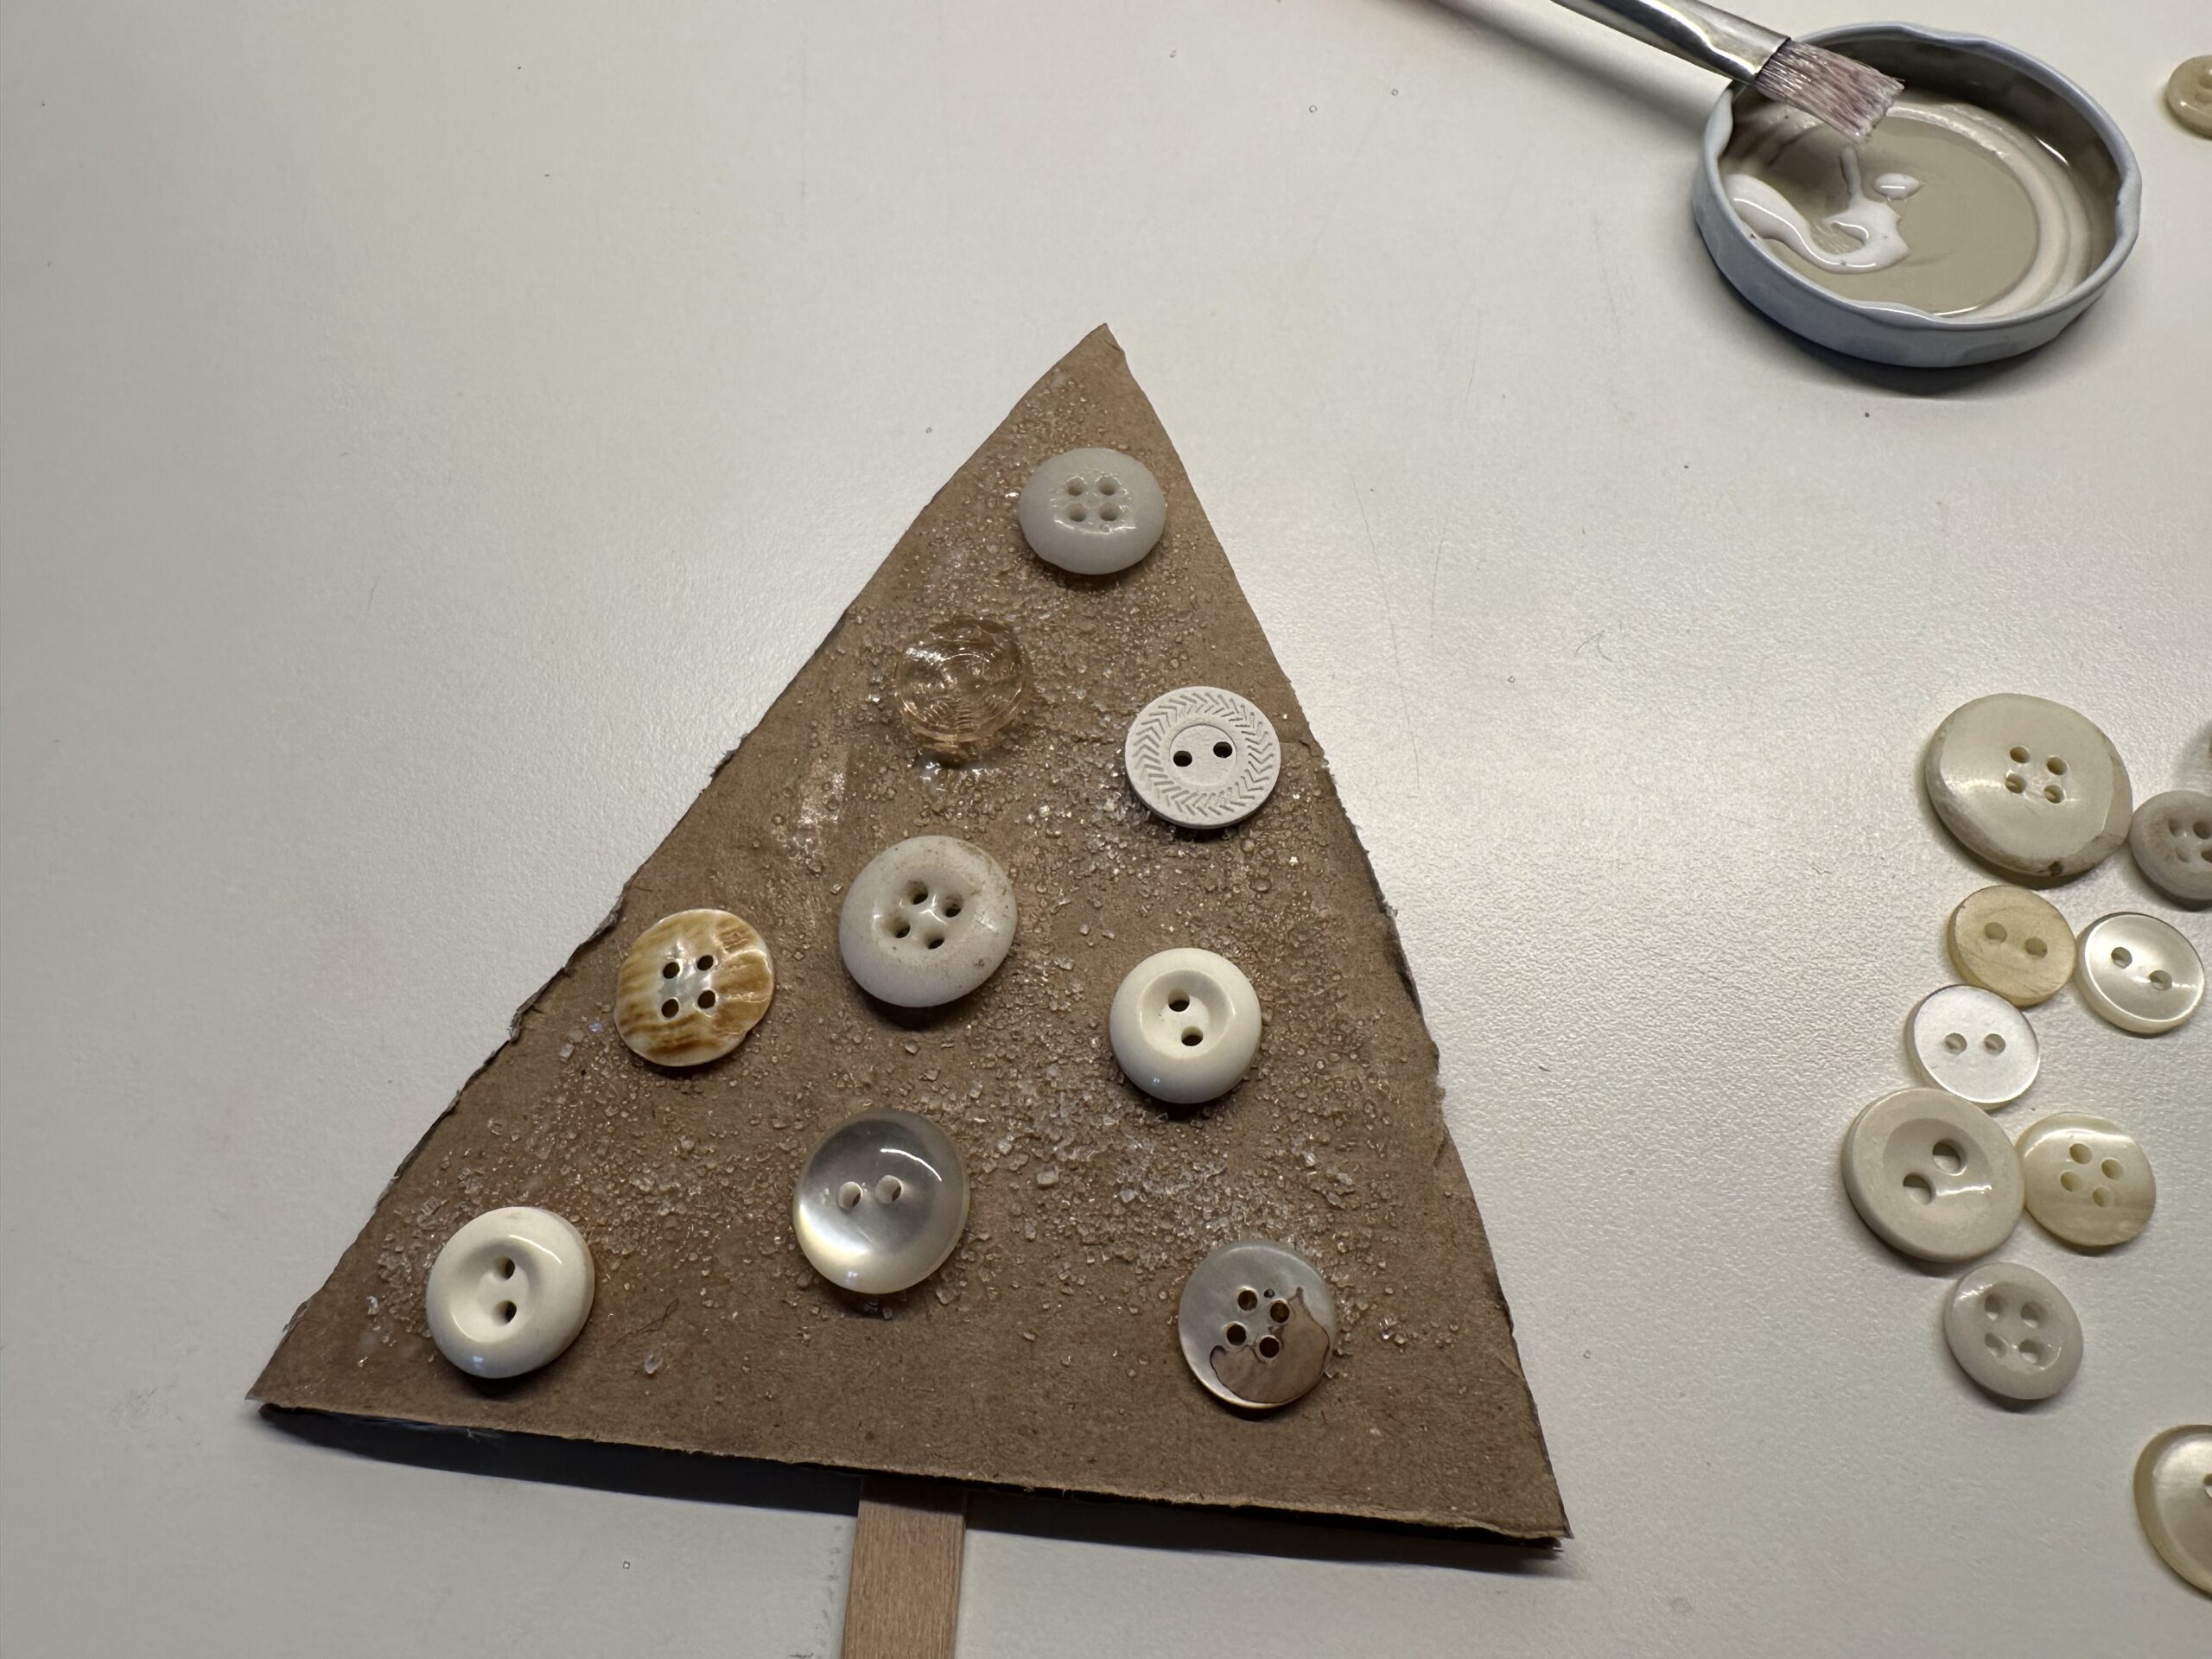
Now stick buttons to the cardboard tree as desired. You can do this with craft glue or wood glue.
Presses the individual buttons well.
Let the glue dry.
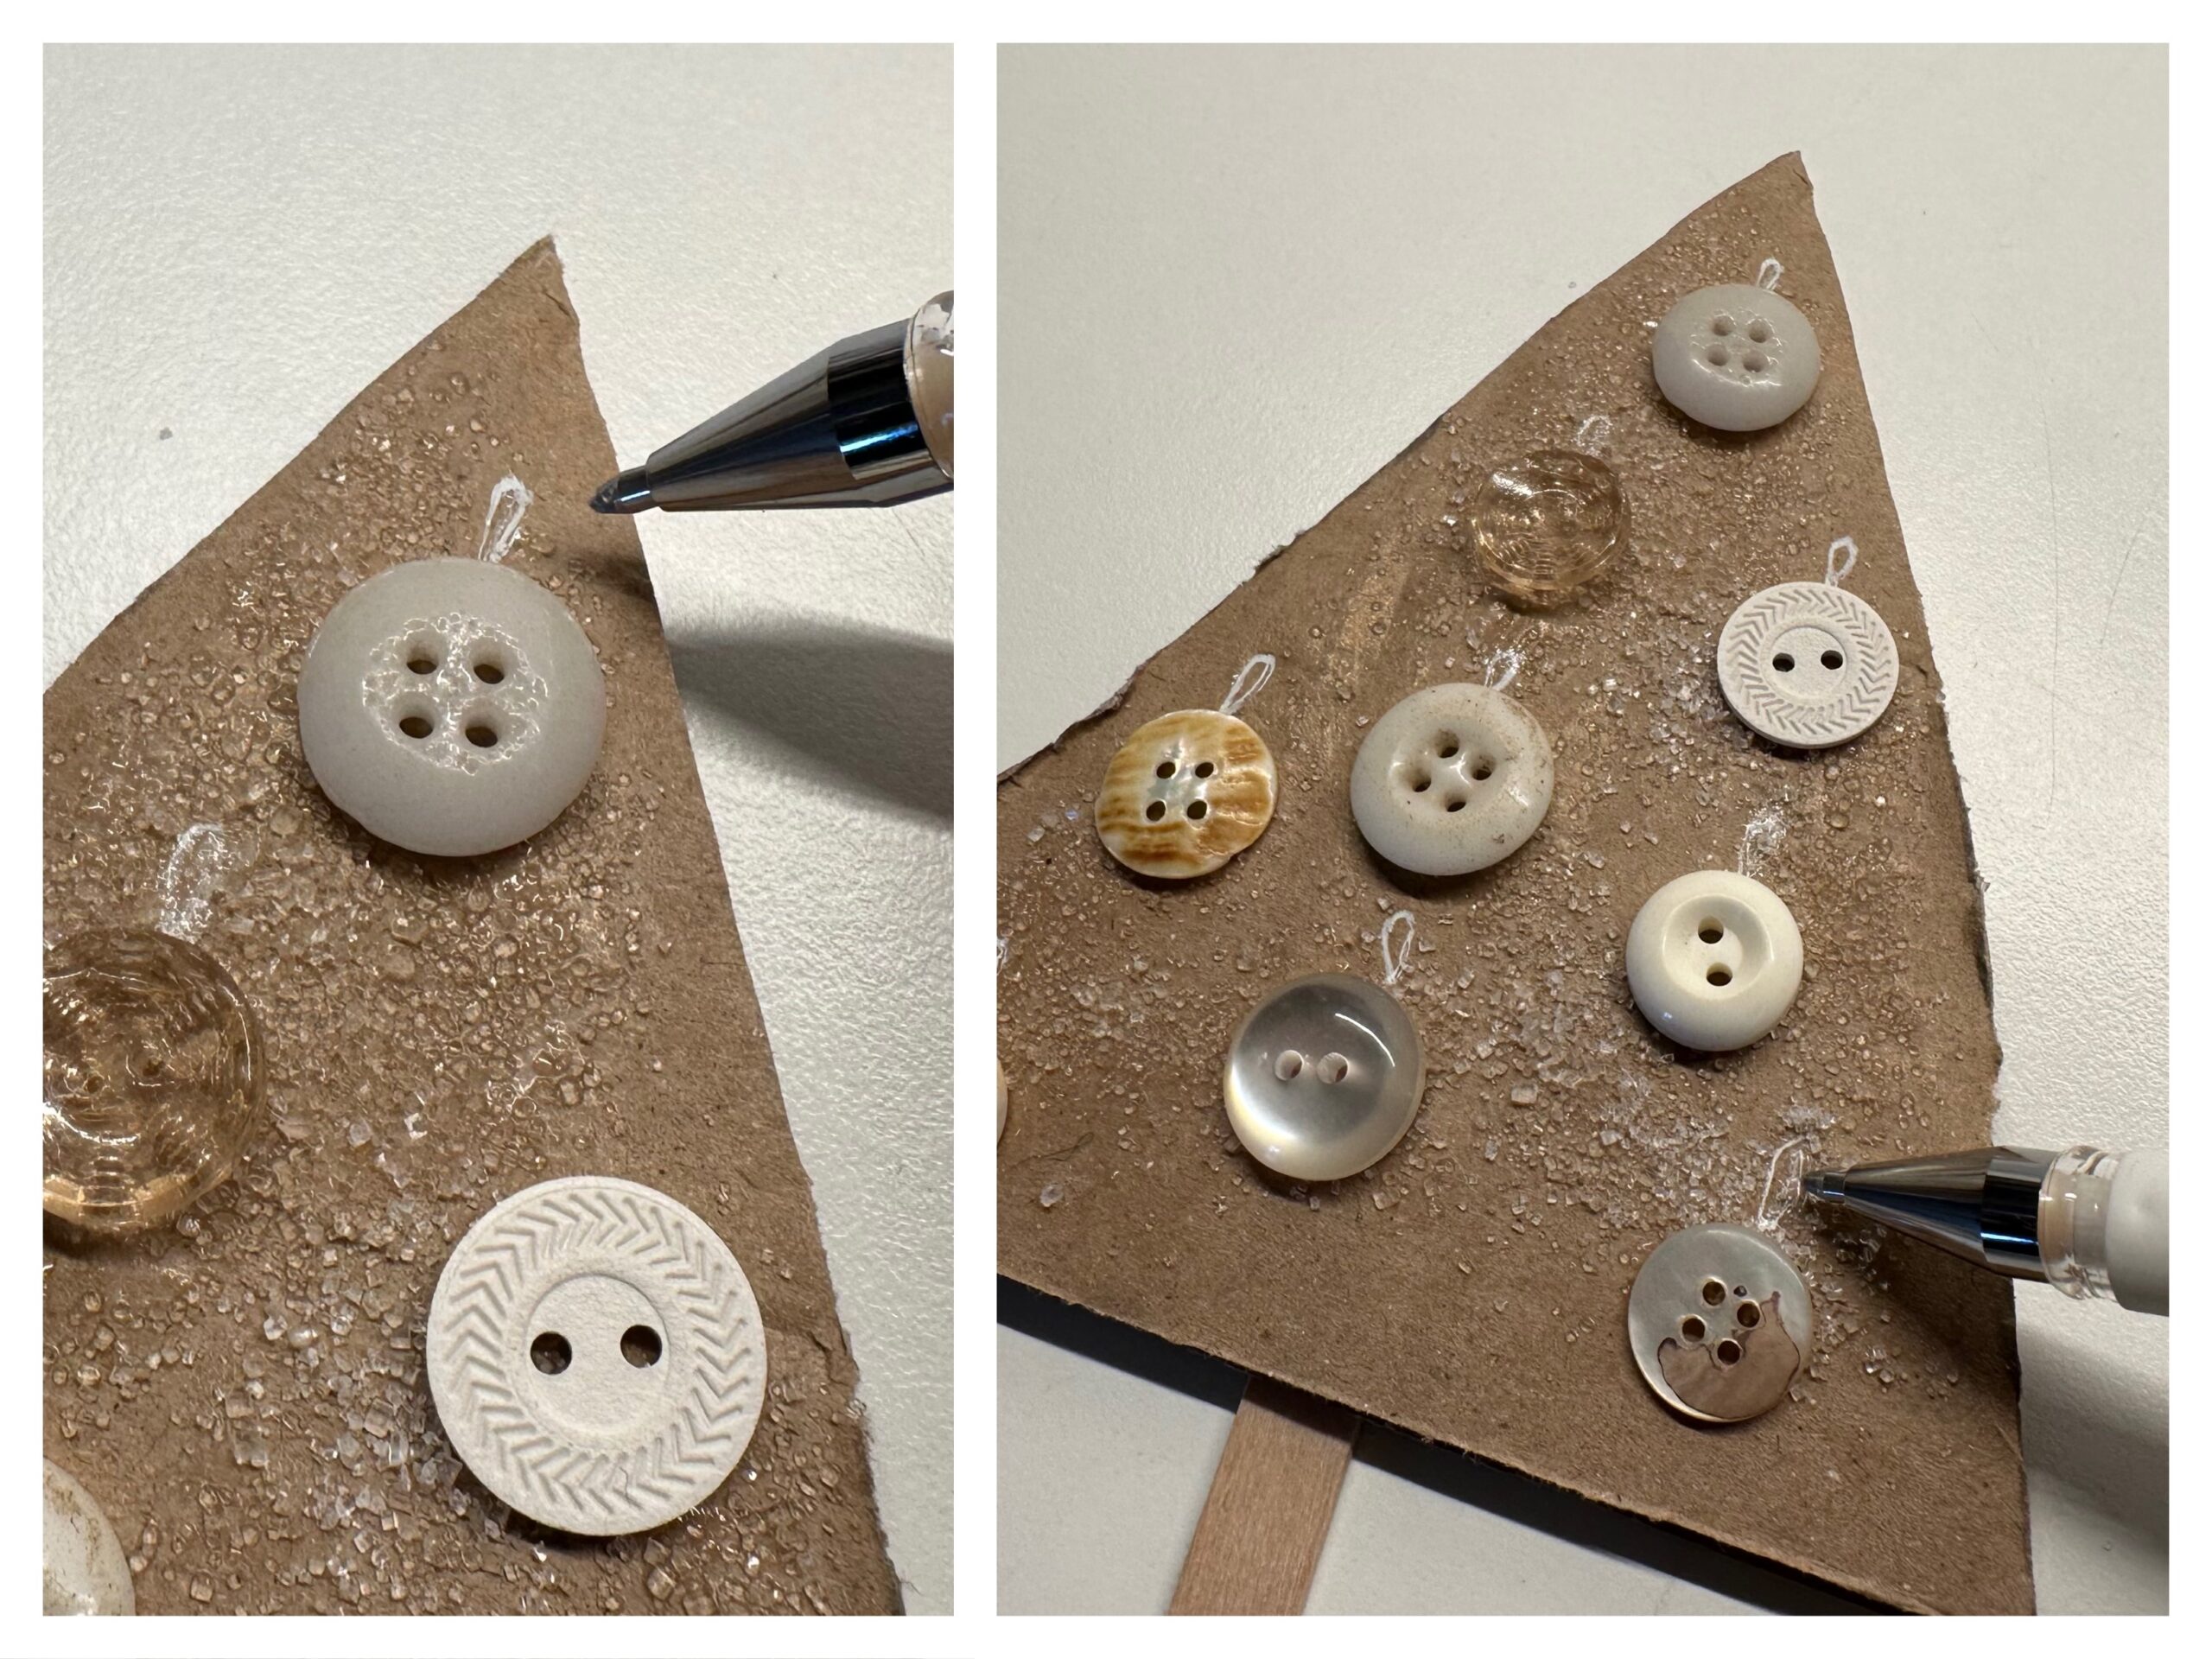
Each button should represent a Christmas tree ball. Paints a small loop above each button. This should be the suspension of the ball.
You can try out many ways to design the trees.
If the same buttons are used, or very different in colour and shape, or if the tree is only sprinkled with sugar, the tree shimmers like glitter.
Be creative.
Have fun trying out.
Materials
Directions
Get your craft material and all the materials ready.
First take the box and paint a large triangle on it with a pencil.
The triangle can have the size of a child's hand and does not have to be accurately painted.
Cut out the triangle with the scissors.
Then you need a wooden stick/ice stick. Stick it on the back of the box. The wooden stick is the trunk of the small fir tree. Then turn the tree on the front.
Covers the front with wood glue or craft glue.
Sugar is immediately spread on the moist glue. Take sugar between thumb and index finger and let it pour over the fir tree.
You can shake off excess sugar by putting it up.
Now stick buttons to the cardboard tree as desired. You can do this with craft glue or wood glue.
Presses the individual buttons well.
Let the glue dry.
Each button should represent a Christmas tree ball. Paints a small loop above each button. This should be the suspension of the ball.
You can try out many ways to design the trees.
If the same buttons are used, or very different in colour and shape, or if the tree is only sprinkled with sugar, the tree shimmers like glitter.
Be creative.
Have fun trying out.
Follow us on Facebook , Instagram and Pinterest
Don't miss any more adventures: Our bottle mail