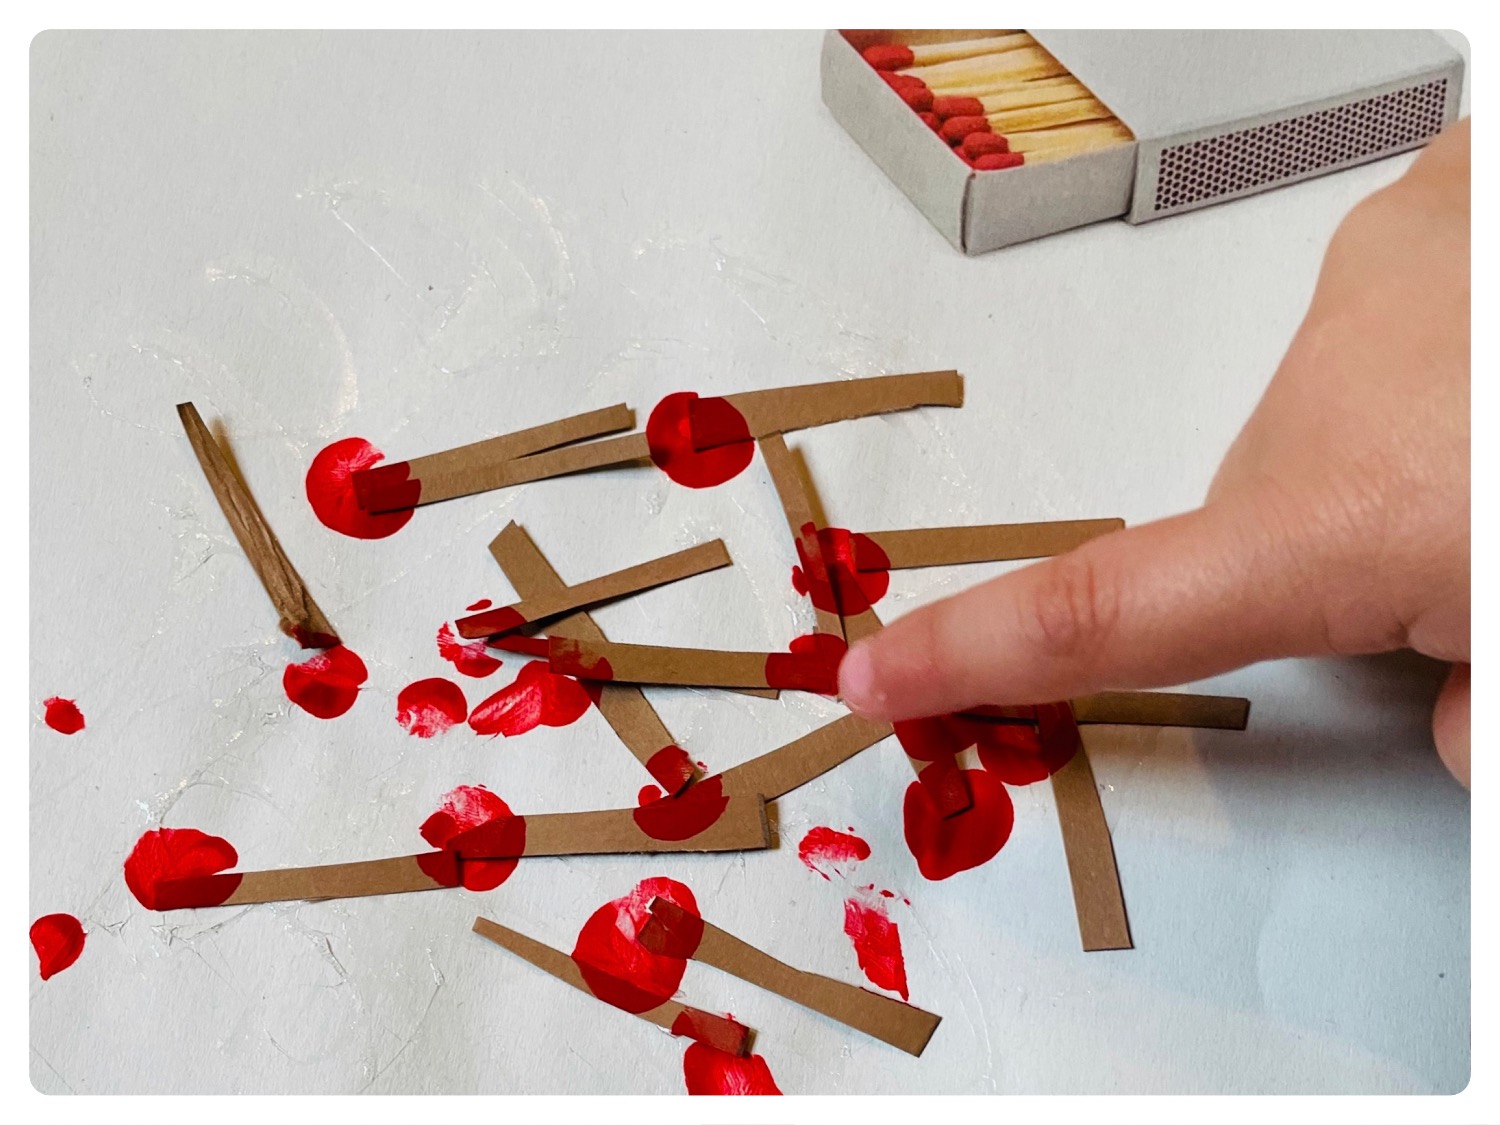
Matches have something fascinating in themselves. They are necessary to light a fire. The spark only comes about because the red head of the match is ignited by friction. You brush the wood along the rough spot of the match box and create a spark. This is very exciting for children.
Collecting the matches of a poured out matchbox is a fuzzy work for children. This is how the idea came about to make this a glue image. Sticks fine paper strips crisscross onto a sheet. Each paper strip then becomes a "straightwood" with a red paint swab.
A lot of fine motor skills is not necessary for this. See how easy the implementation is here. Have fun with it.
Media Education for Kindergarten and Hort

Relief in everyday life, targeted promotion of individual children, independent learning and - without any pre-knowledge already usable by the youngest!
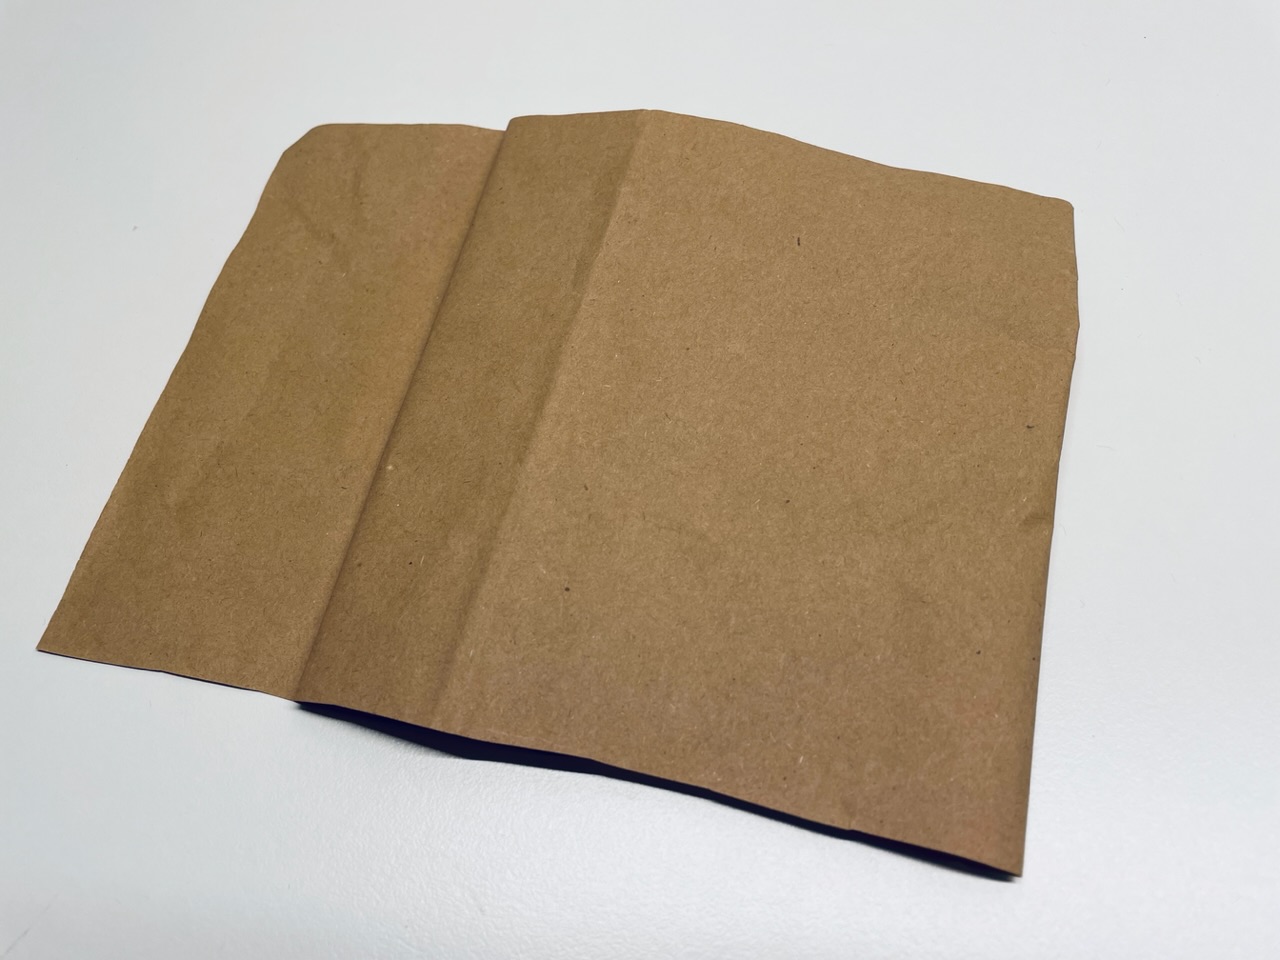
Get a brown clay paper first.
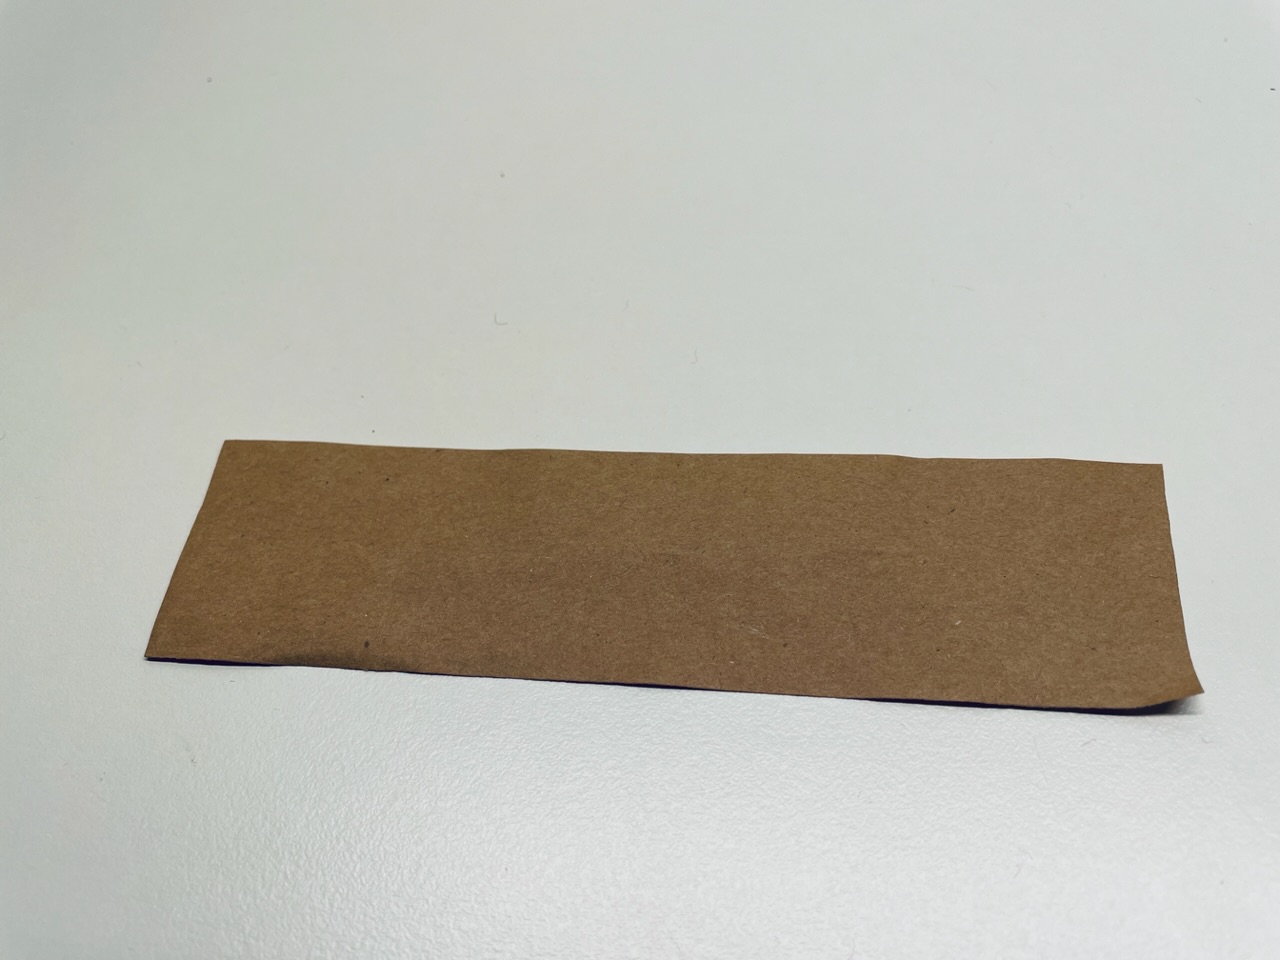
Cut off a strip of paper.


On the strip you can now paint narrow lines. These should be as wide as possible. These are then cut individually with the scissors.
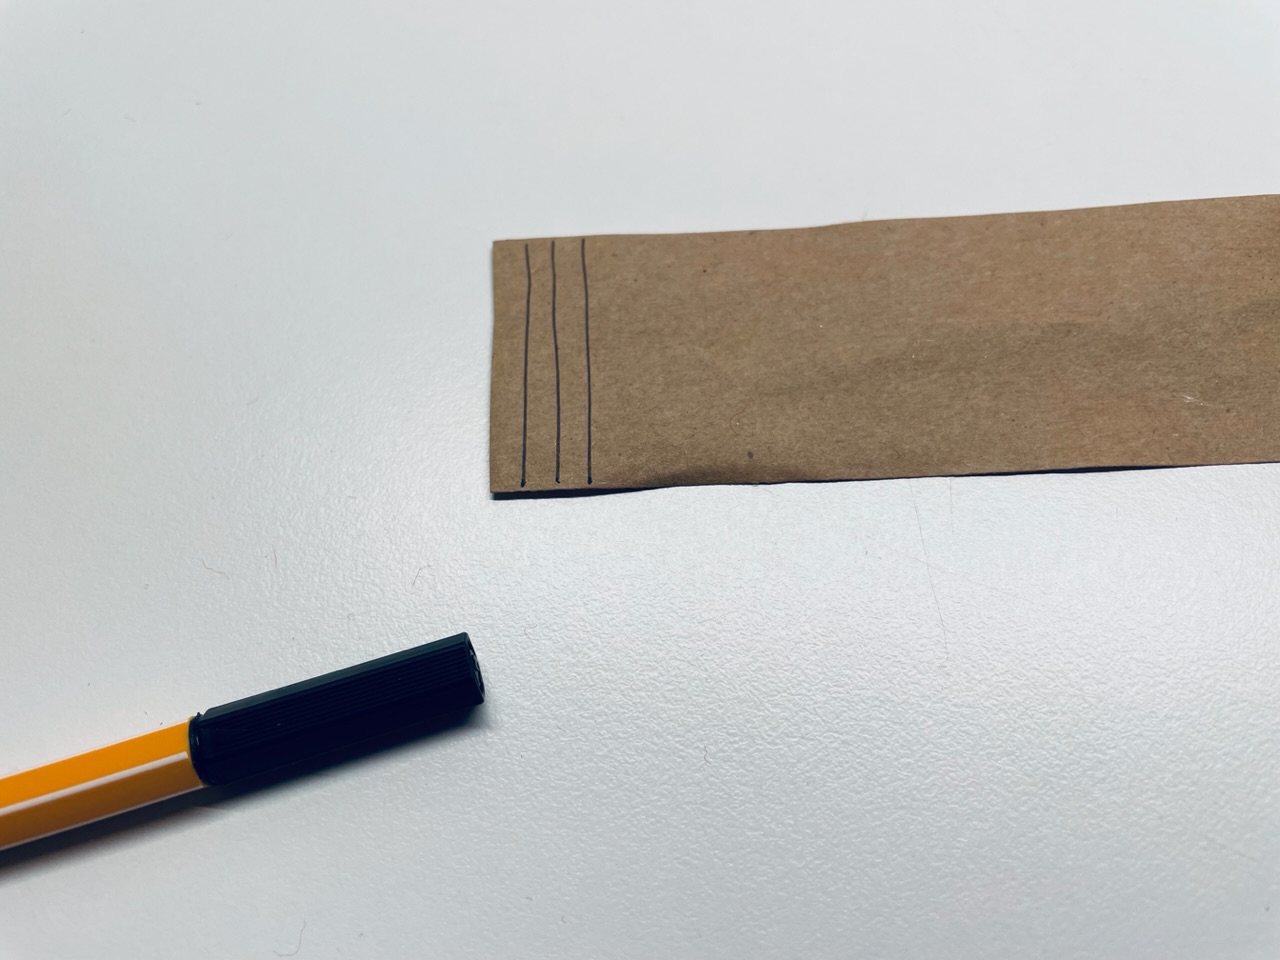


You can also cut off with scissors without painting narrow stripes.
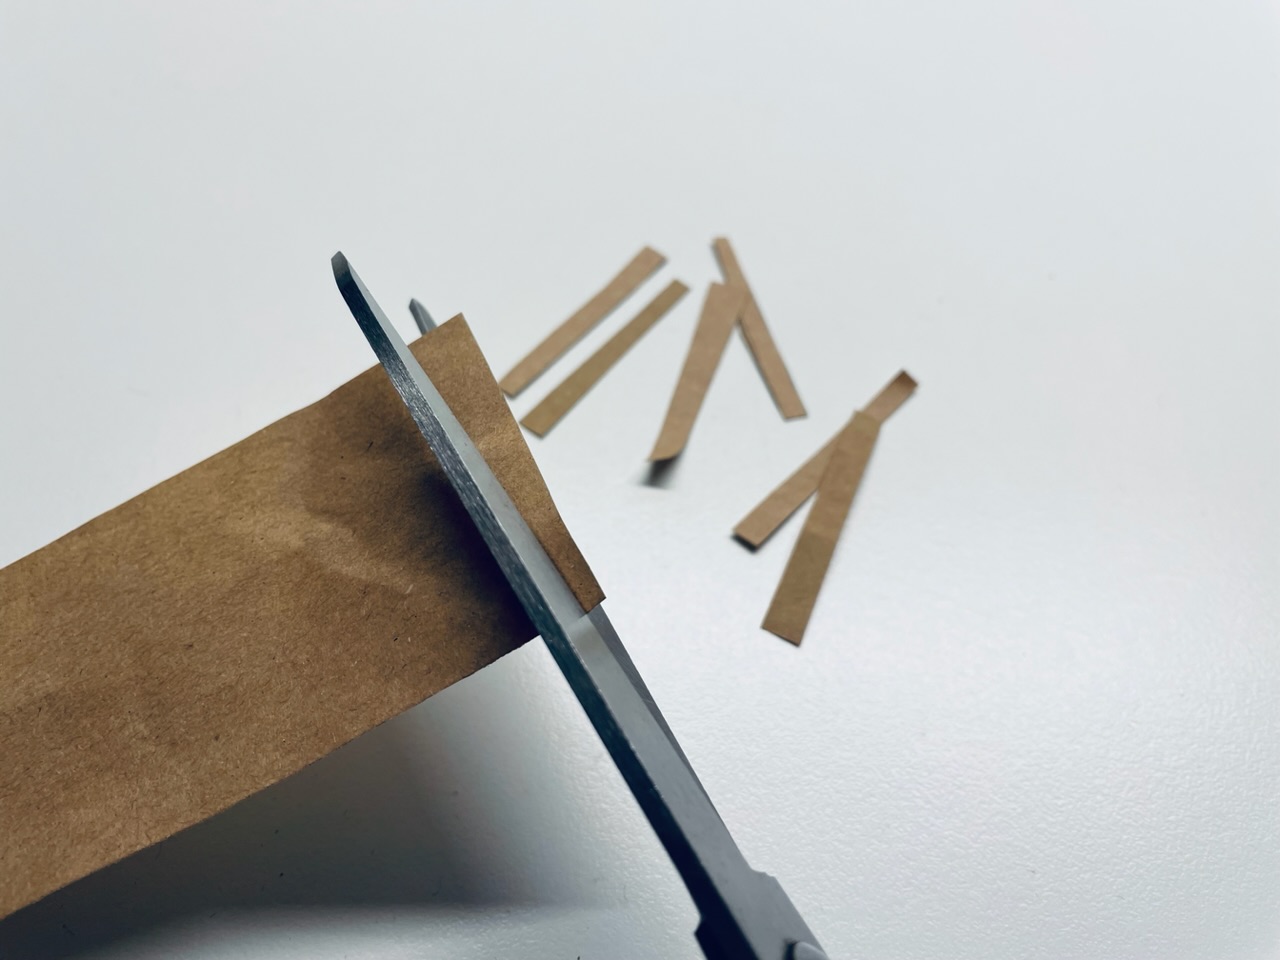


If you've cut enough strips, we'll go to the next step.
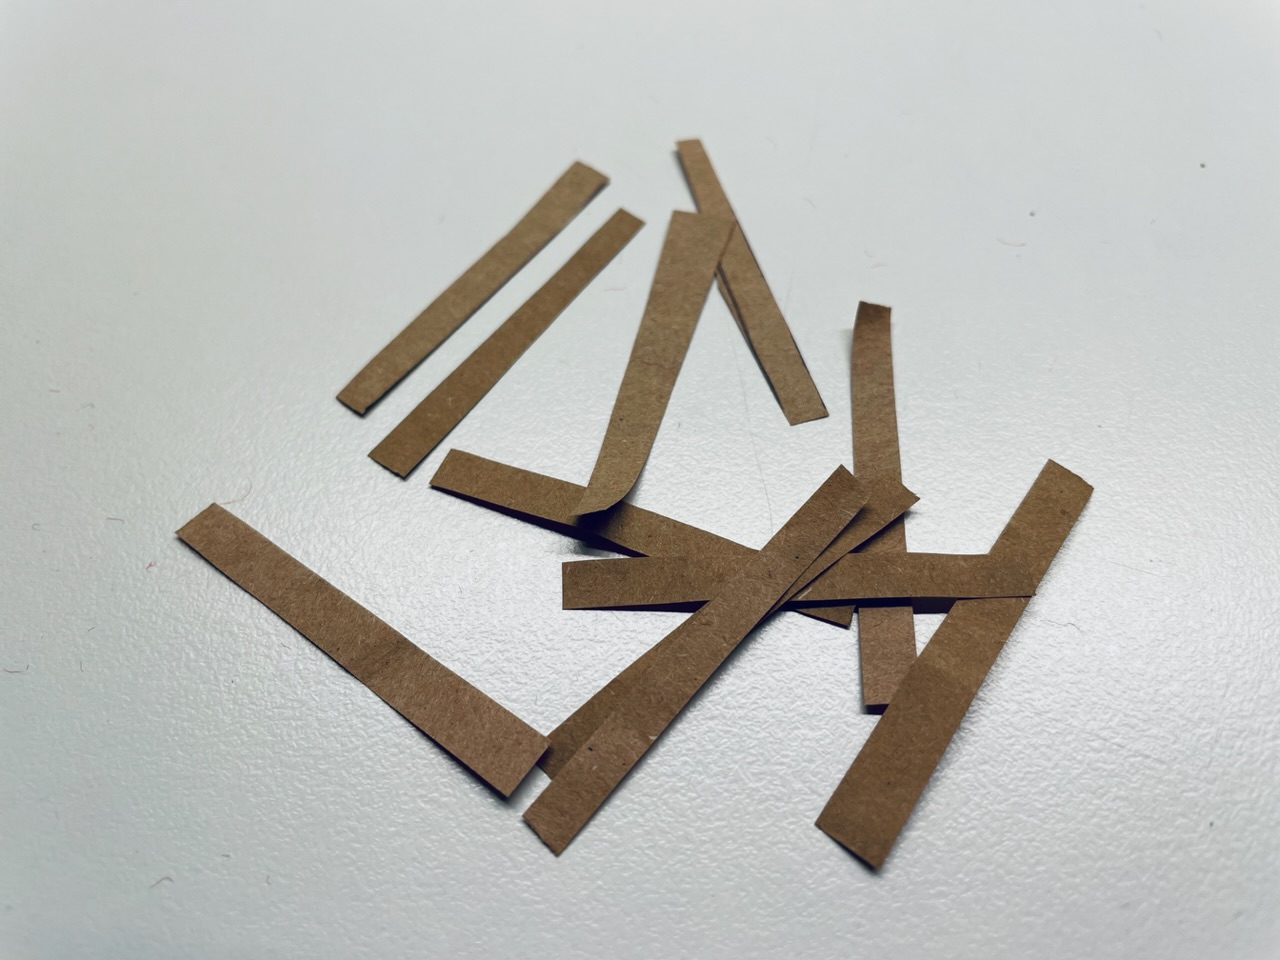


You can collect the strips on a plate or in a bowl.
Prepare a sheet on which you want to stick the matches. You can also prepare a sheet with a printed matchbox and use it. (See photo)
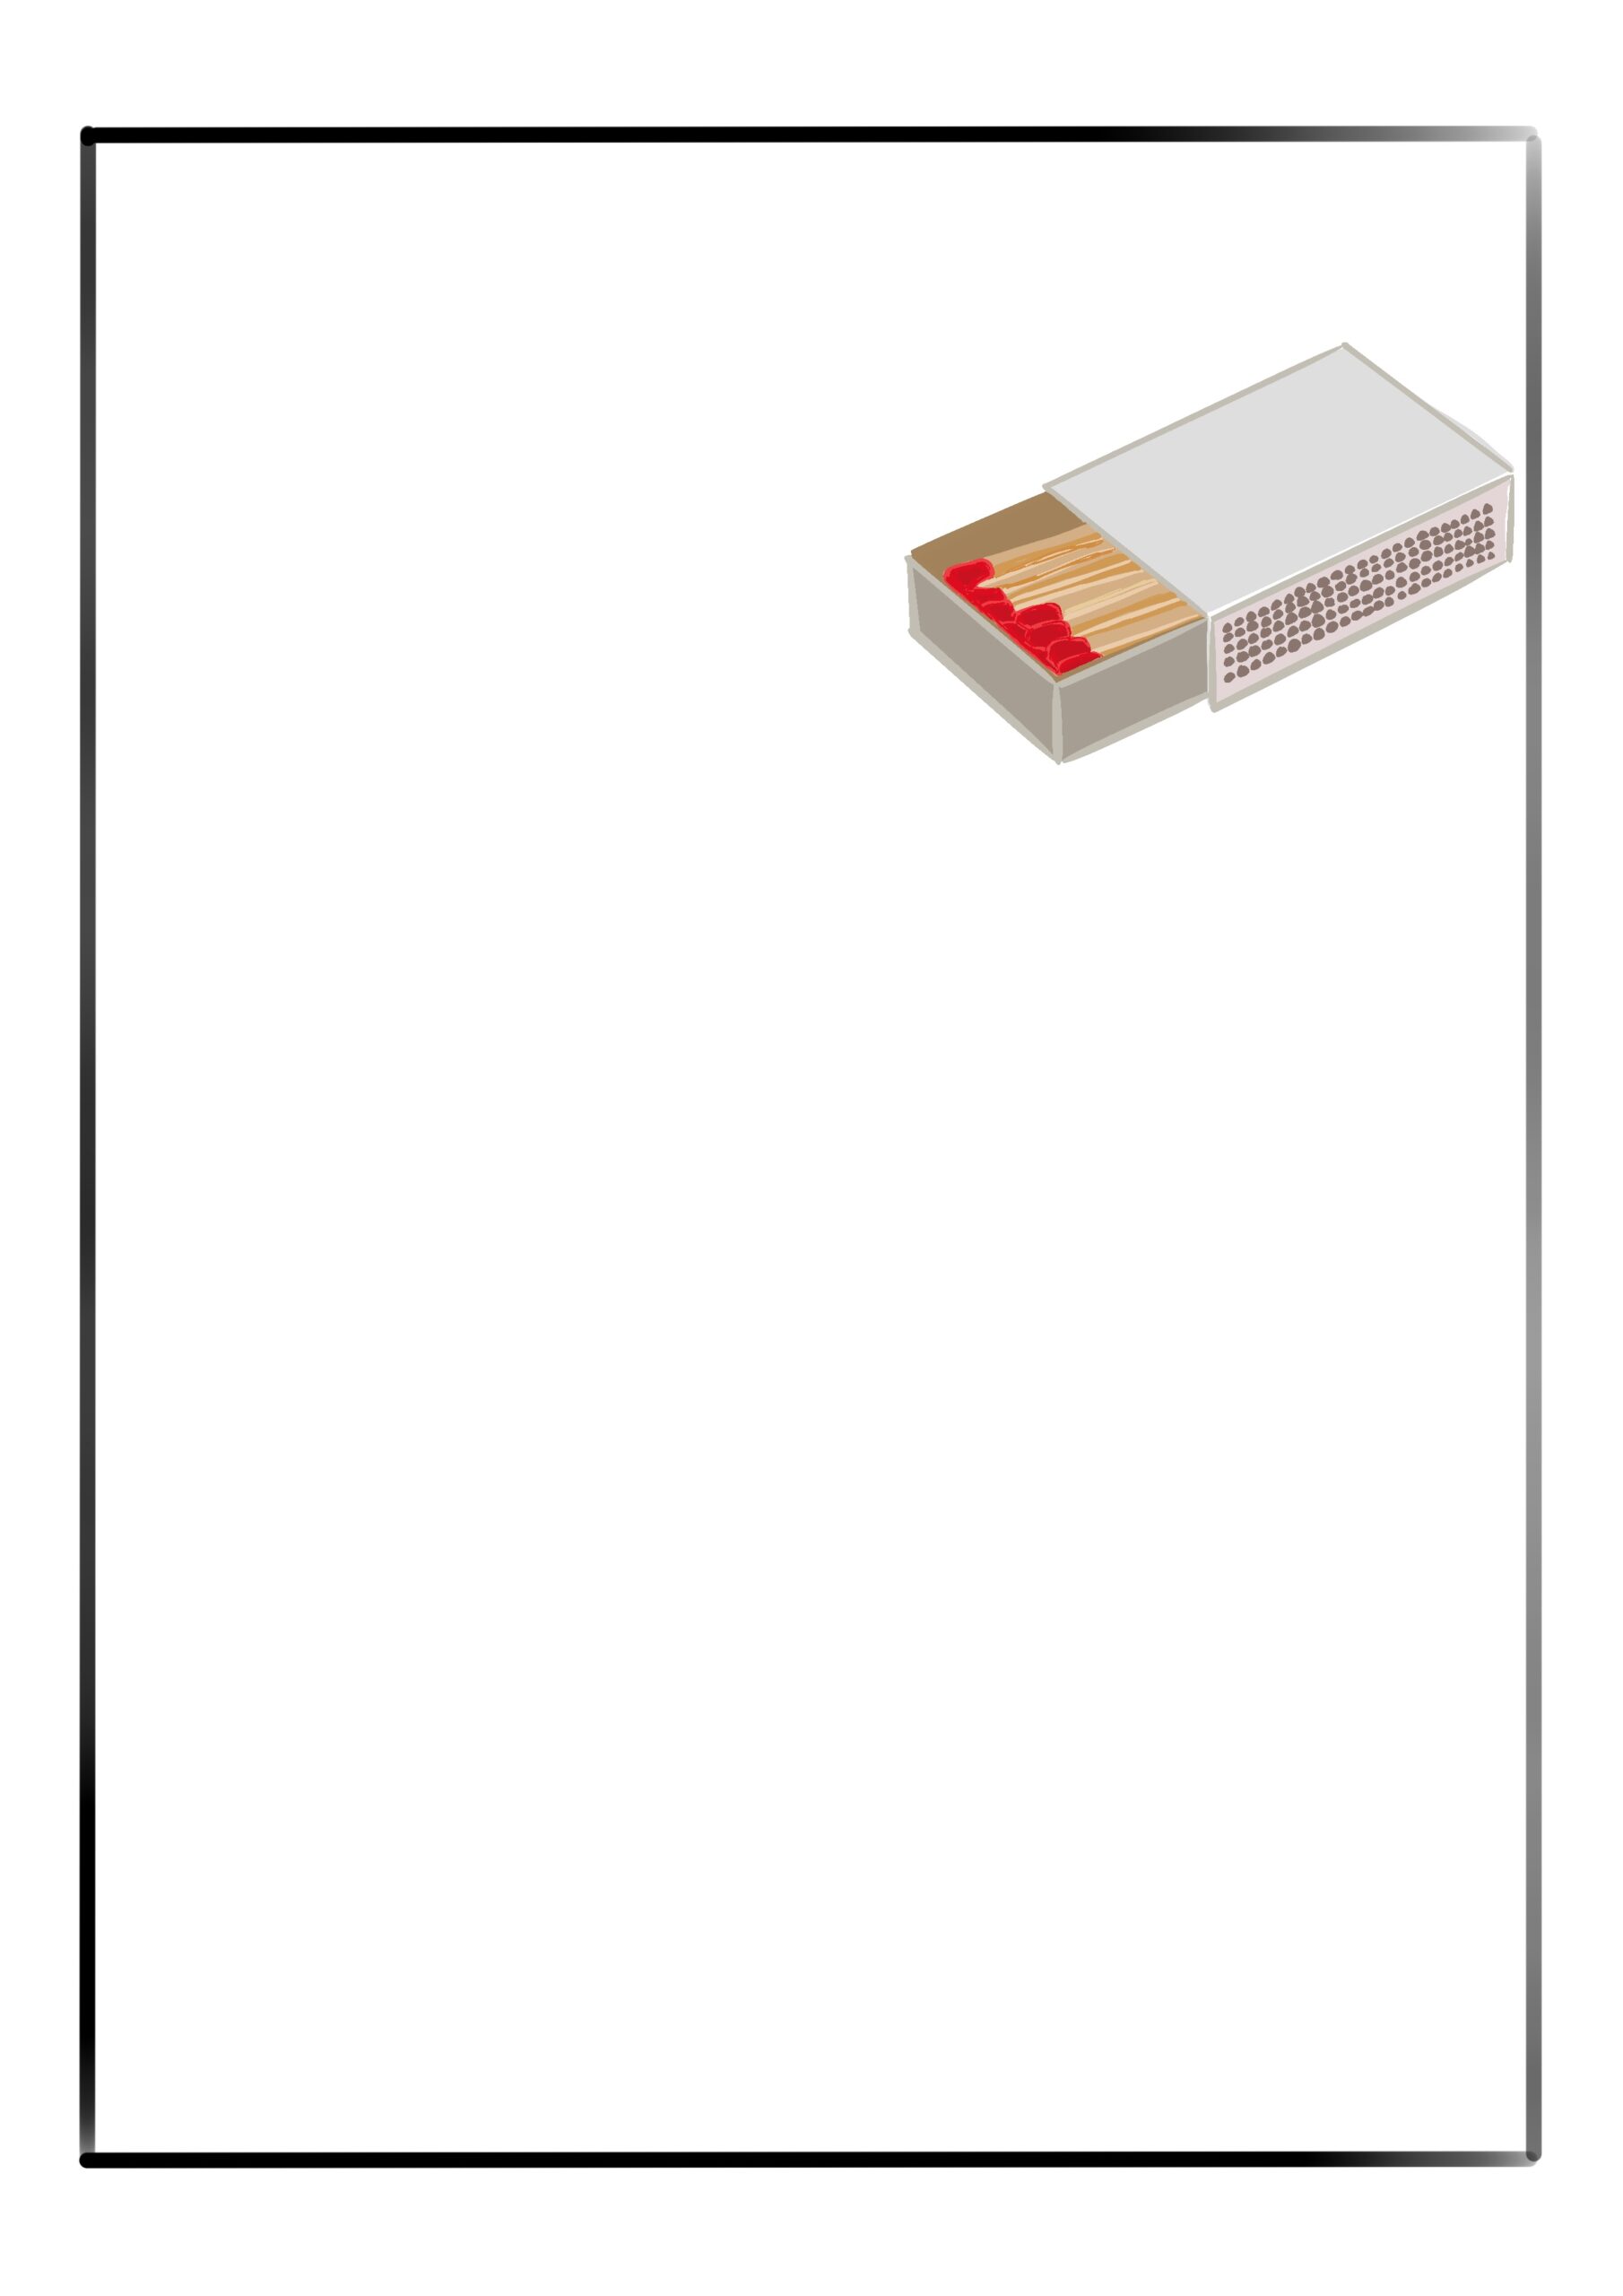


Place glue as flat as possible on the paper.
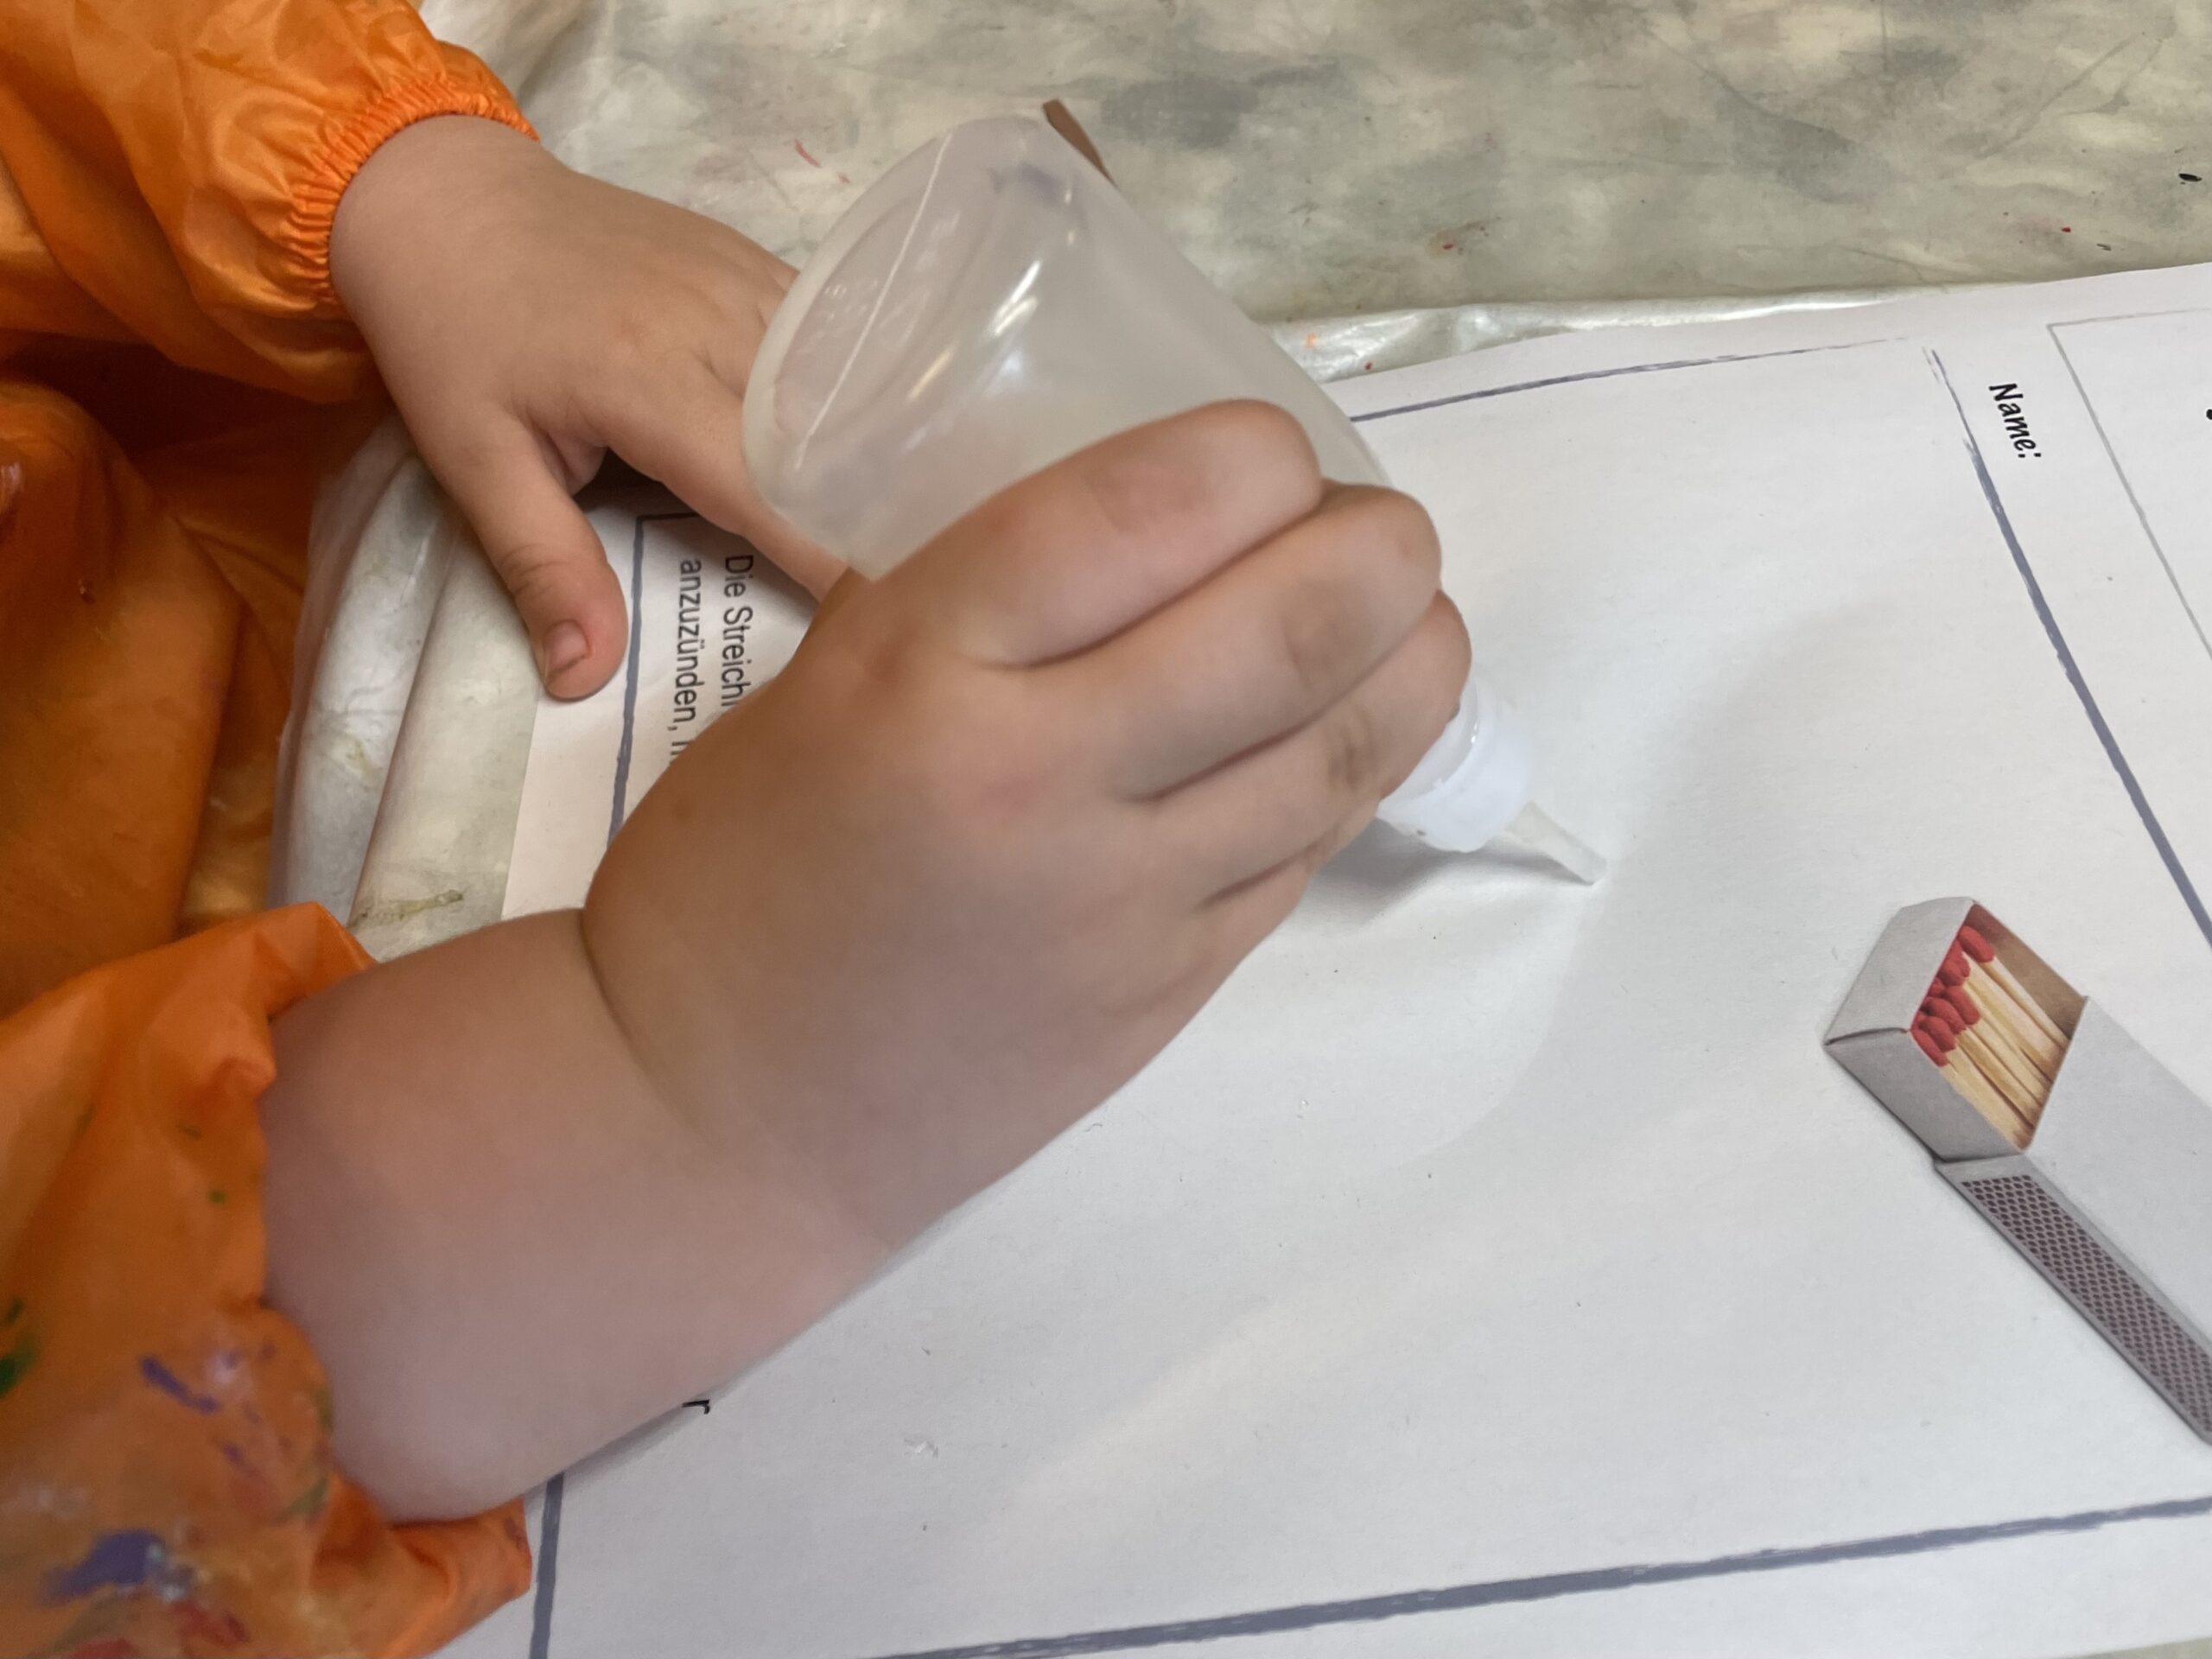


Now take the individual cut paper strips and stick them on. This requires a lot of dexterity and skill. Is a great fine motor exercise.
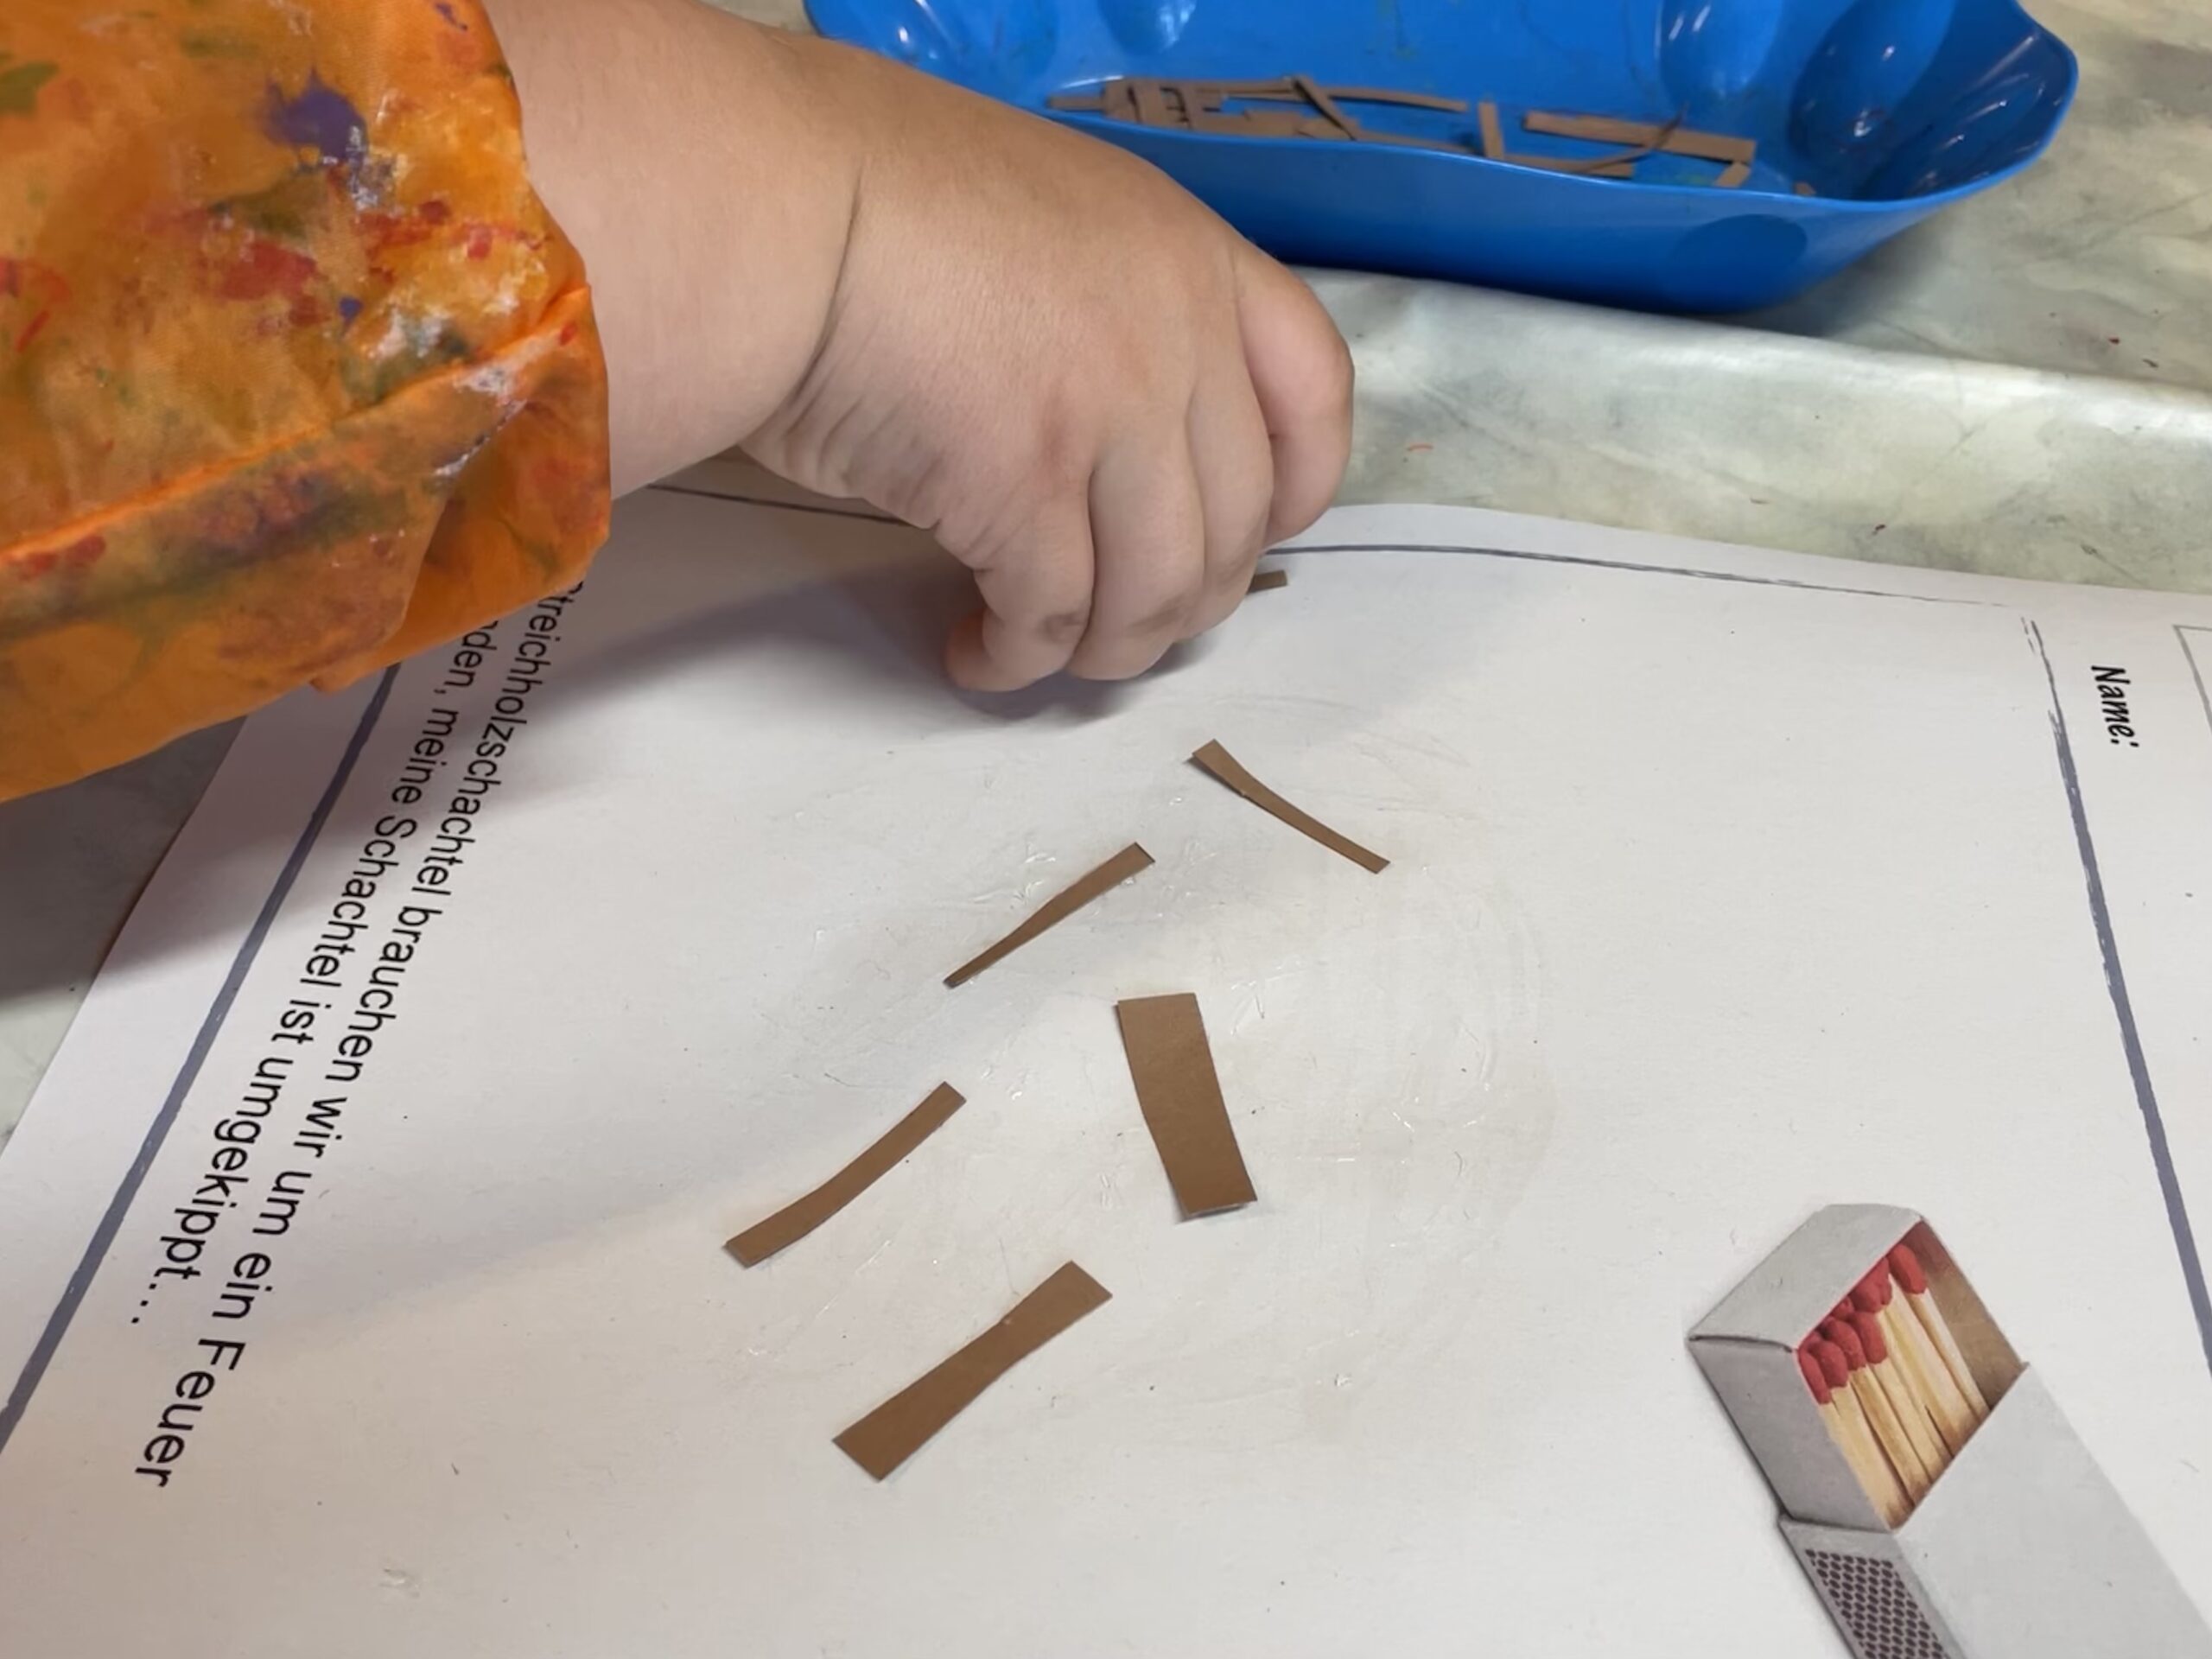


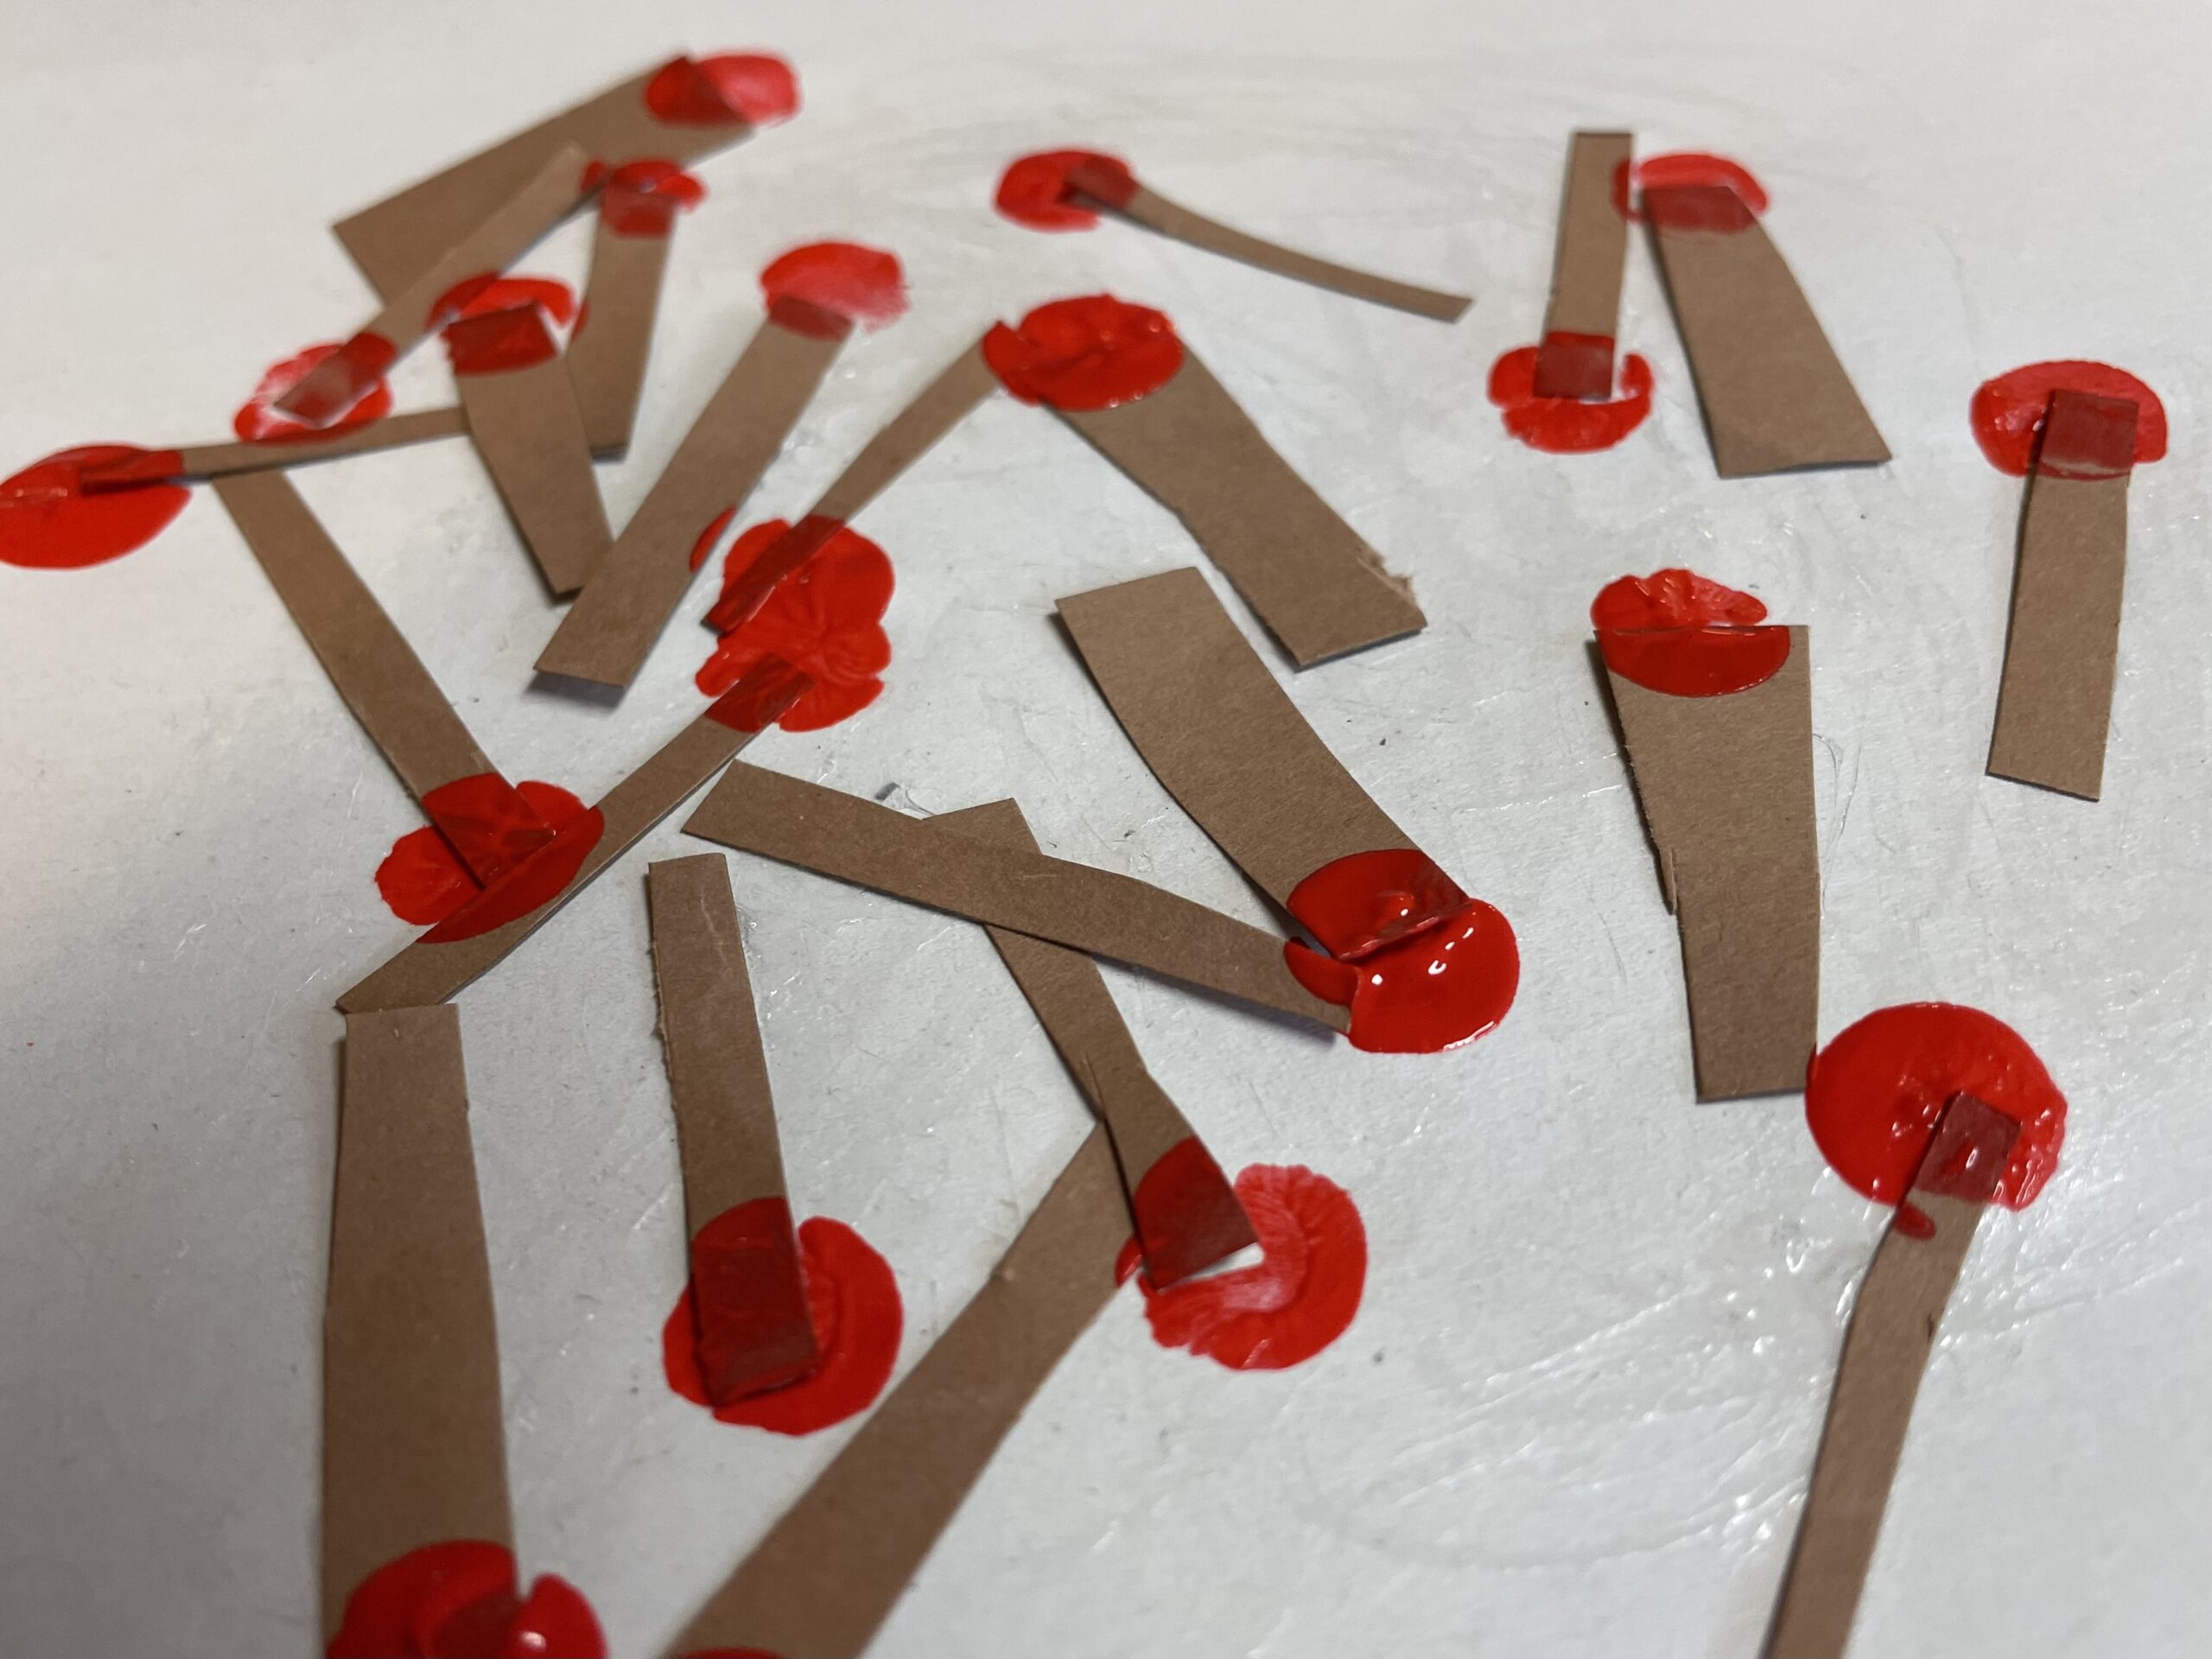
If you have all the paper strips glued on, then you can make your "woods" matches, the woods are missing only red "heads".
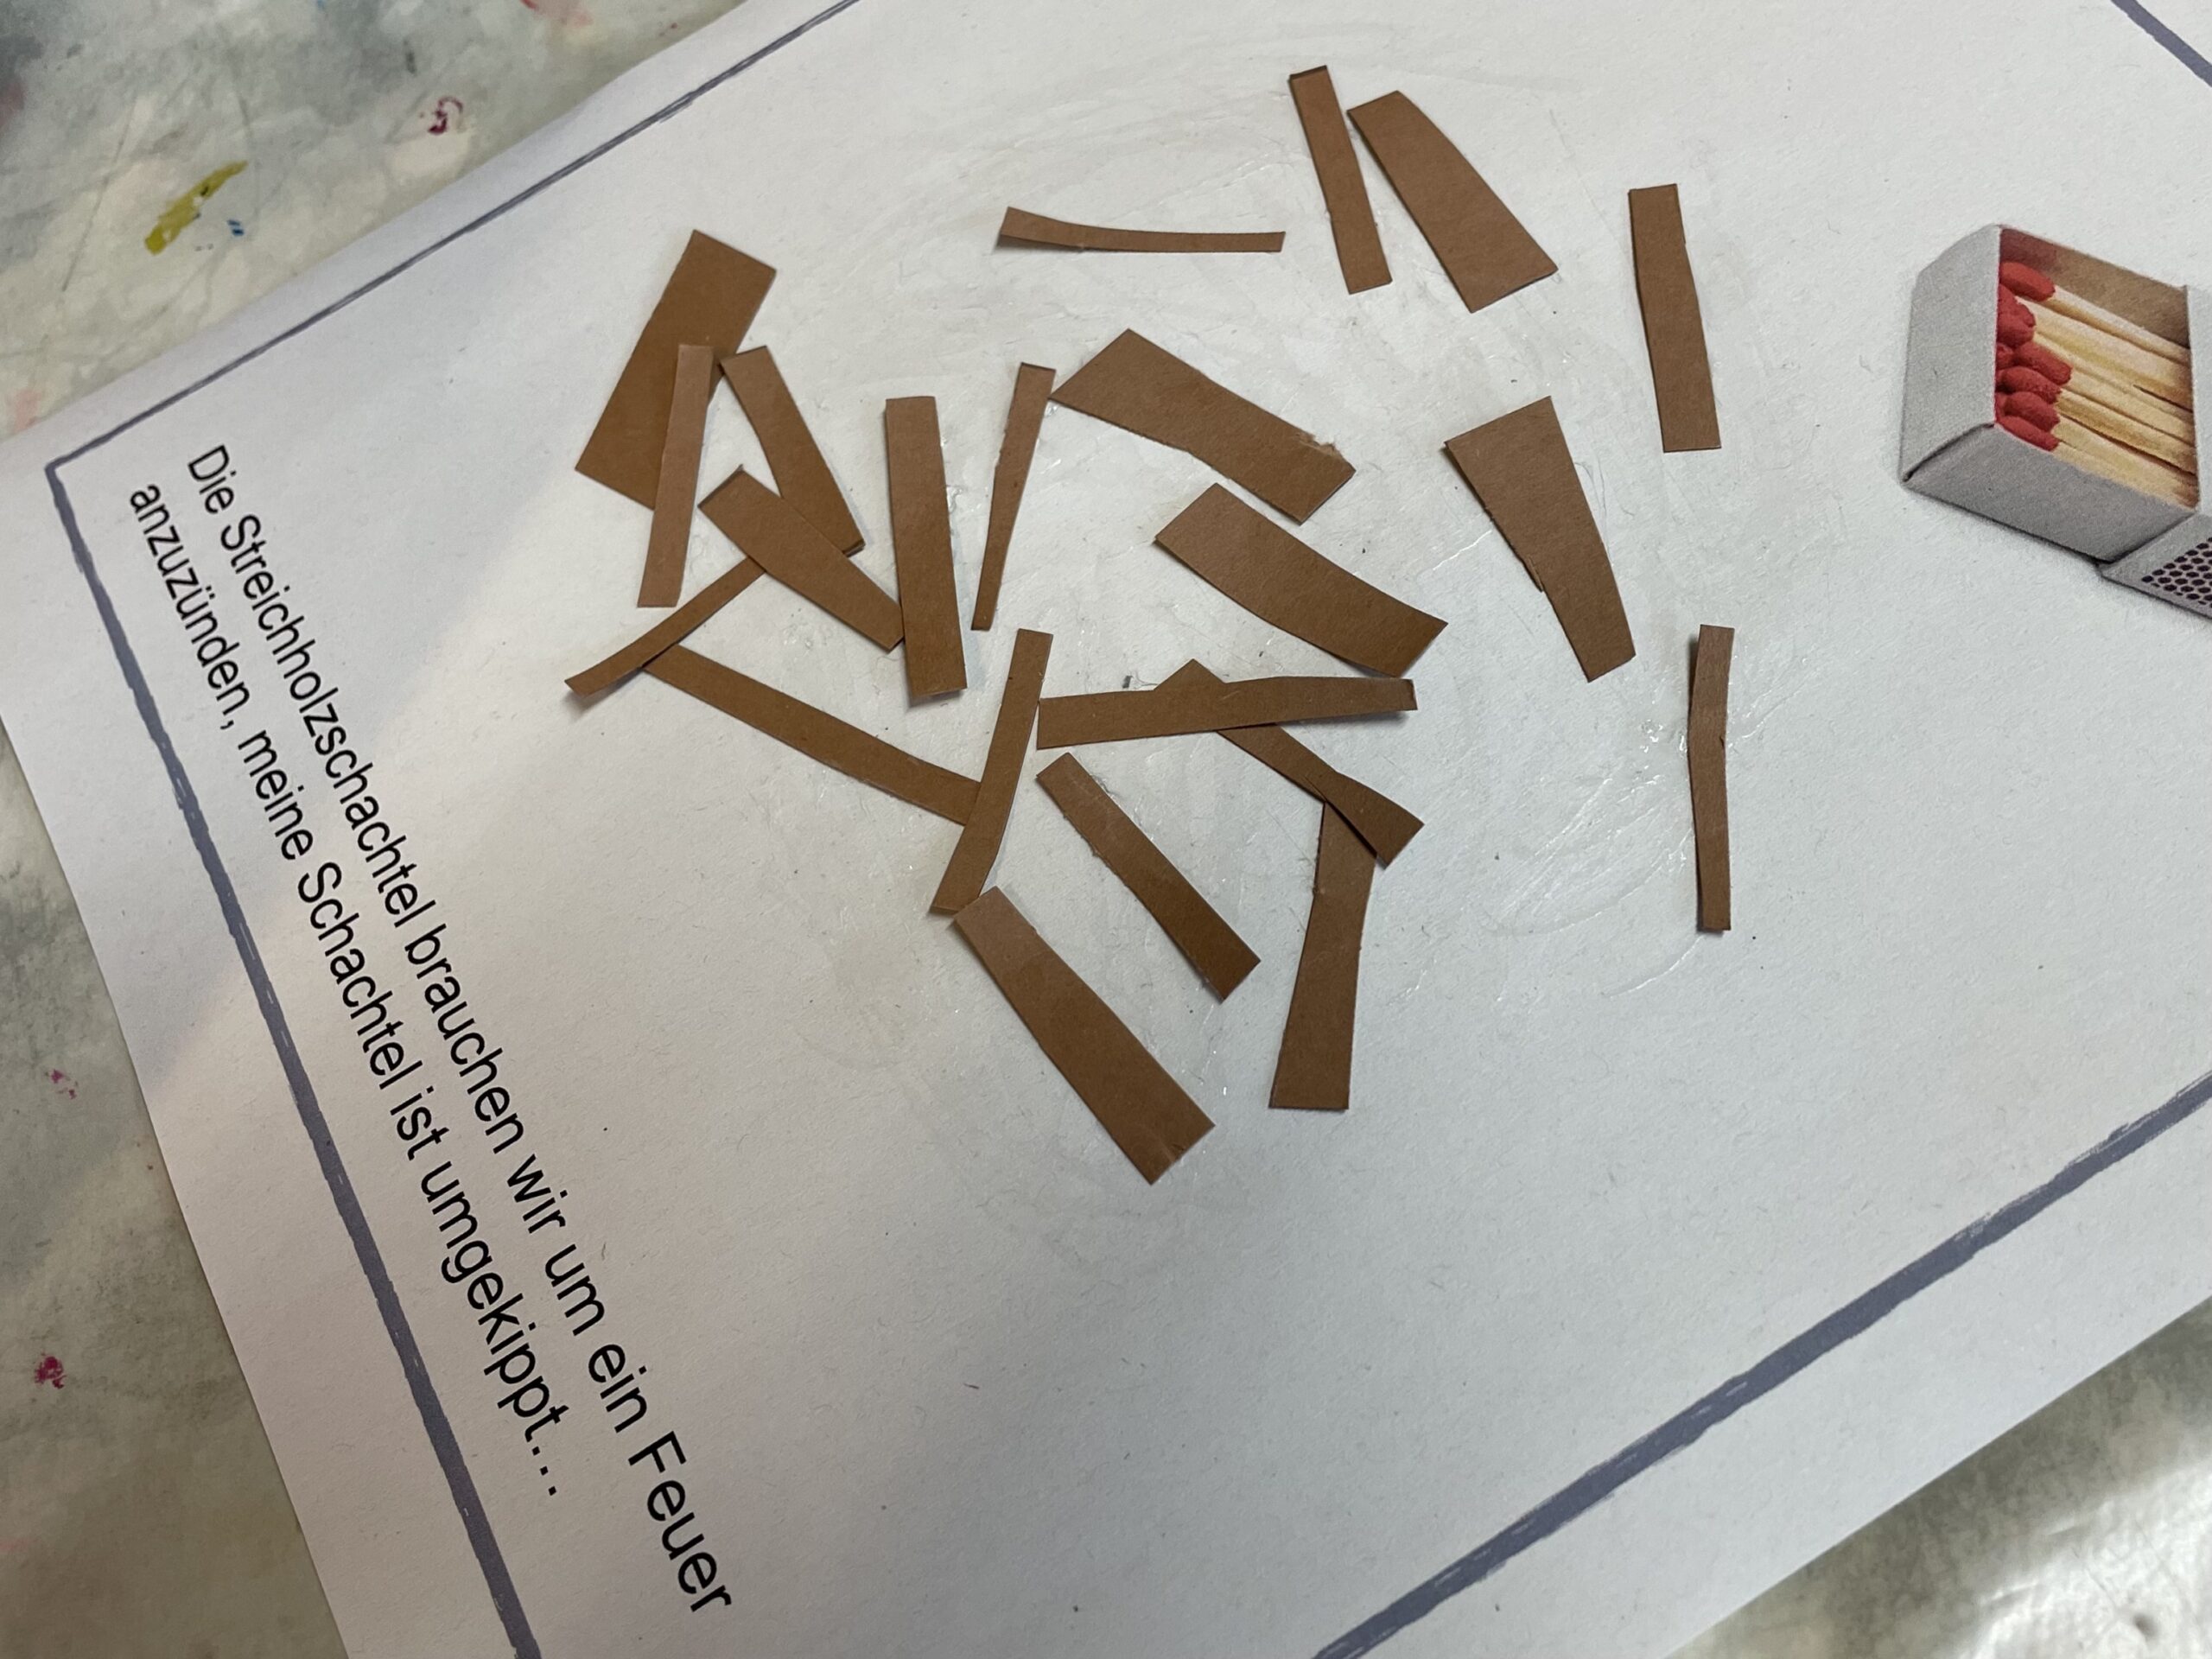


Place a small blob of red finger paint or acrylic paint in a bowl or screw glass lid.
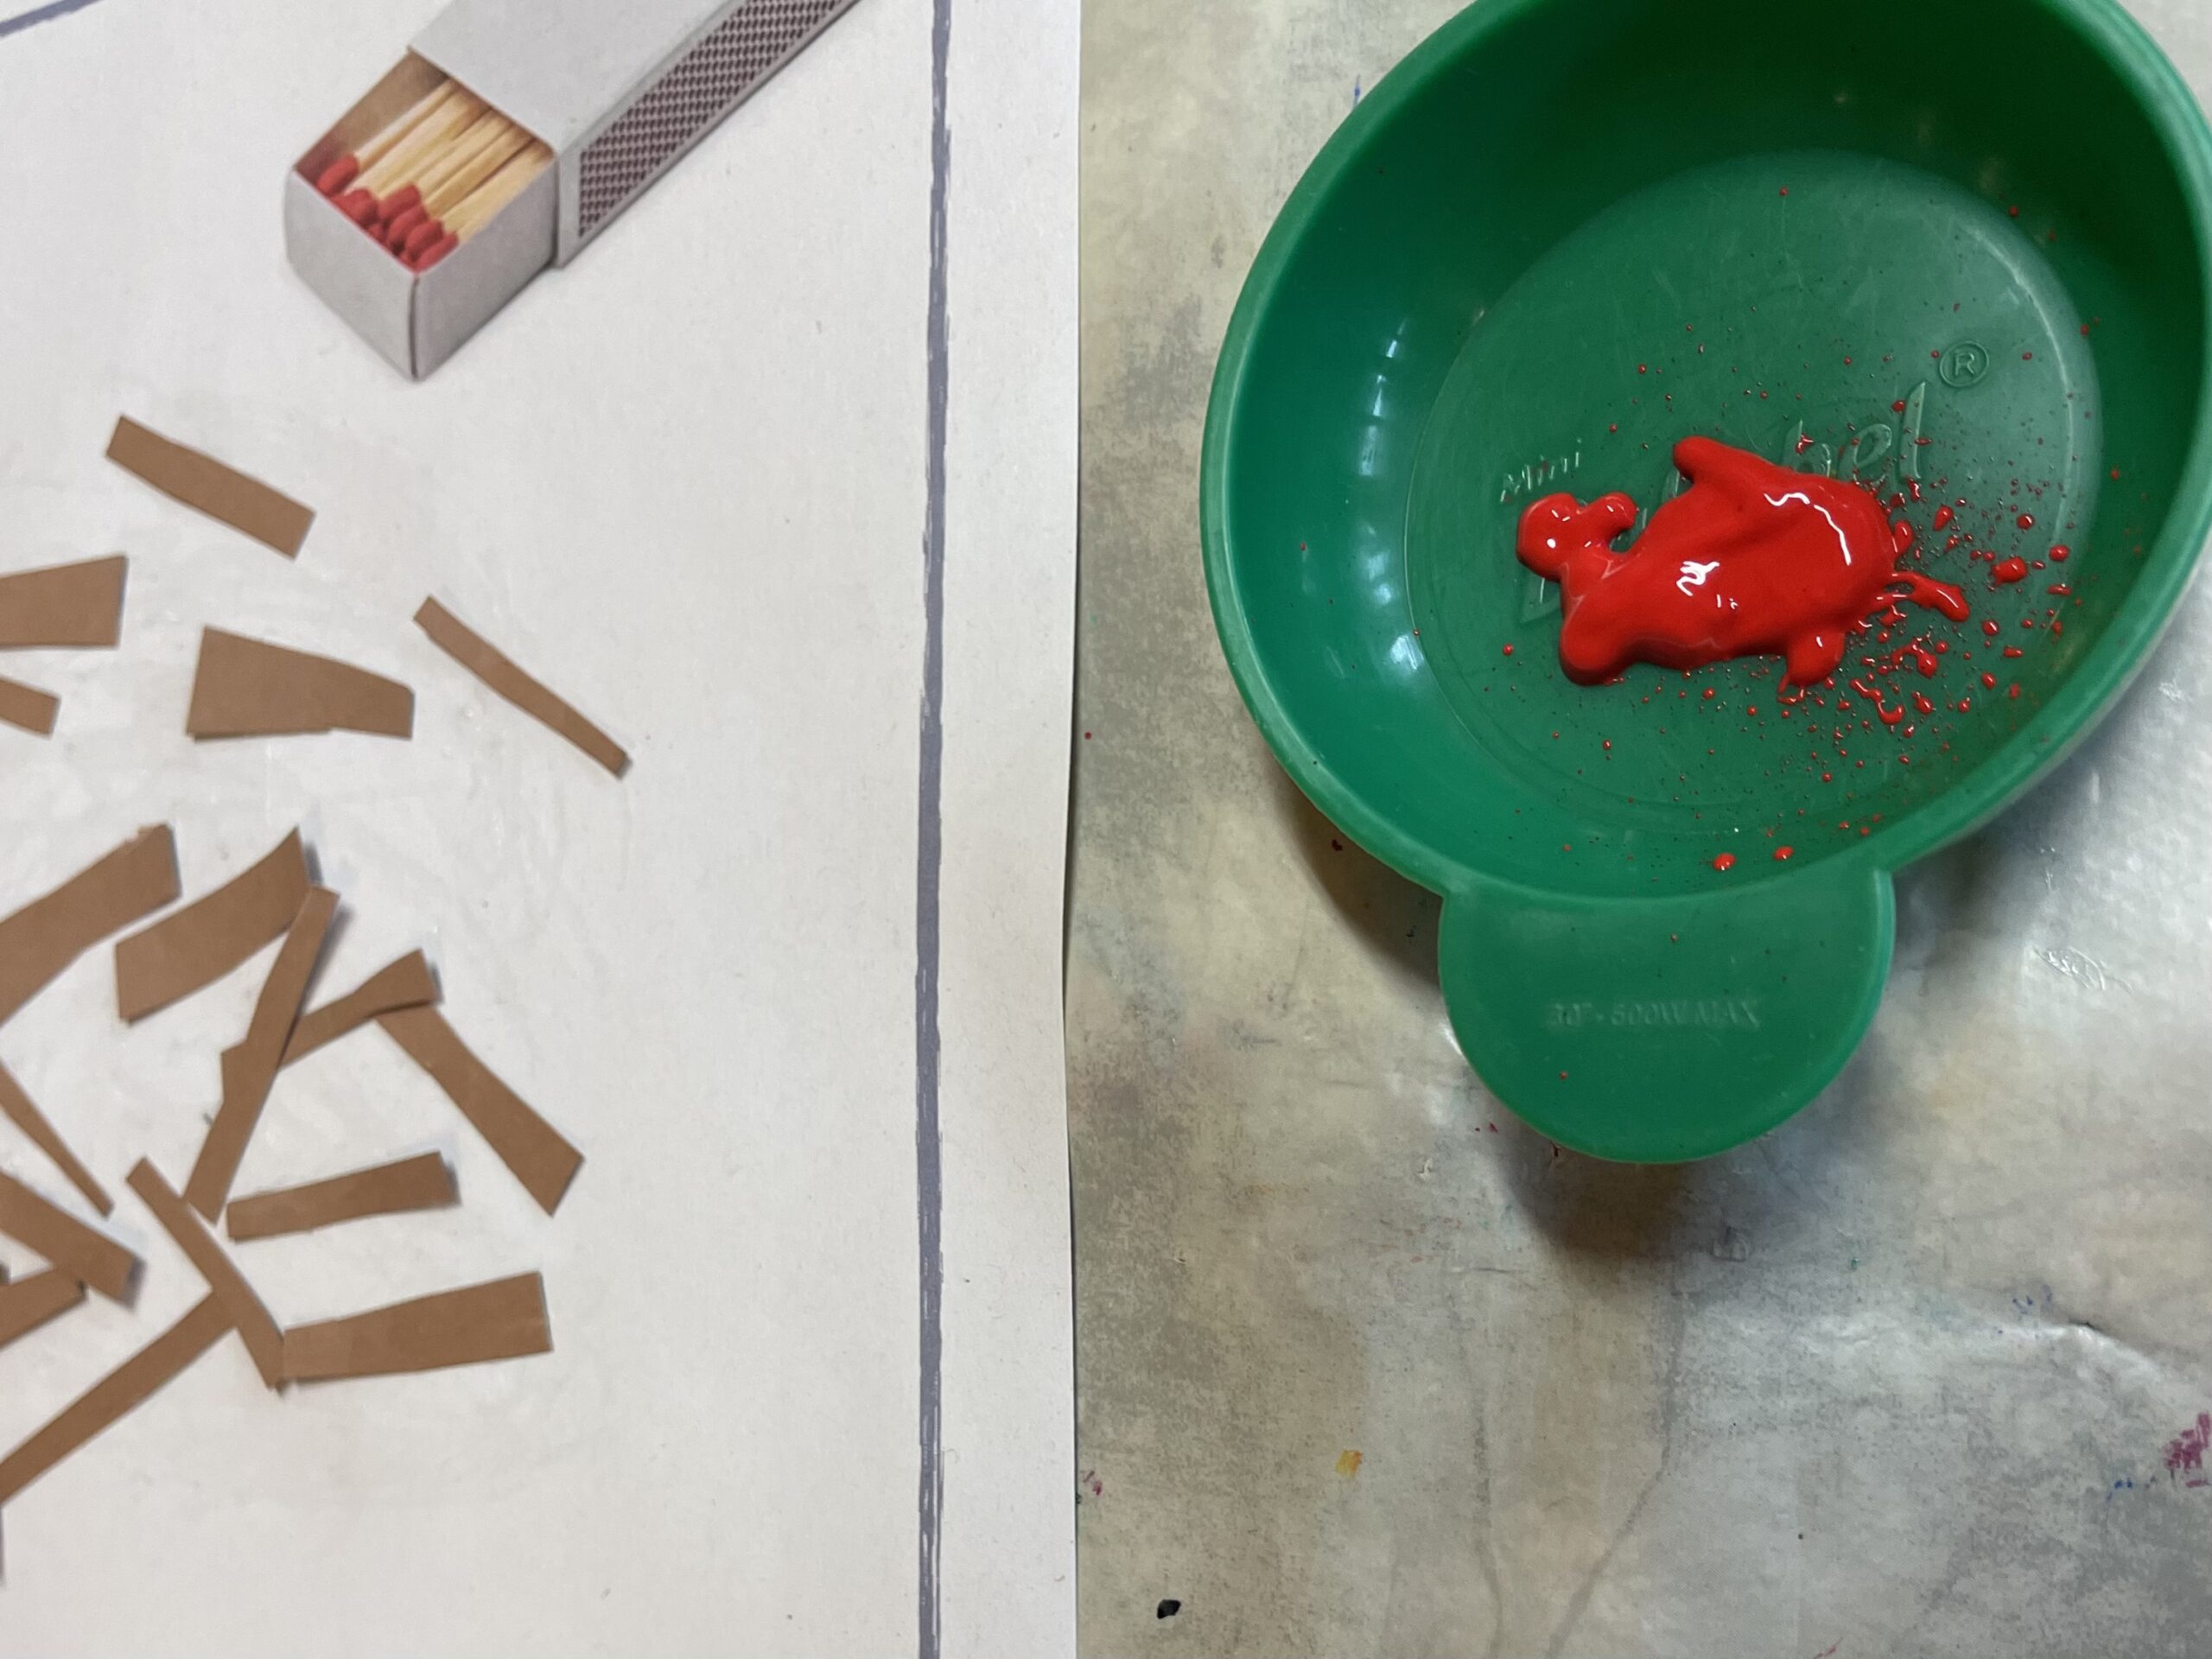


Take your index finger and dip it with the tip in the color. Then put a red swab with your finger at one end of each little wood.


Every little wood gets a red head. That's how all matches are created.
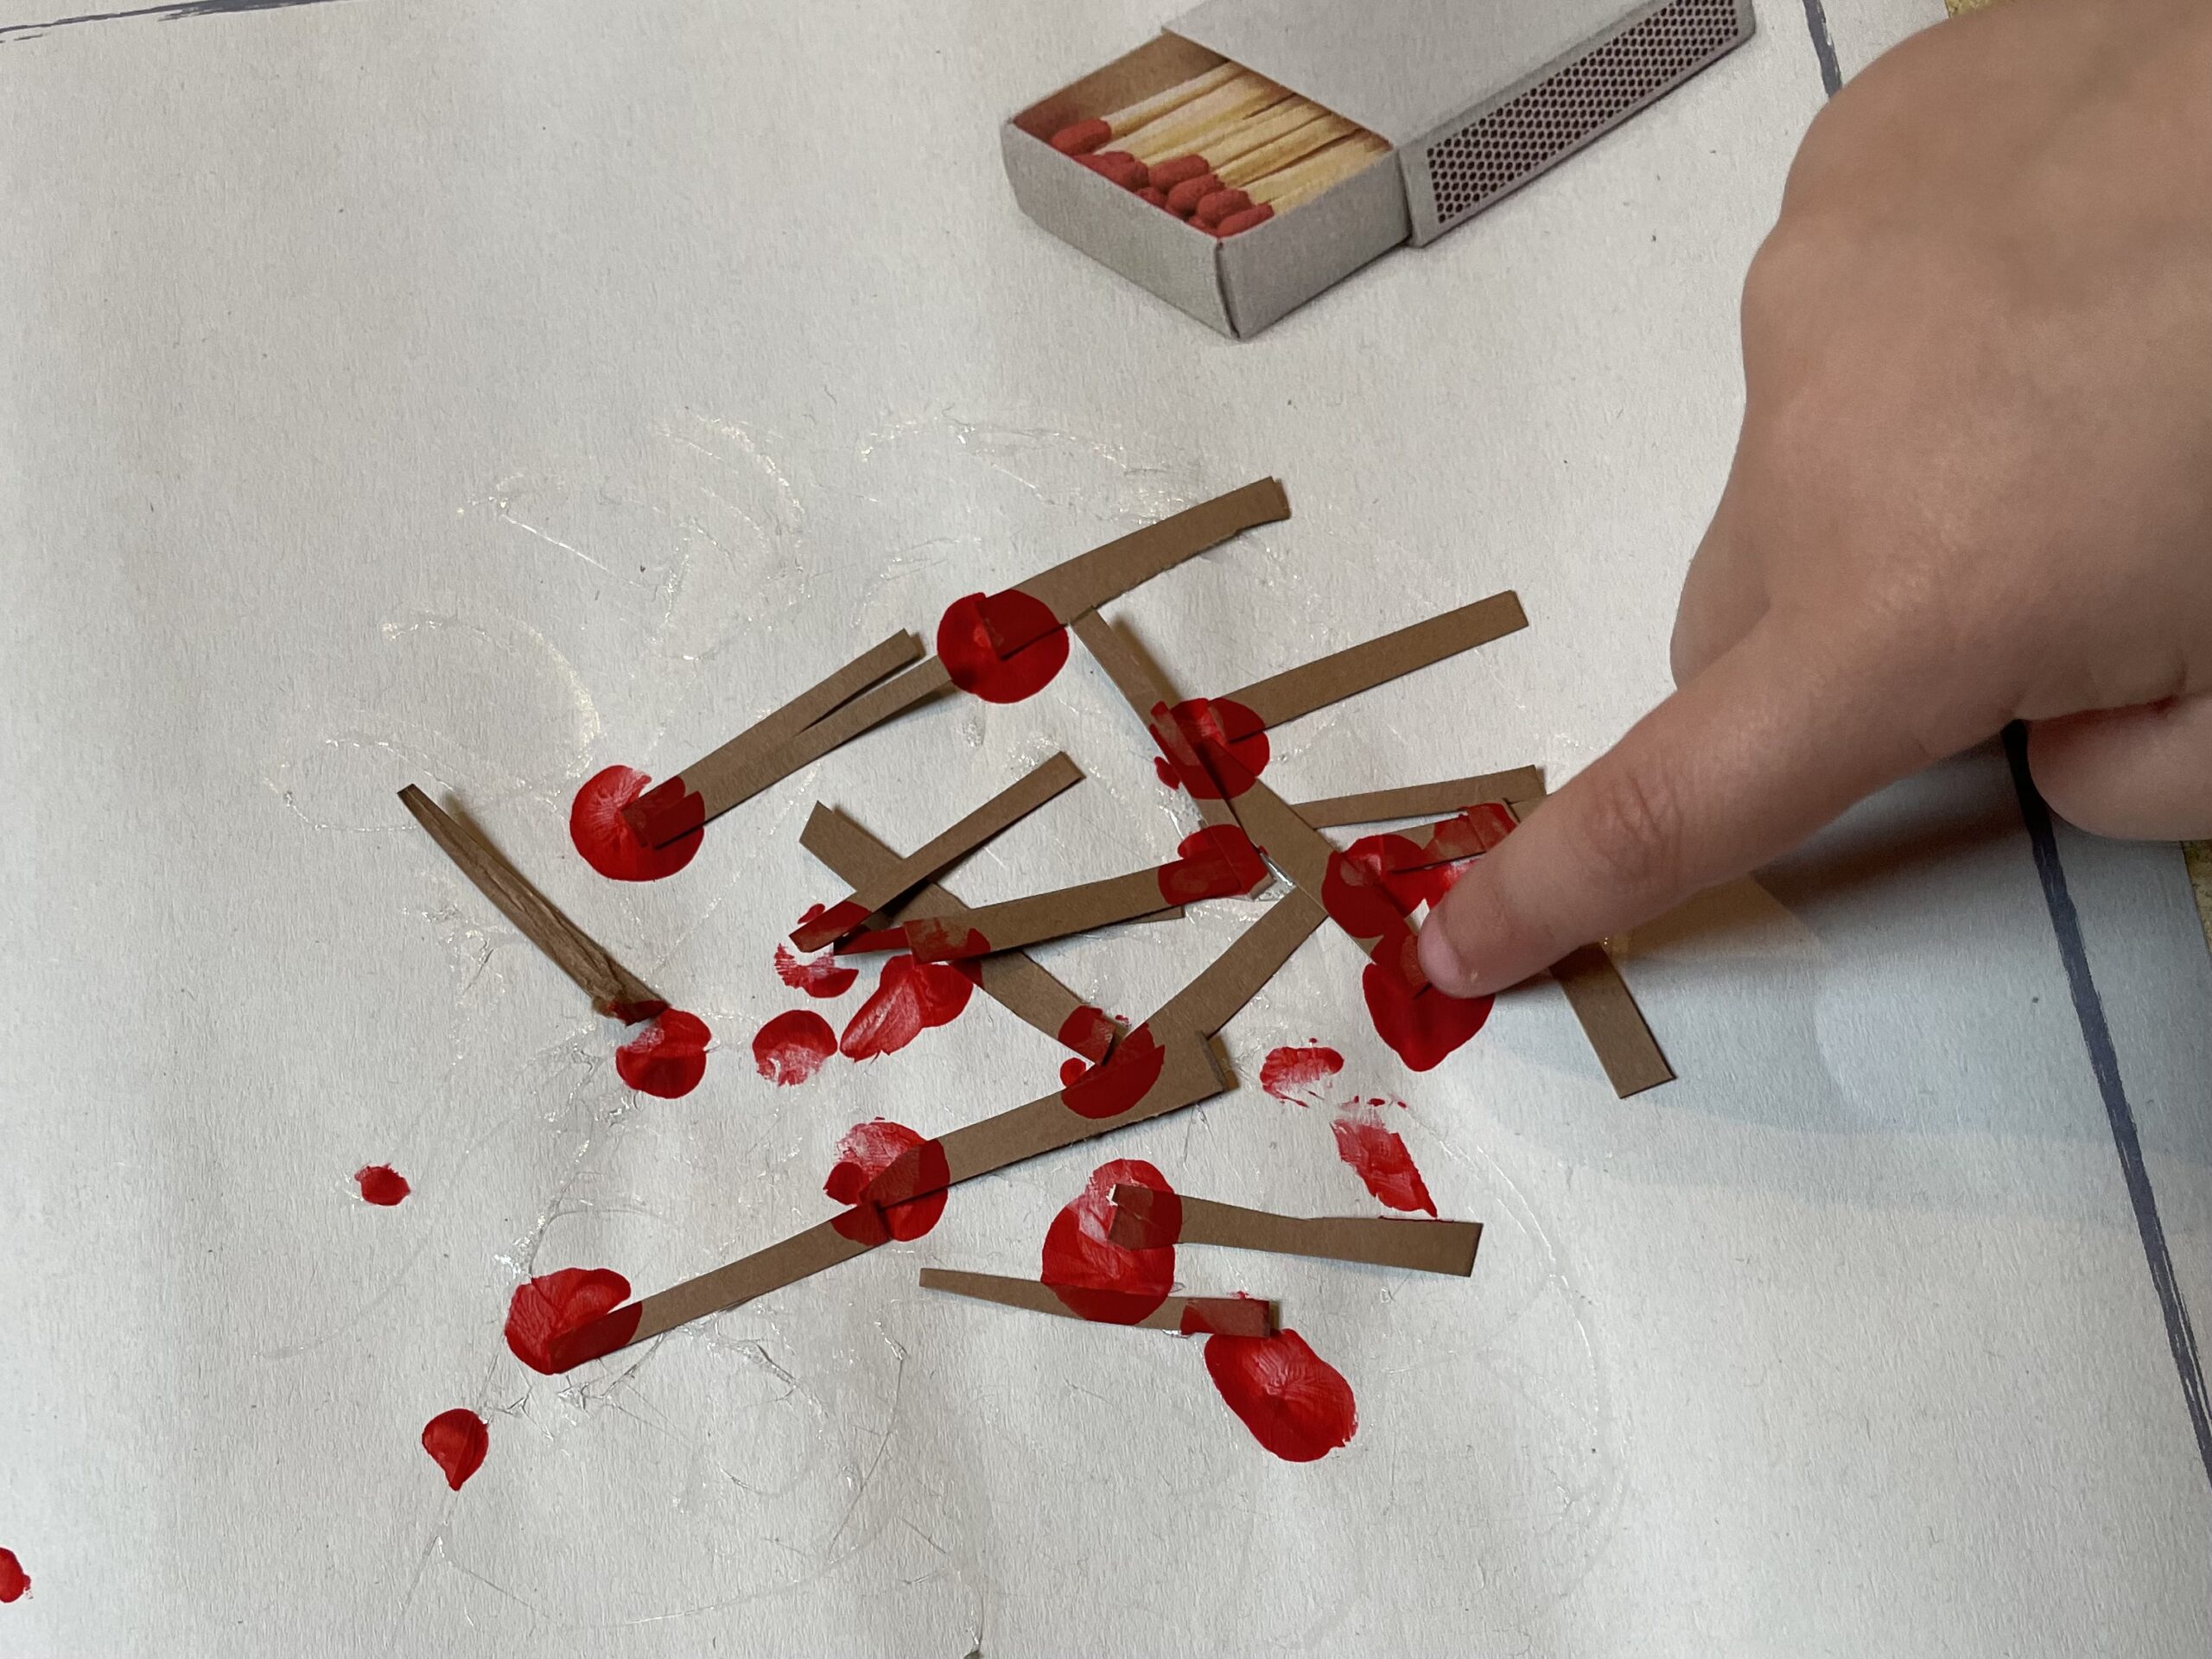


Because the paper strips were glued crisscross it is not so easy to see where red swabs should go.


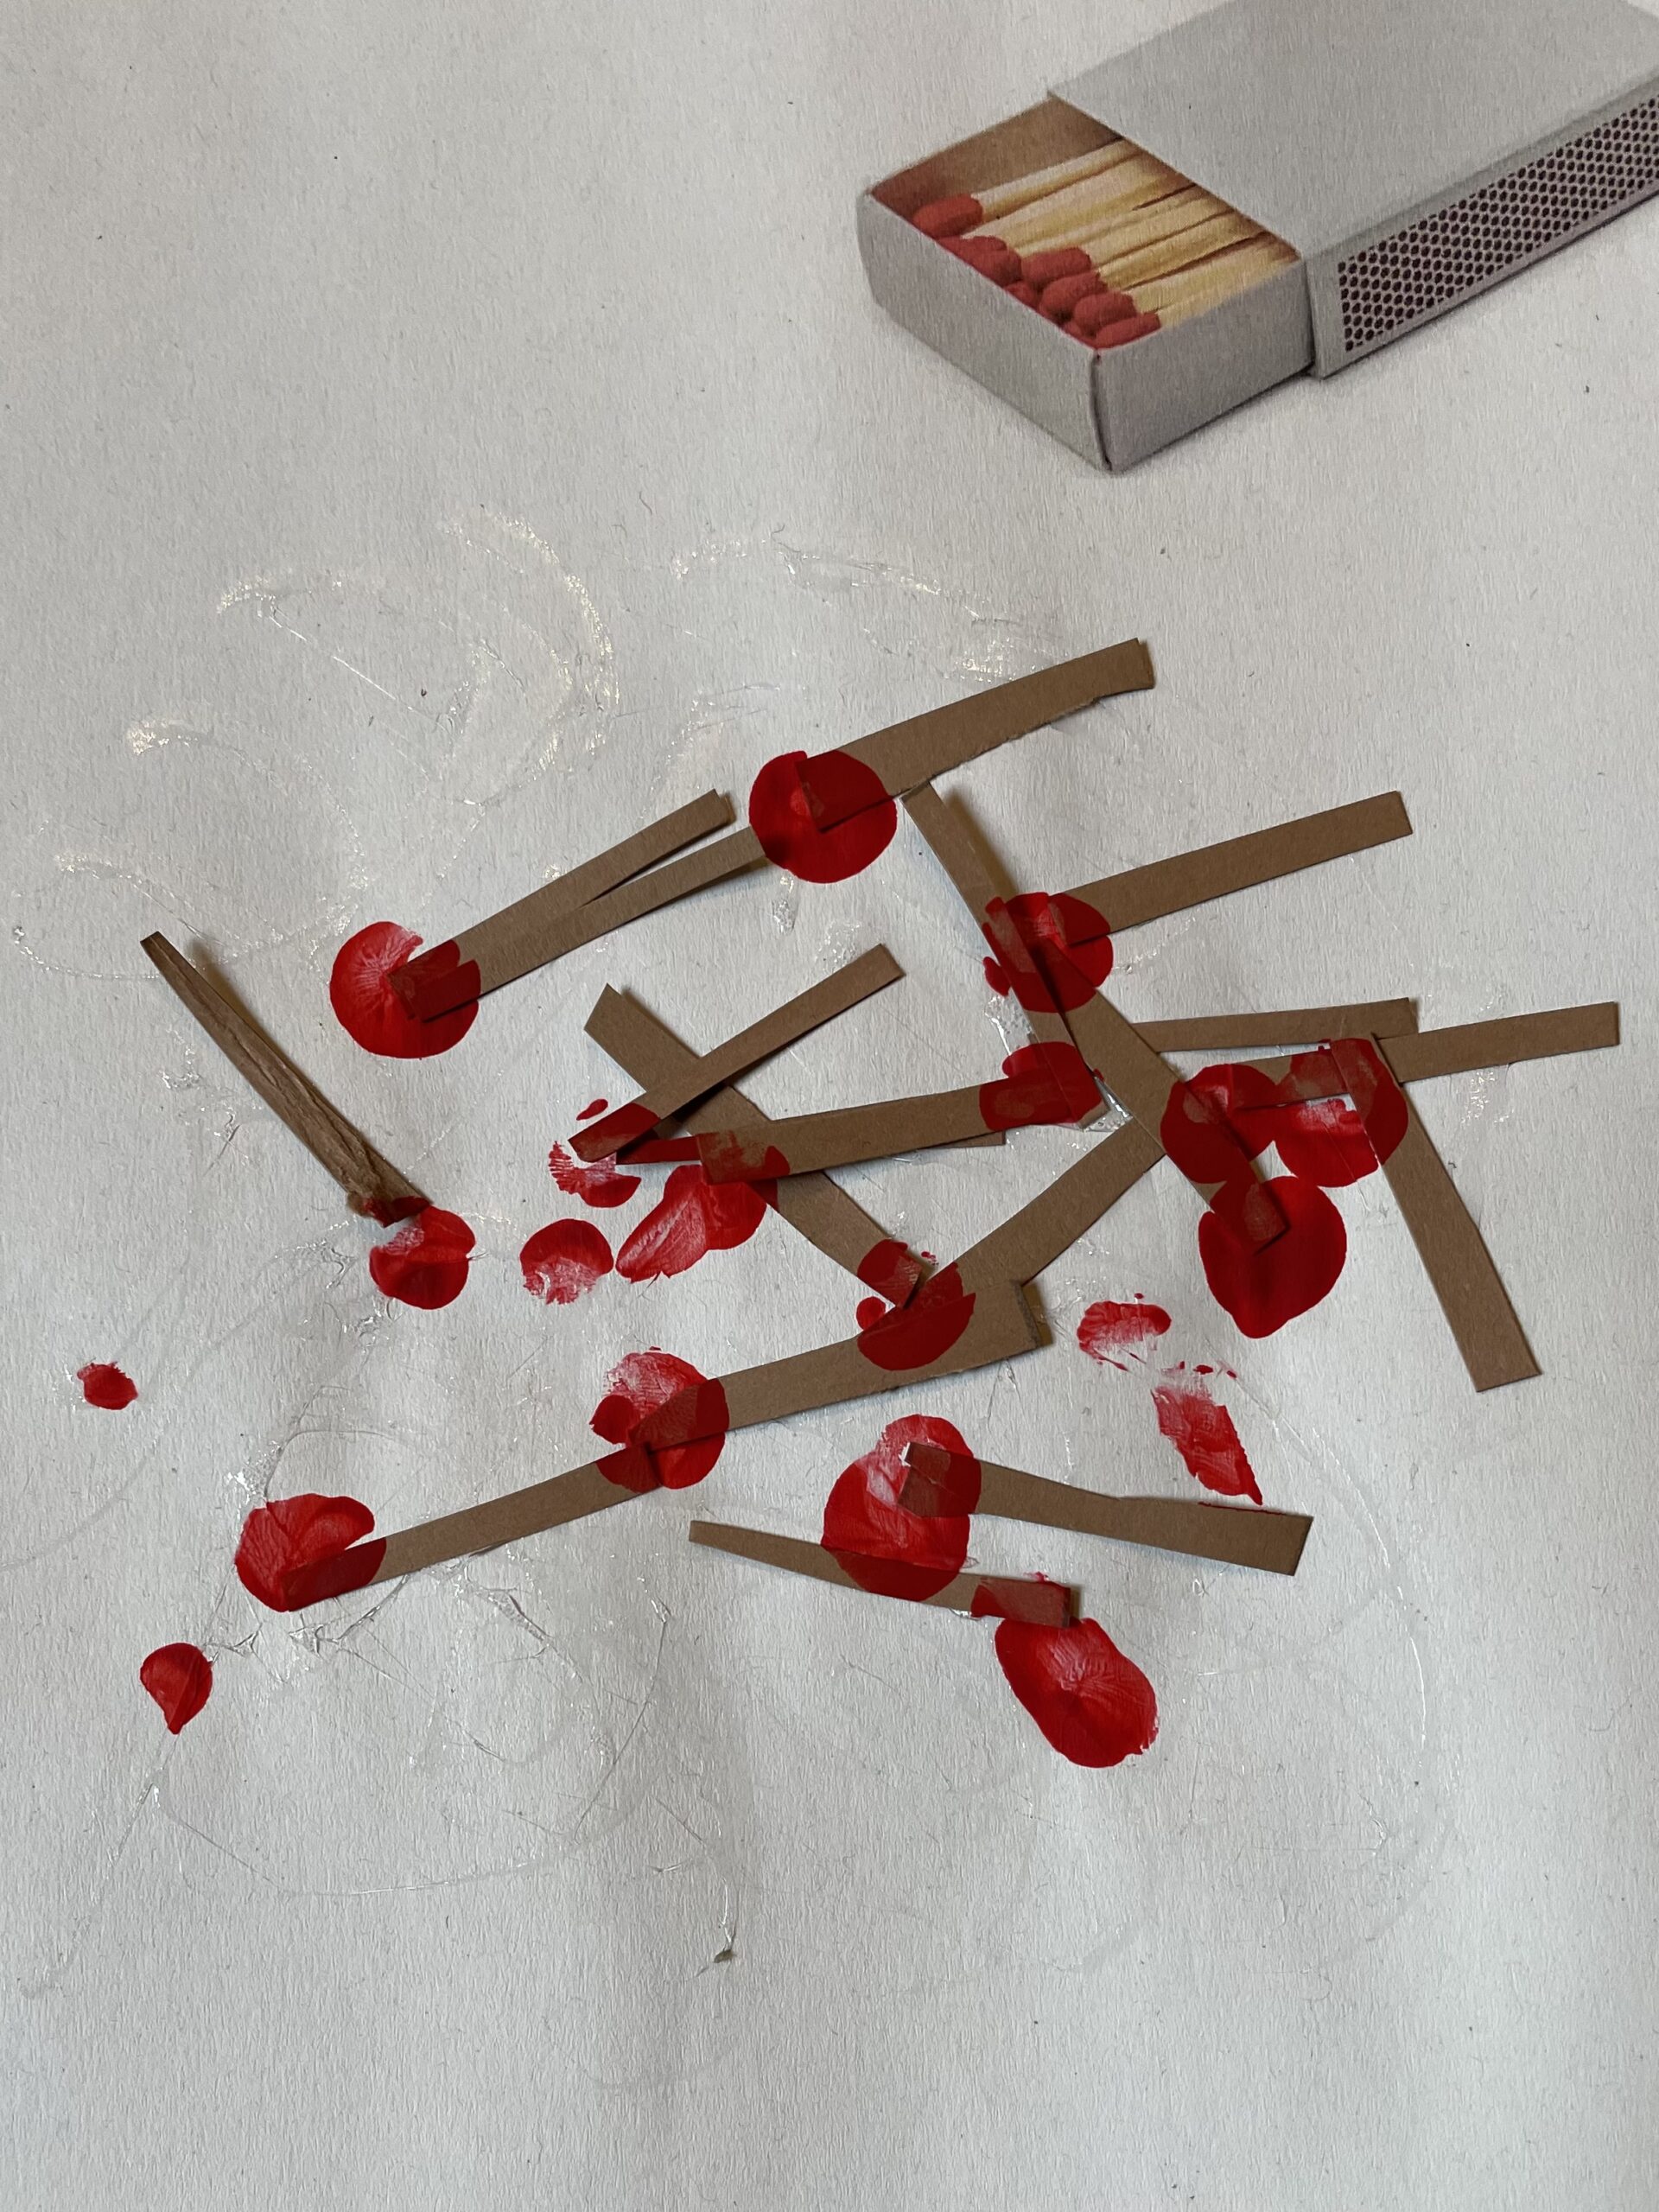
The intentional, arbitrary arrangement of the matches creates an image that really comes close to an empty matchbox.
Try it out and see how much joy small children have with them.


Materials
Directions
Get a brown clay paper first.


Cut off a strip of paper.


On the strip you can now paint narrow lines. These should be as wide as possible. These are then cut individually with the scissors.


You can also cut off with scissors without painting narrow stripes.


If you've cut enough strips, we'll go to the next step.


You can collect the strips on a plate or in a bowl.
Prepare a sheet on which you want to stick the matches. You can also prepare a sheet with a printed matchbox and use it. (See photo)


Place glue as flat as possible on the paper.


Now take the individual cut paper strips and stick them on. This requires a lot of dexterity and skill. Is a great fine motor exercise.


If you have all the paper strips glued on, then you can make your "woods" matches, the woods are missing only red "heads".


Place a small blob of red finger paint or acrylic paint in a bowl or screw glass lid.


Take your index finger and dip it with the tip in the color. Then put a red swab with your finger at one end of each little wood.


Every little wood gets a red head. That's how all matches are created.


Because the paper strips were glued crisscross it is not so easy to see where red swabs should go.


The intentional, arbitrary arrangement of the matches creates an image that really comes close to an empty matchbox.
Try it out and see how much joy small children have with them.


Follow us on Facebook , Instagram and Pinterest
Don't miss any more adventures: Our bottle mail


