Mother's Day cards (with templates)

AdventurerKatzi
Rating5.06.9 Thousand times & (4) DifficultyIntermediate

These cards are easy to craft with the help of the templates. You need a photo box that you fold to a folding card. In addition, you need buttons.
Choose a variant and look at the illustrated instructions. Enjoy crafting.
These cards are ideal for Mother's Day or Mama's birthday.

Media Education for Kindergarten and Hort

Kind bastelt eine Rassel mit dem Navi
The Adventure Navi, the app for DIY projects, enables media education for the youngest.

Relief in everyday life, targeted promotion of individual children, independent learning and - without any pre-knowledge already usable by the youngest!


Titelbild zur Bastel- und DIY-Idee für Kinder '(716) Muttertags-Karten (mit Vorlagen)'
Material for1 Child
Prep Time5 min.Adv. Time15 min.Total Time20 min.
 1 Tone paper DIN A 4 colouredor photo cards coloured
 1 Template or paper
 Buttons colorfuldifferent sizes and colors
 PencilsColoured or felted pencils
 Gluee.g. wood glue or hot glue
 1 Builder's pad
All links marked with a shopping cart lead to Amazon - here we have selected products that we would order ourselves and in part also ordered. In a qualified purchase via the advertising link, we as Amazon partner receive a commission, for you there are no costs. You thus support our cost- and advertising banner-free, educational offer.
1

First, prepare your materials and a craft file.
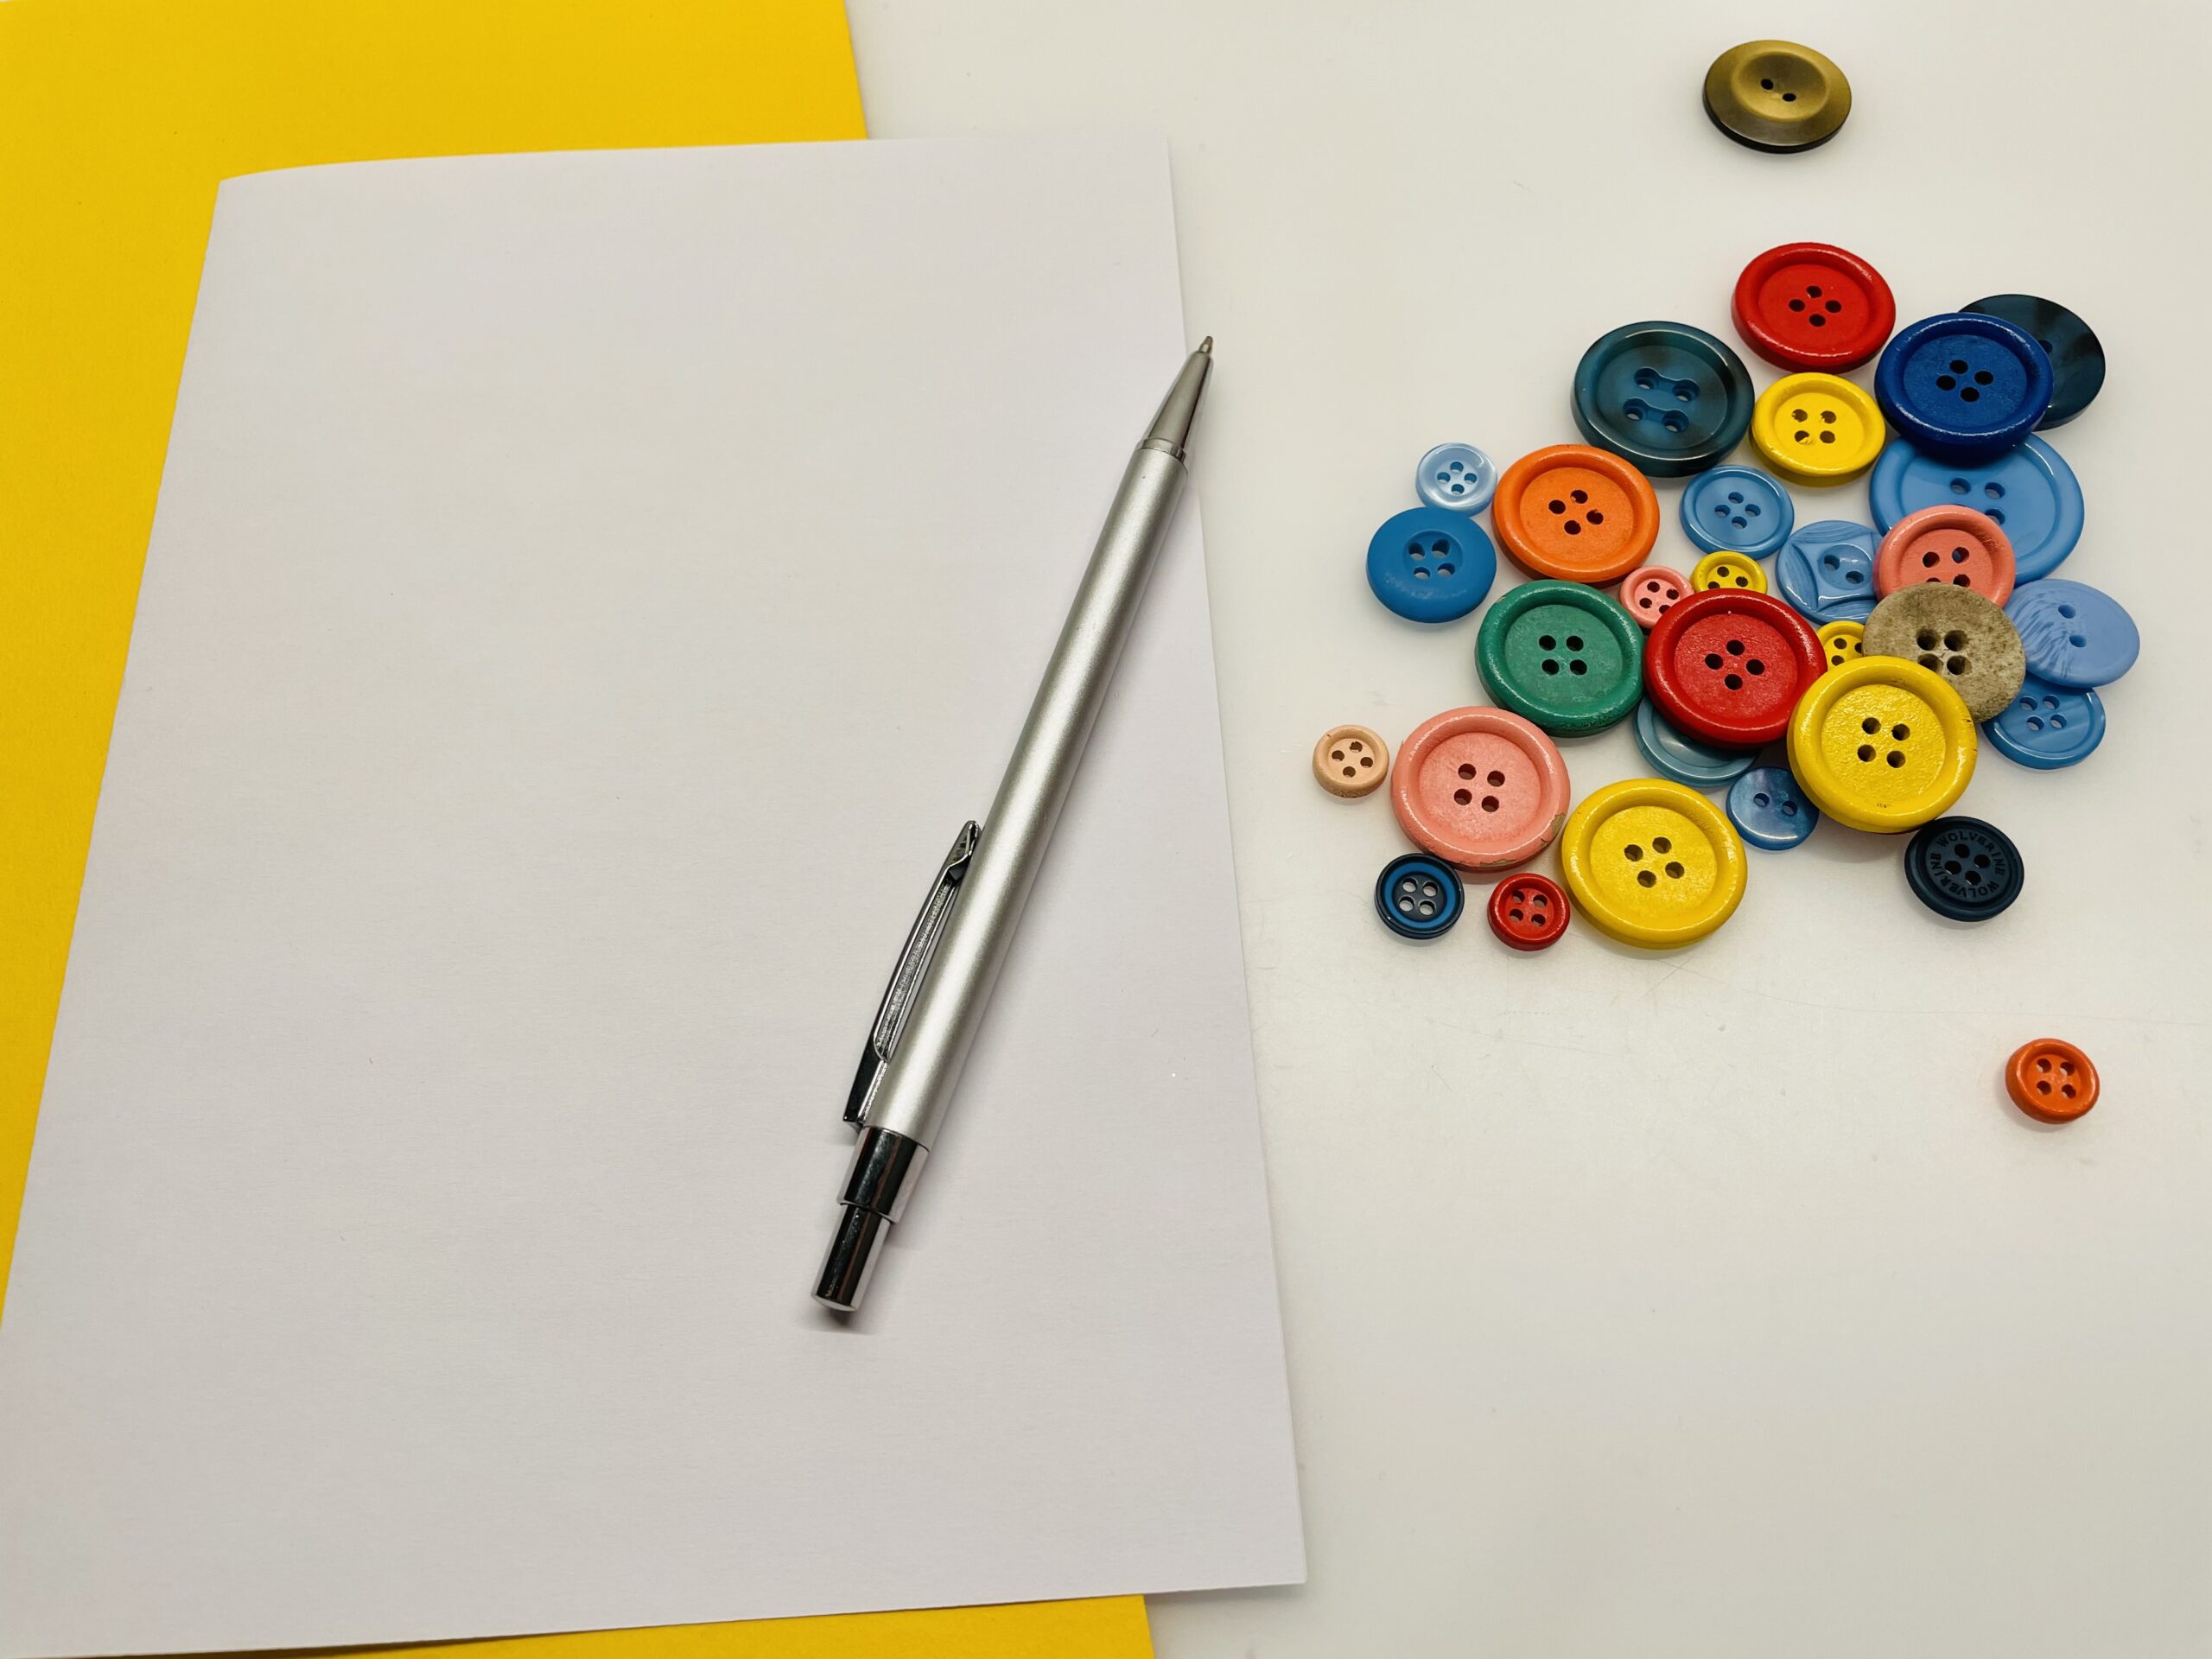
Bild zum Schritt 1 für das Bastel- und DIY-Abenteuer für Kinder: 'Legt zuerst eure Materialien und eine Bastelunterlage bereit.'

2

Pick a template or paint yourself a motif on a sheet of paper.

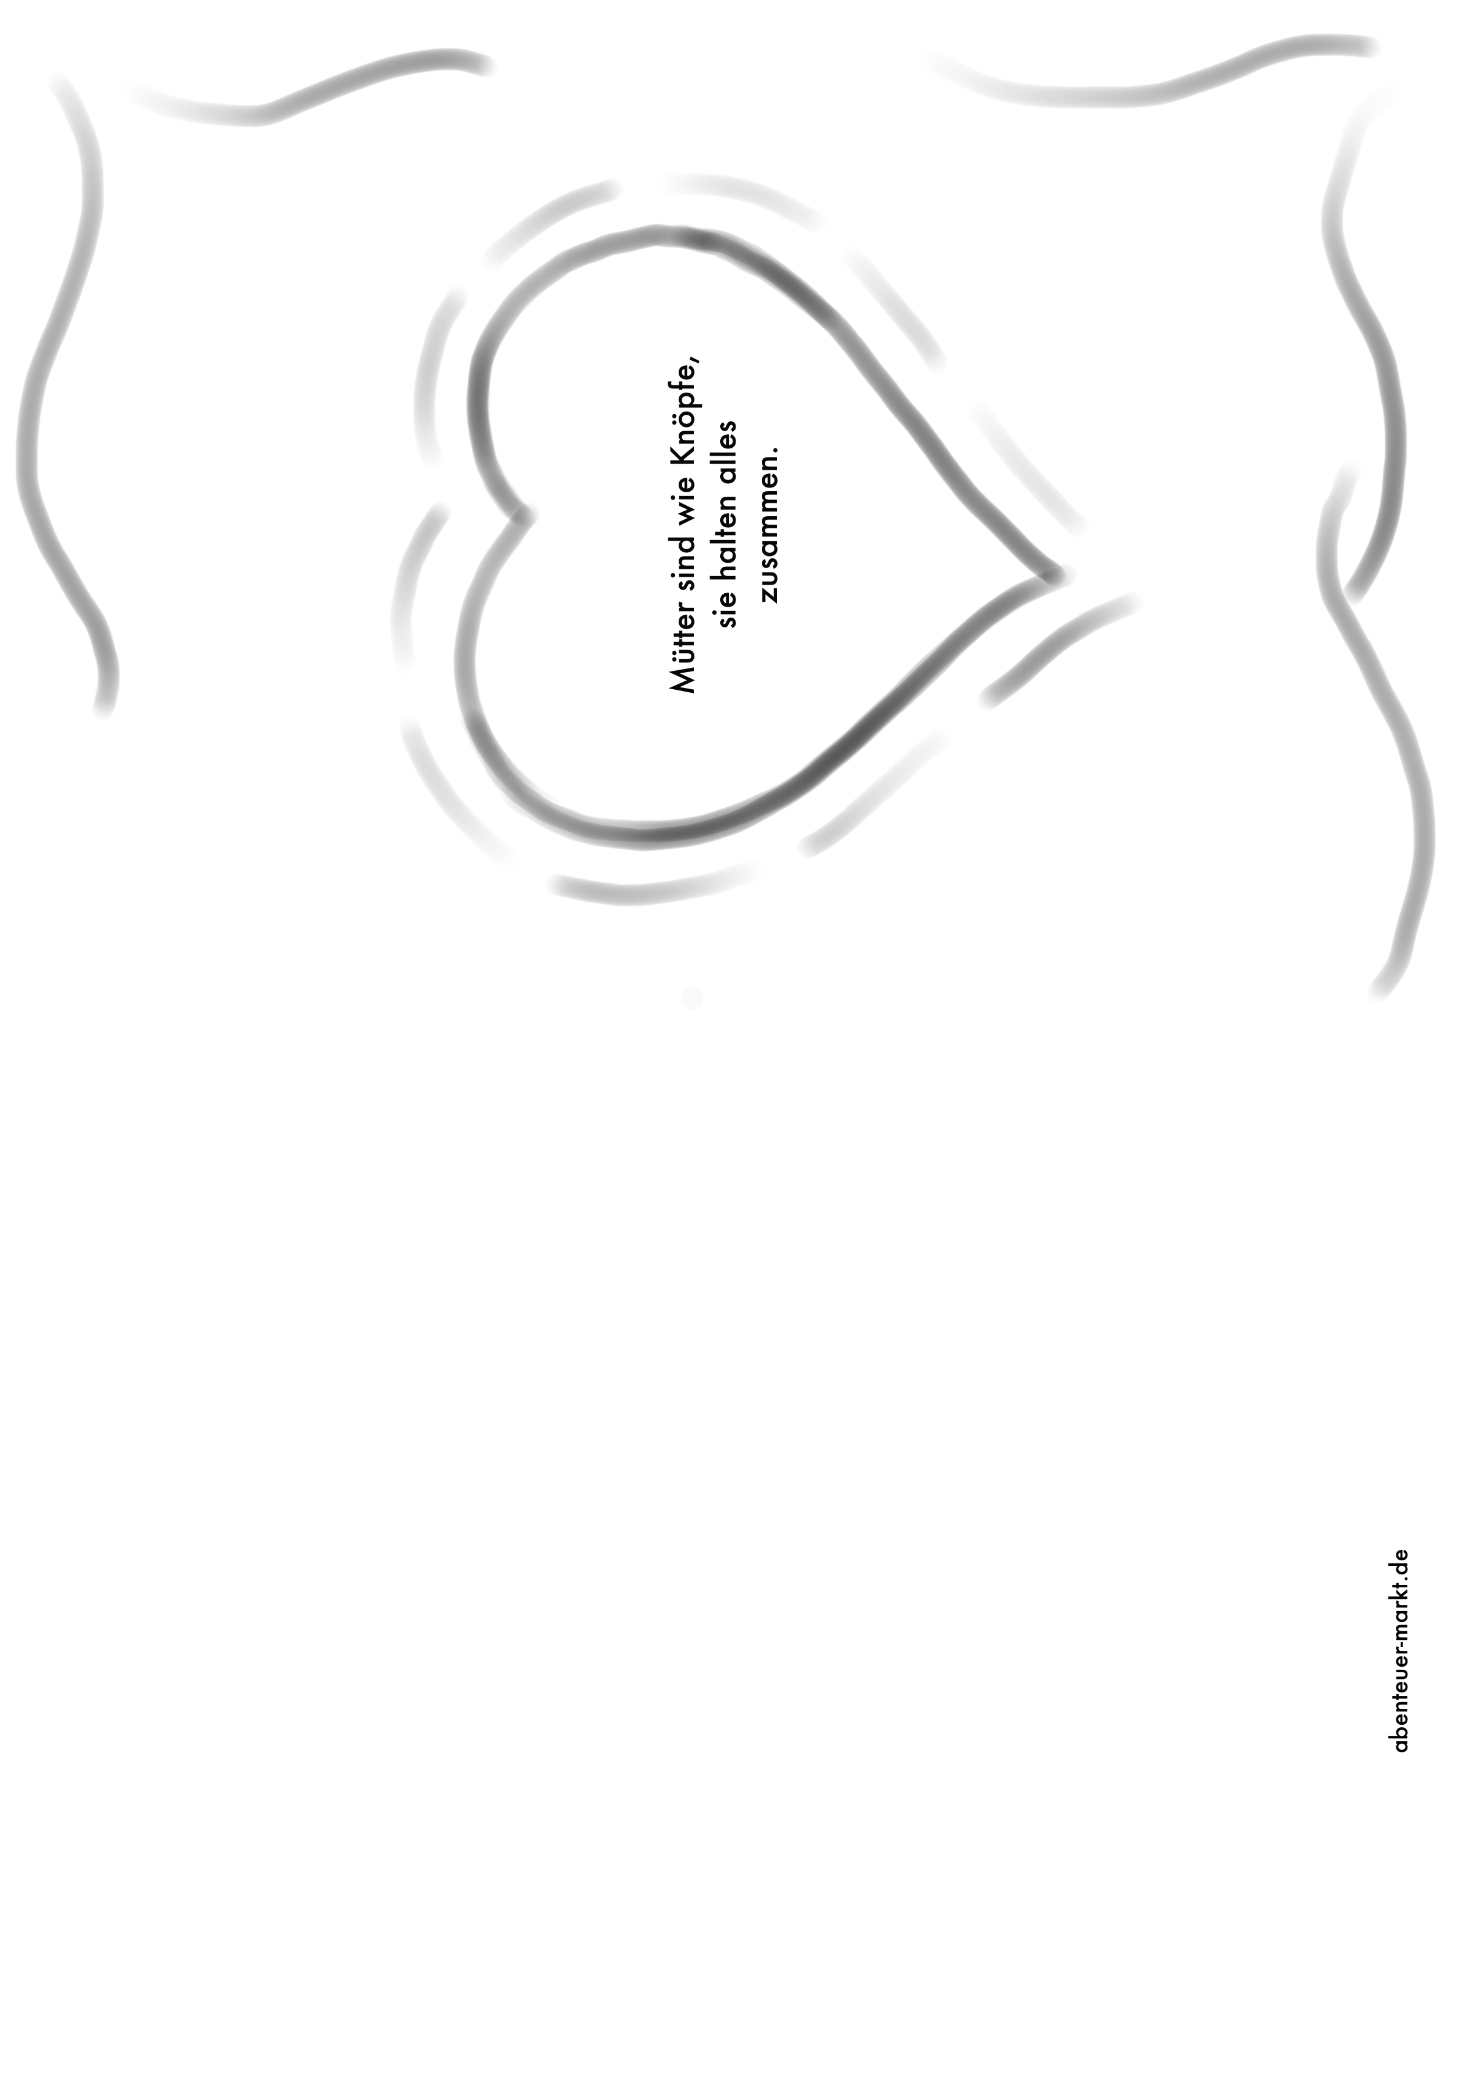
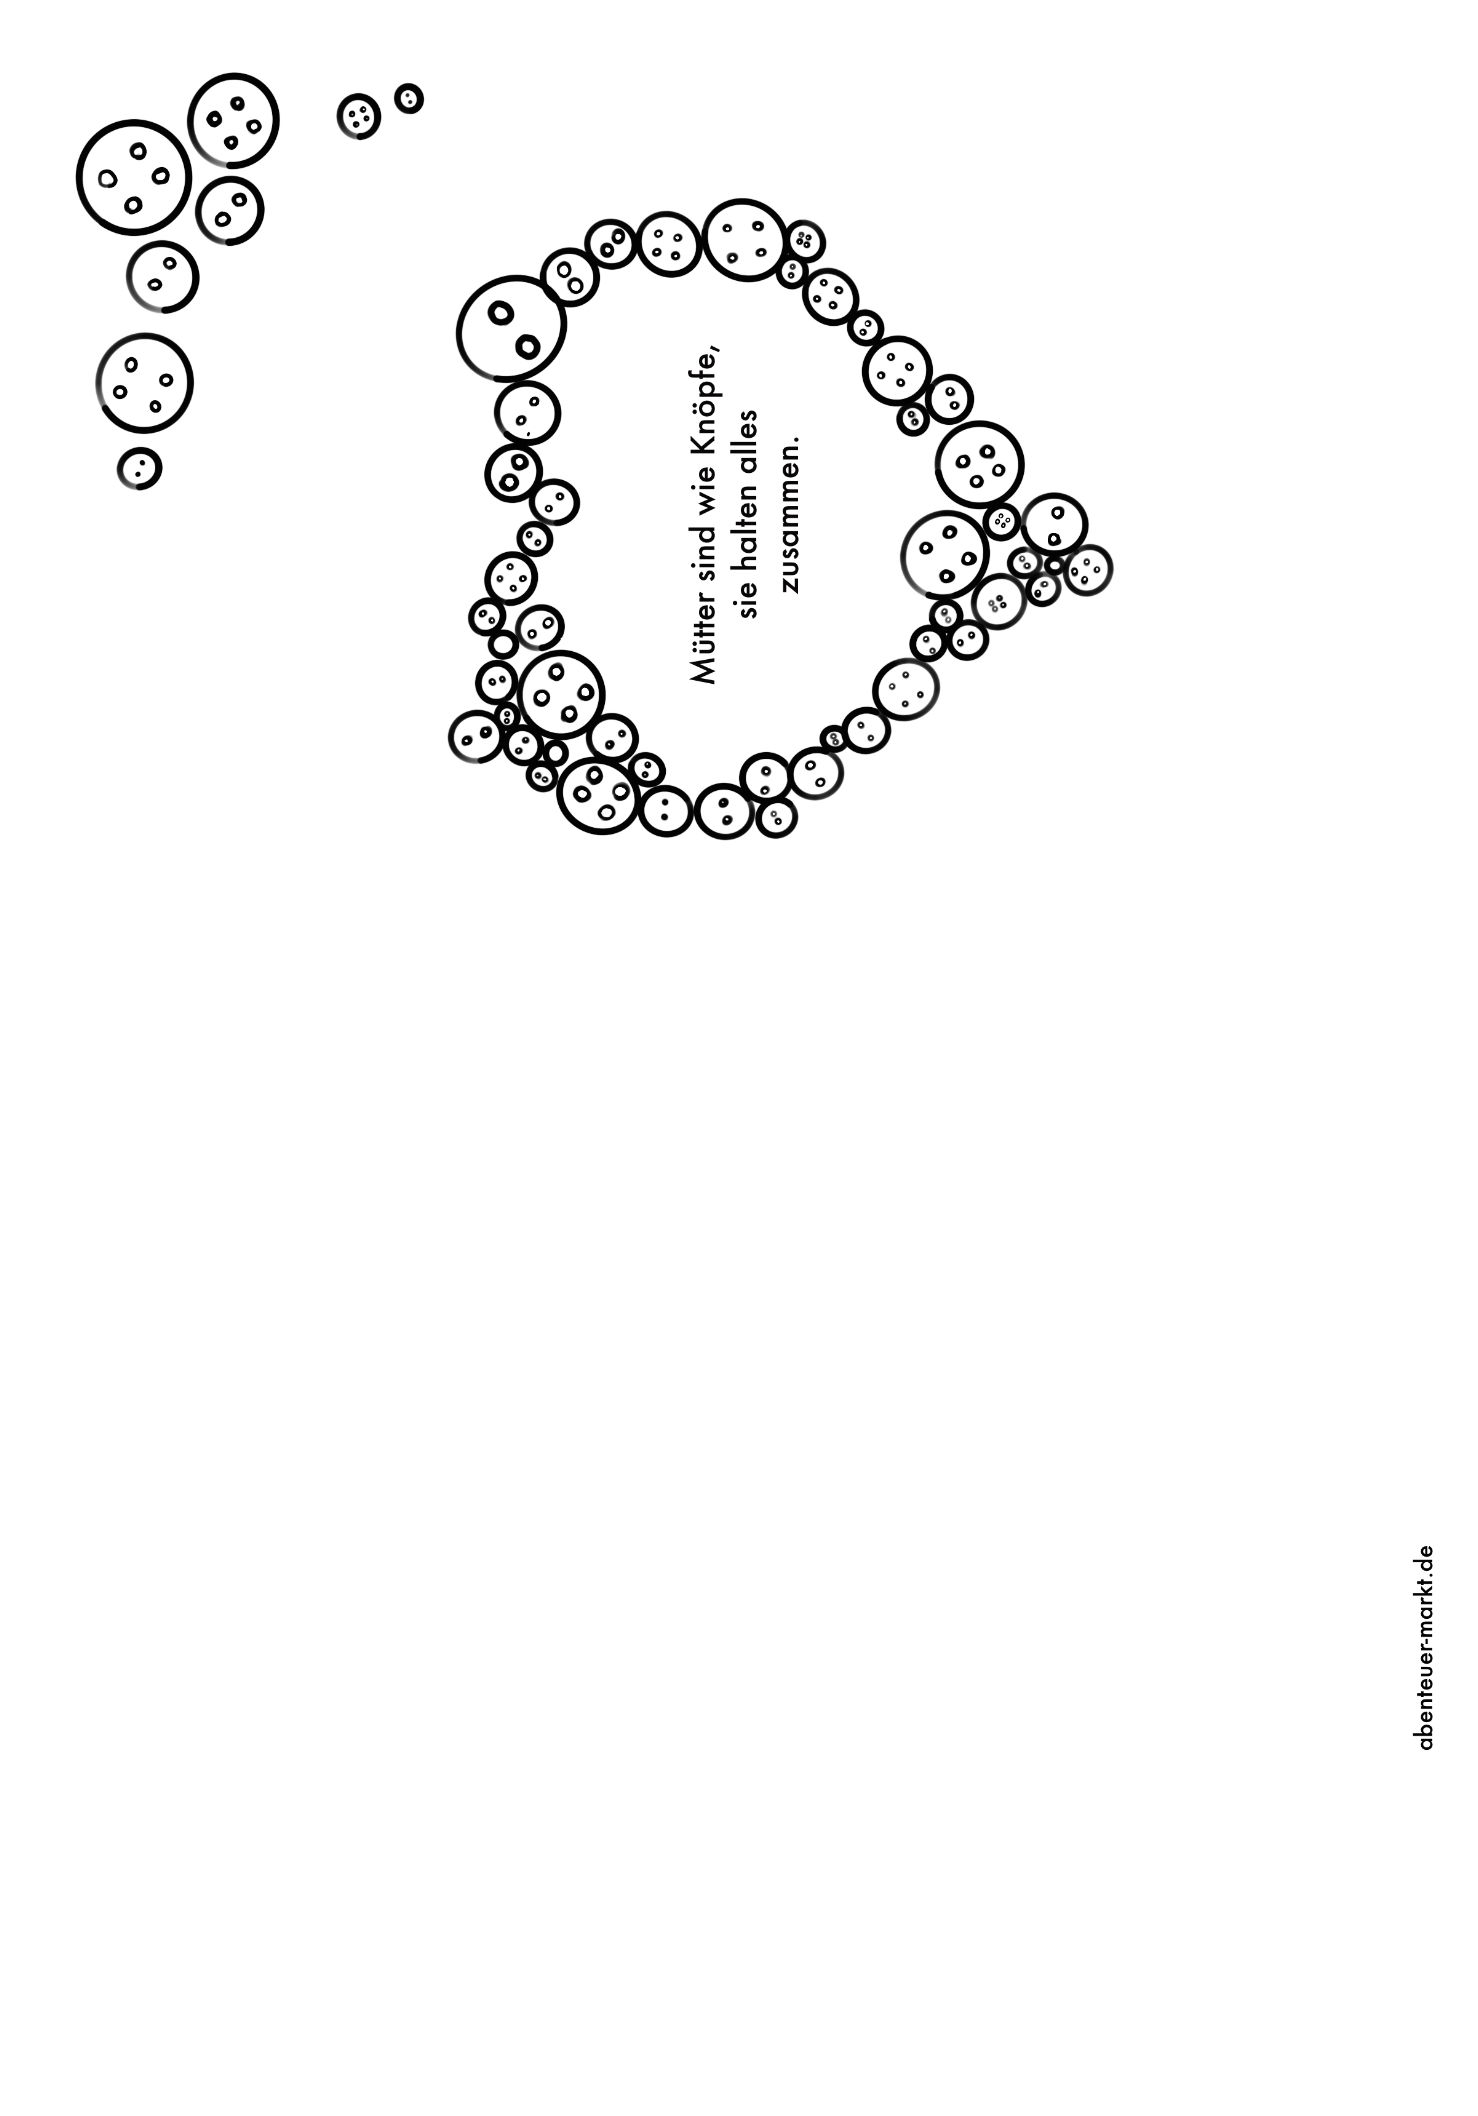
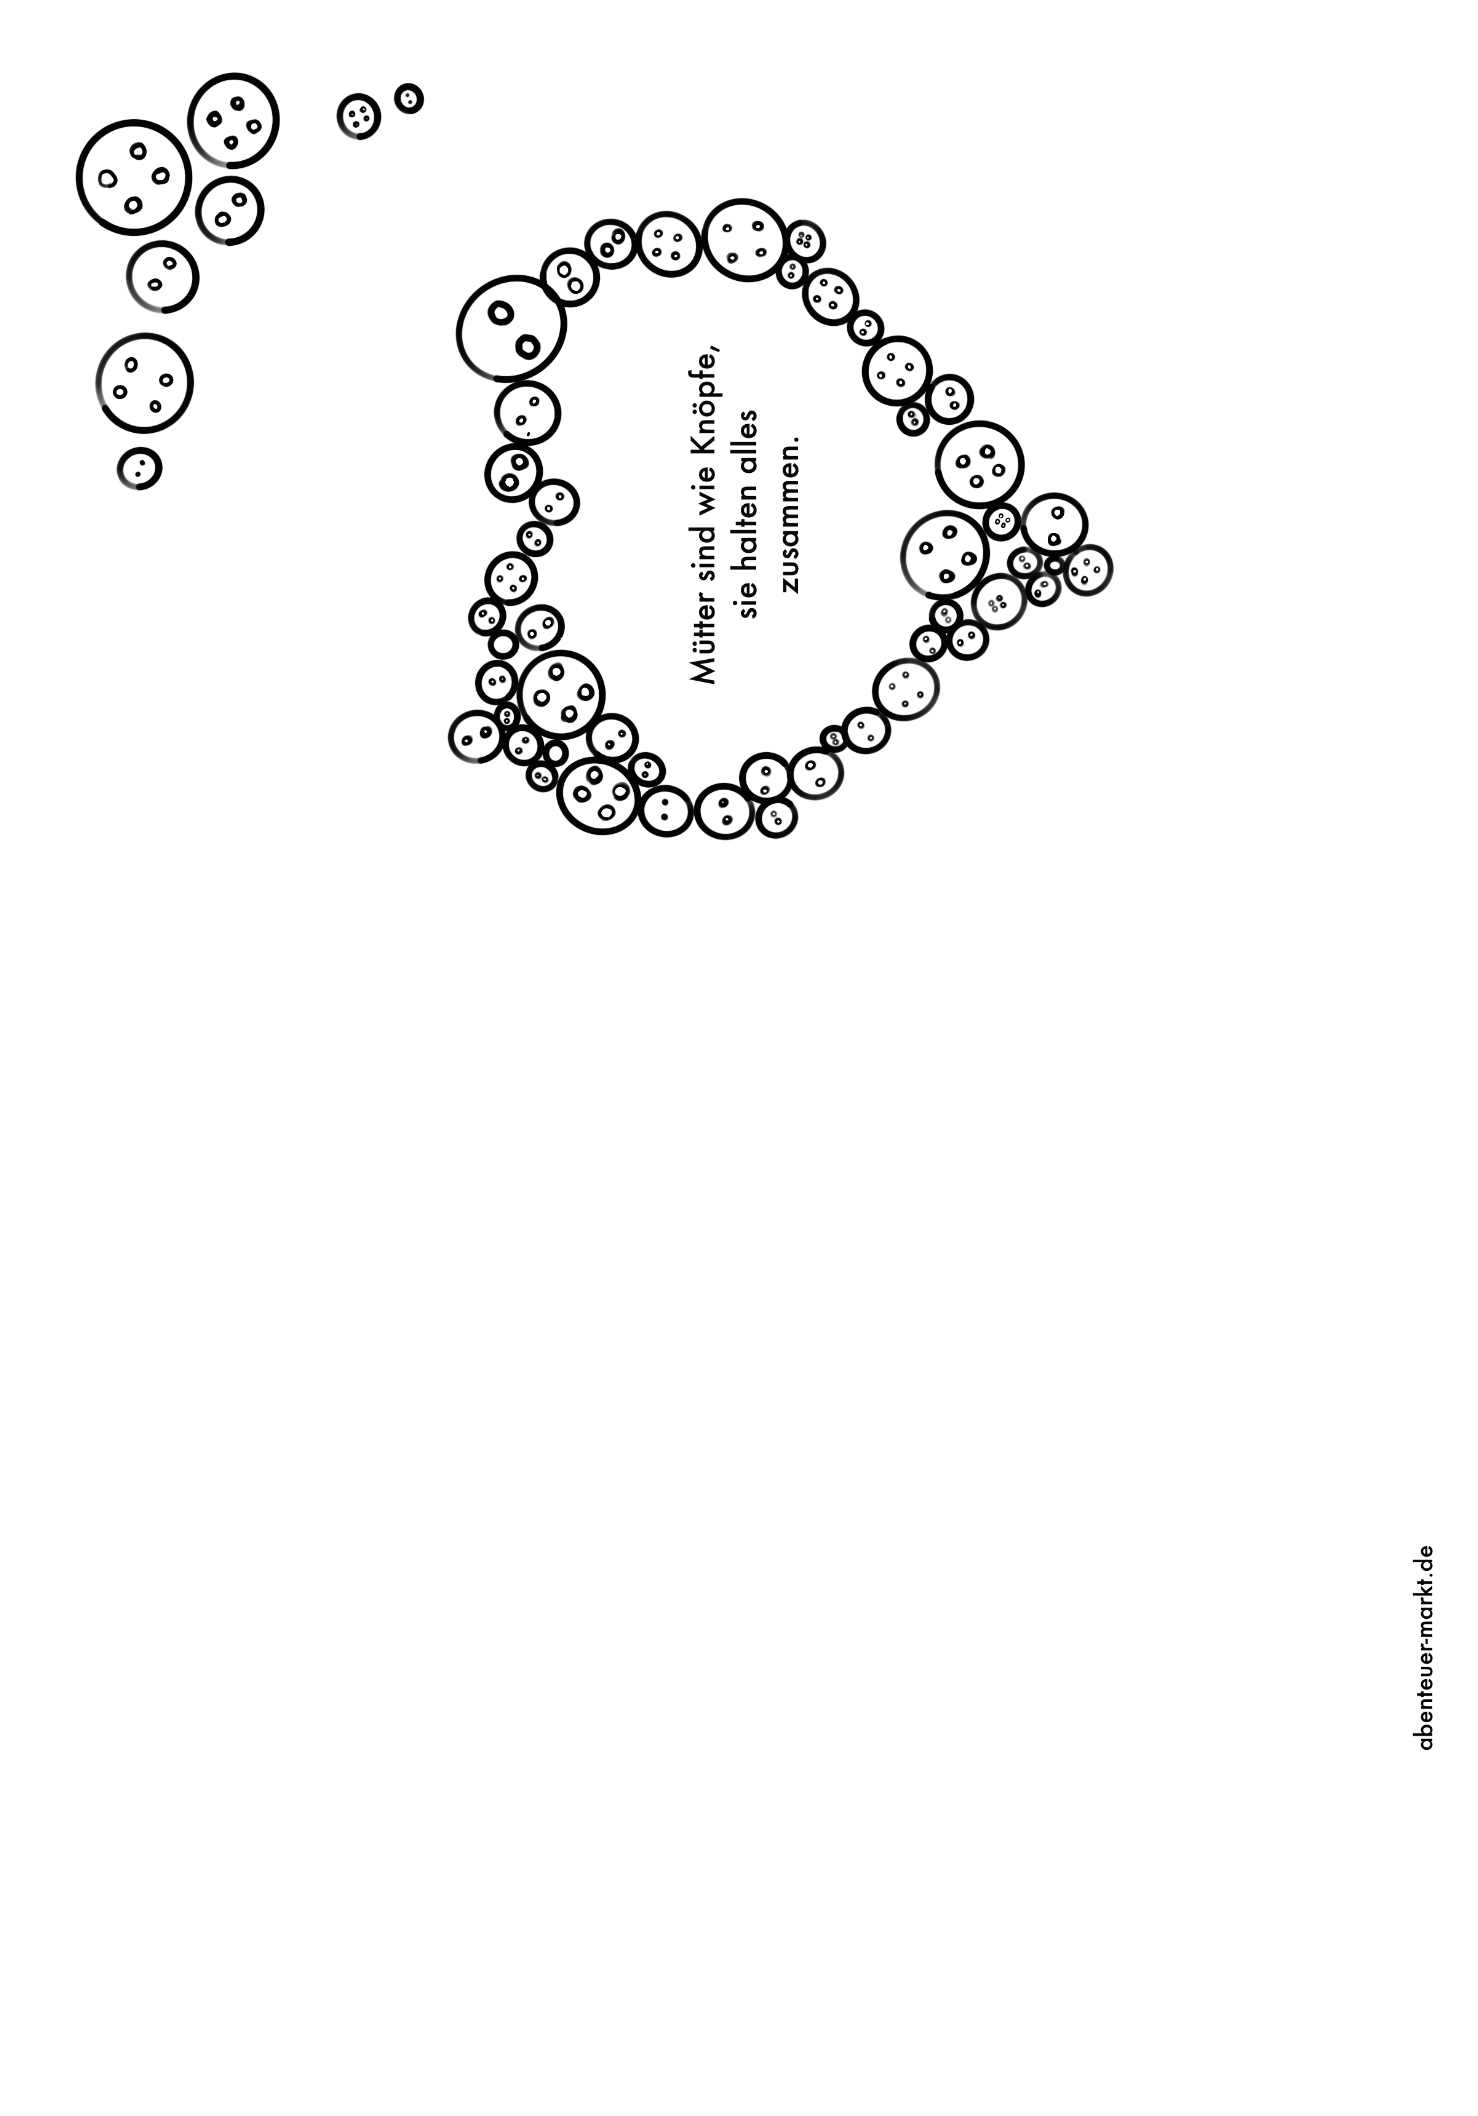
Here is a selection of different templates:
3

You can print and use these templates.
To do this, adjust the size of the printout to the size of your card.
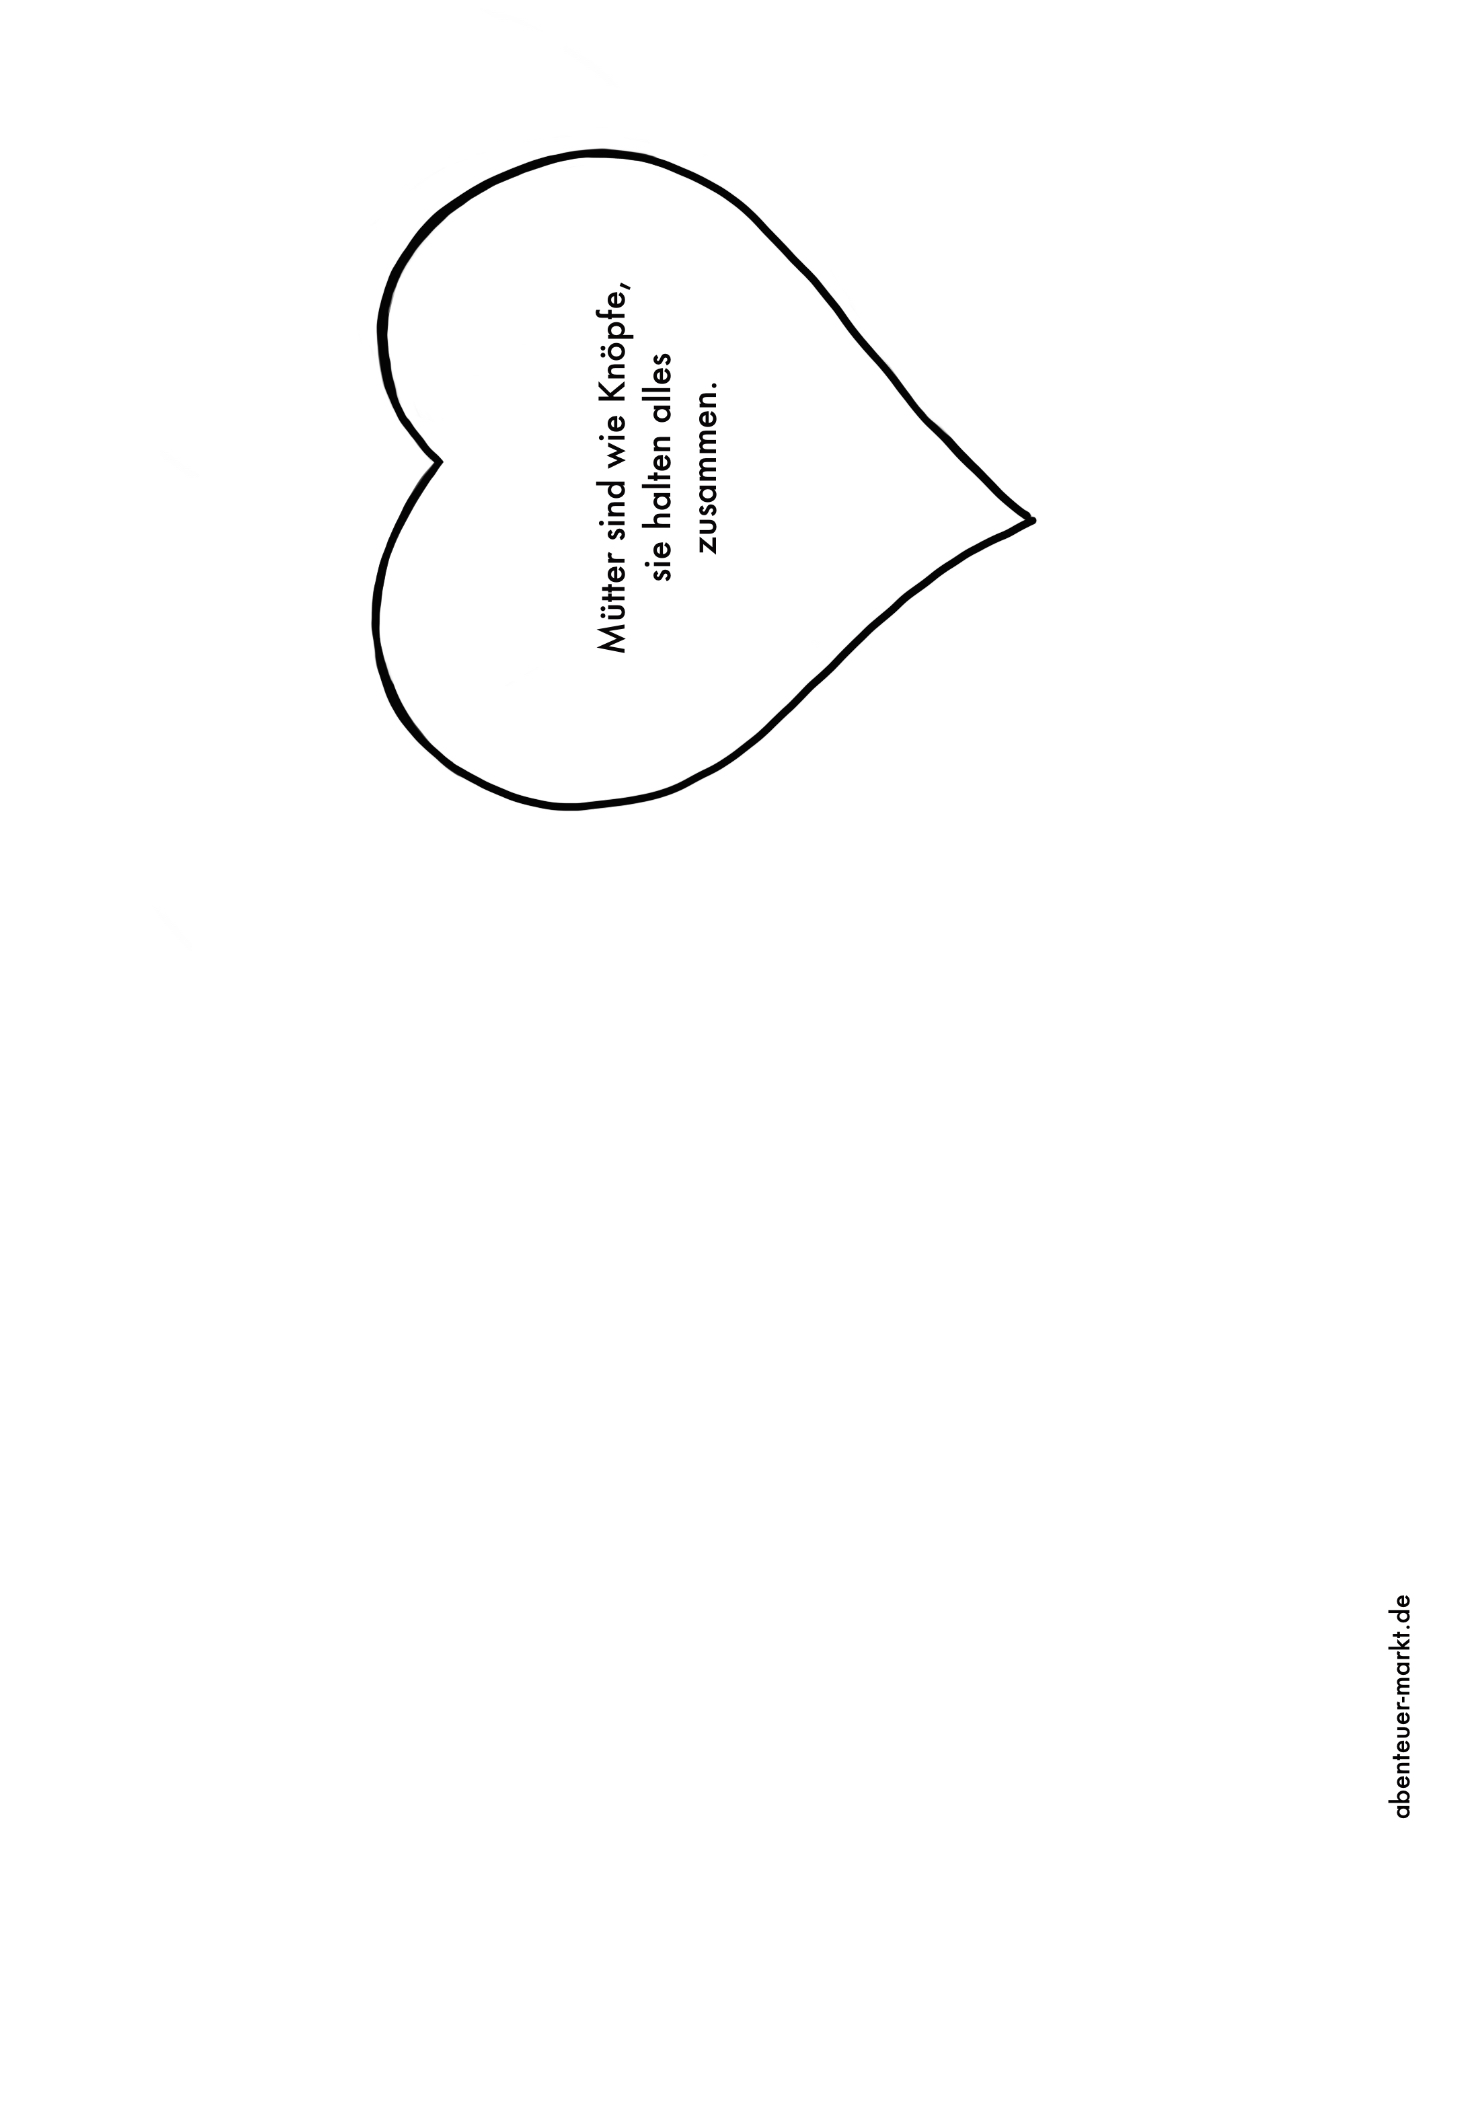
Bild zum Schritt 4 für das Bastel- und DIY-Abenteuer für Kinder: 'Diese Vorlagen könnt ihr Ausdrucken und verwenden.   Passt...'

4

2. Bild zum Schritt 4 für das Bastel- und DIY-Abenteuer für Kinder: 'Diese Vorlagen könnt ihr Ausdrucken und verwenden.   Passt...'

5

3. Bild zum Schritt 5 für das Bastel- und DIY-Abenteuer für Kinder: 'Diese Vorlagen könnt ihr Ausdrucken und verwenden.   Passt...'

Proposals for own design:
6

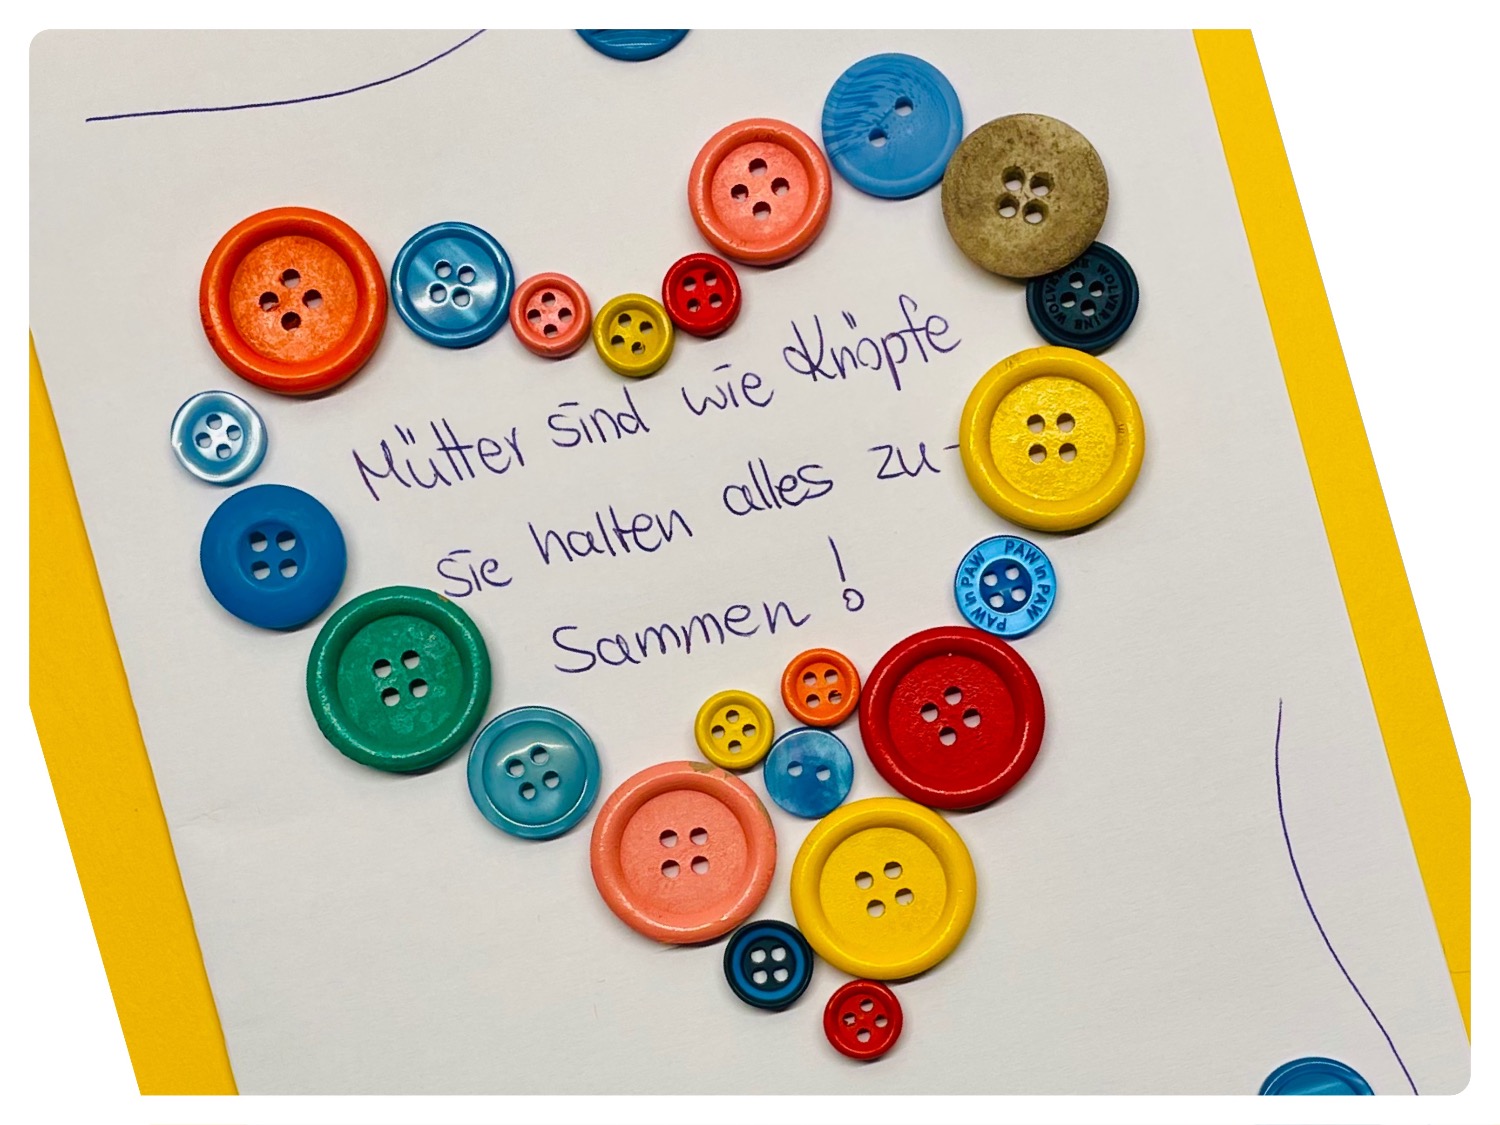
Write a saying suitable for you on a half folded clay paper.

Bild zum Schritt 8 für das Bastel- und DIY-Abenteuer für Kinder: 'Schreibt einen für euch passenden Spruch auf ein zur Hälfte...'

7

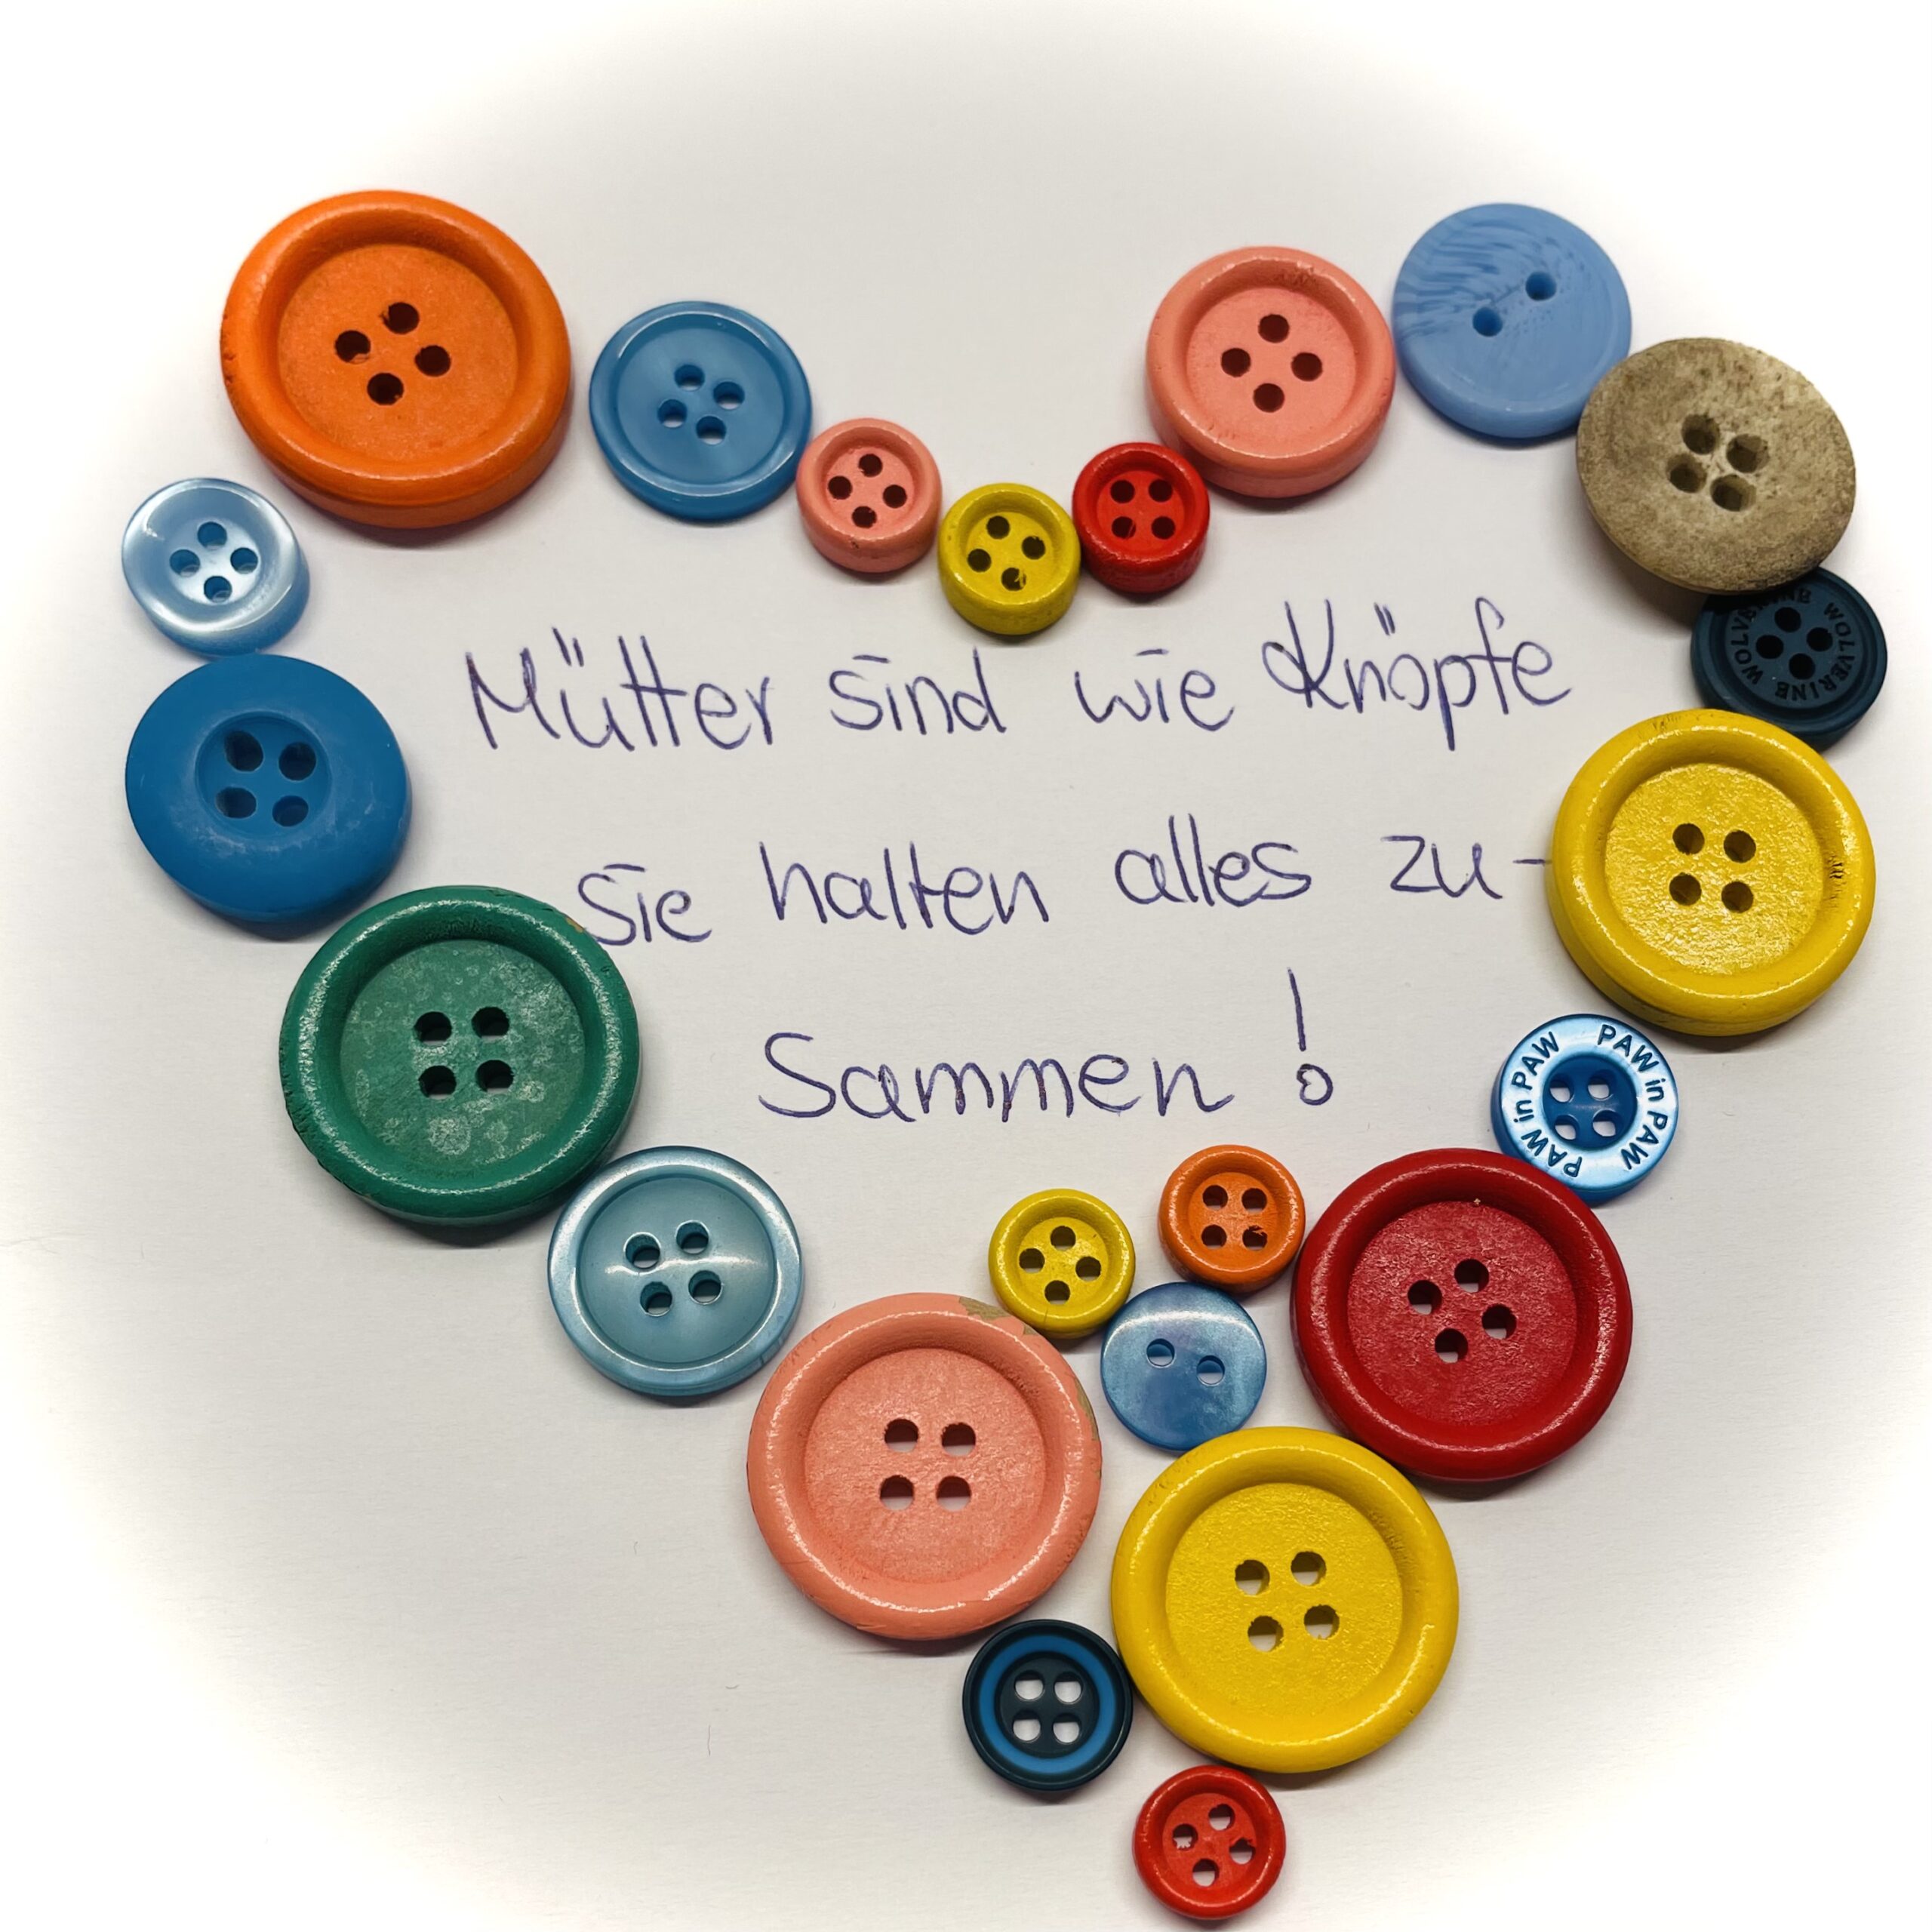
After that, order different sized and small buttons around this spell in the shape of a heart.

Bild zum Schritt 9 für das Bastel- und DIY-Abenteuer für Kinder: 'Ordnet danach um diesen Spruch verschieden große und kleine Knöpfe...'

8

Here's an example.

Bild zum Schritt 10 für das Bastel- und DIY-Abenteuer für Kinder: 'Hier ein Beispiel.'

9

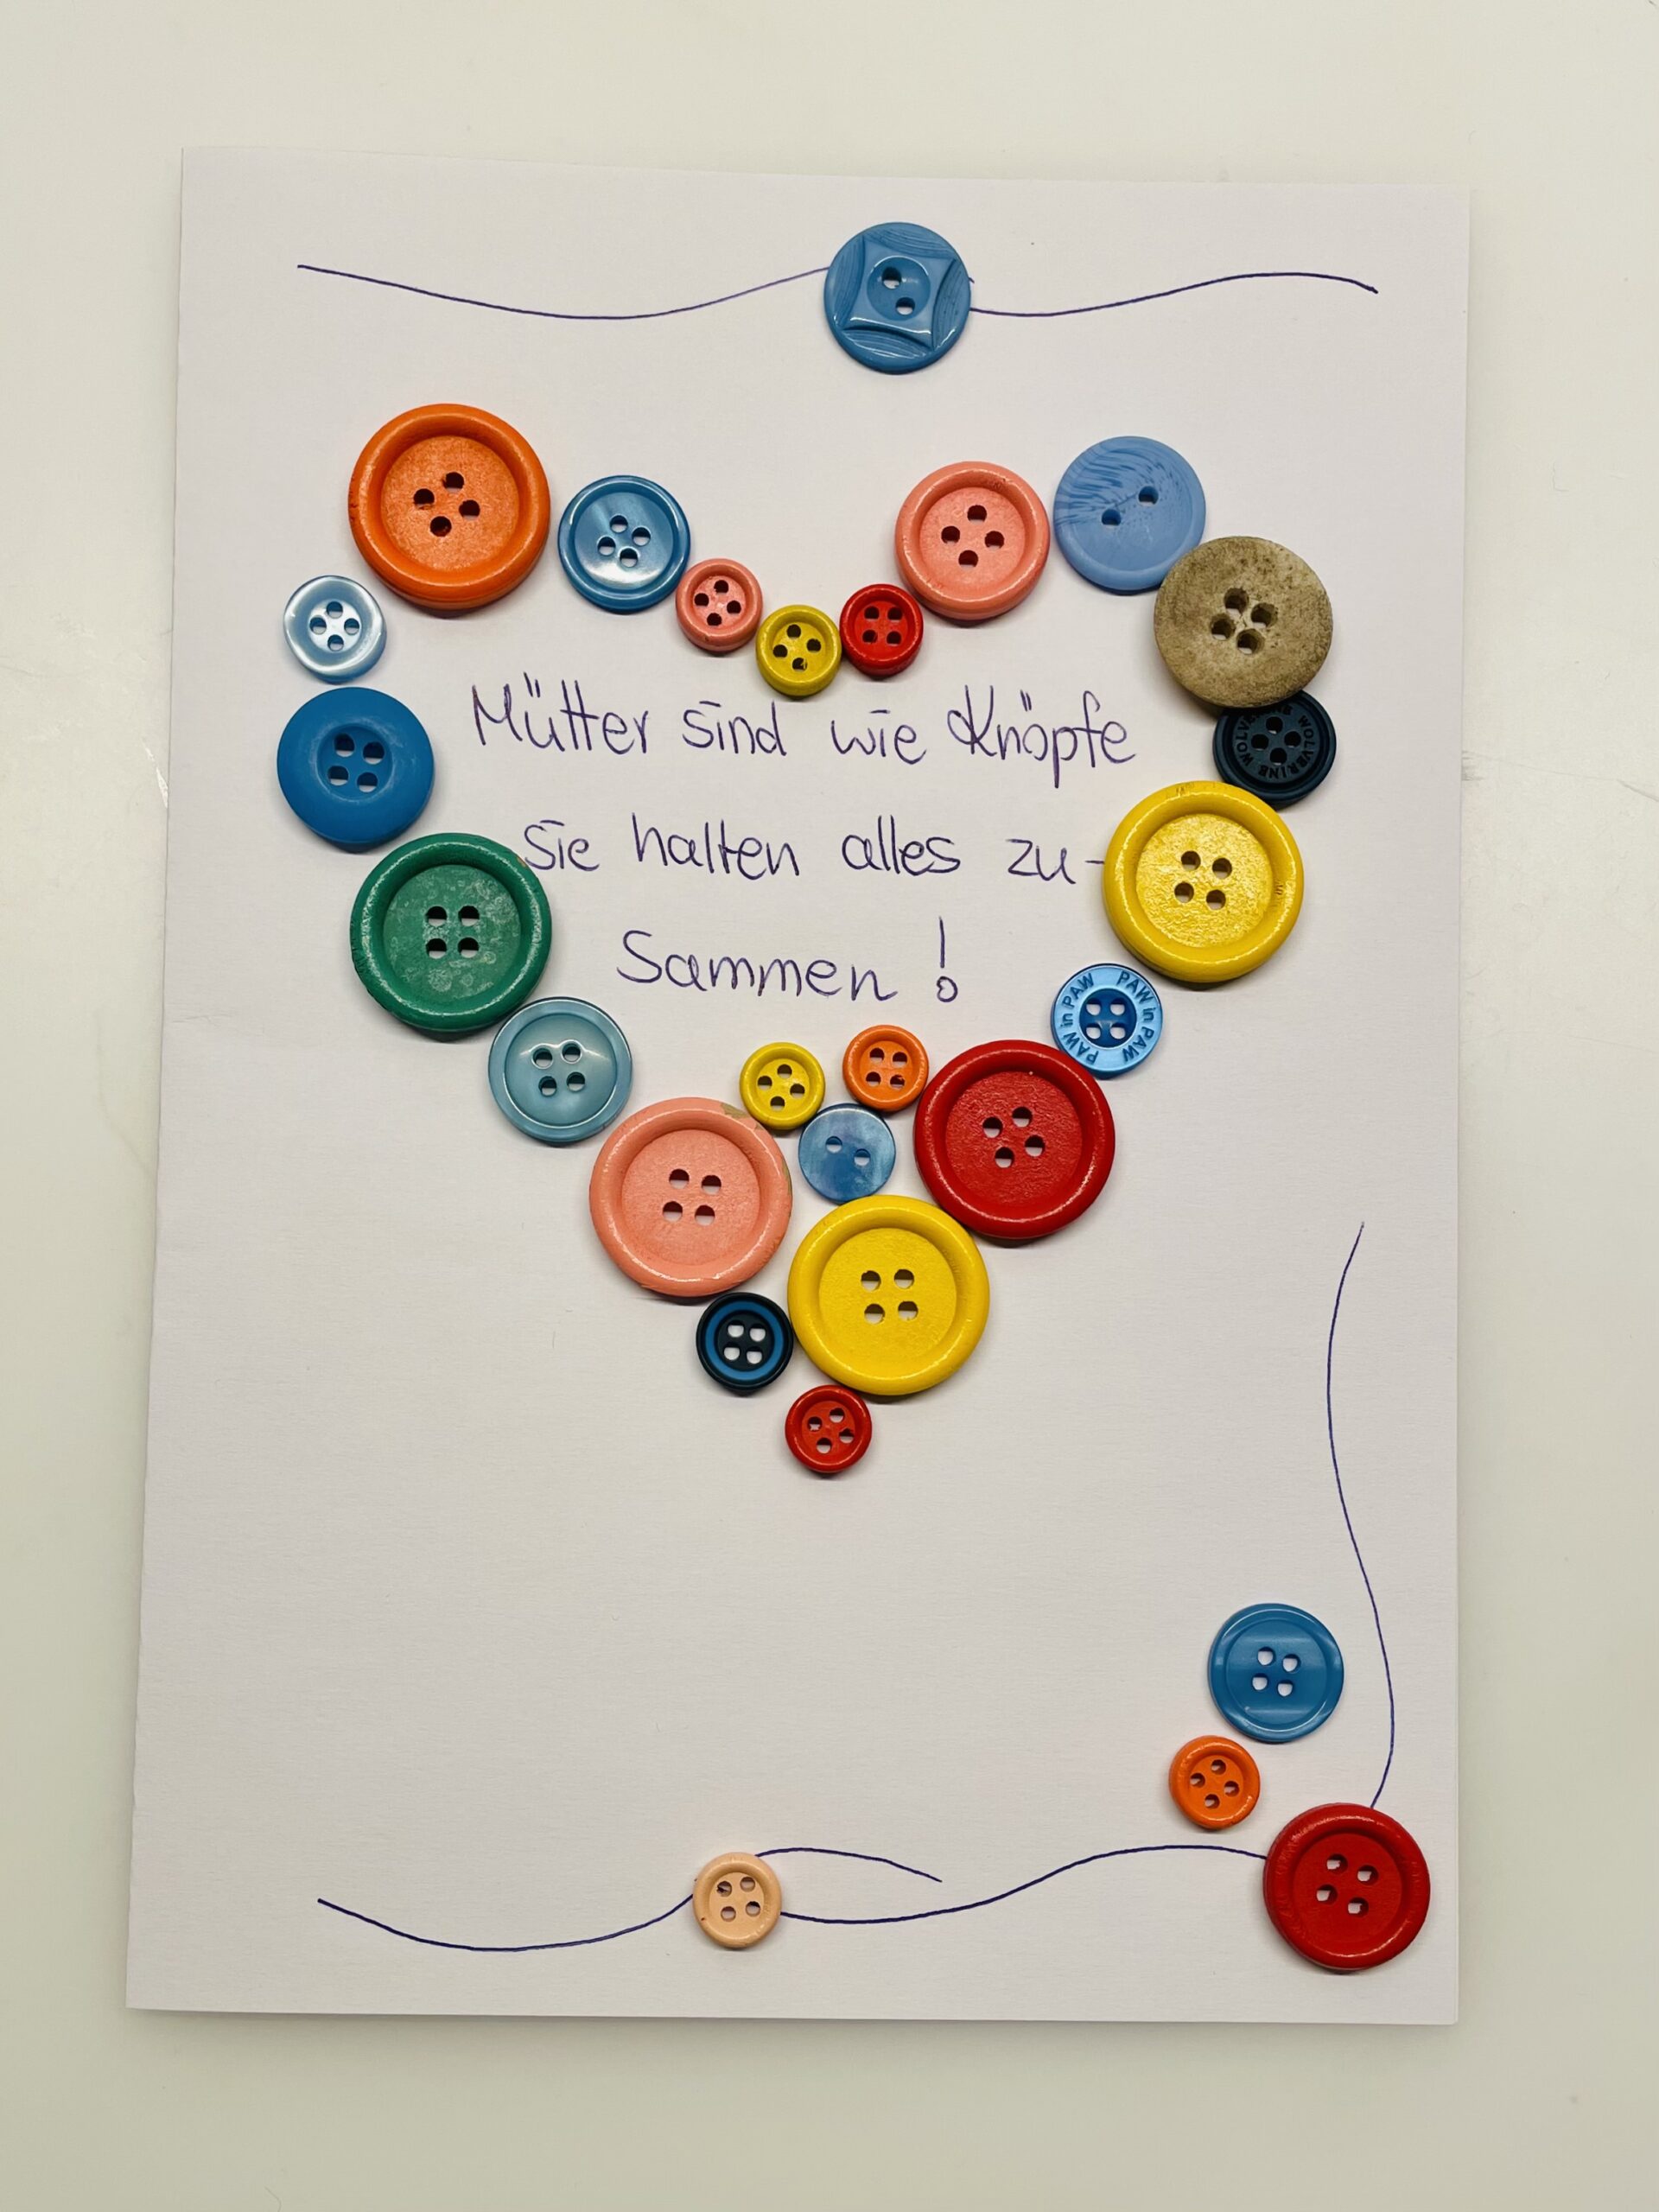
Design the map in such a way that it creates a small work of art.

Bild zum Schritt 11 für das Bastel- und DIY-Abenteuer für Kinder: 'Gestaltet die Karte so,  dass daraus ein kleines Kunstwerk...'

10

2. Bild zum Schritt 11 für das Bastel- und DIY-Abenteuer für Kinder: 'Gestaltet die Karte so,  dass daraus ein kleines Kunstwerk...'

11

For example, you can highlight the front page by a contrasting color. First design the title image and then glue it to a colored folding card.

Bild zum Schritt 13 für das Bastel- und DIY-Abenteuer für Kinder: 'Zum Beispiel könnt ihr die Titelseite durch eine Kontrastfarbe hervorheben....'

Other ideas:
12

Put a heart of different sized buttons on a coloured photo box - which you folded as a folding card.

Bild zum Schritt 15 für das Bastel- und DIY-Abenteuer für Kinder: 'Legt auf einen farbigen Fotokarton - den ihr als Klappkarte...'

13

This looks very fresh and friendly with colored buttons.

Tip: By the way, you can also create an image for a frame.

Bild zum Schritt 16 für das Bastel- und DIY-Abenteuer für Kinder: 'Dies sieht mit farbigen Knöpfen sehr frisch und freundlich aus....'

Variant with buttons in a reddish hue and with template:
14

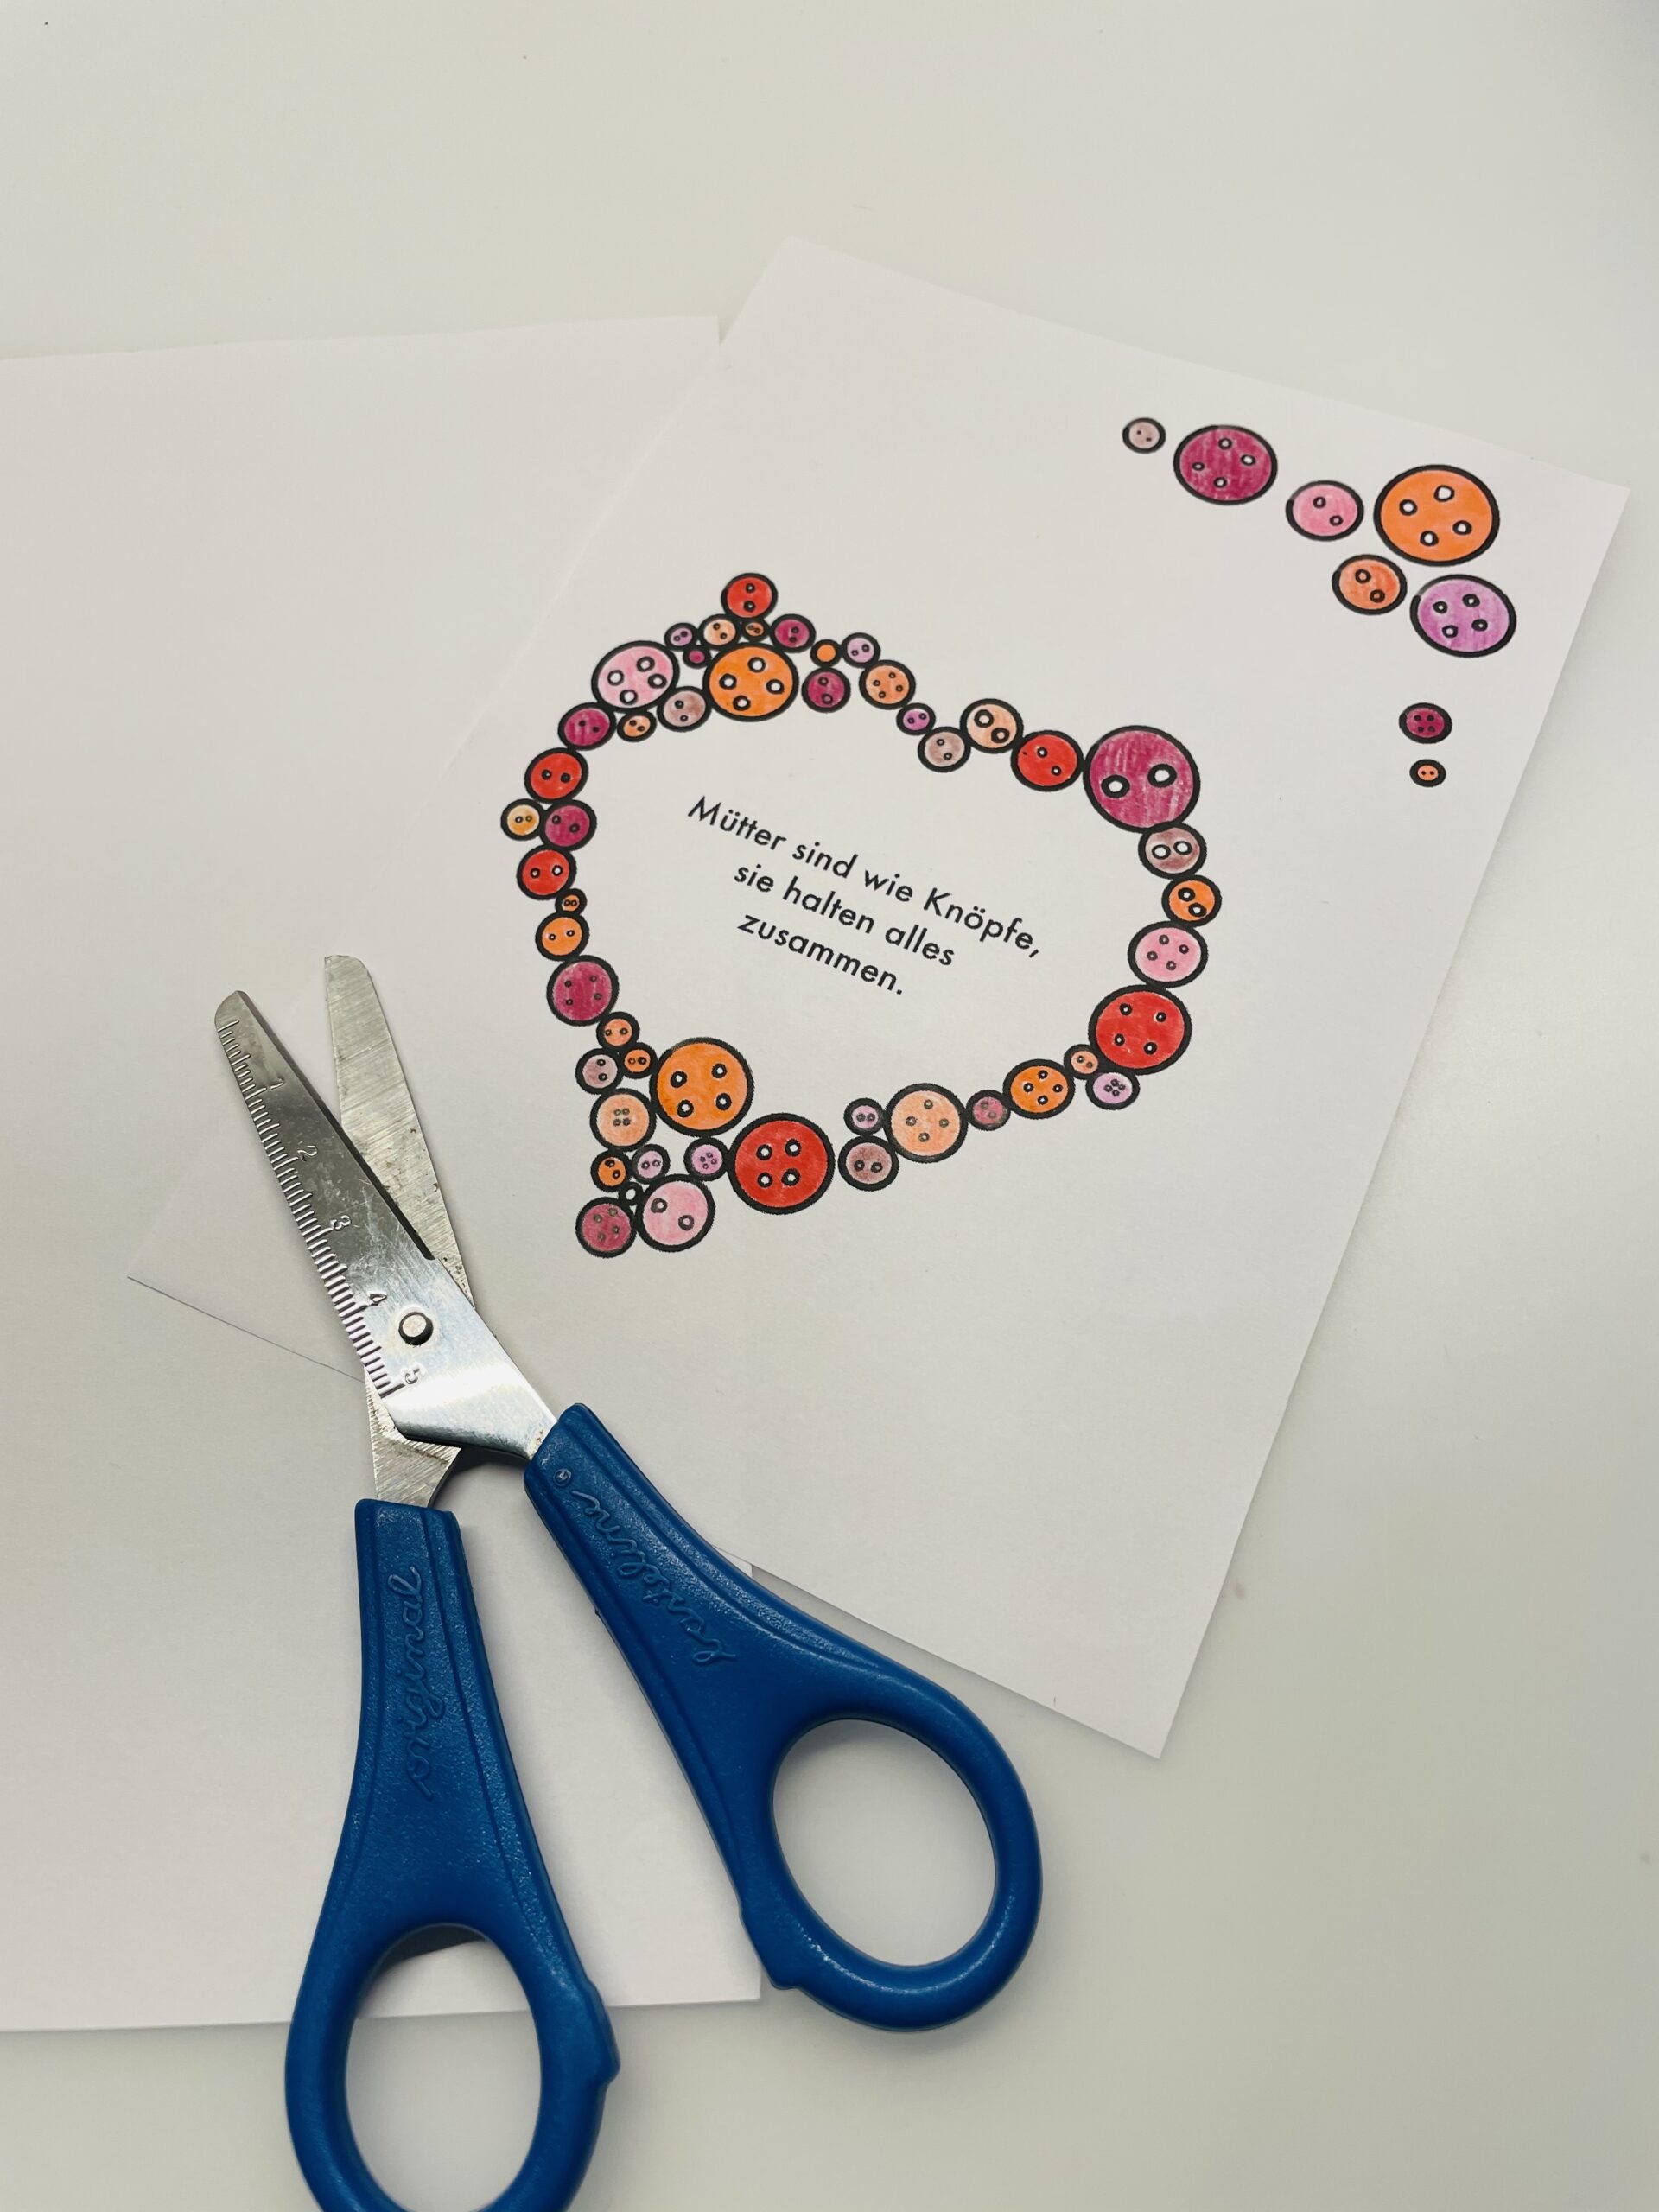
For this you first print this template. You may adjust the print template to the size of your card.

Bild zum Schritt 18 für das Bastel- und DIY-Abenteuer für Kinder: 'Hierfür druckt ihr euch zuerst diese Vorlage aus. Passt die...'

15

Then cut her up.
Now select buttons in the same colors and select a photo box for the card.

Bild zum Schritt 19 für das Bastel- und DIY-Abenteuer für Kinder: 'Dann schneidet ihr die Vorlage zu.  Wählt nun Knöpfe...'

16

Now you put the buttons on the heart.

Bild zum Schritt 20 für das Bastel- und DIY-Abenteuer für Kinder: 'Jetzt legt ihr die Knöpfe auf das Herz.'

17

Only if you like the overall picture, you start to glue the buttons. Use a glue stick, wood glue or hot glue. Attention when handling the hot glue - risk of injury!

Bild zum Schritt 21 für das Bastel- und DIY-Abenteuer für Kinder: 'Erst wenn euch das Gesamtbild gefällt, beginnt ihr die Knöpfe...'

Variant with cream-white buttons and with template:
18

Print this template first. Maybe adjust the template to the size of your card.

Bild zum Schritt 23 für das Bastel- und DIY-Abenteuer für Kinder: 'Druckt euch zuerst diese Vorlage aus. Passt eventuell die Vorlage...'

19

An example in cream-white colors.

Bild zum Schritt 24 für das Bastel- und DIY-Abenteuer für Kinder: 'Ein Beispiel in creme-weißen Farben.'

20

Arrange the buttons first. Then you start with the stick-on.

Bild zum Schritt 25 für das Bastel- und DIY-Abenteuer für Kinder: 'Ordnet zuerst die Knöpfe an. Dann beginnt ihr mit dem...'

21

Then select the card color to match the buttons.

Bild zum Schritt 26 für das Bastel- und DIY-Abenteuer für Kinder: 'Anschließend wählt ihr die Kartenfarbe passend zu den Knöpfen aus.'

Coloring of the template:
22

Print this template first.

Bild zum Schritt 28 für das Bastel- und DIY-Abenteuer für Kinder: 'Druckt euch hierfür zuerst diese Vorlage aus.'

23

Select this variant if you want to make a button card, but only have a few buttons at home.
Then paint the pre-drawn buttons with coloured pencils brightly colorful.

Bild zum Schritt 29 für das Bastel- und DIY-Abenteuer für Kinder: 'Wählt diese Variante dann, wenn ihr eine Knopfkarte basteln wollt,...'

24

Then you cut the paper to the size of your image.

Bild zum Schritt 30 für das Bastel- und DIY-Abenteuer für Kinder: 'Anschließend schneidet ihr das Papier auf die Größe eures Bildes...'

25

2. Bild zum Schritt 30 für das Bastel- und DIY-Abenteuer für Kinder: 'Anschließend schneidet ihr das Papier auf die Größe eures Bildes...'

26

Now you select a photo box and fold it together to form a card. Now stick your picture on the folding card.

Bild zum Schritt 32 für das Bastel- und DIY-Abenteuer für Kinder: 'Jetzt wählt ihr einen Fotokarton und faltet diesen zu einer...'

27

Now you put a narrow band down on the left side of the length. Then you stick a few buttons on the band. Also stick some buttons to the end of the band..

Bild zum Schritt 33 für das Bastel- und DIY-Abenteuer für Kinder: 'Jetzt legt ihr ein schmales Band auf der linken Seite...'

28

Your card's ready.
Mother's day or birthday can come.

Bild zum Schritt 34 für das Bastel- und DIY-Abenteuer für Kinder: 'Fertig ist eure Karte.   Der Muttertag oder der...'

29

Have fun doing crafts.

Materials

 1 Tone paper DIN A 4 colouredor photo cards coloured
 1 Template or paper
 Buttons colorfuldifferent sizes and colors
 PencilsColoured or felted pencils
 Gluee.g. wood glue or hot glue
 1 Builder's pad
All links marked with a shopping cart lead to Amazon - here we have selected products that we would order ourselves and in part also ordered. In a qualified purchase via the advertising link, we as Amazon partner receive a commission, for you there are no costs. You thus support our cost- and advertising banner-free, educational offer.

Directions

1

First, prepare your materials and a craft file.

Bild zum Schritt 1 für das Bastel- und DIY-Abenteuer für Kinder: 'Legt zuerst eure Materialien und eine Bastelunterlage bereit.'

2

Pick a template or paint yourself a motif on a sheet of paper.

Here is a selection of different templates:
3

You can print and use these templates.
To do this, adjust the size of the printout to the size of your card.

Bild zum Schritt 4 für das Bastel- und DIY-Abenteuer für Kinder: 'Diese Vorlagen könnt ihr Ausdrucken und verwenden.   Passt...'

4

2. Bild zum Schritt 4 für das Bastel- und DIY-Abenteuer für Kinder: 'Diese Vorlagen könnt ihr Ausdrucken und verwenden.   Passt...'

5

3. Bild zum Schritt 5 für das Bastel- und DIY-Abenteuer für Kinder: 'Diese Vorlagen könnt ihr Ausdrucken und verwenden.   Passt...'

Proposals for own design:
6

Write a saying suitable for you on a half folded clay paper.
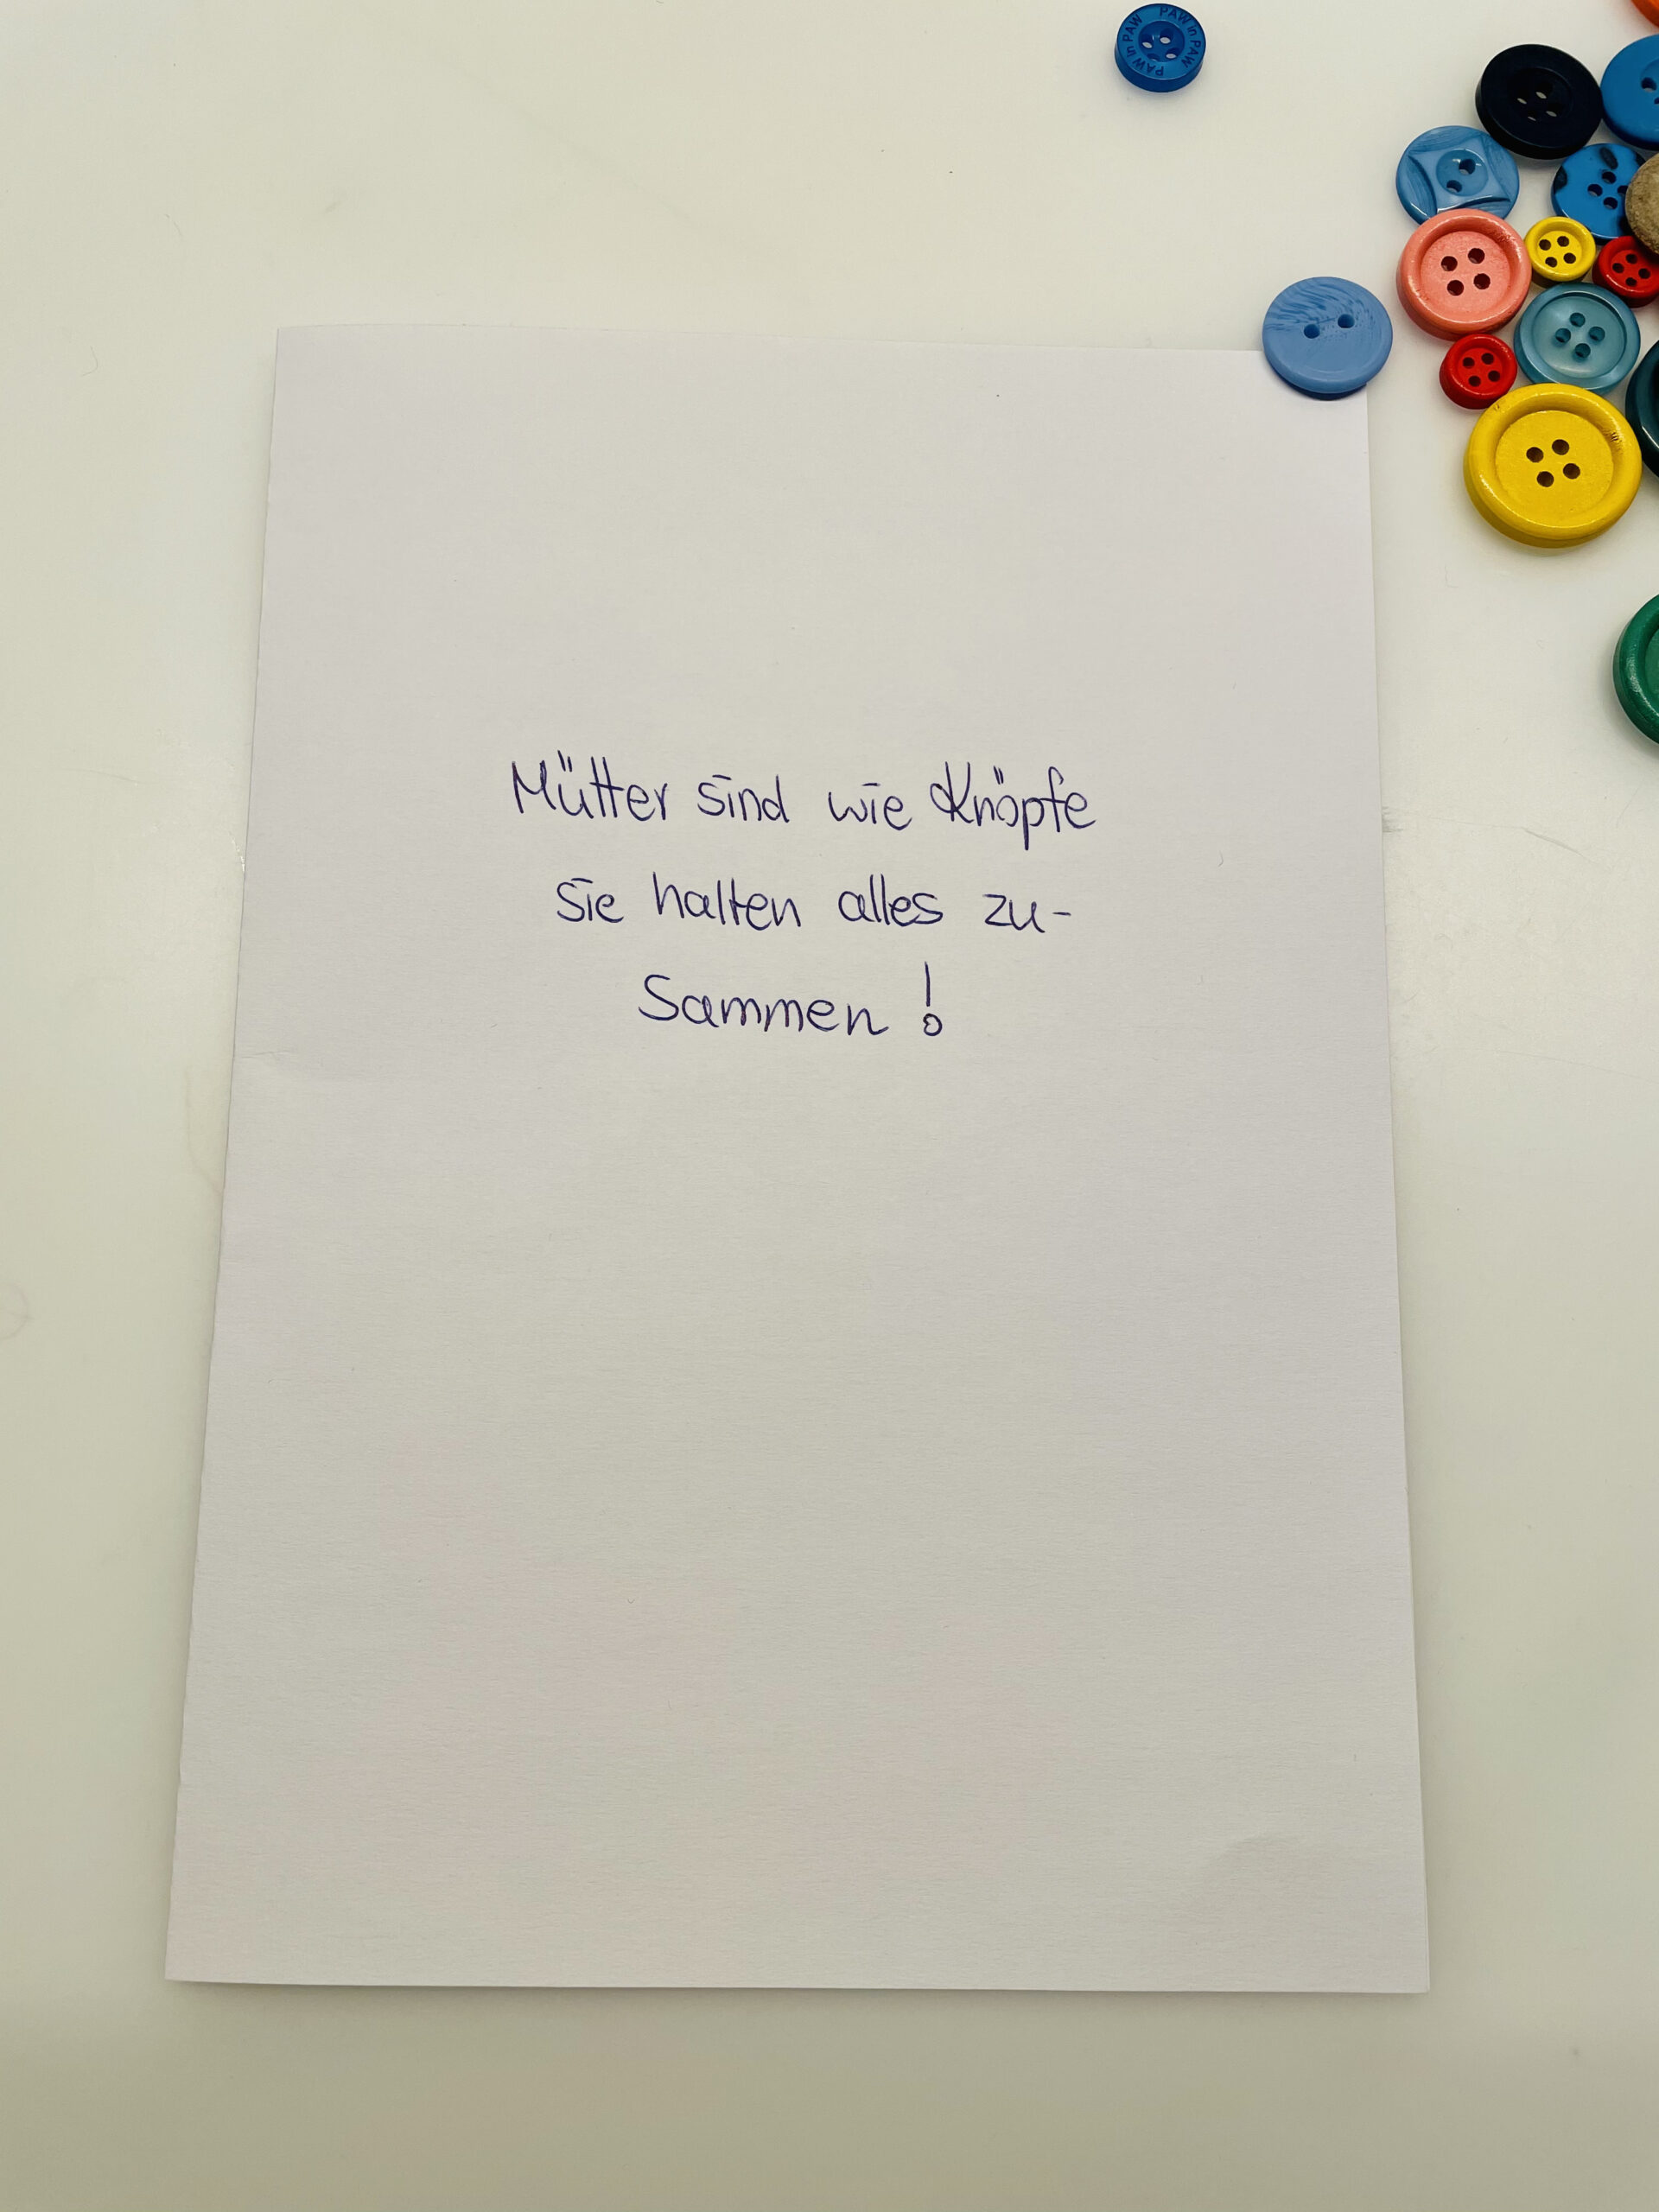
Bild zum Schritt 8 für das Bastel- und DIY-Abenteuer für Kinder: 'Schreibt einen für euch passenden Spruch auf ein zur Hälfte...'

7

After that, order different sized and small buttons around this spell in the shape of a heart.

Bild zum Schritt 9 für das Bastel- und DIY-Abenteuer für Kinder: 'Ordnet danach um diesen Spruch verschieden große und kleine Knöpfe...'

8

Here's an example.

Bild zum Schritt 10 für das Bastel- und DIY-Abenteuer für Kinder: 'Hier ein Beispiel.'

9

Design the map in such a way that it creates a small work of art.
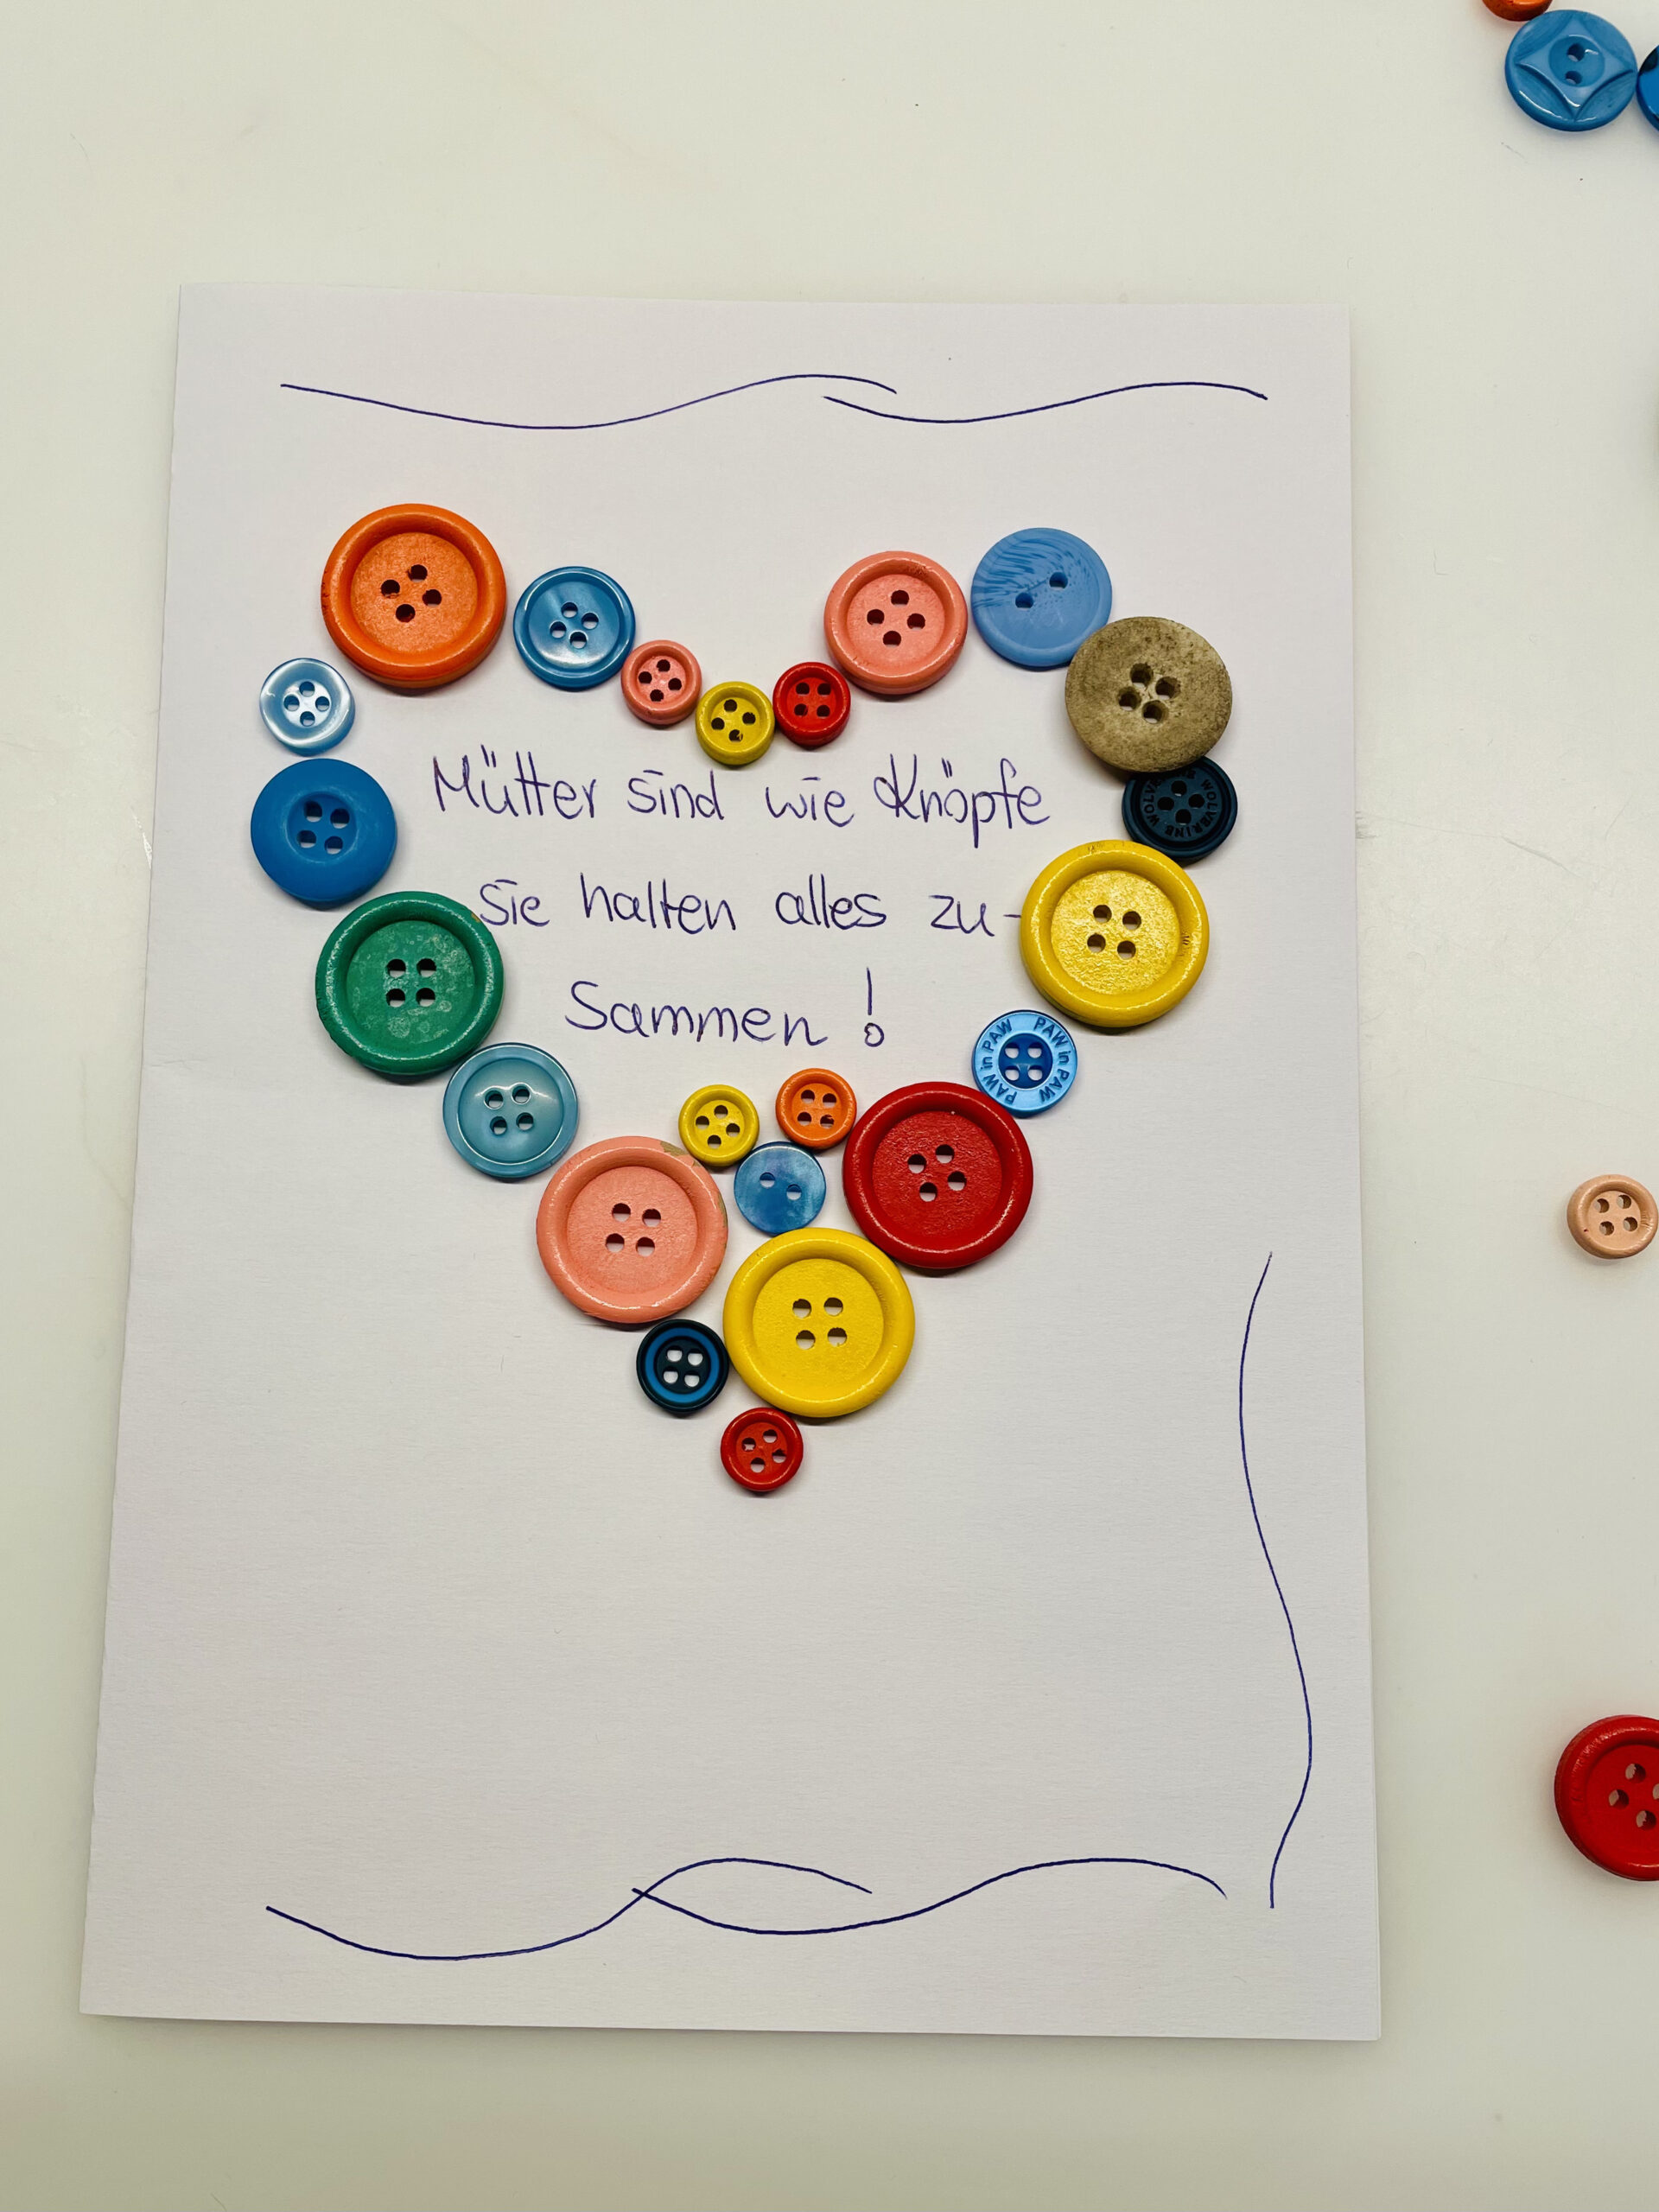
Bild zum Schritt 11 für das Bastel- und DIY-Abenteuer für Kinder: 'Gestaltet die Karte so,  dass daraus ein kleines Kunstwerk...'

10

2. Bild zum Schritt 11 für das Bastel- und DIY-Abenteuer für Kinder: 'Gestaltet die Karte so,  dass daraus ein kleines Kunstwerk...'

11

For example, you can highlight the front page by a contrasting color. First design the title image and then glue it to a colored folding card.
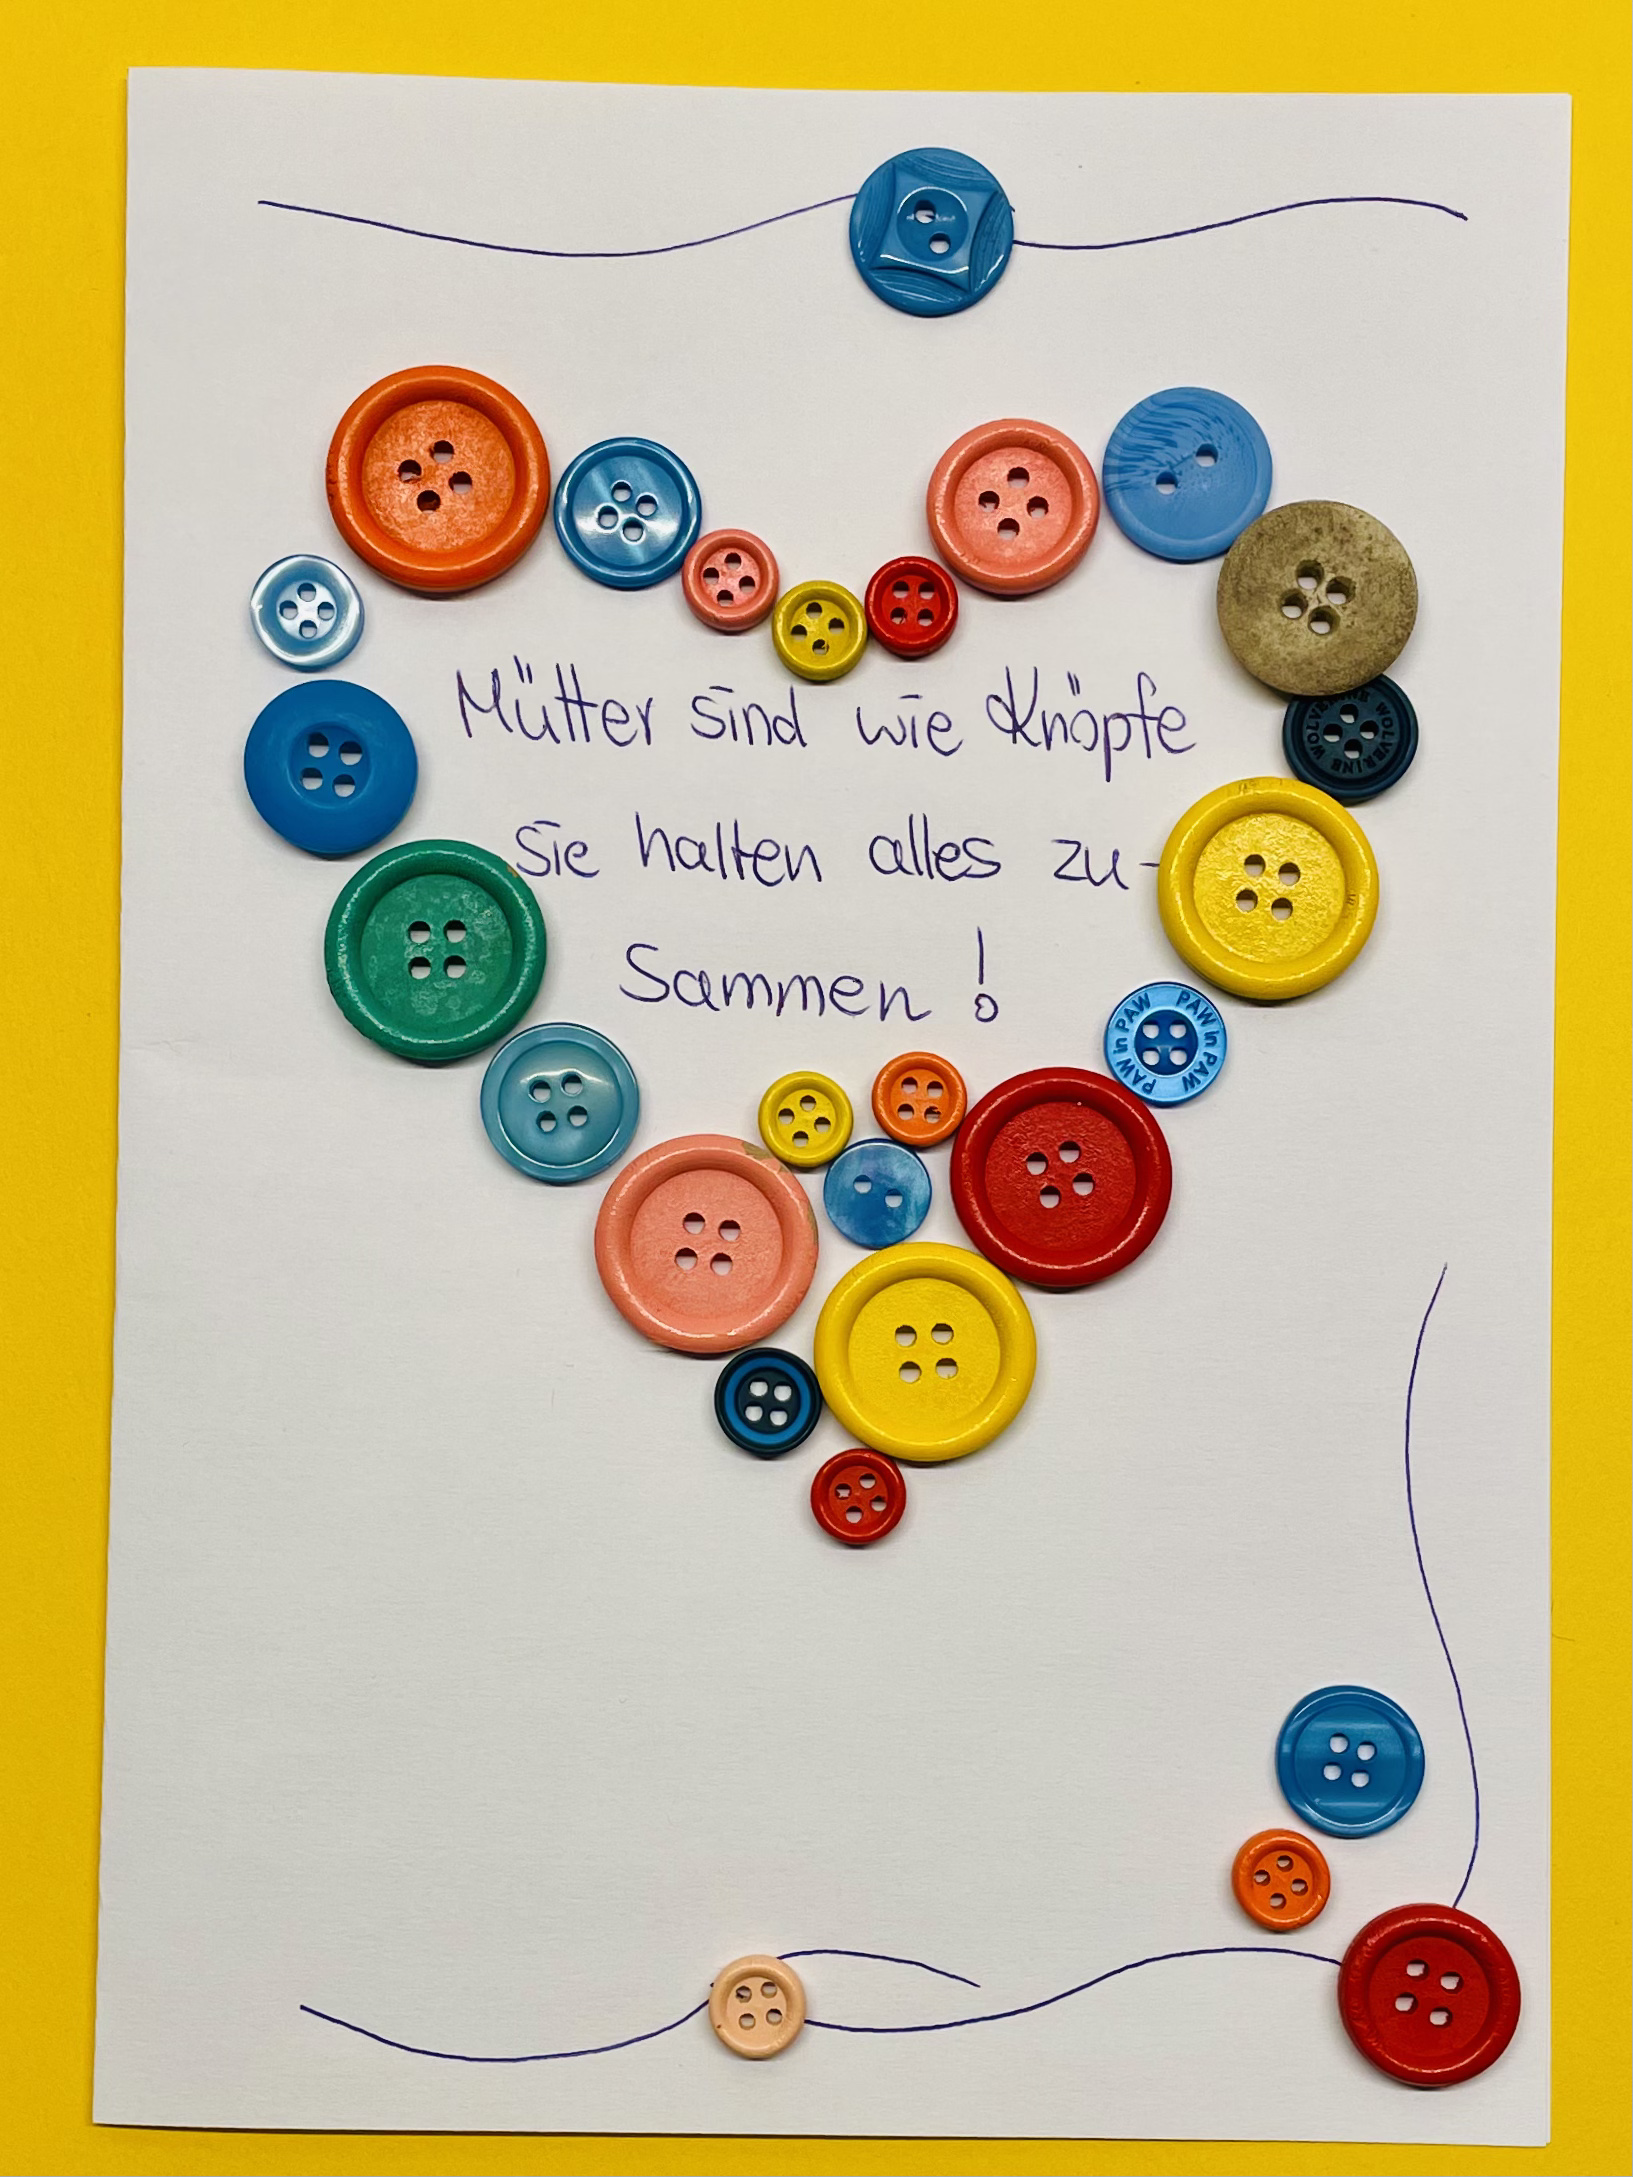
Bild zum Schritt 13 für das Bastel- und DIY-Abenteuer für Kinder: 'Zum Beispiel könnt ihr die Titelseite durch eine Kontrastfarbe hervorheben....'

Other ideas:
12

Put a heart of different sized buttons on a coloured photo box - which you folded as a folding card.
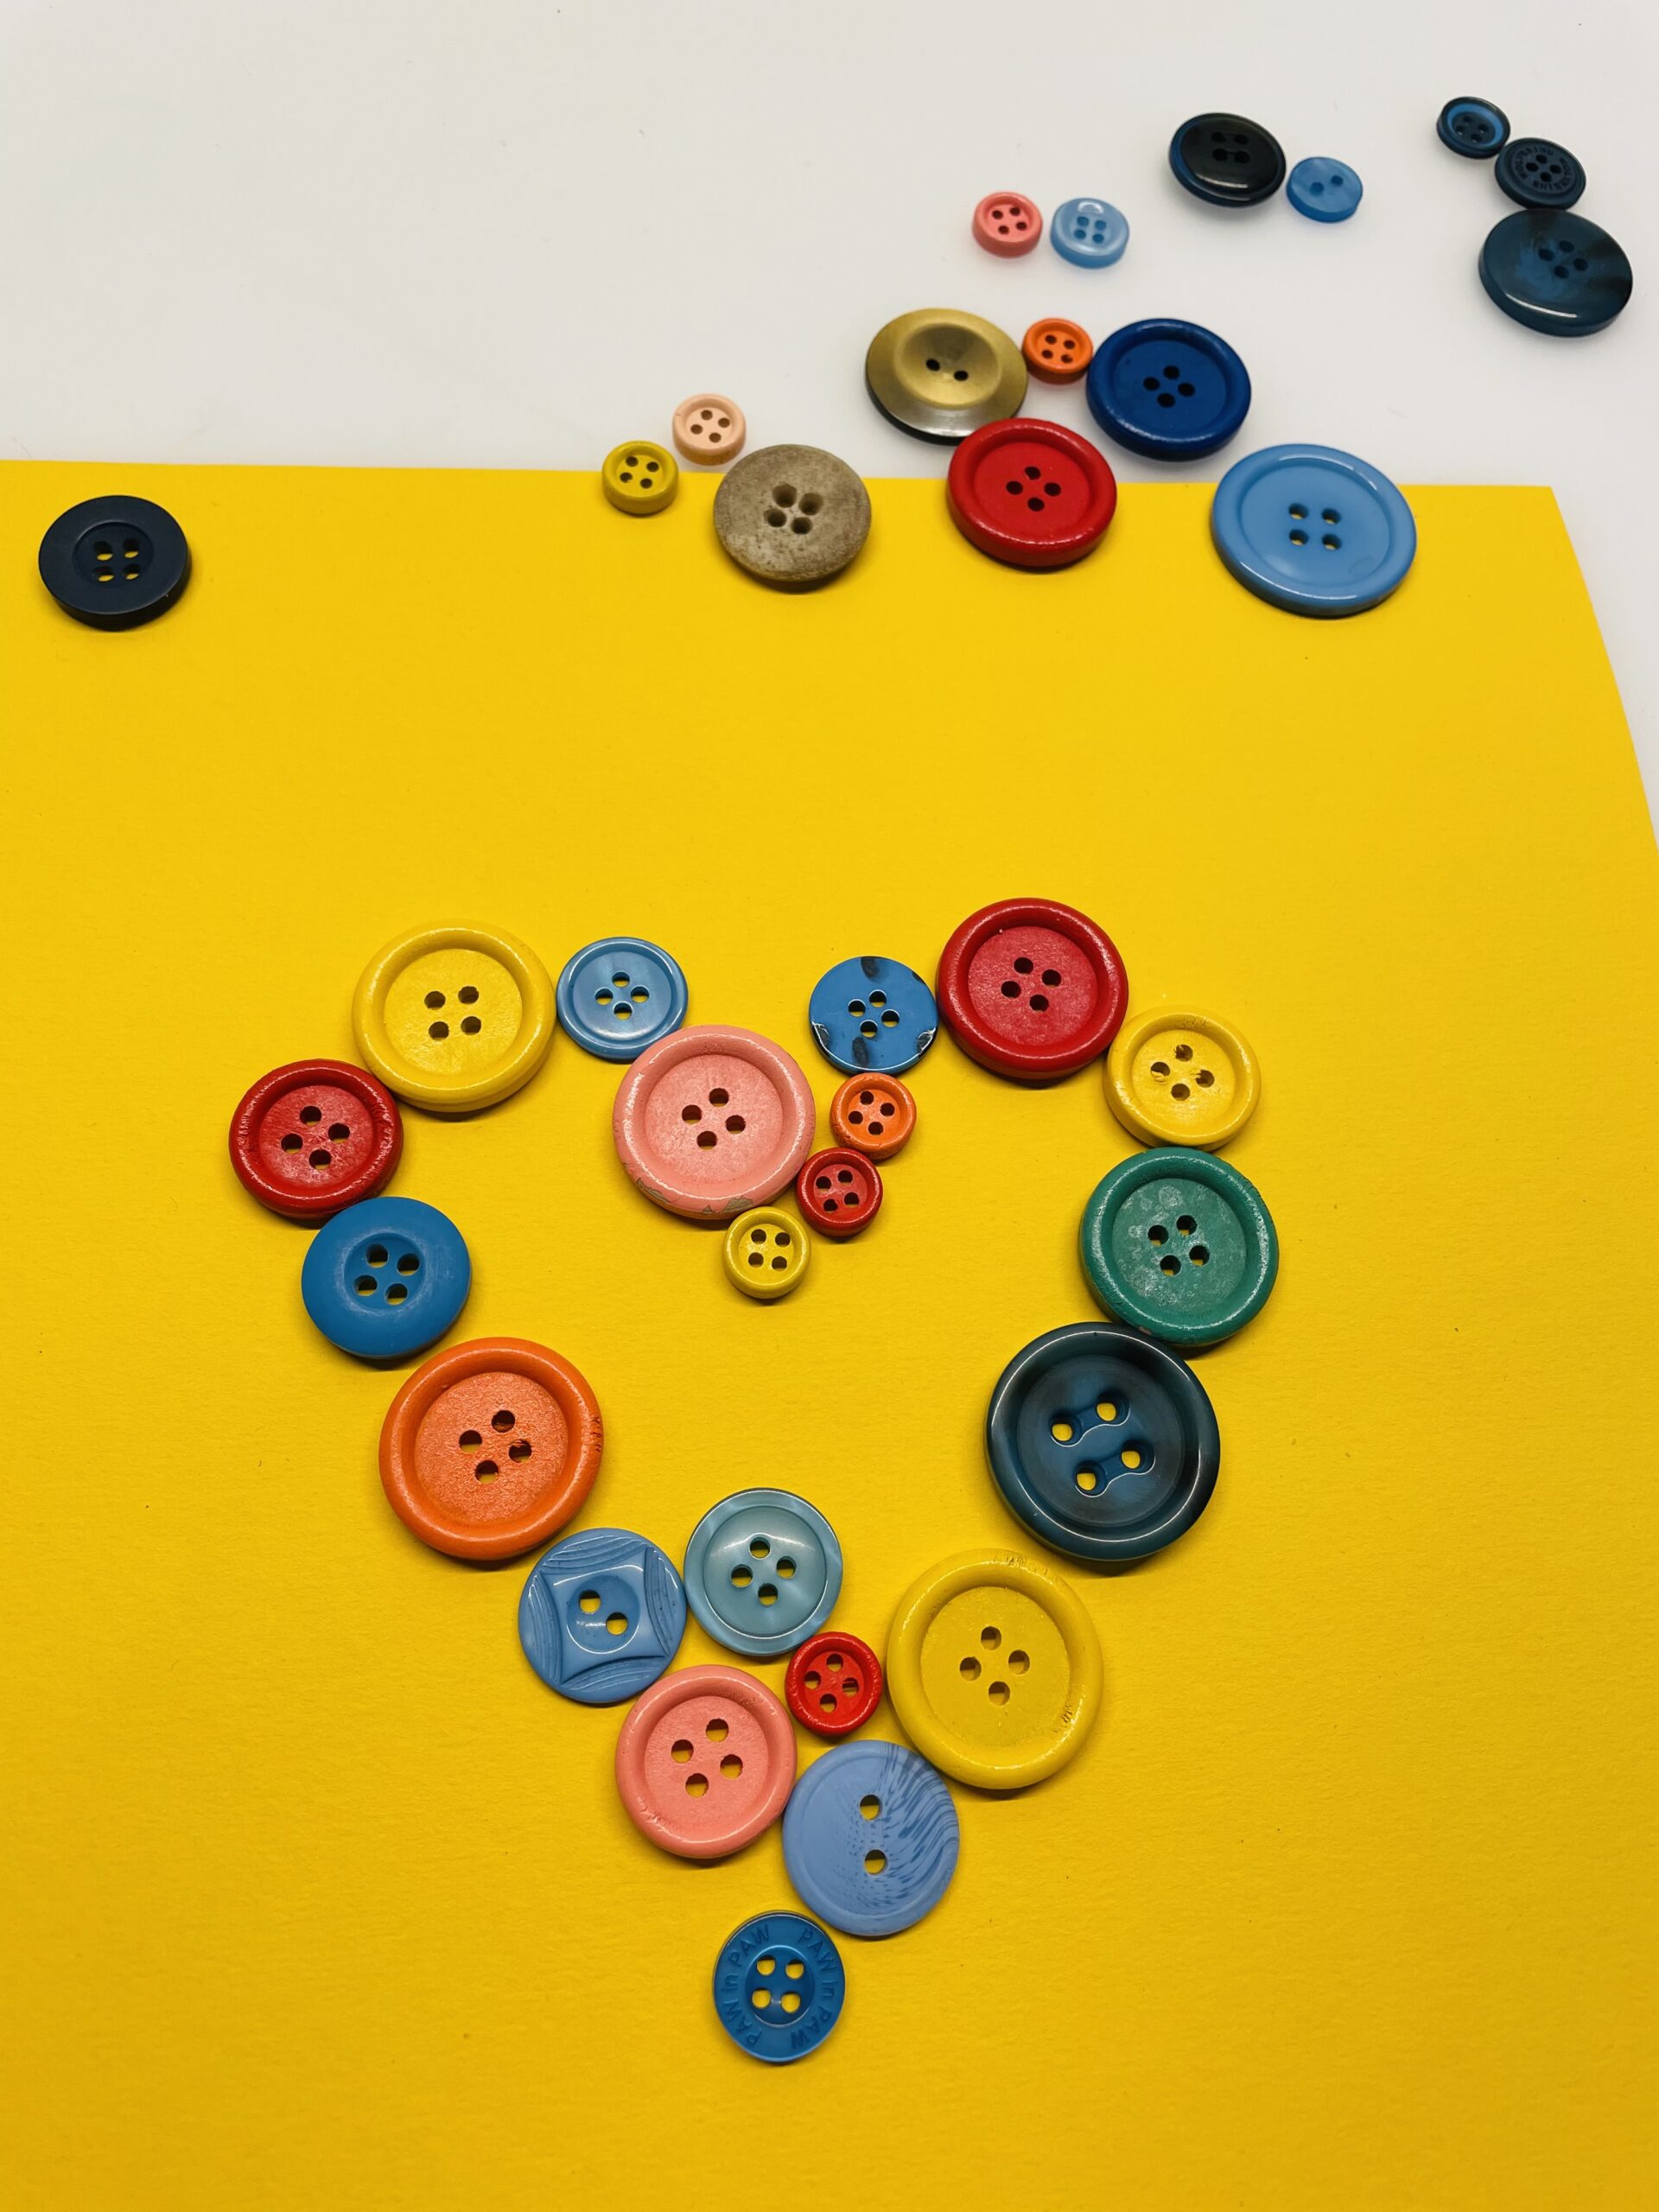
Bild zum Schritt 15 für das Bastel- und DIY-Abenteuer für Kinder: 'Legt auf einen farbigen Fotokarton - den ihr als Klappkarte...'

13

This looks very fresh and friendly with colored buttons.

Tip: By the way, you can also create an image for a frame.
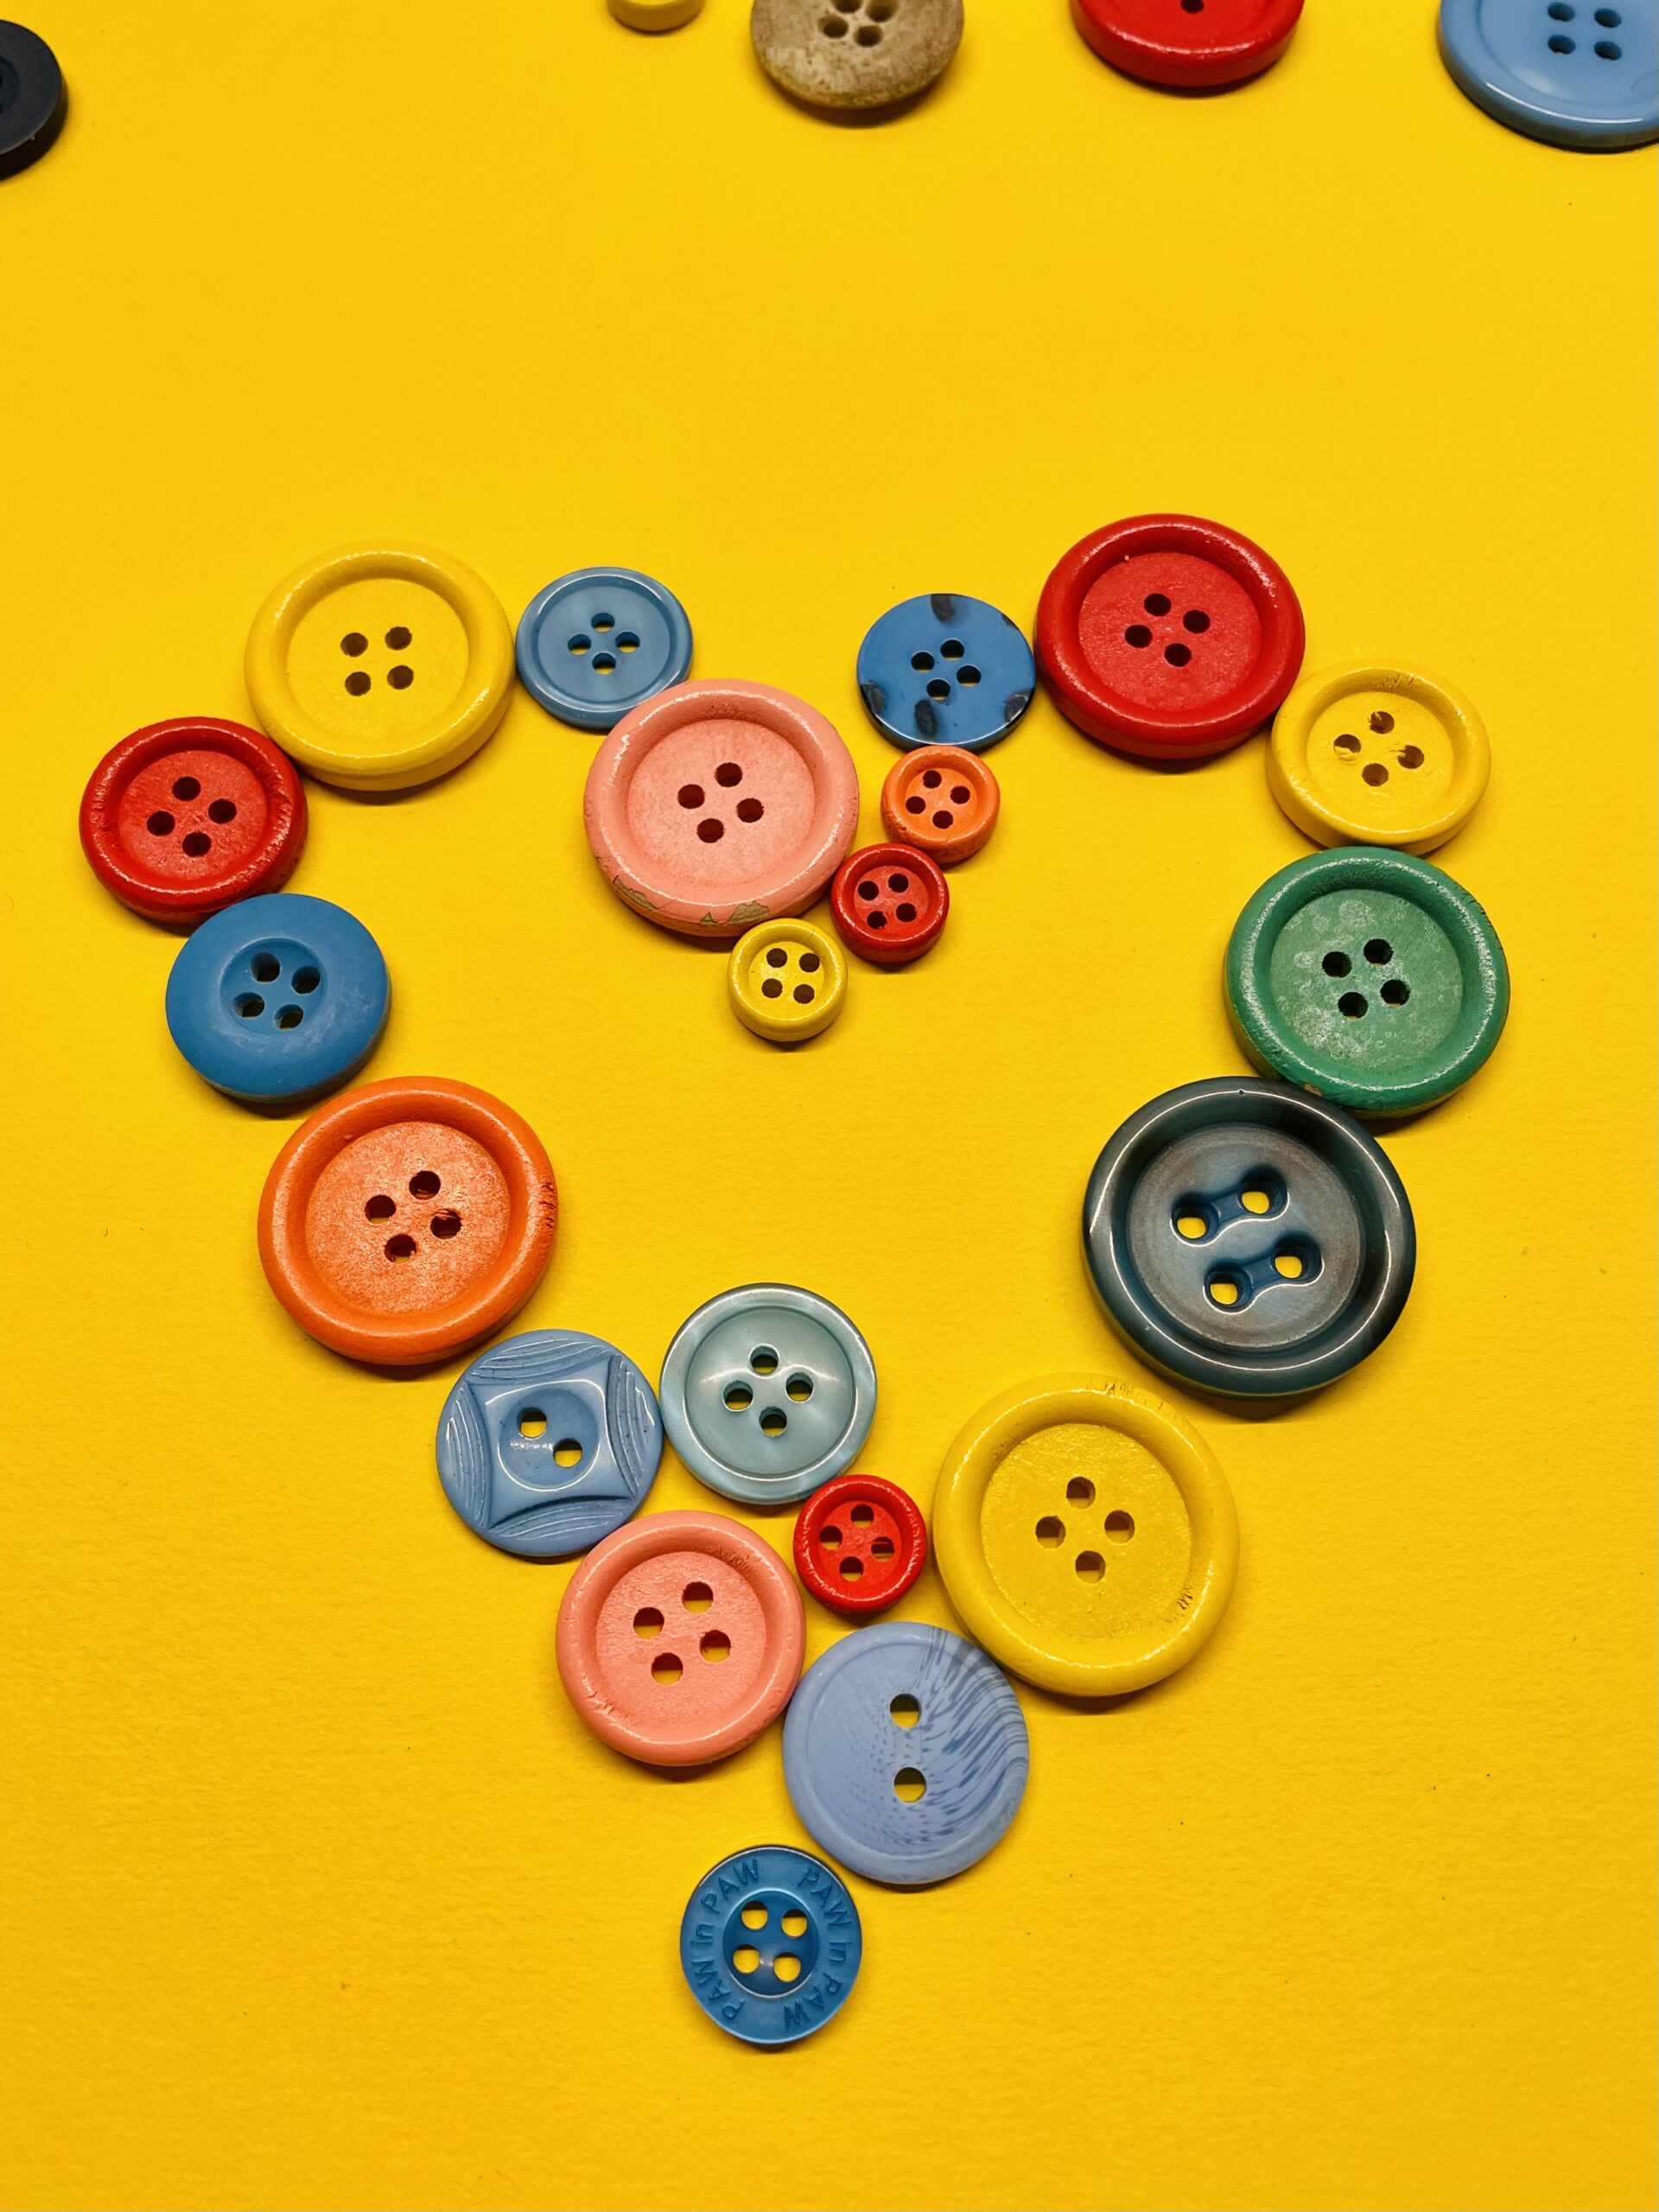
Bild zum Schritt 16 für das Bastel- und DIY-Abenteuer für Kinder: 'Dies sieht mit farbigen Knöpfen sehr frisch und freundlich aus....'

Variant with buttons in a reddish hue and with template:
14

For this you first print this template. You may adjust the print template to the size of your card.
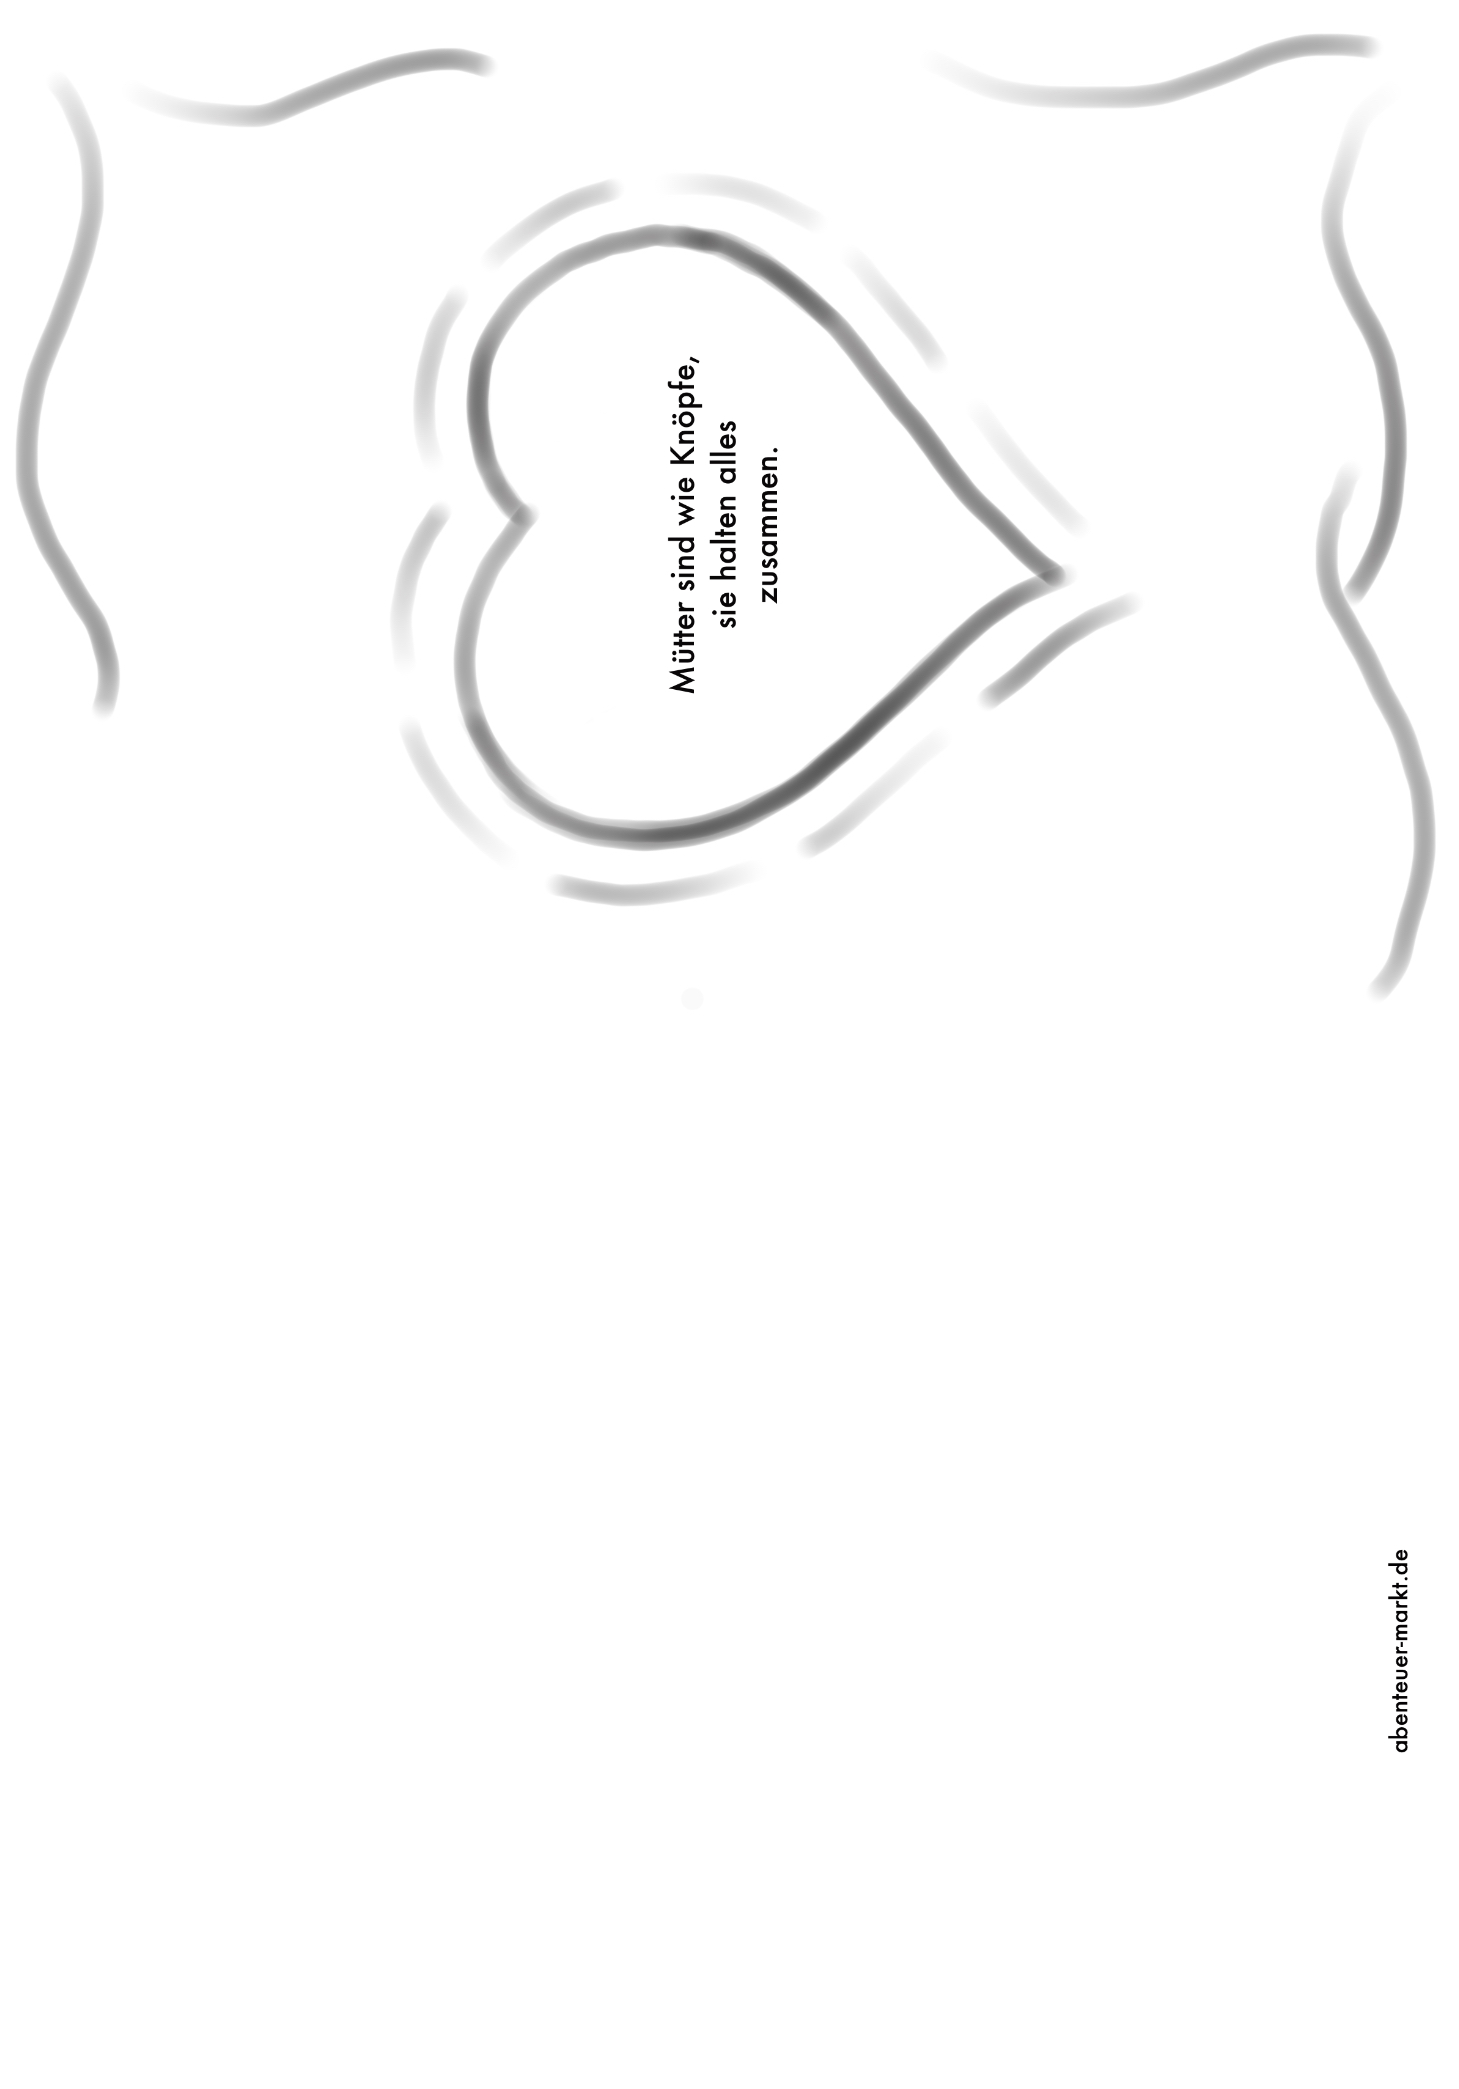
Bild zum Schritt 18 für das Bastel- und DIY-Abenteuer für Kinder: 'Hierfür druckt ihr euch zuerst diese Vorlage aus. Passt die...'

15

Then cut her up.
Now select buttons in the same colors and select a photo box for the card.
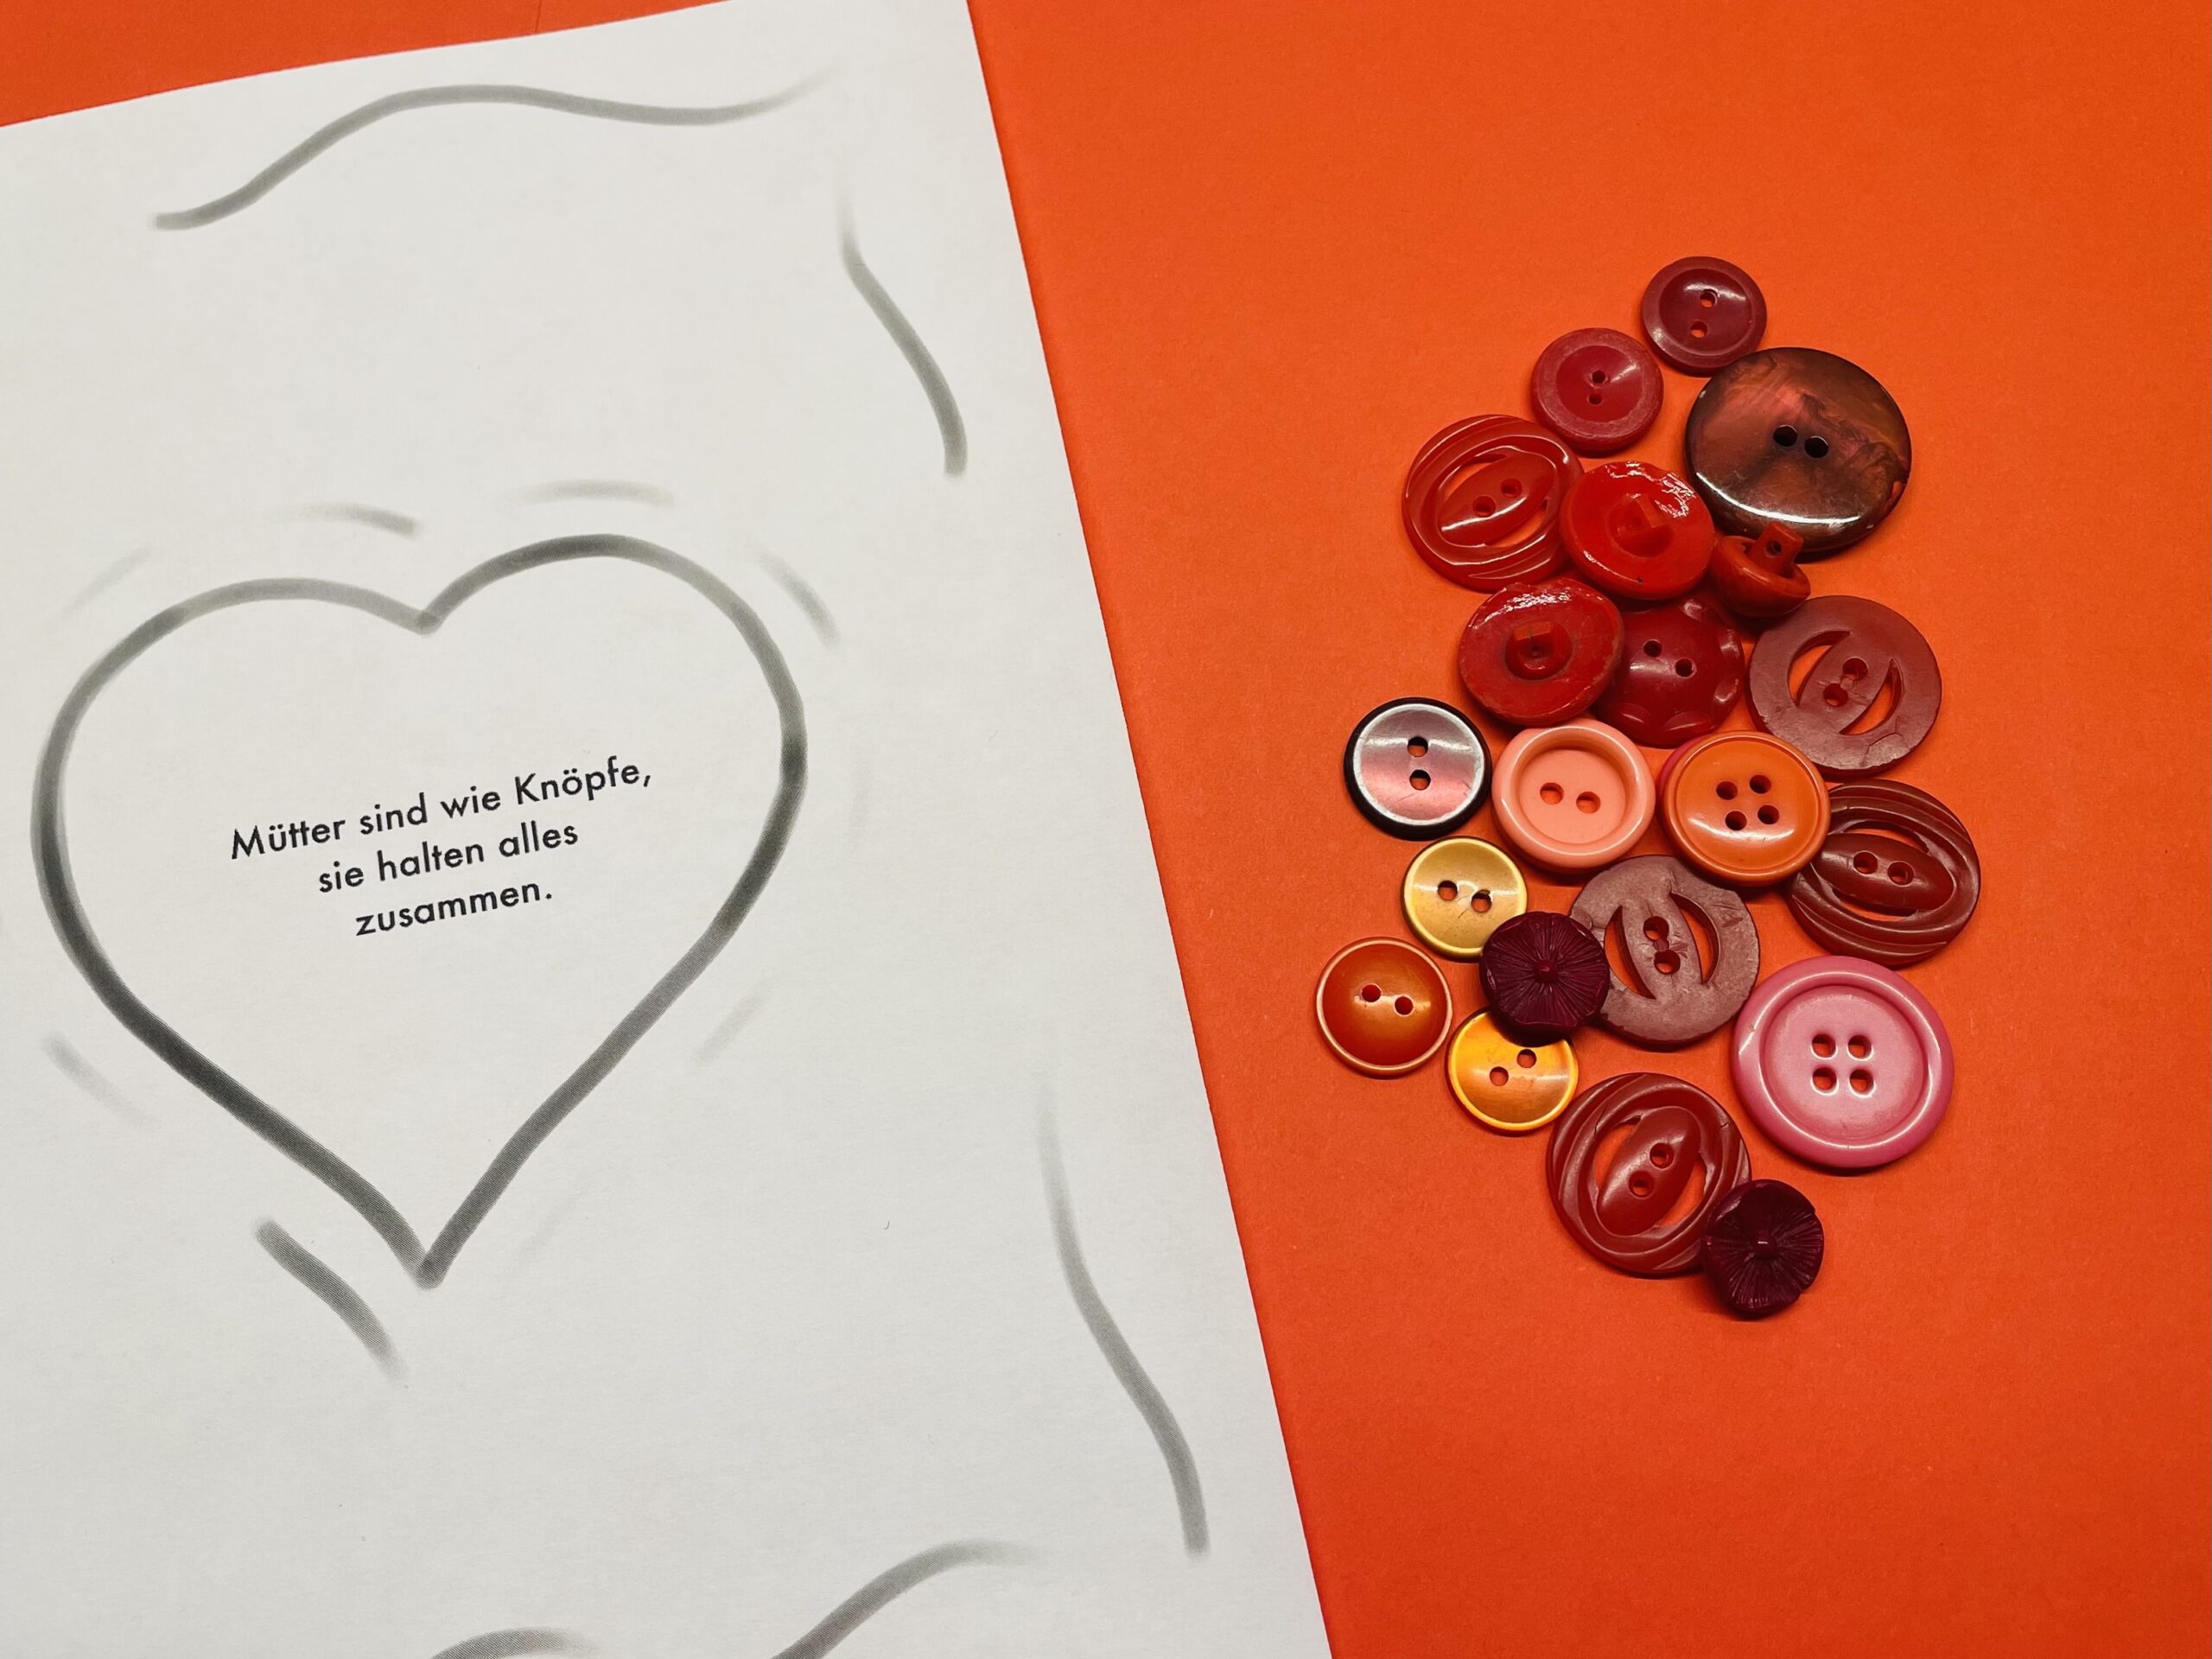
Bild zum Schritt 19 für das Bastel- und DIY-Abenteuer für Kinder: 'Dann schneidet ihr die Vorlage zu.  Wählt nun Knöpfe...'

16

Now you put the buttons on the heart.
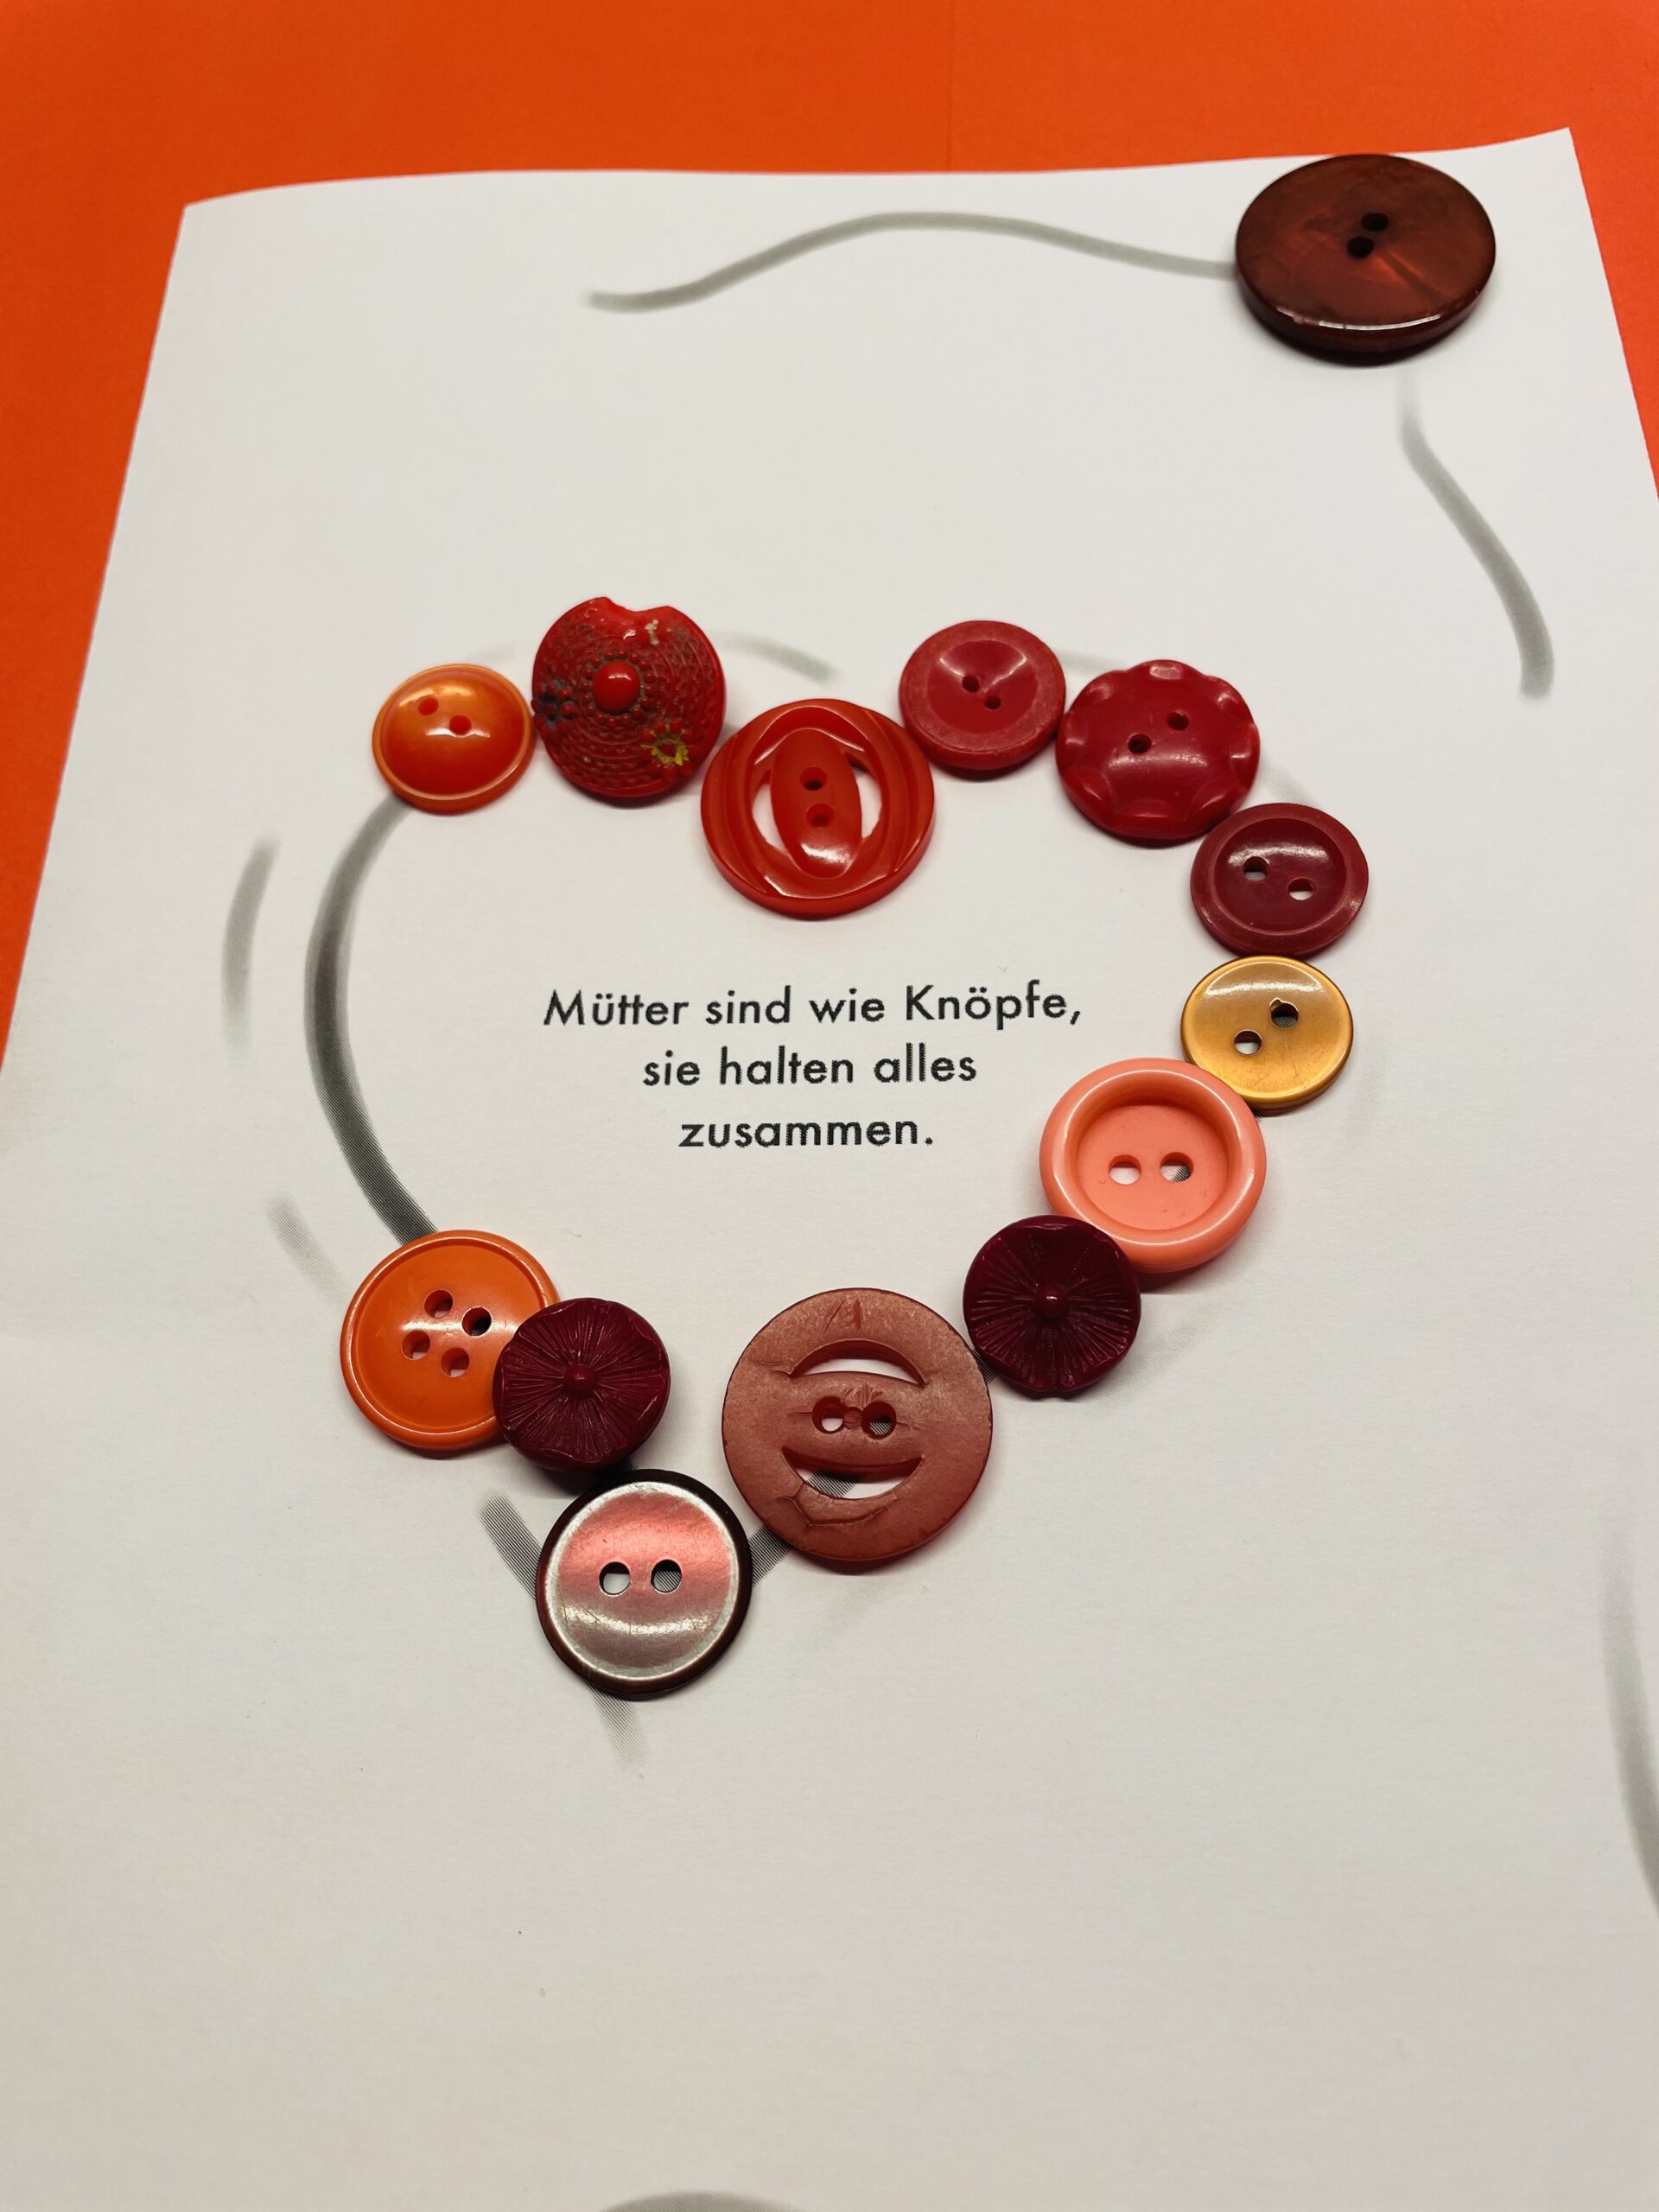
Bild zum Schritt 20 für das Bastel- und DIY-Abenteuer für Kinder: 'Jetzt legt ihr die Knöpfe auf das Herz.'

17

Only if you like the overall picture, you start to glue the buttons. Use a glue stick, wood glue or hot glue. Attention when handling the hot glue - risk of injury!

Bild zum Schritt 21 für das Bastel- und DIY-Abenteuer für Kinder: 'Erst wenn euch das Gesamtbild gefällt, beginnt ihr die Knöpfe...'

Variant with cream-white buttons and with template:
18

Print this template first. Maybe adjust the template to the size of your card.
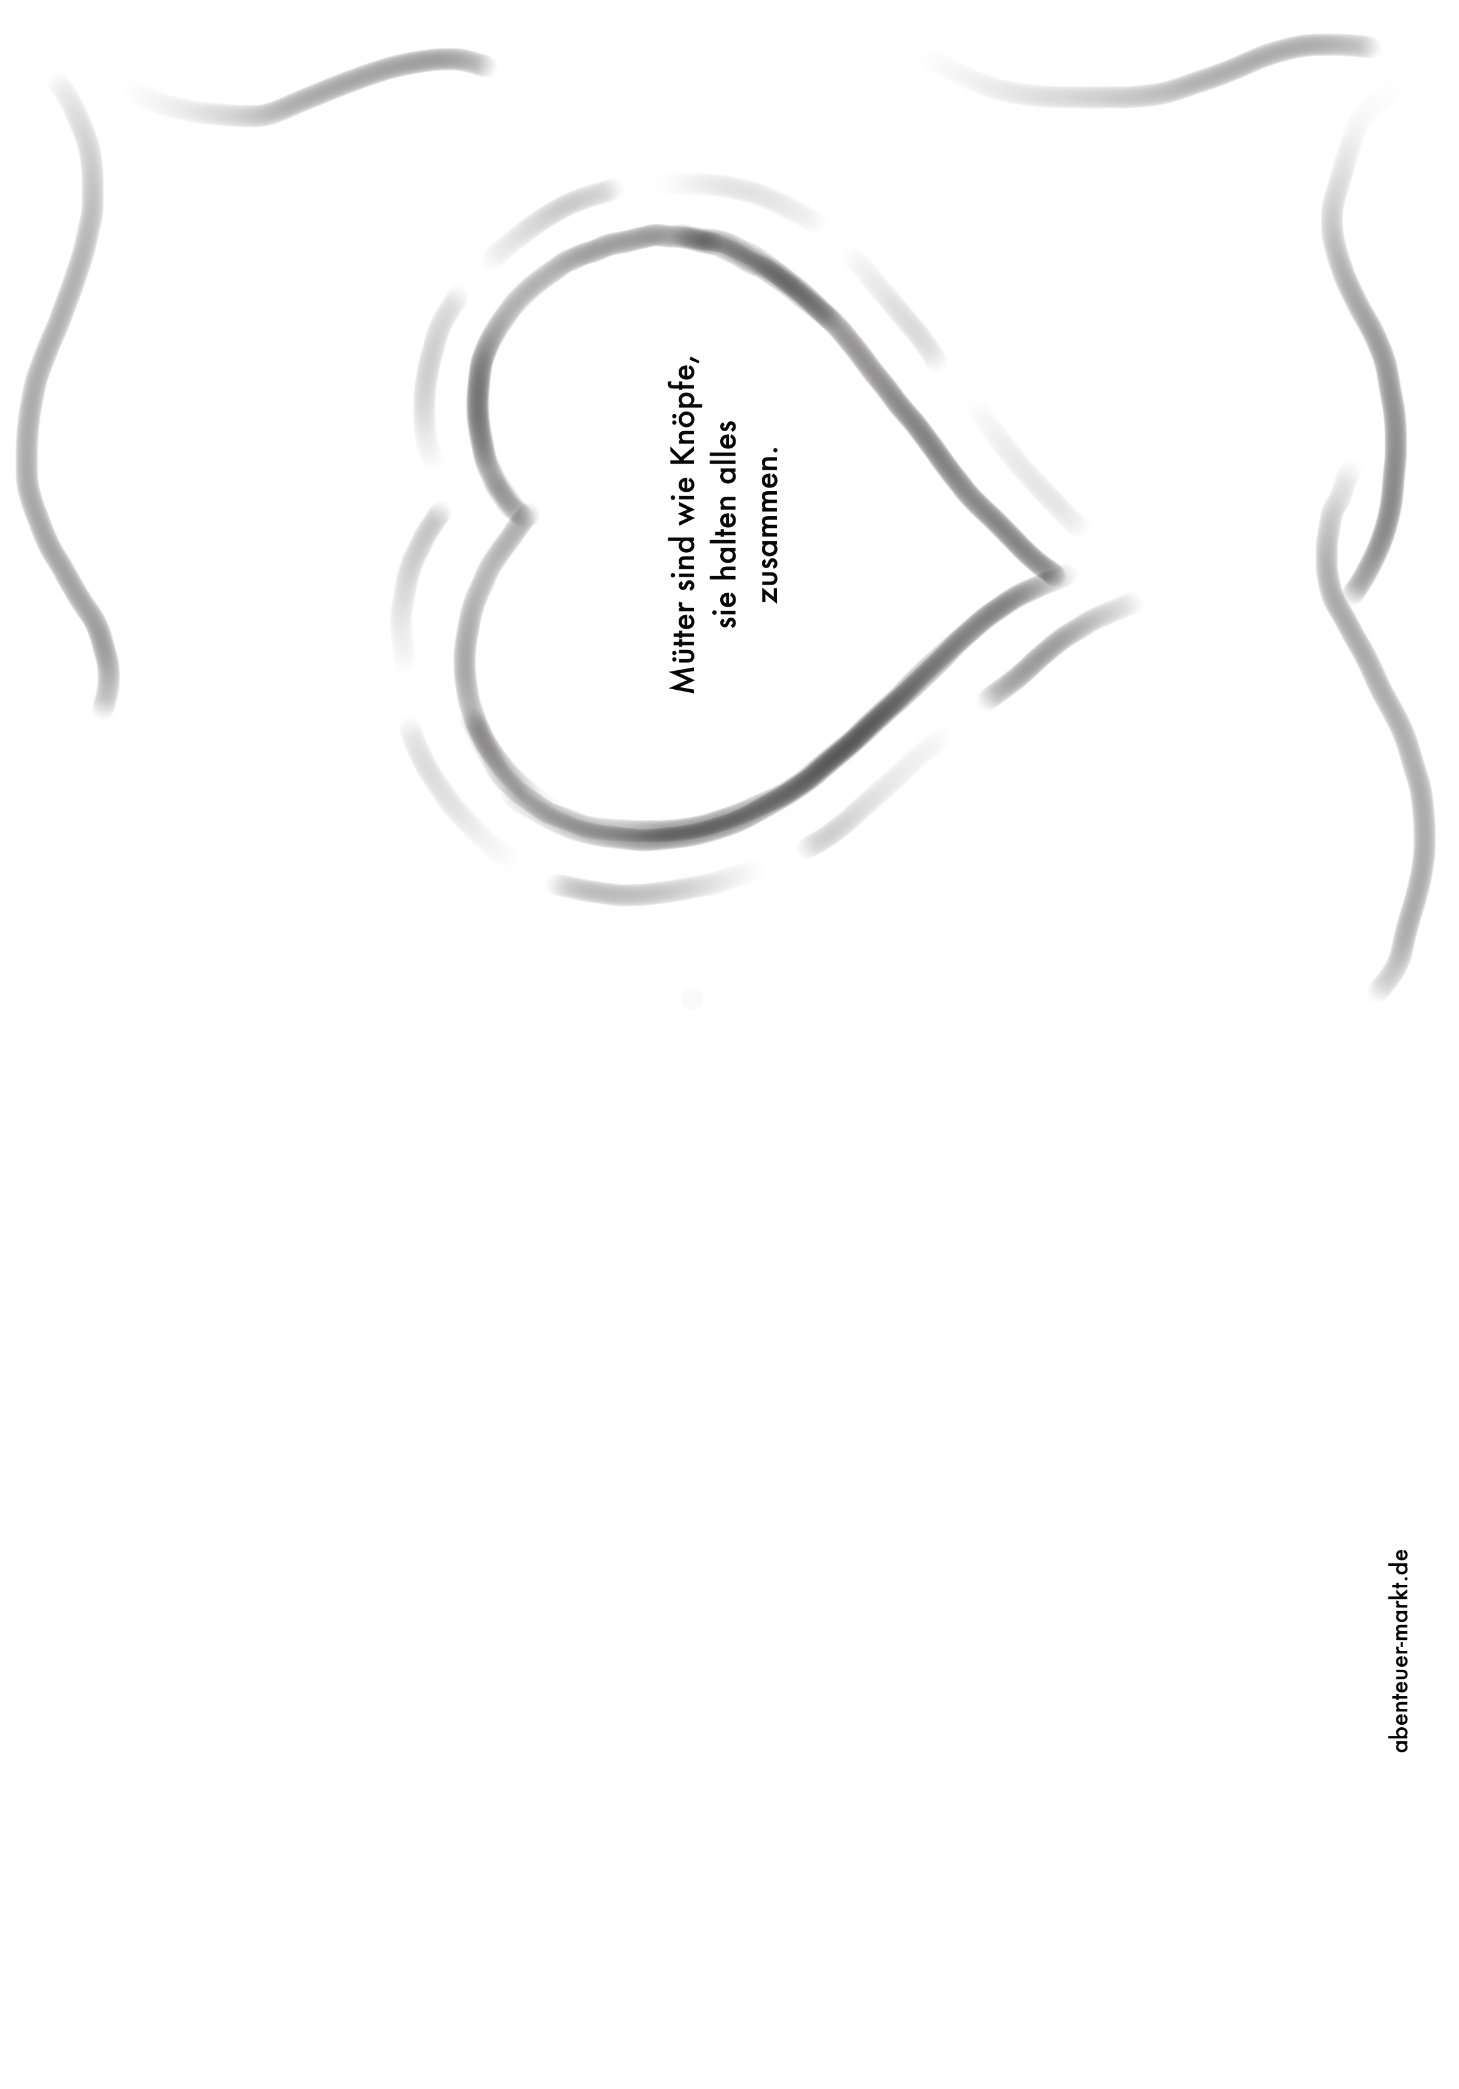
Bild zum Schritt 23 für das Bastel- und DIY-Abenteuer für Kinder: 'Druckt euch zuerst diese Vorlage aus. Passt eventuell die Vorlage...'

19

An example in cream-white colors.
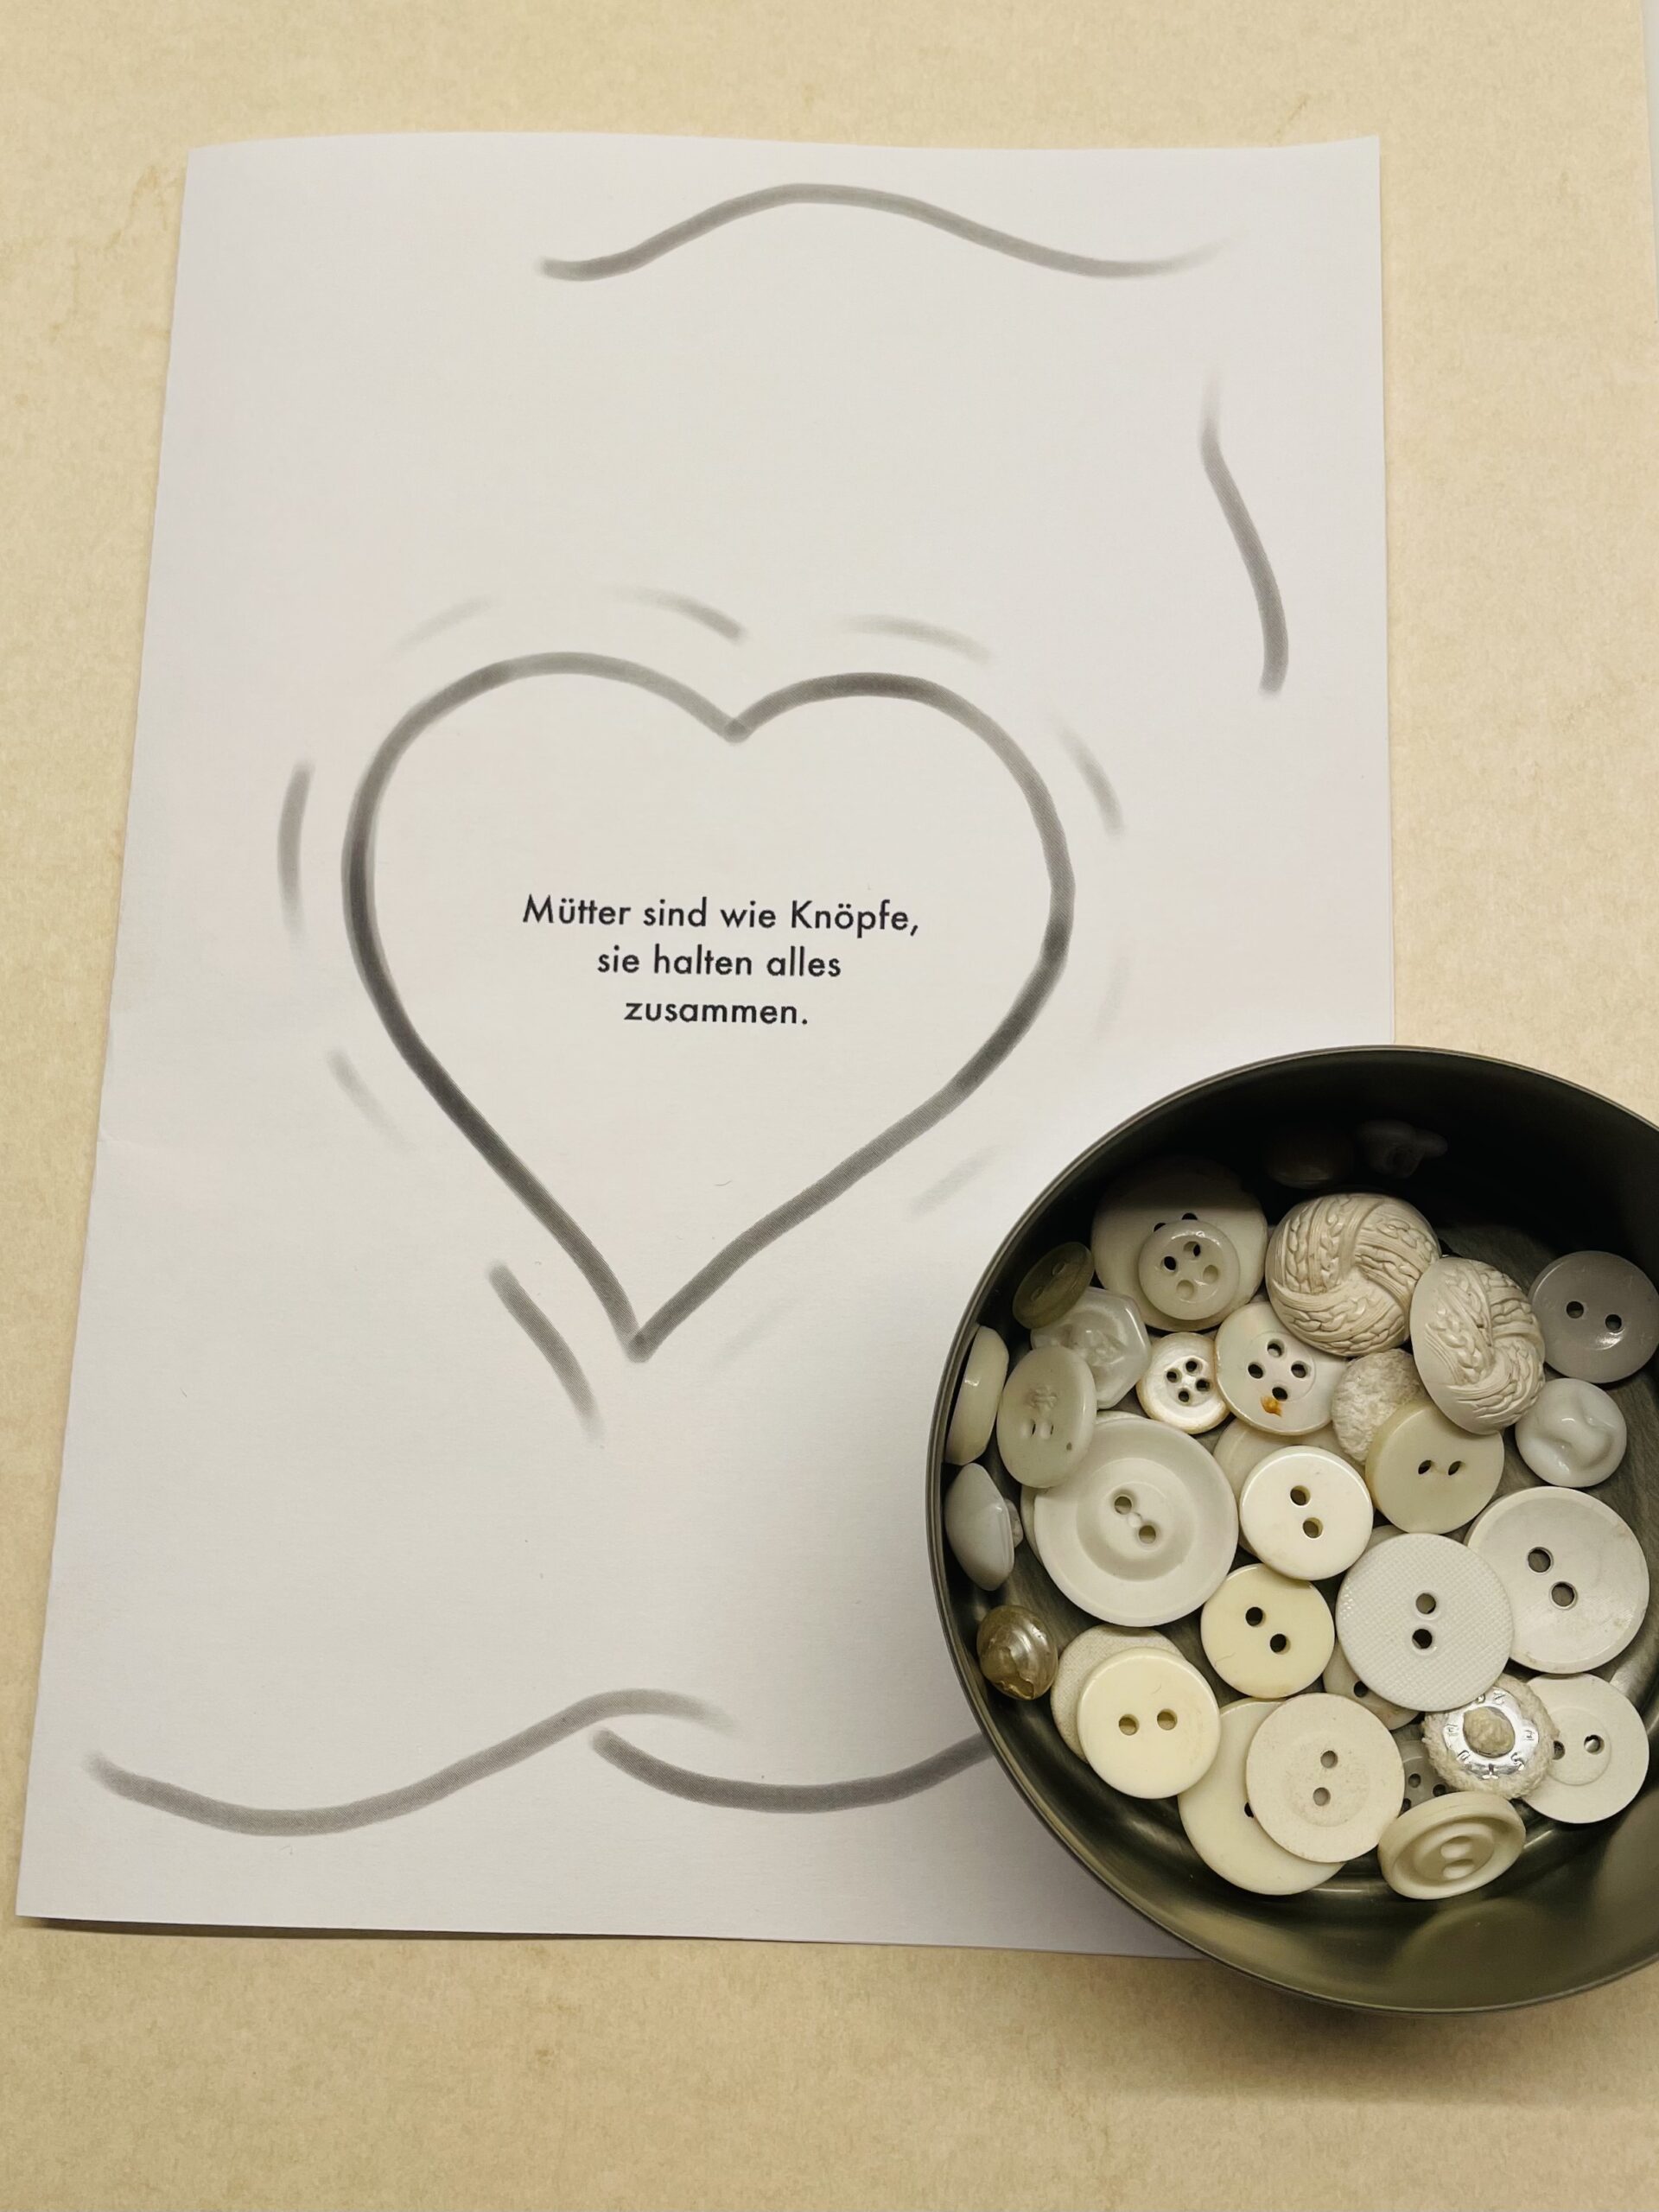
Bild zum Schritt 24 für das Bastel- und DIY-Abenteuer für Kinder: 'Ein Beispiel in creme-weißen Farben.'

20

Arrange the buttons first. Then you start with the stick-on.
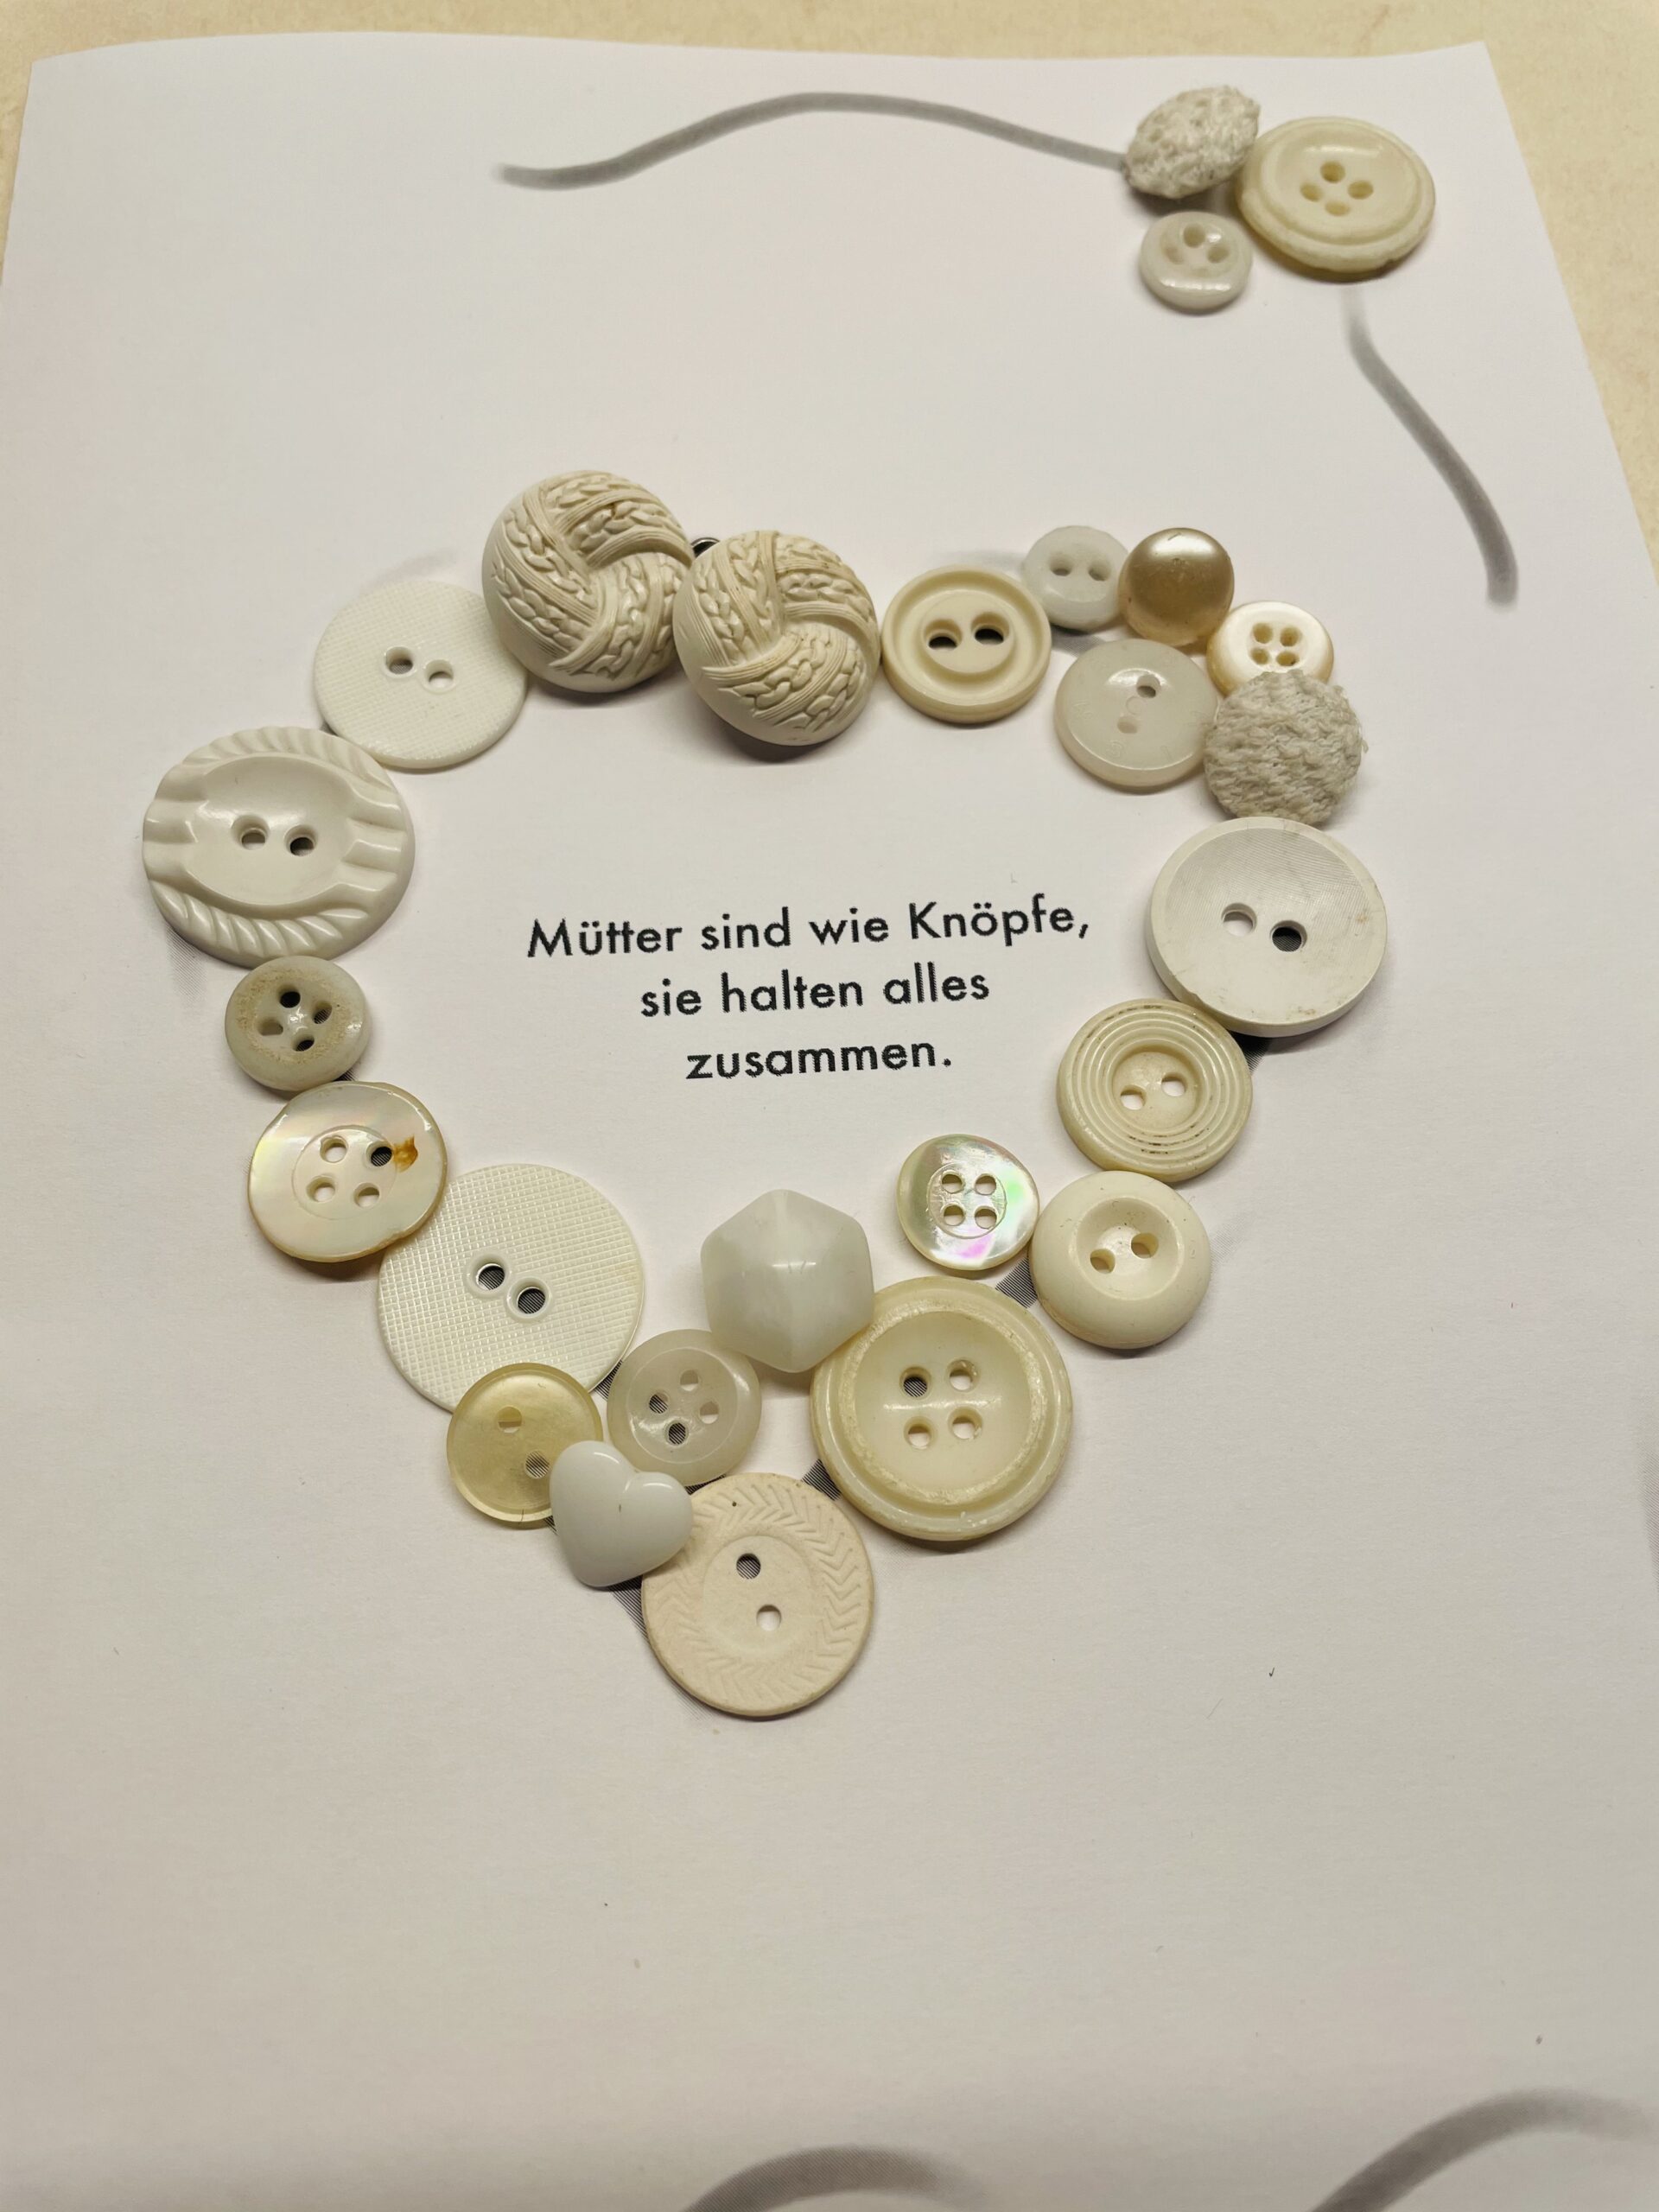
Bild zum Schritt 25 für das Bastel- und DIY-Abenteuer für Kinder: 'Ordnet zuerst die Knöpfe an. Dann beginnt ihr mit dem...'

21

Then select the card color to match the buttons.

Bild zum Schritt 26 für das Bastel- und DIY-Abenteuer für Kinder: 'Anschließend wählt ihr die Kartenfarbe passend zu den Knöpfen aus.'

Coloring of the template:
22

Print this template first.

Bild zum Schritt 28 für das Bastel- und DIY-Abenteuer für Kinder: 'Druckt euch hierfür zuerst diese Vorlage aus.'

23

Select this variant if you want to make a button card, but only have a few buttons at home.
Then paint the pre-drawn buttons with coloured pencils brightly colorful.
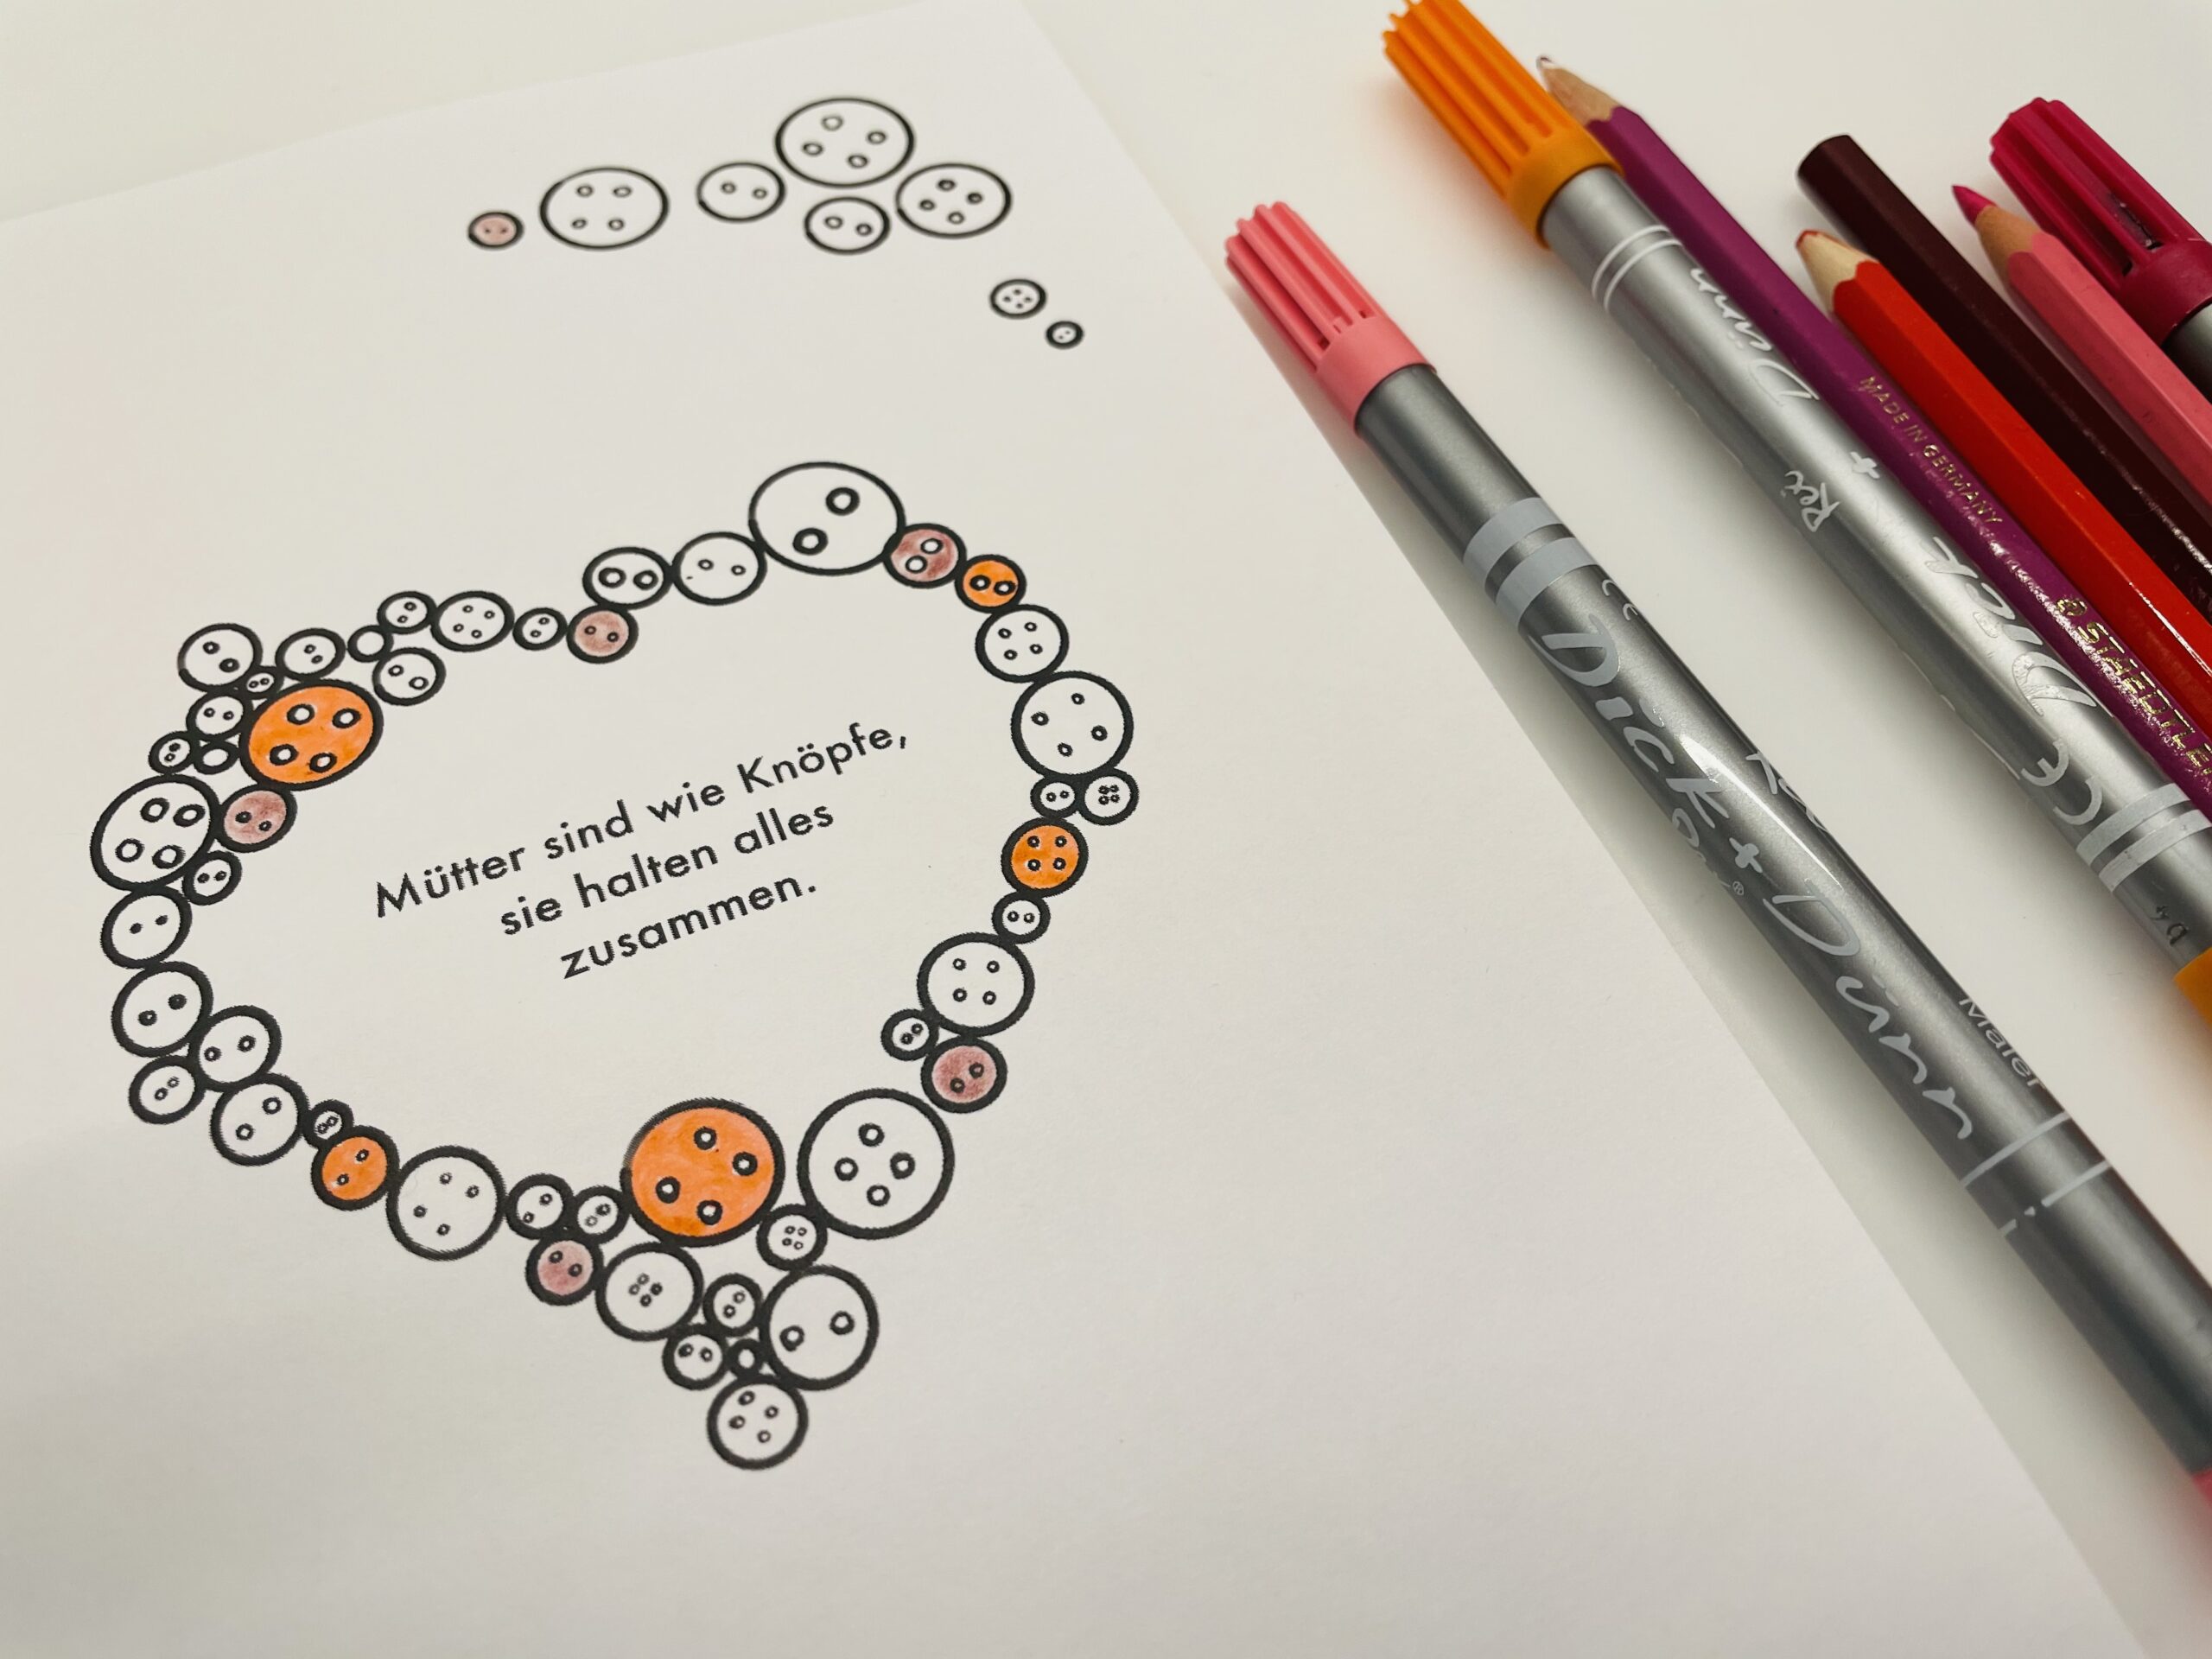
Bild zum Schritt 29 für das Bastel- und DIY-Abenteuer für Kinder: 'Wählt diese Variante dann, wenn ihr eine Knopfkarte basteln wollt,...'

24

Then you cut the paper to the size of your image.
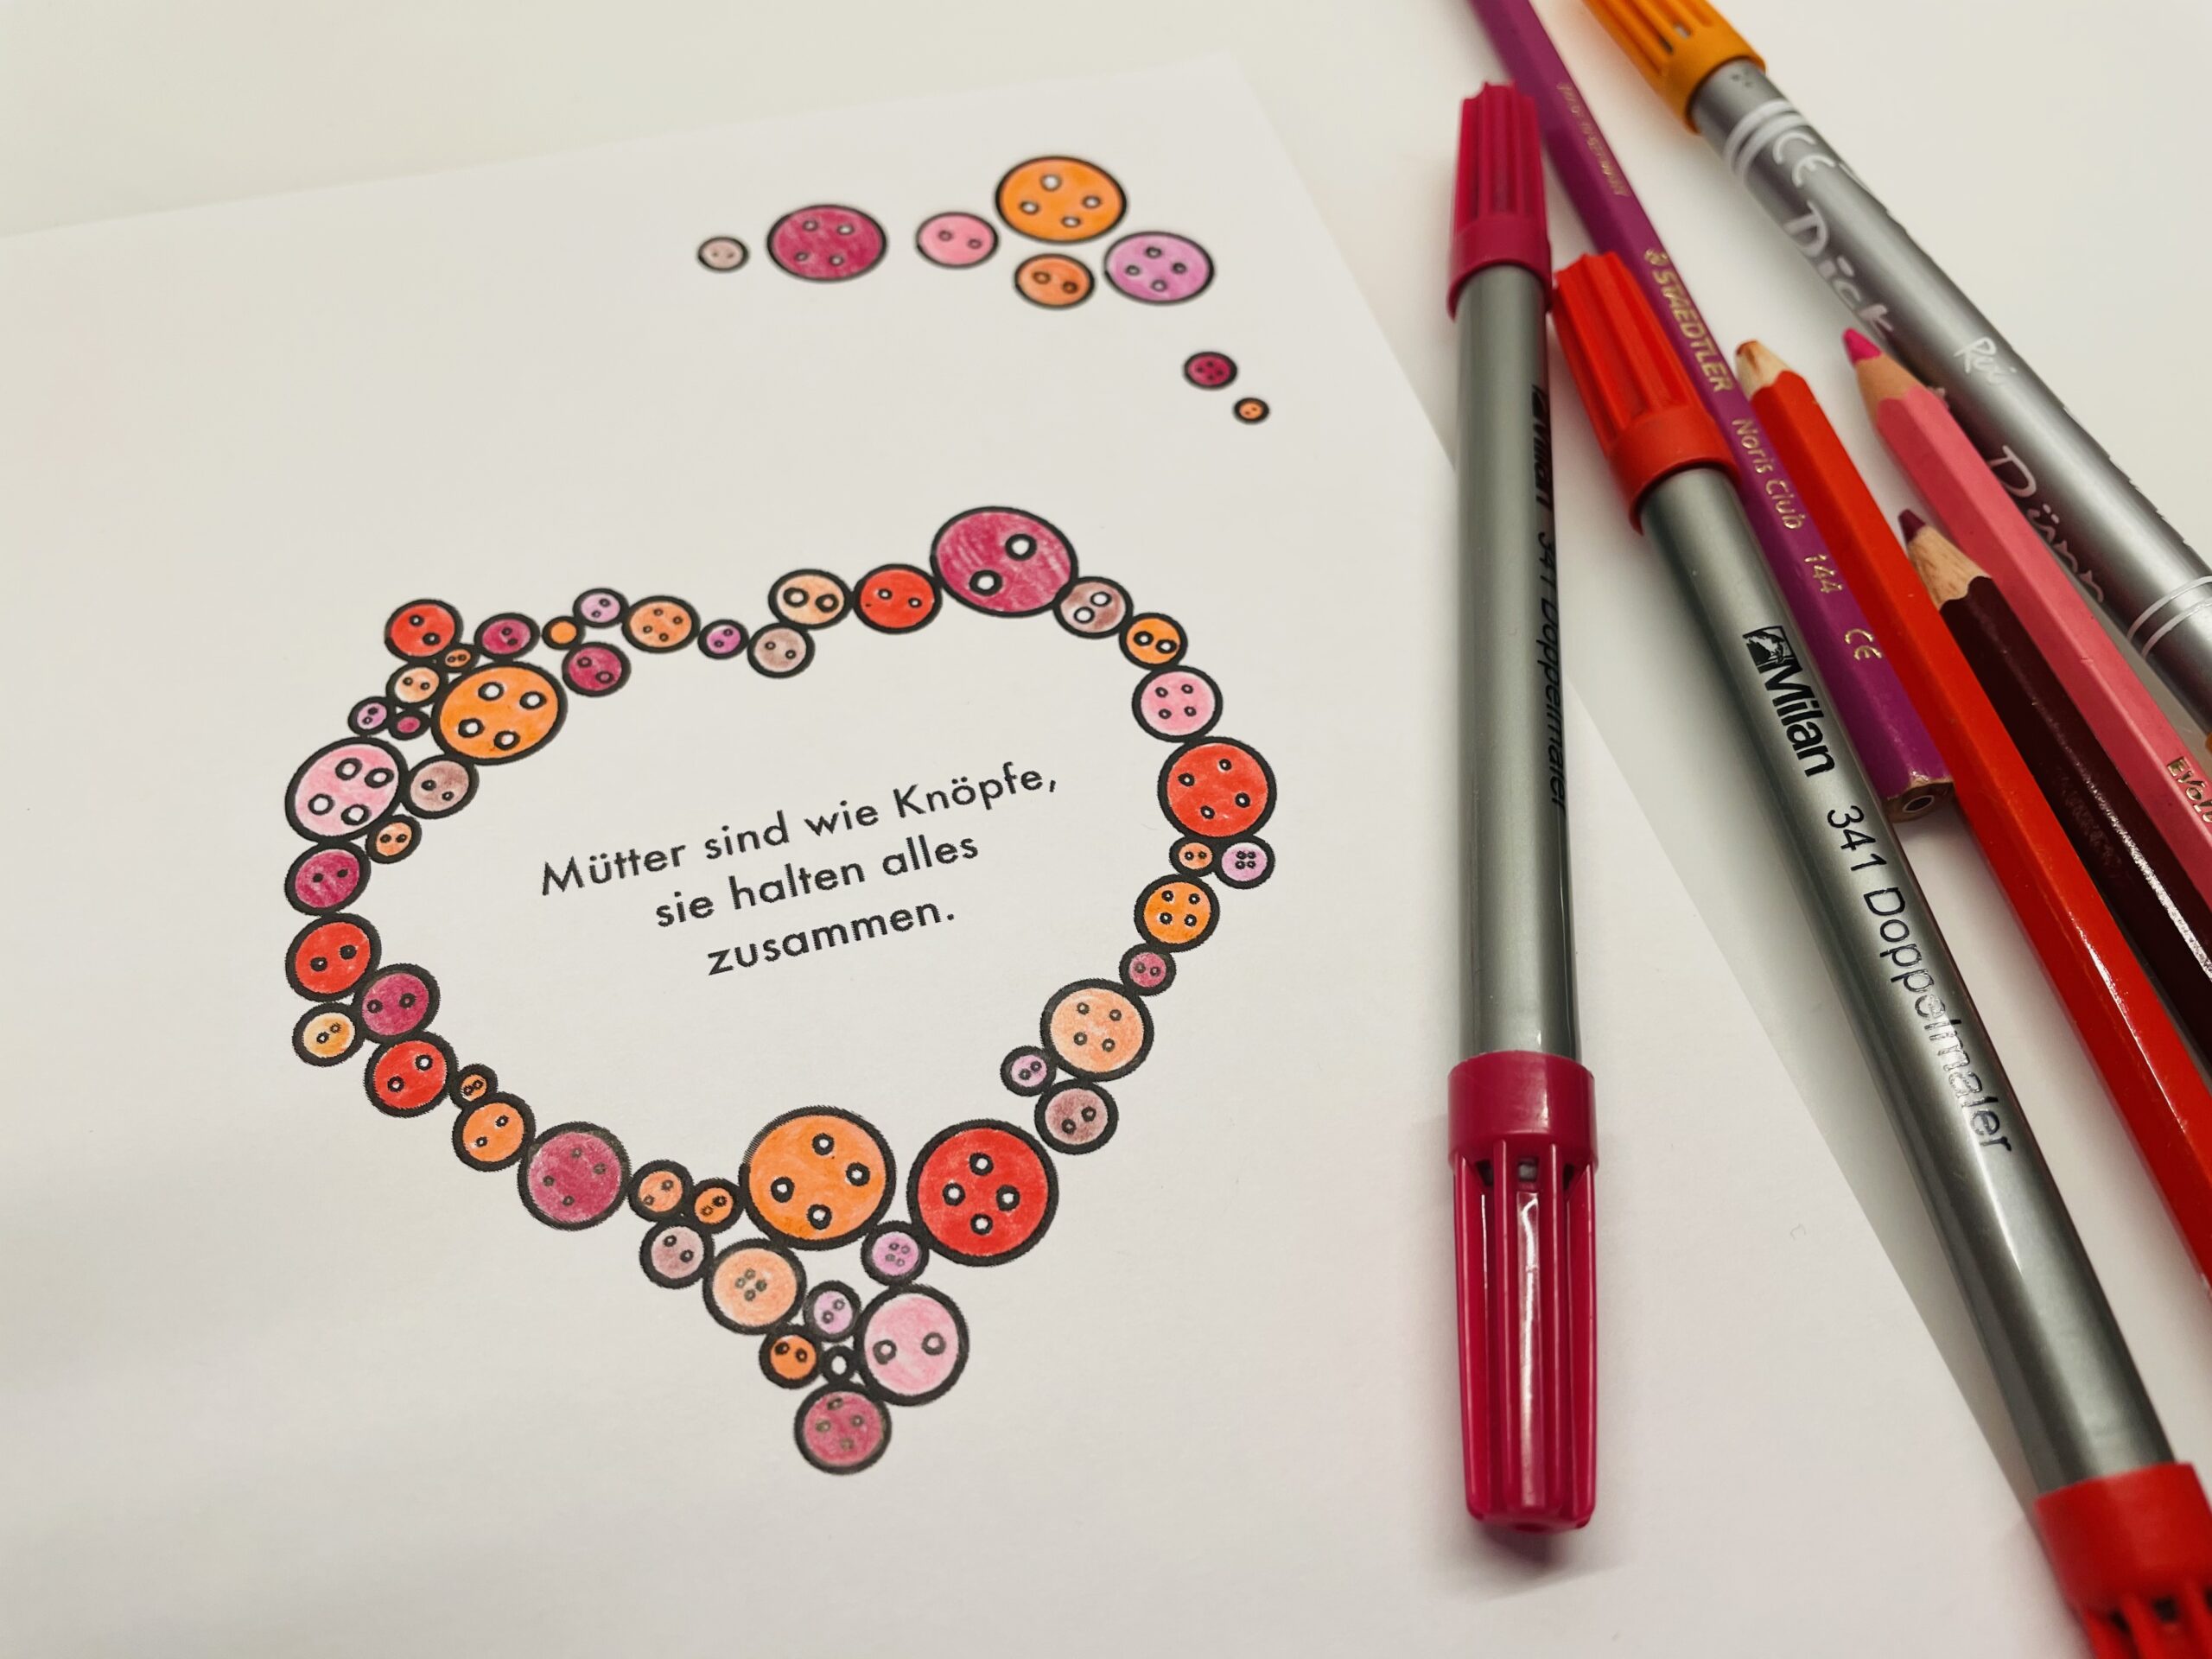
Bild zum Schritt 30 für das Bastel- und DIY-Abenteuer für Kinder: 'Anschließend schneidet ihr das Papier auf die Größe eures Bildes...'

25

2. Bild zum Schritt 30 für das Bastel- und DIY-Abenteuer für Kinder: 'Anschließend schneidet ihr das Papier auf die Größe eures Bildes...'

26

Now you select a photo box and fold it together to form a card. Now stick your picture on the folding card.

Bild zum Schritt 32 für das Bastel- und DIY-Abenteuer für Kinder: 'Jetzt wählt ihr einen Fotokarton und faltet diesen zu einer...'

27

Now you put a narrow band down on the left side of the length. Then you stick a few buttons on the band. Also stick some buttons to the end of the band..
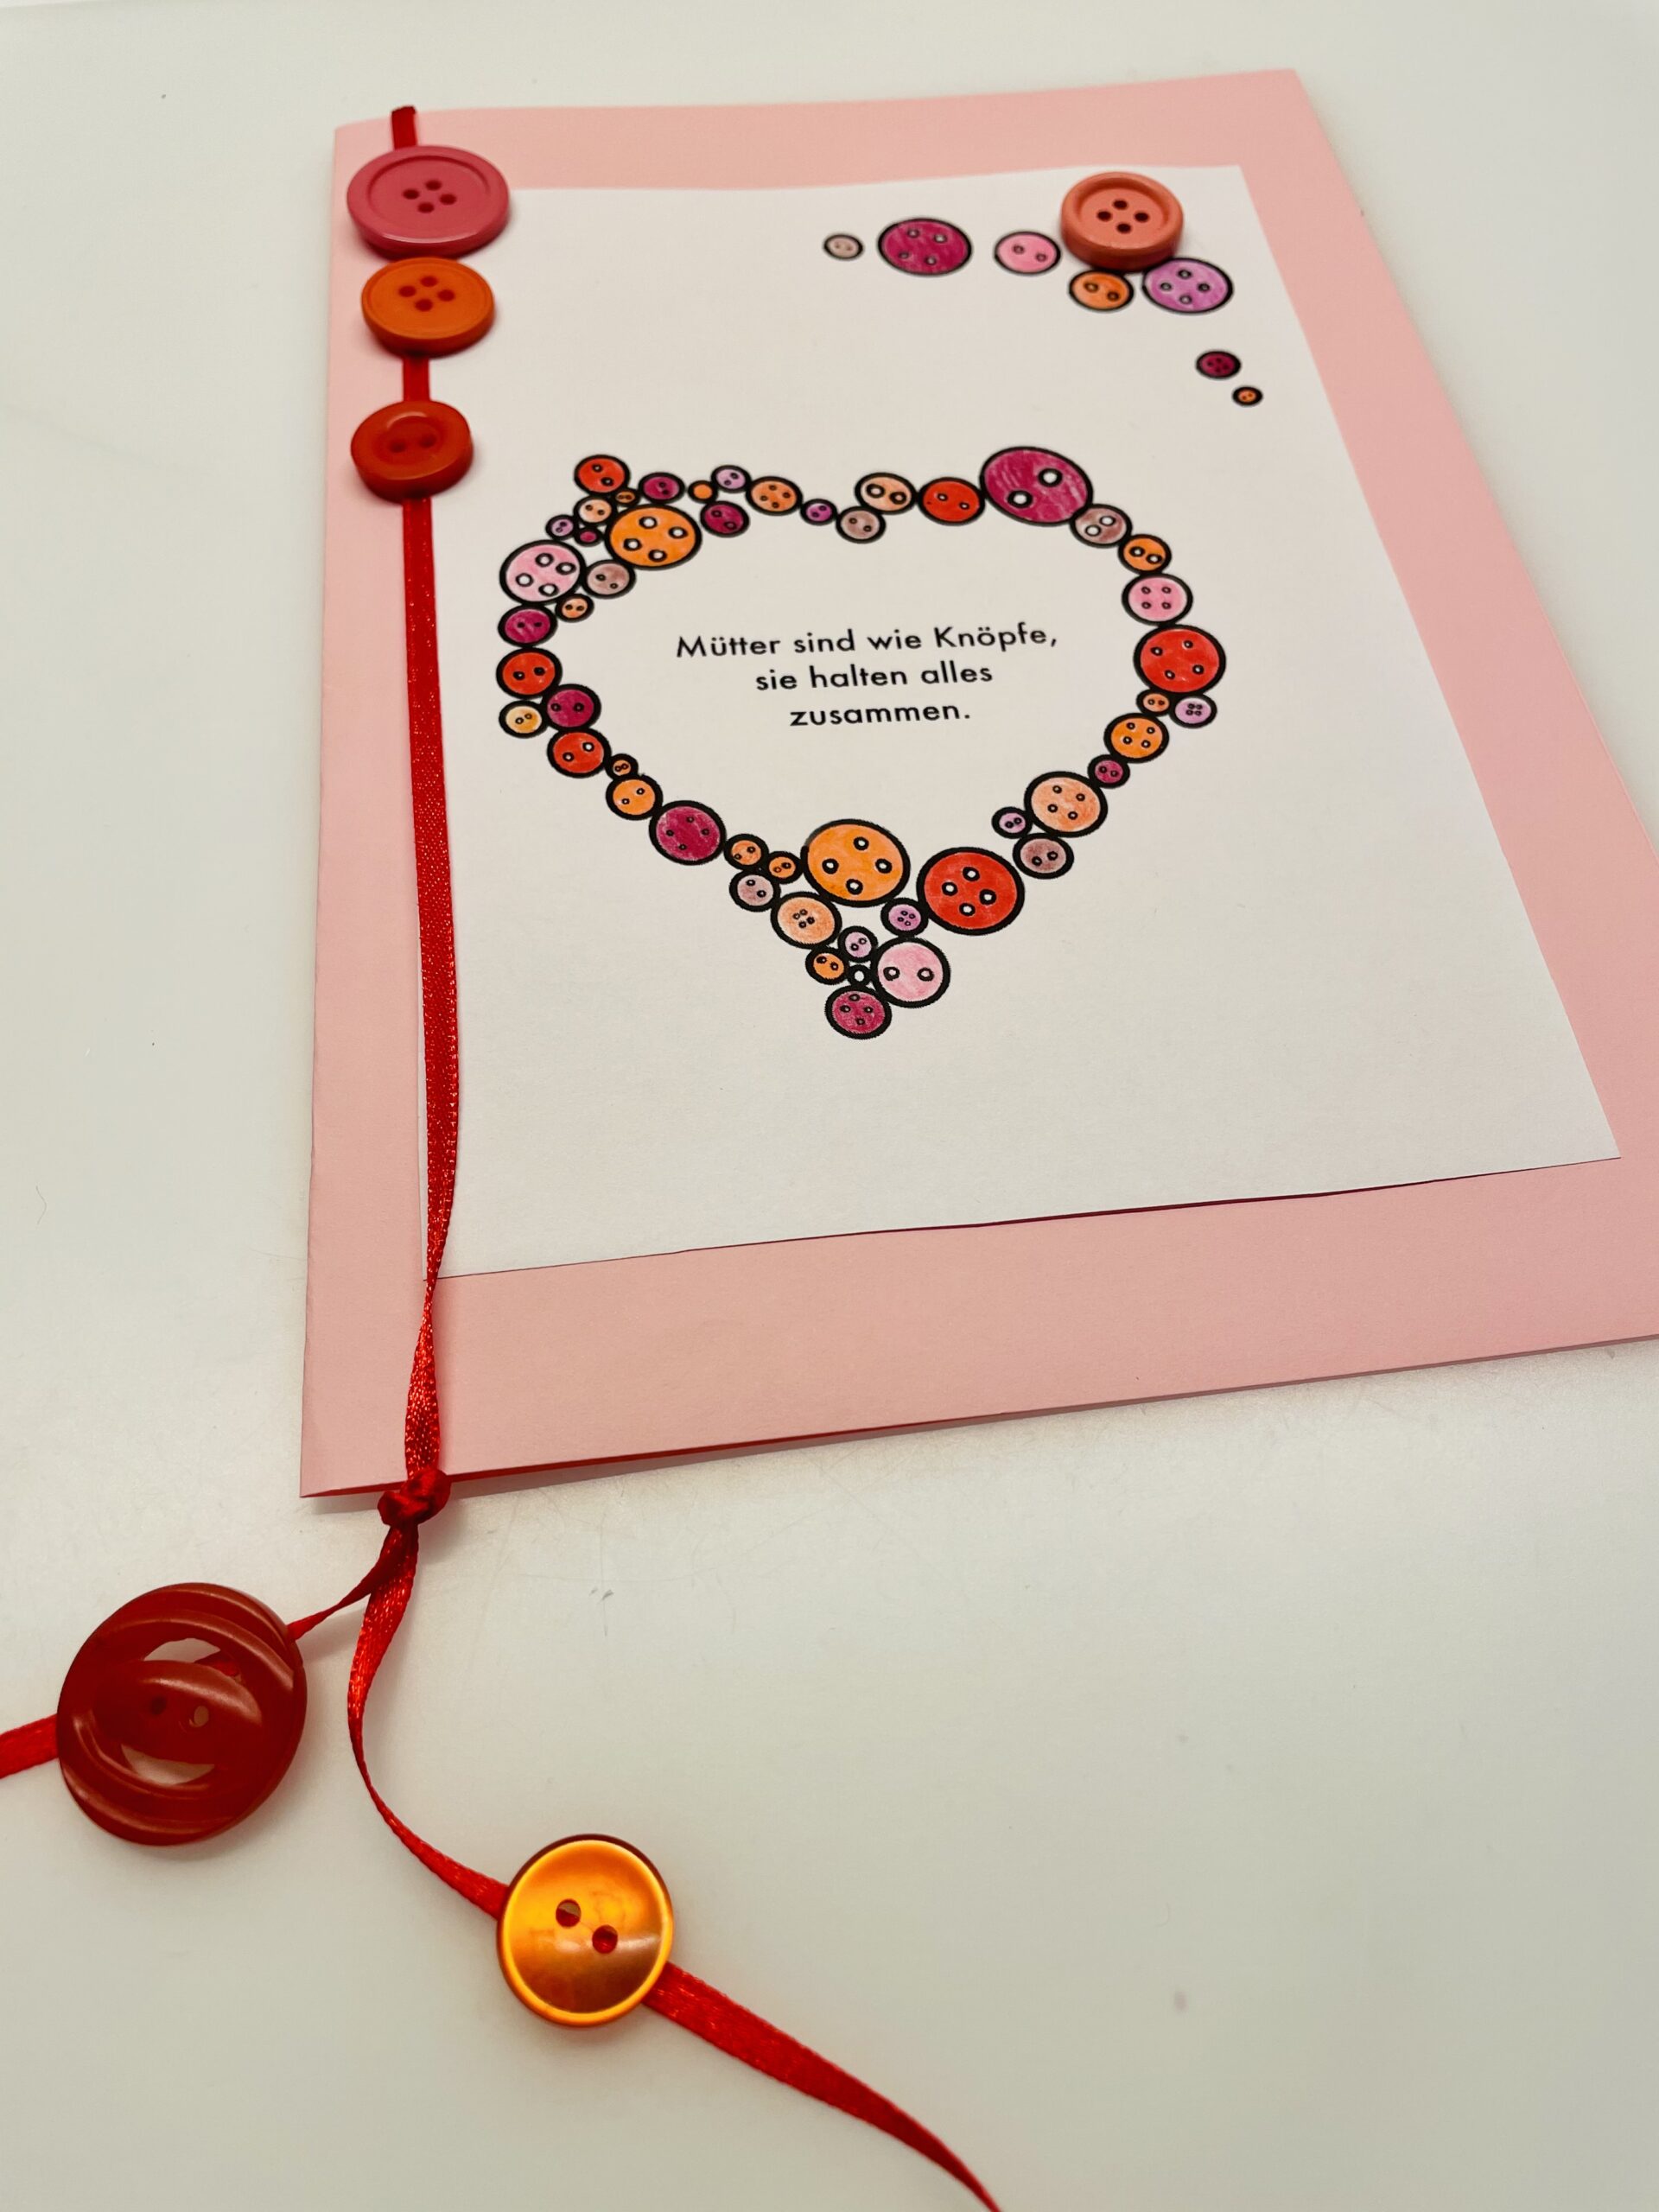
Bild zum Schritt 33 für das Bastel- und DIY-Abenteuer für Kinder: 'Jetzt legt ihr ein schmales Band auf der linken Seite...'

28

Your card's ready.
Mother's day or birthday can come.

Bild zum Schritt 34 für das Bastel- und DIY-Abenteuer für Kinder: 'Fertig ist eure Karte.   Der Muttertag oder der...'

29

Have fun doing crafts.

Mother's Day cards (with templates)

Follow us on Facebook , Instagram and Pinterest
Don't miss any more adventures: Our bottle mail

Leave a Reply

Your email address will not be published.

The maximum upload file size: 5 MB. You can upload: image, document. Drop file here