Put the autumn into a glass and let the leaves swirl. This little game gives children great pleasure. It is quickly implemented and can also be used to talk about the weather and autumn together. Have fun!
Media Education for Kindergarten and Hort

Relief in everyday life, targeted promotion of individual children, independent learning and - without any pre-knowledge already usable by the youngest!
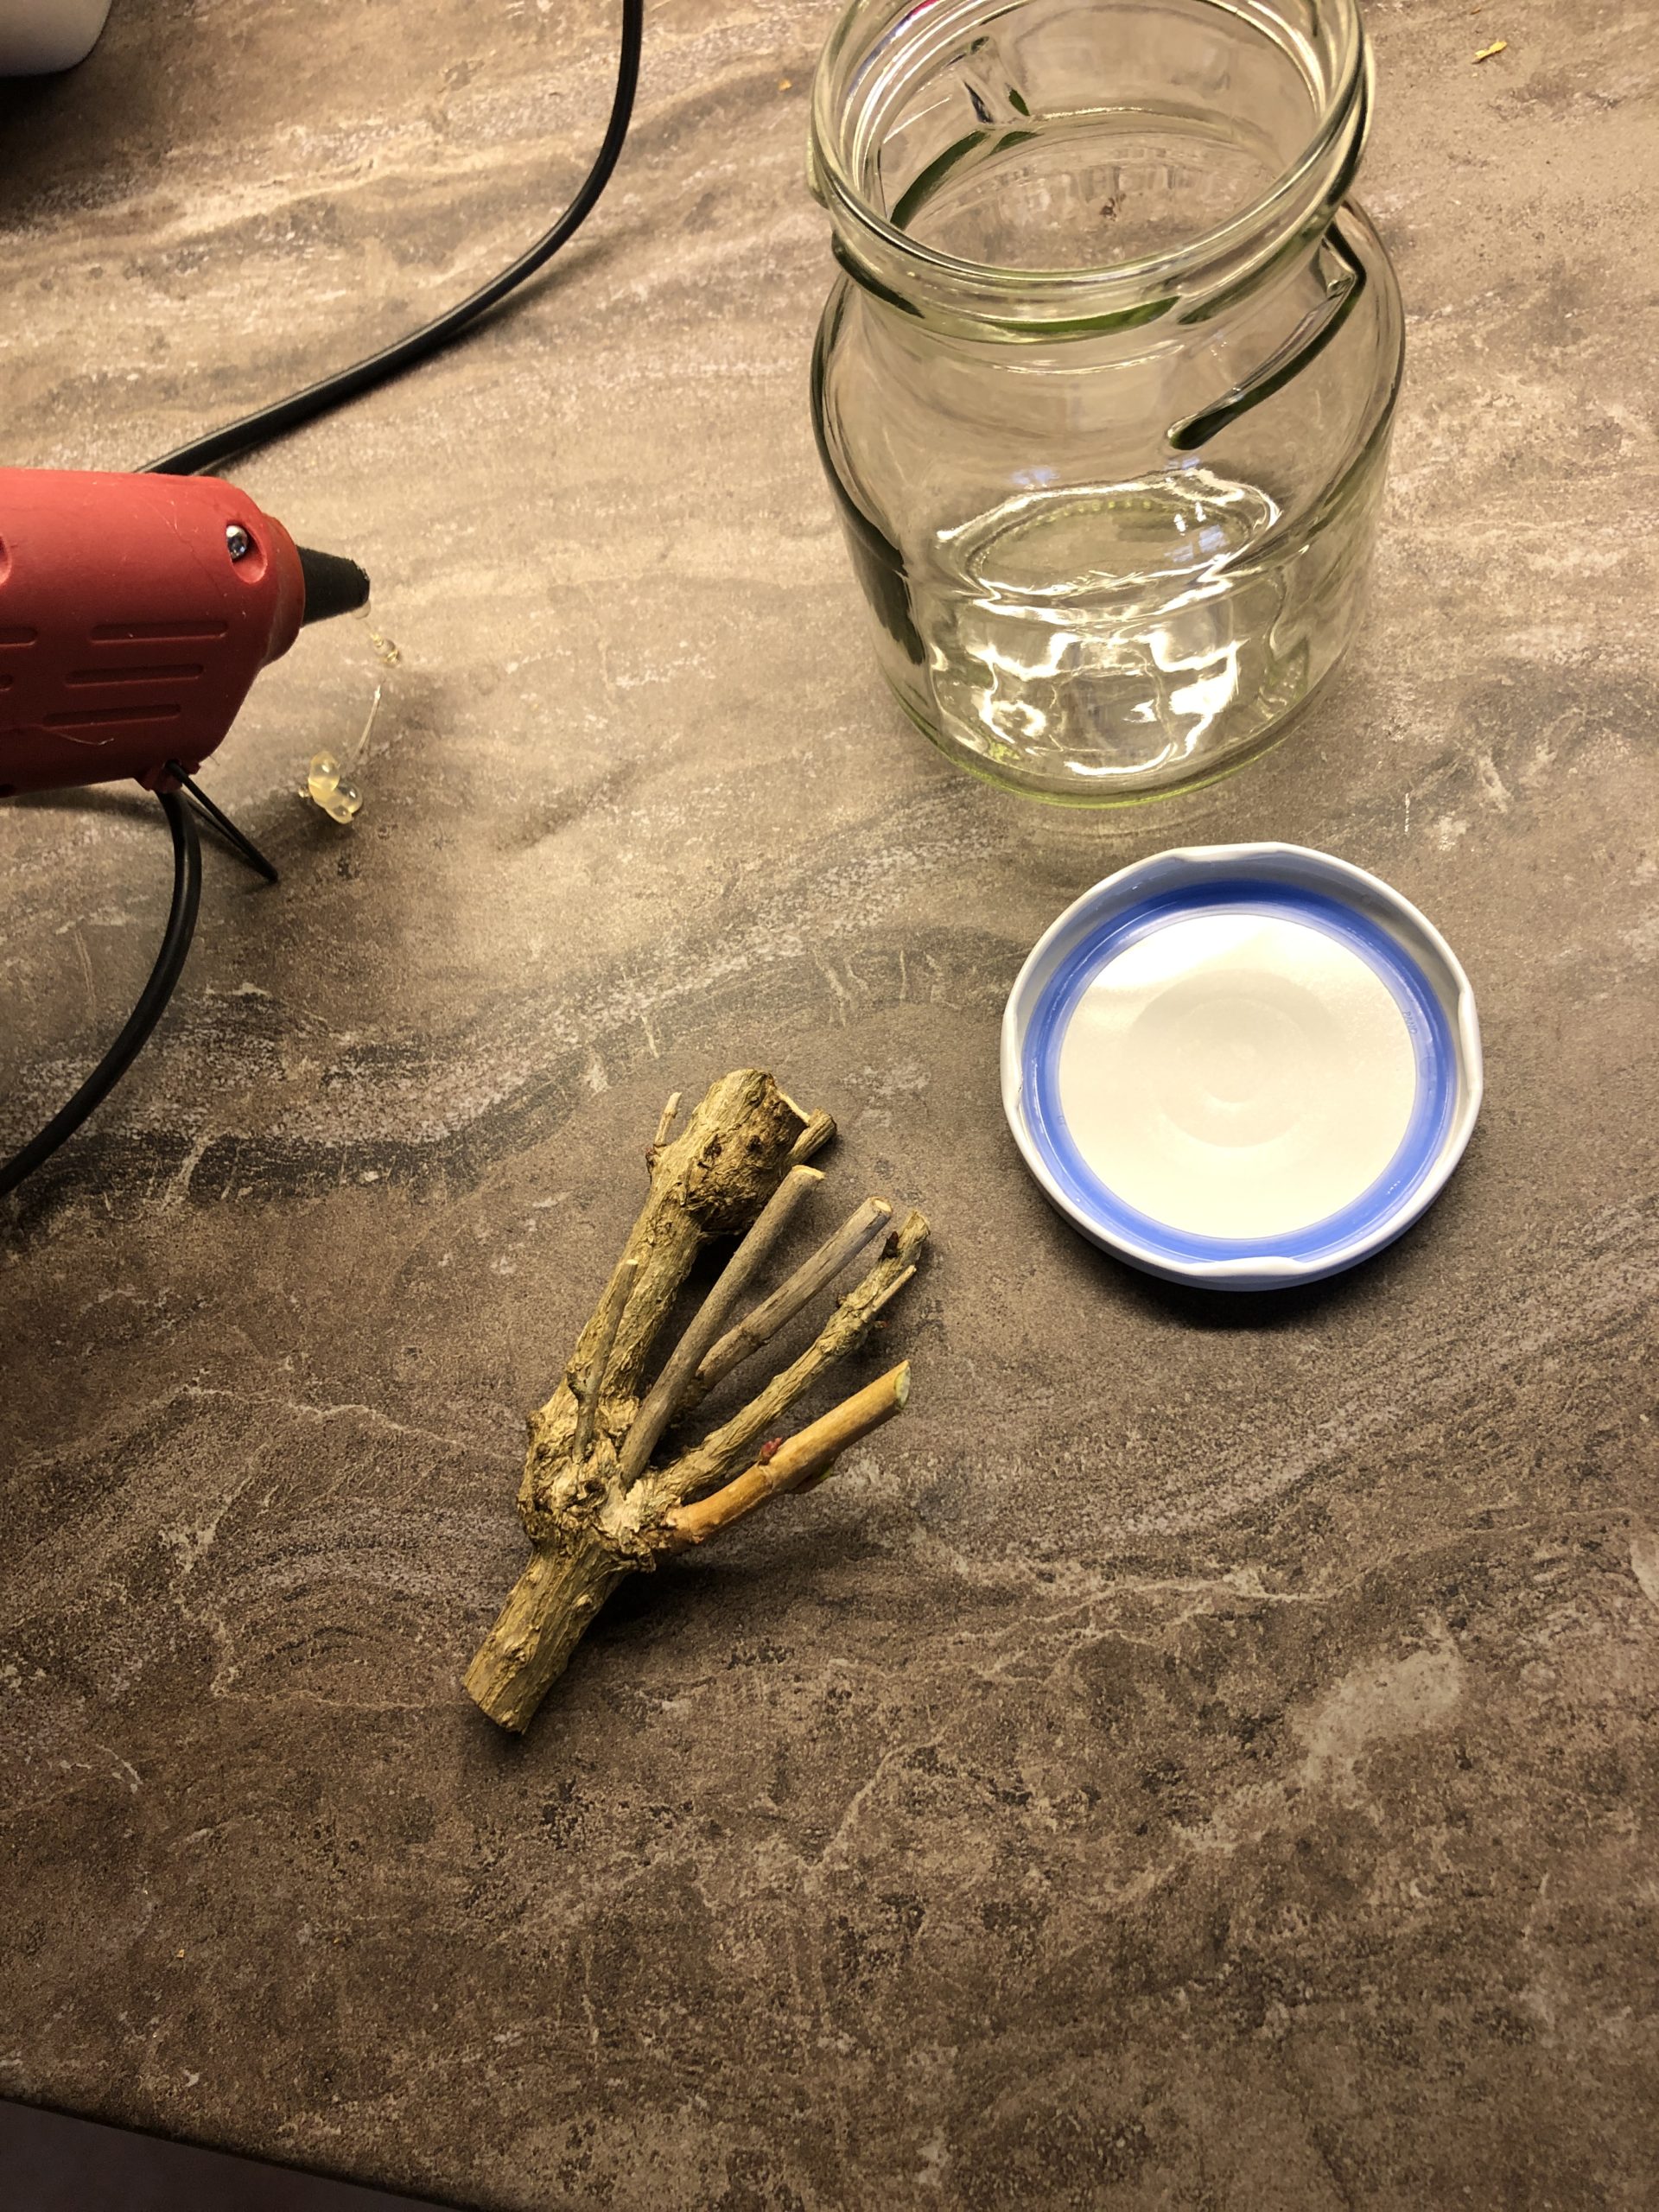
Find a branched branch that looks like a small tree.
Cuts a branch with the garden shear if necessary.
Make sure that the branch fits through the opening of your screw glass!
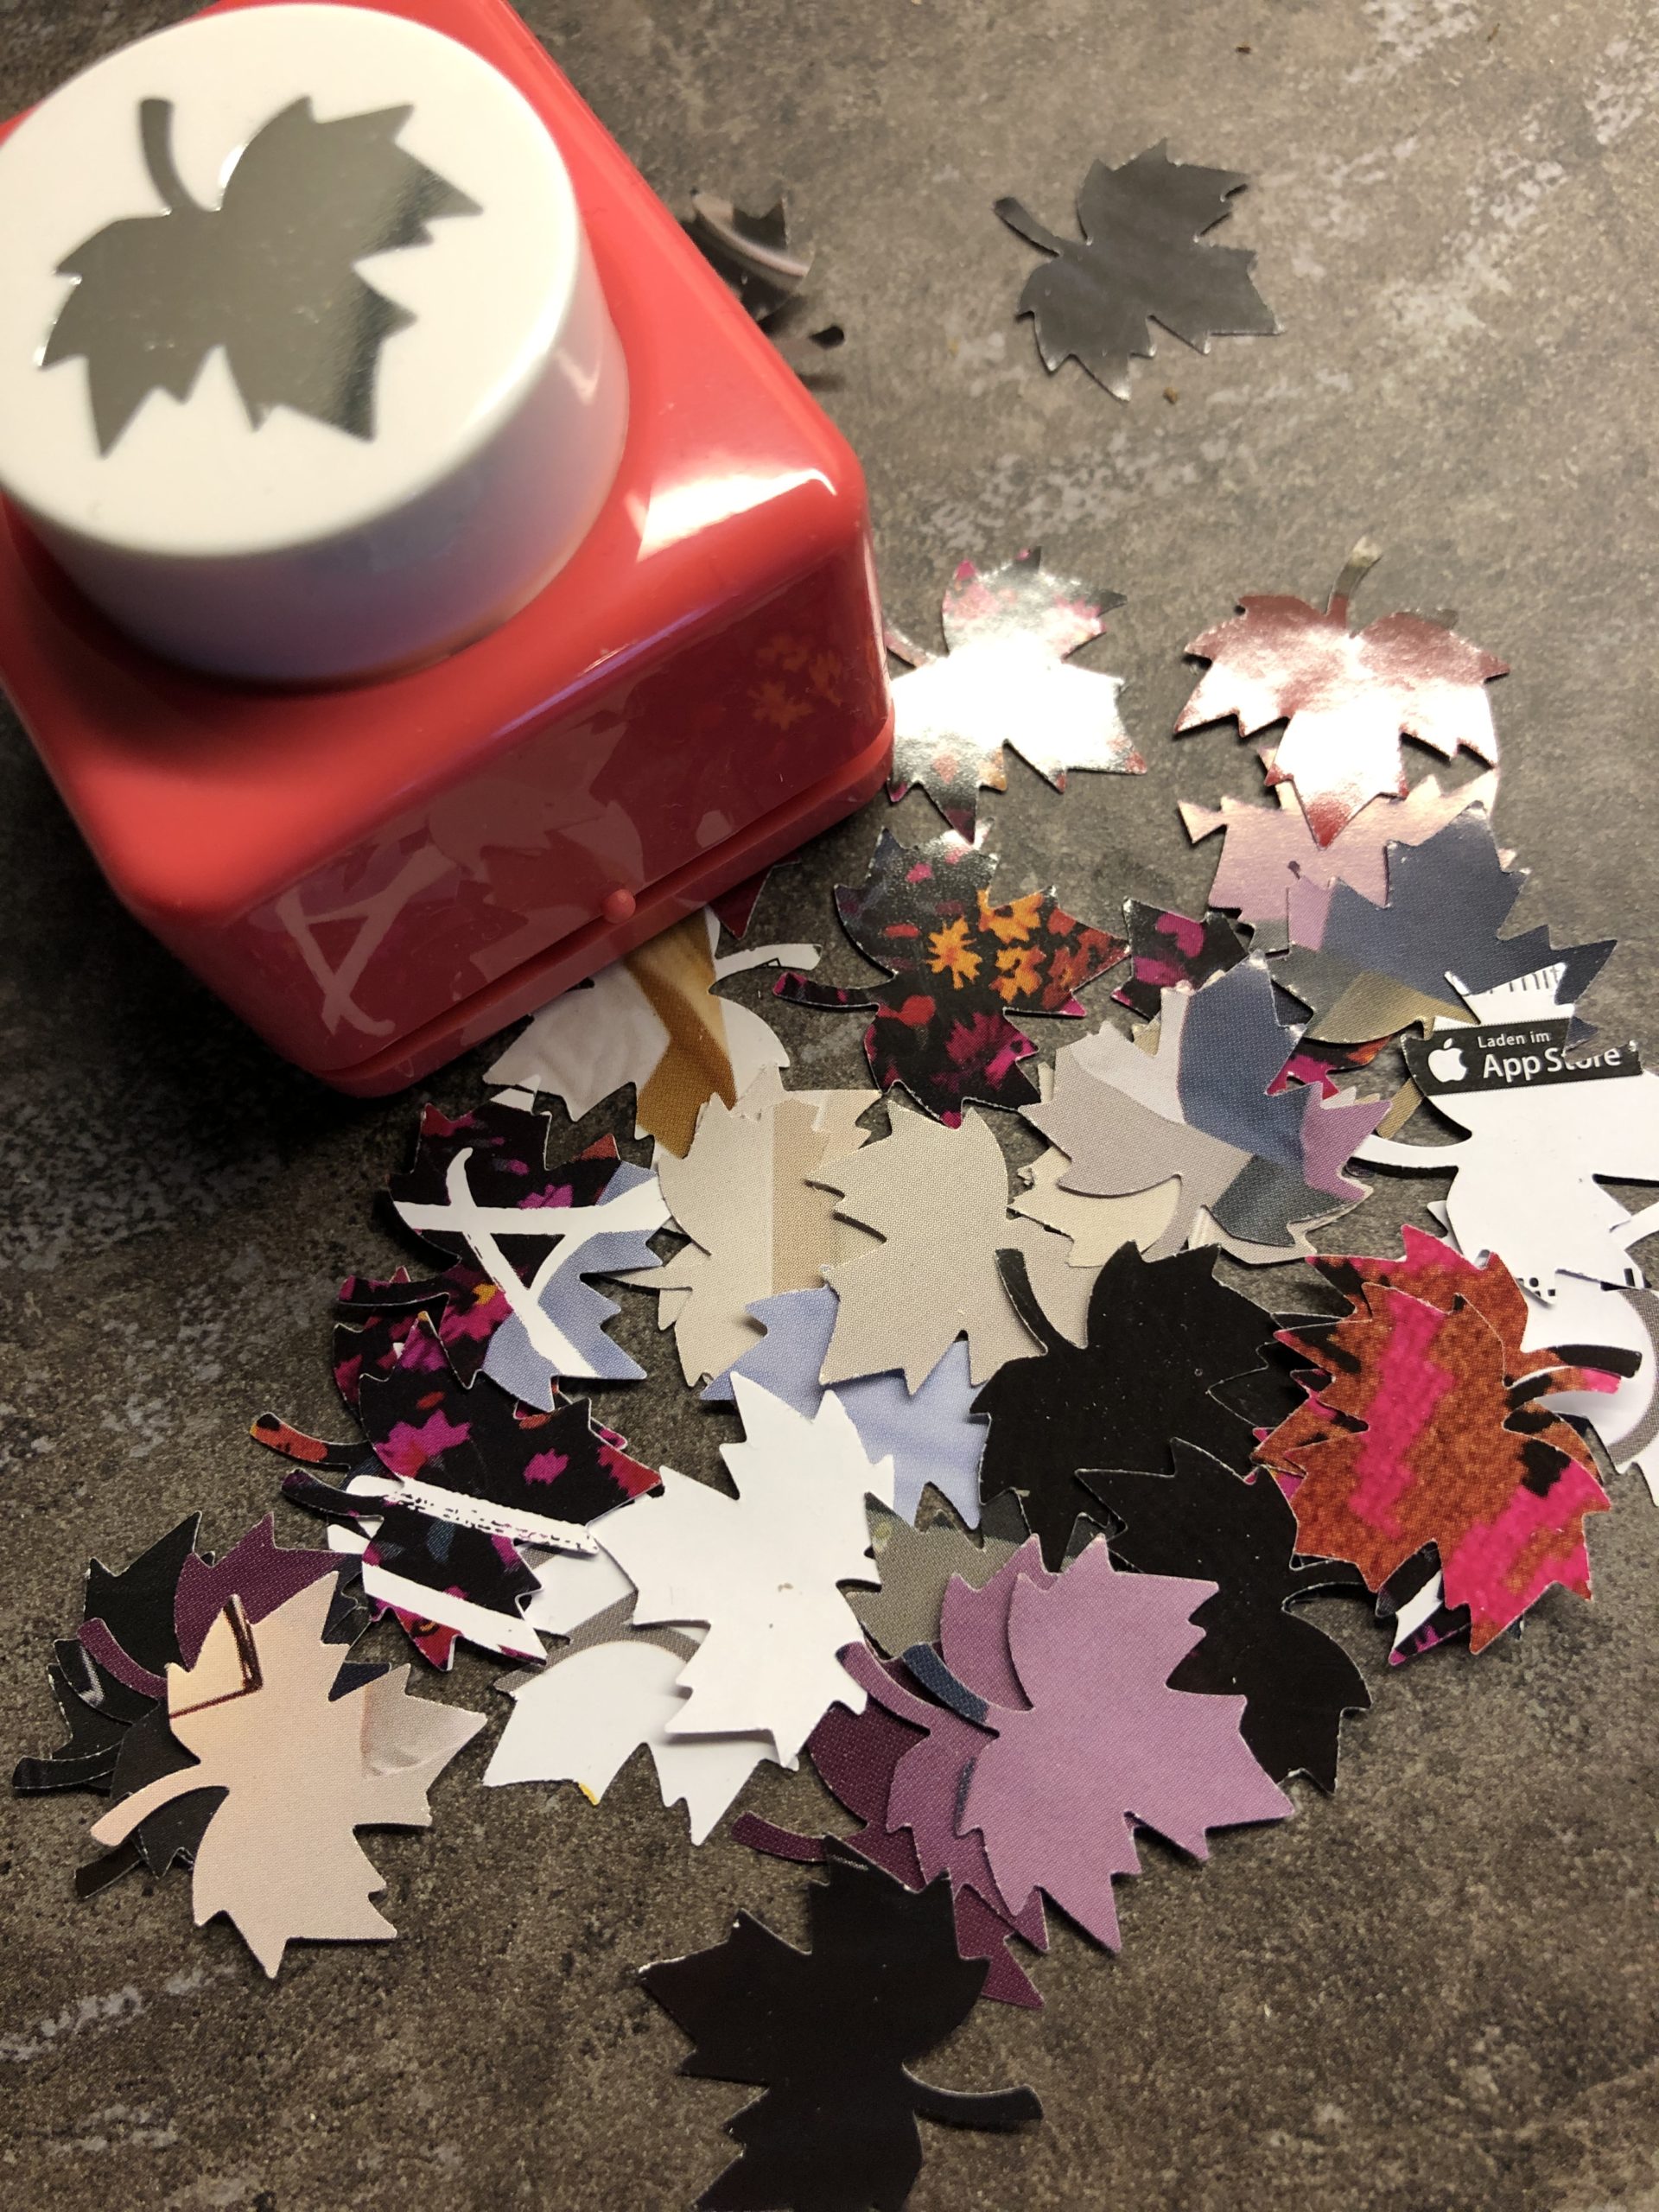
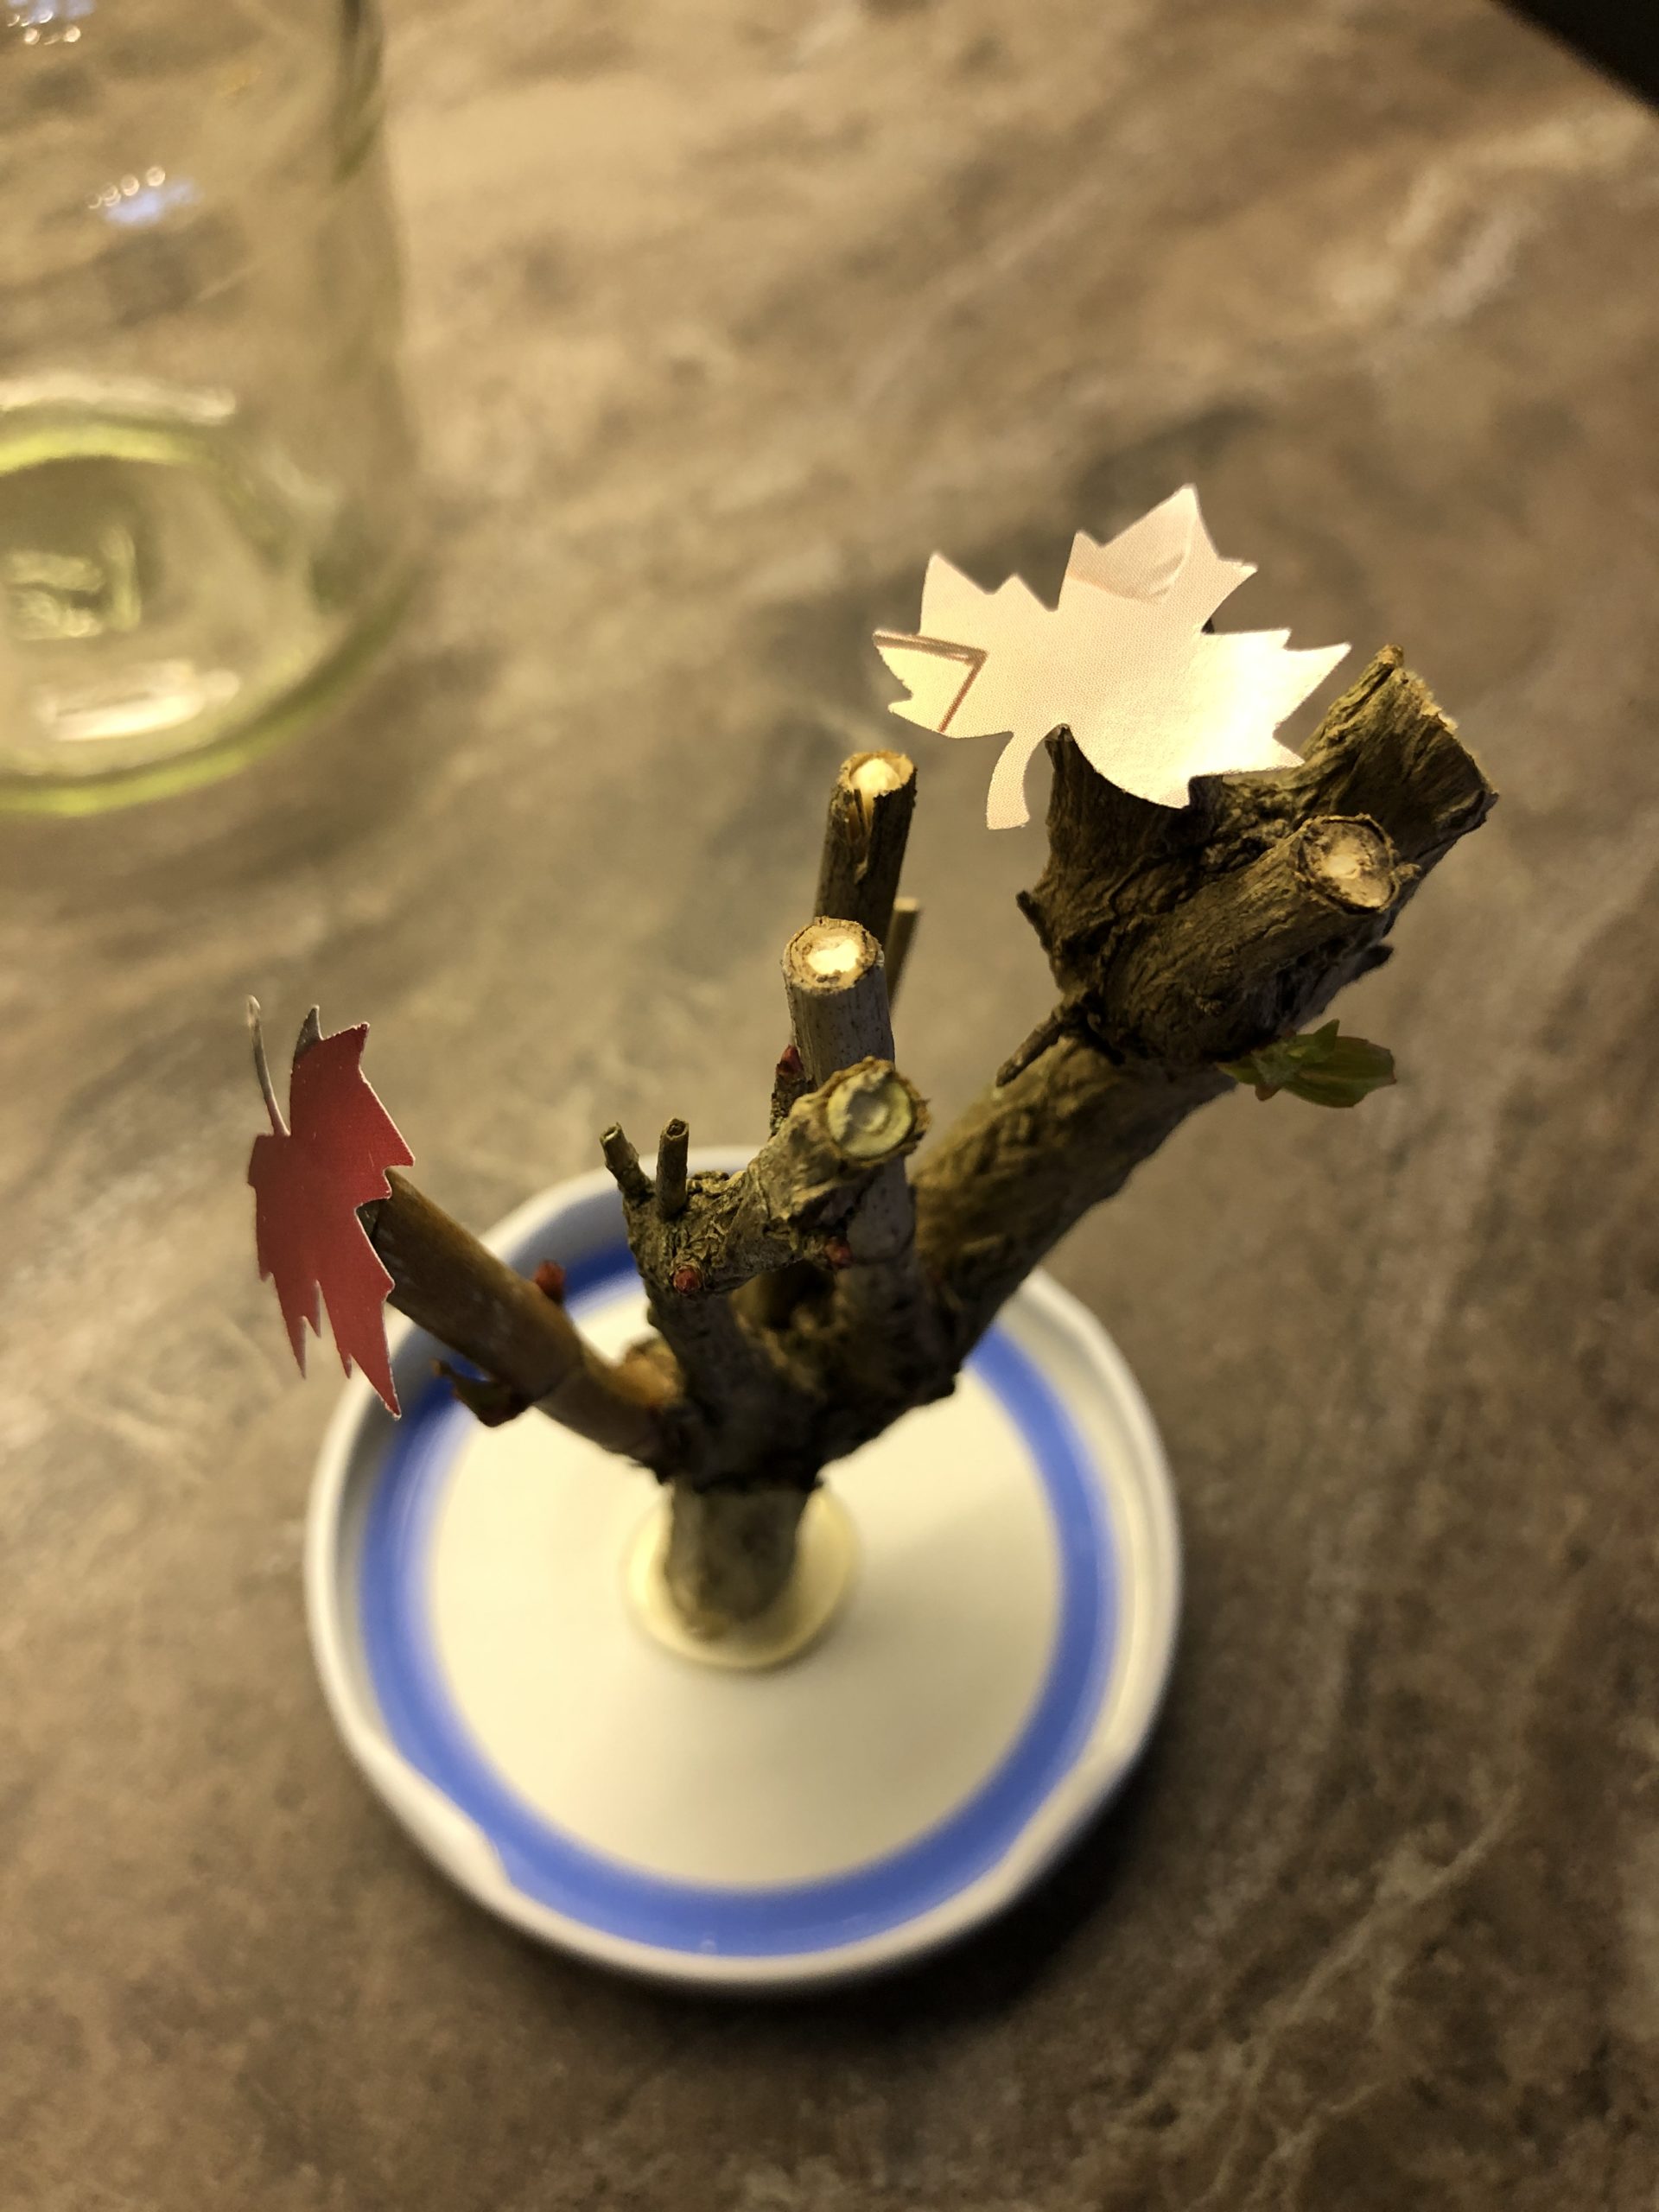
Cut maple leaves out of a catalogue title sheet or use colored clay paper. Make sure you use the autumn colors!
Attach your branch to the inside of the lid with an adhesive point from the hot glue gun. Let us help you if necessary. The use of the hot glue must be practiced! Risk of injury!
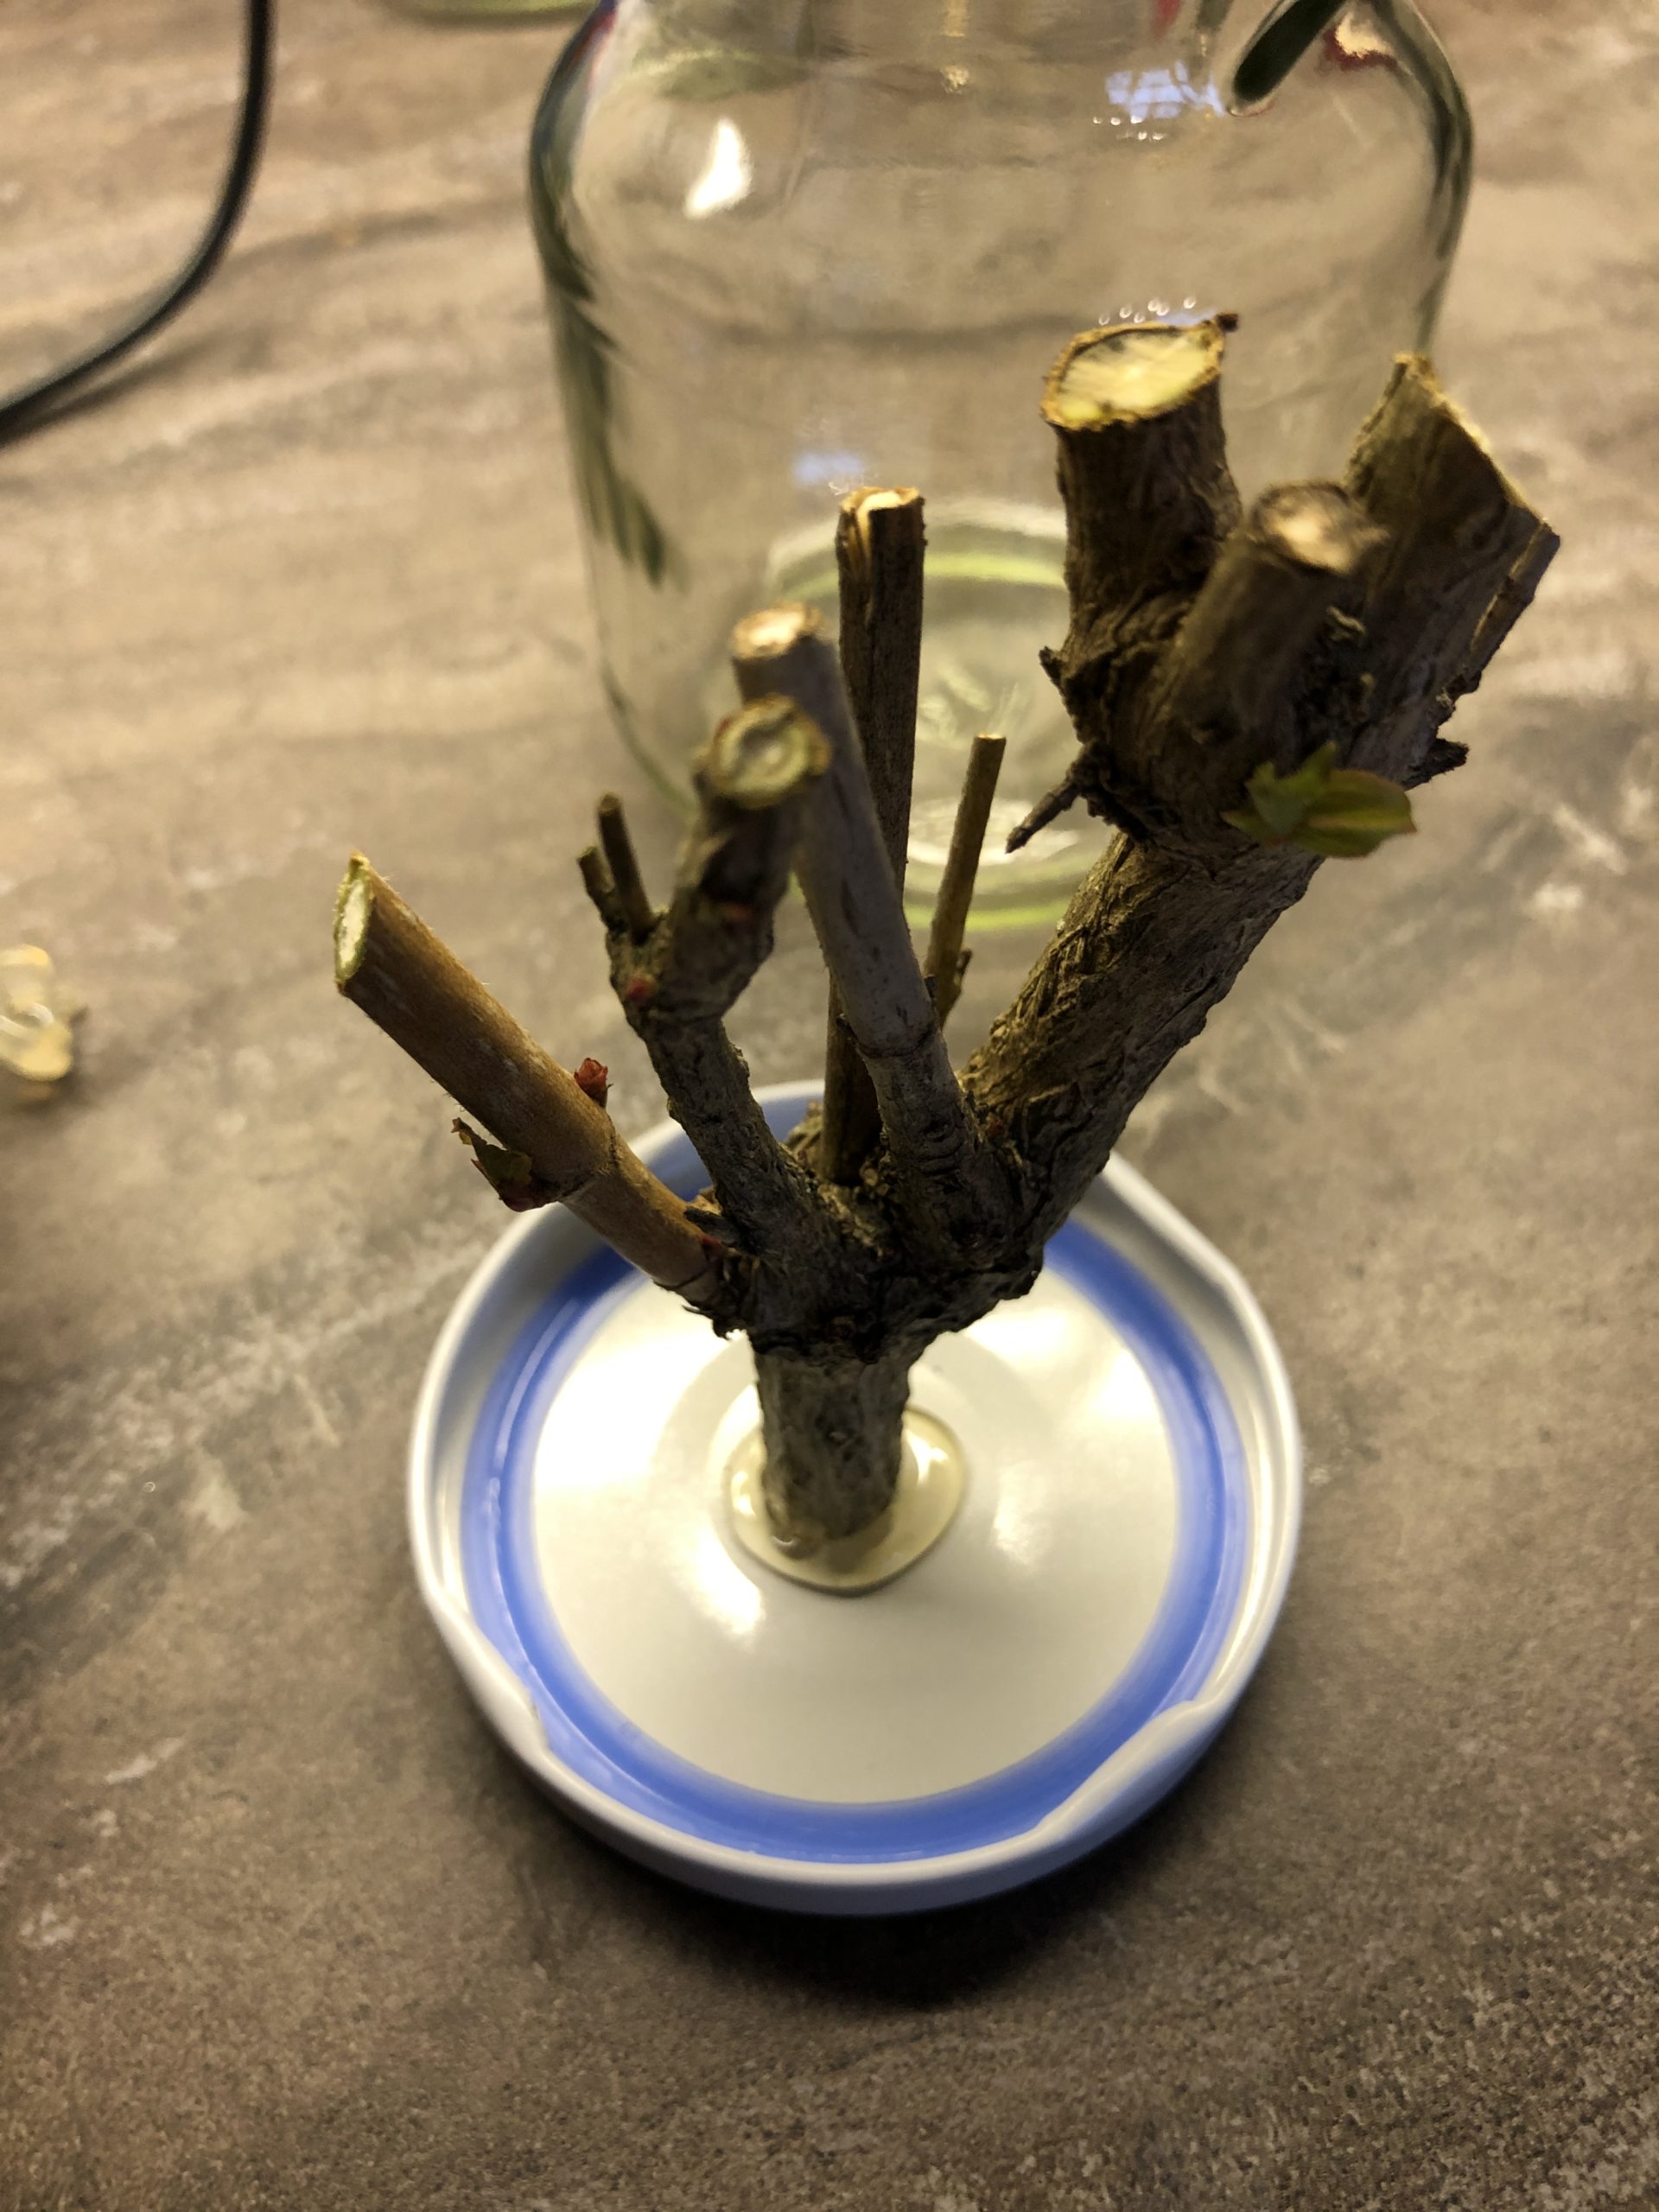
At each Ästchen now glue points are placed at the ends, on which you can fix leaves.
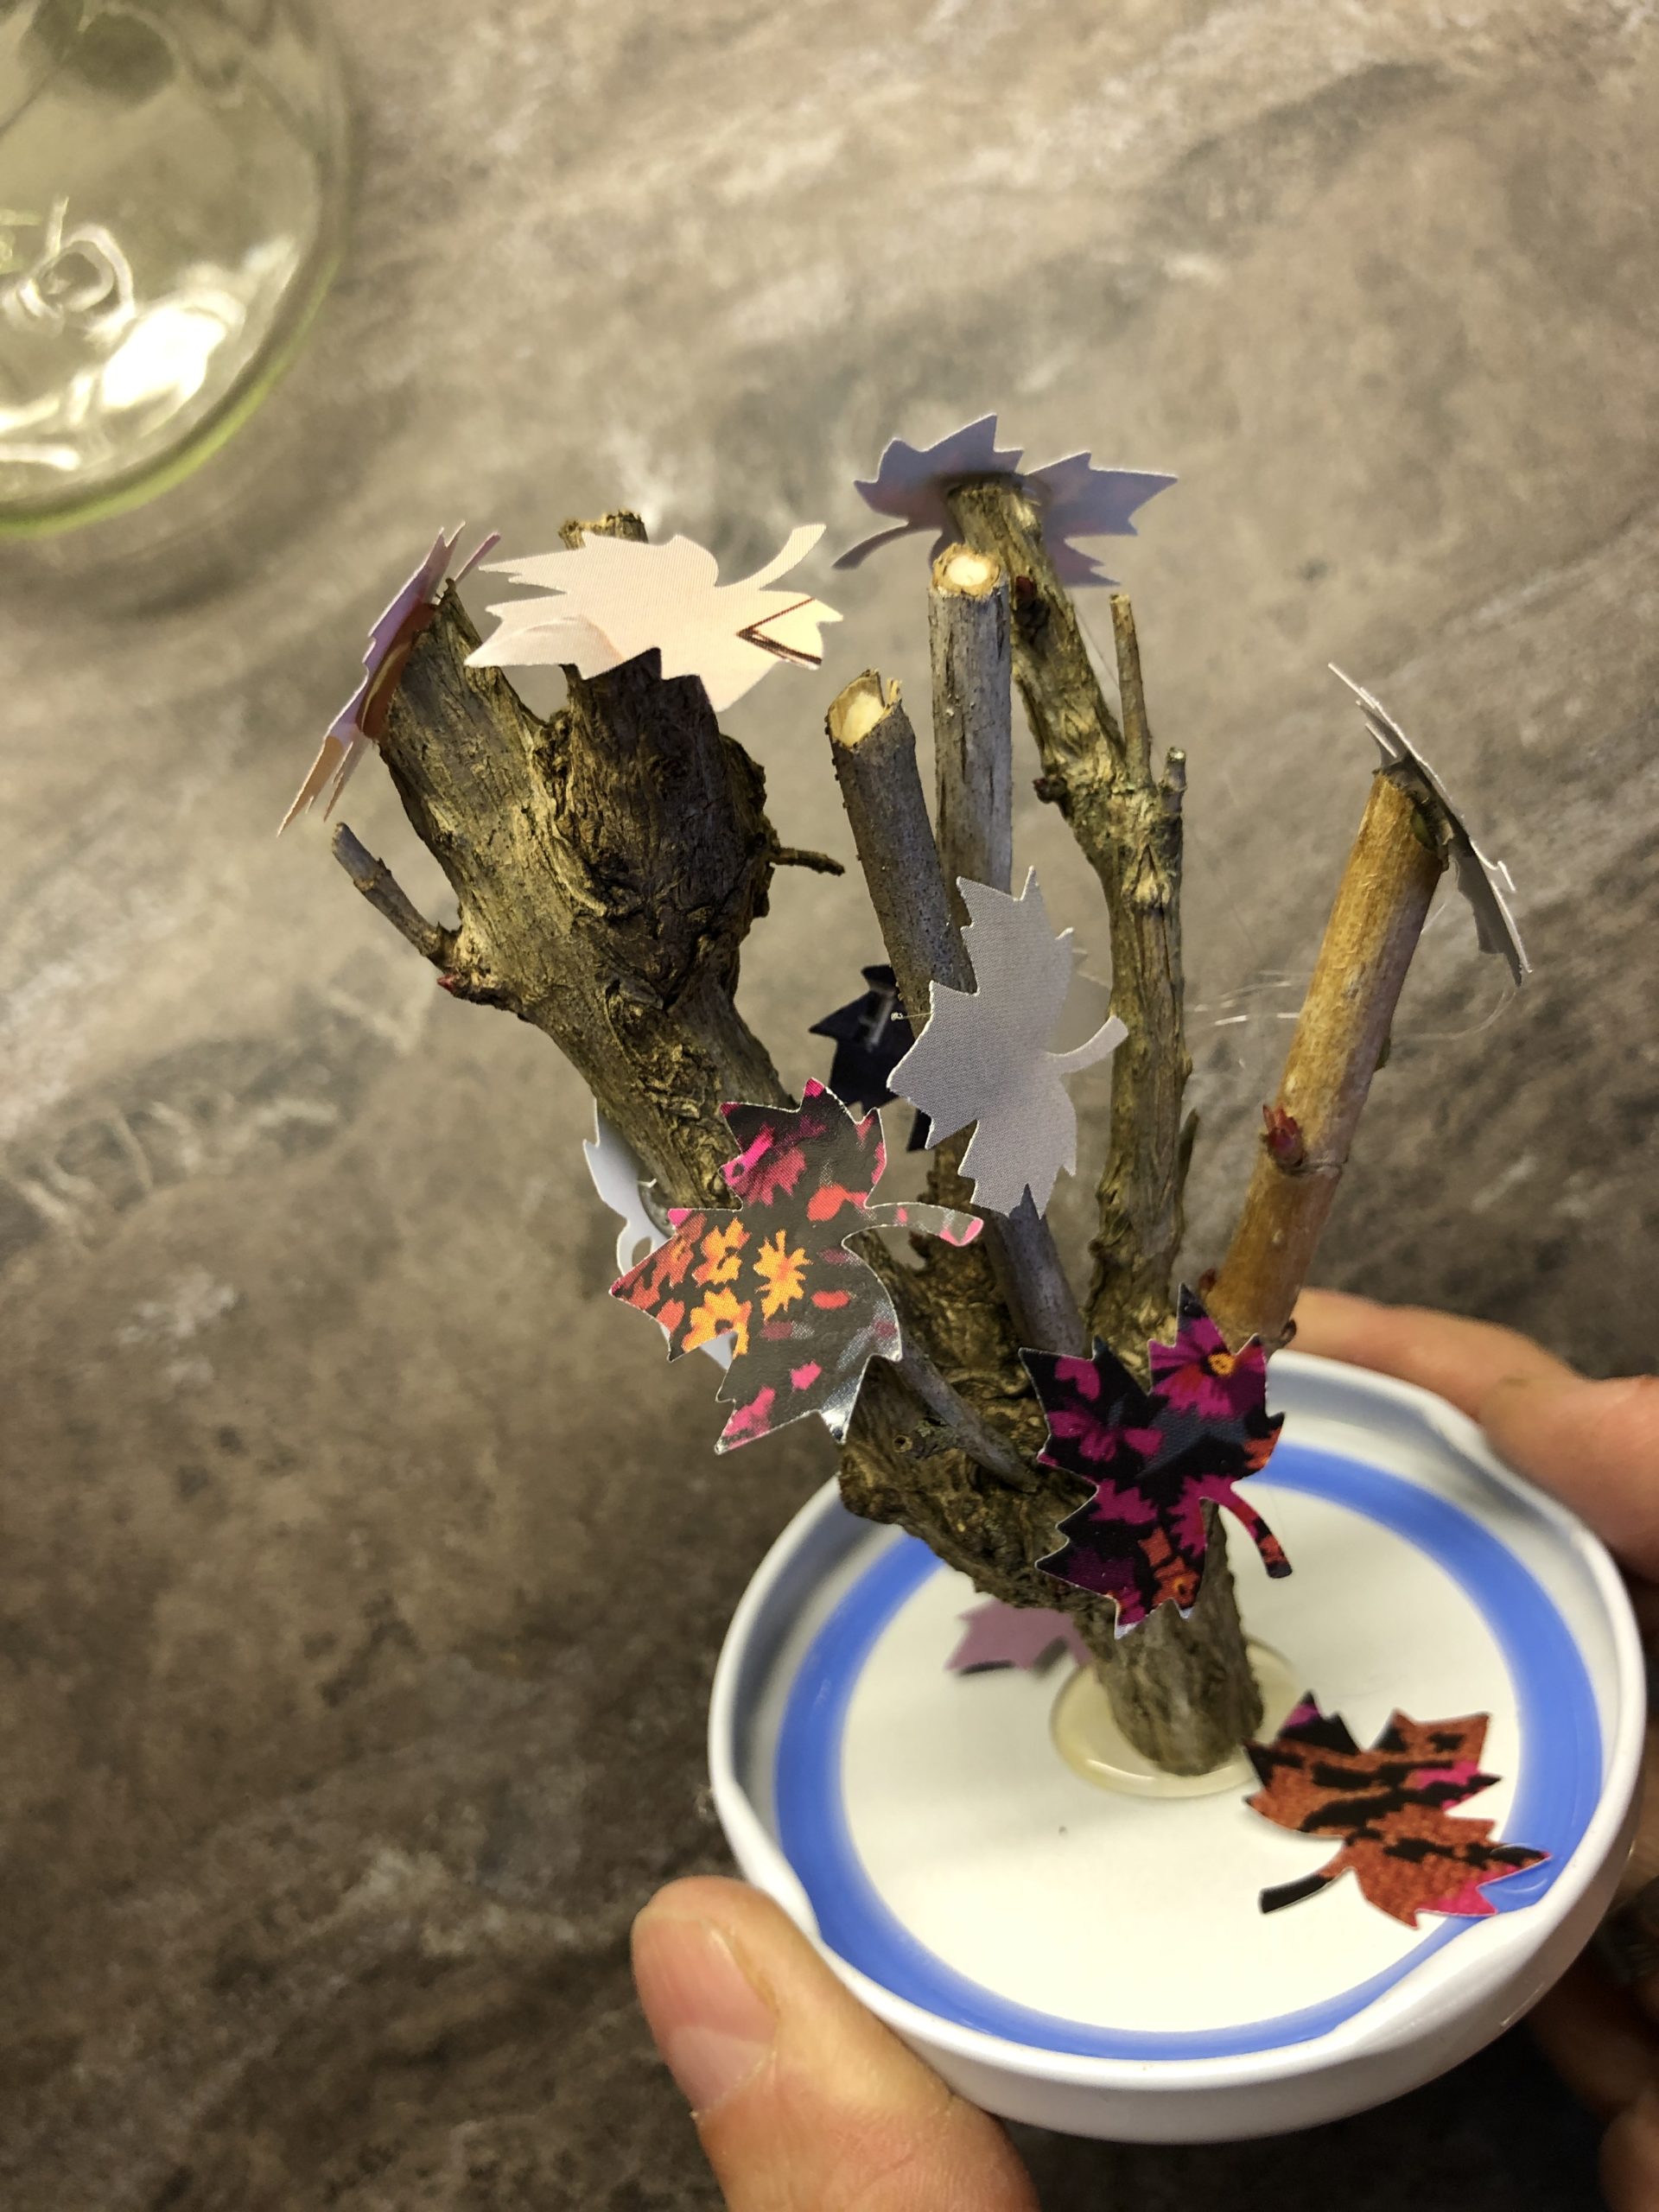
Attach as many leaves as possible to your little tree.

You can also stick leaves on the lid bottom.
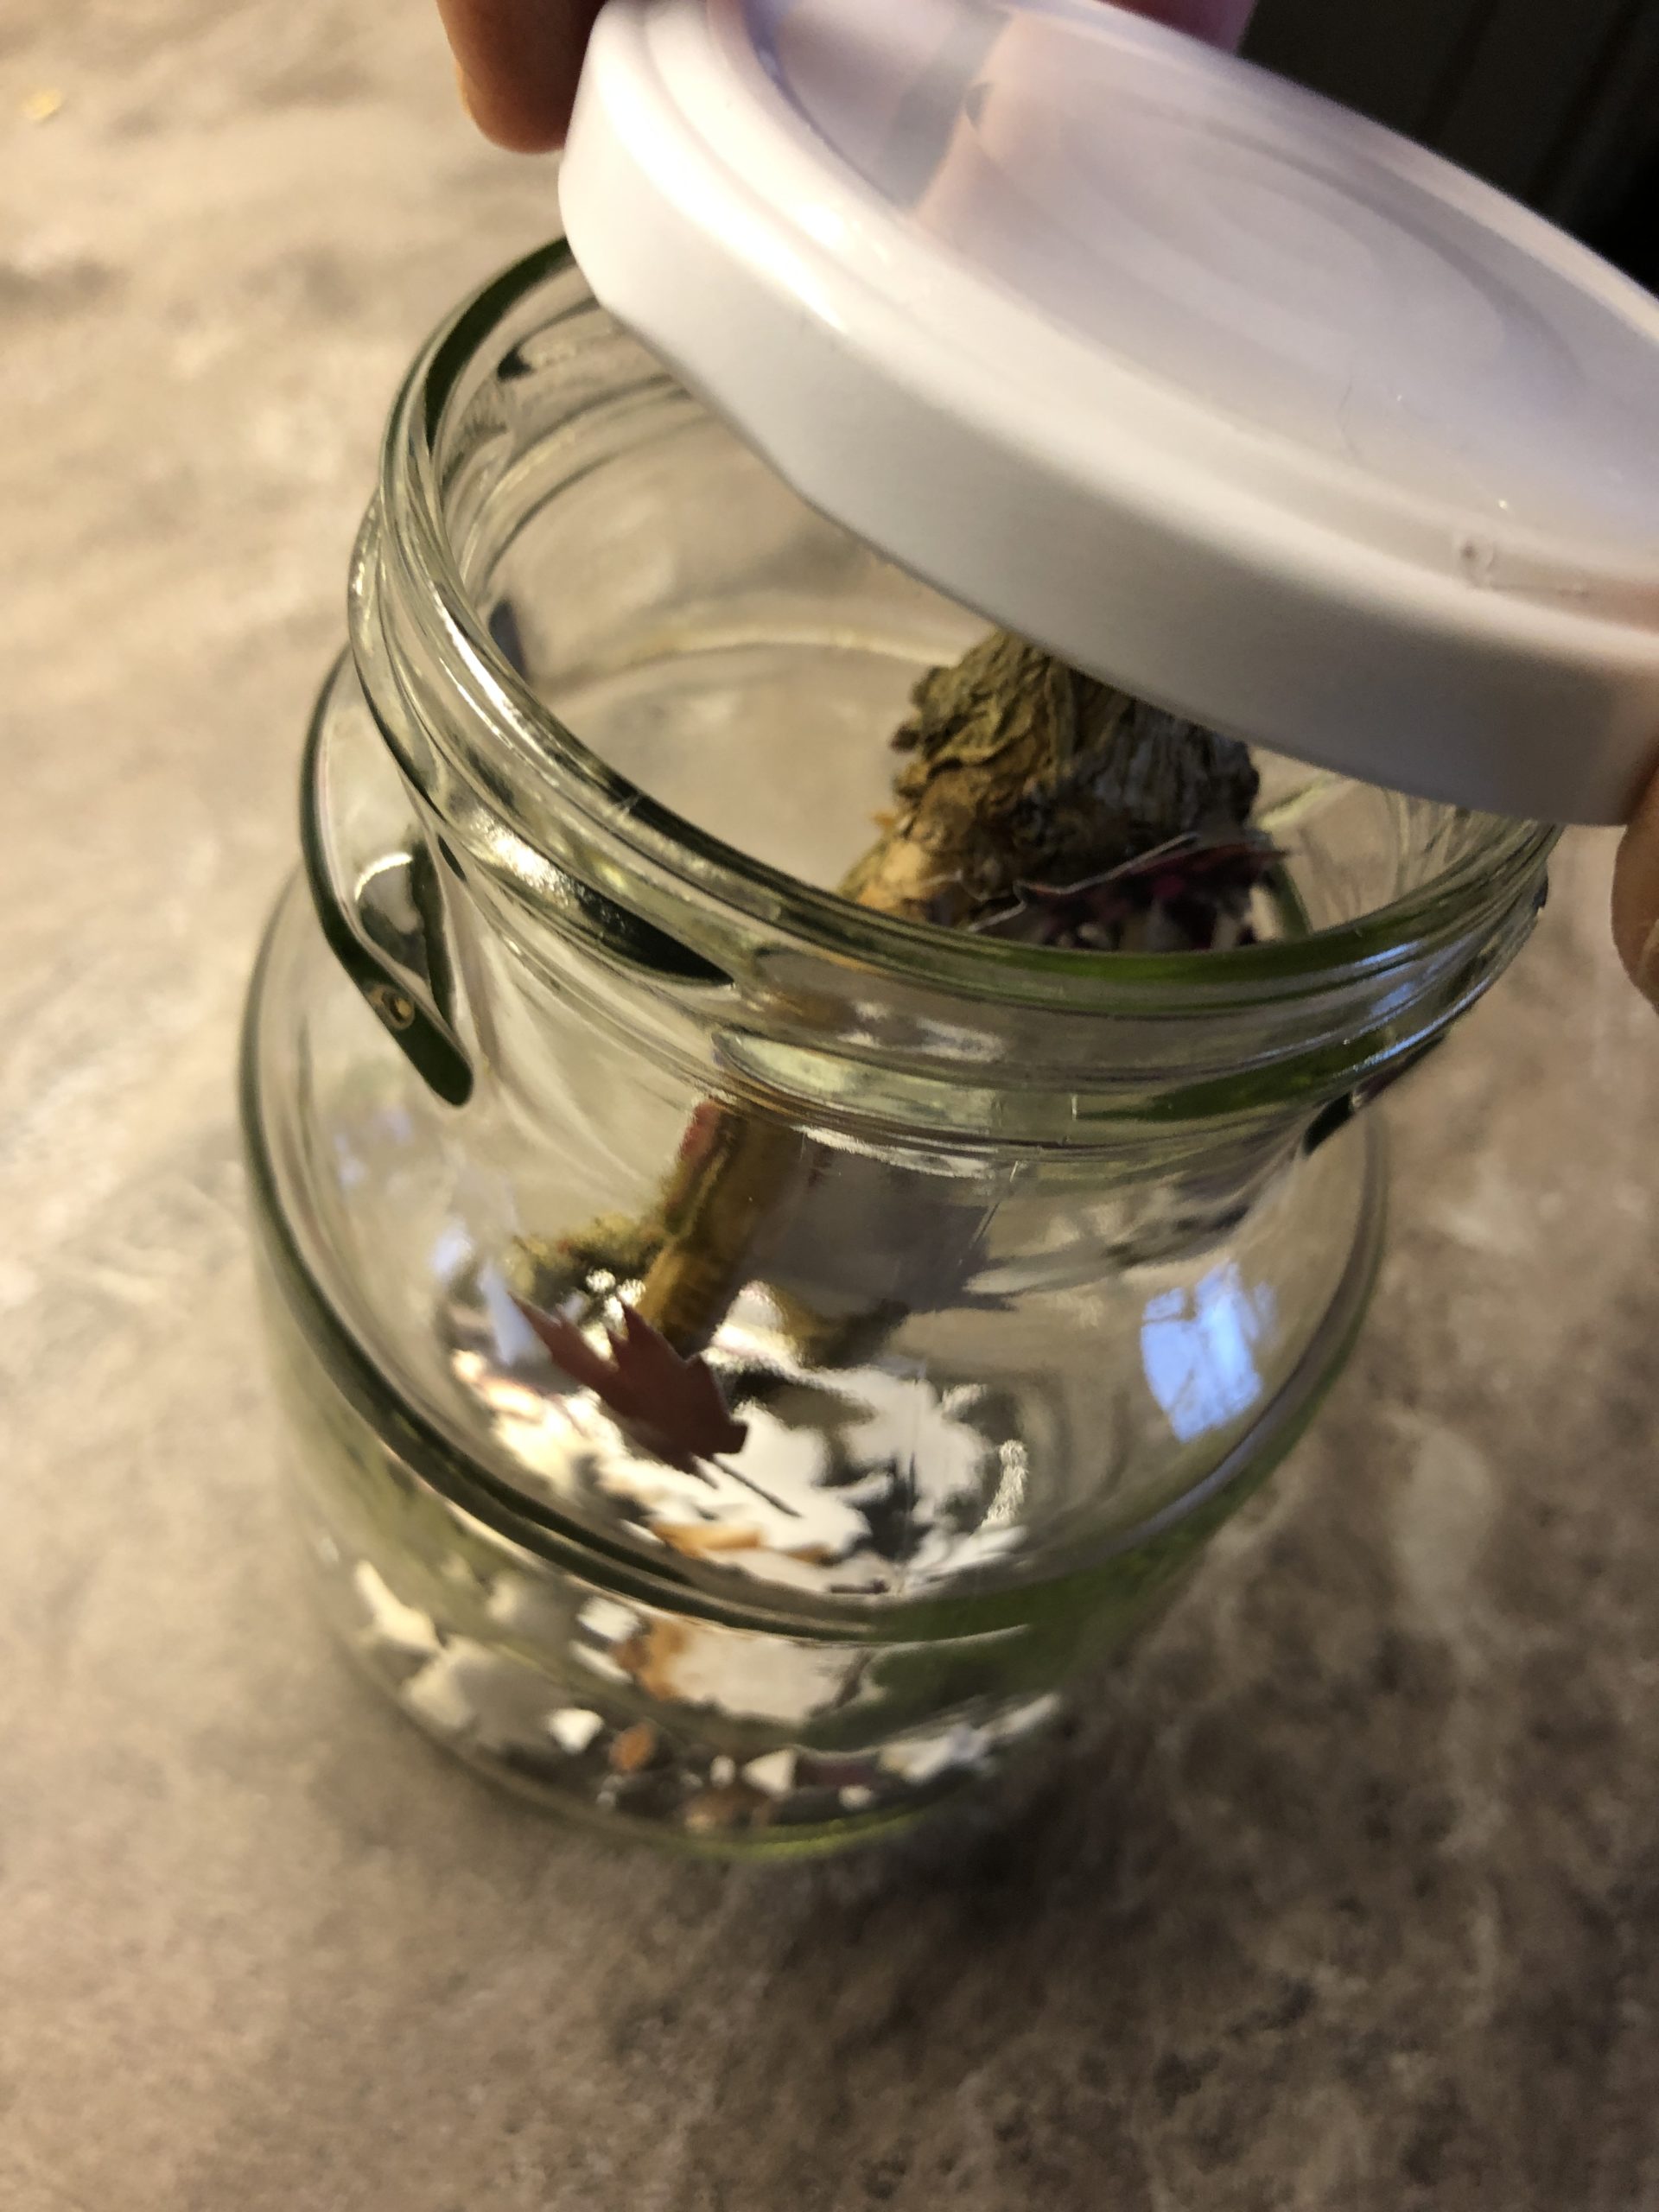
Carefully thread the tree (which hangs on the lid) into the glass.
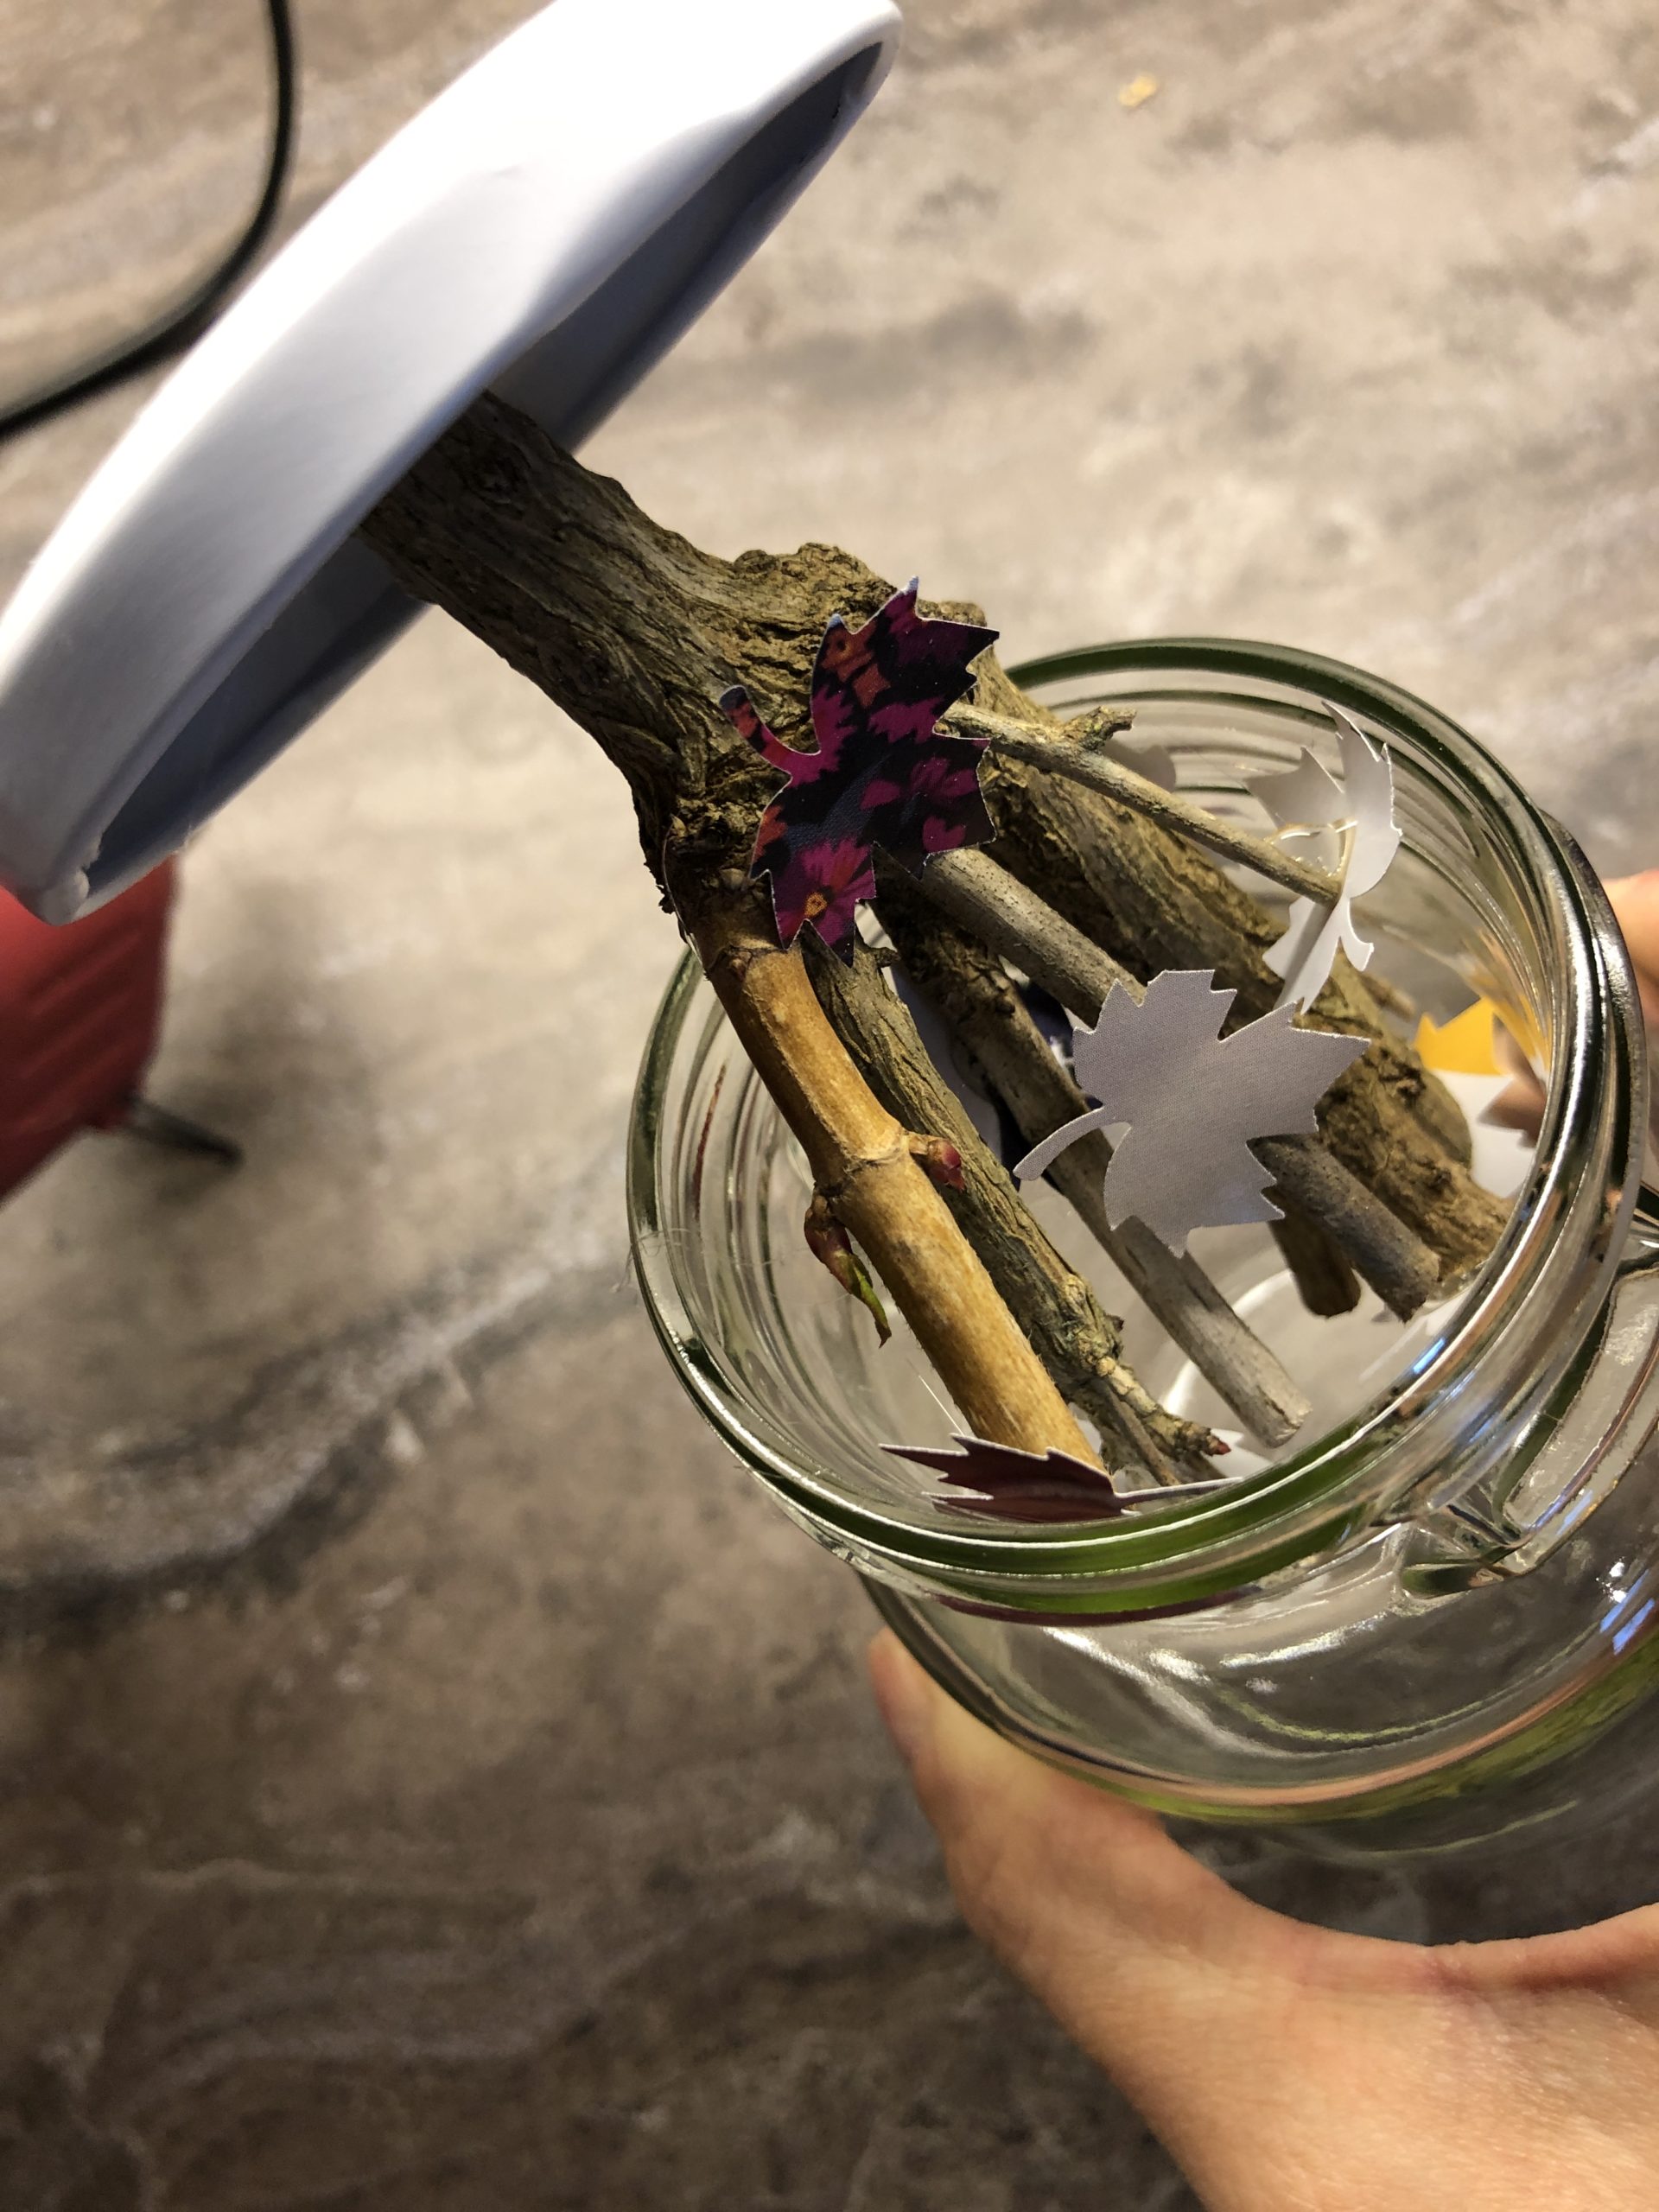
In addition, you can add a few additional leaves to the glass.
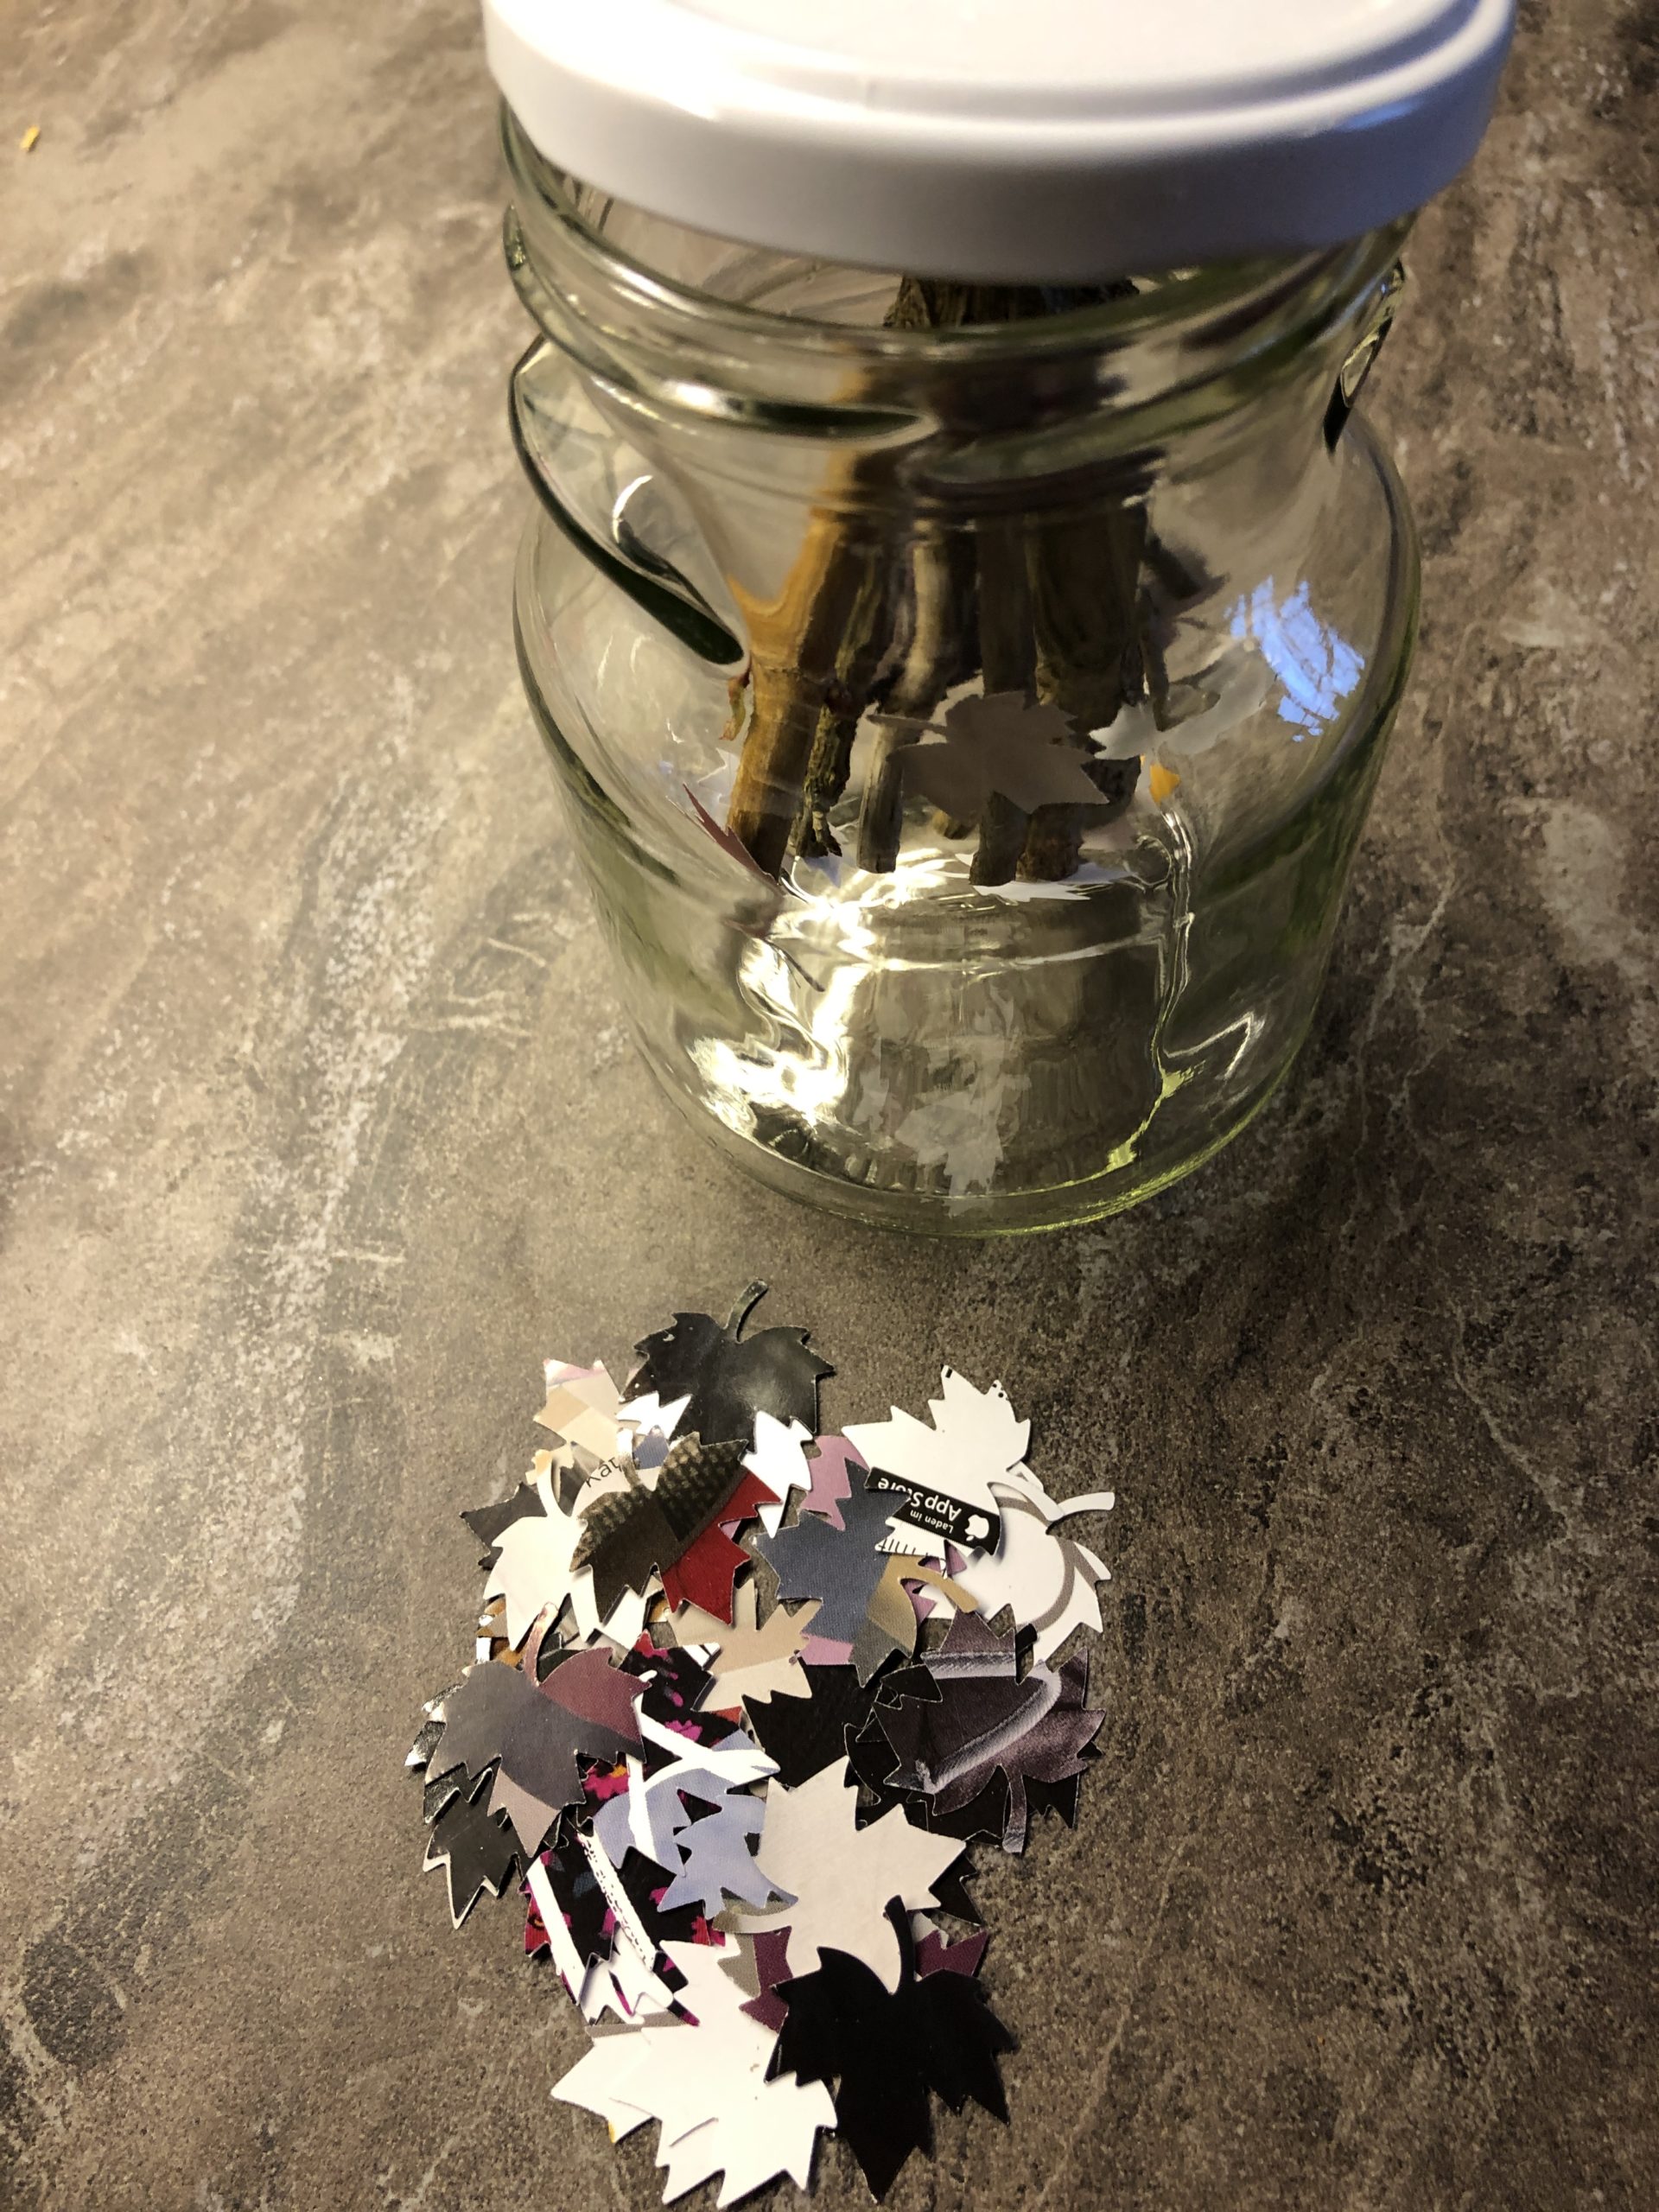
Screw the glass.
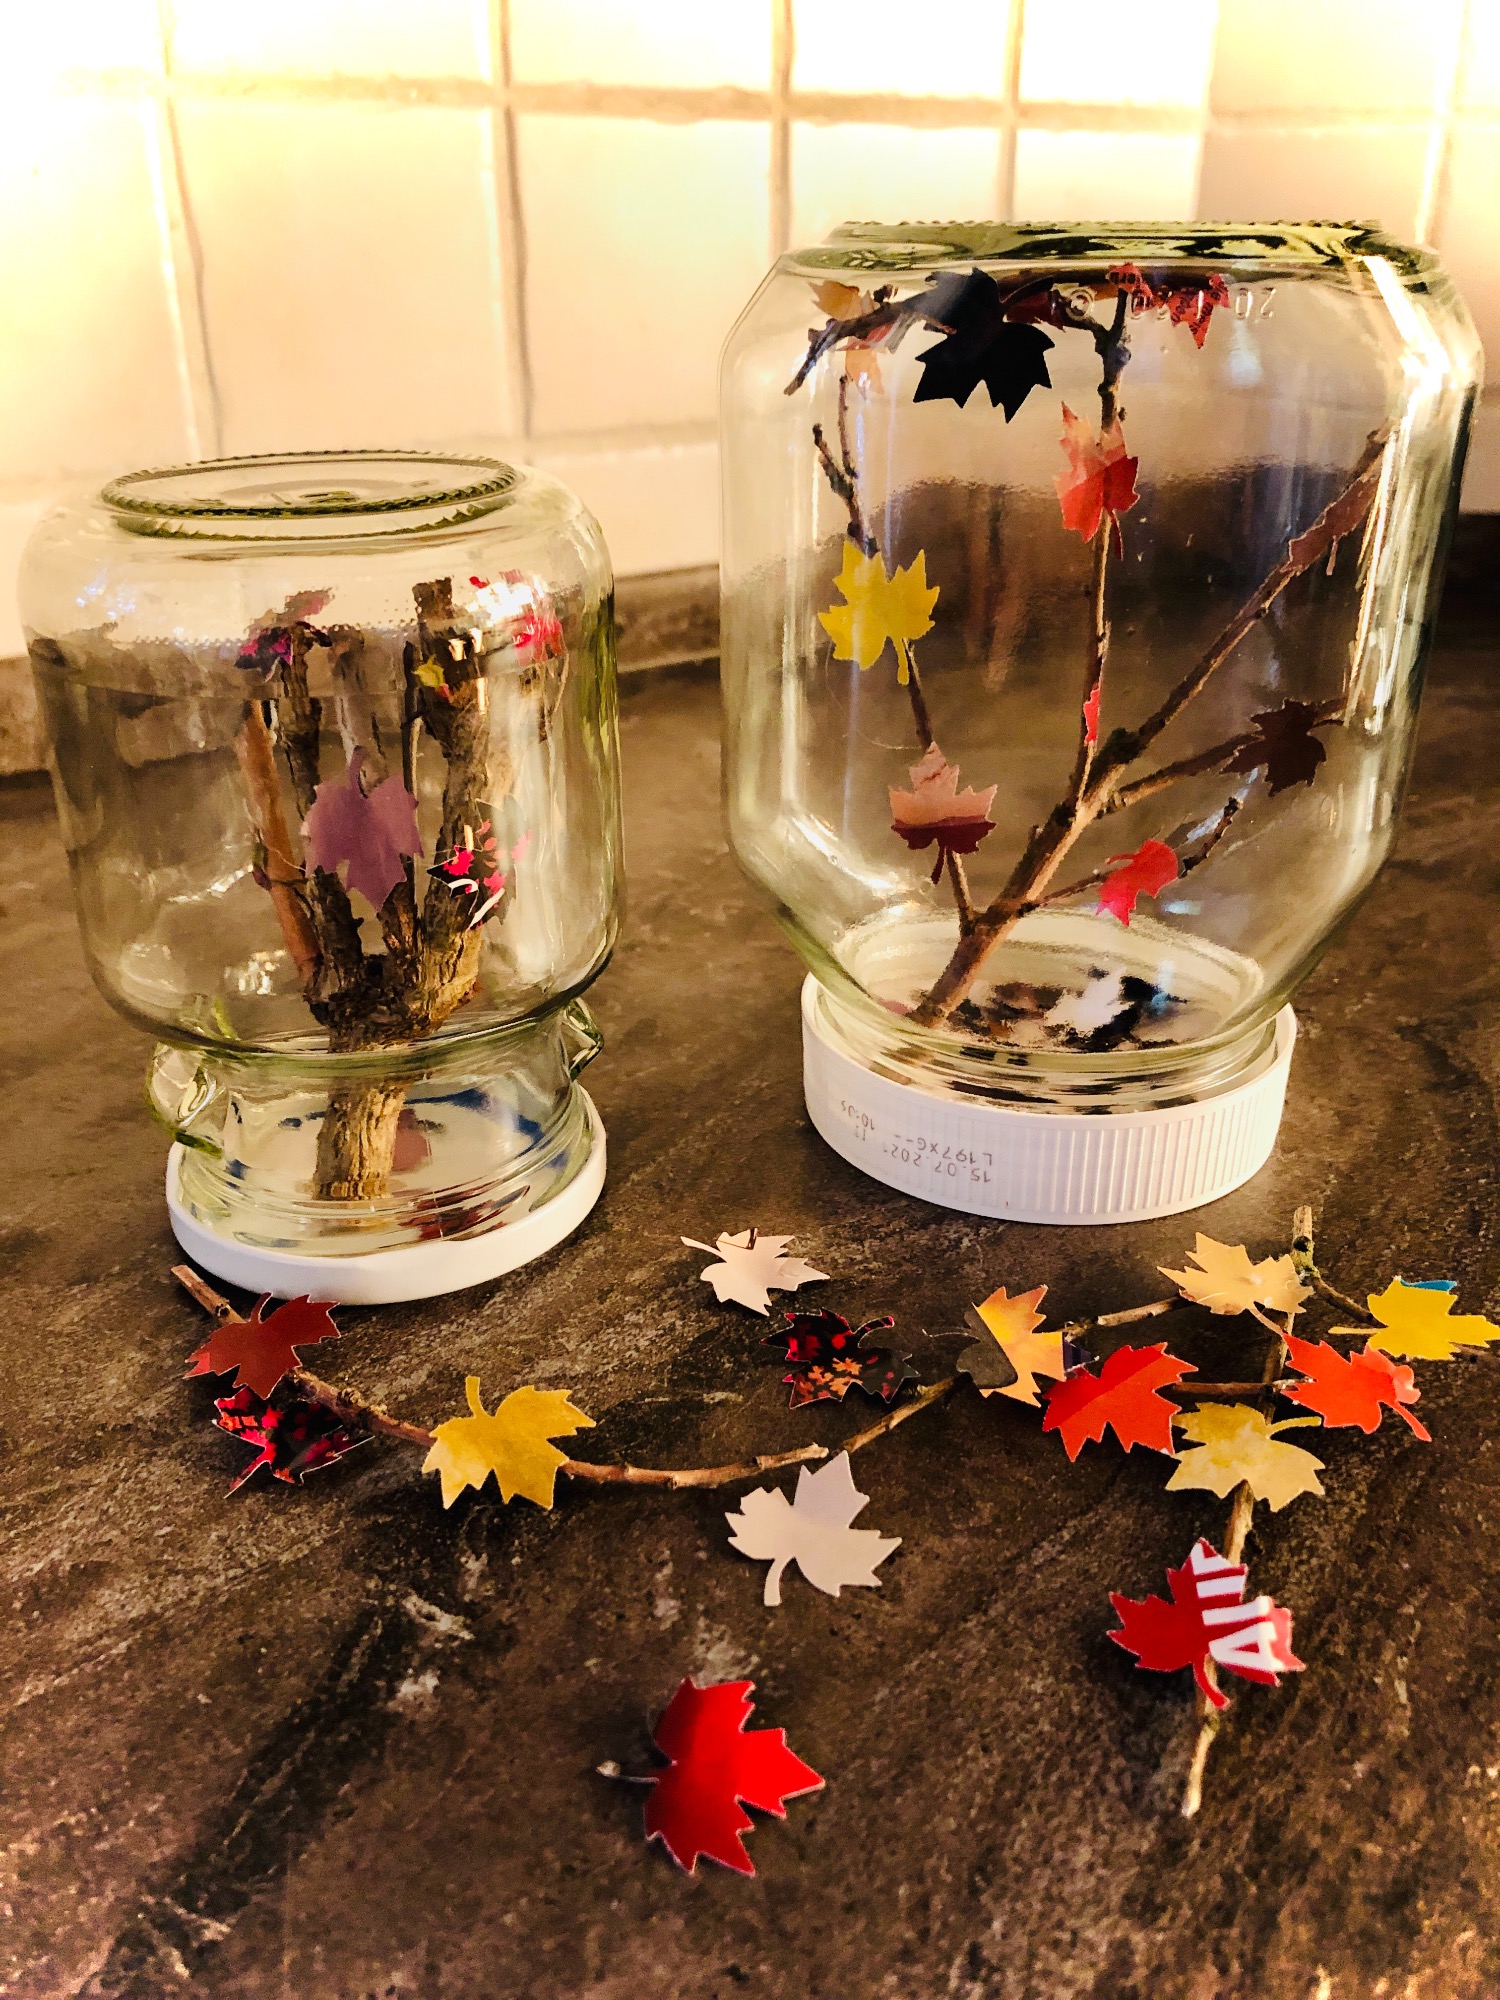
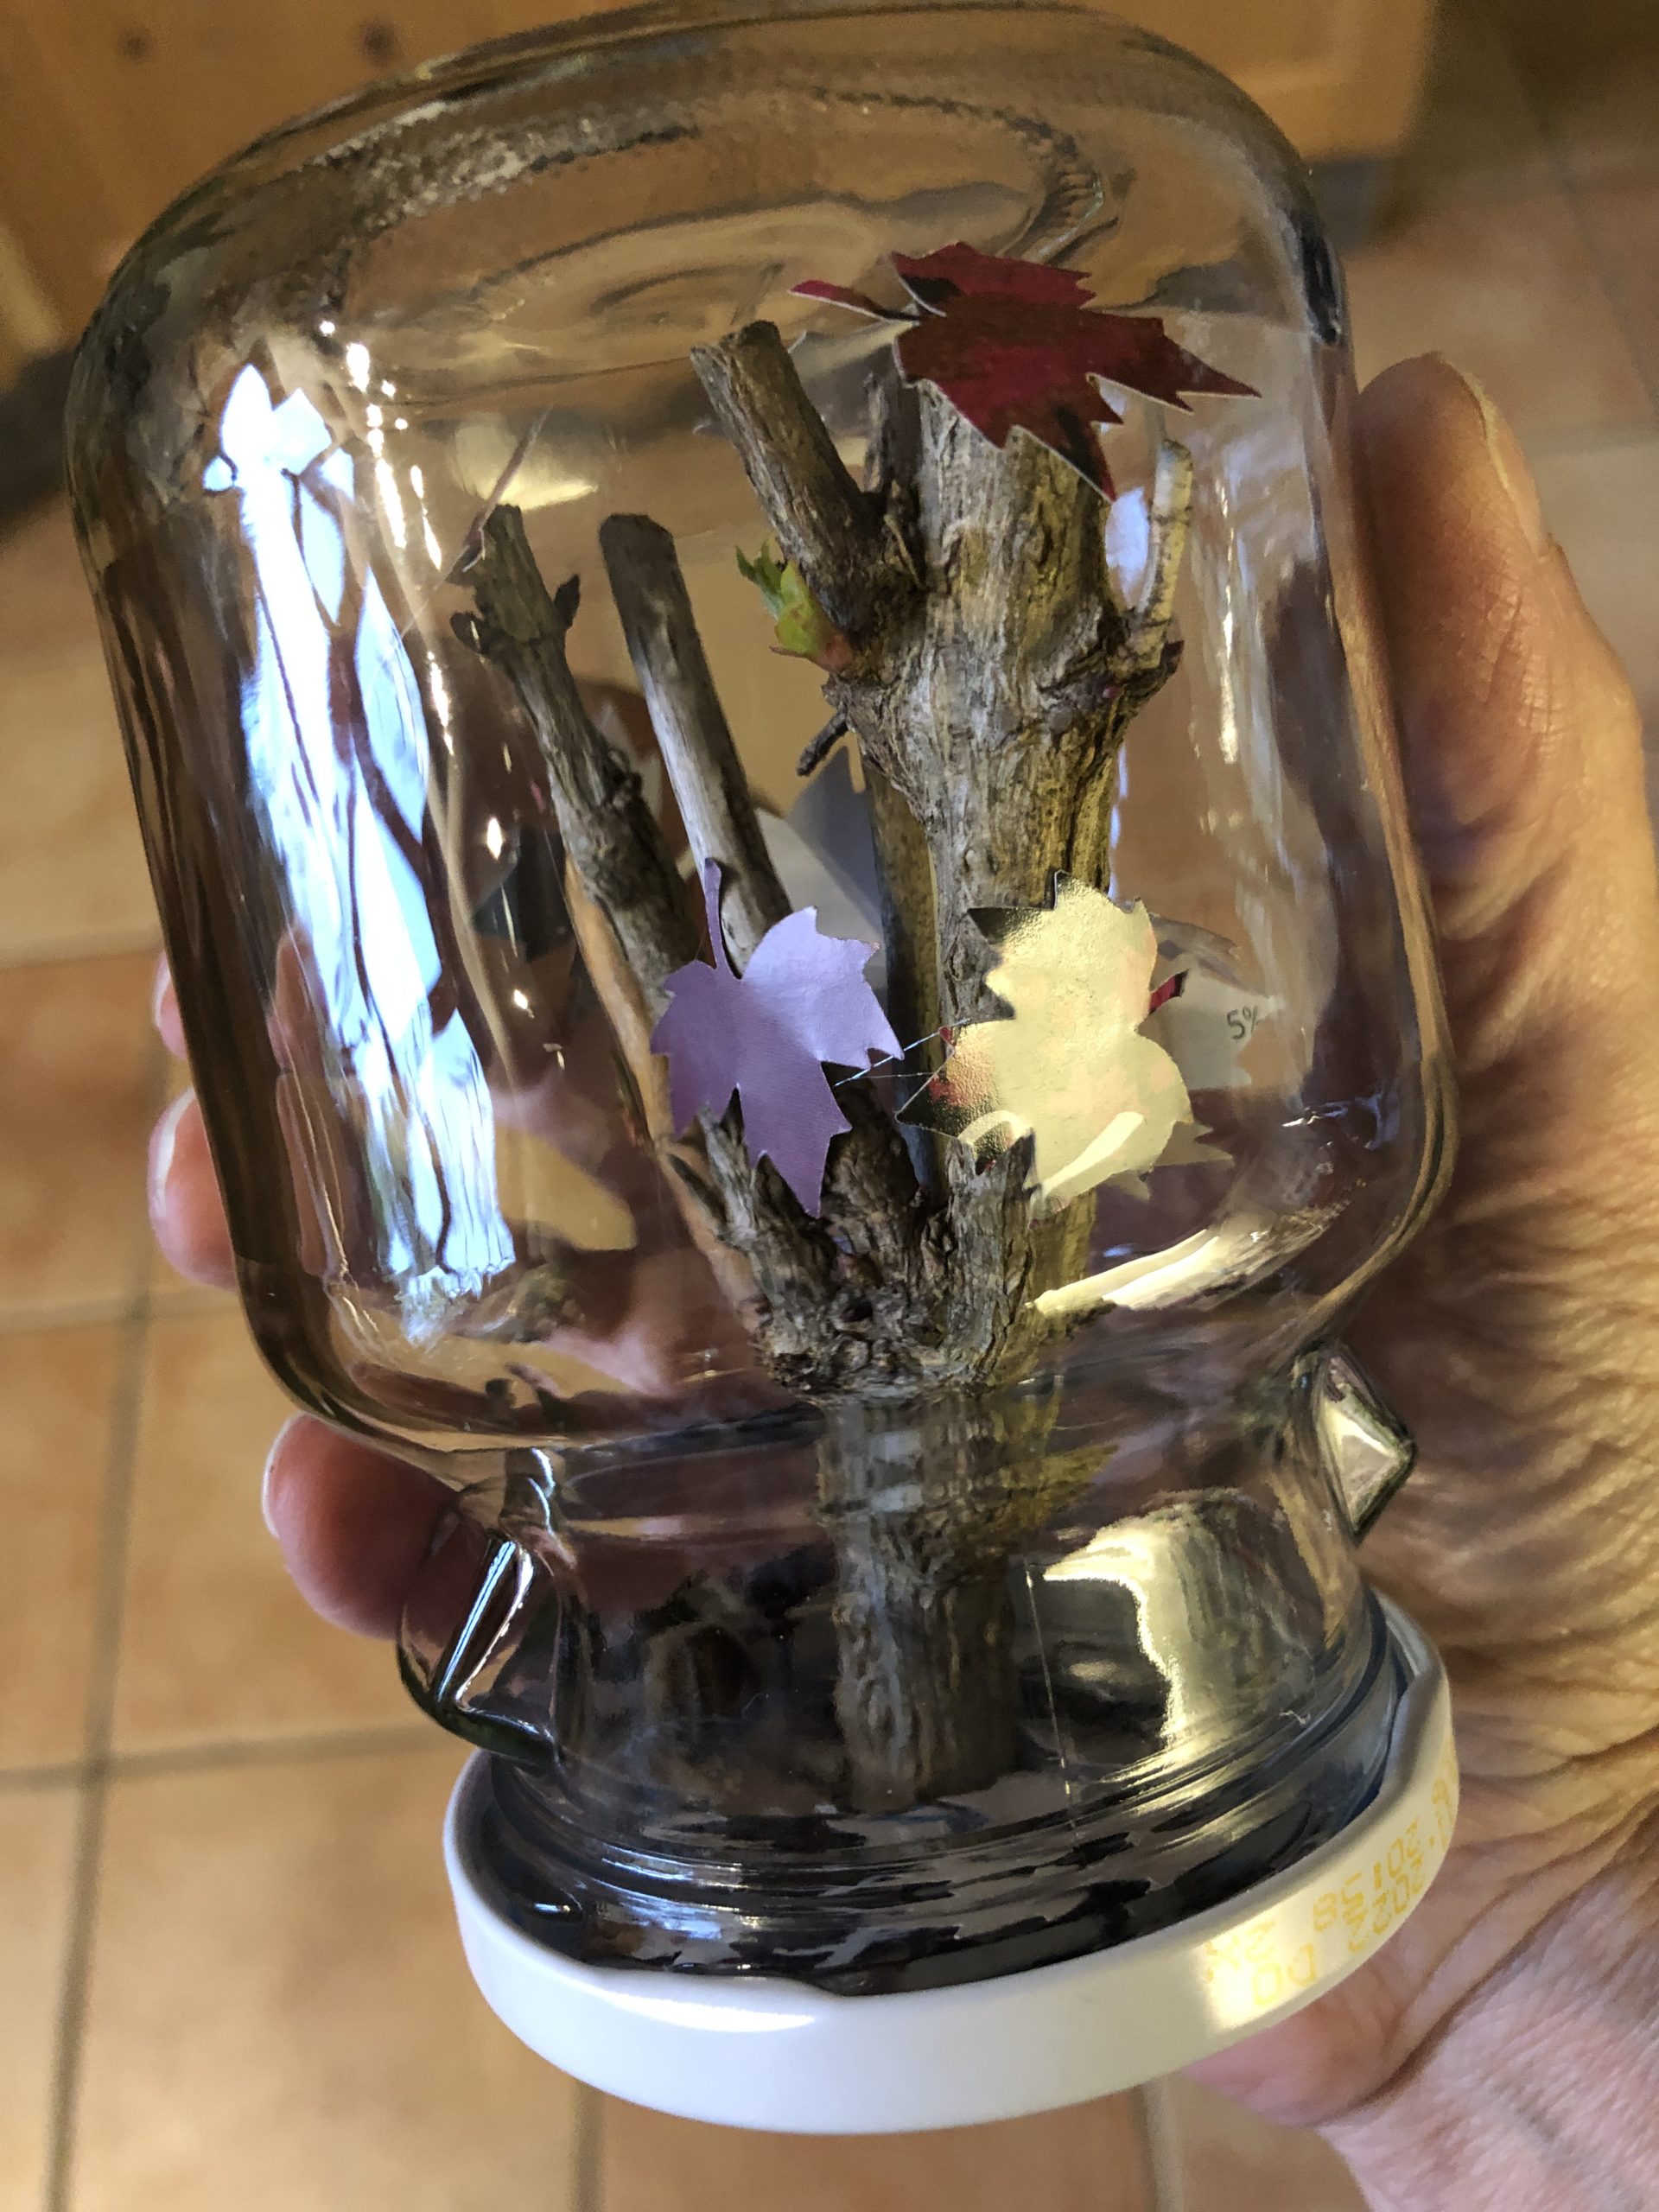
Now turn it upside down (cover). Your autumn shaker glass is ready.
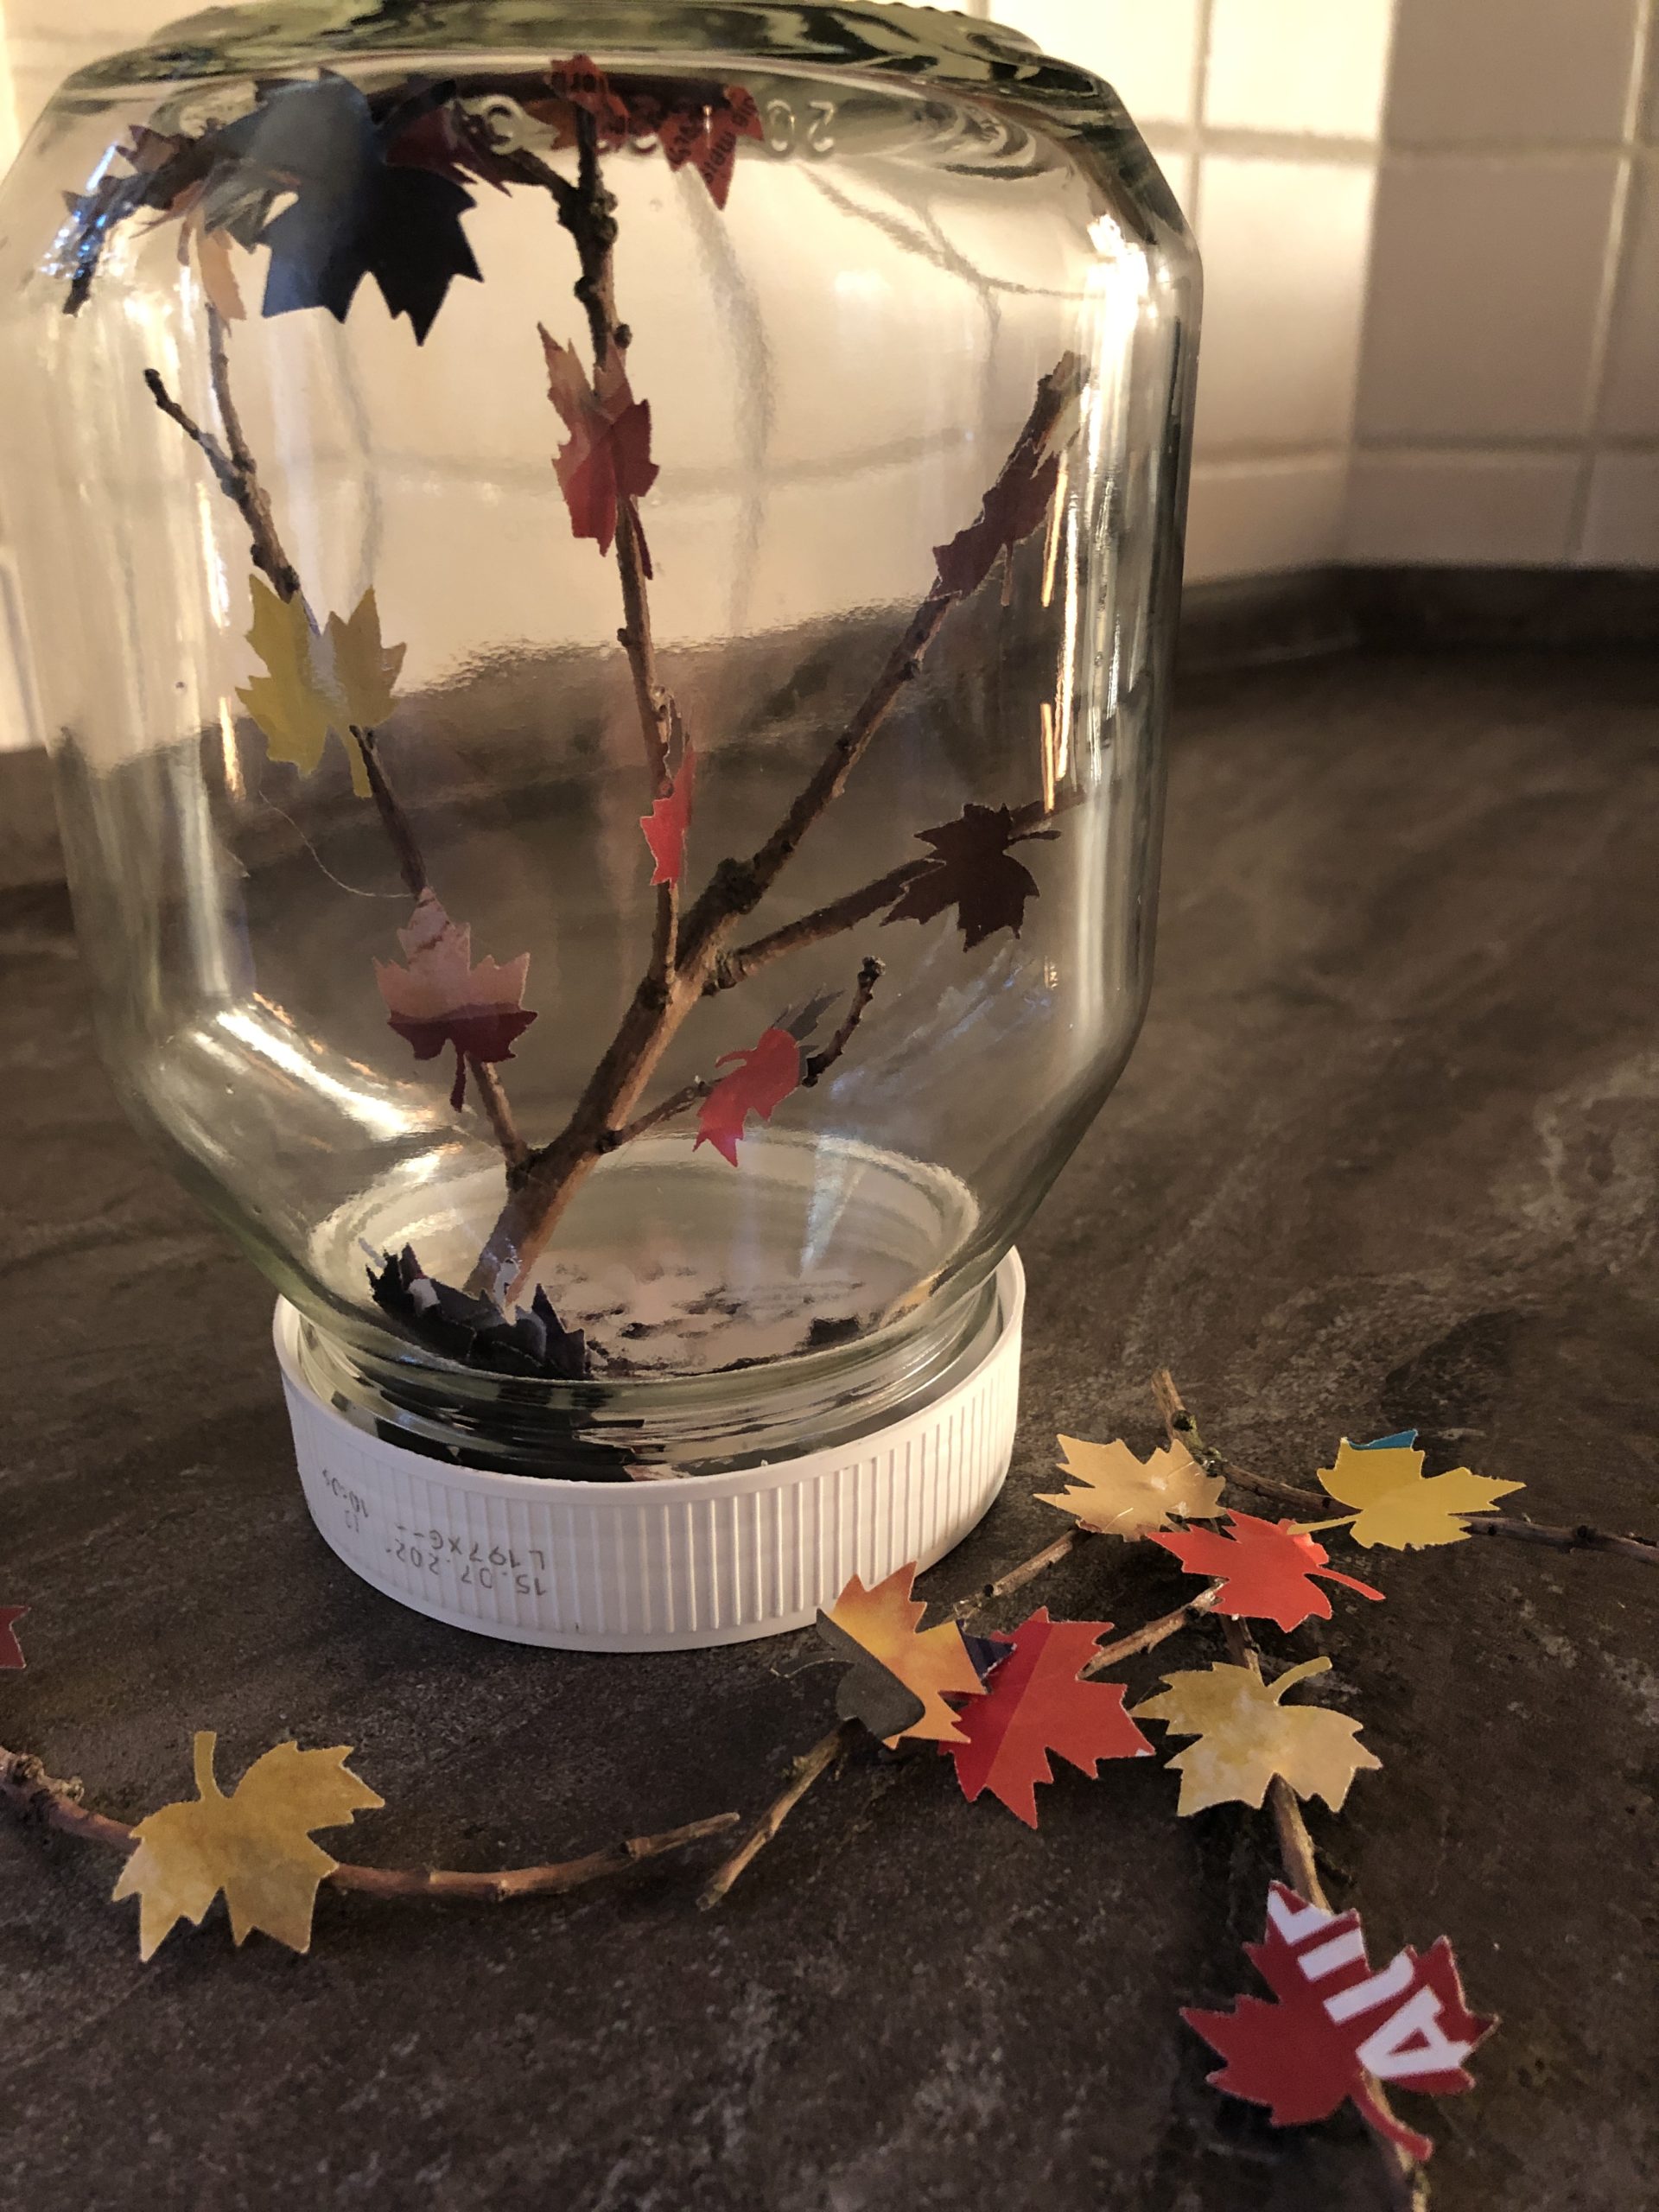
If you want to let the leaves fly, just shake the glass!
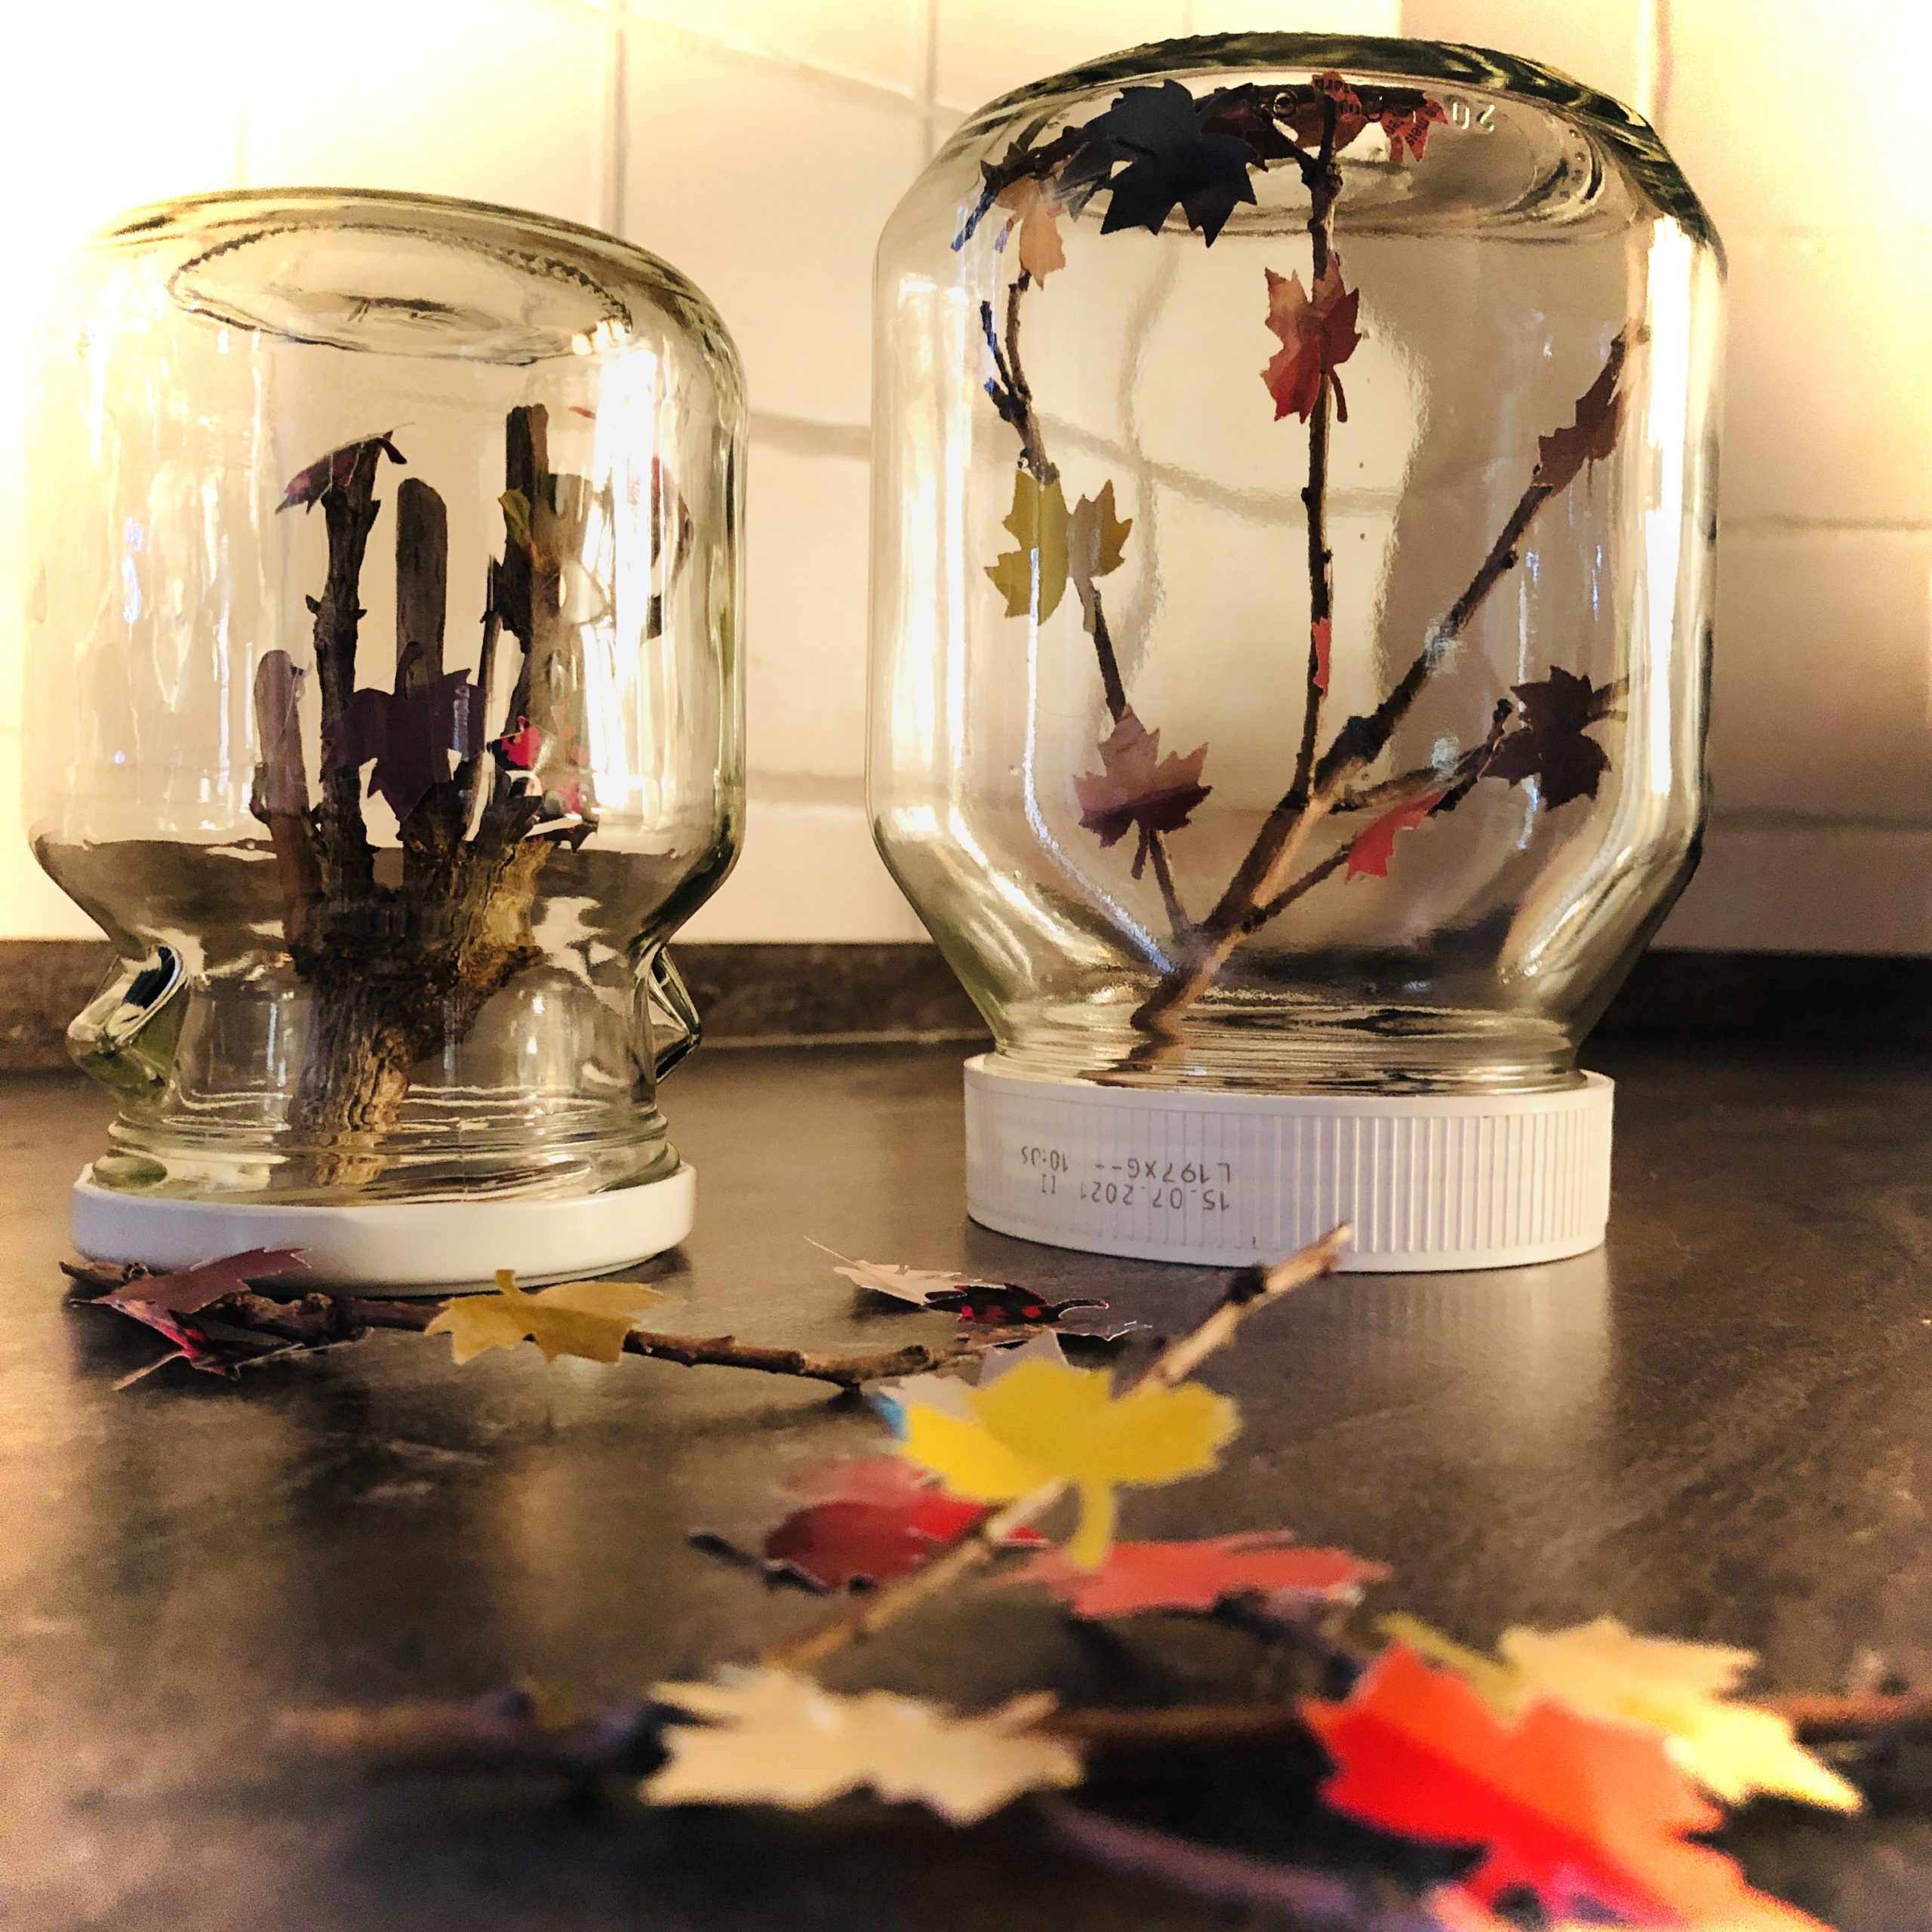
More variants!
Try it out! It's not difficult and looks beautiful!
Have fun!
Materials
Directions
Find a branched branch that looks like a small tree.
Cuts a branch with the garden shear if necessary.
Make sure that the branch fits through the opening of your screw glass!
Cut maple leaves out of a catalogue title sheet or use colored clay paper. Make sure you use the autumn colors!
Attach your branch to the inside of the lid with an adhesive point from the hot glue gun. Let us help you if necessary. The use of the hot glue must be practiced! Risk of injury!
At each Ästchen now glue points are placed at the ends, on which you can fix leaves.
Attach as many leaves as possible to your little tree.
You can also stick leaves on the lid bottom.
Carefully thread the tree (which hangs on the lid) into the glass.
In addition, you can add a few additional leaves to the glass.
Screw the glass.
Now turn it upside down (cover). Your autumn shaker glass is ready.
If you want to let the leaves fly, just shake the glass!
More variants!
Try it out! It's not difficult and looks beautiful!
Have fun!
Follow us on Facebook , Instagram and Pinterest
Don't miss any more adventures: Our bottle mail


