When the first spring blooms come out of the earth in spring, children become curious. The onions start to germinate already at the first warm sun rays. Until a flower can be seen, children often wait days. In order to shorten this waiting time you can implement this craft idea. Make your own onion with dry onion peels and wool threads and decide which flower should emerge from it.
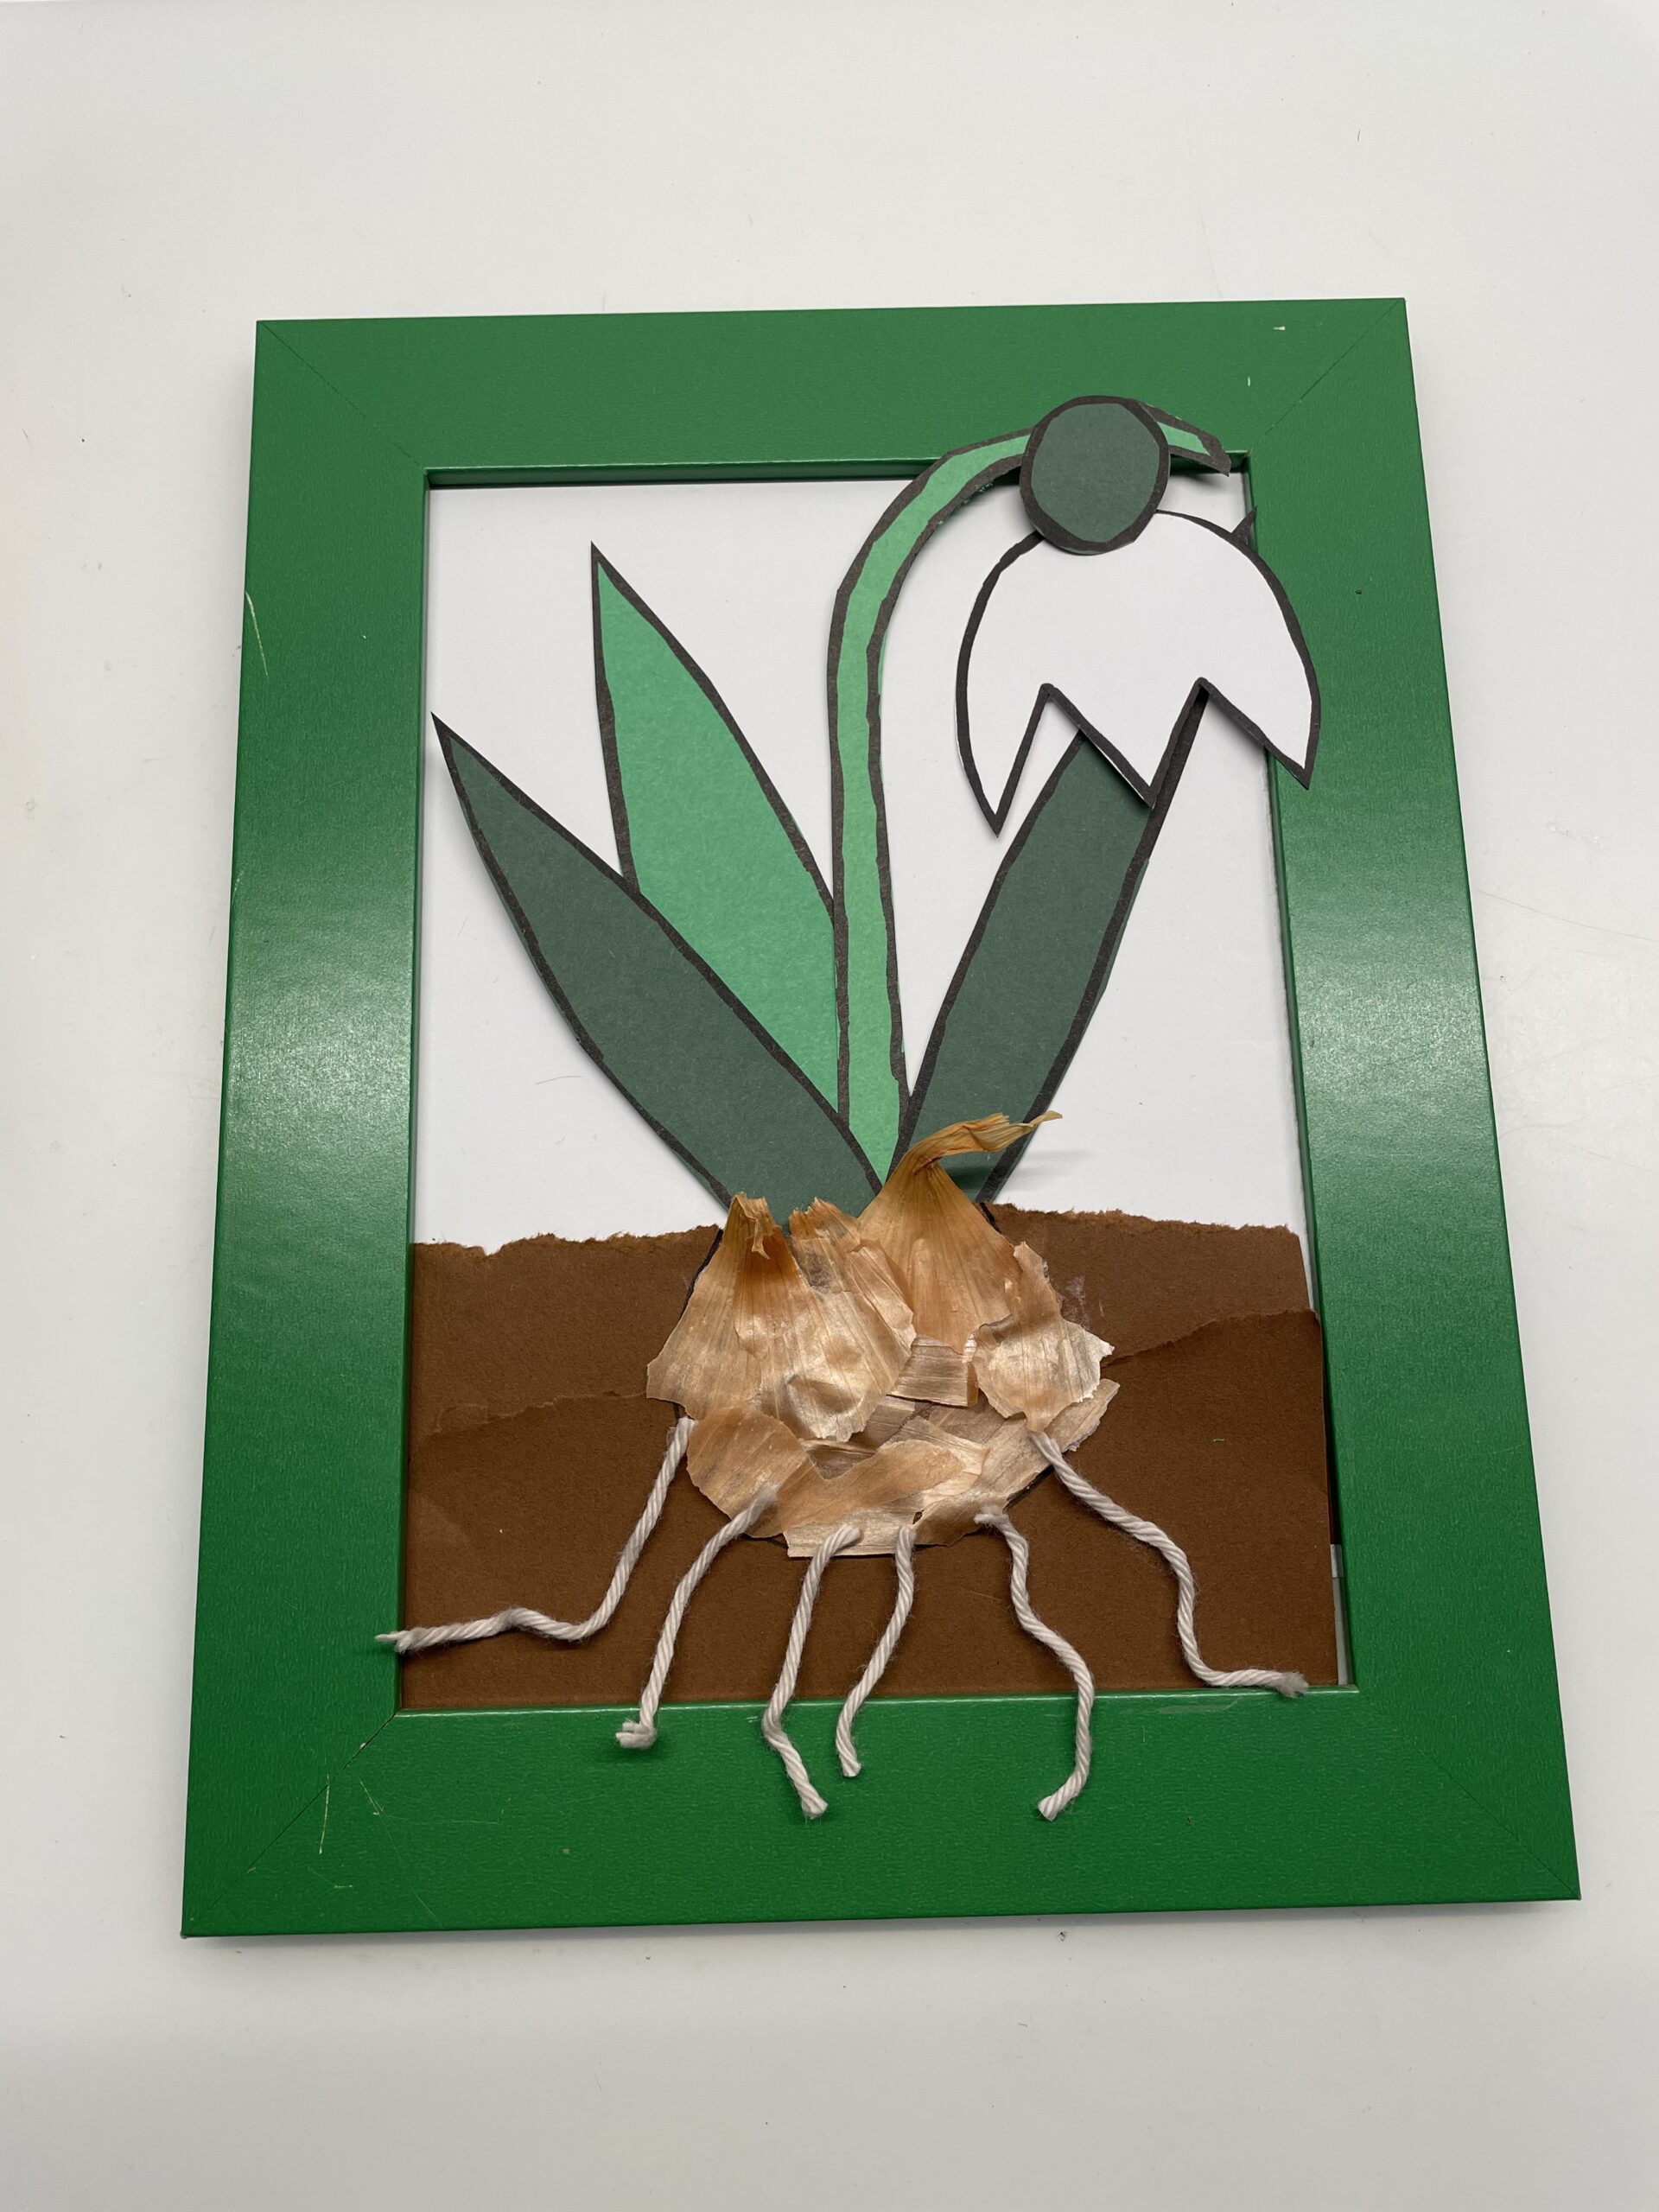
Here you will find the idea with a snowdrop. Have fun trying and experimenting!
Media Education for Kindergarten and Hort

Relief in everyday life, targeted promotion of individual children, independent learning and - without any pre-knowledge already usable by the youngest!

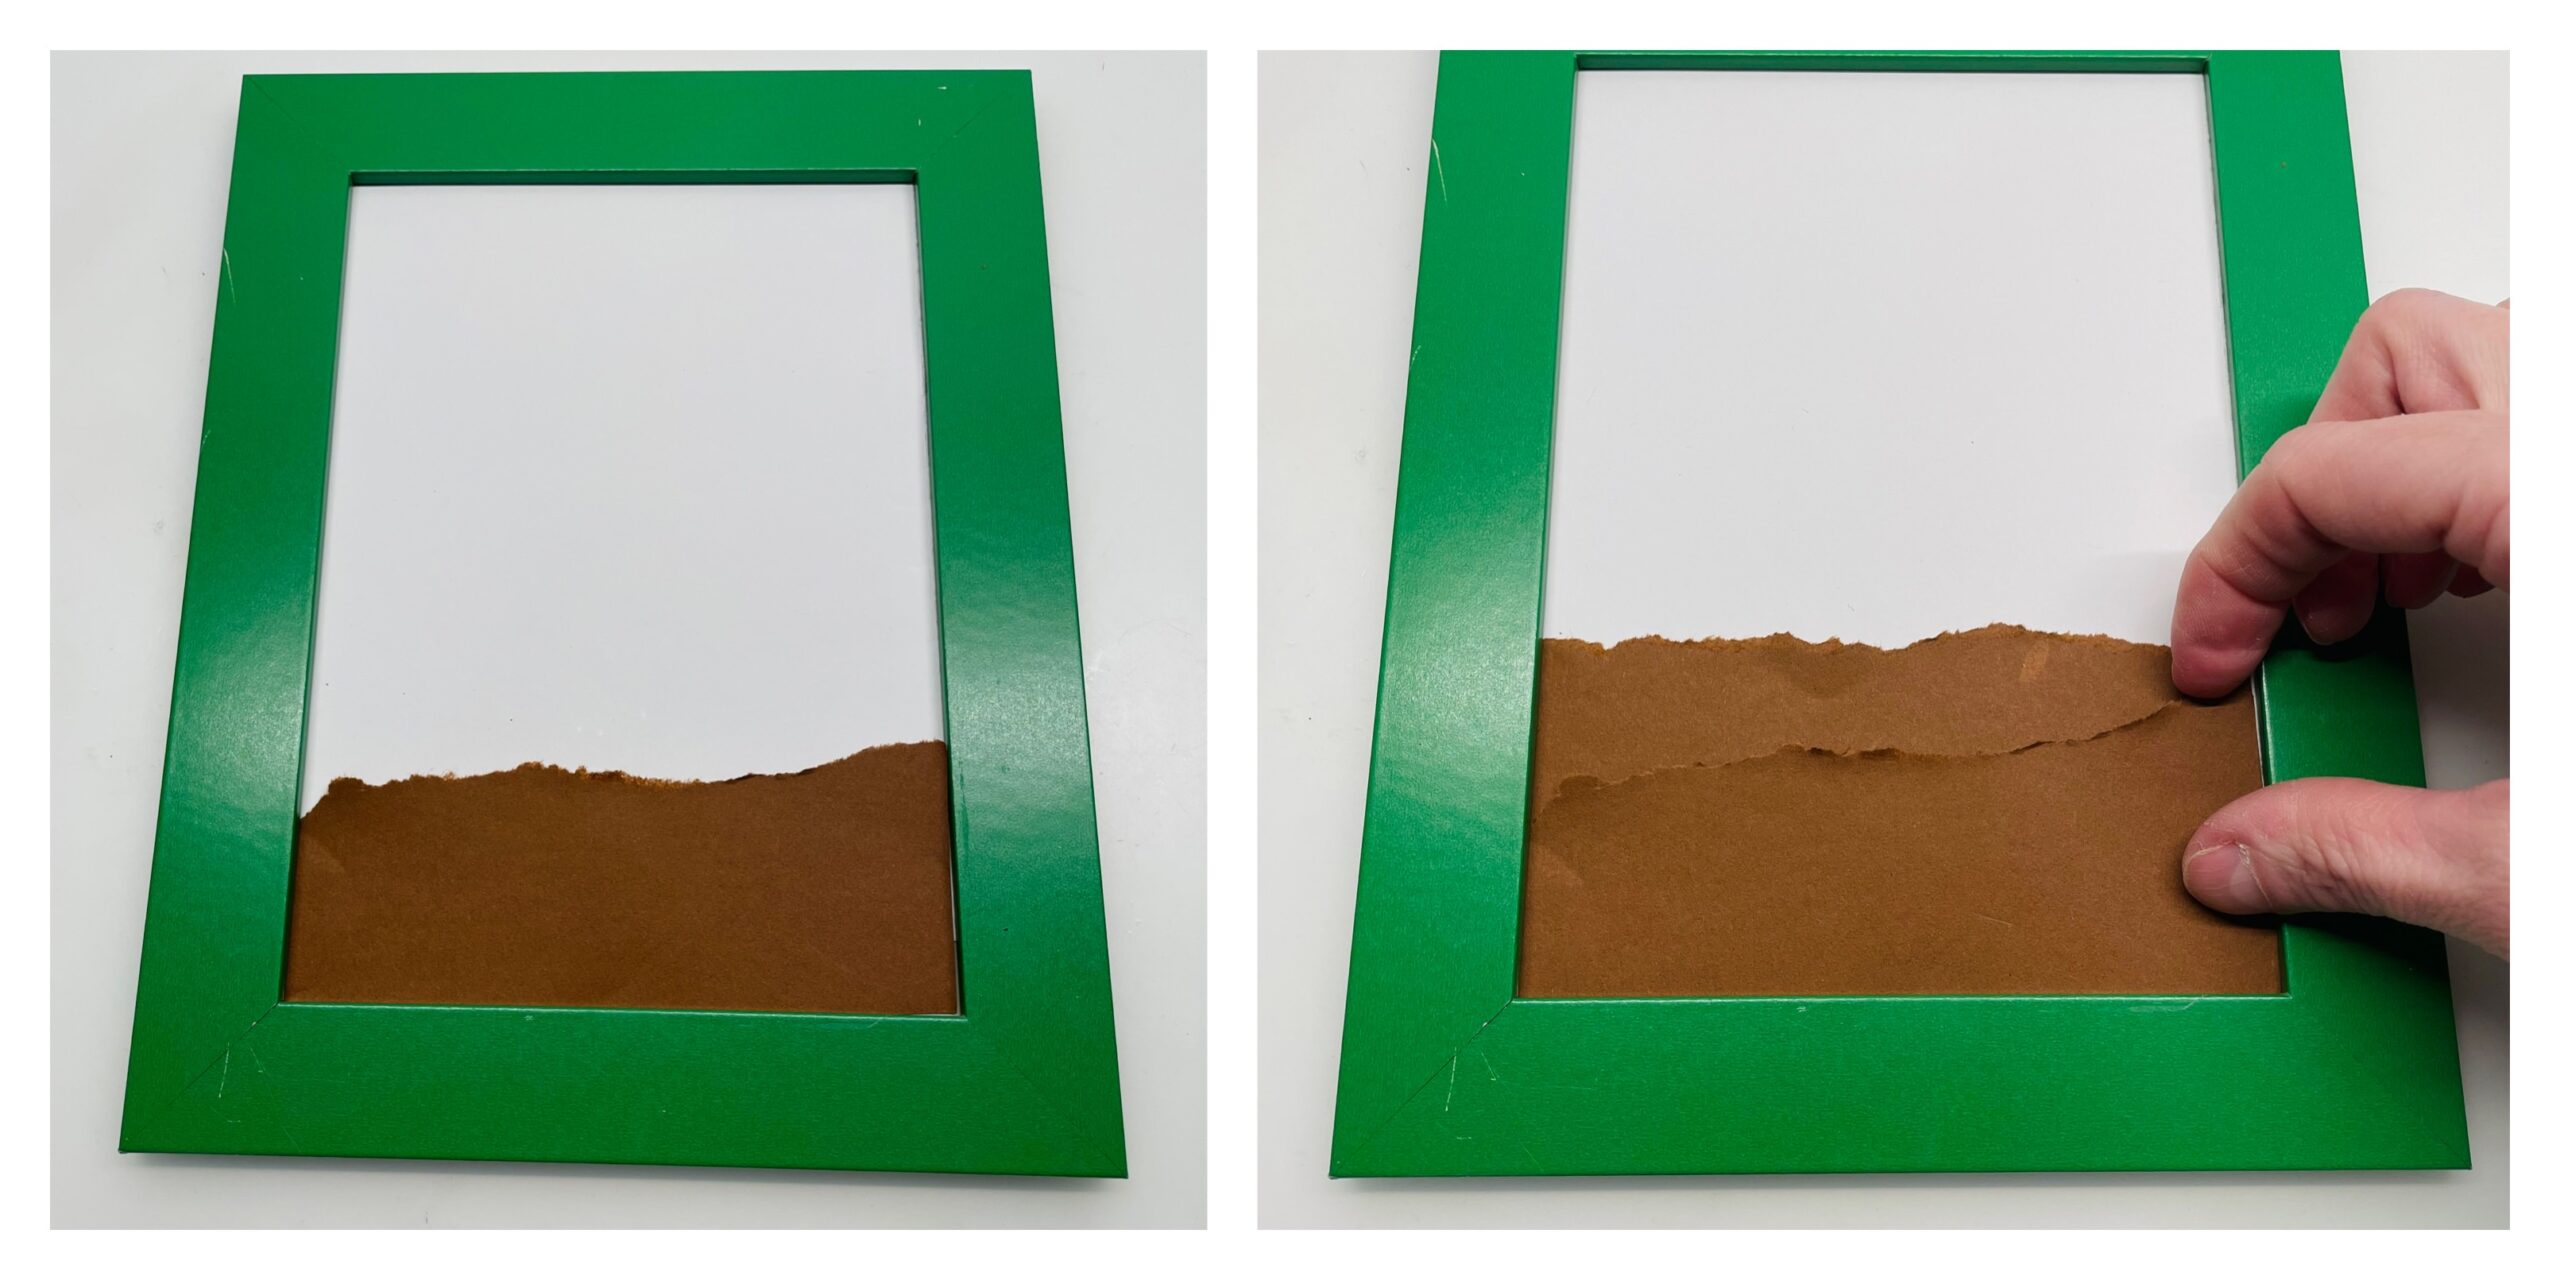
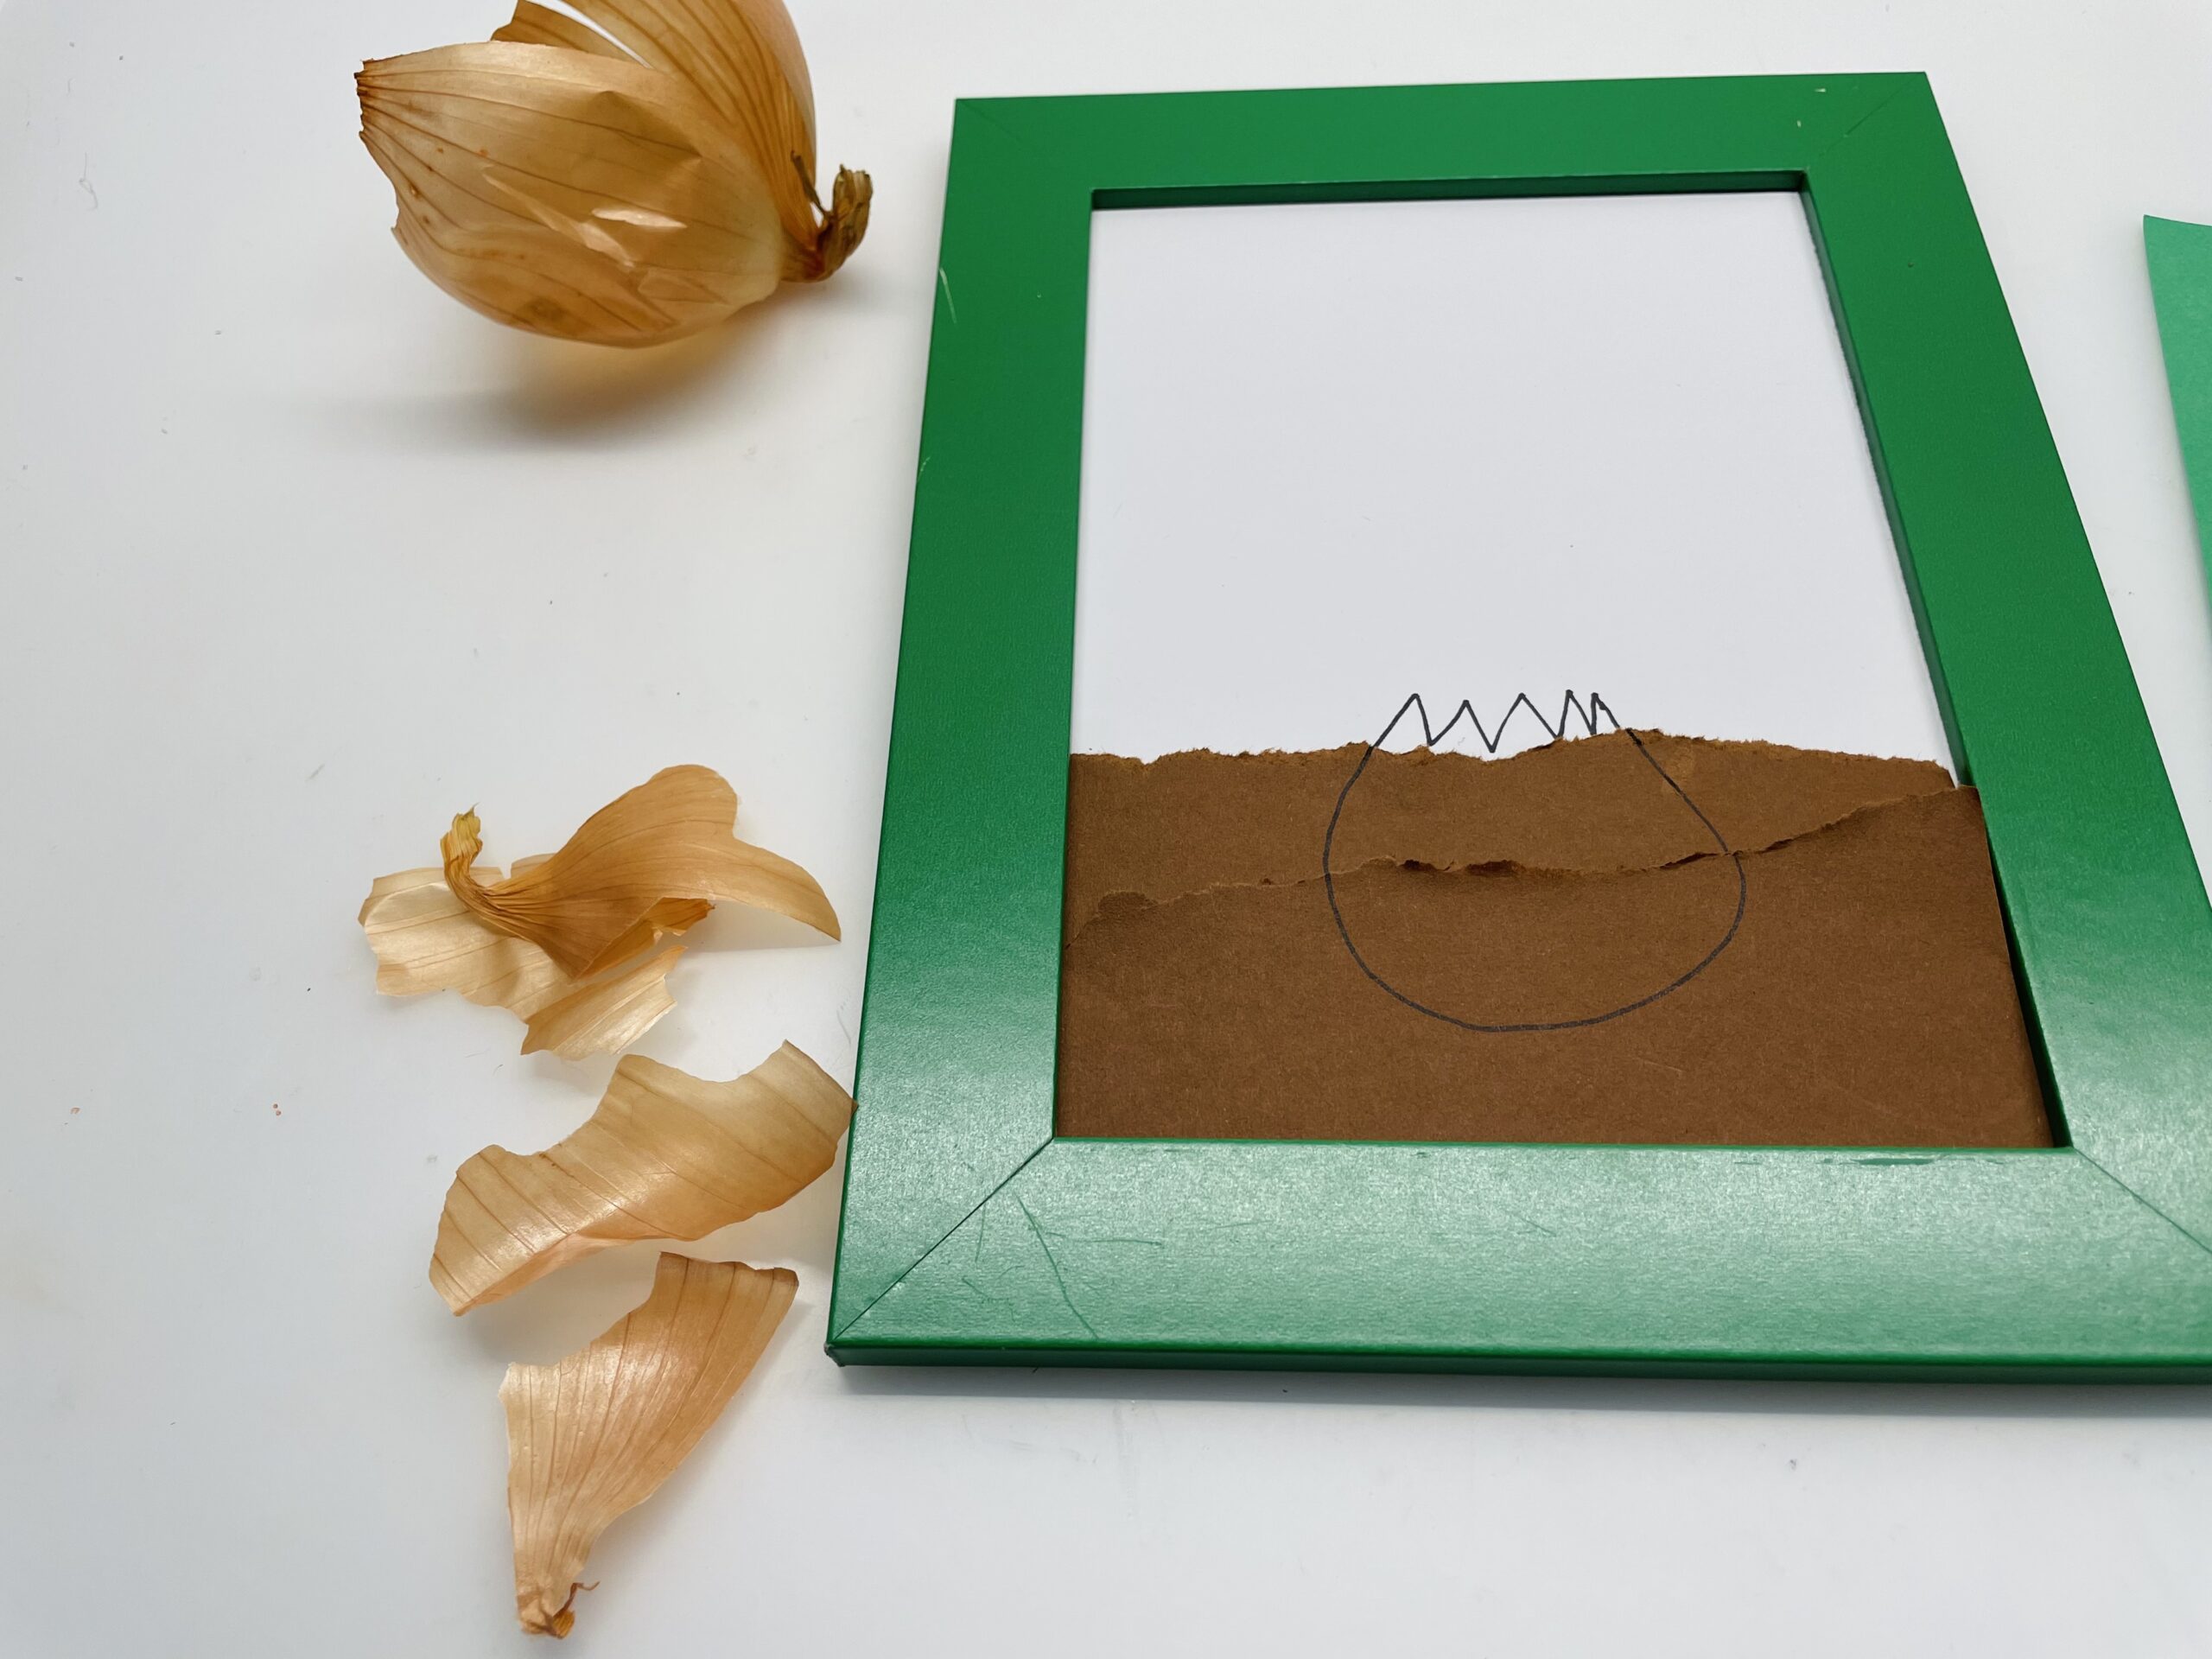
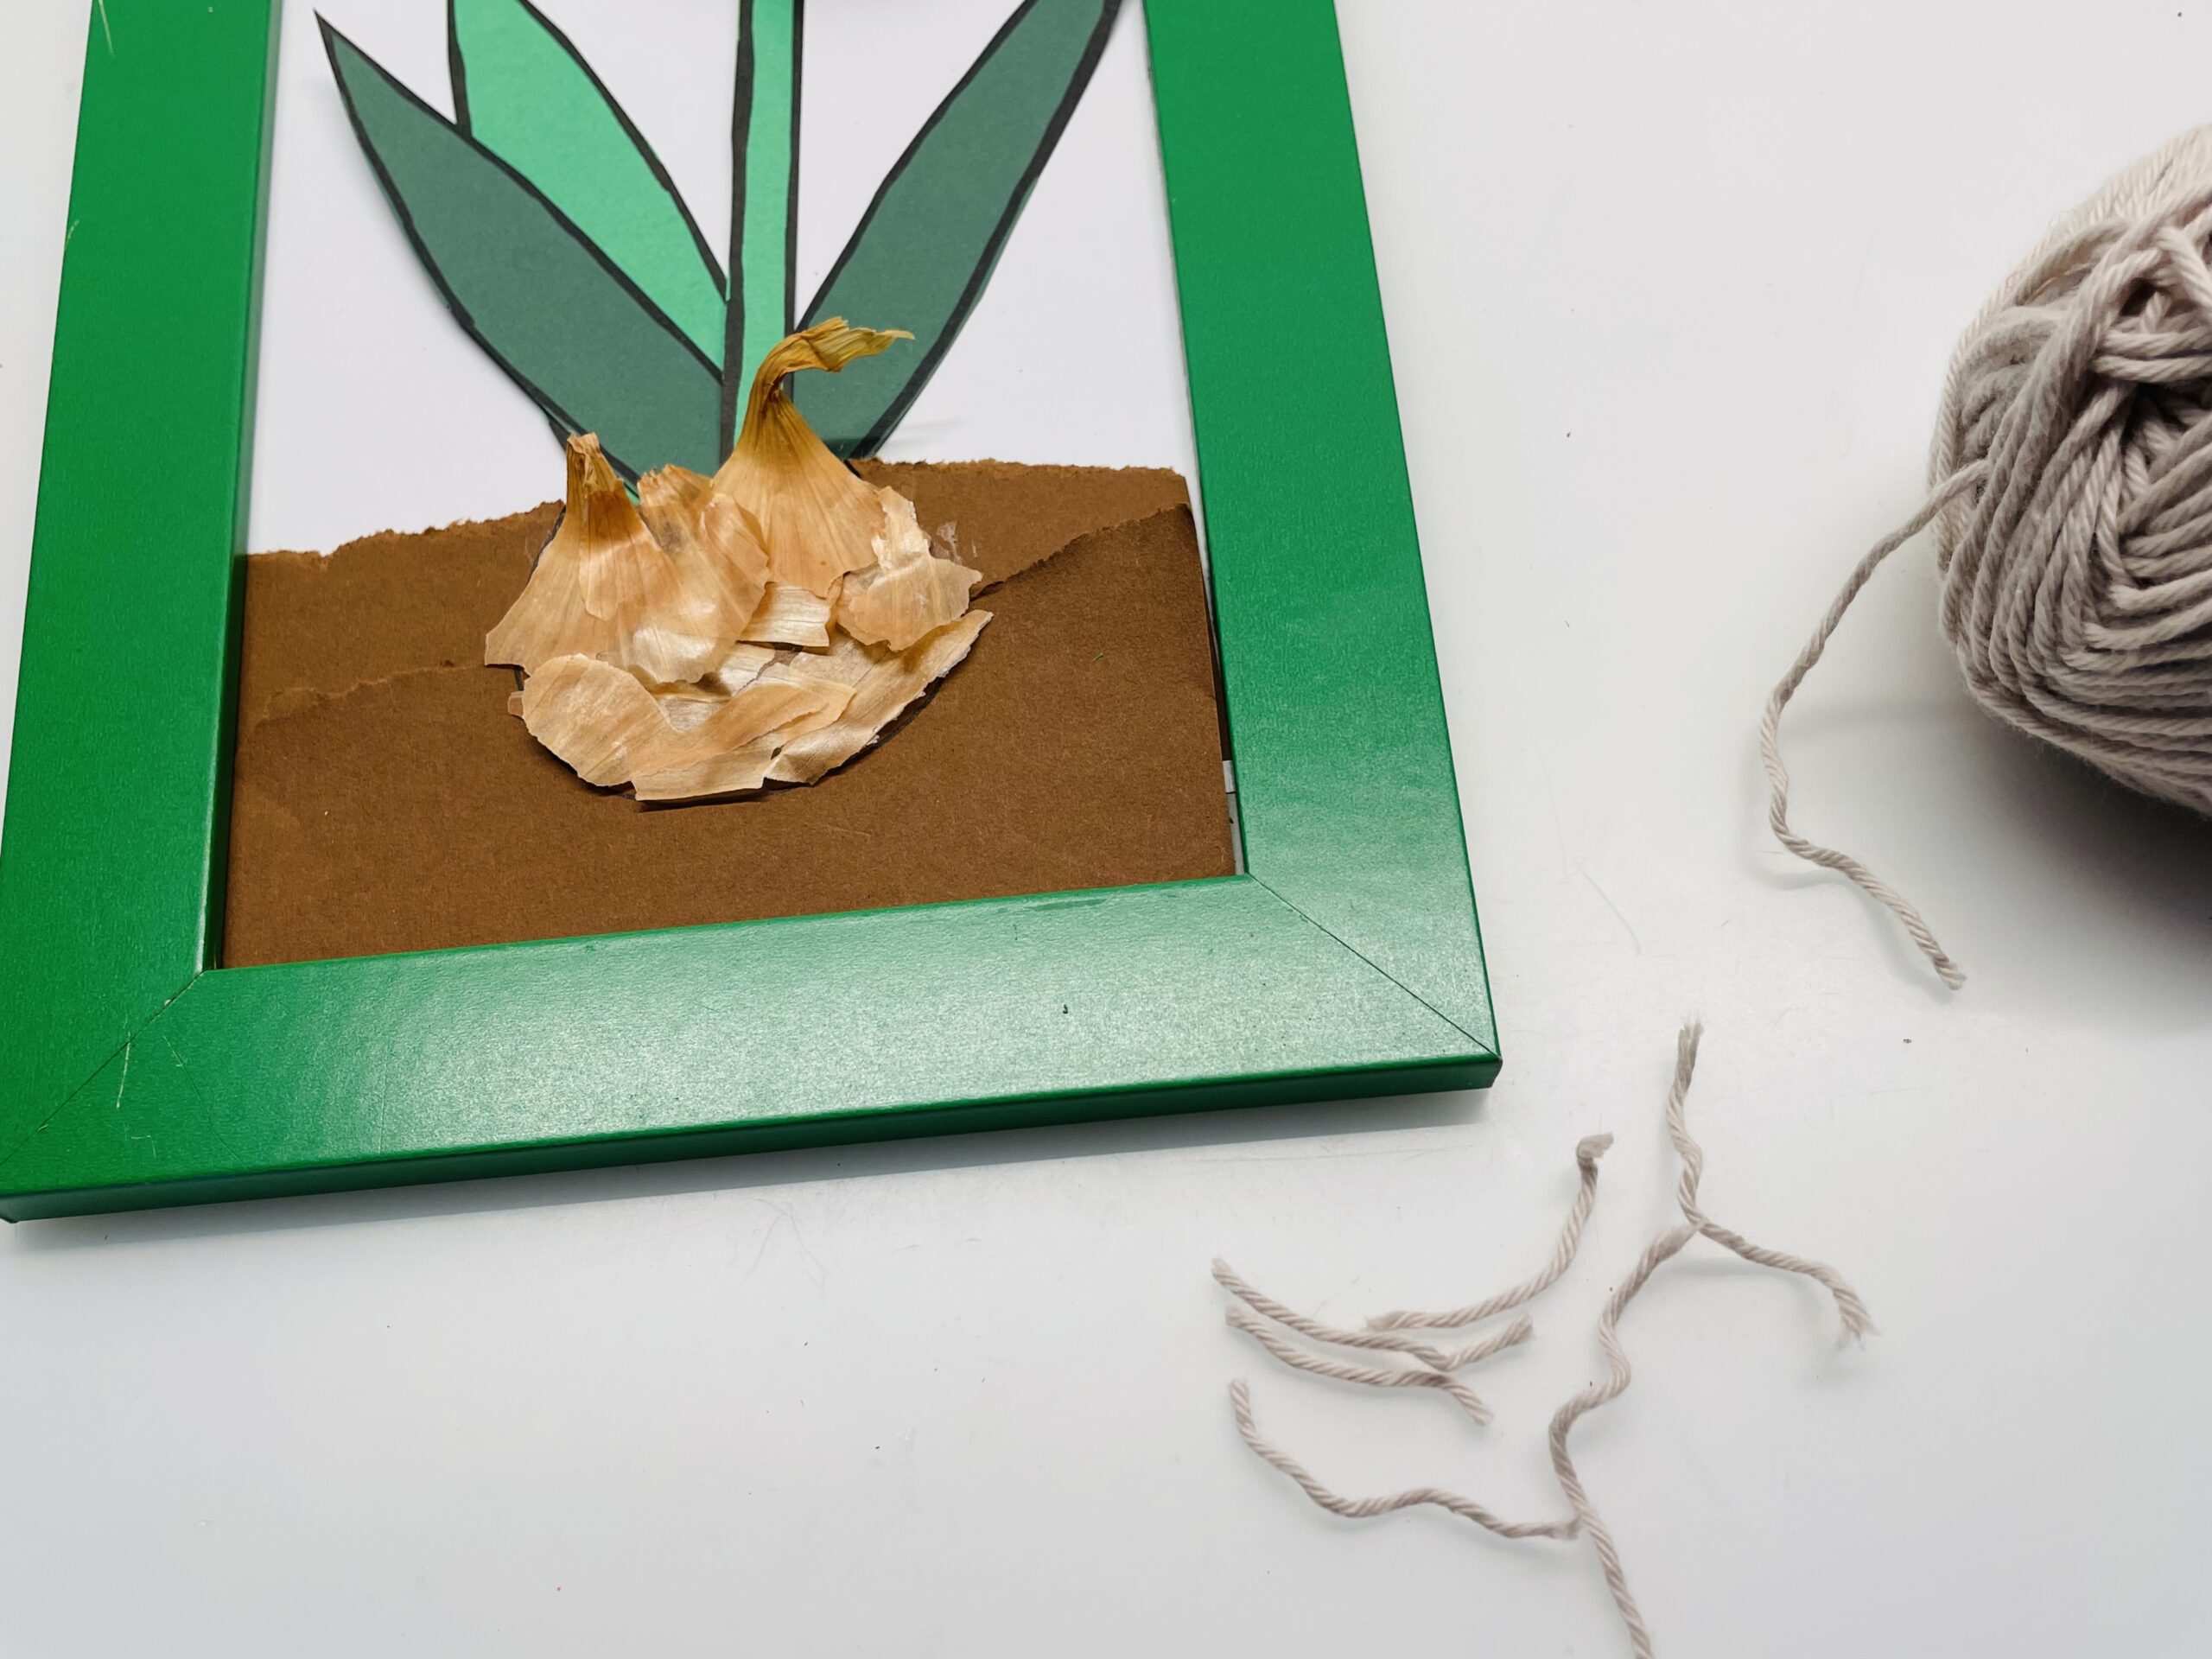
First put a light sheet in a small picture frame or on a solid photo box and tear off two strips of brown paper. You stick it a little bit over each other. This is the earth in which the flower onion is later stuck.
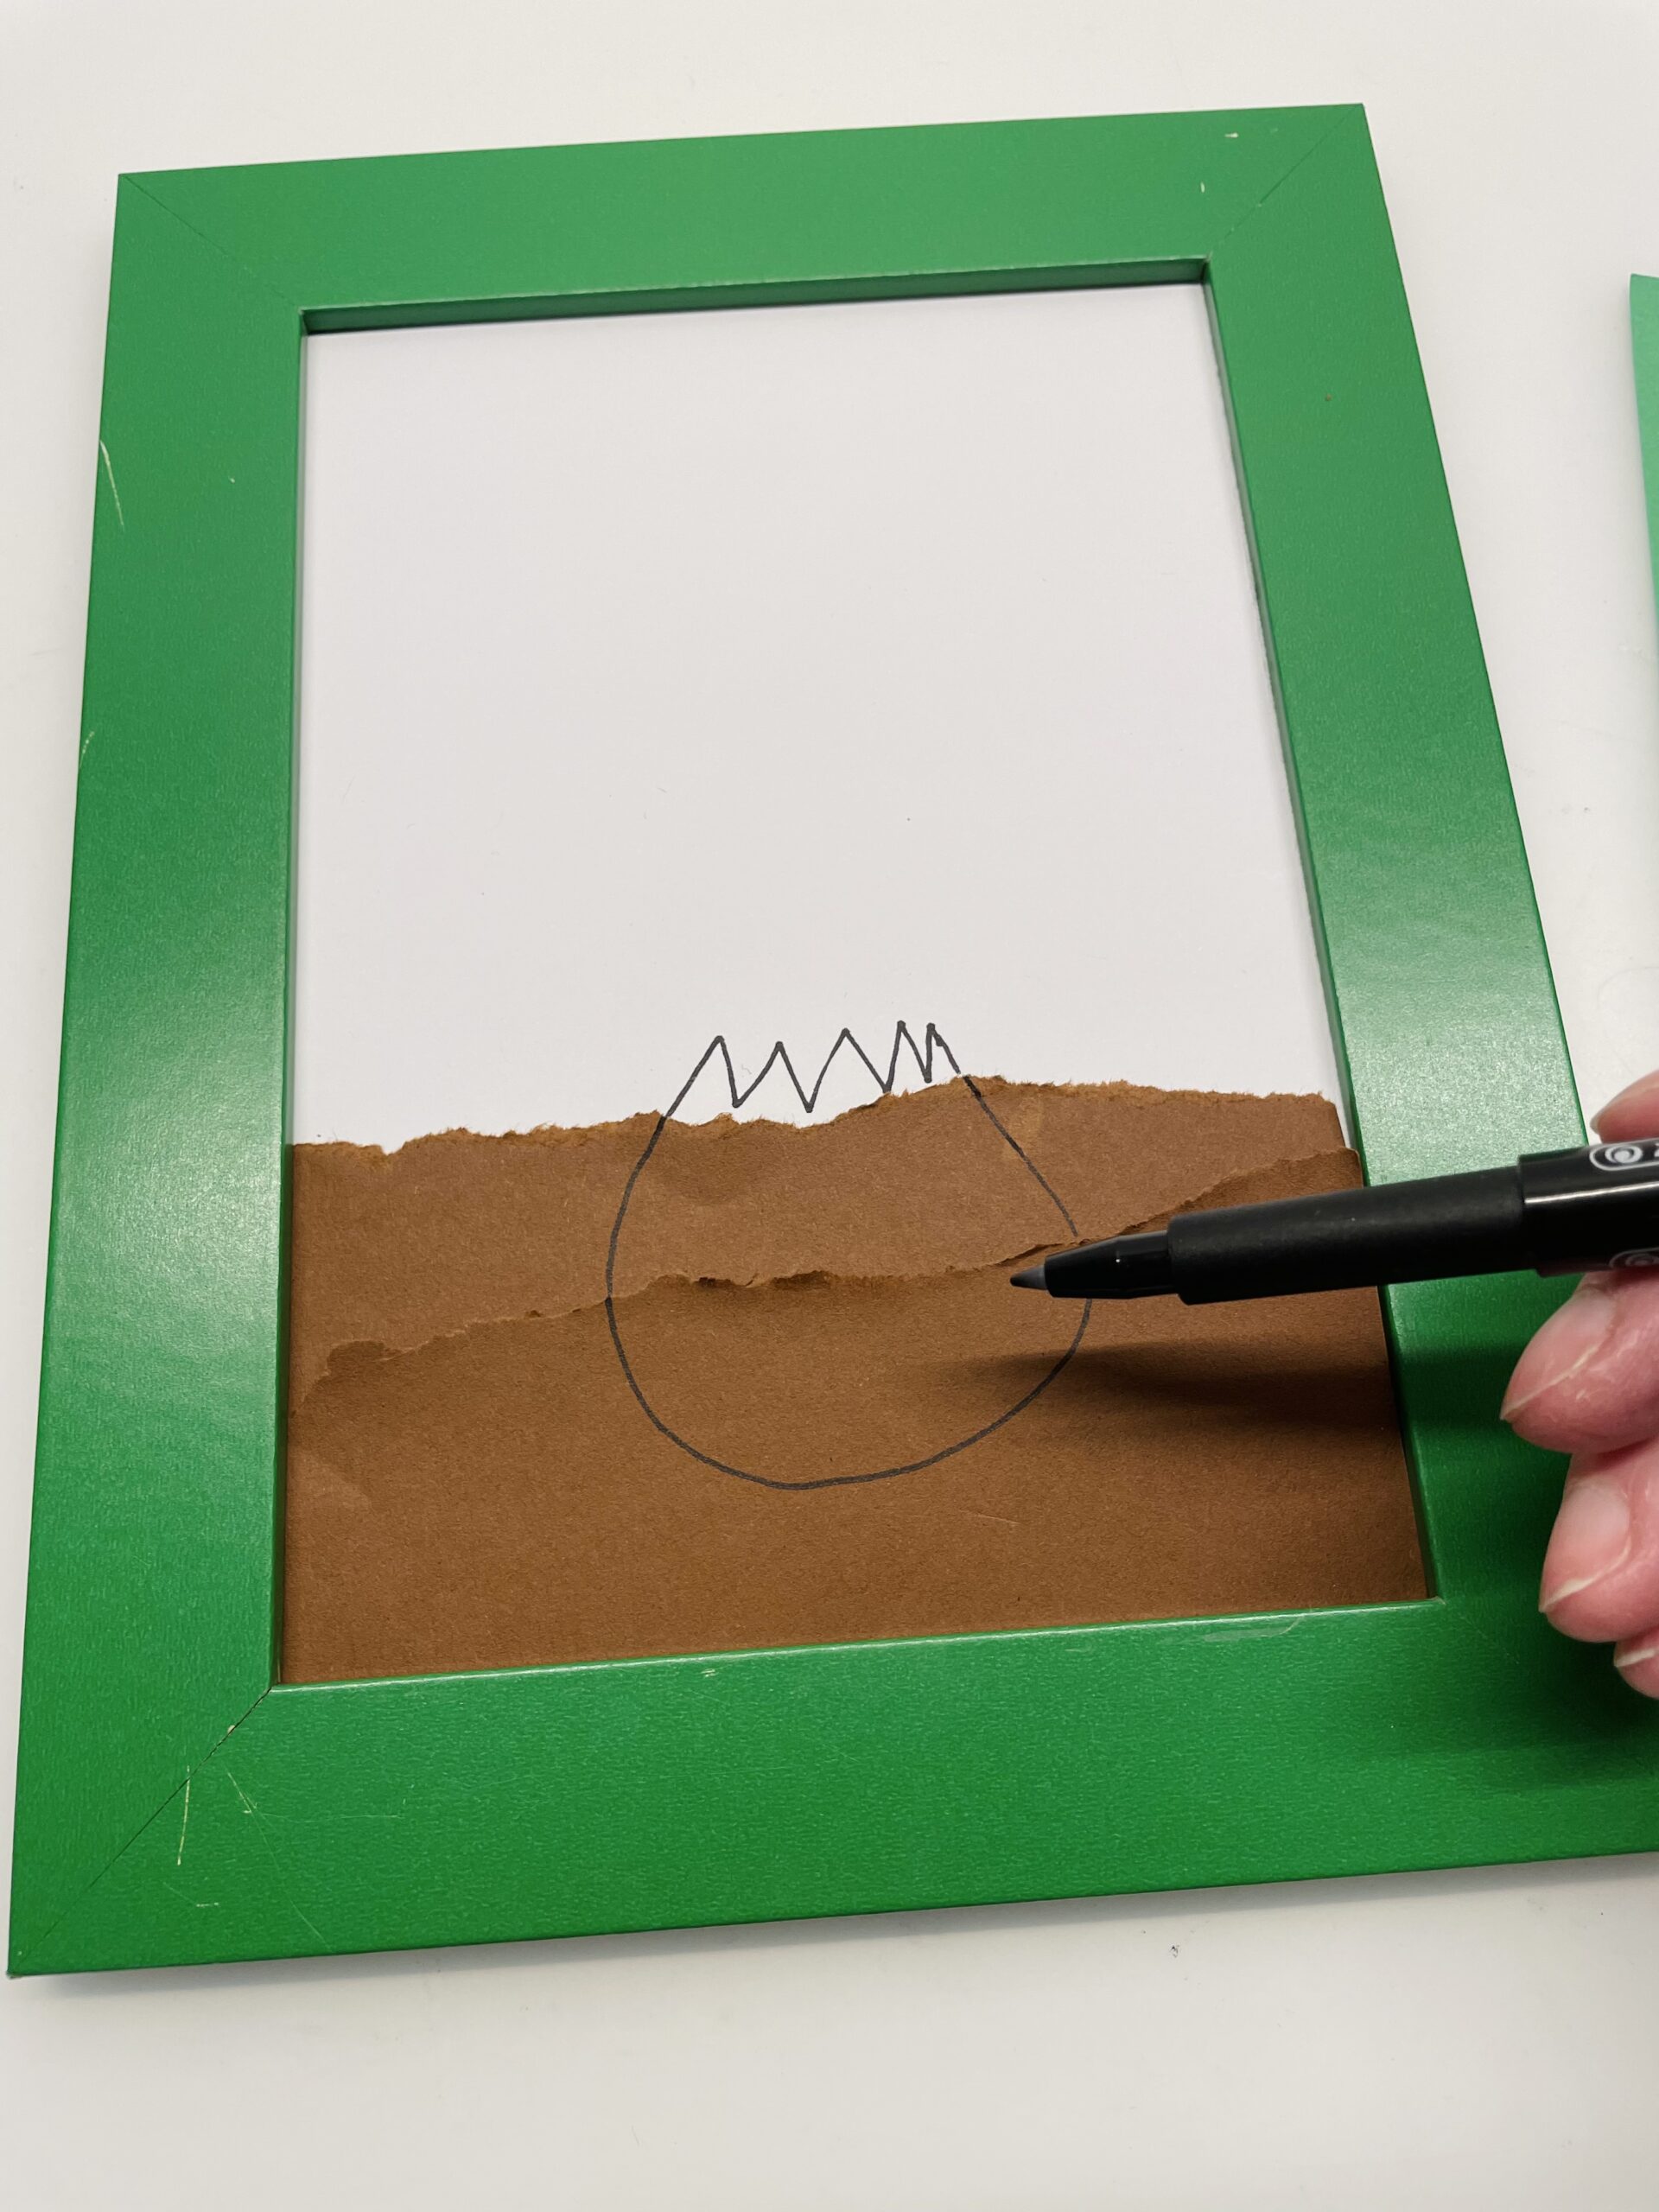
Now you paint a big onion on the ground.
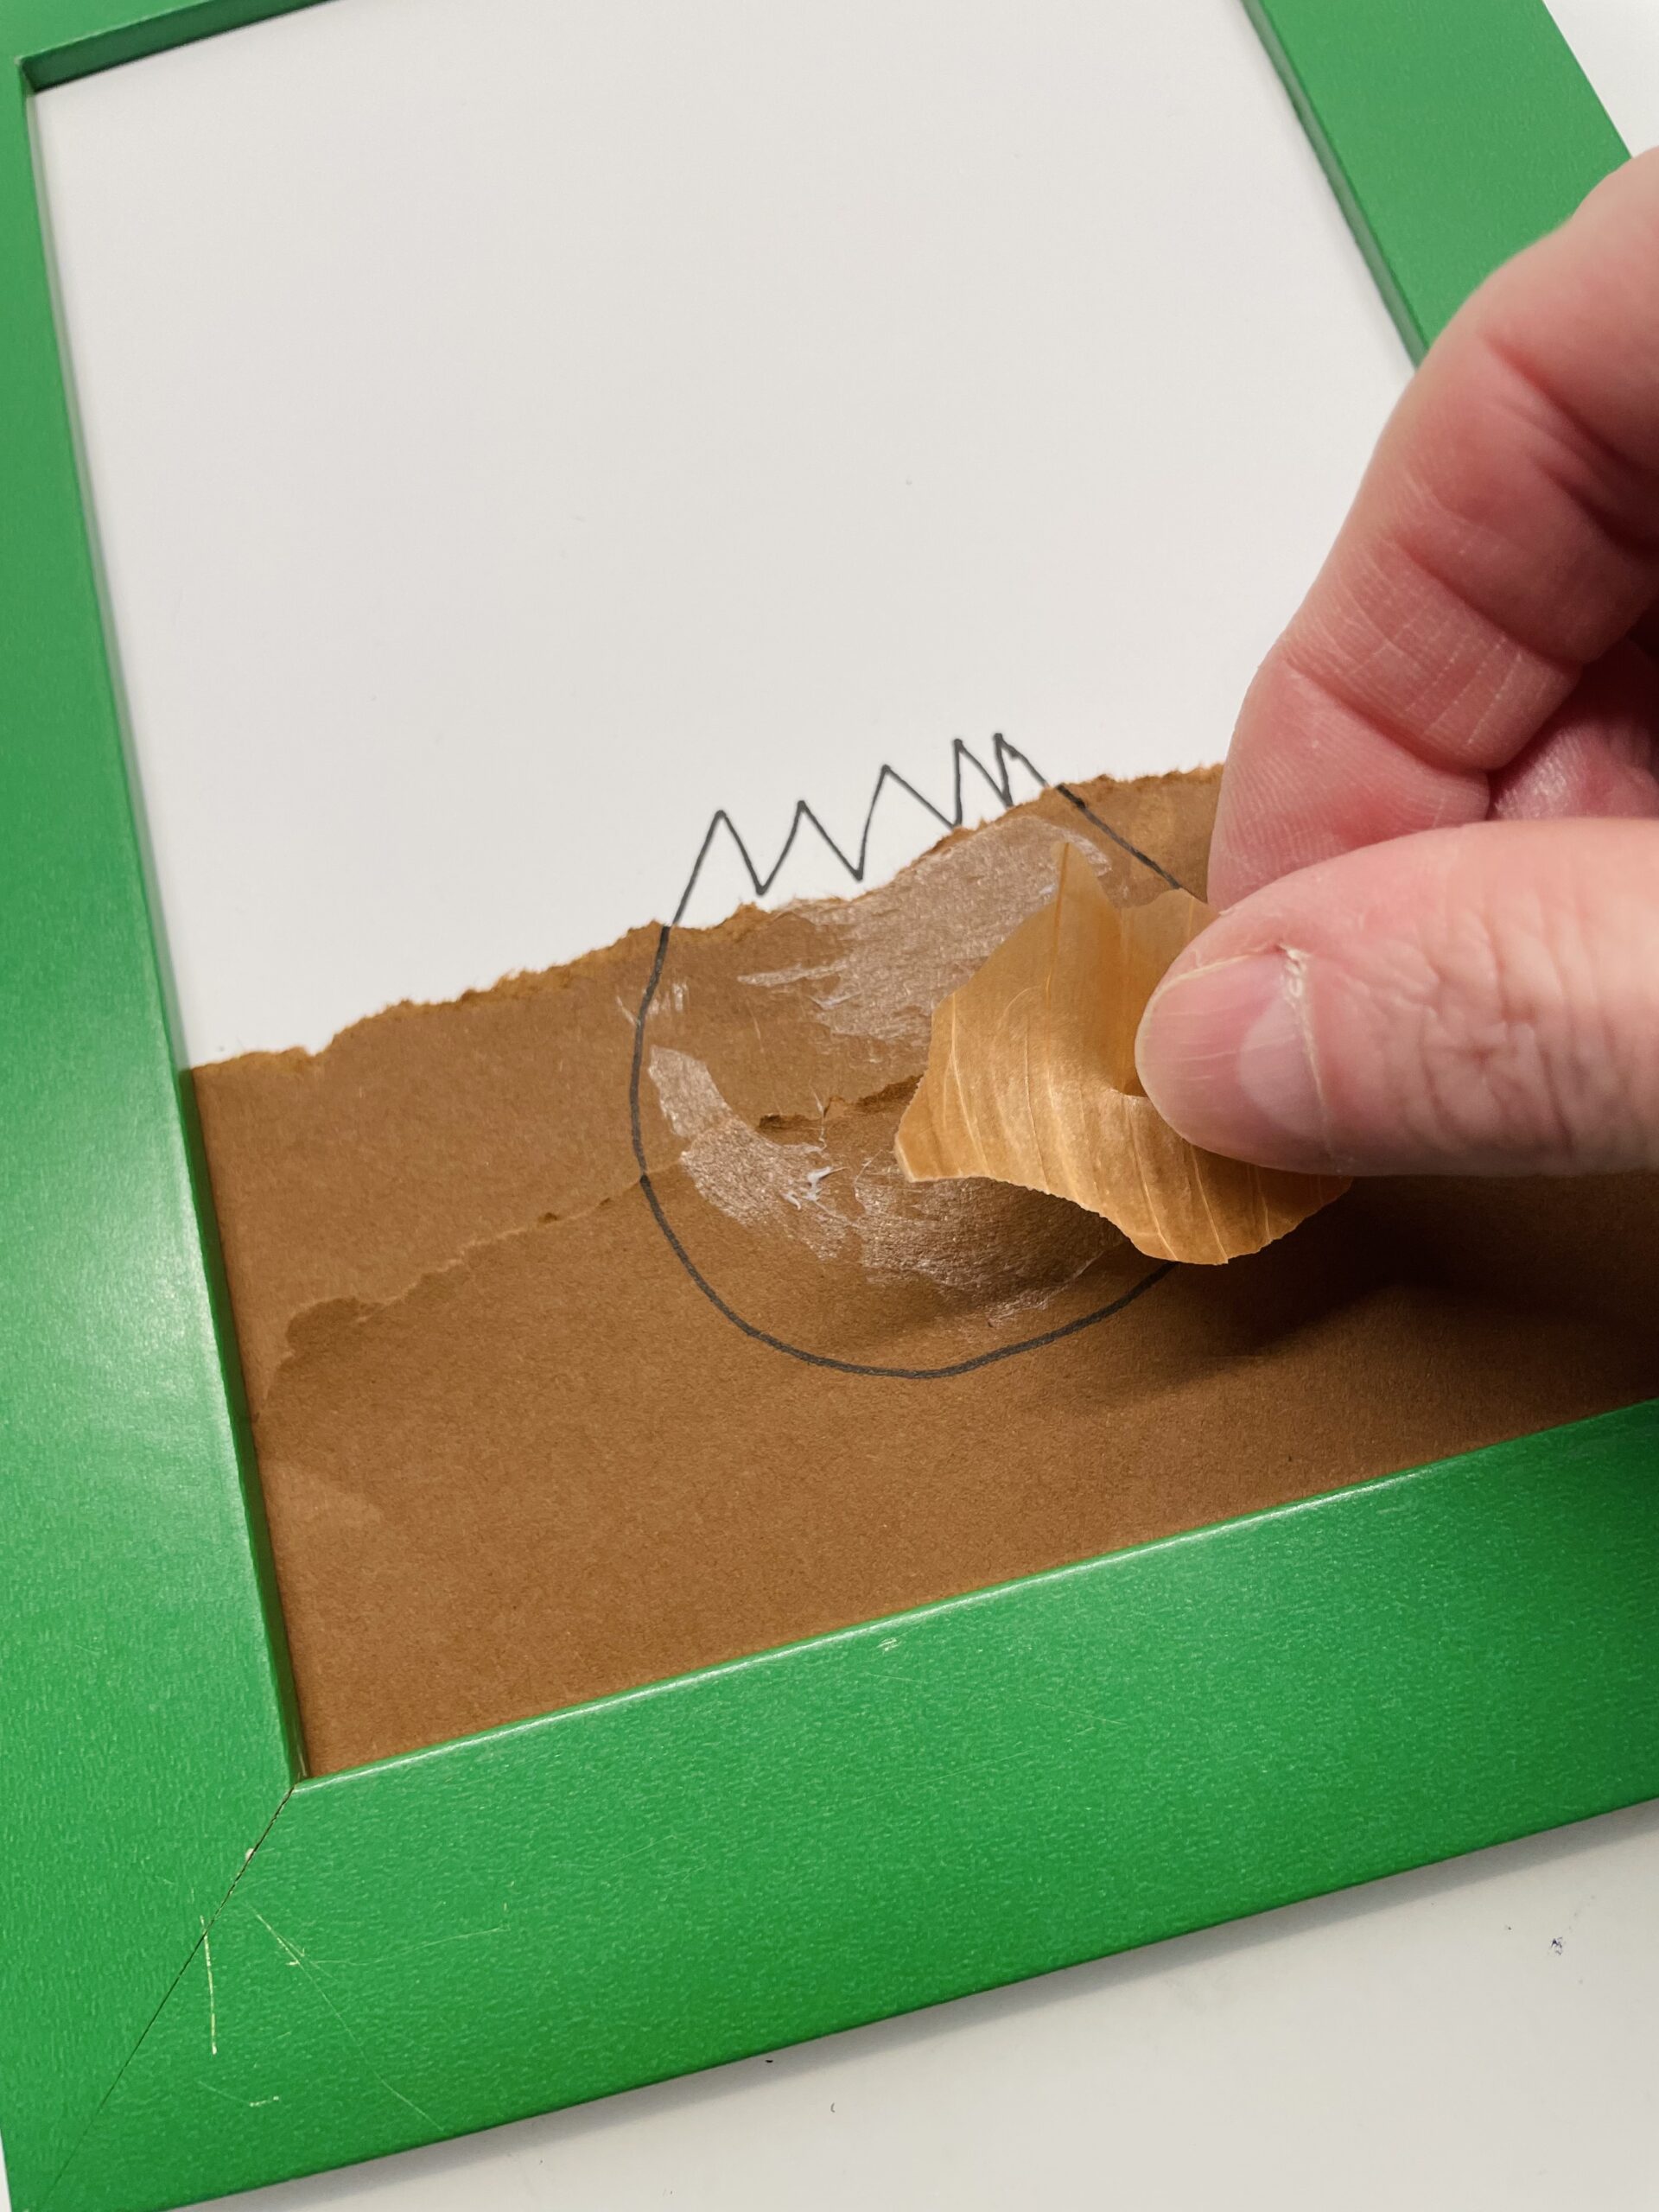
Then gently peel some peels from a fresh onion. Then tear the peels into smaller pieces.
Now you put some glue on the painted onion and put the onion peels on it.
Cover all the flower bulbs.

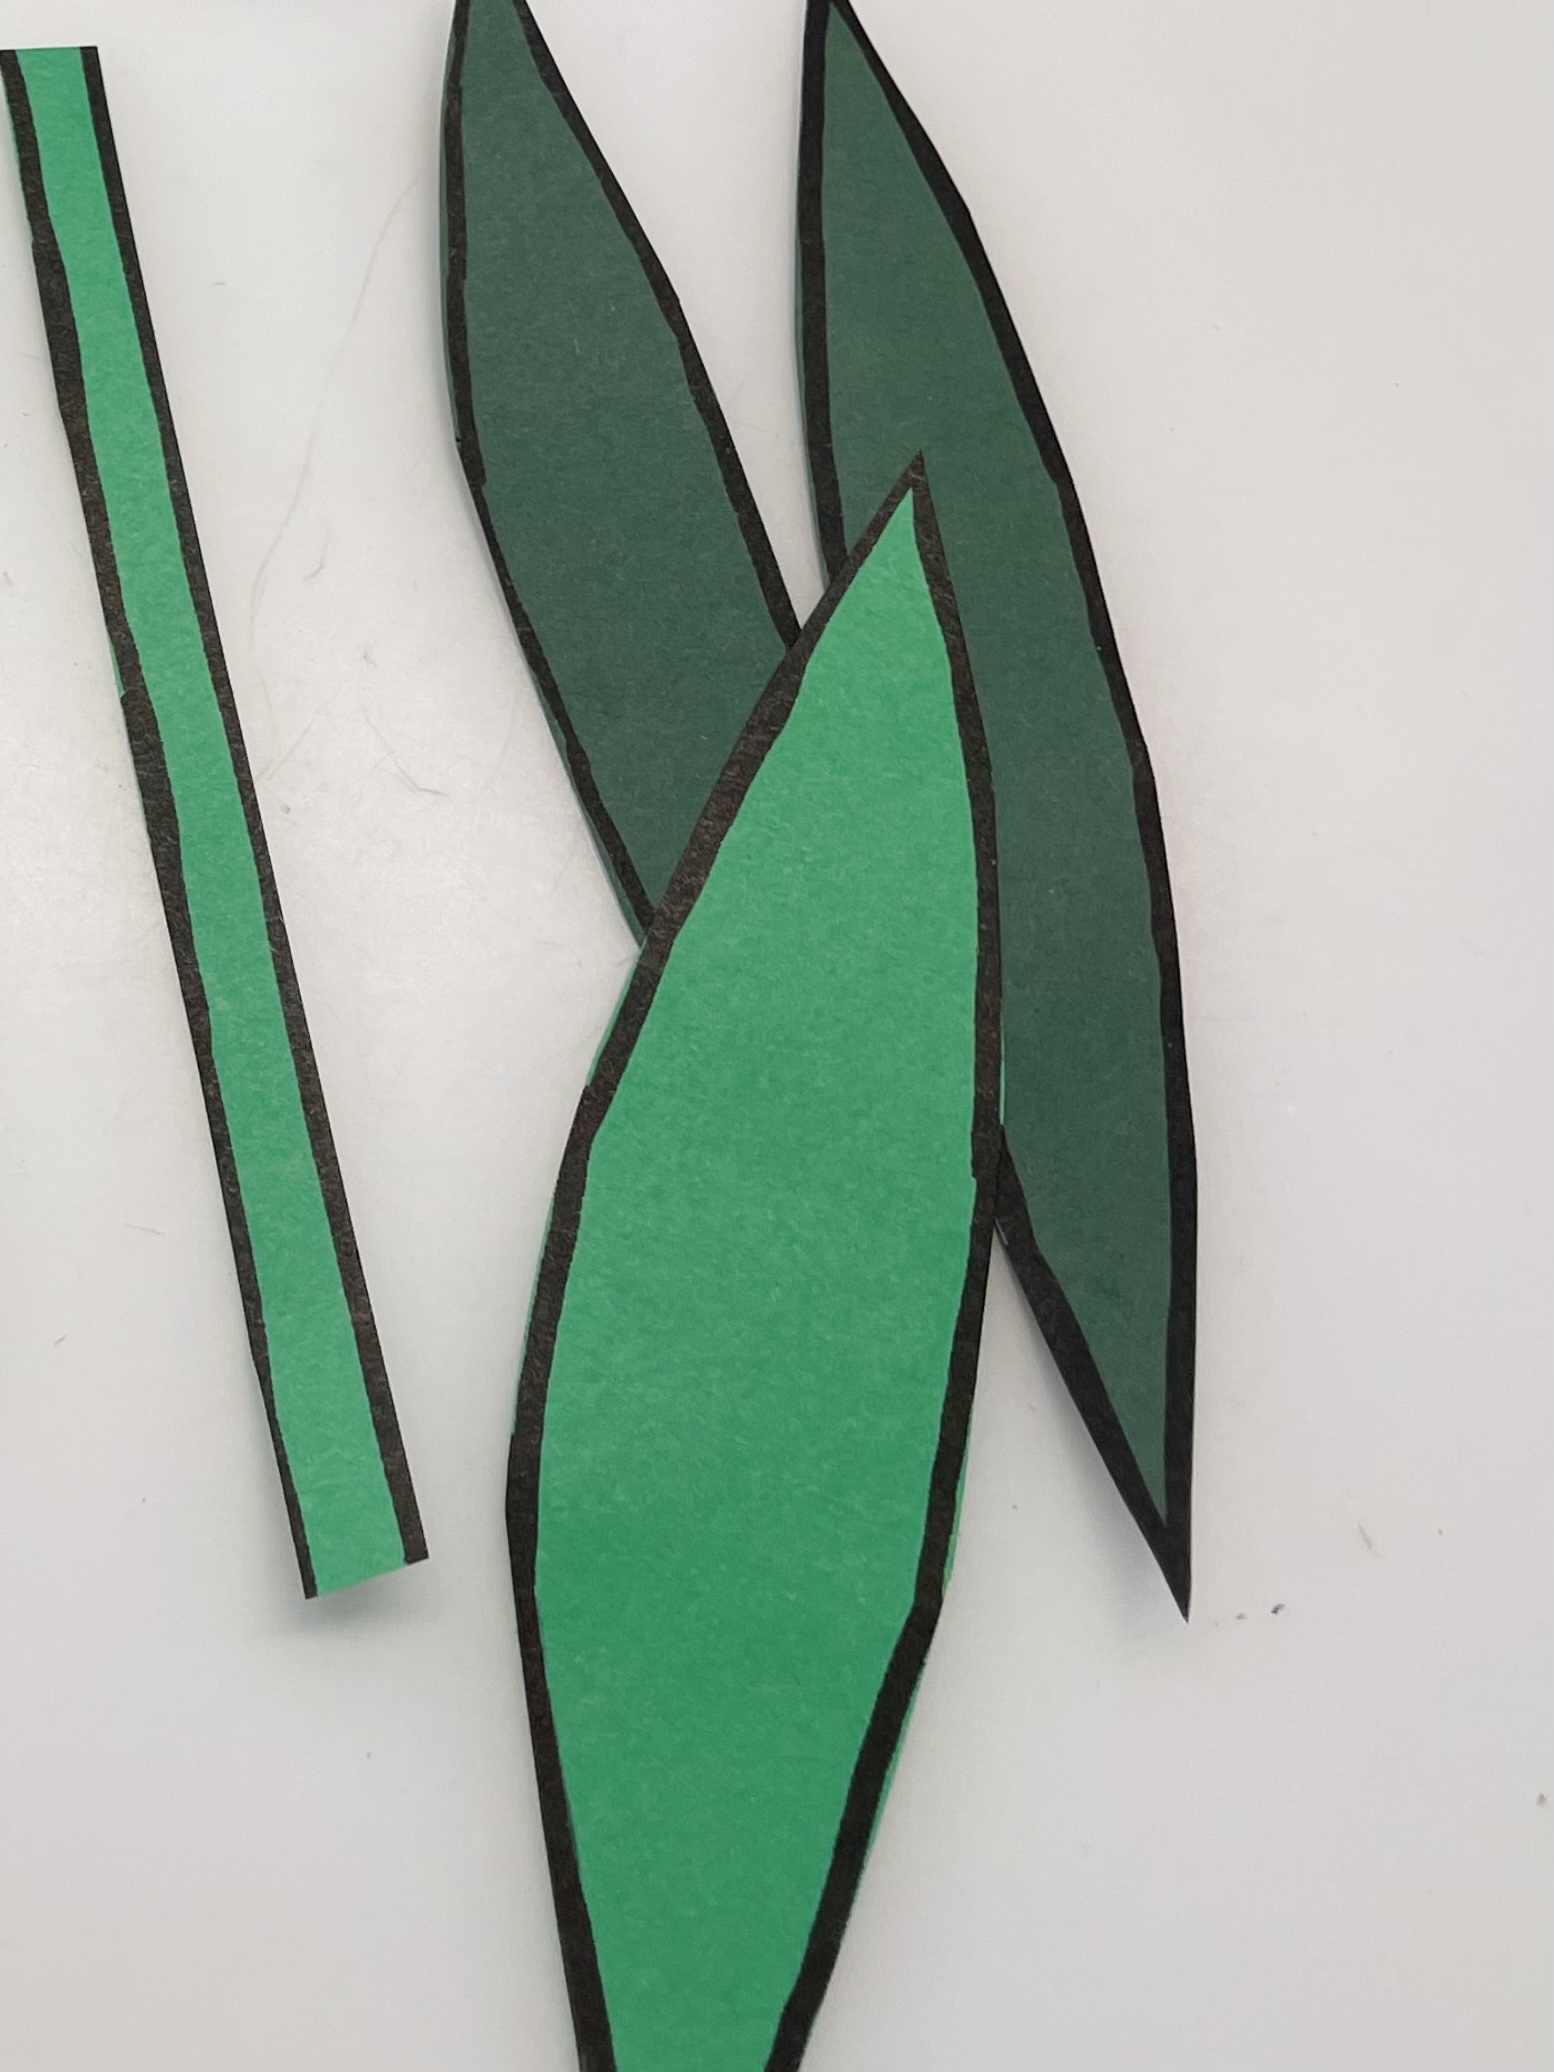
Then you cut out two or three leaves of green paper and border them with a black pen.
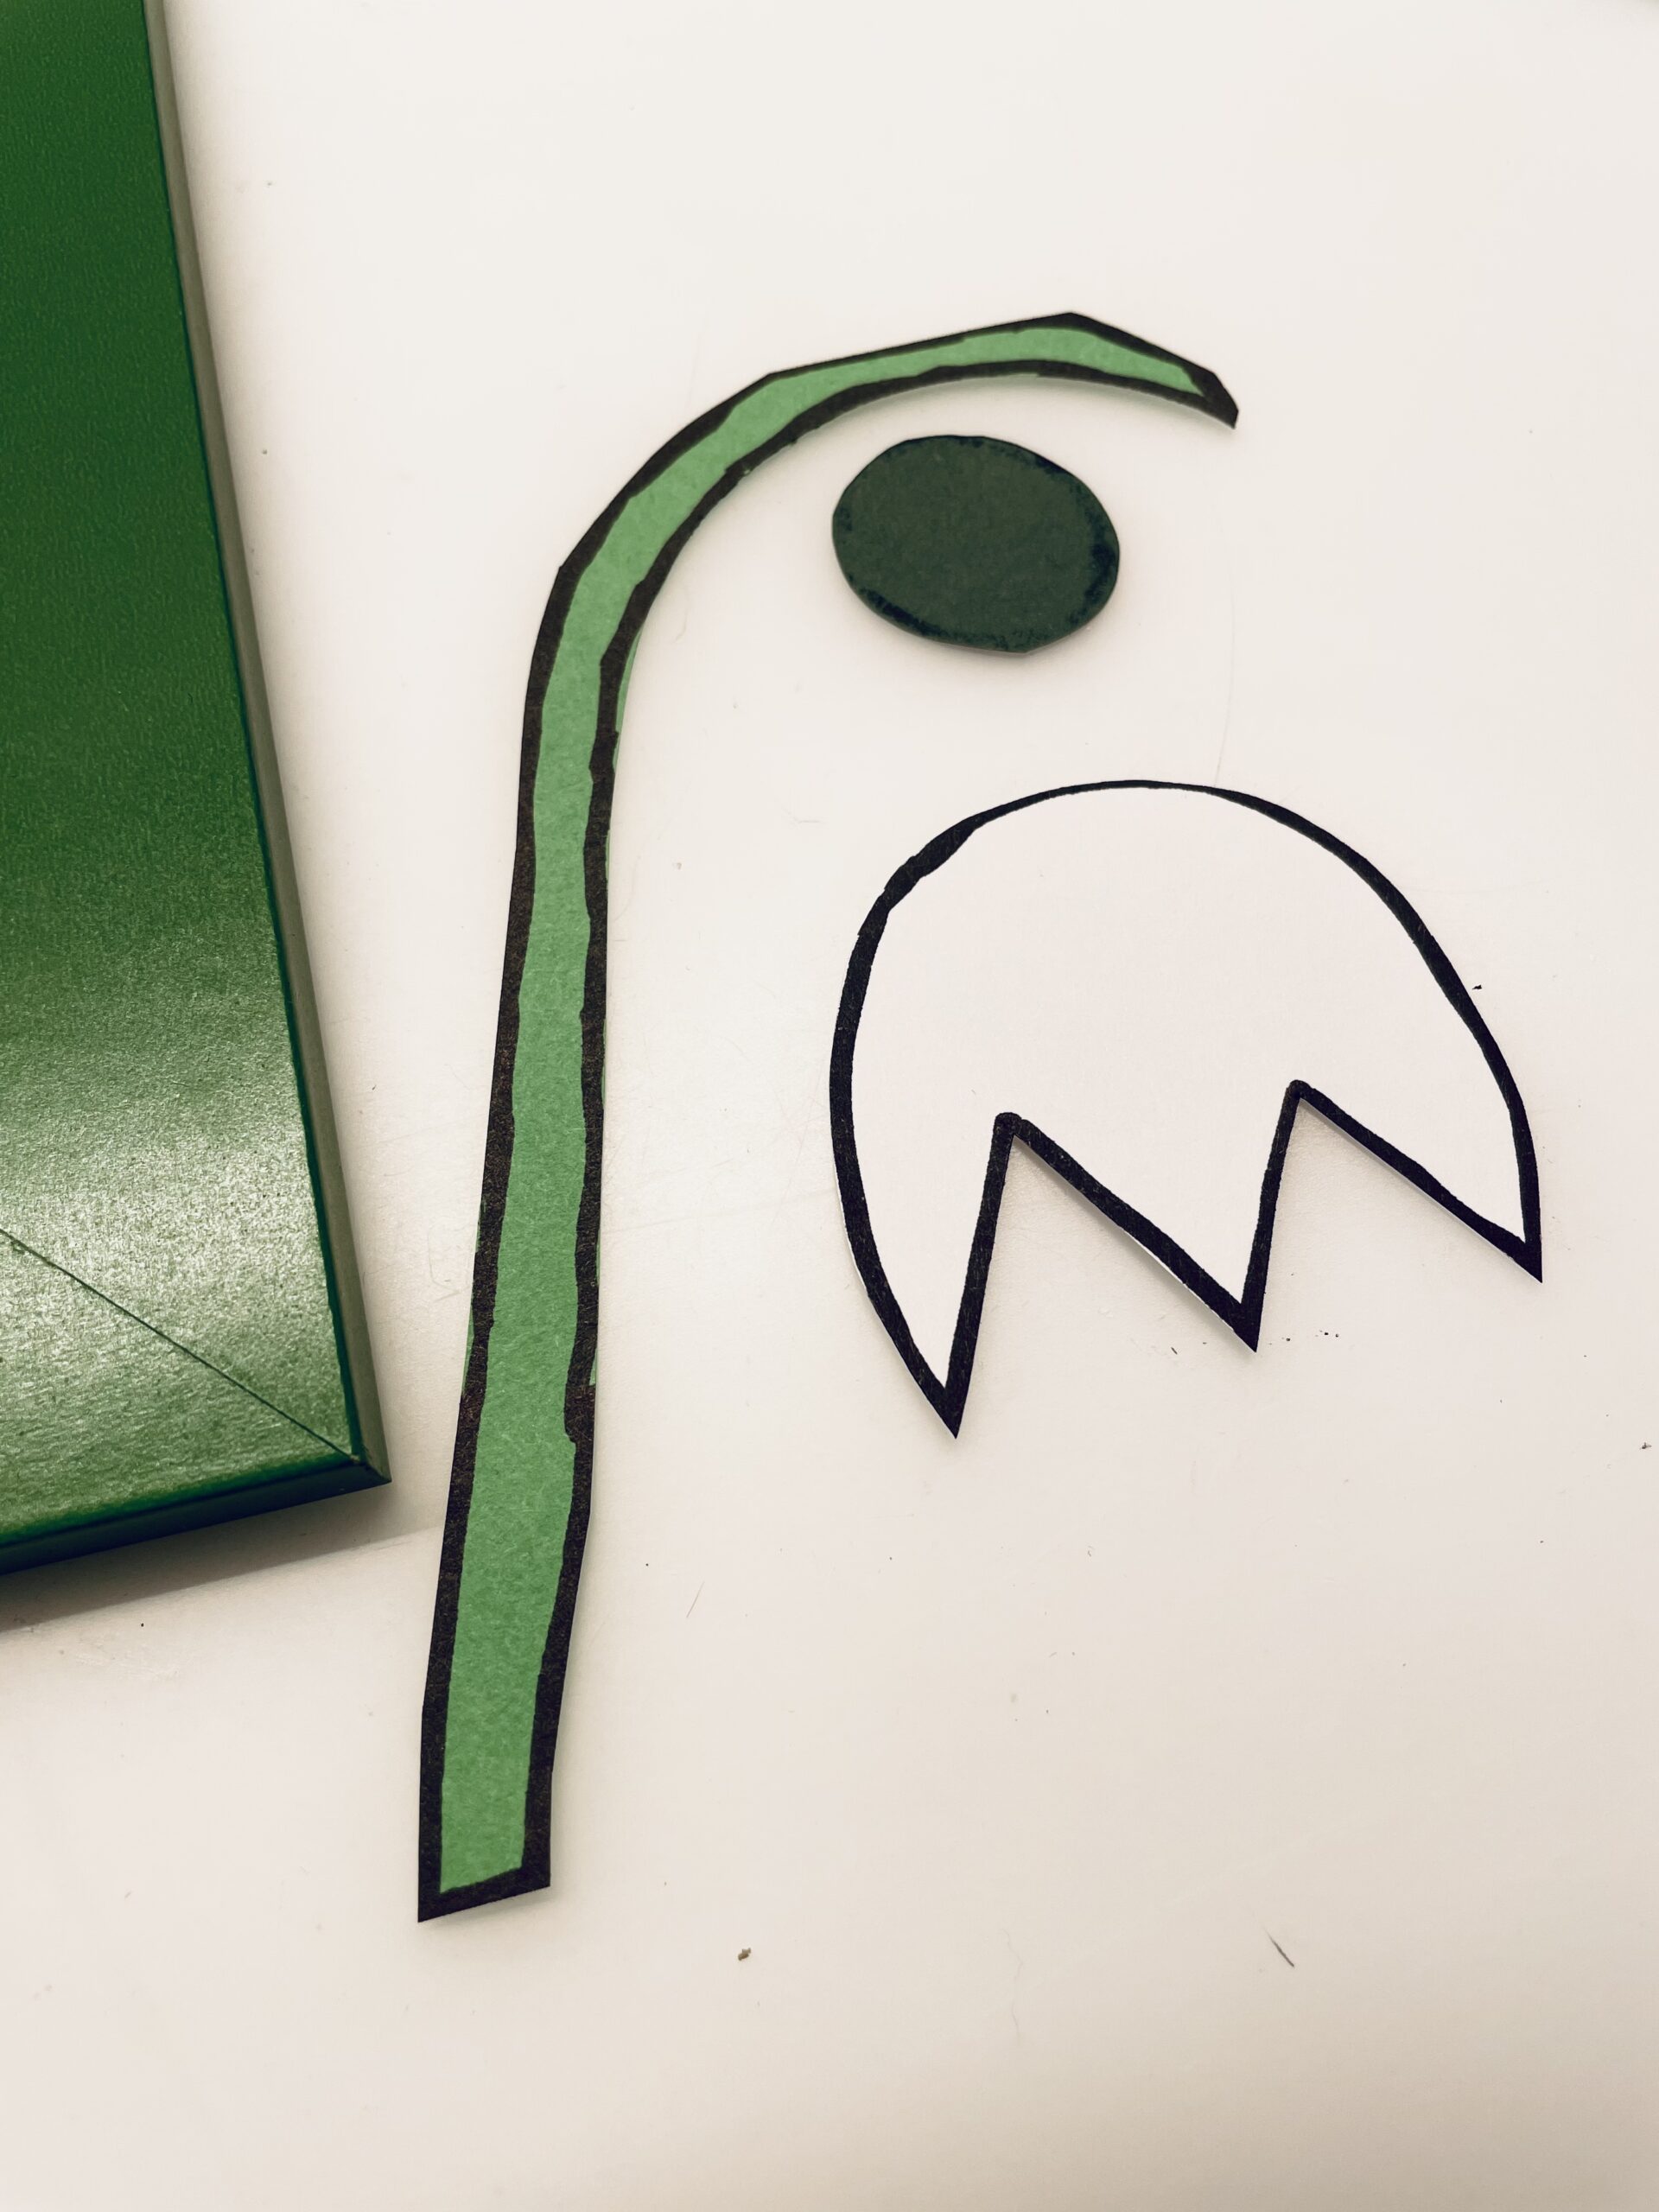
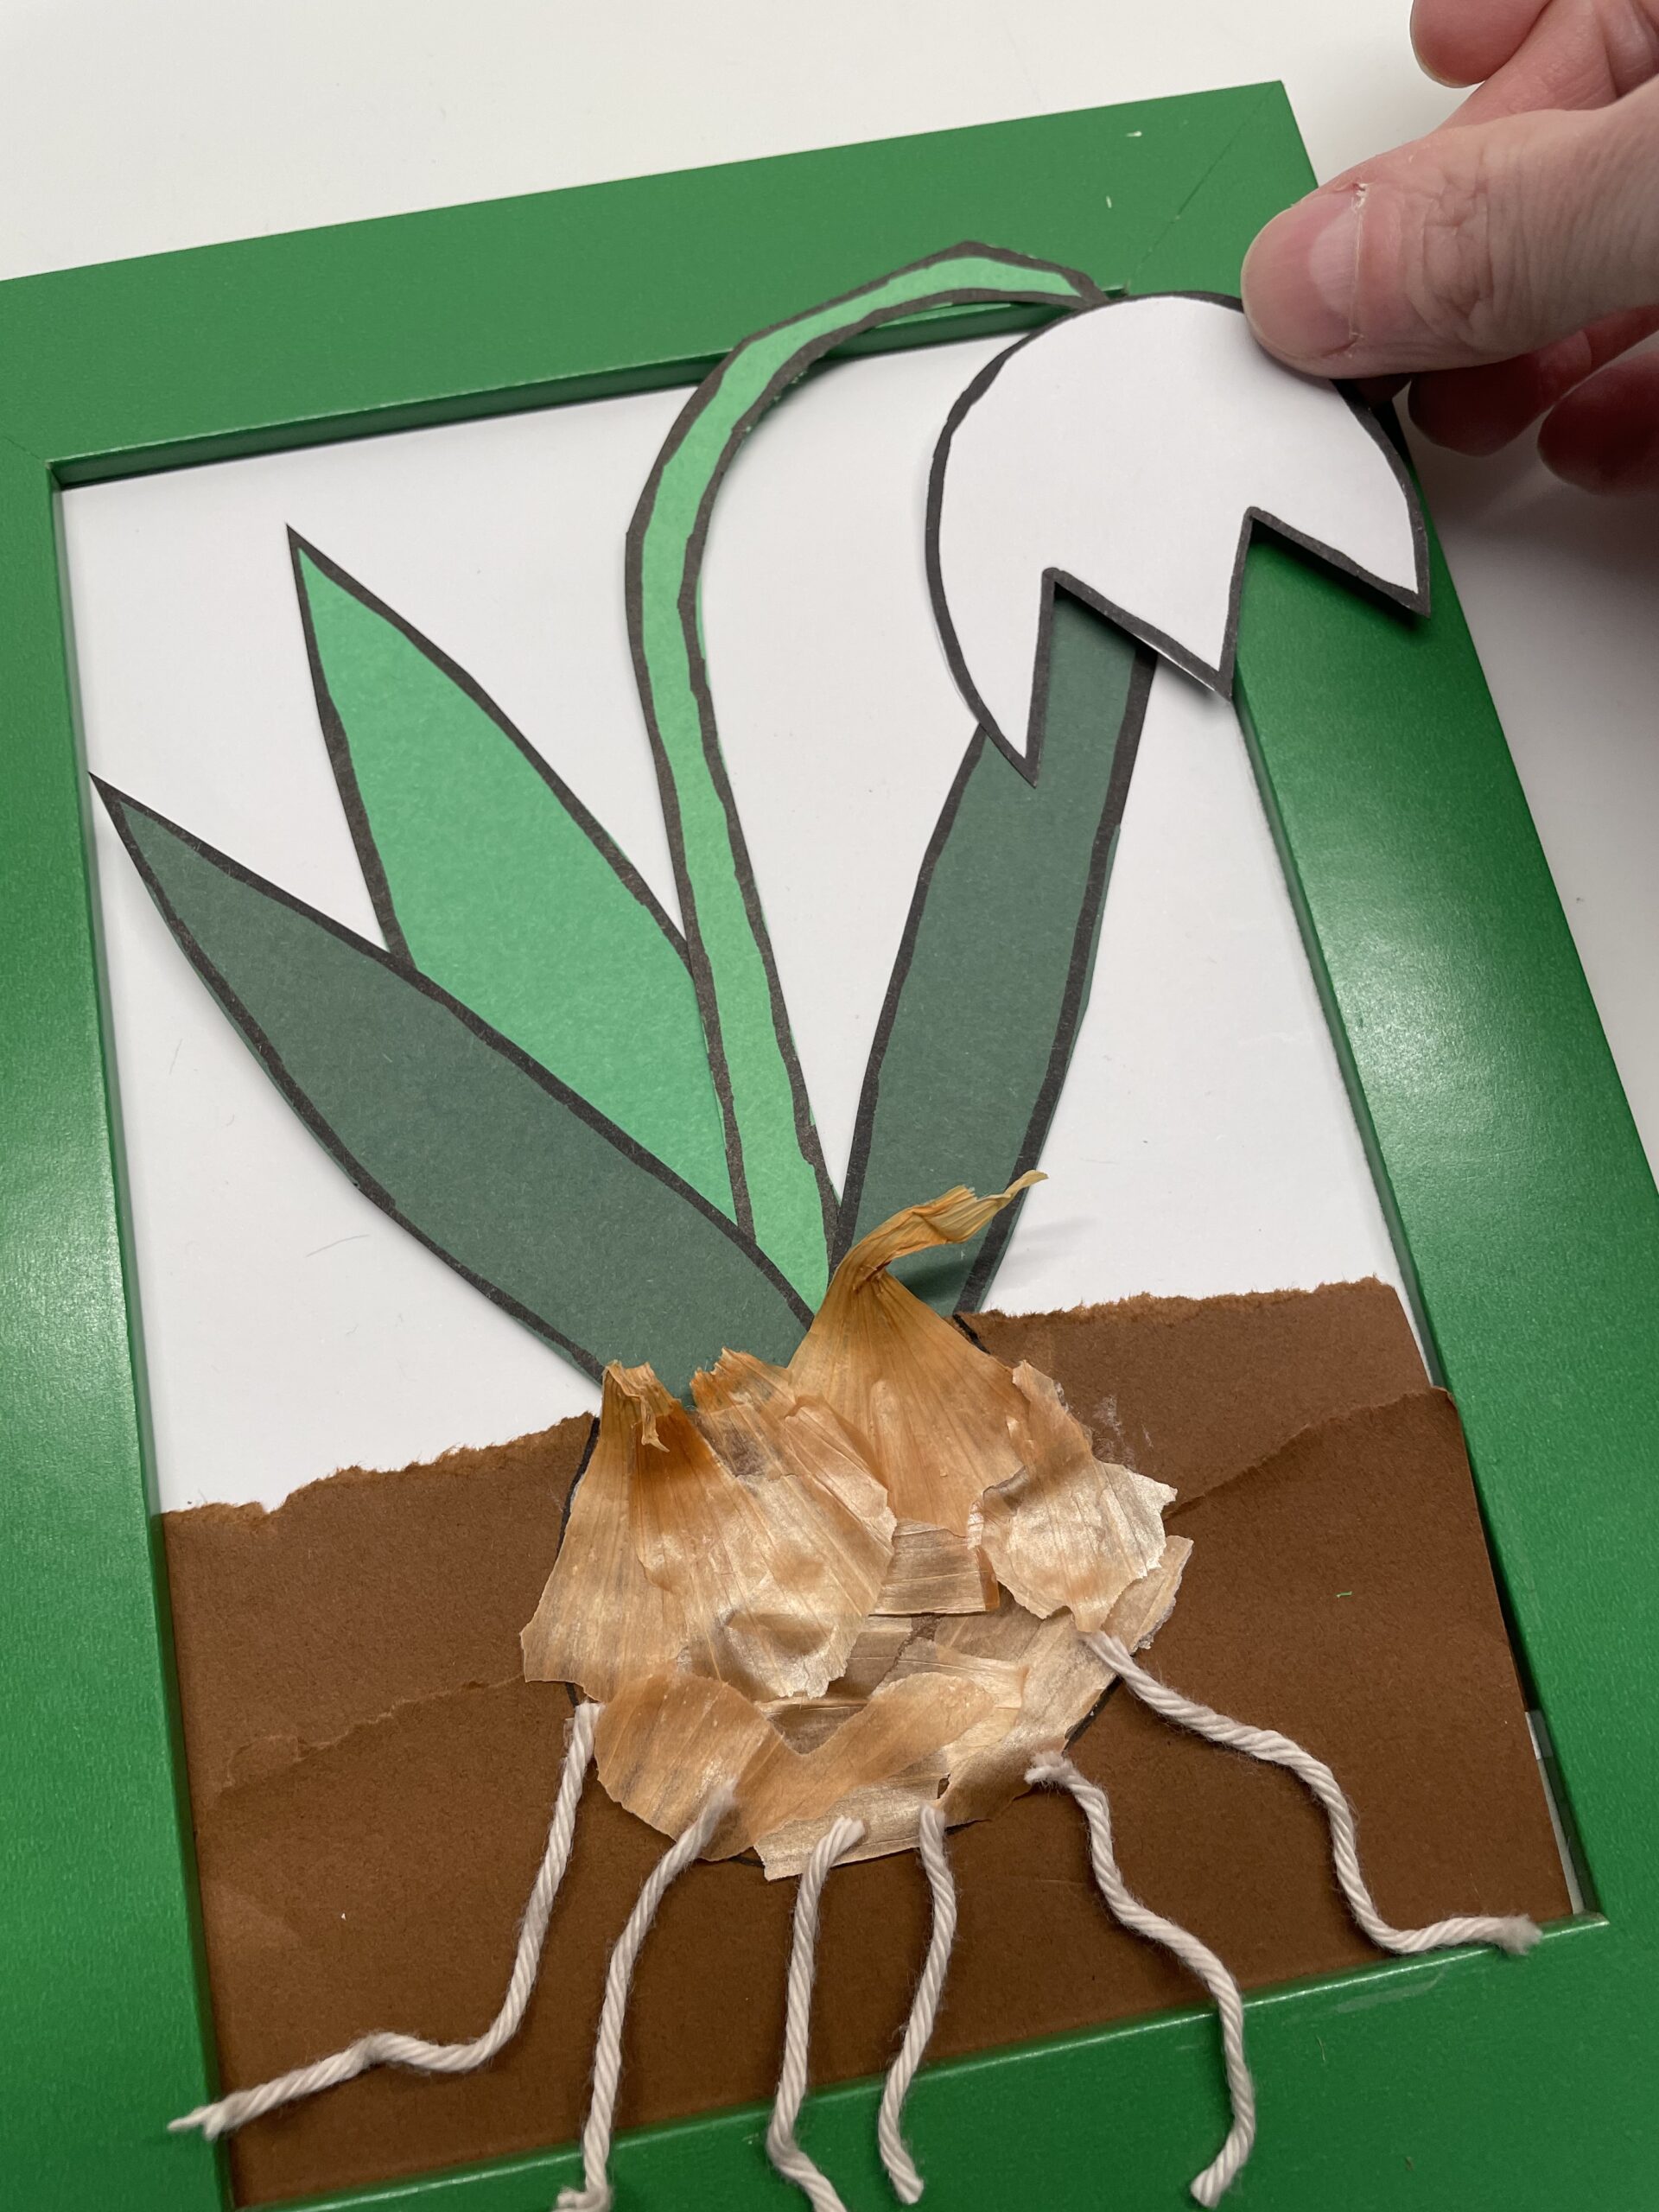
Then you paint a curved stalk, a small green circle as a bud and a white flower, cut it out and also border the parts with a black pen.
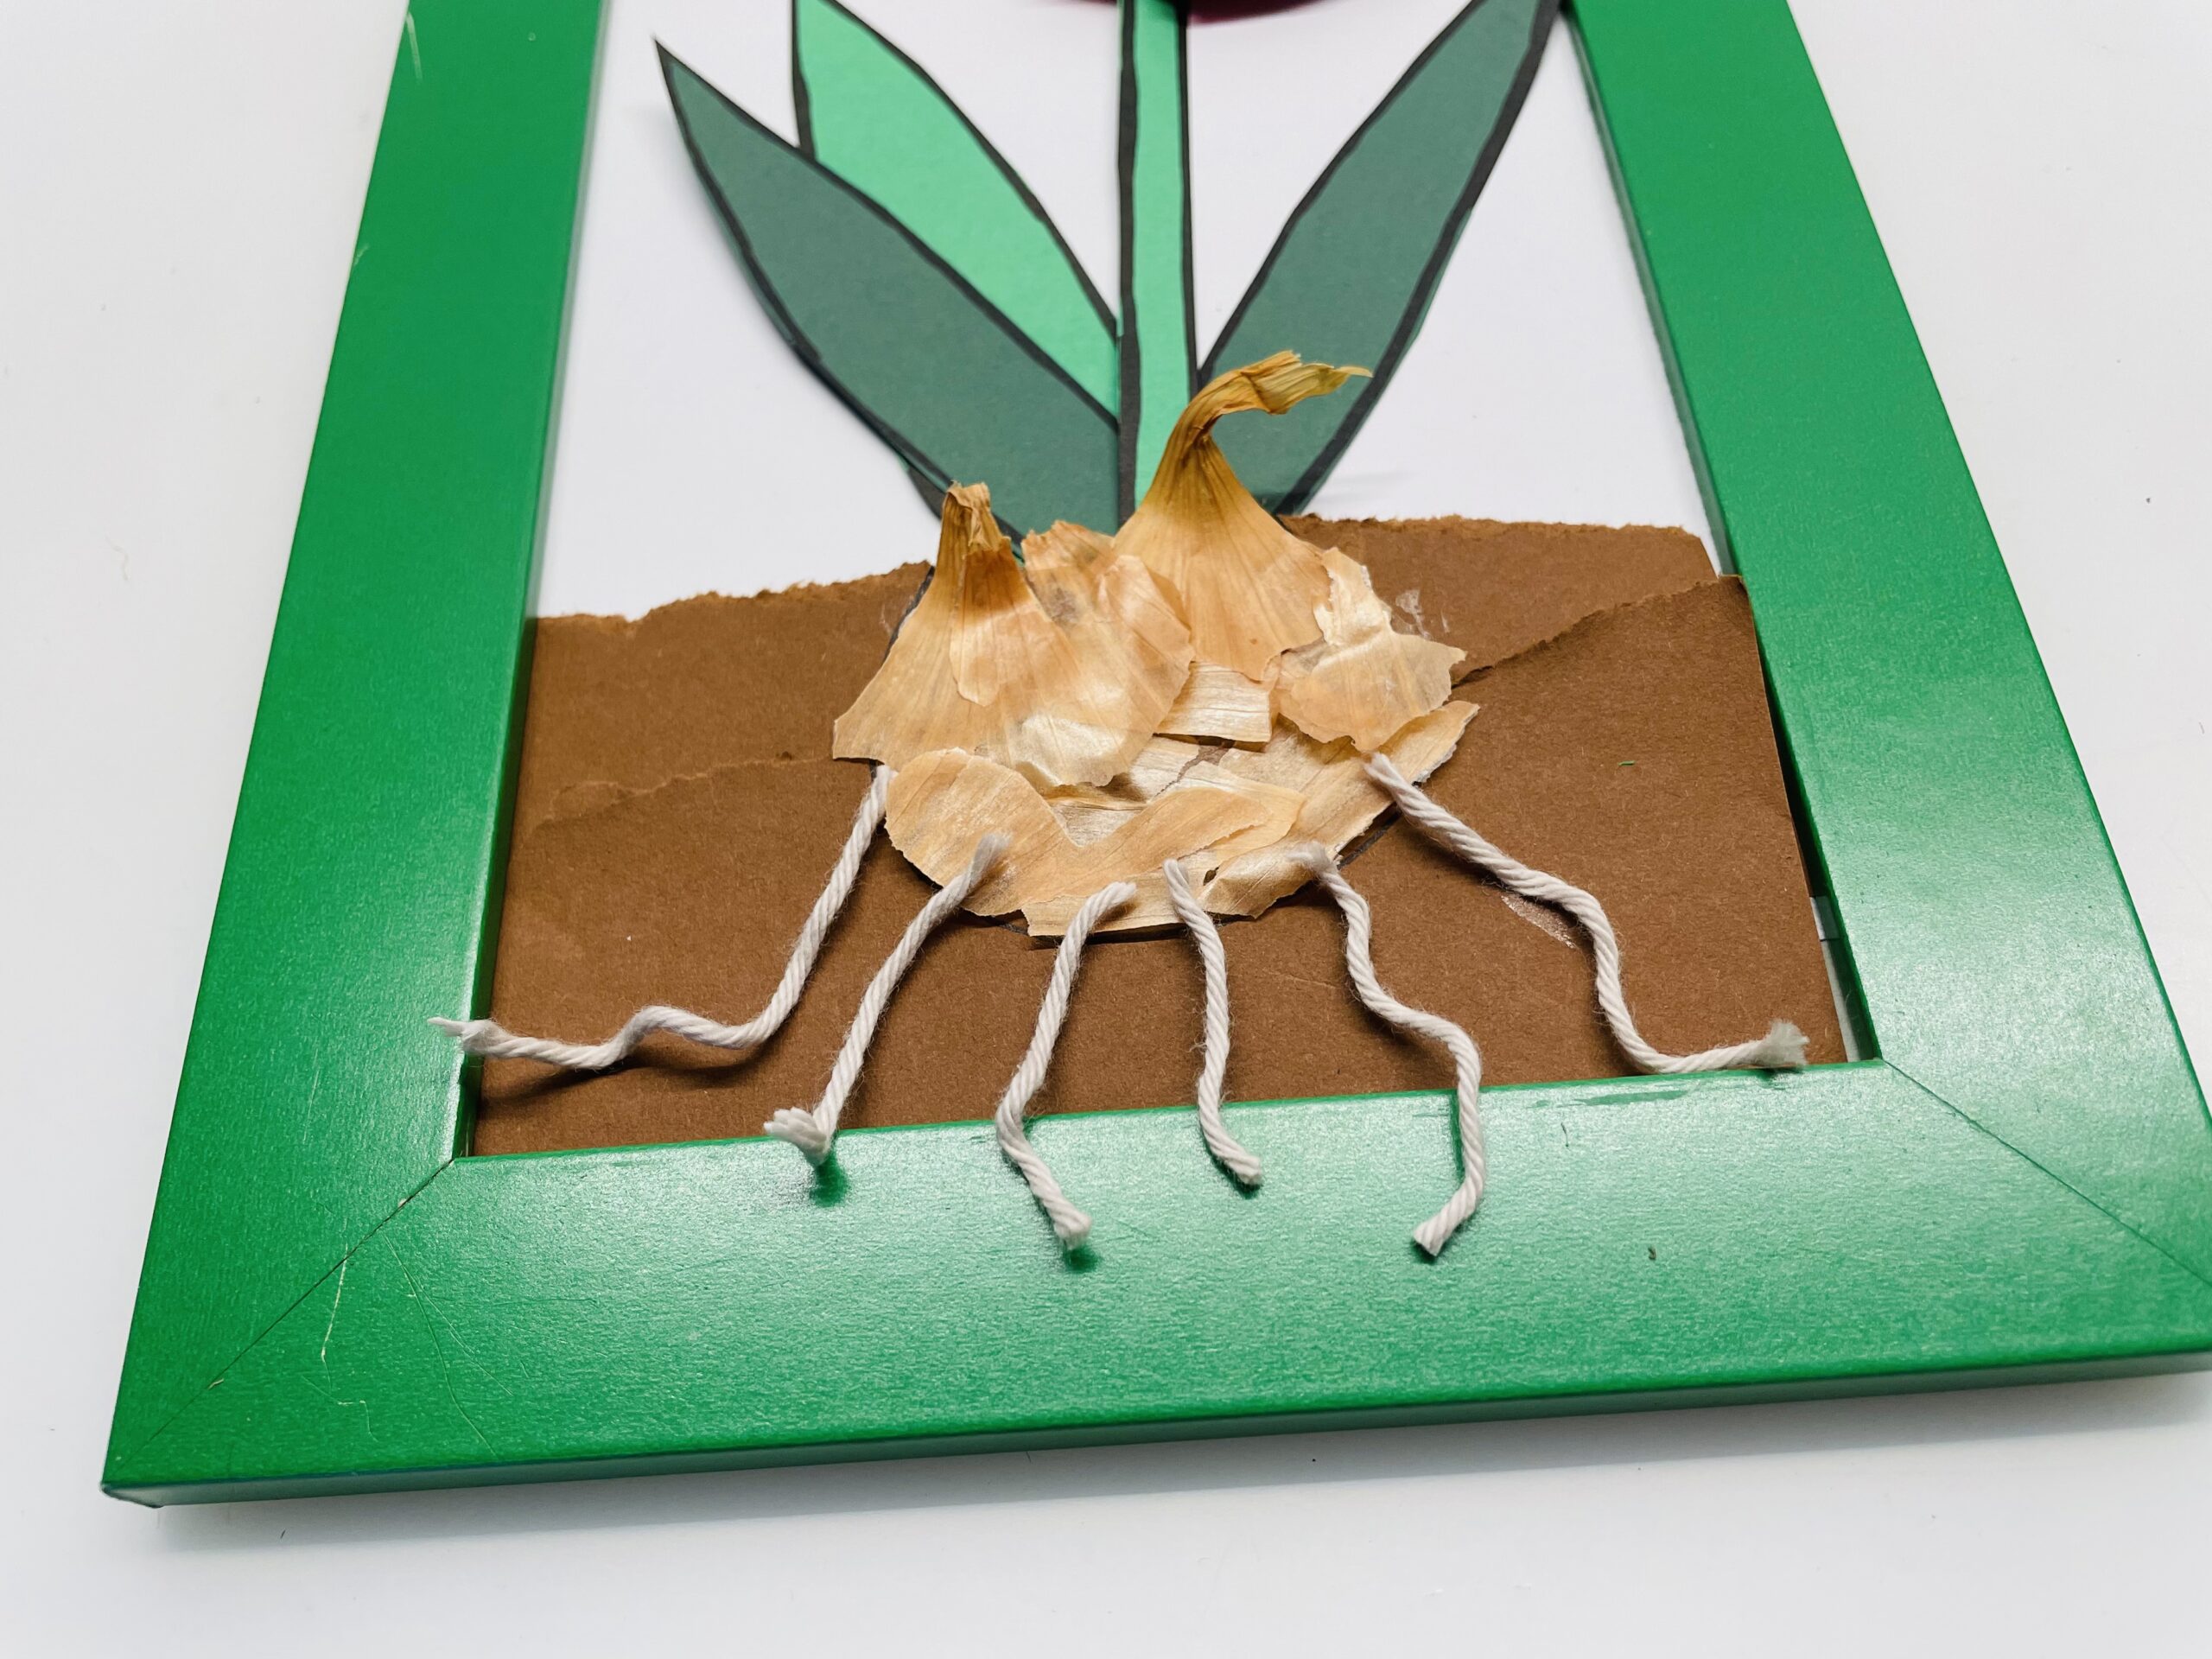
Before you stick the flower together, cut short pieces from the wool. These symbolize the roots.
Now glue the threads to the underside of the onion. The wool threads can also protrude over the edge of the picture frame.
Now first put together the parts of the flower. Then you stick them together.
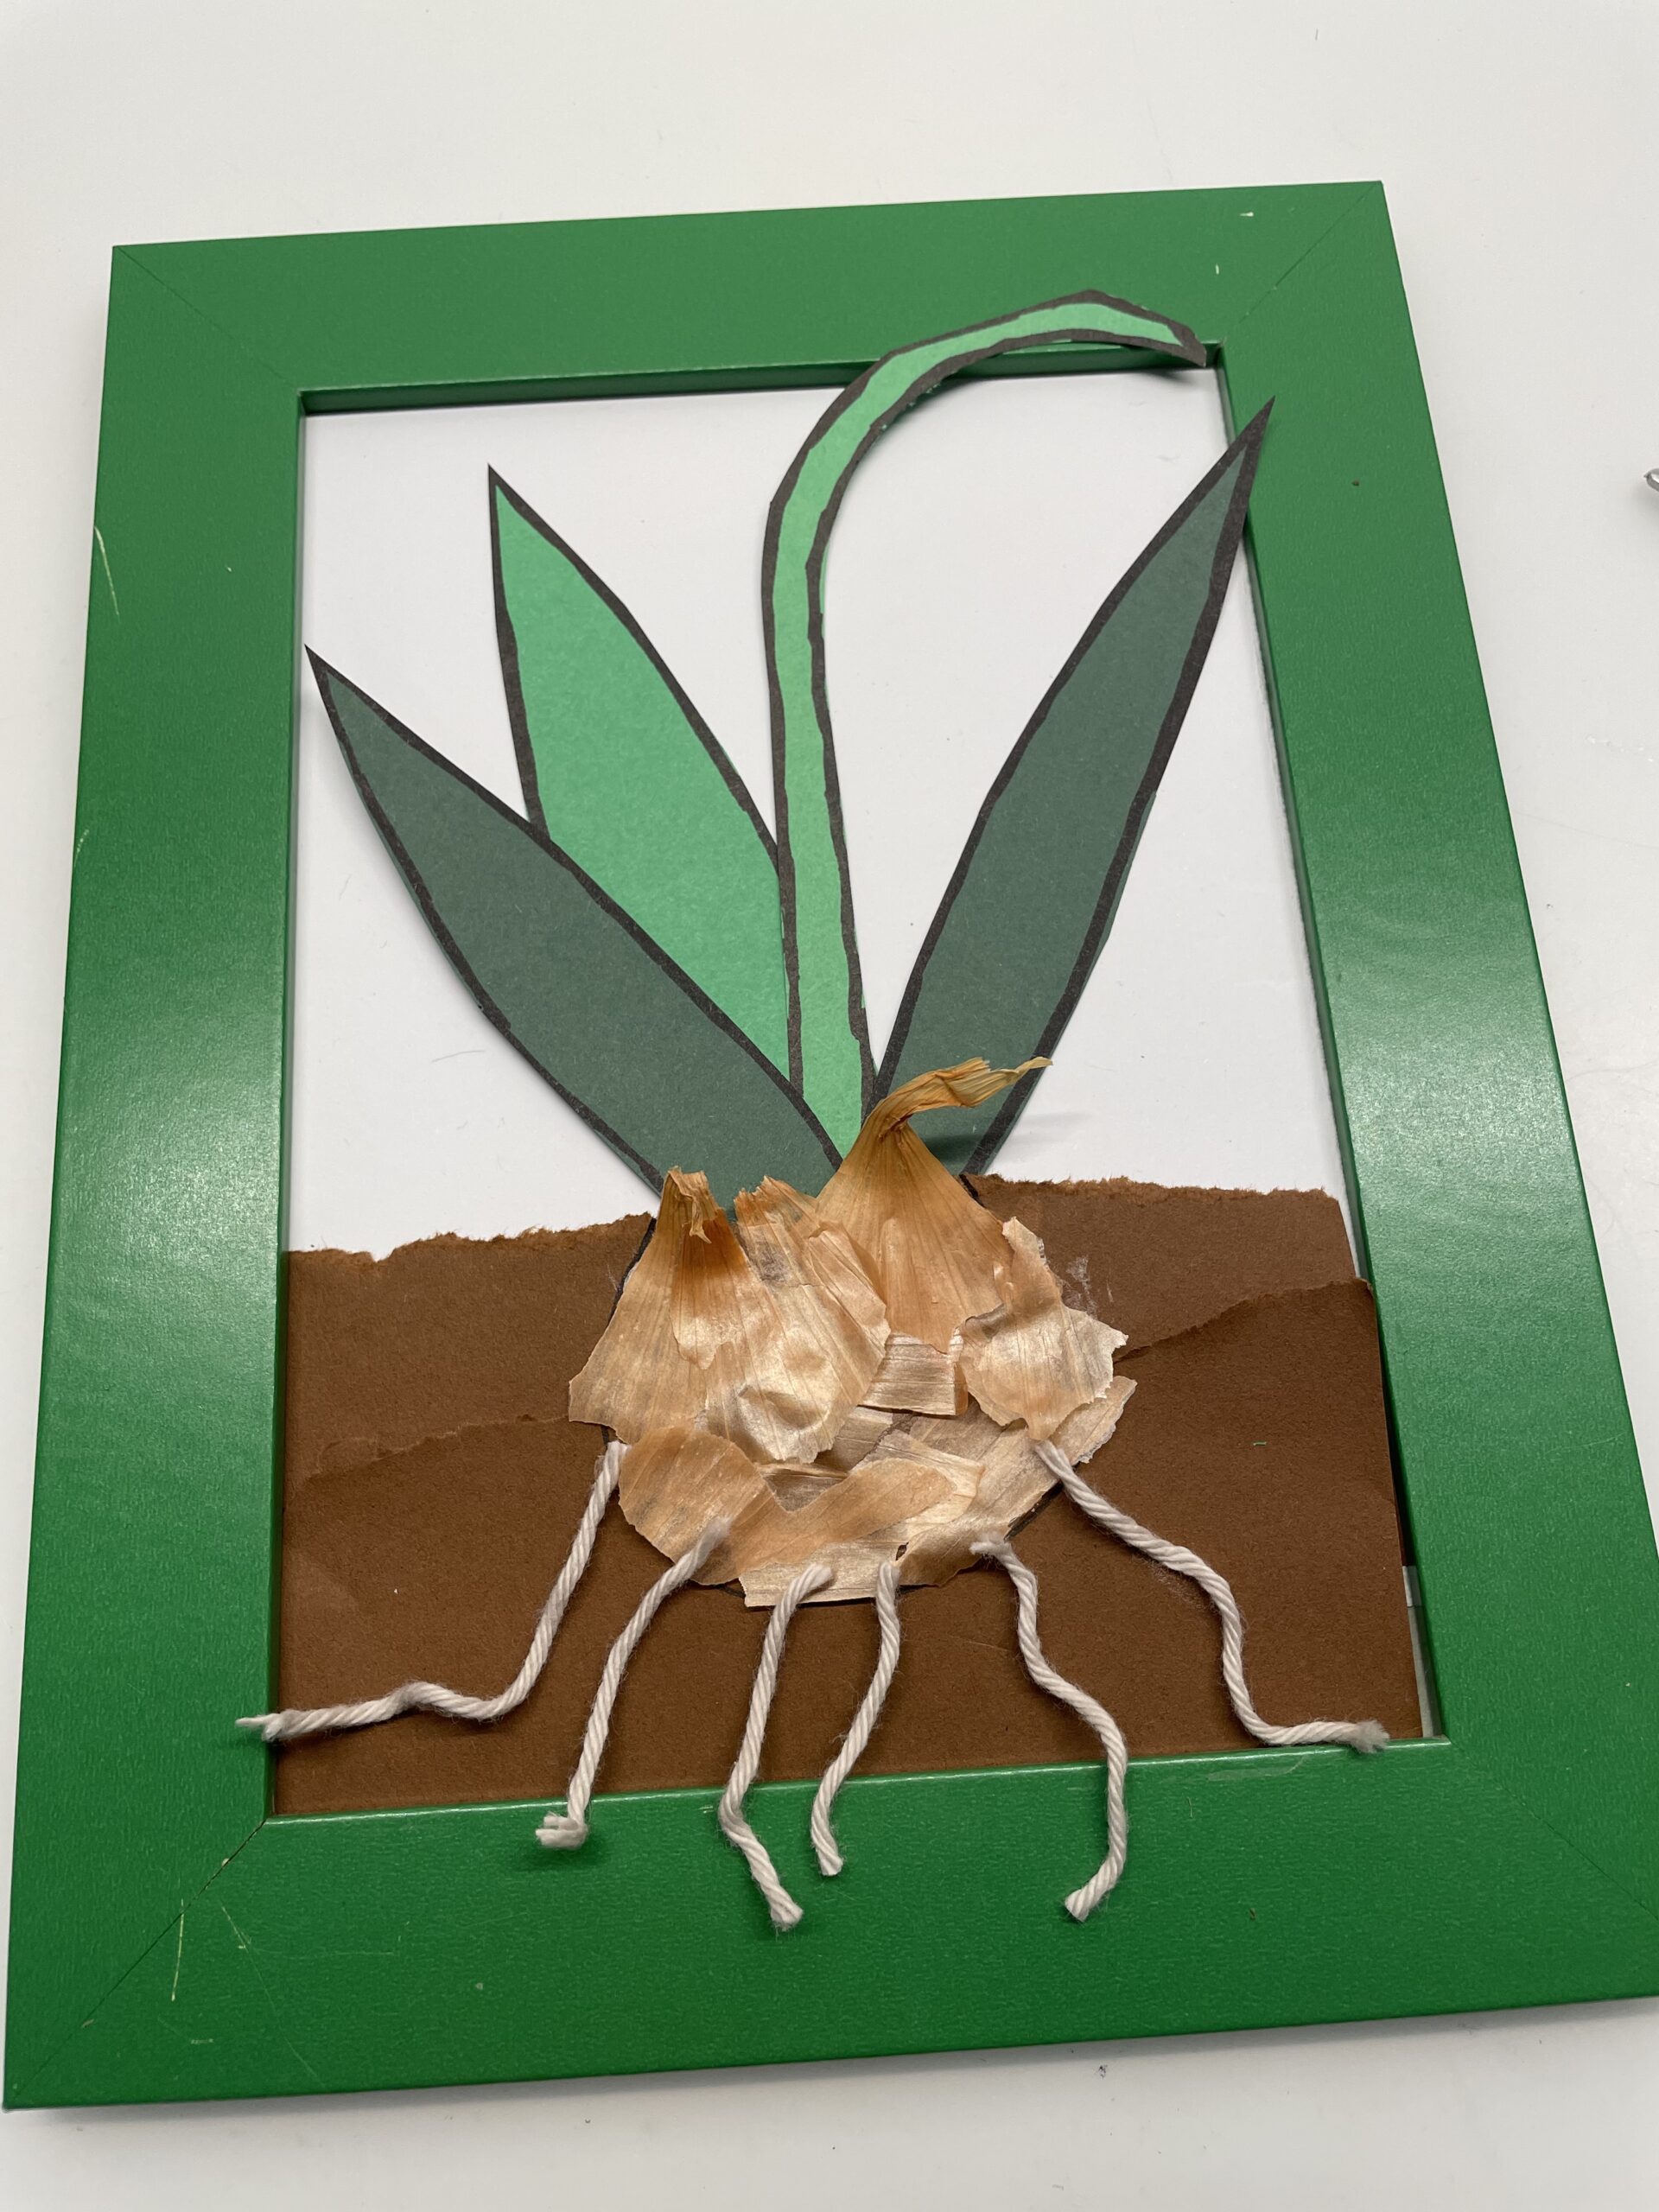
Tip: The flower can also protrude over the edge side or top, as this makes the image more vivid.
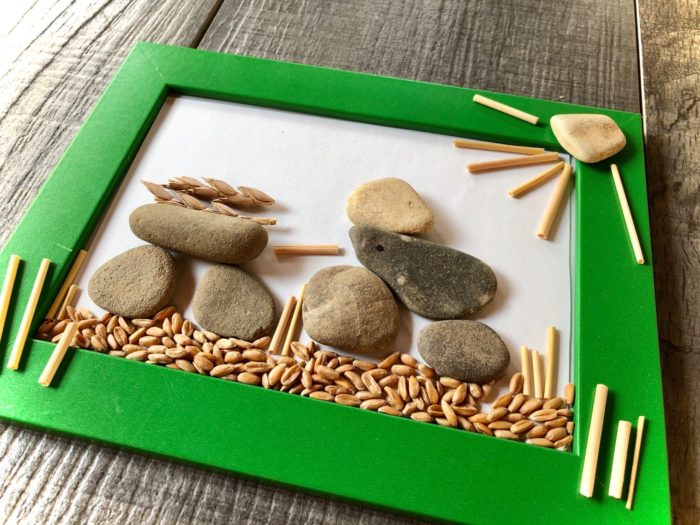
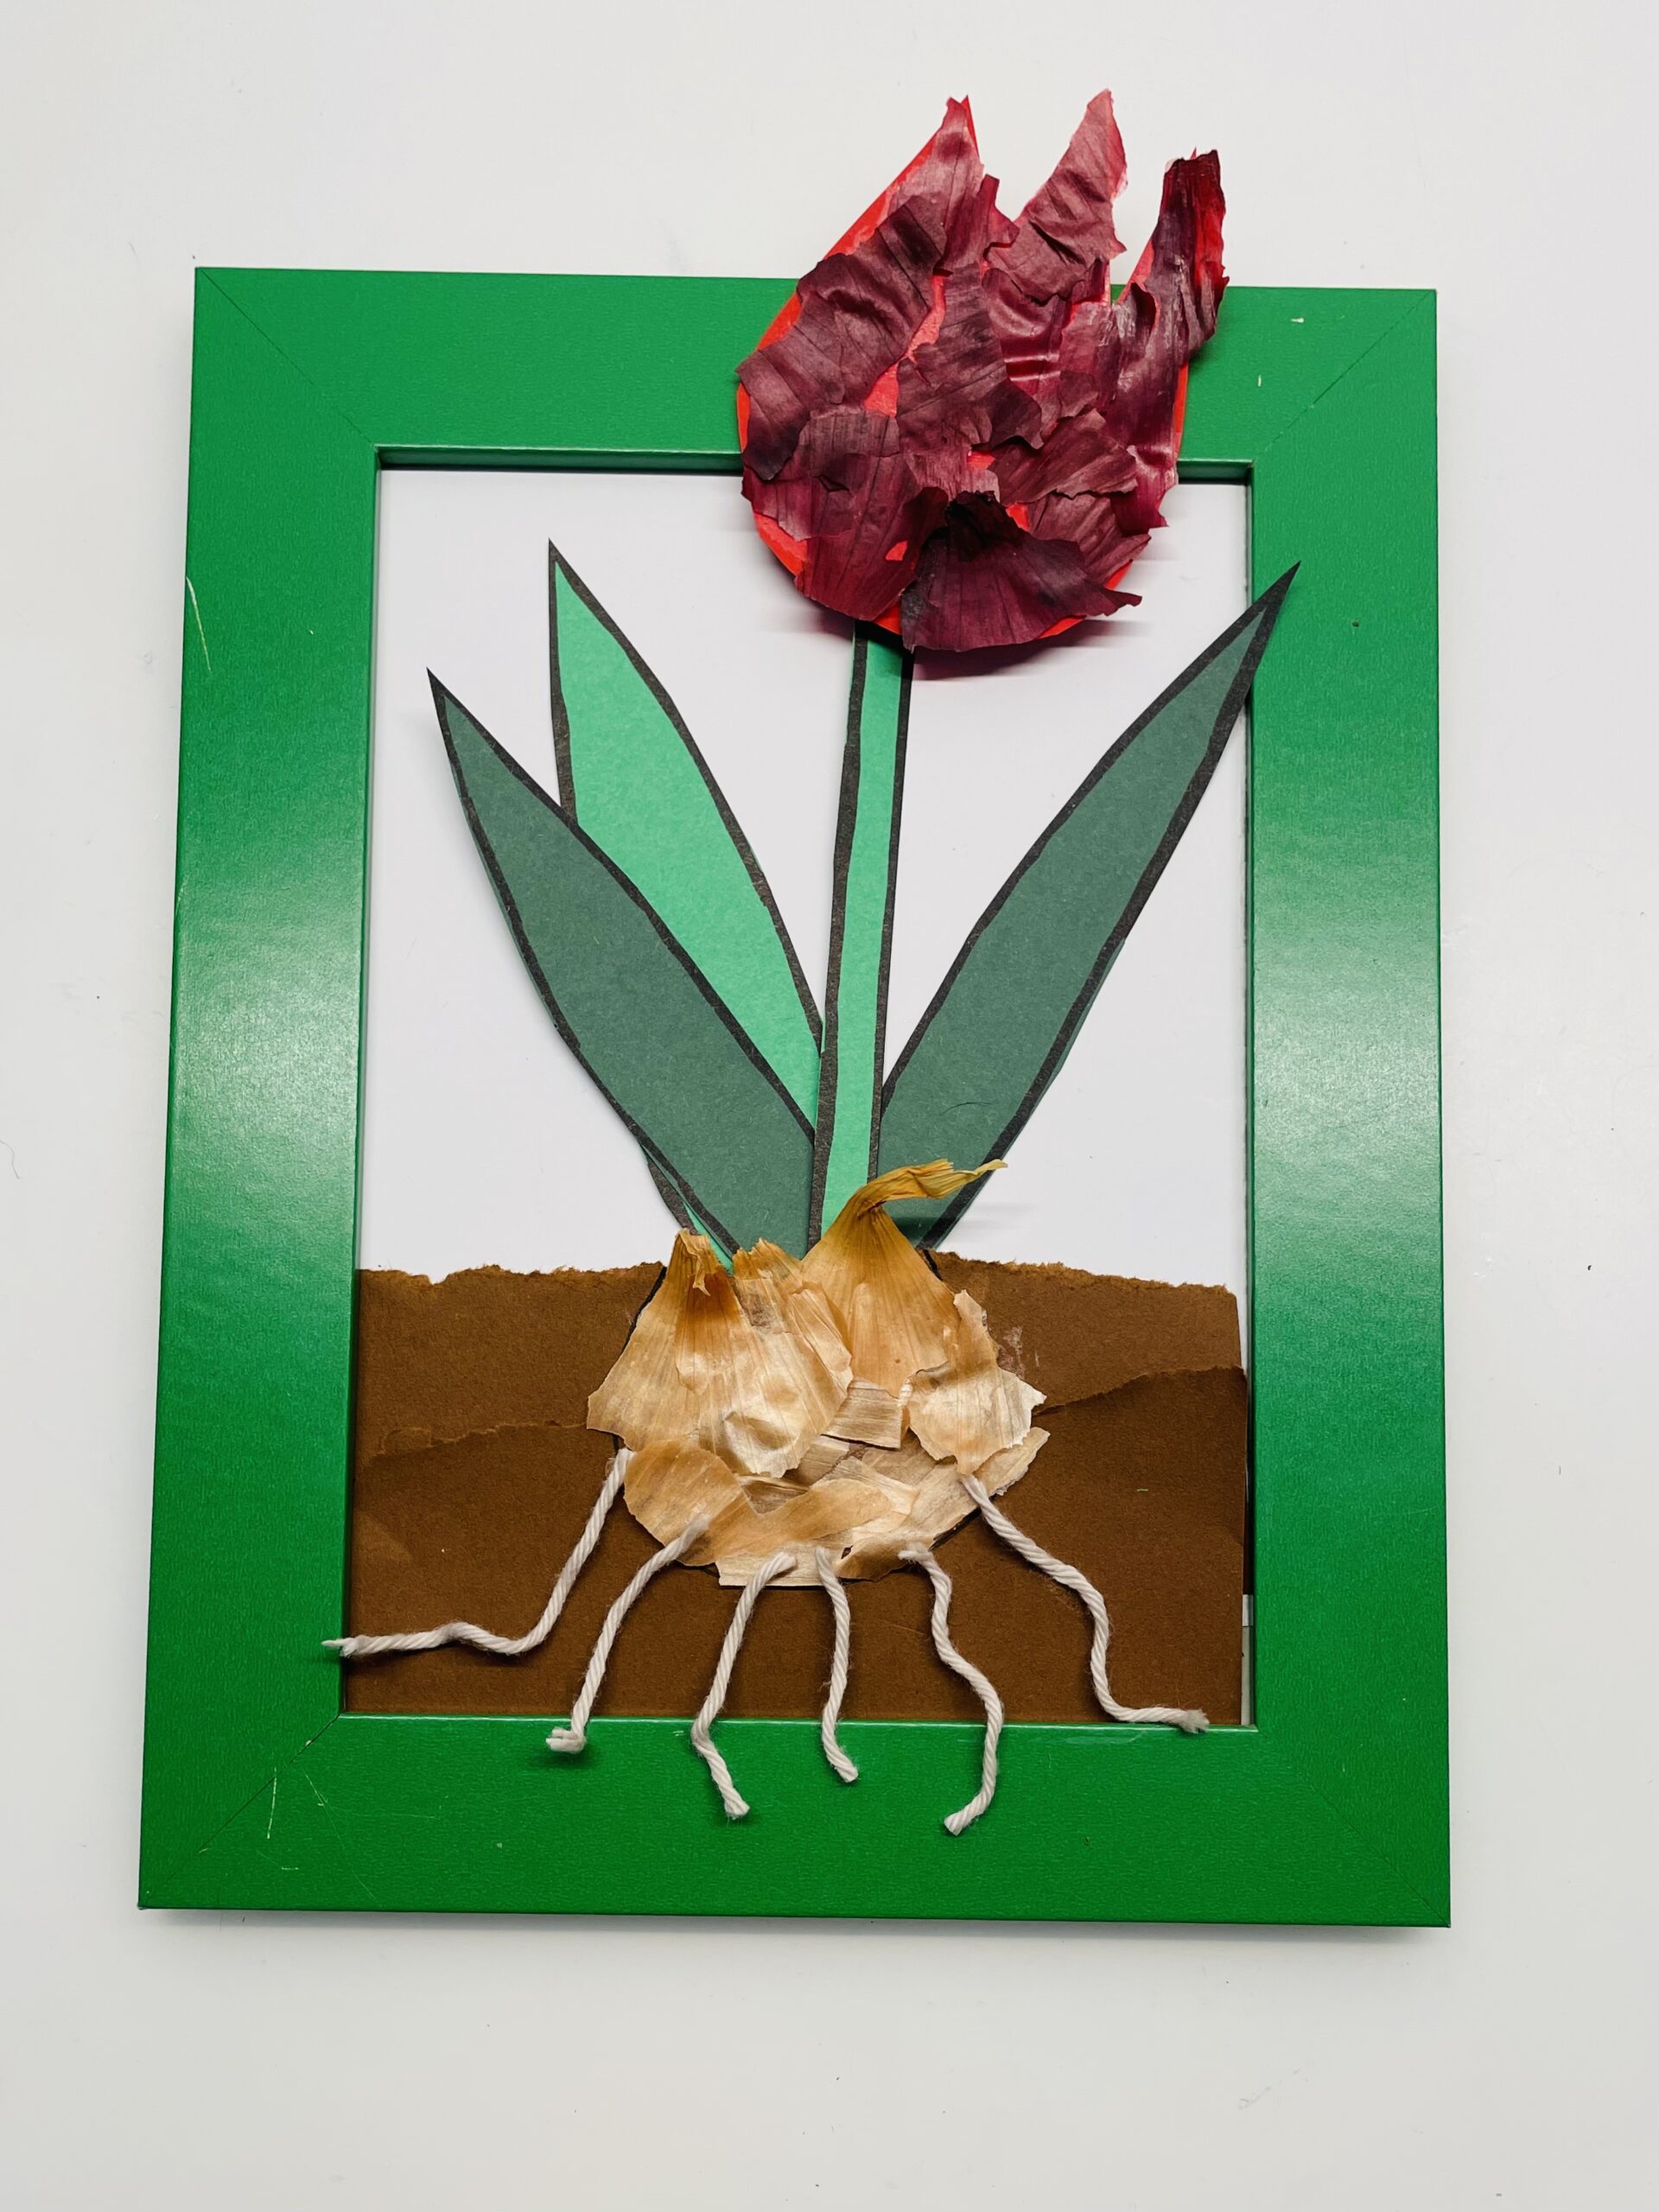
Another idea is the crafting of this tulip.
Have fun doing crafts and observing nature!
Materials
Directions
First put a light sheet in a small picture frame or on a solid photo box and tear off two strips of brown paper. You stick it a little bit over each other. This is the earth in which the flower onion is later stuck.
Now you paint a big onion on the ground.
Then gently peel some peels from a fresh onion. Then tear the peels into smaller pieces.
Now you put some glue on the painted onion and put the onion peels on it.
Cover all the flower bulbs.
Then you cut out two or three leaves of green paper and border them with a black pen.
Then you paint a curved stalk, a small green circle as a bud and a white flower, cut it out and also border the parts with a black pen.
Before you stick the flower together, cut short pieces from the wool. These symbolize the roots.
Now glue the threads to the underside of the onion. The wool threads can also protrude over the edge of the picture frame.
Now first put together the parts of the flower. Then you stick them together.
Tip: The flower can also protrude over the edge side or top, as this makes the image more vivid.
Another idea is the crafting of this tulip.
Have fun doing crafts and observing nature!
Follow us on Facebook , Instagram and Pinterest
Don't miss any more adventures: Our bottle mail