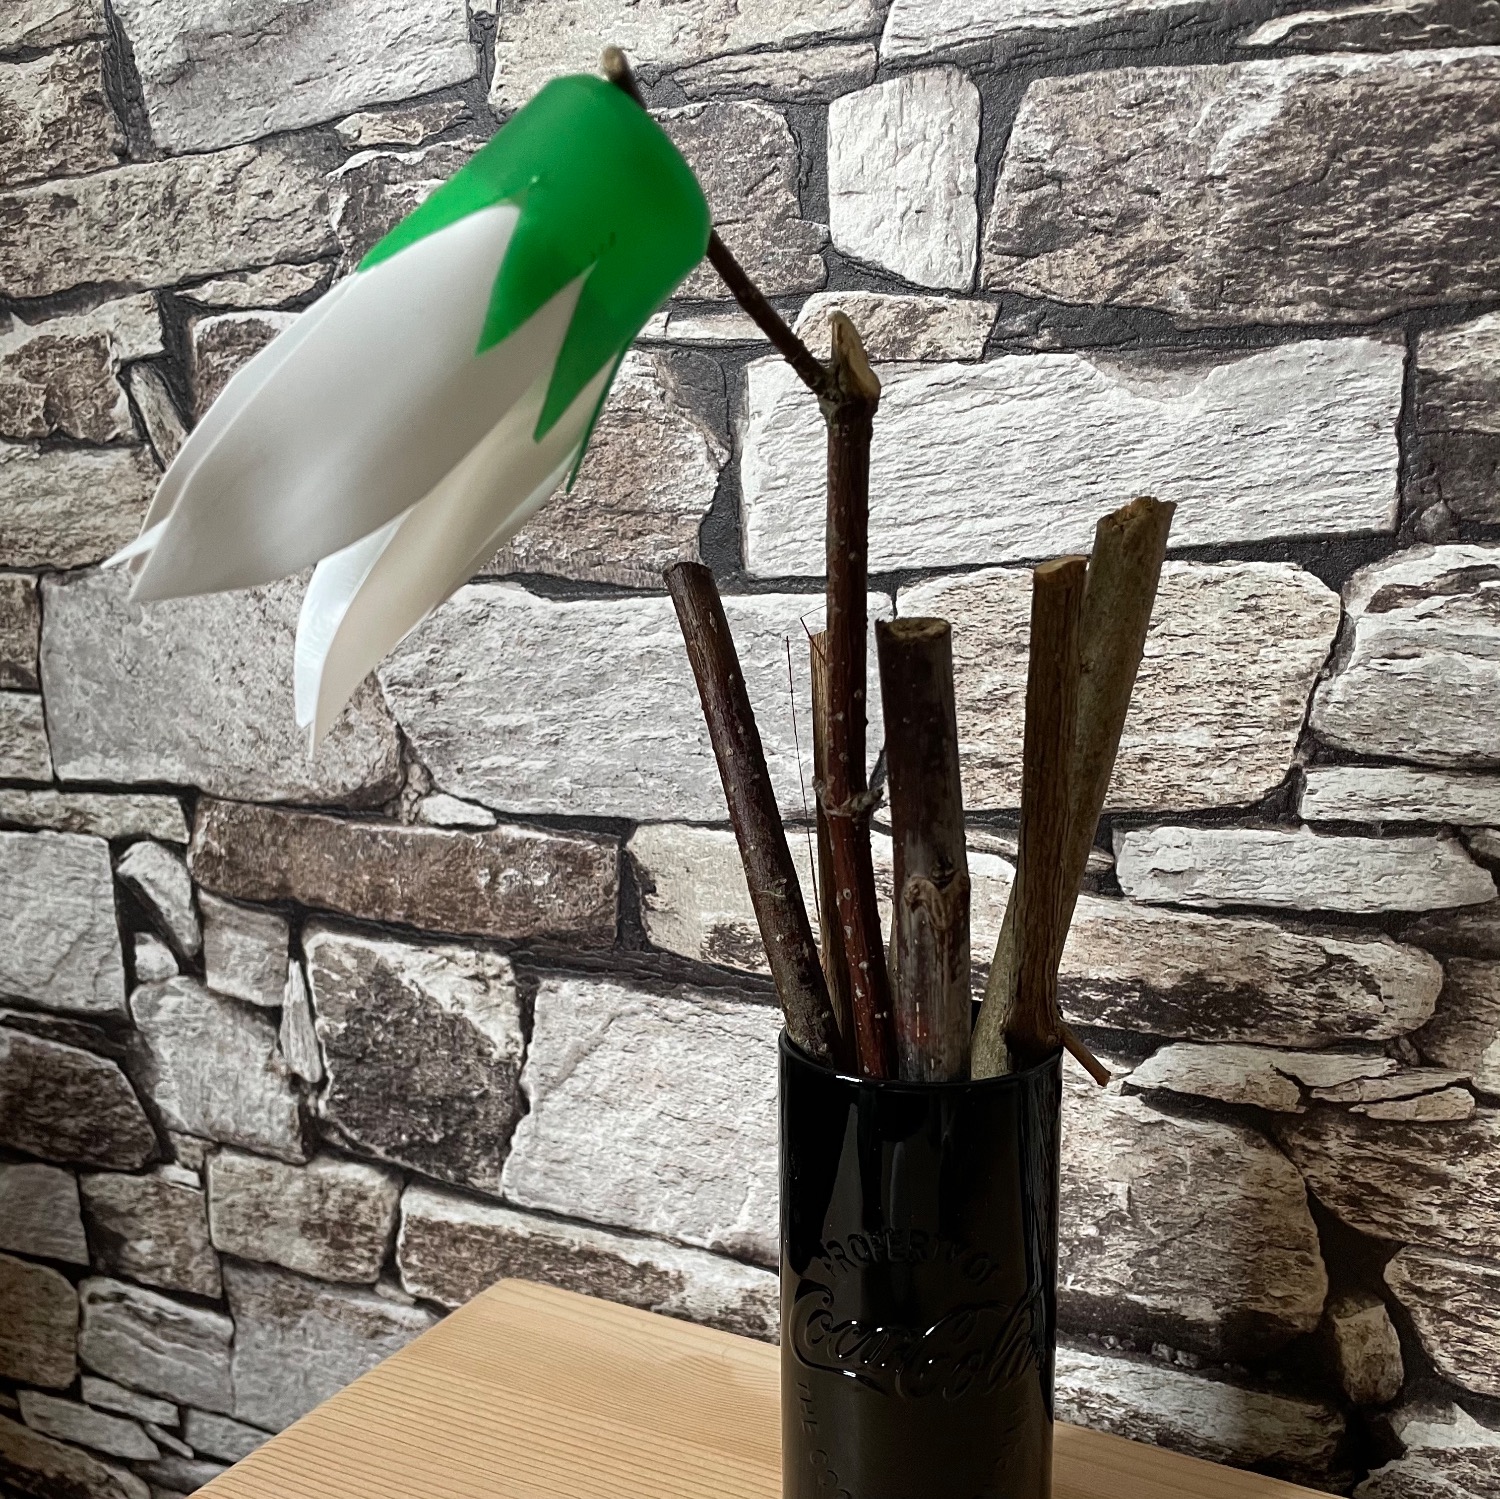
This snowdrop is made of plastic cups and branches. Uses a thin elongated plastic cup (e.g. drinking yoghurt) and a green cap (e.g. from a deodorant).
These are both cut in flower form, glued into each other and attached to a branch. Already the snowdrop is finished.
Suitable for spring and also for the topic: Upcycles make with garbage or with reusable material.
Media Education for Kindergarten and Hort

Relief in everyday life, targeted promotion of individual children, independent learning and - without any pre-knowledge already usable by the youngest!
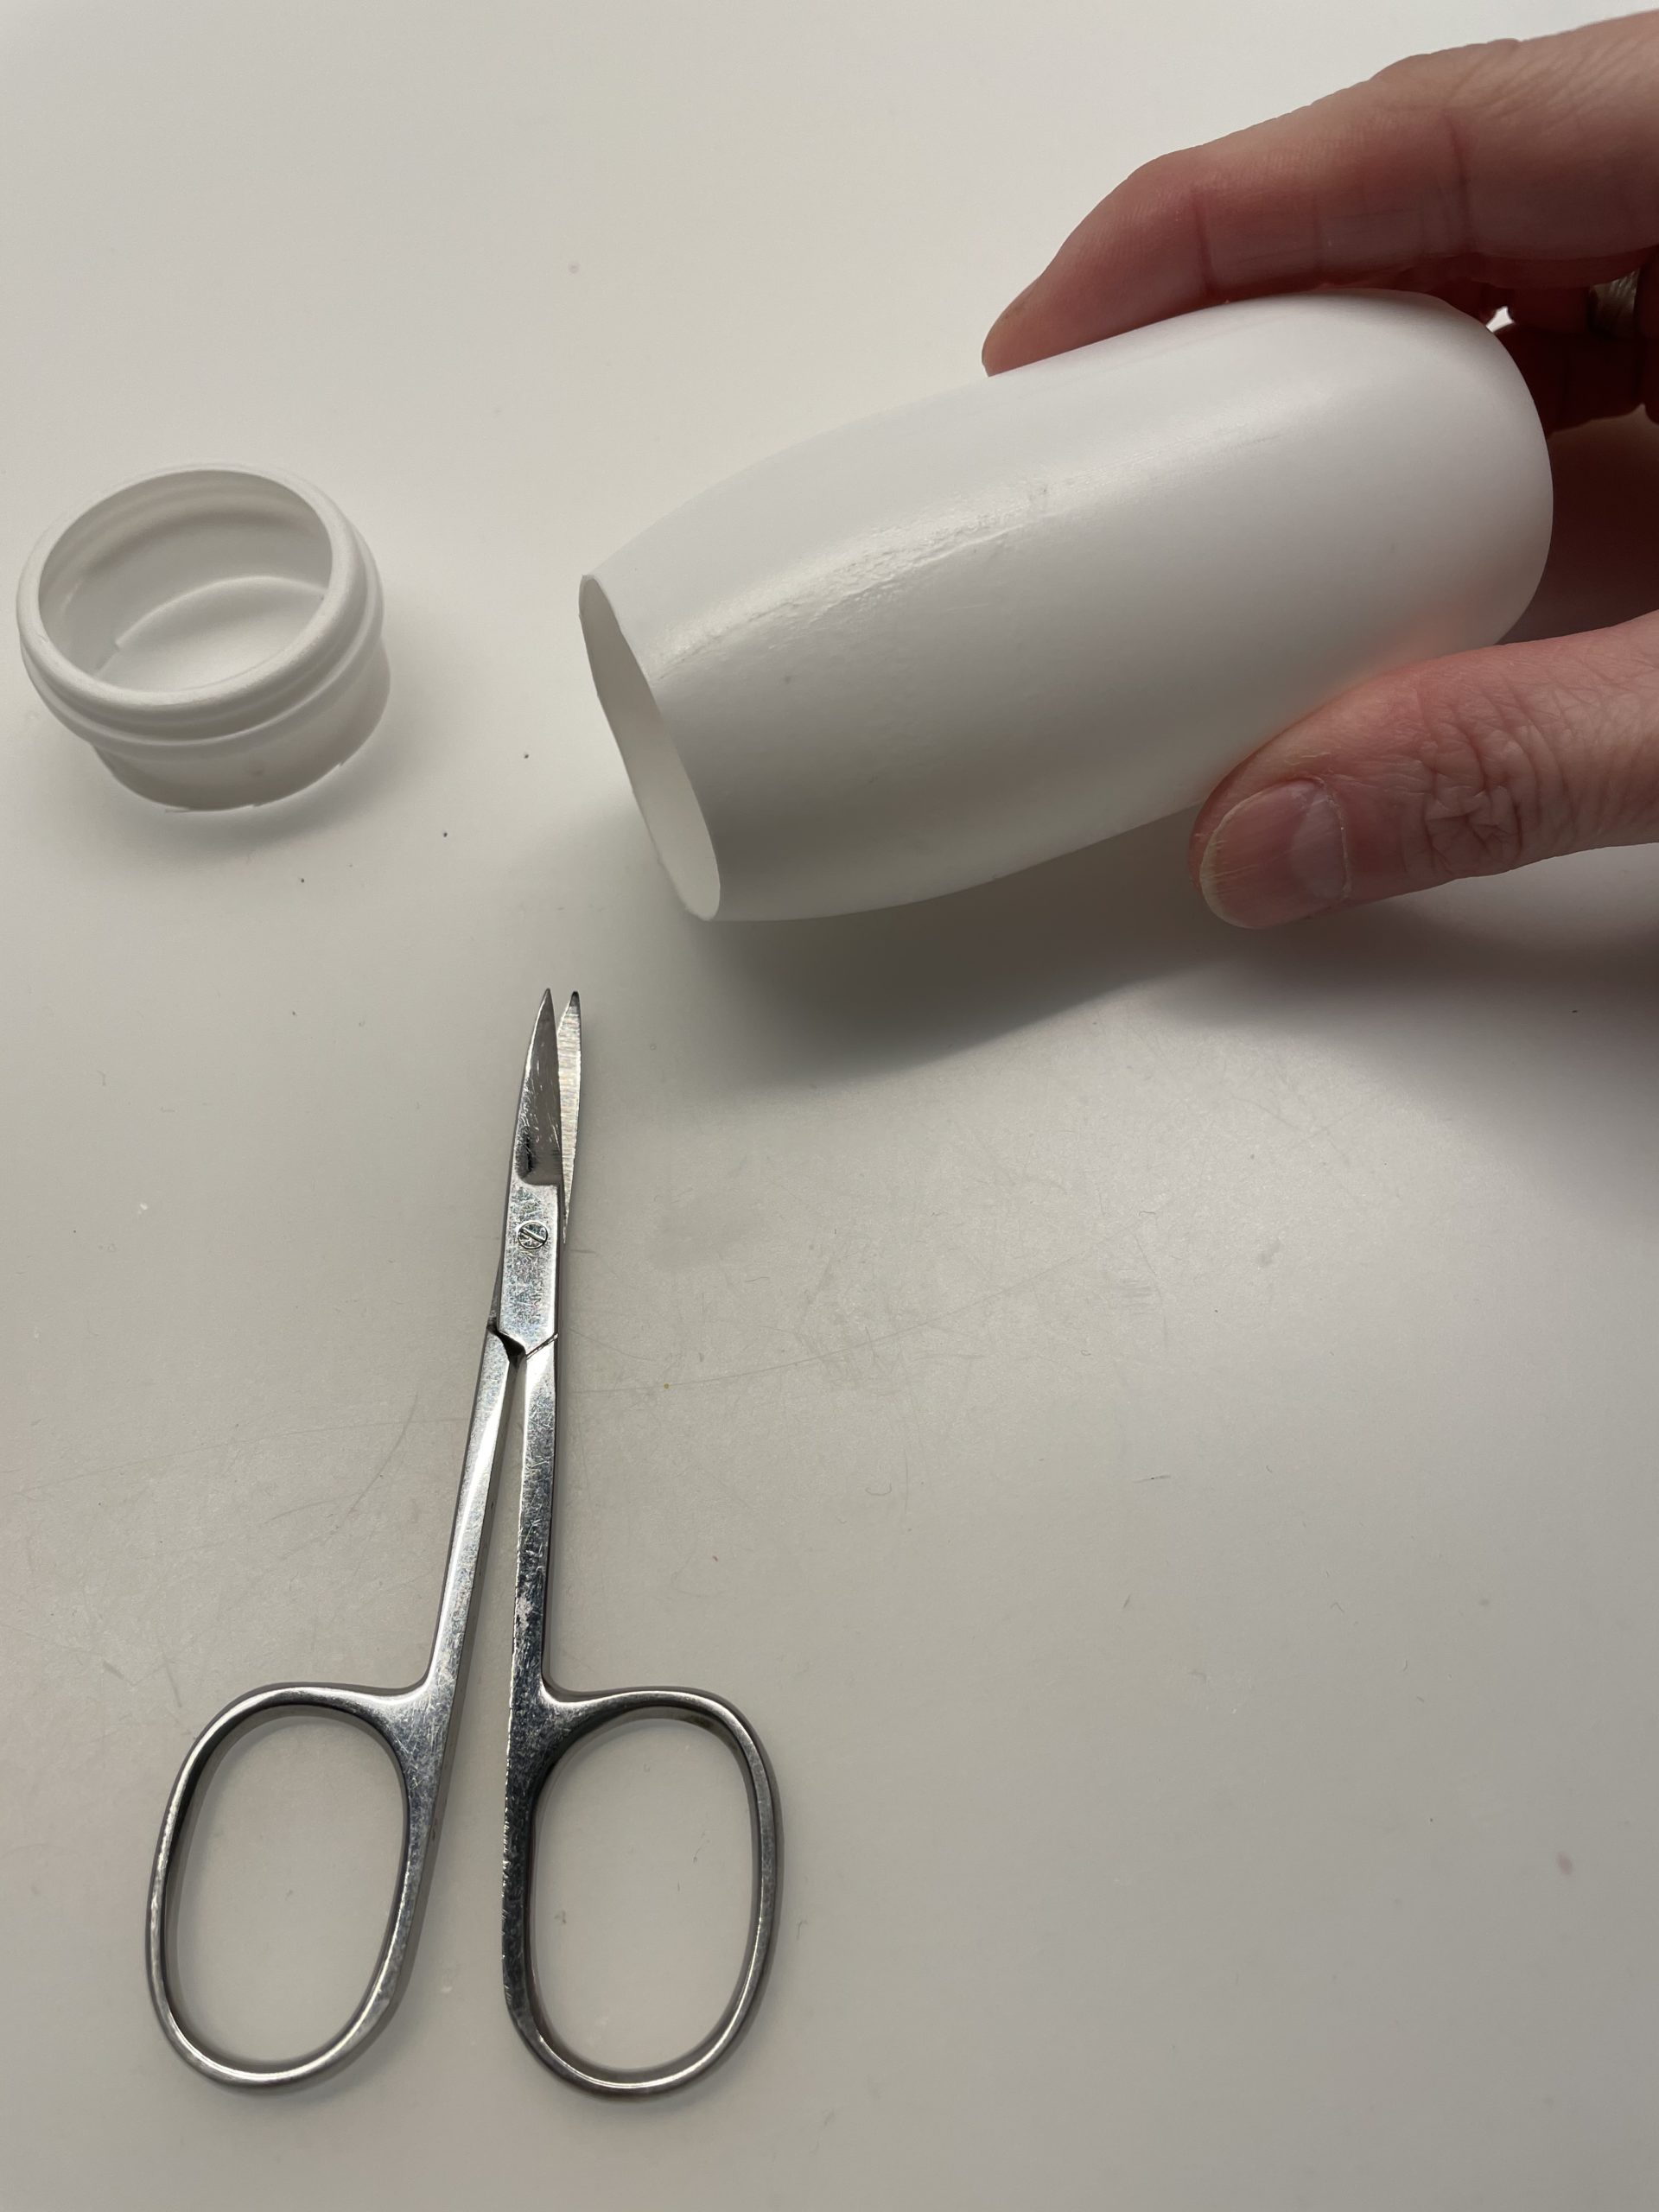
First put out your craft file and find your materials together.
Use a clean drinking yoghurt cup and remove the label.

Then cut off the upper edge with a fingernail scissors. Stitch a hole in the plastic with the tip of the scissors. Cuts around it.

When the edge is cut off, you use a craft scissors.
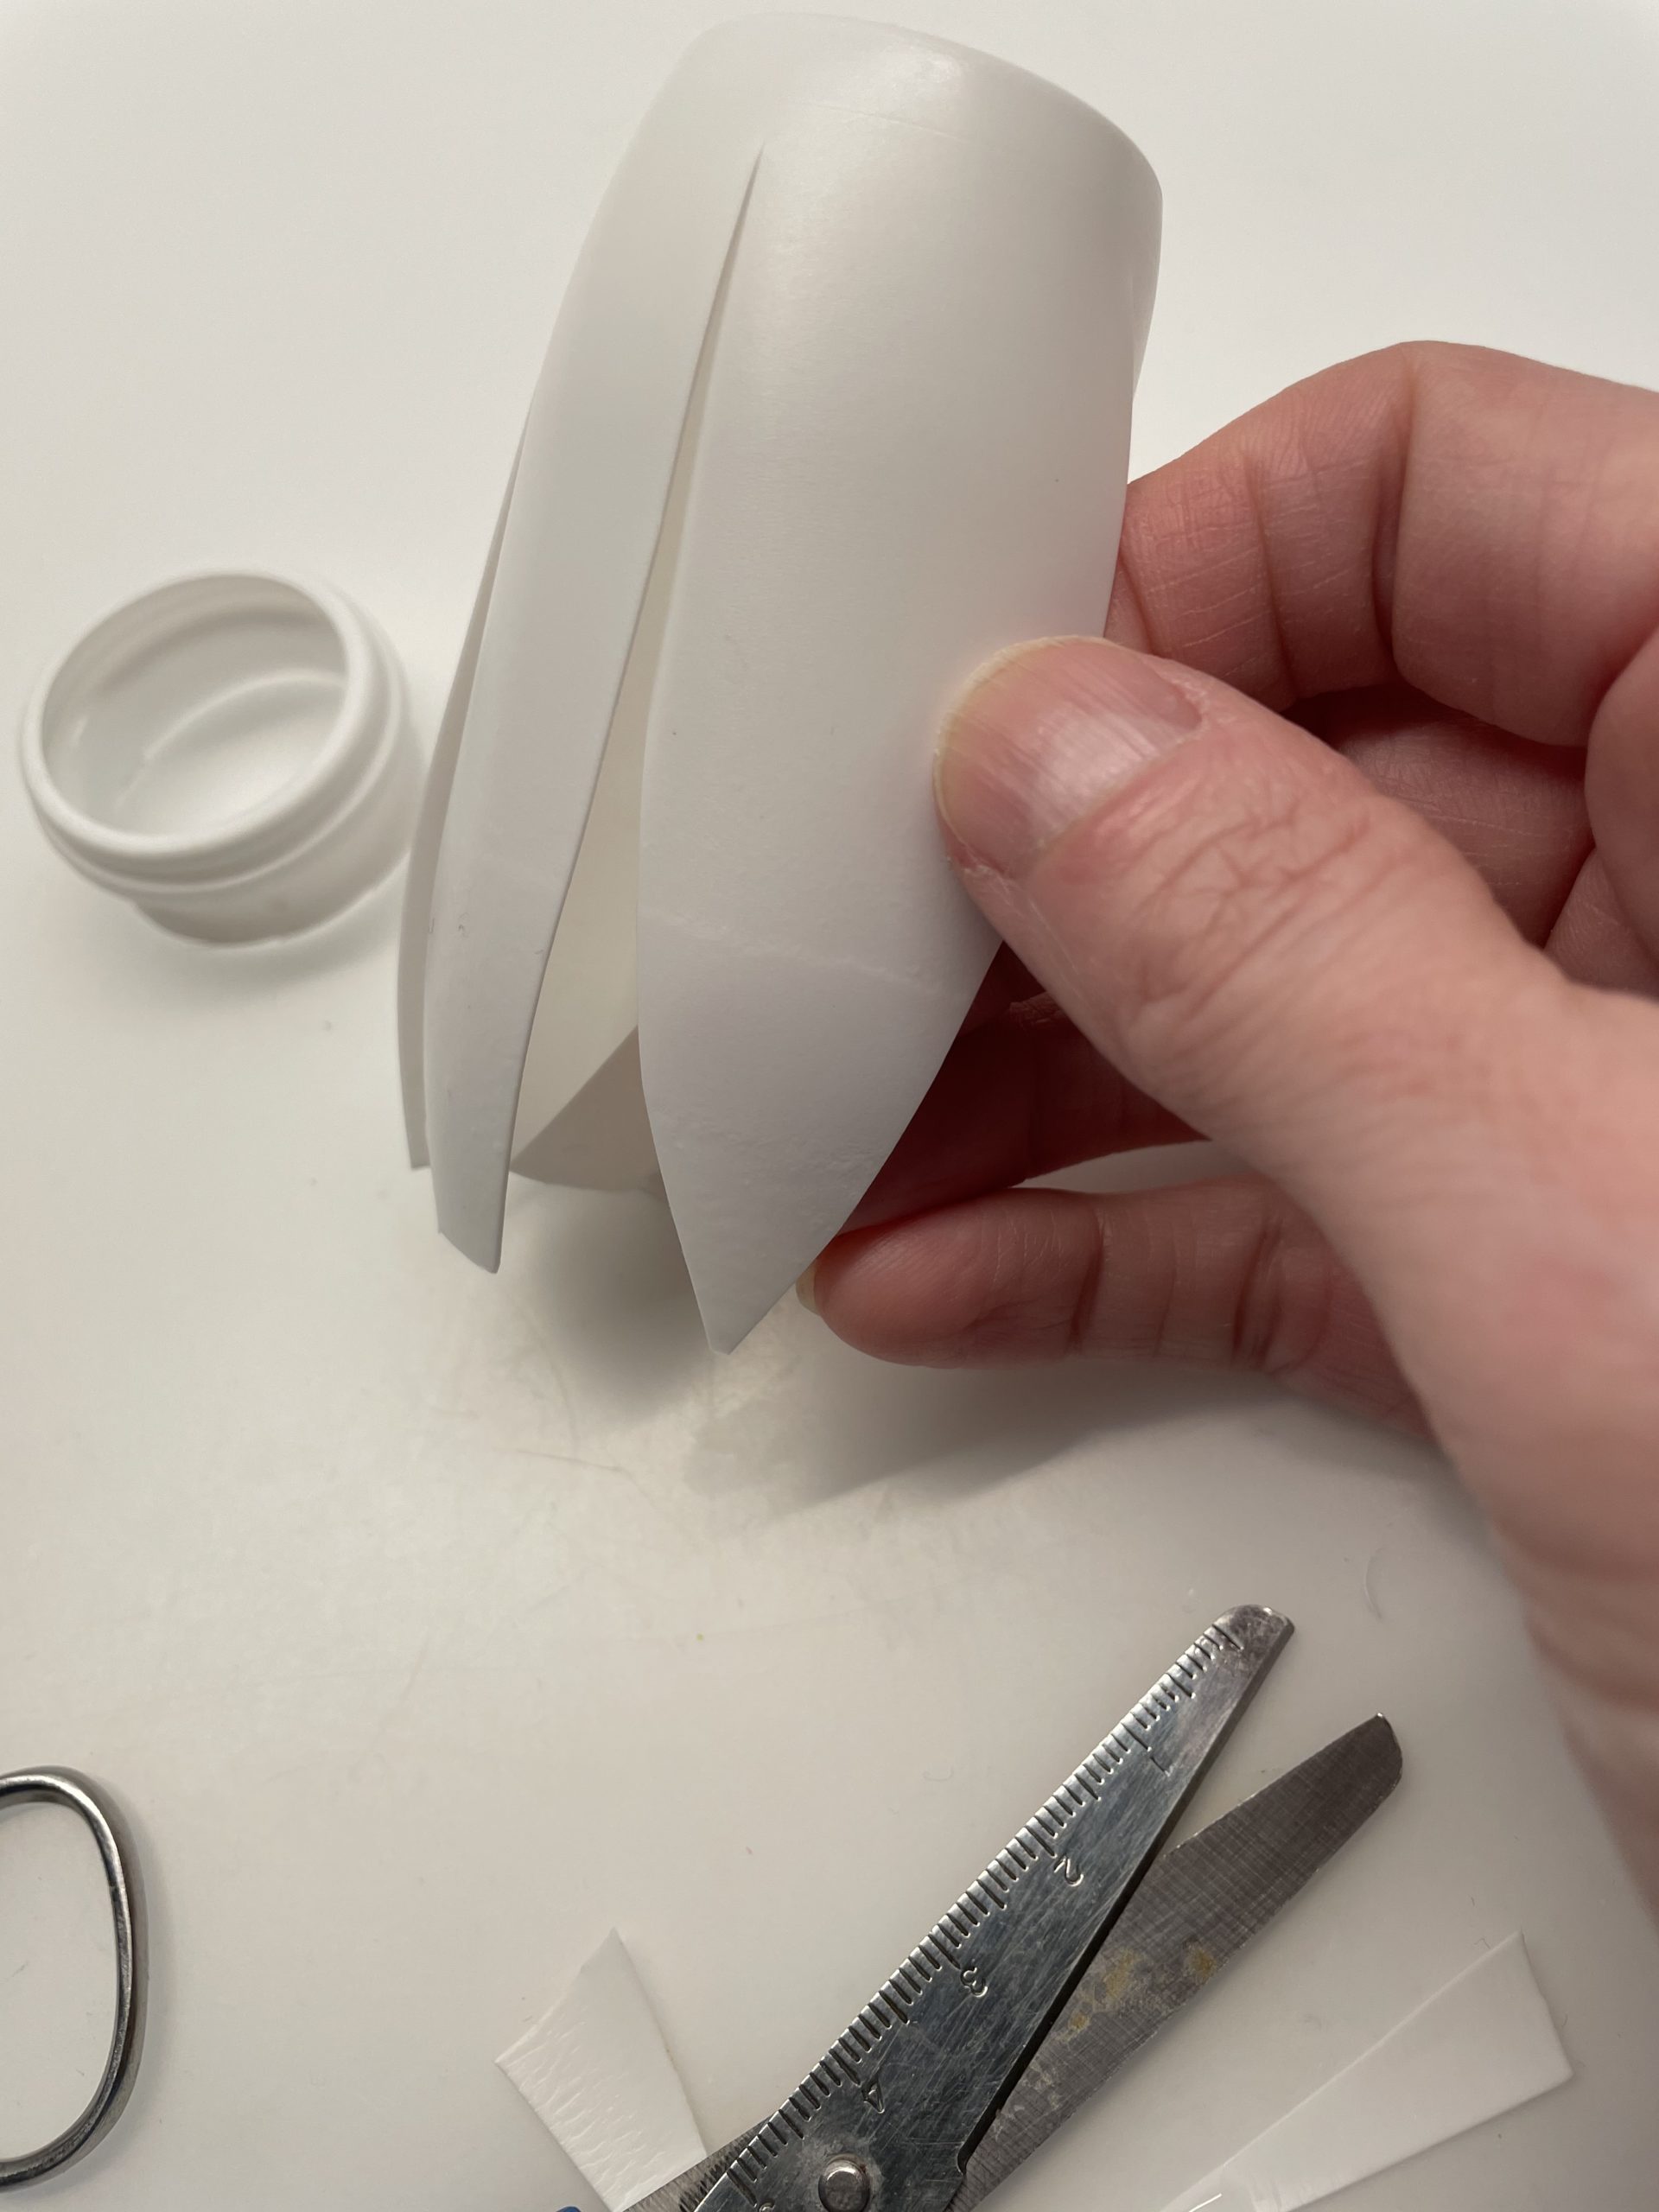
Then cut the cup several times (5-6 times) from above. Cut down to one centimetre deep.
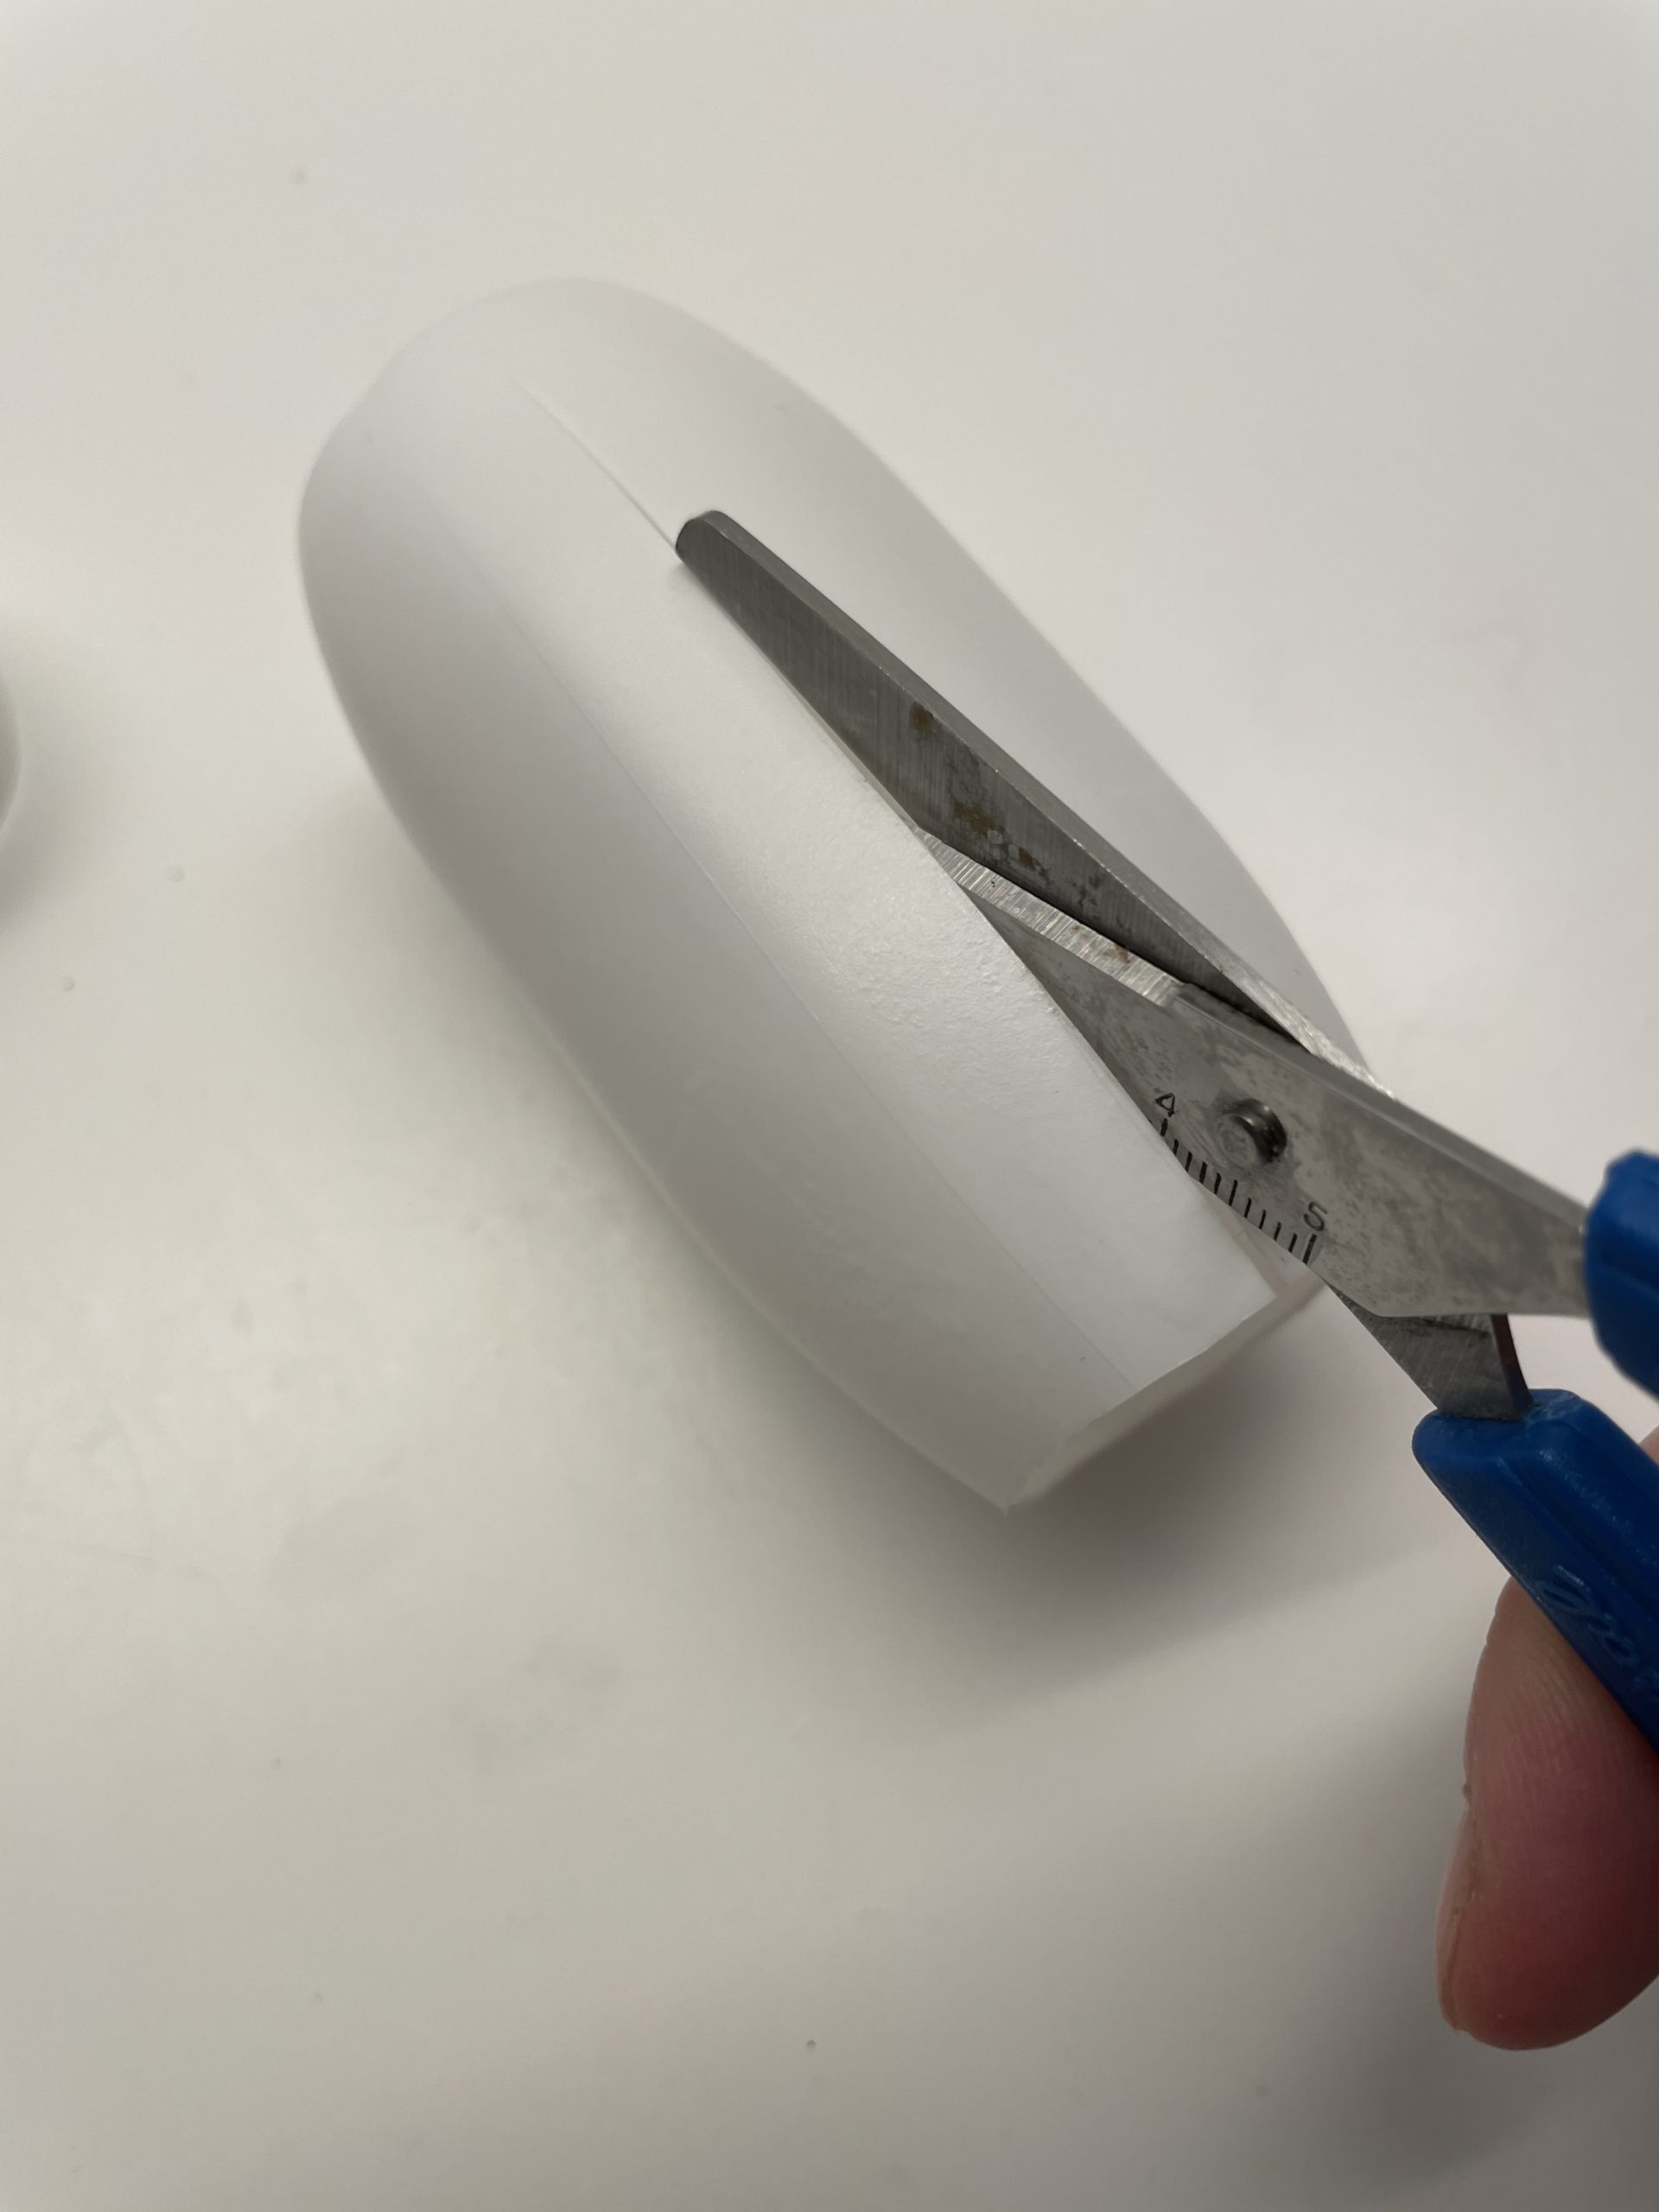
That's what it looks like!
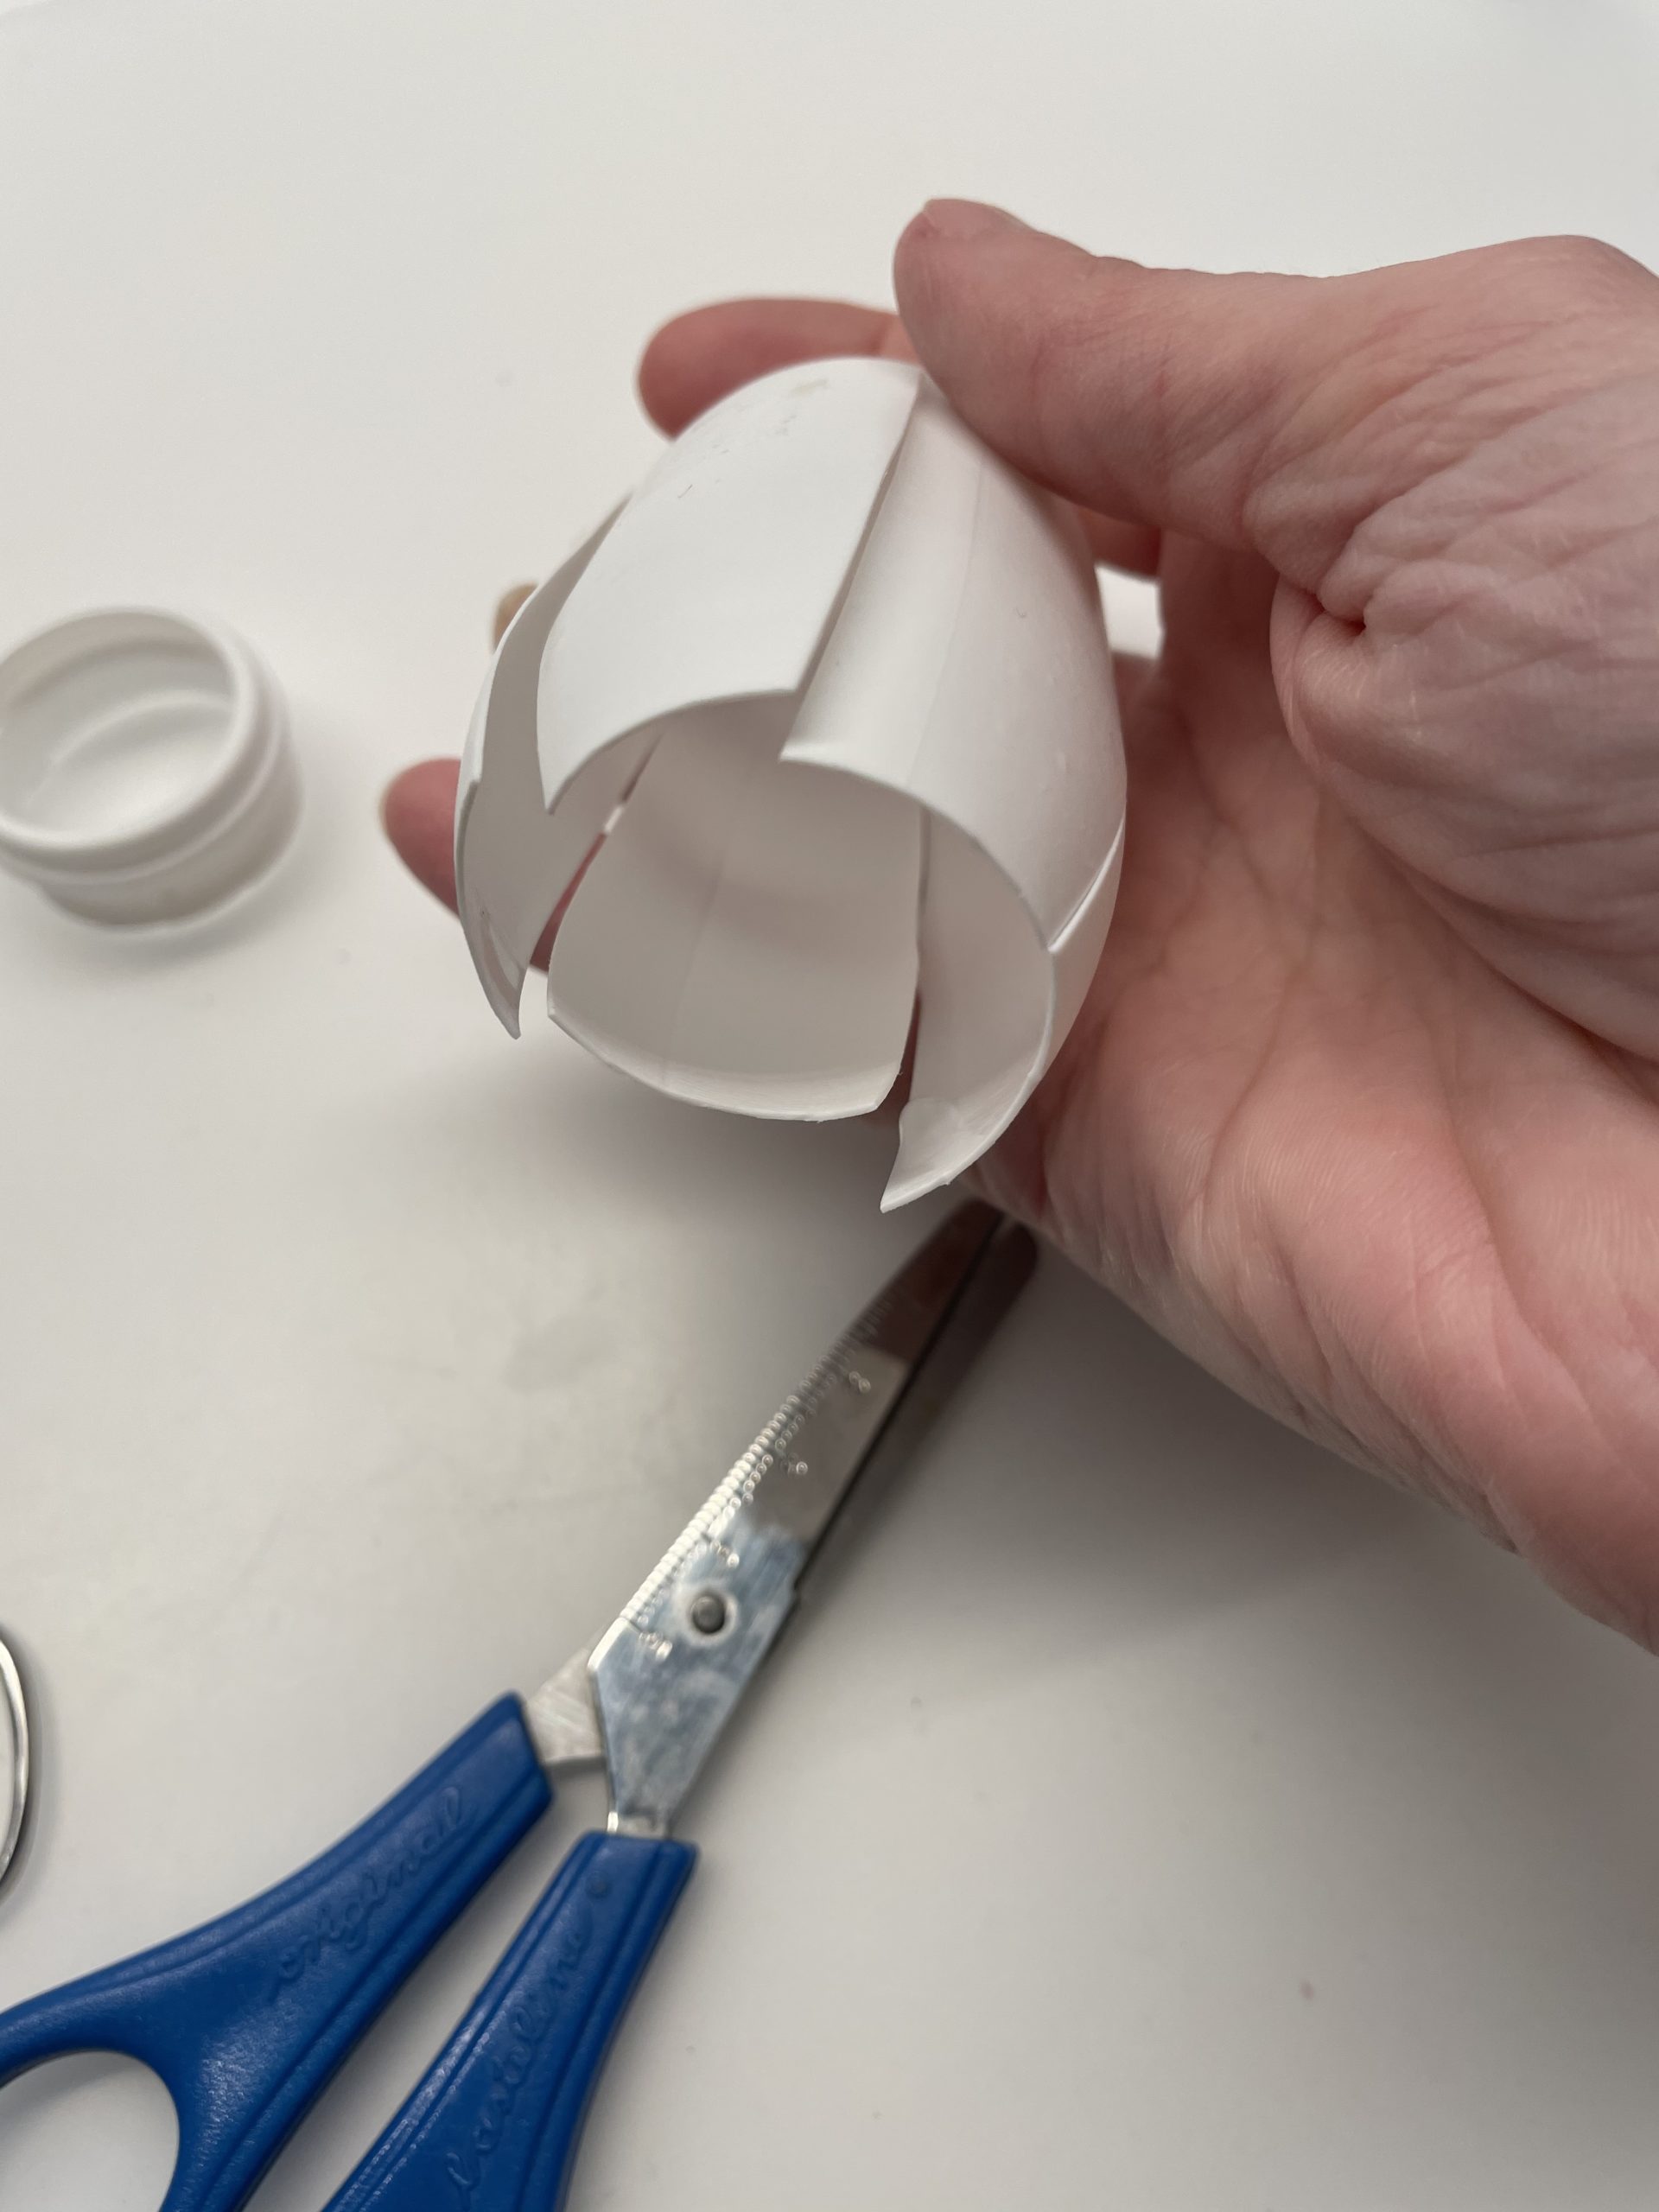
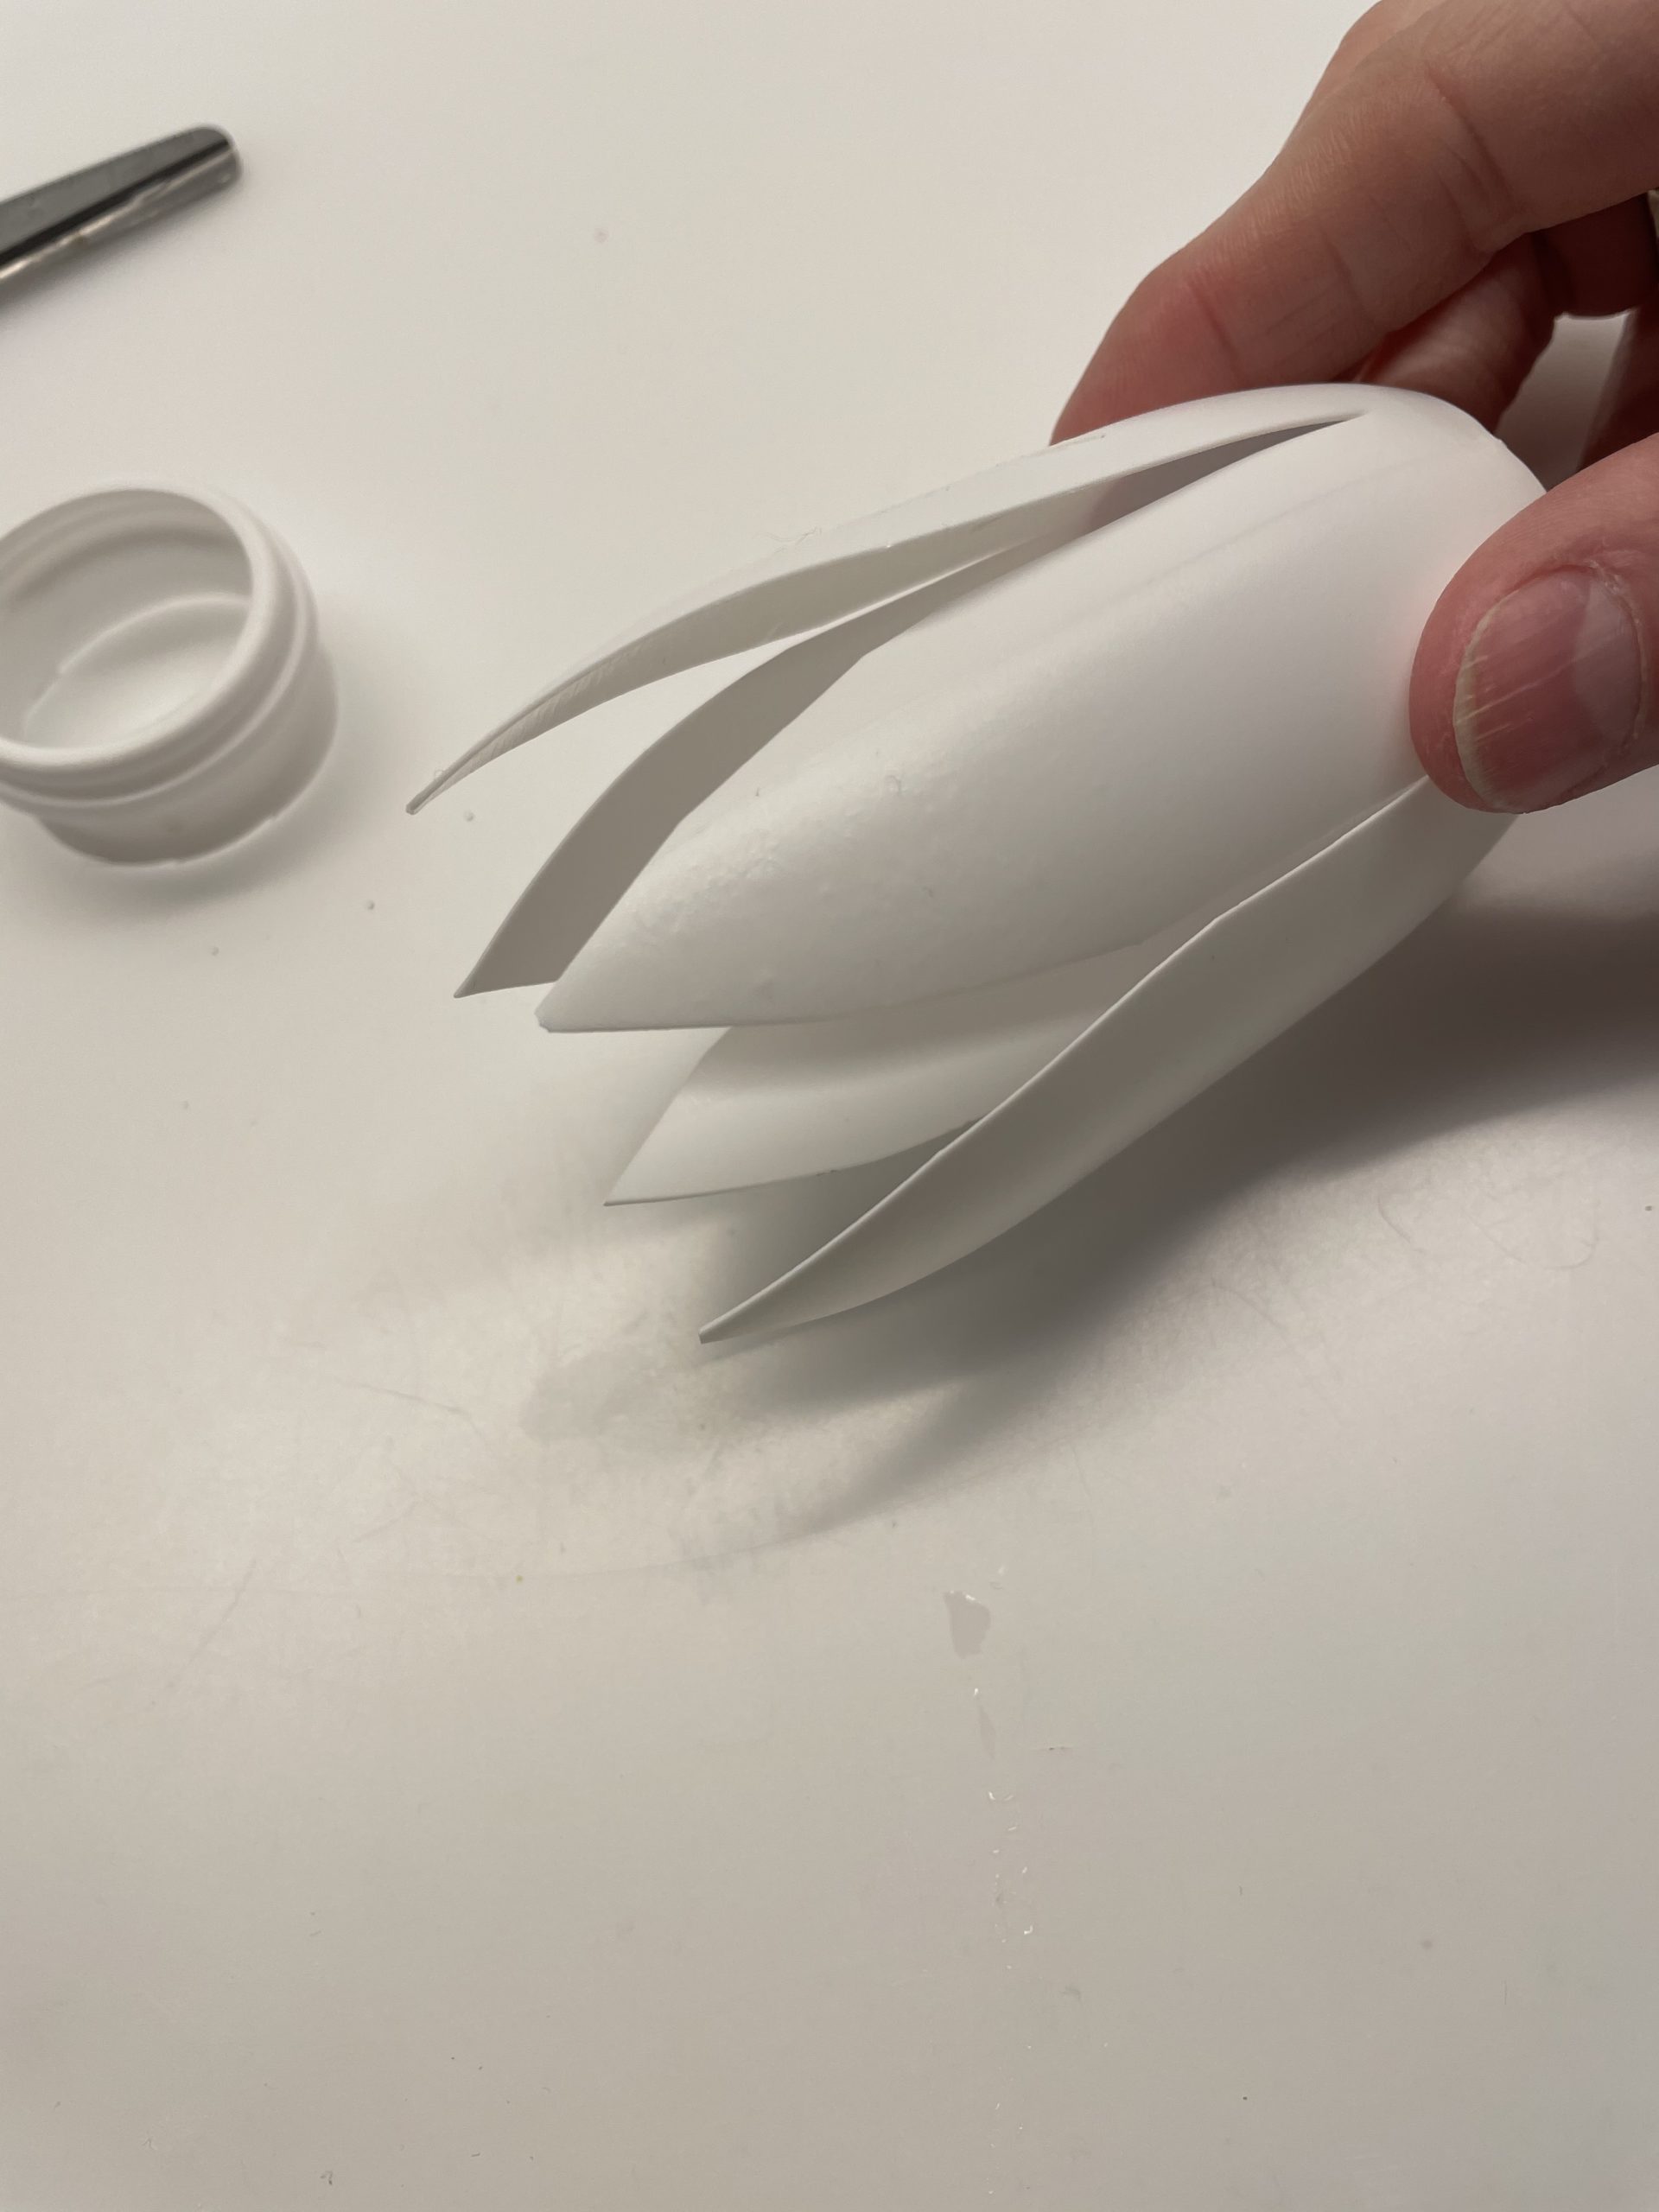
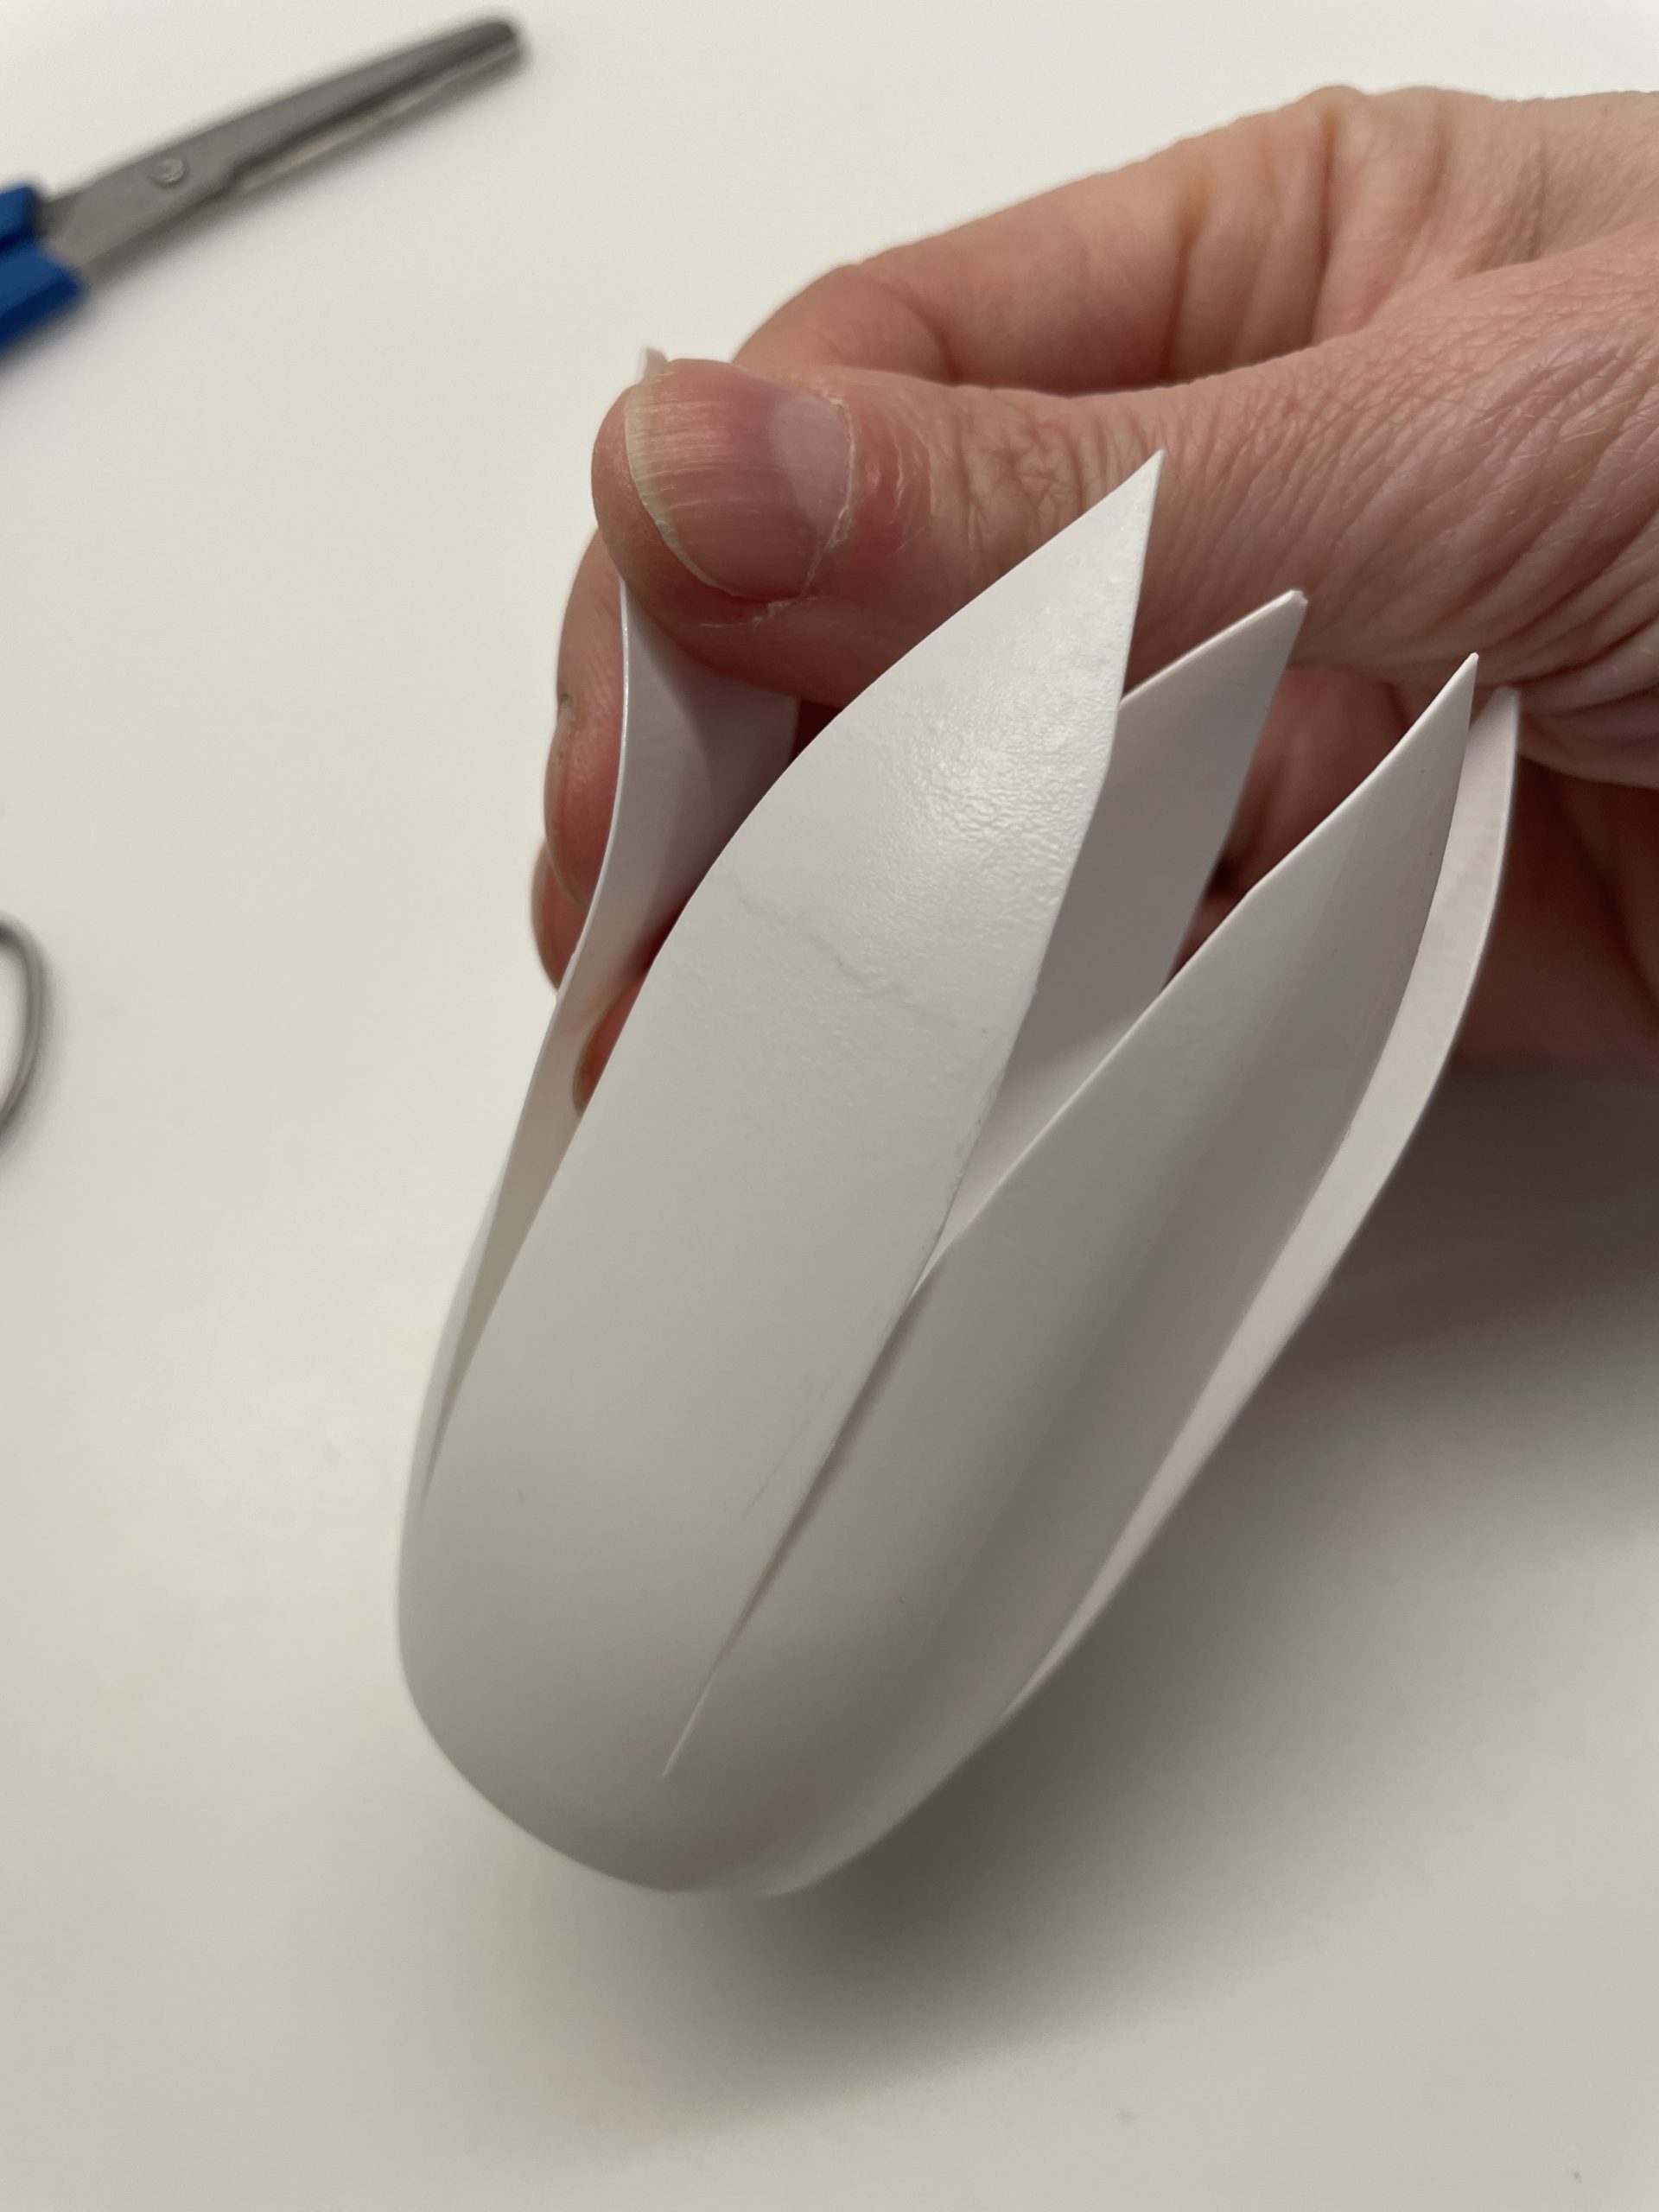
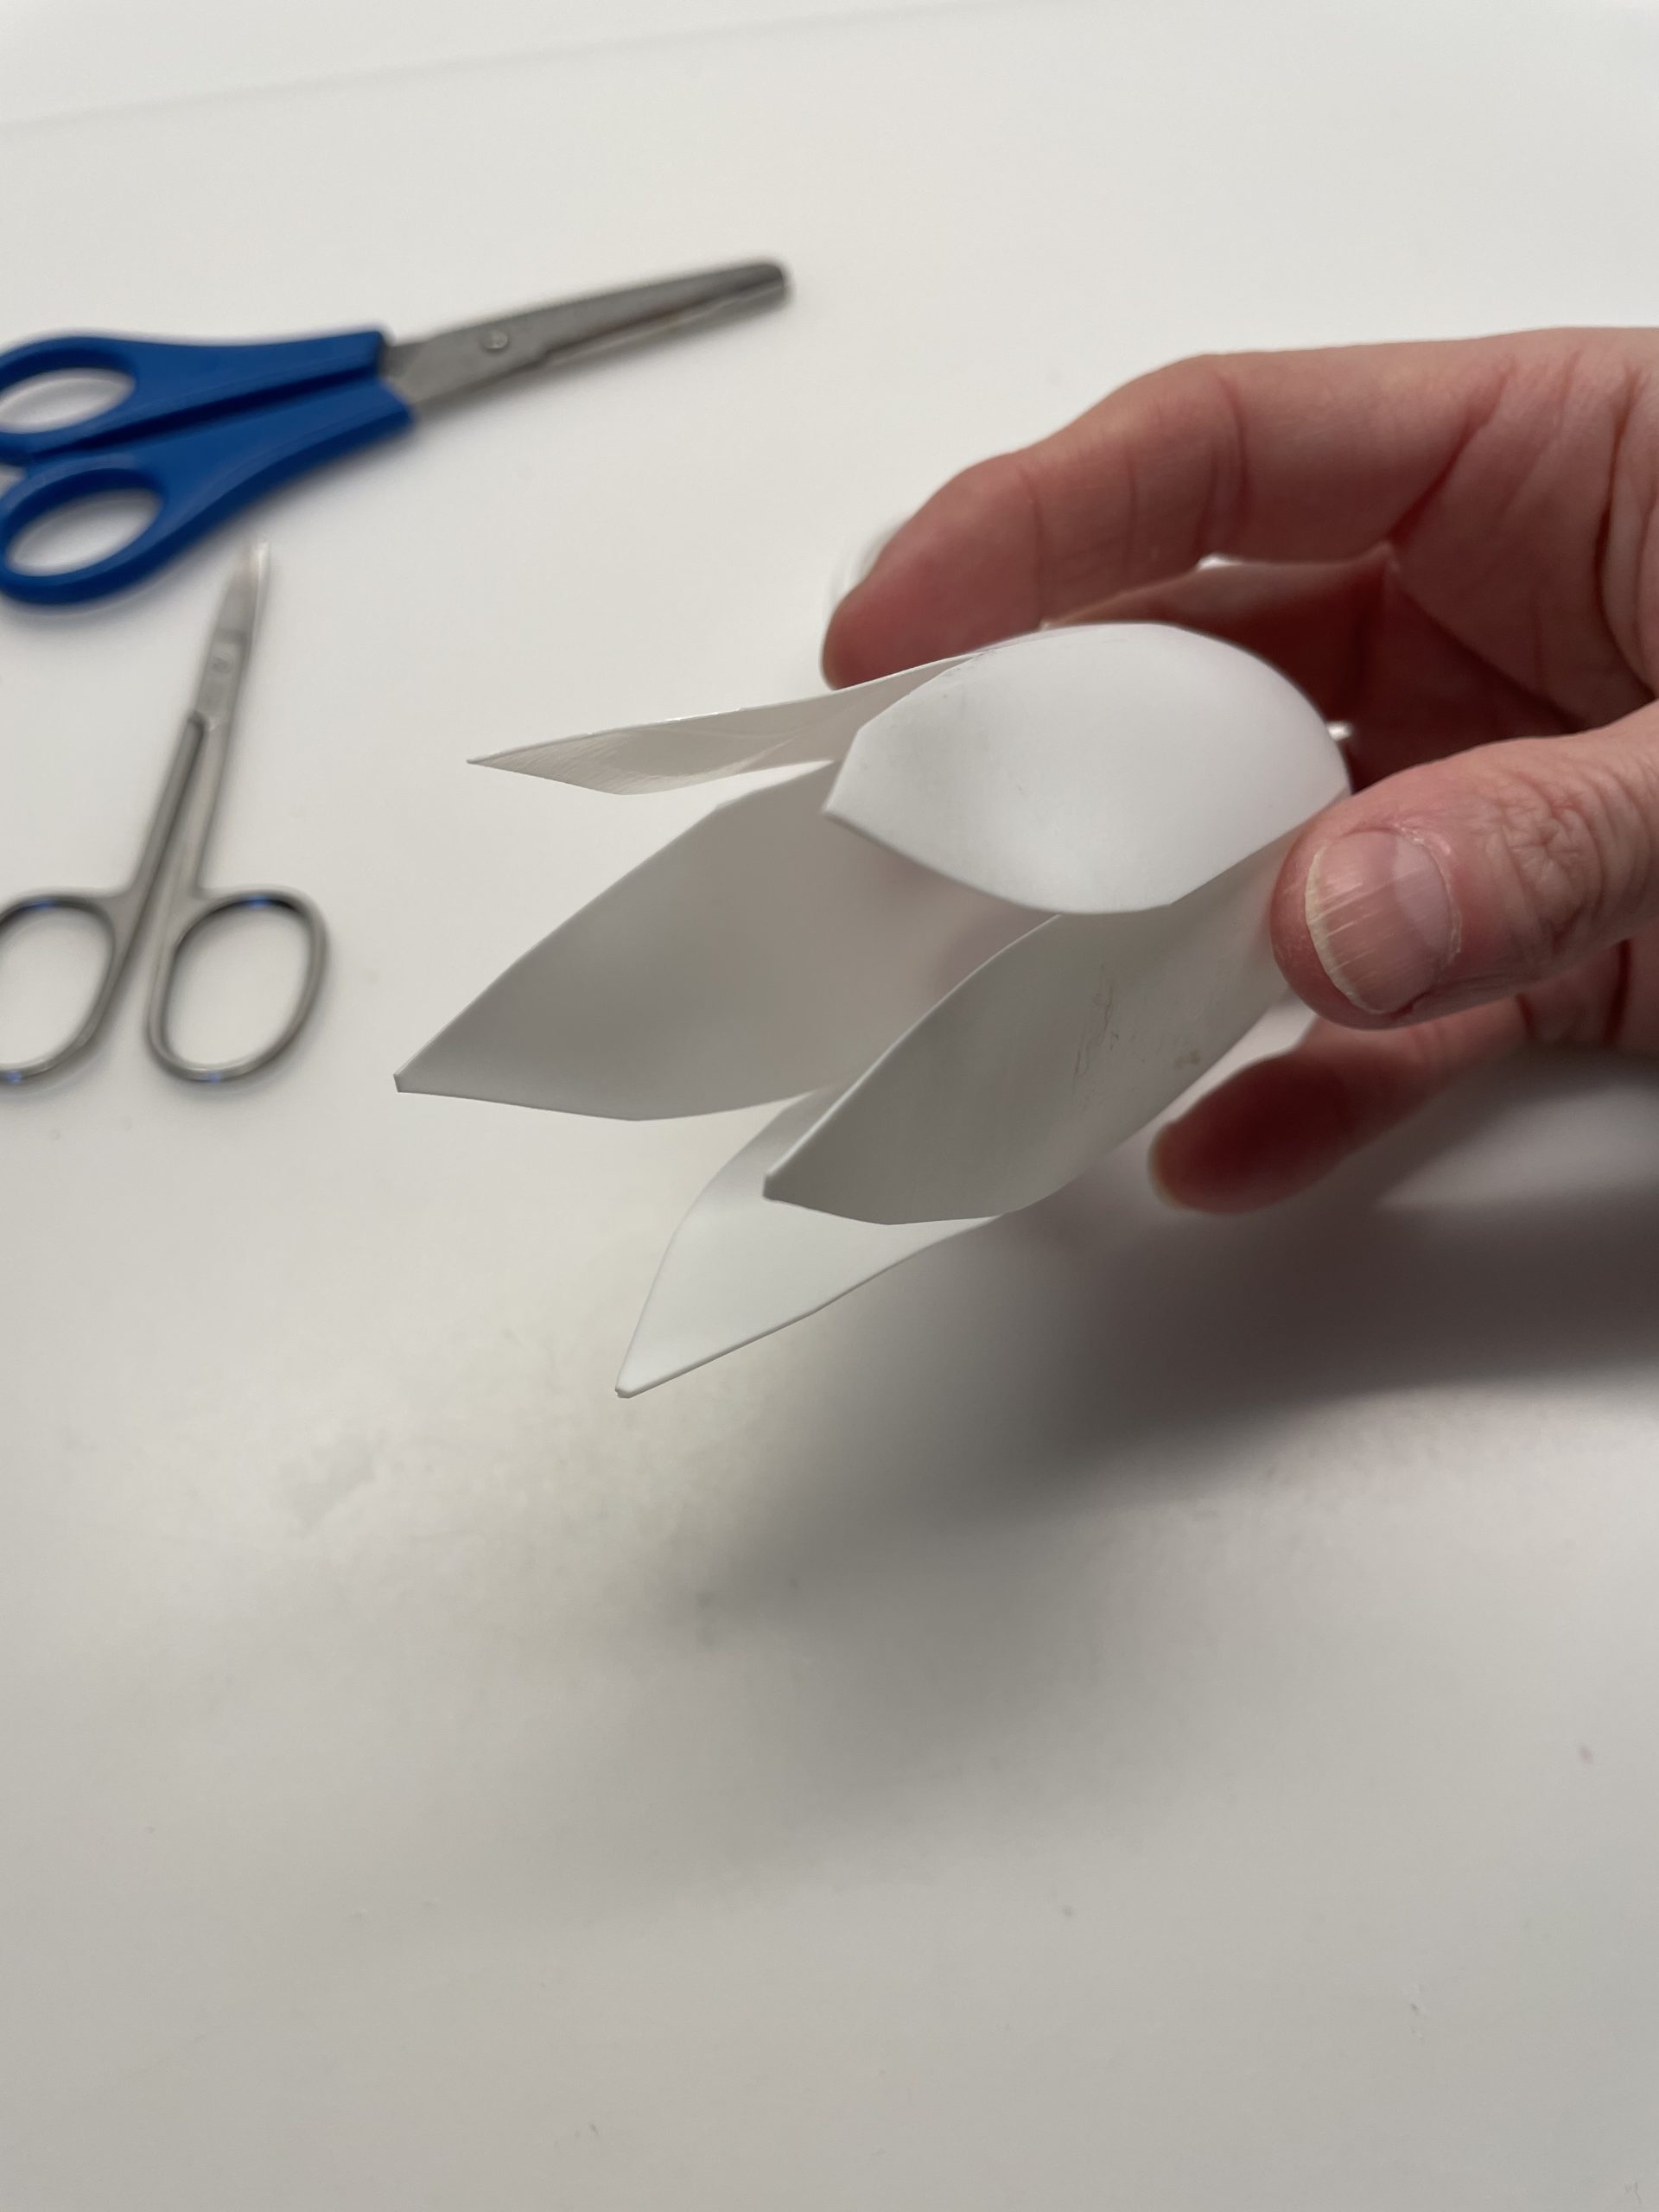
Now round off the individual stripes in a flower shape and cut them up pointed.
So travel with all stripes. Then this flower shape arises.
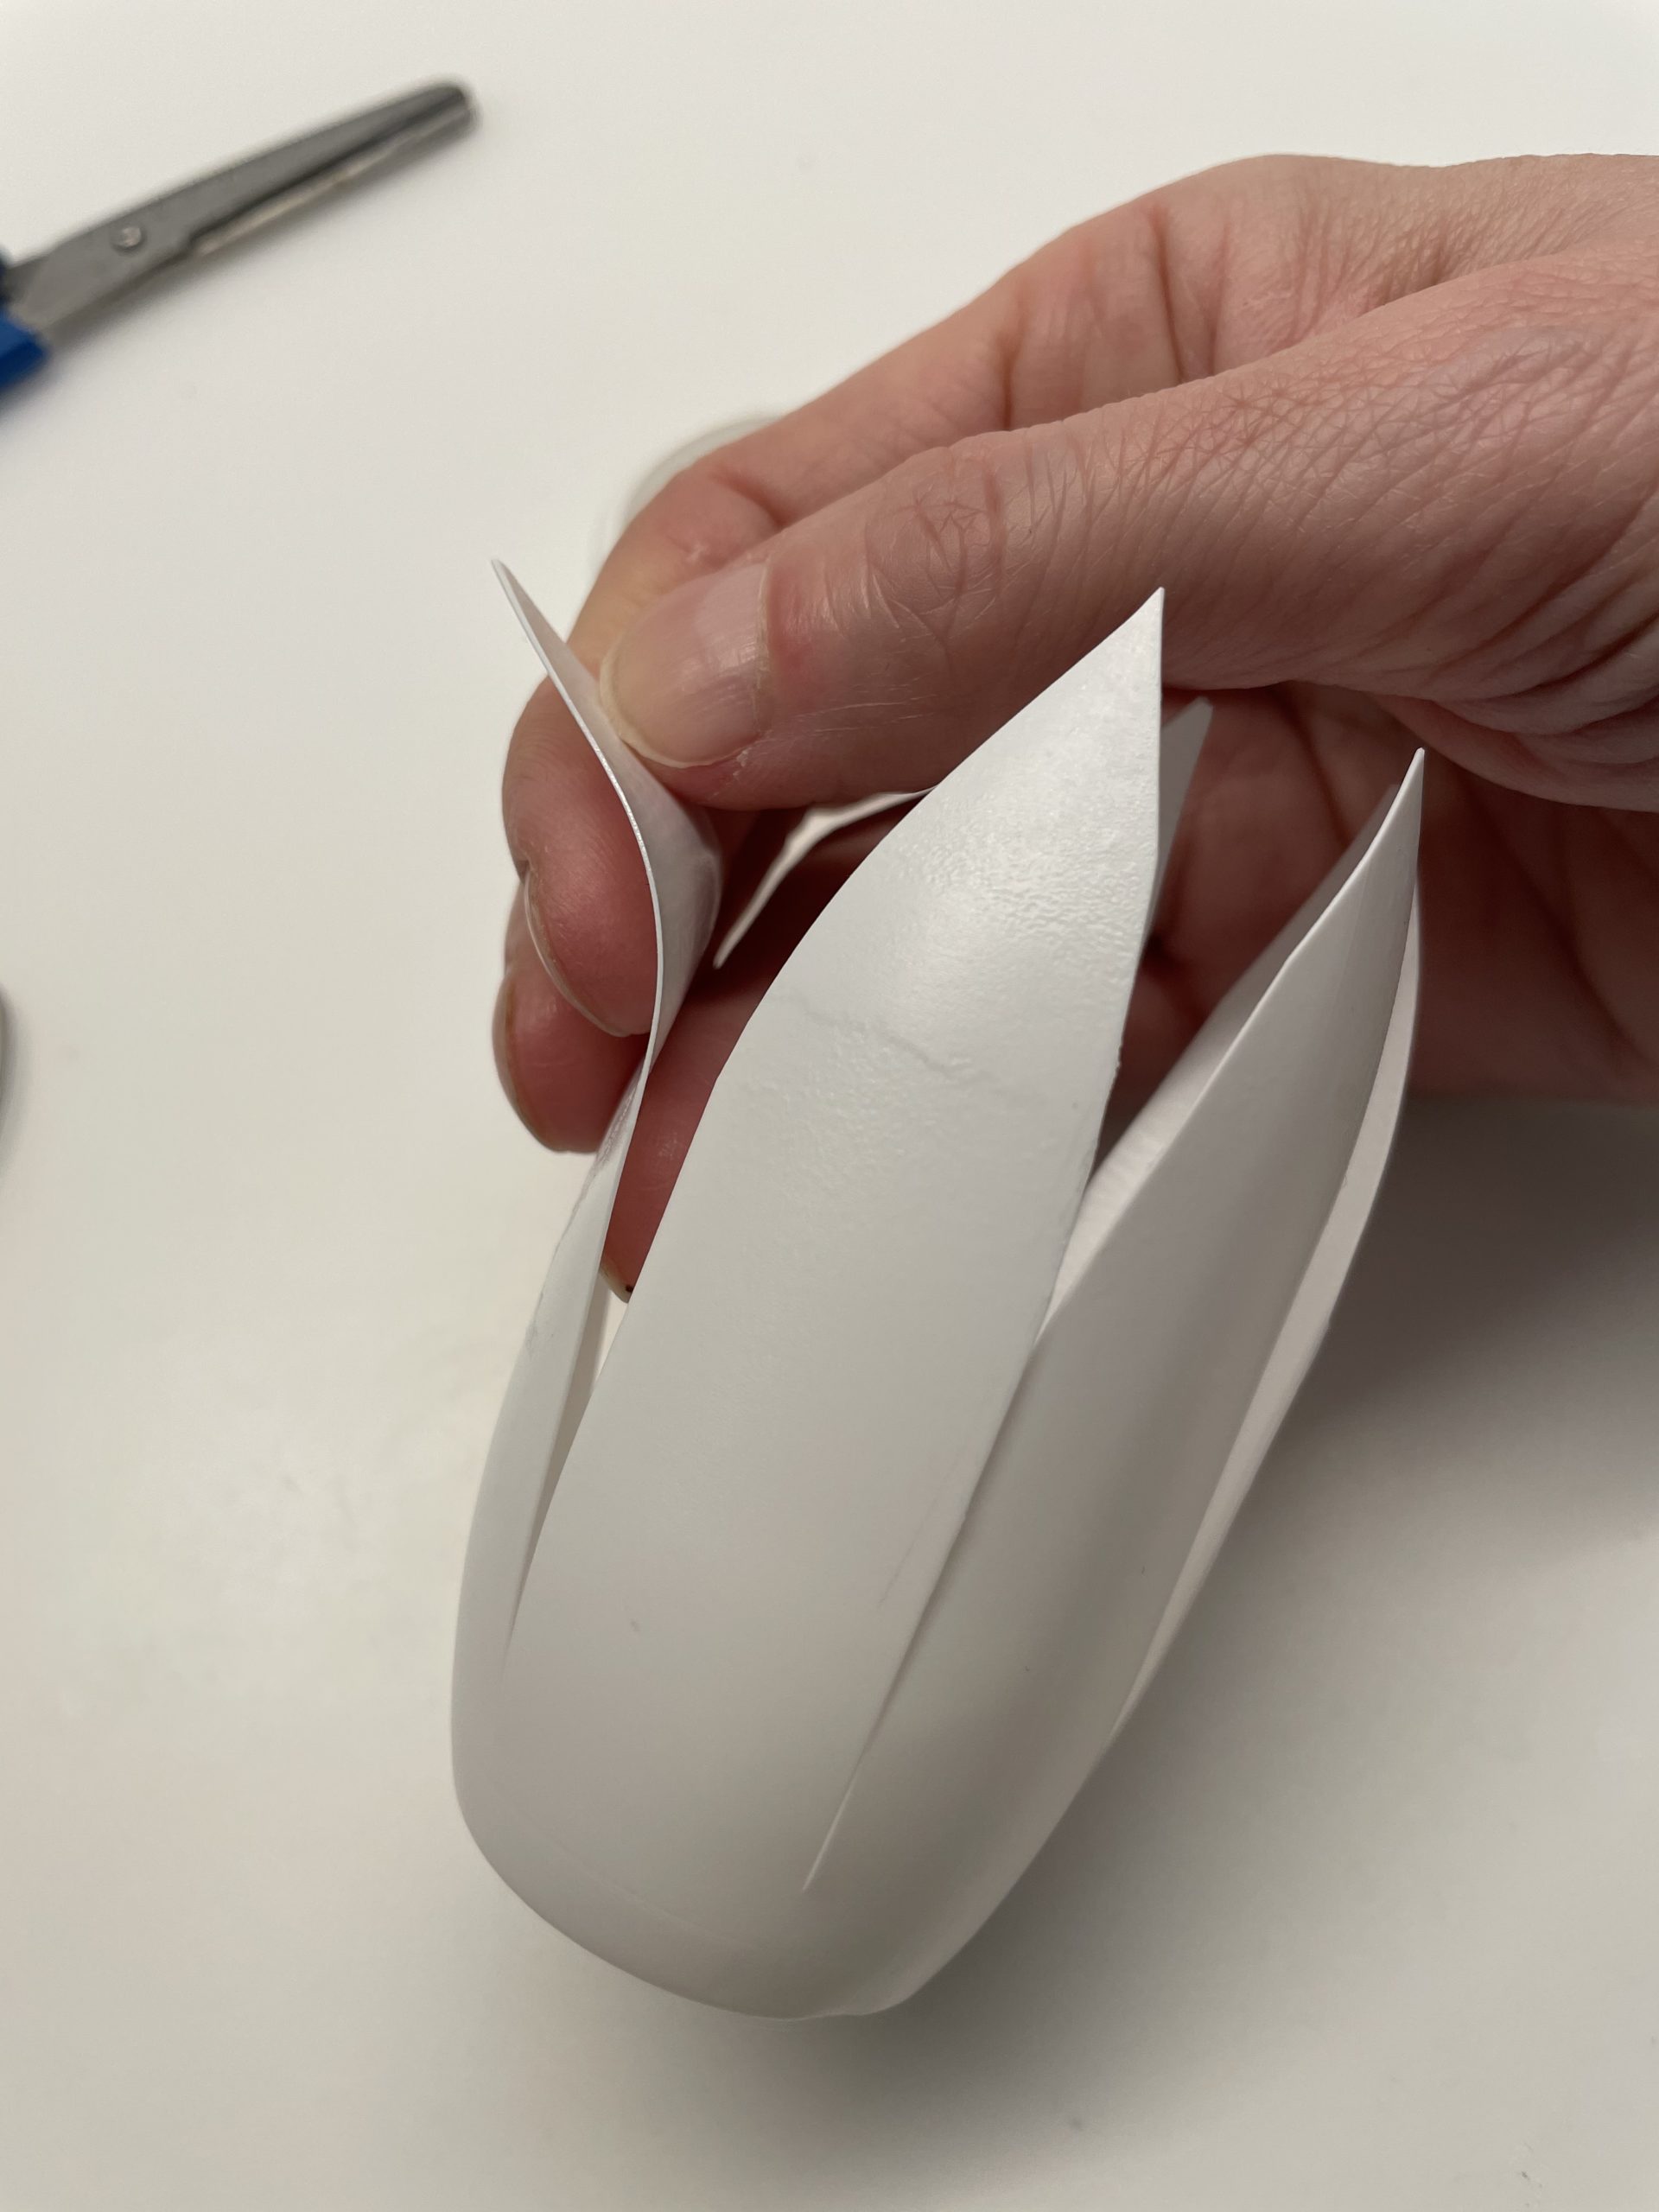
Now gently bend the individual petals with the thumb outwards.
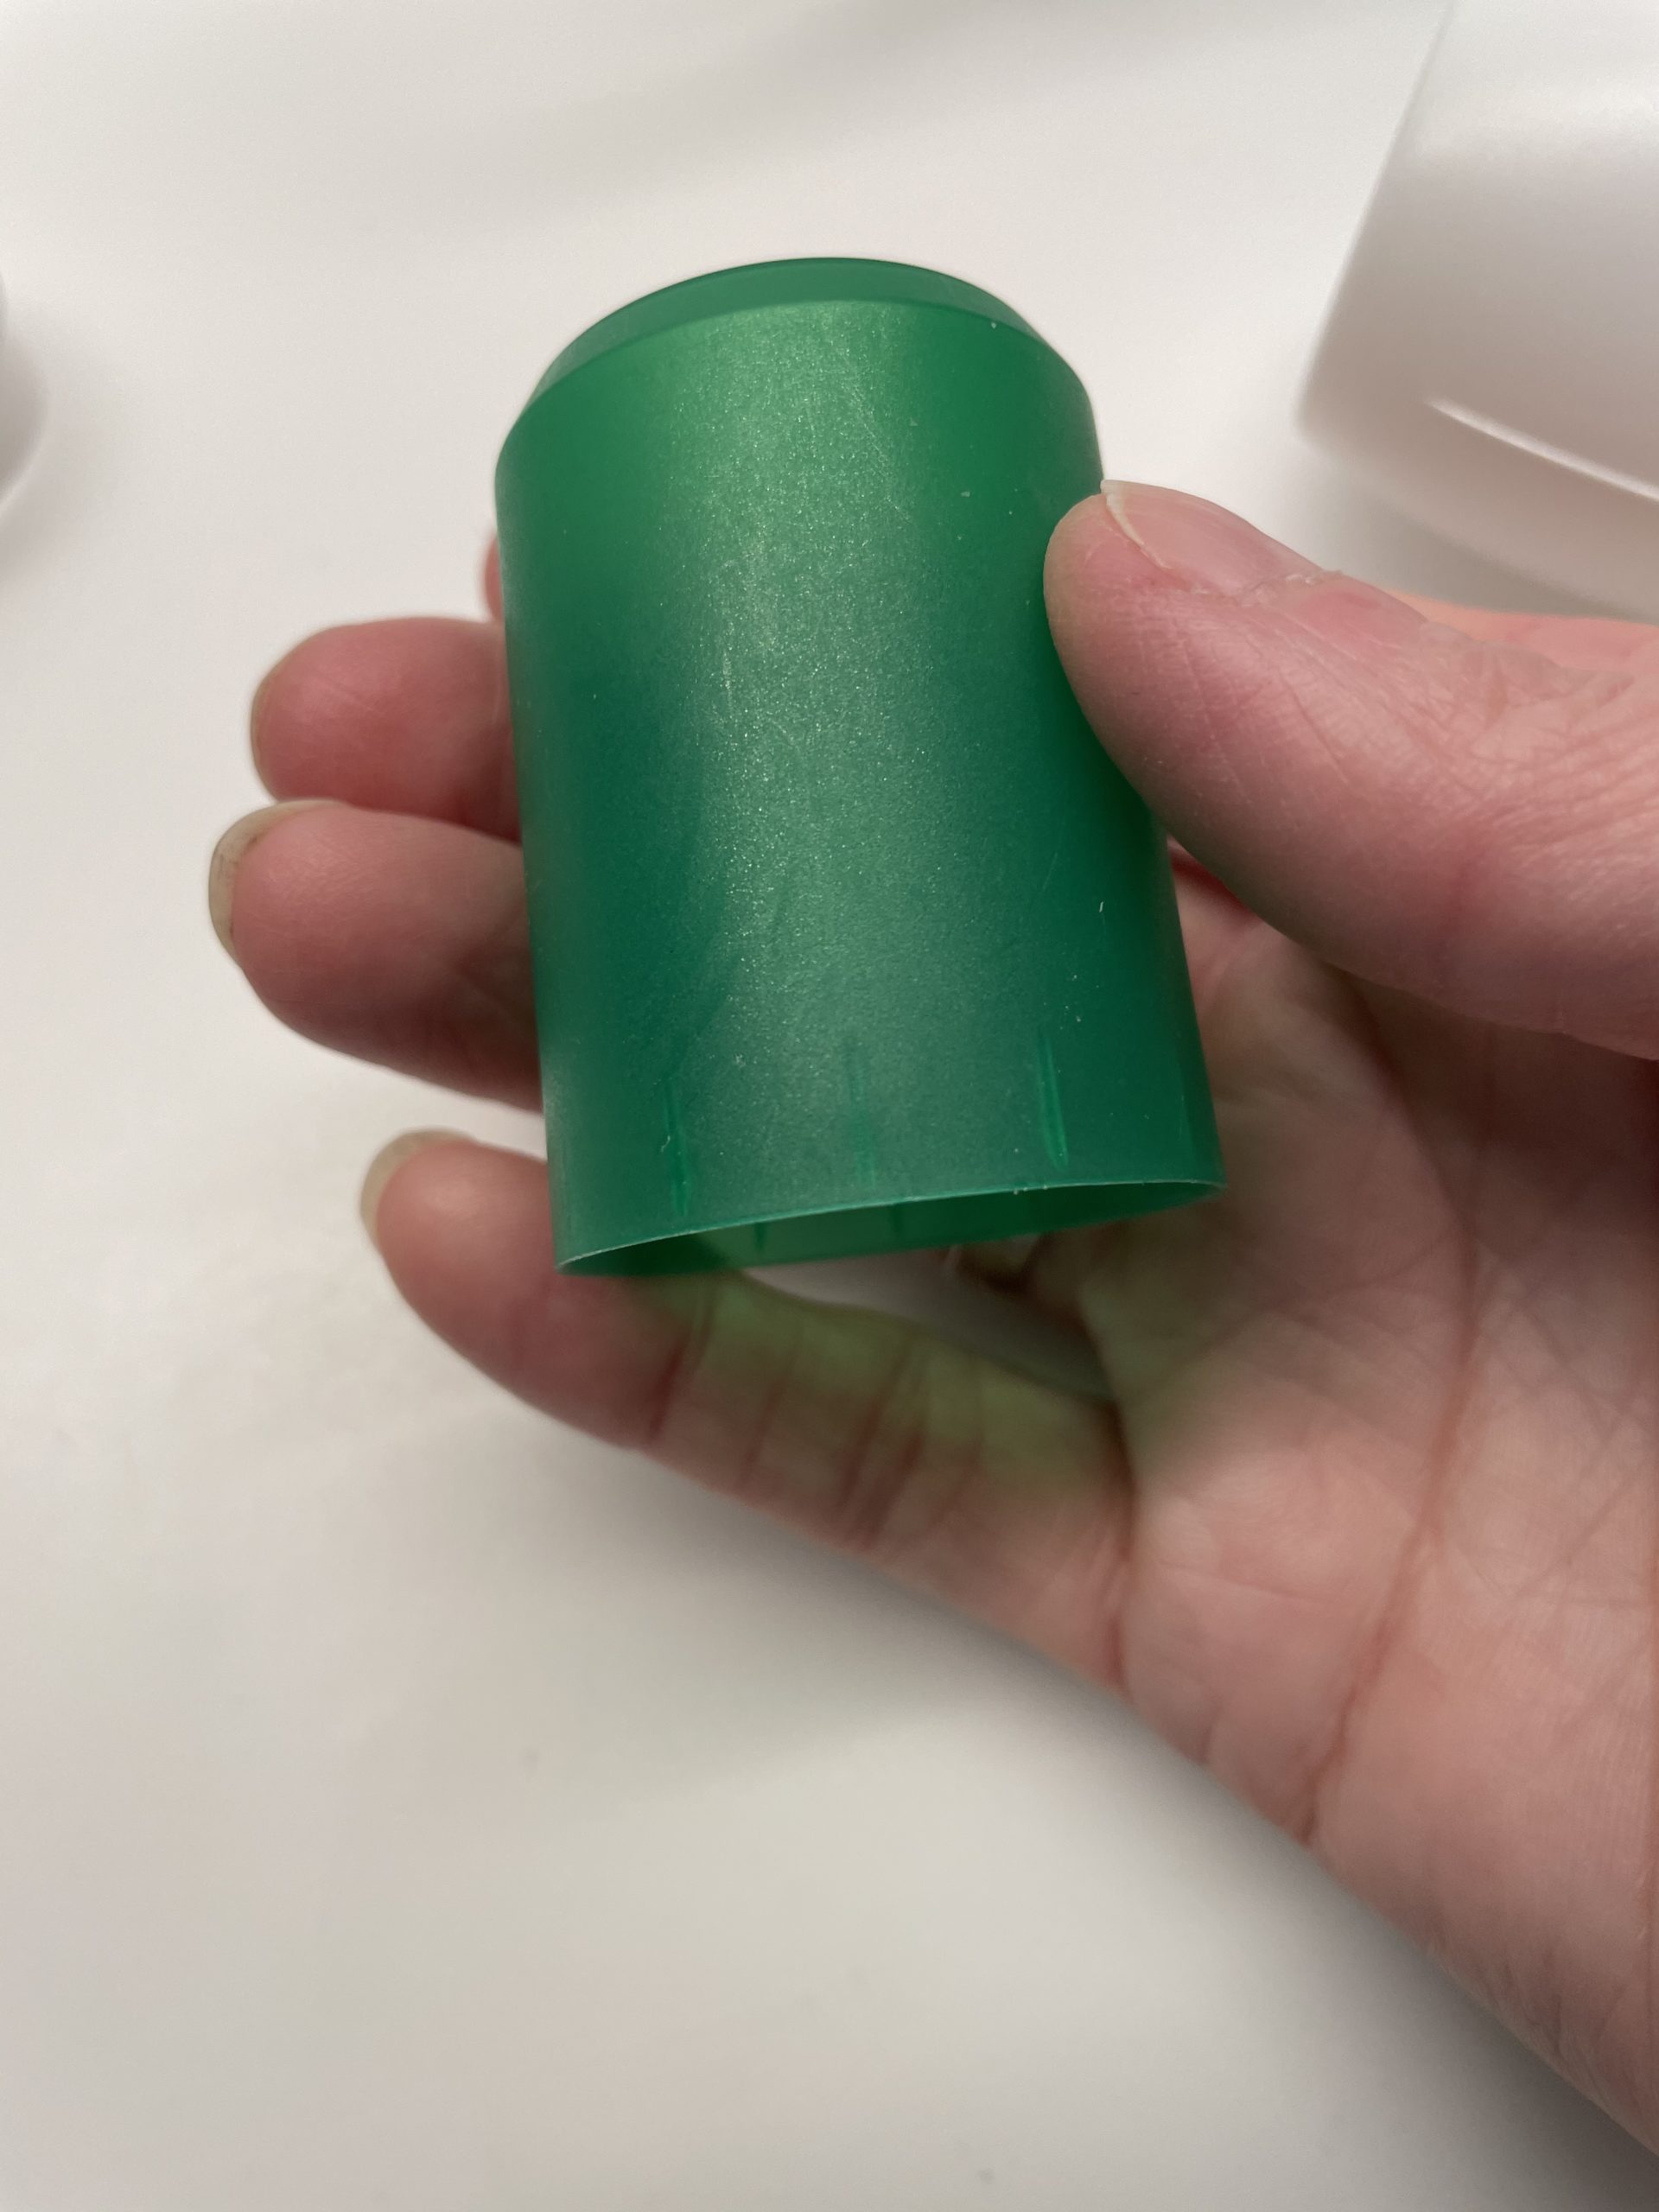
Now you need the green cap.
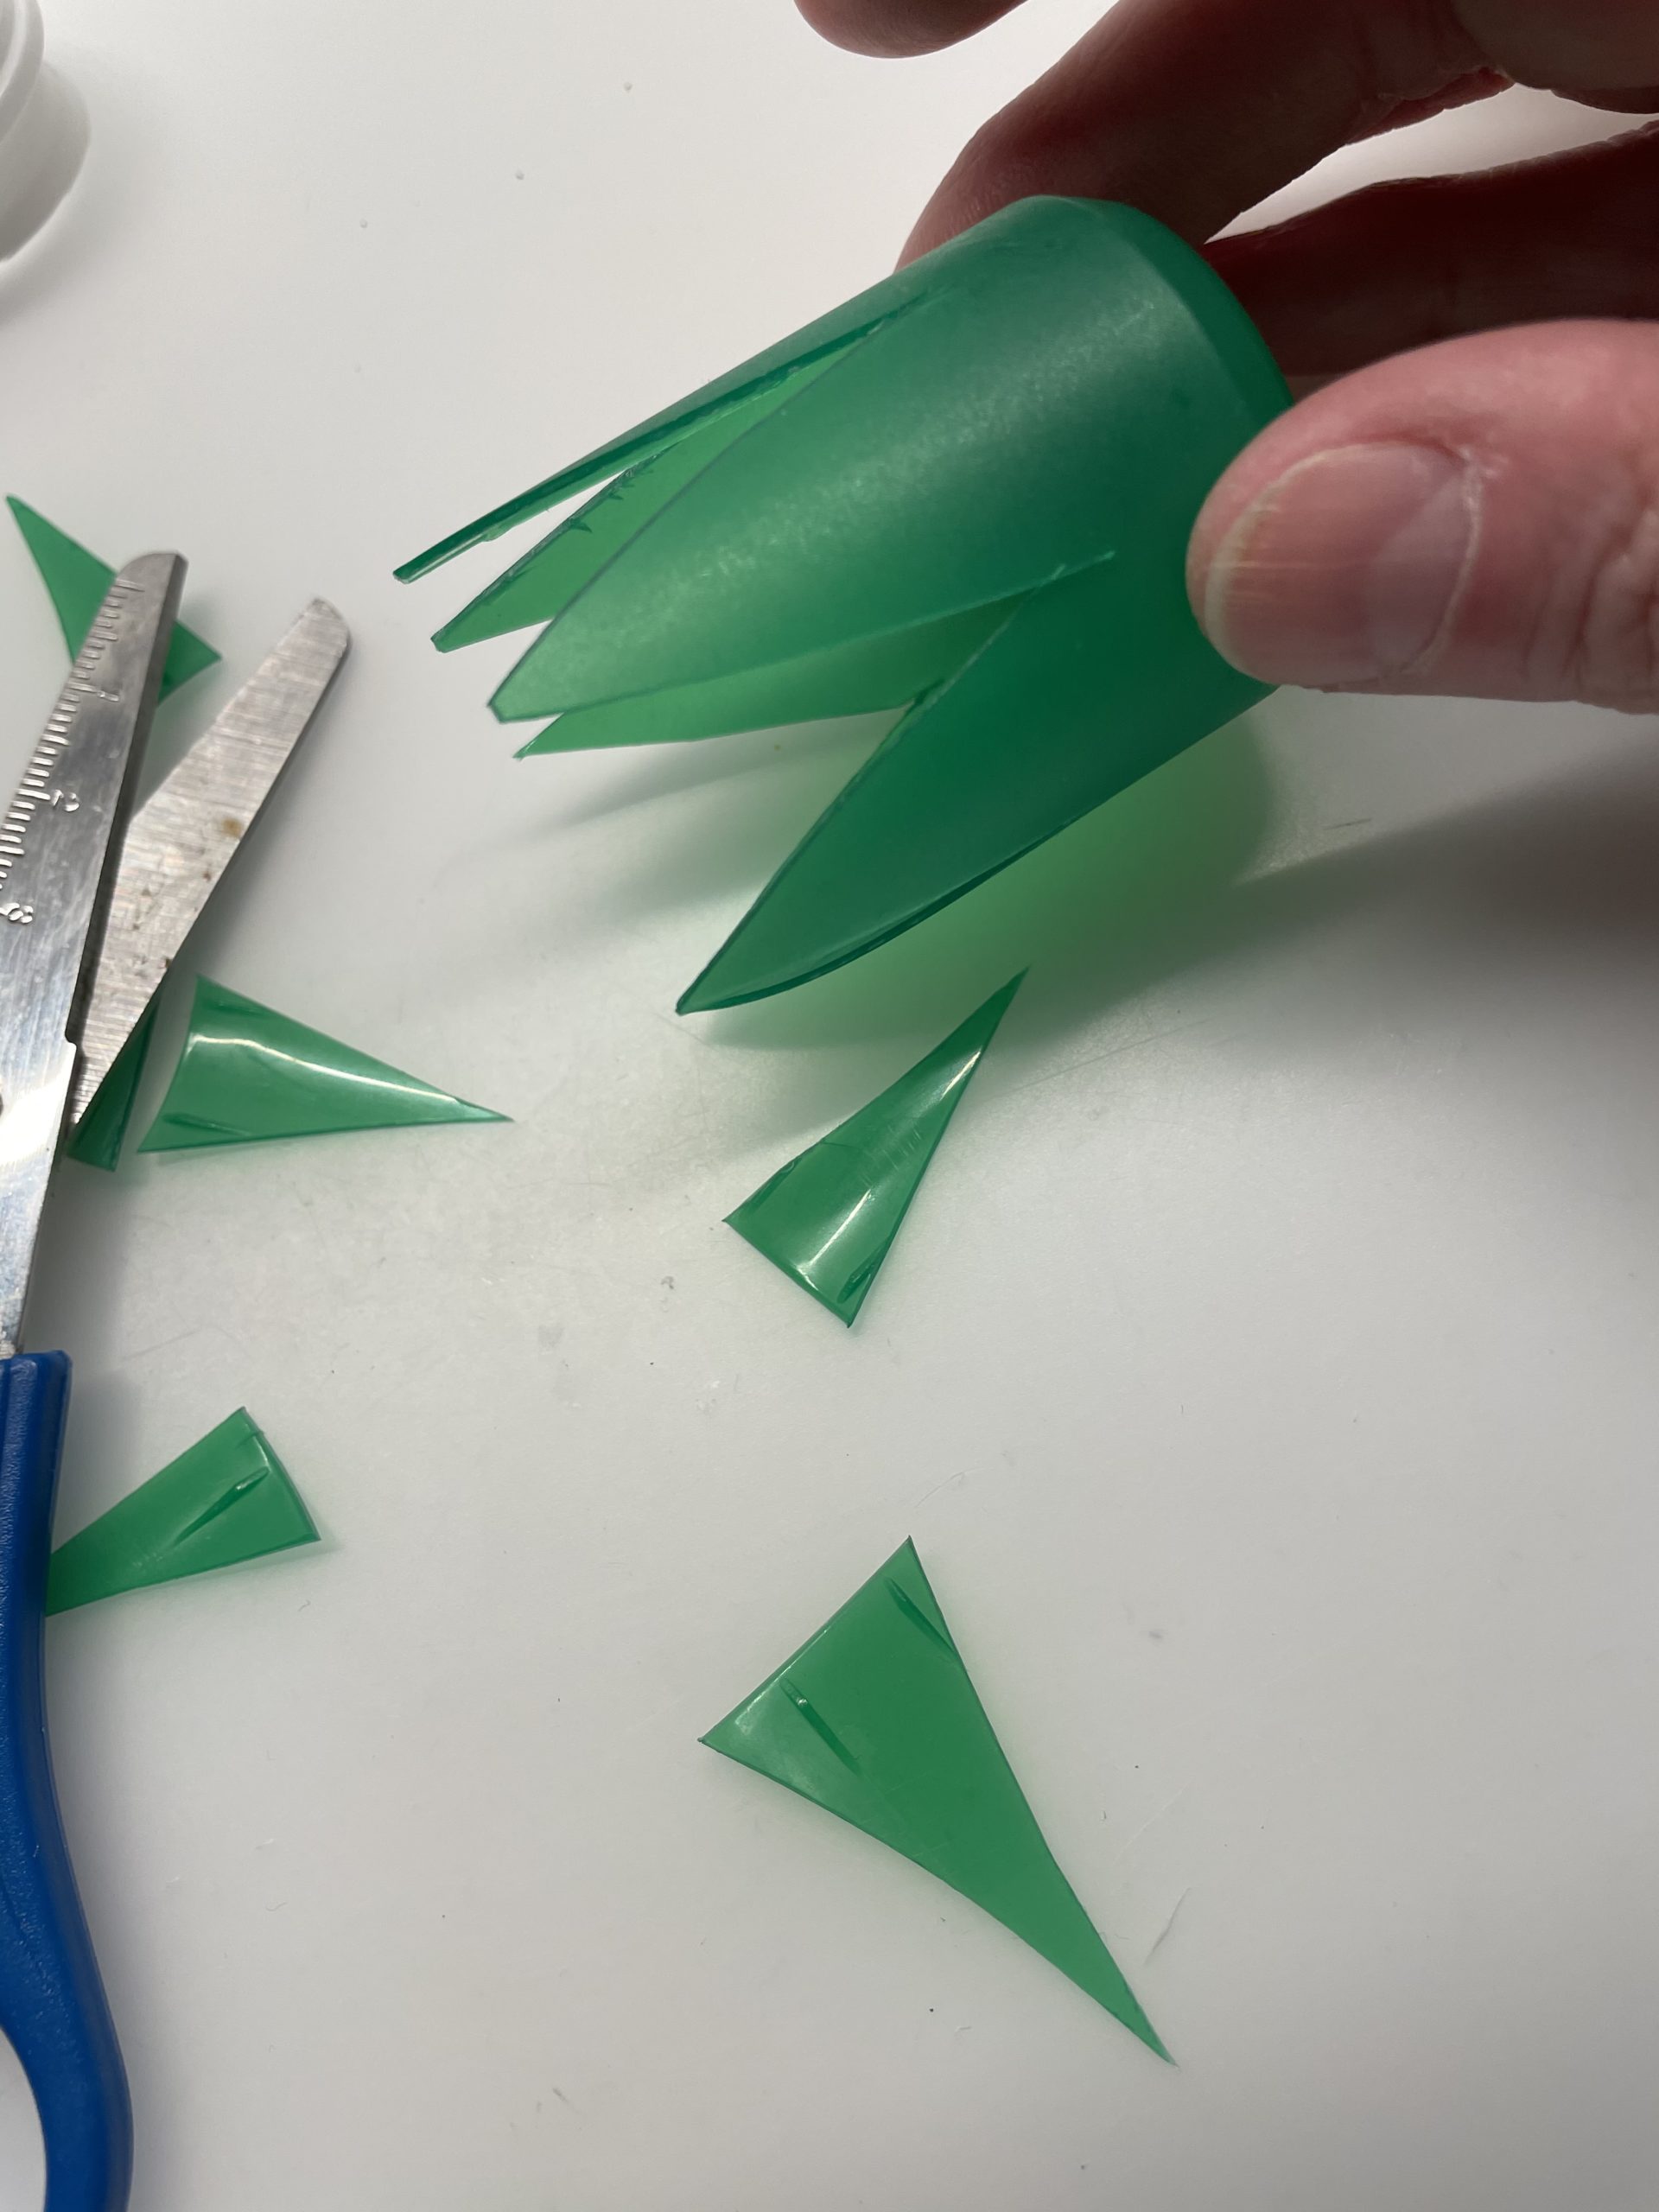
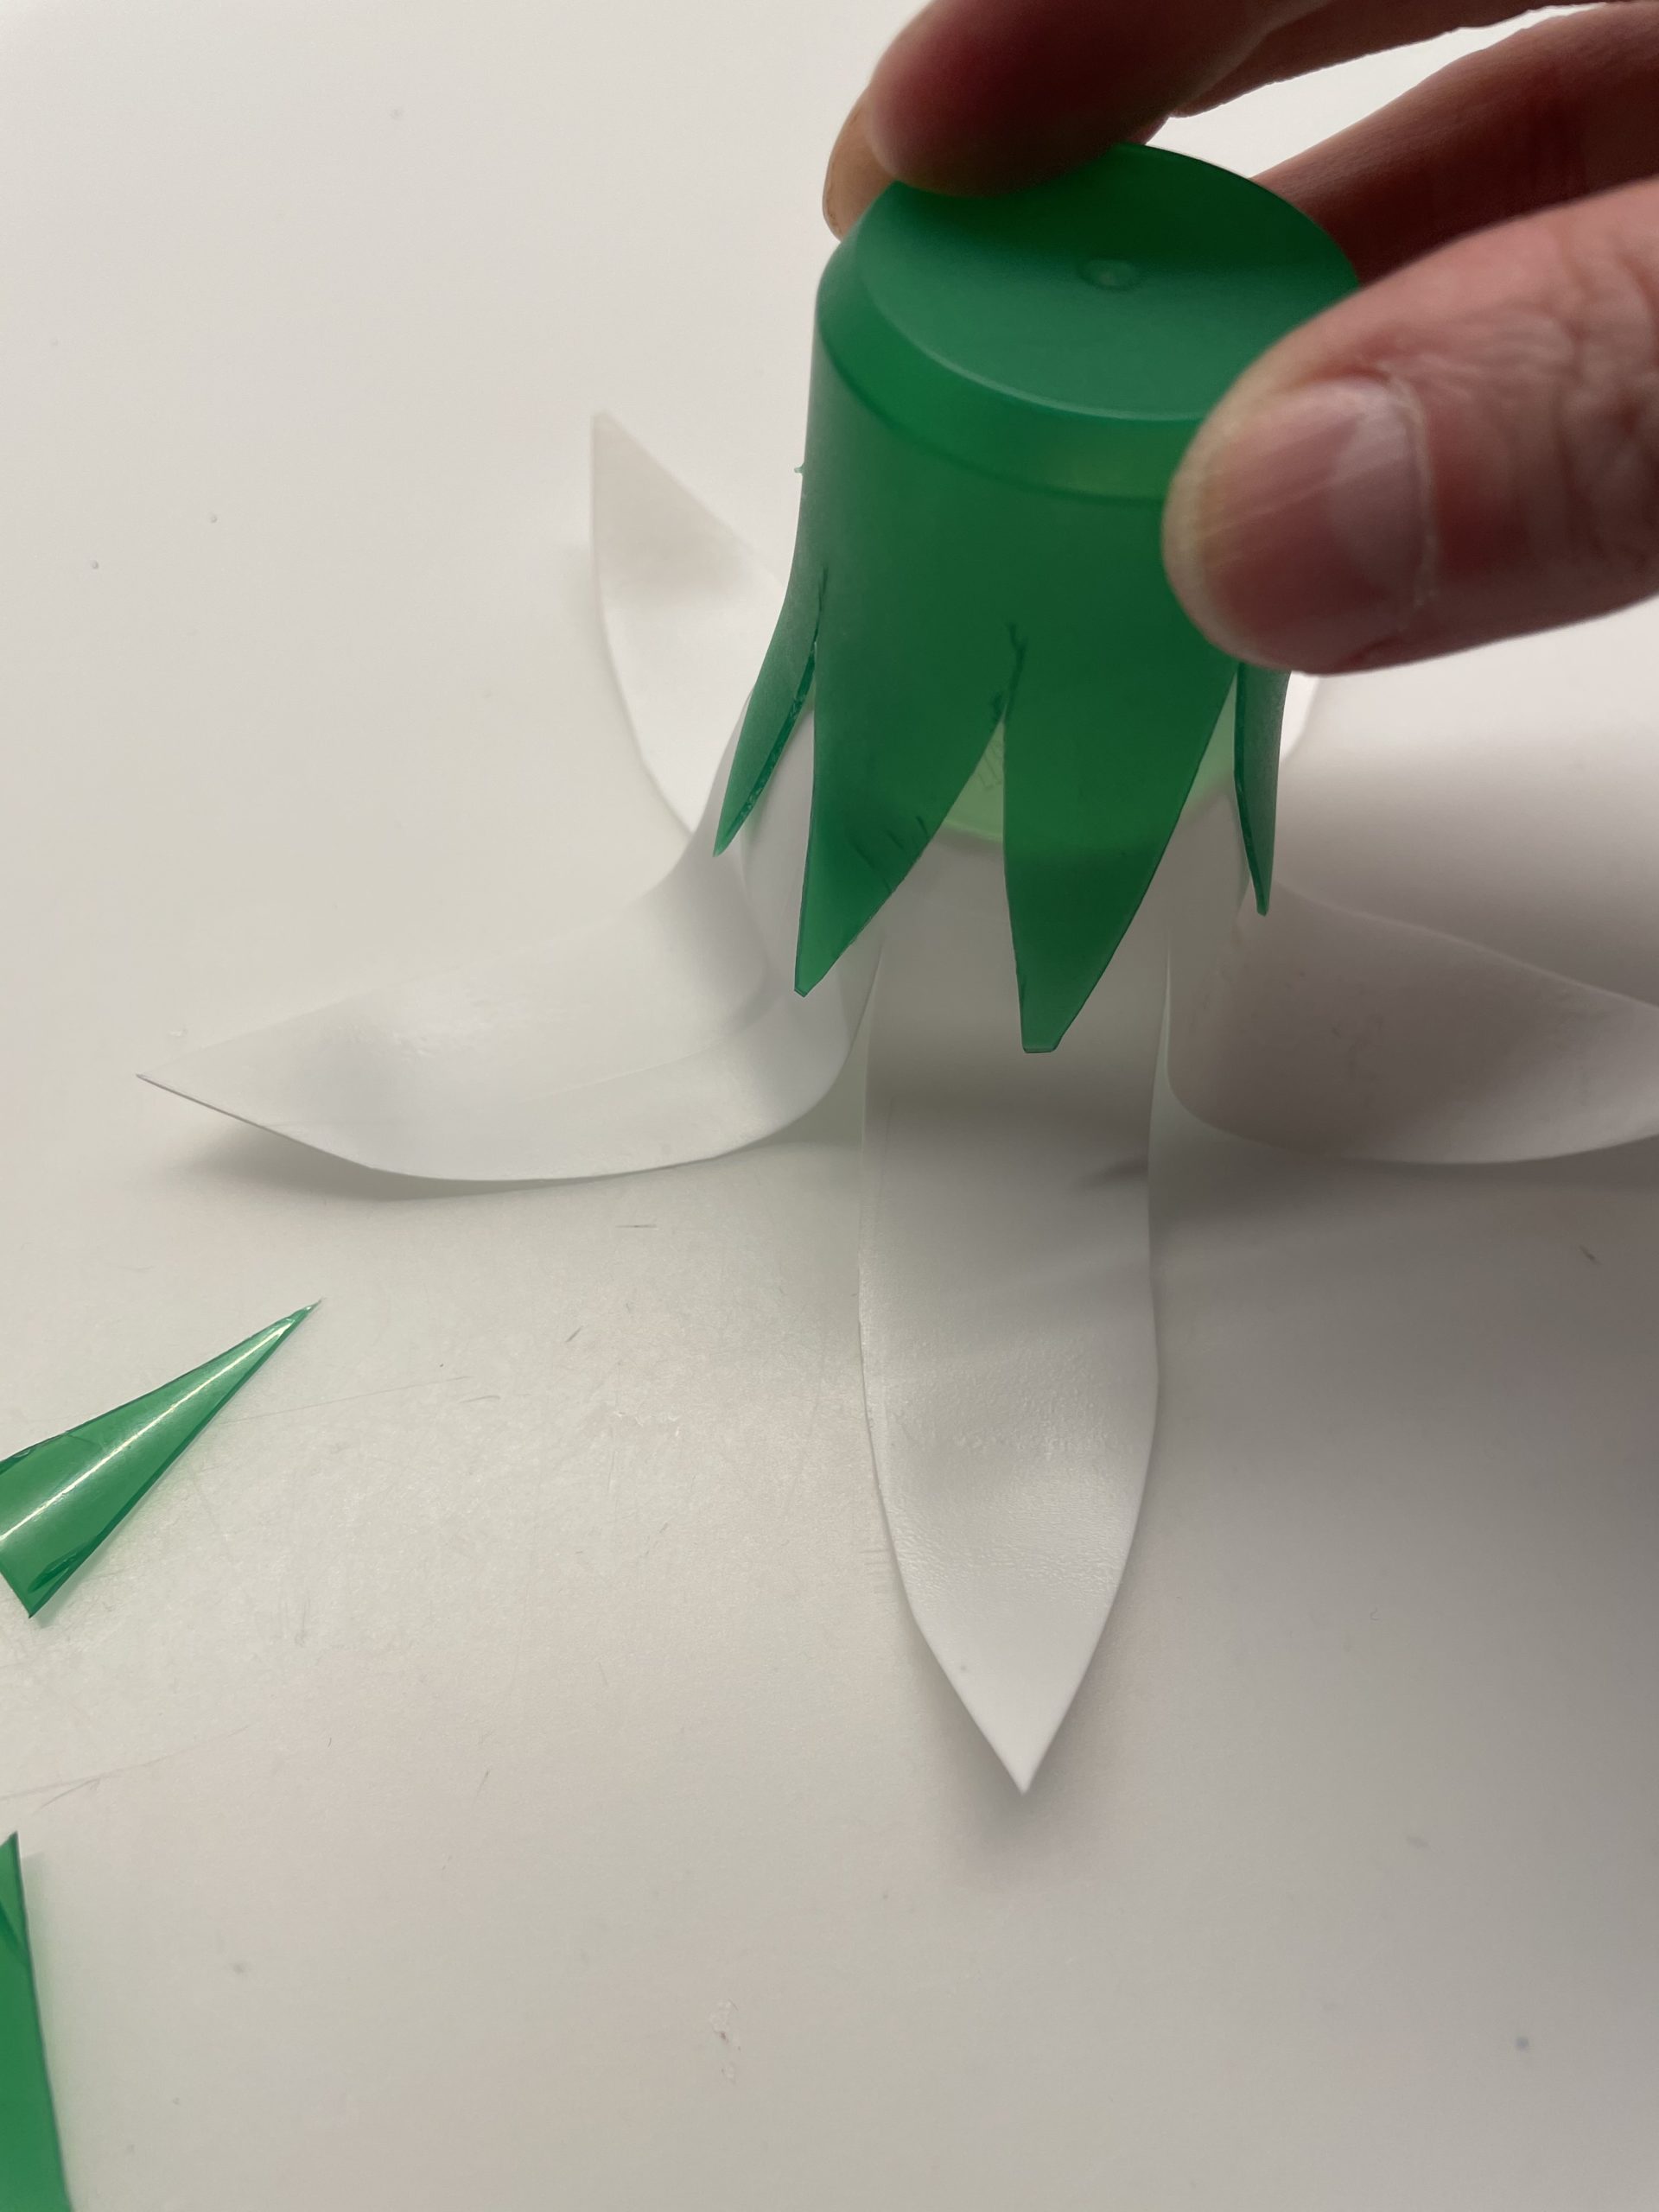
This plastic is a bit firmer, but it can also be cut. Cuts out jigs here as well.
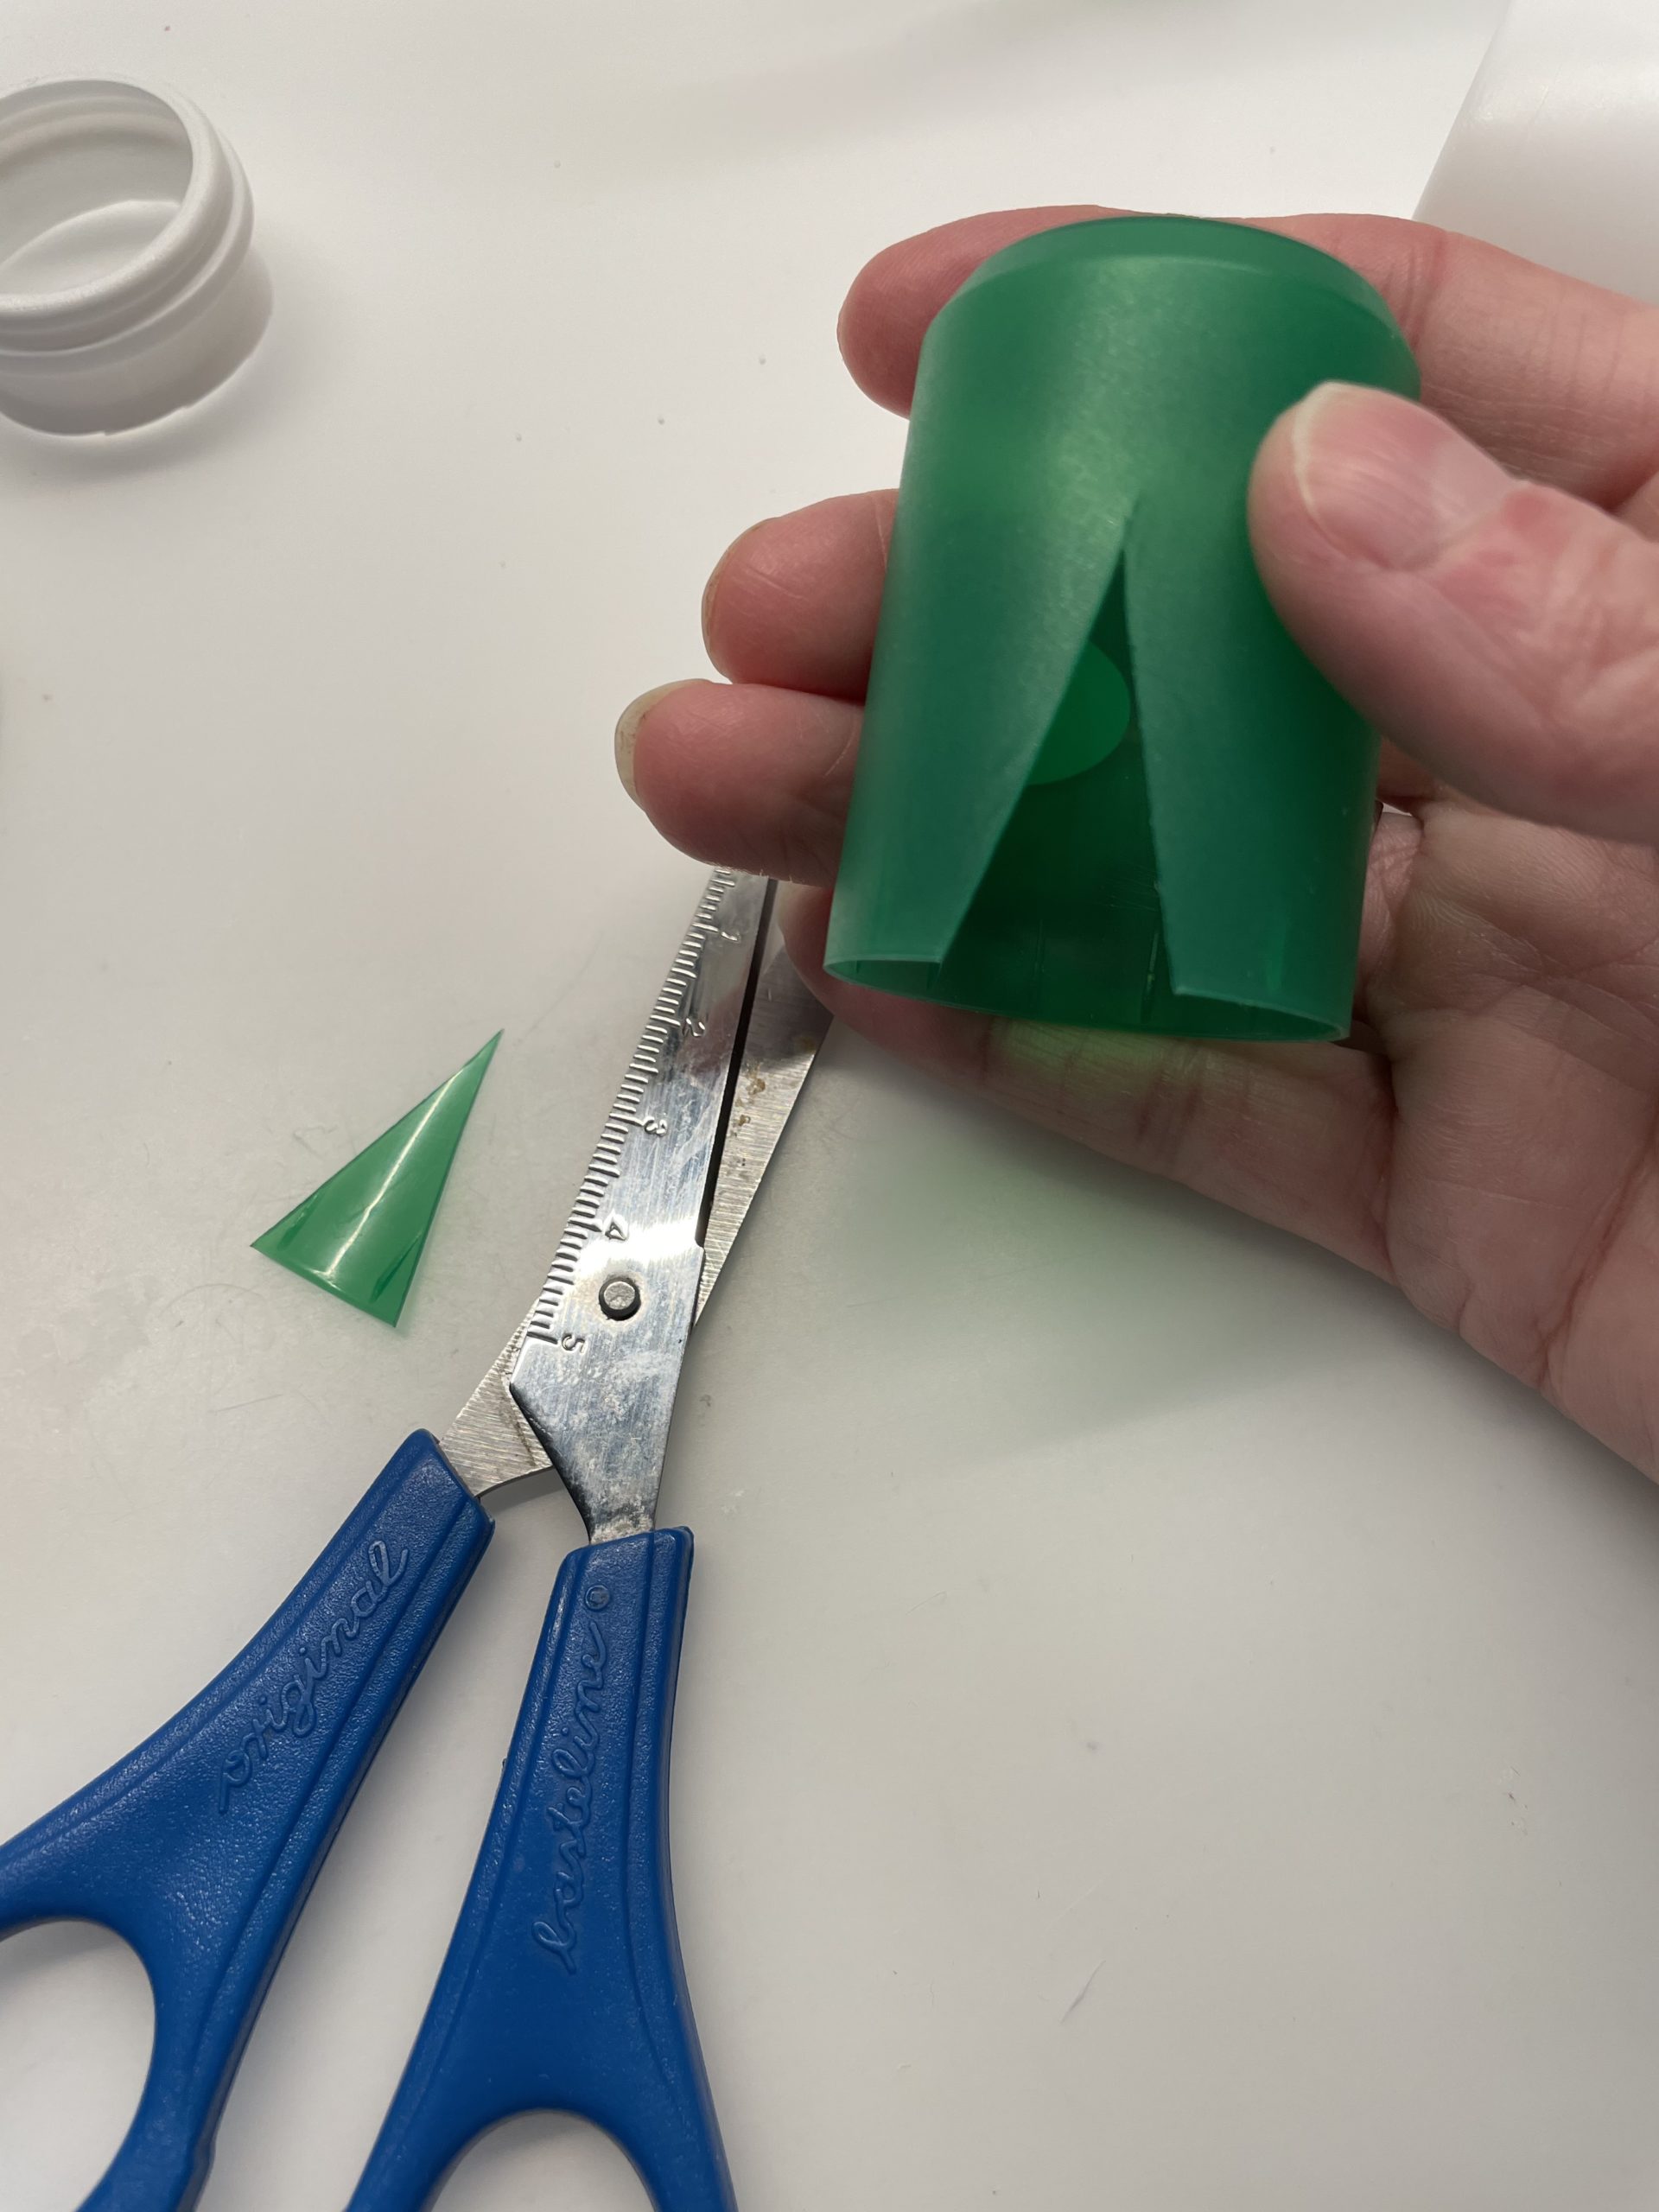
Also all around, as shown in the photo.
This green little cup is put over the bottom of the white cup. Try it out!
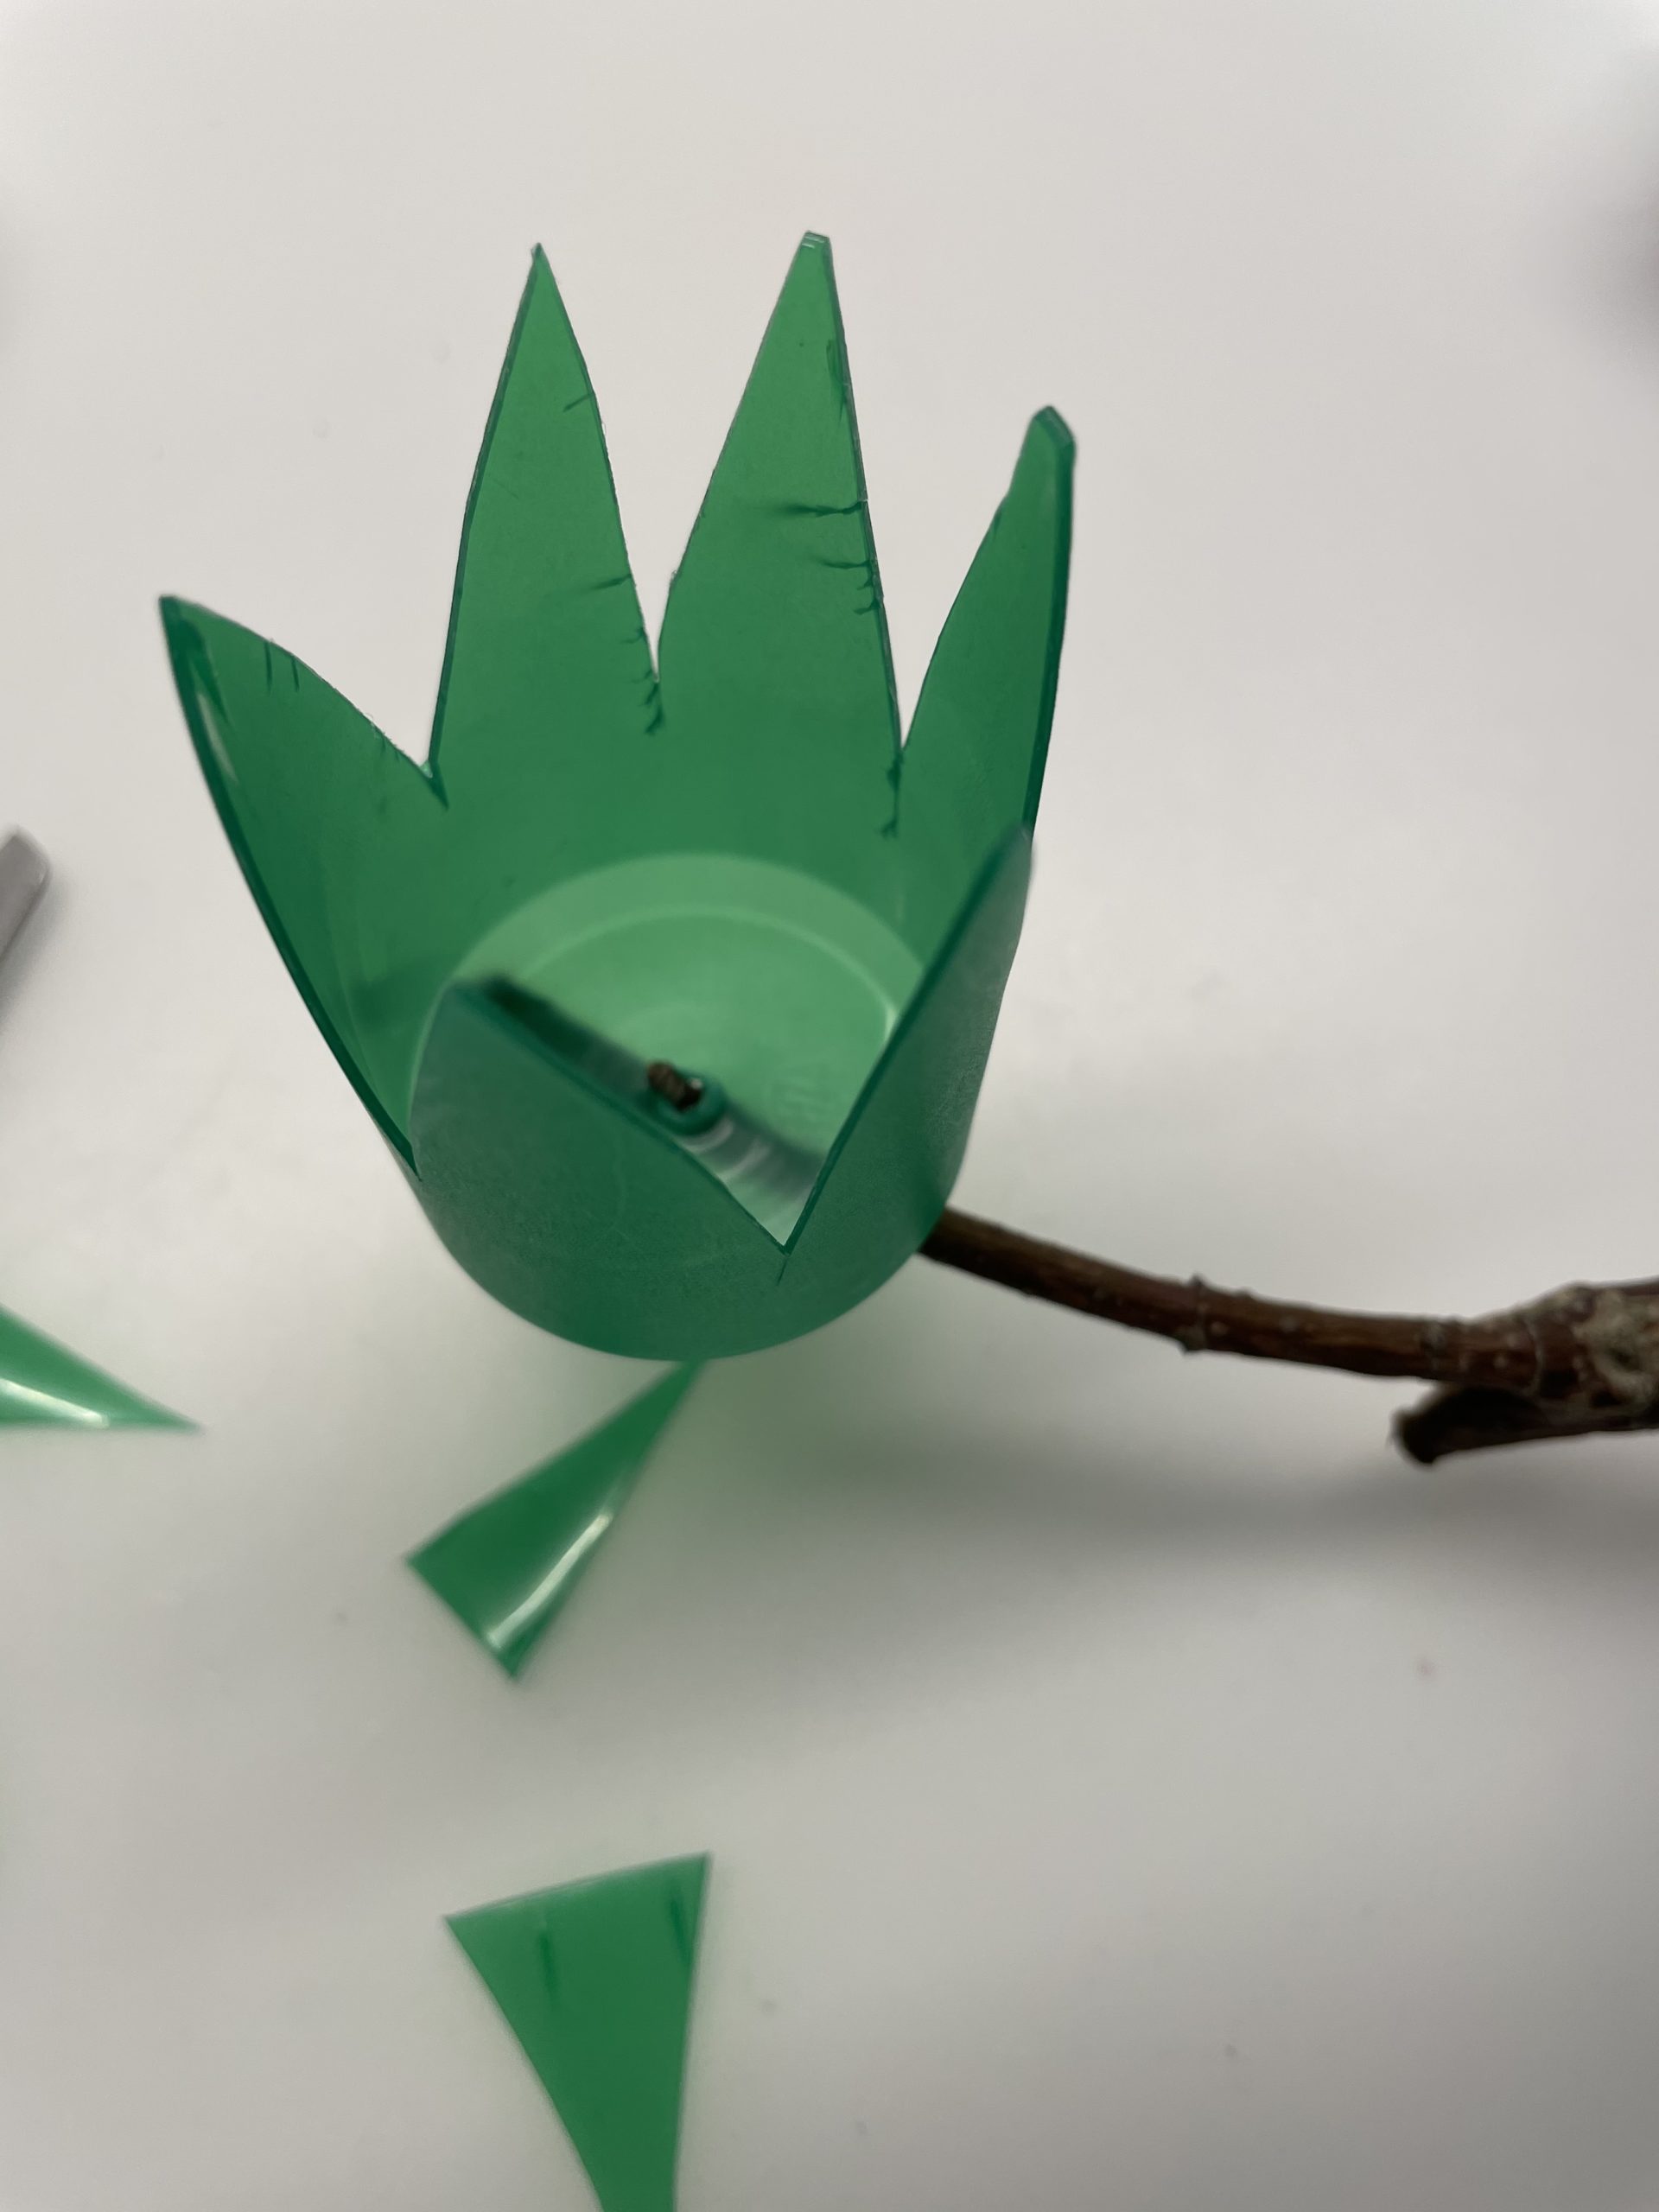
Then glue the green cup flat to a branch with the ground.

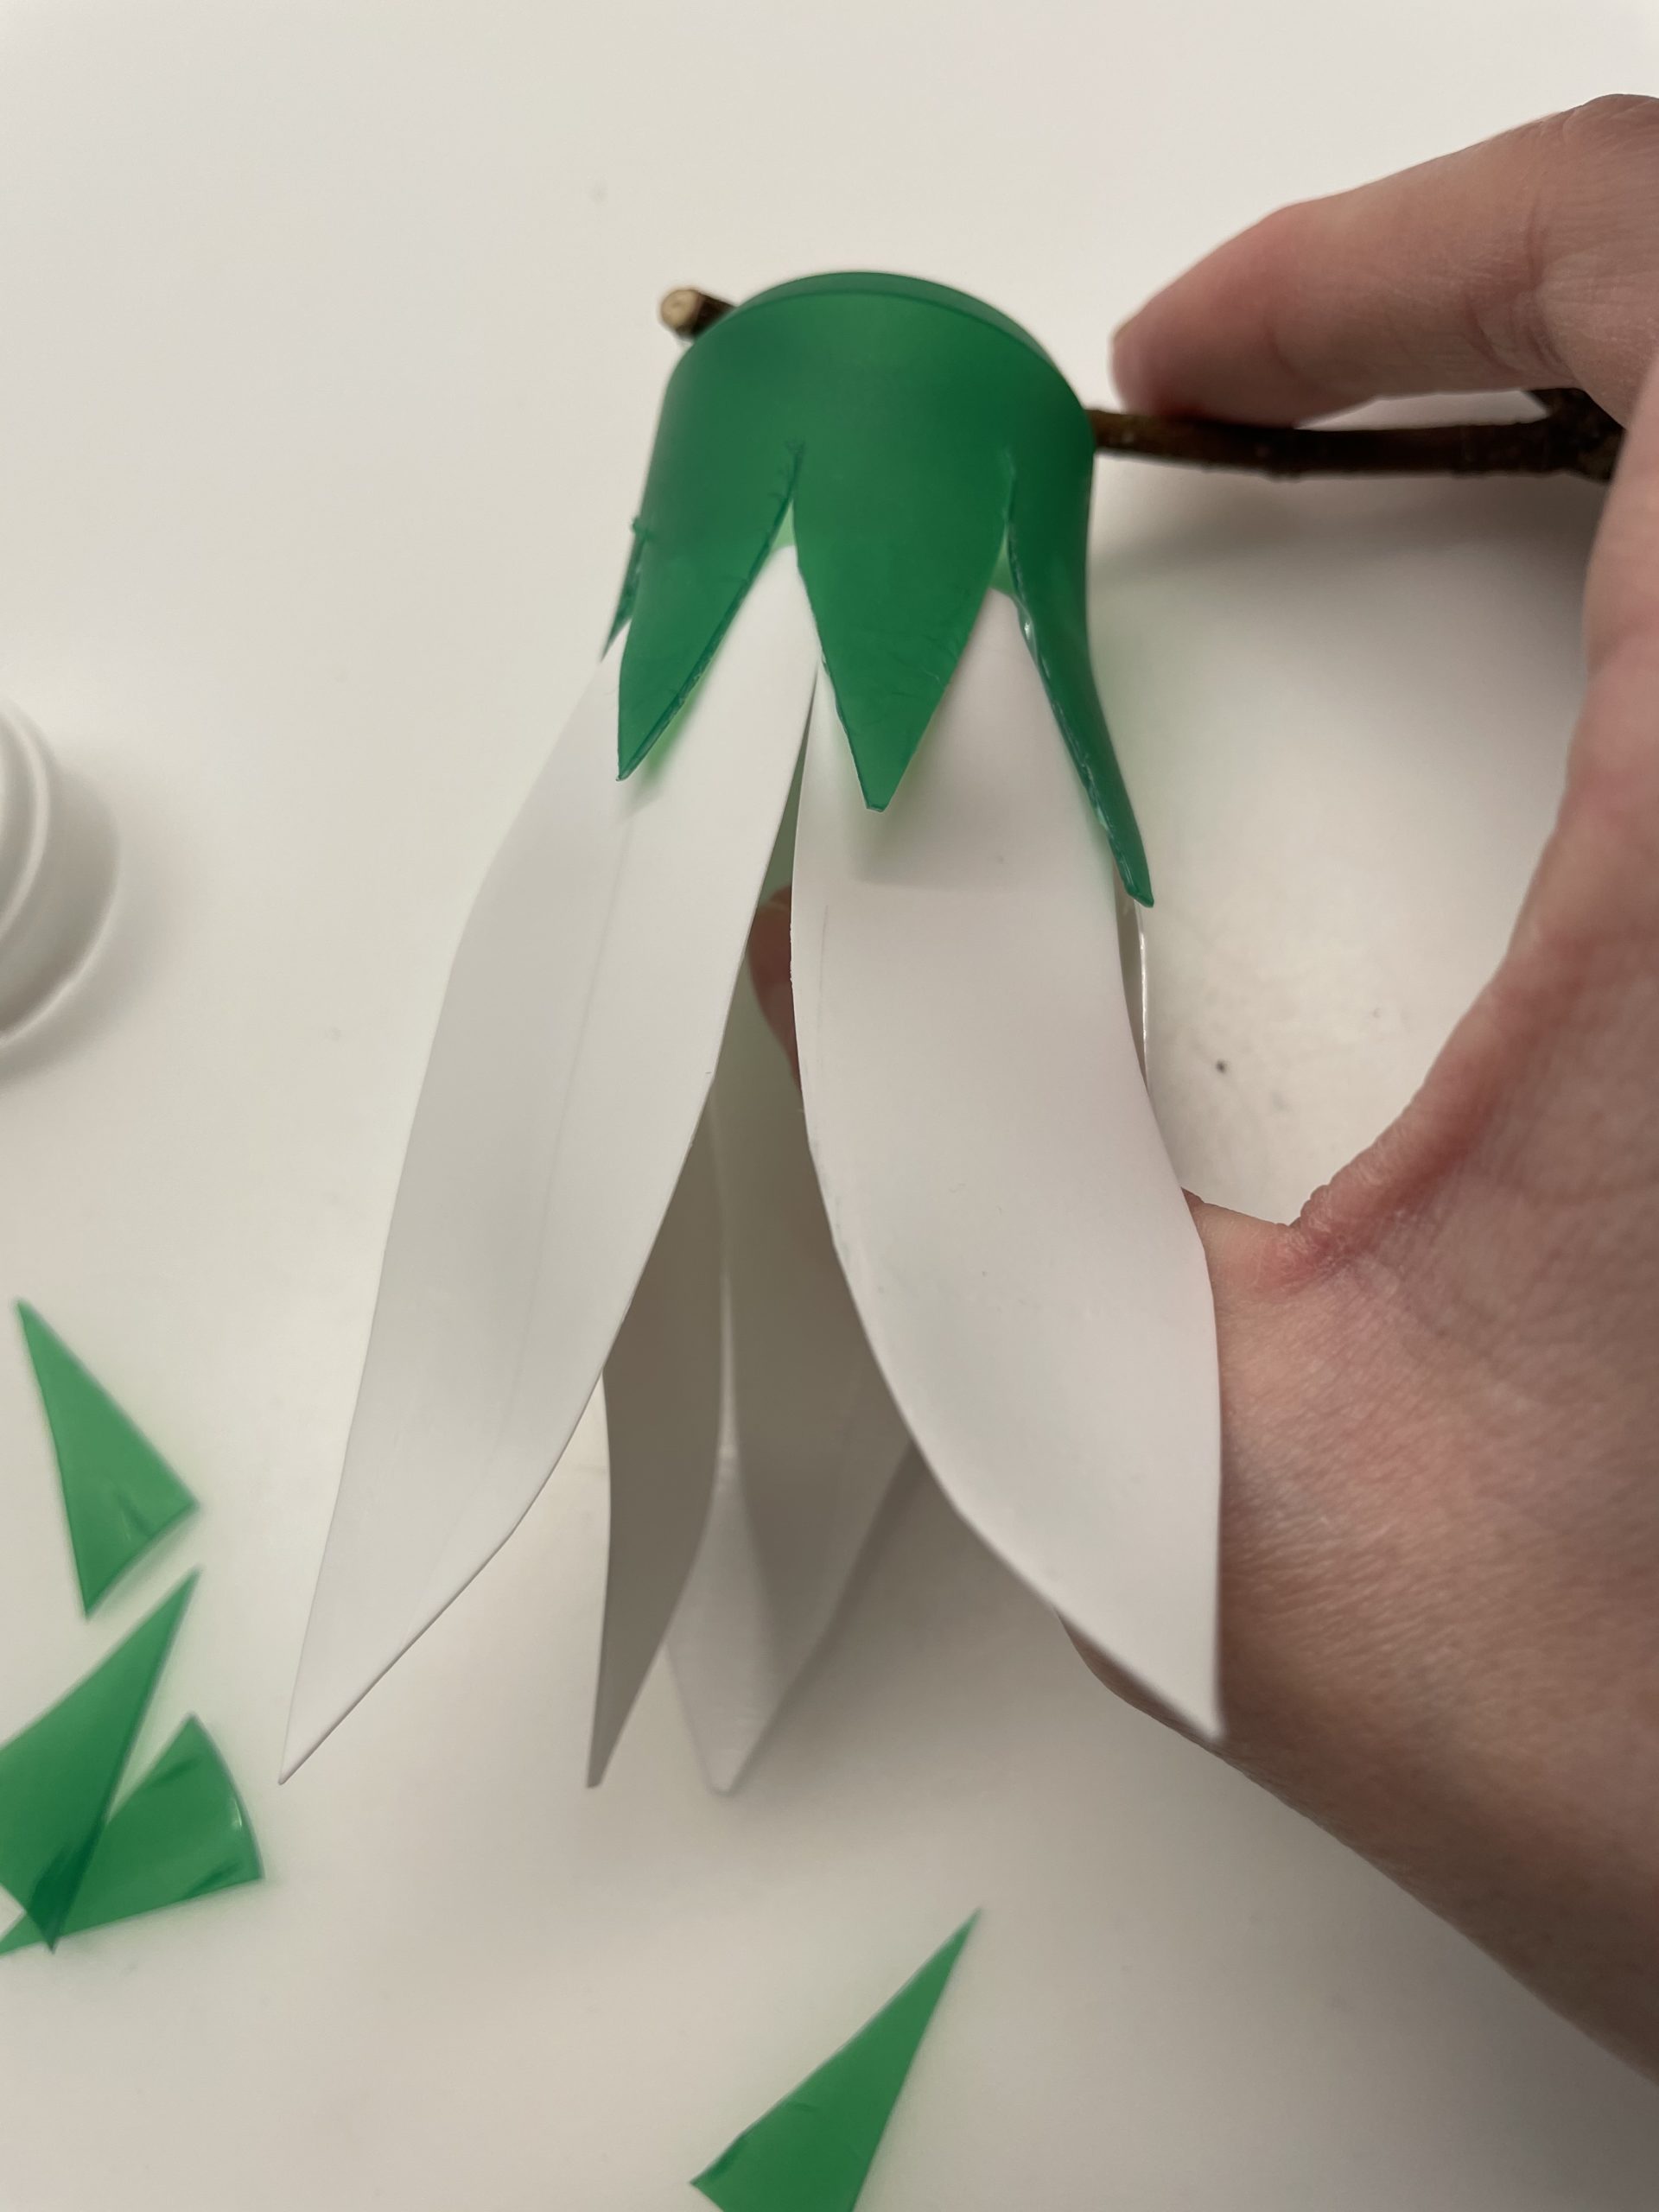
Put some glue on the inside of the green petals and press the white cup with the ground into the opening of the green flower.
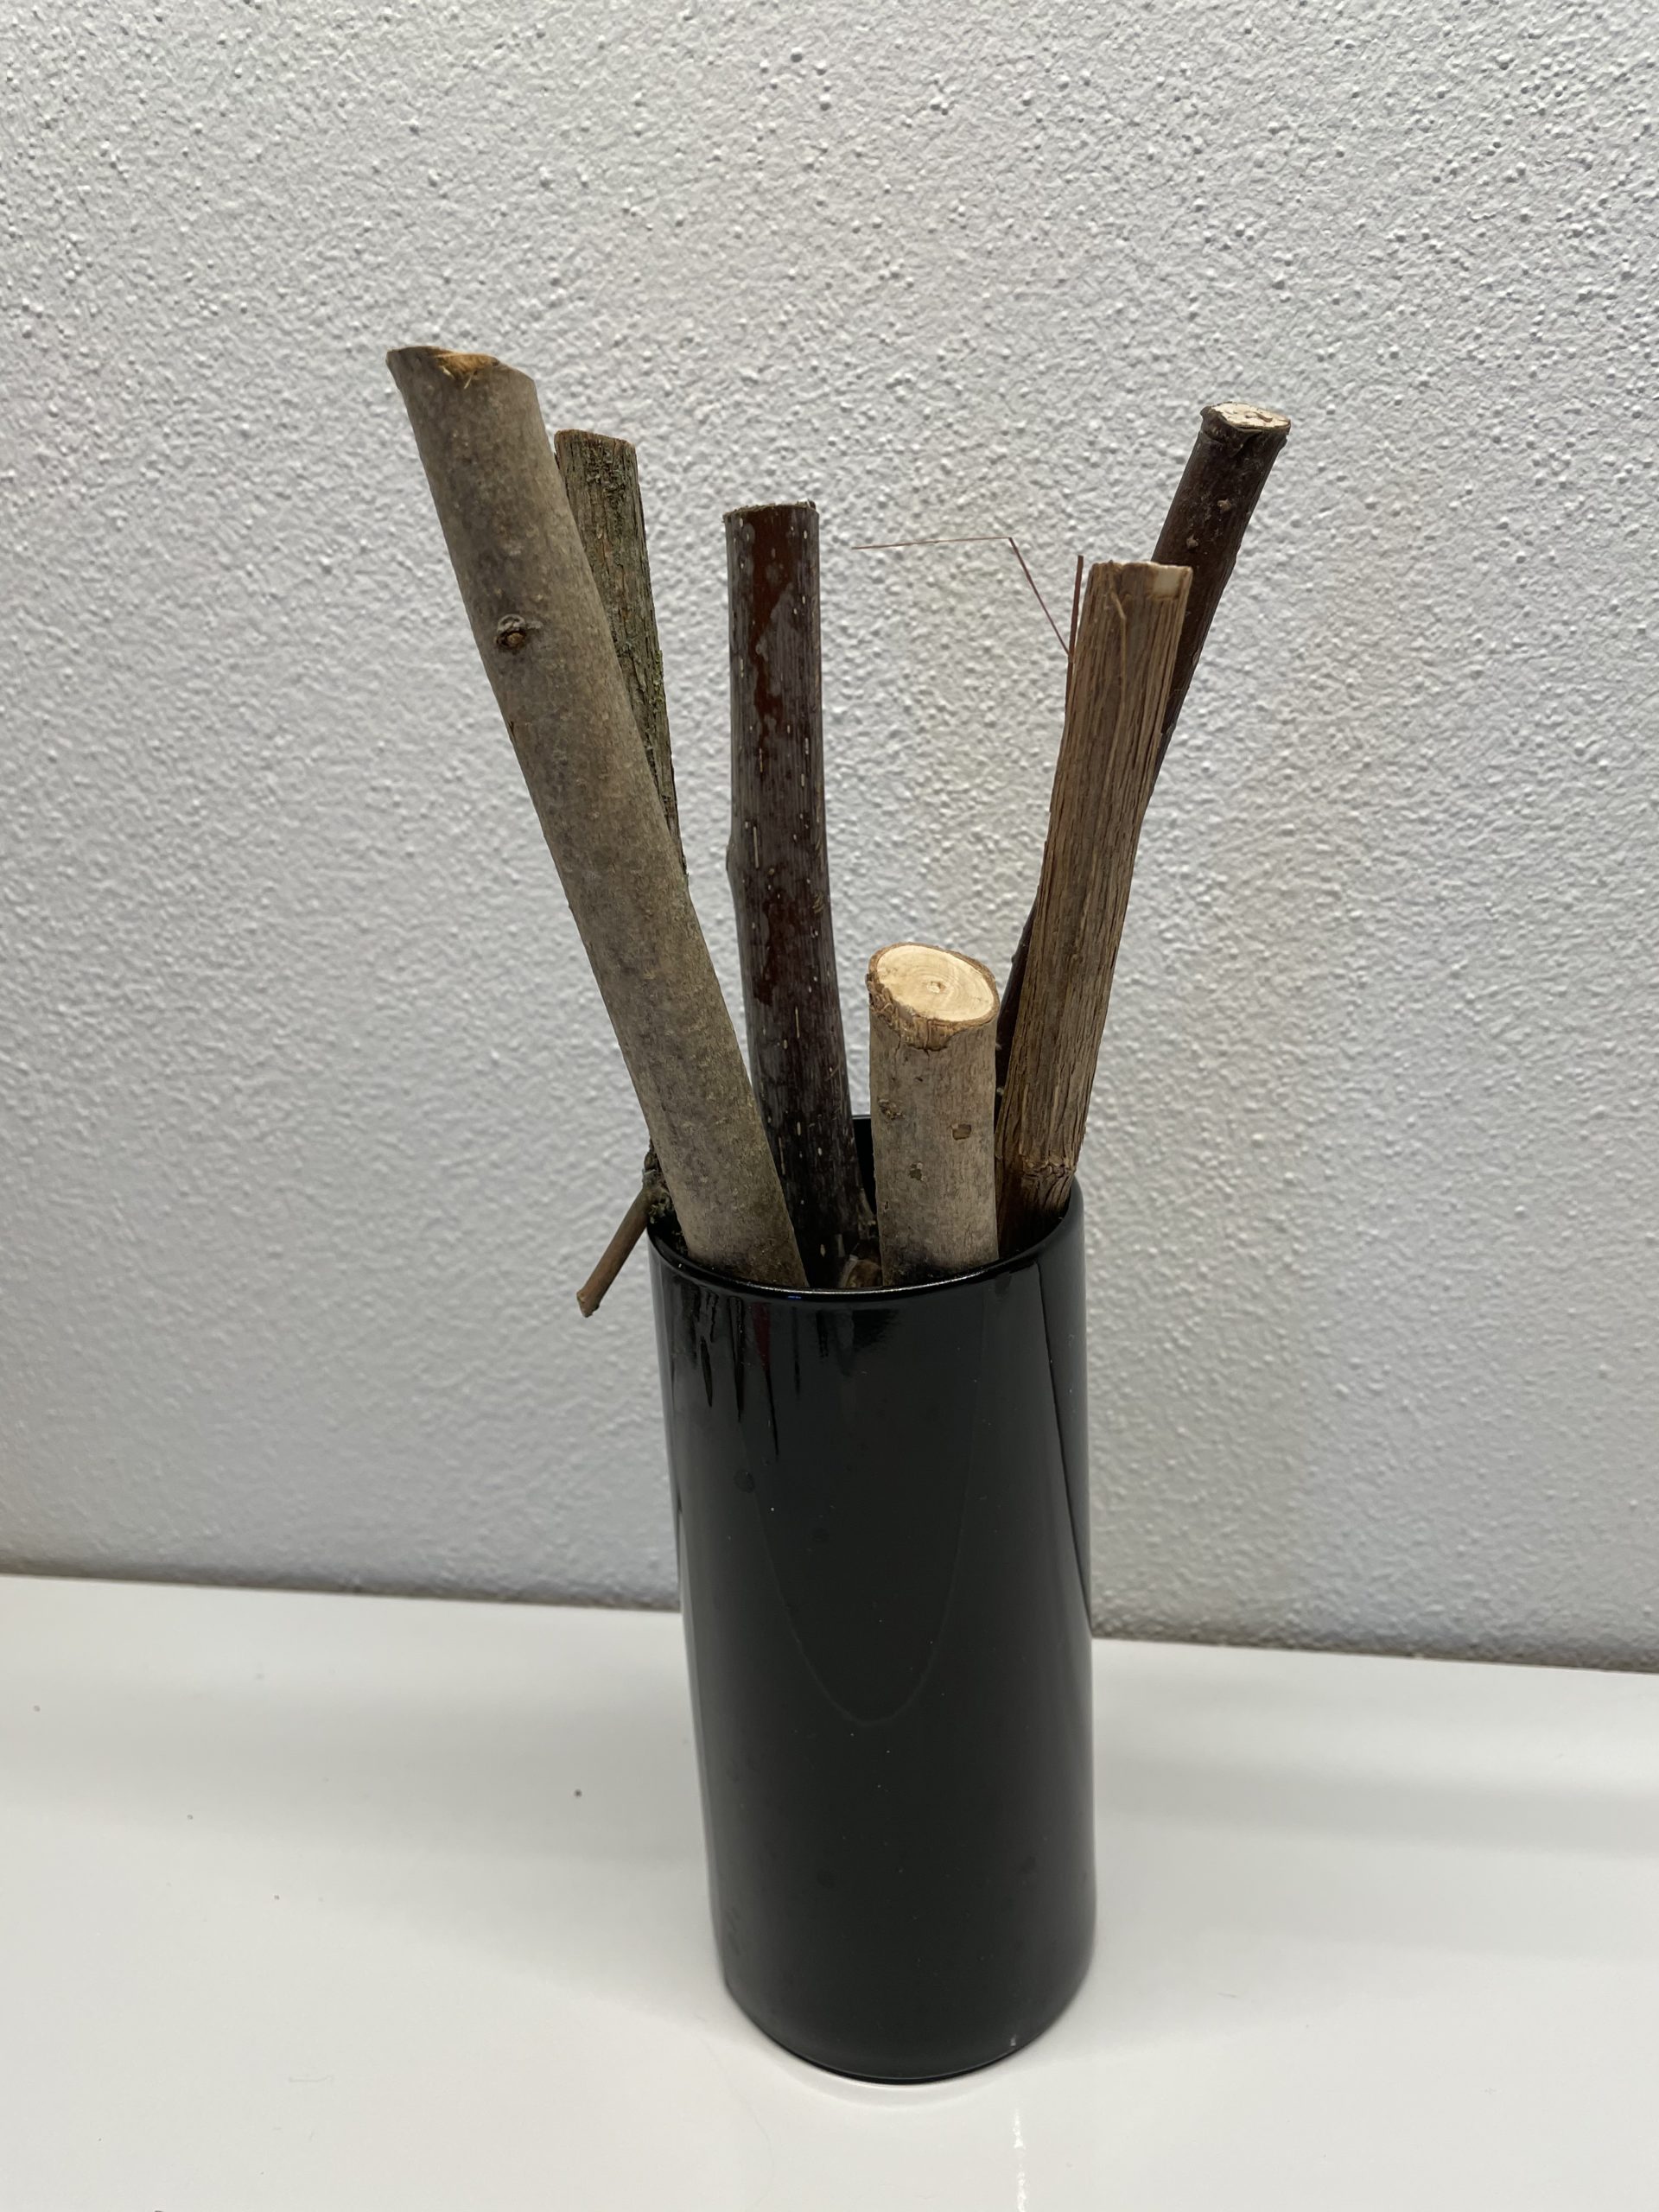
Put a few different branches in a vase.
Finally you put the finished snowdrop in the vase. Your decoration is ready.
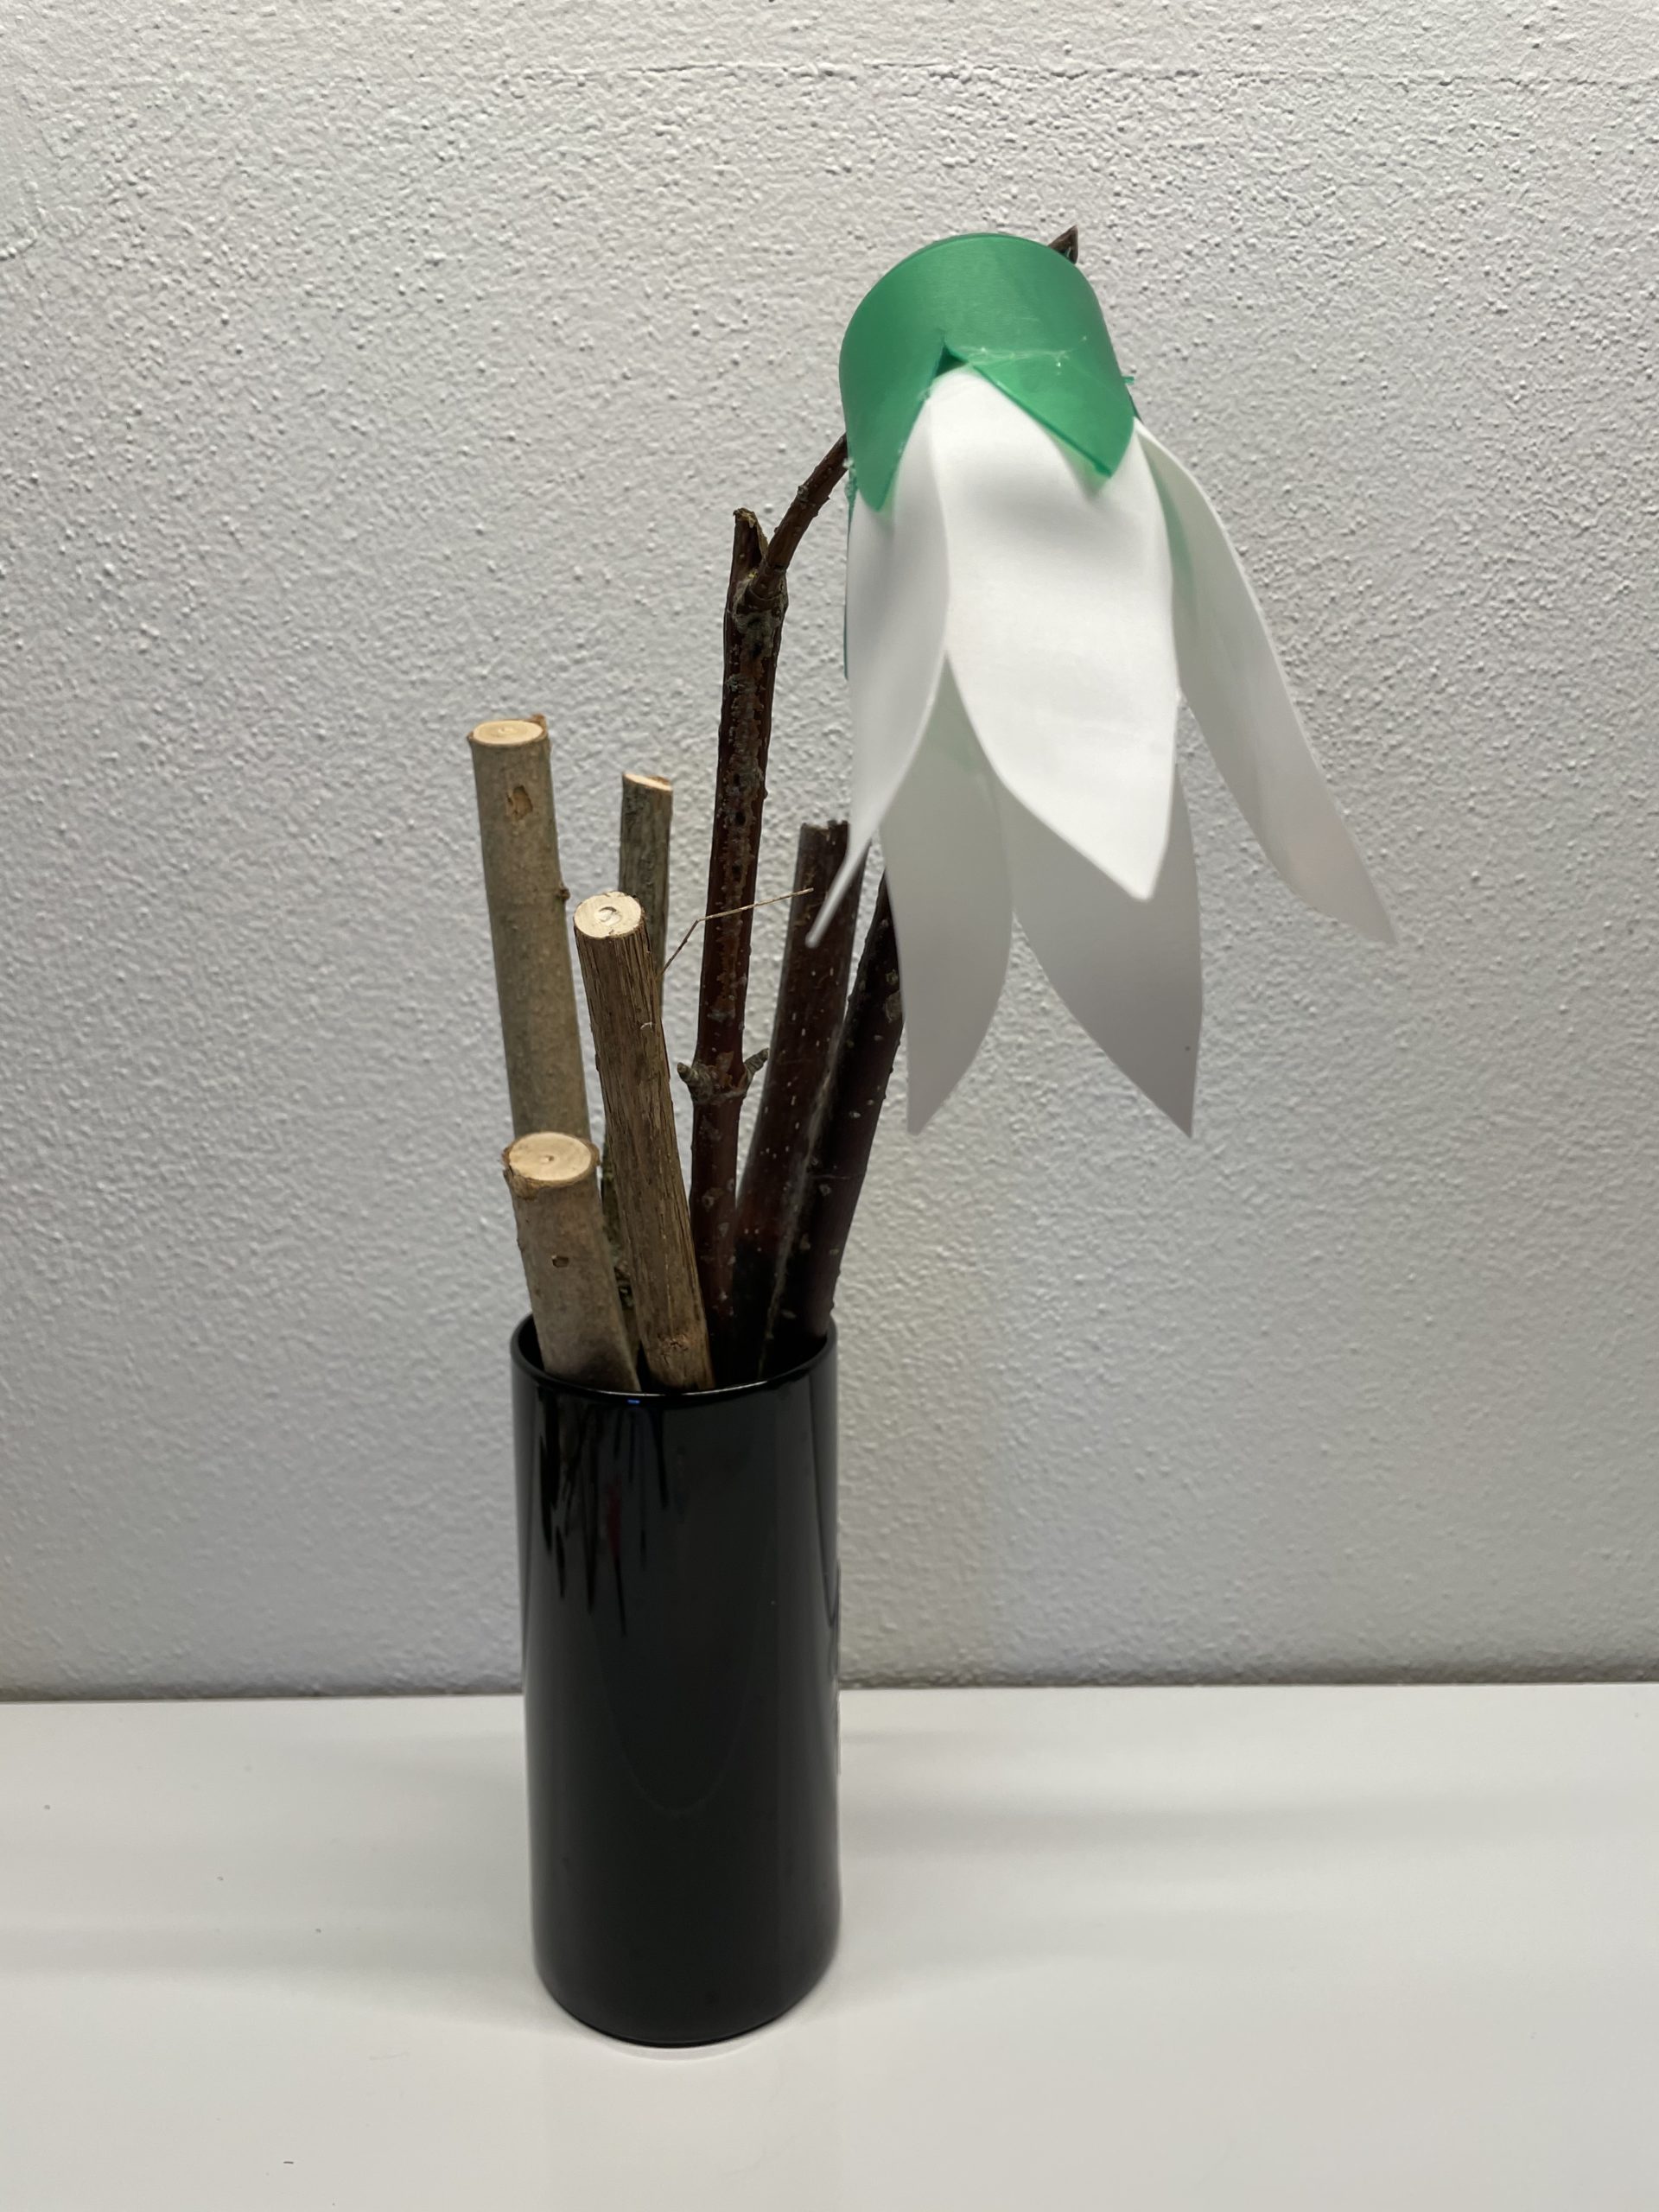
First Spring Greetings!

Have fun doing crafts!
Materials
Directions
First put out your craft file and find your materials together.
Use a clean drinking yoghurt cup and remove the label.
Then cut off the upper edge with a fingernail scissors. Stitch a hole in the plastic with the tip of the scissors. Cuts around it.
When the edge is cut off, you use a craft scissors.
Then cut the cup several times (5-6 times) from above. Cut down to one centimetre deep.
That's what it looks like!
Now round off the individual stripes in a flower shape and cut them up pointed.
So travel with all stripes. Then this flower shape arises.
Now gently bend the individual petals with the thumb outwards.
Now you need the green cap.
This plastic is a bit firmer, but it can also be cut. Cuts out jigs here as well.
Also all around, as shown in the photo.
This green little cup is put over the bottom of the white cup. Try it out!
Then glue the green cup flat to a branch with the ground.
Put some glue on the inside of the green petals and press the white cup with the ground into the opening of the green flower.
Put a few different branches in a vase.
Finally you put the finished snowdrop in the vase. Your decoration is ready.
First Spring Greetings!
Have fun doing crafts!
Follow us on Facebook , Instagram and Pinterest
Don't miss any more adventures: Our bottle mail


