Leg pictures are very much in demand with young children! They have fun dealing with shapes and colors. But in the beginning, support is sometimes needed for independent implementation. Motif cards that the children can replenish. This is how this game idea was created. Together with the children, motifs can be devised and designed and they take part in the emergence of a new play material.
See for yourself how easy it is to implement! In addition, packaging waste is used as a material, which is a great contribution to sustainability.
Media Education for Kindergarten and Hort

Relief in everyday life, targeted promotion of individual children, independent learning and - without any pre-knowledge already usable by the youngest!
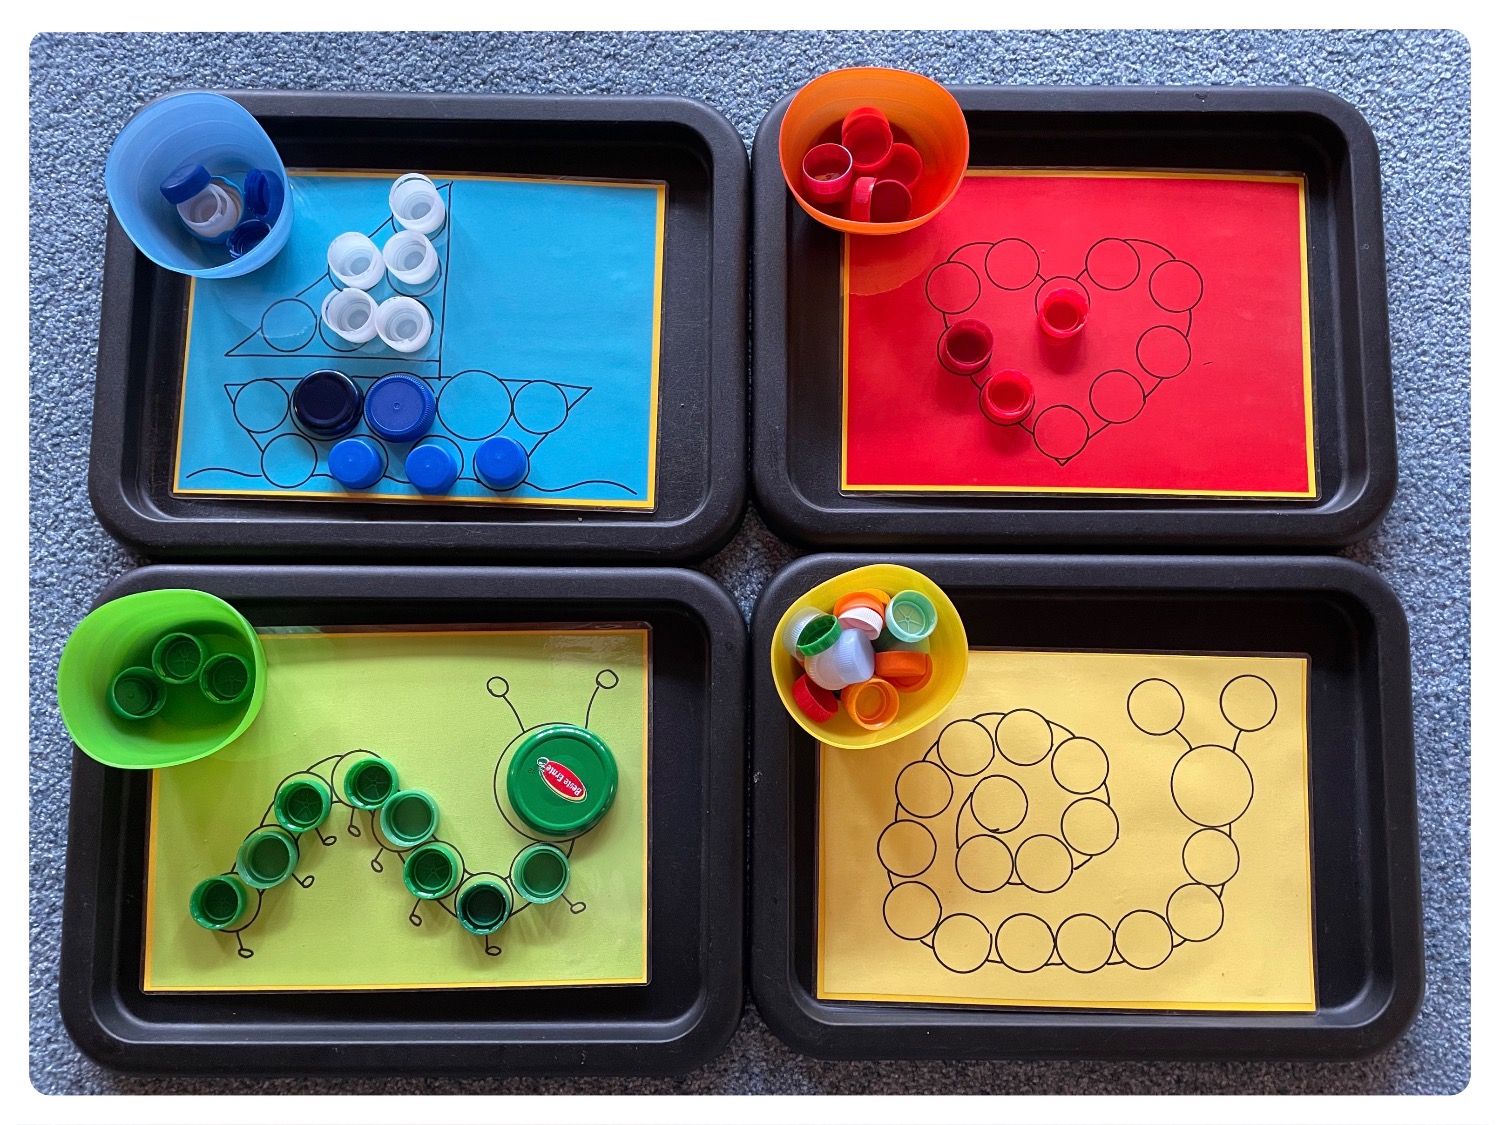
Collects different color screw caps from bottles.
Then prepare your materials.
If you have four different lid colors, you can make a picture with one color. Alternatively, you can cover all pictures with colorful lids.
Put a big heart with red lids. Try to place the lids in position until you like it.
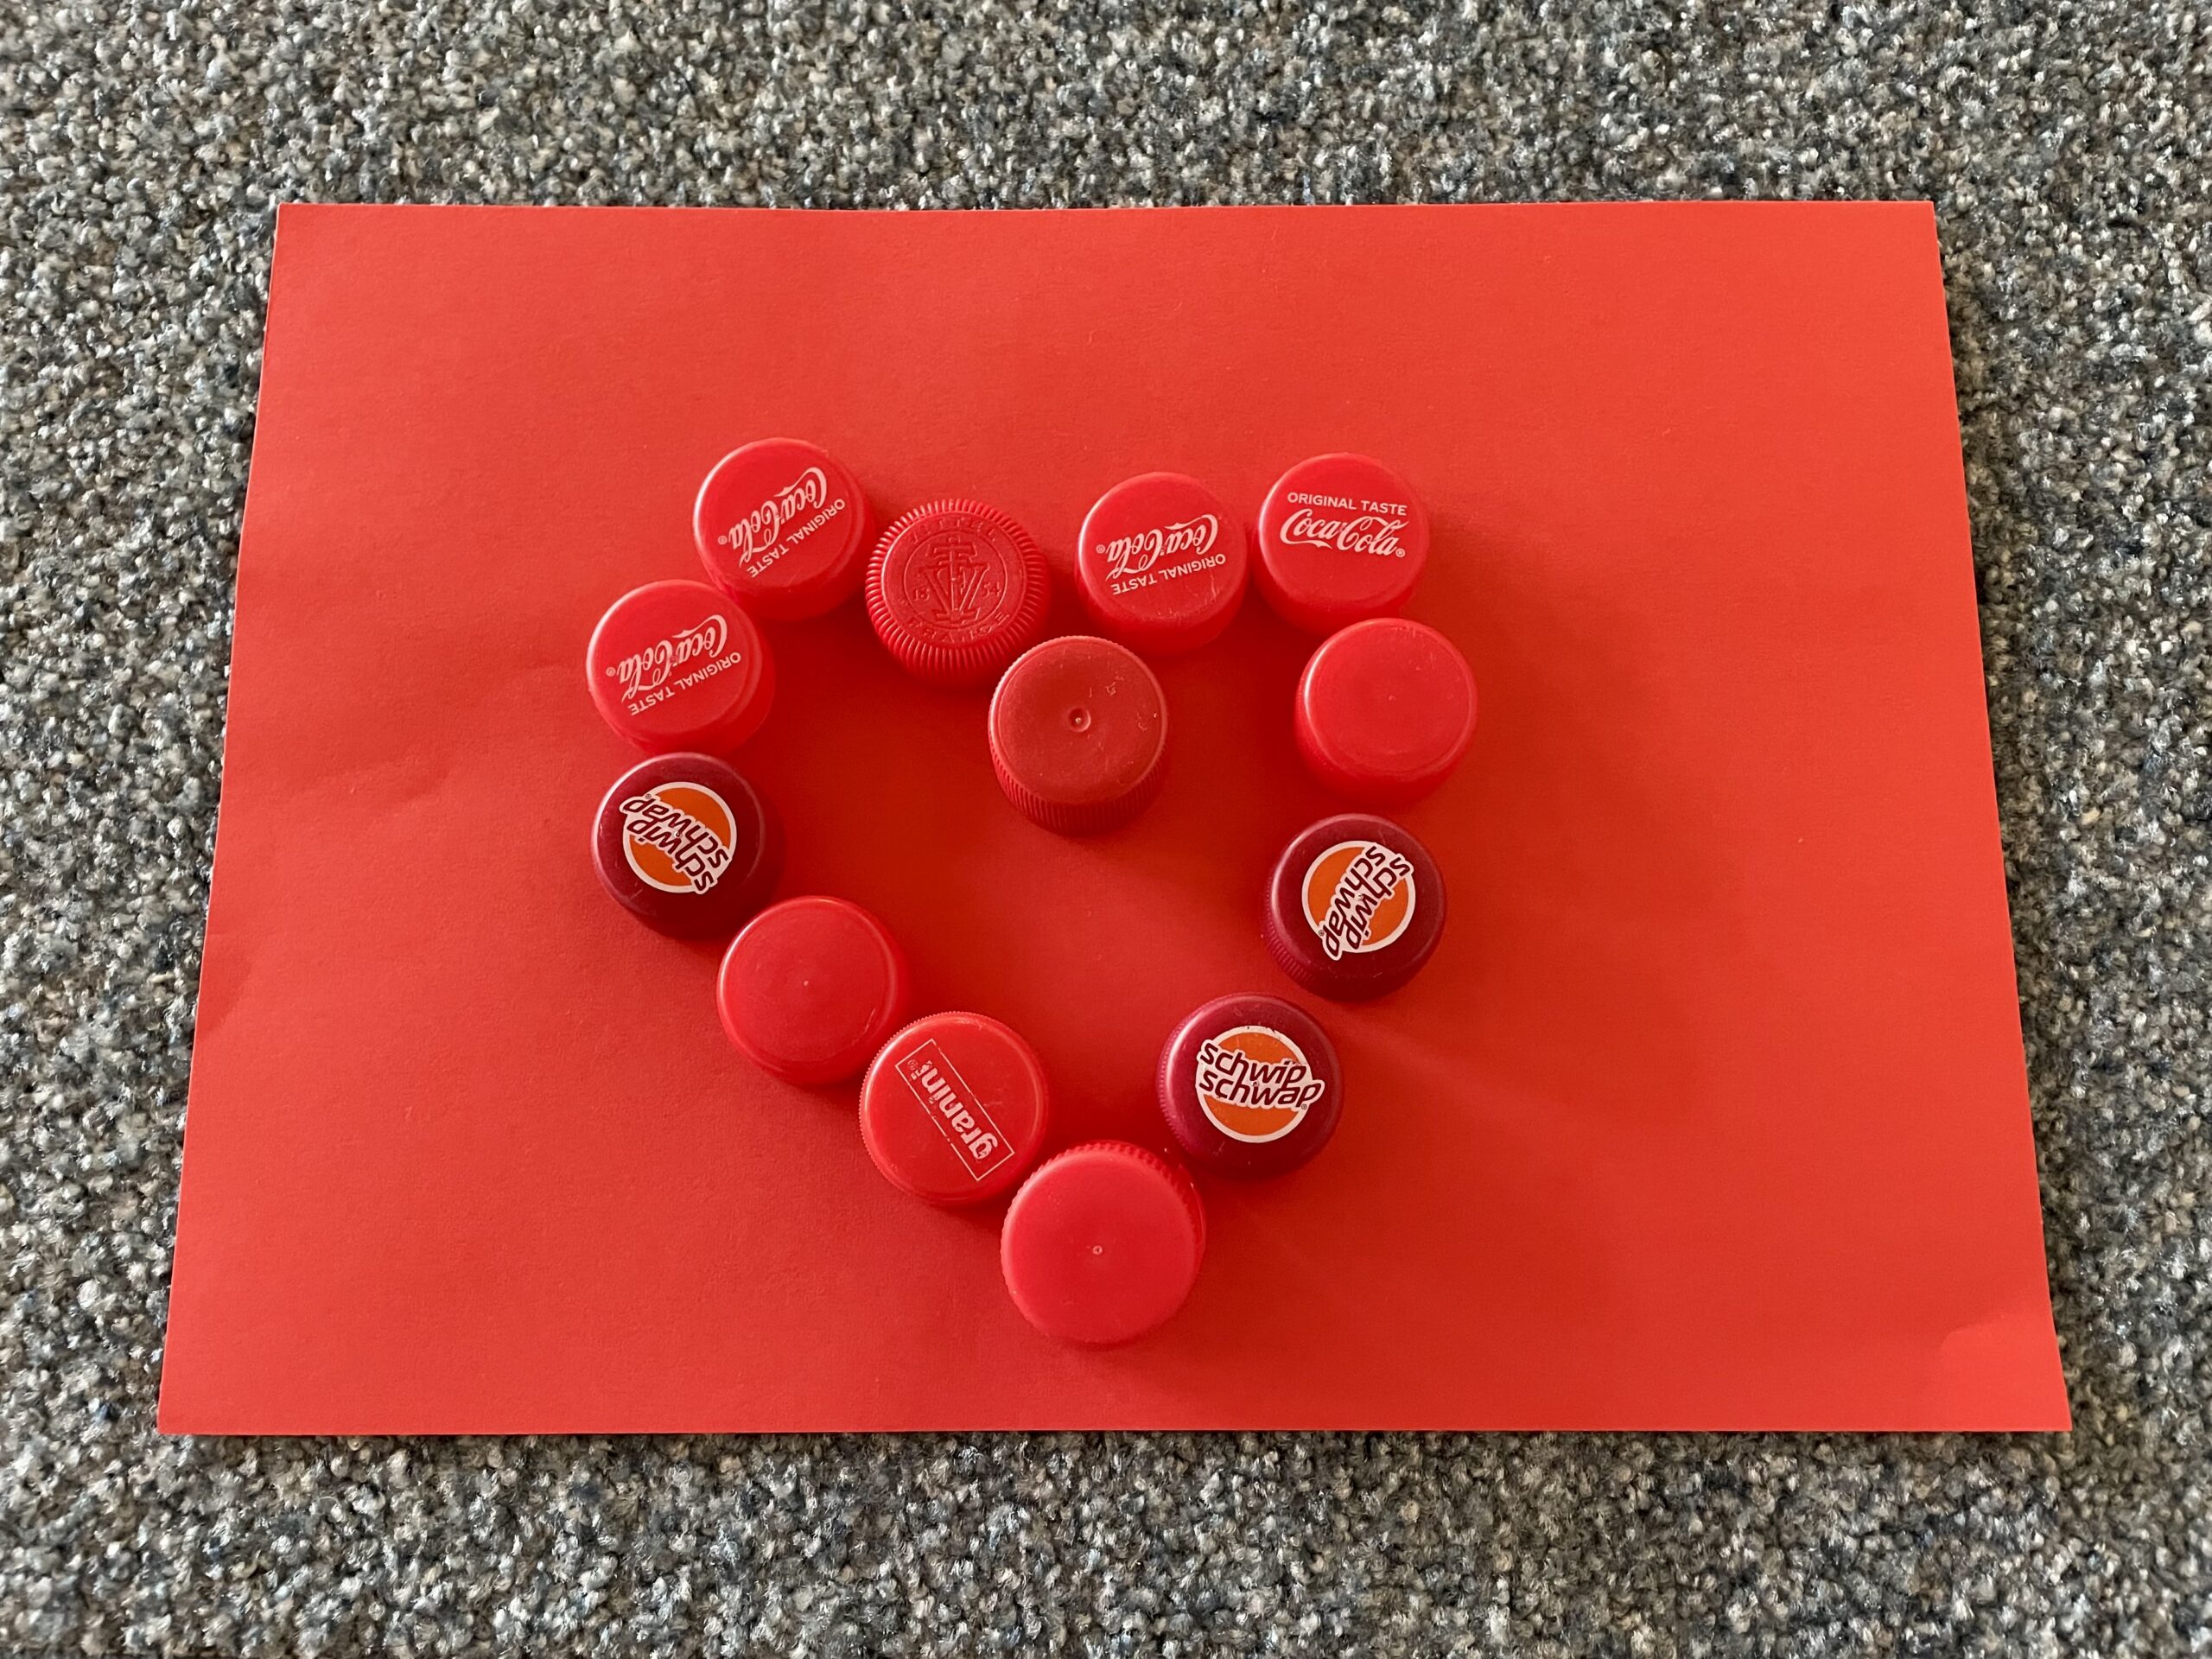
Then take a felt pen and circle around each lid. Hold the lid well so that it does not slip.
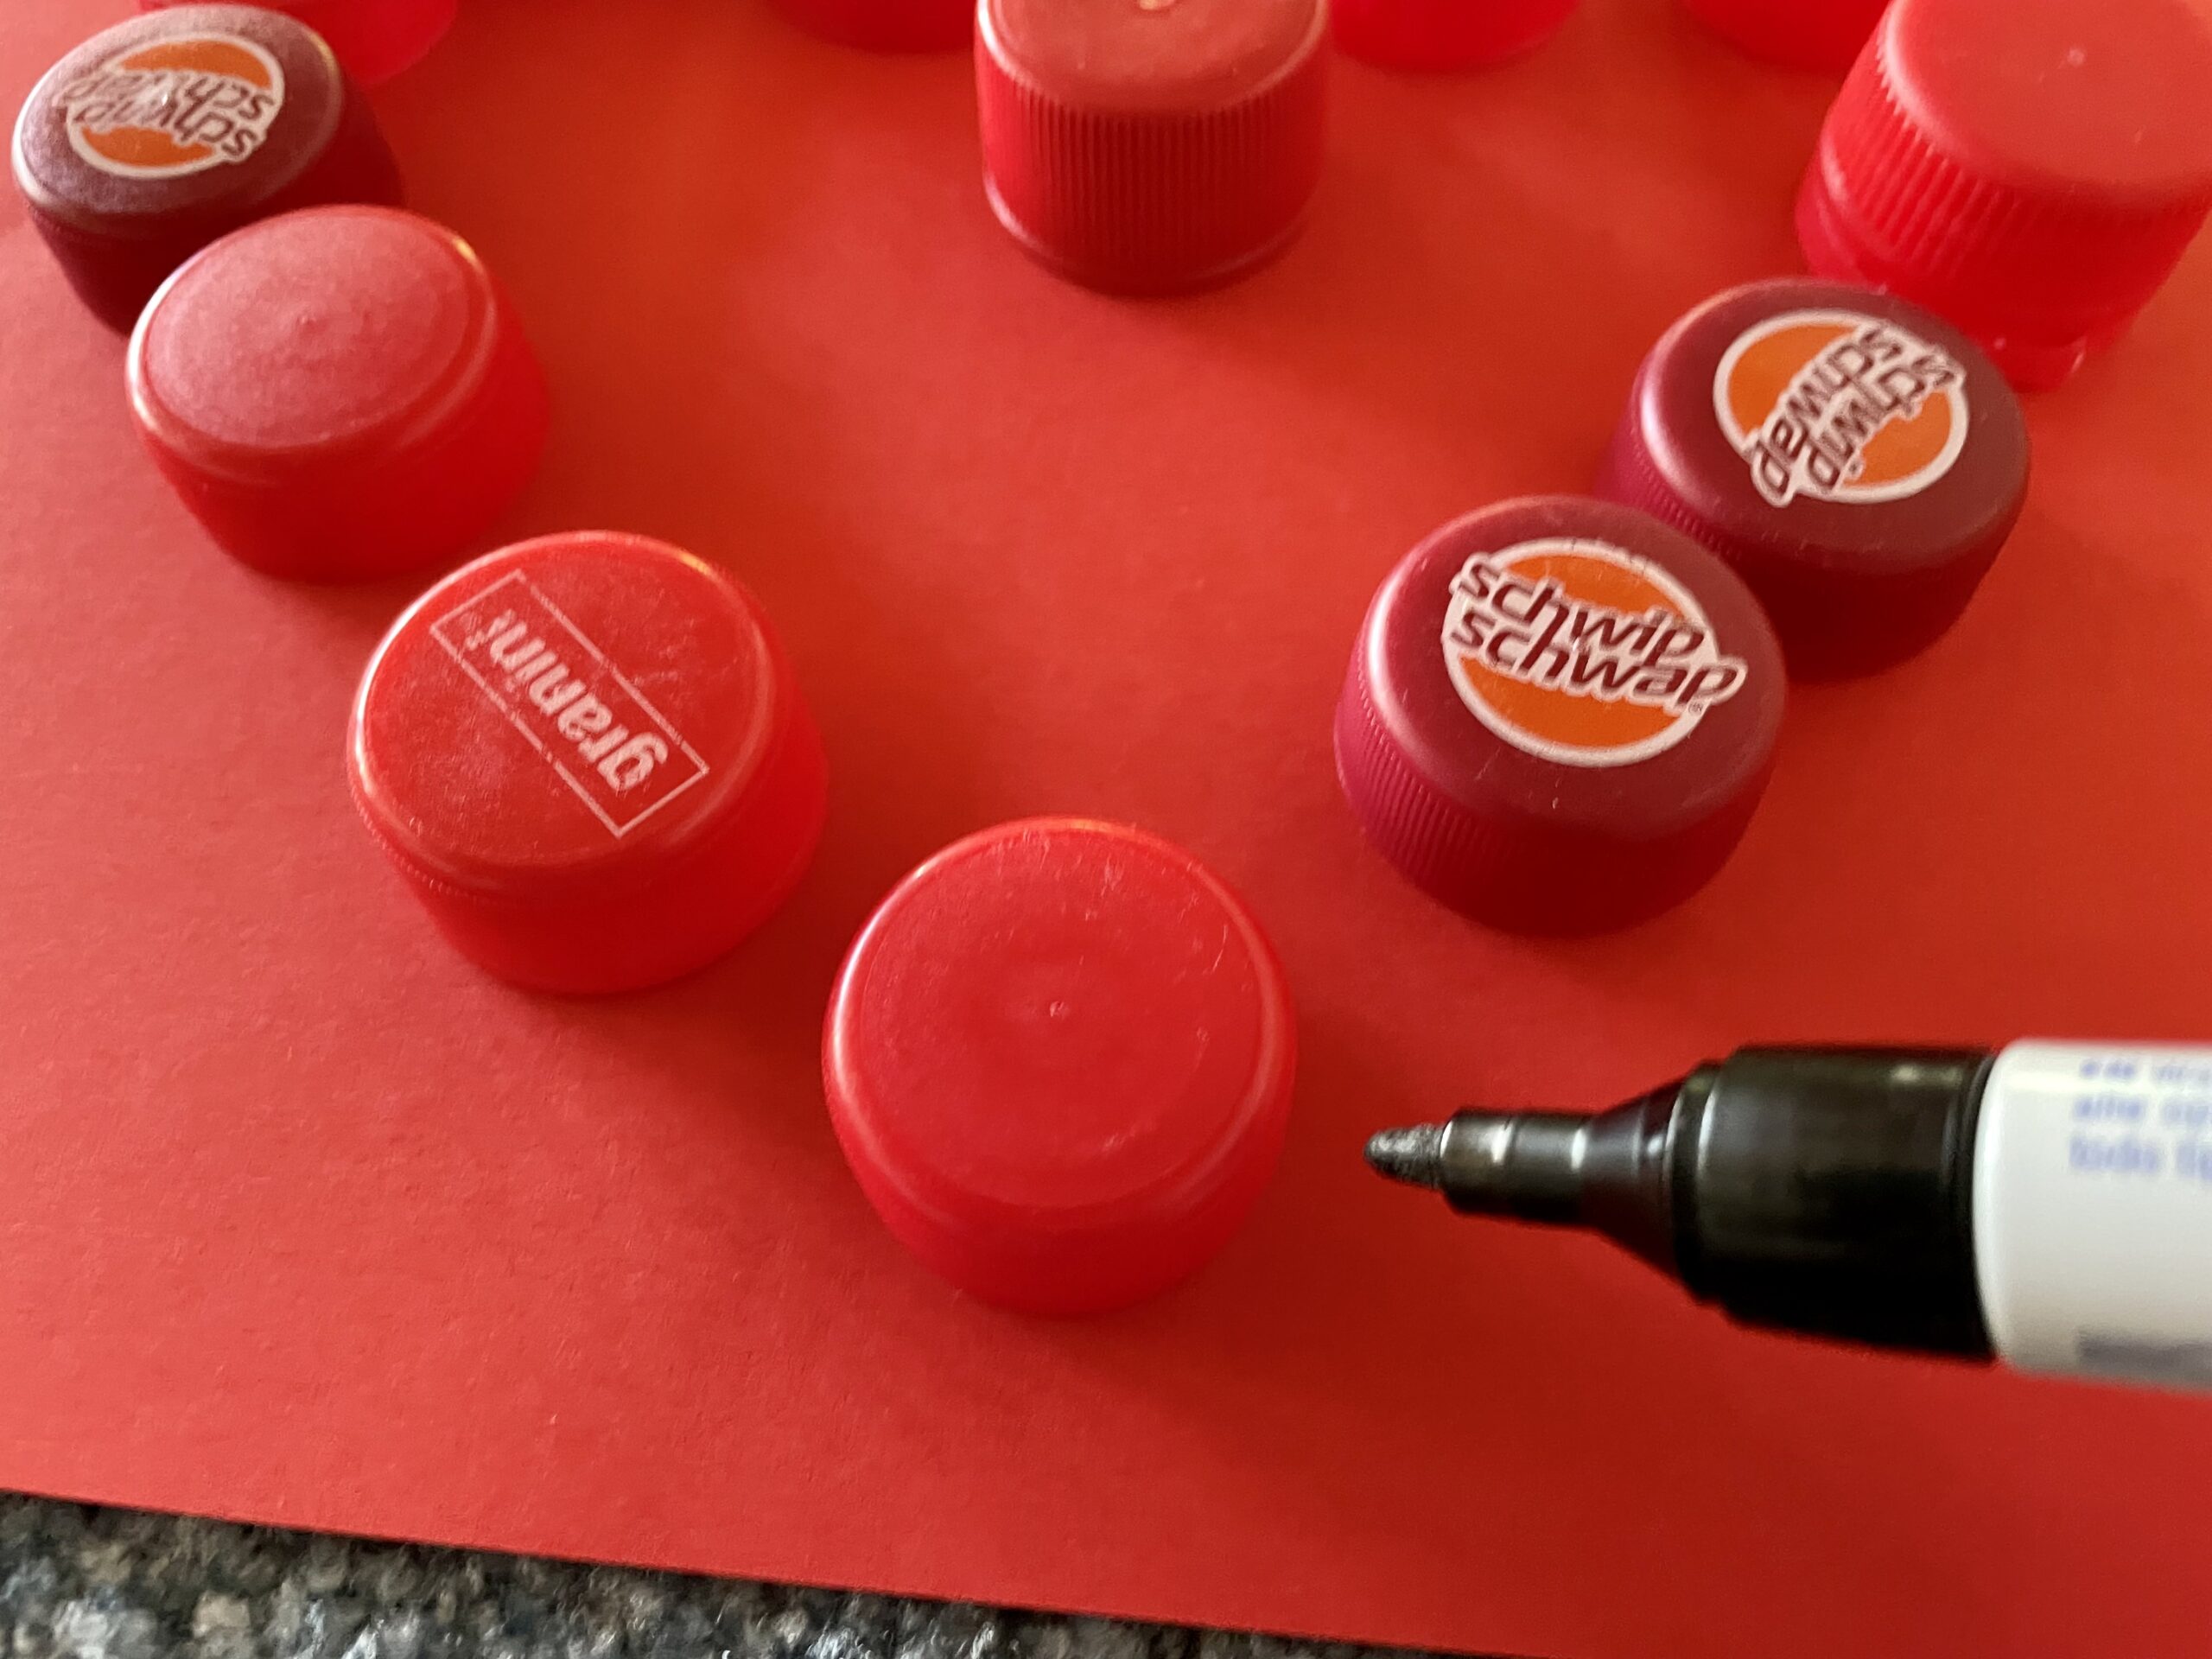


Each lid position is marked this way.
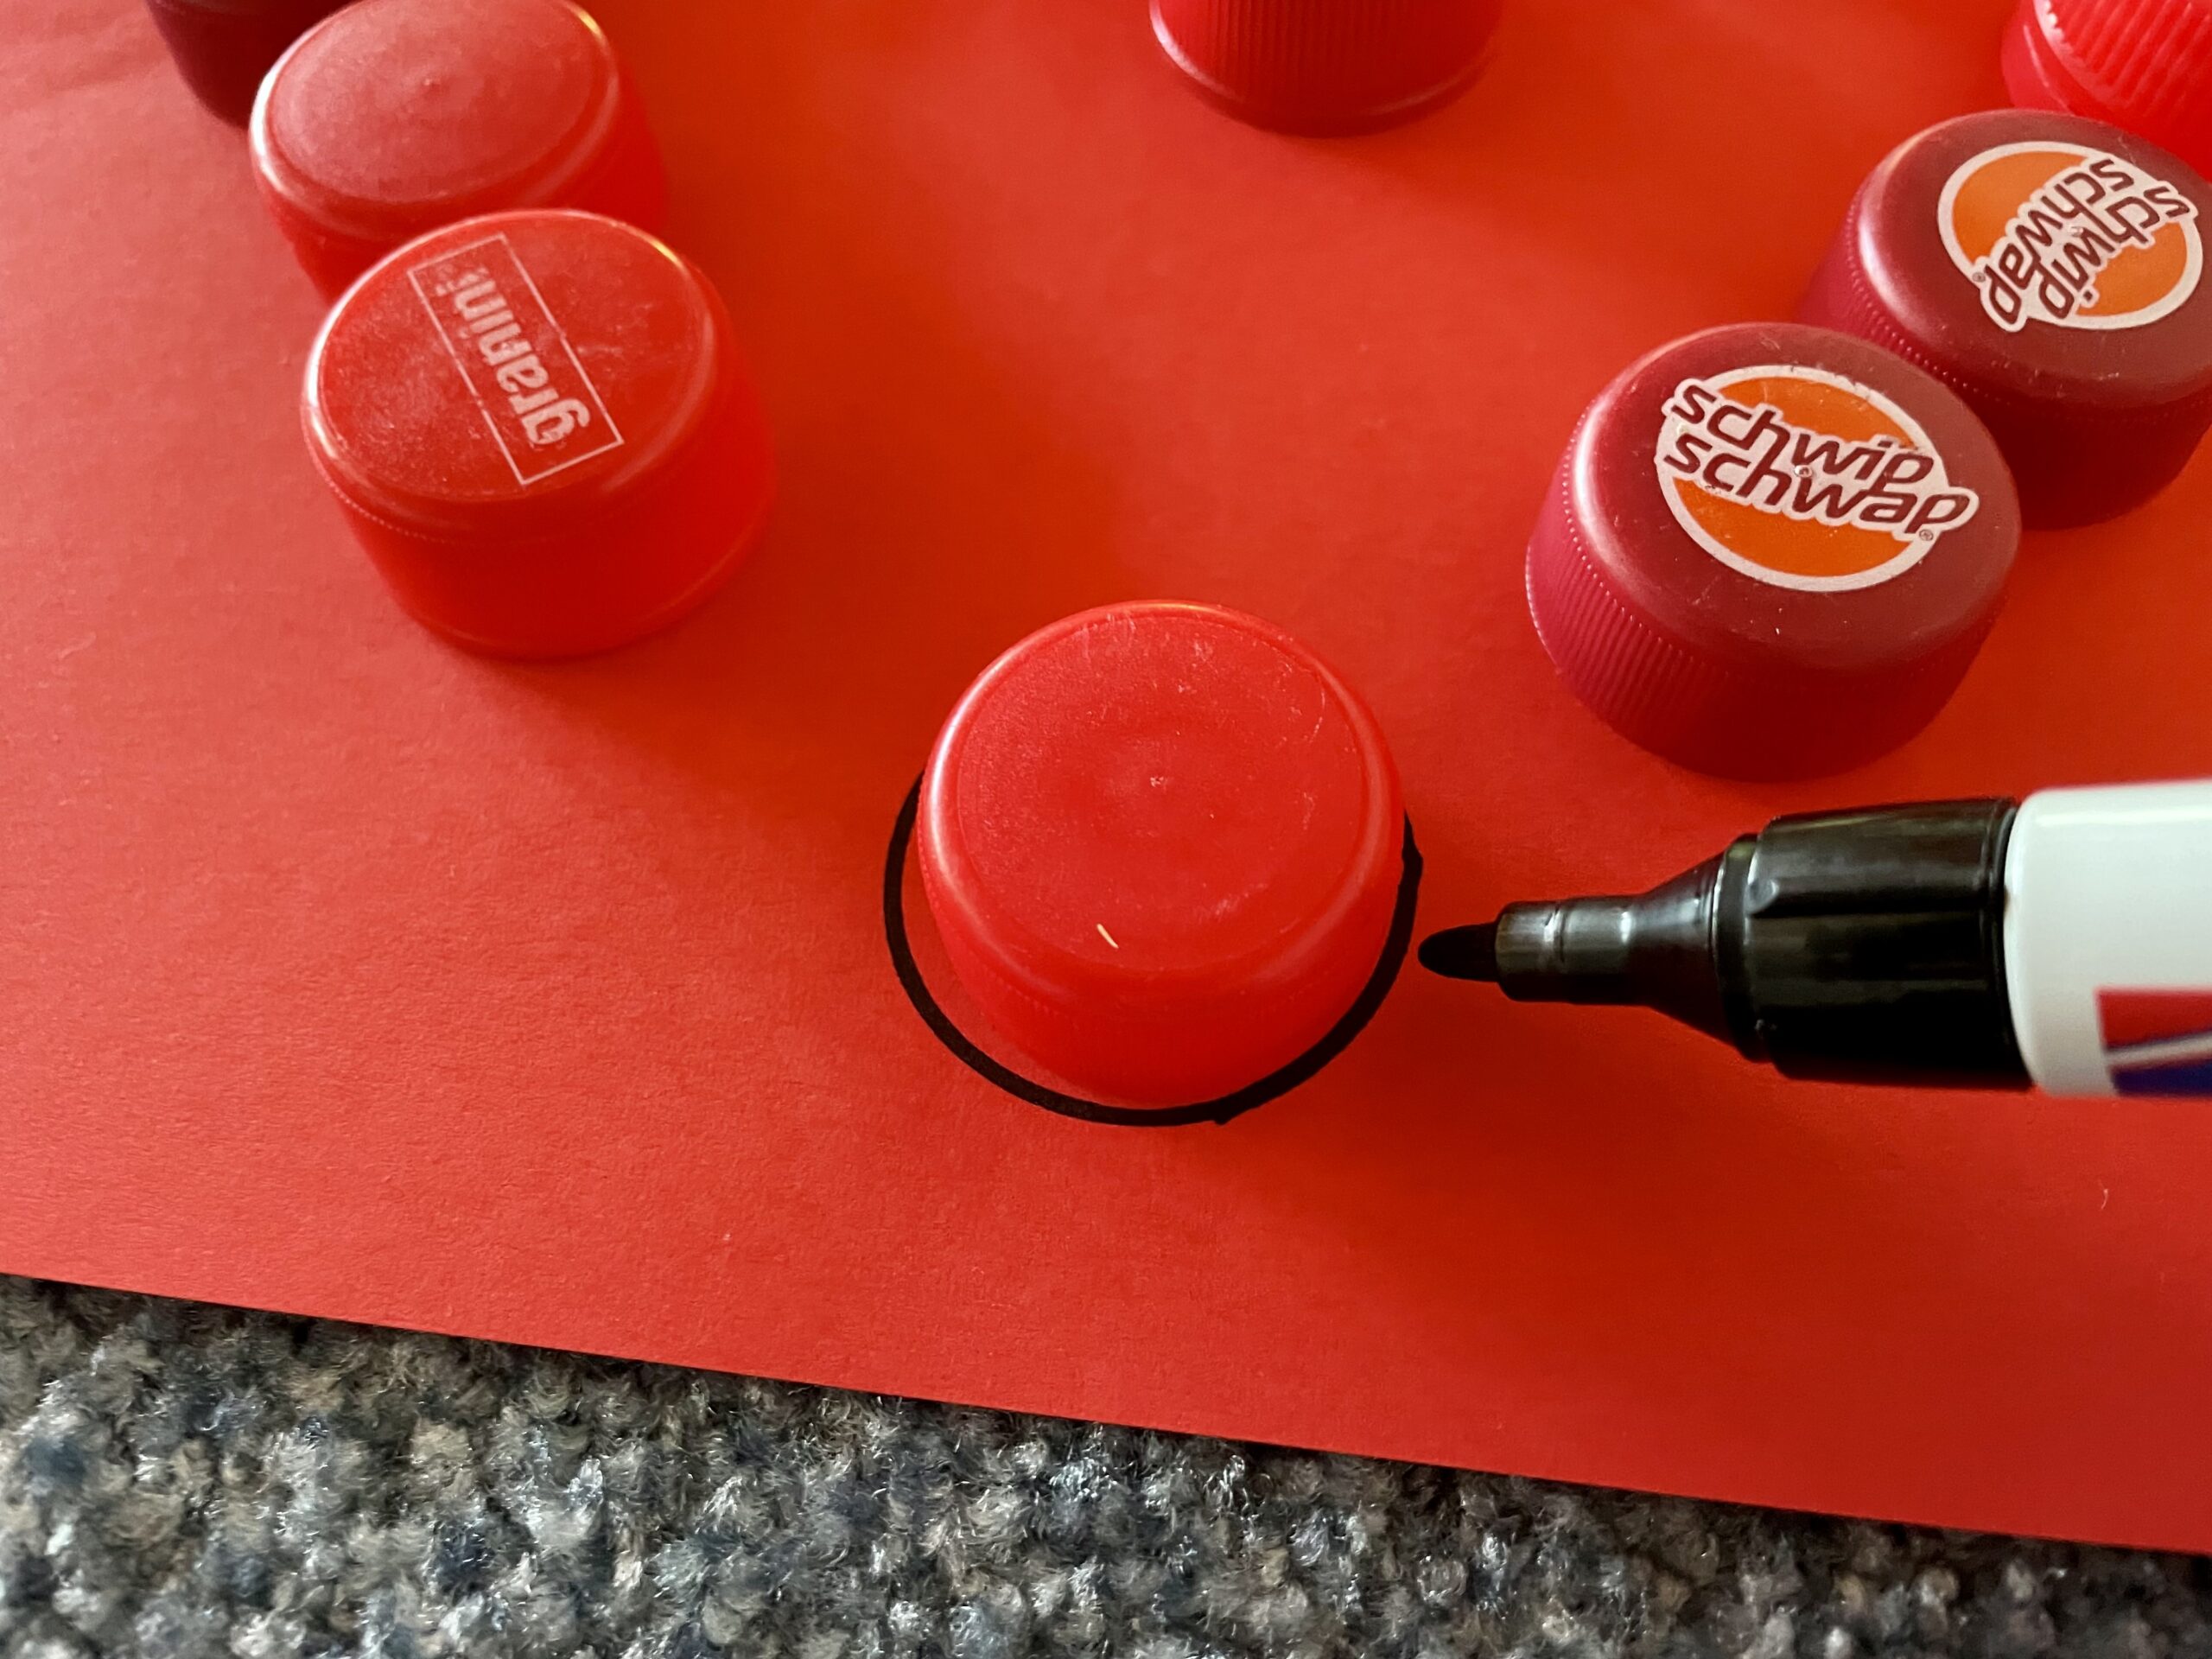


There are loud circles, in the places where the lids lie.
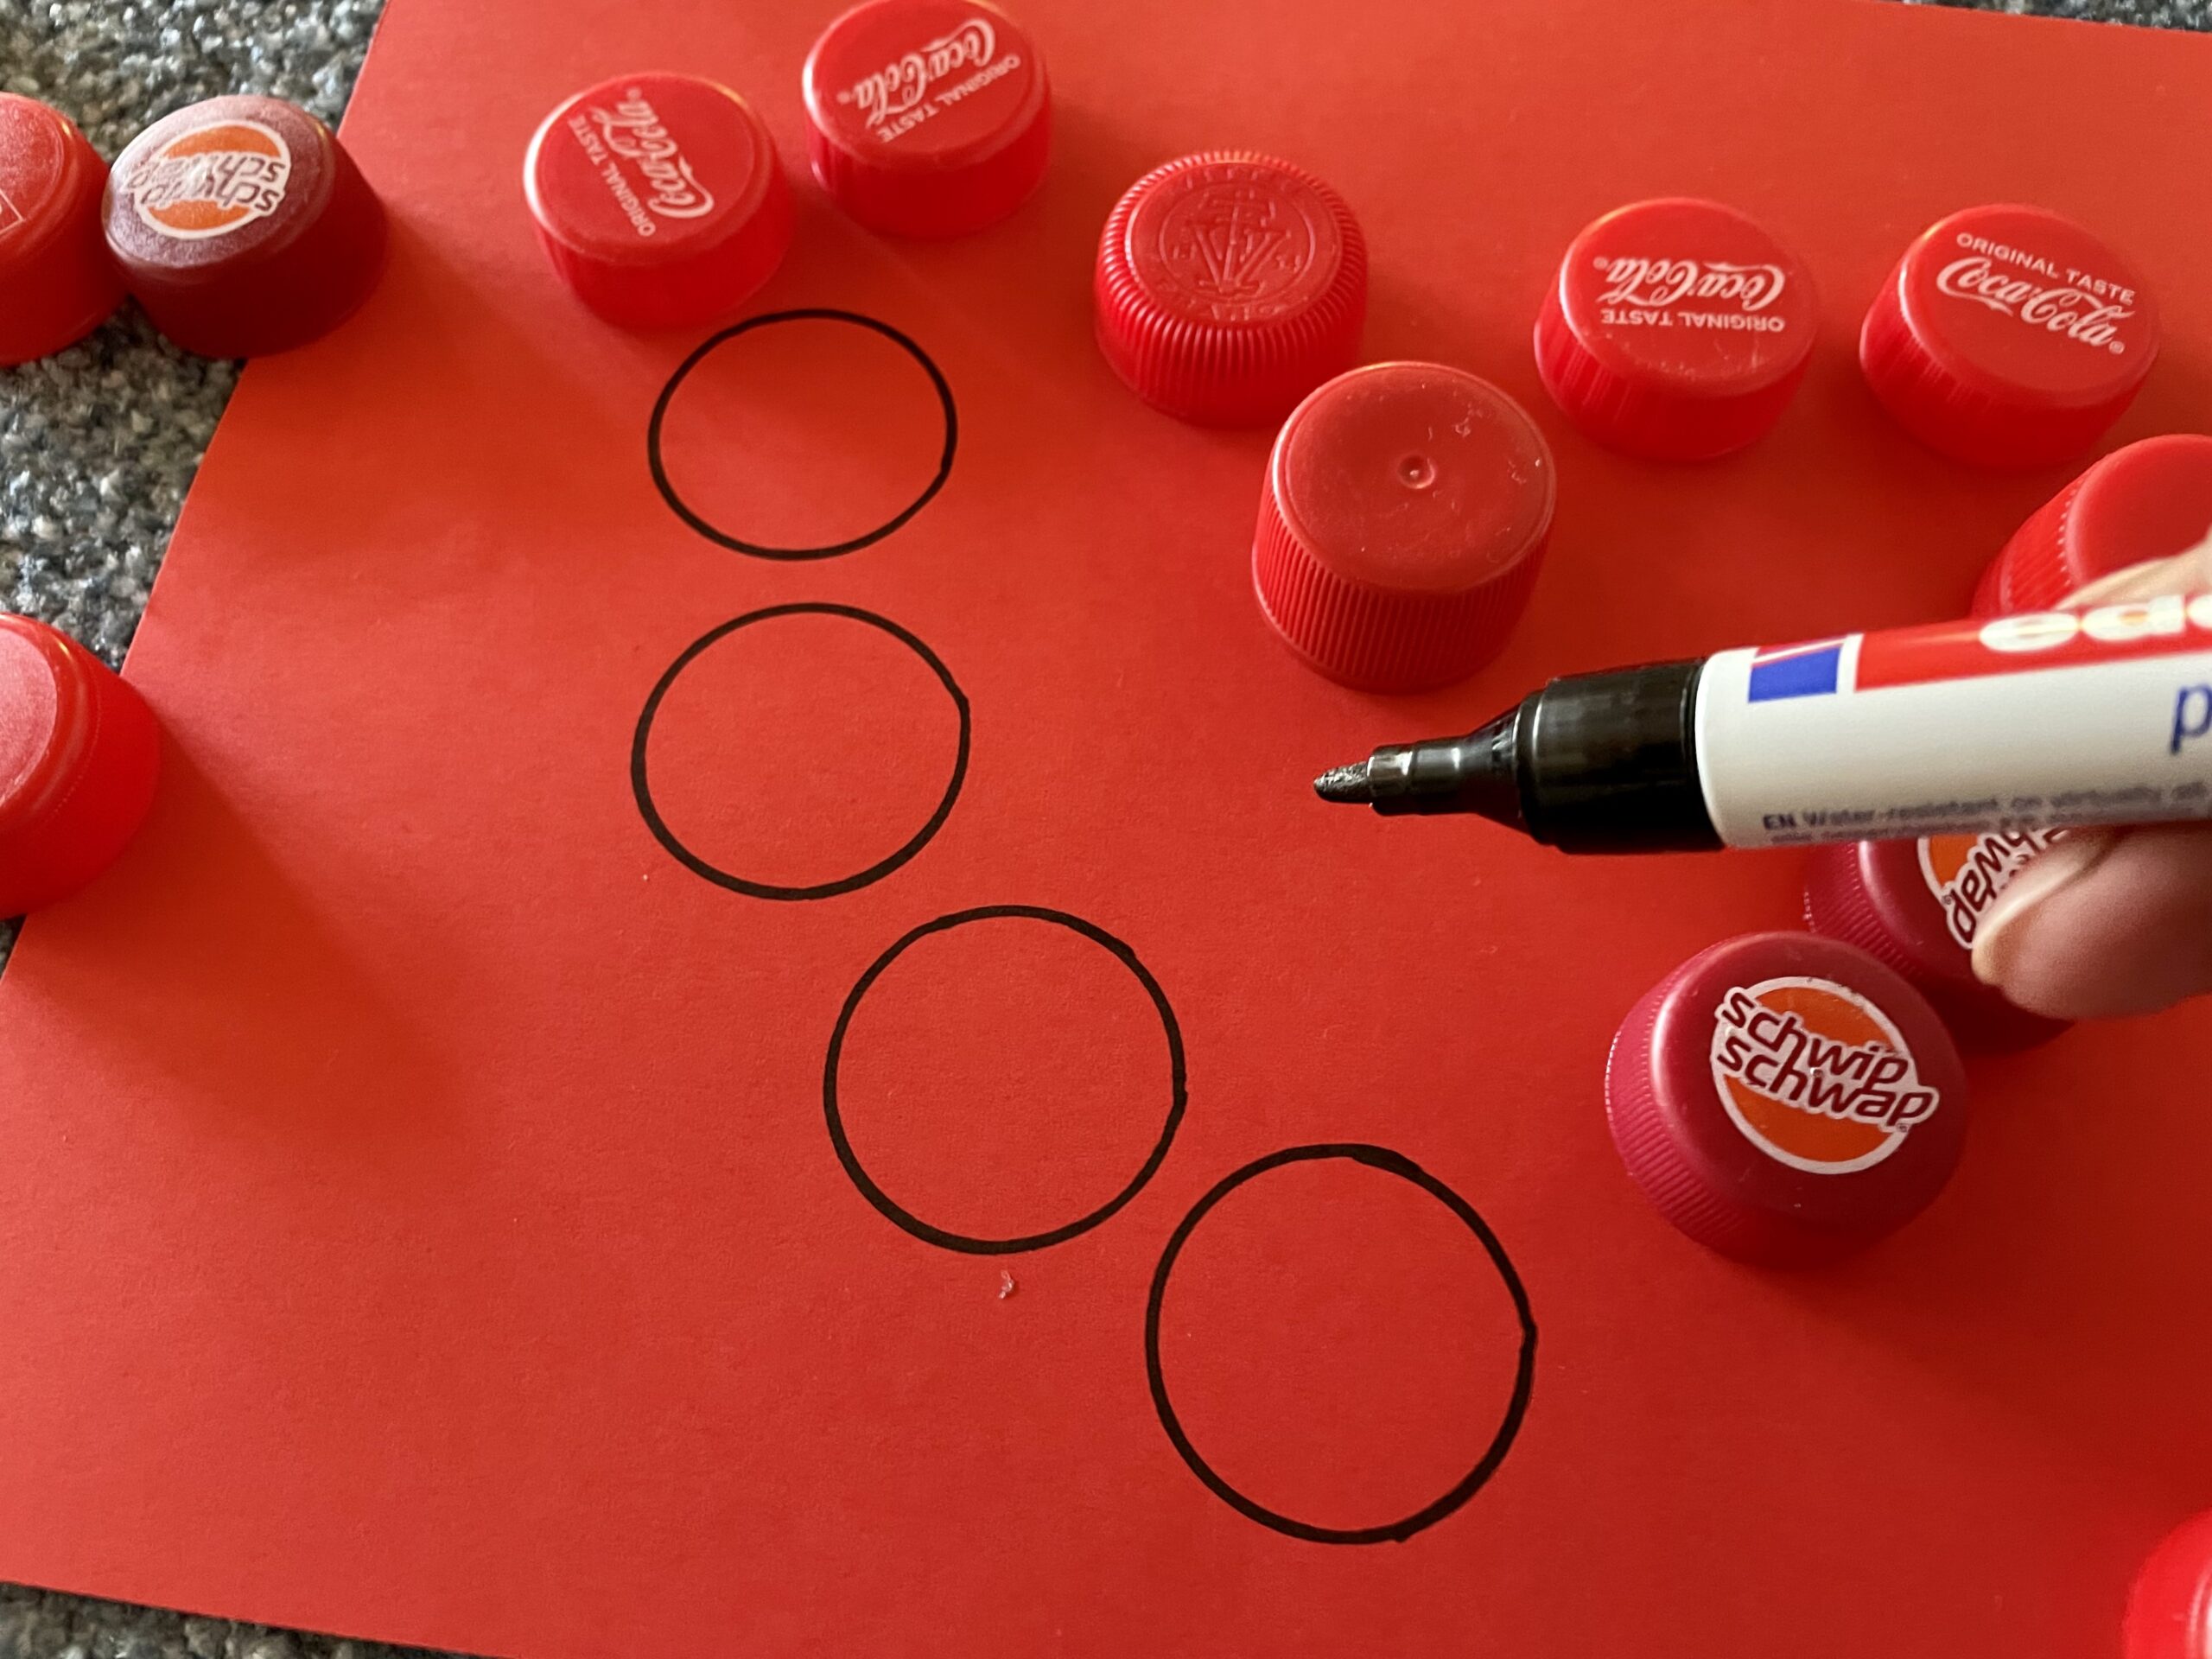


This is how the finished image can look now.


Let the child try out whether it can cope with the task, because here the motivation is still the greatest.
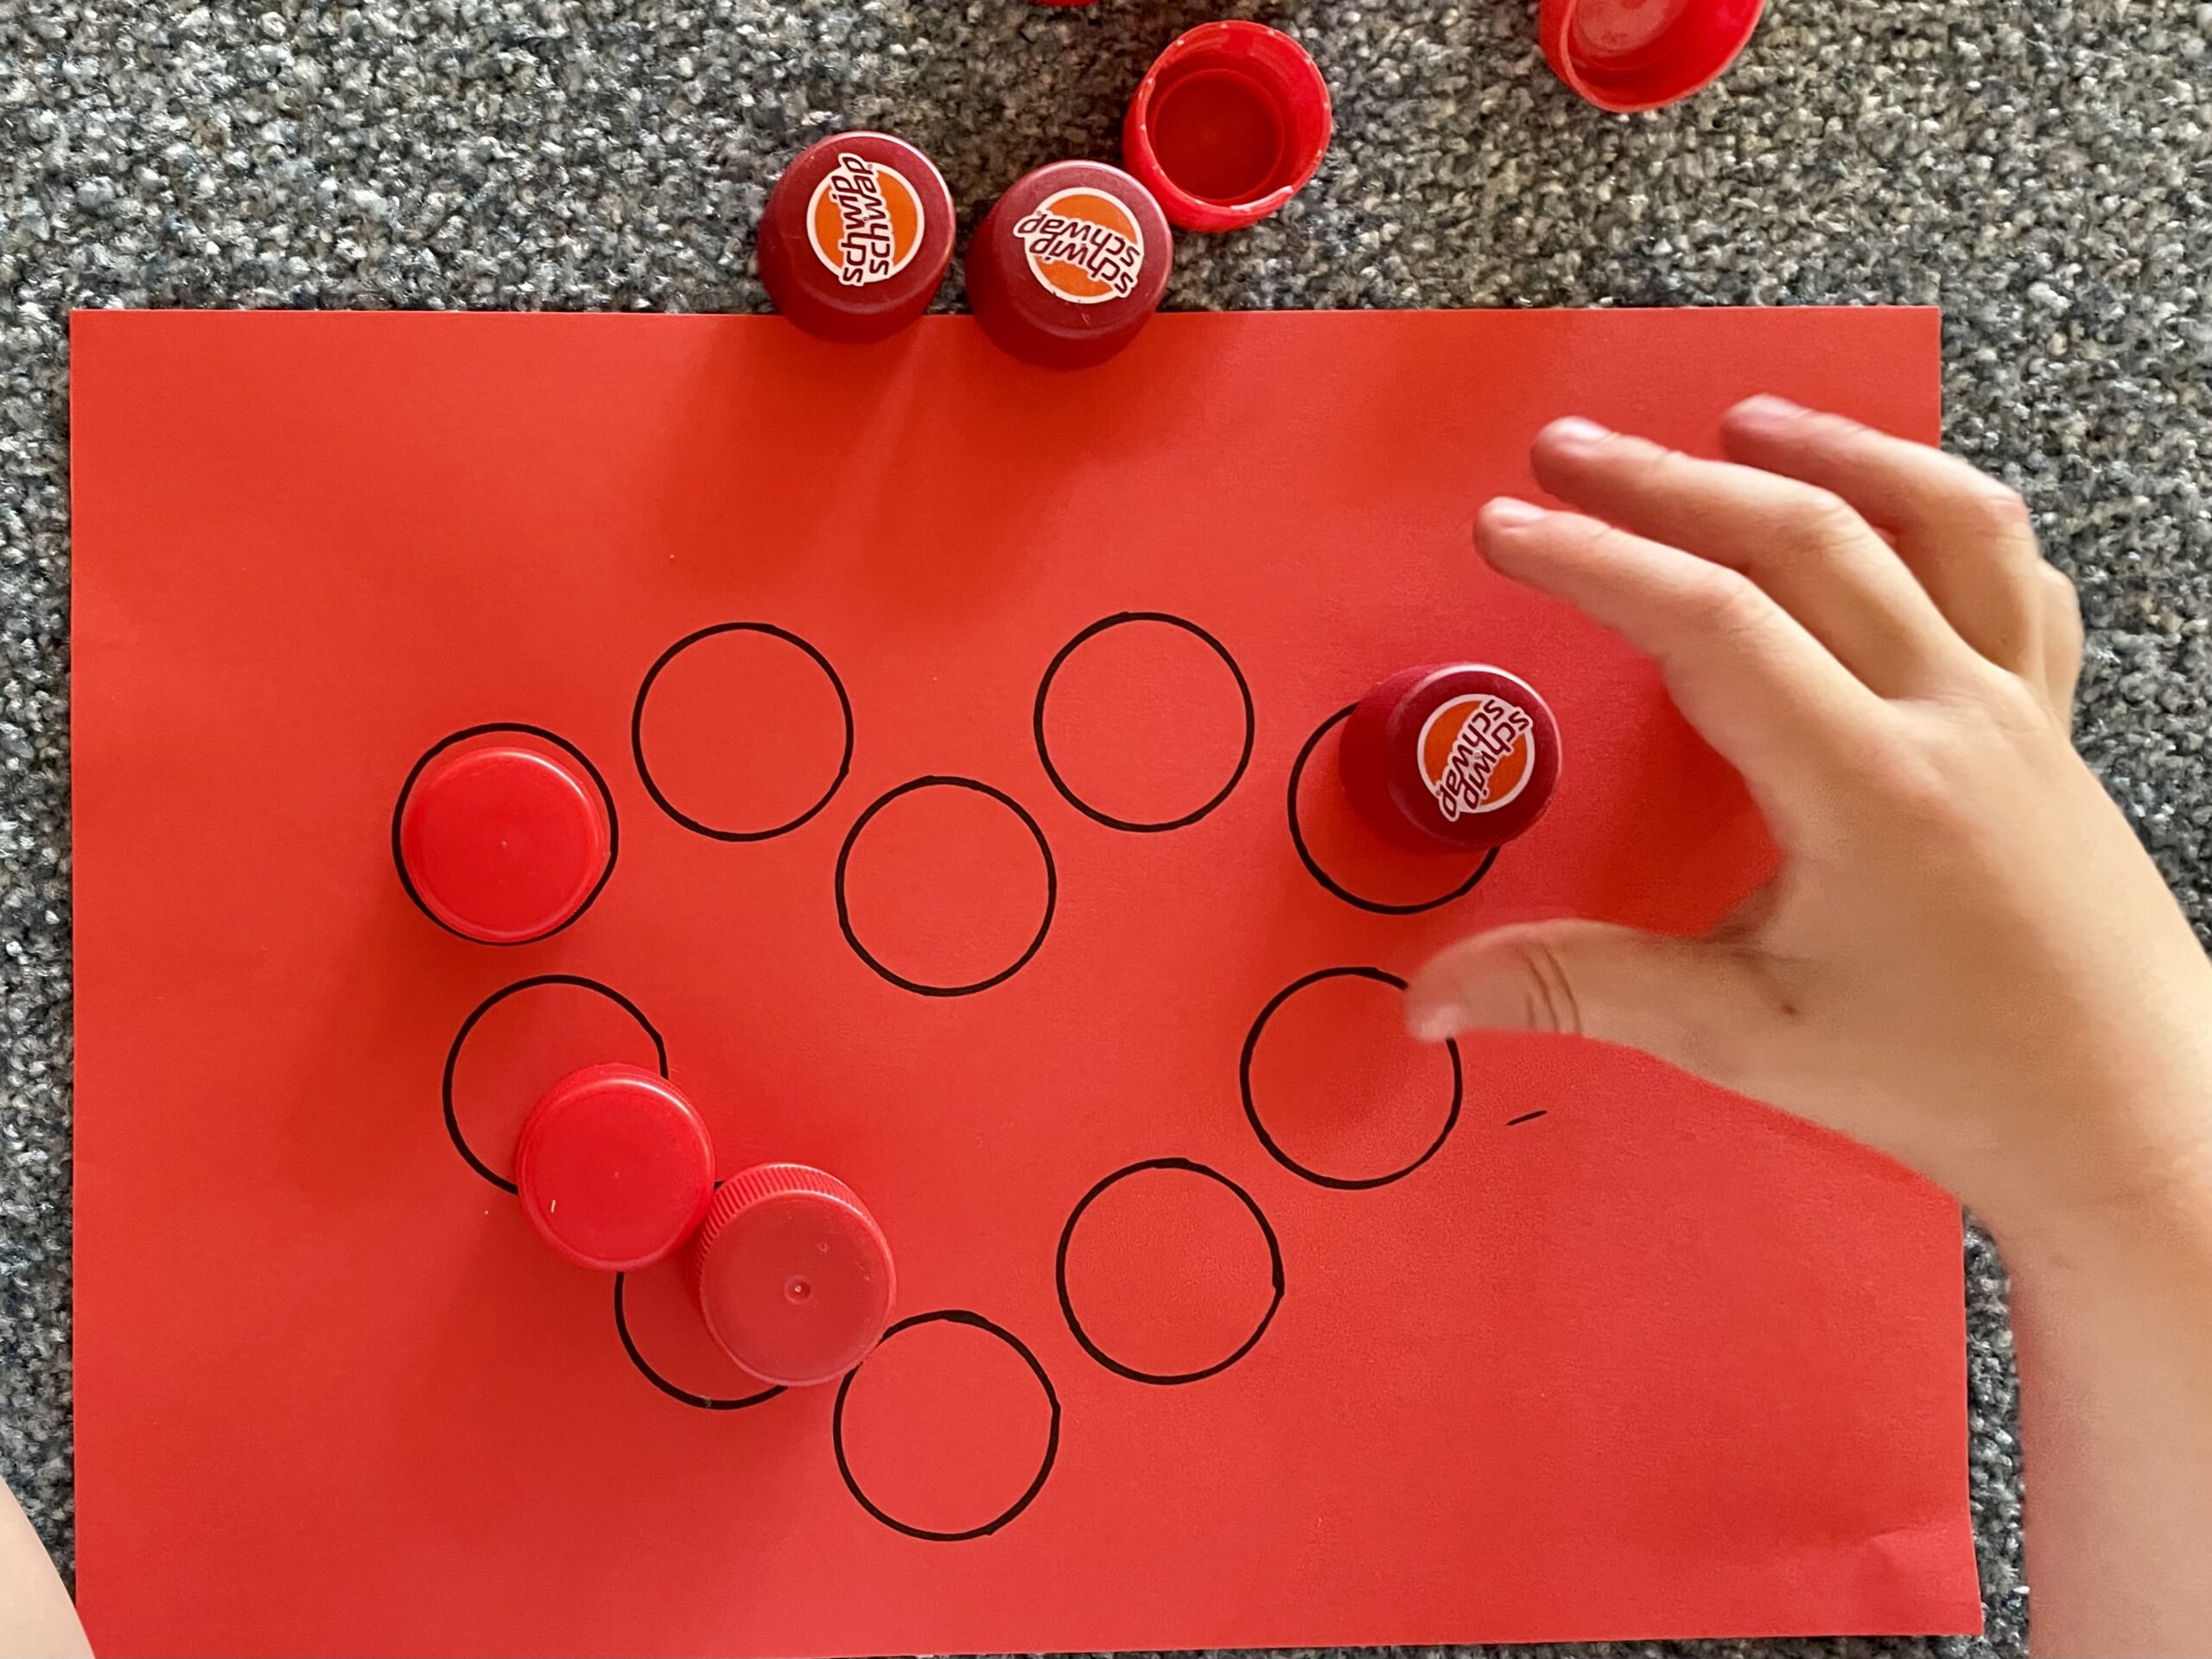


Tip: As a "error control" you can only provide as many lids as you need to place.
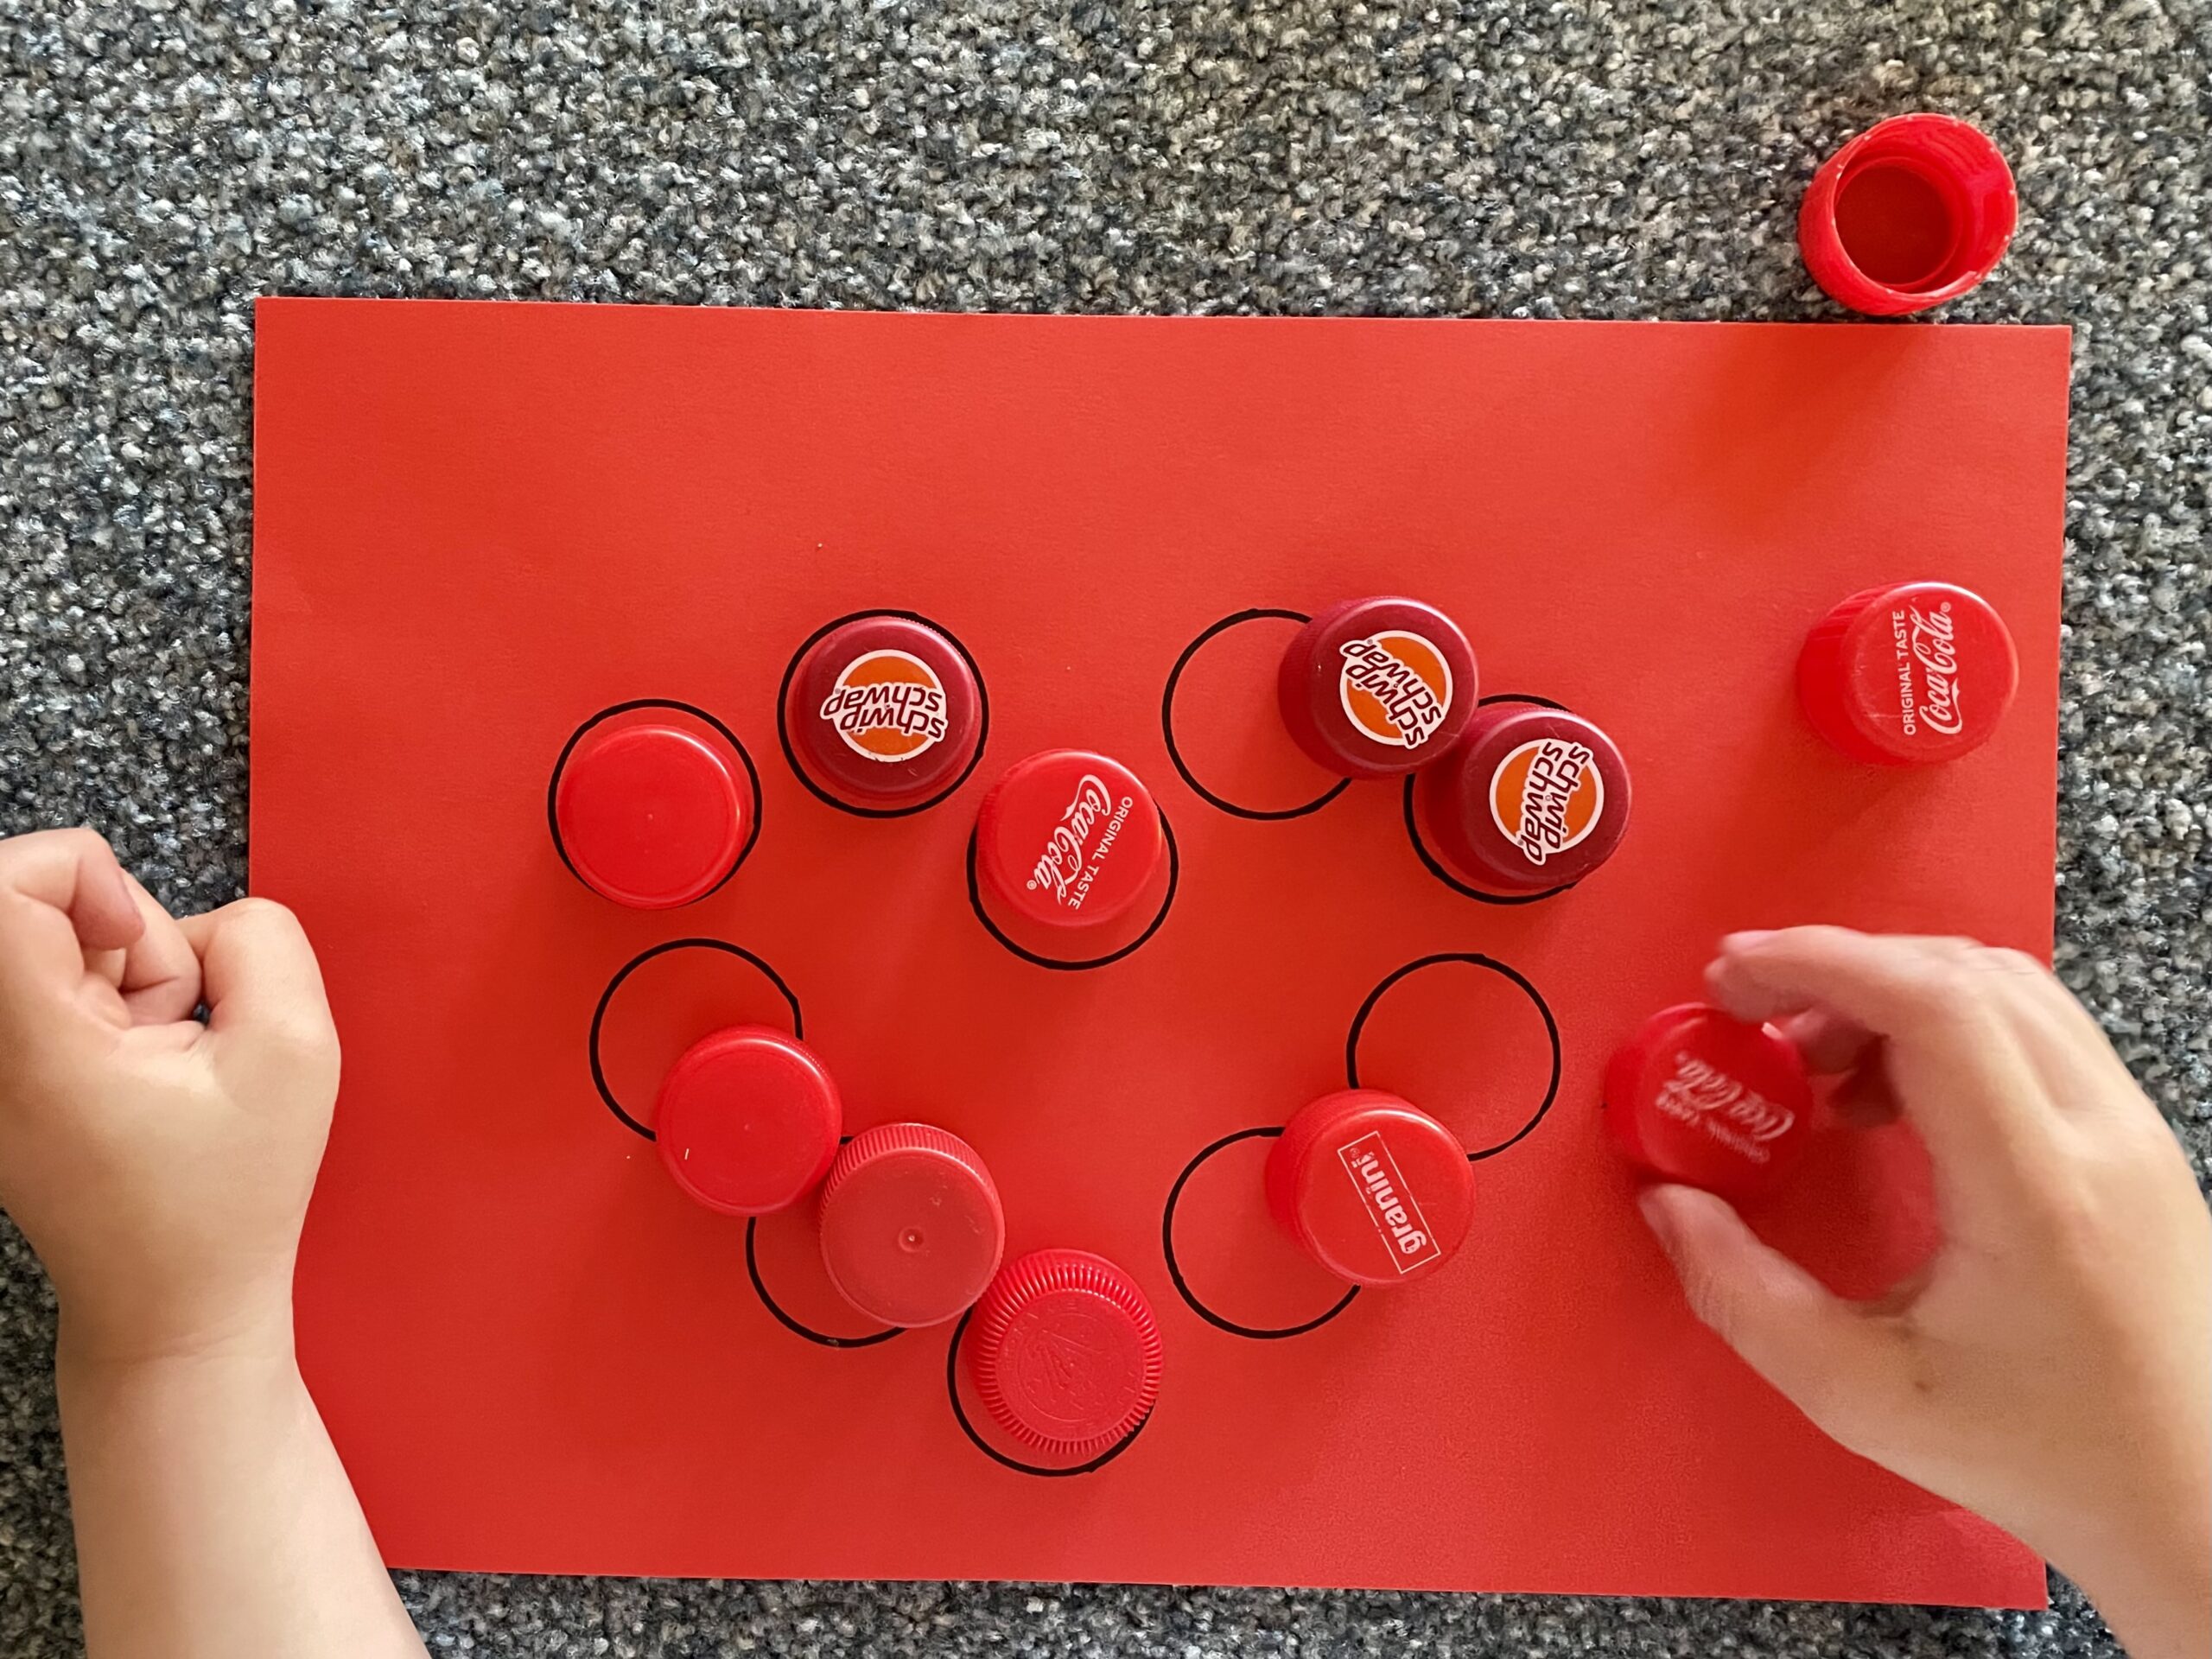


Put the lids in a small bowl, so they are not in the way.
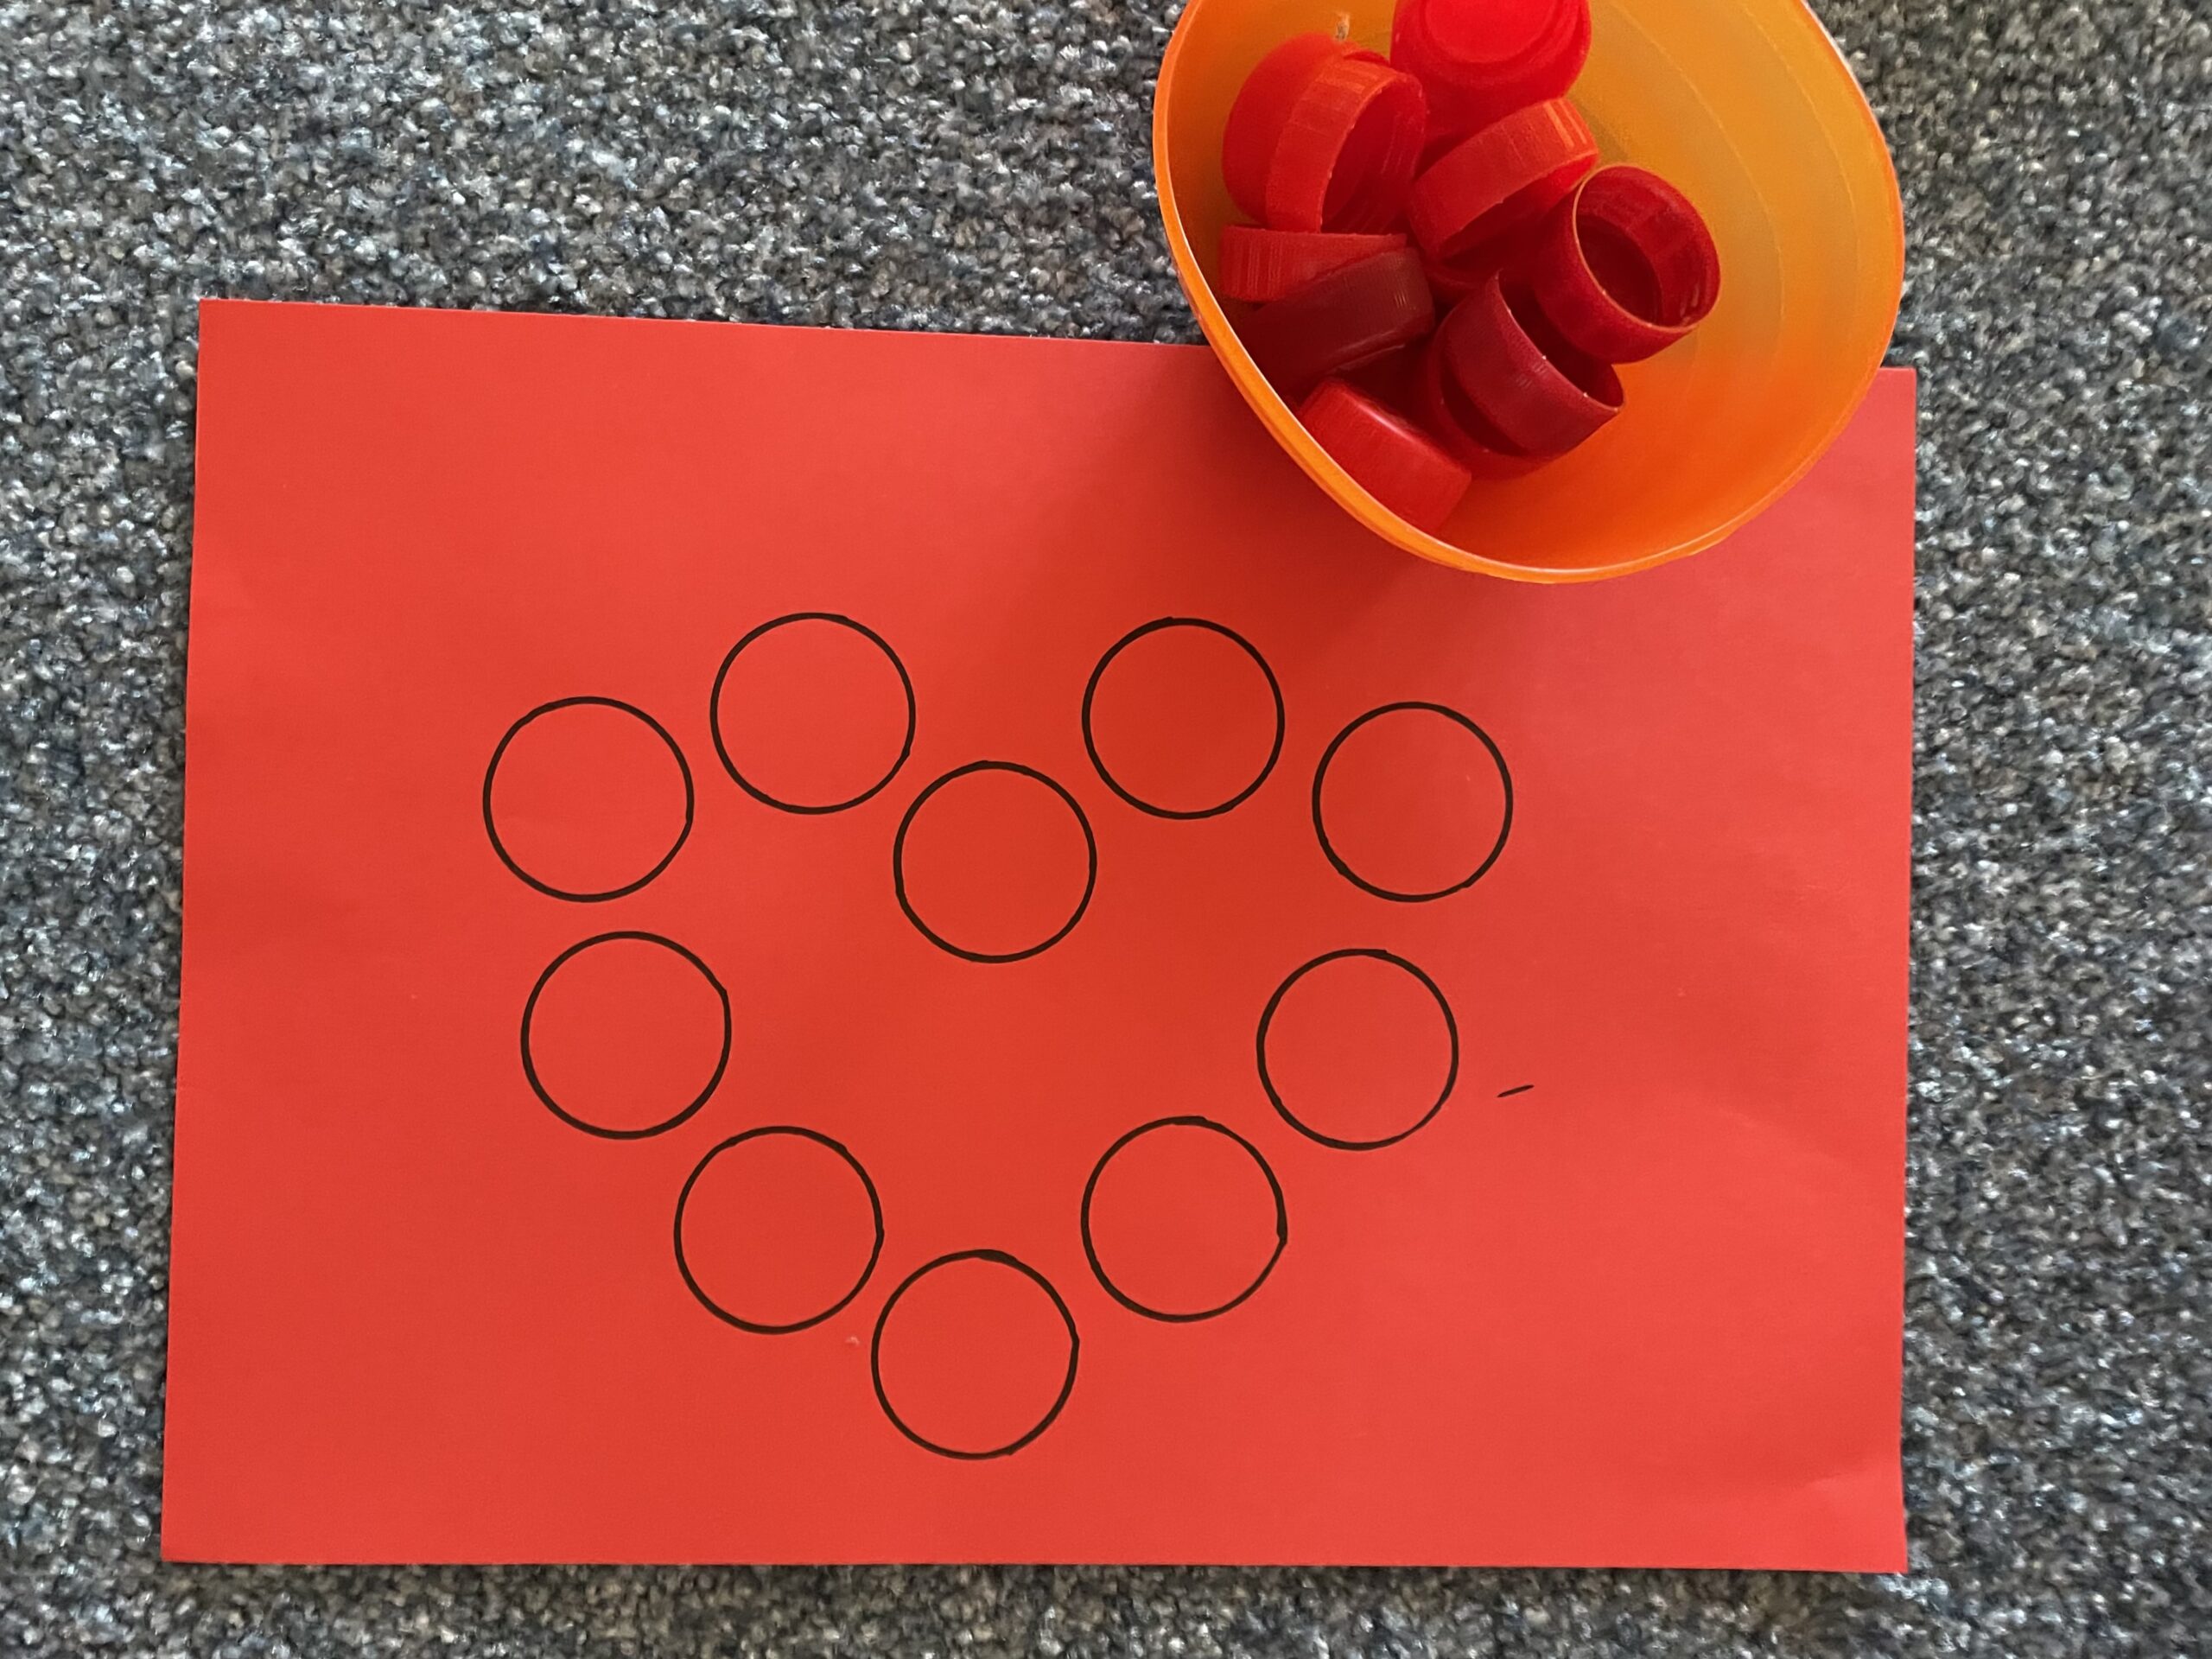


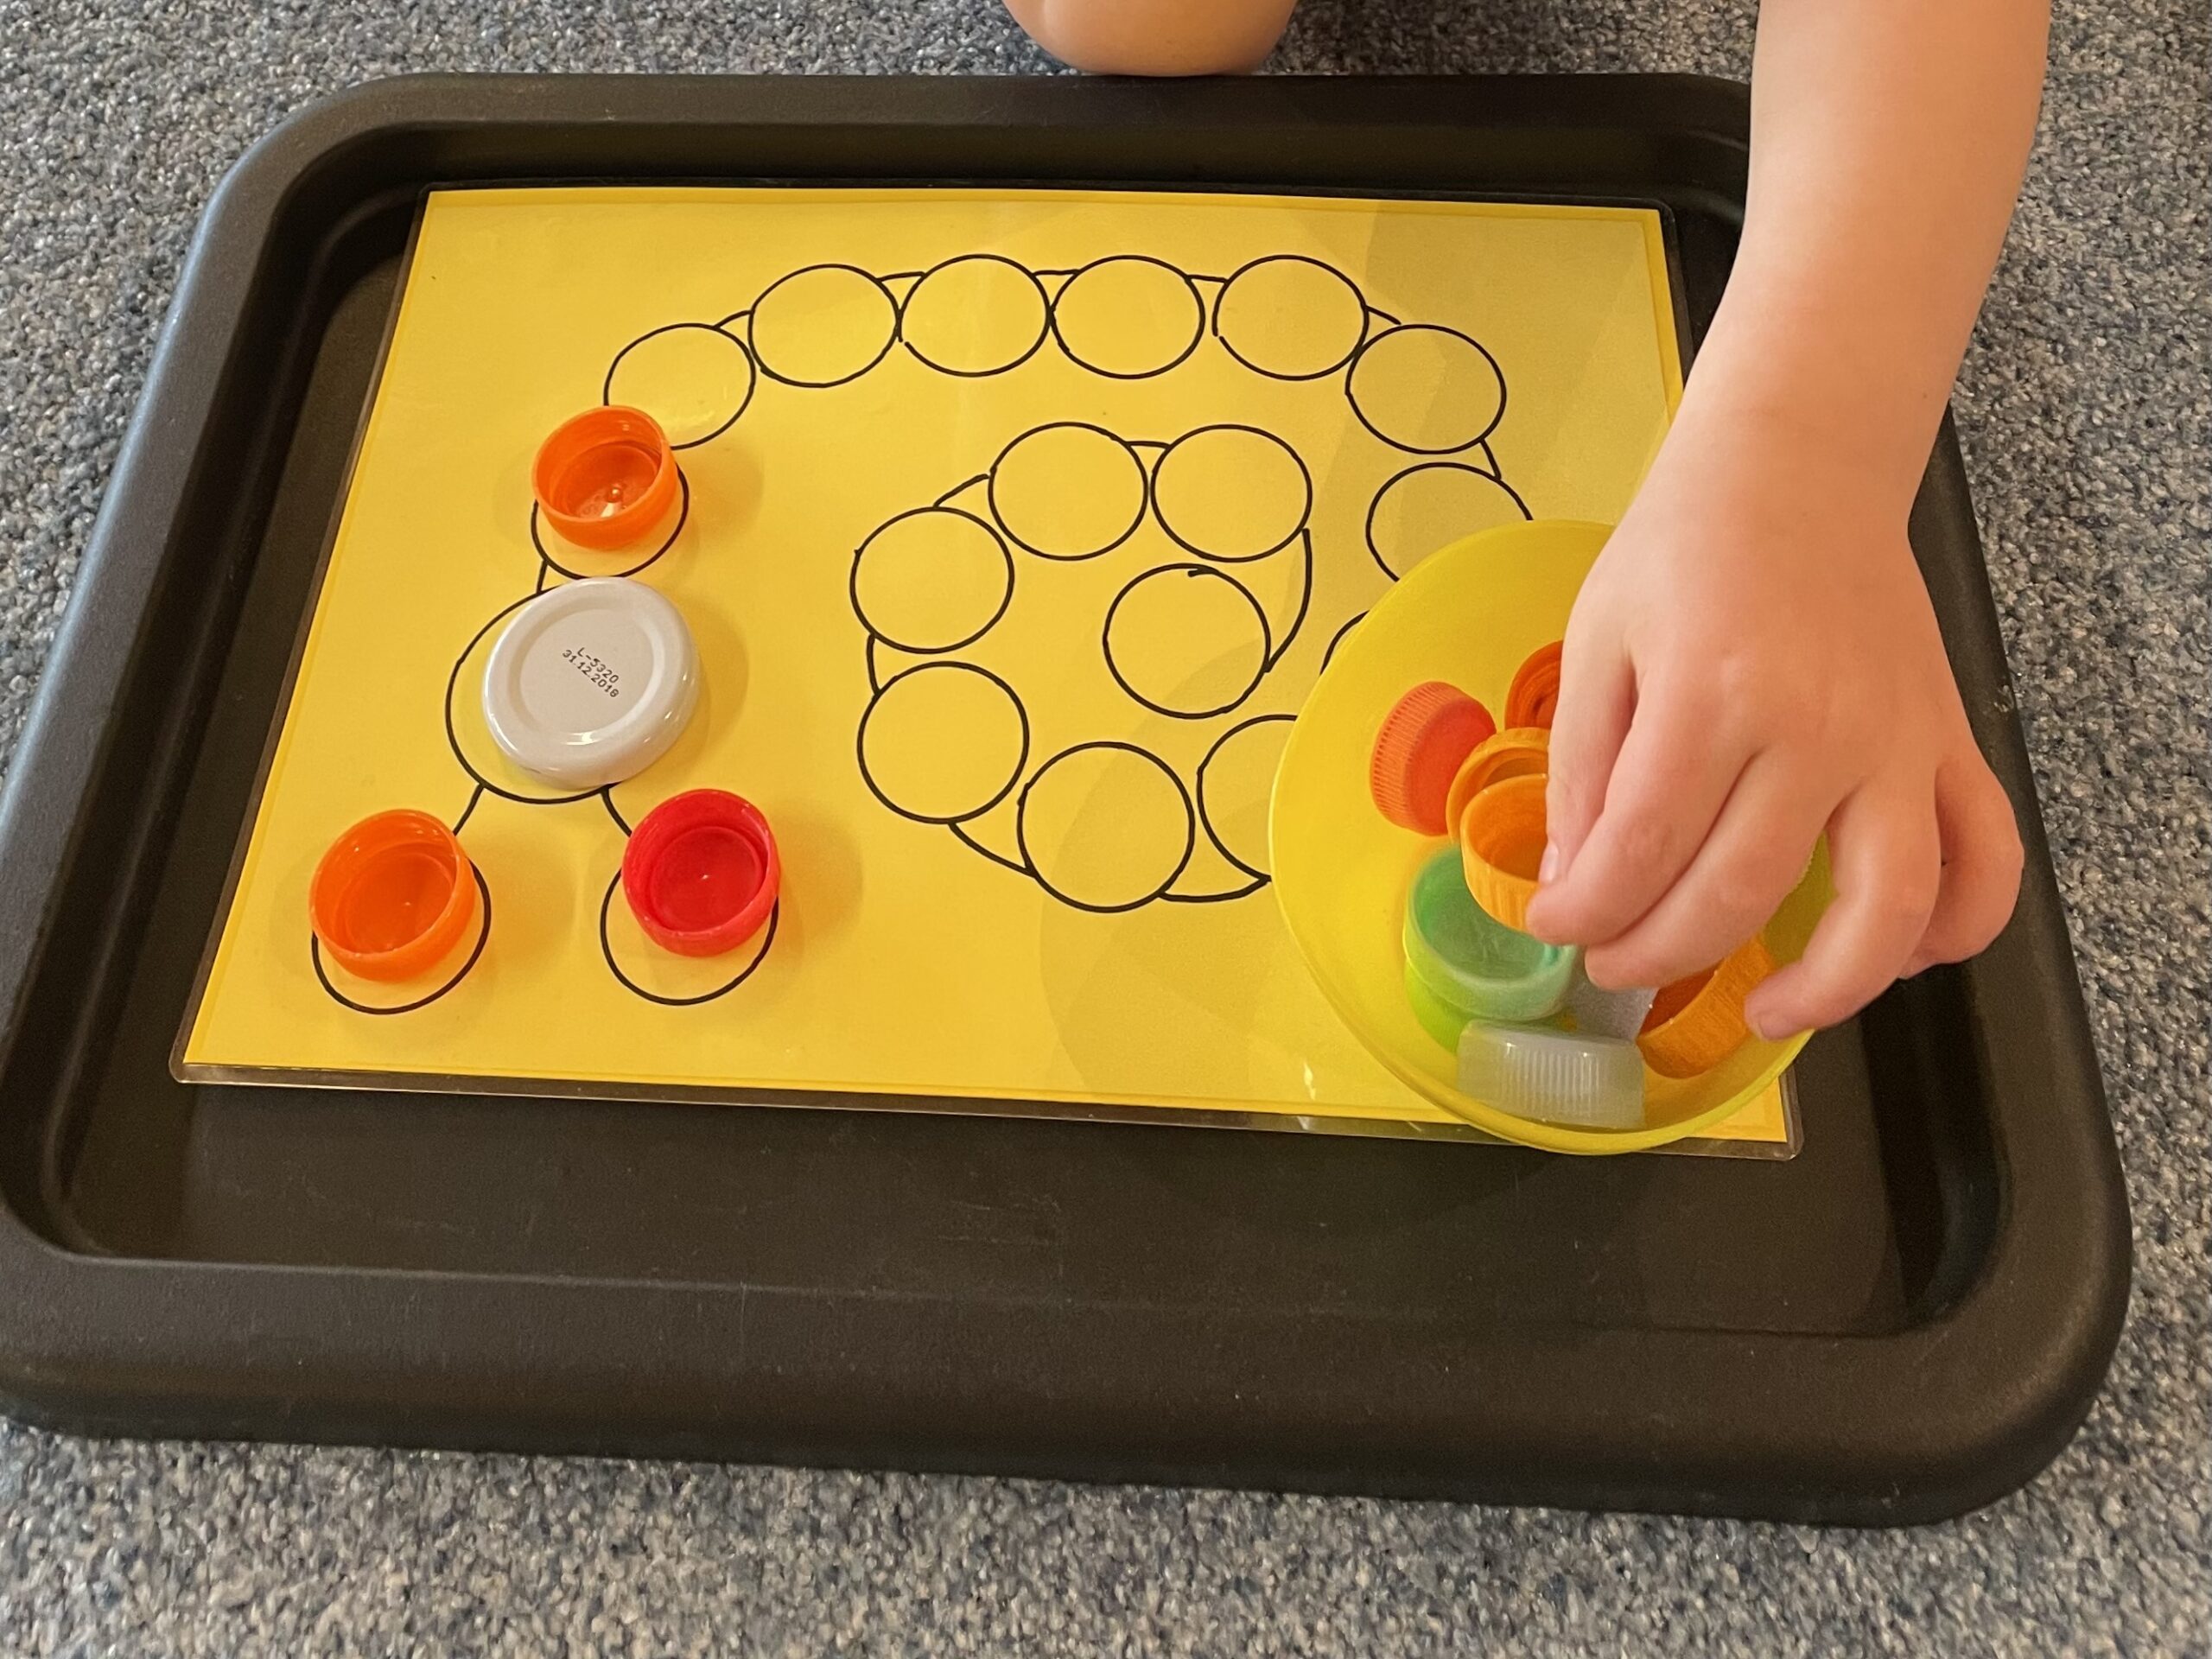
A tray on which the sheet is placed also helps as a limitation.
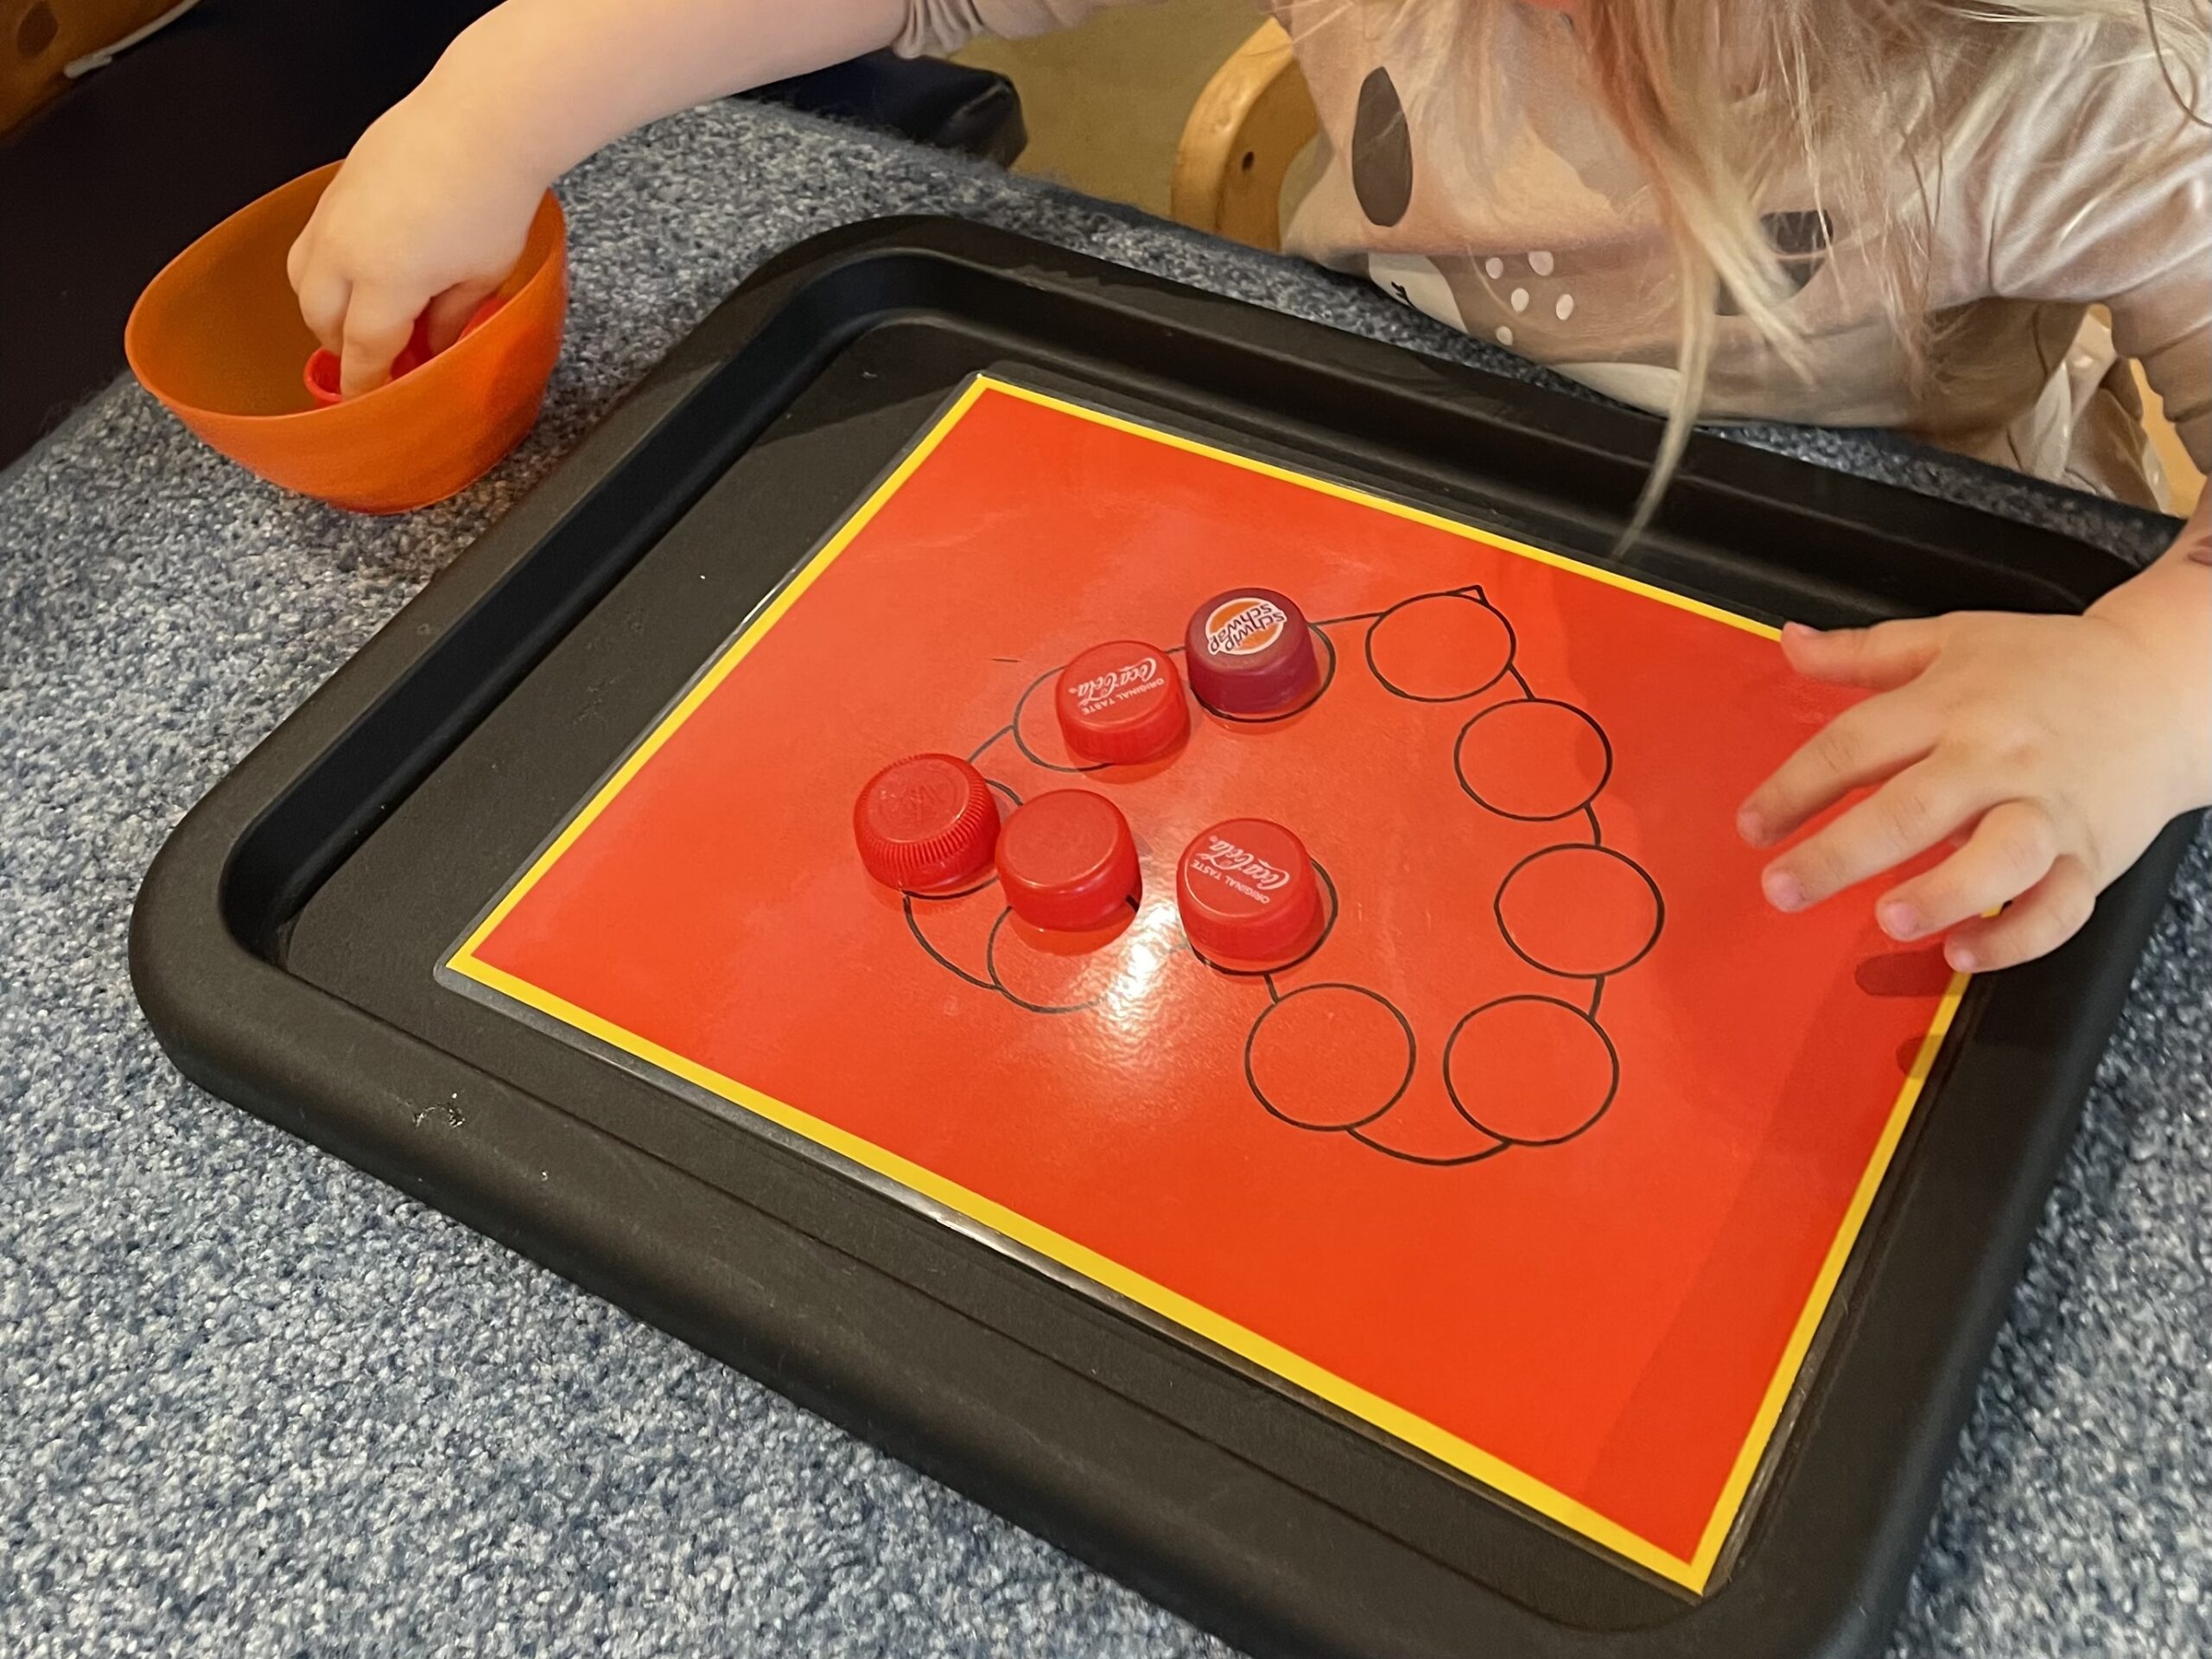


Put a caterpillar out of lids. For the head you can use a large lid.
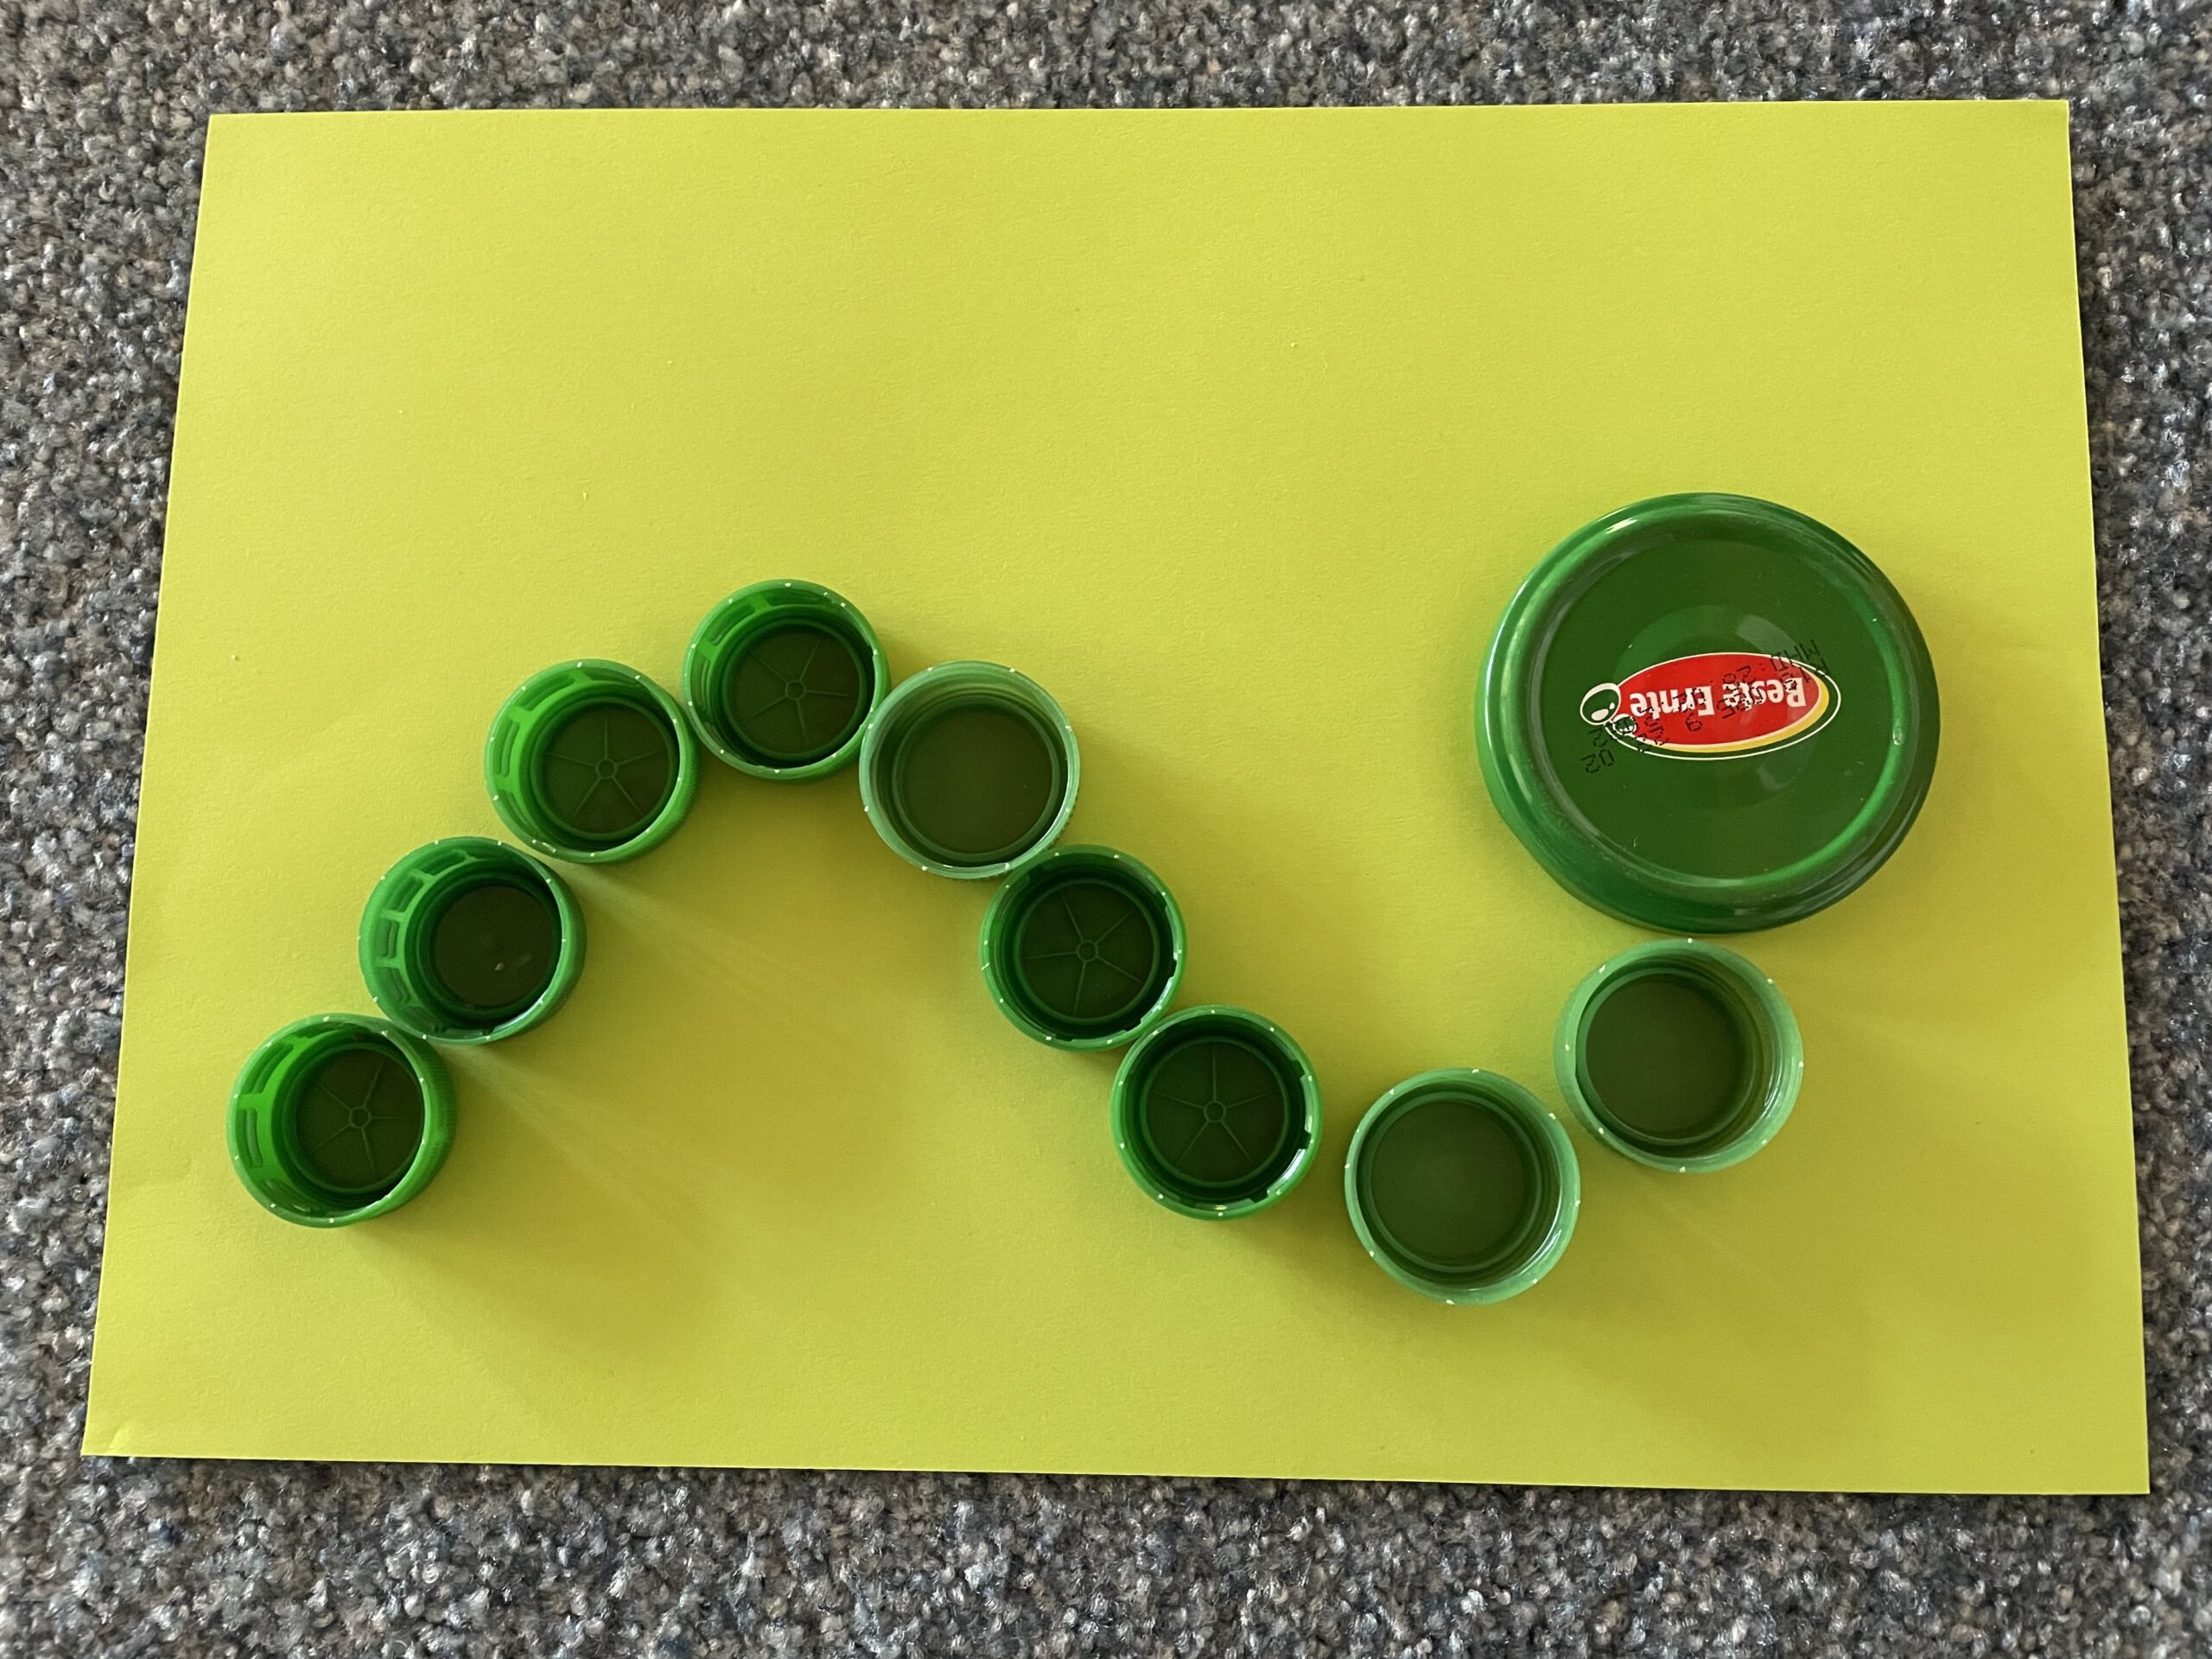


Now paint the individual lids again with a felt pen. If you hold the respective lid well, a proper circle is created.
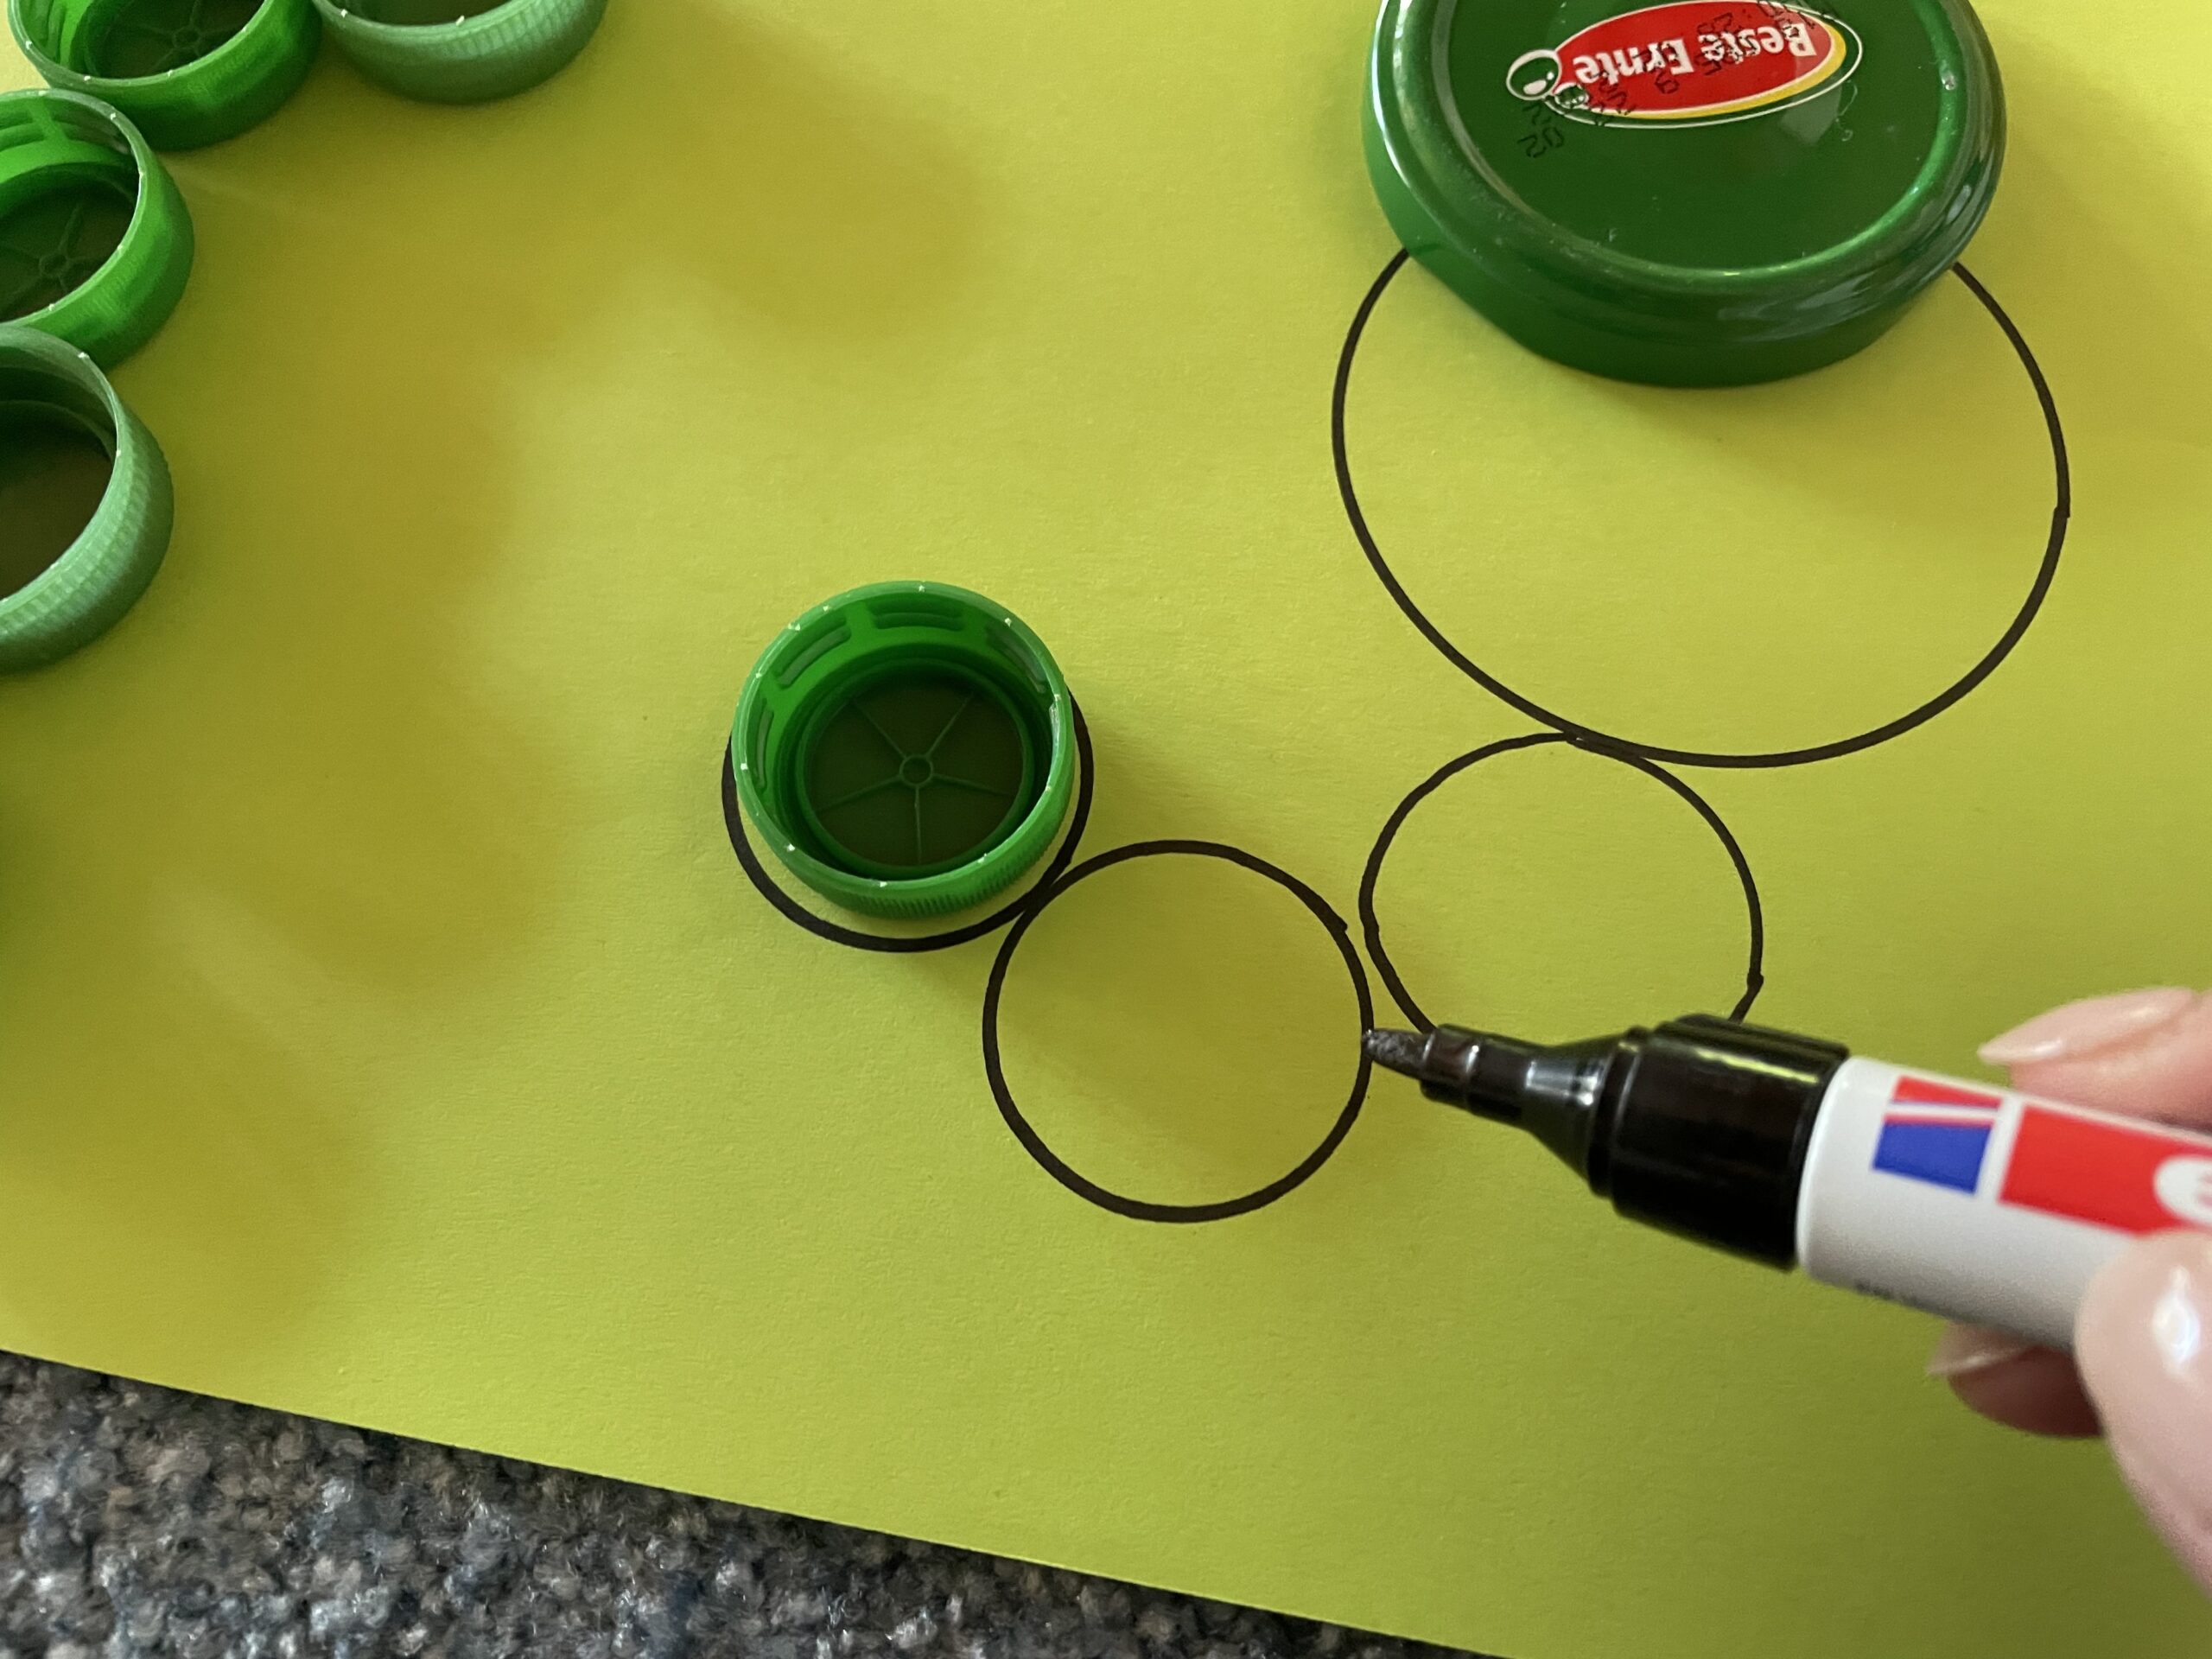


When all the lids are painted, you can embellish the caterpillar a little bit.
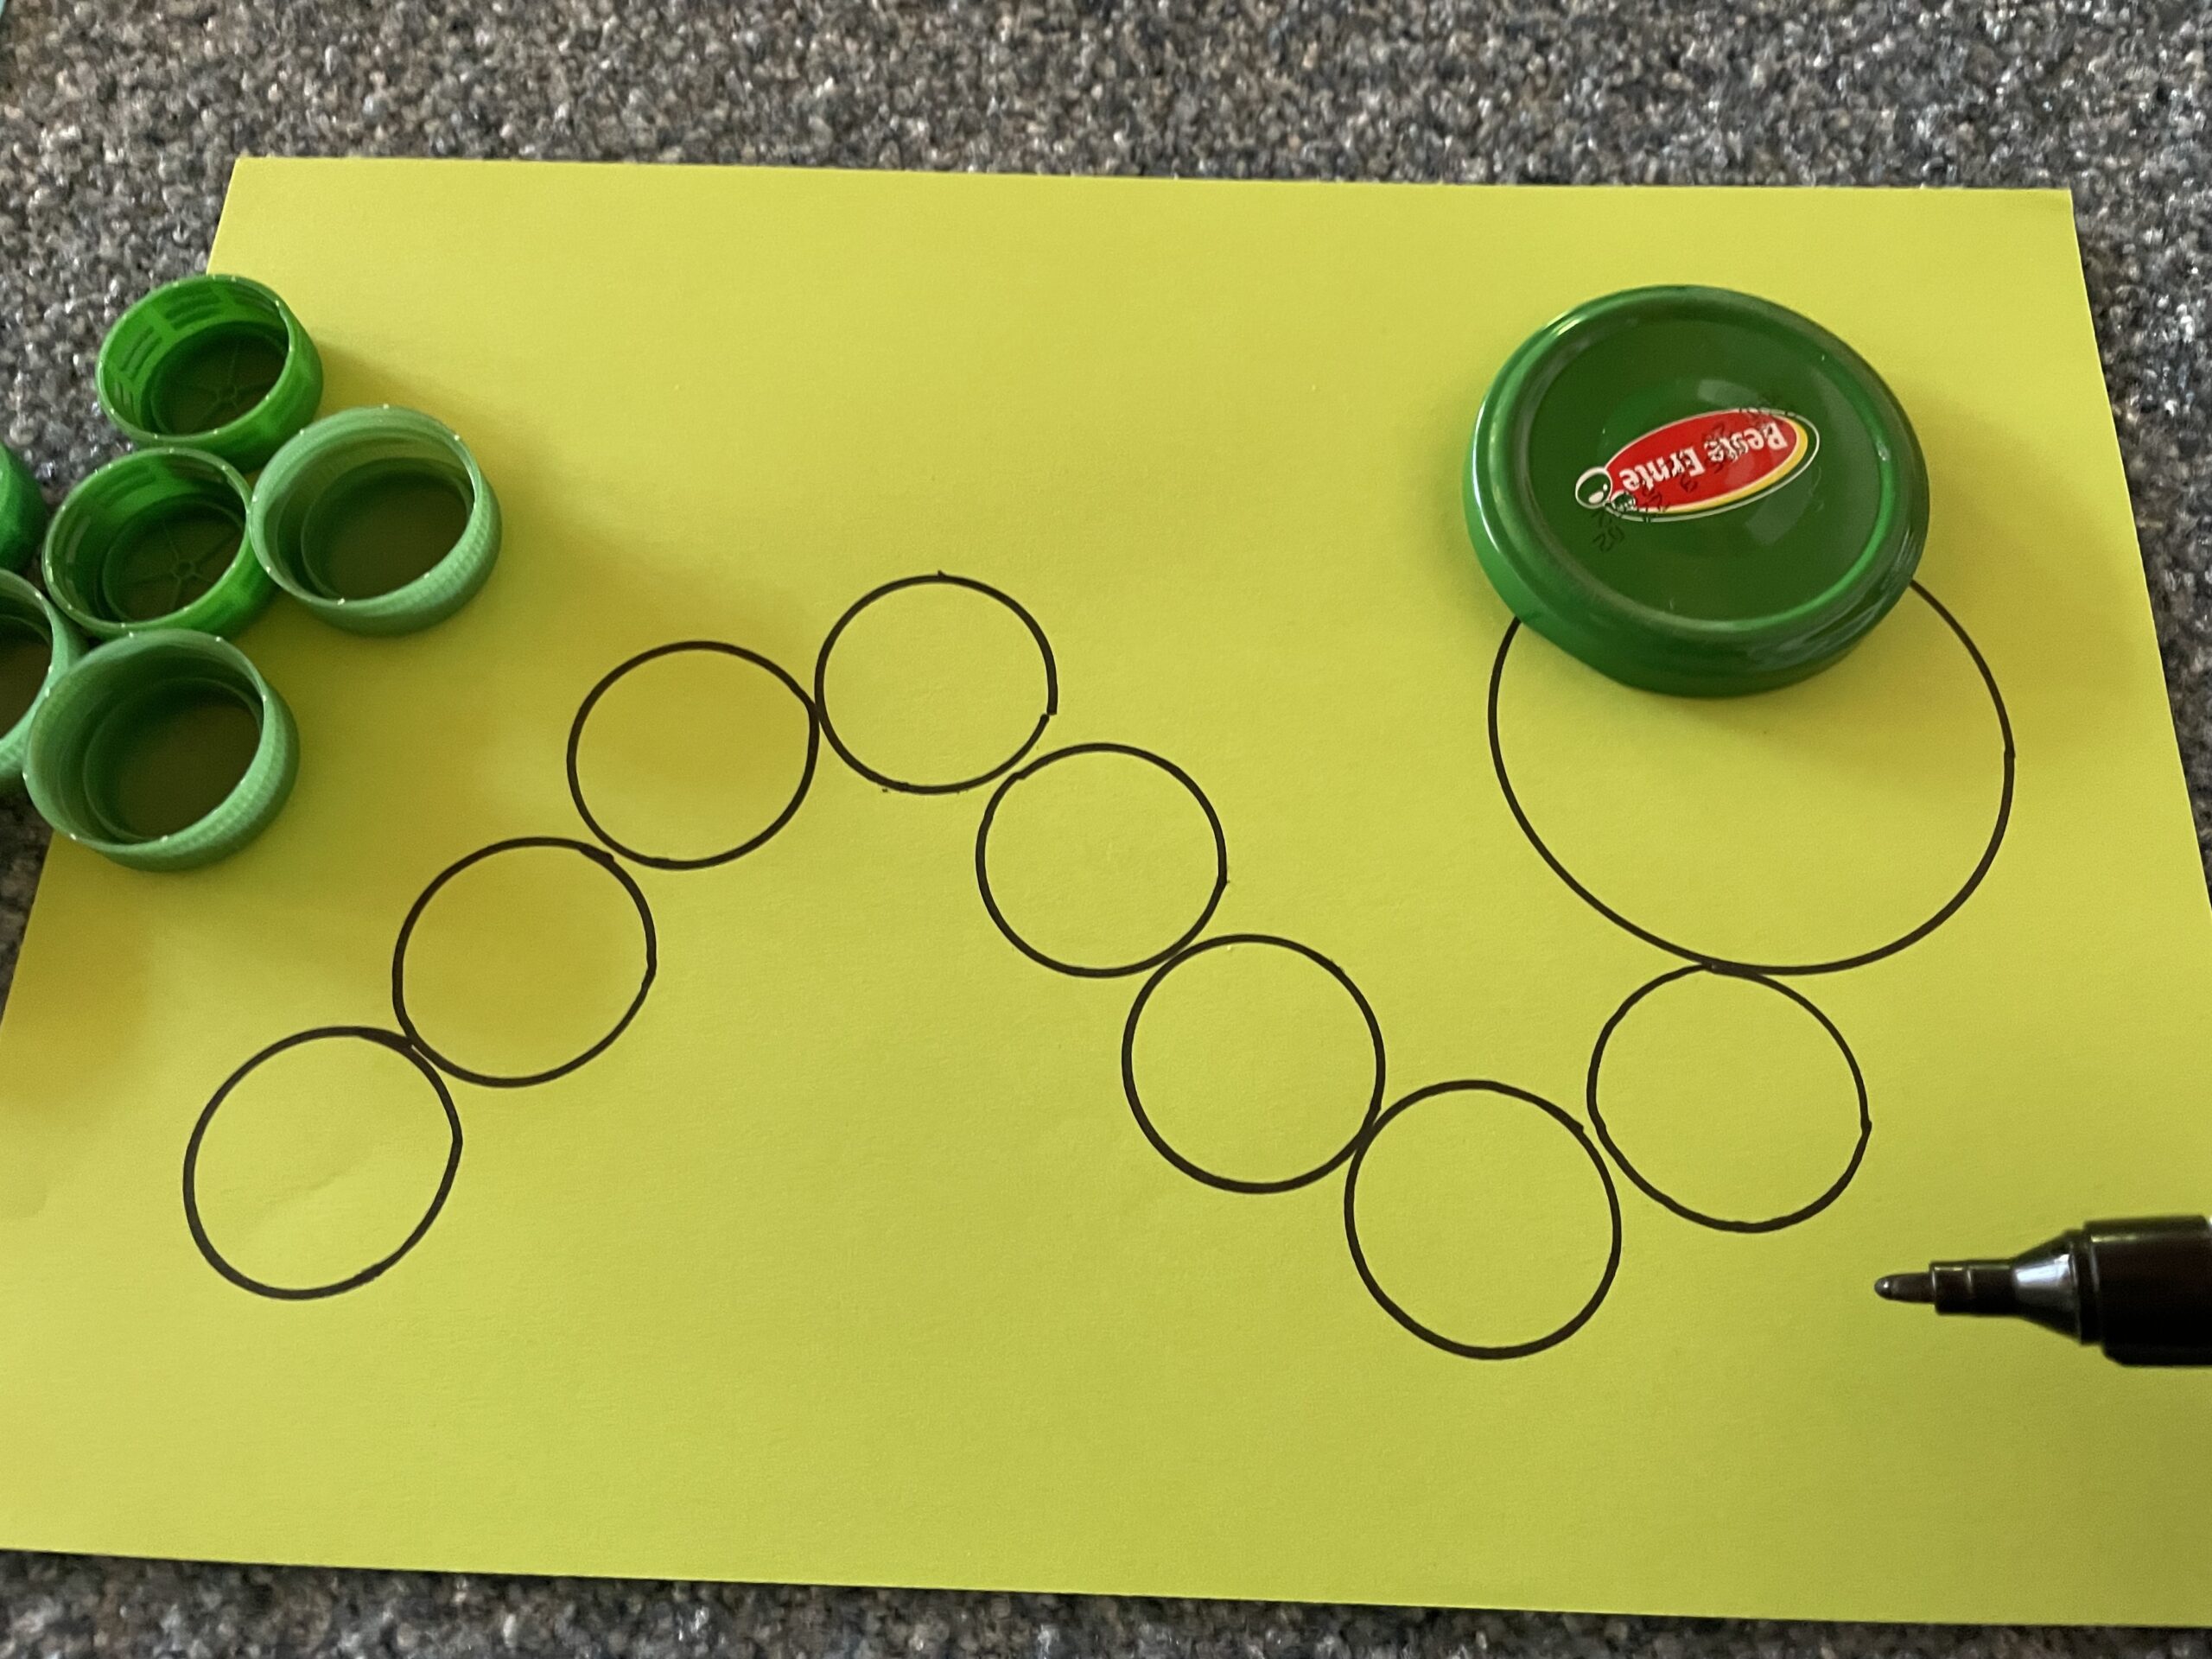


Paints legs, feet or feelers, for example.
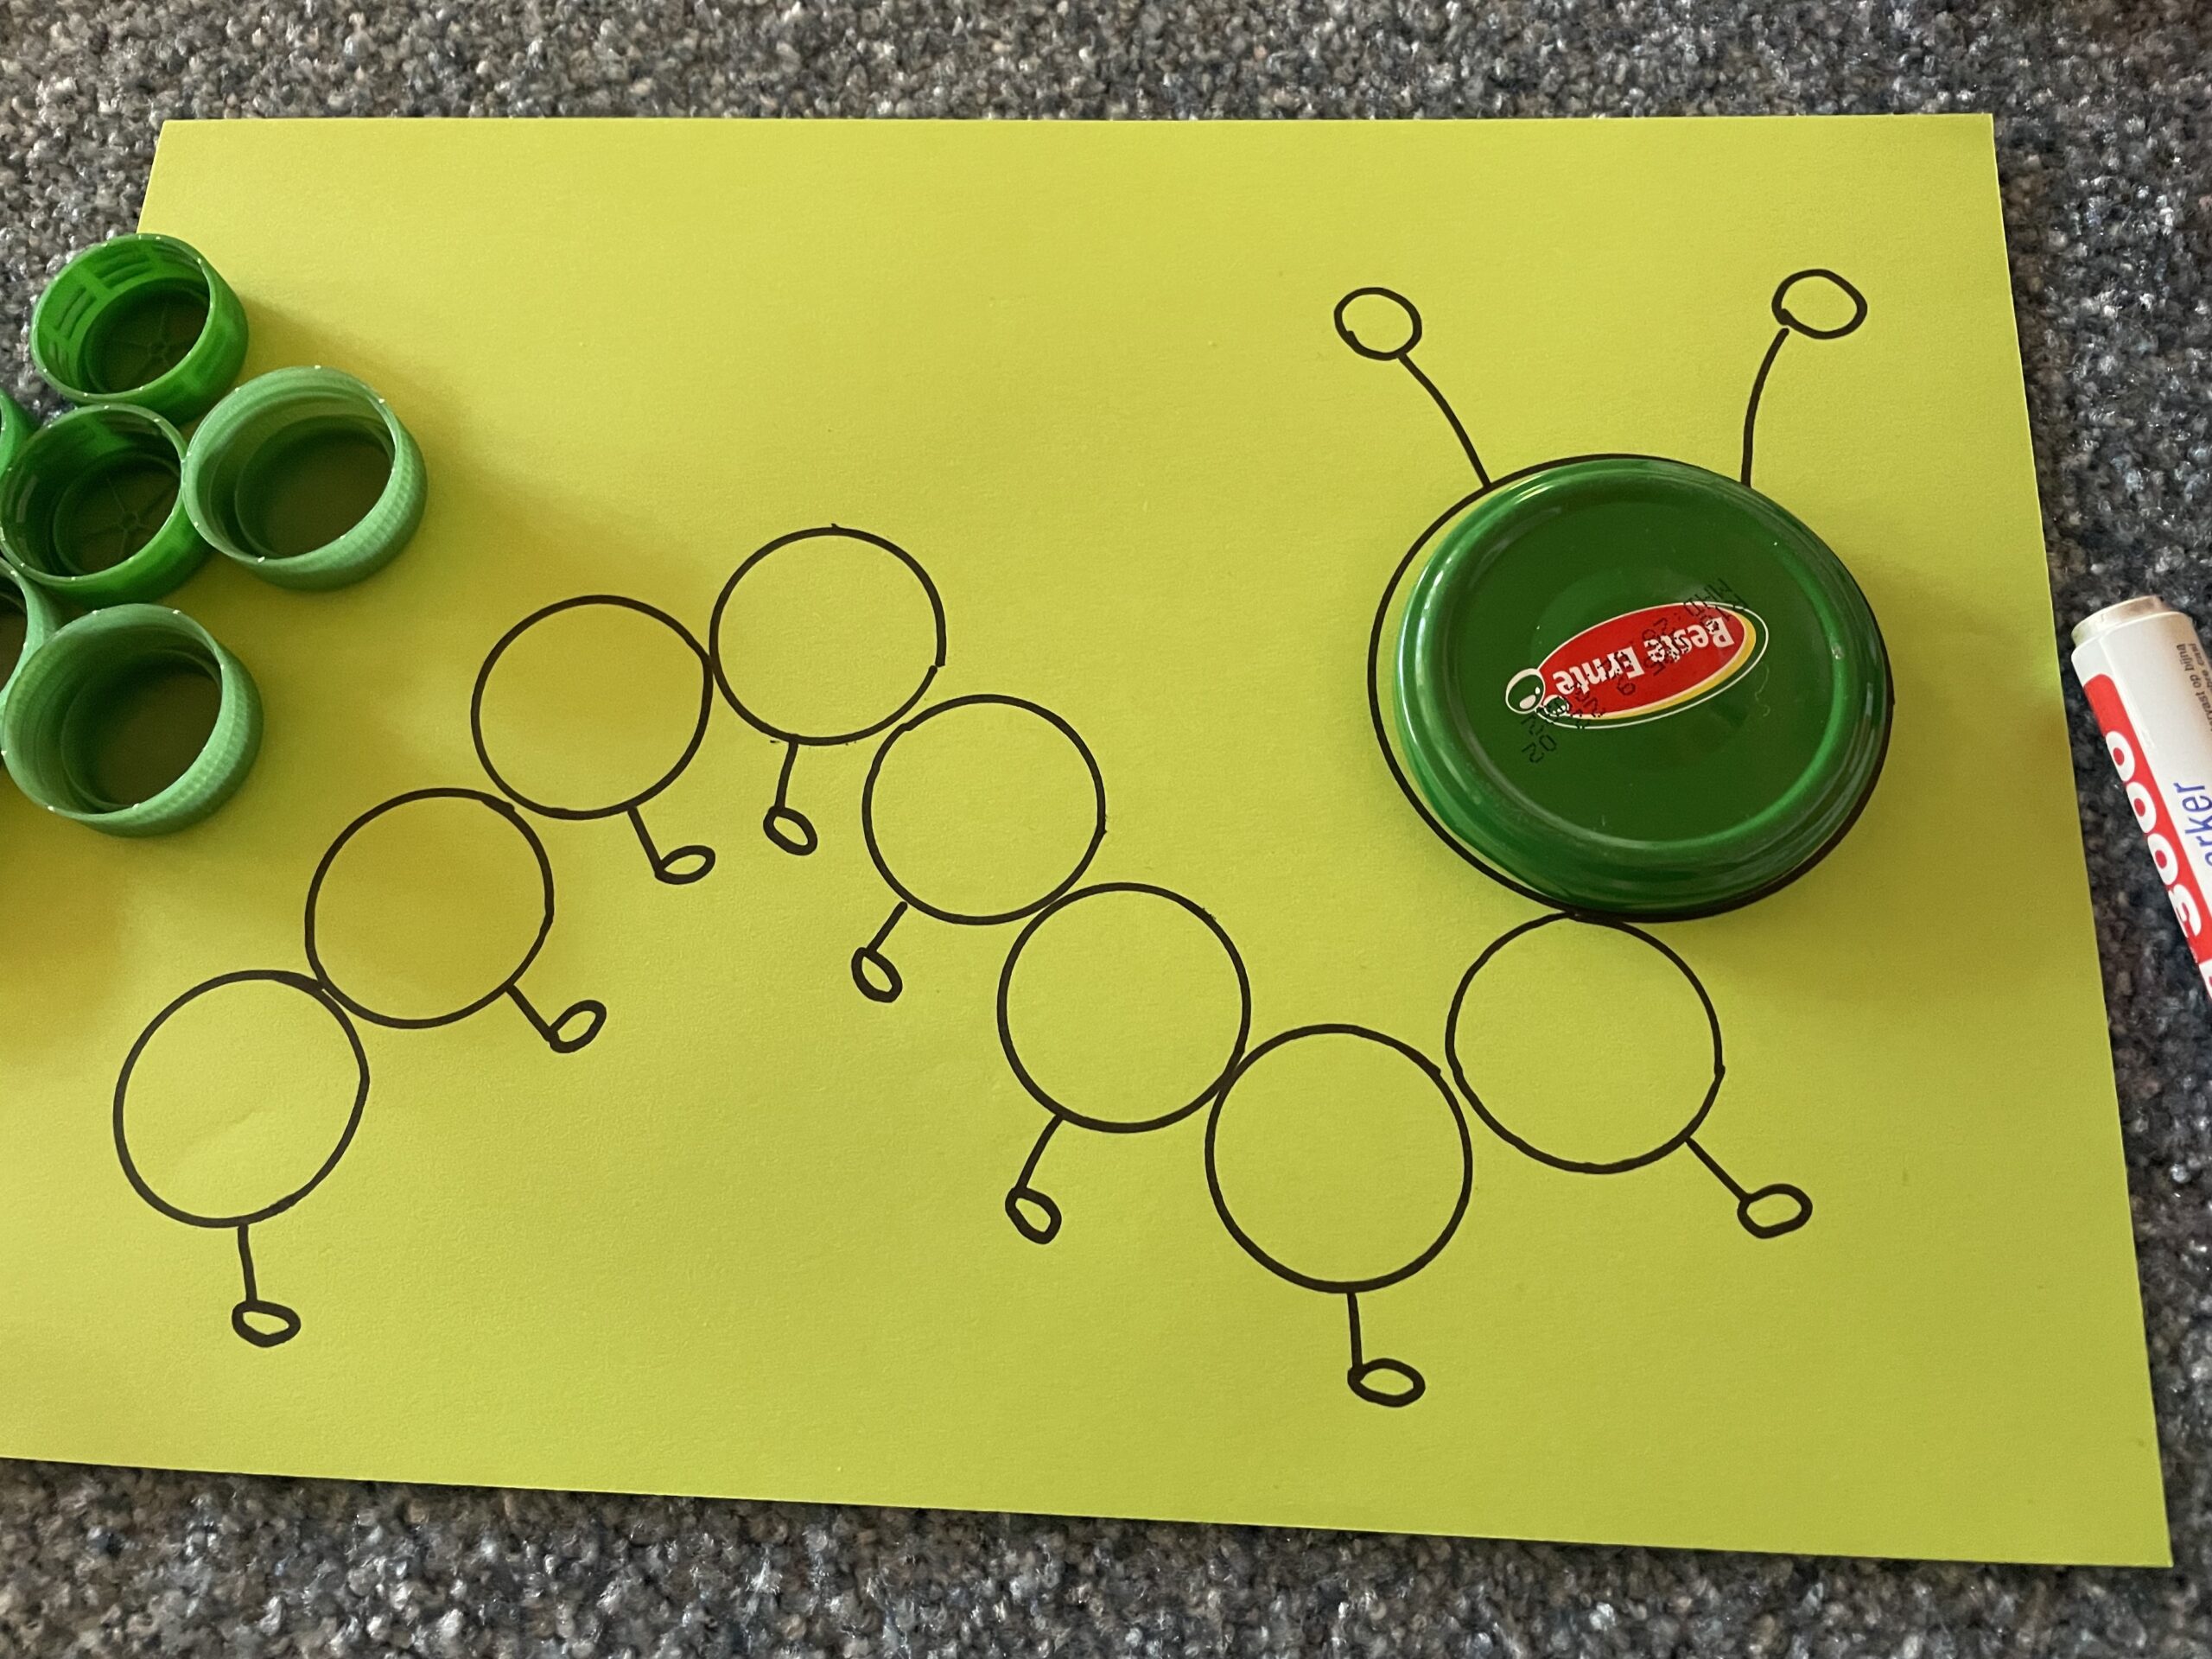


Then it's again: try it out!
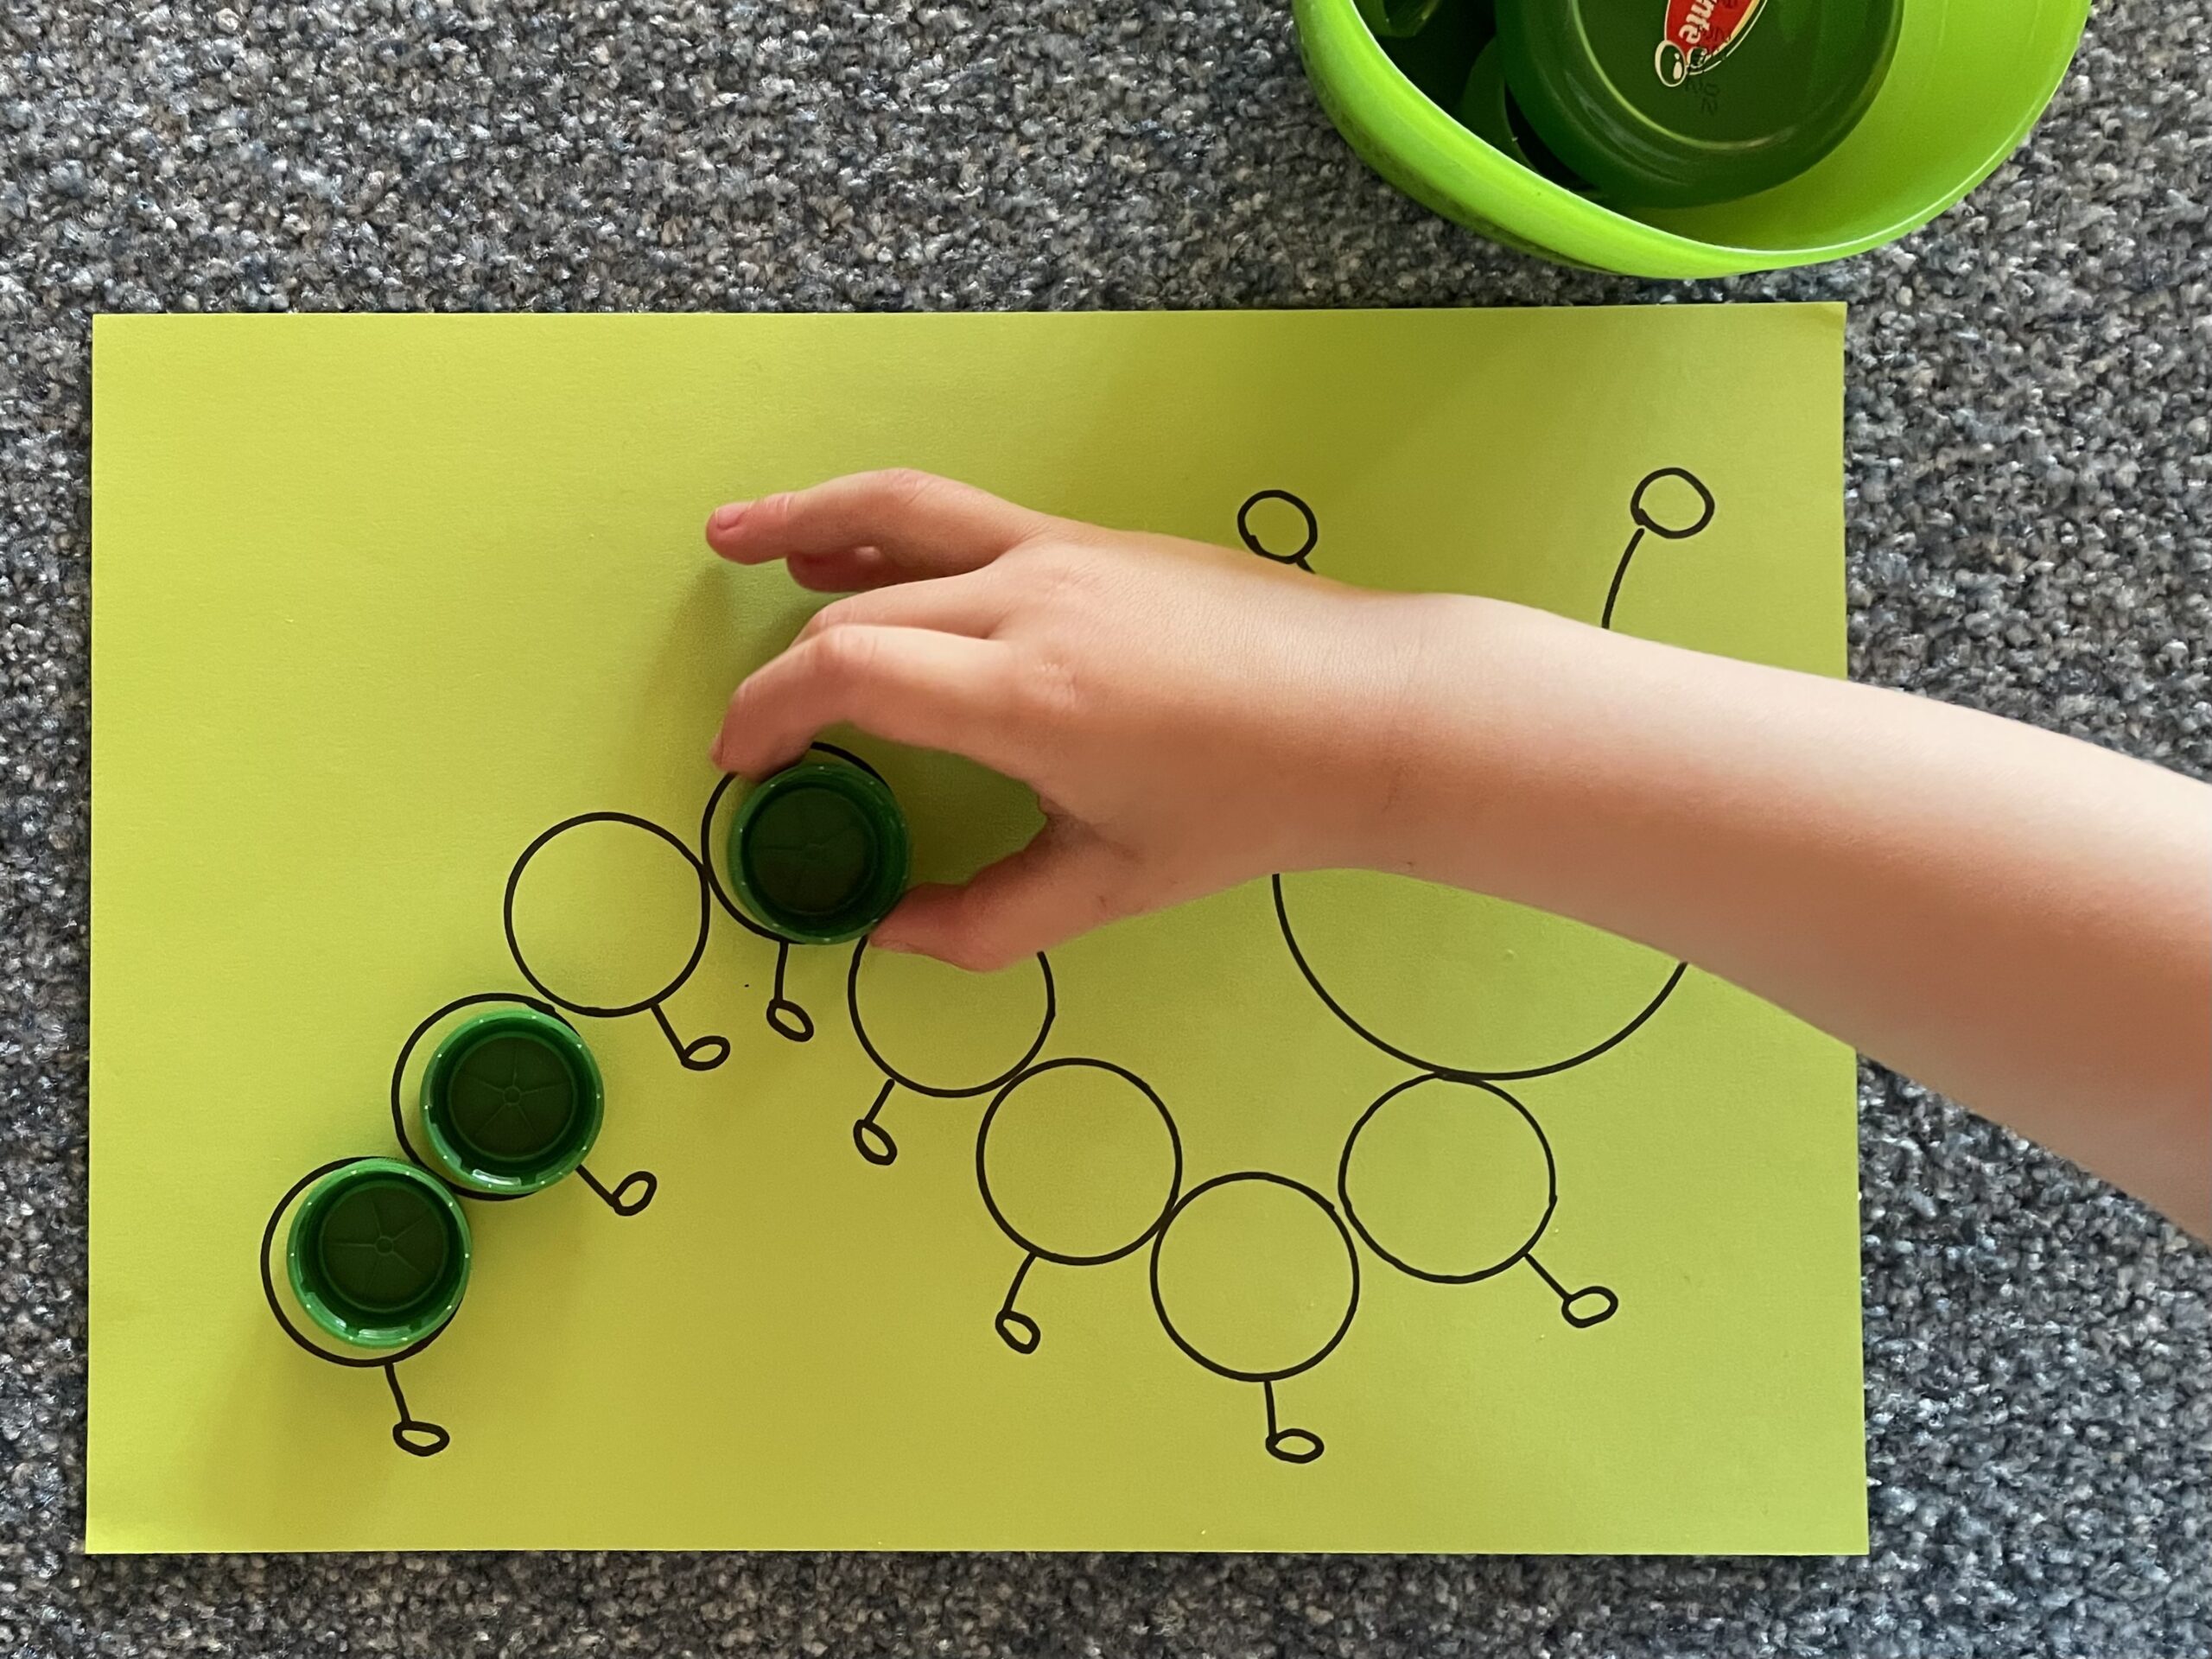


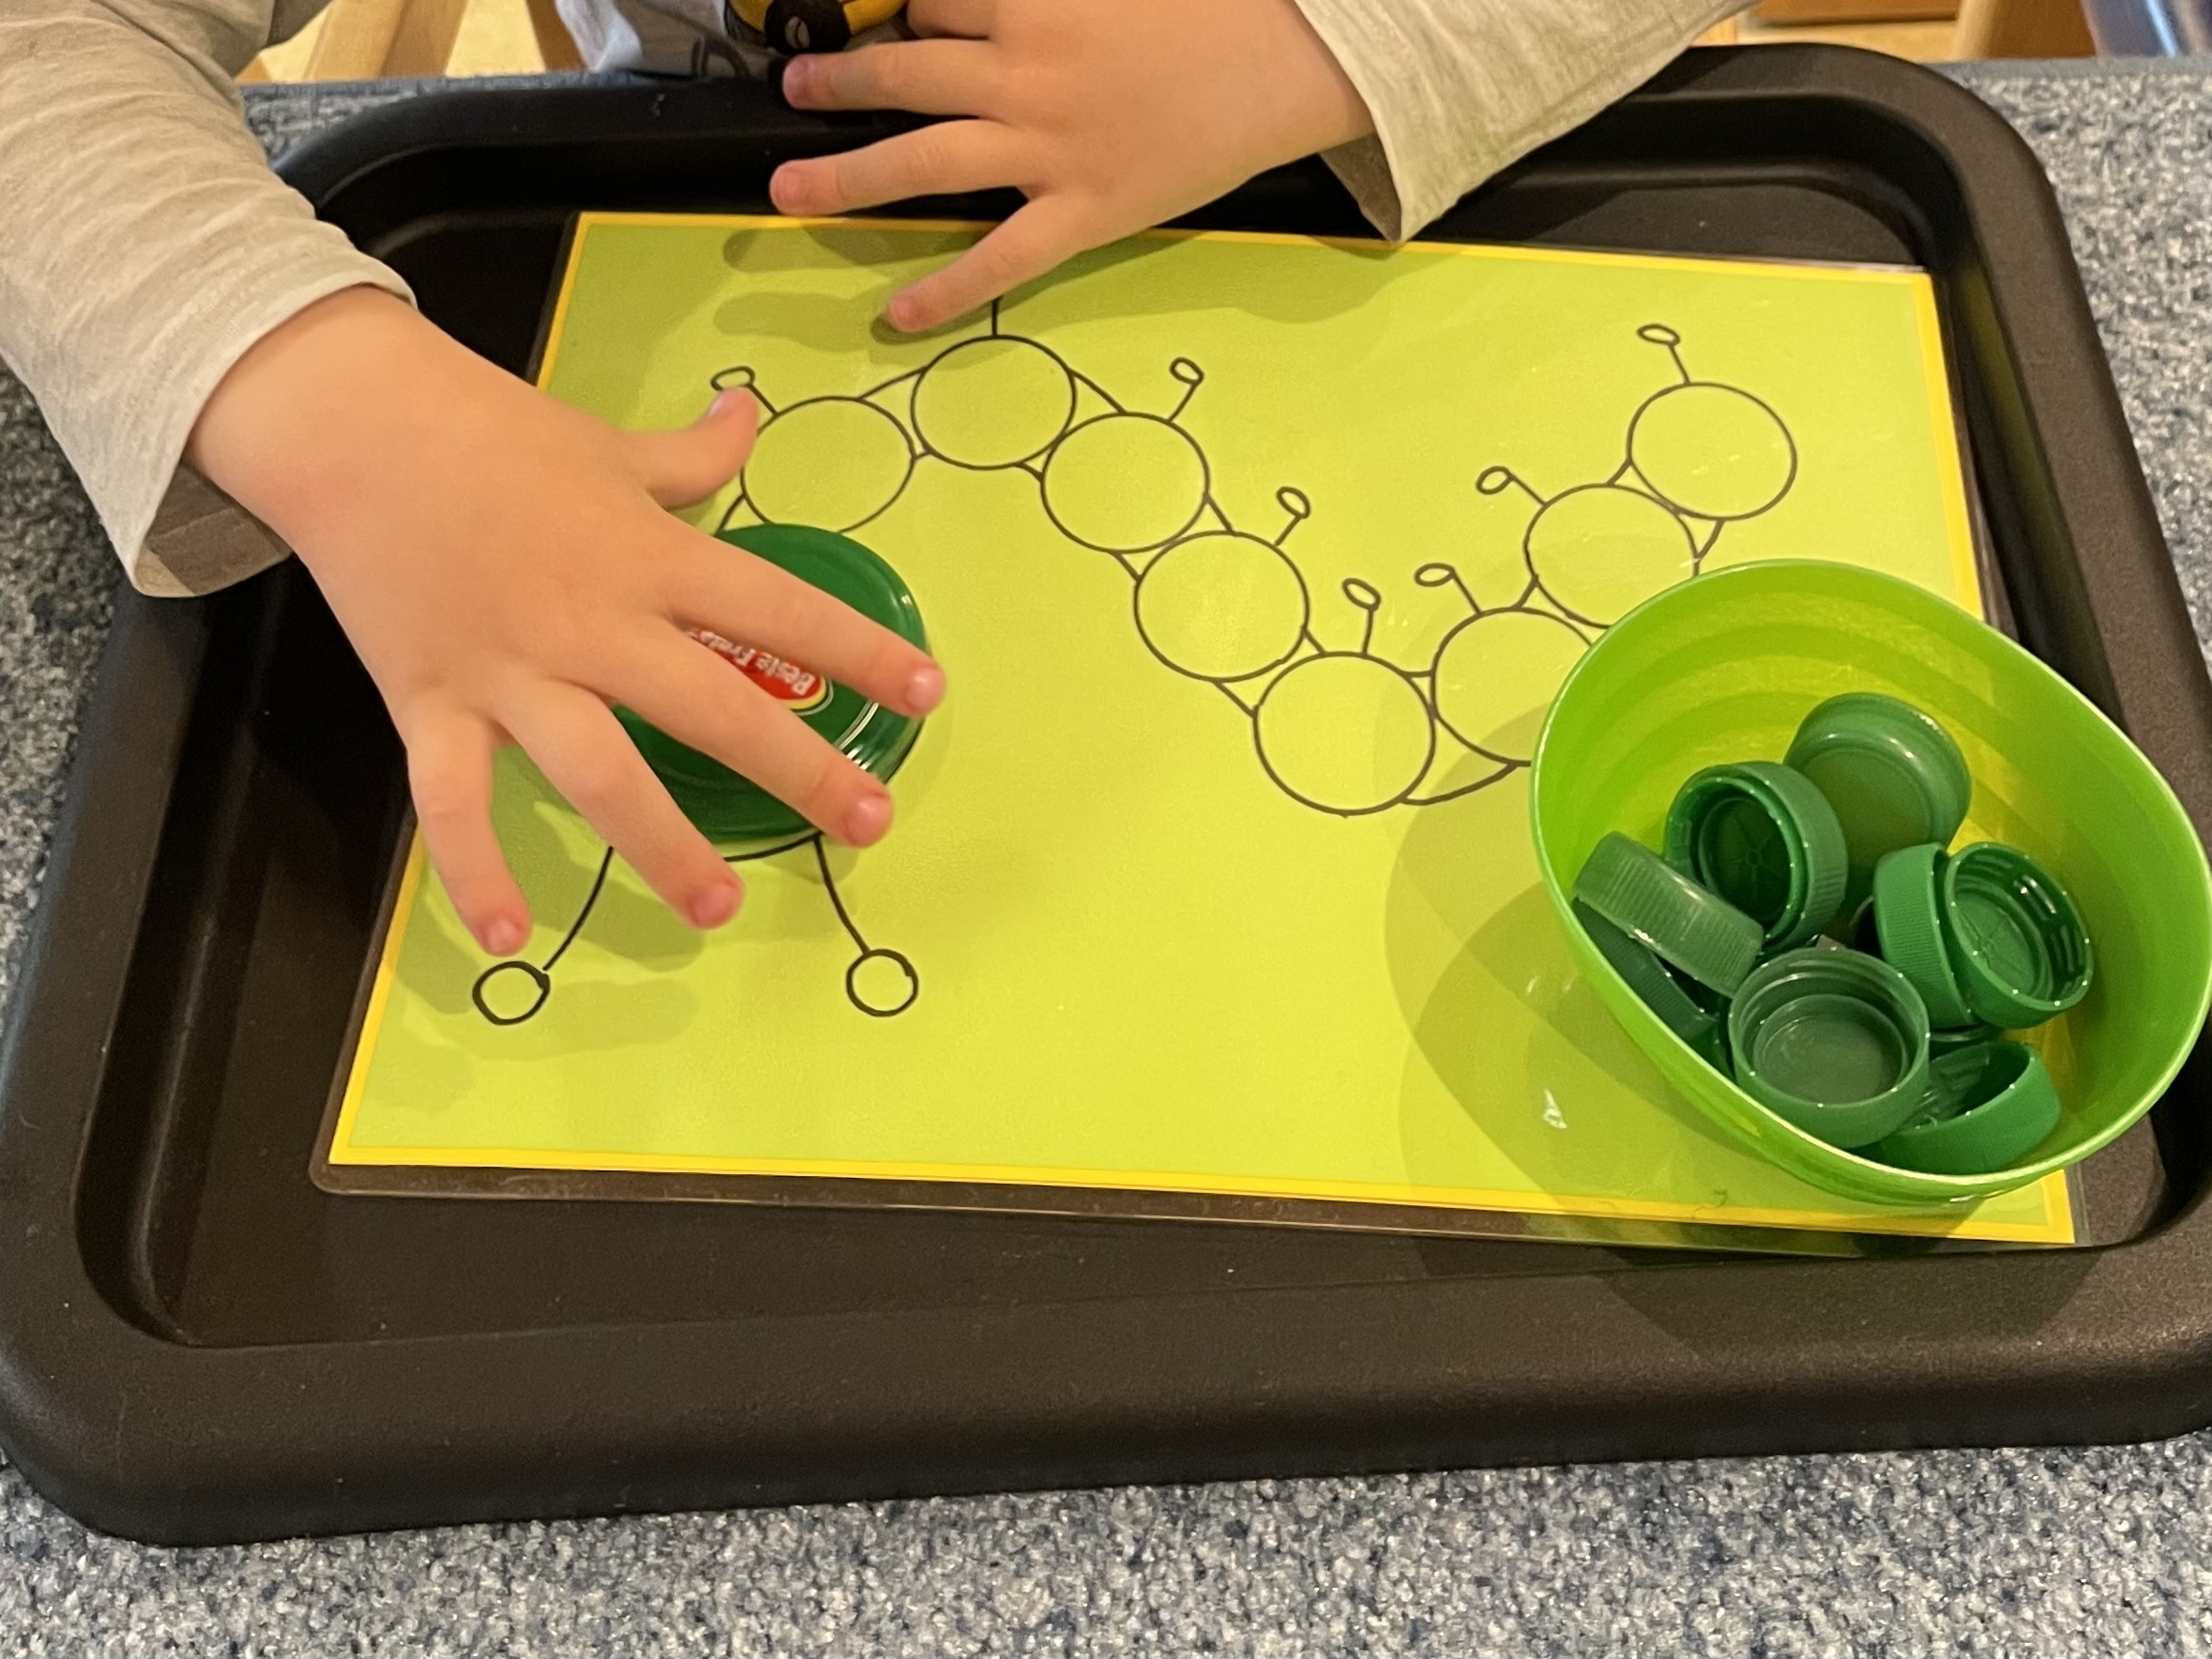
Do the amount of lids match the painted circles?
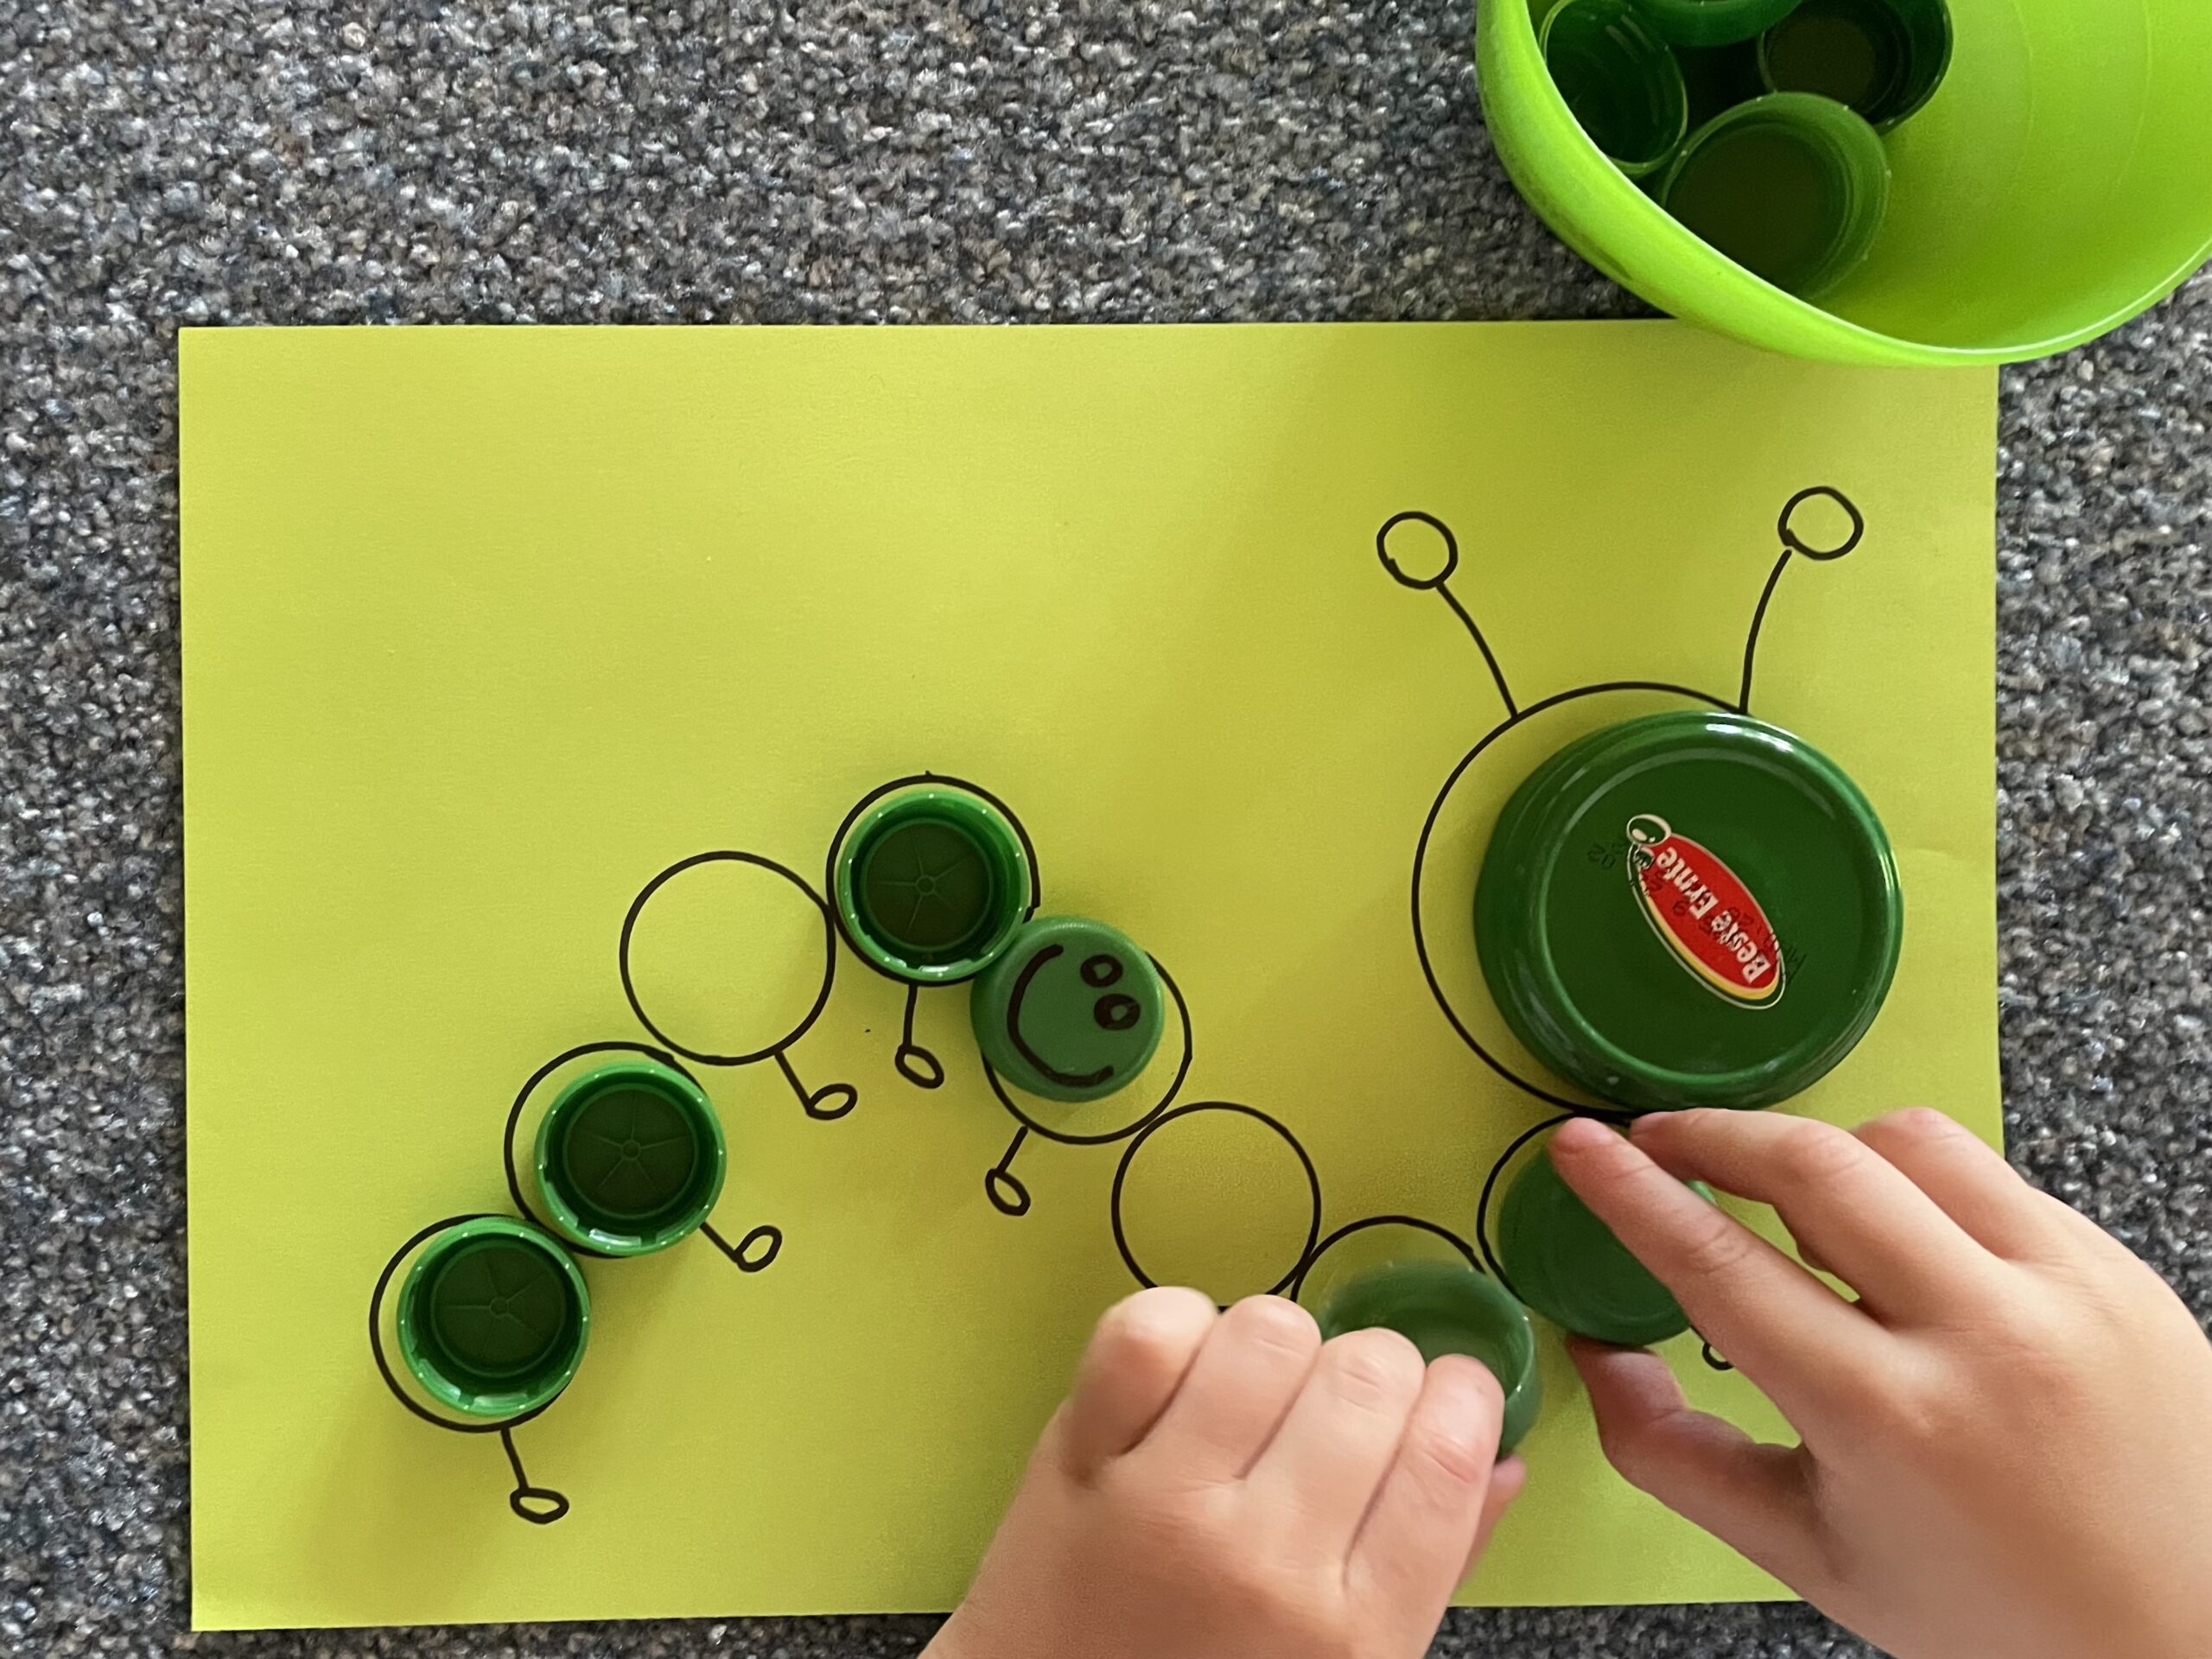


Again, a small bowl helps to collect the lids and a tray to be able to "work" well. Try it out.


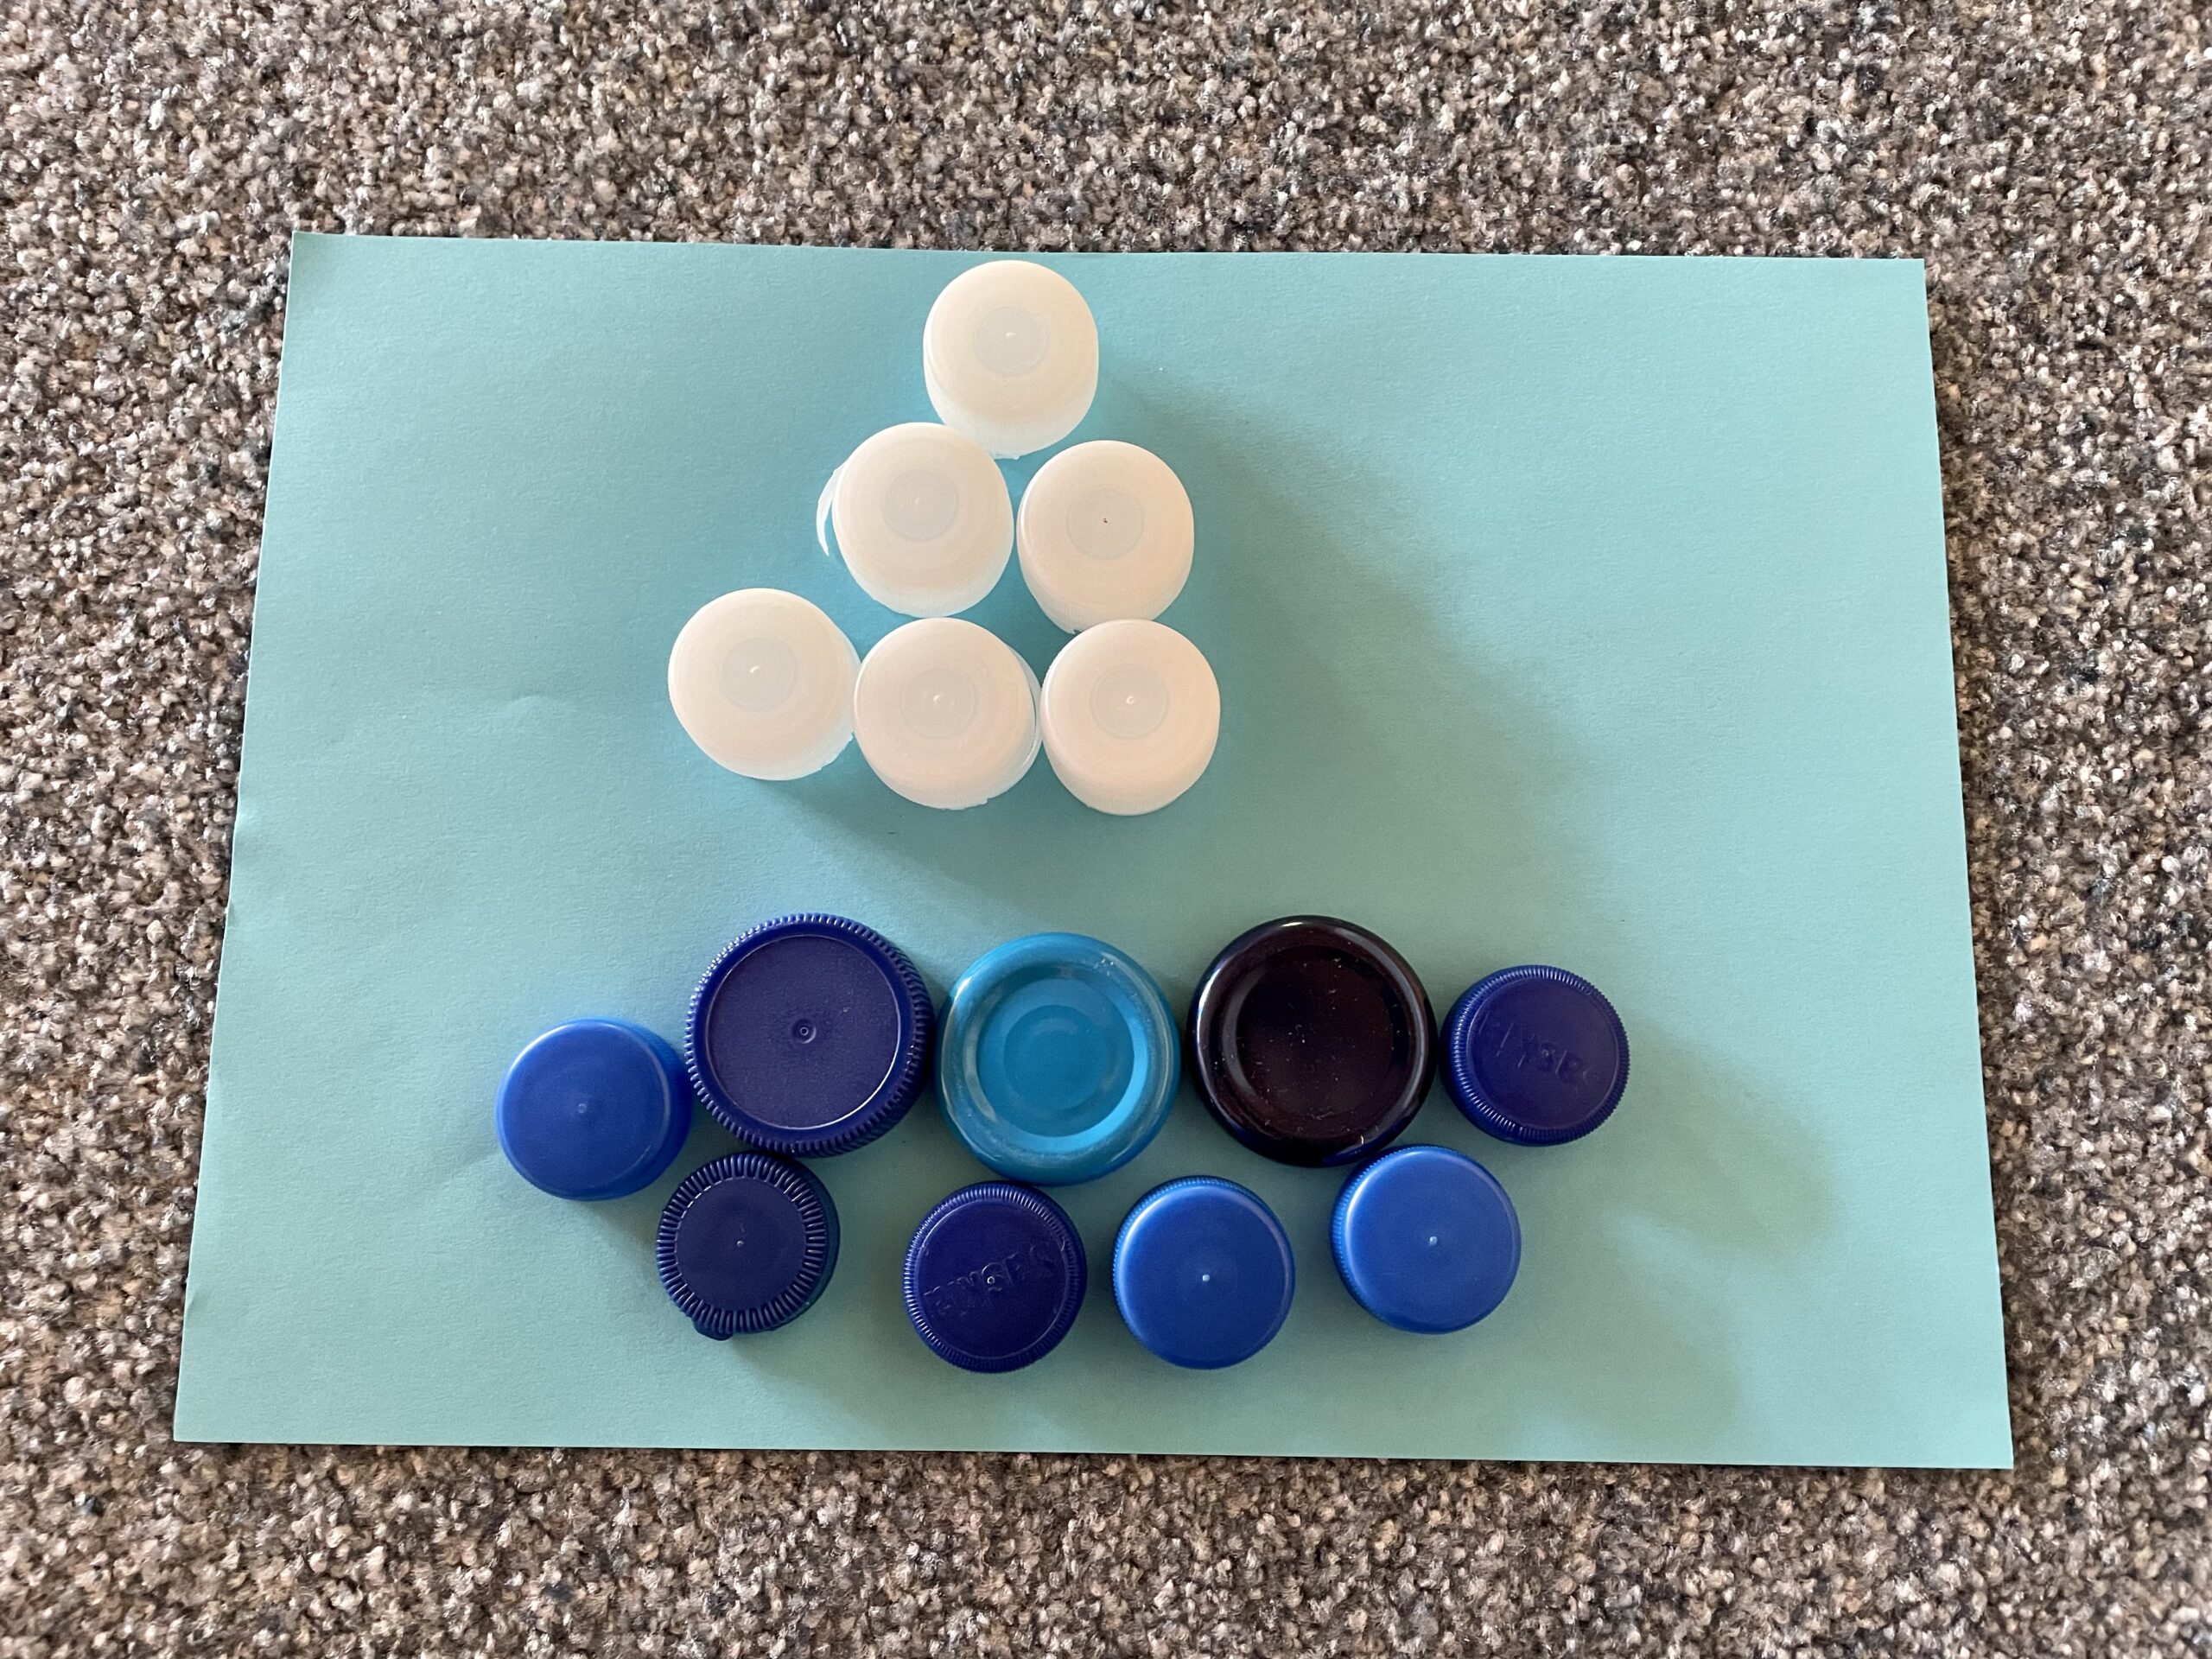
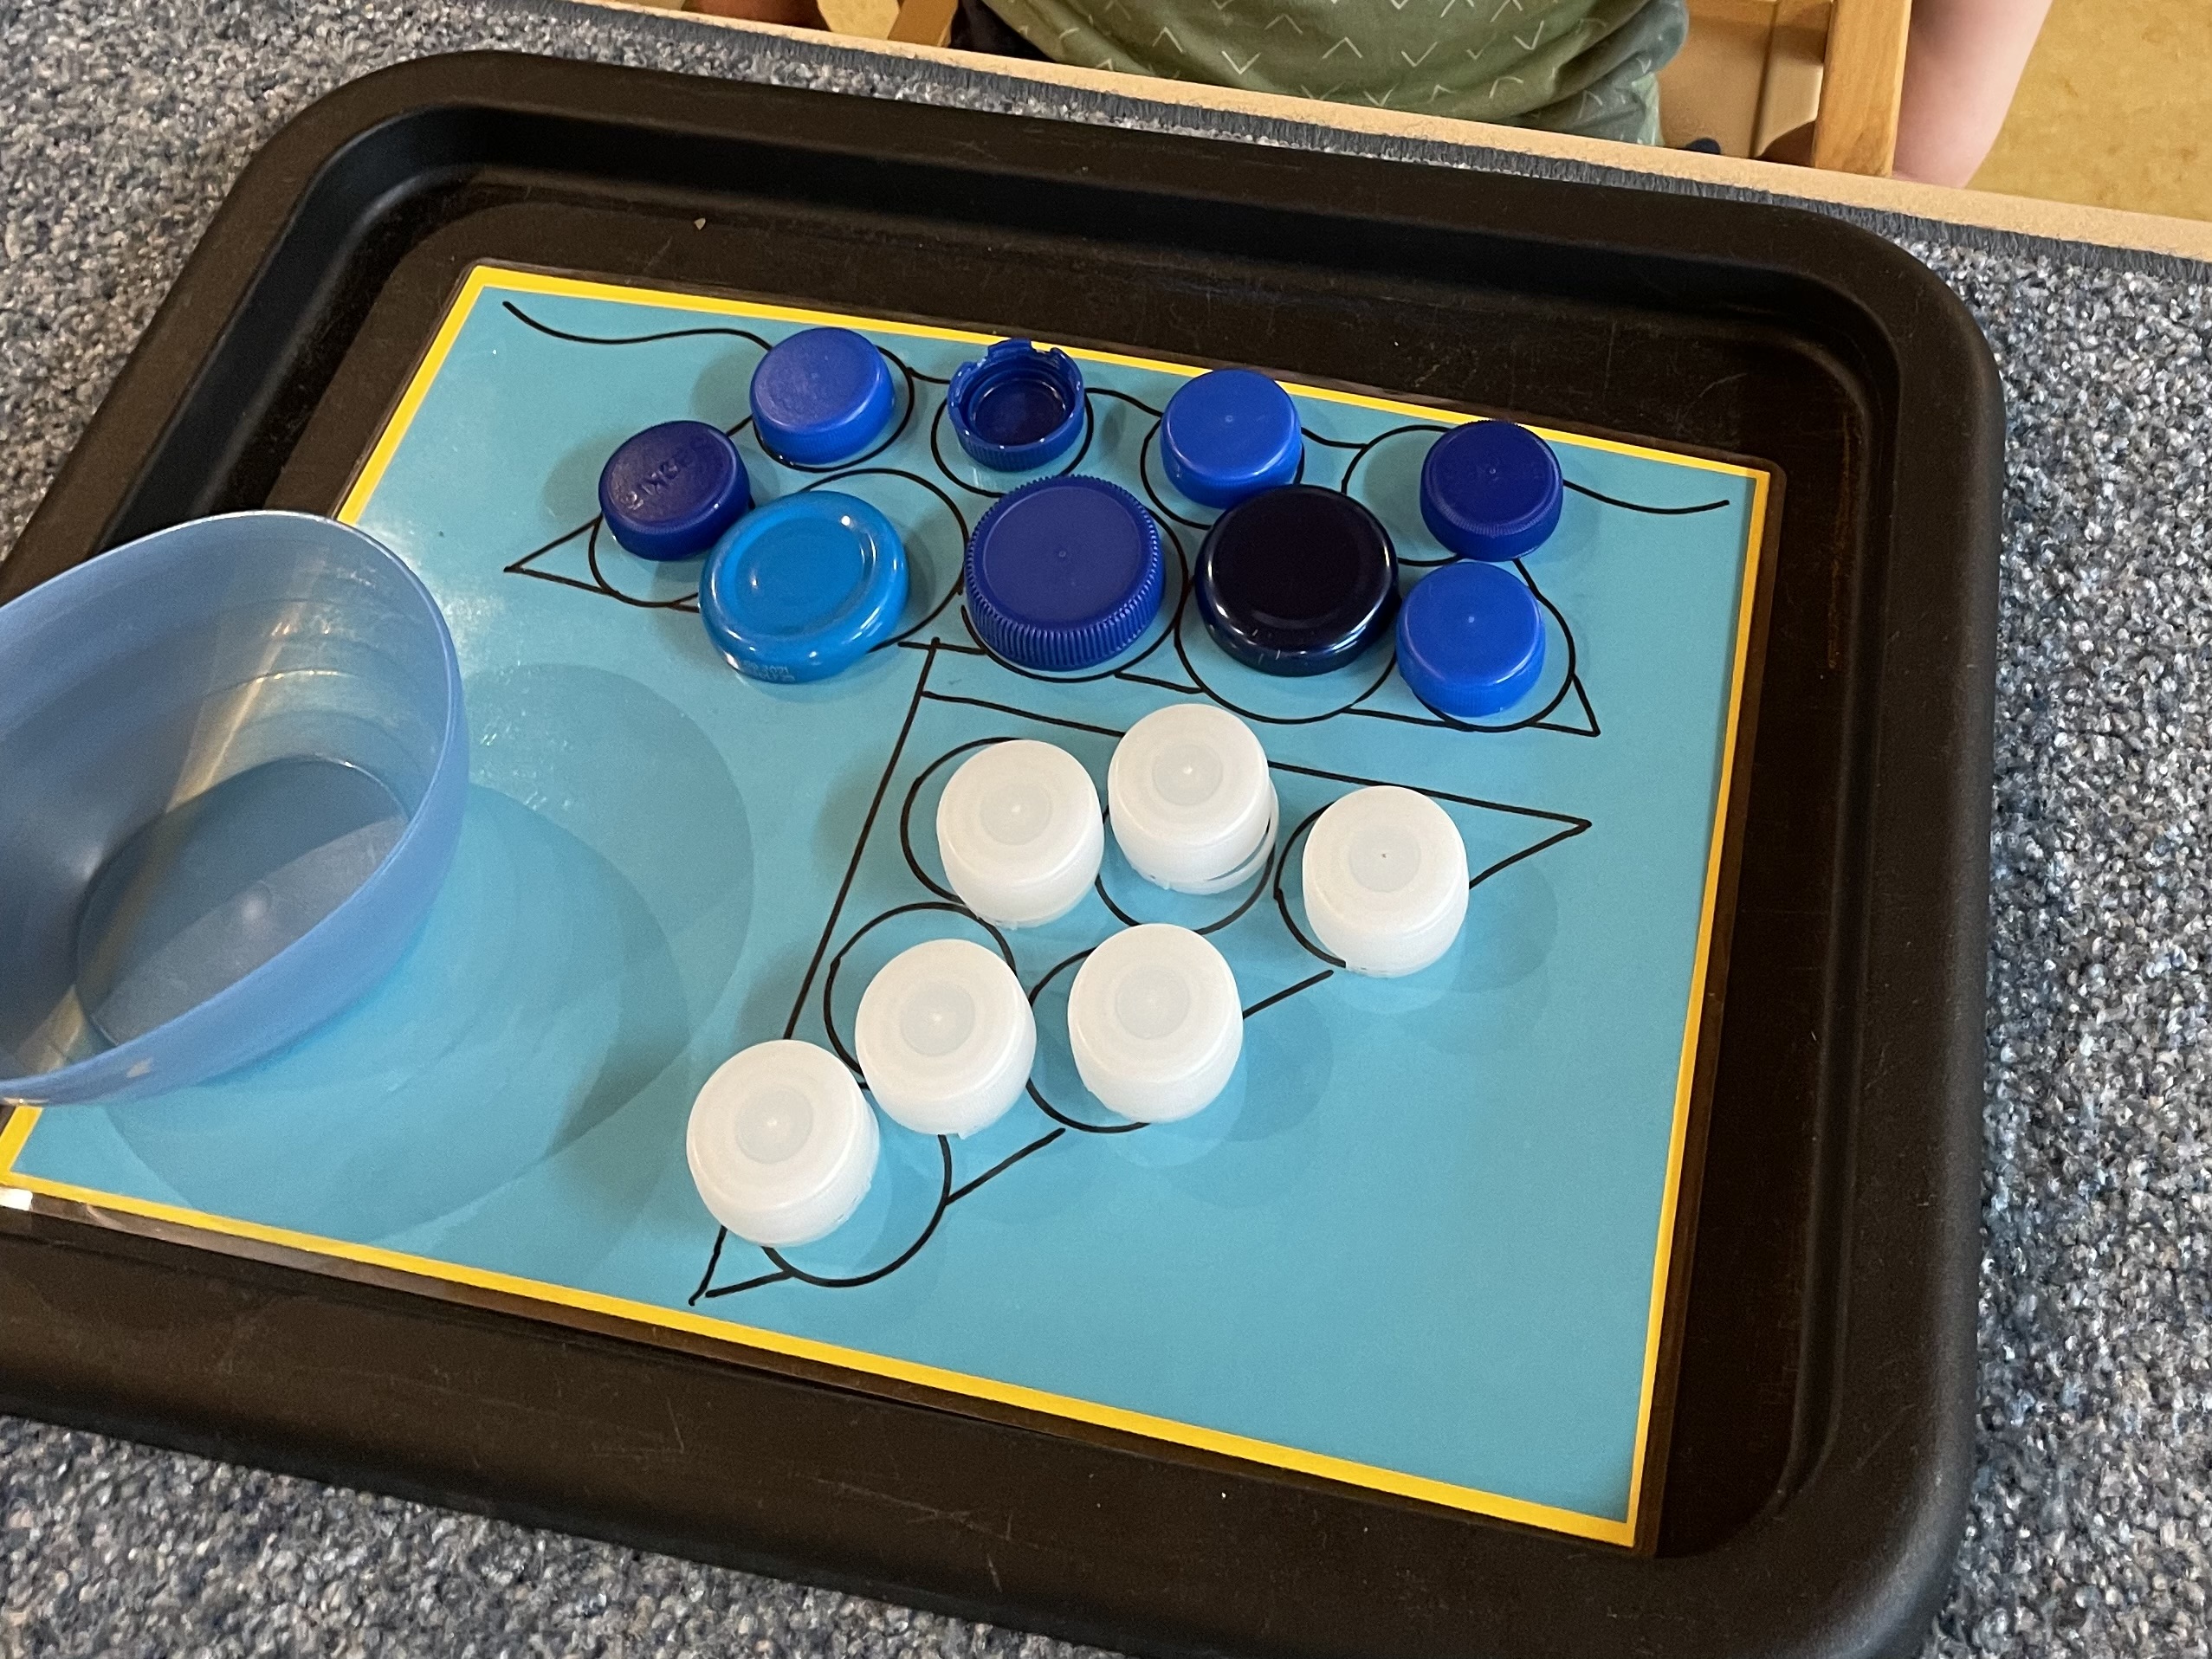
This is a variant with two differently colored lids. Lays e.g. a sailboat.


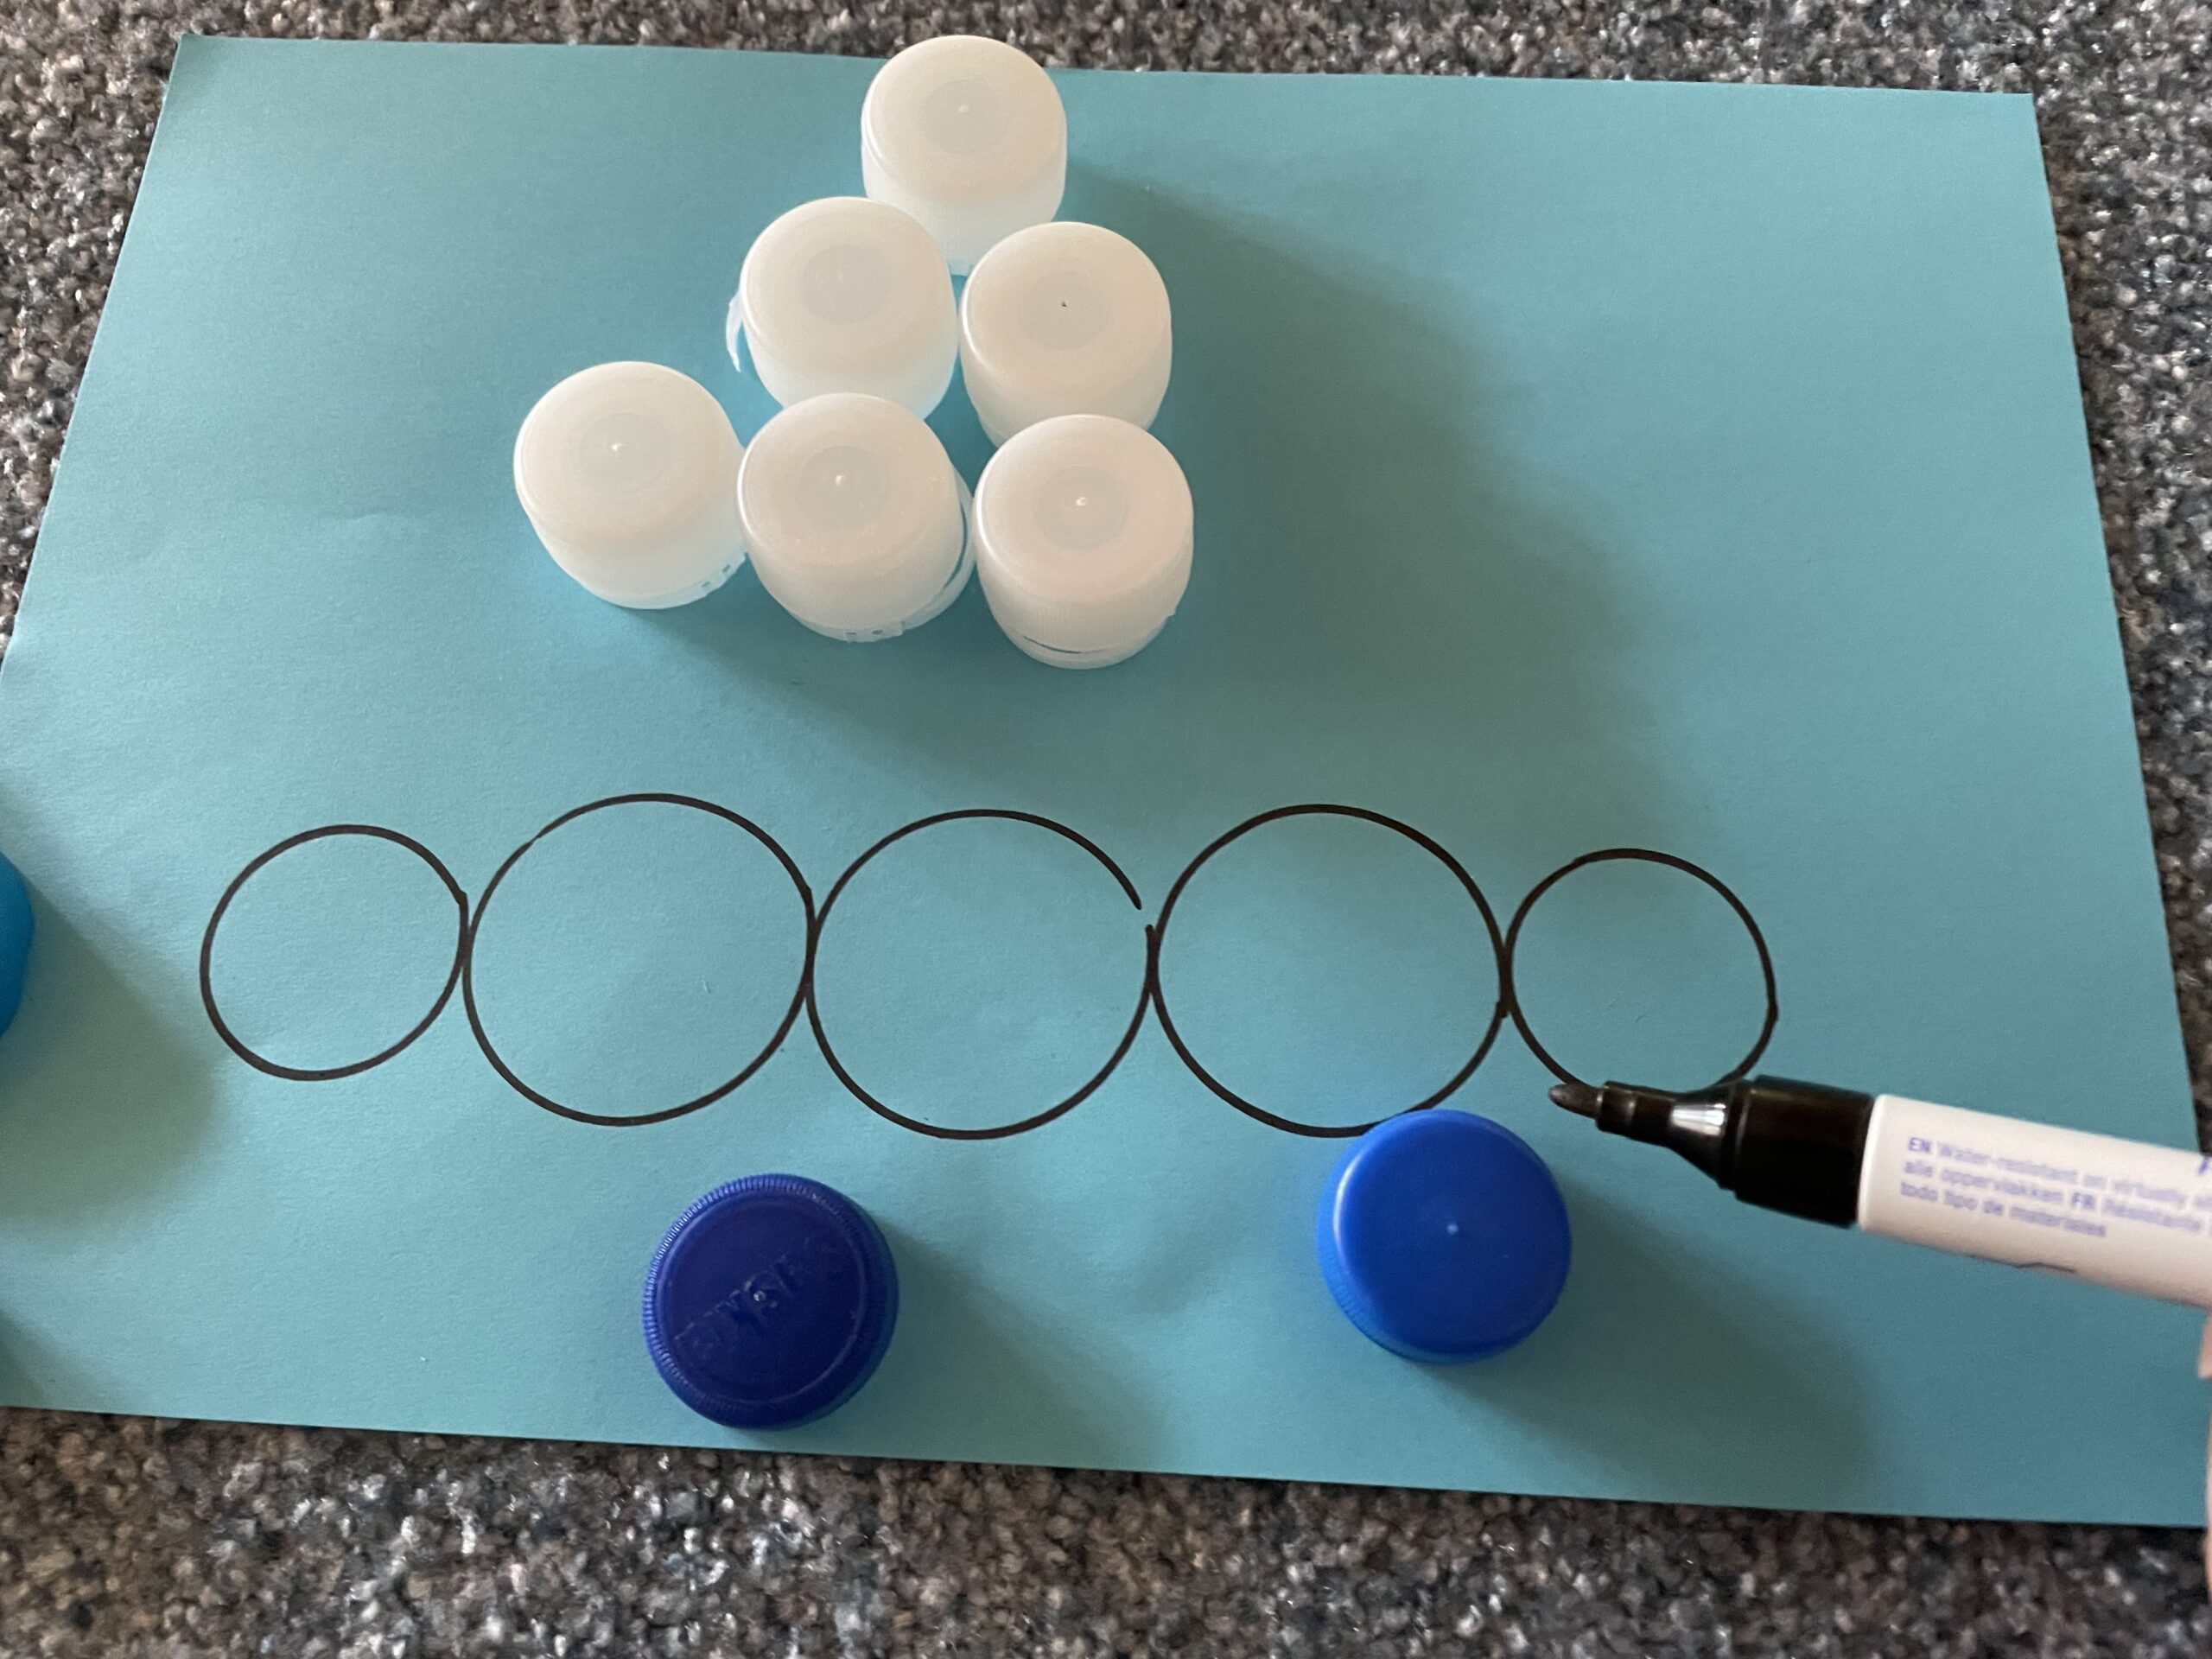
Repaint each lid with the felt pen.


That's what the picture might look like.
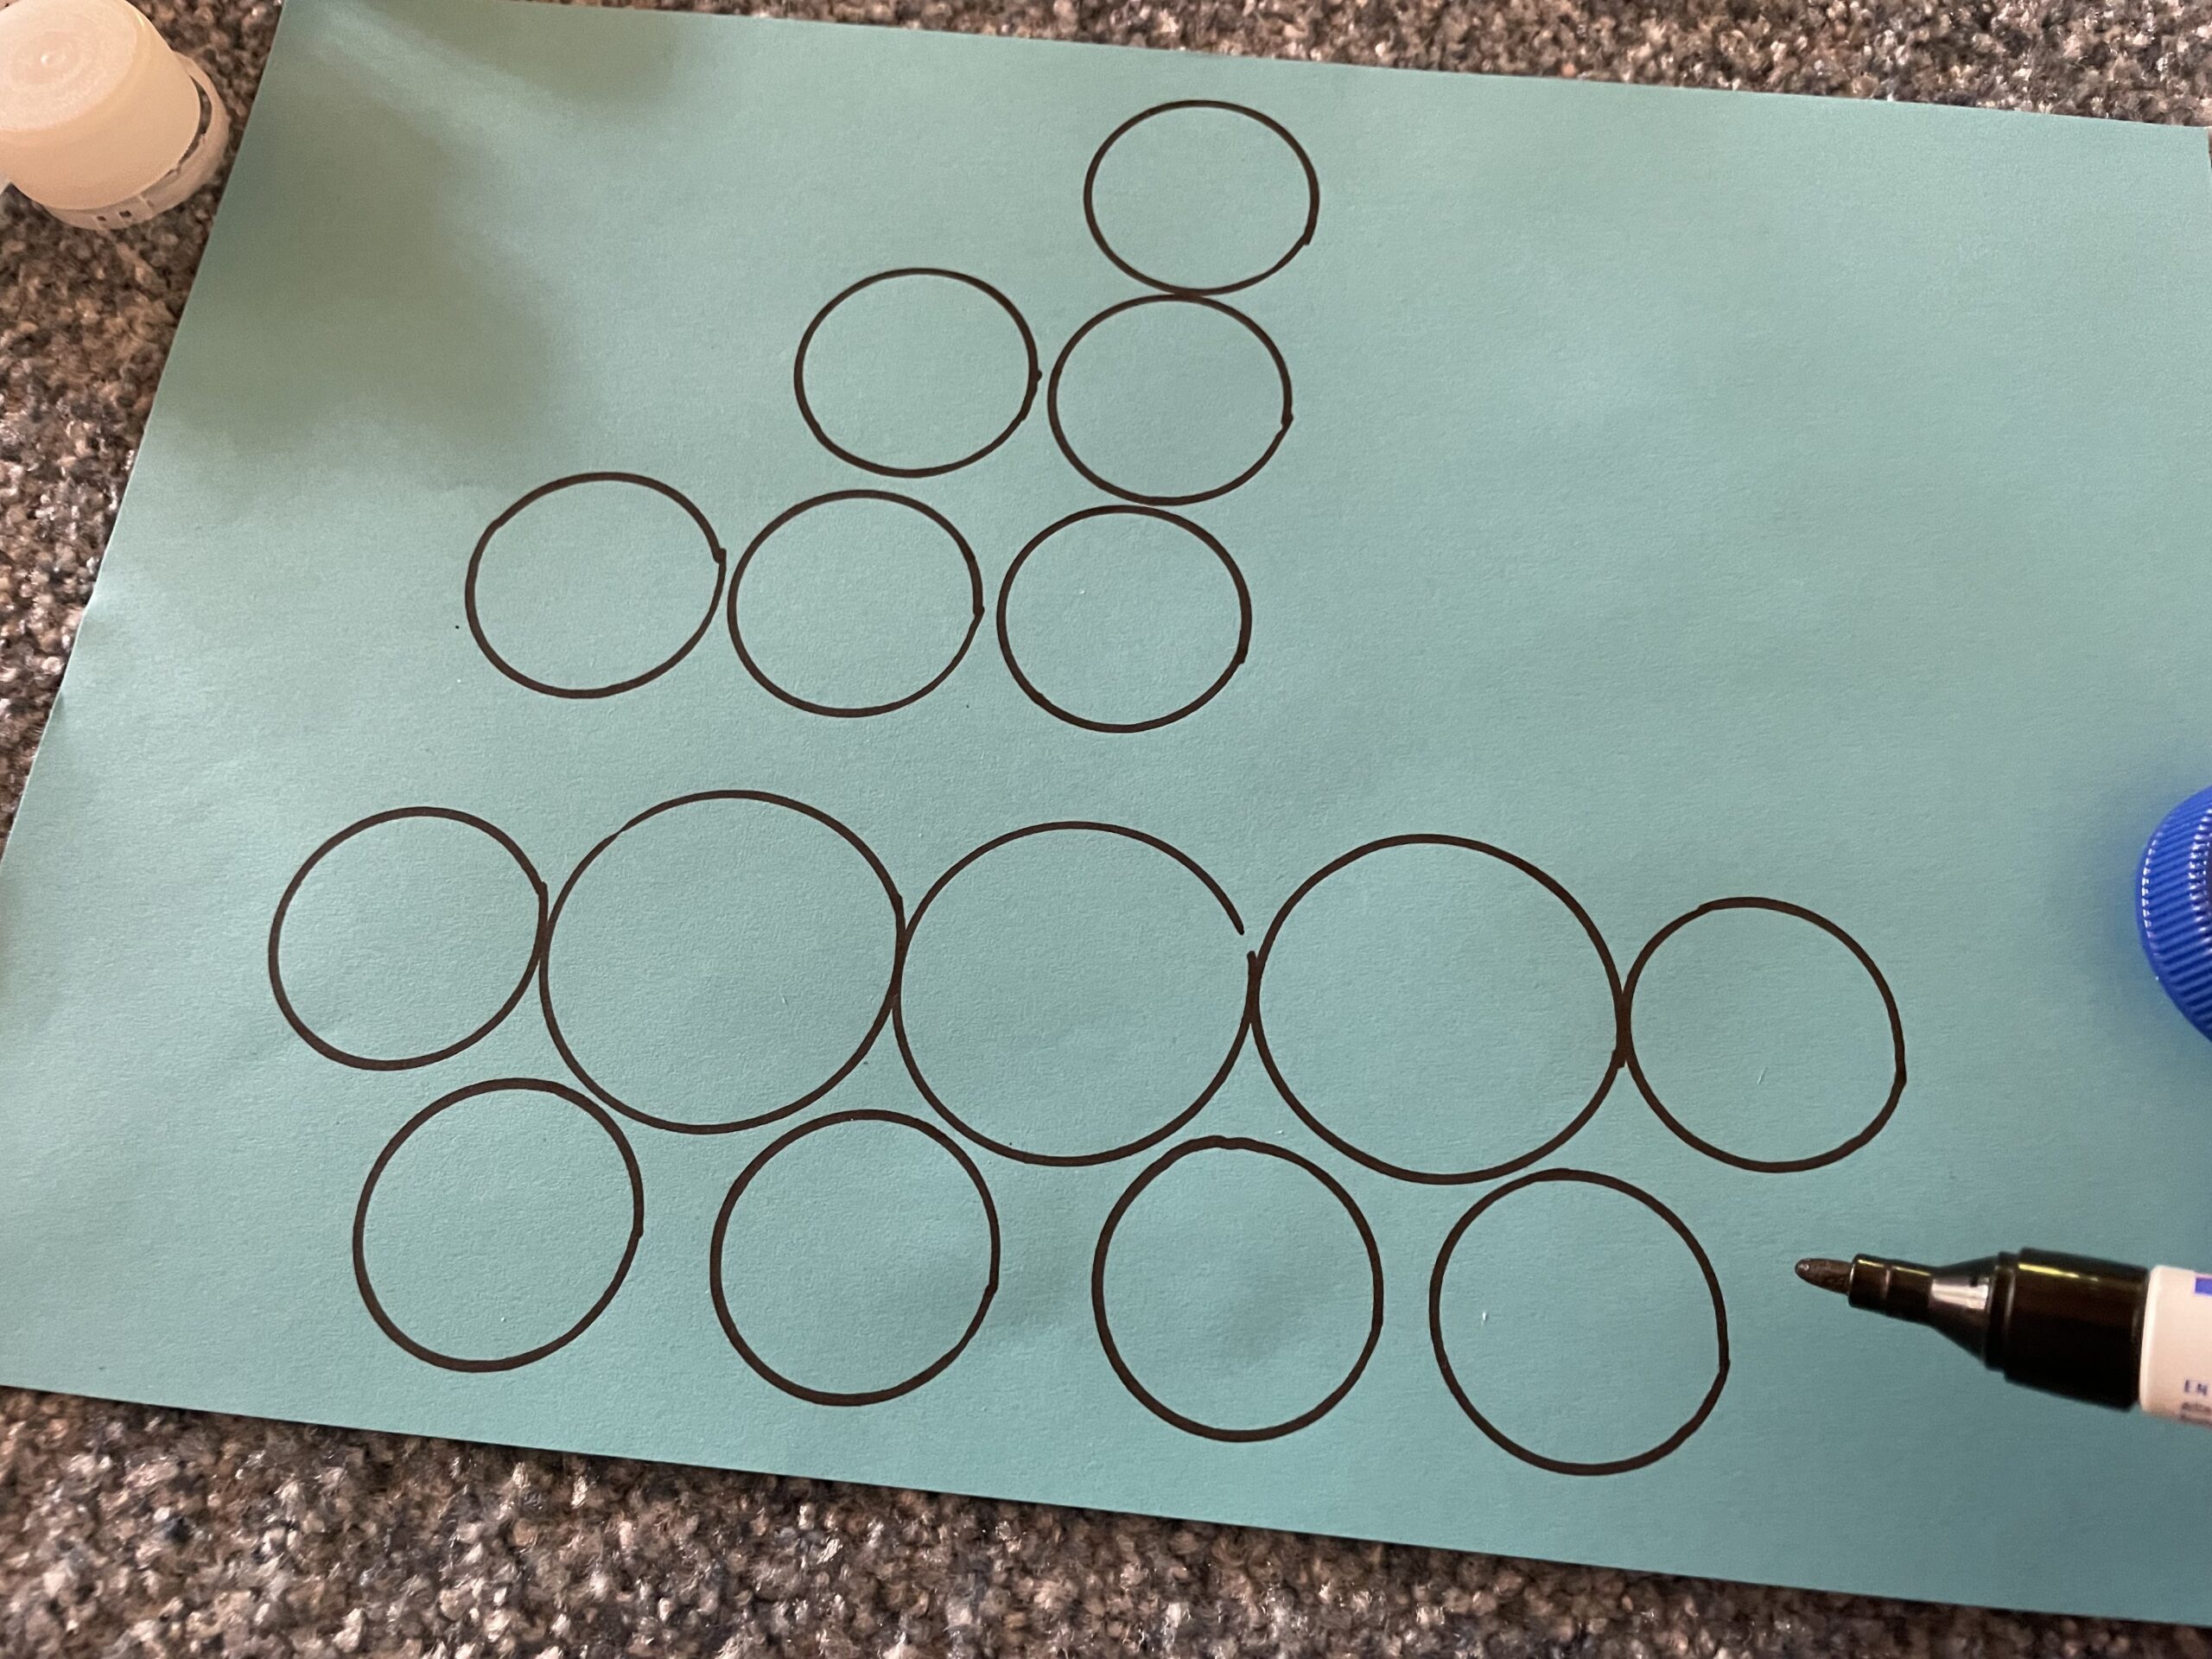


To better recognize the sailboat, you can add lines to the motif or paint water.
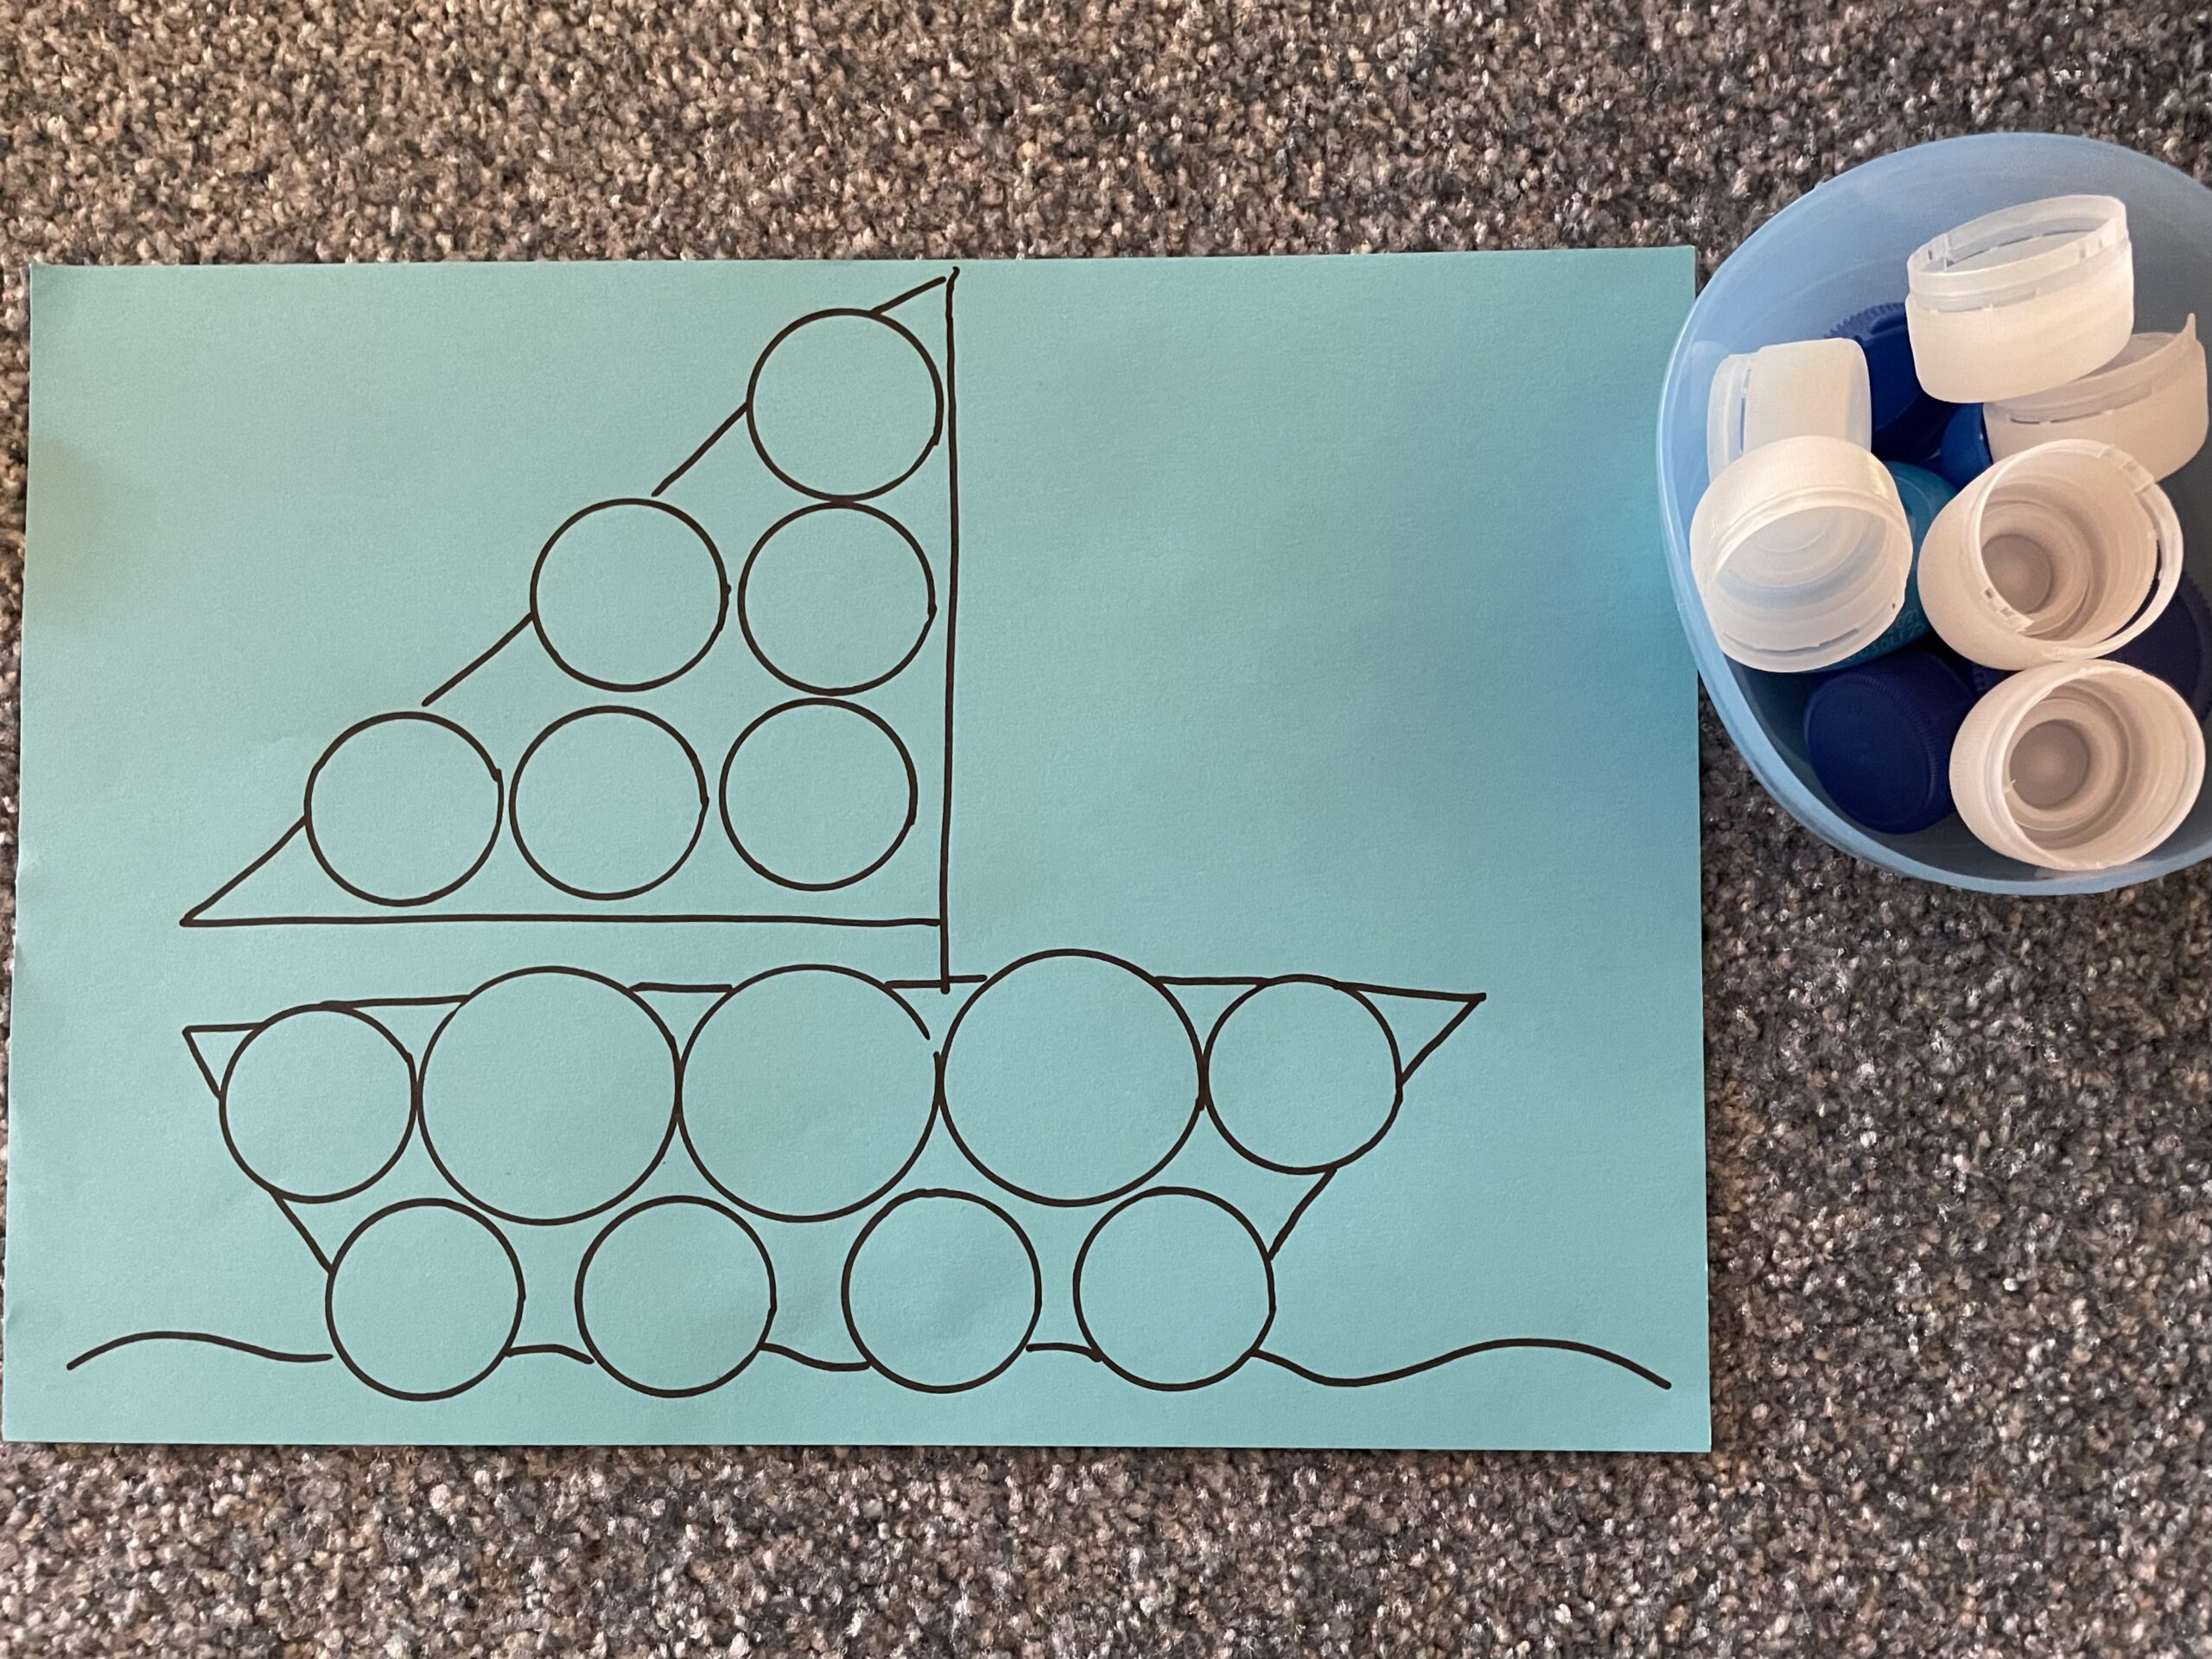


Then it's again: try it out!
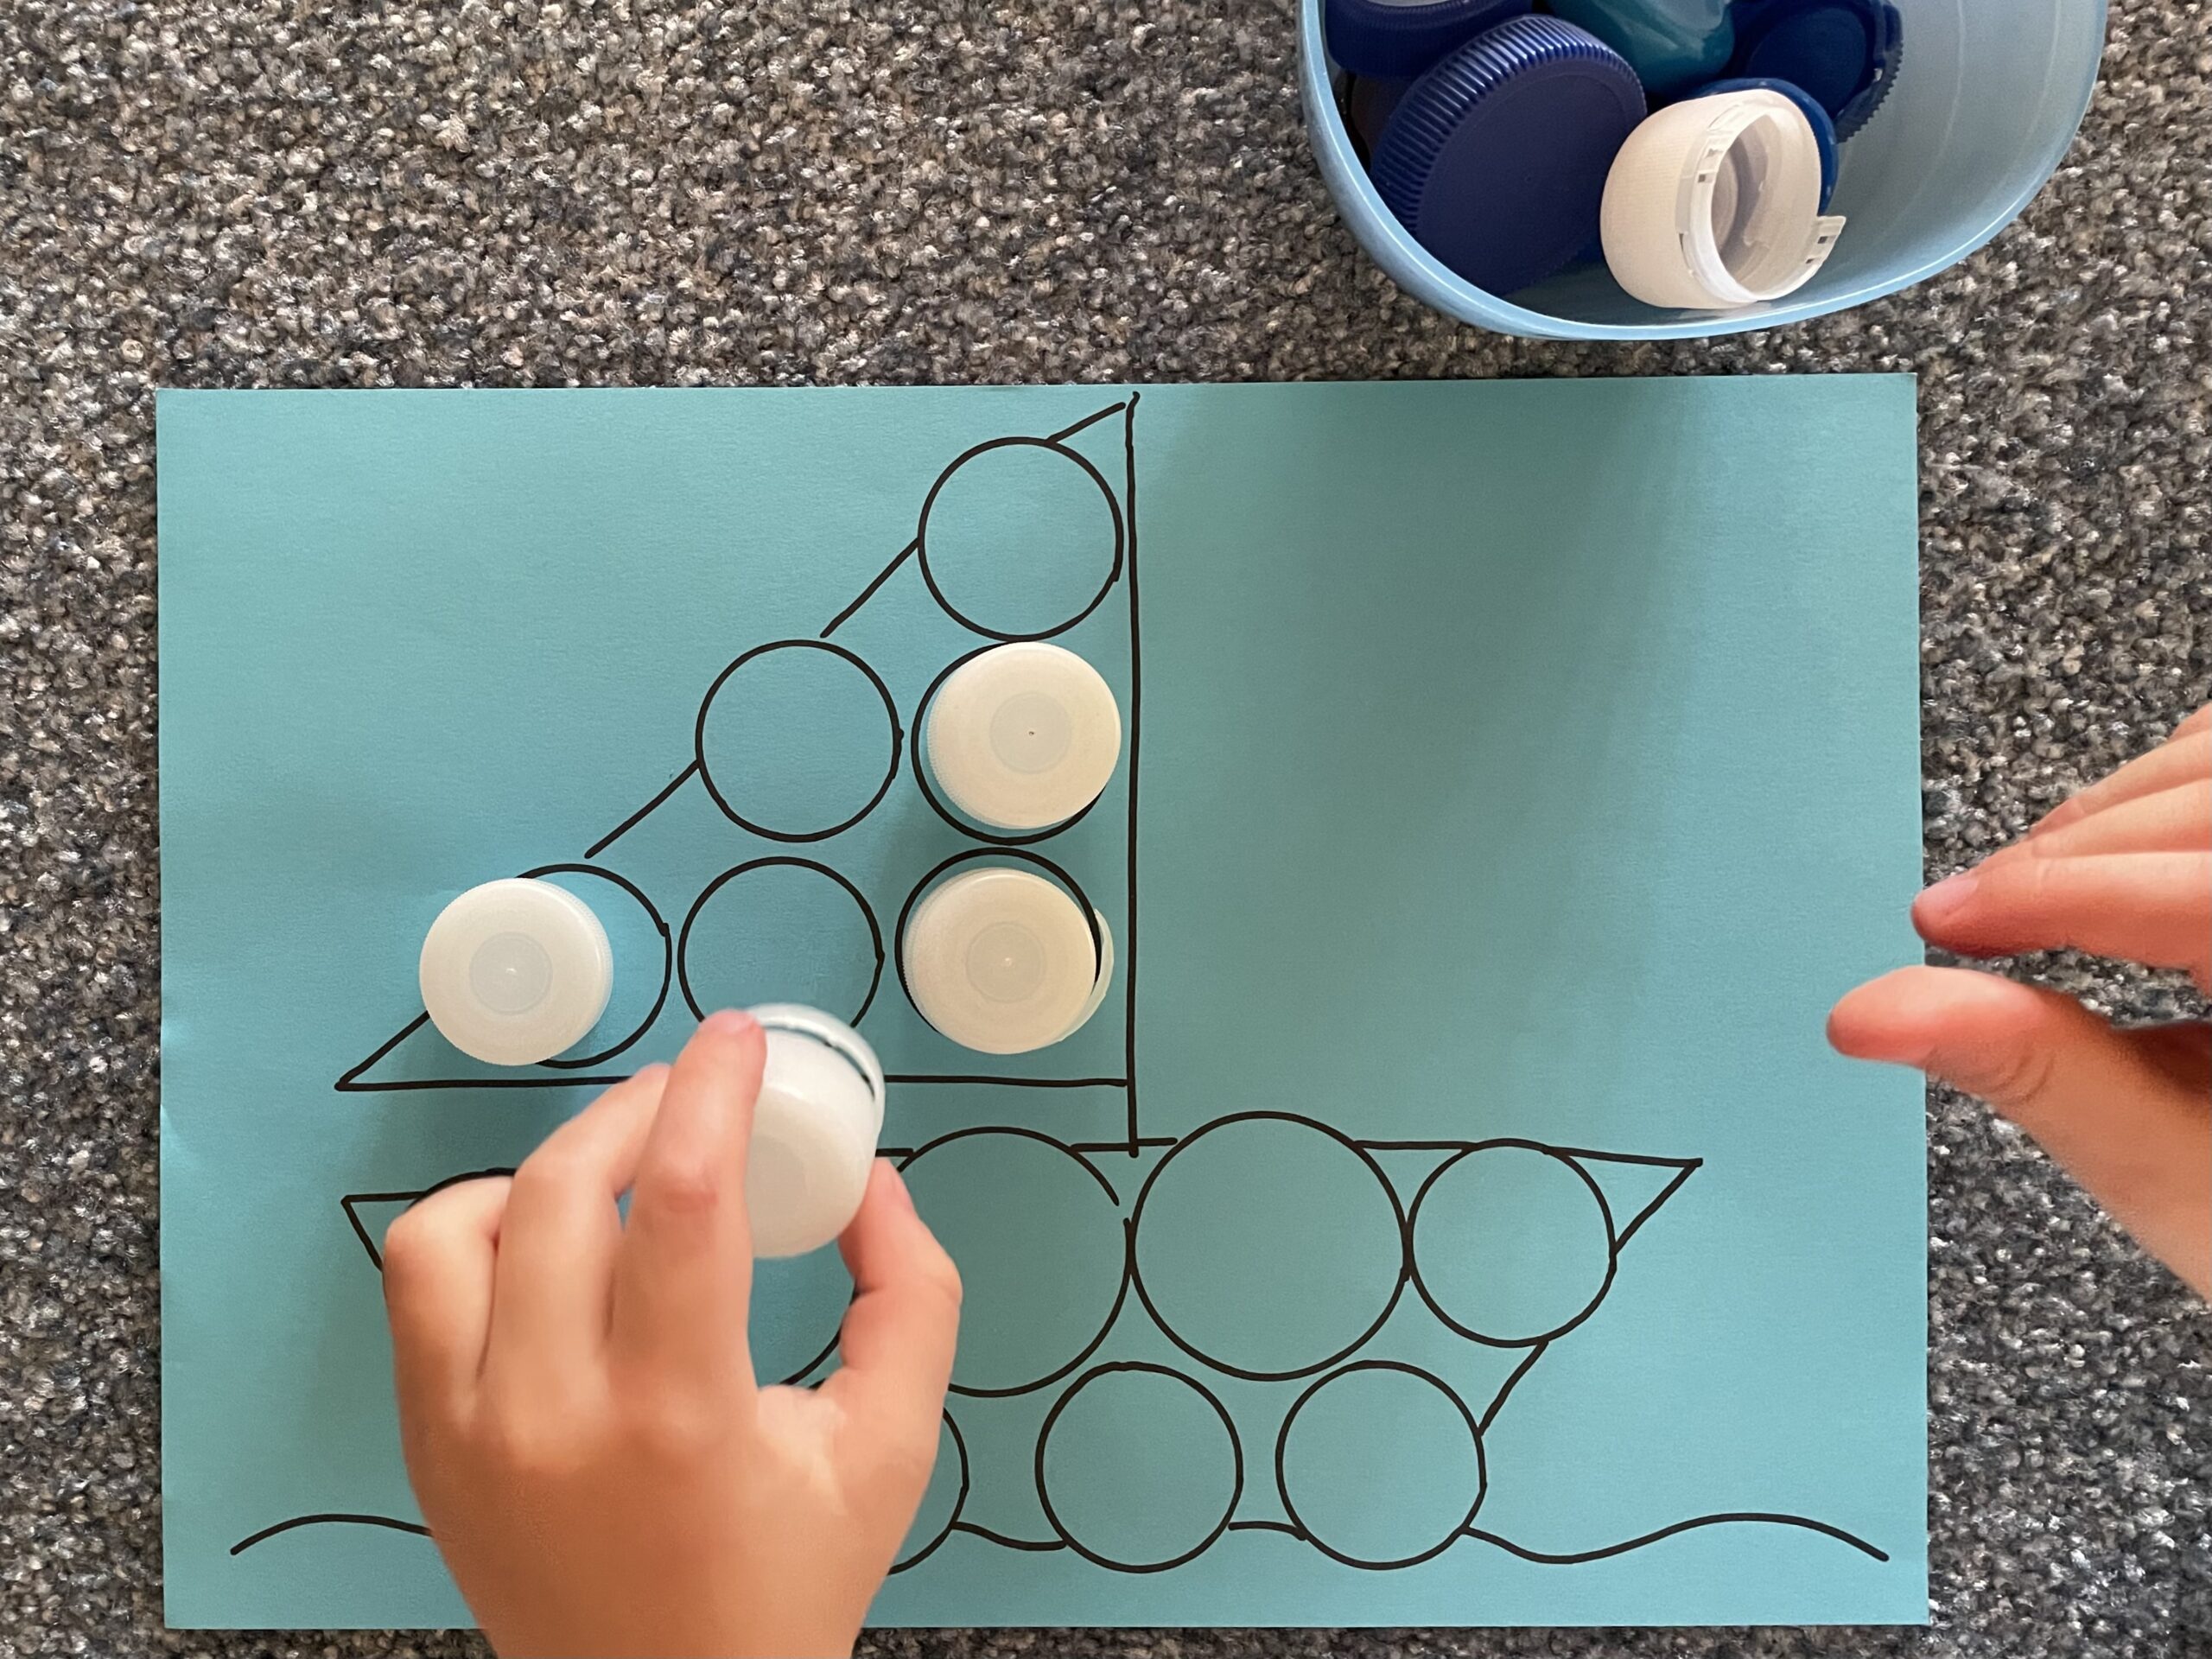


All the lids have already found their place here.
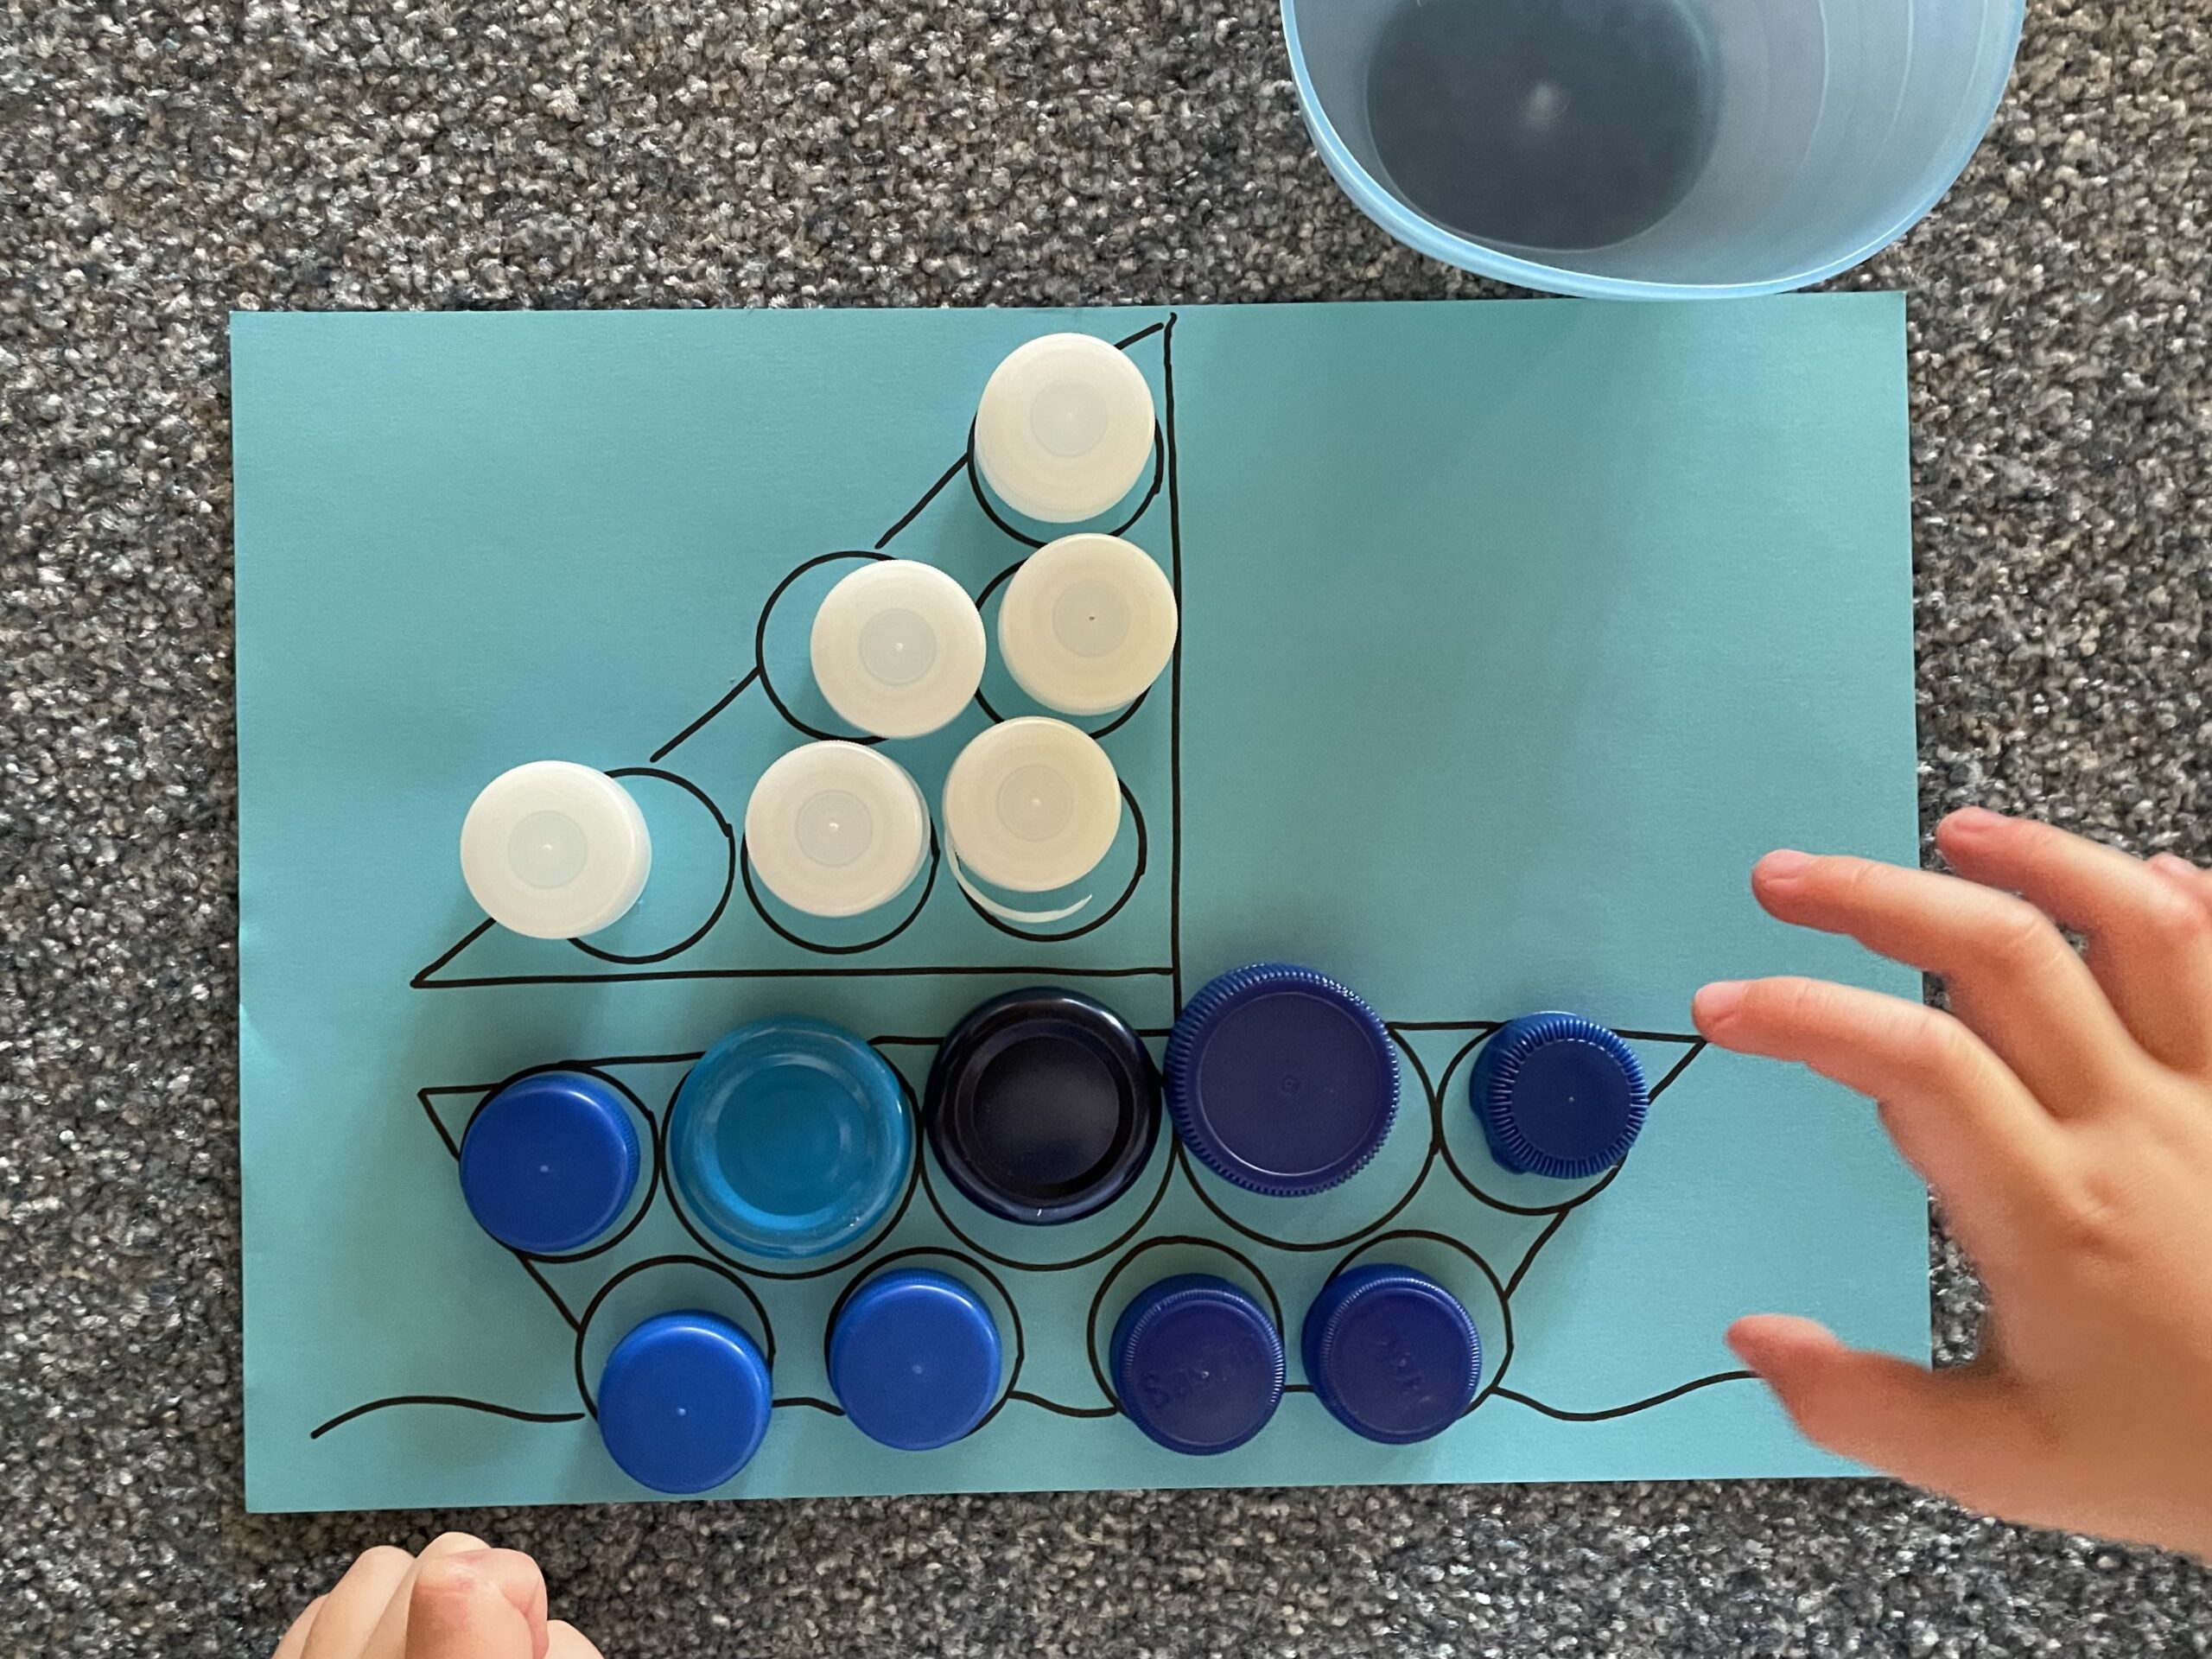


Again, the tray helps!


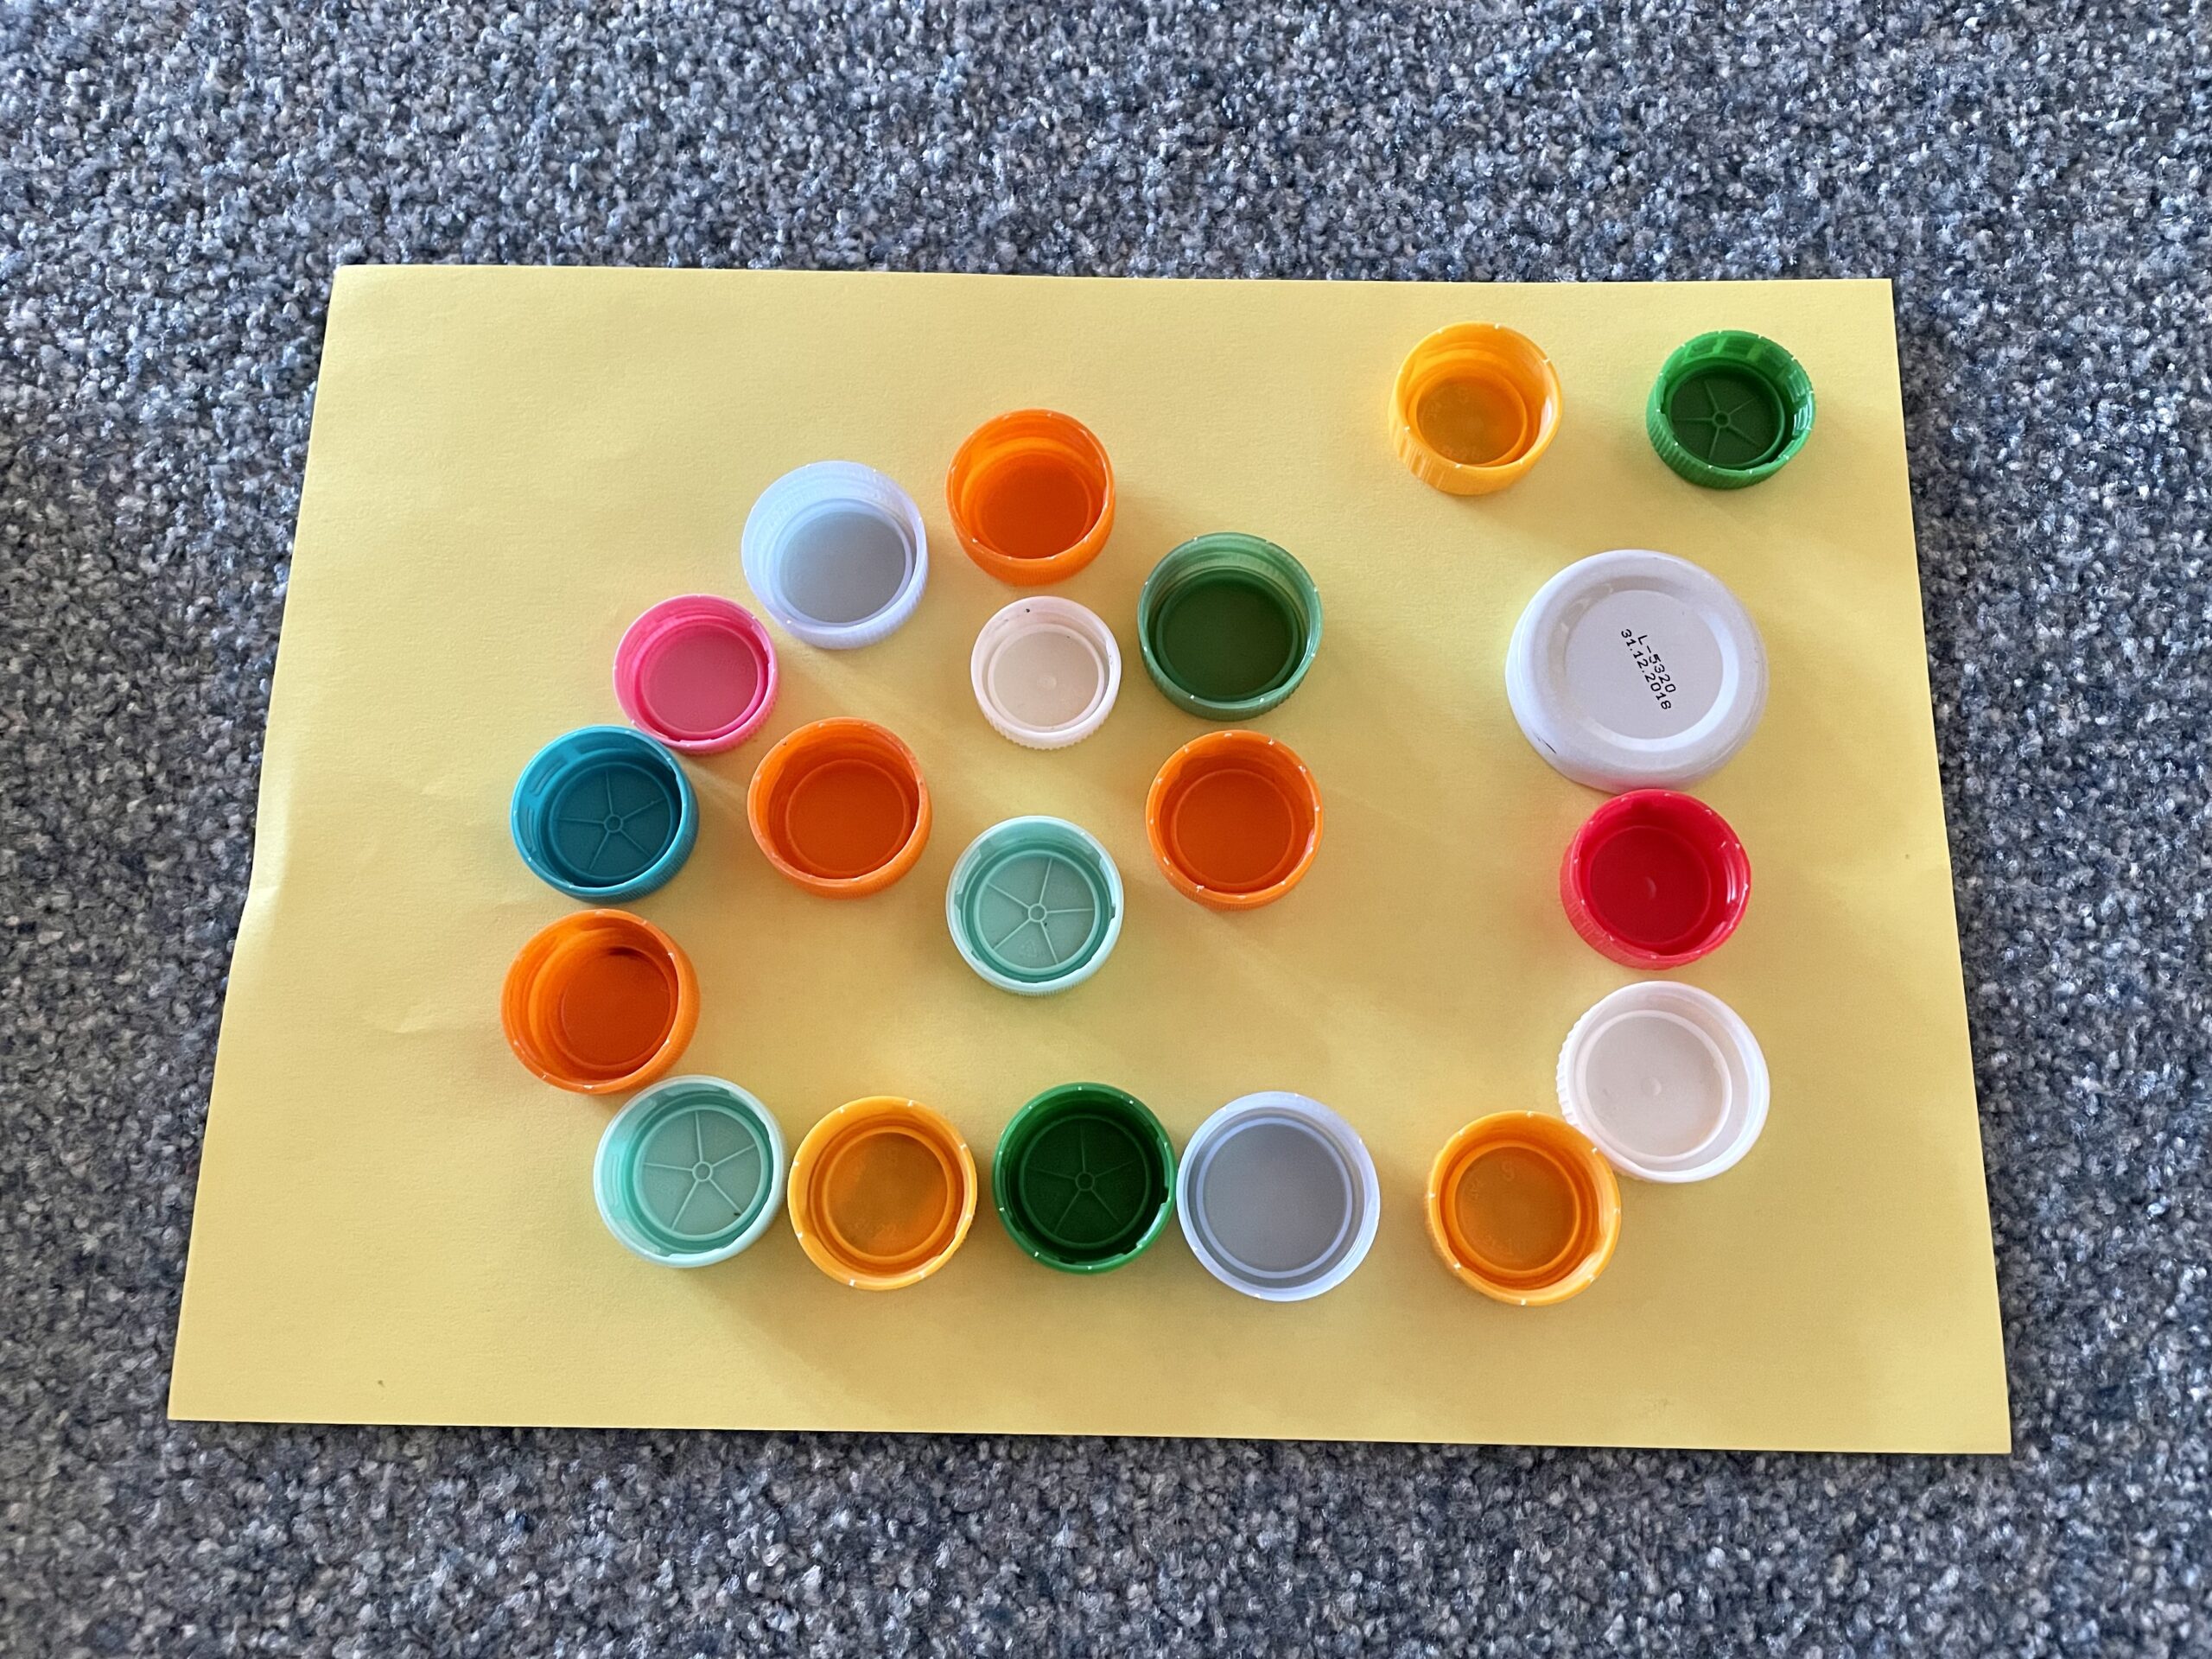
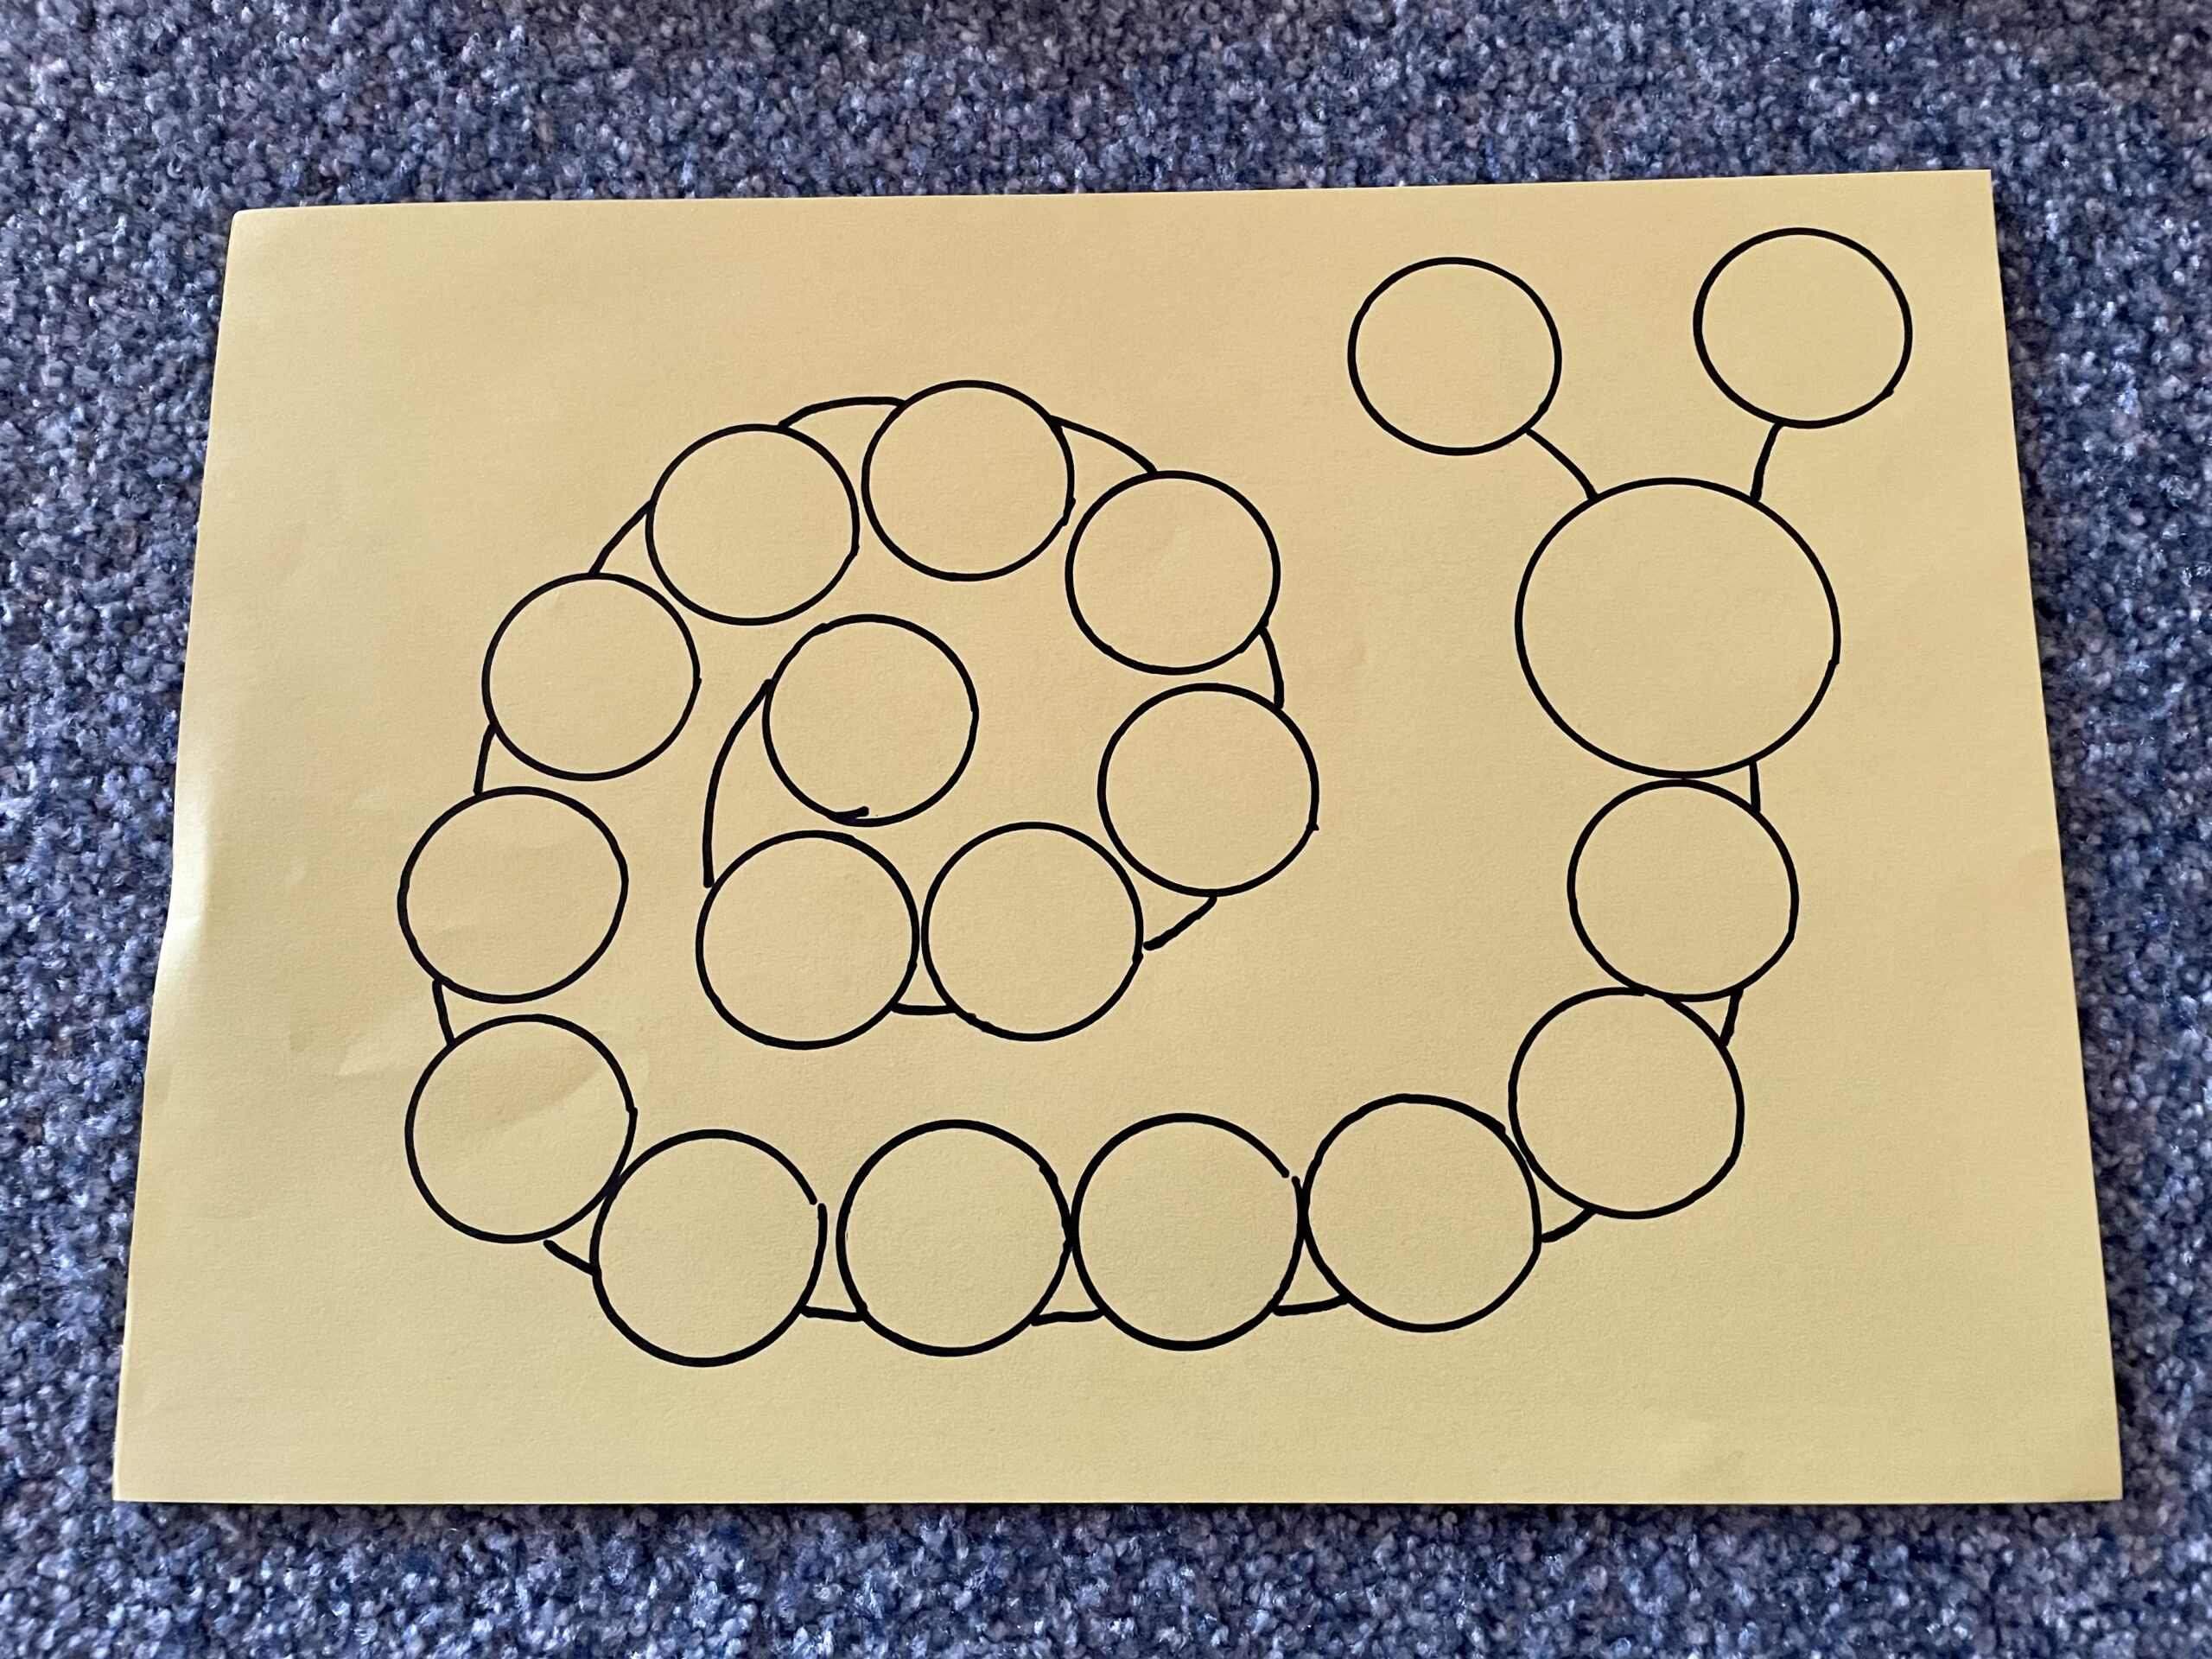
If you have collected different lid colors, these can also be used mixed in the motifs. For example, place a snail with colourful lids.


Here, too, repaints the lids with the felt pen.
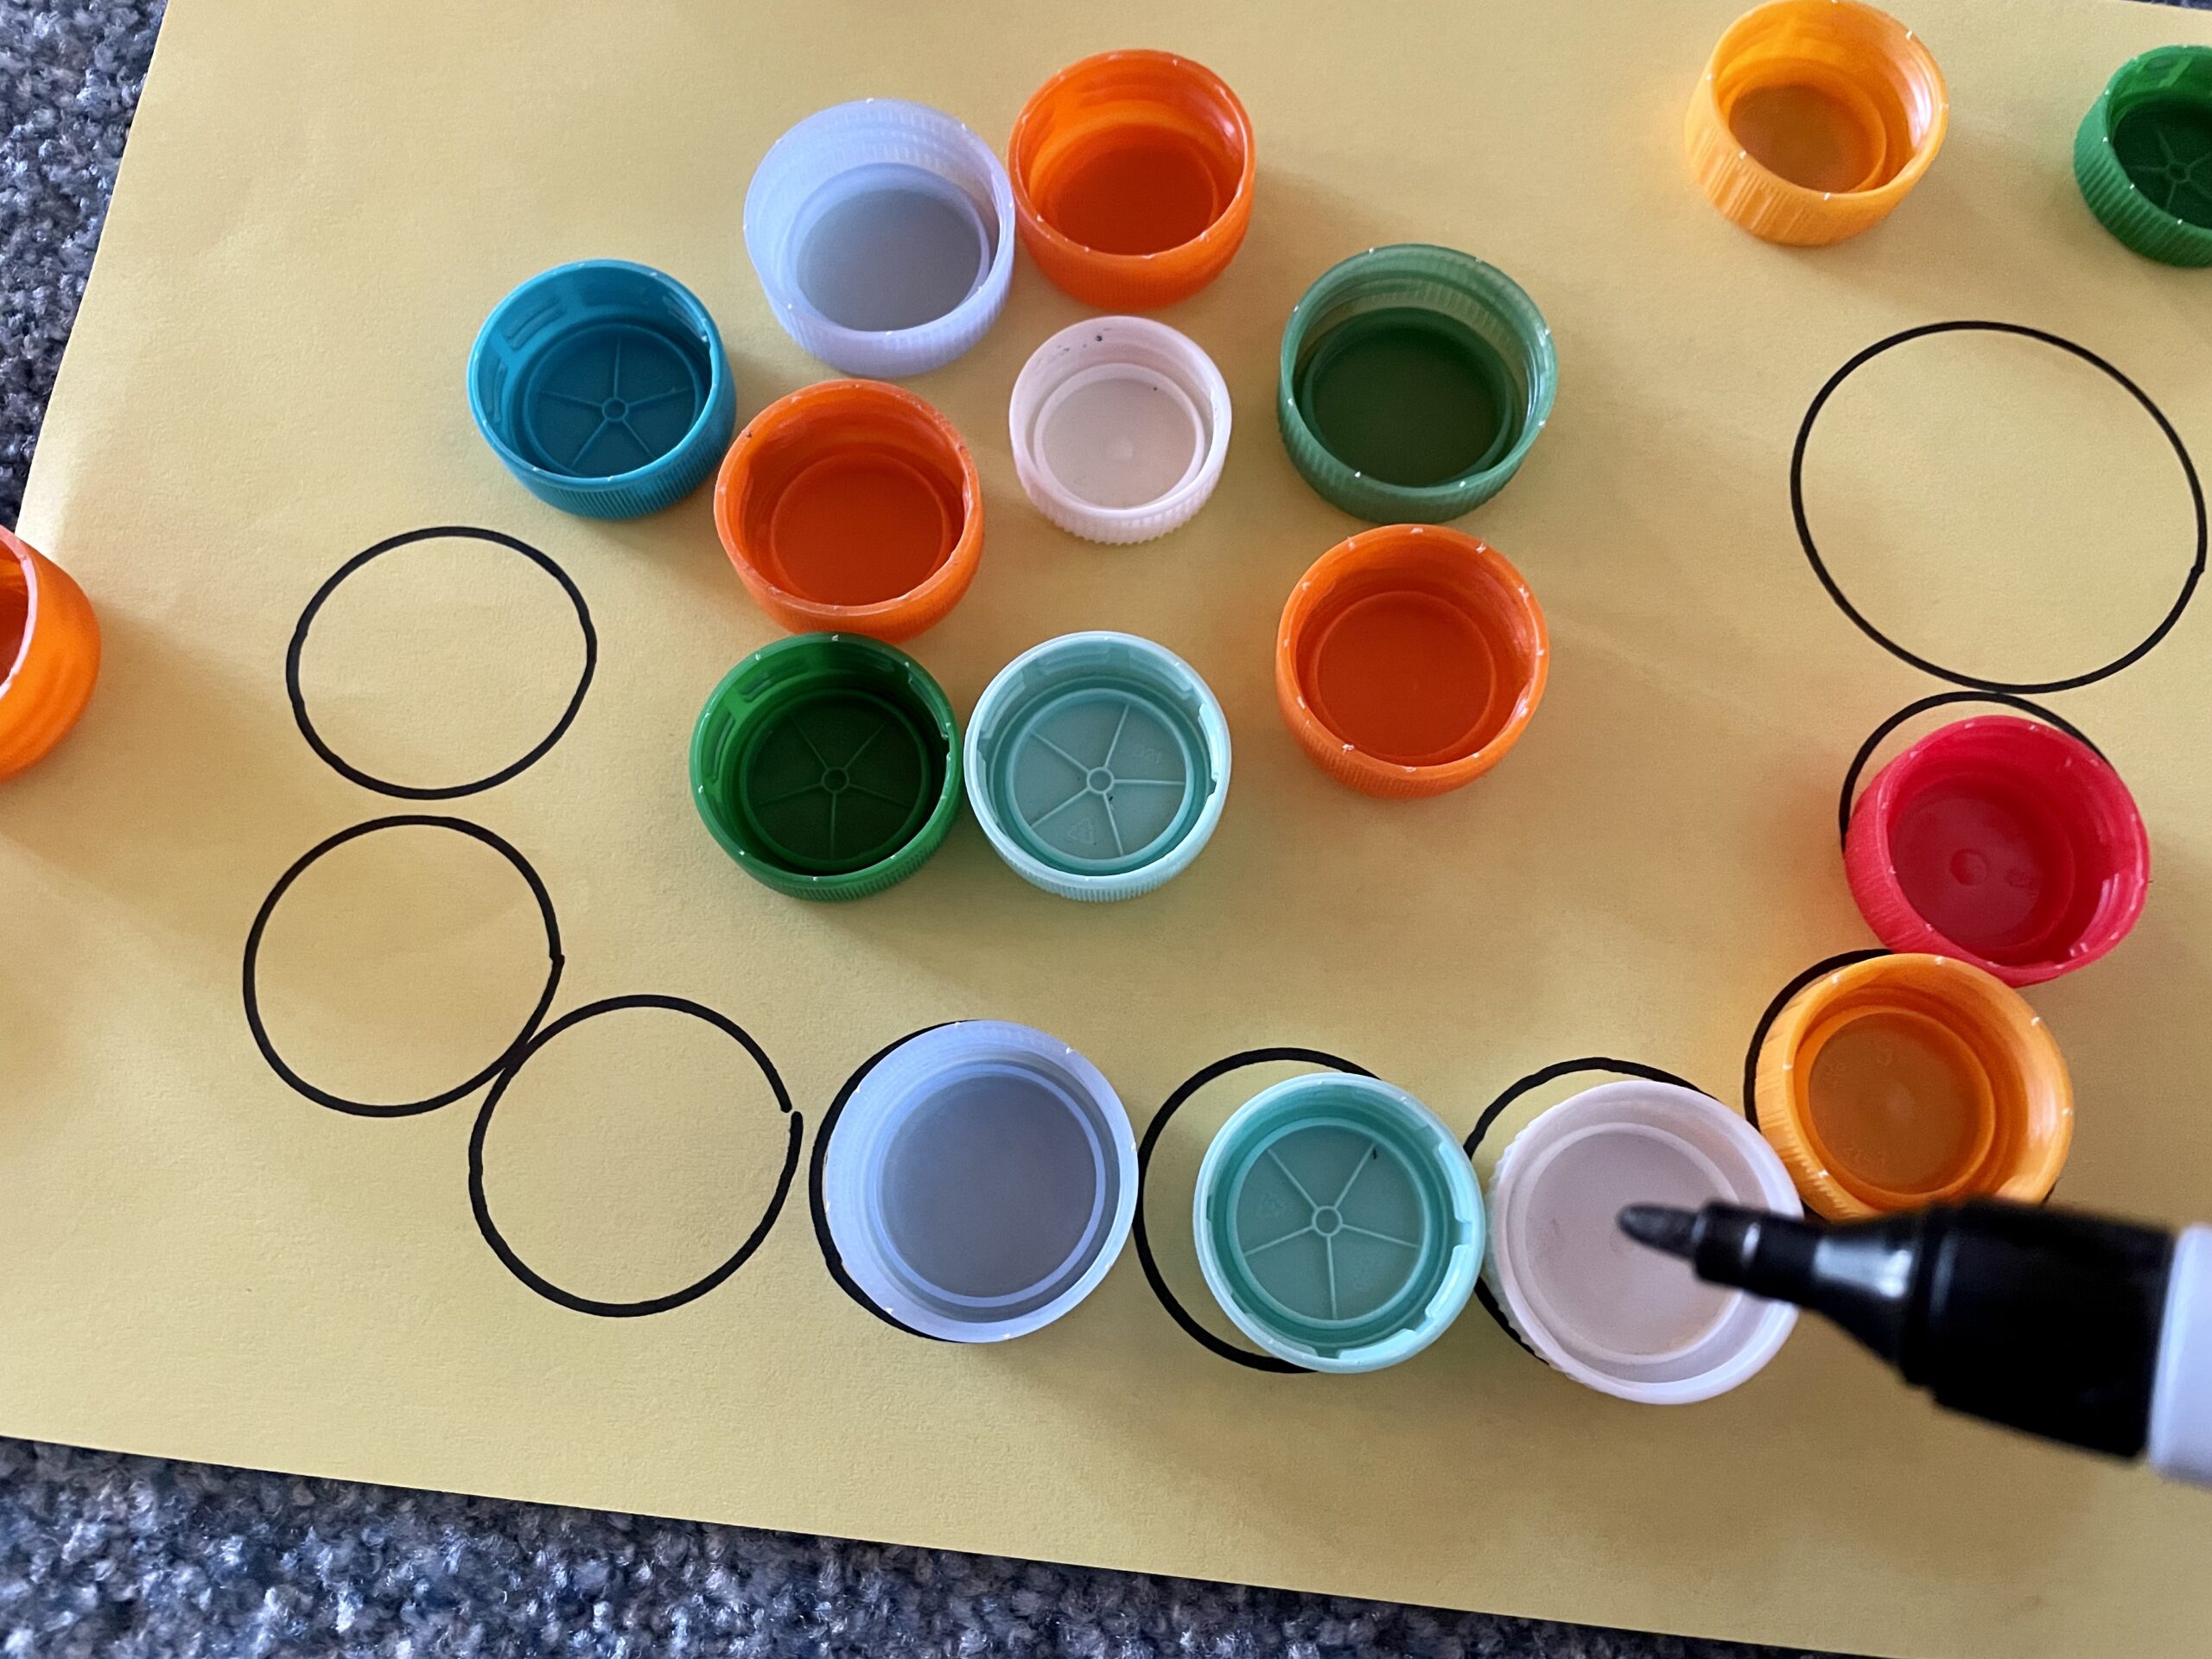


So each lid gets a circle marked as a place.
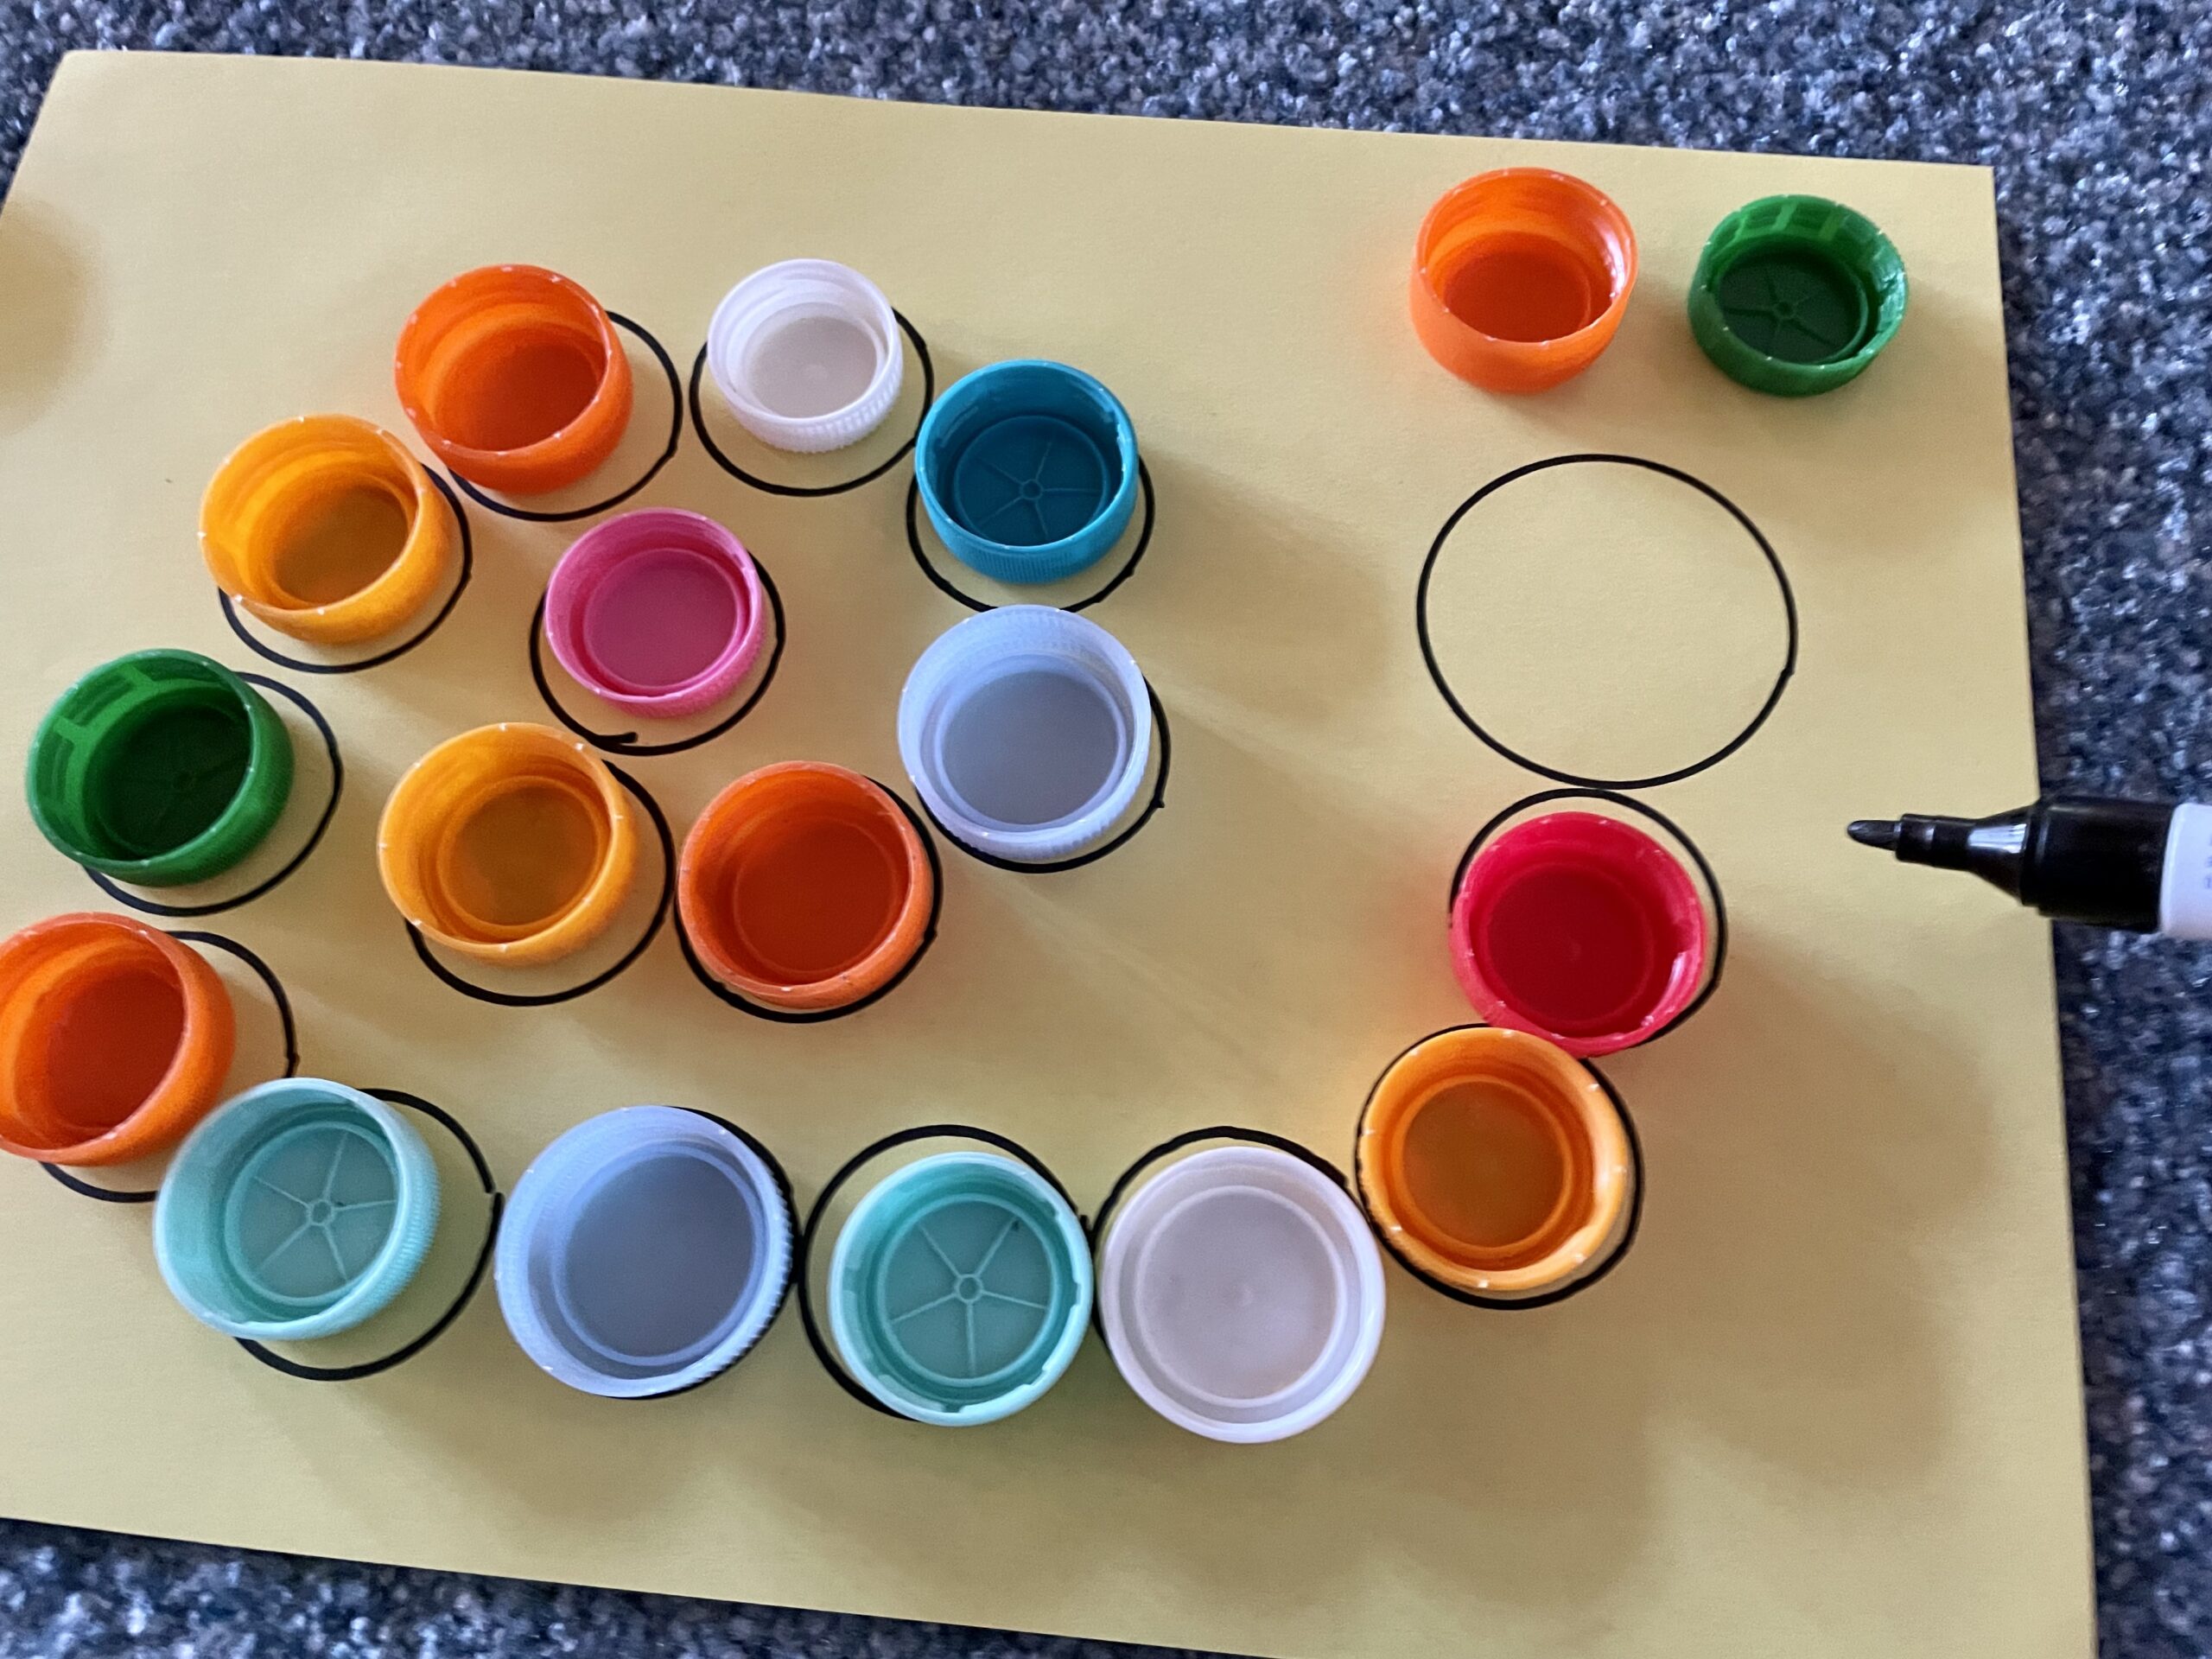


With a connecting line between the individual circles, the snail is better recognizable.


Then you can collect all the lids again in a bowl and start trying.
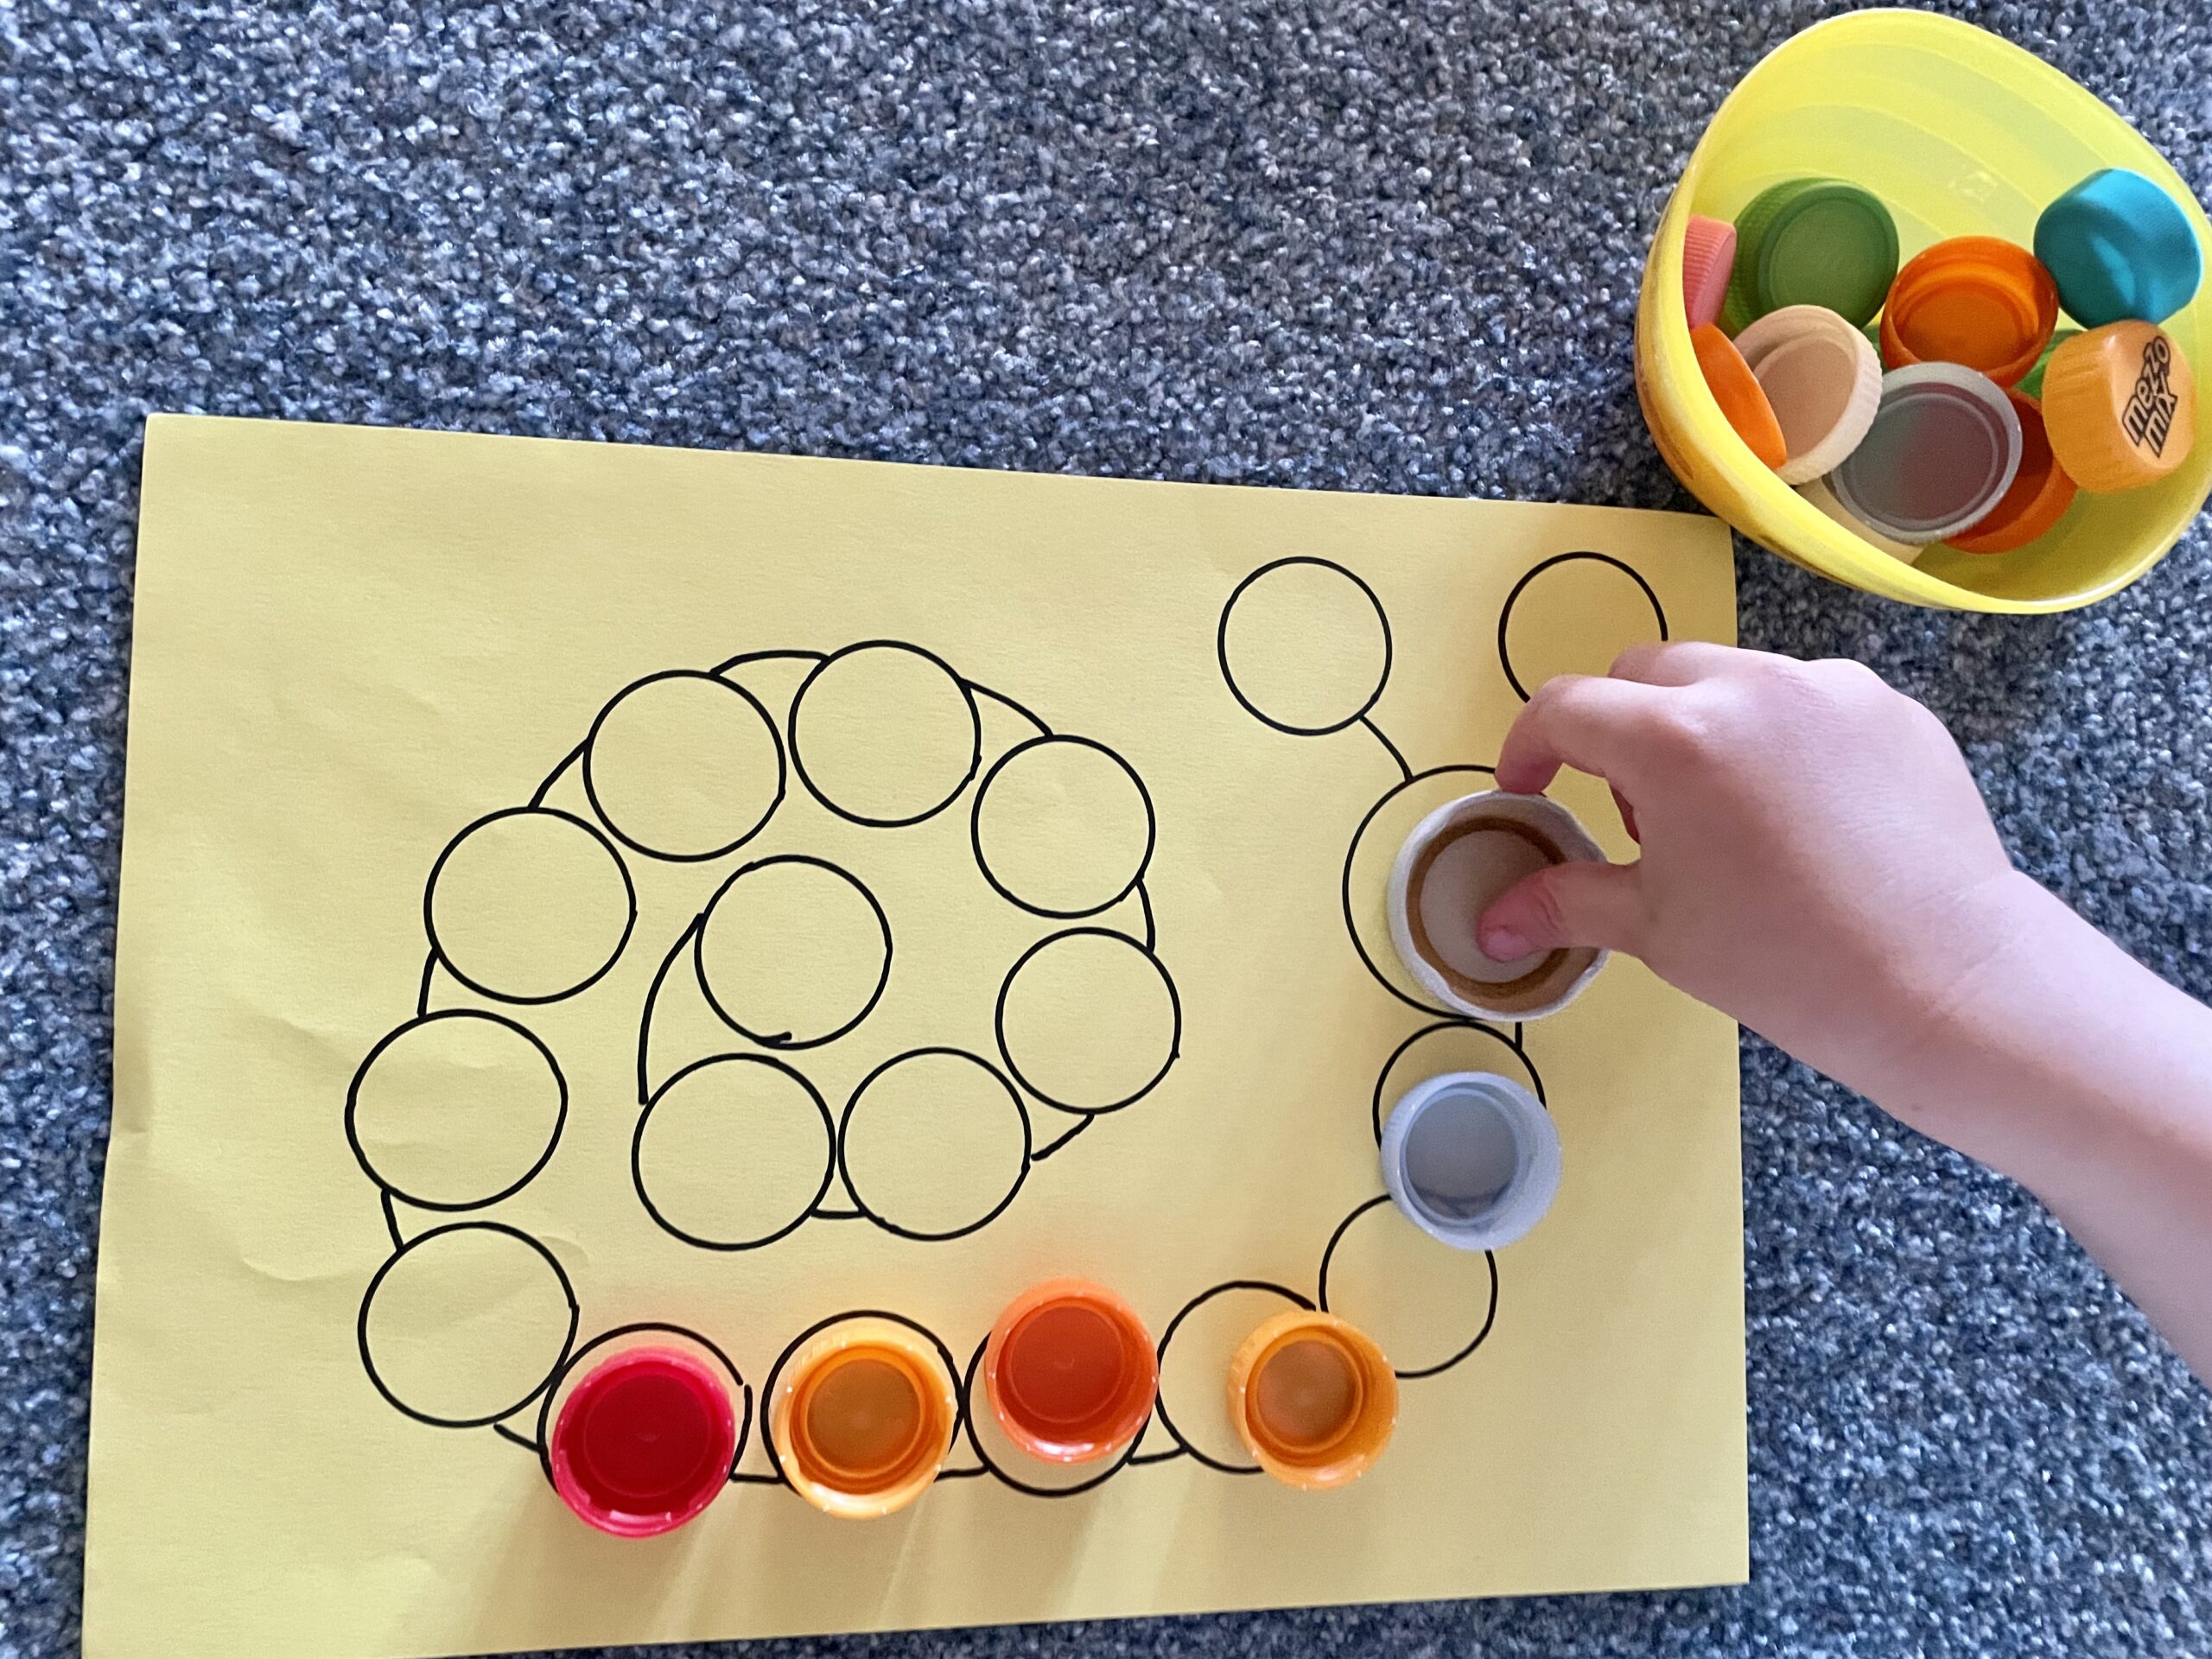


Here, too, you can decide whether to provide more lids or just put the required amount in the bowl.
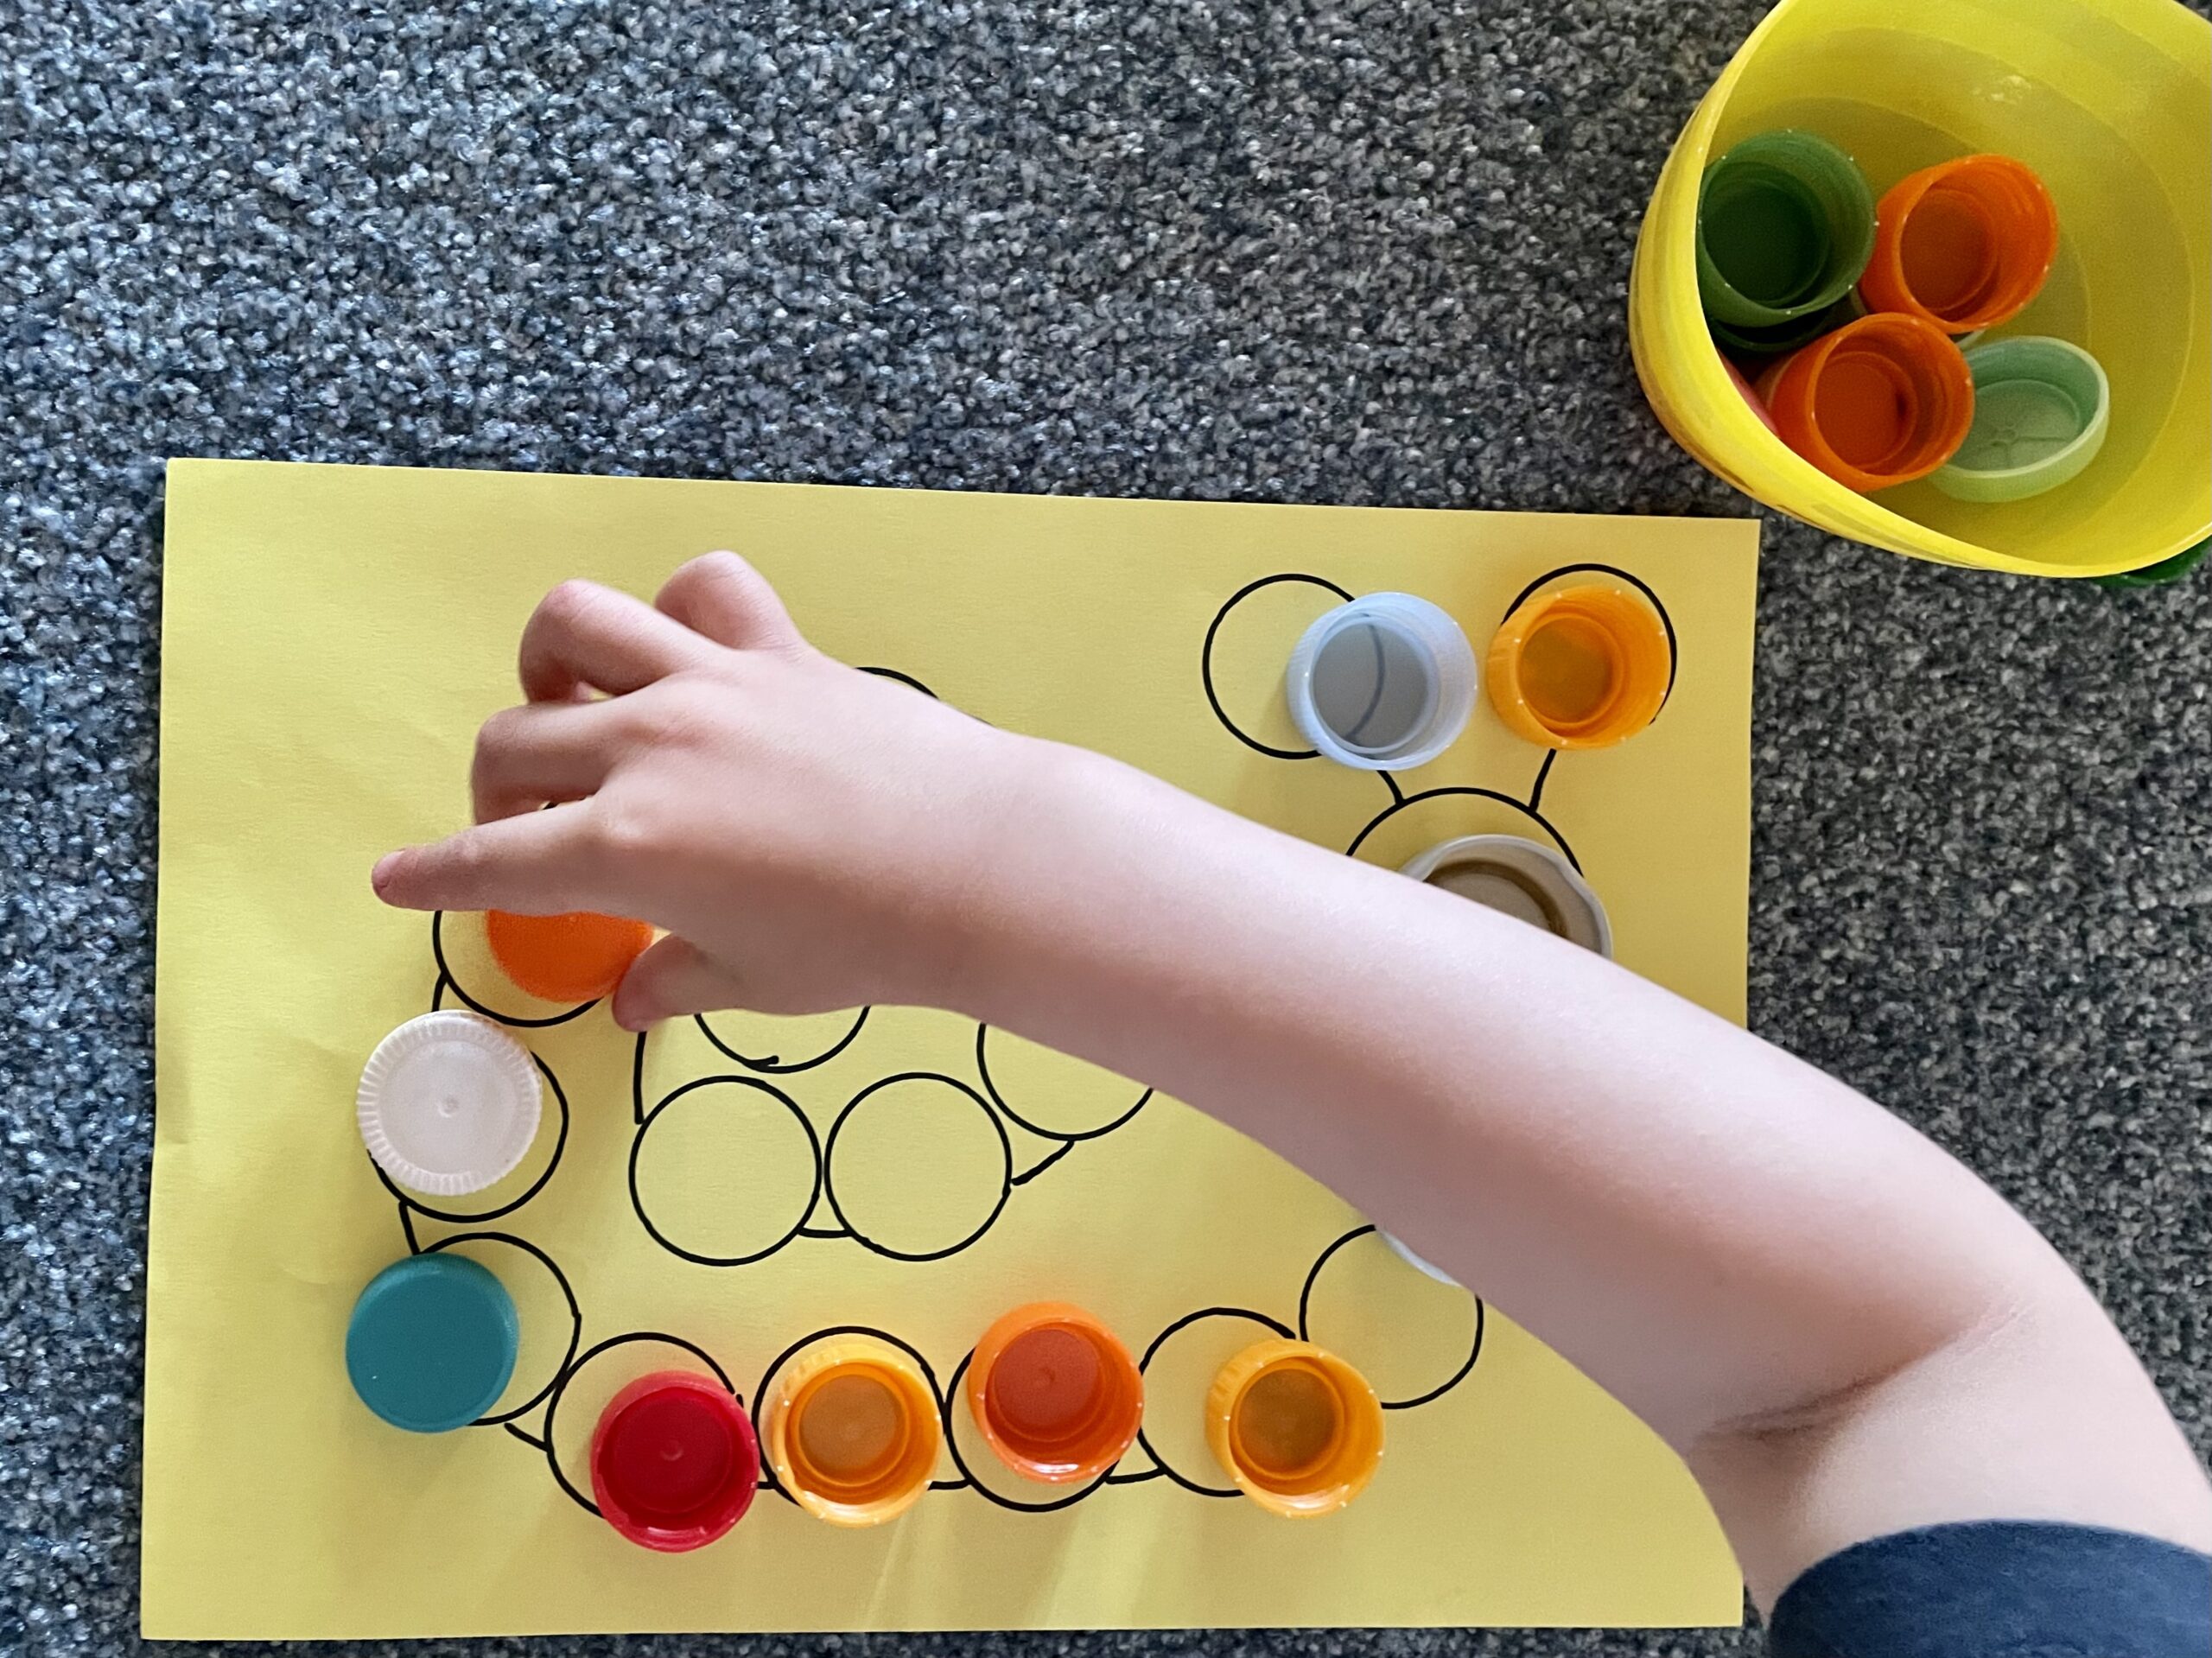


The tray can easily mark the child's workspace and simplify the game.


Yellow: star, sun, moon...
Red: apple, cherries...
Green: Frog, leaf, tractor, tree...
Blue: cloud, car, house...
Colorful: butterfly, flower, castle...
Stay creative! I'm sure you'll come up with some more great ideas!
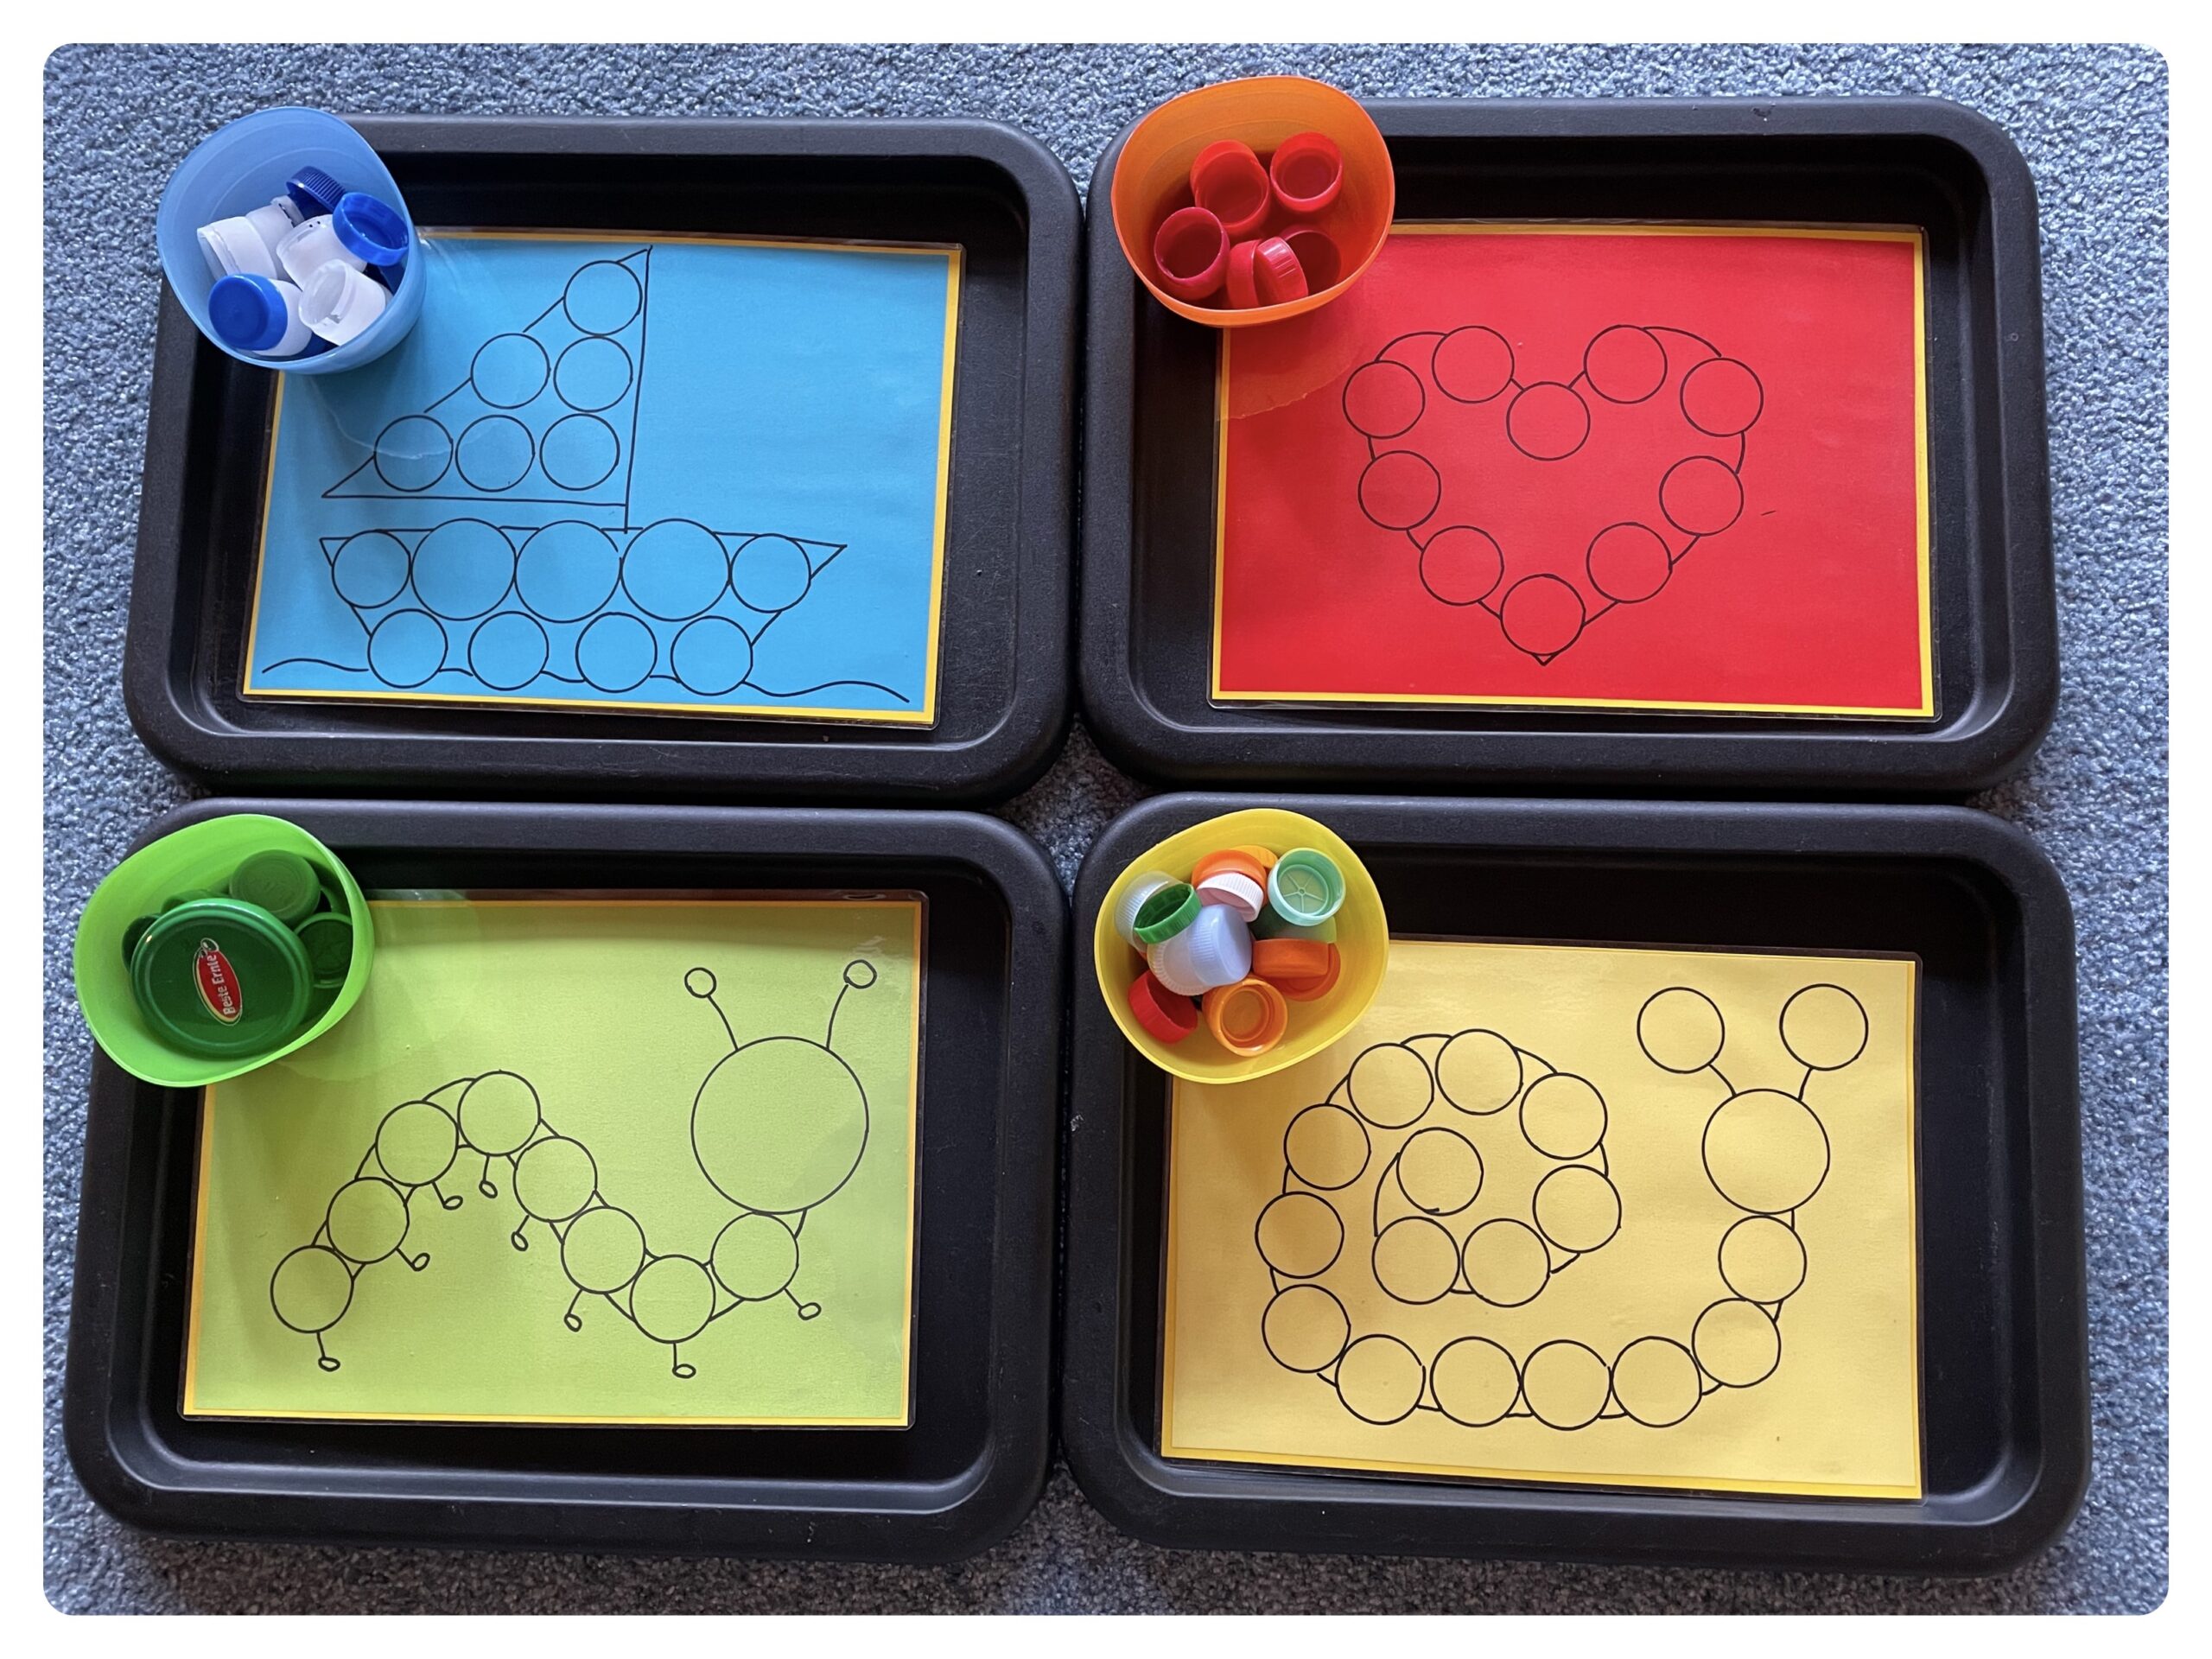


Have fun.
Materials
Directions
Collects different color screw caps from bottles.
Then prepare your materials.
If you have four different lid colors, you can make a picture with one color. Alternatively, you can cover all pictures with colorful lids.
Put a big heart with red lids. Try to place the lids in position until you like it.


Then take a felt pen and circle around each lid. Hold the lid well so that it does not slip.


Each lid position is marked this way.


There are loud circles, in the places where the lids lie.


This is how the finished image can look now.


Let the child try out whether it can cope with the task, because here the motivation is still the greatest.


Tip: As a "error control" you can only provide as many lids as you need to place.


Put the lids in a small bowl, so they are not in the way.


A tray on which the sheet is placed also helps as a limitation.


Put a caterpillar out of lids. For the head you can use a large lid.


Now paint the individual lids again with a felt pen. If you hold the respective lid well, a proper circle is created.


When all the lids are painted, you can embellish the caterpillar a little bit.


Paints legs, feet or feelers, for example.


Then it's again: try it out!


Do the amount of lids match the painted circles?


Again, a small bowl helps to collect the lids and a tray to be able to "work" well. Try it out.


This is a variant with two differently colored lids. Lays e.g. a sailboat.


Repaint each lid with the felt pen.


That's what the picture might look like.


To better recognize the sailboat, you can add lines to the motif or paint water.


Then it's again: try it out!


All the lids have already found their place here.


Again, the tray helps!


If you have collected different lid colors, these can also be used mixed in the motifs. For example, place a snail with colourful lids.


Here, too, repaints the lids with the felt pen.


So each lid gets a circle marked as a place.


With a connecting line between the individual circles, the snail is better recognizable.


Then you can collect all the lids again in a bowl and start trying.


Here, too, you can decide whether to provide more lids or just put the required amount in the bowl.


The tray can easily mark the child's workspace and simplify the game.


Yellow: star, sun, moon...
Red: apple, cherries...
Green: Frog, leaf, tractor, tree...
Blue: cloud, car, house...
Colorful: butterfly, flower, castle...
Stay creative! I'm sure you'll come up with some more great ideas!


Have fun.
Follow us on Facebook , Instagram and Pinterest
Don't miss any more adventures: Our bottle mail


