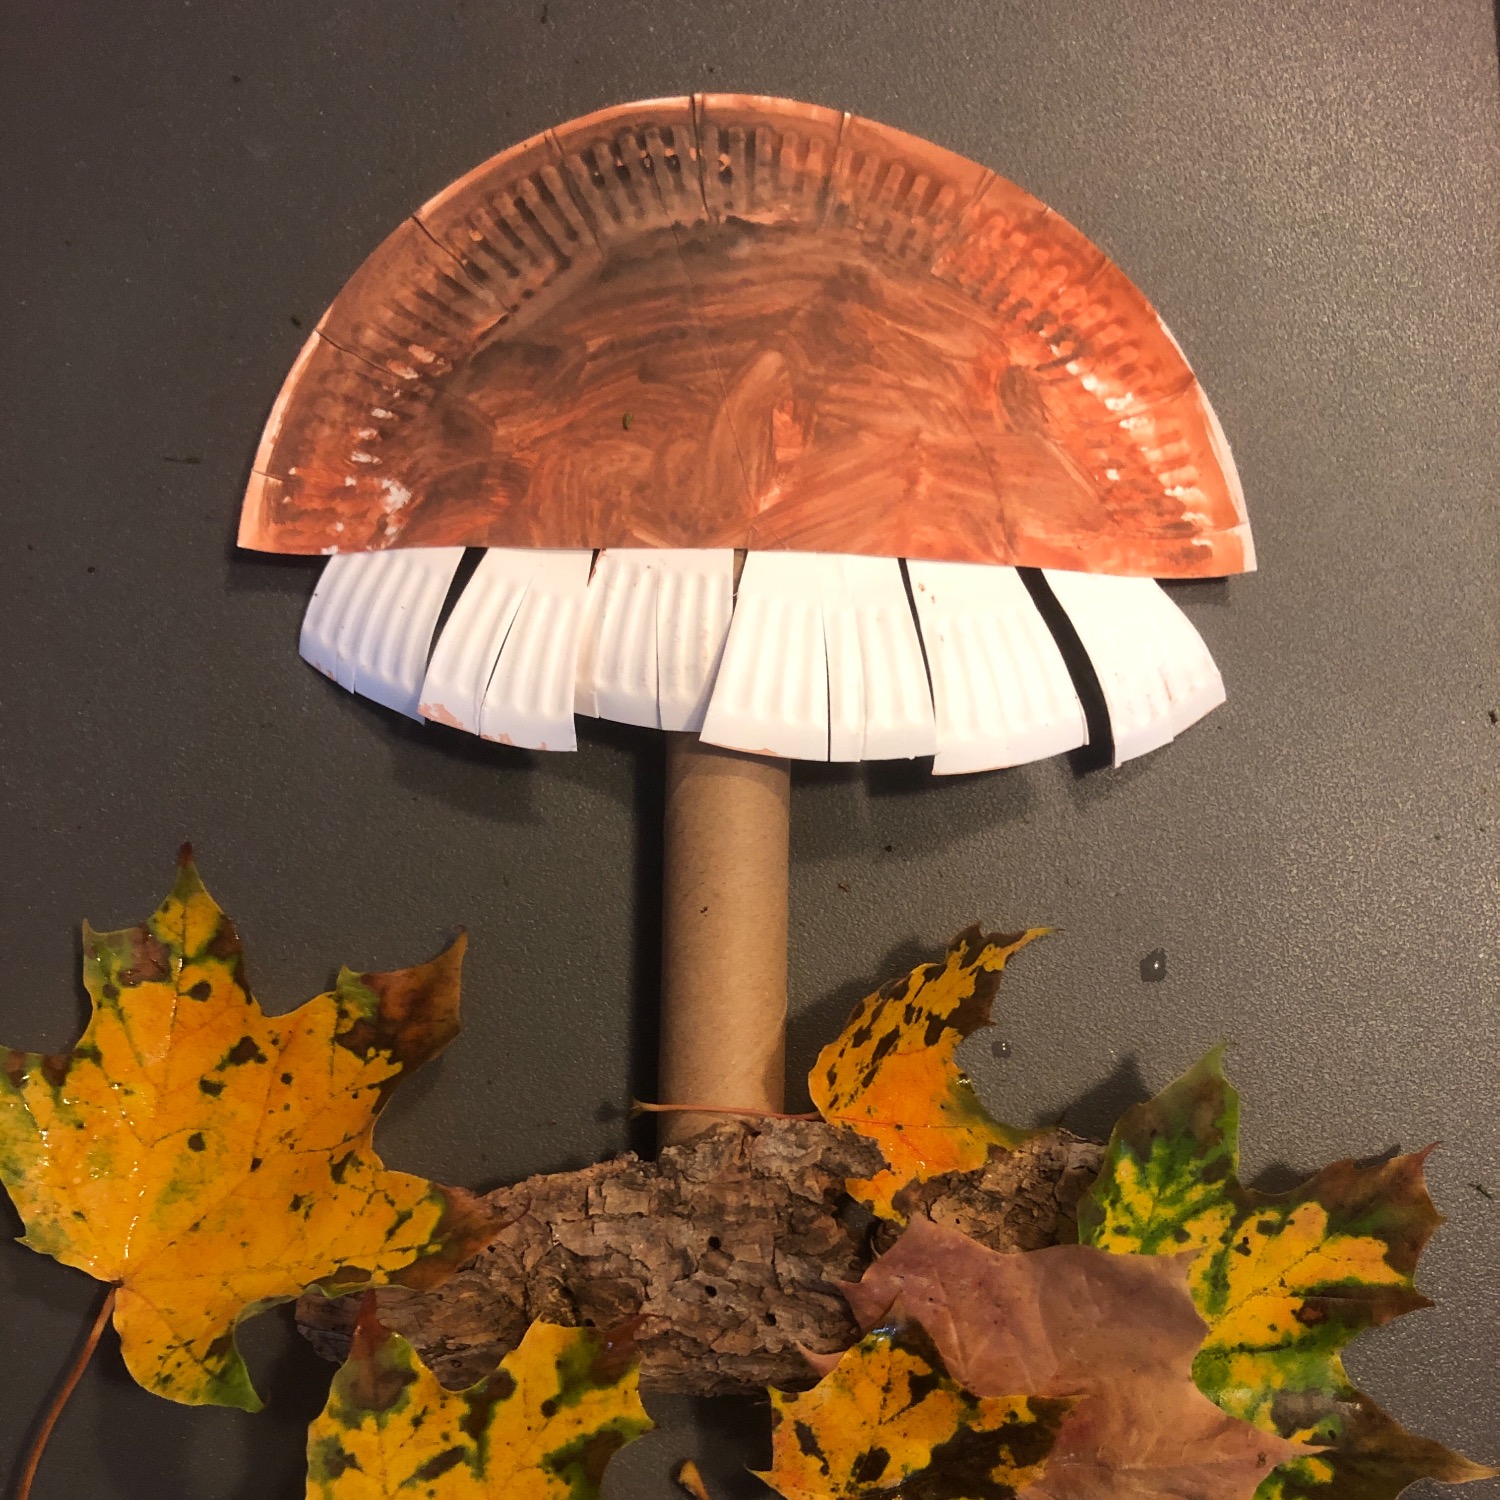
What does a fungus look like? With only a few materials we make a fungus. The children learn from which parts a fungus consists and can train their dexterity. Maybe you have a real fungus, which you can add as a visual object.
You need a cardboard plate, a thin cardboard roll, water colours and a few natural materials such as bark, moss and leaves.
Media Education for Kindergarten and Hort

Relief in everyday life, targeted promotion of individual children, independent learning and - without any pre-knowledge already usable by the youngest!
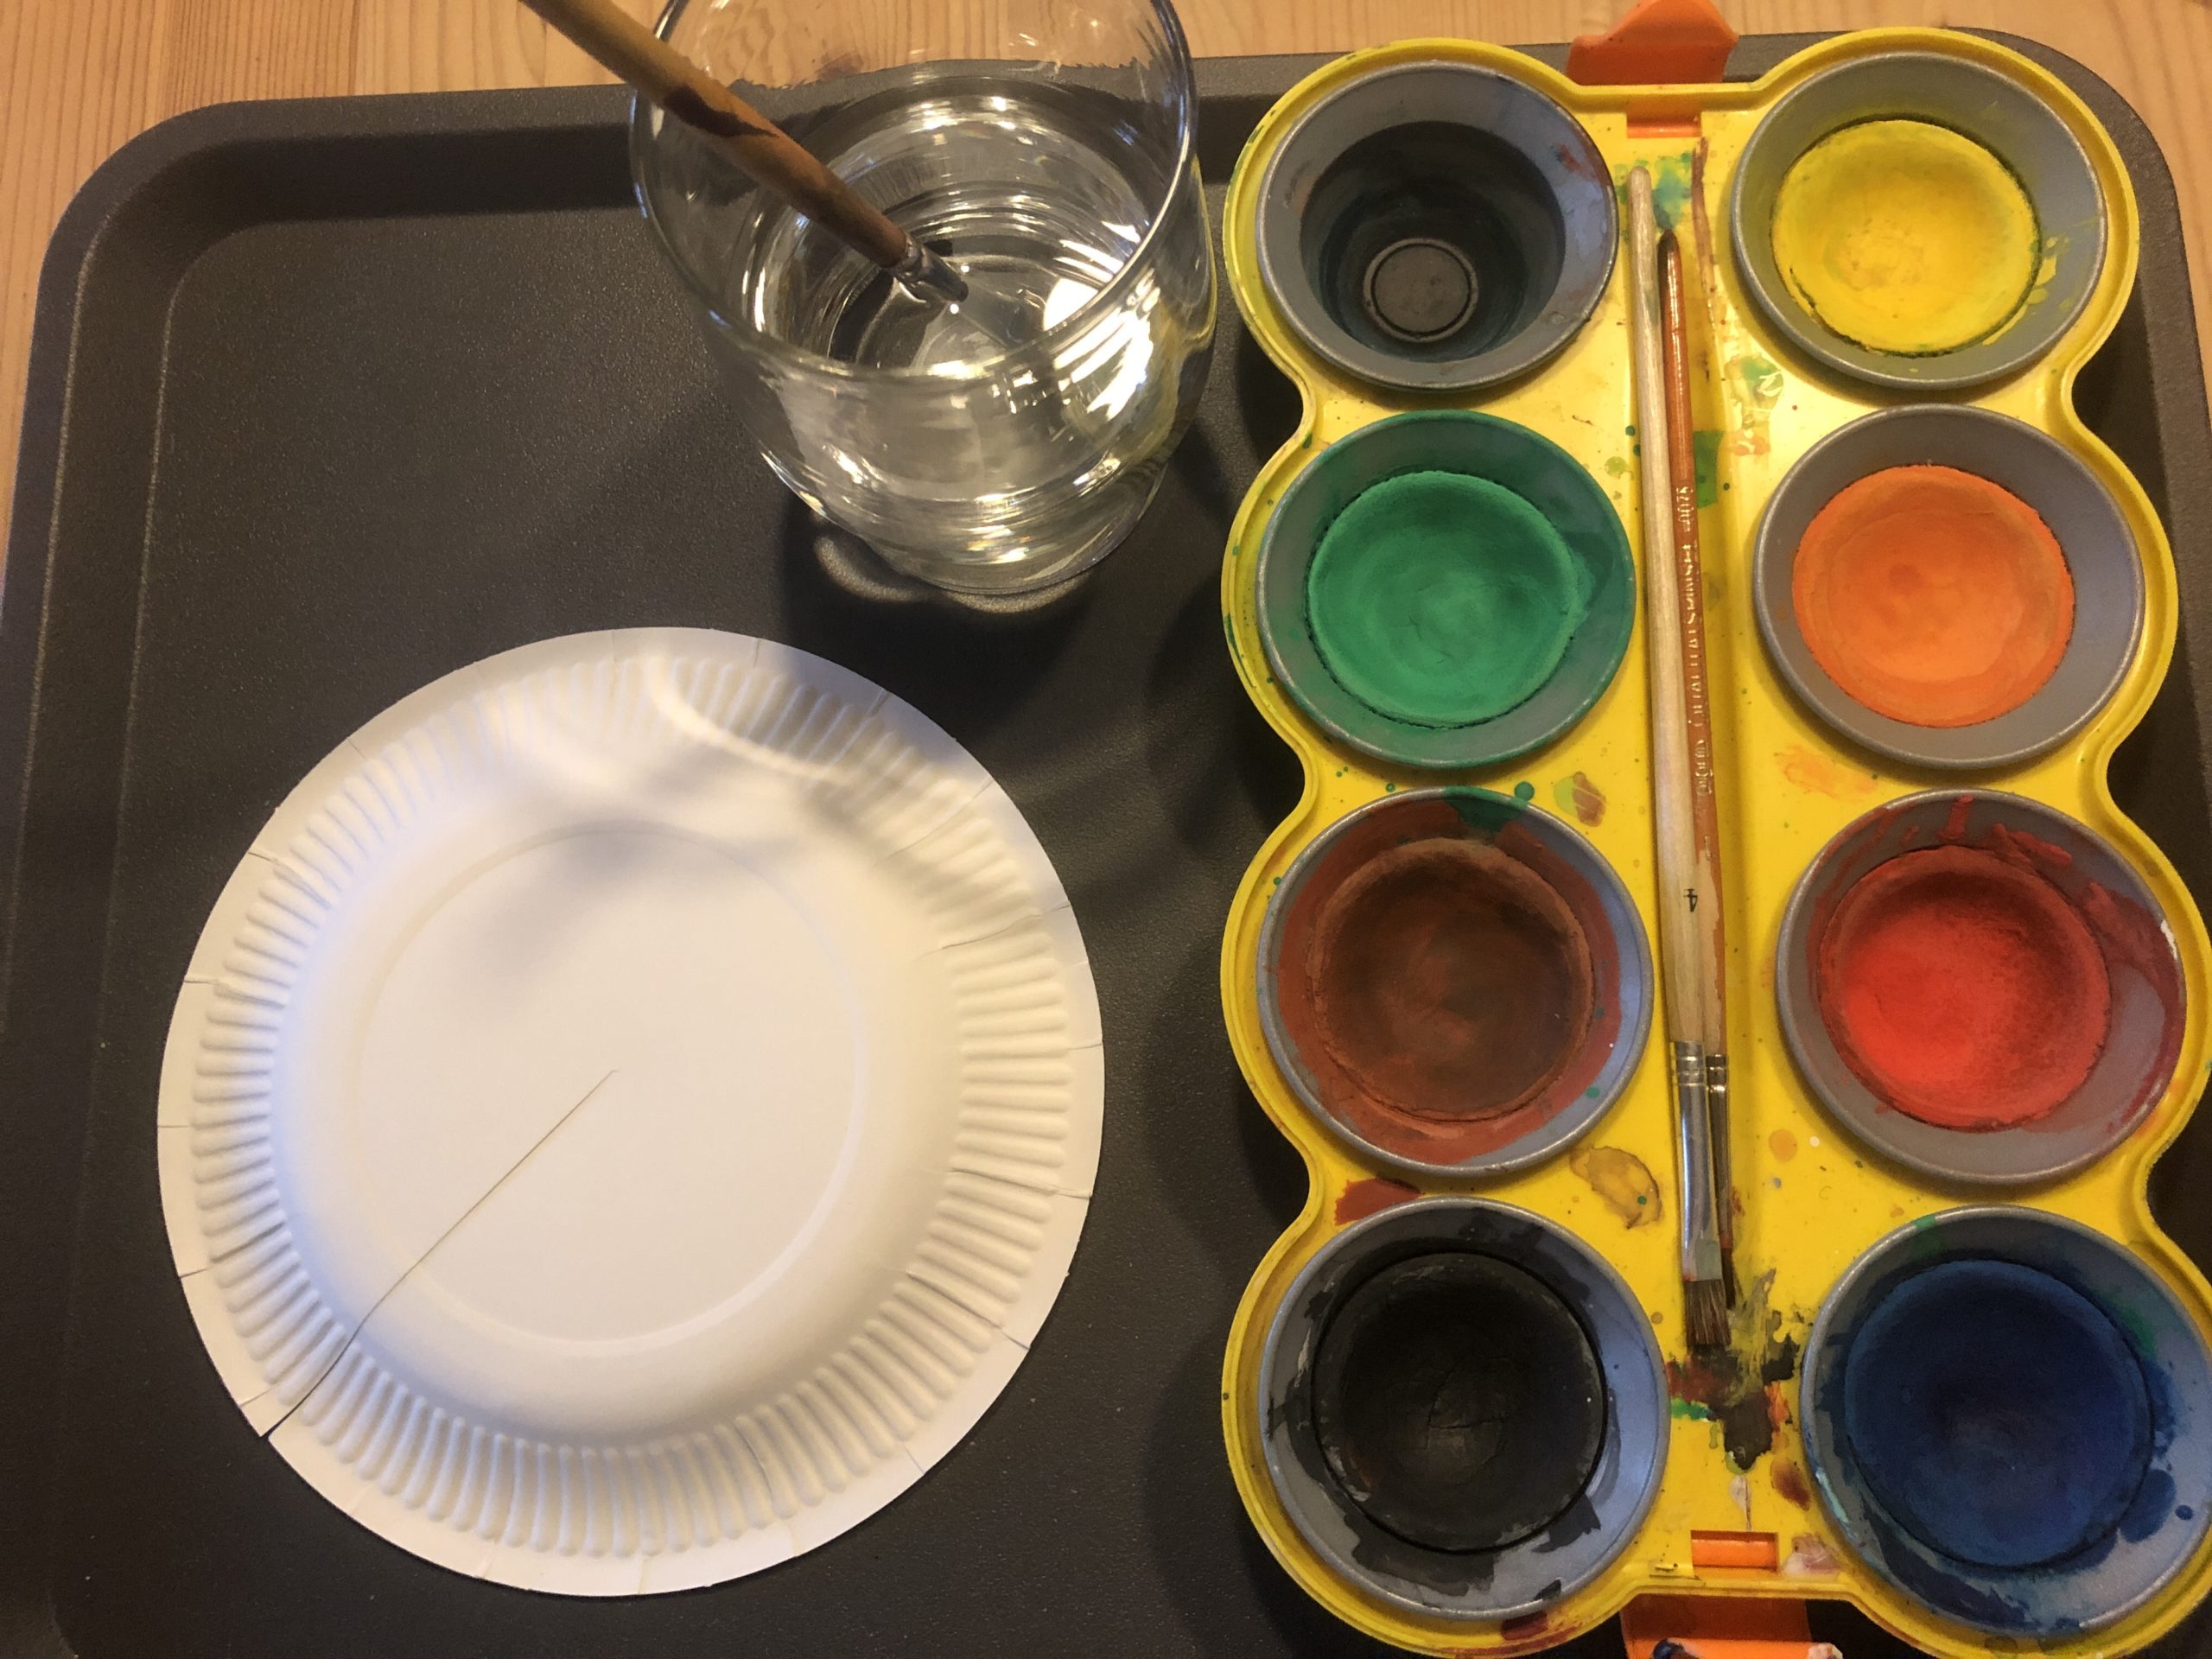
Prepare your painting sheet and put on your painting coat.
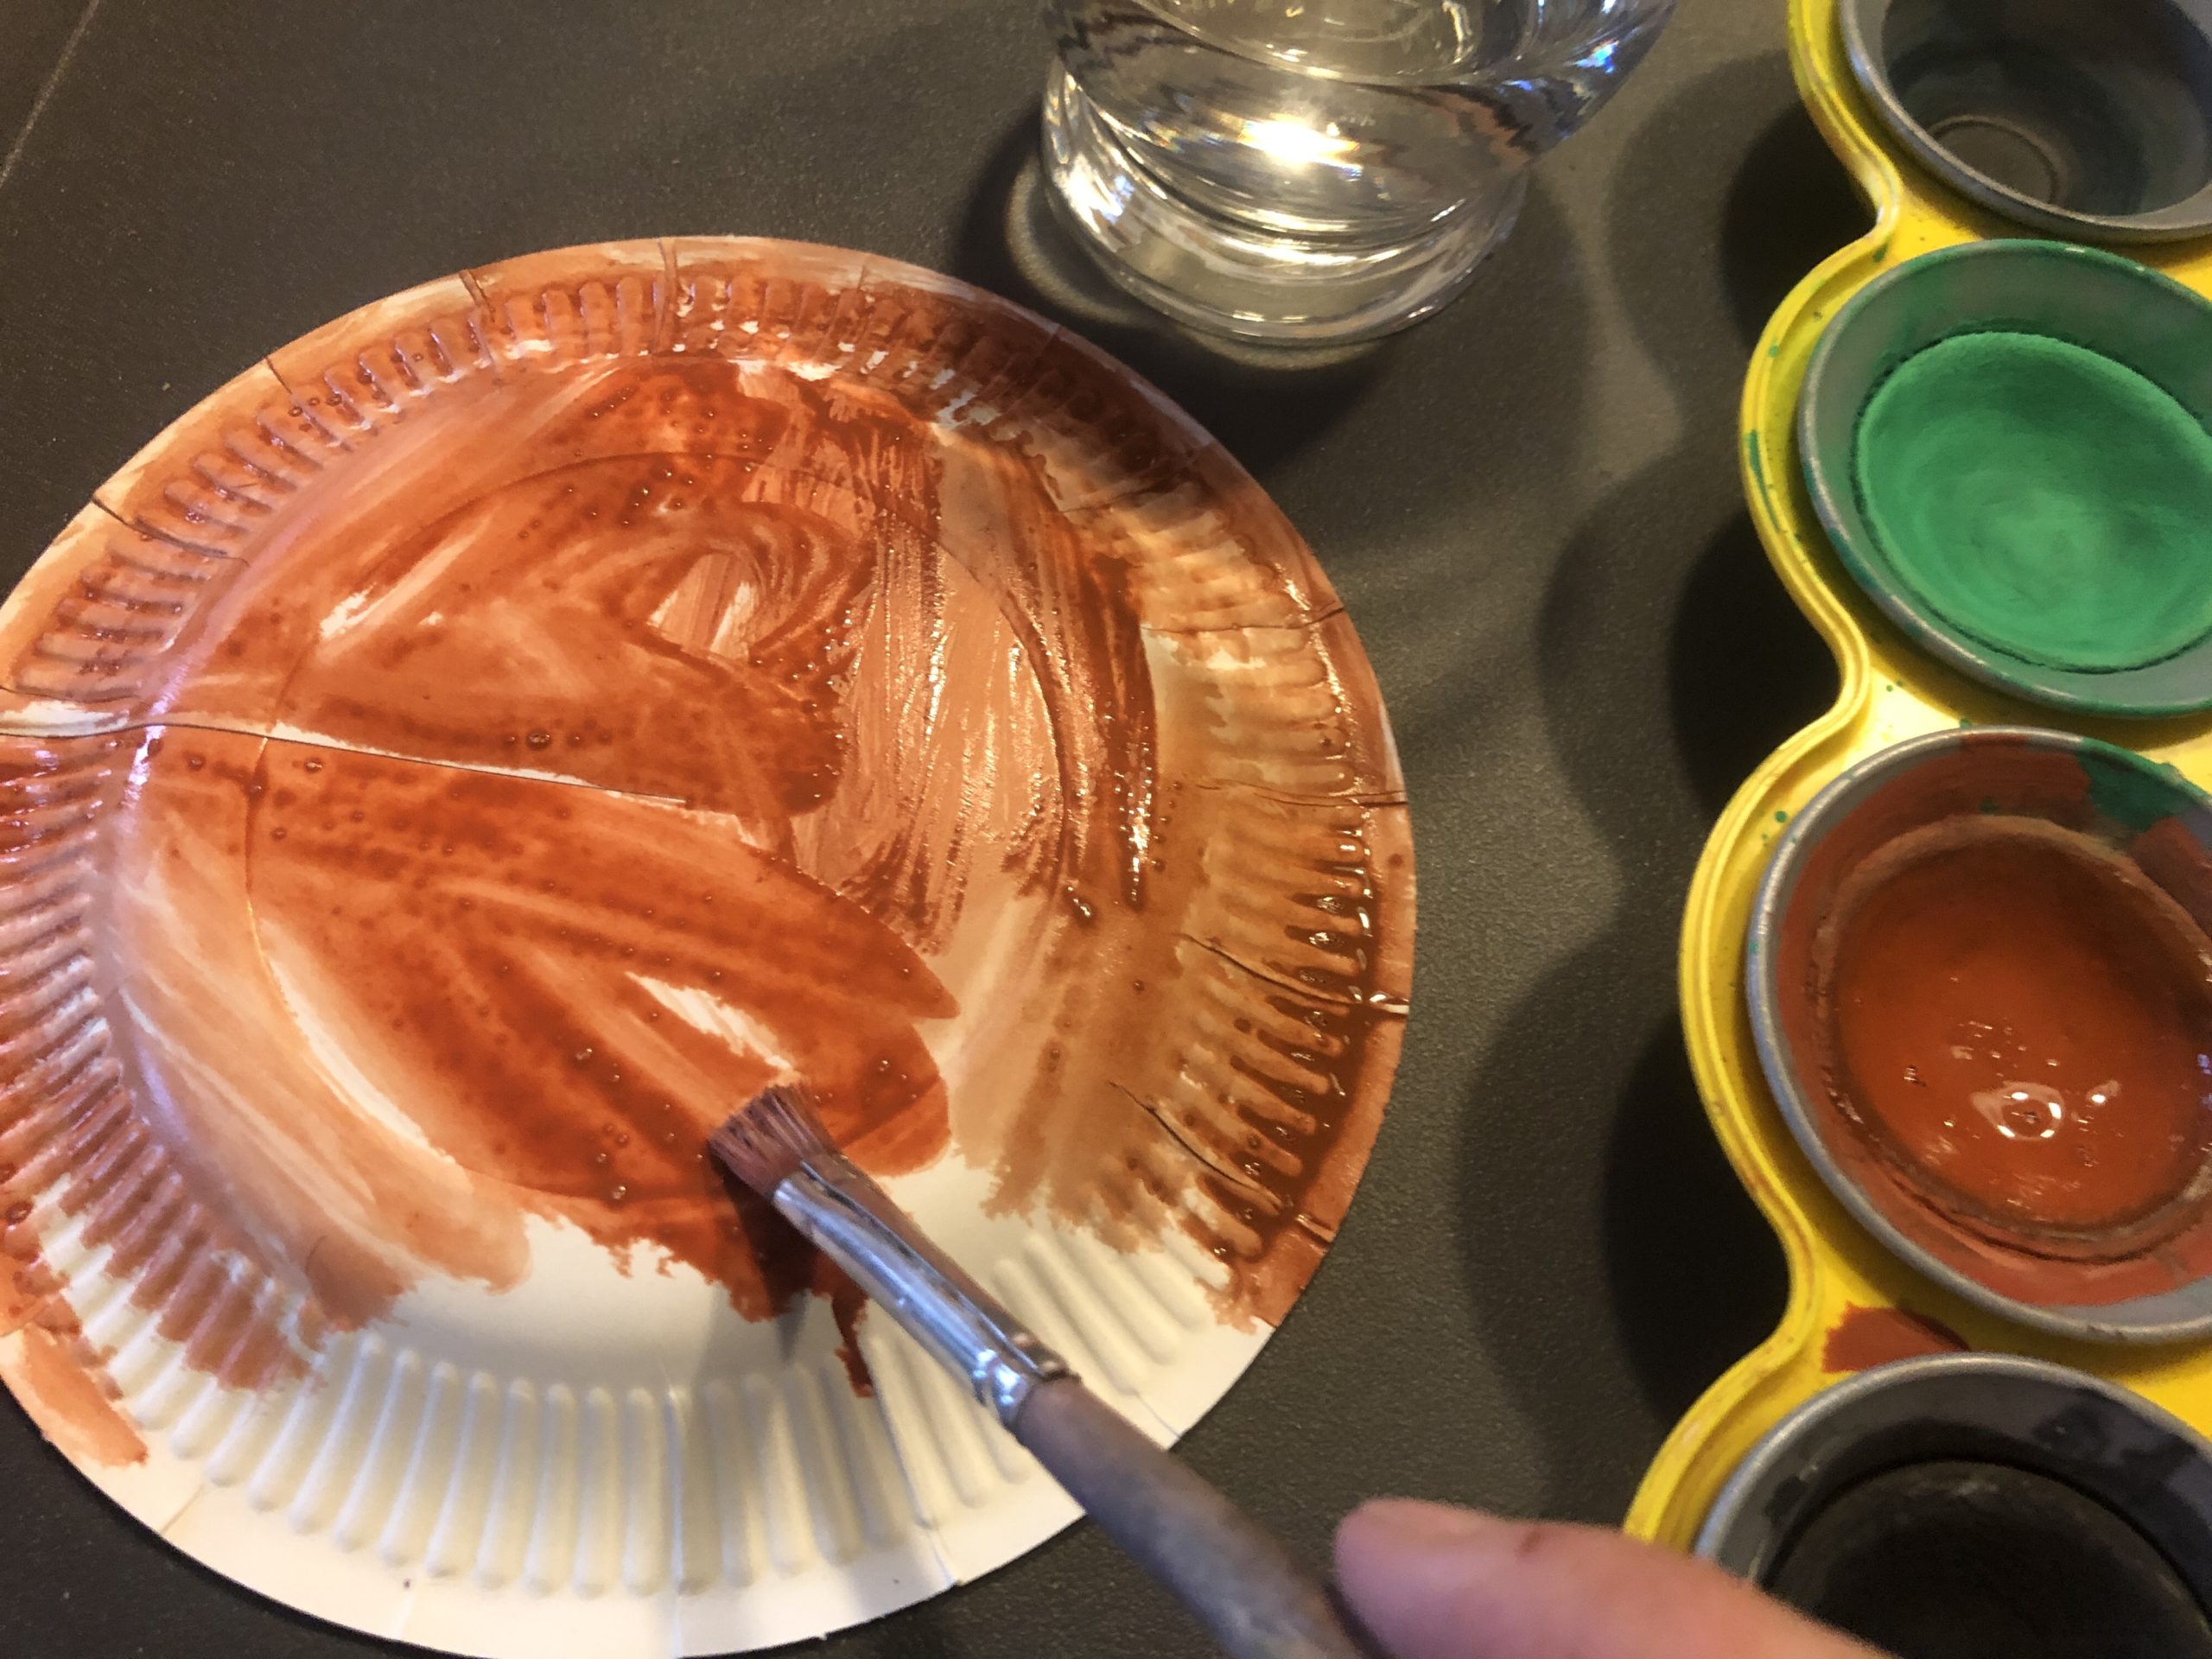
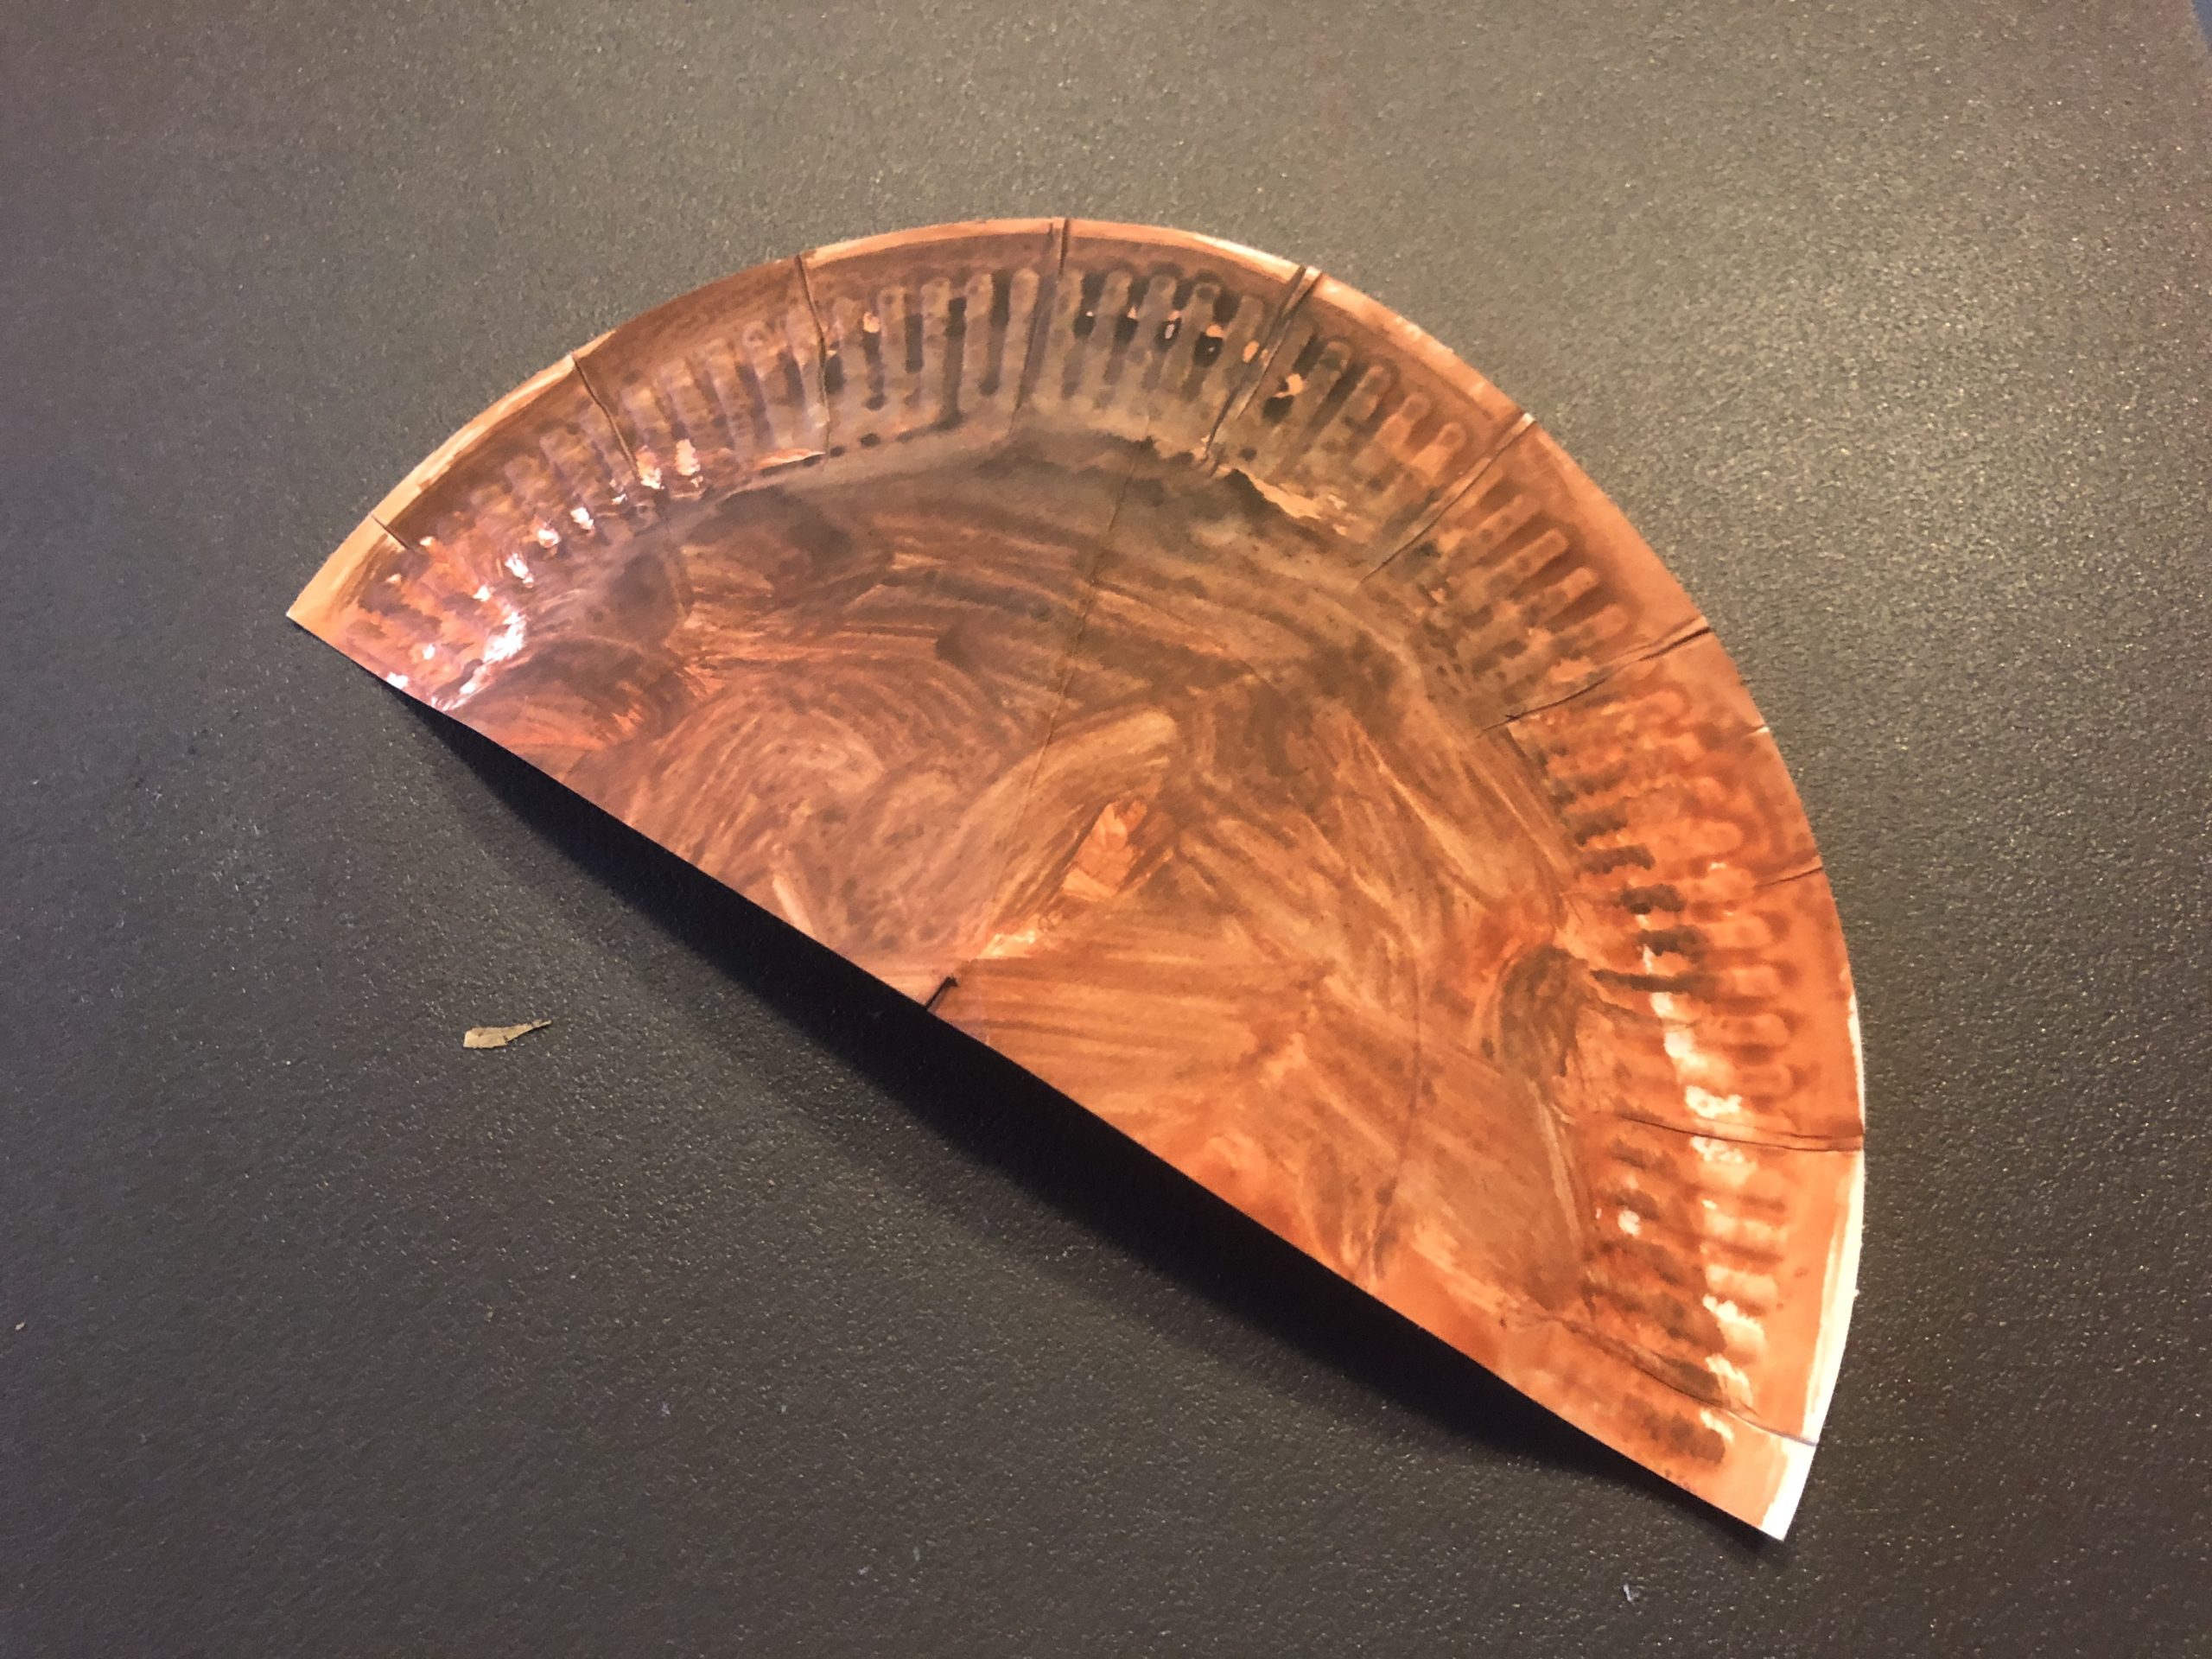
Now you paint the cardboard plate with brown water color.


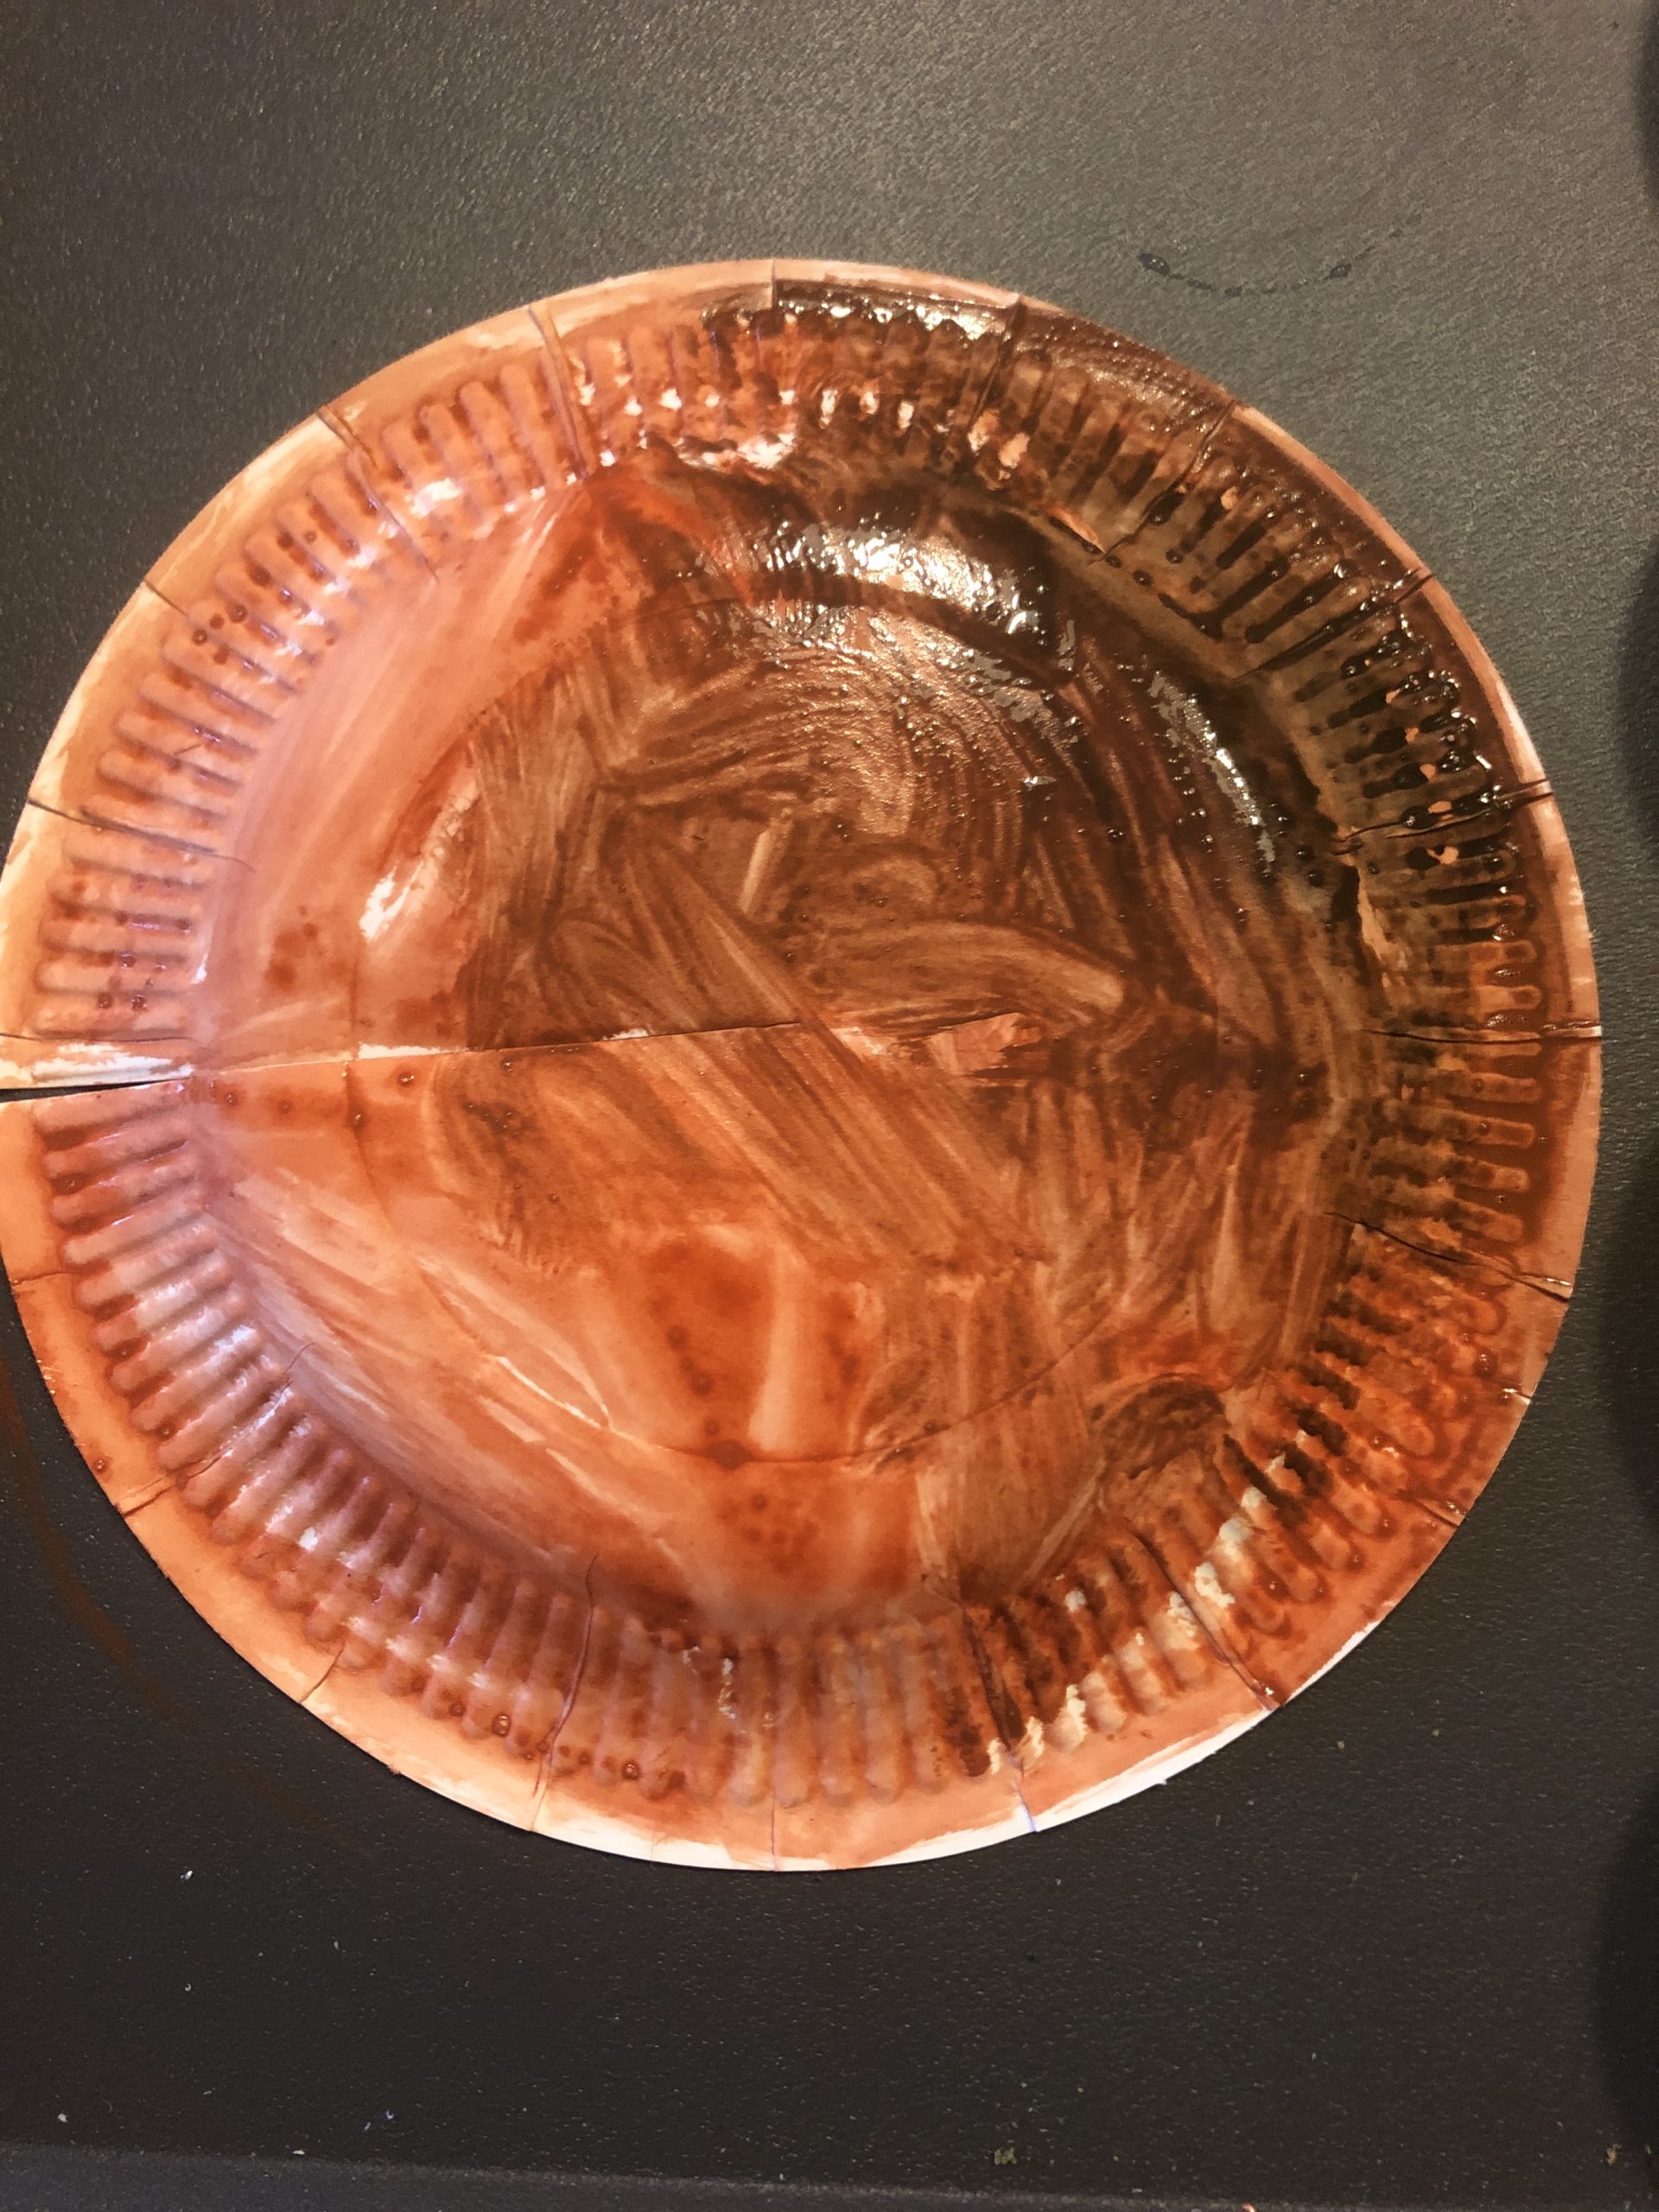
Then put it to dry.


Now you cut the plate in the middle.
This half of the plate is the mushroom hat.


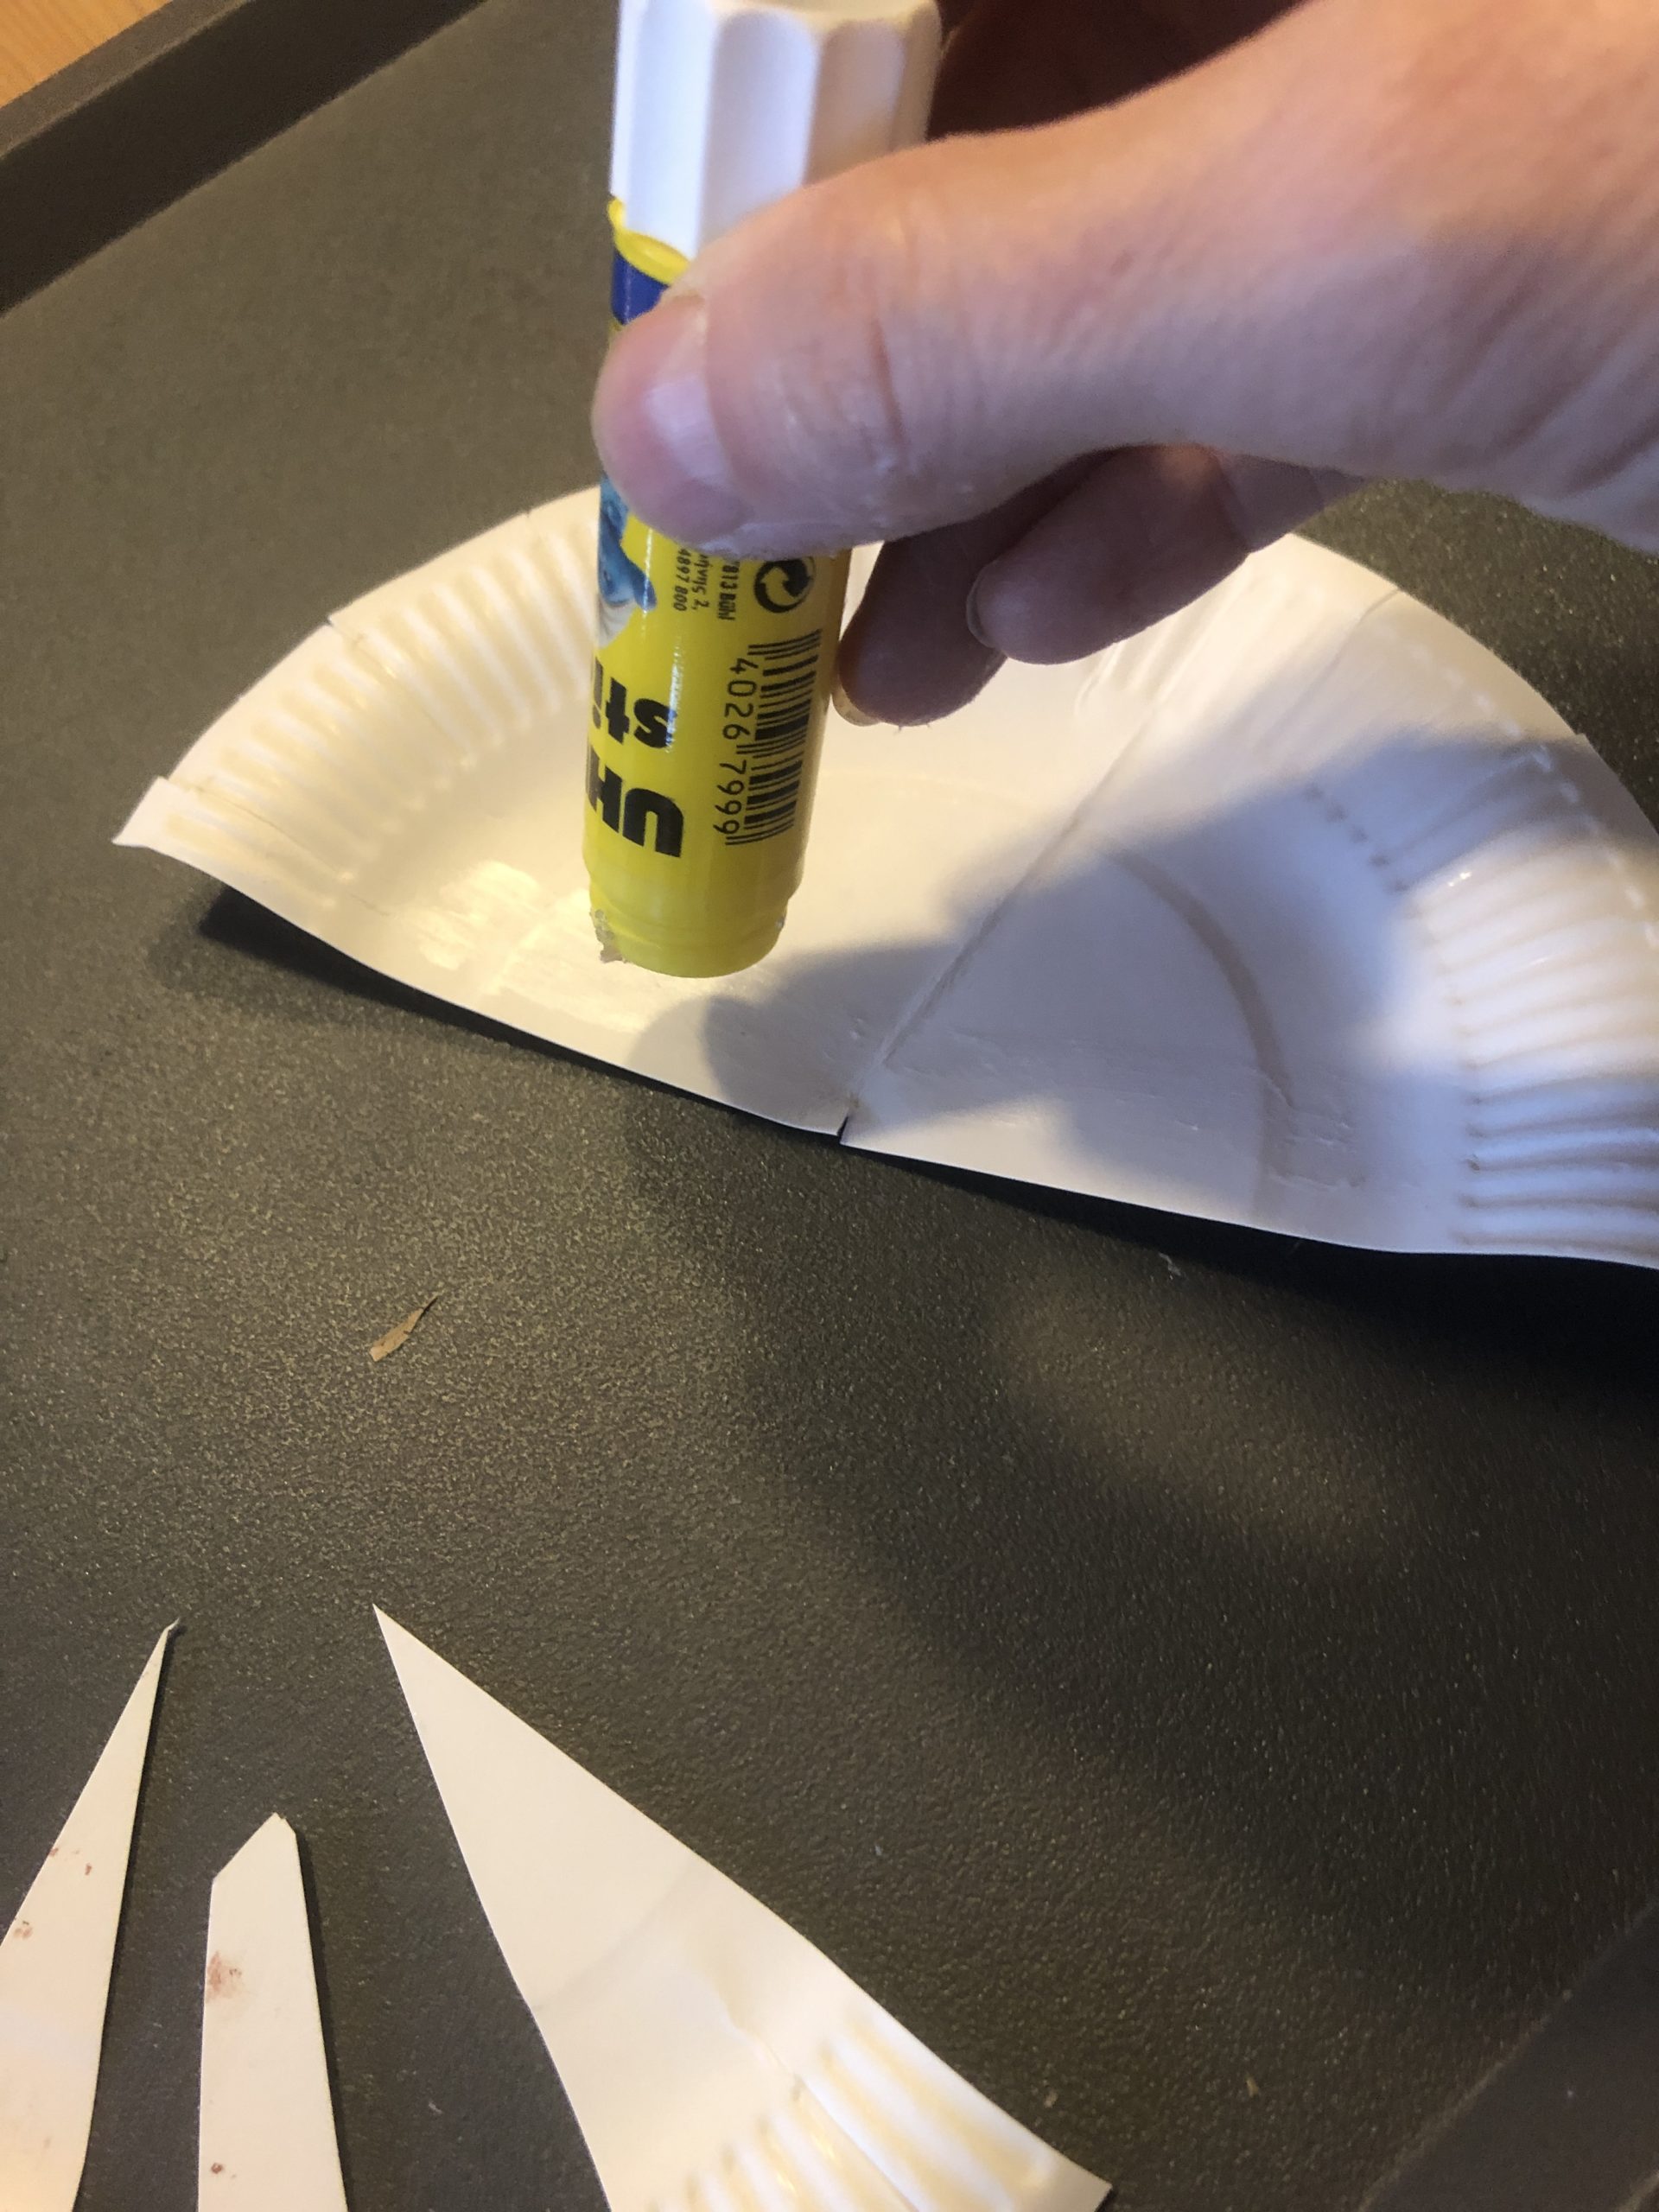
From the other half you cut thin strips. They become lamellas of the fungus.
Now stick it to the back of the mushroom hat.


Stick it up so the white side looks forward.


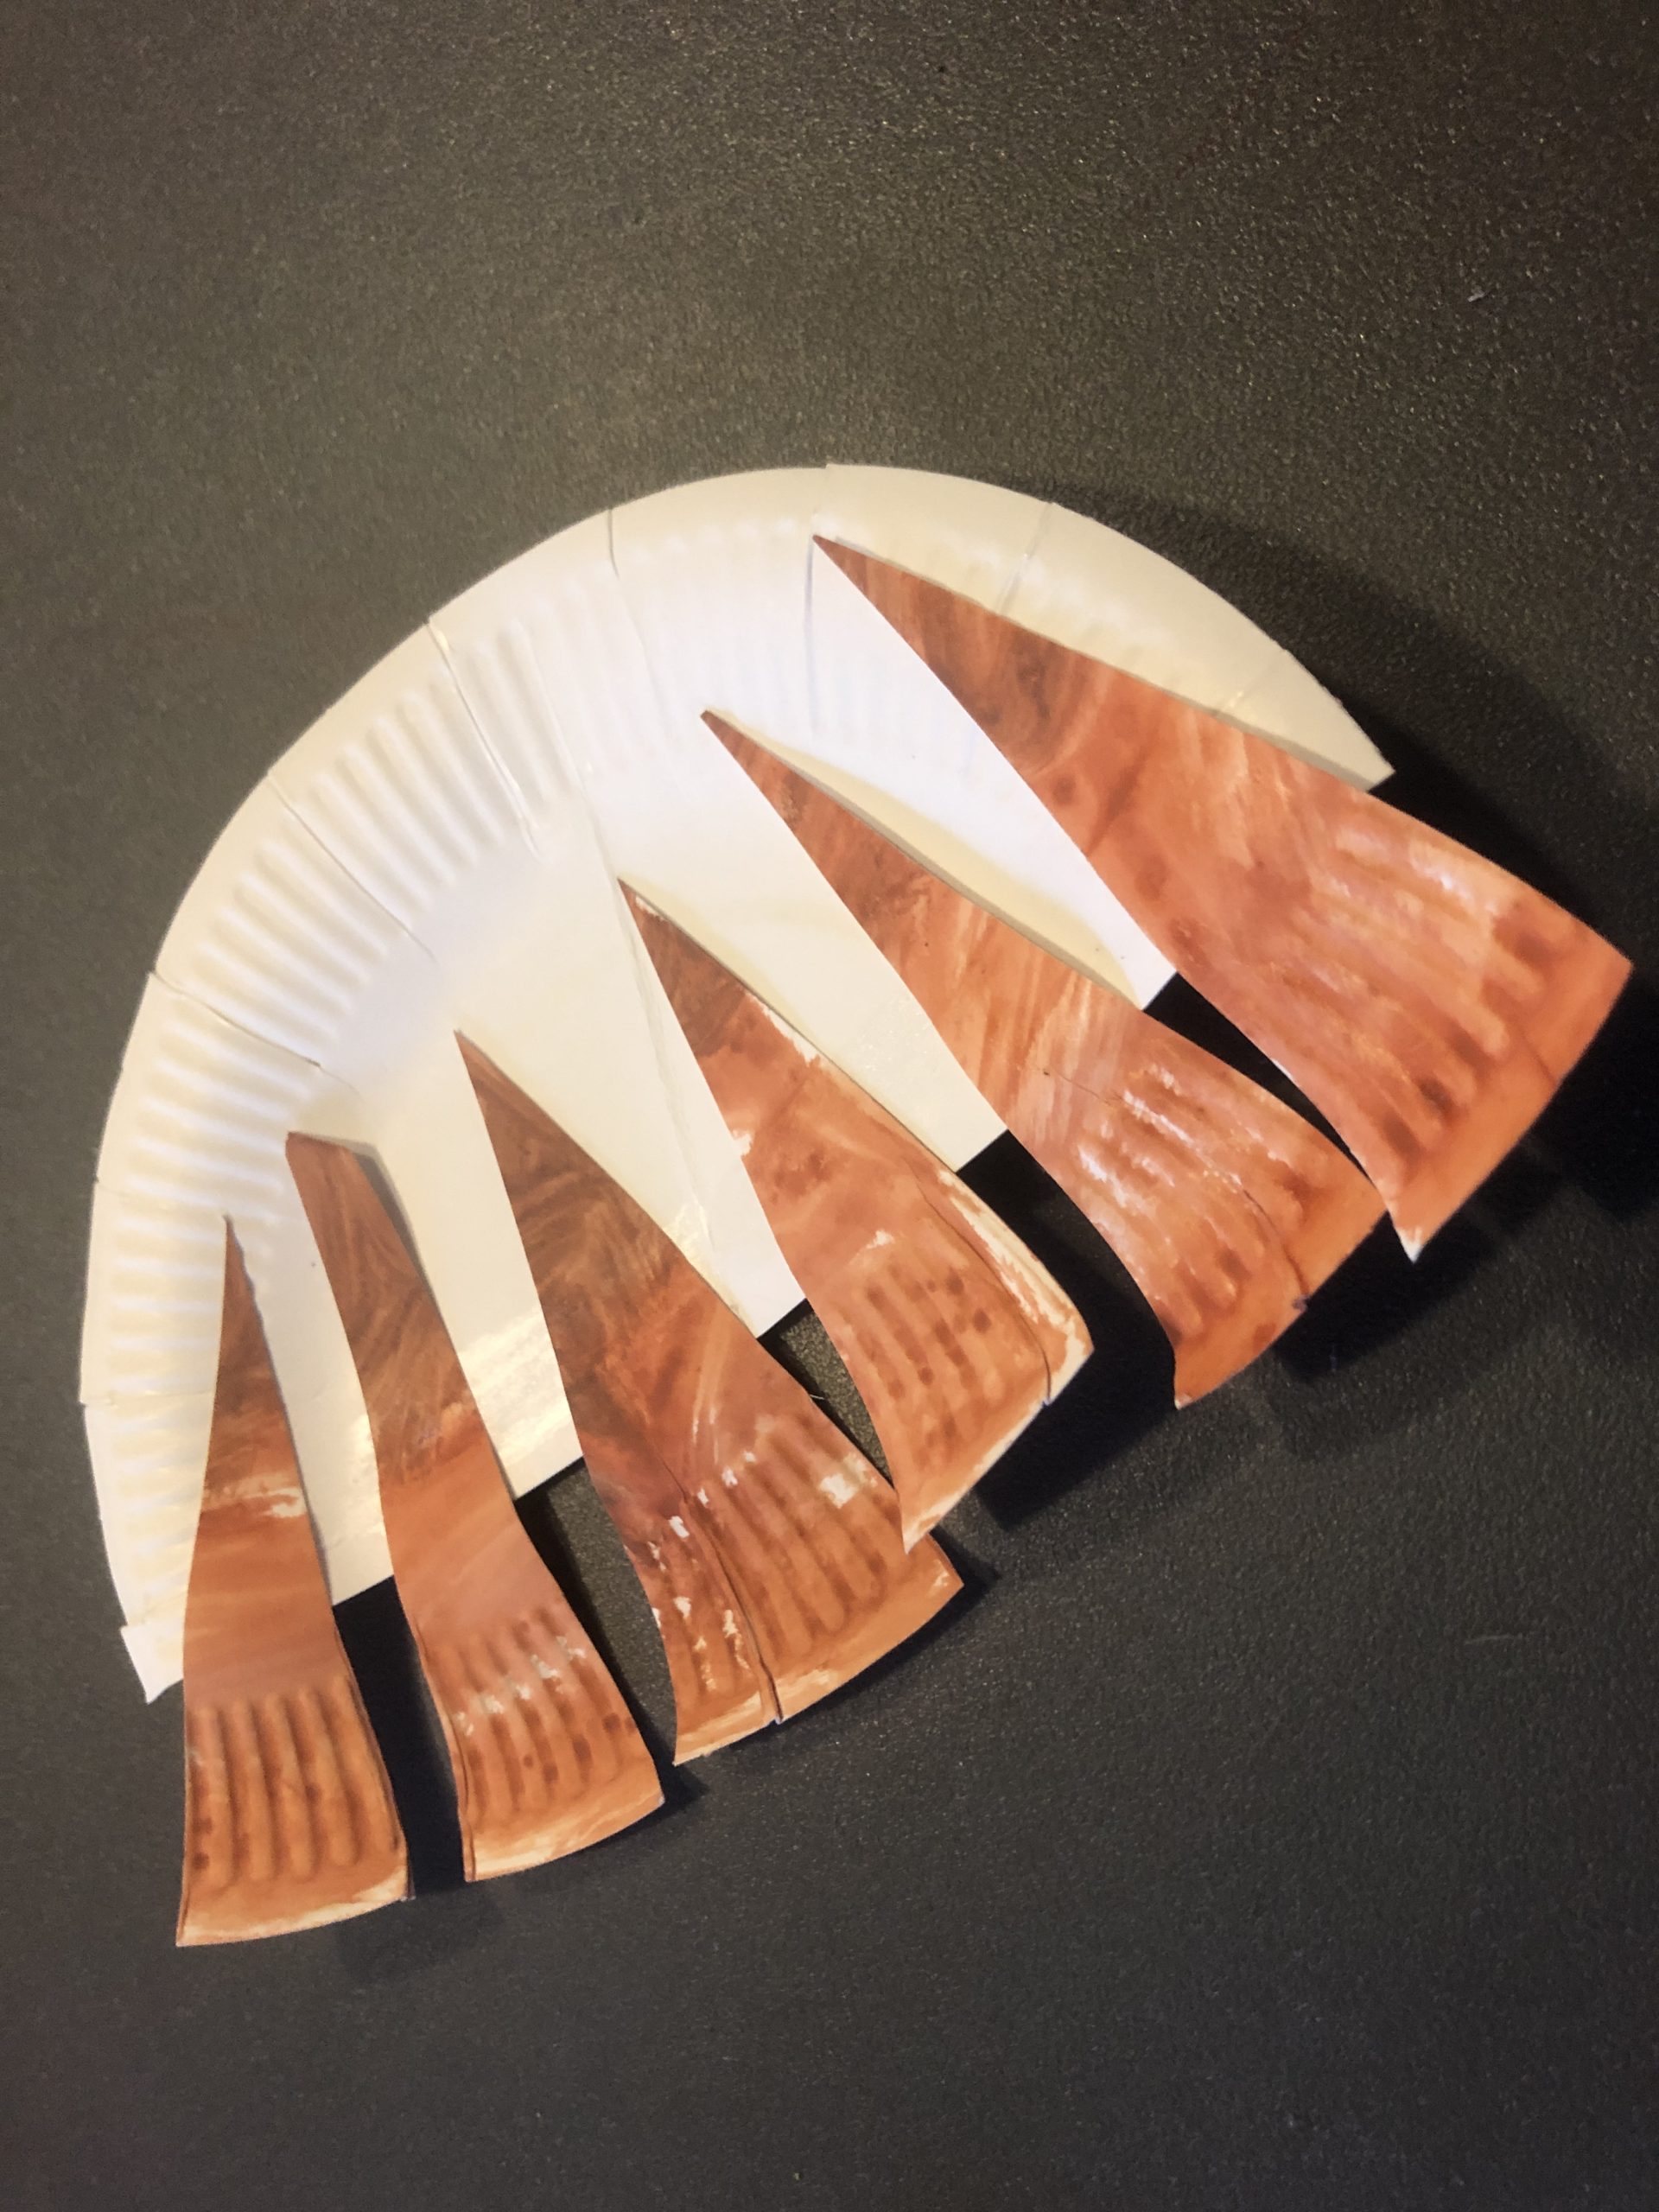


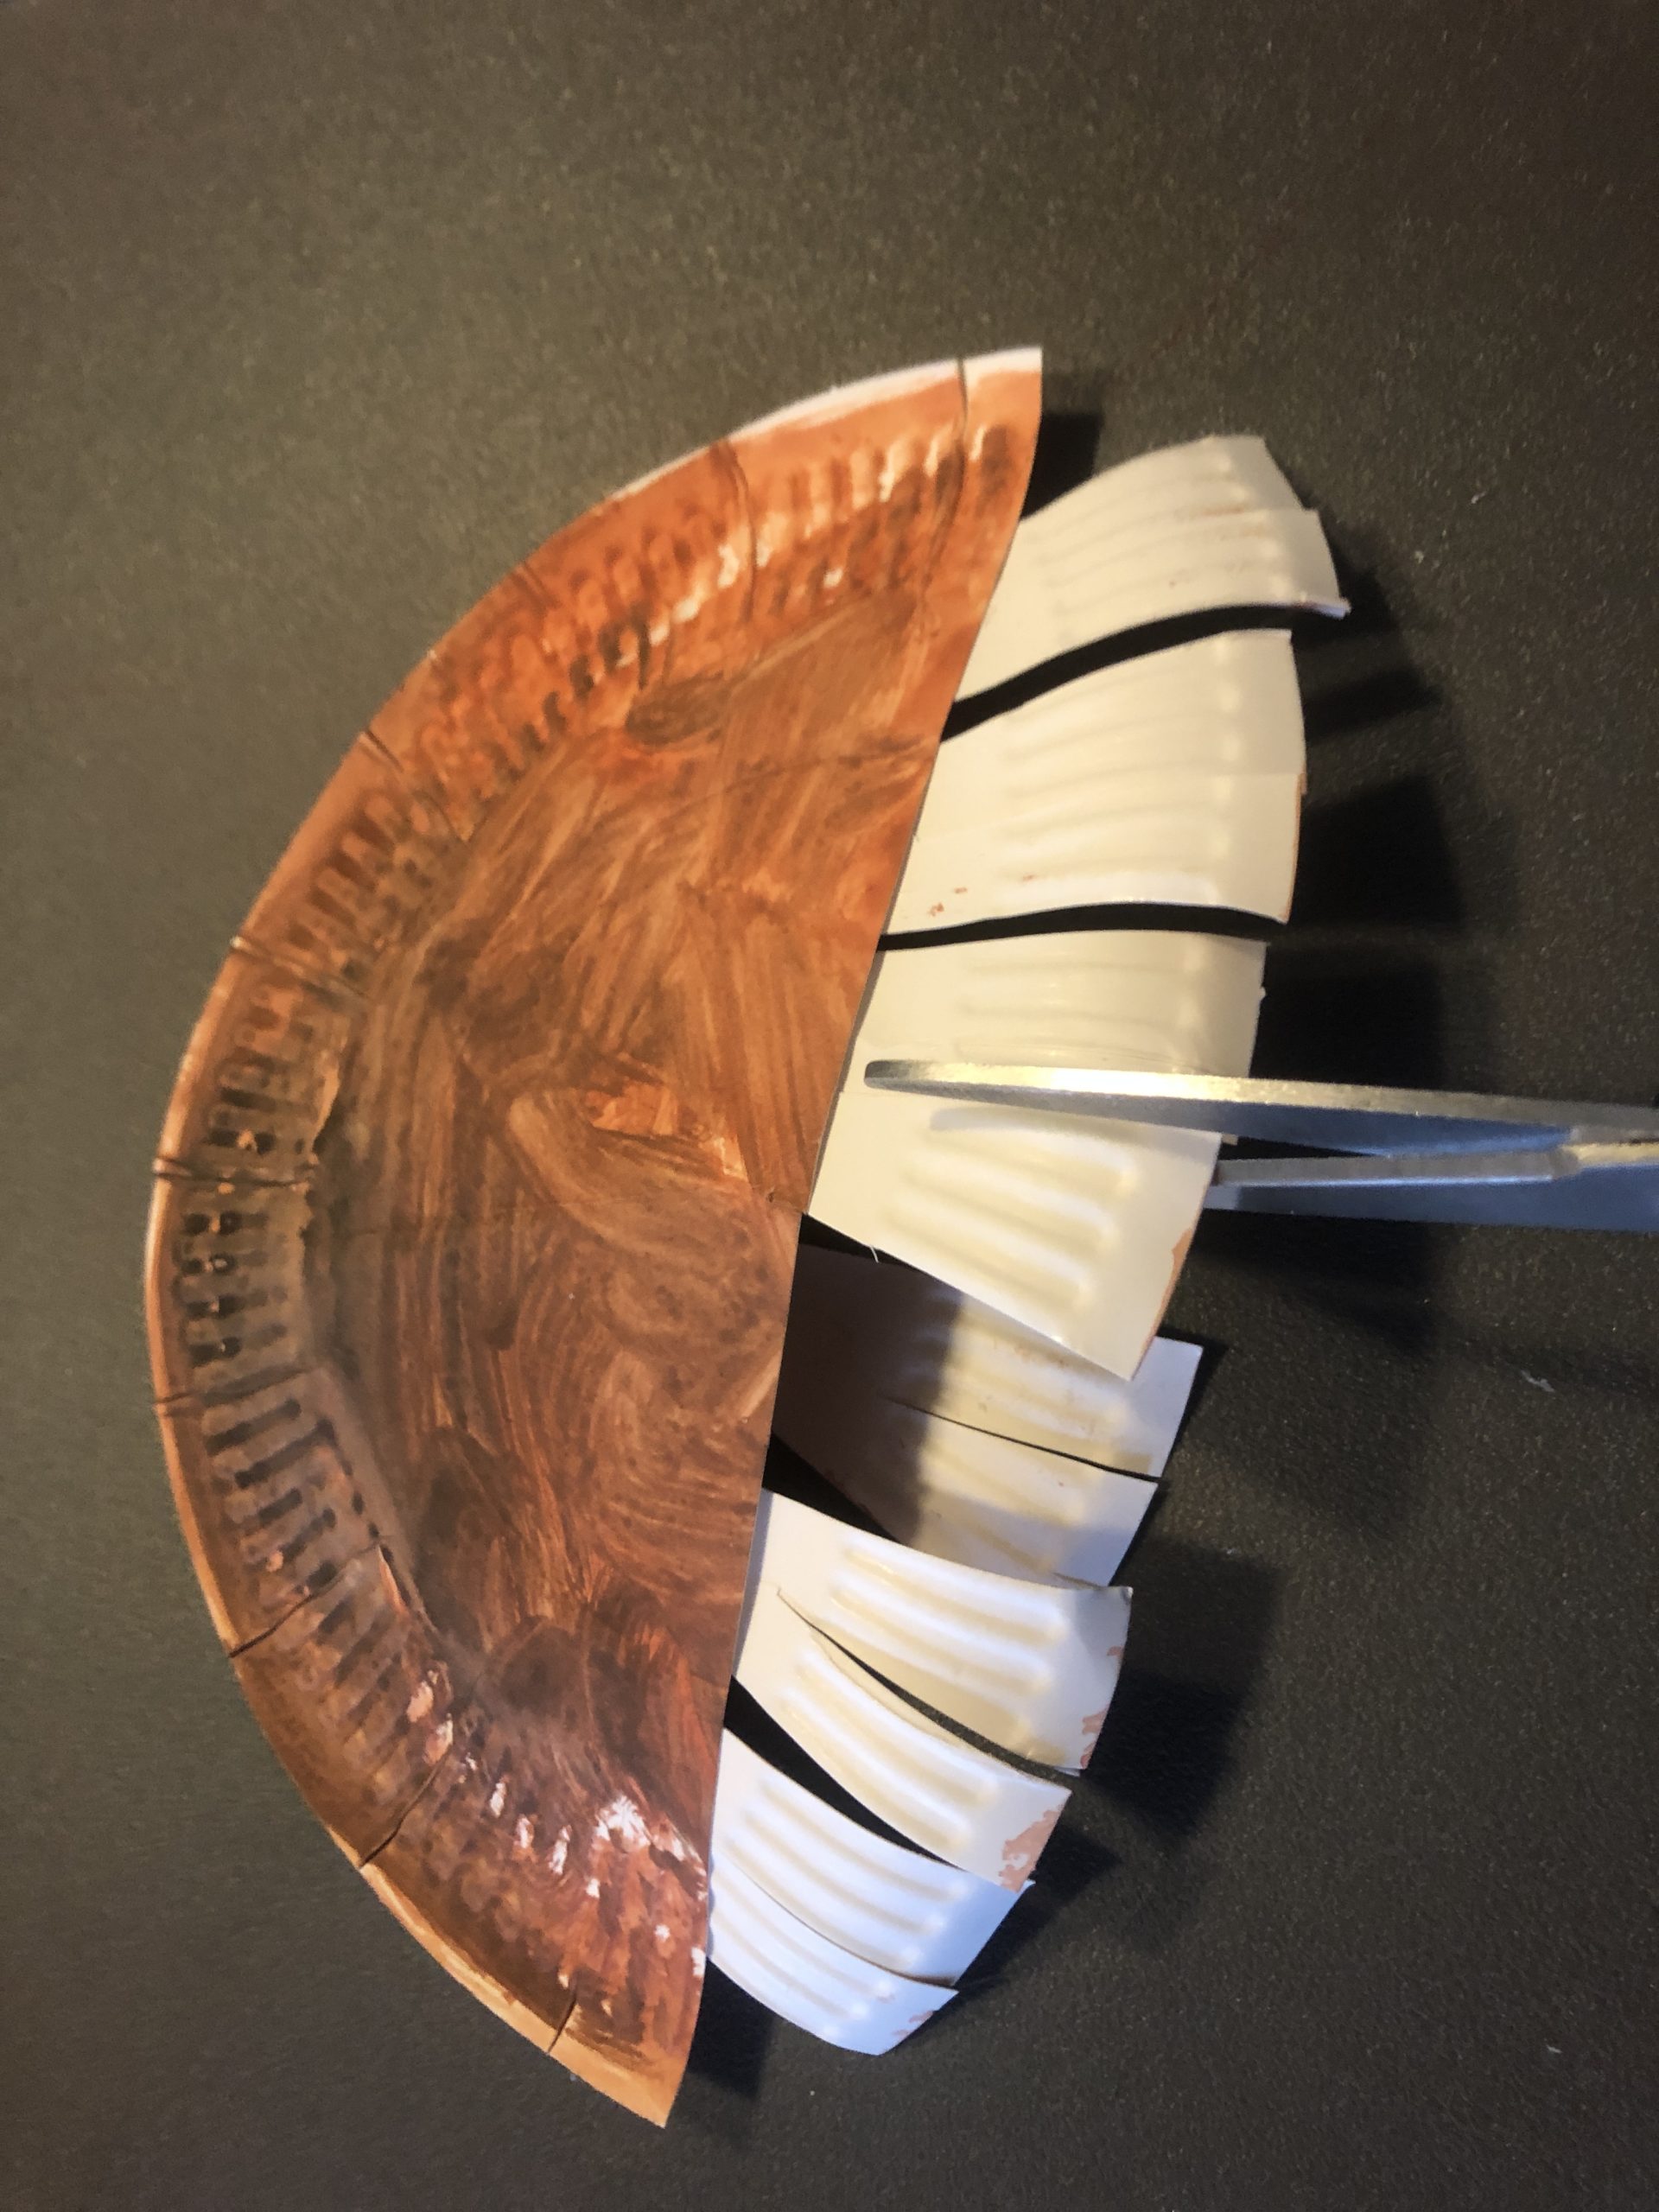
The attached lamellas are now cut in with the scissors. Since the lamellas of a real fungus are very thin.


Then stick the thin cardboard roll as a mushroom handle on the back. For this you need a hot glue gun if necessary. Attention when handling the hot glue. This needs practice!
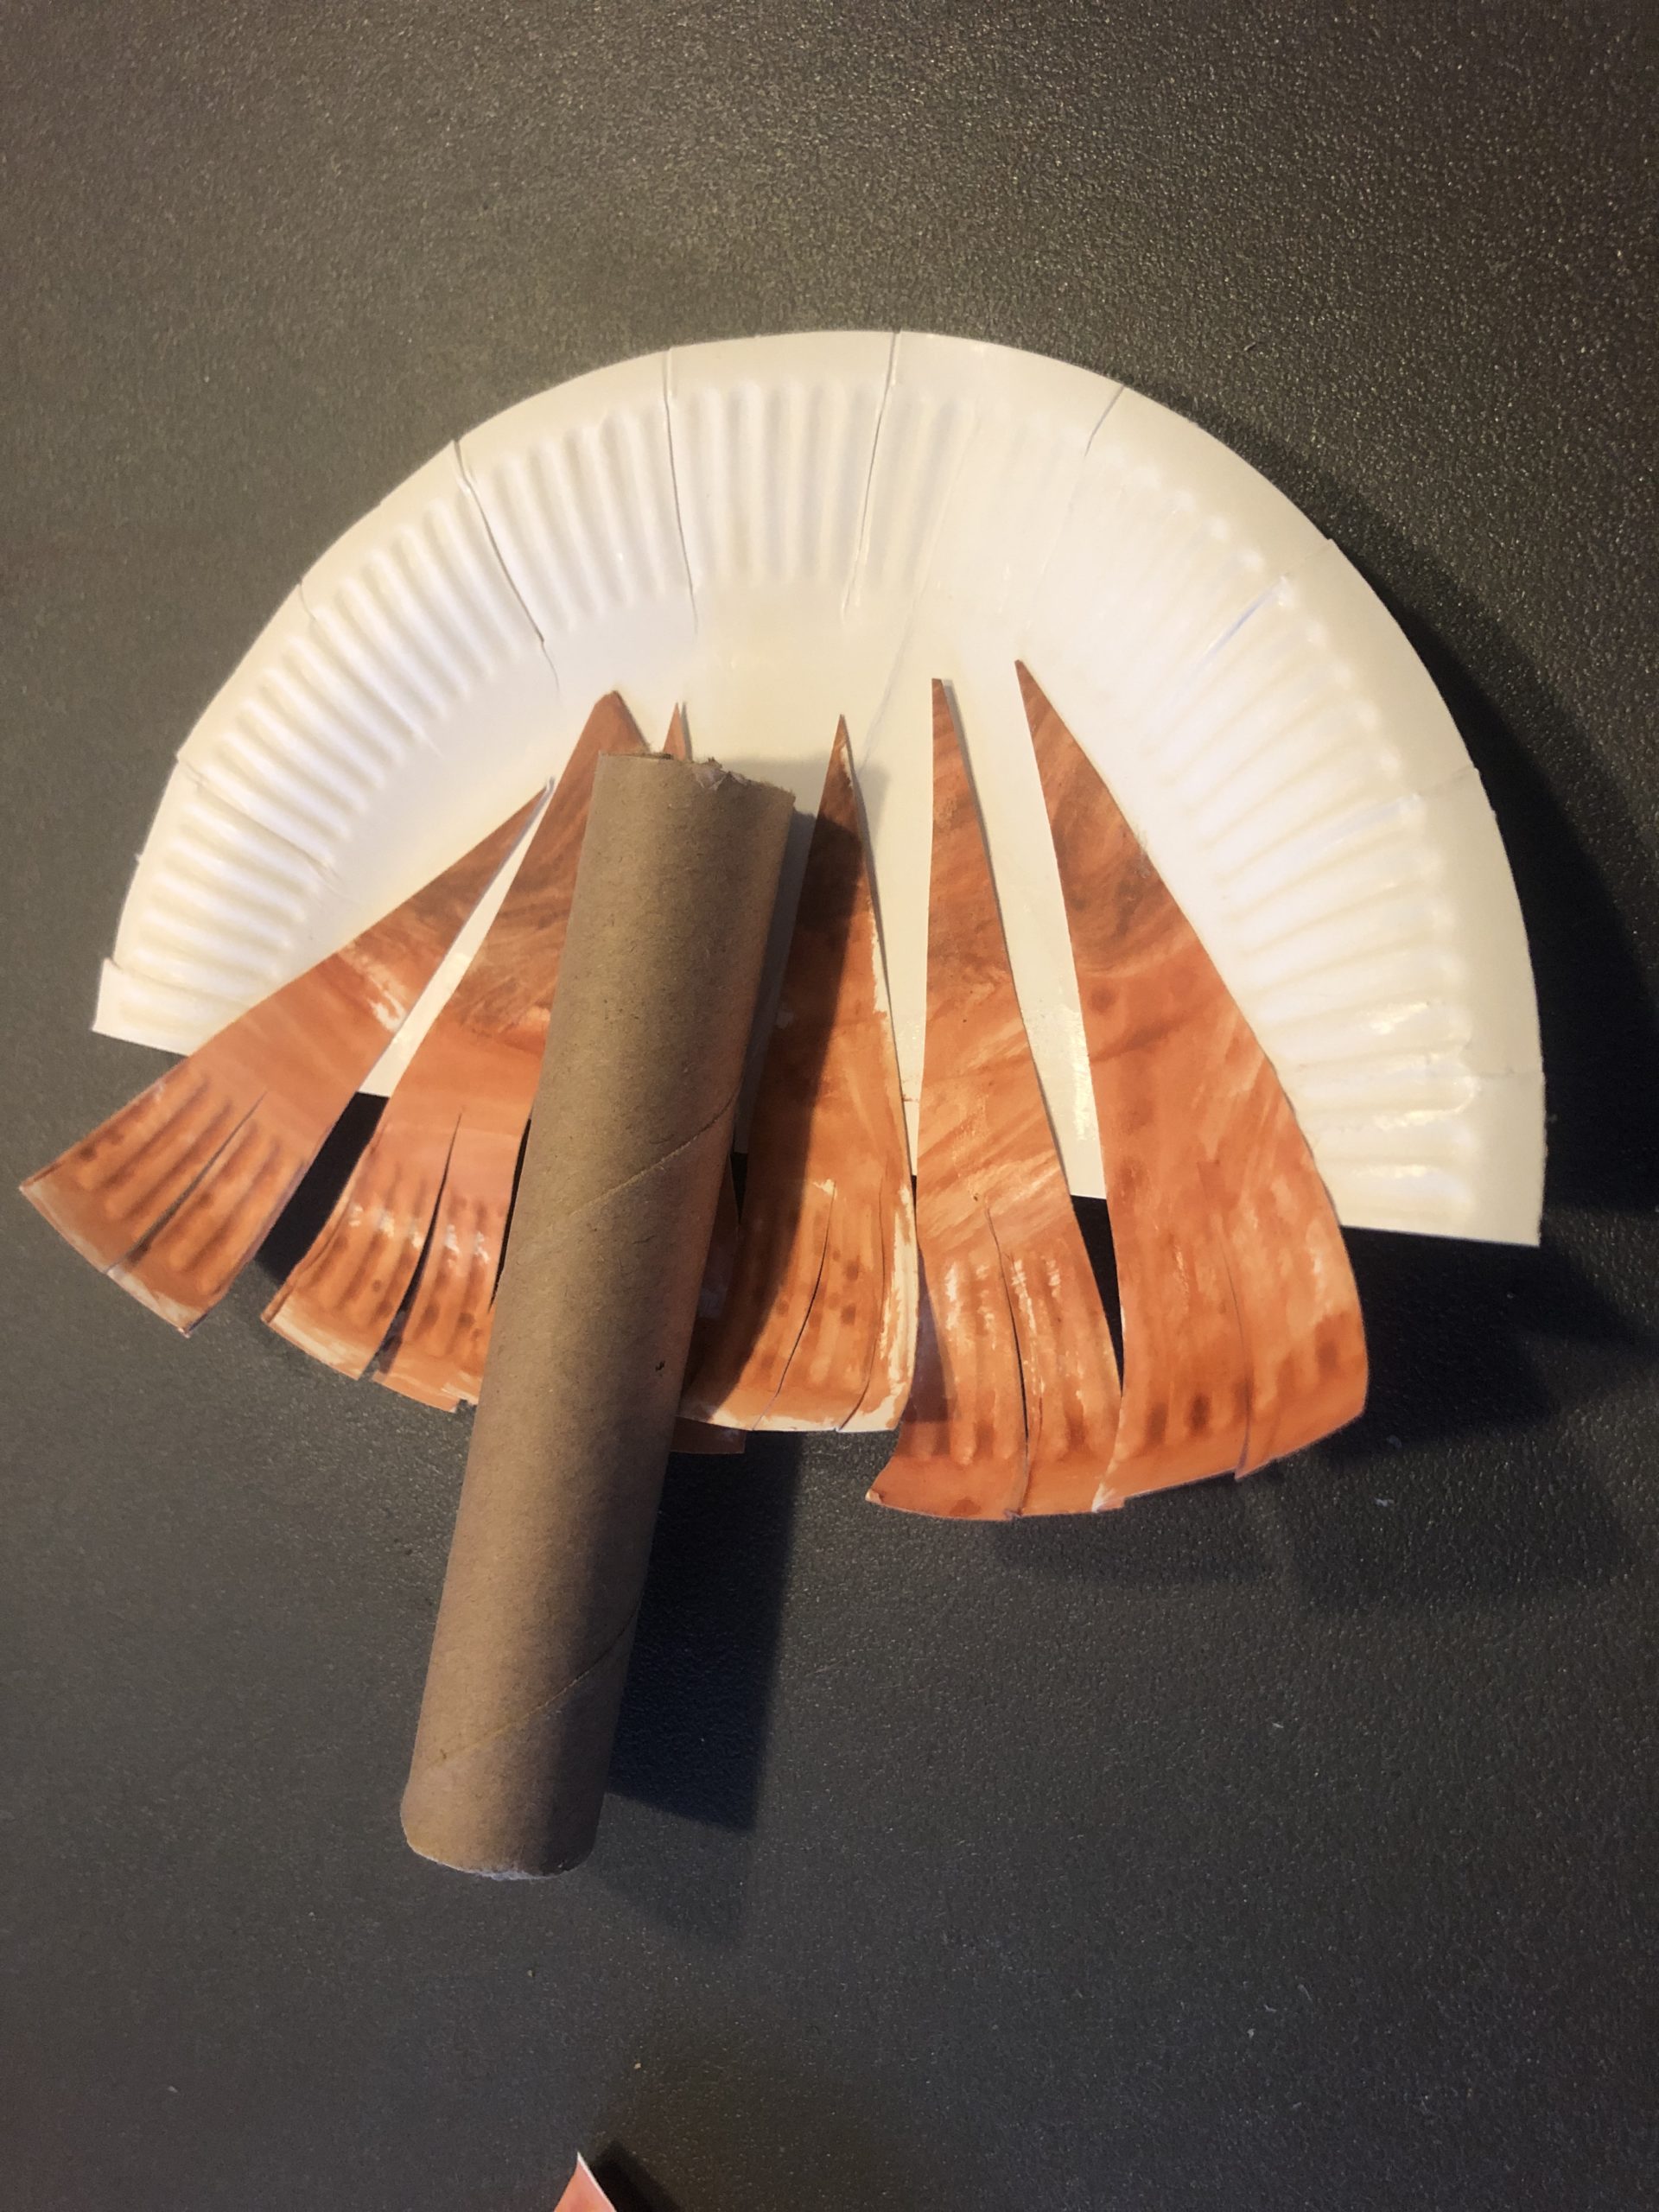


The fungus is ready.
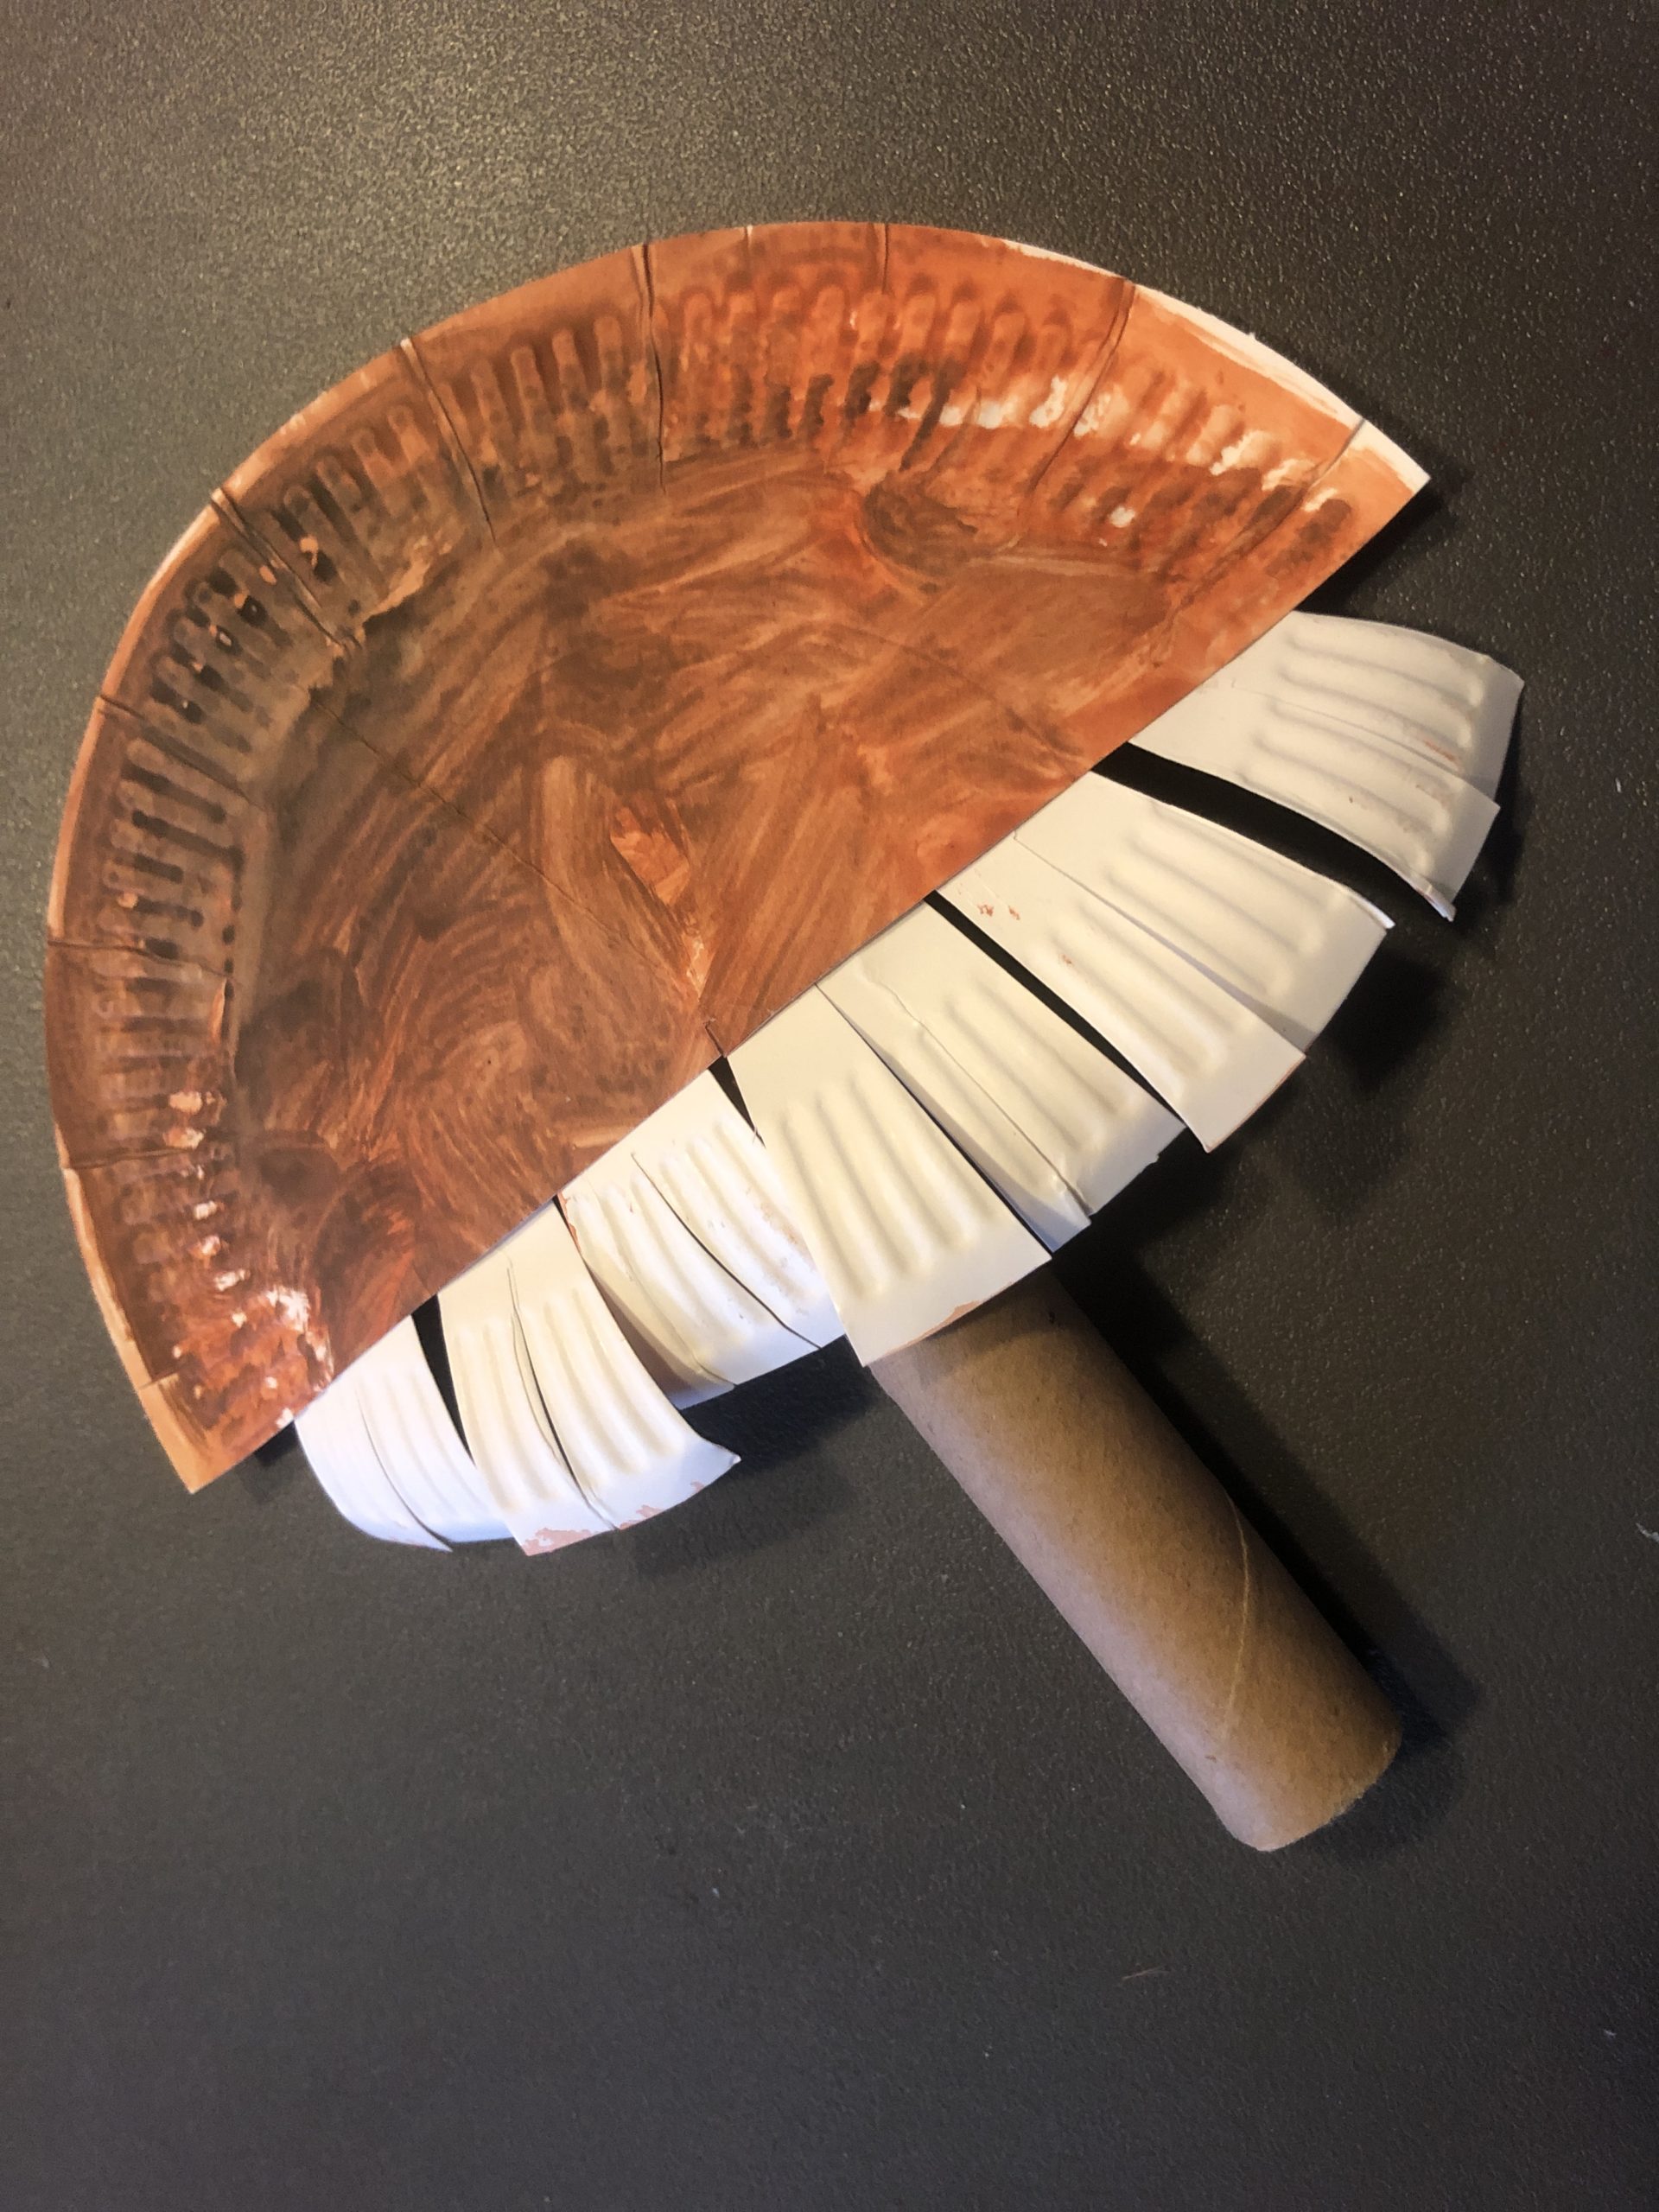


Where should your mushroom go? Do you like to hang it on the wall or create a picture with it?
For example, you can embellish it with moss.
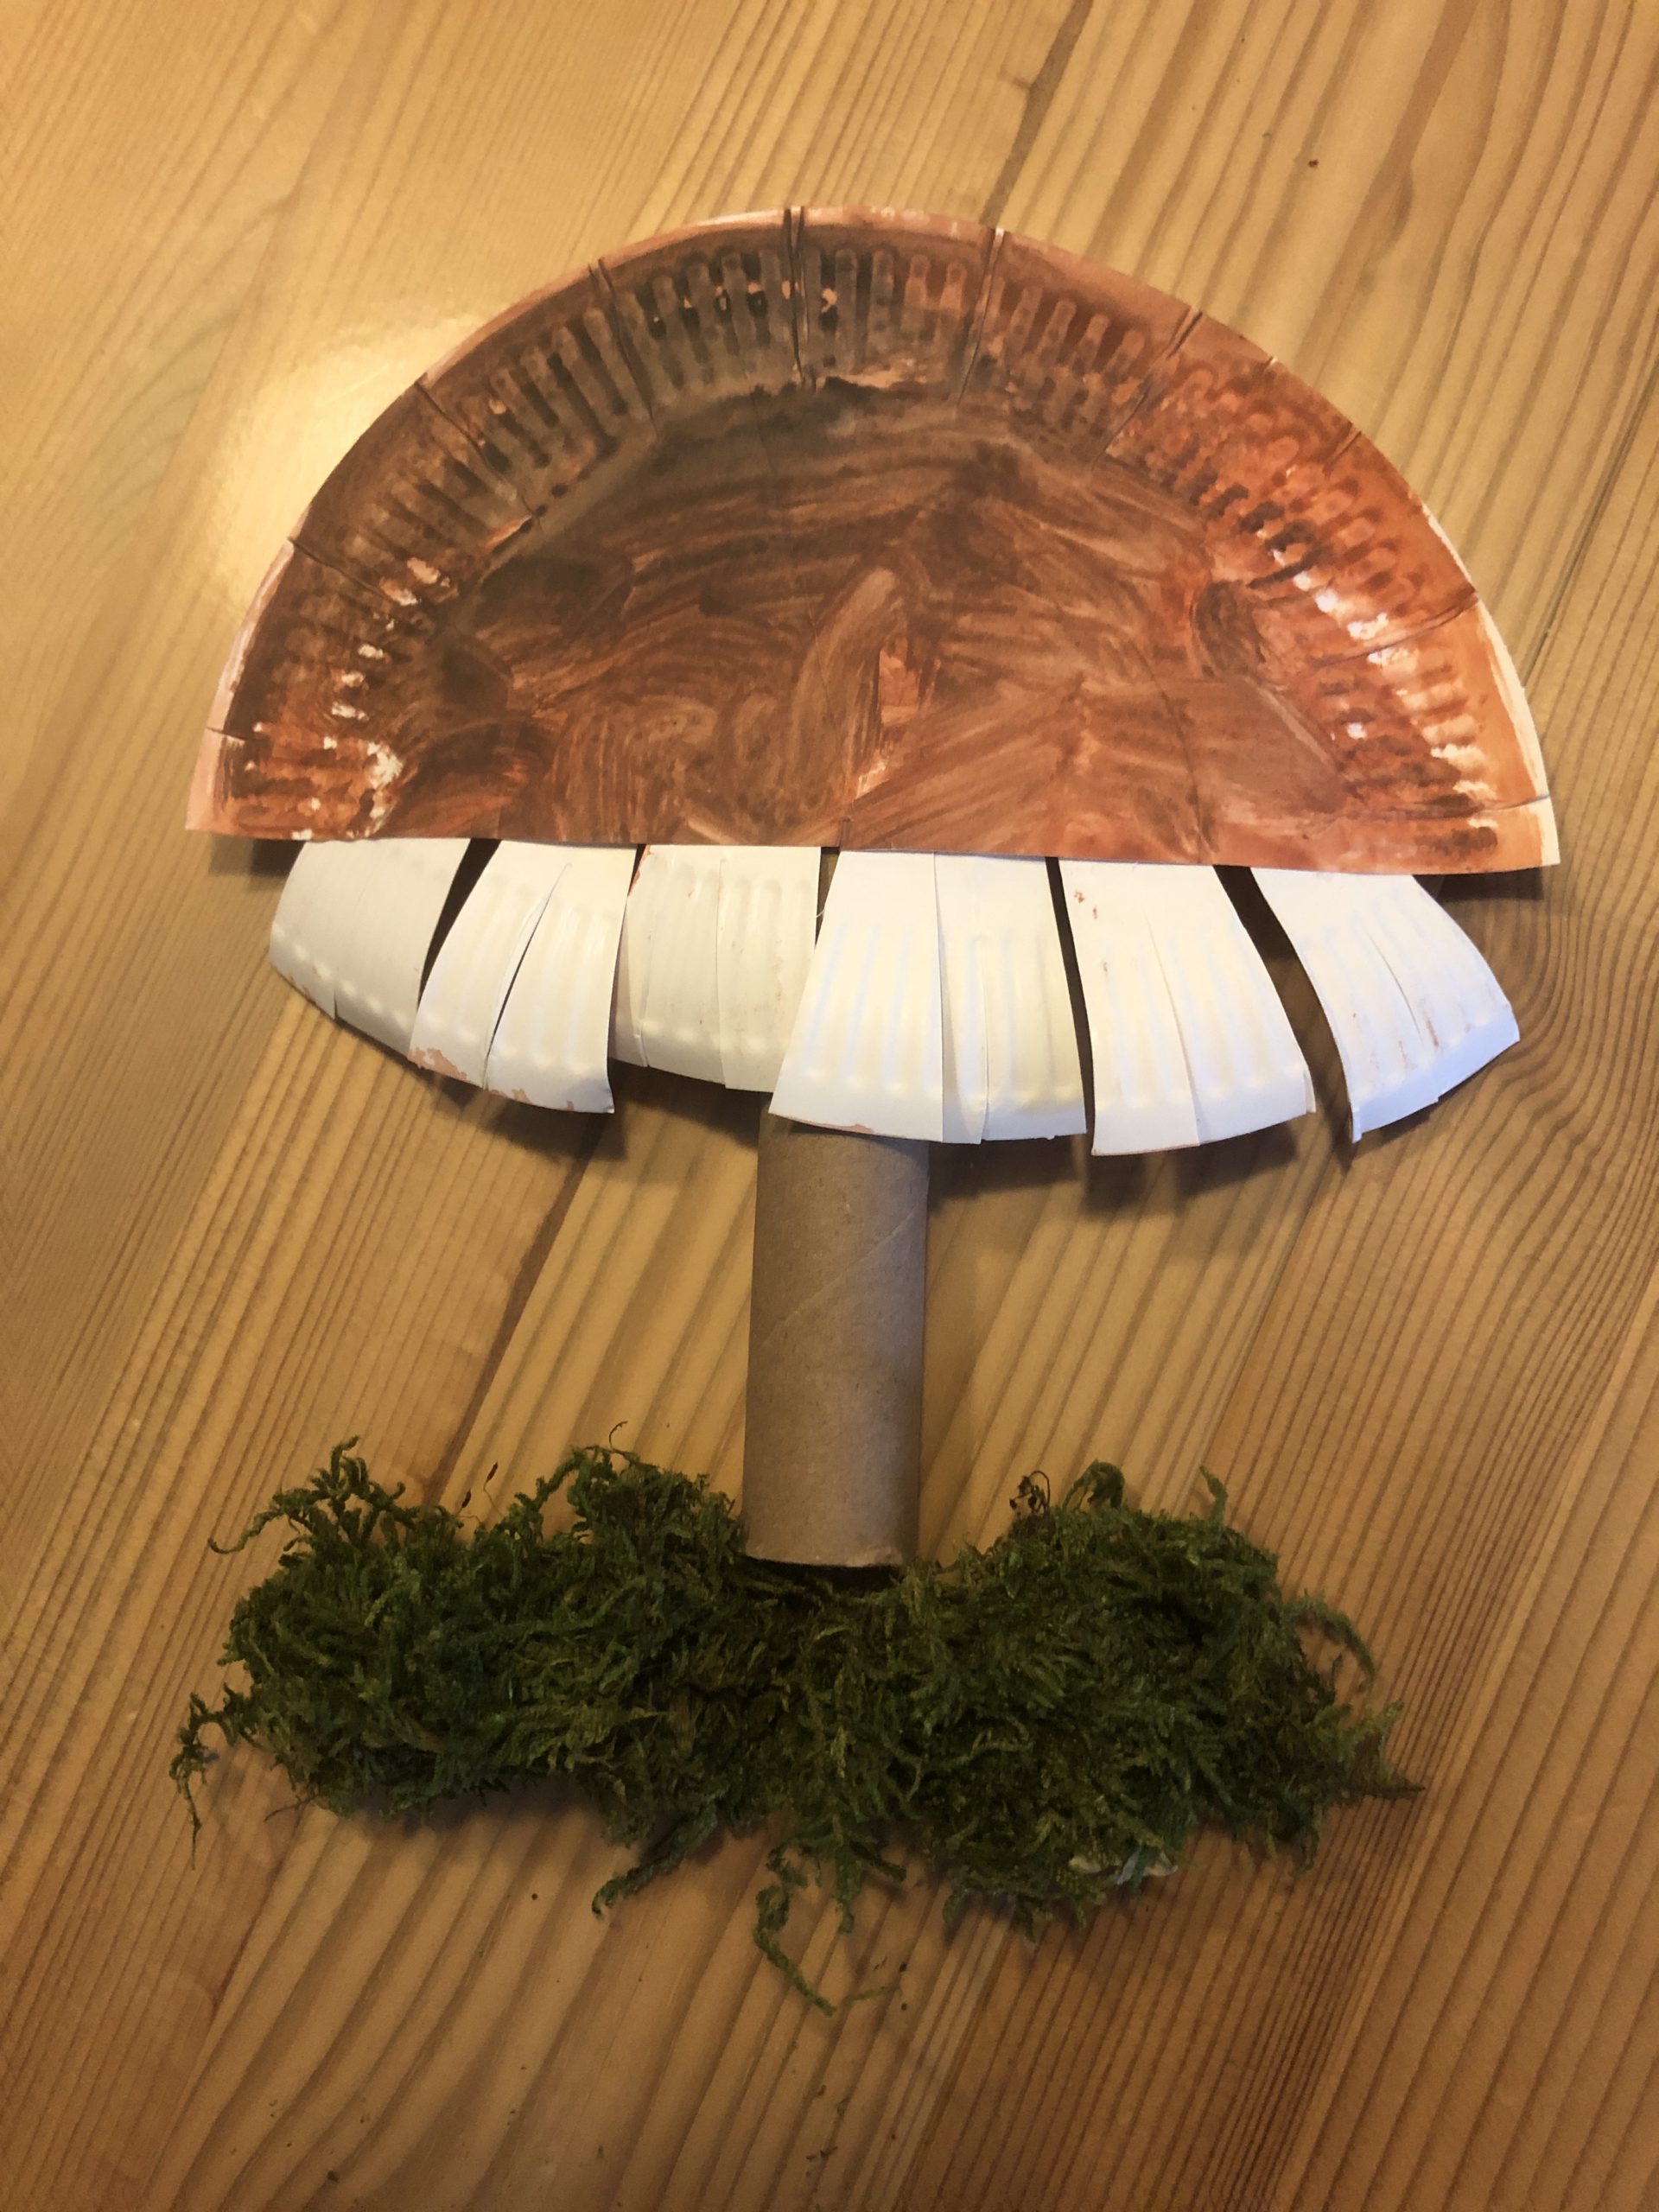


In addition, you can use small decorative sheets and natural material such as chestnuts and acorns.
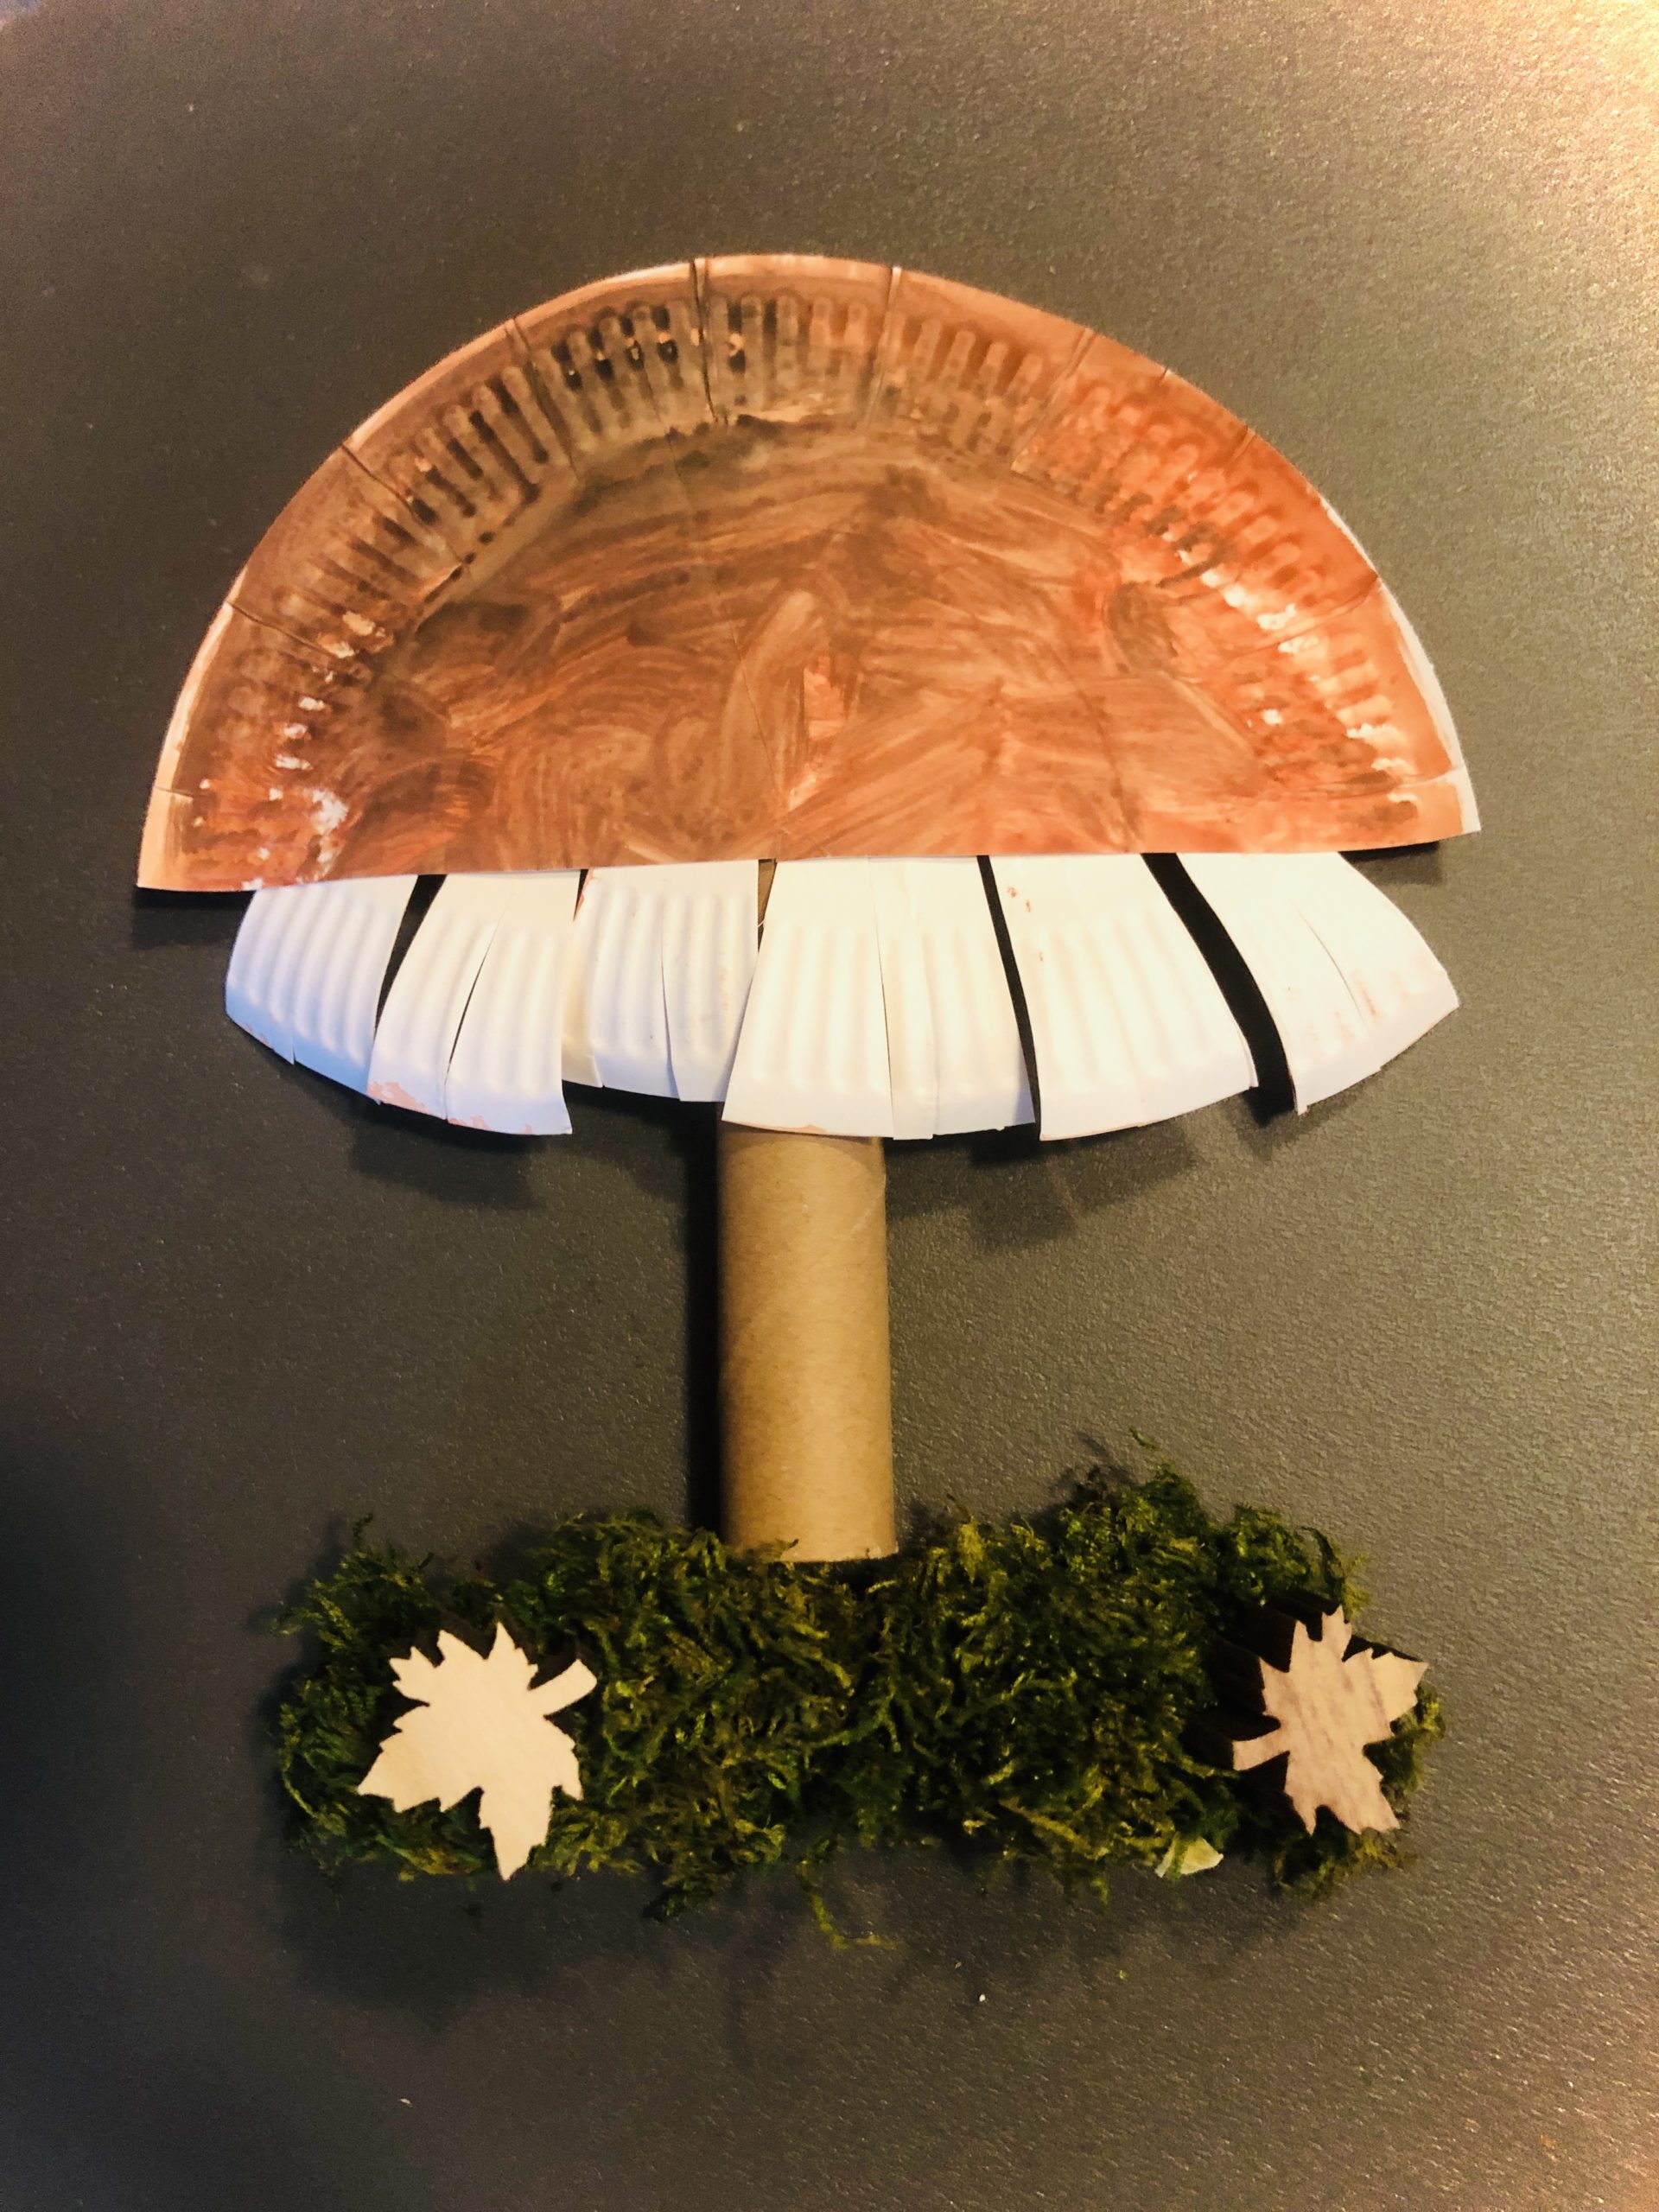


You can place it in the middle of tree bark and colorful autumn leaves.
What else do you think you're doing?
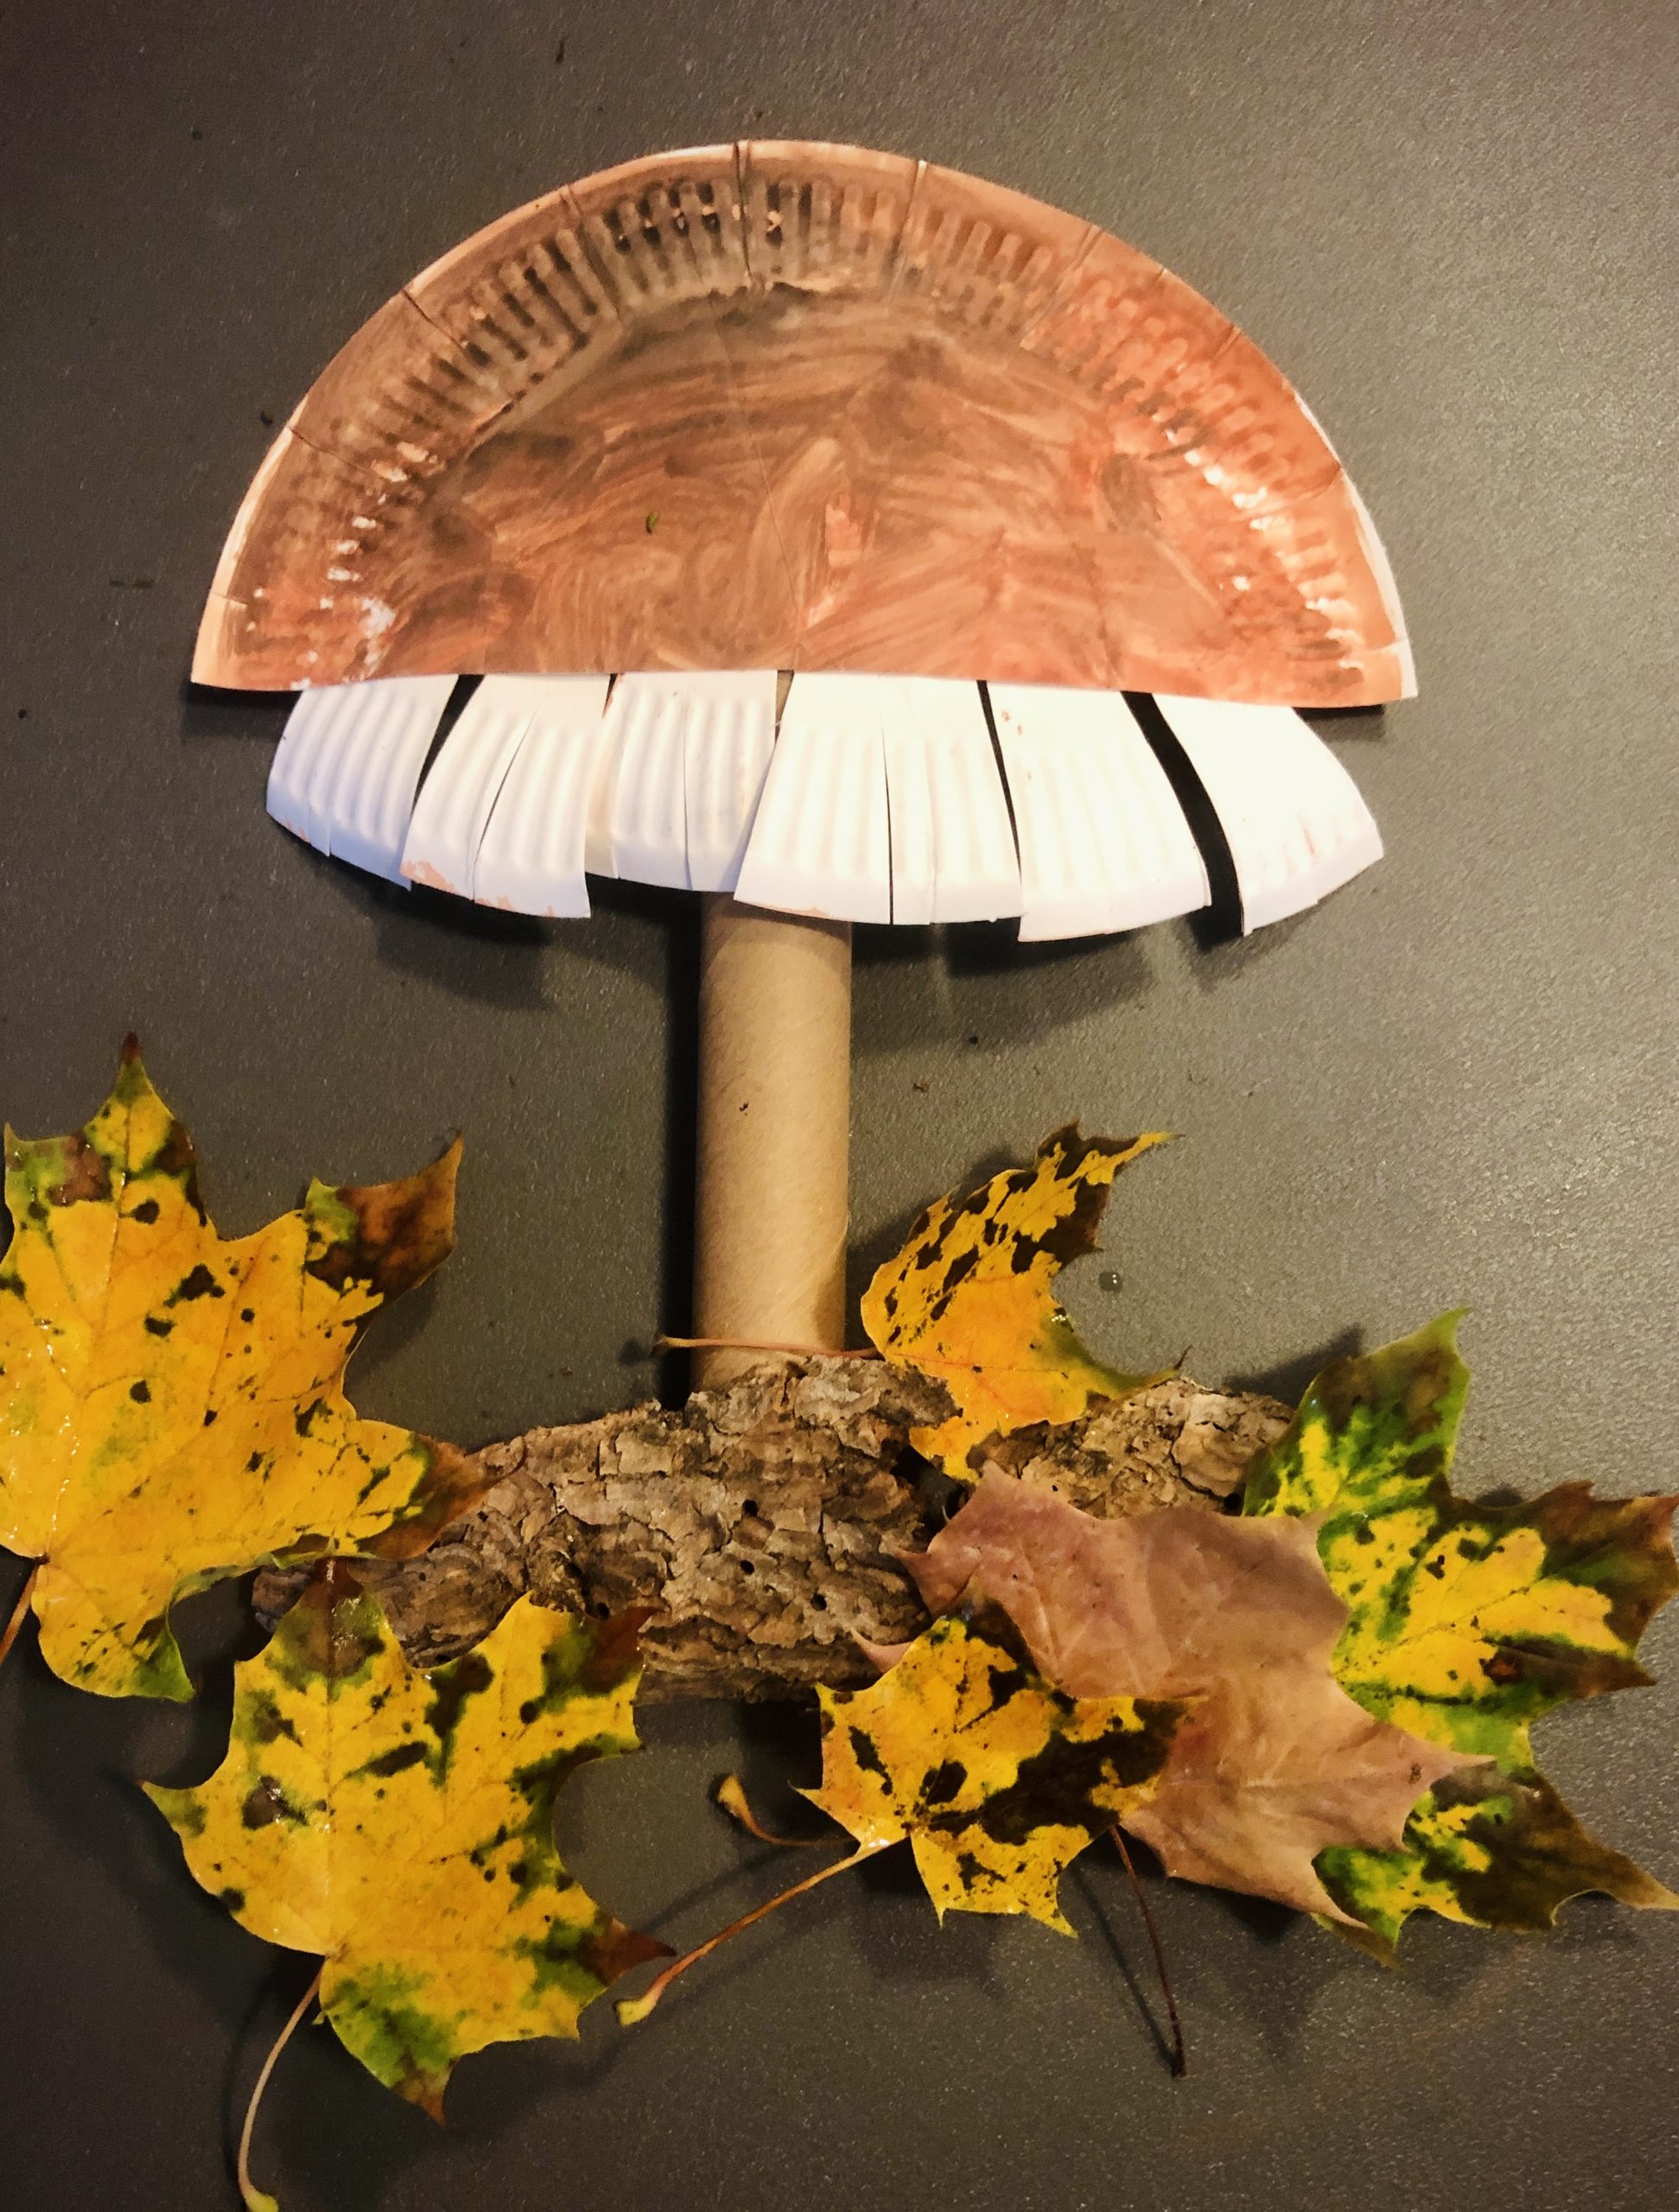


Have fun in being creative!
Materials
Directions
Prepare your painting sheet and put on your painting coat.
Now you paint the cardboard plate with brown water color.


Then put it to dry.


Now you cut the plate in the middle.
This half of the plate is the mushroom hat.


From the other half you cut thin strips. They become lamellas of the fungus.
Now stick it to the back of the mushroom hat.


Stick it up so the white side looks forward.


The attached lamellas are now cut in with the scissors. Since the lamellas of a real fungus are very thin.


Then stick the thin cardboard roll as a mushroom handle on the back. For this you need a hot glue gun if necessary. Attention when handling the hot glue. This needs practice!


The fungus is ready.


Where should your mushroom go? Do you like to hang it on the wall or create a picture with it?
For example, you can embellish it with moss.


In addition, you can use small decorative sheets and natural material such as chestnuts and acorns.


You can place it in the middle of tree bark and colorful autumn leaves.
What else do you think you're doing?


Have fun in being creative!
Follow us on Facebook , Instagram and Pinterest
Don't miss any more adventures: Our bottle mail


