Tinkering of porcini fungus

AdventurerKatzi
Rating4.04.5 thousand times & (1) DifficultyBeginner

Autumn decorations can already be made by the little ones. For this, first in nature collects a branch, some leaves, fruits (e.g. chestnuts, acorns, rose hips) and some tree bark. Maybe you also see some mushrooms. Look at them, because today I'll show you how to make a mushroom.

Media Education for Kindergarten and Hort

Kind bastelt eine Rassel mit dem Navi
The Adventure Navi, the app for DIY projects, enables media education for the youngest.

Relief in everyday life, targeted promotion of individual children, independent learning and - without any pre-knowledge already usable by the youngest!


Titelbild zur Bastel- und DIY-Idee für Kinder '(433) Steinpilz basteln'
Material for1 Child
Prep Time10 min.Adv. Time10 min.Total Time20 min.
 1 Cardboard plates (small)
 Brown watercolours
 Brushes
 Water glass
 Document
 Hot glue gun
 1 thick branch about 20cm long
 1 old board
All links marked with a shopping cart lead to Amazon - here we have selected products that we would order ourselves and in part also ordered. In a qualified purchase via the advertising link, we as Amazon partner receive a commission, for you there are no costs. You thus support our cost- and advertising banner-free, educational offer.
1

Set up all the materials, put a paint pad and put on a paint coat. Then first cut the cardboard plate to the middle.
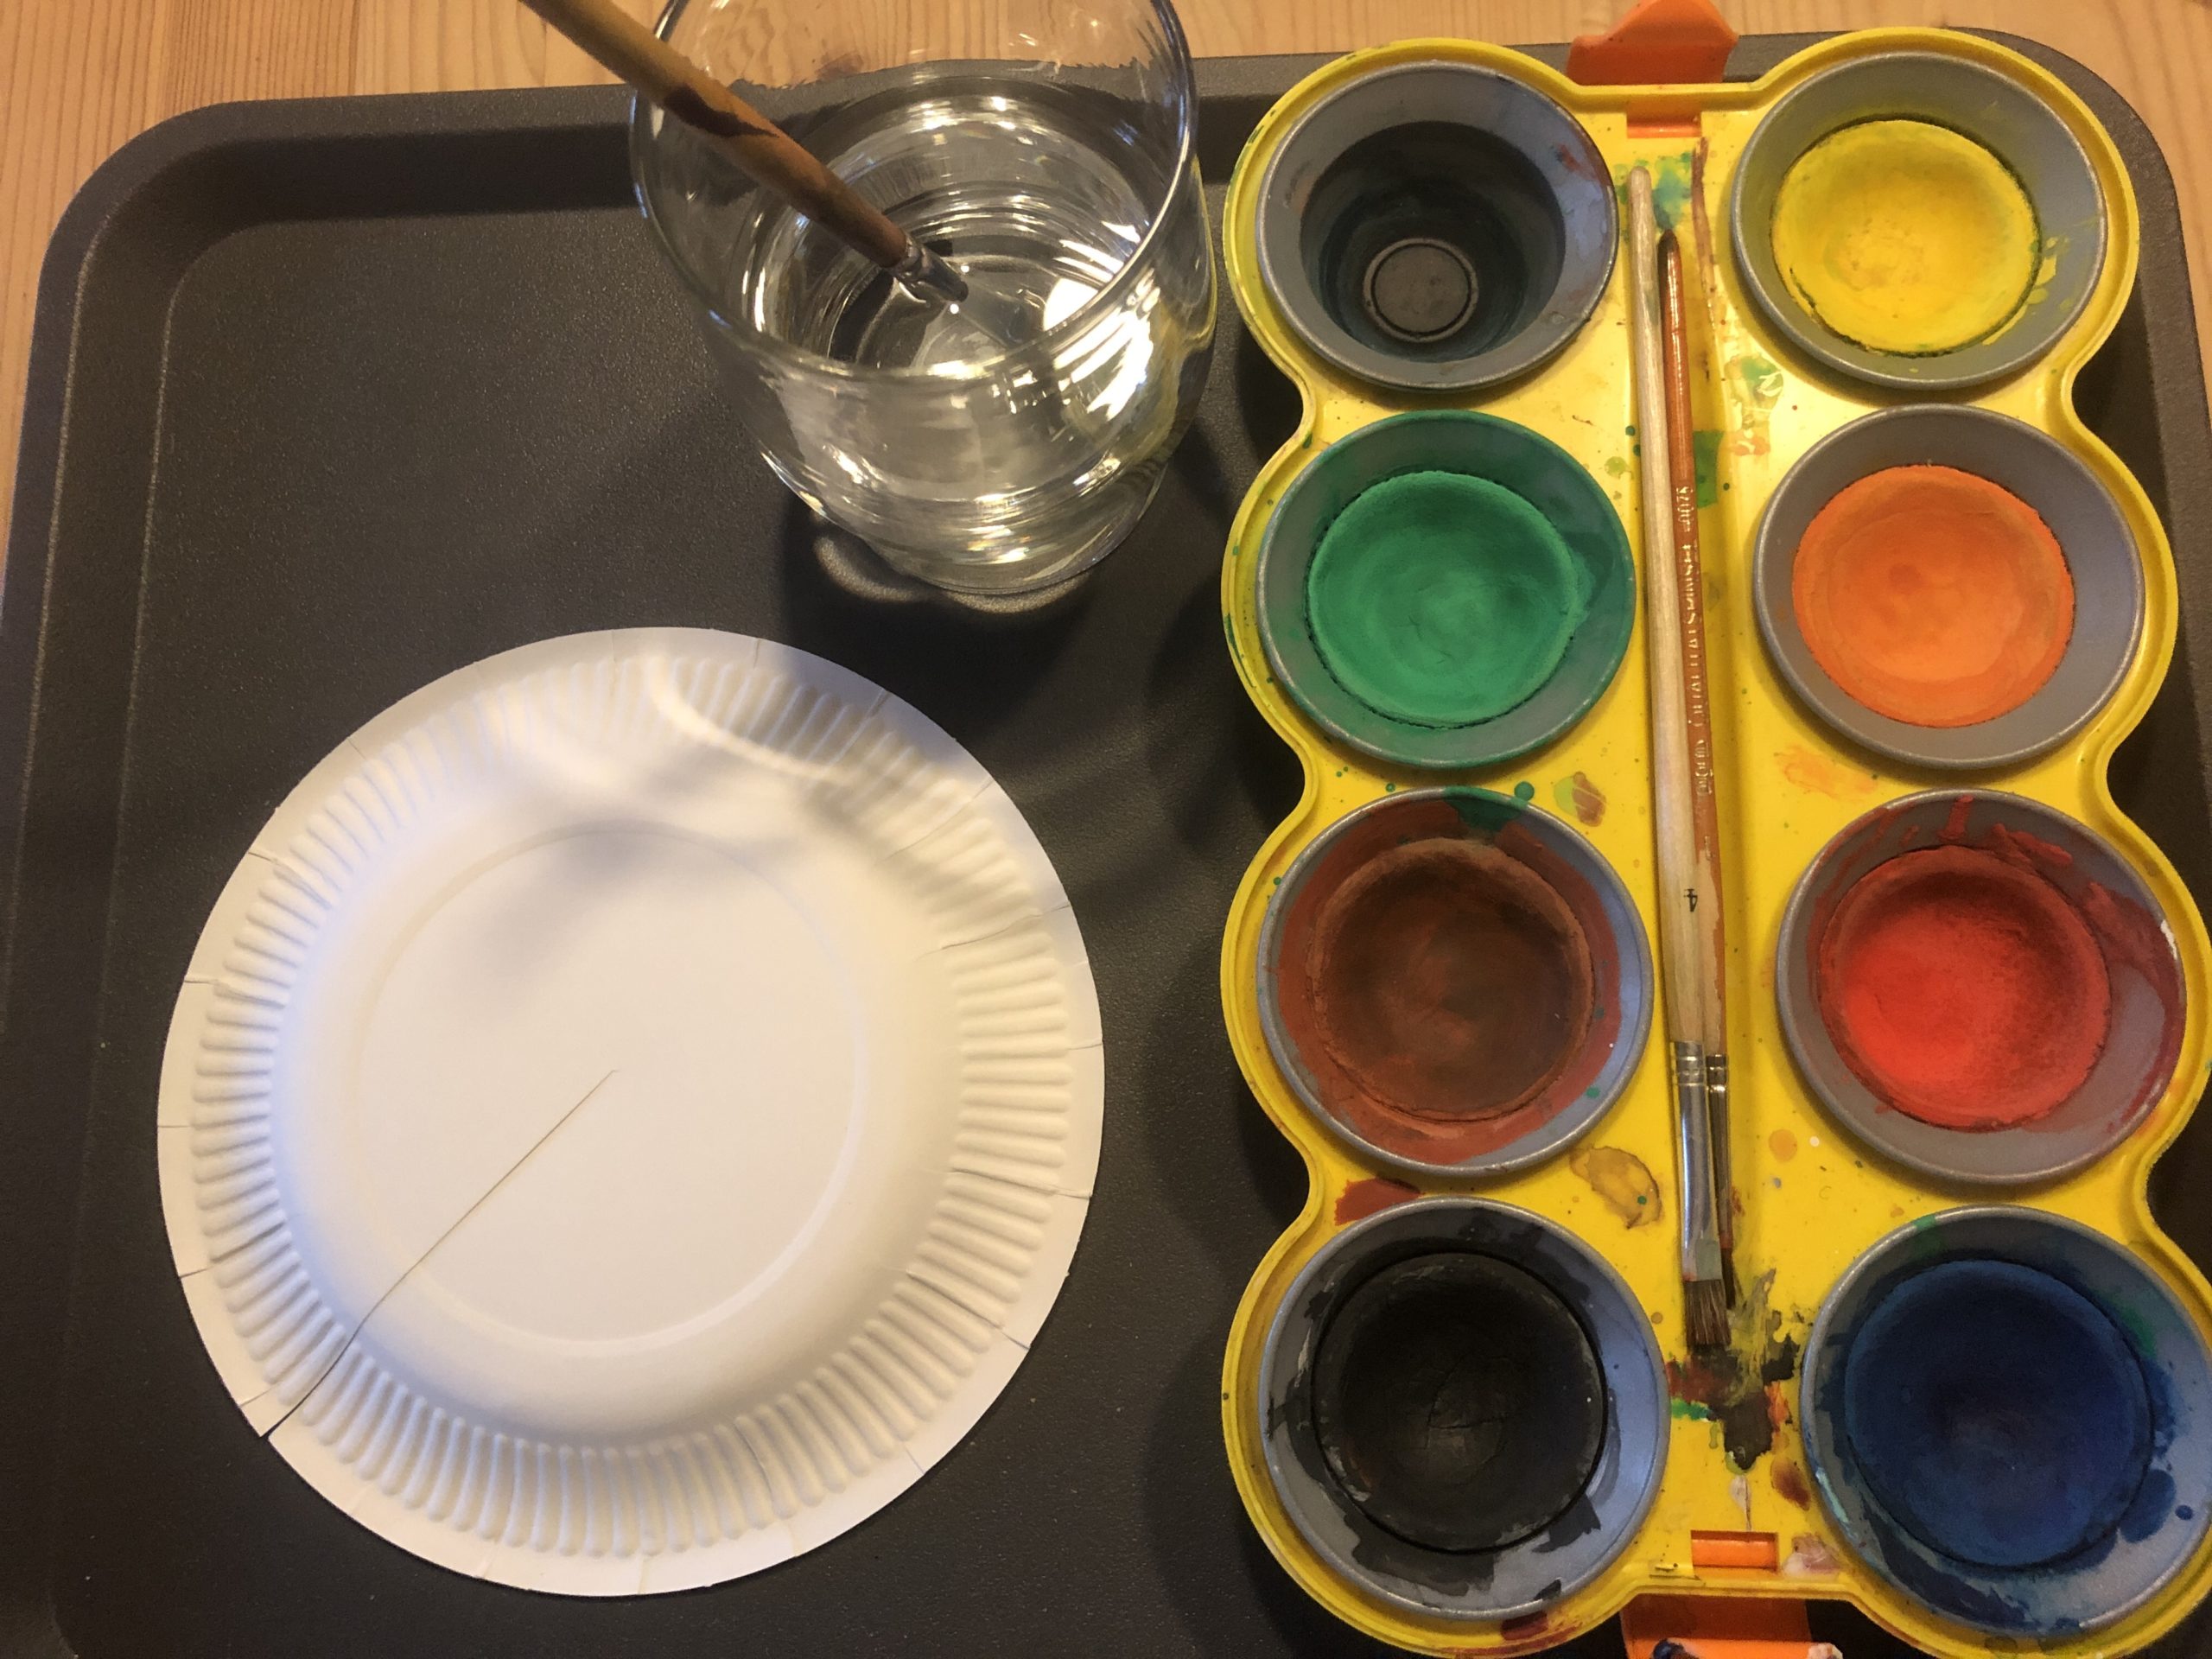
Bild zum Schritt 1 für das Bastel- und DIY-Abenteuer für Kinder: 'Richtet alle Materialien her, legt eine Malunterlage unter und zieht...'

2

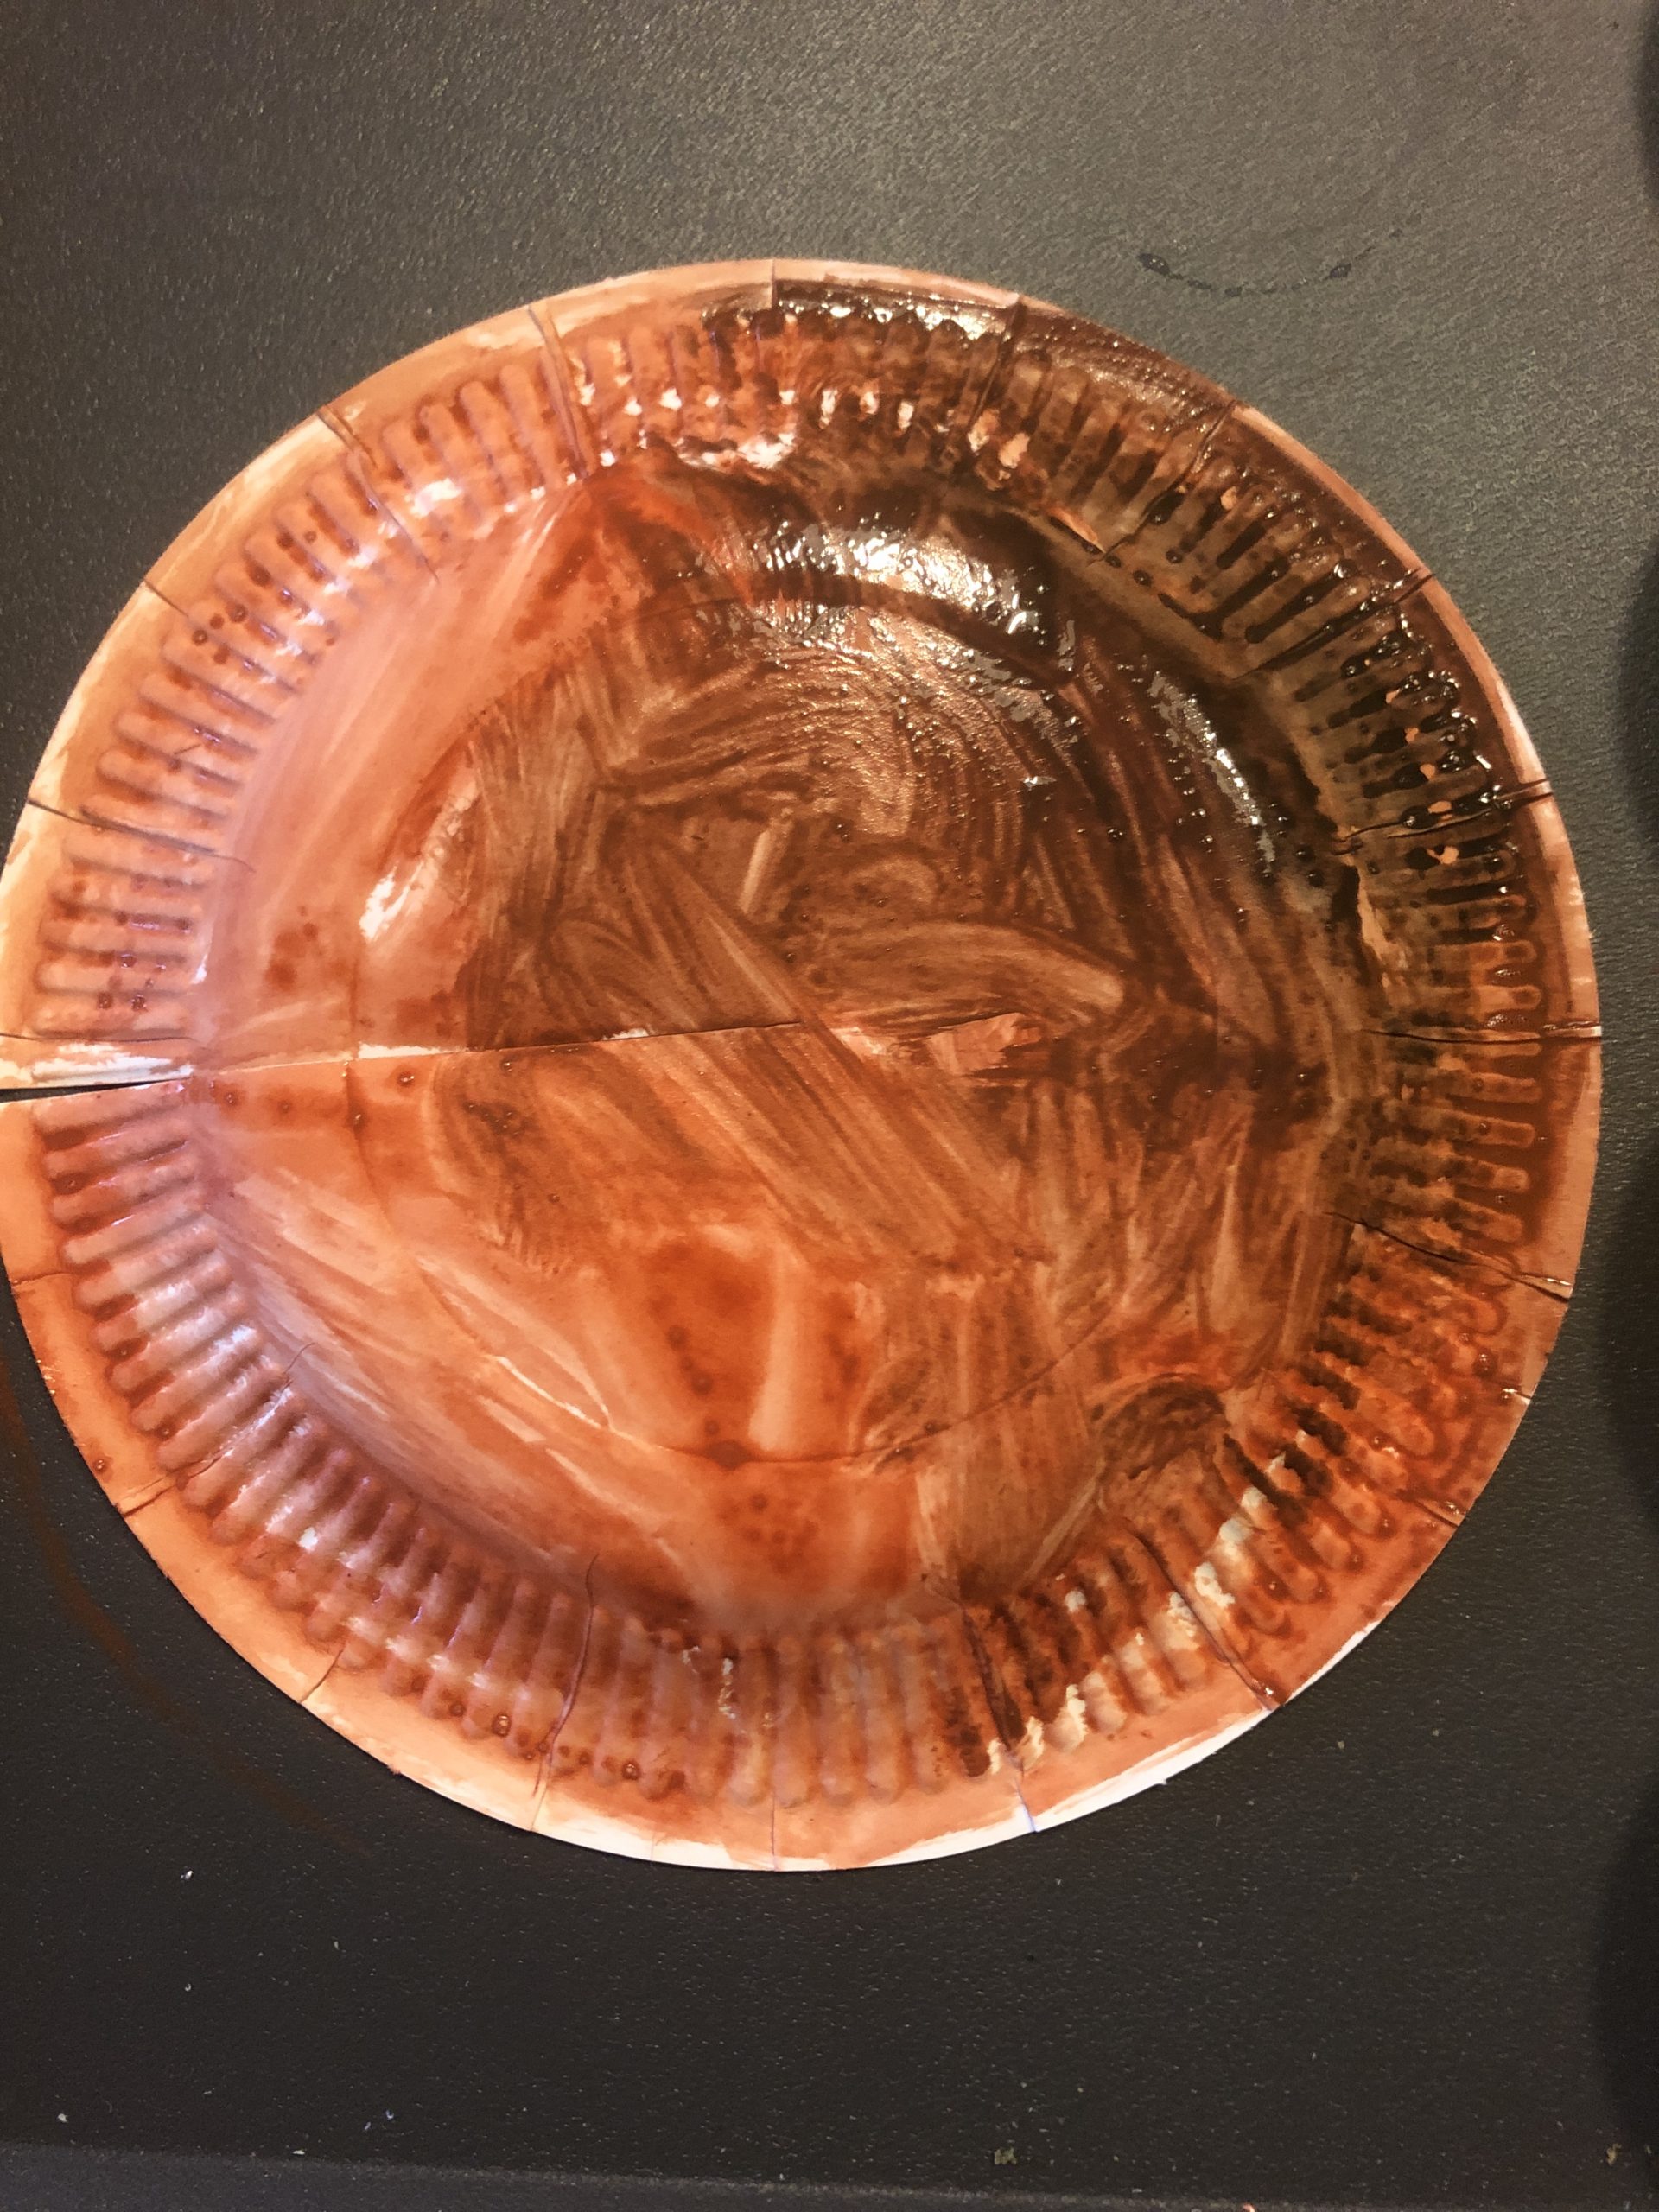
Now you paint the cardboard plate on the curved side with brown color (bottom side of the plate).
Leave the paint to dry.
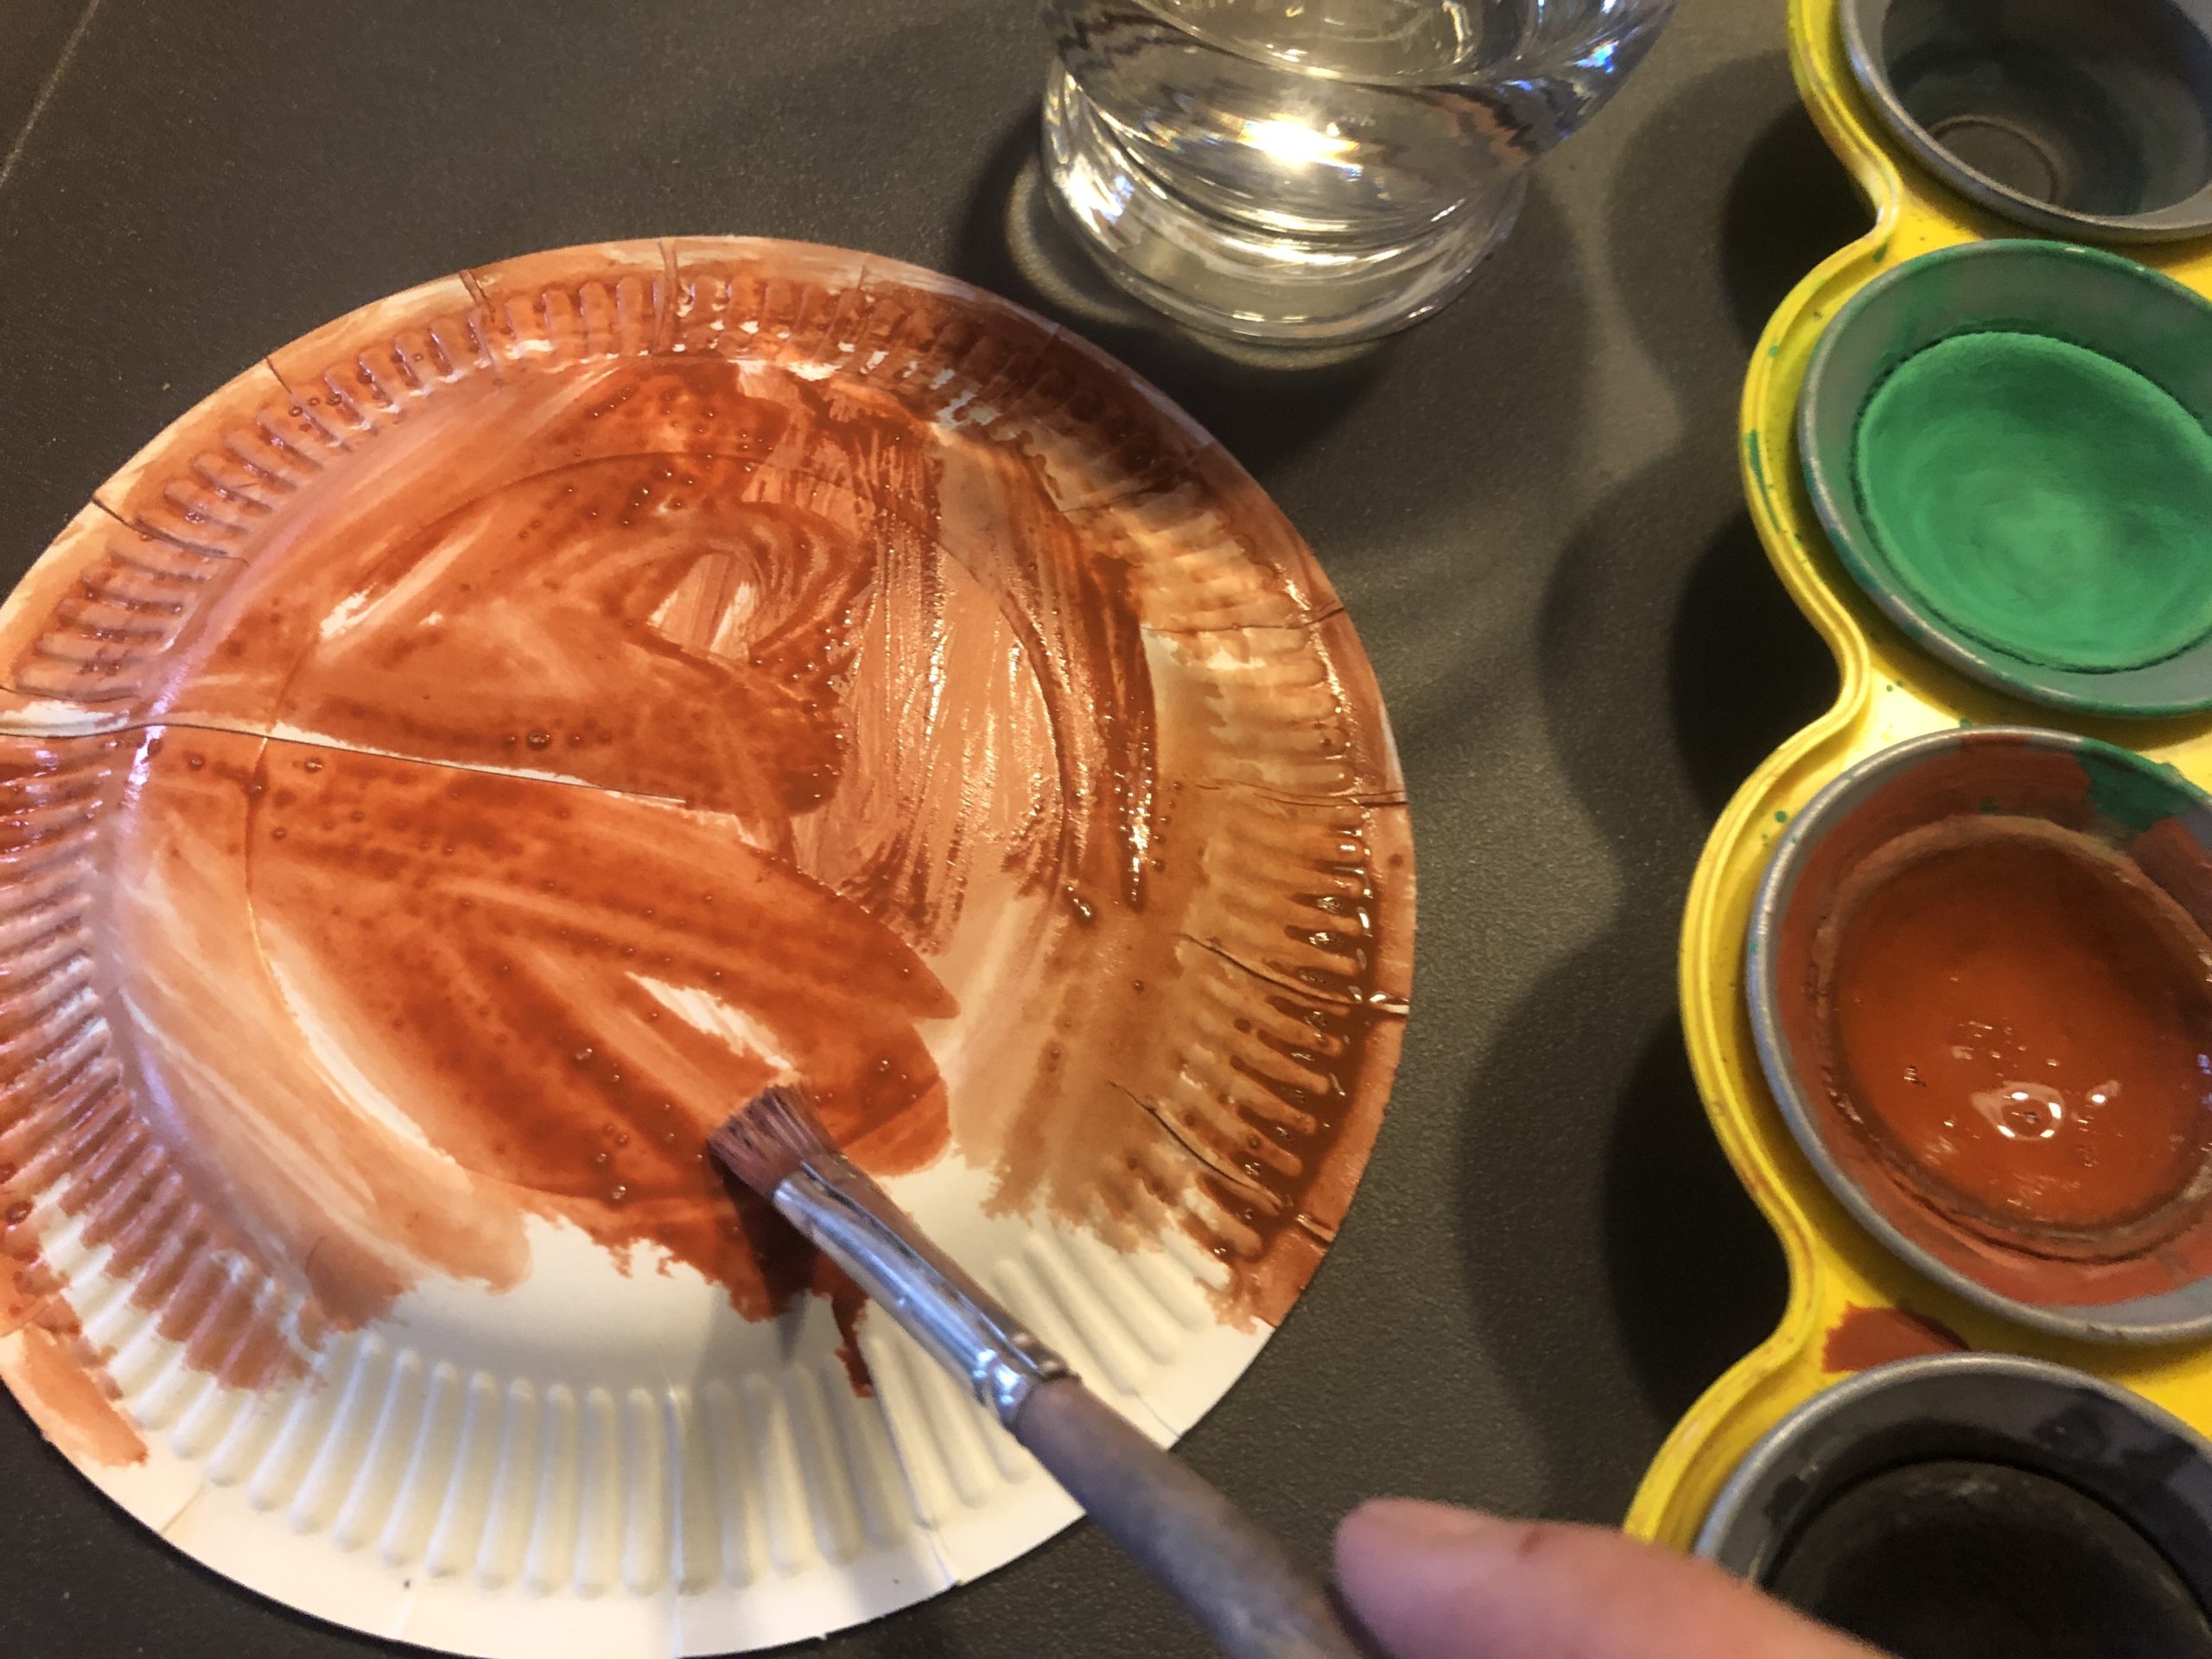
Bild zum Schritt 2 für das Bastel- und DIY-Abenteuer für Kinder: 'Jetzt bemalt ihr den Pappteller auf der gewölbten Seite mit...'

3

2. Bild zum Schritt 2 für das Bastel- und DIY-Abenteuer für Kinder: 'Jetzt bemalt ihr den Pappteller auf der gewölbten Seite mit...'

4

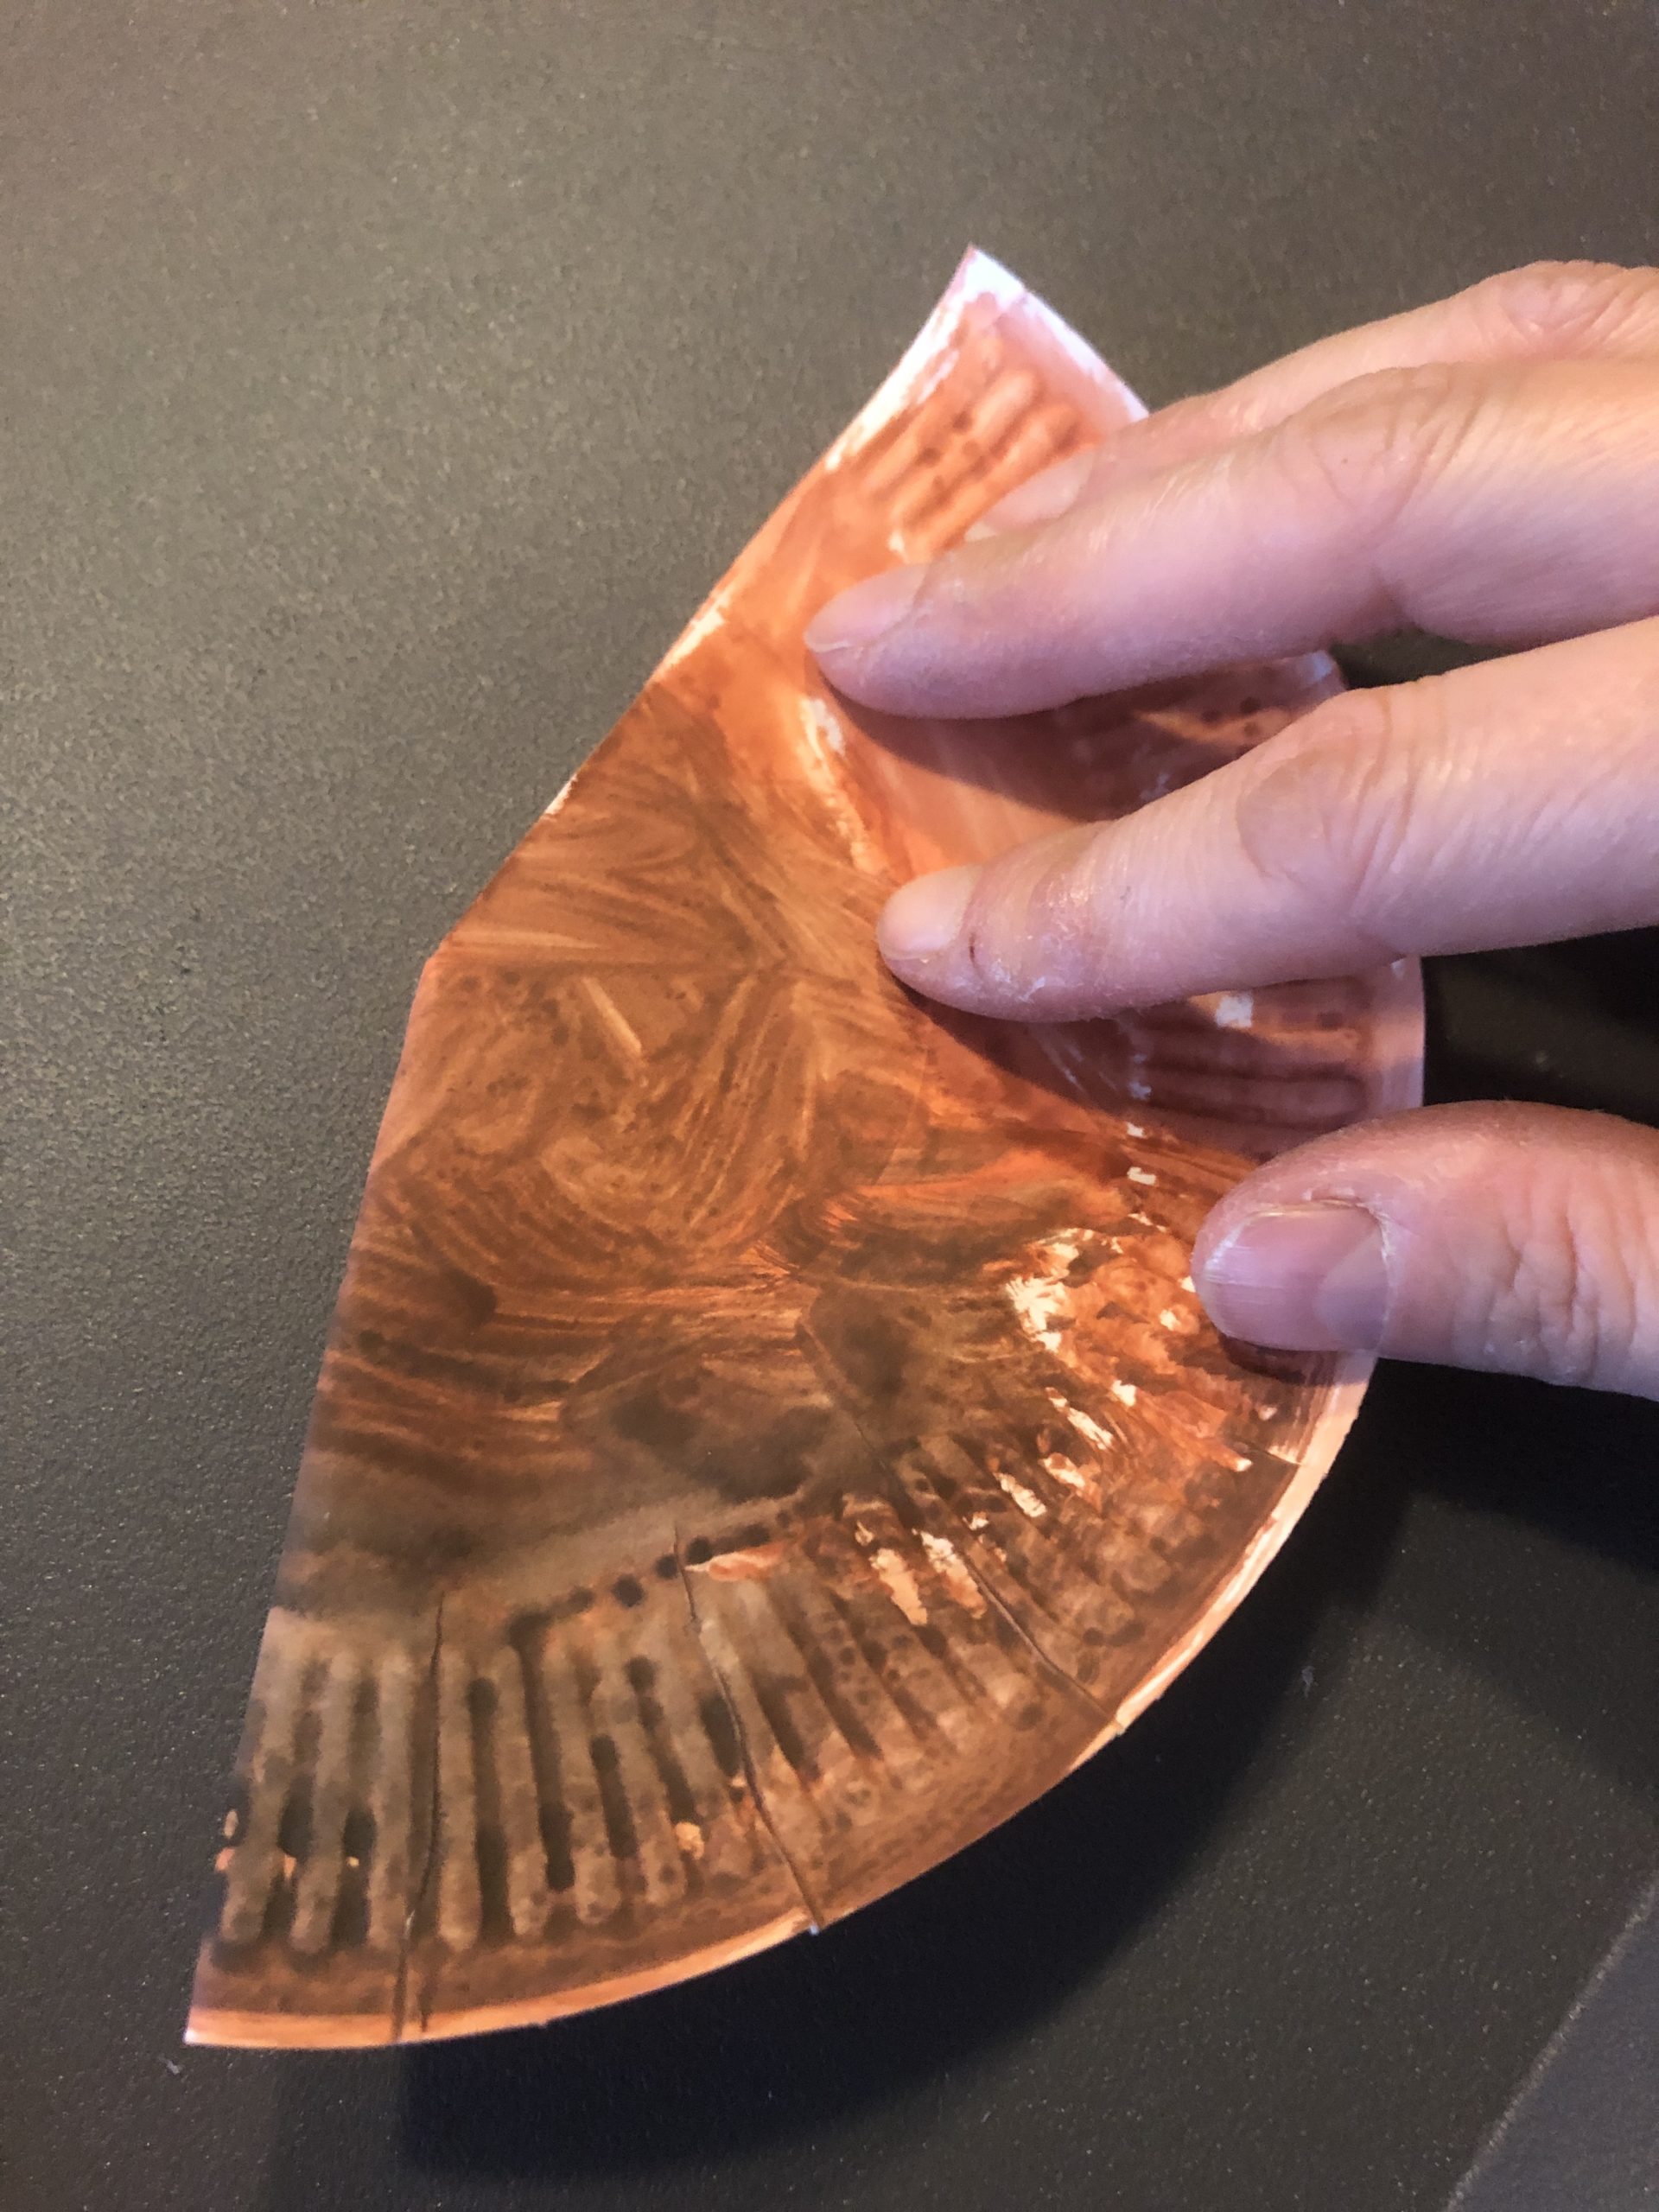
After drying, place the cardboard plate at the incision about 5 cm above each other and glue overlay.

Bild zum Schritt 4 für das Bastel- und DIY-Abenteuer für Kinder: 'Nach dem Trocknen den Pappteller am Einschnitt ca. 5 cm...'

5

This makes the mushroom hat plastic.

Bild zum Schritt 5 für das Bastel- und DIY-Abenteuer für Kinder: 'Dadurch wird der Pilzhut plastisch.'

6

Then fold the plate in half.

Bild zum Schritt 6 für das Bastel- und DIY-Abenteuer für Kinder: 'Anschließend faltet ihr den Teller zur Hälfte zusammen.'

7

Put the mushroom hat aside for a moment.

Bild zum Schritt 7 für das Bastel- und DIY-Abenteuer für Kinder: 'Legt den Pilzhut kurz beiseite.'

8

Now you stick the branch on a wooden board.

Bild zum Schritt 8 für das Bastel- und DIY-Abenteuer für Kinder: 'Jetzt klebt ihr den Ast auf einem Holzbrett fest.'

9

Uses hot glue (attention when using the hot glue gun: risk of injury!)

Bild zum Schritt 9 für das Bastel- und DIY-Abenteuer für Kinder: 'Nutzt dafür Heißkleber (Achtung im Umgang mit der Heißklebepistole: Verletzungsgefahr!)'

10

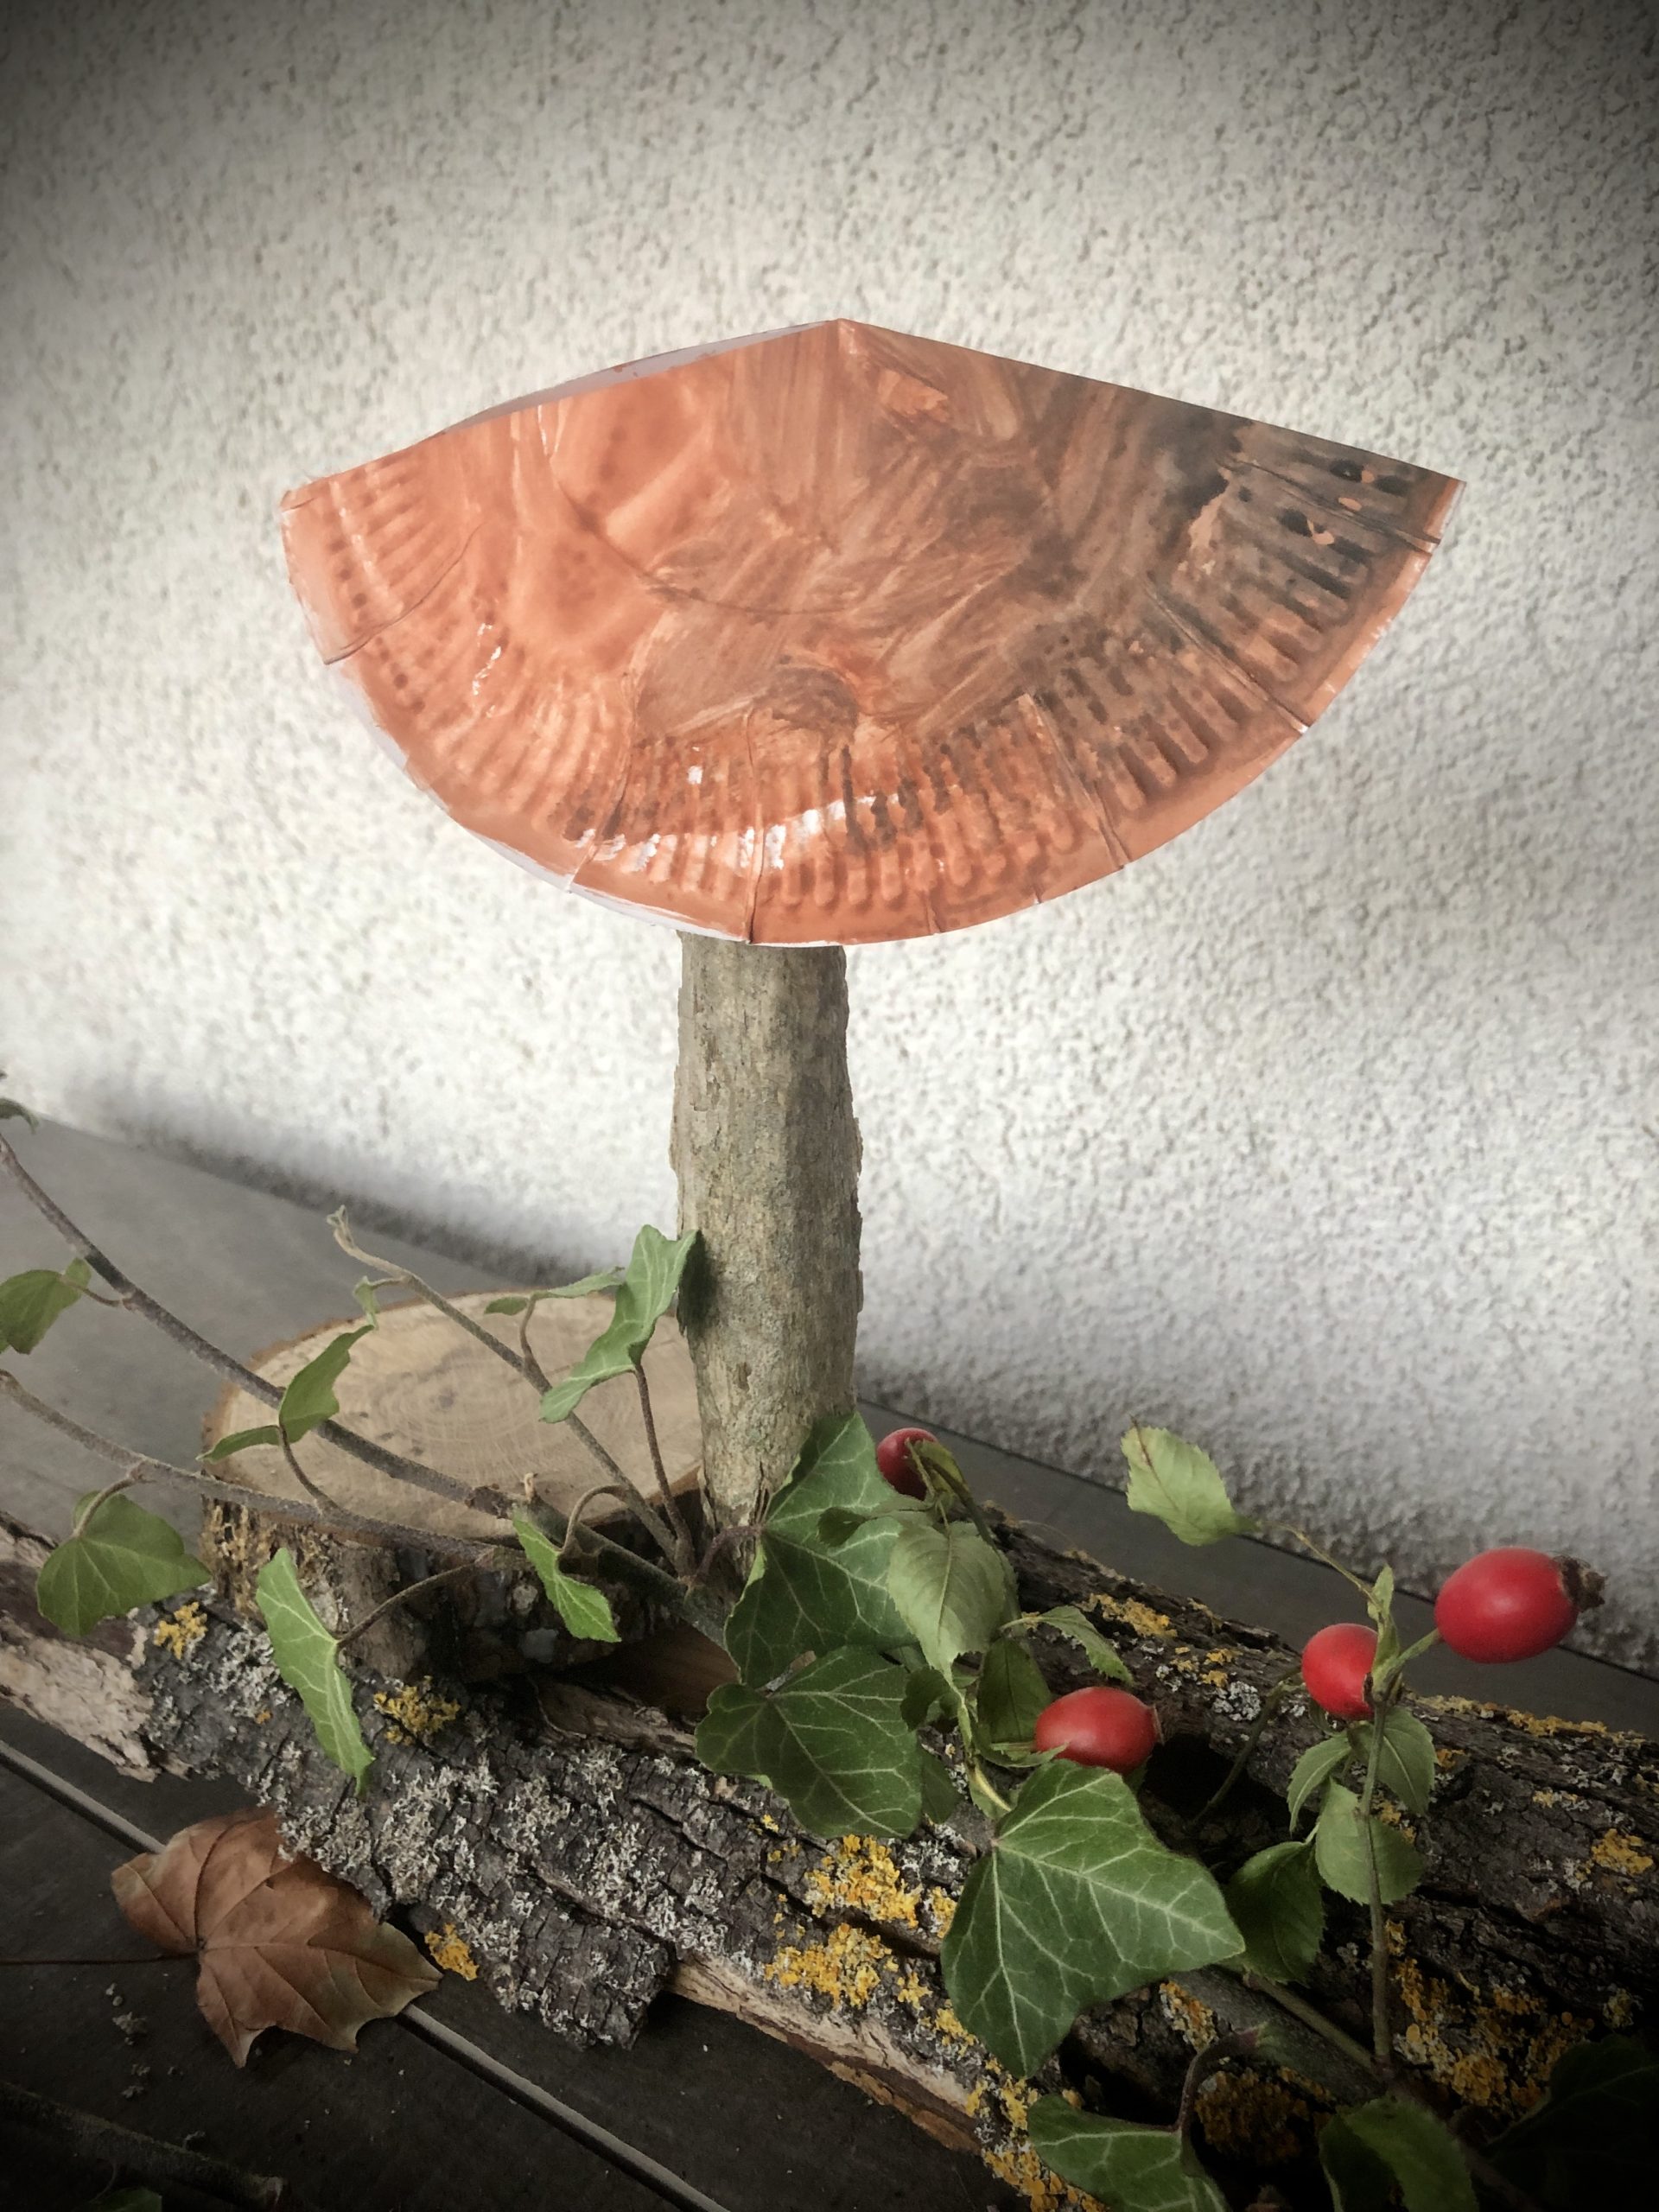
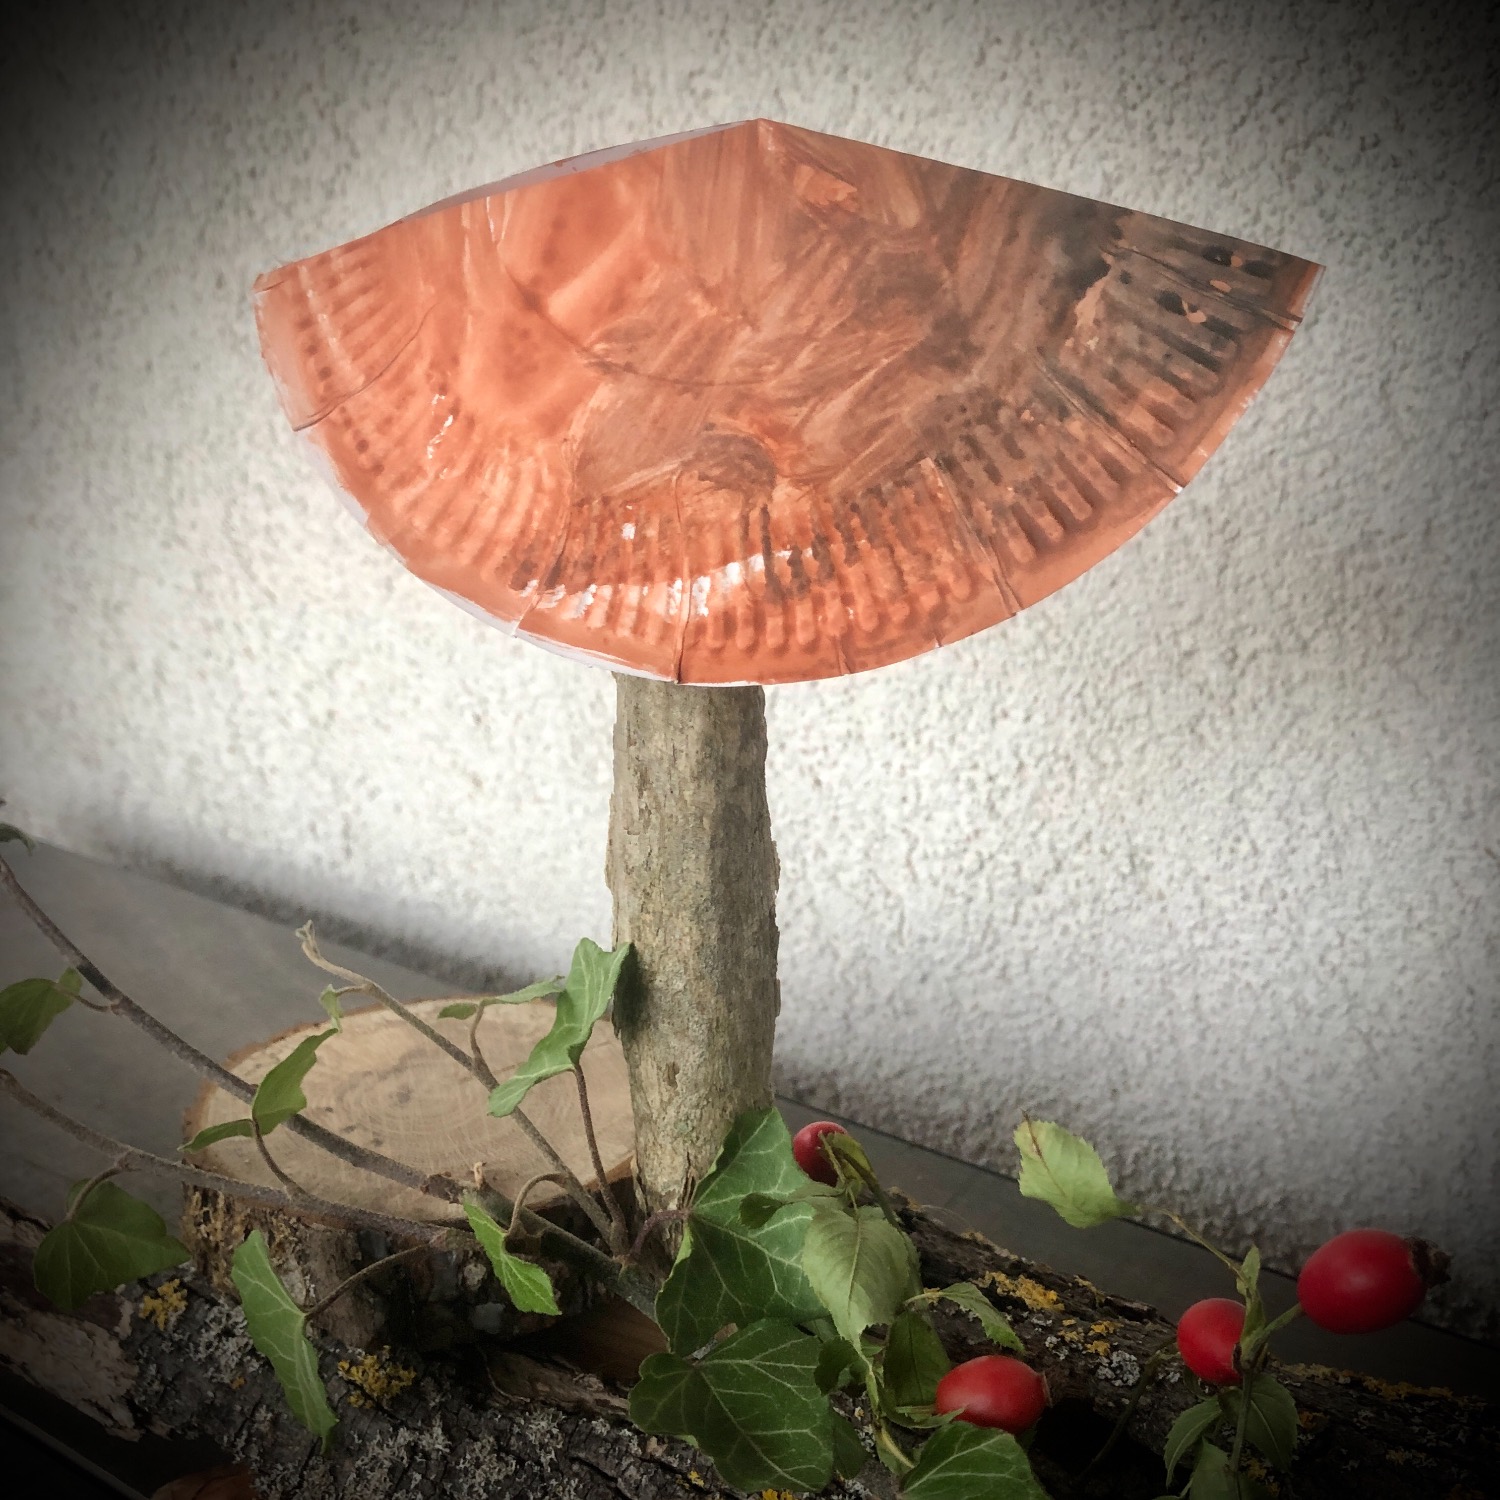
Now you take the mushroom hat and stick it on top of the branch with hot glue.

Bild zum Schritt 10 für das Bastel- und DIY-Abenteuer für Kinder: 'Jetzt nehmt ihr den Pilzhut und klebt ihn oben auf...'

11

Decorate the wooden piece with bark, moss, rose hips, chestnuts, acorns or leaves.

Bild zum Schritt 11 für das Bastel- und DIY-Abenteuer für Kinder: 'Das Holzstück nun noch mit Baumrinde, Moos, Hagebutten, Kastanien, Eicheln...'

12

Have fun doing crafts.

Bild zum Schritt 12 für das Bastel- und DIY-Abenteuer für Kinder: 'Viel Spaß beim Basteln.'

Variation:
13

You can also design the mushroom hat as a fly mushroom. You can find this adventure here? Make a fly fungus.

Bild zum Schritt 14 für das Bastel- und DIY-Abenteuer für Kinder: 'Ihr könnt auch den Pilzhut als Fliegenpilz gestalten. Dieses Abenteuer...'

Materials

 1 Cardboard plates (small)
 Brown watercolours
 Brushes
 Water glass
 Document
 Hot glue gun
 1 thick branch about 20cm long
 1 old board
All links marked with a shopping cart lead to Amazon - here we have selected products that we would order ourselves and in part also ordered. In a qualified purchase via the advertising link, we as Amazon partner receive a commission, for you there are no costs. You thus support our cost- and advertising banner-free, educational offer.

Directions

1

Set up all the materials, put a paint pad and put on a paint coat. Then first cut the cardboard plate to the middle.

Bild zum Schritt 1 für das Bastel- und DIY-Abenteuer für Kinder: 'Richtet alle Materialien her, legt eine Malunterlage unter und zieht...'

2

Now you paint the cardboard plate on the curved side with brown color (bottom side of the plate).
Leave the paint to dry.

Bild zum Schritt 2 für das Bastel- und DIY-Abenteuer für Kinder: 'Jetzt bemalt ihr den Pappteller auf der gewölbten Seite mit...'

3

2. Bild zum Schritt 2 für das Bastel- und DIY-Abenteuer für Kinder: 'Jetzt bemalt ihr den Pappteller auf der gewölbten Seite mit...'

4

After drying, place the cardboard plate at the incision about 5 cm above each other and glue overlay.
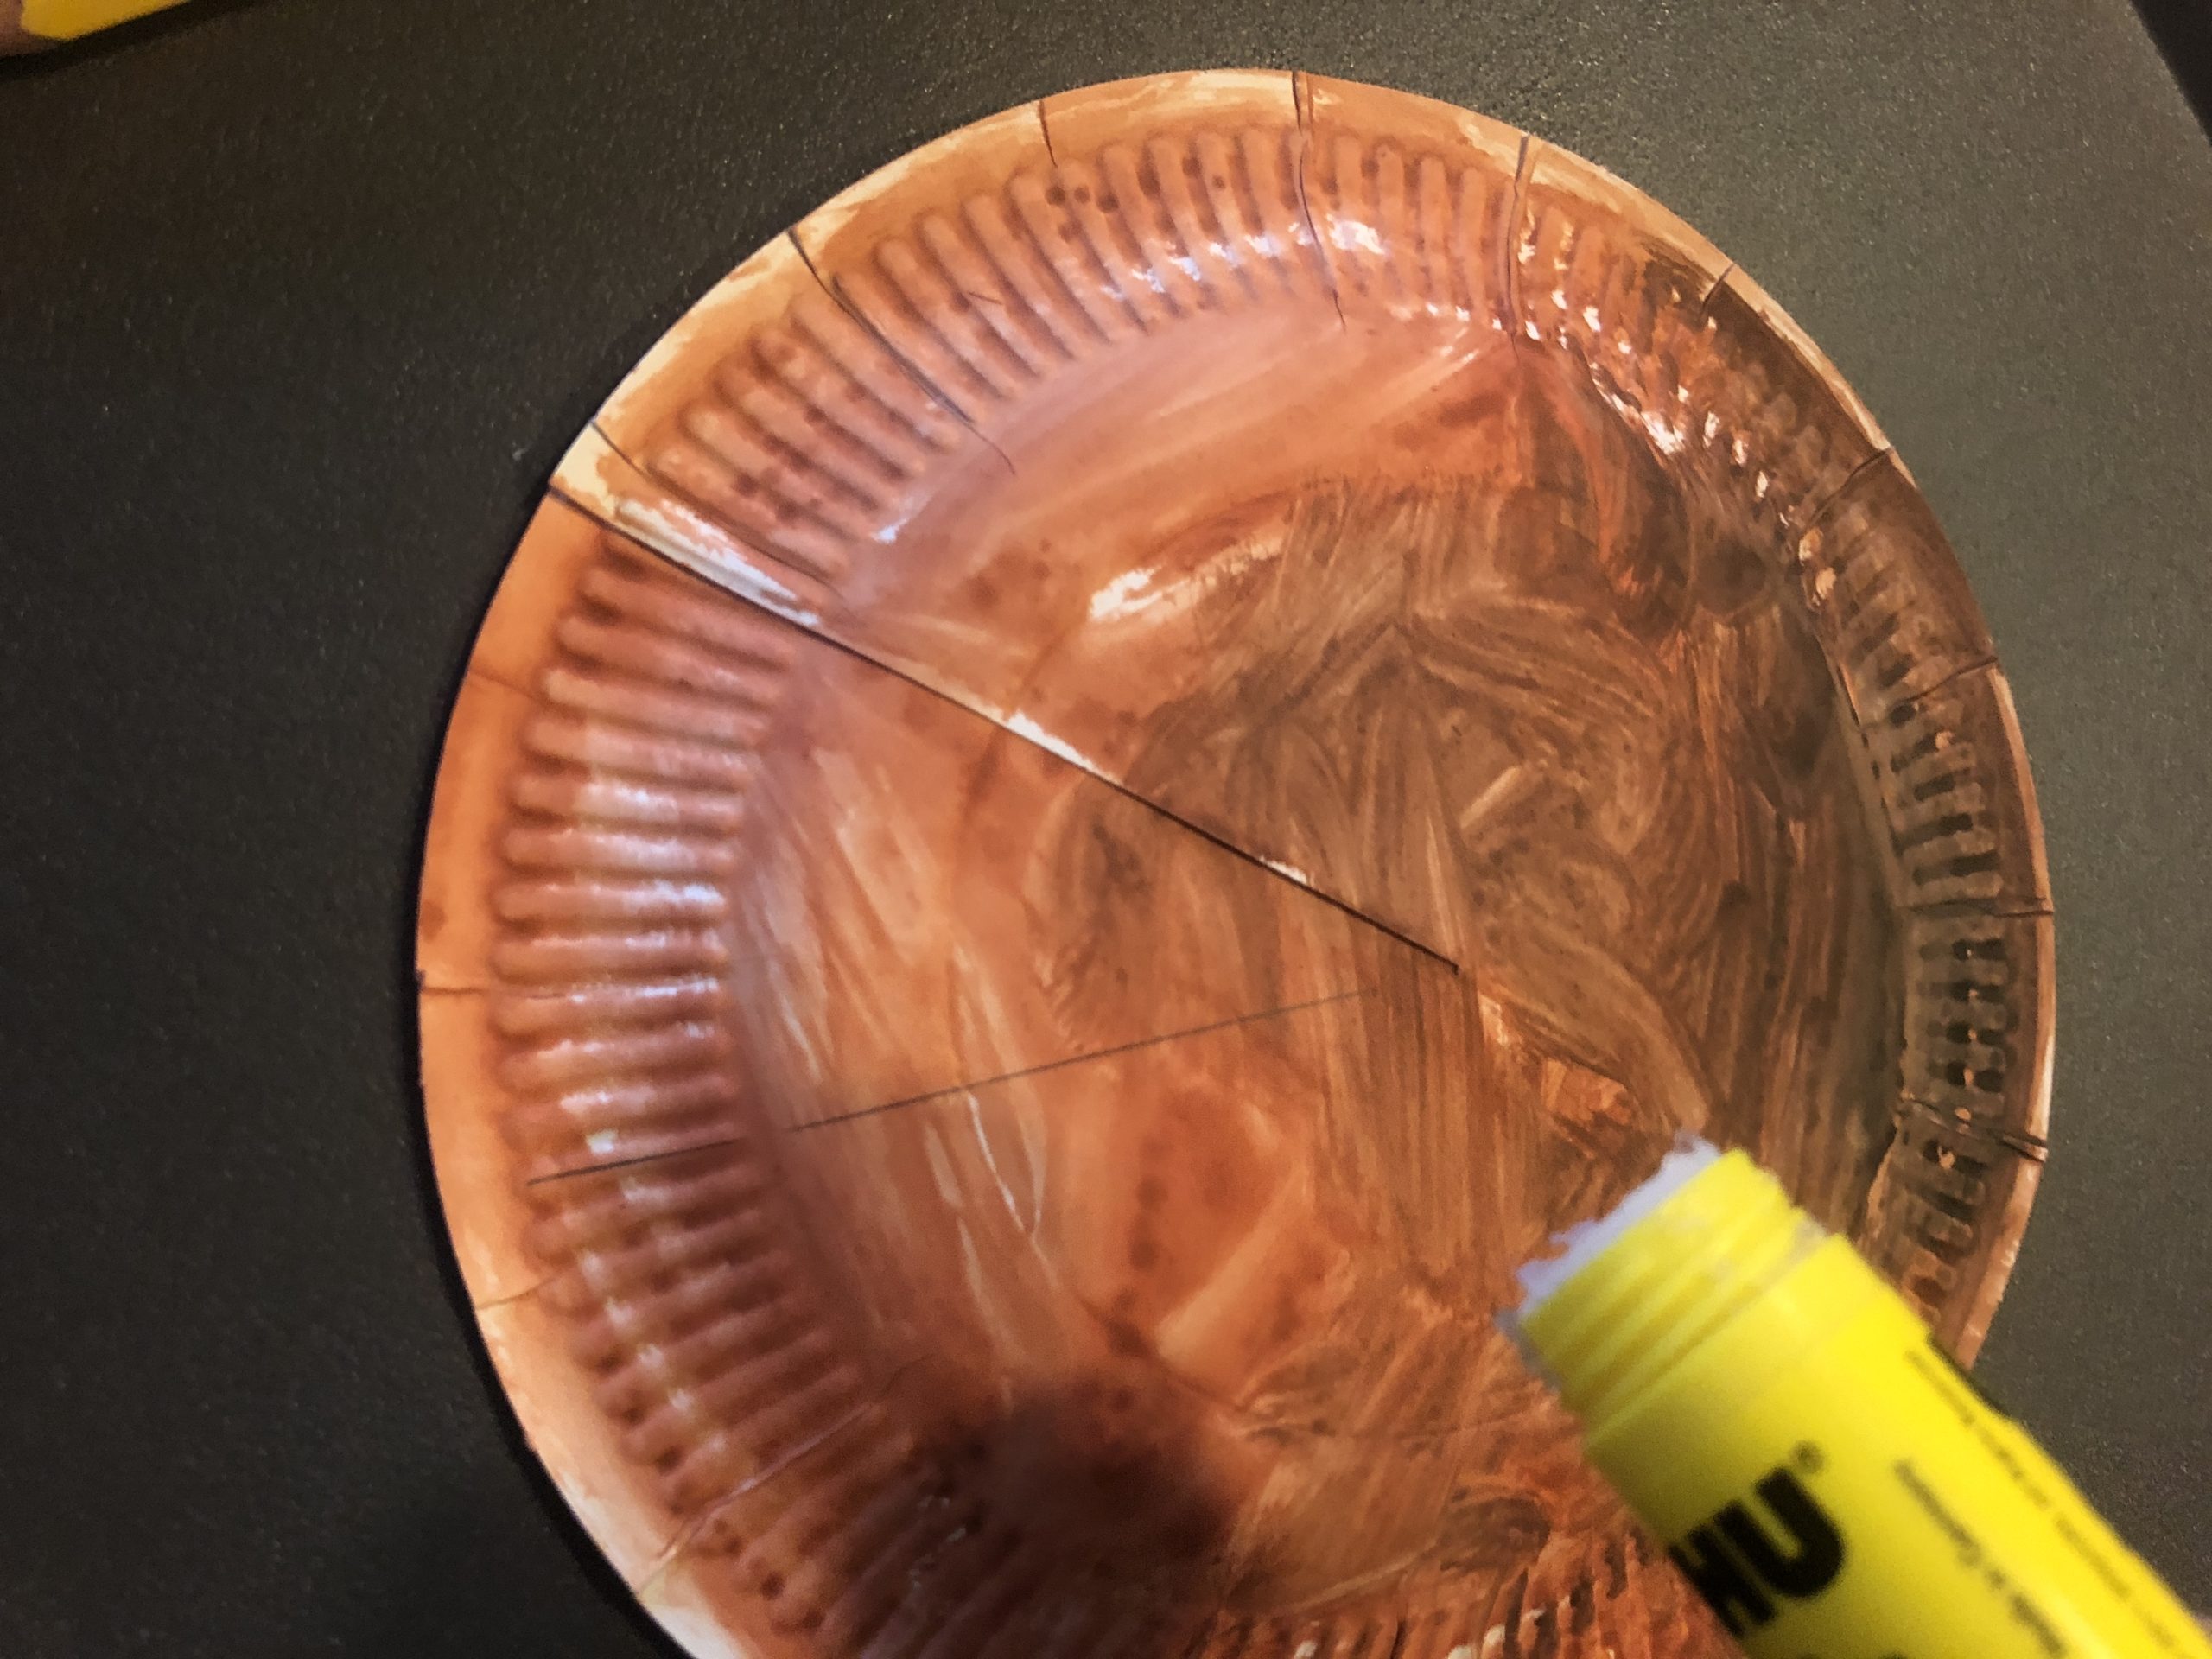
Bild zum Schritt 4 für das Bastel- und DIY-Abenteuer für Kinder: 'Nach dem Trocknen den Pappteller am Einschnitt ca. 5 cm...'

5

This makes the mushroom hat plastic.
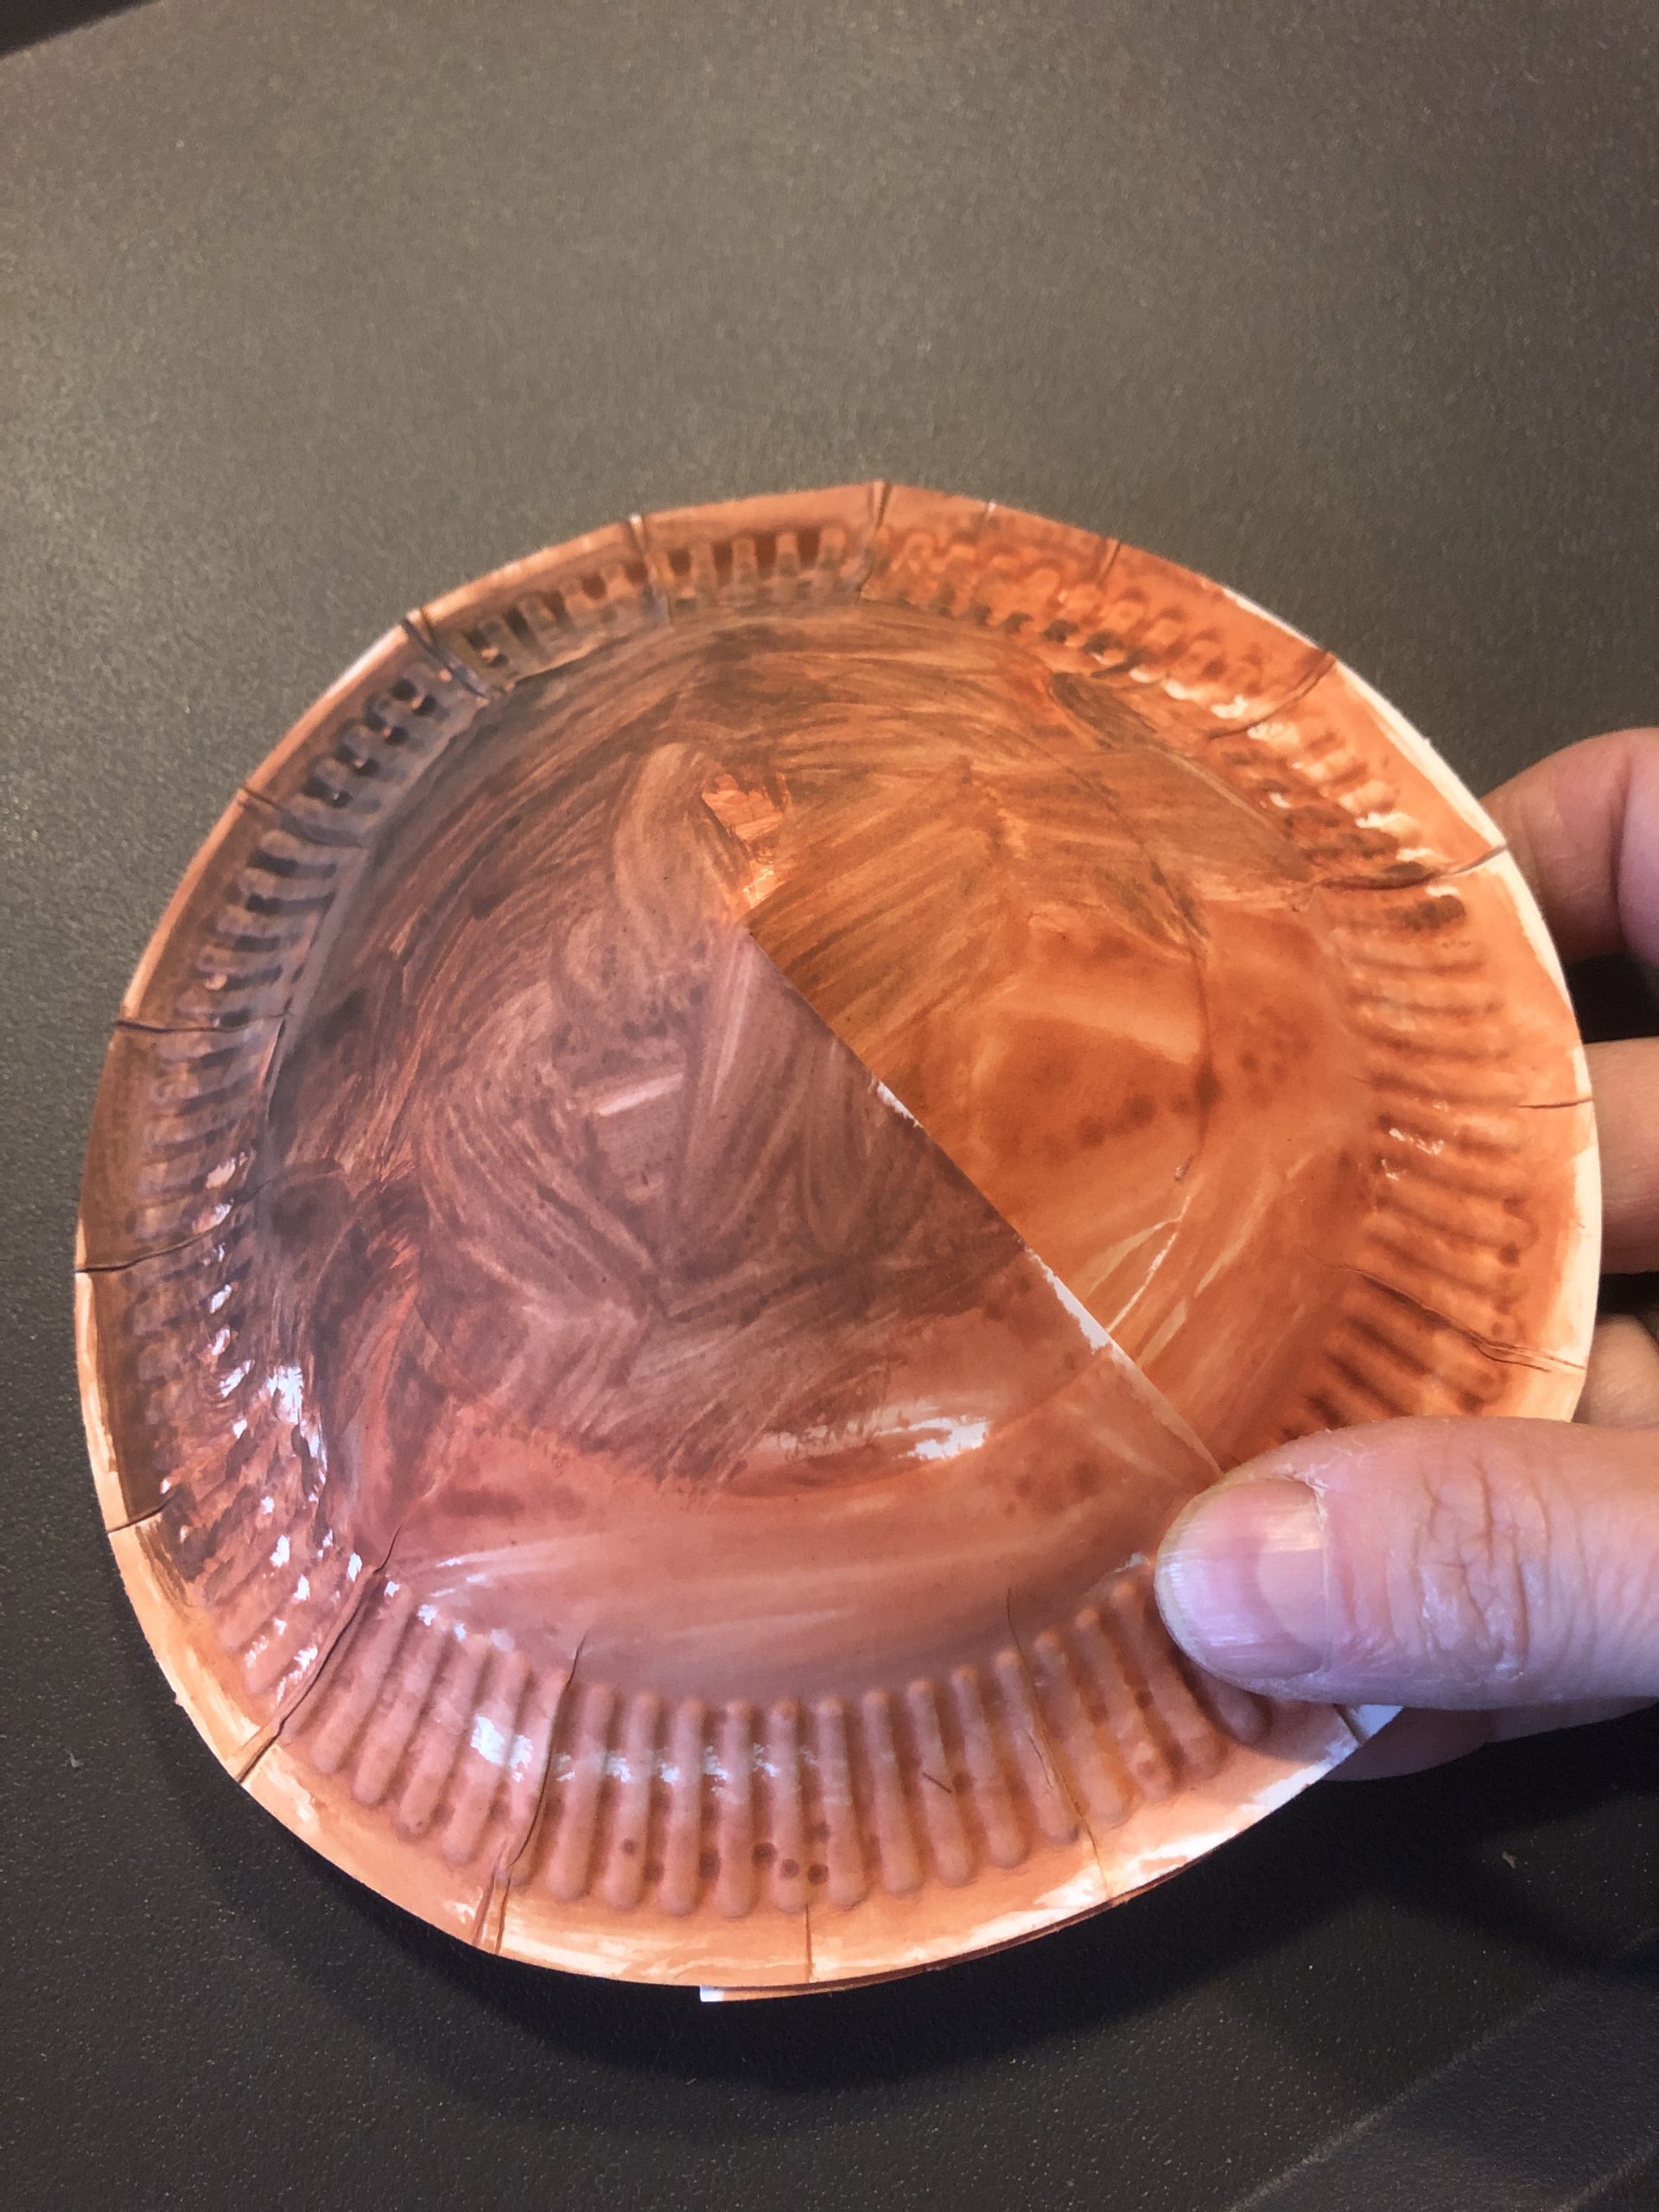
Bild zum Schritt 5 für das Bastel- und DIY-Abenteuer für Kinder: 'Dadurch wird der Pilzhut plastisch.'

6

Then fold the plate in half.

Bild zum Schritt 6 für das Bastel- und DIY-Abenteuer für Kinder: 'Anschließend faltet ihr den Teller zur Hälfte zusammen.'

7

Put the mushroom hat aside for a moment.
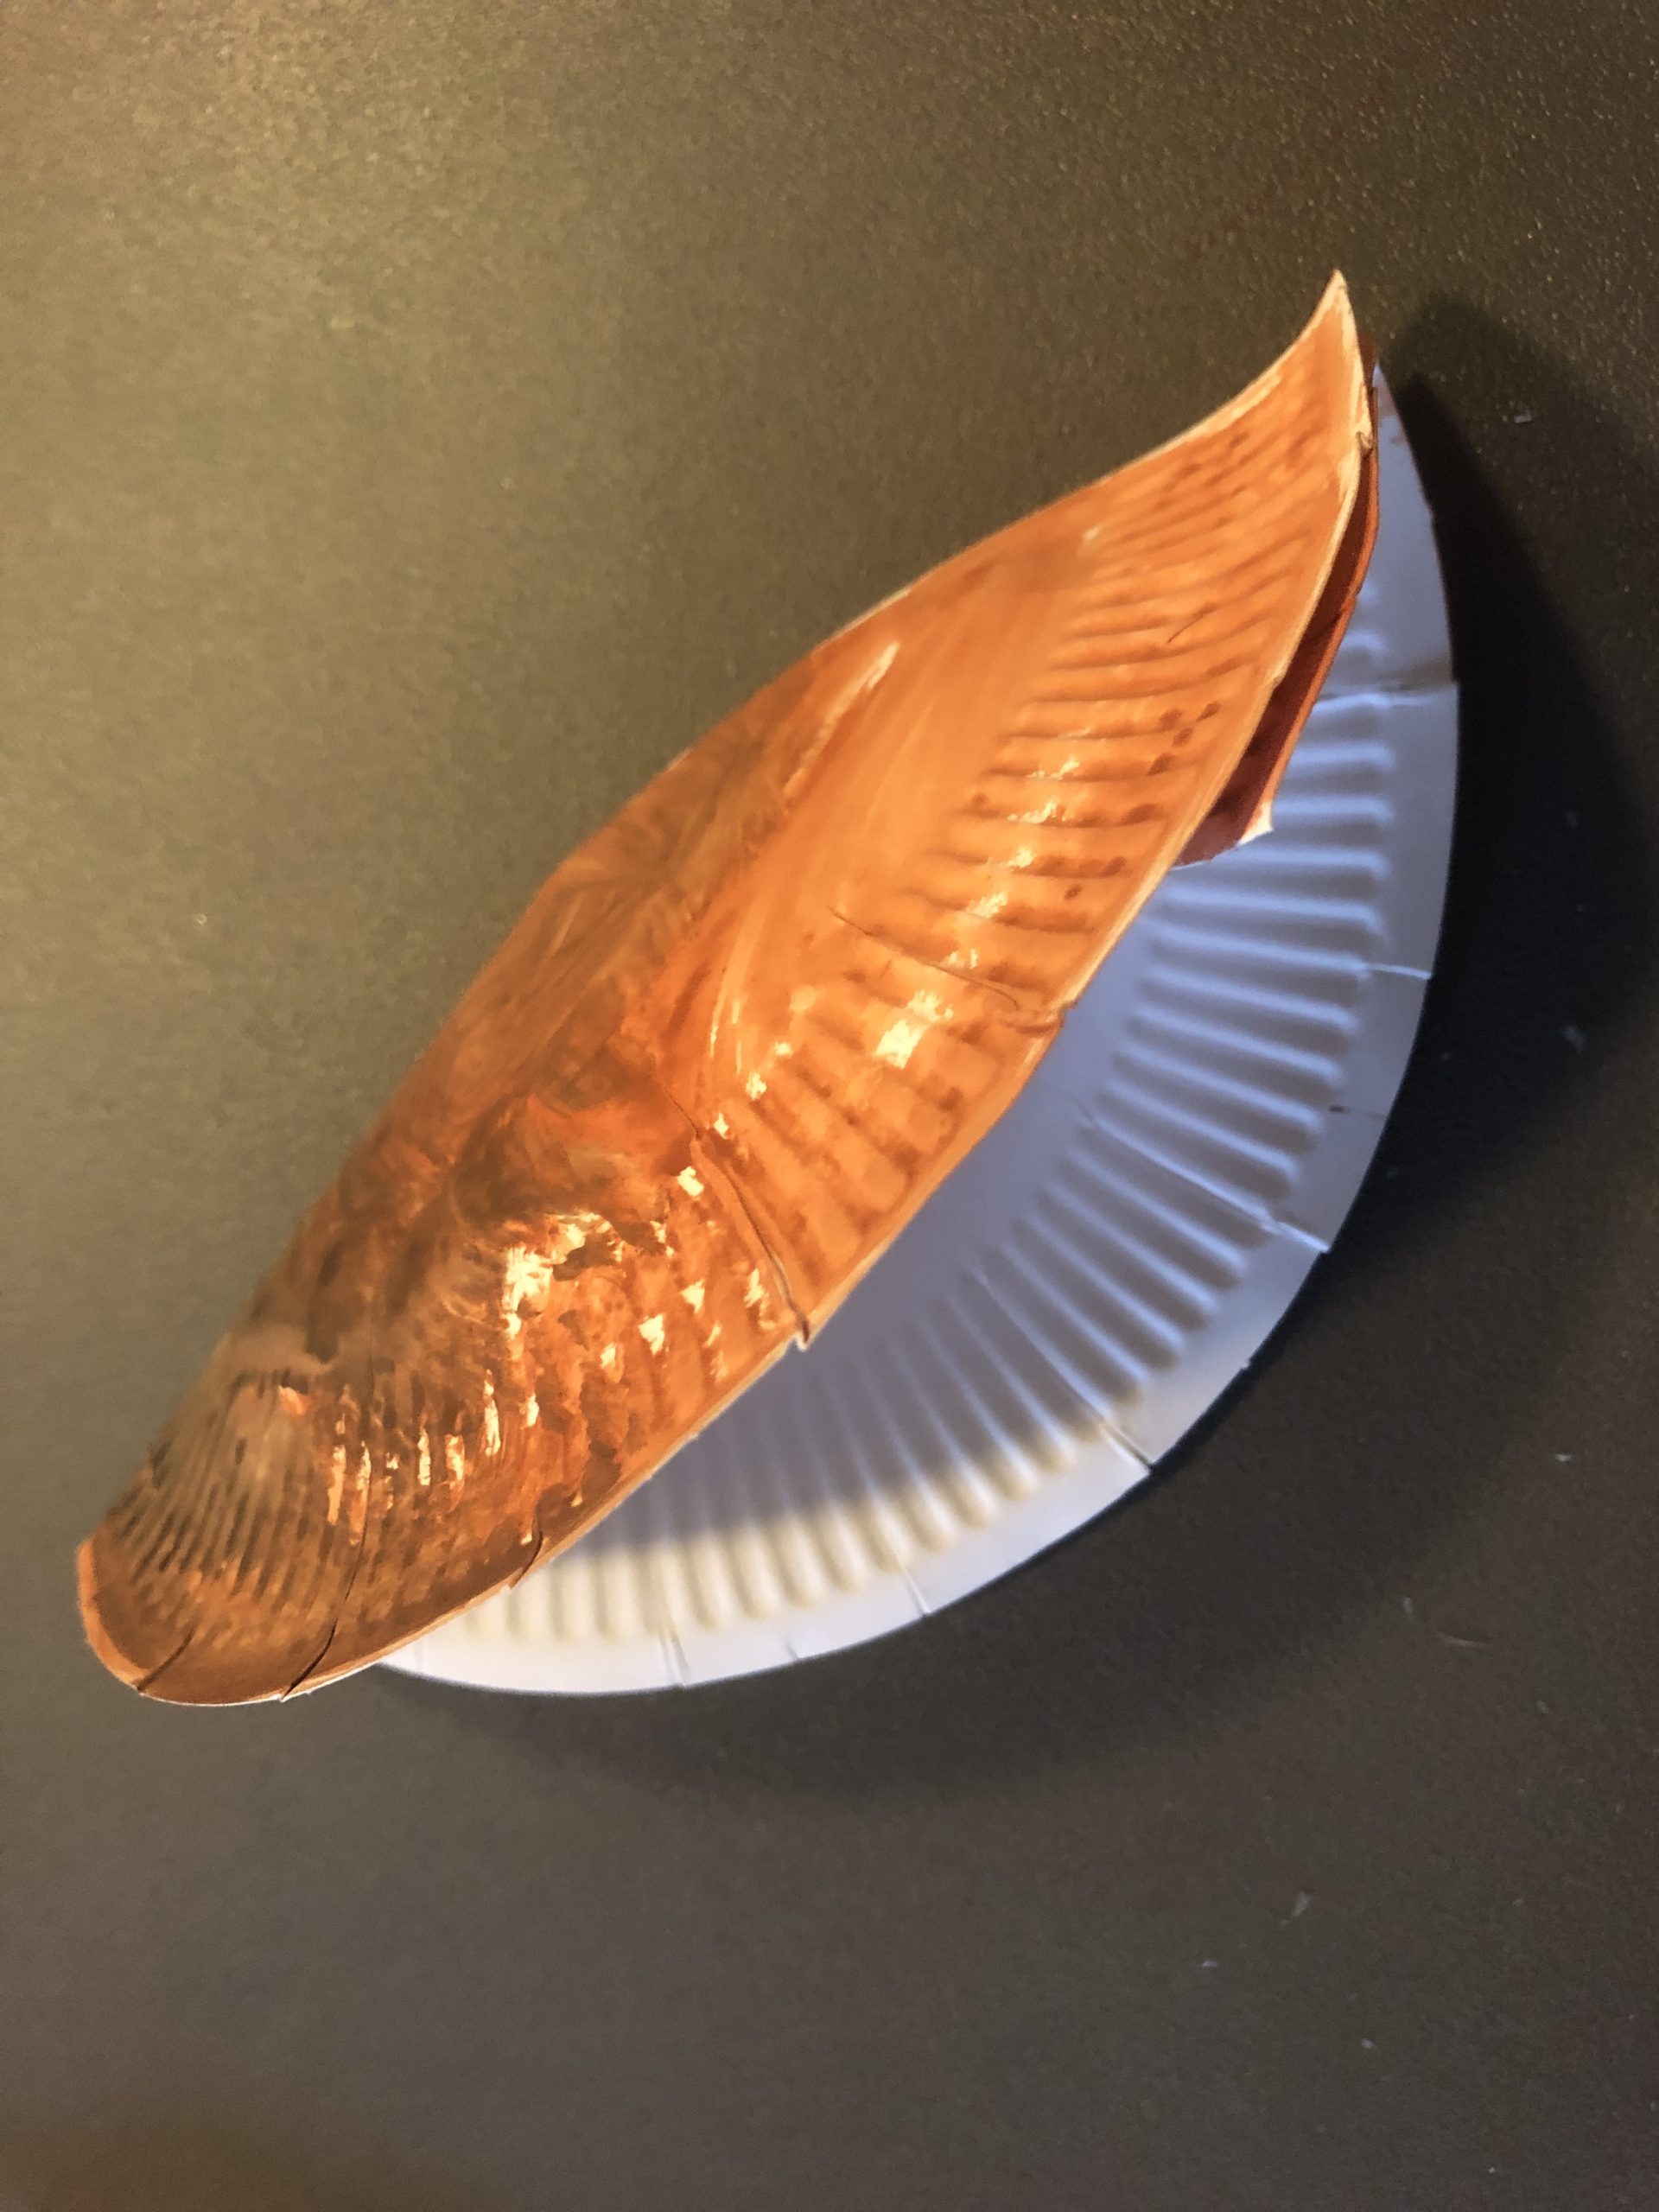
Bild zum Schritt 7 für das Bastel- und DIY-Abenteuer für Kinder: 'Legt den Pilzhut kurz beiseite.'

8

Now you stick the branch on a wooden board.
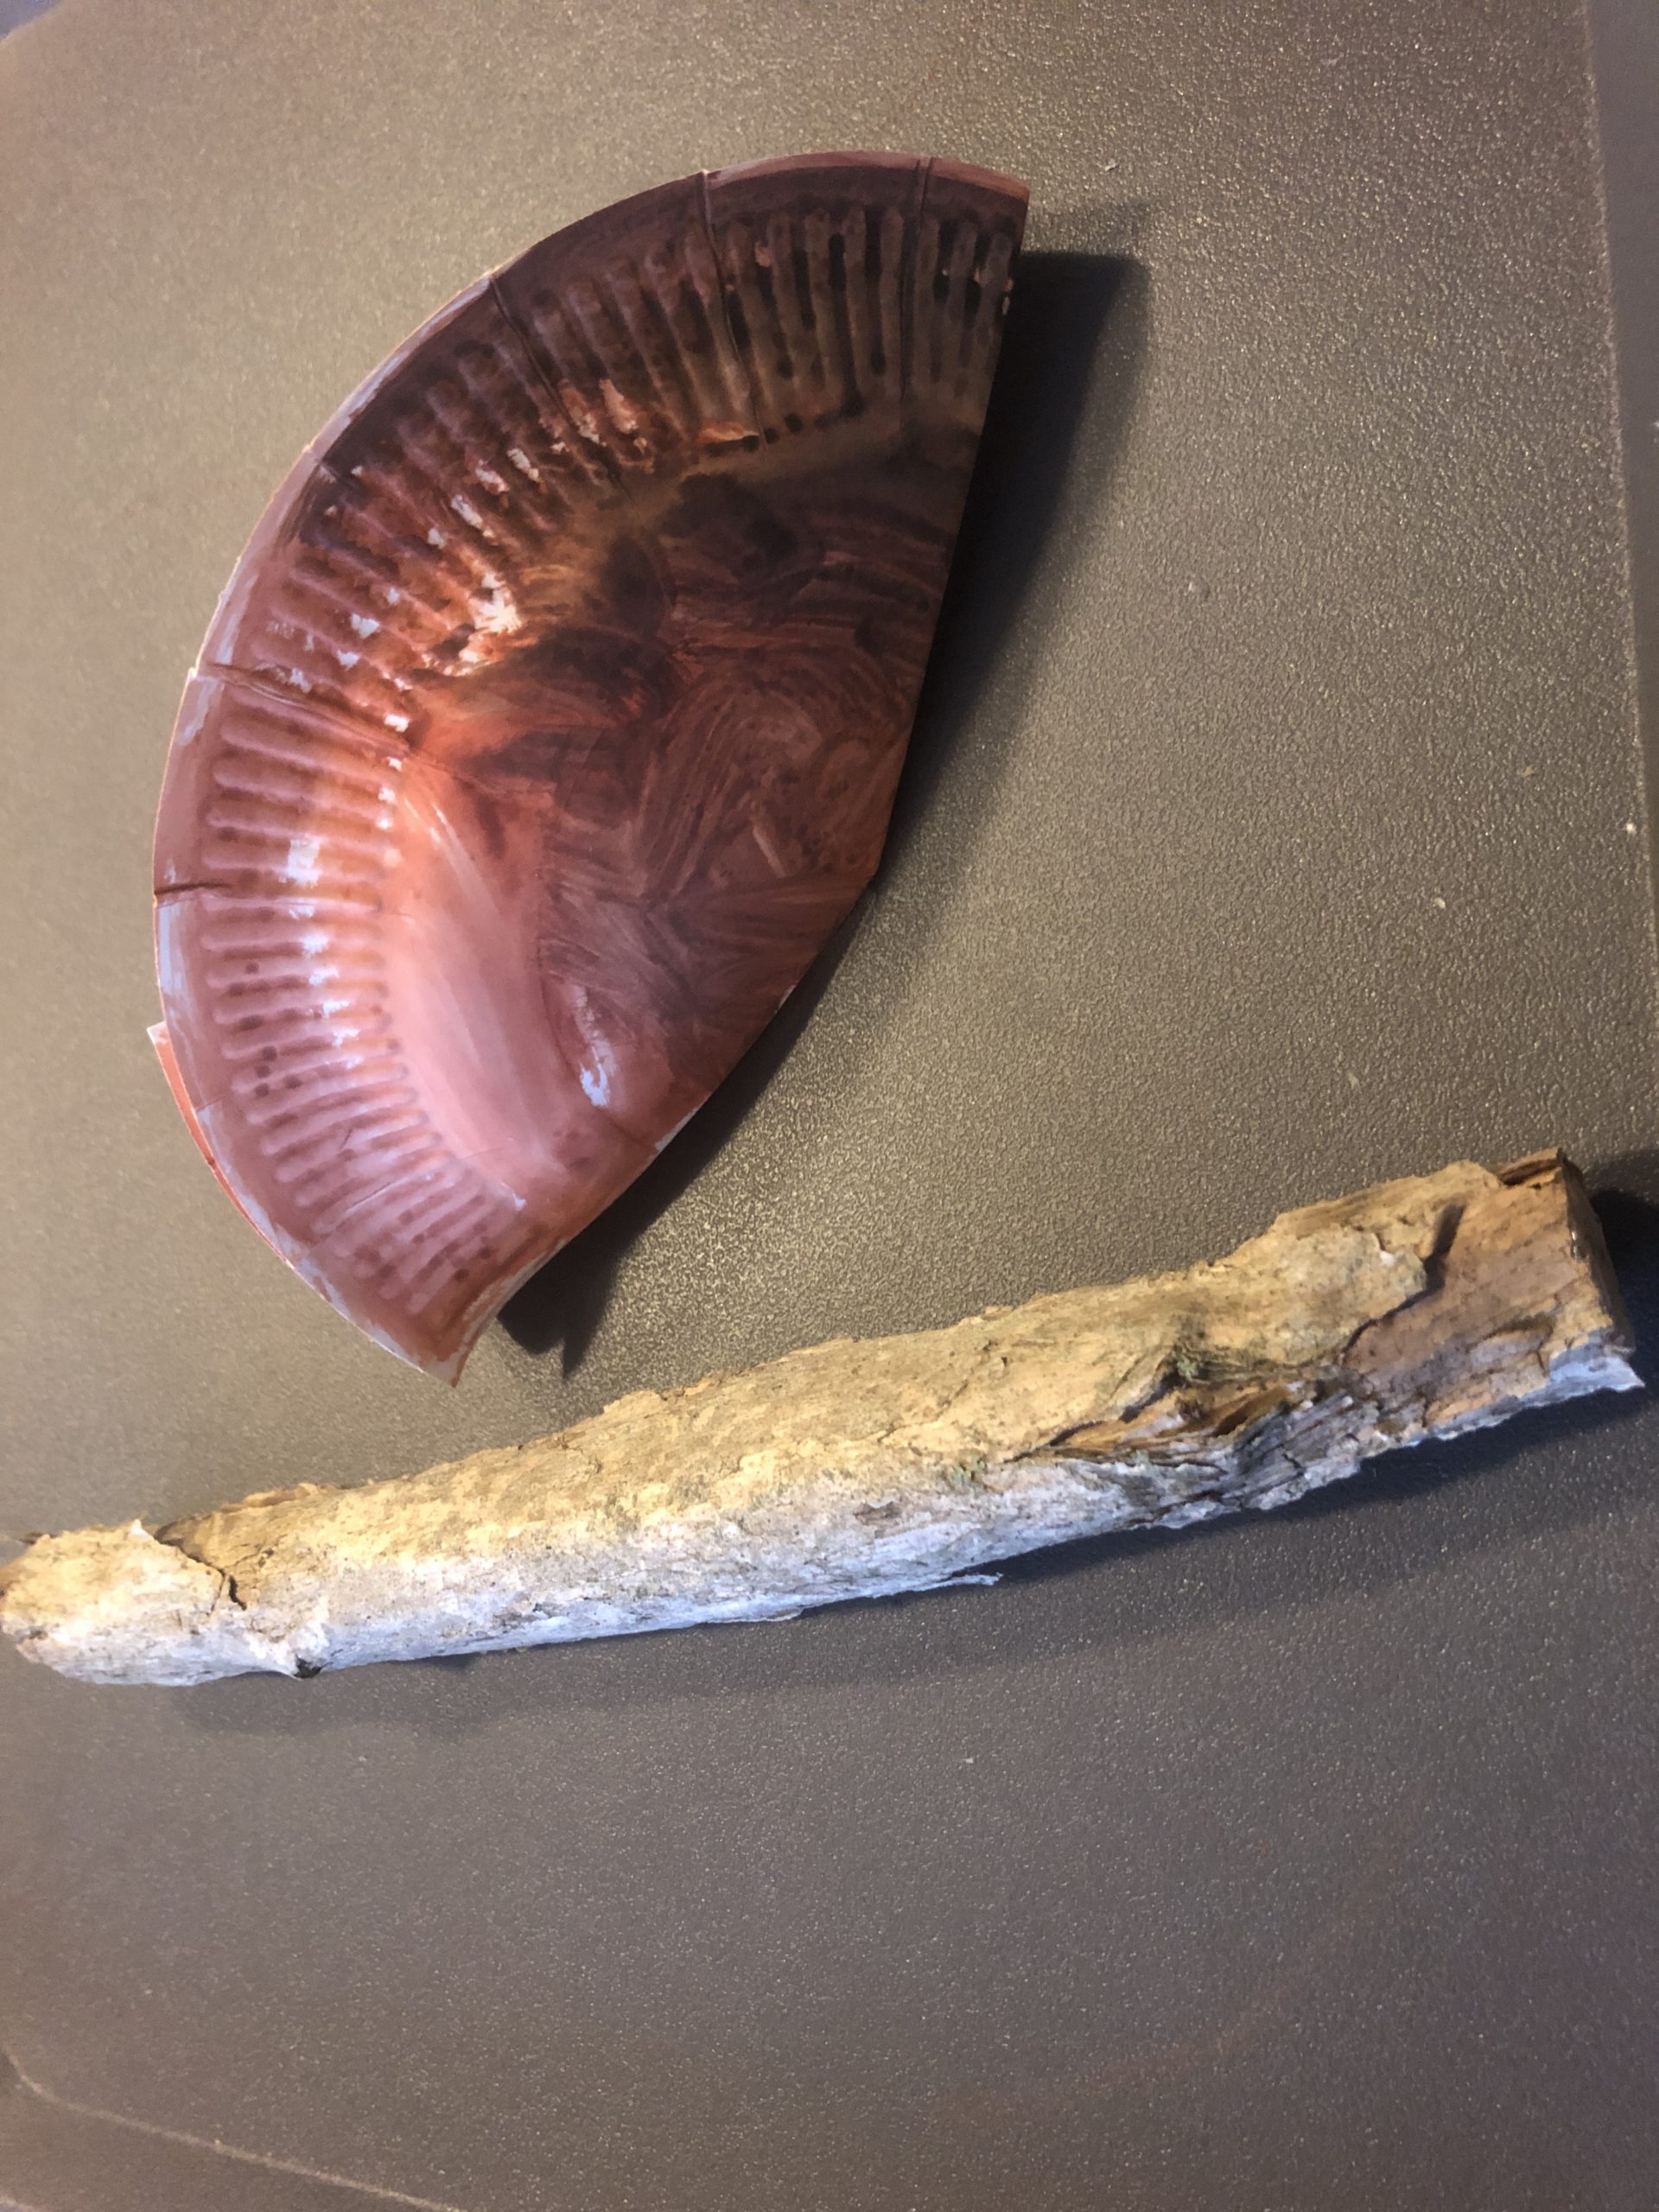
Bild zum Schritt 8 für das Bastel- und DIY-Abenteuer für Kinder: 'Jetzt klebt ihr den Ast auf einem Holzbrett fest.'

9

Uses hot glue (attention when using the hot glue gun: risk of injury!)
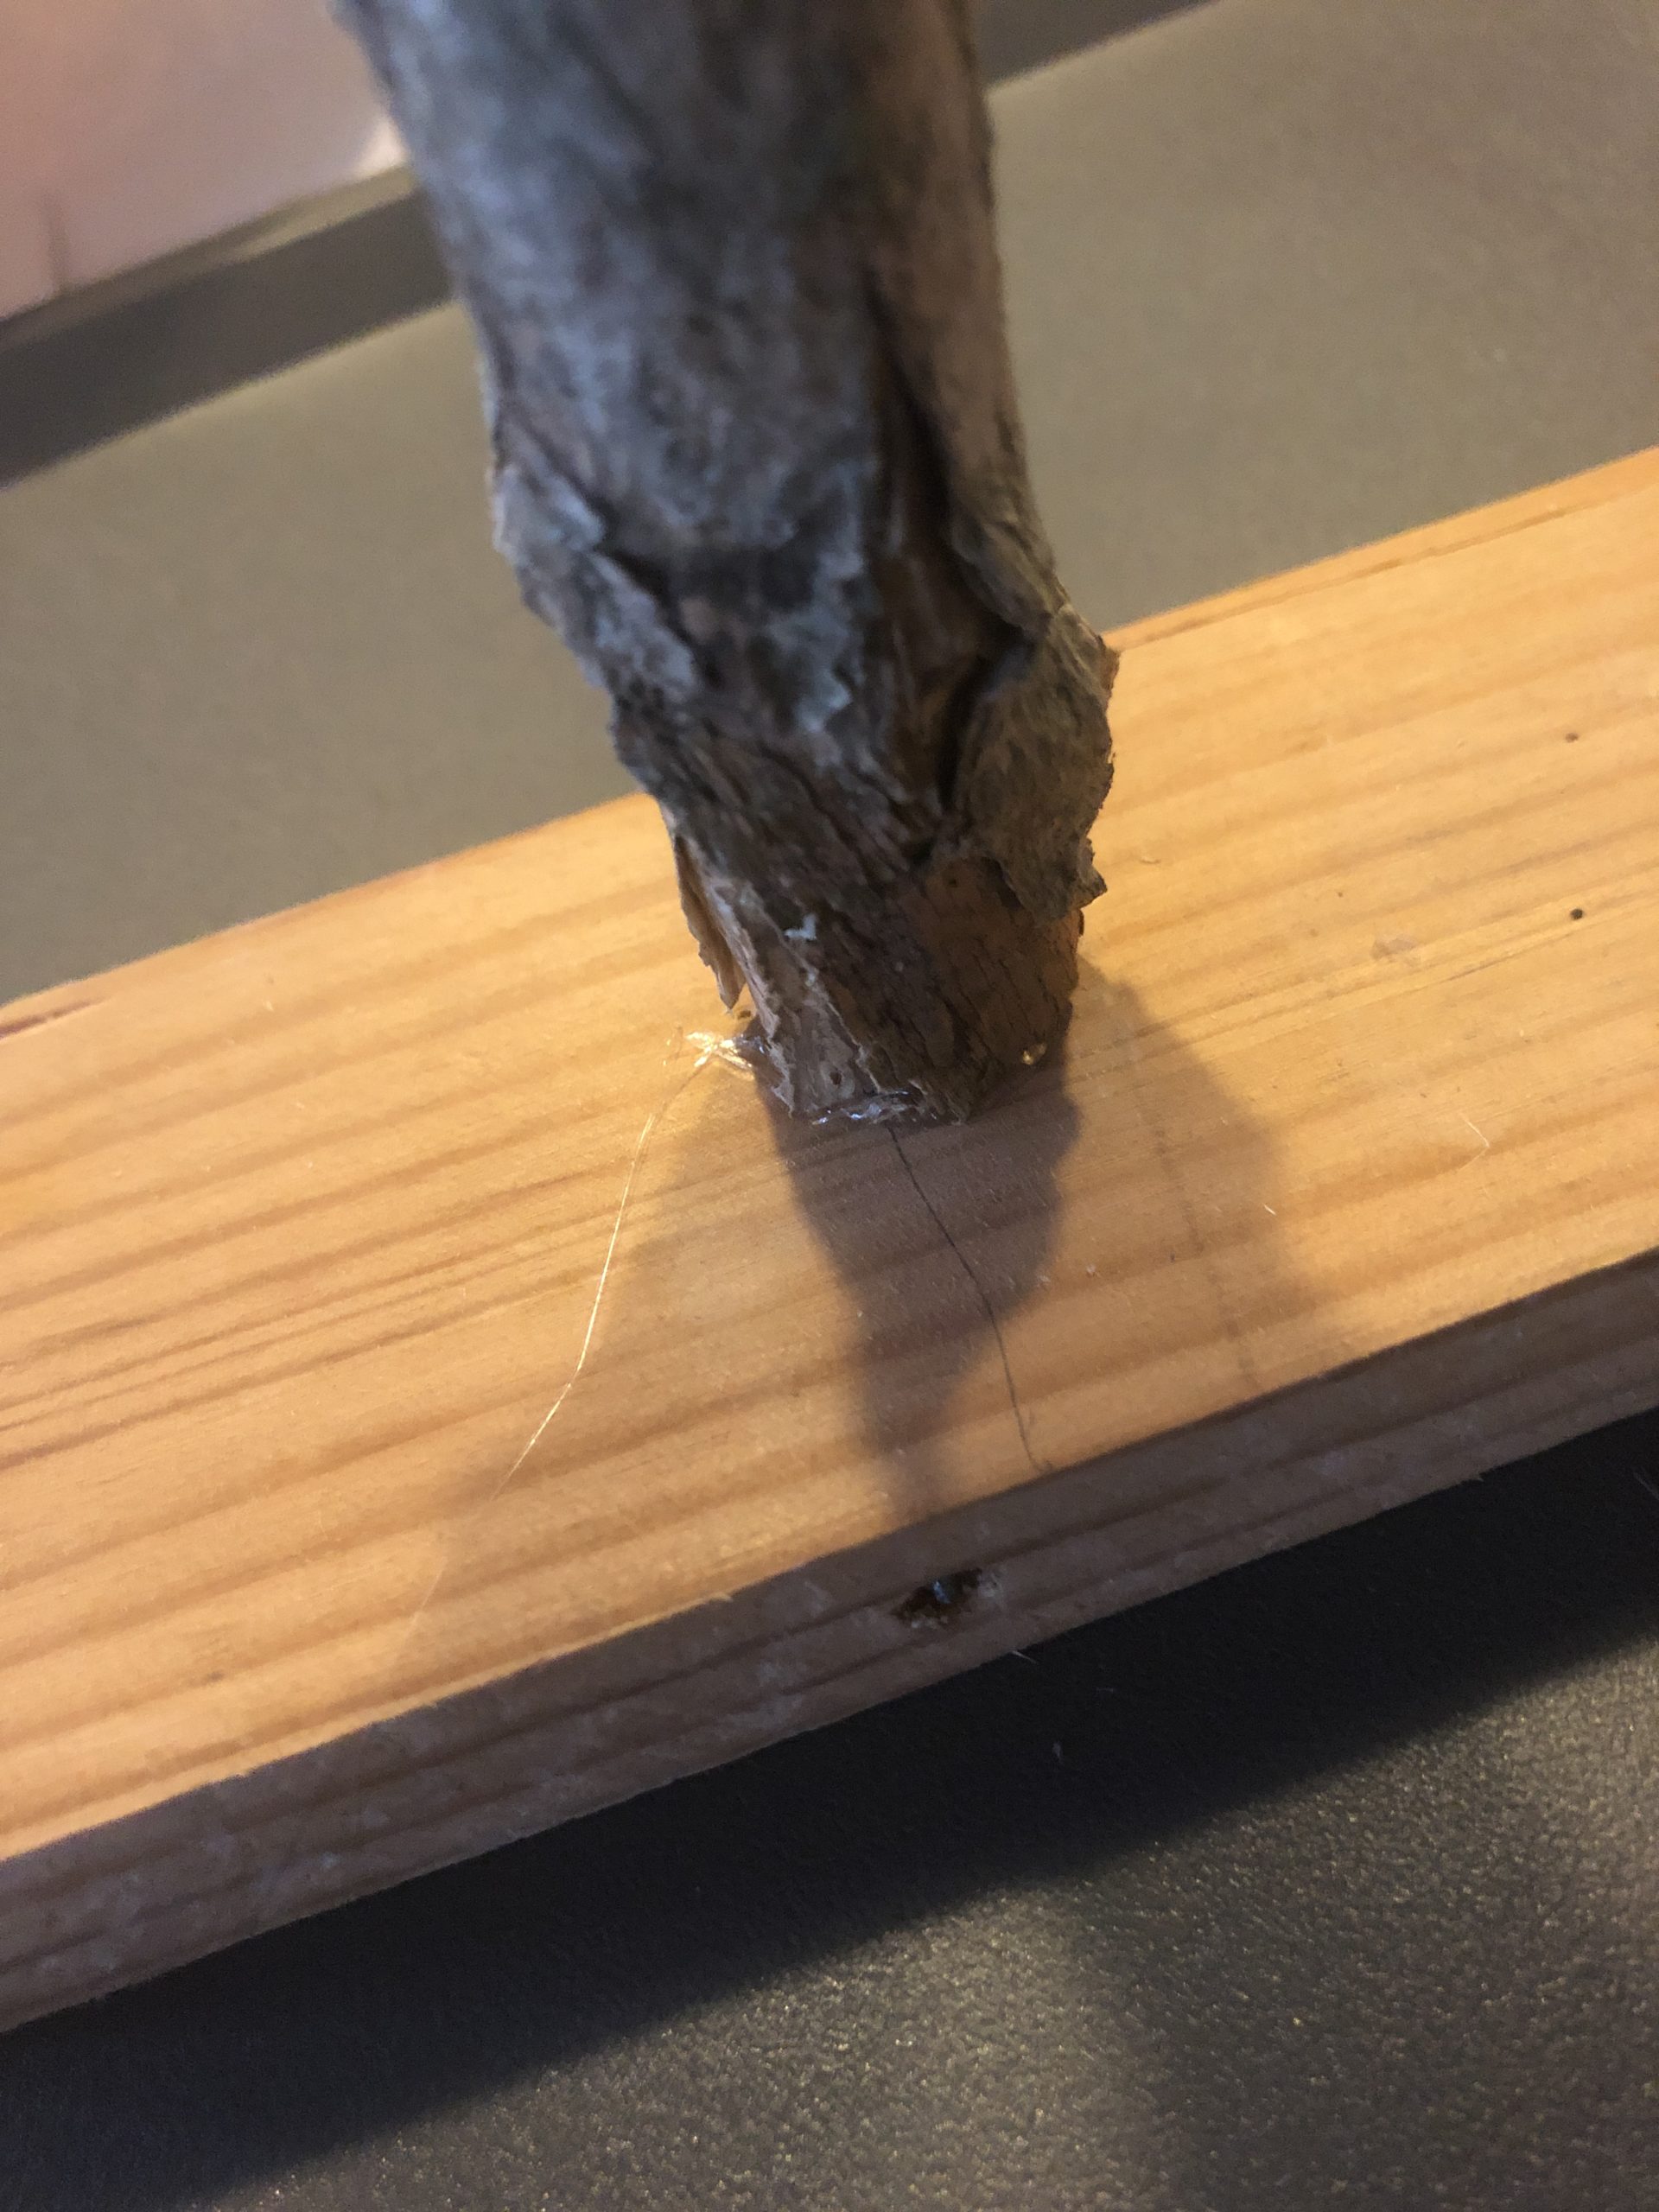
Bild zum Schritt 9 für das Bastel- und DIY-Abenteuer für Kinder: 'Nutzt dafür Heißkleber (Achtung im Umgang mit der Heißklebepistole: Verletzungsgefahr!)'

10

Now you take the mushroom hat and stick it on top of the branch with hot glue.
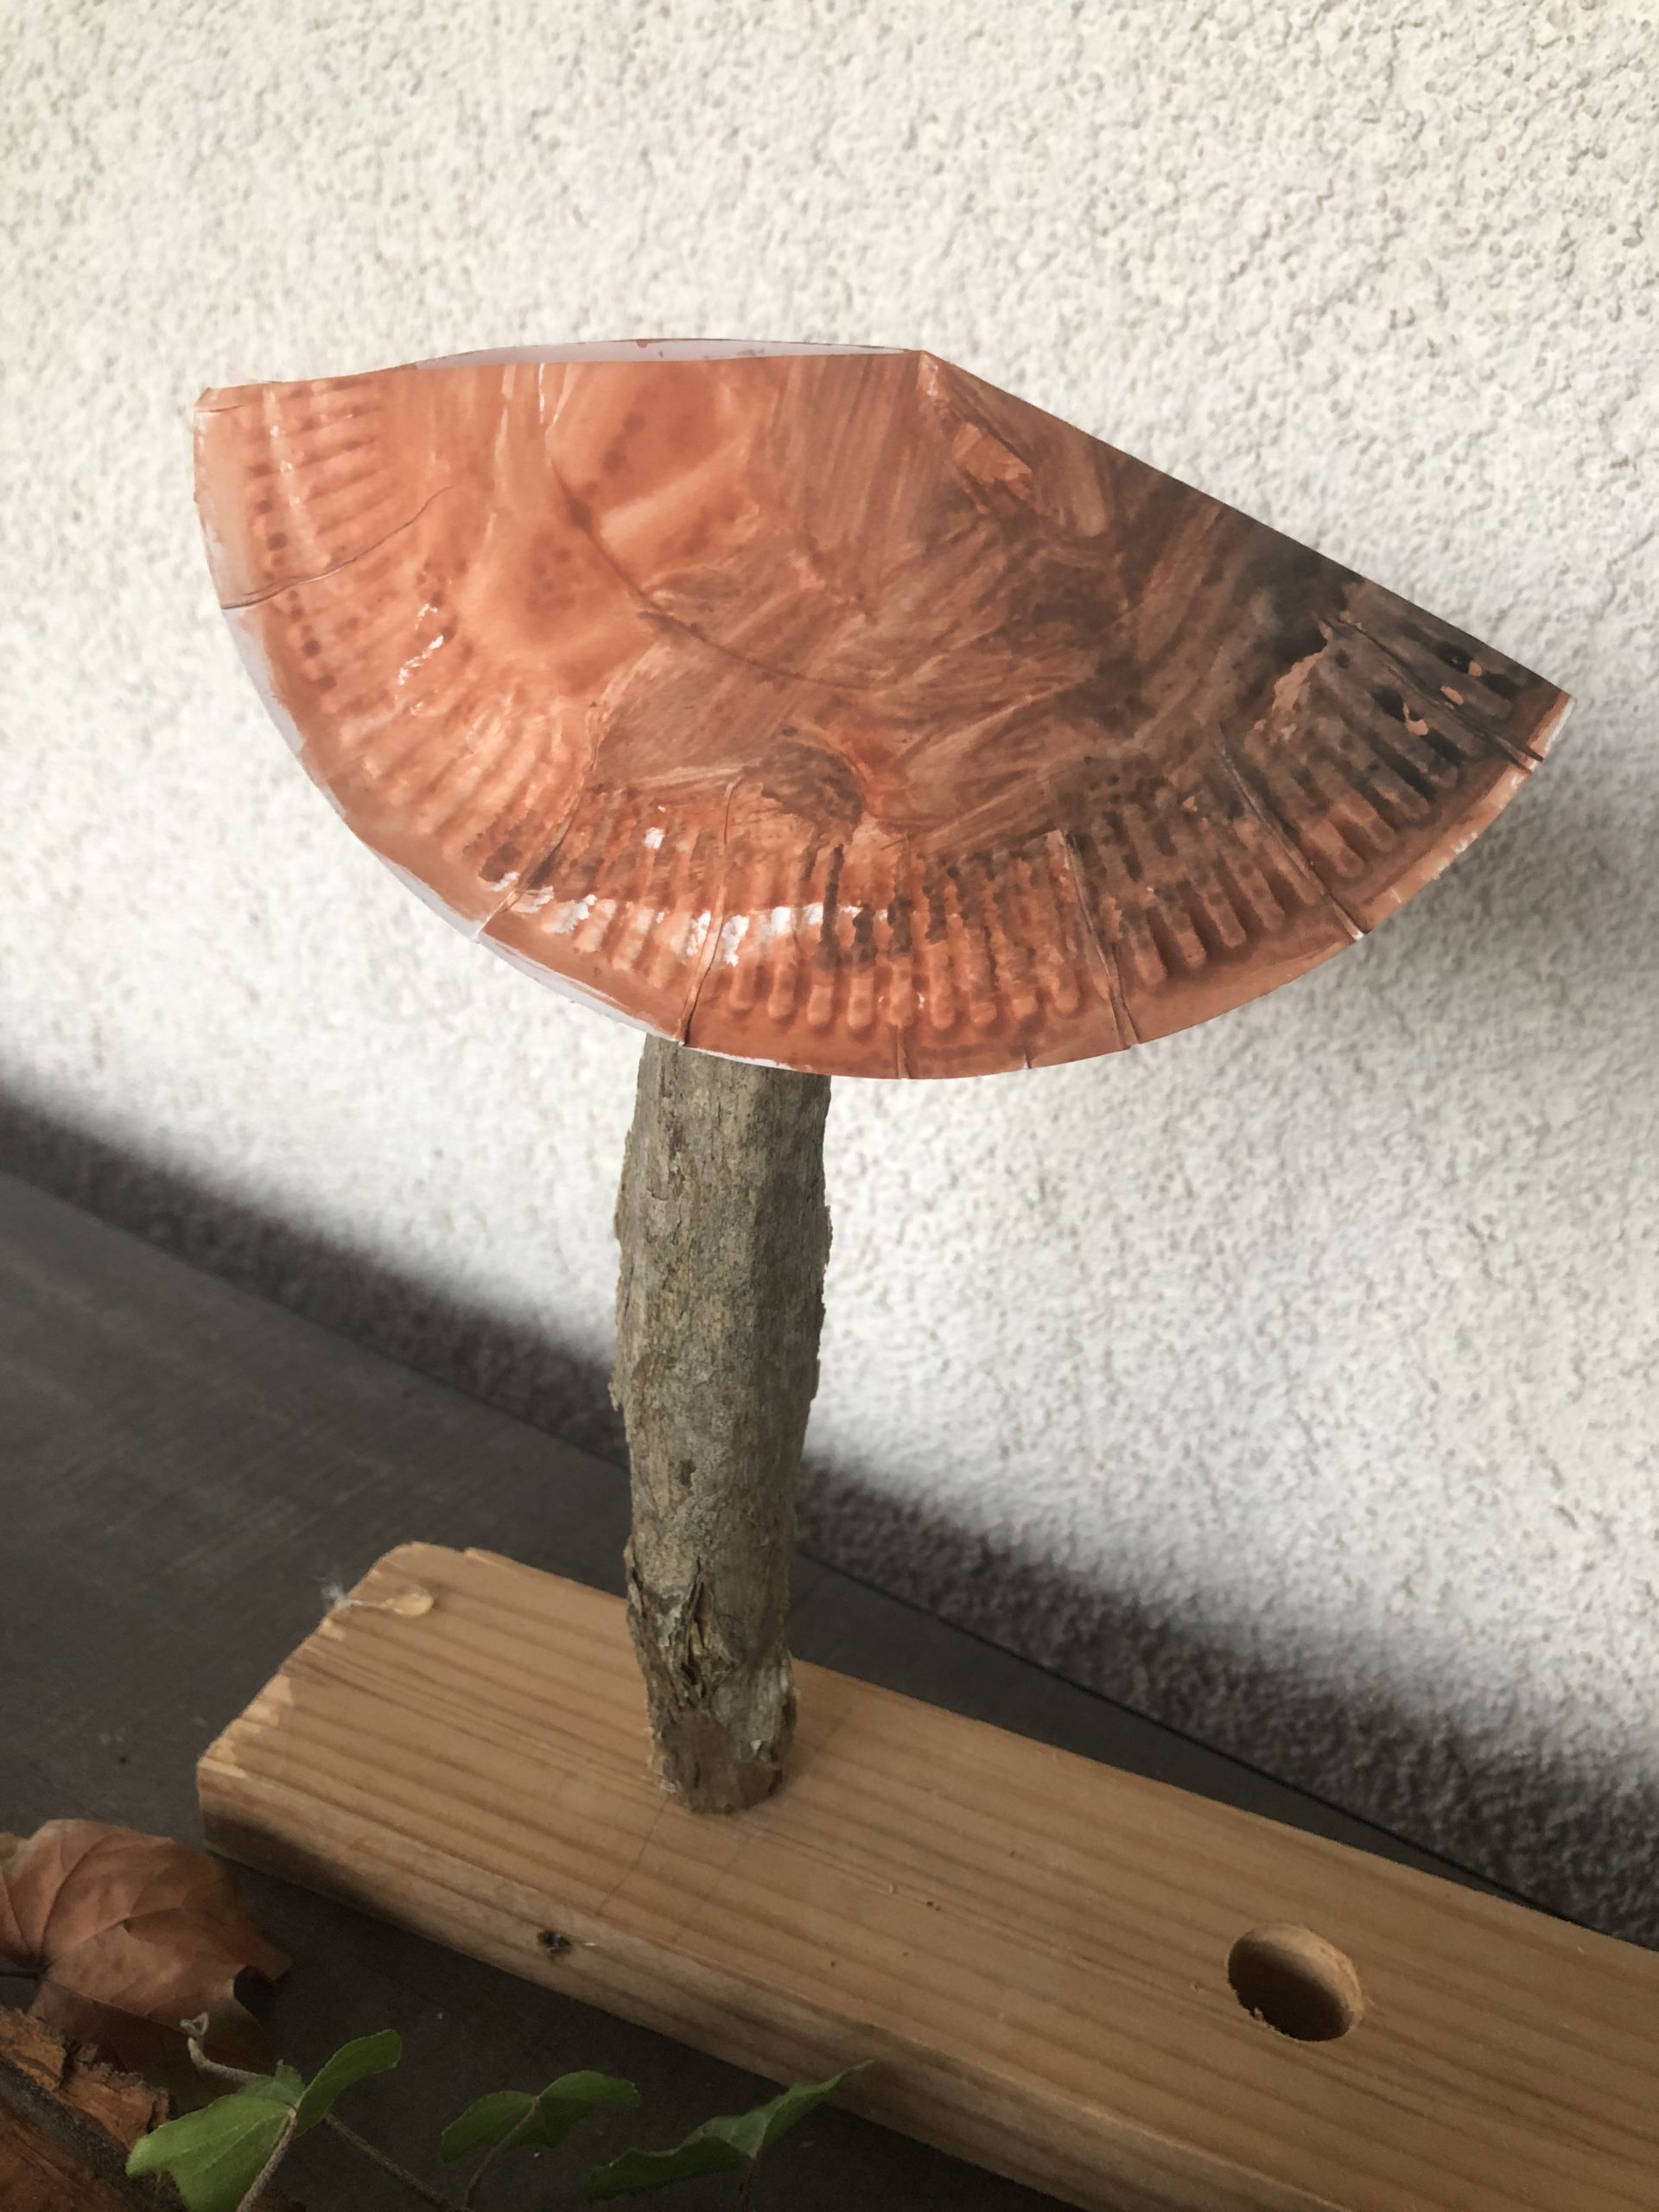
Bild zum Schritt 10 für das Bastel- und DIY-Abenteuer für Kinder: 'Jetzt nehmt ihr den Pilzhut und klebt ihn oben auf...'

11

Decorate the wooden piece with bark, moss, rose hips, chestnuts, acorns or leaves.
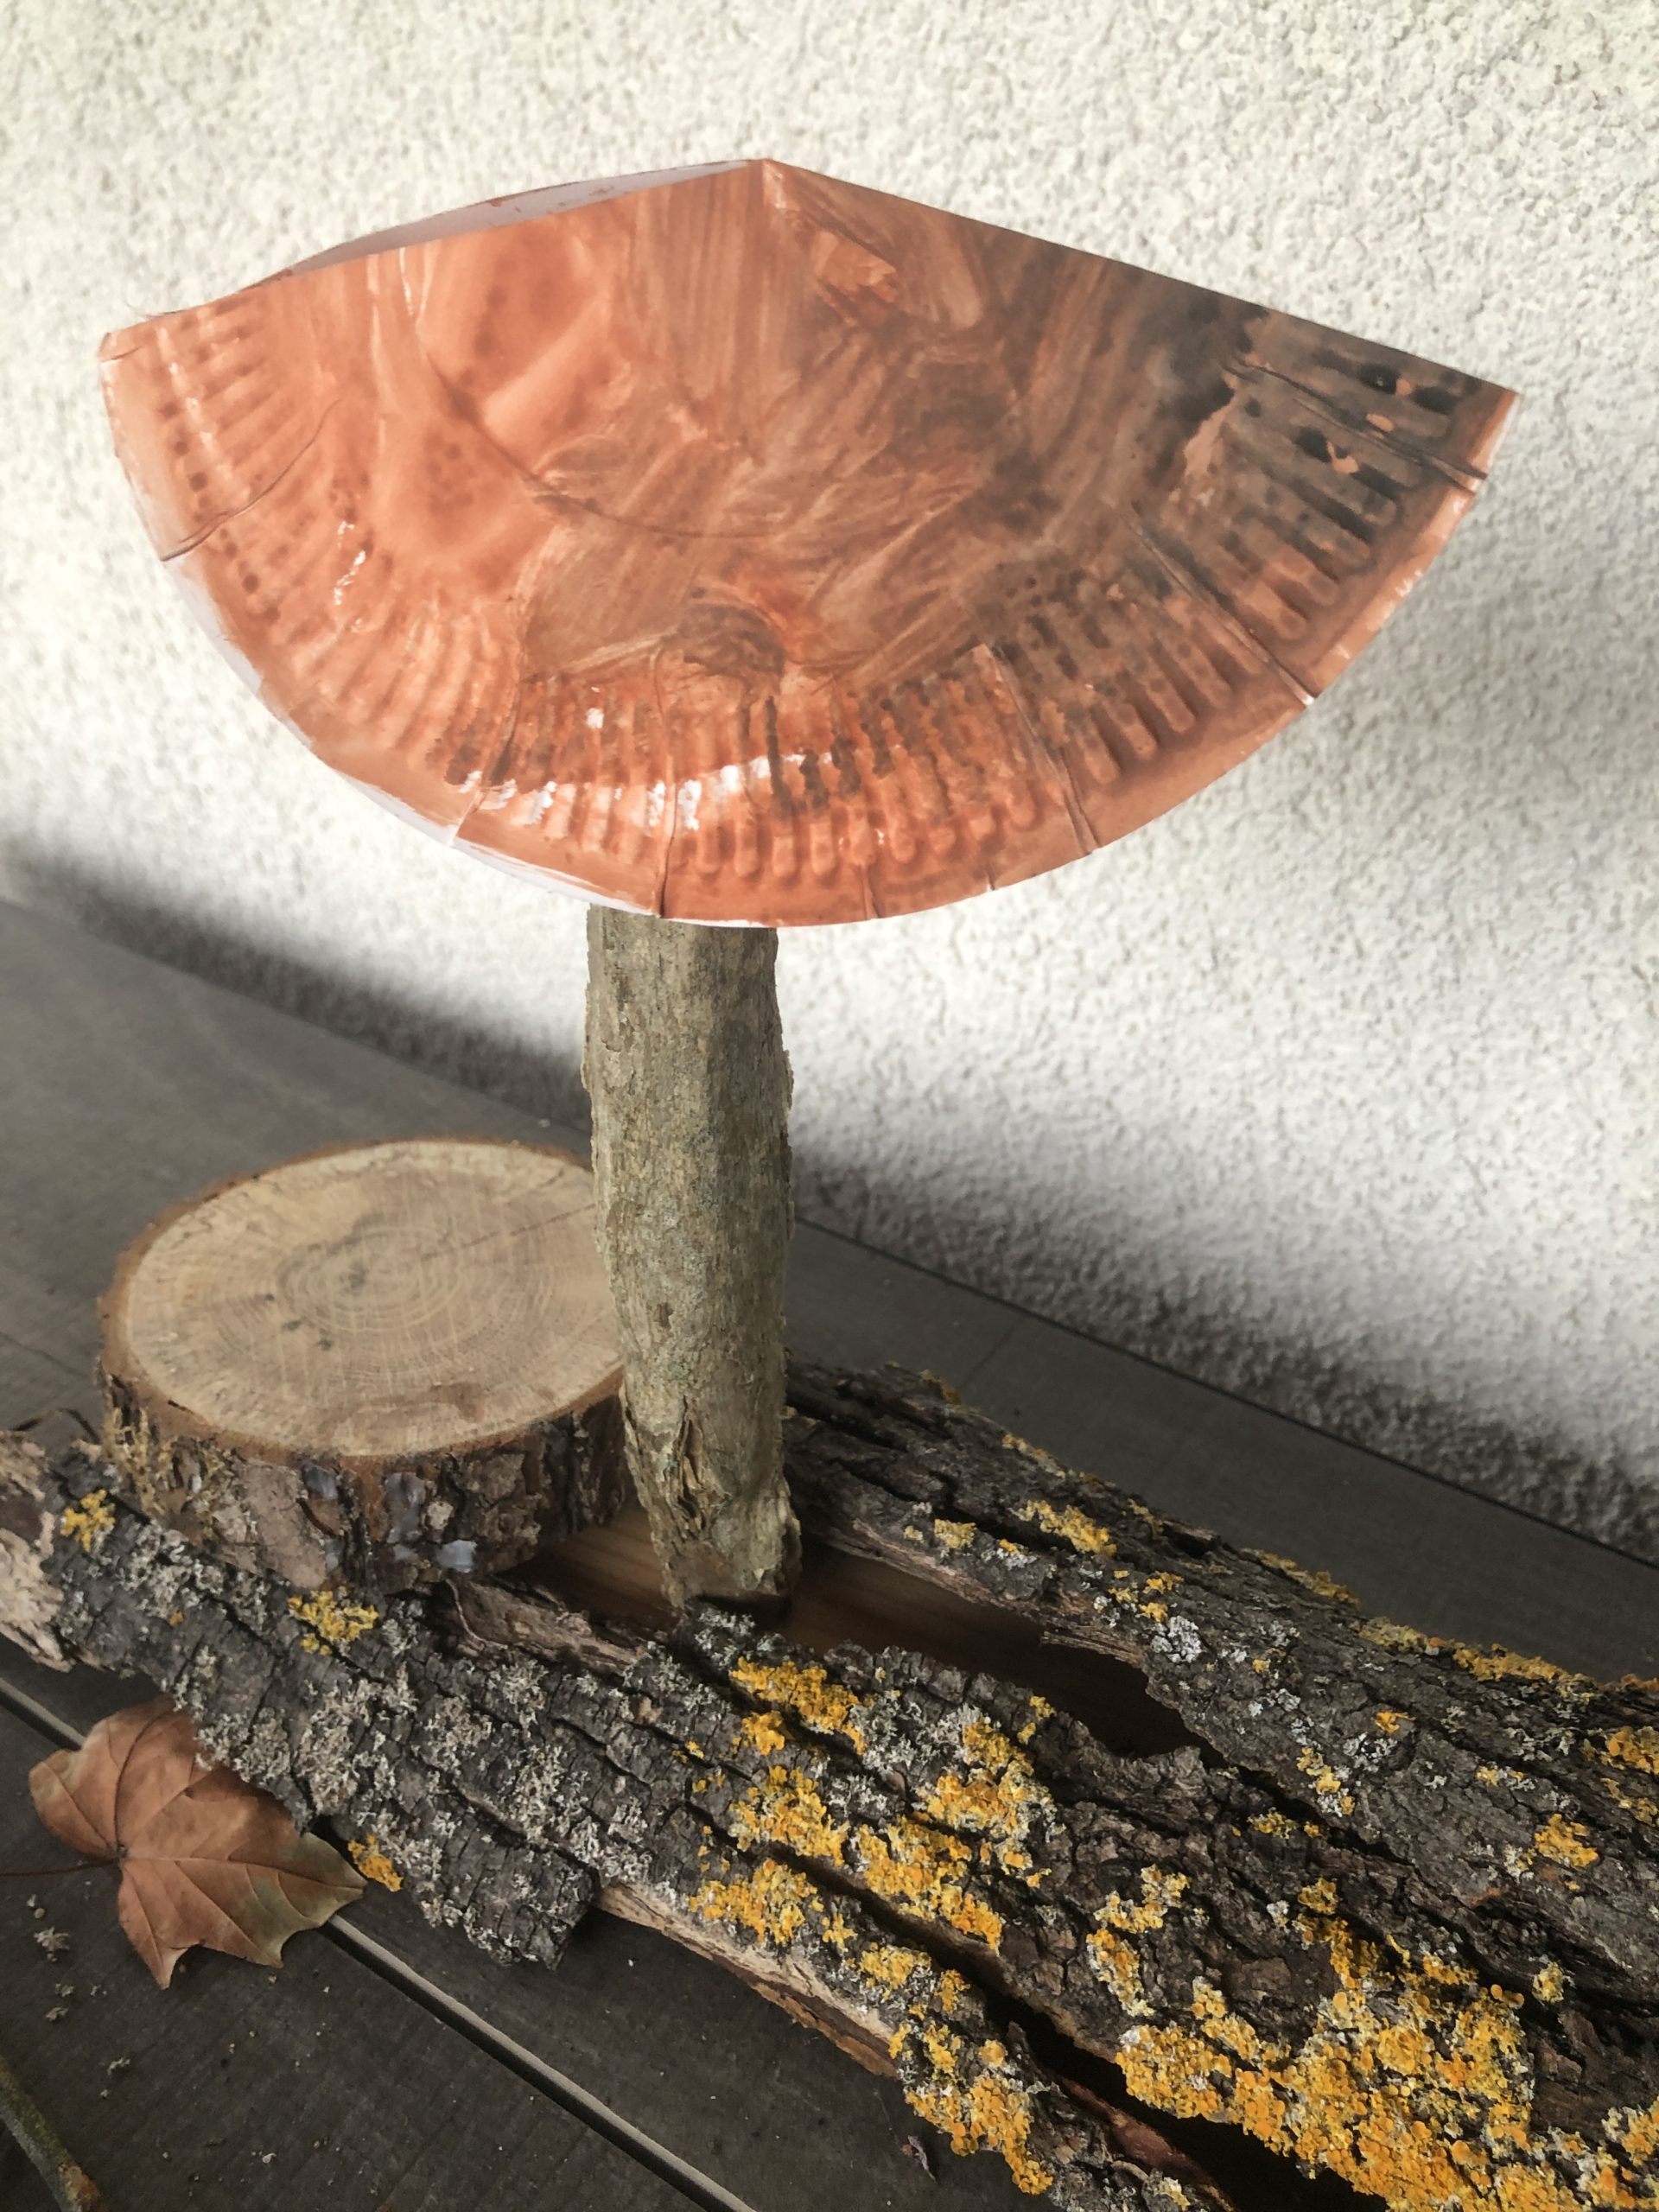
Bild zum Schritt 11 für das Bastel- und DIY-Abenteuer für Kinder: 'Das Holzstück nun noch mit Baumrinde, Moos, Hagebutten, Kastanien, Eicheln...'

12

Have fun doing crafts.

Bild zum Schritt 12 für das Bastel- und DIY-Abenteuer für Kinder: 'Viel Spaß beim Basteln.'

Variation:
13

You can also design the mushroom hat as a fly mushroom. You can find this adventure here? Make a fly fungus.
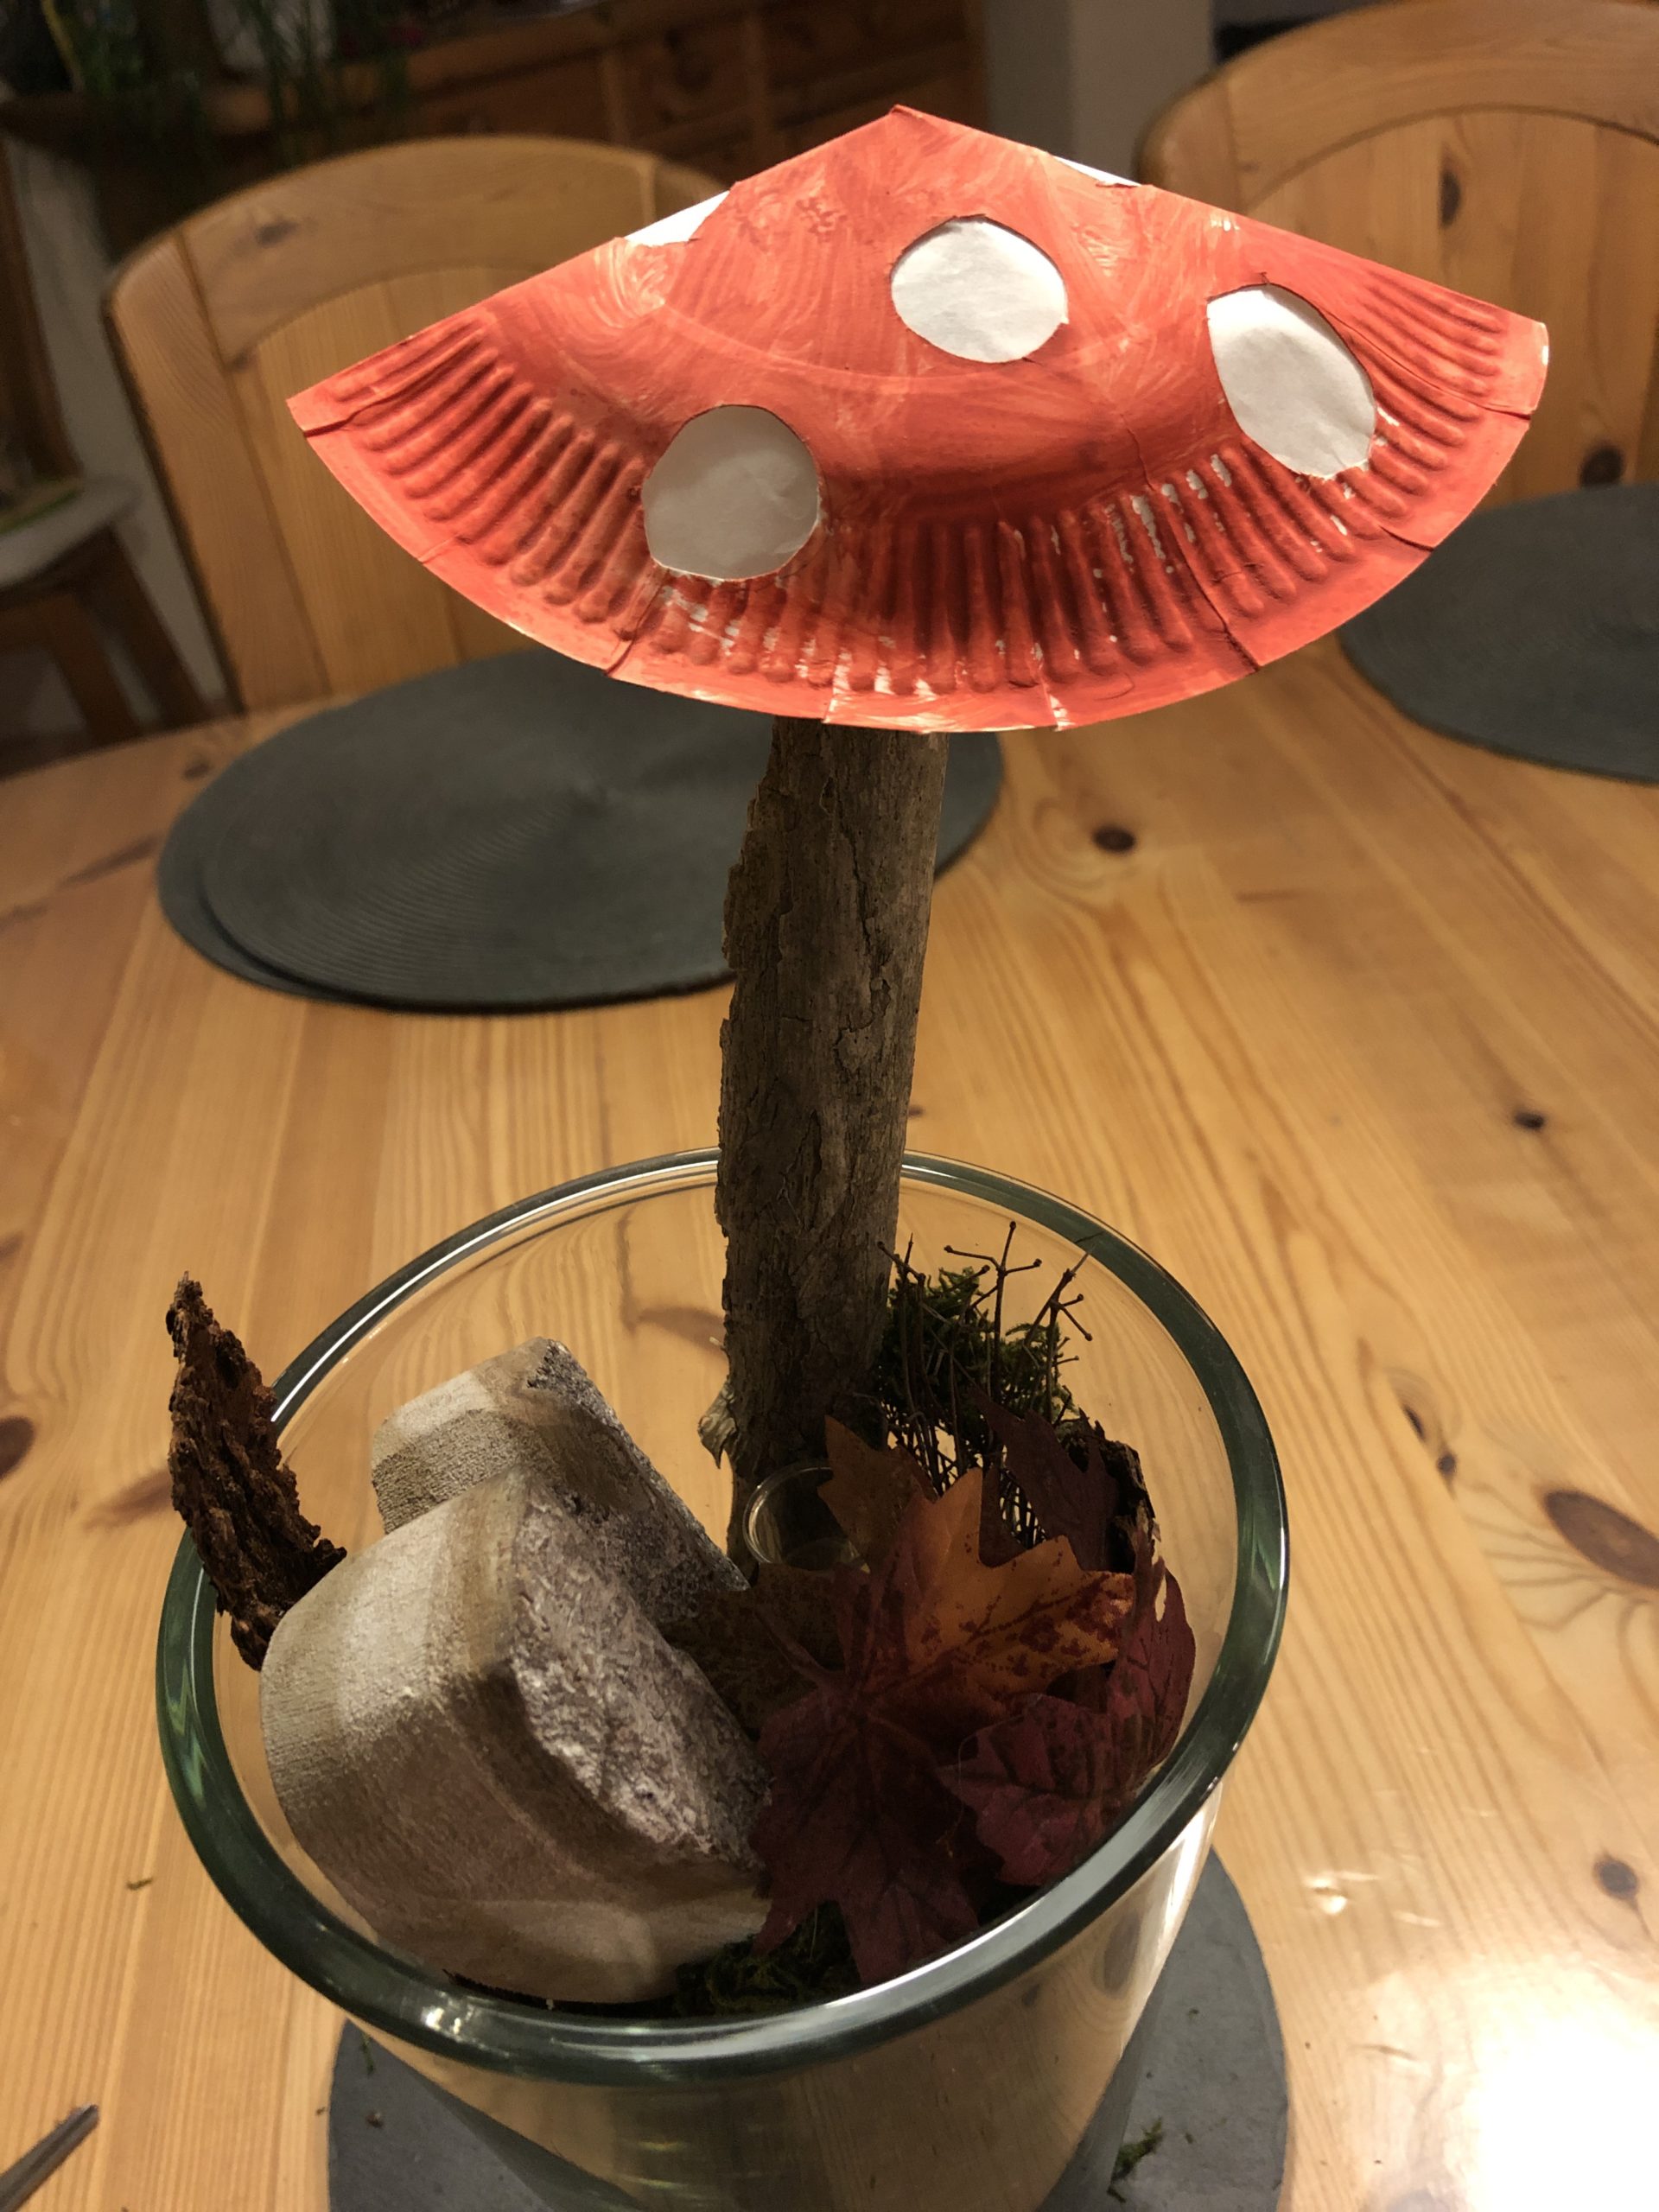
Bild zum Schritt 14 für das Bastel- und DIY-Abenteuer für Kinder: 'Ihr könnt auch den Pilzhut als Fliegenpilz gestalten. Dieses Abenteuer...'

Tinkering of porcini fungus

Follow us on Facebook , Instagram and Pinterest
Don't miss any more adventures: Our bottle mail

Leave a Reply

Your email address will not be published.

The maximum upload file size: 5 MB. You can upload: image, document. Drop file here