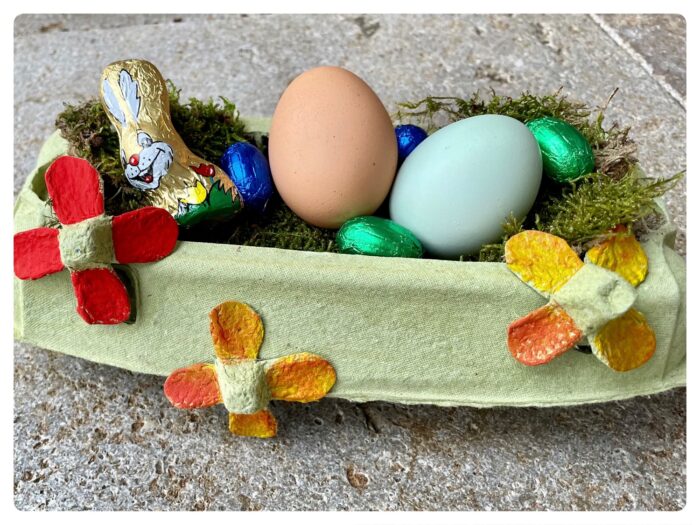
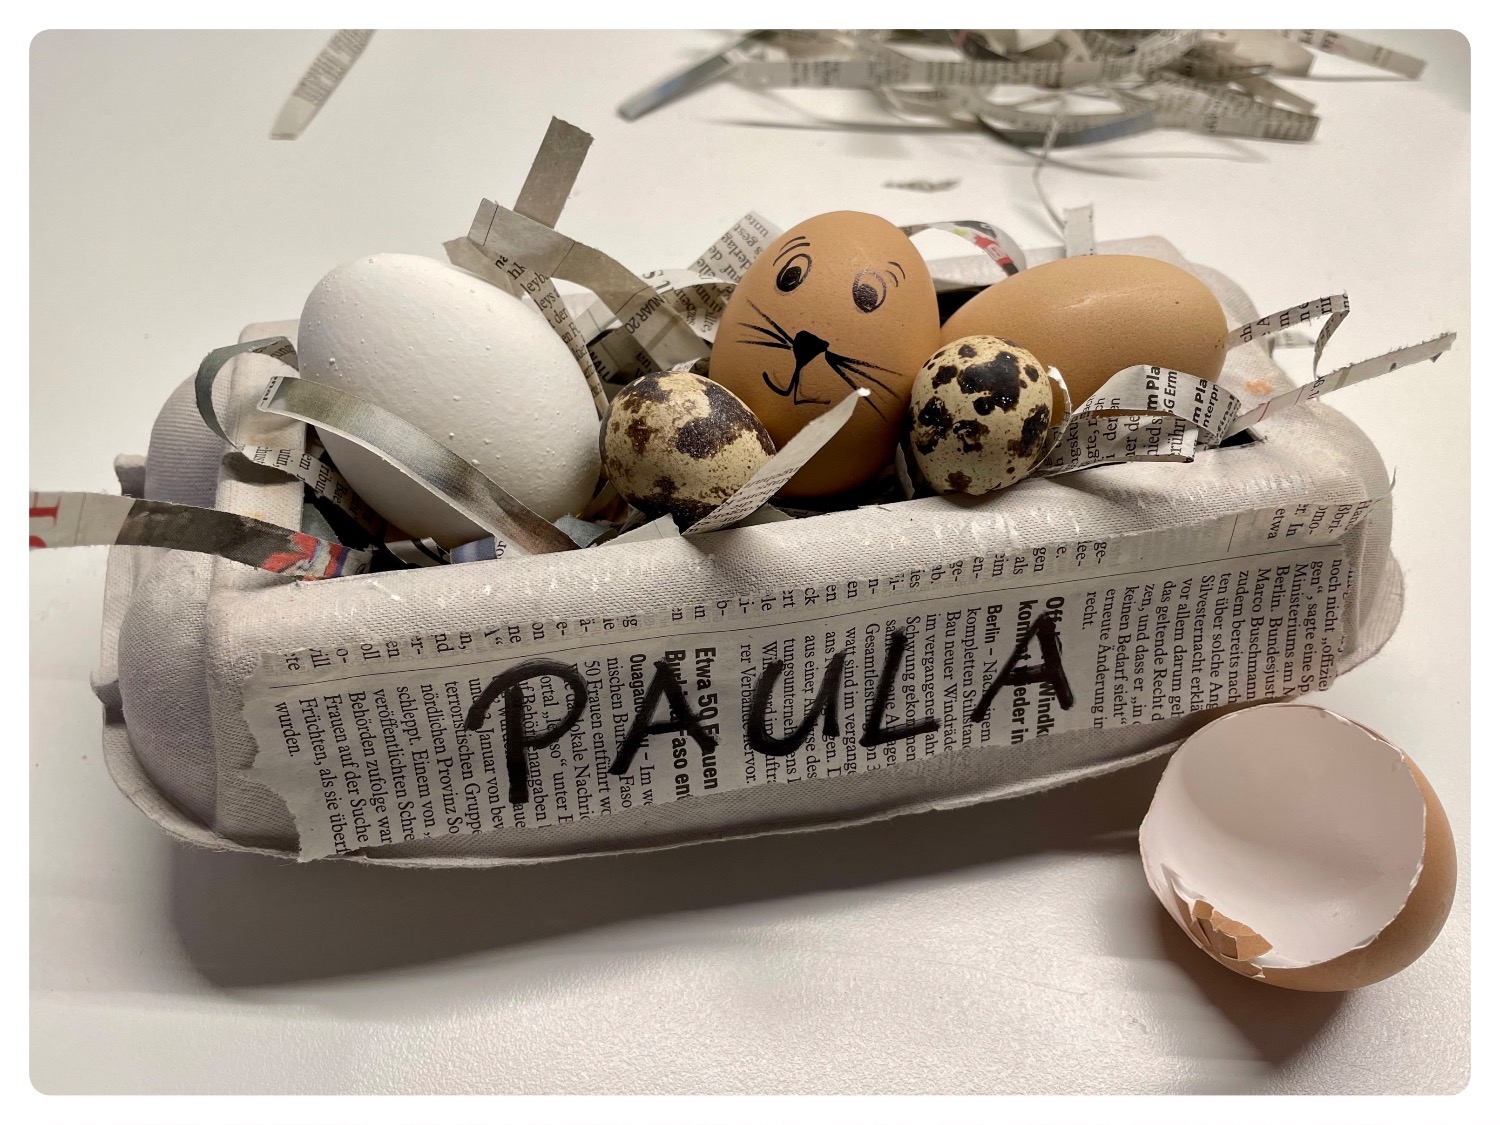
This Easter nest is made entirely of materials, which are named after the actual intended use, but also - as can be seen here - wonderfully suitable for upcycling. Empty egg boxes can be found in almost every household, as well as daily newspapers or advertising brochures.
The egg box is completely used and only needs to be changed with a few handles and scissors. This is very good to see in this guide. The blank of the Easter restaurant is made entirely from the empty egg box.
For filling you can either use fresh moss, straw or hay. You can find an alternative here. Use old newspapers or brochures (here the nest becomes pretty colorful!). These can be "runned" by a paper shredder and get thin paper strips. These slightly pinched together, are wonderful for filling your egg box nest.
Even cut thin strips of paper can be used if you don't have shredder at hand.
Have fun trying out.
Media Education for Kindergarten and Hort

Relief in everyday life, targeted promotion of individual children, independent learning and - without any pre-knowledge already usable by the youngest!
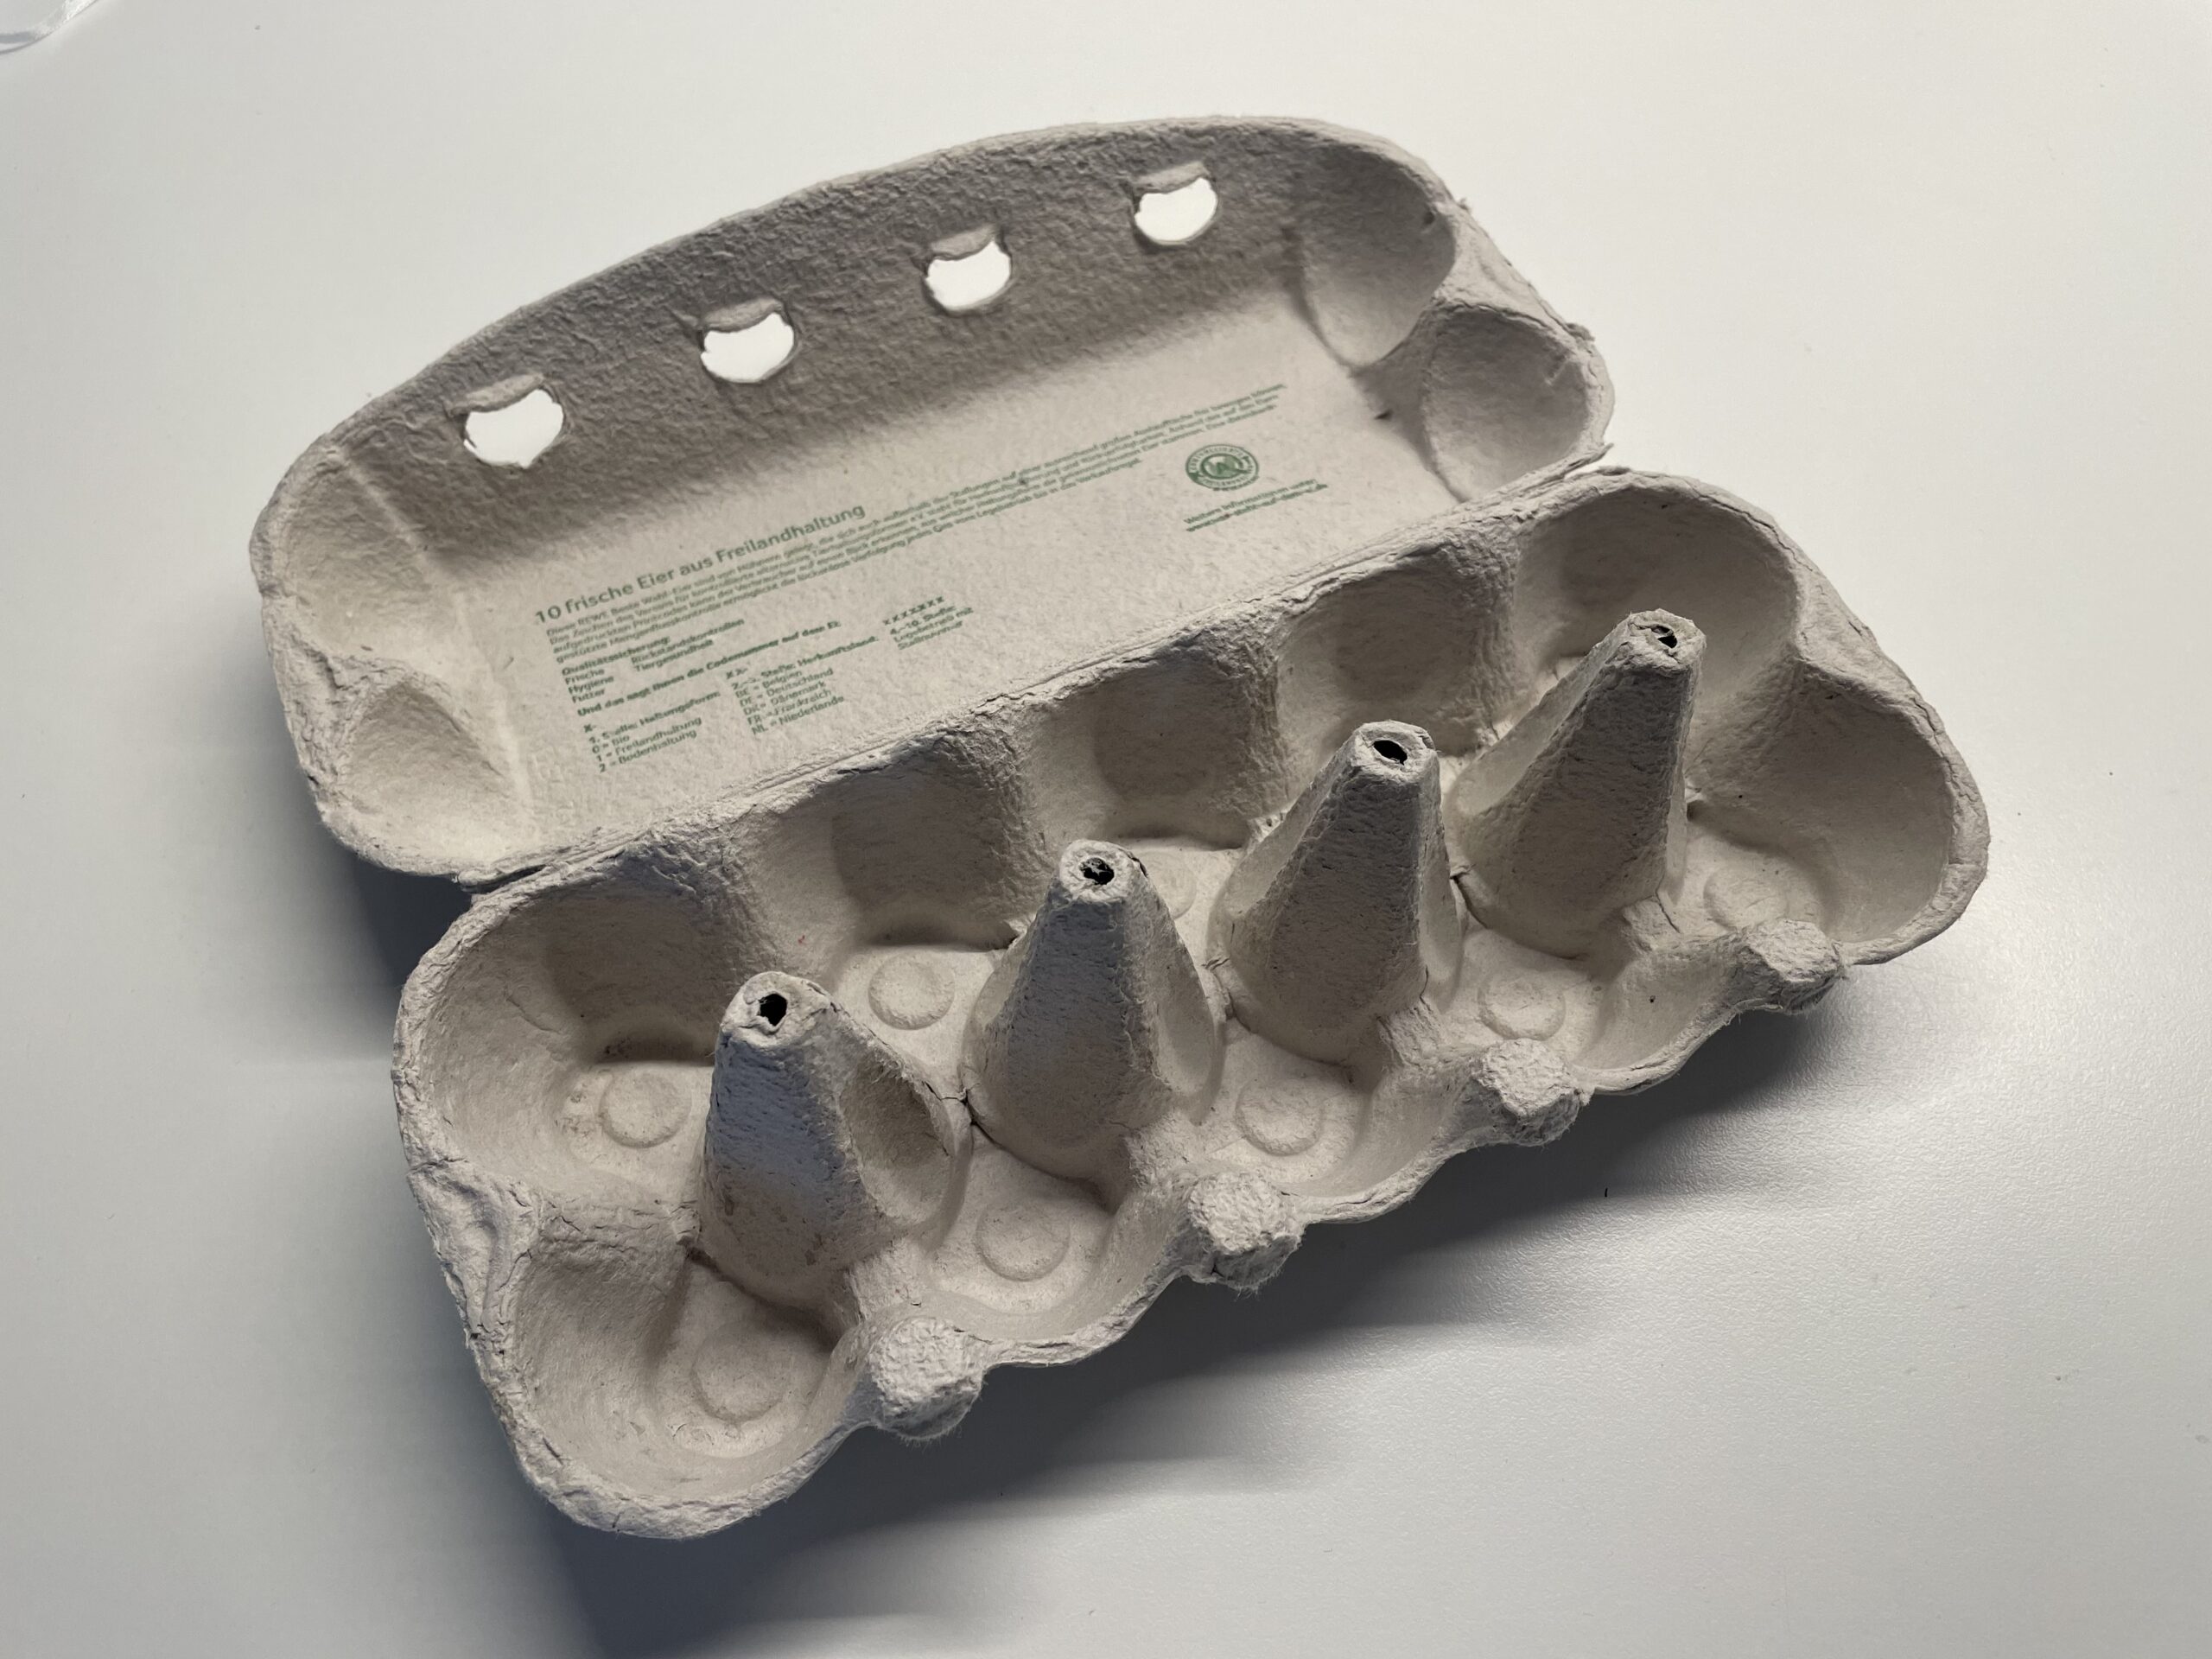
You need an empty egg box.
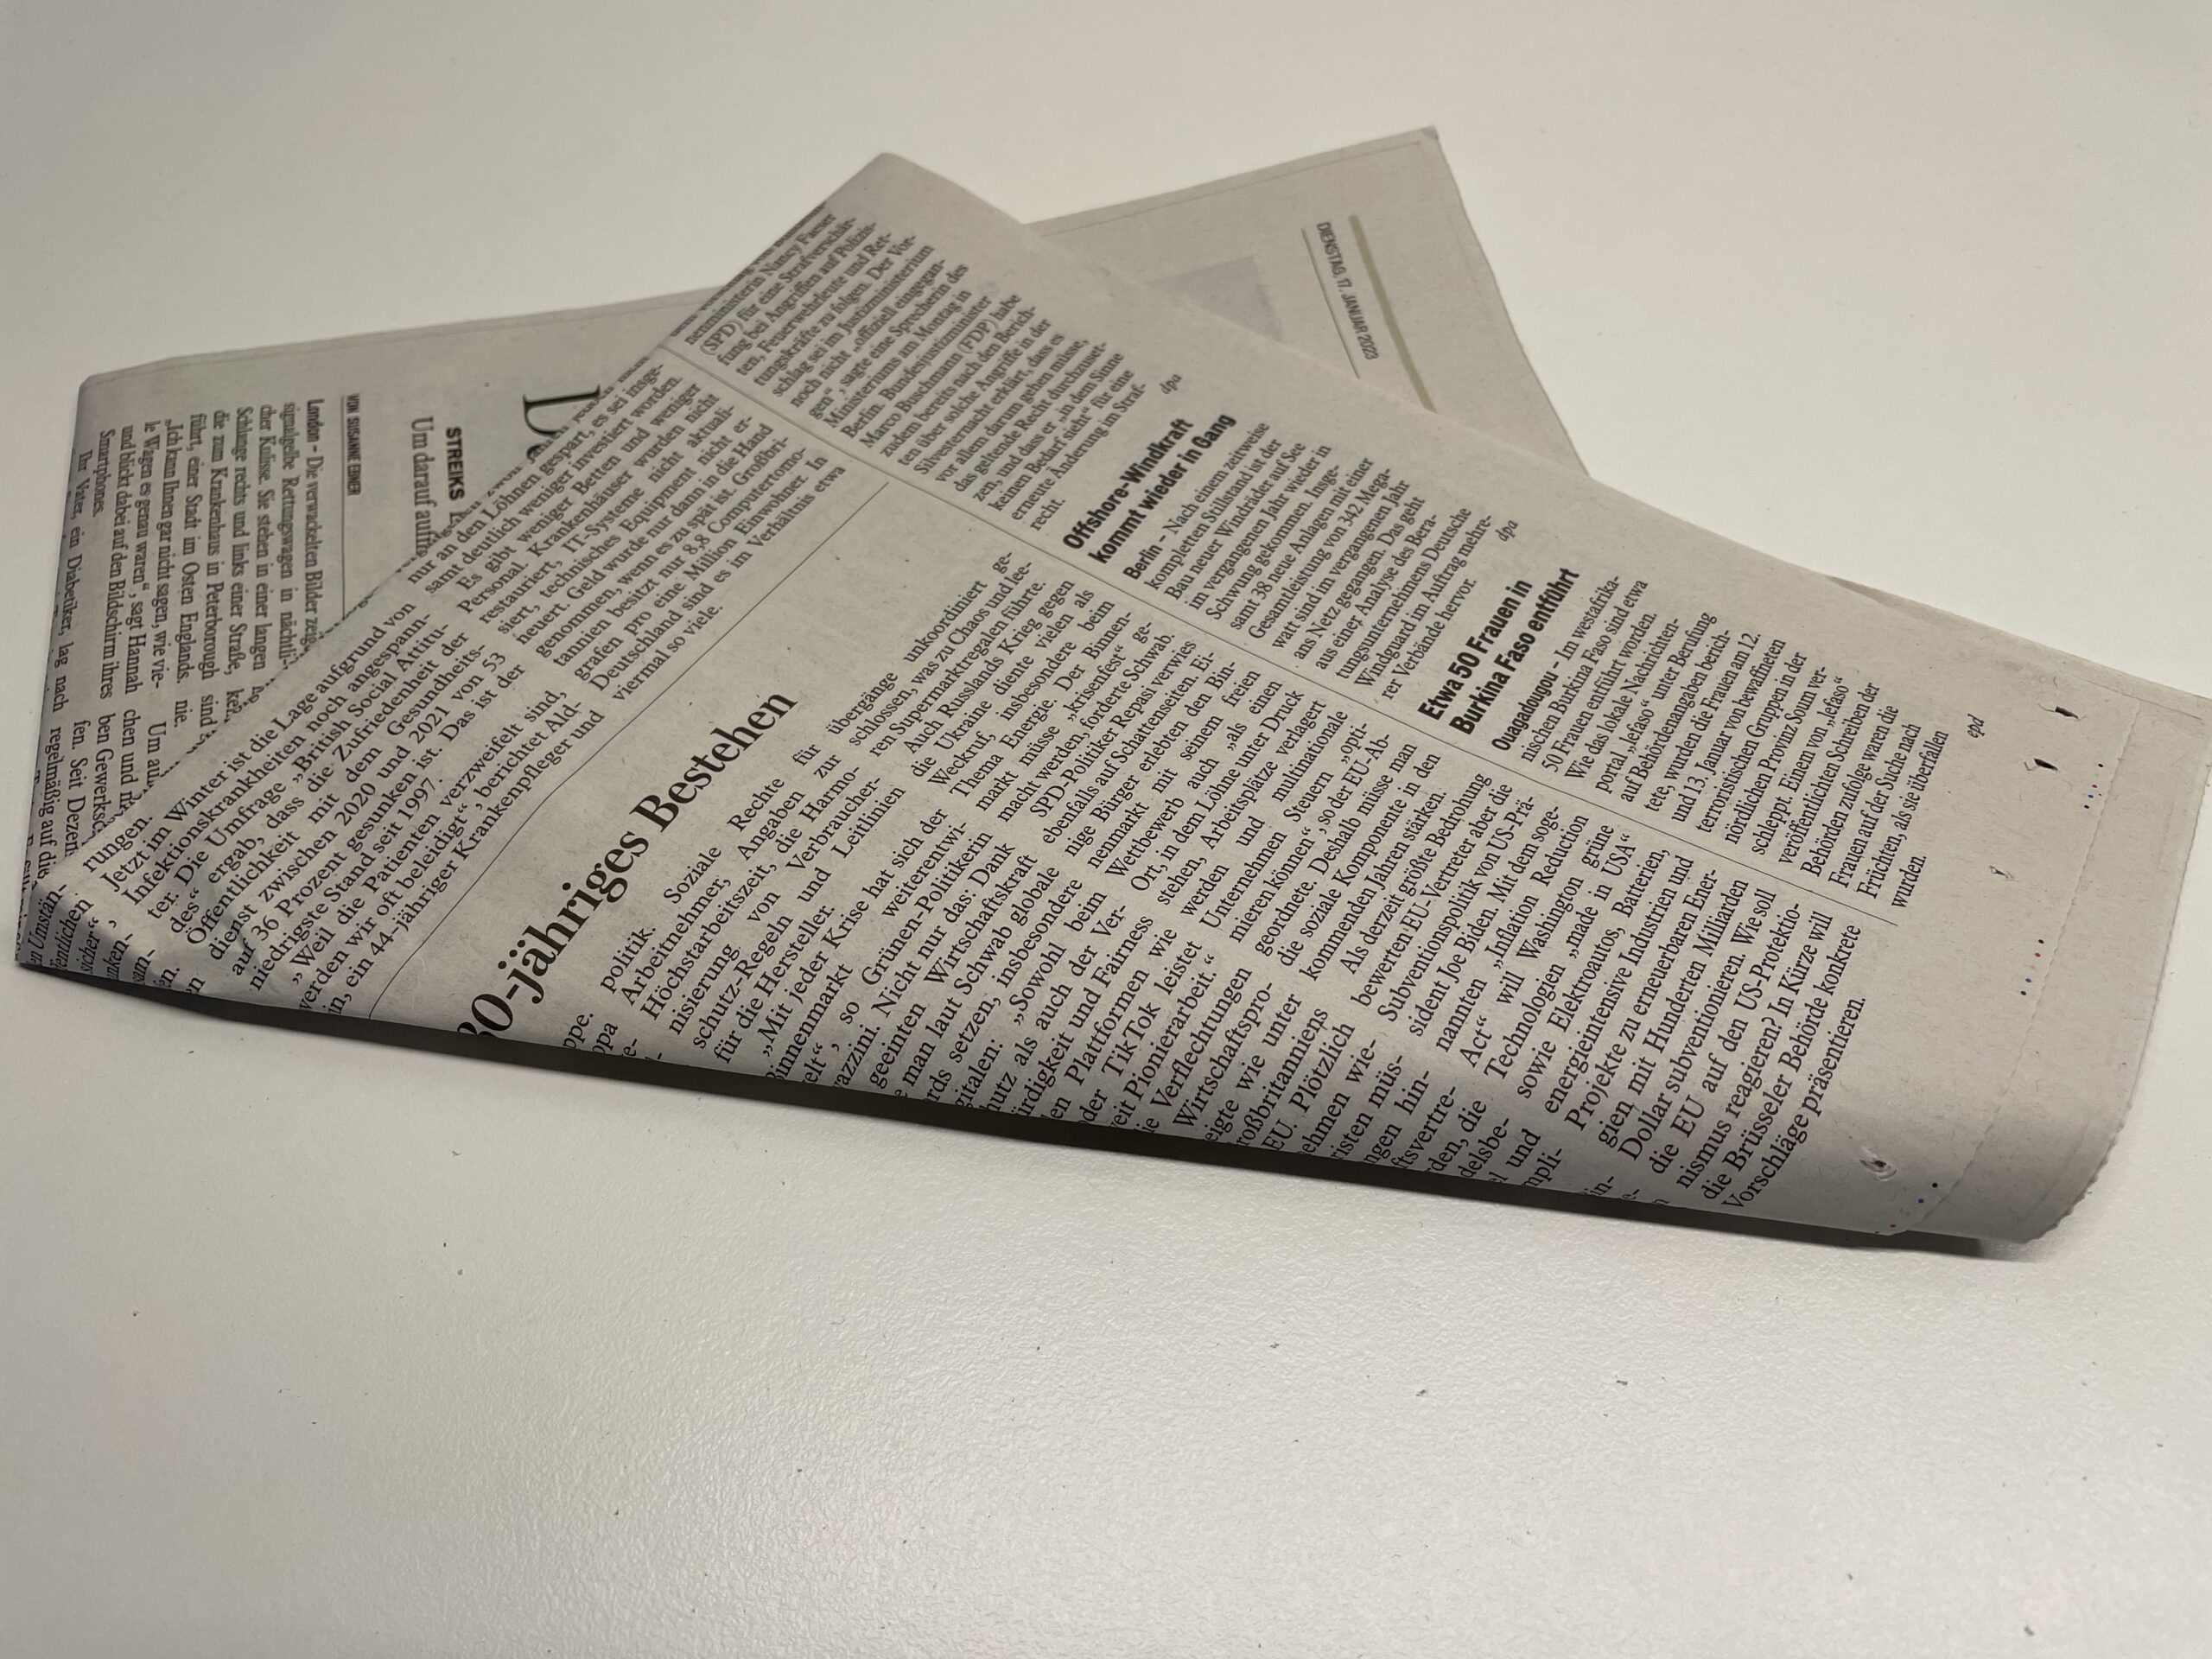
And an old daily newspaper. Alternatively, old advertising brochures can also be taken. They make the "nest" beautiful colorful.


Spread out your craft pad on the table.
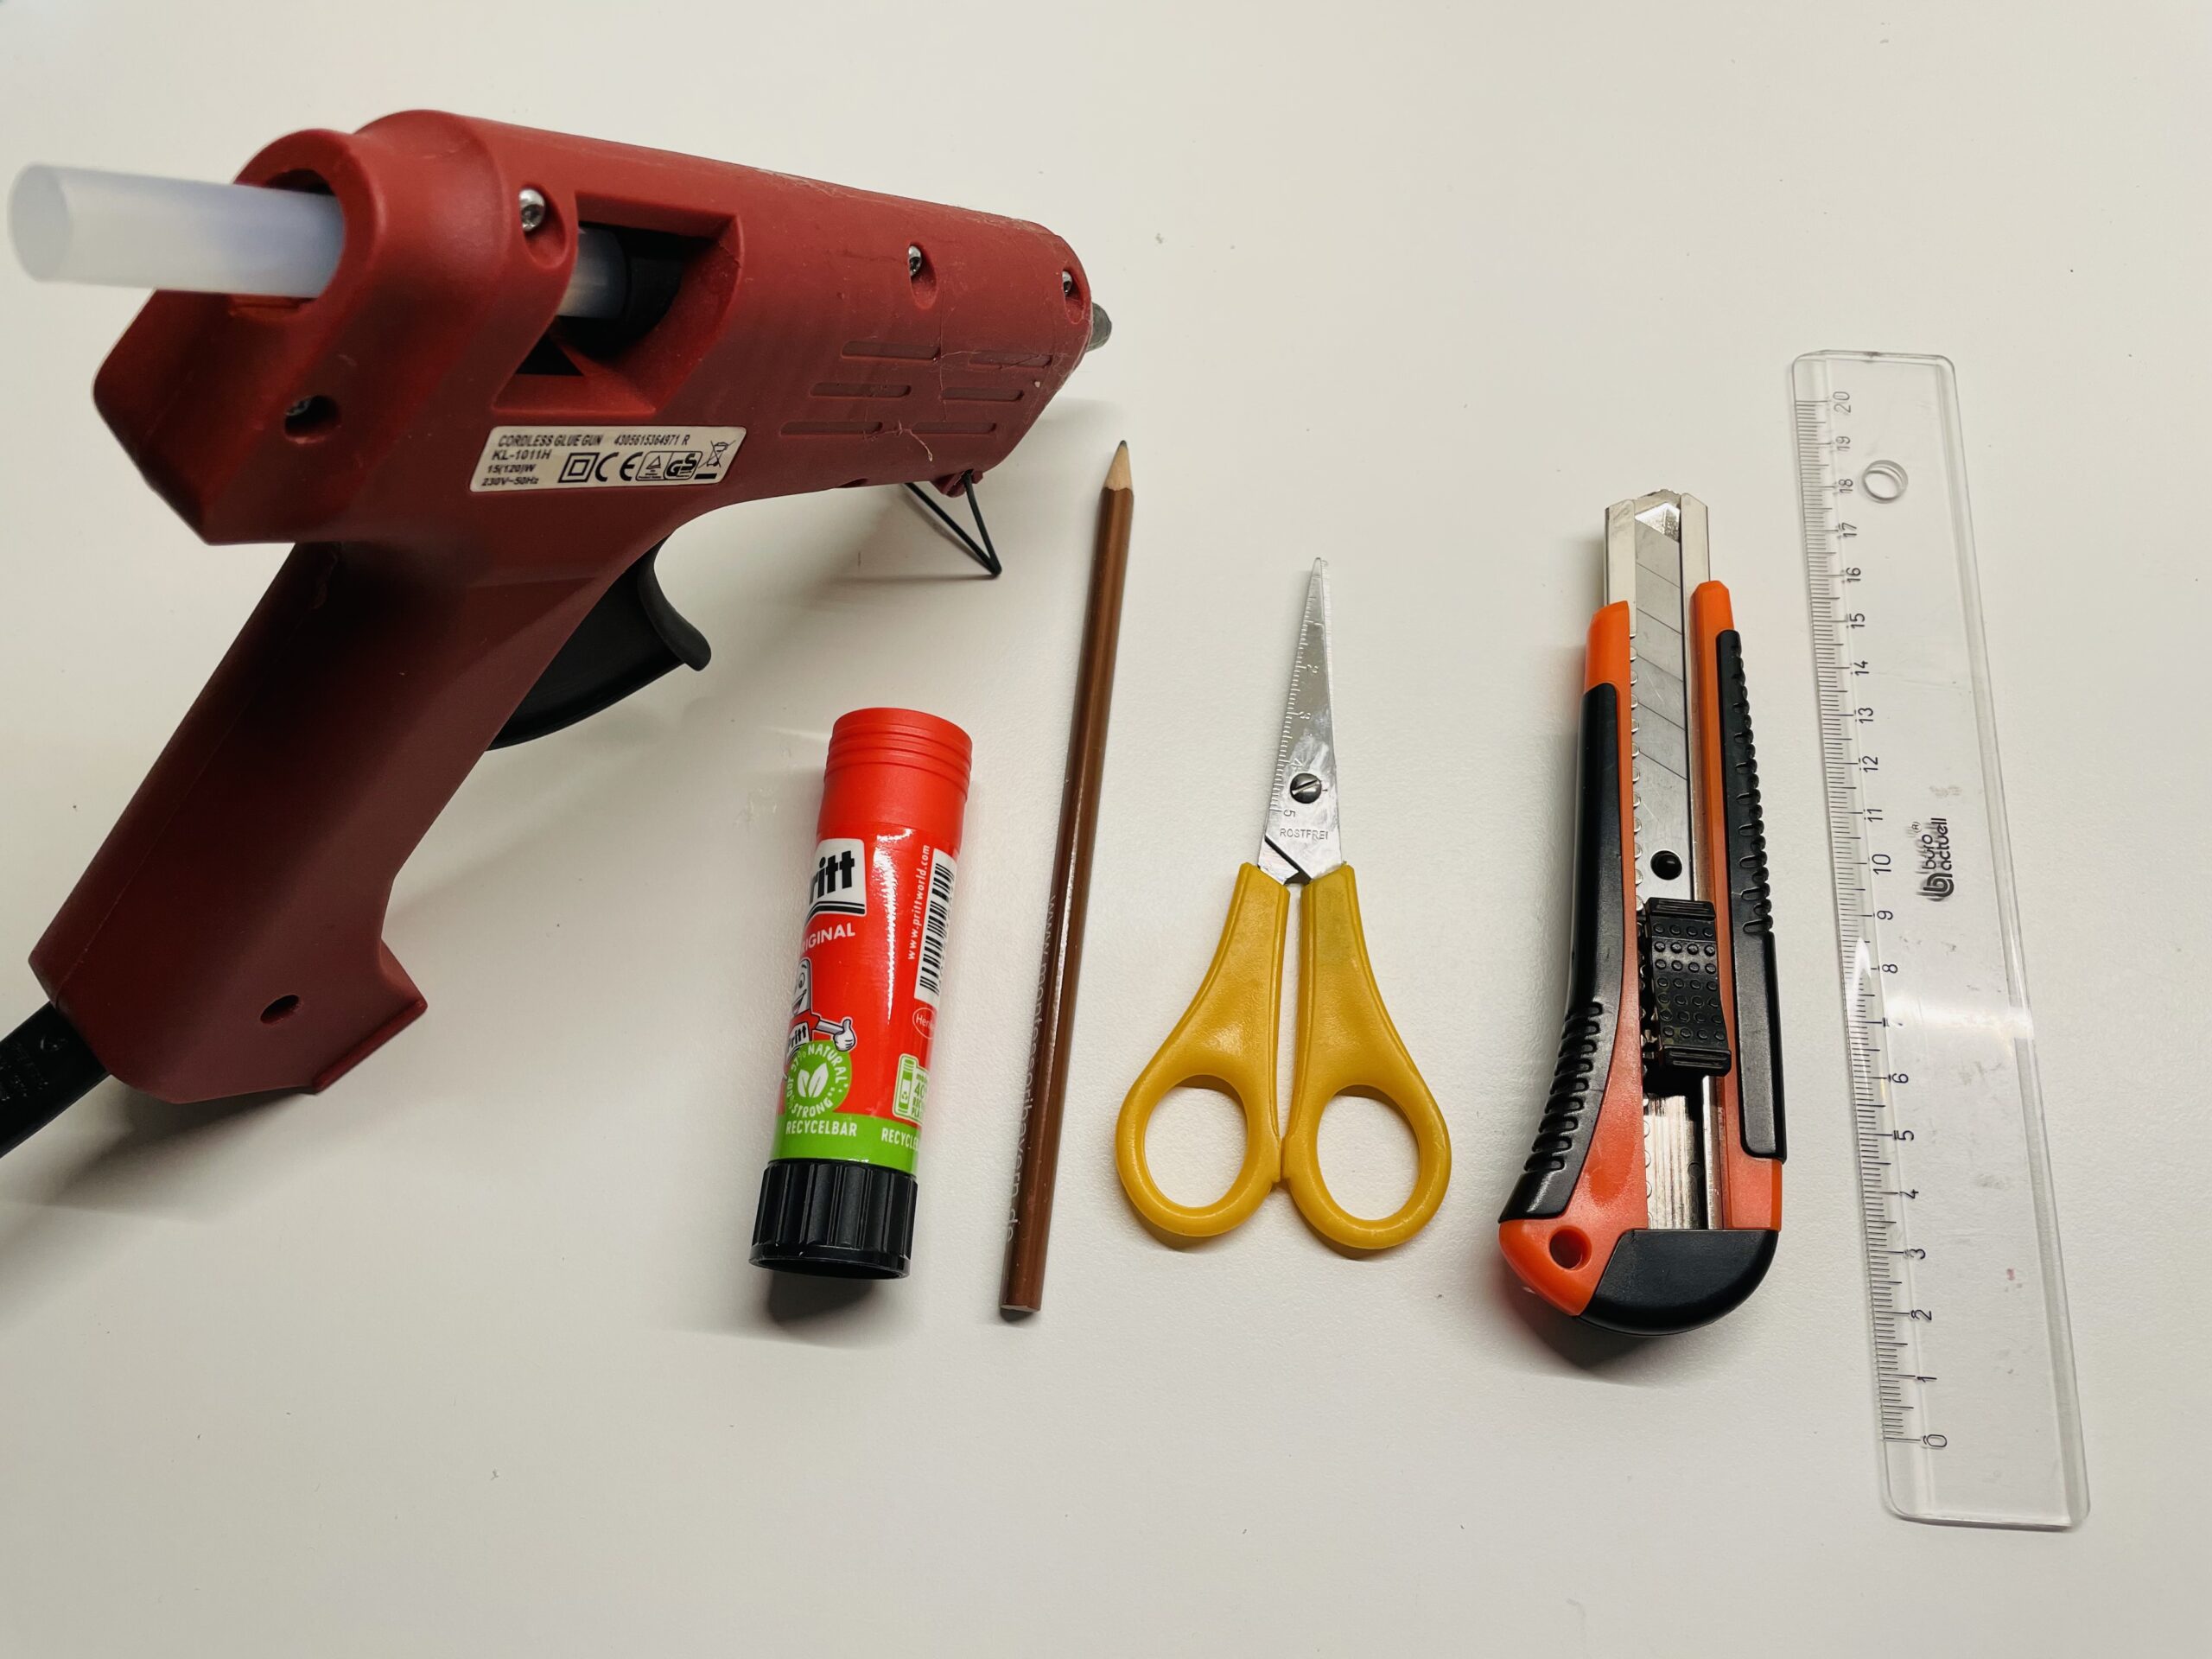
Provides all materials and aids.


The folded egg box gets a cut-out in the lid first.


With pencil and ruler you can paint this neckline on the lid. However, a thin cardboard edge should stop, as the nest otherwise becomes unstable.
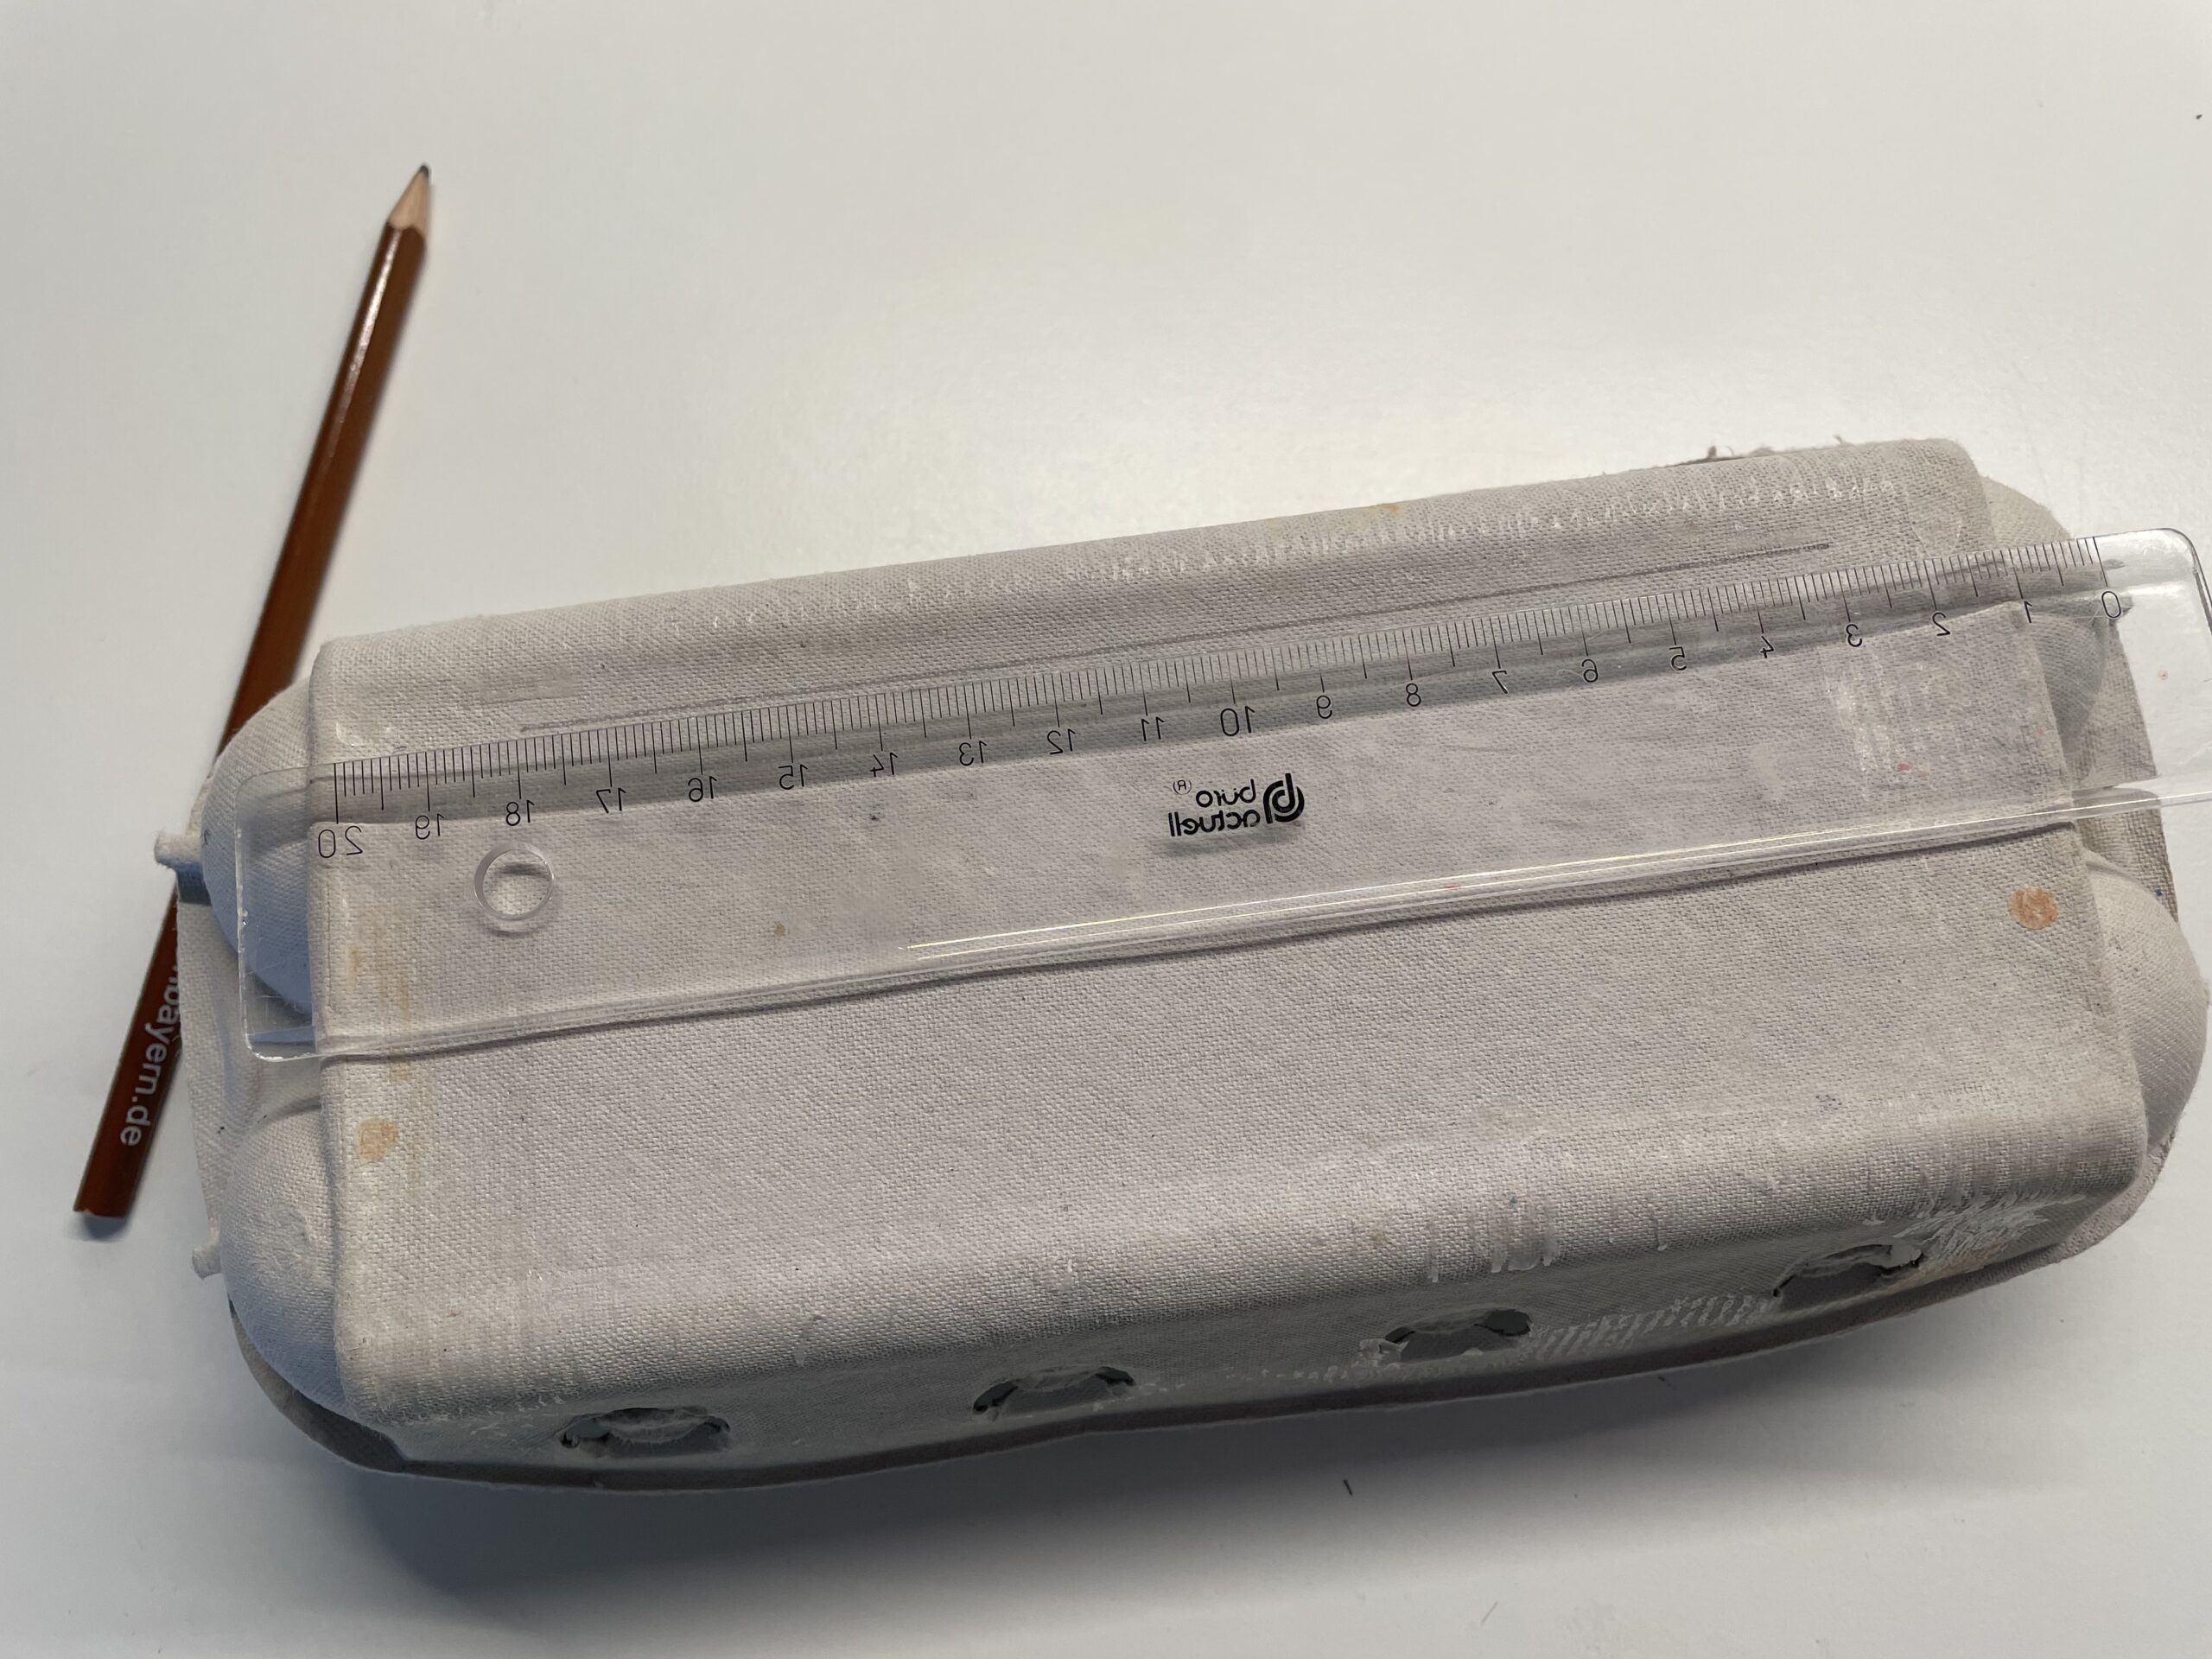


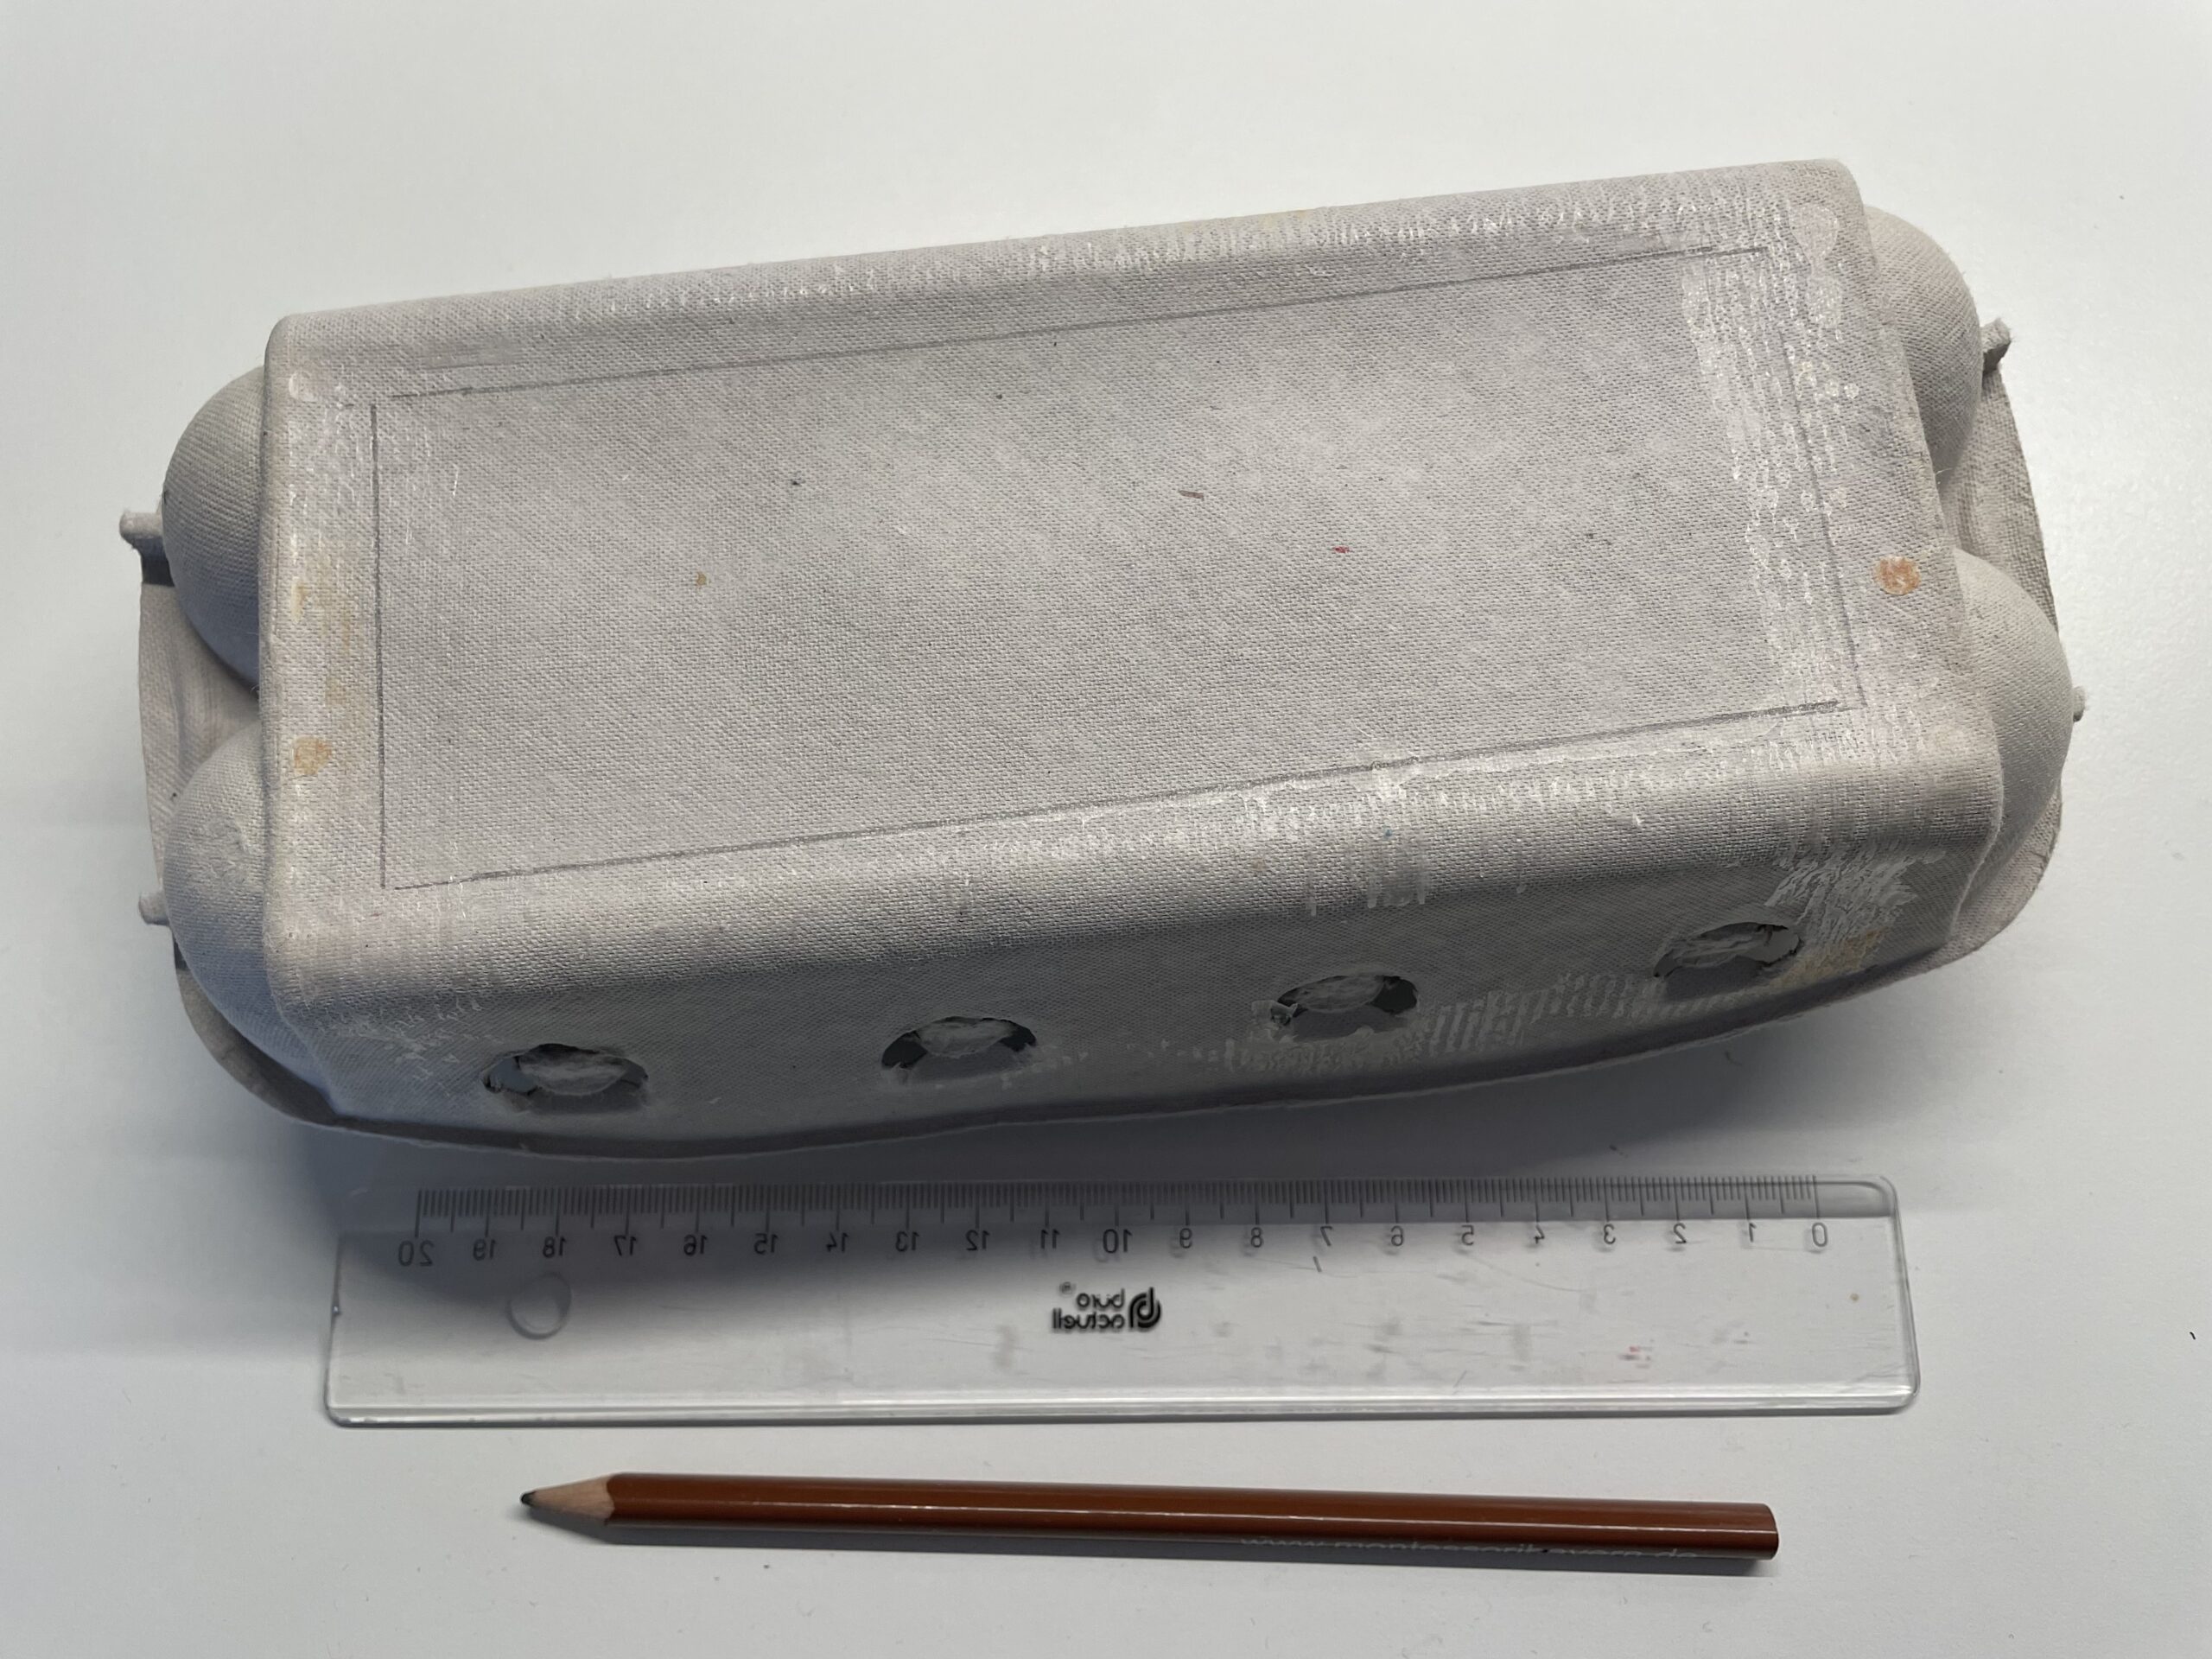
This is how the neckline can look painted.


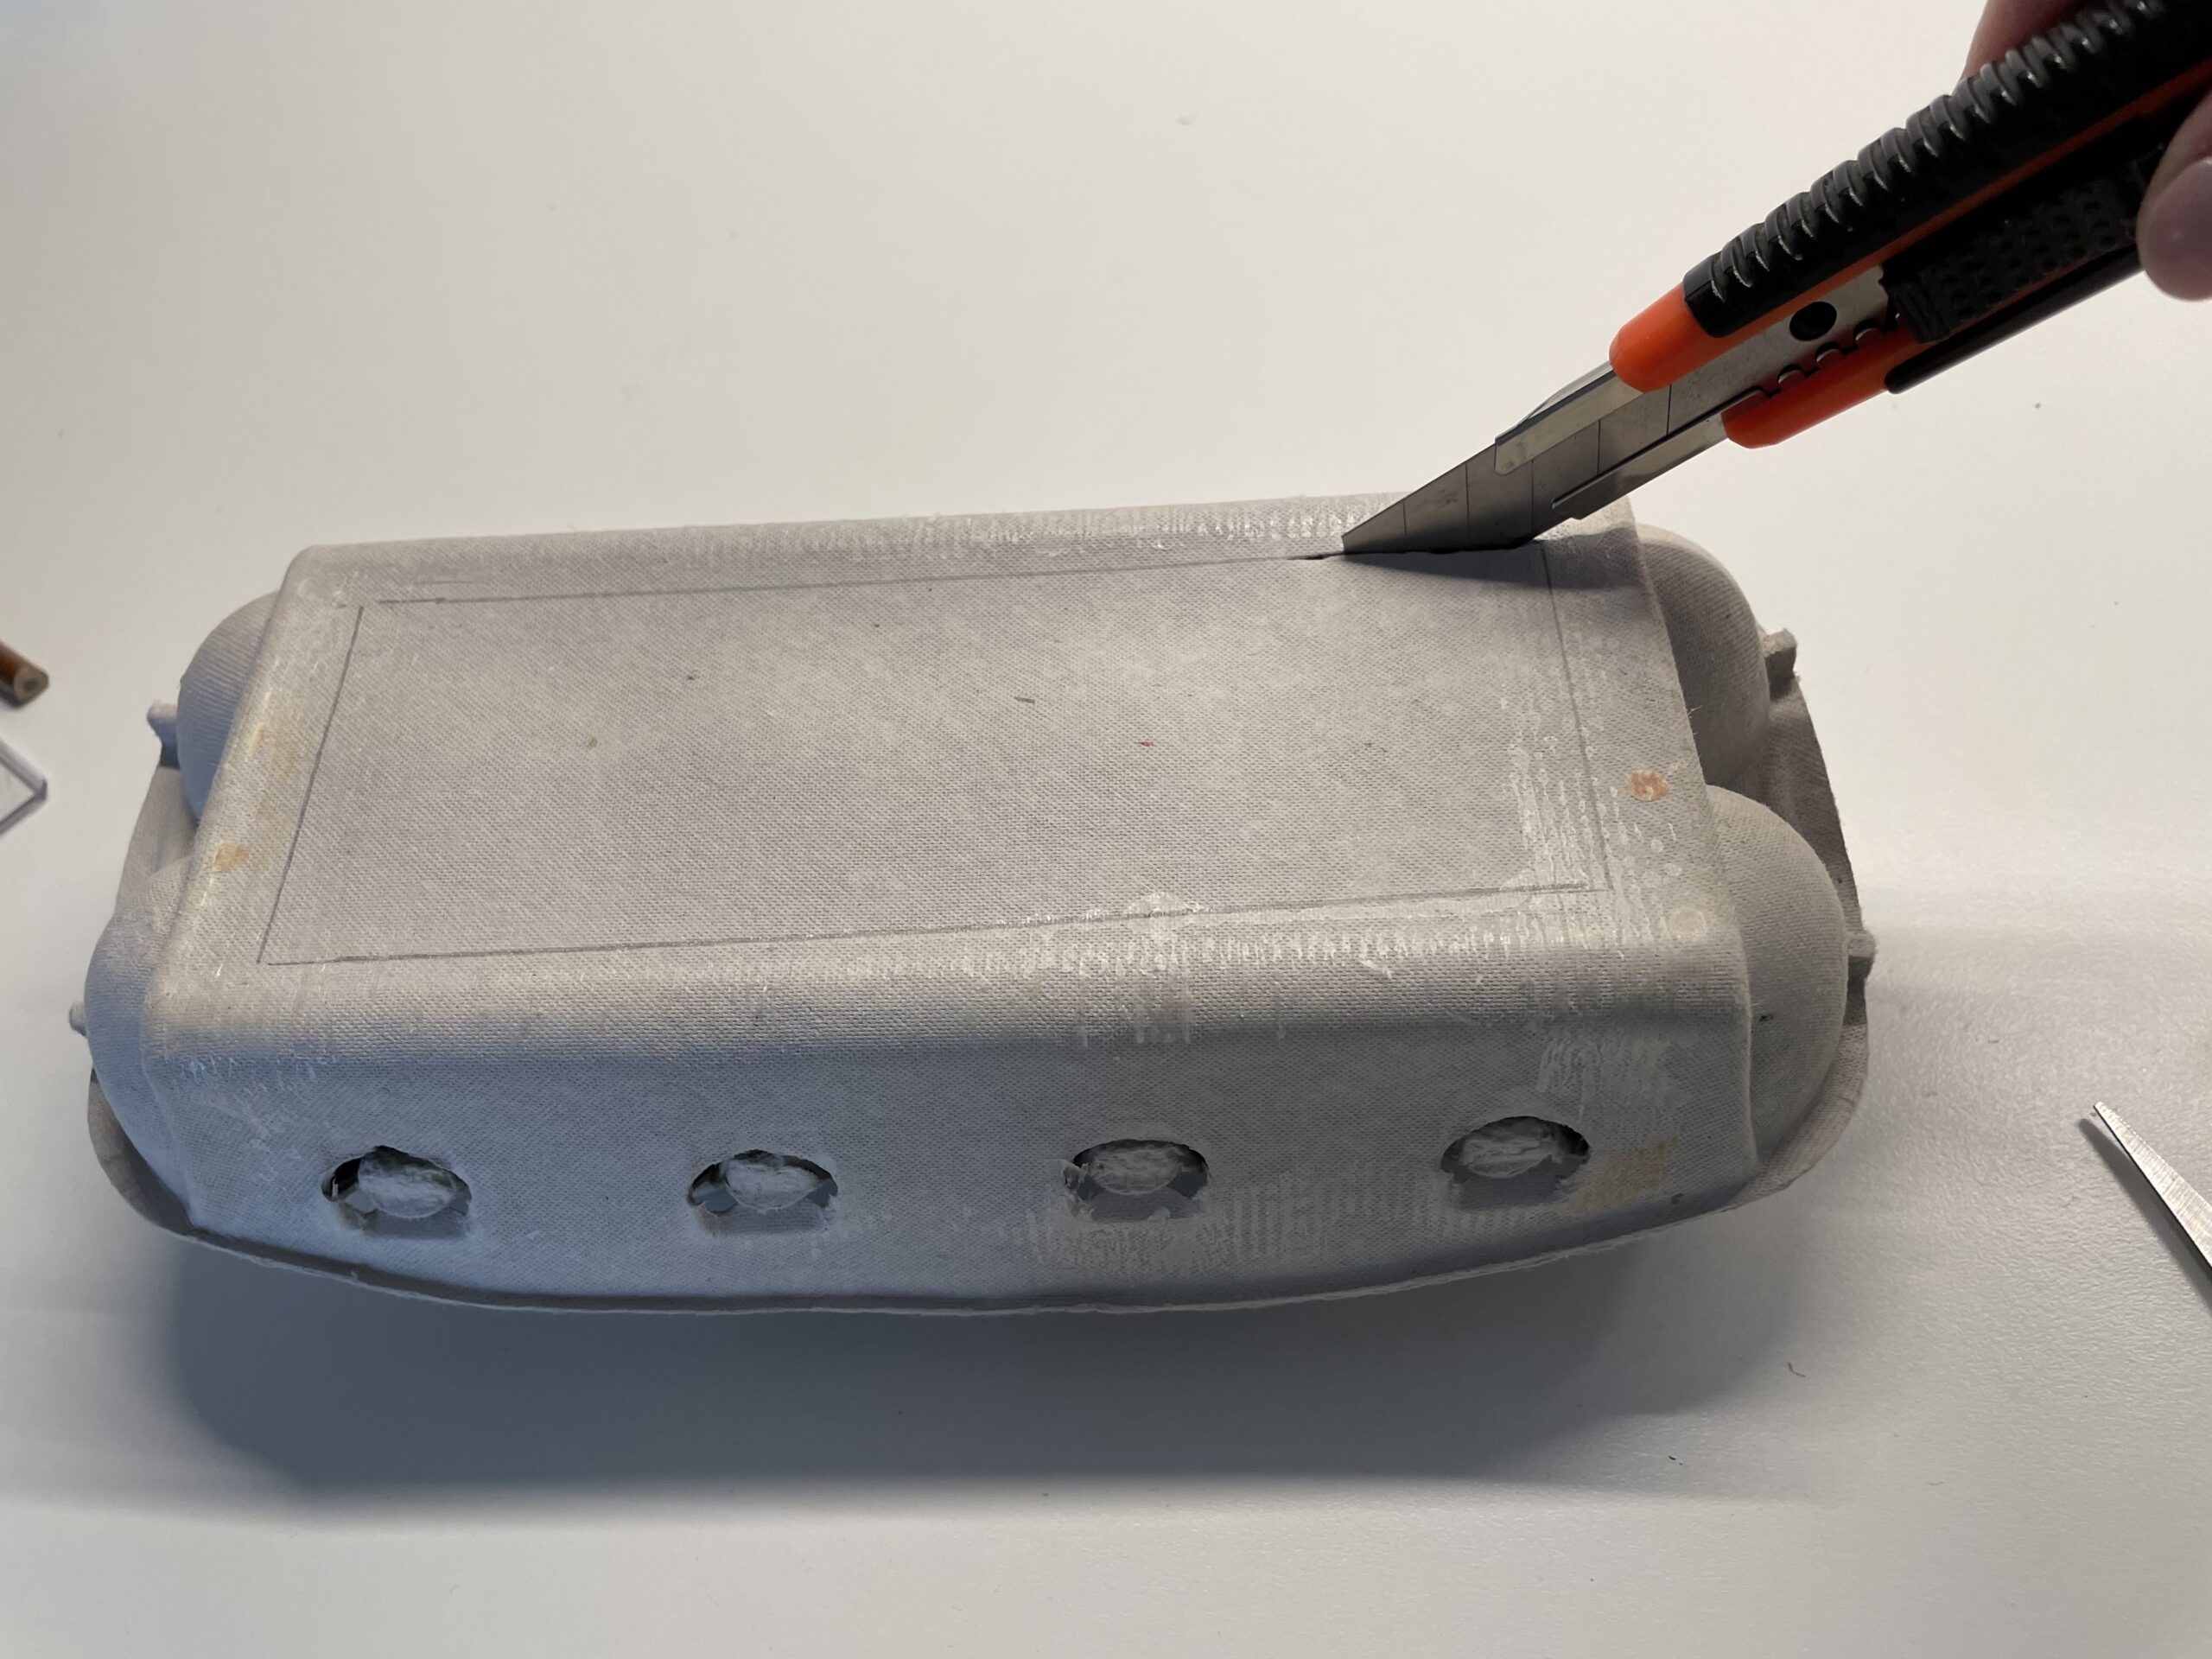
Let an adult cut the incision. For this either a pointed scissors or a cutter knife is suitable.


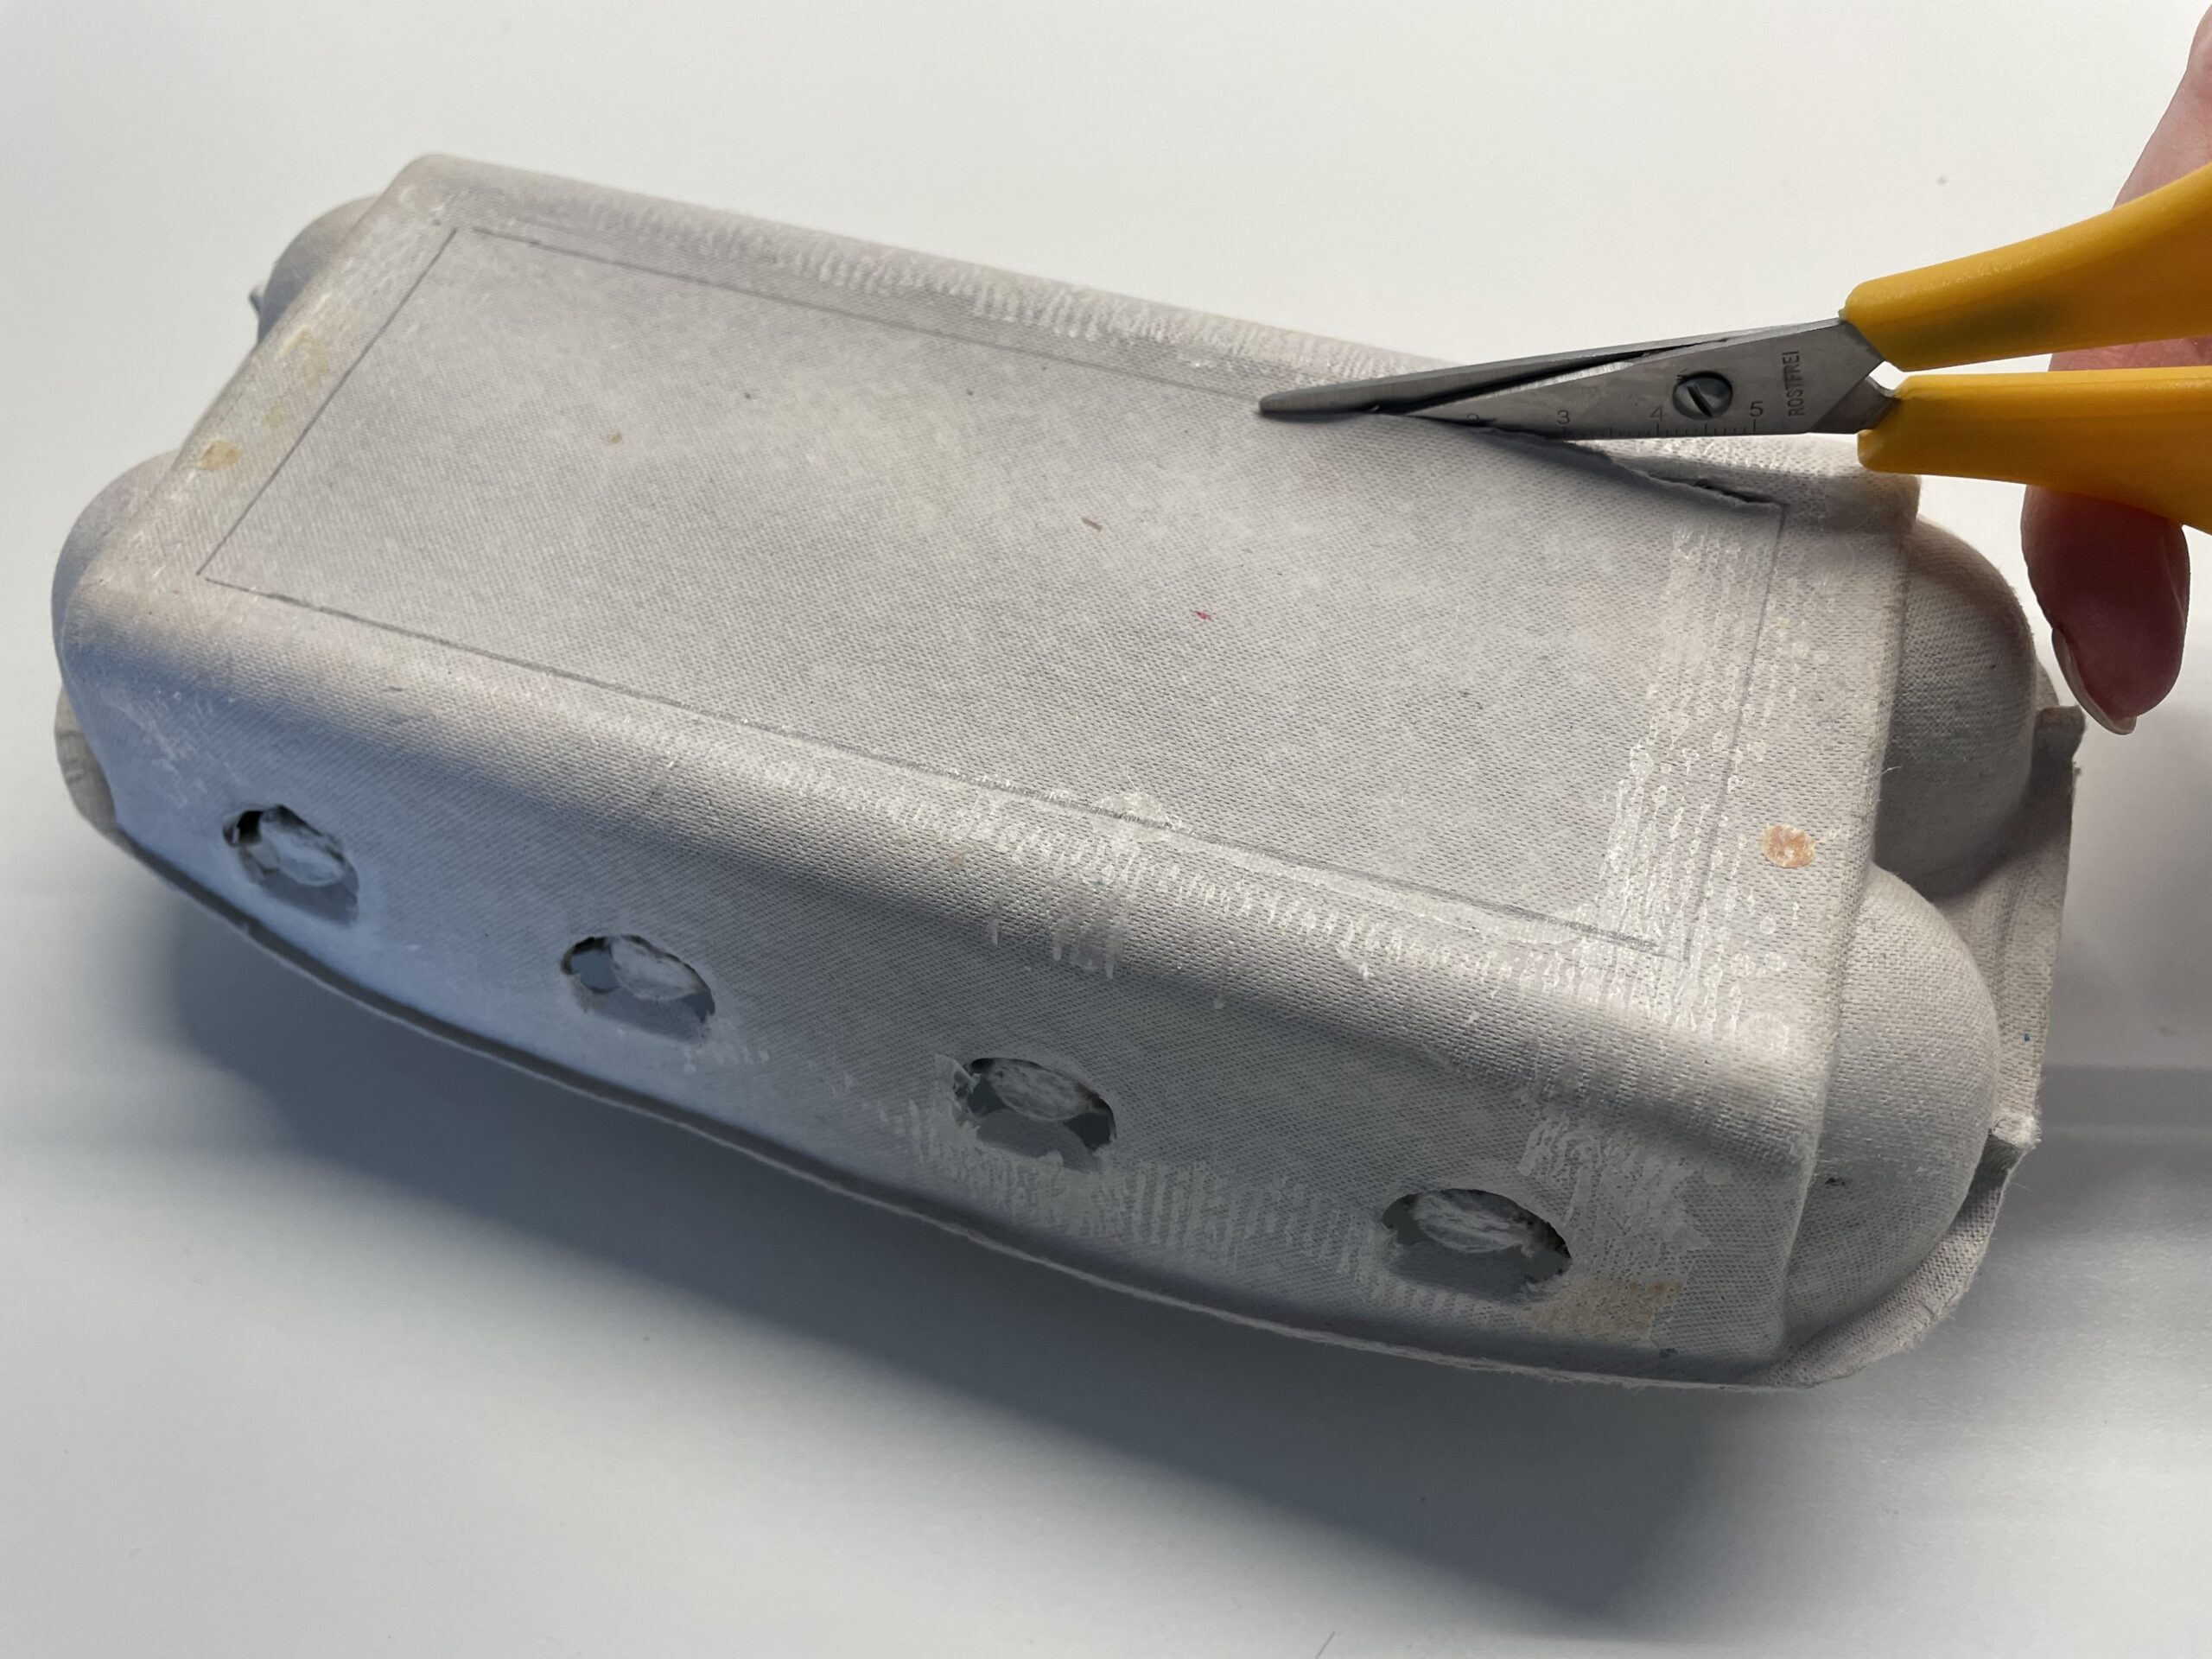
Through the resulting slit you can insert the scissors and cut them along the painted line. Make sure that you cut the cut-out as far as possible on one piece, since you still need the resulting waste piece later!


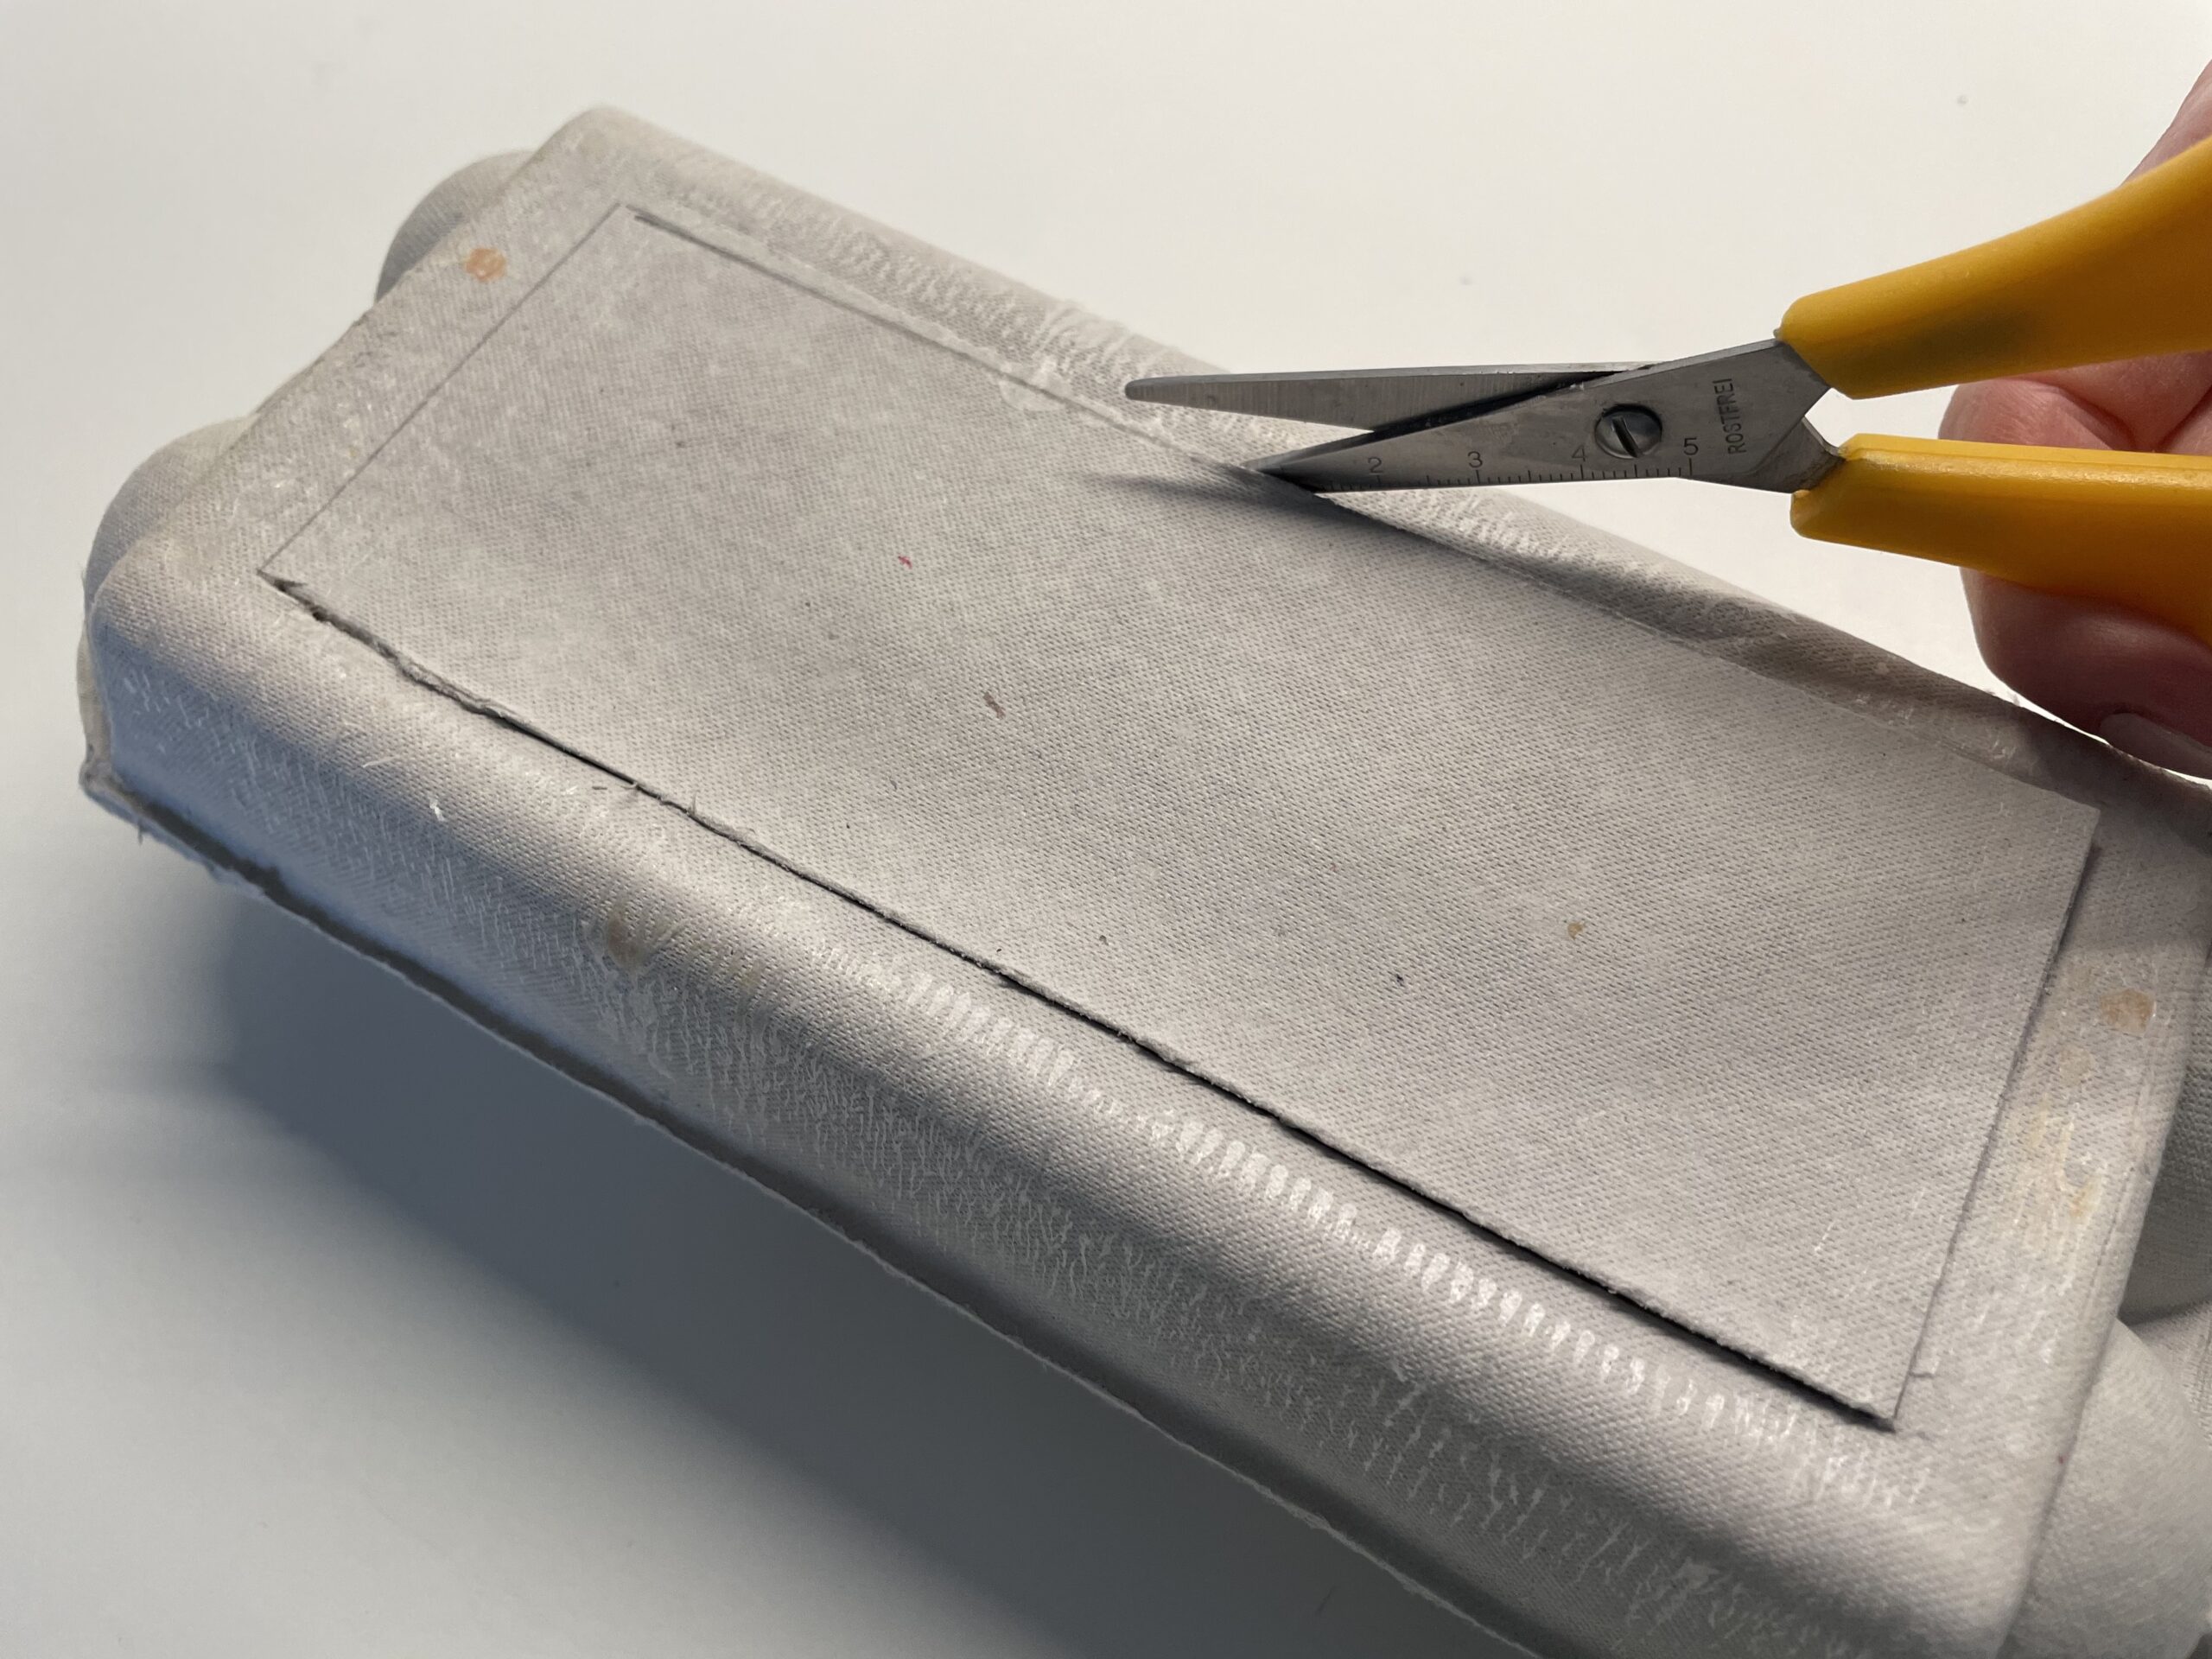


Put the cardboard cut-out aside. It serves us later as a "ground" of the nest.
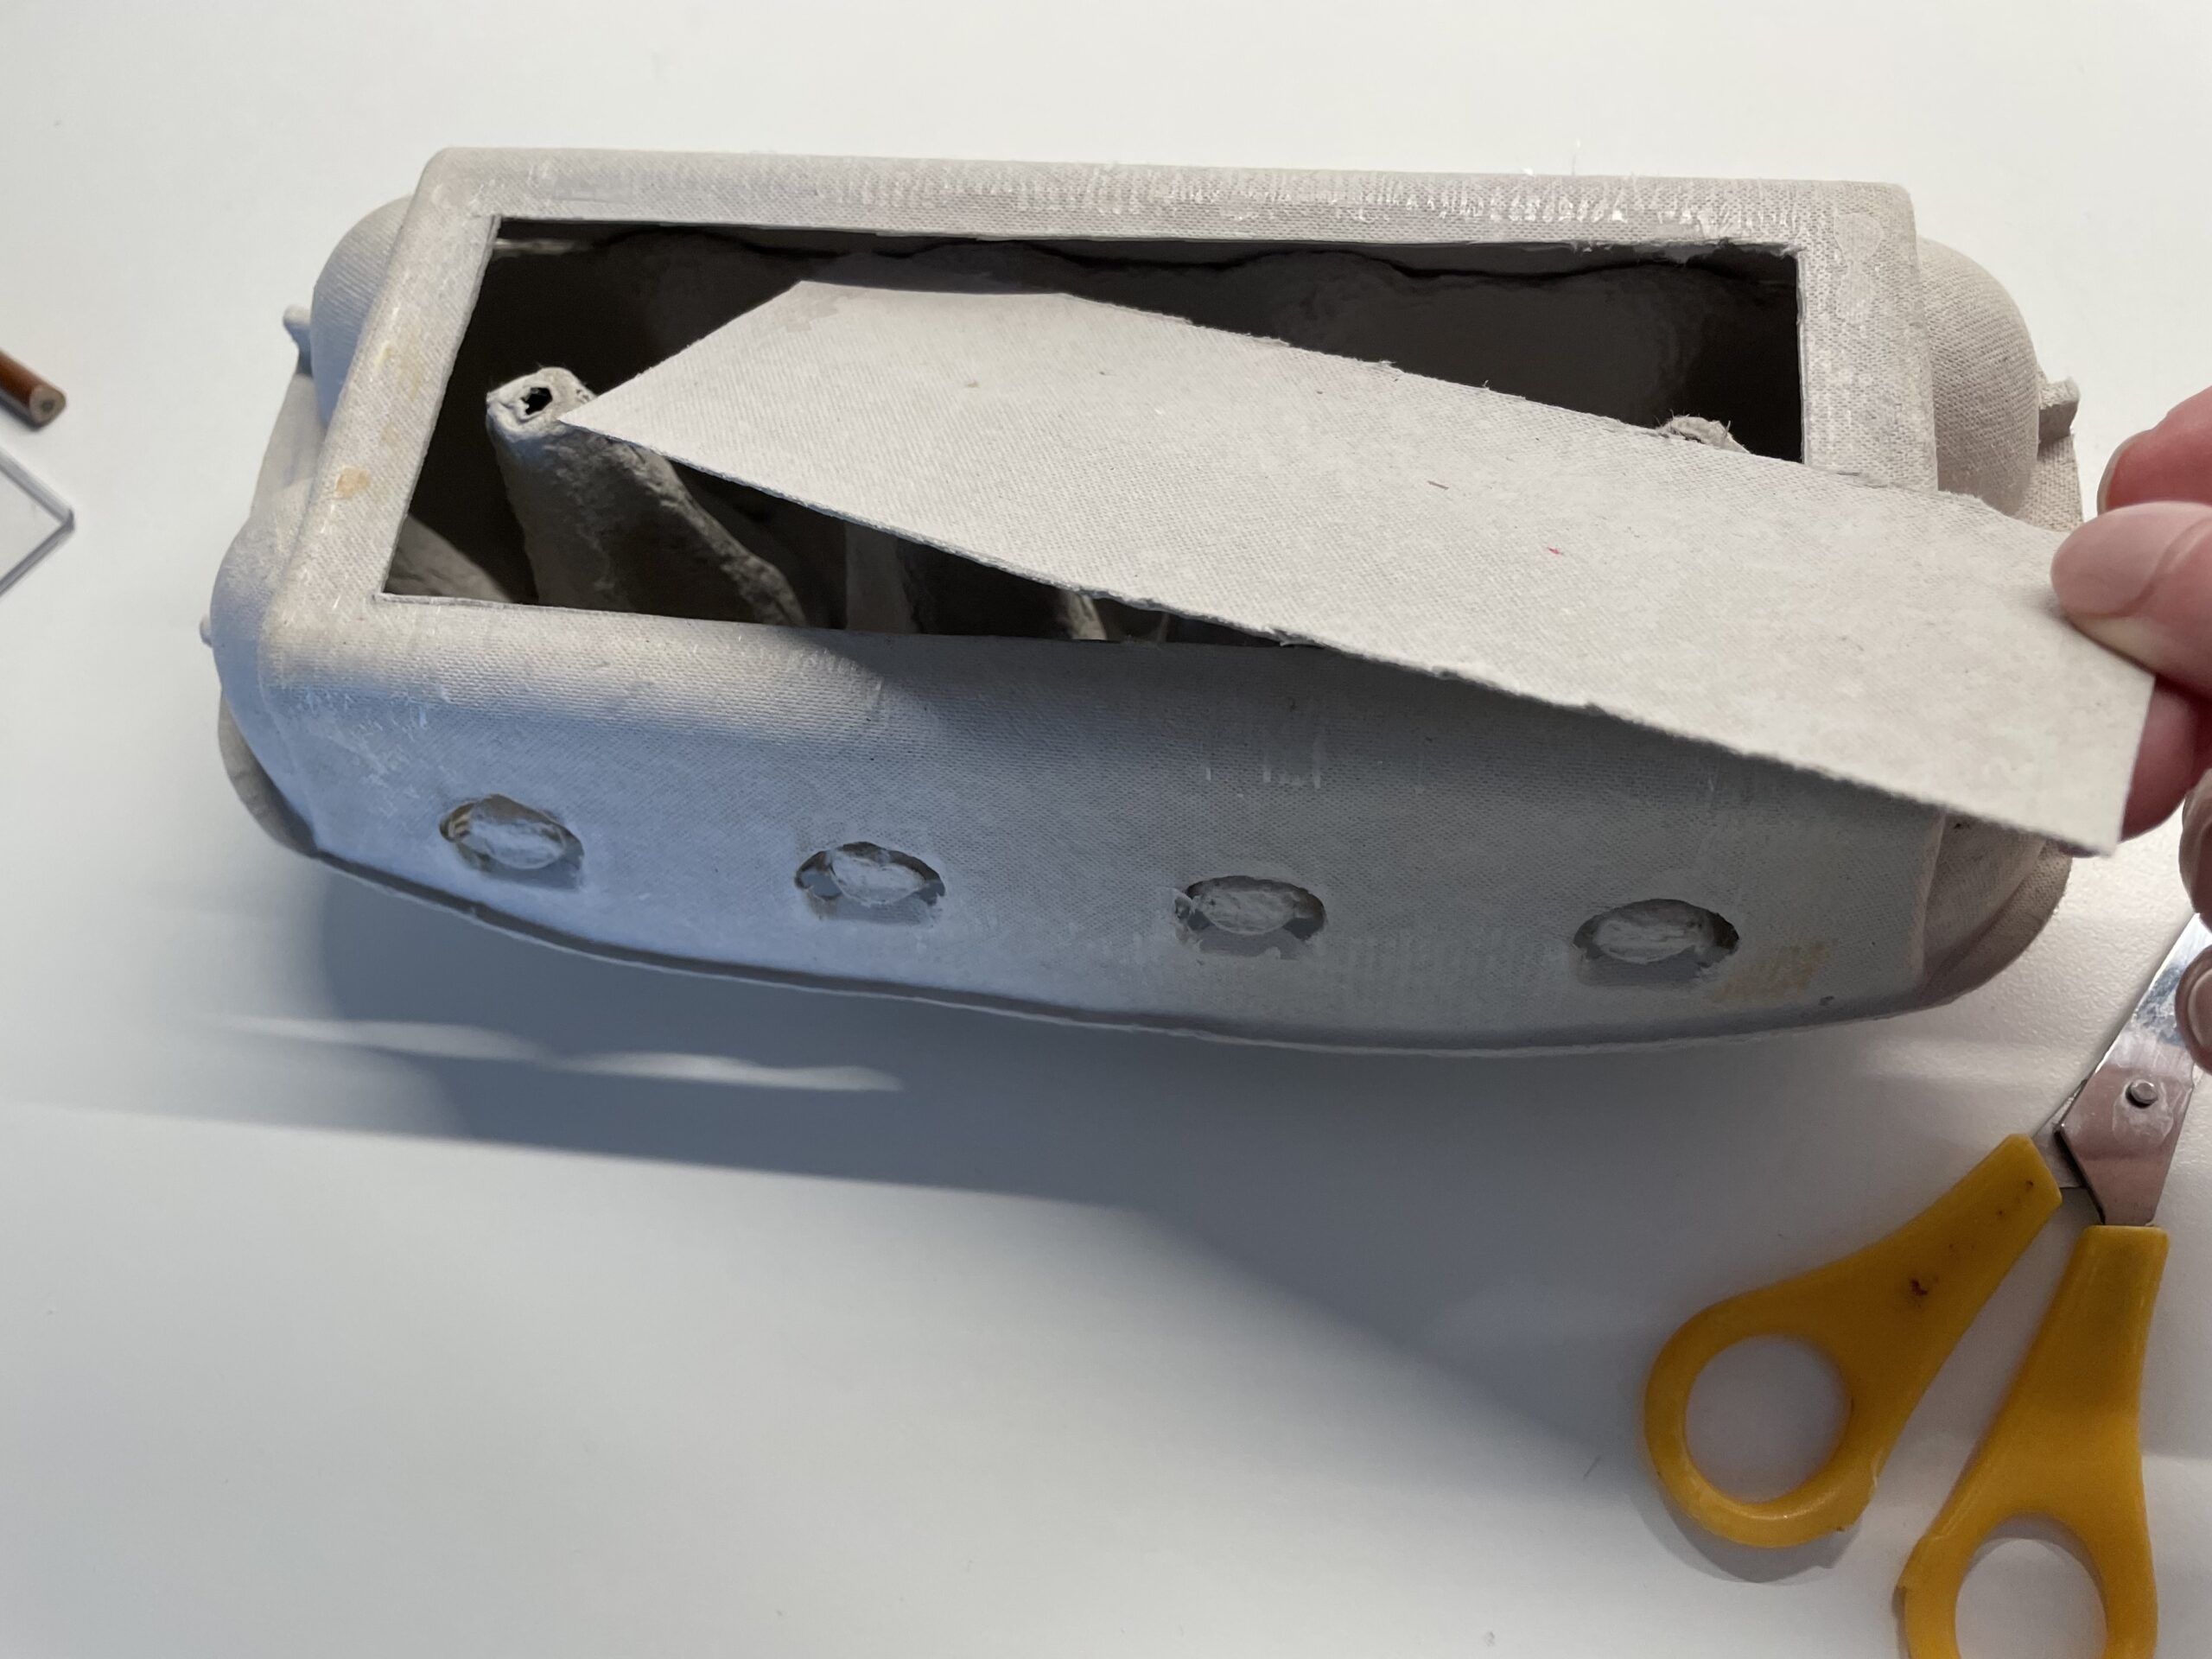


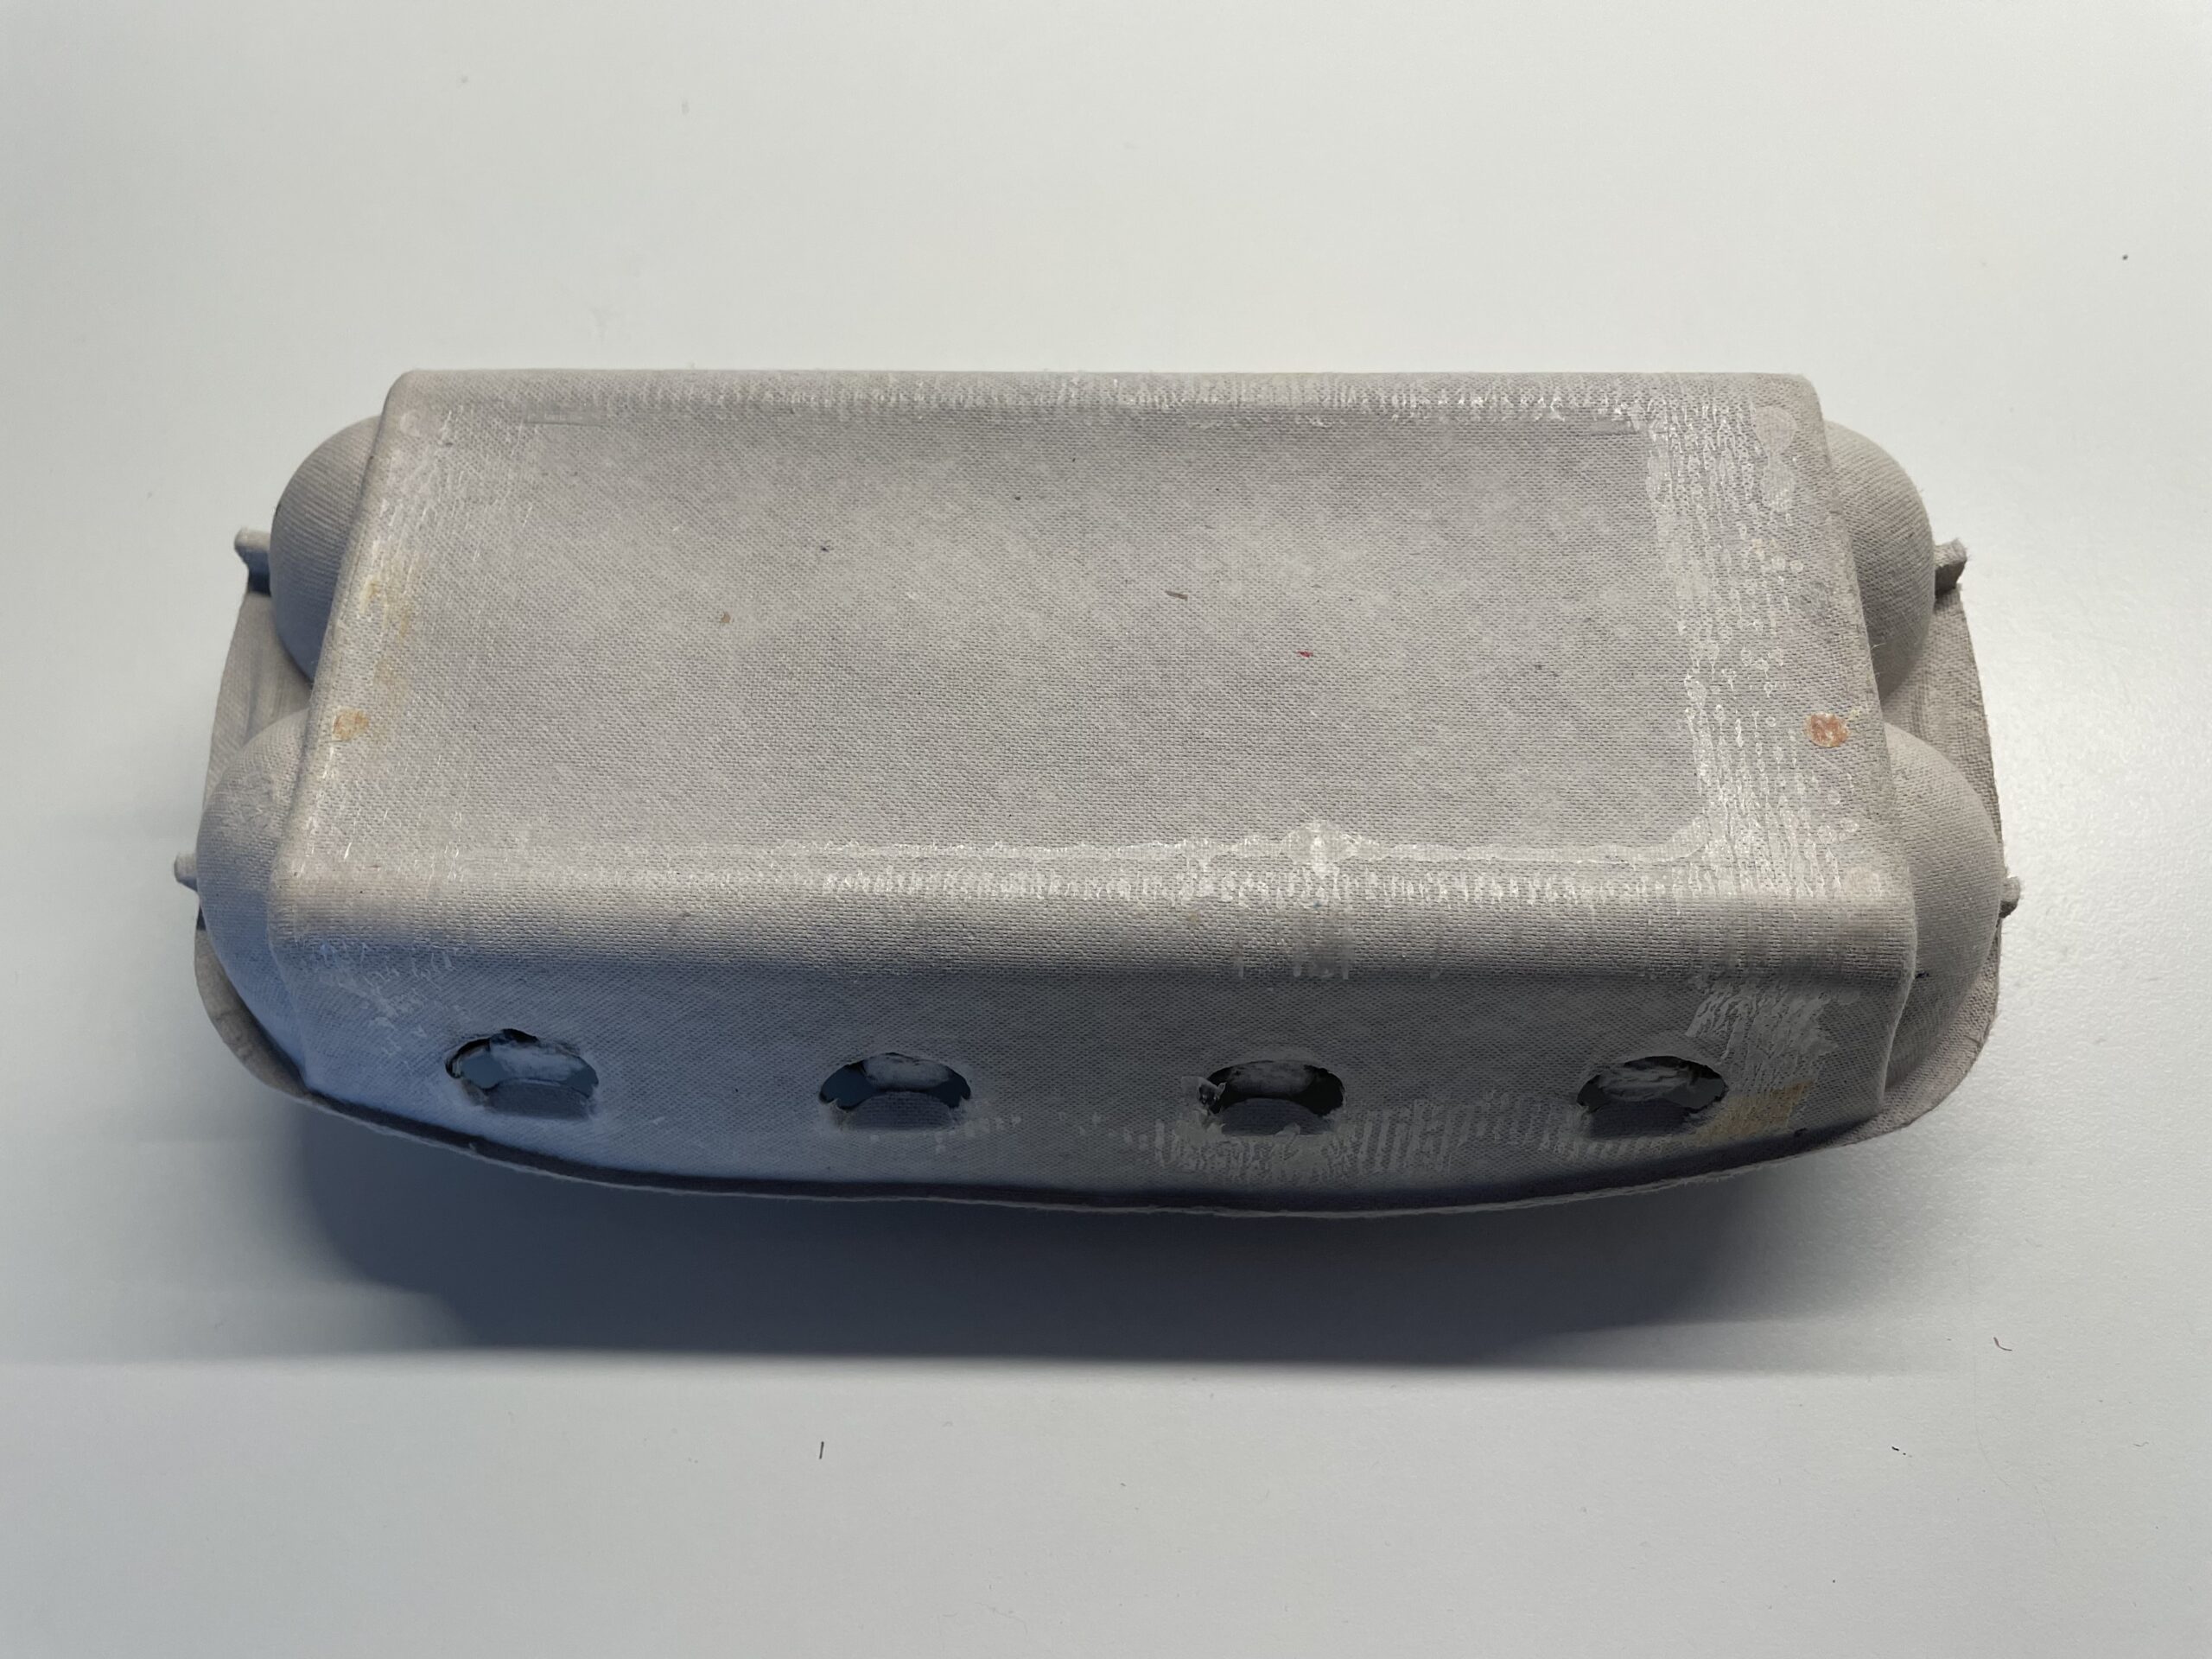
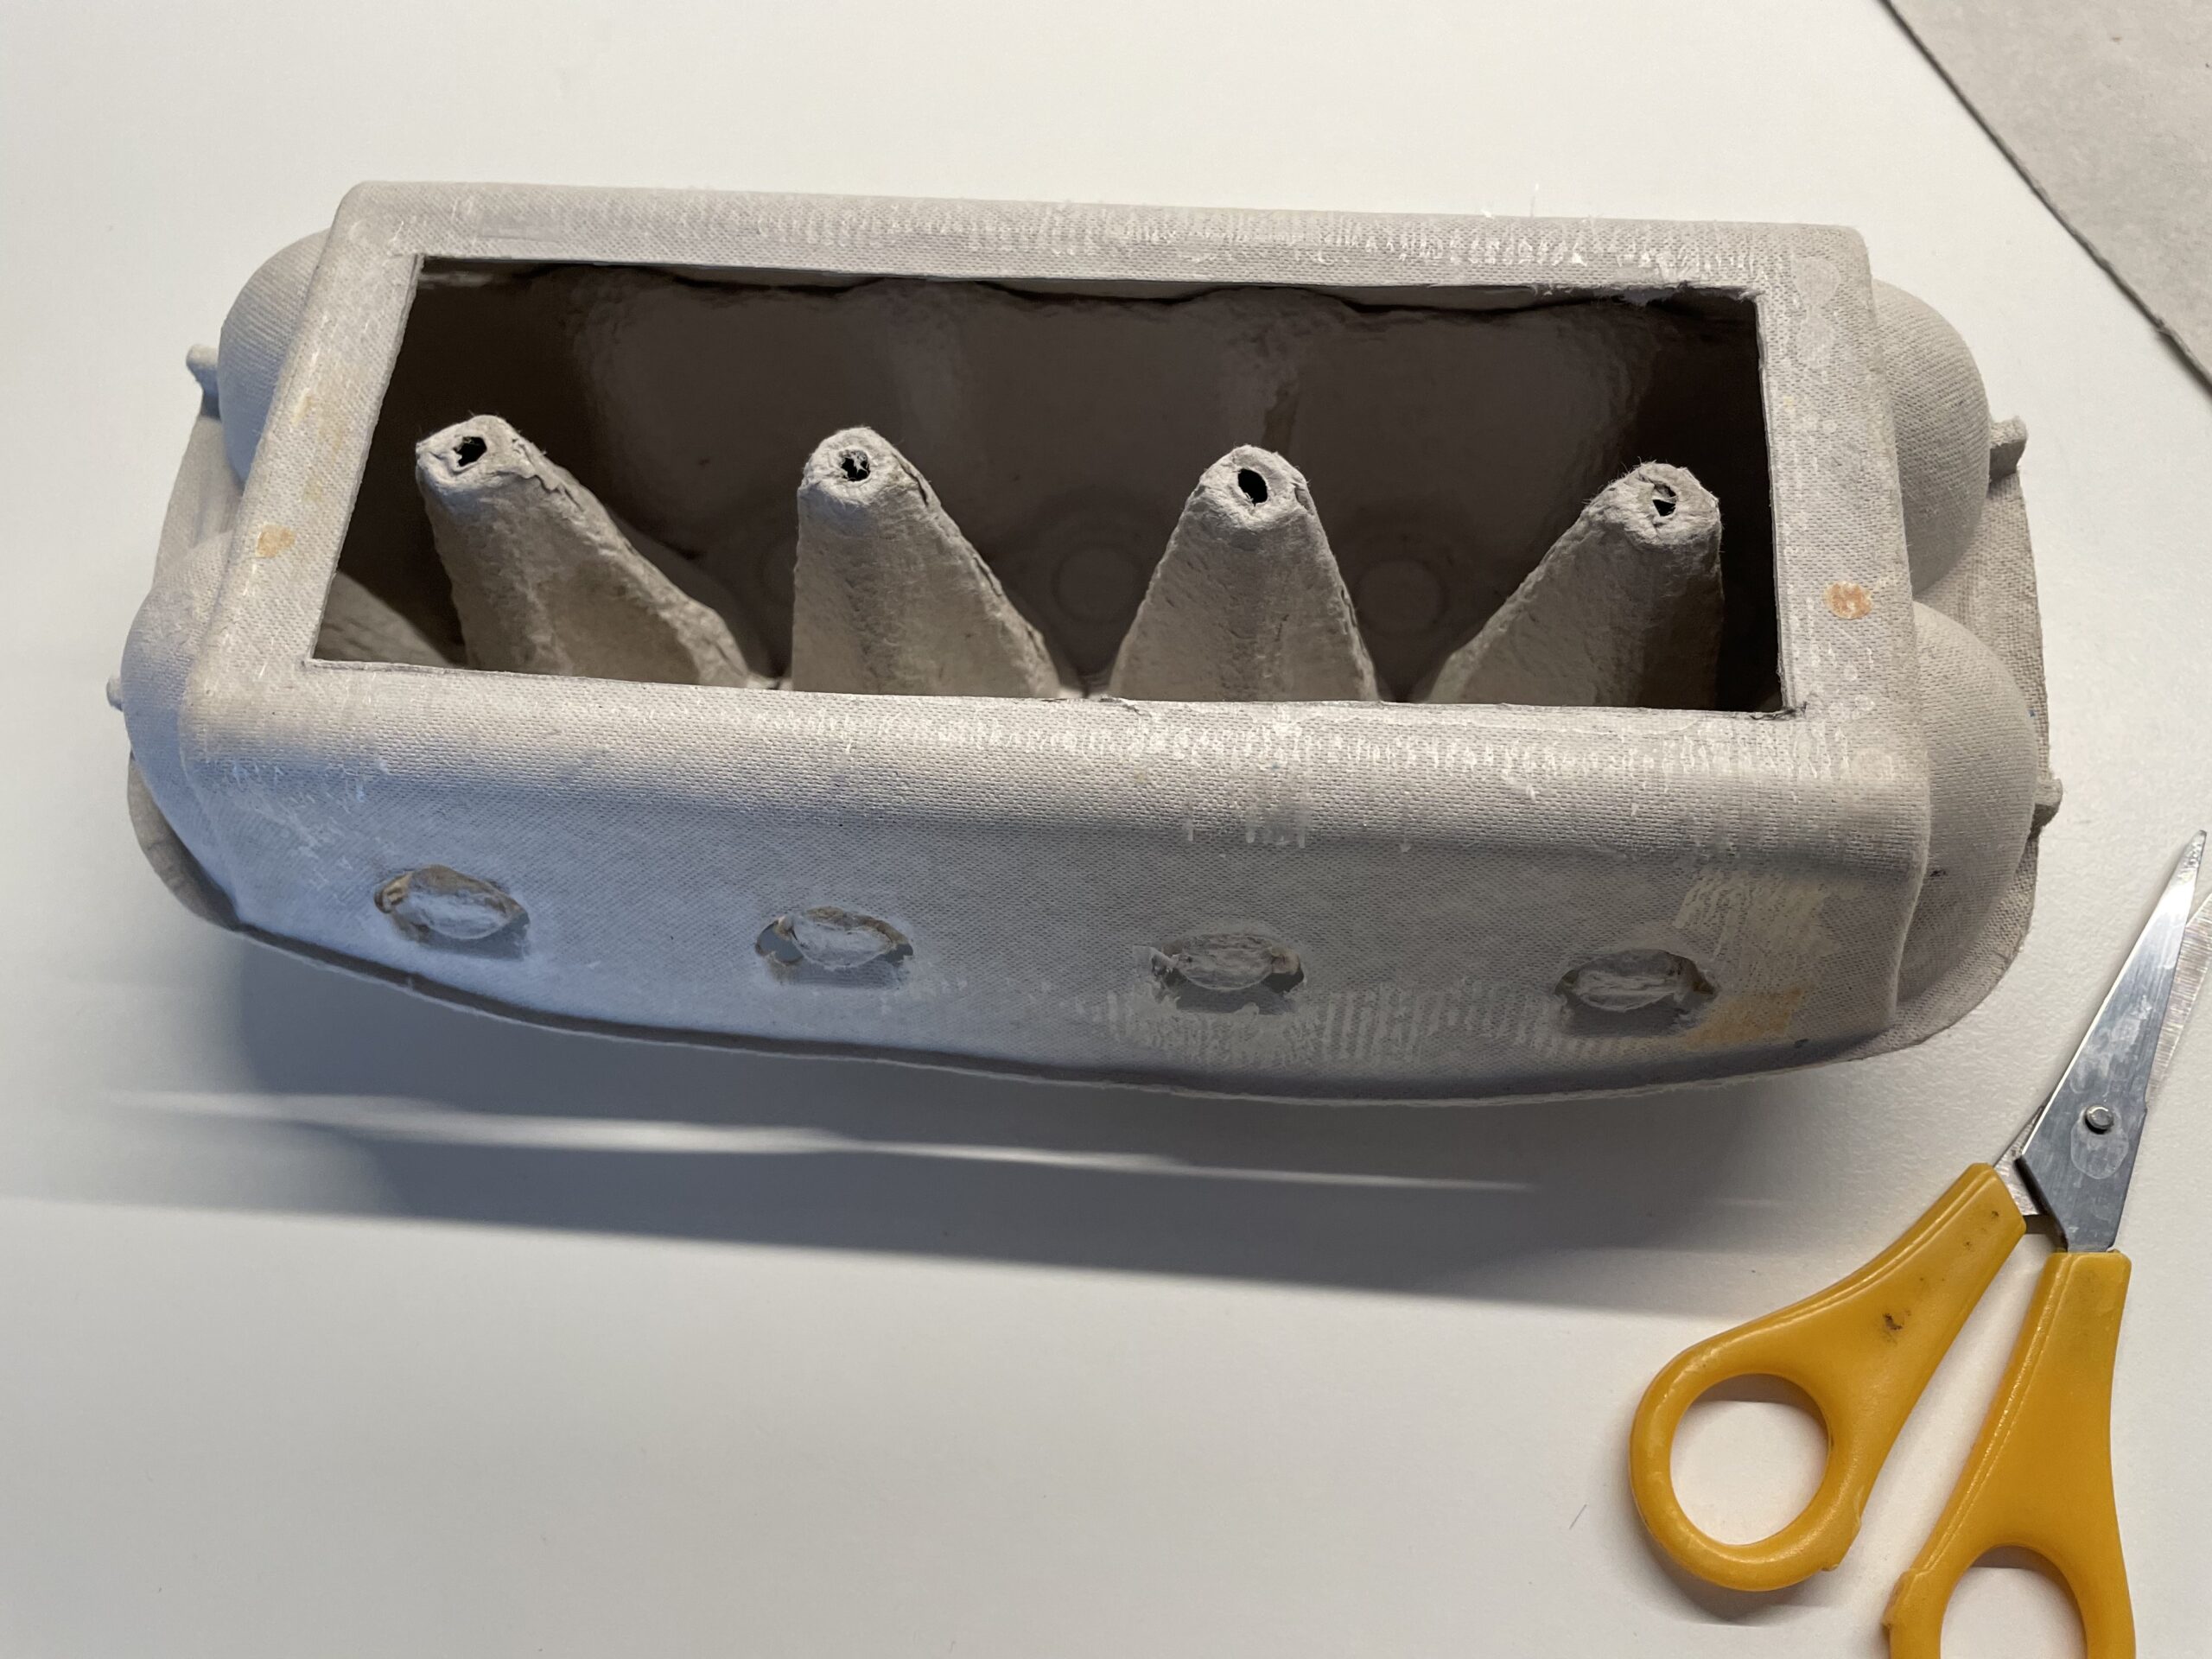
That's what the egg box looks like now.


Open the egg box.
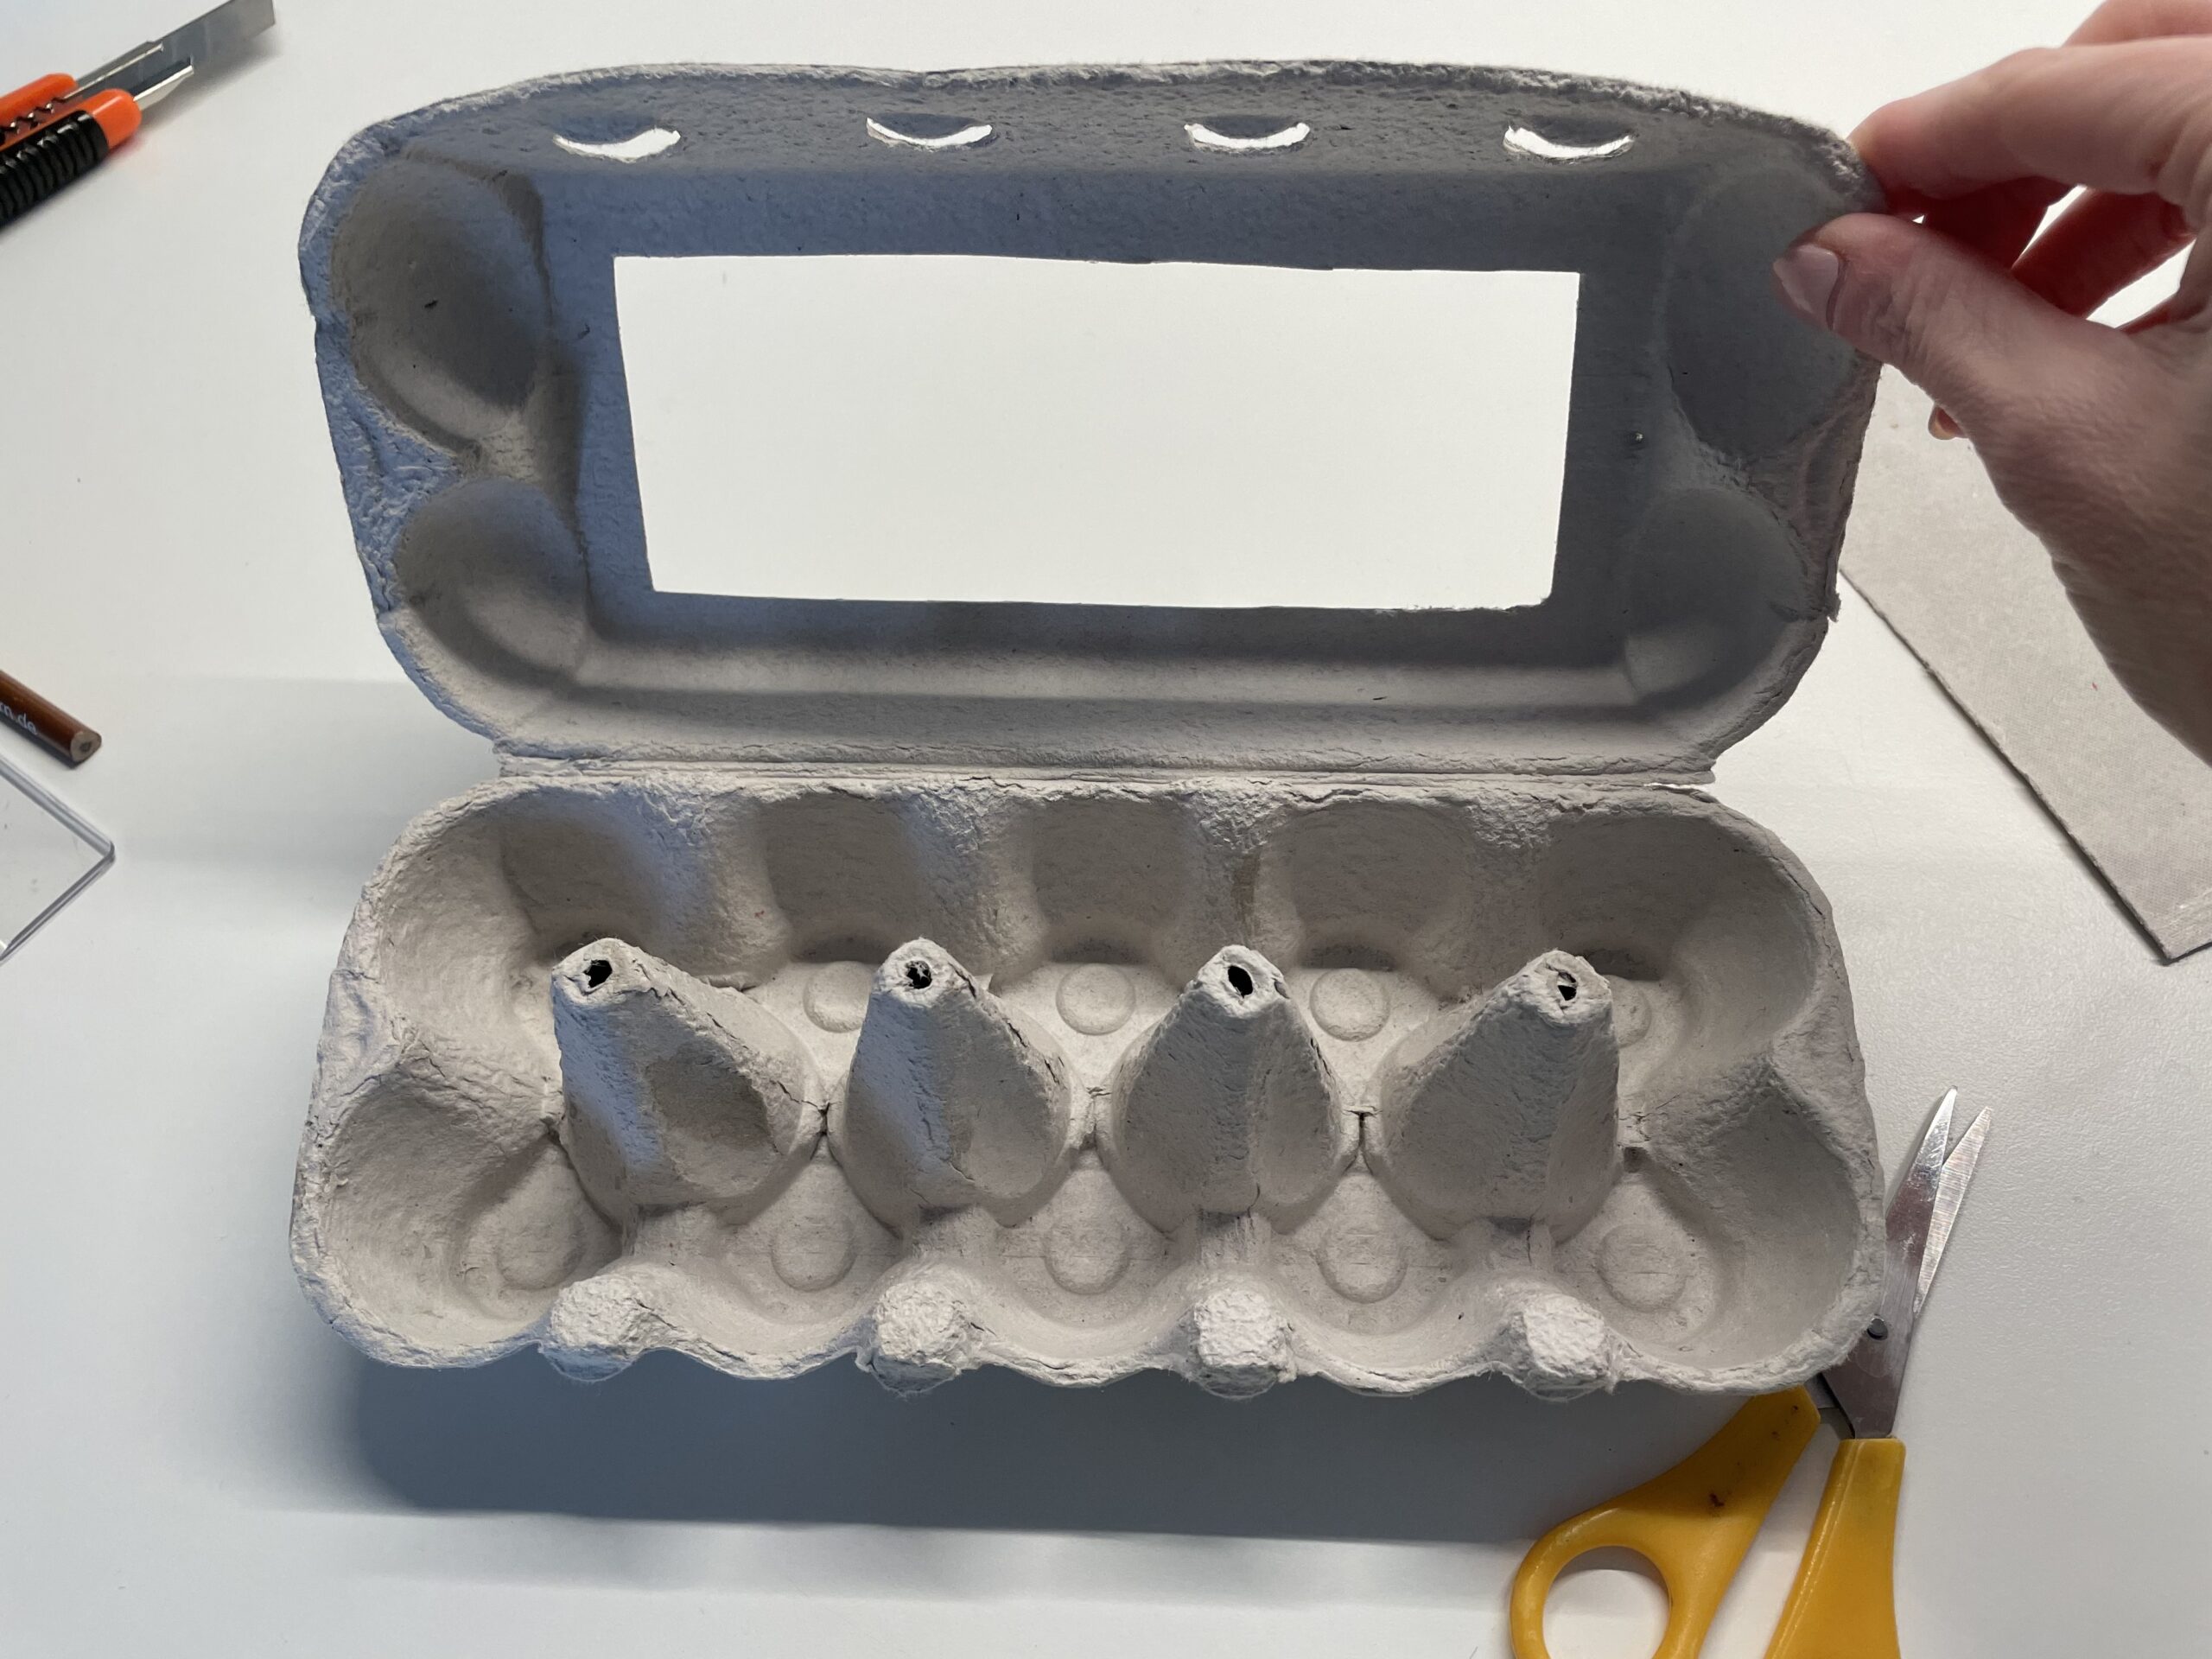


In the bottom of the egg box there are now four tips. These have to be cut out to get enough space in the nest.
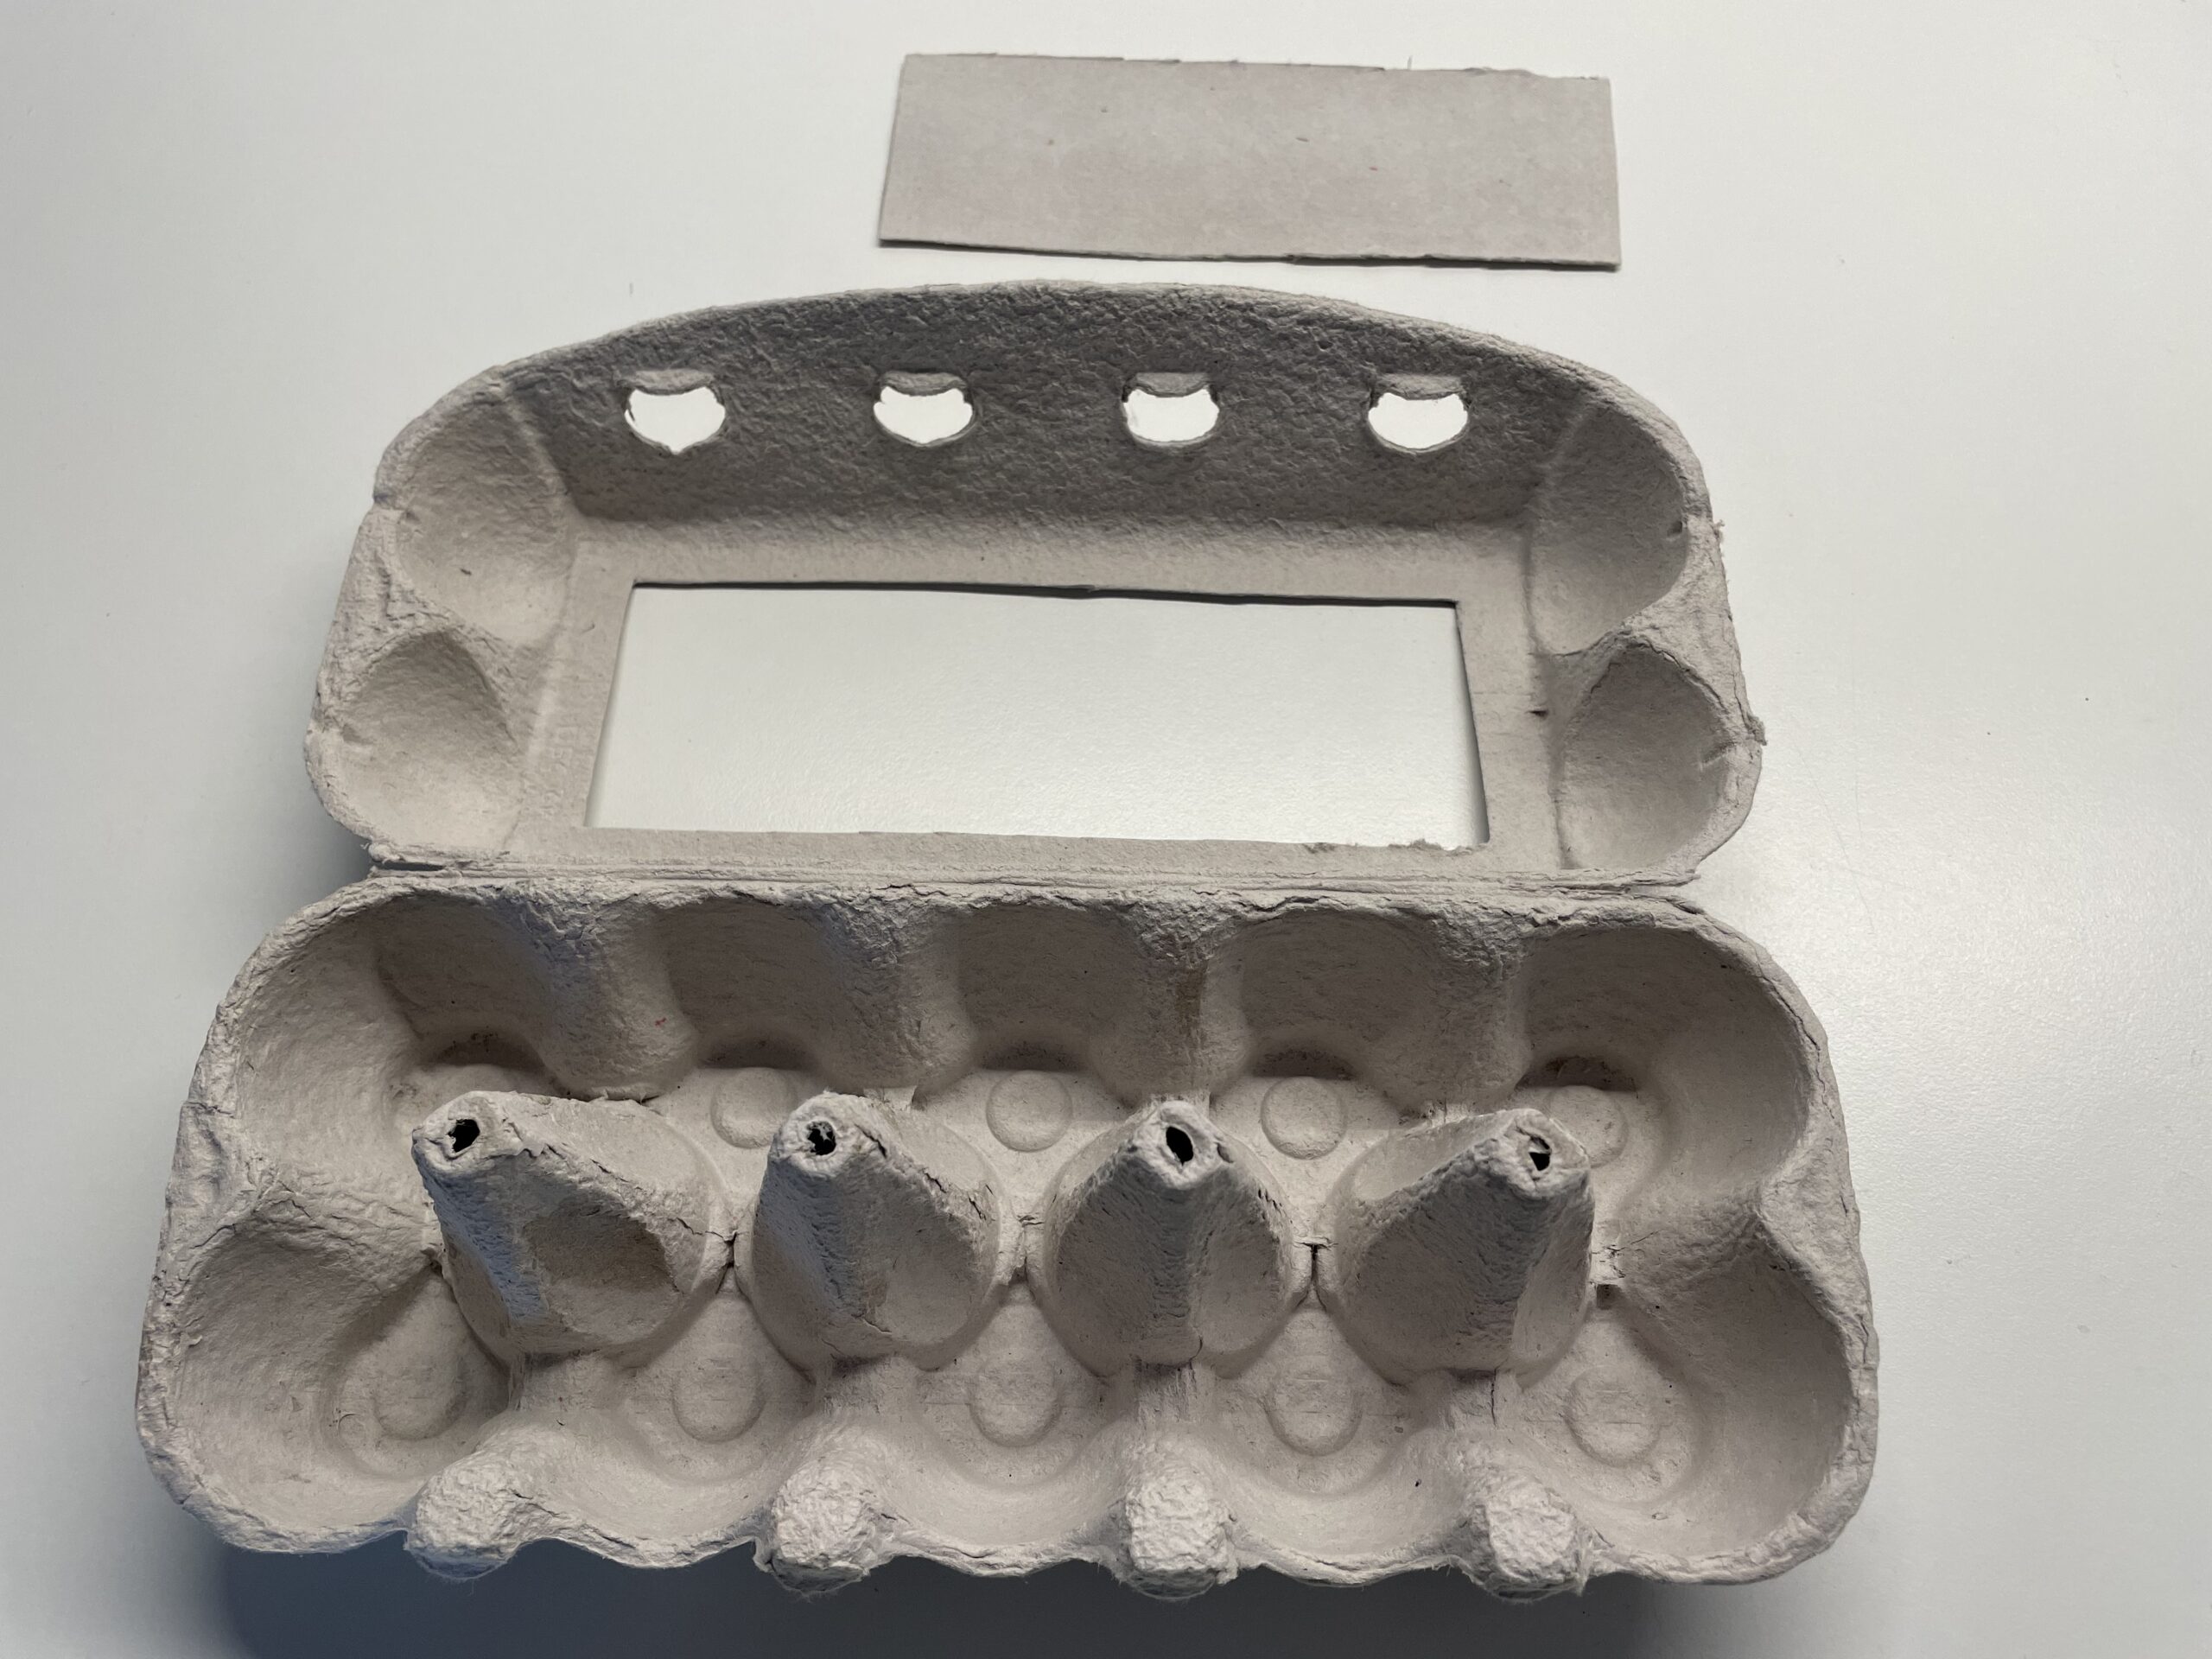


Draw with a pencil where the tips are to be cut off.
Leave a small base on the top. Later, the cardboard section of the lid is glued to it.


Start carefully cutting out the tips with scissors. Let an adult help you with this, as the tips sit quite deep in the egg box.
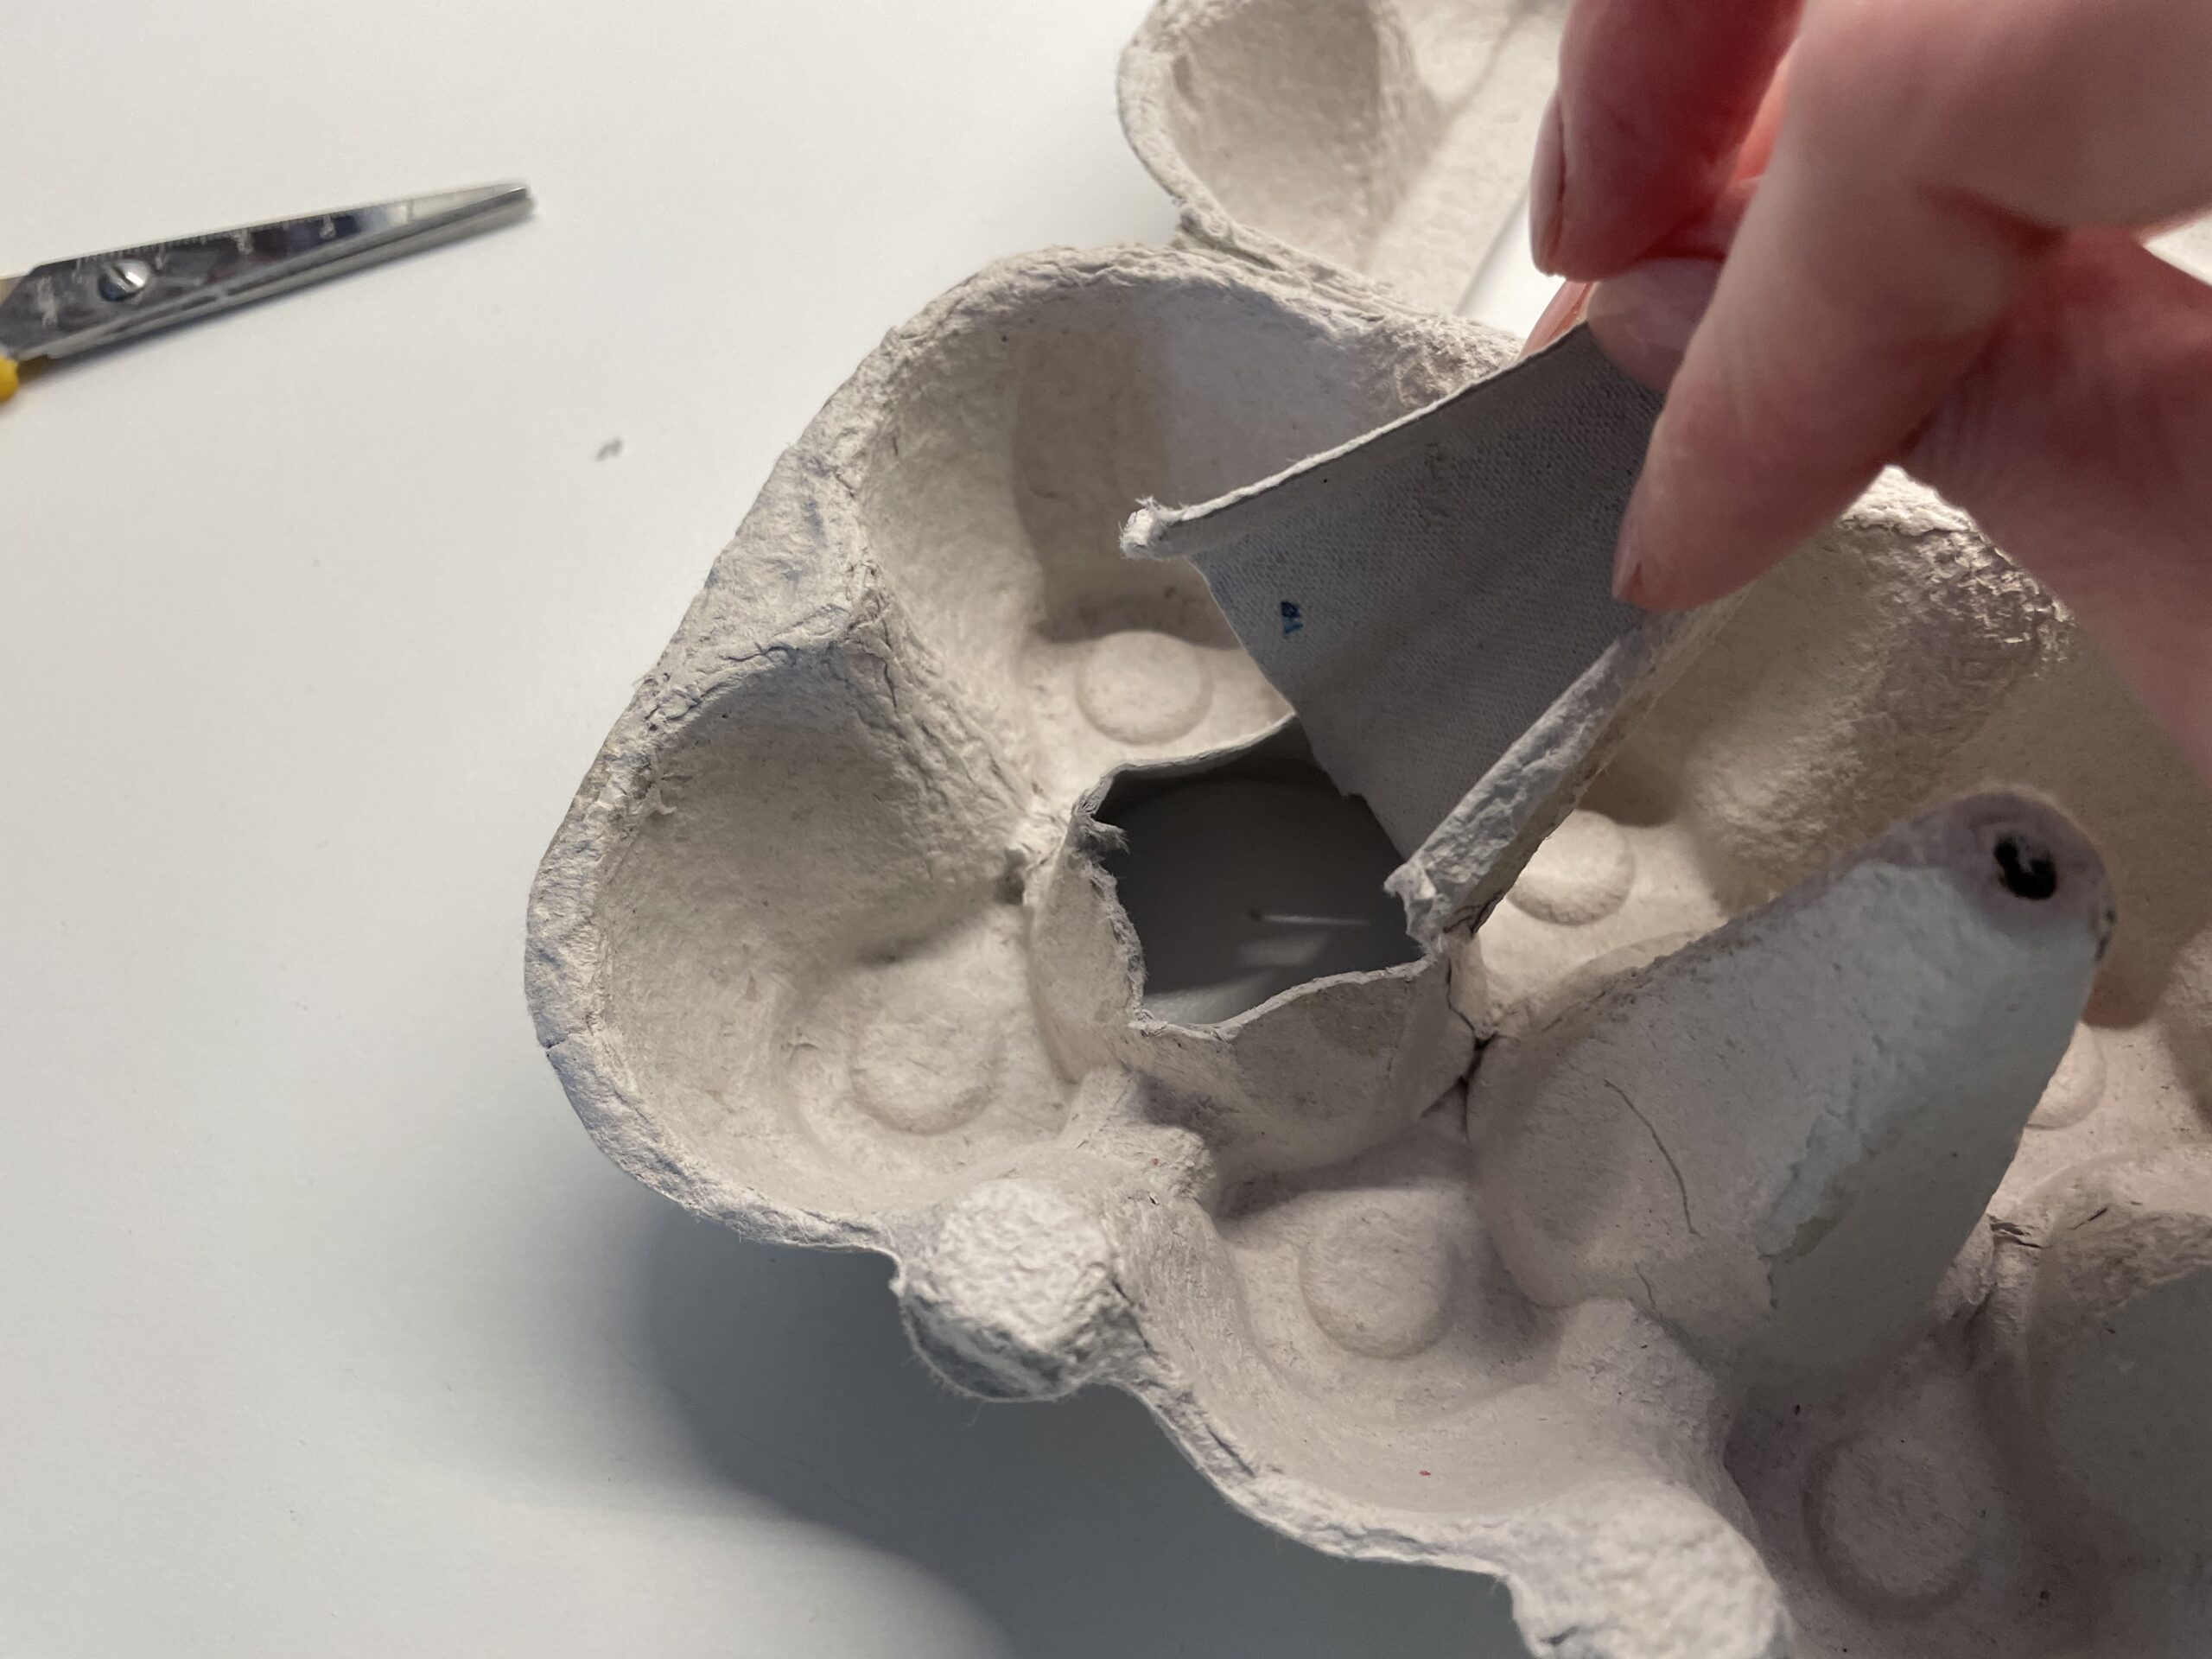


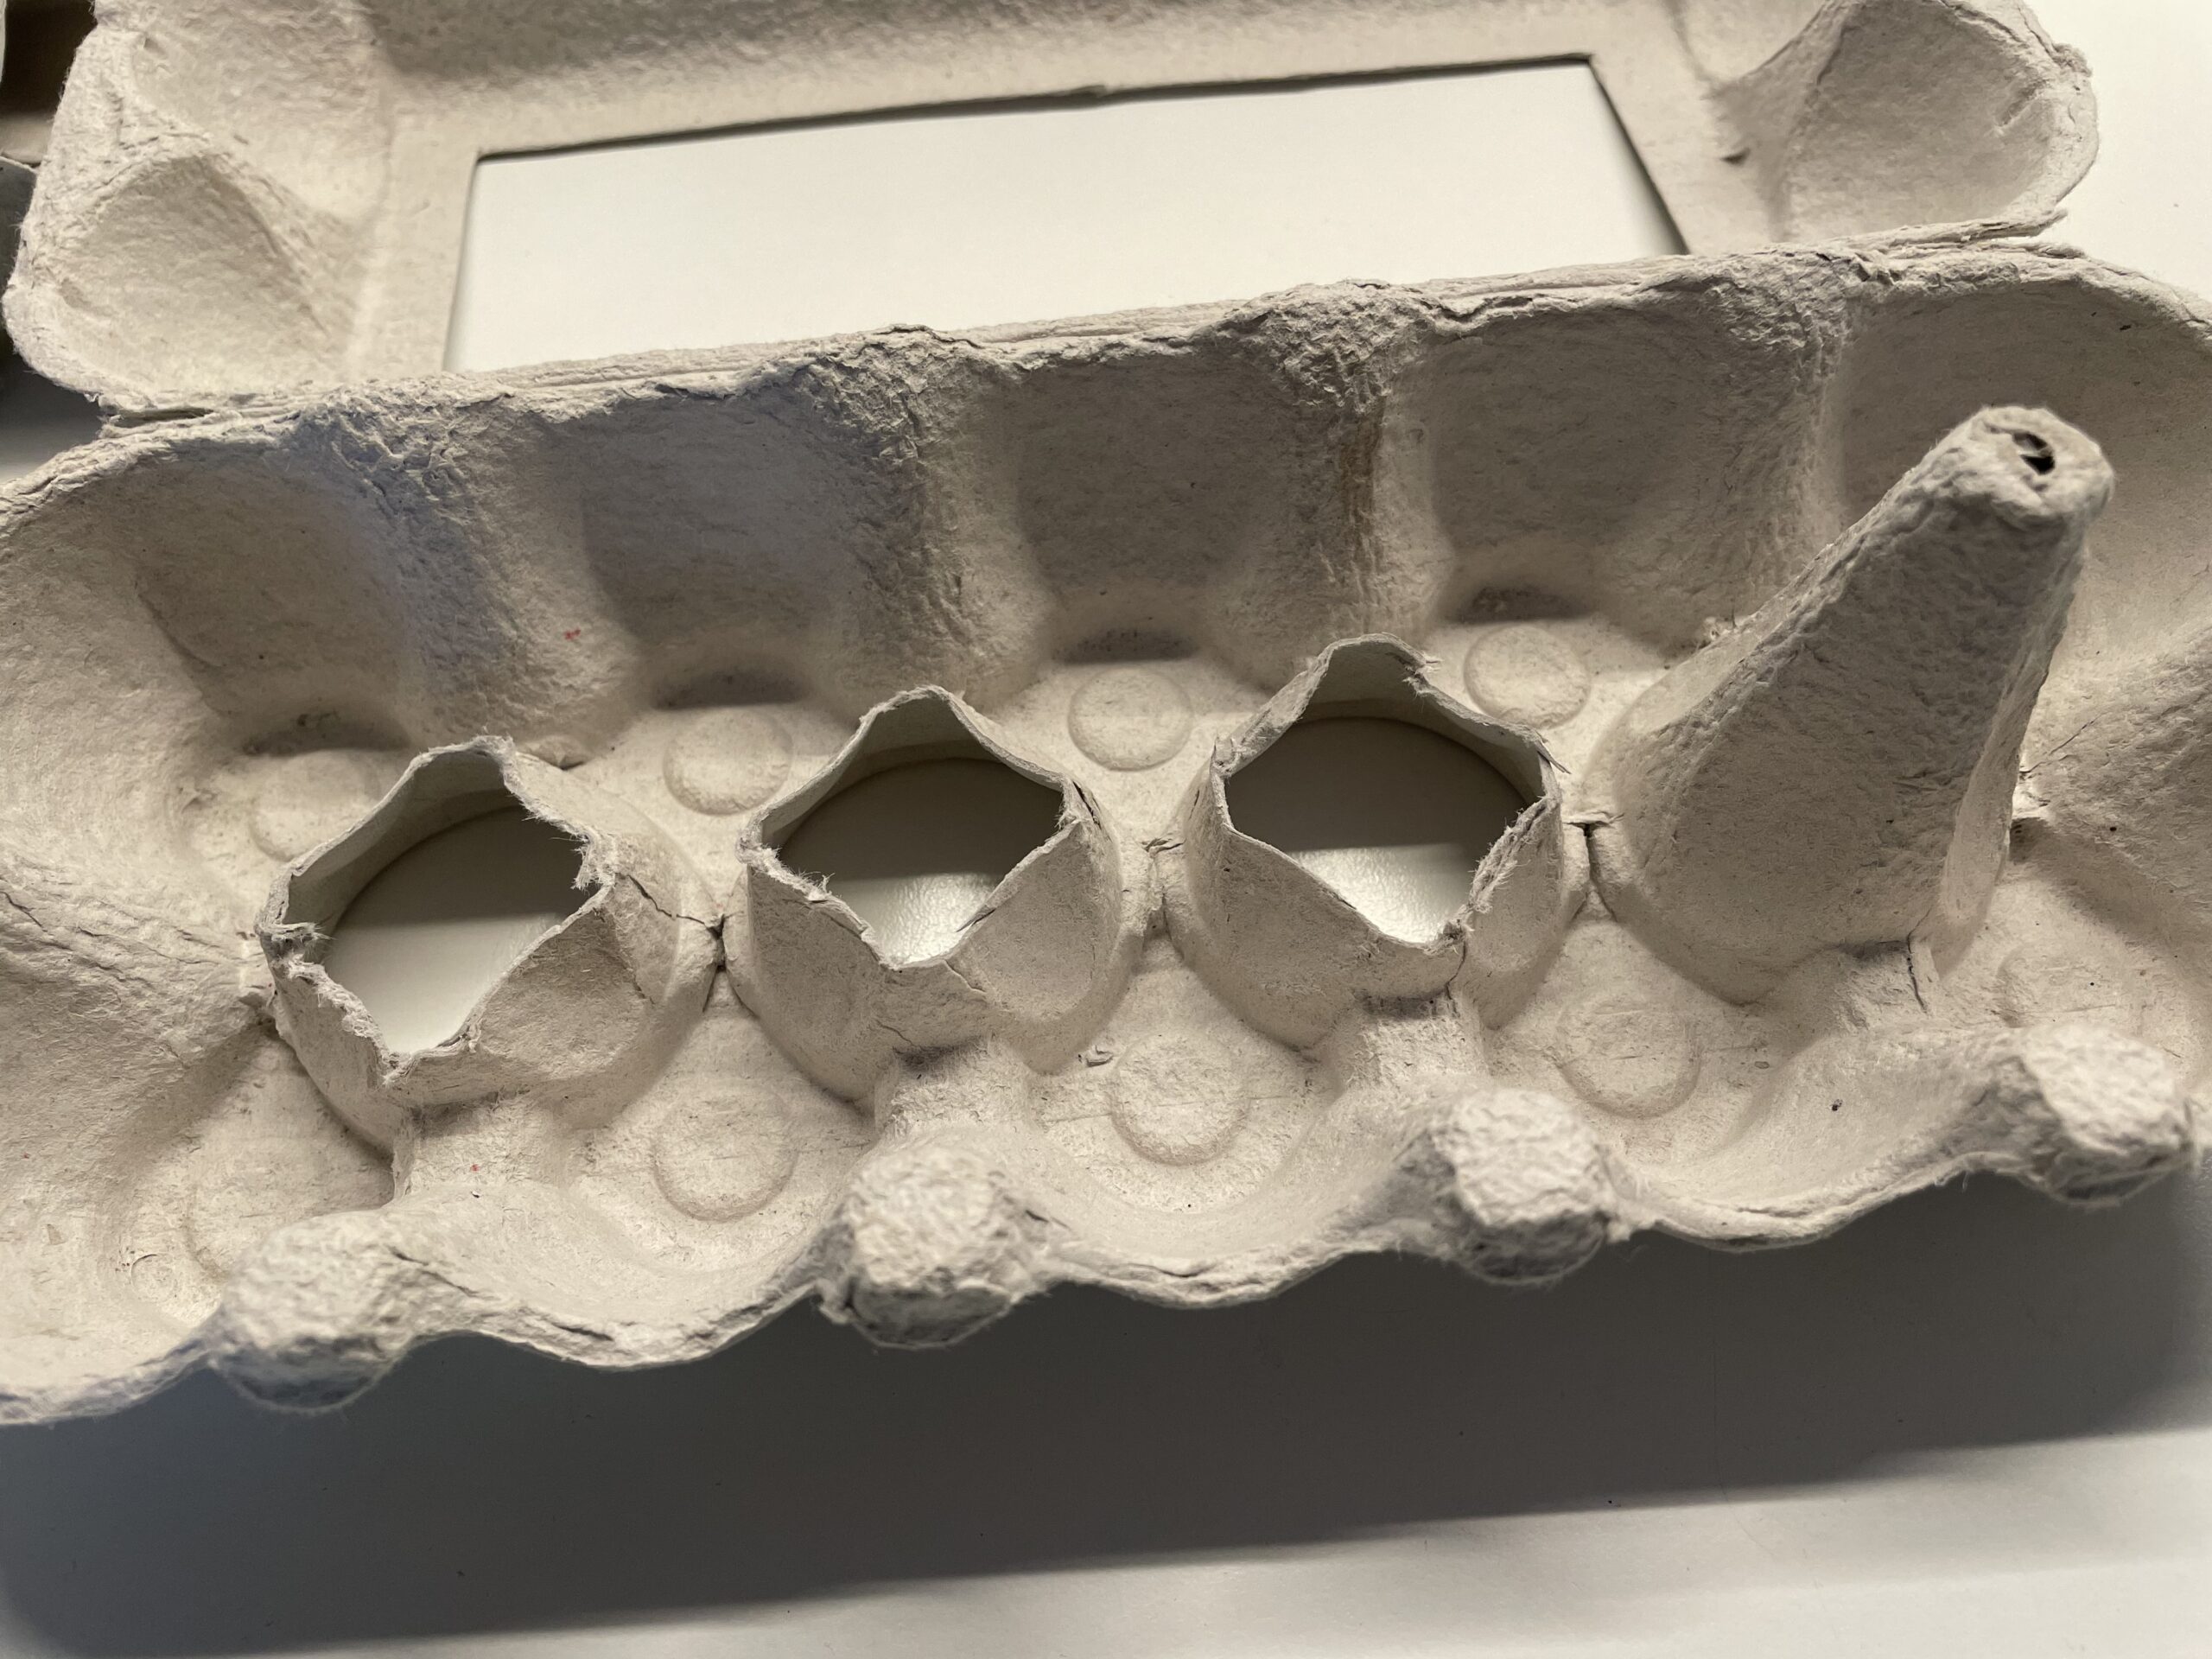


That's what the egg box looks like now.
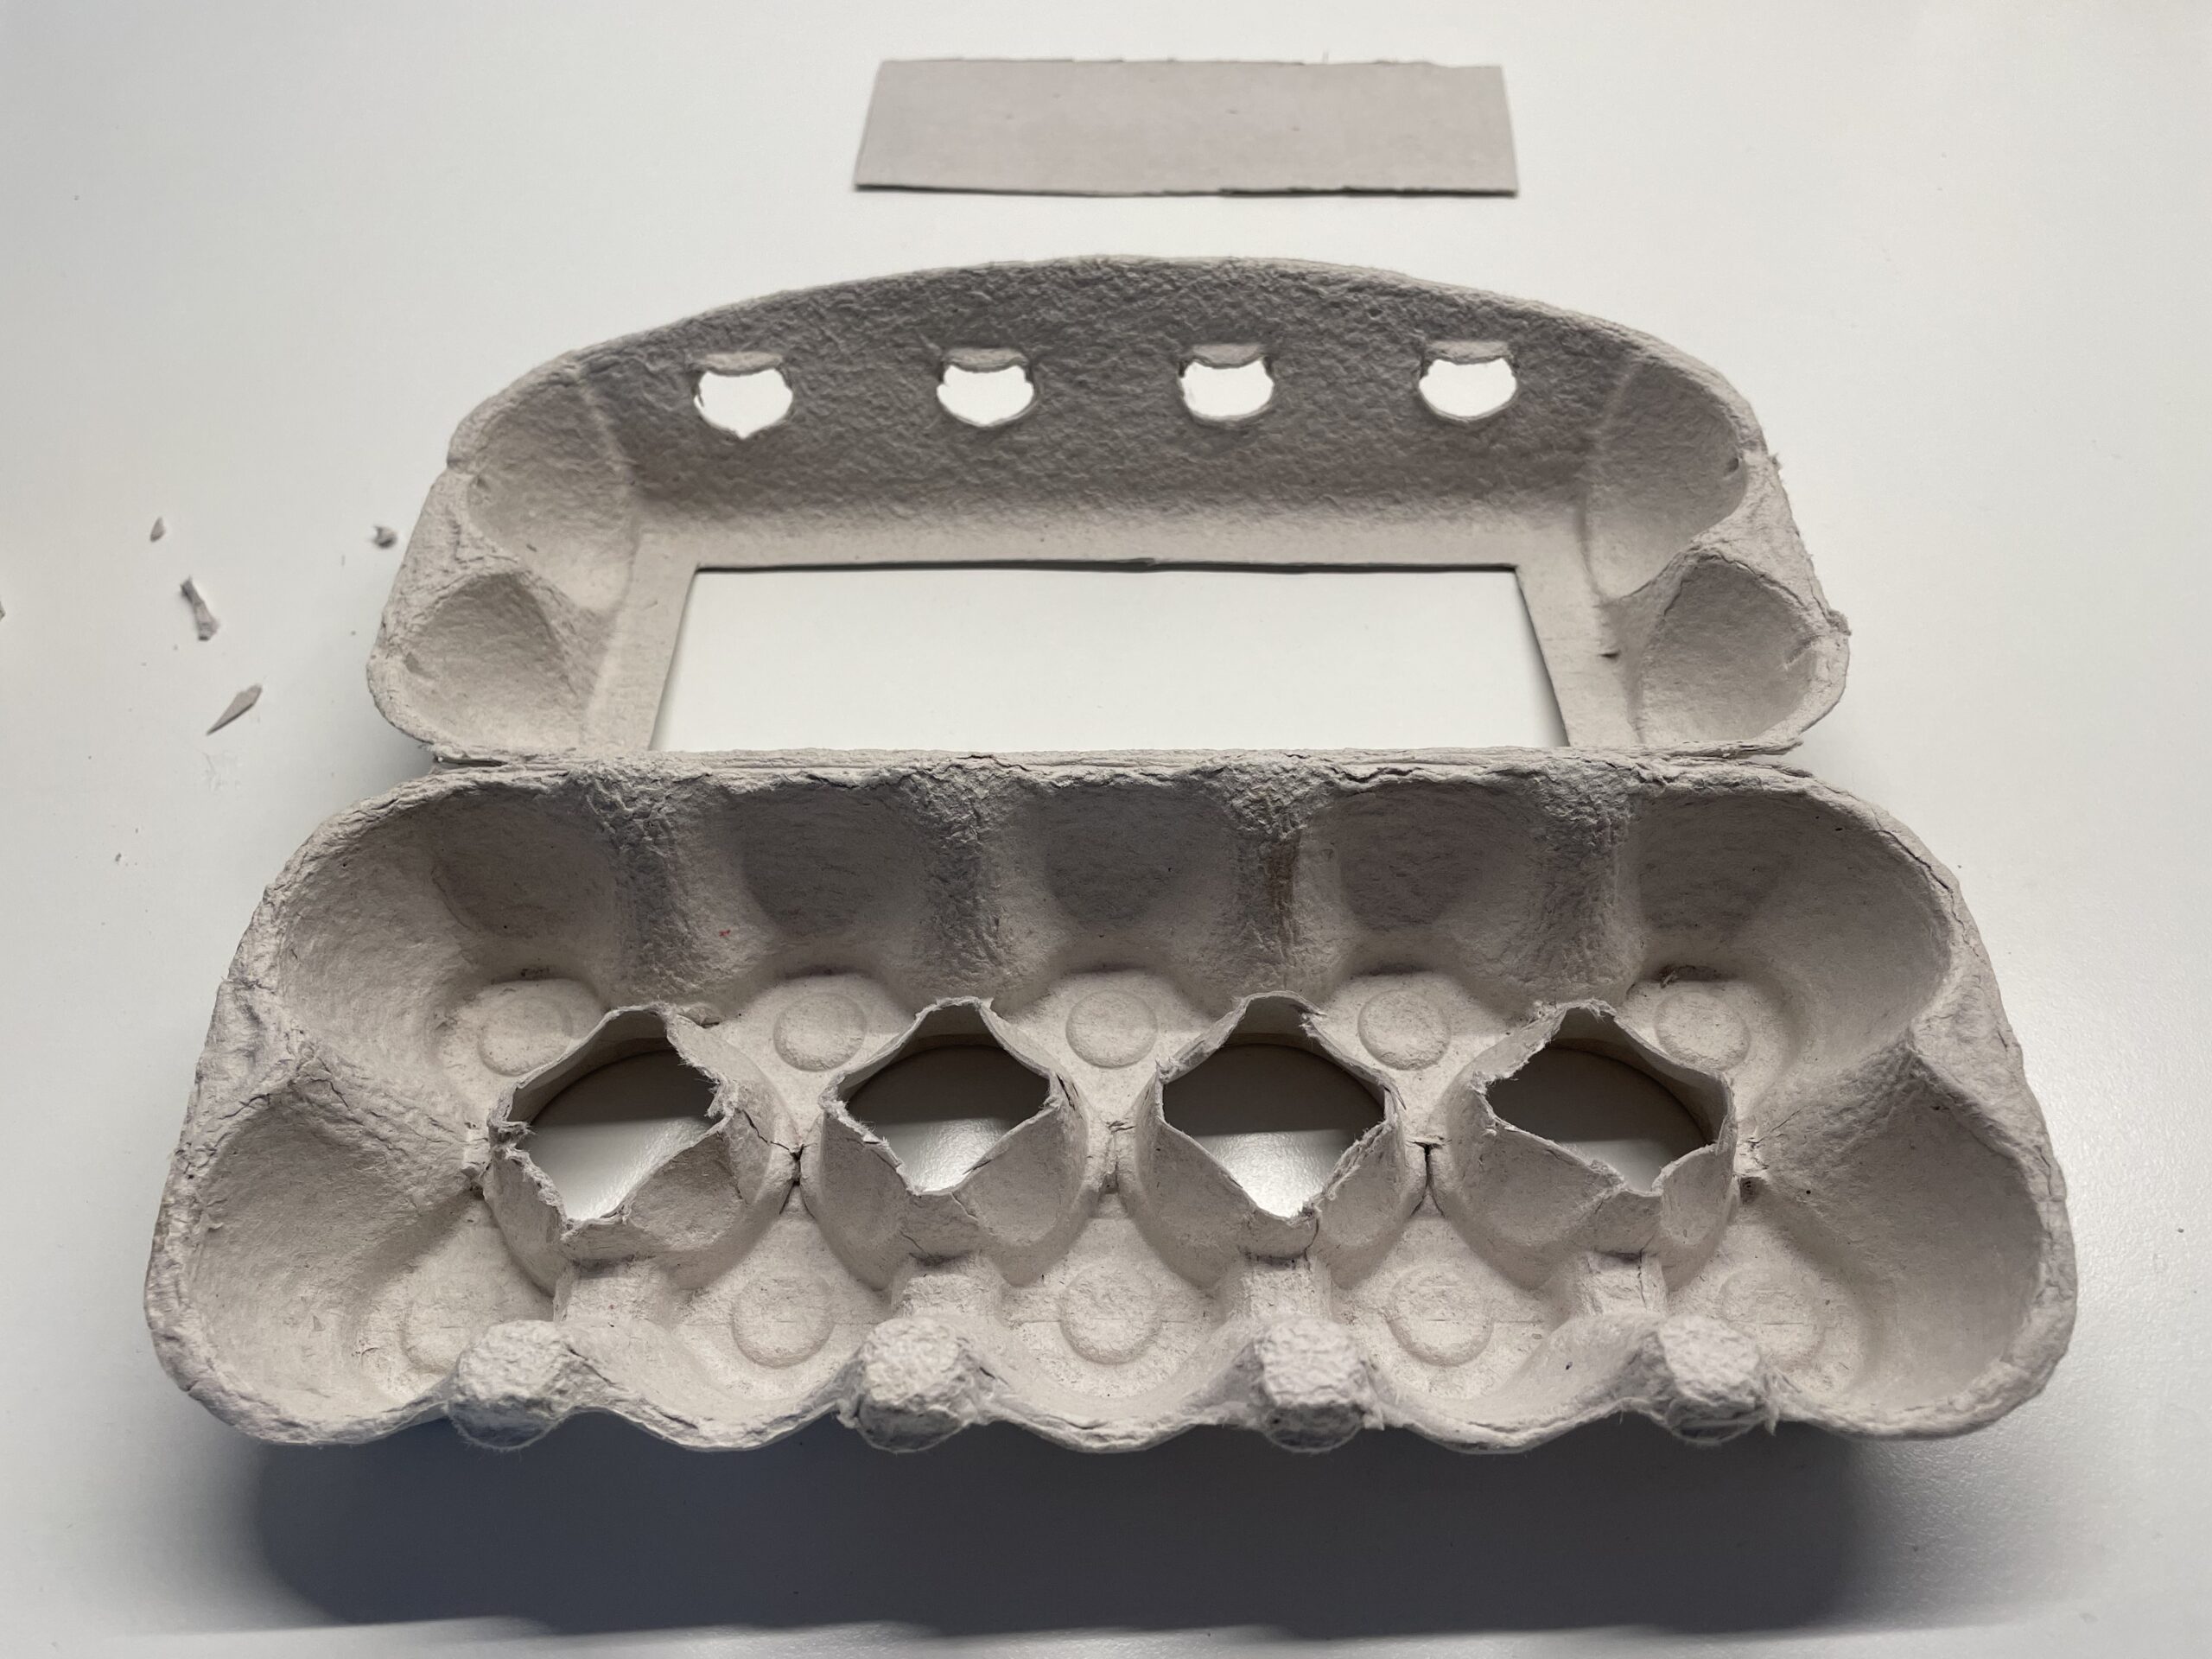


Place the paper cut-out (from the lid) on the cut-off tips in the egg box.
Glue it with a few points. Use a hot glue gun for this. Be careful if you get help from an adult.
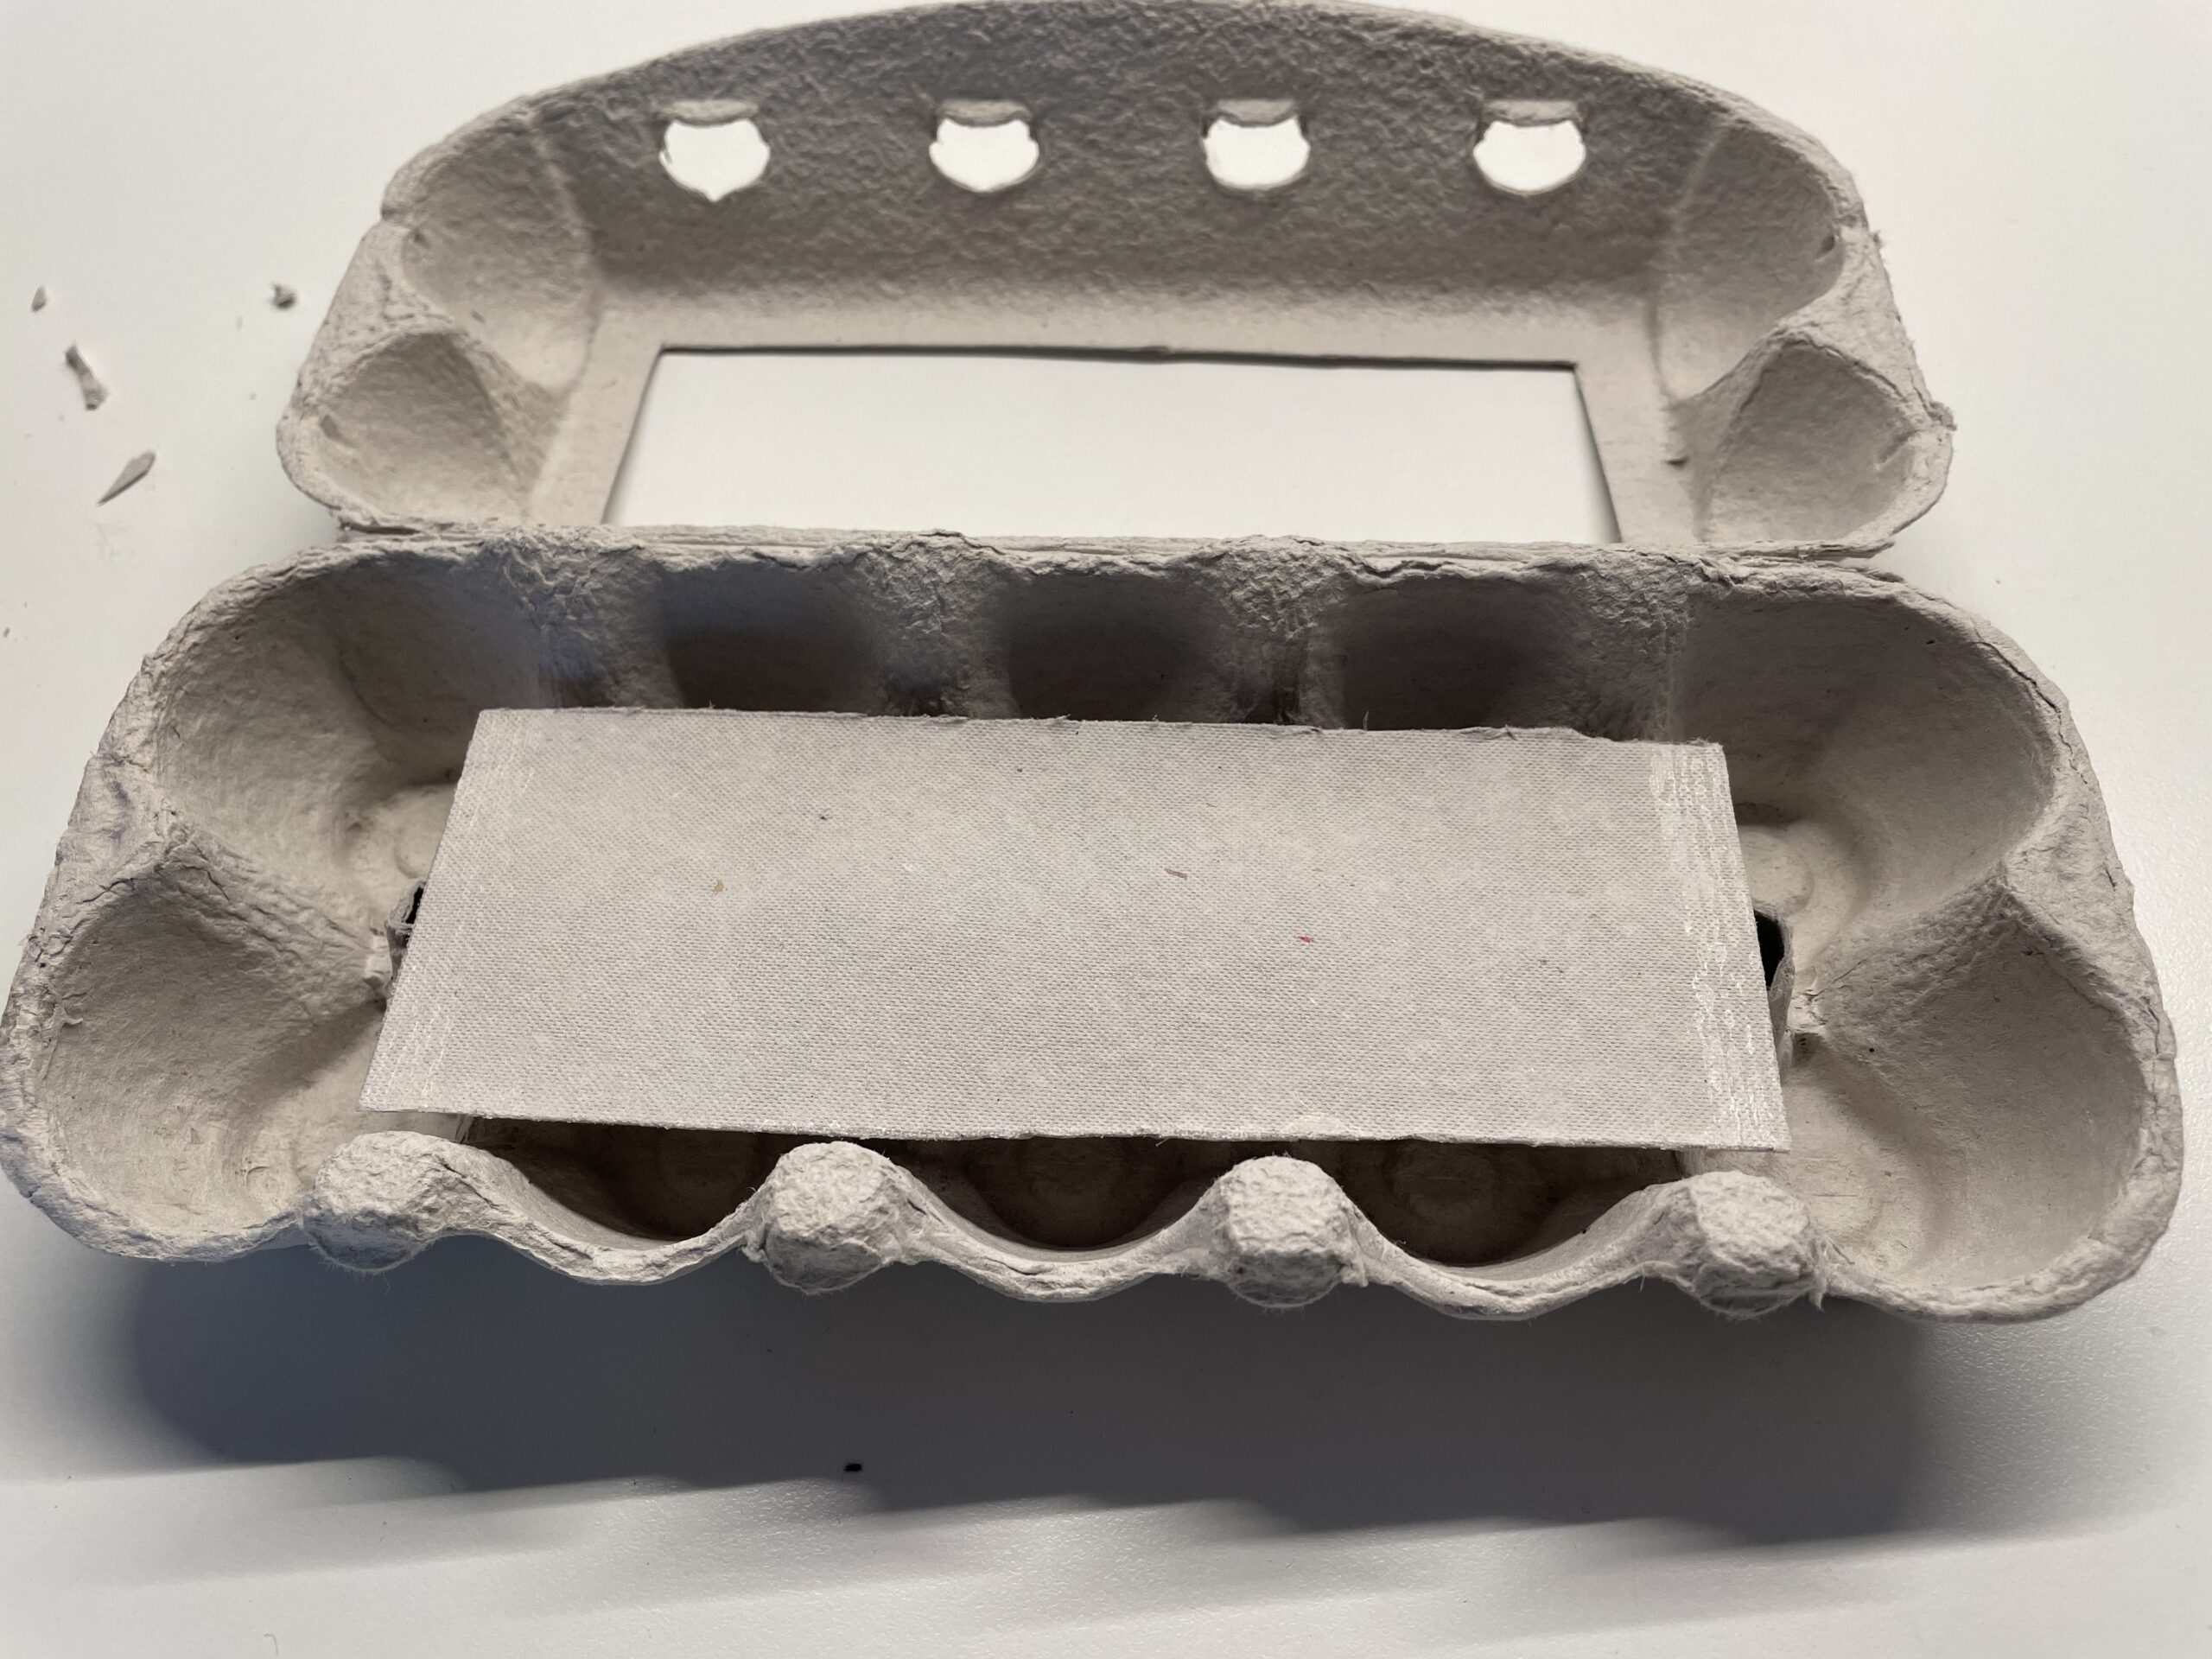


Folds the egg box and the lid can also be glued to a few points with the hot glue gun.
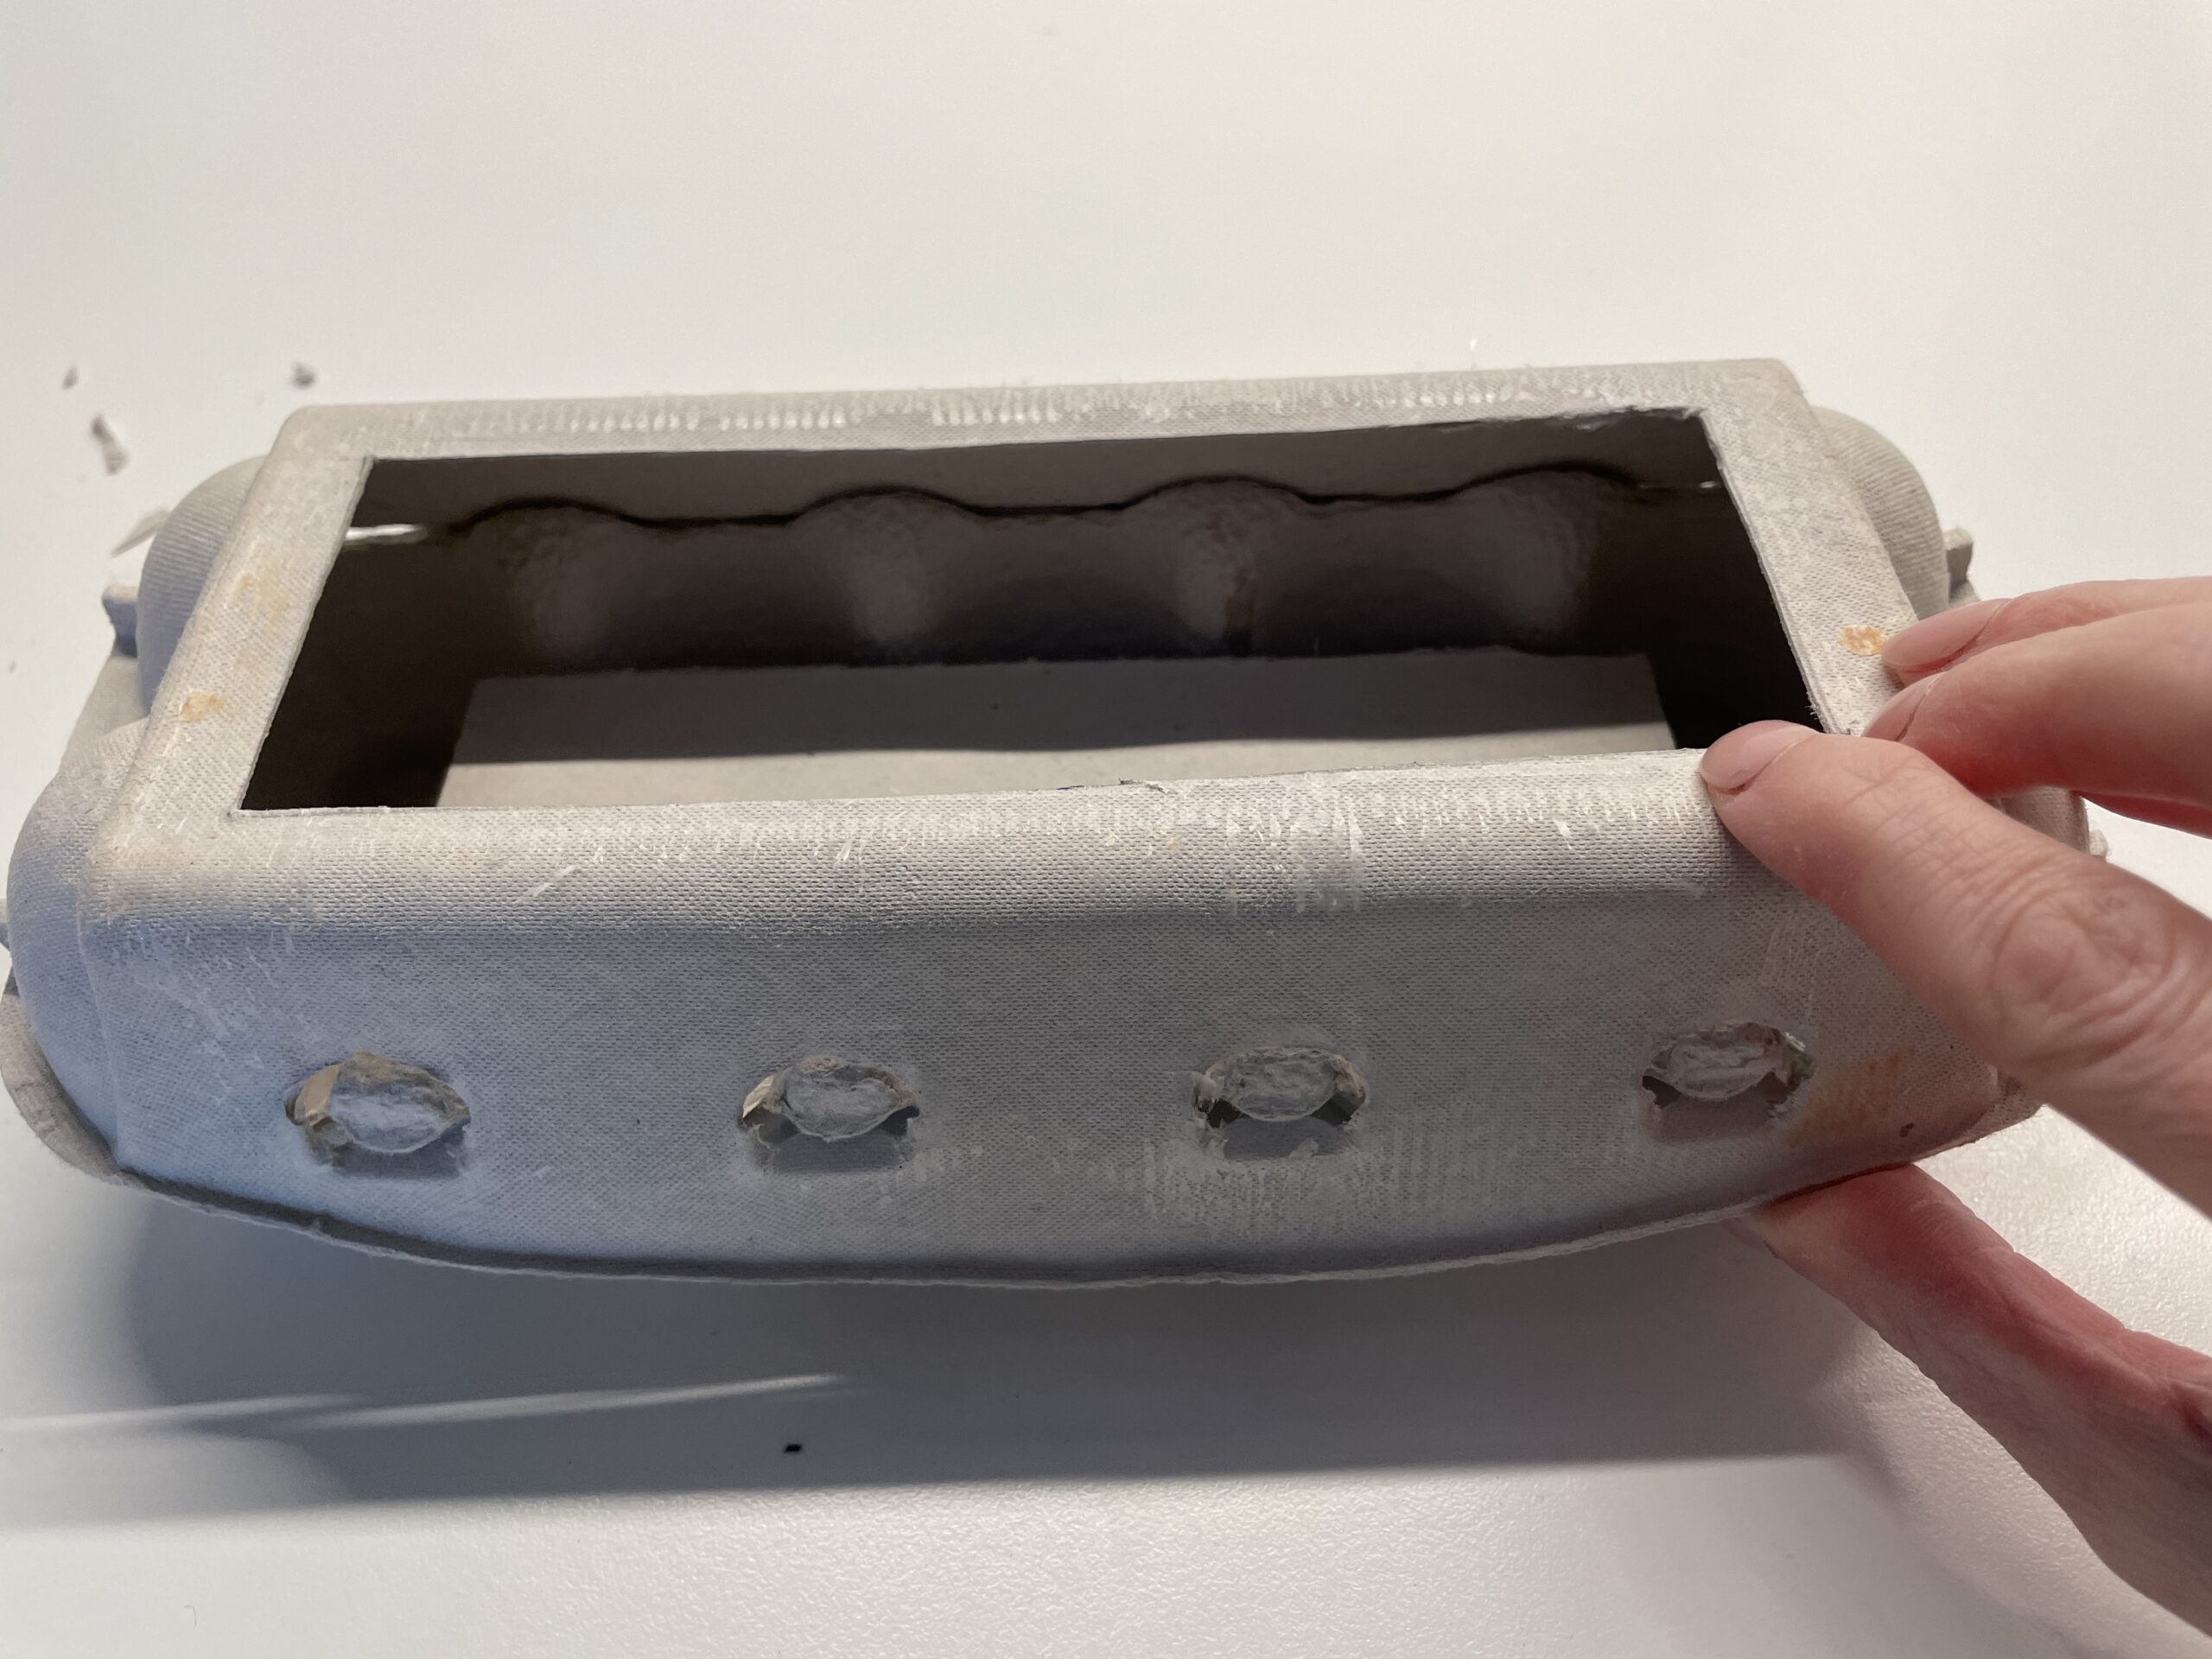


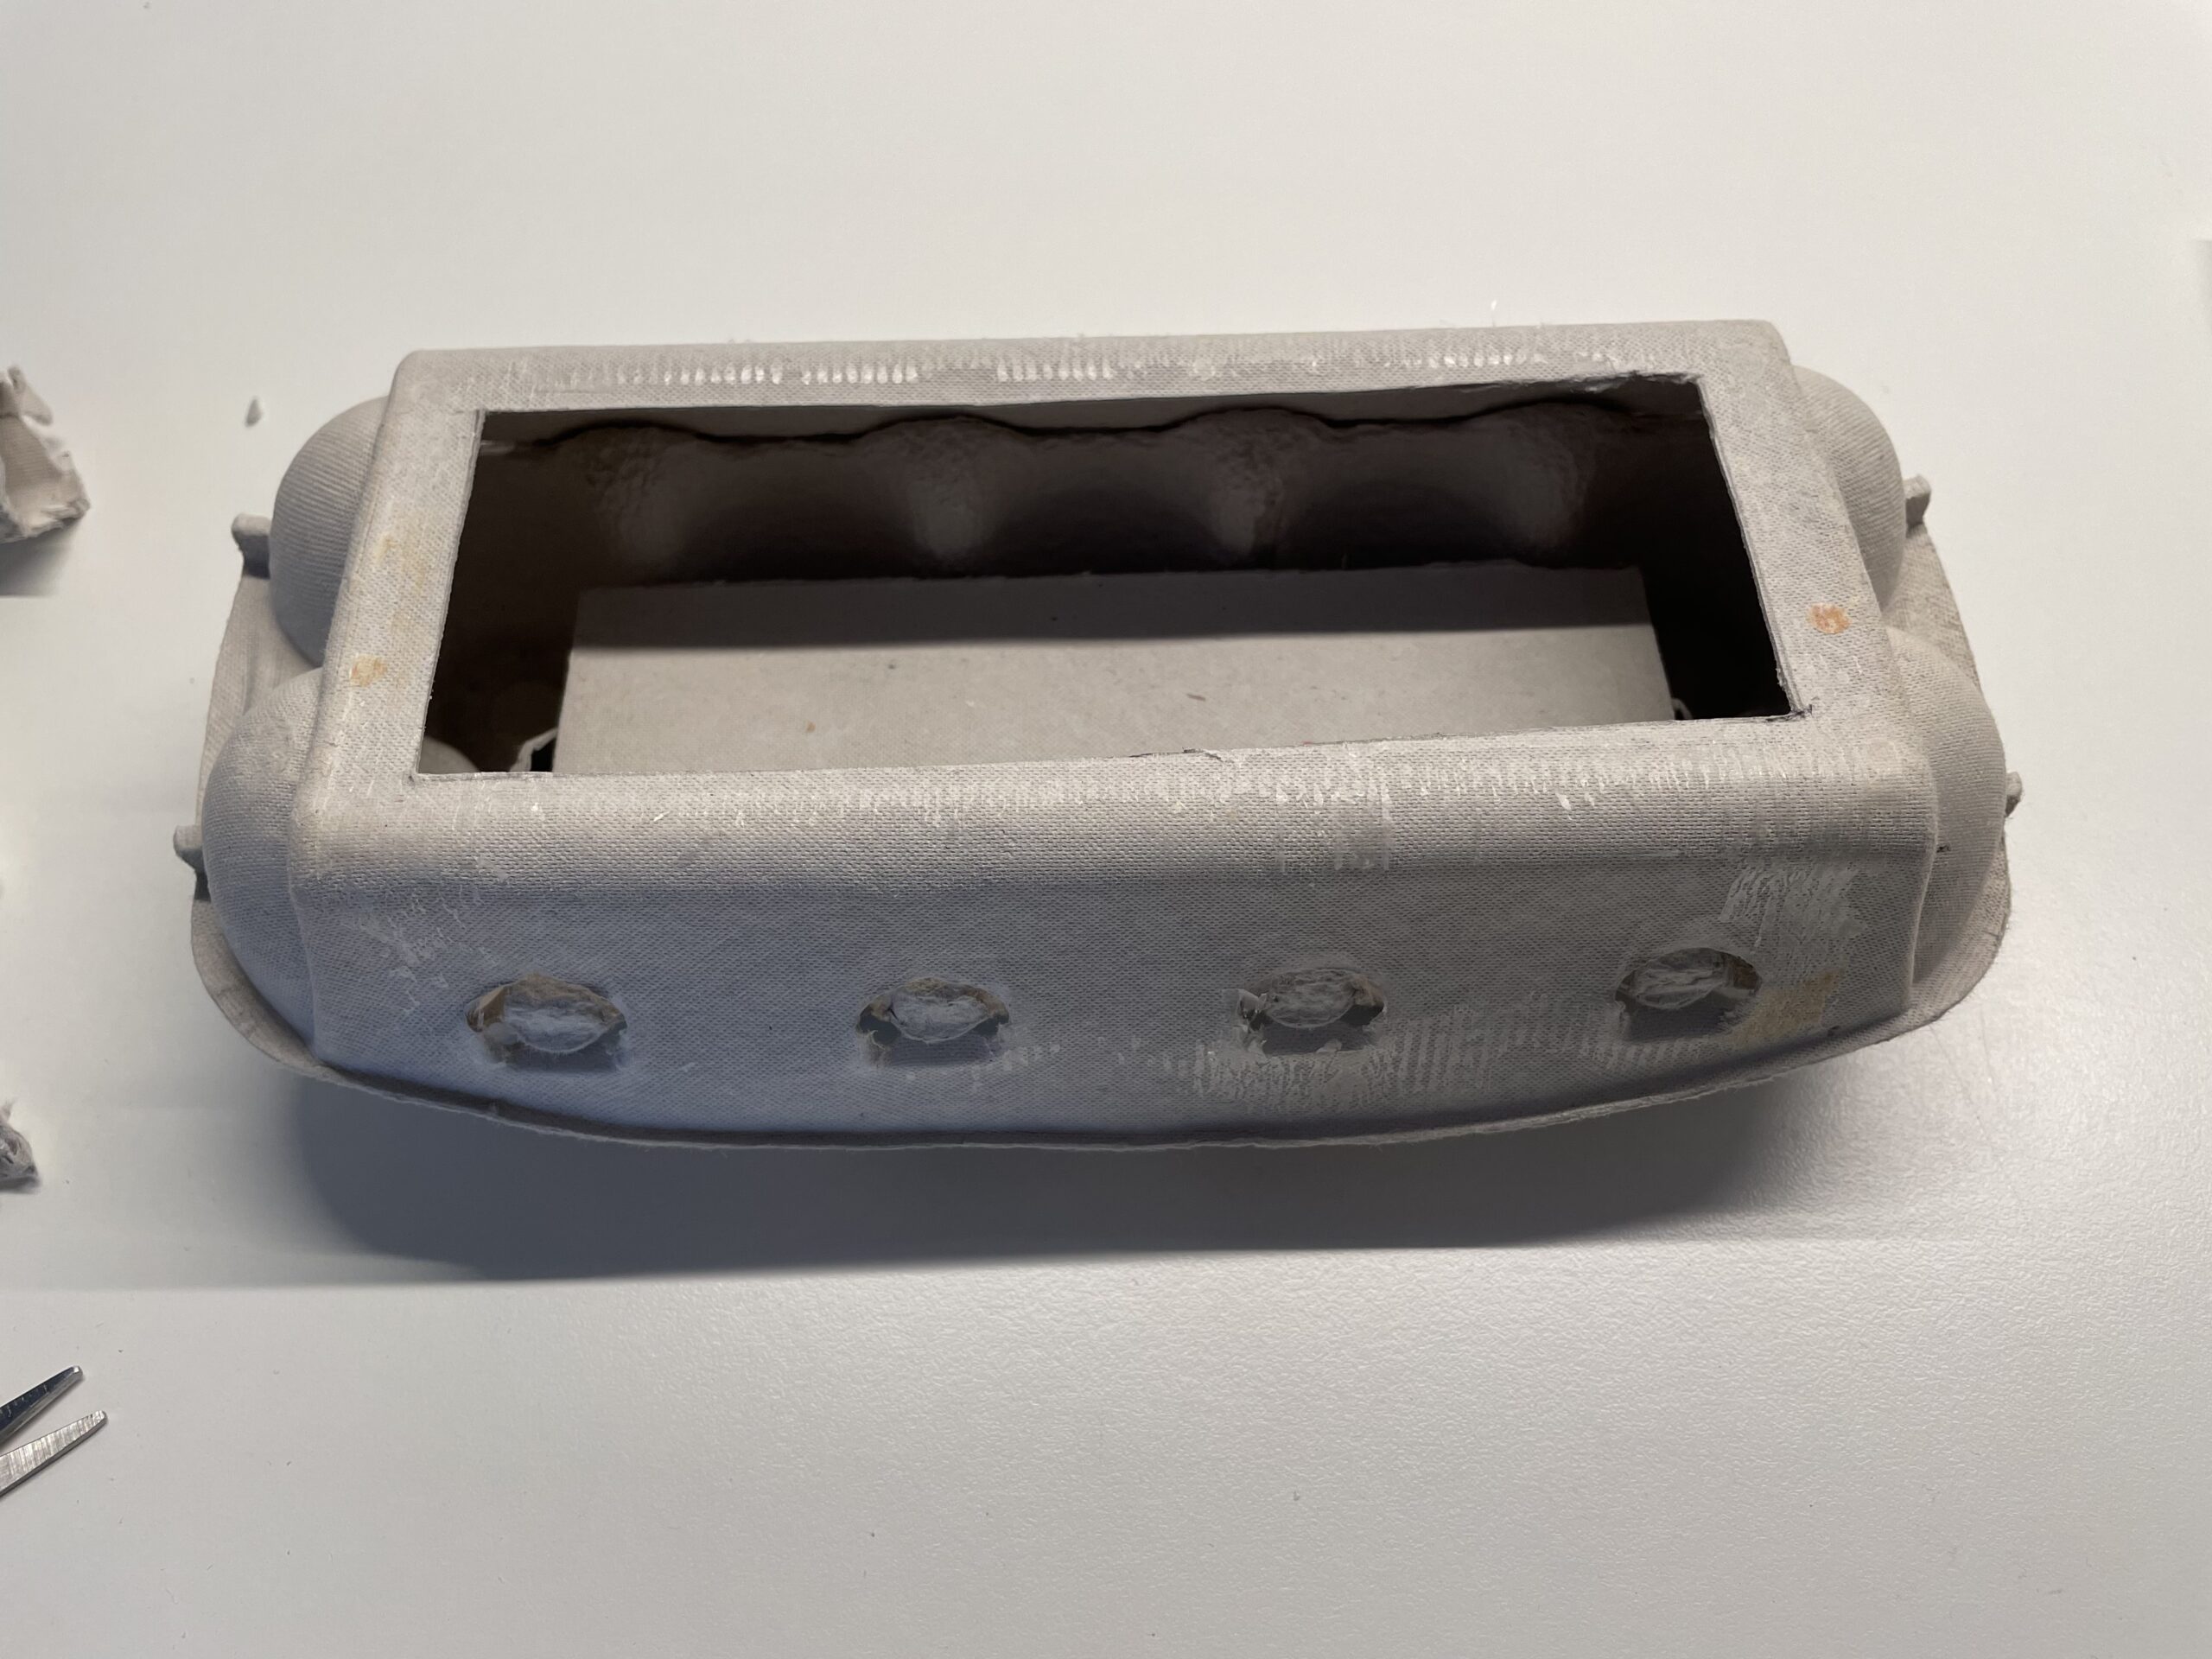
The frame of Easter is ready.


Now your newspaper or old advertising brochures are needed.
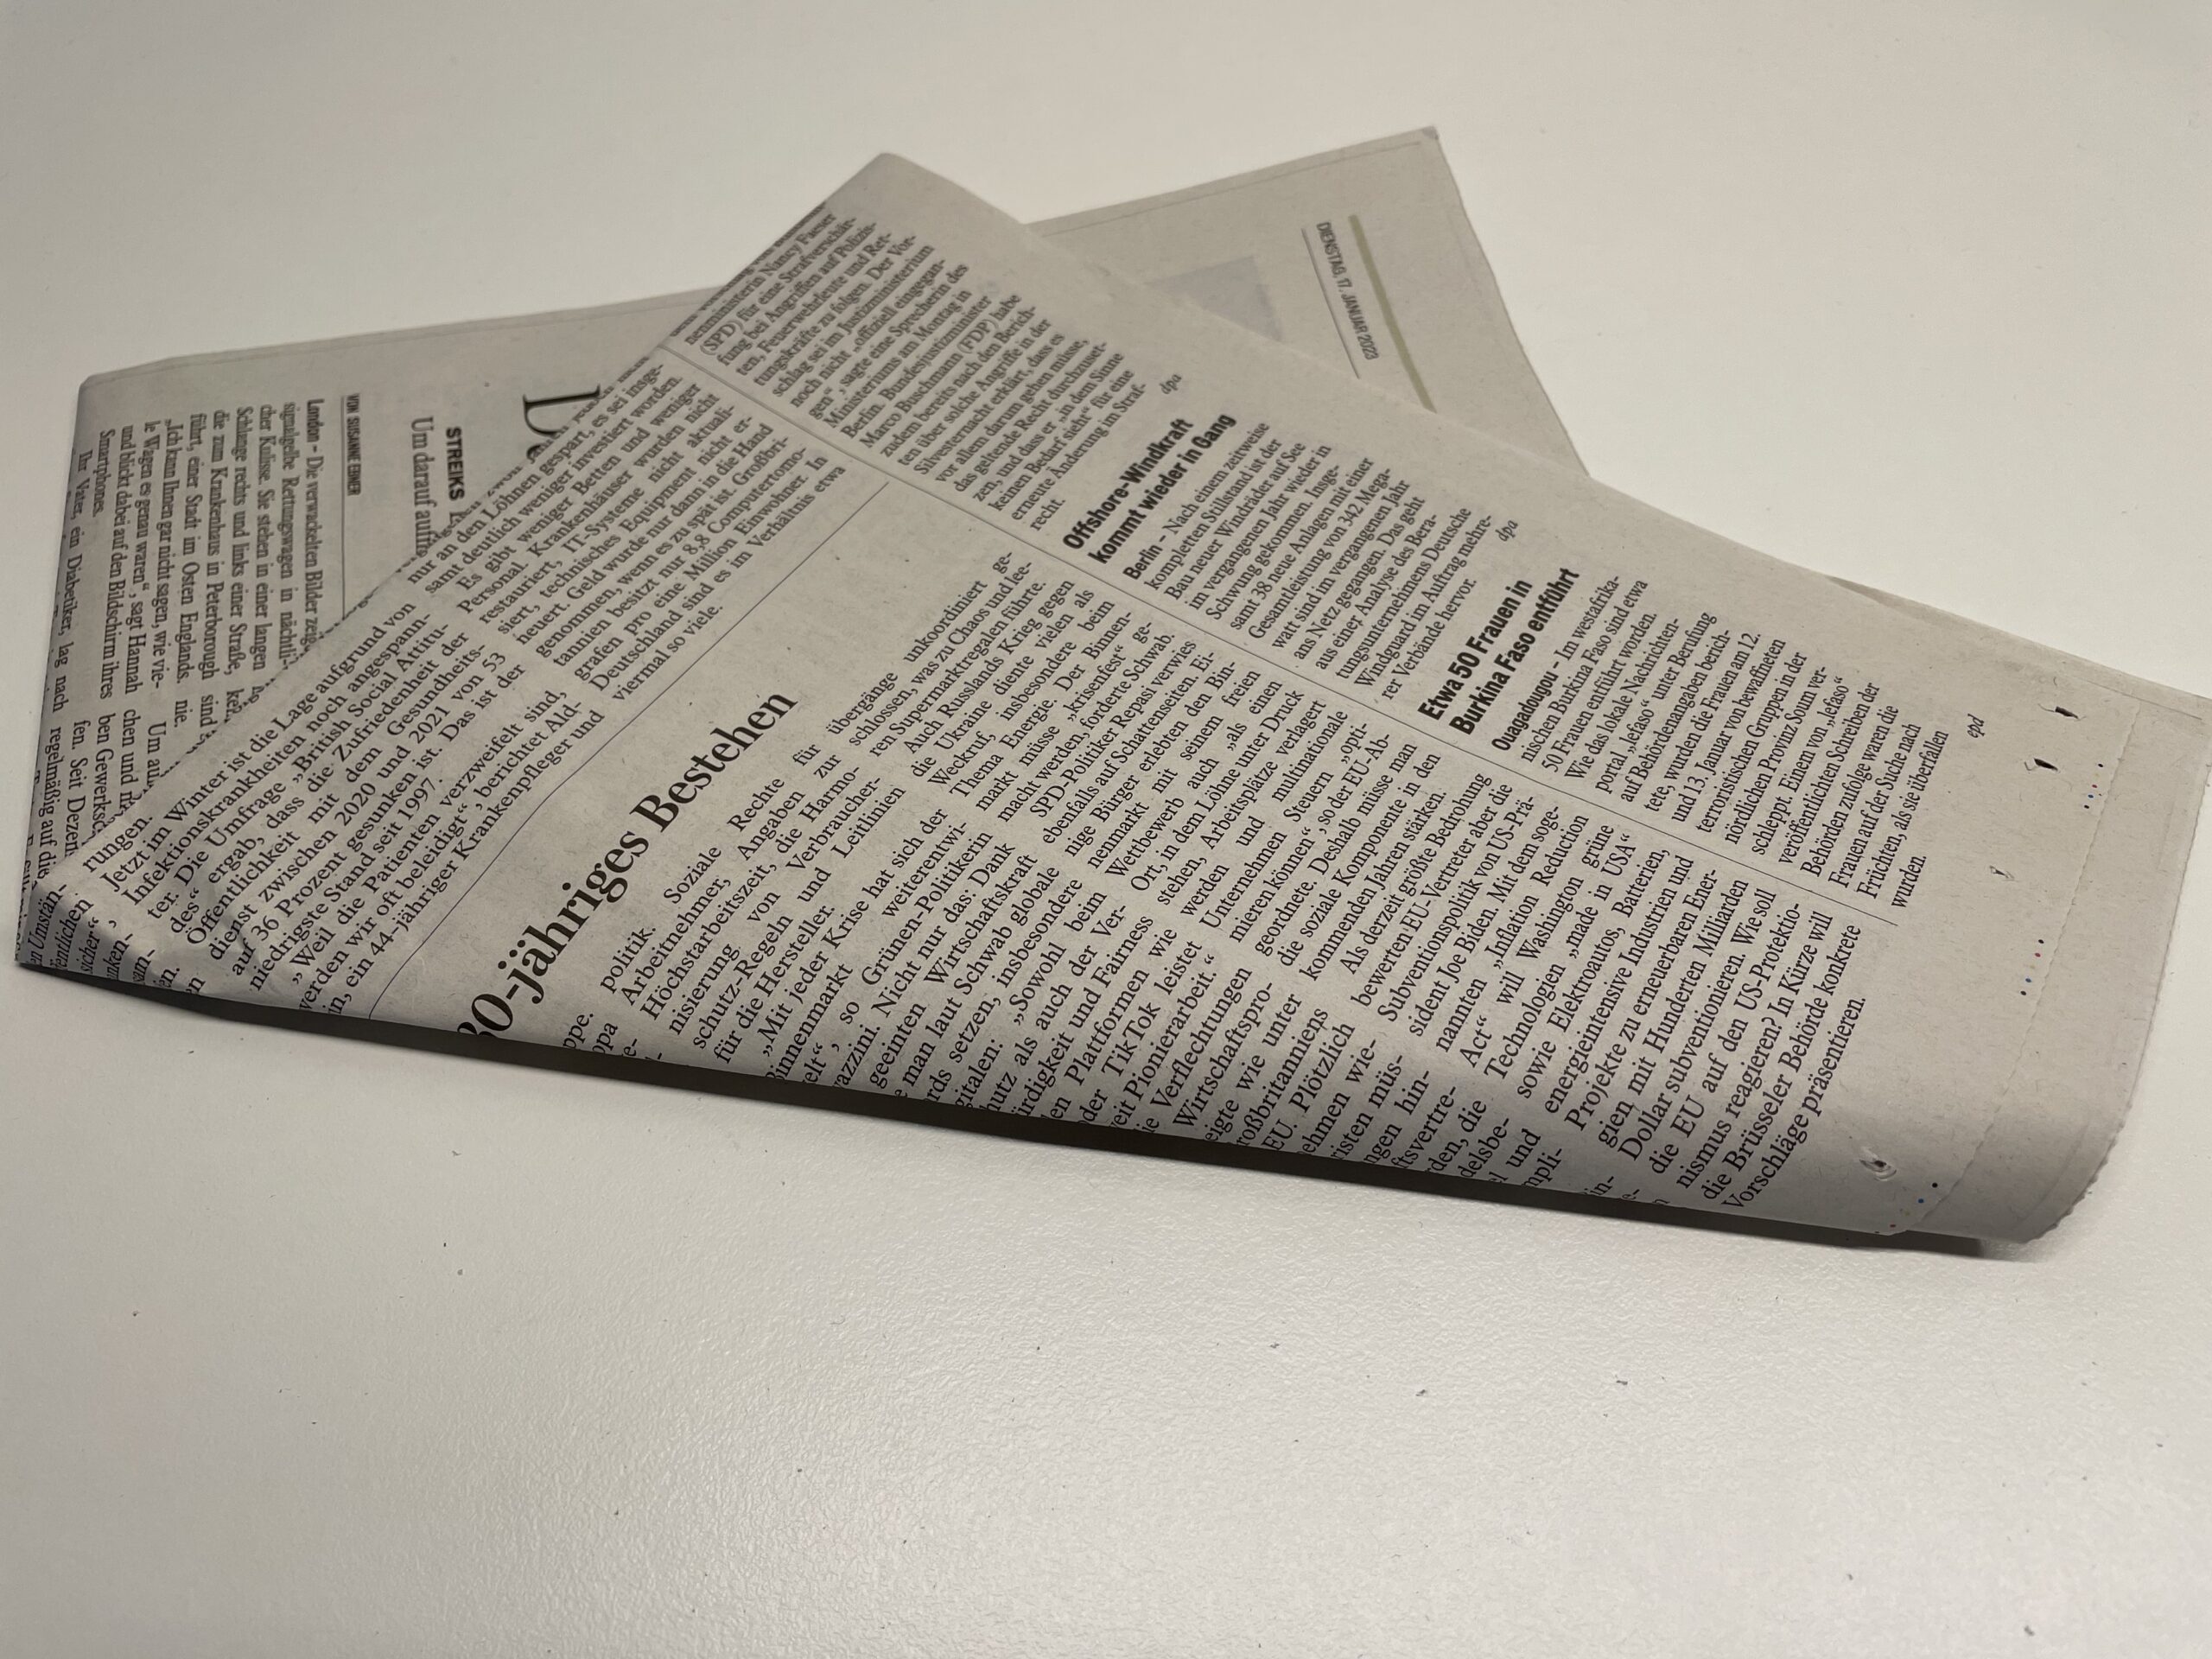


Give the paper through the shredder. Take only a few sheets and not the whole paper at once, otherwise the shredder will block.
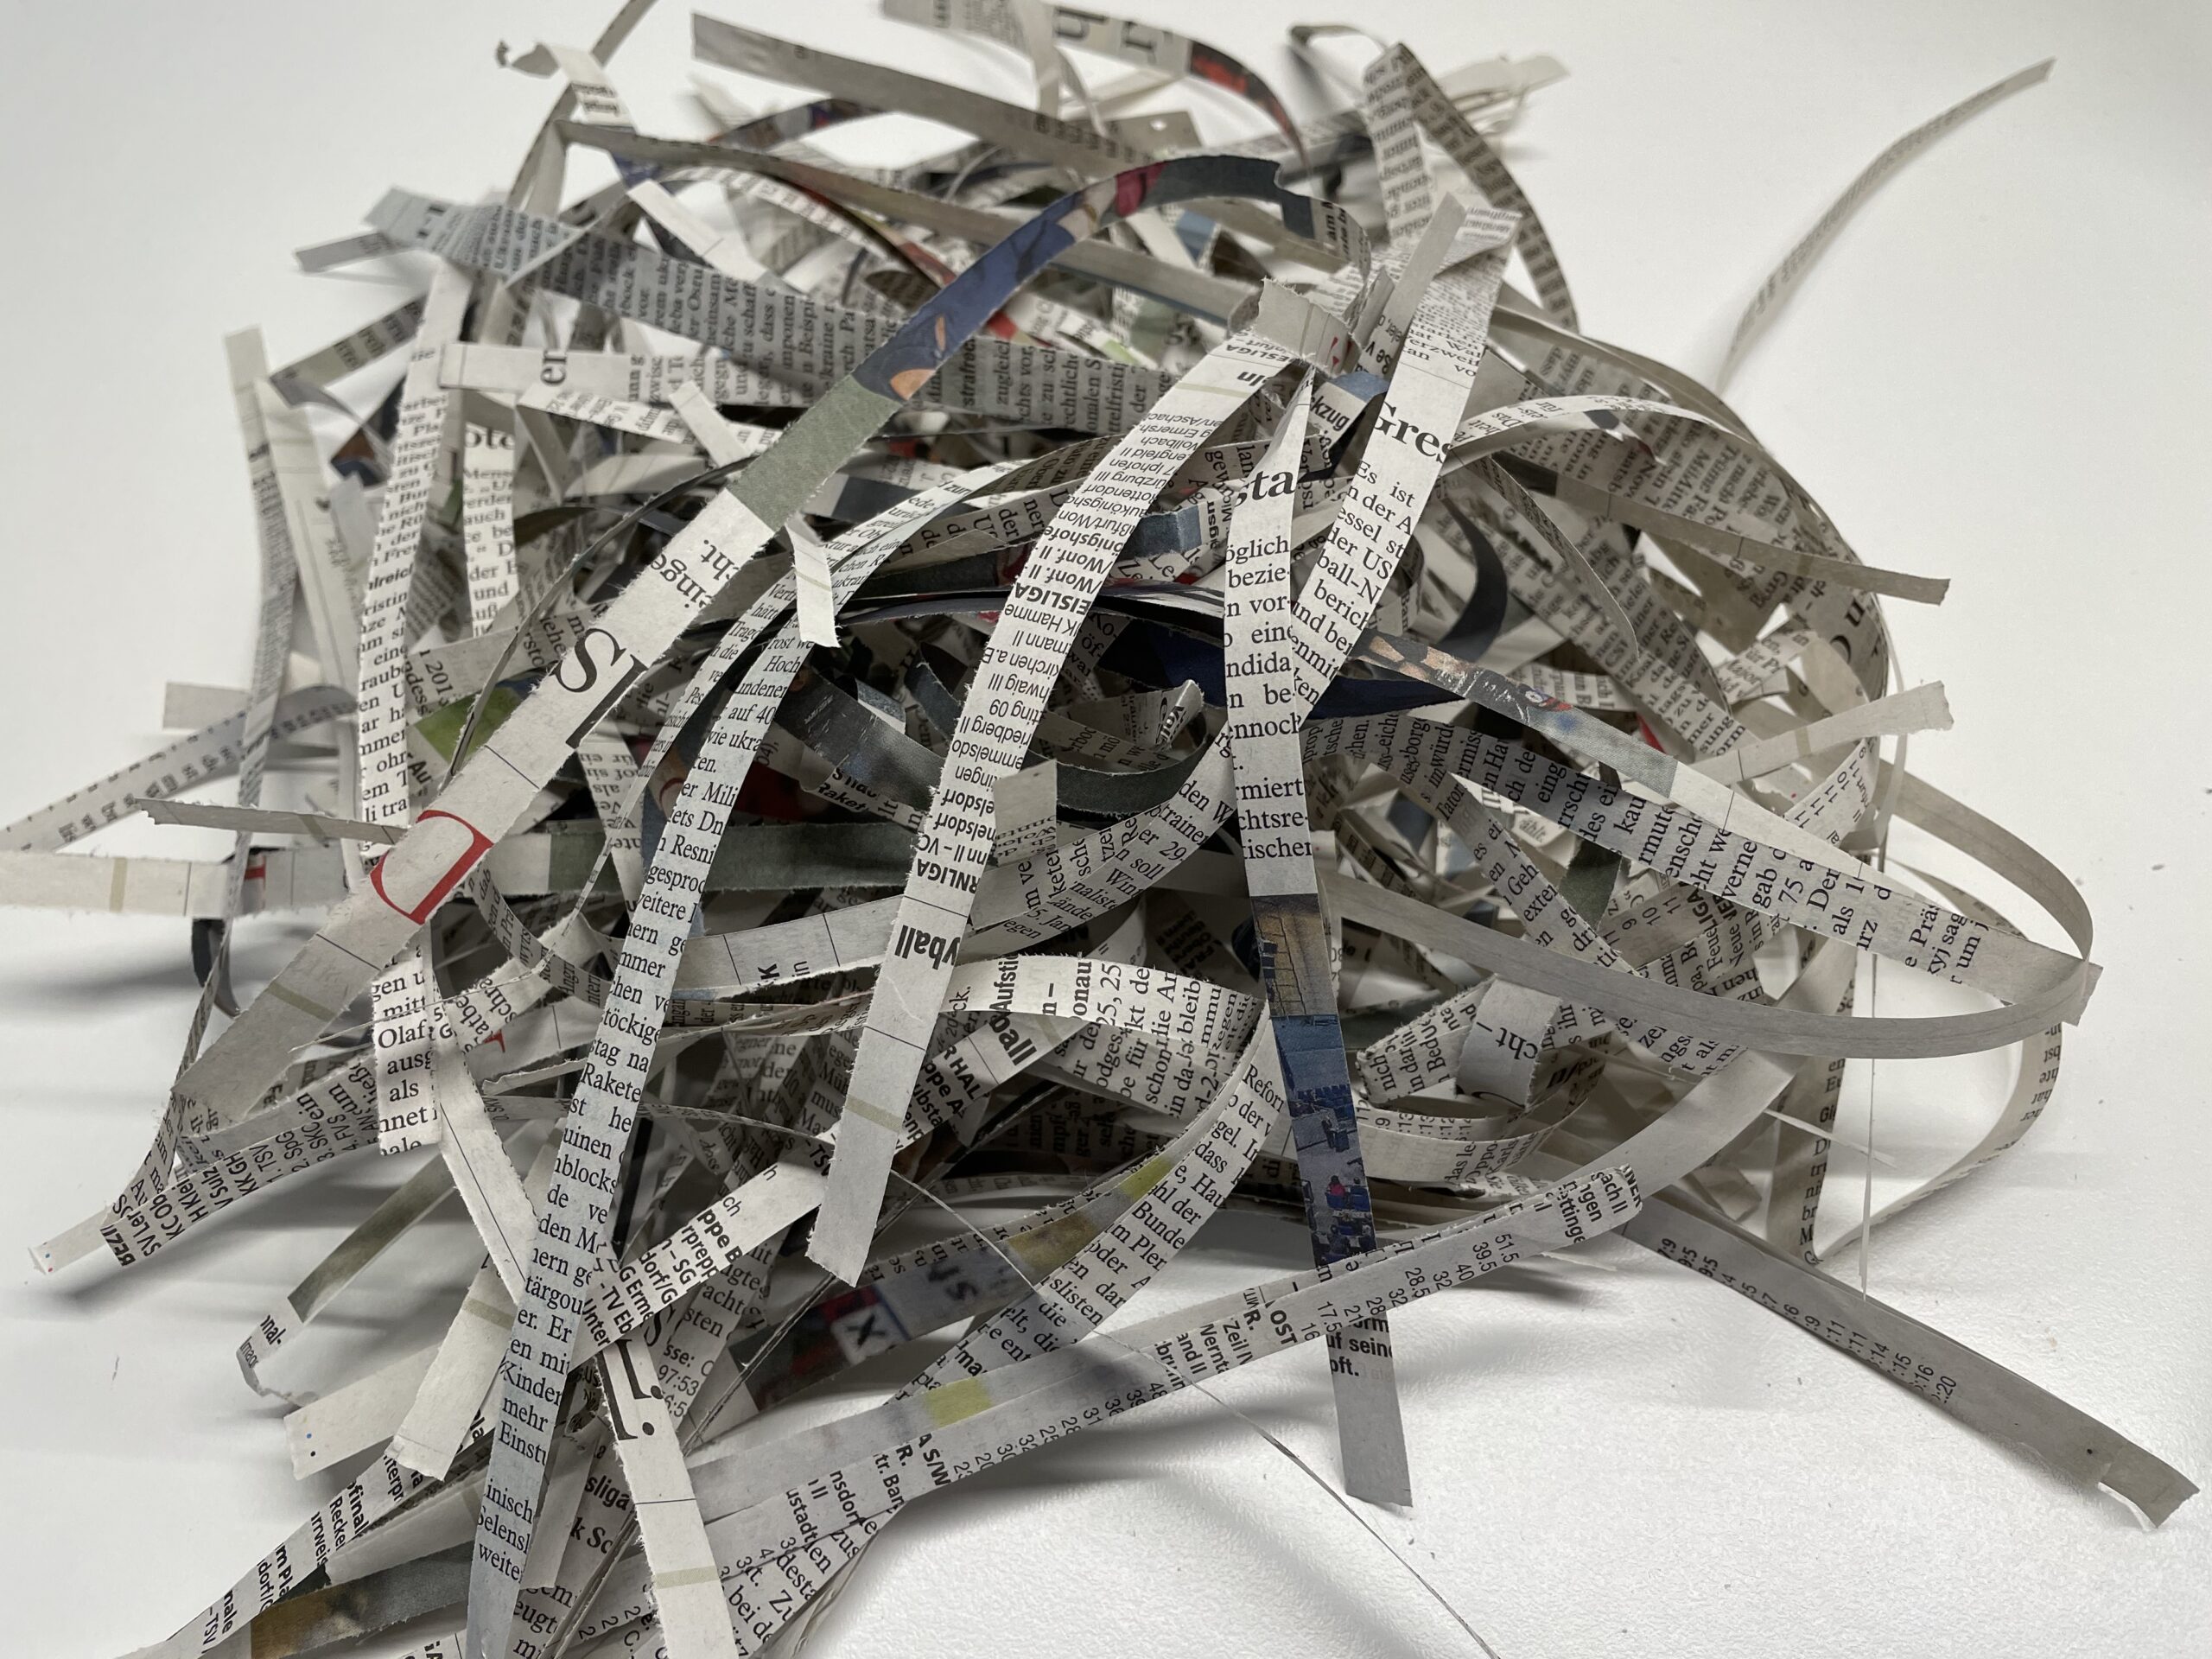


Crawl the resulting paper strips loosely and carefully stuff them into your nest.
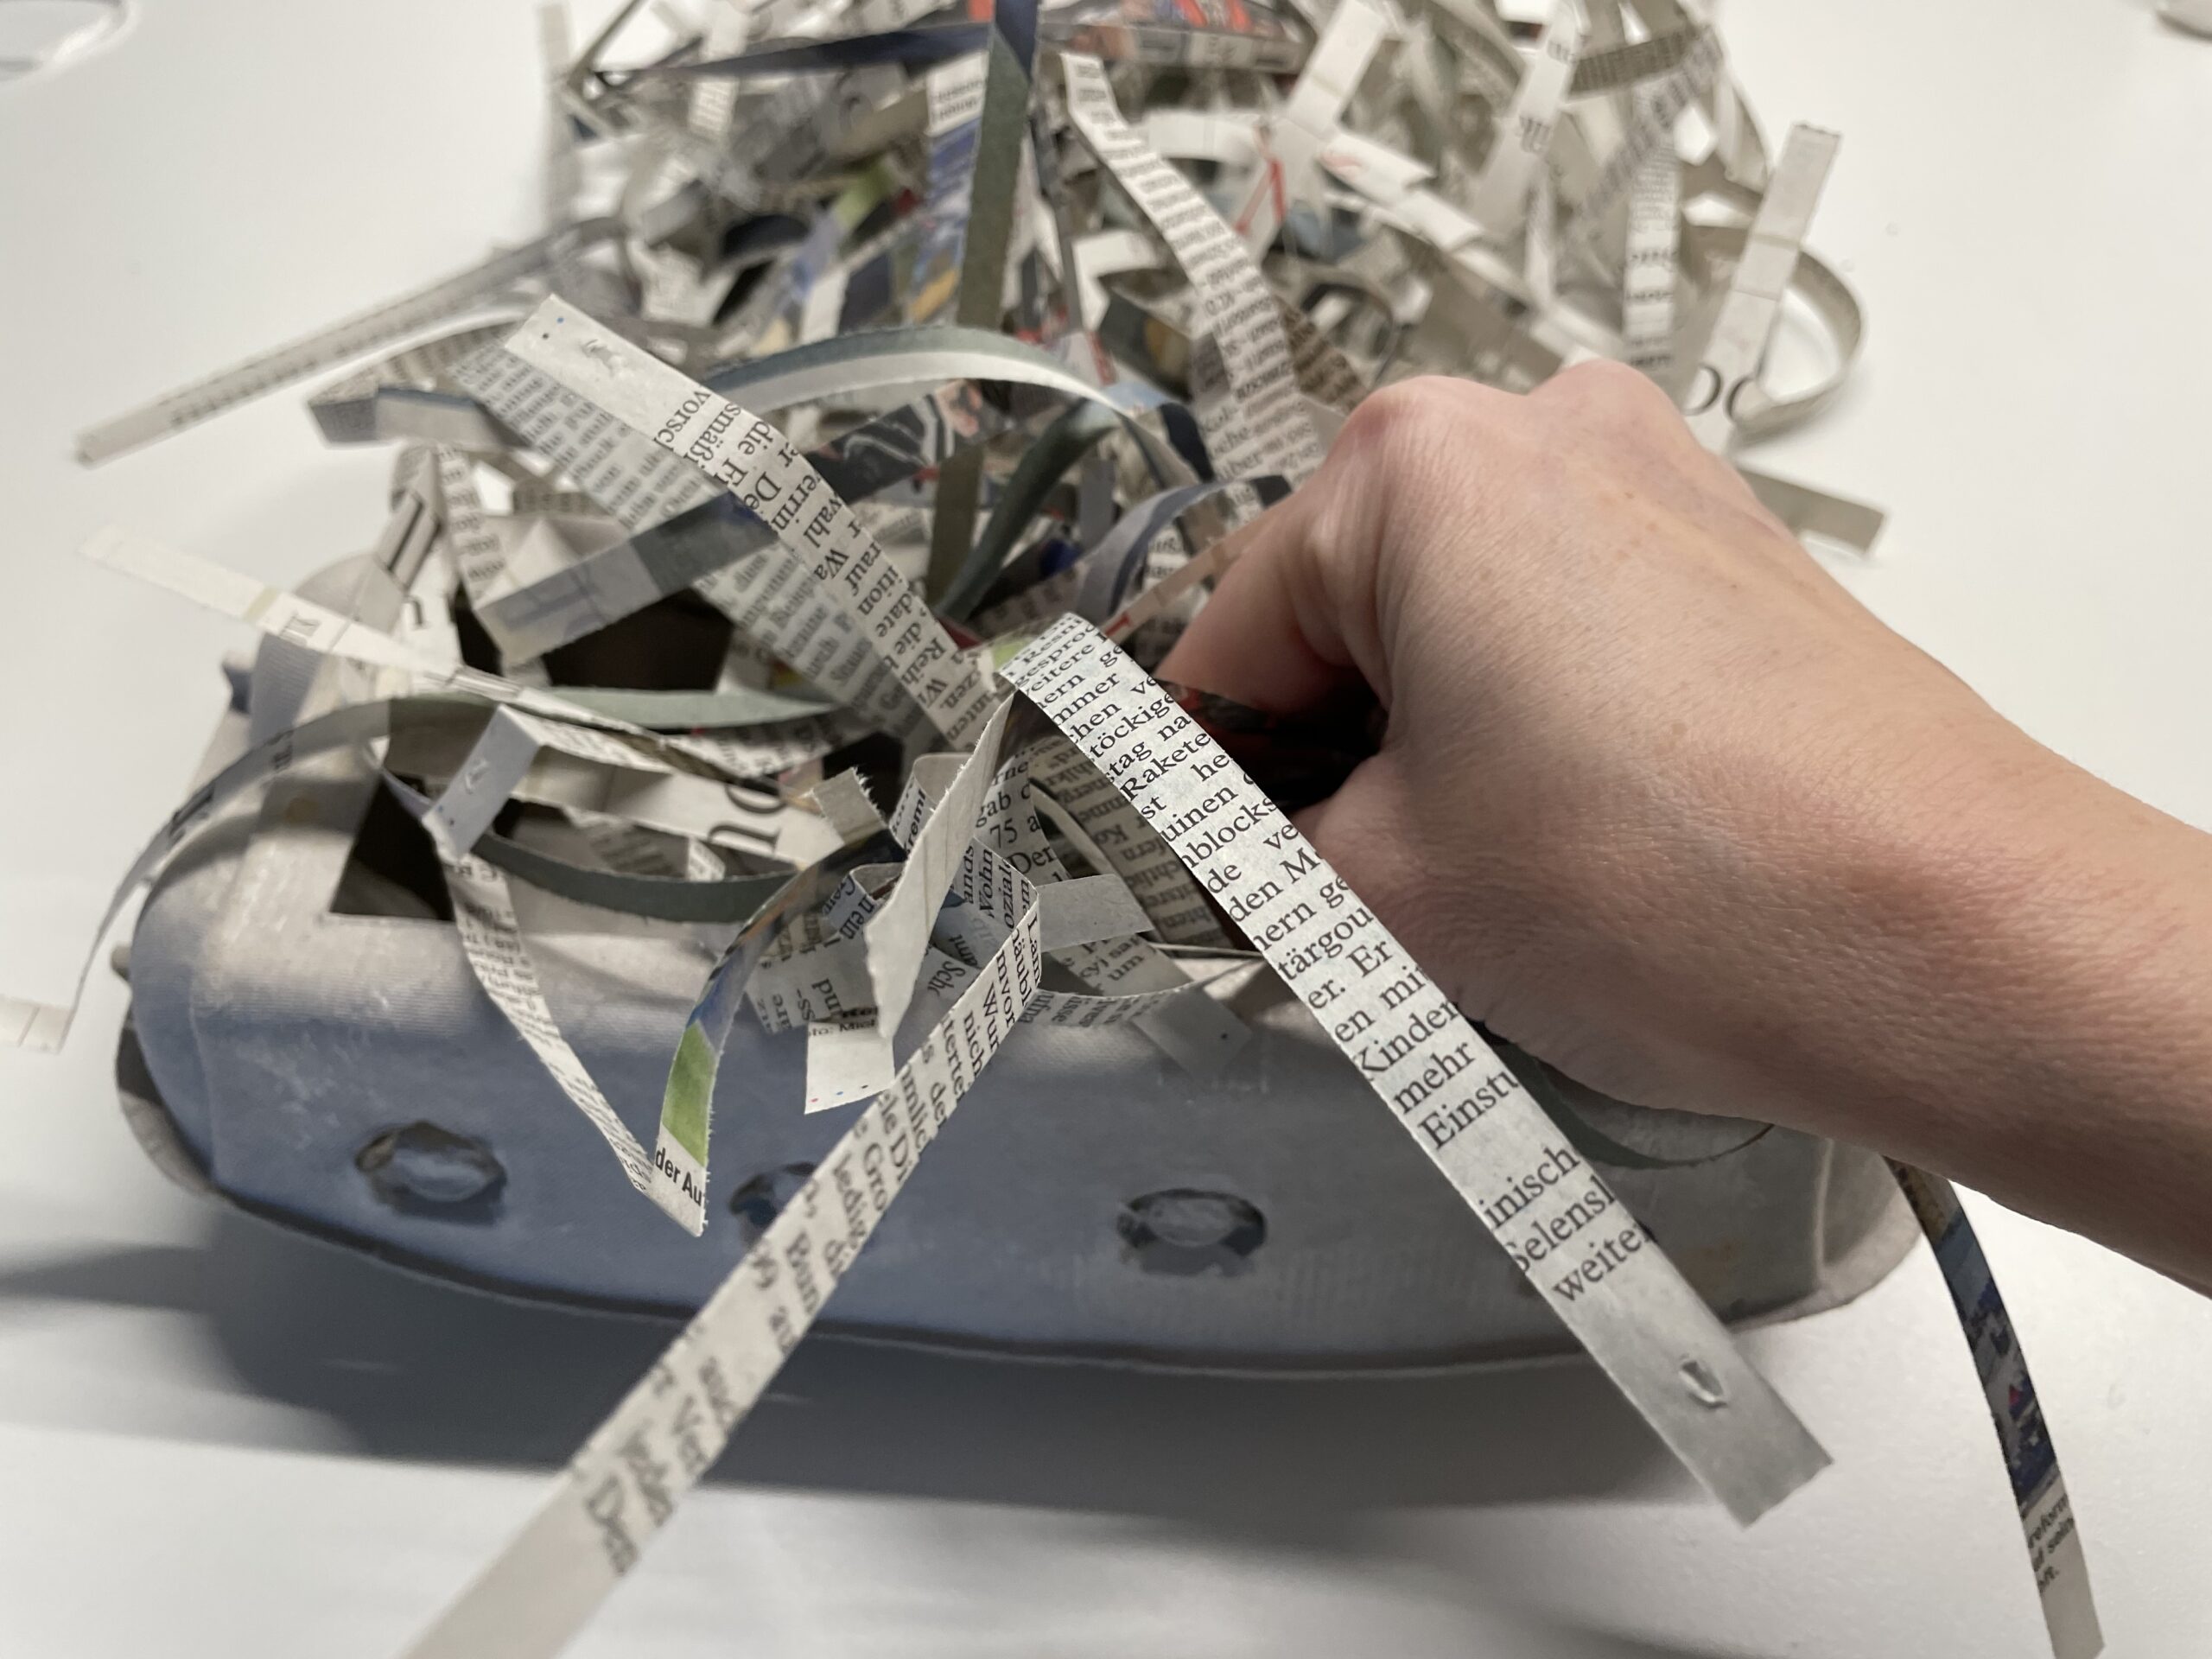


Make sure that the pages are well filled with paper strips.
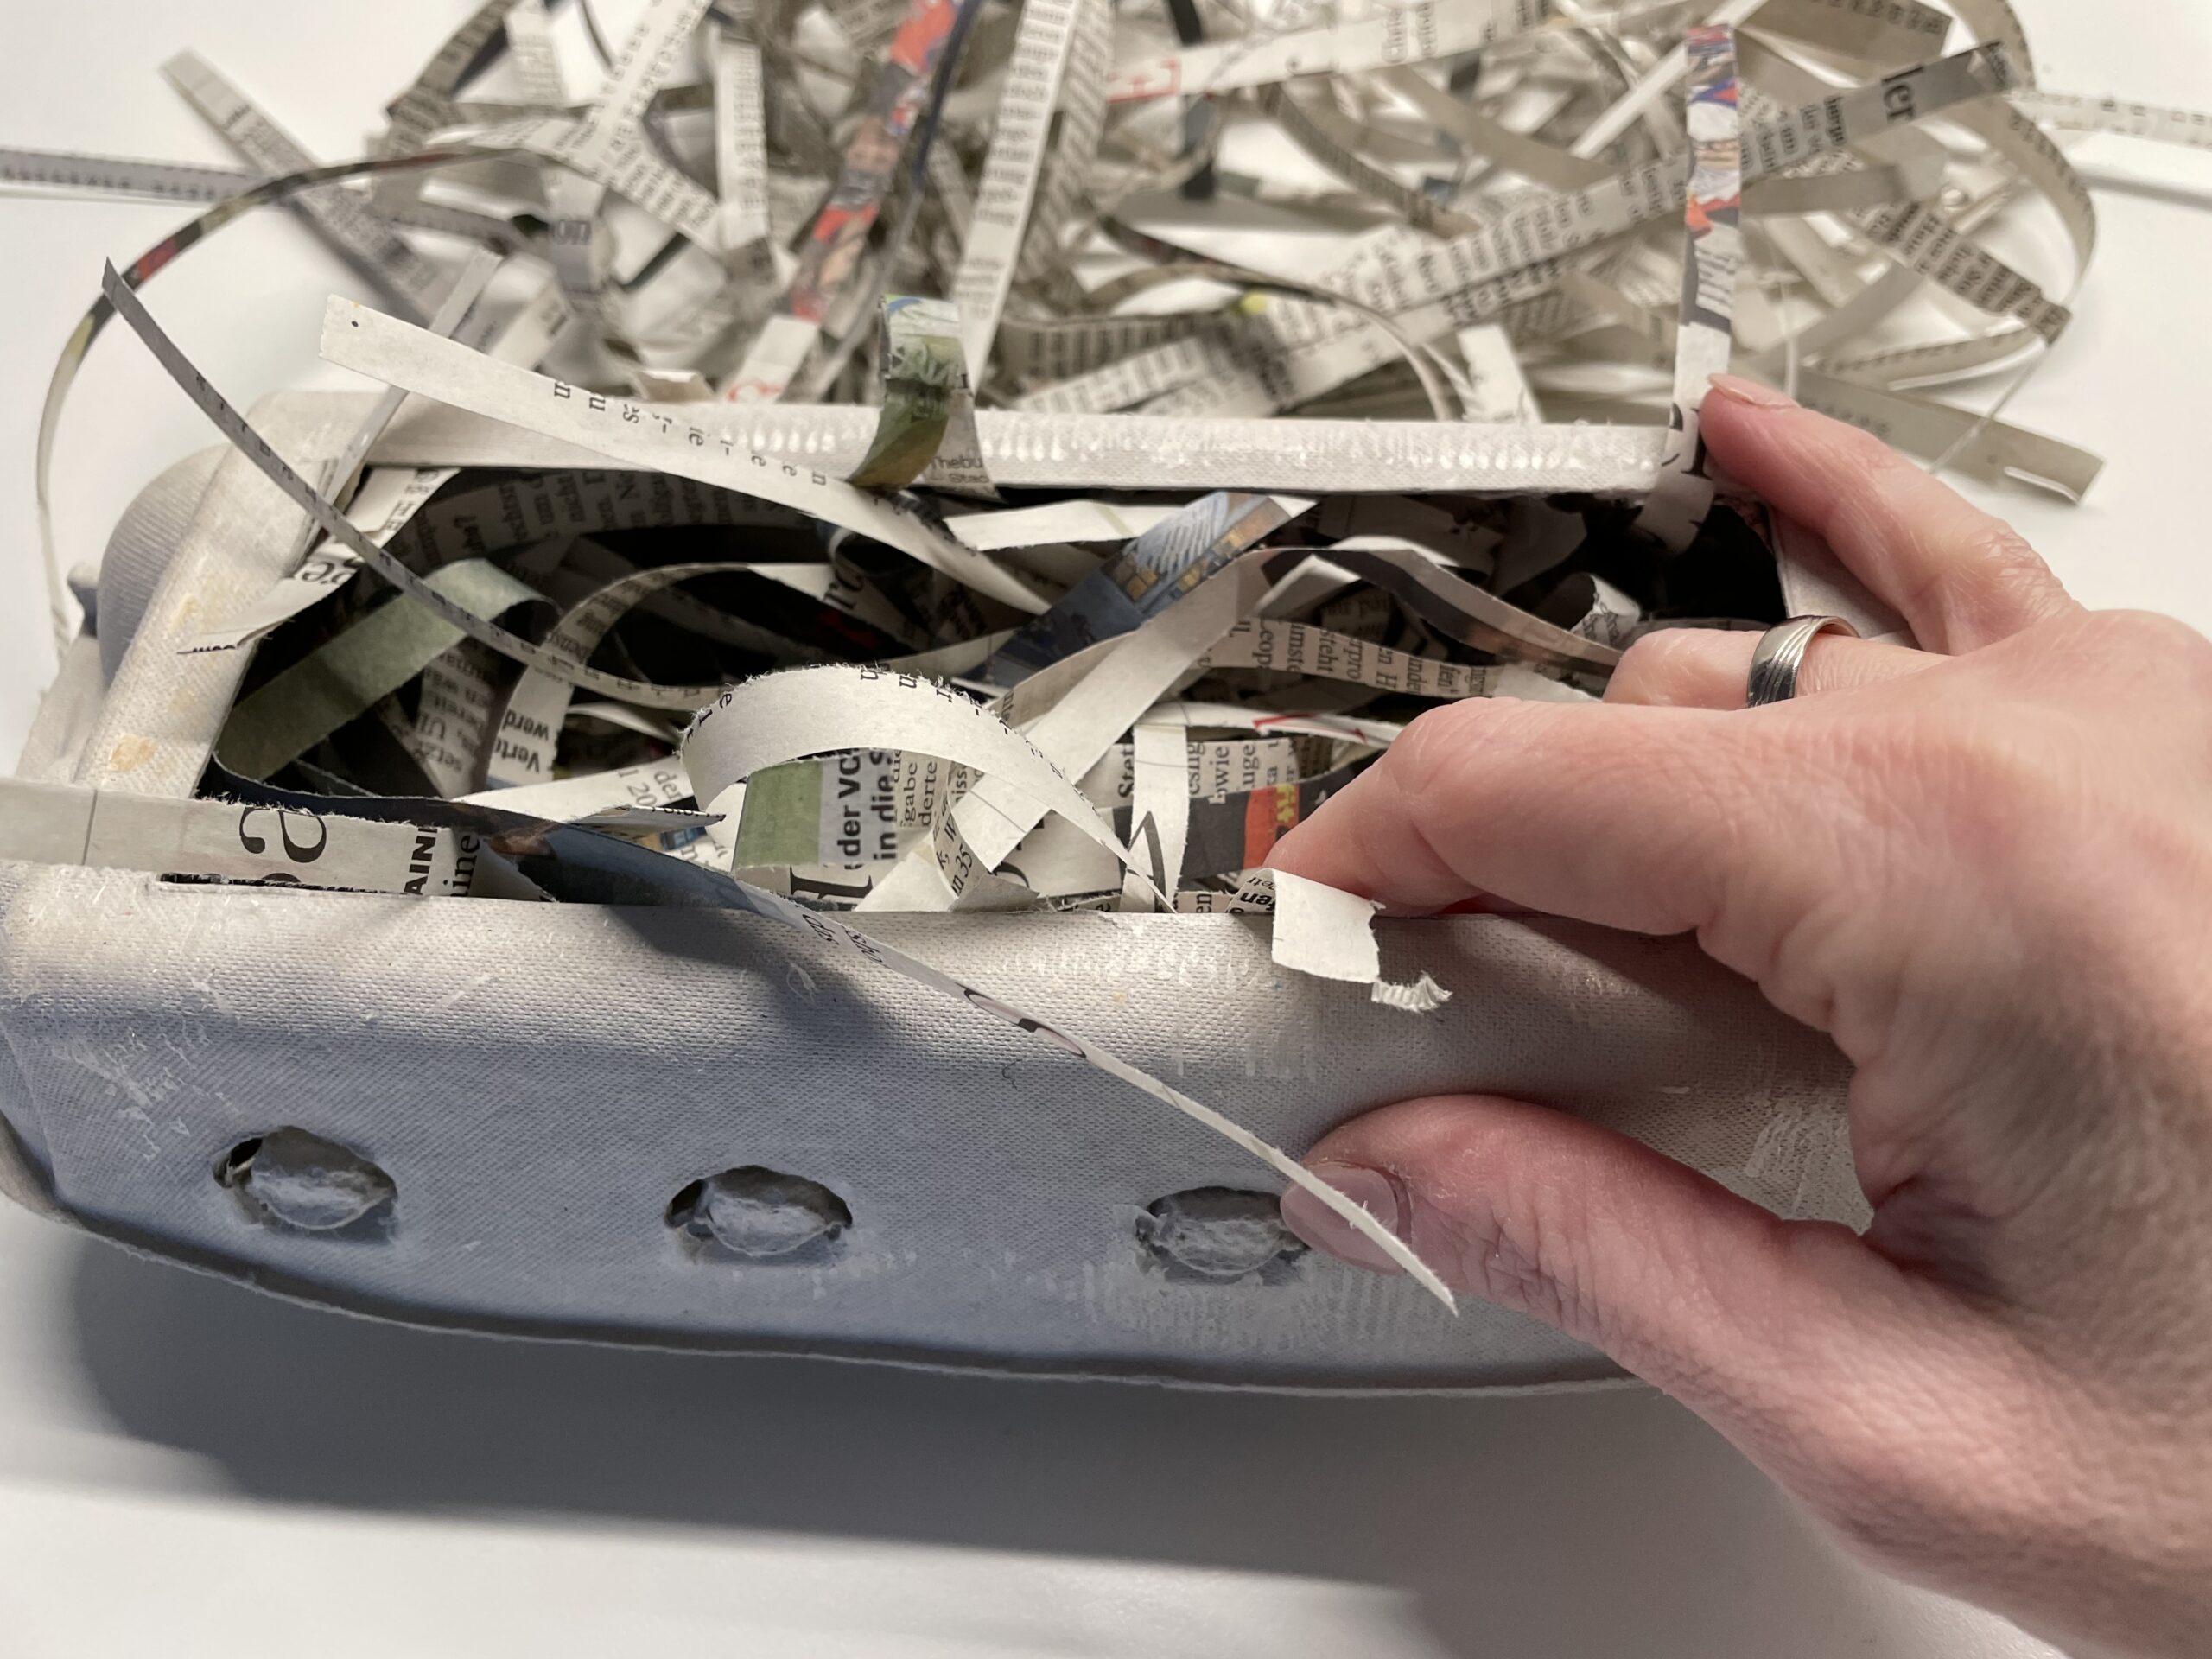


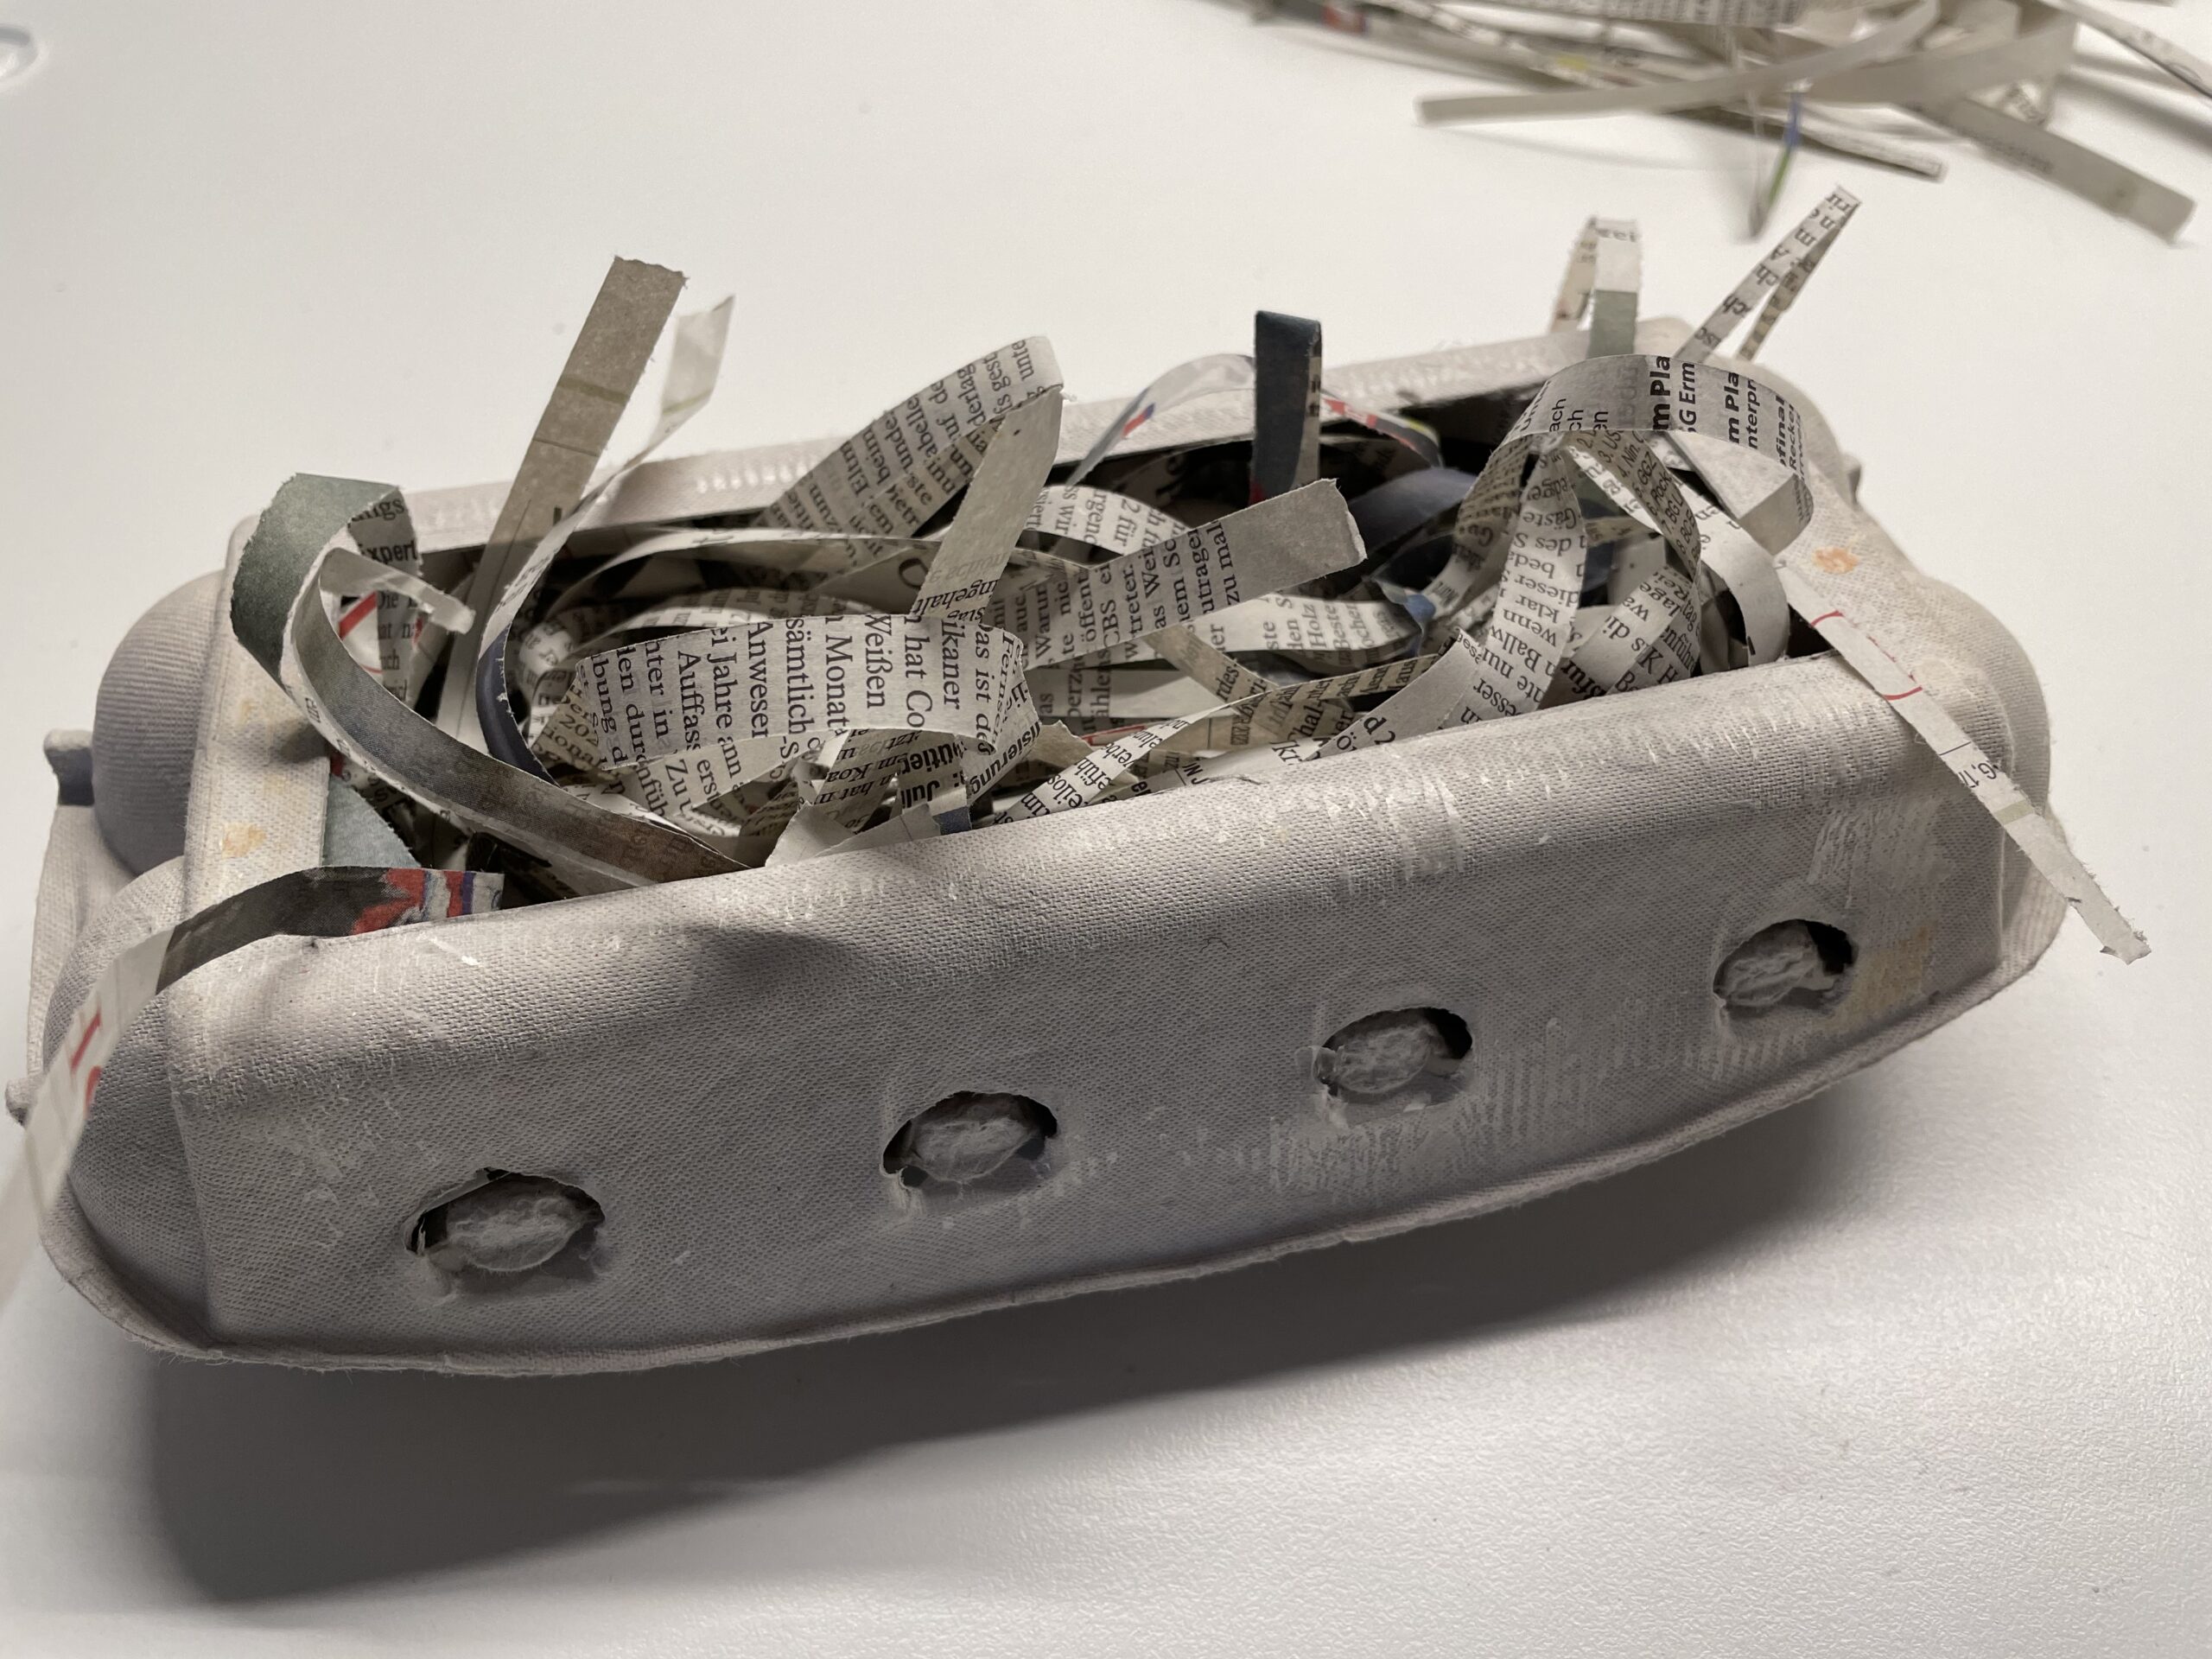
If the nest is filled enough for you, it's almost ready.


Take another narrow strip of newspaper and shorten it to the length of your egg box. You can use this strip as a name tag.
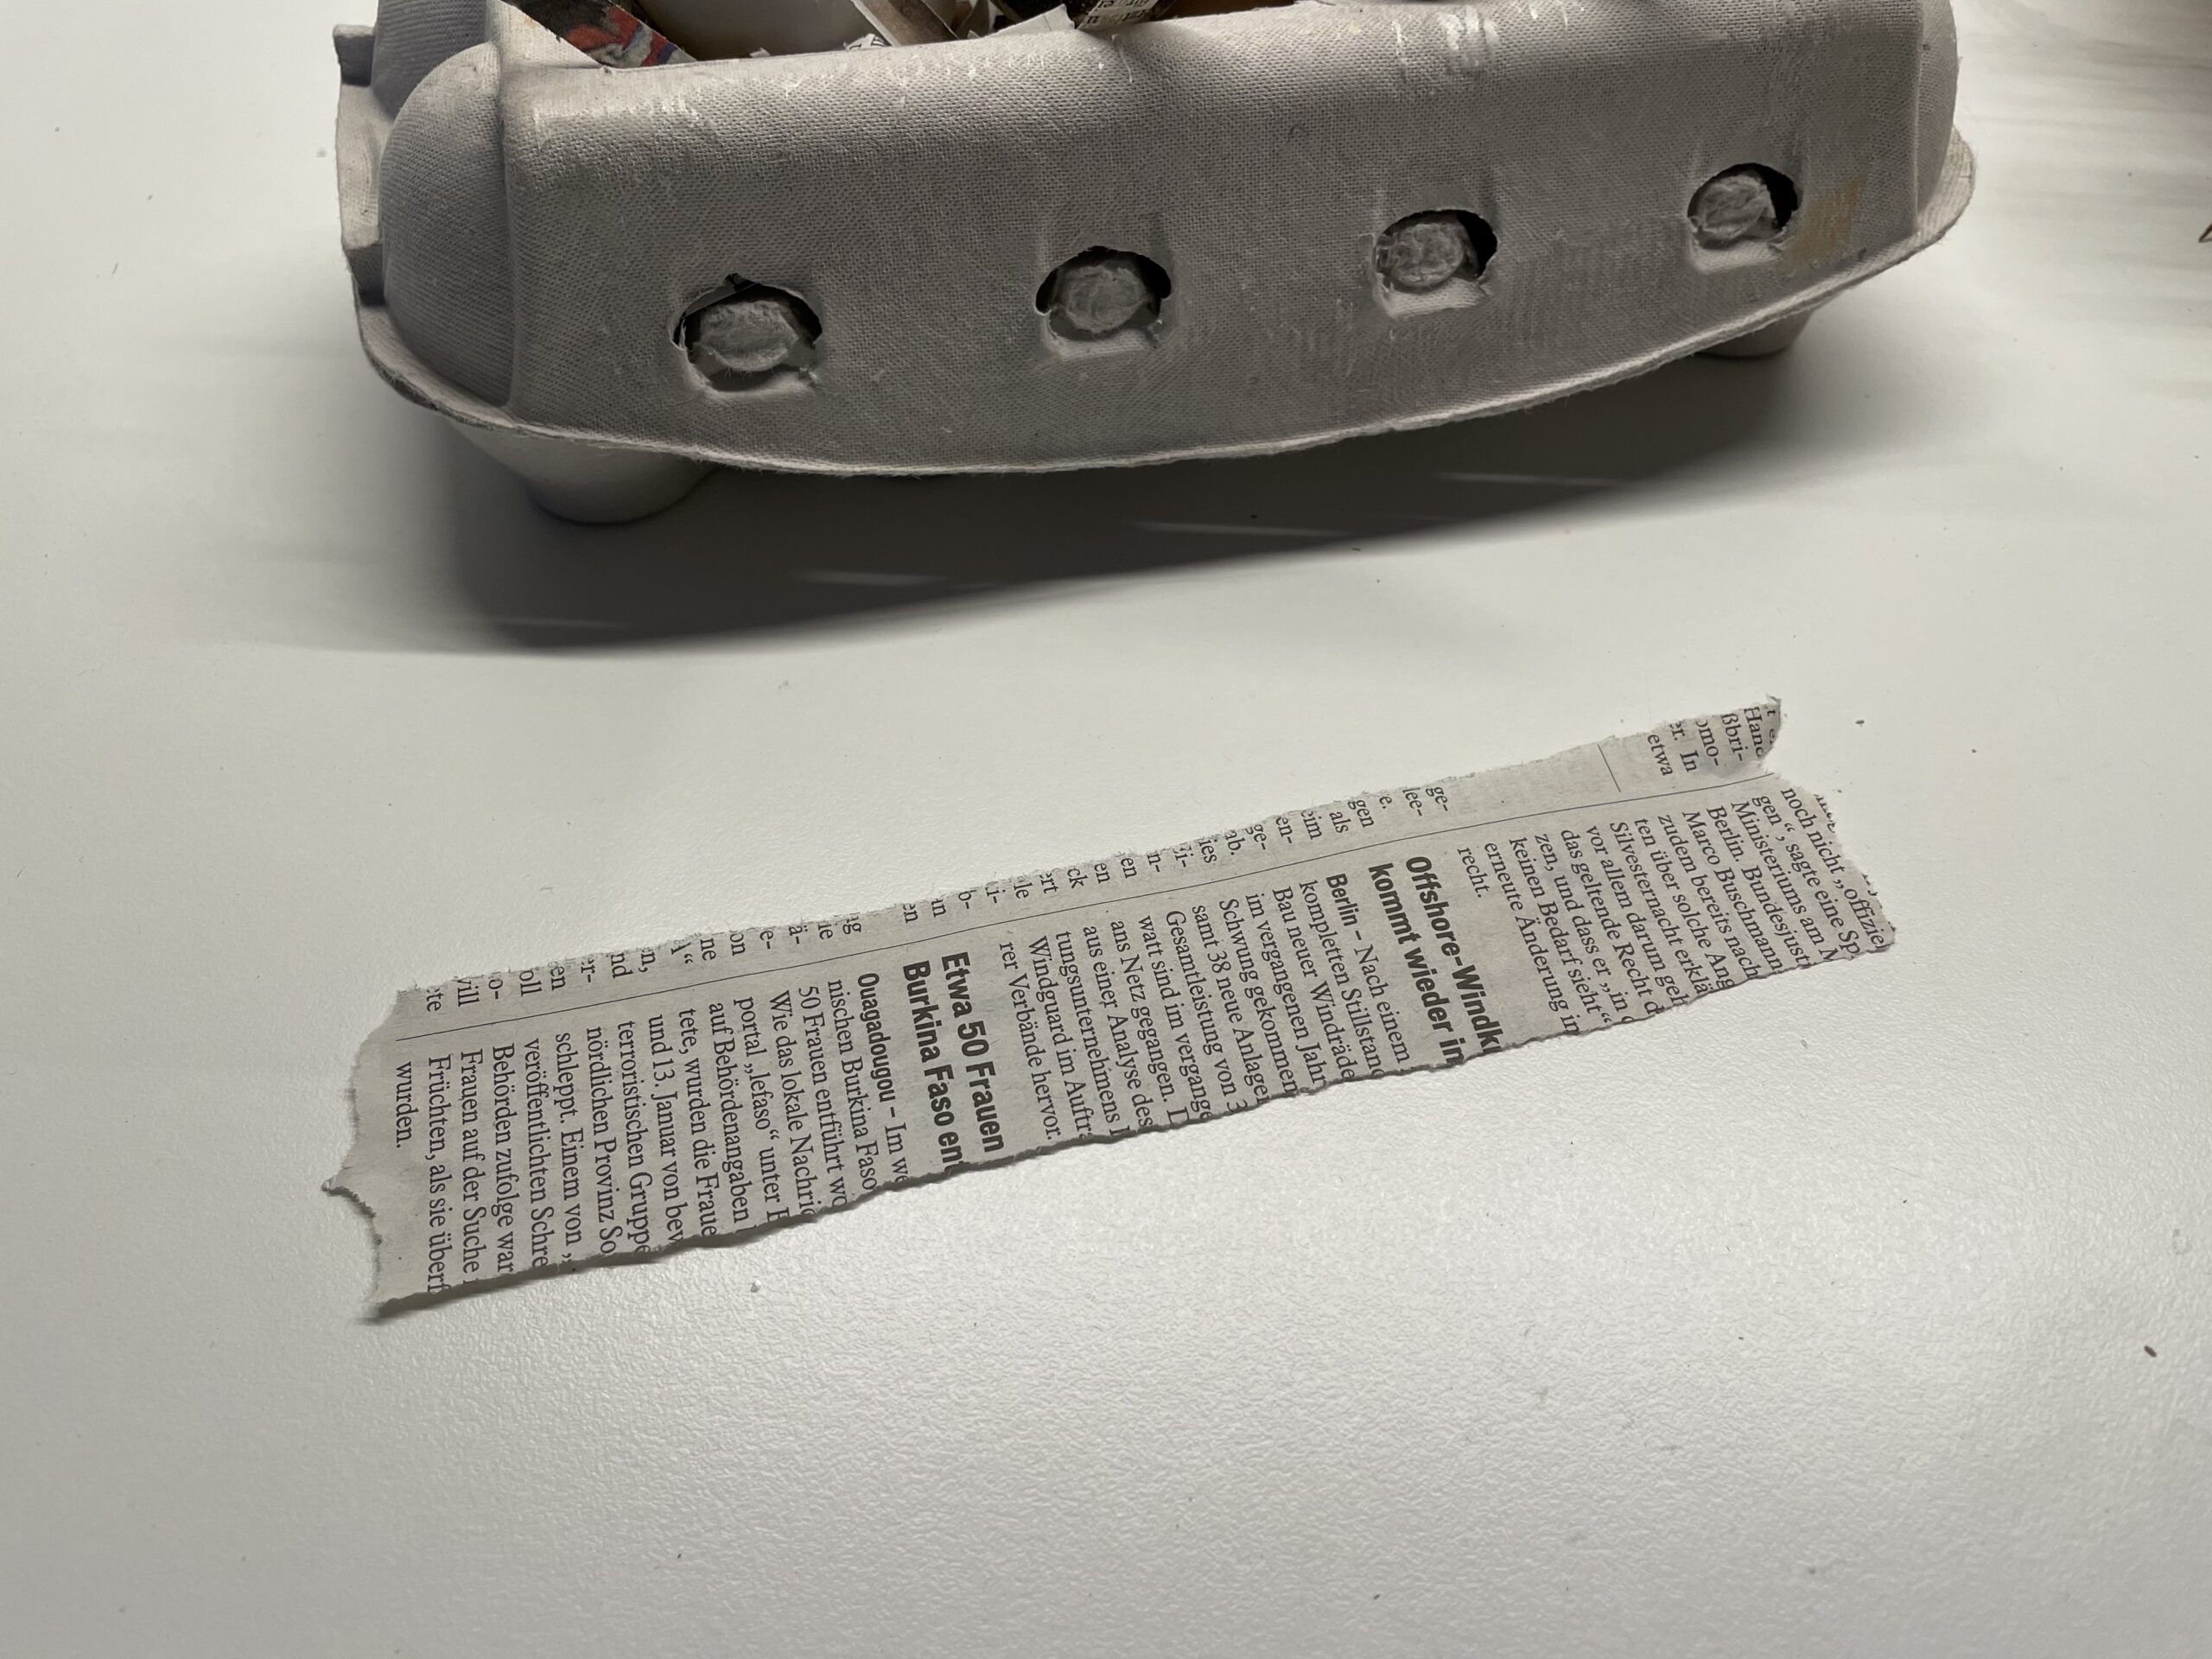


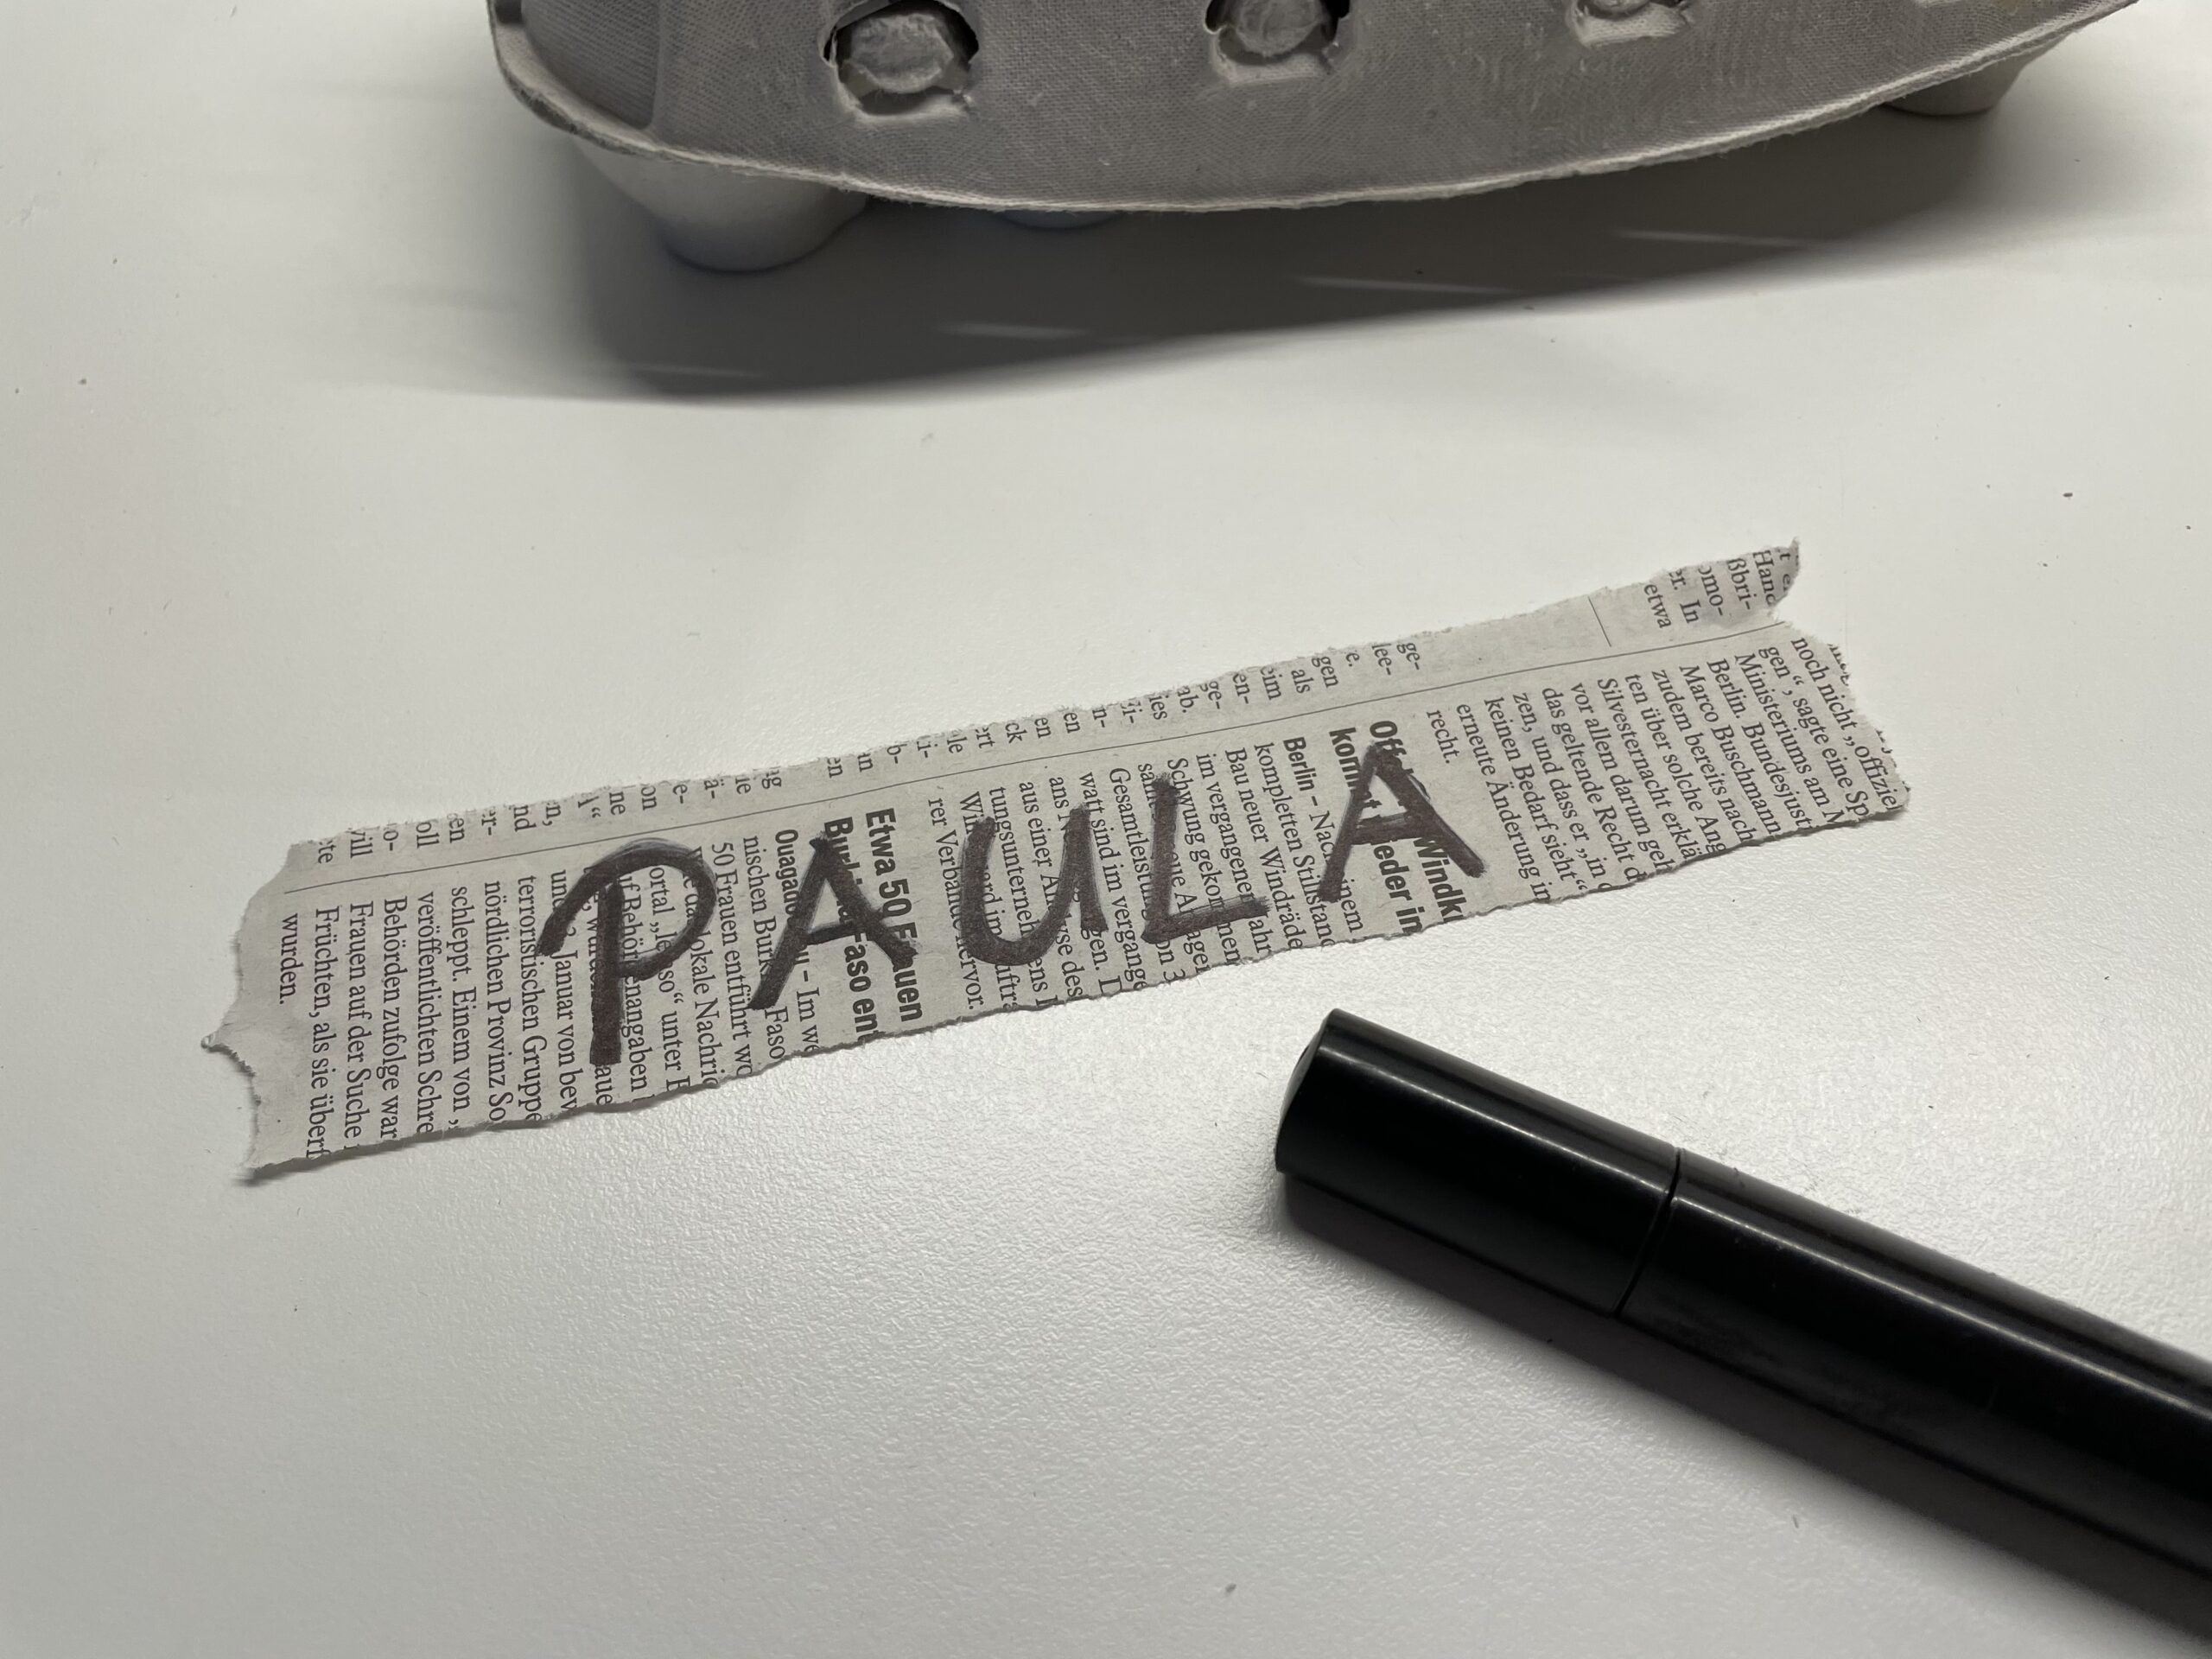
Write your name on the large-letter strip.


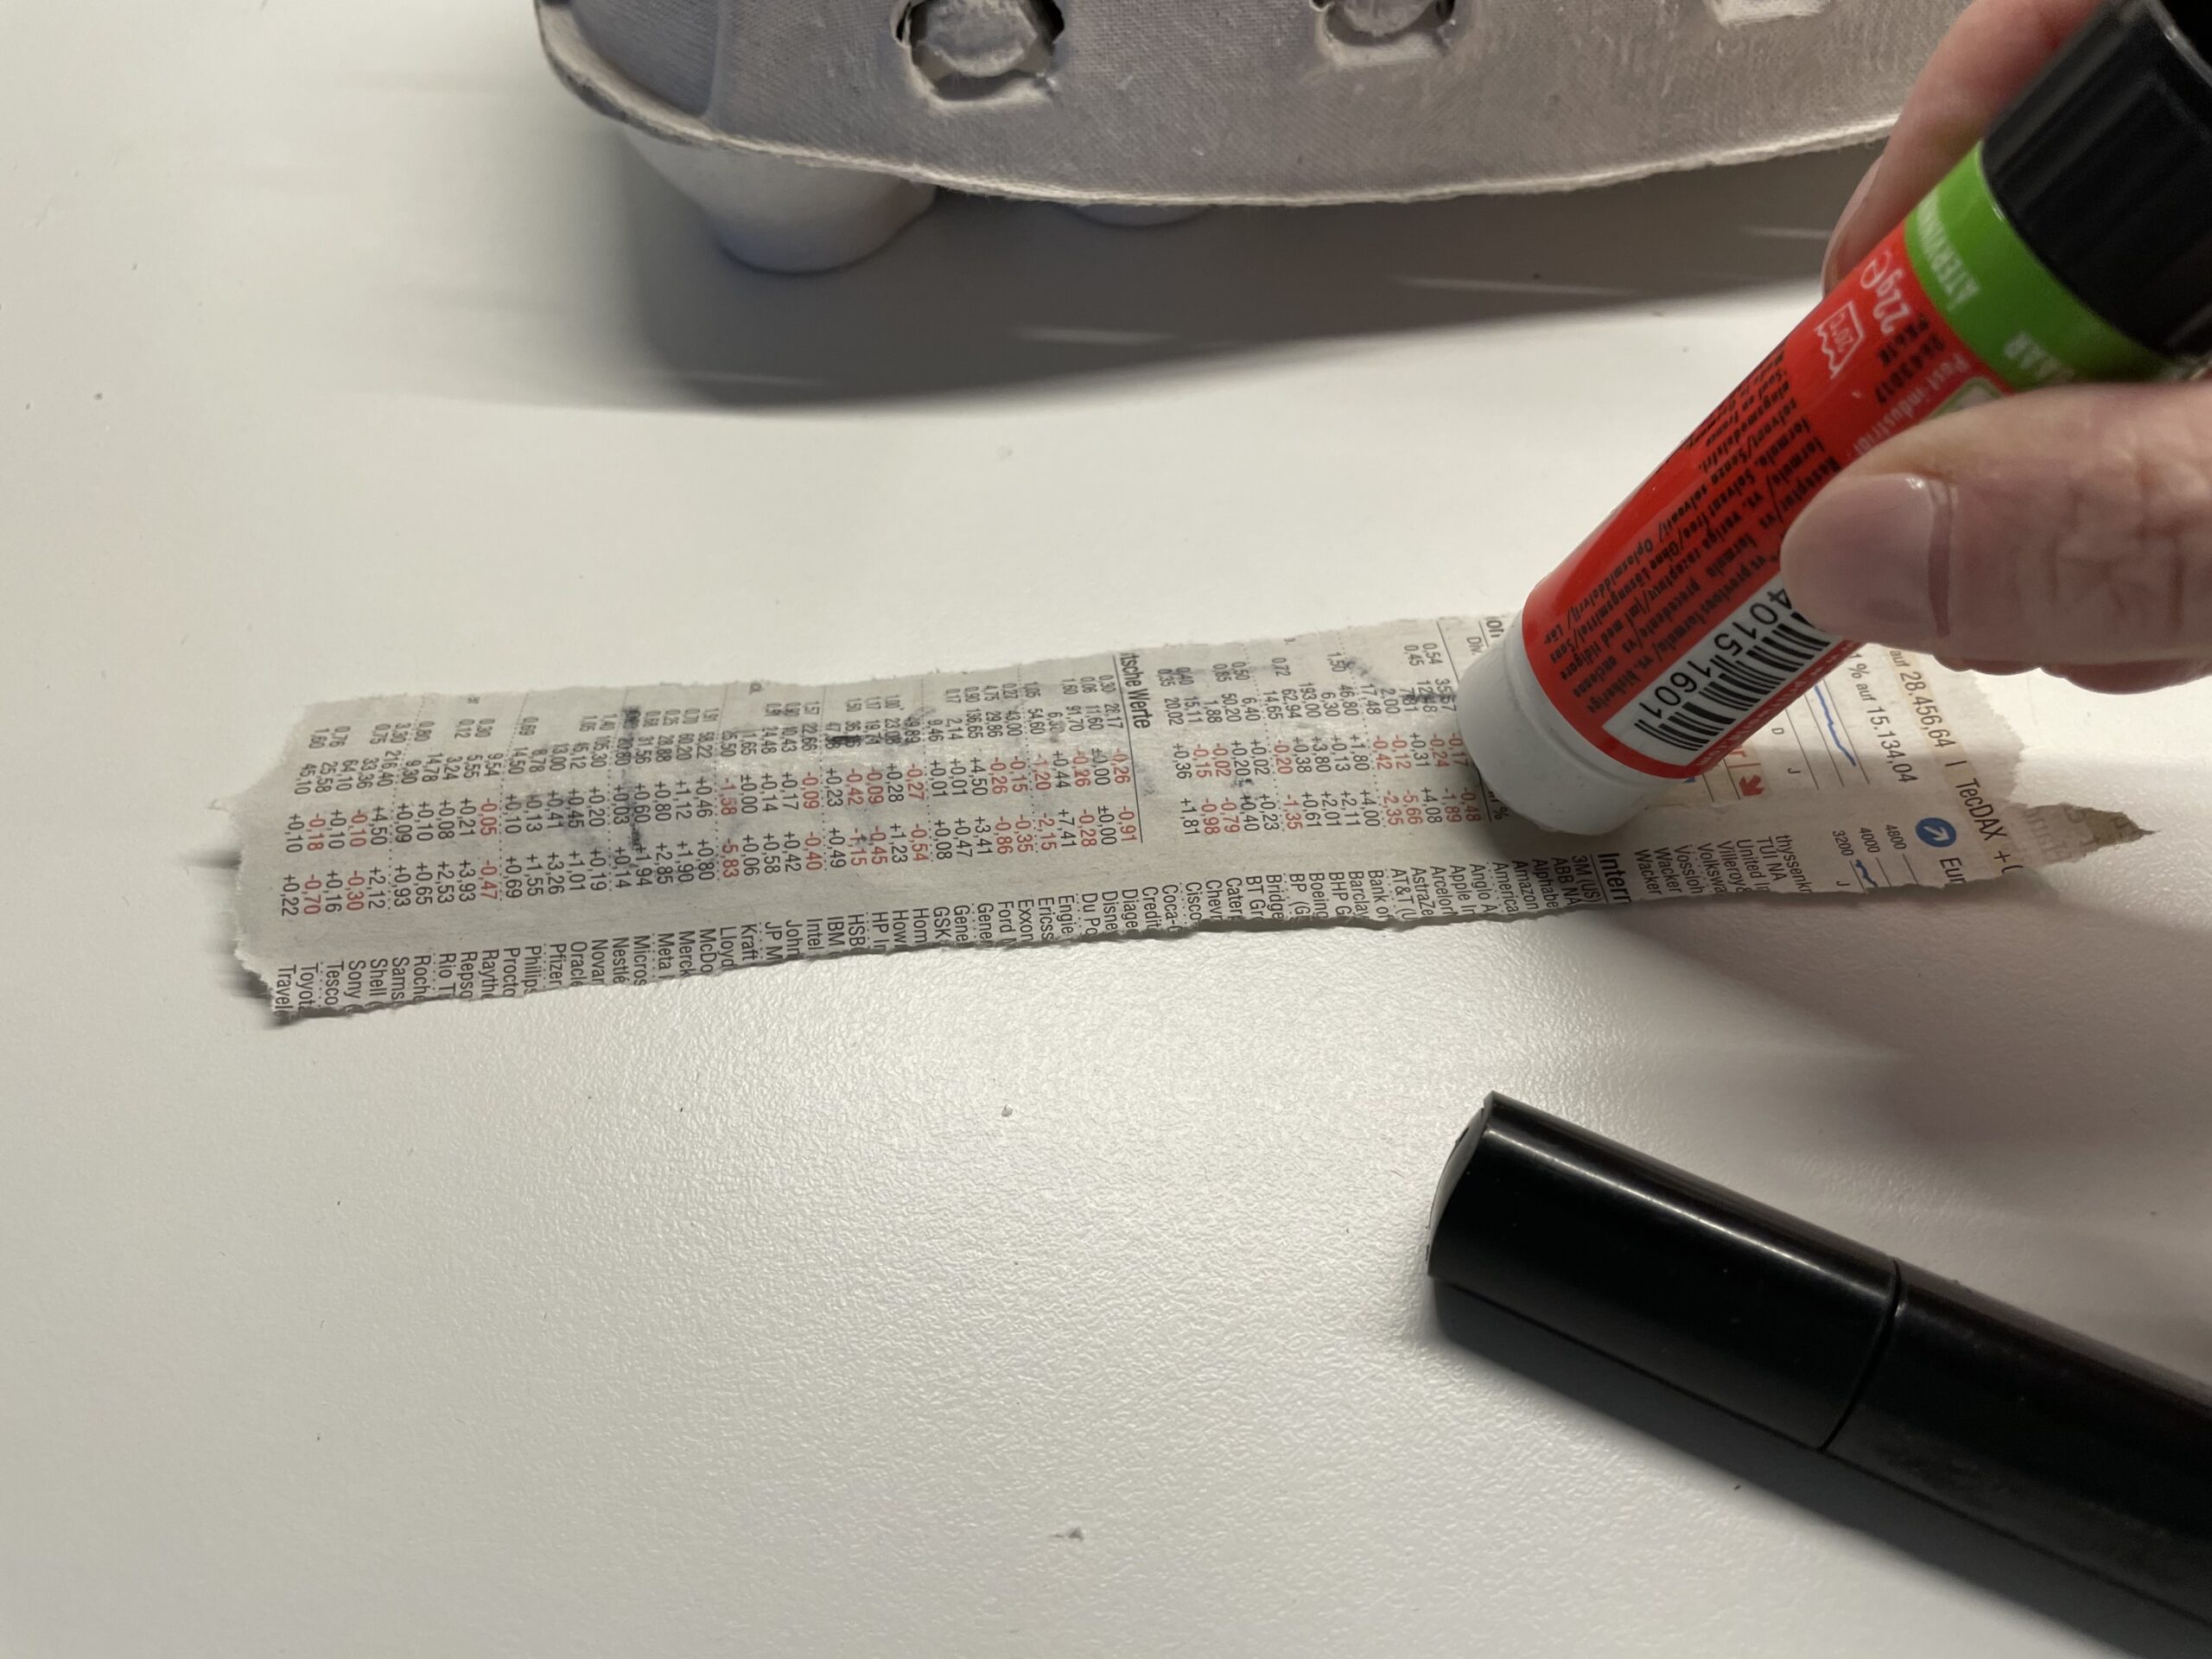
Turn the strip around and put glue on the back.


Attaches the resulting name tag on the front of the egg box. Thus, the name is easily recognizable.
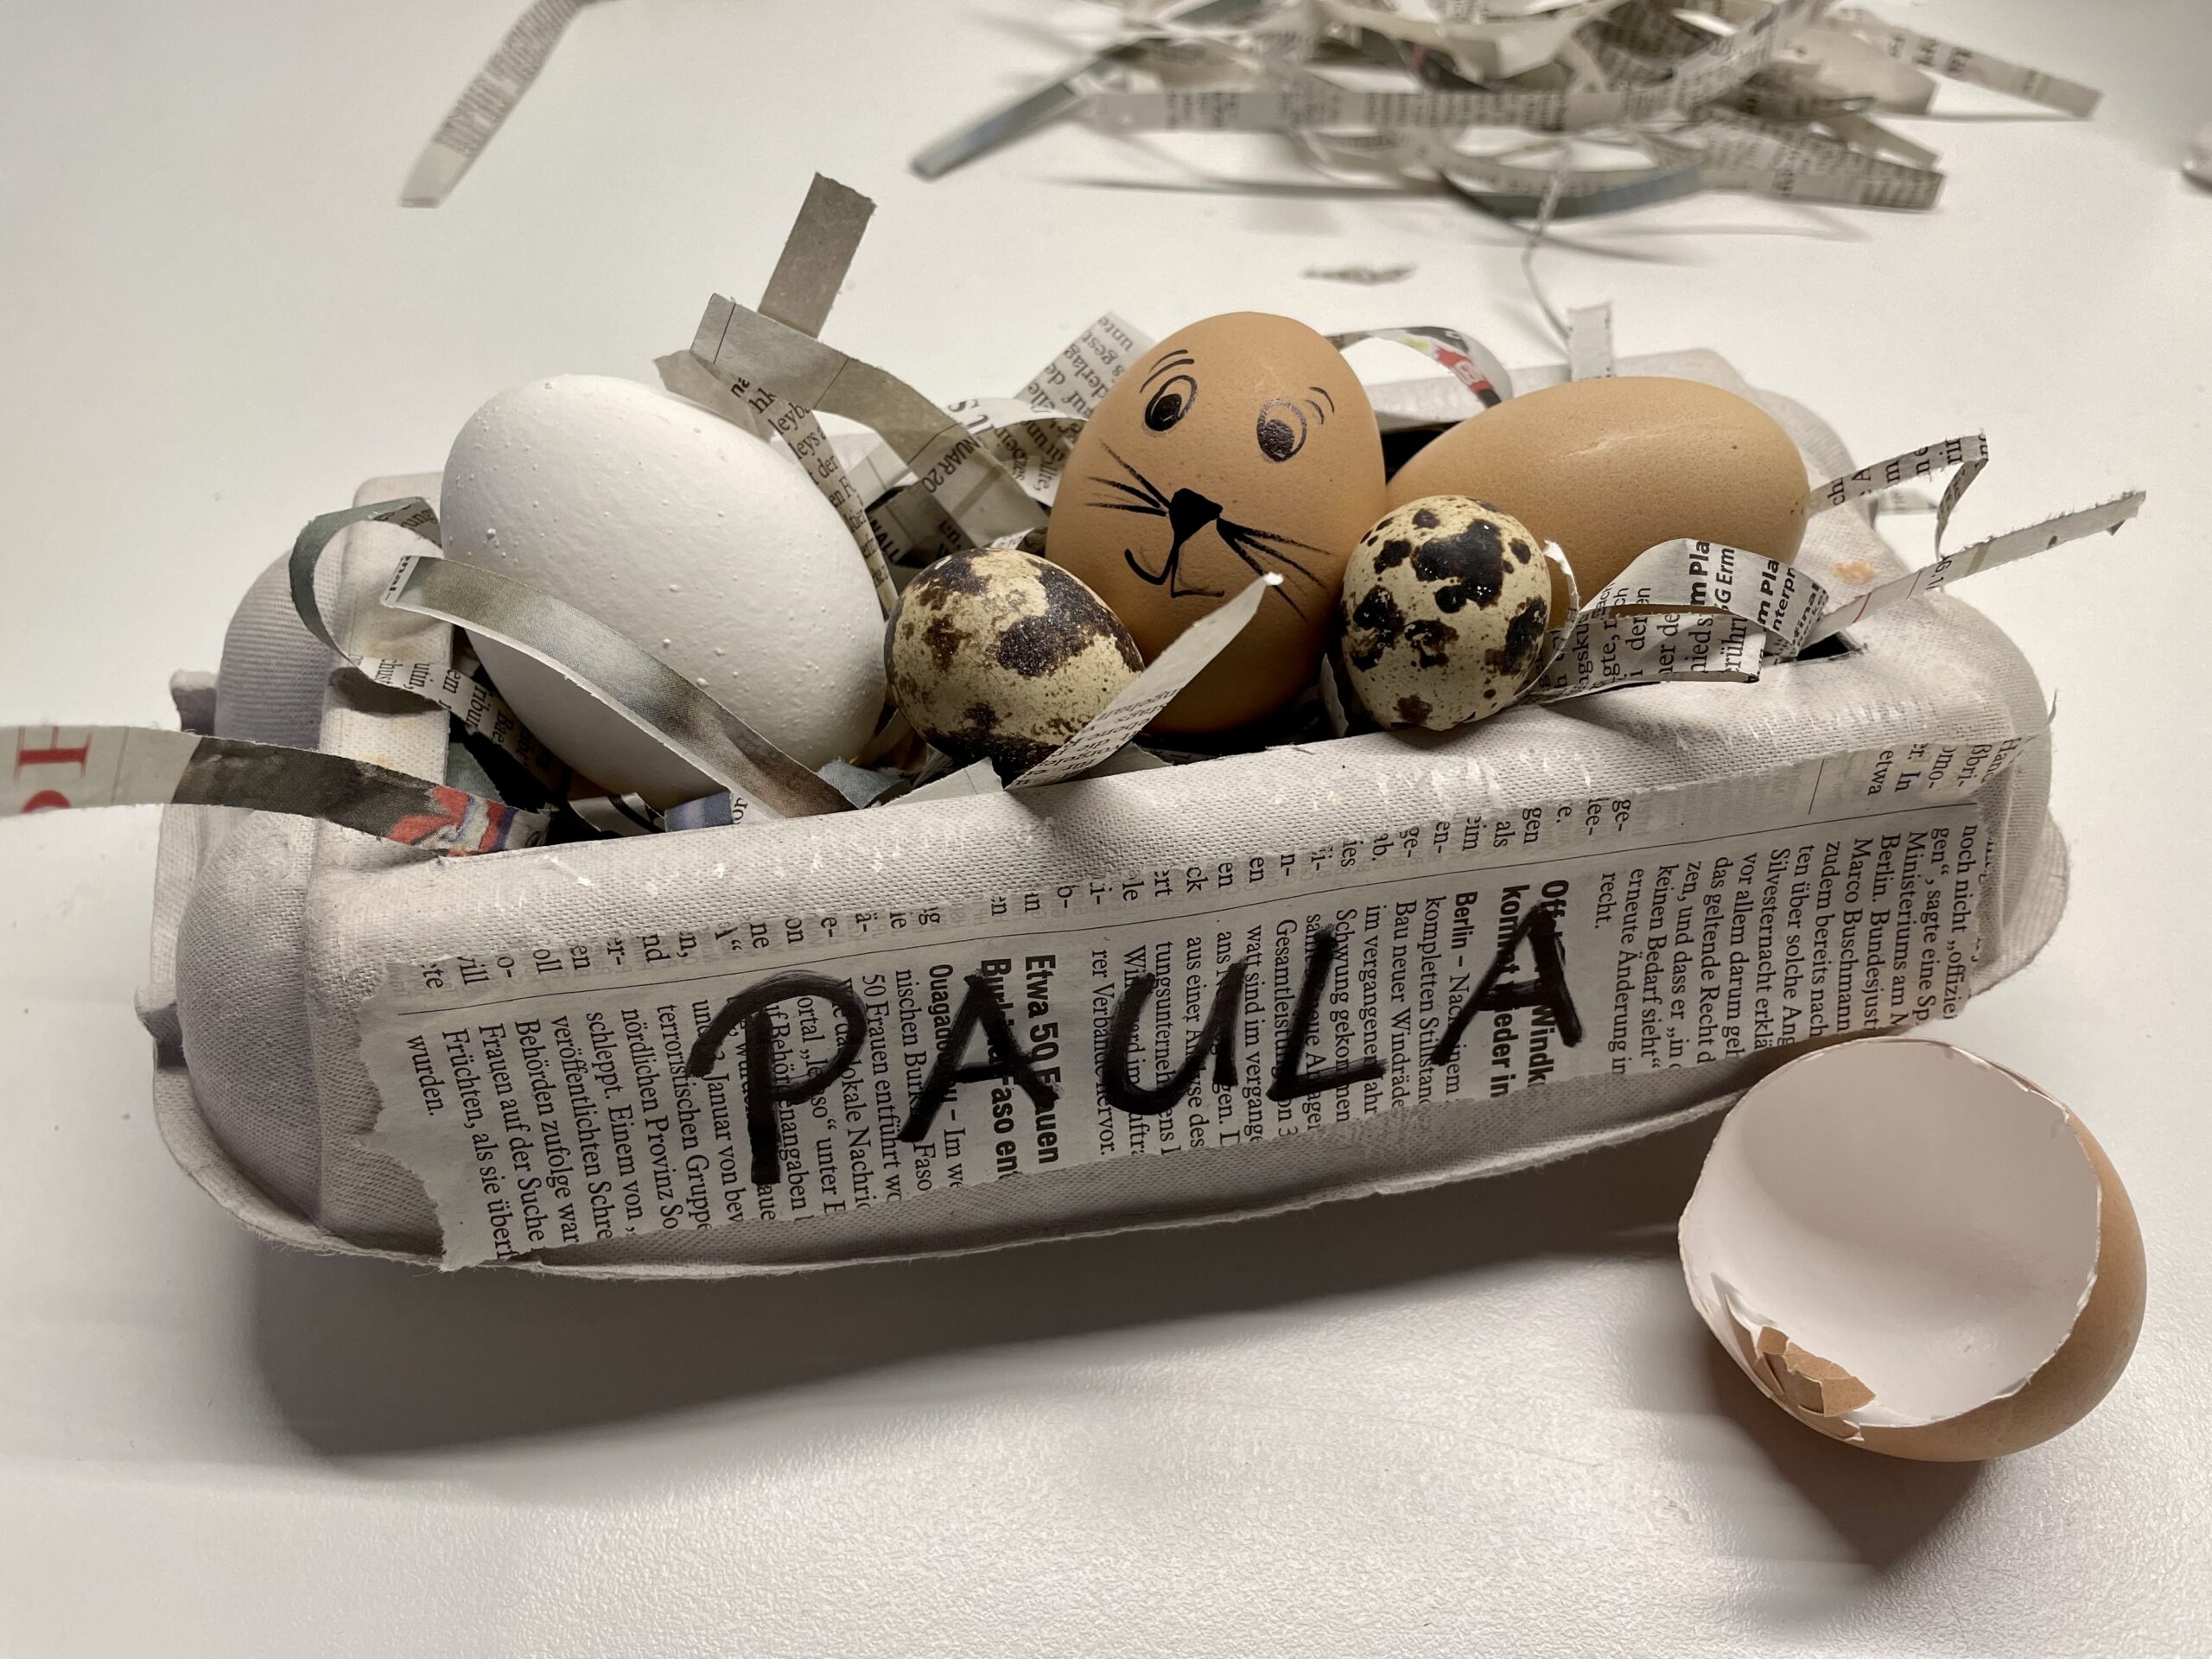


Easterest's ready!
Tip: If you want to give it away, you can put some Easter eggs or homemade Easter bunnies in it yourself.
Have fun trying out.
Materials
Directions
You need an empty egg box.


And an old daily newspaper. Alternatively, old advertising brochures can also be taken. They make the "nest" beautiful colorful.


Spread out your craft pad on the table.
Provides all materials and aids.


The folded egg box gets a cut-out in the lid first.


With pencil and ruler you can paint this neckline on the lid. However, a thin cardboard edge should stop, as the nest otherwise becomes unstable.


This is how the neckline can look painted.


Let an adult cut the incision. For this either a pointed scissors or a cutter knife is suitable.


Through the resulting slit you can insert the scissors and cut them along the painted line. Make sure that you cut the cut-out as far as possible on one piece, since you still need the resulting waste piece later!


Put the cardboard cut-out aside. It serves us later as a "ground" of the nest.


That's what the egg box looks like now.


Open the egg box.


In the bottom of the egg box there are now four tips. These have to be cut out to get enough space in the nest.


Draw with a pencil where the tips are to be cut off.
Leave a small base on the top. Later, the cardboard section of the lid is glued to it.


Start carefully cutting out the tips with scissors. Let an adult help you with this, as the tips sit quite deep in the egg box.


That's what the egg box looks like now.


Place the paper cut-out (from the lid) on the cut-off tips in the egg box.
Glue it with a few points. Use a hot glue gun for this. Be careful if you get help from an adult.


Folds the egg box and the lid can also be glued to a few points with the hot glue gun.


The frame of Easter is ready.


Now your newspaper or old advertising brochures are needed.


Give the paper through the shredder. Take only a few sheets and not the whole paper at once, otherwise the shredder will block.


Crawl the resulting paper strips loosely and carefully stuff them into your nest.


Make sure that the pages are well filled with paper strips.


If the nest is filled enough for you, it's almost ready.


Take another narrow strip of newspaper and shorten it to the length of your egg box. You can use this strip as a name tag.


Write your name on the large-letter strip.


Turn the strip around and put glue on the back.


Attaches the resulting name tag on the front of the egg box. Thus, the name is easily recognizable.


Easterest's ready!
Tip: If you want to give it away, you can put some Easter eggs or homemade Easter bunnies in it yourself.
Have fun trying out.
Follow us on Facebook , Instagram and Pinterest
Don't miss any more adventures: Our bottle mail


