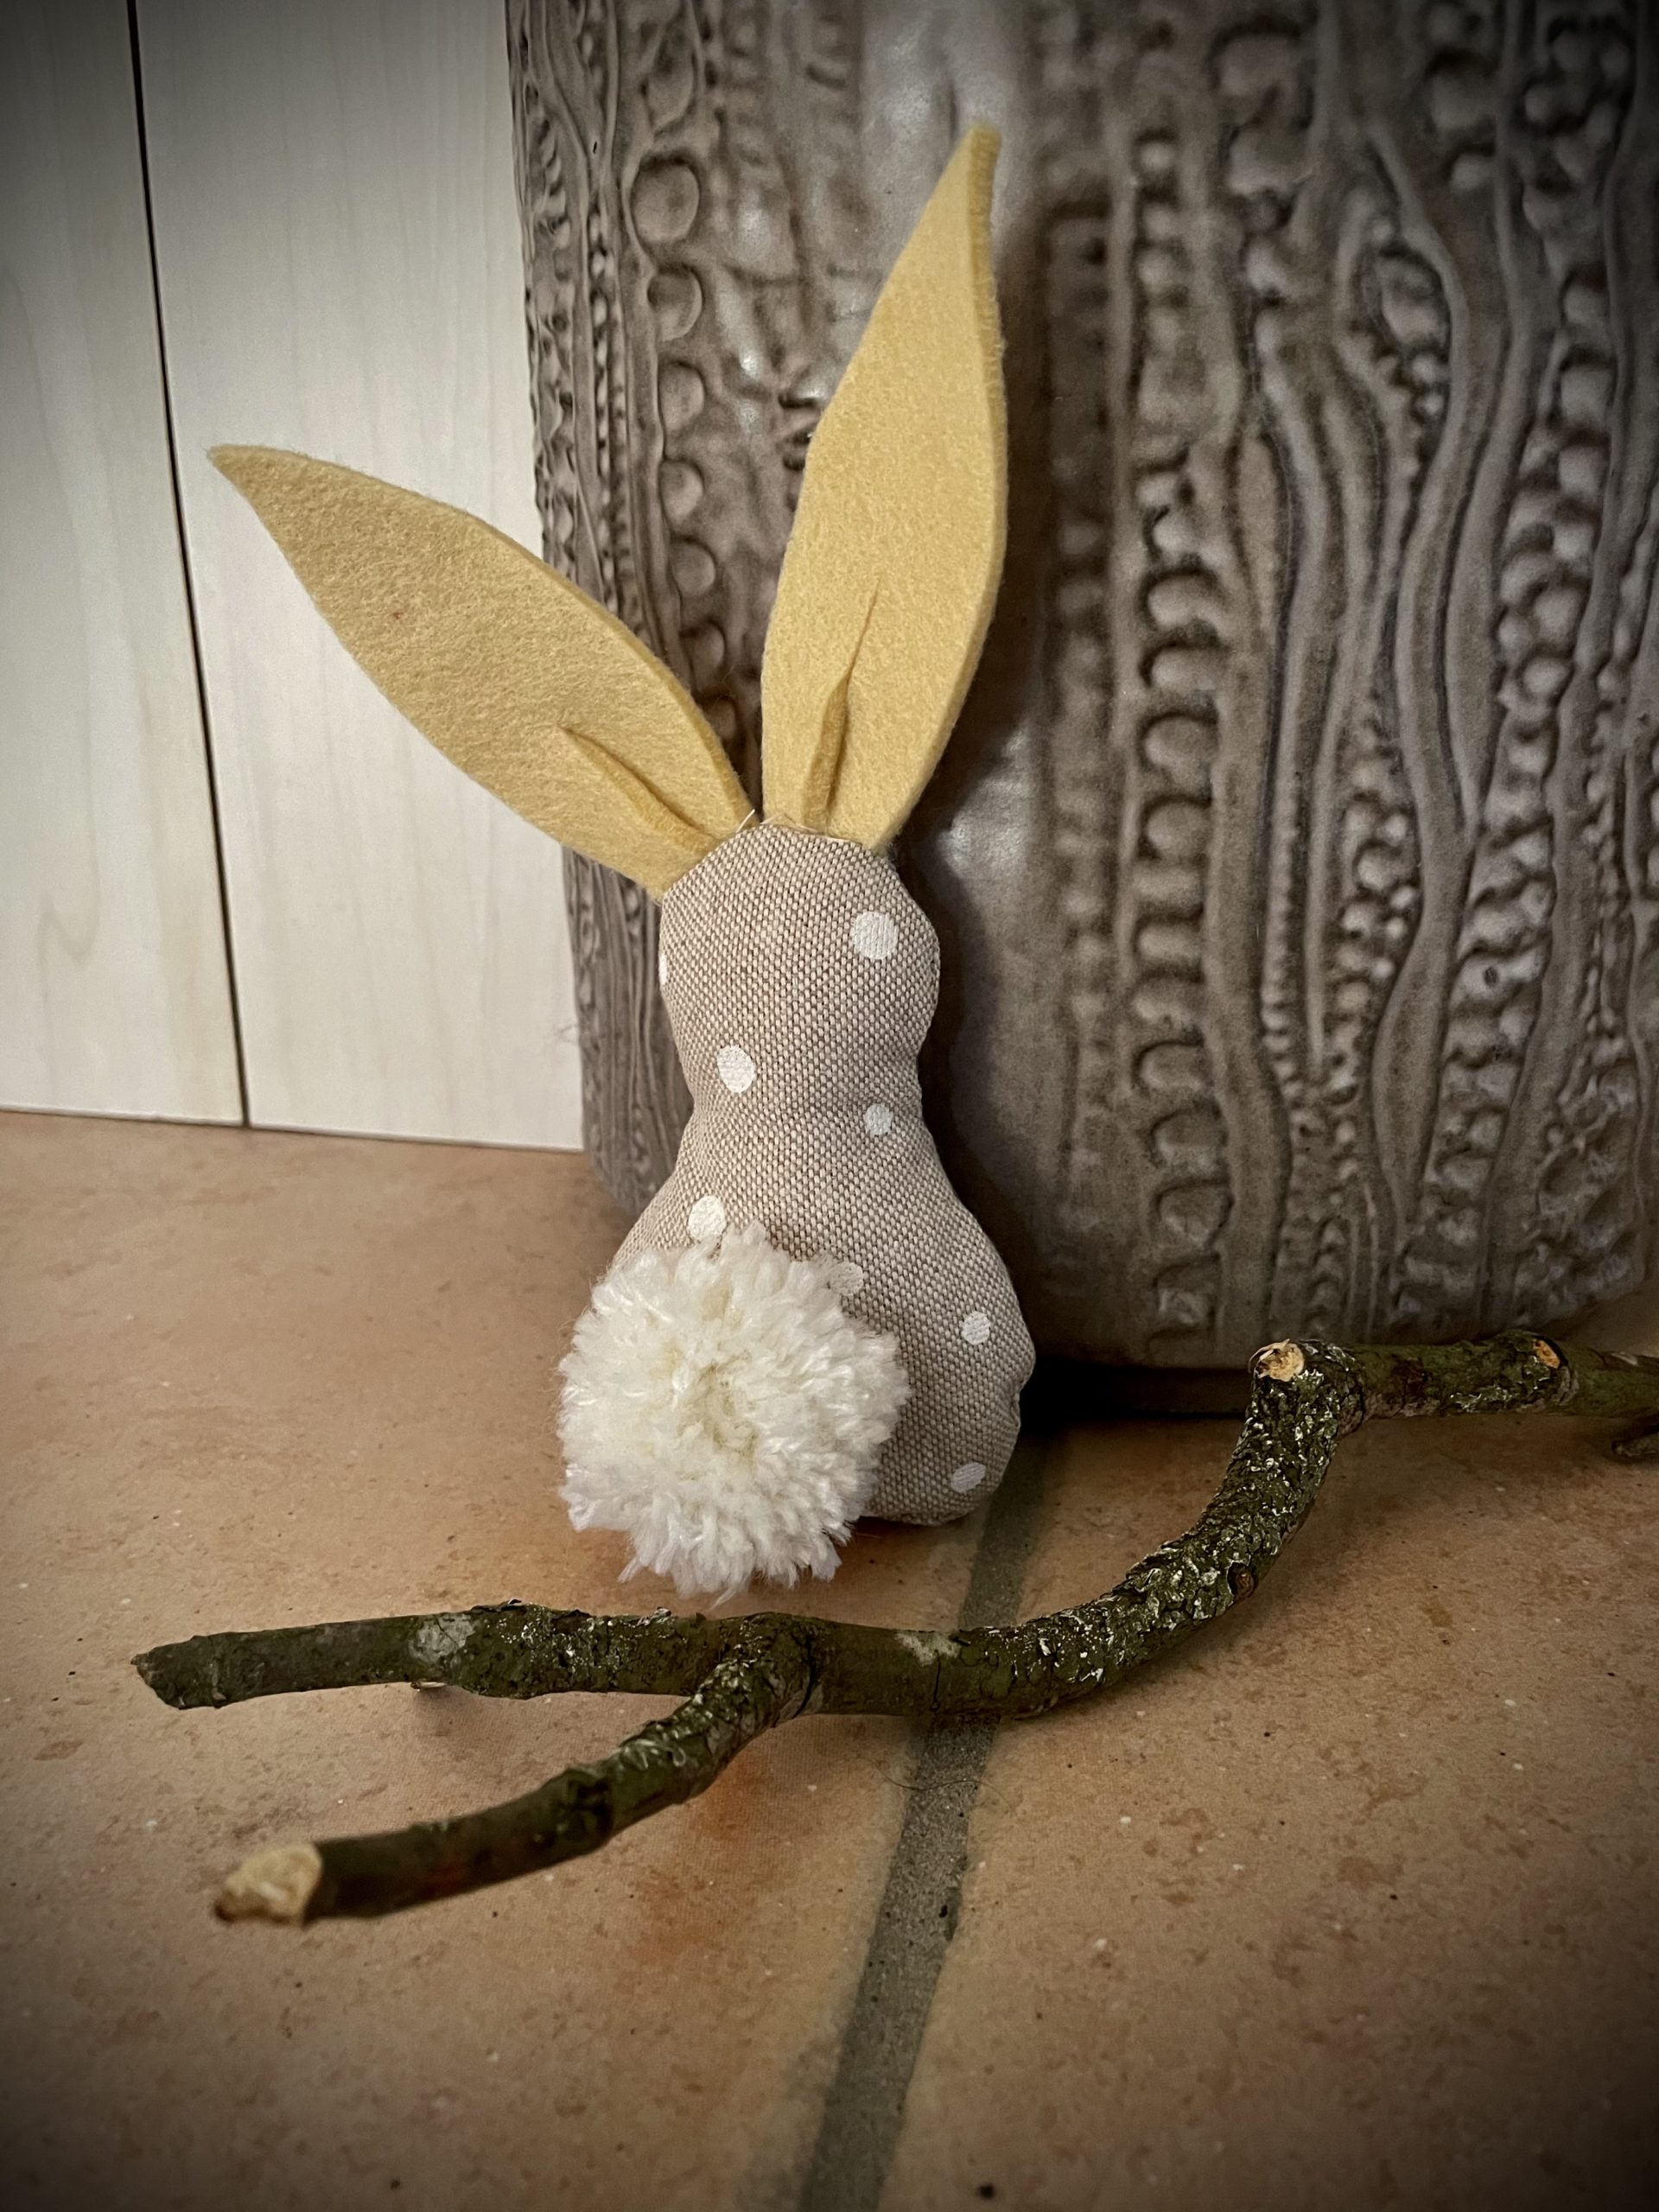
This Easter bunny is a small sewing project. The belly and head of the rabbit are sewn from a piece of fabric. The felt ears are immediately sewn into the head. Filled with cotton wool and rice, the little rabbit is firmly on the ground. The rabbit tail is a homemade pommel. The rabbit is finished.This beautiful spring project is suitable as a gift or for Easter decoration. Here is an illustrated step by step instruction.
Media Education for Kindergarten and Hort

Relief in everyday life, targeted promotion of individual children, independent learning and - without any pre-knowledge already usable by the youngest!
First you need a template. Use the template or paint a rabbit shape for yourself. Then you cut out the template.
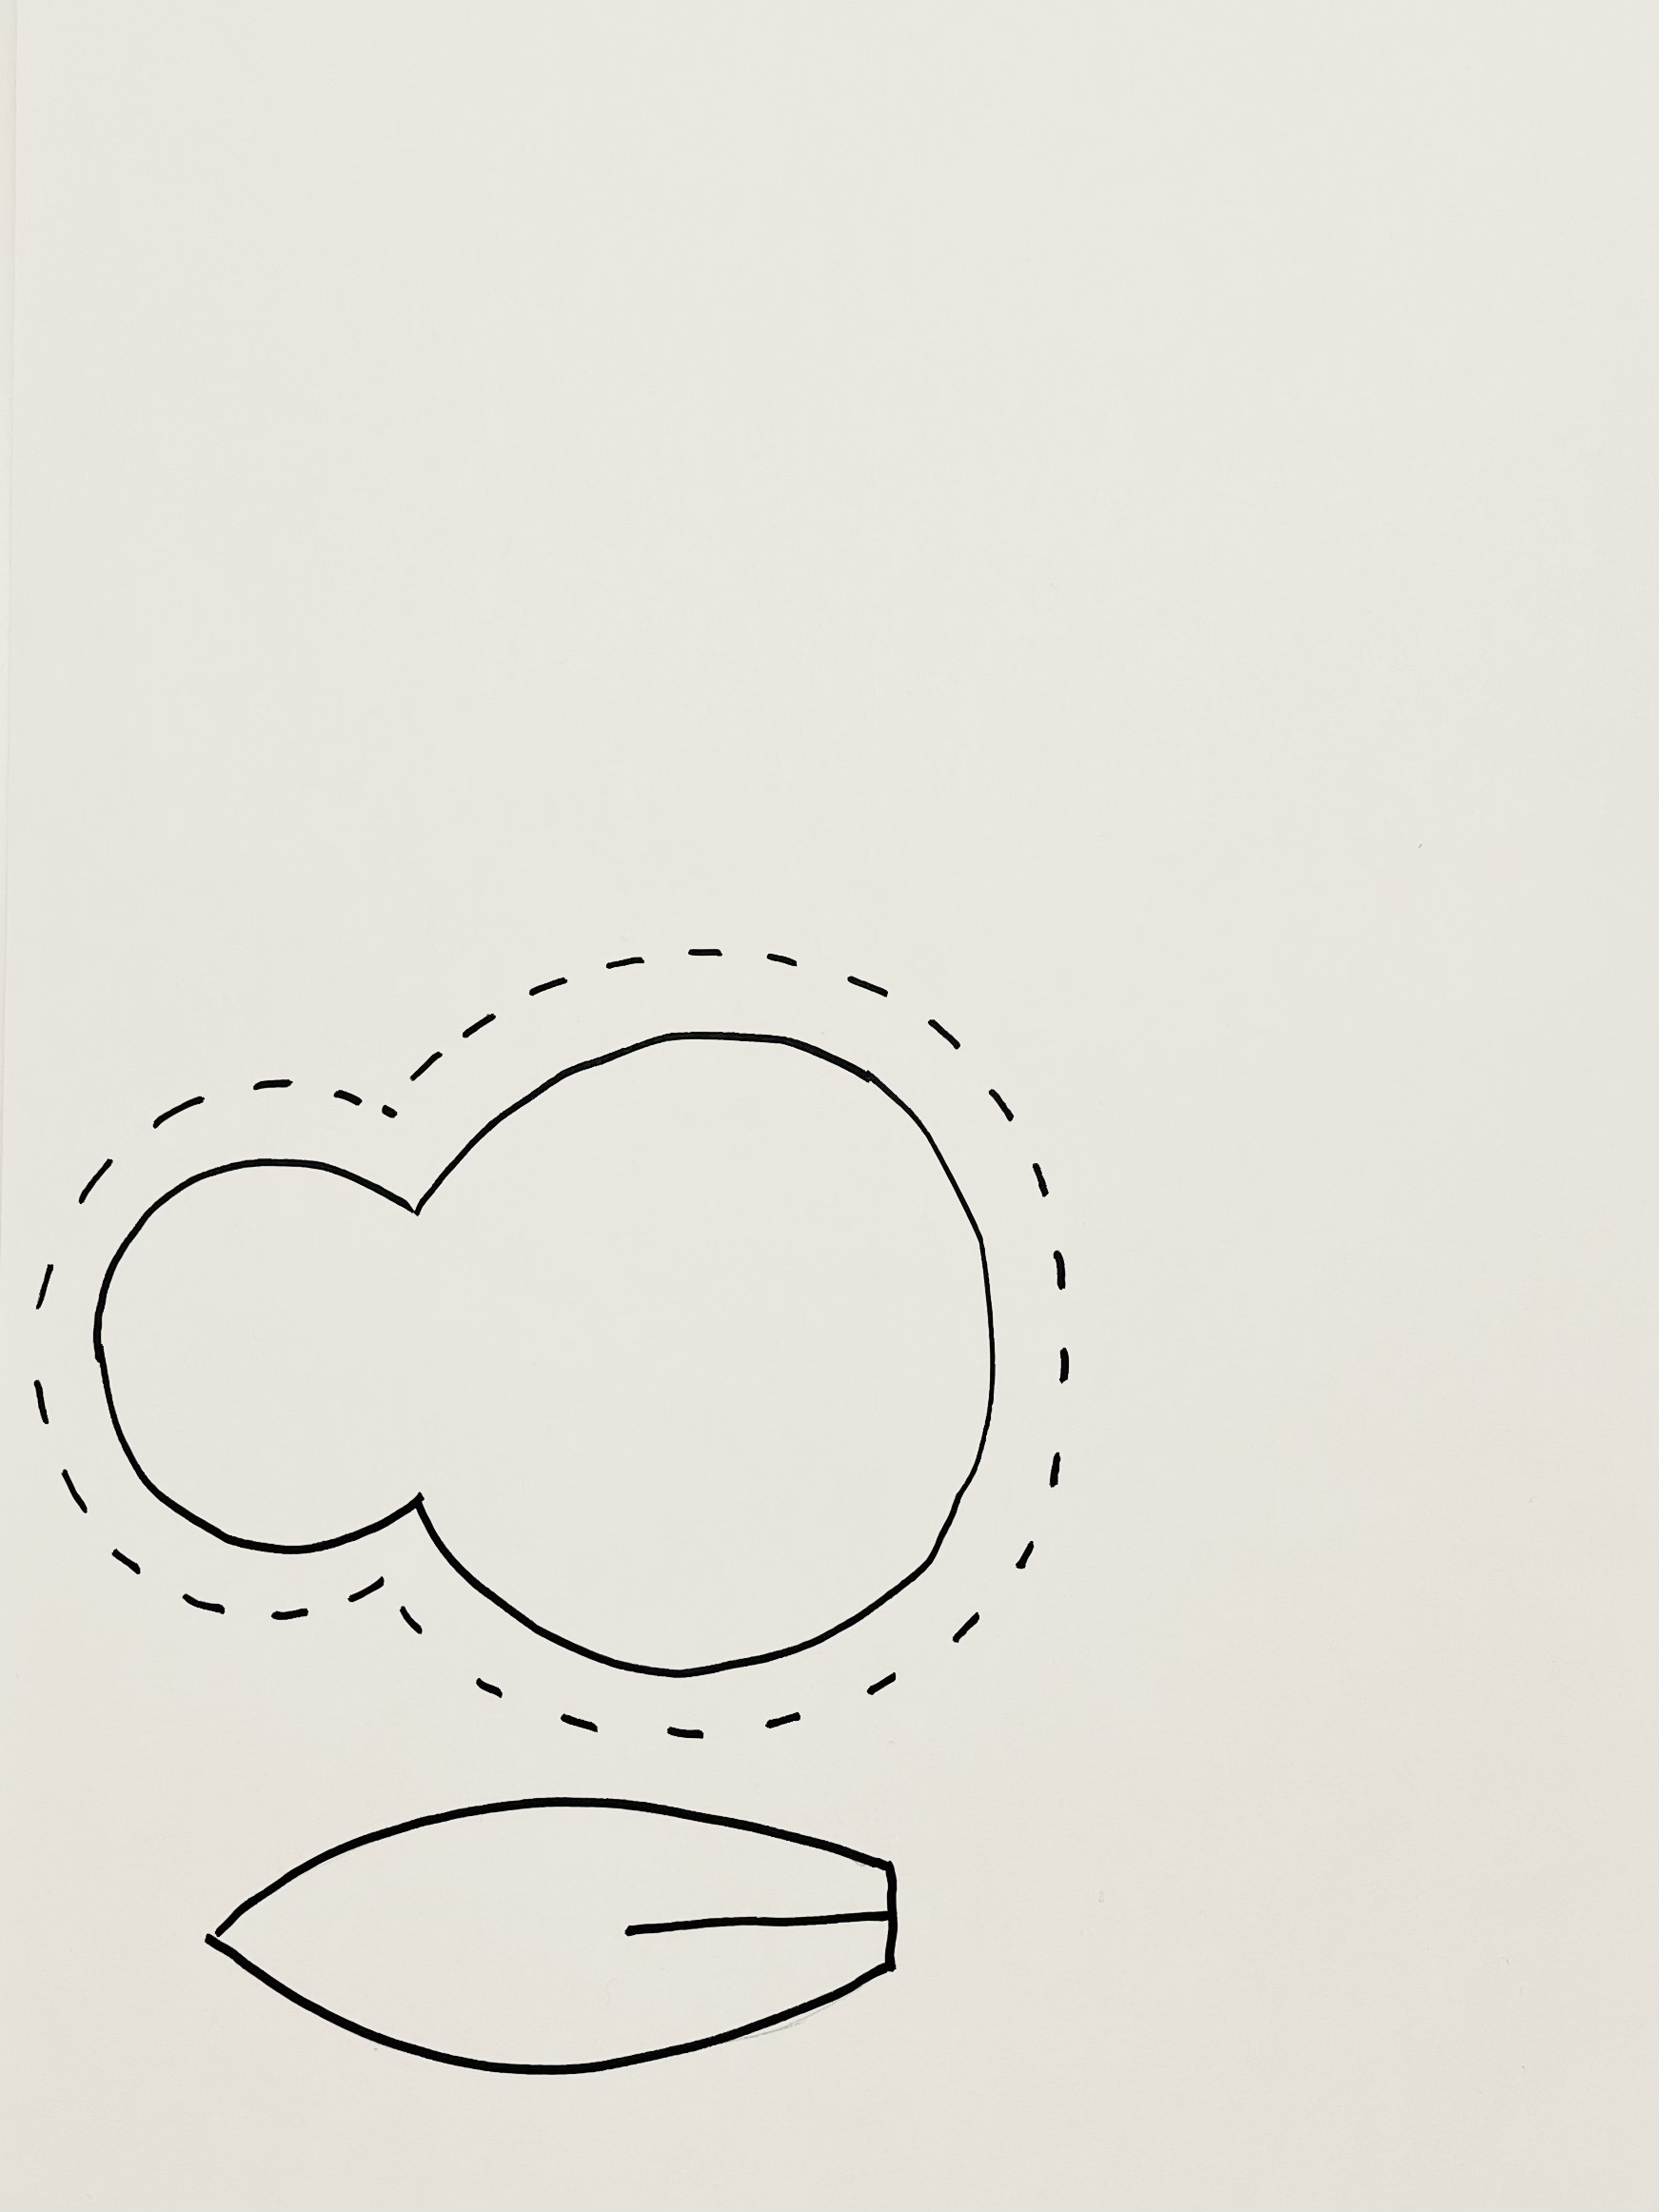
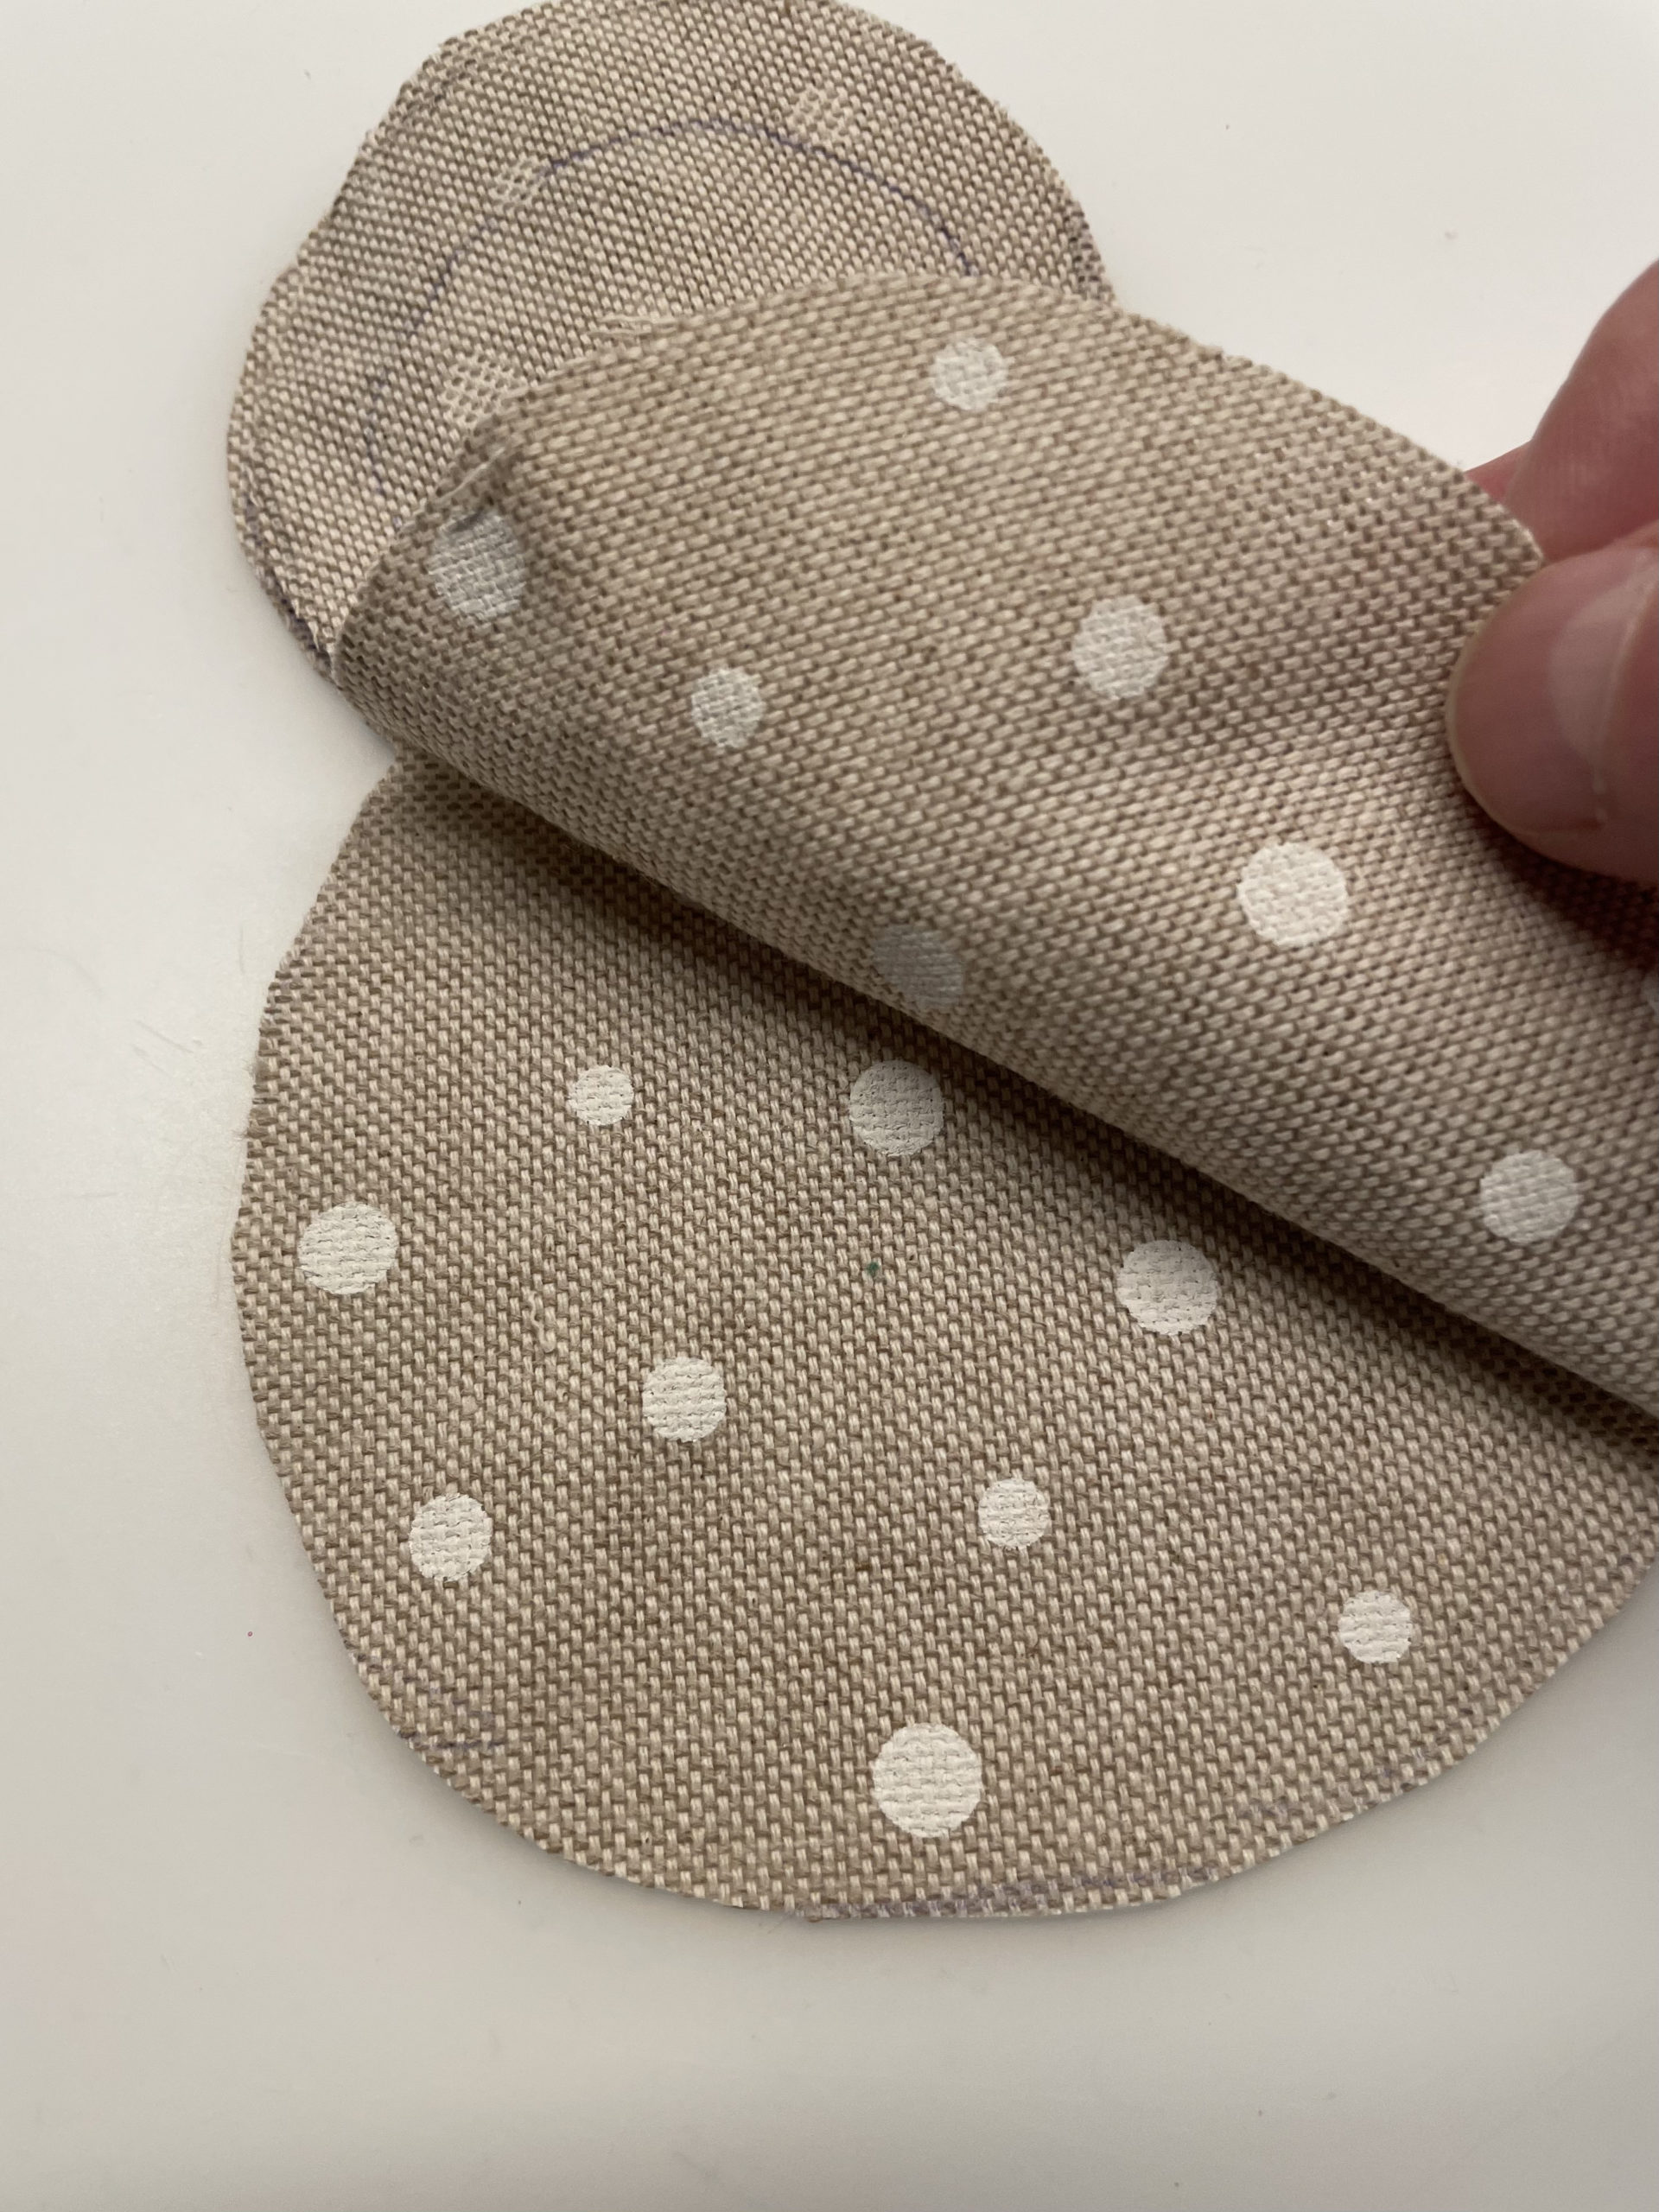
Then transfer the template to your fabric. You need two equal parts of the rabbit body. Leave a 1cm wide edge around the template. (This is the dashed line!)
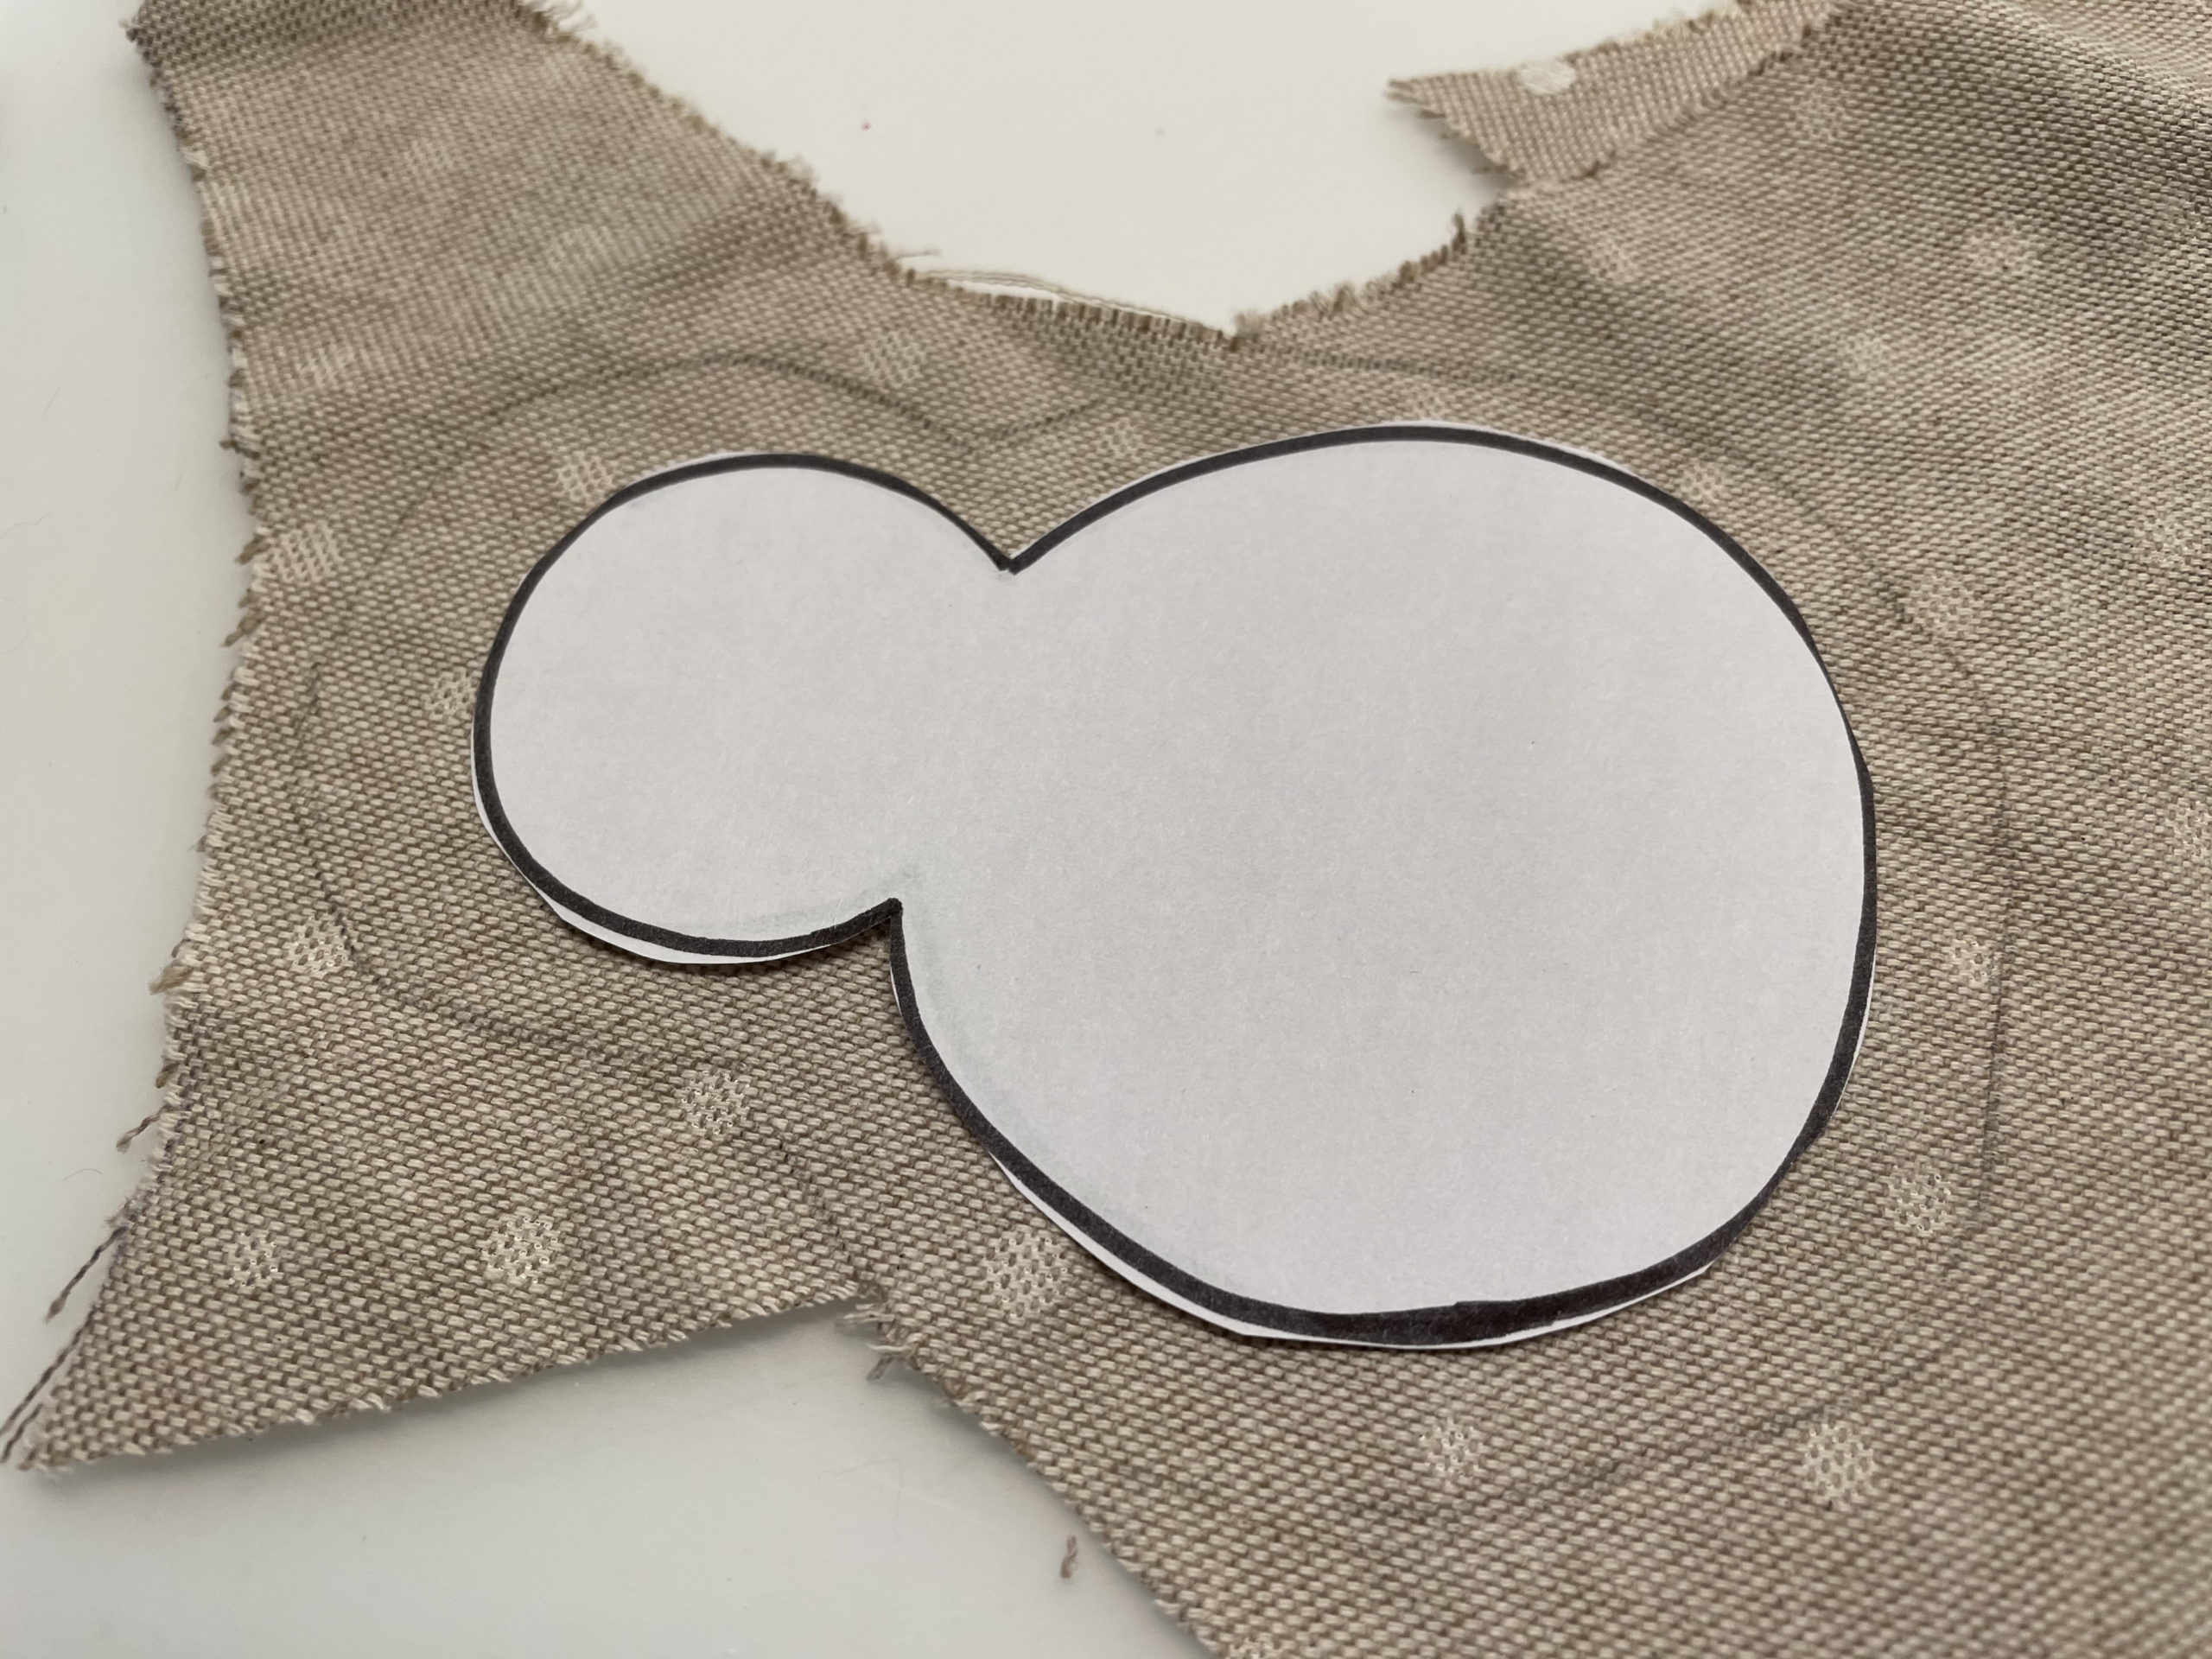
Now transfer both lines to the fabric. So you see where you cut and where you have to sew afterwards.

Now make two fabric cuts.
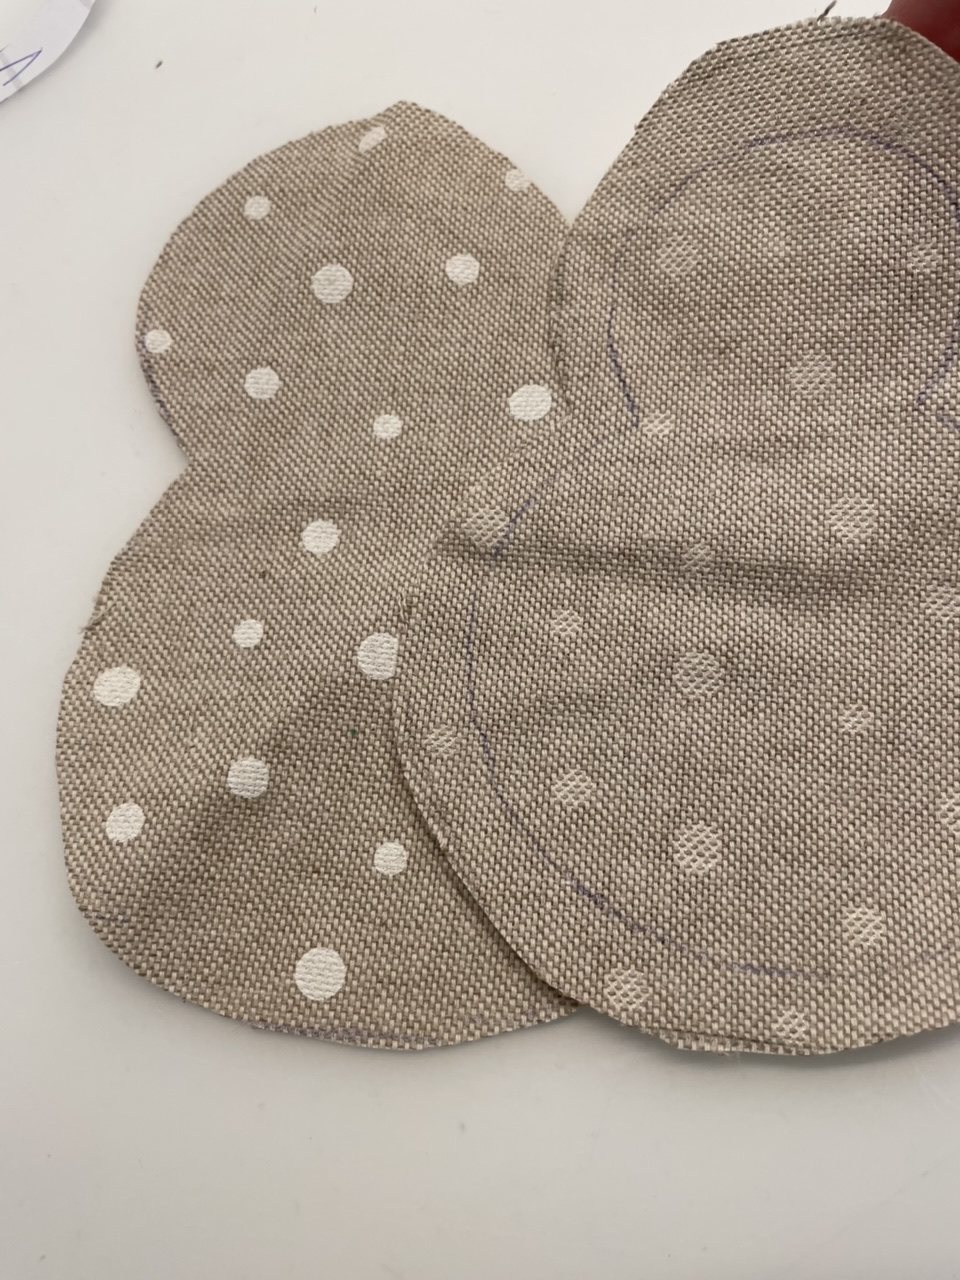
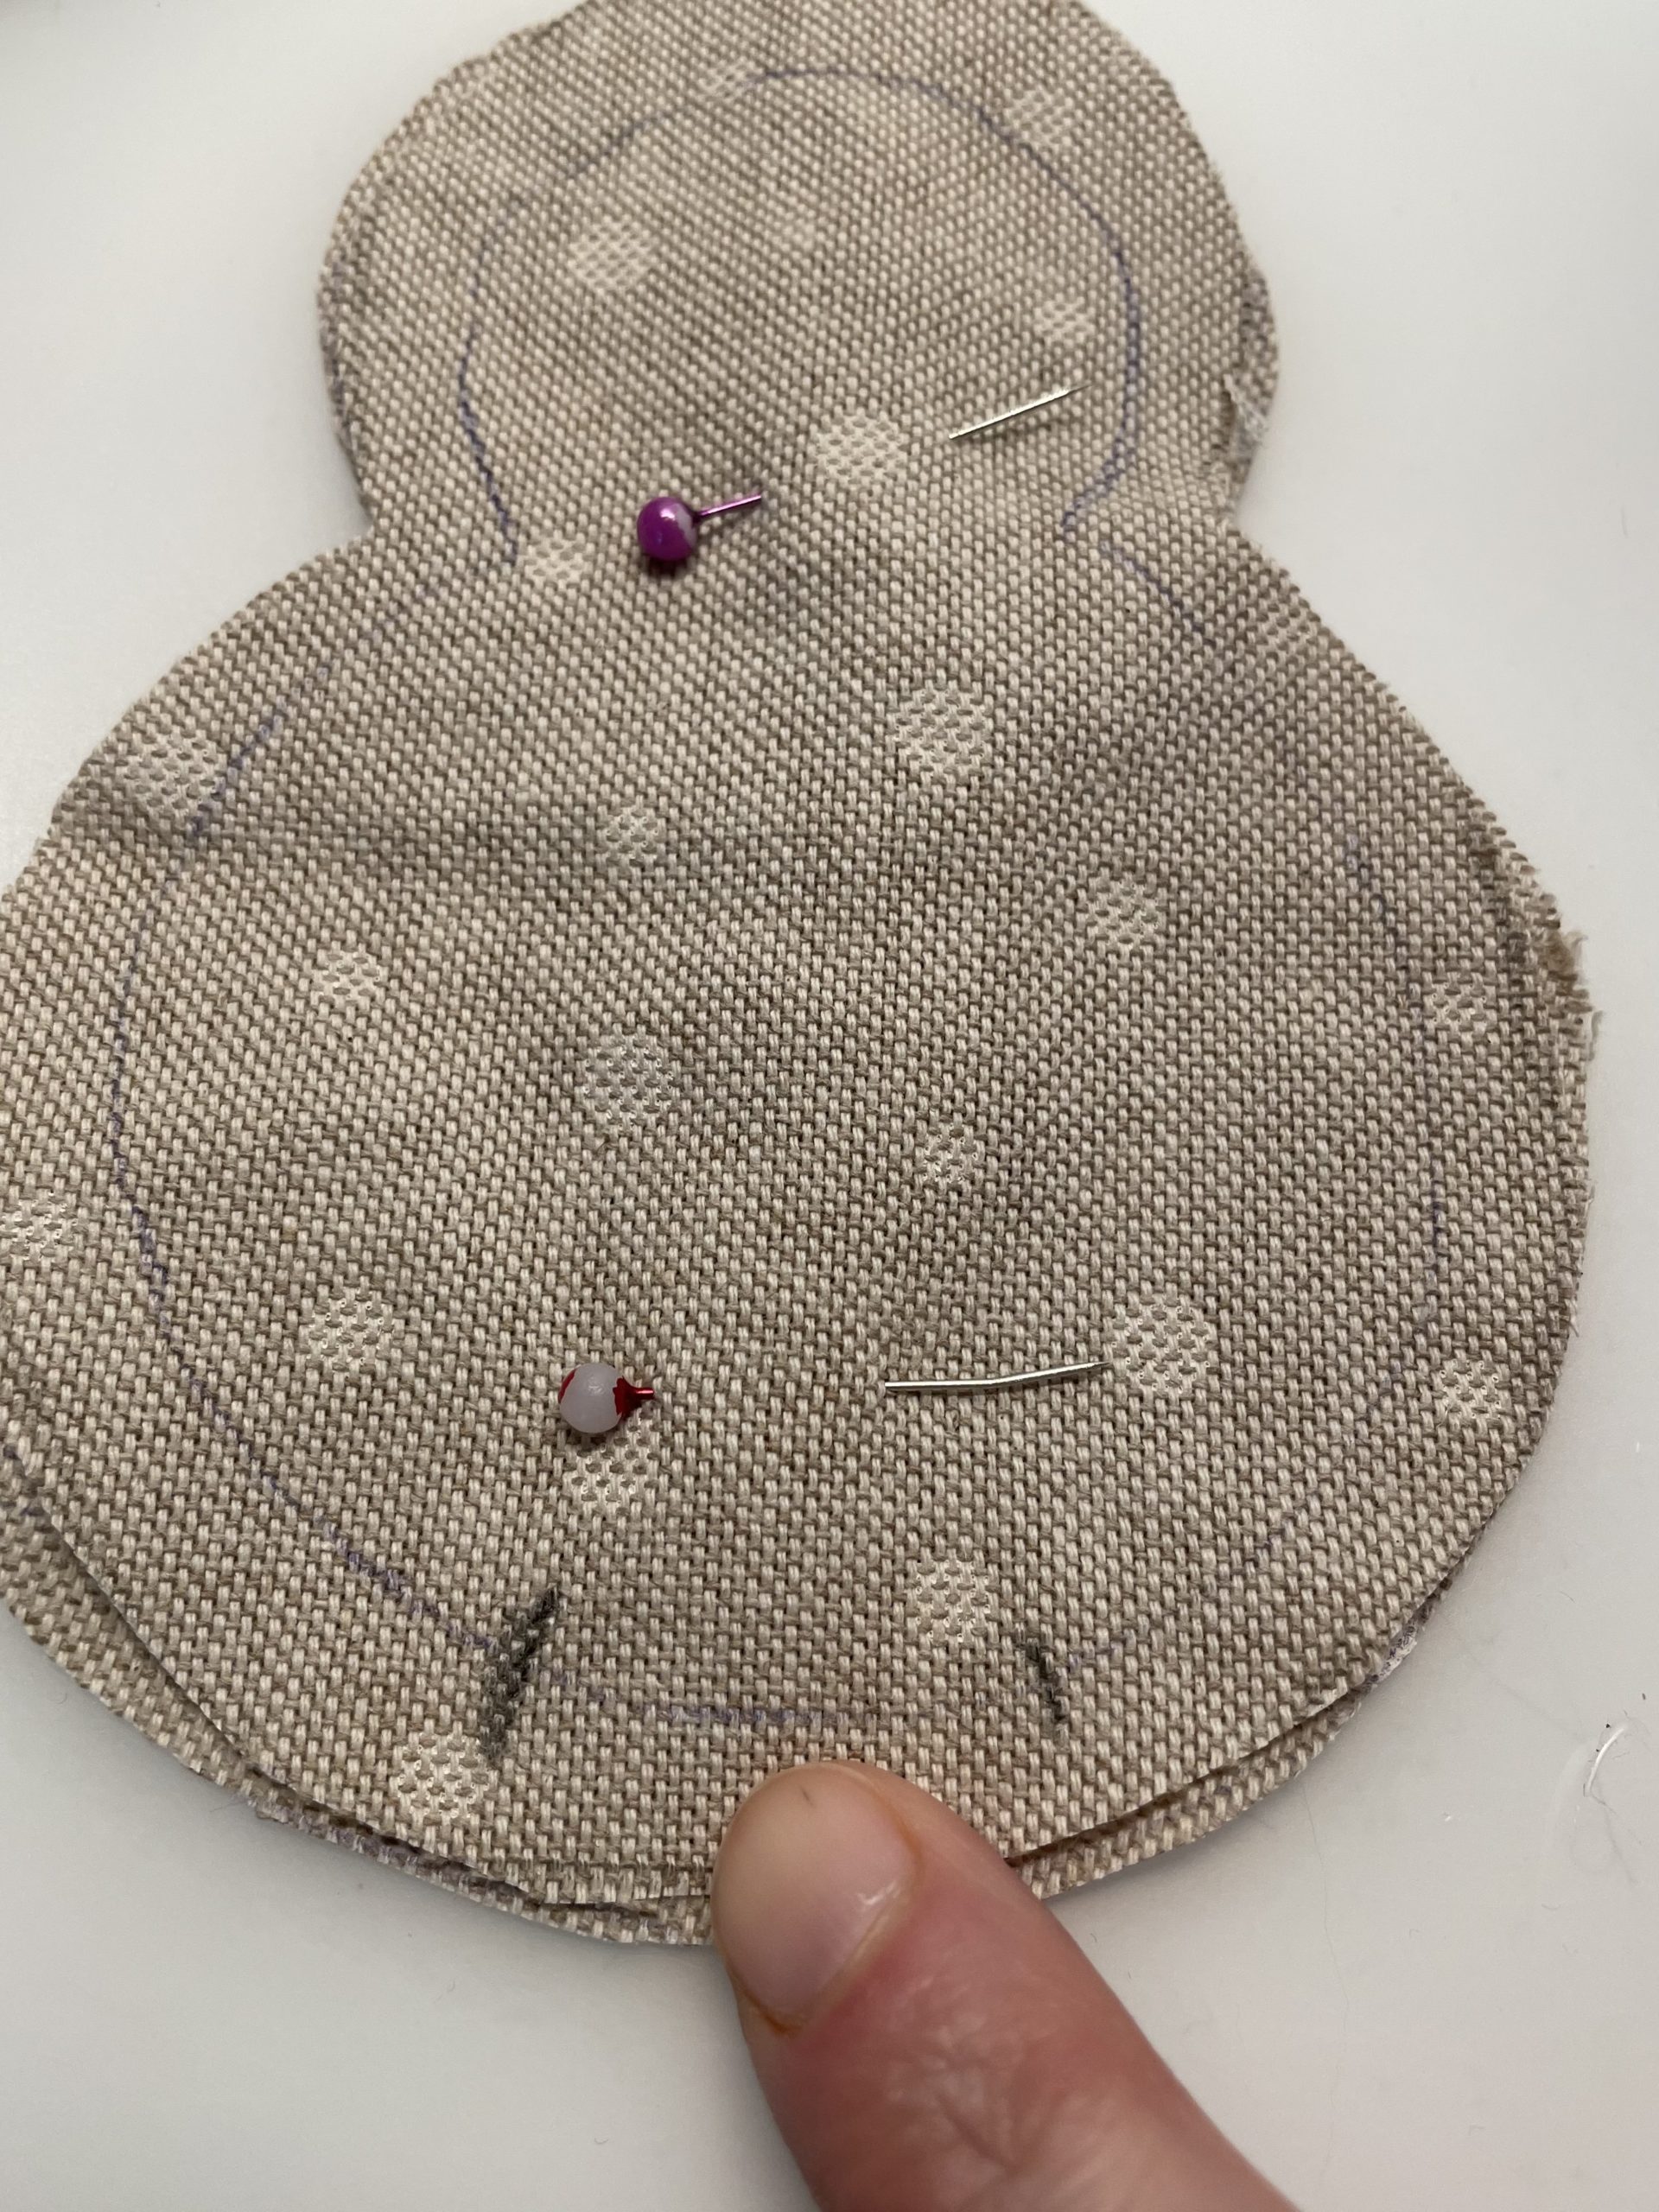
Place the cutouts with the beautiful sides (outsides) inwards on each other.
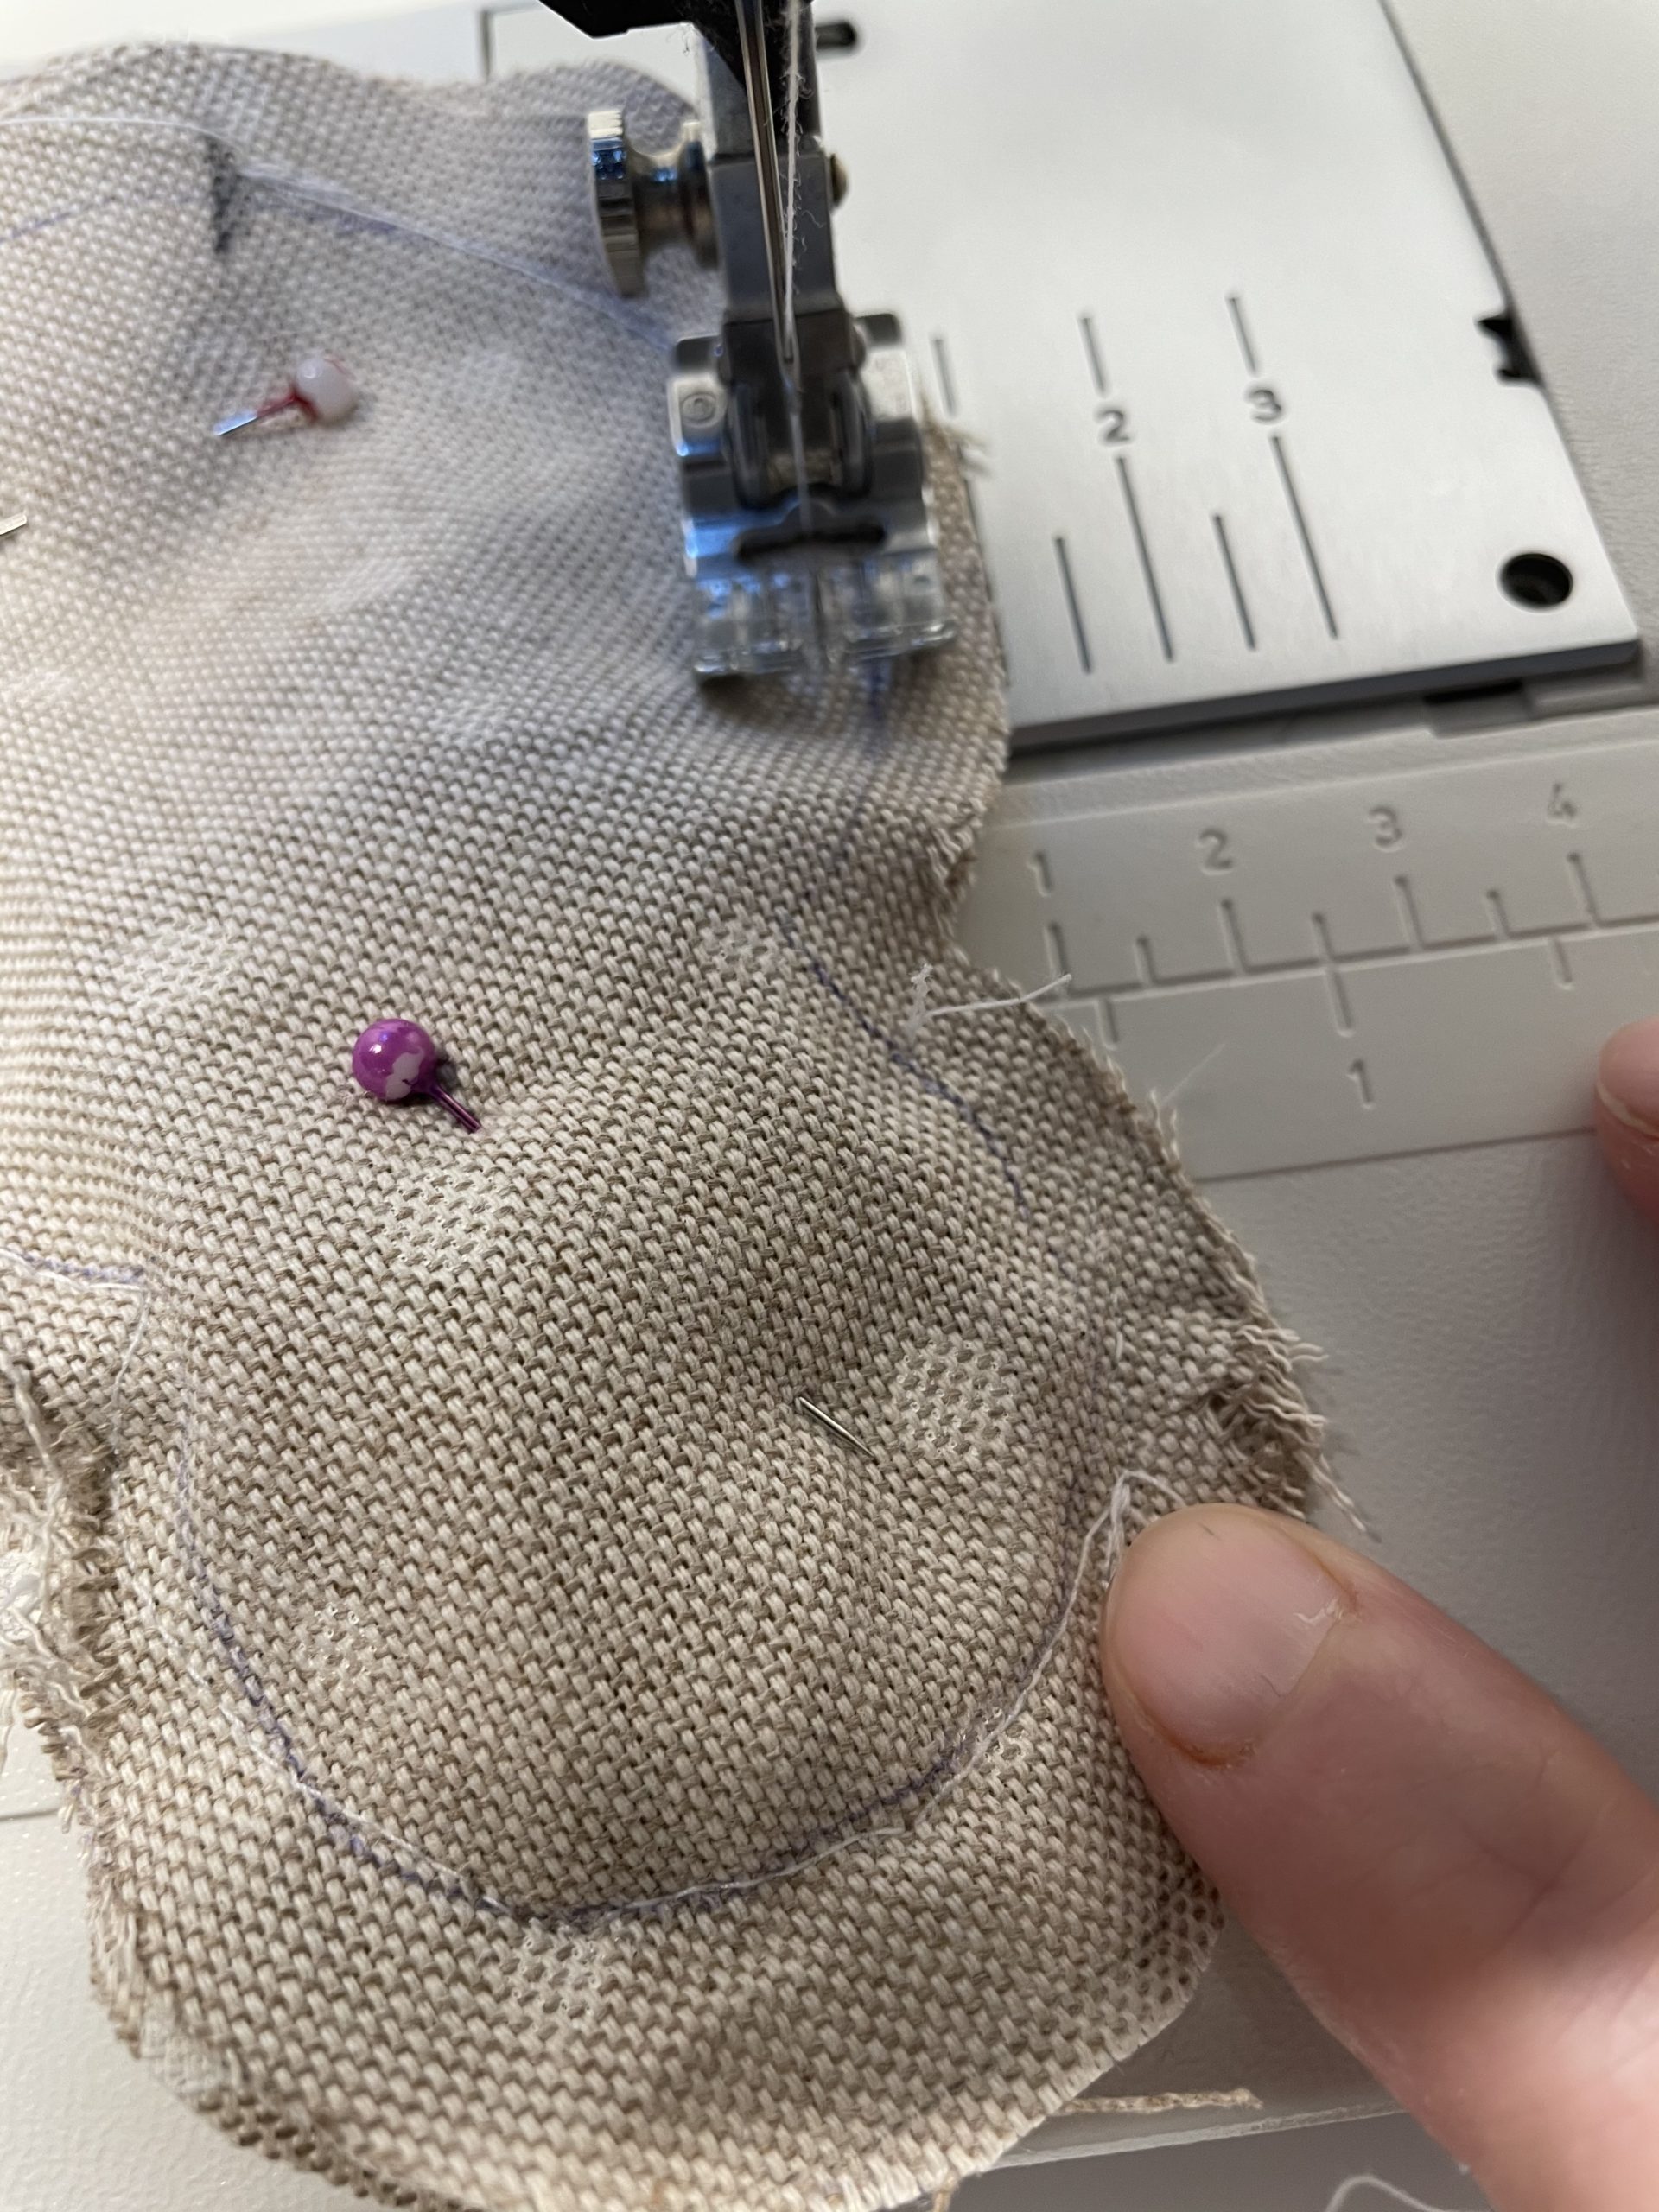
Then you put both fabrics together with pins. Mark a spot at the bottom that you do not sew. You will need these later to turn the fabric.
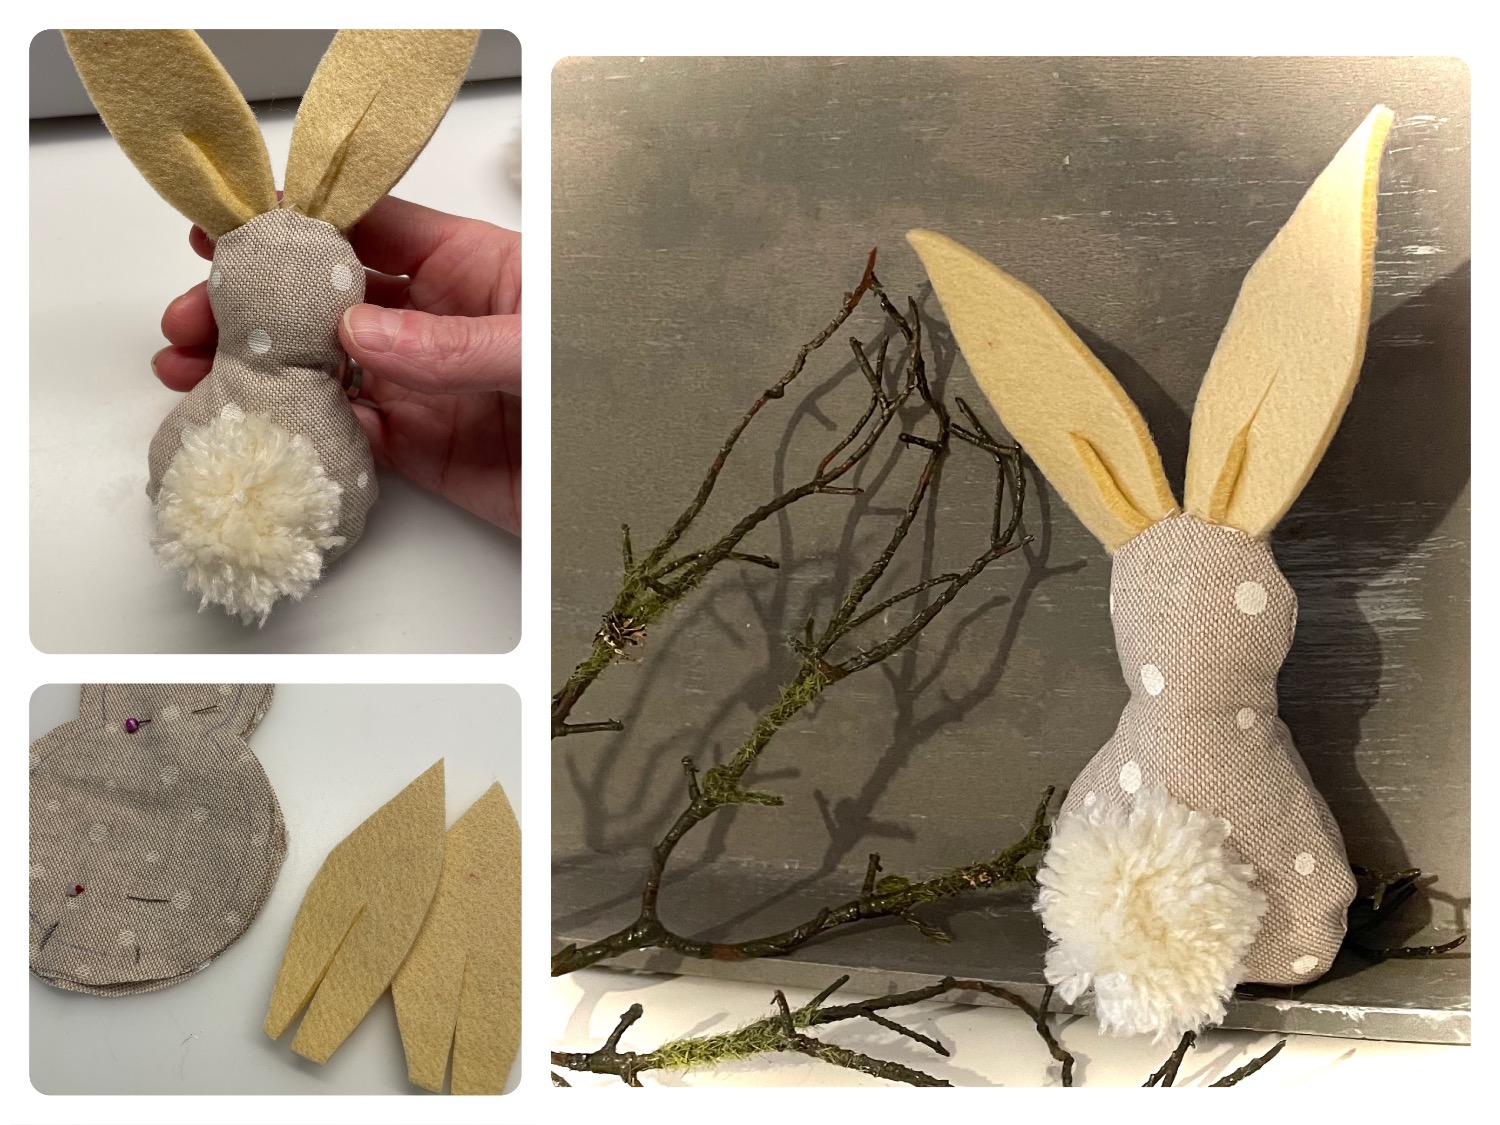
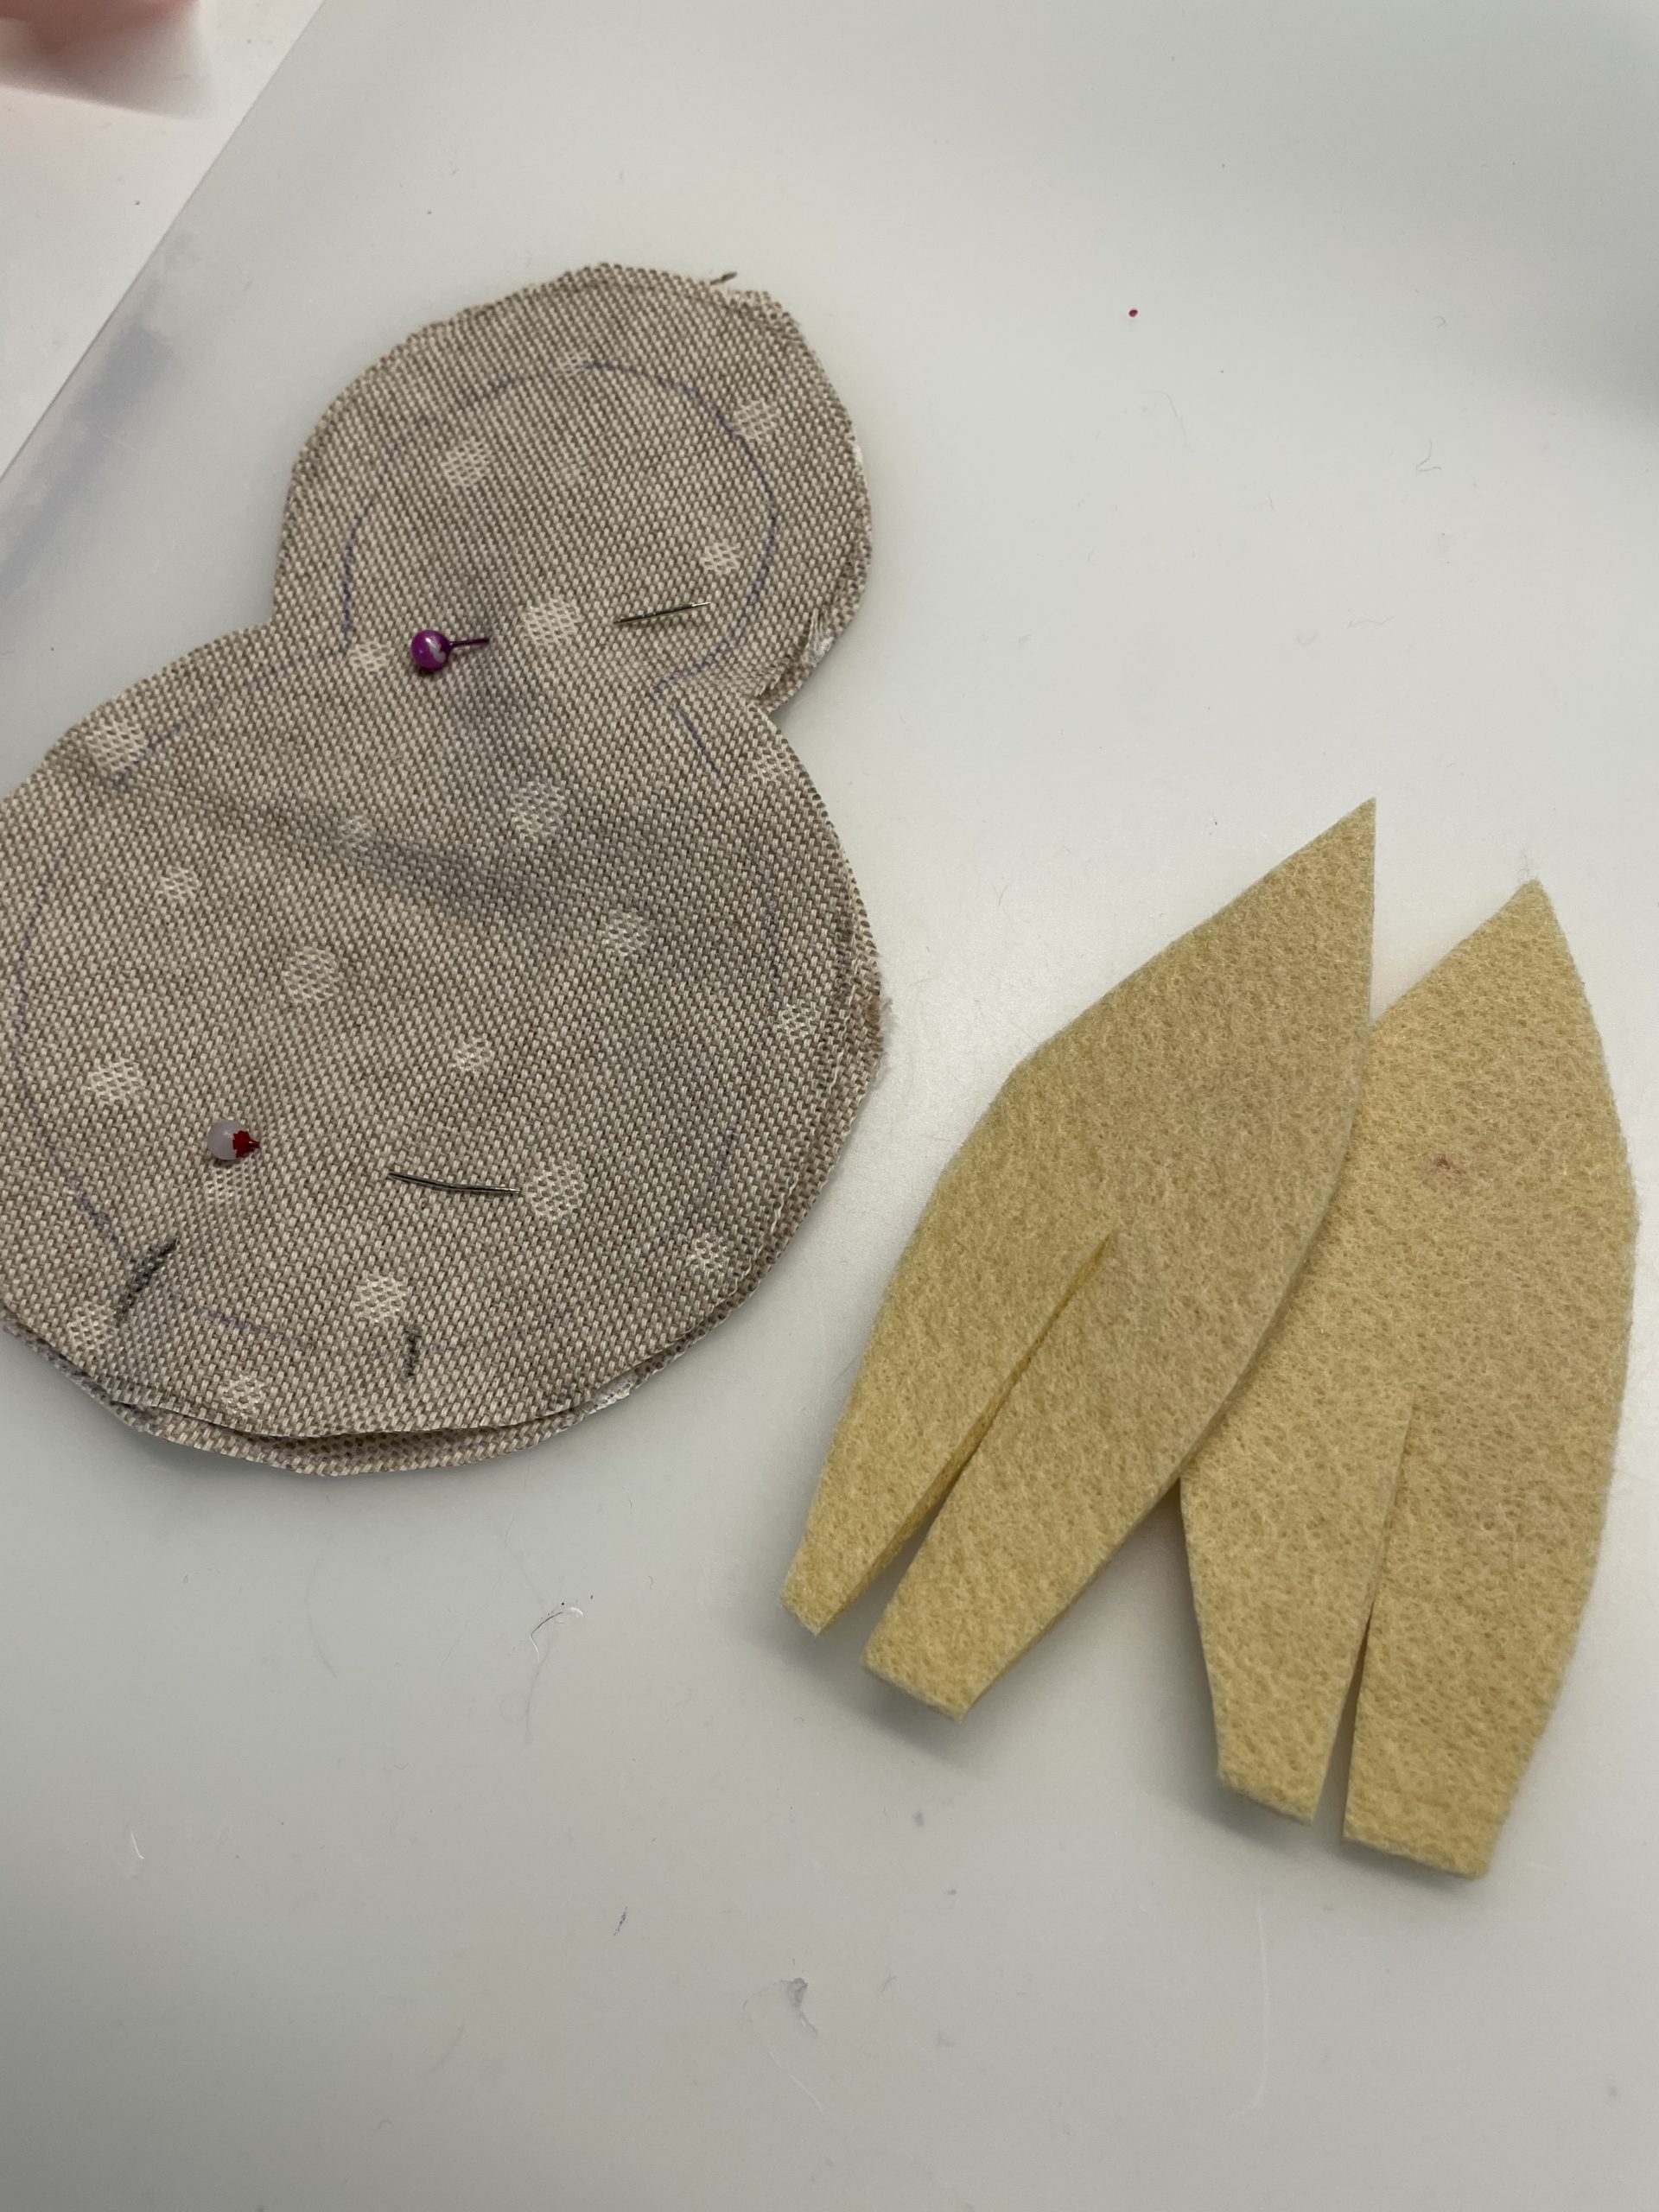
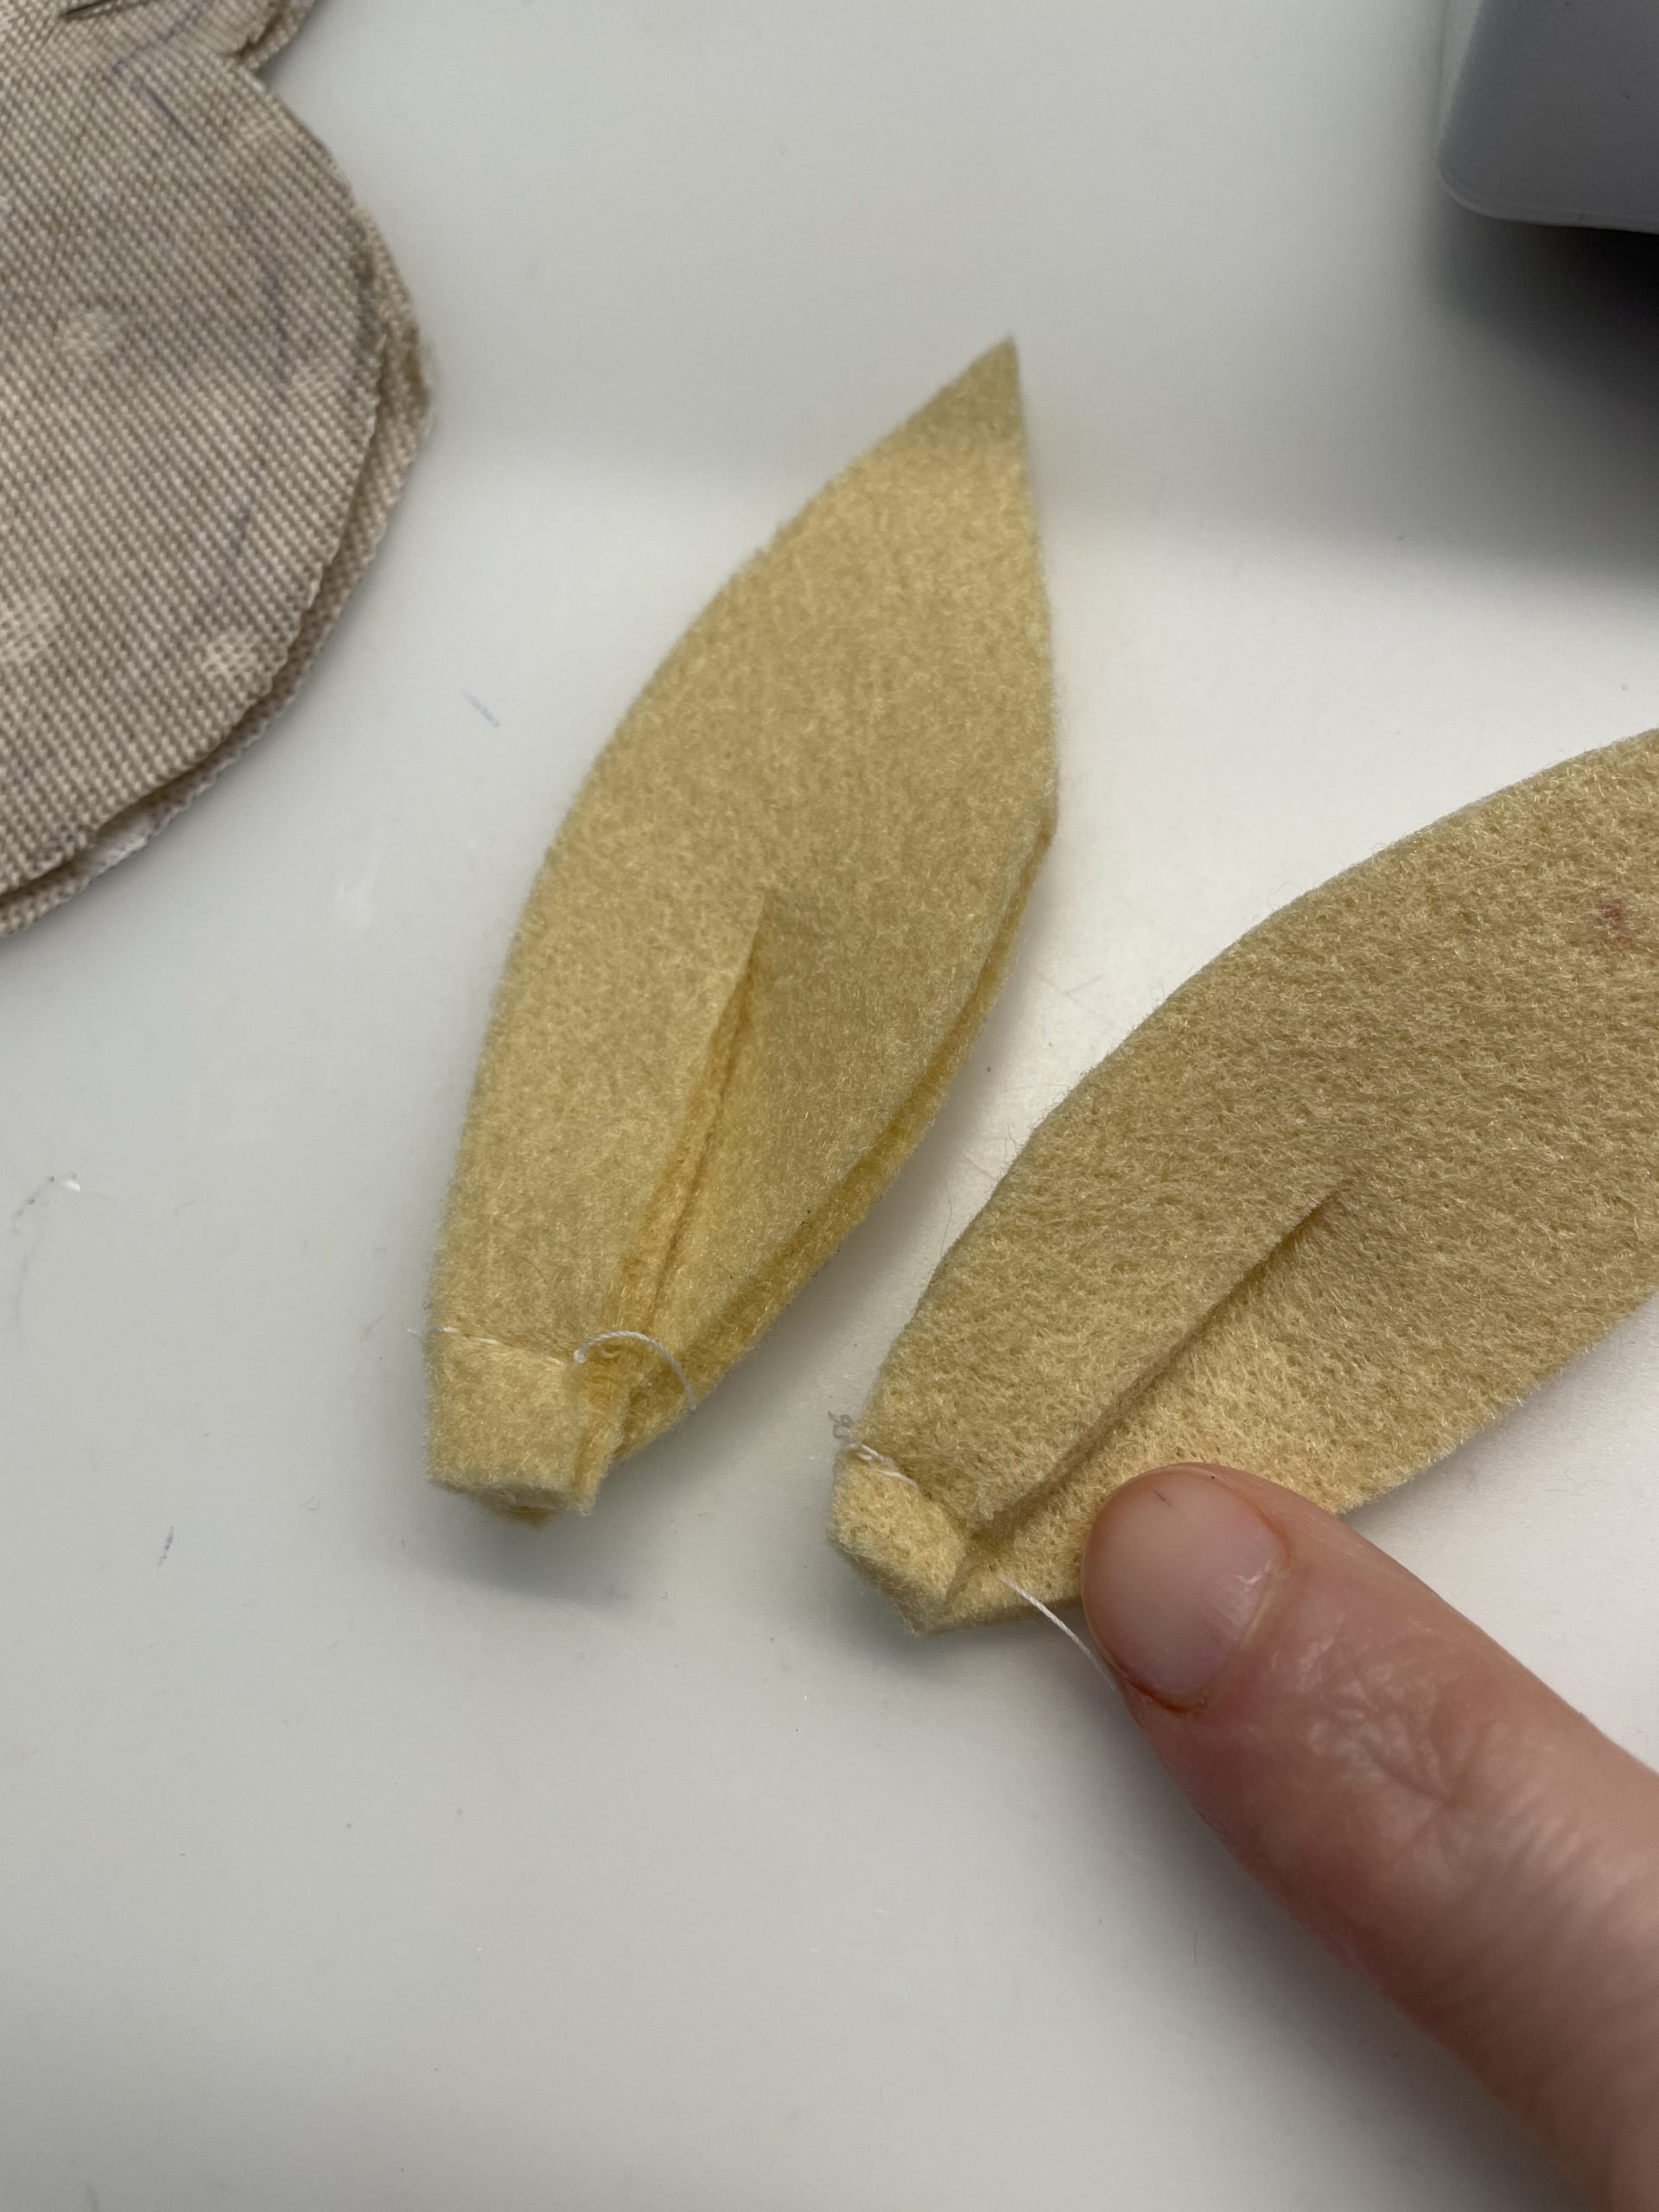
Cut out the rabbit ears from a thick felt (suitable to the fabric!).
Then cut your ears in the middle.
Now you put the cut-in pieces of your ears on top of each other.
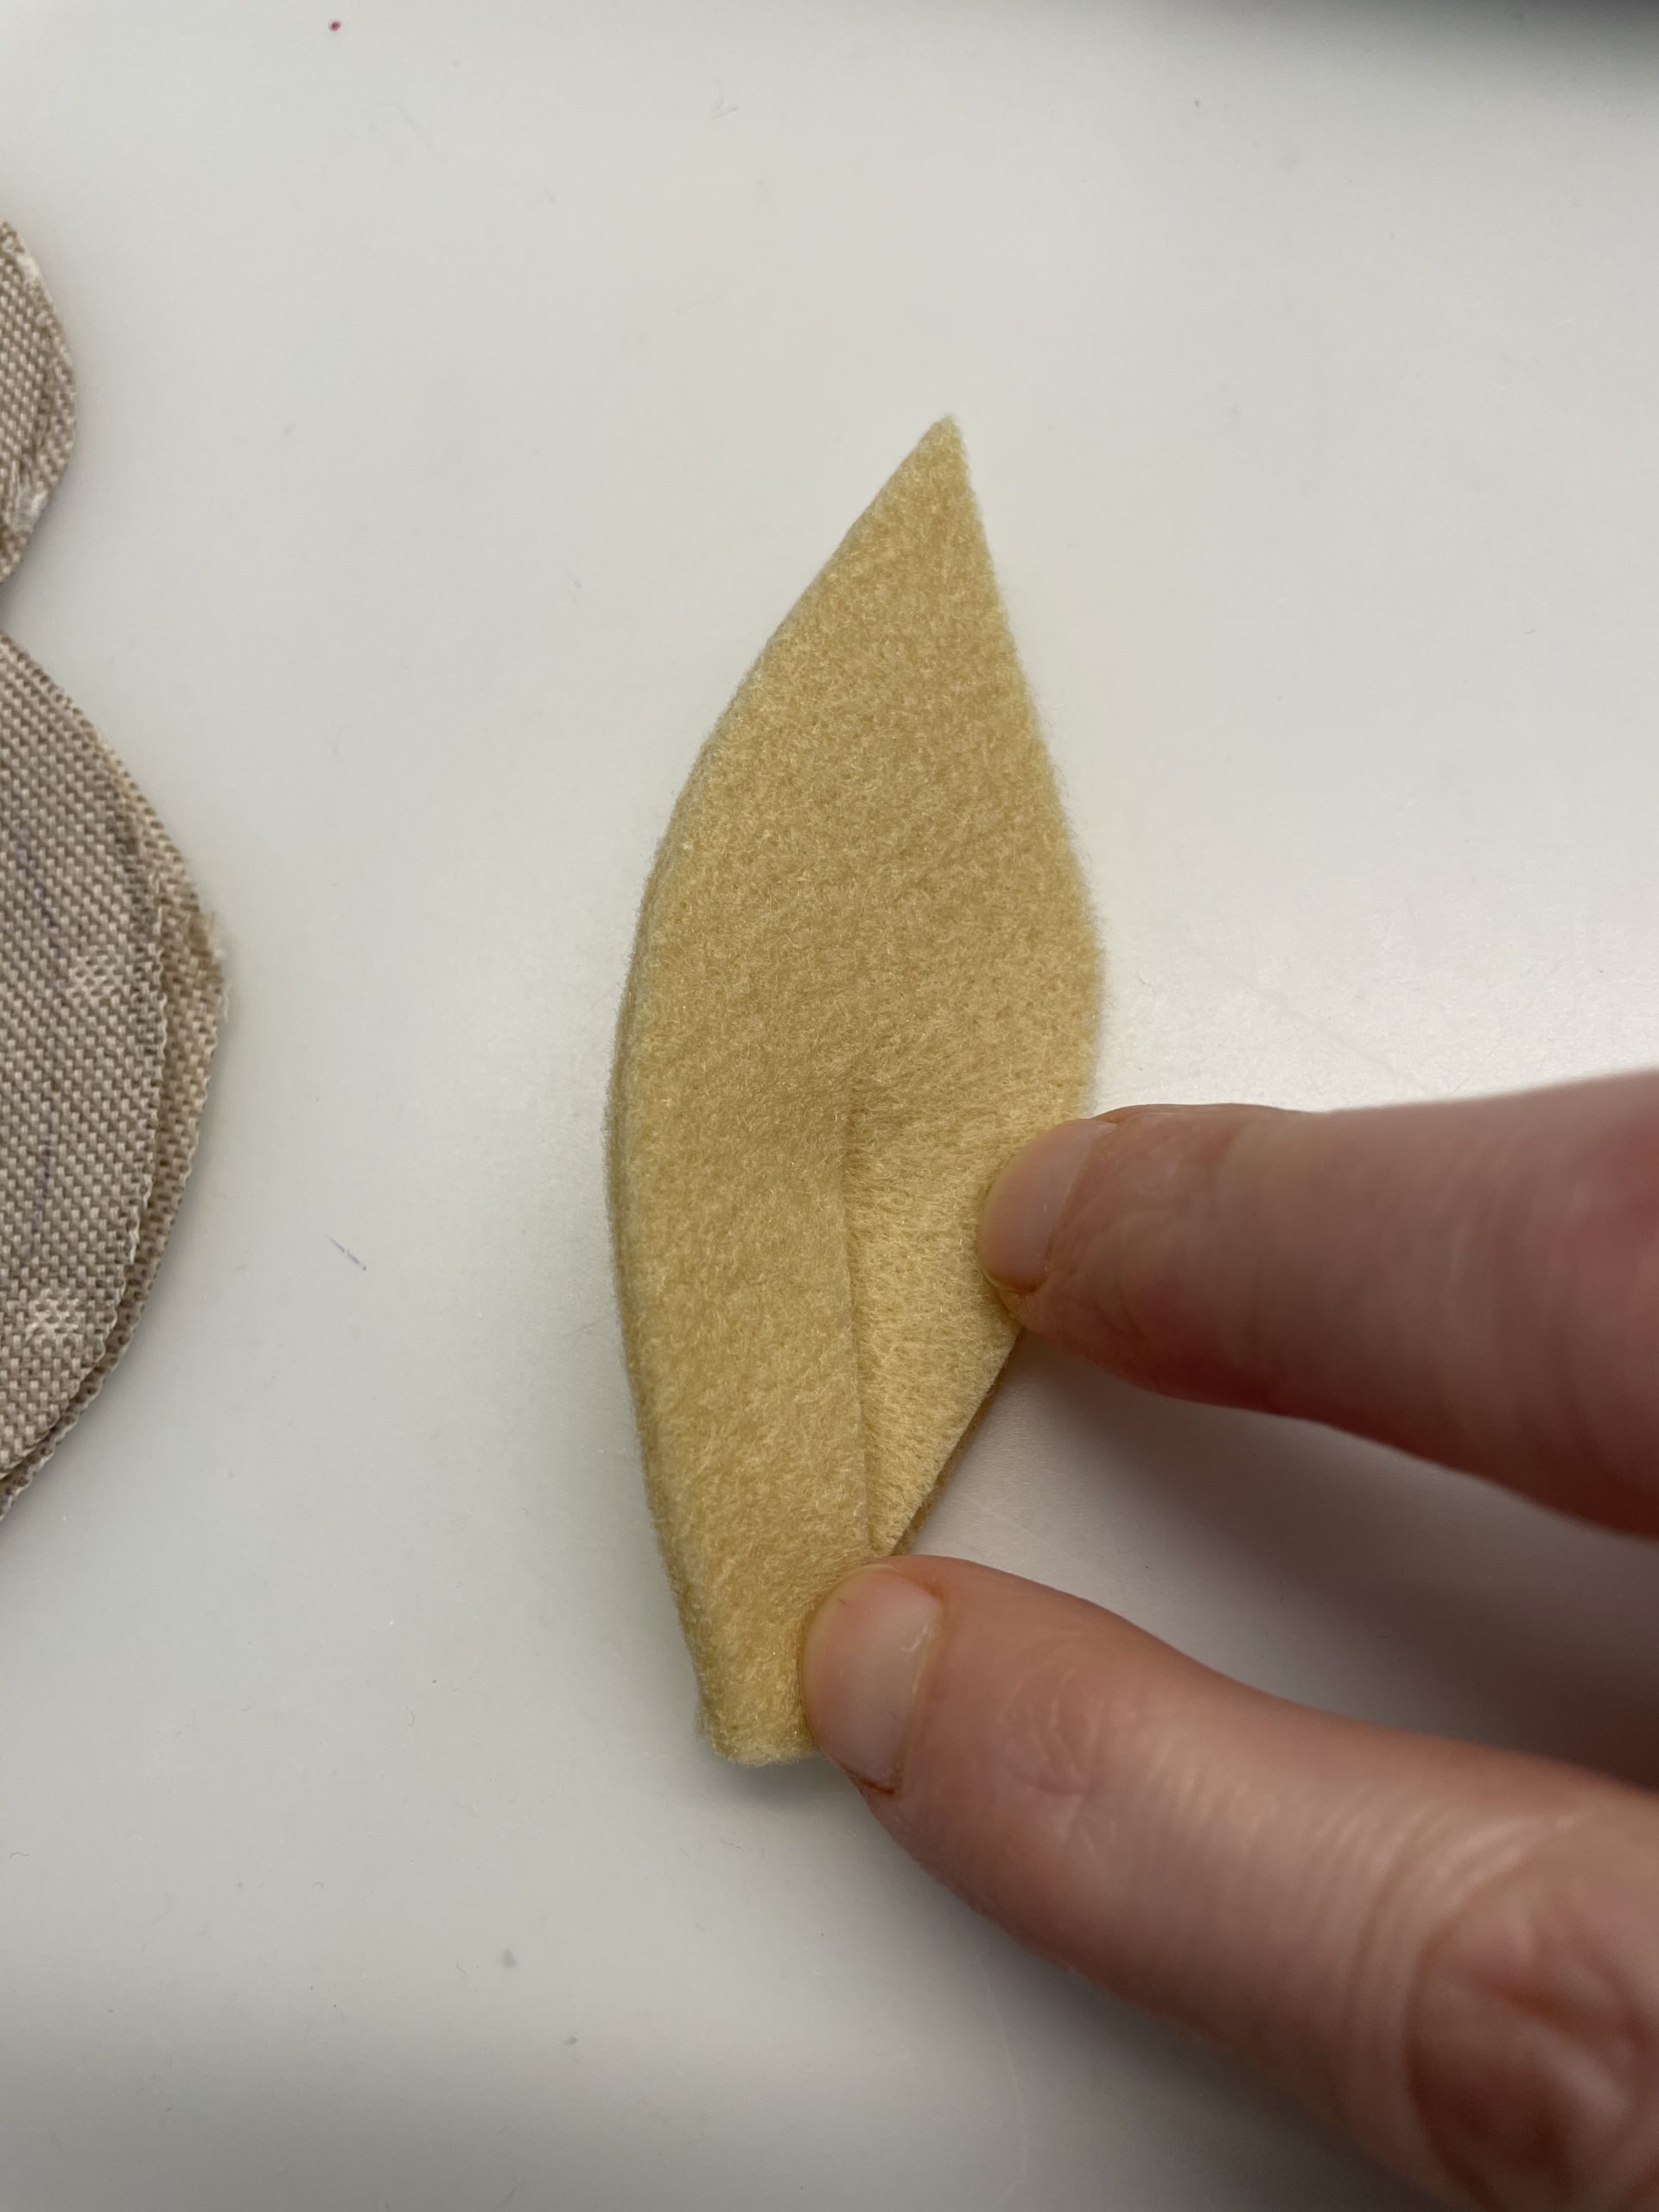
Sew them together with a few stitches with the sewing machine.
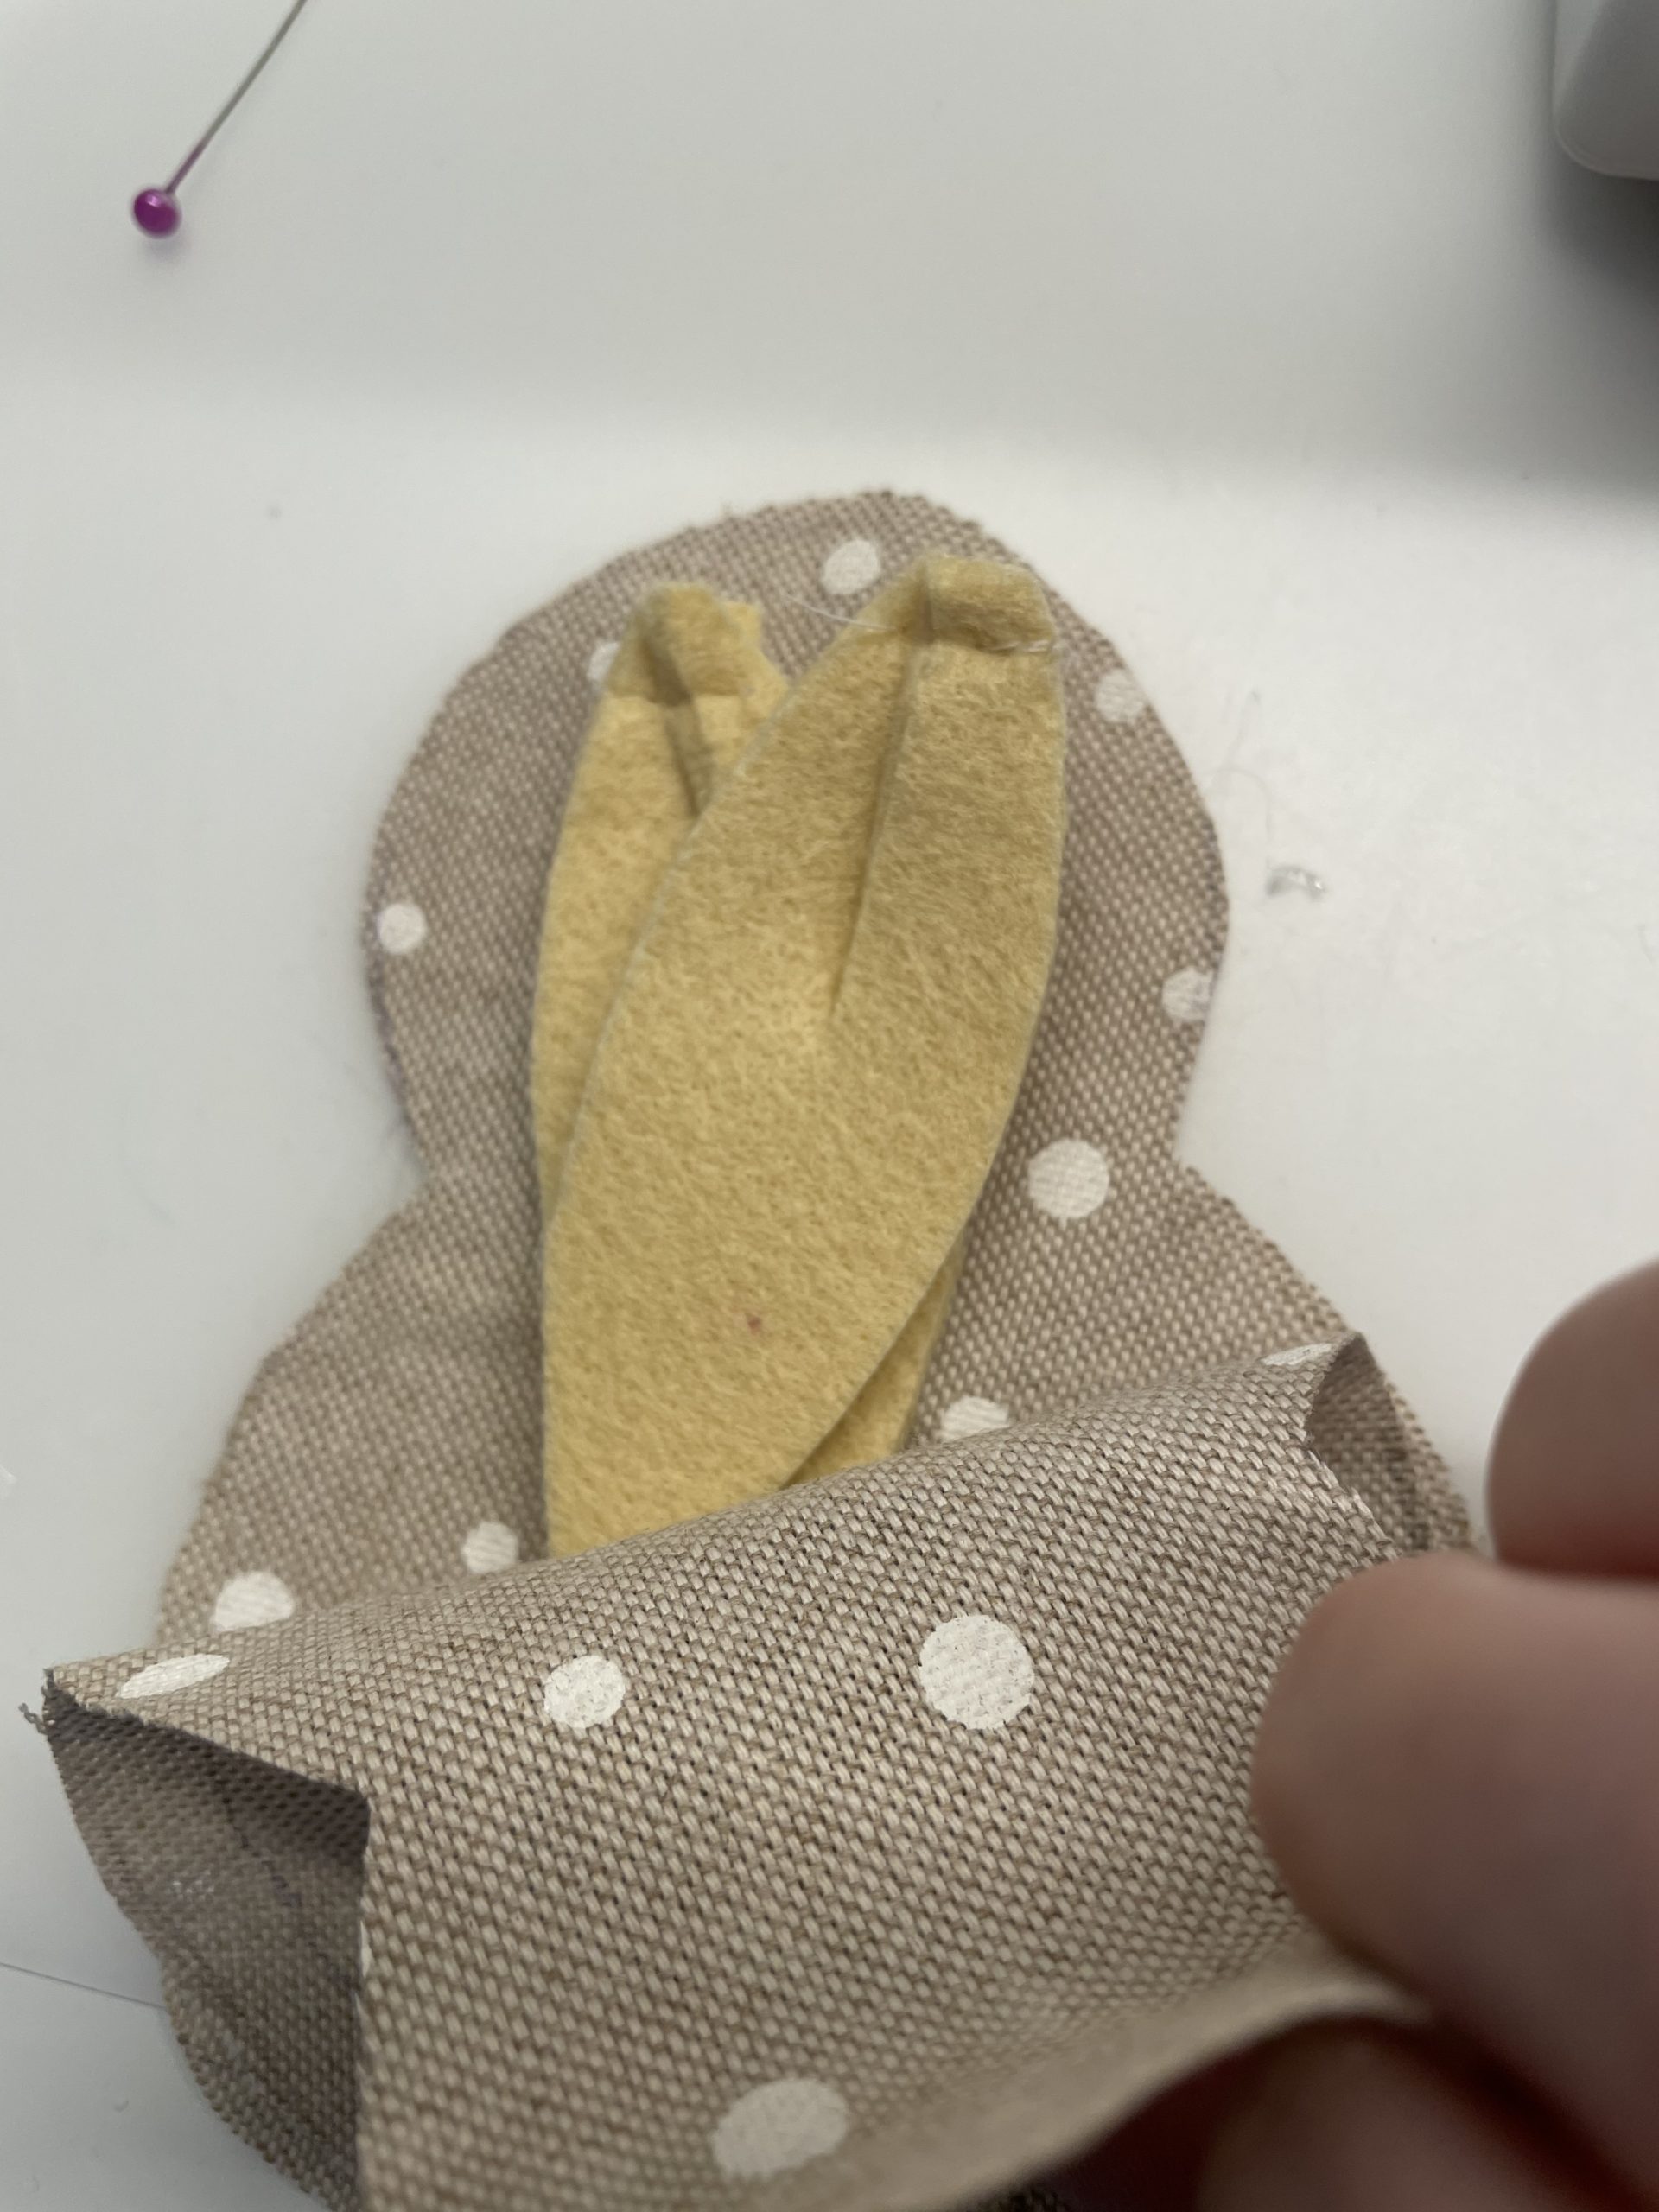
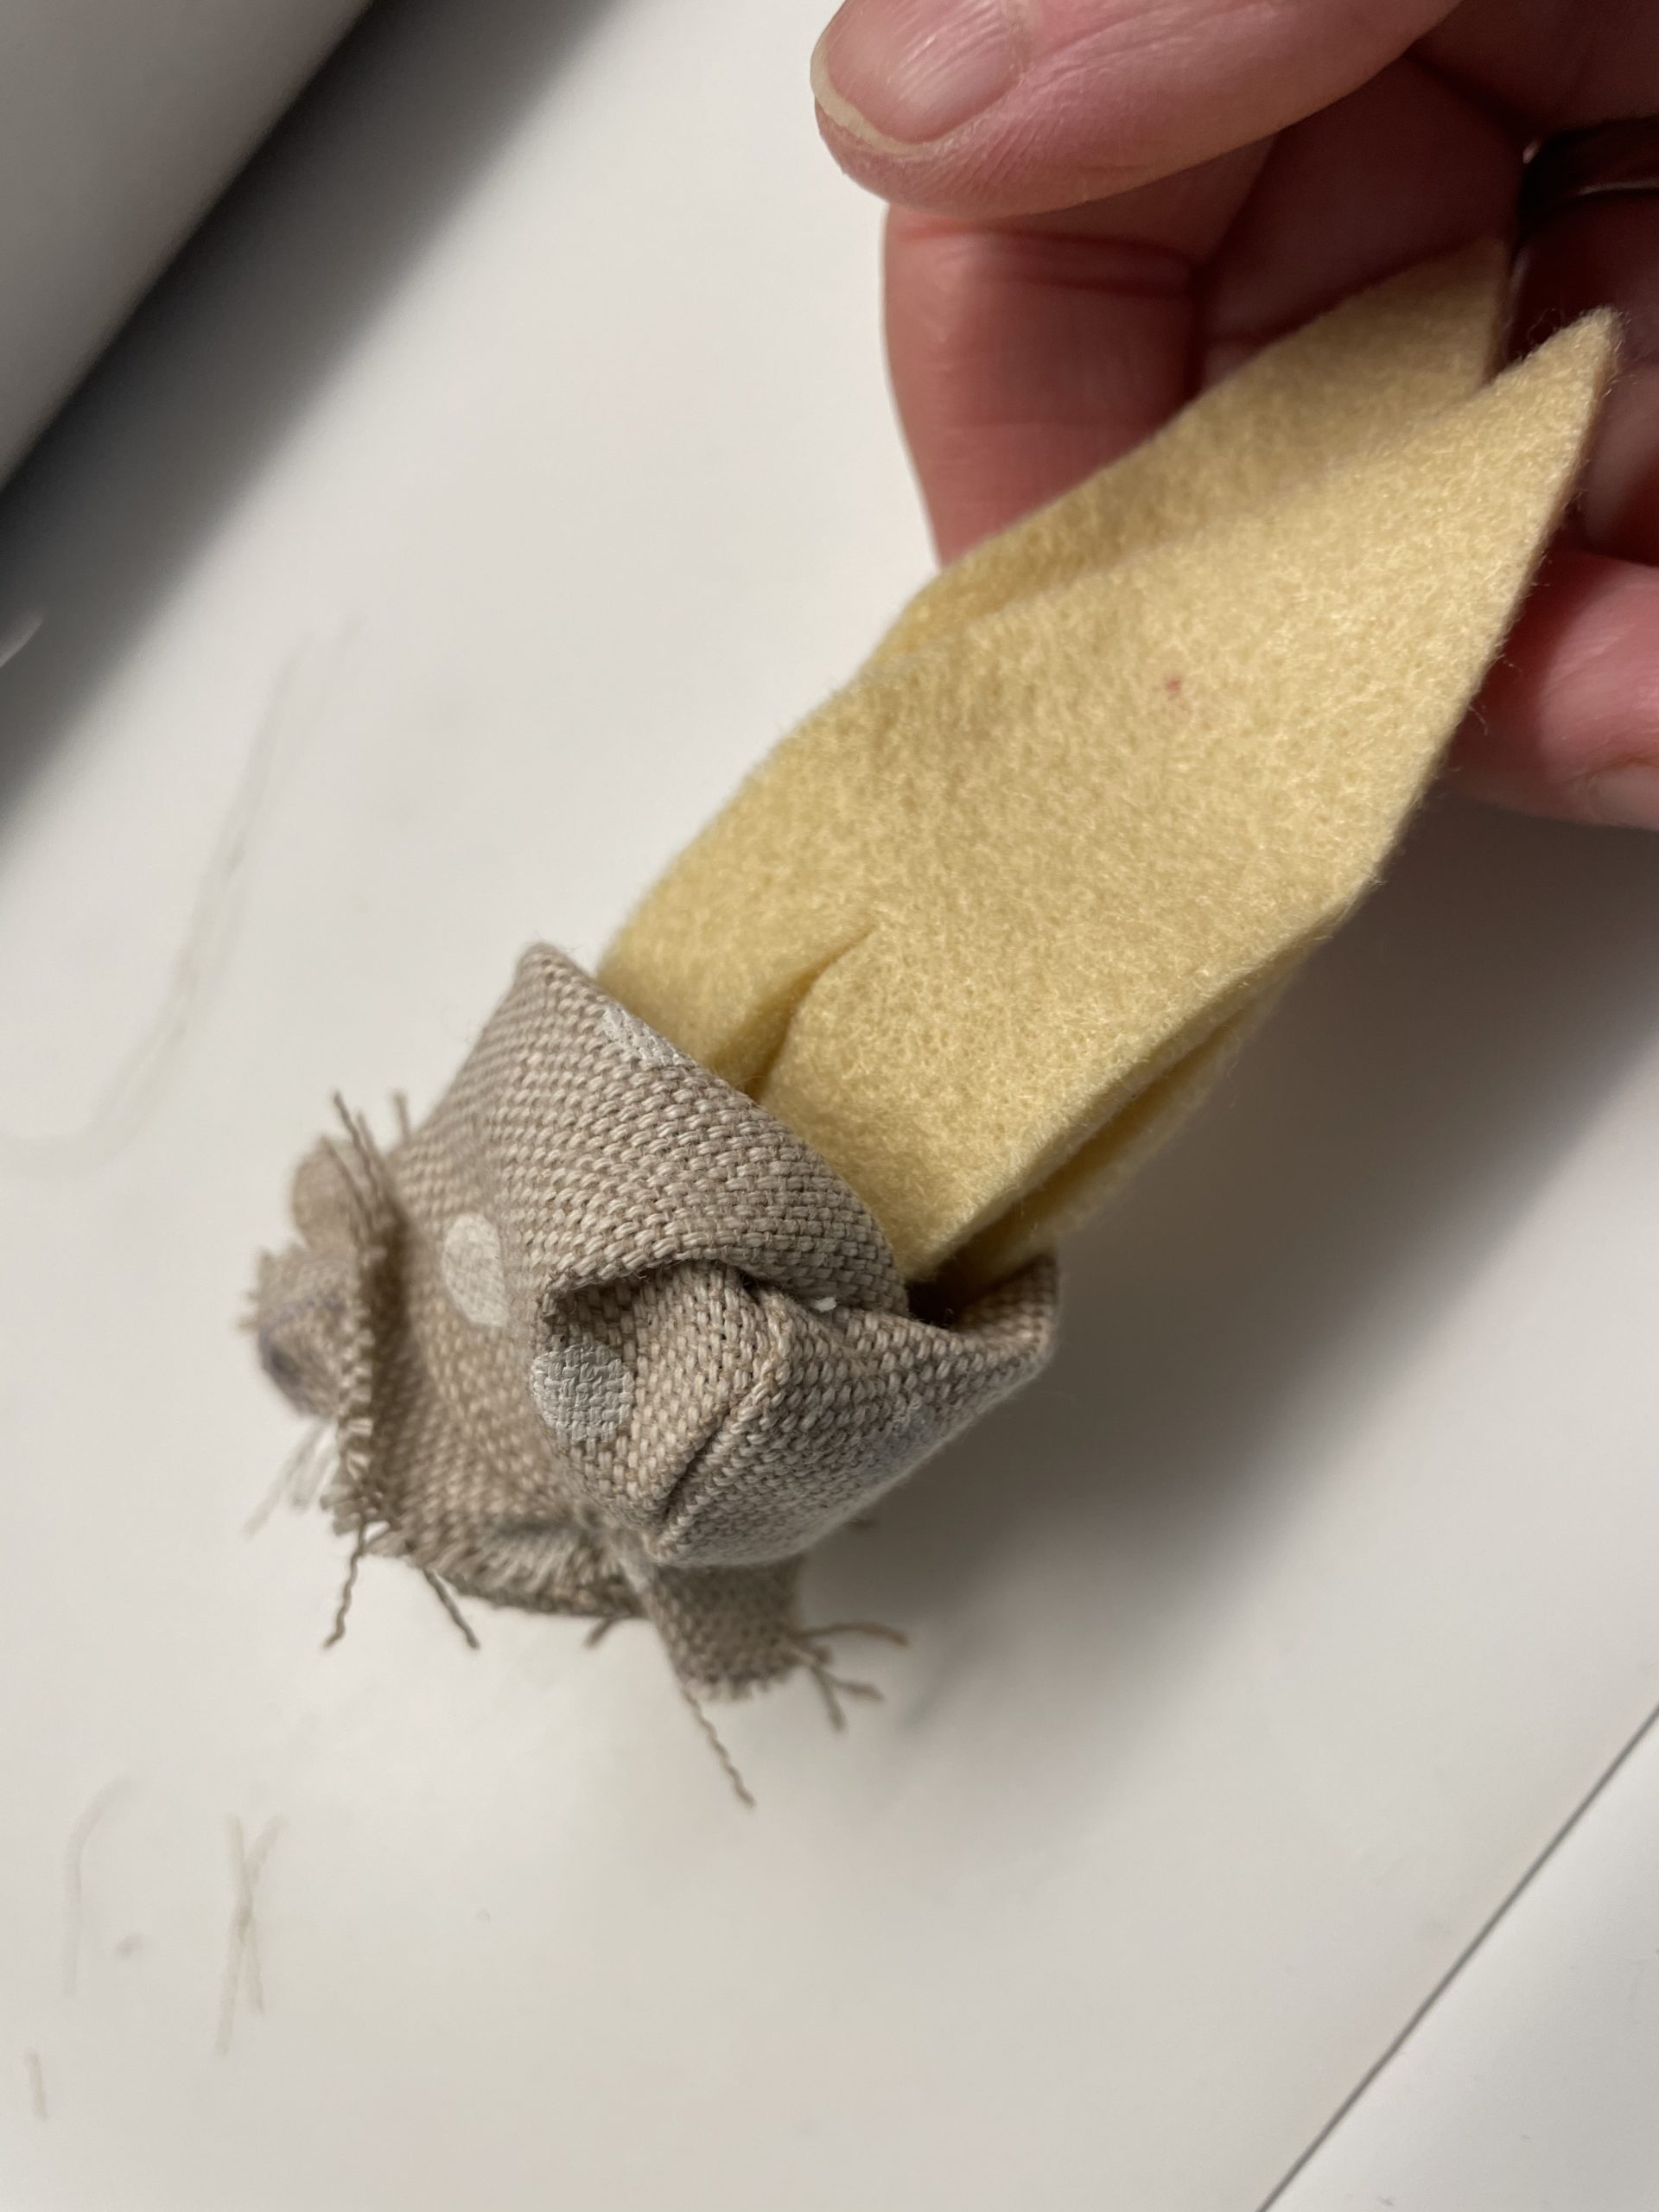
Now place both ears in the middle of the rabbit body. They lie slightly obliquely above each other. Turn them so far inward that you do not sew them when sewing the sides.
Only the straight part of the ears is sewn to the upper edge. Put the fabric parts completely on top of each other and put everything together.
Now the rabbit is sewn all around. Do not make sure to sew the turning opening!
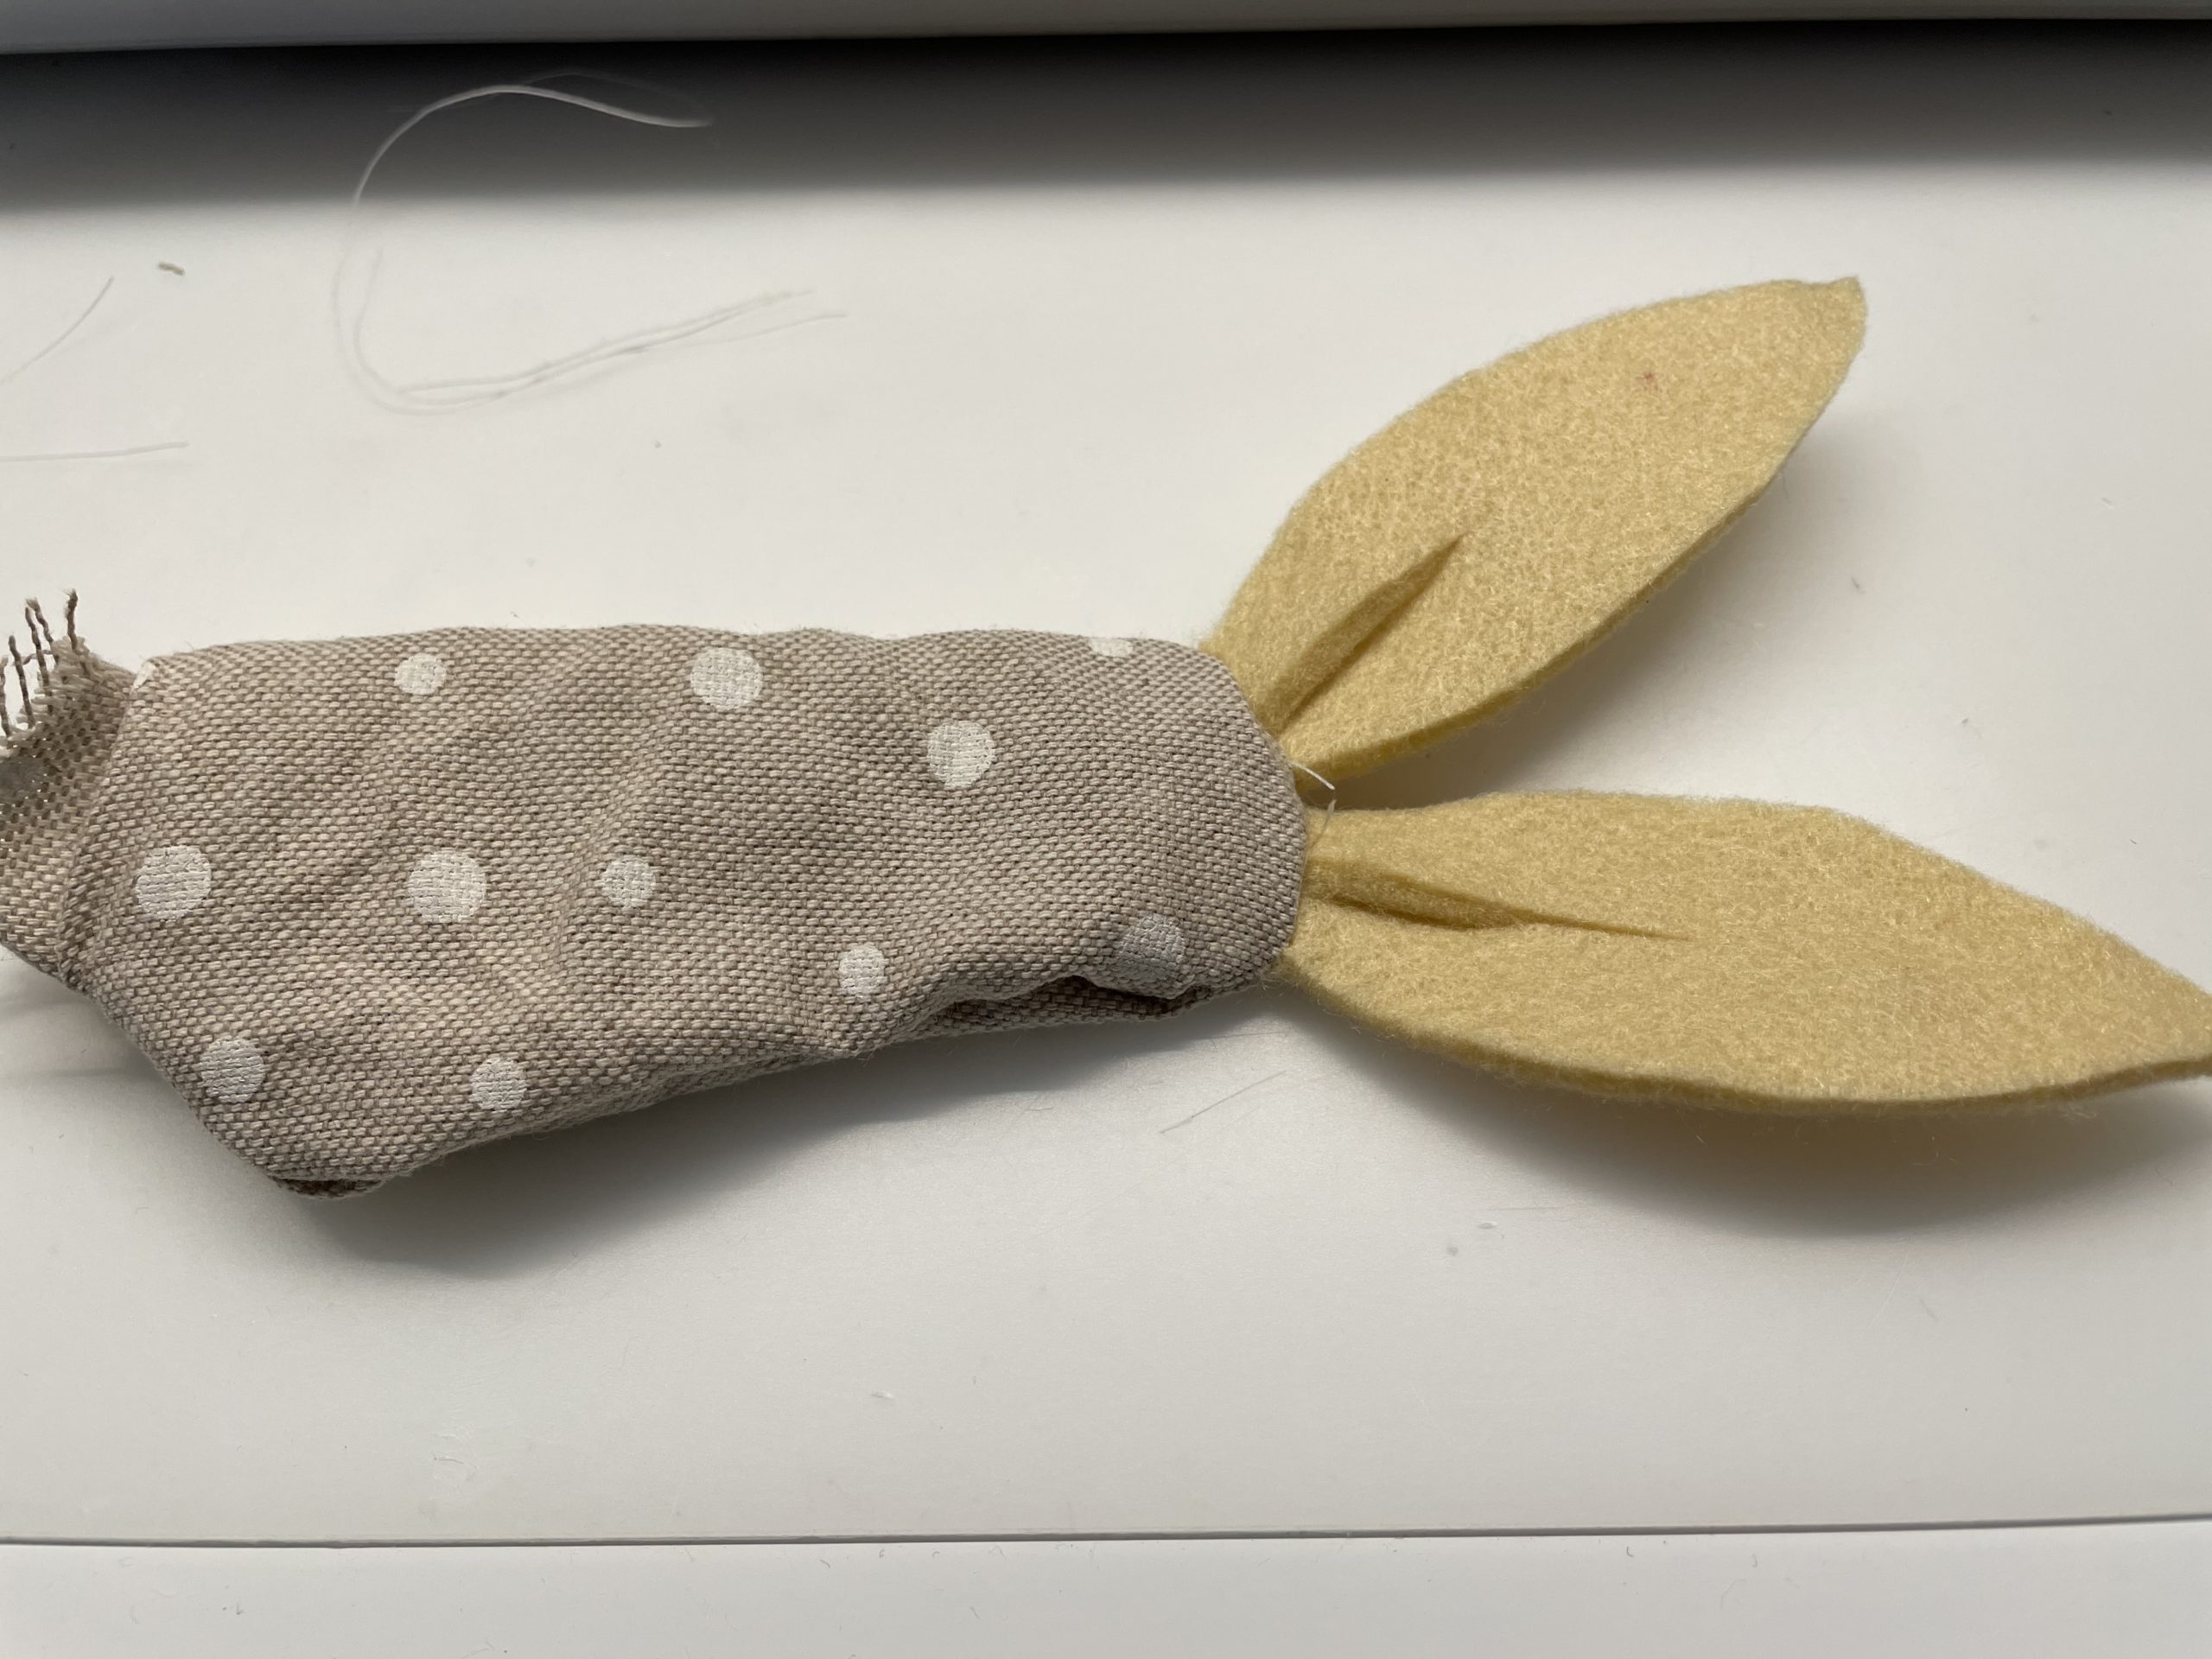
Through the opening in the fabric you can now turn the rabbit around.
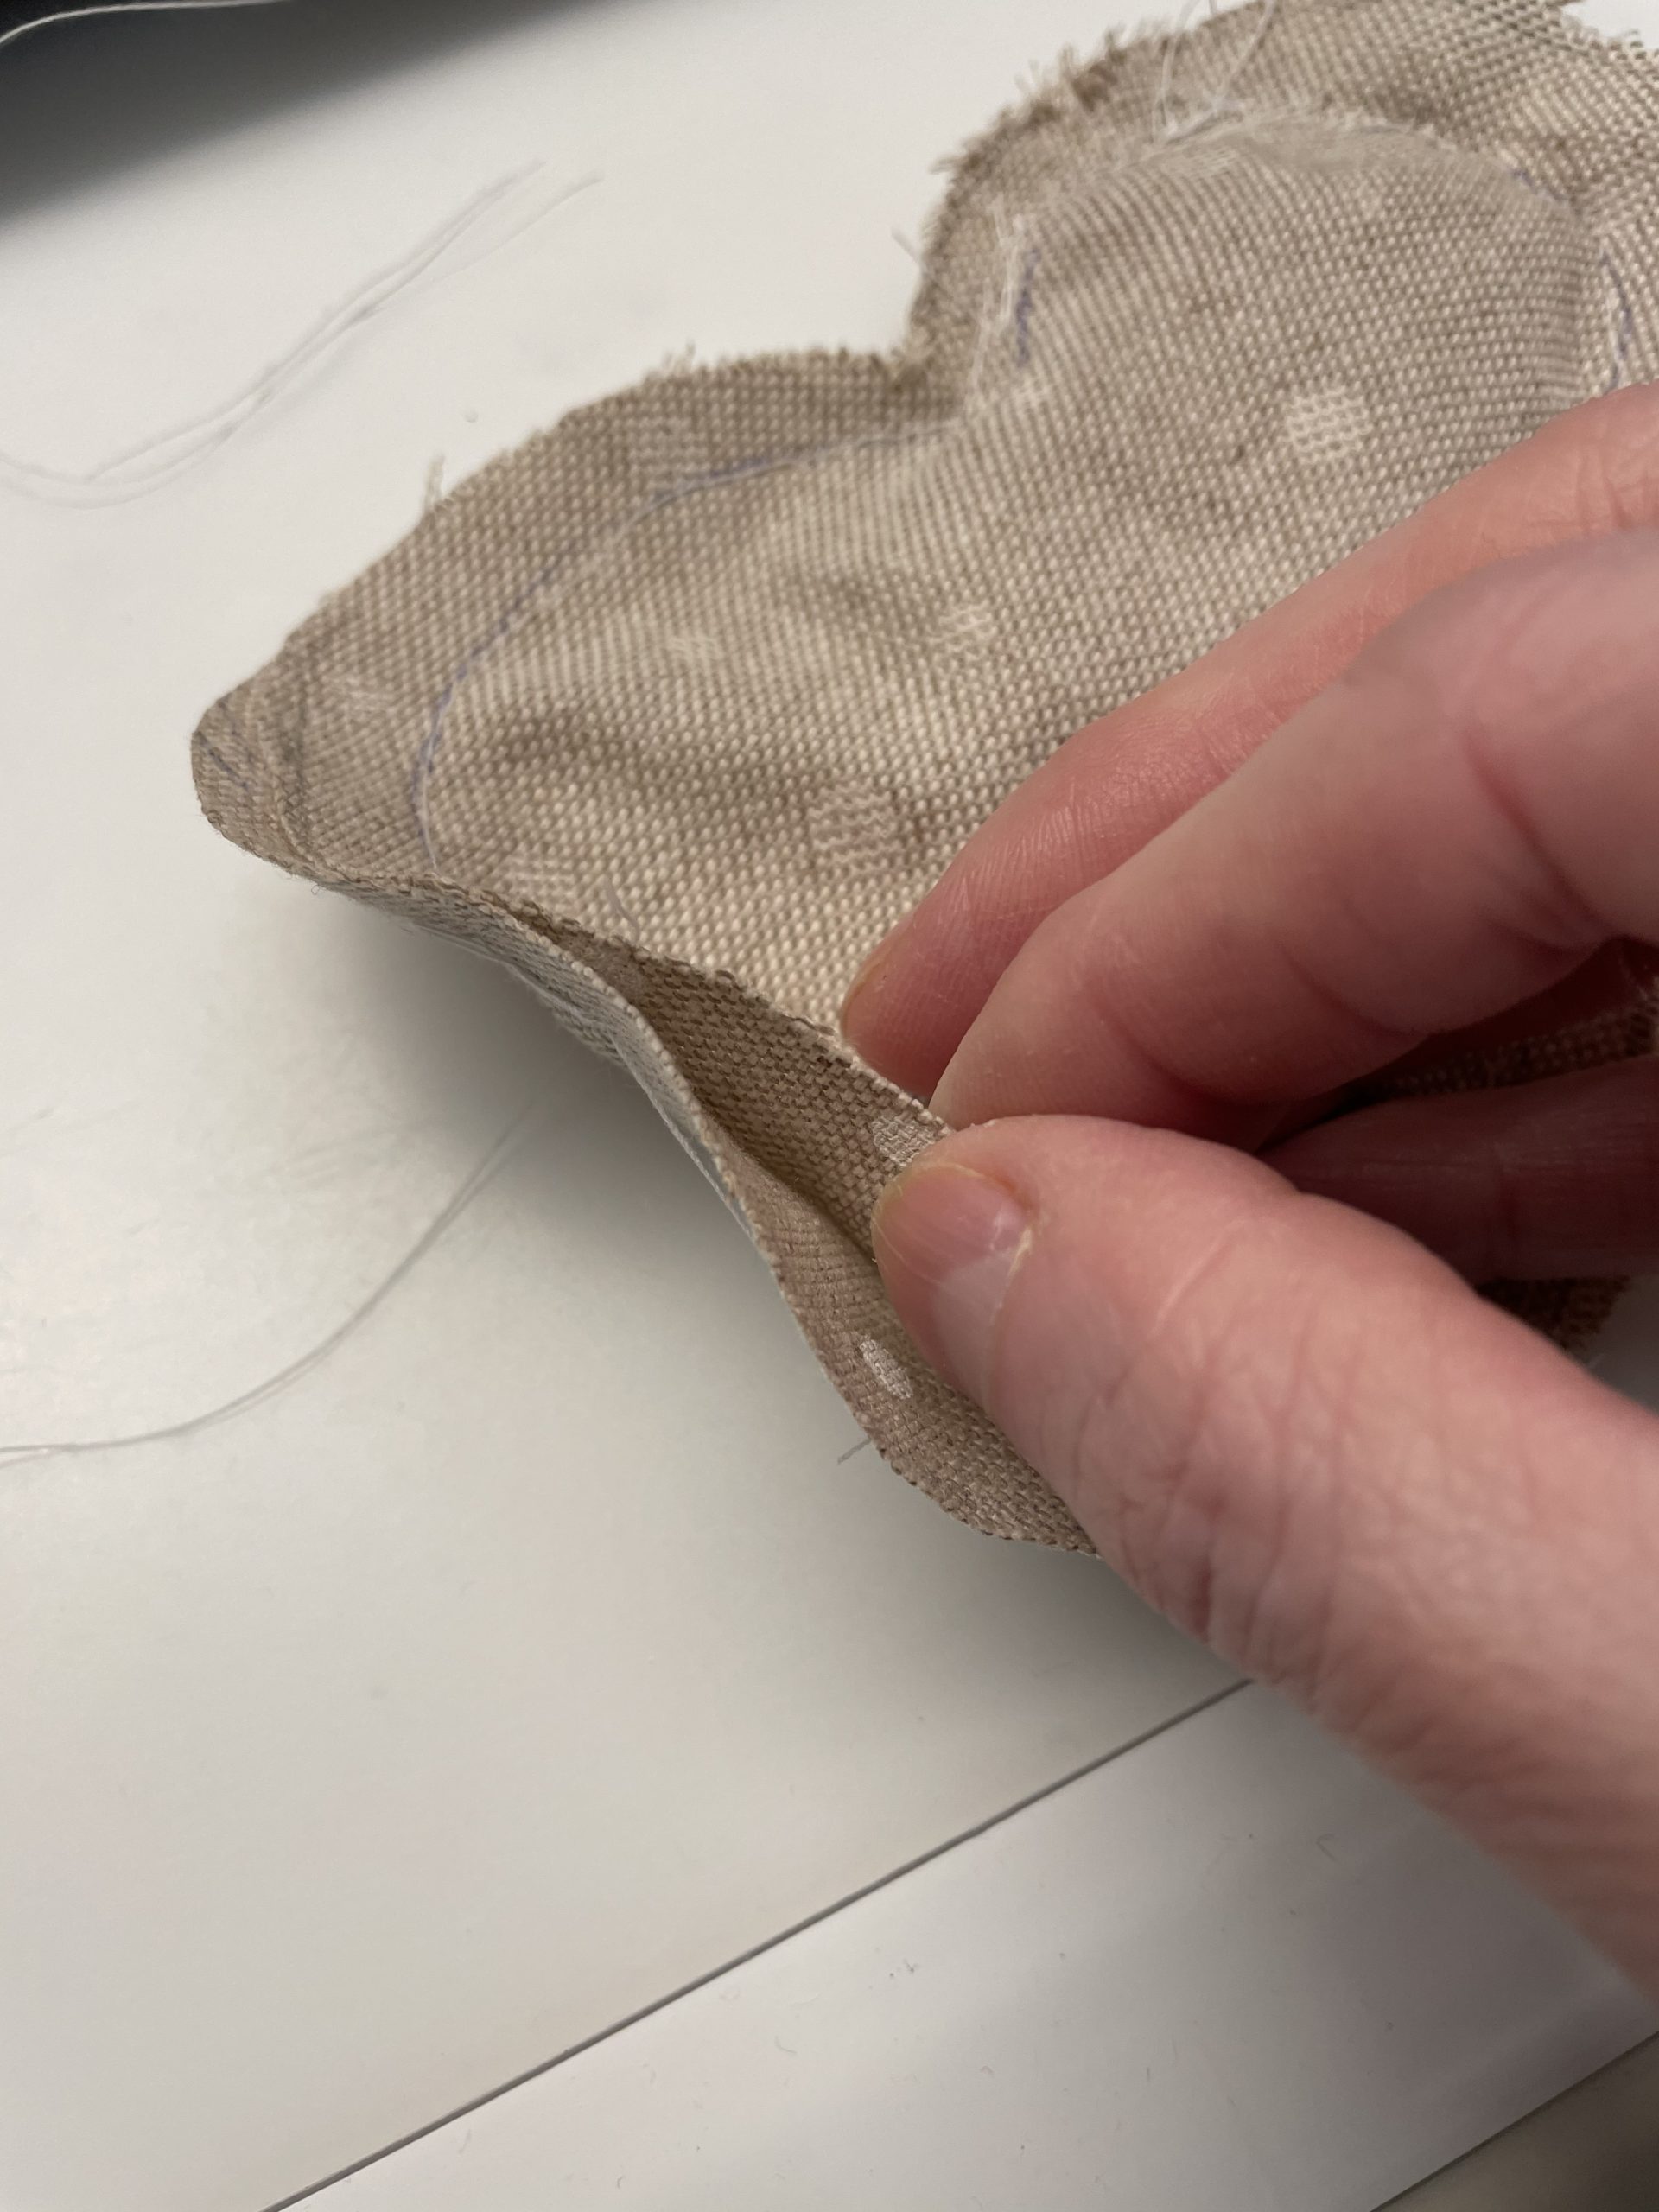
Pull your ears outwards and wrap the fabric around.
Now you press the rabbit's head and belly outwards with a pen.

Now fill the head of the rabbit with cotton wool. Stop it firmly in the head with the fingers (possibly also with the help of a pen).
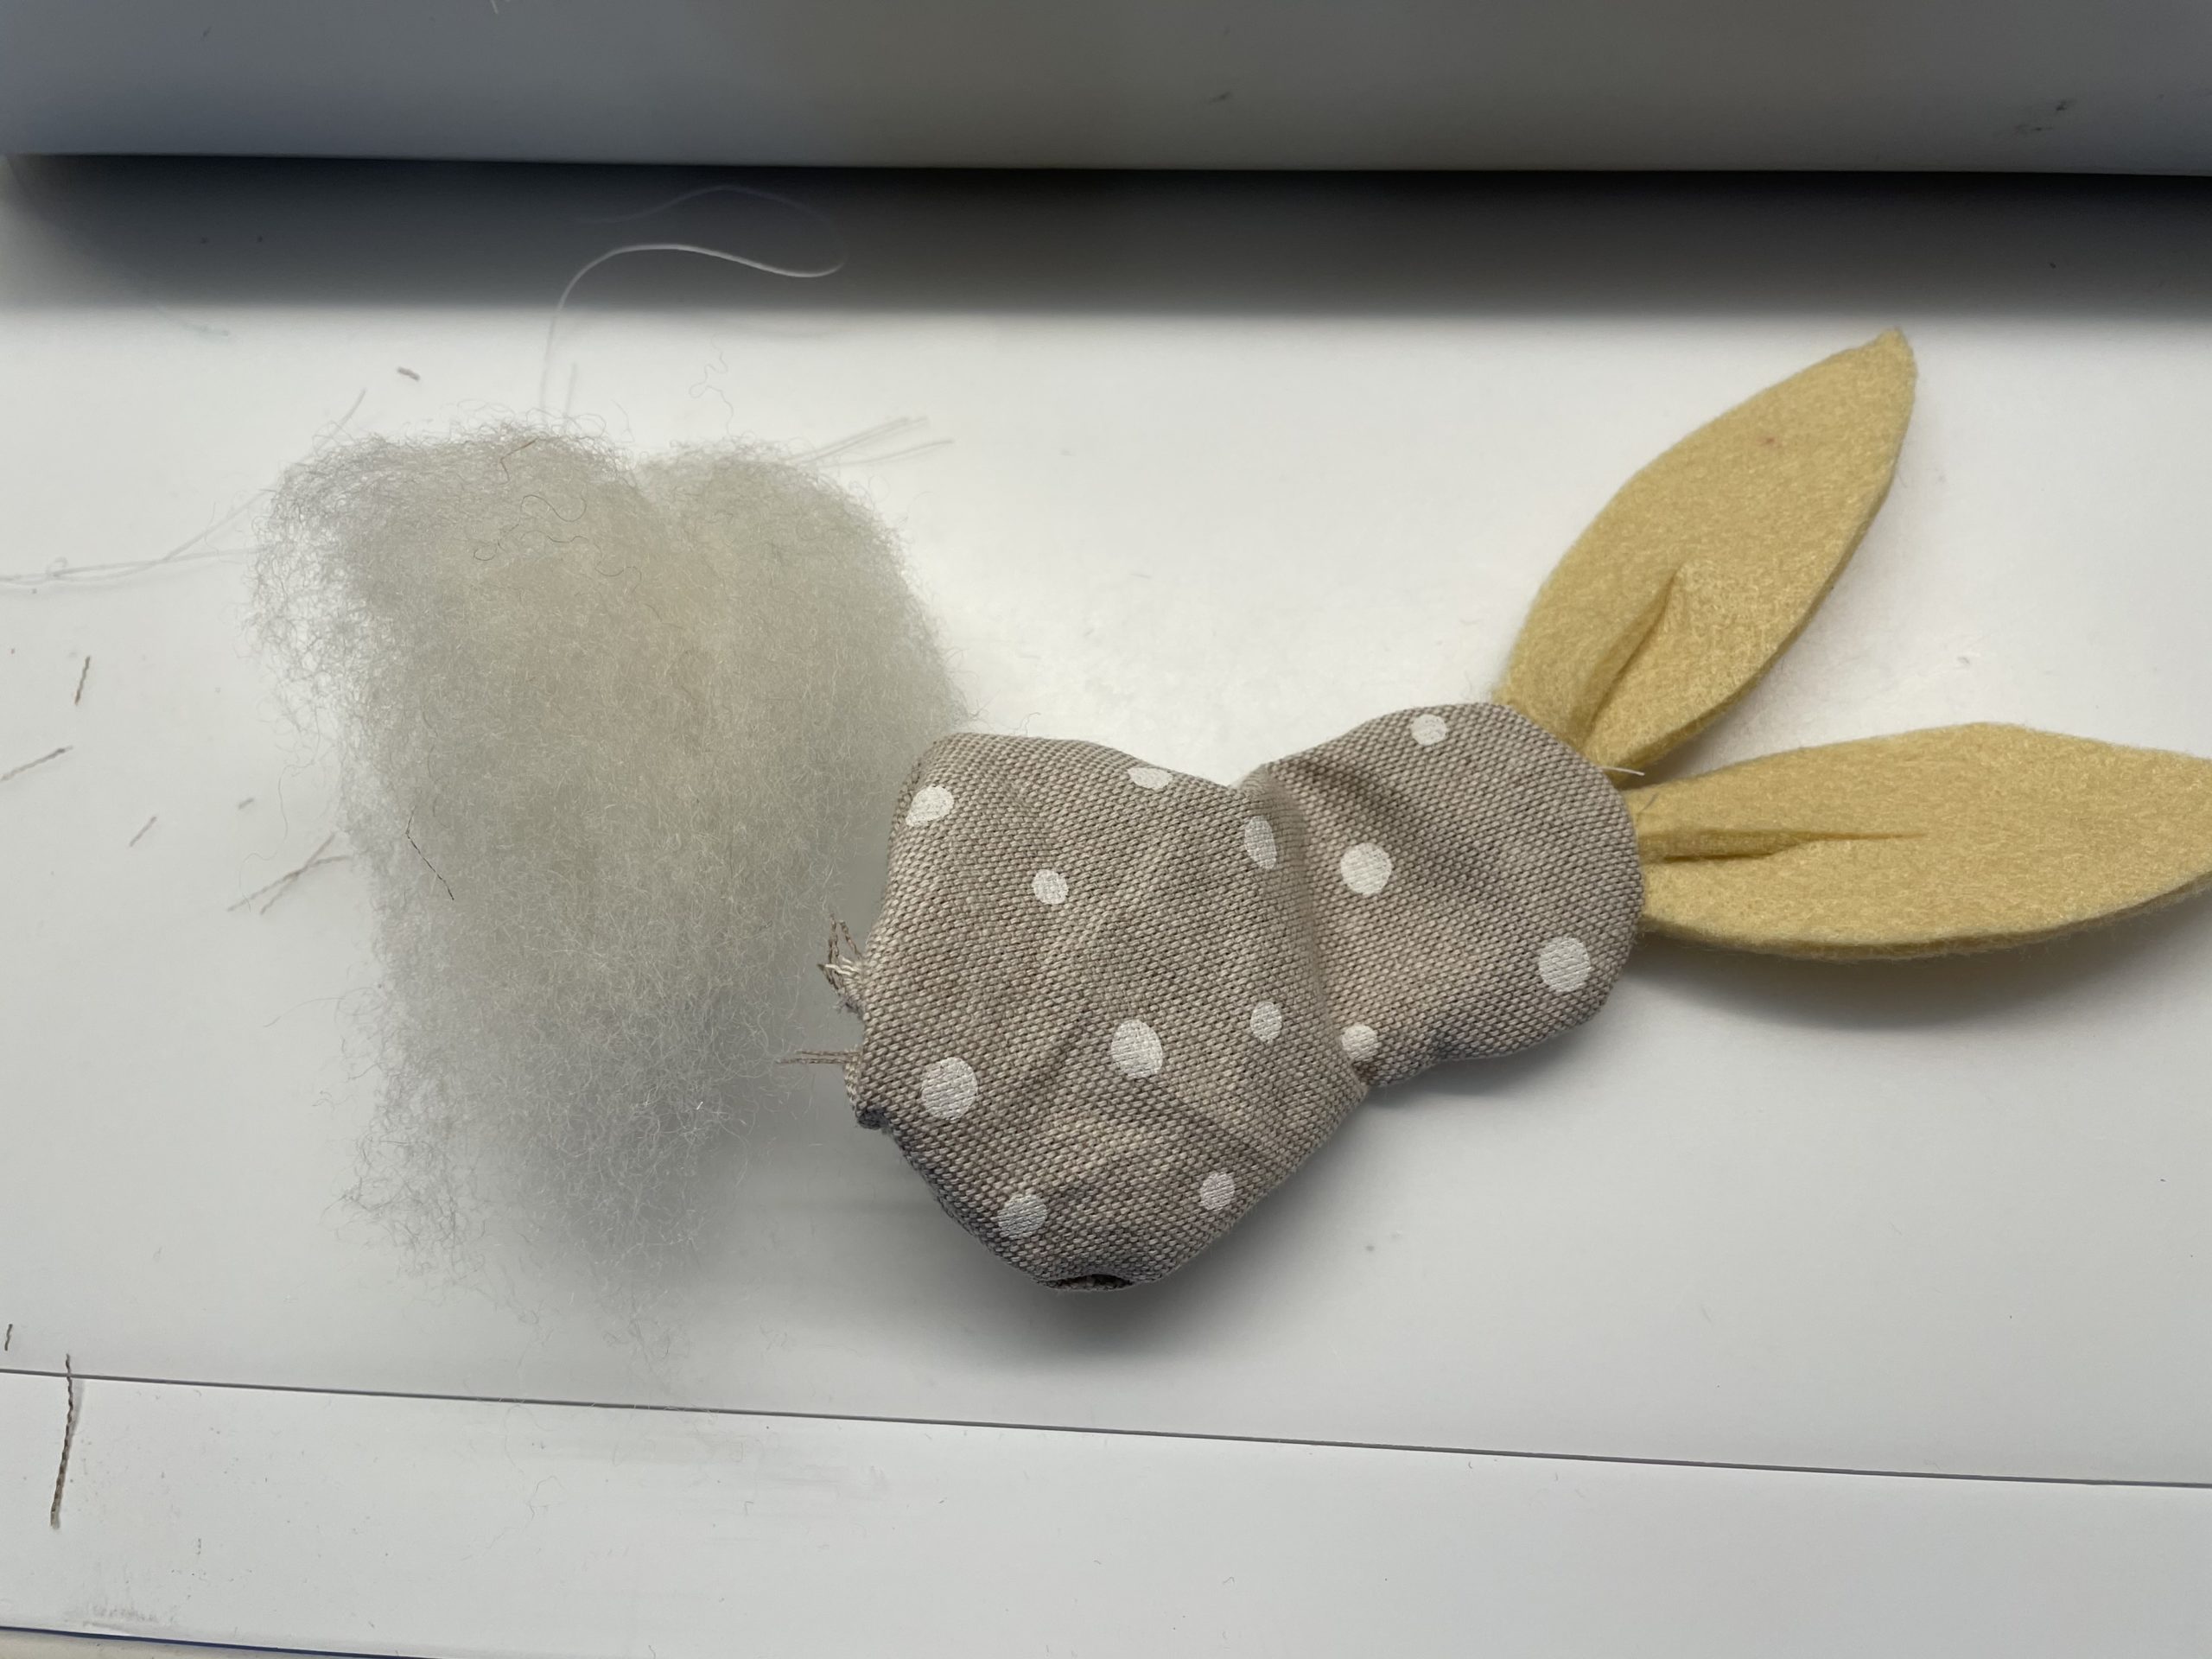
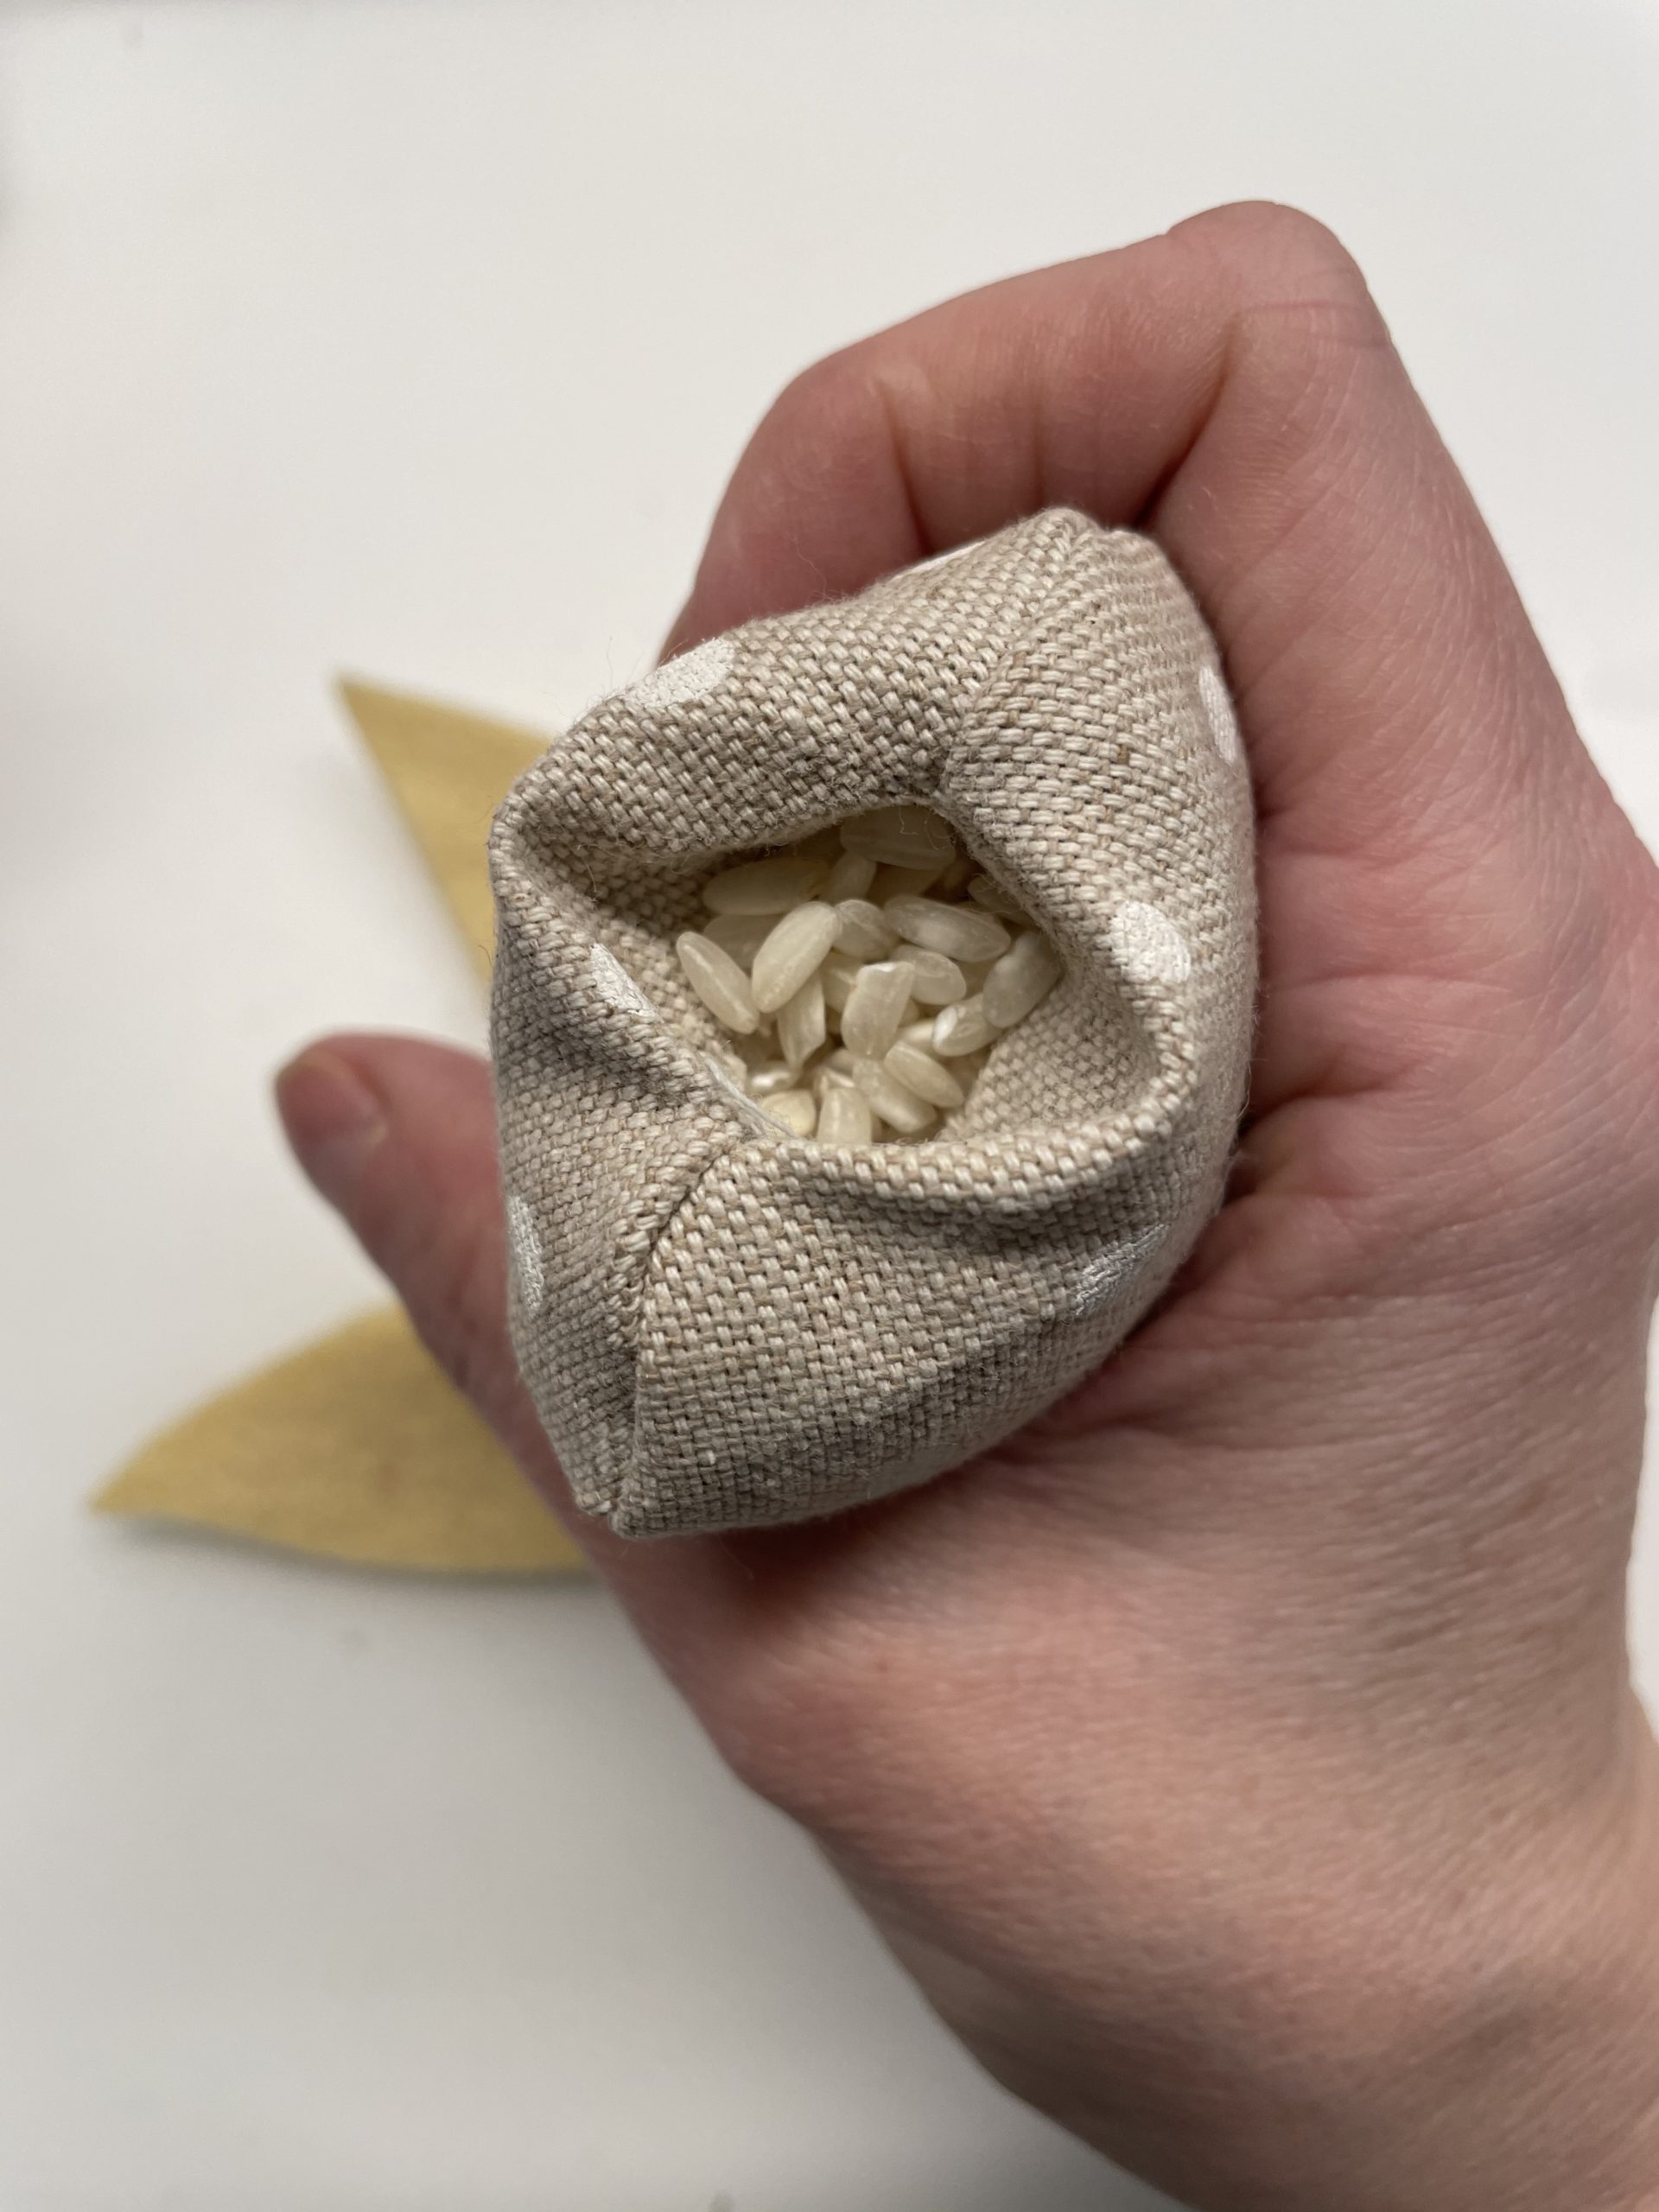
Then fill the rest of the rabbit body with rice.
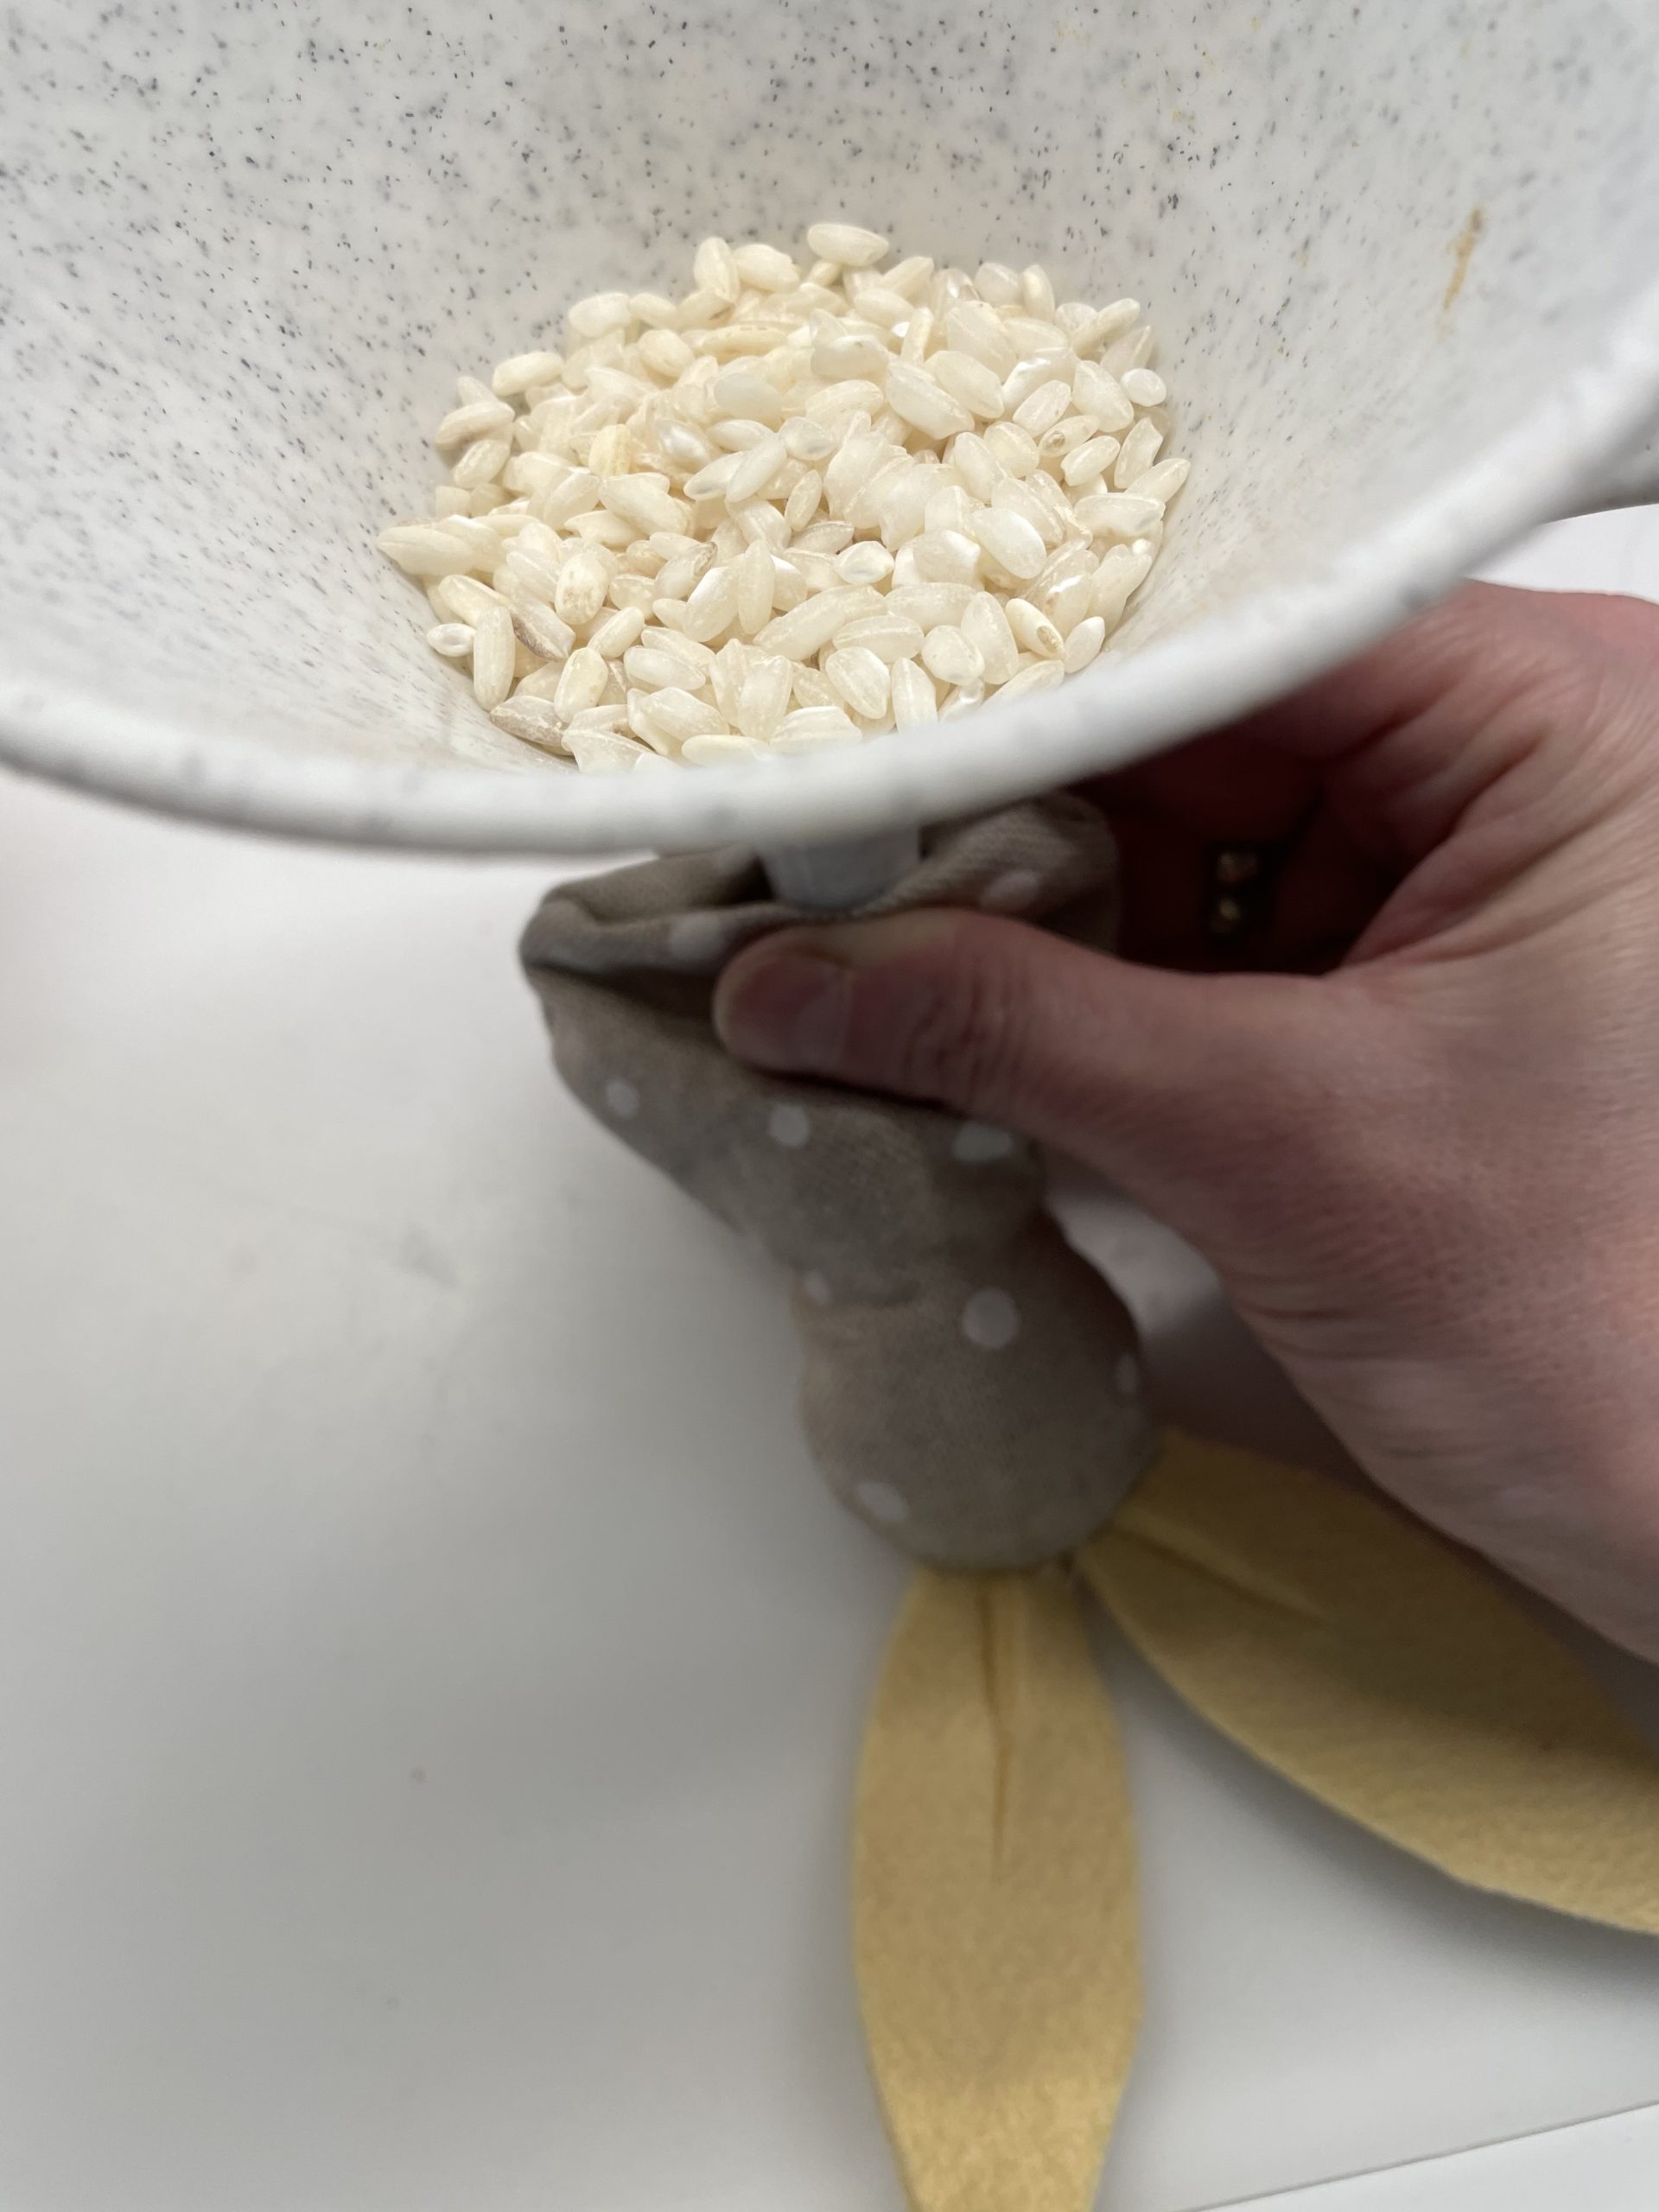
Stops the body completely here as well. So the rabbit later stands stable.
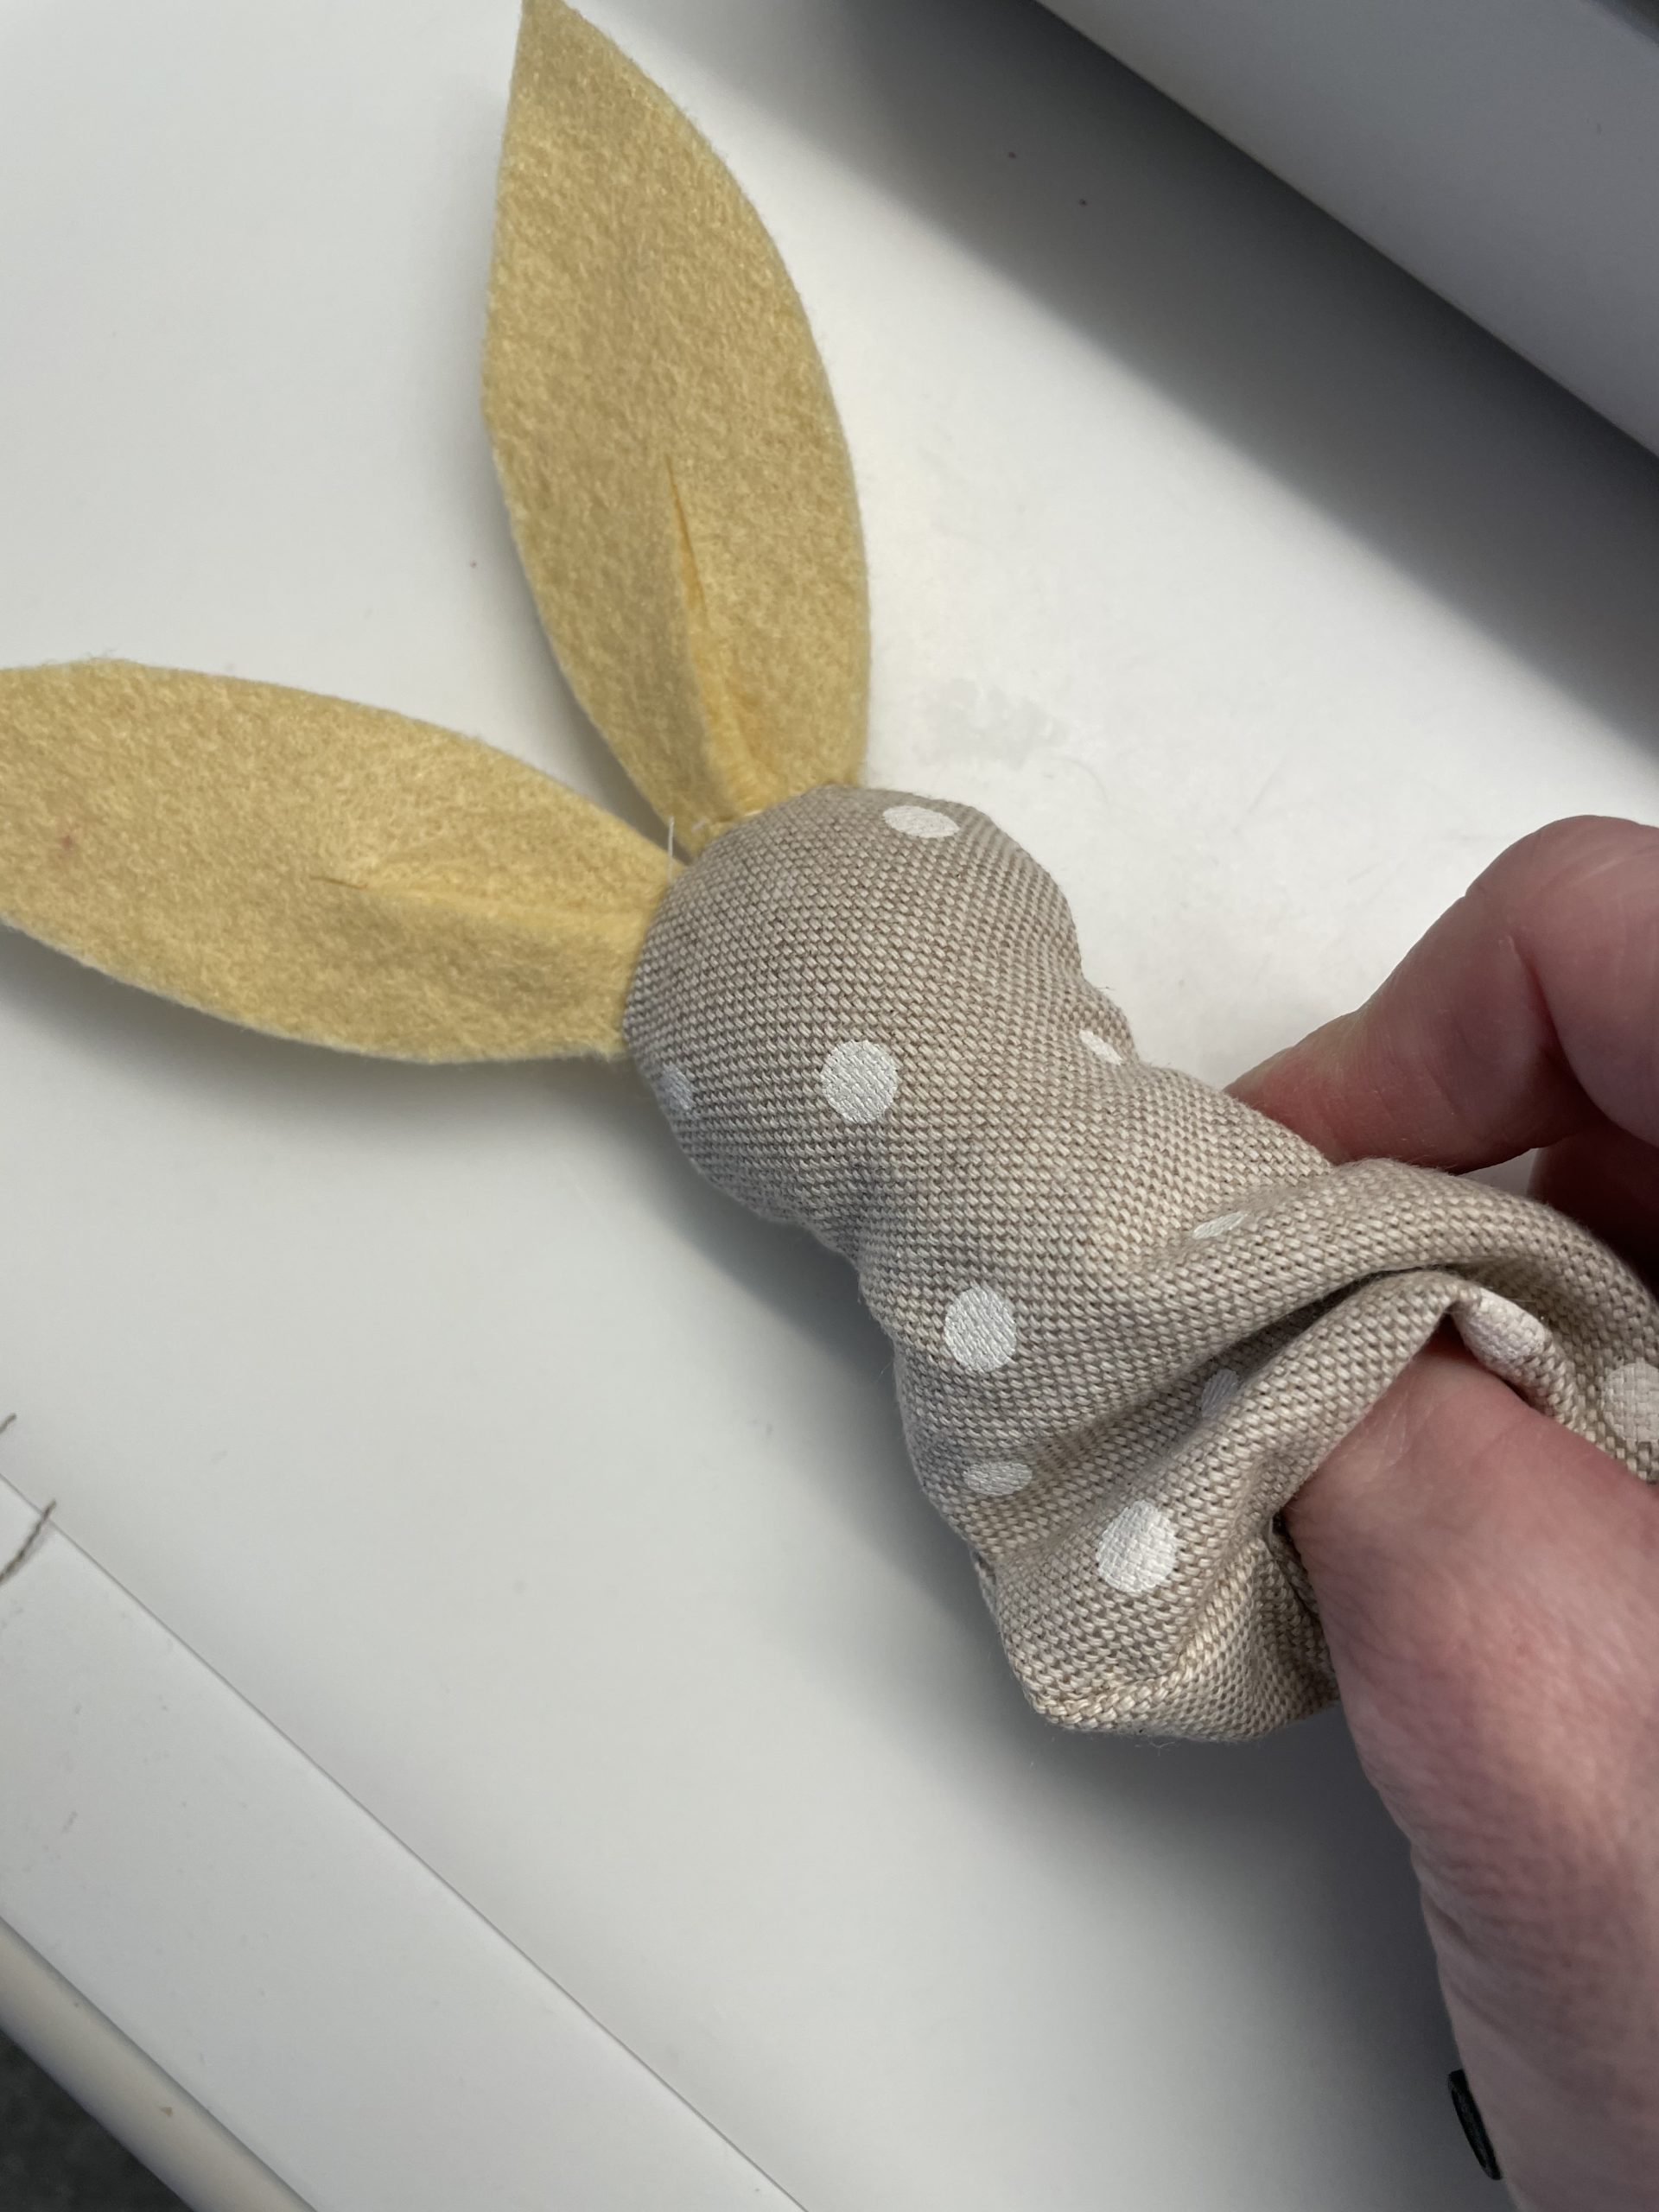
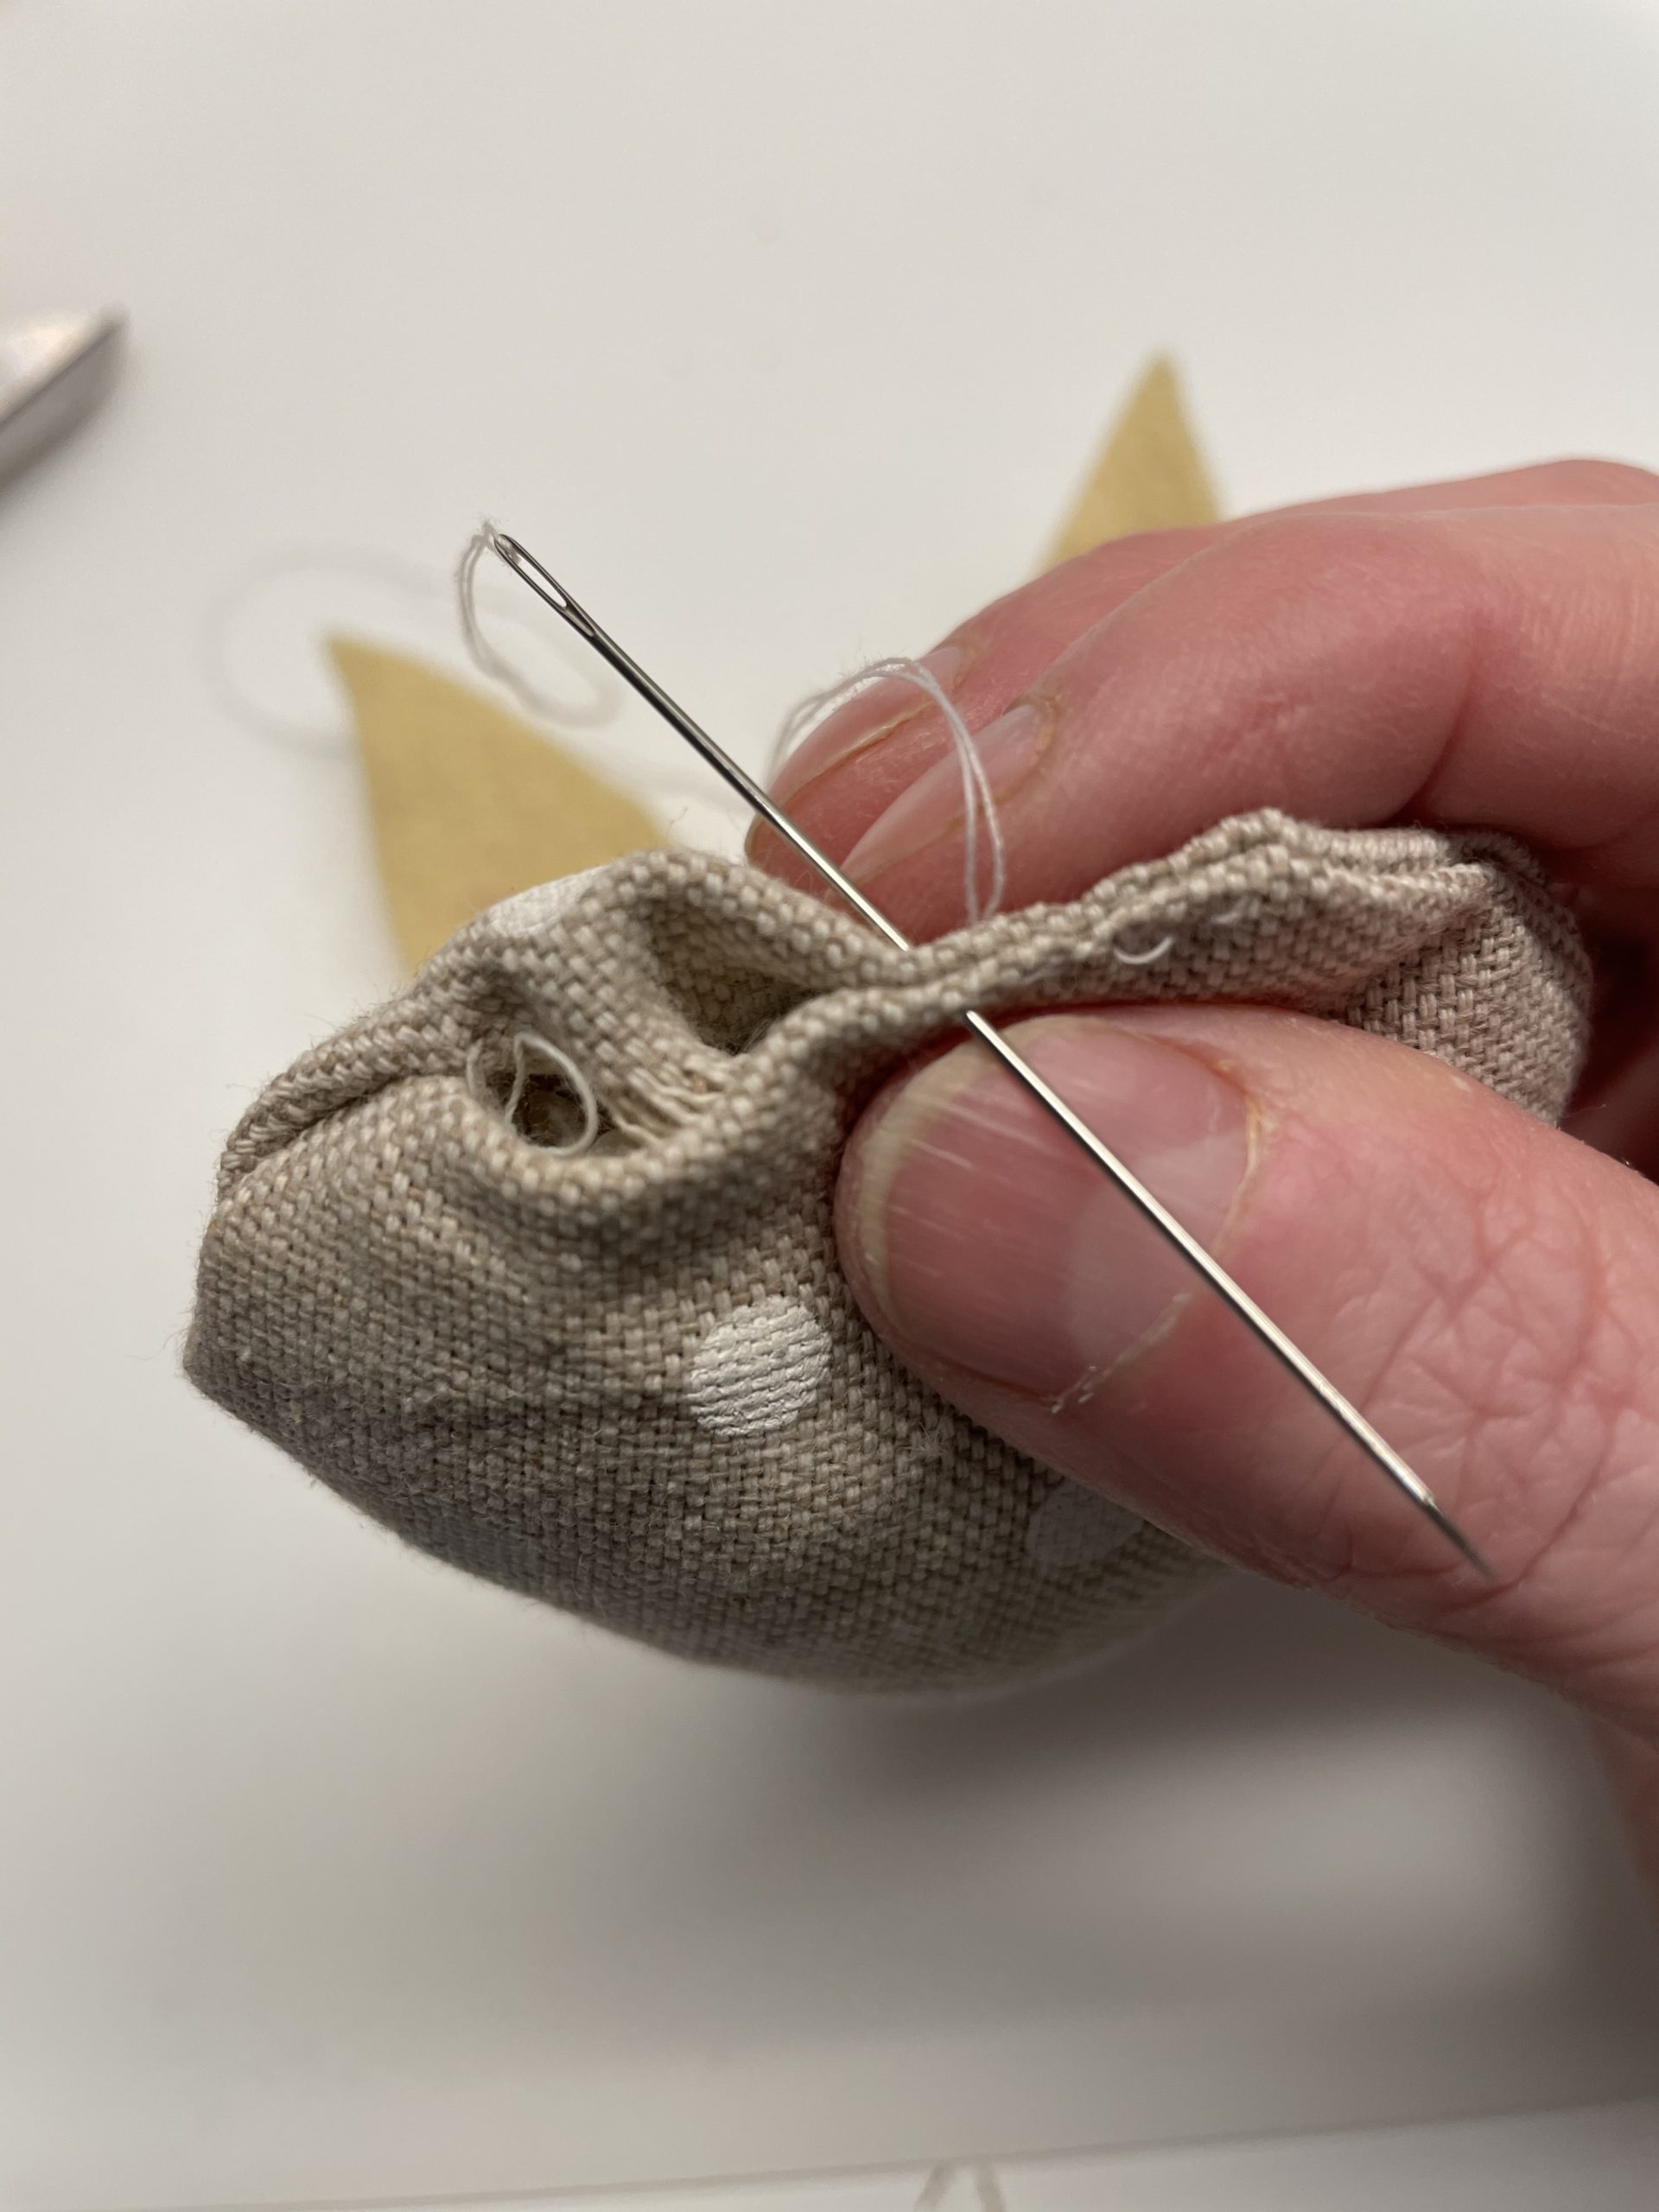
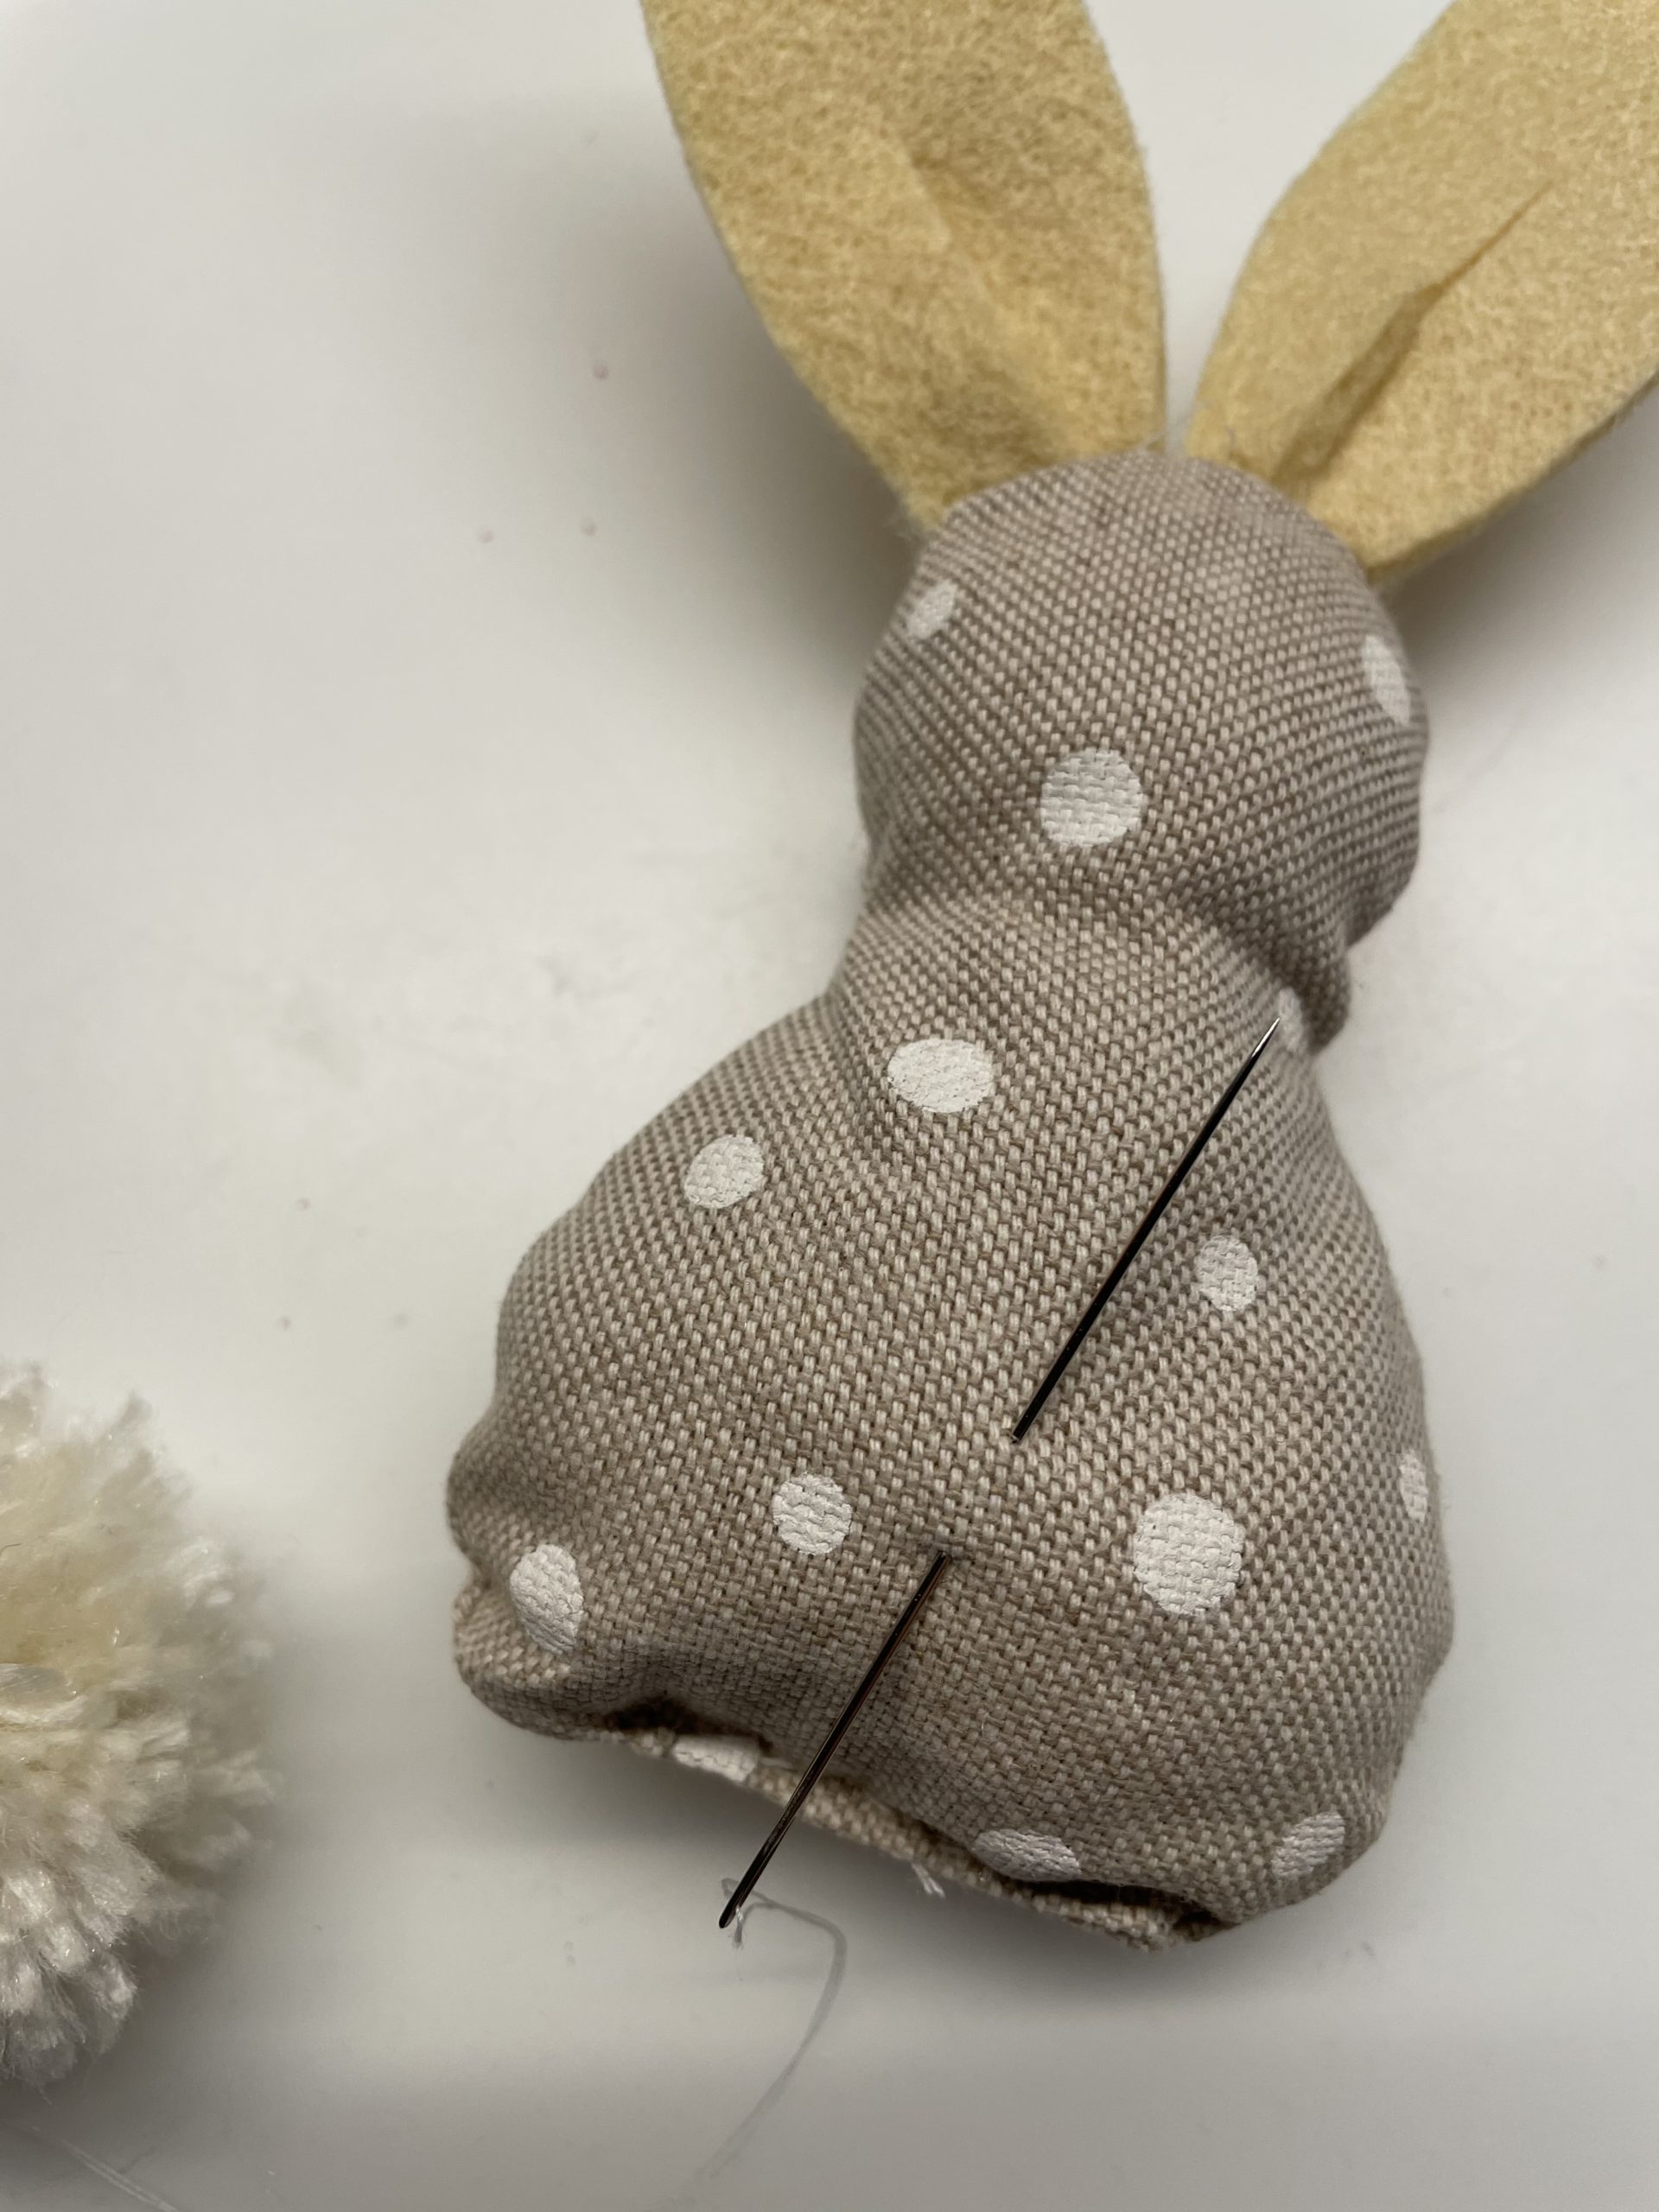
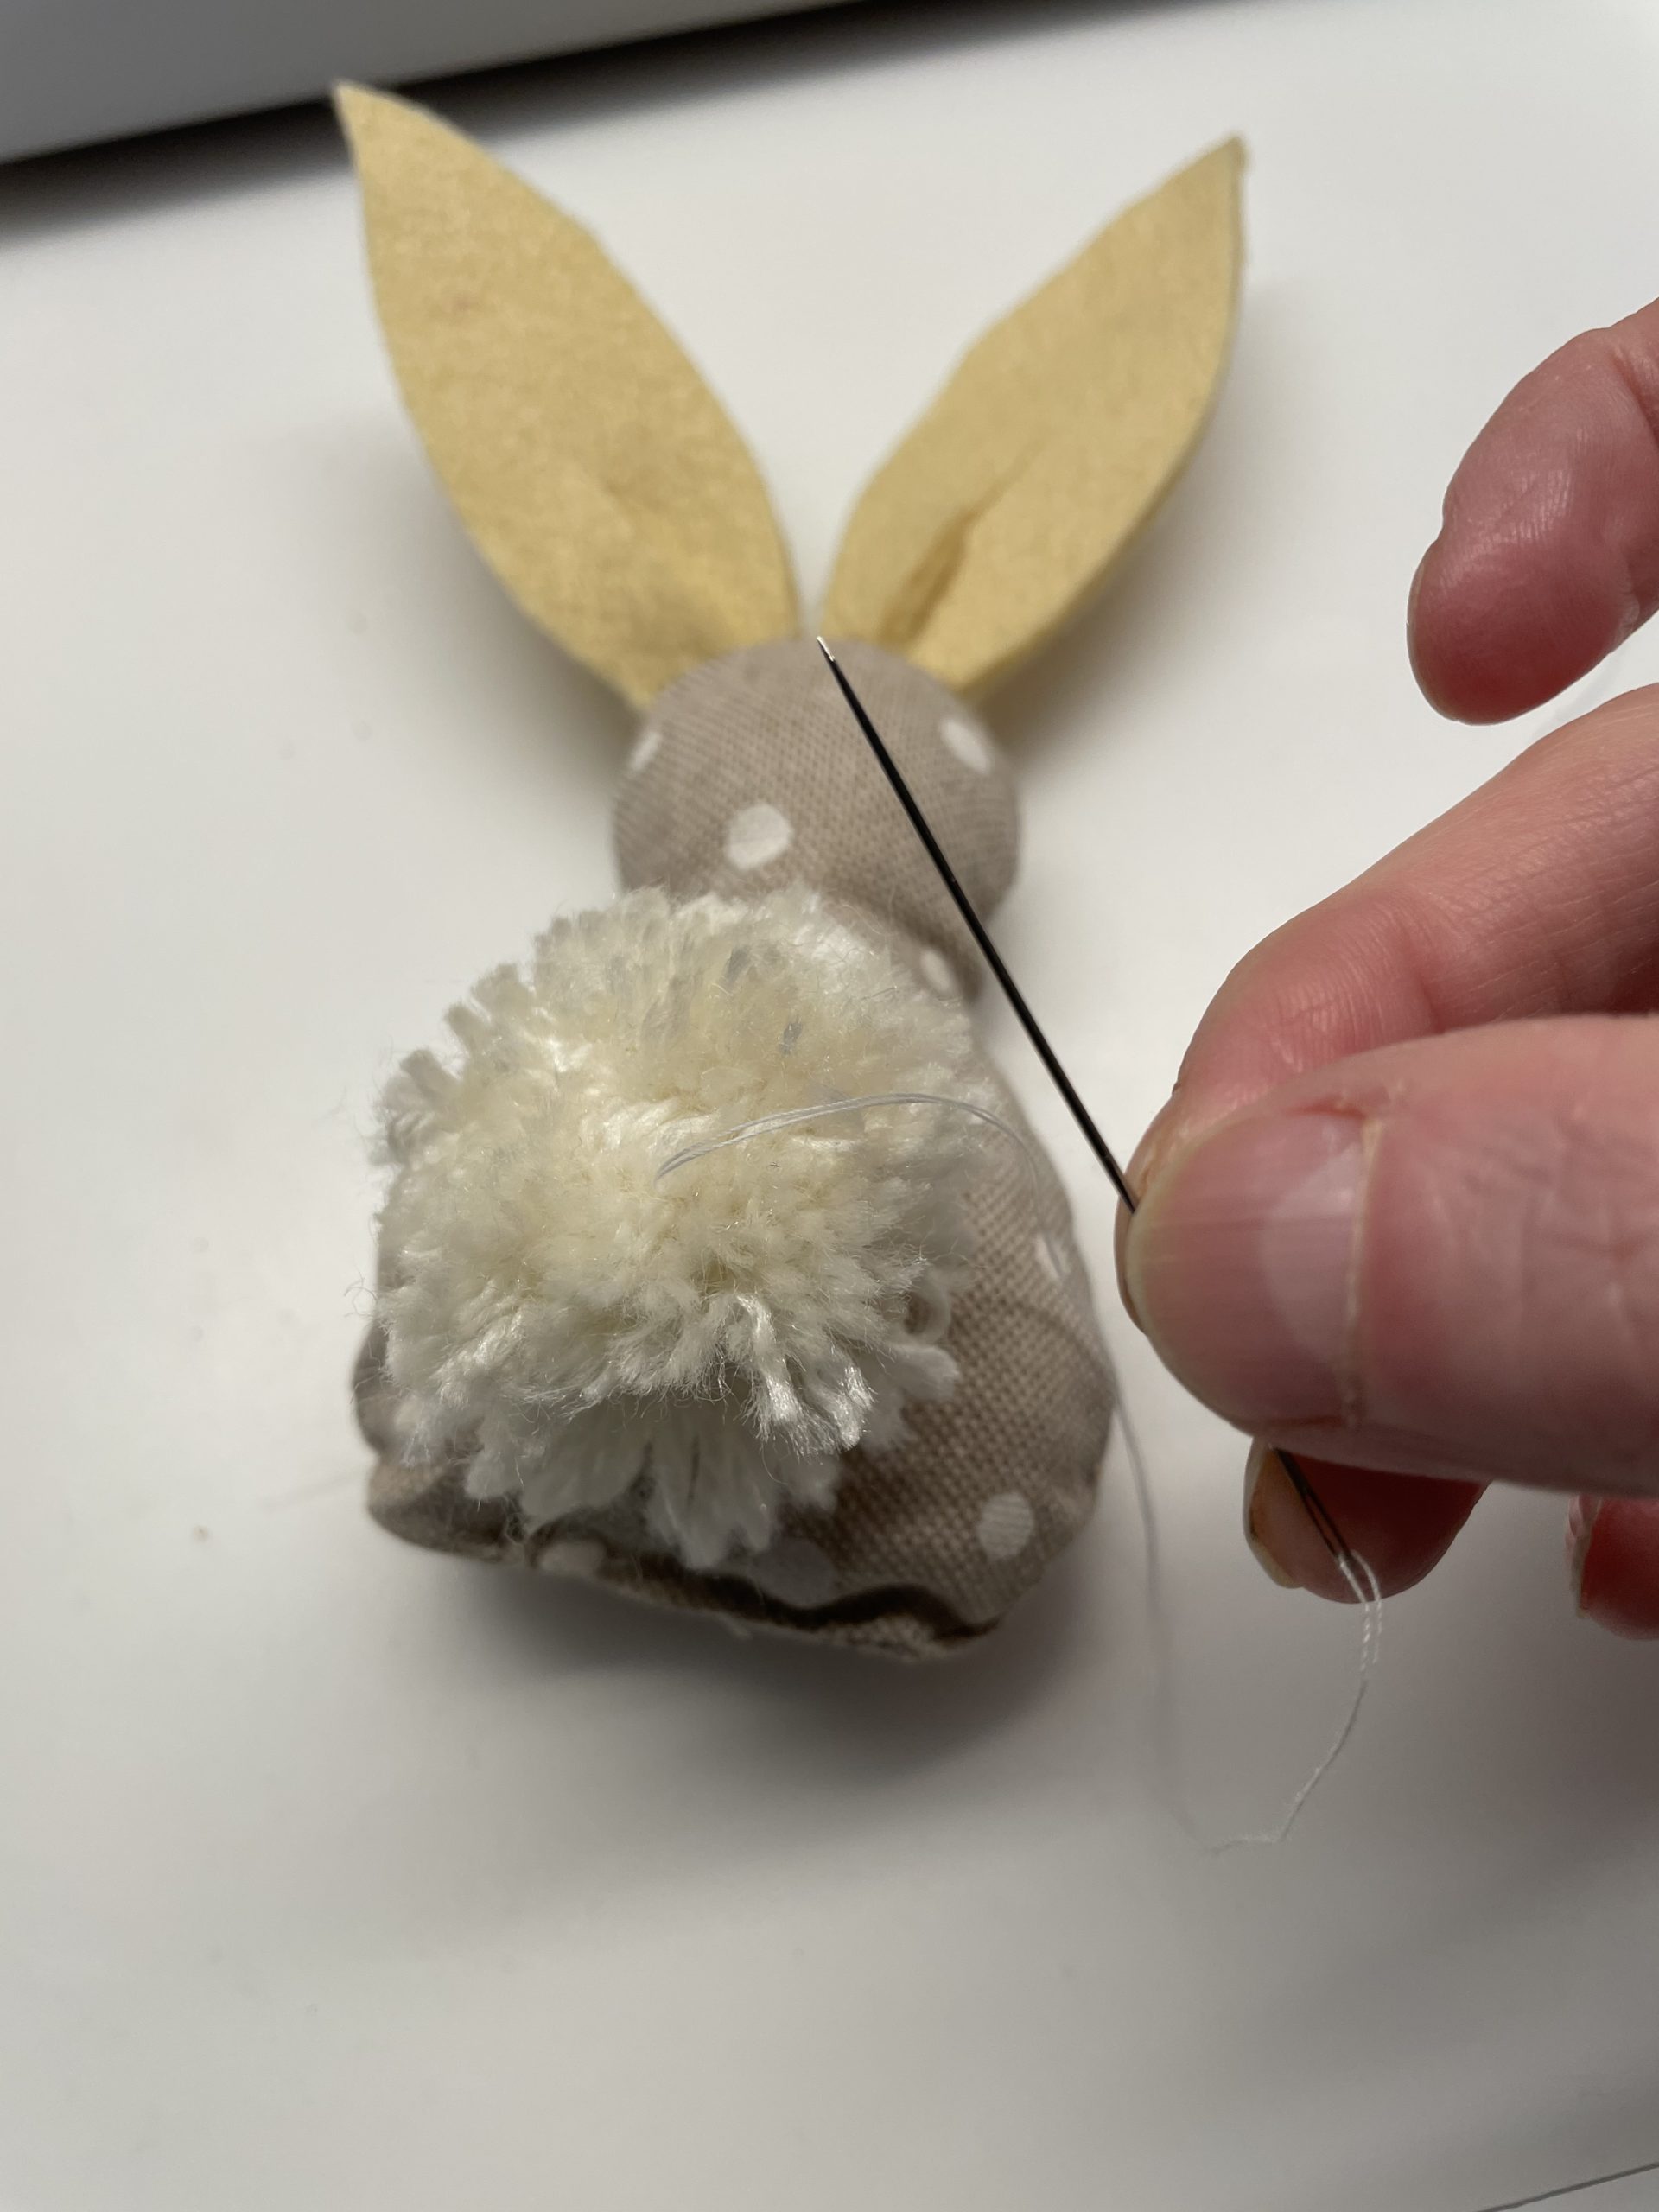
With needle and thread you now sew the opening.
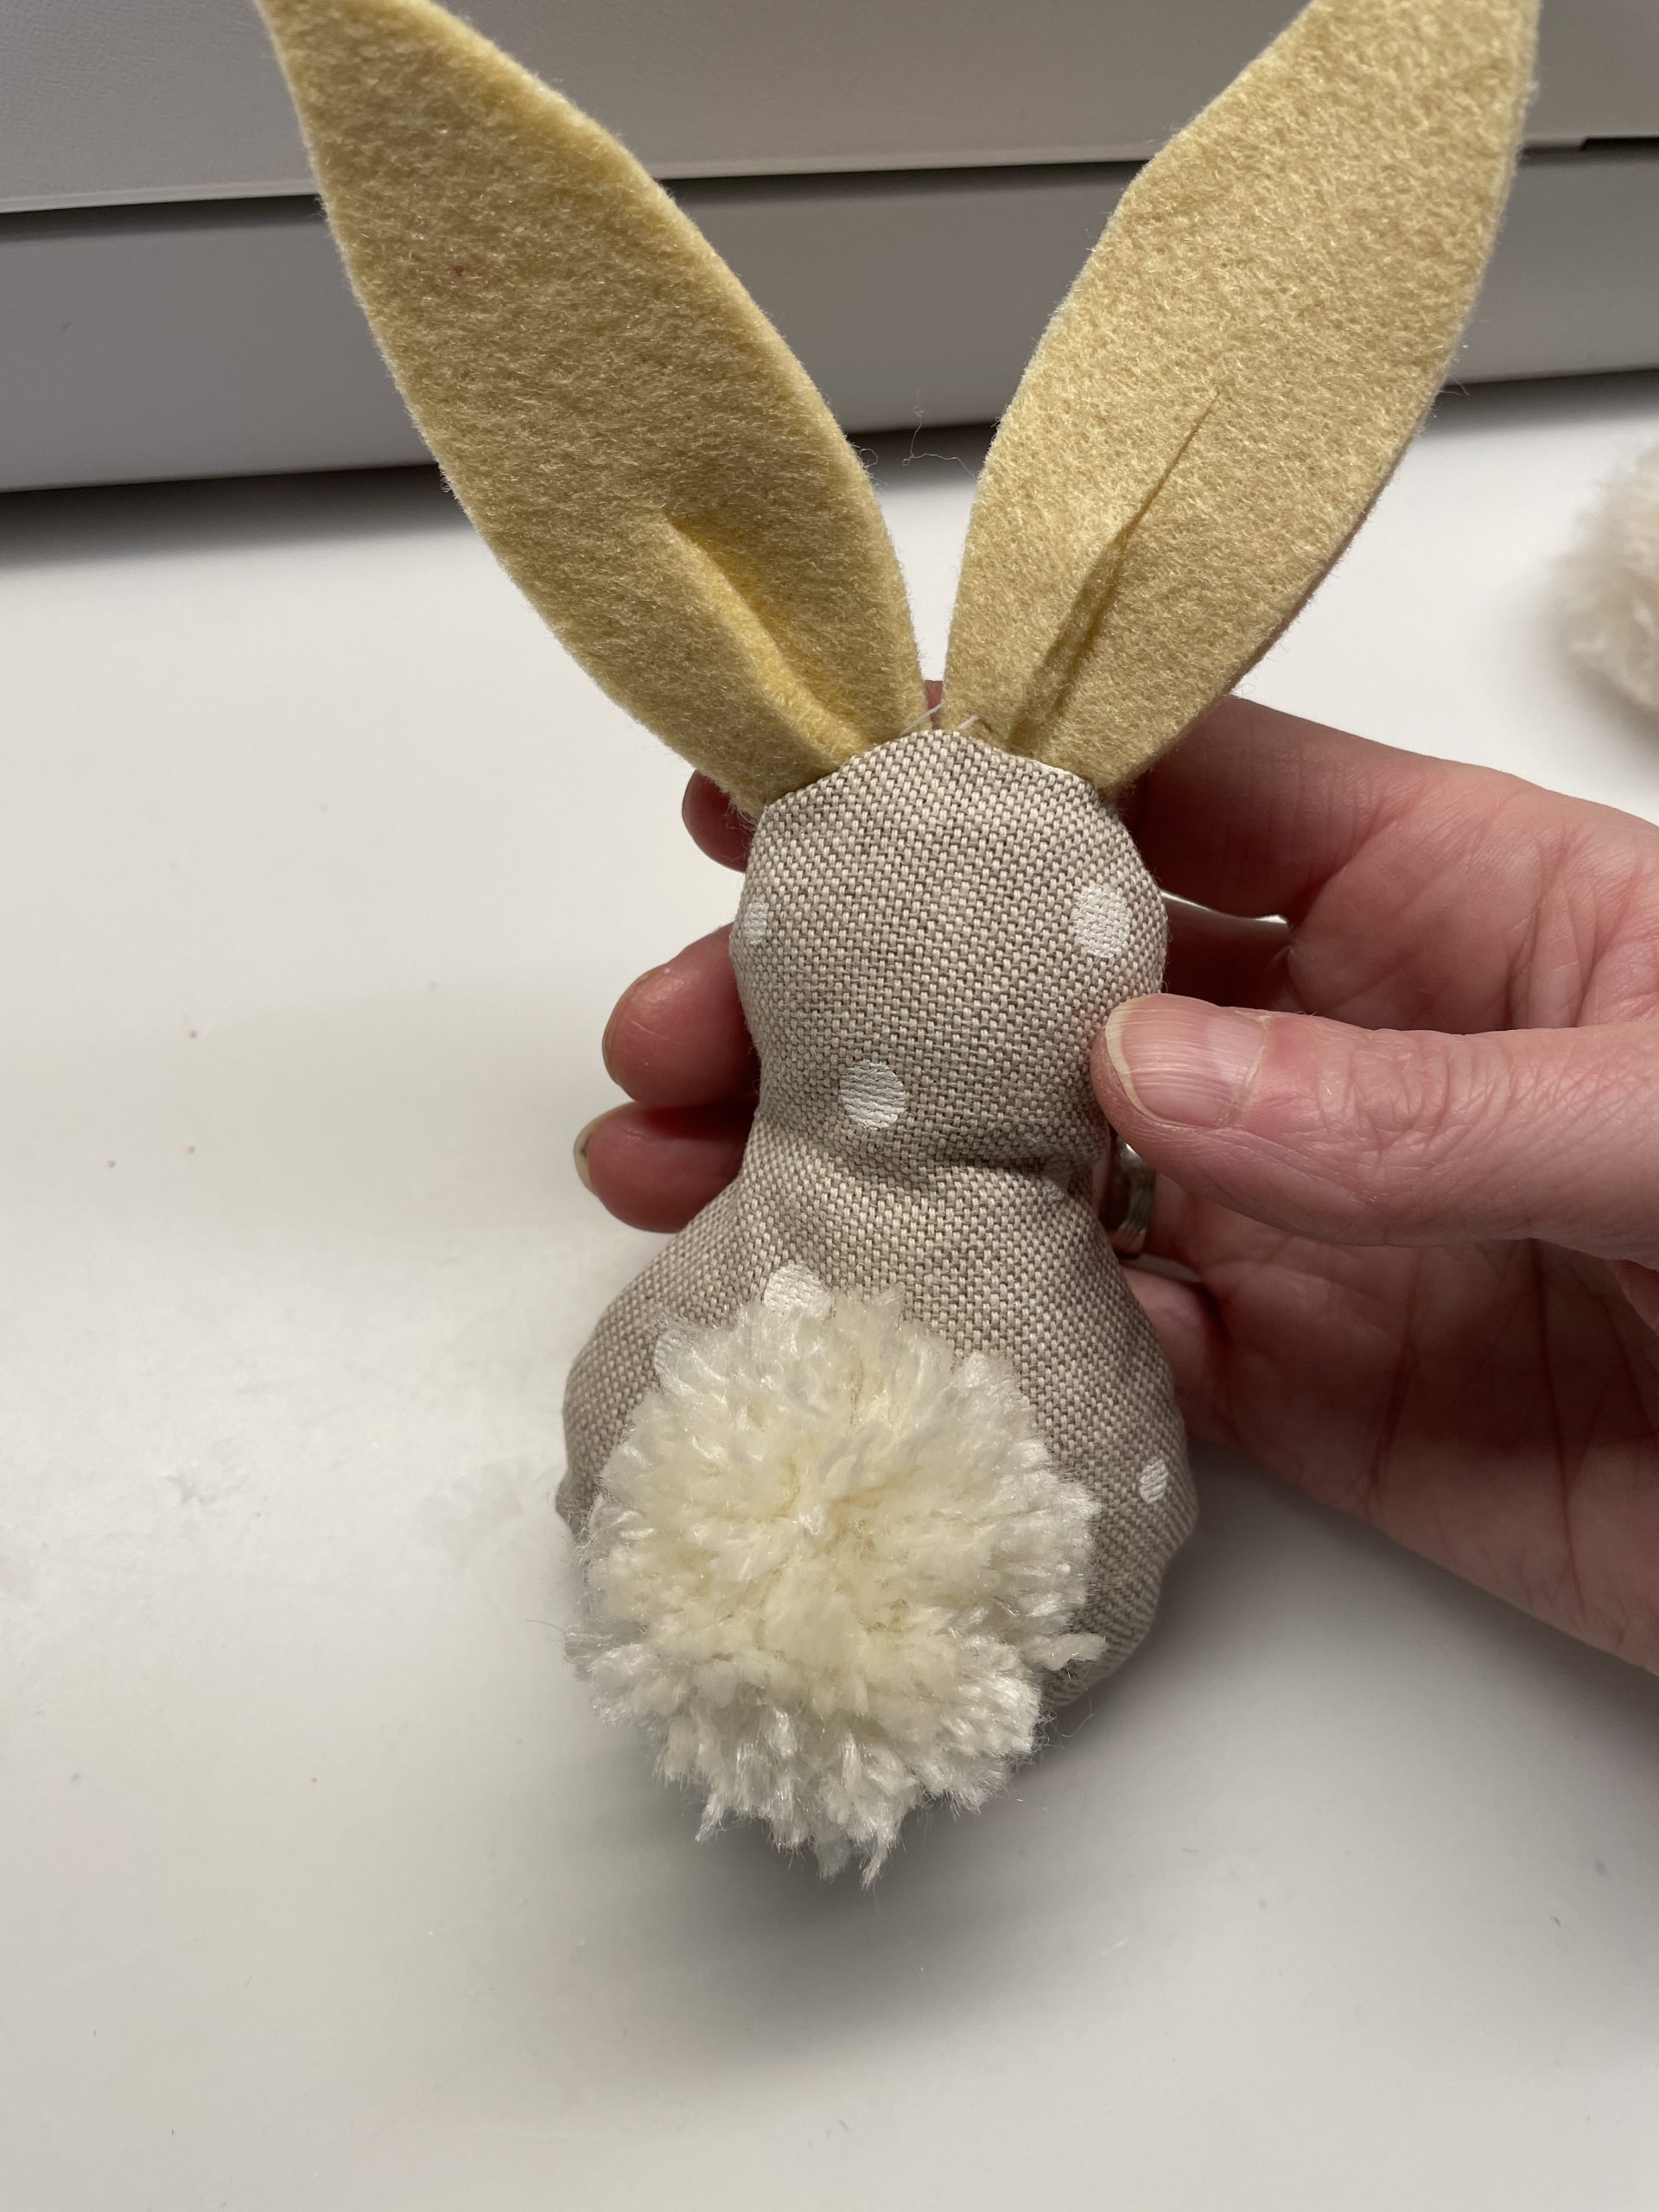
The rabbit is ready.
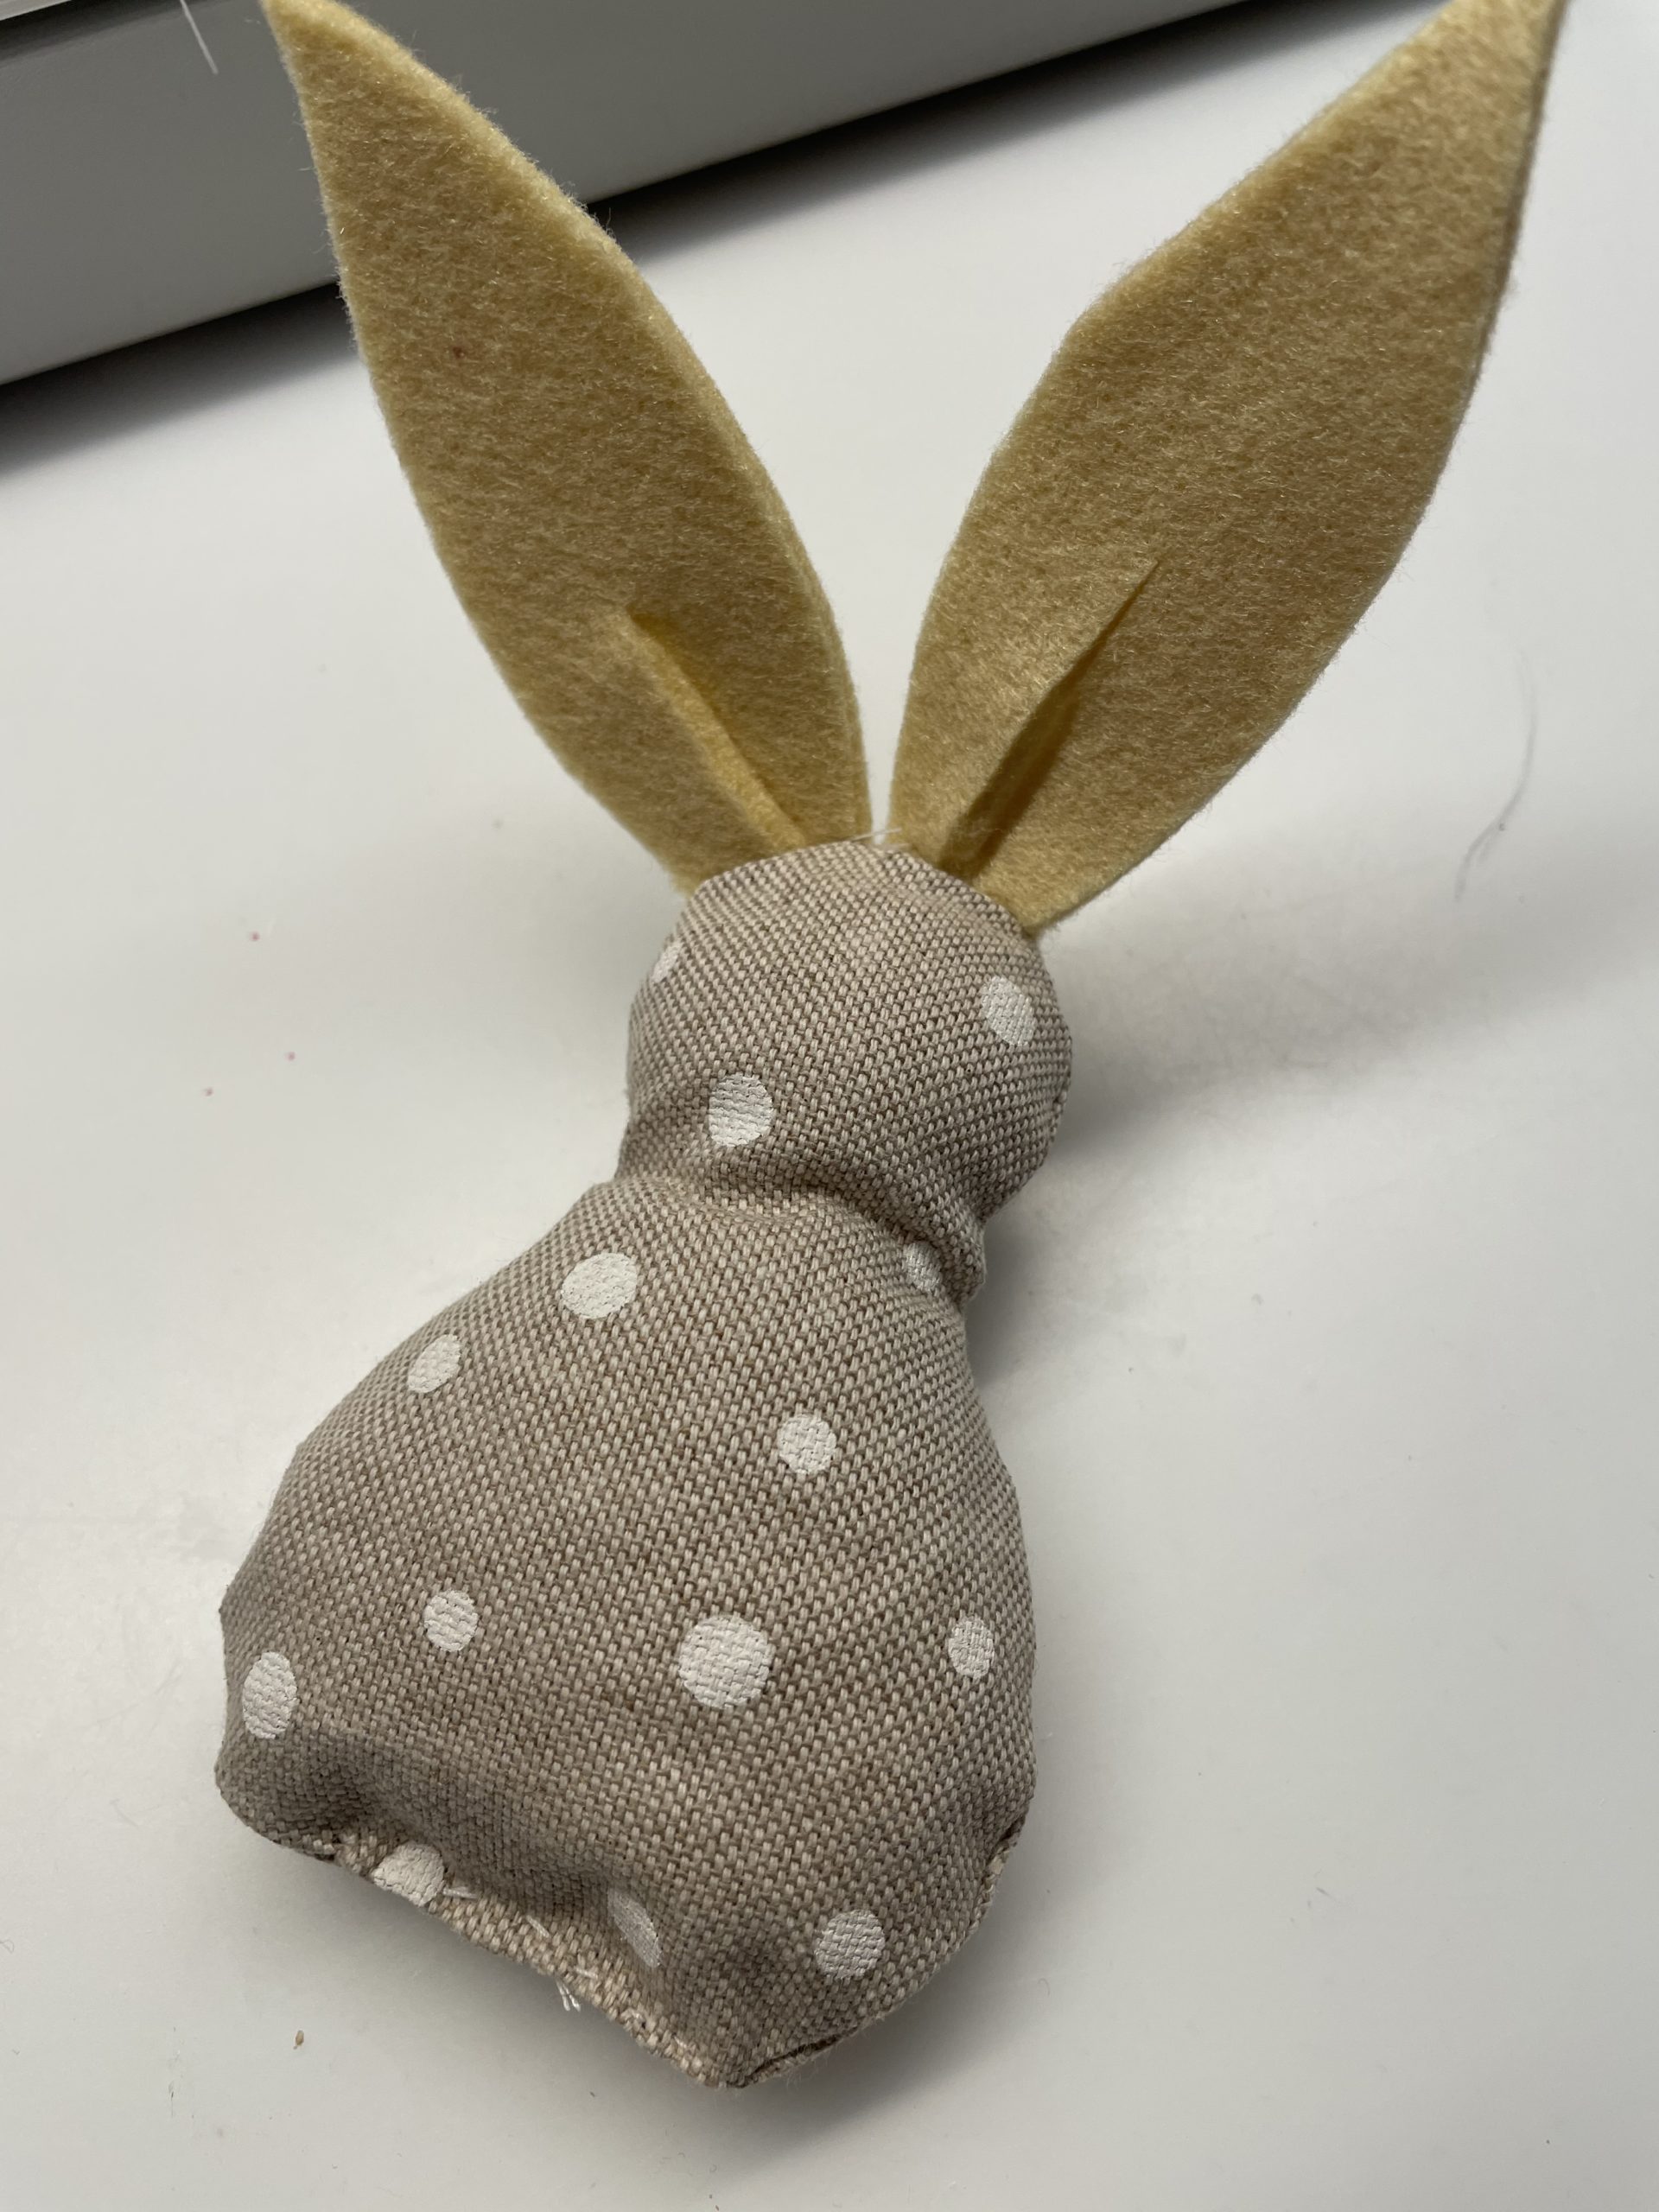
The Easter bunny is ready.
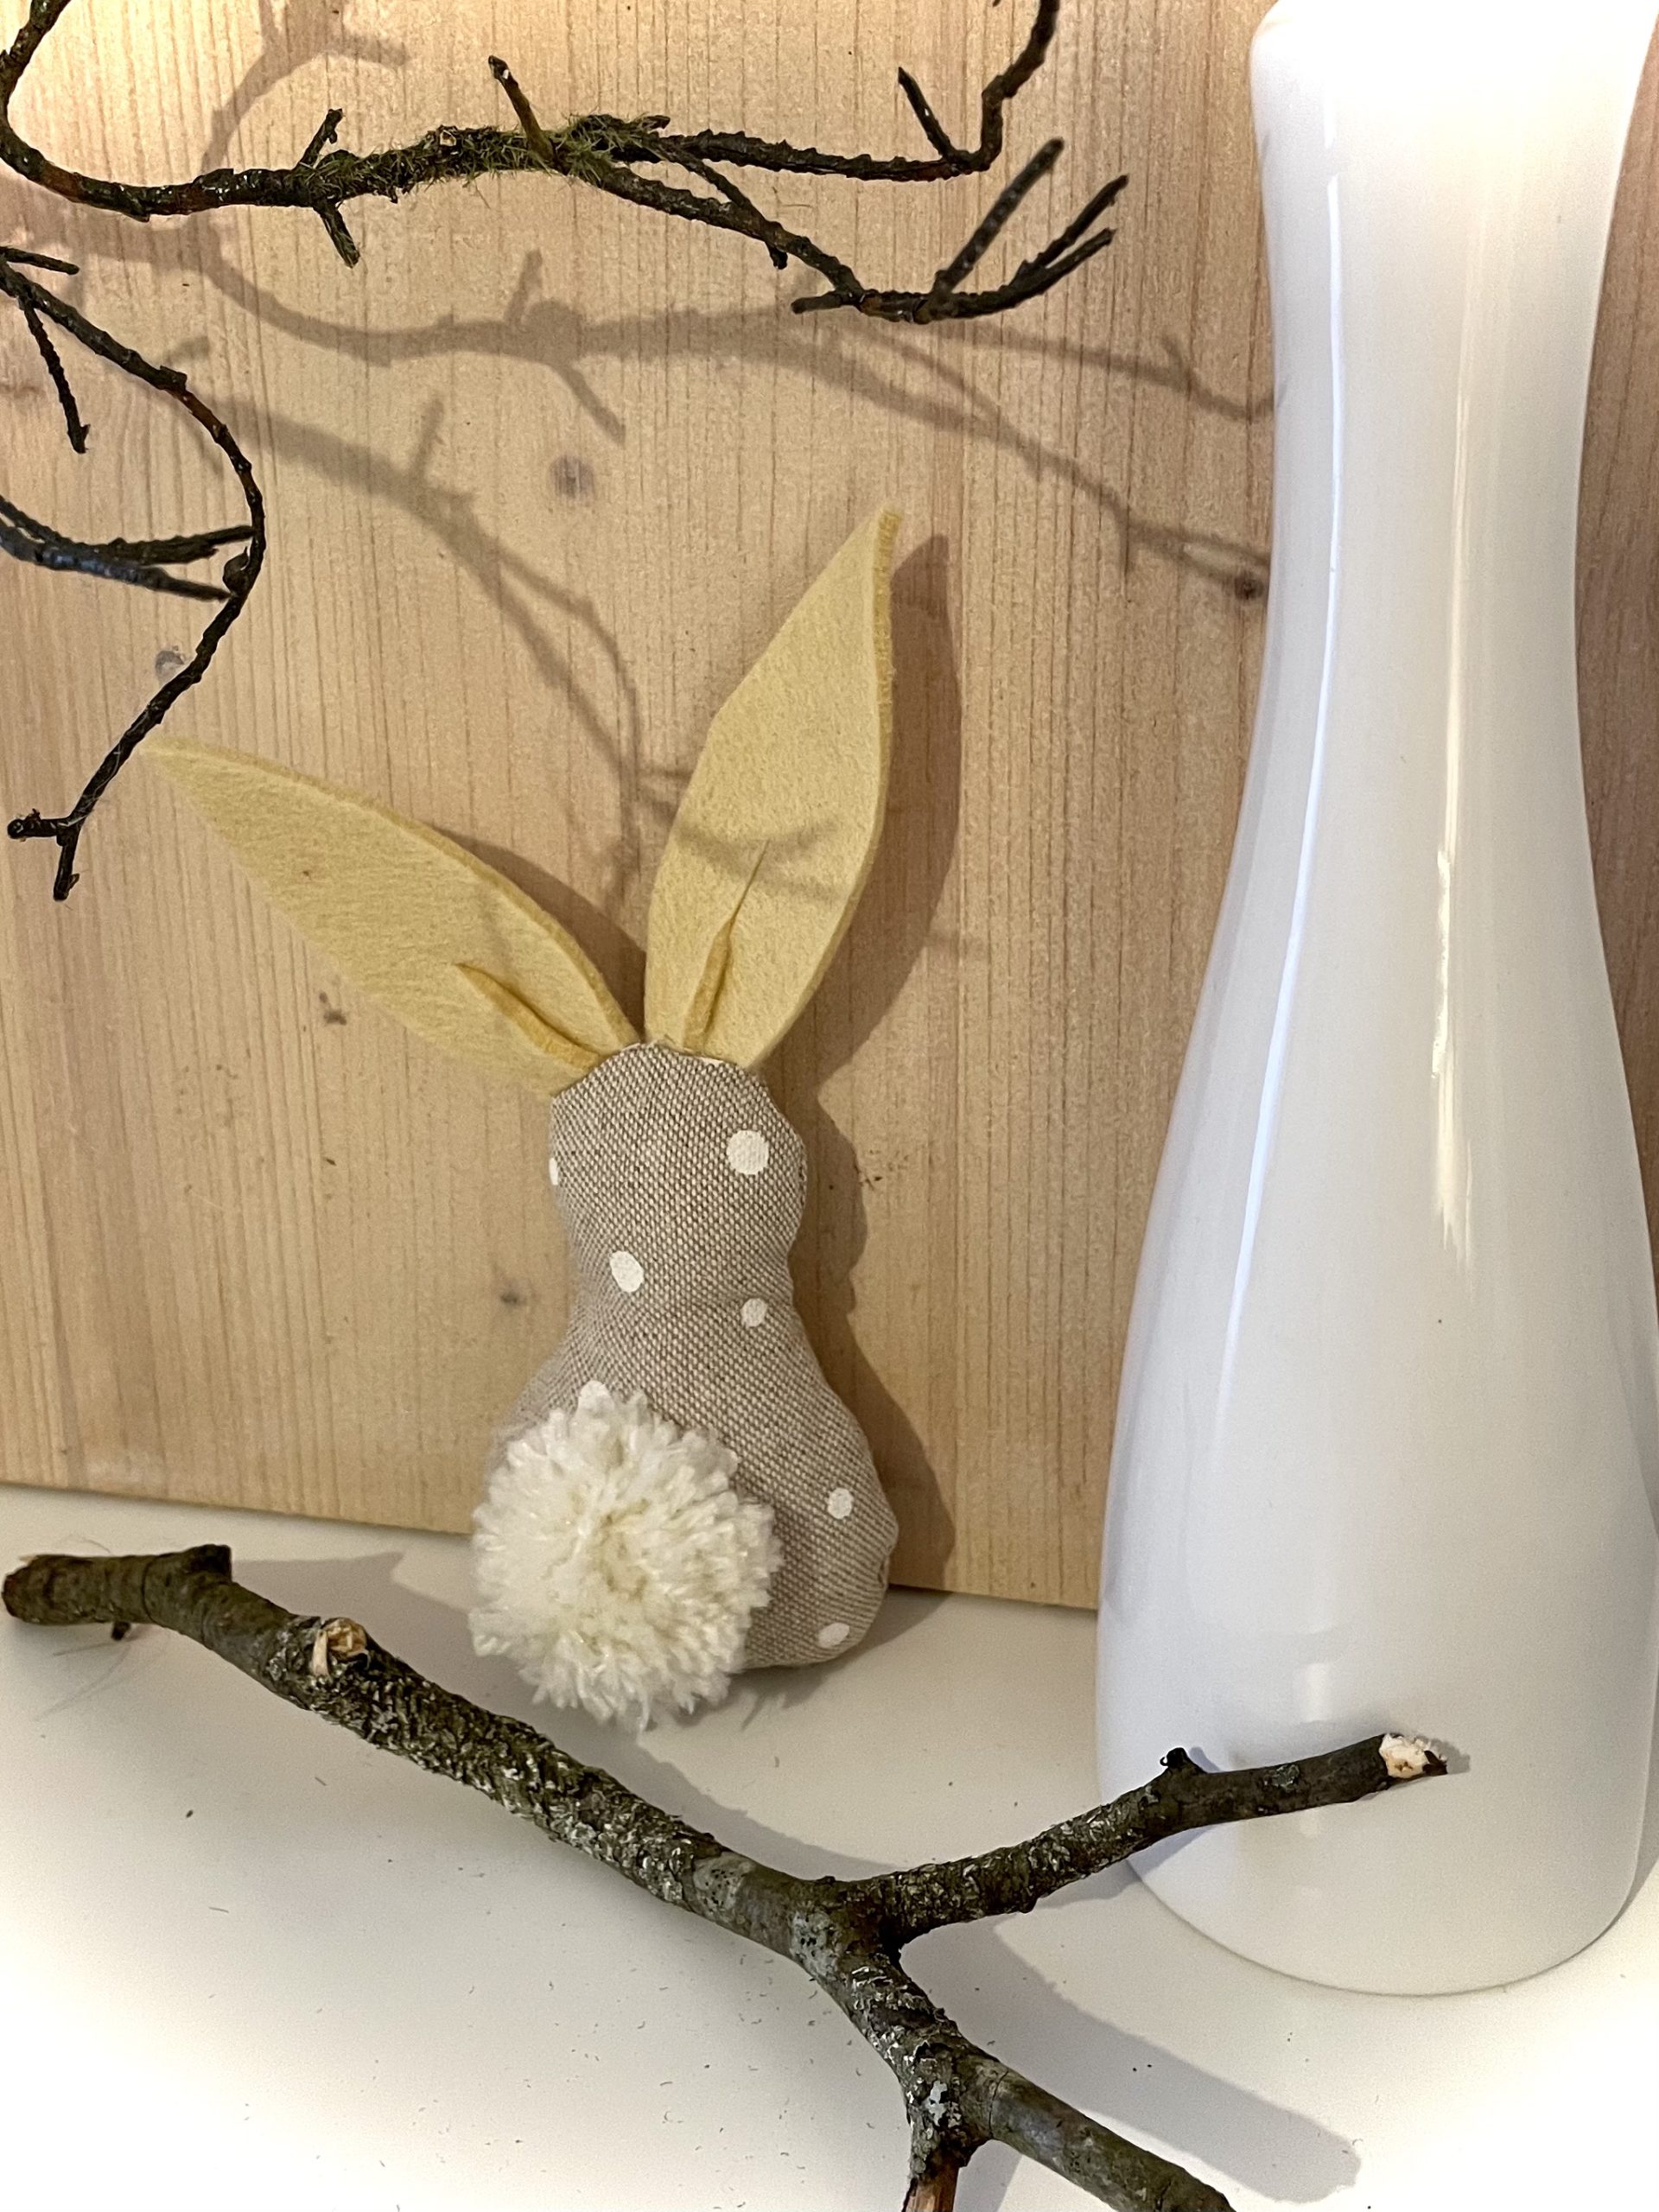
The self-sewn Easter bunny looks beautiful as a decoration for Easter. It is also suitable as a gift!
Have fun sewing!
Materials
Directions
First you need a template. Use the template or paint a rabbit shape for yourself. Then you cut out the template.
Then transfer the template to your fabric. You need two equal parts of the rabbit body. Leave a 1cm wide edge around the template. (This is the dashed line!)
Now transfer both lines to the fabric. So you see where you cut and where you have to sew afterwards.
Now make two fabric cuts.
Place the cutouts with the beautiful sides (outsides) inwards on each other.
Then you put both fabrics together with pins. Mark a spot at the bottom that you do not sew. You will need these later to turn the fabric.
Cut out the rabbit ears from a thick felt (suitable to the fabric!).
Then cut your ears in the middle.
Now you put the cut-in pieces of your ears on top of each other.
Sew them together with a few stitches with the sewing machine.
Now place both ears in the middle of the rabbit body. They lie slightly obliquely above each other. Turn them so far inward that you do not sew them when sewing the sides.
Only the straight part of the ears is sewn to the upper edge. Put the fabric parts completely on top of each other and put everything together.
Now the rabbit is sewn all around. Do not make sure to sew the turning opening!
Through the opening in the fabric you can now turn the rabbit around.
Pull your ears outwards and wrap the fabric around.
Now you press the rabbit's head and belly outwards with a pen.
Now fill the head of the rabbit with cotton wool. Stop it firmly in the head with the fingers (possibly also with the help of a pen).
Then fill the rest of the rabbit body with rice.
Stops the body completely here as well. So the rabbit later stands stable.
With needle and thread you now sew the opening.
The rabbit is ready.
The Easter bunny is ready.
The self-sewn Easter bunny looks beautiful as a decoration for Easter. It is also suitable as a gift!
Have fun sewing!
Follow us on Facebook , Instagram and Pinterest
Don't miss any more adventures: Our bottle mail


