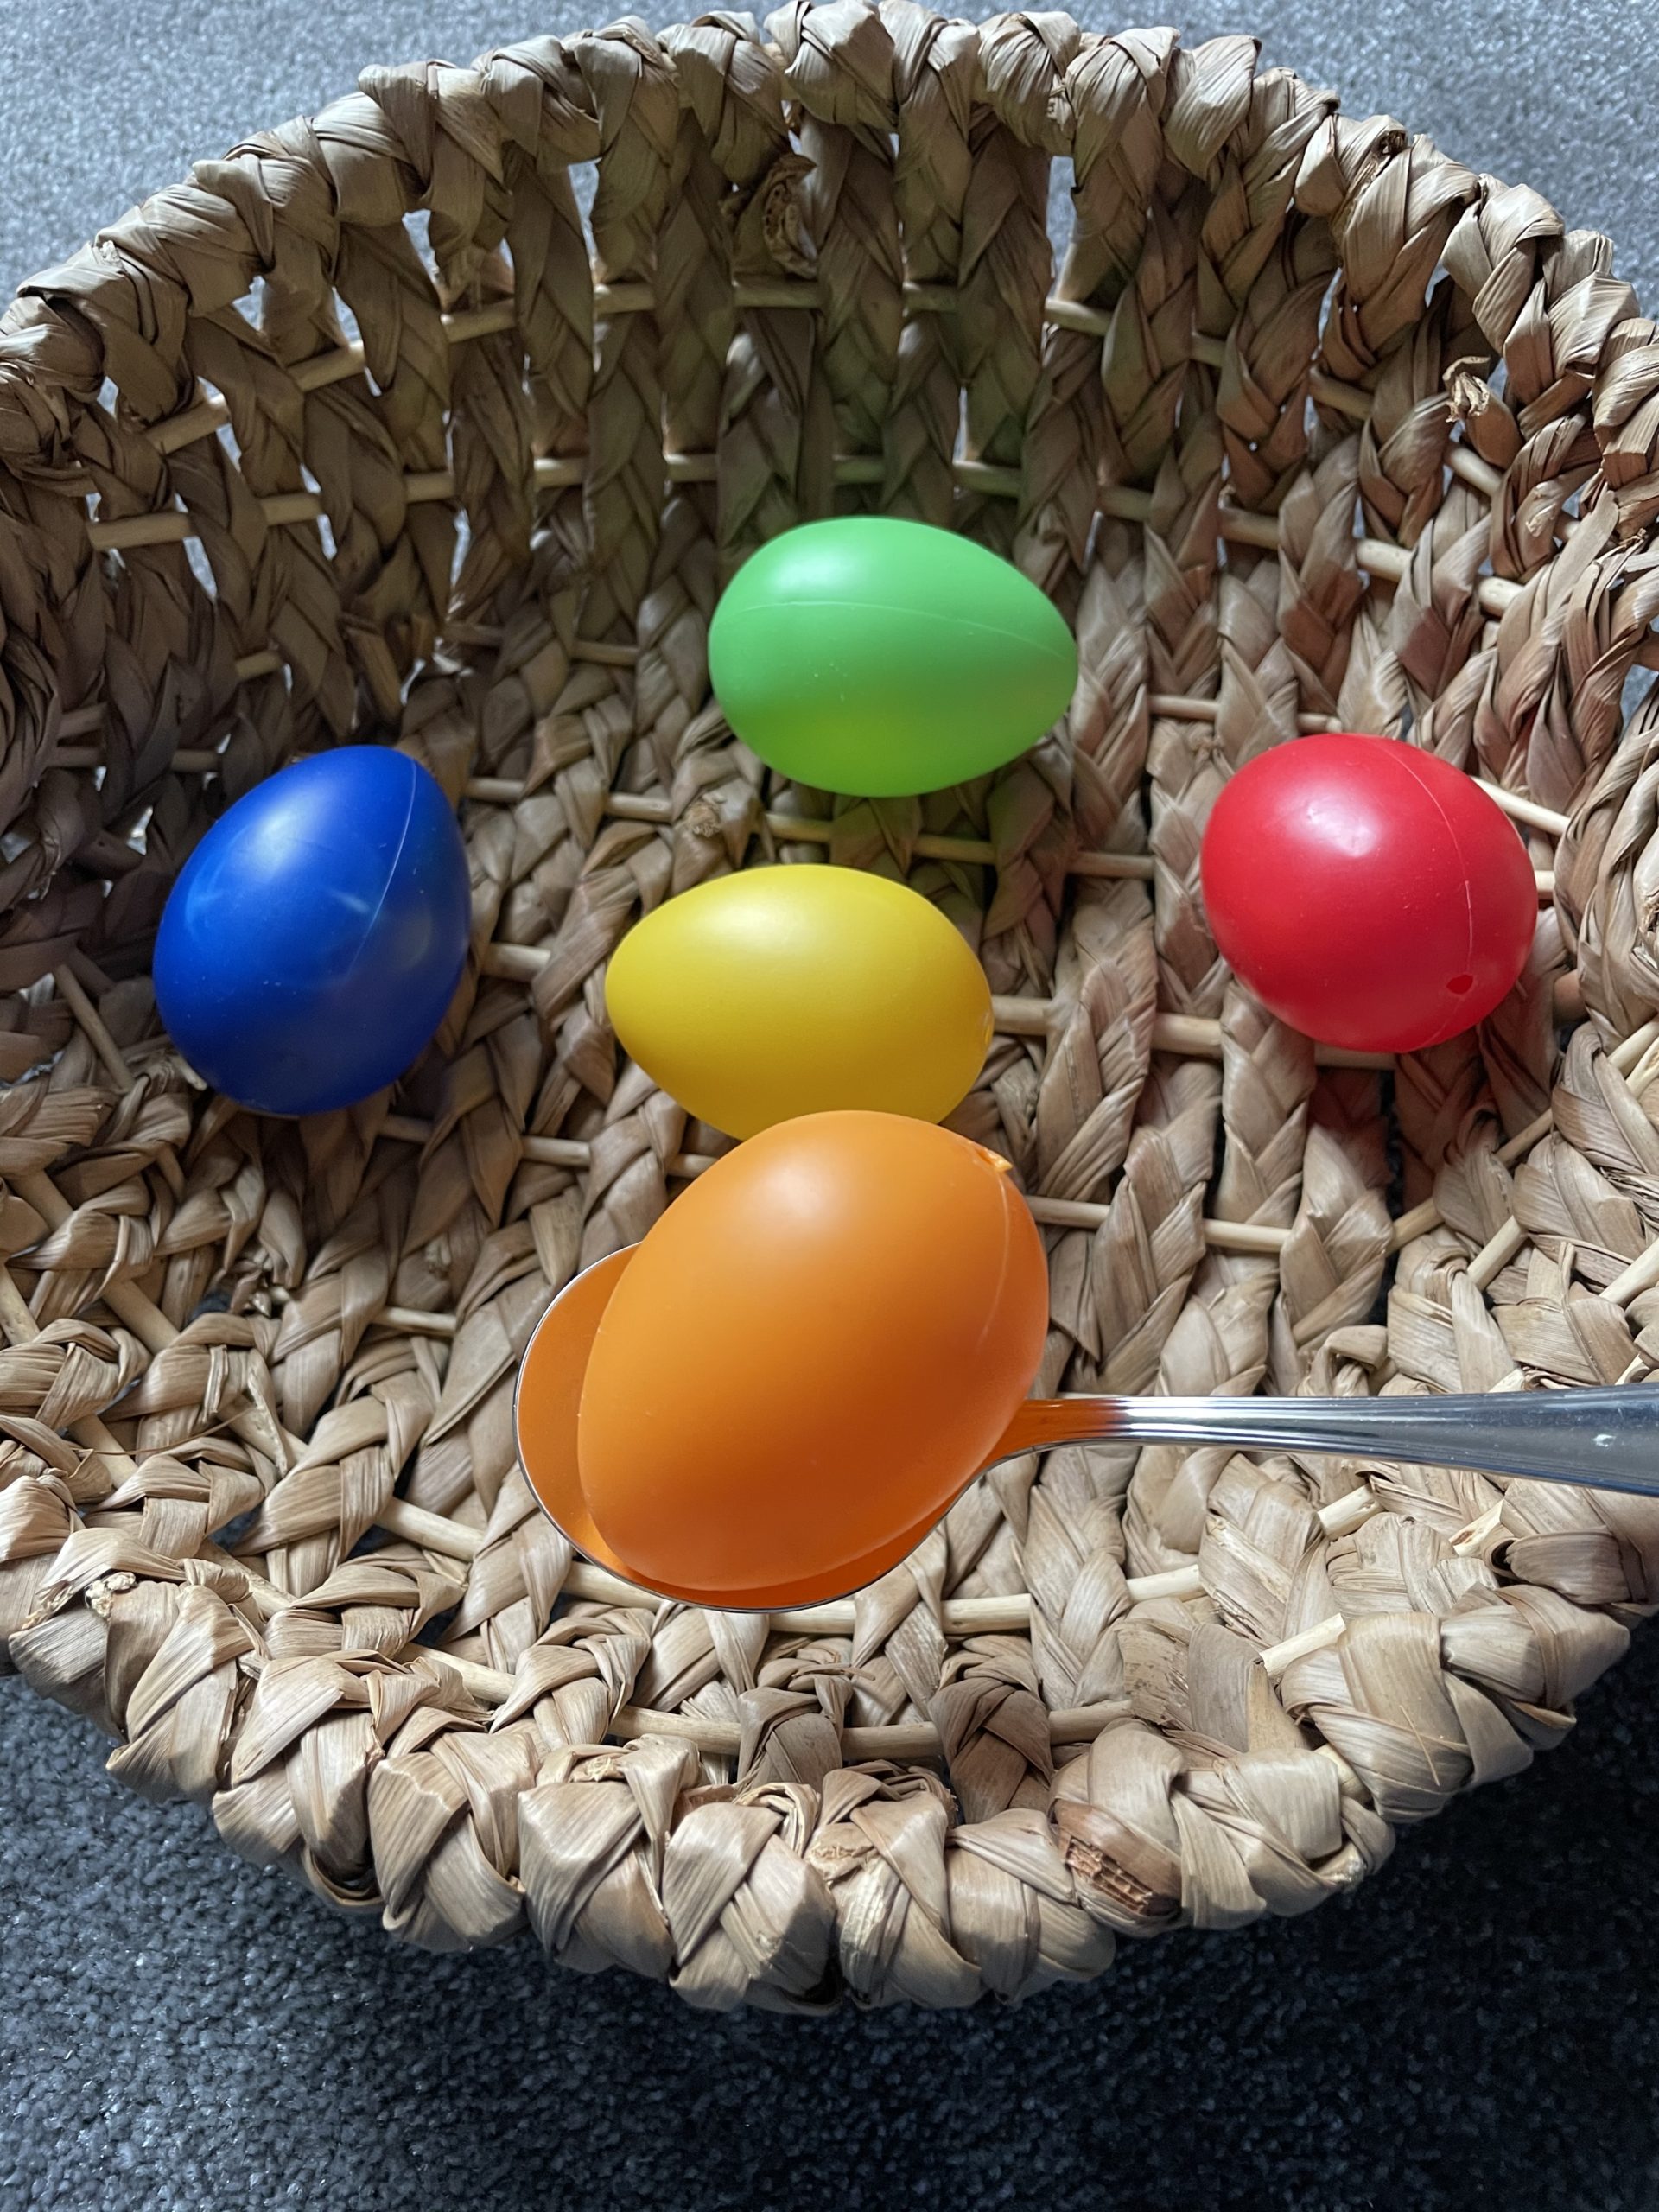
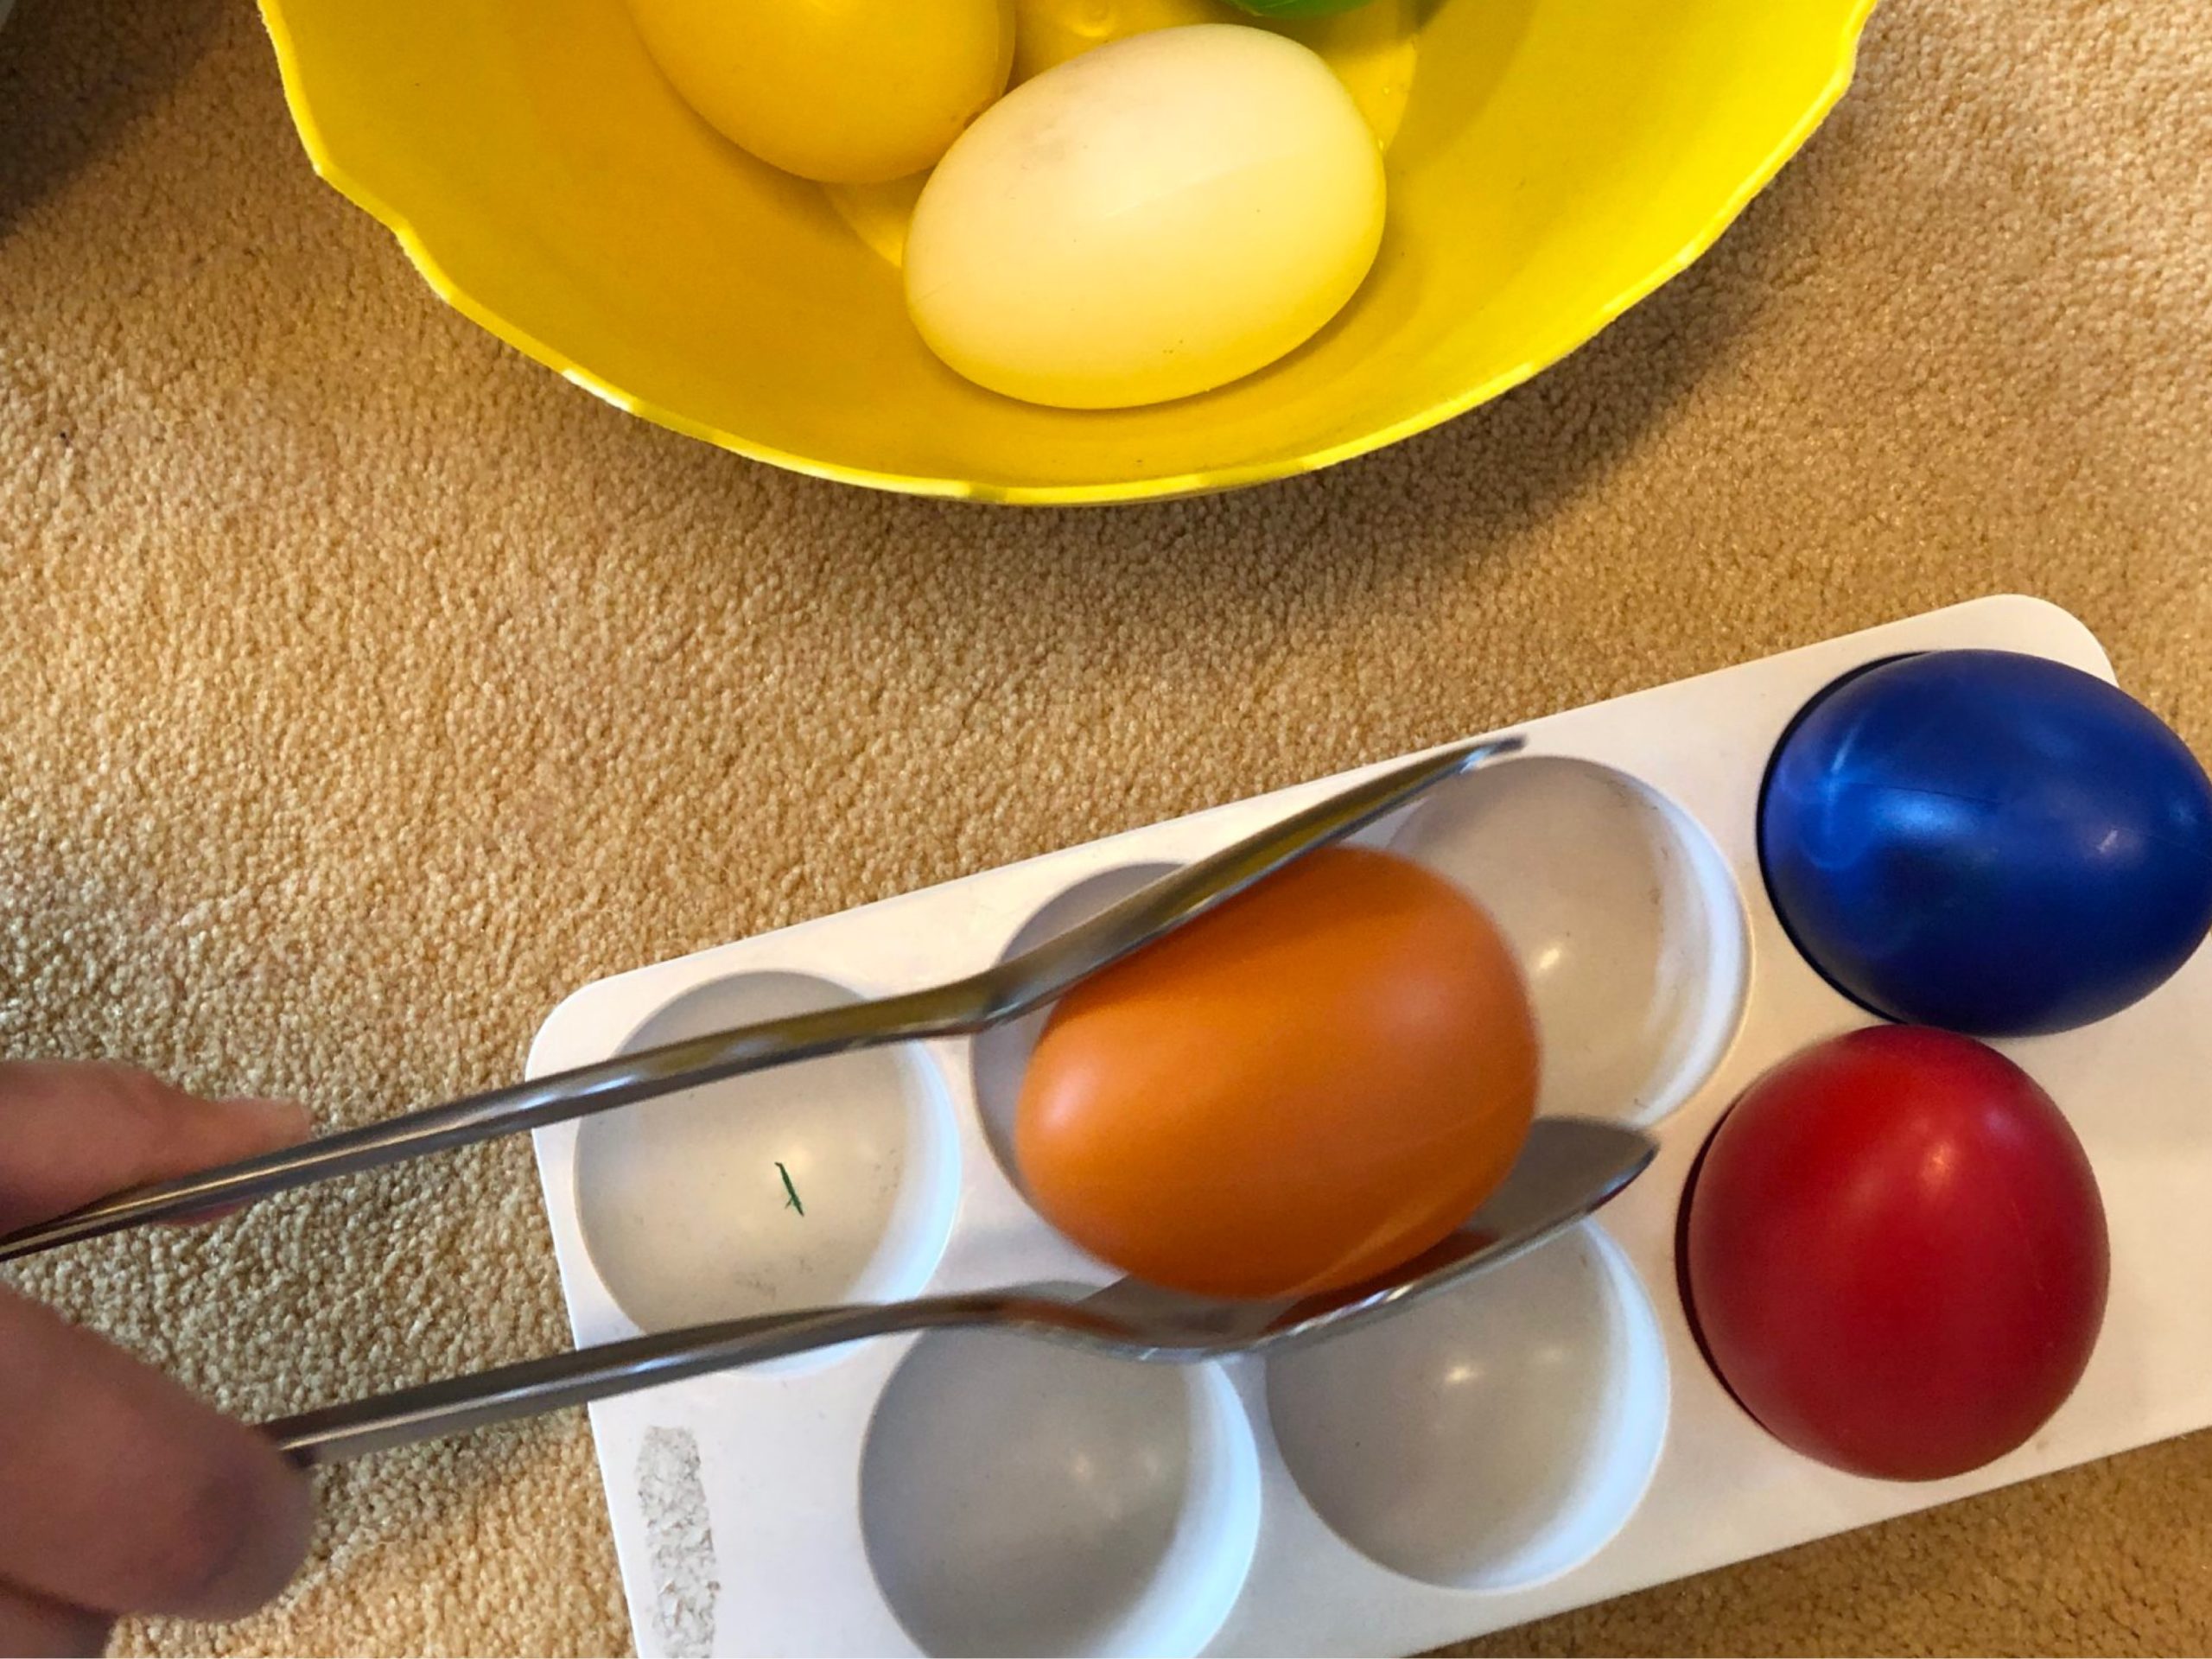
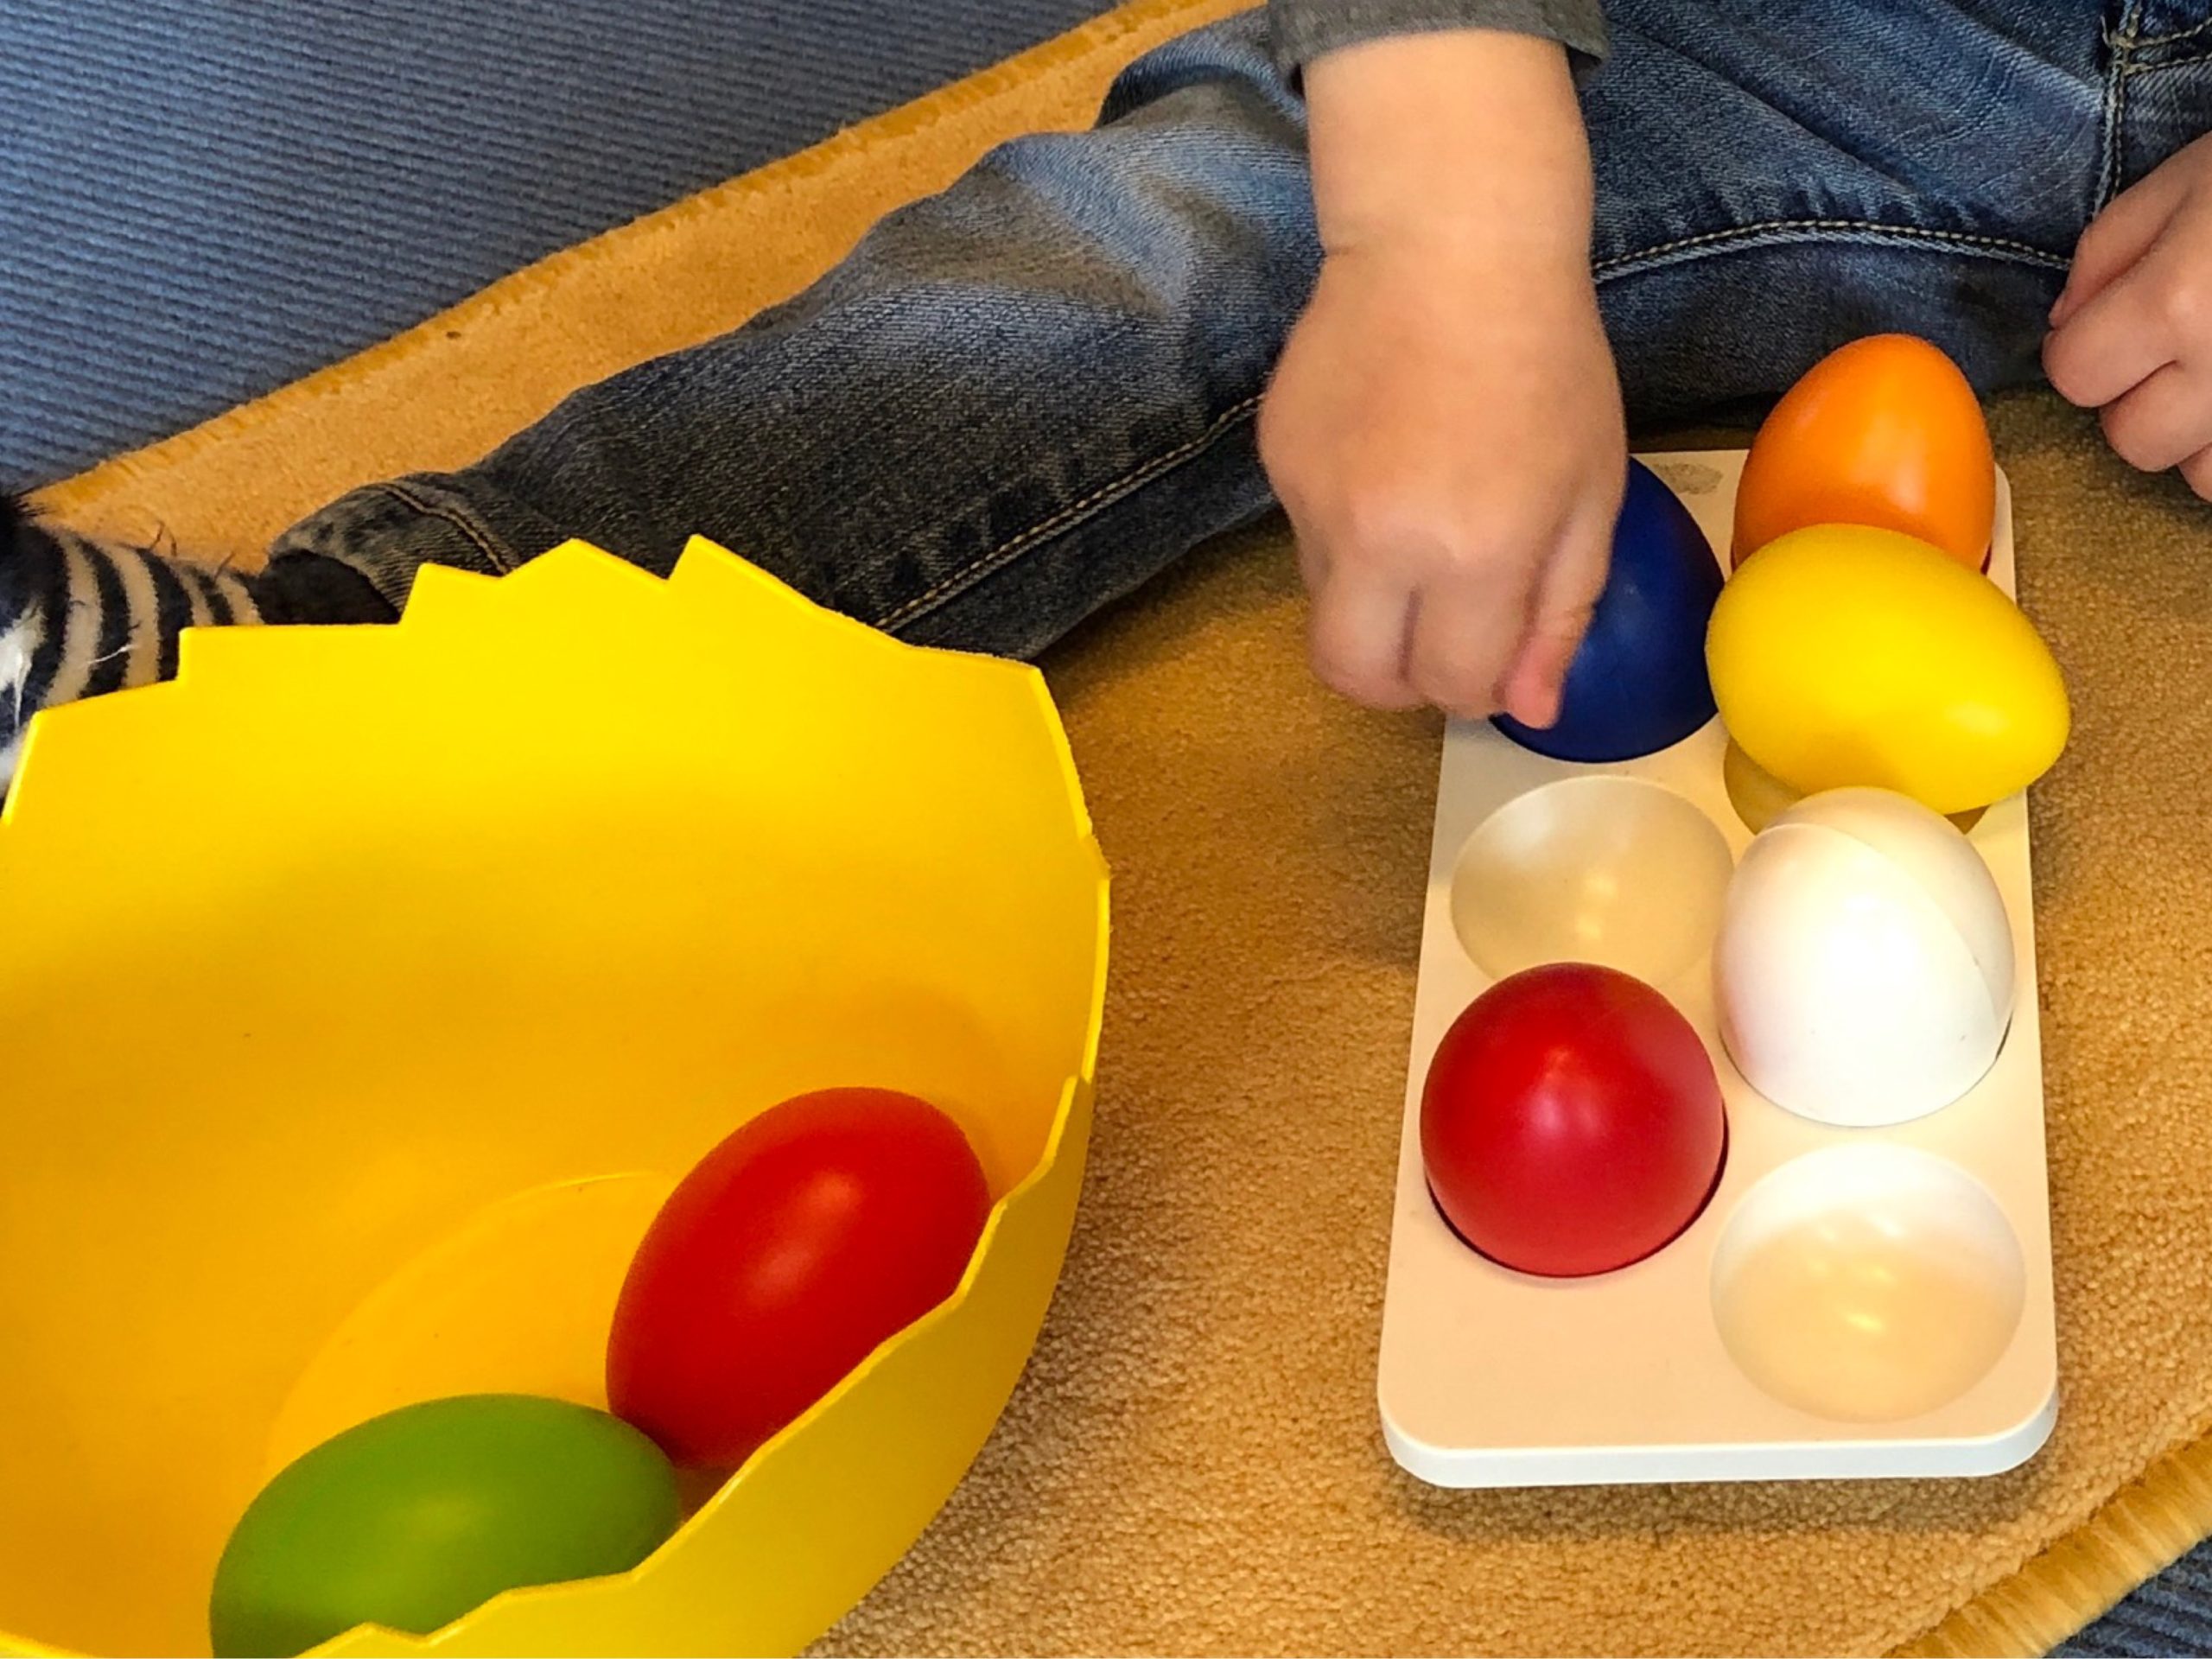
The little ones can prepare this Easter egg salad. All you need for this are colourful plastic Easter eggs, an egg box and a pastry plier. Small children can spend a long time transporting the eggs from the box into a bowl and back. You can also put various tasks to them.
This material can be used in many ways. Depending on which materials you use, you can design the difficulty level very differently. Crib children can start with the material as well as kindergarten children.Look at the different variants and choose the one suitable for you. Have fun!
Media Education for Kindergarten and Hort

Relief in everyday life, targeted promotion of individual children, independent learning and - without any pre-knowledge already usable by the youngest!
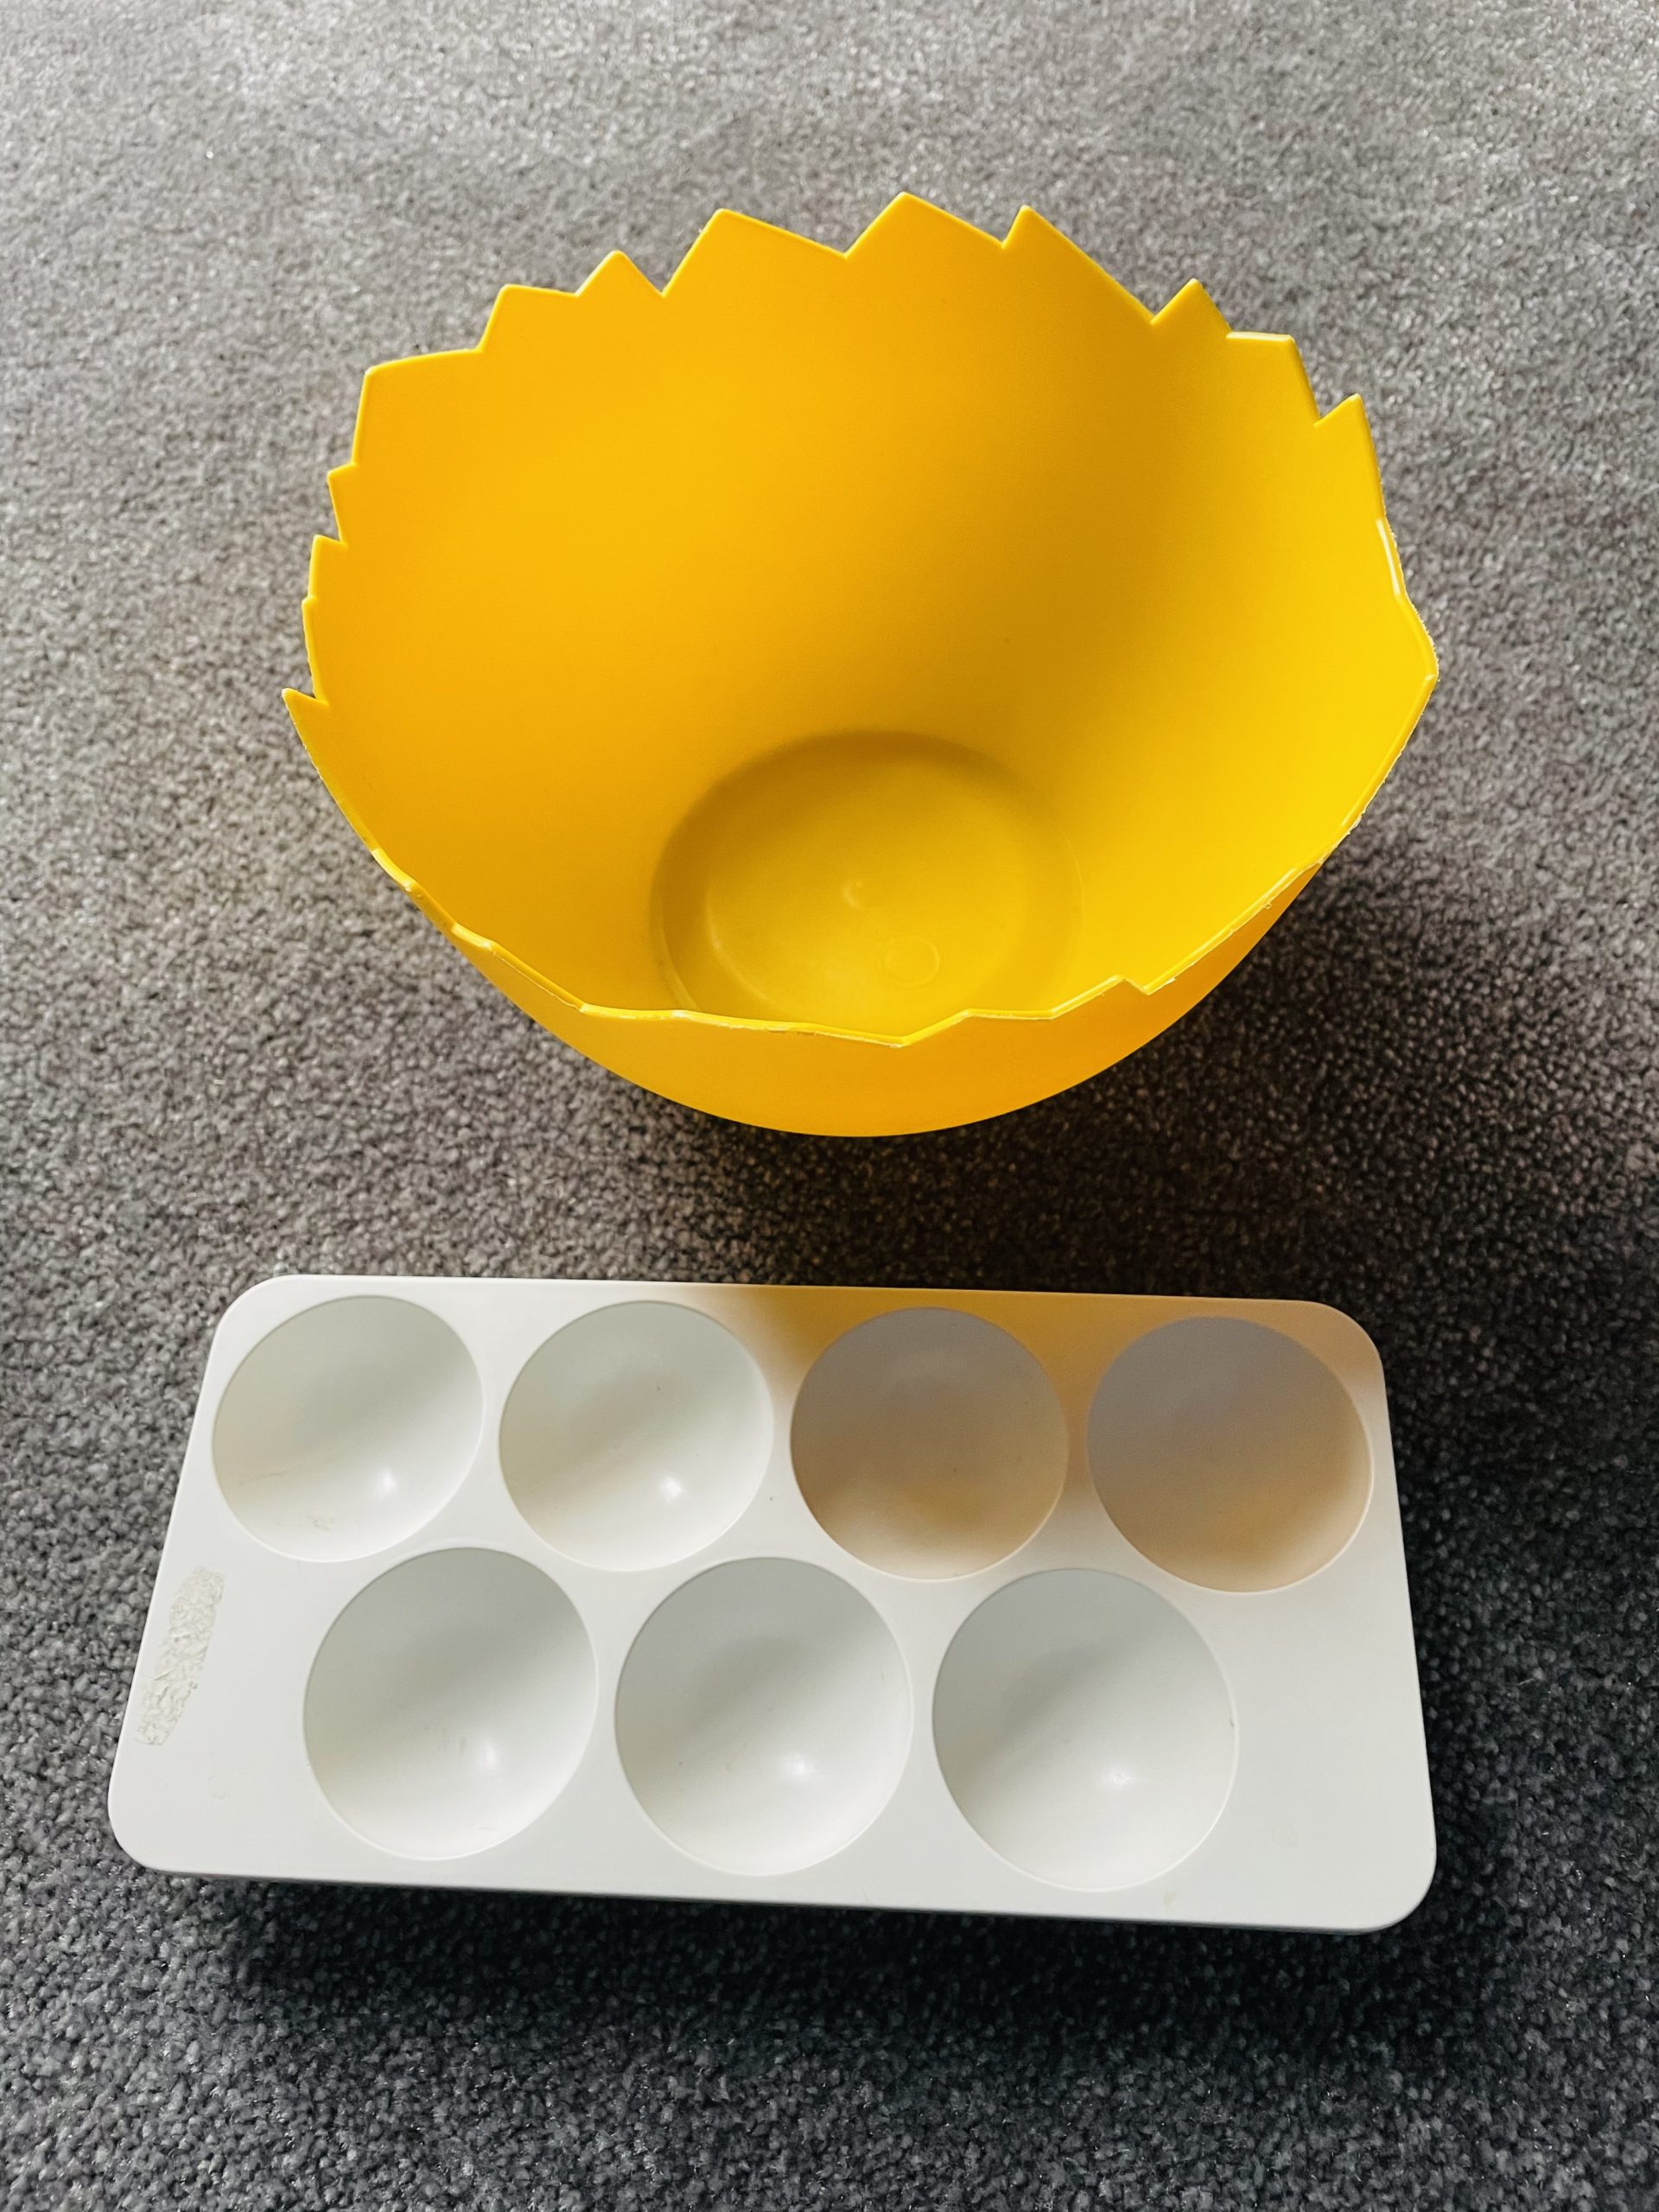
Prepare a bowl and pre-shaped egg insert (e.g. from the fridge).
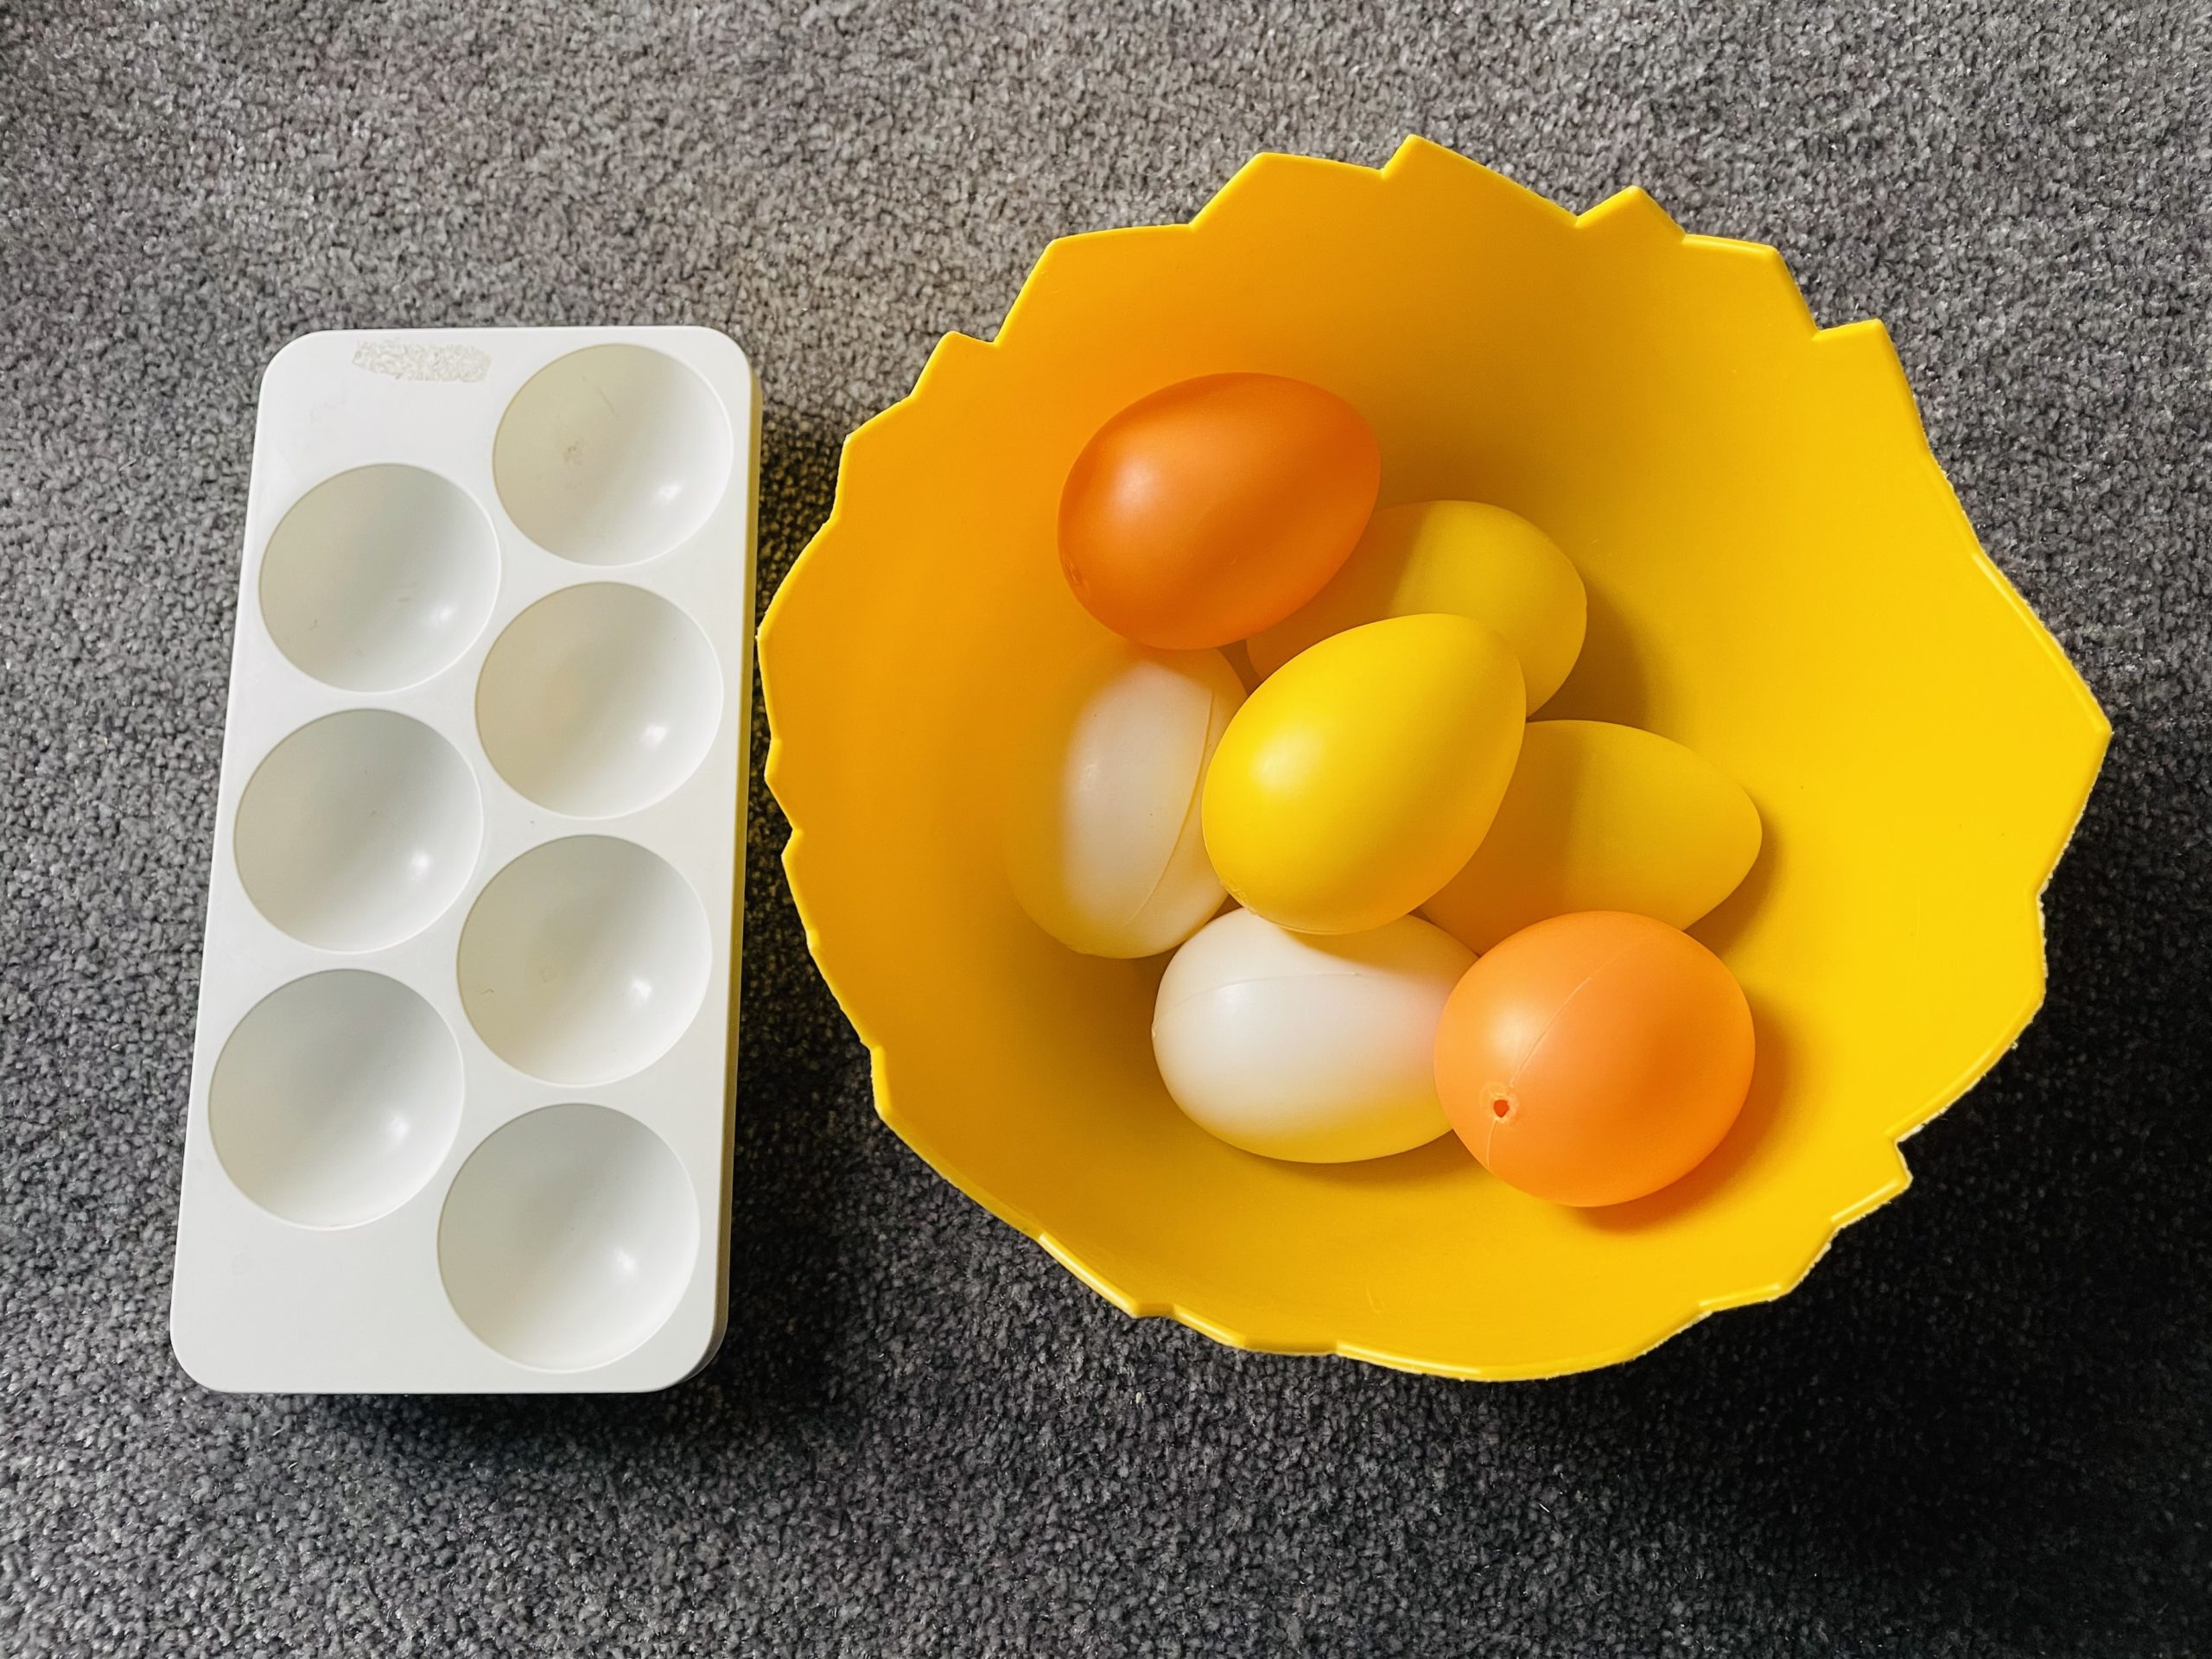
Use as many plastic eggs as can fit into your egg holder.


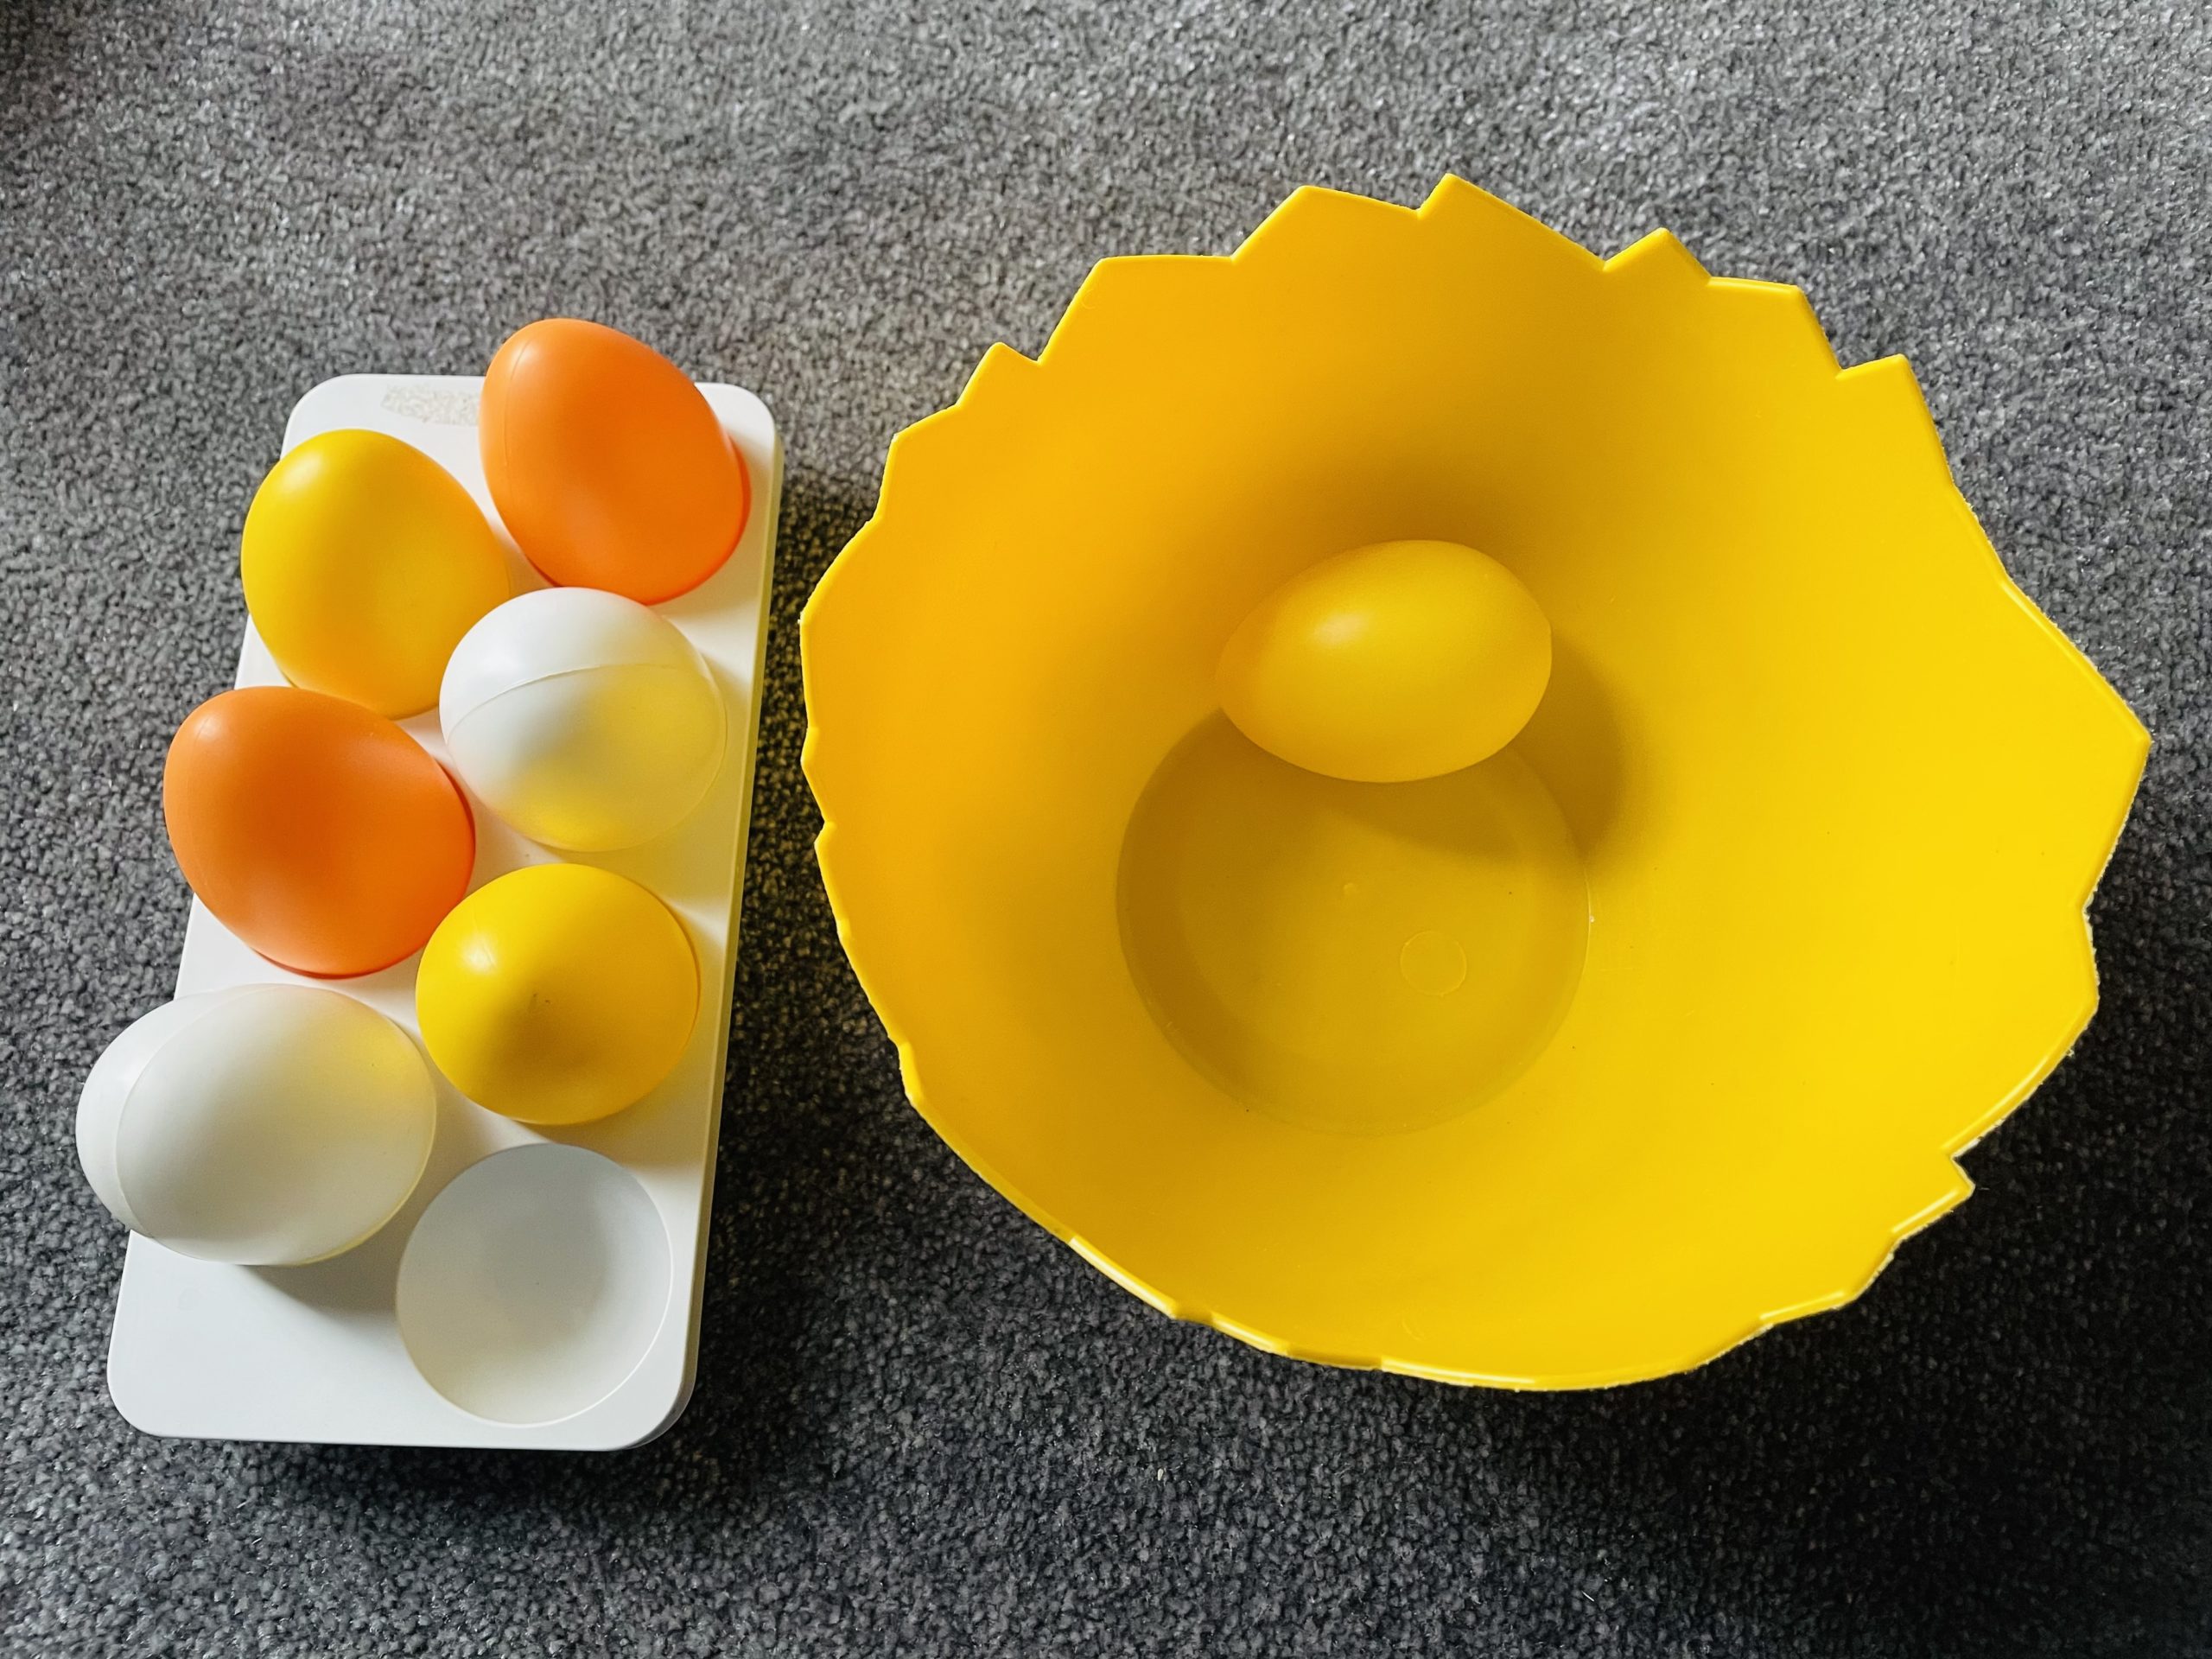
Now the child may begin to take the eggs out of the bowl and lay them in the egg insert.


Give your child a spoon or pliers.
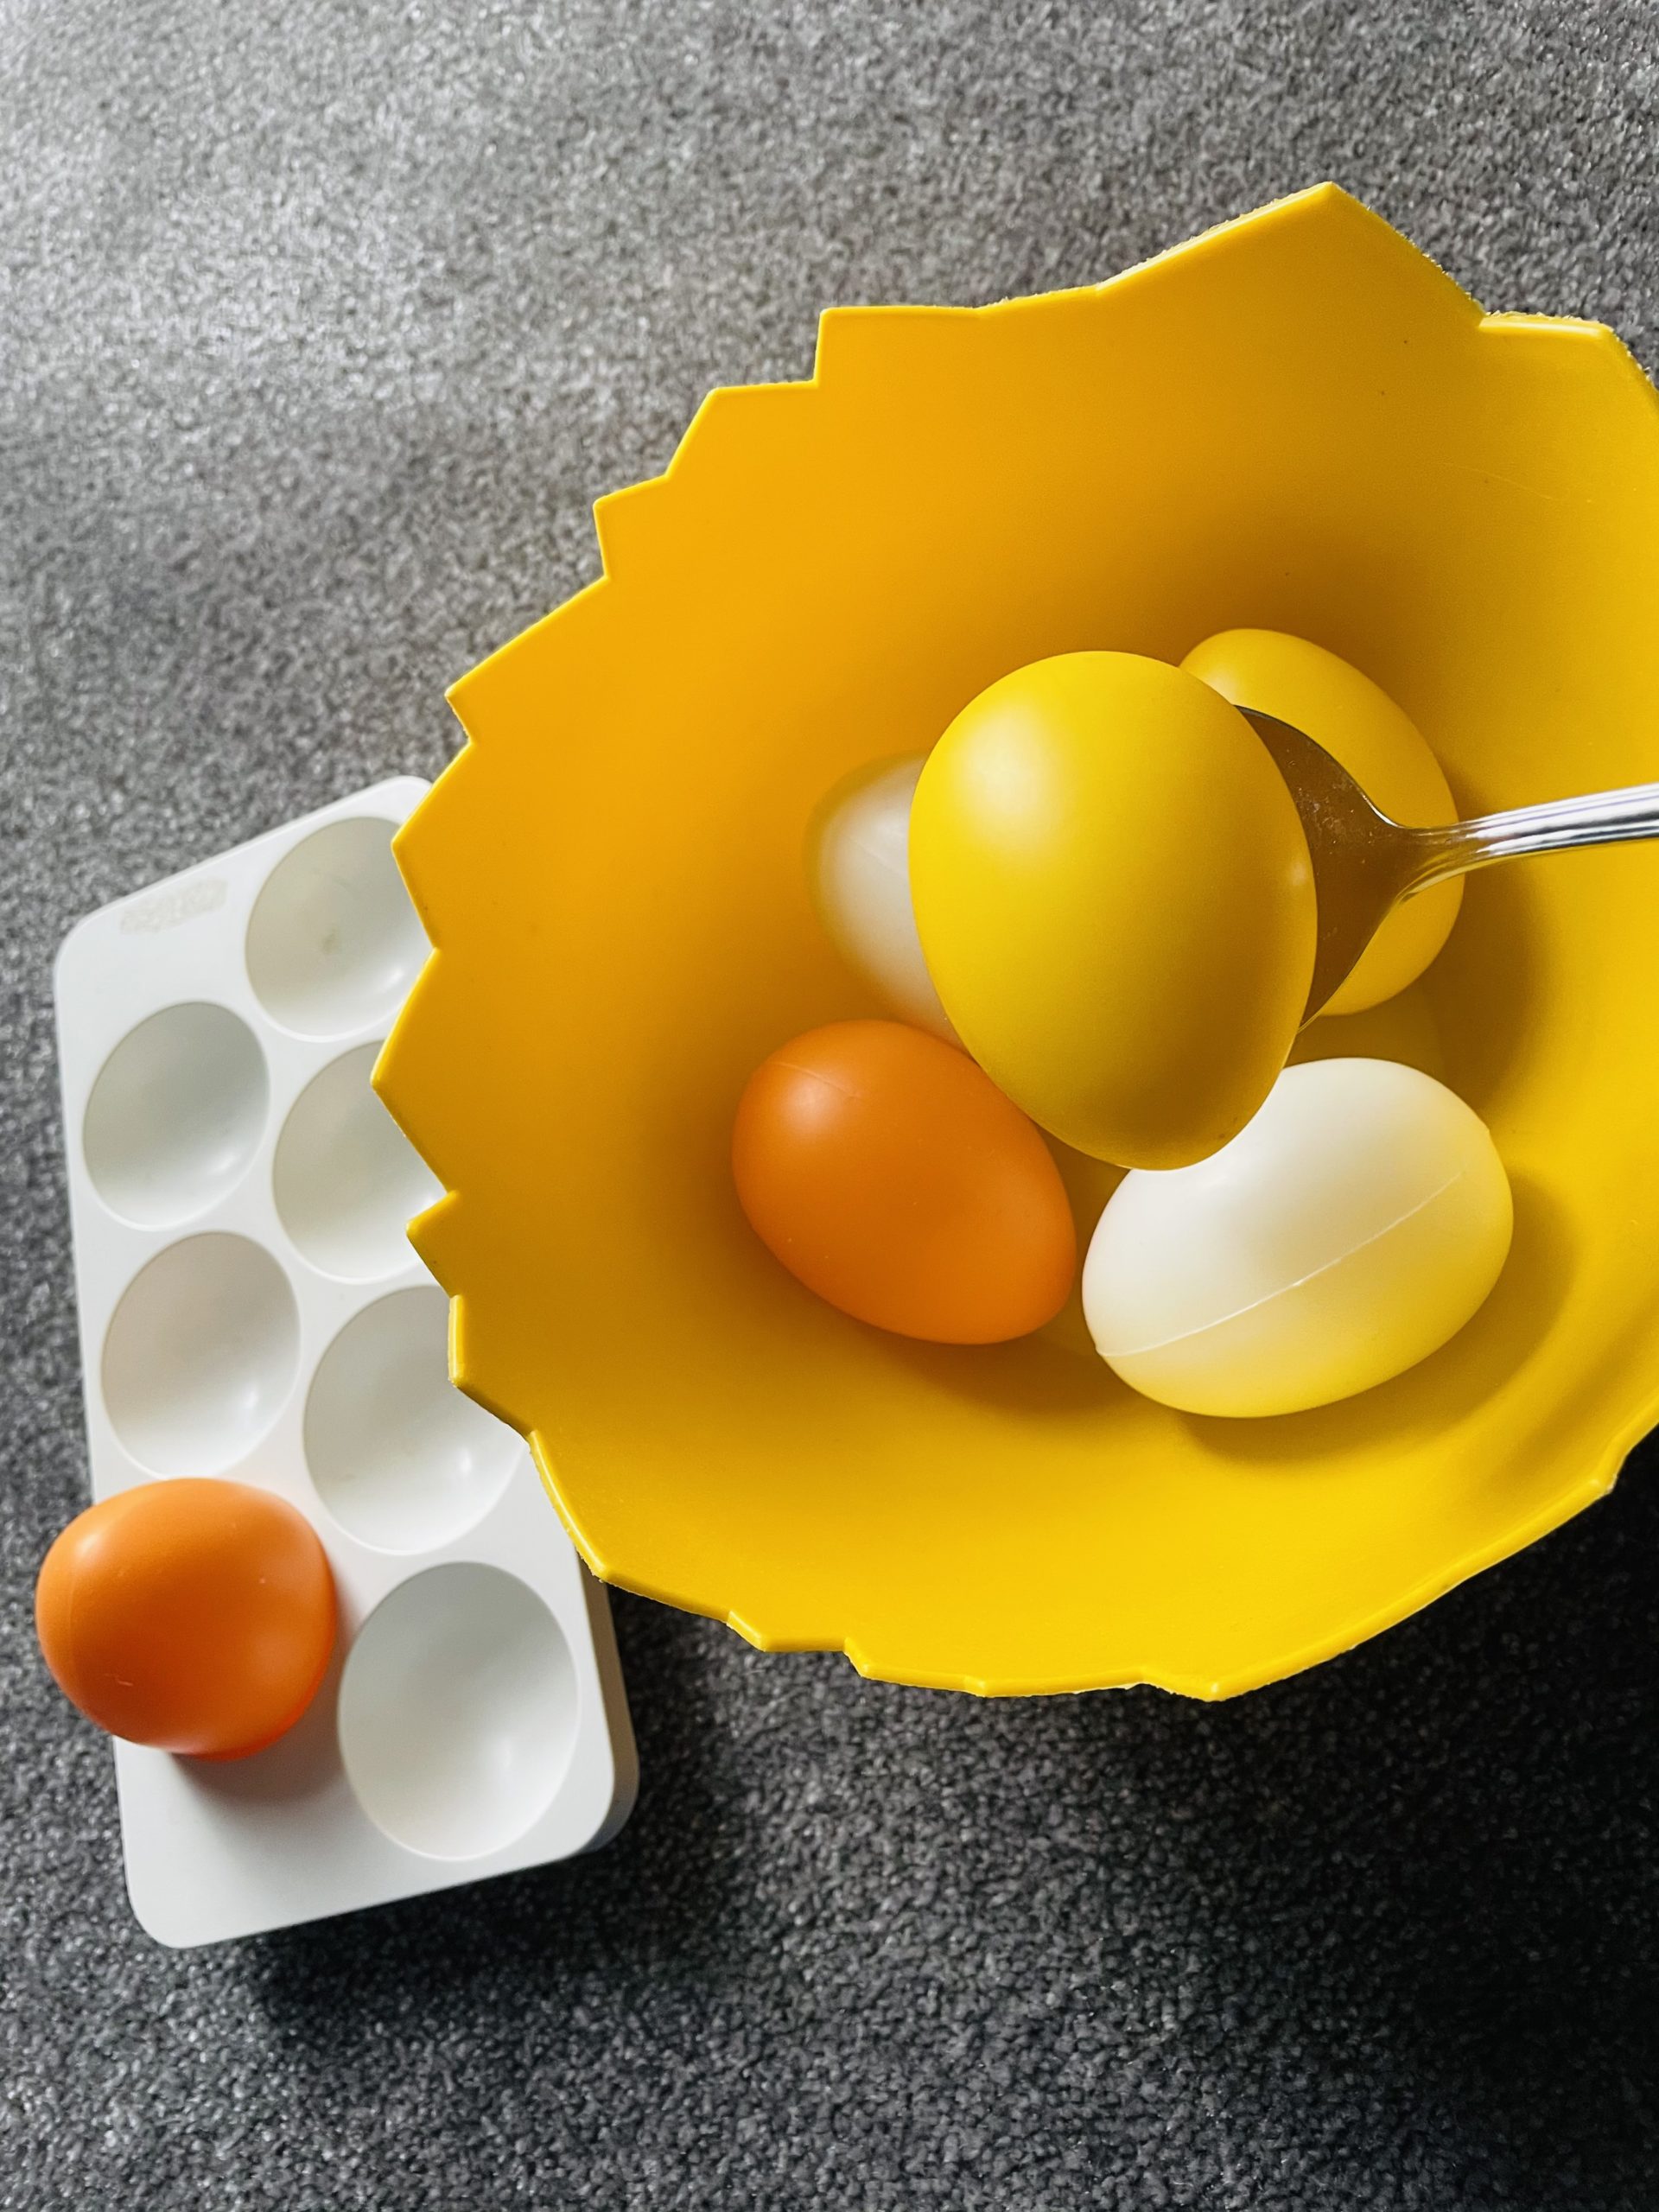


With colored eggs you can also deepen the colors while playing.
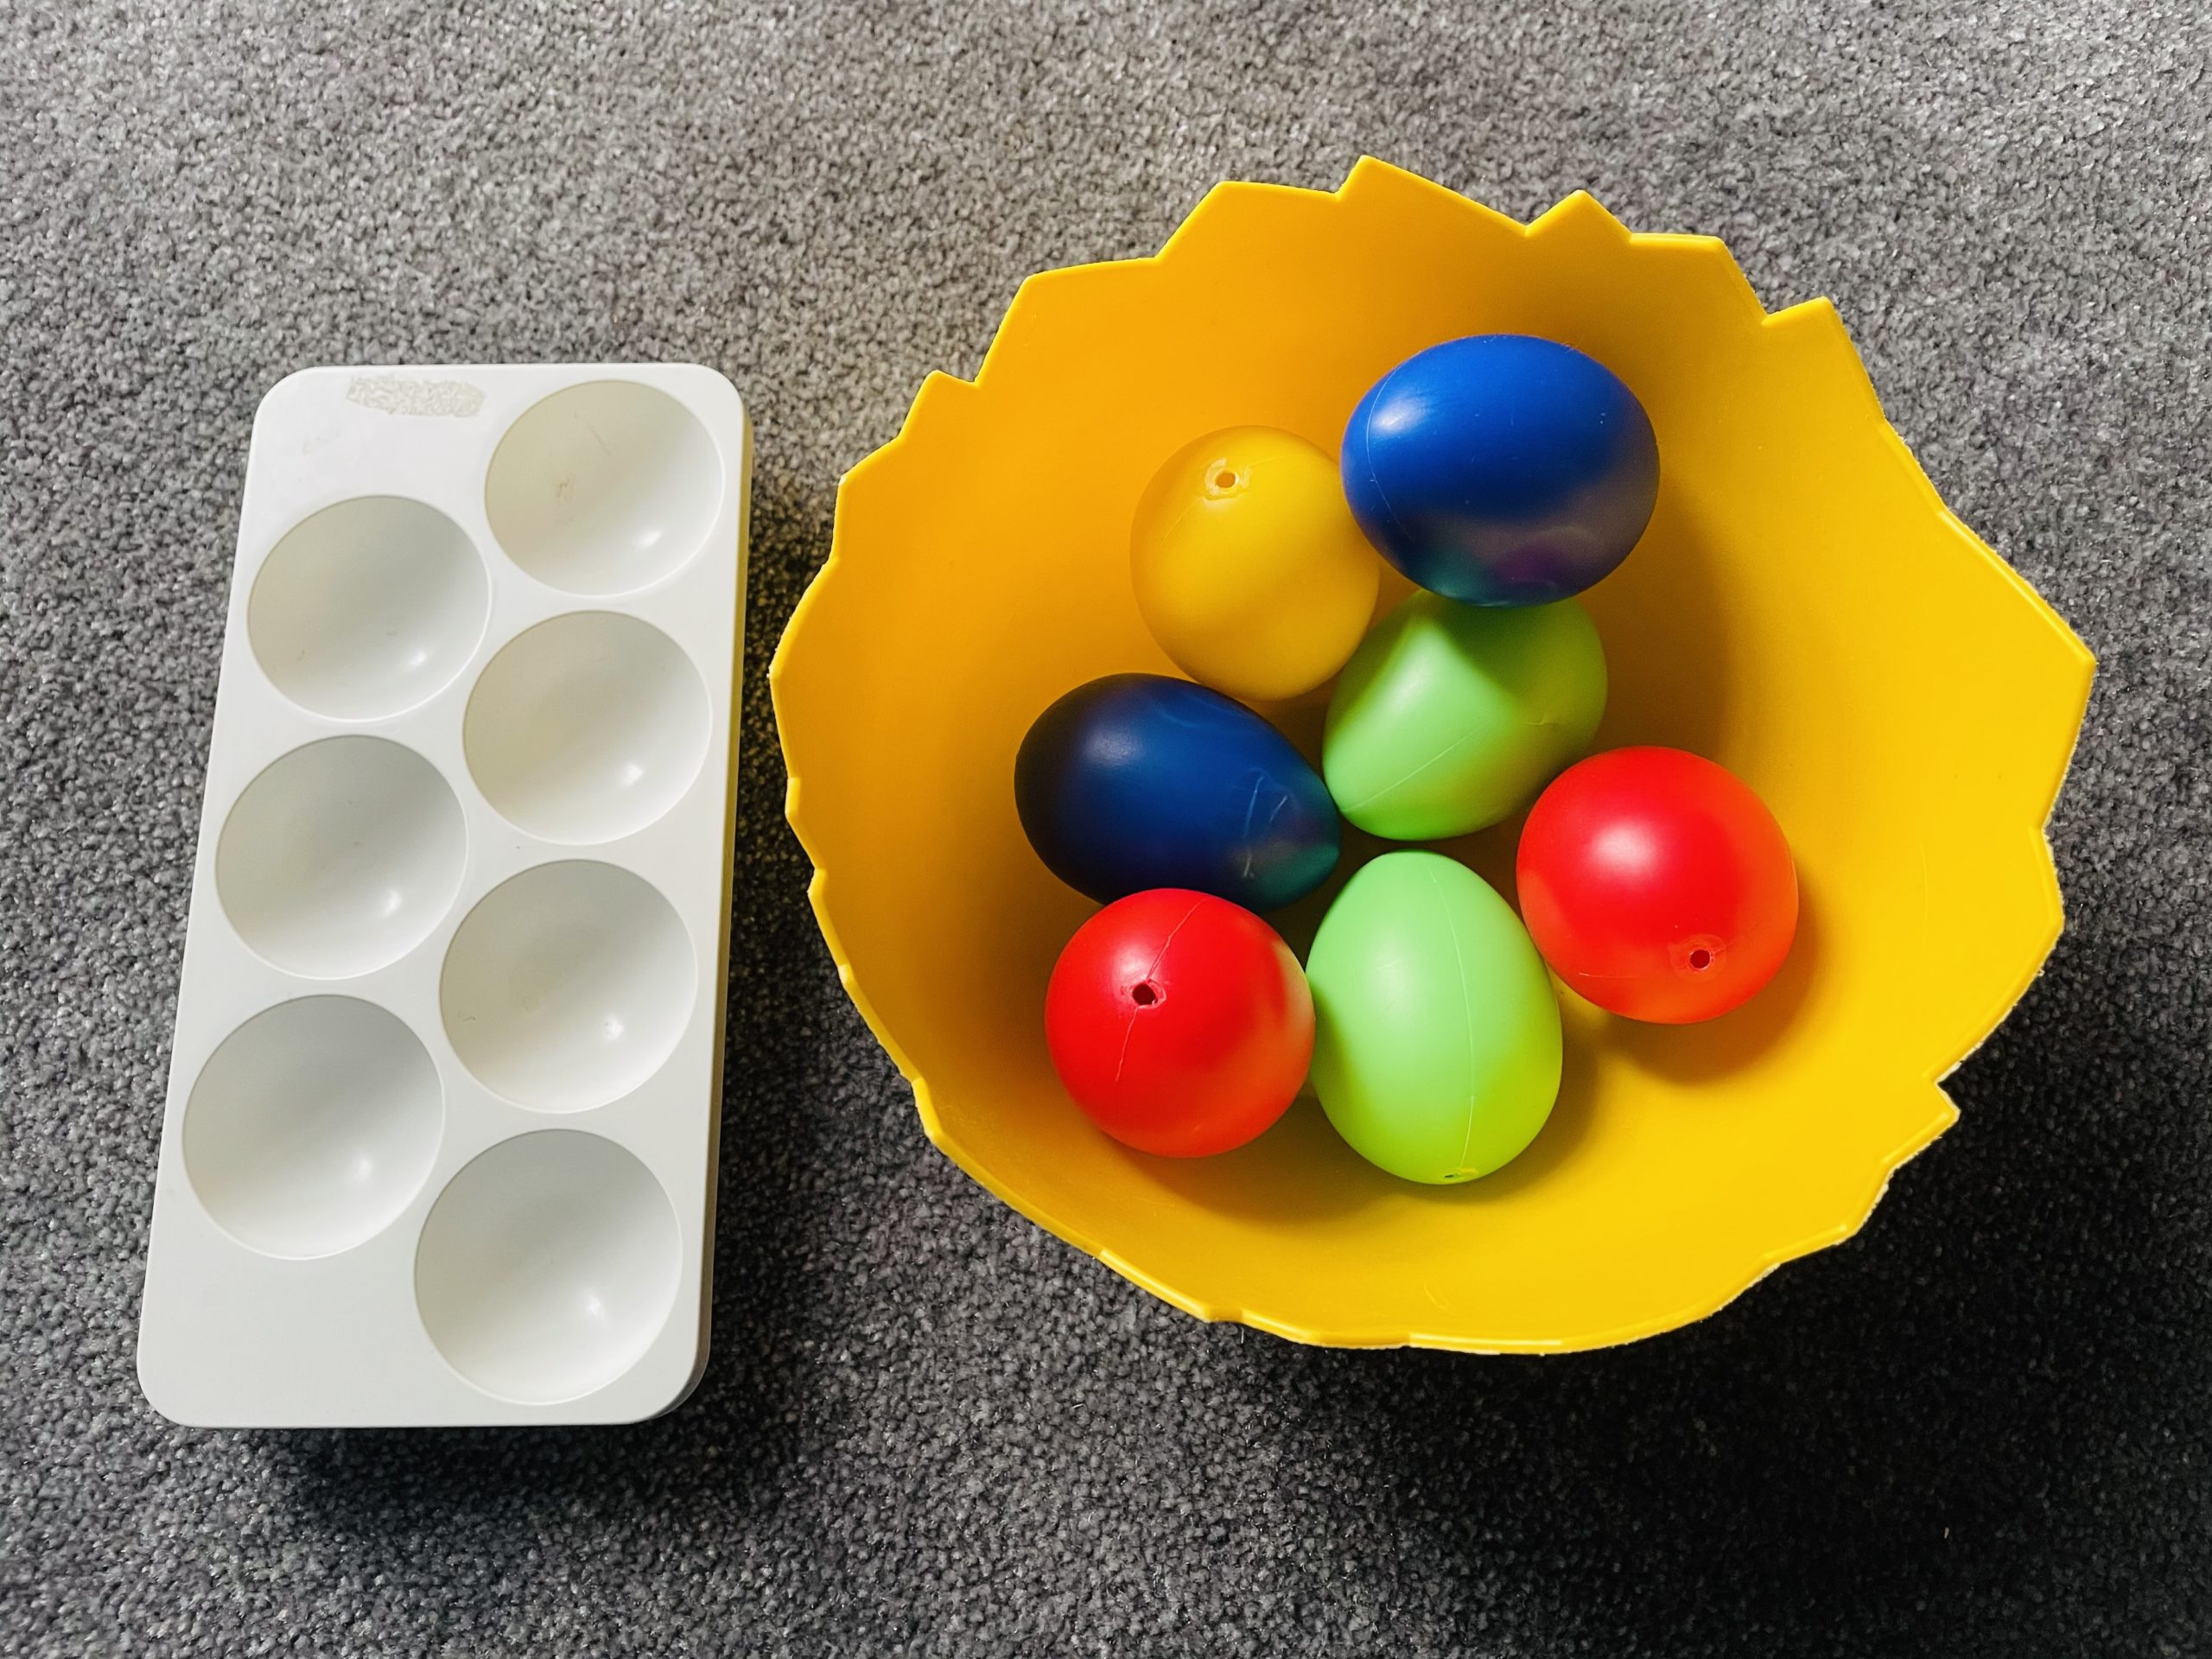


Name to the child the color of the egg, which it should put from the bowl in the egg holder.
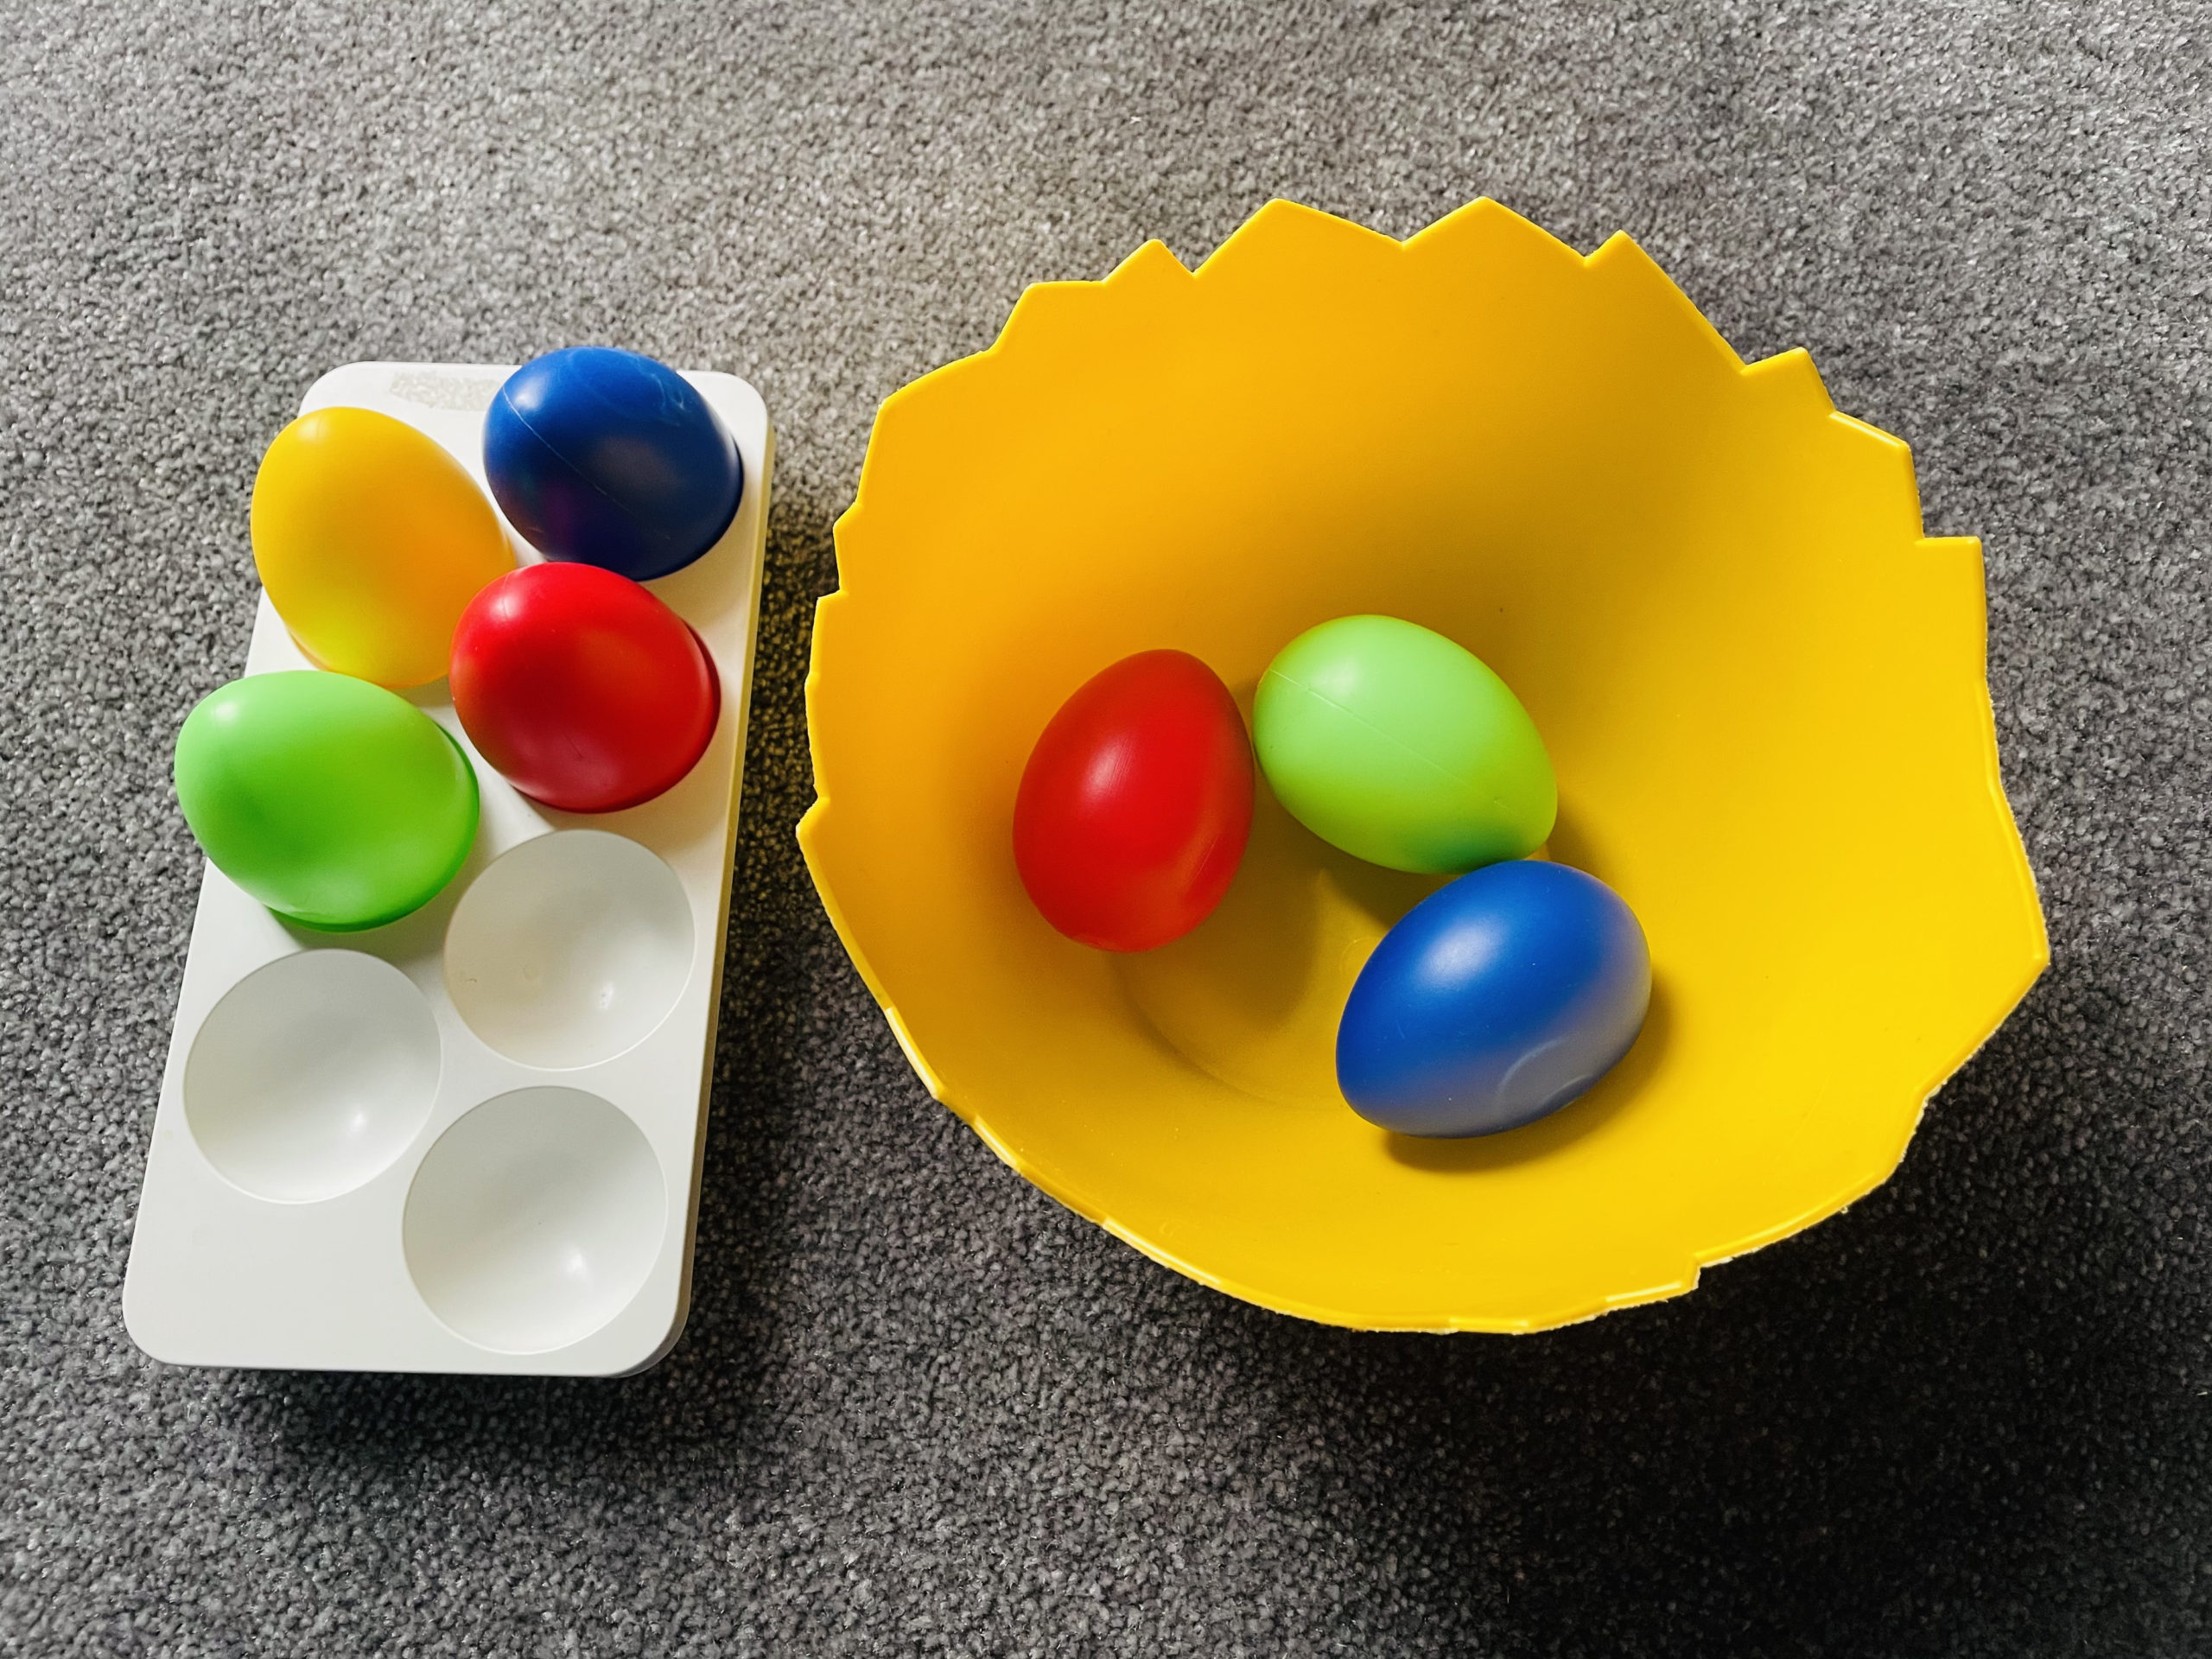


If all eggs are sorted, the child can repeat the procedure as often as possible.
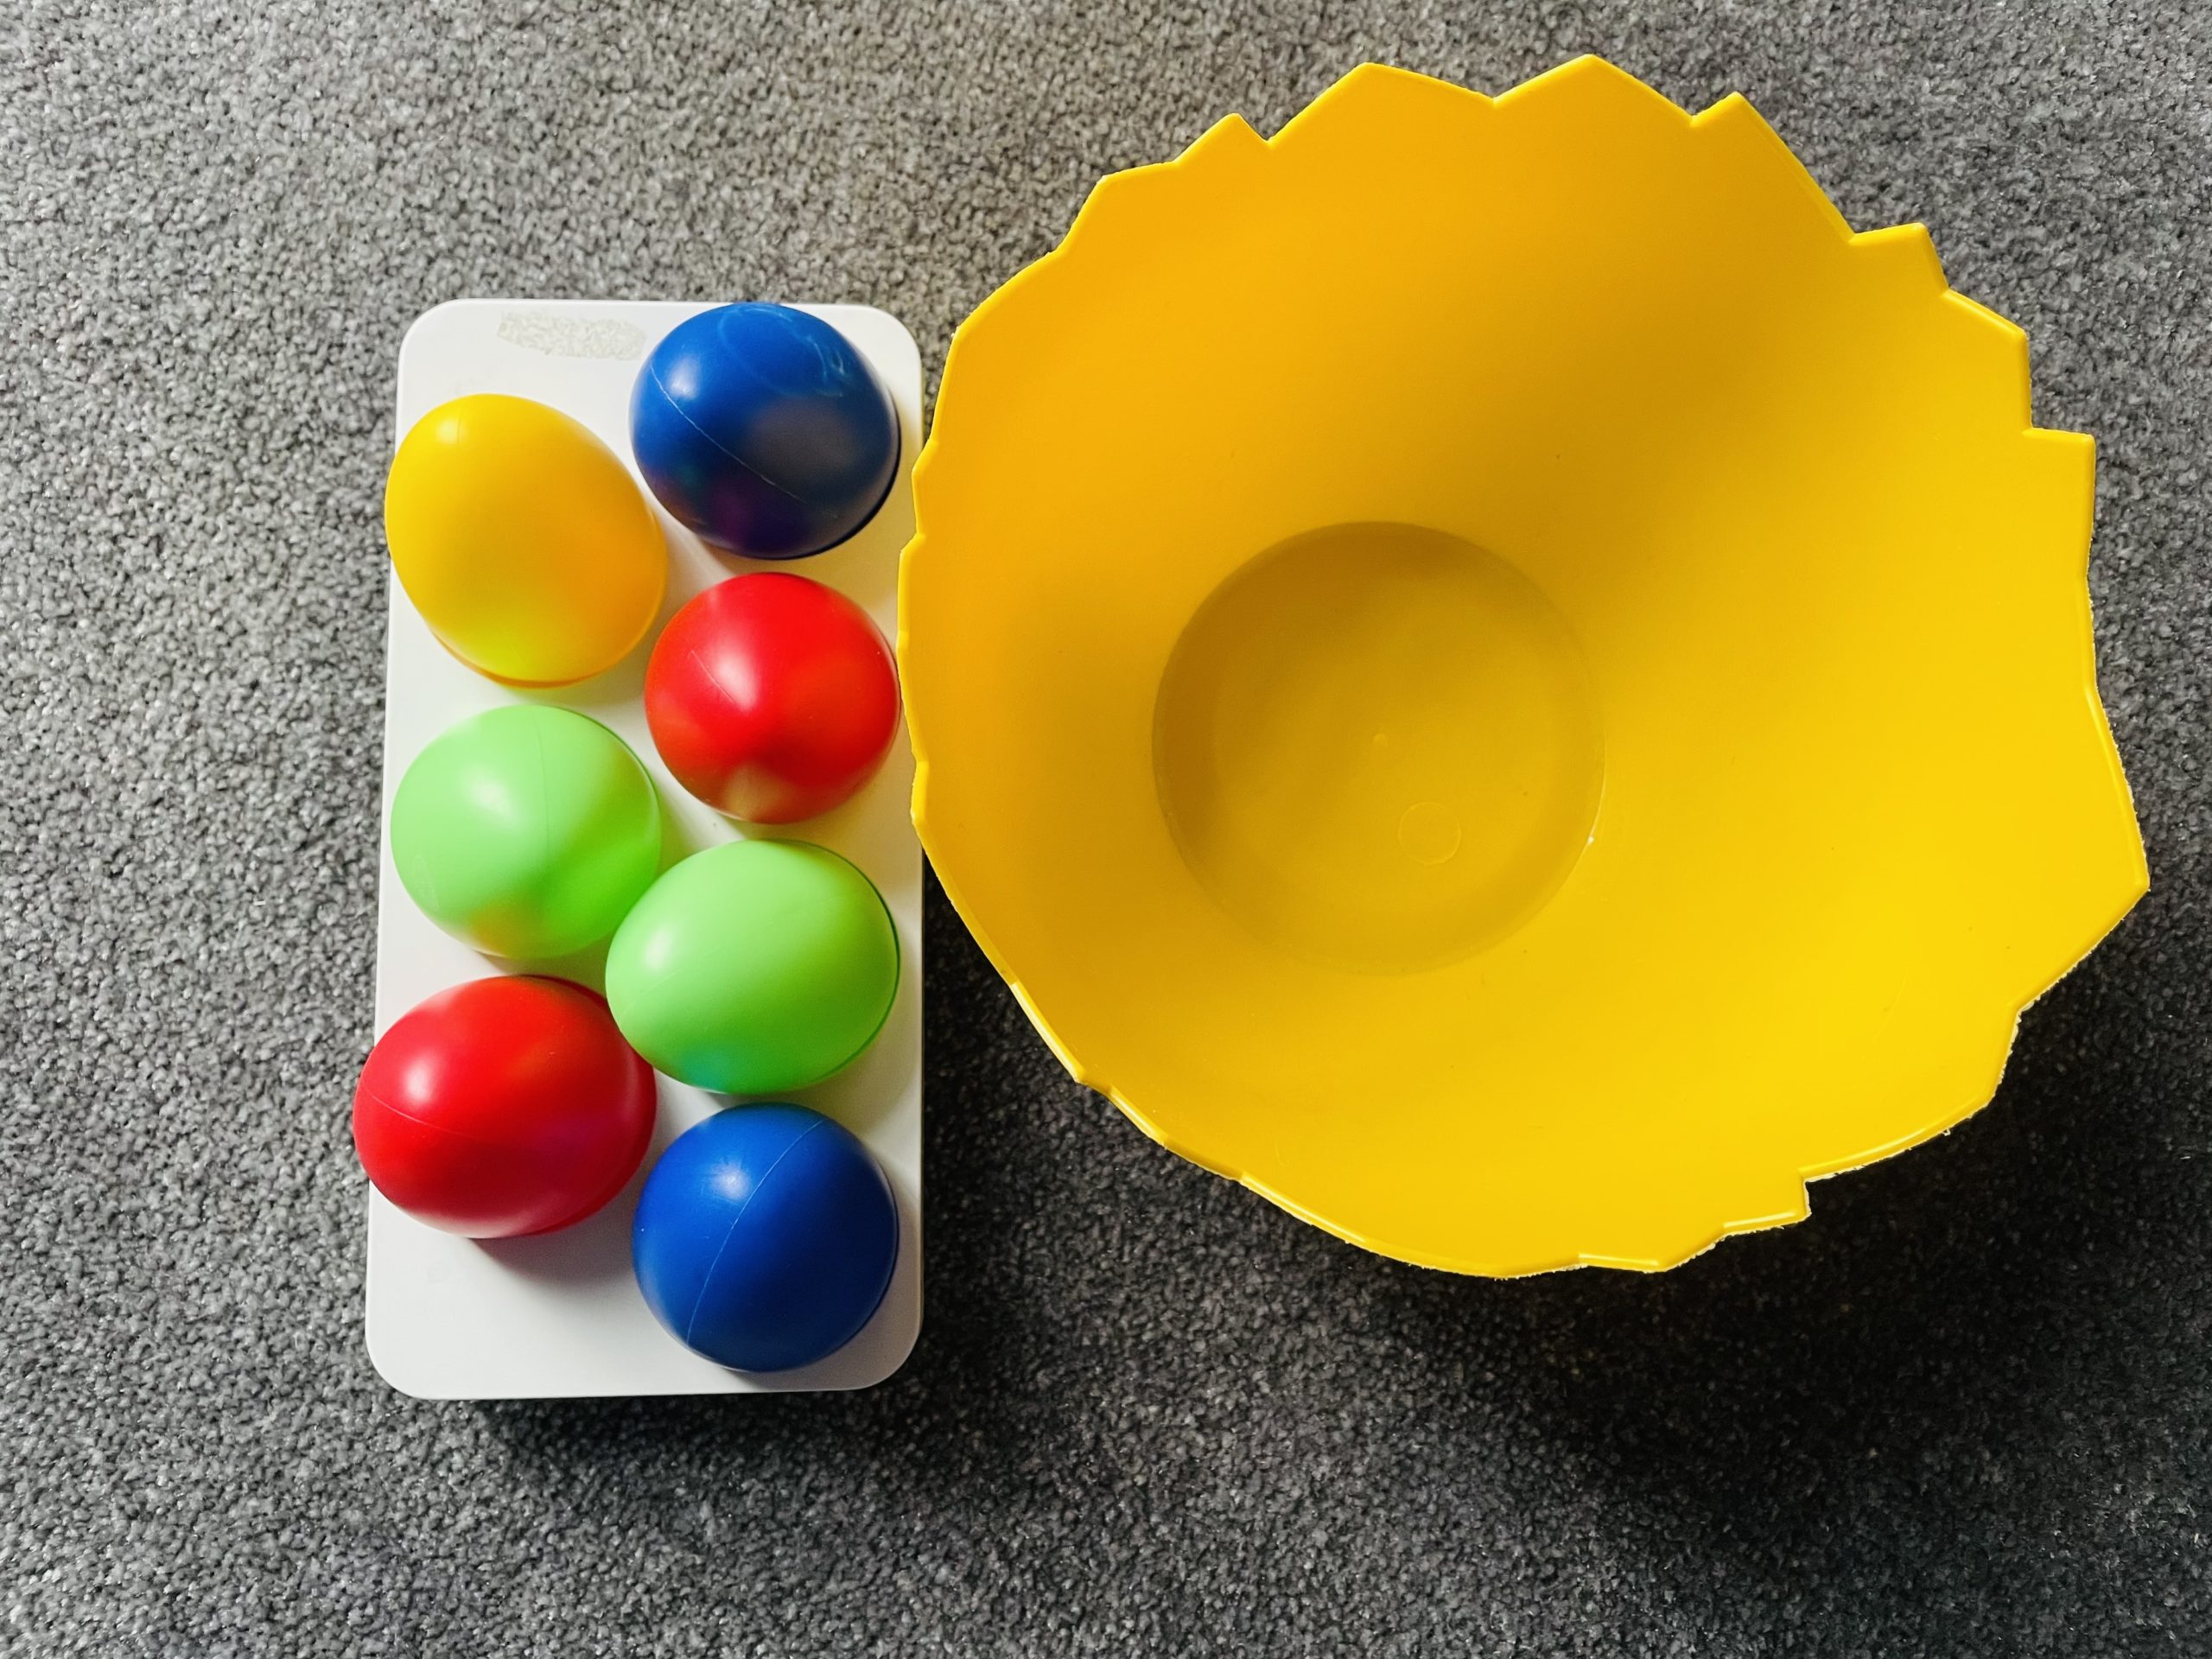


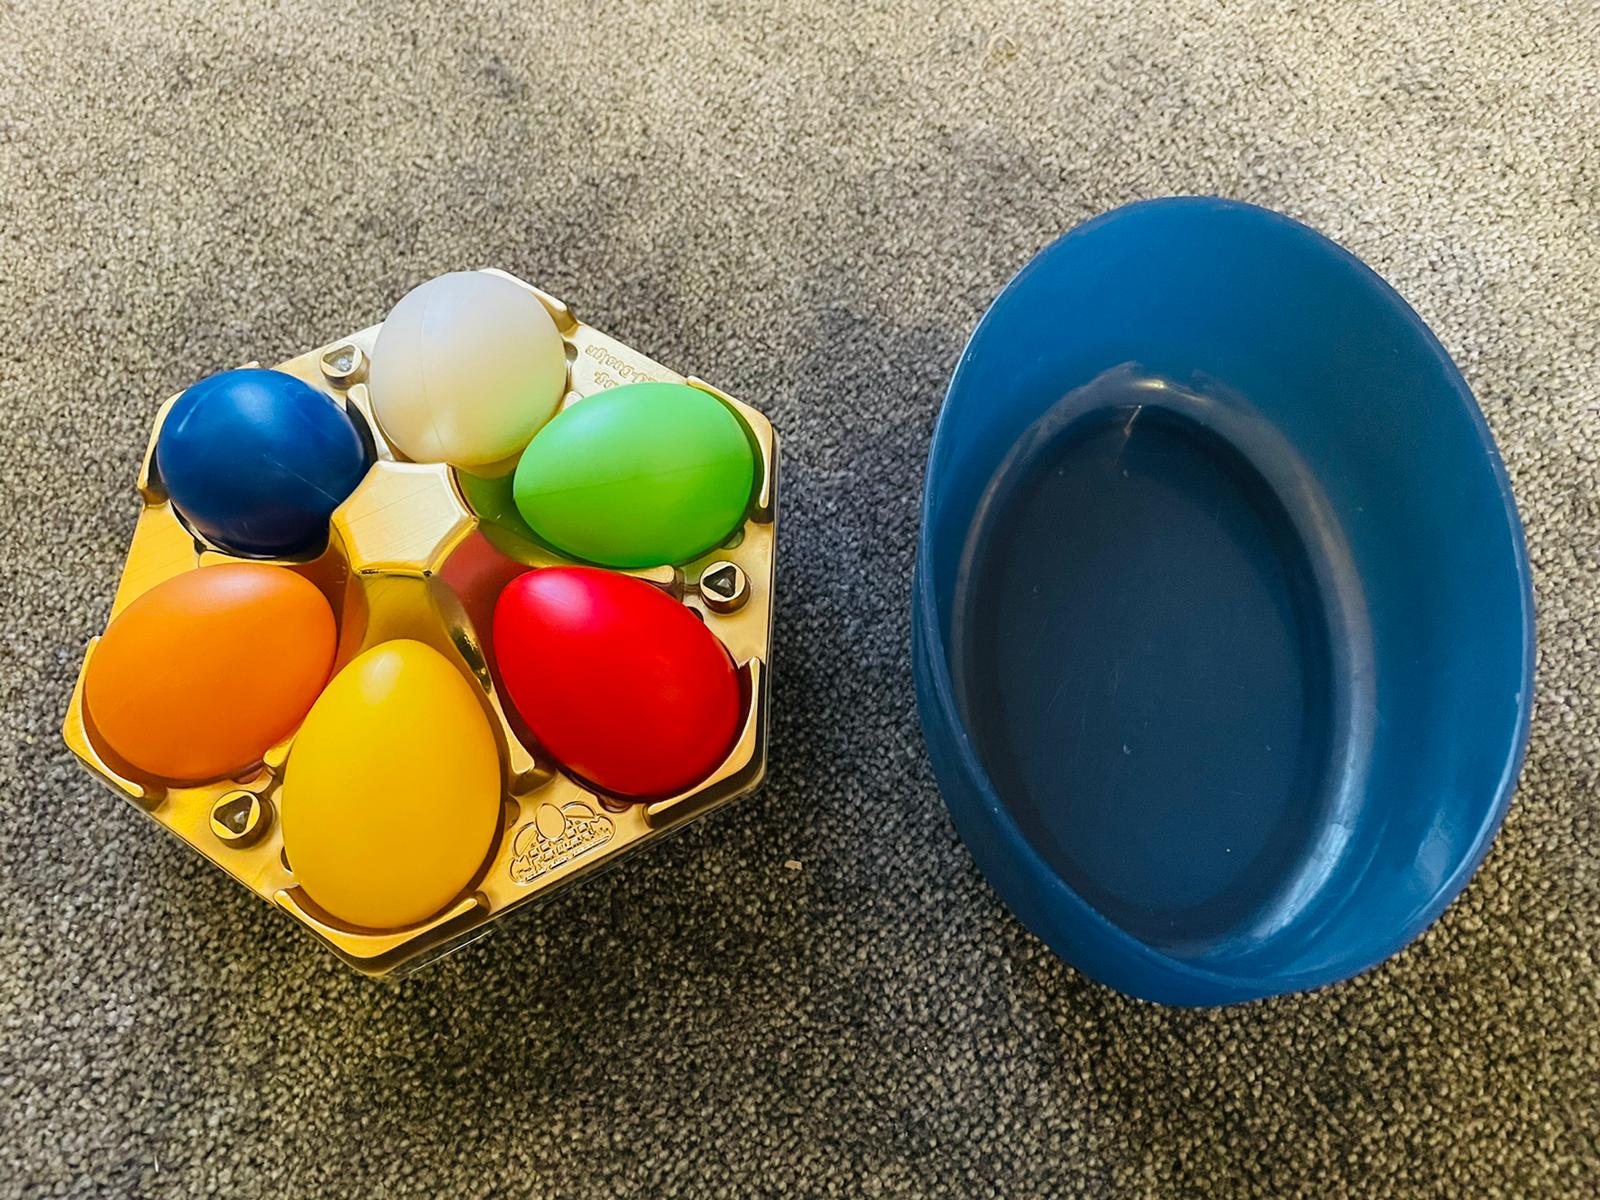
Uses an egg box made of cardboard for only six eggs. Thus, the children practice handling materials that can break - like the egg box.
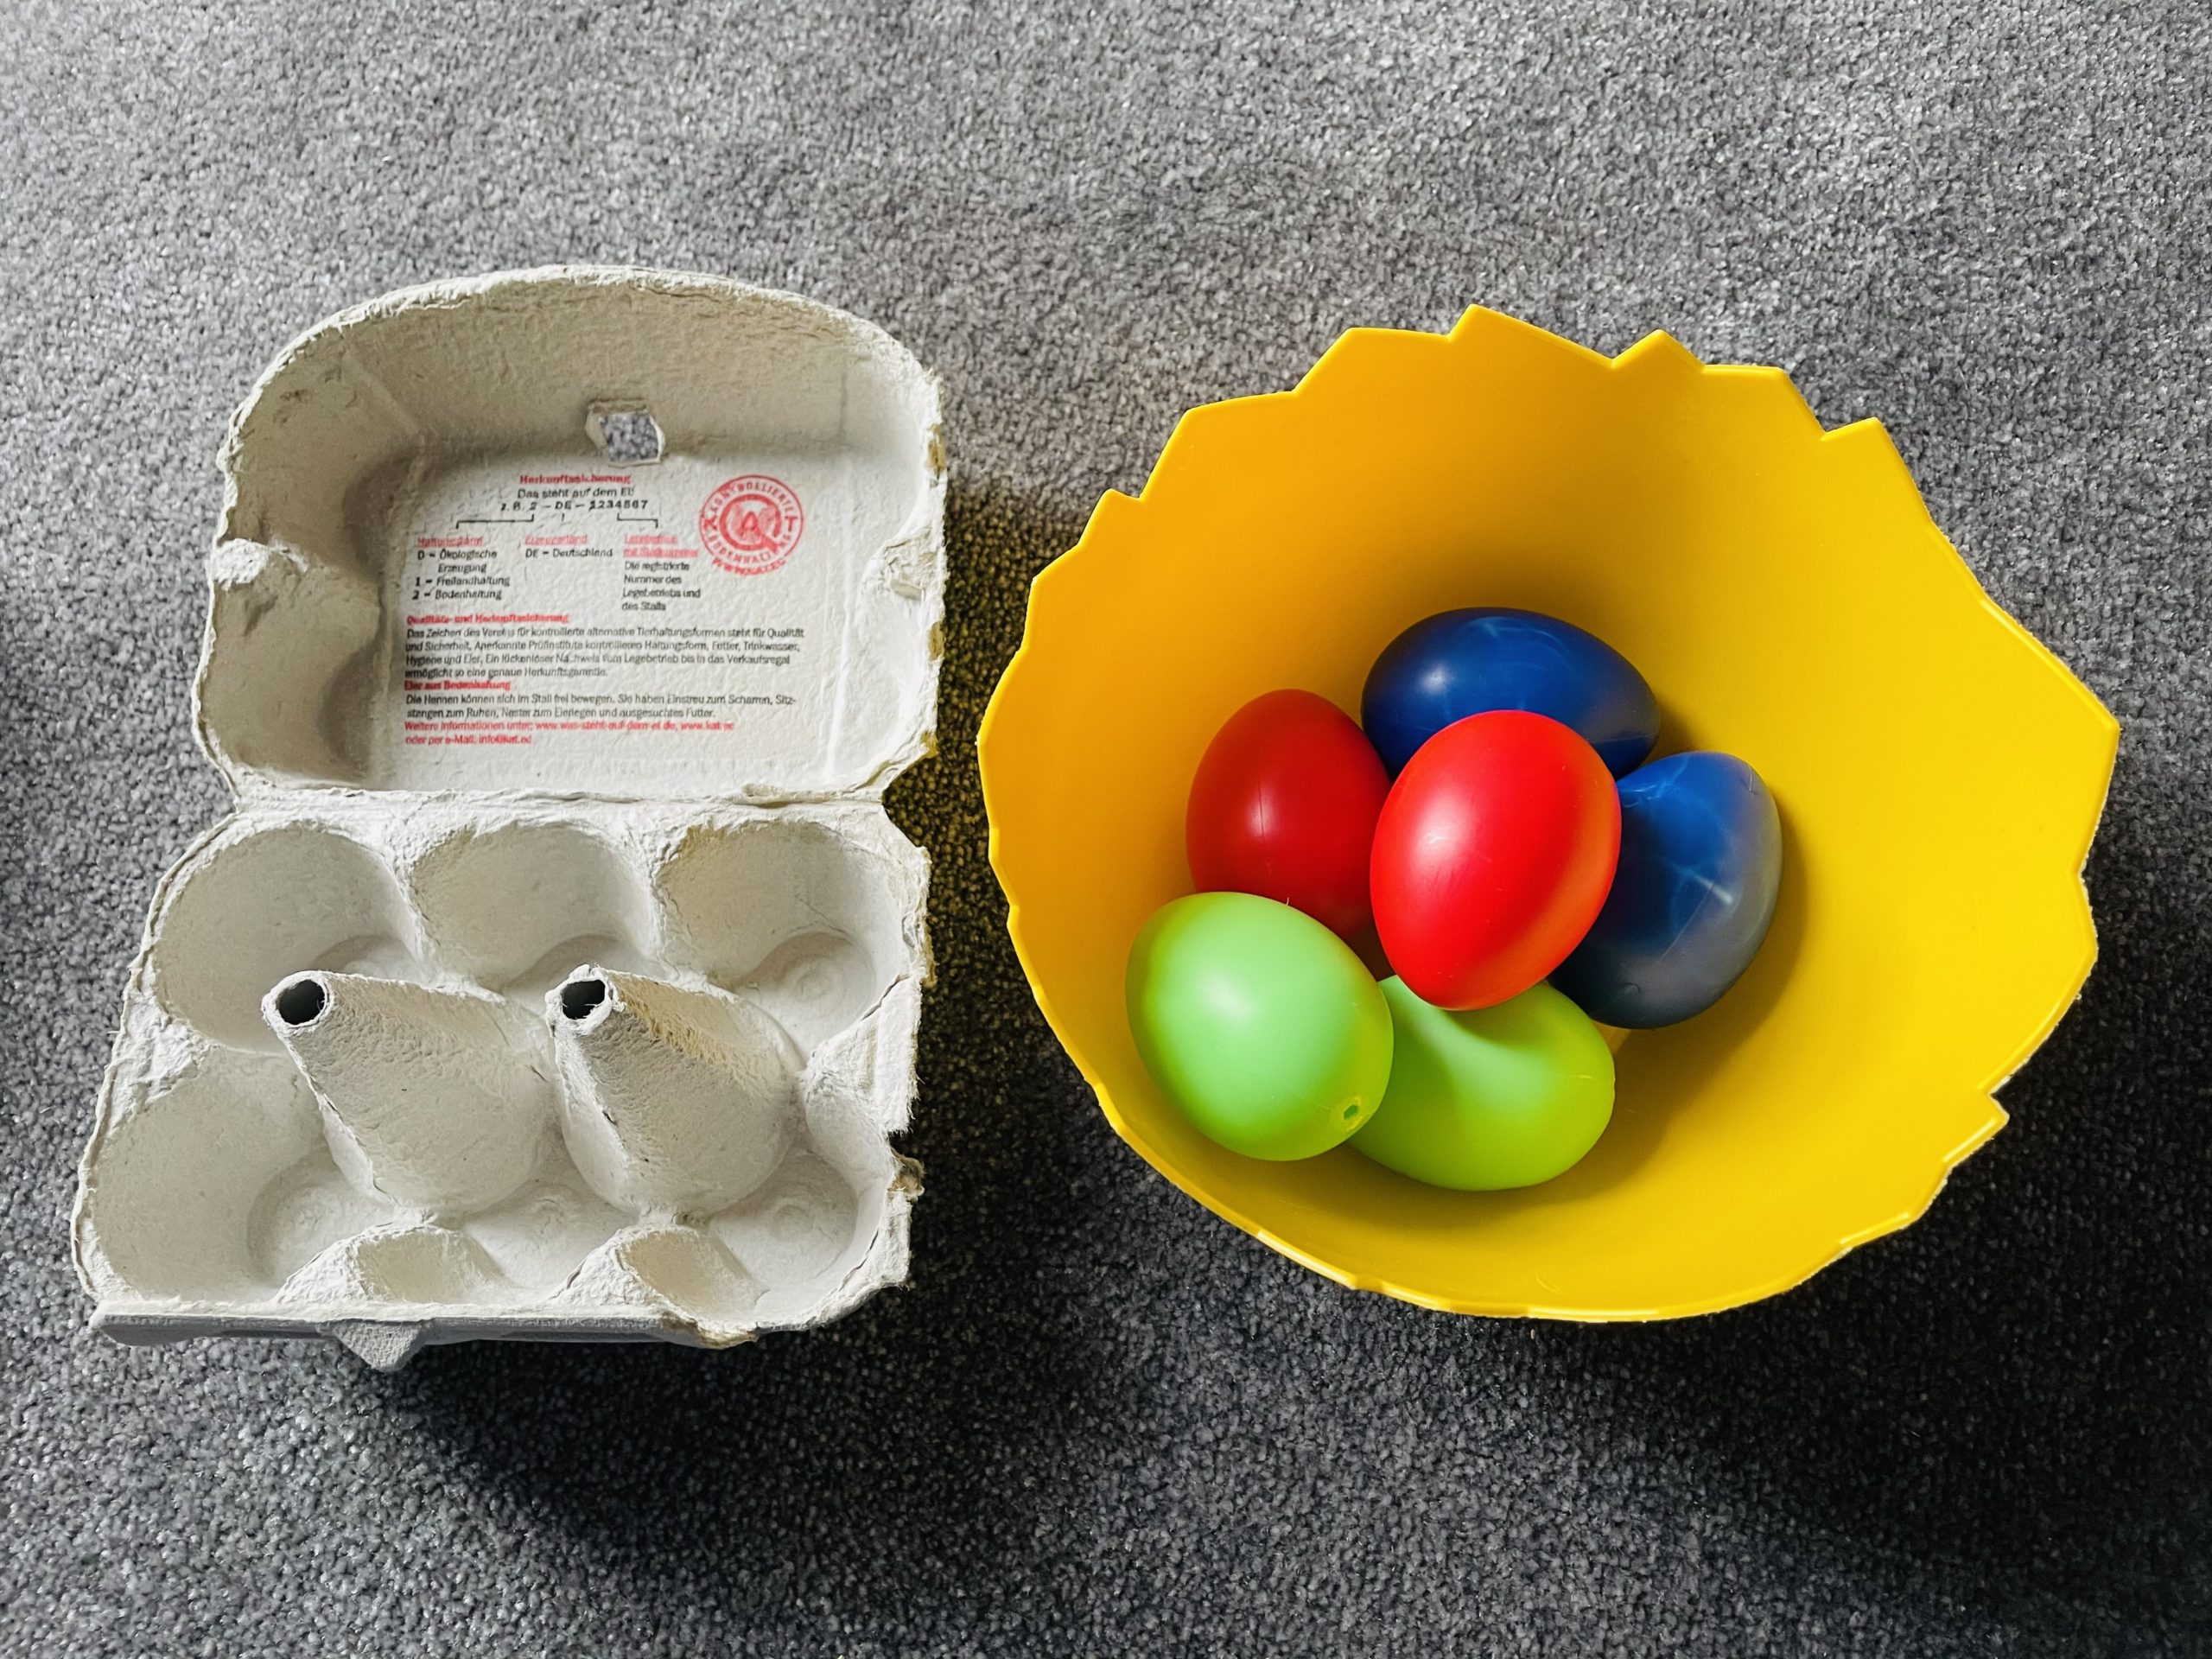


The same coloured eggs can also be sorted here. Two eggs are required for each colour.


The task is to colour the eggs.
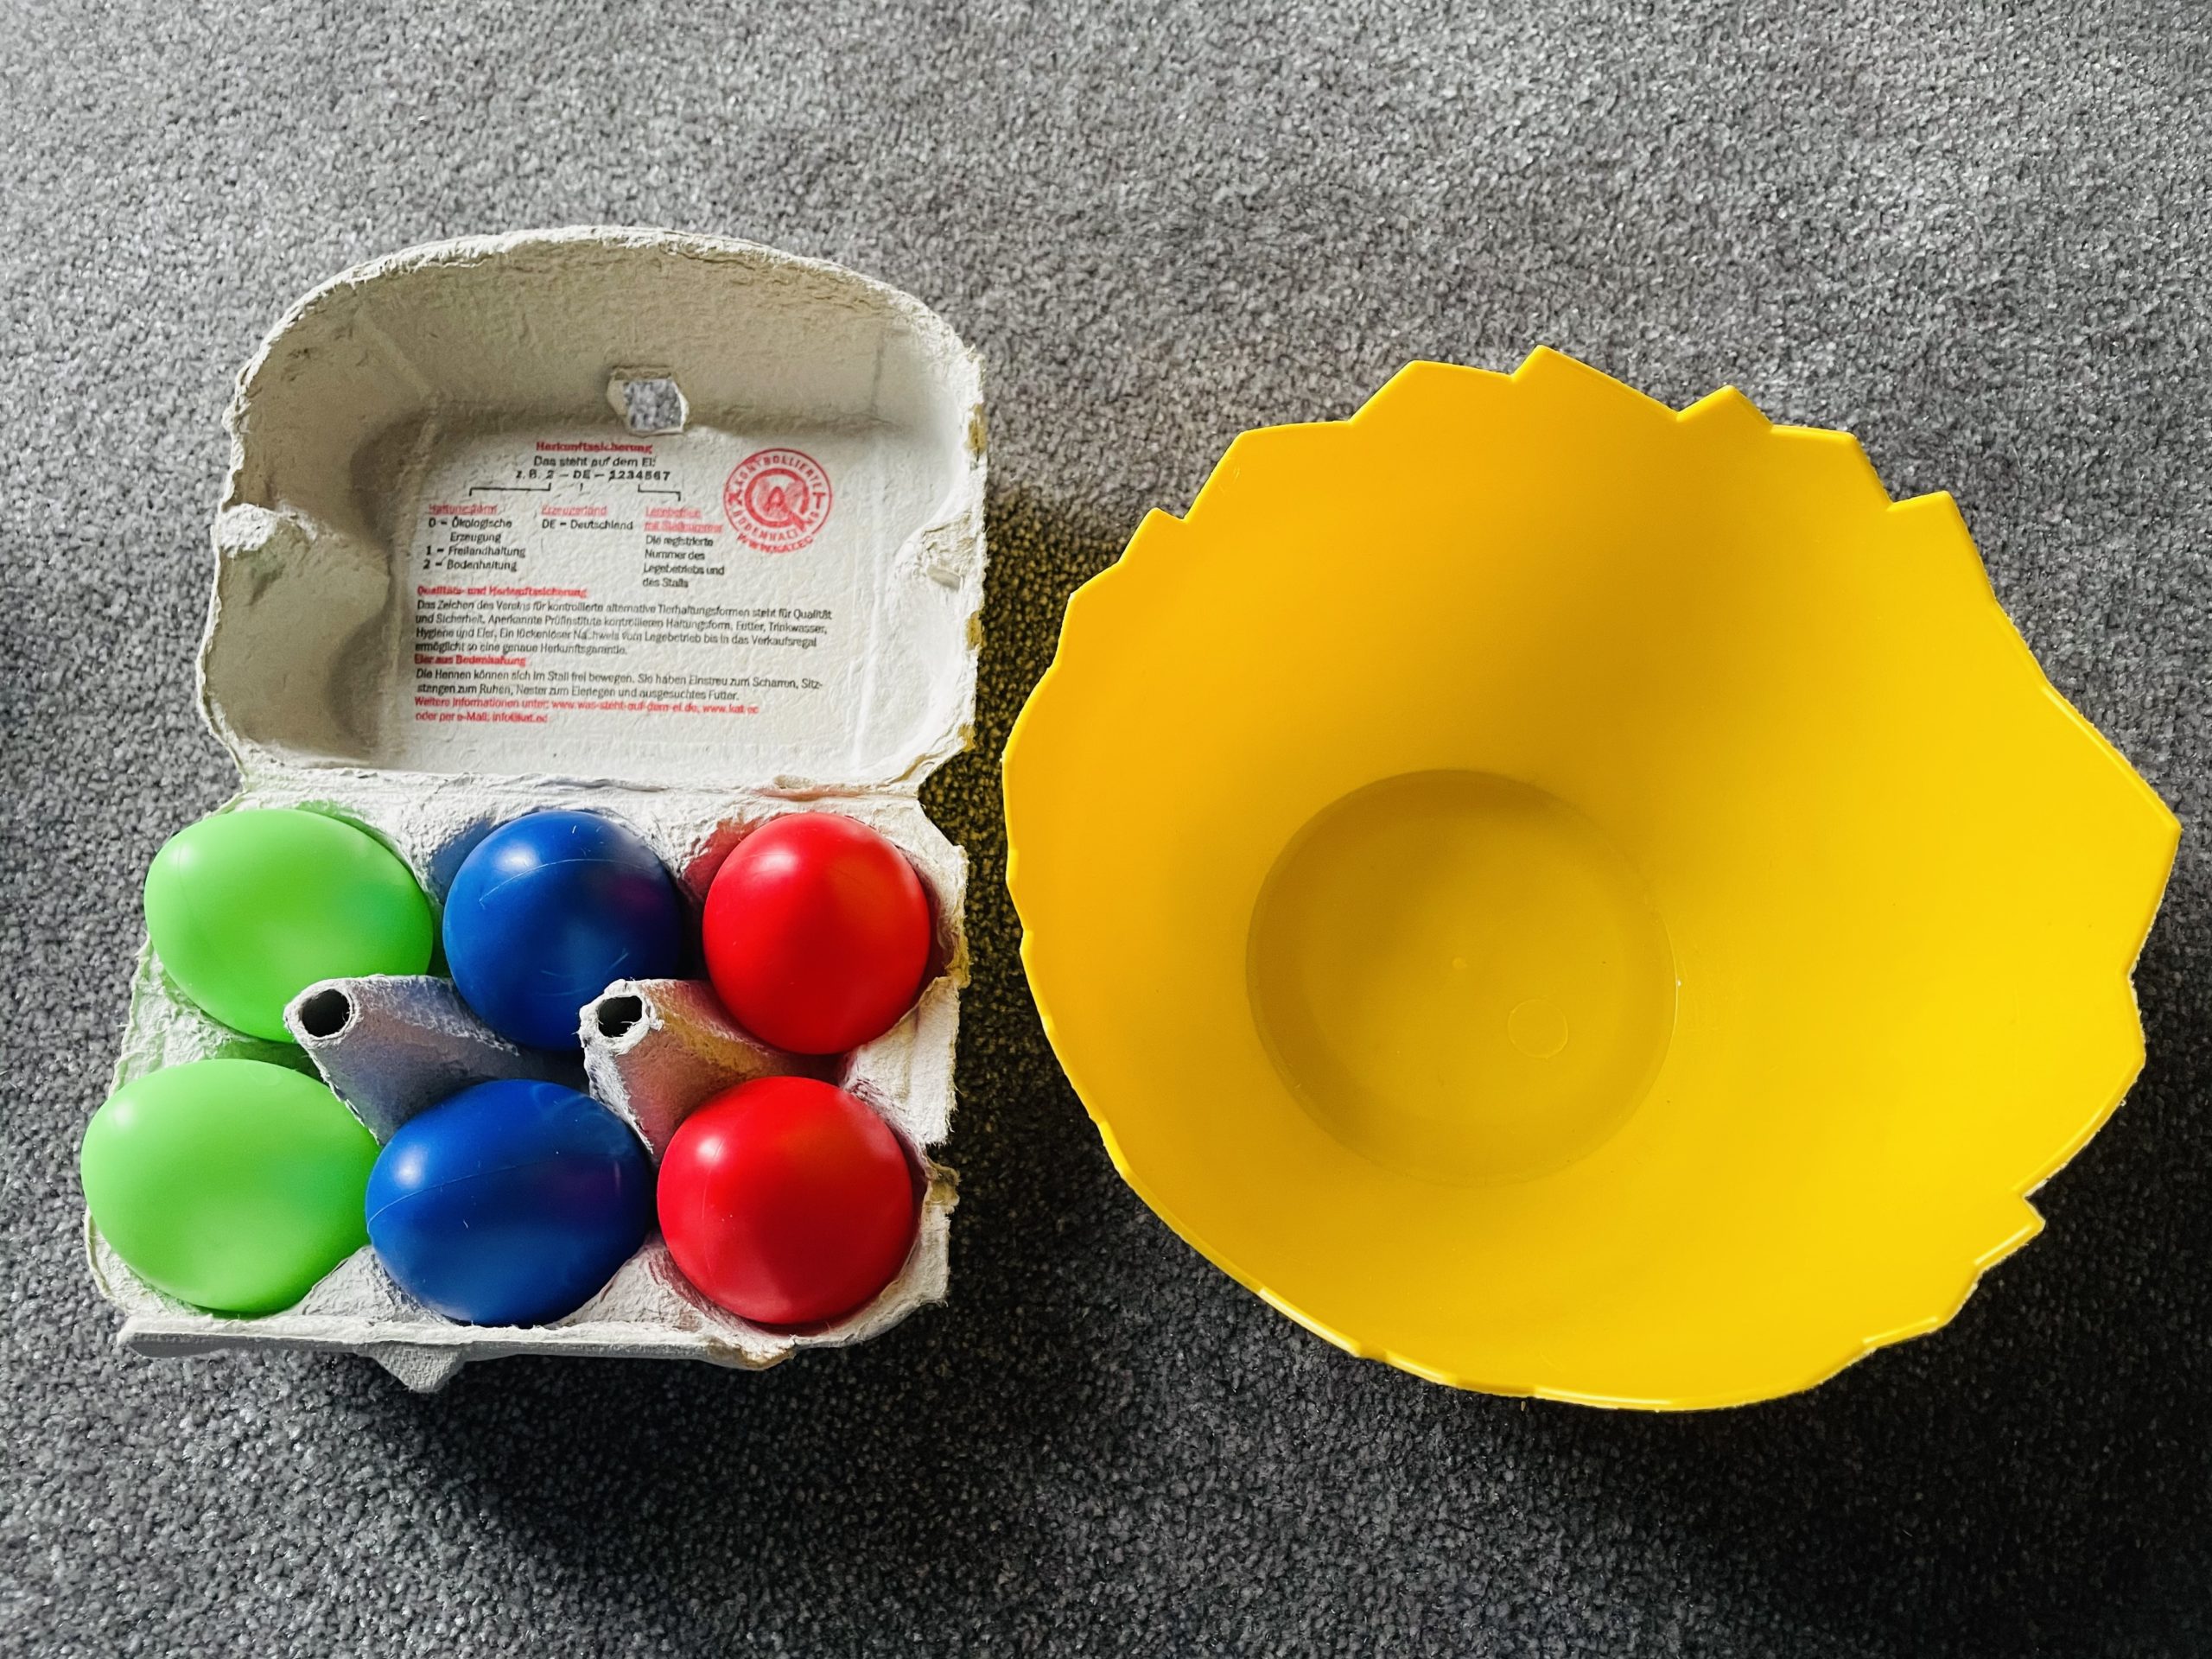


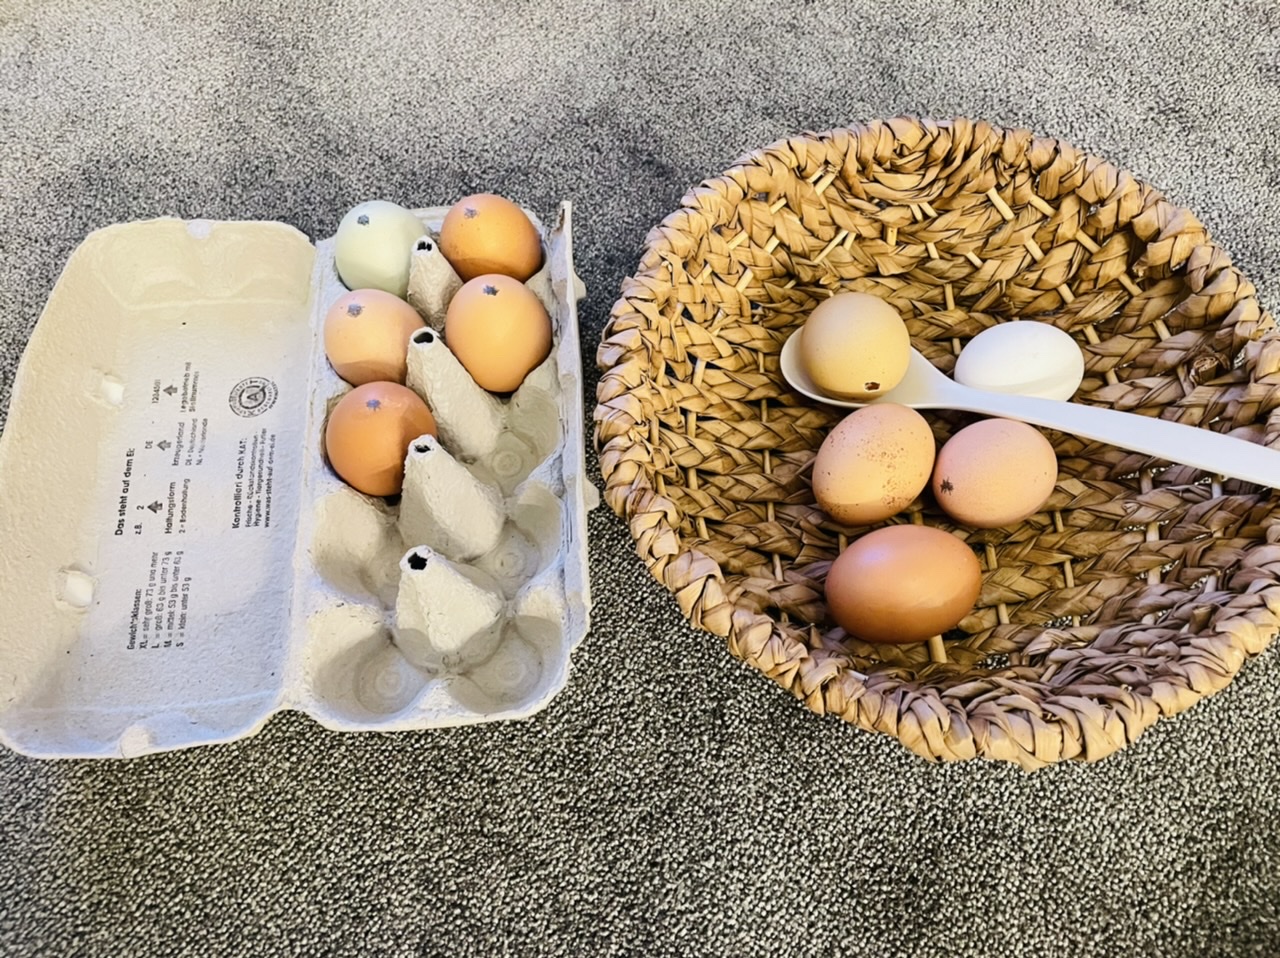
For older children, a cardboard egg box and a small basket are suitable. Larger children can already handle the more sensitive materials or can learn them through exercise.
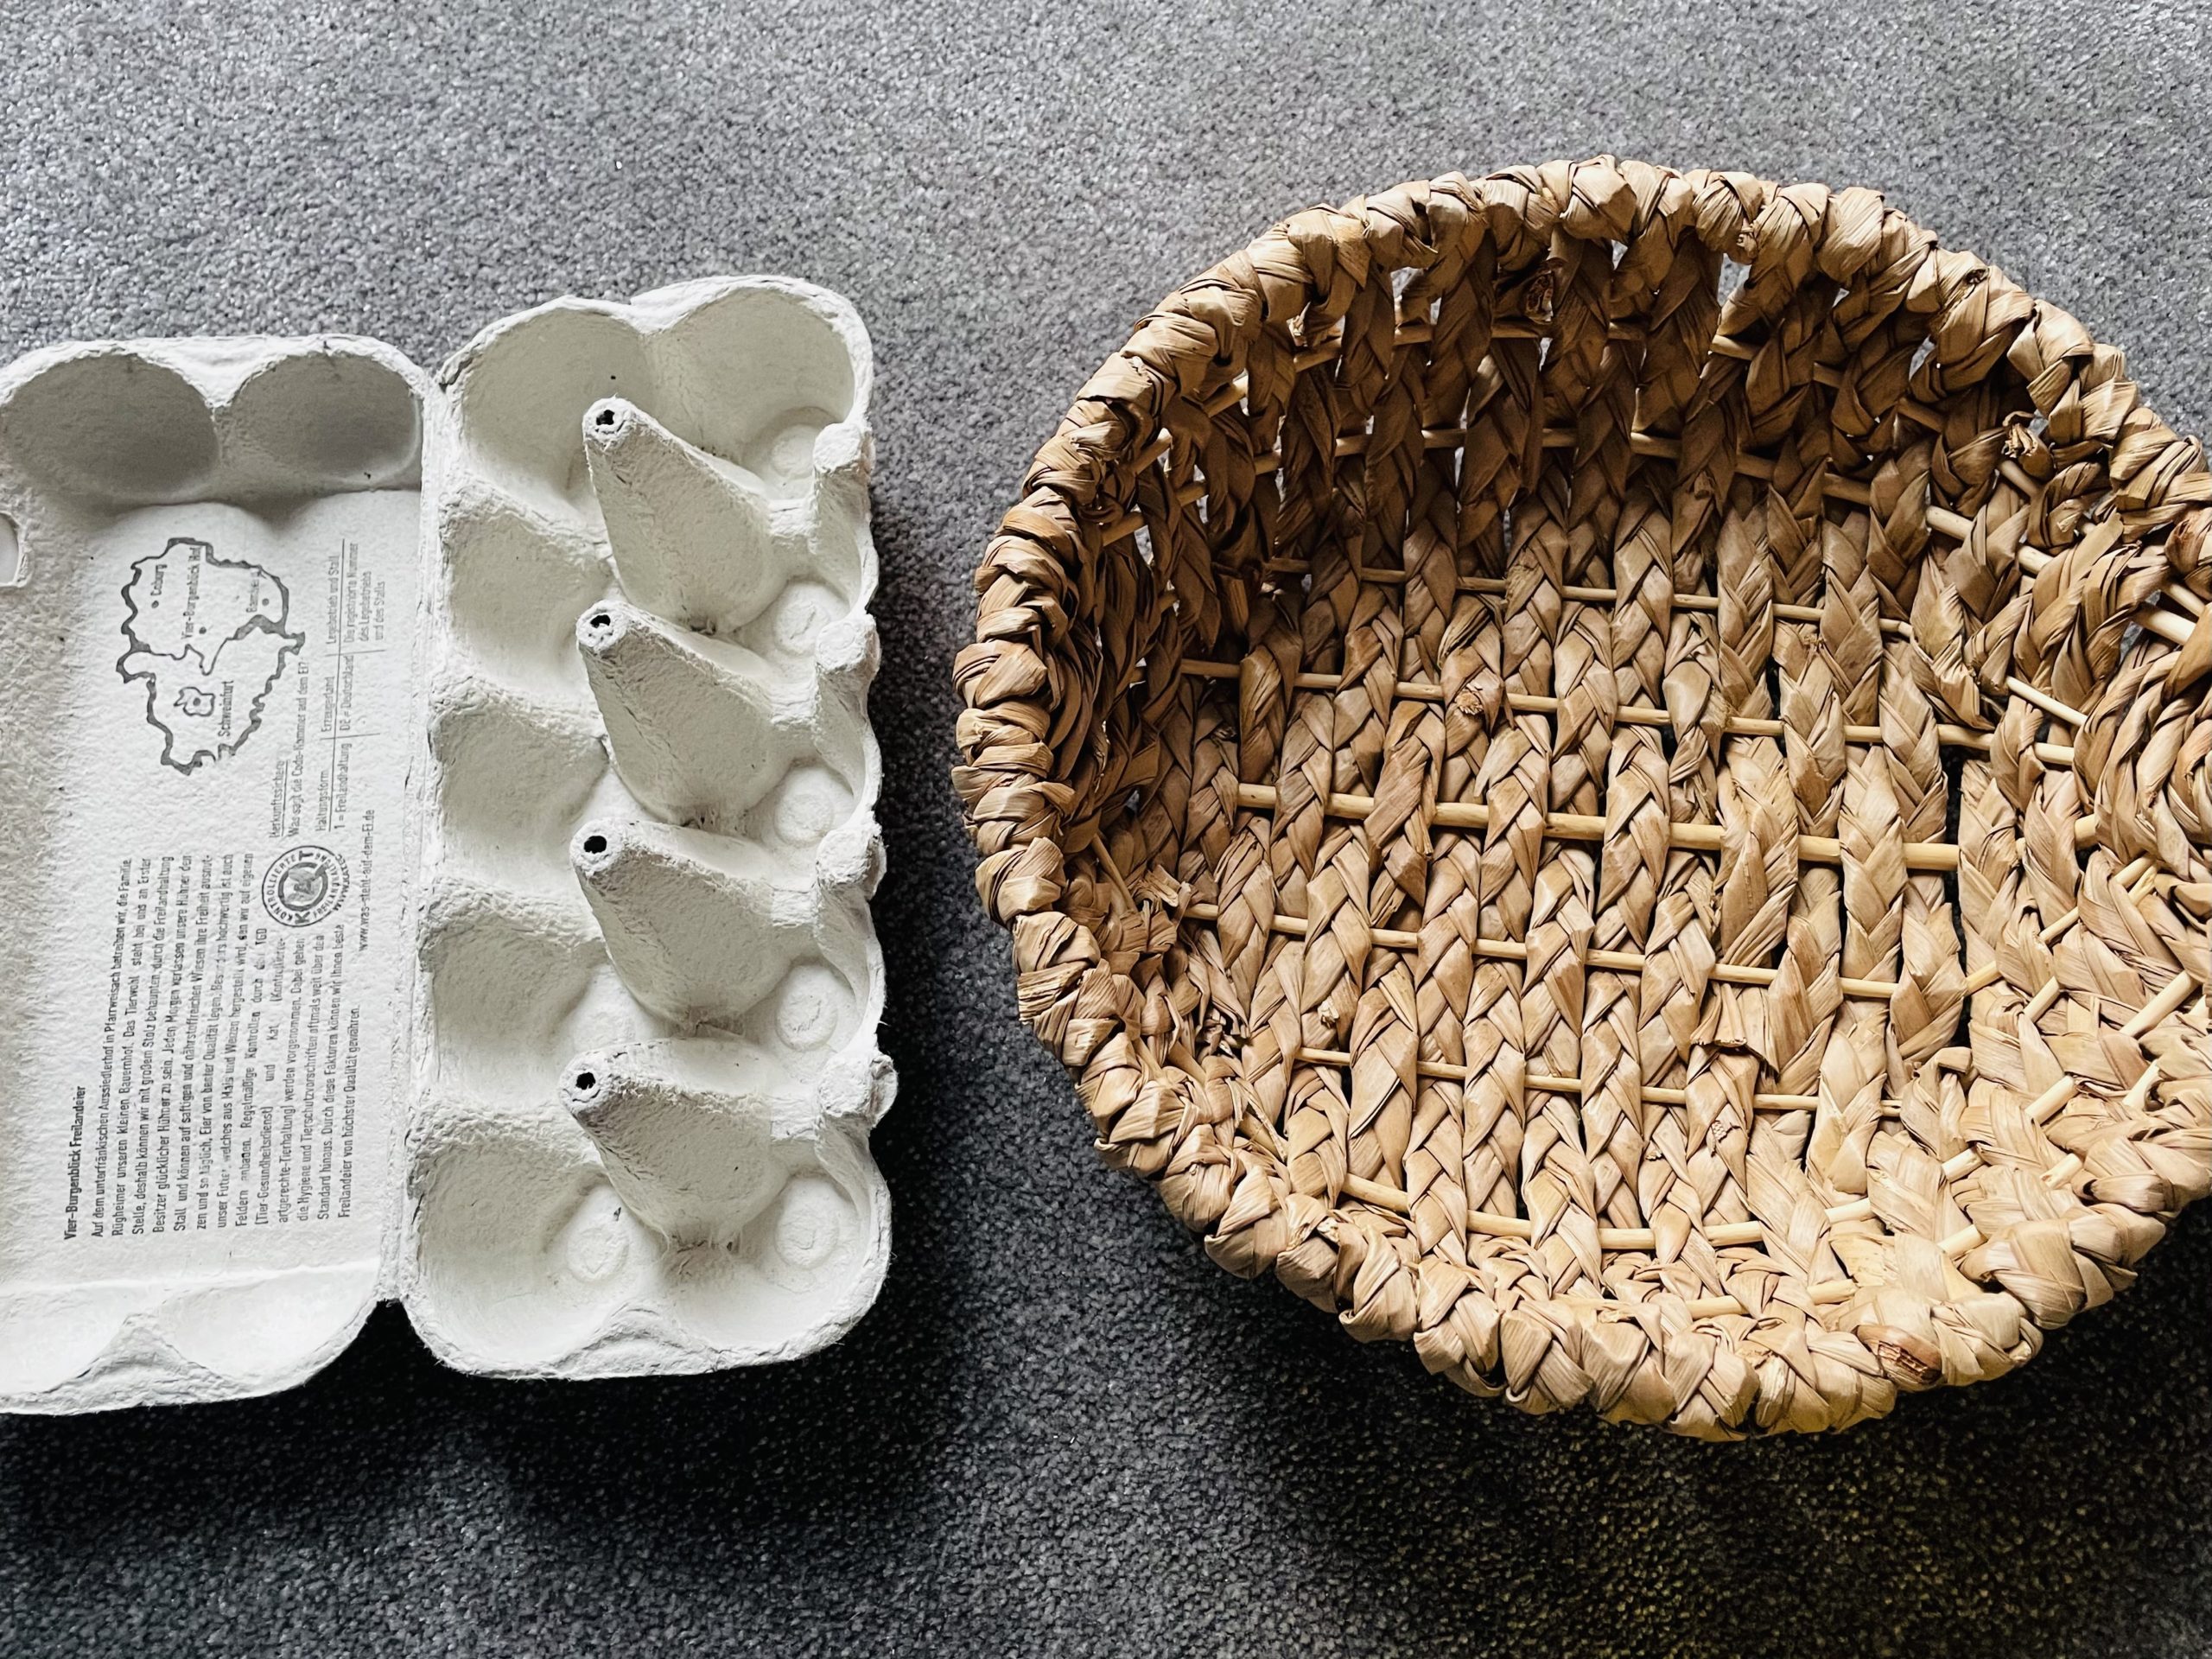


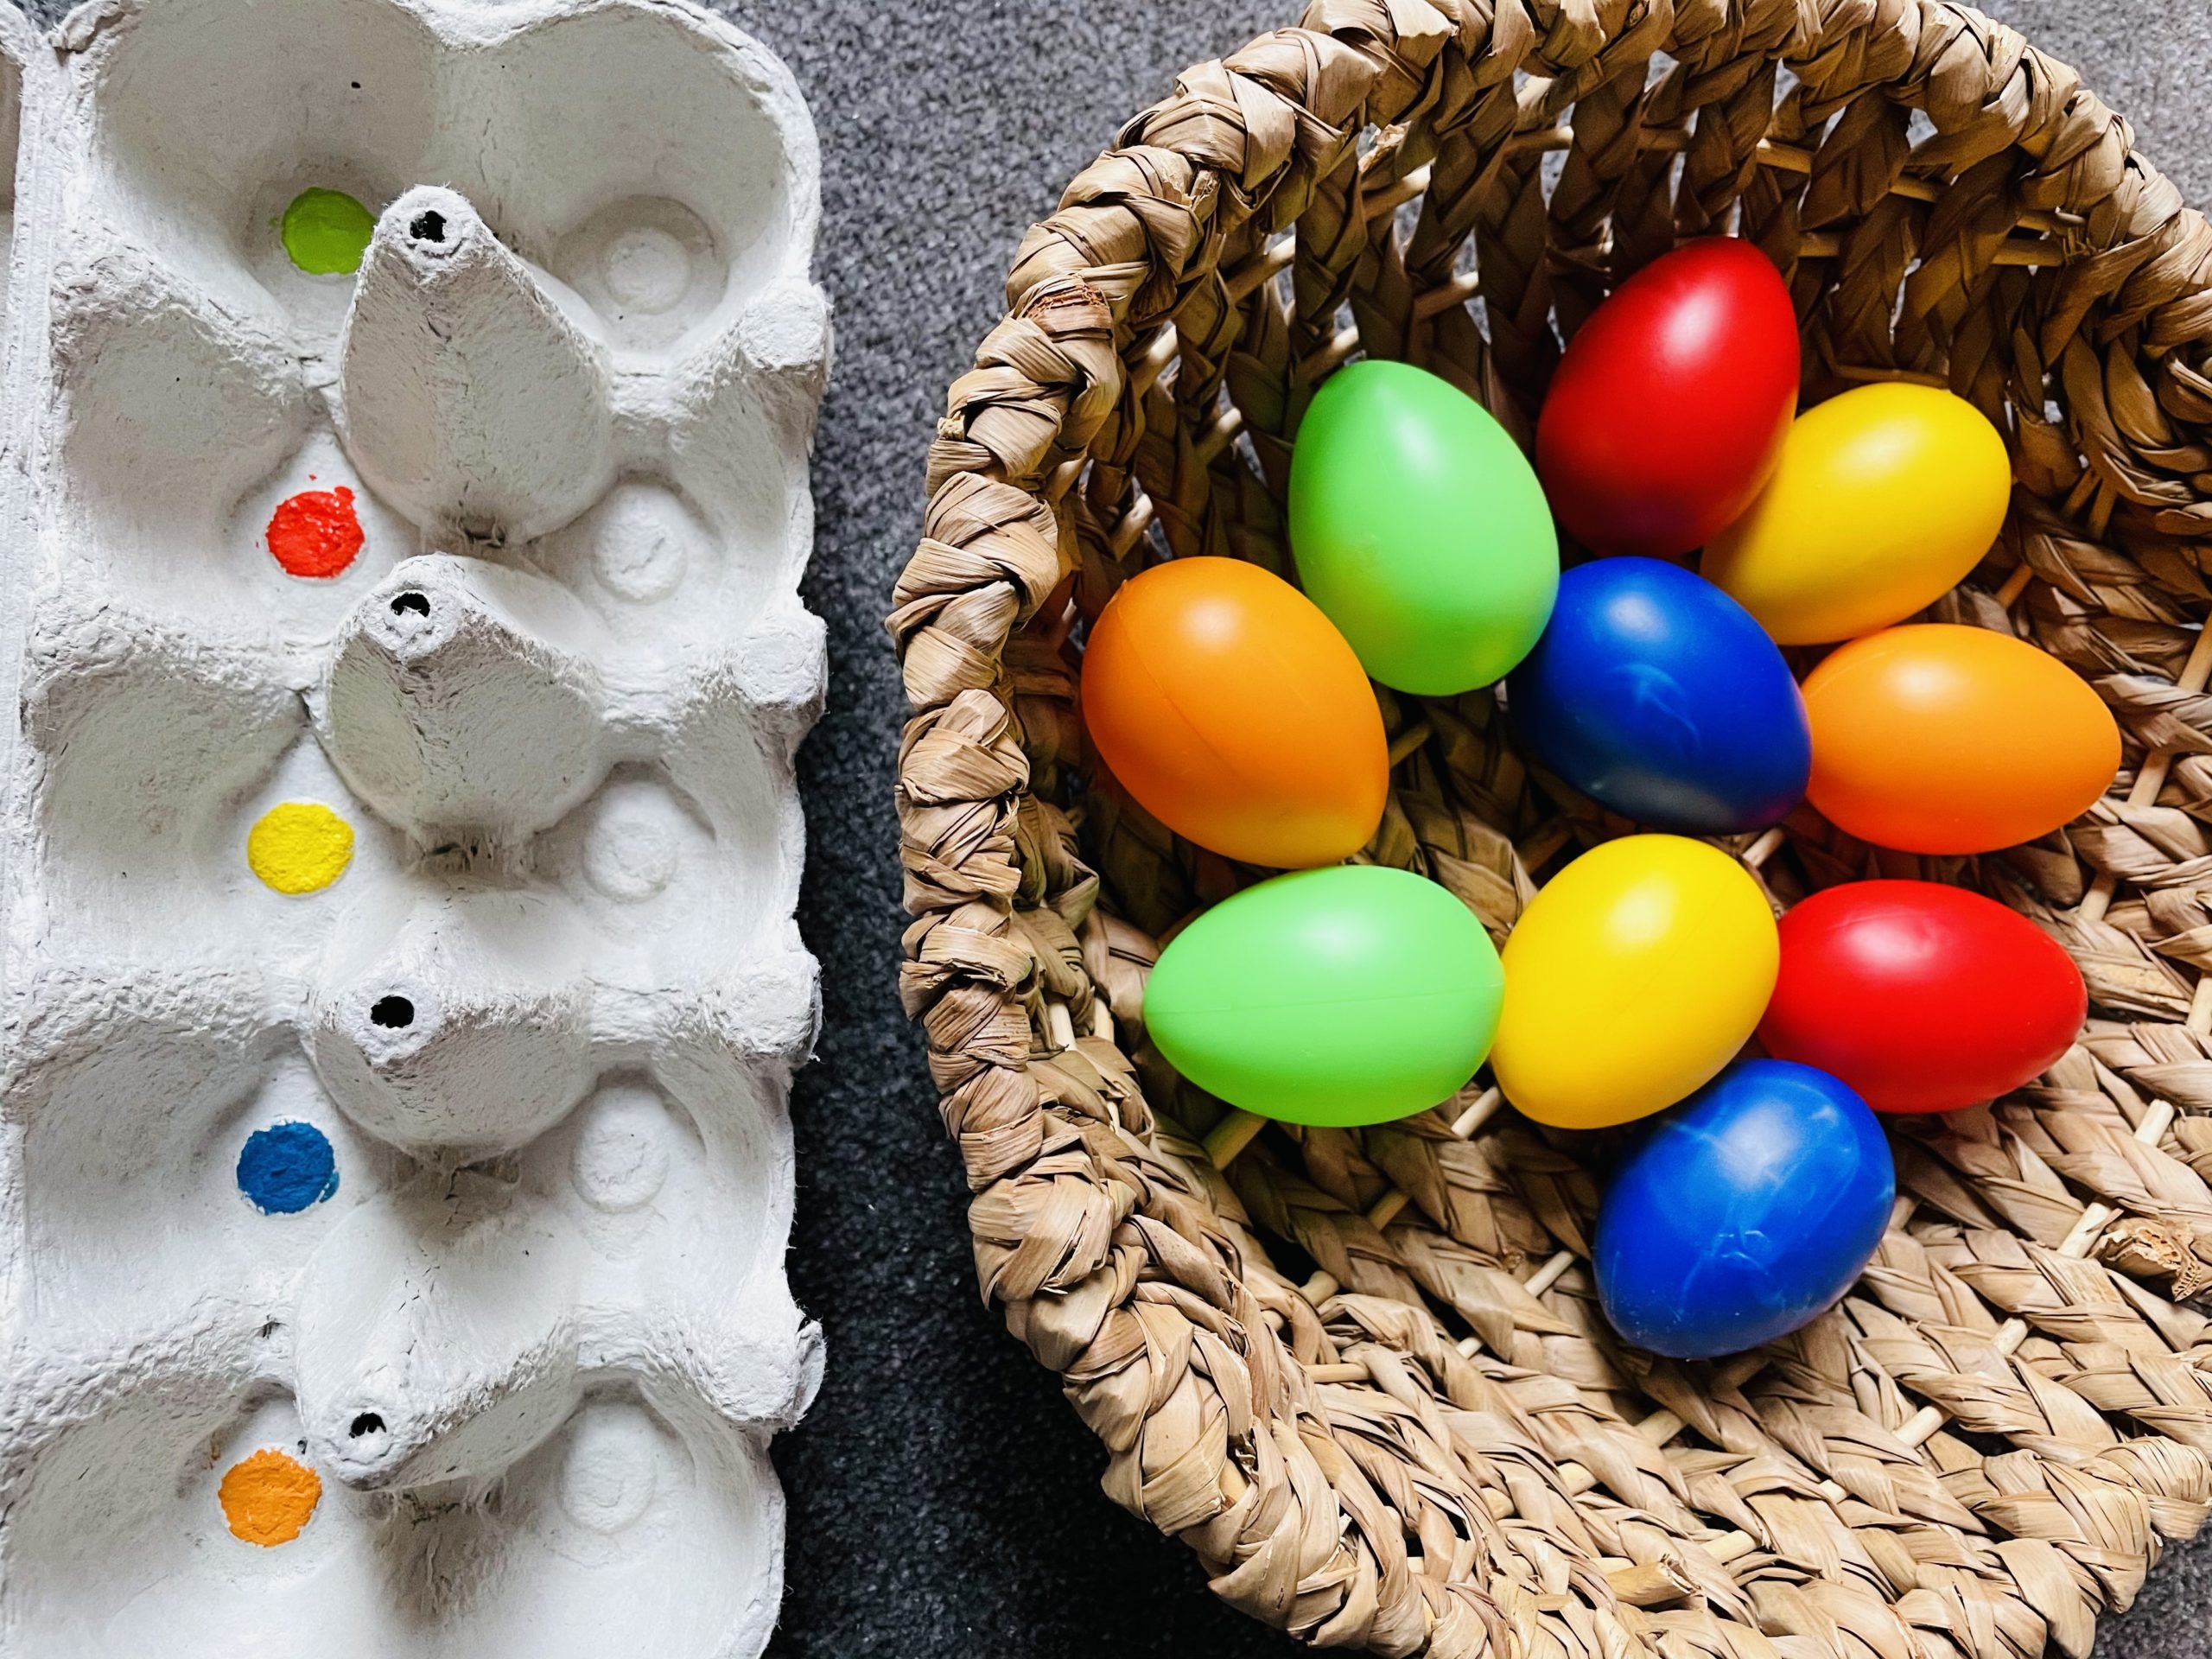
Use 10 plastic eggs. Here you can use 2 eggs of each color. Thus the children can assign the colors, name and sort.
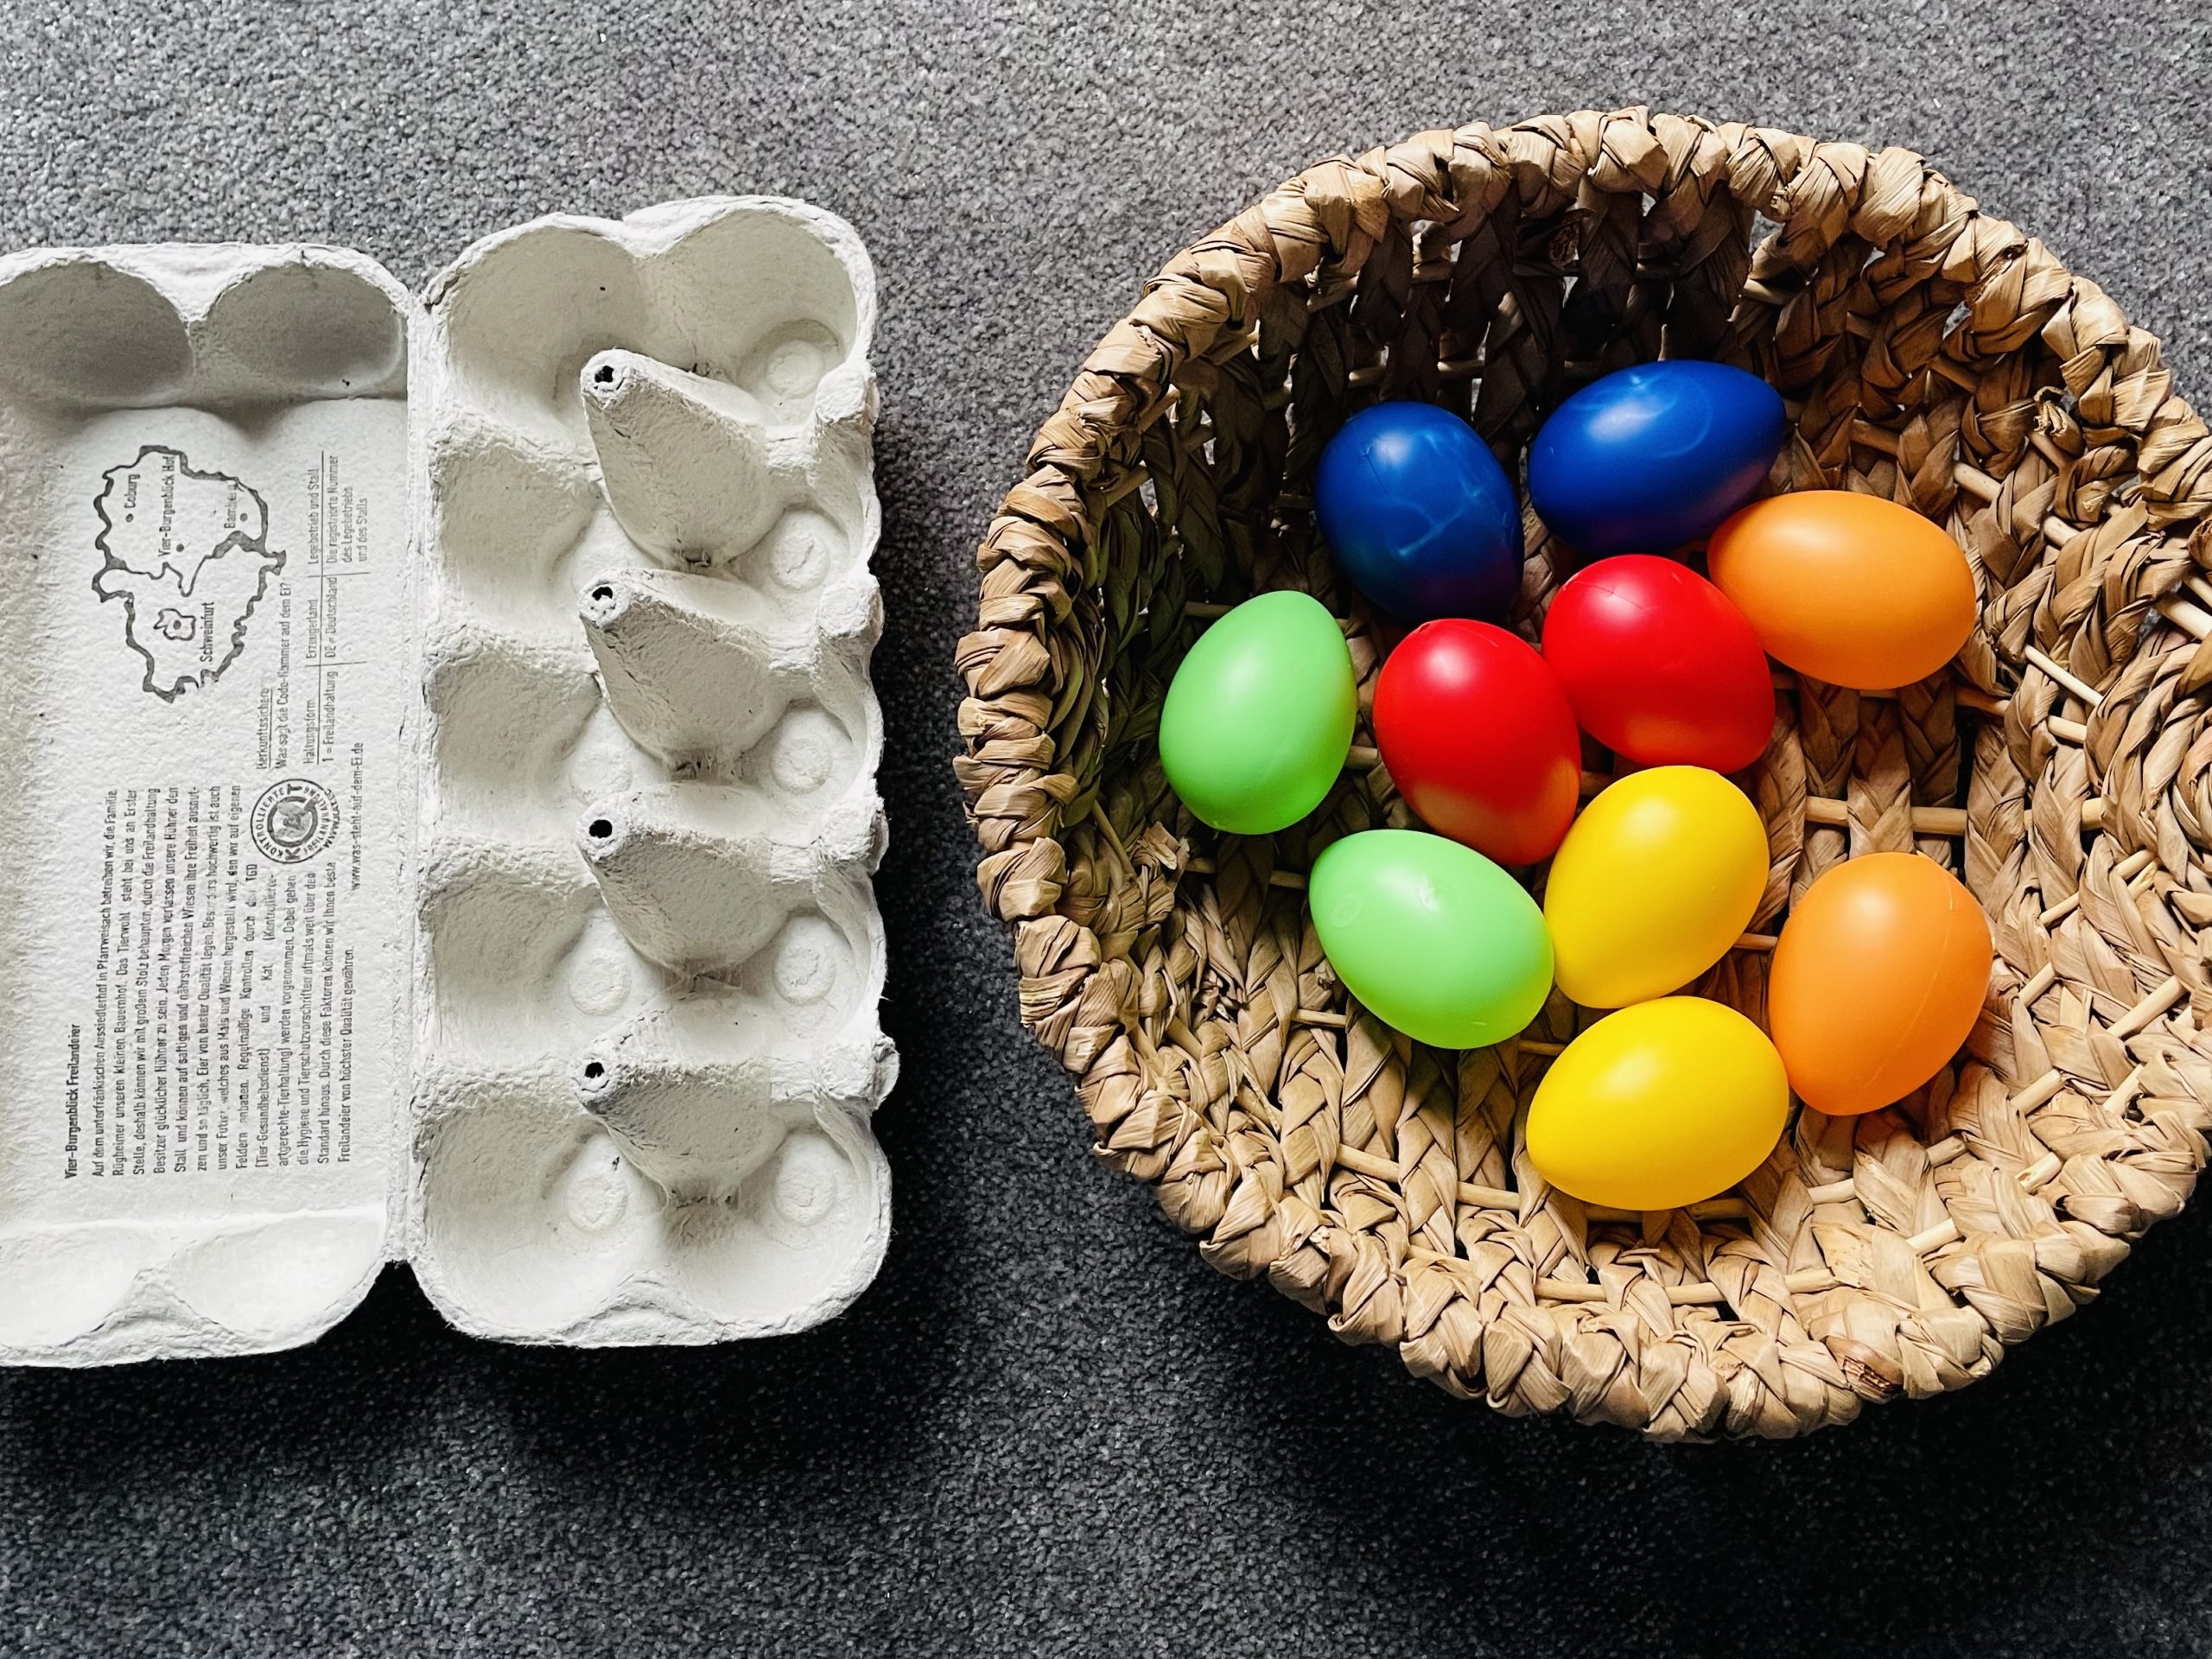


For example, let each colour place an egg in one side of the egg box.


Then look for the right egg for the other side of the egg box.
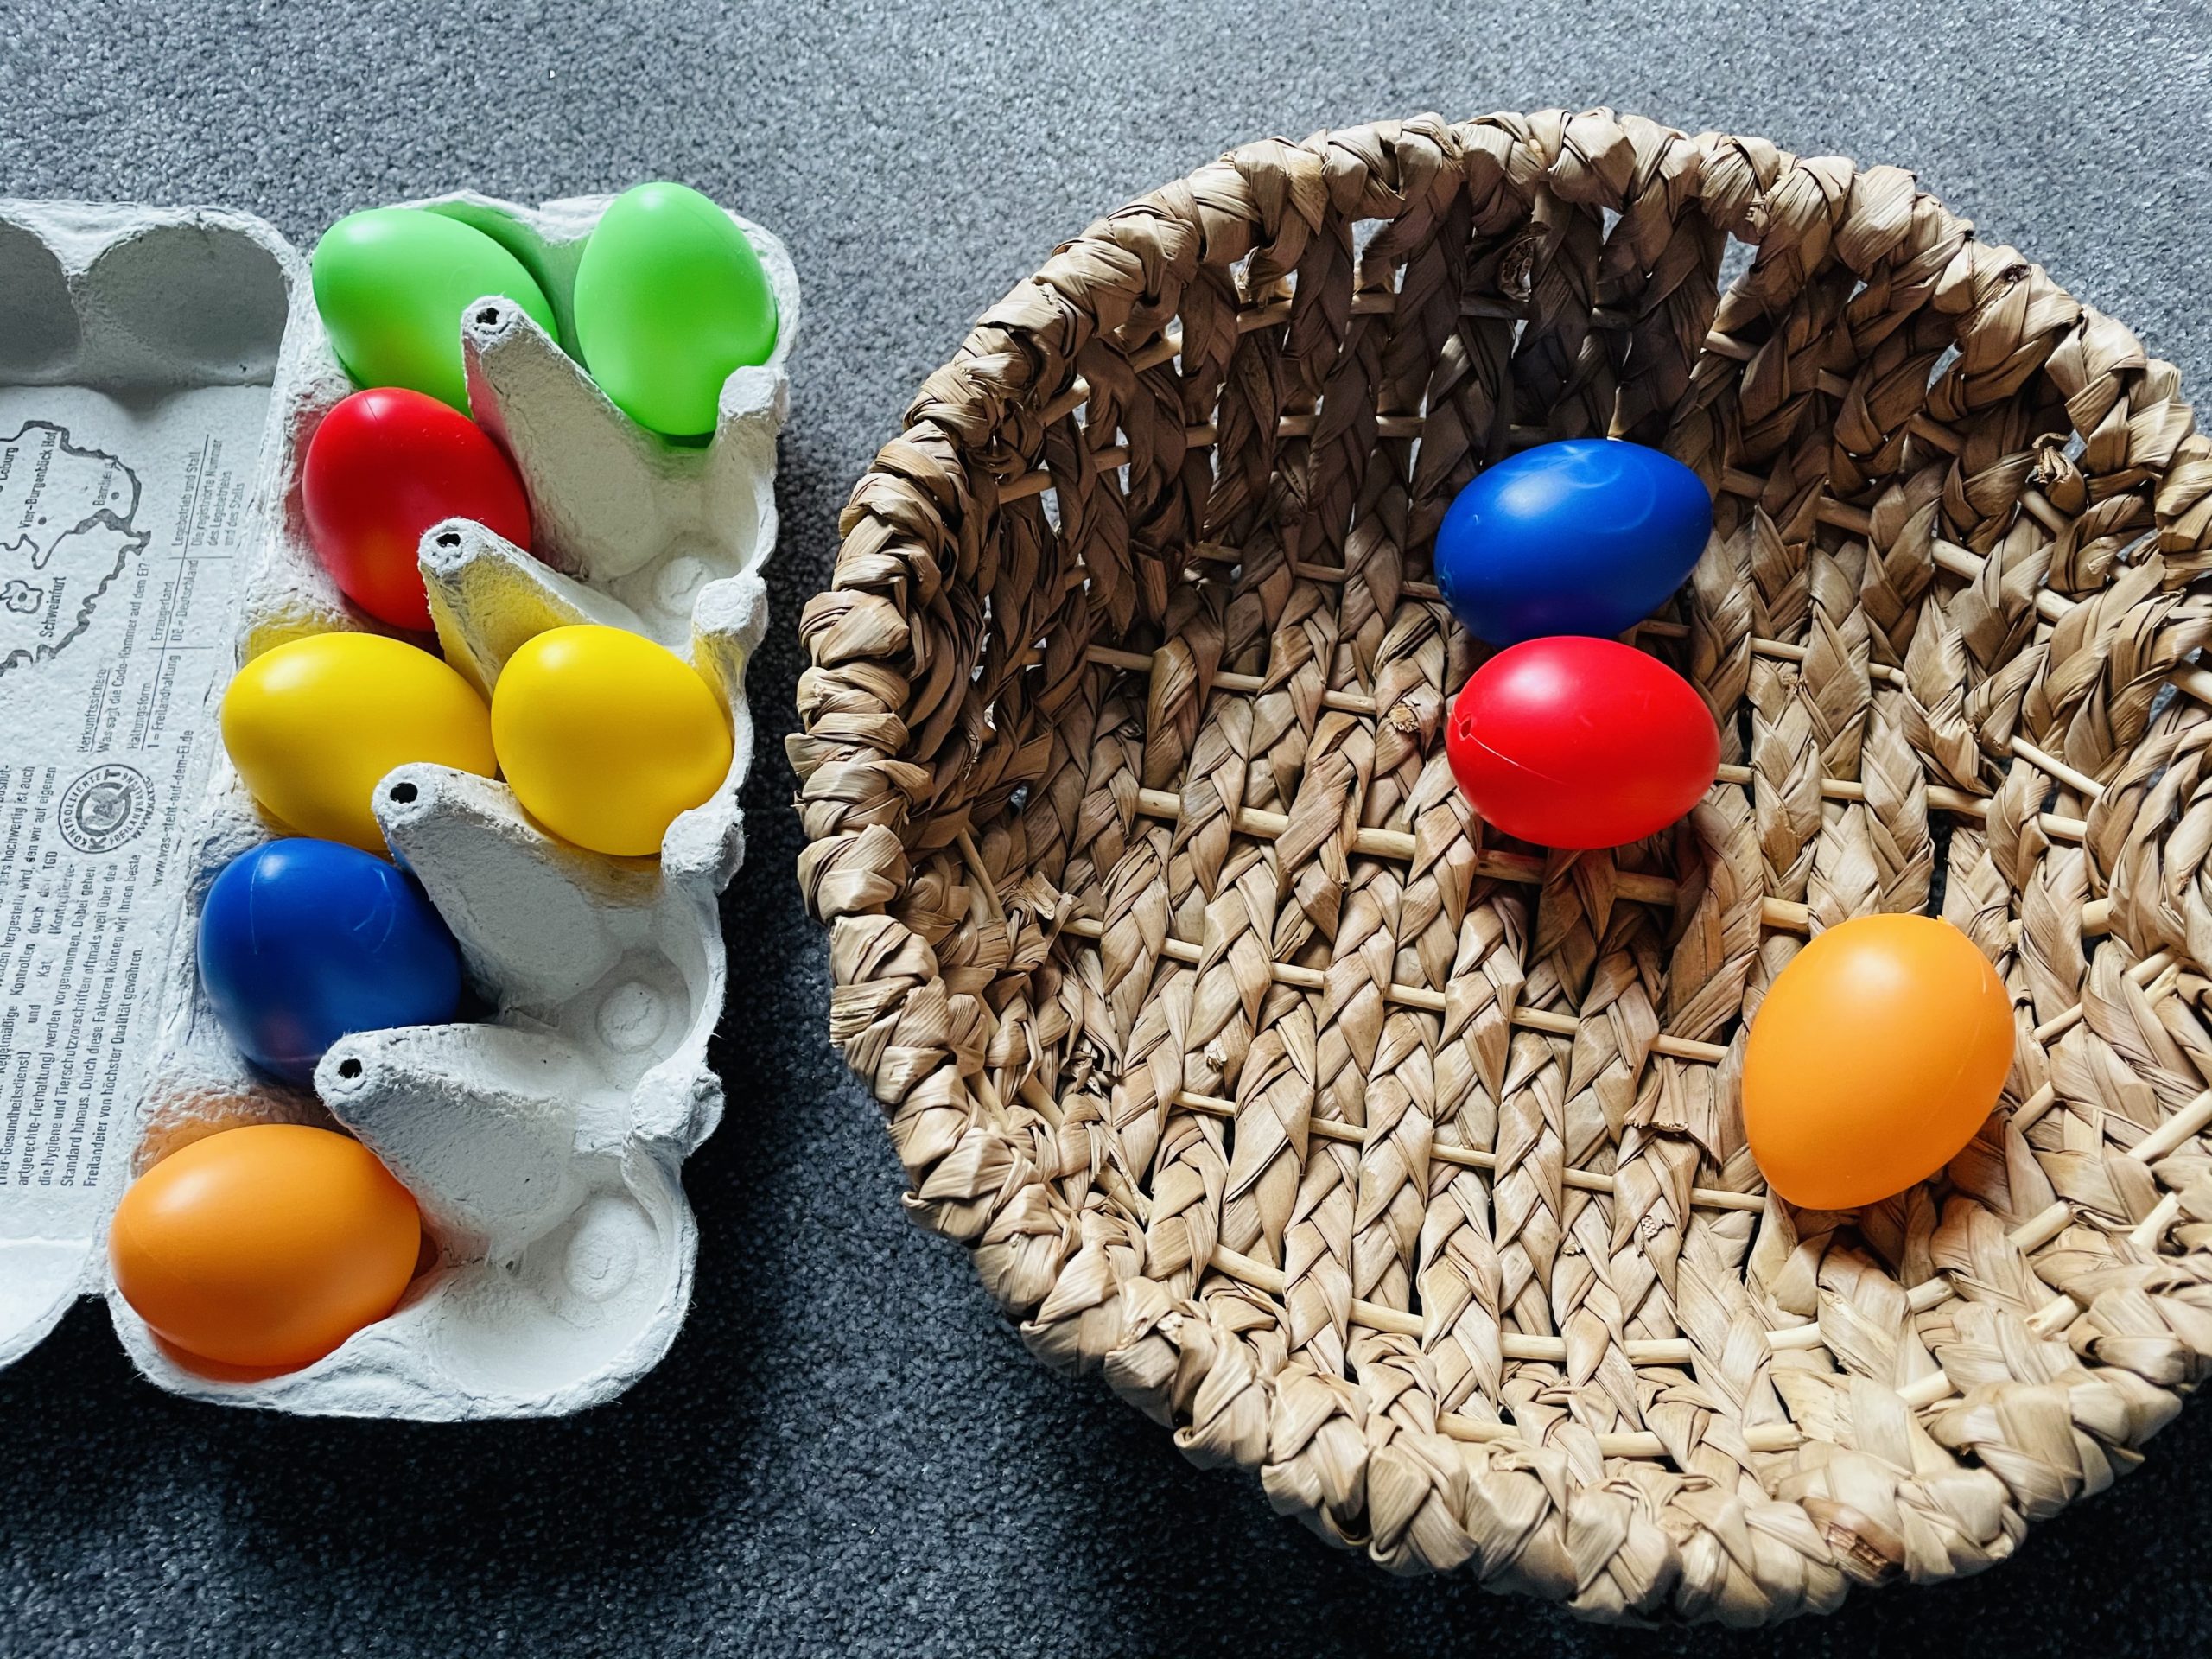


The aim is that all the eggs of the same colour lie side by side.
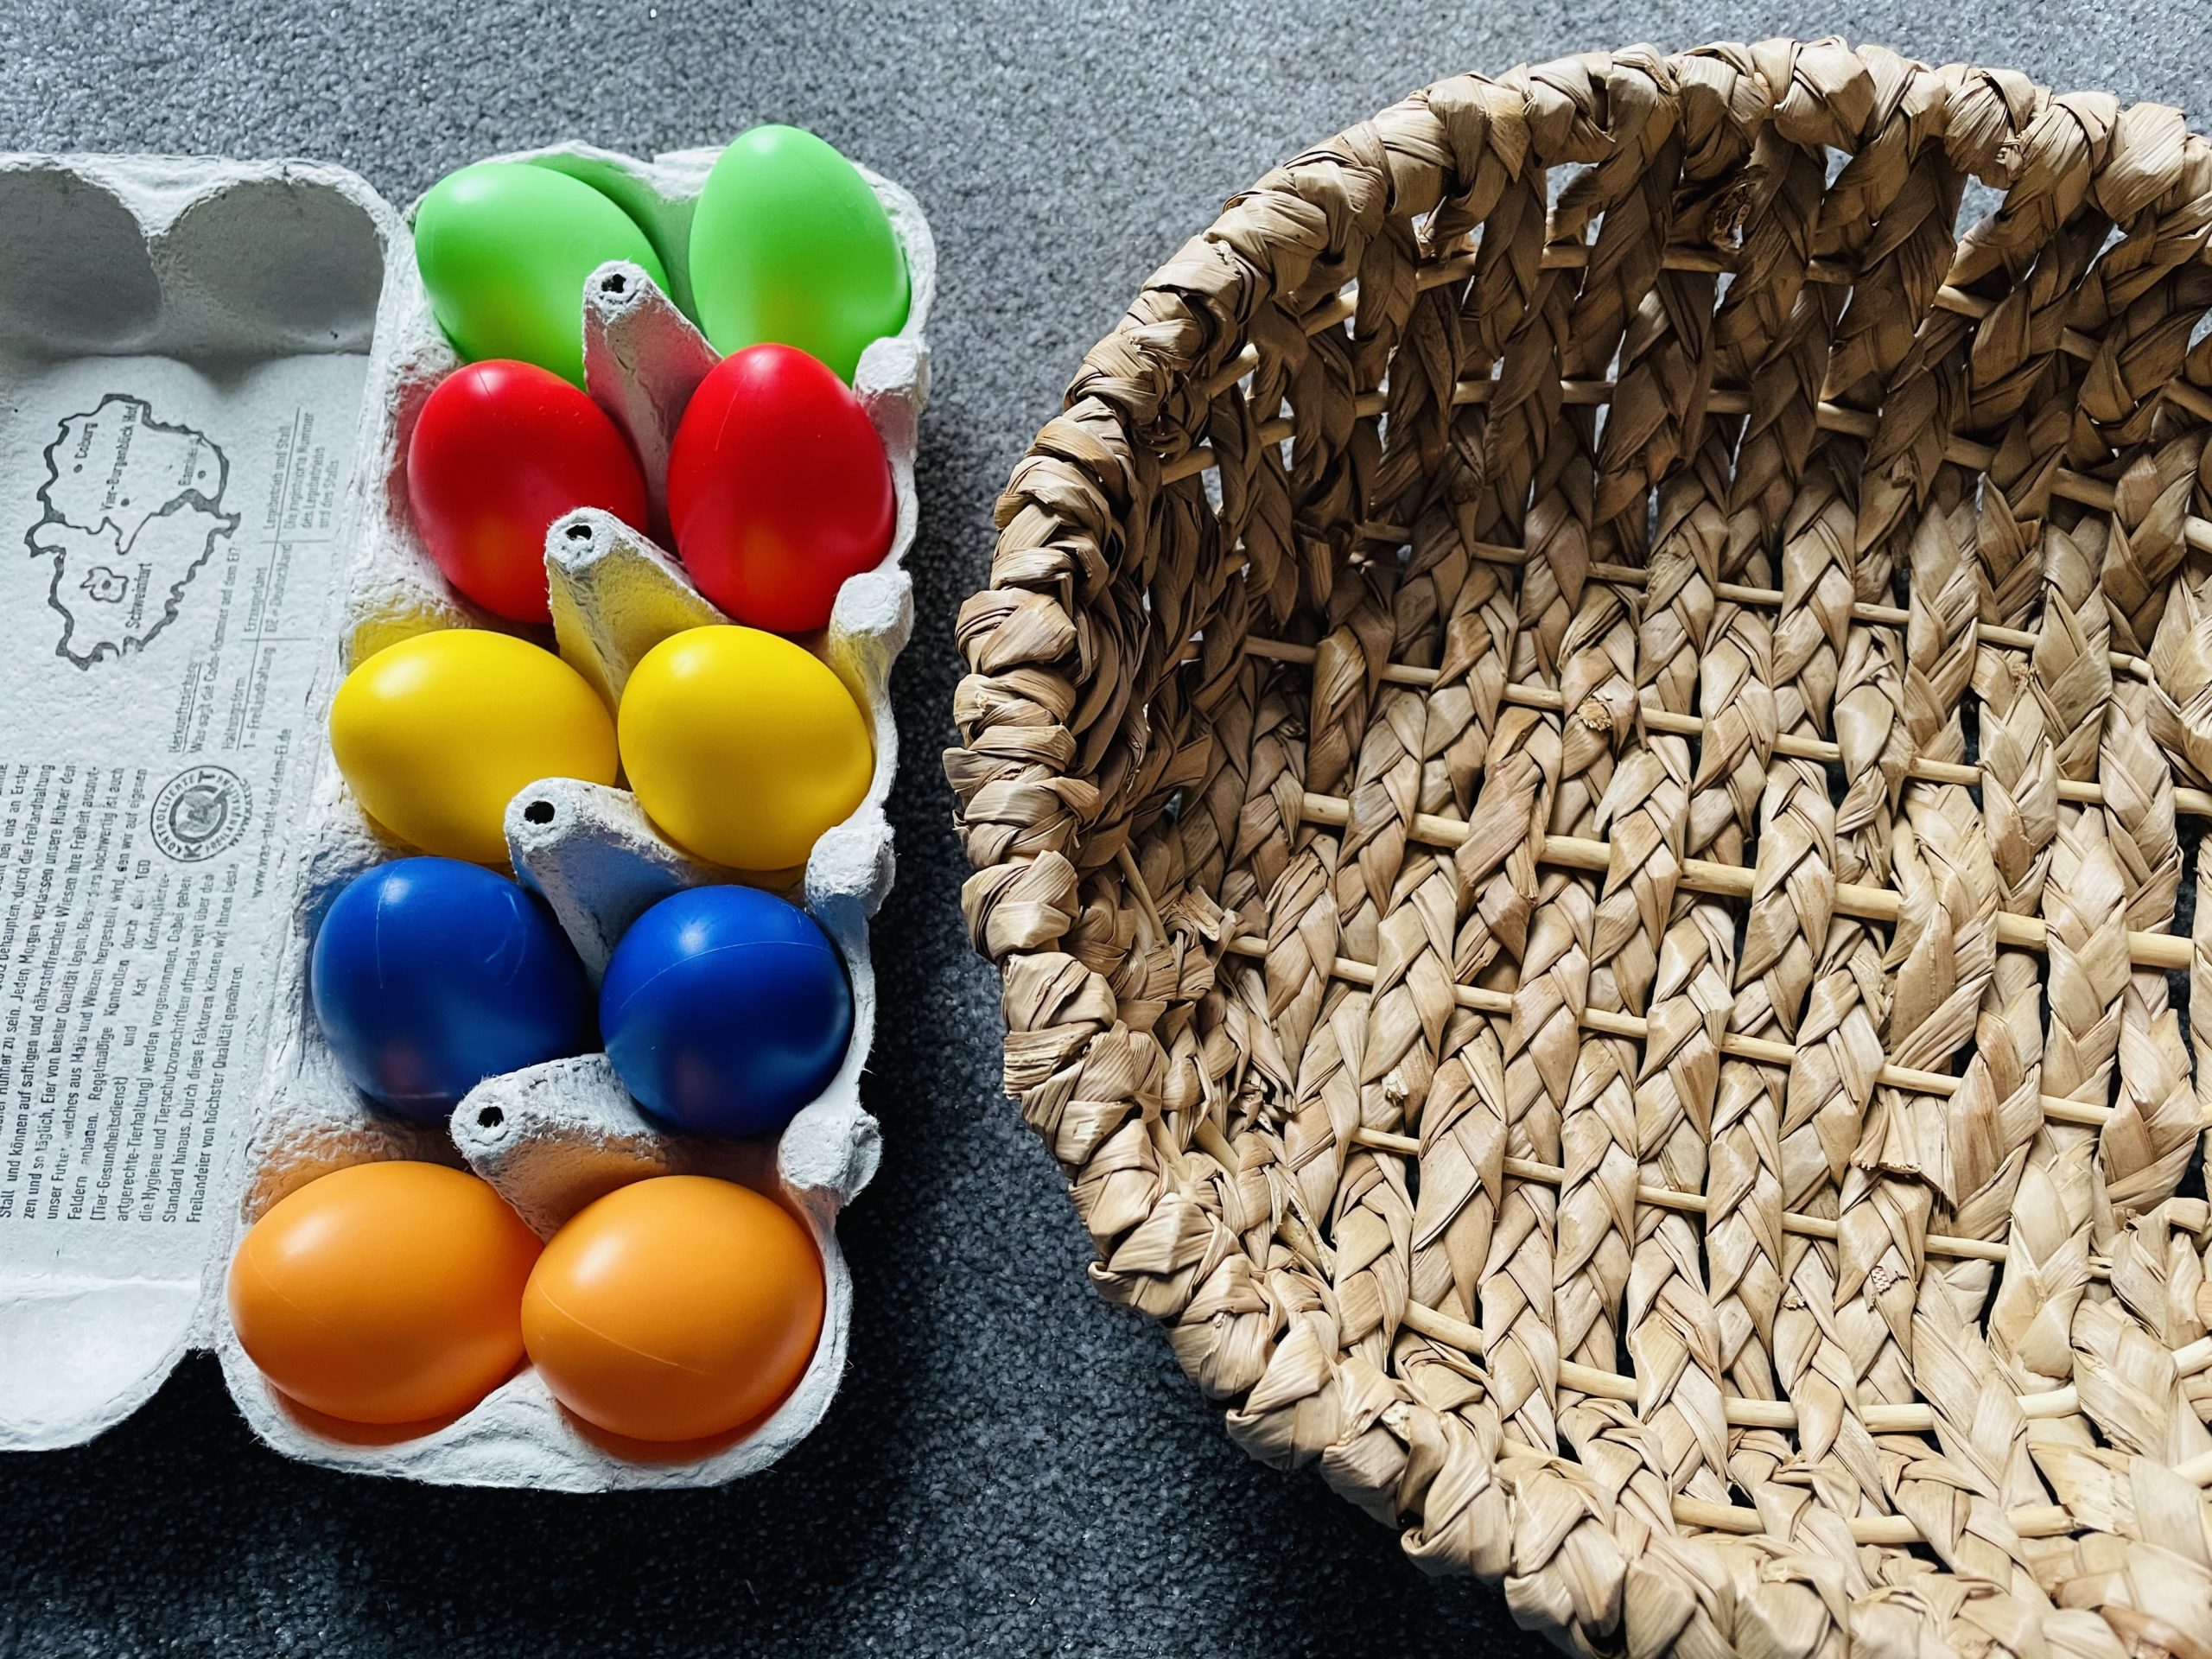


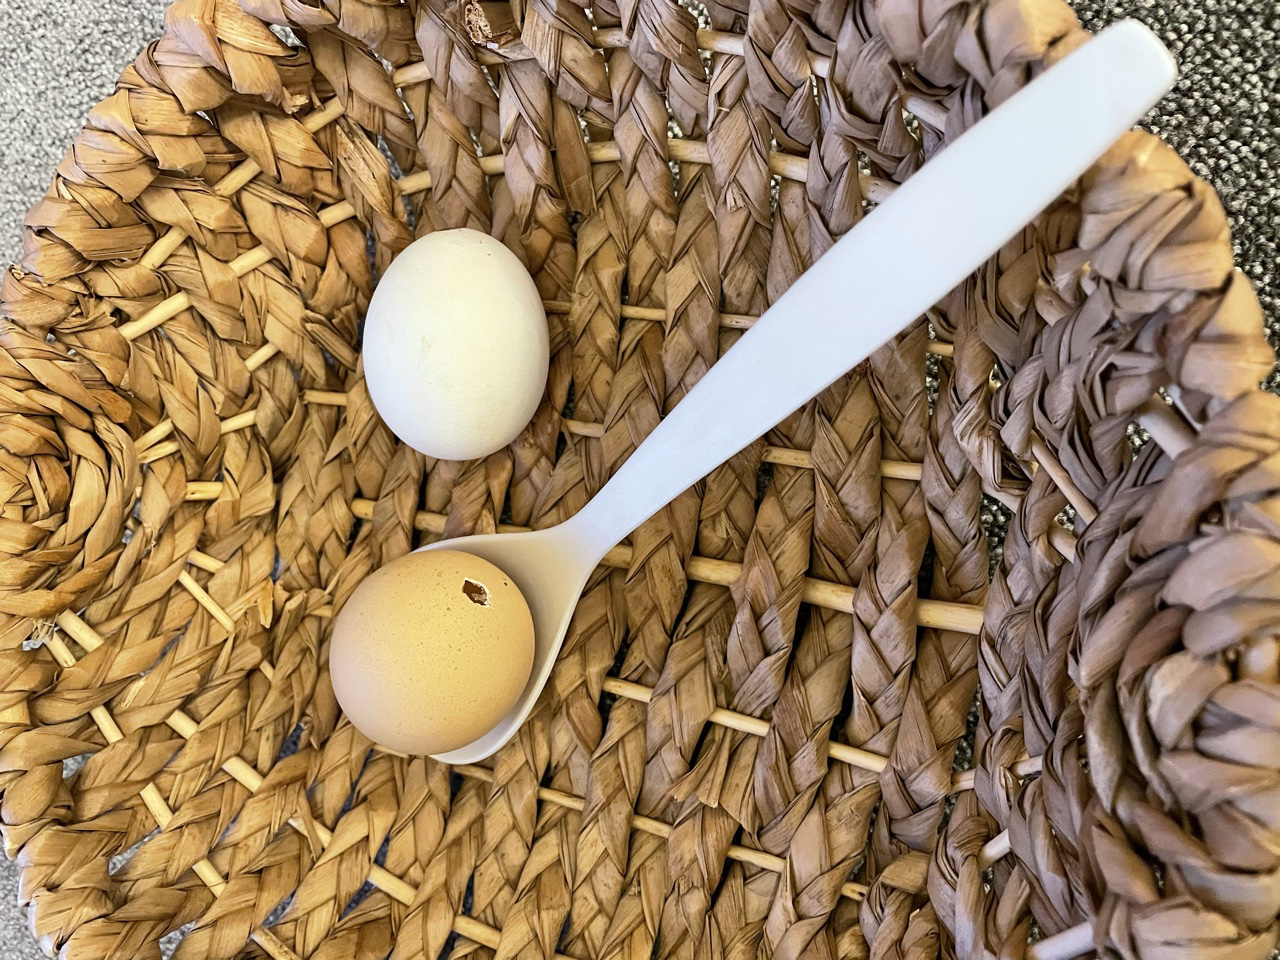
To increase the level of difficulty, use large spoons, salad cutlery, small soup spoons or pastry tongs instead of your hands. Try to grab the eggs and transport them.
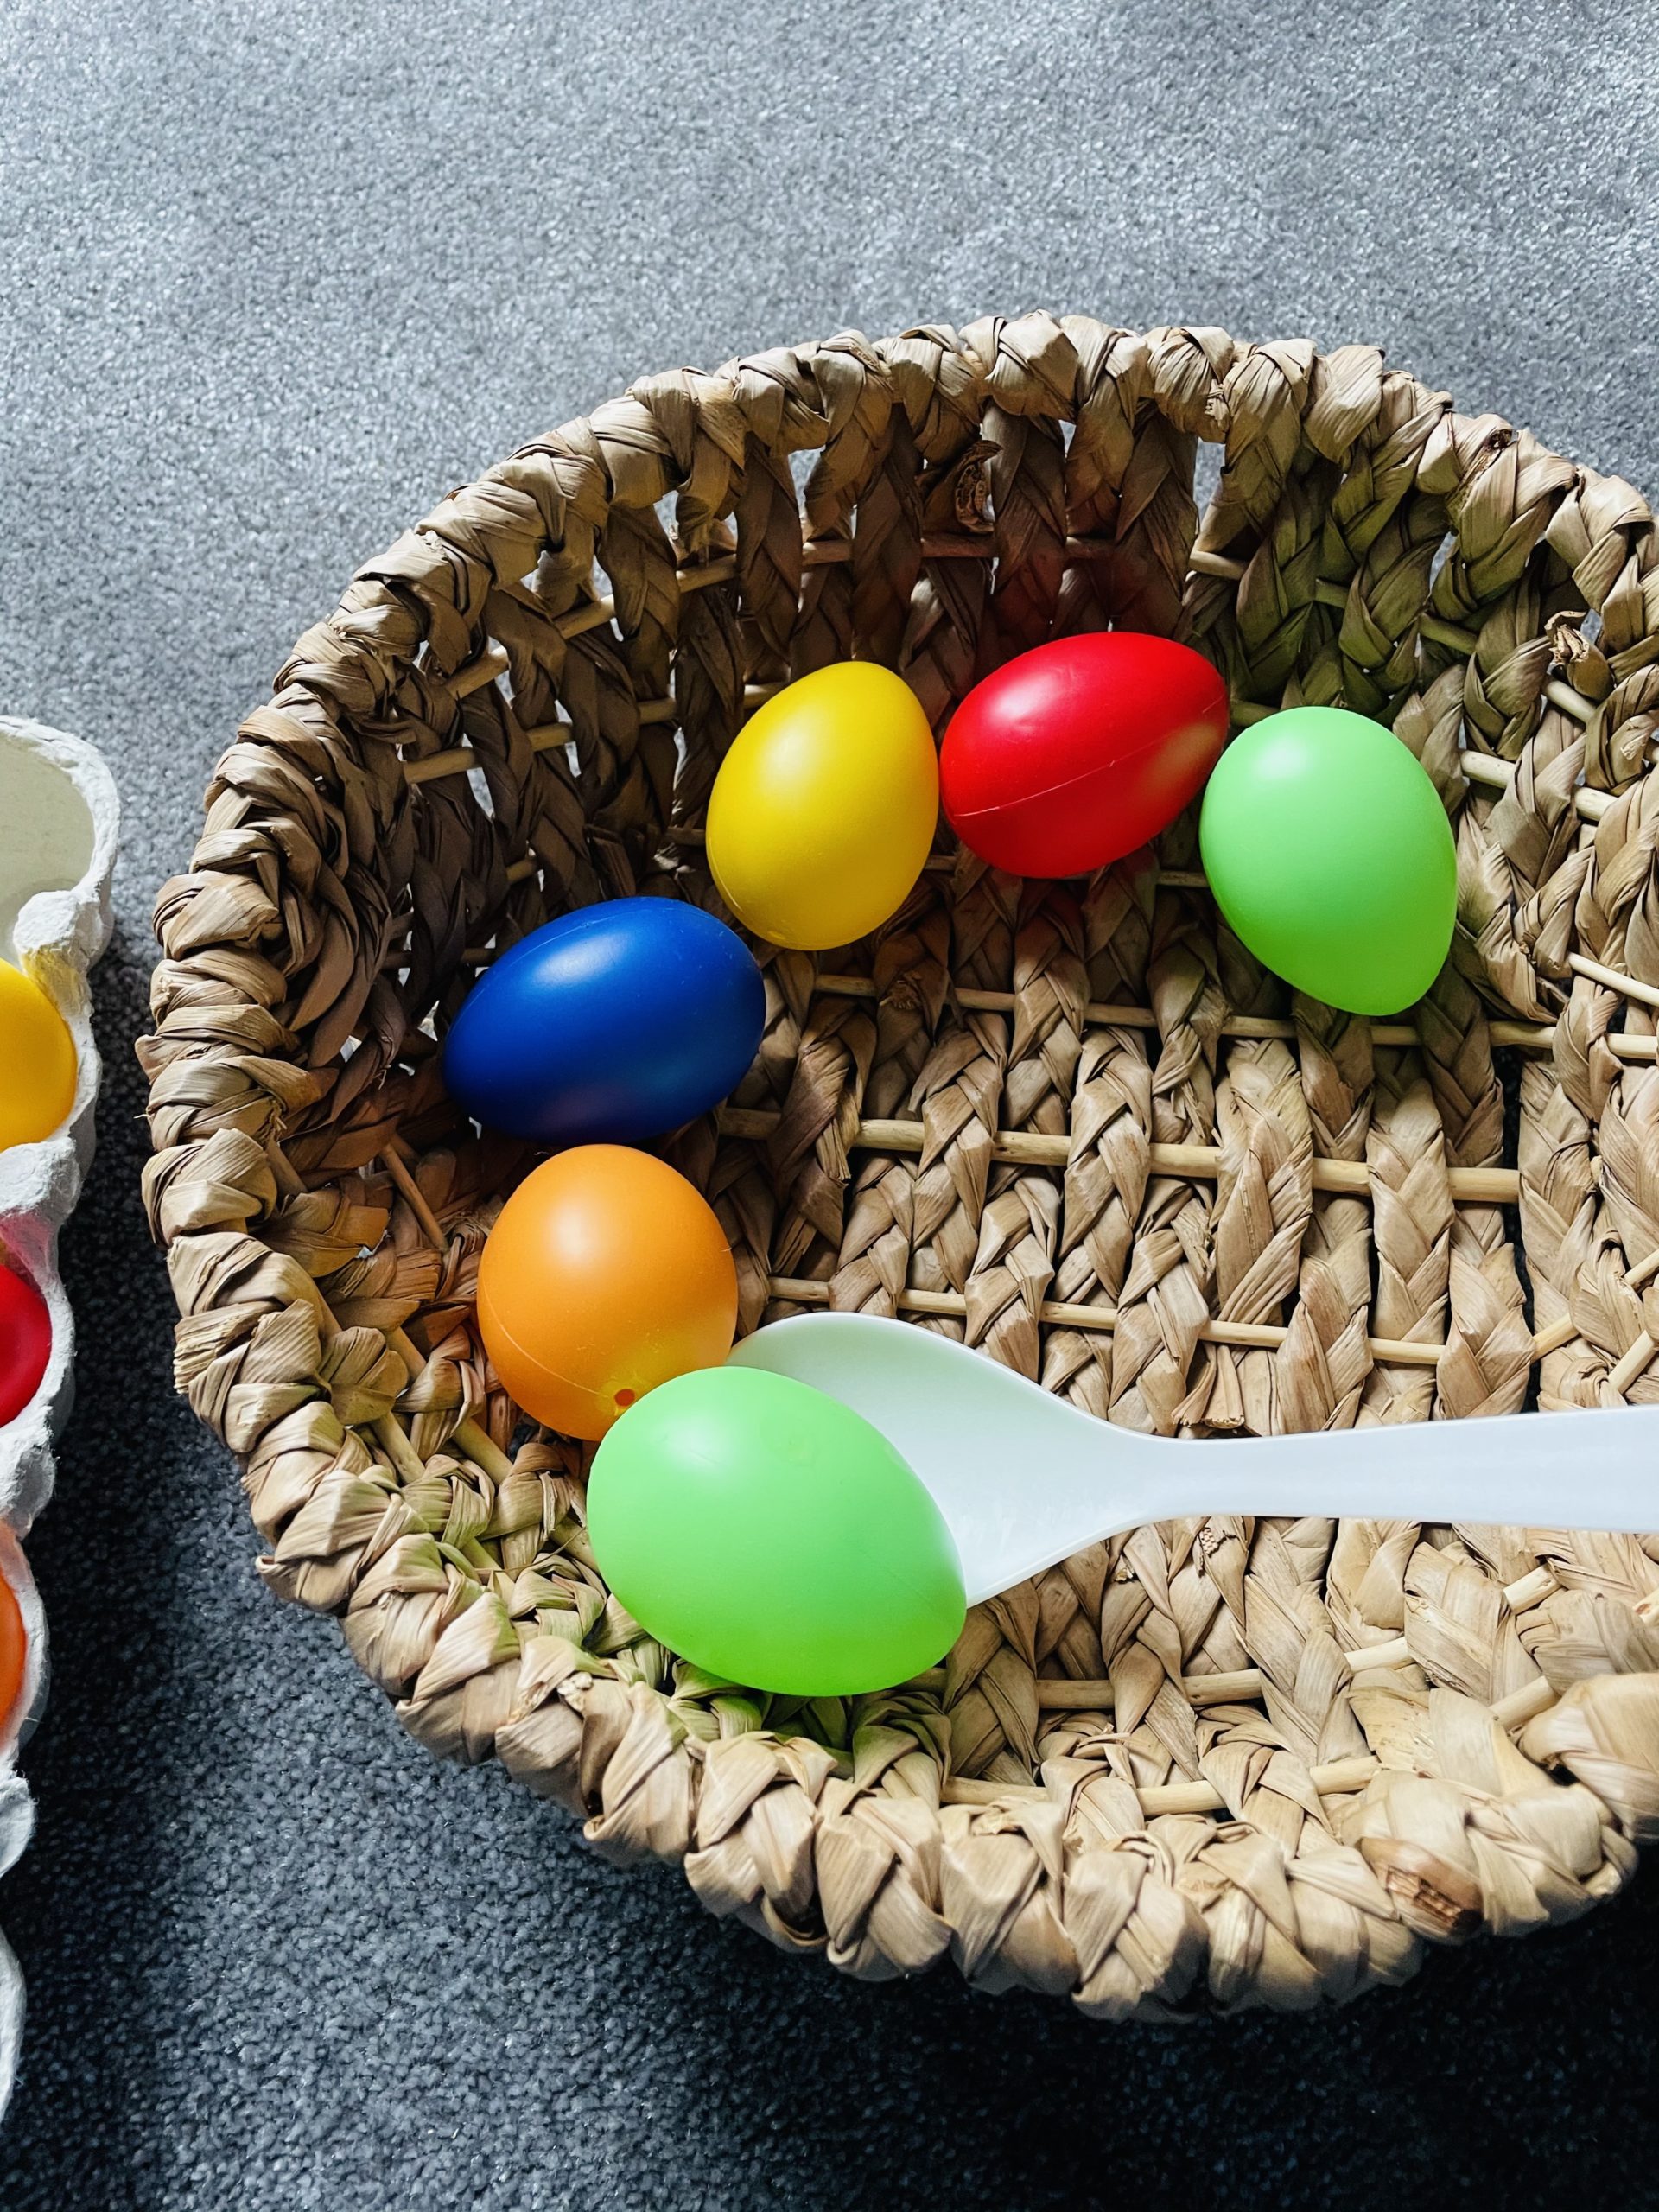


Try out how to use the tools to pick up and transport the eggs.
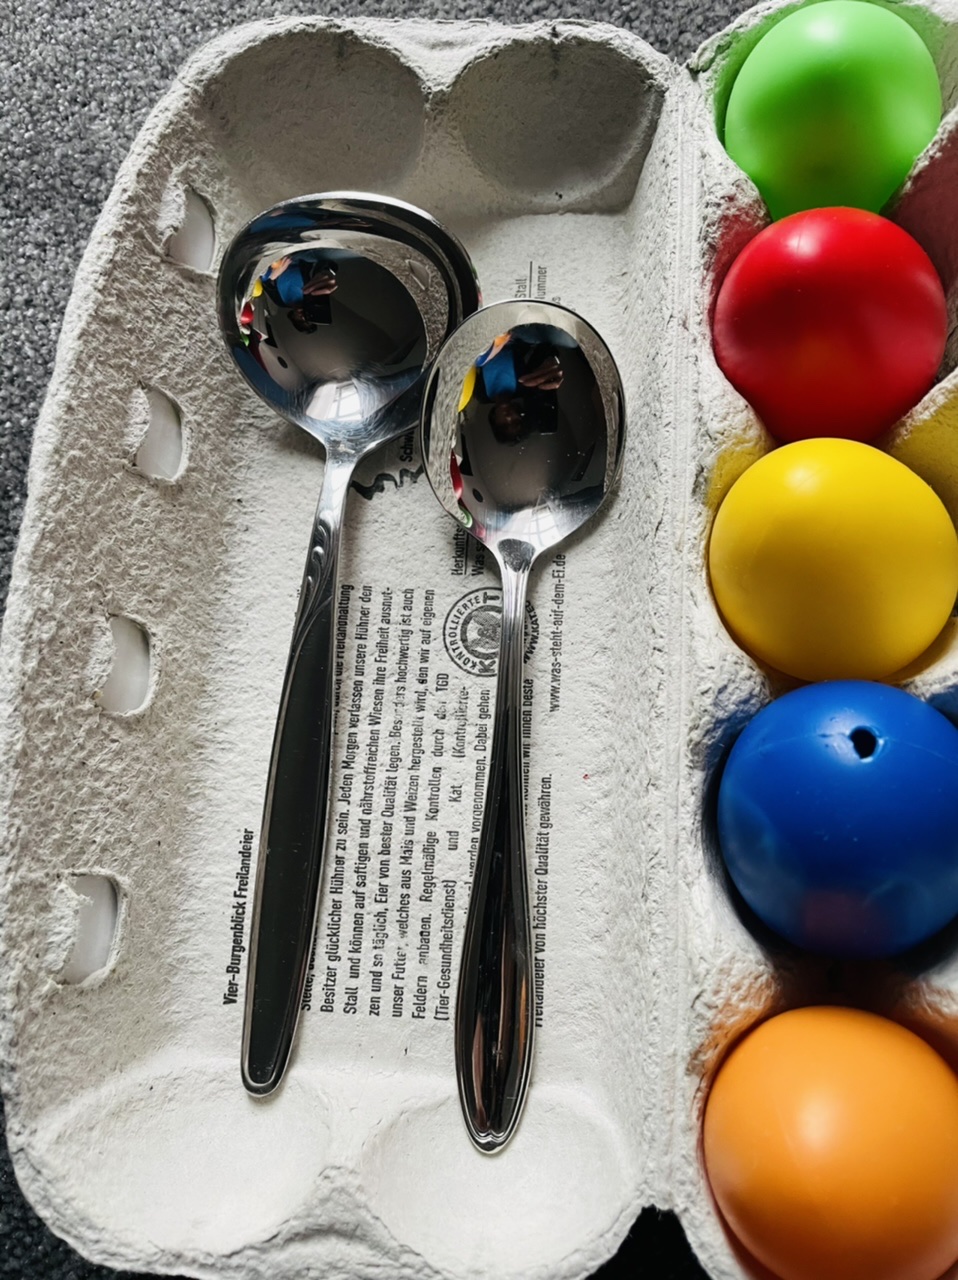




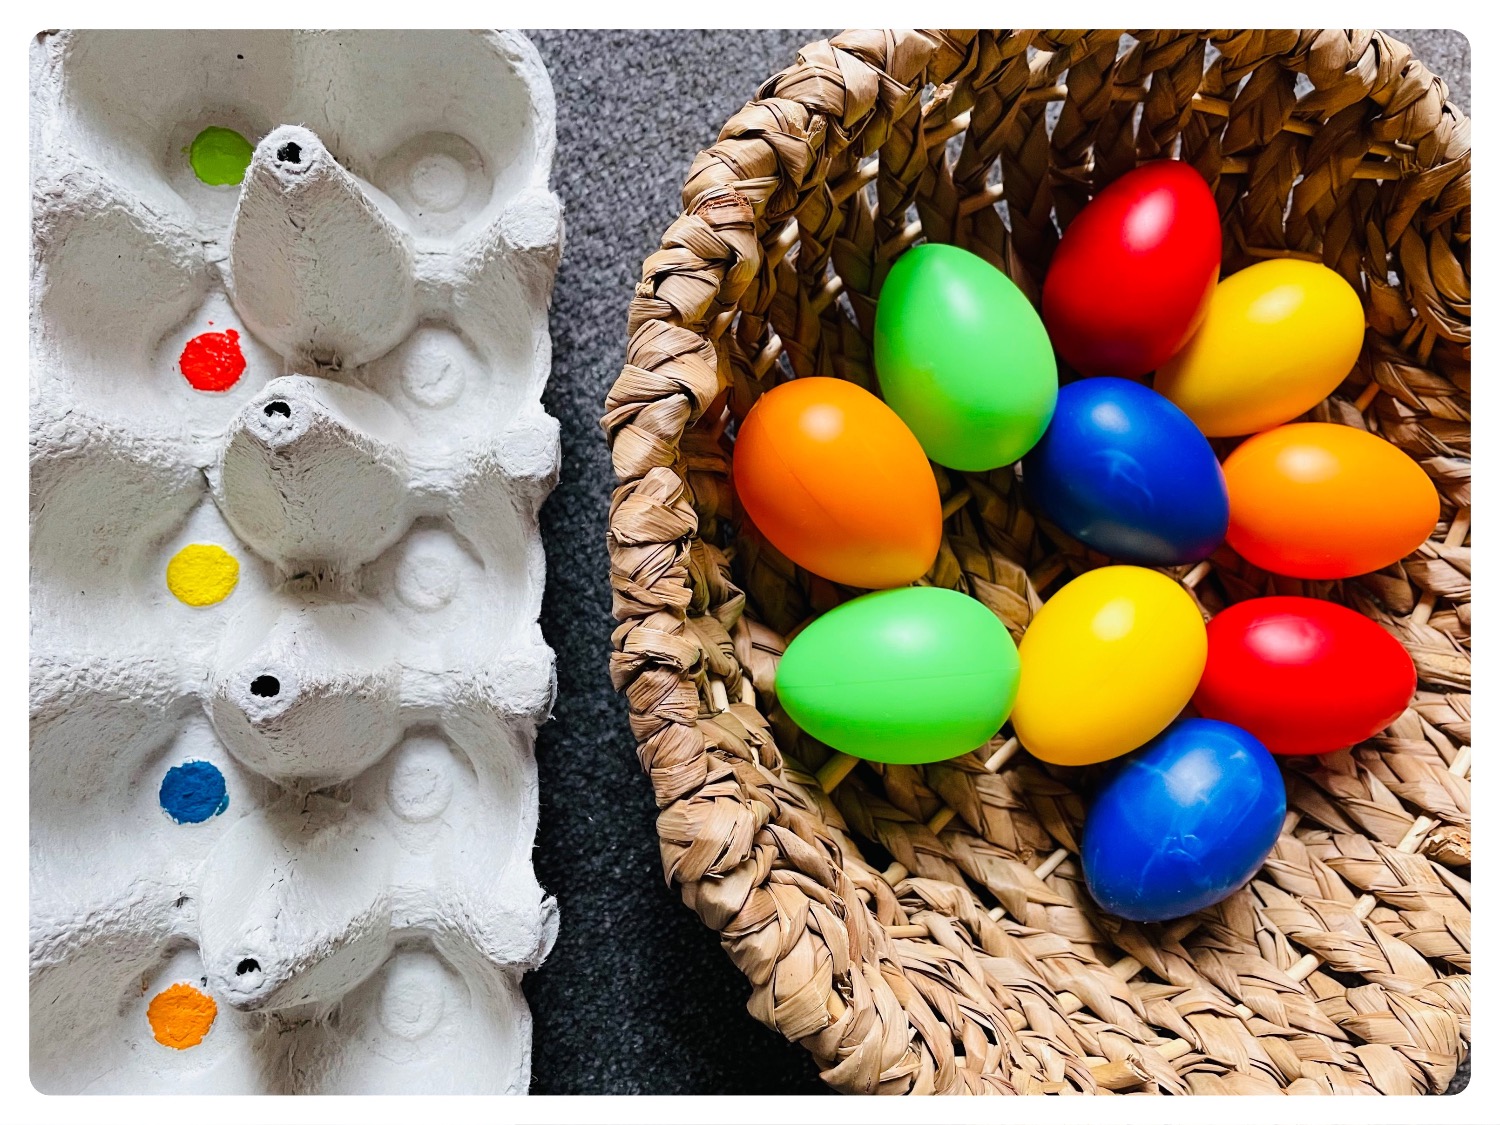
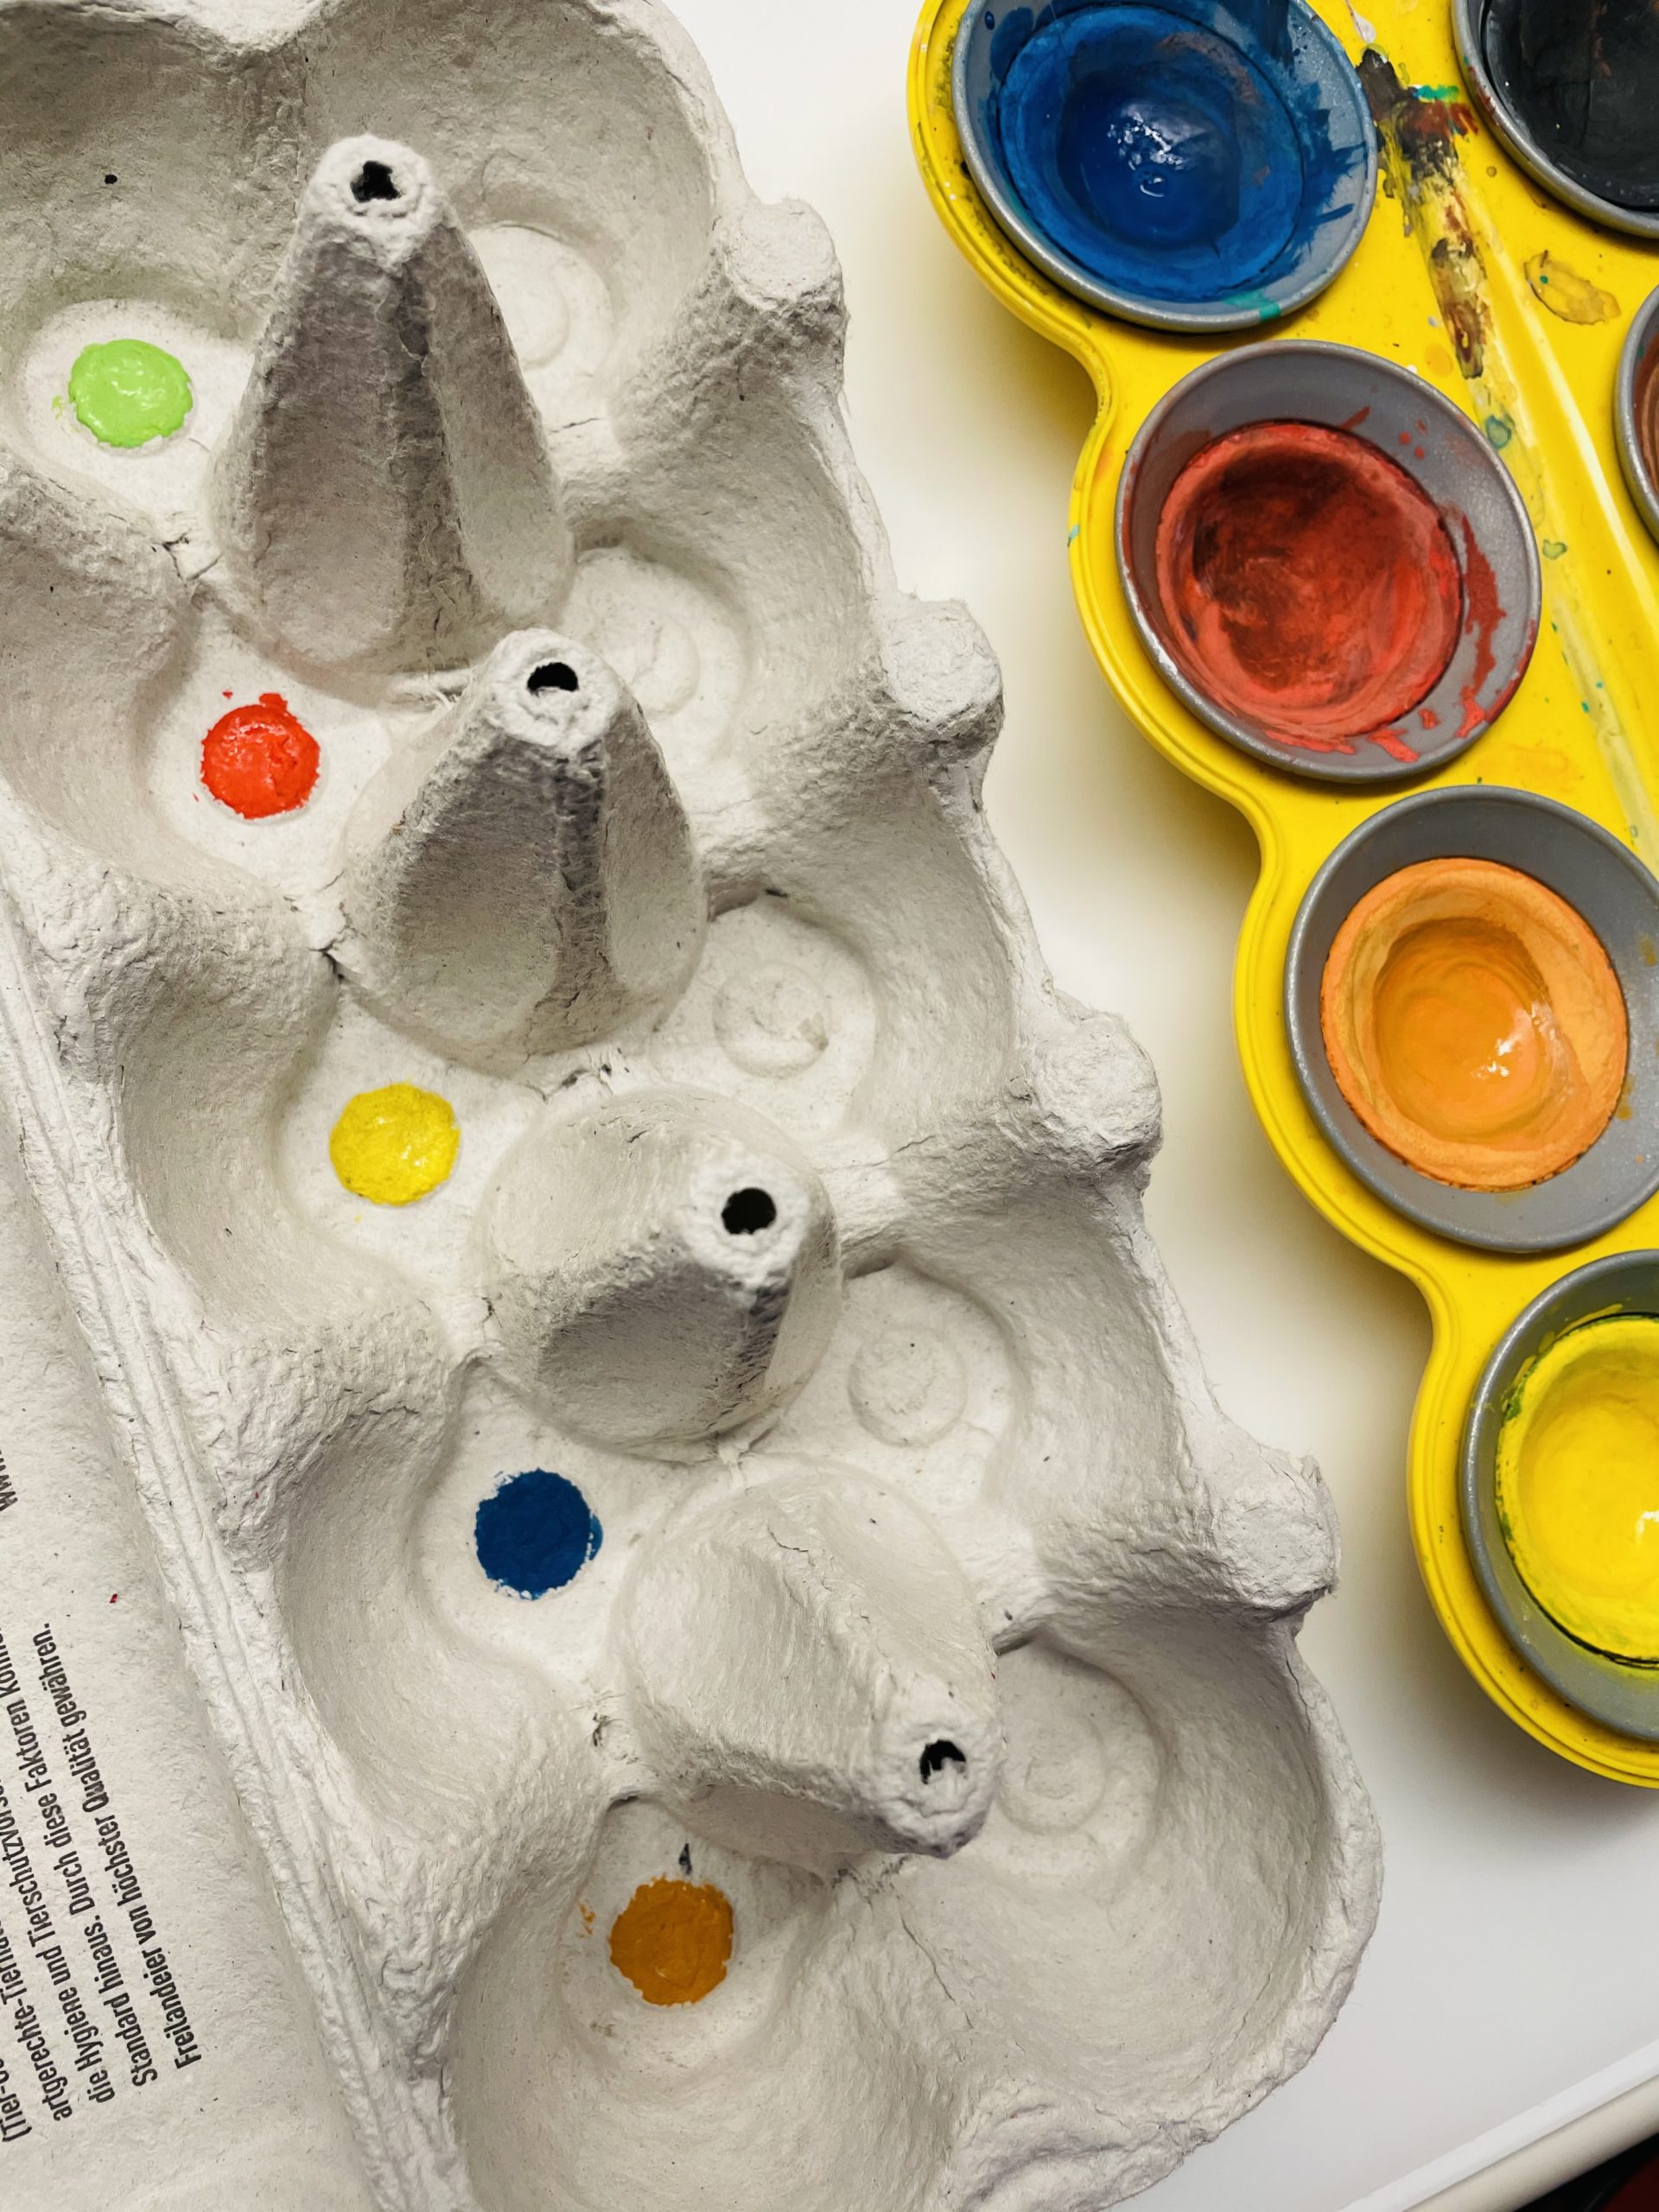
In addition to sorting colors, you can paint color points in your egg box. These show the child where to place which color.
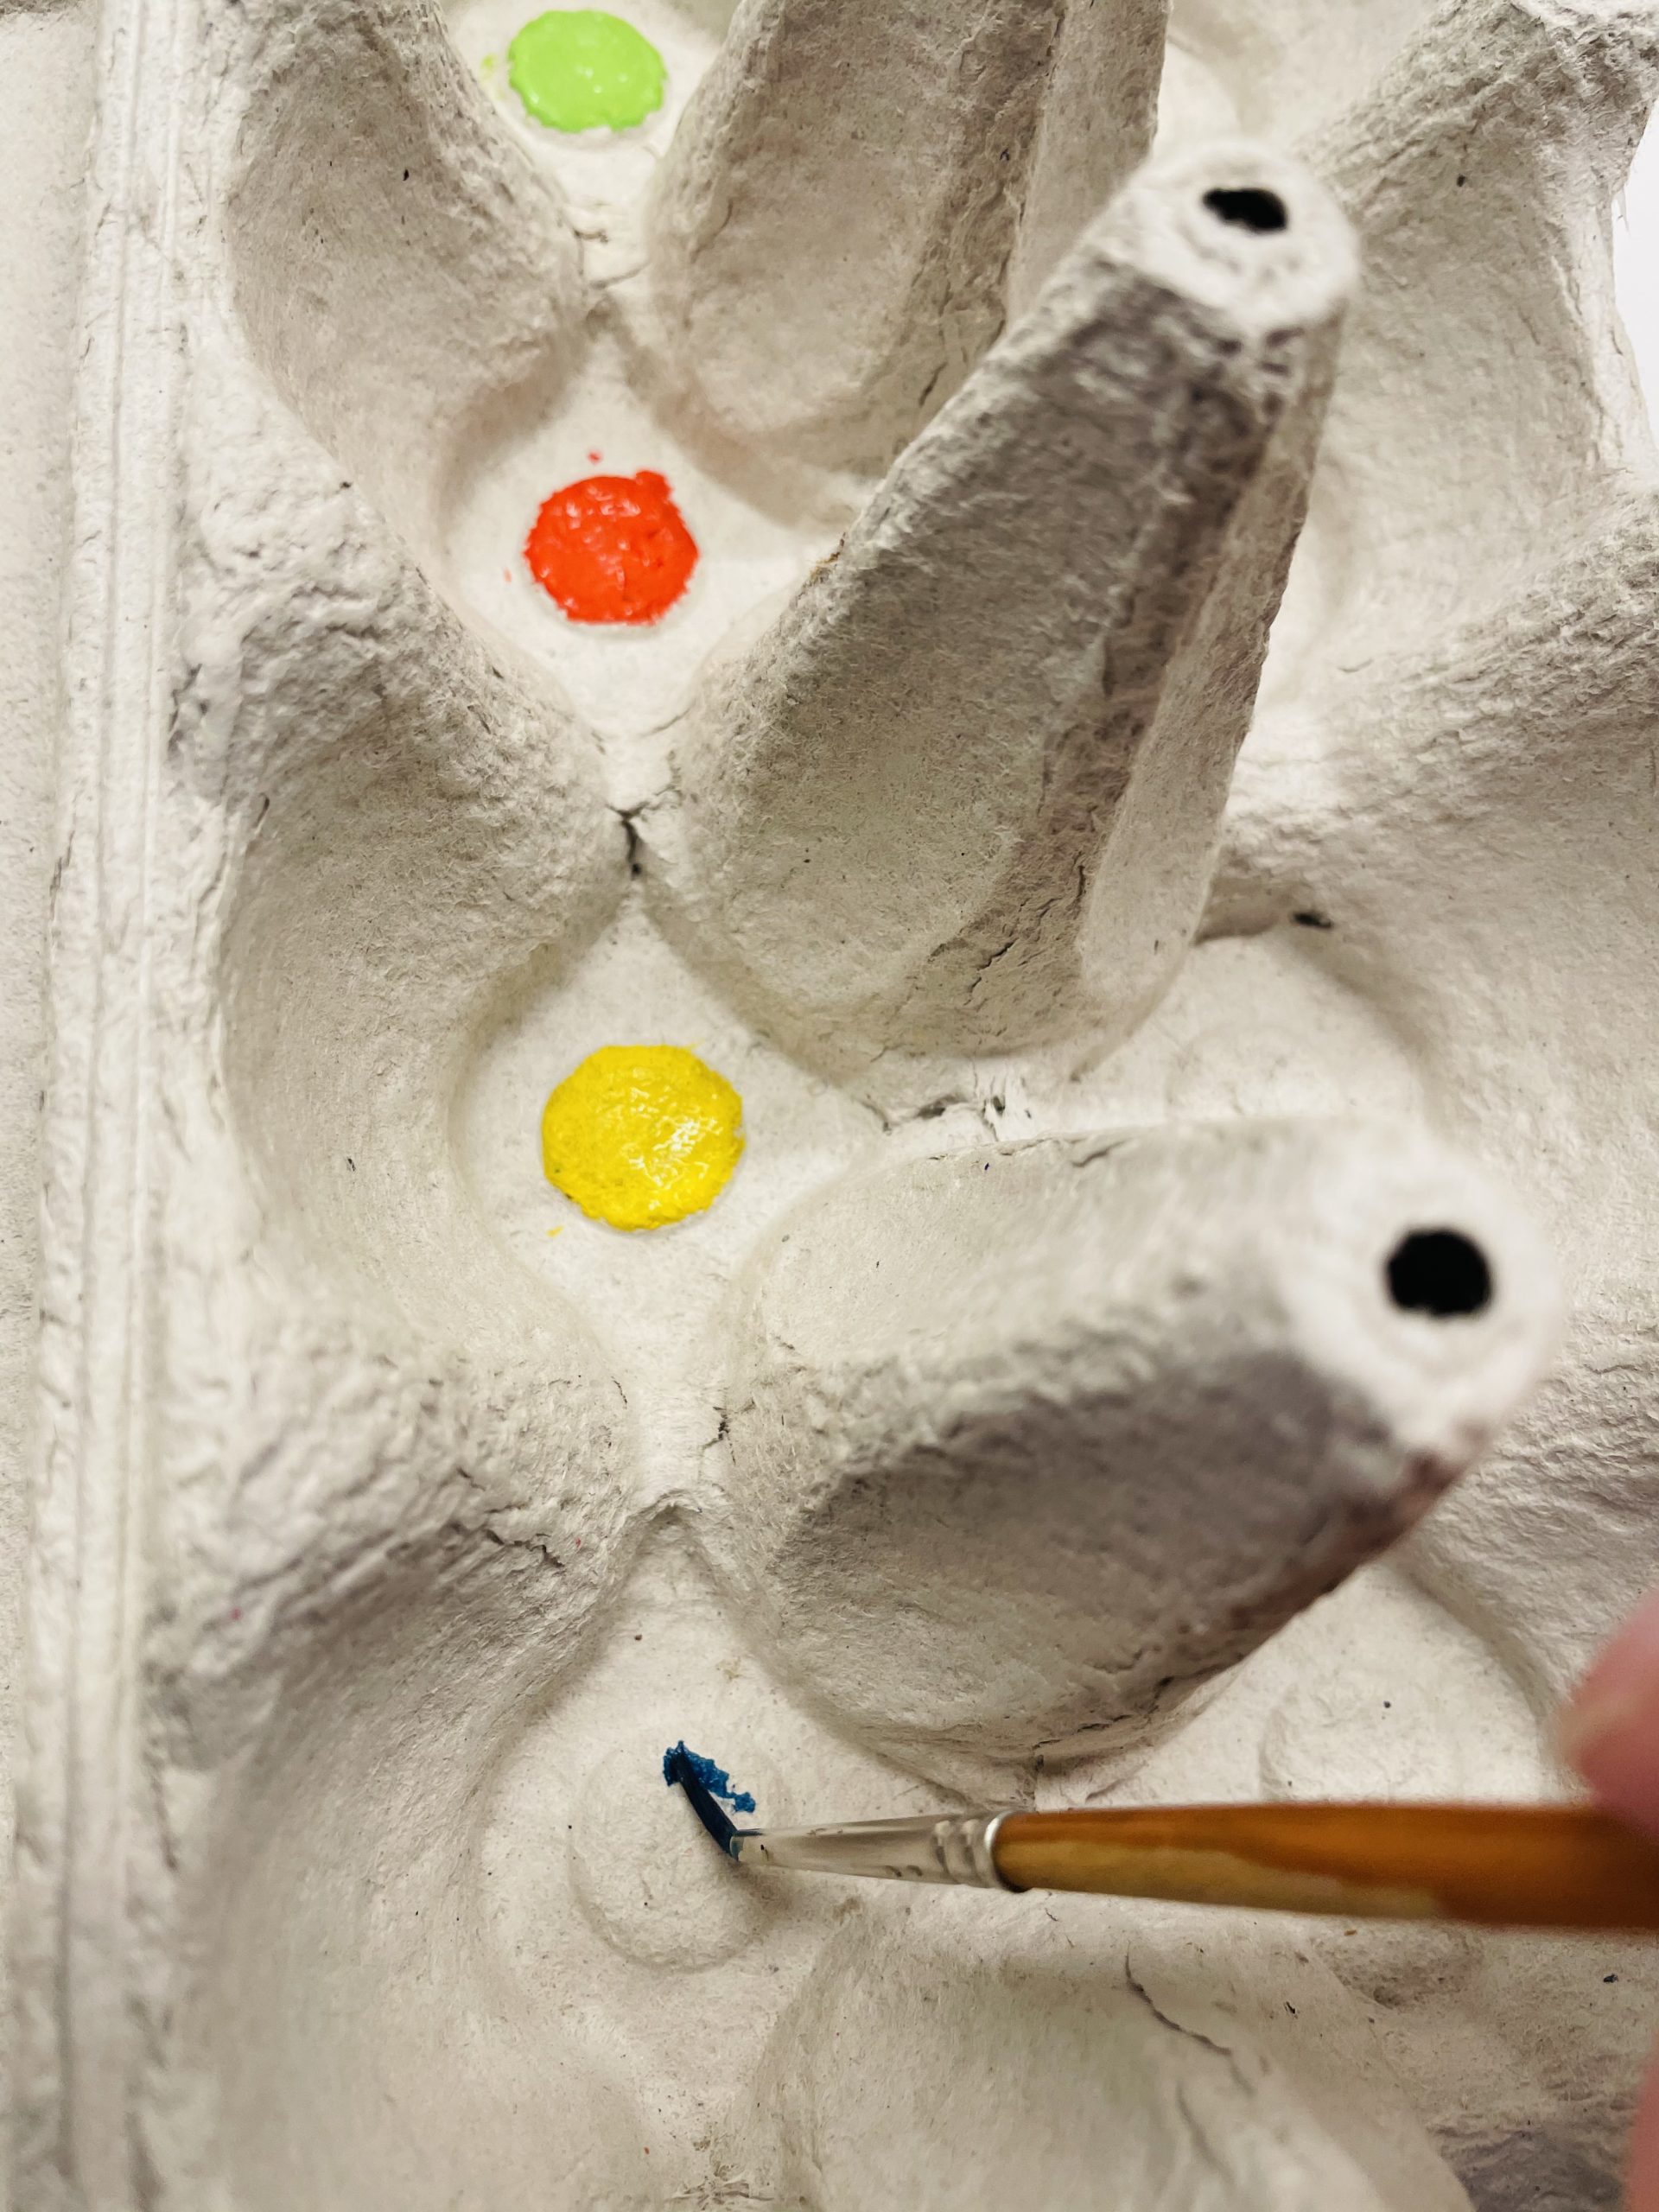


Tip: Paint the box in the colors of your eggs. Especially smaller children have difficulty in recognizing changed colour nuances.
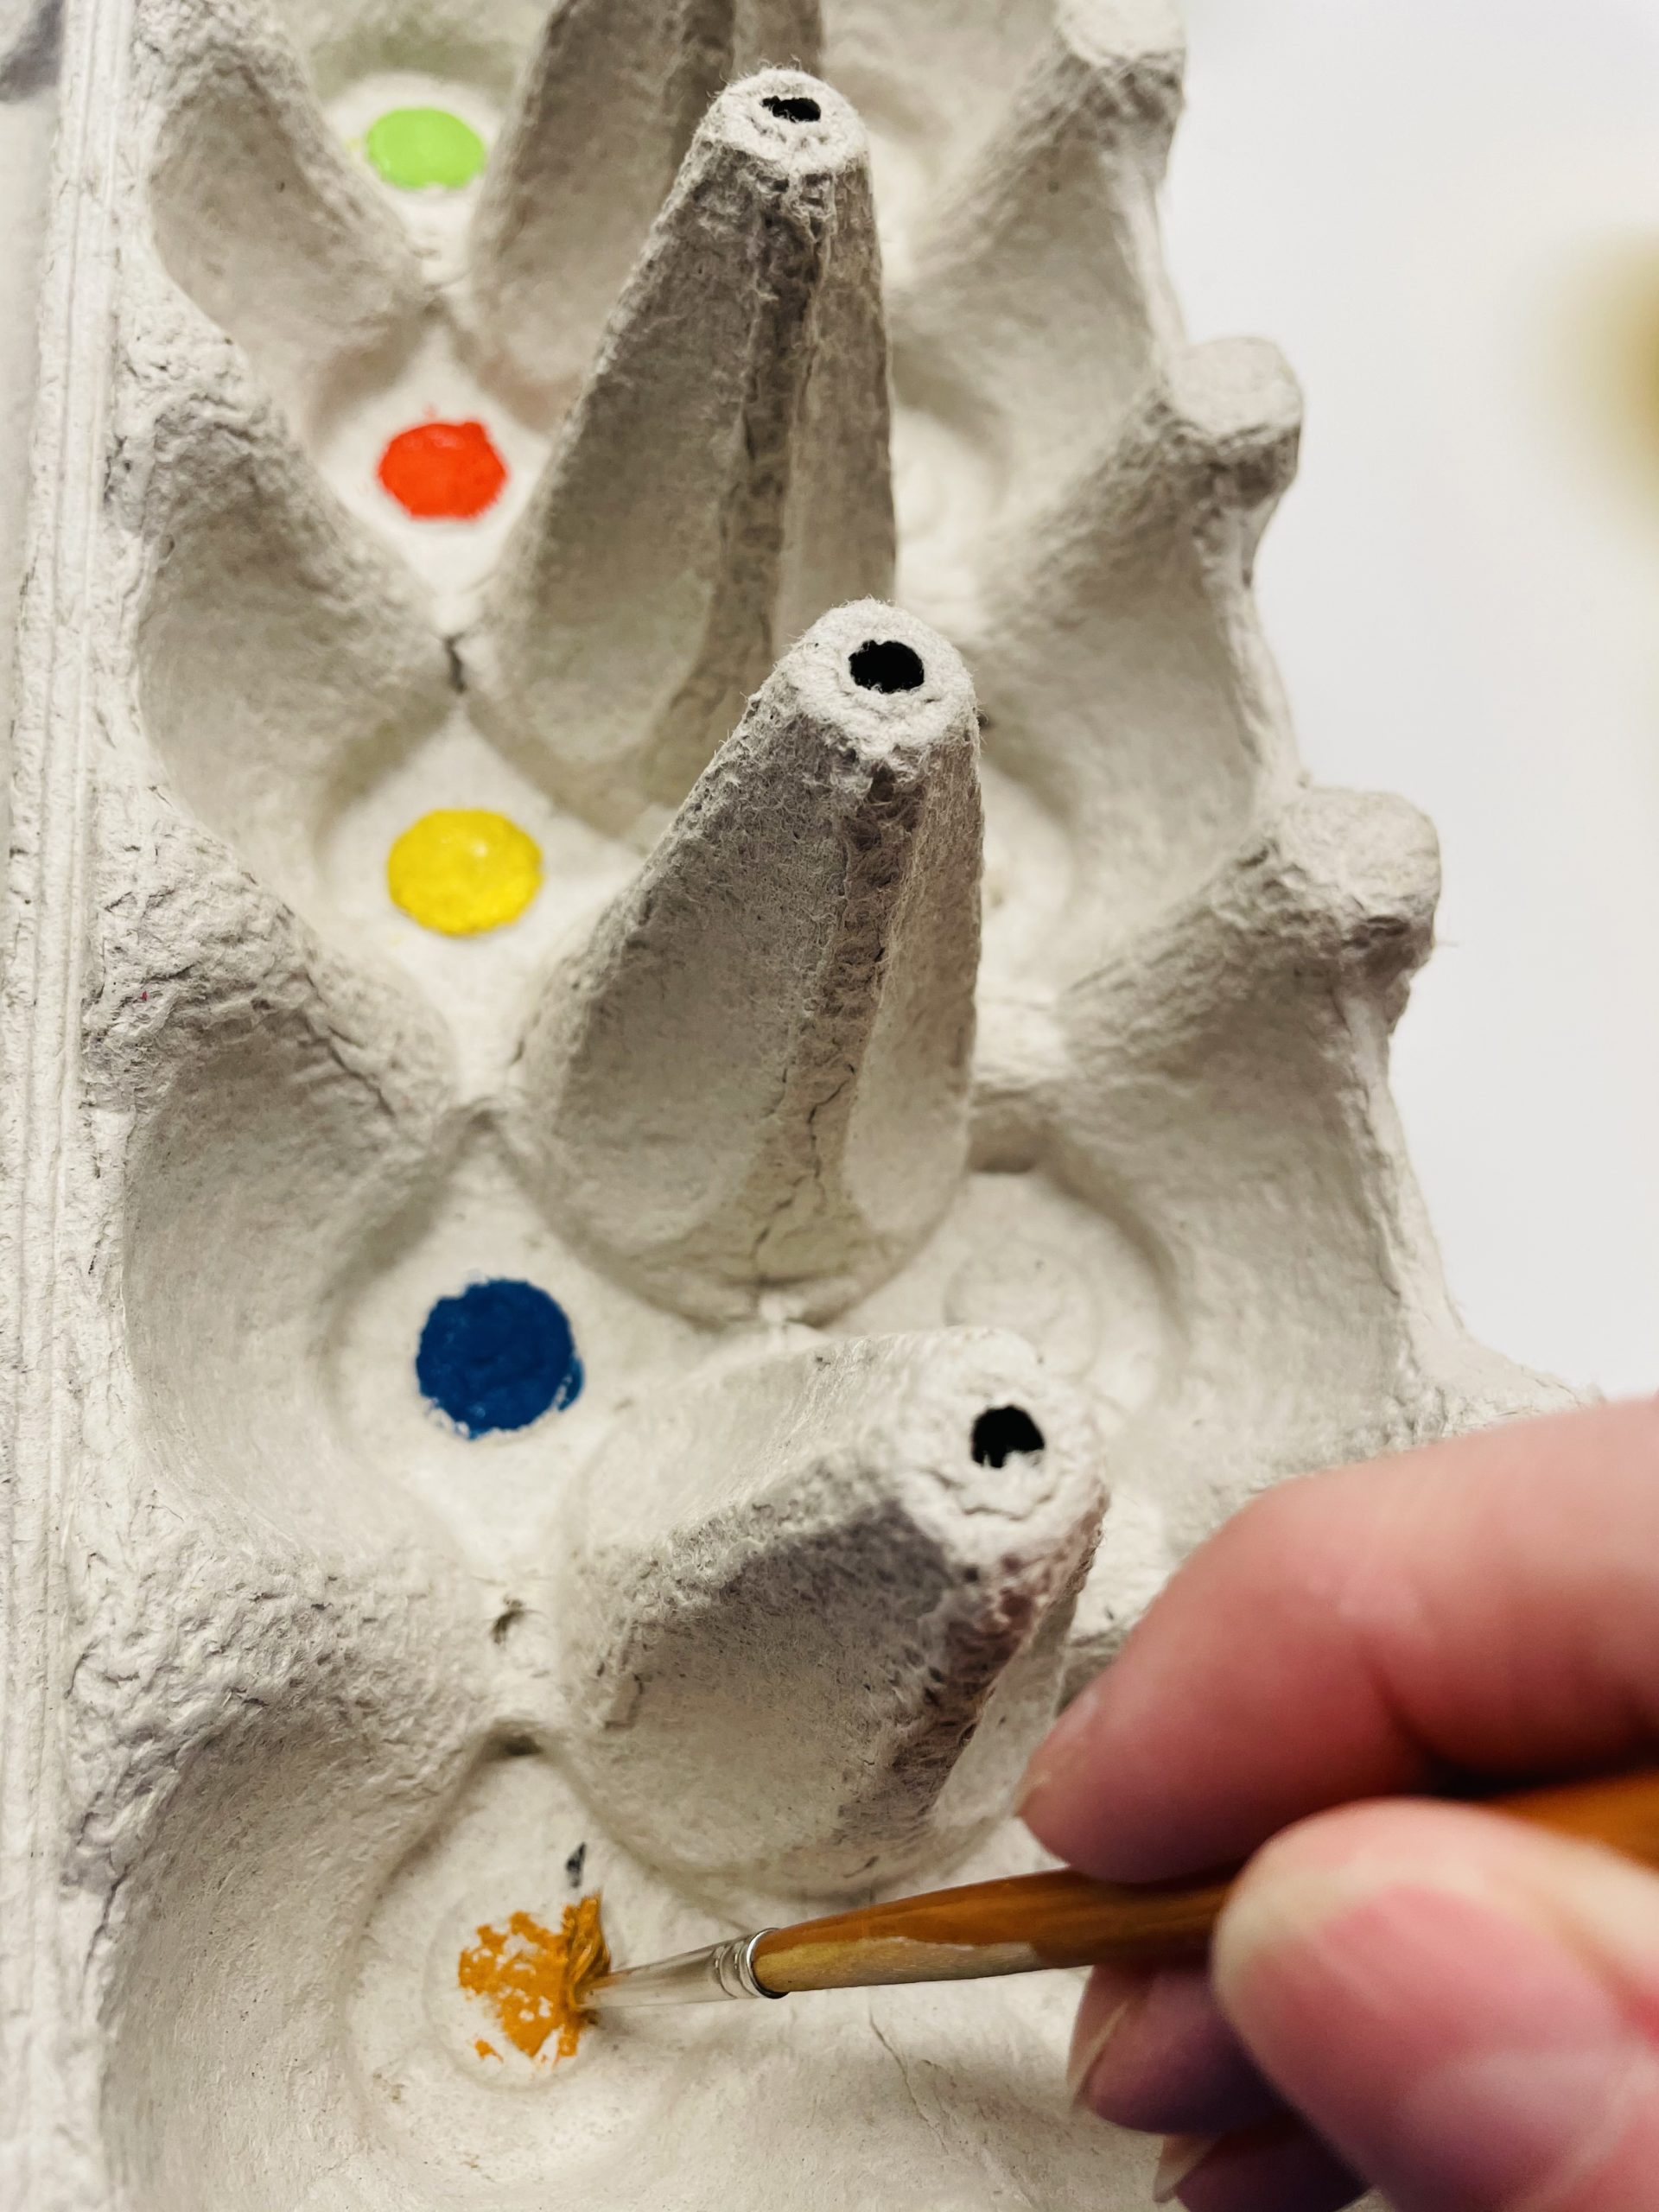


If the colours are painted, the children are less distracted from doing things than, for example, inserted or glued colour circles made of clay paper. These irritate the children very much and ask them to remove them.


Have fun playing, learning, practicing colors or experimenting with the eggs.


You can also play with real blown-out eggs. Special care is required here, which is why this variant is only suitable for older children. The delicate handling of fragile materials is trained here. However, it is important that you stay here.


Try it out!


Have fun trying out the many variants. You'll surely find the right idea for your child's age and level of development
Maybe it will try it once with a packaging of bought colored eggs.


Tip: Use what you have at home!


Let the children experiment, grab, grasp, and gain experience in dealing with the eggs by sorting, replenishing, changing and hiding the eggs in the egg box.


Stay curious!


Materials
Directions
Prepare a bowl and pre-shaped egg insert (e.g. from the fridge).


Use as many plastic eggs as can fit into your egg holder.


Now the child may begin to take the eggs out of the bowl and lay them in the egg insert.


Give your child a spoon or pliers.


With colored eggs you can also deepen the colors while playing.


Name to the child the color of the egg, which it should put from the bowl in the egg holder.


If all eggs are sorted, the child can repeat the procedure as often as possible.


Uses an egg box made of cardboard for only six eggs. Thus, the children practice handling materials that can break - like the egg box.


The same coloured eggs can also be sorted here. Two eggs are required for each colour.


The task is to colour the eggs.


For older children, a cardboard egg box and a small basket are suitable. Larger children can already handle the more sensitive materials or can learn them through exercise.


Use 10 plastic eggs. Here you can use 2 eggs of each color. Thus the children can assign the colors, name and sort.


For example, let each colour place an egg in one side of the egg box.


Then look for the right egg for the other side of the egg box.


The aim is that all the eggs of the same colour lie side by side.


To increase the level of difficulty, use large spoons, salad cutlery, small soup spoons or pastry tongs instead of your hands. Try to grab the eggs and transport them.


Try out how to use the tools to pick up and transport the eggs.


In addition to sorting colors, you can paint color points in your egg box. These show the child where to place which color.


Tip: Paint the box in the colors of your eggs. Especially smaller children have difficulty in recognizing changed colour nuances.


If the colours are painted, the children are less distracted from doing things than, for example, inserted or glued colour circles made of clay paper. These irritate the children very much and ask them to remove them.


Have fun playing, learning, practicing colors or experimenting with the eggs.


You can also play with real blown-out eggs. Special care is required here, which is why this variant is only suitable for older children. The delicate handling of fragile materials is trained here. However, it is important that you stay here.


Try it out!


Have fun trying out the many variants. You'll surely find the right idea for your child's age and level of development
Maybe it will try it once with a packaging of bought colored eggs.


Tip: Use what you have at home!


Let the children experiment, grab, grasp, and gain experience in dealing with the eggs by sorting, replenishing, changing and hiding the eggs in the egg box.


Stay curious!


Follow us on Facebook , Instagram and Pinterest
Don't miss any more adventures: Our bottle mail


