Easter egg pin cushions

AdventurerKatzi
Rating5.02.1 thousand times & (5) DifficultyAdvanced

This little pincushion fits perfectly with Easter. For this beautiful idea you need two halves of eggshells, some felt and cotton wool. See here how easy you can make a pincushion yourself in no time. The step-by-step instructions show you how it works. Have fun trying it out!

Media Education for Kindergarten and Hort

Kind bastelt eine Rassel mit dem Navi
The Adventure Navi, the app for DIY projects, enables media education for the youngest.

Relief in everyday life, targeted promotion of individual children, independent learning and - without any pre-knowledge already usable by the youngest!


Titelbild zur Bastel- und DIY-Idee für Kinder '(1042) Osterei- Nadelkissen'
Material for1 Child
Prep Time5 min.Adv. Time15 min.Total Time20 min.
 1 Eggshell2 halves
 Felt thinApprox.10cm x 10cm
 Bowl smallApprox. 8-10 cm diameter
 Ballpoint pens
 Needle pointed
 Sewing thread Colour of felt
 1 A handful of cotton fillersor wadding
 ScissorsPossibly fabric shears
 Pins and pins
All links marked with a shopping cart lead to Amazon - here we have selected products that we would order ourselves and in part also ordered. In a qualified purchase via the advertising link, we as Amazon partner receive a commission, for you there are no costs. You thus support our cost- and advertising banner-free, educational offer.
1

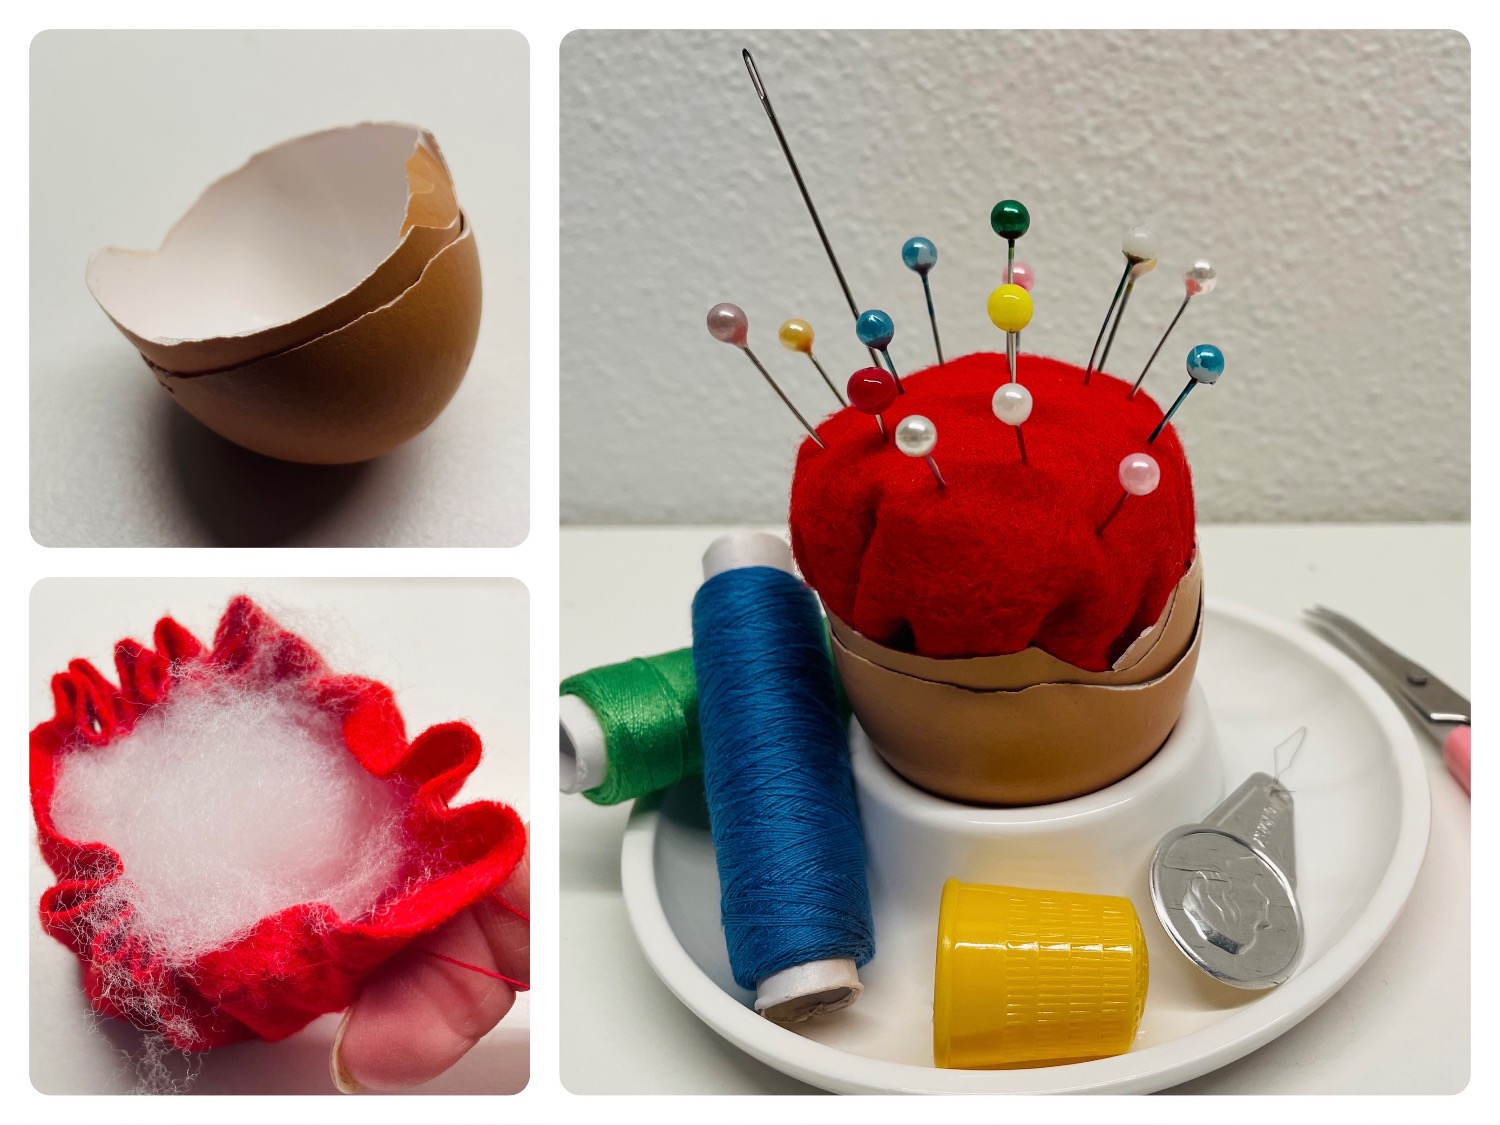
First, wash and dry the two halves of an eggshell.
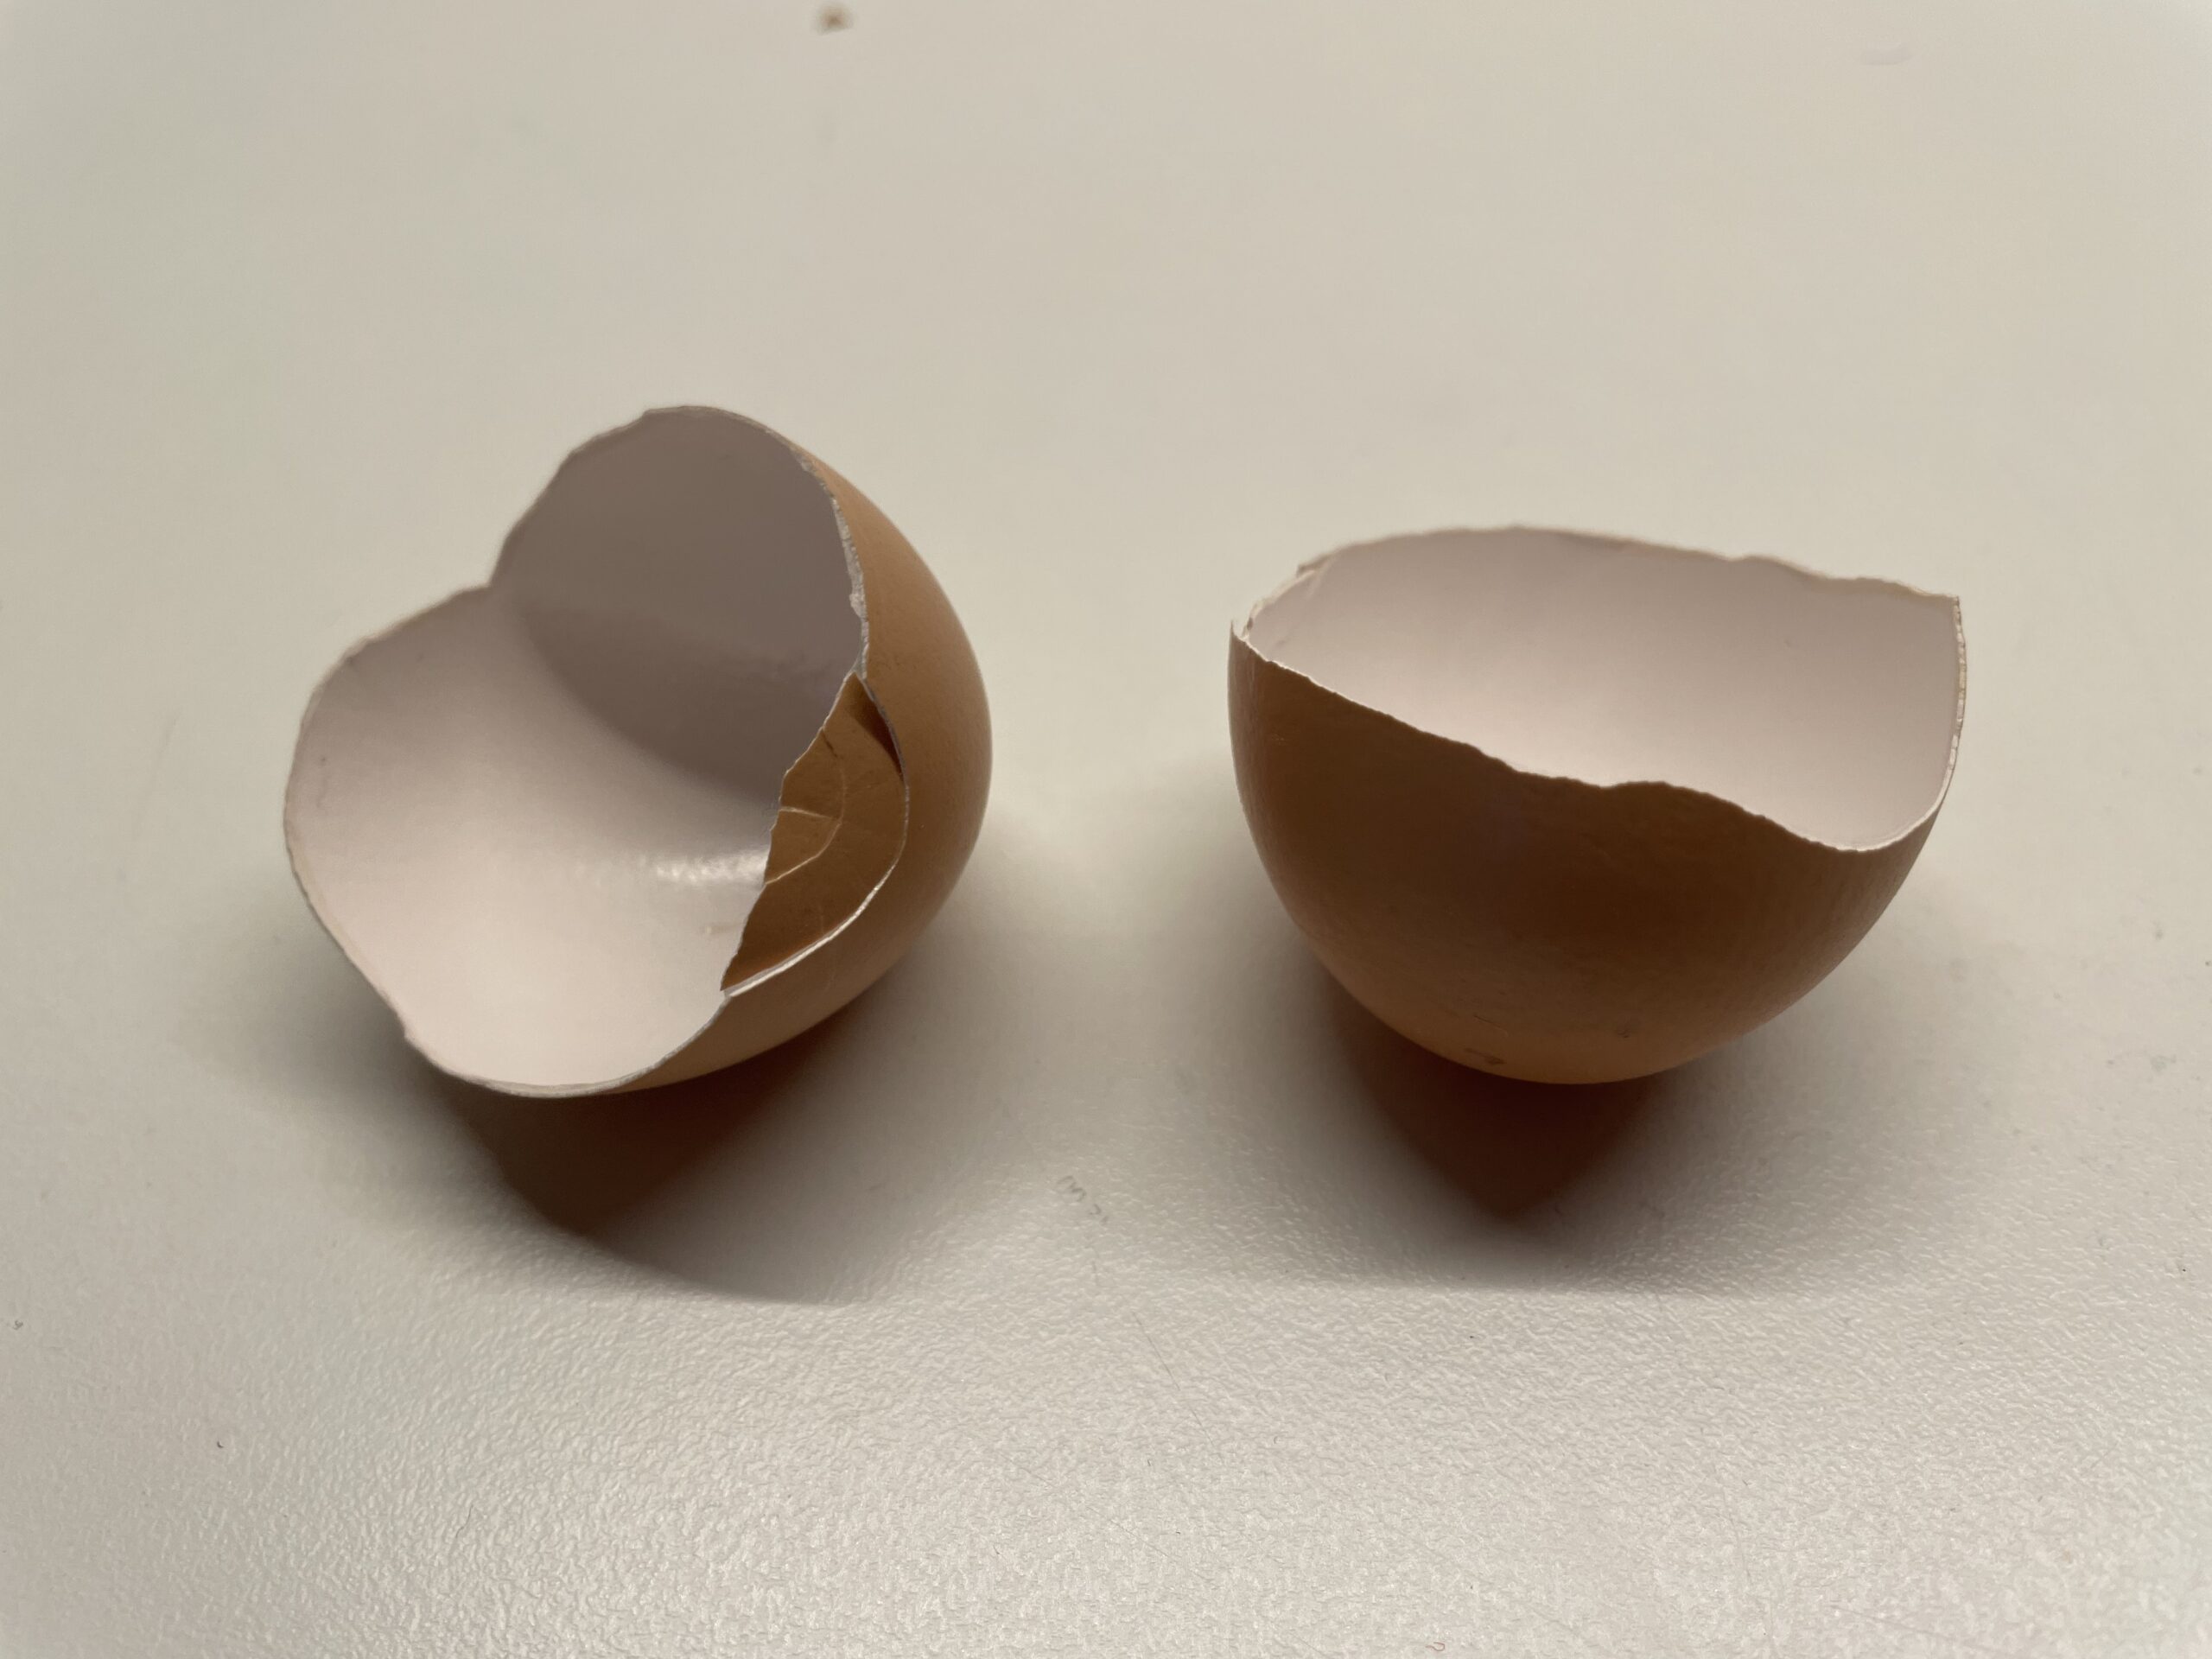
Bild zum Schritt 1 für das Bastel- und DIY-Abenteuer für Kinder: 'Zuerst wascht und trocknet ihr die zwei Hälften einer Eierschale.'

2

After that, you put the eggshells together, so the eggshells are more stable.
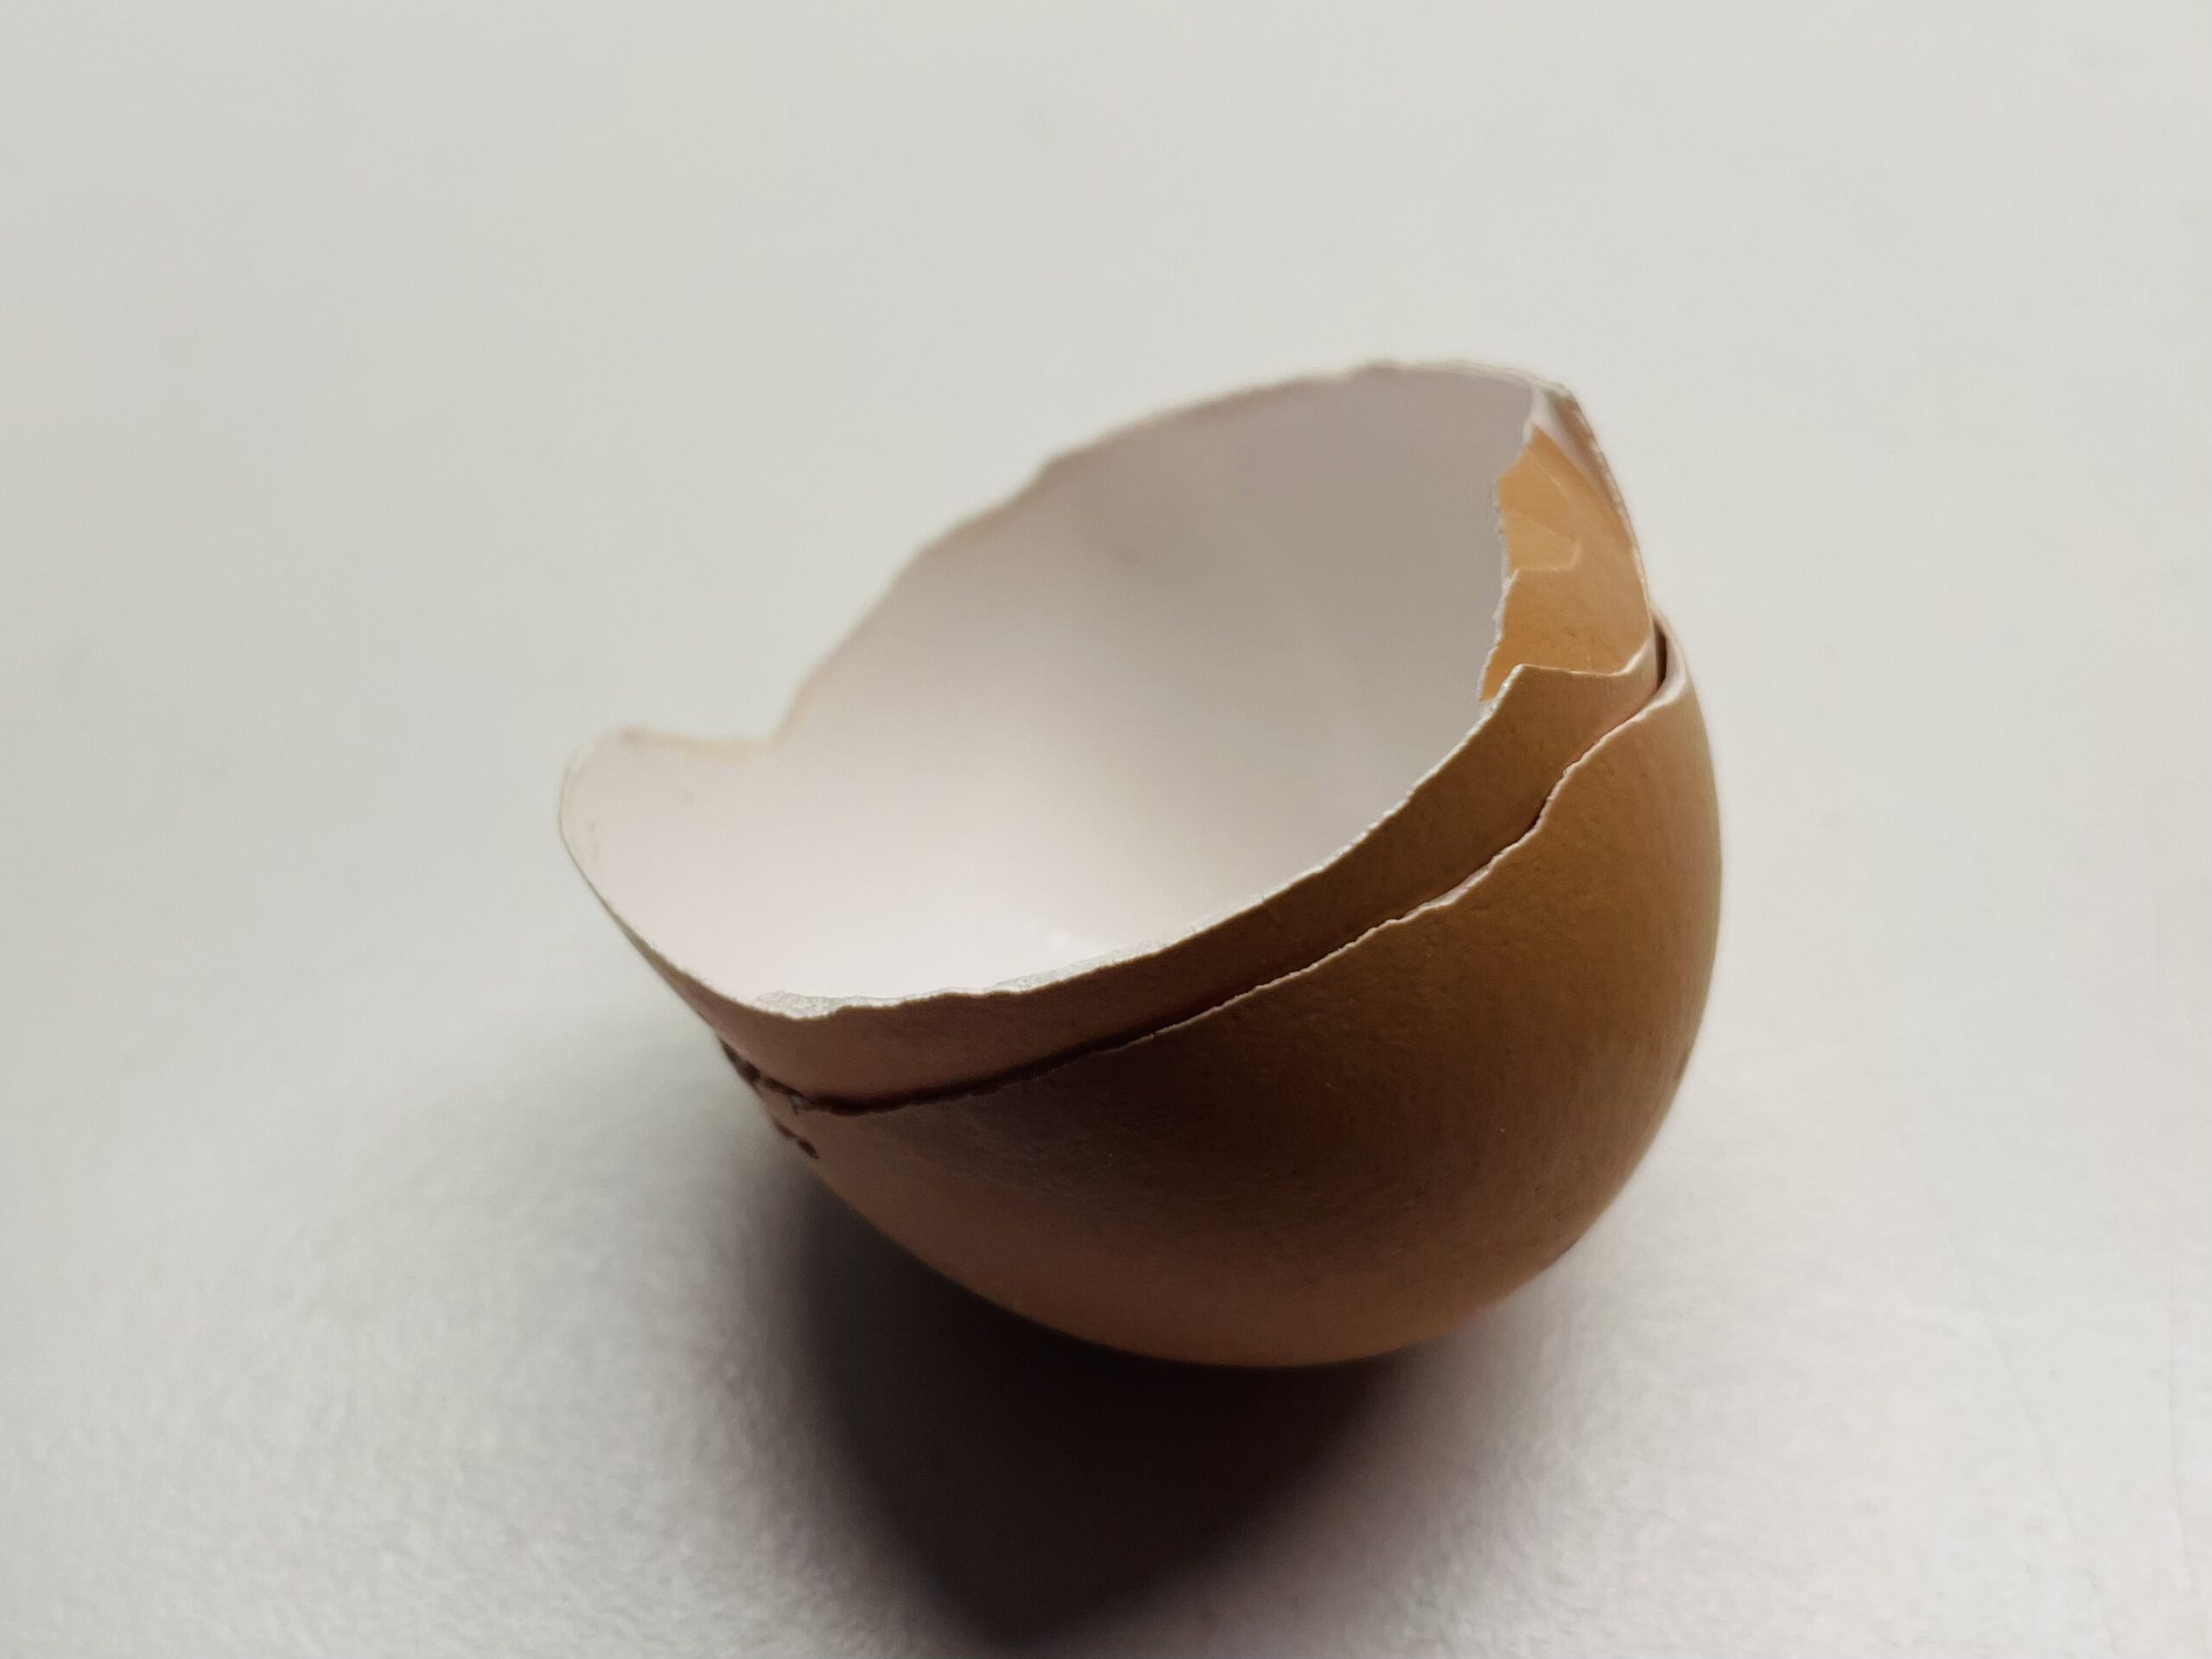
Bild zum Schritt 2 für das Bastel- und DIY-Abenteuer für Kinder: 'Danach steckt ihr die Eierschalen ineinander. So sind die Eierschalen...'

3

Now choose a piece of felt in any color.
Tip: Alternatively, simply use a felt dishcloth.
Then you have a big hand full of cotton wool.

Bild zum Schritt 3 für das Bastel- und DIY-Abenteuer für Kinder: 'Wählt euch nun ein Stück Filz in einer beliebigen Farbe....'

4

Now you paint a circle on the felt. For this you use, for example, a round small bowl.

Bild zum Schritt 4 für das Bastel- und DIY-Abenteuer für Kinder: 'Jetzt malt ihr auf den Filz einen Kreis. Dafür verwendet...'

5

A ballpoint pen is best suited for painting.

Bild zum Schritt 5 für das Bastel- und DIY-Abenteuer für Kinder: 'Zum Aufmalen eignet sich am besten ein Kugelschreiber.'

6

Then cut out the circle with the scissors.

Bild zum Schritt 6 für das Bastel- und DIY-Abenteuer für Kinder: 'Anschließend schneidet ihr den Kreis mit der Schere aus.'

7

Now you need a thread and a pointed needle.
Now thread a thread about 40 cm long into the needle and place it twice. Then tie the ends together.

Bild zum Schritt 7 für das Bastel- und DIY-Abenteuer für Kinder: 'Jetzt braucht ihr einen Faden und eine spitze Nadel. ...'

8

Now you paint a sewing line on the circle. This line runs about half a centimetre from the edge and goes round.

Bild zum Schritt 8 für das Bastel- und DIY-Abenteuer für Kinder: 'Nun malt ihr euch eine Nählinie auf den Kreis. Diese...'

9

Now start sewing in one place. For this, insert the needle on the sewing line and let the thread hang about 10 cm long.

Bild zum Schritt 9 für das Bastel- und DIY-Abenteuer für Kinder: 'Beginnt nun an einer Stelle mit dem Nähen. Dafür stecht...'

10

In approximately 1 cm large stitches you sew around with about 1 cm distance.

Bild zum Schritt 10 für das Bastel- und DIY-Abenteuer für Kinder: 'In ca. 1 cm großen Stichen näht ihr mit ca....'

11

If you are trained, you can also pick up several stitches at once.

Bild zum Schritt 11 für das Bastel- und DIY-Abenteuer für Kinder: 'Wenn ihr geübt seid, könnt ihr auch mehrere Stiche auf...'

12

The thread is now evenly sewn all around.

Bild zum Schritt 12 für das Bastel- und DIY-Abenteuer für Kinder: 'Der Faden ist nun gleichmäßig rundherum vernäht.'

13

Now you grab the initial and final thread with one hand and carefully pull the thread together.

Bild zum Schritt 13 für das Bastel- und DIY-Abenteuer für Kinder: 'Jetzt greift ihr den Anfangs- und Endfaden mit einer Hand...'

14

Now pull the thread together until a small bag is created.

Bild zum Schritt 14 für das Bastel- und DIY-Abenteuer für Kinder: 'Zieht jetzt so lange den Faden zusammen, bis ein kleiner...'

15

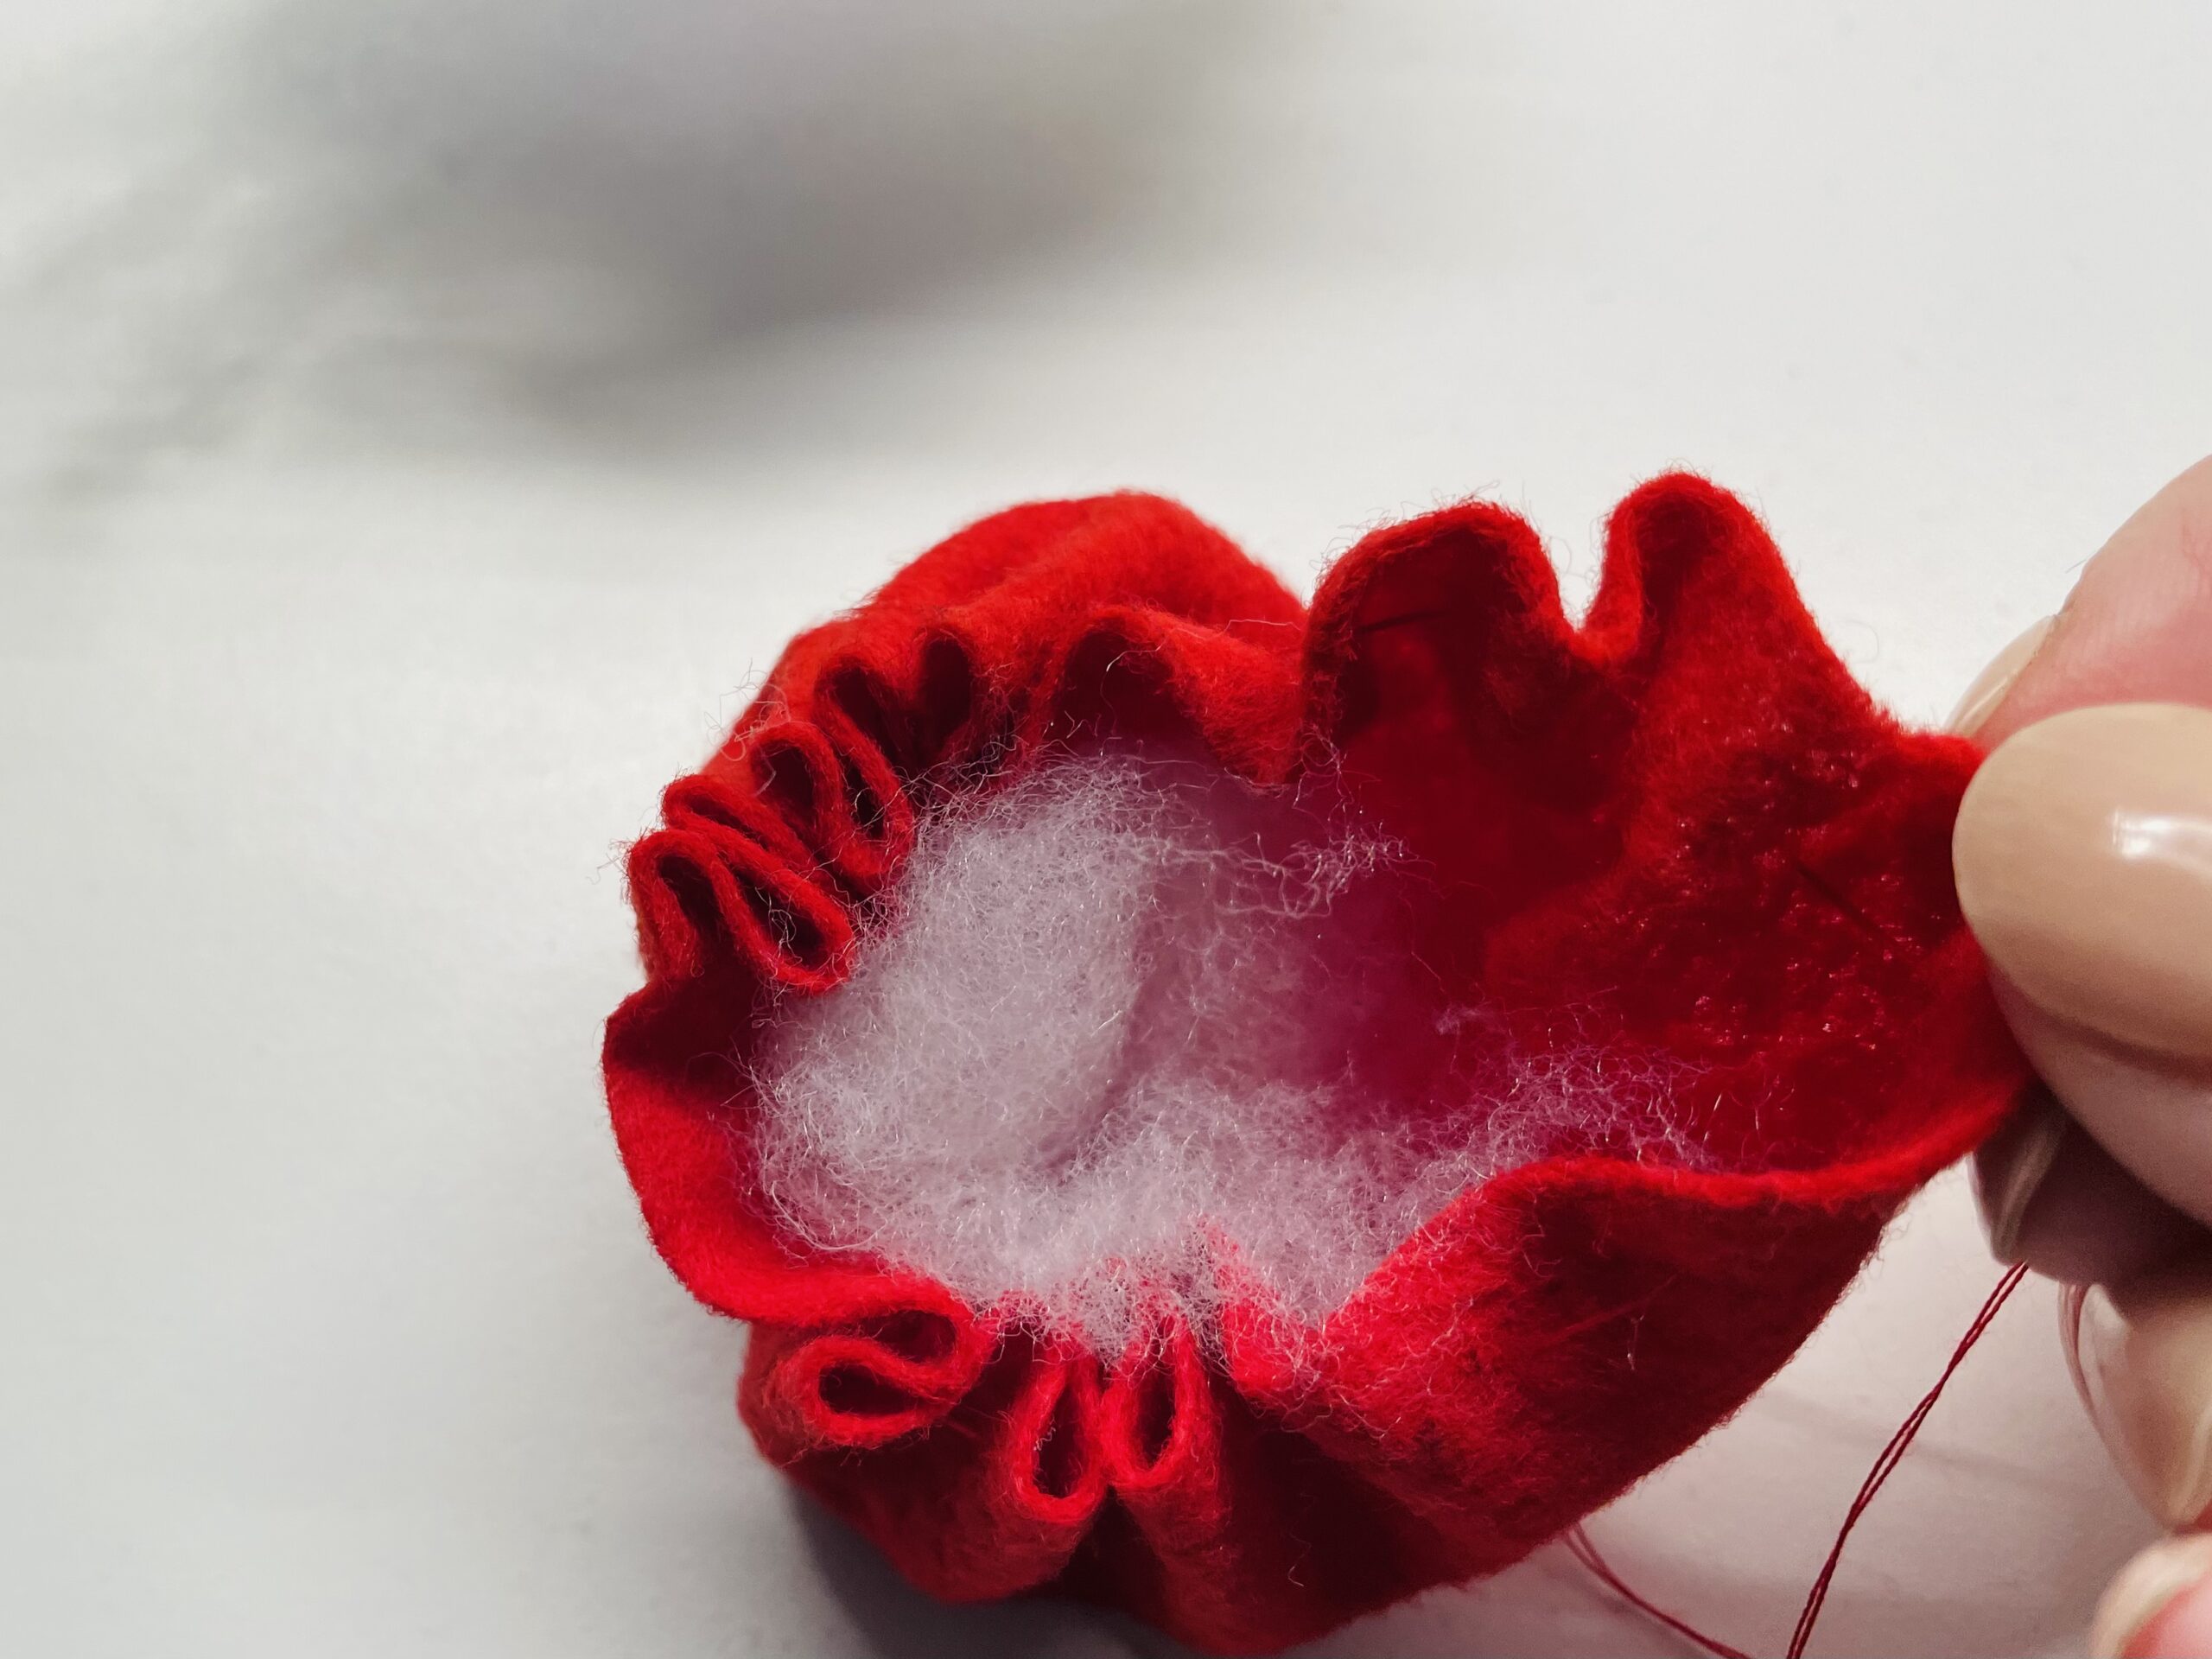
Then fill the floss in the bag.

Bild zum Schritt 15 für das Bastel- und DIY-Abenteuer für Kinder: 'Dann füllt ihr in den Beutel die Füllwatte.'

16

Stop the cotton wool firmly with one finger and squeeze it together.

Bild zum Schritt 16 für das Bastel- und DIY-Abenteuer für Kinder: 'Stopft mit einem Finger die Watte fest hinein und drückt...'

17

As soon as the bag is stable and well filled, enough cotton wool is filled. Then you pull the threads together completely.

Bild zum Schritt 17 für das Bastel- und DIY-Abenteuer für Kinder: 'Sobald der Beutel stabil und prall gefüllt ist, ist genug...'

18

To close the bag, you now knot the two threads together.
Let us help you with this, because it's better for two of you!

Bild zum Schritt 18 für das Bastel- und DIY-Abenteuer für Kinder: 'Um den Beutel zu schließen verknotet ihr jetzt die beiden...'

19

Then cut off the threads after the knot.

Bild zum Schritt 19 für das Bastel- und DIY-Abenteuer für Kinder: 'Schneidet dann die Fäden nach dem Knoten ab.'

20

Now carefully put the filled felt bag into the egg shells. Make sure that the open side points downwards.

Bild zum Schritt 20 für das Bastel- und DIY-Abenteuer für Kinder: 'Jetzt setzt ihr den gefüllten Filzbeutel vorsichtig in die Eierschalen...'

21

That's what your pincushion looks like now.

Bild zum Schritt 21 für das Bastel- und DIY-Abenteuer für Kinder: 'So sieht euer Nadelkissen jetzt aus.'

22

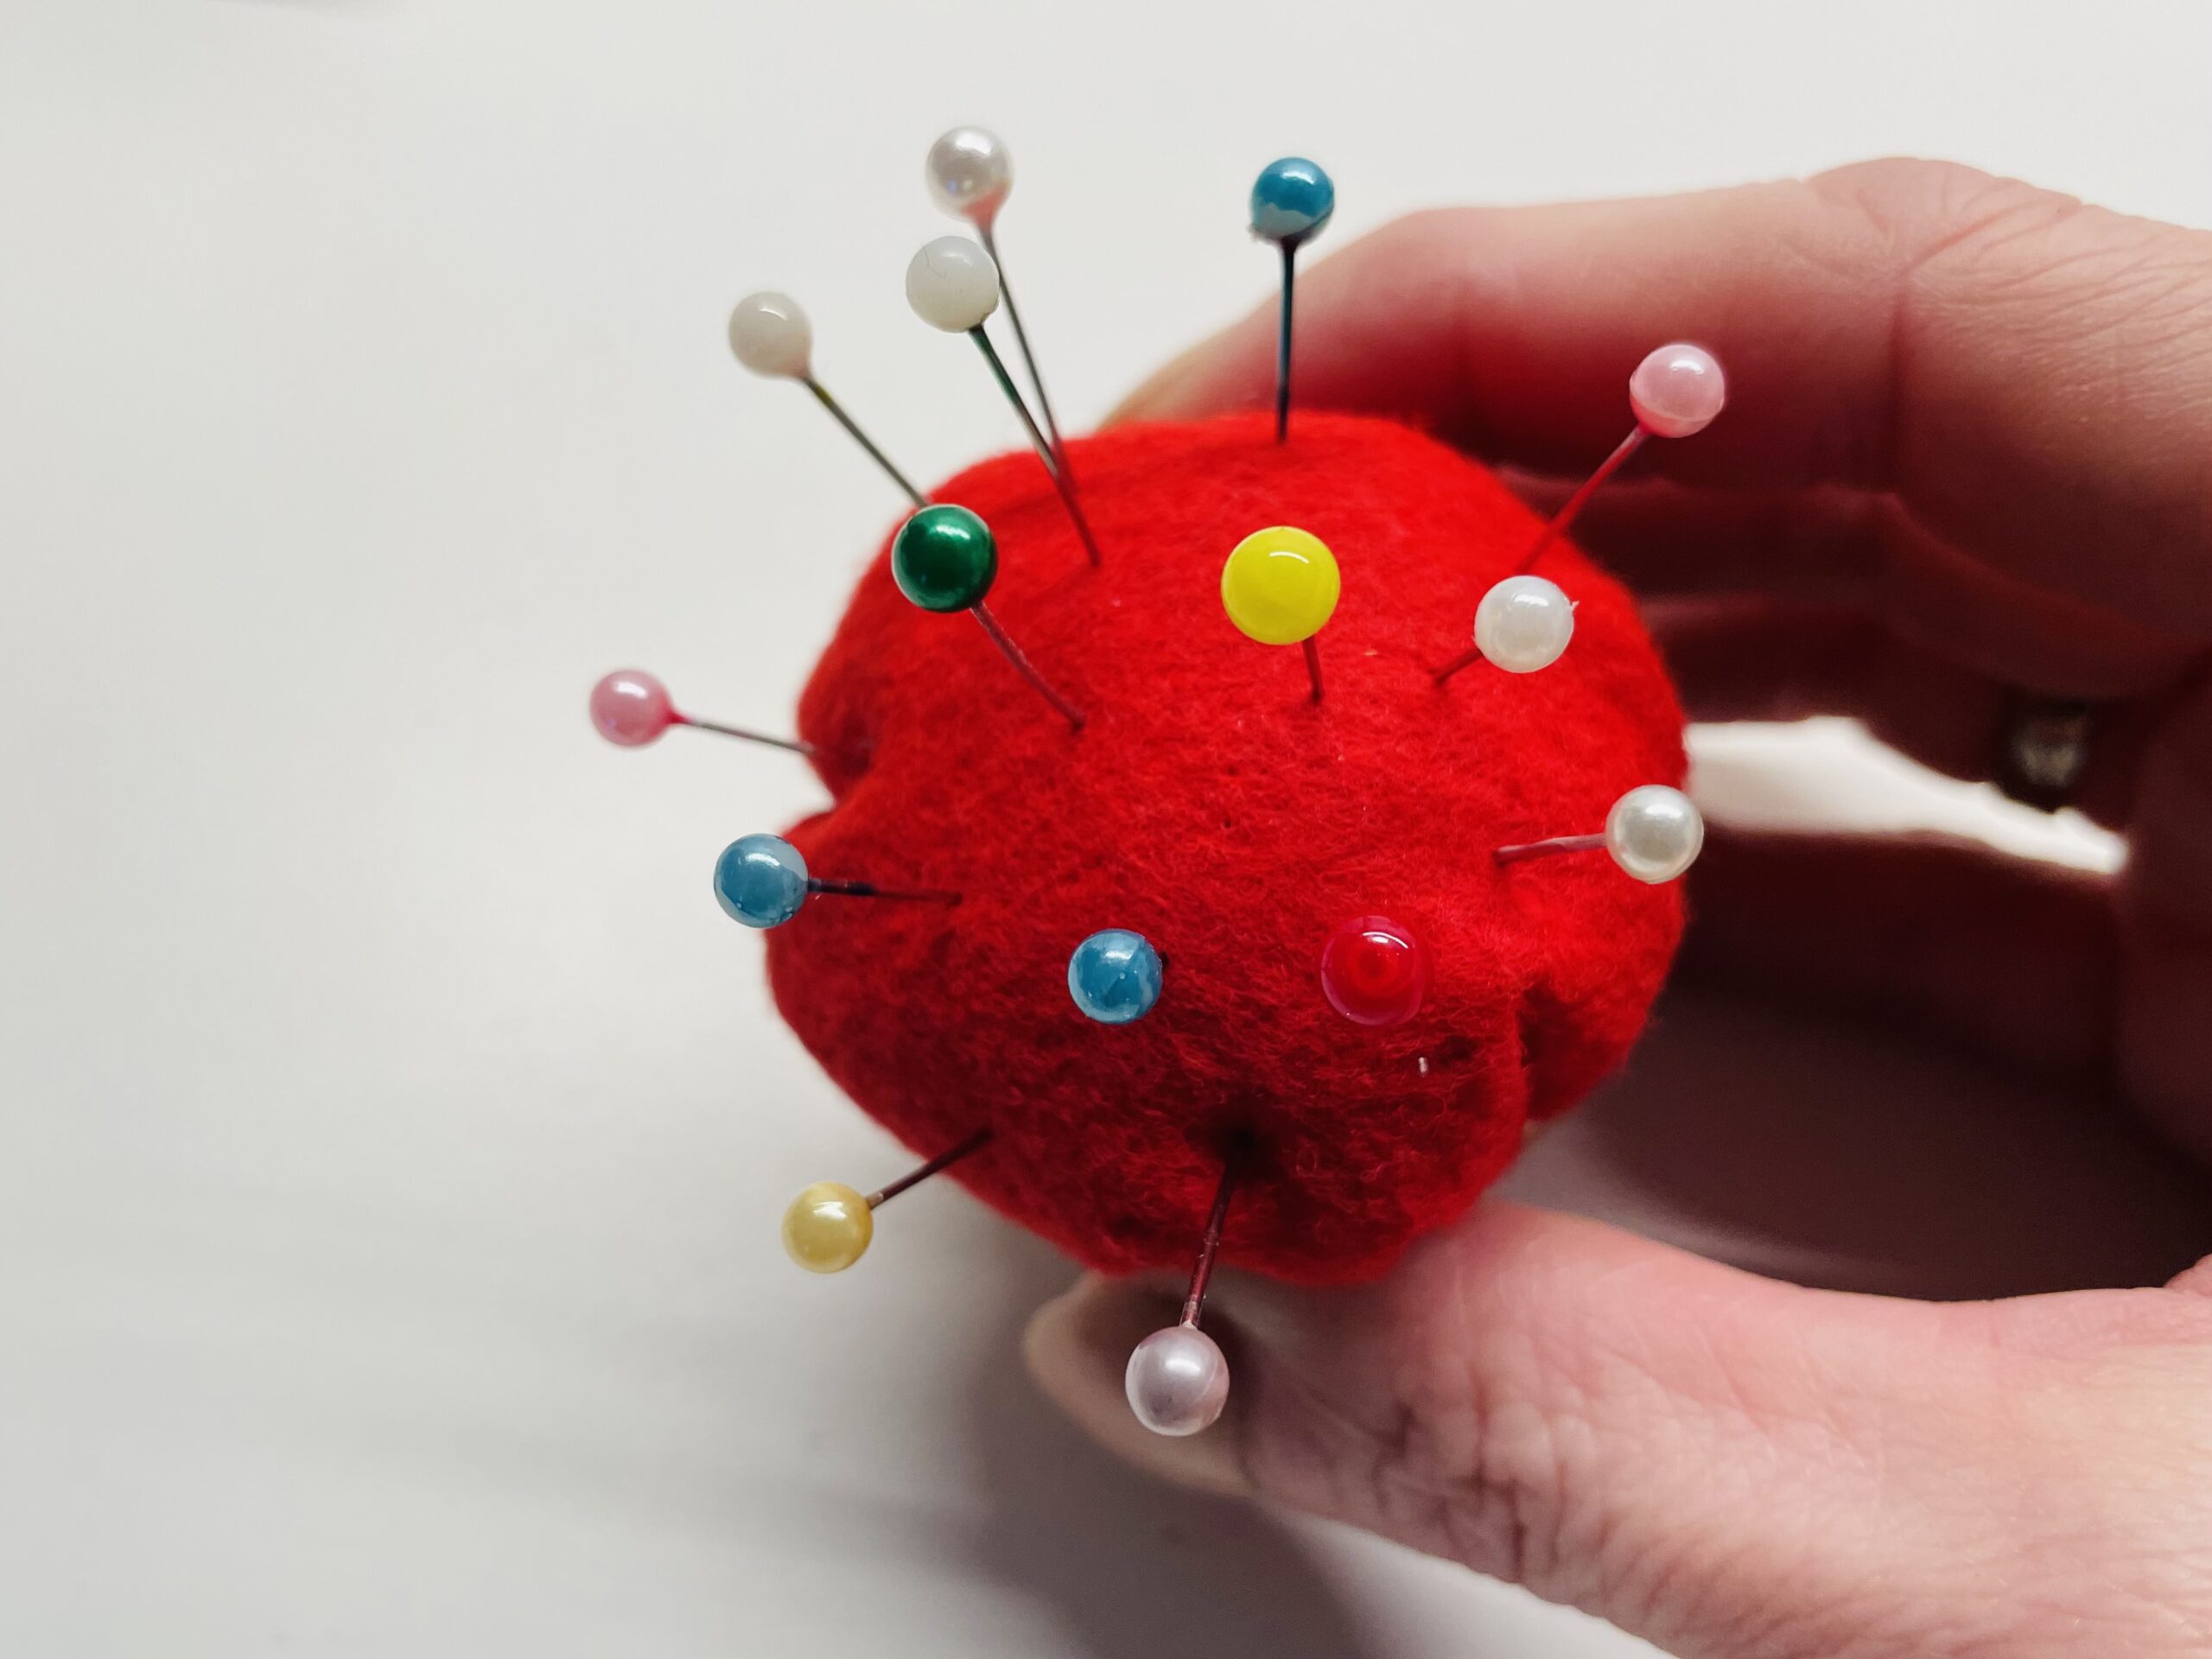
Now you put in many colorful pins. Use pins with big heads as much as possible.

Bild zum Schritt 22 für das Bastel- und DIY-Abenteuer für Kinder: 'Nun steckt ihr viele bunte Stecknadeln hinein. Verwendet möglichst Stecknadeln...'

23

Your pincushion is ready now.

Bild zum Schritt 23 für das Bastel- und DIY-Abenteuer für Kinder: 'Euer Nadelkissen ist jetzt fertig.'

24

For example, you can place it on an egg cup. On the egg cup there are also other sewing utensils.

Bild zum Schritt 24 für das Bastel- und DIY-Abenteuer für Kinder: 'Ihr könnt es z.B. auf einem Eierbecher platzieren. Auf dem...'

25

Or you put the Easter egg needle cushion in a small sewing basket. You can find it in a separate offer.

Bild zum Schritt 25 für das Bastel- und DIY-Abenteuer für Kinder: 'Oder ihr legt das Osterei-Nadelkissen in einen kleinen Nähkorb. Das...'

26

The pin cushion is also suitable as a gift for sewing enthusiasts at Easter.

Bild zum Schritt 26 für das Bastel- und DIY-Abenteuer für Kinder: 'Das Nadelkissen eignet sich auch als Geschenk für Nähbegeisterte zu...'

27

Stay creative! Enjoy trying!

Materials

 1 Eggshell2 halves
 Felt thinApprox.10cm x 10cm
 Bowl smallApprox. 8-10 cm diameter
 Ballpoint pens
 Needle pointed
 Sewing thread Colour of felt
 1 A handful of cotton fillersor wadding
 ScissorsPossibly fabric shears
 Pins and pins
All links marked with a shopping cart lead to Amazon - here we have selected products that we would order ourselves and in part also ordered. In a qualified purchase via the advertising link, we as Amazon partner receive a commission, for you there are no costs. You thus support our cost- and advertising banner-free, educational offer.

Directions

1

First, wash and dry the two halves of an eggshell.

Bild zum Schritt 1 für das Bastel- und DIY-Abenteuer für Kinder: 'Zuerst wascht und trocknet ihr die zwei Hälften einer Eierschale.'

2

After that, you put the eggshells together, so the eggshells are more stable.

Bild zum Schritt 2 für das Bastel- und DIY-Abenteuer für Kinder: 'Danach steckt ihr die Eierschalen ineinander. So sind die Eierschalen...'

3

Now choose a piece of felt in any color.
Tip: Alternatively, simply use a felt dishcloth.
Then you have a big hand full of cotton wool.
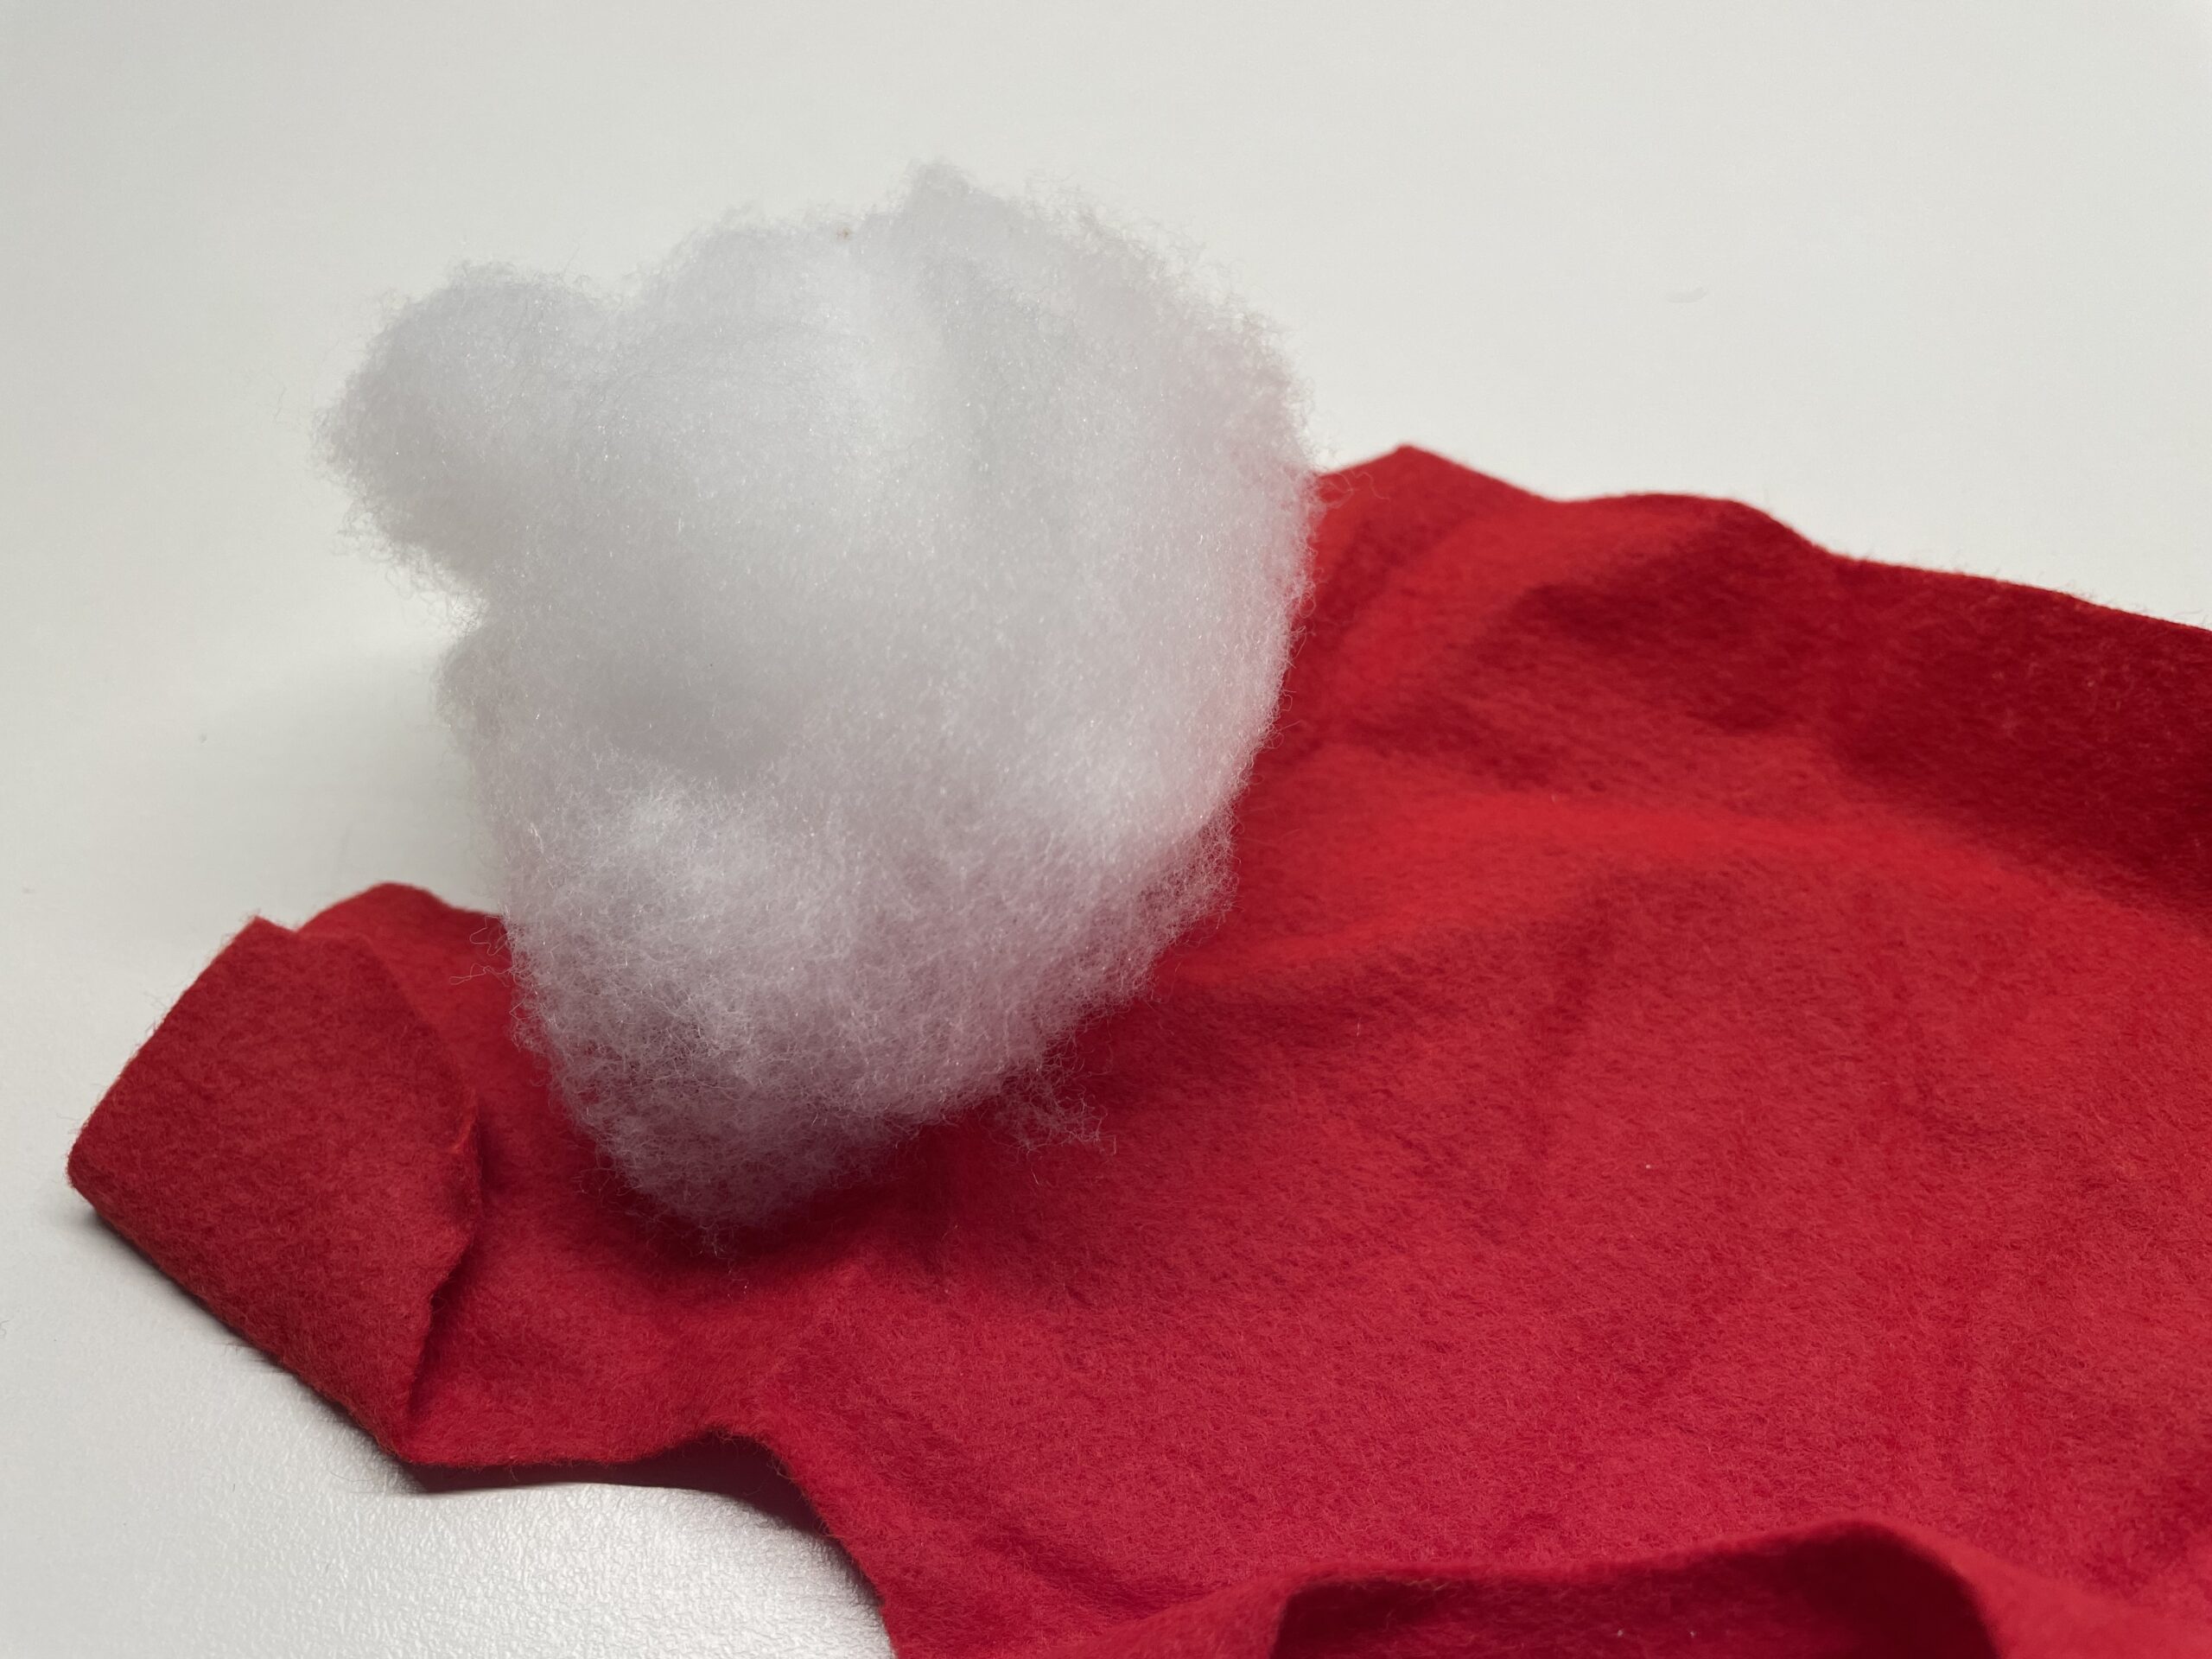
Bild zum Schritt 3 für das Bastel- und DIY-Abenteuer für Kinder: 'Wählt euch nun ein Stück Filz in einer beliebigen Farbe....'

4

Now you paint a circle on the felt. For this you use, for example, a round small bowl.
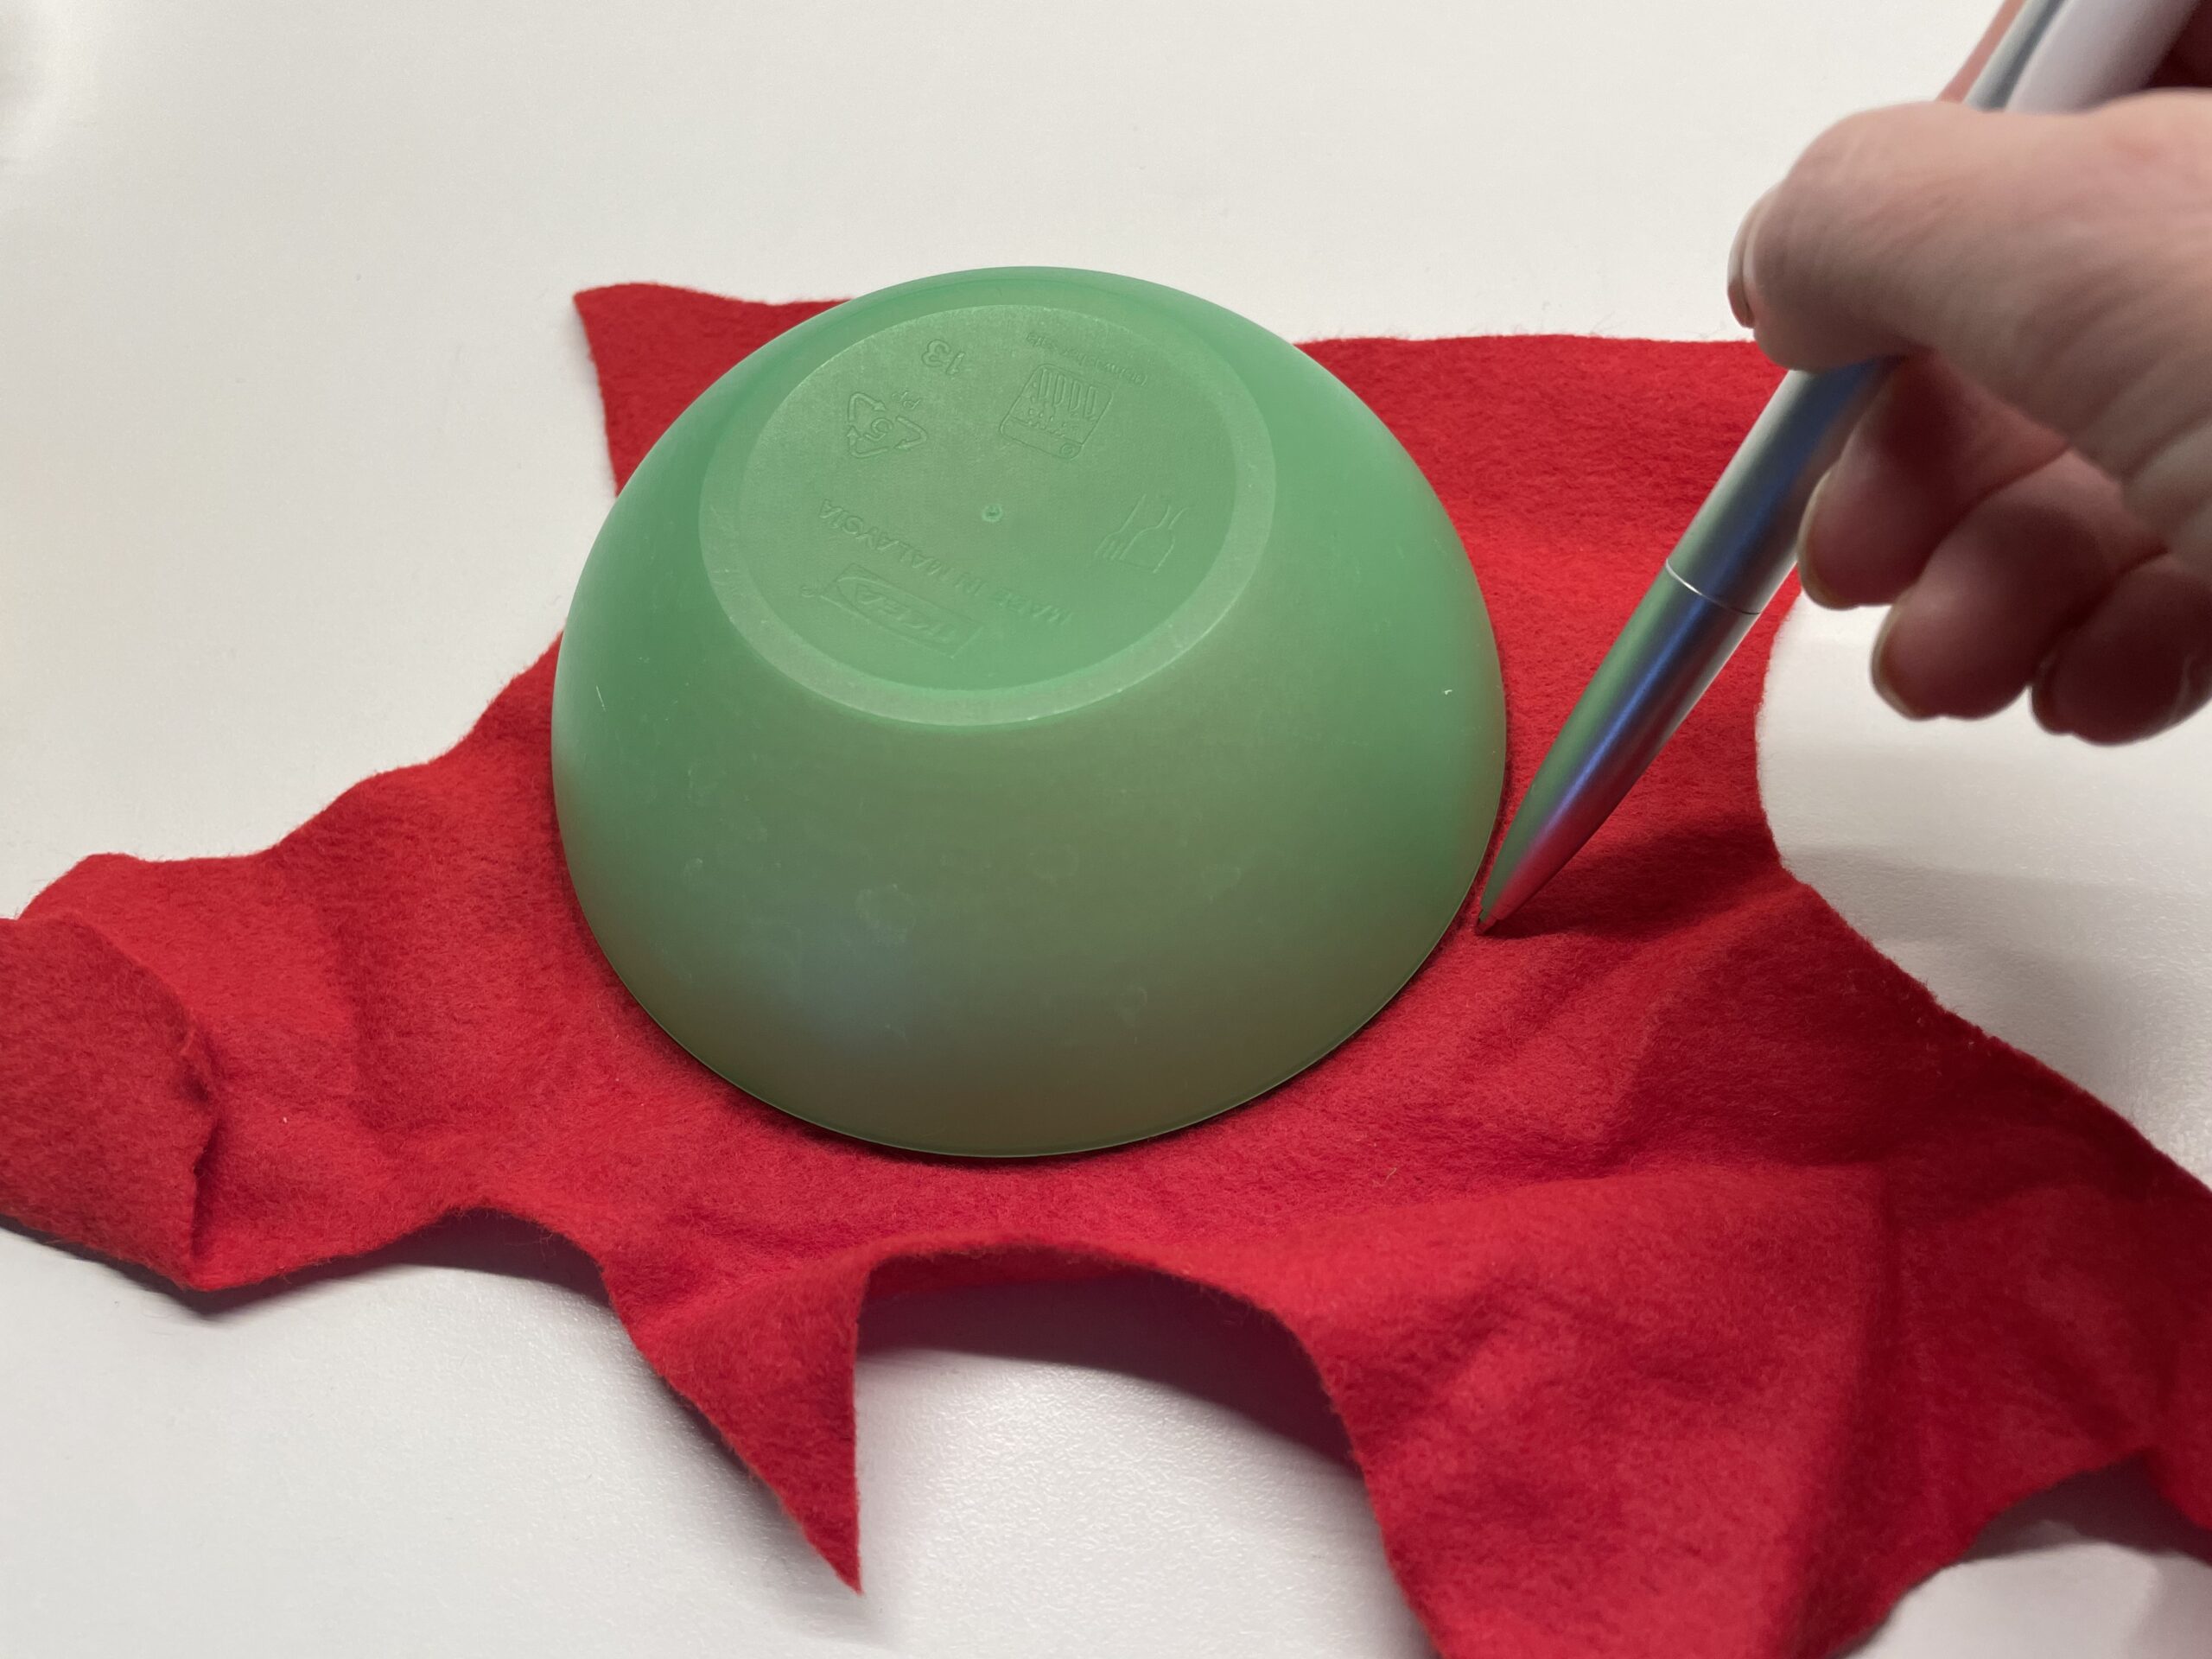
Bild zum Schritt 4 für das Bastel- und DIY-Abenteuer für Kinder: 'Jetzt malt ihr auf den Filz einen Kreis. Dafür verwendet...'

5

A ballpoint pen is best suited for painting.
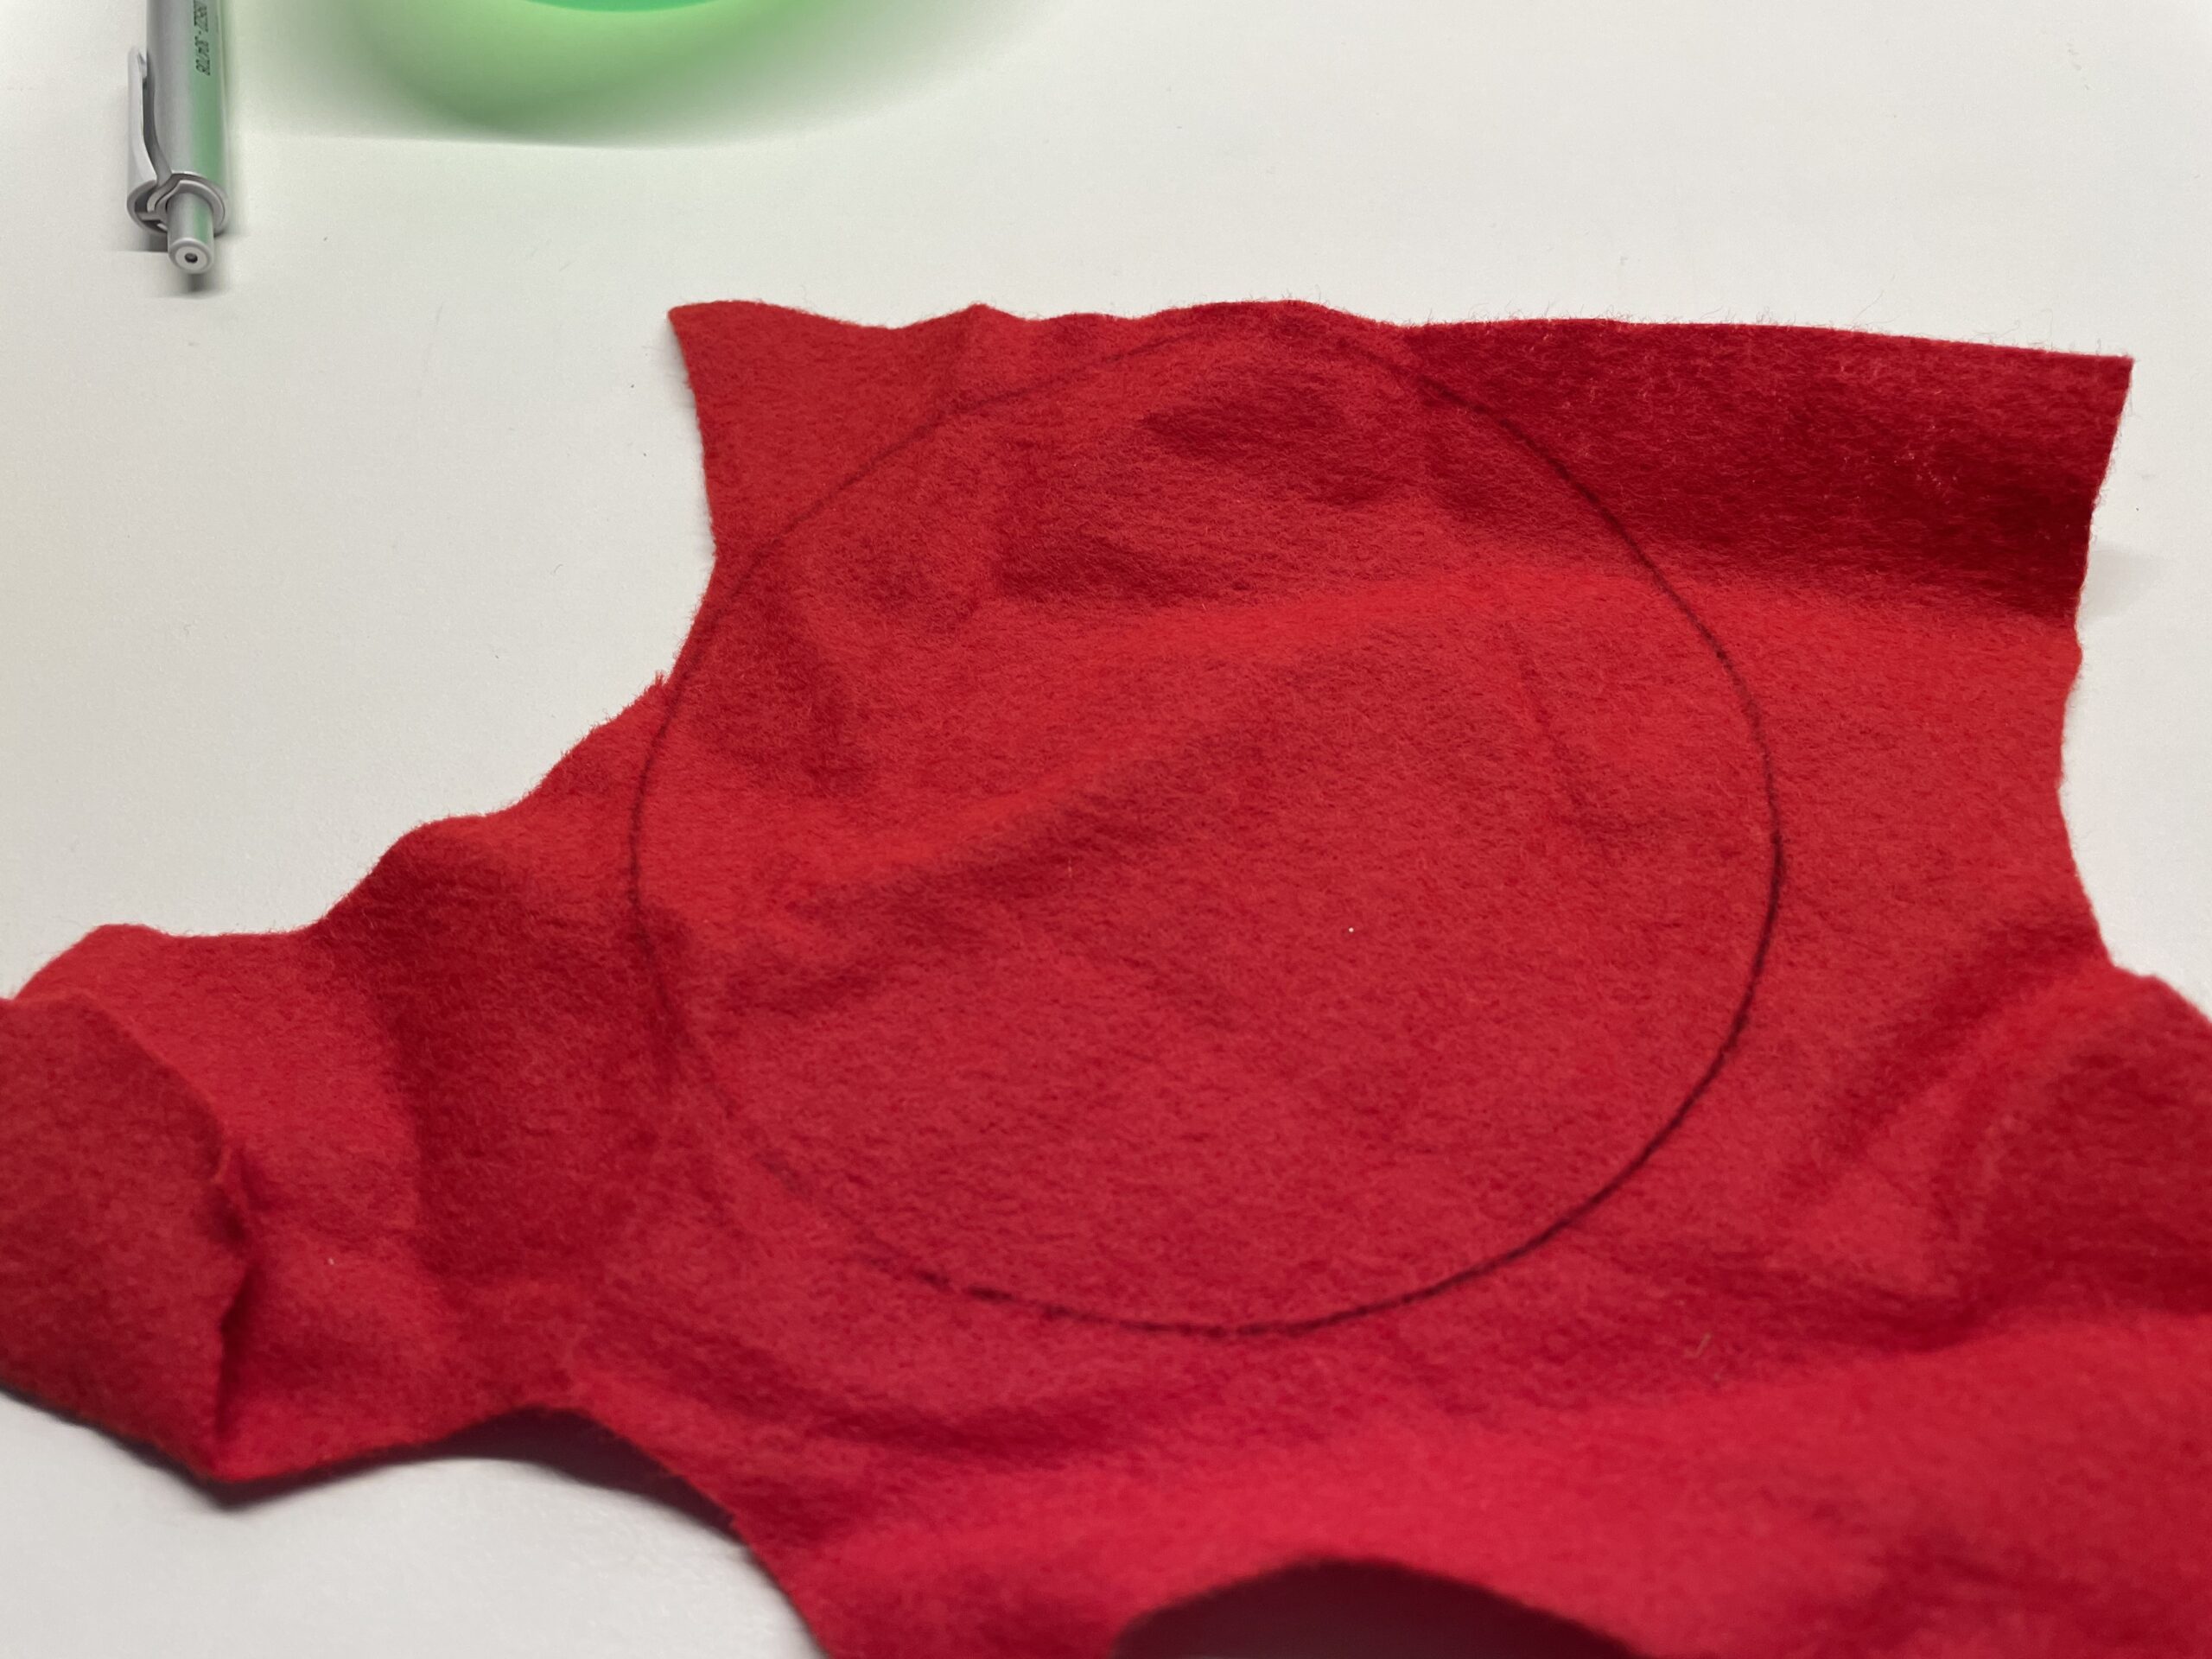
Bild zum Schritt 5 für das Bastel- und DIY-Abenteuer für Kinder: 'Zum Aufmalen eignet sich am besten ein Kugelschreiber.'

6

Then cut out the circle with the scissors.

Bild zum Schritt 6 für das Bastel- und DIY-Abenteuer für Kinder: 'Anschließend schneidet ihr den Kreis mit der Schere aus.'

7

Now you need a thread and a pointed needle.
Now thread a thread about 40 cm long into the needle and place it twice. Then tie the ends together.
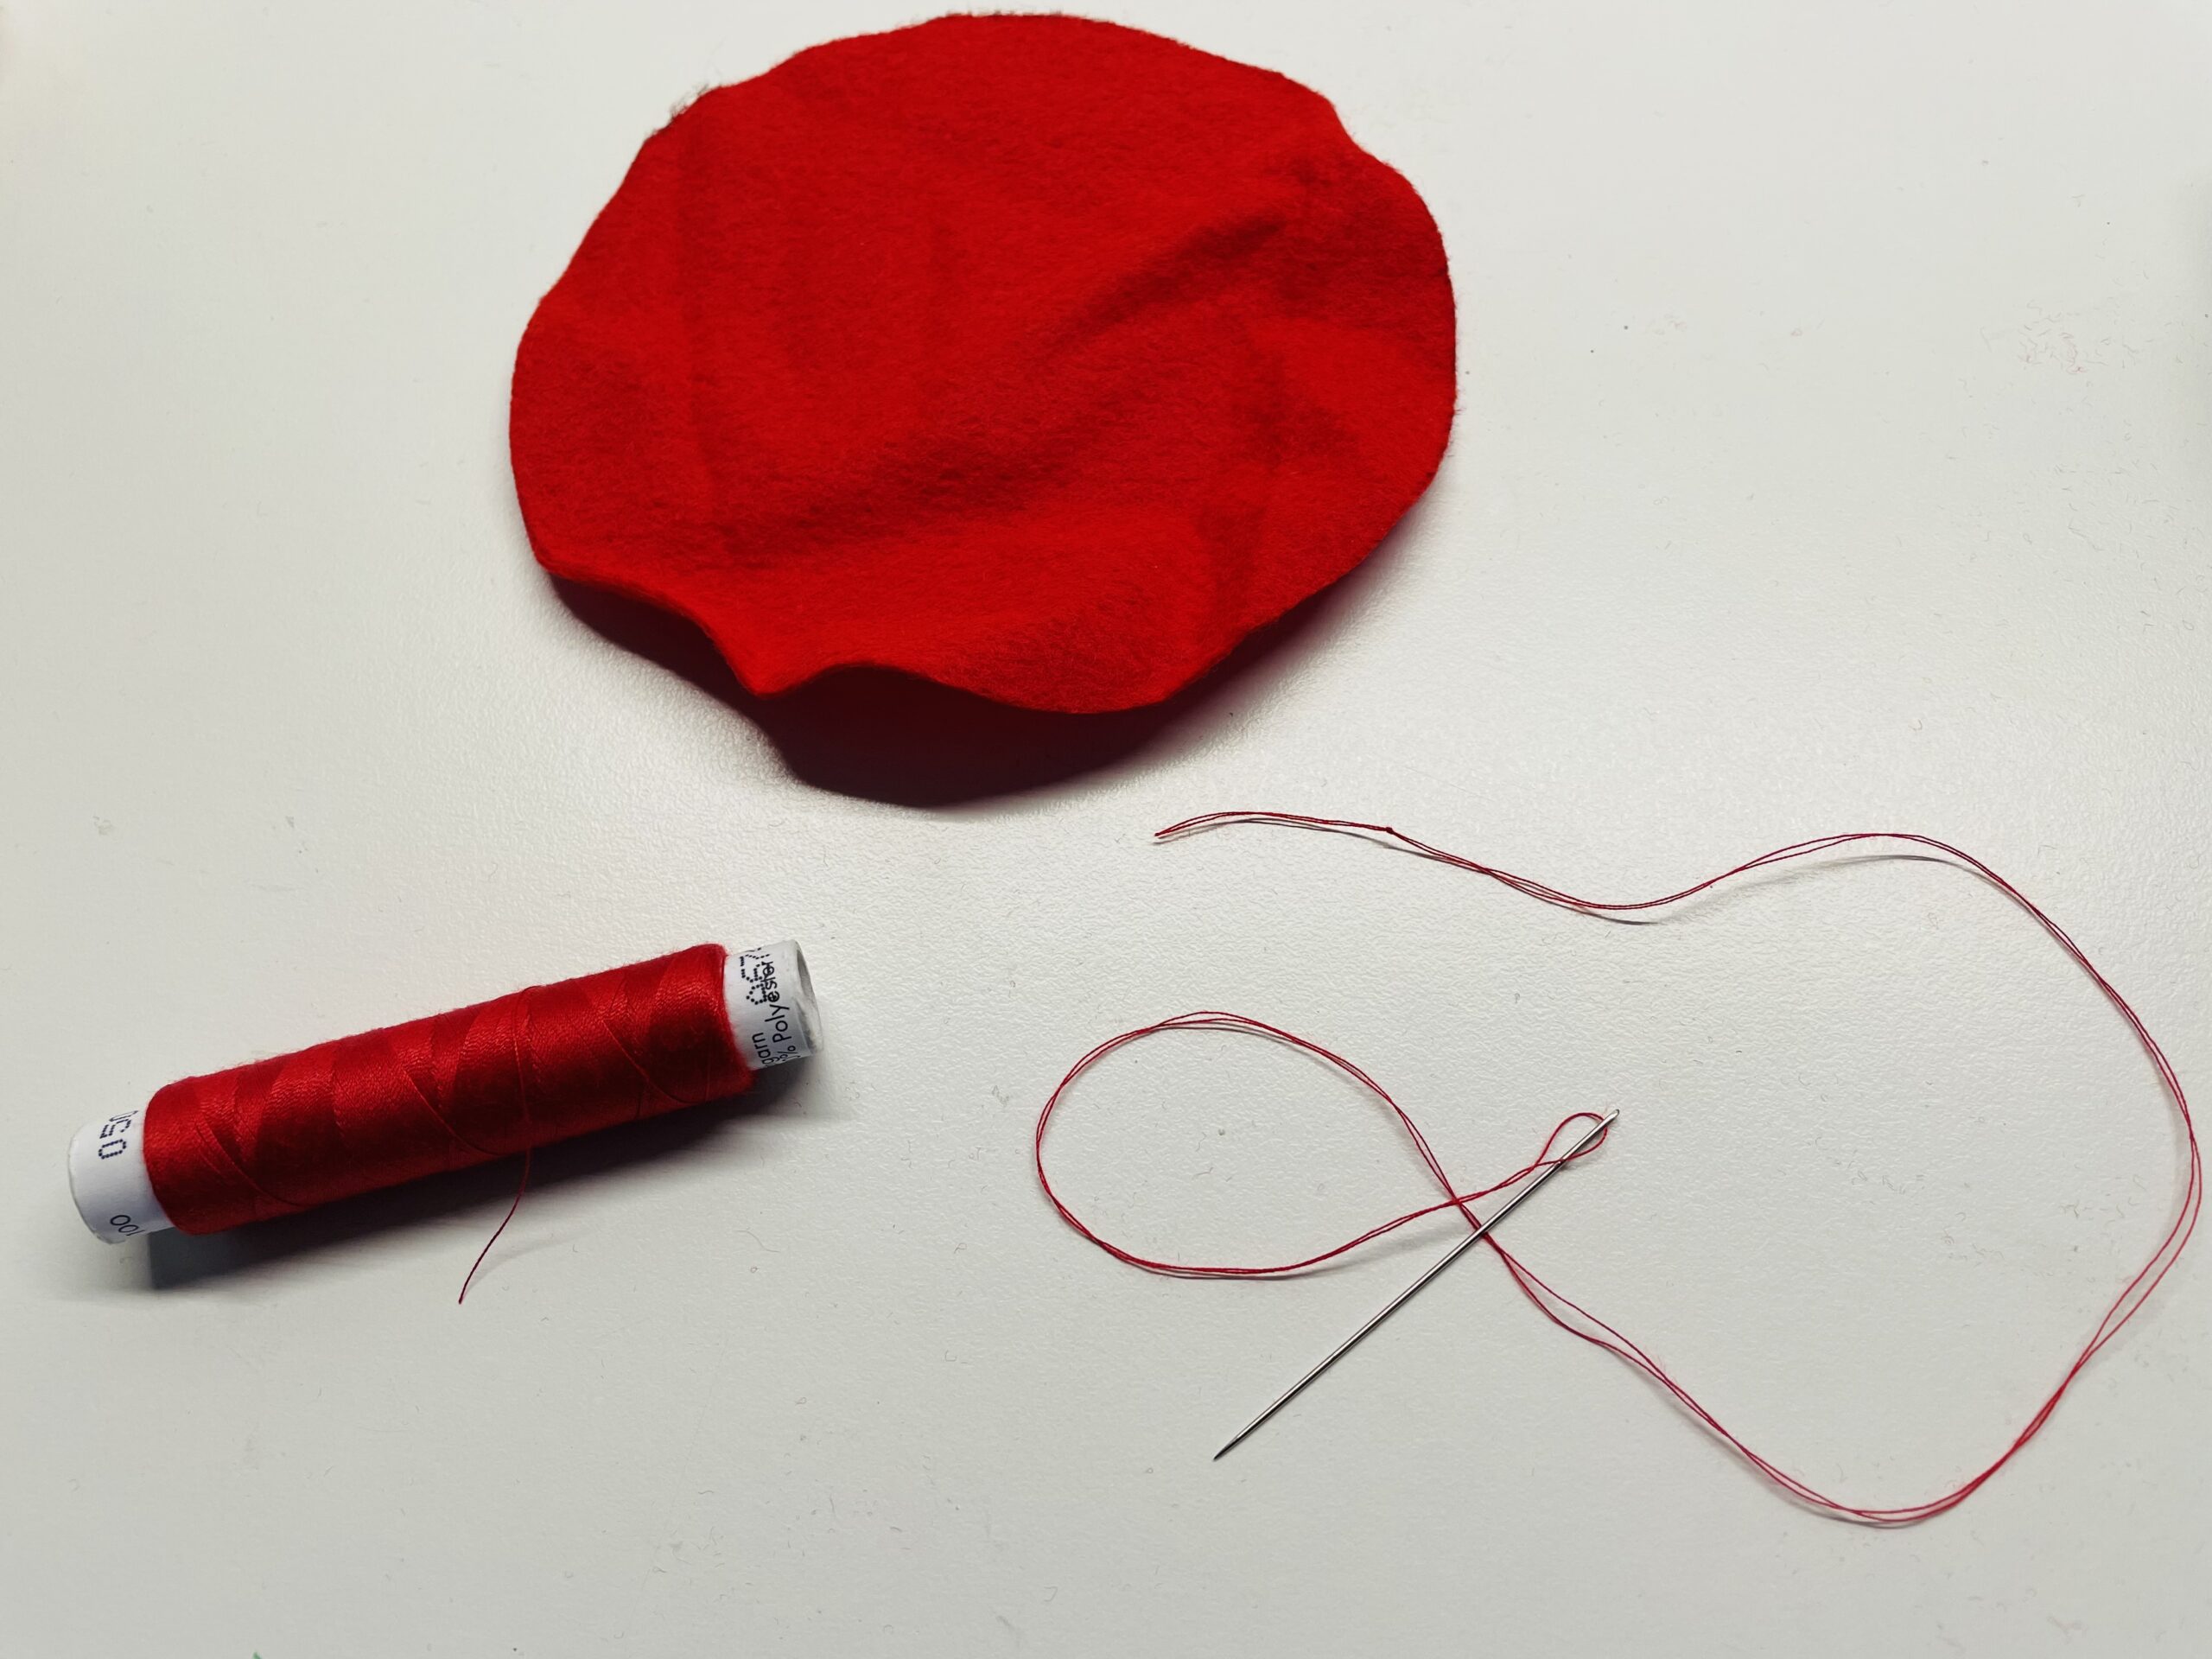
Bild zum Schritt 7 für das Bastel- und DIY-Abenteuer für Kinder: 'Jetzt braucht ihr einen Faden und eine spitze Nadel. ...'

8

Now you paint a sewing line on the circle. This line runs about half a centimetre from the edge and goes round.
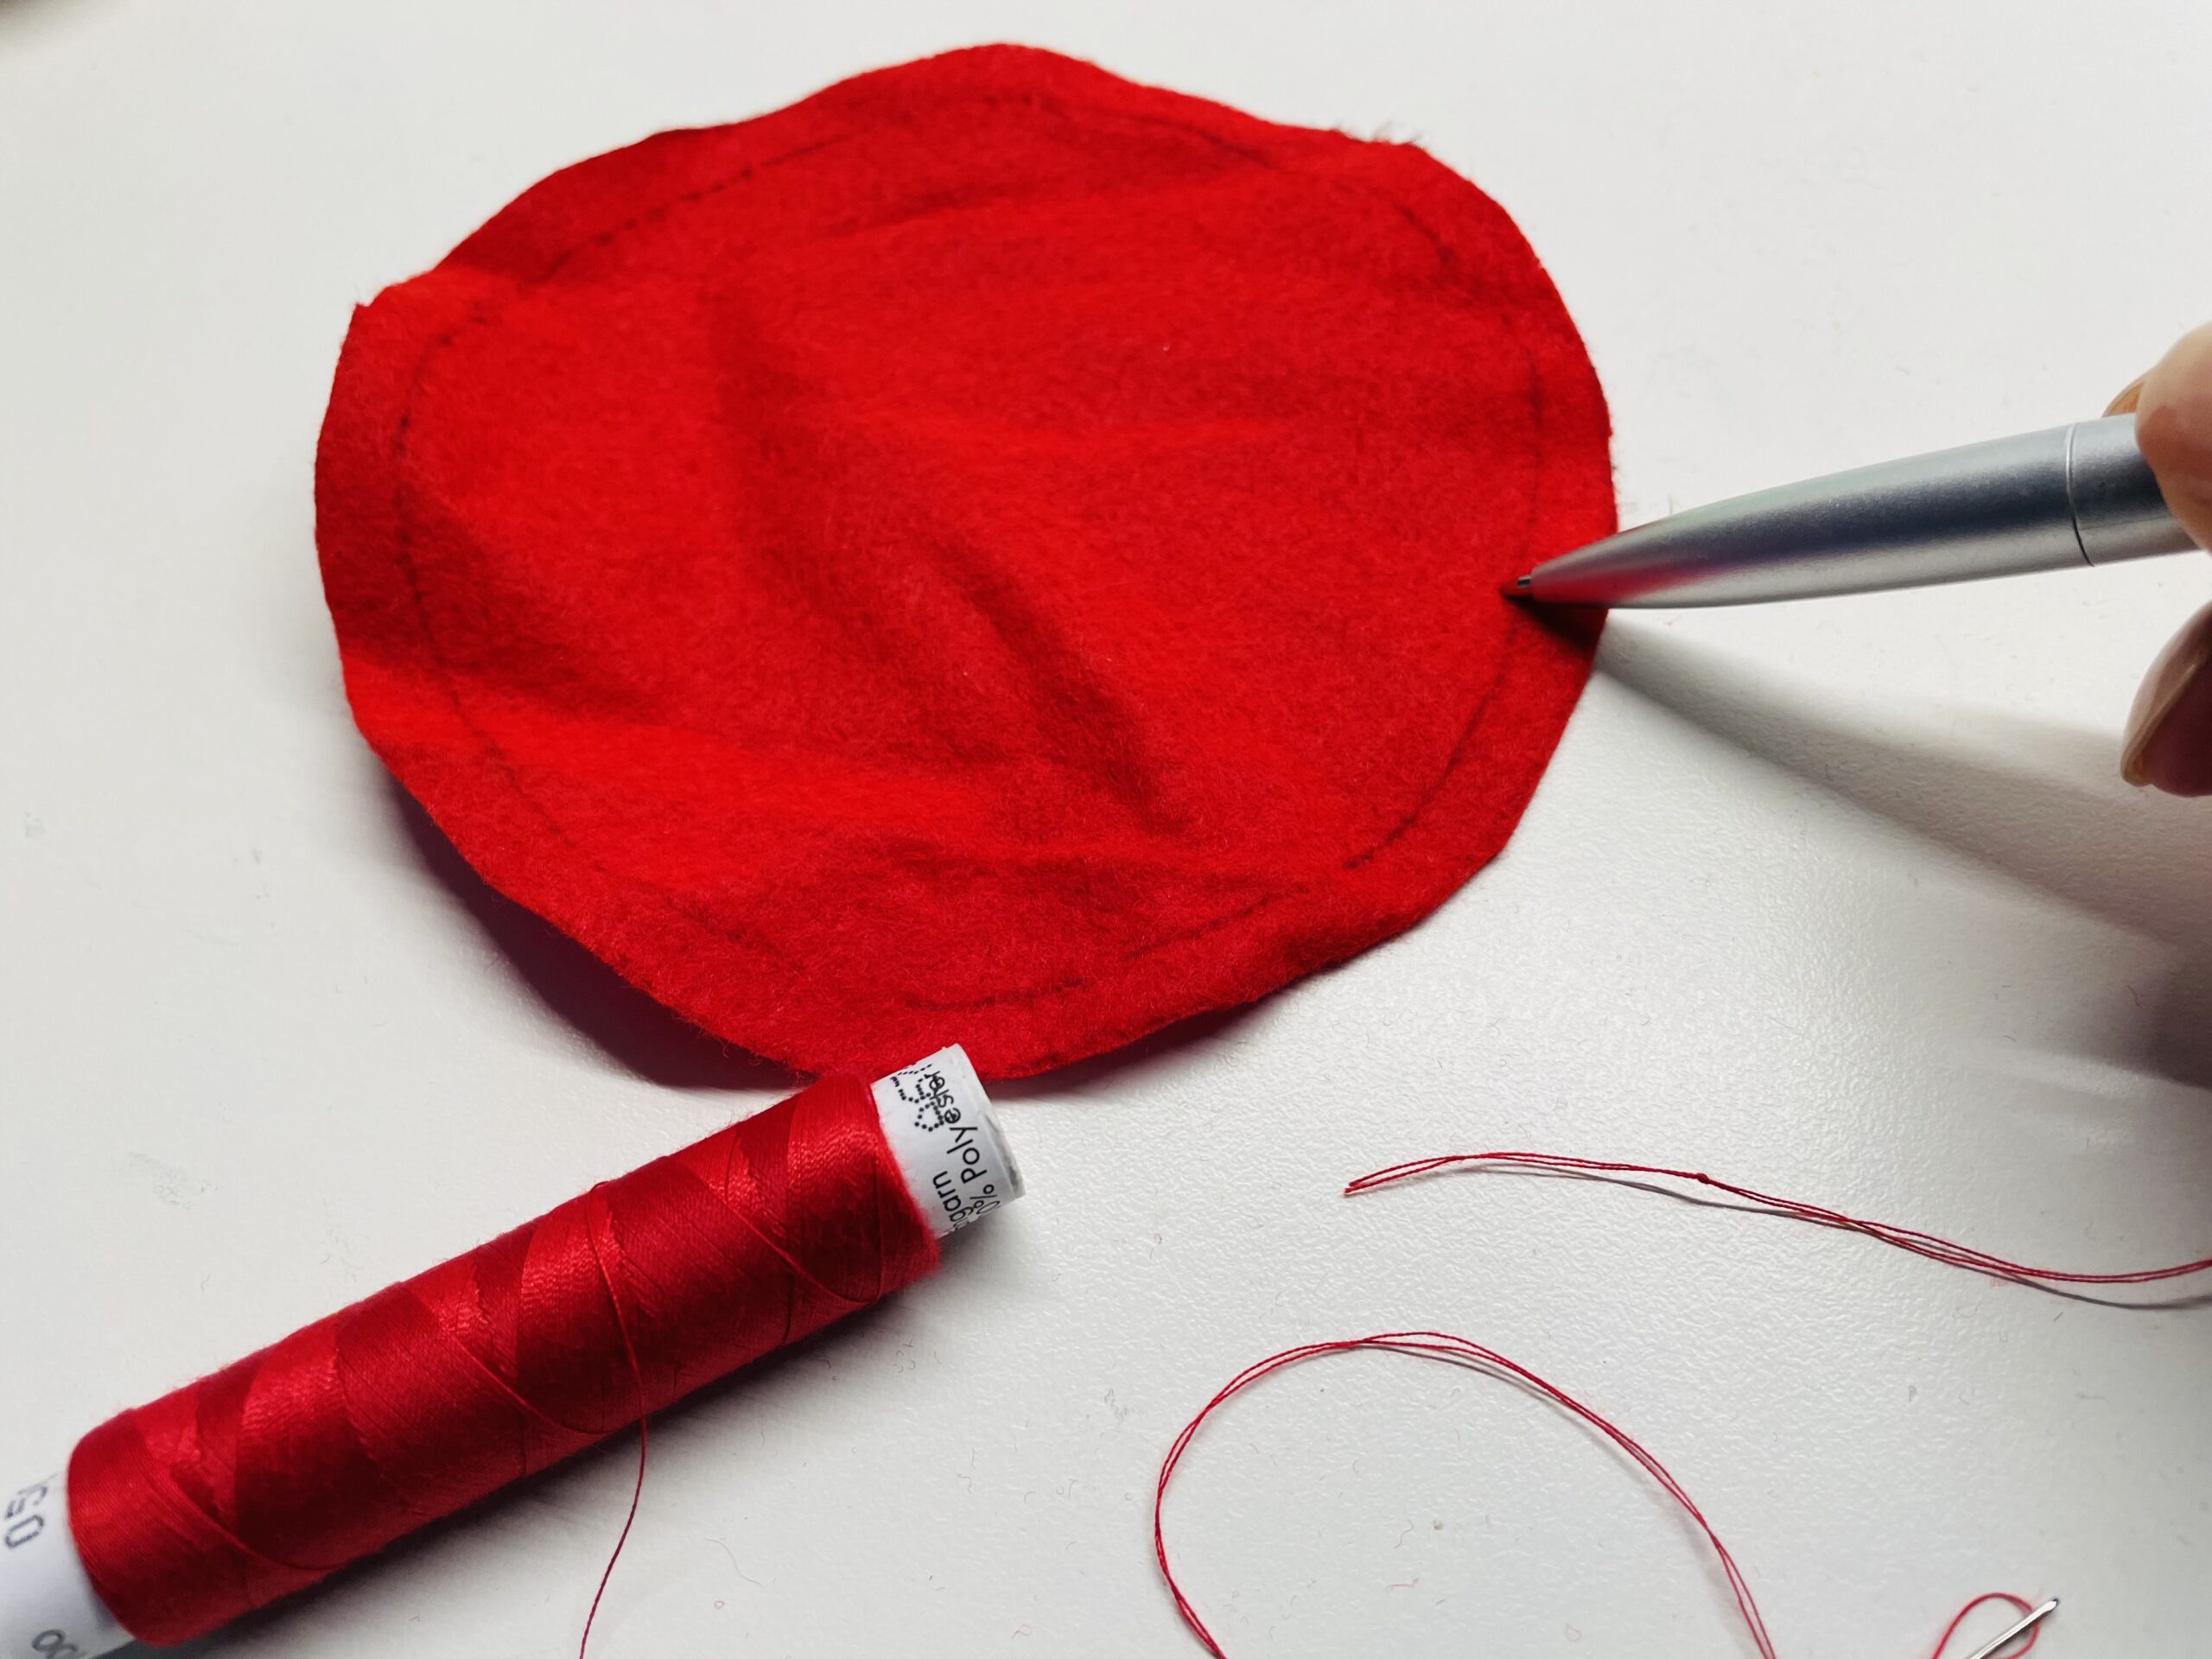
Bild zum Schritt 8 für das Bastel- und DIY-Abenteuer für Kinder: 'Nun malt ihr euch eine Nählinie auf den Kreis. Diese...'

9

Now start sewing in one place. For this, insert the needle on the sewing line and let the thread hang about 10 cm long.
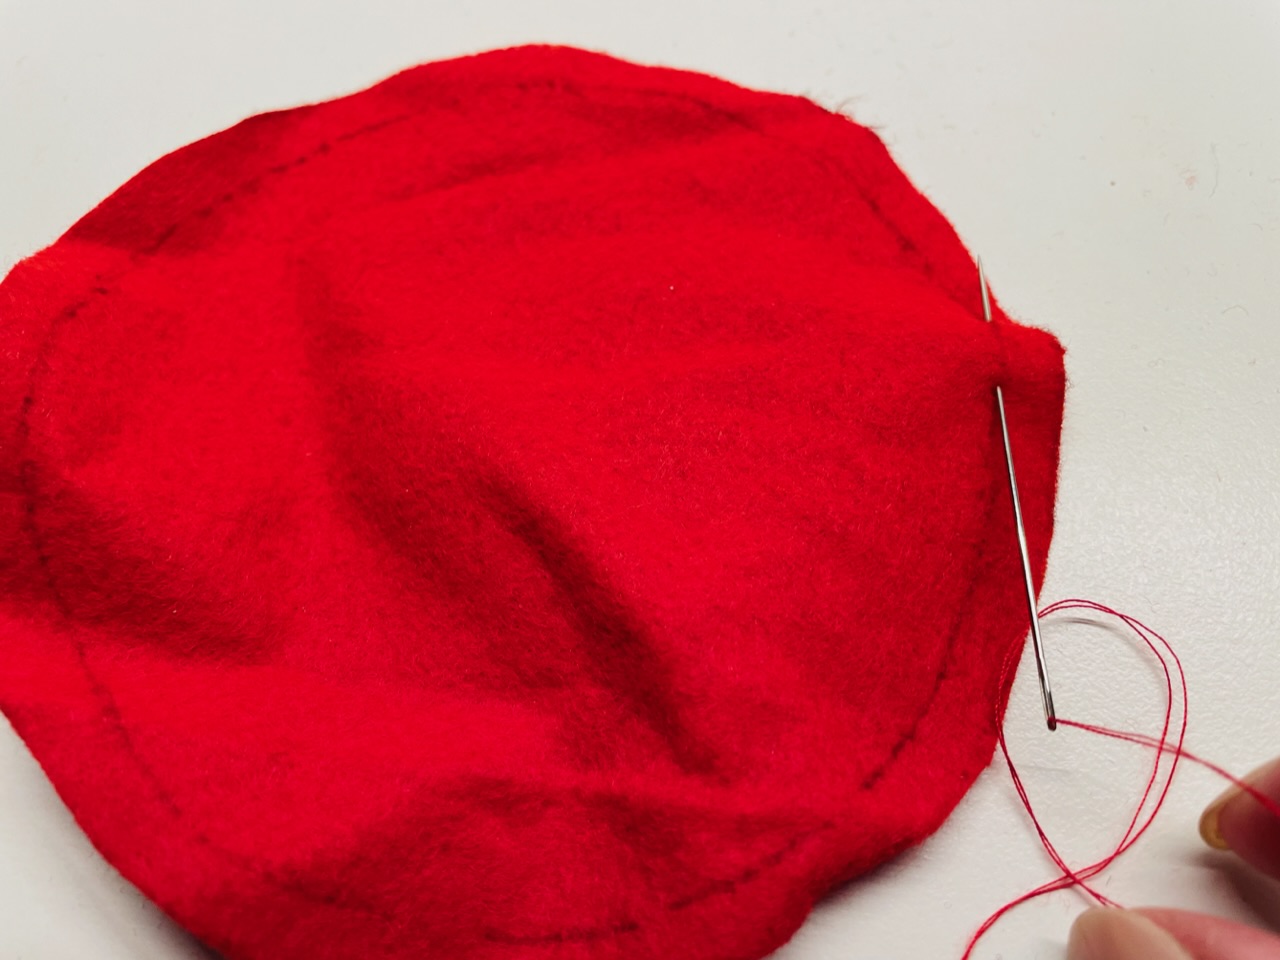
Bild zum Schritt 9 für das Bastel- und DIY-Abenteuer für Kinder: 'Beginnt nun an einer Stelle mit dem Nähen. Dafür stecht...'

10

In approximately 1 cm large stitches you sew around with about 1 cm distance.

Bild zum Schritt 10 für das Bastel- und DIY-Abenteuer für Kinder: 'In ca. 1 cm großen Stichen näht ihr mit ca....'

11

If you are trained, you can also pick up several stitches at once.

Bild zum Schritt 11 für das Bastel- und DIY-Abenteuer für Kinder: 'Wenn ihr geübt seid, könnt ihr auch mehrere Stiche auf...'

12

The thread is now evenly sewn all around.
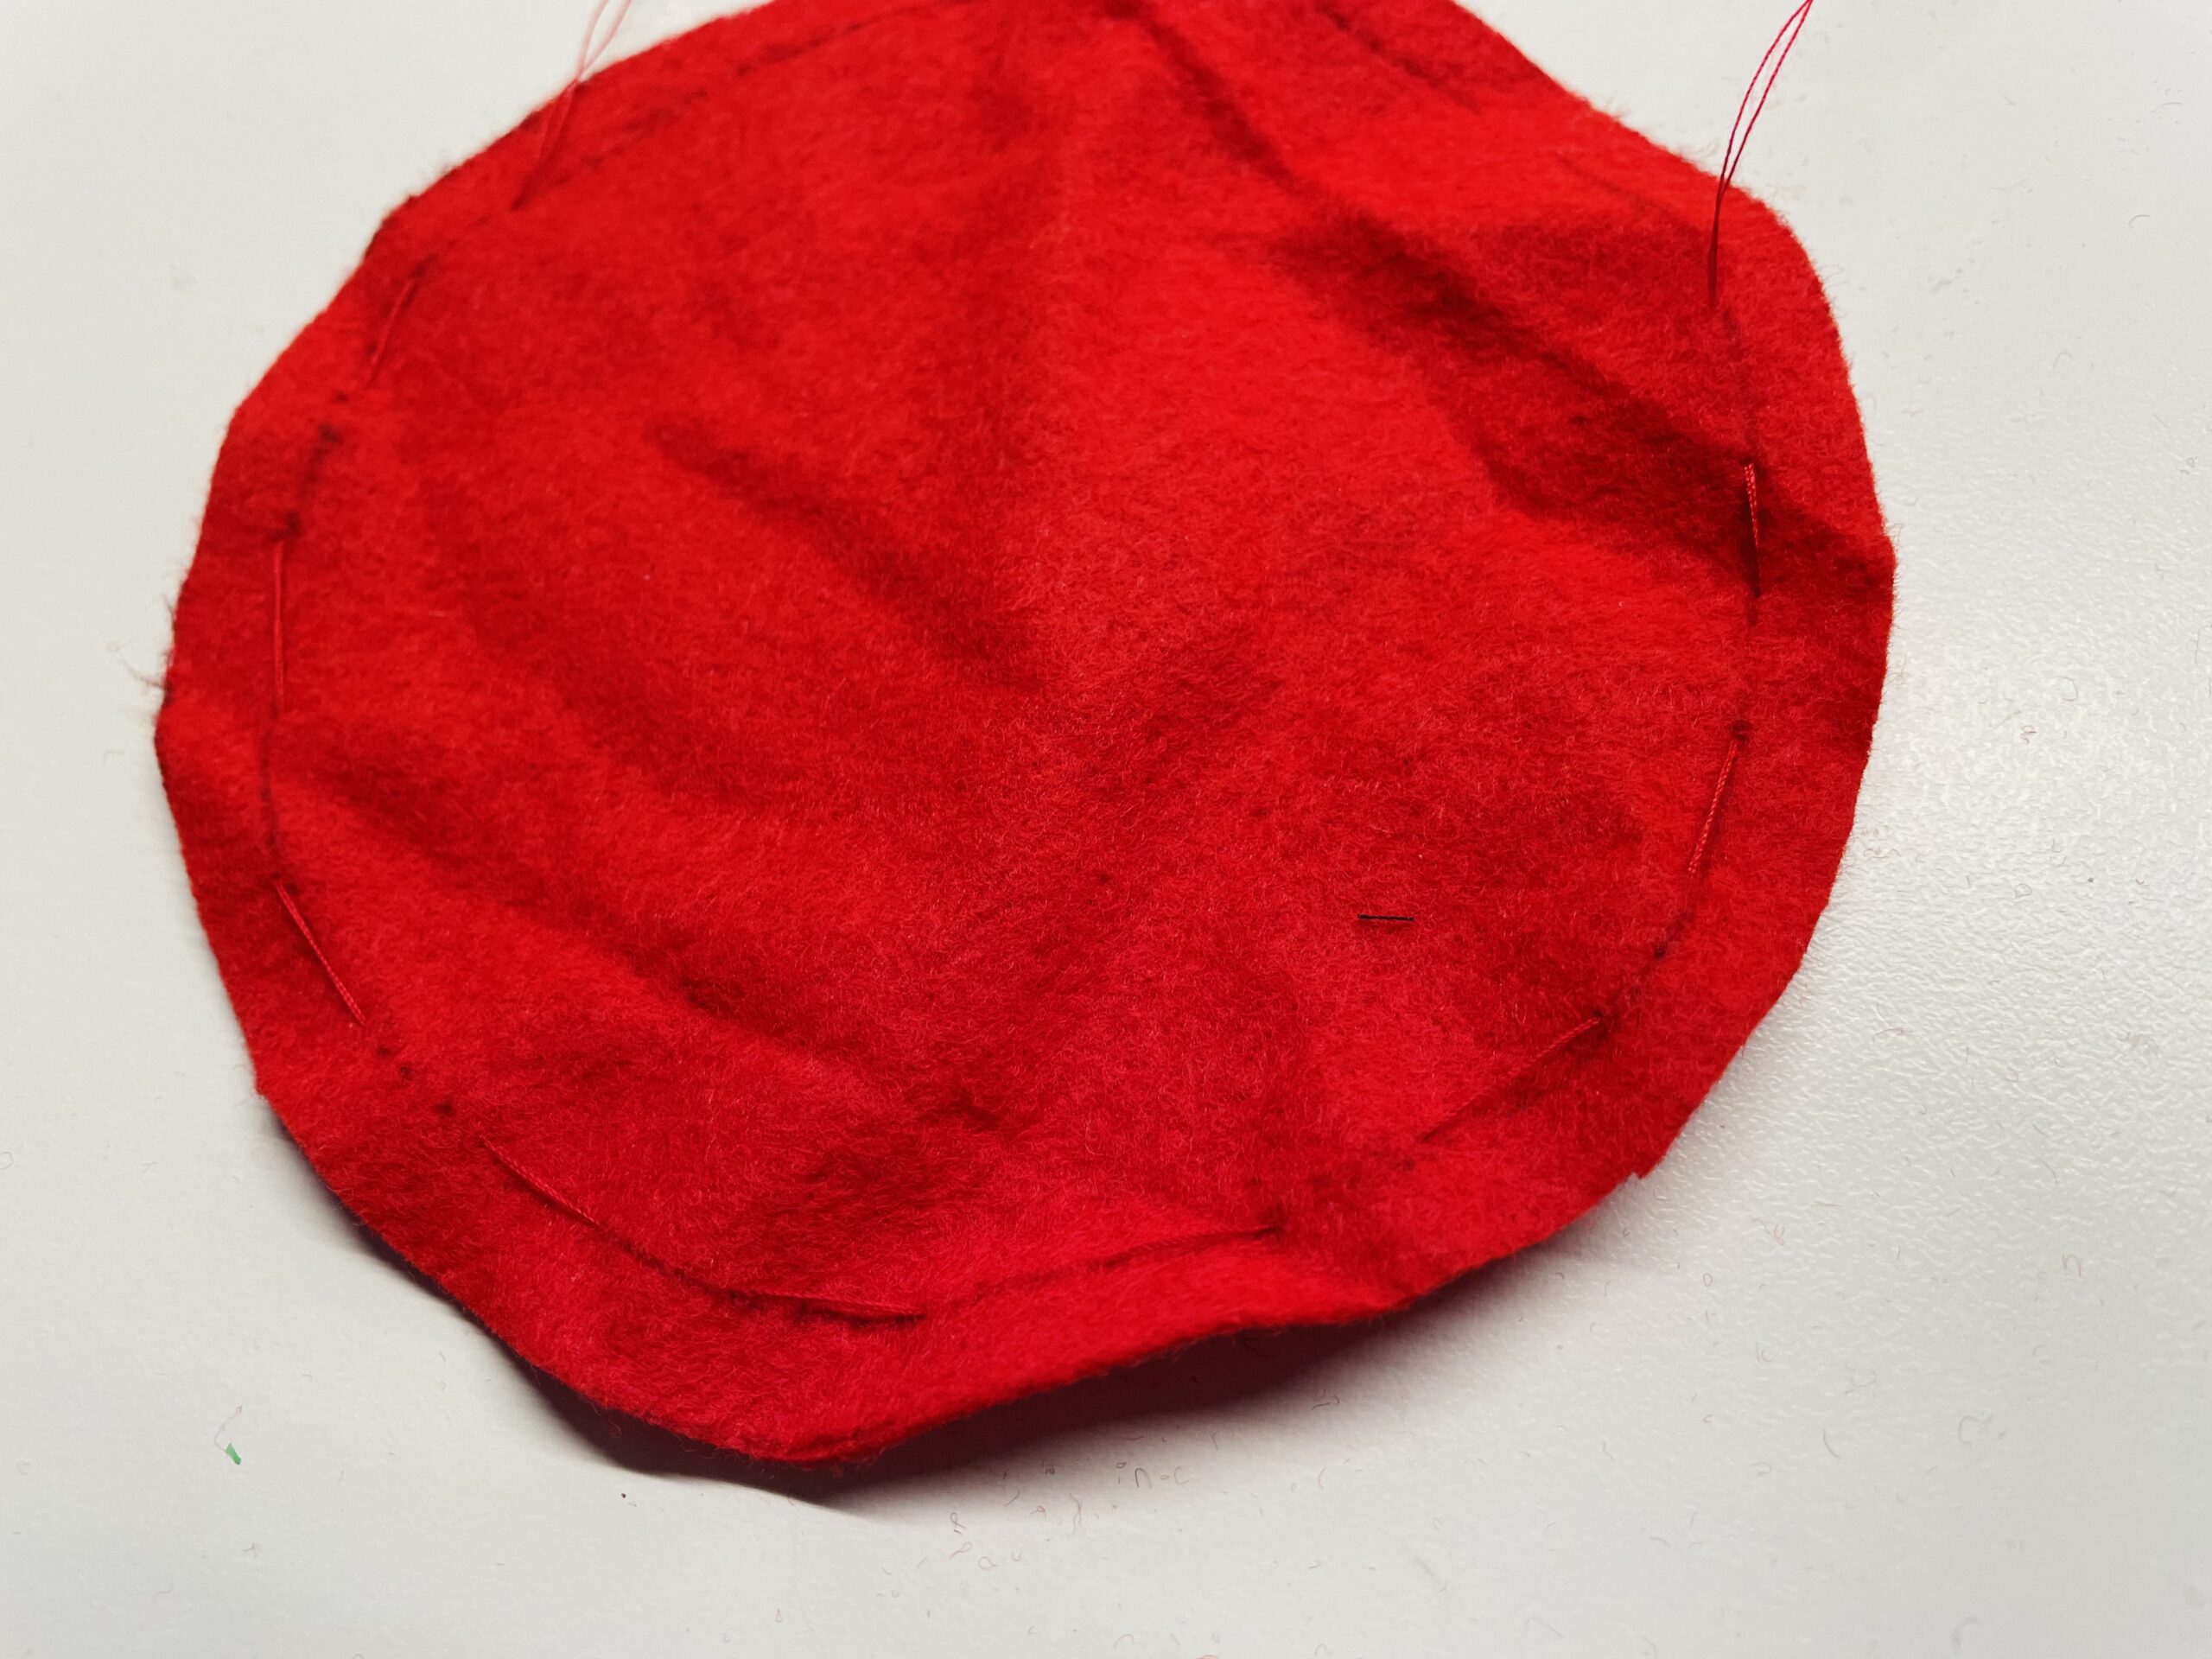
Bild zum Schritt 12 für das Bastel- und DIY-Abenteuer für Kinder: 'Der Faden ist nun gleichmäßig rundherum vernäht.'

13

Now you grab the initial and final thread with one hand and carefully pull the thread together.
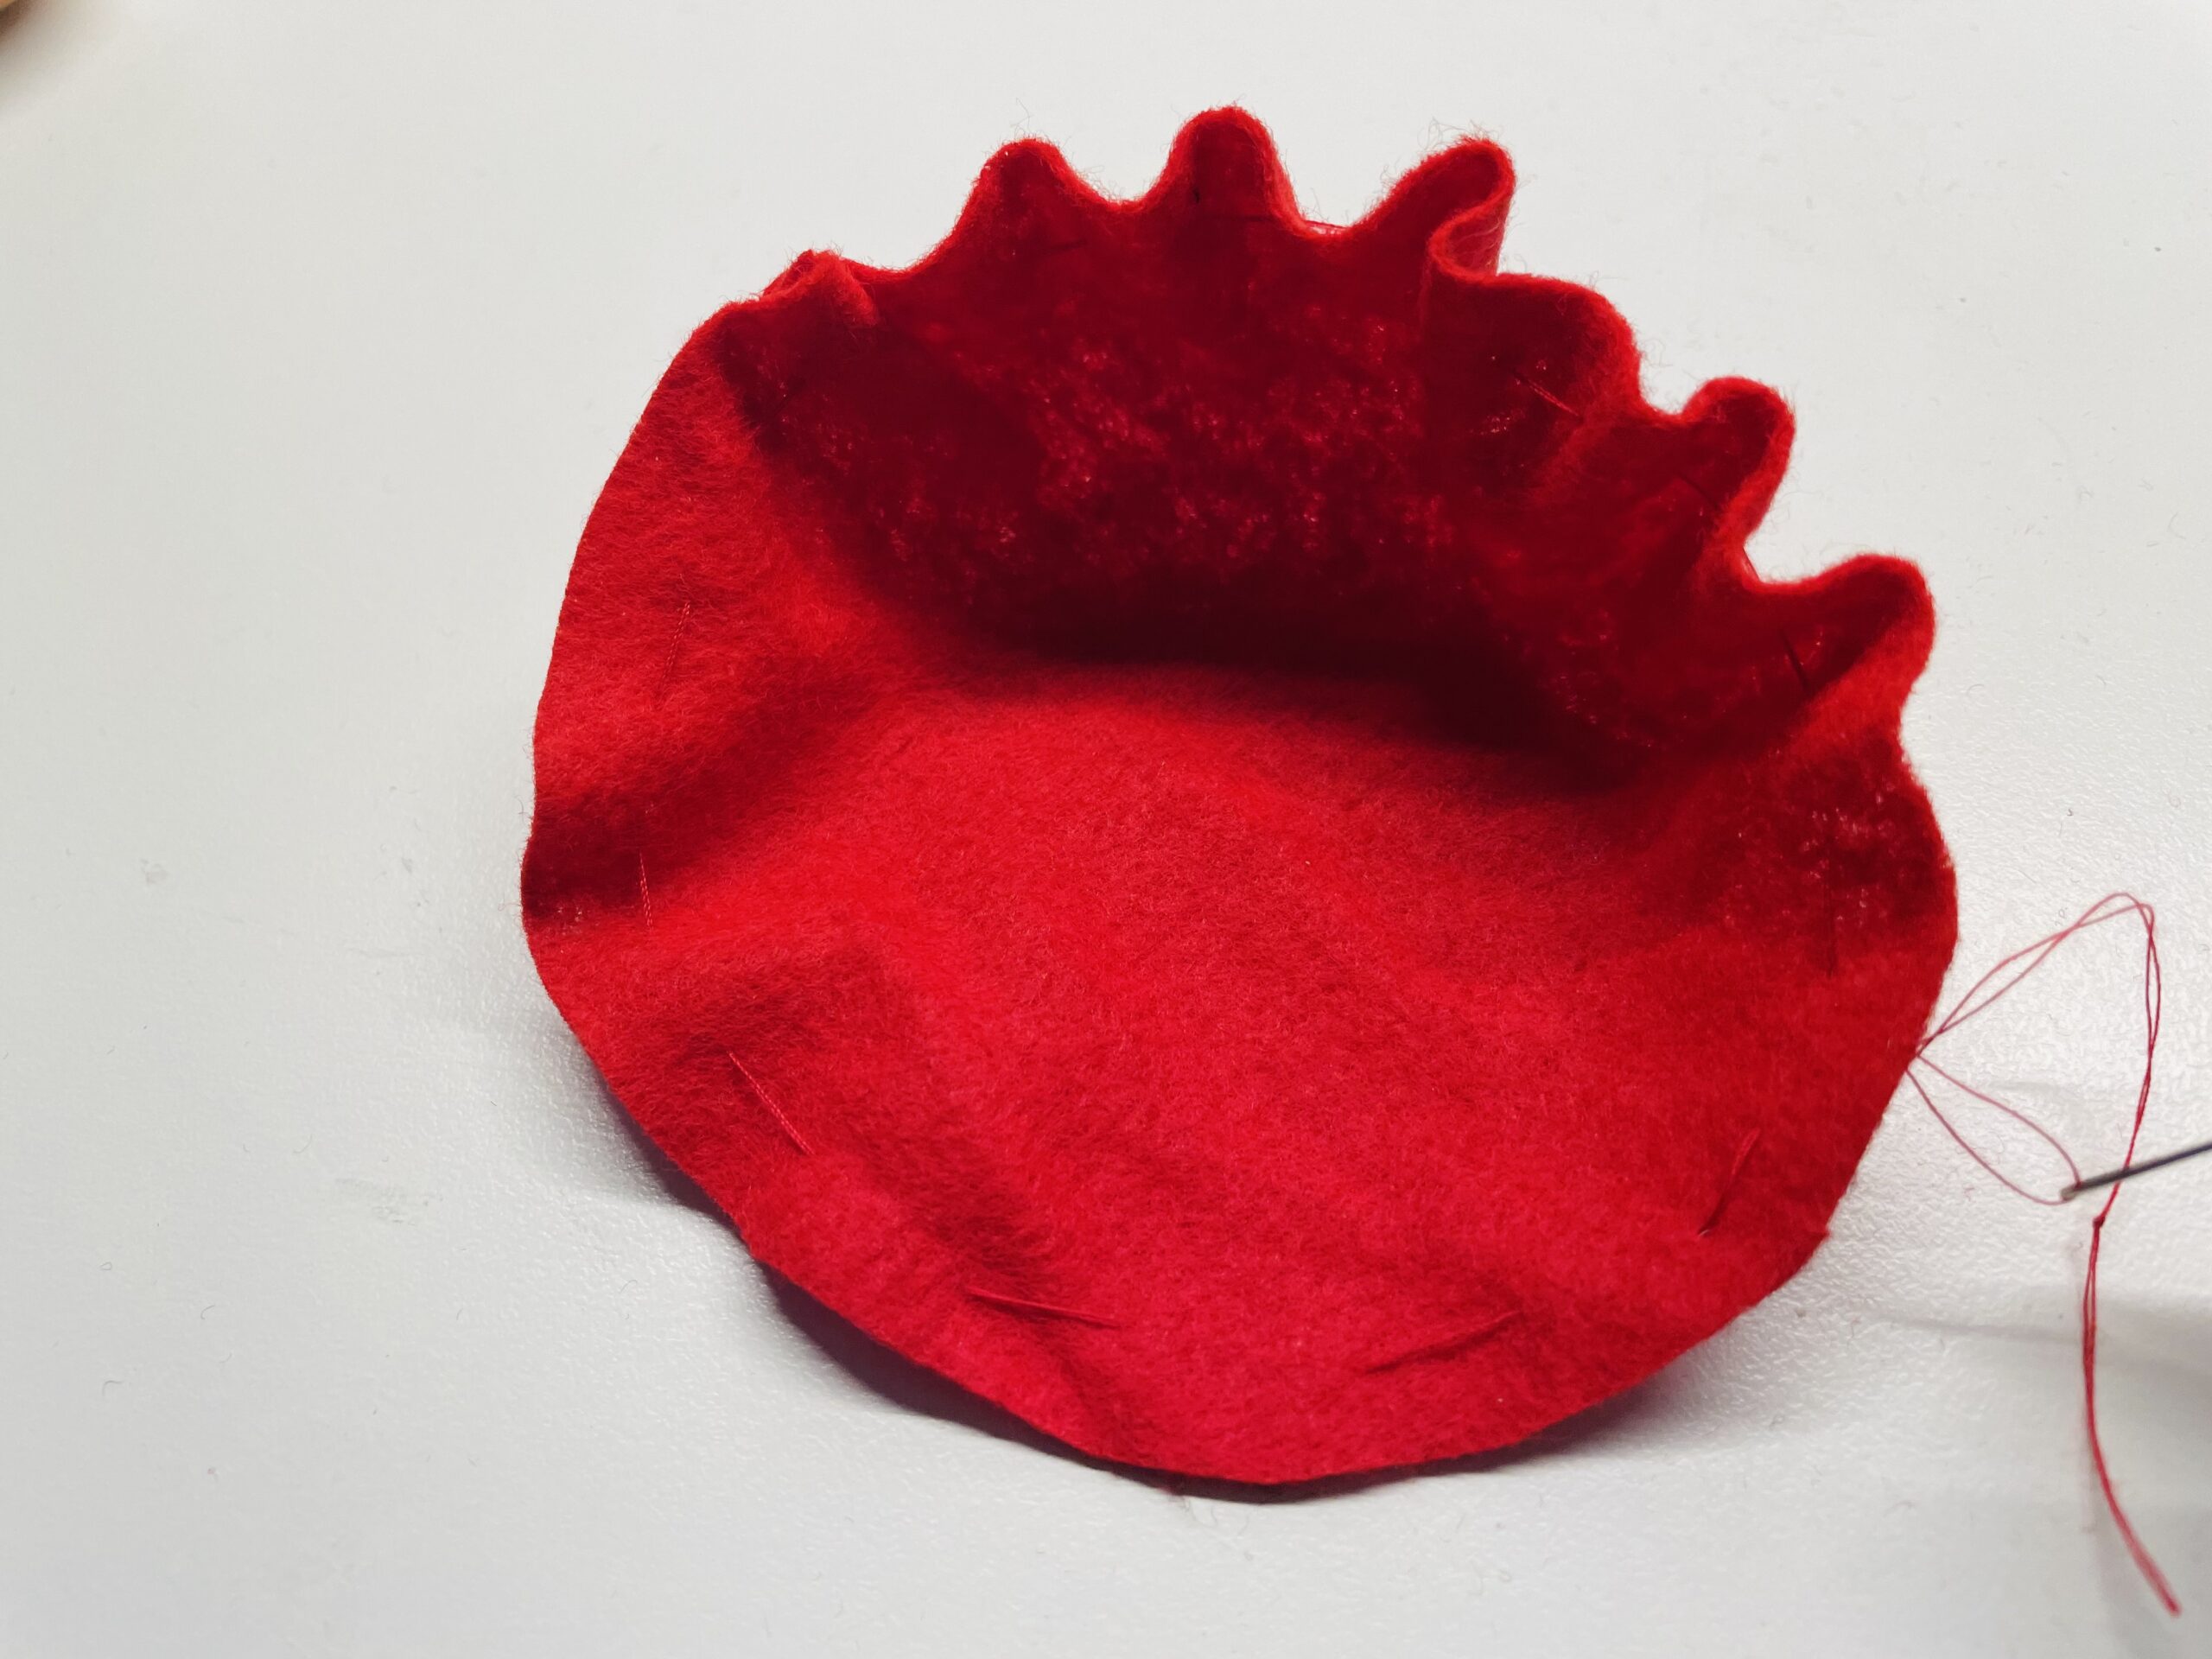
Bild zum Schritt 13 für das Bastel- und DIY-Abenteuer für Kinder: 'Jetzt greift ihr den Anfangs- und Endfaden mit einer Hand...'

14

Now pull the thread together until a small bag is created.
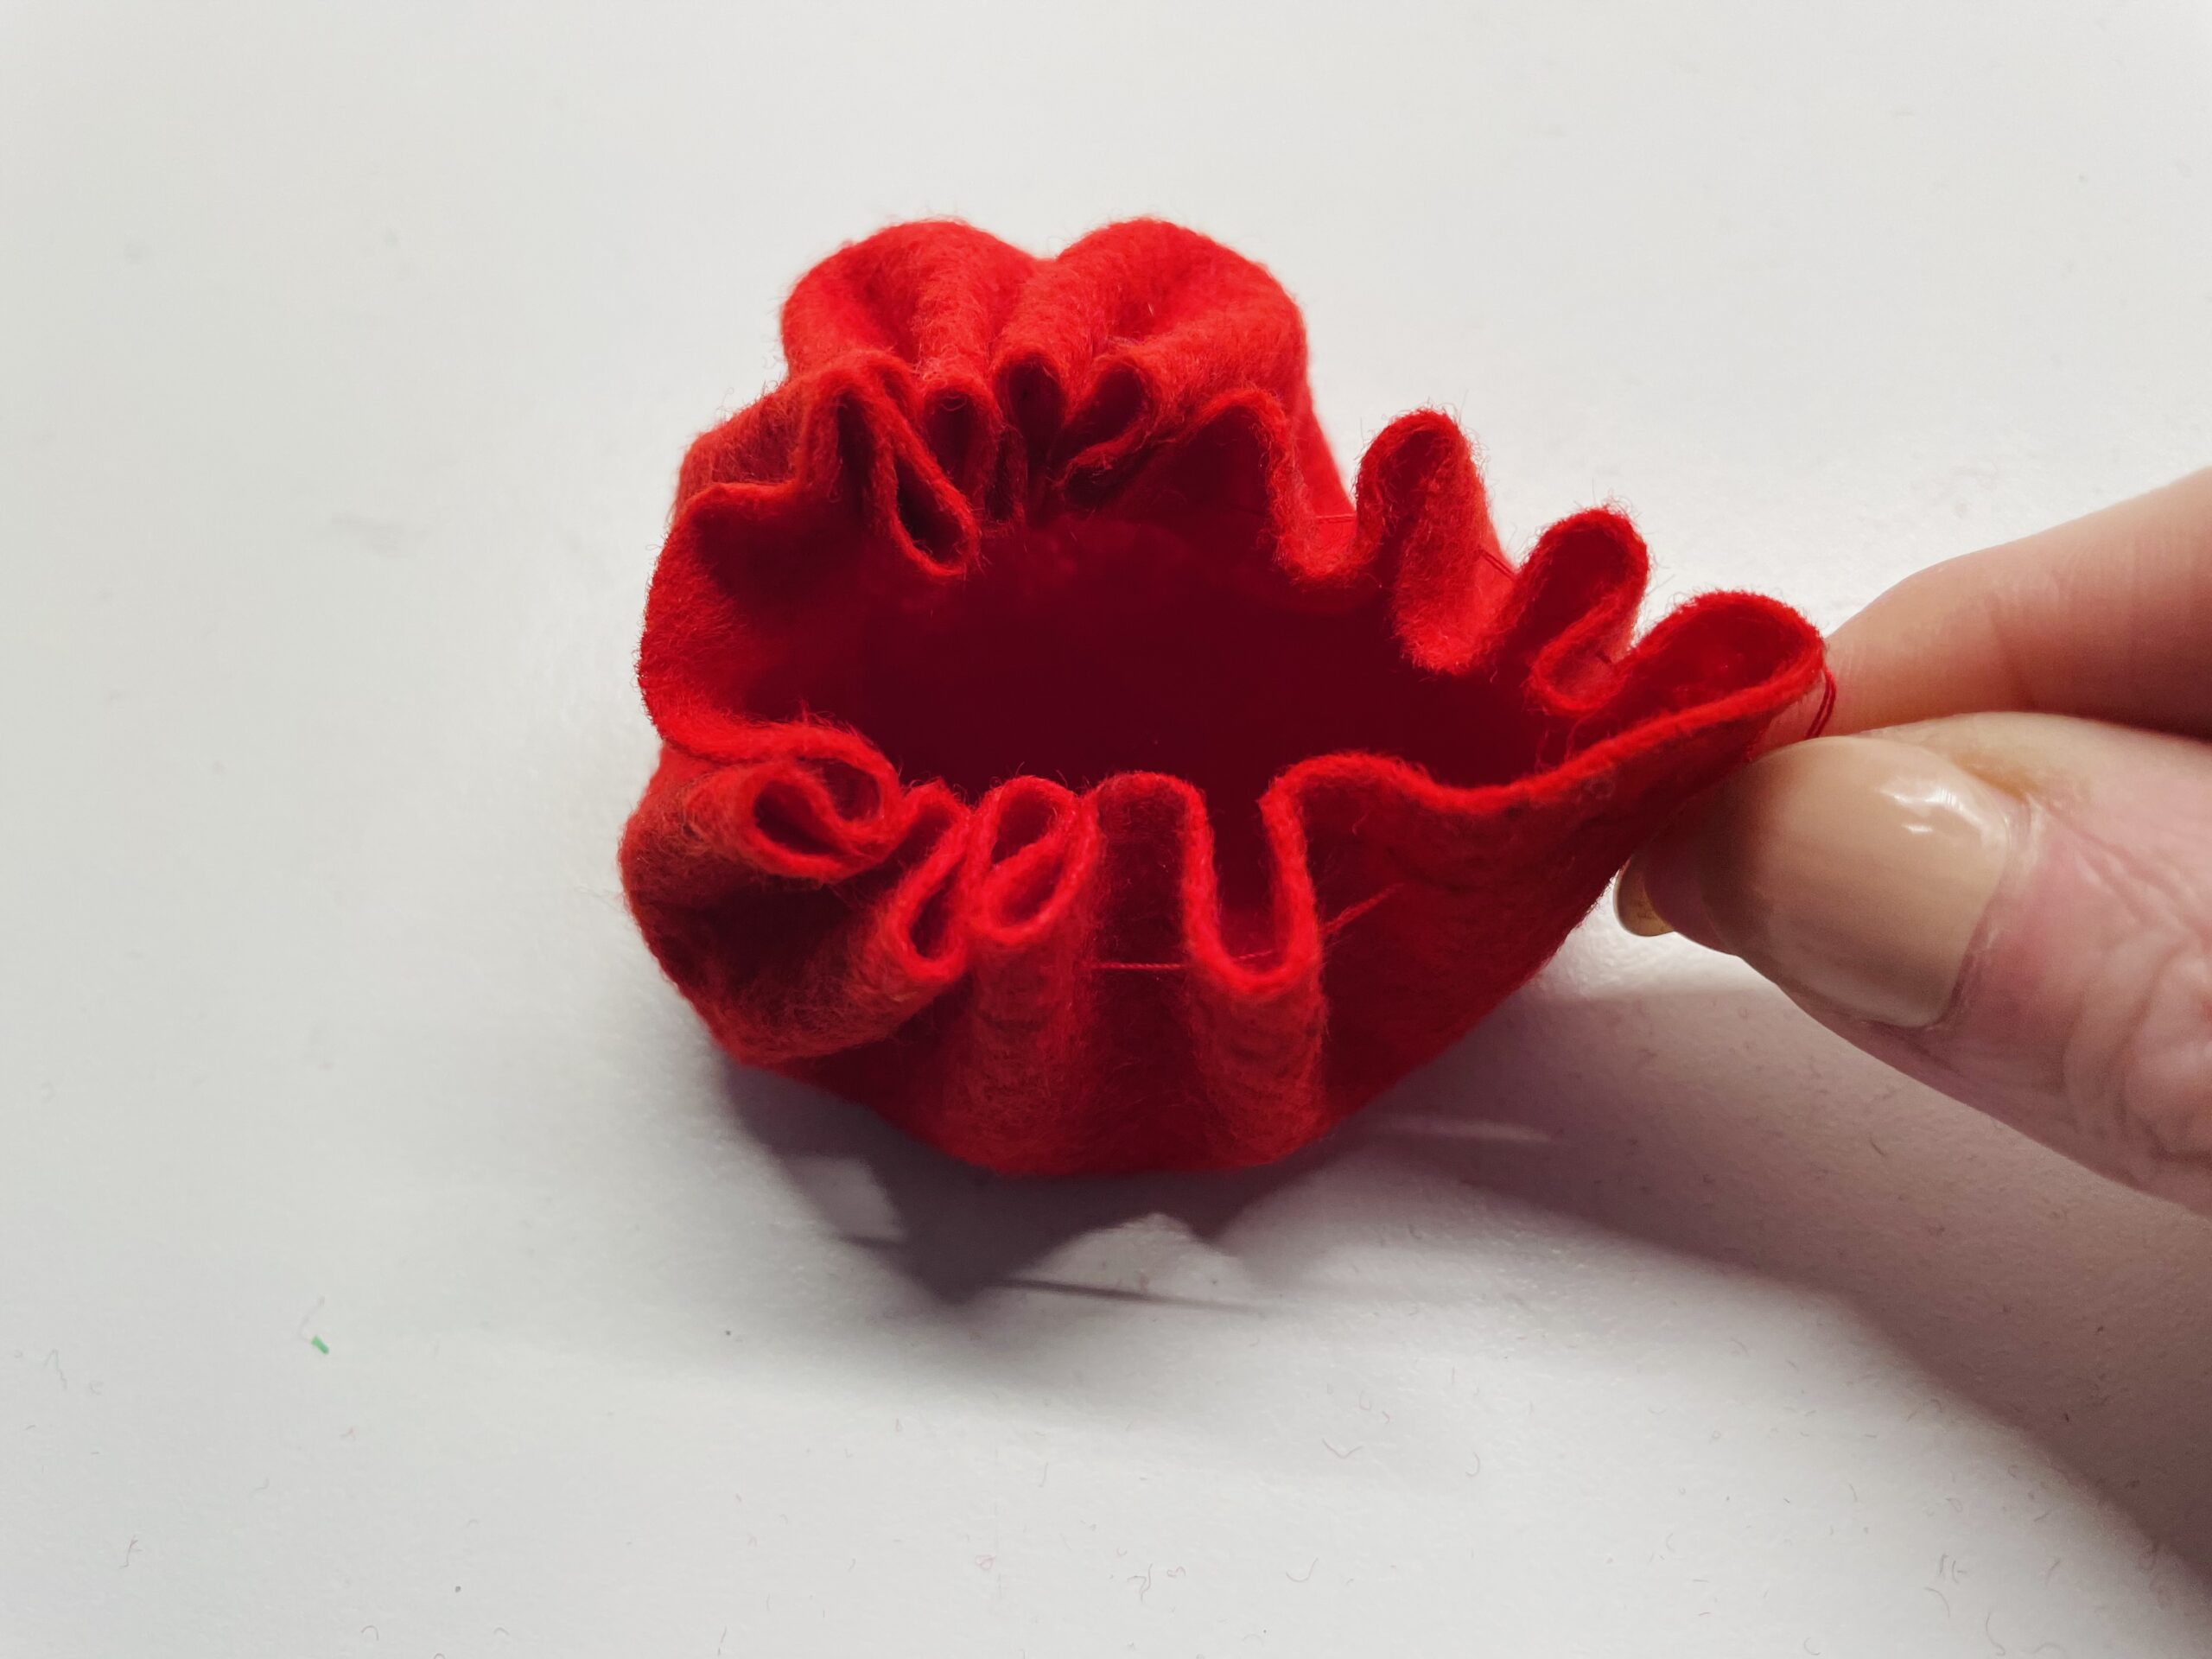
Bild zum Schritt 14 für das Bastel- und DIY-Abenteuer für Kinder: 'Zieht jetzt so lange den Faden zusammen, bis ein kleiner...'

15

Then fill the floss in the bag.

Bild zum Schritt 15 für das Bastel- und DIY-Abenteuer für Kinder: 'Dann füllt ihr in den Beutel die Füllwatte.'

16

Stop the cotton wool firmly with one finger and squeeze it together.
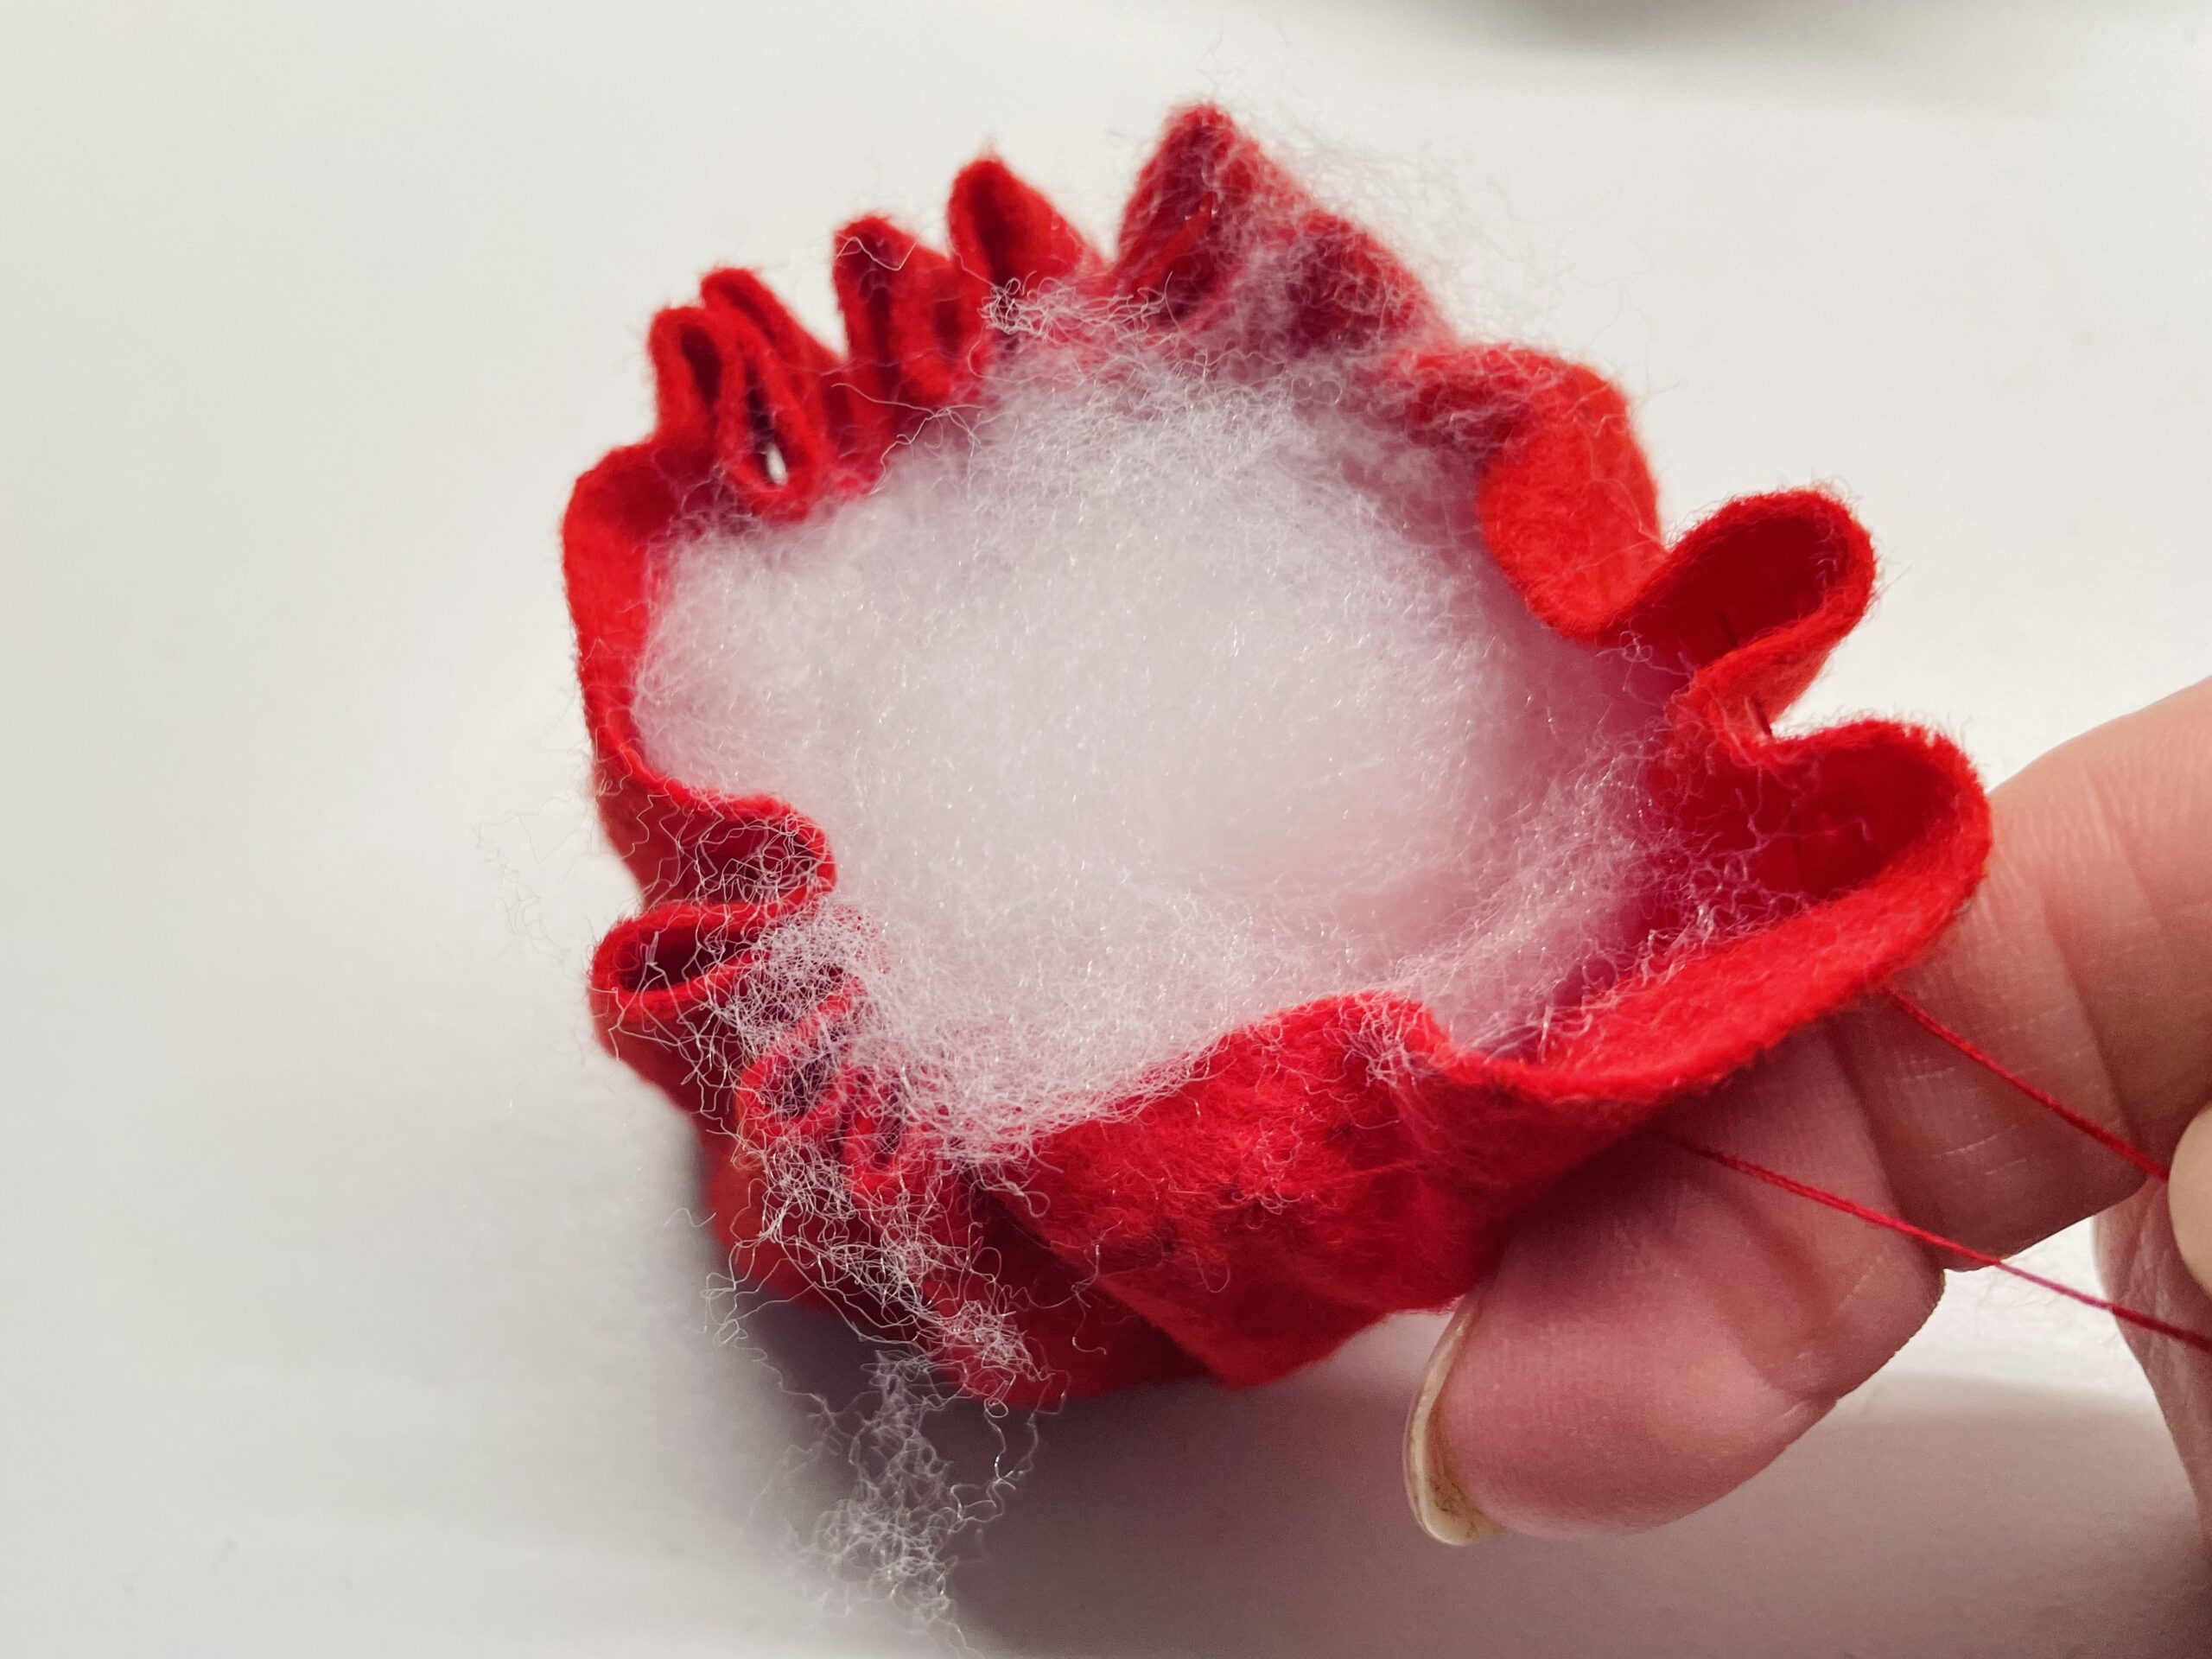
Bild zum Schritt 16 für das Bastel- und DIY-Abenteuer für Kinder: 'Stopft mit einem Finger die Watte fest hinein und drückt...'

17

As soon as the bag is stable and well filled, enough cotton wool is filled. Then you pull the threads together completely.
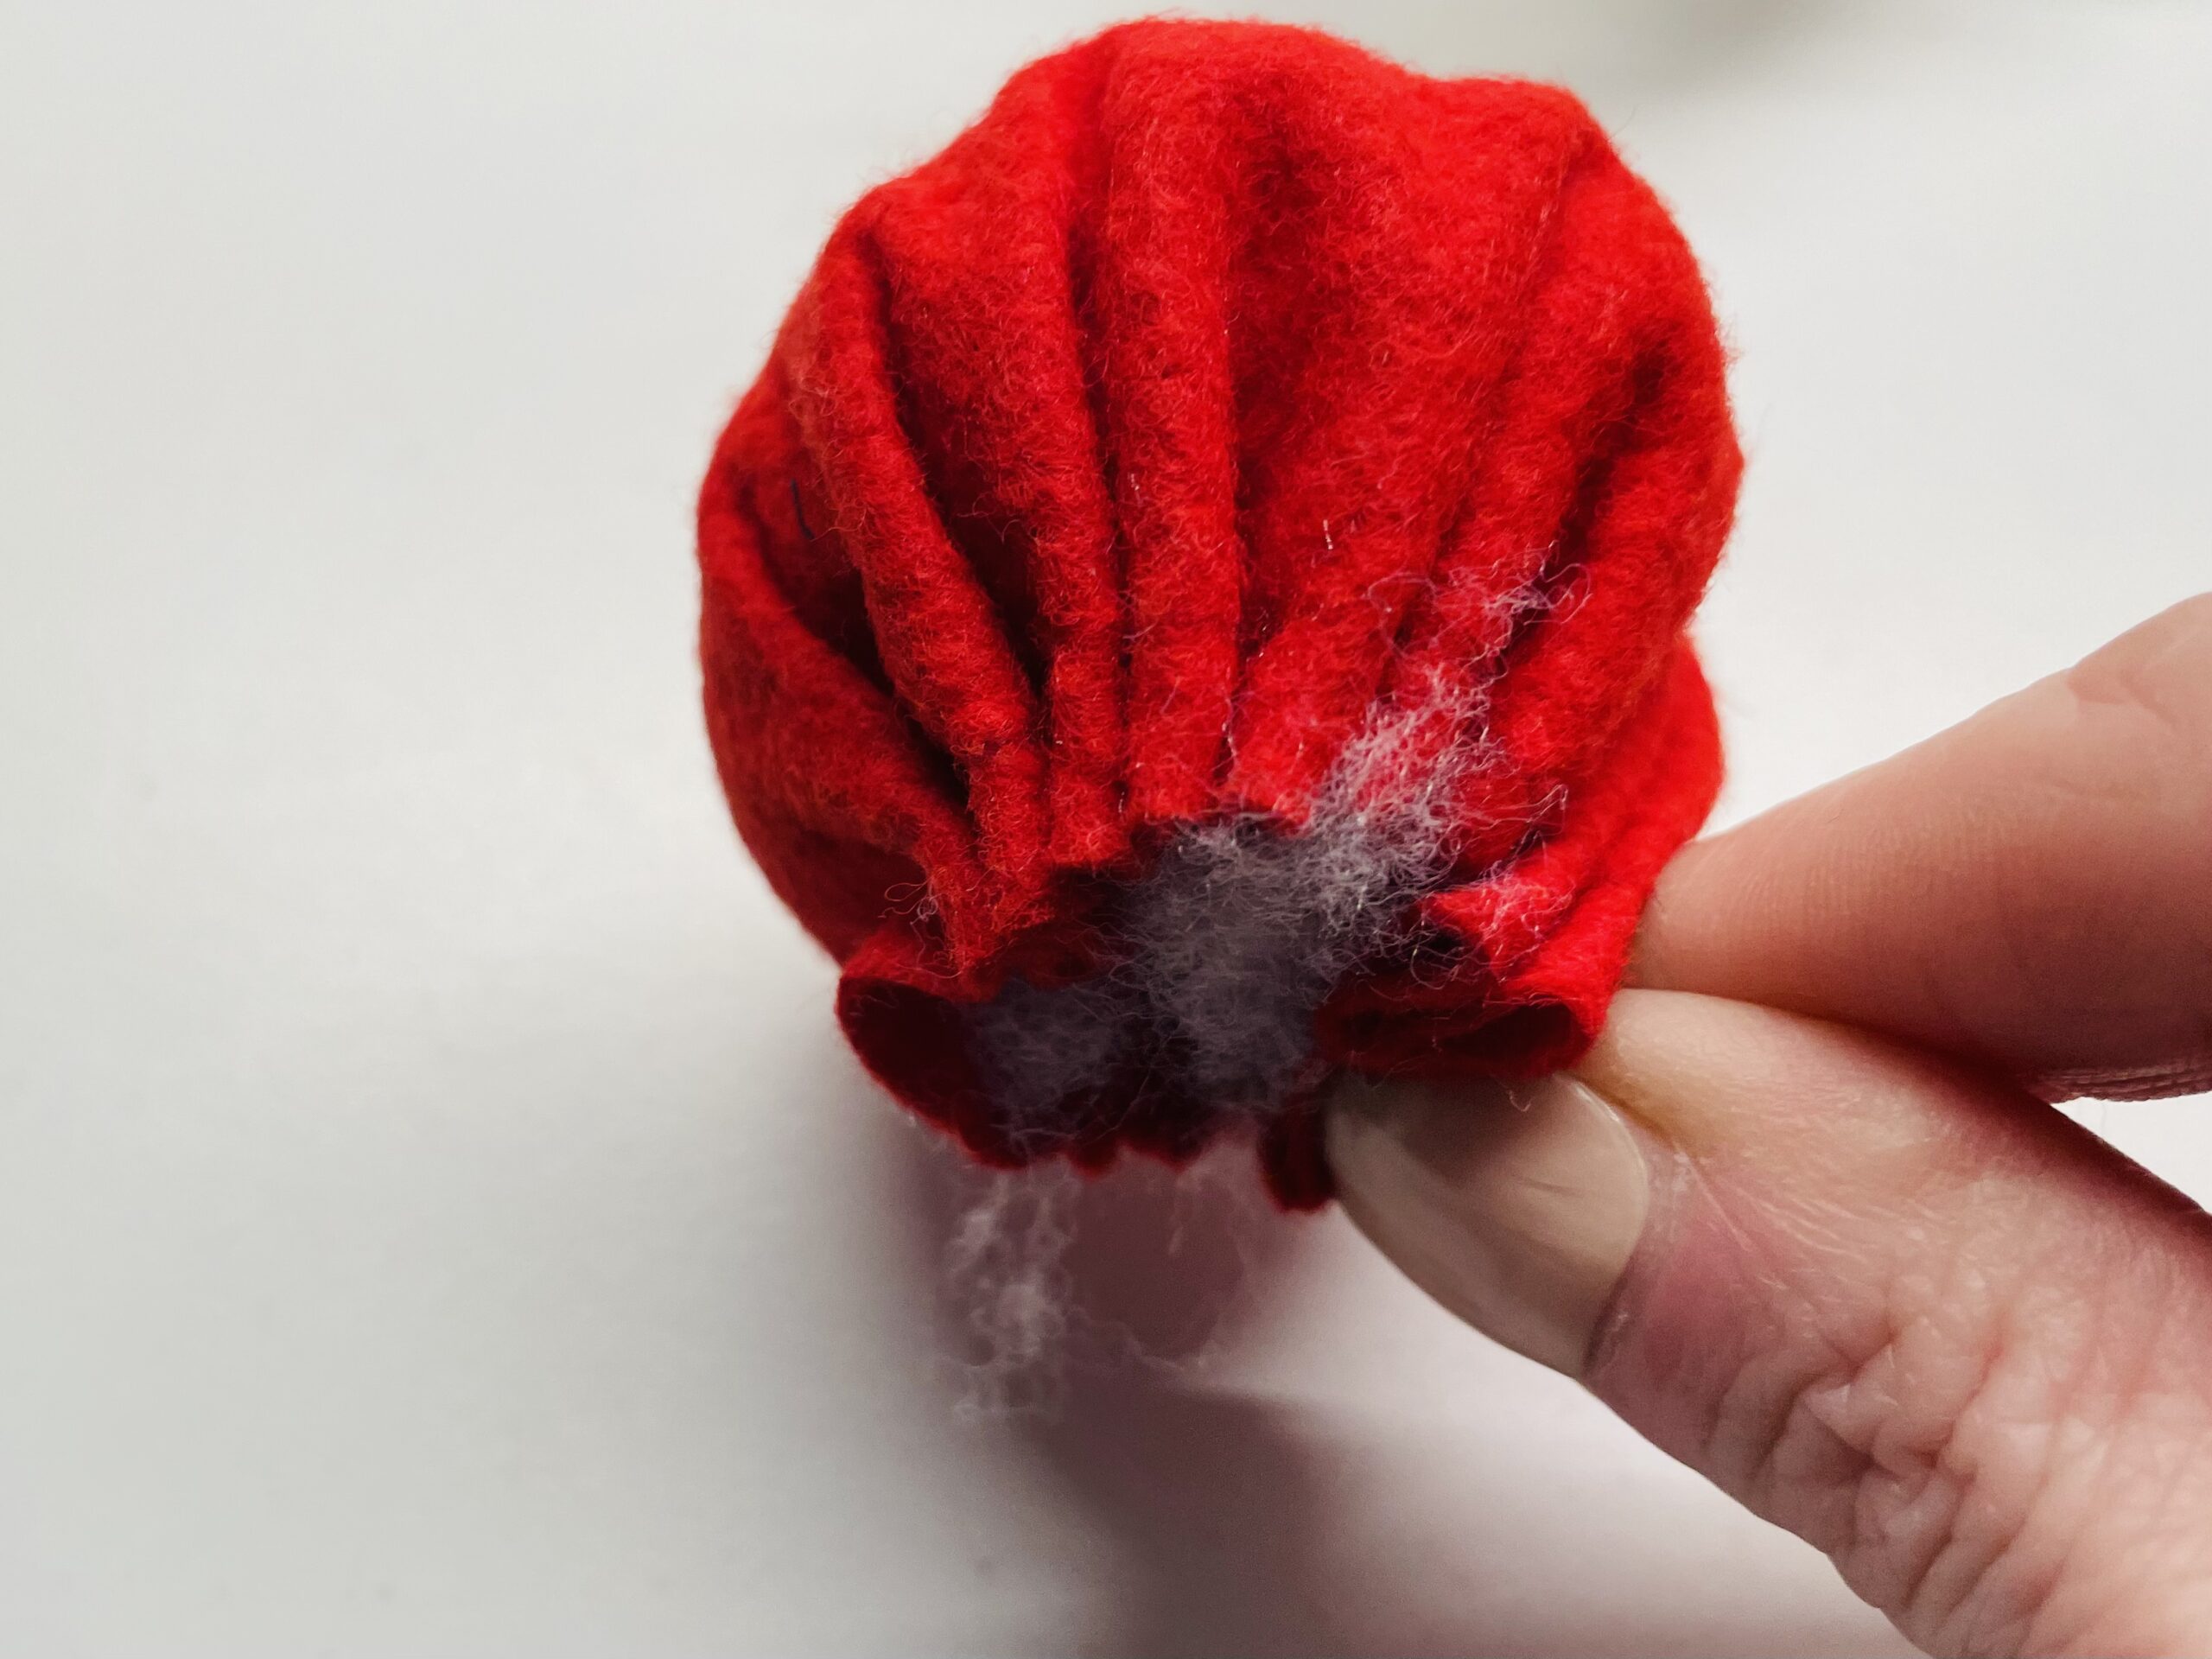
Bild zum Schritt 17 für das Bastel- und DIY-Abenteuer für Kinder: 'Sobald der Beutel stabil und prall gefüllt ist, ist genug...'

18

To close the bag, you now knot the two threads together.
Let us help you with this, because it's better for two of you!
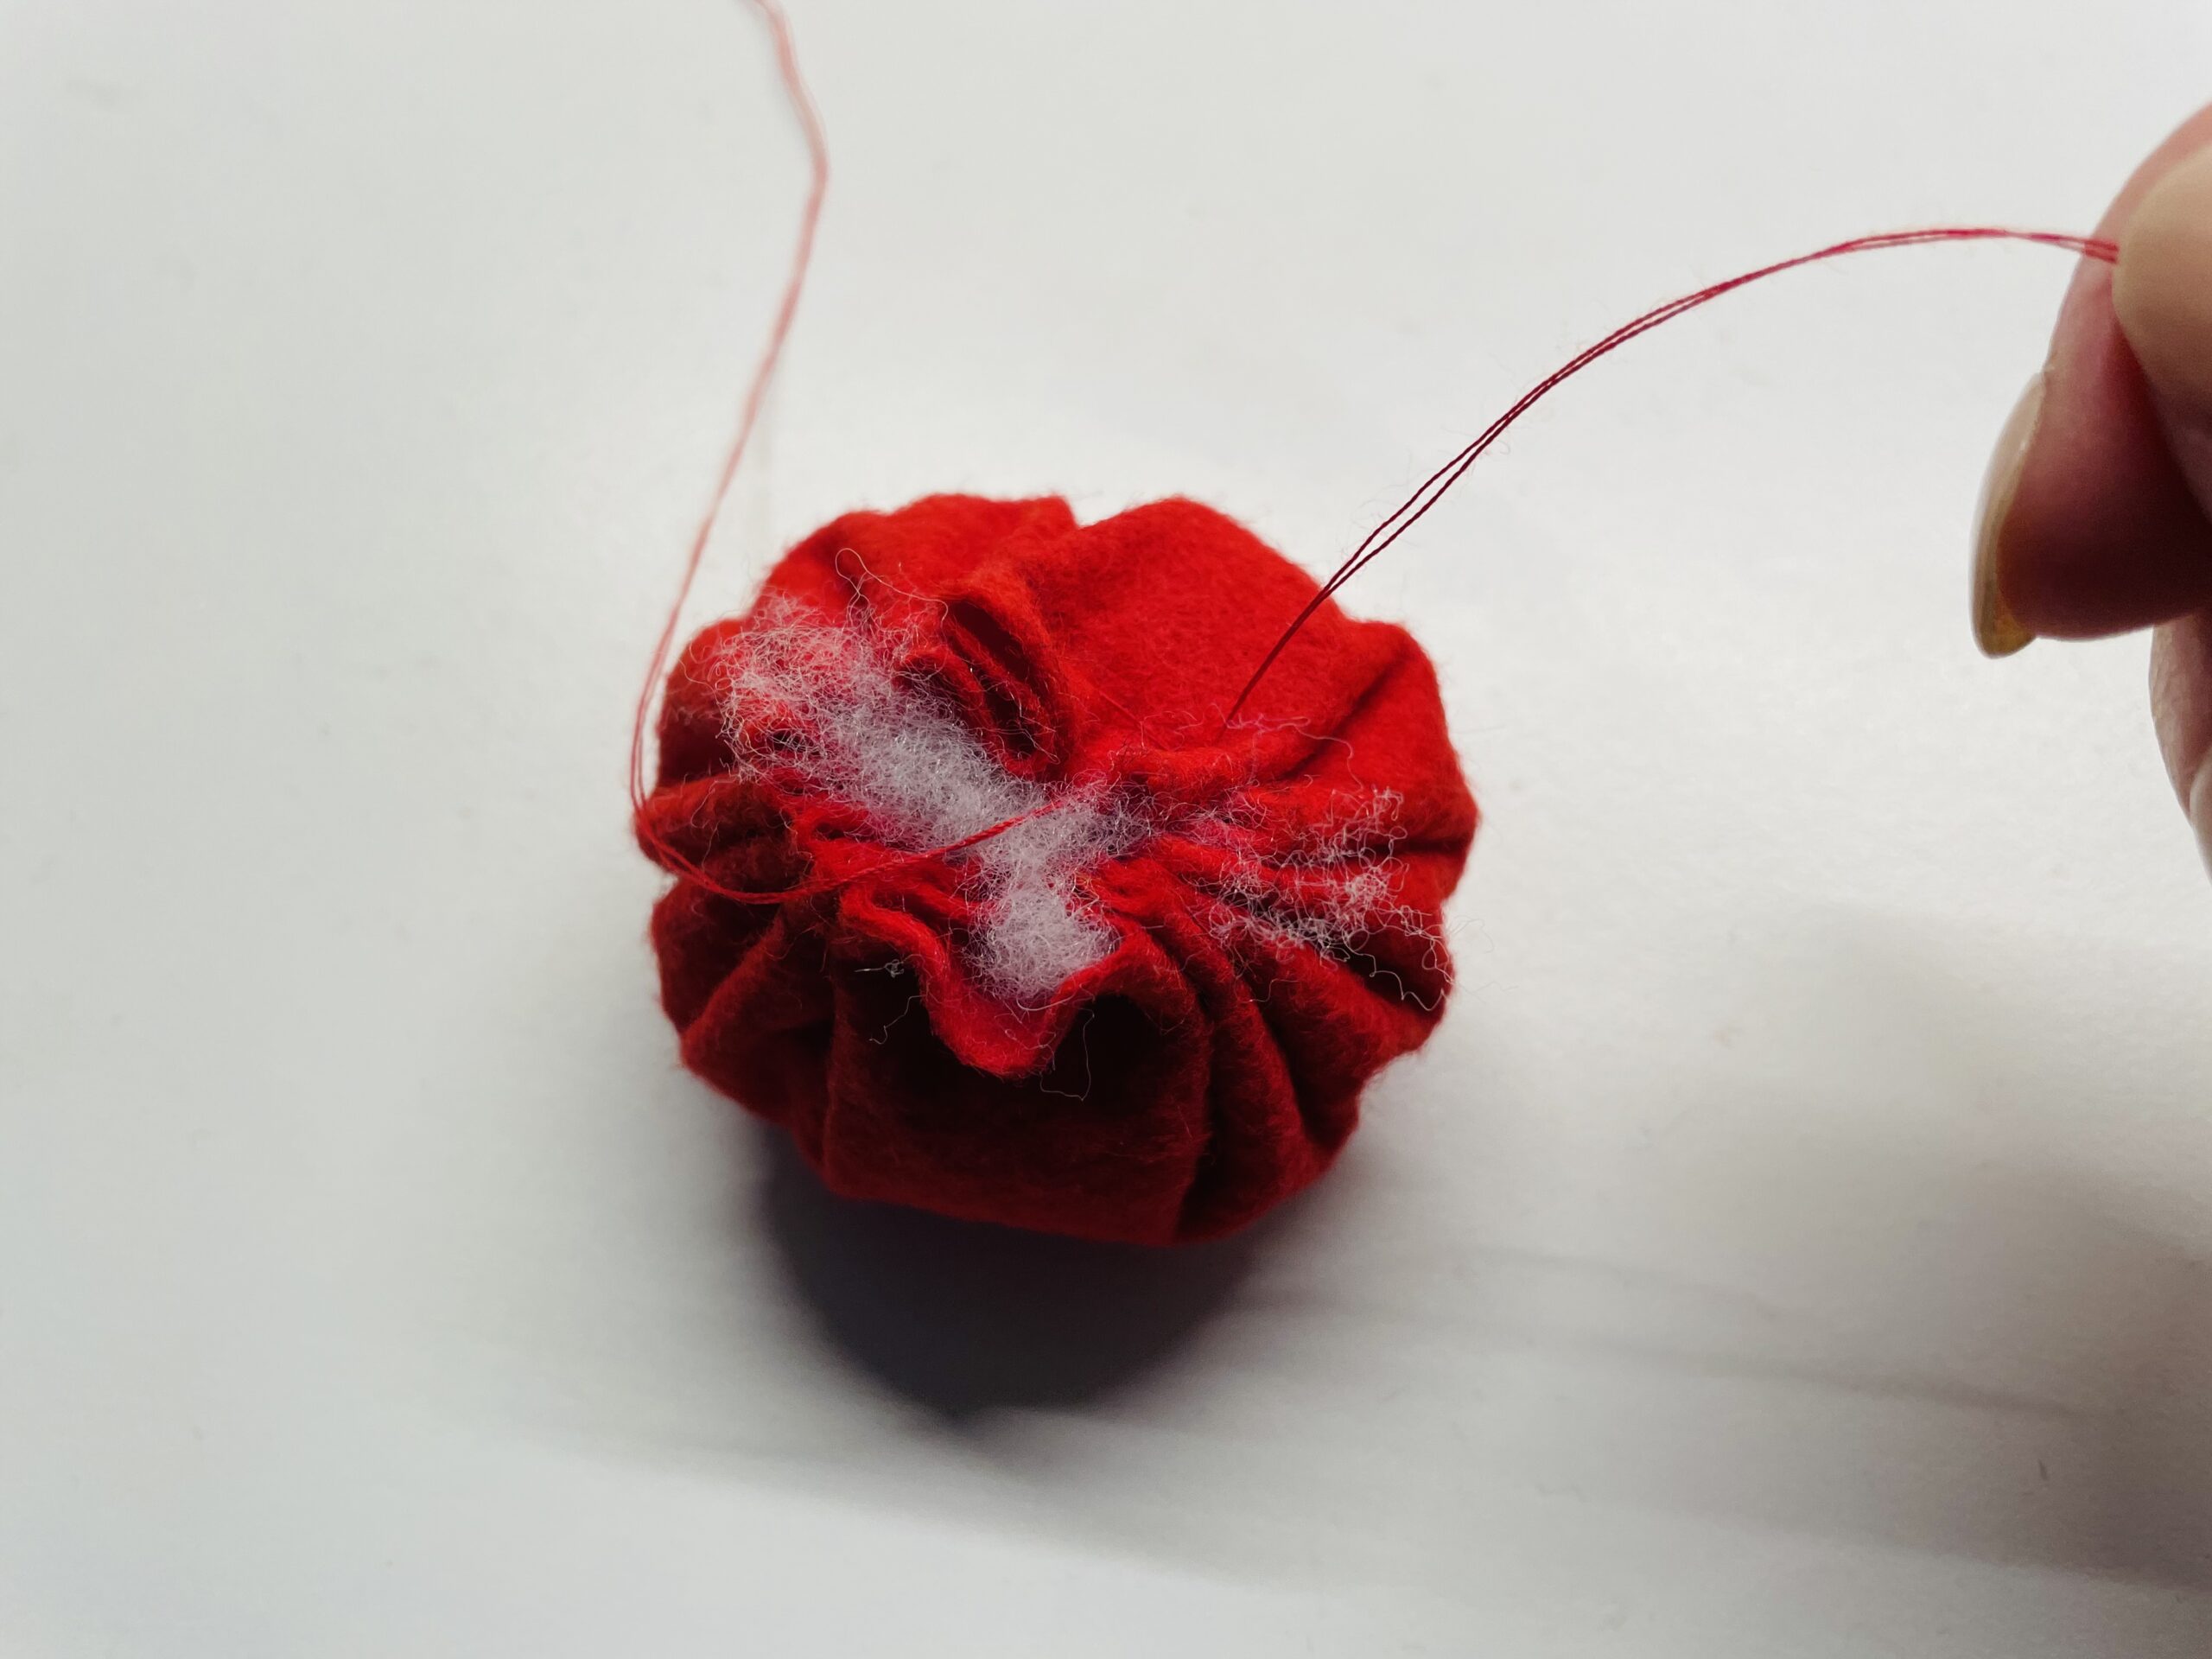
Bild zum Schritt 18 für das Bastel- und DIY-Abenteuer für Kinder: 'Um den Beutel zu schließen verknotet ihr jetzt die beiden...'

19

Then cut off the threads after the knot.
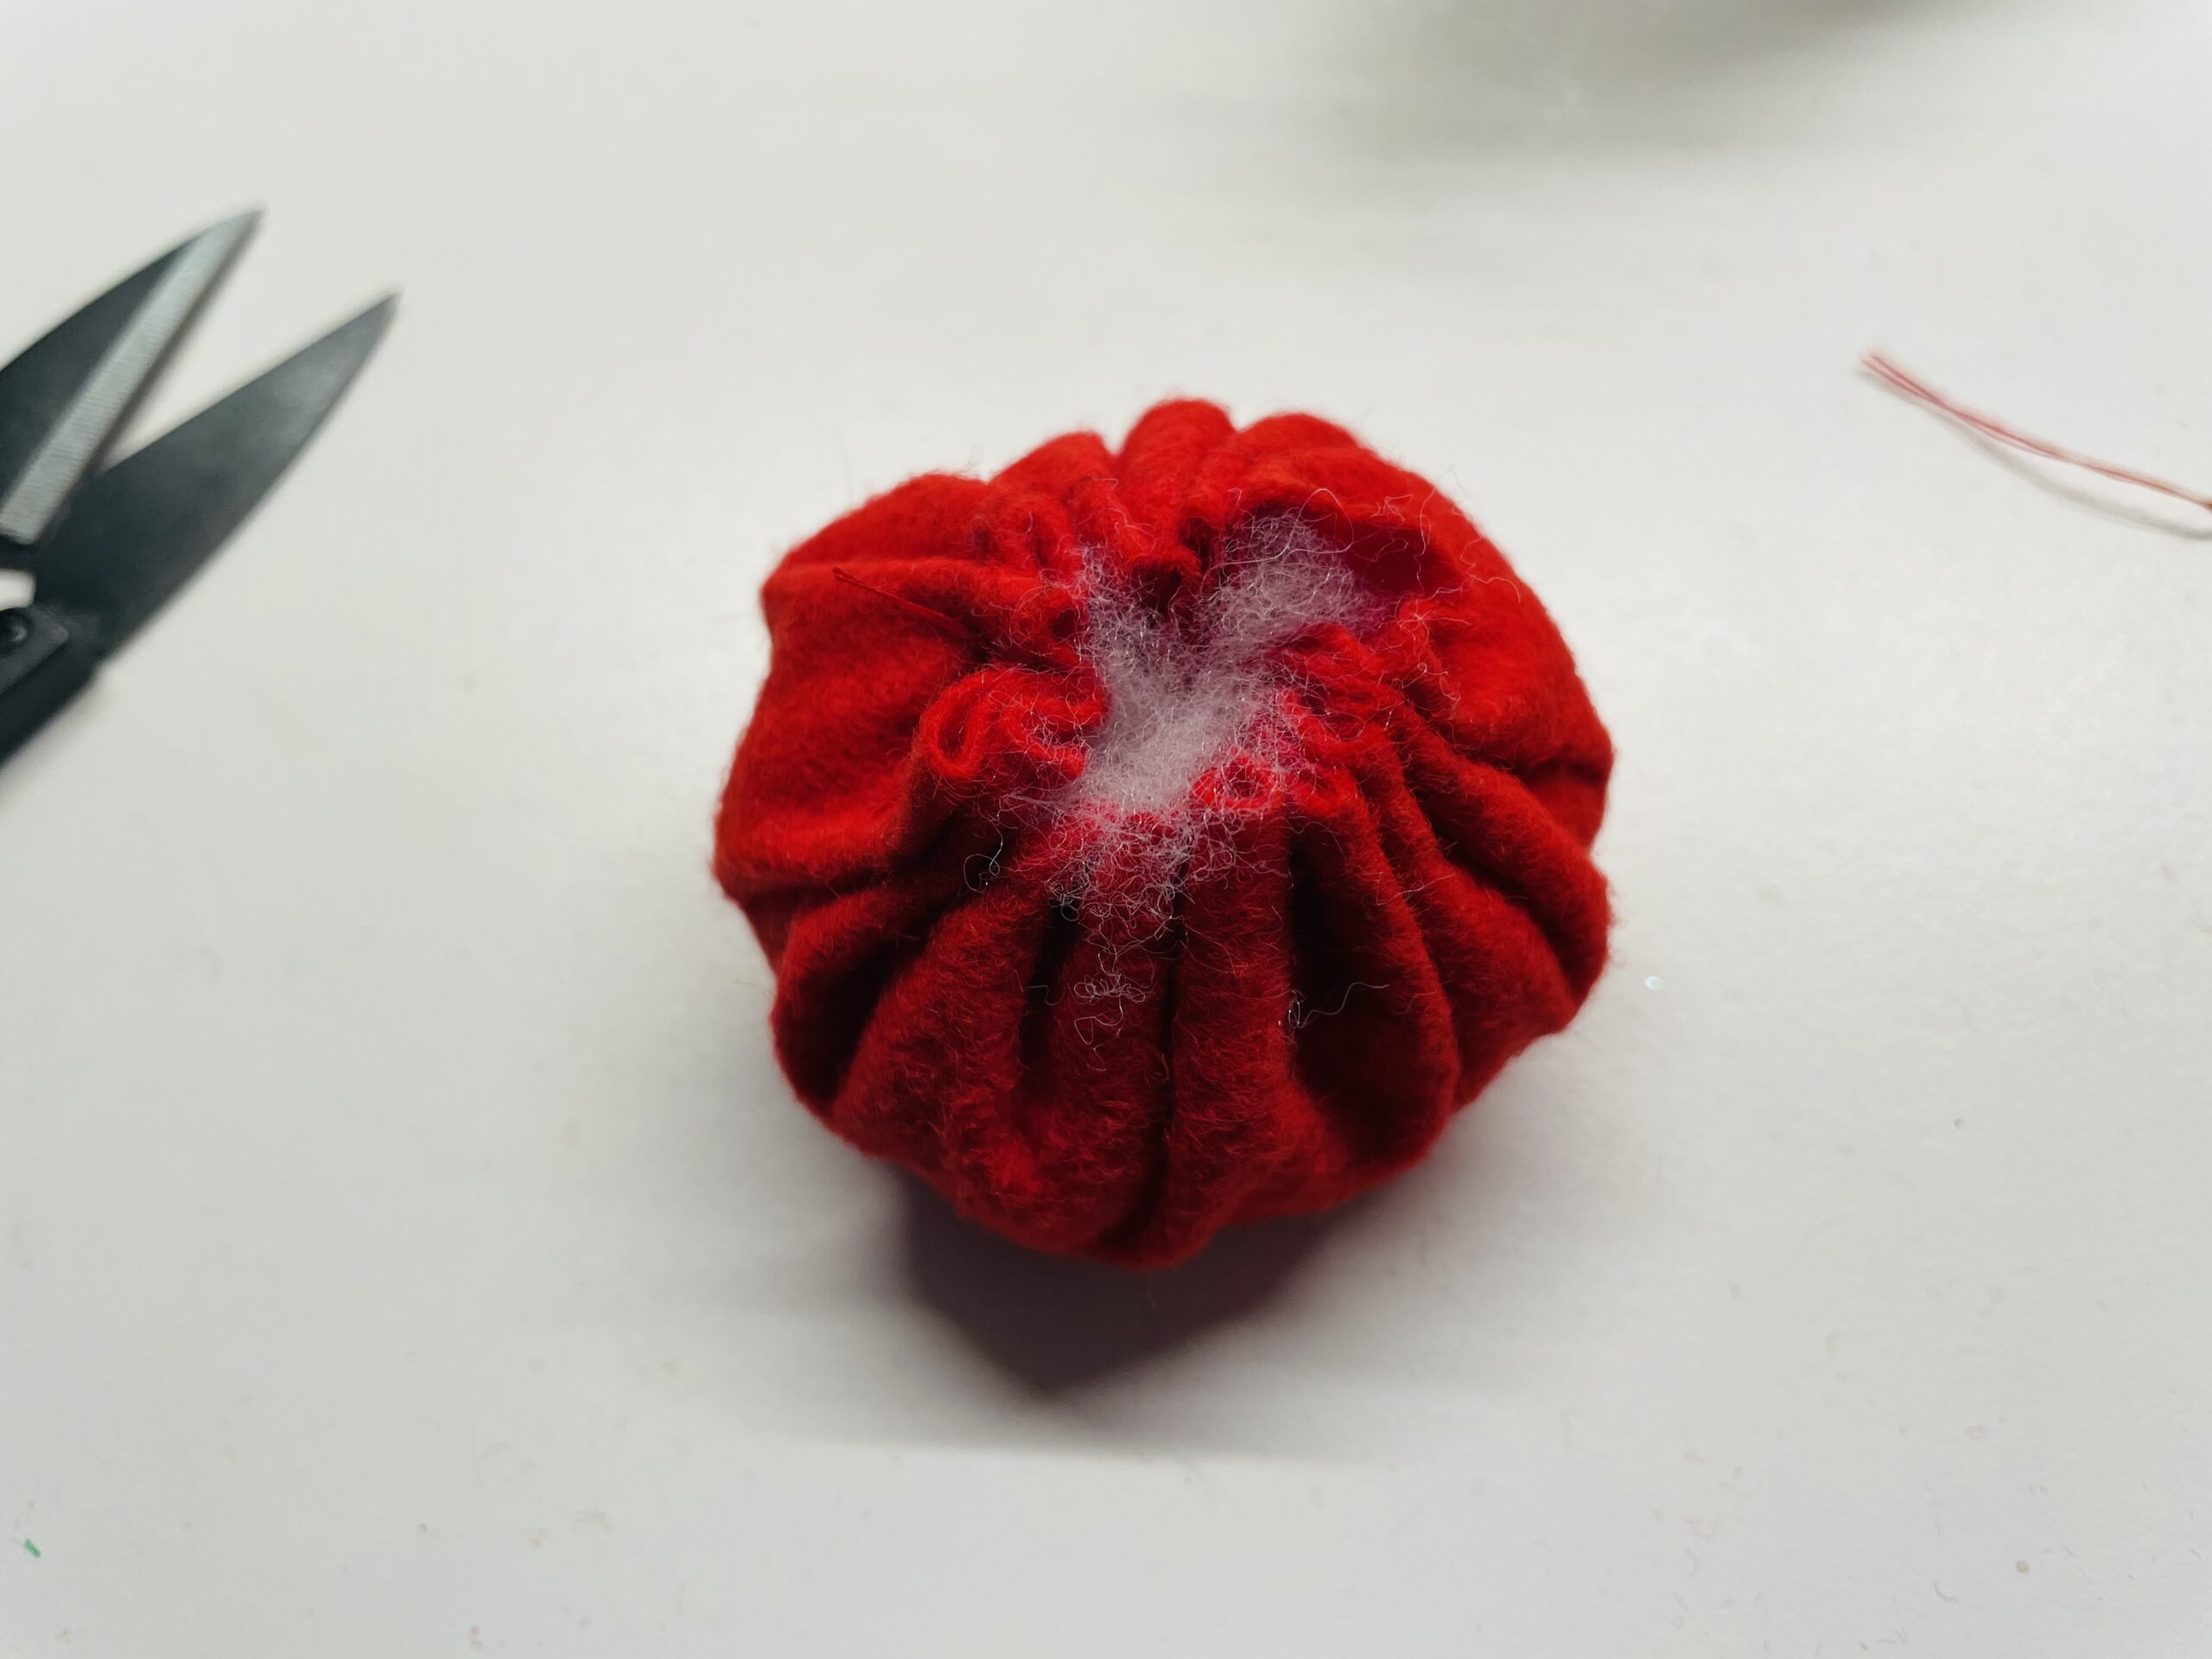
Bild zum Schritt 19 für das Bastel- und DIY-Abenteuer für Kinder: 'Schneidet dann die Fäden nach dem Knoten ab.'

20

Now carefully put the filled felt bag into the egg shells. Make sure that the open side points downwards.
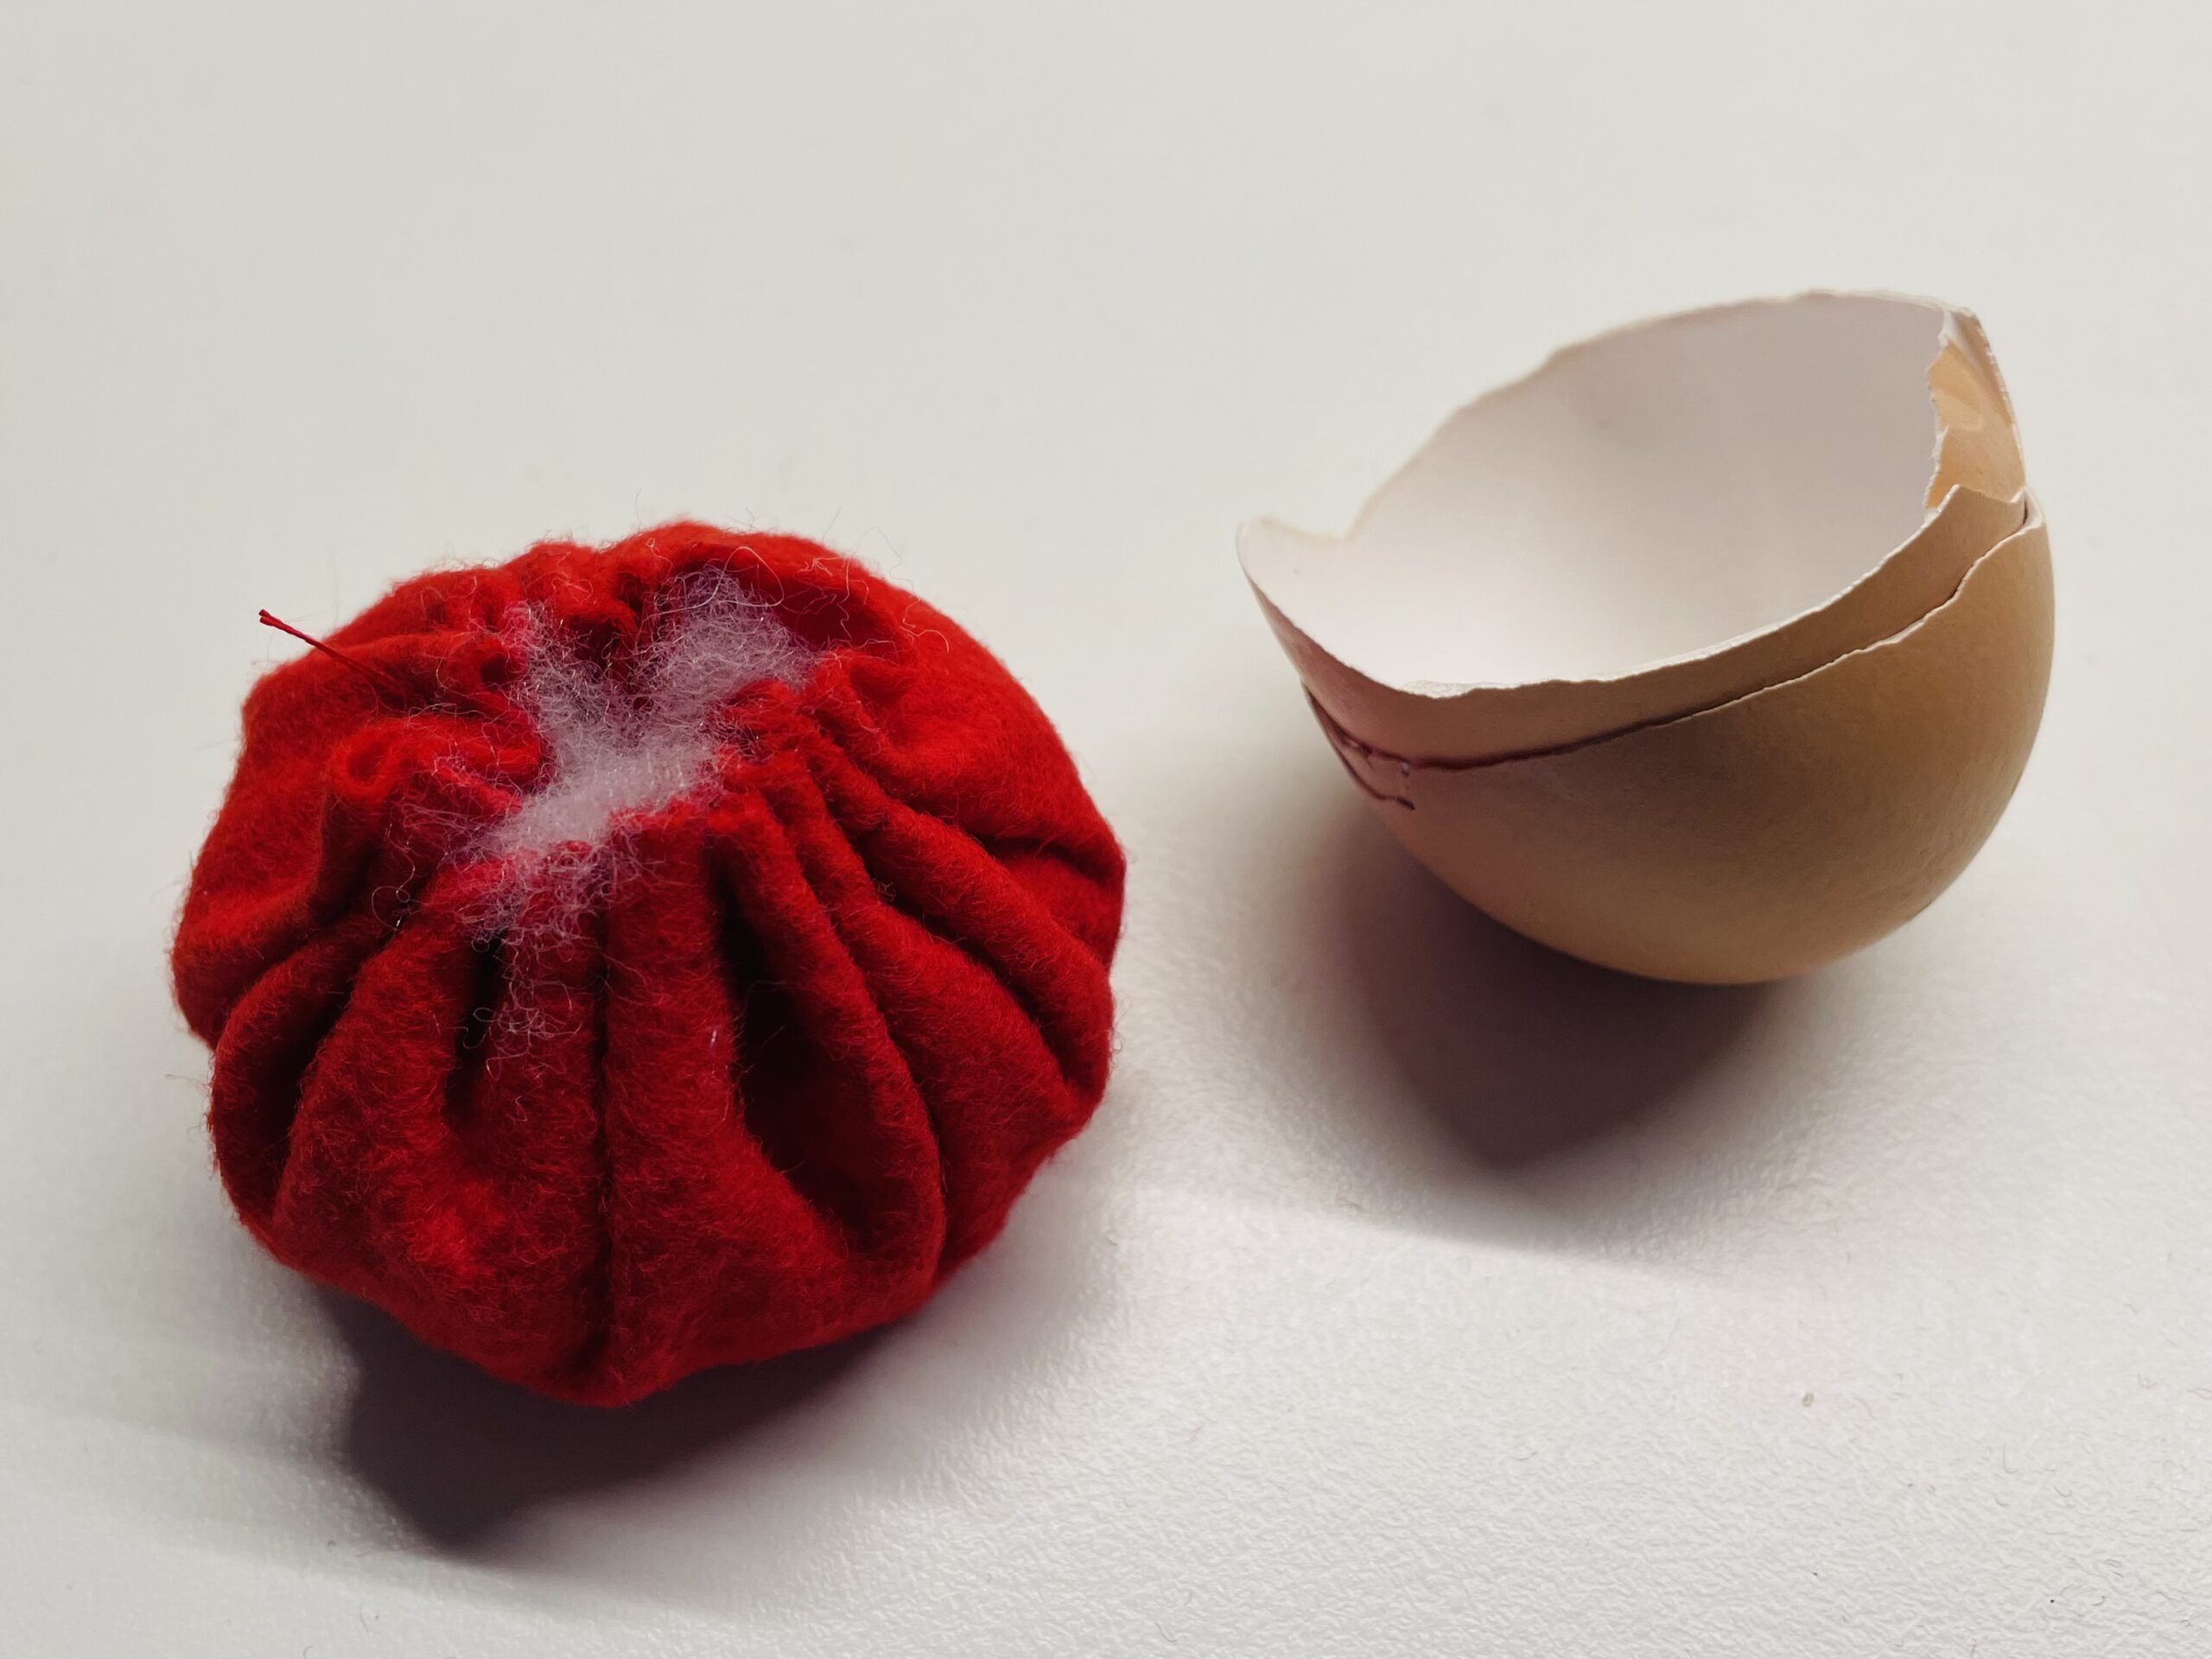
Bild zum Schritt 20 für das Bastel- und DIY-Abenteuer für Kinder: 'Jetzt setzt ihr den gefüllten Filzbeutel vorsichtig in die Eierschalen...'

21

That's what your pincushion looks like now.
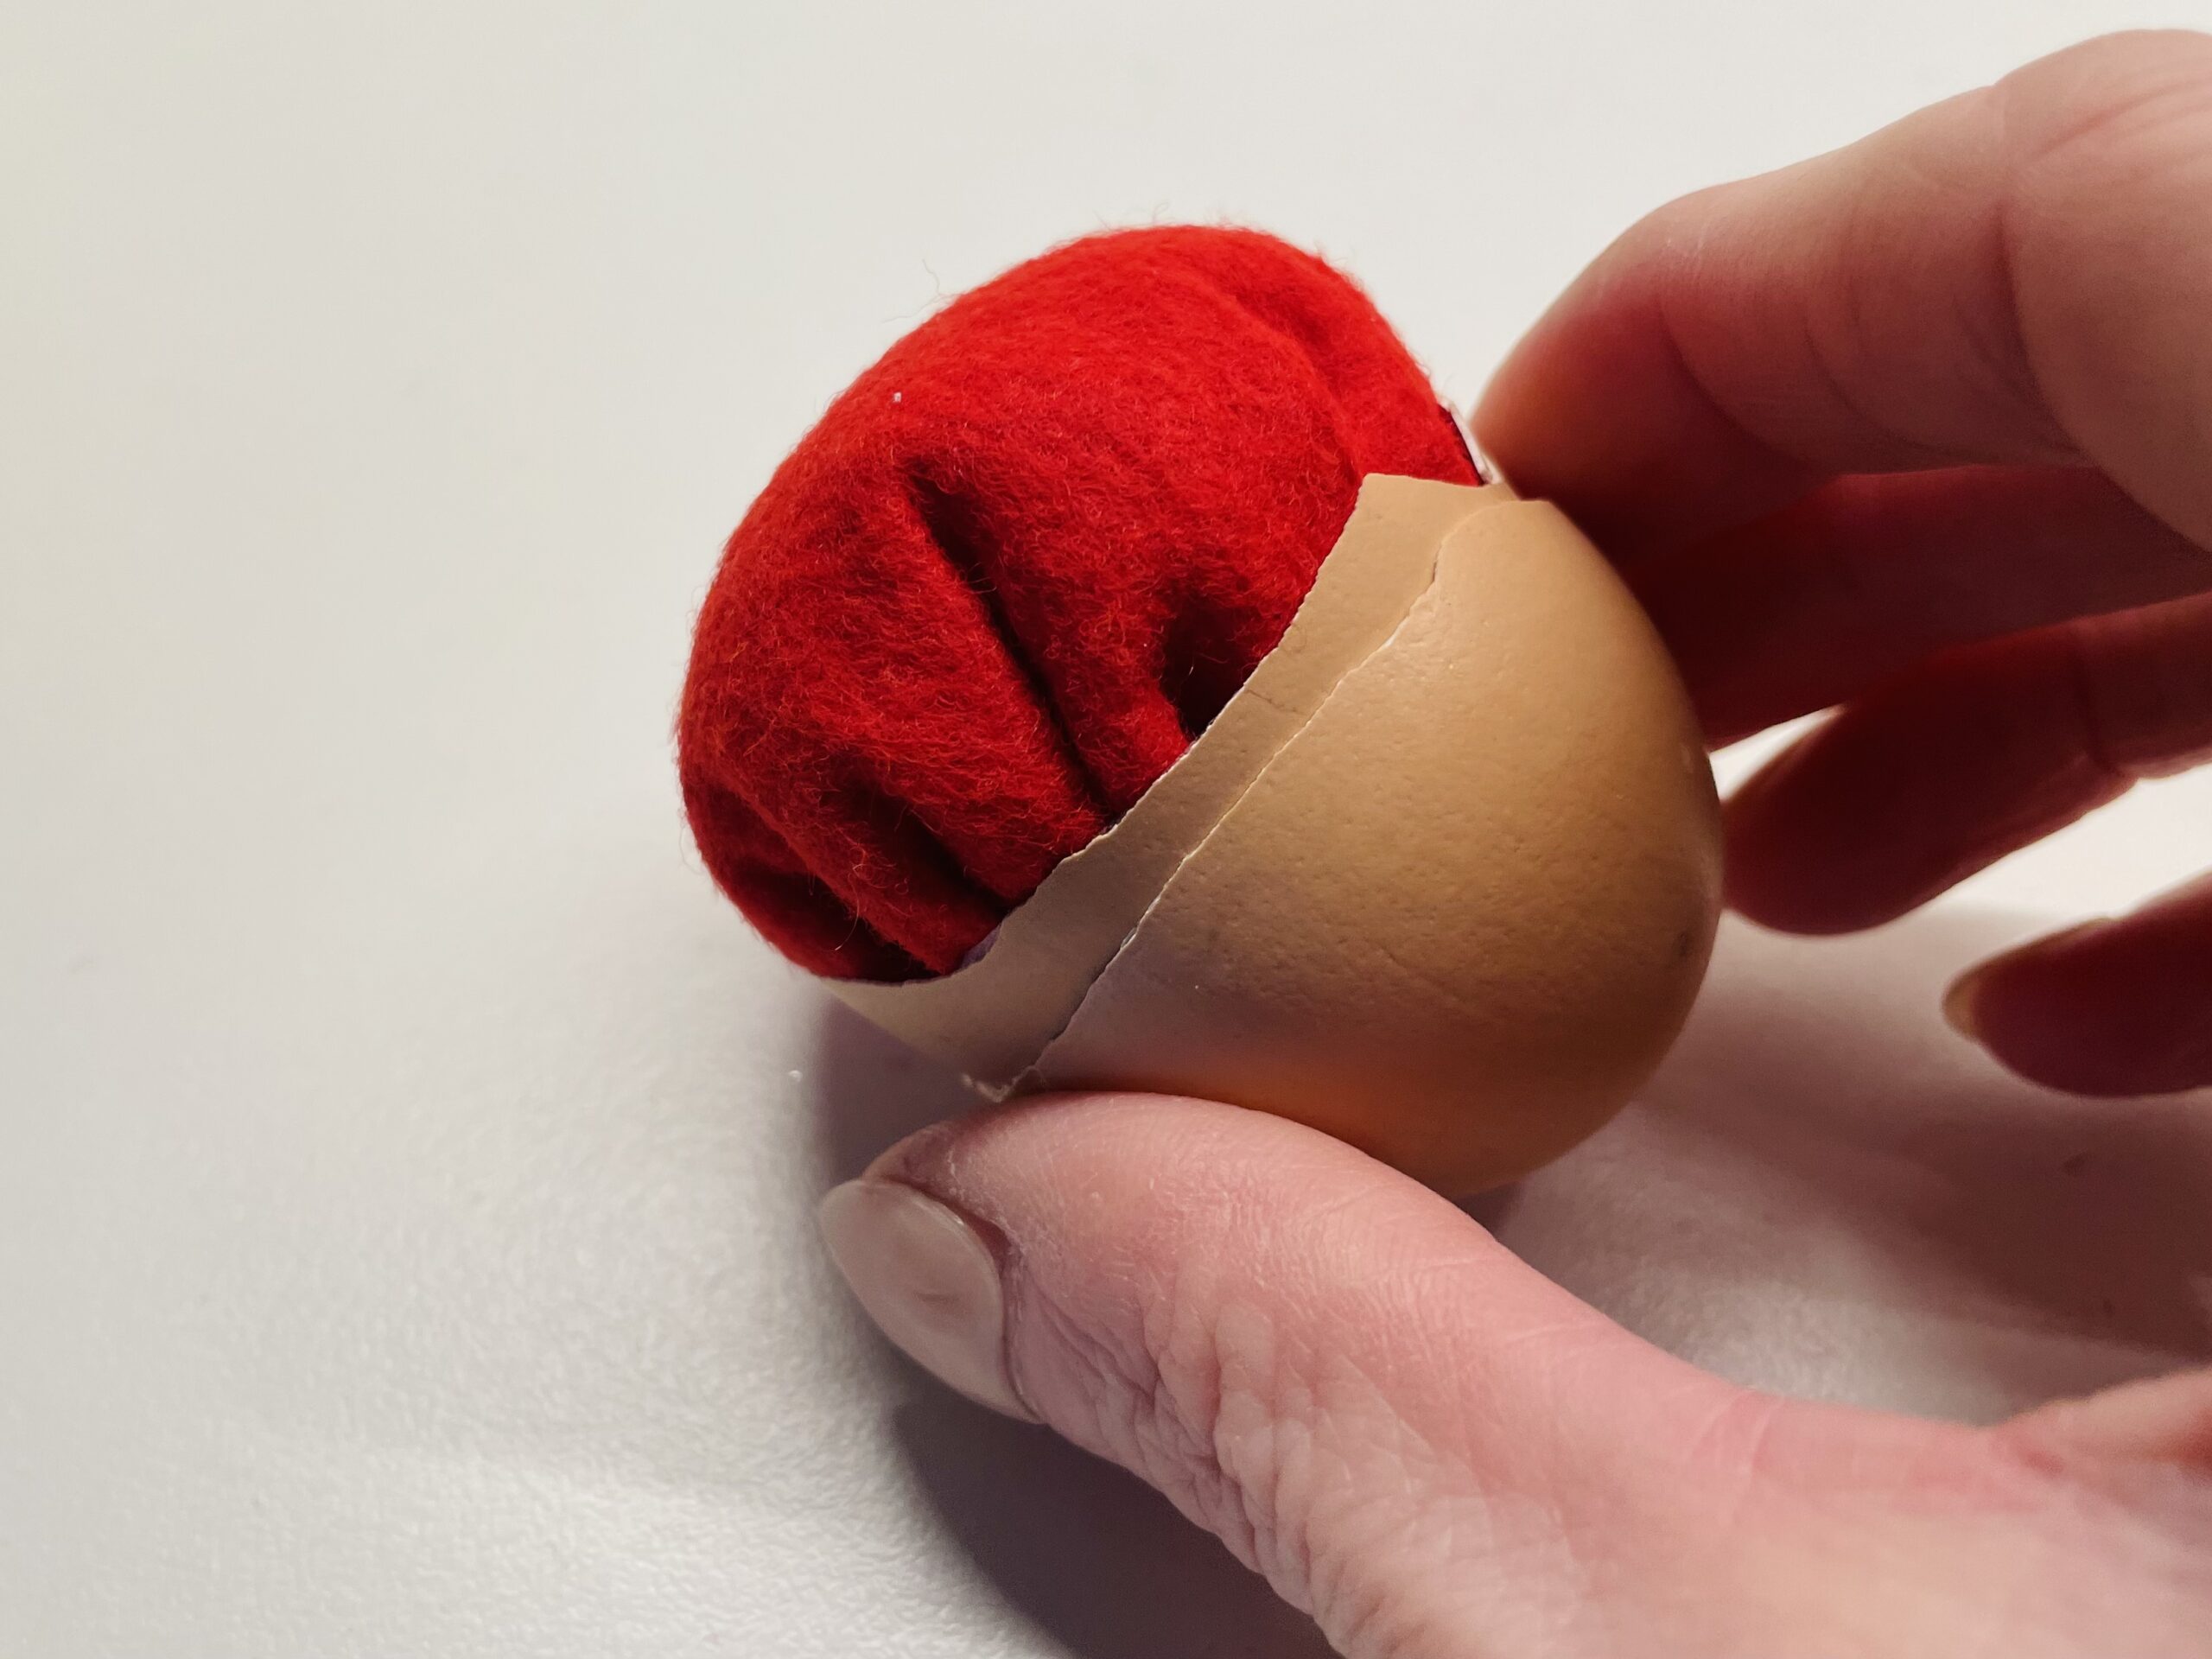
Bild zum Schritt 21 für das Bastel- und DIY-Abenteuer für Kinder: 'So sieht euer Nadelkissen jetzt aus.'

22

Now you put in many colorful pins. Use pins with big heads as much as possible.
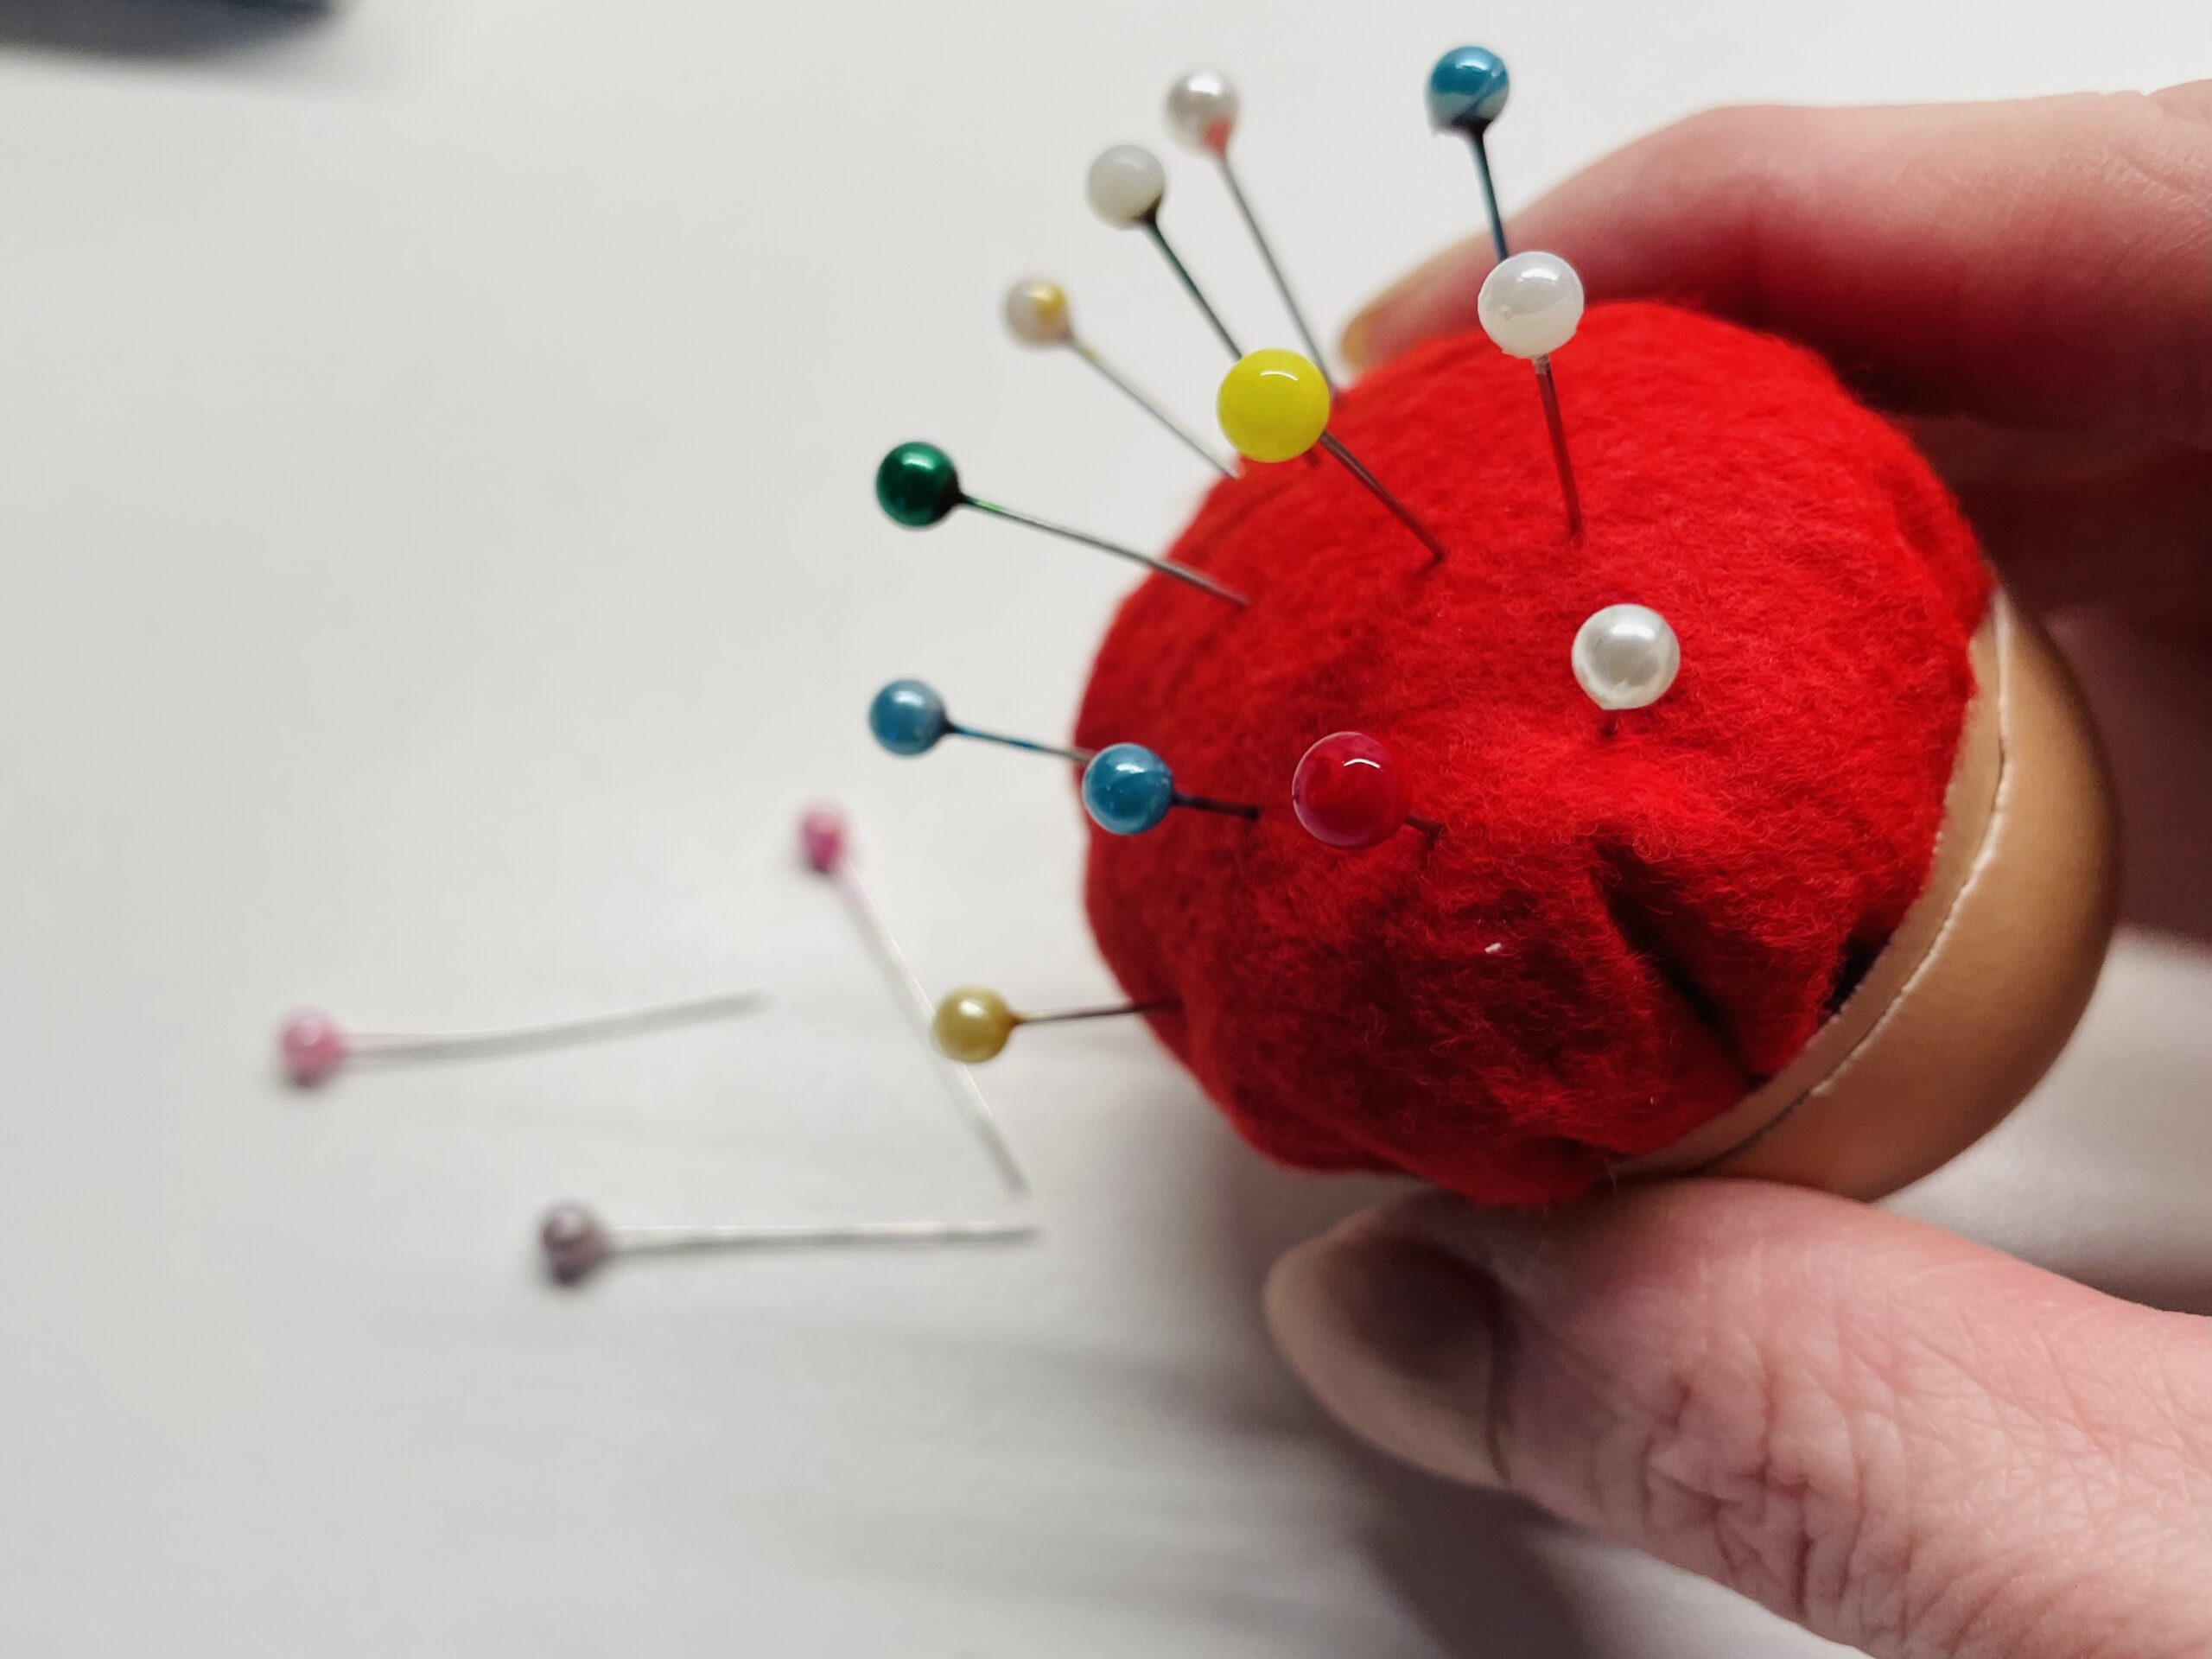
Bild zum Schritt 22 für das Bastel- und DIY-Abenteuer für Kinder: 'Nun steckt ihr viele bunte Stecknadeln hinein. Verwendet möglichst Stecknadeln...'

23

Your pincushion is ready now.

Bild zum Schritt 23 für das Bastel- und DIY-Abenteuer für Kinder: 'Euer Nadelkissen ist jetzt fertig.'

24

For example, you can place it on an egg cup. On the egg cup there are also other sewing utensils.
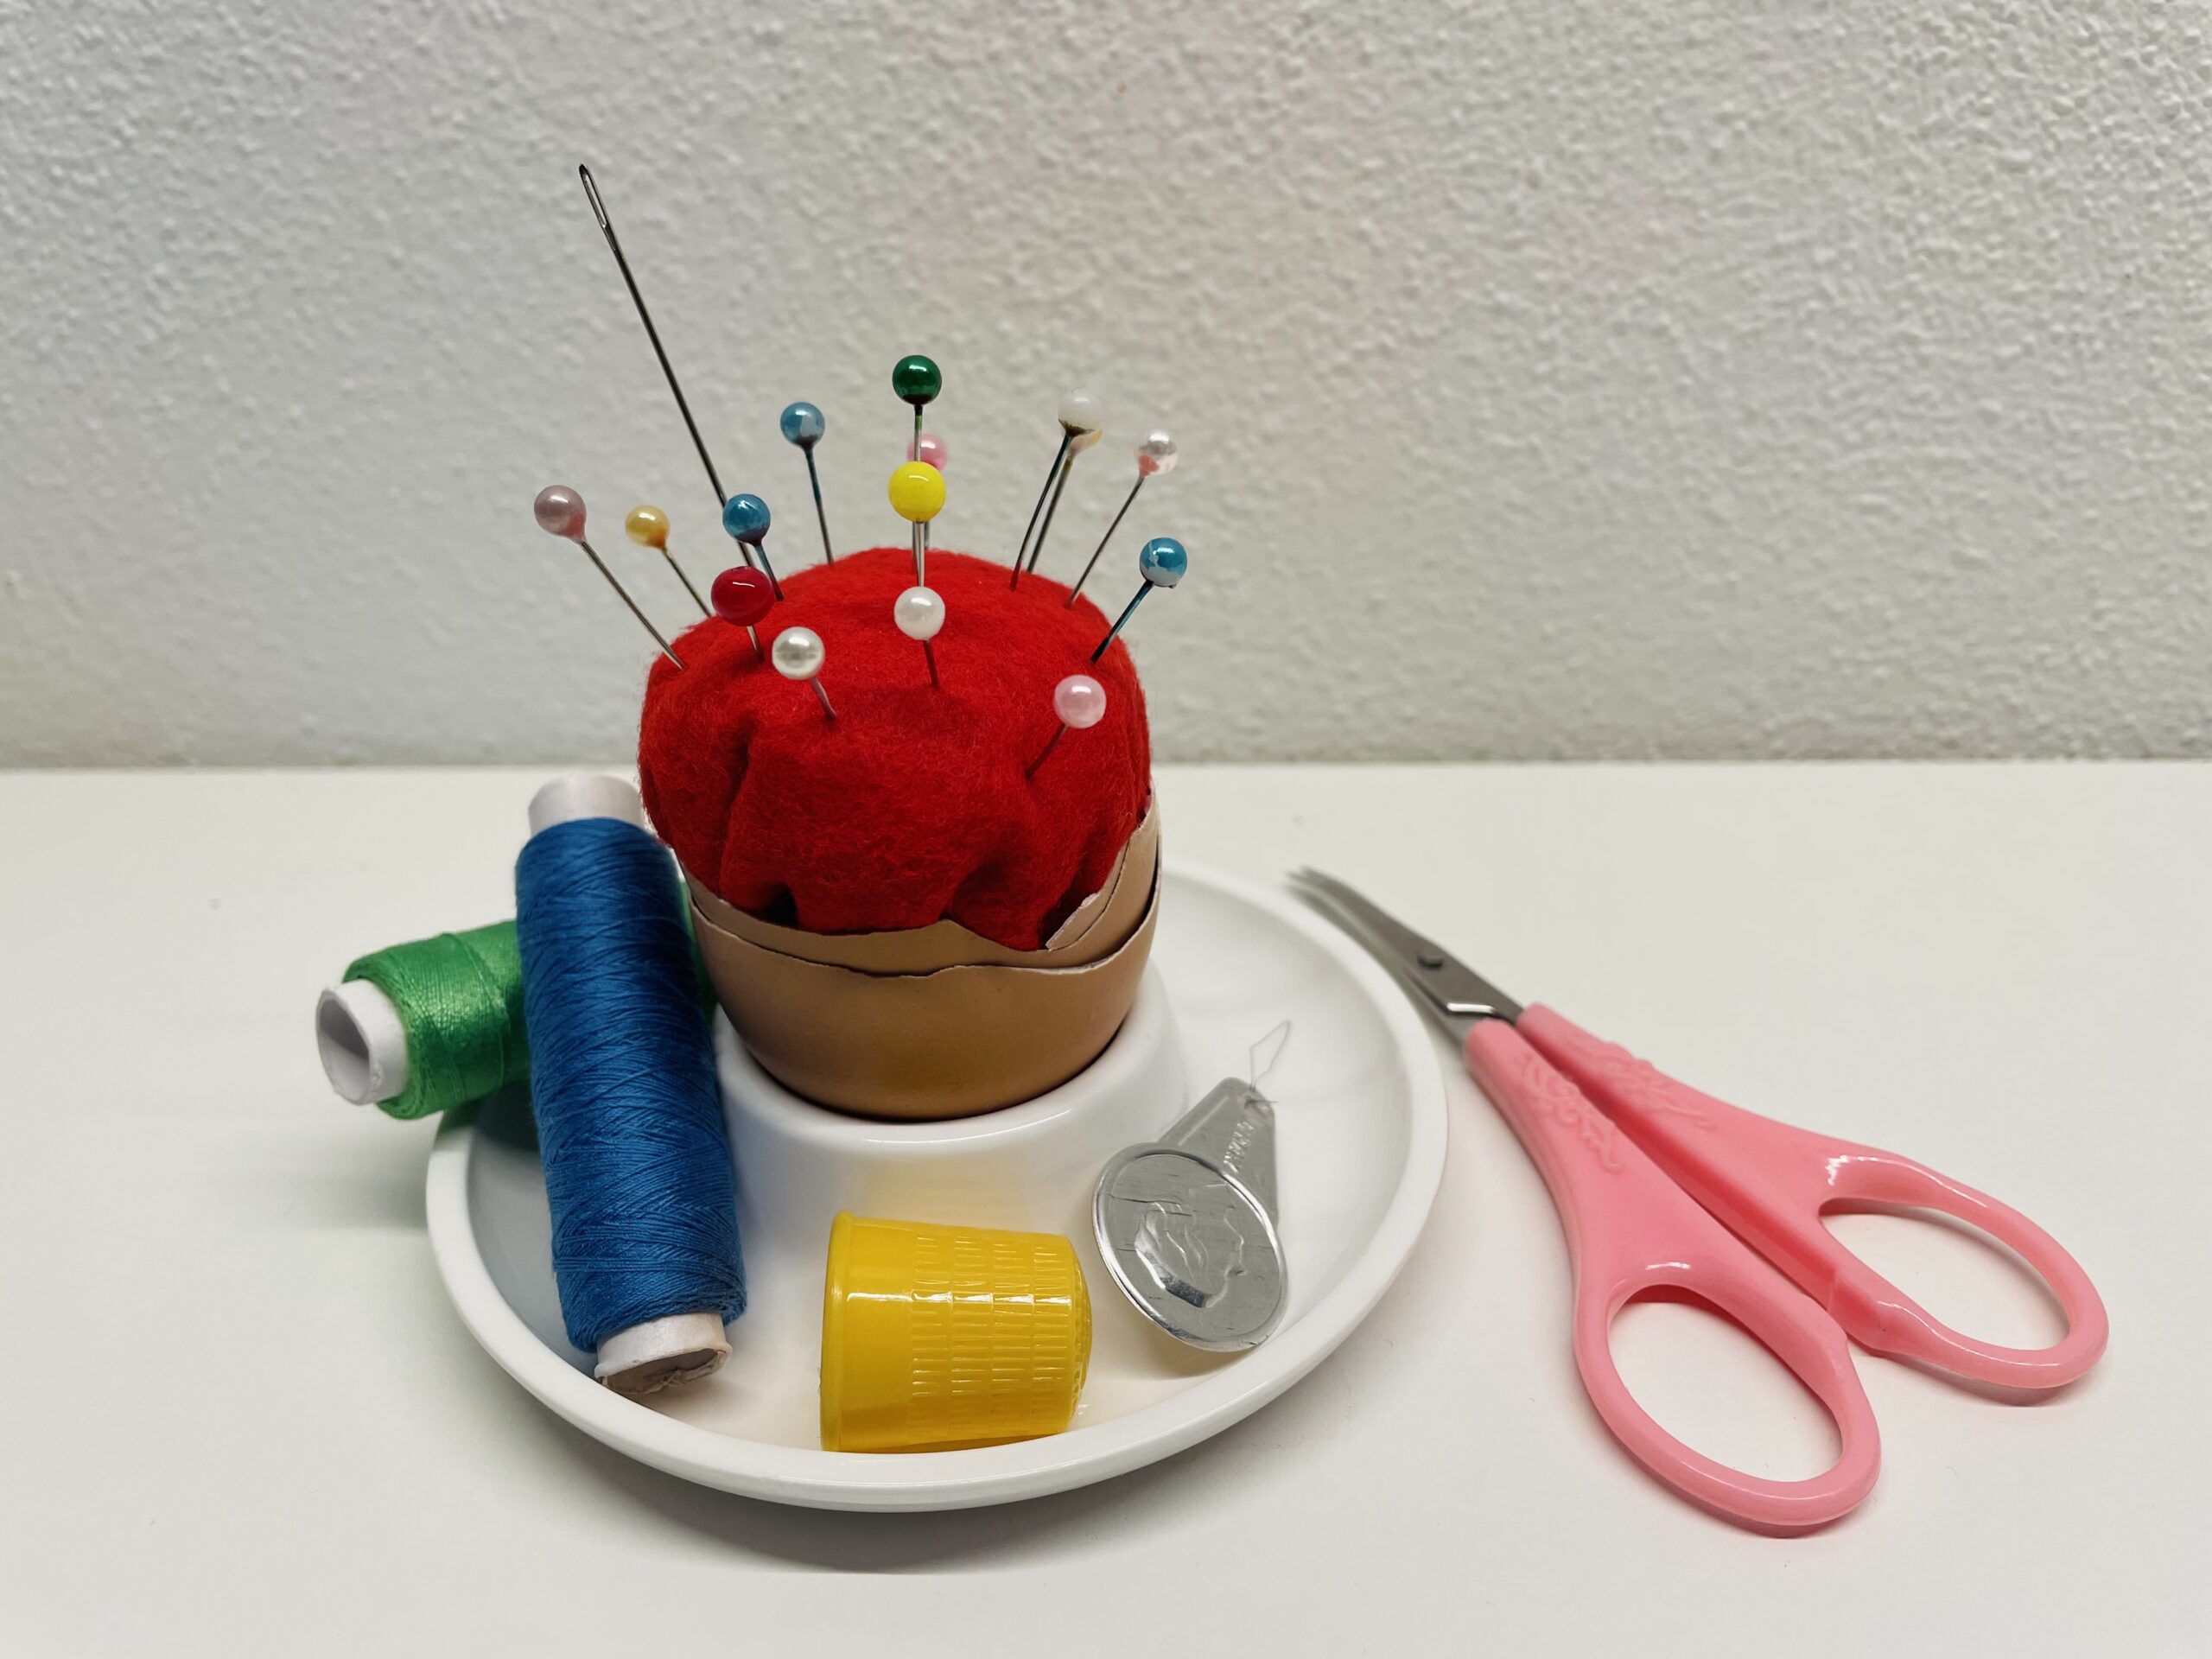
Bild zum Schritt 24 für das Bastel- und DIY-Abenteuer für Kinder: 'Ihr könnt es z.B. auf einem Eierbecher platzieren. Auf dem...'

25

Or you put the Easter egg needle cushion in a small sewing basket. You can find it in a separate offer.
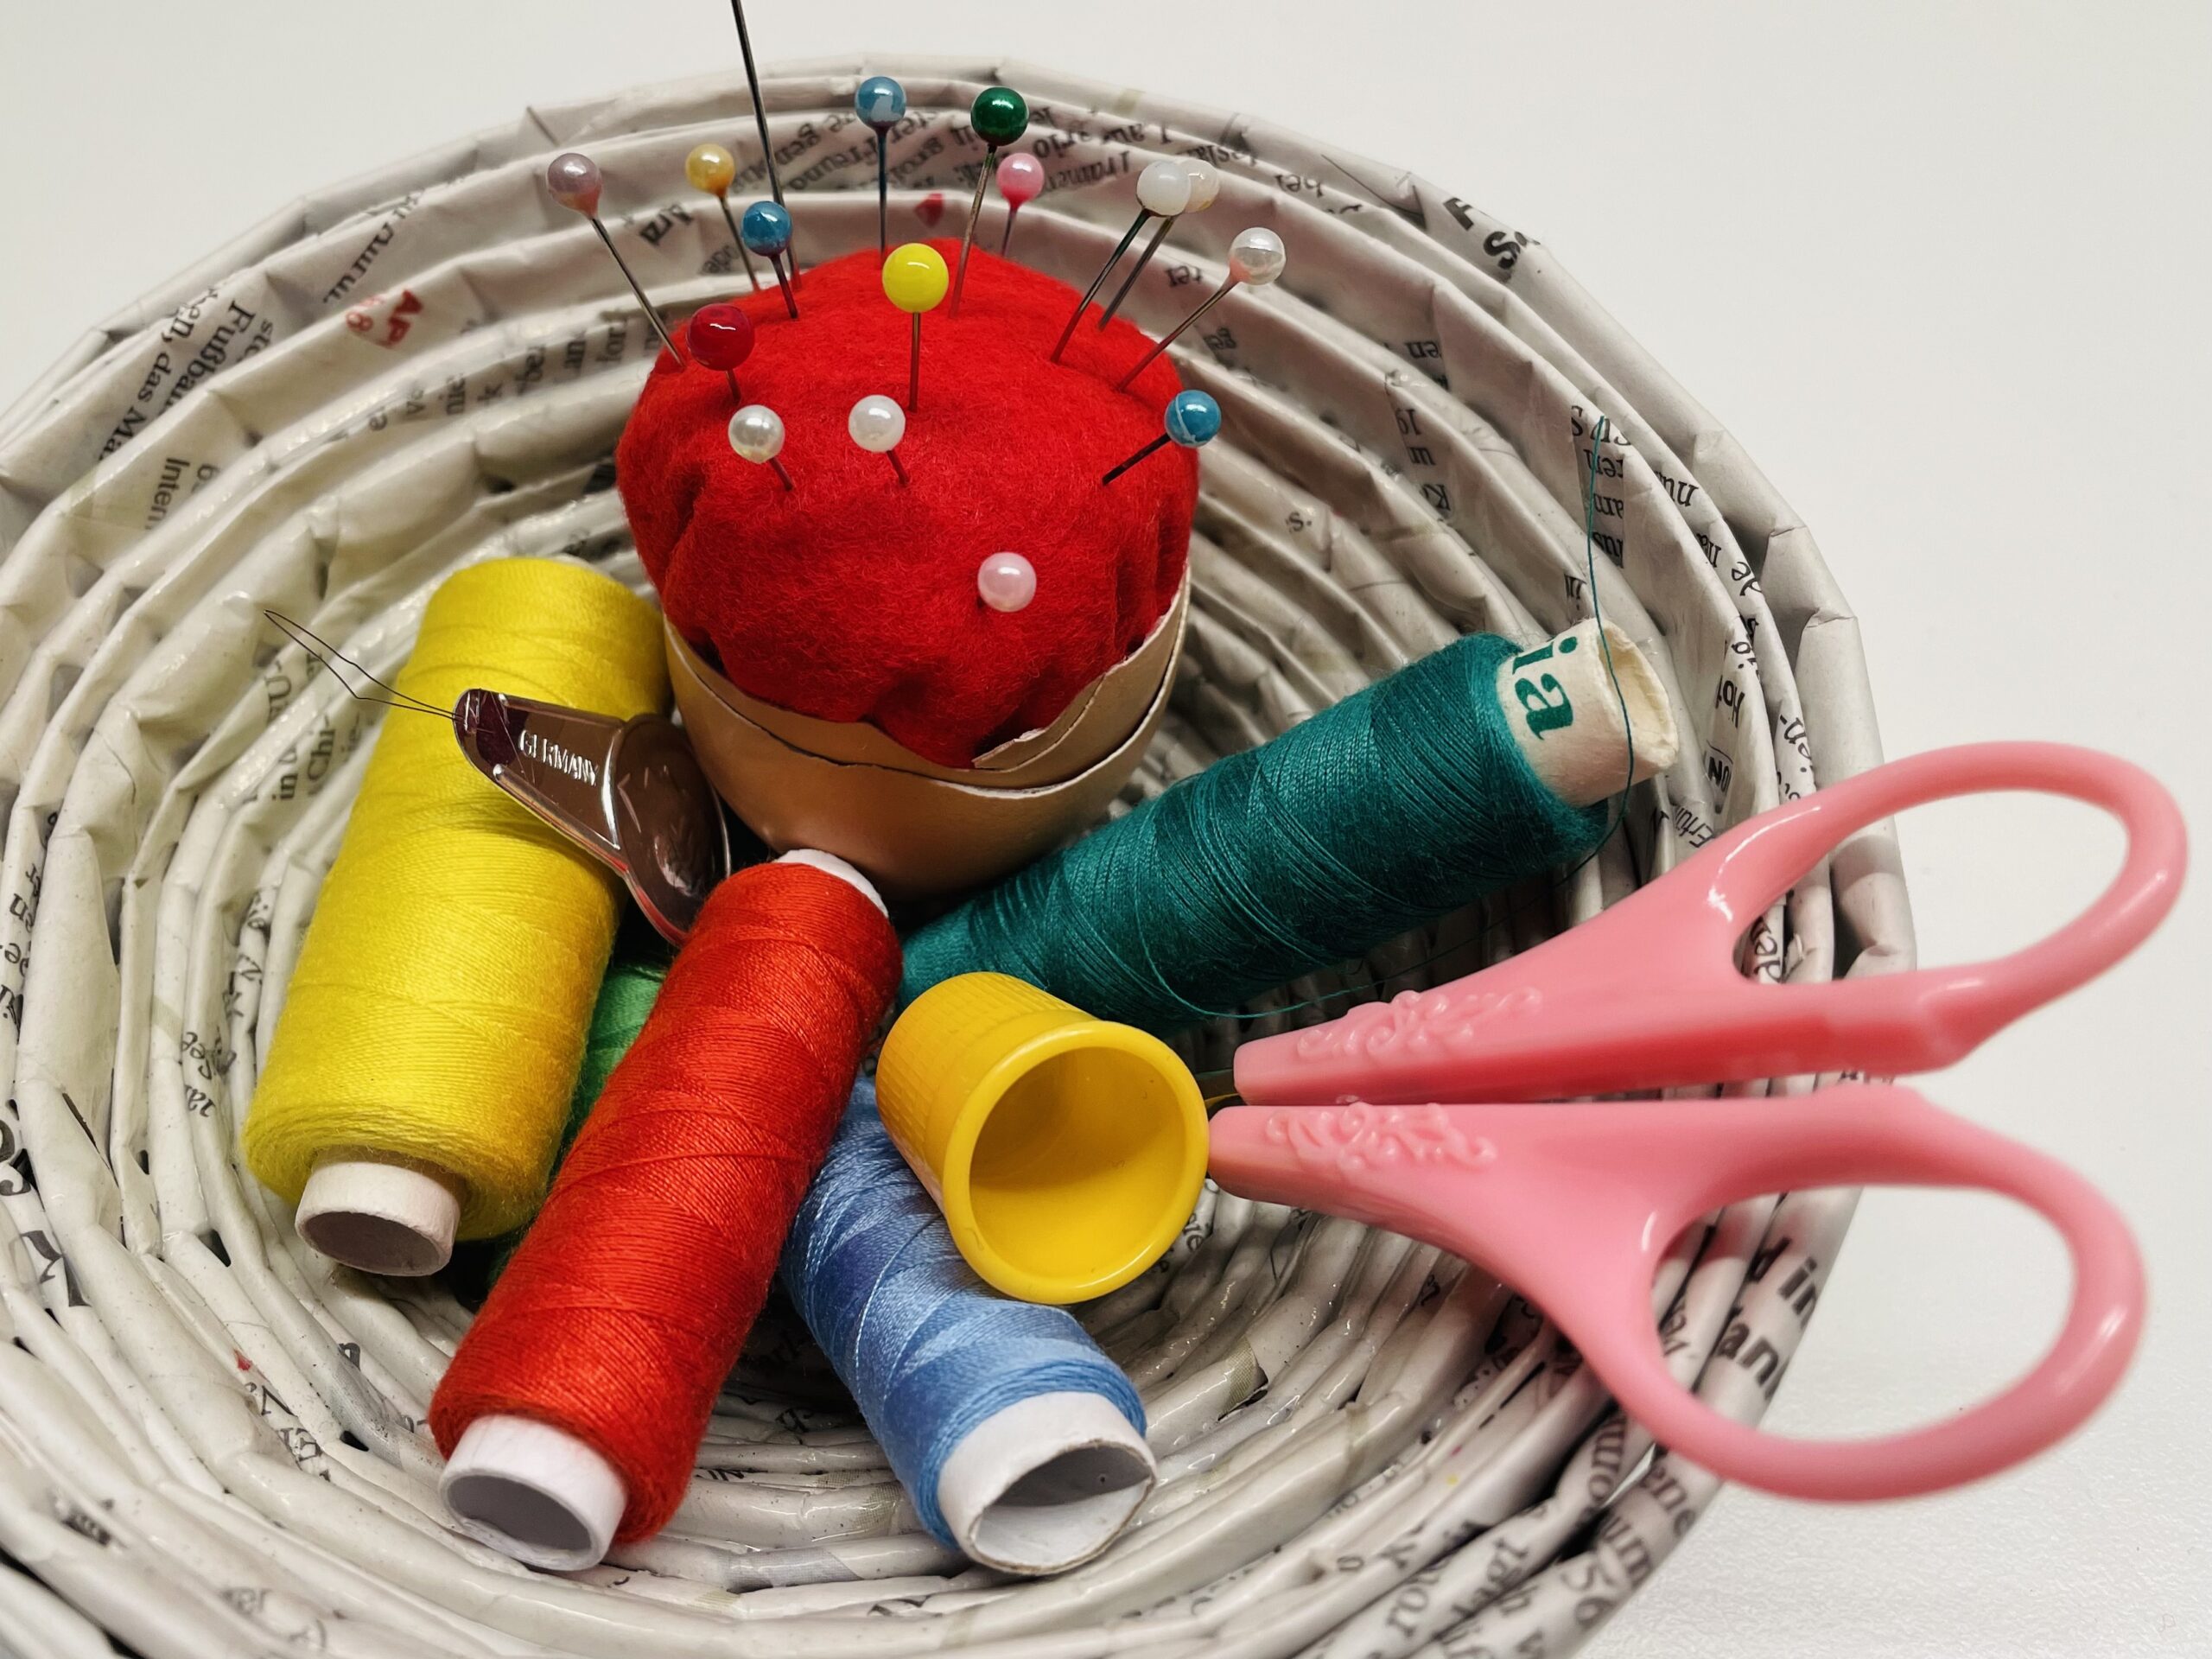
Bild zum Schritt 25 für das Bastel- und DIY-Abenteuer für Kinder: 'Oder ihr legt das Osterei-Nadelkissen in einen kleinen Nähkorb. Das...'

26

The pin cushion is also suitable as a gift for sewing enthusiasts at Easter.
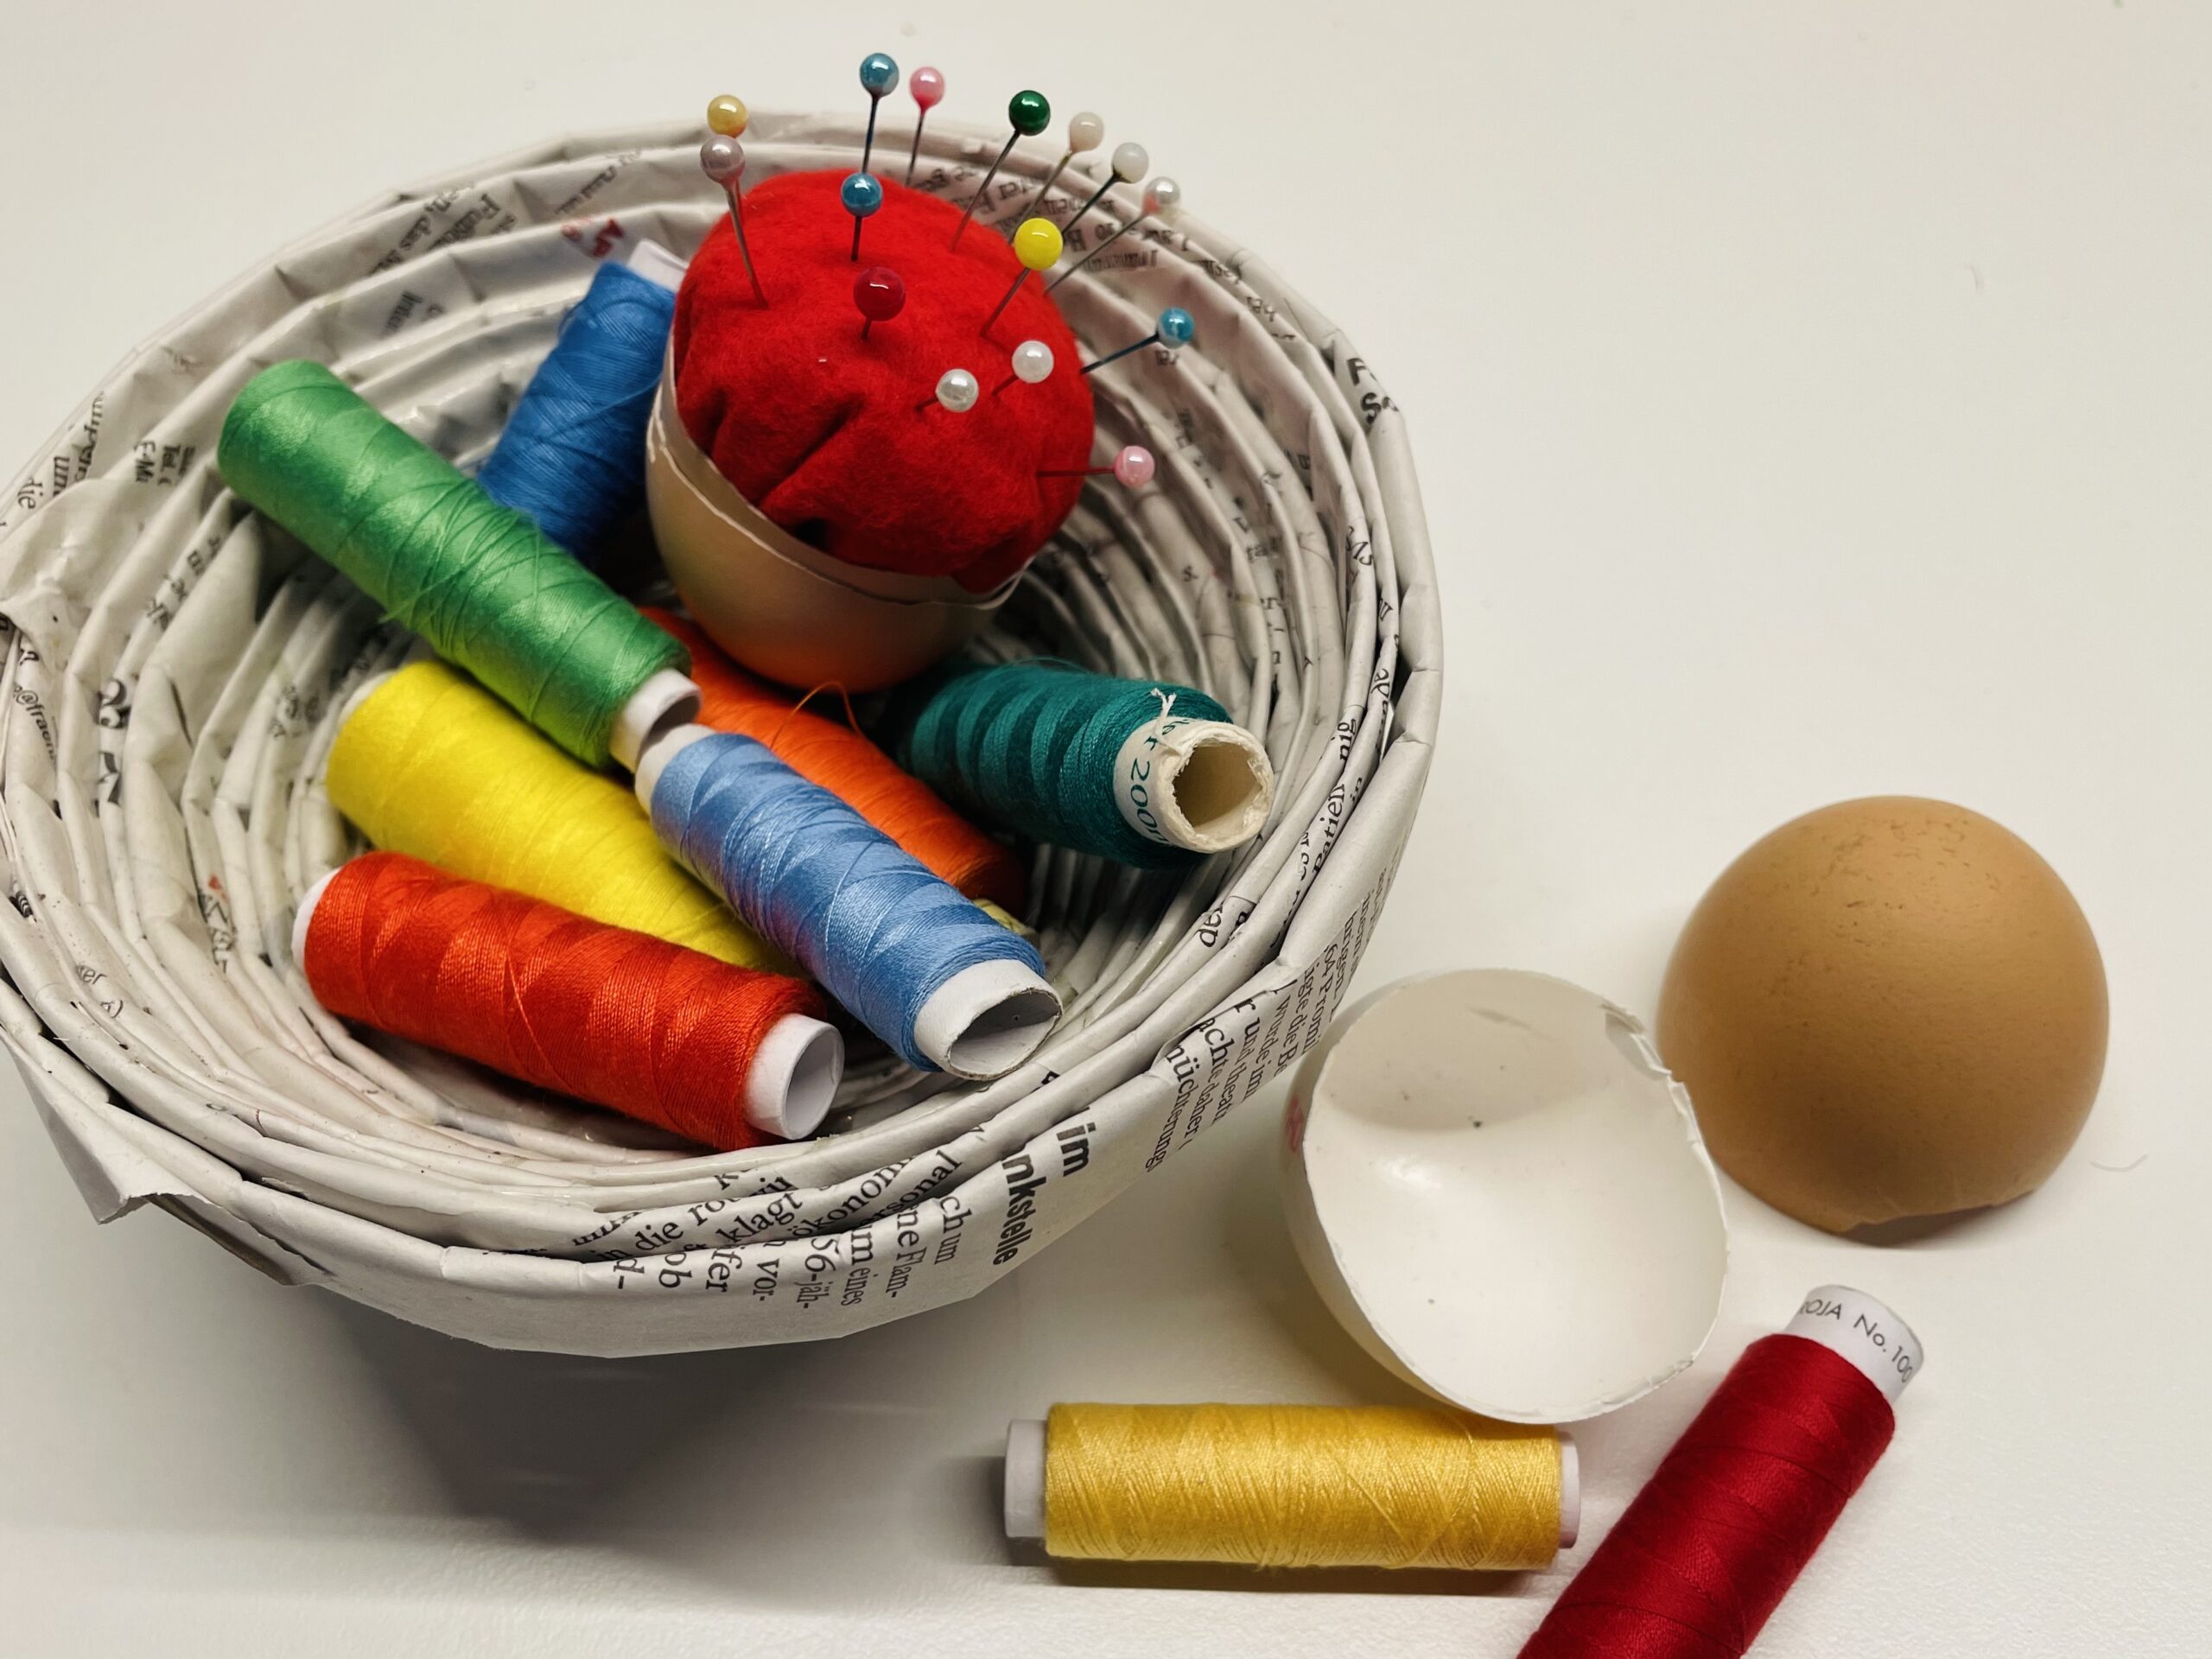
Bild zum Schritt 26 für das Bastel- und DIY-Abenteuer für Kinder: 'Das Nadelkissen eignet sich auch als Geschenk für Nähbegeisterte zu...'

27

Stay creative! Enjoy trying!

Easter egg pin cushions

Follow us on Facebook , Instagram and Pinterest
Don't miss any more adventures: Our bottle mail

2 Comments

  1. 893 times & ()

    Absolutely awesome! Our 8-year-old son implemented it completely independently after the instruction.

Leave a Reply

Your email address will not be published.

The maximum upload file size: 5 MB. You can upload: image, document. Drop file here