Cords are quickly turned with a mixer. At the children's birthday party cords can be used to hang medals,... serve as a "tail" for the animal paneling, etc.
Media Education for Kindergarten and Hort

Relief in everyday life, targeted promotion of individual children, independent learning and - without any pre-knowledge already usable by the youngest!
All set.
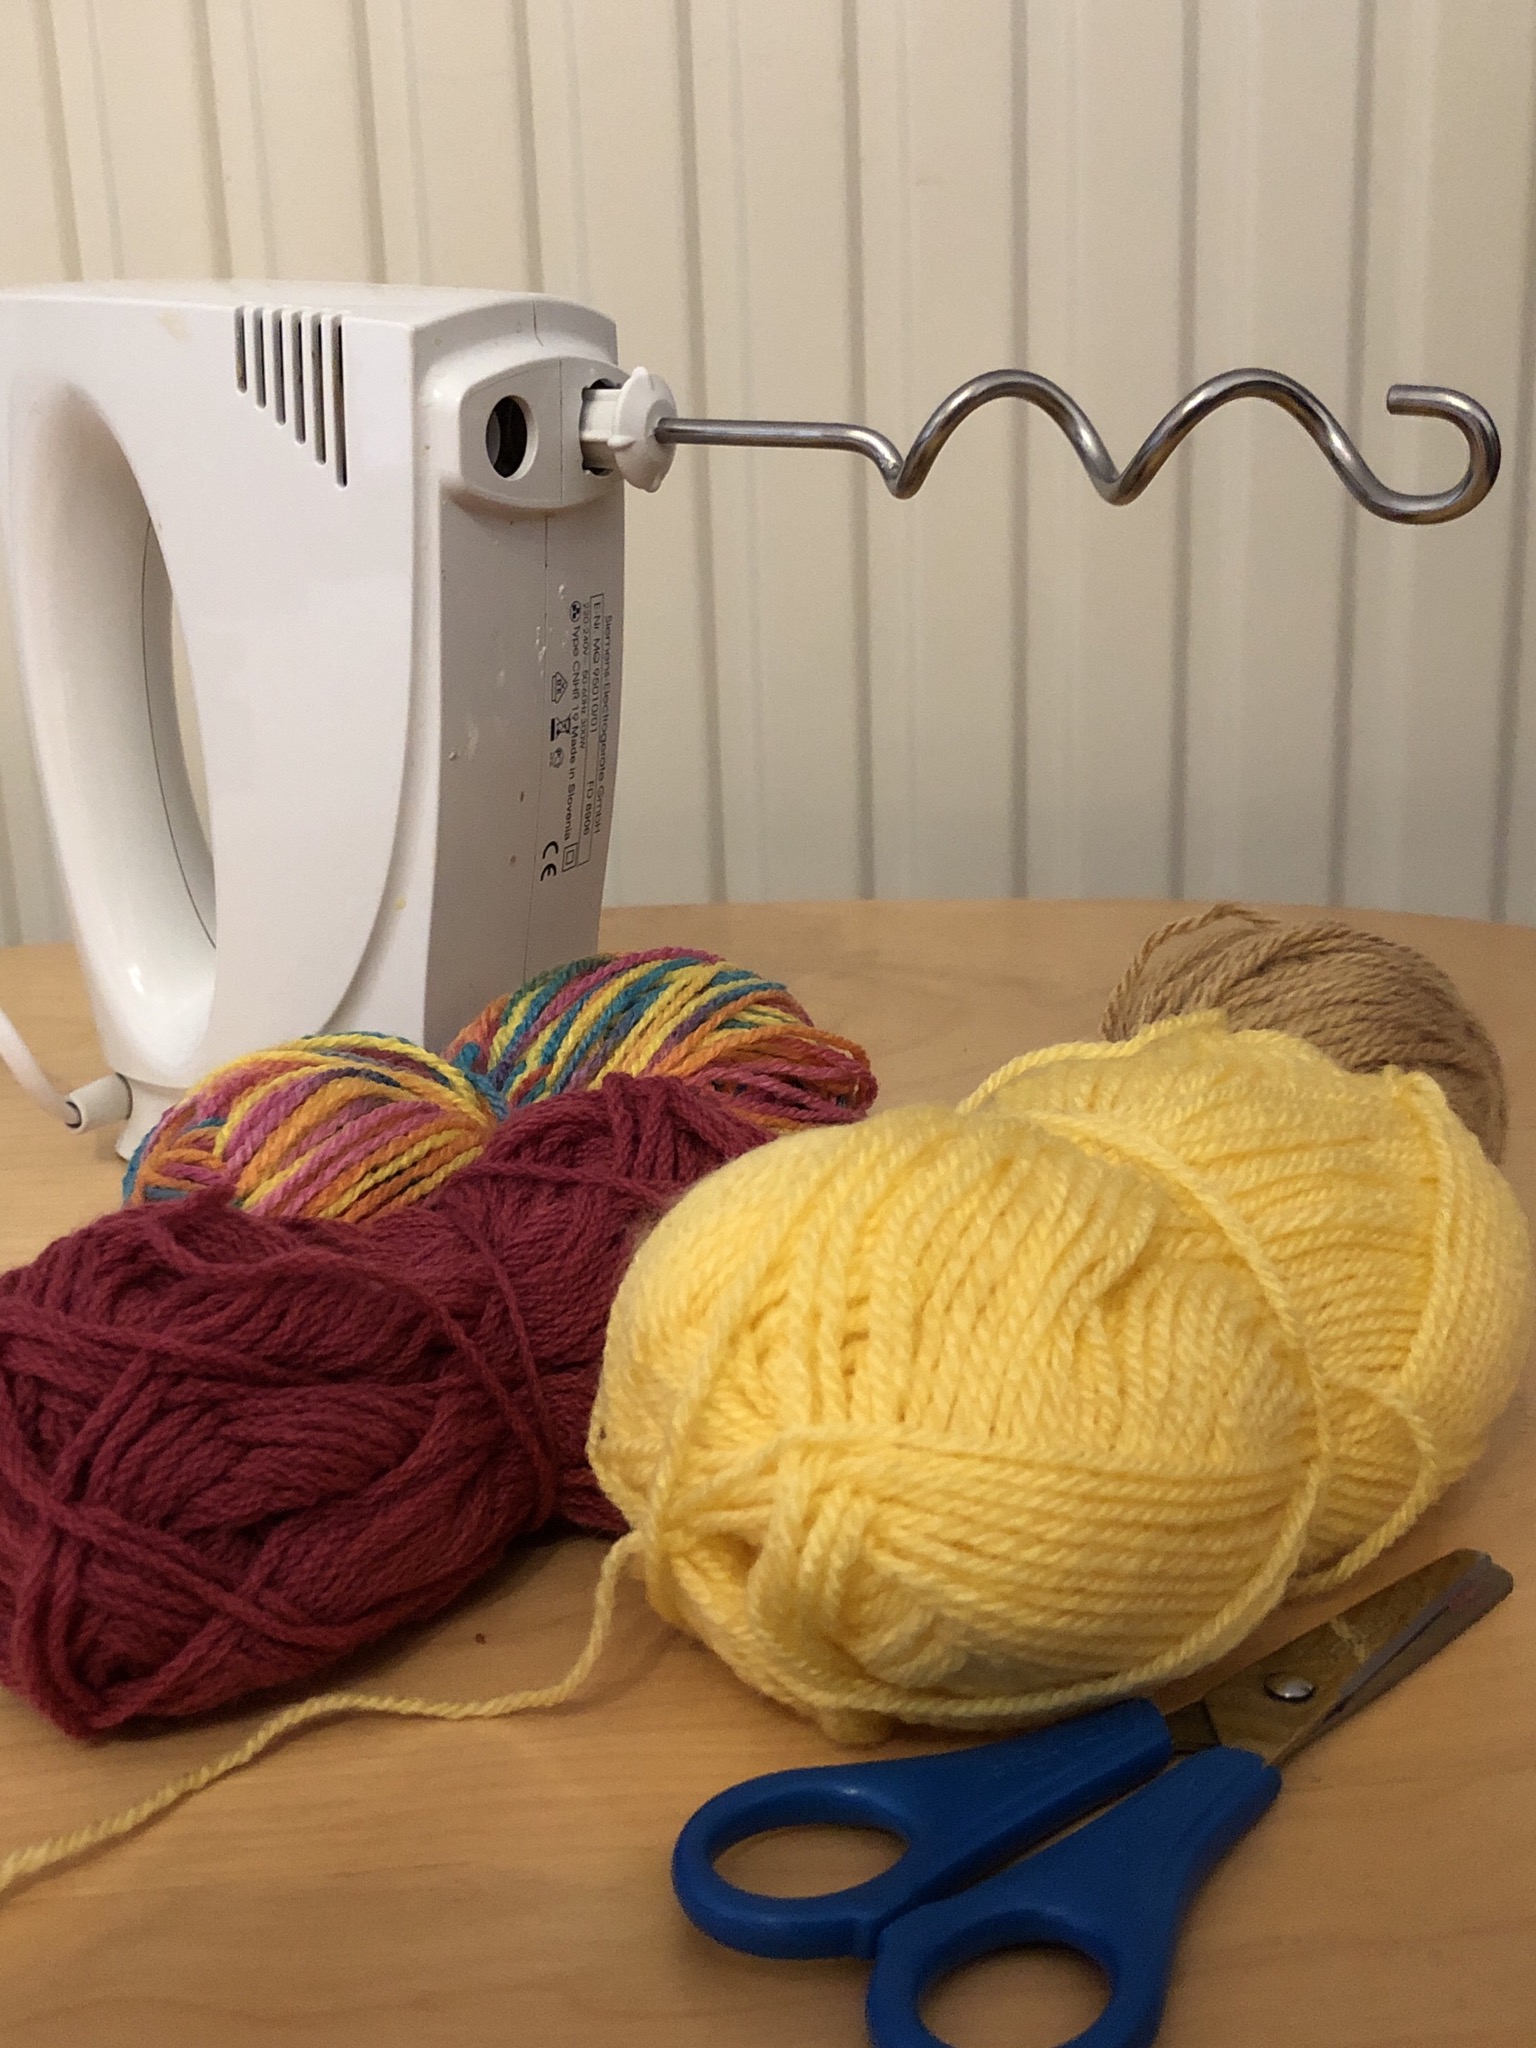
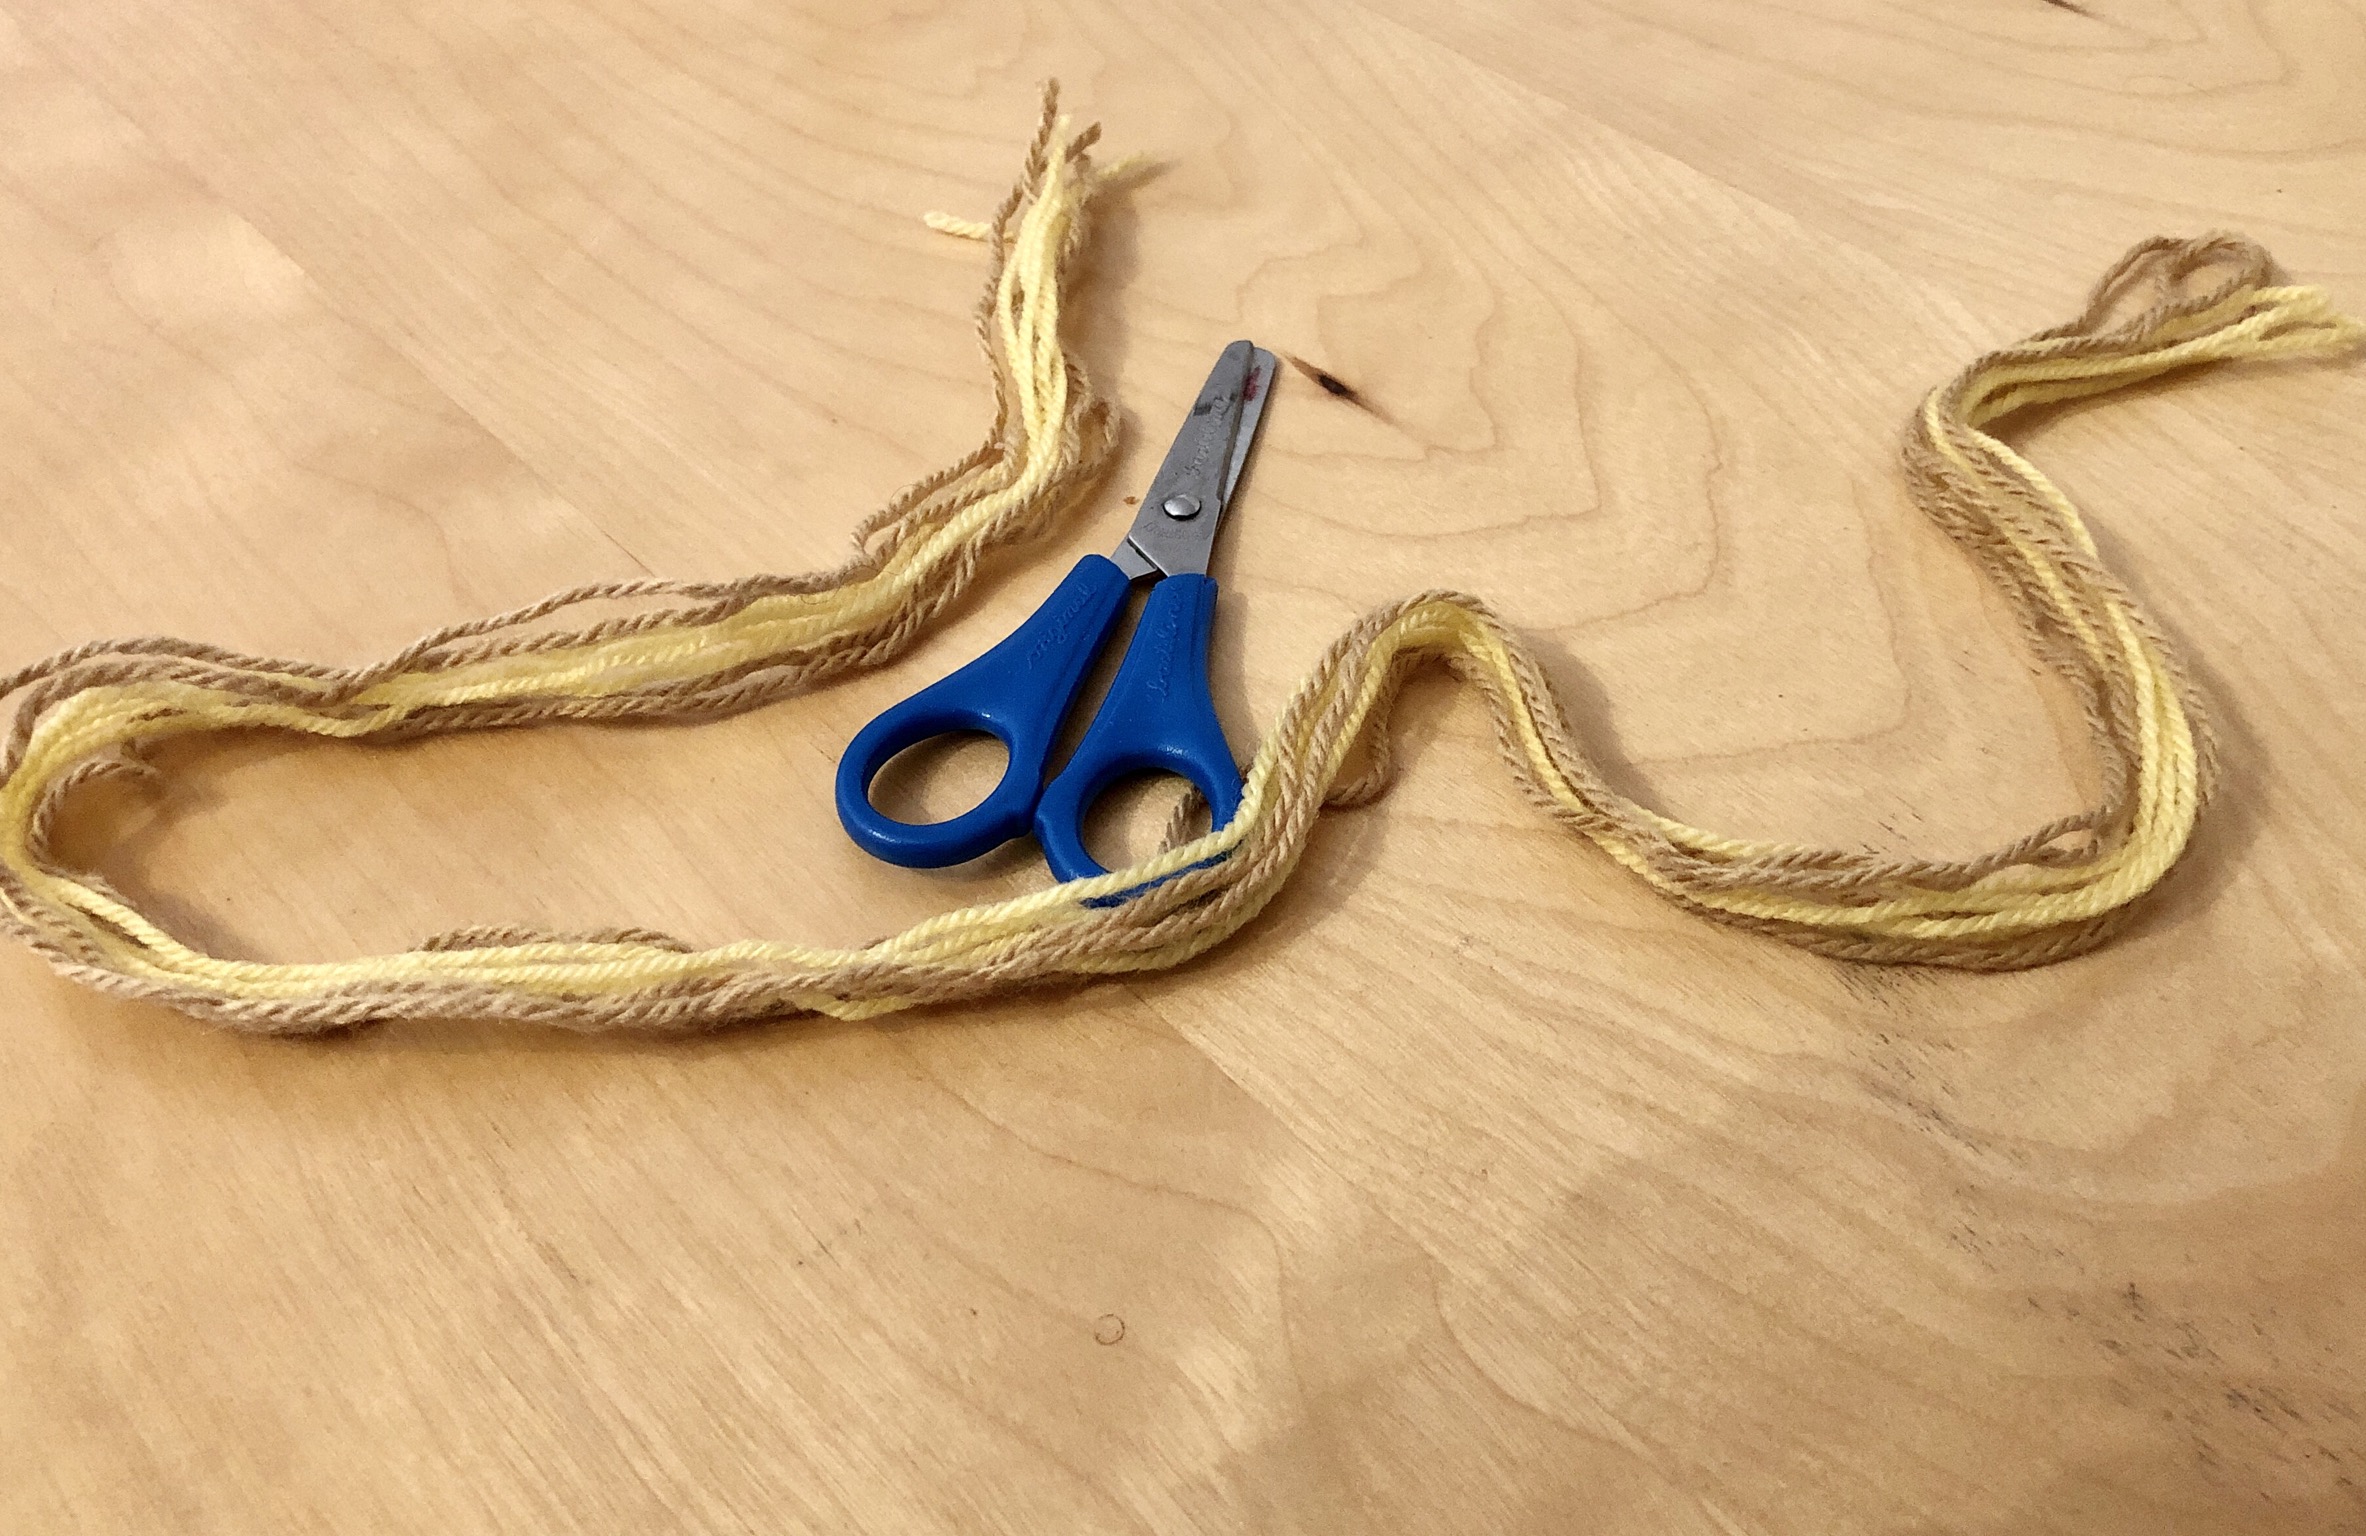
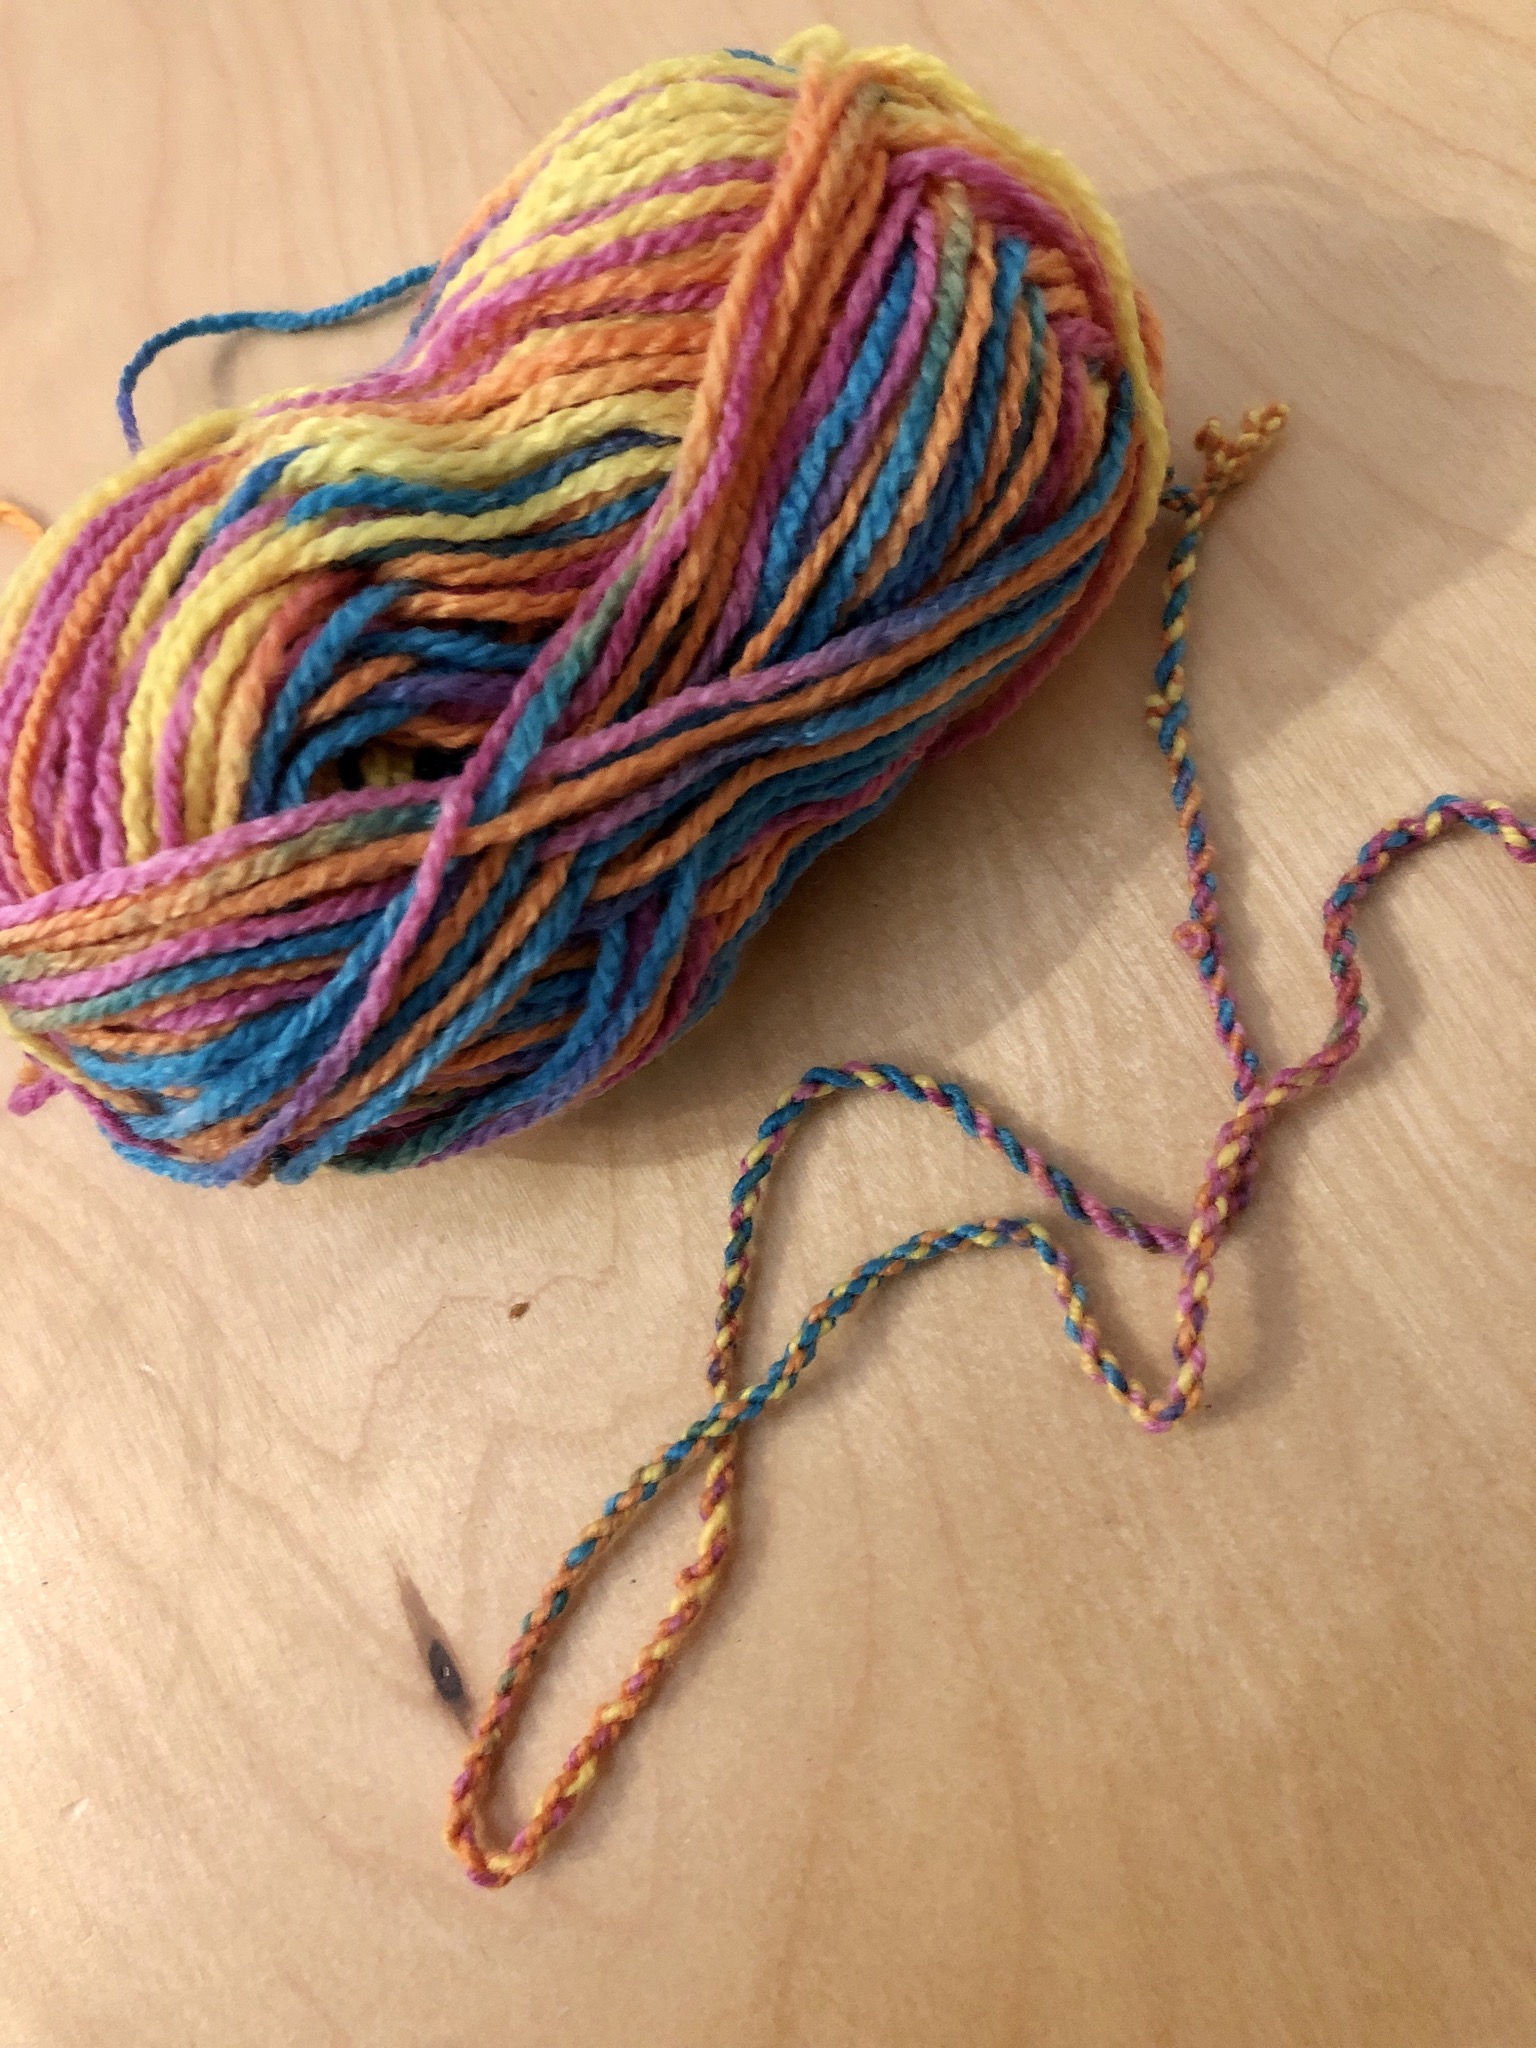
Pick wool. Cut wool threads.
Length: place 1,40 m long threads halved: gives a cord of 30-50 cm length - depending on the thickness of the thread and the number of threads. The thicker and the more threads, the shorter the cord becomes!

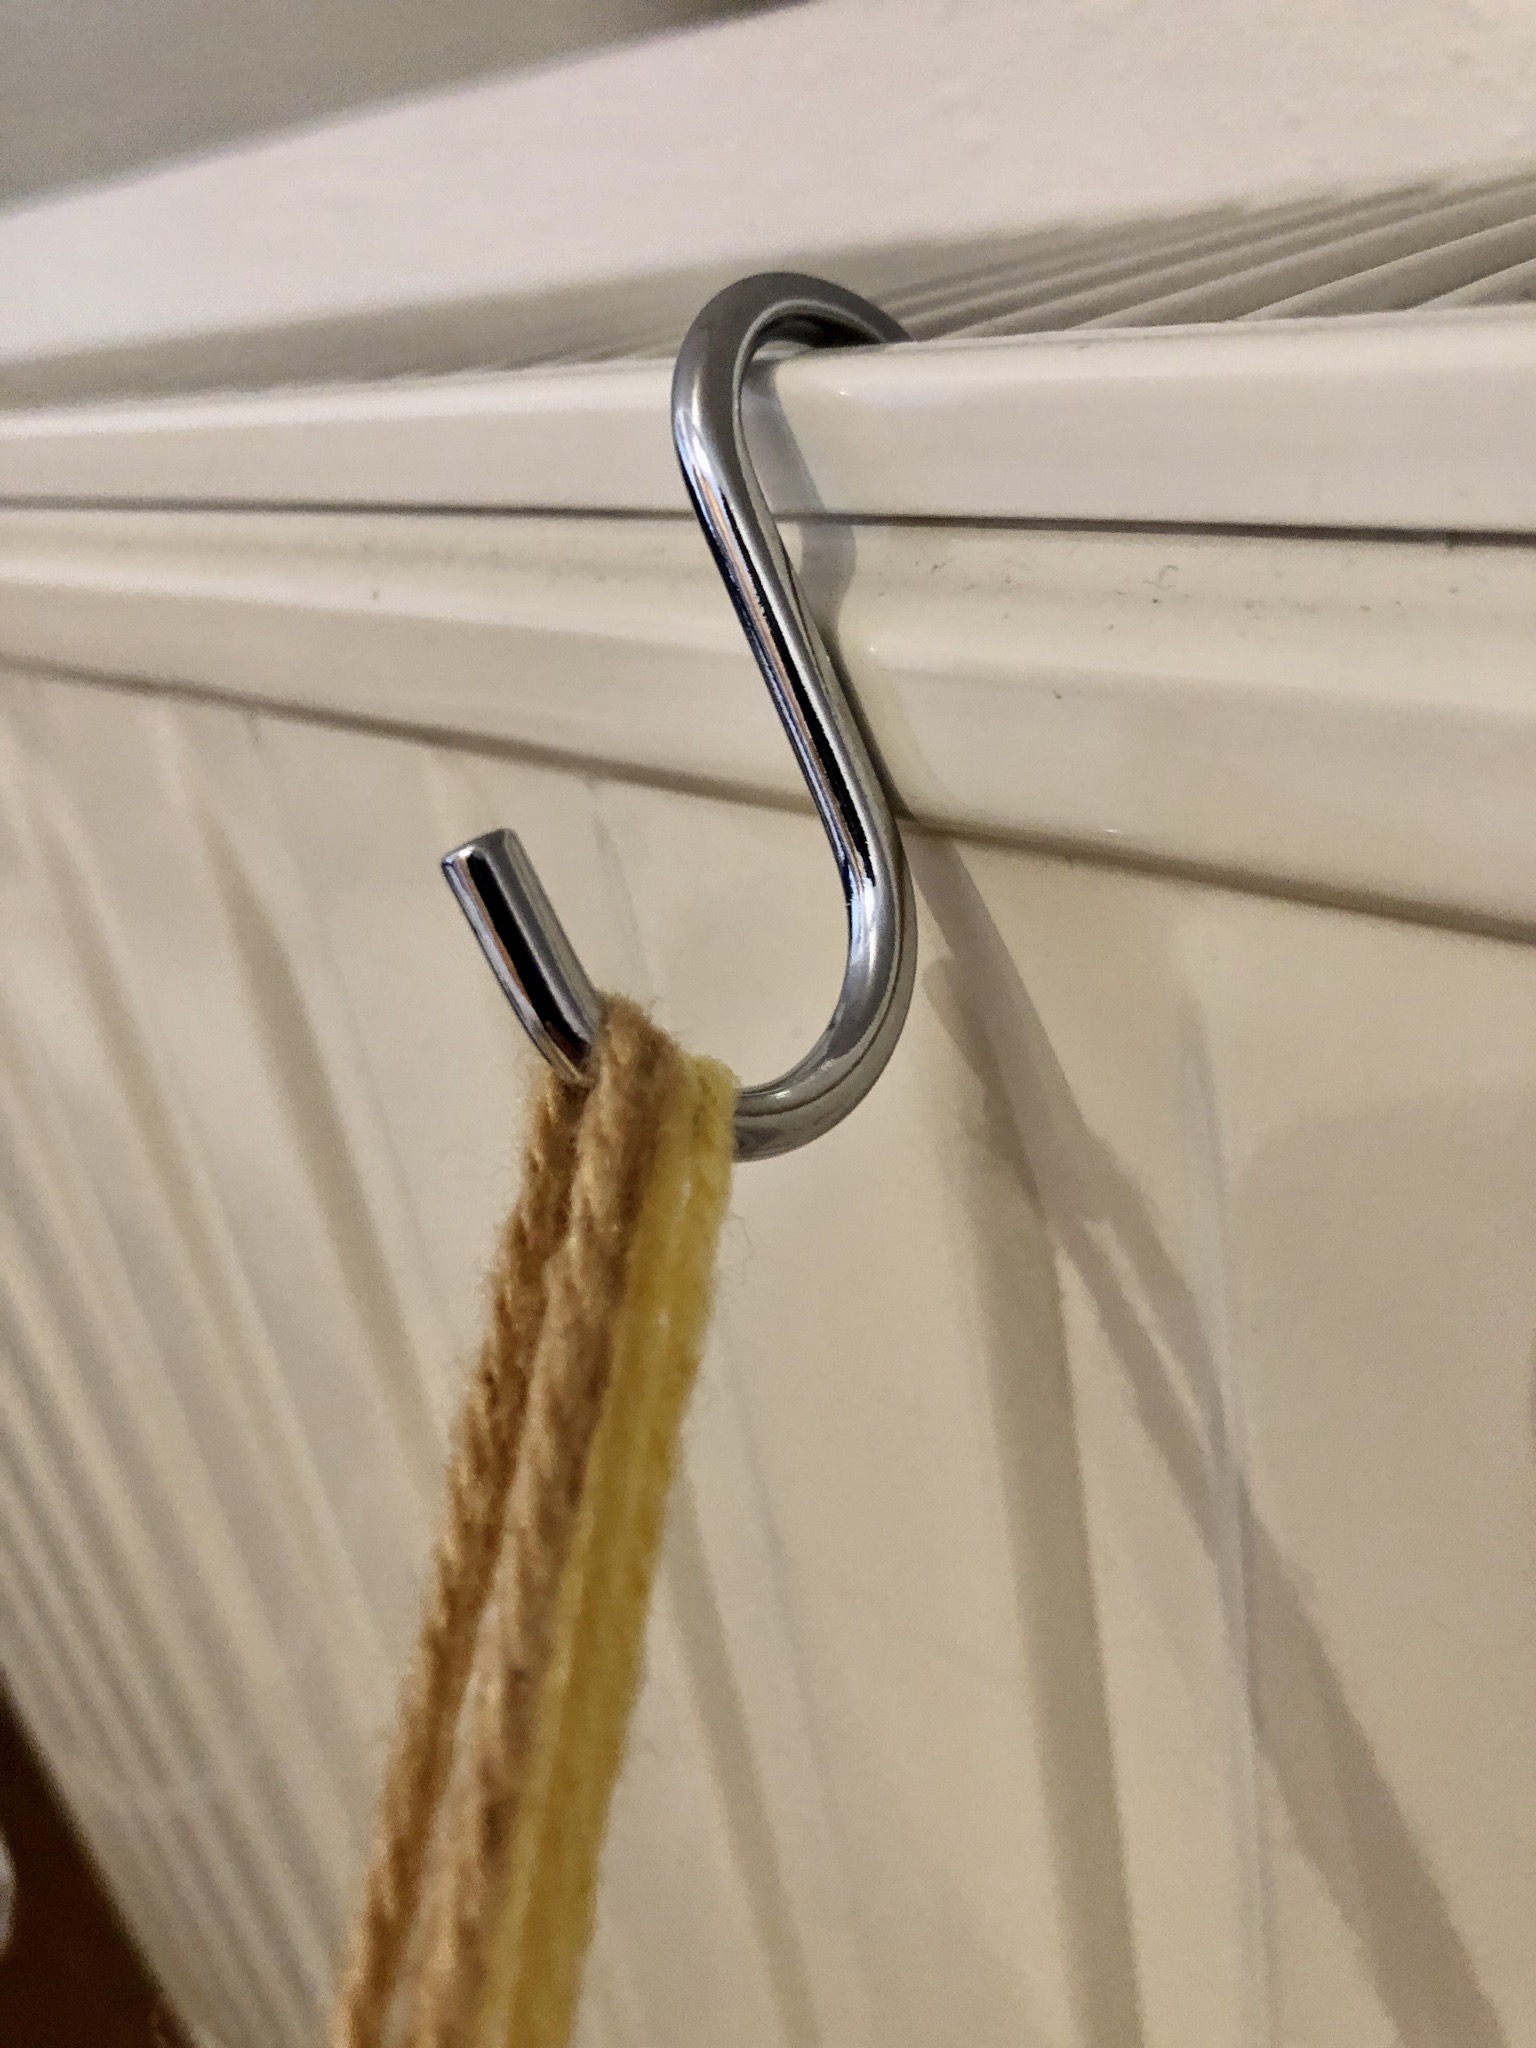
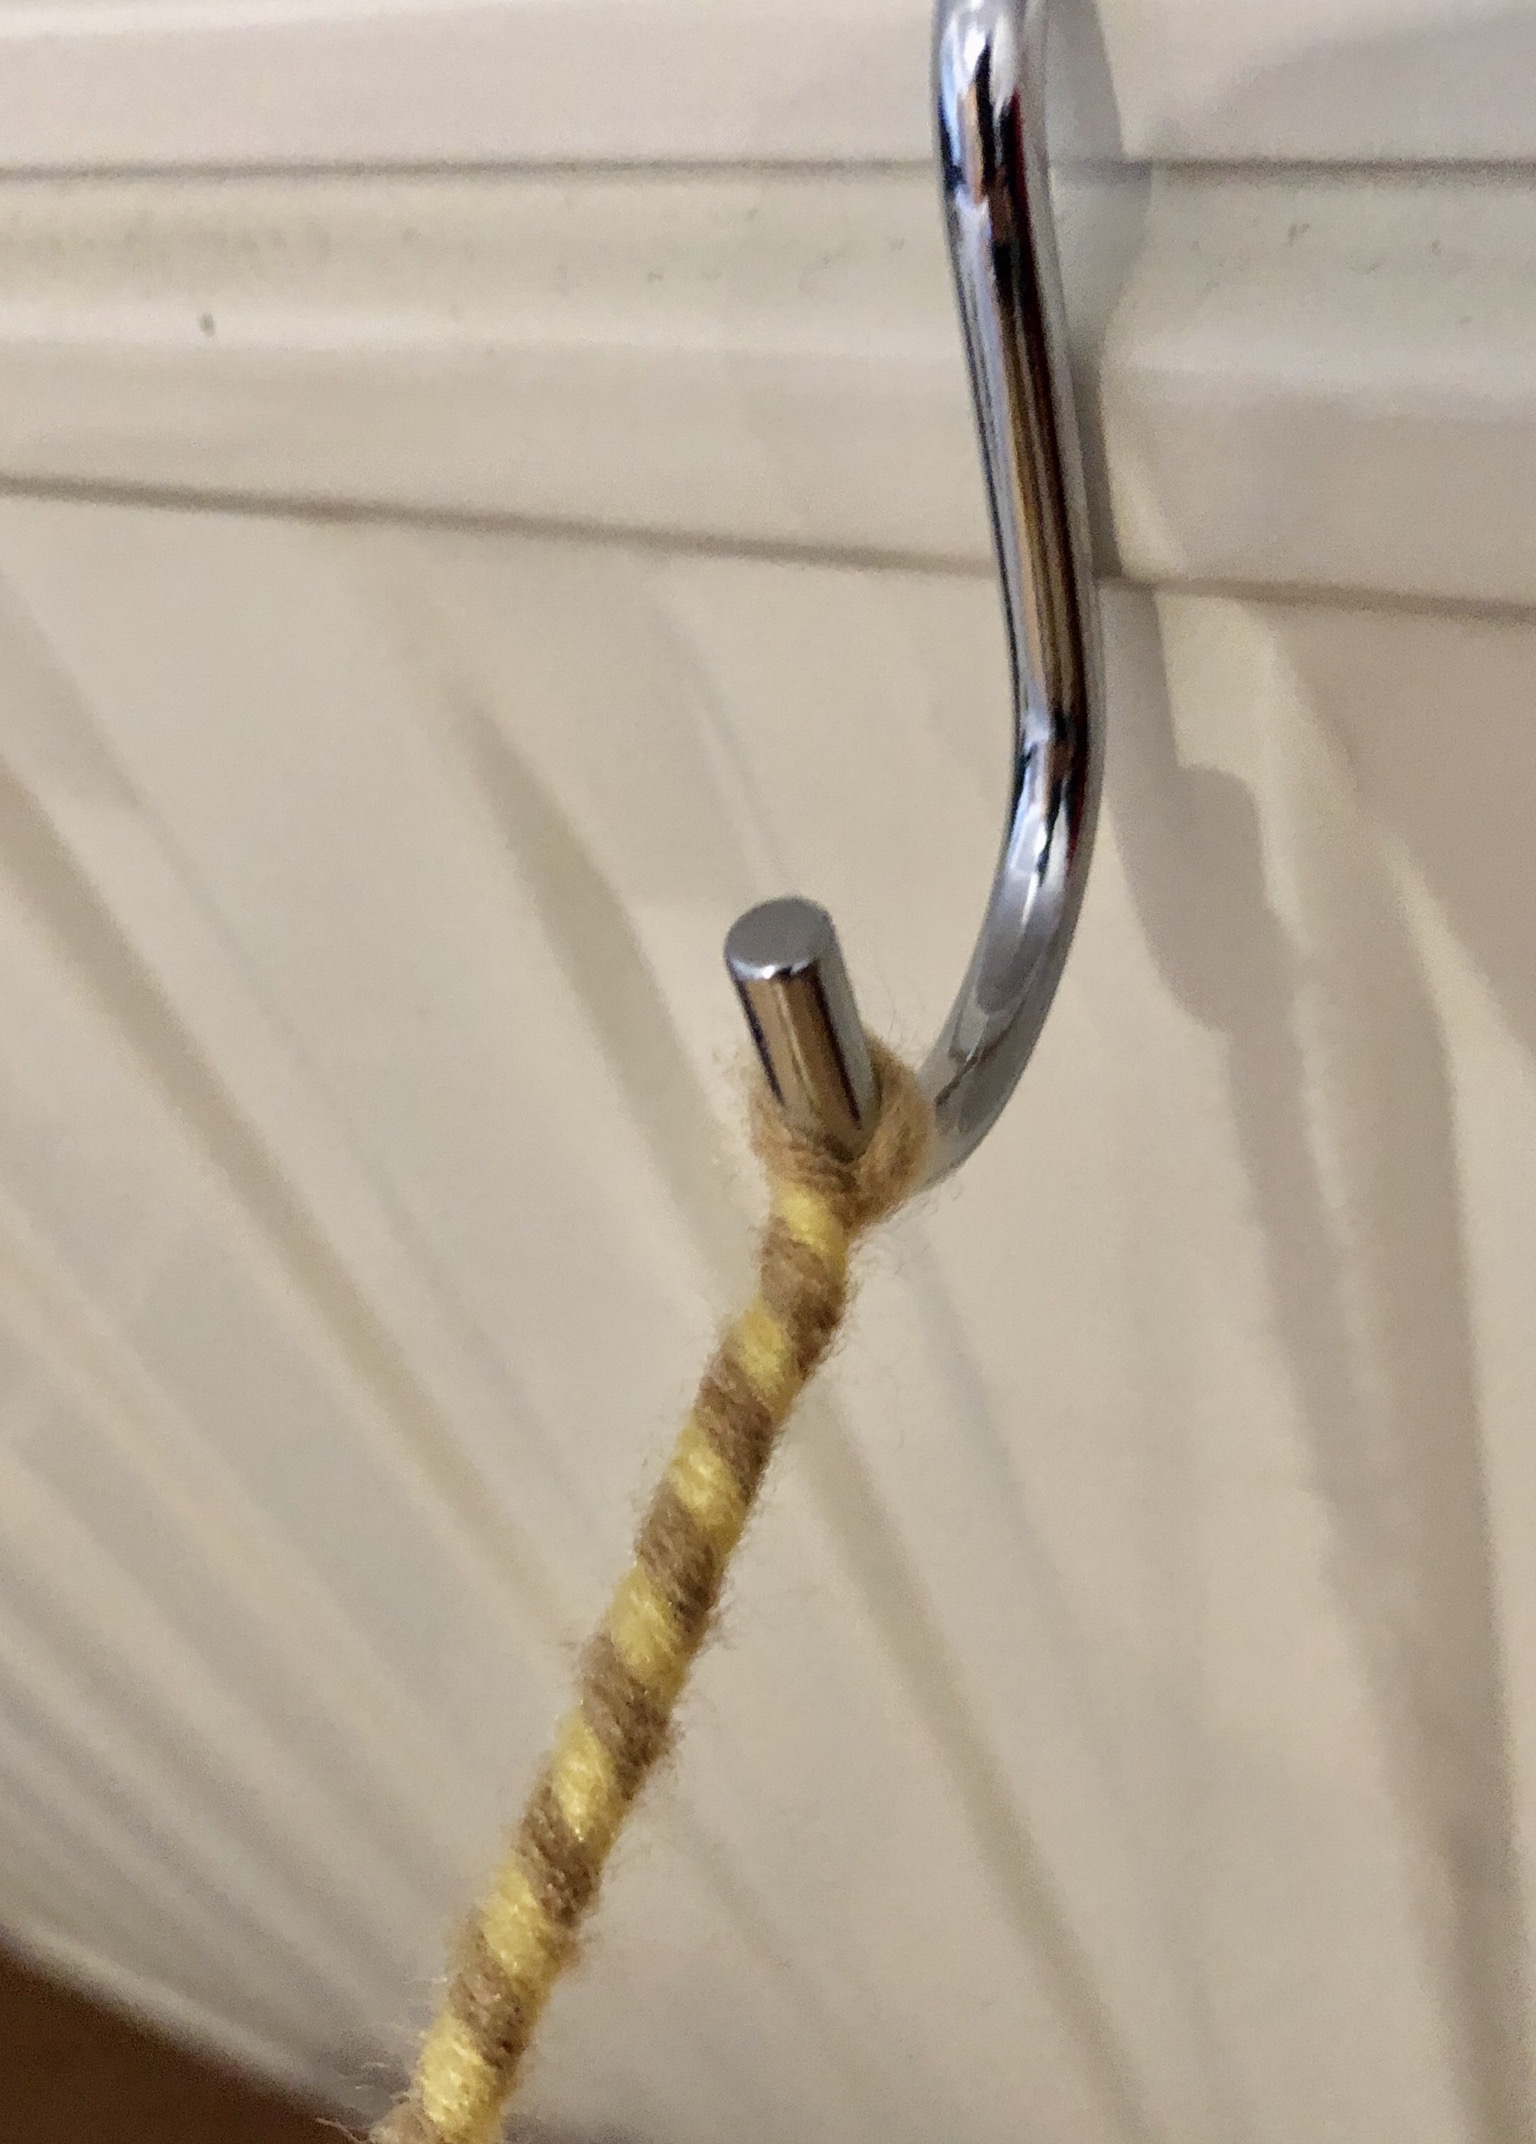
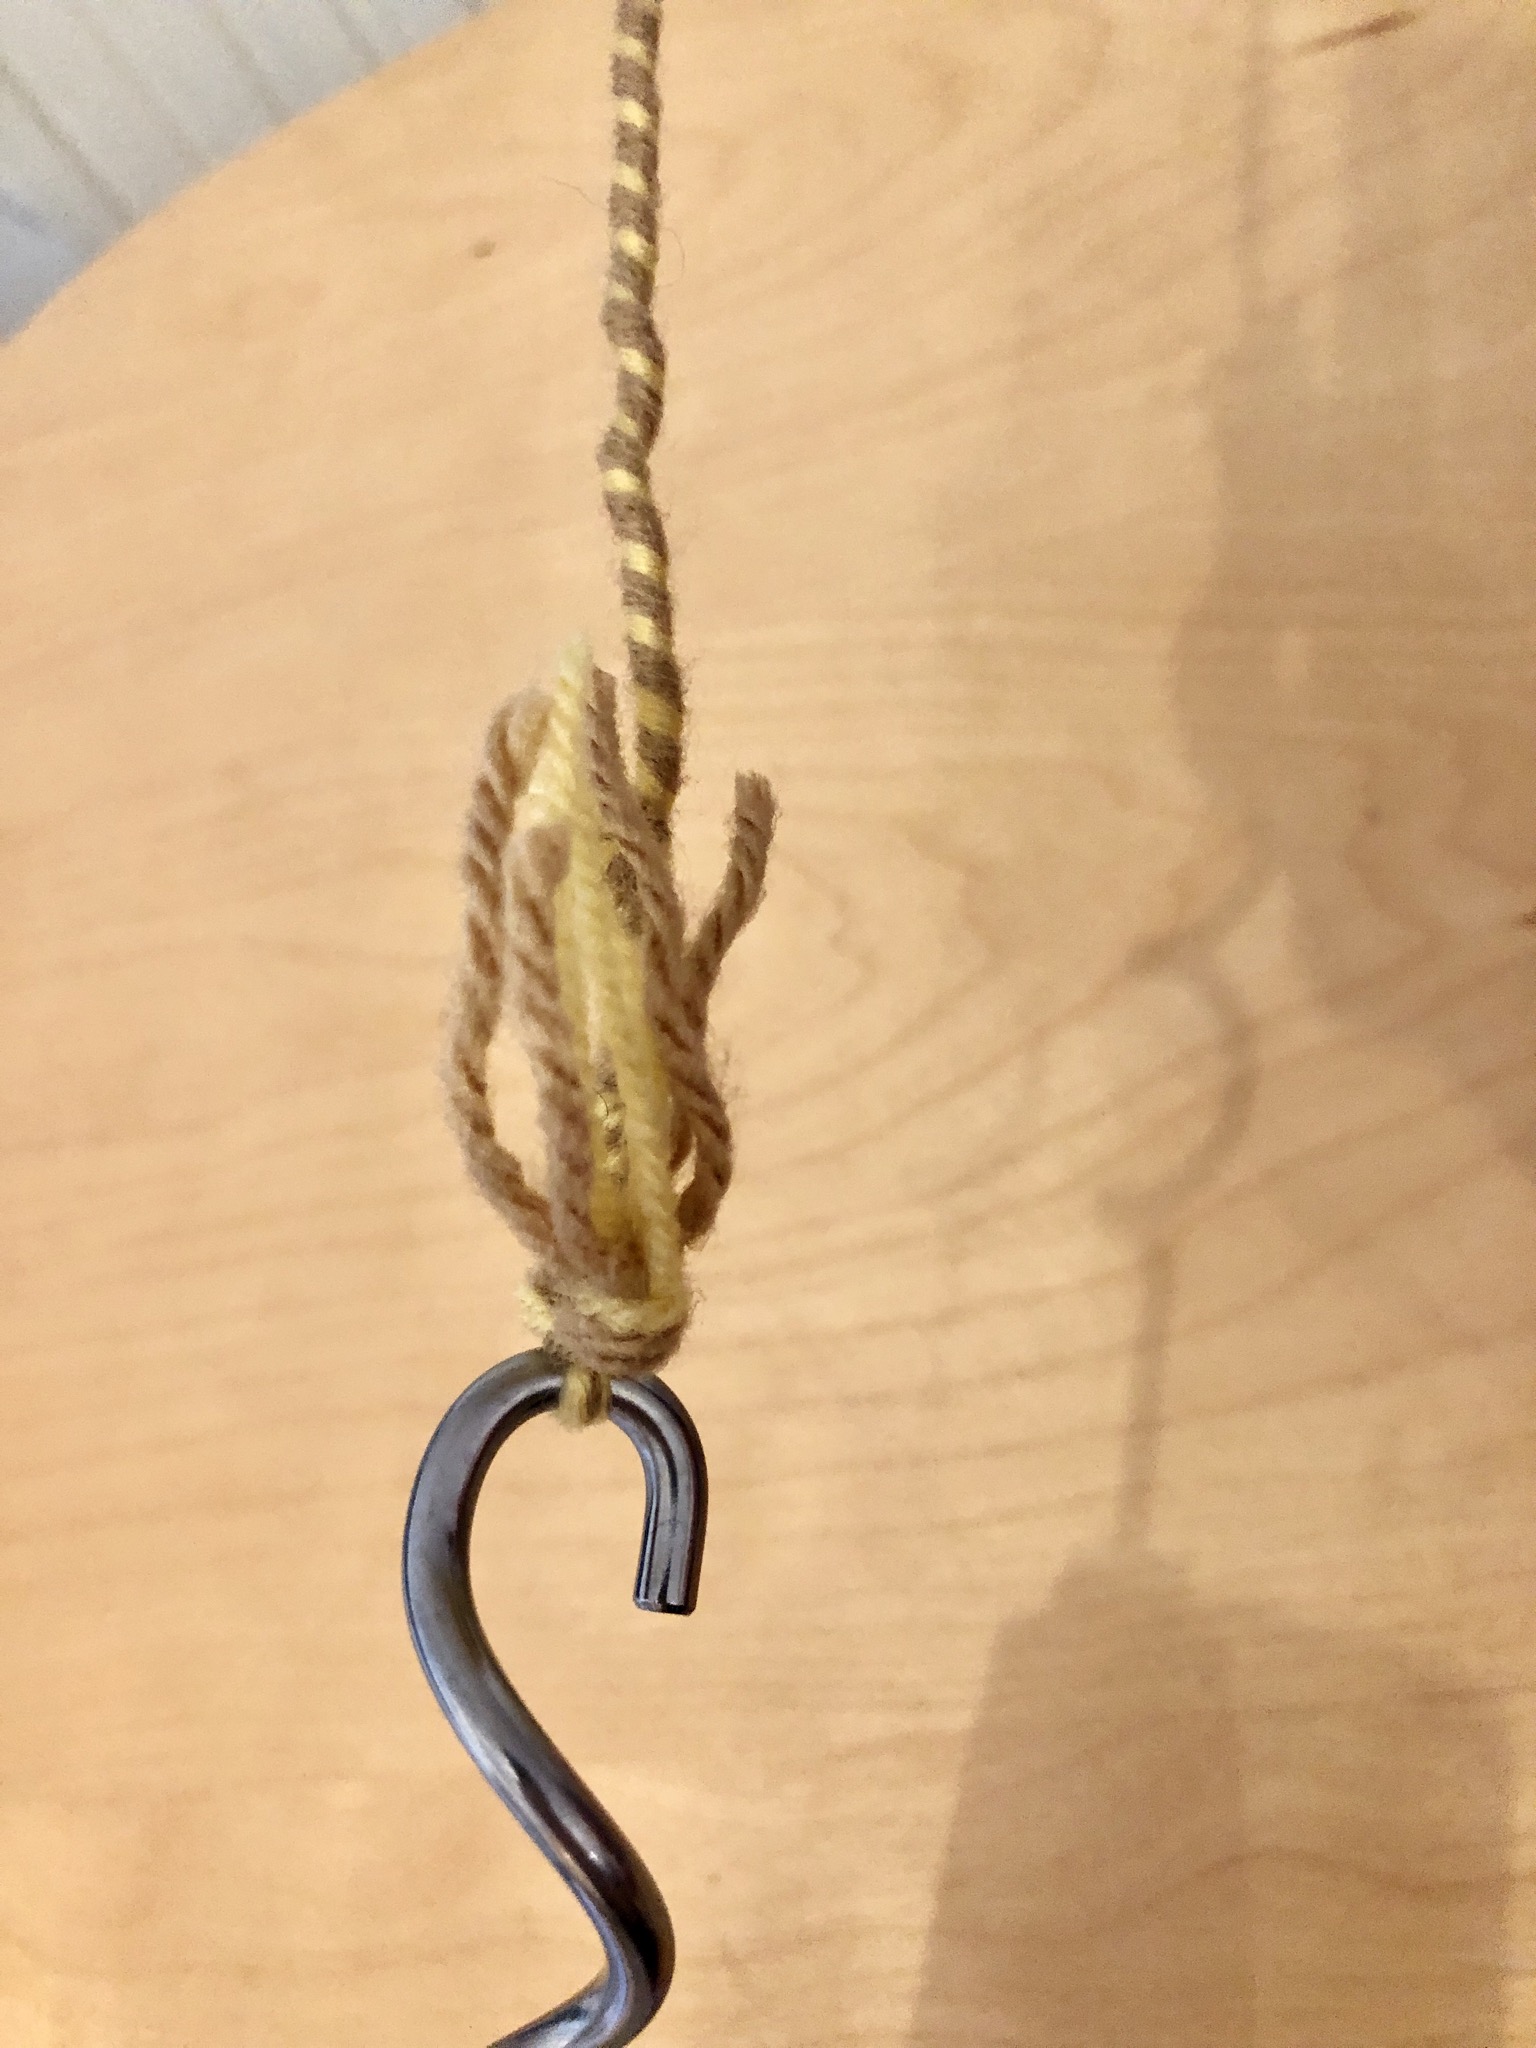
Take the wool in half and put it over a hoe (door handle goes too!)
Connect the other end
and put over the kneach. Attention: Do not let children operate the mixer alone!

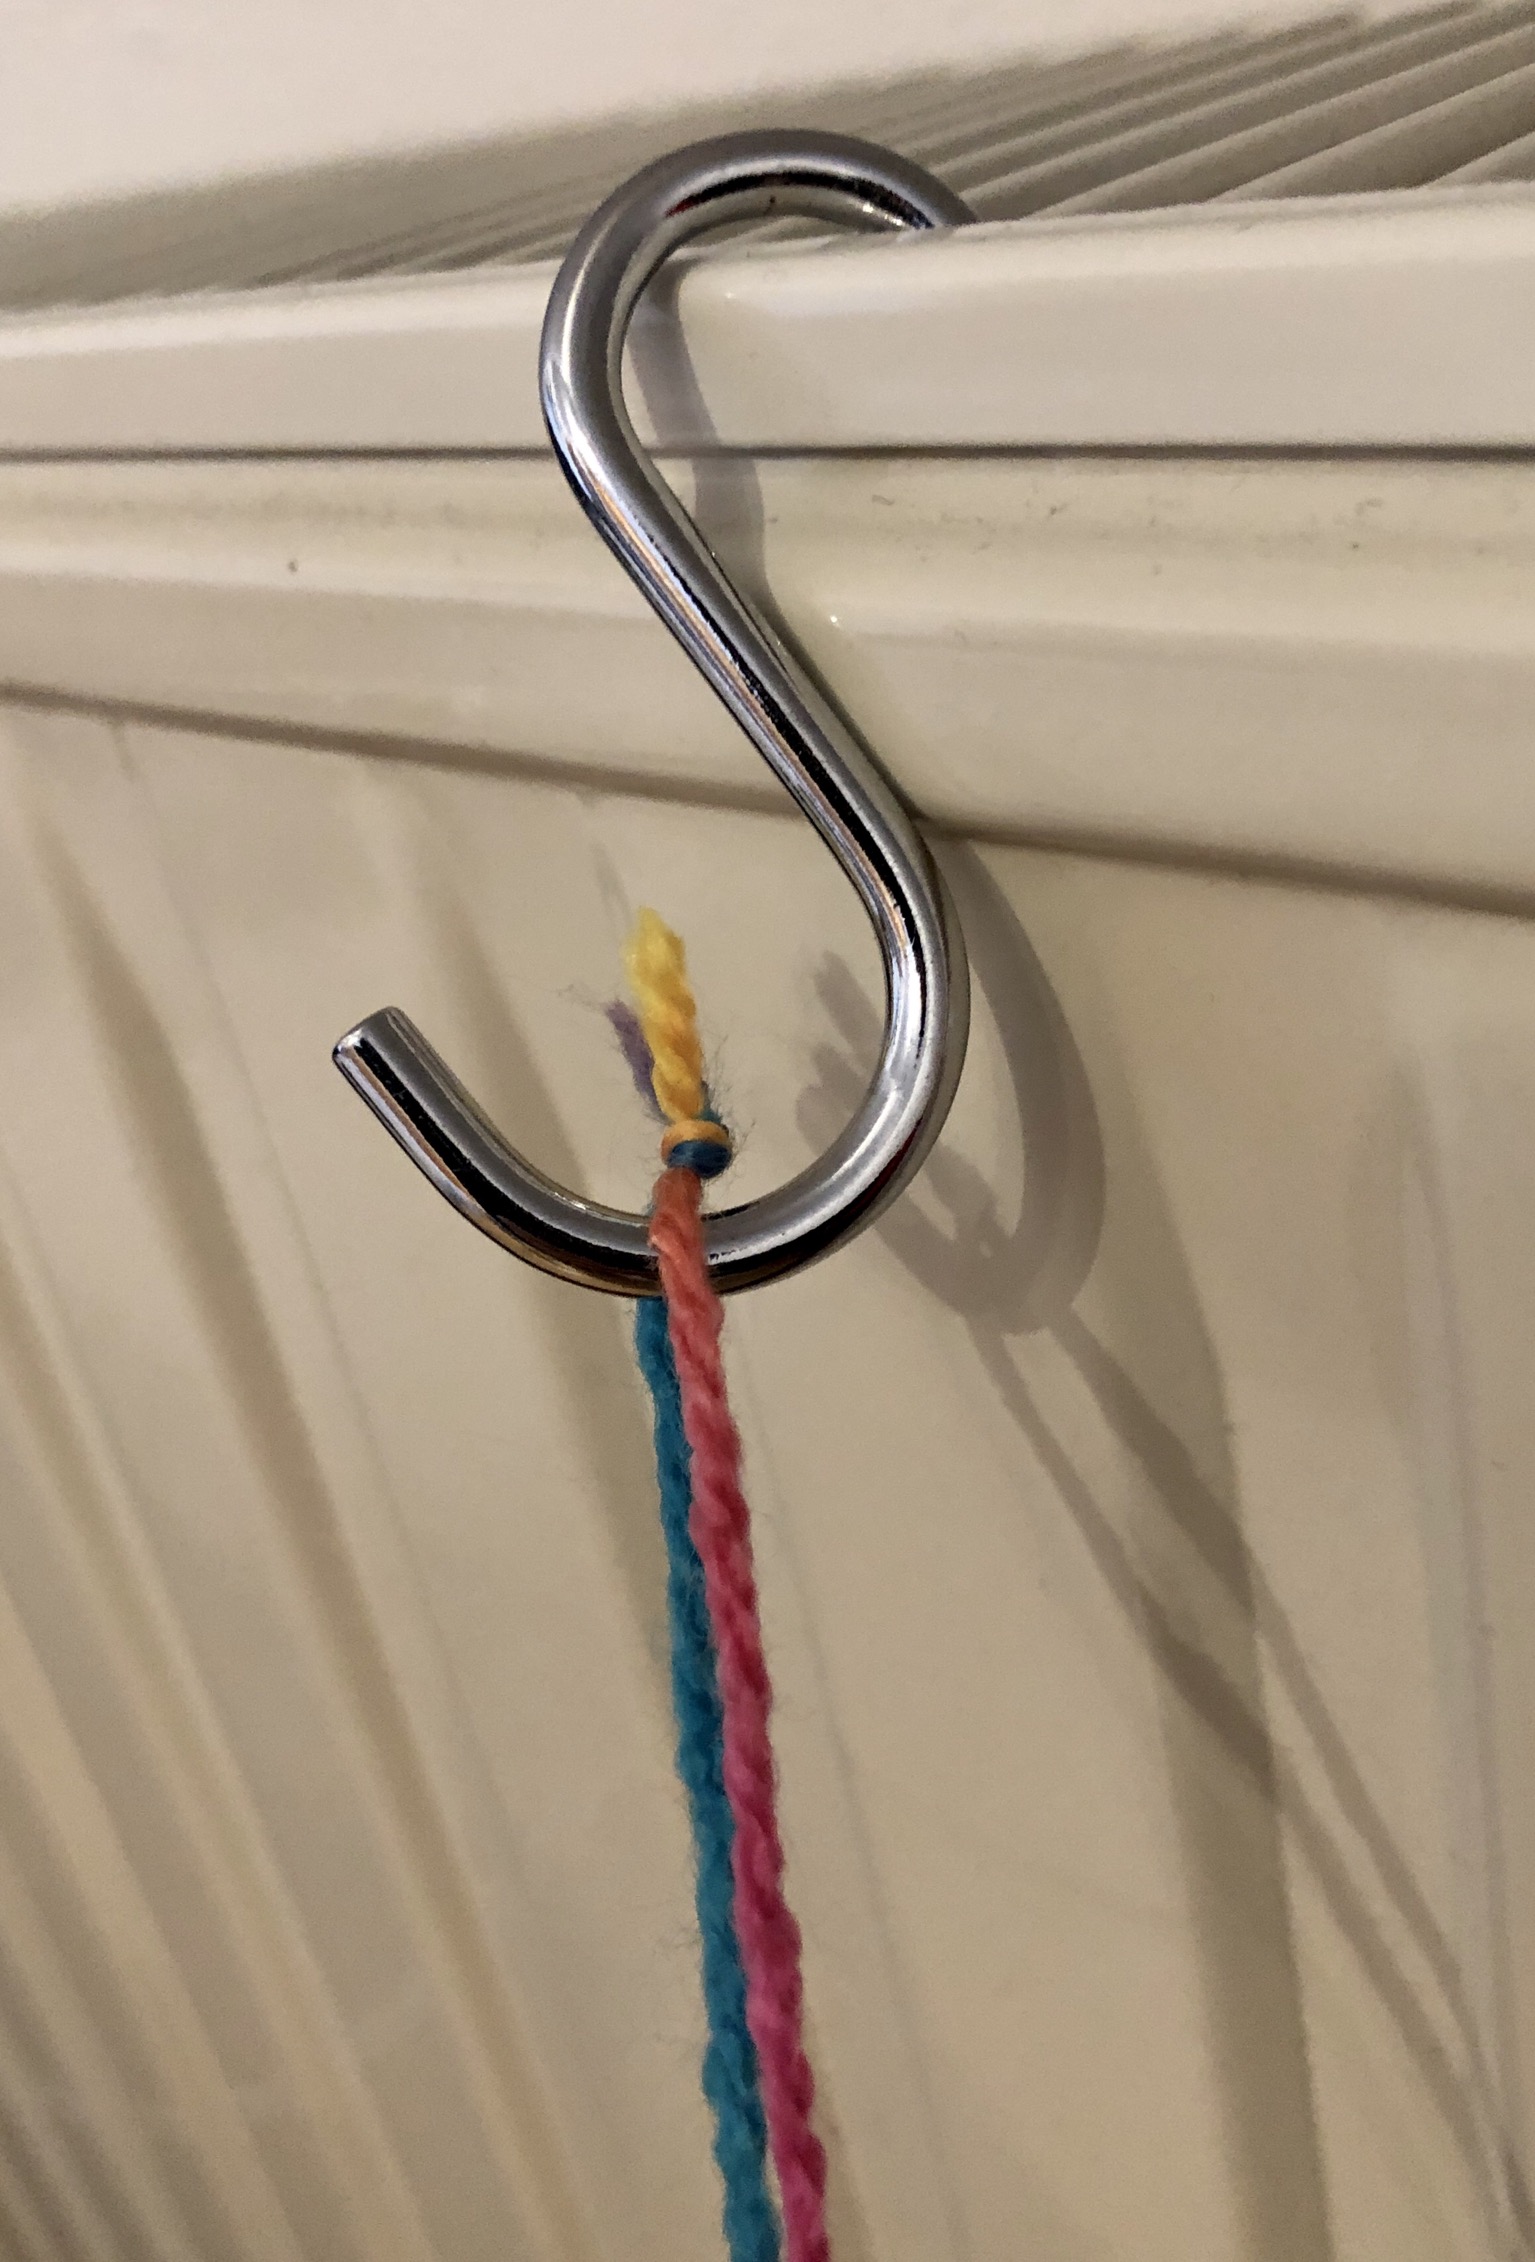
Hold threads loosely on tension and turn with the mixer (turn these on at the lowest level). When turning, give in to the cord, as it pulls together and shortens!
Turn until the cord begins to curl.
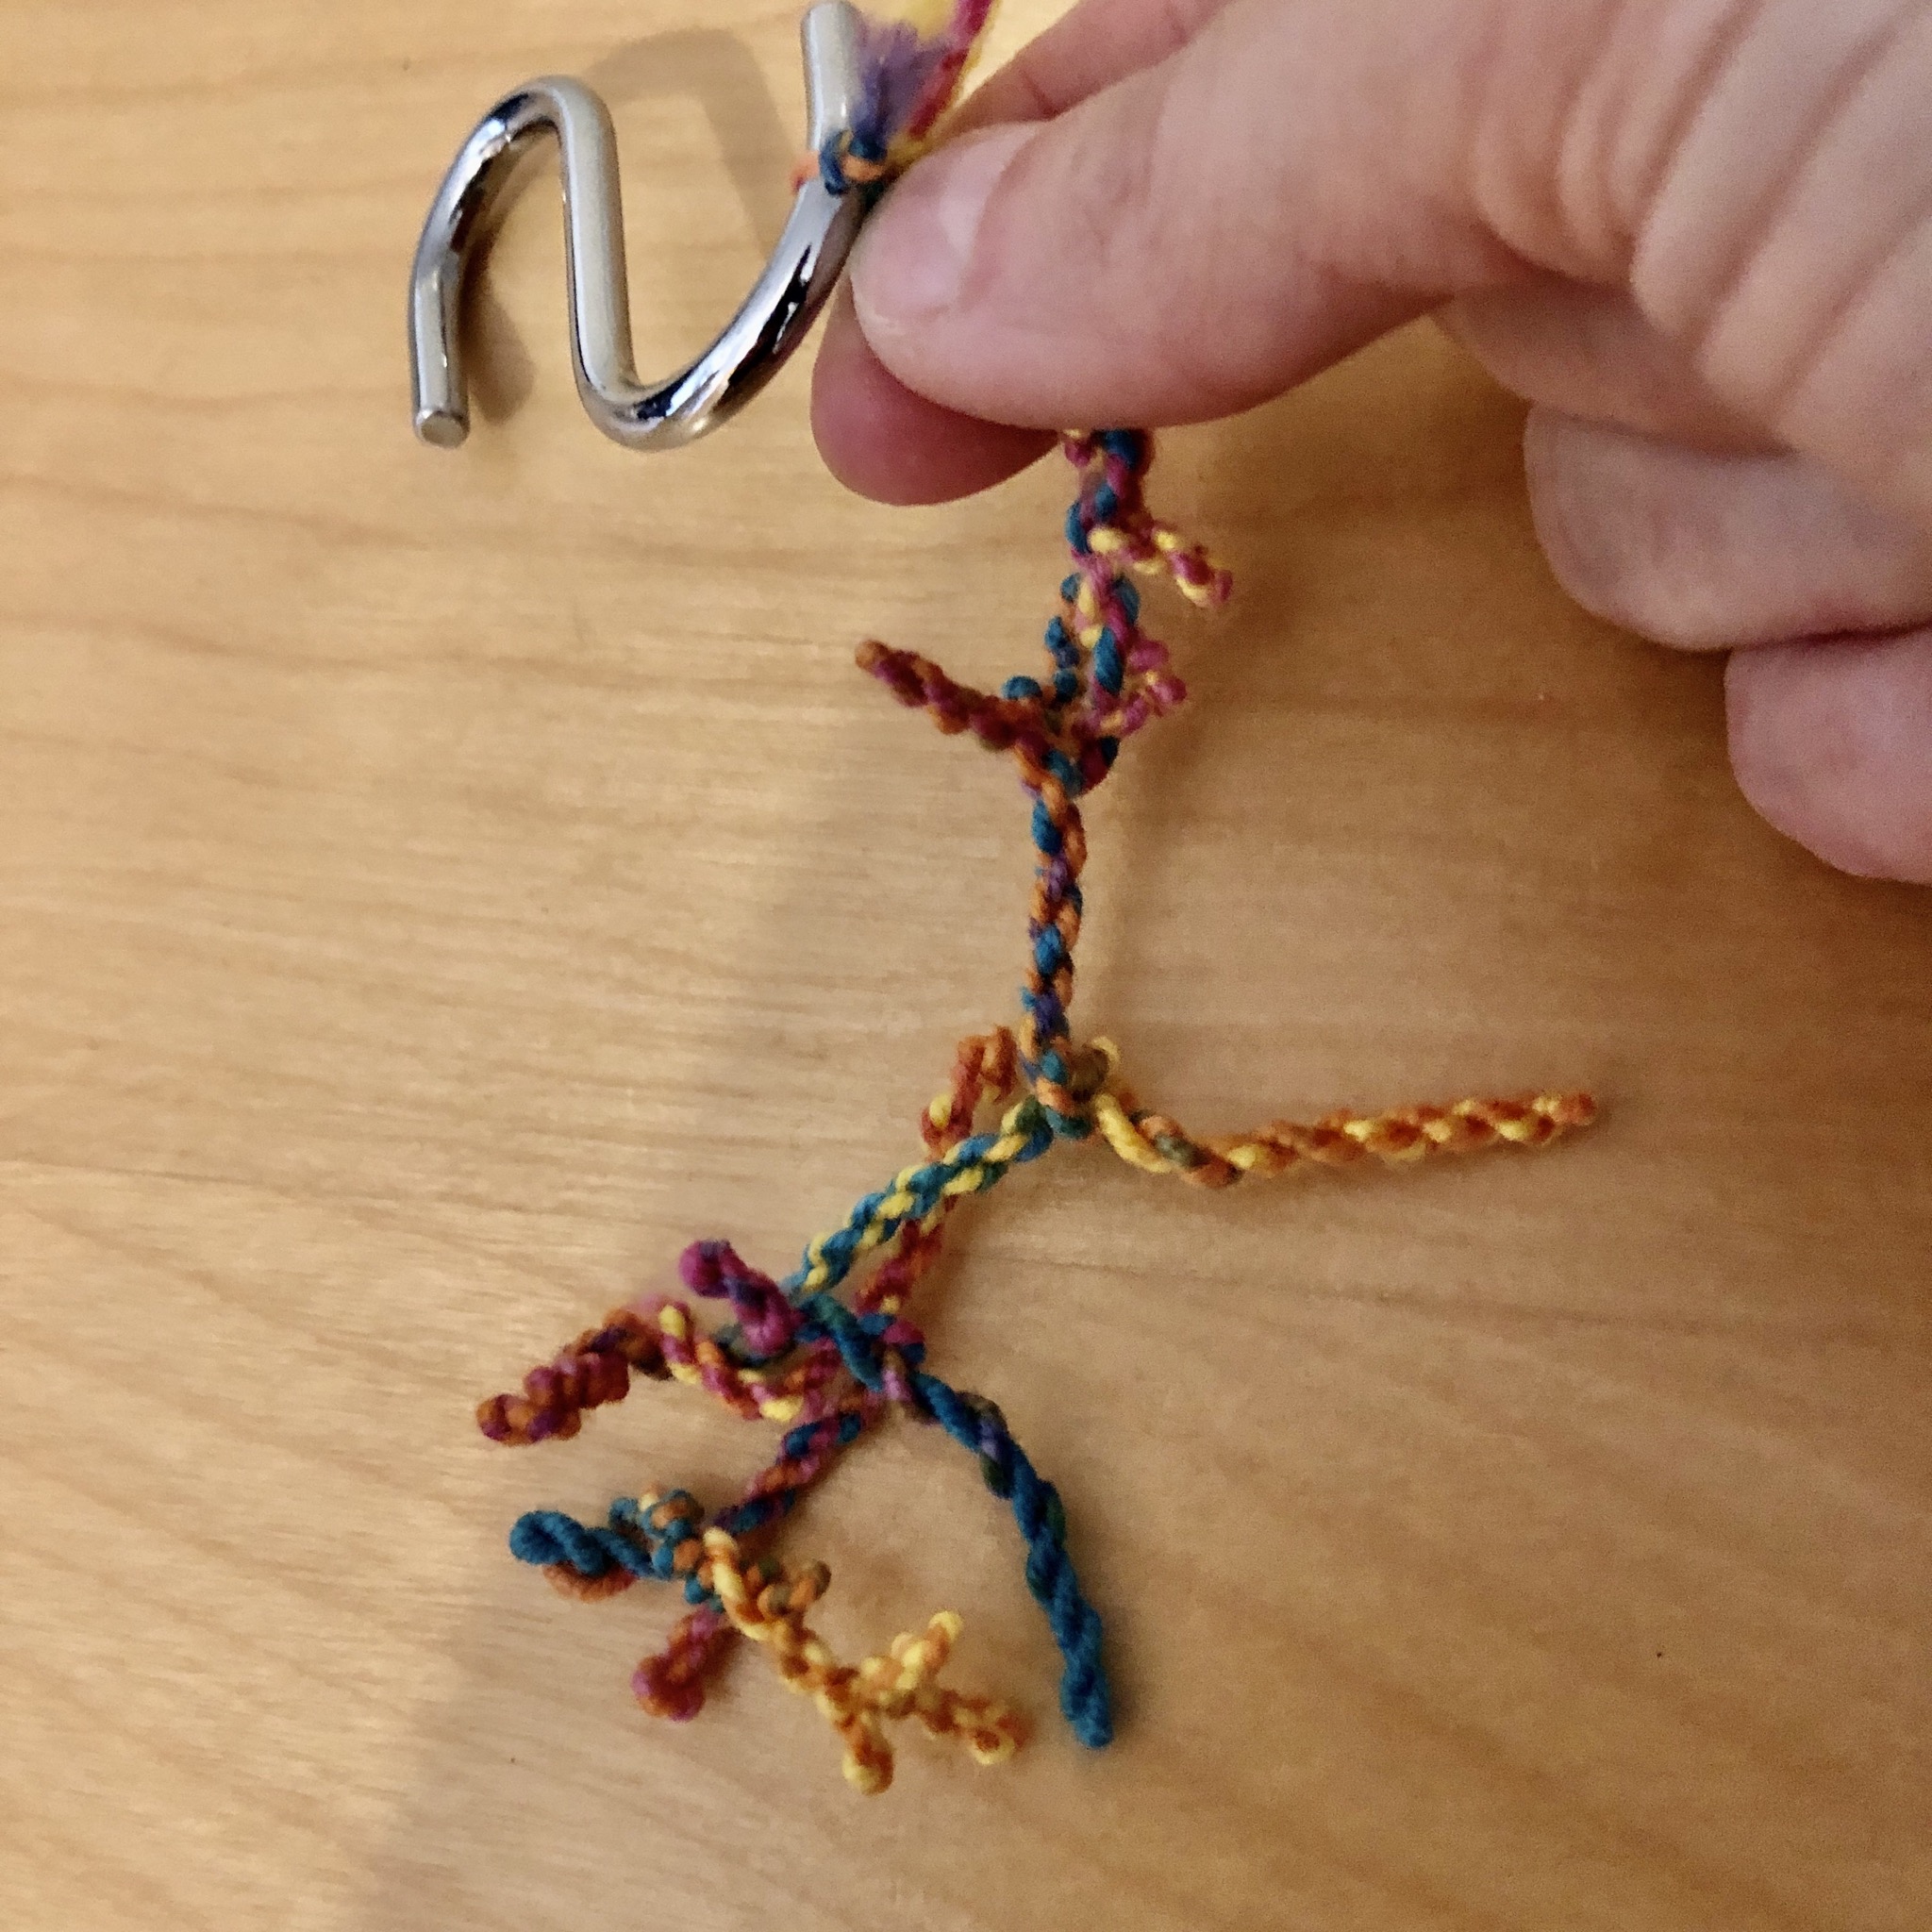
Detach both ends from the chops. Keep the cord on tension. Put the cord together on half.

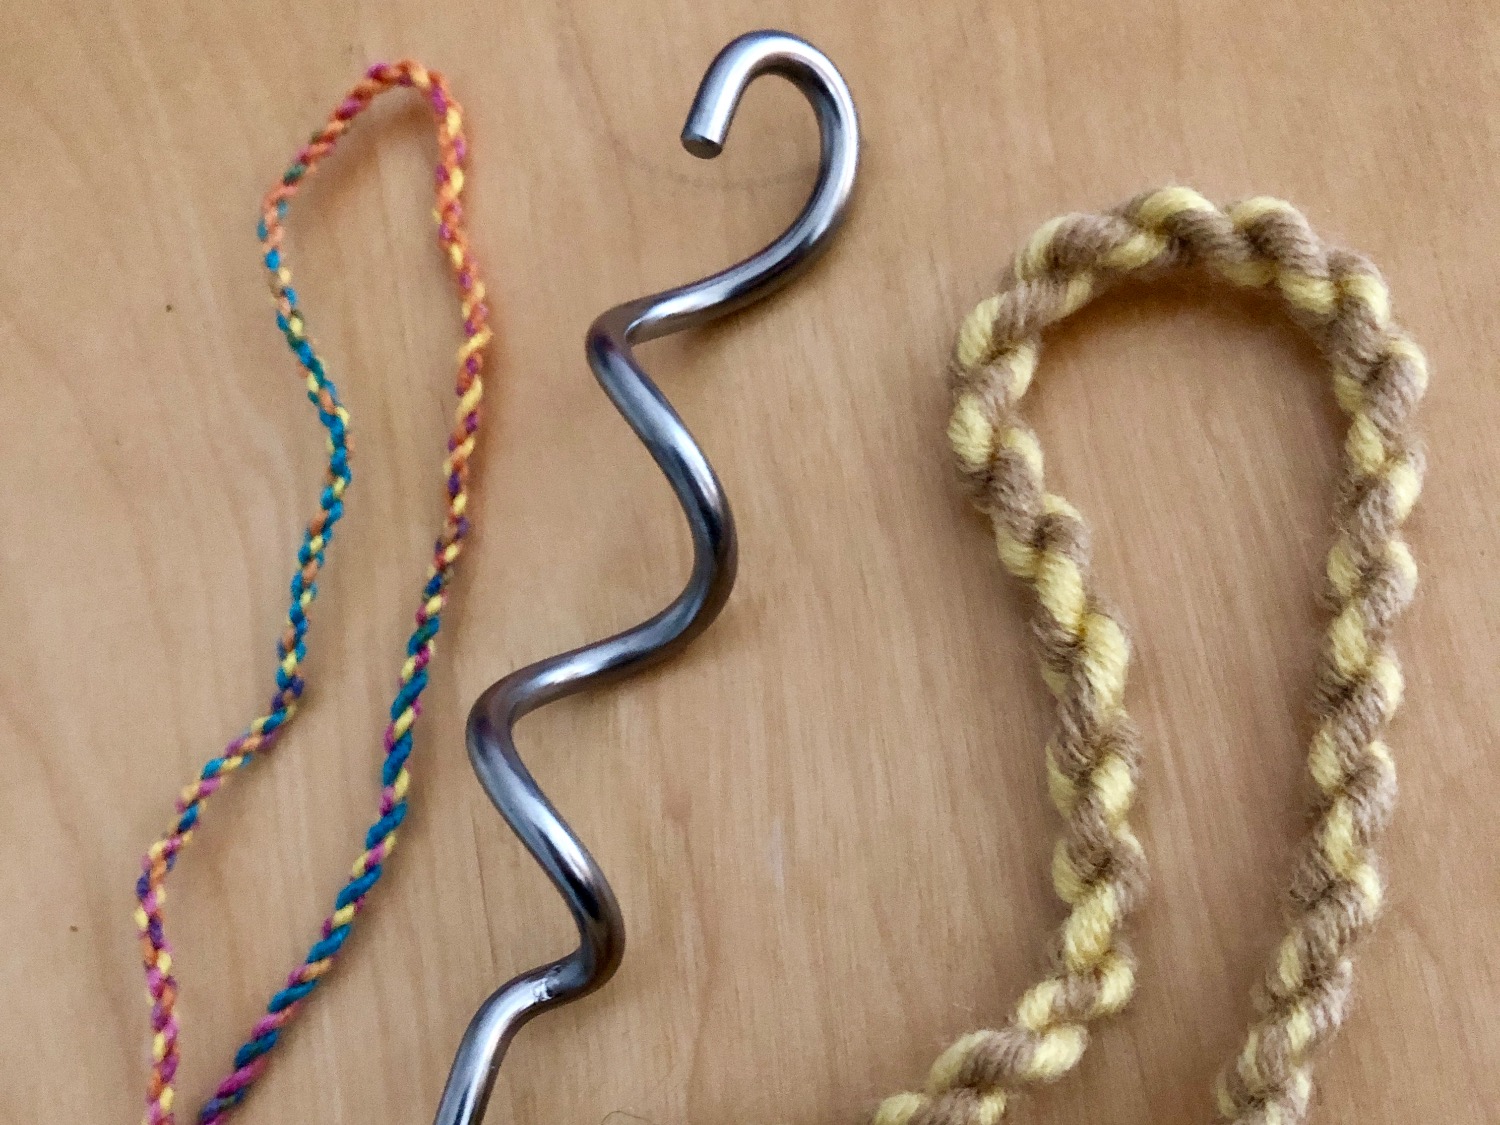
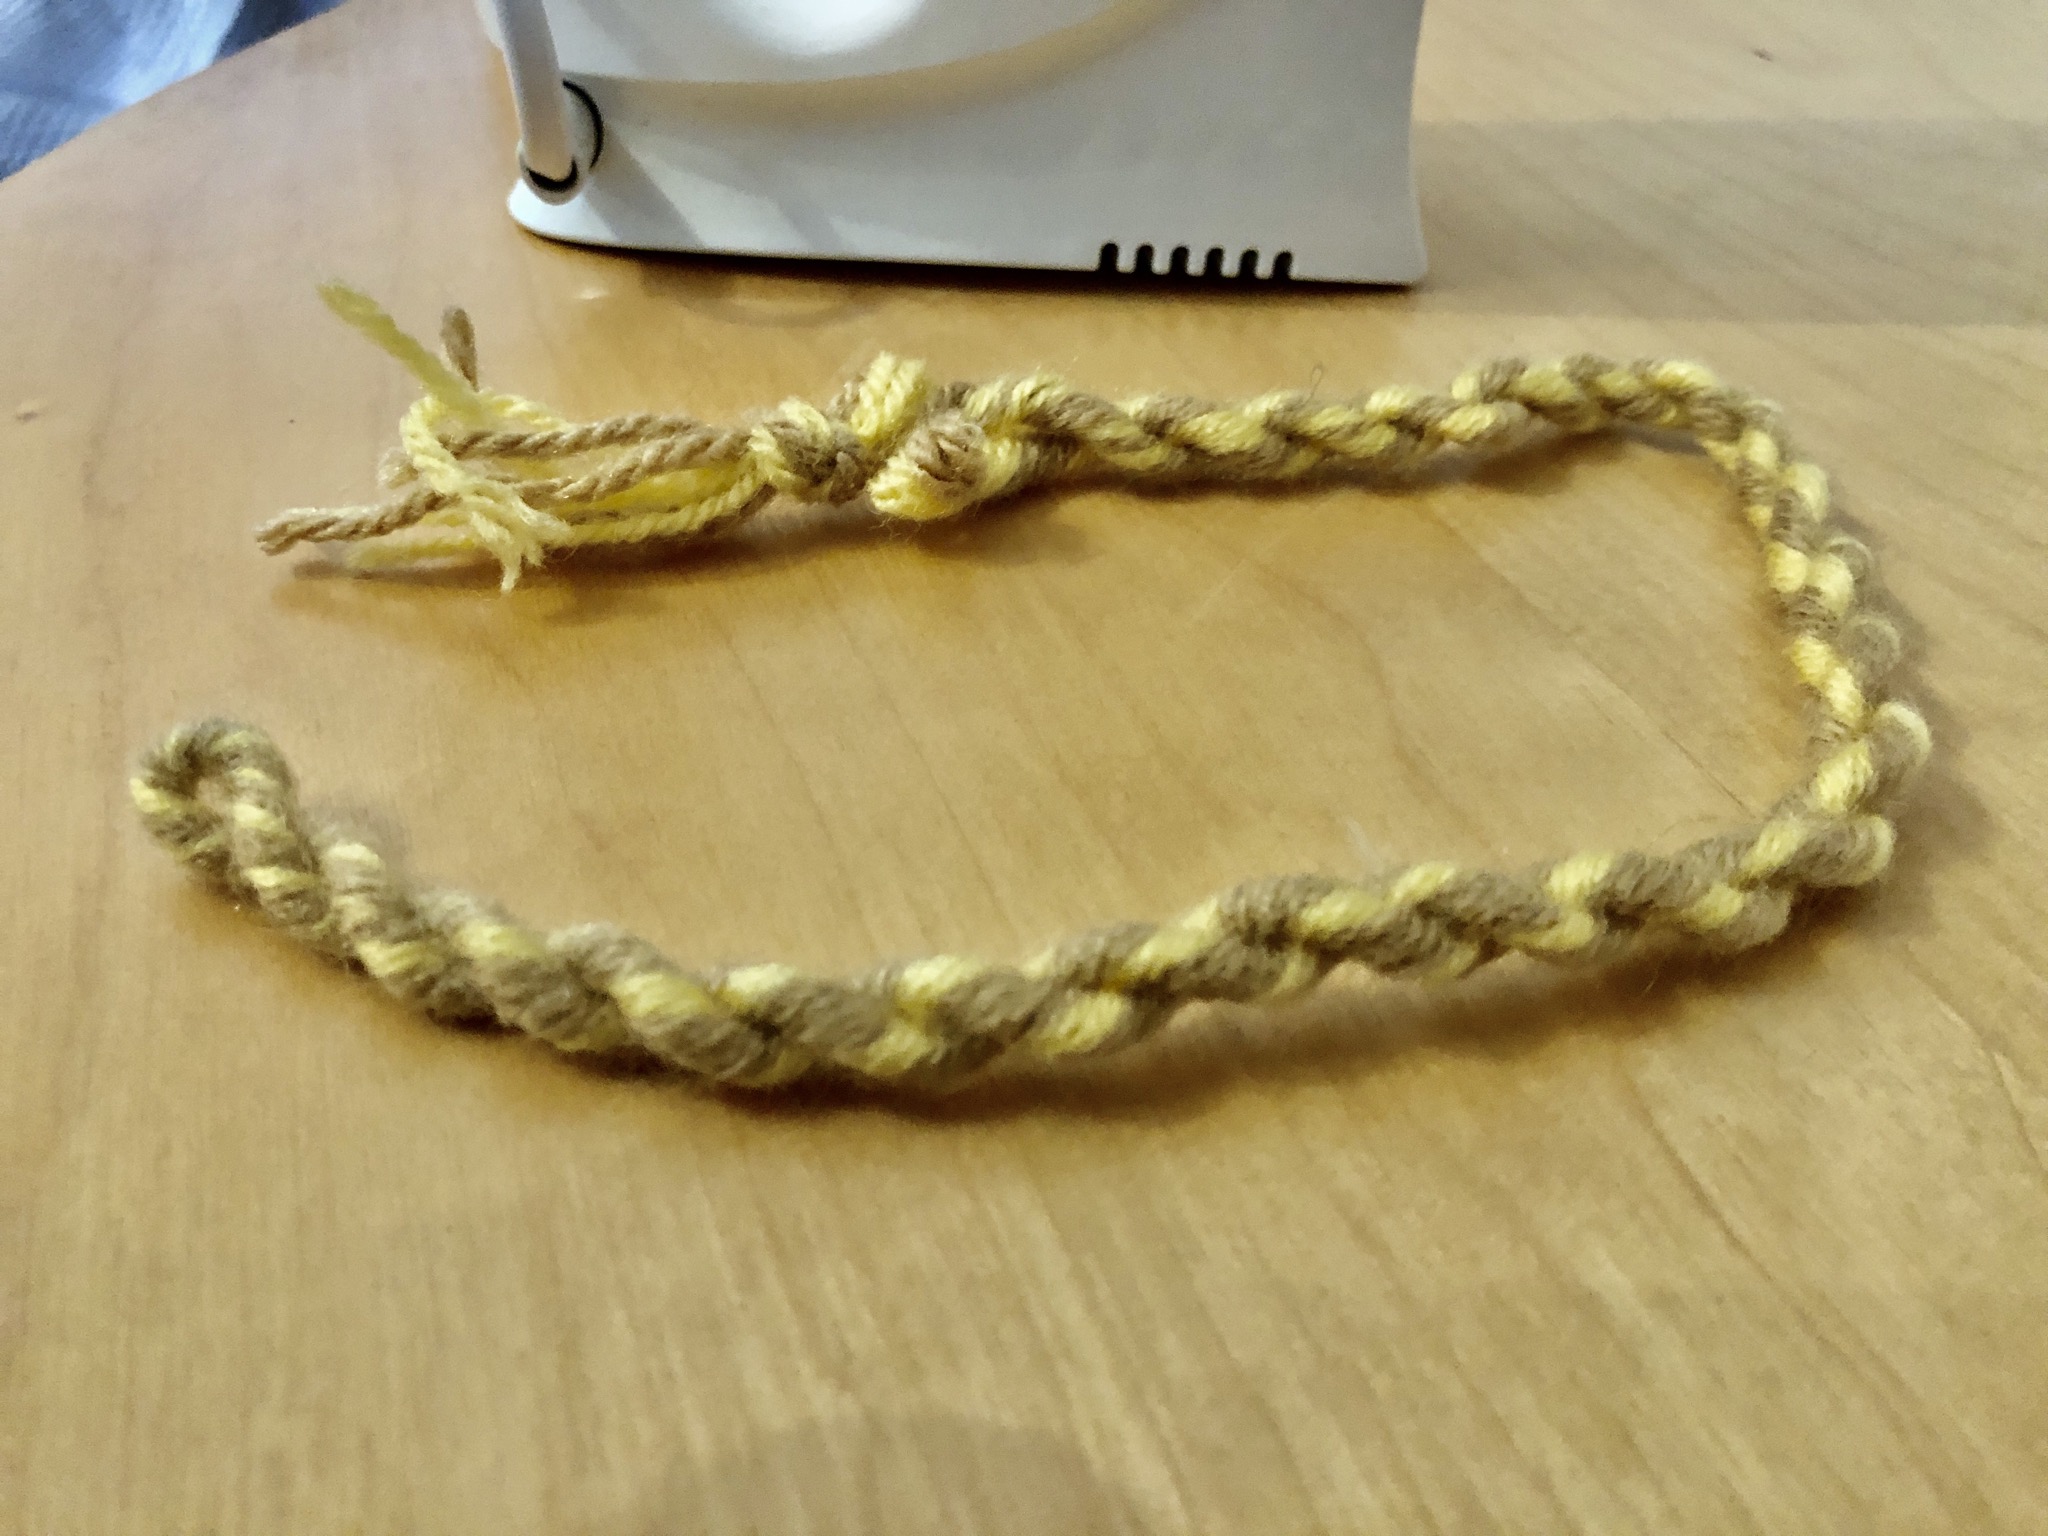
Let go of the folded end... the complete cord pulls together and needs to be painted out.
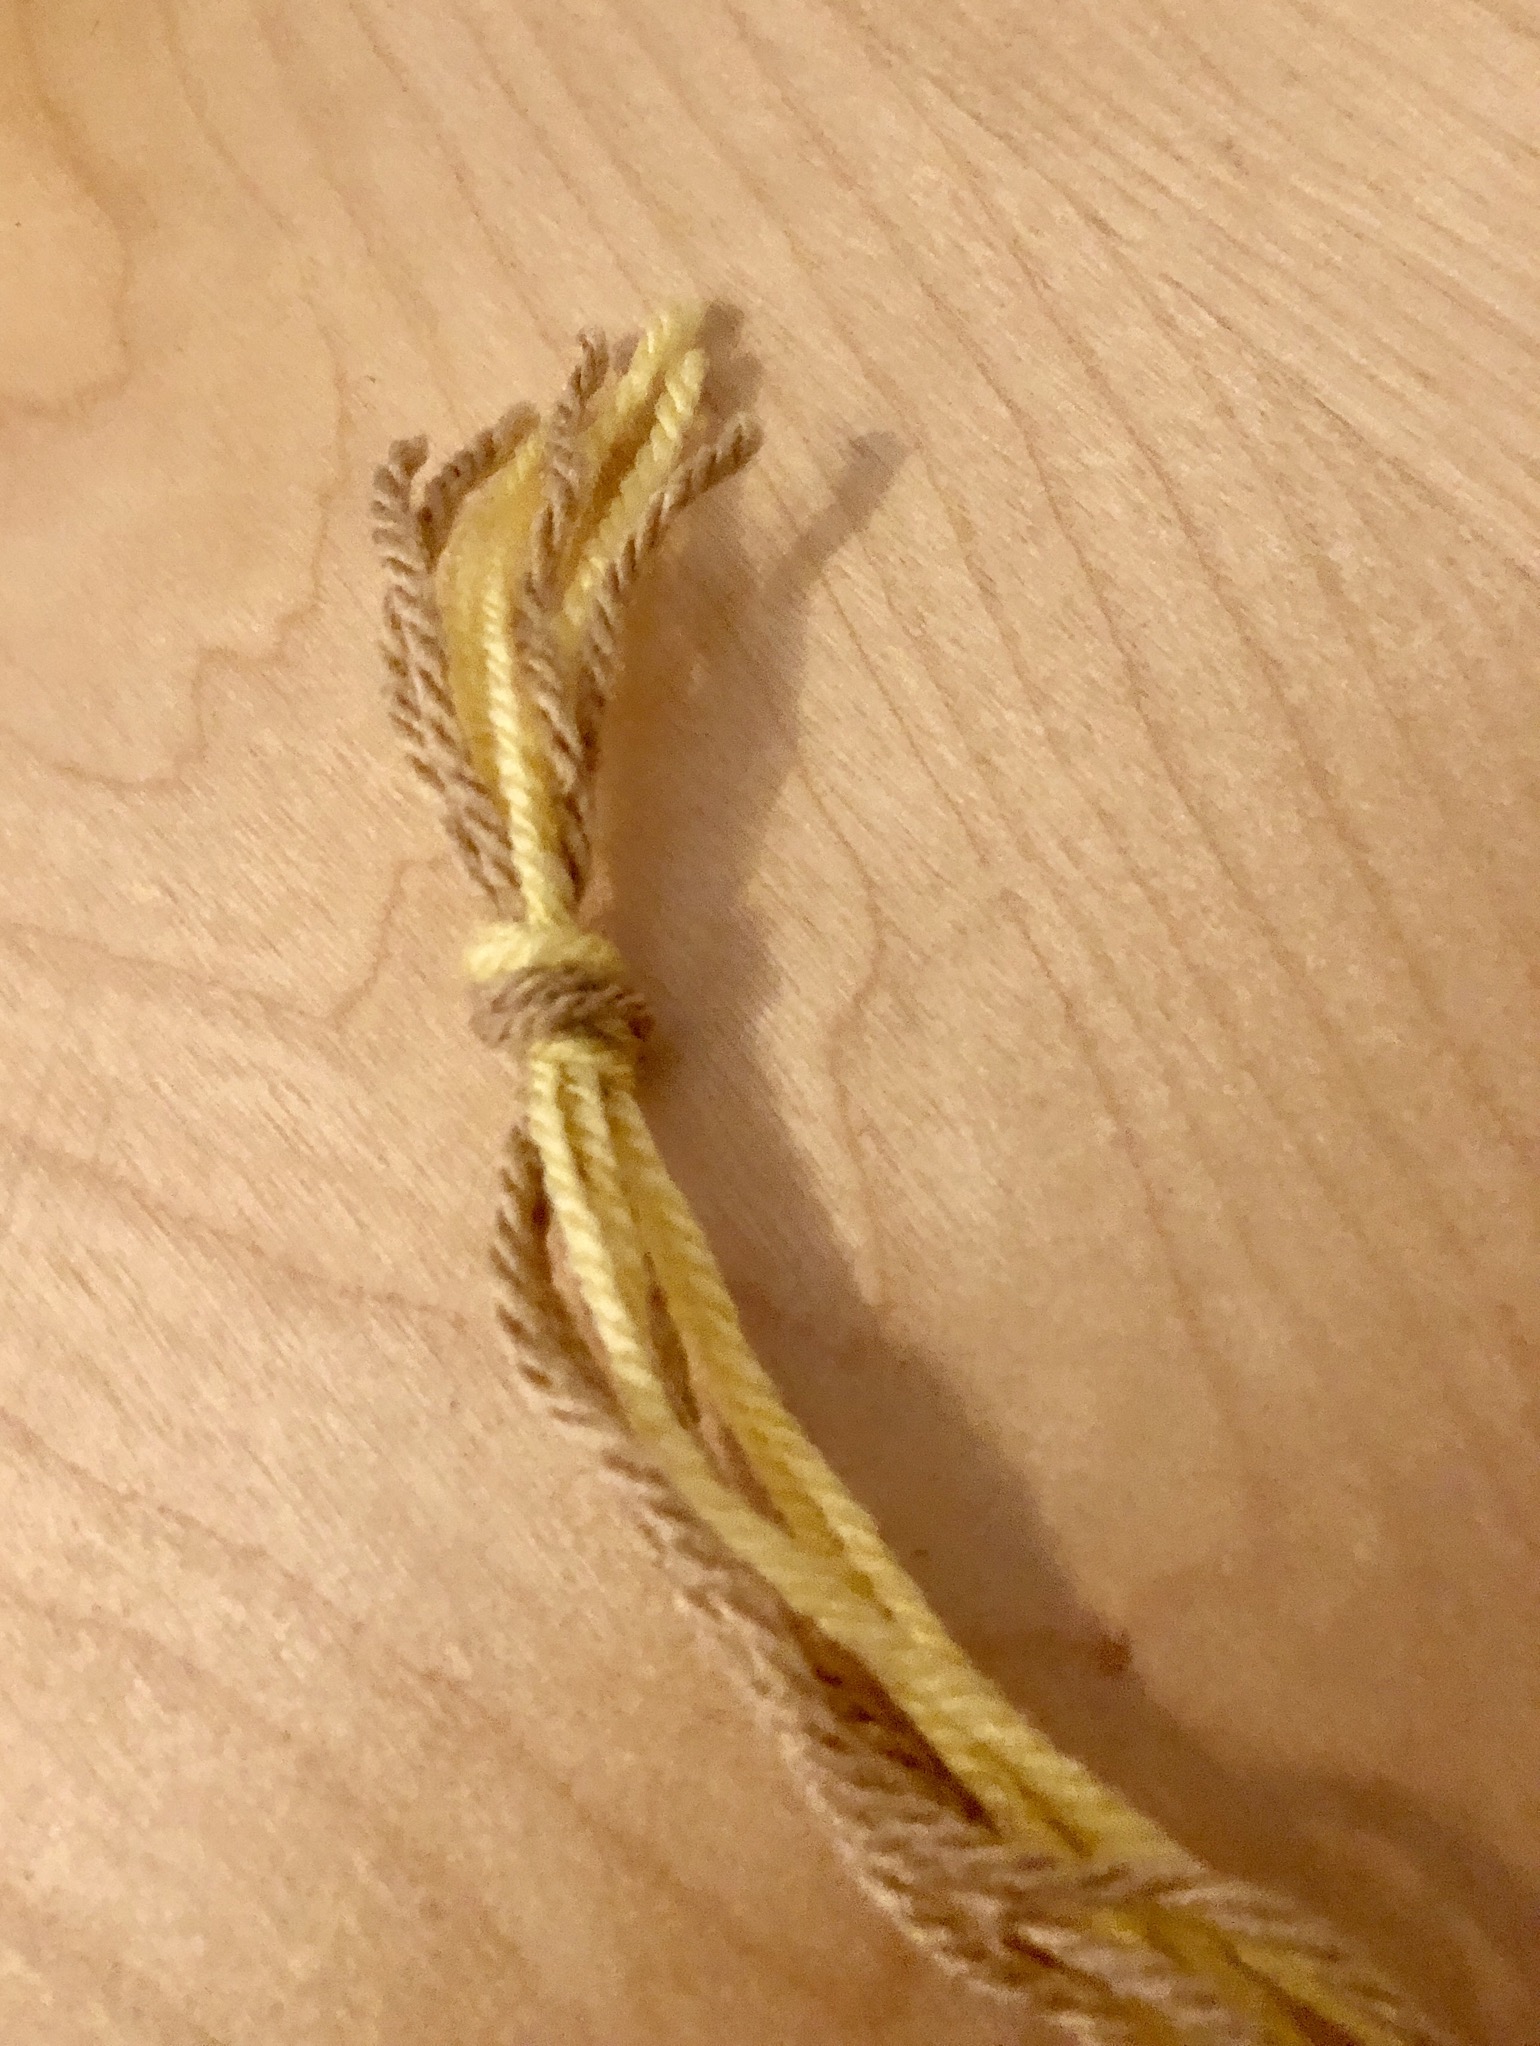
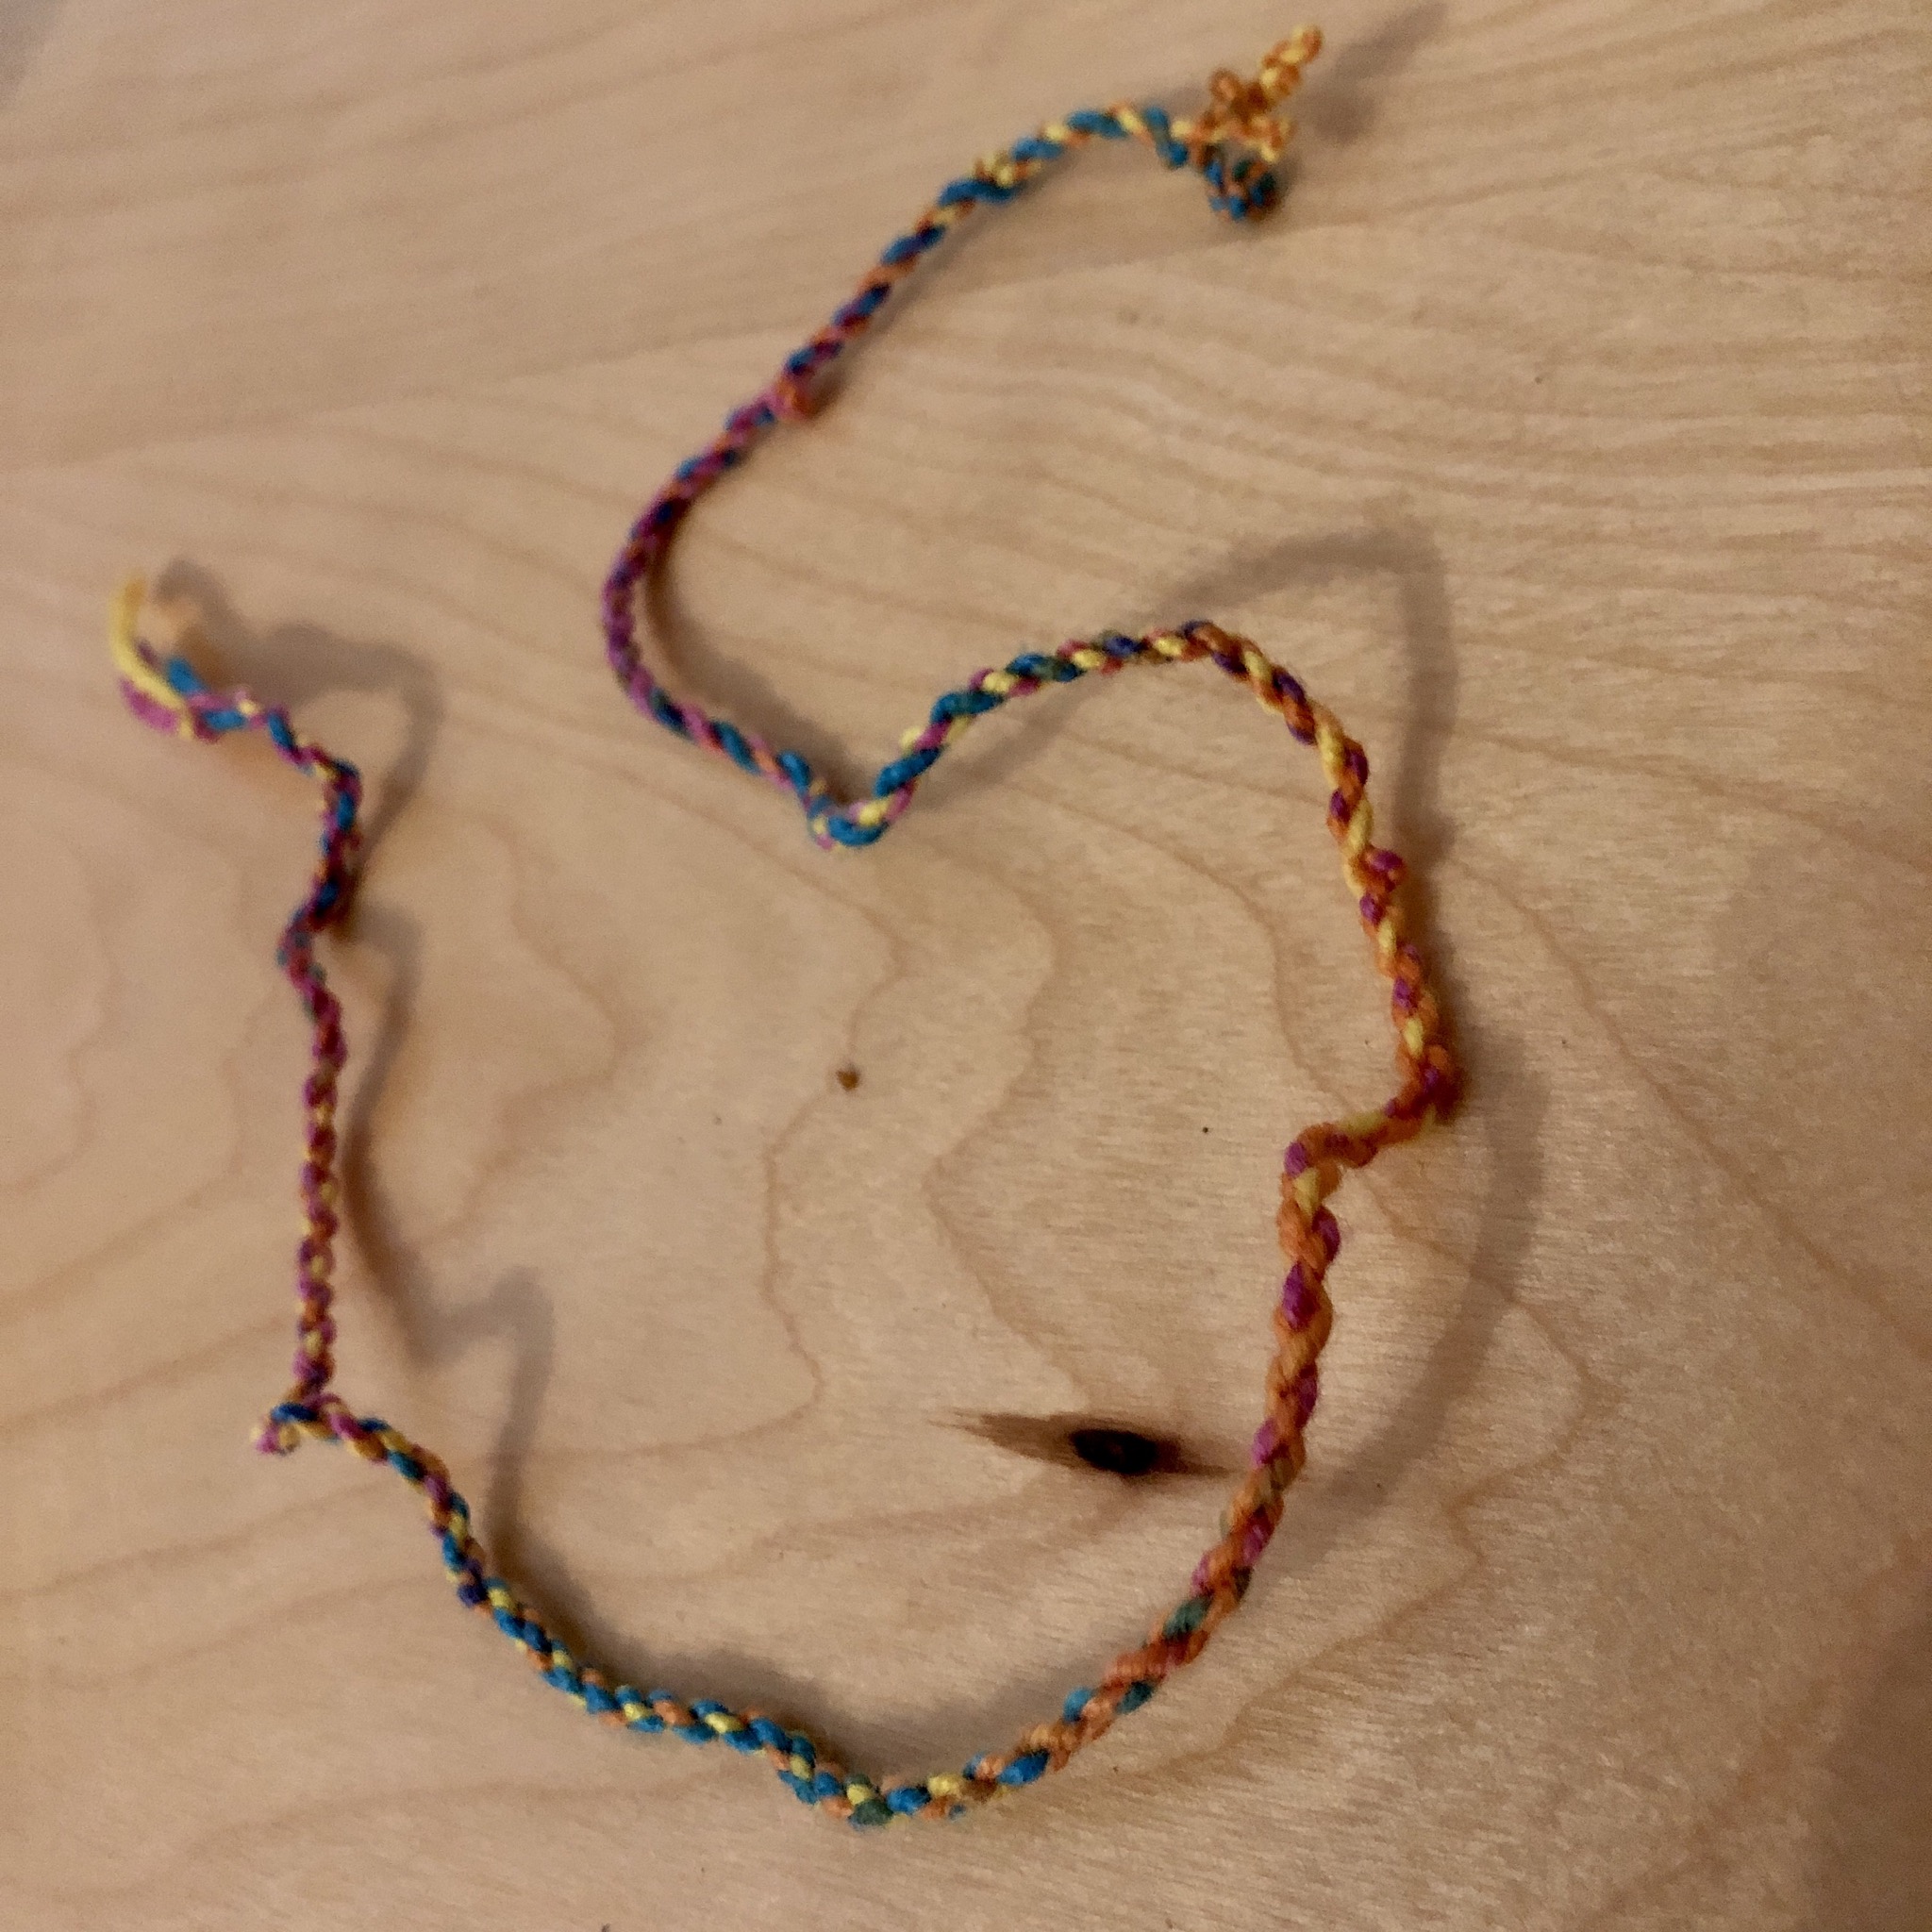
The cord is ready!
Knot at the appropriate length.
For thicker cord: take four threads and thick wool.
Make thin cord only from two threads!
See here:
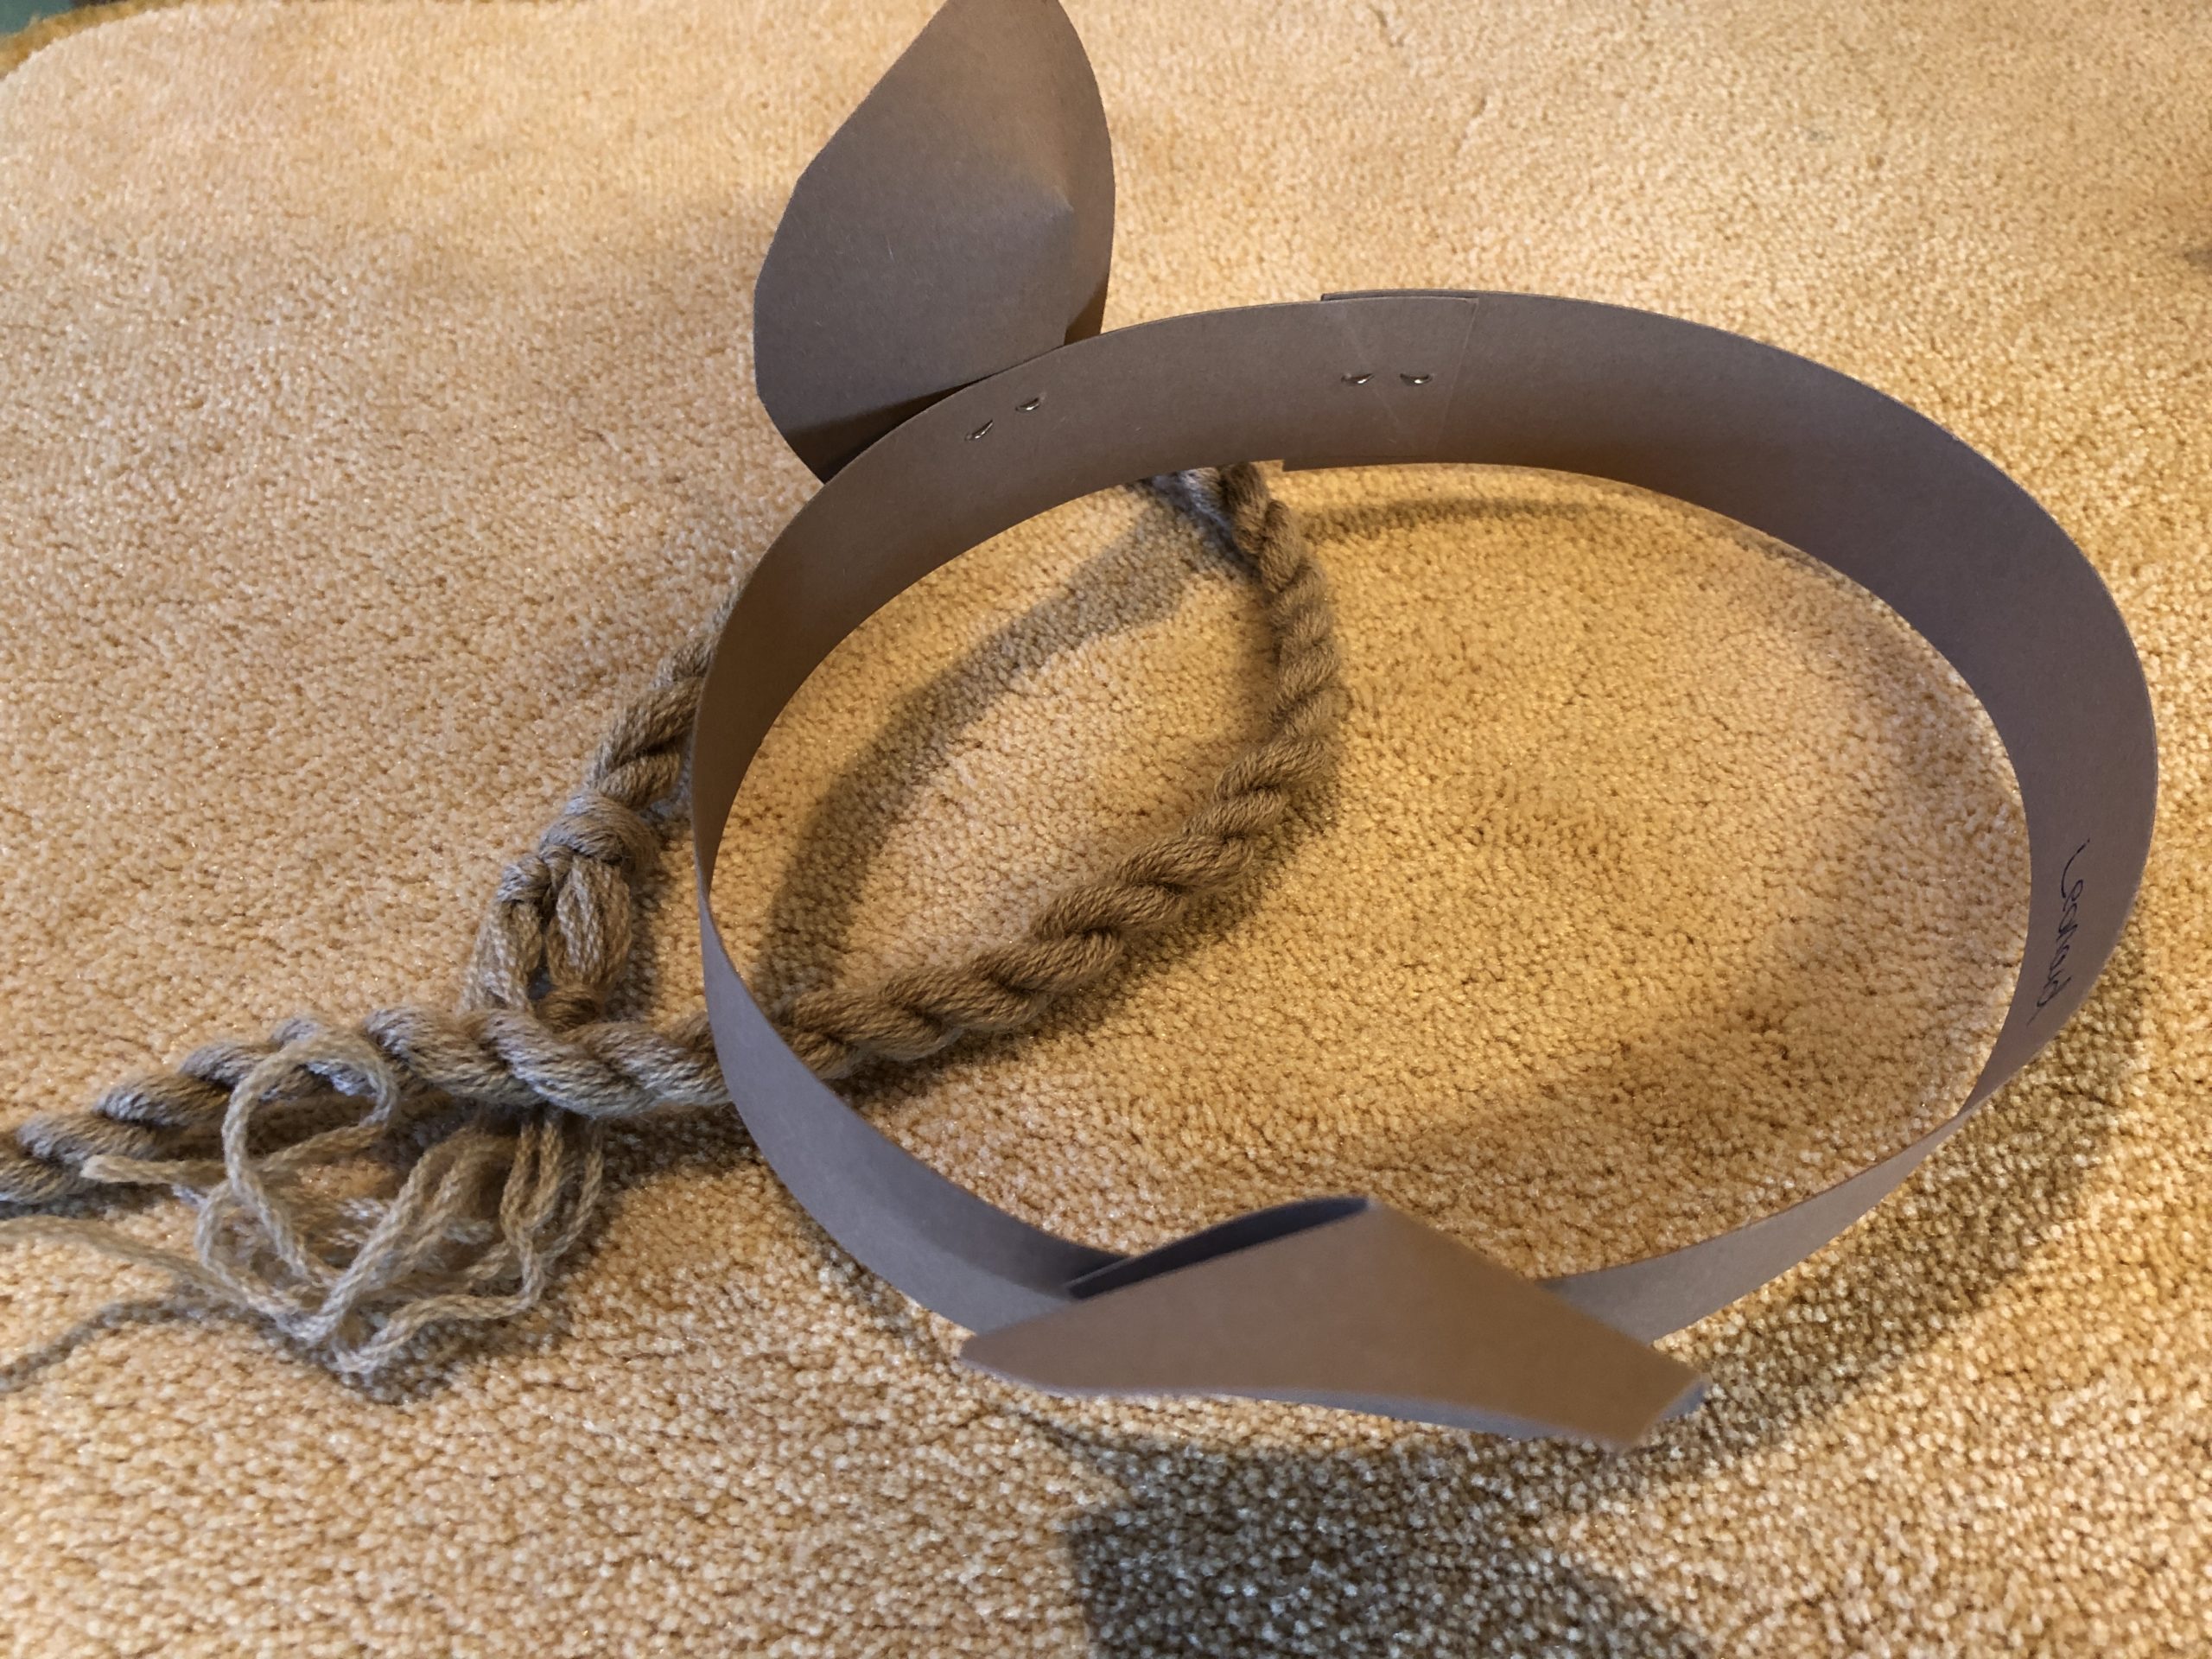
Here as a tail for a cat disguise!
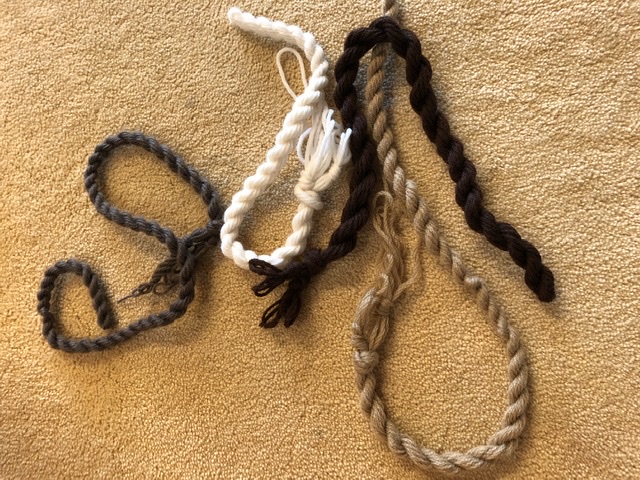
...and more cords...
Materials
Directions
All set.
Pick wool. Cut wool threads.
Length: place 1,40 m long threads halved: gives a cord of 30-50 cm length - depending on the thickness of the thread and the number of threads. The thicker and the more threads, the shorter the cord becomes!
Take the wool in half and put it over a hoe (door handle goes too!)
Connect the other end
and put over the kneach. Attention: Do not let children operate the mixer alone!
Hold threads loosely on tension and turn with the mixer (turn these on at the lowest level). When turning, give in to the cord, as it pulls together and shortens!
Turn until the cord begins to curl.
Detach both ends from the chops. Keep the cord on tension. Put the cord together on half.
Let go of the folded end... the complete cord pulls together and needs to be painted out.
The cord is ready!
Knot at the appropriate length.
For thicker cord: take four threads and thick wool.
Make thin cord only from two threads!
See here:
Here as a tail for a cat disguise!
...and more cords...
Follow us on Facebook , Instagram and Pinterest
Don't miss any more adventures: Our bottle mail