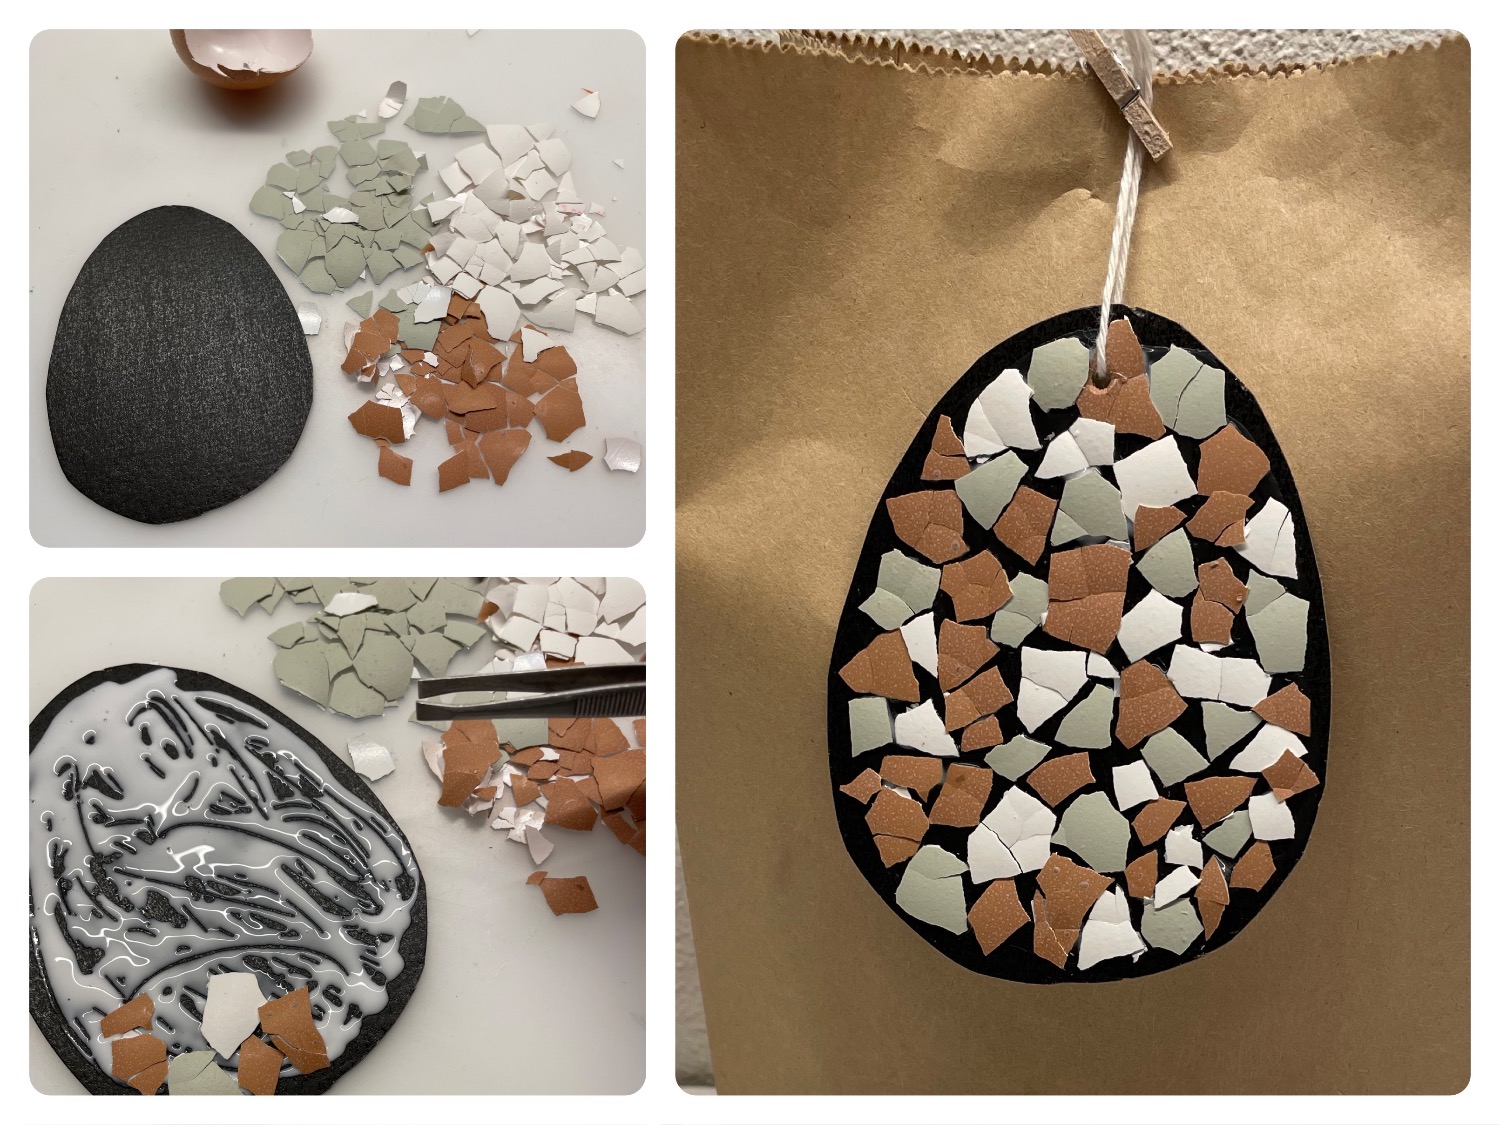
These beautiful Easter eggs are simply self-made and this crafting is a pleasure for the children. While they are usually rather careful and careful when dealing with eggs, the children can crush the eggshells here and reassemble them as when puzzled. The followers own themselves for an Easter shrub or as a gift. Have fun!
Media Education for Kindergarten and Hort

Relief in everyday life, targeted promotion of individual children, independent learning and - without any pre-knowledge already usable by the youngest!
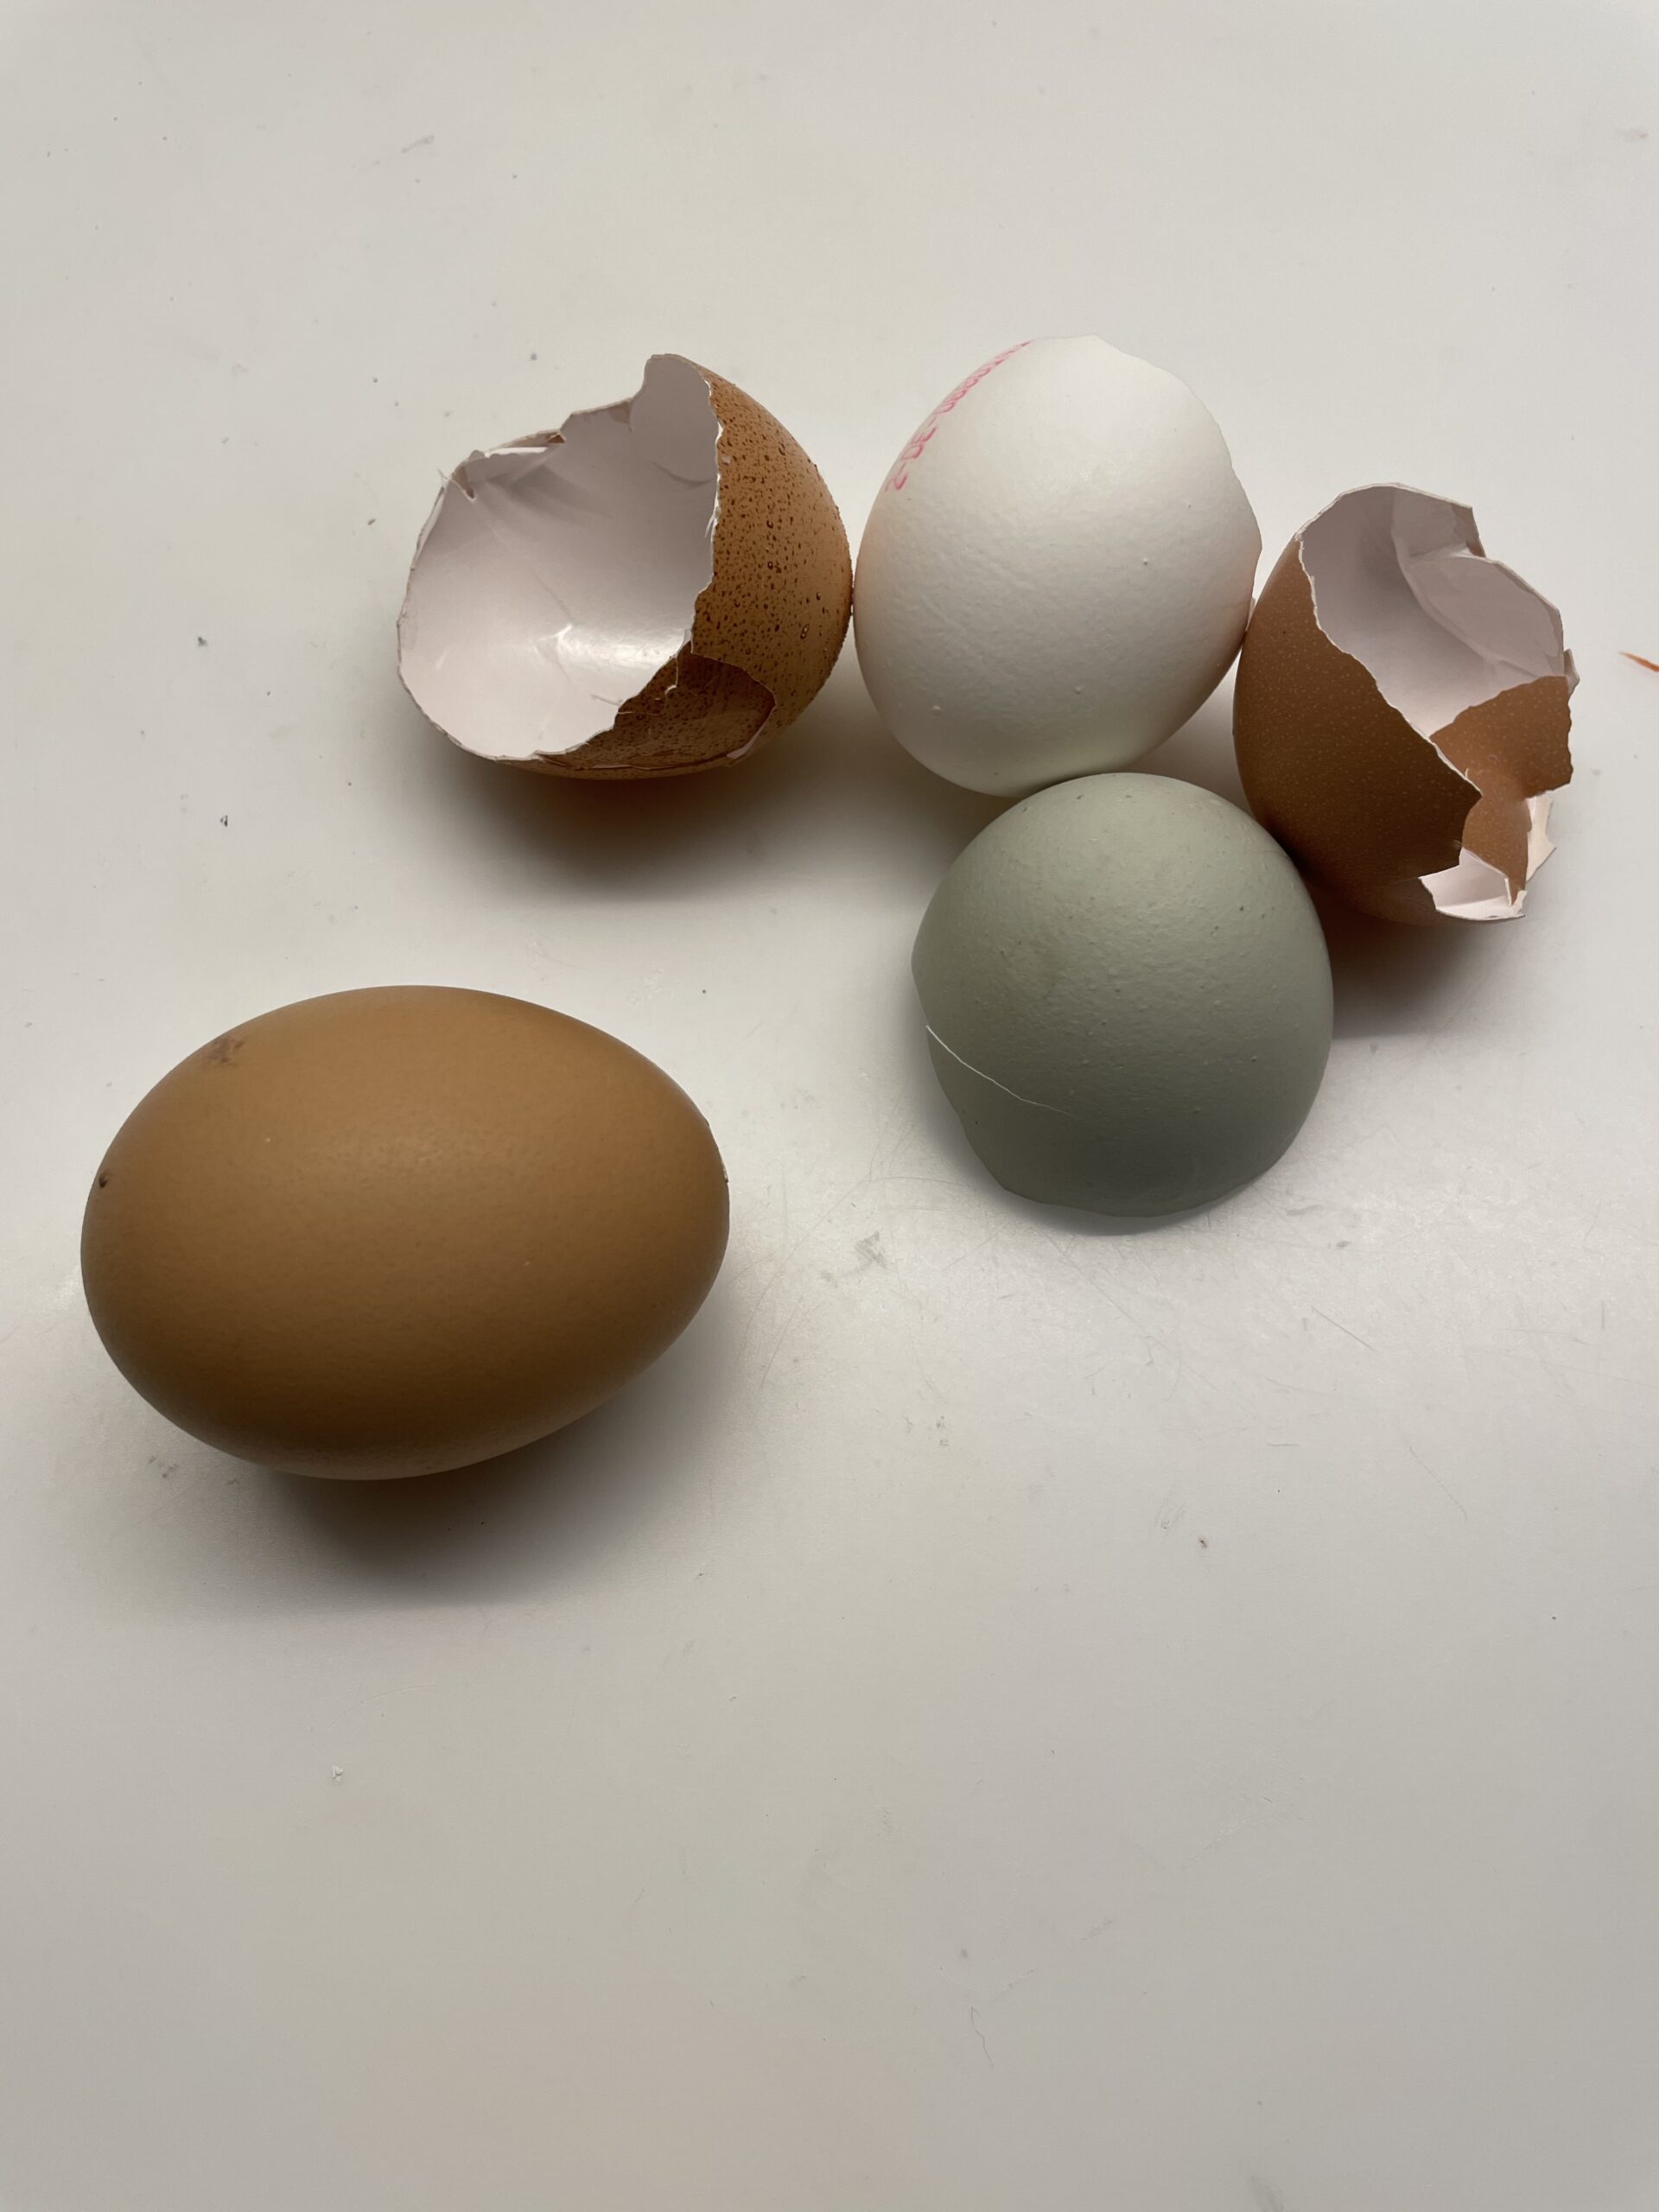
Select eggshells in different shades and clean them beforehand.
Tip: Collect the bowls while cooking and baking, then rinse them with water and let them dry.
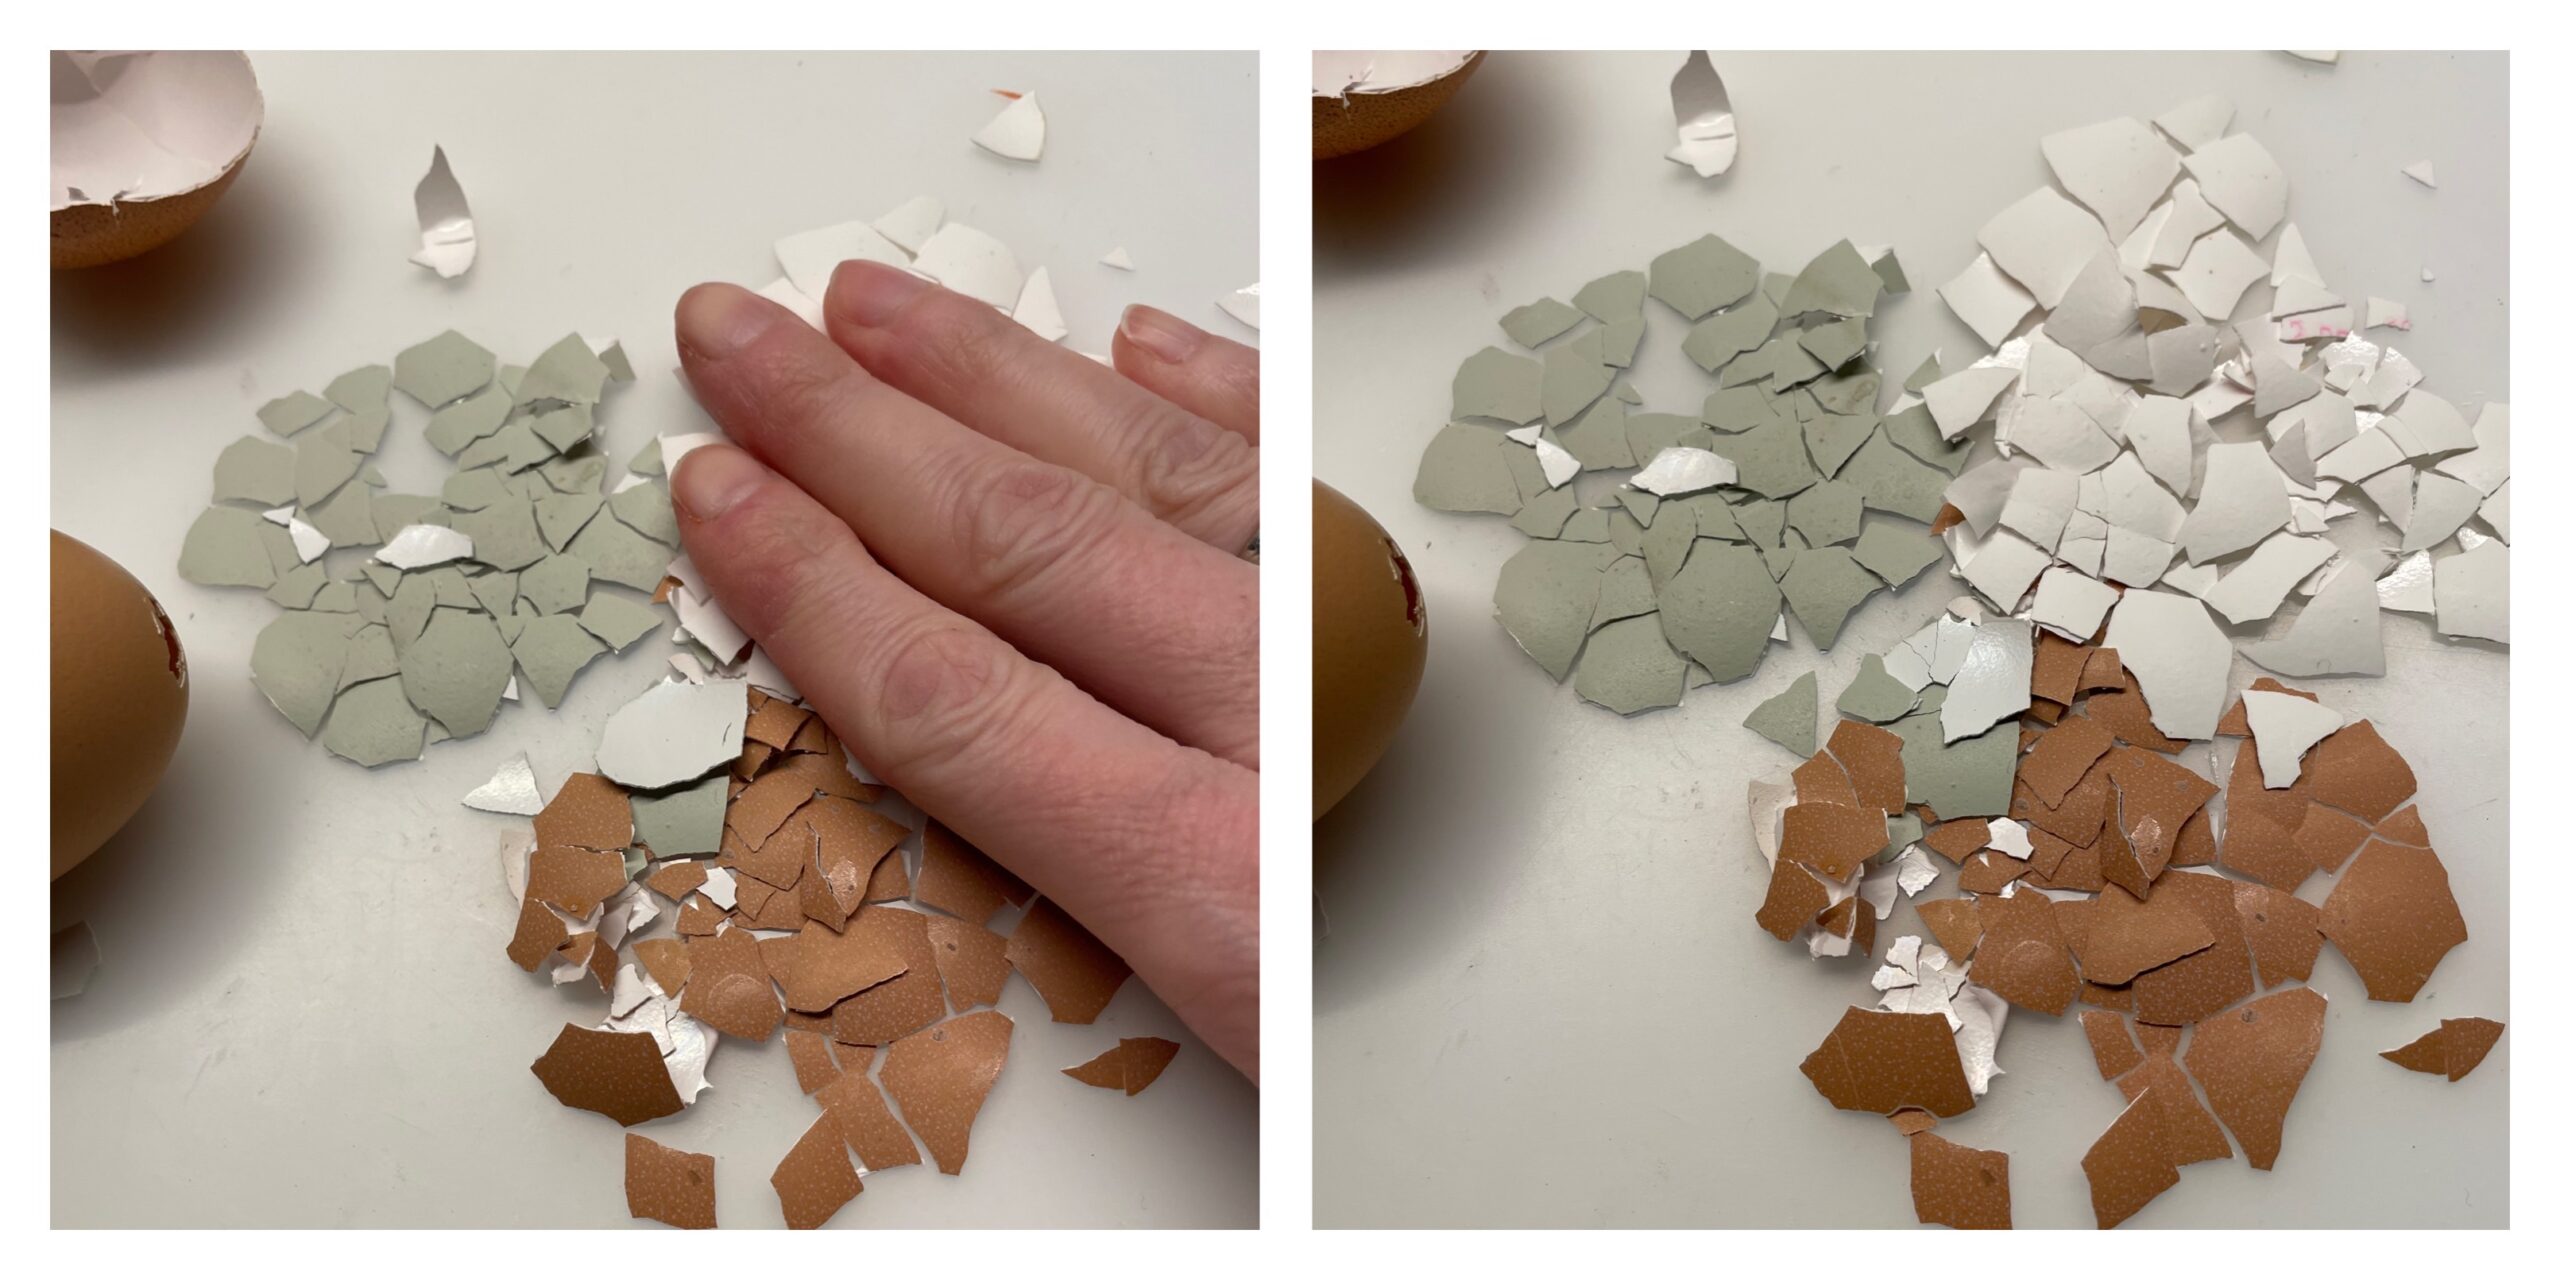
Now put the dry egg shells on the table and crush them slowly with the flat hand. Because so the bowls remain on the table.
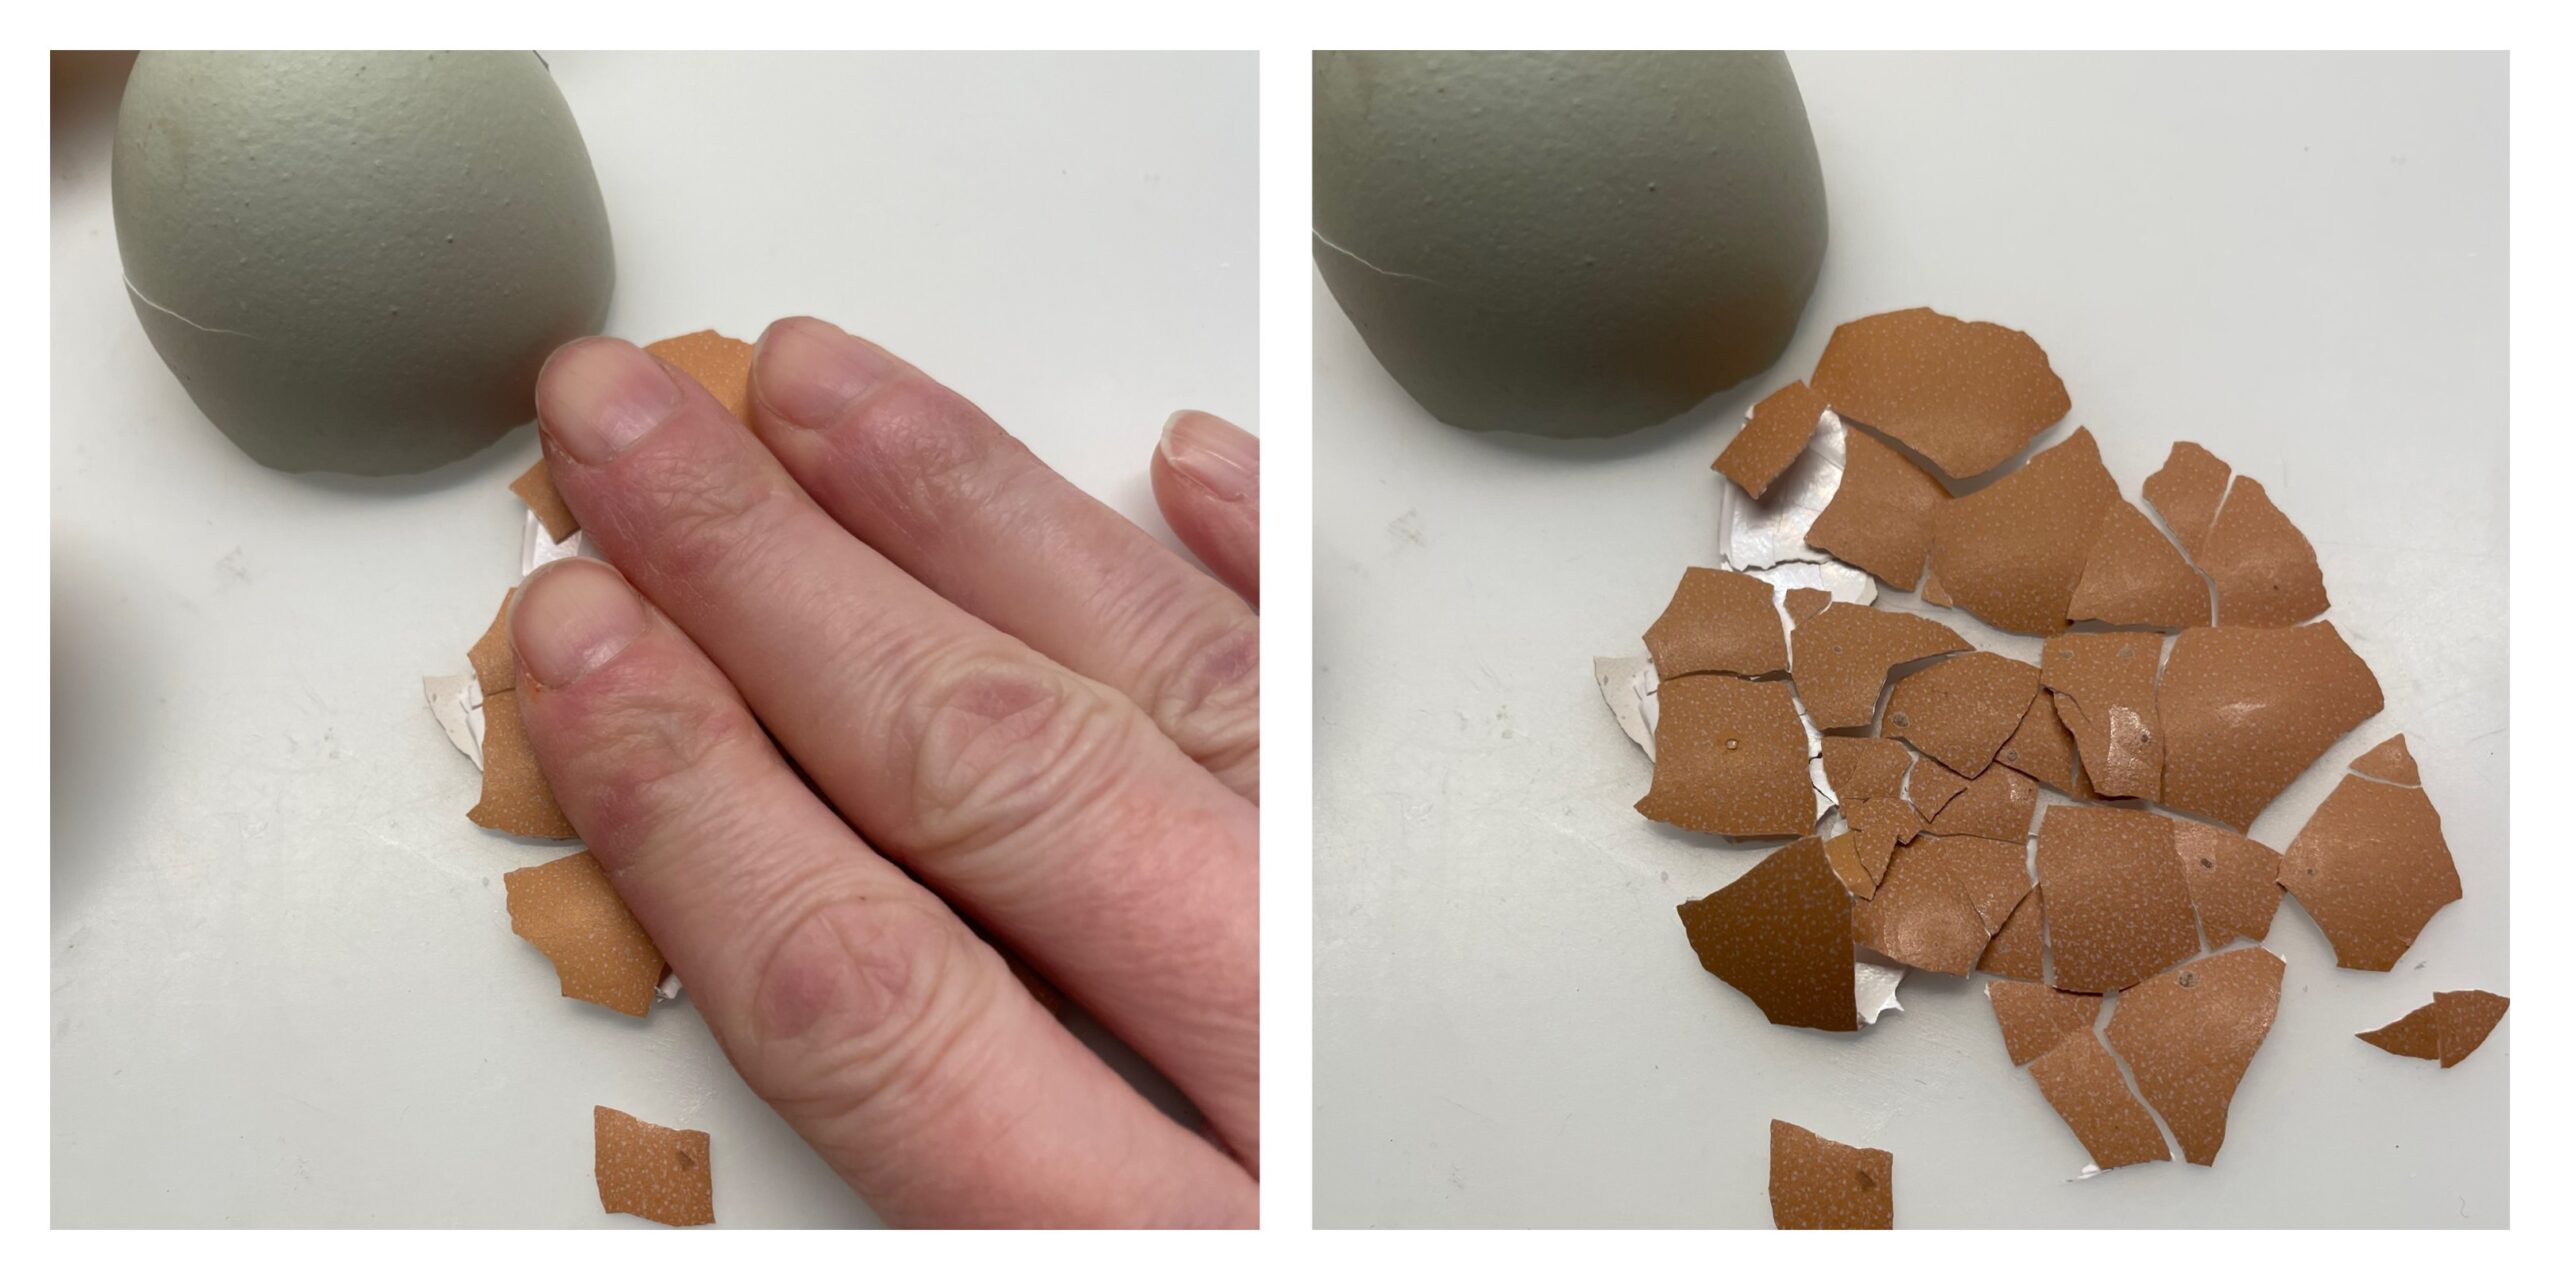


Leave the bowls on the table separately.


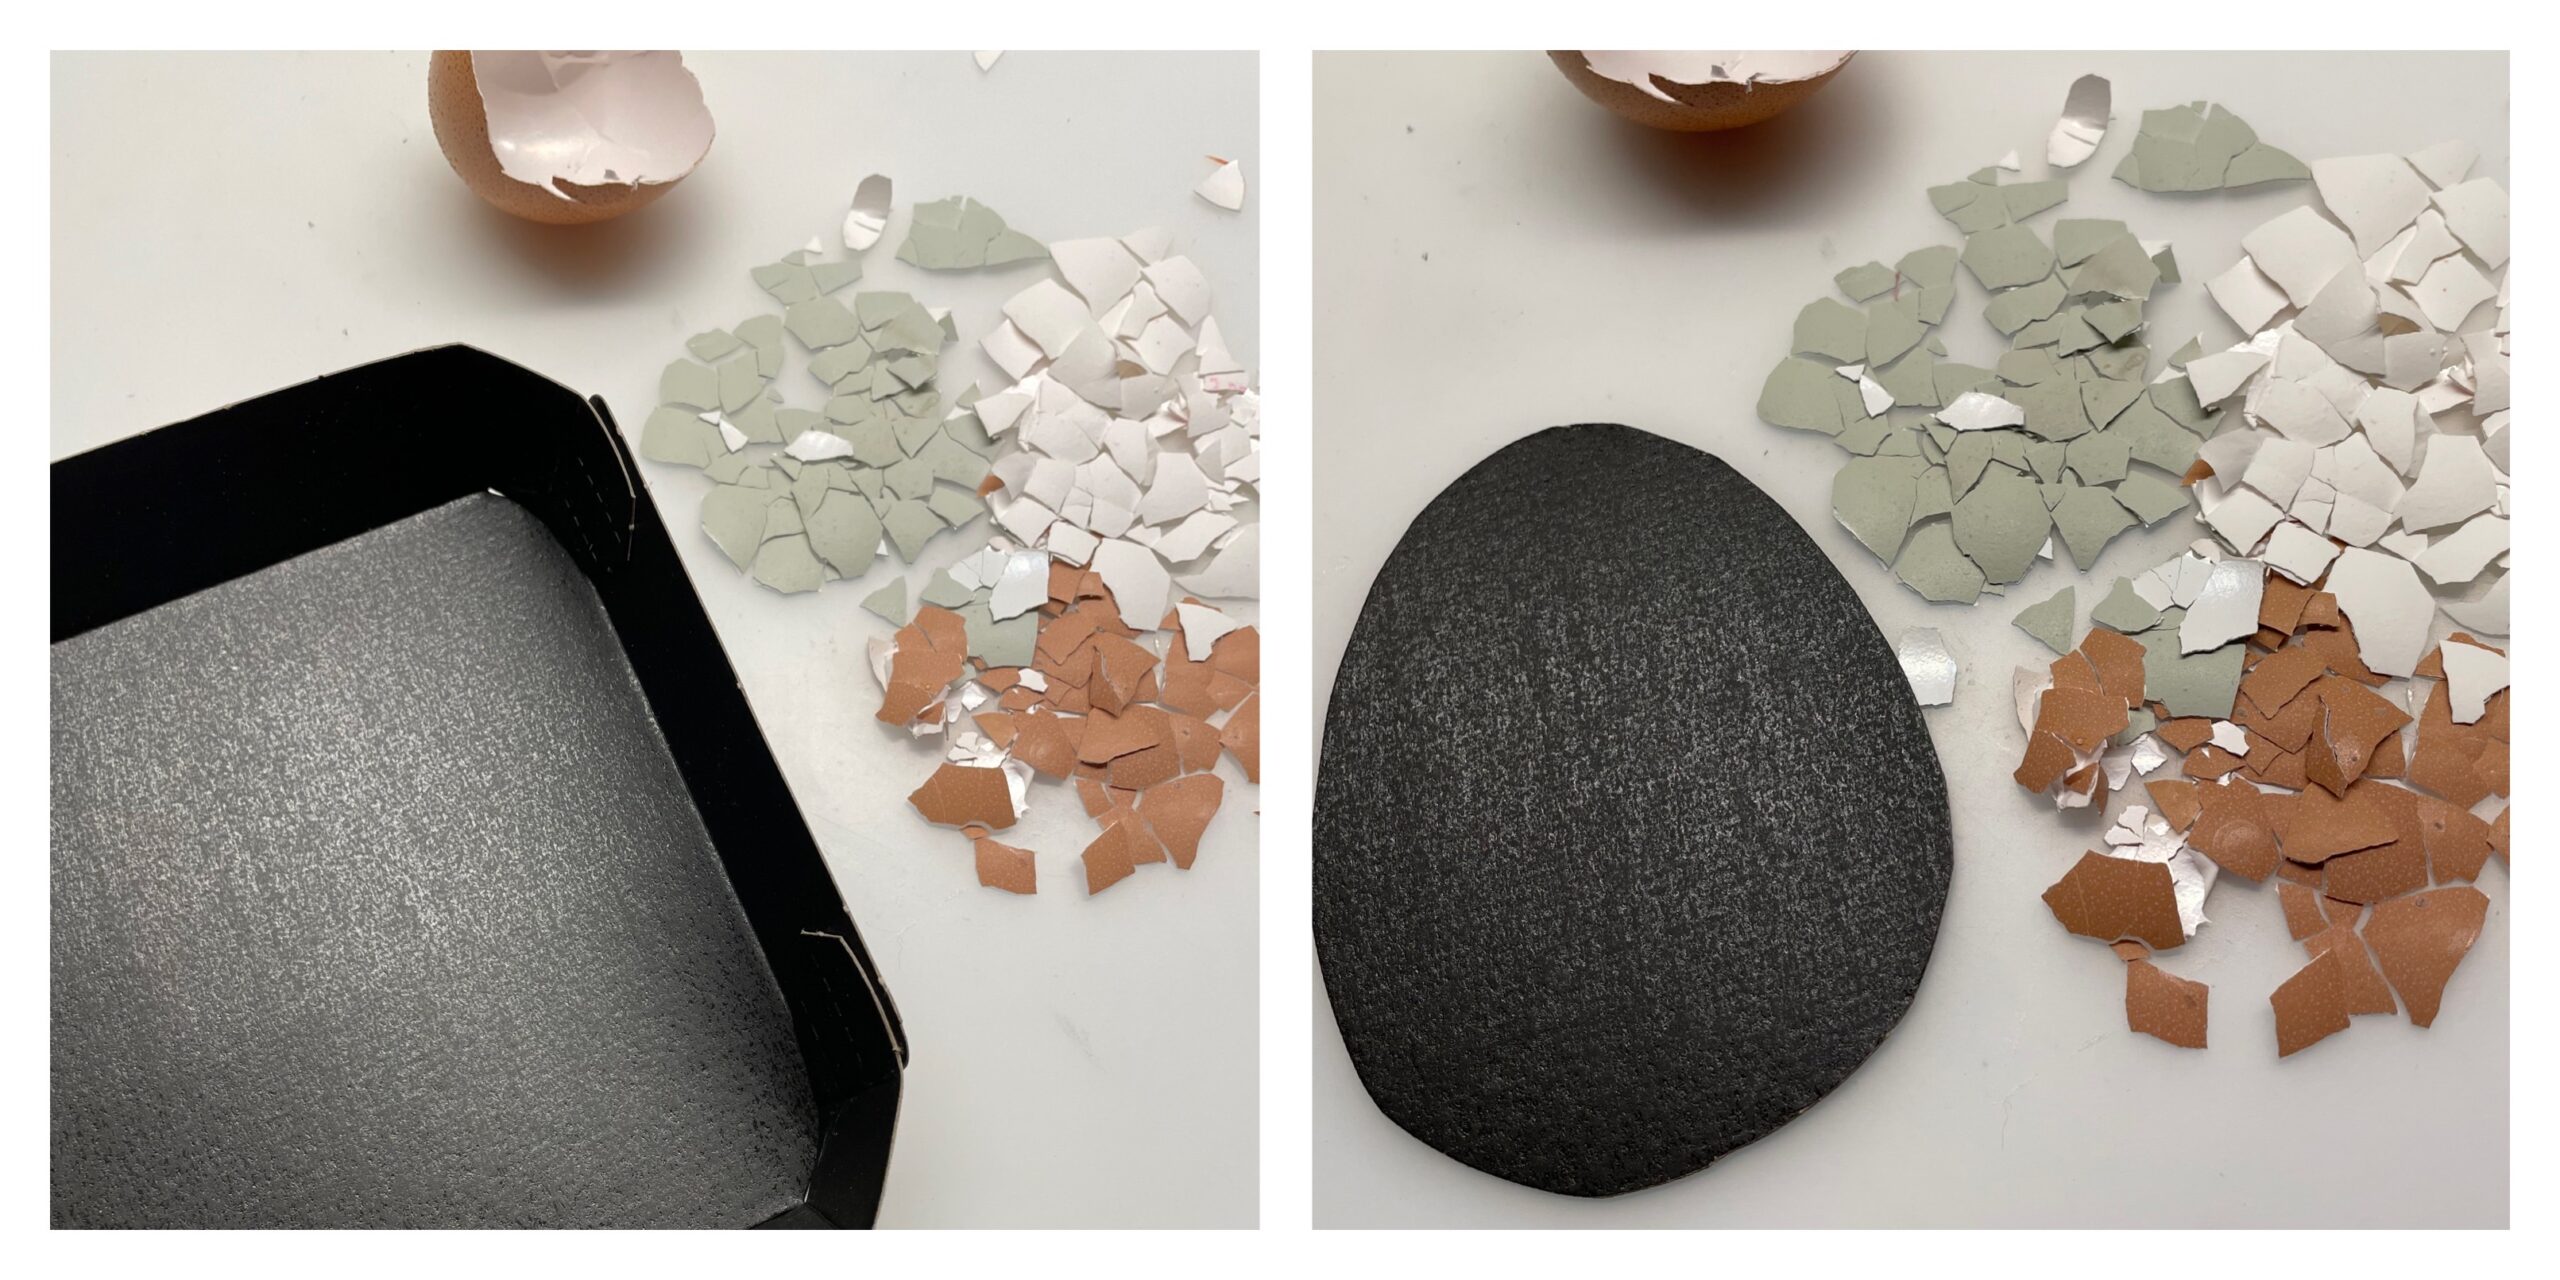
Now you cut an egg out of a black box or a black photo box.


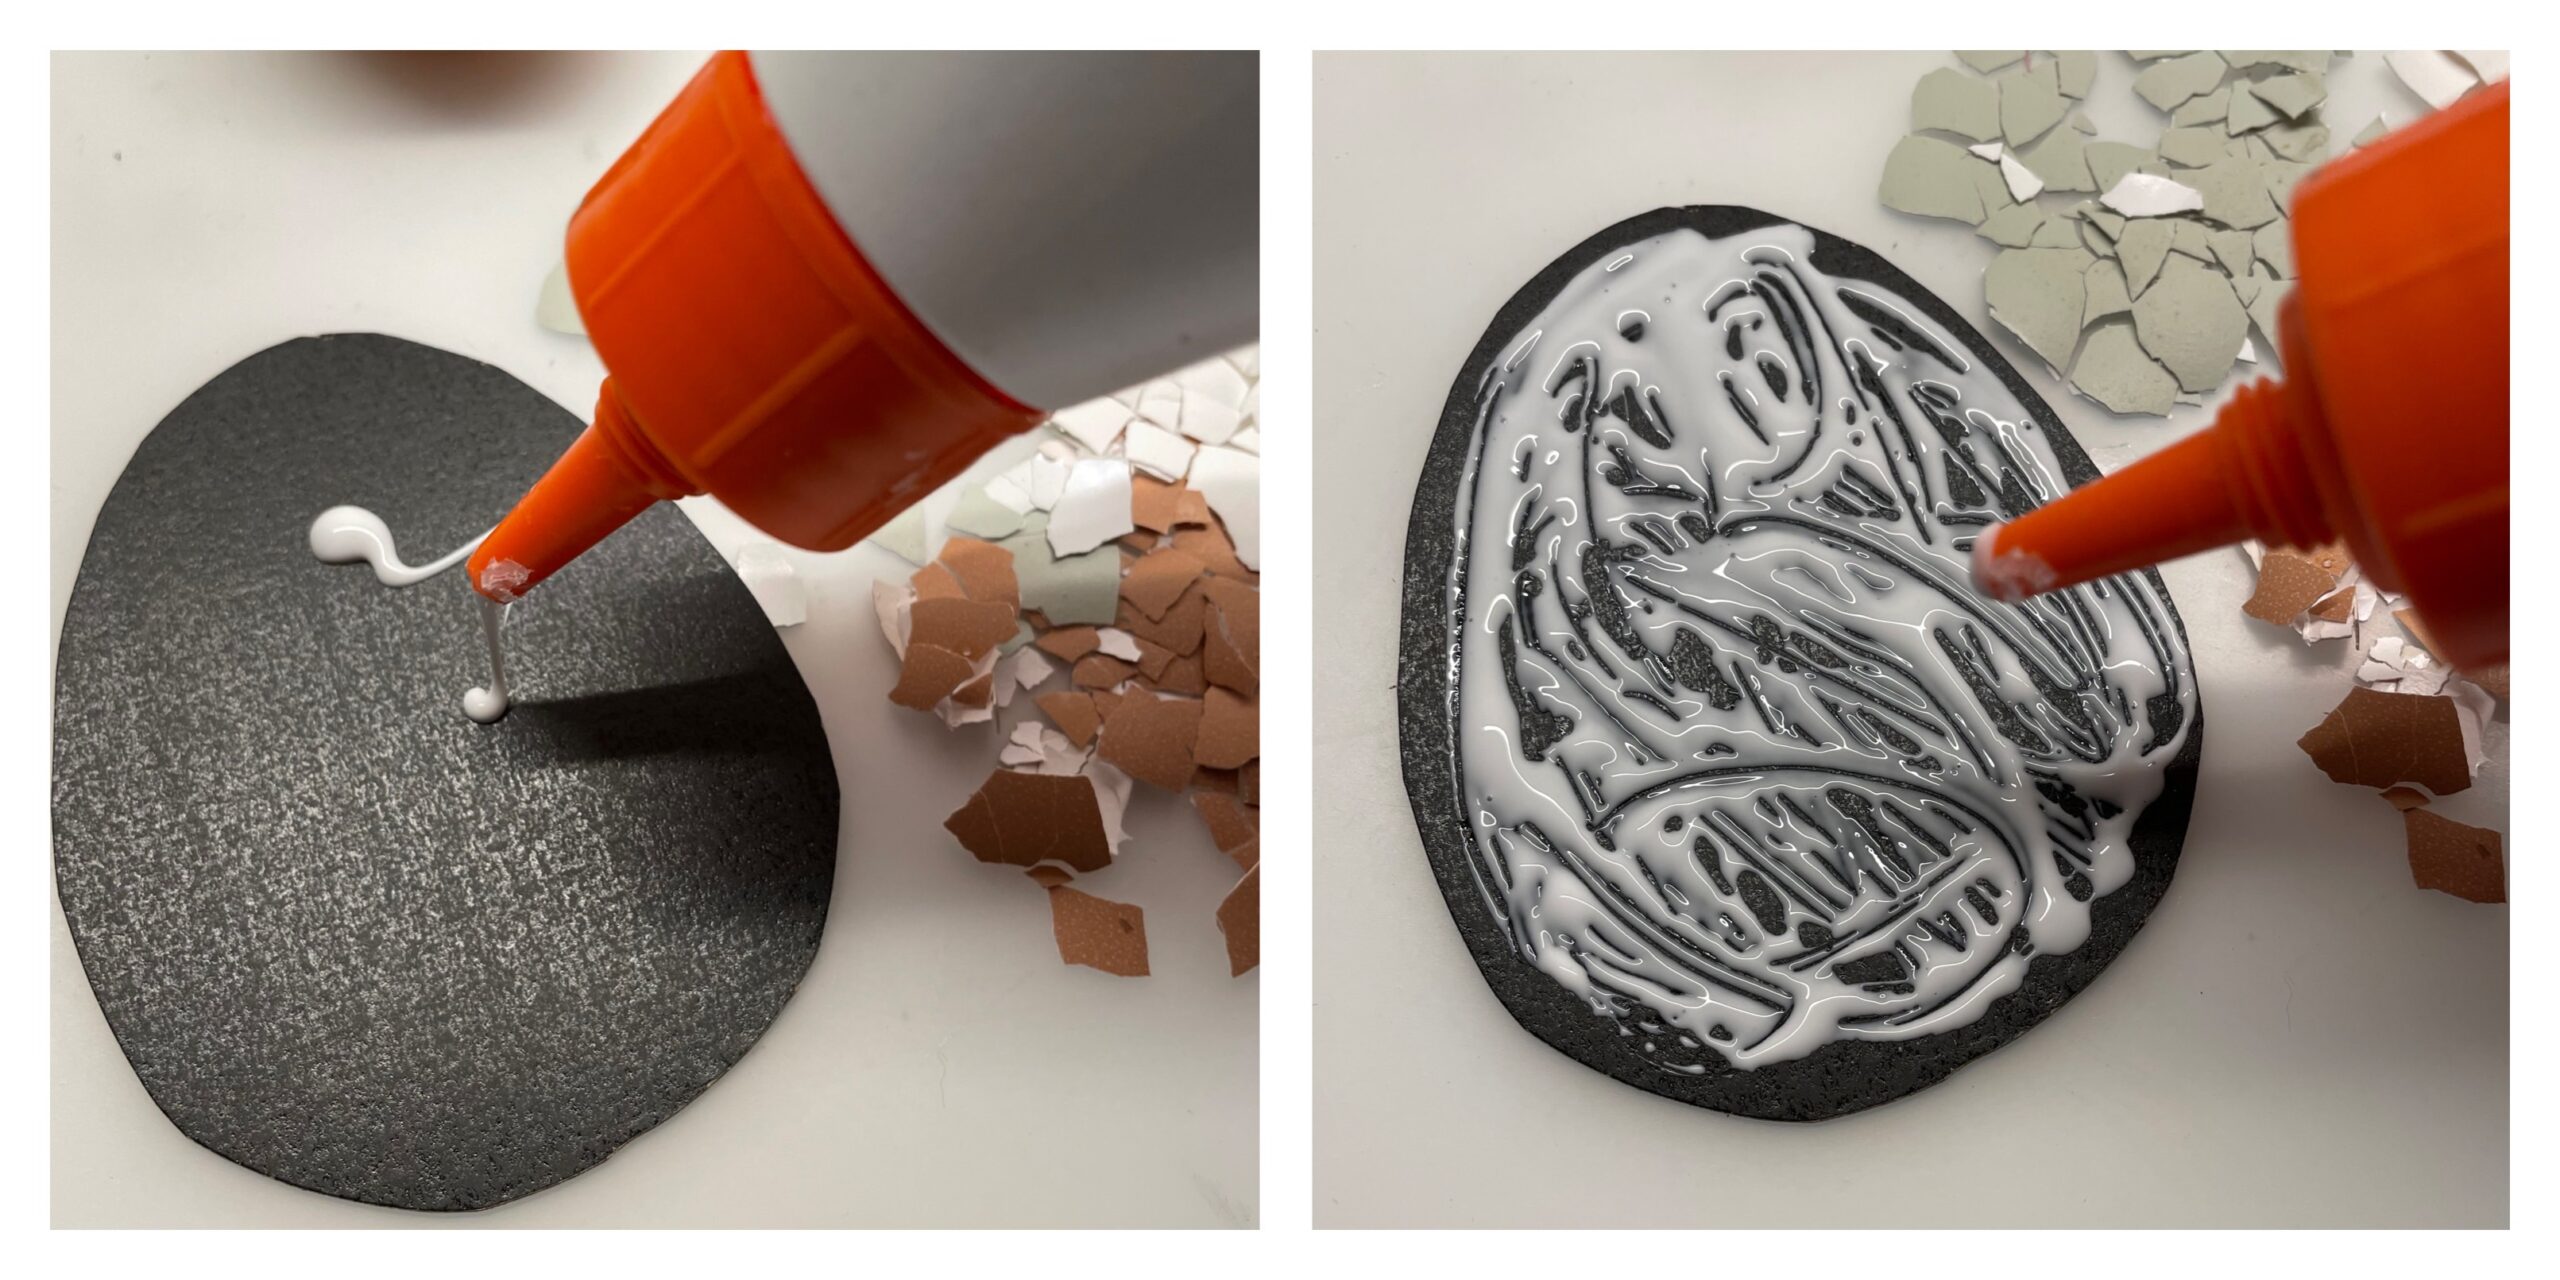
Then rub the egg evenly with wood glue.


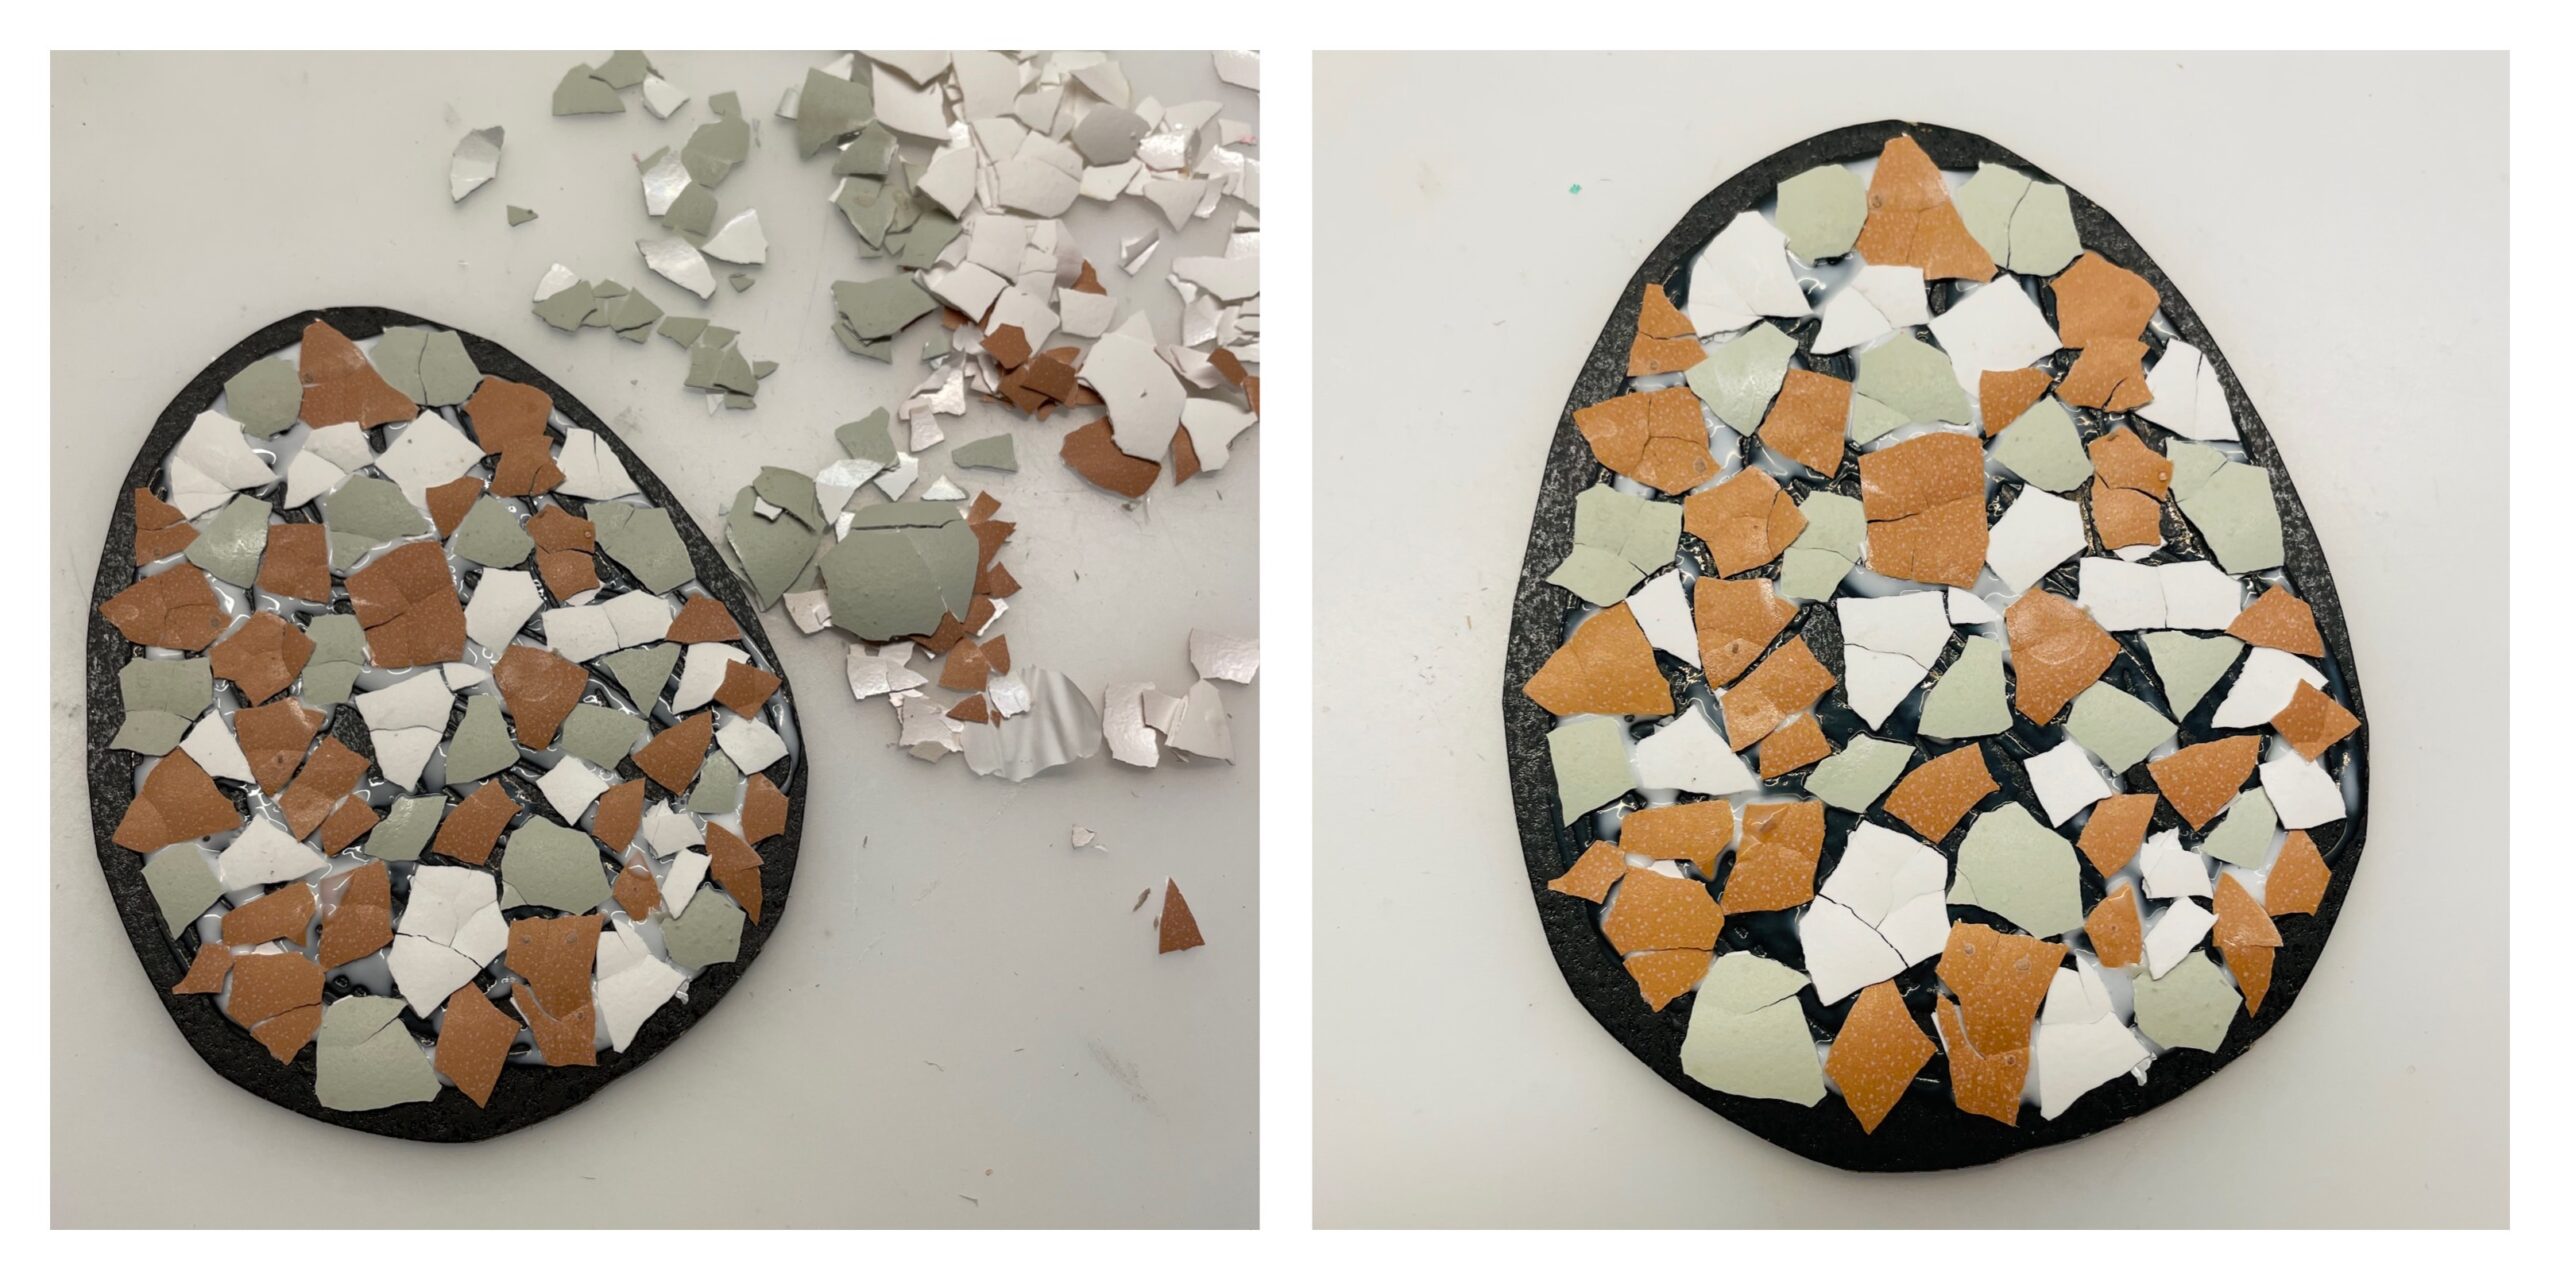
Now stick the egg shells mixed in colour on the black egg. For this you can also use a tweezer. Do not stick the egg shells on top of each other, but leave small gaps between the egg shells. You can no longer see the white wood glue after drying, because it becomes transparent when drying.
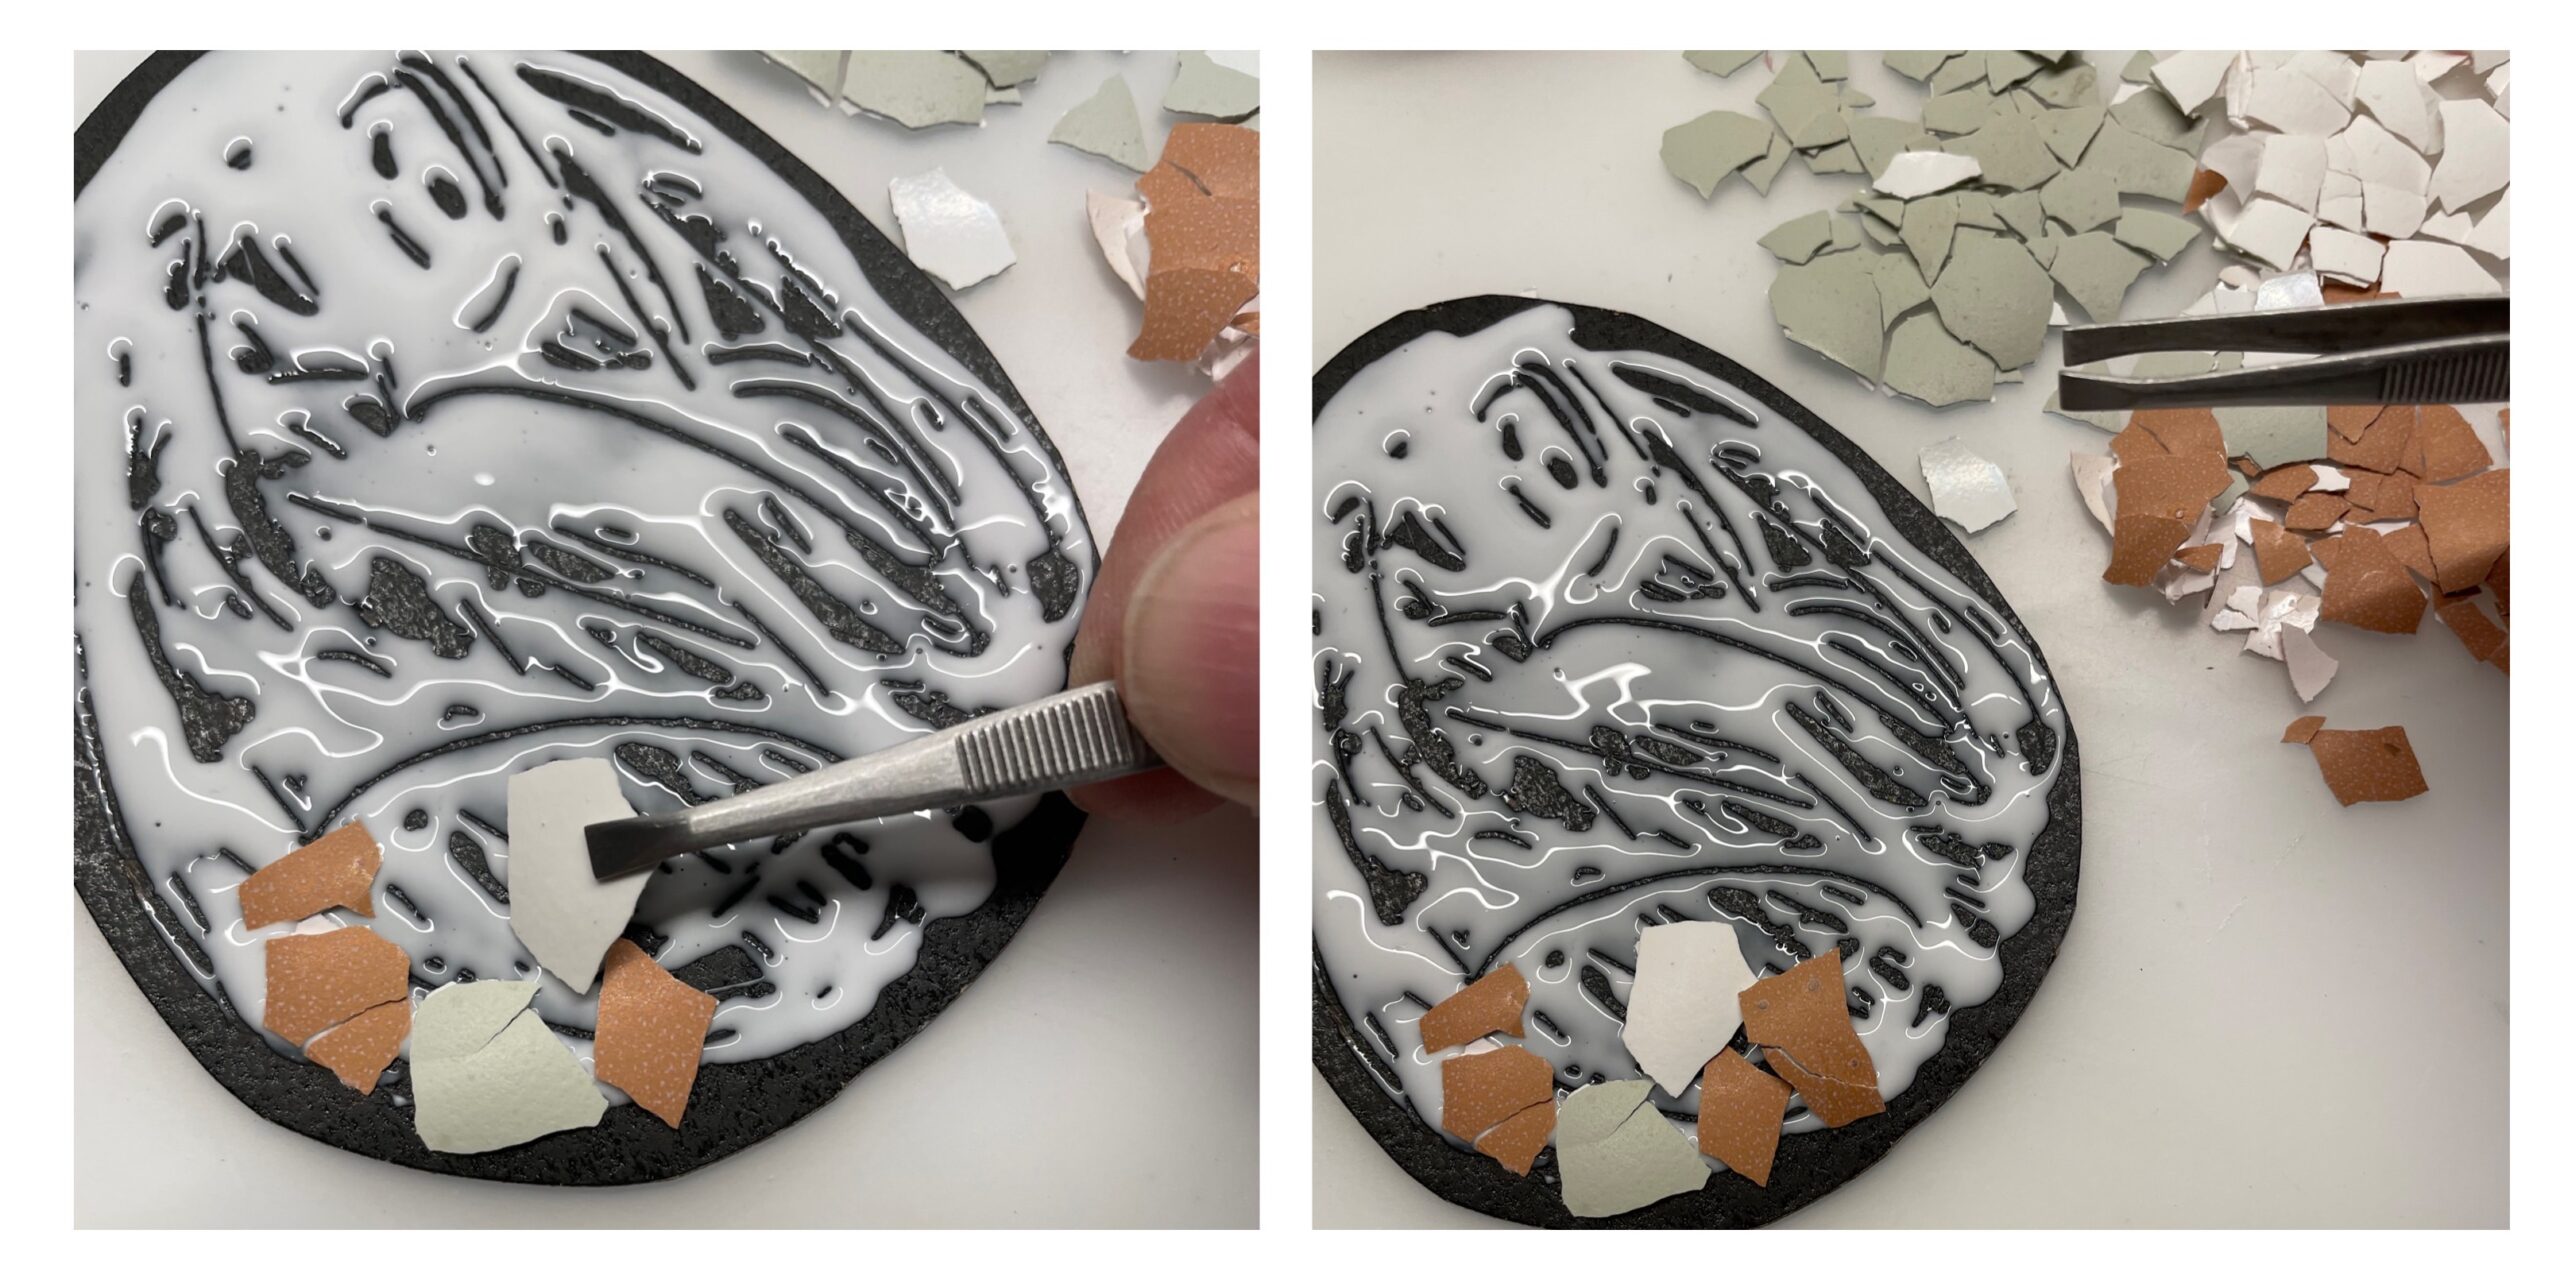


So glued the entire egg with egg shells.
Then lay the egg for at least 1-2 hours to dry.


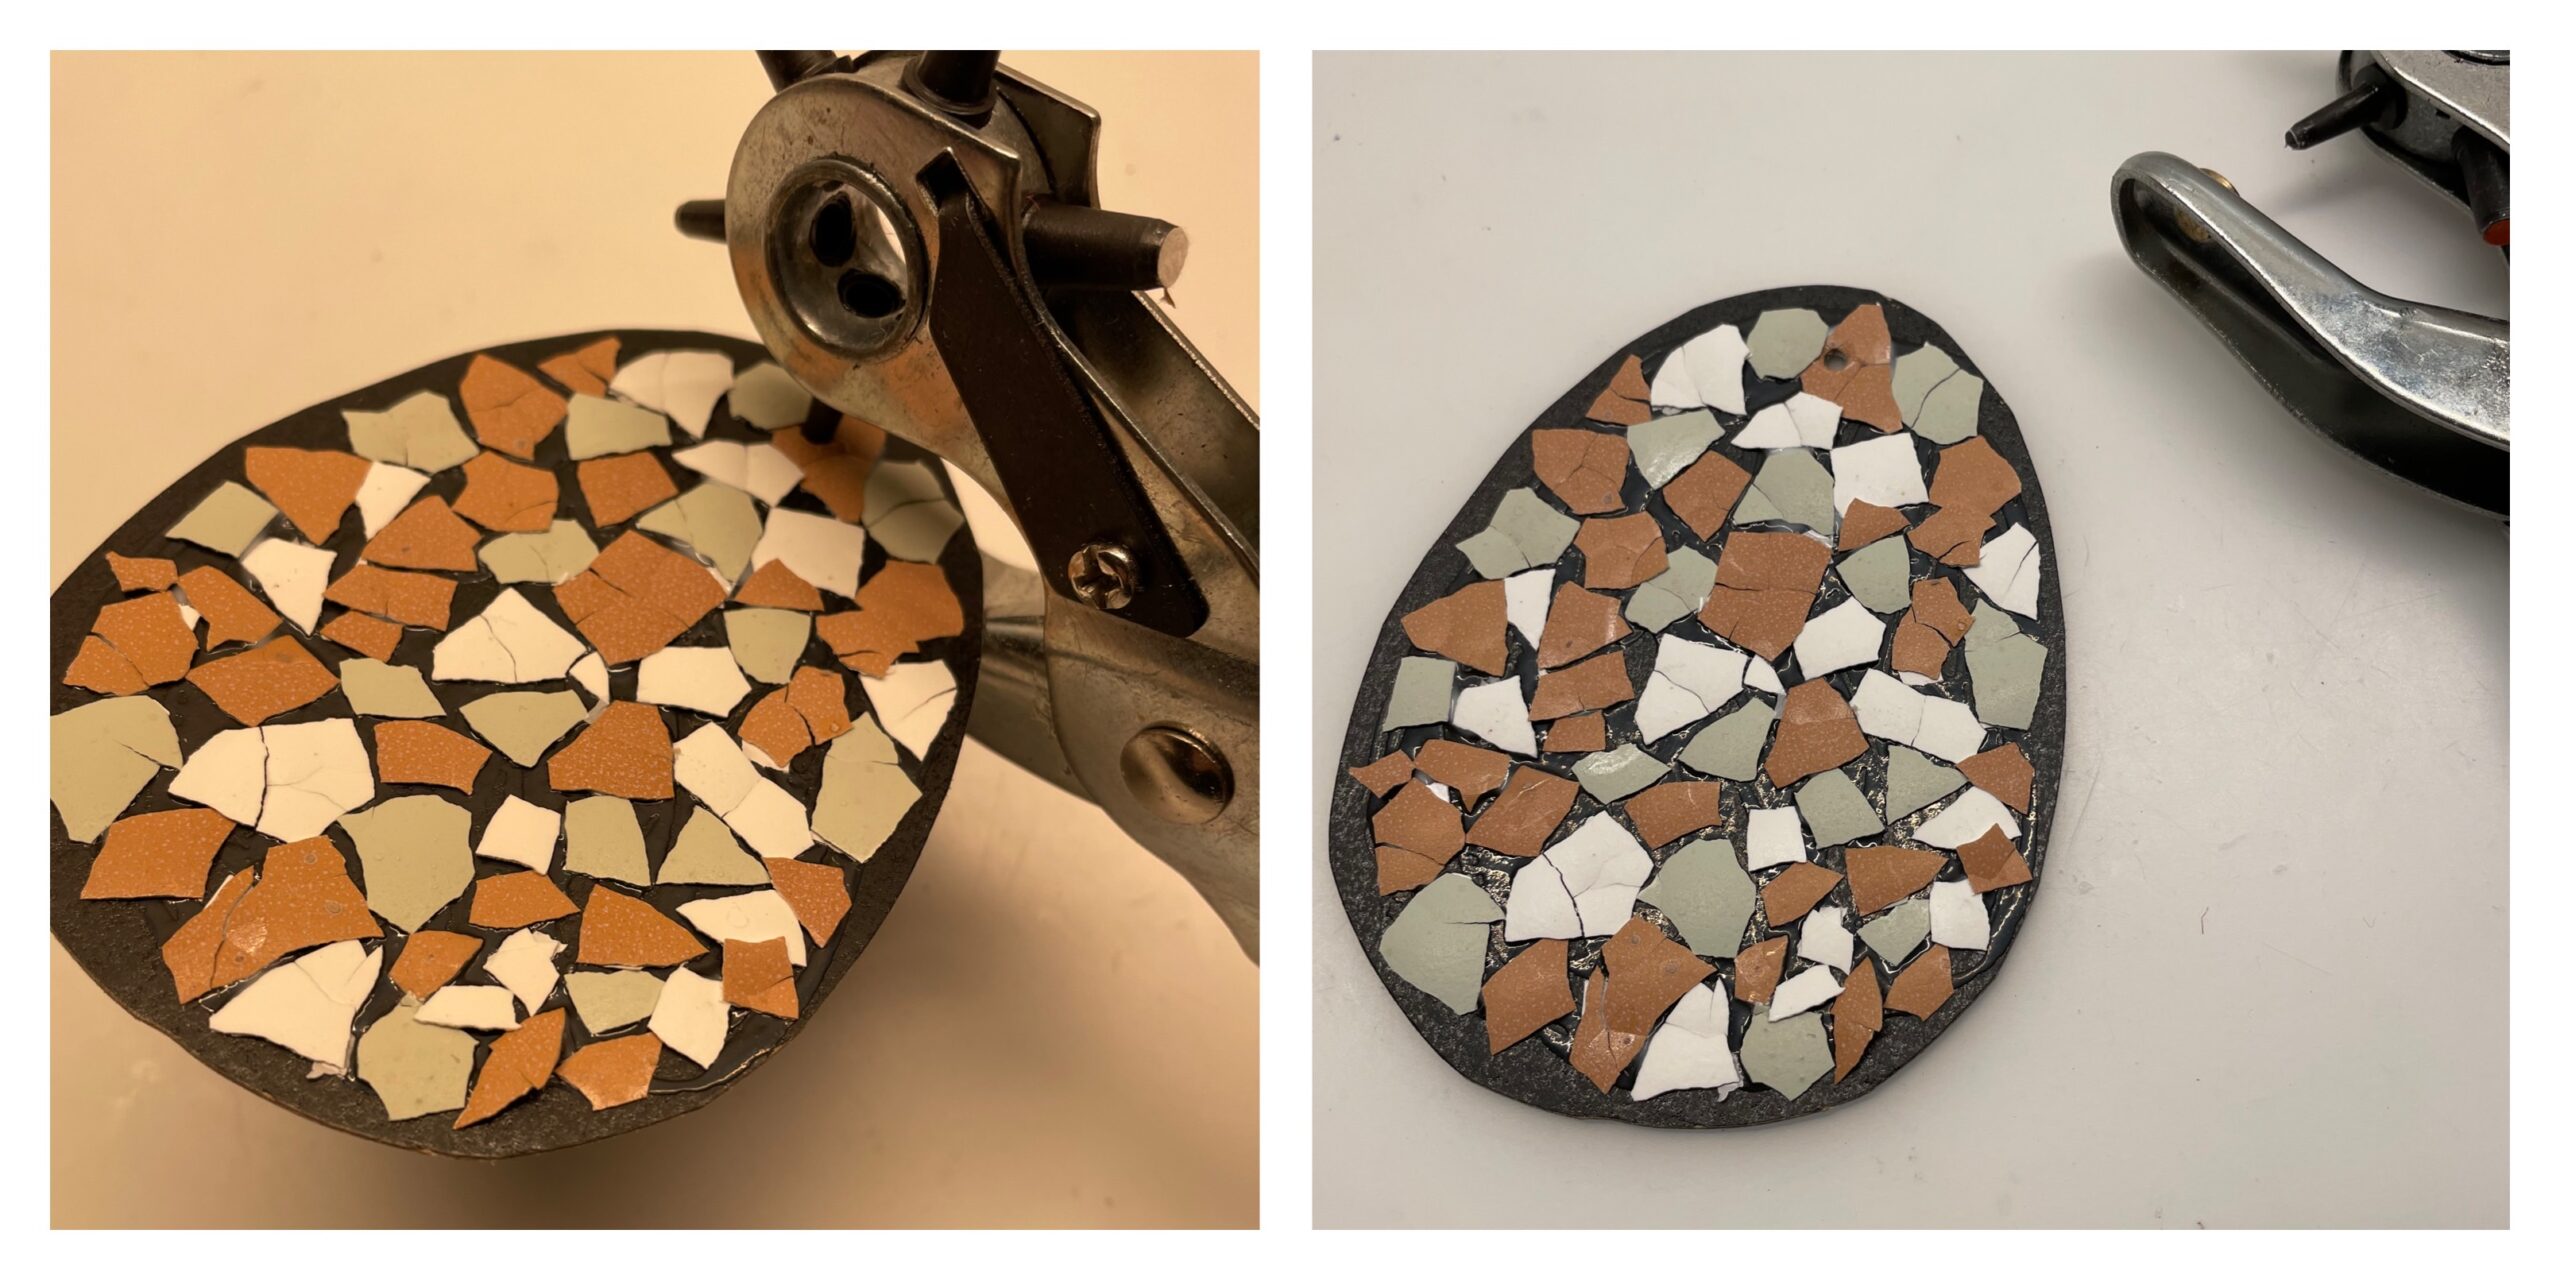
Then you punch a hole in the upper end with a punched plier.


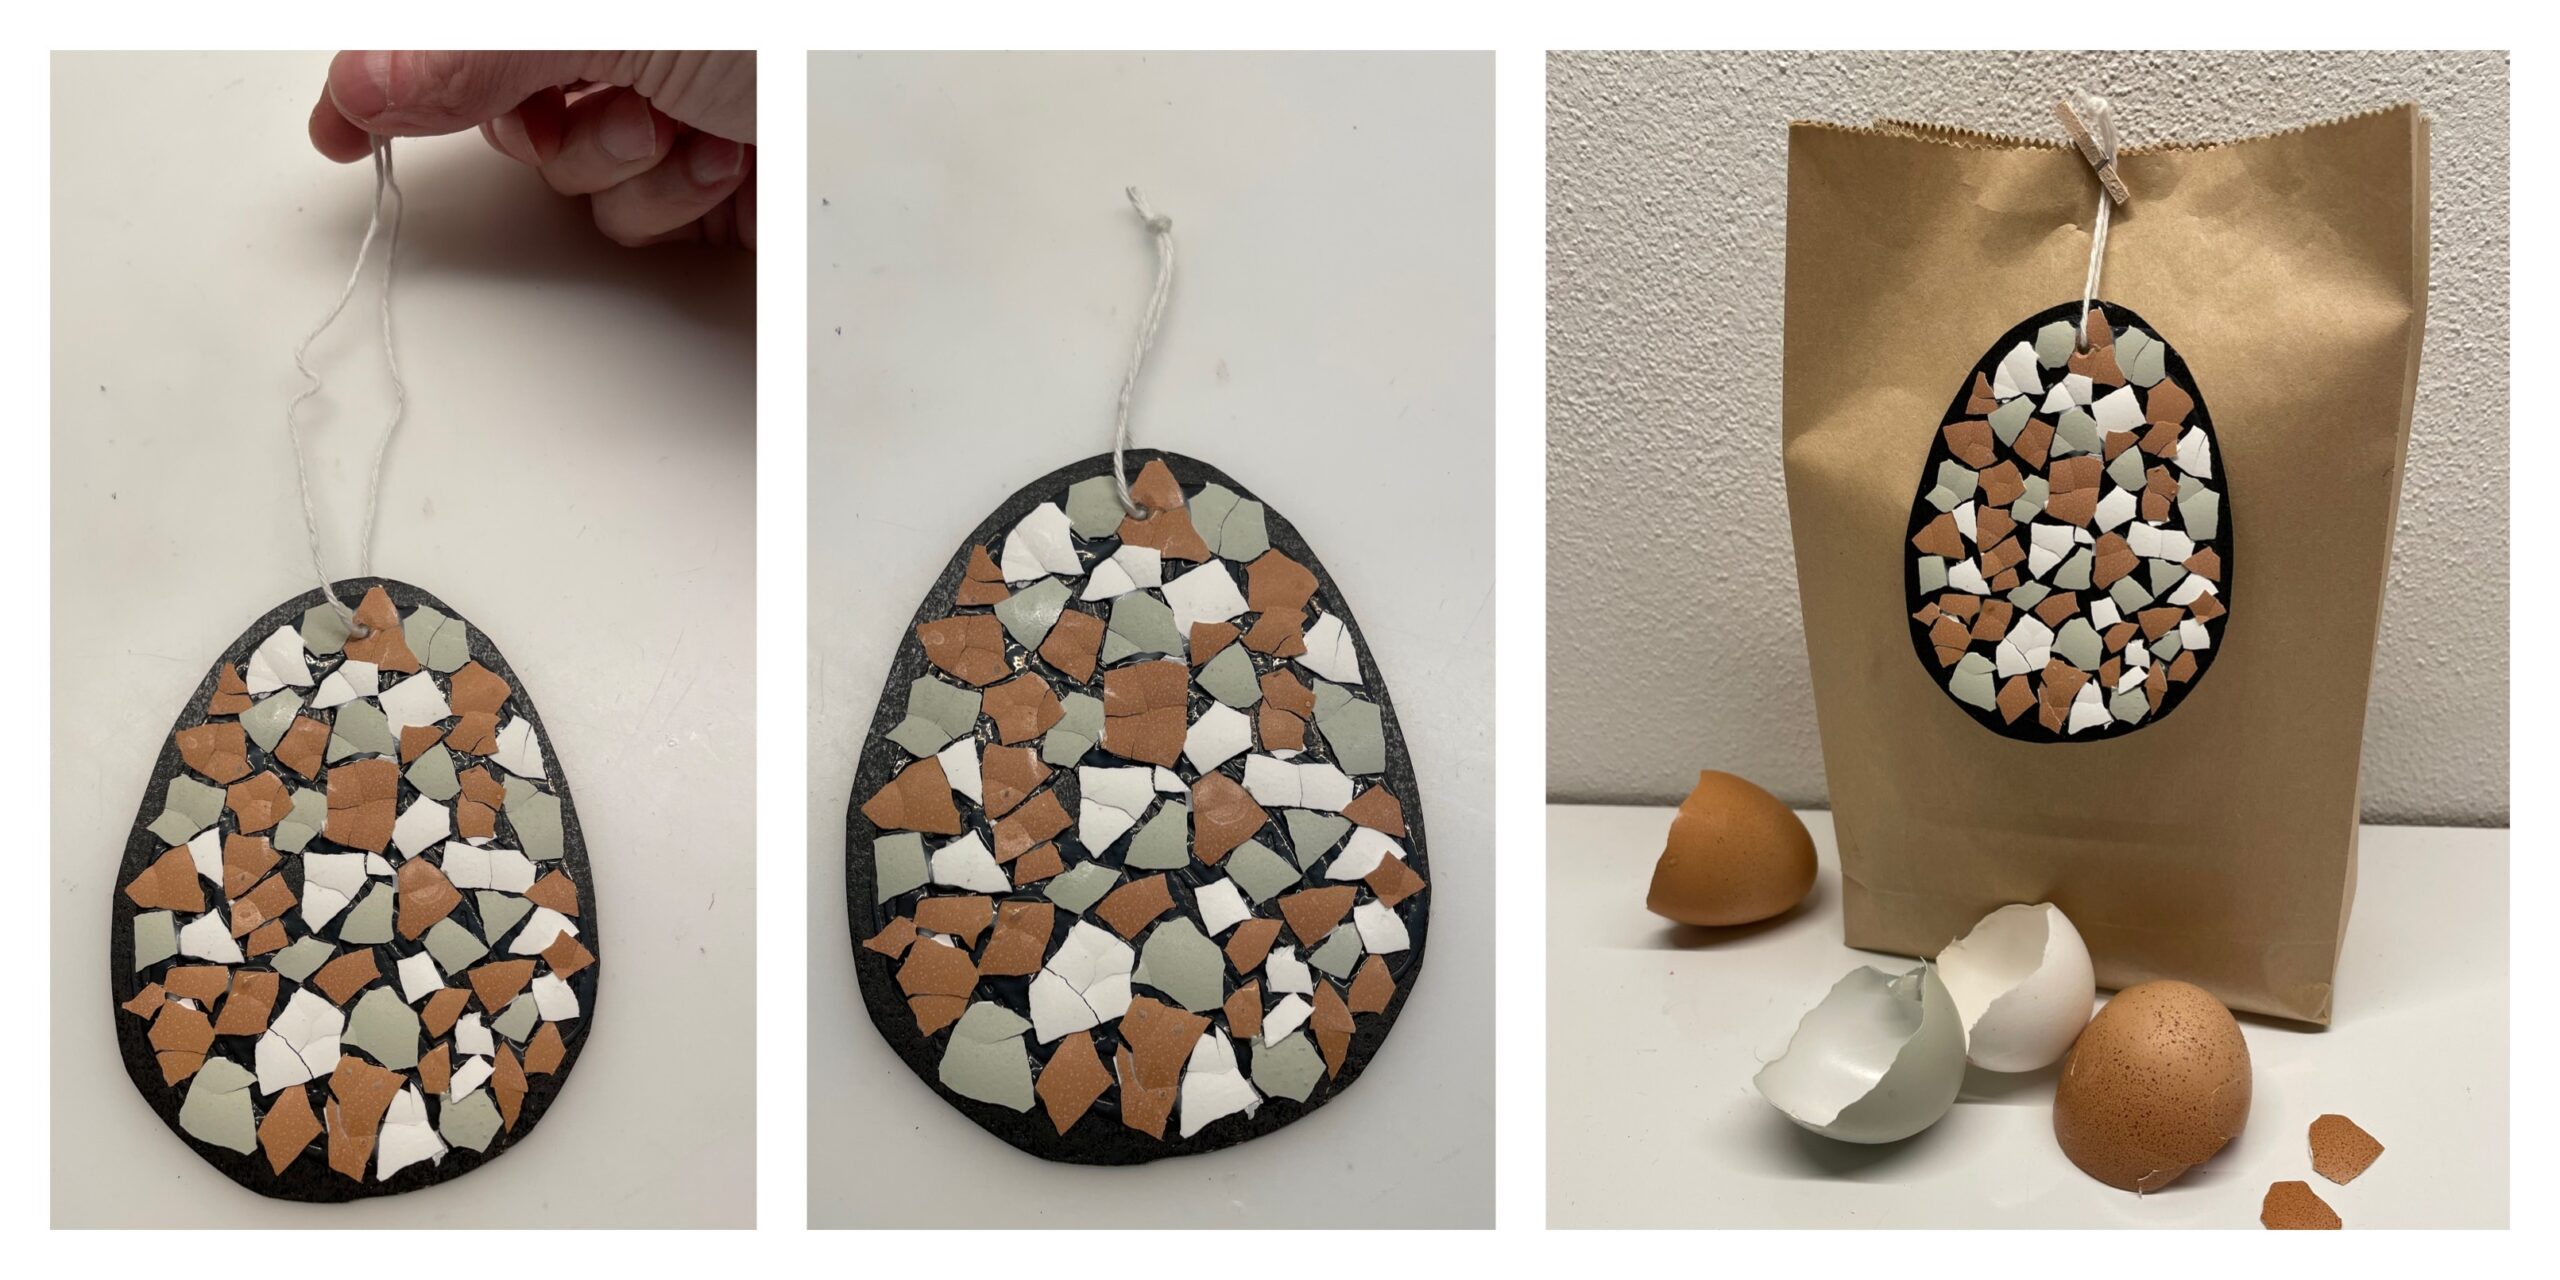
Finally thread a thread through the hole and knot it. Now you can hang the egg, for example, on an Easter shrub or use the egg as a pendant for a gift.


Stay creative!
Materials
Directions
Select eggshells in different shades and clean them beforehand.
Tip: Collect the bowls while cooking and baking, then rinse them with water and let them dry.


Now put the dry egg shells on the table and crush them slowly with the flat hand. Because so the bowls remain on the table.


Leave the bowls on the table separately.


Now you cut an egg out of a black box or a black photo box.


Then rub the egg evenly with wood glue.


Now stick the egg shells mixed in colour on the black egg. For this you can also use a tweezer. Do not stick the egg shells on top of each other, but leave small gaps between the egg shells. You can no longer see the white wood glue after drying, because it becomes transparent when drying.


So glued the entire egg with egg shells.
Then lay the egg for at least 1-2 hours to dry.


Then you punch a hole in the upper end with a punched plier.


Finally thread a thread through the hole and knot it. Now you can hang the egg, for example, on an Easter shrub or use the egg as a pendant for a gift.


Stay creative!
Follow us on Facebook , Instagram and Pinterest
Don't miss any more adventures: Our bottle mail


