AdventurerKitaForst
A small boot as an upcyclel idea is made of newspaper. With the branches a Santa's boot is made of the boot. See how easy it is. Have fun crafting.
Media Education for Kindergarten and Hort

Relief in everyday life, targeted promotion of individual children, independent learning and - without any pre-knowledge already usable by the youngest!

Get it ready.
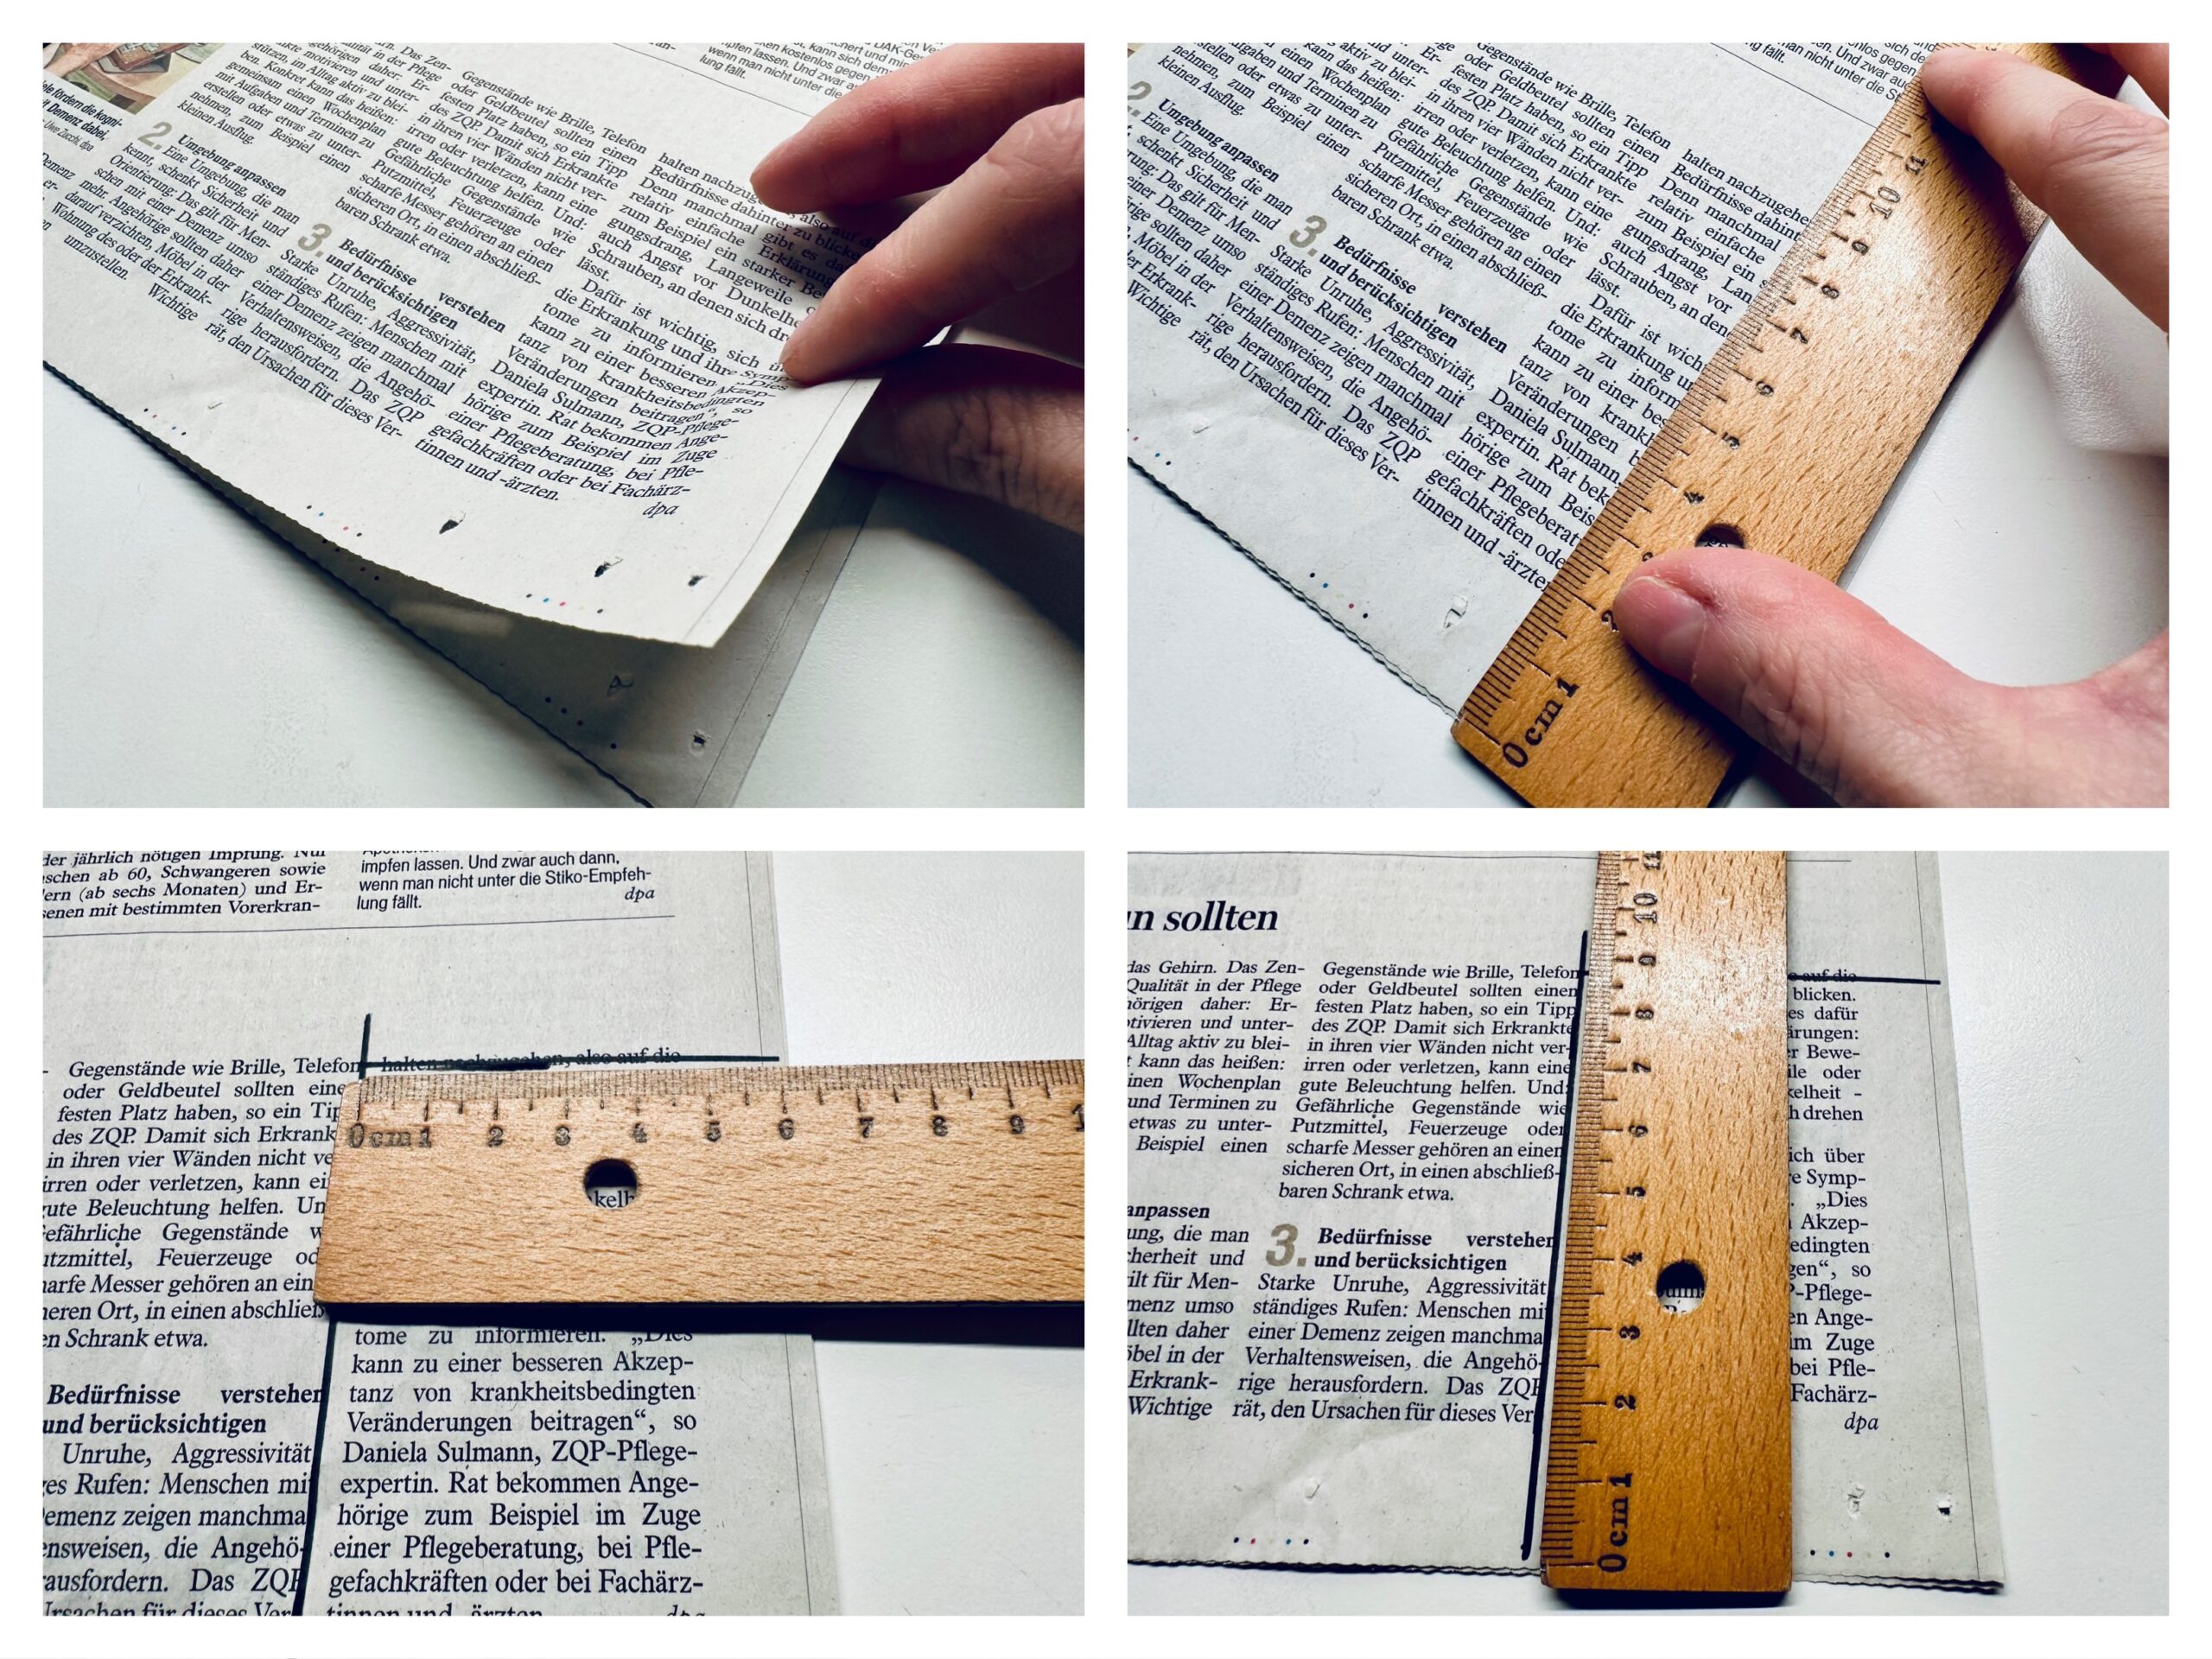
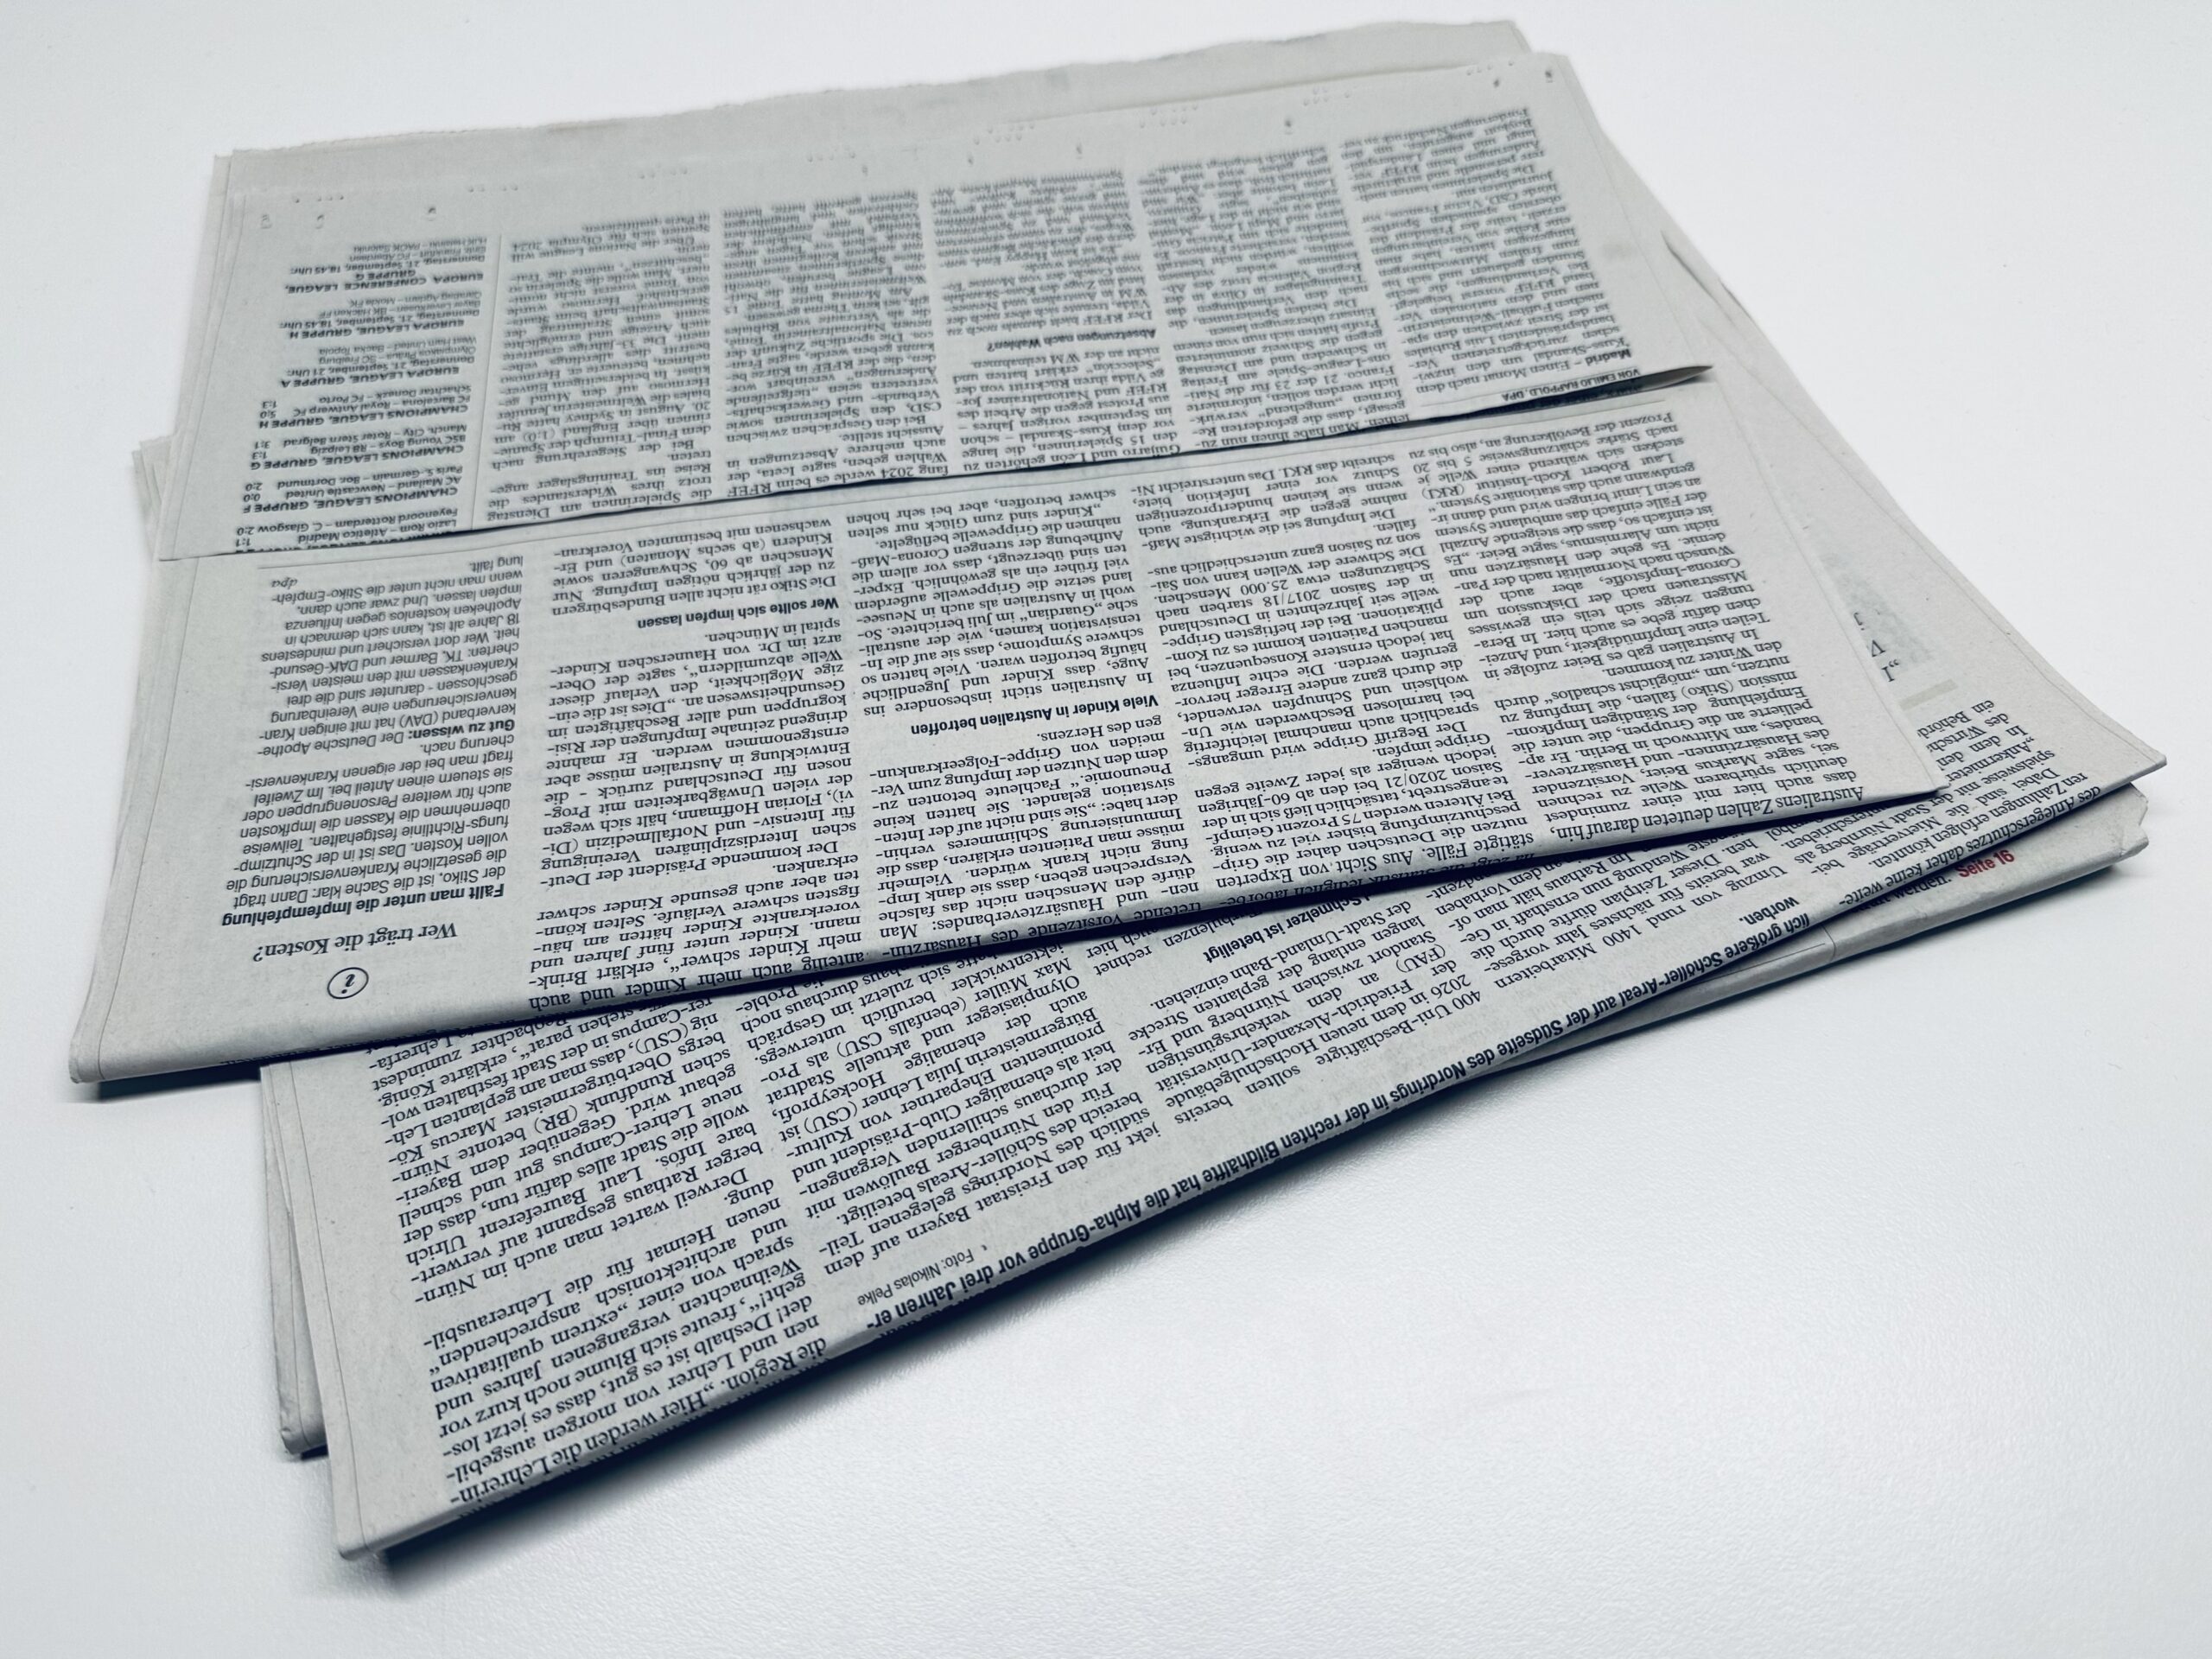
Starts with the newspaper.

Doubles the newspaper. Measures with a ruler two pieces of paper with each 6cm width and 9cm length.
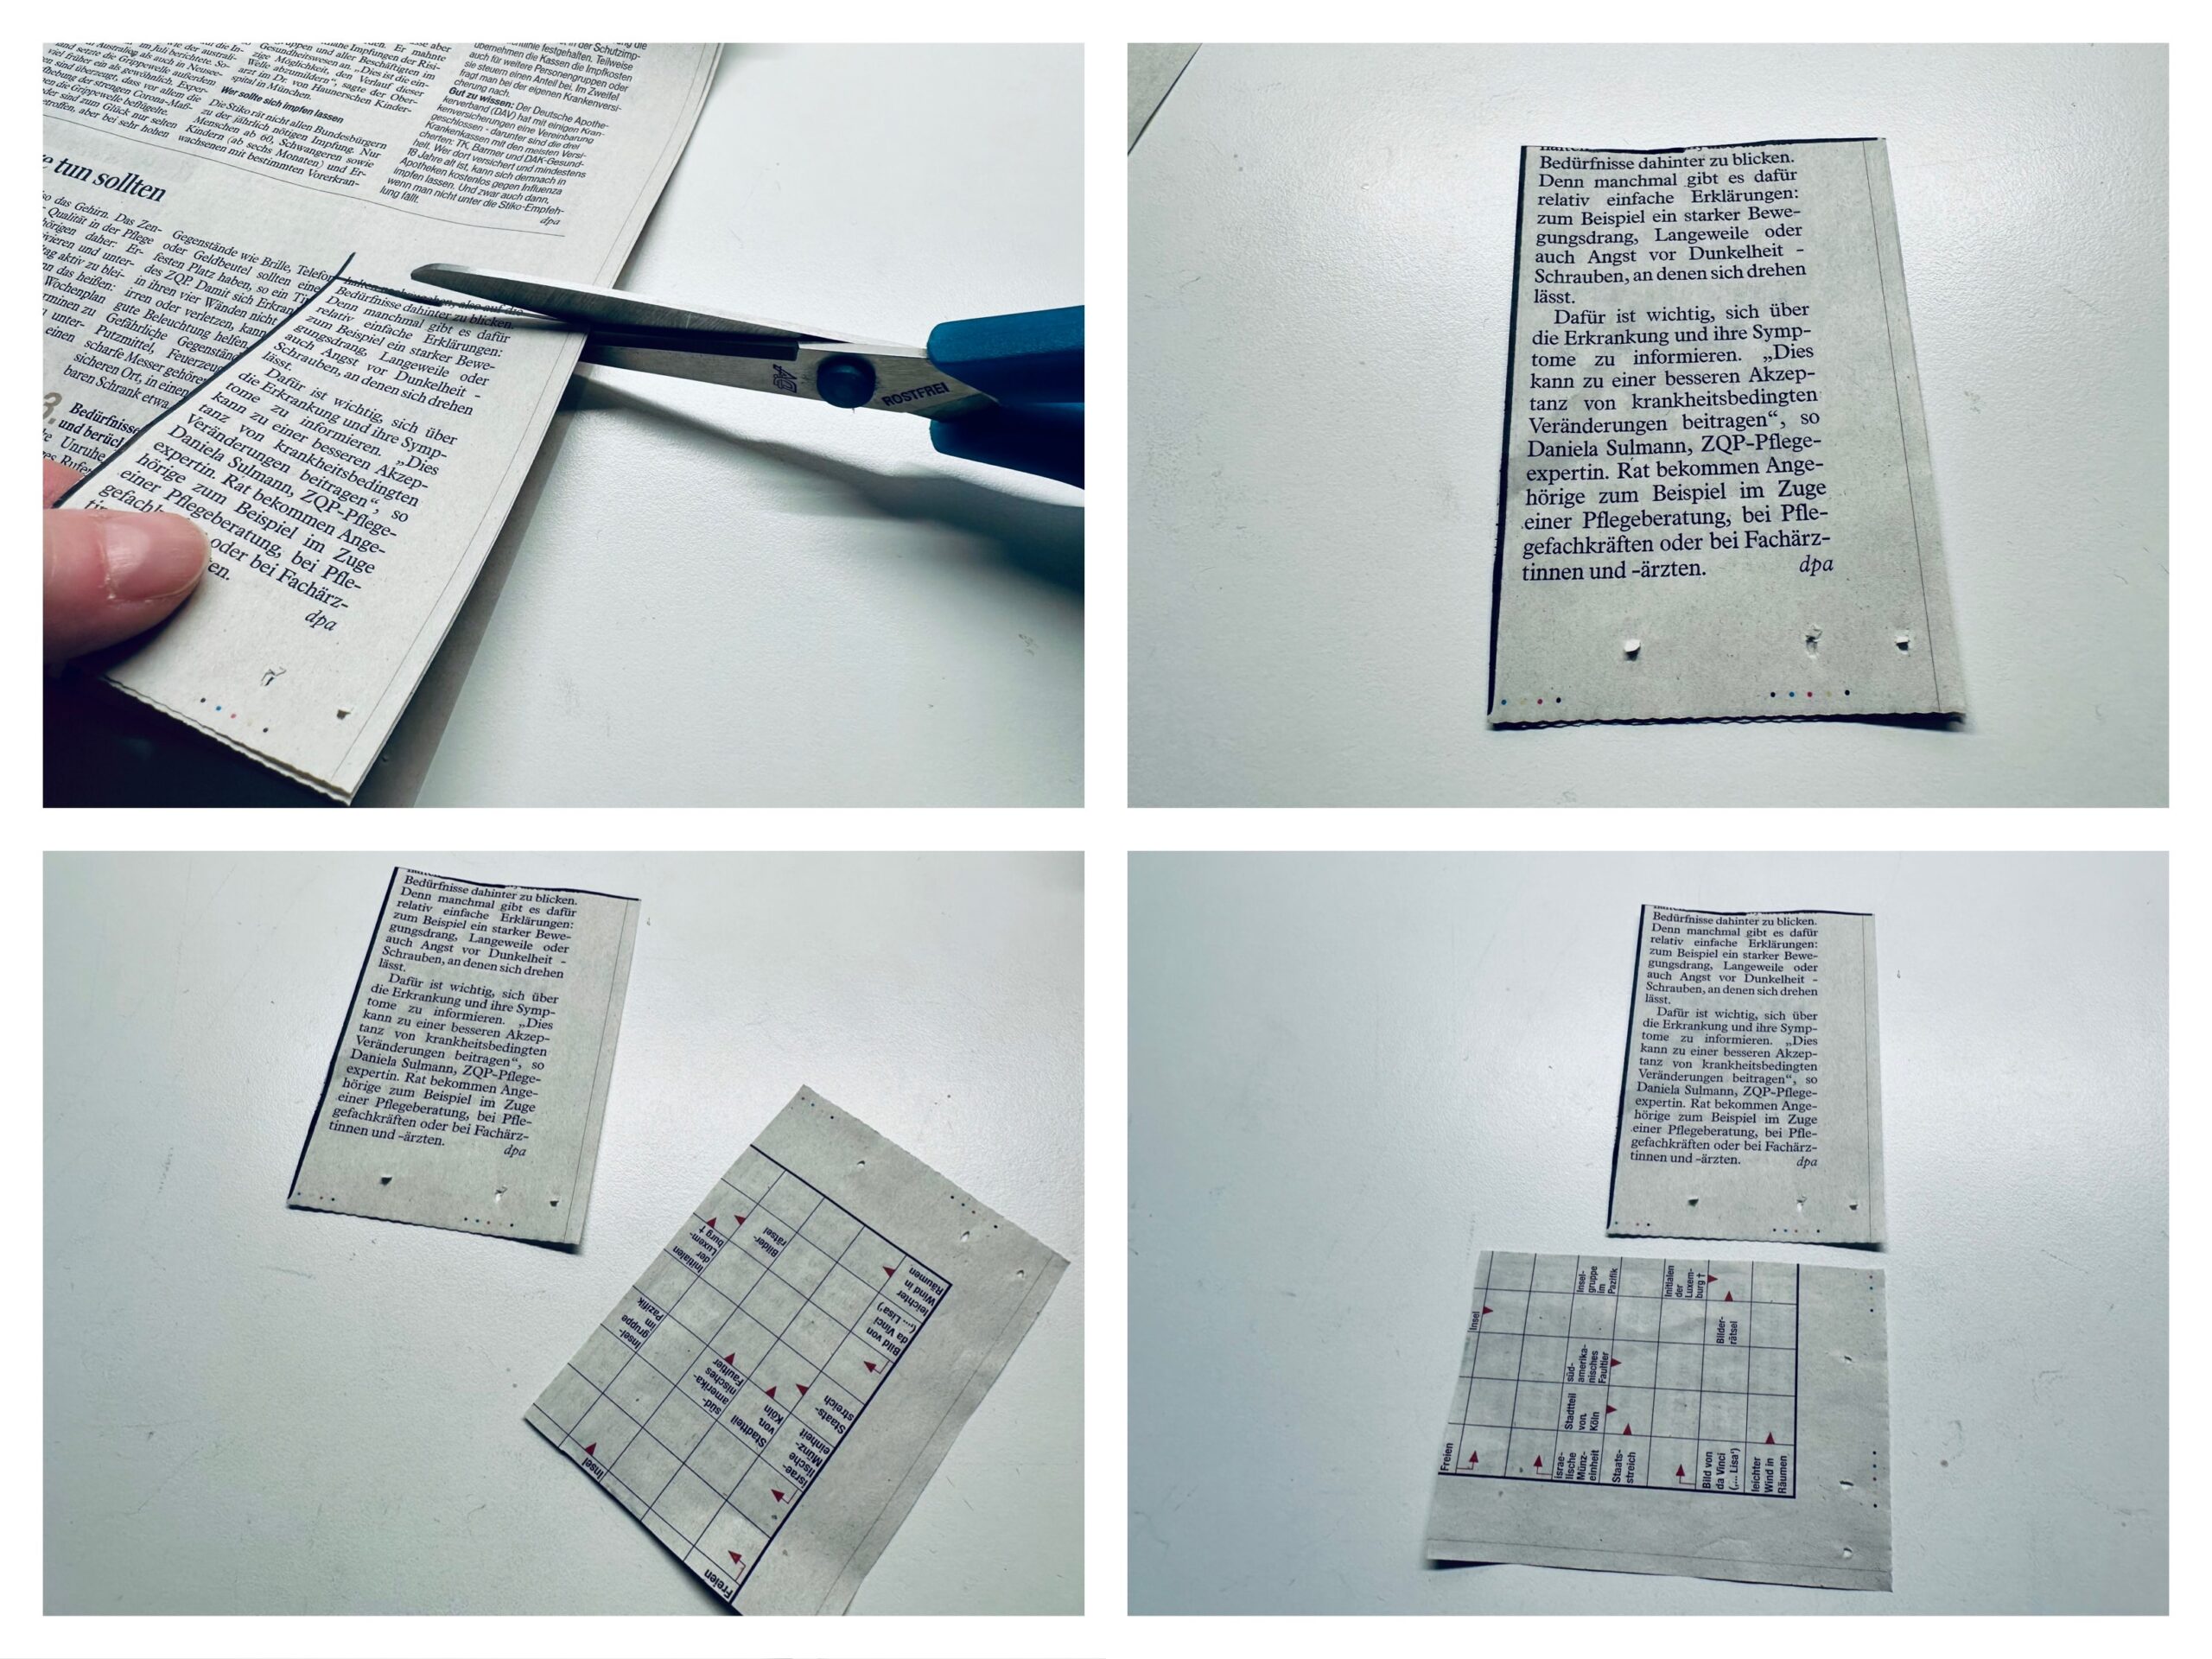
Cut the measured rectangles. You need two identical parts. Place one high edge in front of you and the other across below.
The boots are made from the newspaper.
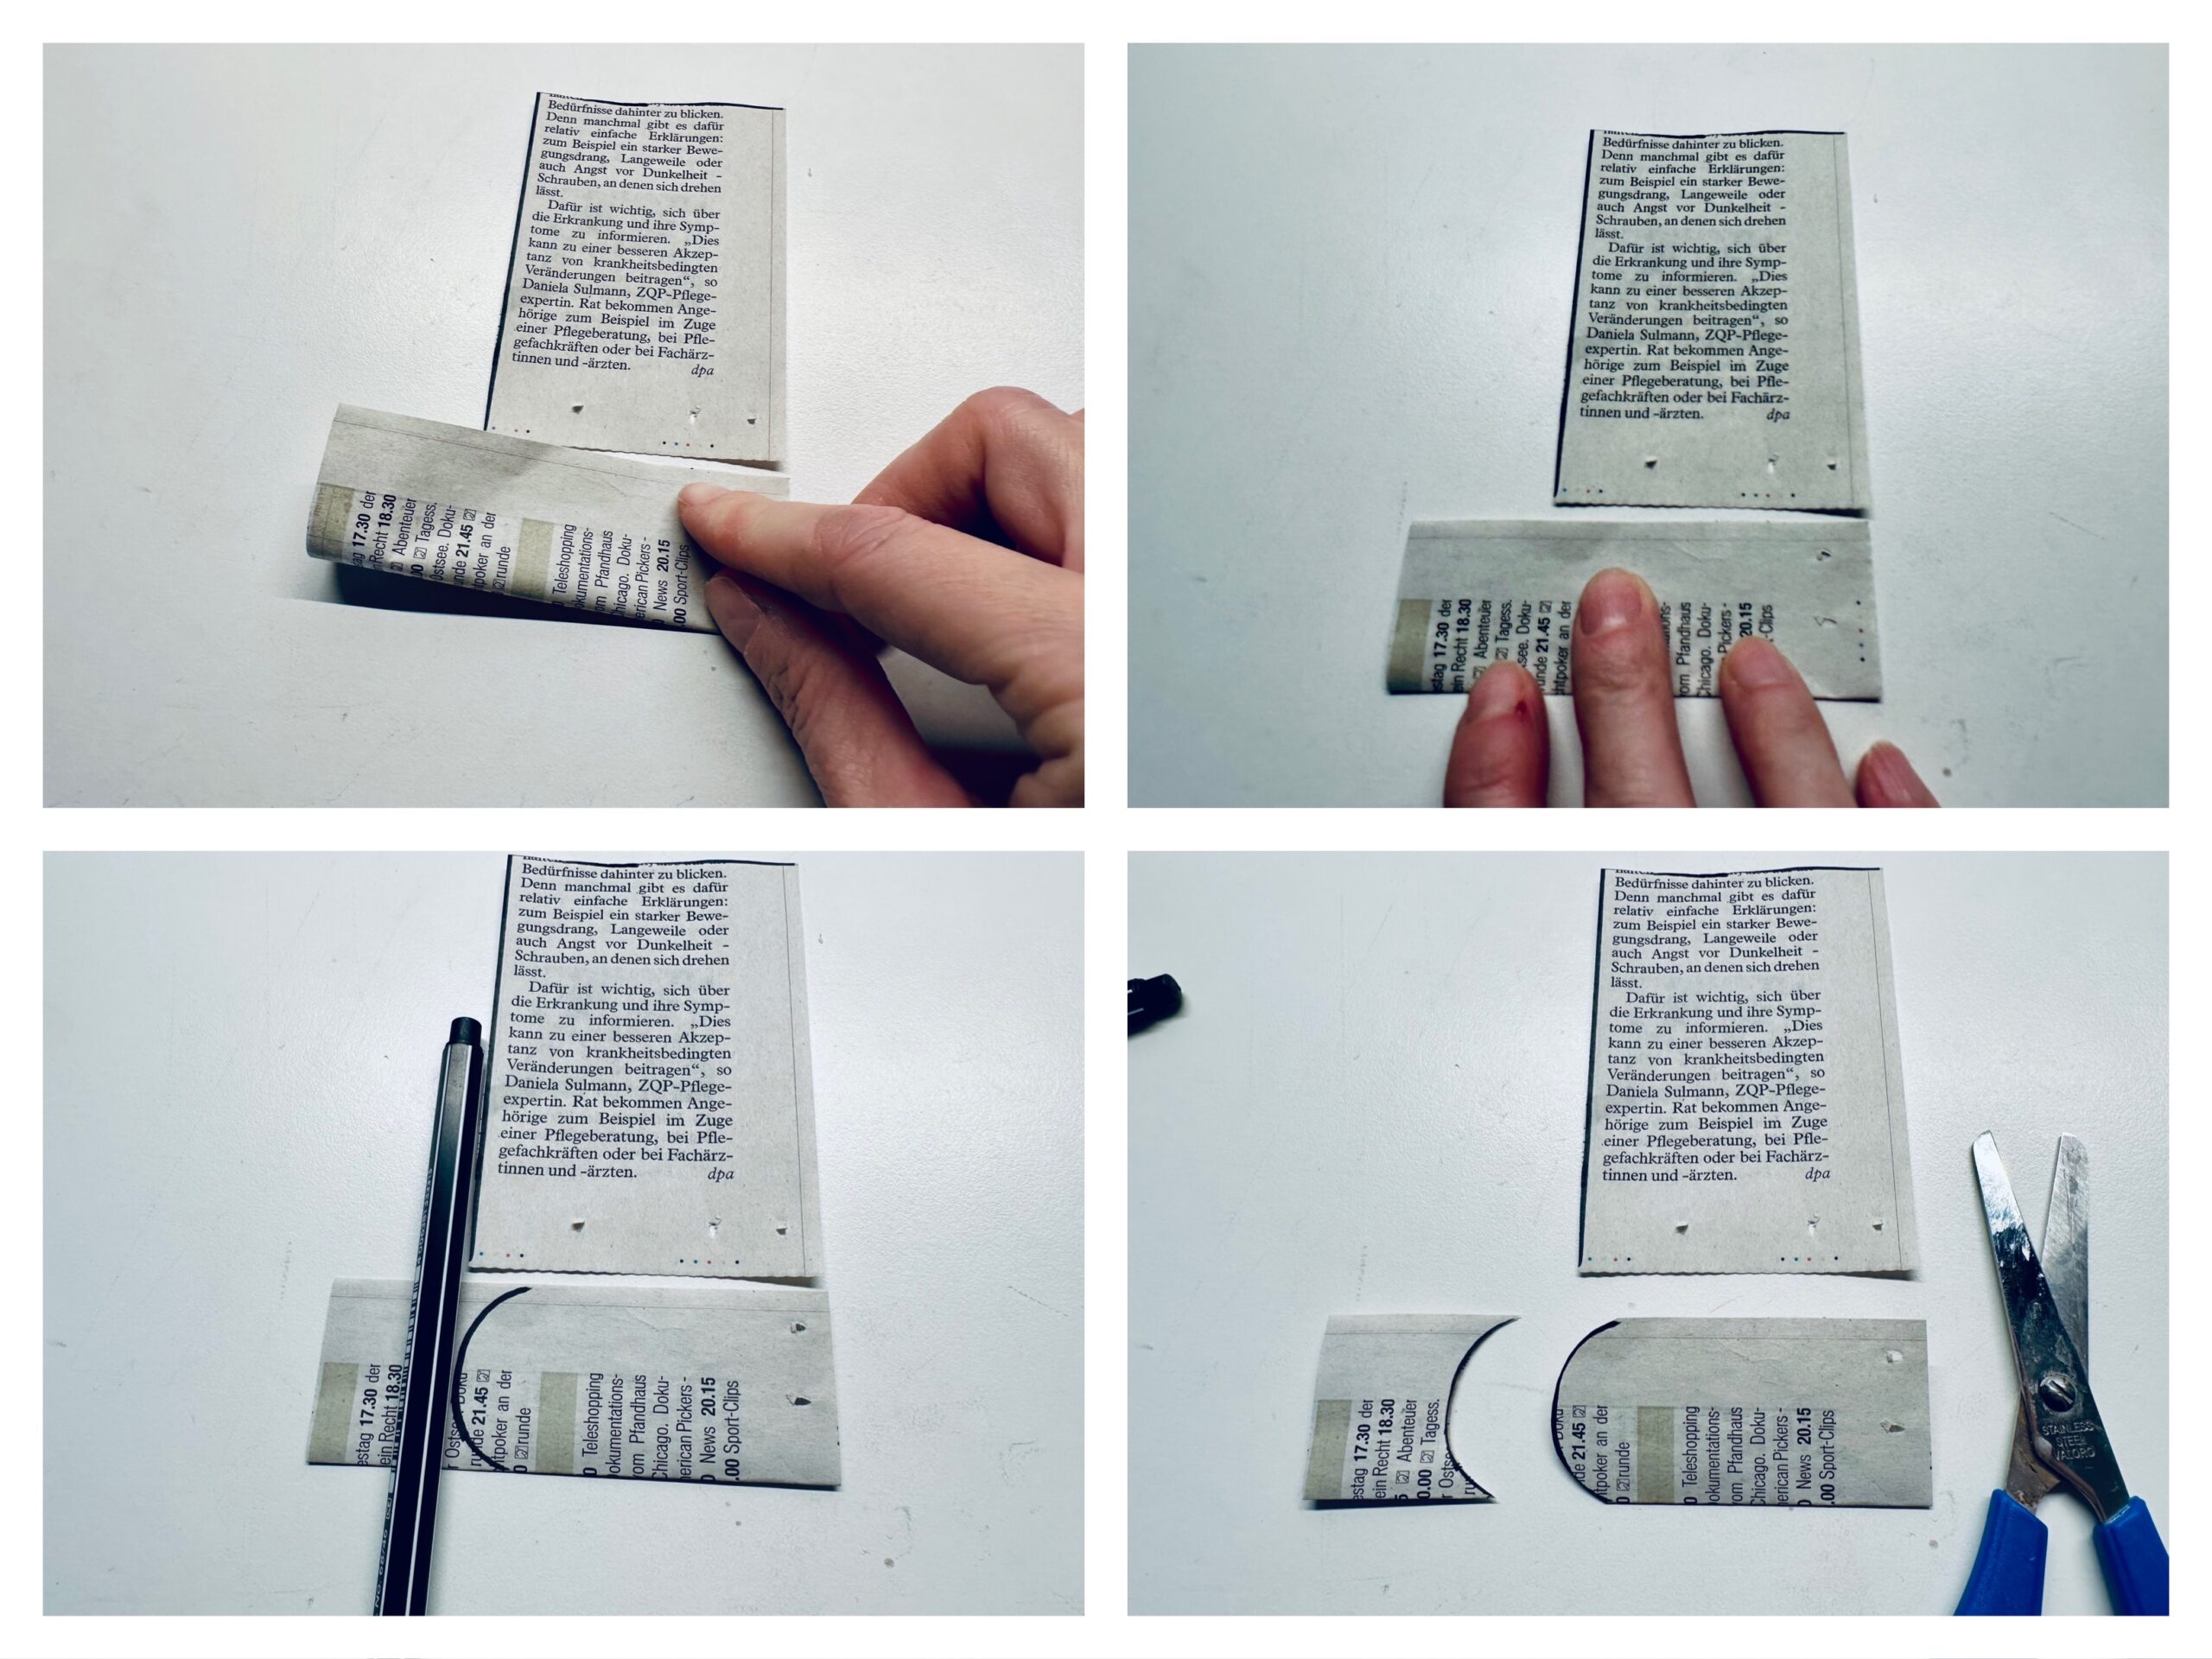
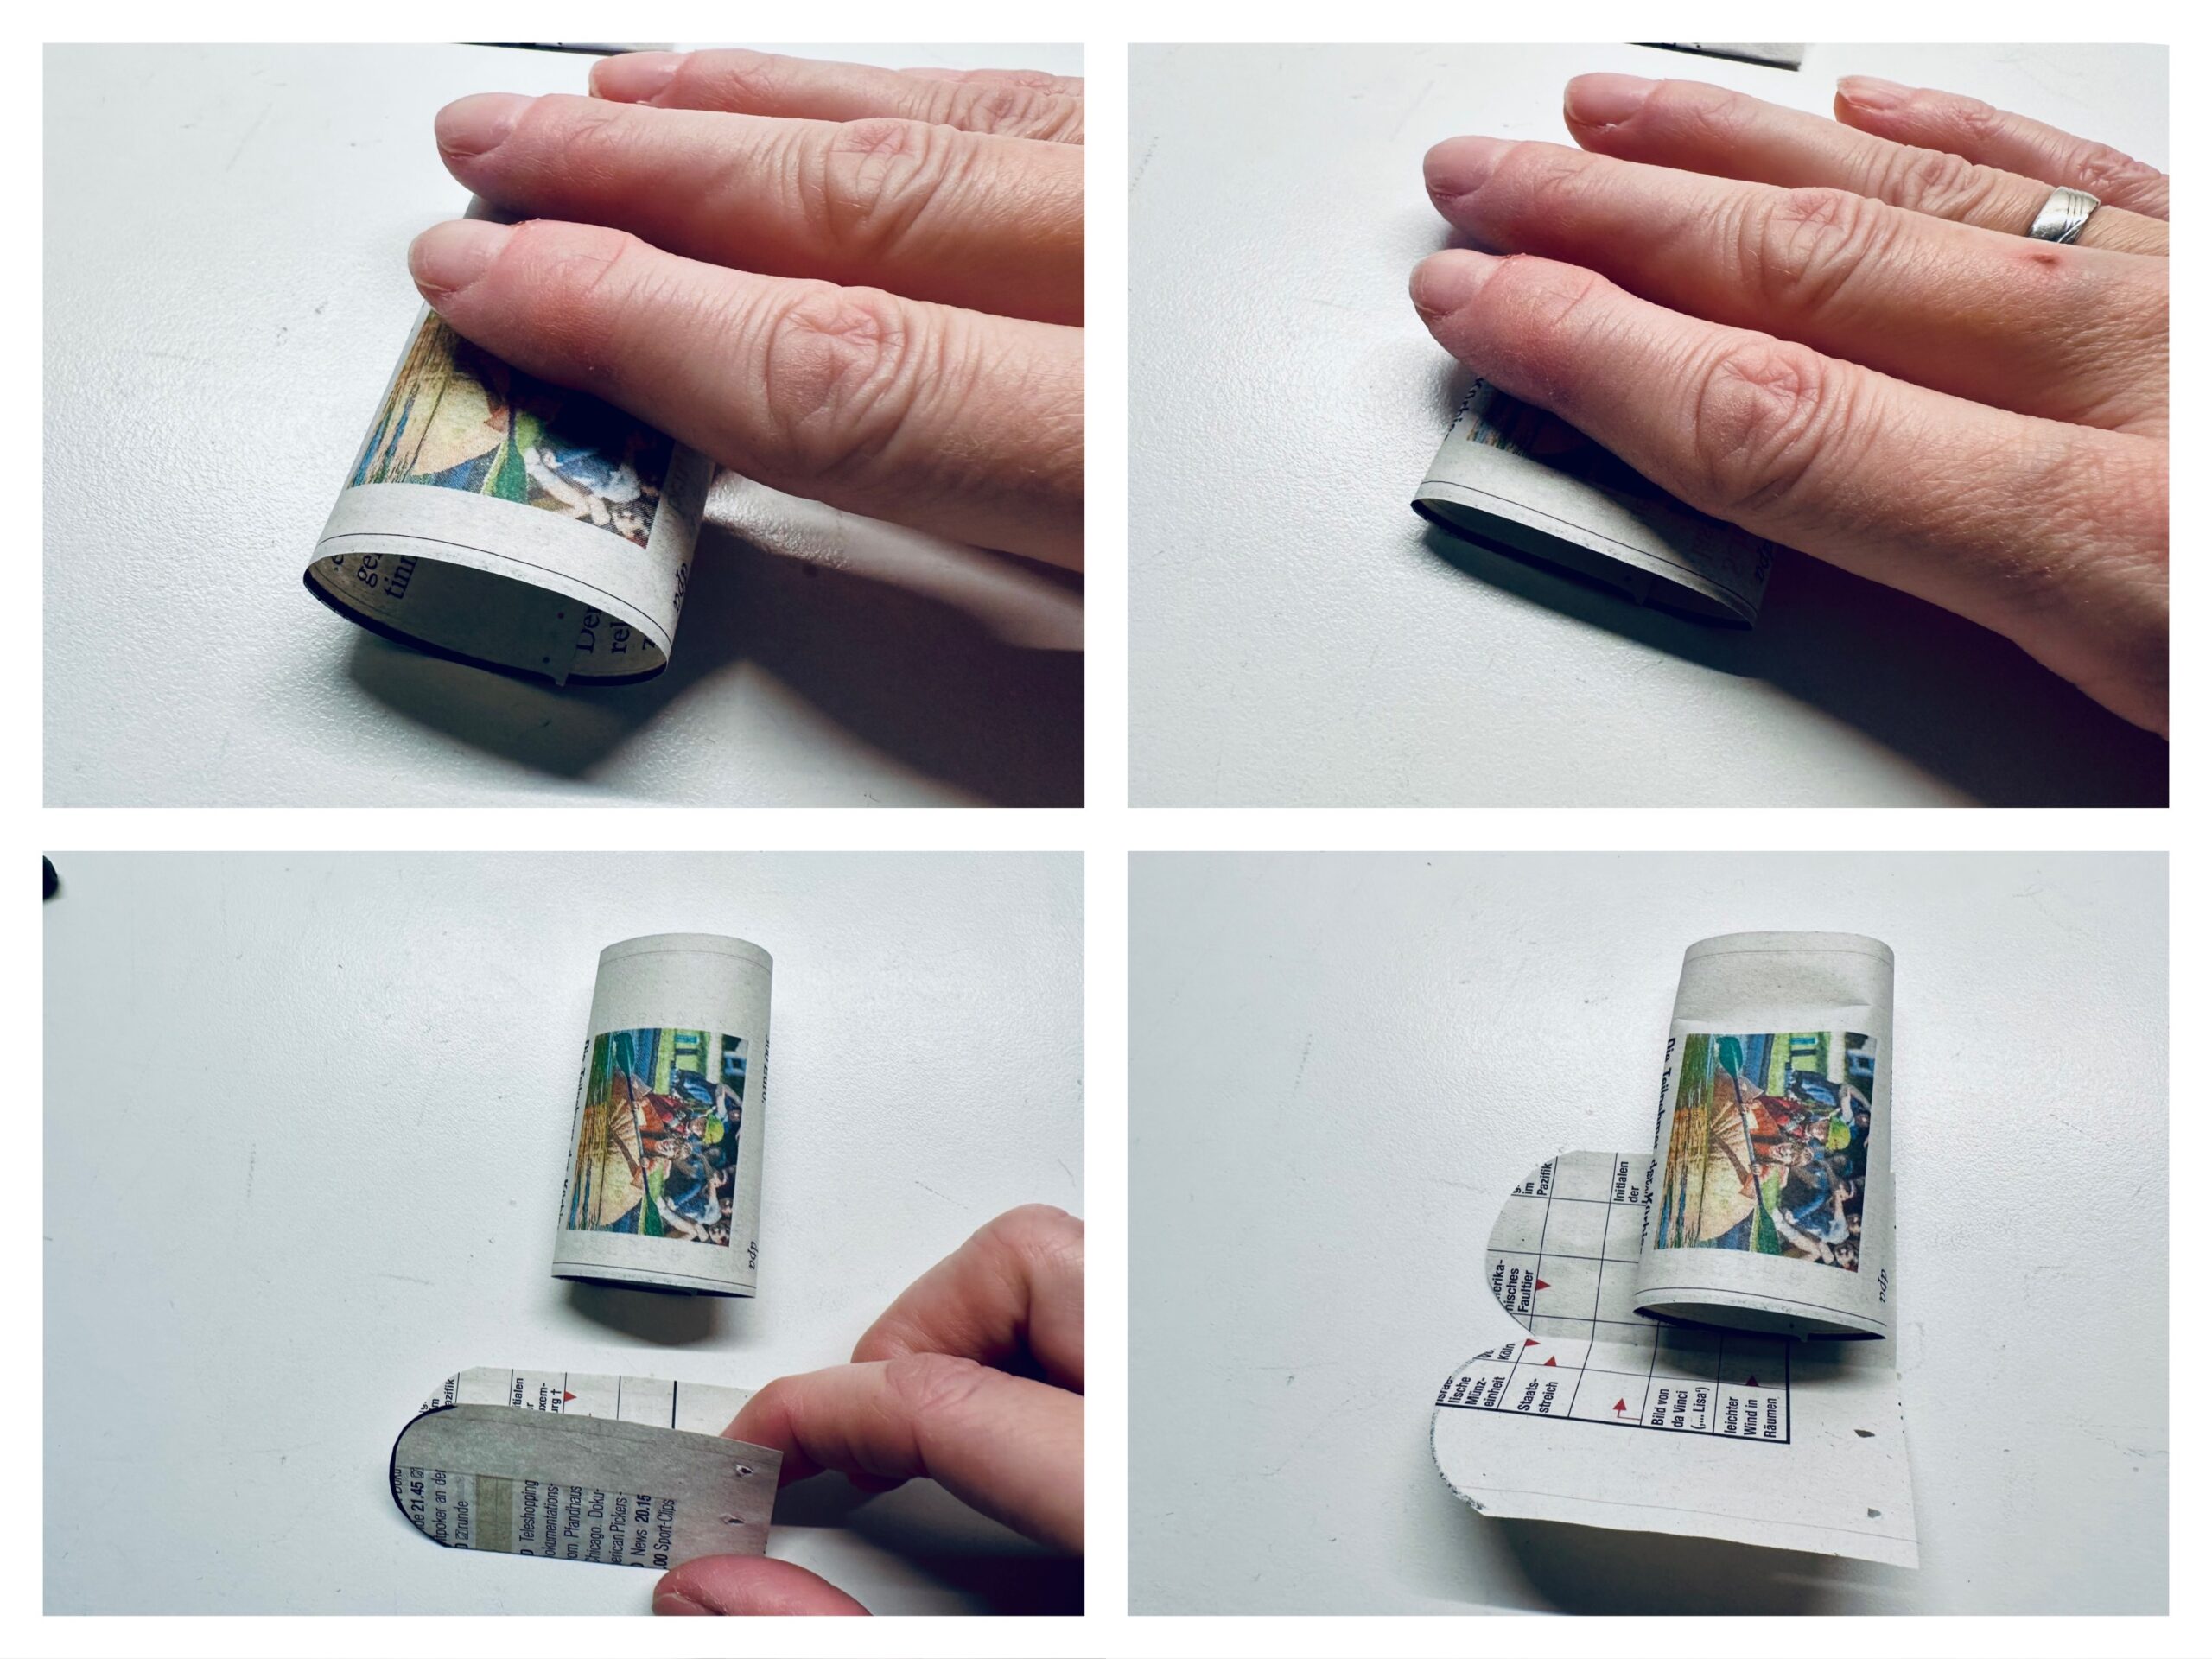
The bottom part of the boot is folded half upwards. Gently strokes the fracture. Paints the tip of the boot as a rounding on the folded part. The rounding is painted in the extension to the top sheet (as an aid to the pen). Cuts the rounding.
Take the sheet above with glue and make a roll of it. Let both short sides overlap a little.

Gently pushes the resulting roll a little flat.
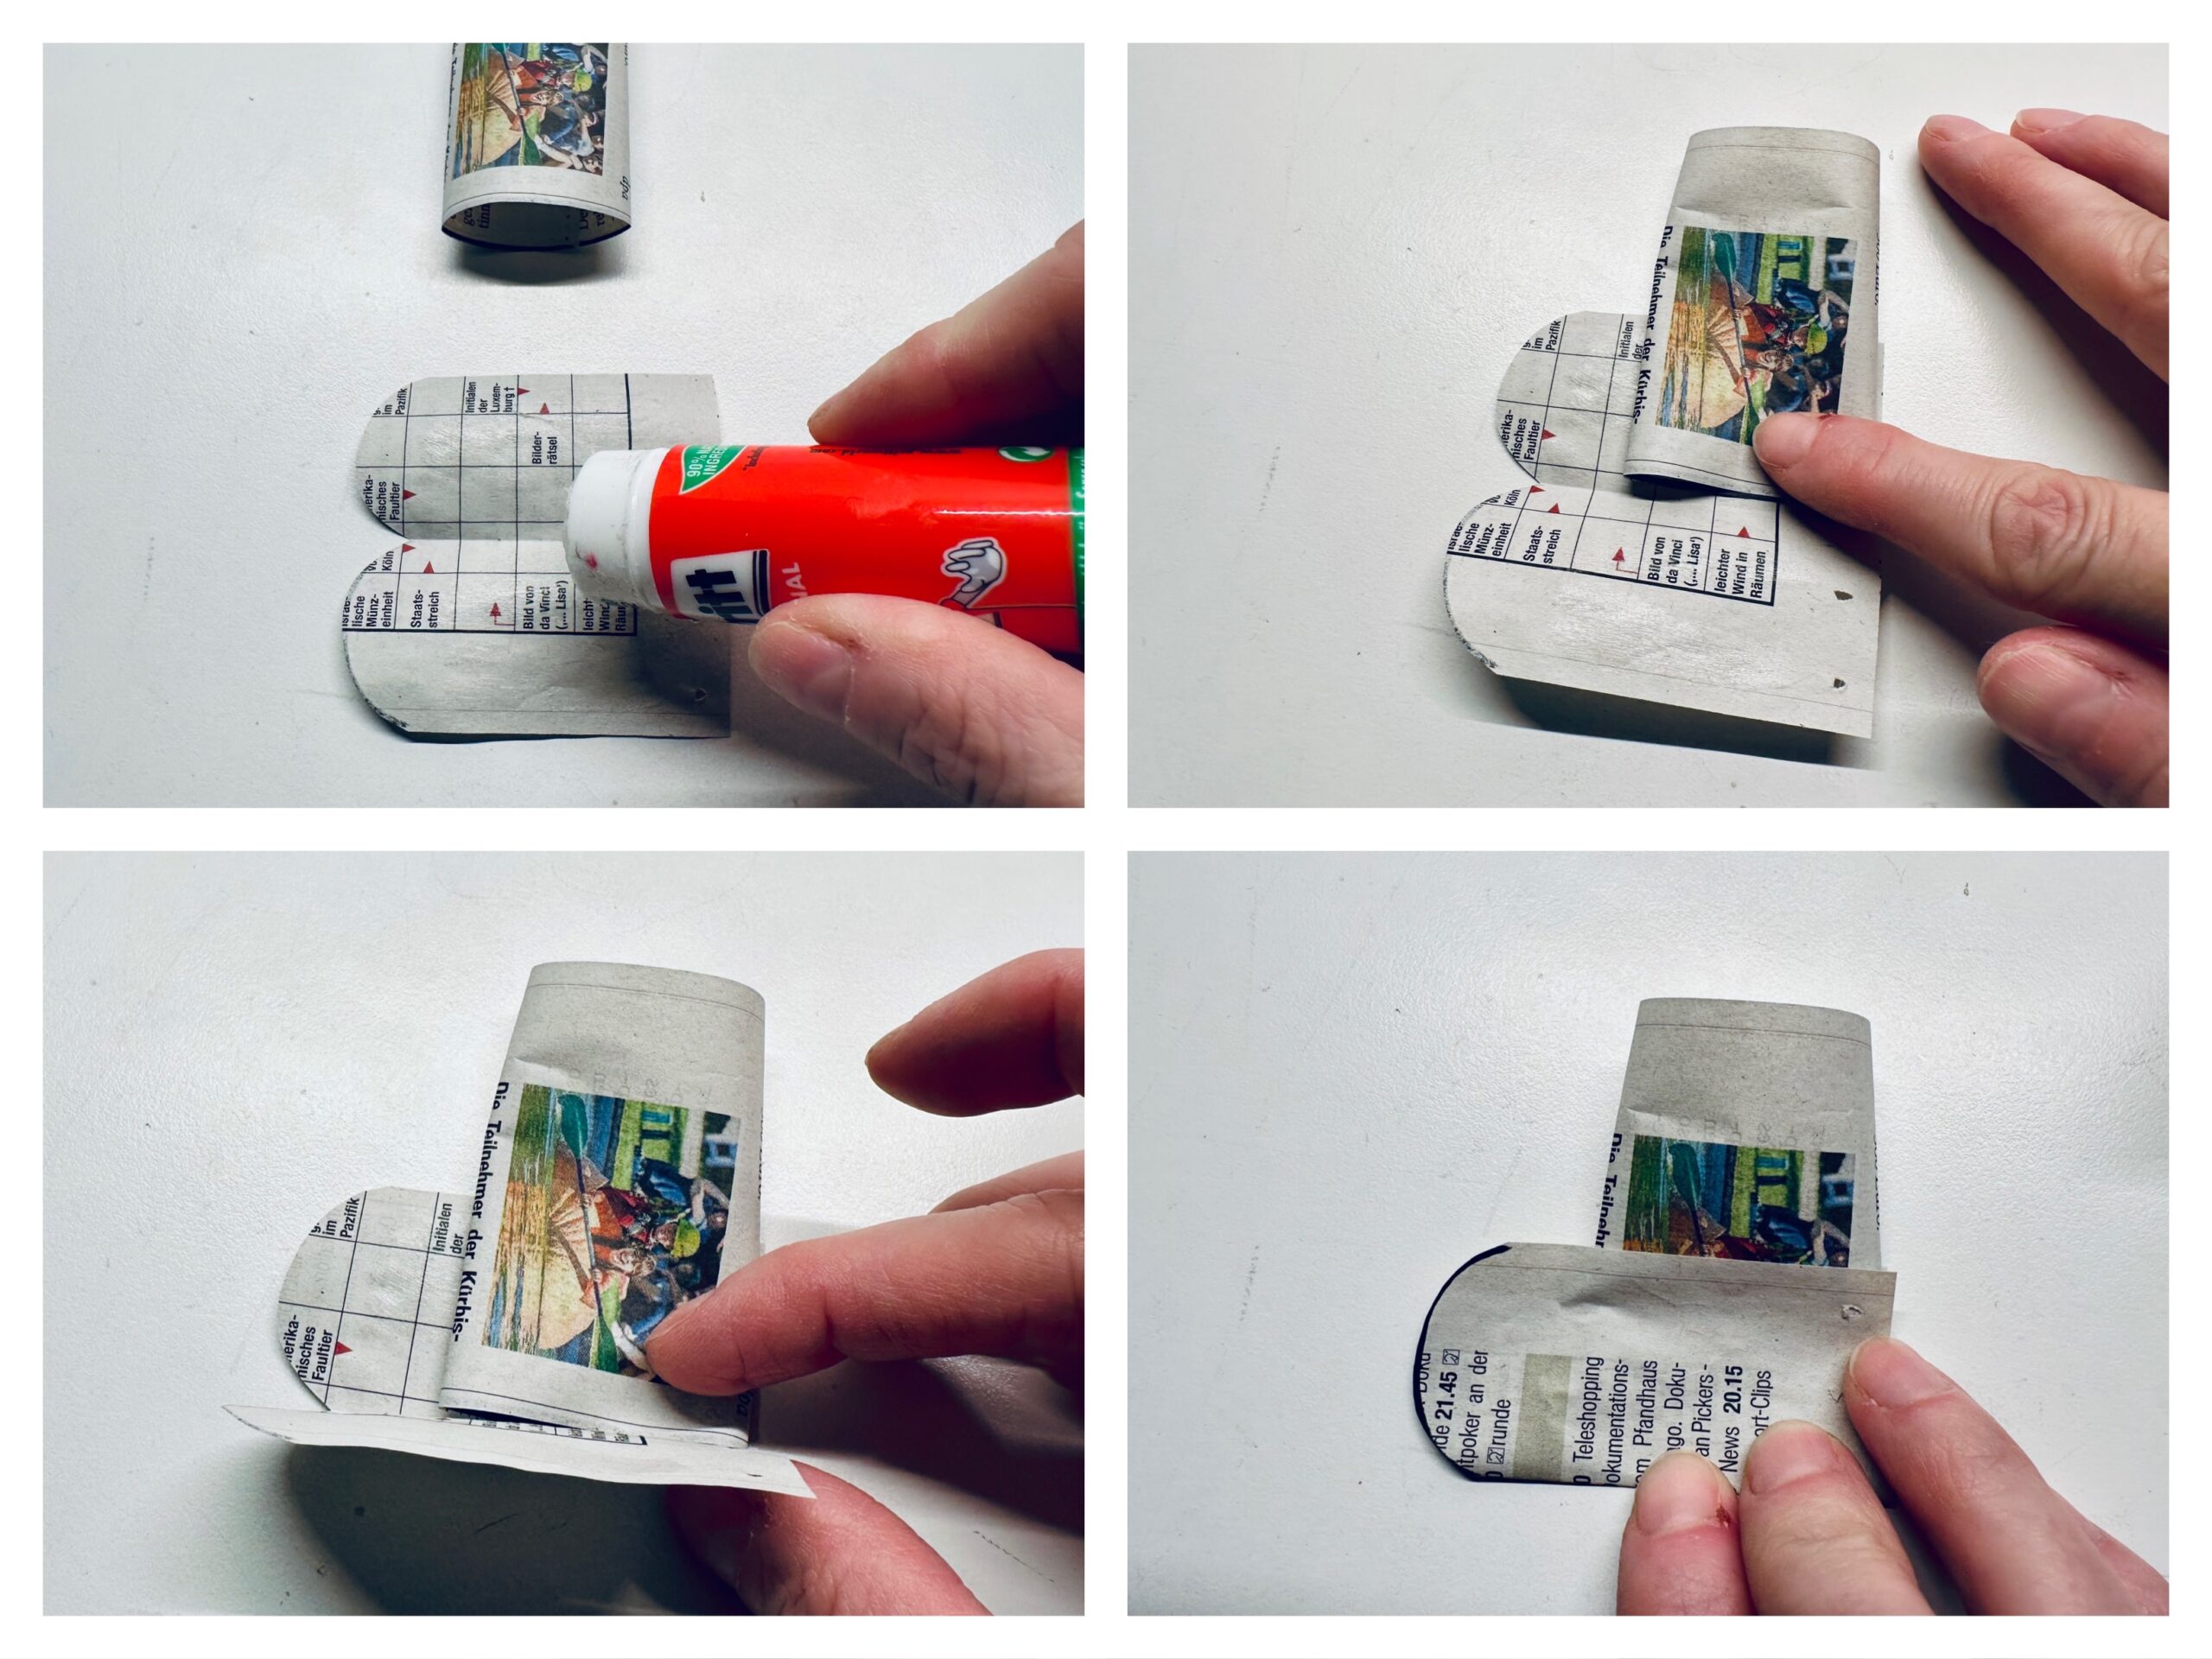
Fold up the sheet below and place the roll on the straight side flush on it.
Completes the lower piece of paper with glue. And glues the roll above the centre line. Folds the lower part upwards and presses it on. Make sure that the top is flush on the straight side.
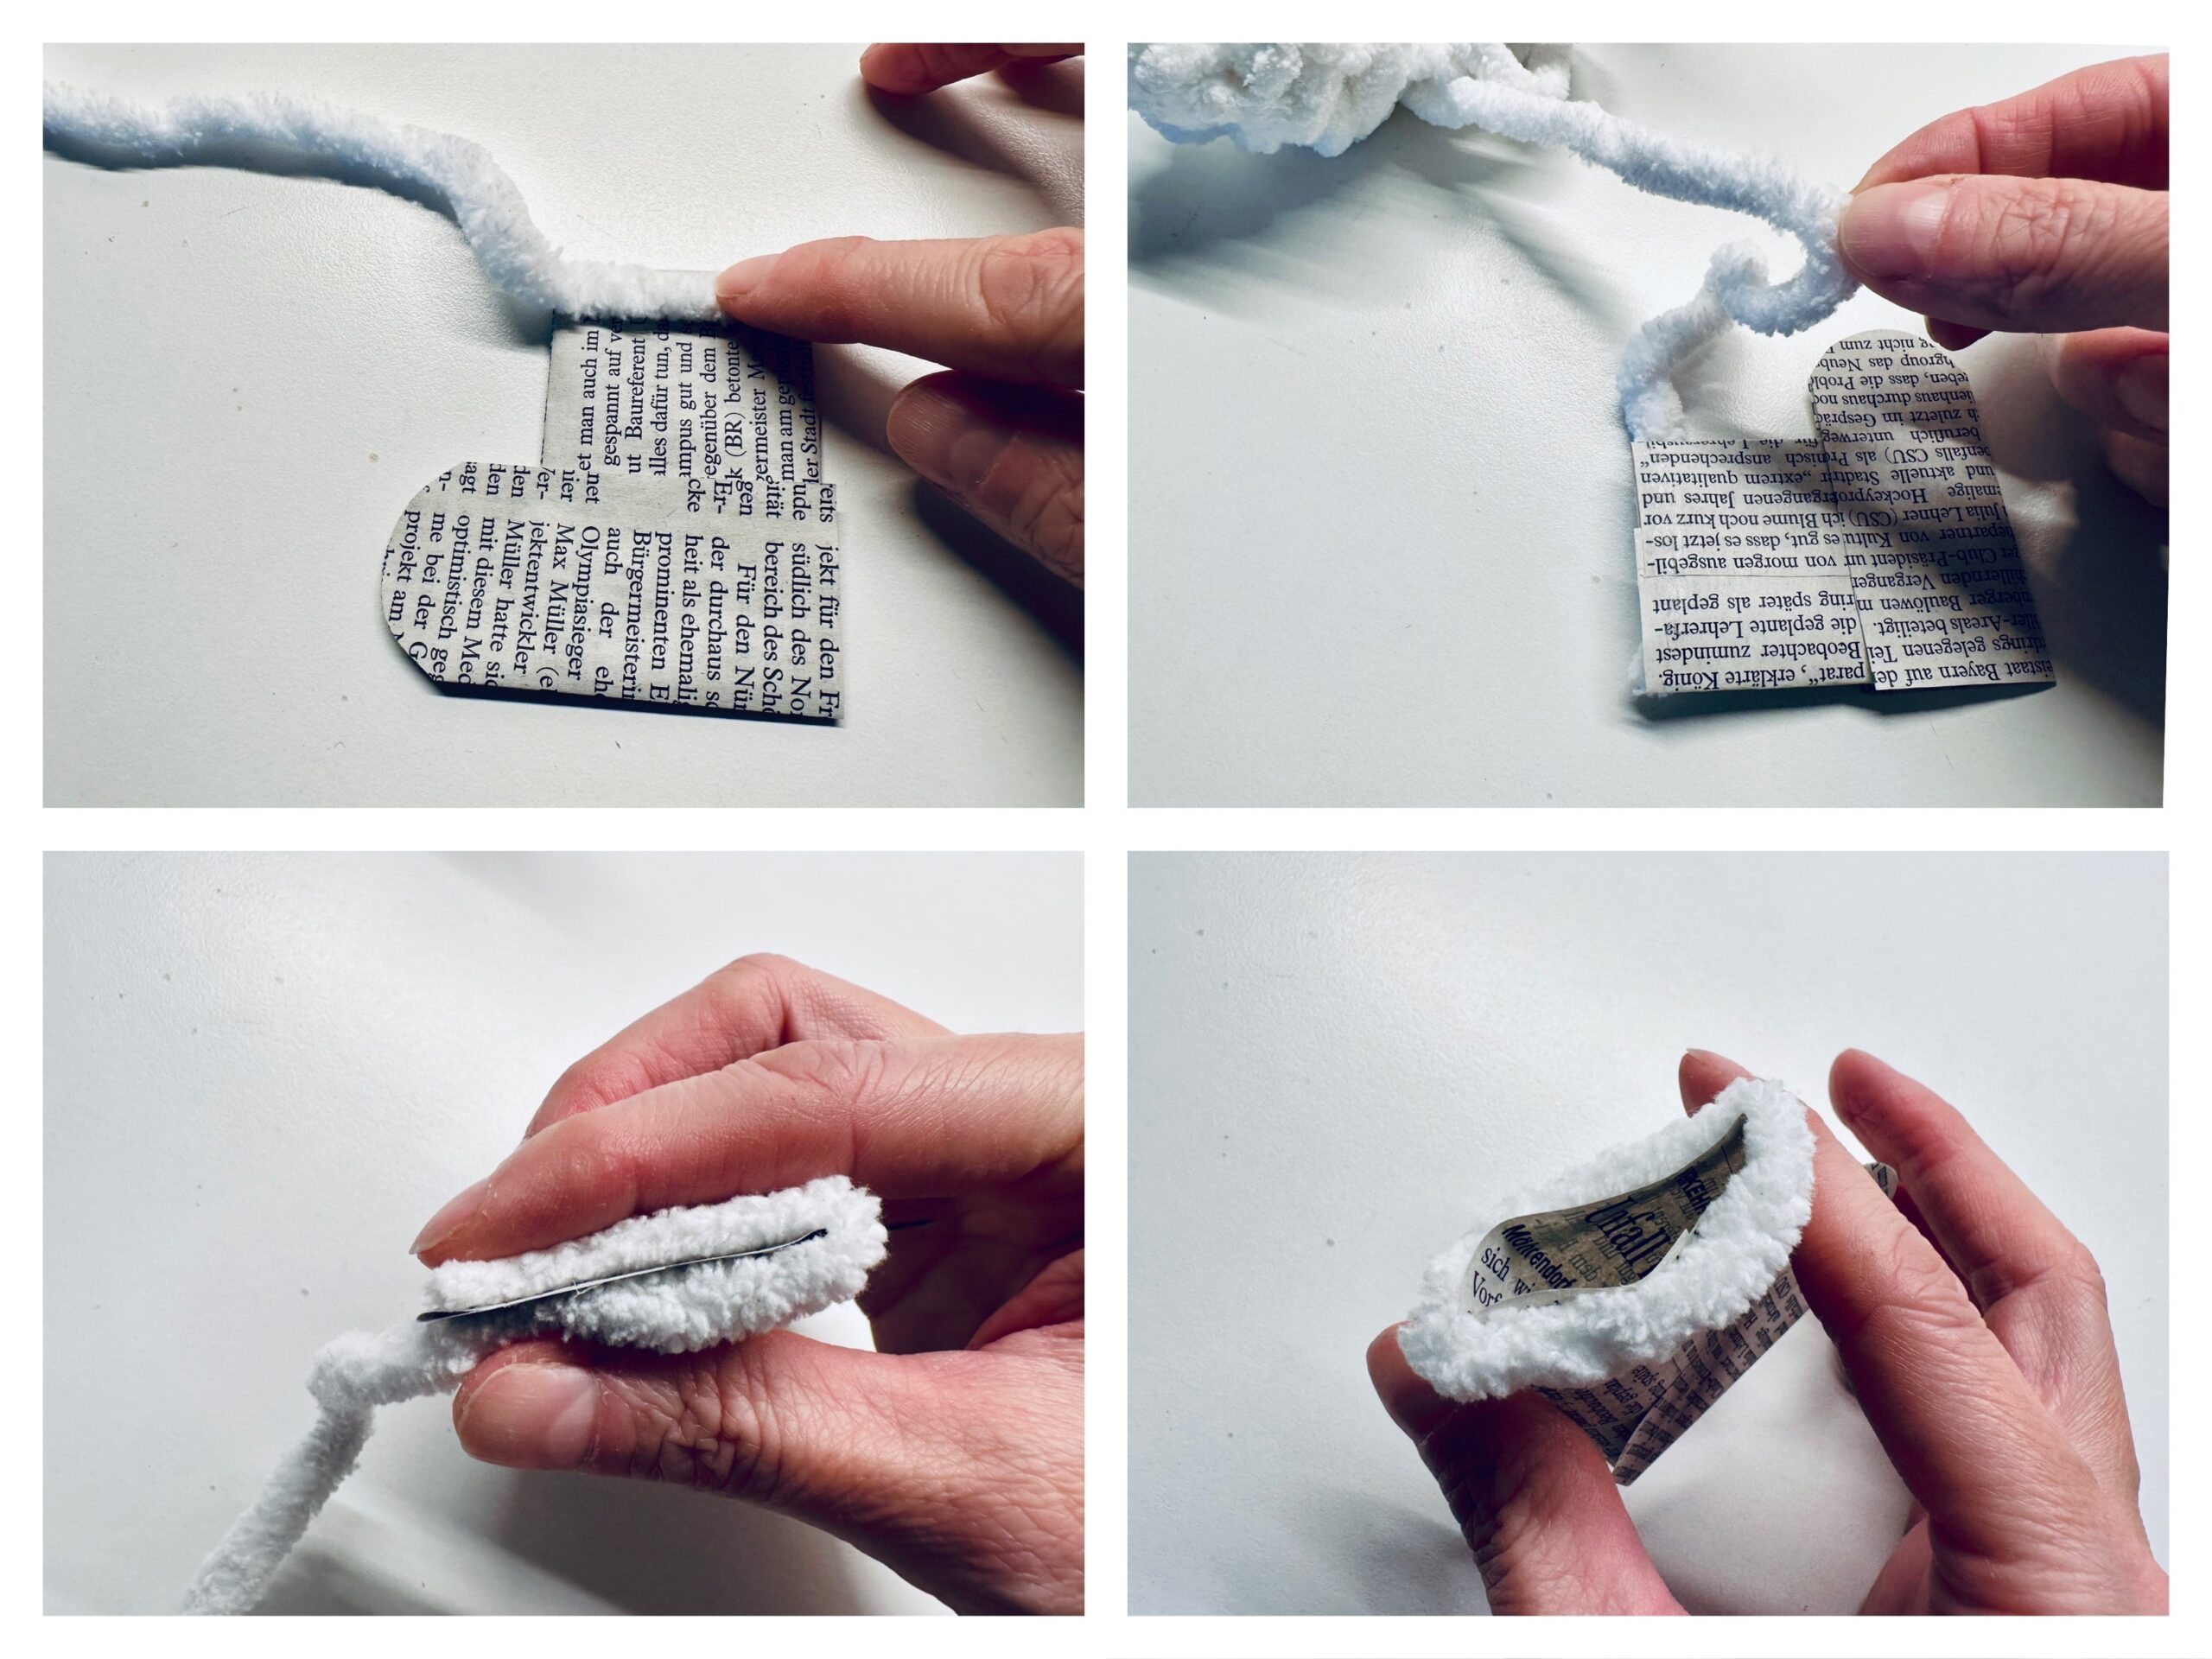
The newspaper boots are almost ready.
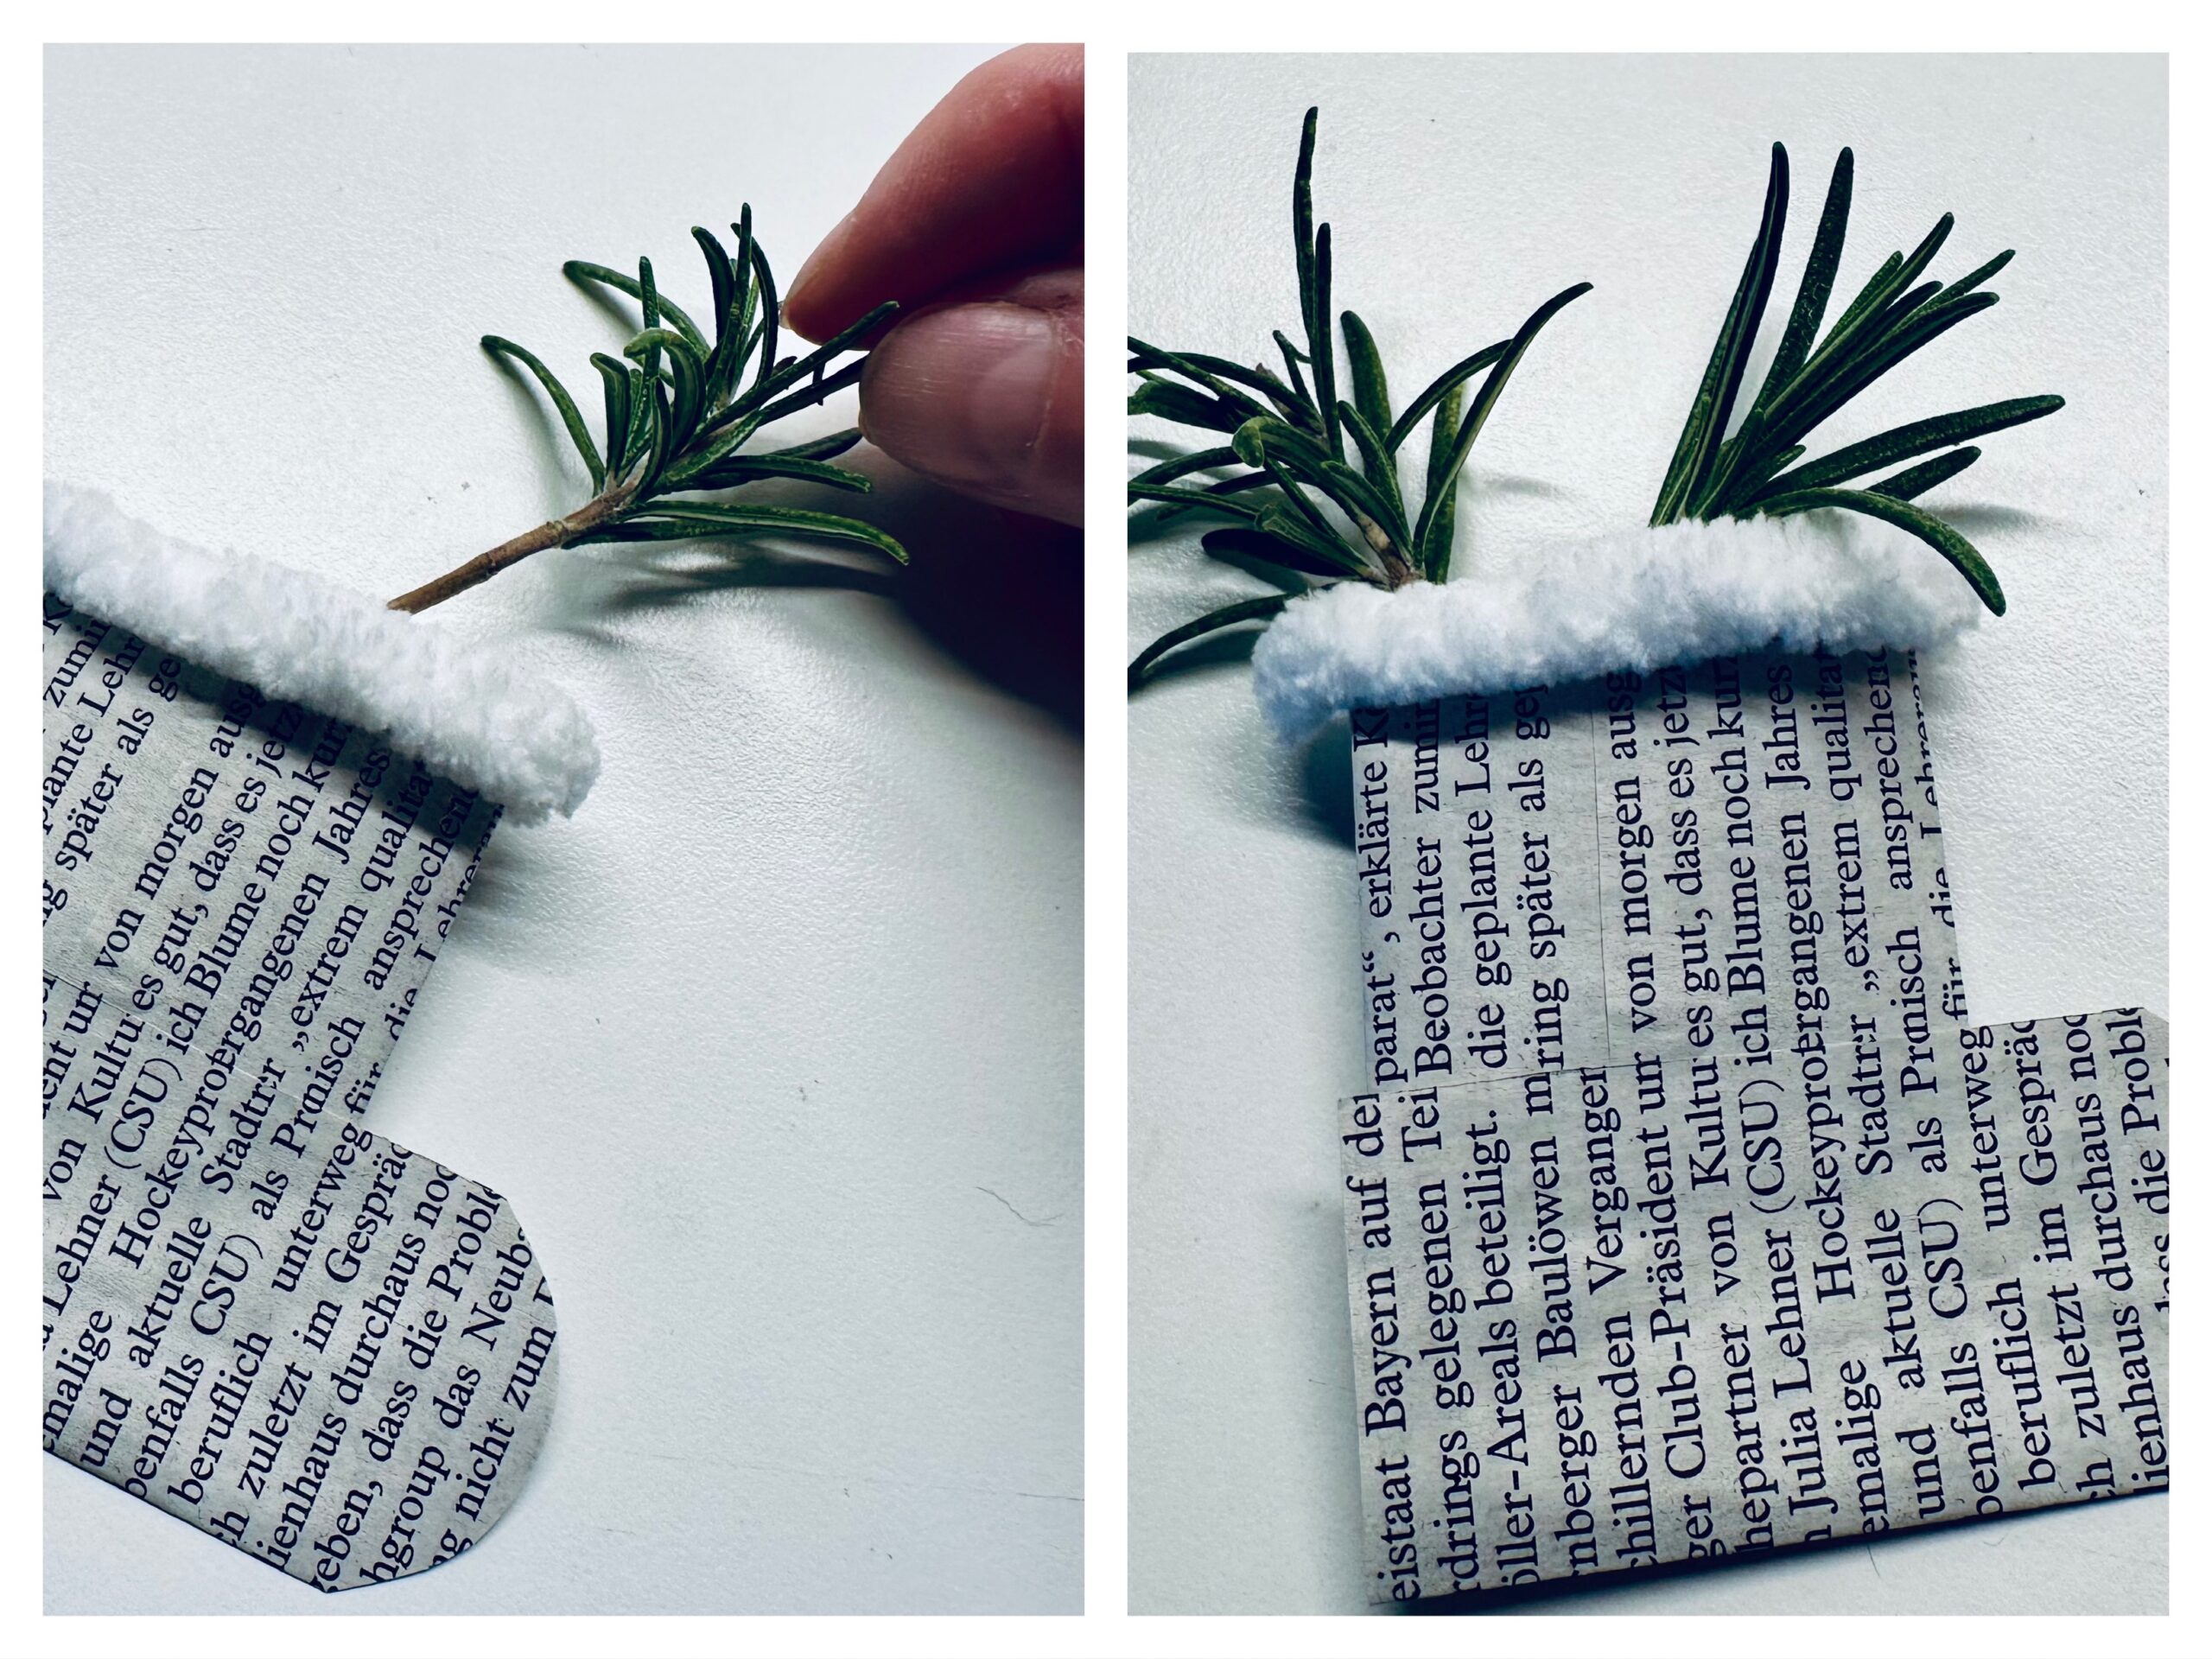
Take a fluffy wool and glue a wool thread to the upper edge of the boot opening. If the thread sticks around, you can cut the rest off.
Take a few small branches (thorn needles or rosemary) and remove the lower needles.
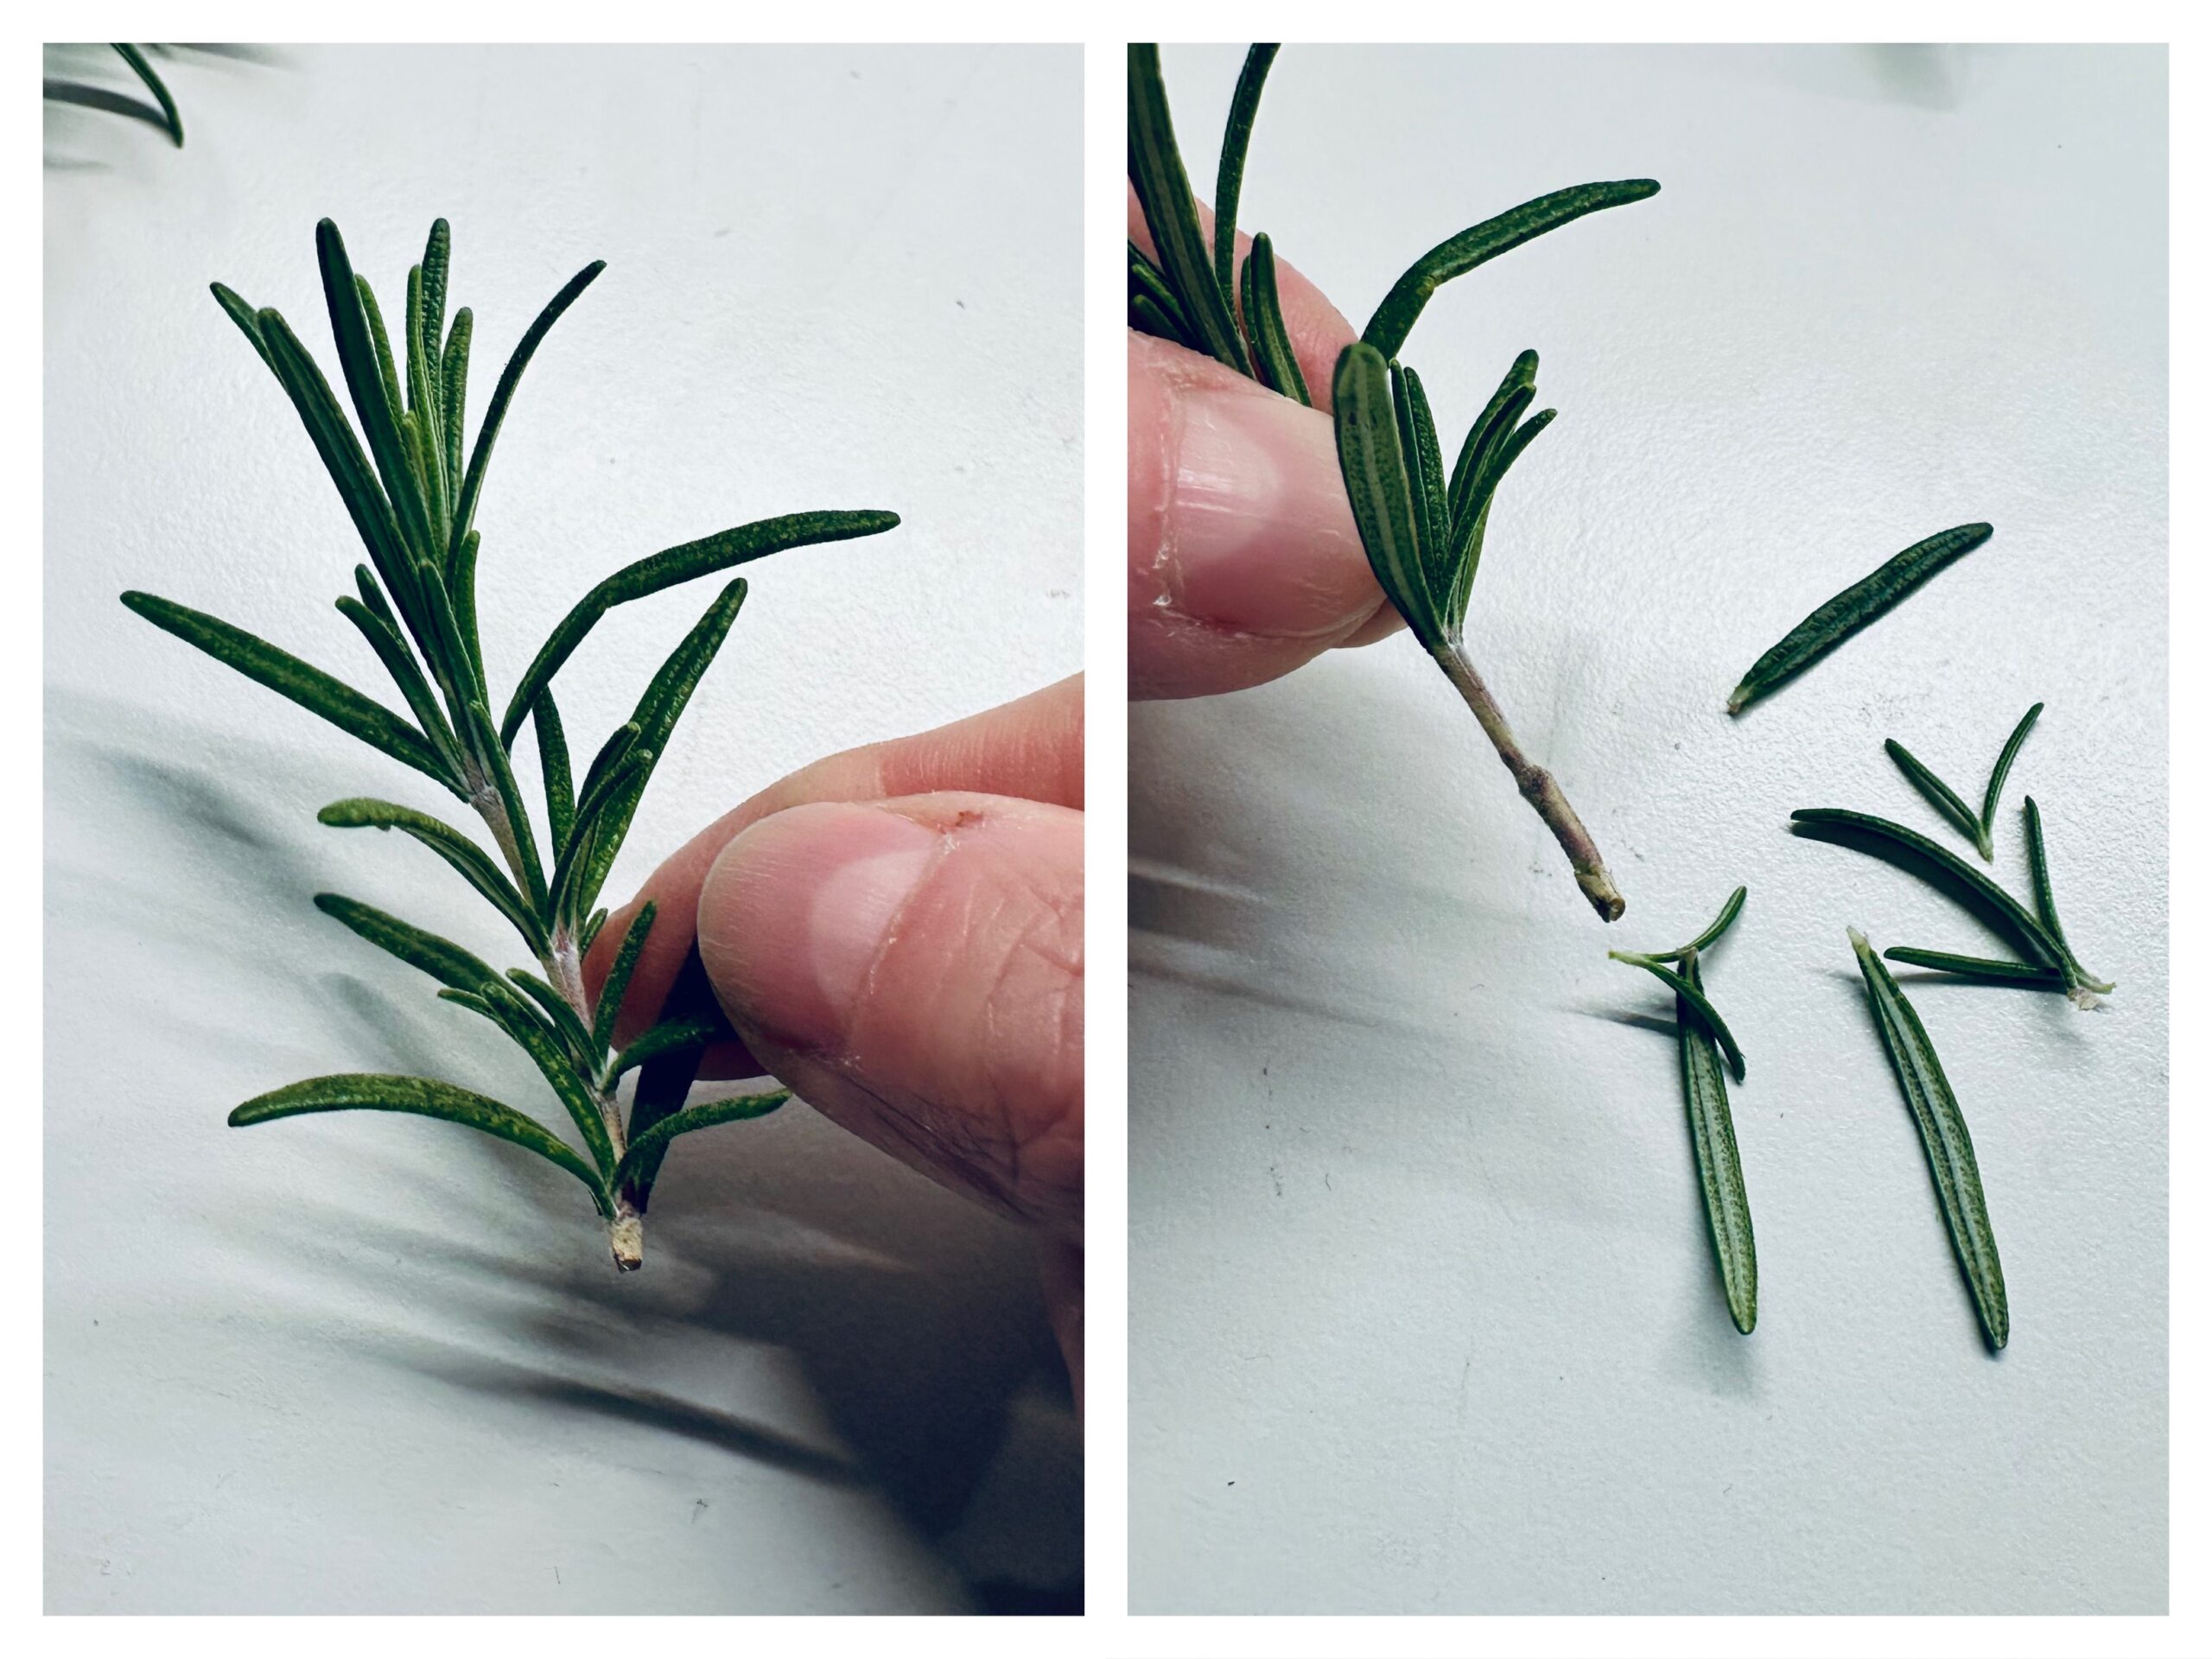
Put two little twigs in the boots.
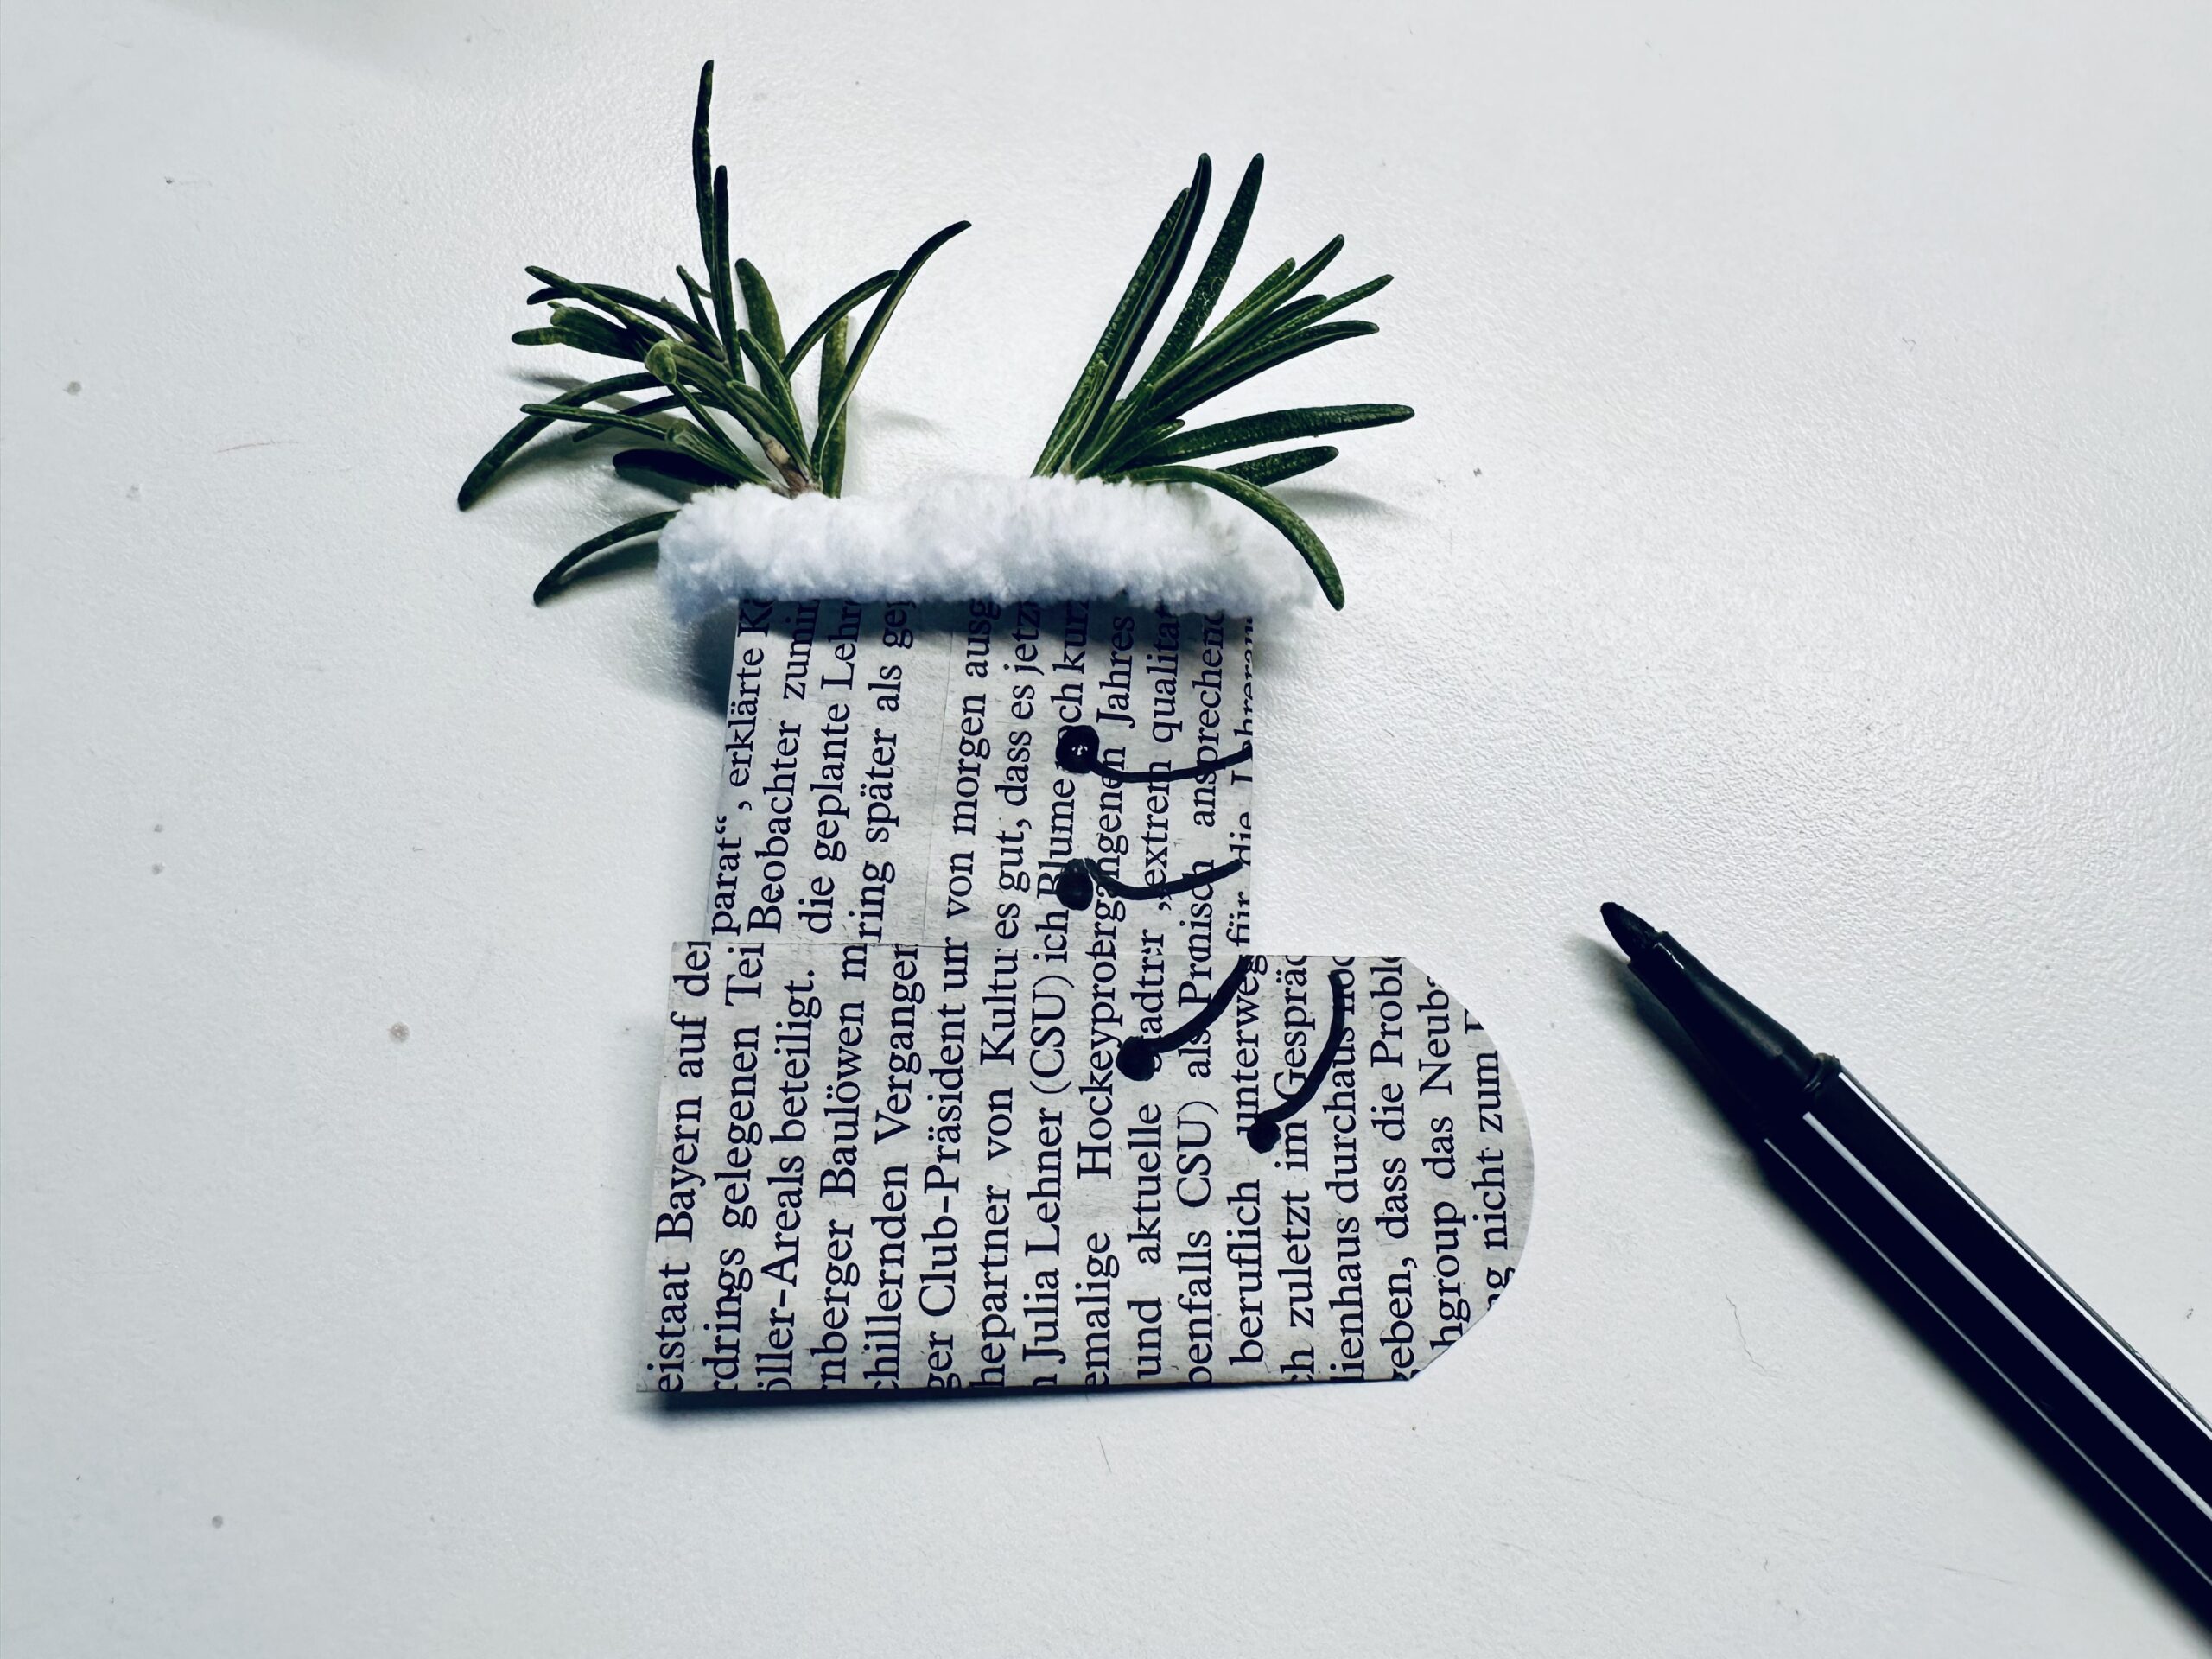
Finishes with felt pencil laces on the boots.
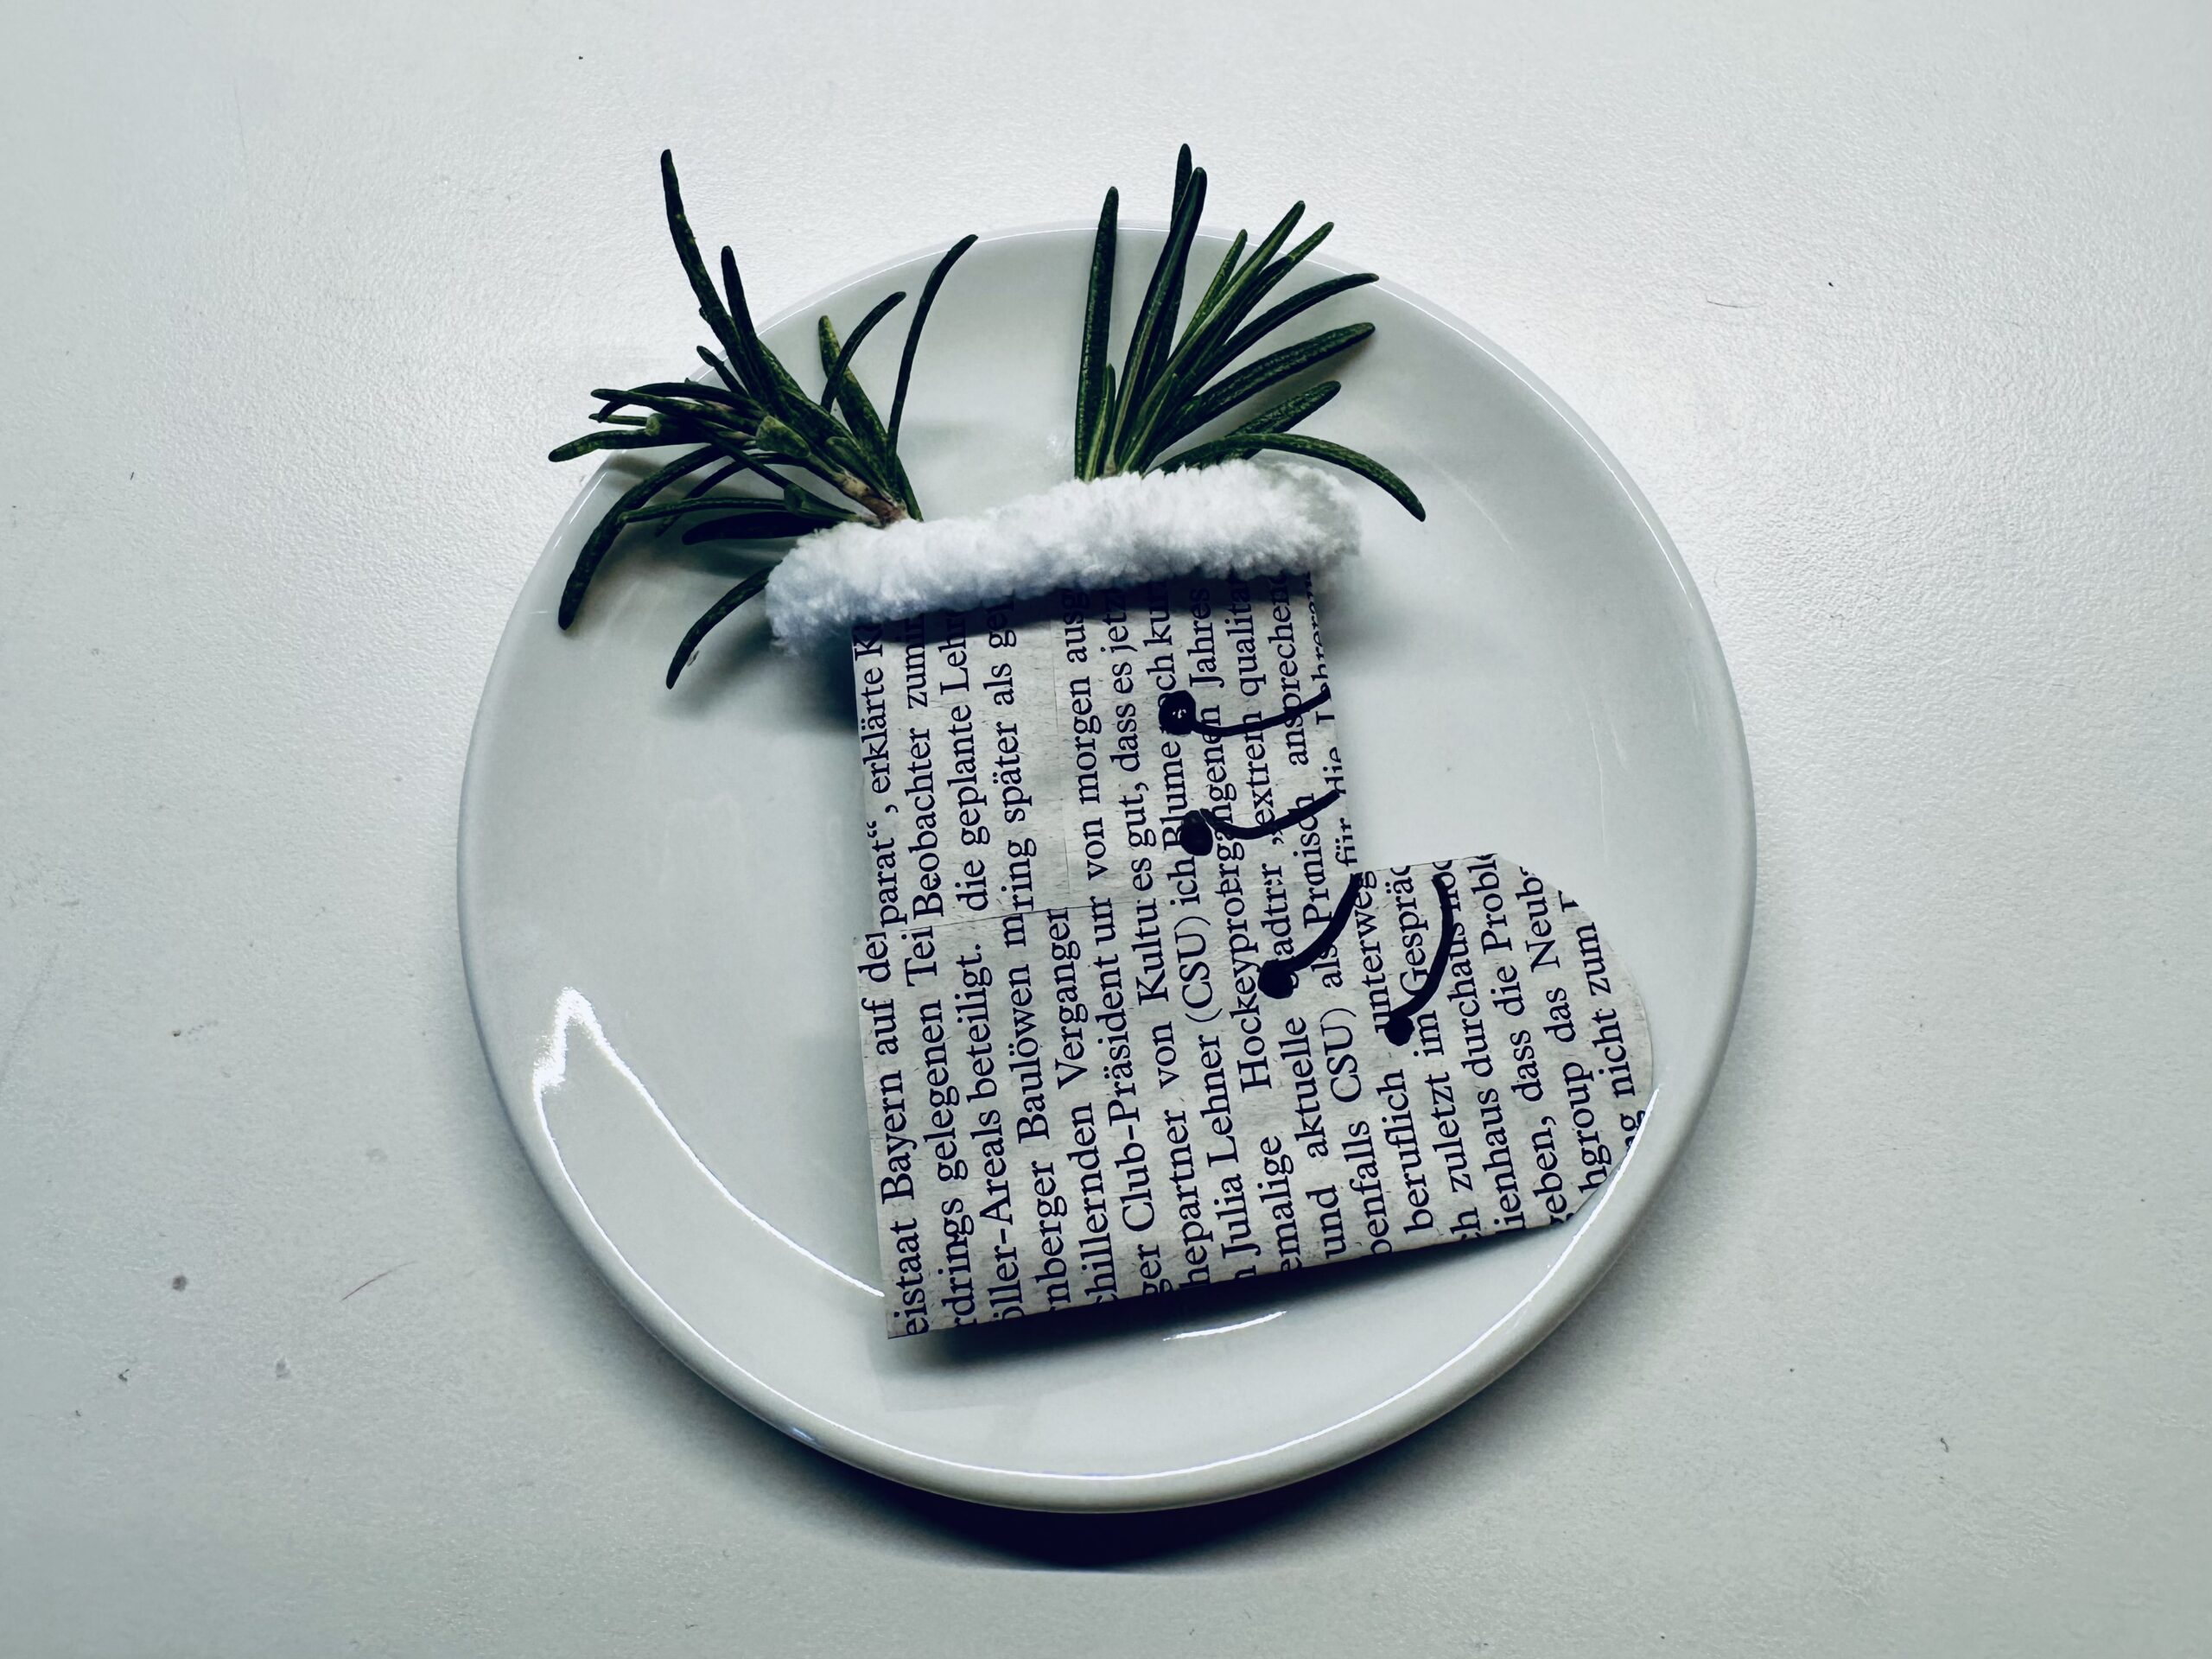
Ready!
Use the boot as a gift pendant, table card, table decoration or name tag.
Have fun trying out.
Newsprint
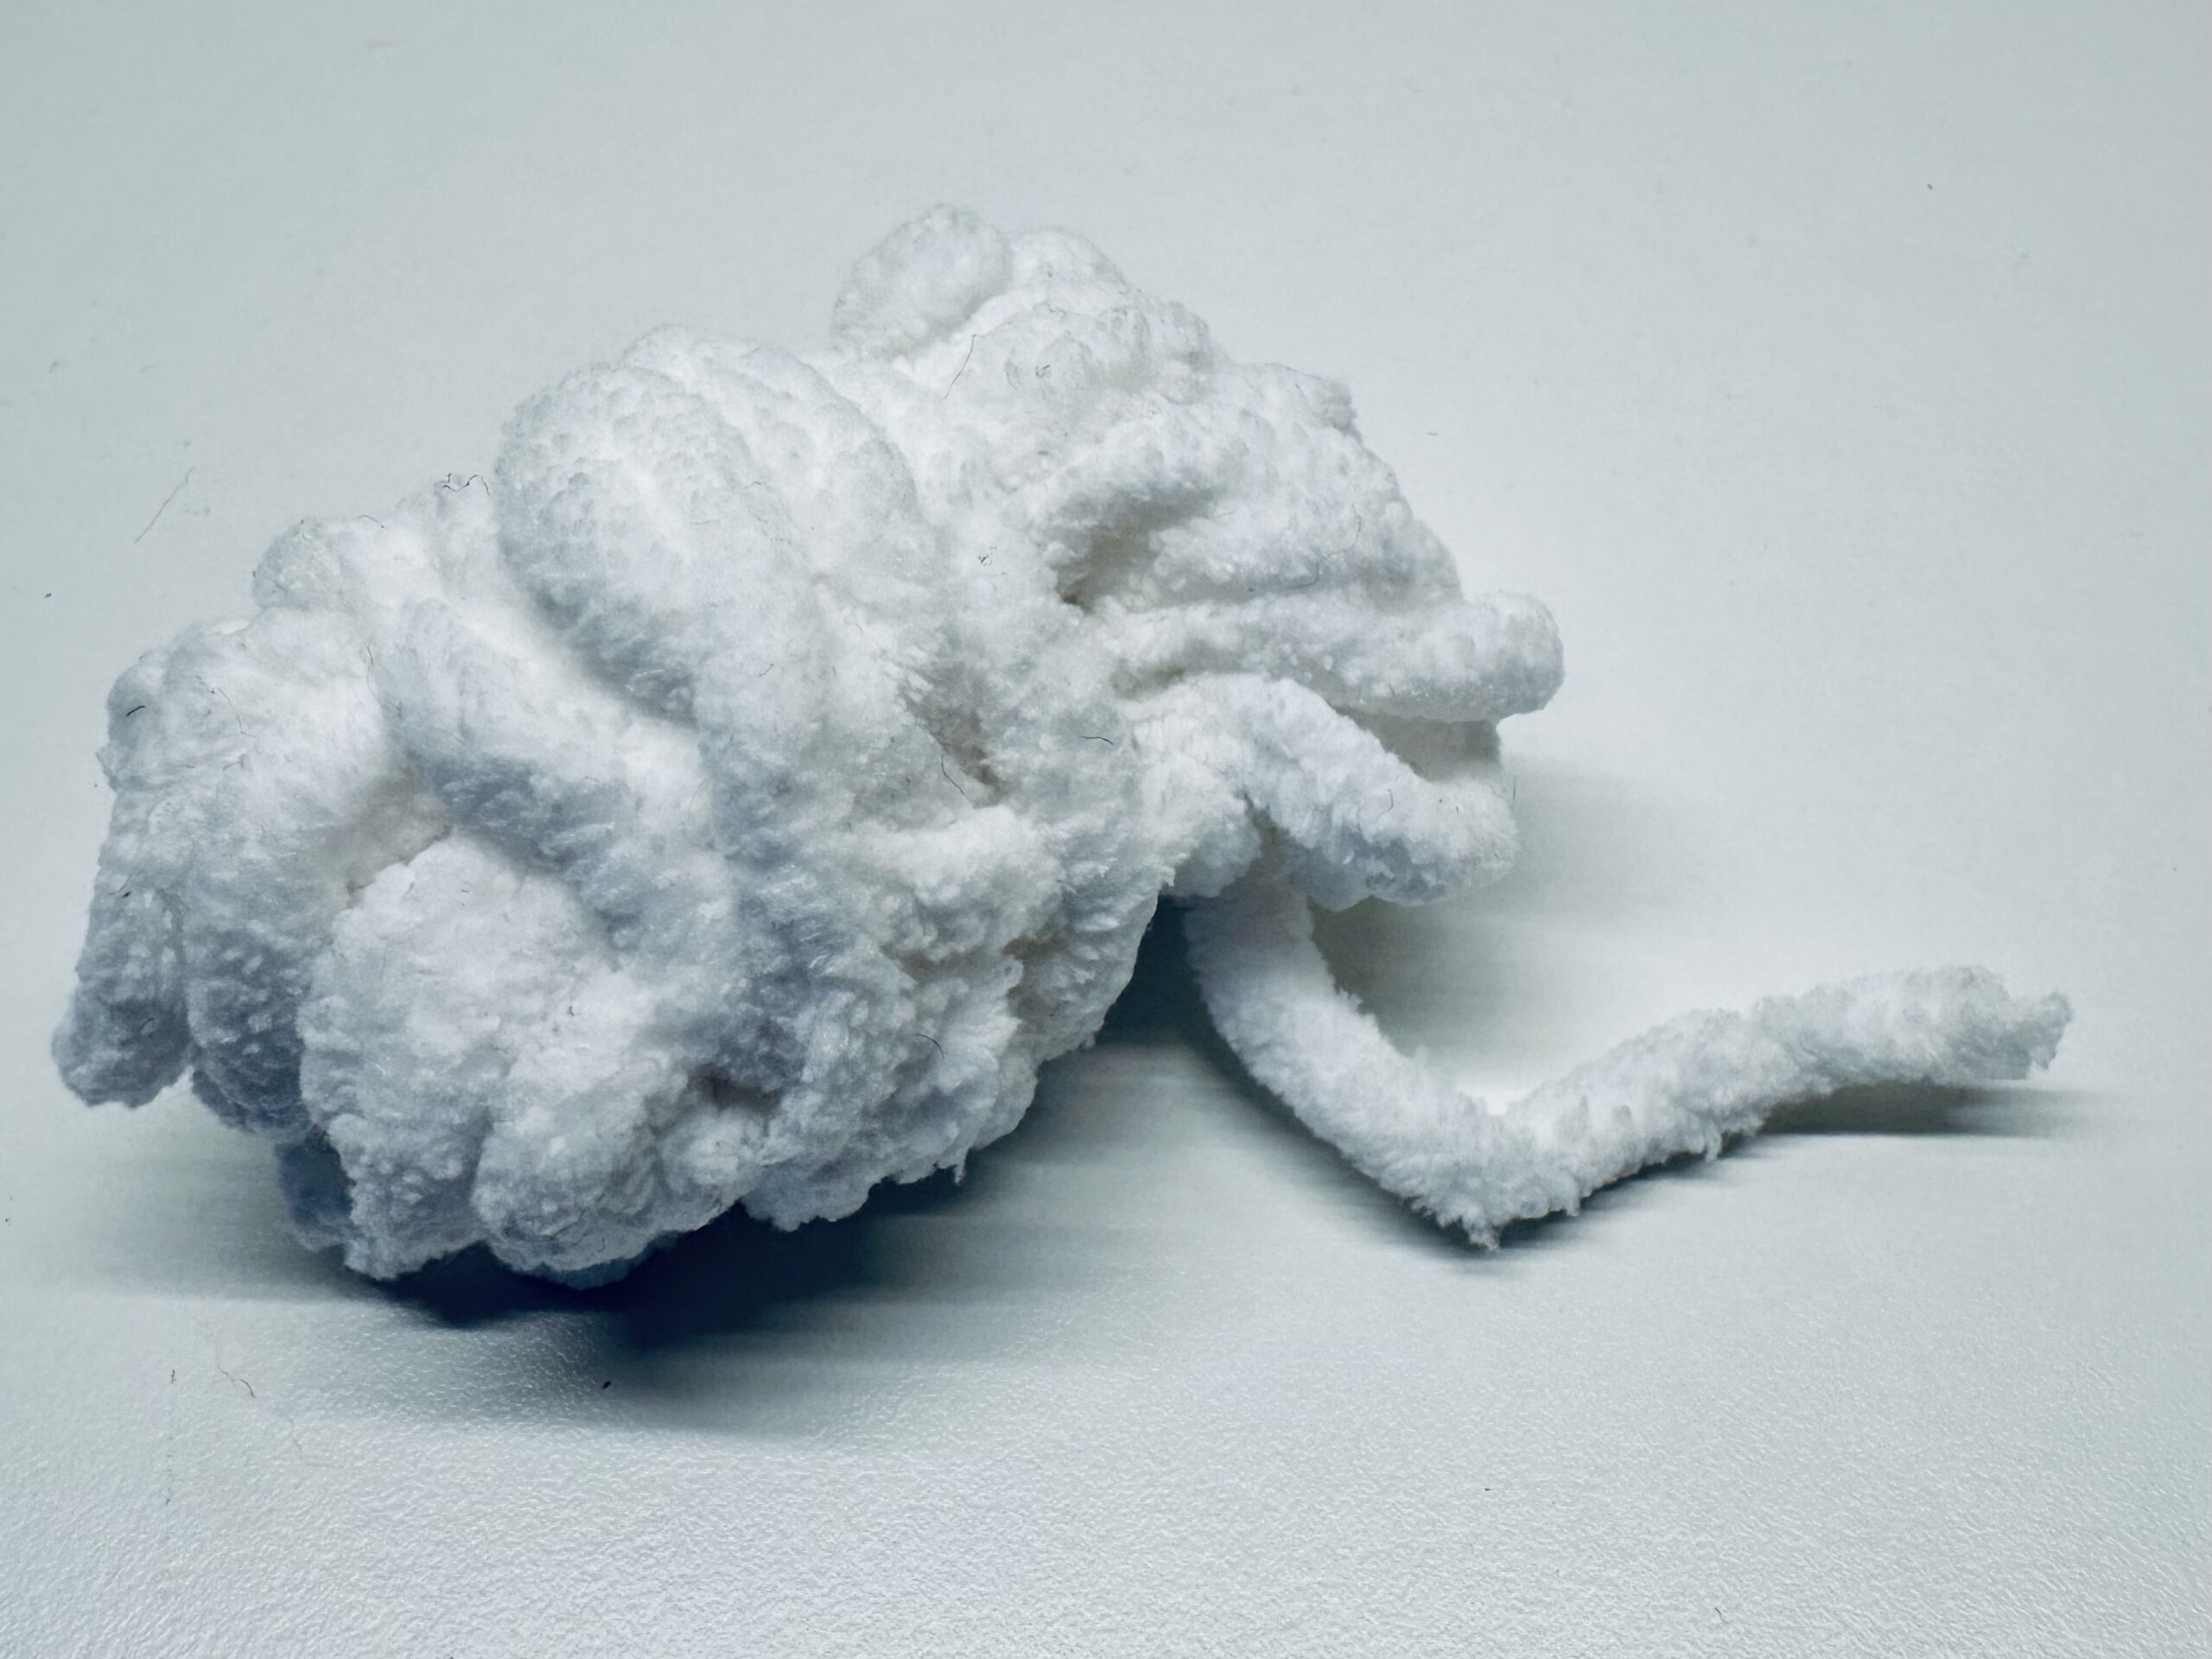
Fluffy wool
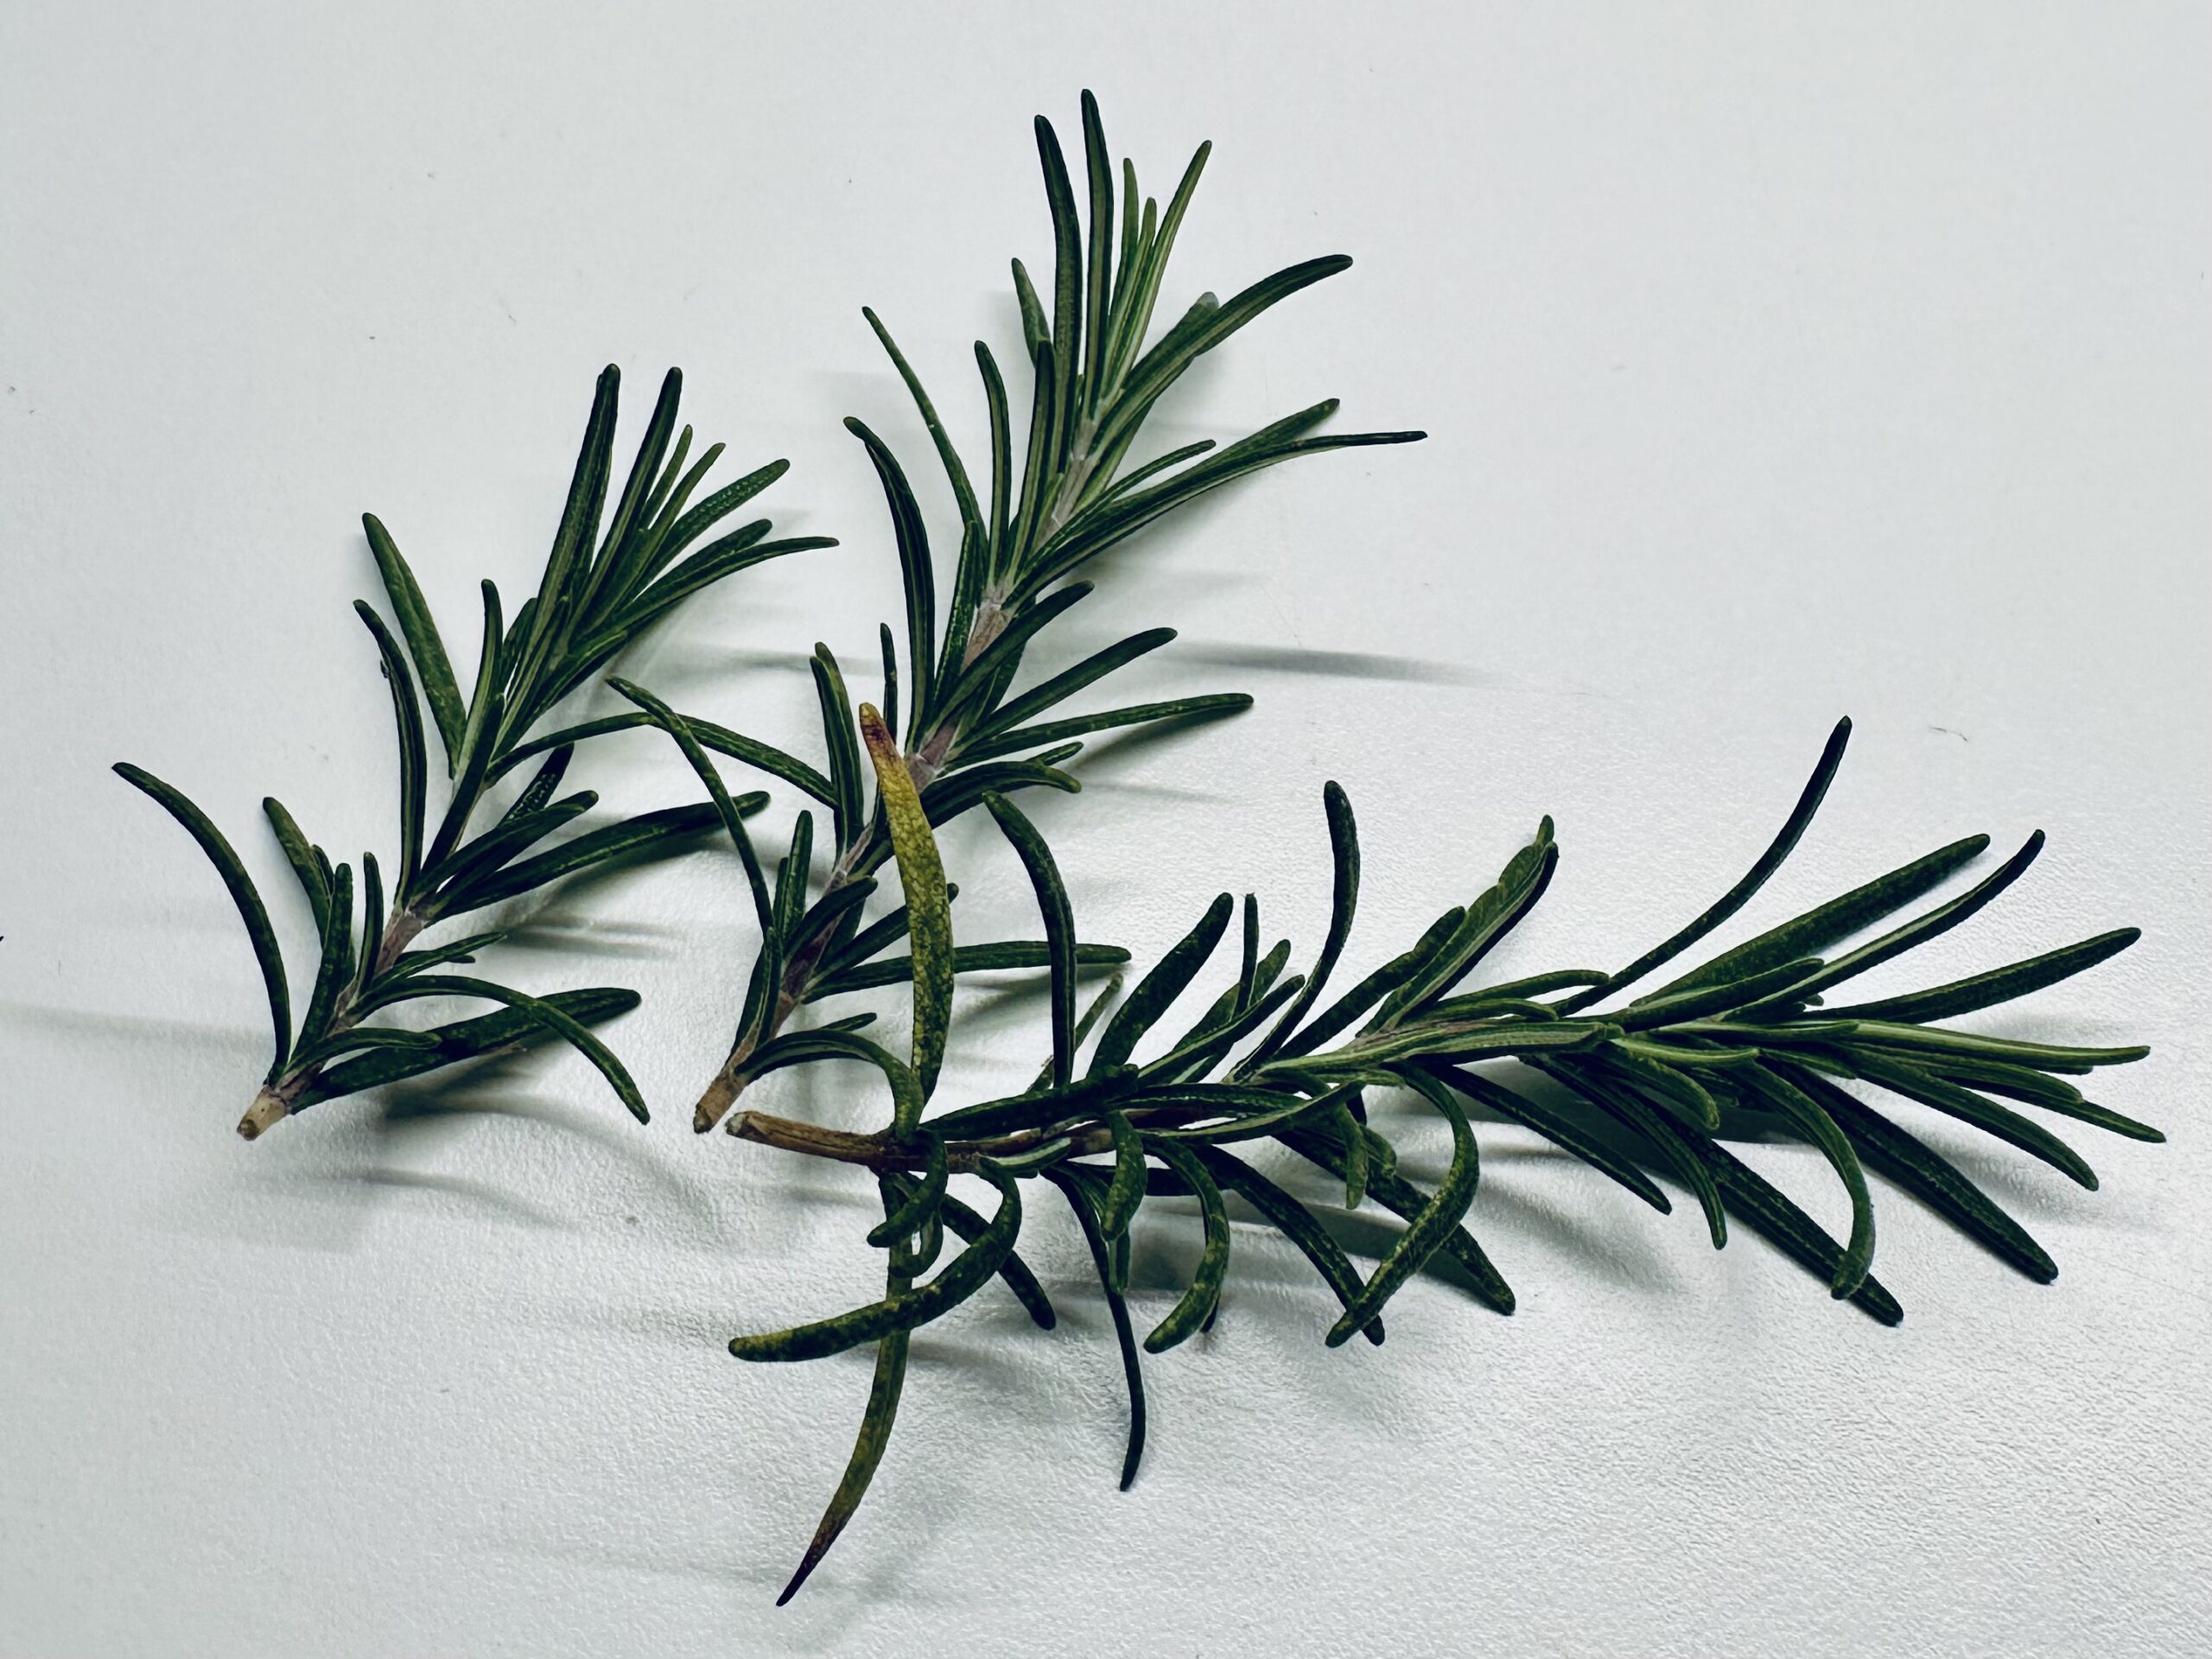
Branches
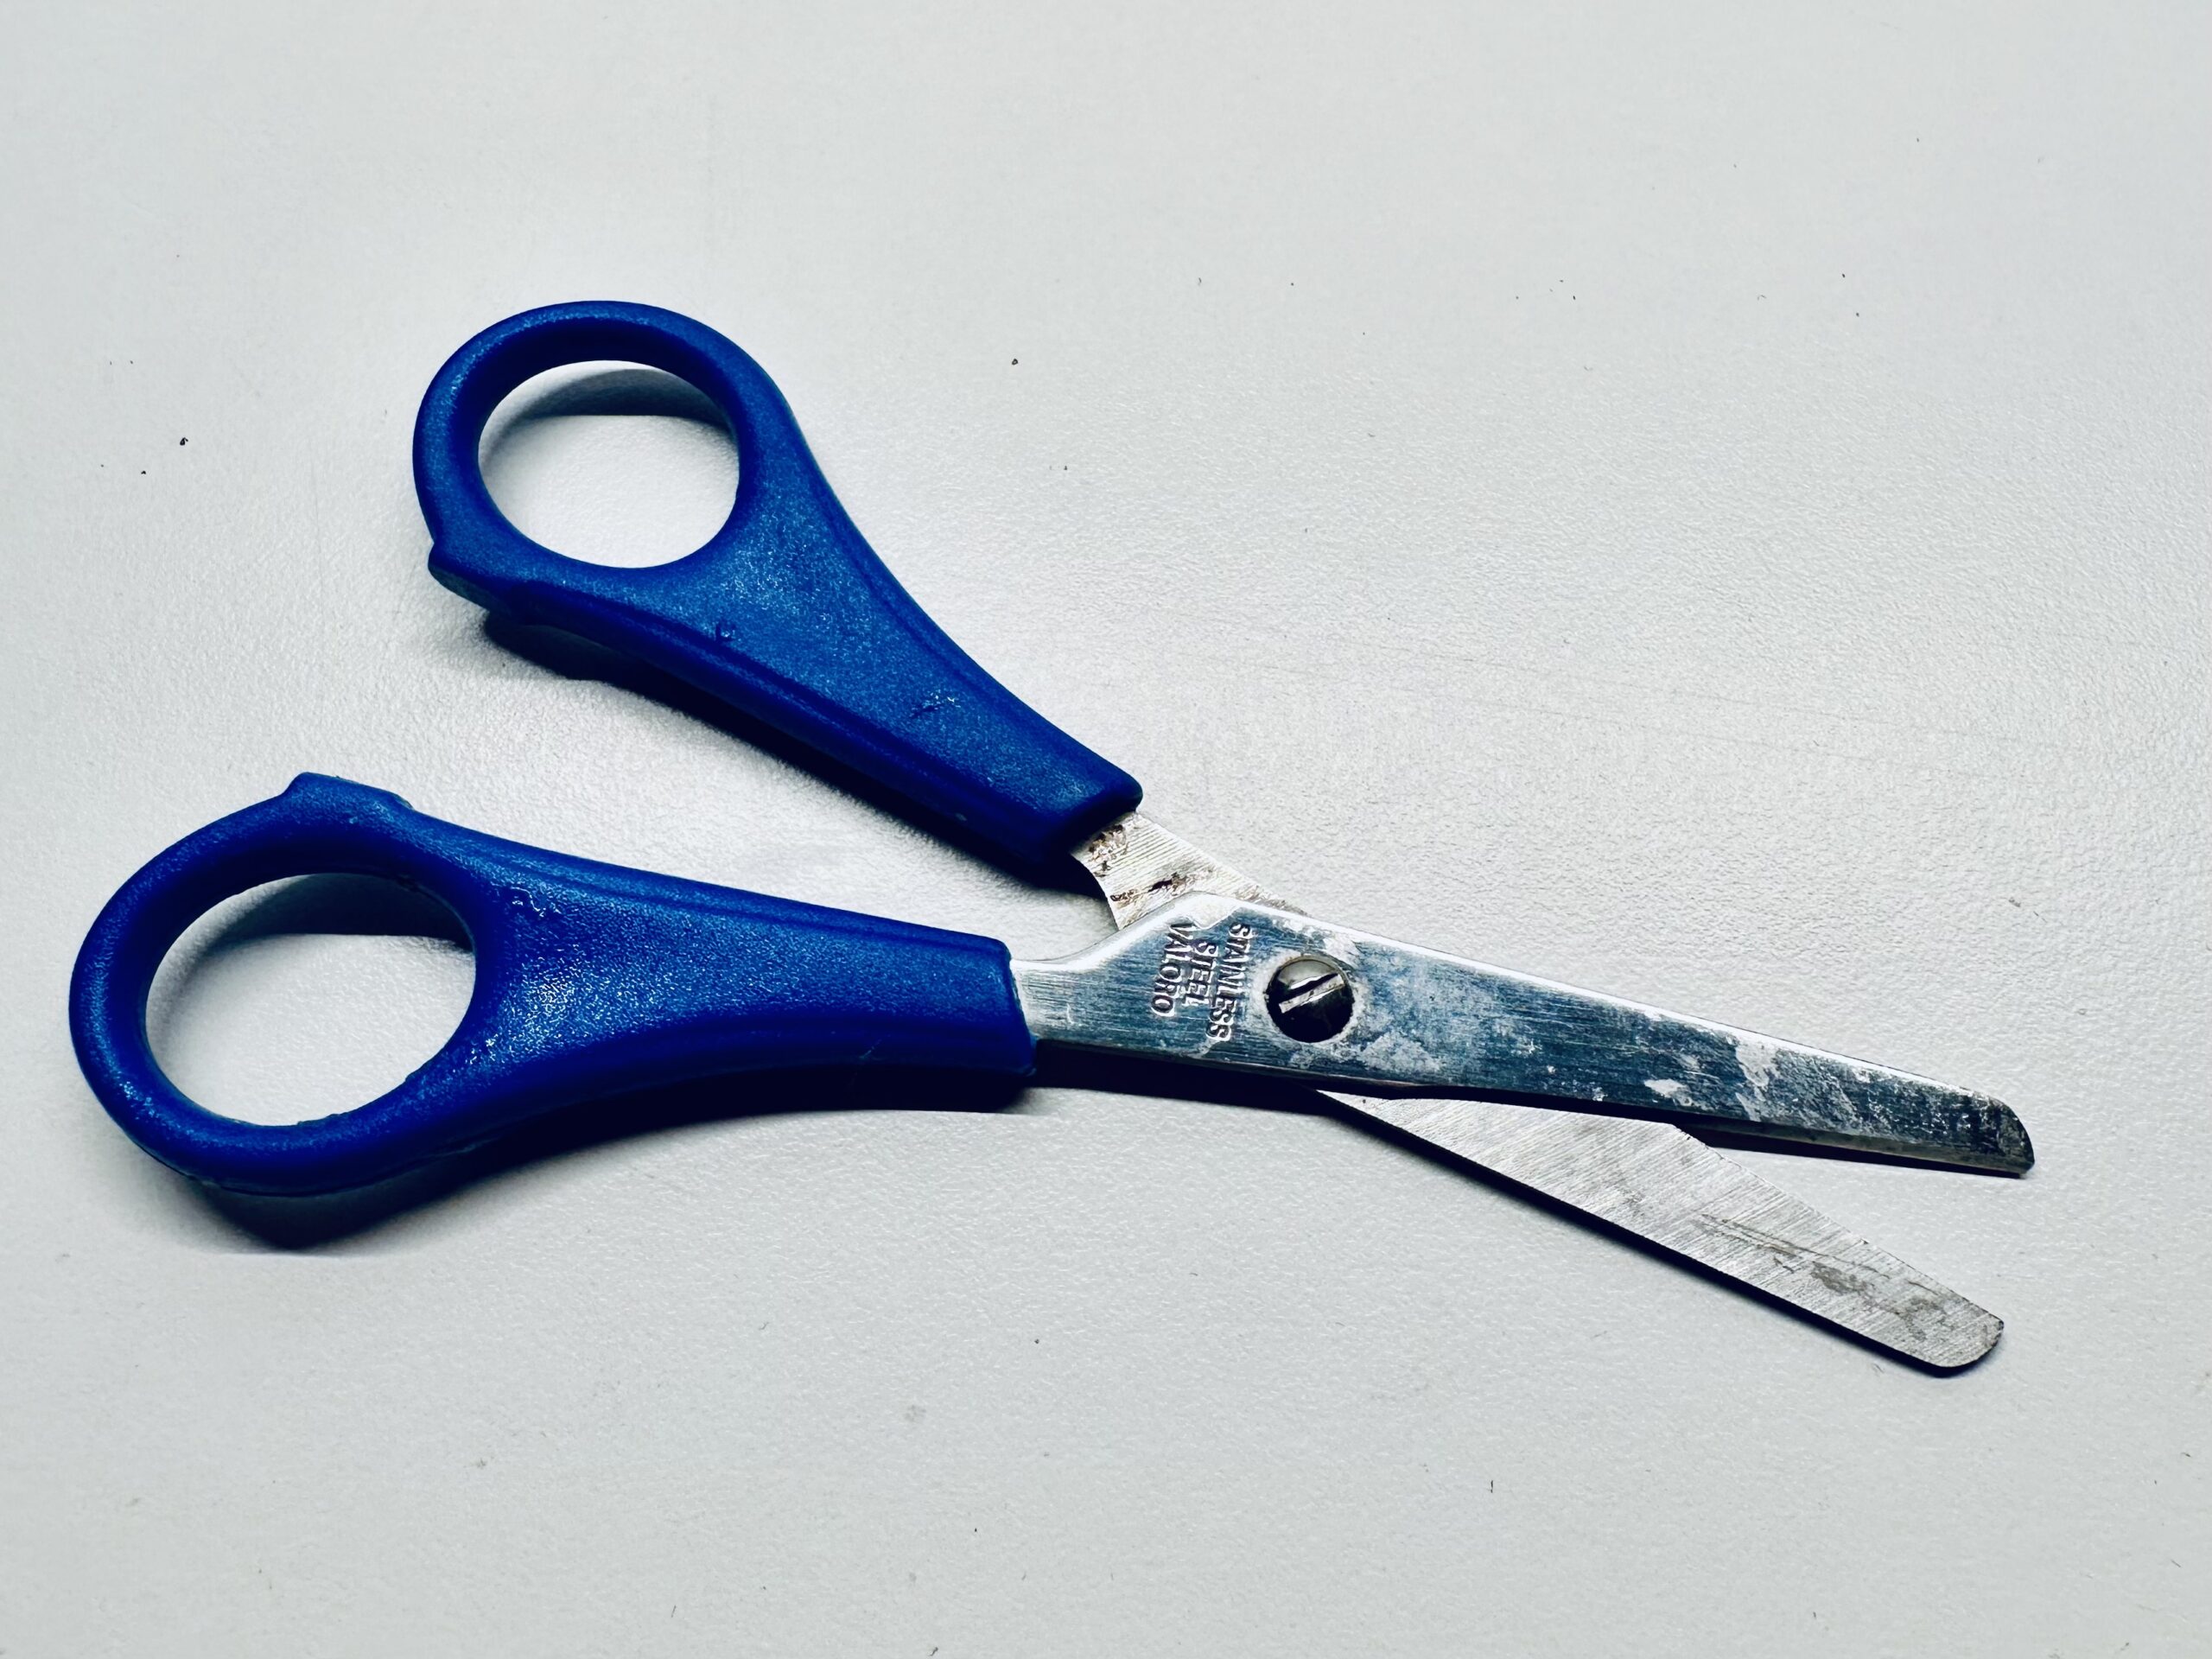
Scissors
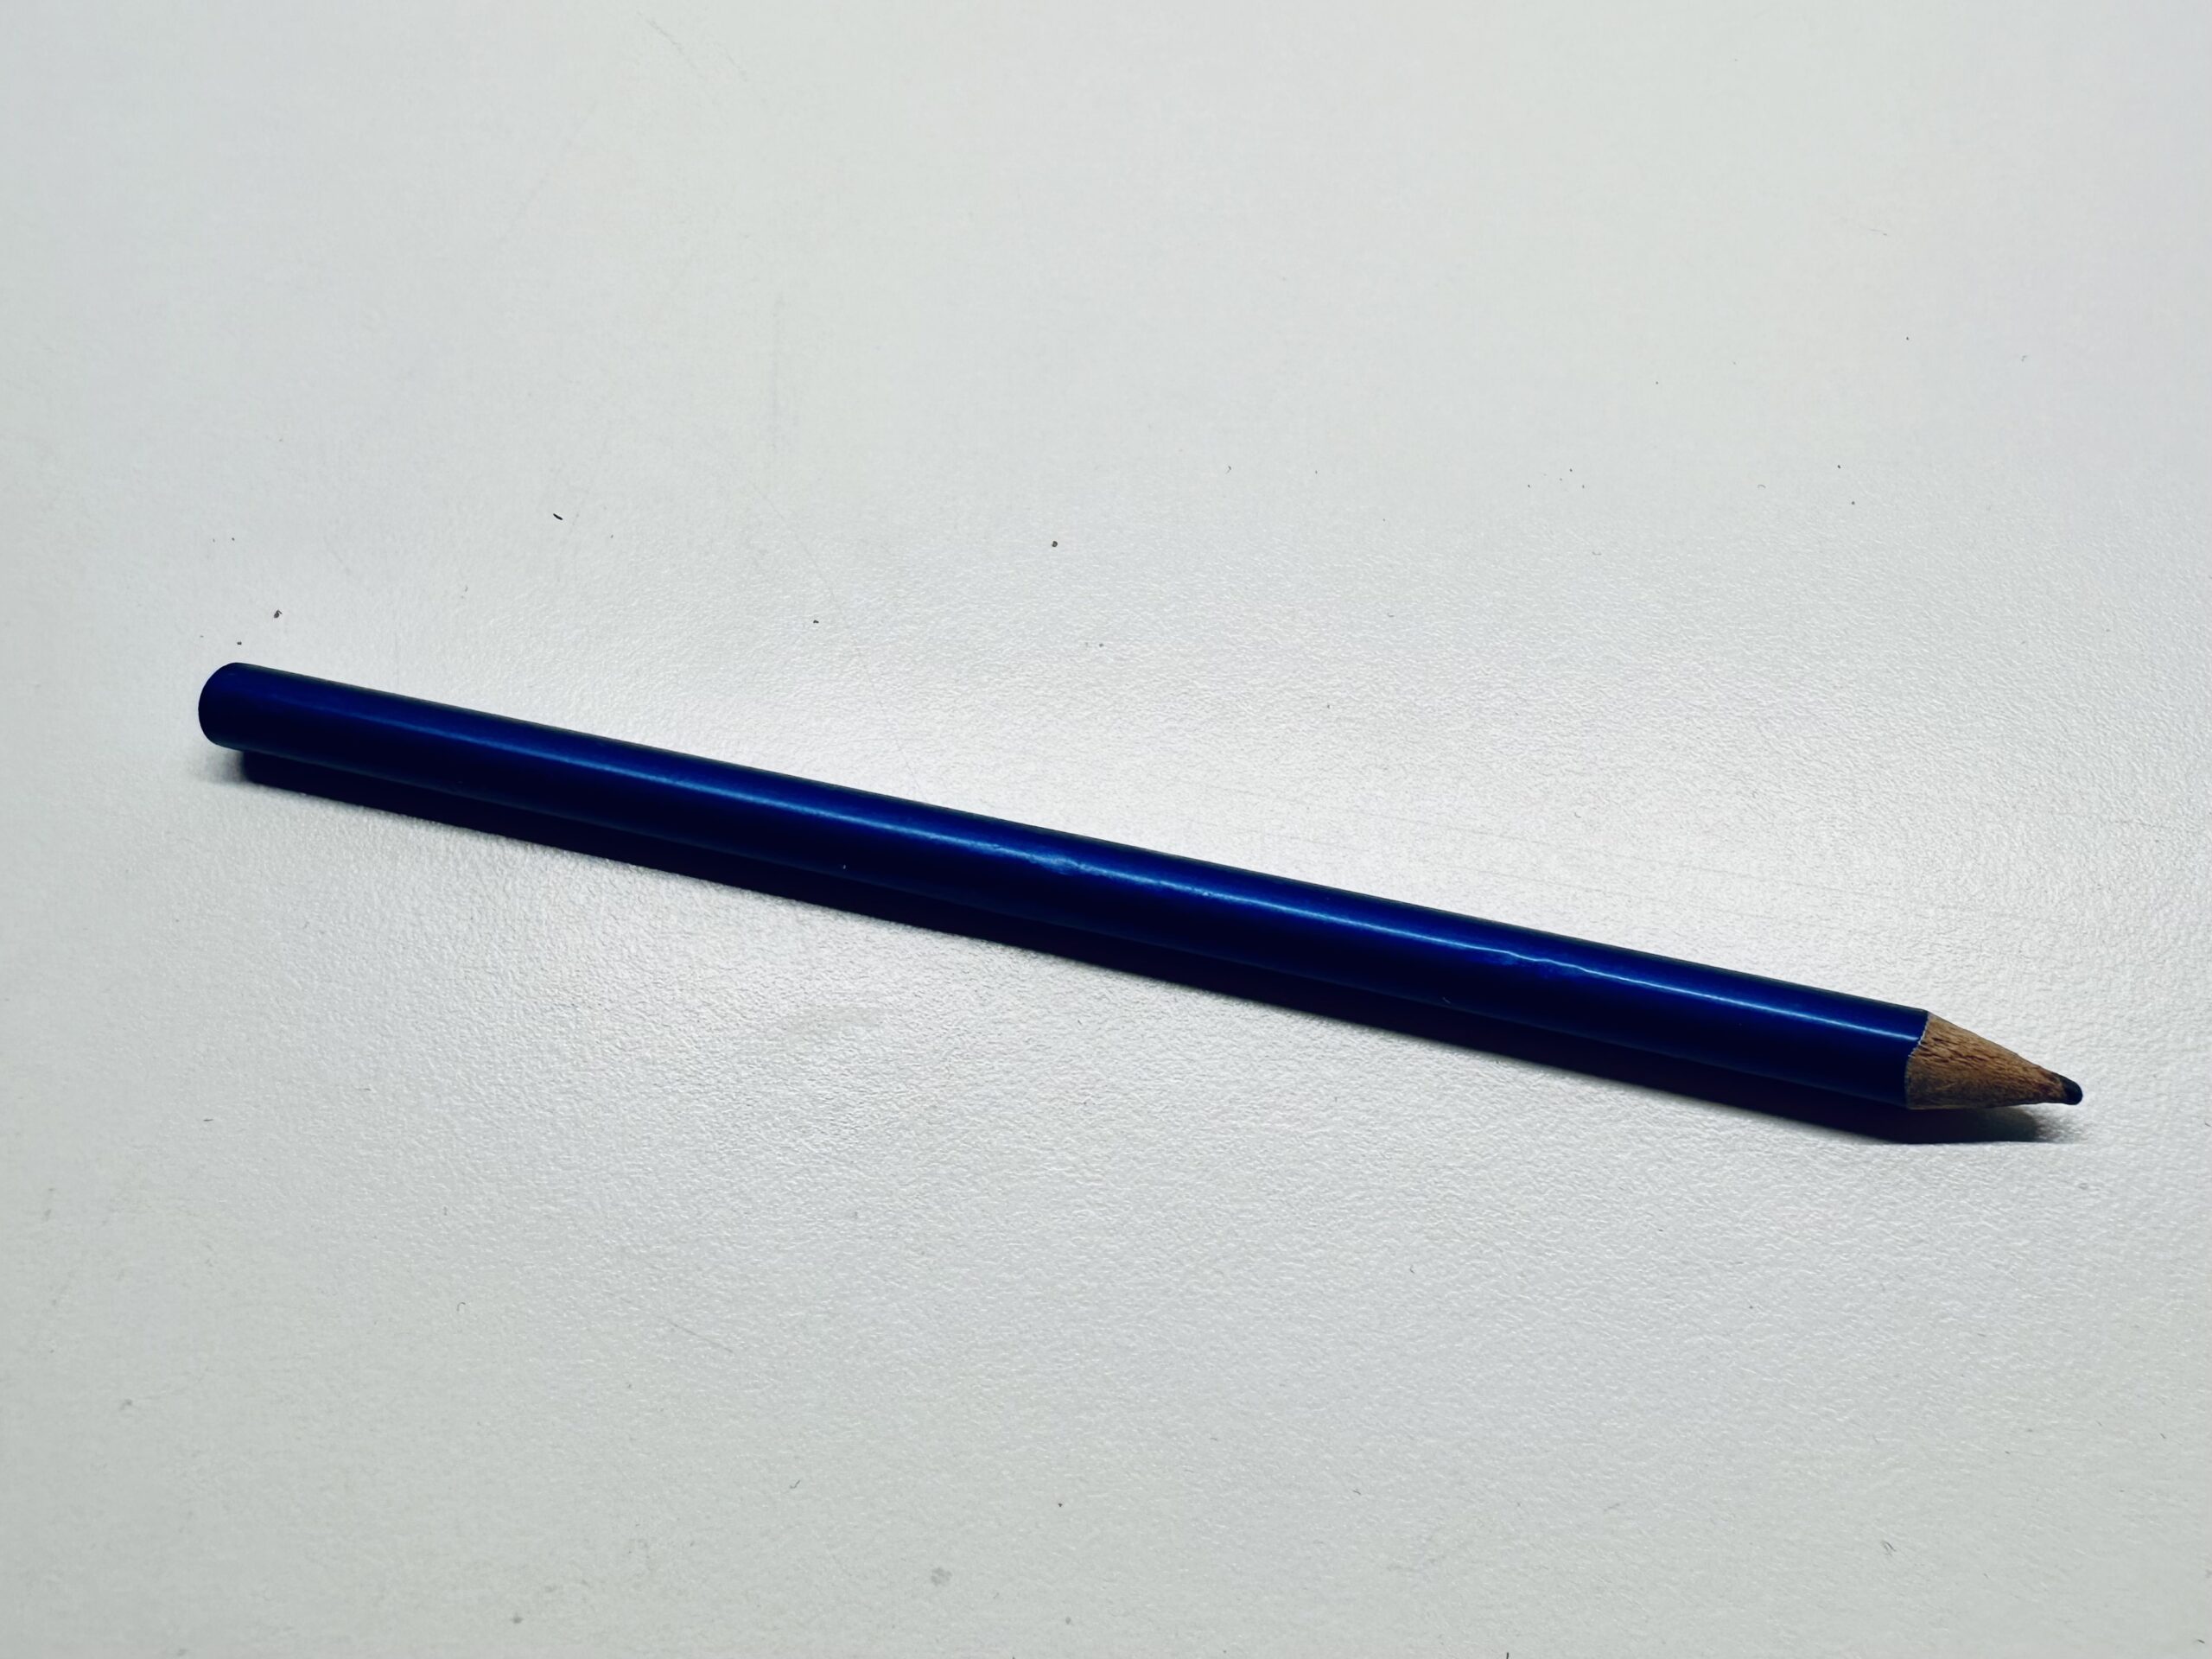
Pencil
Glue
Ruler
Felt pen black
Materials
Directions
Get it ready.
Starts with the newspaper.
Doubles the newspaper. Measures with a ruler two pieces of paper with each 6cm width and 9cm length.
Cut the measured rectangles. You need two identical parts. Place one high edge in front of you and the other across below.
The boots are made from the newspaper.
The bottom part of the boot is folded half upwards. Gently strokes the fracture. Paints the tip of the boot as a rounding on the folded part. The rounding is painted in the extension to the top sheet (as an aid to the pen). Cuts the rounding.
Take the sheet above with glue and make a roll of it. Let both short sides overlap a little.
Gently pushes the resulting roll a little flat.
Fold up the sheet below and place the roll on the straight side flush on it.
Completes the lower piece of paper with glue. And glues the roll above the centre line. Folds the lower part upwards and presses it on. Make sure that the top is flush on the straight side.
The newspaper boots are almost ready.
Take a fluffy wool and glue a wool thread to the upper edge of the boot opening. If the thread sticks around, you can cut the rest off.
Take a few small branches (thorn needles or rosemary) and remove the lower needles.
Put two little twigs in the boots.
Finishes with felt pencil laces on the boots.
Ready!
Use the boot as a gift pendant, table card, table decoration or name tag.
Have fun trying out.
Newsprint
Fluffy wool
Branches
Scissors
Pencil
Glue
Ruler
Felt pen black
Follow us on Facebook , Instagram and Pinterest
Don't miss any more adventures: Our bottle mail