Muesli glass on Mother's Day

AdventurerKatzi
Rating5.05.3 Thousand times & (4) DifficultyIntermediate

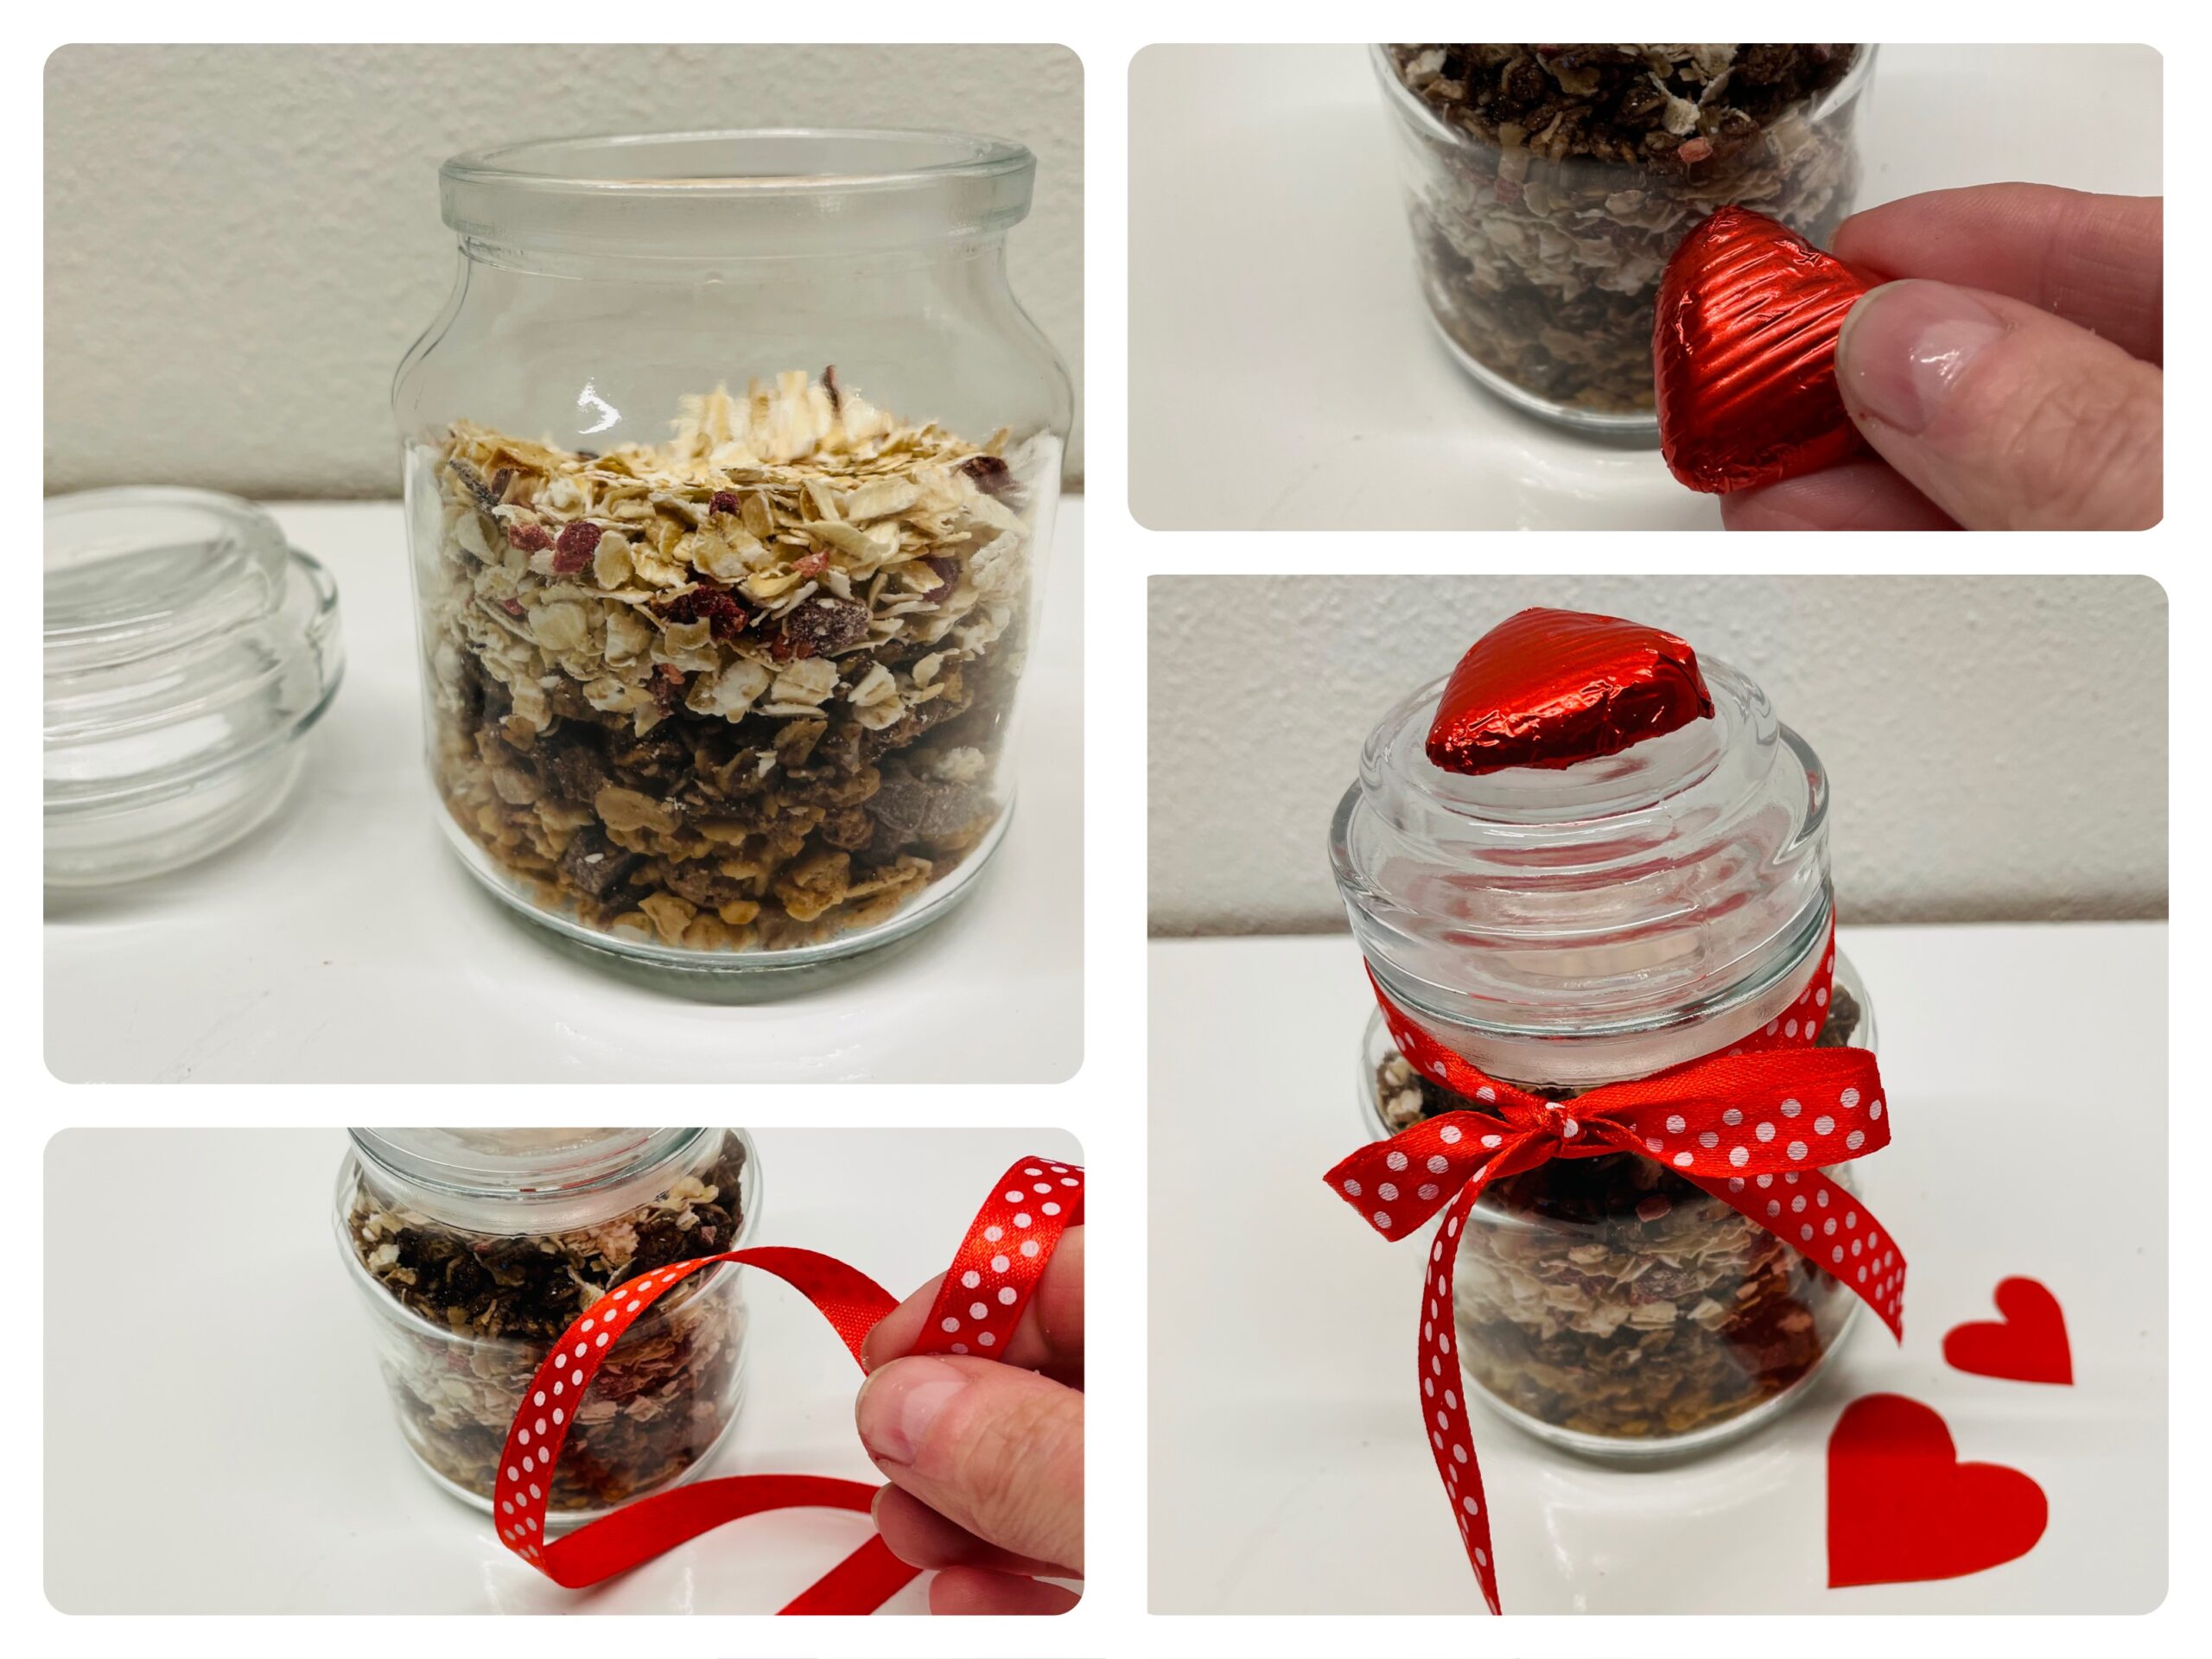
How about a self-mixed muesli or the favorite porridge for mom in a beautifully decorated glass? A glass with an iron closure or an empty masonry glass are suitable for this. With a heart card, a chocolate heart and small clay paper heart, you can decorate the glass in no time. Enjoy gifting for Mother's Day, birthday or as a guest gift.

Media Education for Kindergarten and Hort

Kind bastelt eine Rassel mit dem Navi
The Adventure Navi, the app for DIY projects, enables media education for the youngest.

Relief in everyday life, targeted promotion of individual children, independent learning and - without any pre-knowledge already usable by the youngest!


Titelbild zur Bastel- und DIY-Idee für Kinder '(741) Müsli-Glas zum Muttertag'
Material for1 Child
Prep Time5 min.Adv. Time15 min.Total Time20 min.
 1 empty jam glassor ironing closure glass
 Cereals or Porridge
 Possibly dried fruit
 1 Chocolate heart
 1 Table spoons
 1 Paper and paperboard
 1 Coloured pencilsor felt pencils
 1 Adhesive strips
 1 Builder's pad
All links marked with a shopping cart lead to Amazon - here we have selected products that we would order ourselves and in part also ordered. In a qualified purchase via the advertising link, we as Amazon partner receive a commission, for you there are no costs. You thus support our cost- and advertising banner-free, educational offer.
1

Find a nice glass with lid and fill in your favorite muesli or porridge of the recipient.
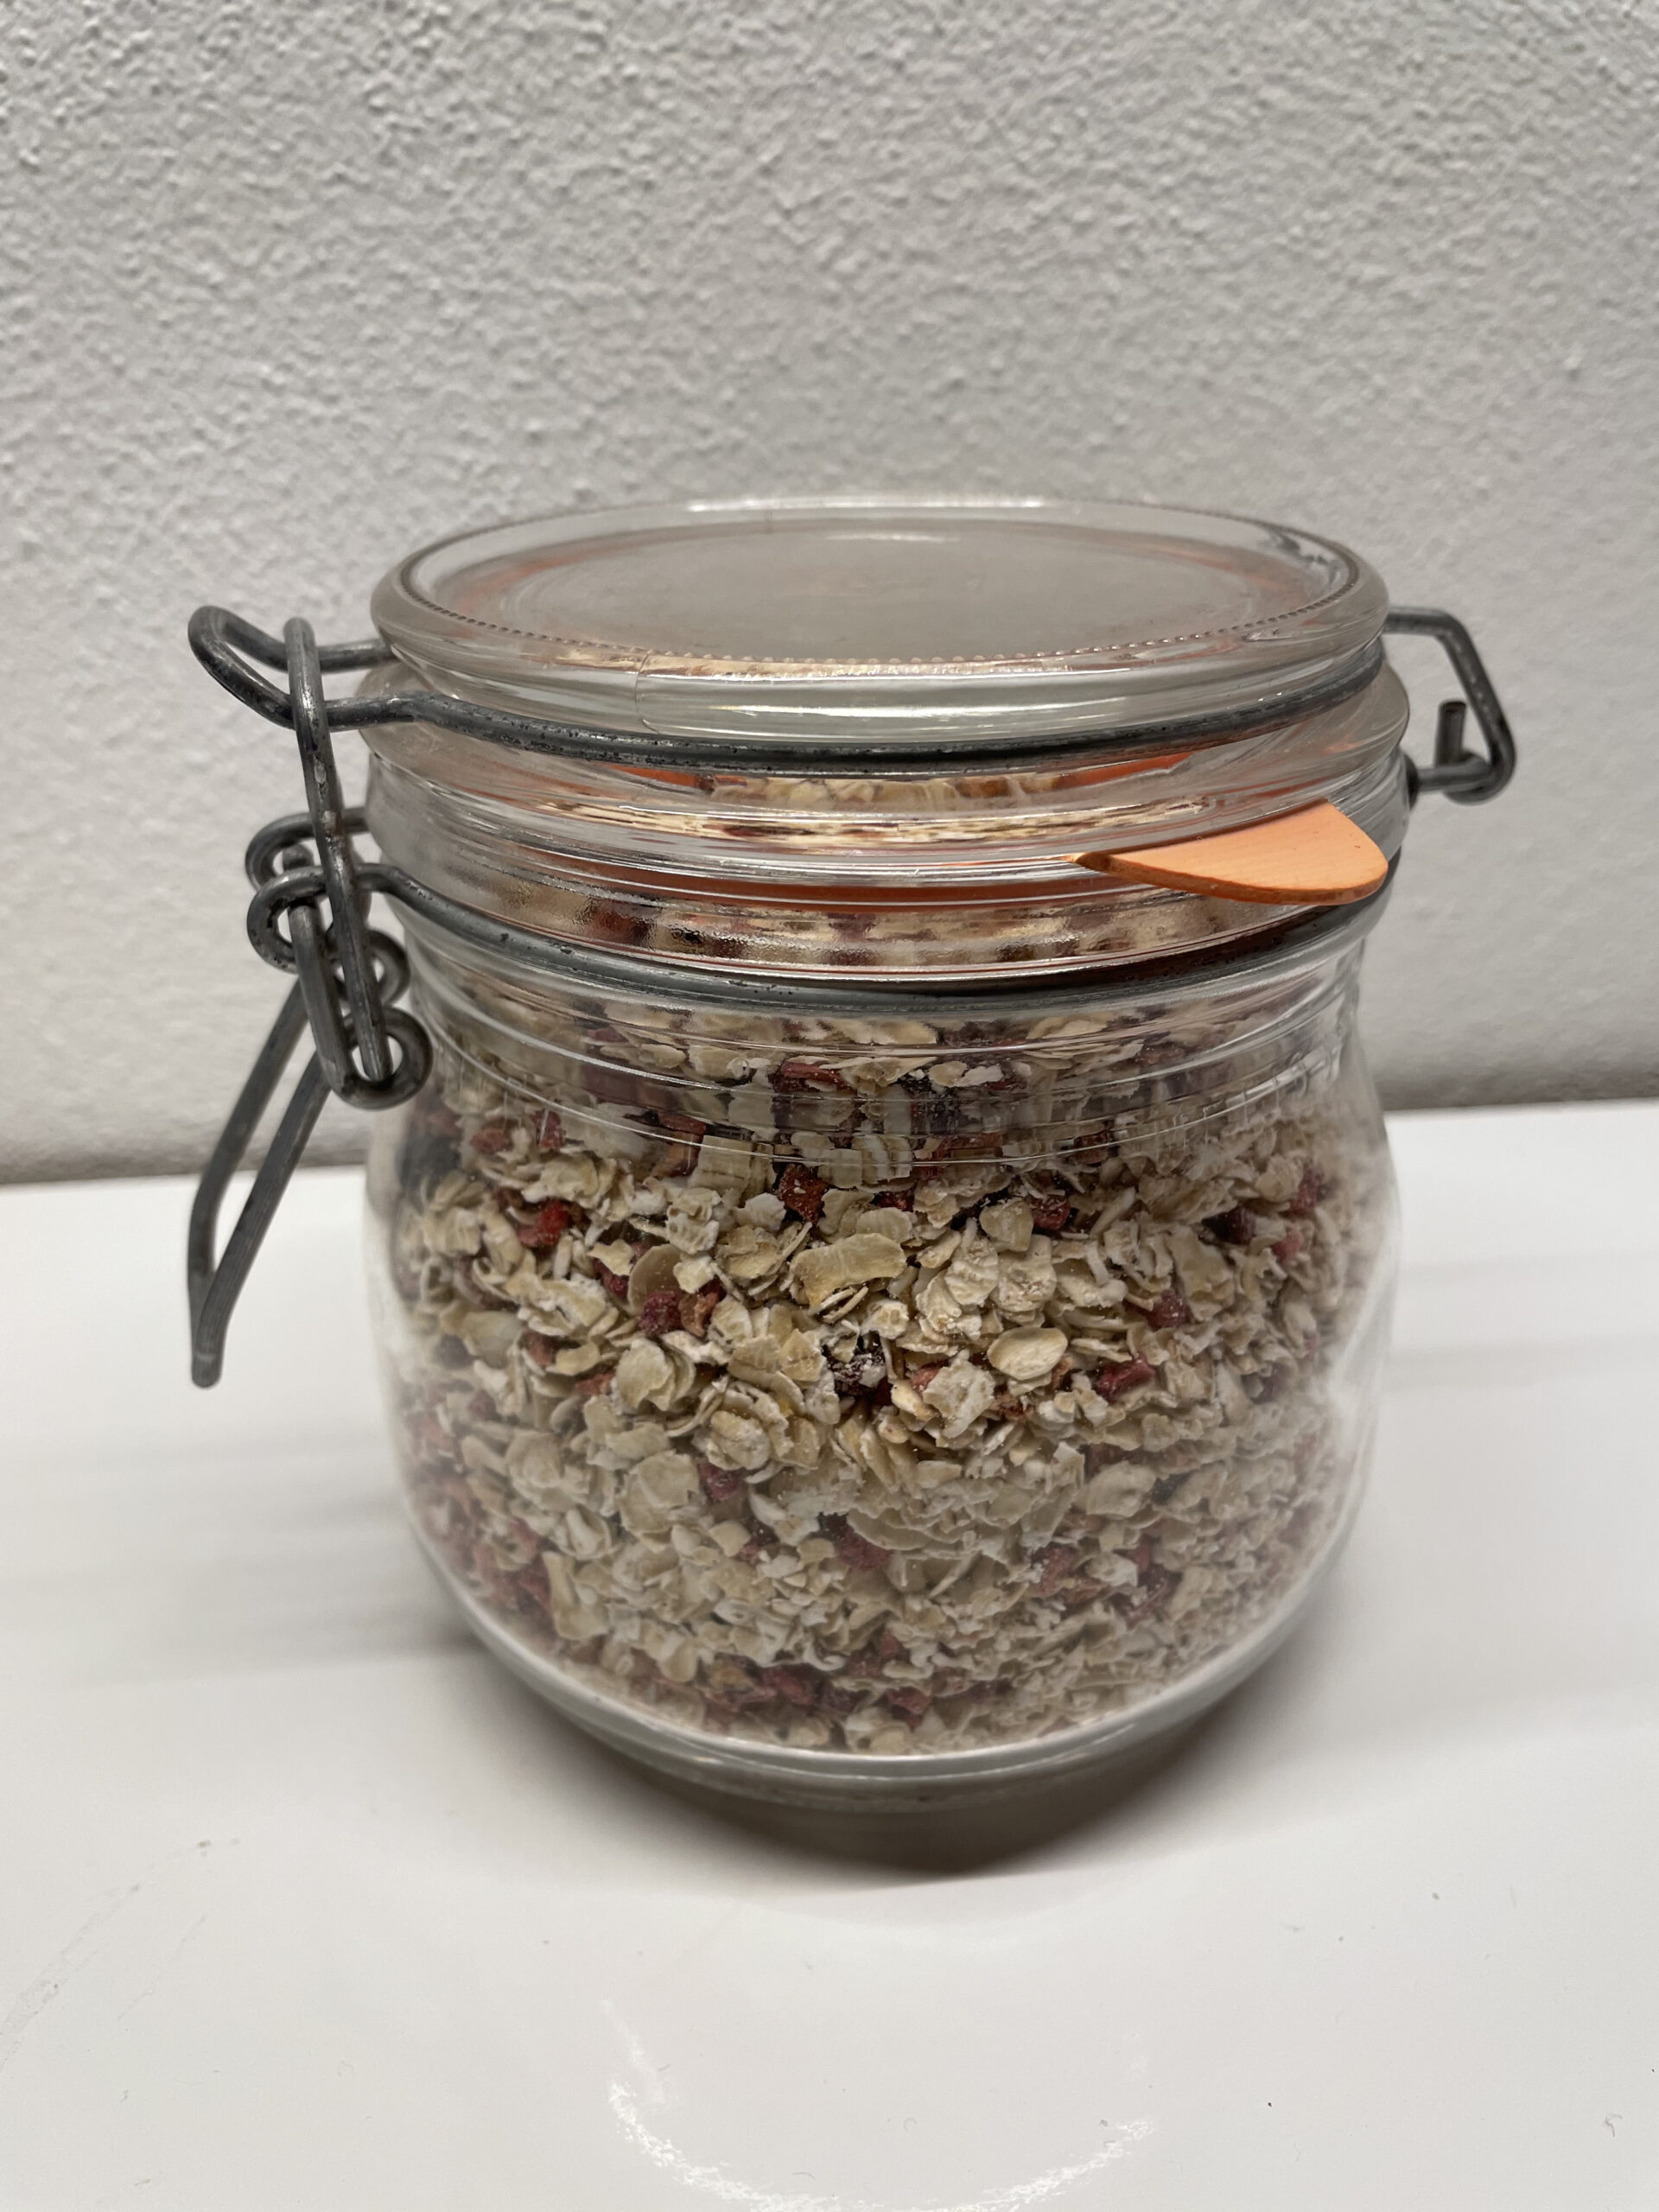
Bild zum Schritt 1 für das Bastel- und DIY-Abenteuer für Kinder: 'Sucht euch ein schönes Glas mit Deckel und füllt darin...'

2

Take a piece of clay paper, put the lid of your glass on it and border it.
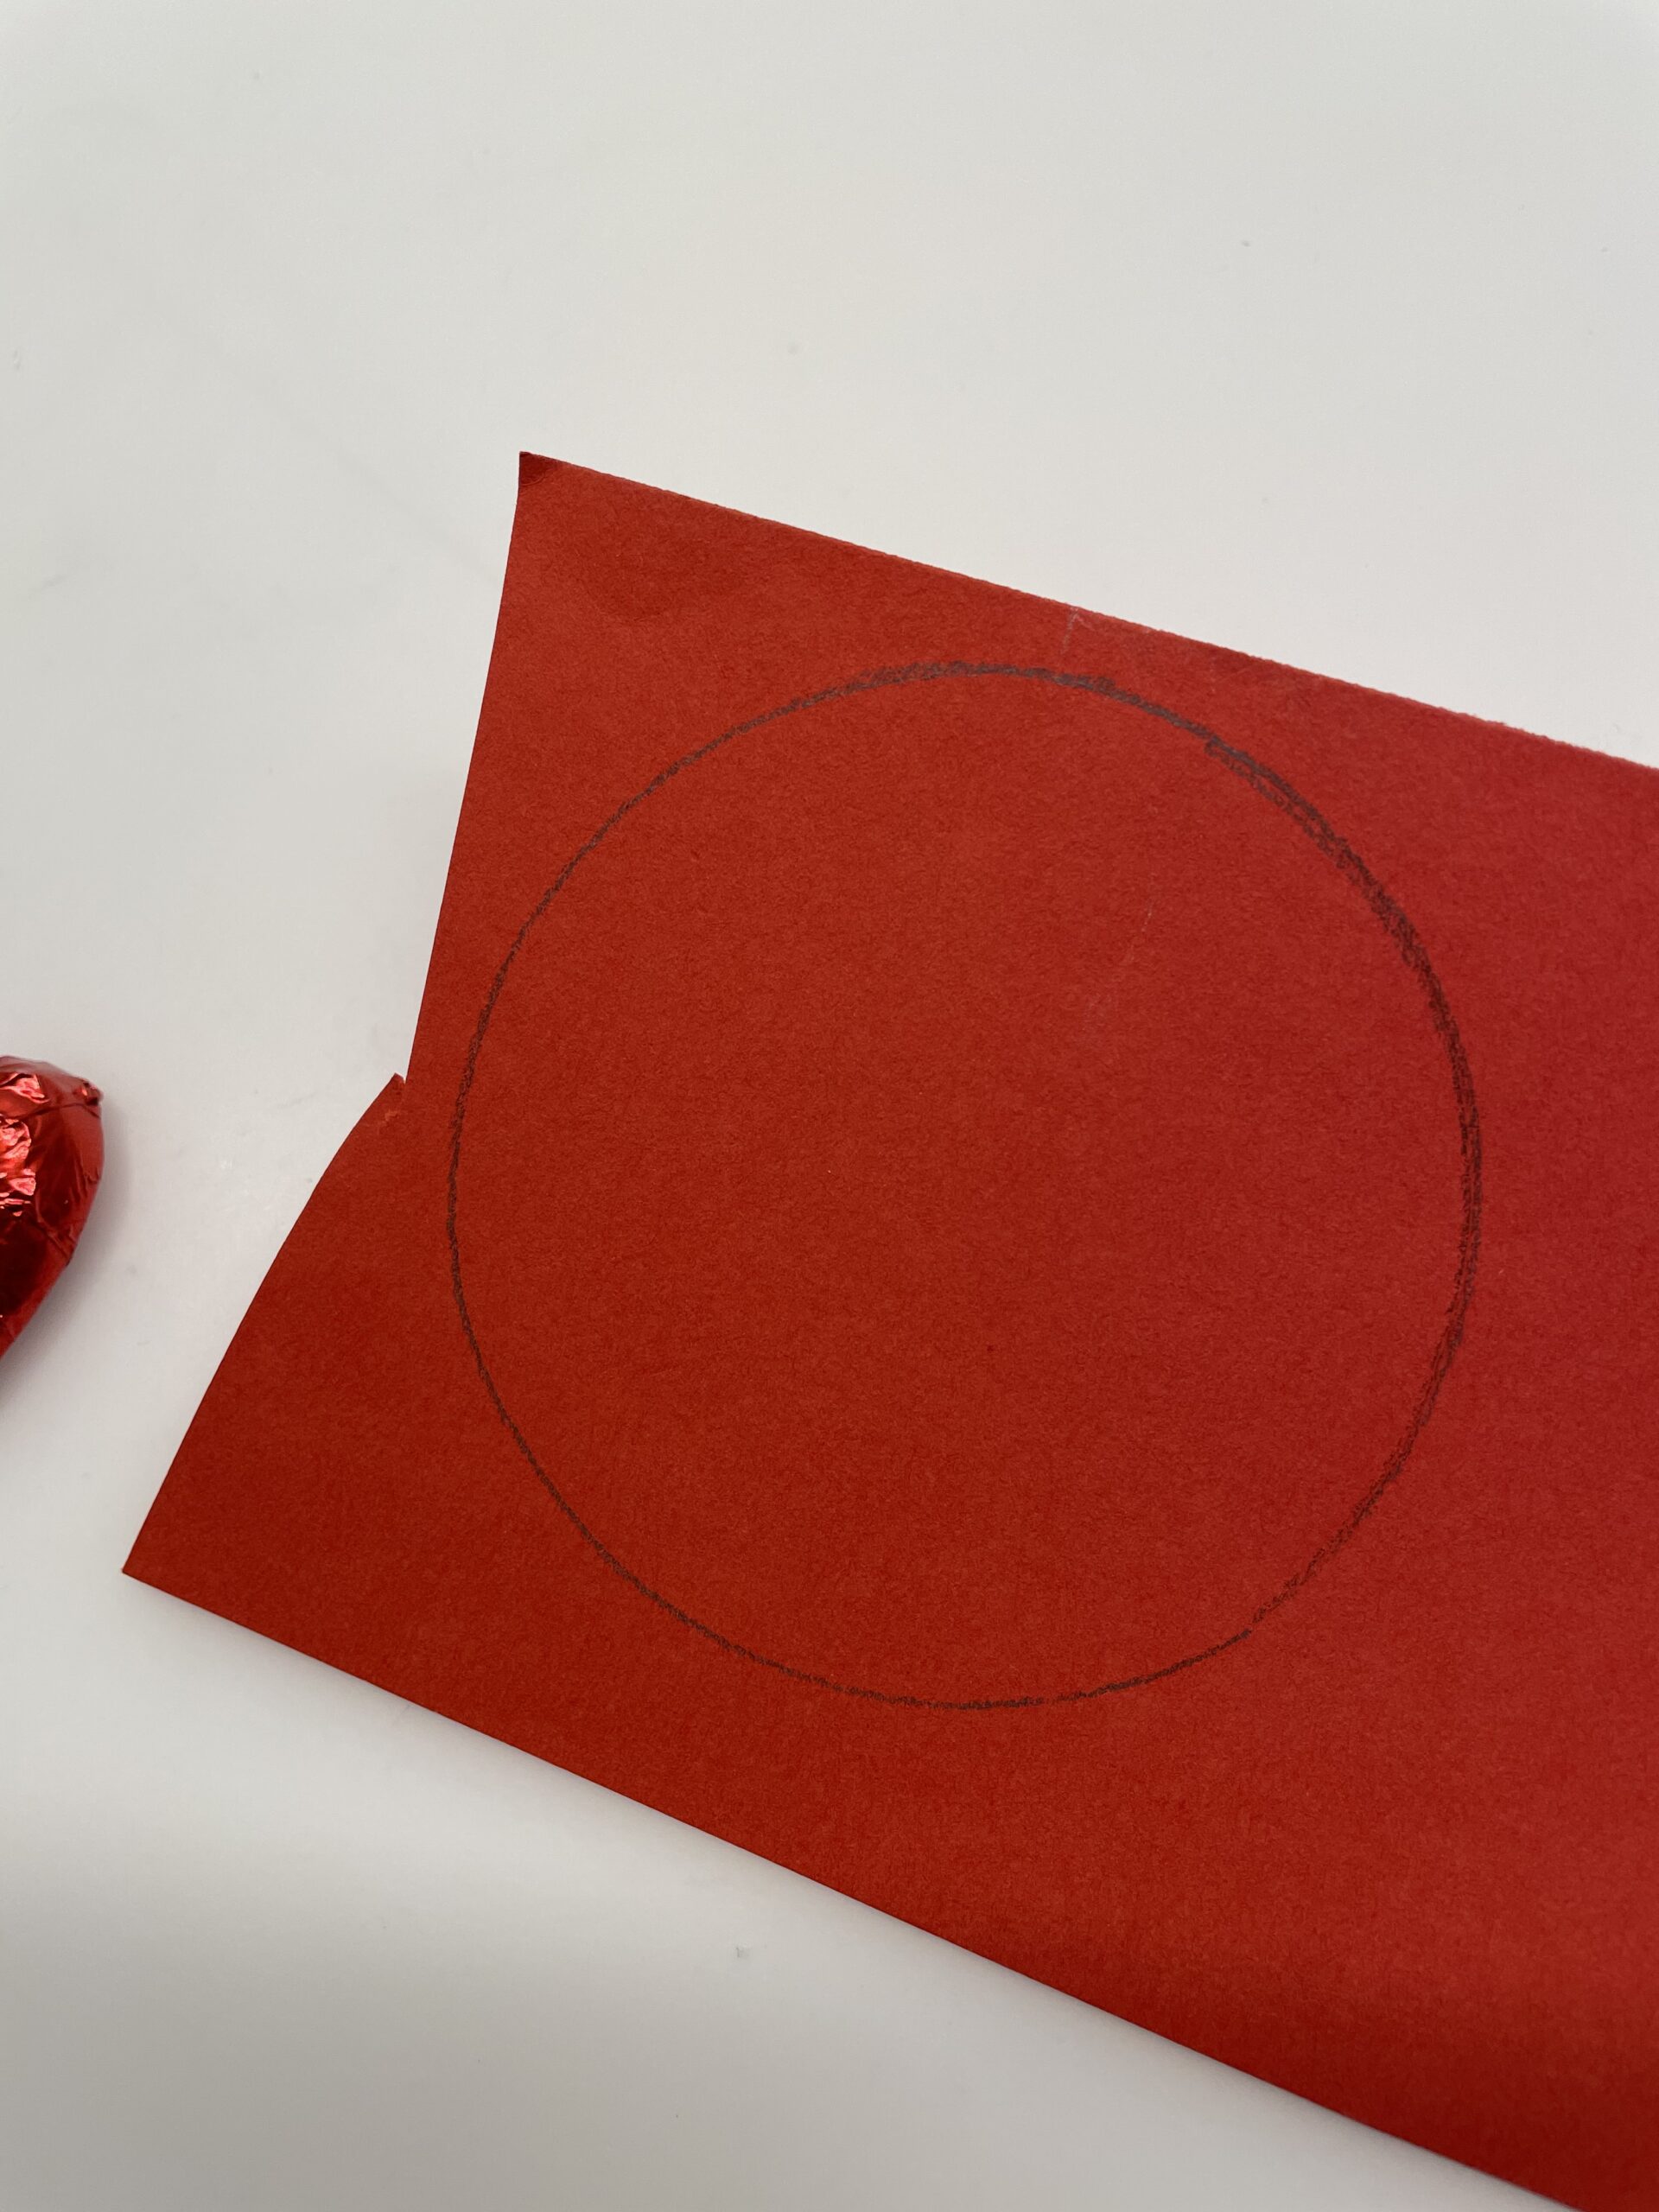
Bild zum Schritt 2 für das Bastel- und DIY-Abenteuer für Kinder: 'Nehmt ein Stück Tonpapier, legt den Deckel eures Glases darauf...'

3

Then cut out the circle of clay paper.

Bild zum Schritt 3 für das Bastel- und DIY-Abenteuer für Kinder: 'Anschließend schneidet ihr den Kreis aus Tonpapier aus.'

4

Now you put the chocolate heart in the middle of the circle. But don't stick the heart yet!

Bild zum Schritt 4 für das Bastel- und DIY-Abenteuer für Kinder: 'Jetzt legt ihr das Schokoladenherz in die Mitte des Kreises....'

5

Now surrounds the chocolate heart with a pen.

Bild zum Schritt 5 für das Bastel- und DIY-Abenteuer für Kinder: 'Umrandet das Schokoladenherz jetzt mit einem Stift.'

6

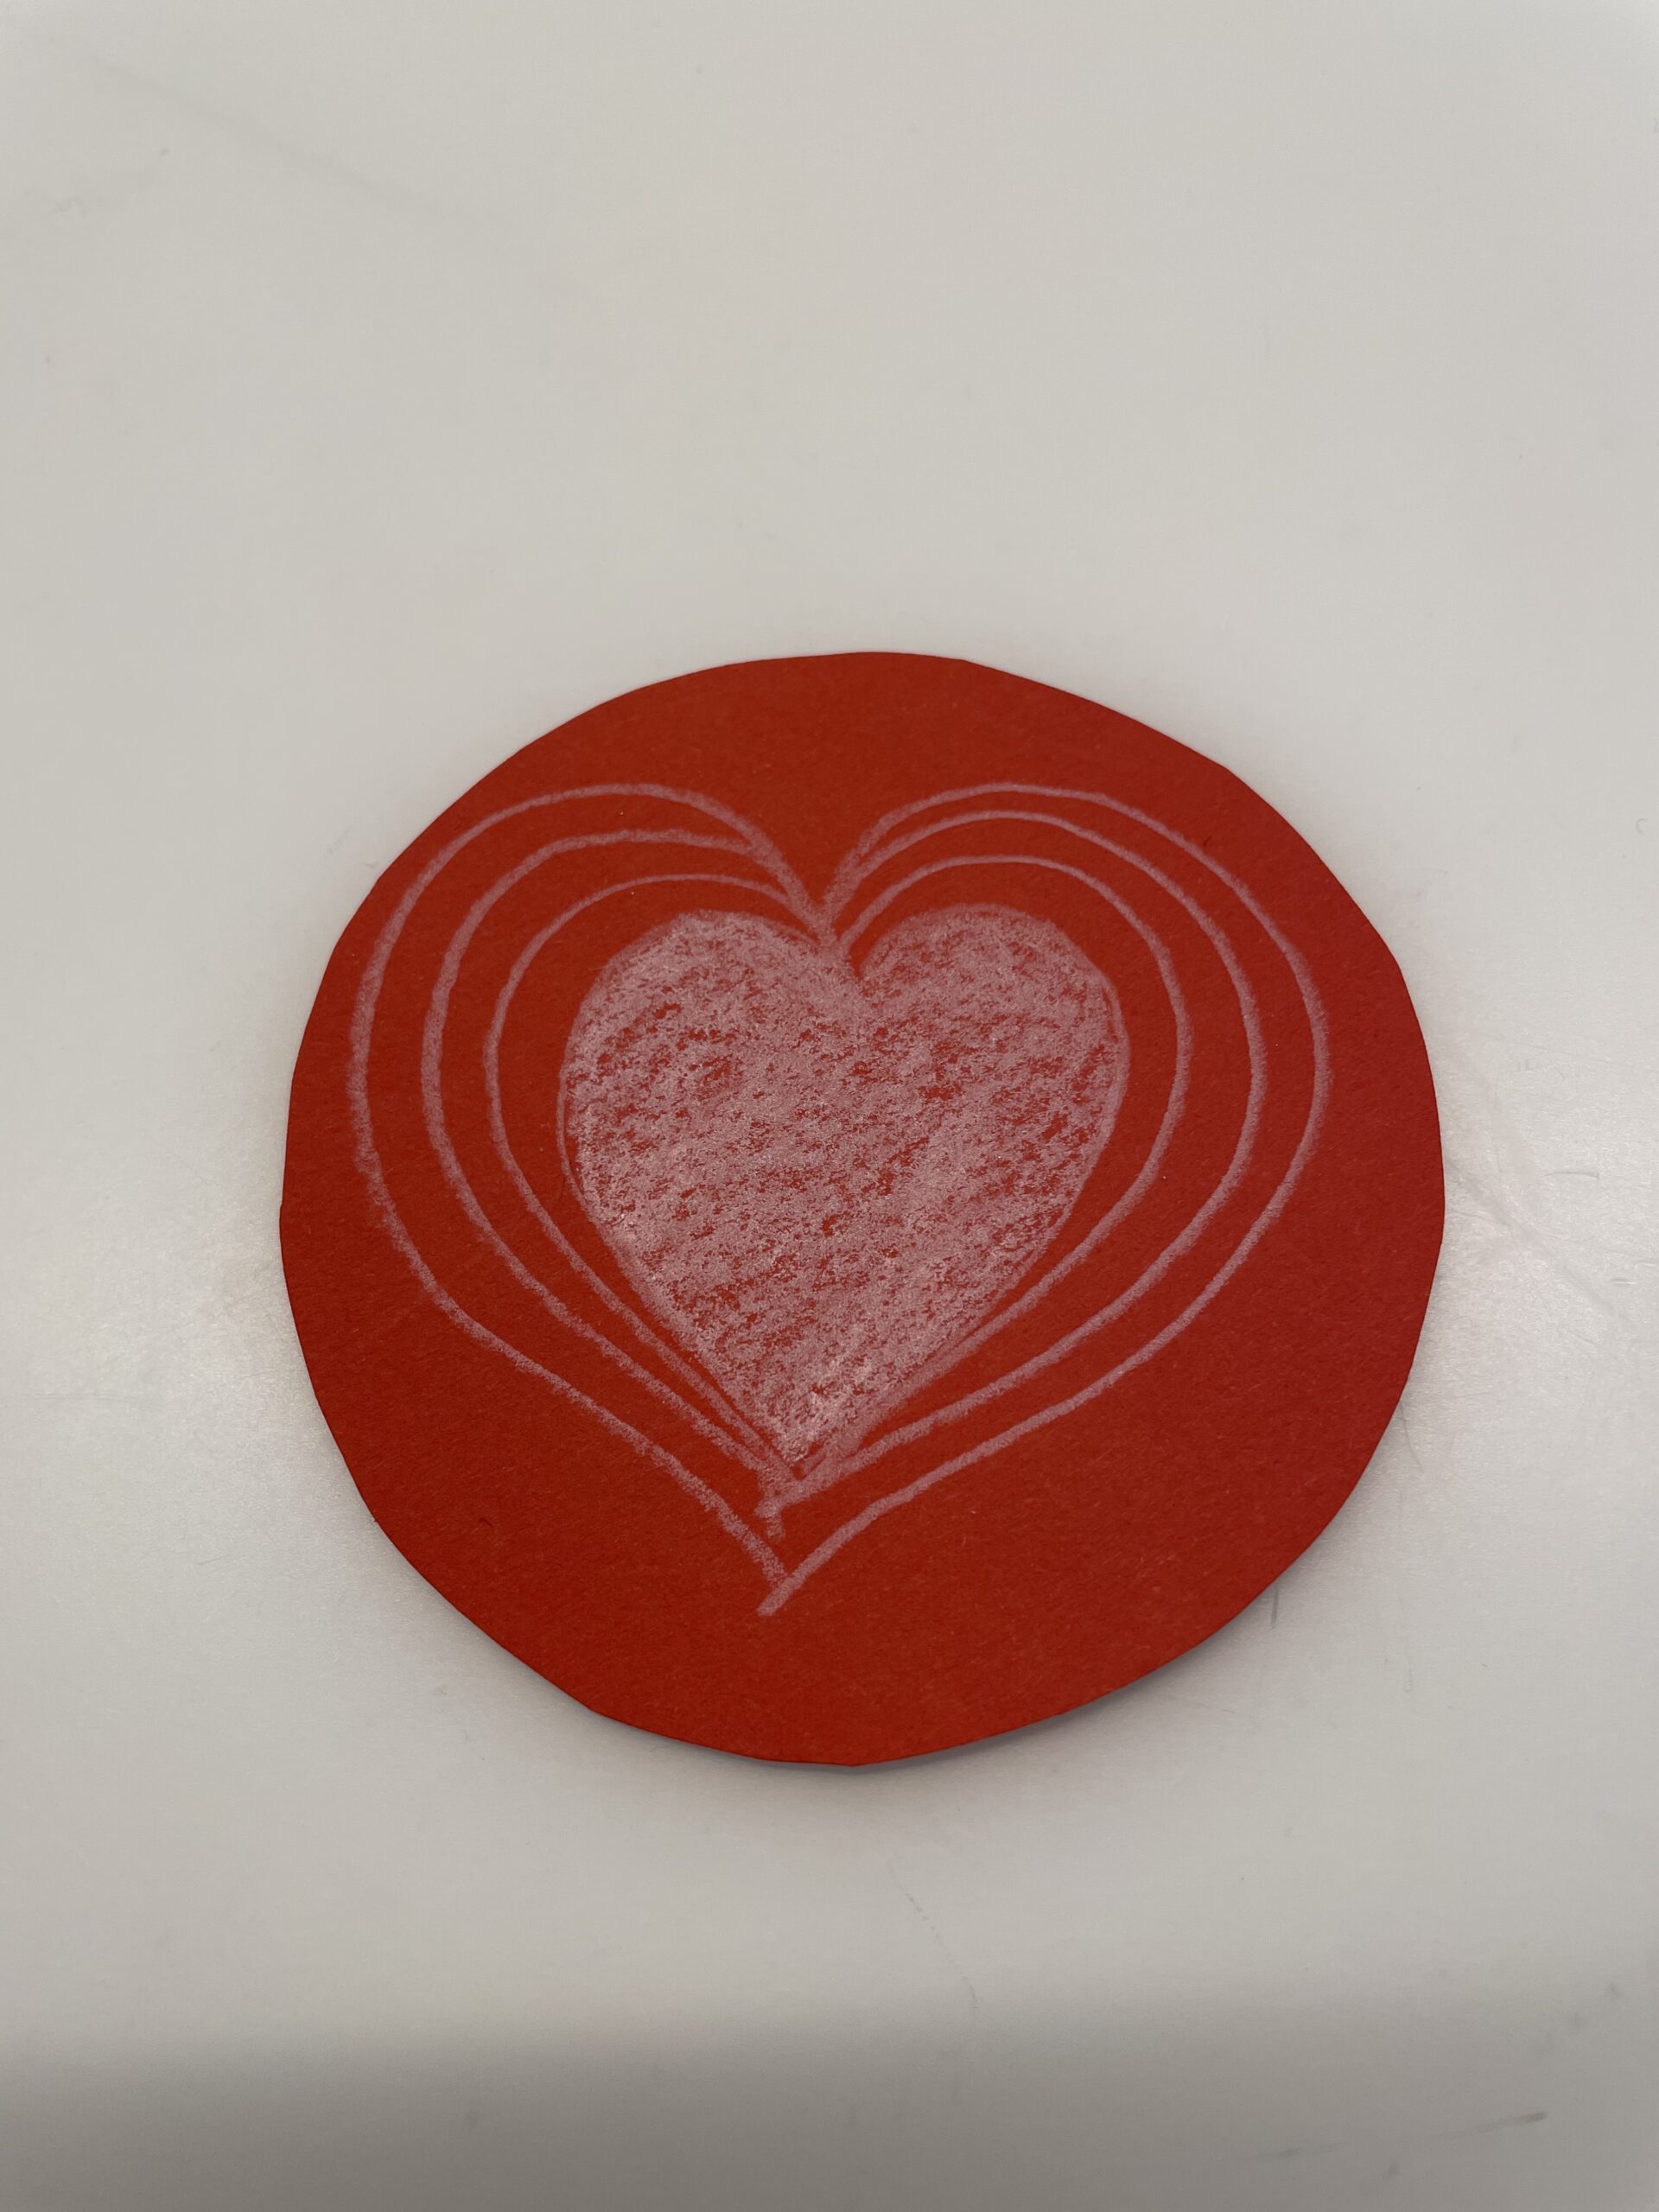
Paints more and more increasing lines around the chocolate heart. This creates a larger heart from many individual lines.

Bild zum Schritt 6 für das Bastel- und DIY-Abenteuer für Kinder: 'Malt noch weitere immer größer werdende Linien um das Schokoladenherz....'

7

Now paint the heart in the middle with a crayon.

Bild zum Schritt 7 für das Bastel- und DIY-Abenteuer für Kinder: 'Malt das jetzt das Herz in der Mitte mit einem...'

8

2. Bild zum Schritt 7 für das Bastel- und DIY-Abenteuer für Kinder: 'Malt das jetzt das Herz in der Mitte mit einem...'

9

Decorate this round heart card as you like it.
For example, you can still trace the edge of the circle.

Bild zum Schritt 9 für das Bastel- und DIY-Abenteuer für Kinder: 'Verschönert diese runde Herzkarte so wie es euch gefällt. ...'

10

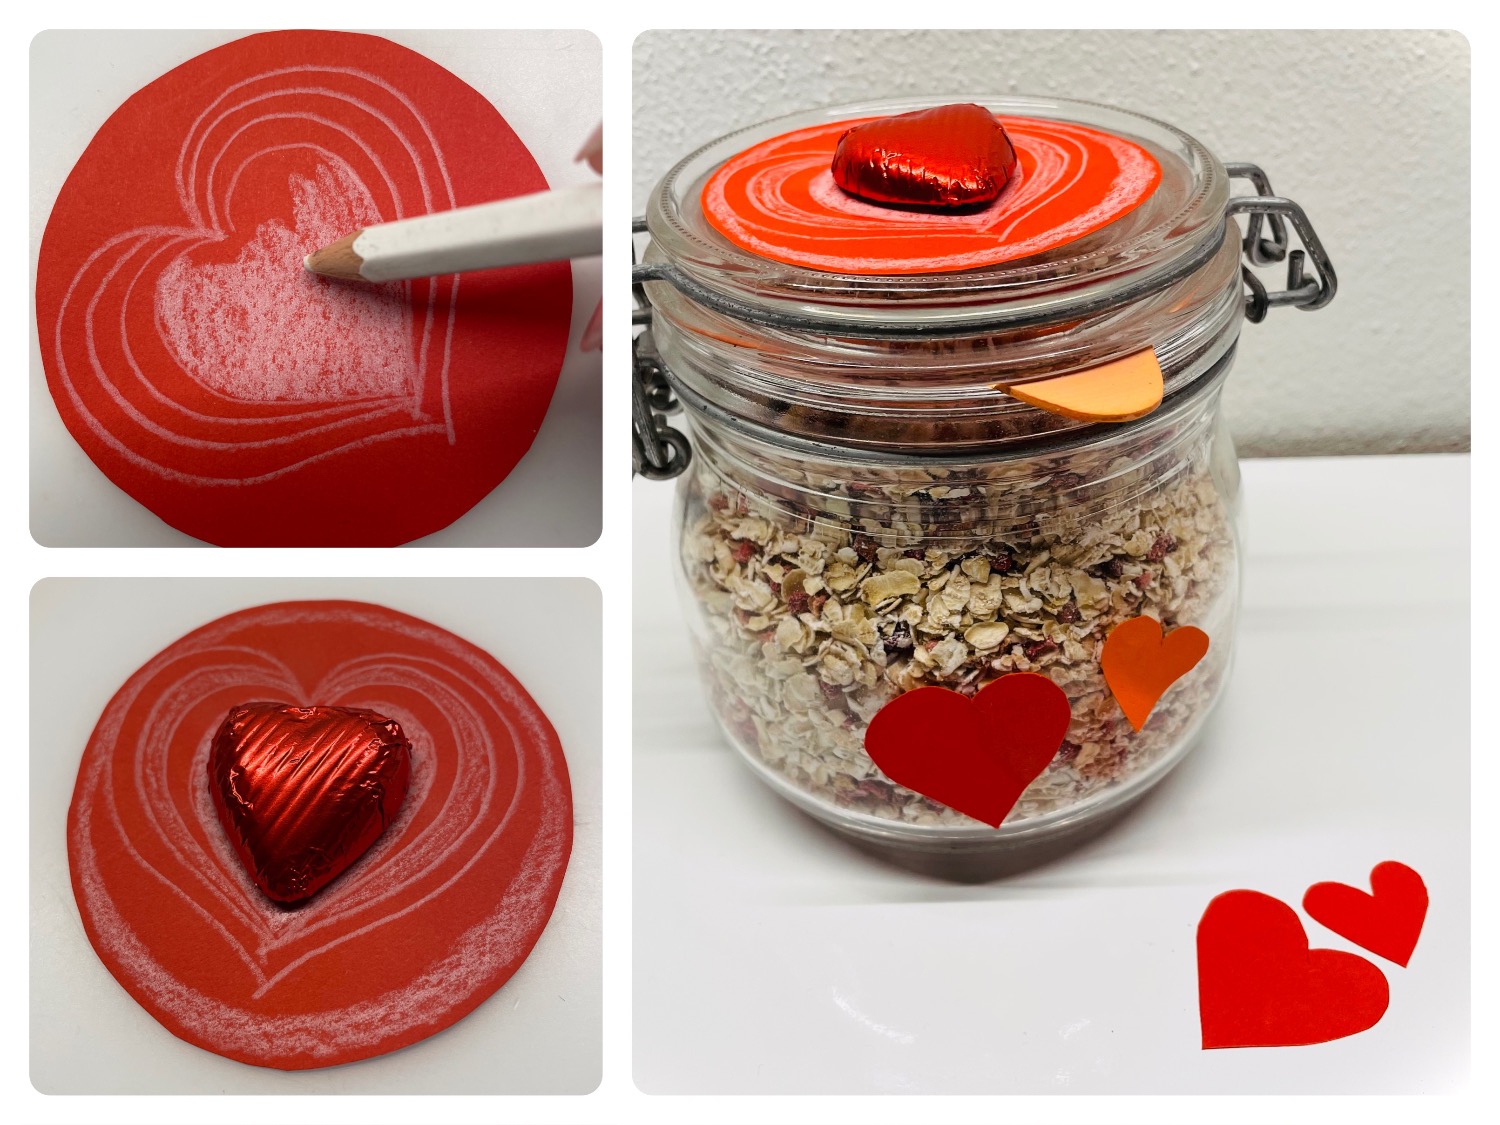
Now stick the chocolate heart in the middle with an adhesive tape.

Bild zum Schritt 10 für das Bastel- und DIY-Abenteuer für Kinder: 'Jetzt klebt ihr mit einem Klebestreifen das Schokoladenherz in die...'

11

Then glue the card onto the cereal glass.

Bild zum Schritt 11 für das Bastel- und DIY-Abenteuer für Kinder: 'Anschließend klebt ihr die Karte auf das Müsli-Glas.'

12

Now you cut out more hearts from pieces of red clay paper.
Attach them with an adhesive tape on the glass.

Bild zum Schritt 12 für das Bastel- und DIY-Abenteuer für Kinder: 'Nun schneidet ihr aus Reststücken von rotem Tonpapier noch weitere...'

13

Your present is ready.
Your cereal glass is an ideal gift for the powerwoman "Mama".

Bild zum Schritt 13 für das Bastel- und DIY-Abenteuer für Kinder: 'Fertig ist euer Geschenk.   Euer Müsli-Glas ist ein...'

14

You'll find another cereal-to-go glass here.

Bild zum Schritt 14 für das Bastel- und DIY-Abenteuer für Kinder: 'Ein weiteres Müsli-To-Go-Glas findet ihr hier.'

15

Have fun!

Materials

 1 empty jam glassor ironing closure glass
 Cereals or Porridge
 Possibly dried fruit
 1 Chocolate heart
 1 Table spoons
 1 Paper and paperboard
 1 Coloured pencilsor felt pencils
 1 Adhesive strips
 1 Builder's pad
All links marked with a shopping cart lead to Amazon - here we have selected products that we would order ourselves and in part also ordered. In a qualified purchase via the advertising link, we as Amazon partner receive a commission, for you there are no costs. You thus support our cost- and advertising banner-free, educational offer.

Directions

1

Find a nice glass with lid and fill in your favorite muesli or porridge of the recipient.

Bild zum Schritt 1 für das Bastel- und DIY-Abenteuer für Kinder: 'Sucht euch ein schönes Glas mit Deckel und füllt darin...'

2

Take a piece of clay paper, put the lid of your glass on it and border it.

Bild zum Schritt 2 für das Bastel- und DIY-Abenteuer für Kinder: 'Nehmt ein Stück Tonpapier, legt den Deckel eures Glases darauf...'

3

Then cut out the circle of clay paper.
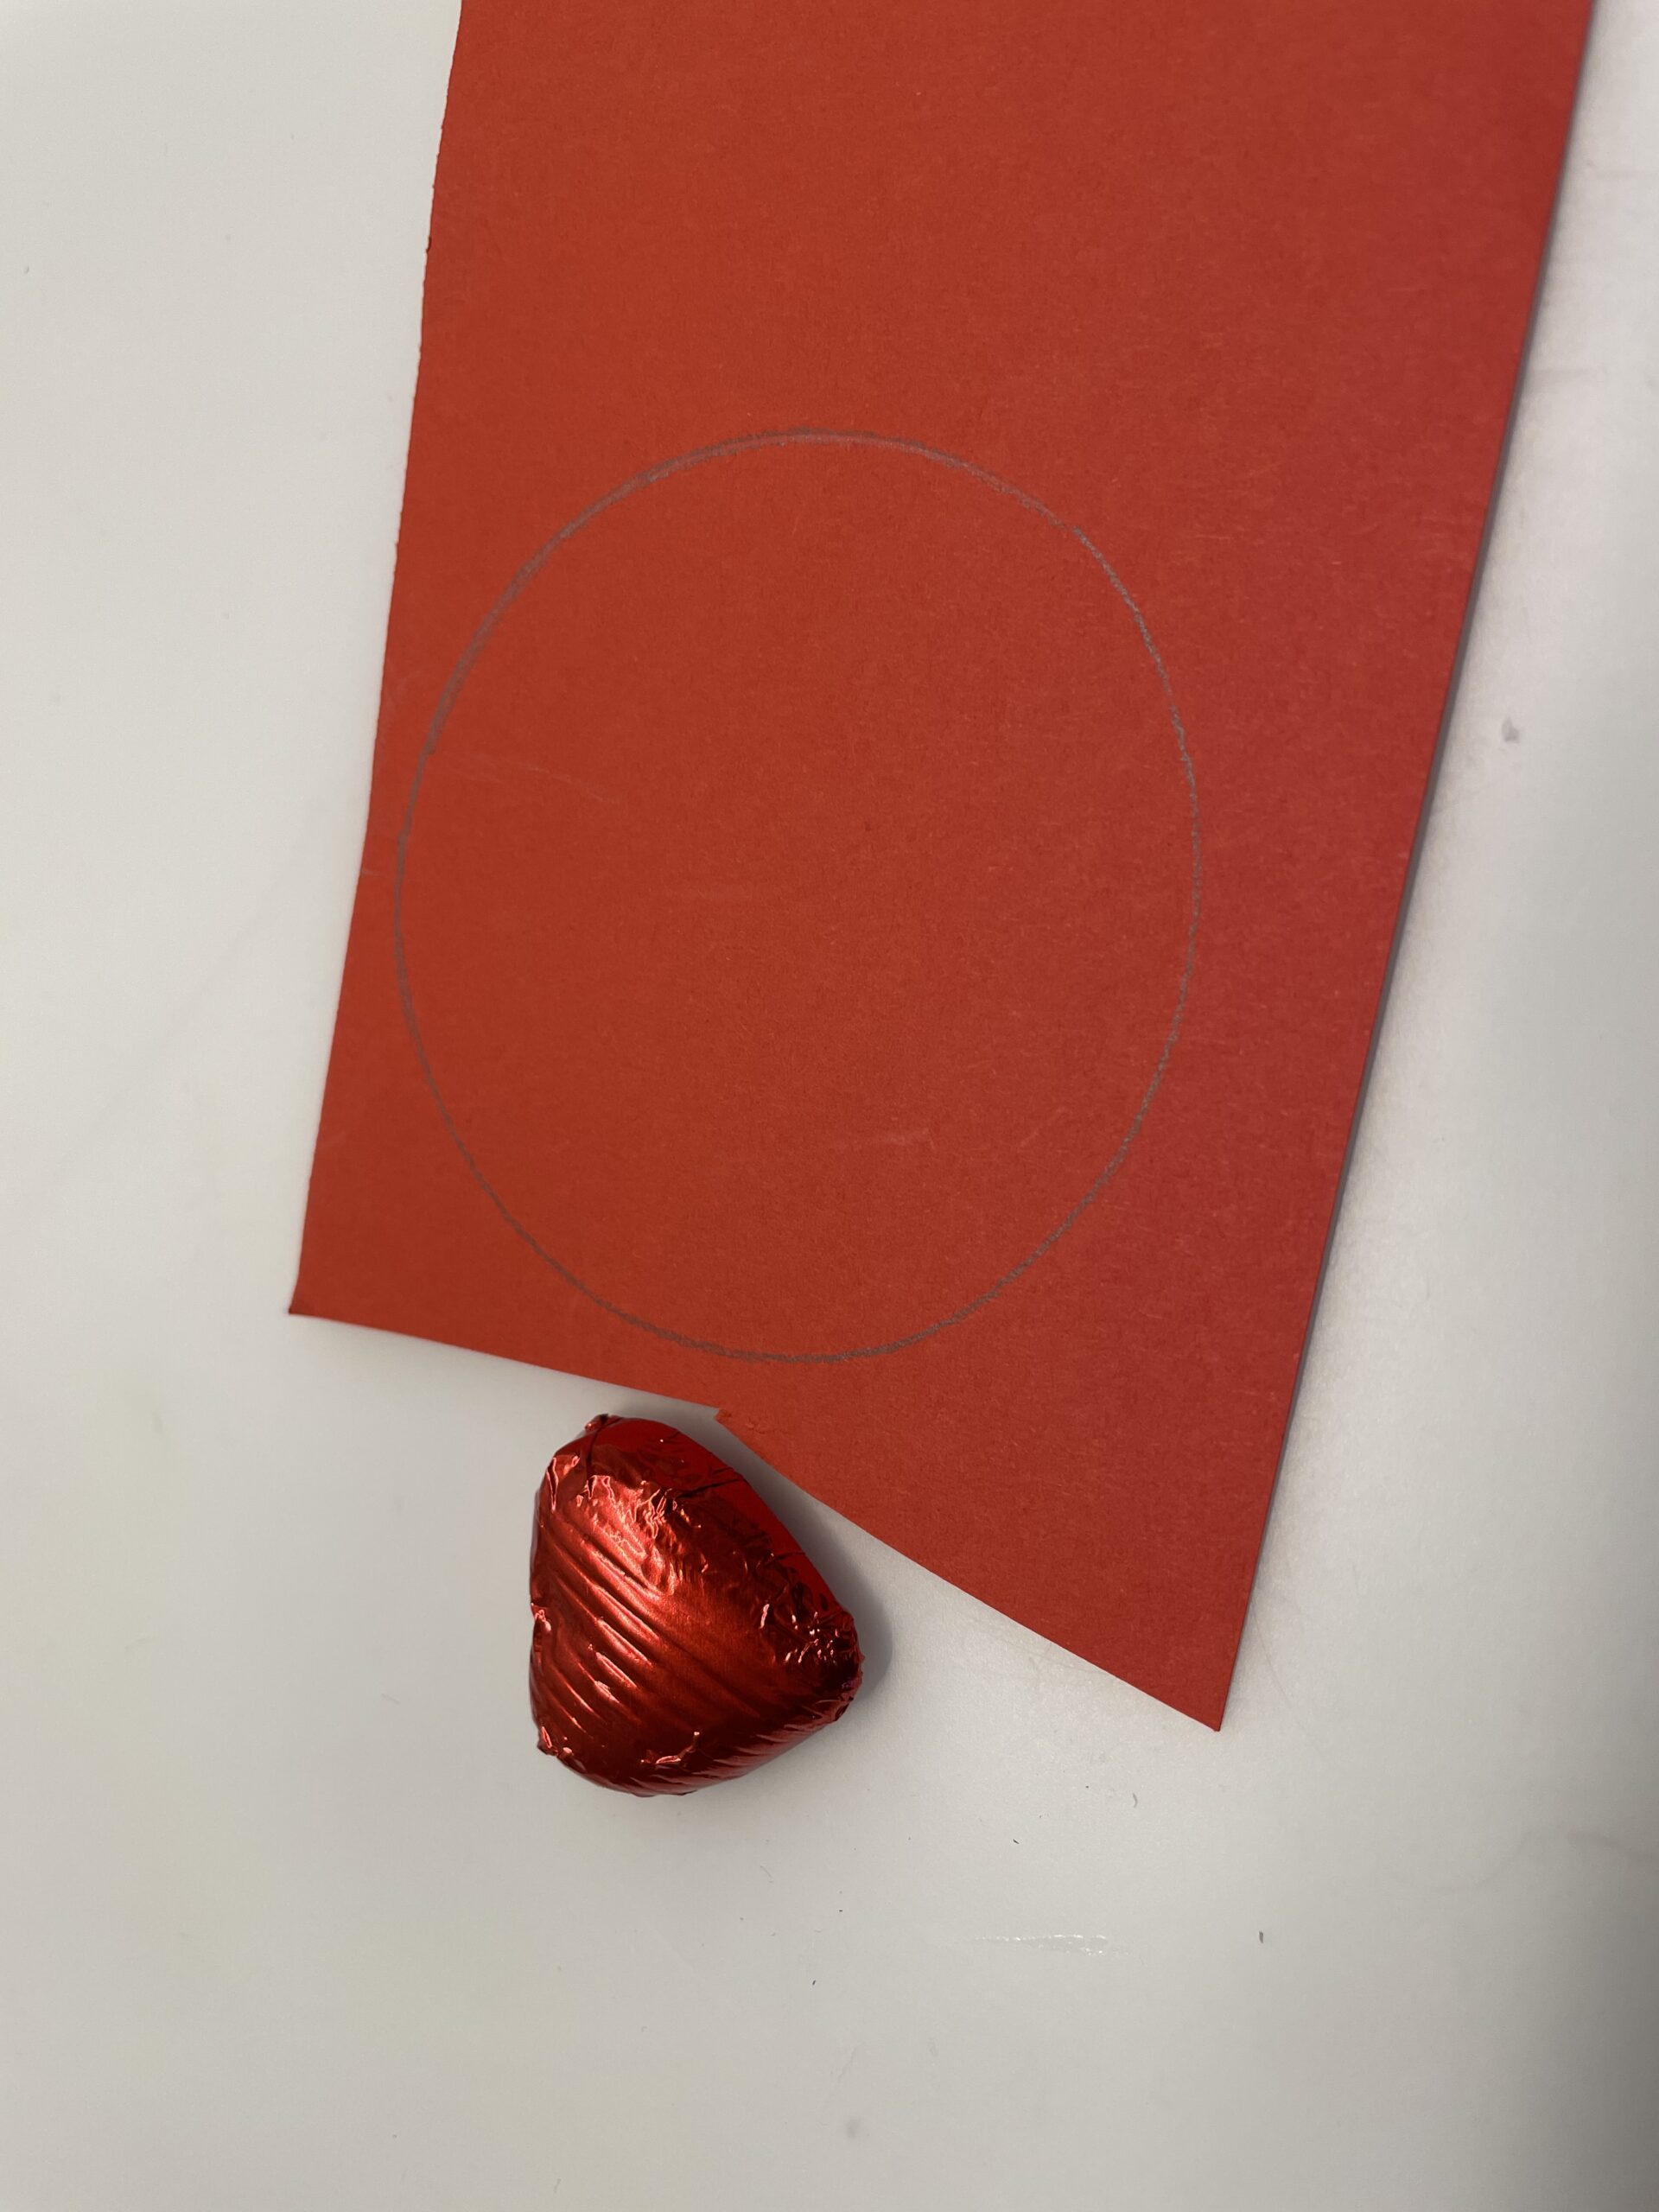
Bild zum Schritt 3 für das Bastel- und DIY-Abenteuer für Kinder: 'Anschließend schneidet ihr den Kreis aus Tonpapier aus.'

4

Now you put the chocolate heart in the middle of the circle. But don't stick the heart yet!
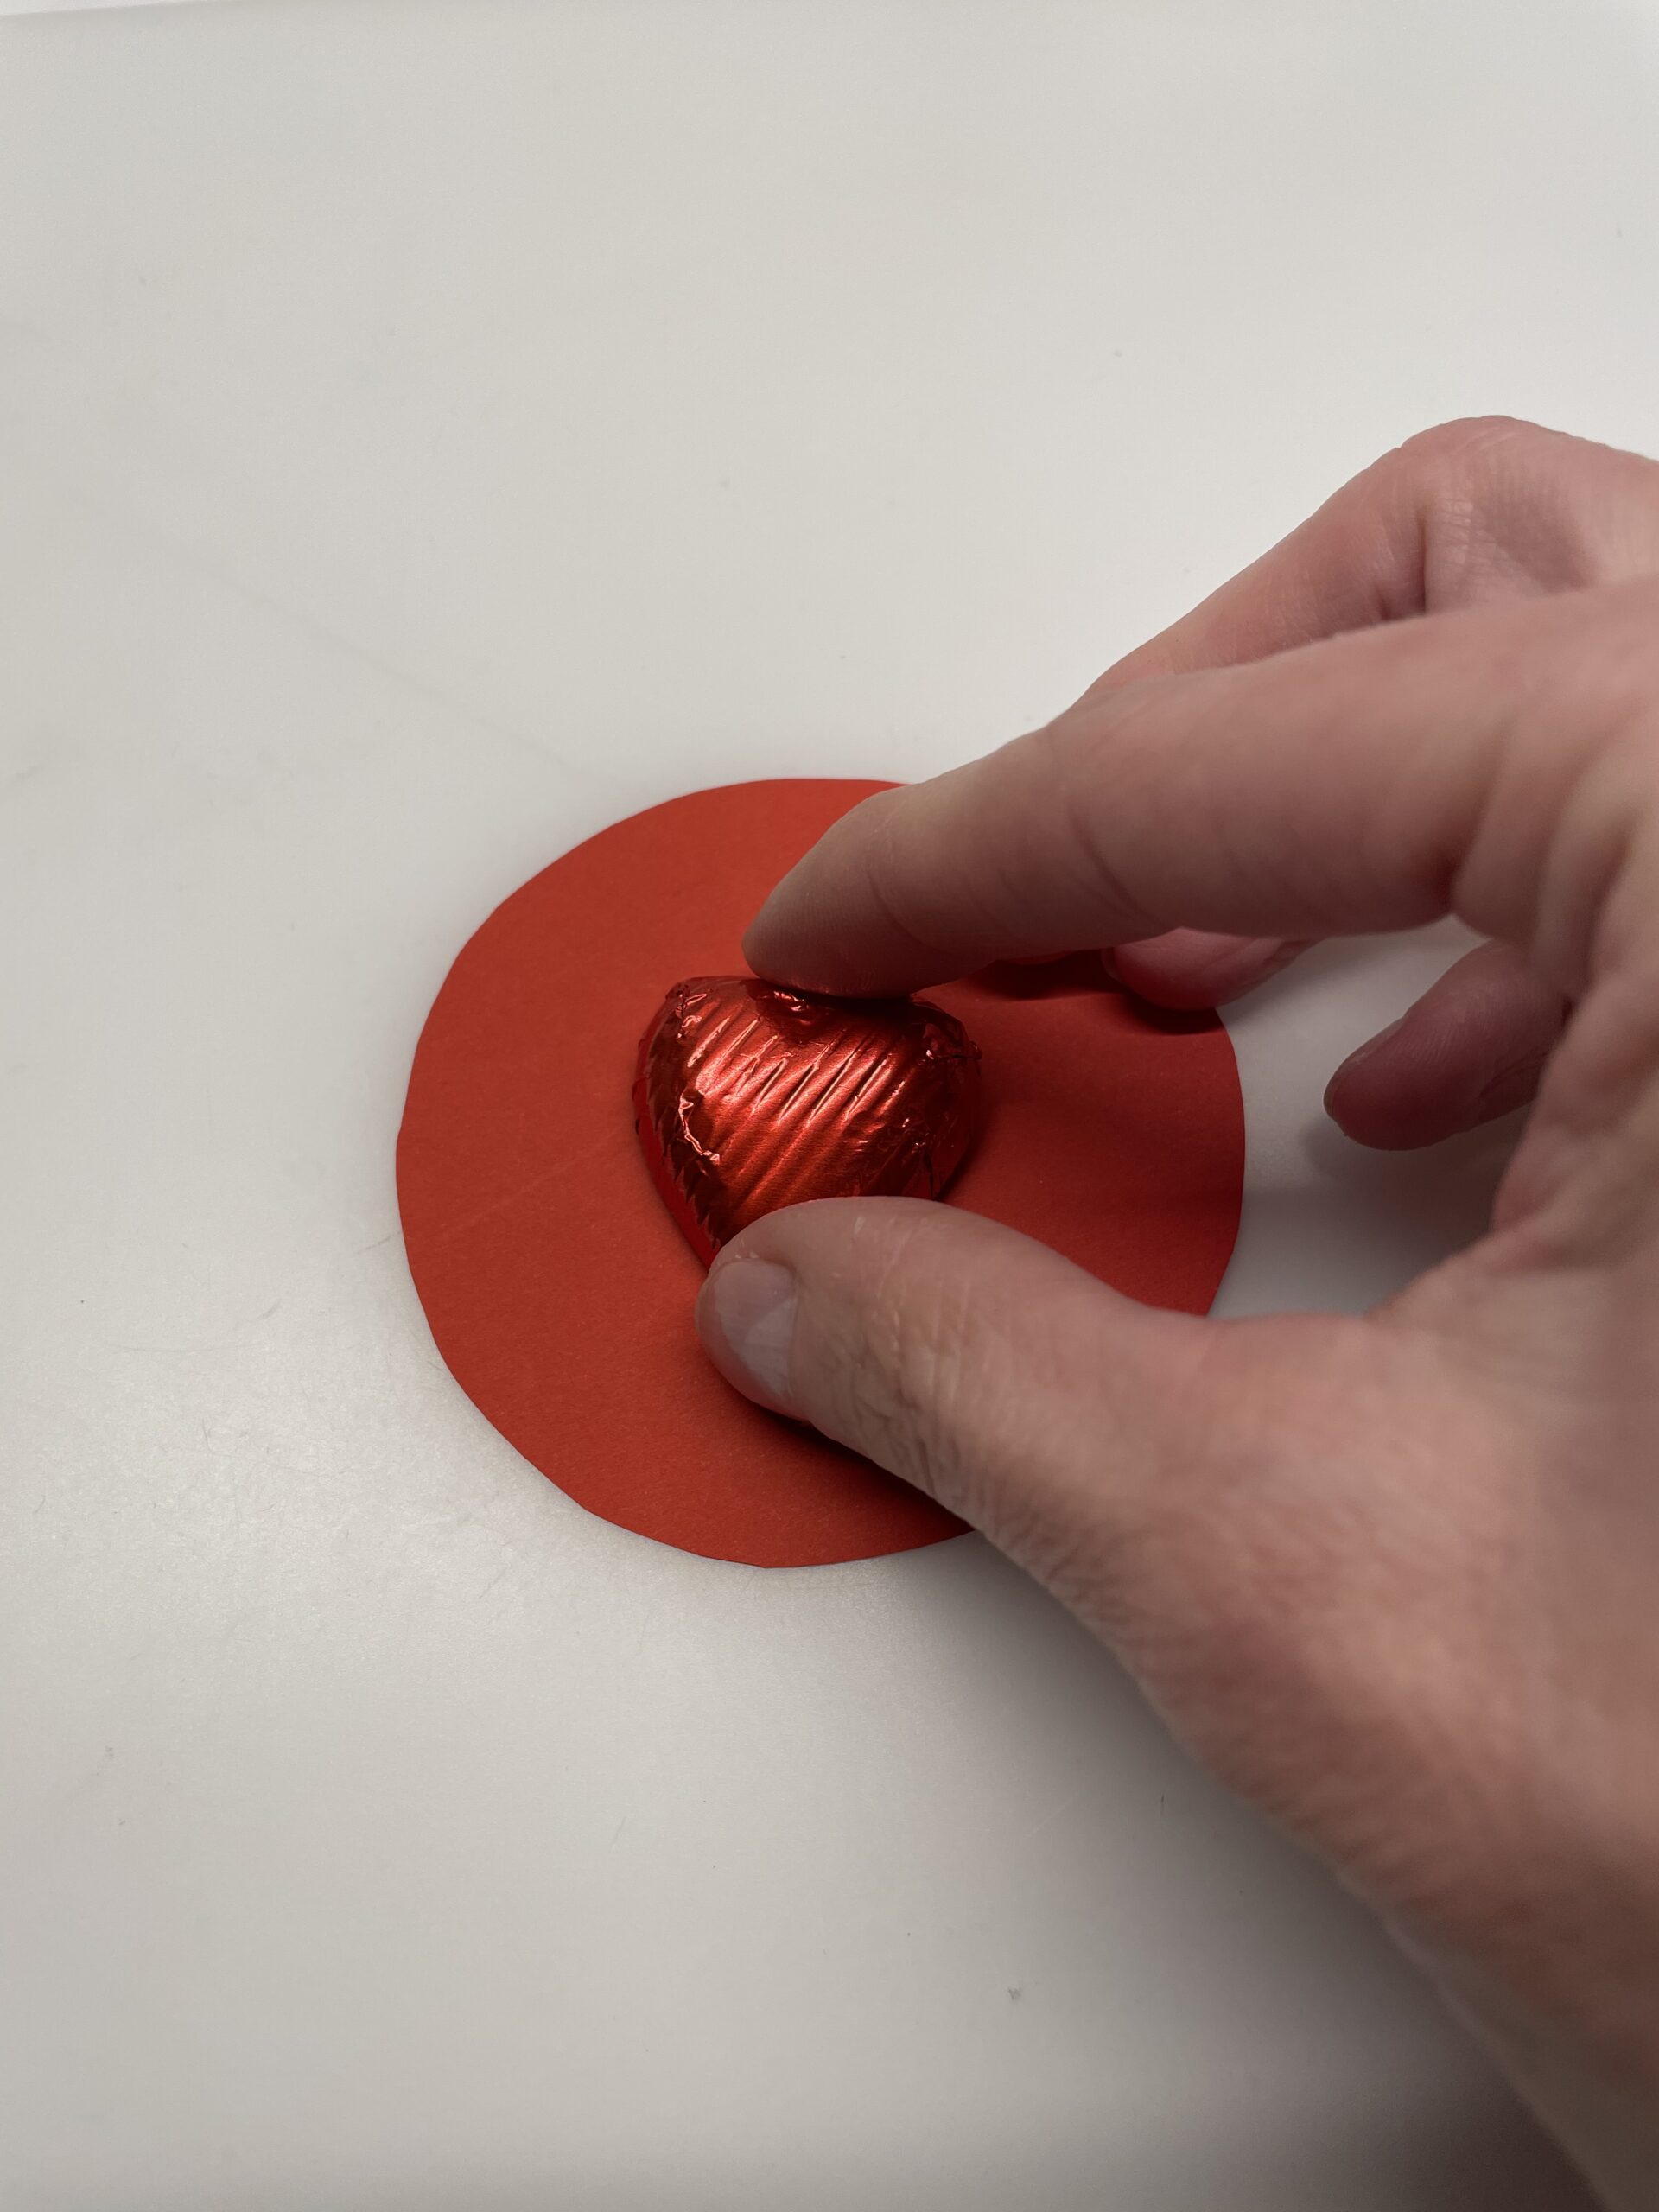
Bild zum Schritt 4 für das Bastel- und DIY-Abenteuer für Kinder: 'Jetzt legt ihr das Schokoladenherz in die Mitte des Kreises....'

5

Now surrounds the chocolate heart with a pen.
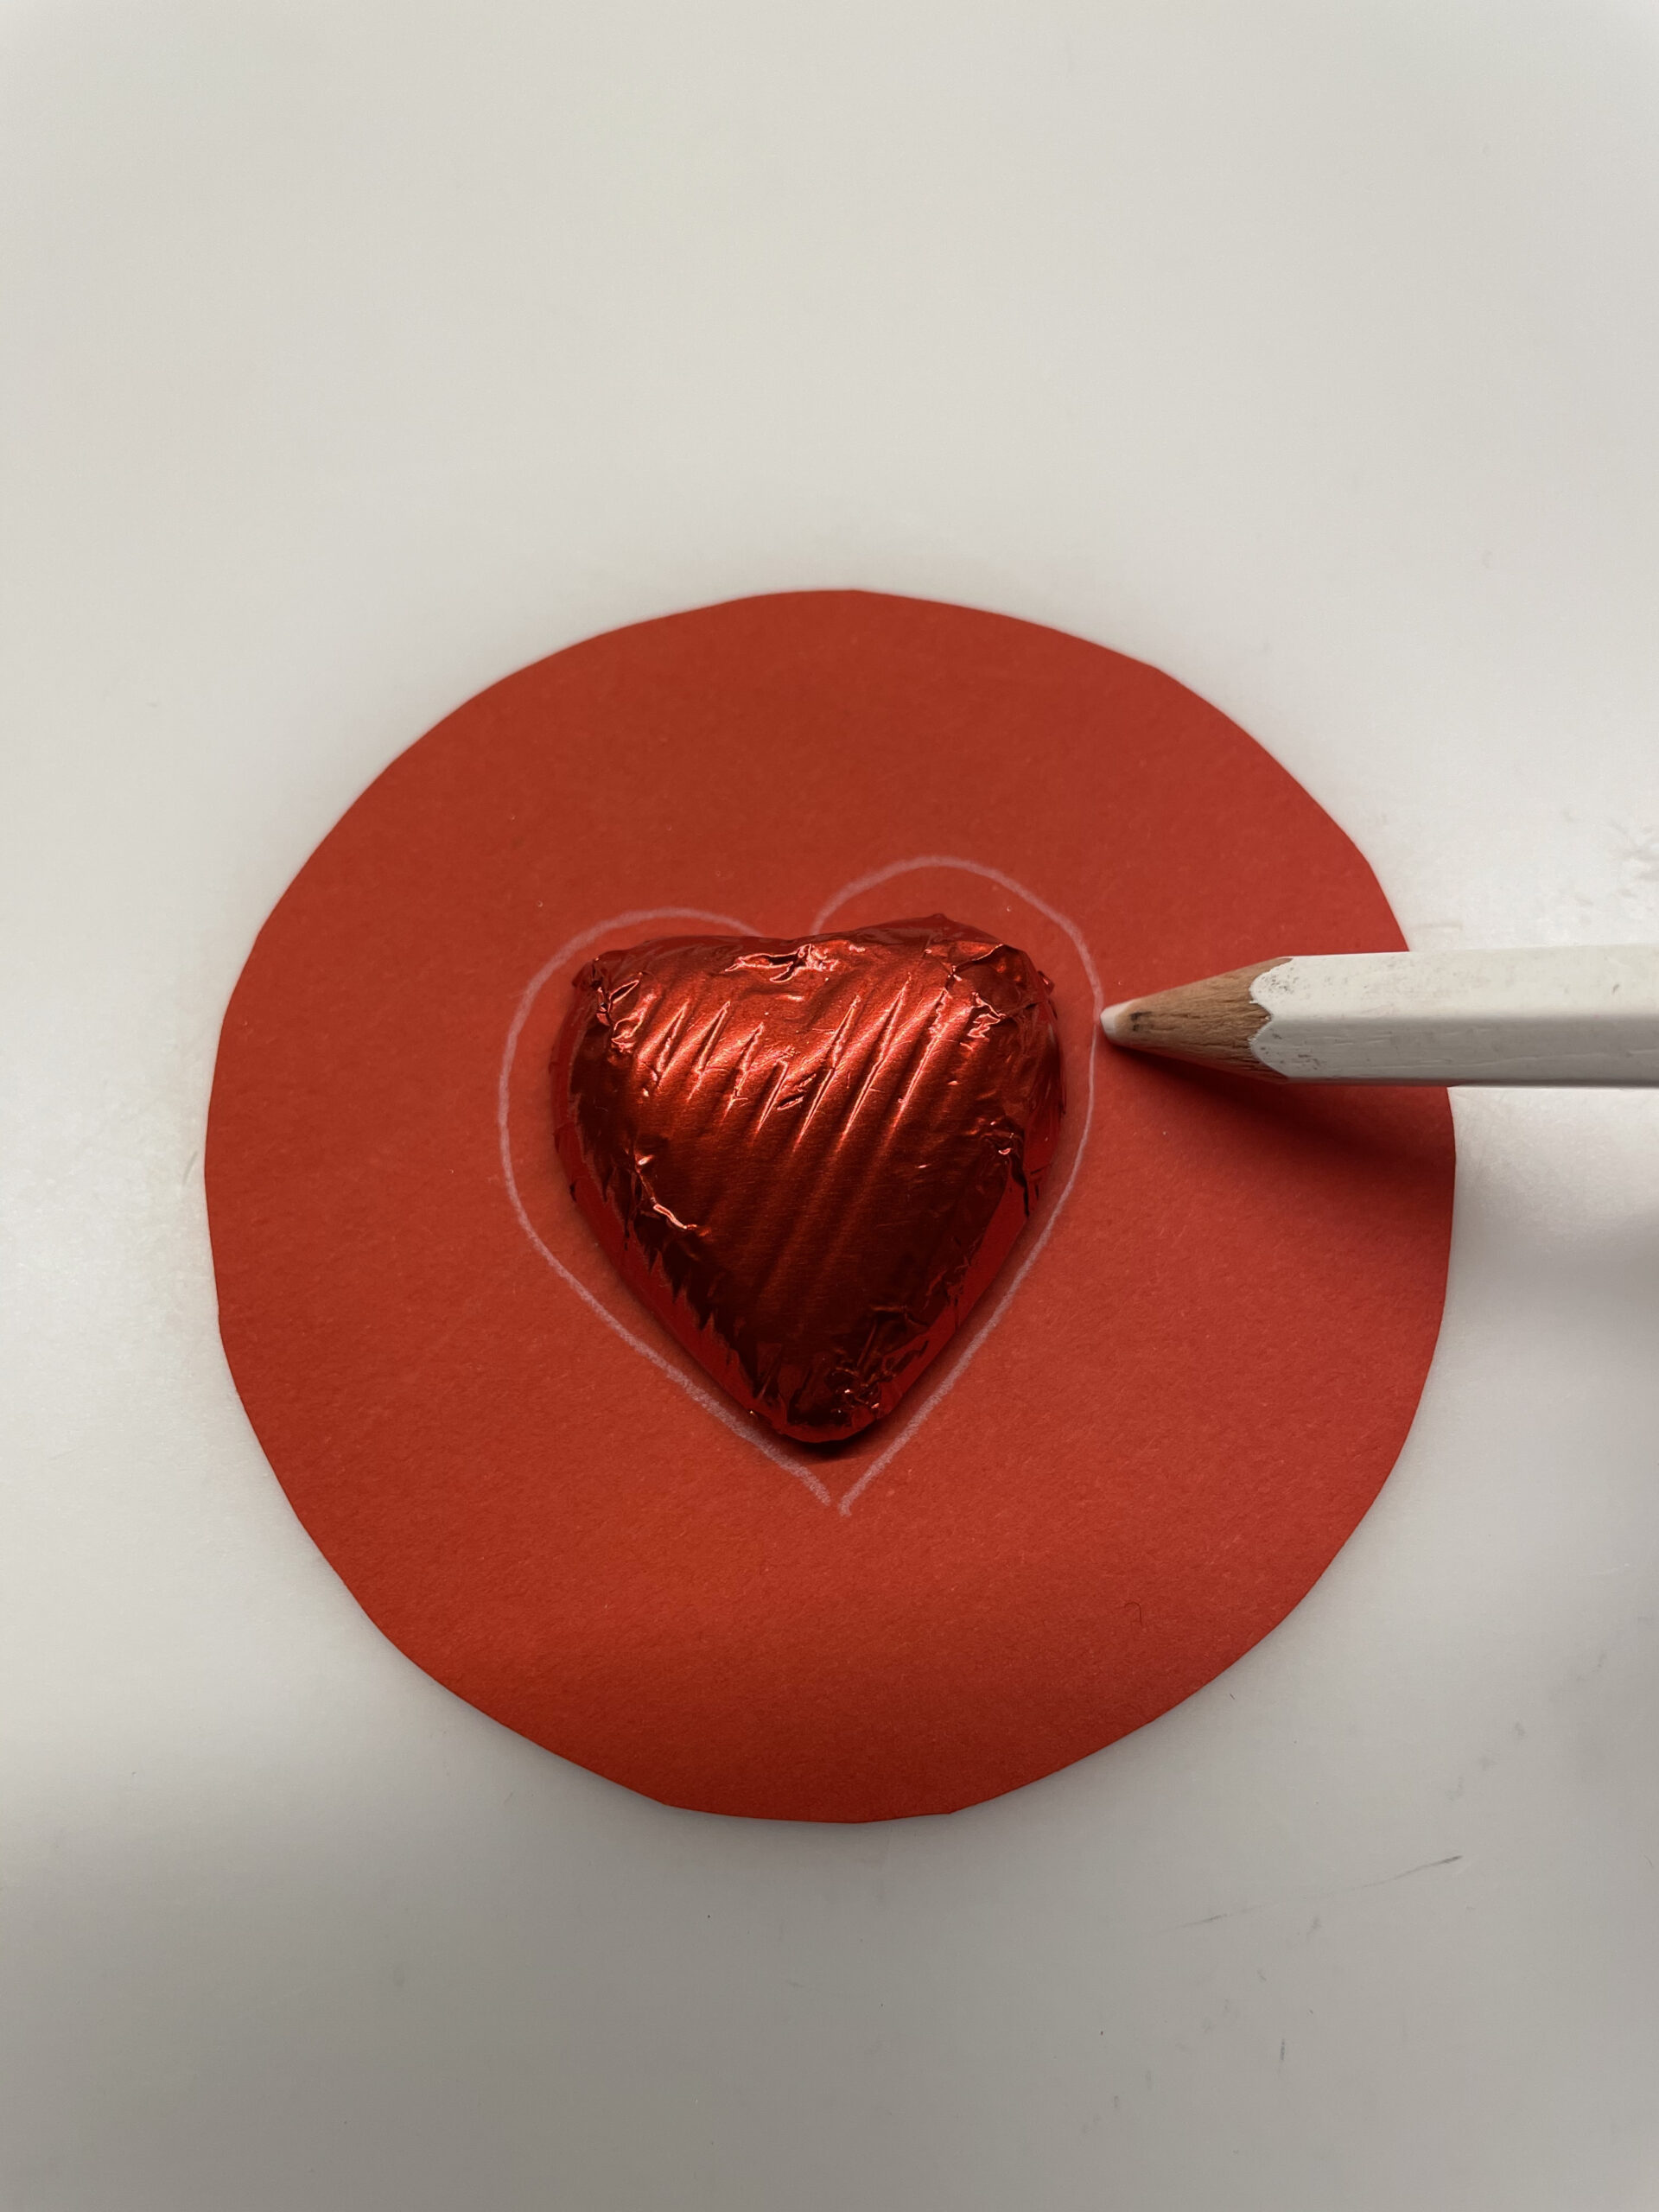
Bild zum Schritt 5 für das Bastel- und DIY-Abenteuer für Kinder: 'Umrandet das Schokoladenherz jetzt mit einem Stift.'

6

Paints more and more increasing lines around the chocolate heart. This creates a larger heart from many individual lines.
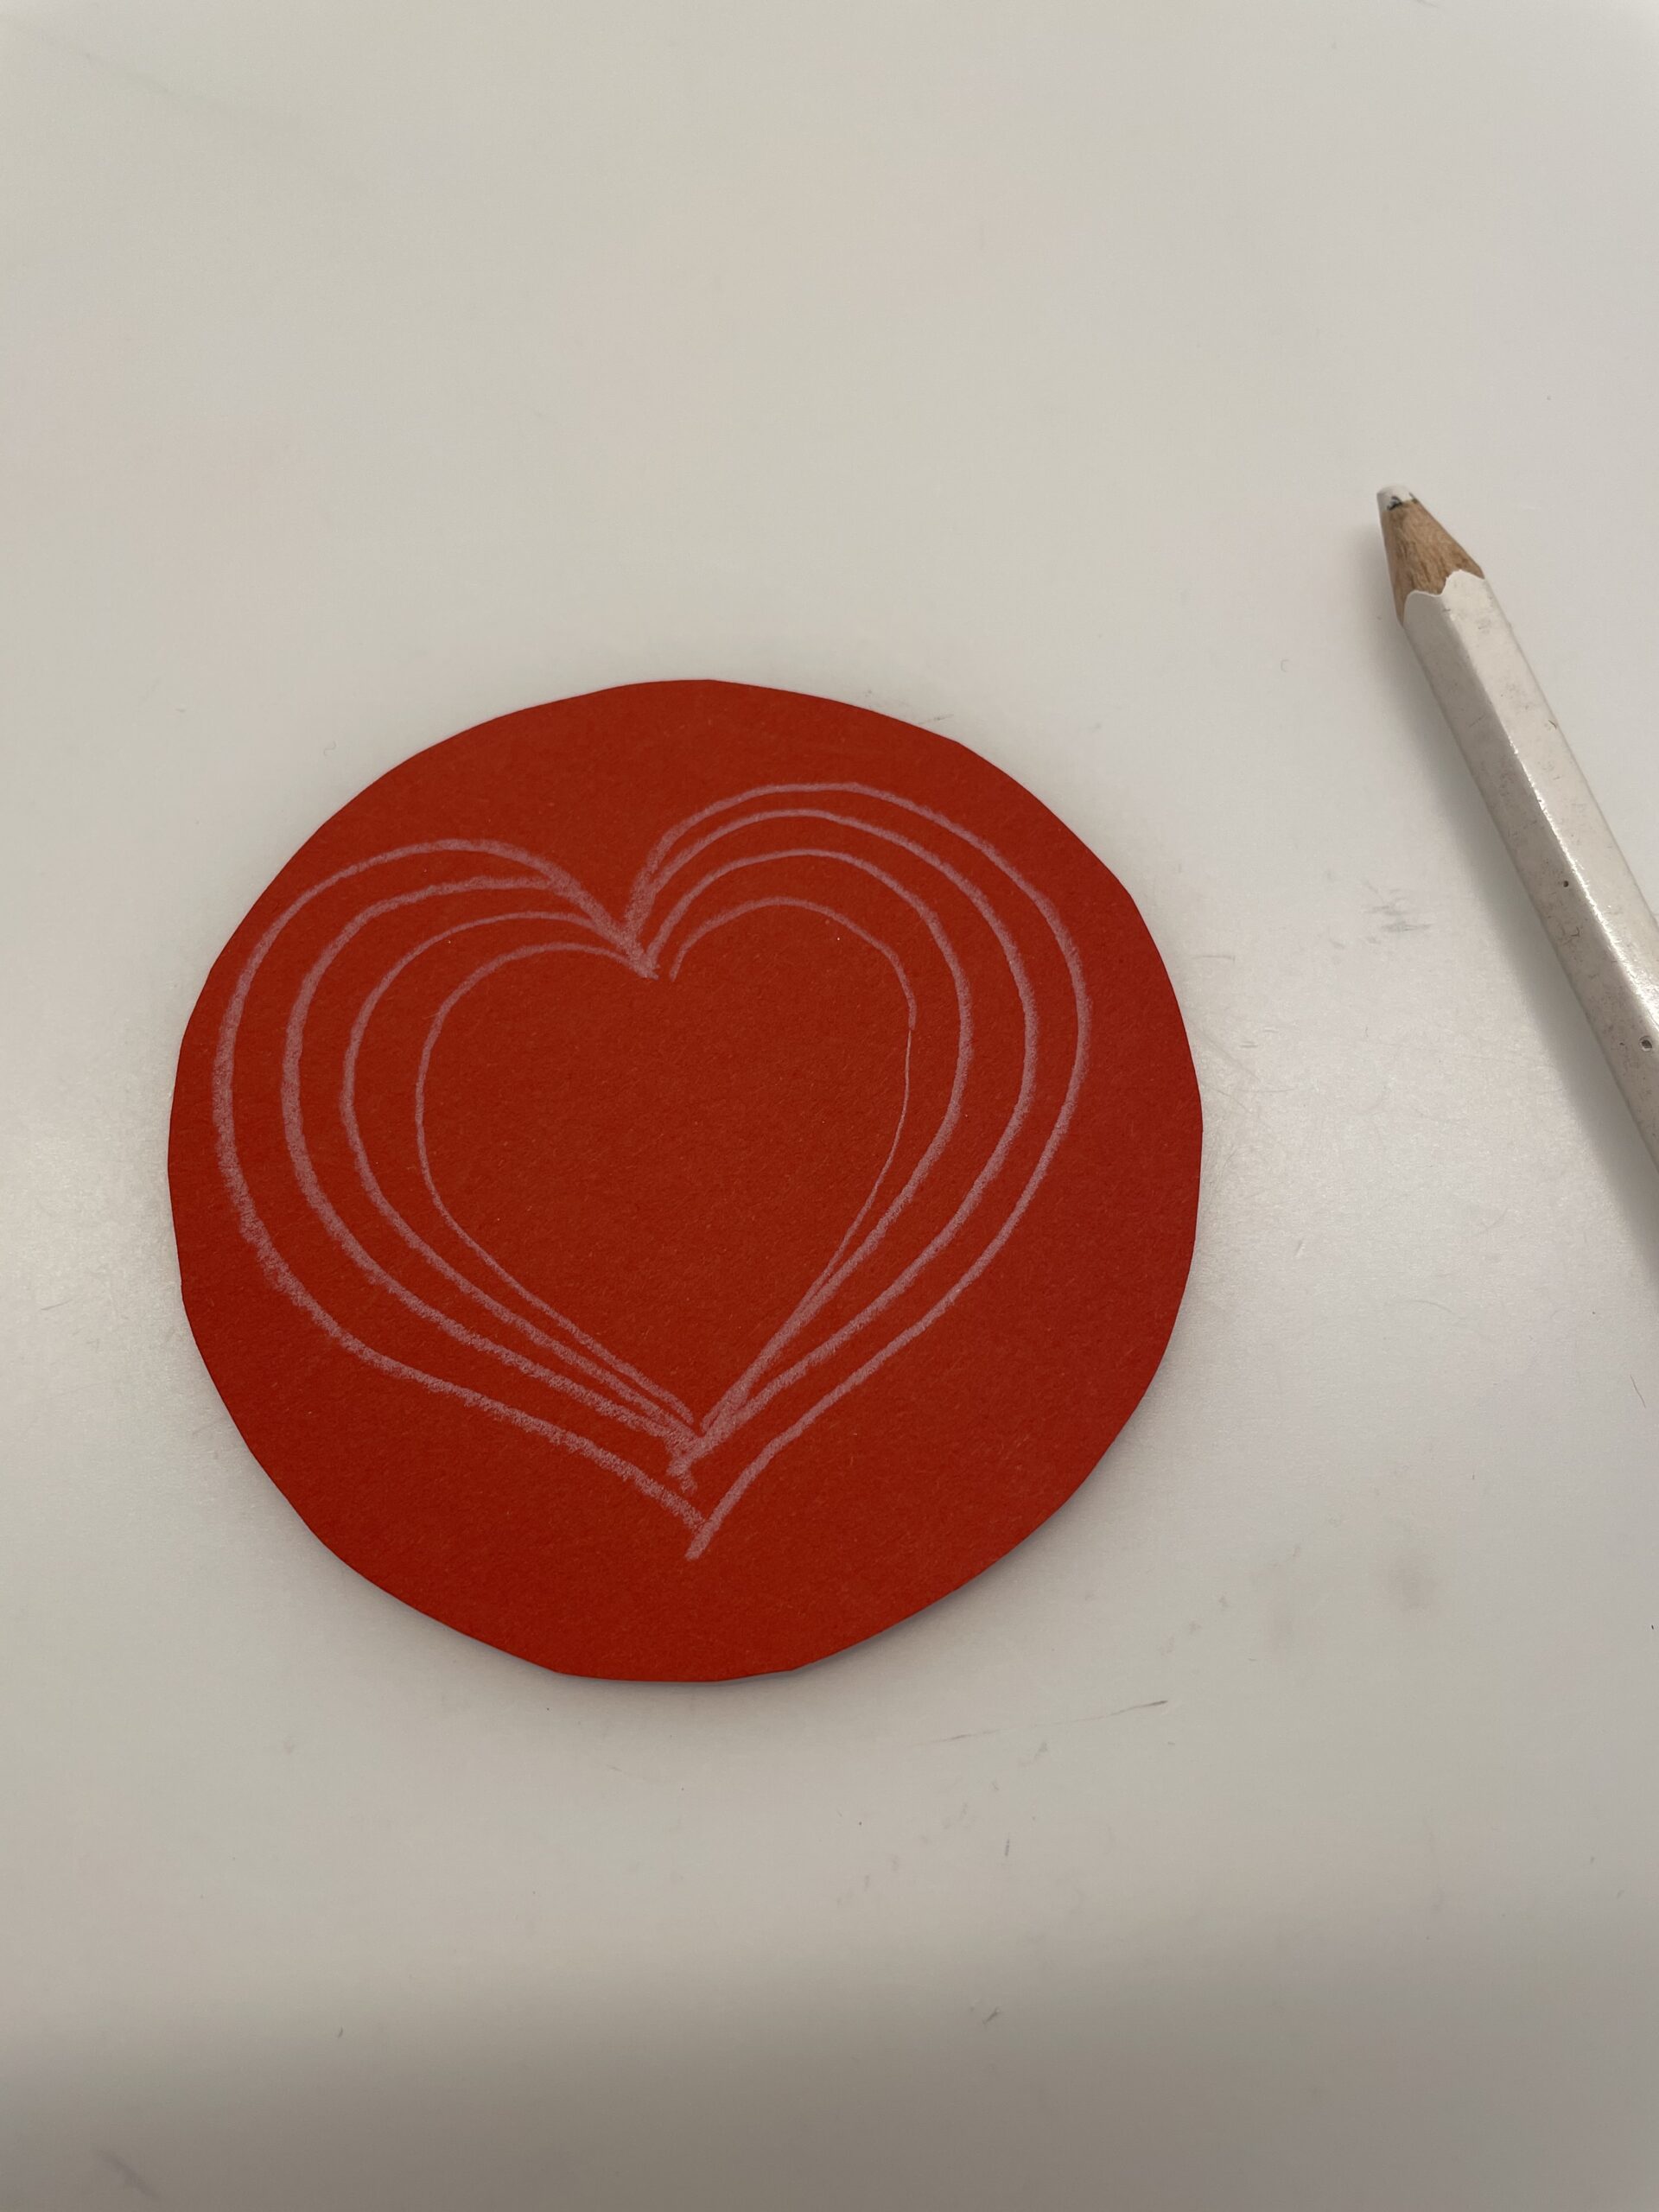
Bild zum Schritt 6 für das Bastel- und DIY-Abenteuer für Kinder: 'Malt noch weitere immer größer werdende Linien um das Schokoladenherz....'

7

Now paint the heart in the middle with a crayon.
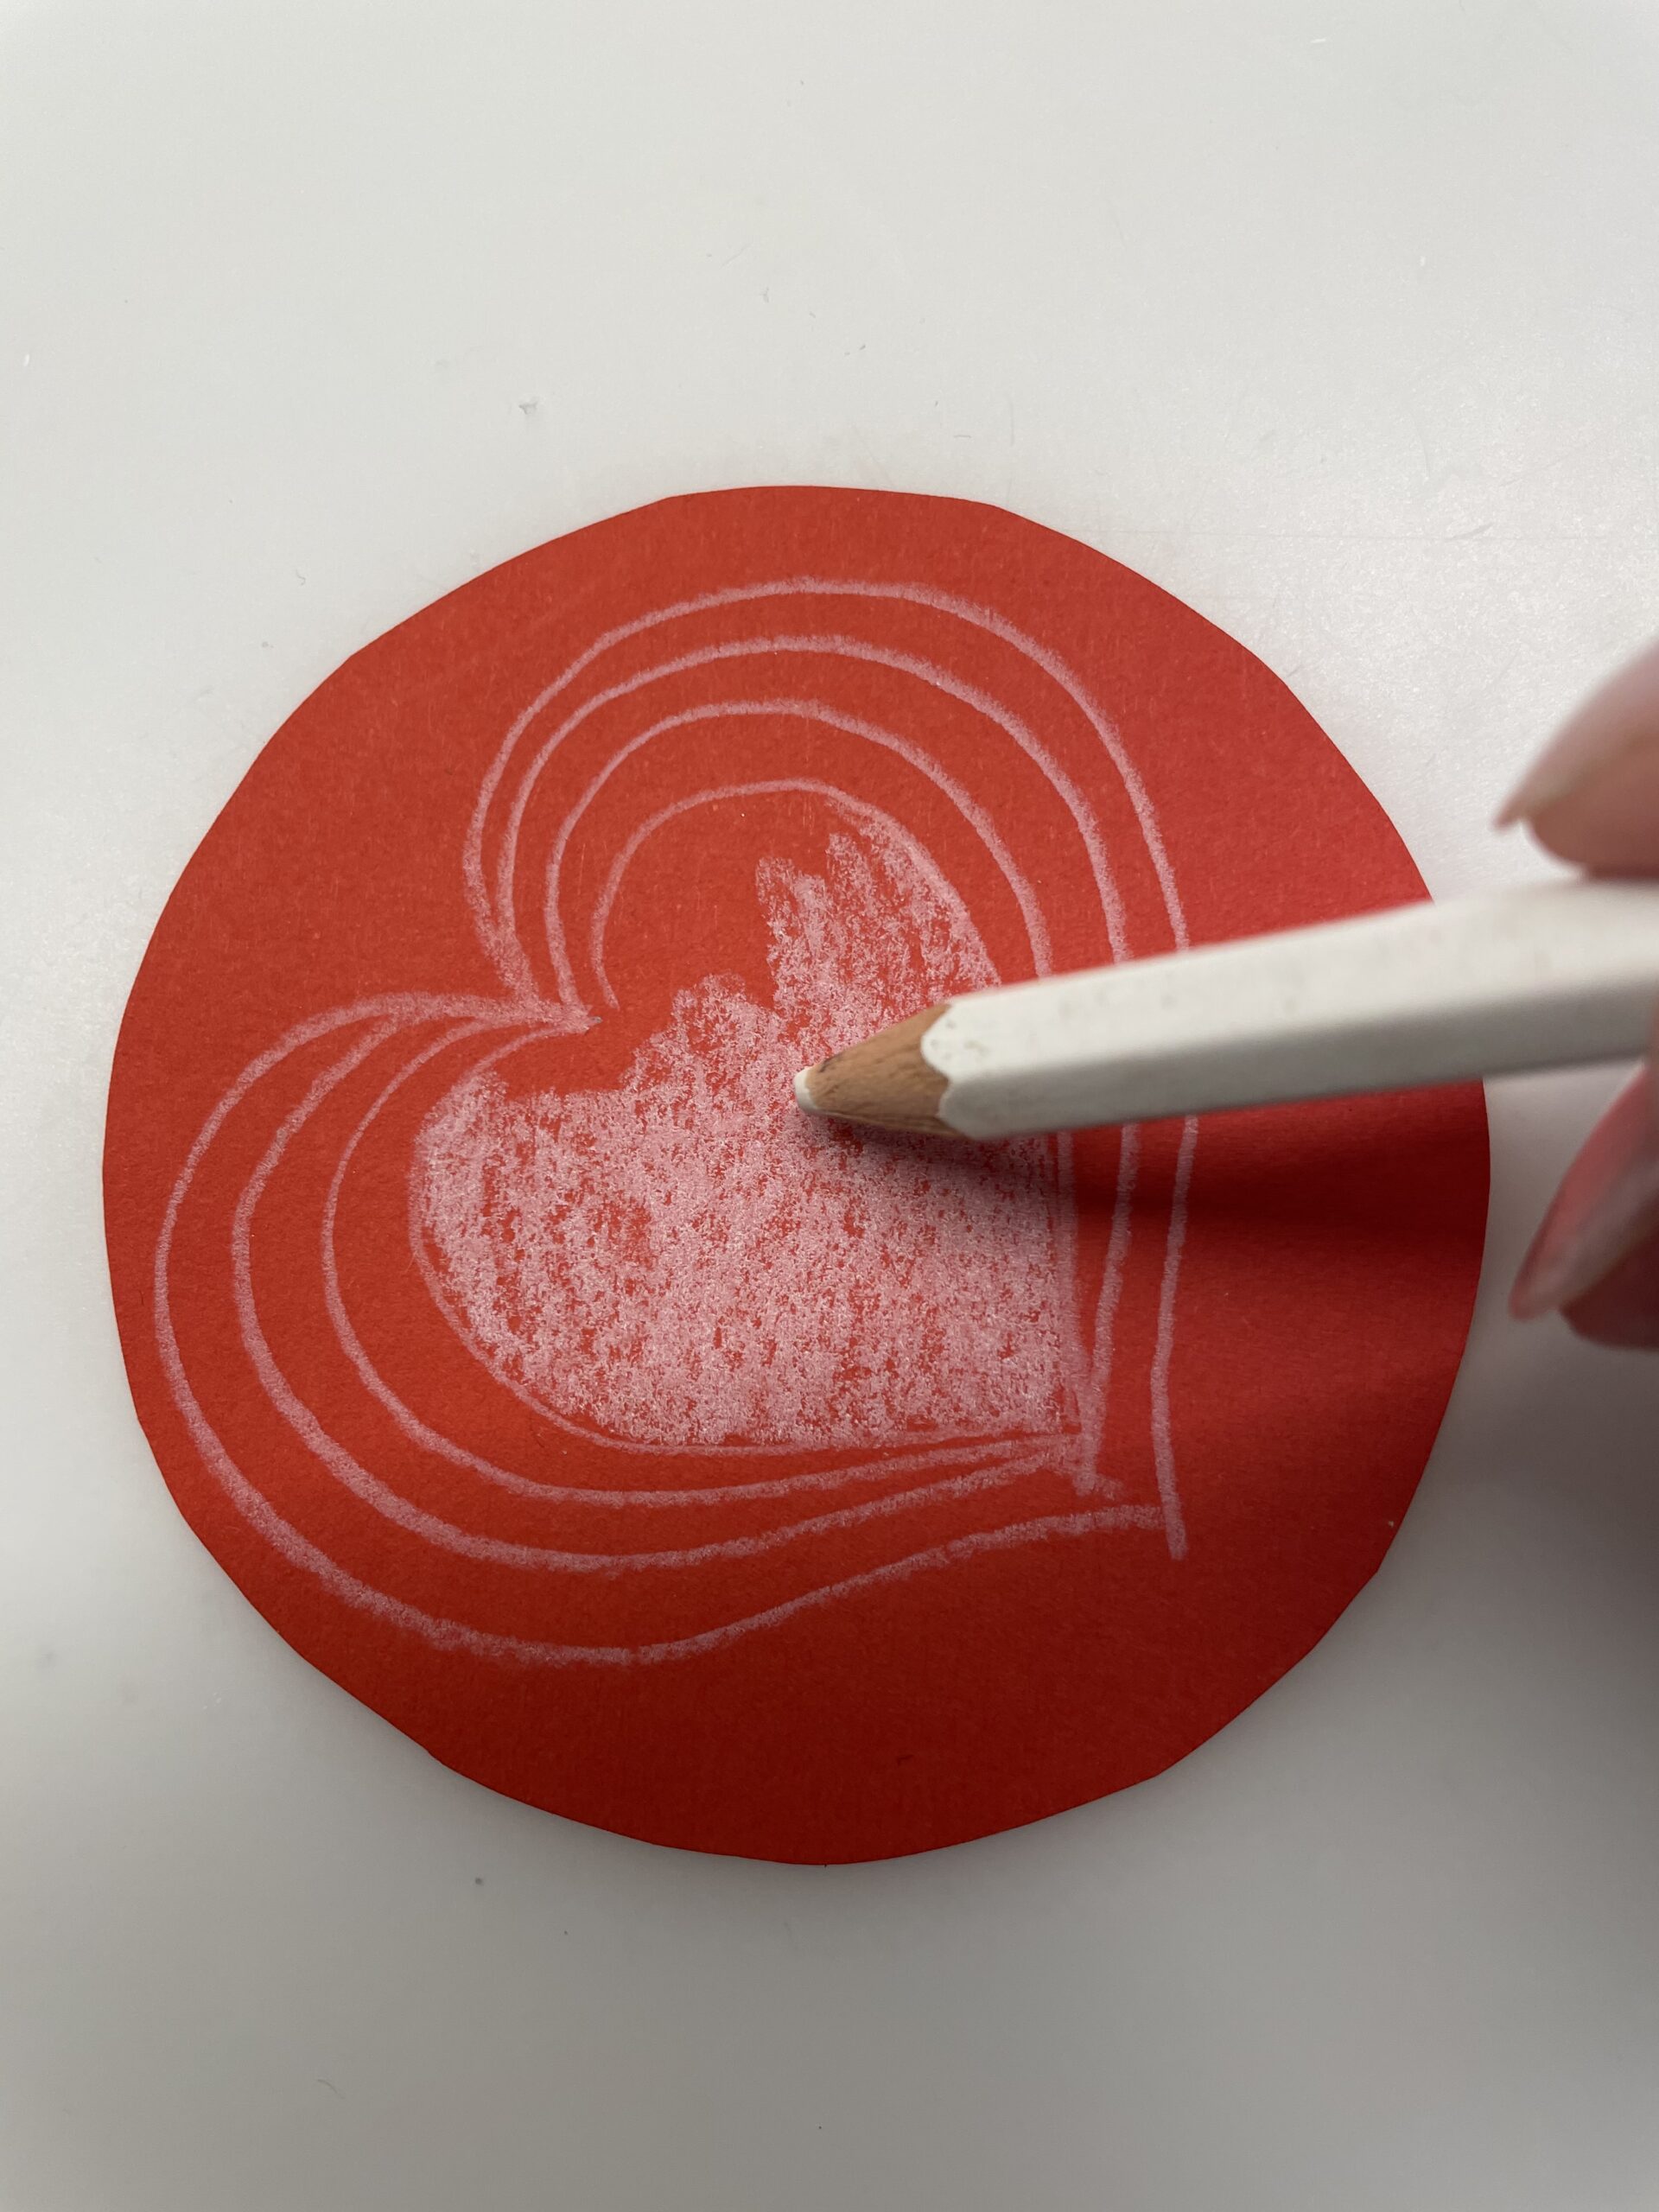
Bild zum Schritt 7 für das Bastel- und DIY-Abenteuer für Kinder: 'Malt das jetzt das Herz in der Mitte mit einem...'

8

2. Bild zum Schritt 7 für das Bastel- und DIY-Abenteuer für Kinder: 'Malt das jetzt das Herz in der Mitte mit einem...'

9

Decorate this round heart card as you like it.
For example, you can still trace the edge of the circle.
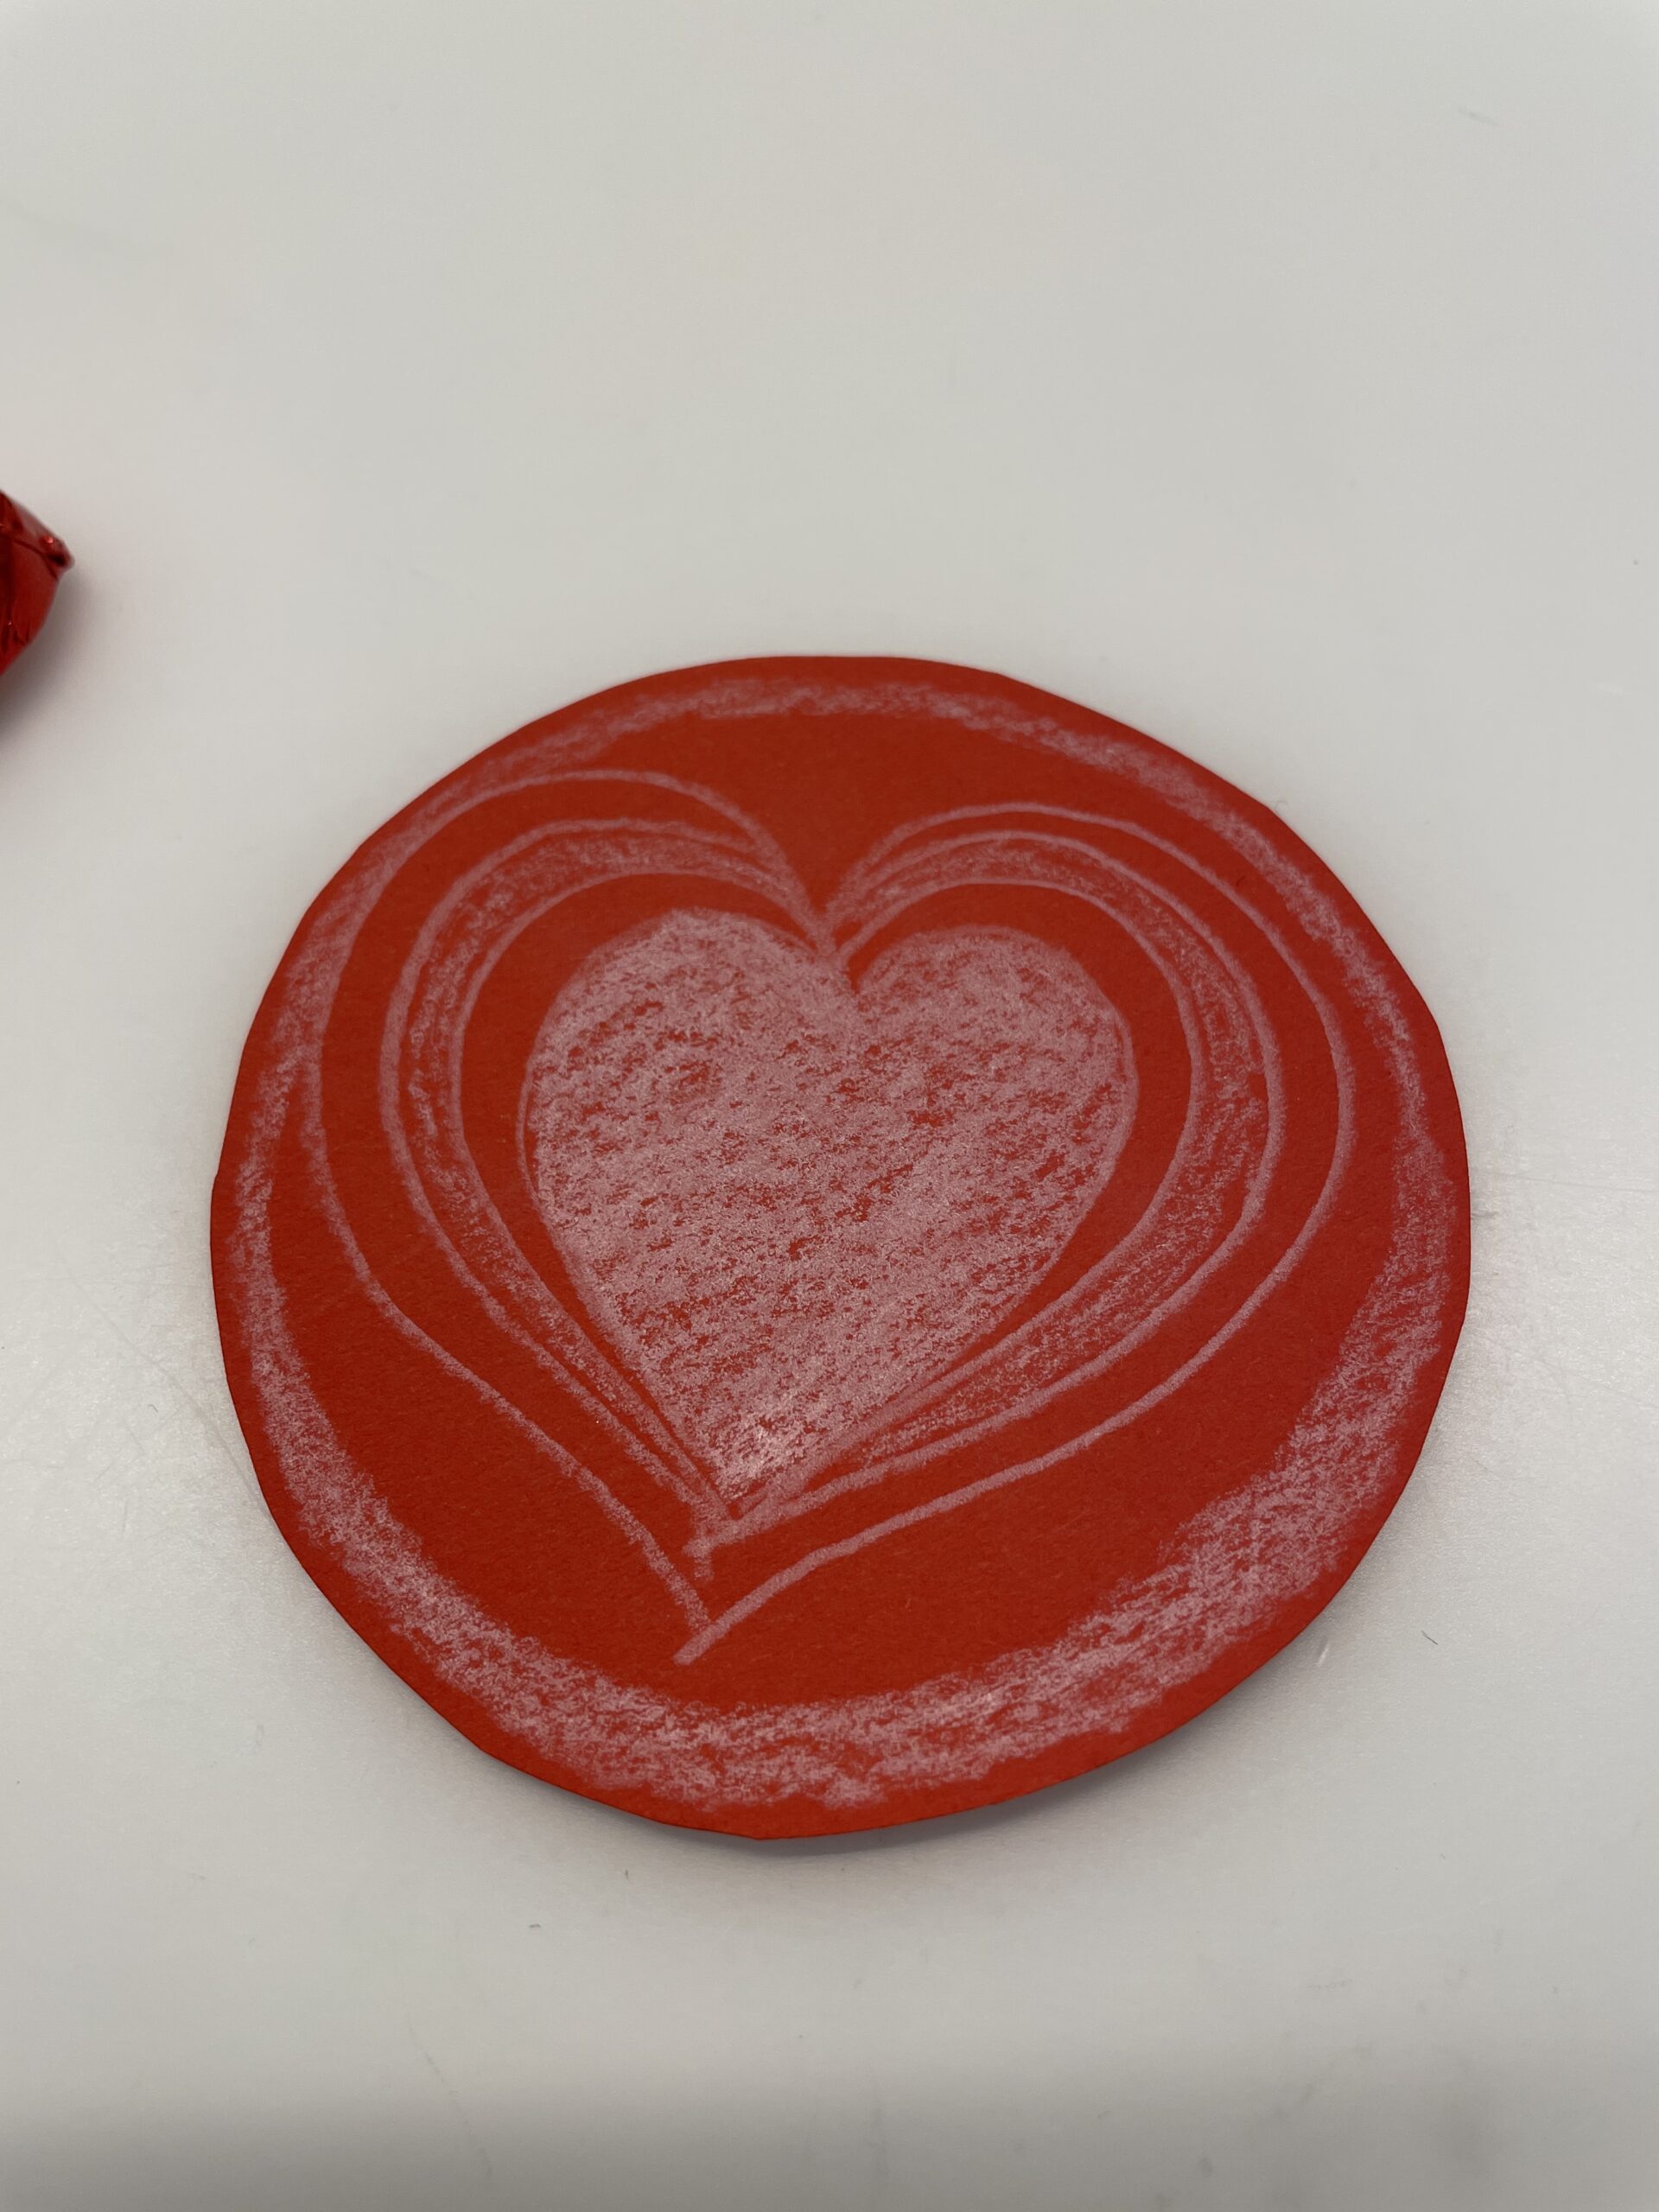
Bild zum Schritt 9 für das Bastel- und DIY-Abenteuer für Kinder: 'Verschönert diese runde Herzkarte so wie es euch gefällt. ...'

10

Now stick the chocolate heart in the middle with an adhesive tape.
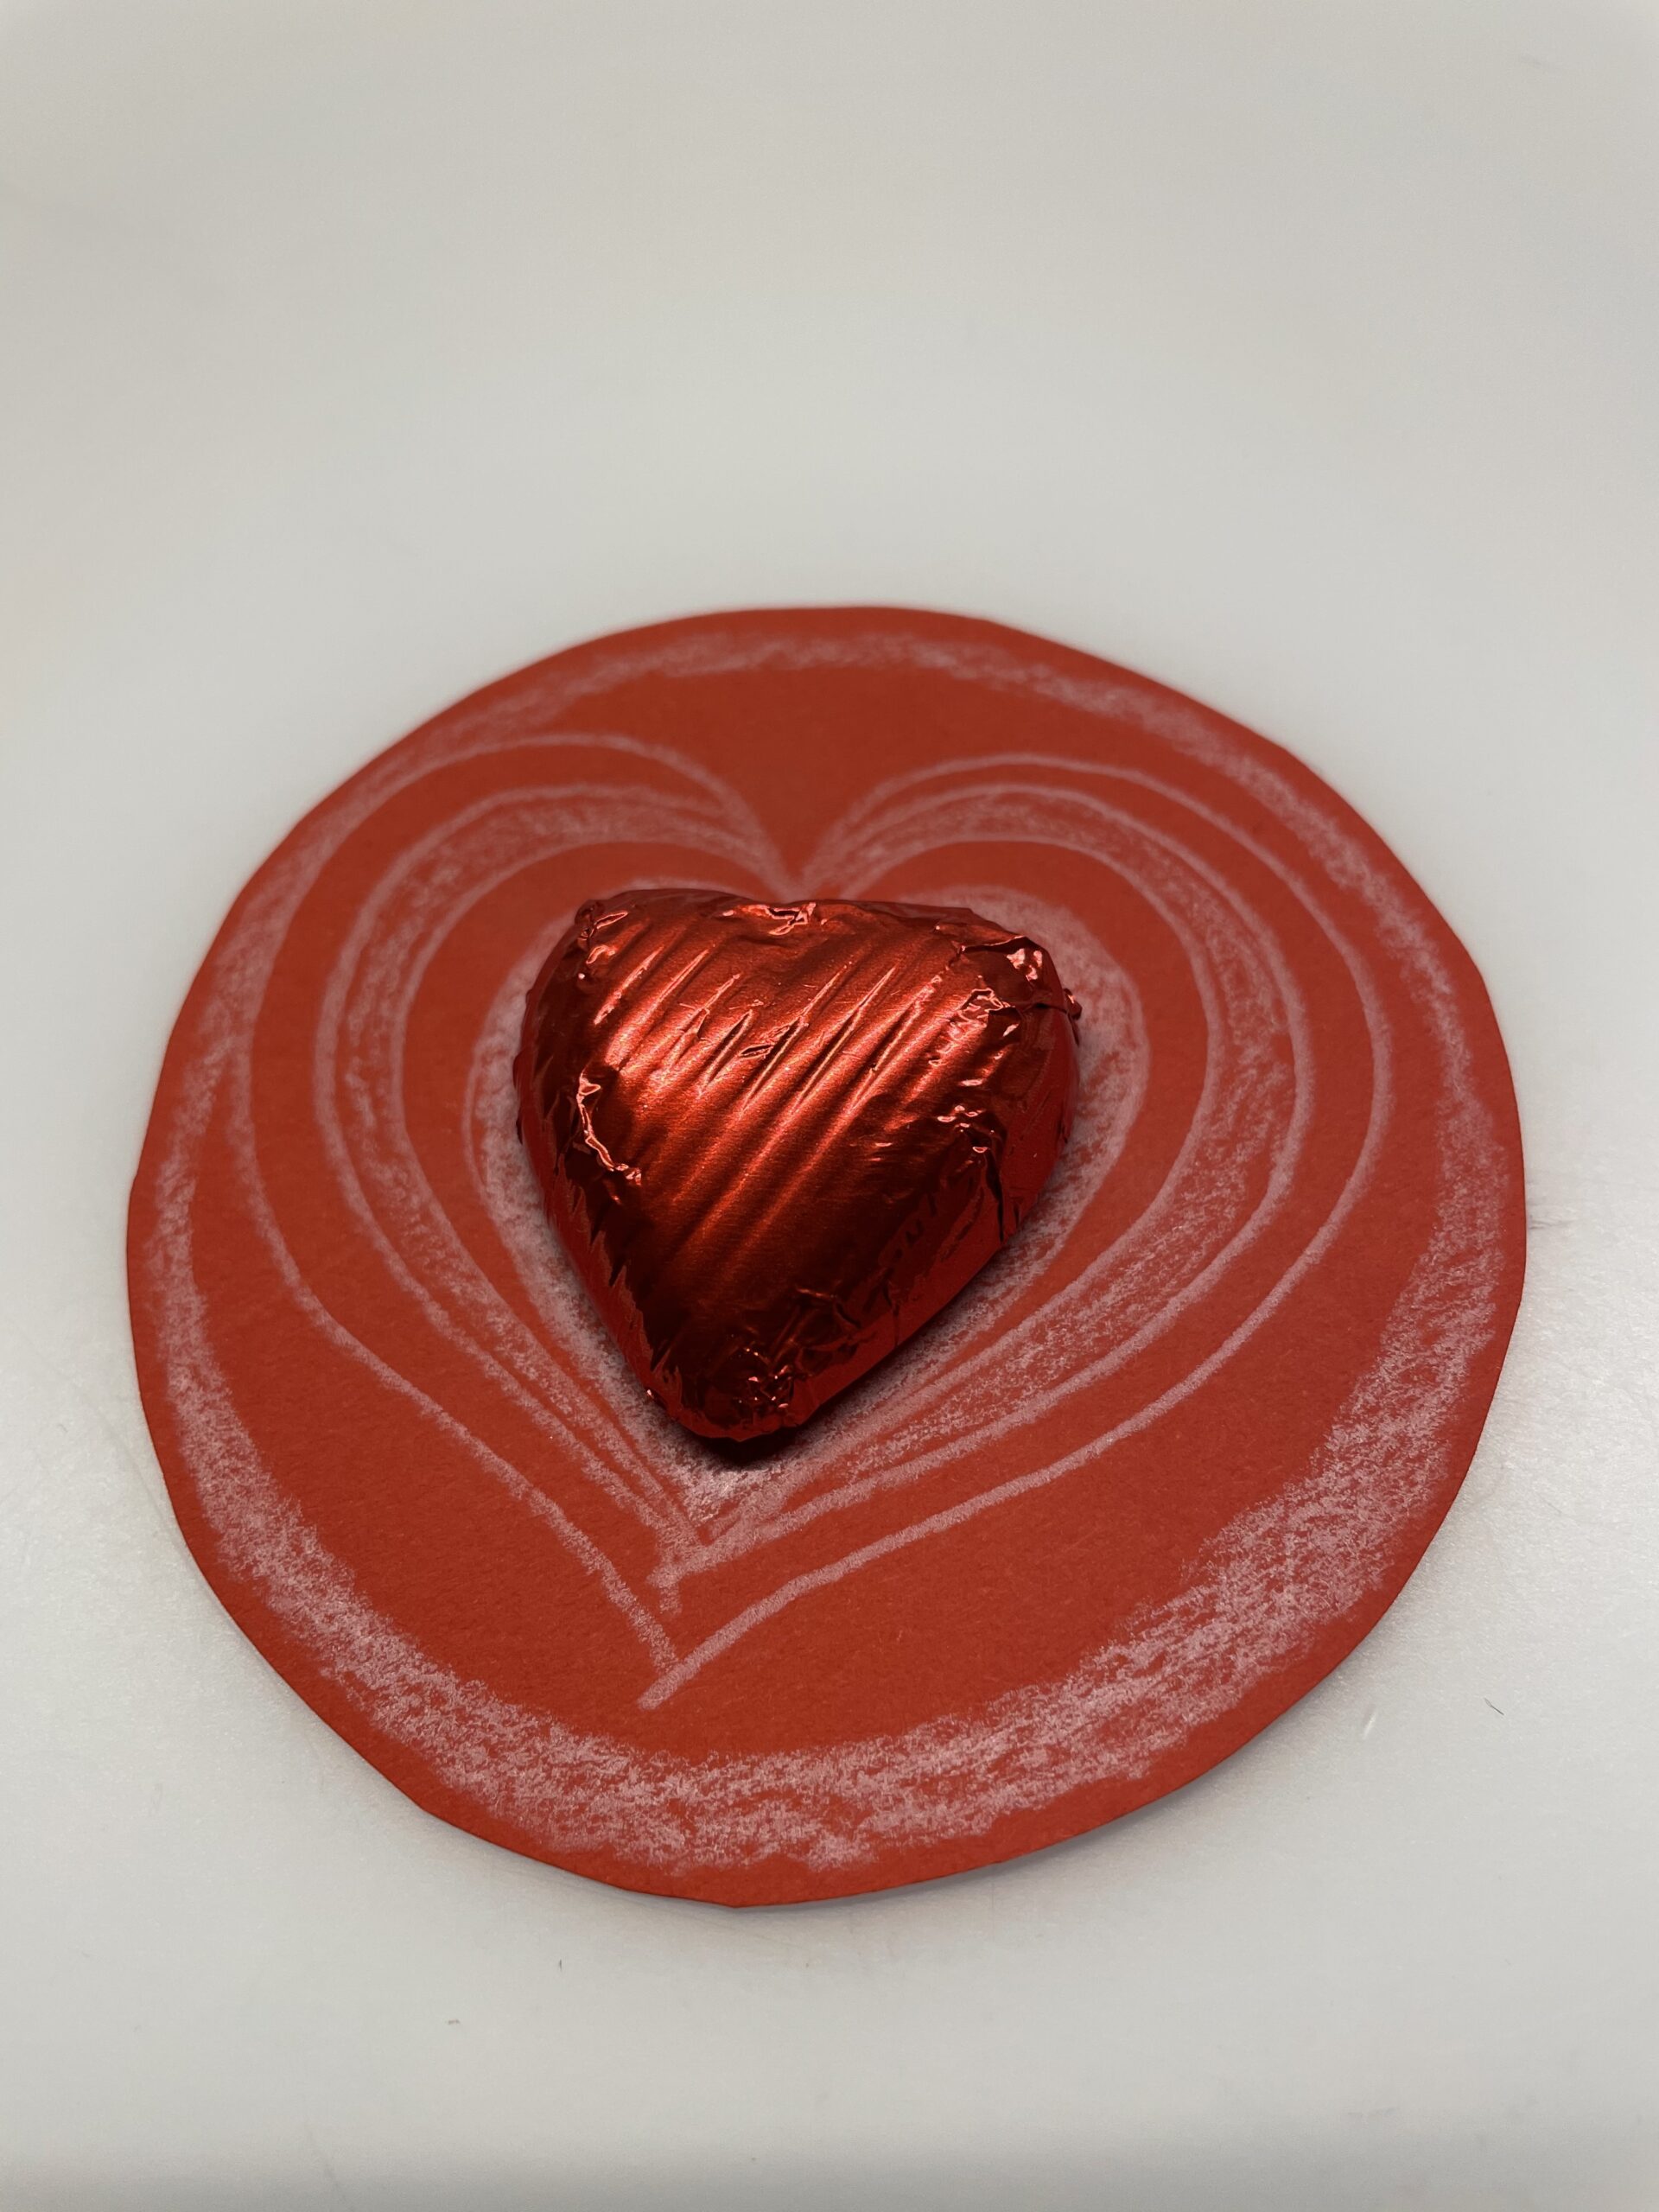
Bild zum Schritt 10 für das Bastel- und DIY-Abenteuer für Kinder: 'Jetzt klebt ihr mit einem Klebestreifen das Schokoladenherz in die...'

11

Then glue the card onto the cereal glass.
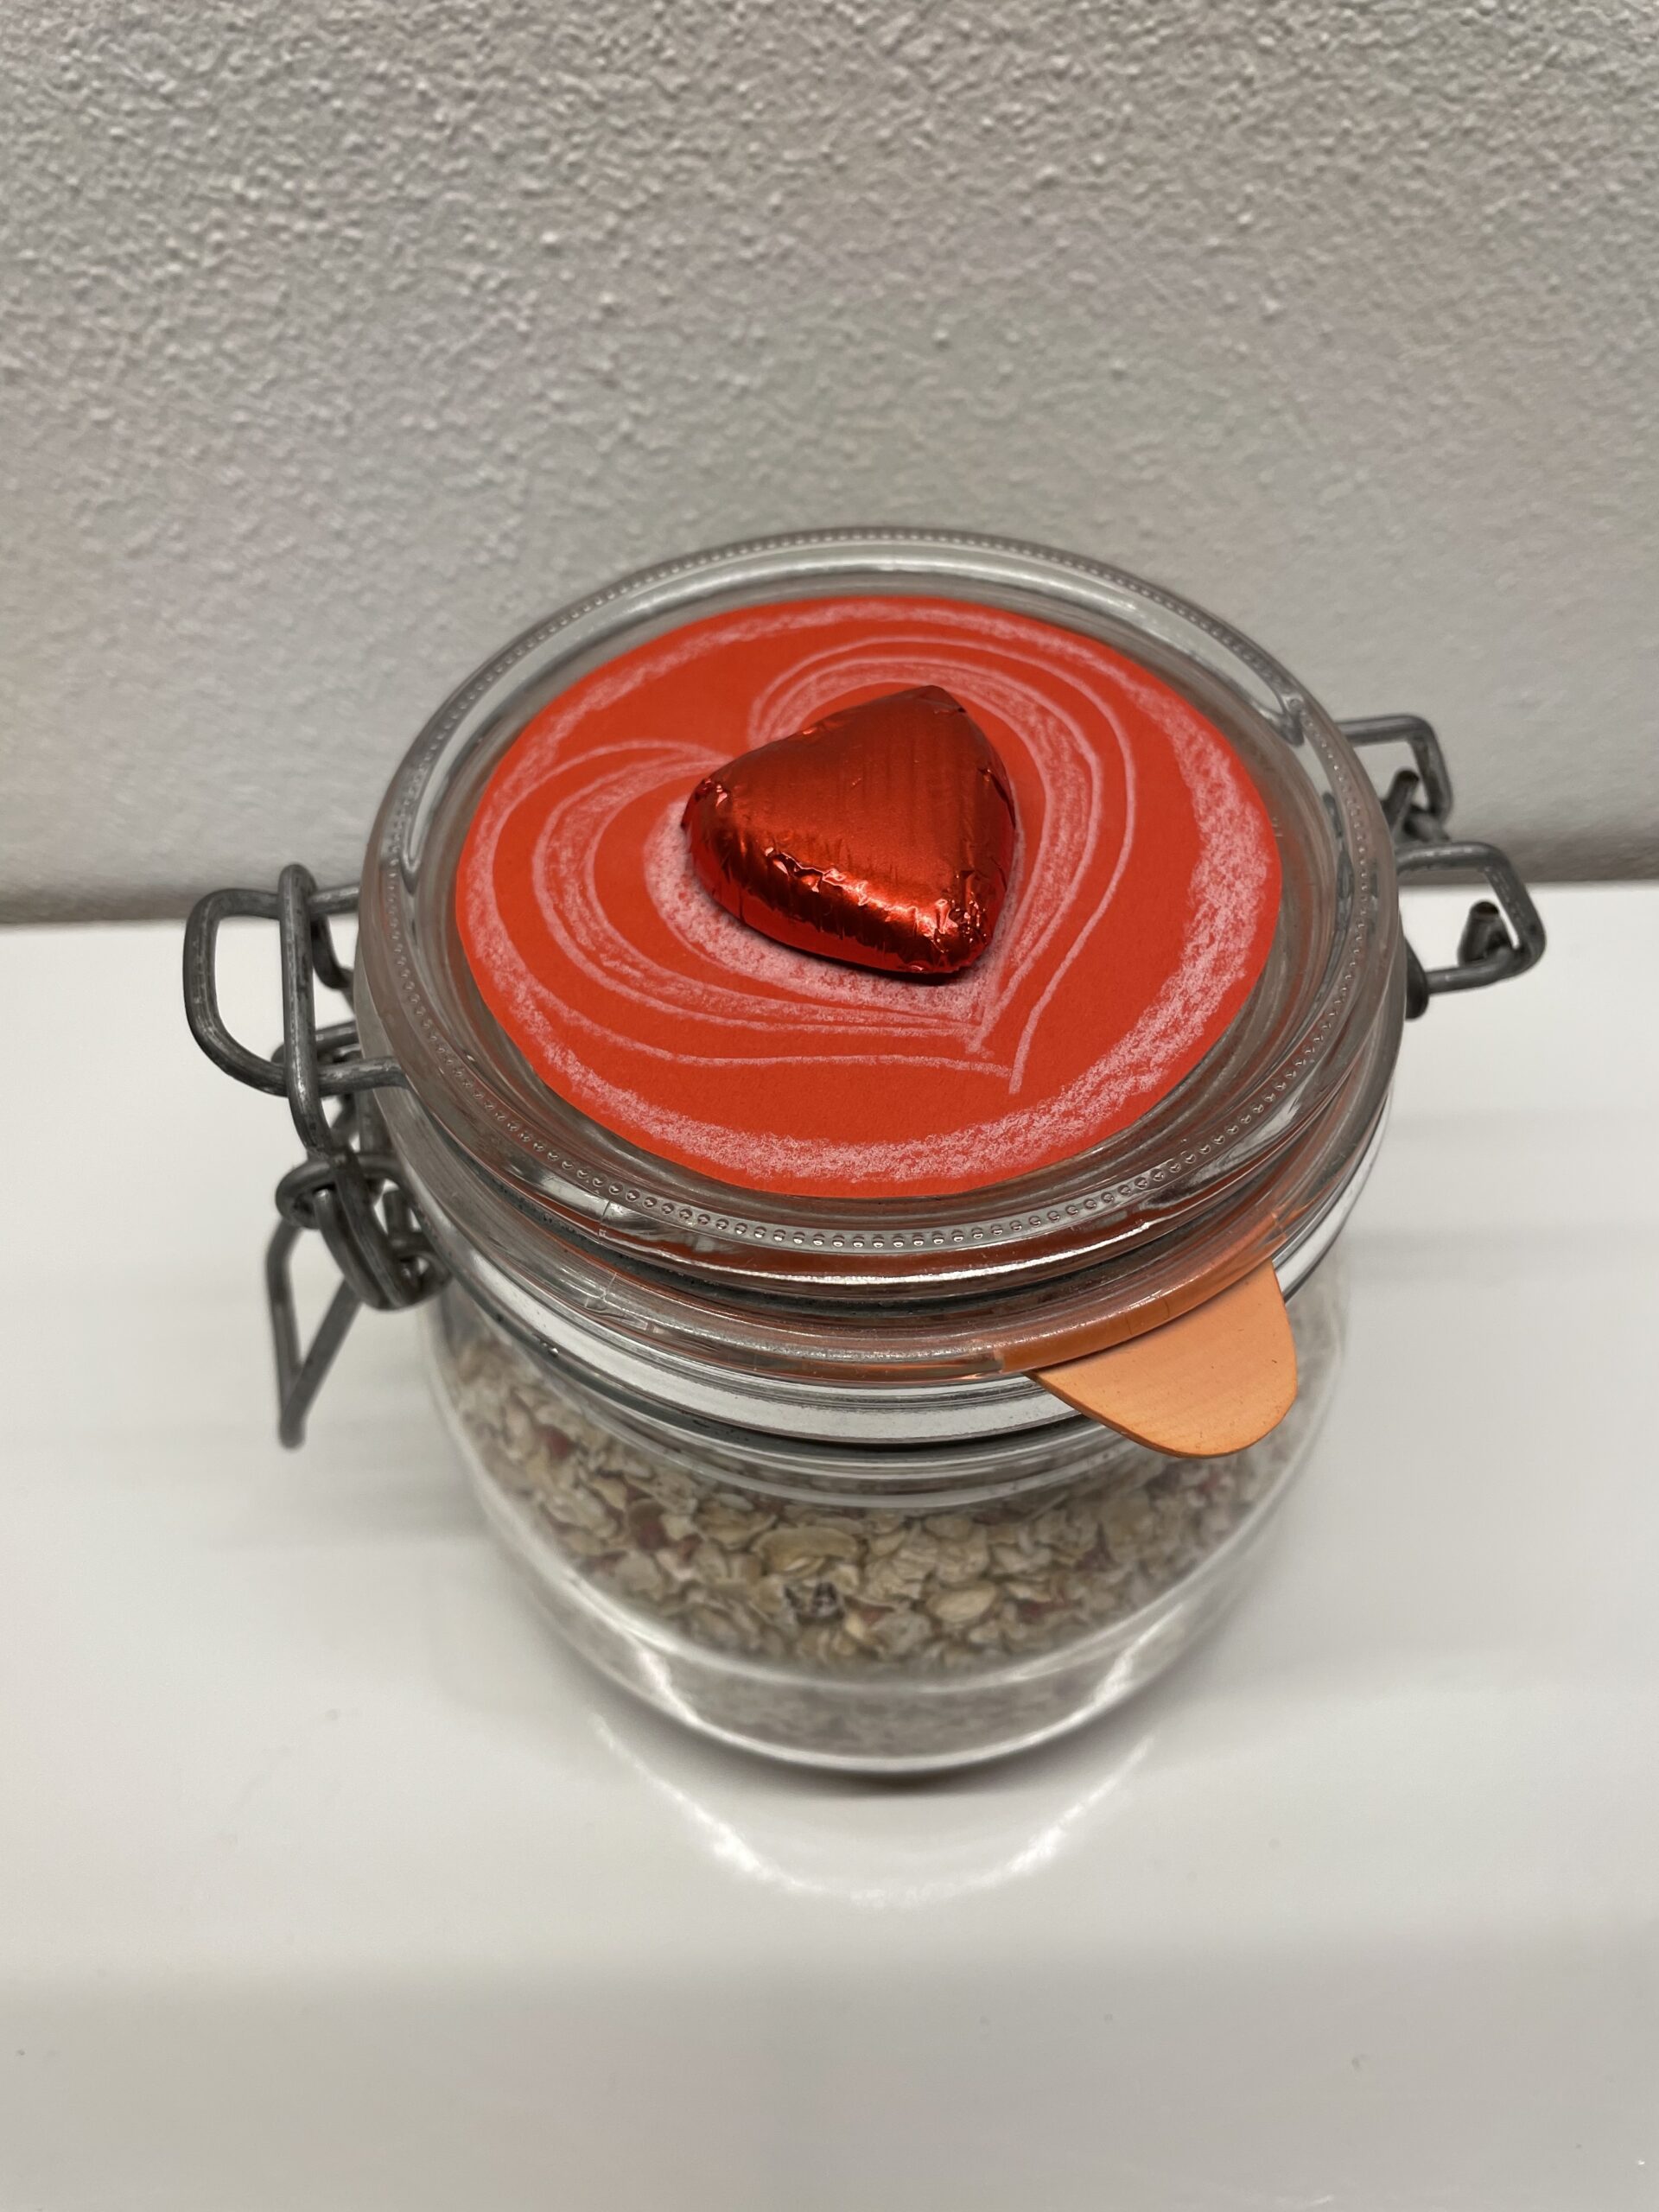
Bild zum Schritt 11 für das Bastel- und DIY-Abenteuer für Kinder: 'Anschließend klebt ihr die Karte auf das Müsli-Glas.'

12

Now you cut out more hearts from pieces of red clay paper.
Attach them with an adhesive tape on the glass.
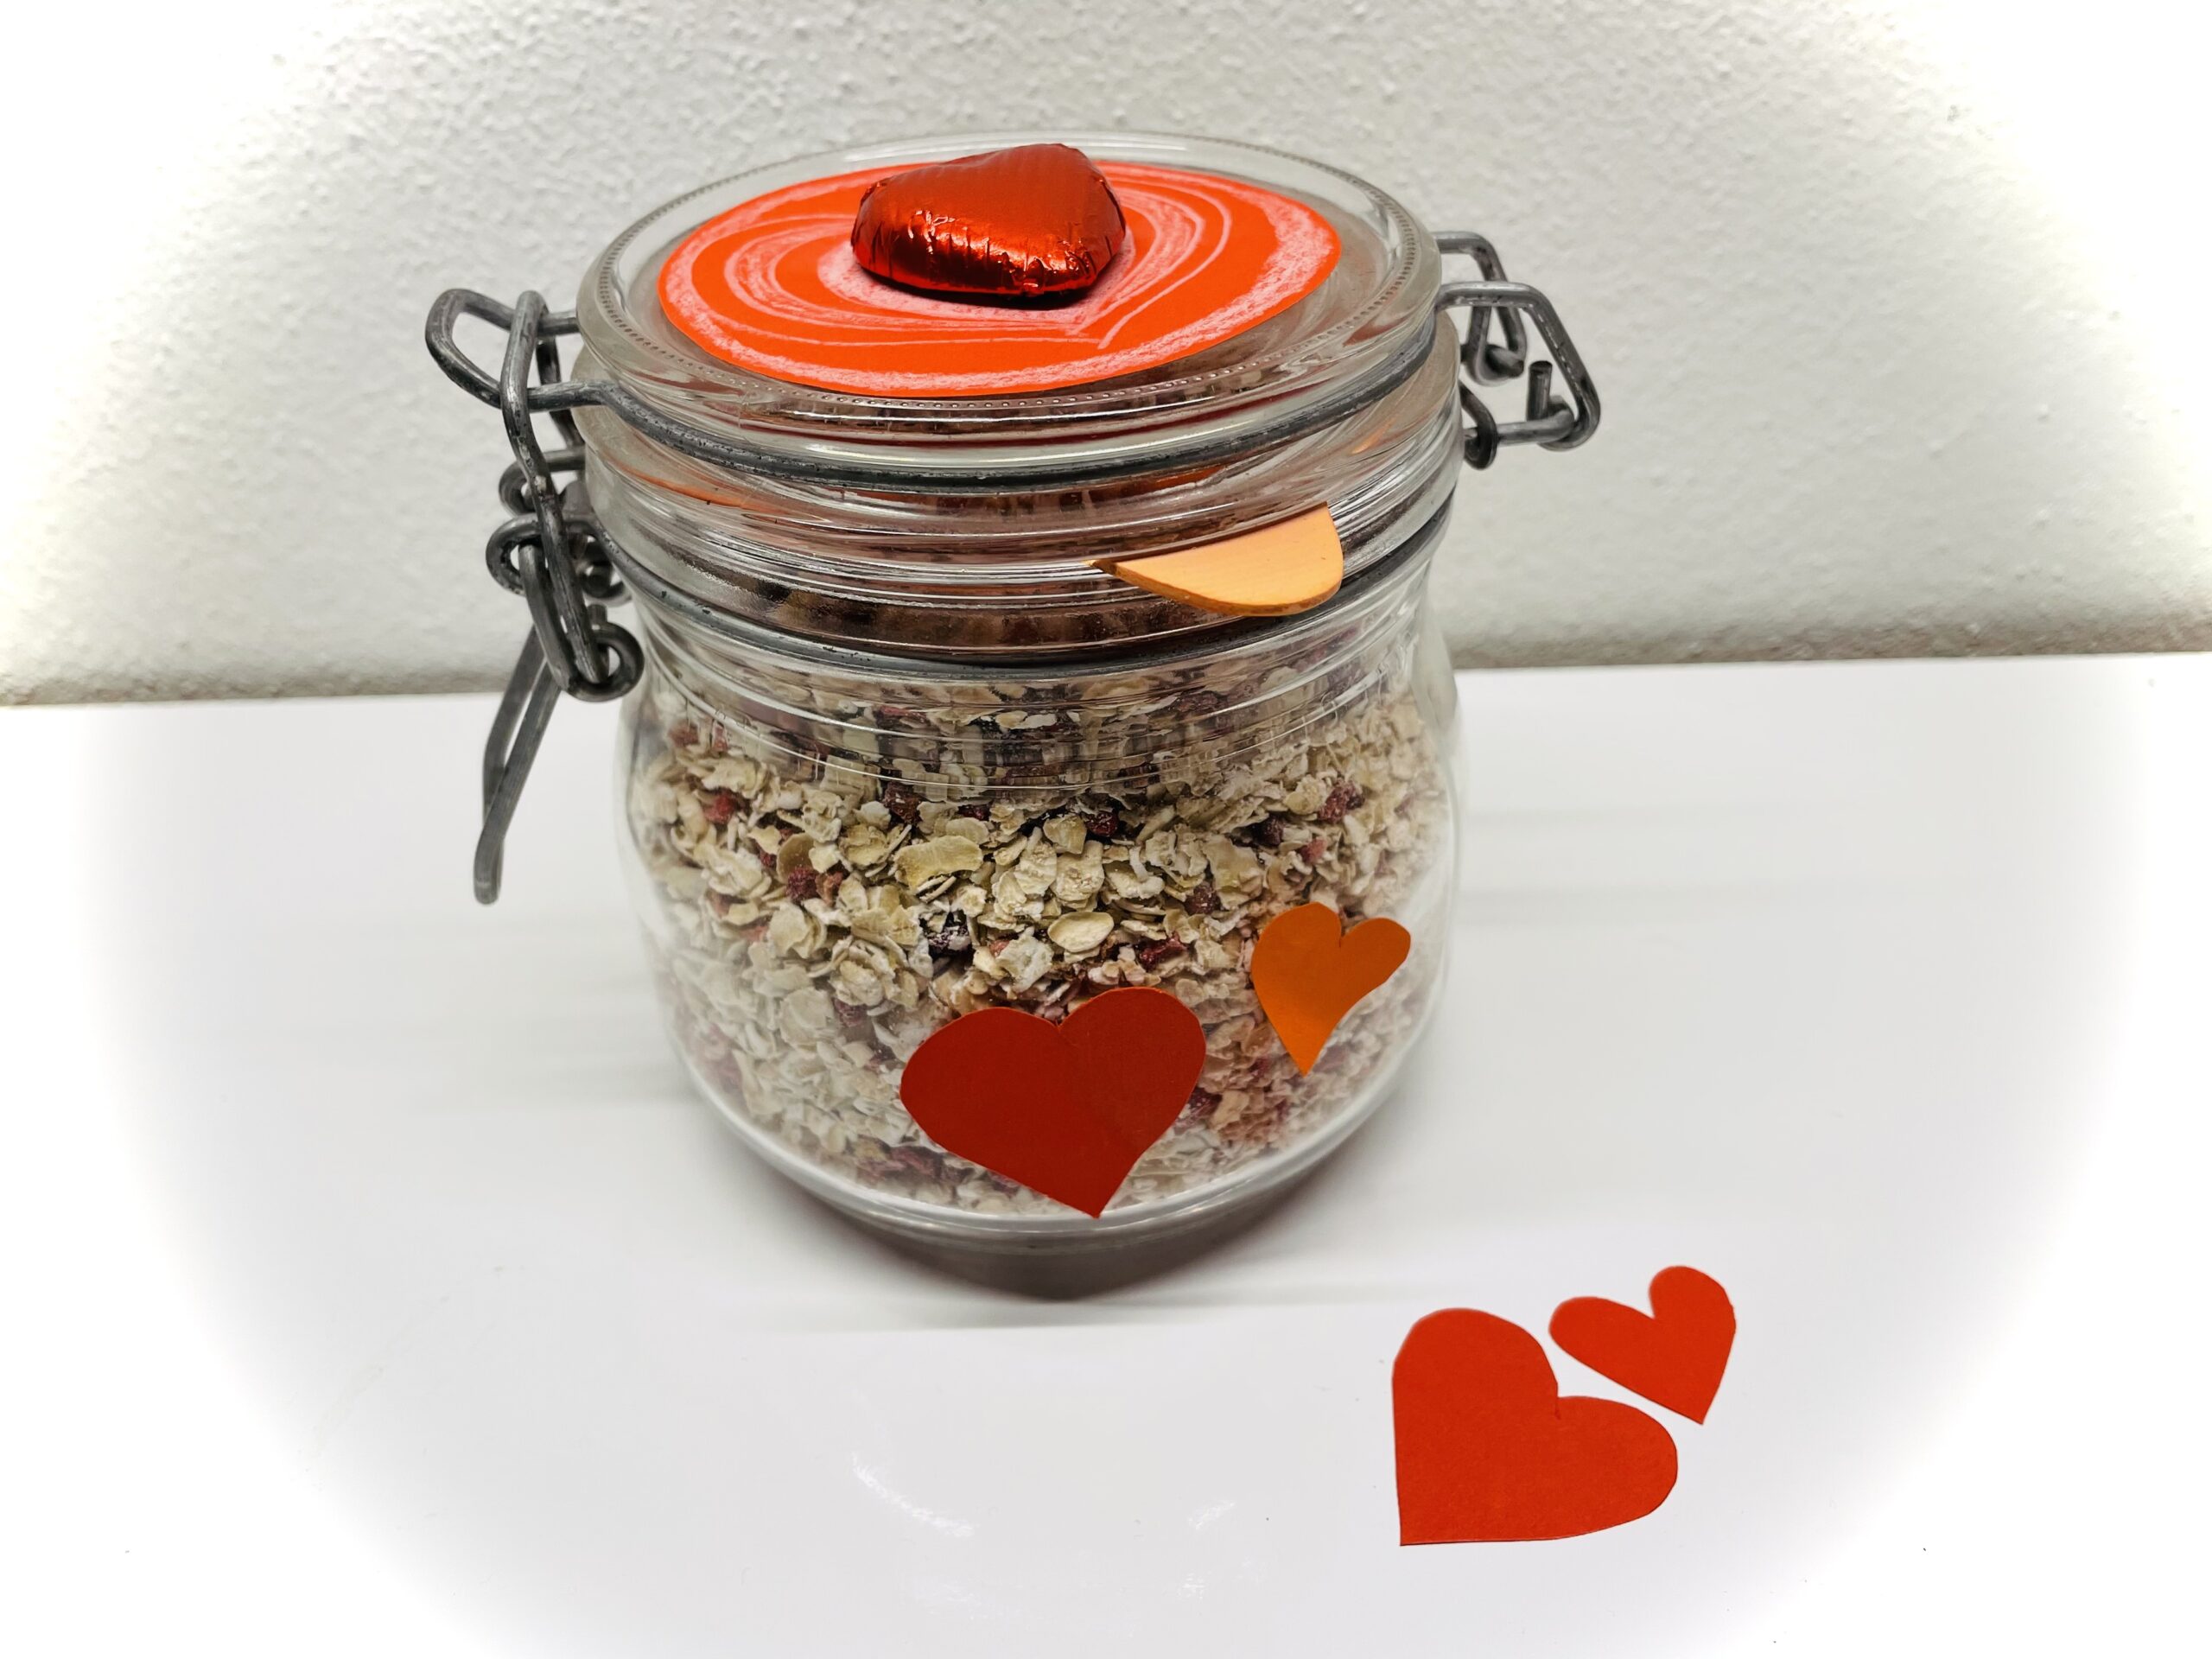
Bild zum Schritt 12 für das Bastel- und DIY-Abenteuer für Kinder: 'Nun schneidet ihr aus Reststücken von rotem Tonpapier noch weitere...'

13

Your present is ready.
Your cereal glass is an ideal gift for the powerwoman "Mama".
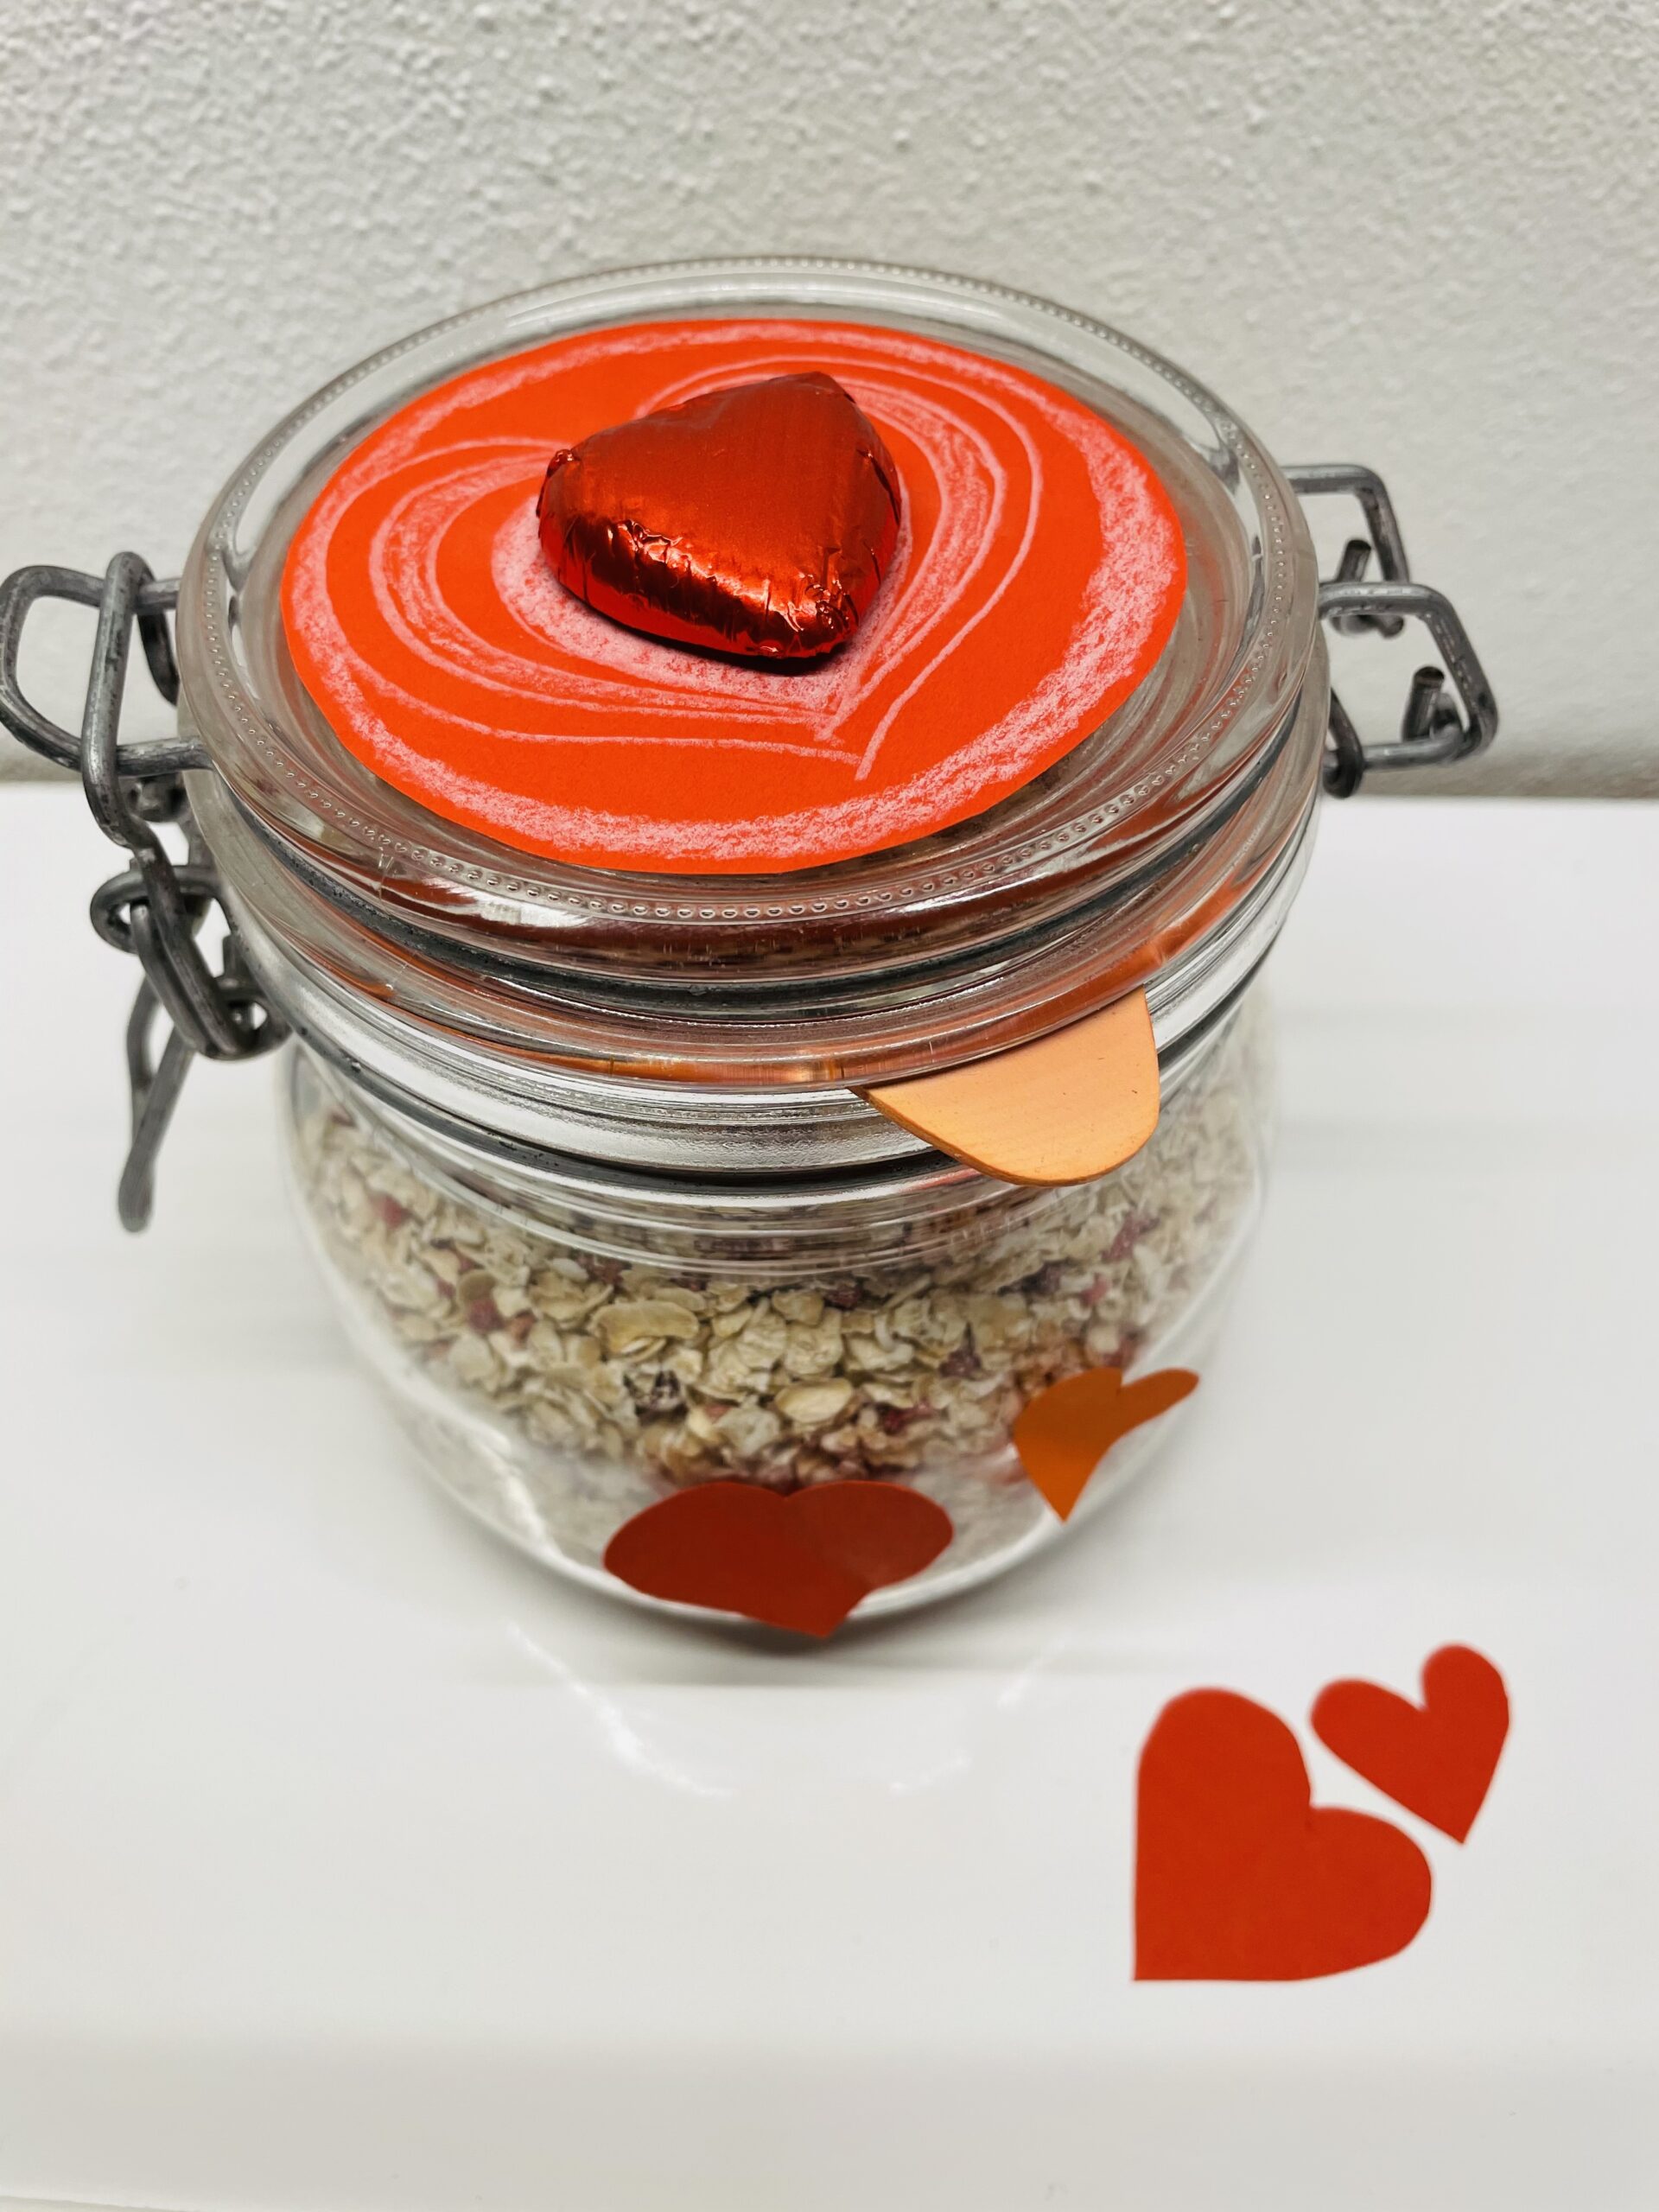
Bild zum Schritt 13 für das Bastel- und DIY-Abenteuer für Kinder: 'Fertig ist euer Geschenk.   Euer Müsli-Glas ist ein...'

14

You'll find another cereal-to-go glass here.

Bild zum Schritt 14 für das Bastel- und DIY-Abenteuer für Kinder: 'Ein weiteres Müsli-To-Go-Glas findet ihr hier.'

15

Have fun!

Muesli glass on Mother's Day

Follow us on Facebook , Instagram and Pinterest
Don't miss any more adventures: Our bottle mail

Leave a Reply

Your email address will not be published.

The maximum upload file size: 5 MB. You can upload: image, document. Drop file here