You can easily make this little book yourself. All you need is a DIN A4 copy paper, scissors and pens. If you make more than one book, you can glue the pages together and make a thicker book. The small books are suitable for writing first stories of school children, painting or giving away small messages.
Have fun doing crafts!
Media Education for Kindergarten and Hort

Relief in everyday life, targeted promotion of individual children, independent learning and - without any pre-knowledge already usable by the youngest!
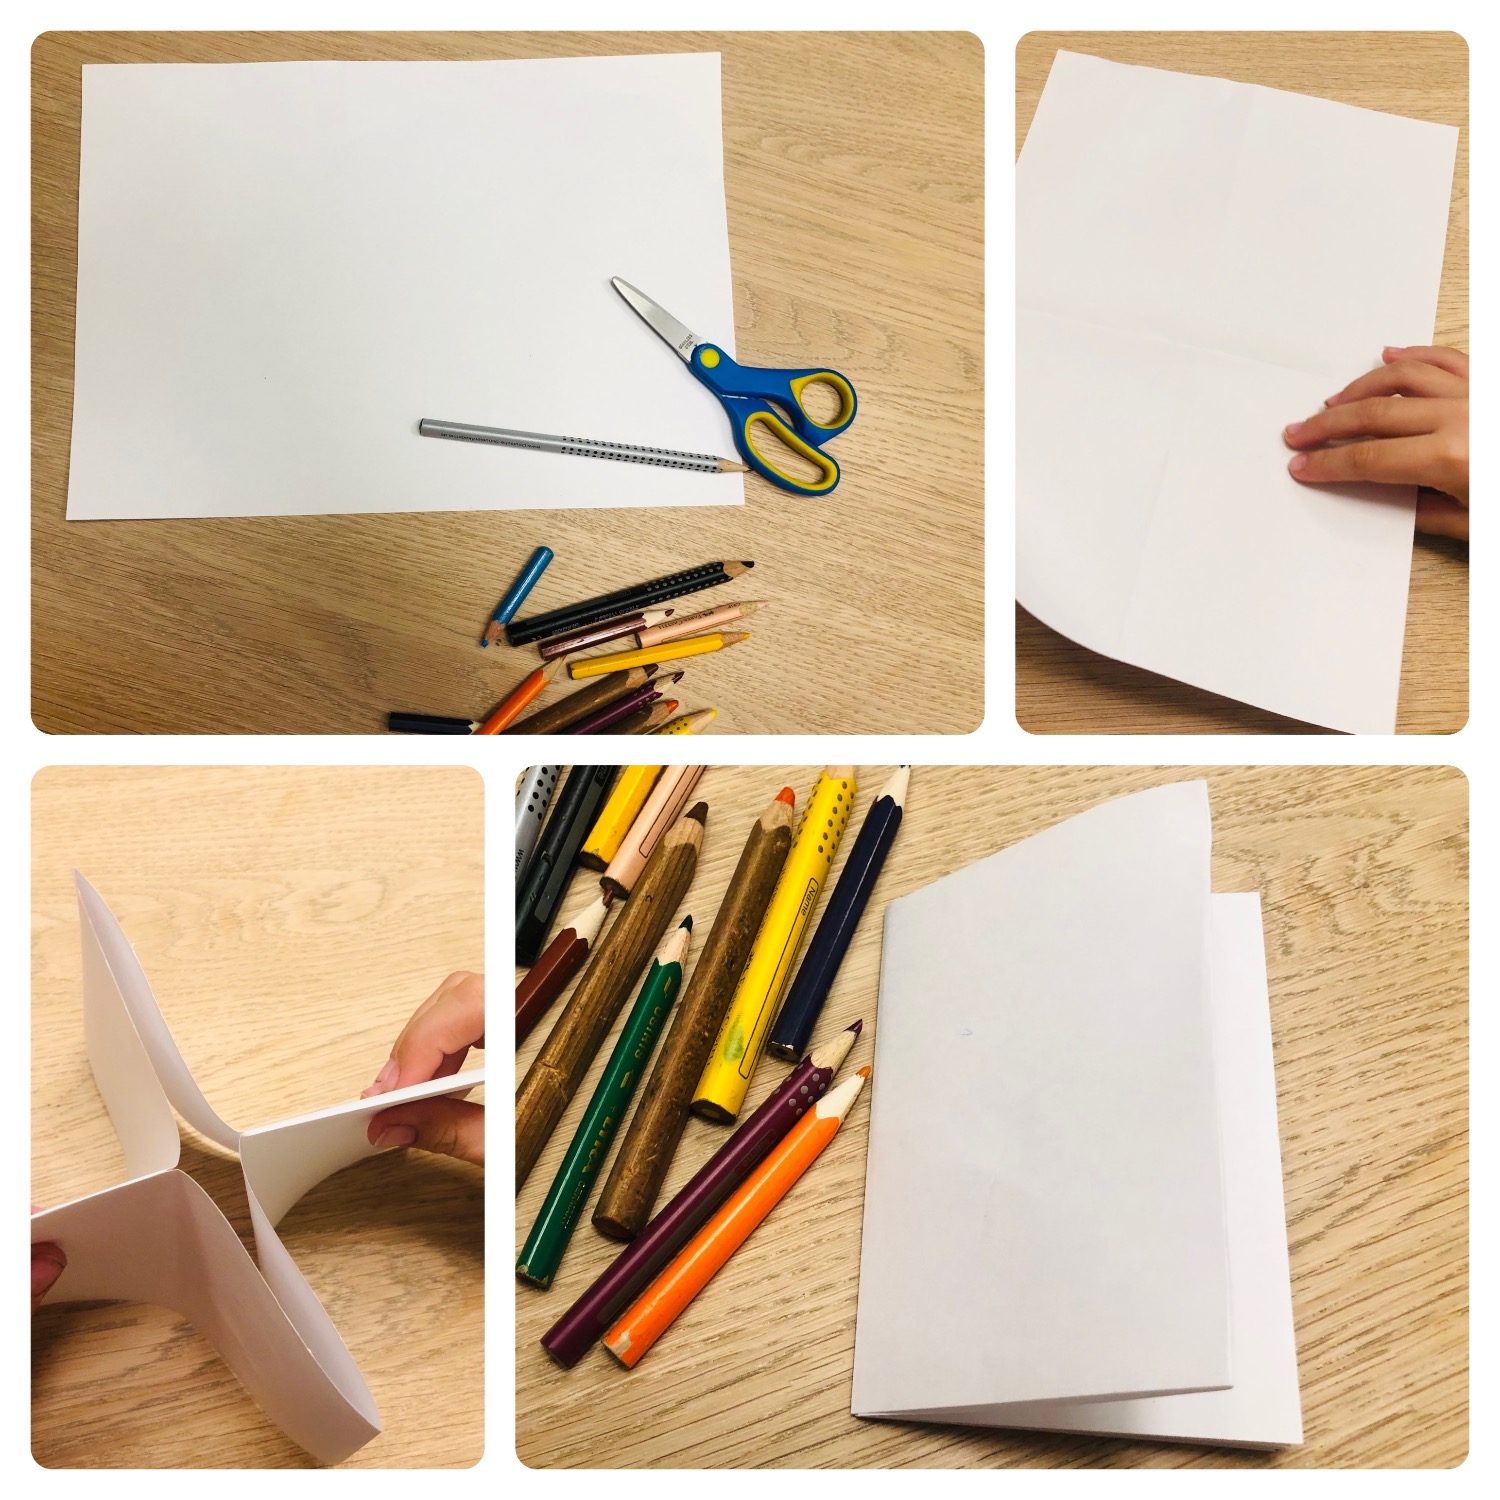
First, lay out a colouring sheet and prepare the materials.
![Bild zum Schritt 1 für das Bastel- und DIY-Abenteuer für Kinder: 'Legt euch zuerst eine Malunterlage aus und die Materialien bereit.[Kind]Suche...'](https://abenteuer-markt.de/wp-content/uploads/cooked/images/recipes/26266/directions/45113990-6E5D8F00-E0C8-4024-A035-F8AFA942DCD2-scaled.jpeg)
The paper is in front of you, and you fold it from bottom to top, corner to corner.
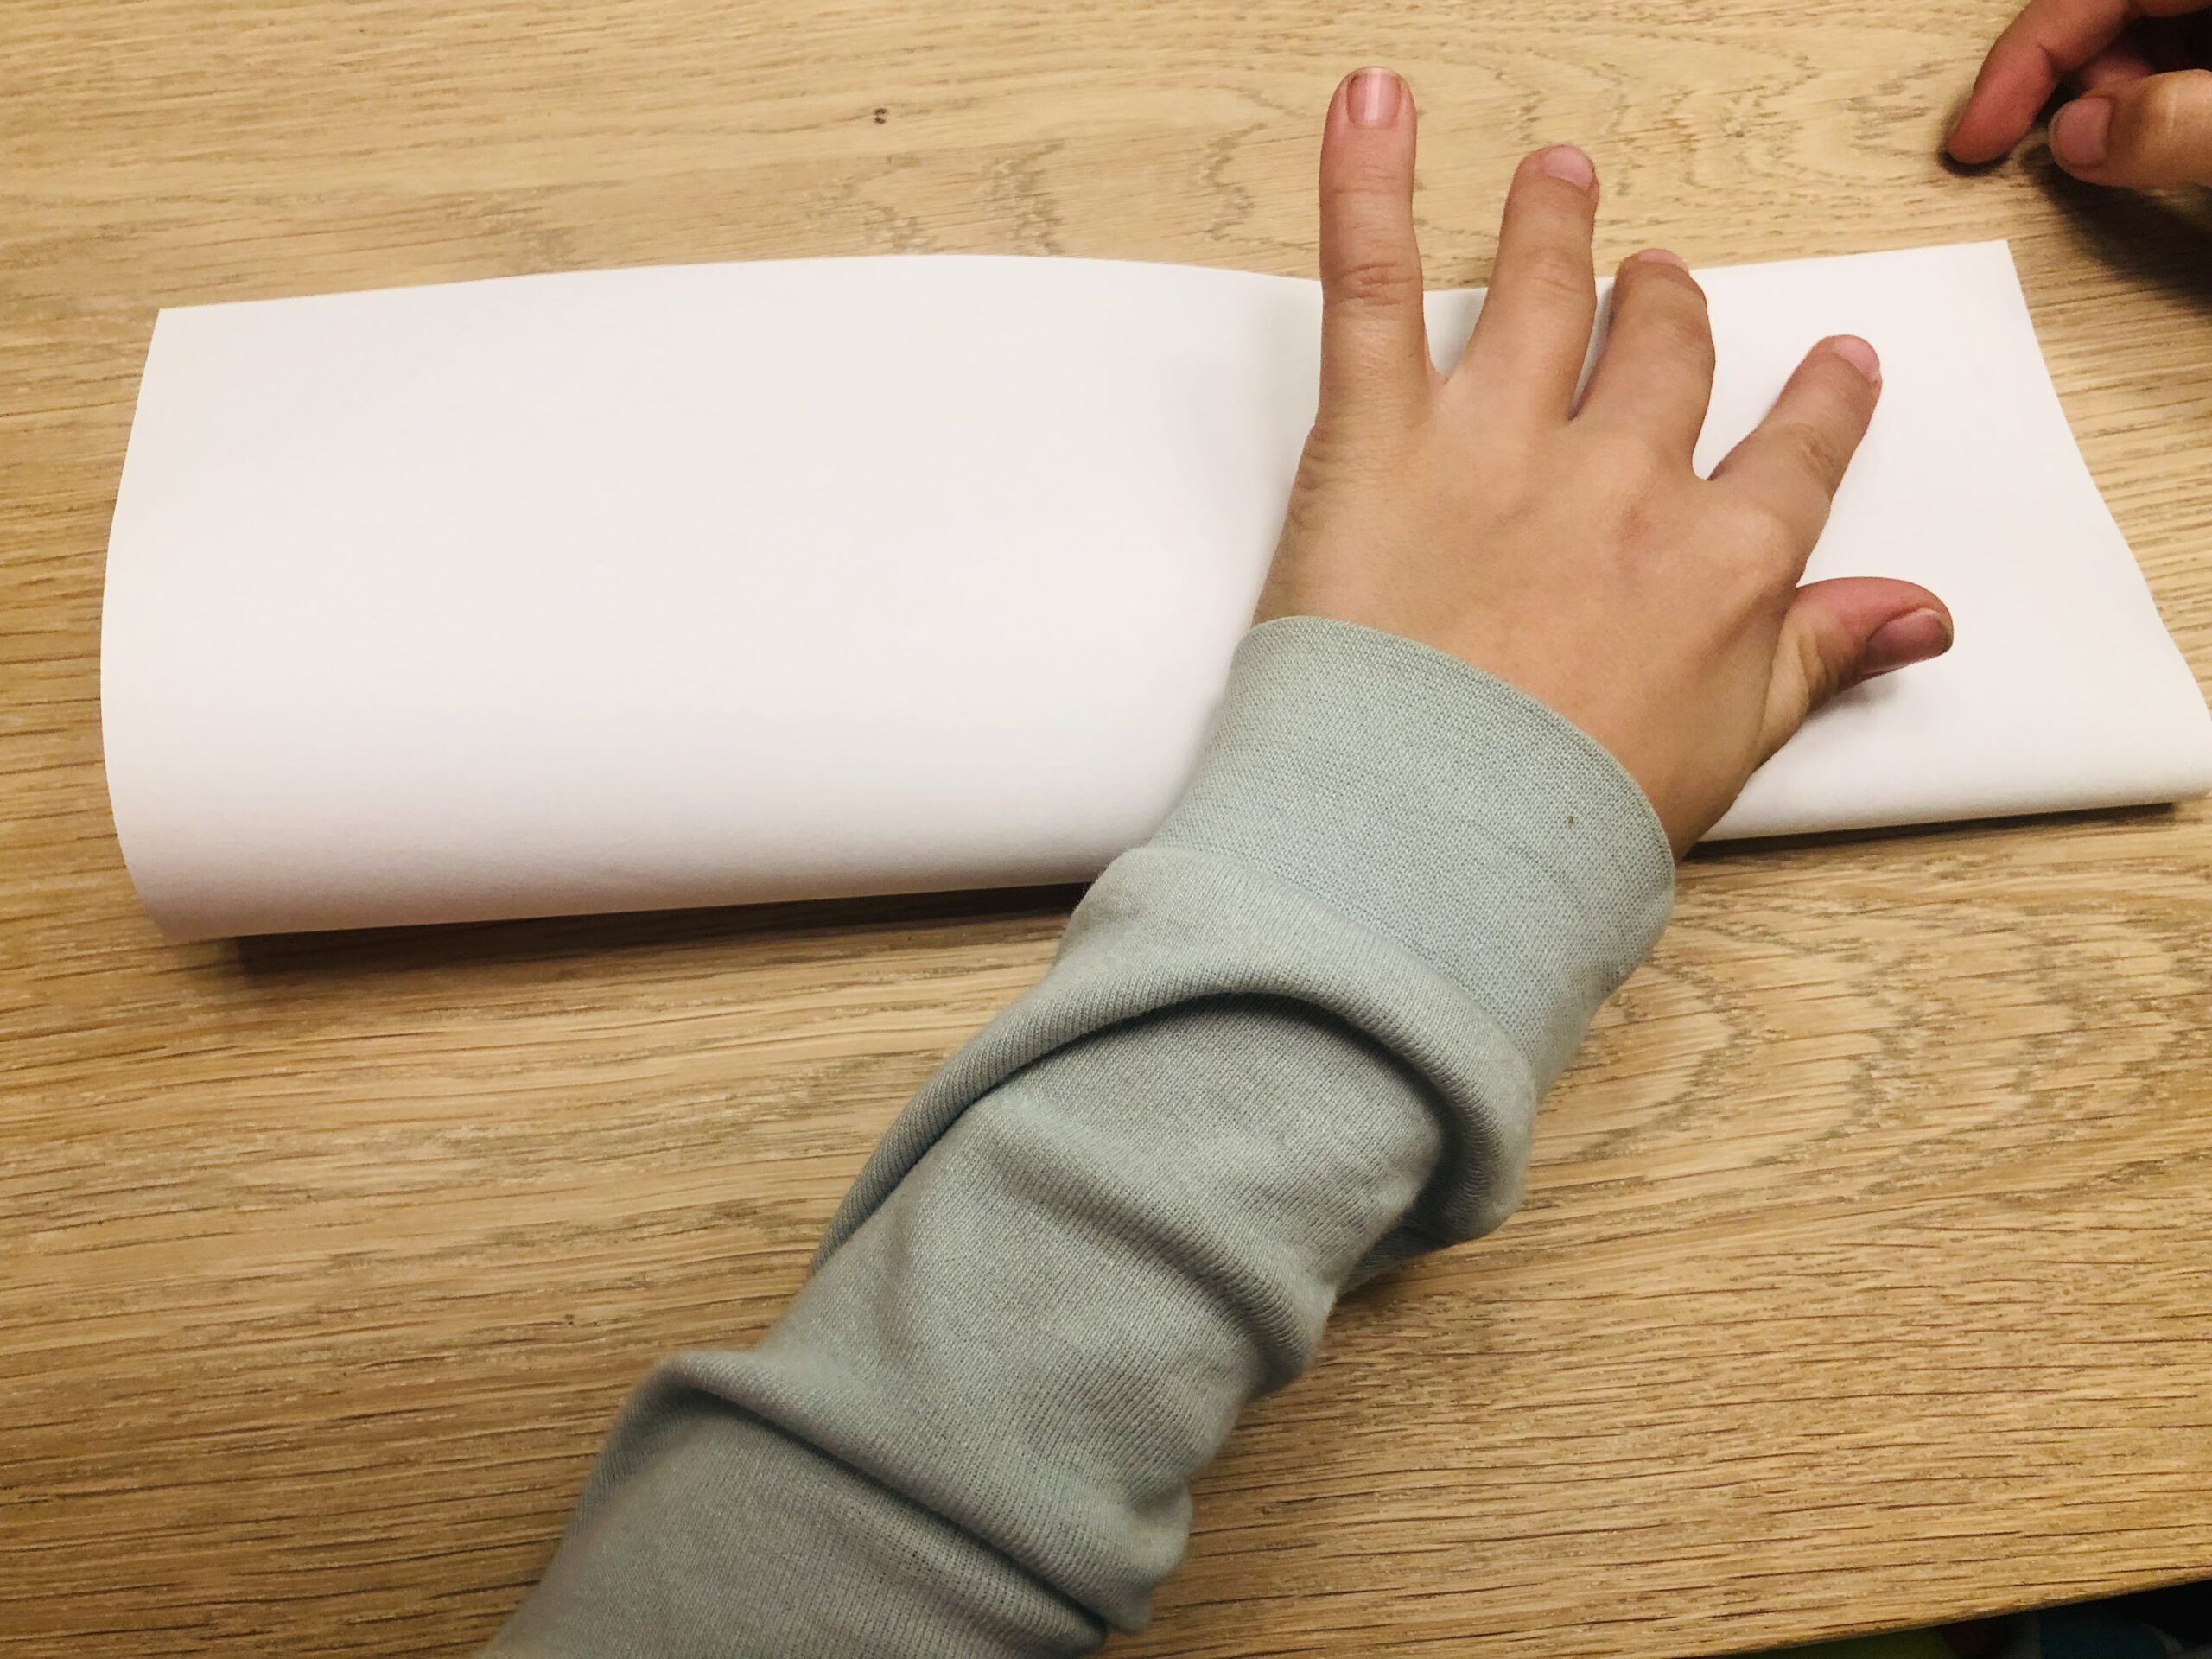


Strip the fracture (i.e. the folding) well.
![Bild zum Schritt 3 für das Bastel- und DIY-Abenteuer für Kinder: 'Streift den Bruch (also die Faltung) gut aus. [Kind]Streife den...'](https://abenteuer-markt.de/wp-content/uploads/cooked/images/recipes/26266/directions/74967282-49C6E0E5-41AA-457E-A6BE-3FB75392F268-scaled.jpeg)
![Bild zum Schritt 3 für das Bastel- und DIY-Abenteuer für Kinder: 'Streift den Bruch (also die Faltung) gut aus. [Kind]Streife den...'](https://abenteuer-markt.de/wp-content/uploads/cooked/images/recipes/26266/directions/74967282-49C6E0E5-41AA-457E-A6BE-3FB75392F268-scaled.jpeg)
![Bild zum Schritt 3 für das Bastel- und DIY-Abenteuer für Kinder: 'Streift den Bruch (also die Faltung) gut aus. [Kind]Streife den...'](https://abenteuer-markt.de/wp-content/uploads/cooked/images/recipes/26266/directions/74967282-49C6E0E5-41AA-457E-A6BE-3FB75392F268-scaled.jpeg)
After that, you fold the paper again and turn it around, so that the crease points upwards.
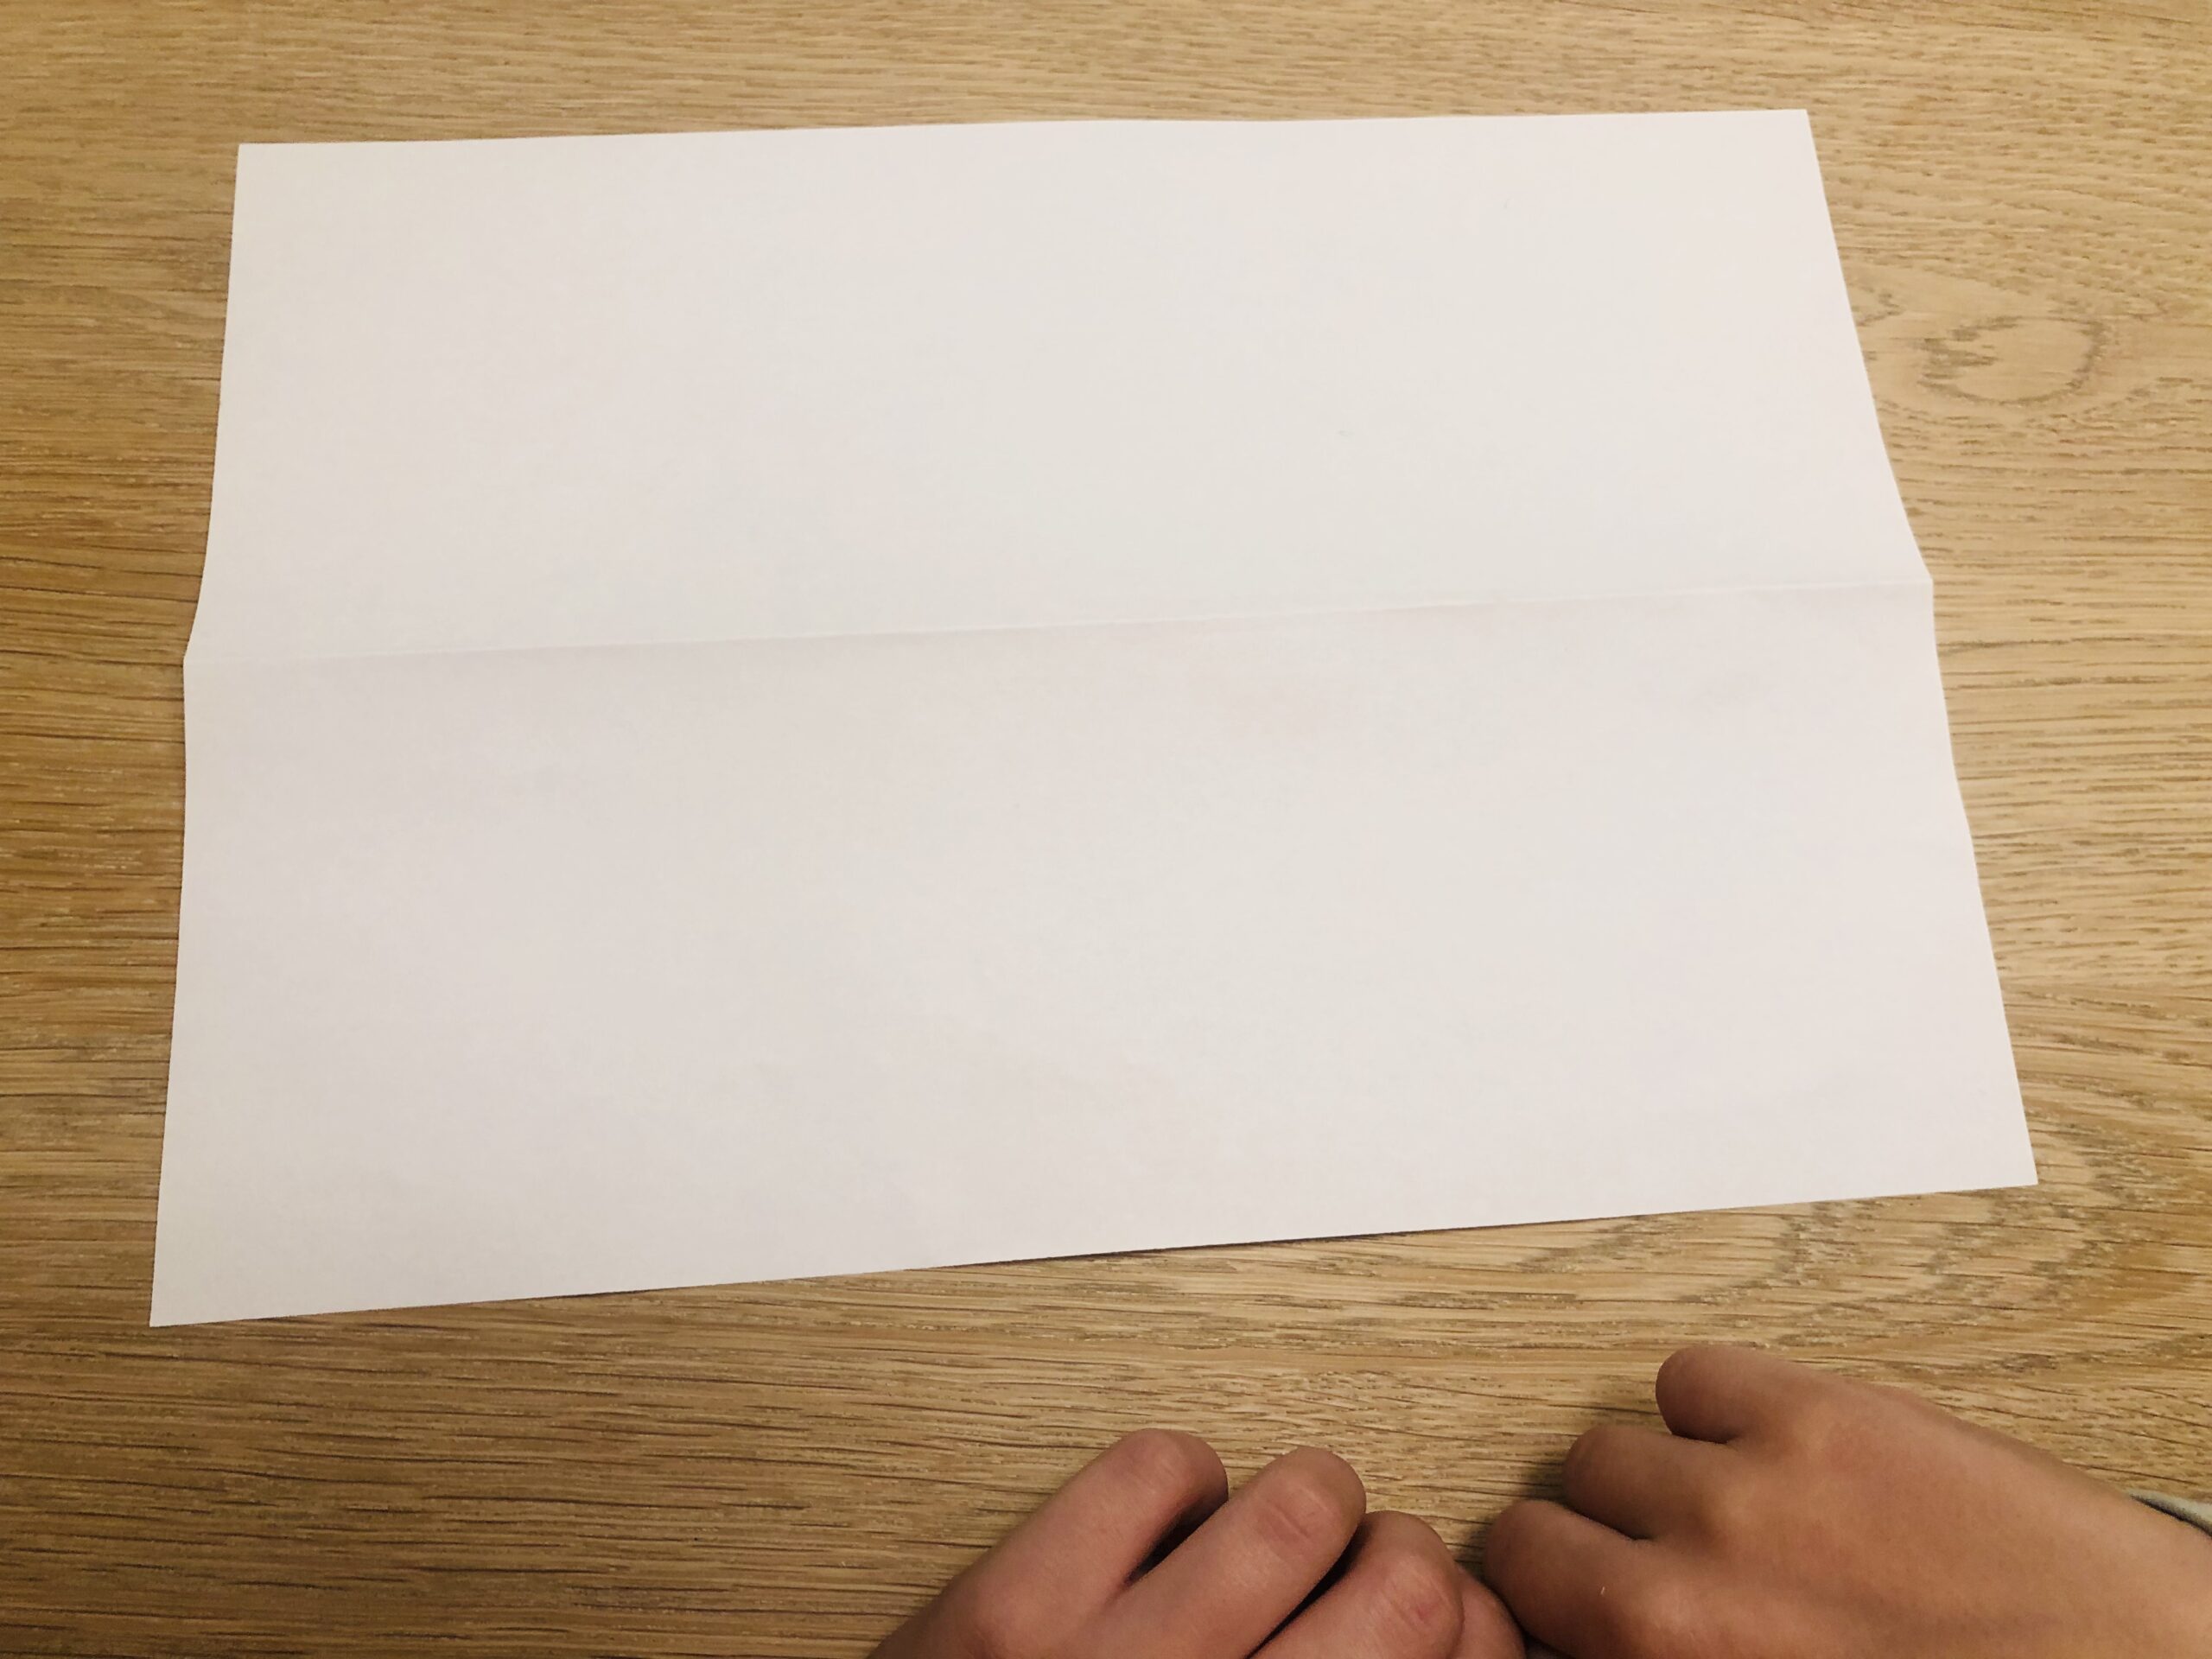


Then you fold the paper up again and now you strip the fracture vigorously from this side.
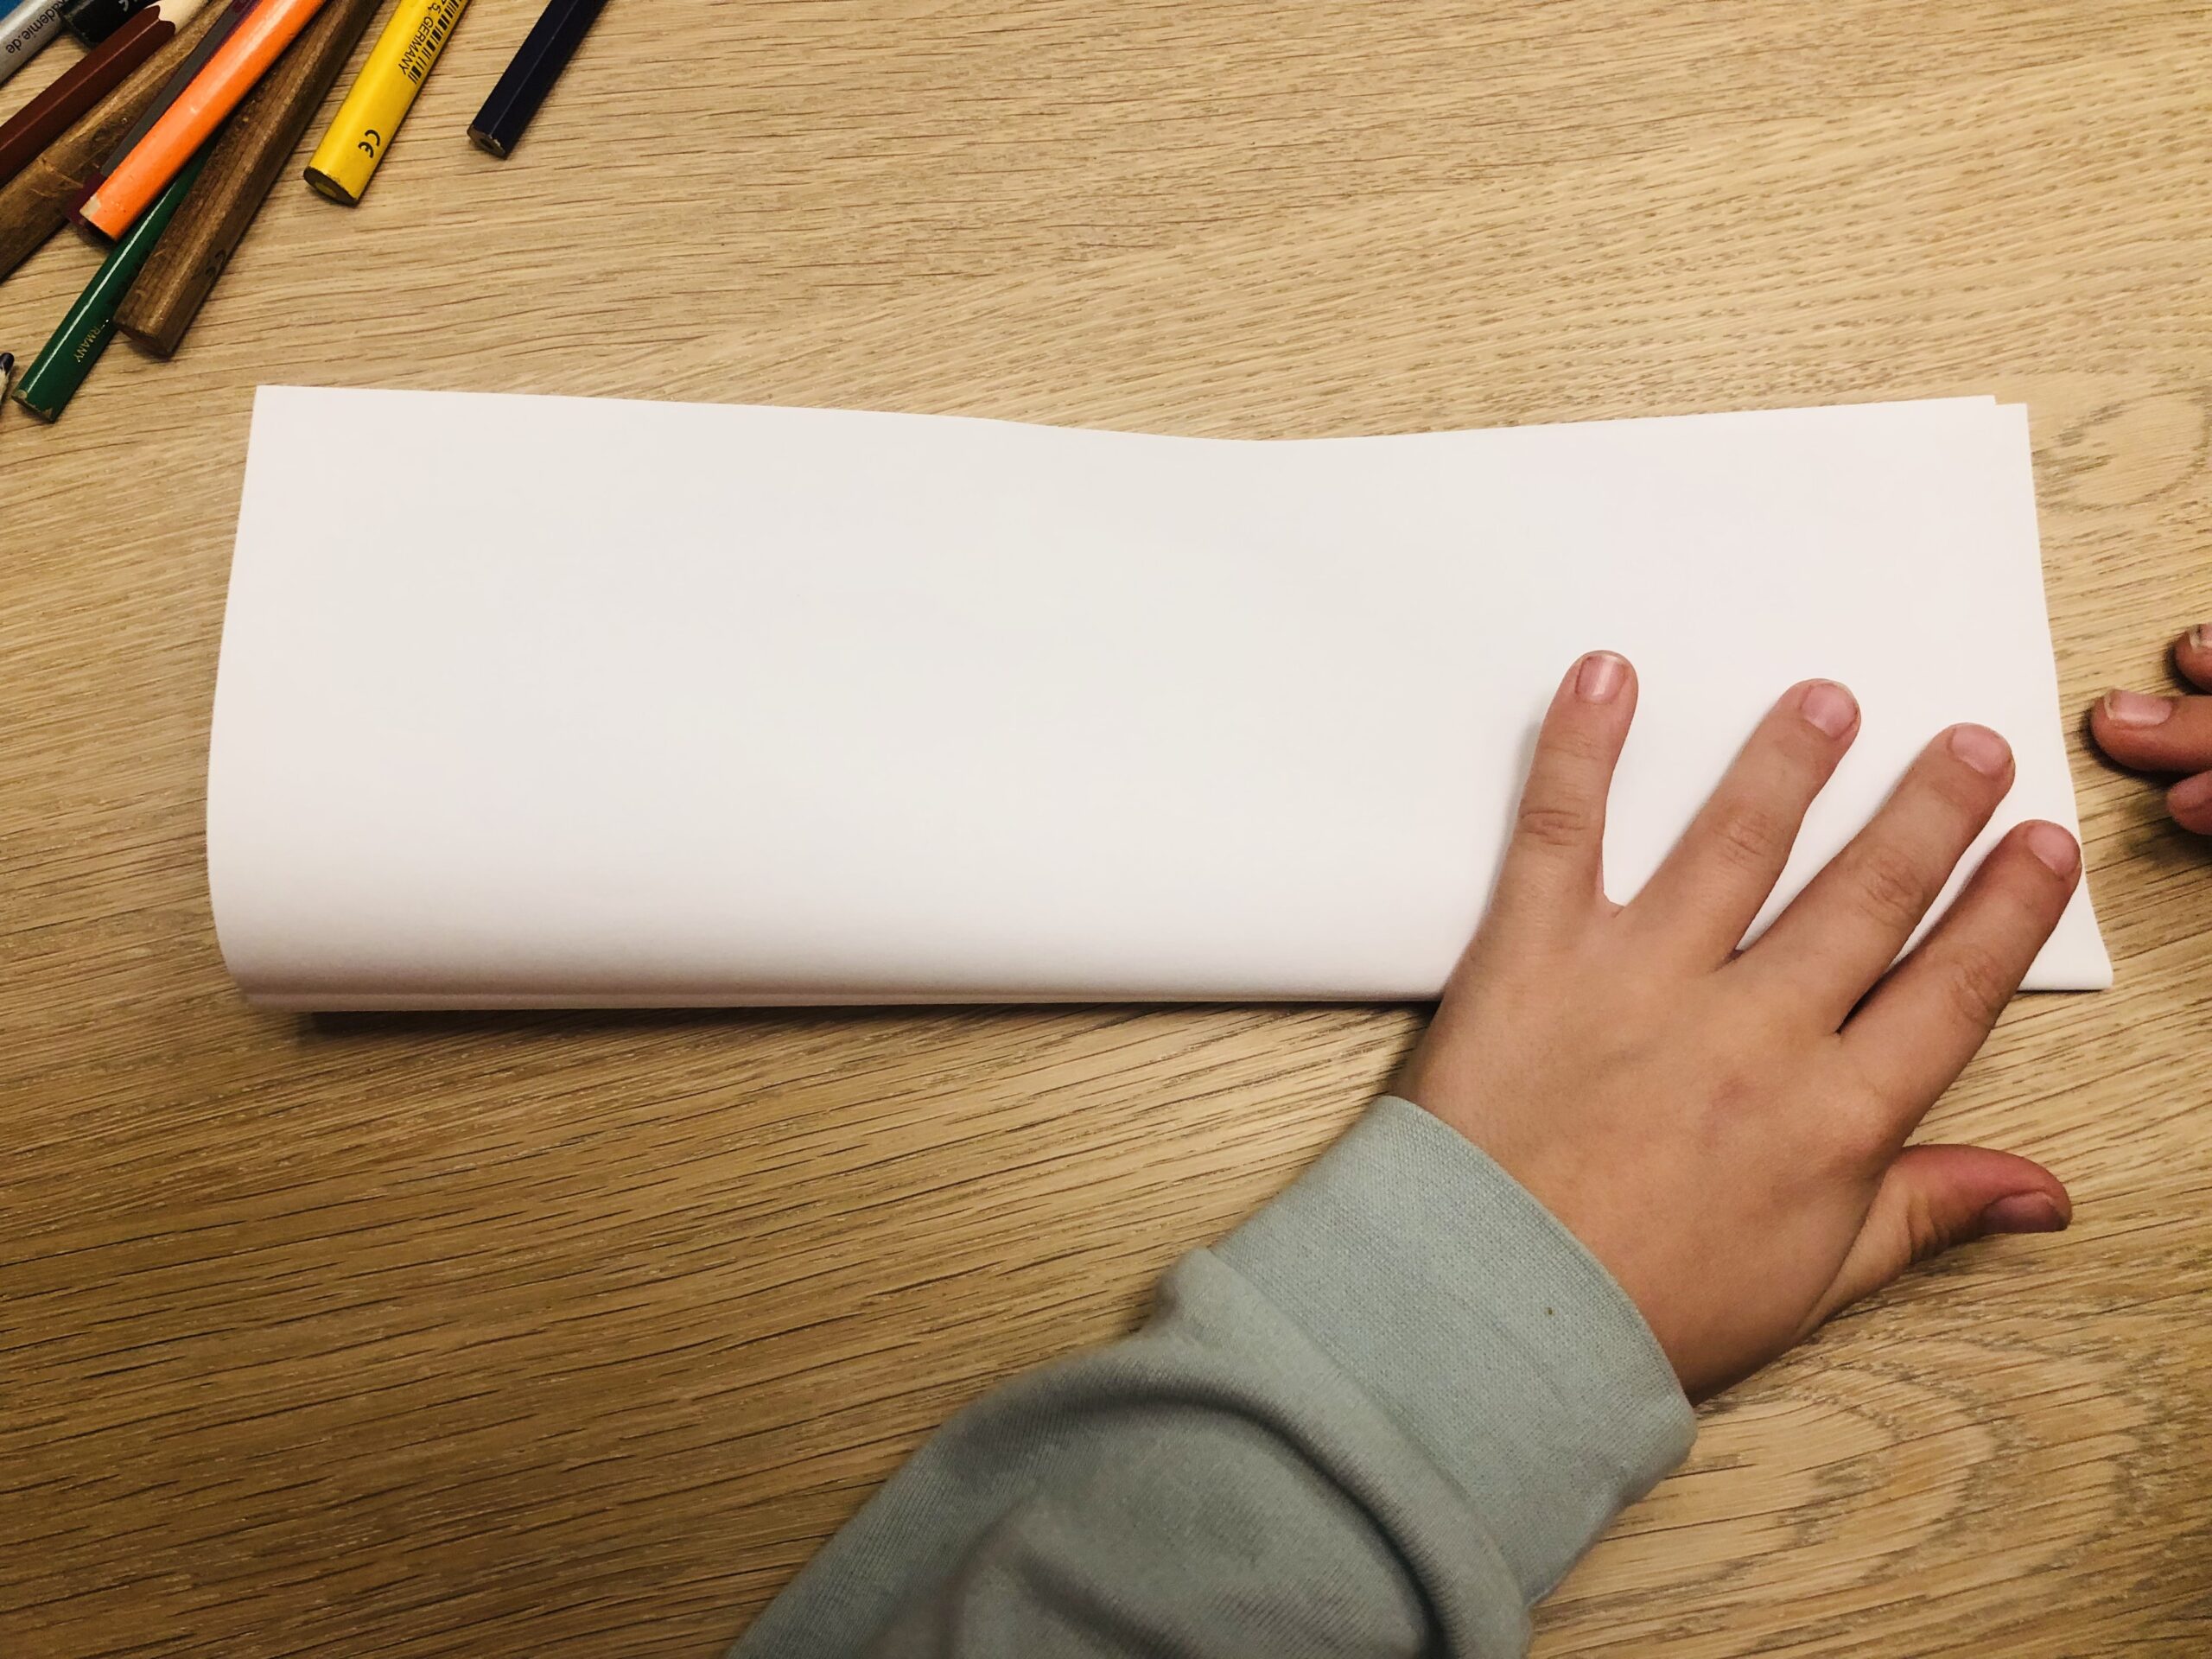


Now you fold the paper again and put it up in front of you.
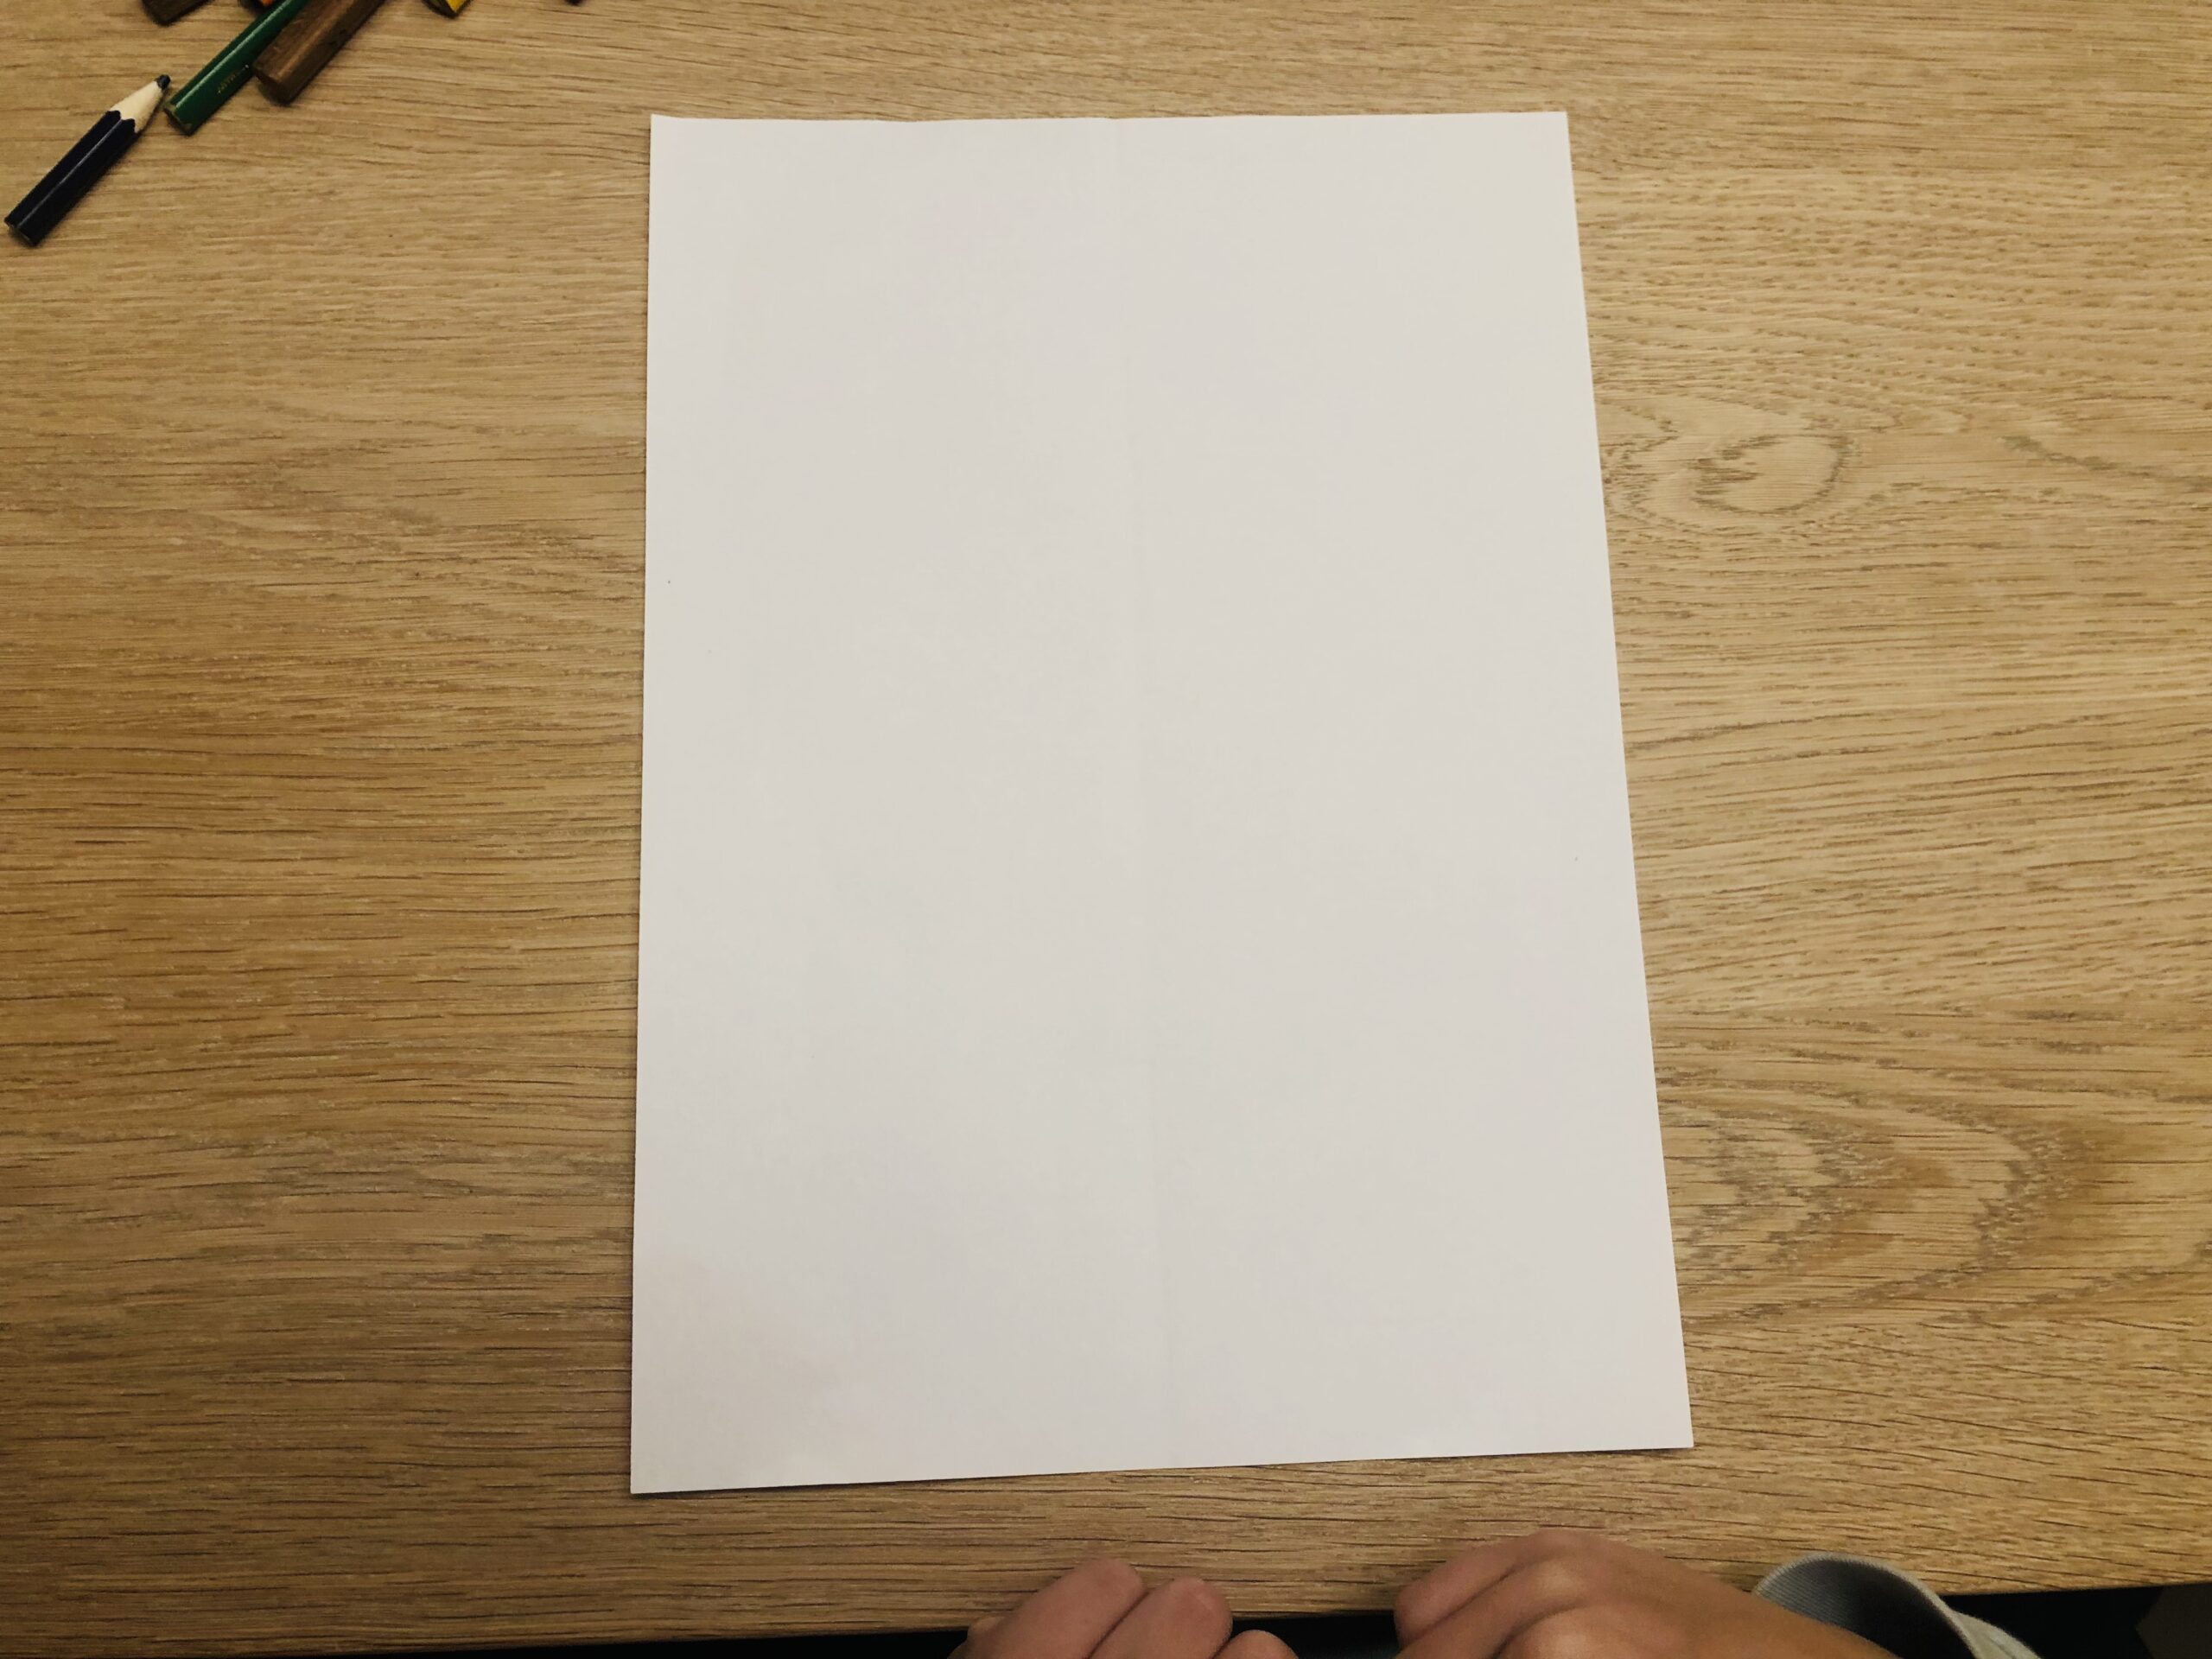


Now you fold away from the body upwards, corner on corner and strip the fracture vigorously.


Then you fold the paper apart again and turn it around, so that the crease points upwards. The fold now looks like a cross.


Then you fold the paper up again and now you strip the fracture vigorously from this side.
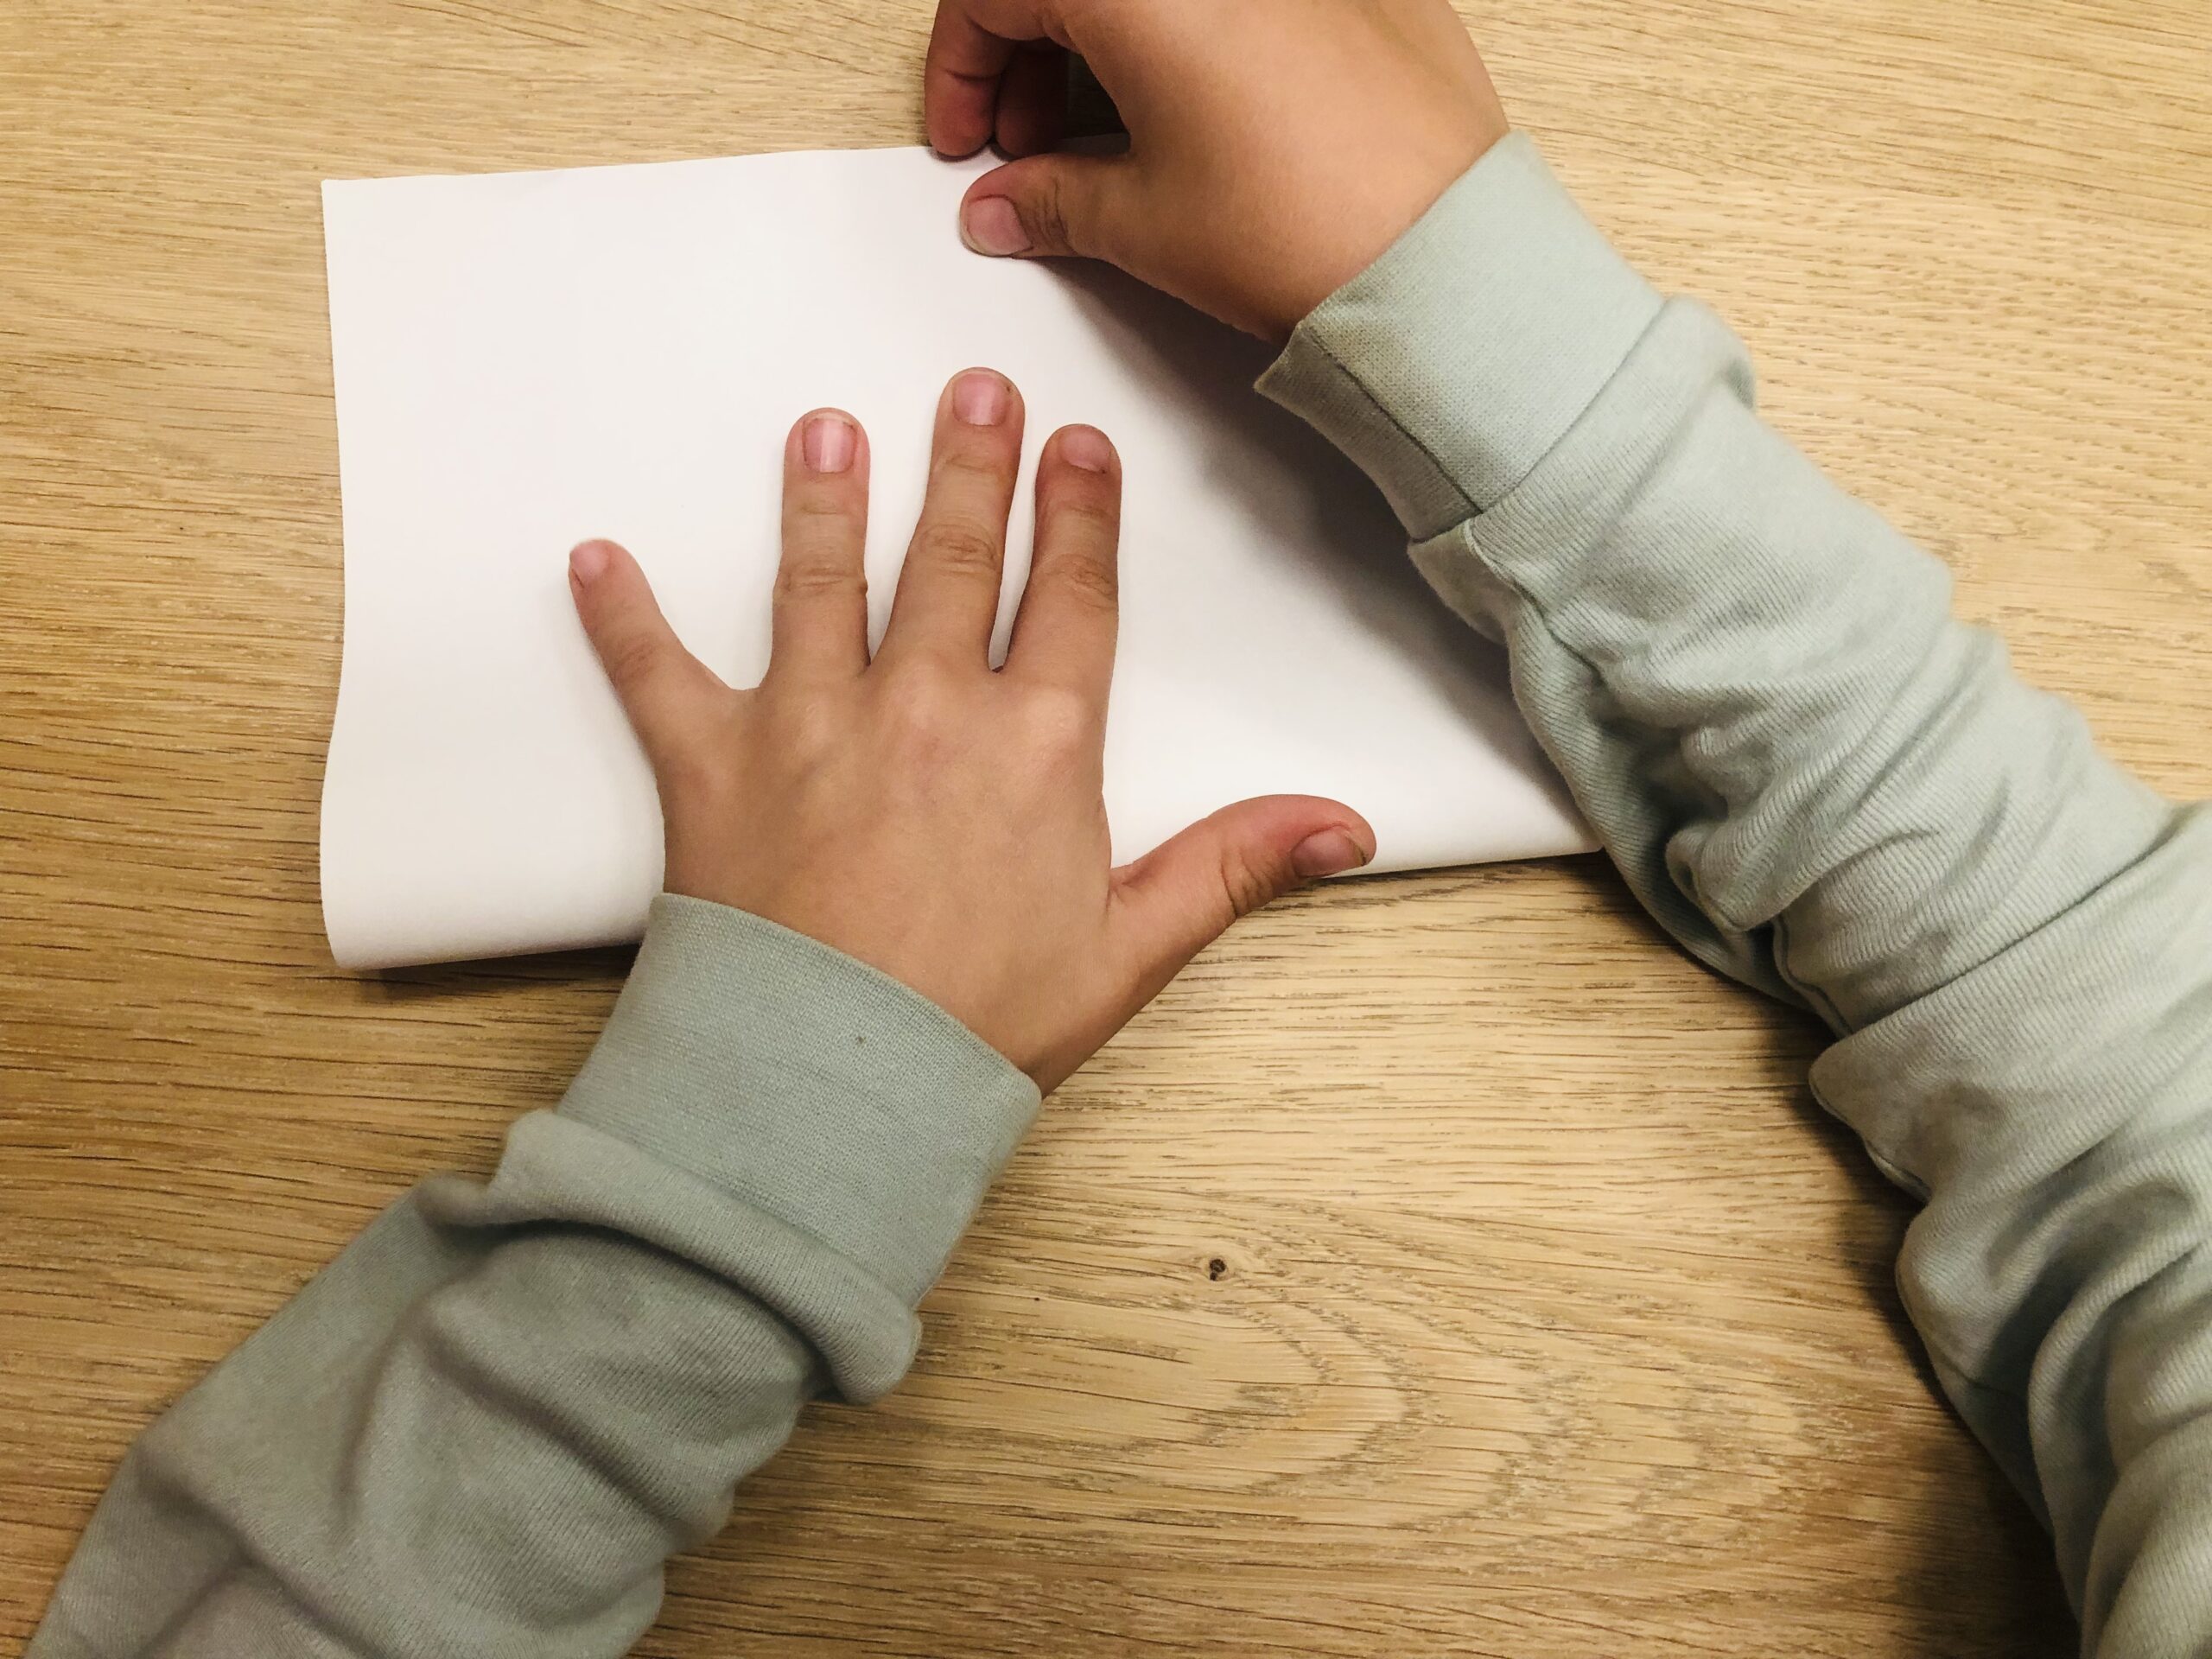


Now you fold the paper apart again. The paper lies high-edge in front of you. Now you fold the paper up to the middle line and strip out the fracture vigorously.
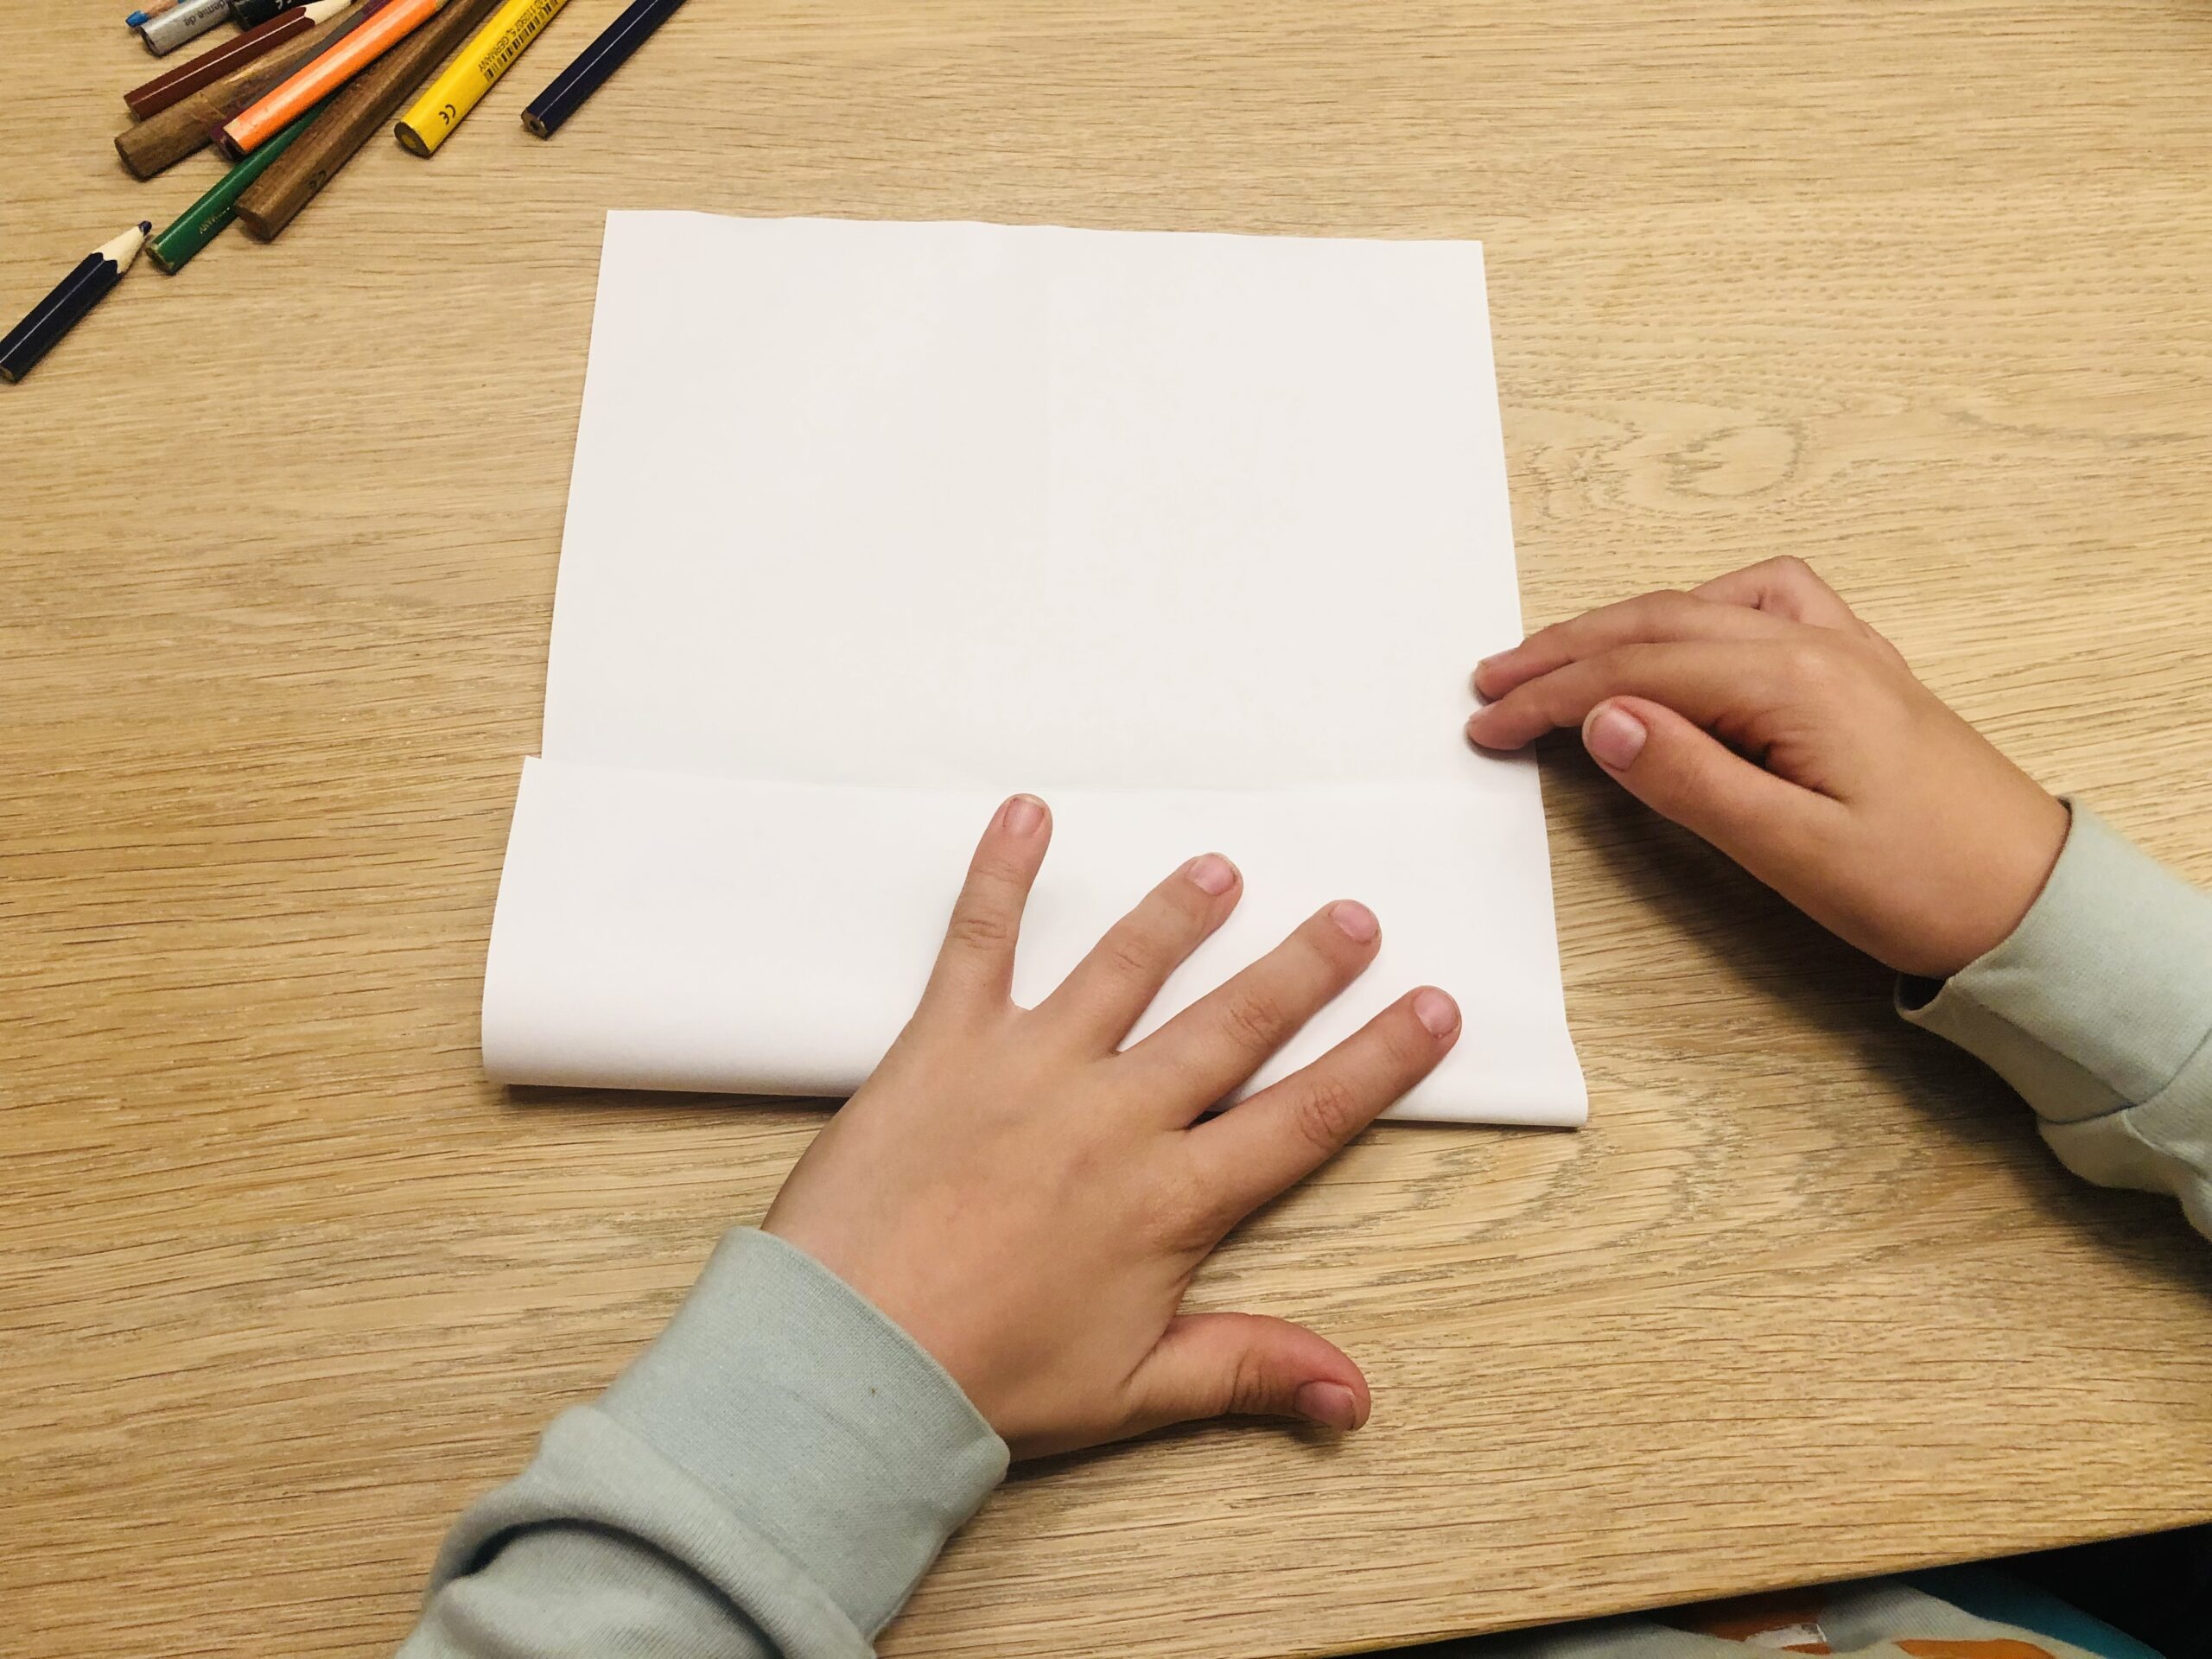


Then you fold the upper half up to the middle line, so that the fold looks like a cabinet. Strip out the fractures vigorously.
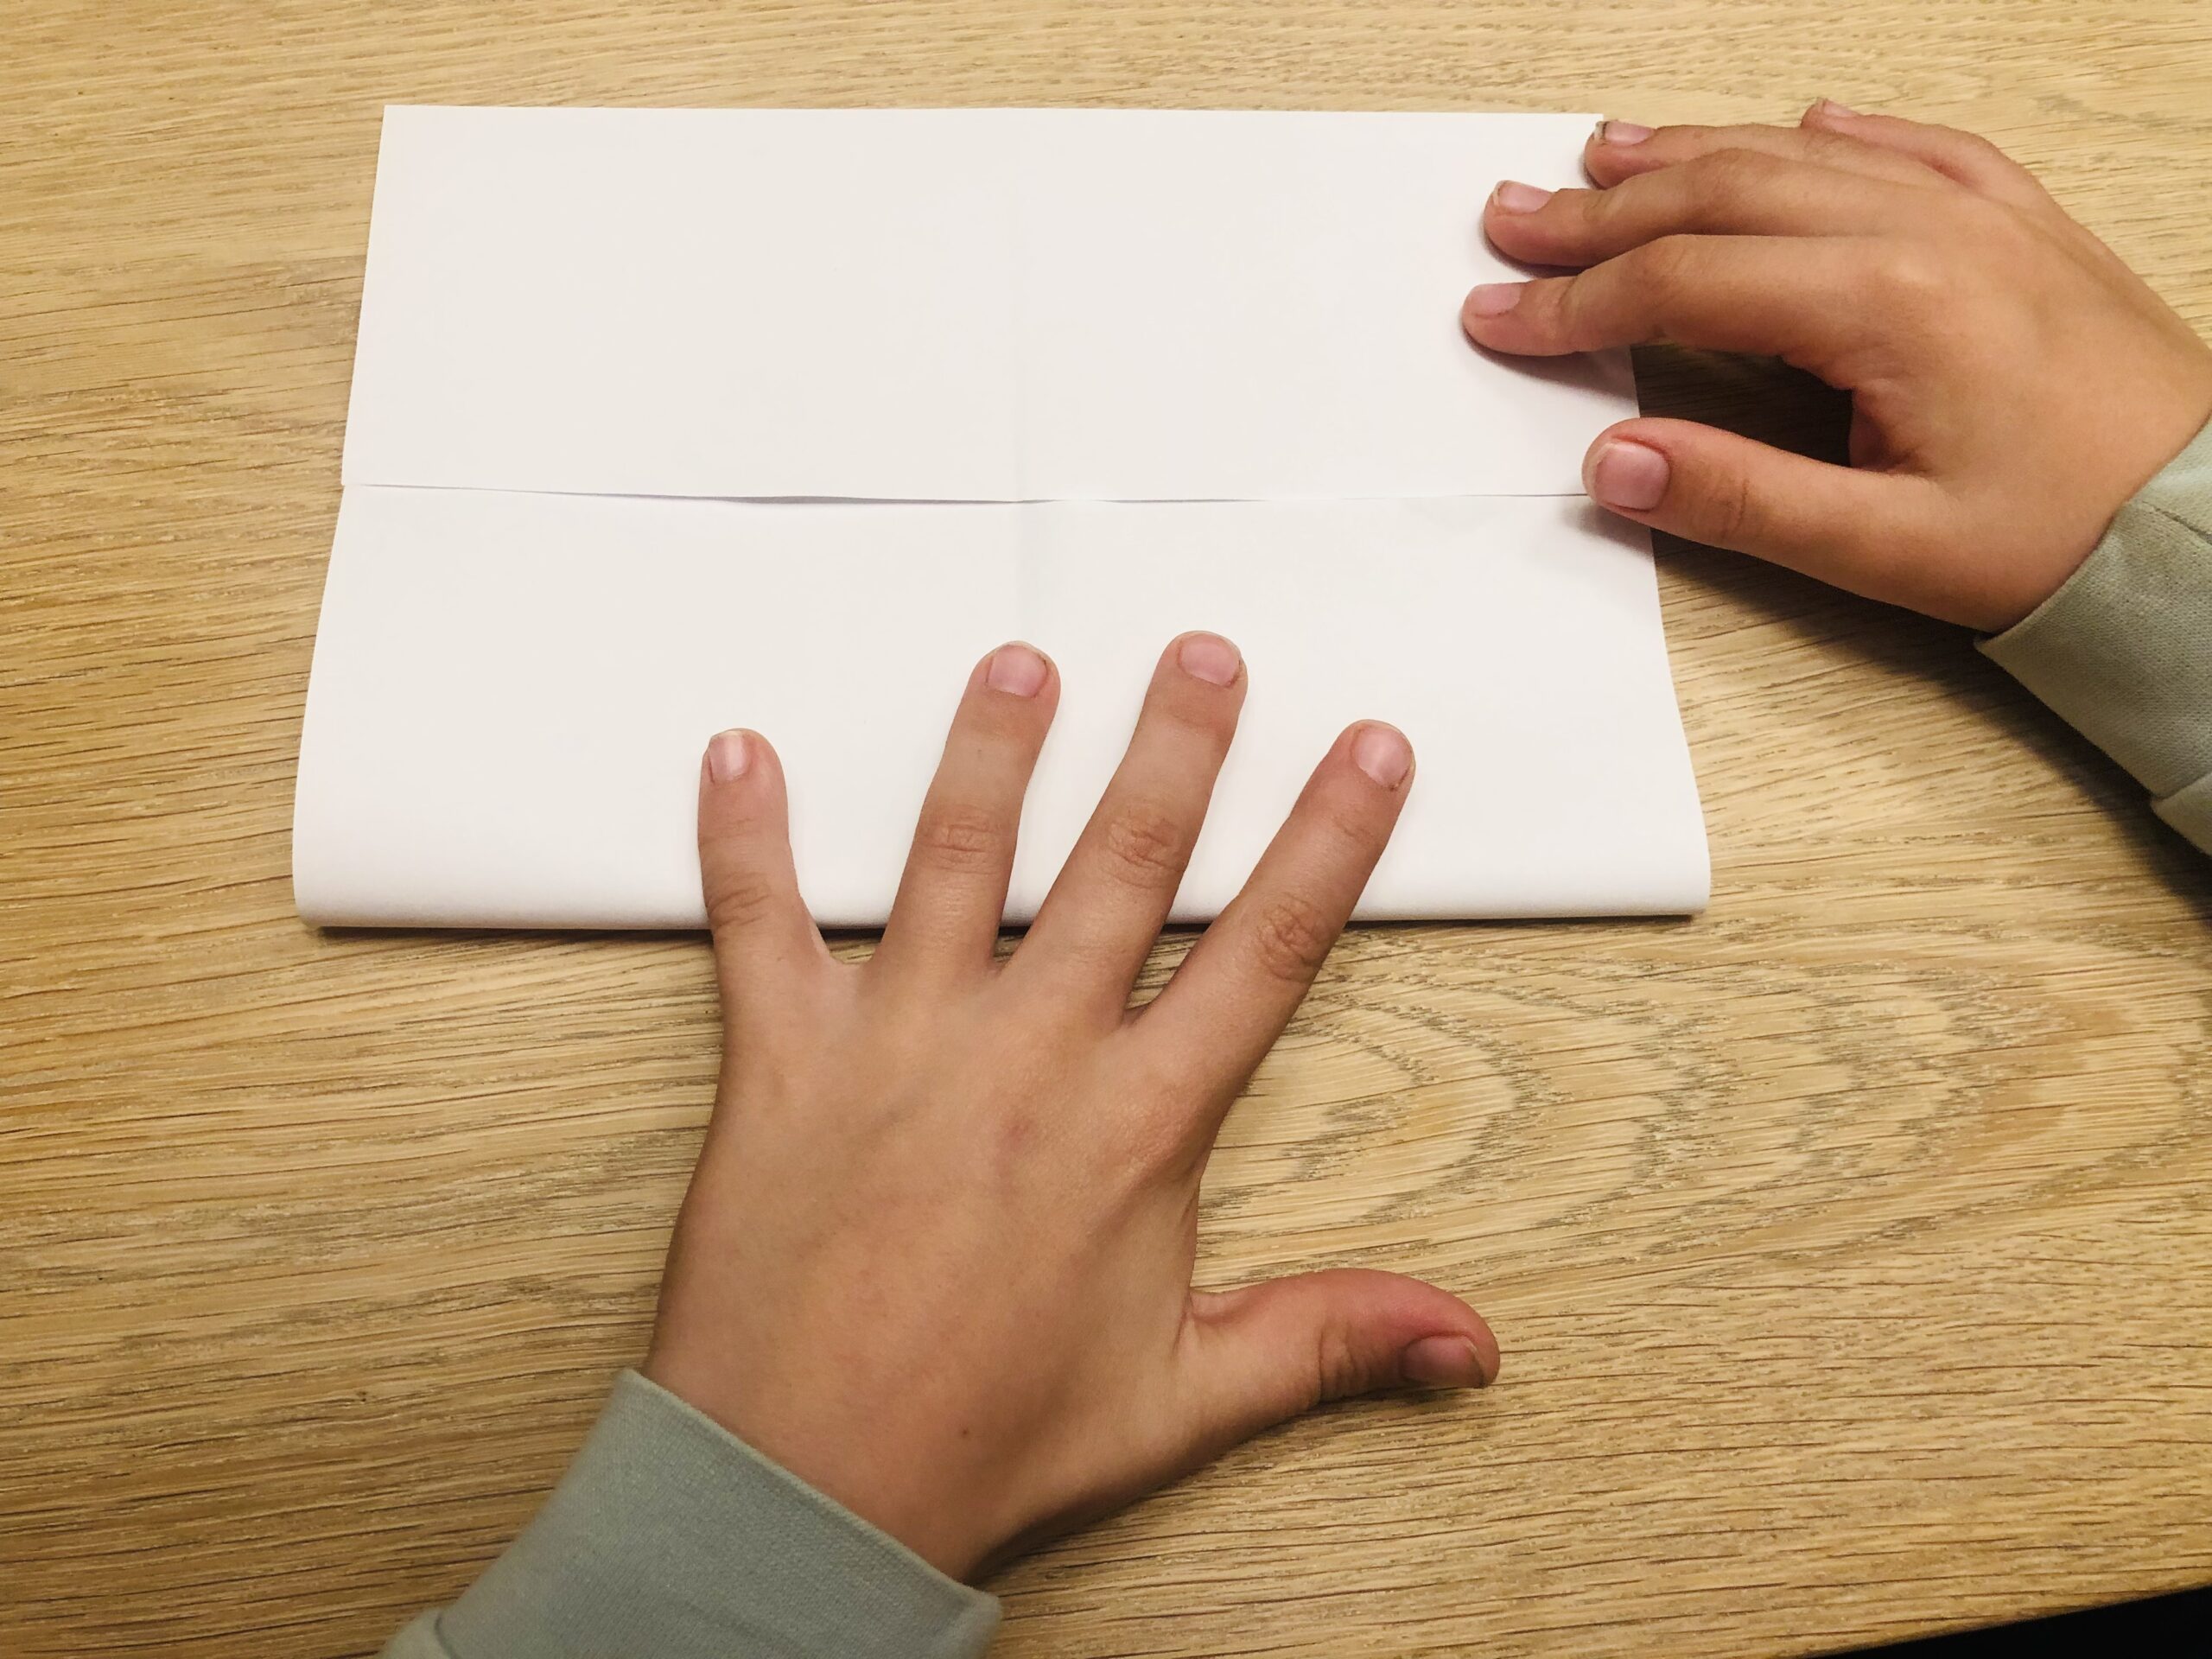


Now you fold the paper all over again and put it back up in front of you. Then you fold the whole paper from bottom to top, corner to corner.
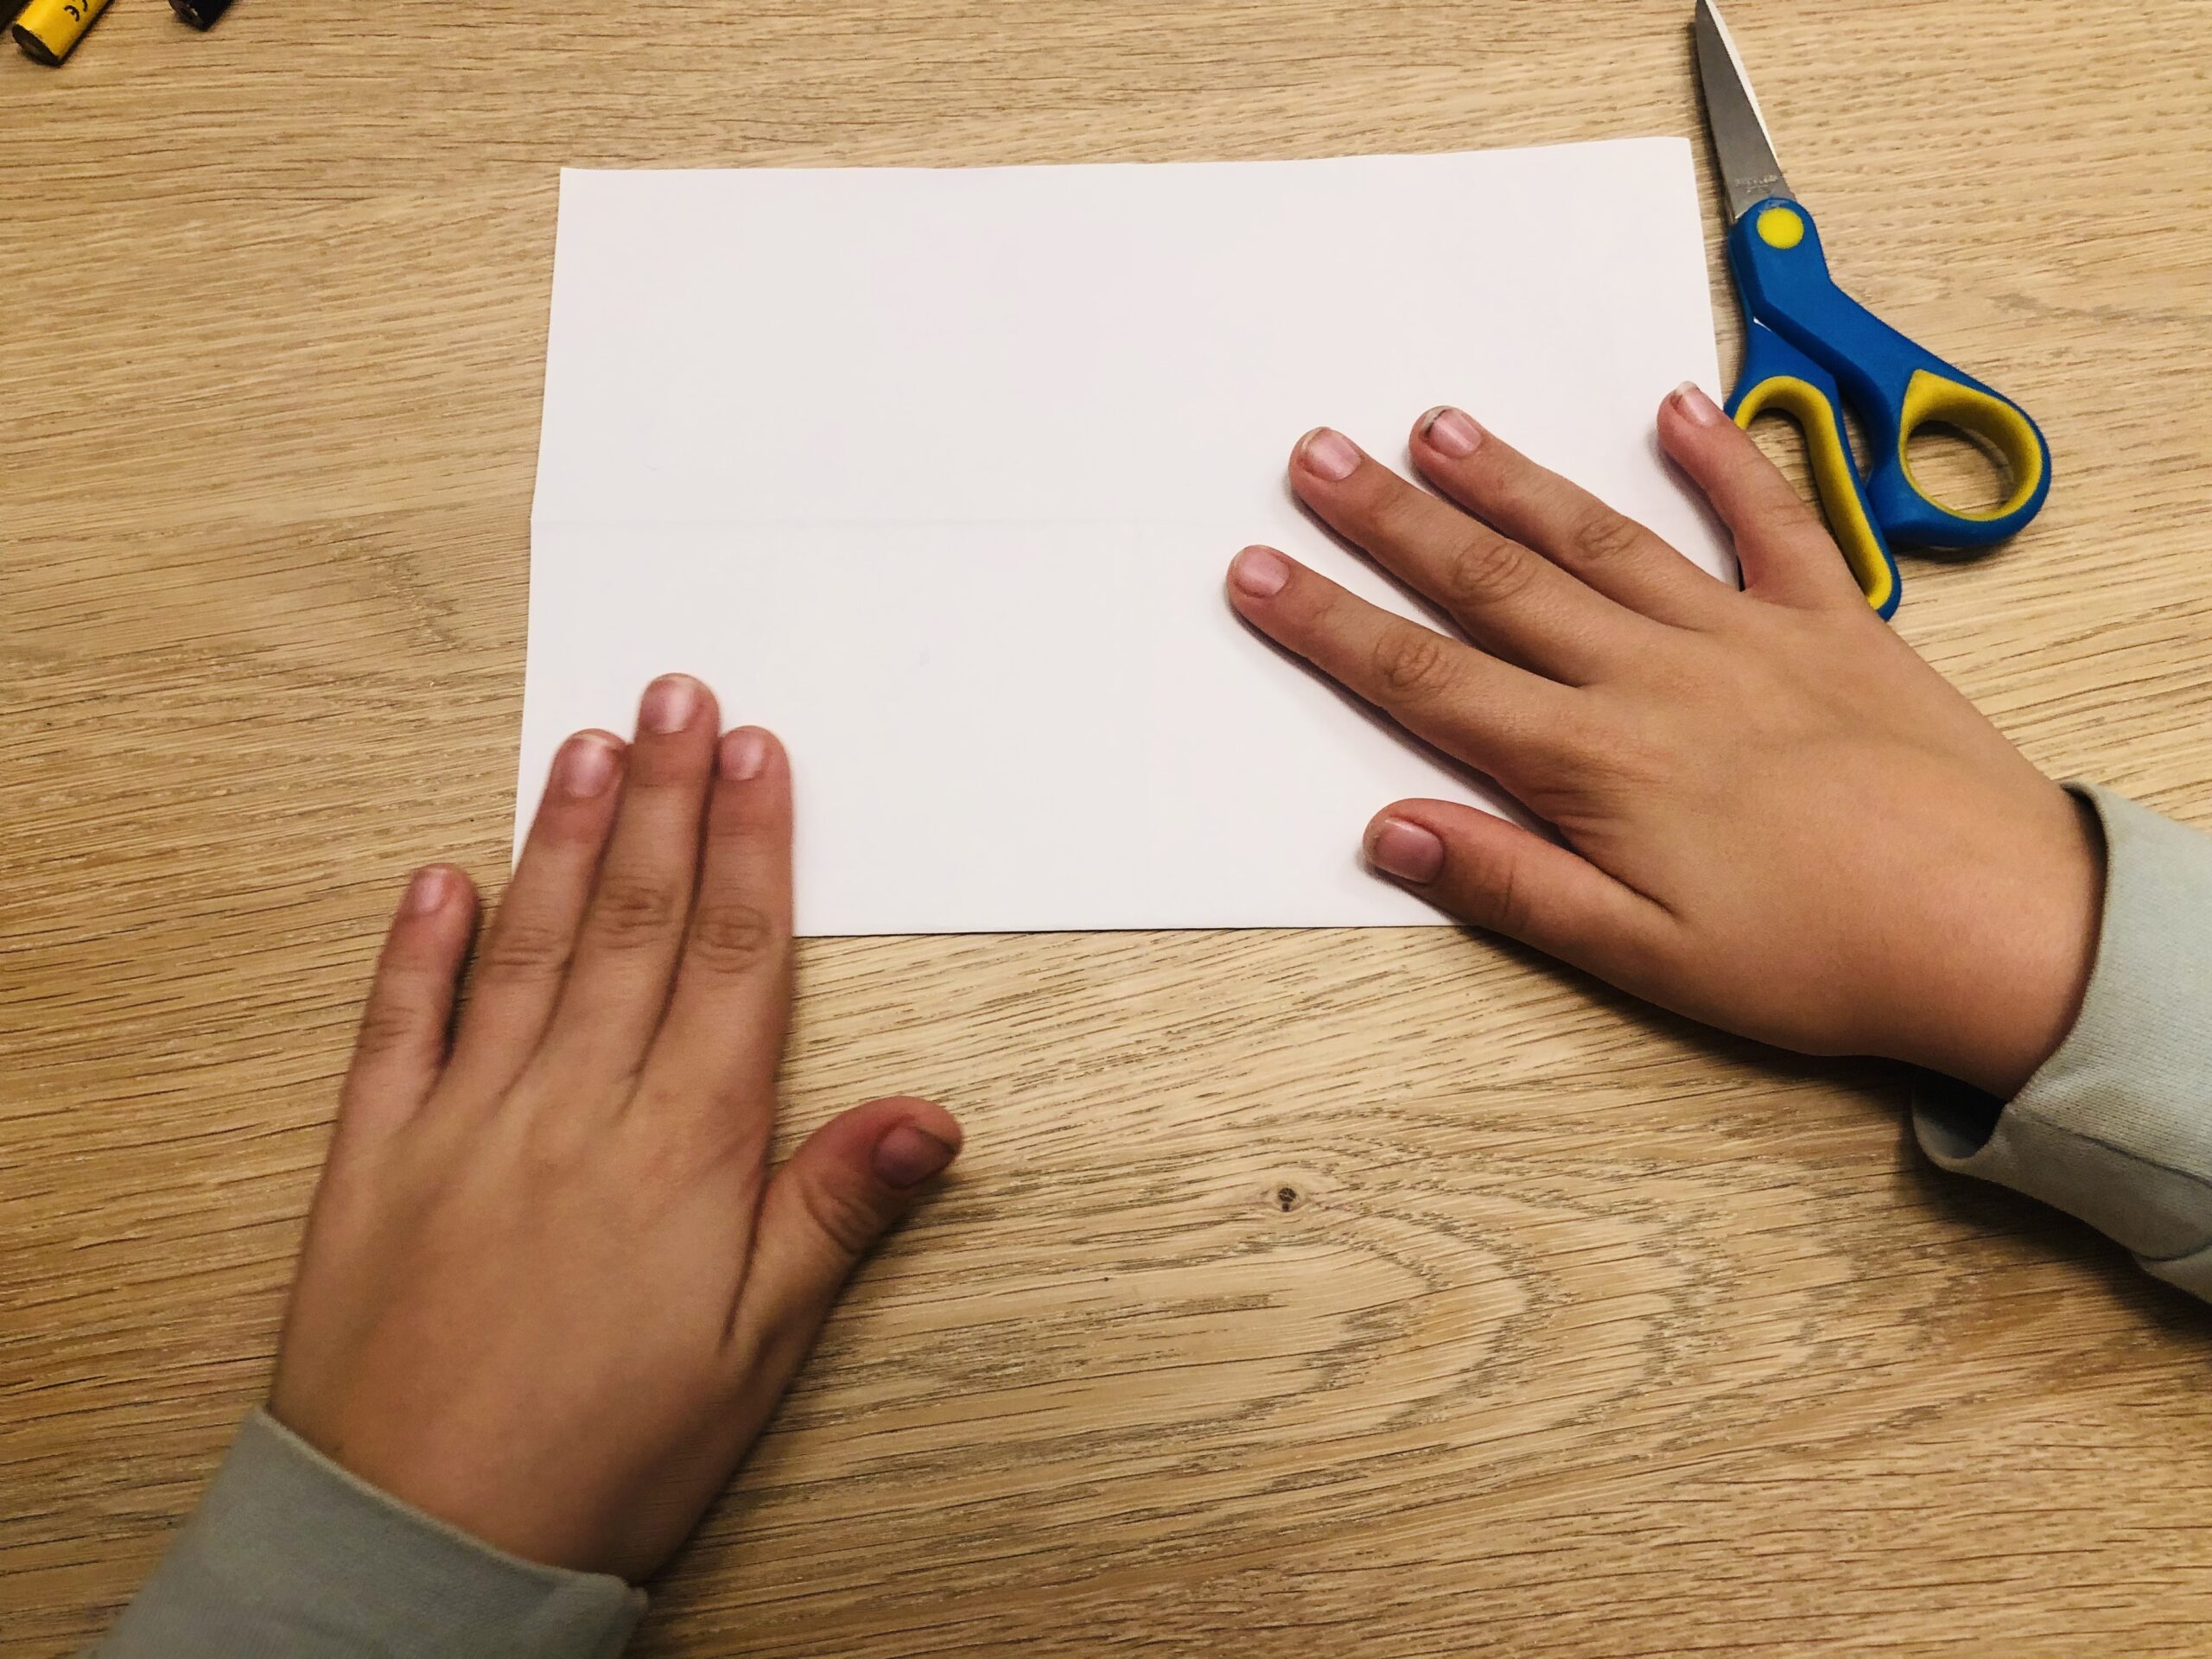


The closed side points to you. In this side you now cut up to half on the folded center line.


That's what the cut looks like now.
![Bild zum Schritt 14 für das Bastel- und DIY-Abenteuer für Kinder: 'So sieht der Schnitt nun aus.[Kind]So sieht der Schnitt aus....'](https://abenteuer-markt.de/wp-content/uploads/cooked/images/recipes/26266/directions/48125257-3B84A5BF-7661-4C0A-84F1-9E098FFBB953-scaled.jpeg)
![Bild zum Schritt 14 für das Bastel- und DIY-Abenteuer für Kinder: 'So sieht der Schnitt nun aus.[Kind]So sieht der Schnitt aus....'](https://abenteuer-markt.de/wp-content/uploads/cooked/images/recipes/26266/directions/48125257-3B84A5BF-7661-4C0A-84F1-9E098FFBB953-scaled.jpeg)
![Bild zum Schritt 14 für das Bastel- und DIY-Abenteuer für Kinder: 'So sieht der Schnitt nun aus.[Kind]So sieht der Schnitt aus....'](https://abenteuer-markt.de/wp-content/uploads/cooked/images/recipes/26266/directions/48125257-3B84A5BF-7661-4C0A-84F1-9E098FFBB953-scaled.jpeg)
Now fold the paper apart. Put it up in front of you and fold it together from left to right.
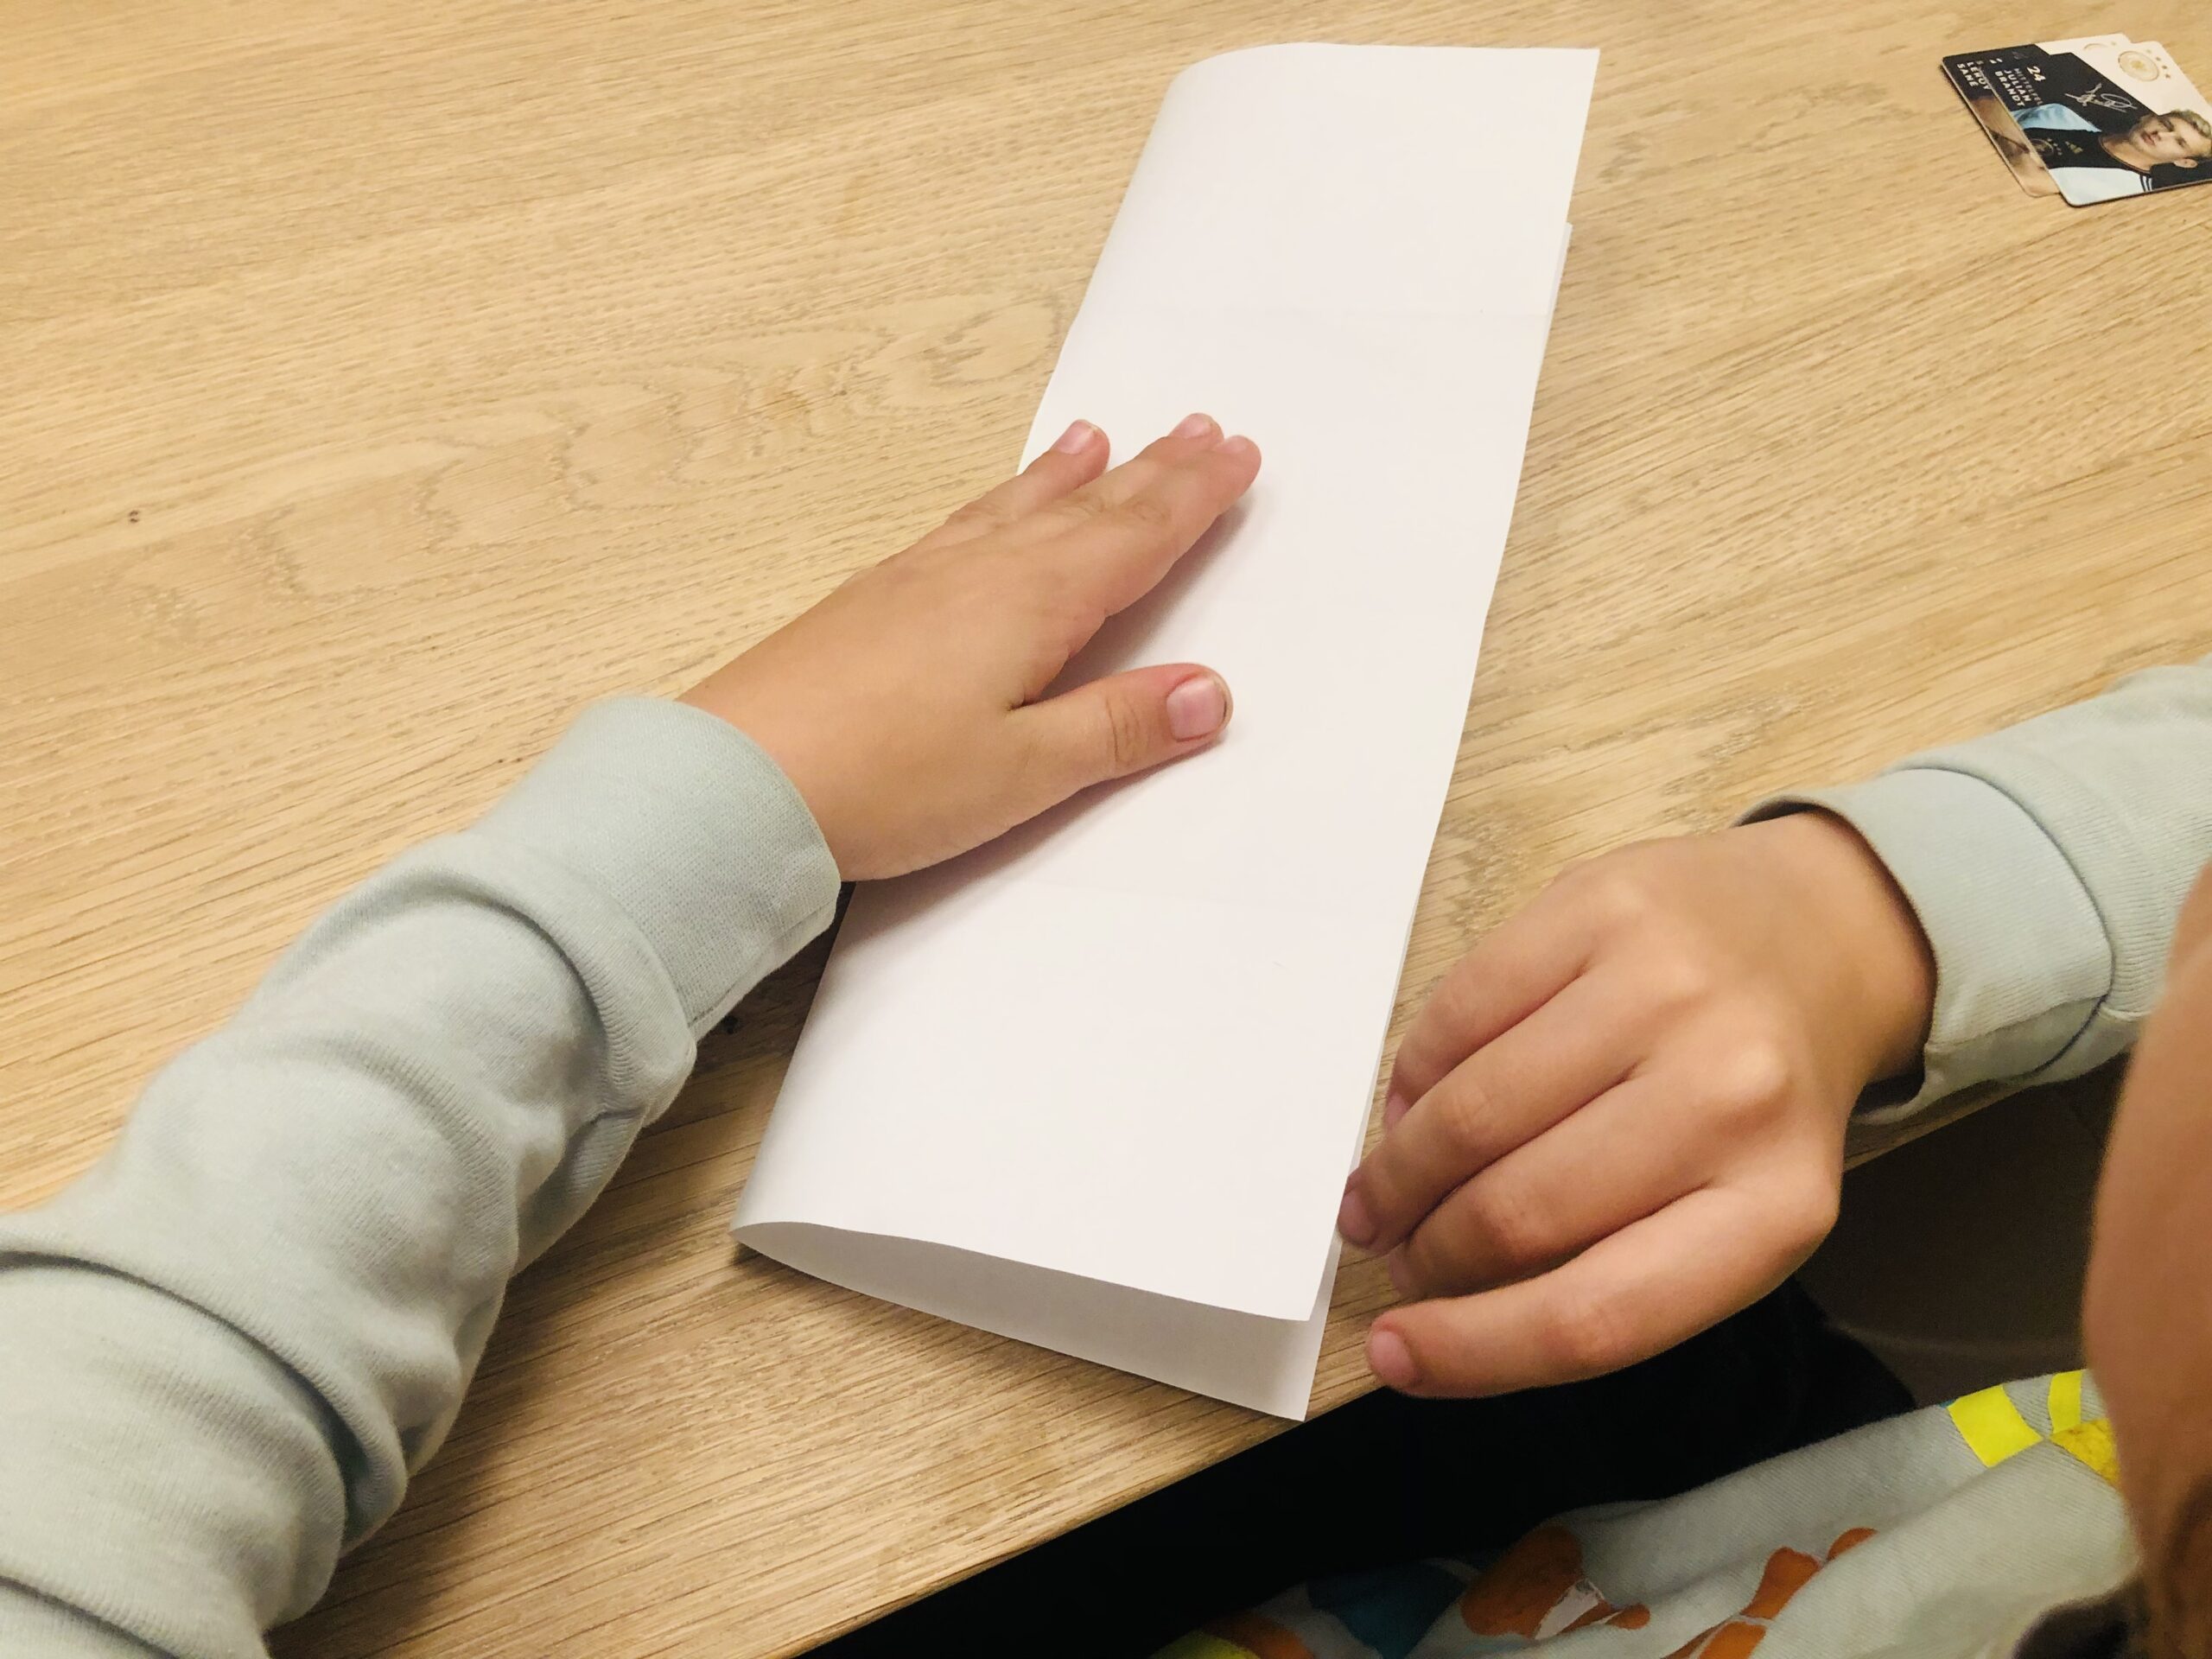


Then you put up the folded paper in length and push it together. A rhombus is created.
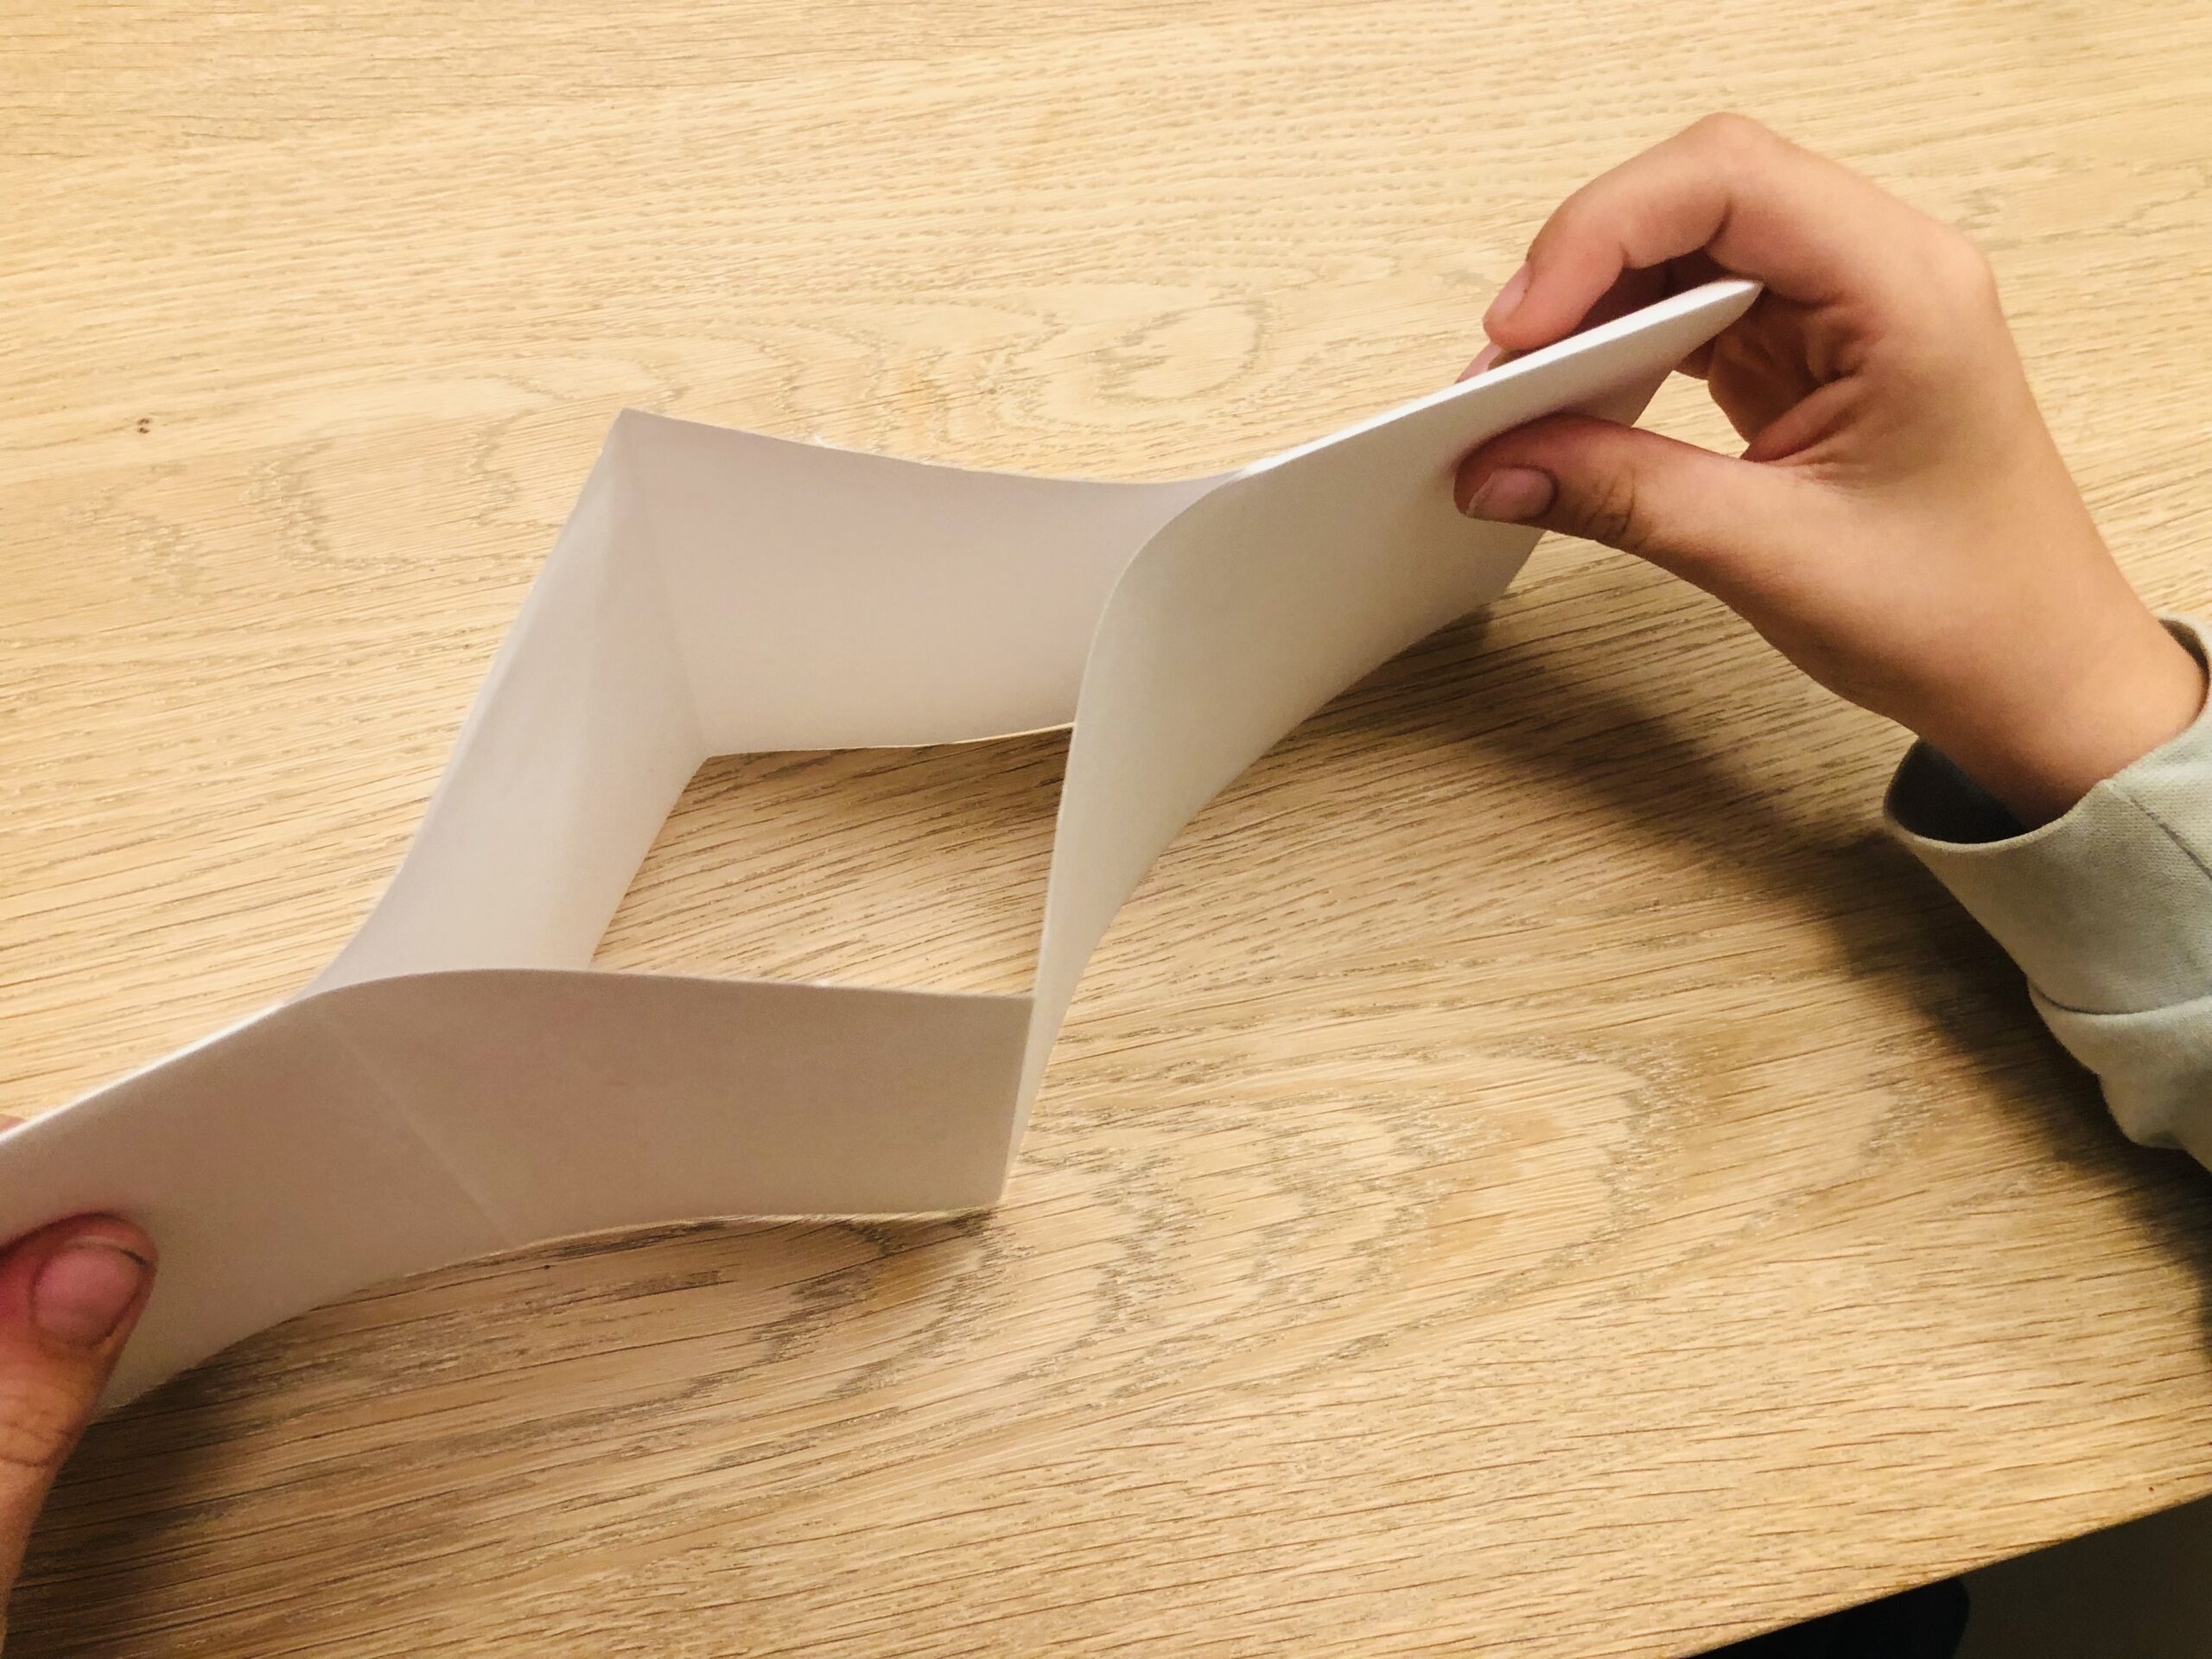


Keep pushing the paper together so it looks like a cross.
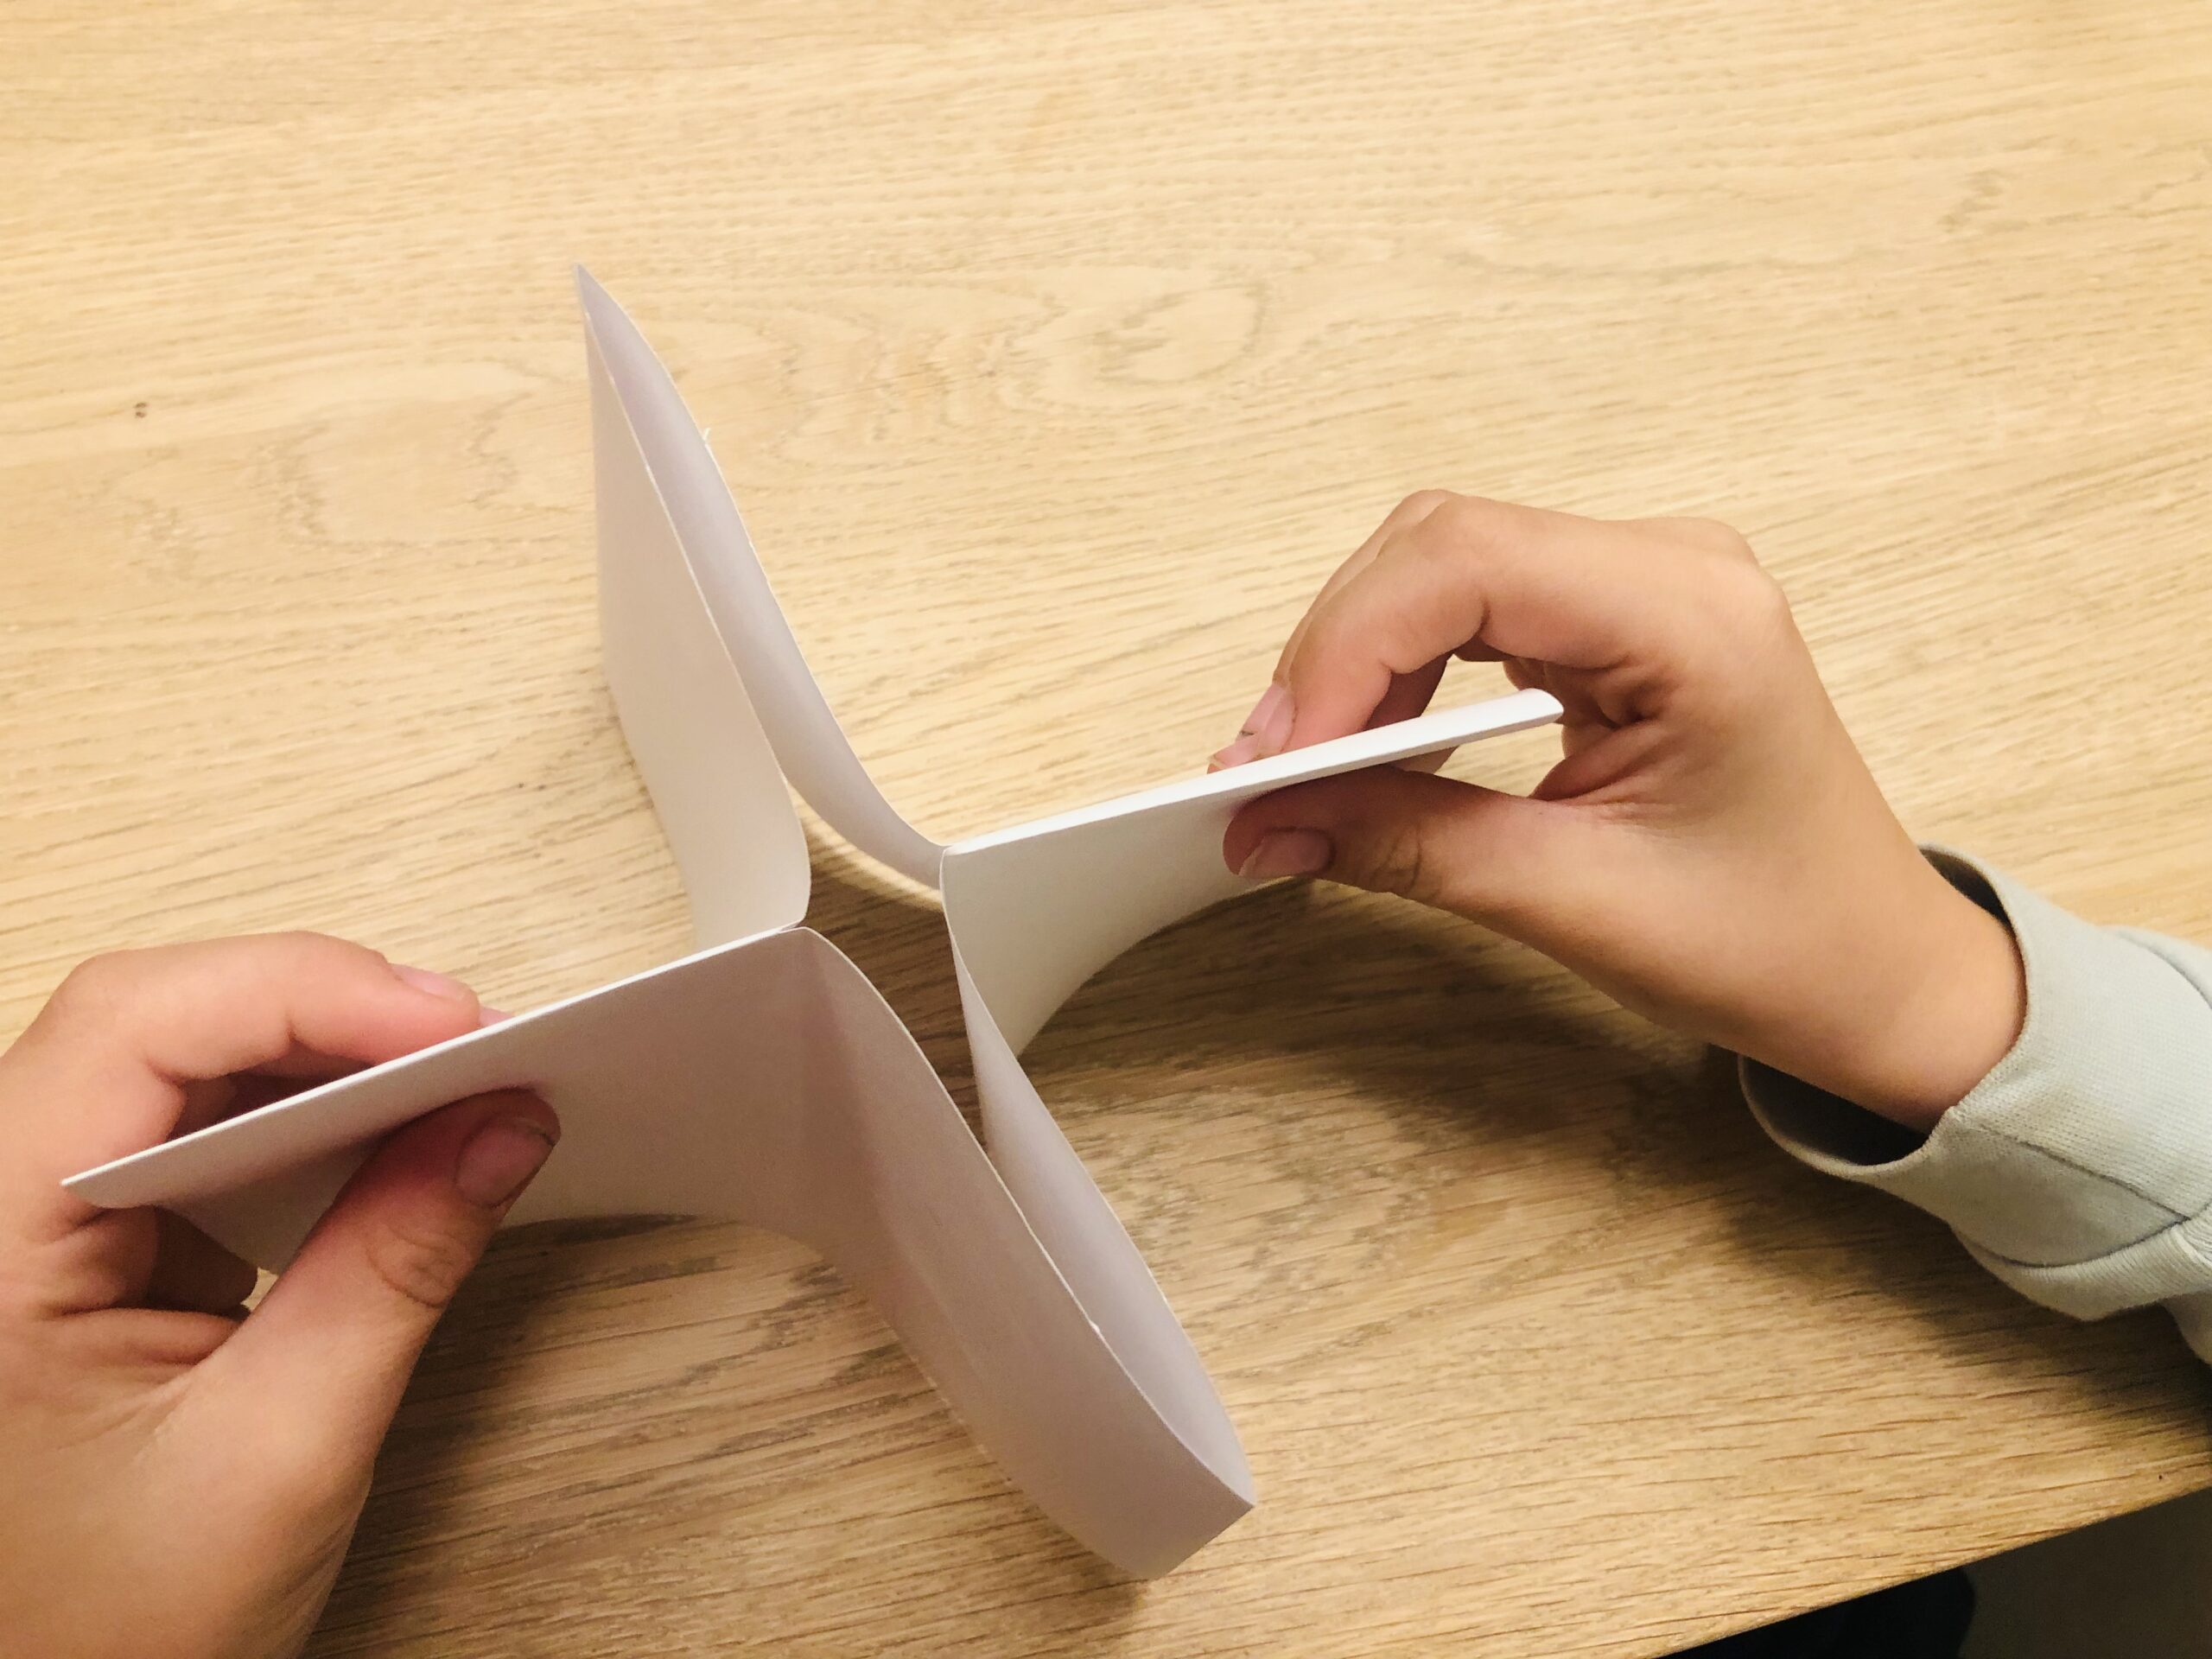


Then her side by side will work together.
![Bild zum Schritt 18 für das Bastel- und DIY-Abenteuer für Kinder: 'Dann klappt ihr Seite für Seite zusammen. [Kind]Dann klappst du...'](https://abenteuer-markt.de/wp-content/uploads/cooked/images/recipes/26266/directions/45698489-48907435-08E6-47EE-8EBF-E17F8211BC31-scaled.jpeg)
![Bild zum Schritt 18 für das Bastel- und DIY-Abenteuer für Kinder: 'Dann klappt ihr Seite für Seite zusammen. [Kind]Dann klappst du...'](https://abenteuer-markt.de/wp-content/uploads/cooked/images/recipes/26266/directions/45698489-48907435-08E6-47EE-8EBF-E17F8211BC31-scaled.jpeg)
![Bild zum Schritt 18 für das Bastel- und DIY-Abenteuer für Kinder: 'Dann klappt ihr Seite für Seite zusammen. [Kind]Dann klappst du...'](https://abenteuer-markt.de/wp-content/uploads/cooked/images/recipes/26266/directions/45698489-48907435-08E6-47EE-8EBF-E17F8211BC31-scaled.jpeg)
This is how the little book is created. Finally, push all sides together again.
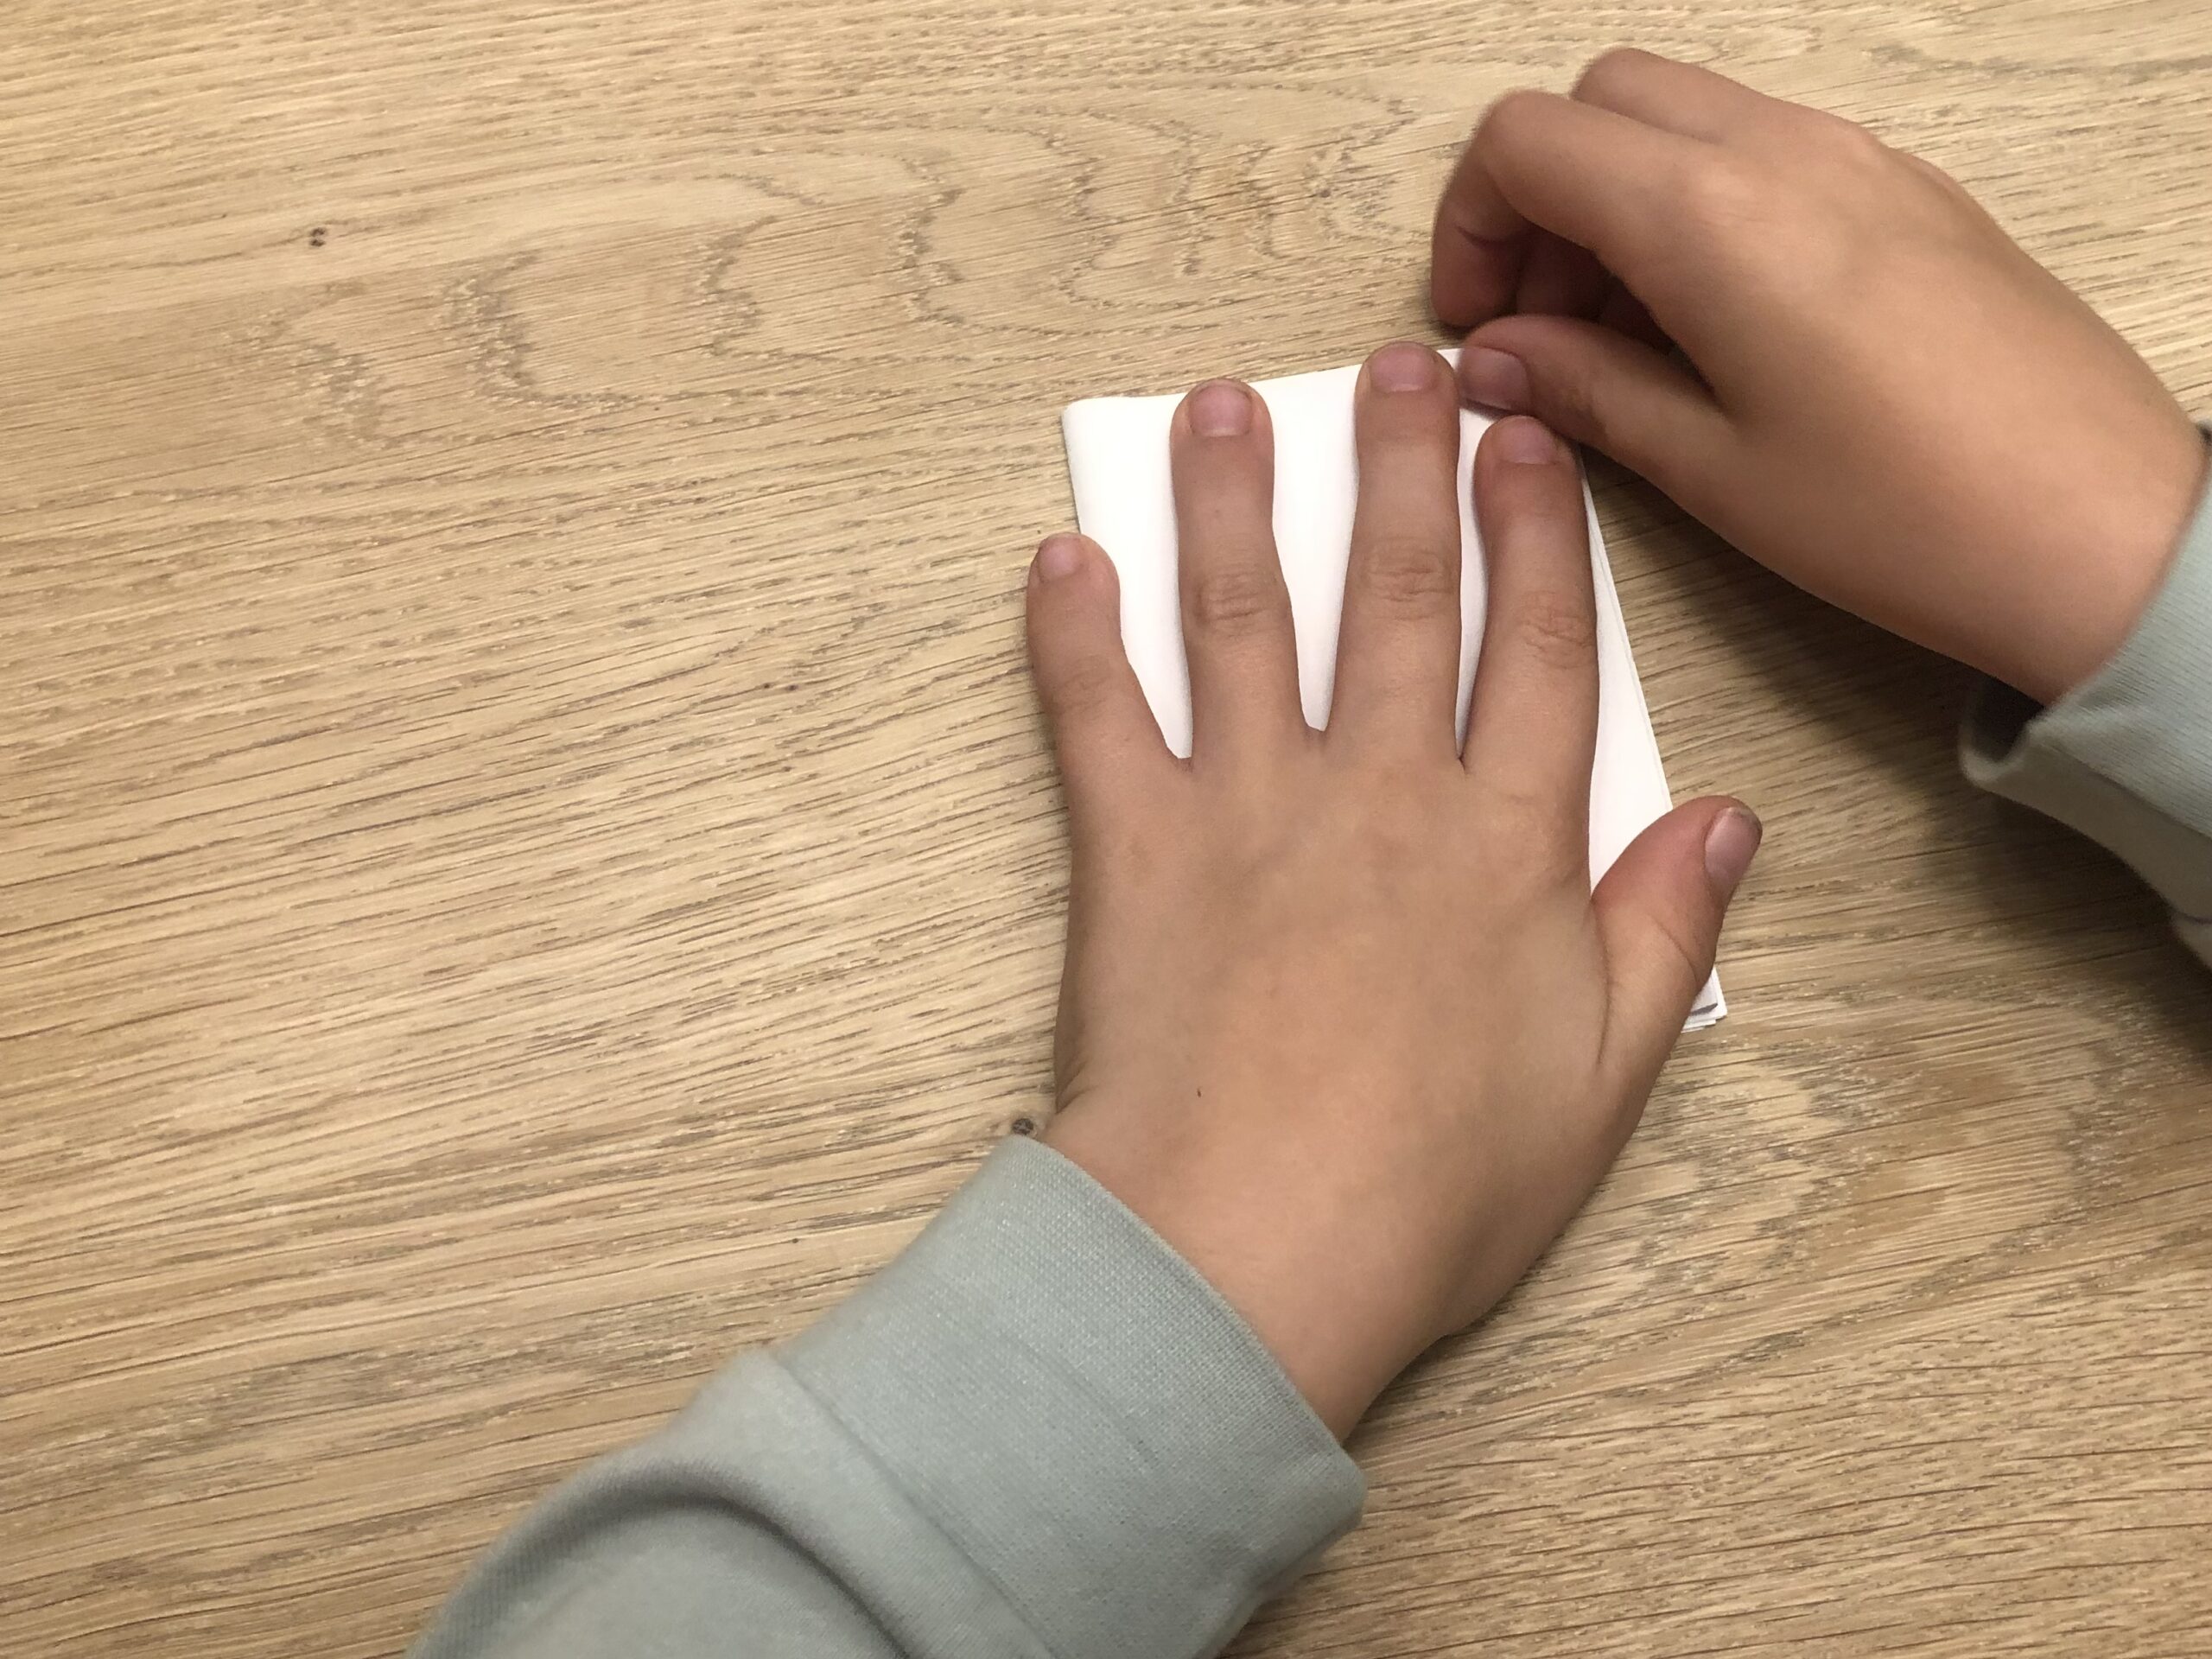


Now you can make up a story and get started. Have fun writing and designing.
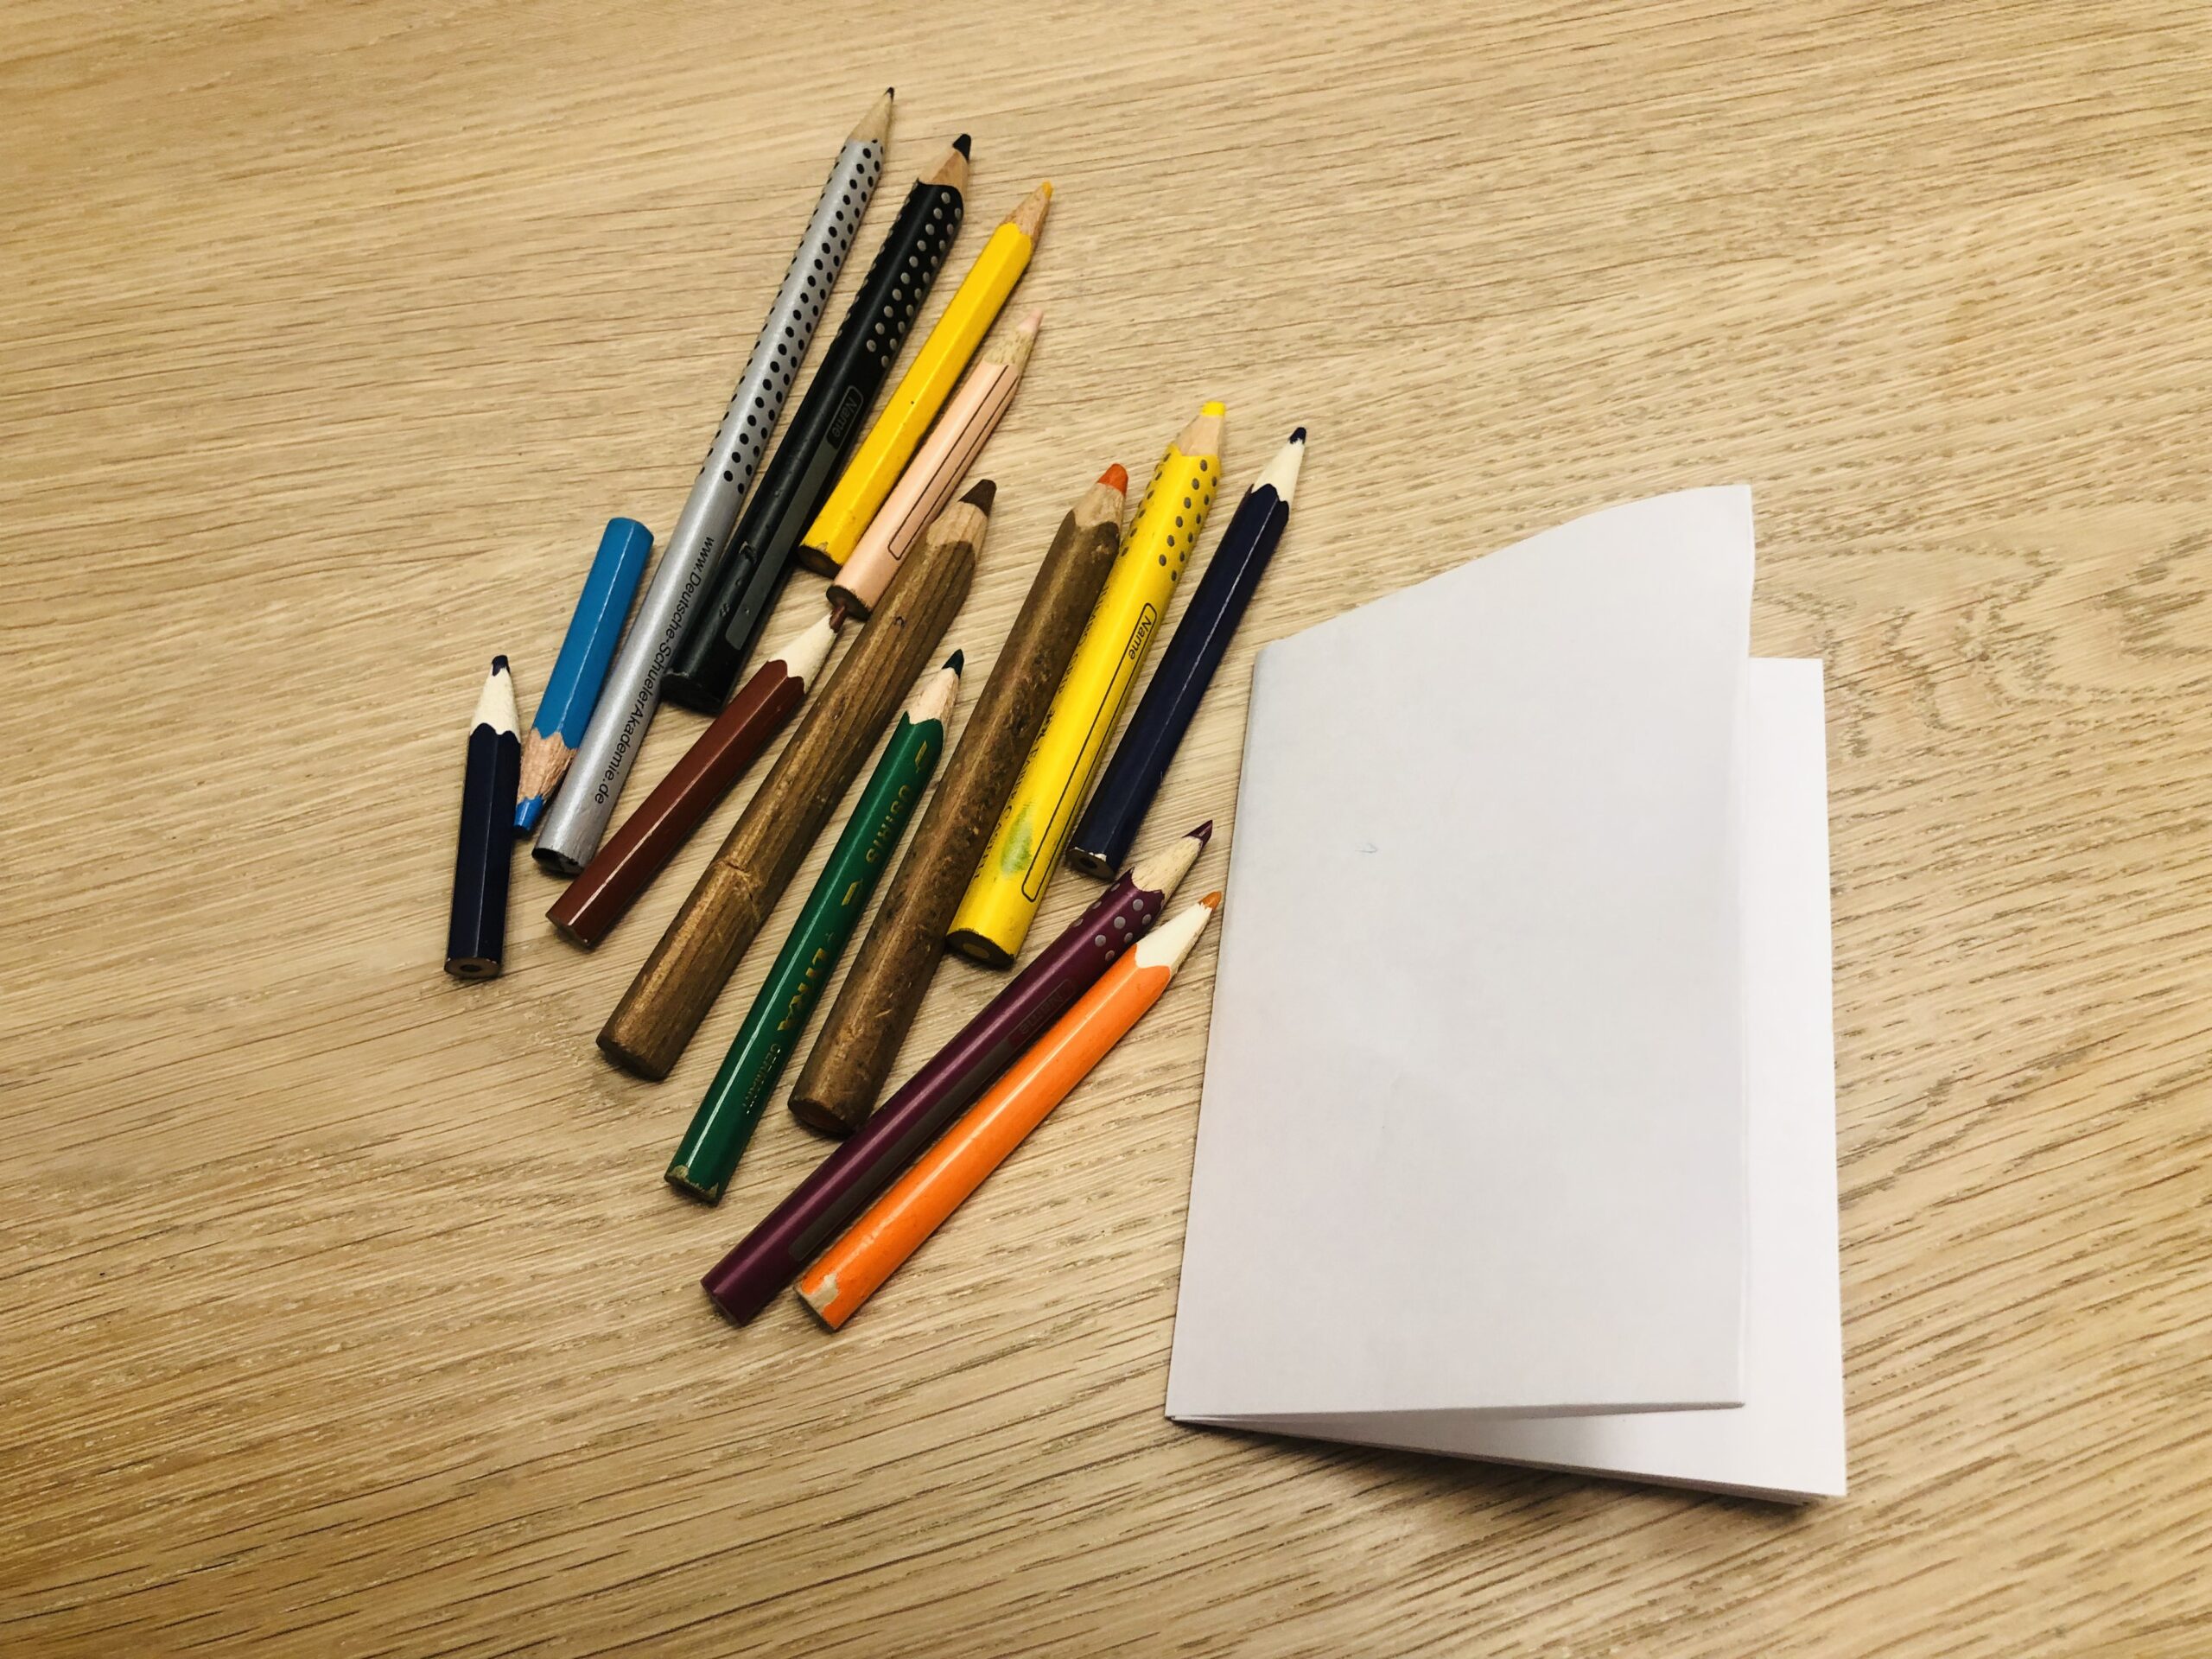


If you fold several of these little books, you can glue them together to form a thicker book.
Materials
Directions
First, lay out a colouring sheet and prepare the materials.
![Bild zum Schritt 1 für das Bastel- und DIY-Abenteuer für Kinder: 'Legt euch zuerst eine Malunterlage aus und die Materialien bereit.[Kind]Suche...'](https://abenteuer-markt.de/wp-content/uploads/cooked/images/recipes/26266/directions/45113990-6E5D8F00-E0C8-4024-A035-F8AFA942DCD2-scaled.jpeg)
![Bild zum Schritt 1 für das Bastel- und DIY-Abenteuer für Kinder: 'Legt euch zuerst eine Malunterlage aus und die Materialien bereit.[Kind]Suche...'](https://abenteuer-markt.de/wp-content/uploads/cooked/images/recipes/26266/directions/45113990-6E5D8F00-E0C8-4024-A035-F8AFA942DCD2-scaled.jpeg)
![Bild zum Schritt 1 für das Bastel- und DIY-Abenteuer für Kinder: 'Legt euch zuerst eine Malunterlage aus und die Materialien bereit.[Kind]Suche...'](https://abenteuer-markt.de/wp-content/uploads/cooked/images/recipes/26266/directions/45113990-6E5D8F00-E0C8-4024-A035-F8AFA942DCD2-scaled.jpeg)
The paper is in front of you, and you fold it from bottom to top, corner to corner.


Strip the fracture (i.e. the folding) well.
![Bild zum Schritt 3 für das Bastel- und DIY-Abenteuer für Kinder: 'Streift den Bruch (also die Faltung) gut aus. [Kind]Streife den...'](https://abenteuer-markt.de/wp-content/uploads/cooked/images/recipes/26266/directions/74967282-49C6E0E5-41AA-457E-A6BE-3FB75392F268-scaled.jpeg)
![Bild zum Schritt 3 für das Bastel- und DIY-Abenteuer für Kinder: 'Streift den Bruch (also die Faltung) gut aus. [Kind]Streife den...'](https://abenteuer-markt.de/wp-content/uploads/cooked/images/recipes/26266/directions/74967282-49C6E0E5-41AA-457E-A6BE-3FB75392F268-scaled.jpeg)
![Bild zum Schritt 3 für das Bastel- und DIY-Abenteuer für Kinder: 'Streift den Bruch (also die Faltung) gut aus. [Kind]Streife den...'](https://abenteuer-markt.de/wp-content/uploads/cooked/images/recipes/26266/directions/74967282-49C6E0E5-41AA-457E-A6BE-3FB75392F268-scaled.jpeg)
After that, you fold the paper again and turn it around, so that the crease points upwards.


Then you fold the paper up again and now you strip the fracture vigorously from this side.


Now you fold the paper again and put it up in front of you.


Now you fold away from the body upwards, corner on corner and strip the fracture vigorously.


Then you fold the paper apart again and turn it around, so that the crease points upwards. The fold now looks like a cross.


Then you fold the paper up again and now you strip the fracture vigorously from this side.


Now you fold the paper apart again. The paper lies high-edge in front of you. Now you fold the paper up to the middle line and strip out the fracture vigorously.


Then you fold the upper half up to the middle line, so that the fold looks like a cabinet. Strip out the fractures vigorously.


Now you fold the paper all over again and put it back up in front of you. Then you fold the whole paper from bottom to top, corner to corner.


The closed side points to you. In this side you now cut up to half on the folded center line.


That's what the cut looks like now.
![Bild zum Schritt 14 für das Bastel- und DIY-Abenteuer für Kinder: 'So sieht der Schnitt nun aus.[Kind]So sieht der Schnitt aus....'](https://abenteuer-markt.de/wp-content/uploads/cooked/images/recipes/26266/directions/48125257-3B84A5BF-7661-4C0A-84F1-9E098FFBB953-scaled.jpeg)
![Bild zum Schritt 14 für das Bastel- und DIY-Abenteuer für Kinder: 'So sieht der Schnitt nun aus.[Kind]So sieht der Schnitt aus....'](https://abenteuer-markt.de/wp-content/uploads/cooked/images/recipes/26266/directions/48125257-3B84A5BF-7661-4C0A-84F1-9E098FFBB953-scaled.jpeg)
![Bild zum Schritt 14 für das Bastel- und DIY-Abenteuer für Kinder: 'So sieht der Schnitt nun aus.[Kind]So sieht der Schnitt aus....'](https://abenteuer-markt.de/wp-content/uploads/cooked/images/recipes/26266/directions/48125257-3B84A5BF-7661-4C0A-84F1-9E098FFBB953-scaled.jpeg)
Now fold the paper apart. Put it up in front of you and fold it together from left to right.


Then you put up the folded paper in length and push it together. A rhombus is created.


Keep pushing the paper together so it looks like a cross.


Then her side by side will work together.
![Bild zum Schritt 18 für das Bastel- und DIY-Abenteuer für Kinder: 'Dann klappt ihr Seite für Seite zusammen. [Kind]Dann klappst du...'](https://abenteuer-markt.de/wp-content/uploads/cooked/images/recipes/26266/directions/45698489-48907435-08E6-47EE-8EBF-E17F8211BC31-scaled.jpeg)
![Bild zum Schritt 18 für das Bastel- und DIY-Abenteuer für Kinder: 'Dann klappt ihr Seite für Seite zusammen. [Kind]Dann klappst du...'](https://abenteuer-markt.de/wp-content/uploads/cooked/images/recipes/26266/directions/45698489-48907435-08E6-47EE-8EBF-E17F8211BC31-scaled.jpeg)
![Bild zum Schritt 18 für das Bastel- und DIY-Abenteuer für Kinder: 'Dann klappt ihr Seite für Seite zusammen. [Kind]Dann klappst du...'](https://abenteuer-markt.de/wp-content/uploads/cooked/images/recipes/26266/directions/45698489-48907435-08E6-47EE-8EBF-E17F8211BC31-scaled.jpeg)
This is how the little book is created. Finally, push all sides together again.


Now you can make up a story and get started. Have fun writing and designing.


If you fold several of these little books, you can glue them together to form a thicker book.
Follow us on Facebook , Instagram and Pinterest
Don't miss any more adventures: Our bottle mail


