Lantern of circles & Rings

AdventurerKatzi
Rating5.05.9 Thousand times & (2) DifficultyAdvanced

Glue a cut knife plastic bottle with colorful paper circles. You can punch them out or paint them and cut them out. You already have a colorful lantern, which you can use as a table lamp or for decoration in the window depending on the size of your bottle.

Media Education for Kindergarten and Hort

Kind bastelt eine Rassel mit dem Navi
The Adventure Navi, the app for DIY projects, enables media education for the youngest.

Relief in everyday life, targeted promotion of individual children, independent learning and - without any pre-knowledge already usable by the youngest!


Titelbild zur Bastel- und DIY-Idee für Kinder '(485) Laterne aus Kreisen & Ringen'
Material for1 Child
Prep Time10 min.Adv. Time20 min.Total Time30 min.
For the bottle blank:
 1 empty plastic bottle
 Cutter knife or a pair of scissors
 1 perforated pliersor a perforator, or a thick needle
 20 cm flower wire
 Wire shears
 Bulbs e.g. mini-light chain or tealight with button cell or electric lantern rod
Important tip:
 Please do not use tea light for the lantern. Especially when wearing, there is a risk that you will pour out the liquid wax.
For the lantern: (around)
 Clay paper residuesin different colors
 Hole punchers large and smallor a brandy glass for painting circles
 Perforator
 Pen
 Builder's pad
All links marked with a shopping cart lead to Amazon - here we have selected products that we would order ourselves and in part also ordered. In a qualified purchase via the advertising link, we as Amazon partner receive a commission, for you there are no costs. You thus support our cost- and advertising banner-free, educational offer.
1

First, the lantern blank is made. To do this, put out your craft file and you can start.

2

For this you shorten the bottle to the desired size. At least you should cut off the bottle neck.
Then you punch two holes from the opposite sides. Thus you thread the wire that serves to hang the lantern. Rotate the ends of the wire so that it holds.
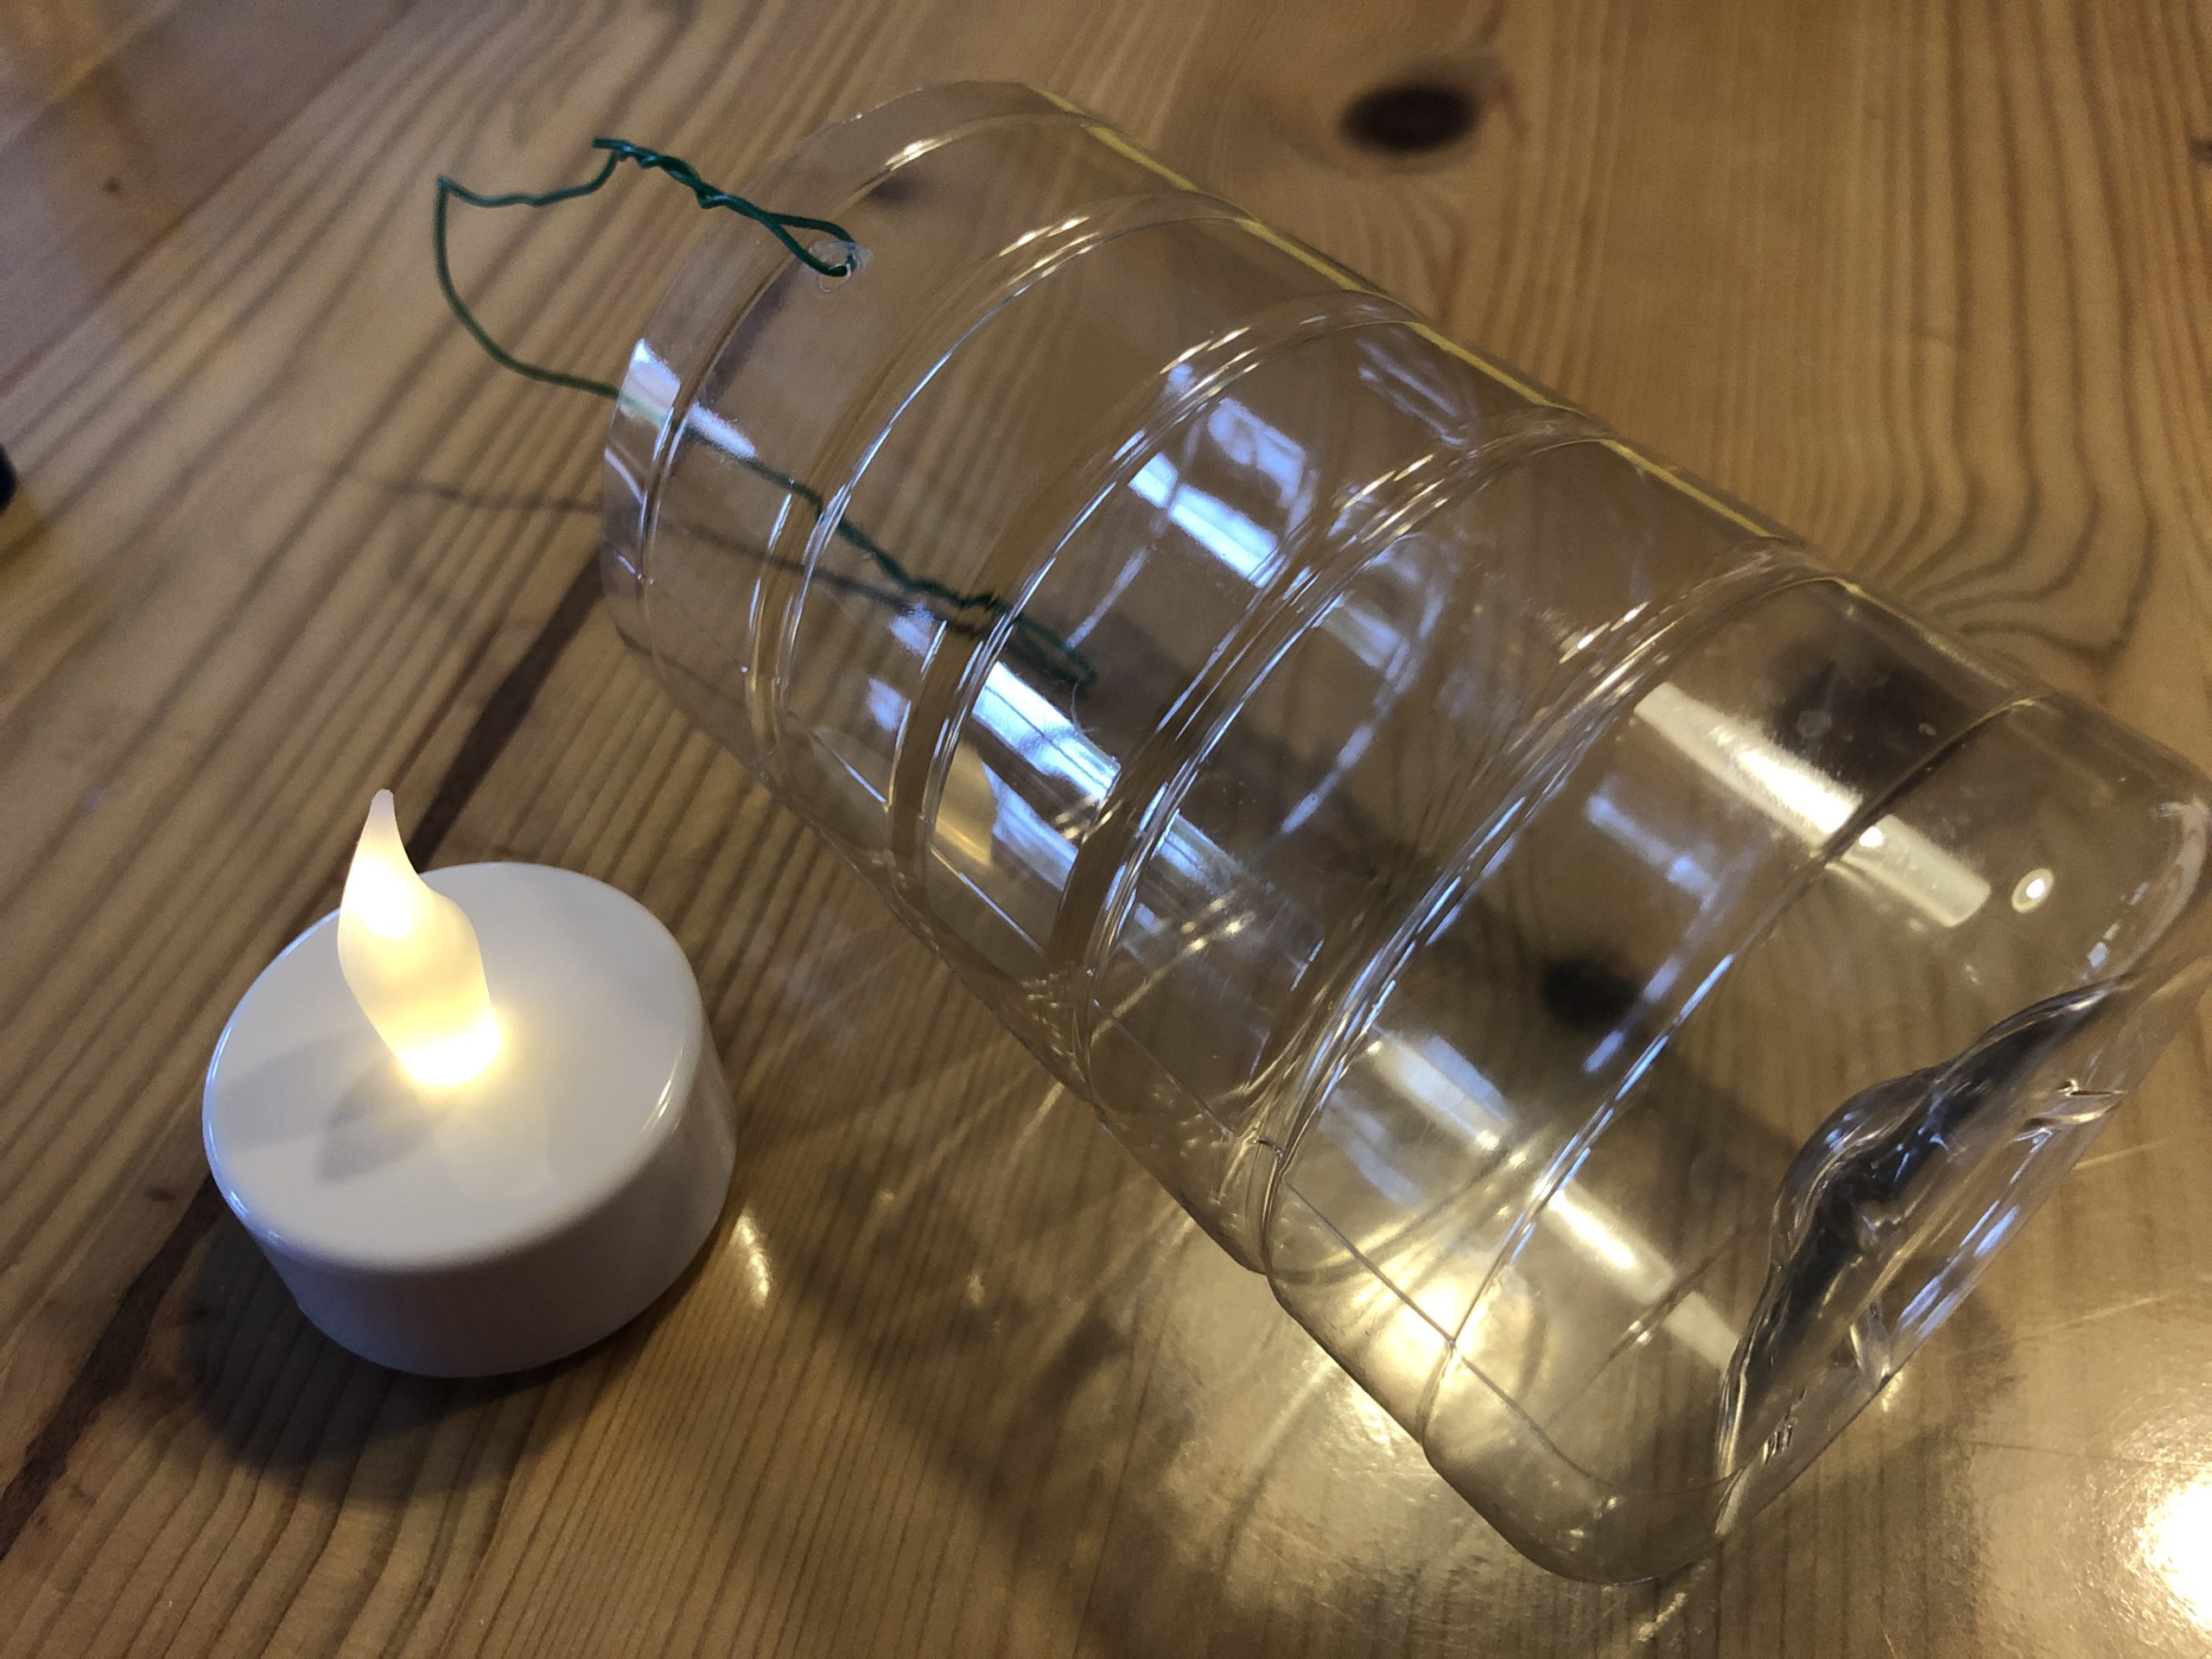
Bild zum Schritt 2 für das Bastel- und DIY-Abenteuer für Kinder: 'Dafür kürzt ihr die Flasche auf die gewünschte Größe. Mindestens...'

3

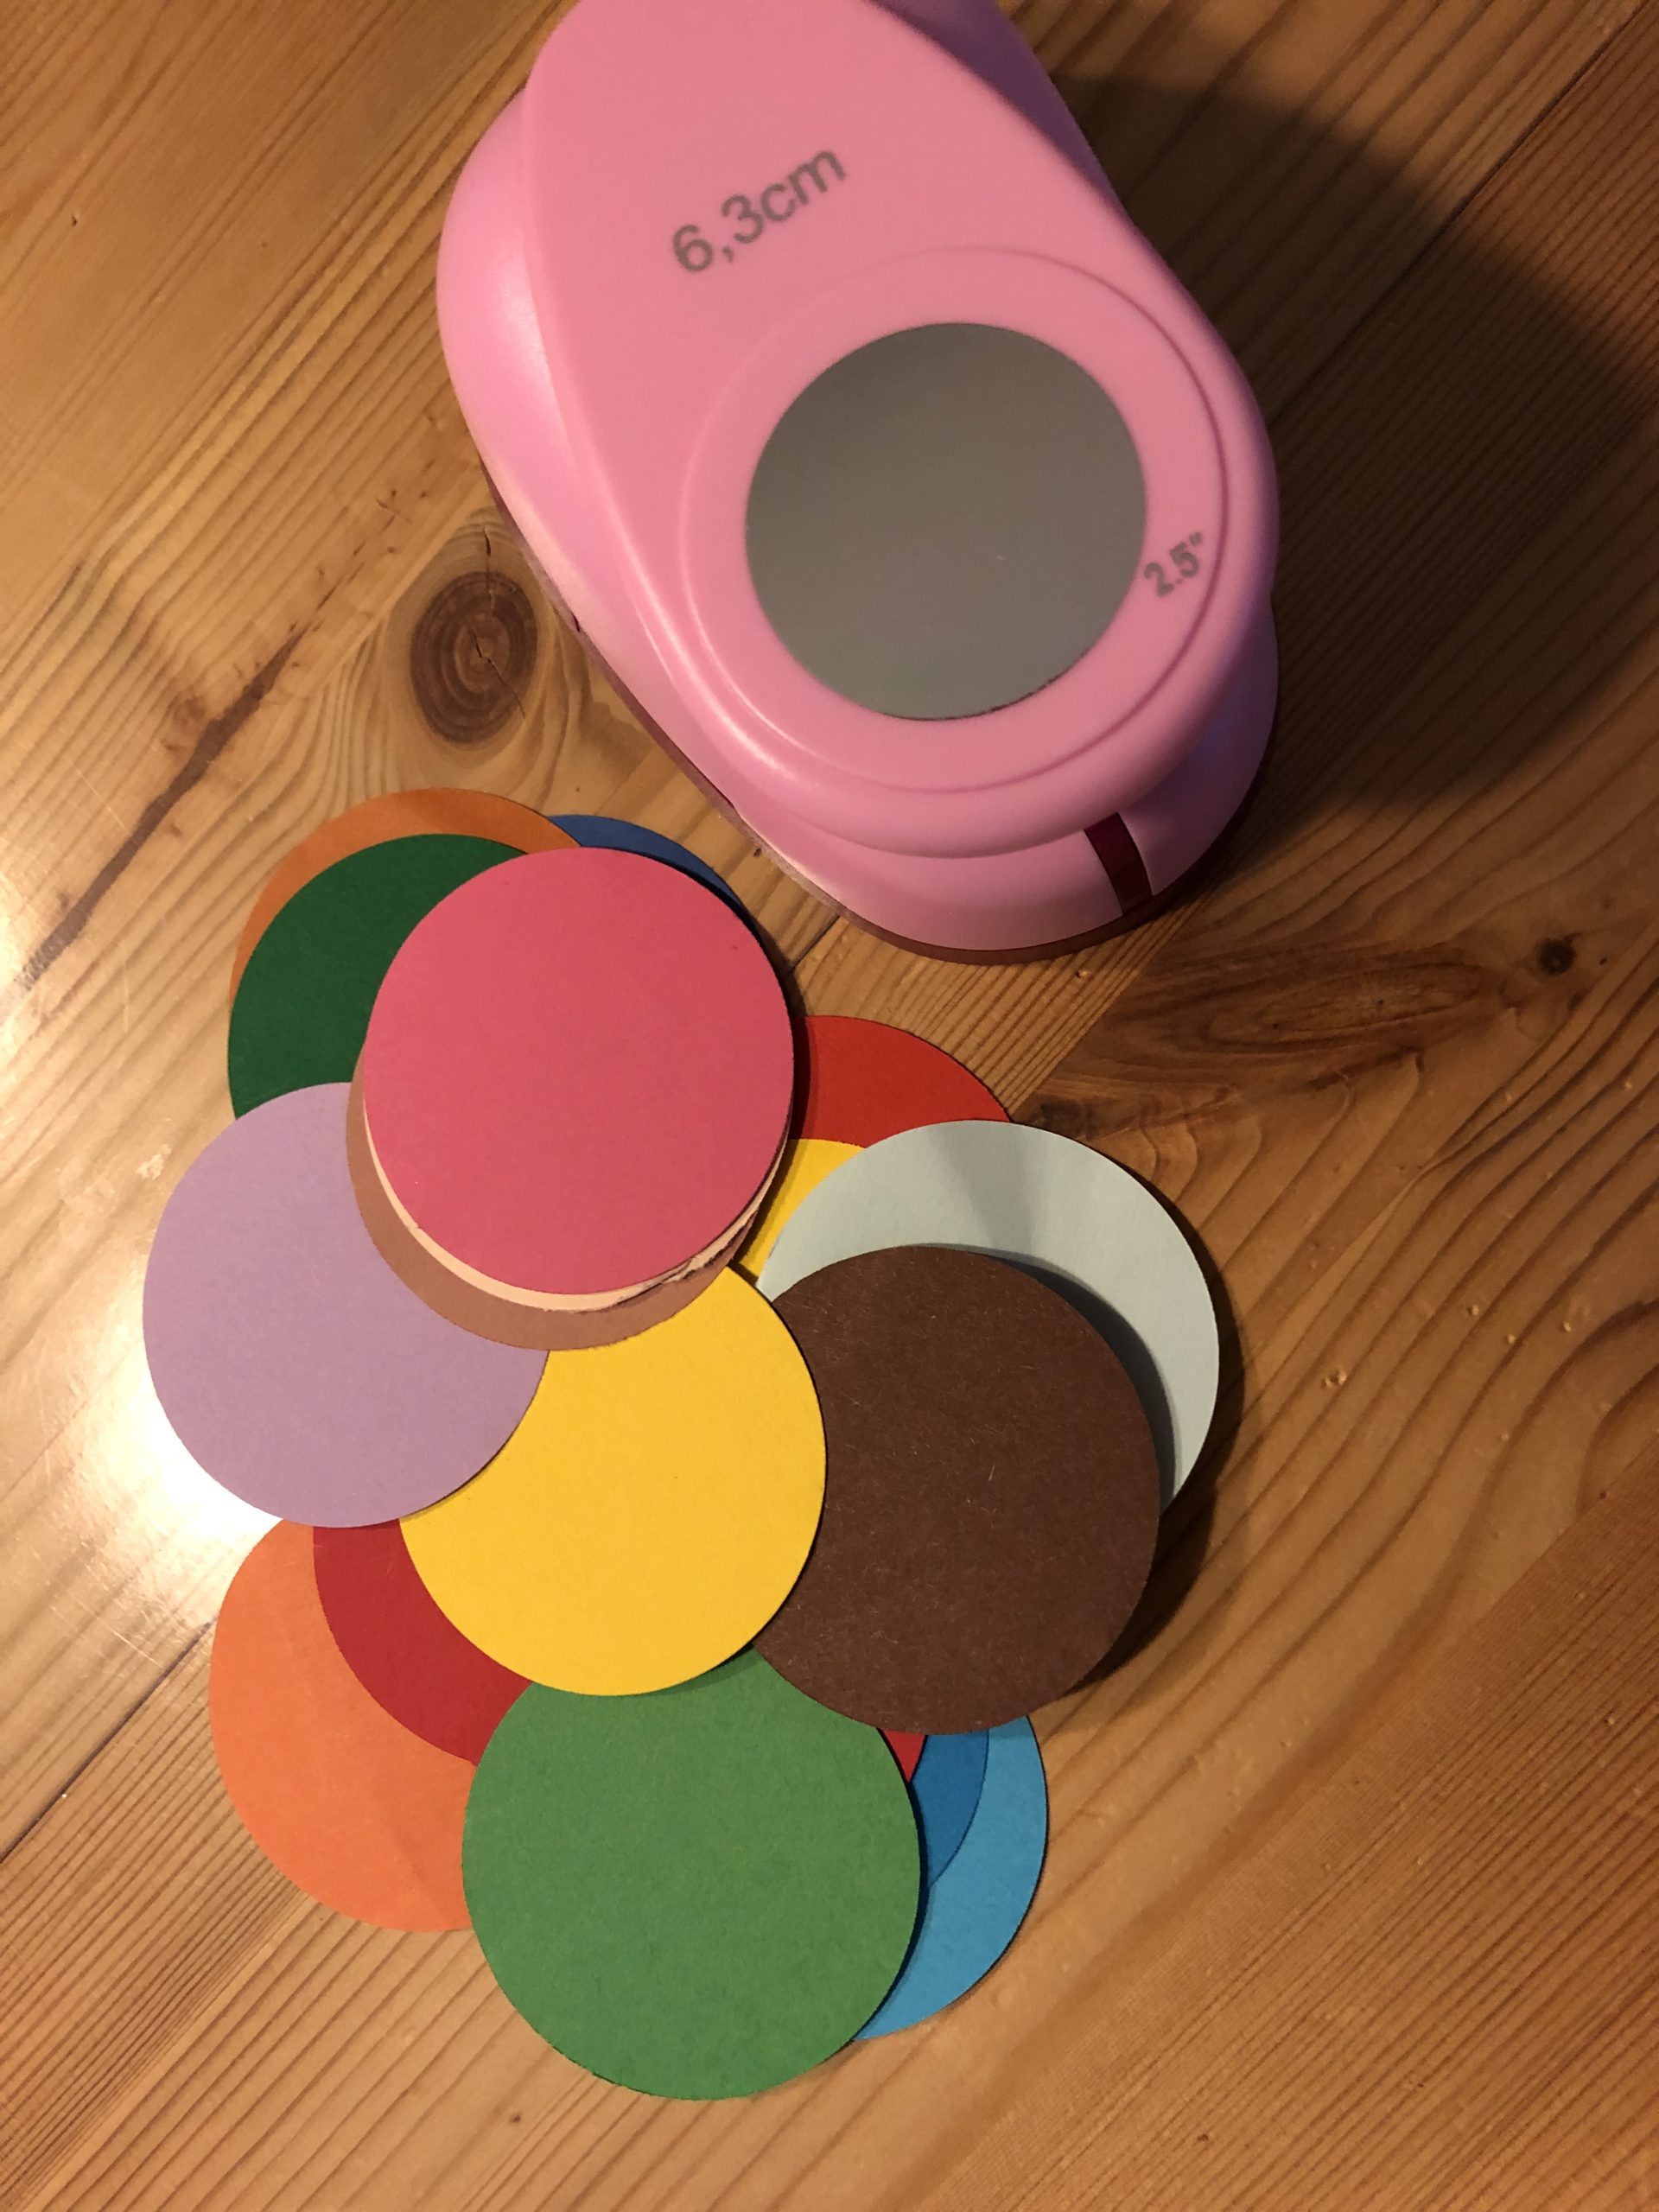
Then you take the punch punch and punch out the remaining pieces of your clay paper circles.
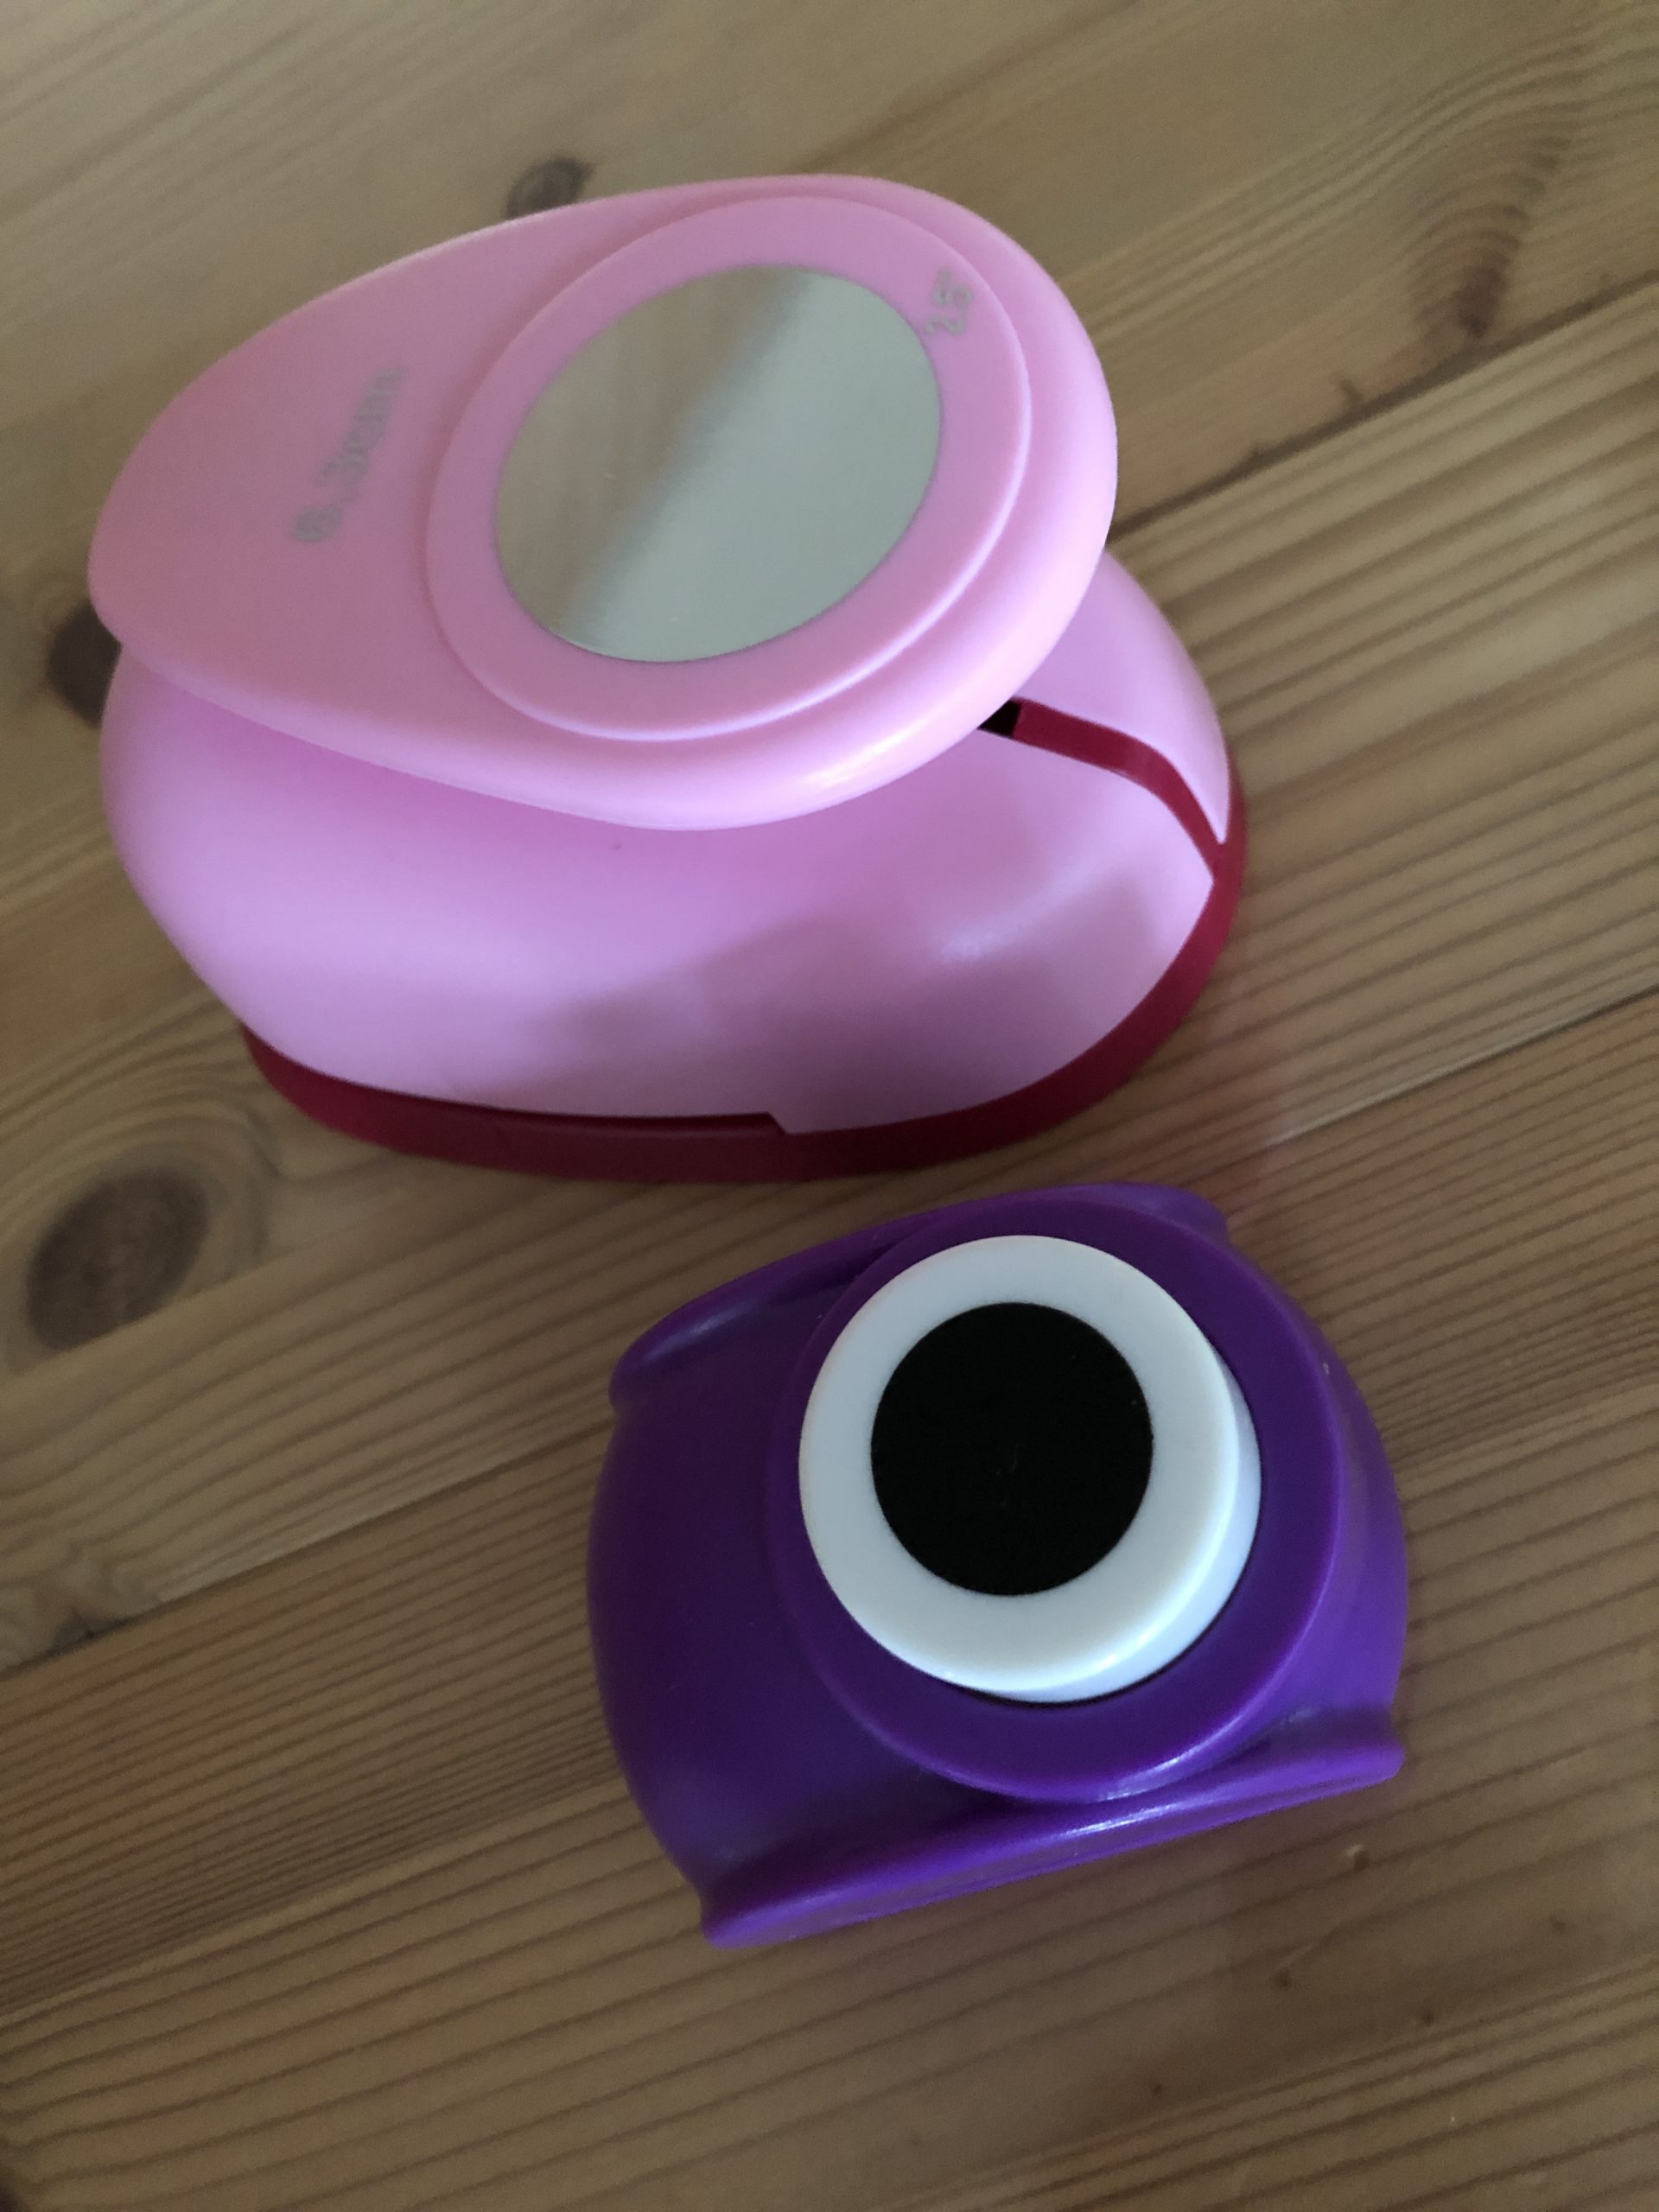
Bild zum Schritt 3 für das Bastel- und DIY-Abenteuer für Kinder: 'Anschließend nehmt ihr den Lochstanzer und stanzt aus den Reststücken...'

4

Or you can paint circles with a glass of schnapps and cut them out with scissors. Also a tea light or a small cup are suitable for painting a circle. Look what you have at your disposal.

Bild zum Schritt 4 für das Bastel- und DIY-Abenteuer für Kinder: 'Oder ihr malt euch z.B. mit einem Schnapsglas Kreise auf...'

5

2. Bild zum Schritt 4 für das Bastel- und DIY-Abenteuer für Kinder: 'Oder ihr malt euch z.B. mit einem Schnapsglas Kreise auf...'

6

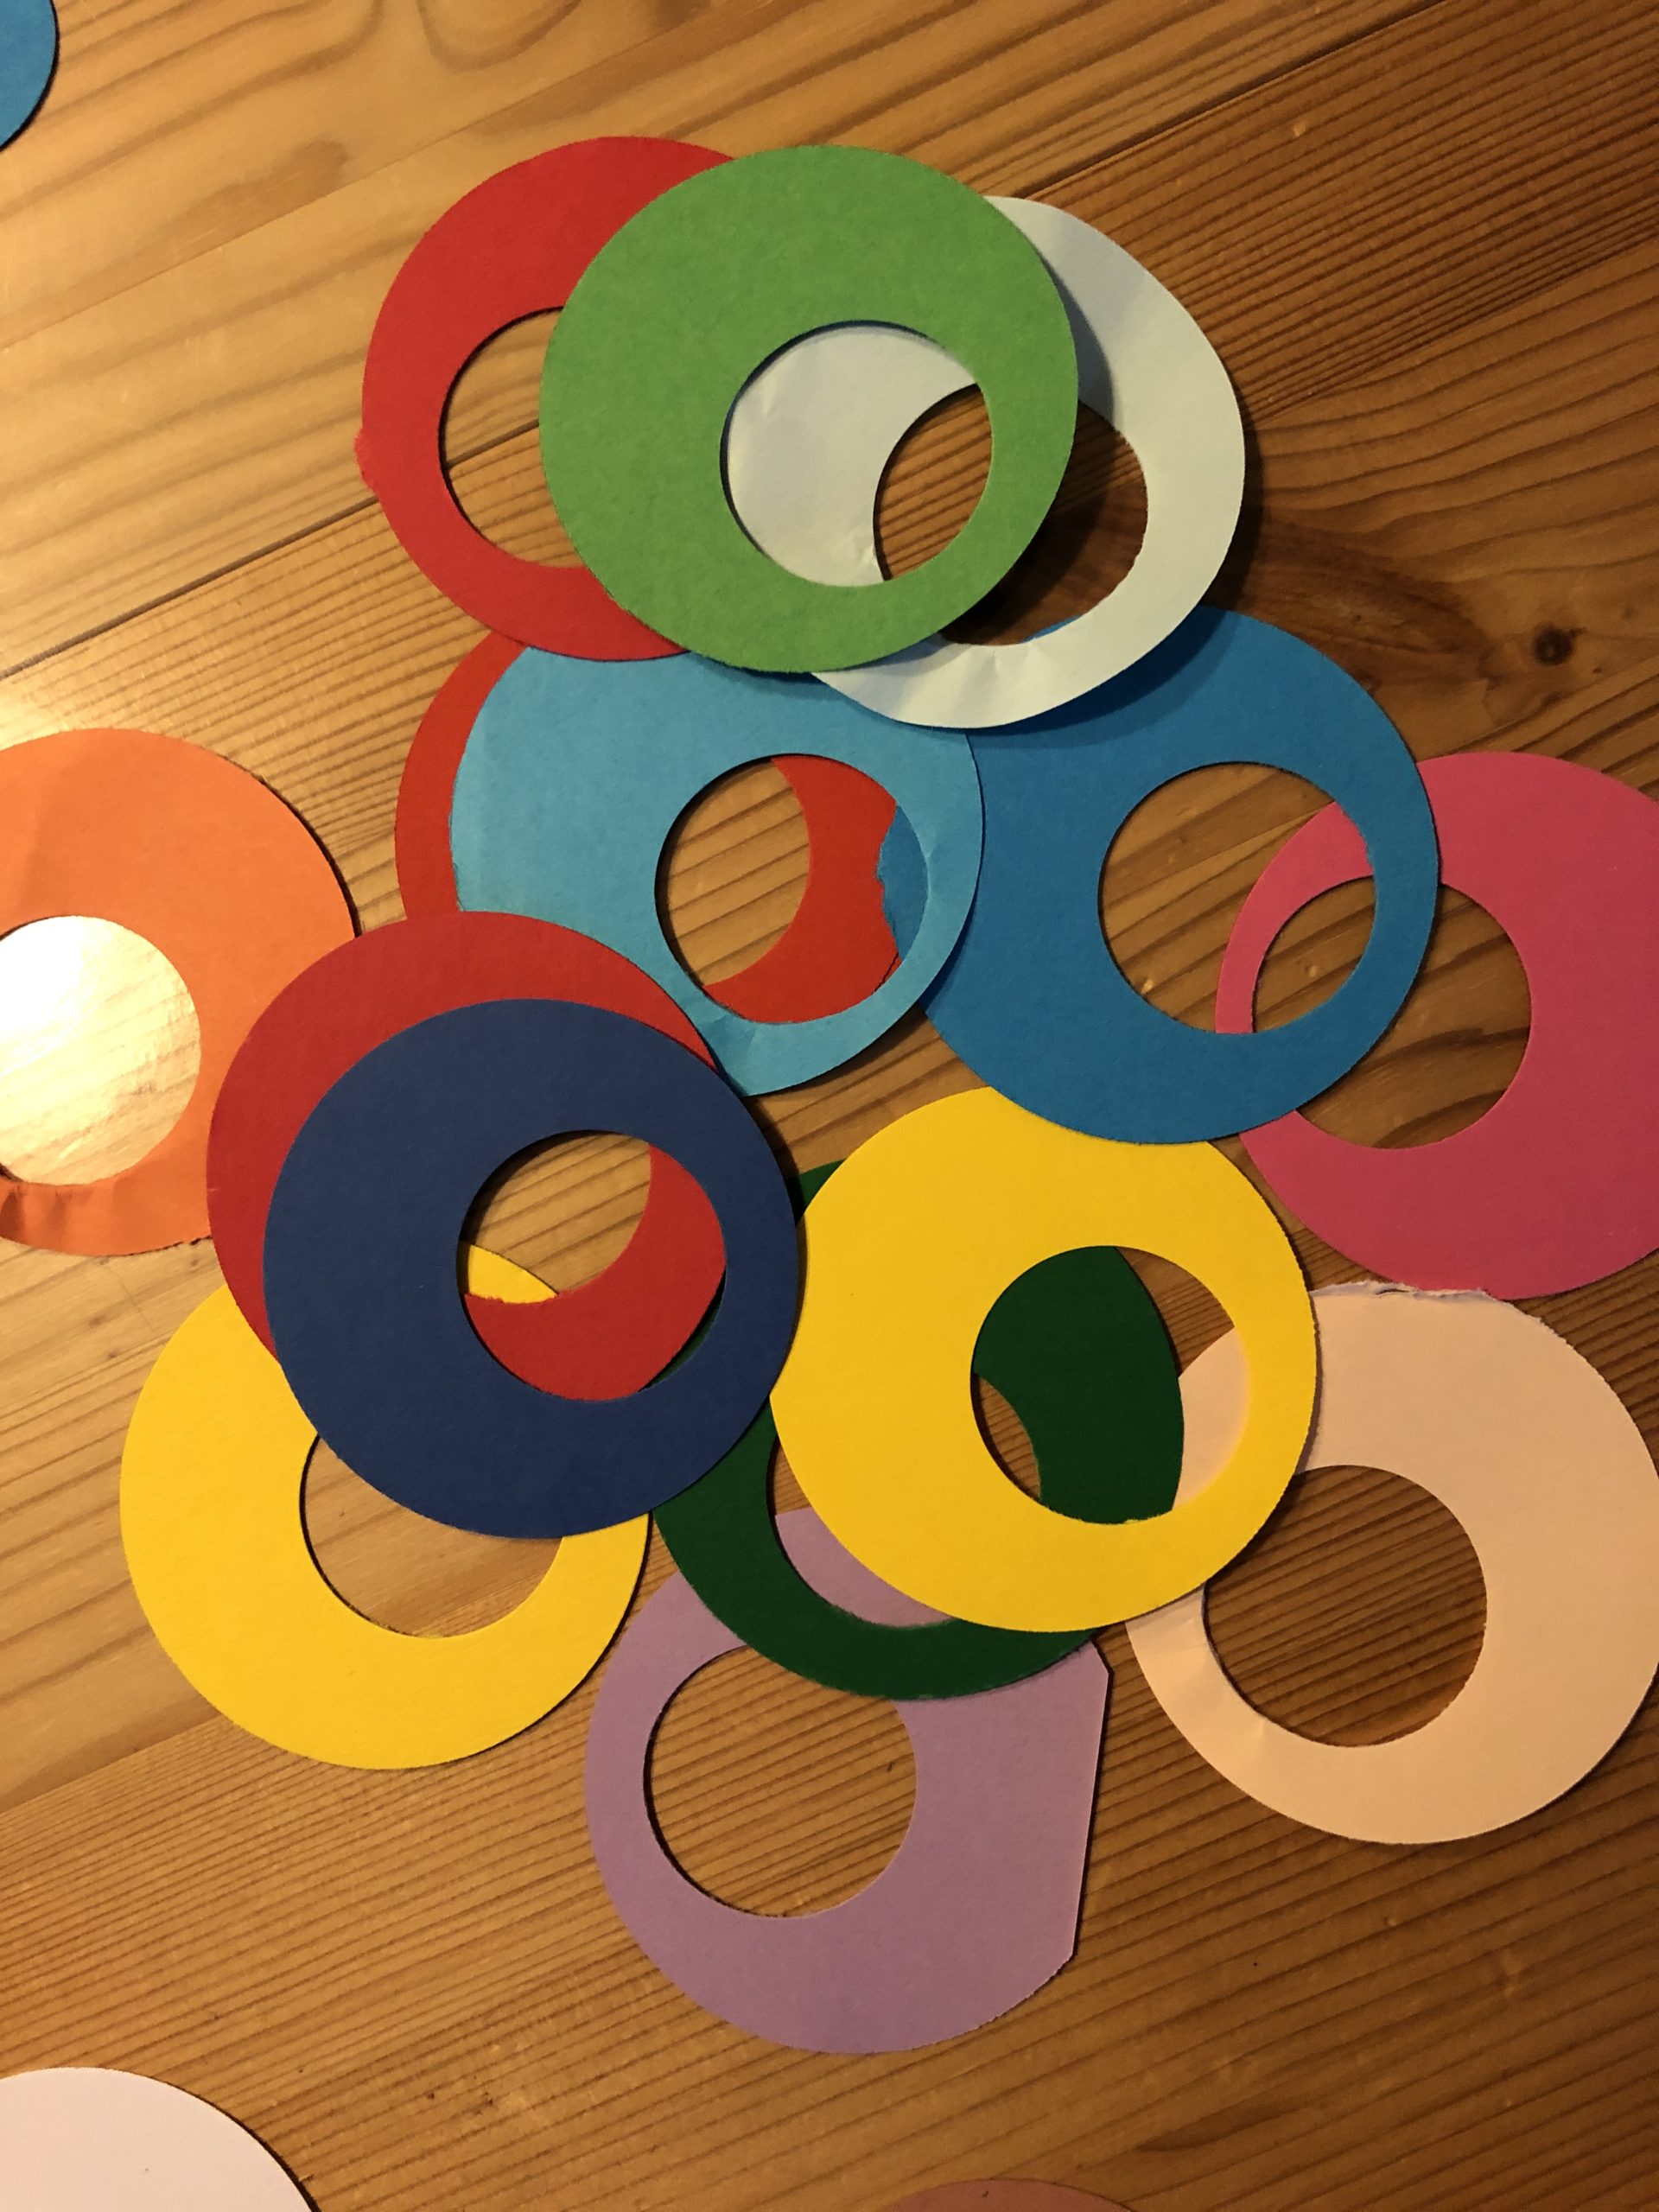
With a small hole punch you can punch a smaller hole out of each circle. Otherwise you simply use smaller objects with which you can fall into circles and then cut out. We will use all circles and rings.

Bild zum Schritt 6 für das Bastel- und DIY-Abenteuer für Kinder: 'Mit einem kleinen Lochstanzer könnt ihr noch ein kleineres Loch...'

7

2. Bild zum Schritt 6 für das Bastel- und DIY-Abenteuer für Kinder: 'Mit einem kleinen Lochstanzer könnt ihr noch ein kleineres Loch...'

8

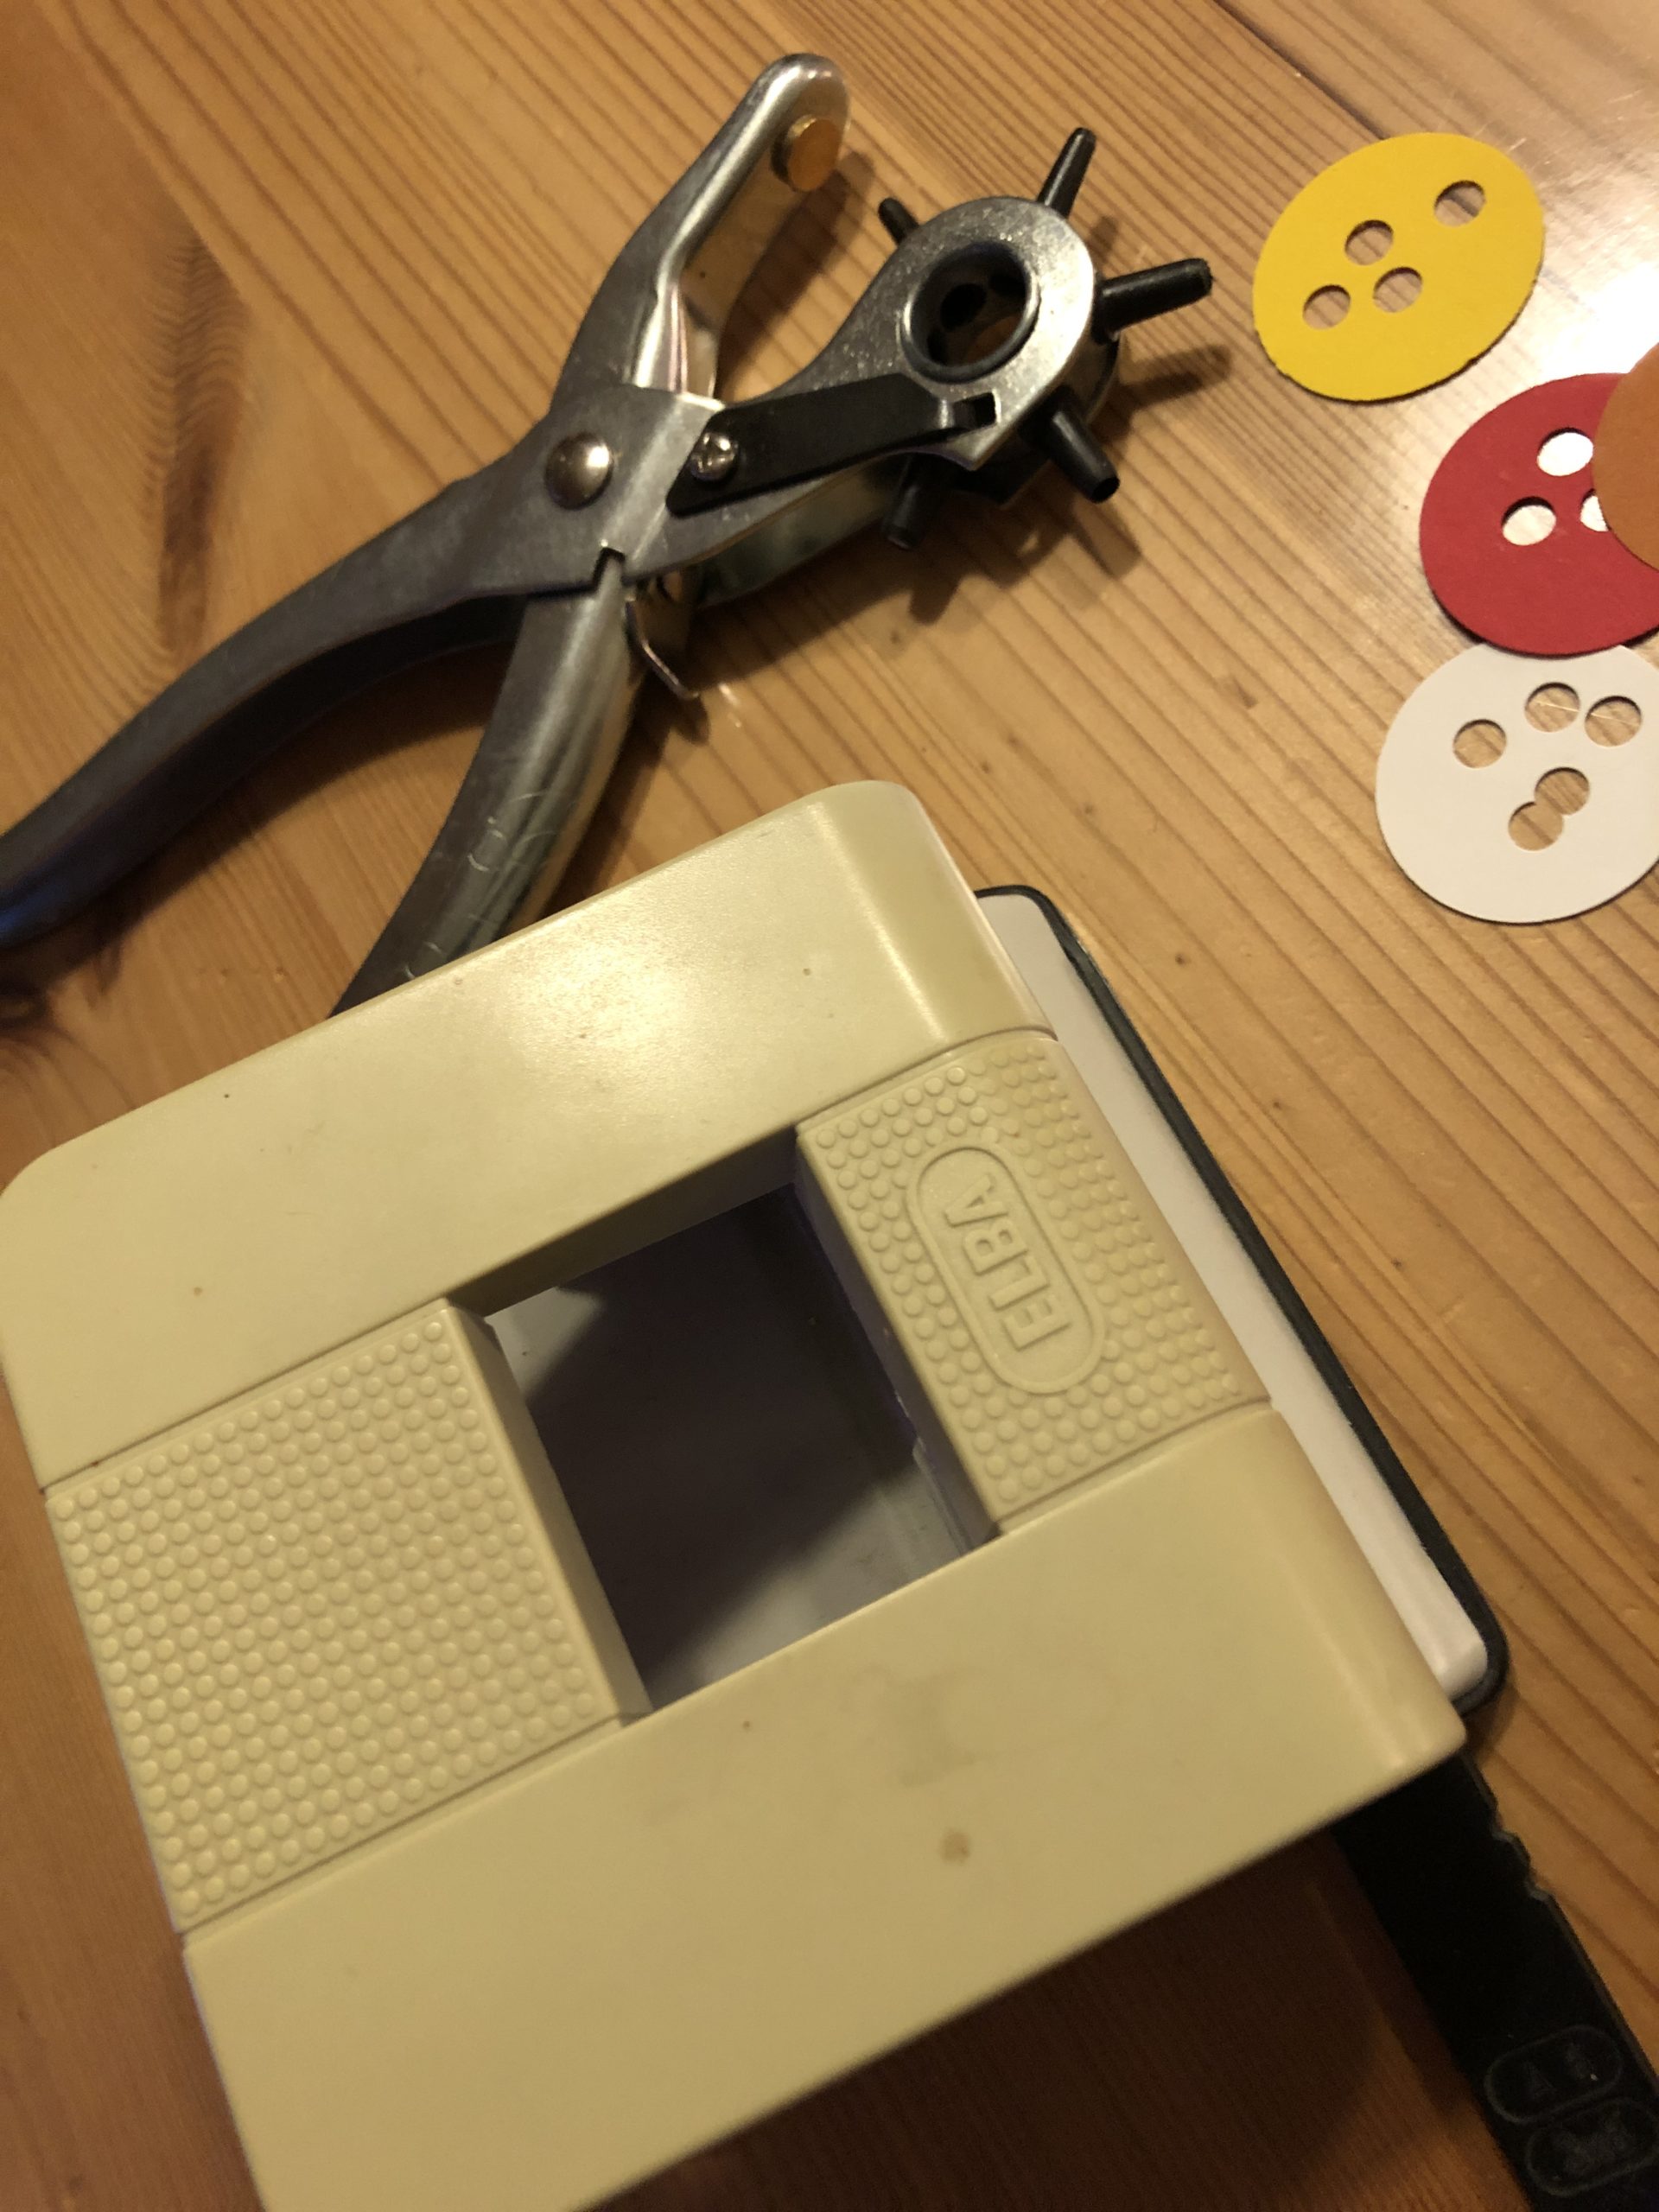
Make with a holer (or a hole tong) you now punch further small holes into the individual circles. The more holes your circles and rings get, the more light shines through later!

Bild zum Schritt 8 für das Bastel- und DIY-Abenteuer für Kinder: 'Macht mit einem Locher (oder einer Lochzange) stanzt ihr nun...'

9

2. Bild zum Schritt 8 für das Bastel- und DIY-Abenteuer für Kinder: 'Macht mit einem Locher (oder einer Lochzange) stanzt ihr nun...'

10

Also punches into the large rings additional small holes.

Bild zum Schritt 10 für das Bastel- und DIY-Abenteuer für Kinder: 'Stanzt auch in die großen Ringe noch zusätzliche kleine Löcher.'

11

Now try to put the circles and rings into a band at the height of your lantern. Try how you want to arrange the circles and rings. Take a paper and see how long your band needs to be to round the lantern.

Bild zum Schritt 11 für das Bastel- und DIY-Abenteuer für Kinder: 'Jetzt versucht in der Höhe eurer Laterne die Kreise und...'

12

Then you begin to glue the circles and rings one after the other with the glue stick on the blank of your lantern.

Bild zum Schritt 12 für das Bastel- und DIY-Abenteuer für Kinder: 'Dann beginnt ihr die Kreise und Ringe nacheinander mit dem...'

13

The bottle should be completely glued. It looks particularly beautiful when the circles and rings lie slightly above each other. Nevertheless, you should make sure that enough light rays shine through the holes in the rings and circles.

Bild zum Schritt 13 für das Bastel- und DIY-Abenteuer für Kinder: 'Die Flasche sollte komplett beklebt sein. Besonders schön sieht es...'

14

Put a light in it and try it out!

Bild zum Schritt 14 für das Bastel- und DIY-Abenteuer für Kinder: 'Stellt ein Licht hinein und probiert es aus!'

15

Your lantern is ready.
Have fun doing crafts!

Materials

For the bottle blank:
 1 empty plastic bottle
 Cutter knife or a pair of scissors
 1 perforated pliersor a perforator, or a thick needle
 20 cm flower wire
 Wire shears
 Bulbs e.g. mini-light chain or tealight with button cell or electric lantern rod
Important tip:
 Please do not use tea light for the lantern. Especially when wearing, there is a risk that you will pour out the liquid wax.
For the lantern: (around)
 Clay paper residuesin different colors
 Hole punchers large and smallor a brandy glass for painting circles
 Perforator
 Pen
 Builder's pad
All links marked with a shopping cart lead to Amazon - here we have selected products that we would order ourselves and in part also ordered. In a qualified purchase via the advertising link, we as Amazon partner receive a commission, for you there are no costs. You thus support our cost- and advertising banner-free, educational offer.

Directions

1

First, the lantern blank is made. To do this, put out your craft file and you can start.

2

For this you shorten the bottle to the desired size. At least you should cut off the bottle neck.
Then you punch two holes from the opposite sides. Thus you thread the wire that serves to hang the lantern. Rotate the ends of the wire so that it holds.

Bild zum Schritt 2 für das Bastel- und DIY-Abenteuer für Kinder: 'Dafür kürzt ihr die Flasche auf die gewünschte Größe. Mindestens...'

3

Then you take the punch punch and punch out the remaining pieces of your clay paper circles.

Bild zum Schritt 3 für das Bastel- und DIY-Abenteuer für Kinder: 'Anschließend nehmt ihr den Lochstanzer und stanzt aus den Reststücken...'

4

Or you can paint circles with a glass of schnapps and cut them out with scissors. Also a tea light or a small cup are suitable for painting a circle. Look what you have at your disposal.
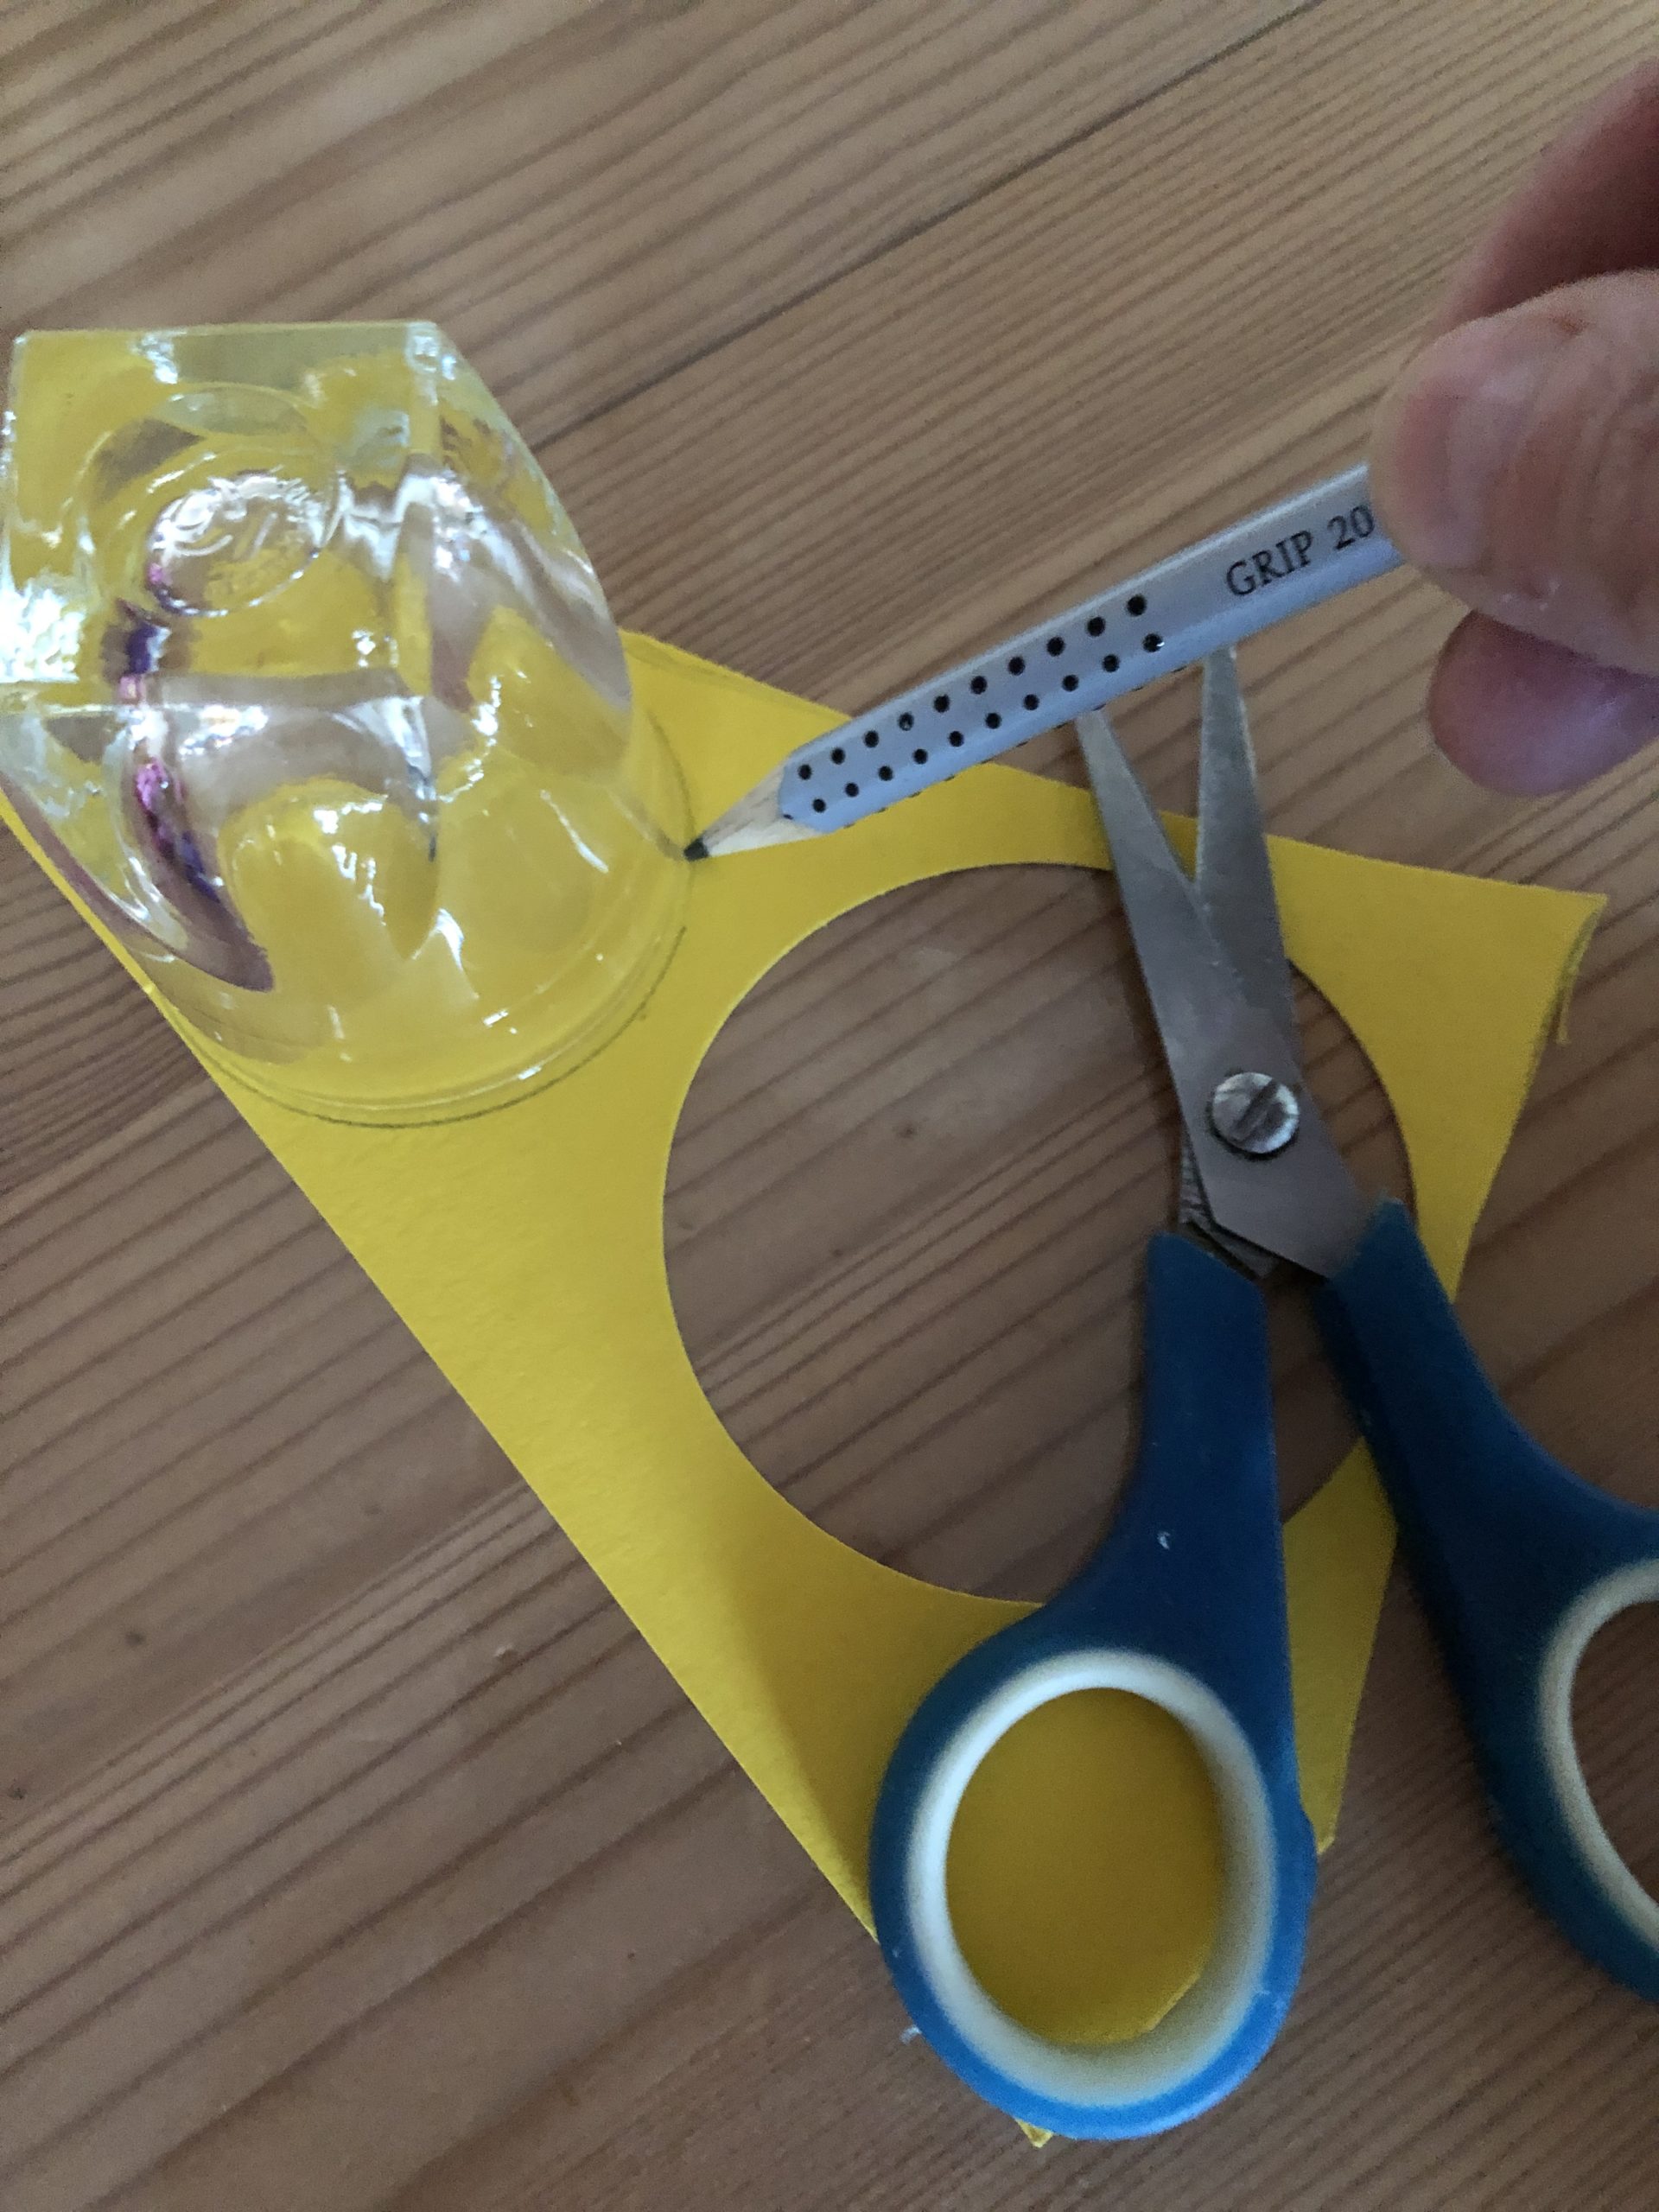
Bild zum Schritt 4 für das Bastel- und DIY-Abenteuer für Kinder: 'Oder ihr malt euch z.B. mit einem Schnapsglas Kreise auf...'

5

2. Bild zum Schritt 4 für das Bastel- und DIY-Abenteuer für Kinder: 'Oder ihr malt euch z.B. mit einem Schnapsglas Kreise auf...'

6

With a small hole punch you can punch a smaller hole out of each circle. Otherwise you simply use smaller objects with which you can fall into circles and then cut out. We will use all circles and rings.

Bild zum Schritt 6 für das Bastel- und DIY-Abenteuer für Kinder: 'Mit einem kleinen Lochstanzer könnt ihr noch ein kleineres Loch...'

7

2. Bild zum Schritt 6 für das Bastel- und DIY-Abenteuer für Kinder: 'Mit einem kleinen Lochstanzer könnt ihr noch ein kleineres Loch...'

8

Make with a holer (or a hole tong) you now punch further small holes into the individual circles. The more holes your circles and rings get, the more light shines through later!

Bild zum Schritt 8 für das Bastel- und DIY-Abenteuer für Kinder: 'Macht mit einem Locher (oder einer Lochzange) stanzt ihr nun...'

9

2. Bild zum Schritt 8 für das Bastel- und DIY-Abenteuer für Kinder: 'Macht mit einem Locher (oder einer Lochzange) stanzt ihr nun...'

10

Also punches into the large rings additional small holes.
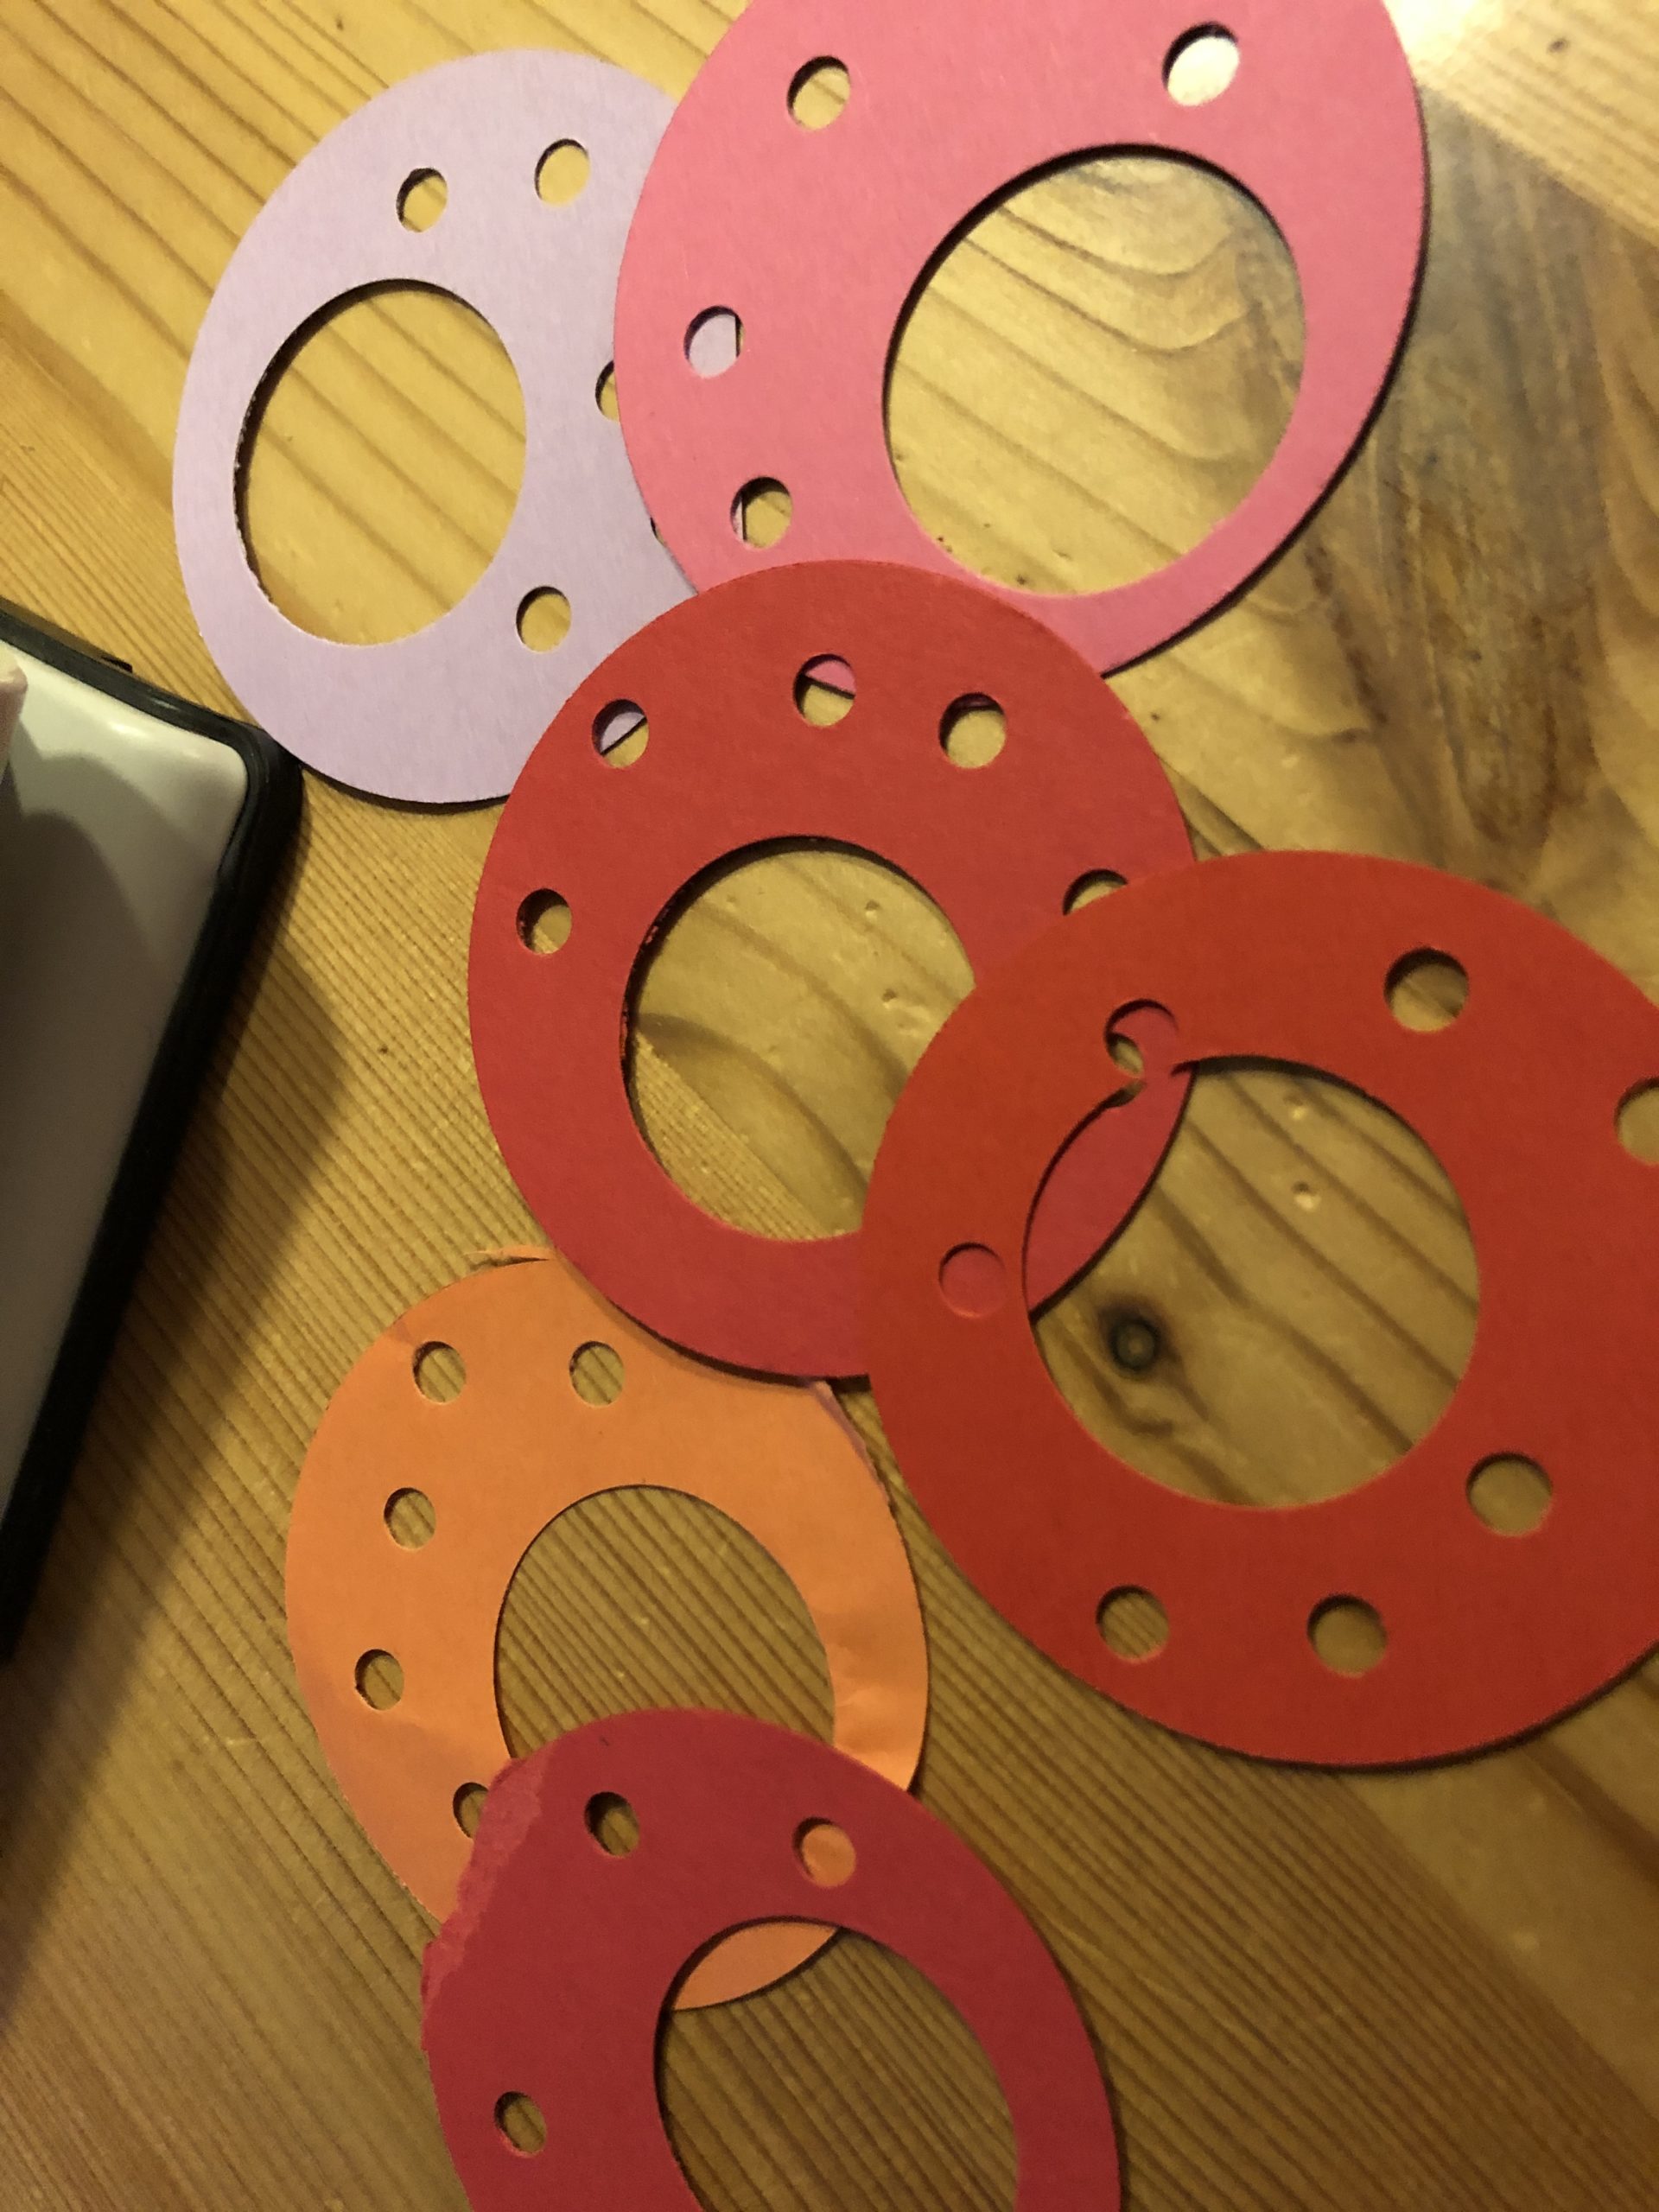
Bild zum Schritt 10 für das Bastel- und DIY-Abenteuer für Kinder: 'Stanzt auch in die großen Ringe noch zusätzliche kleine Löcher.'

11

Now try to put the circles and rings into a band at the height of your lantern. Try how you want to arrange the circles and rings. Take a paper and see how long your band needs to be to round the lantern.
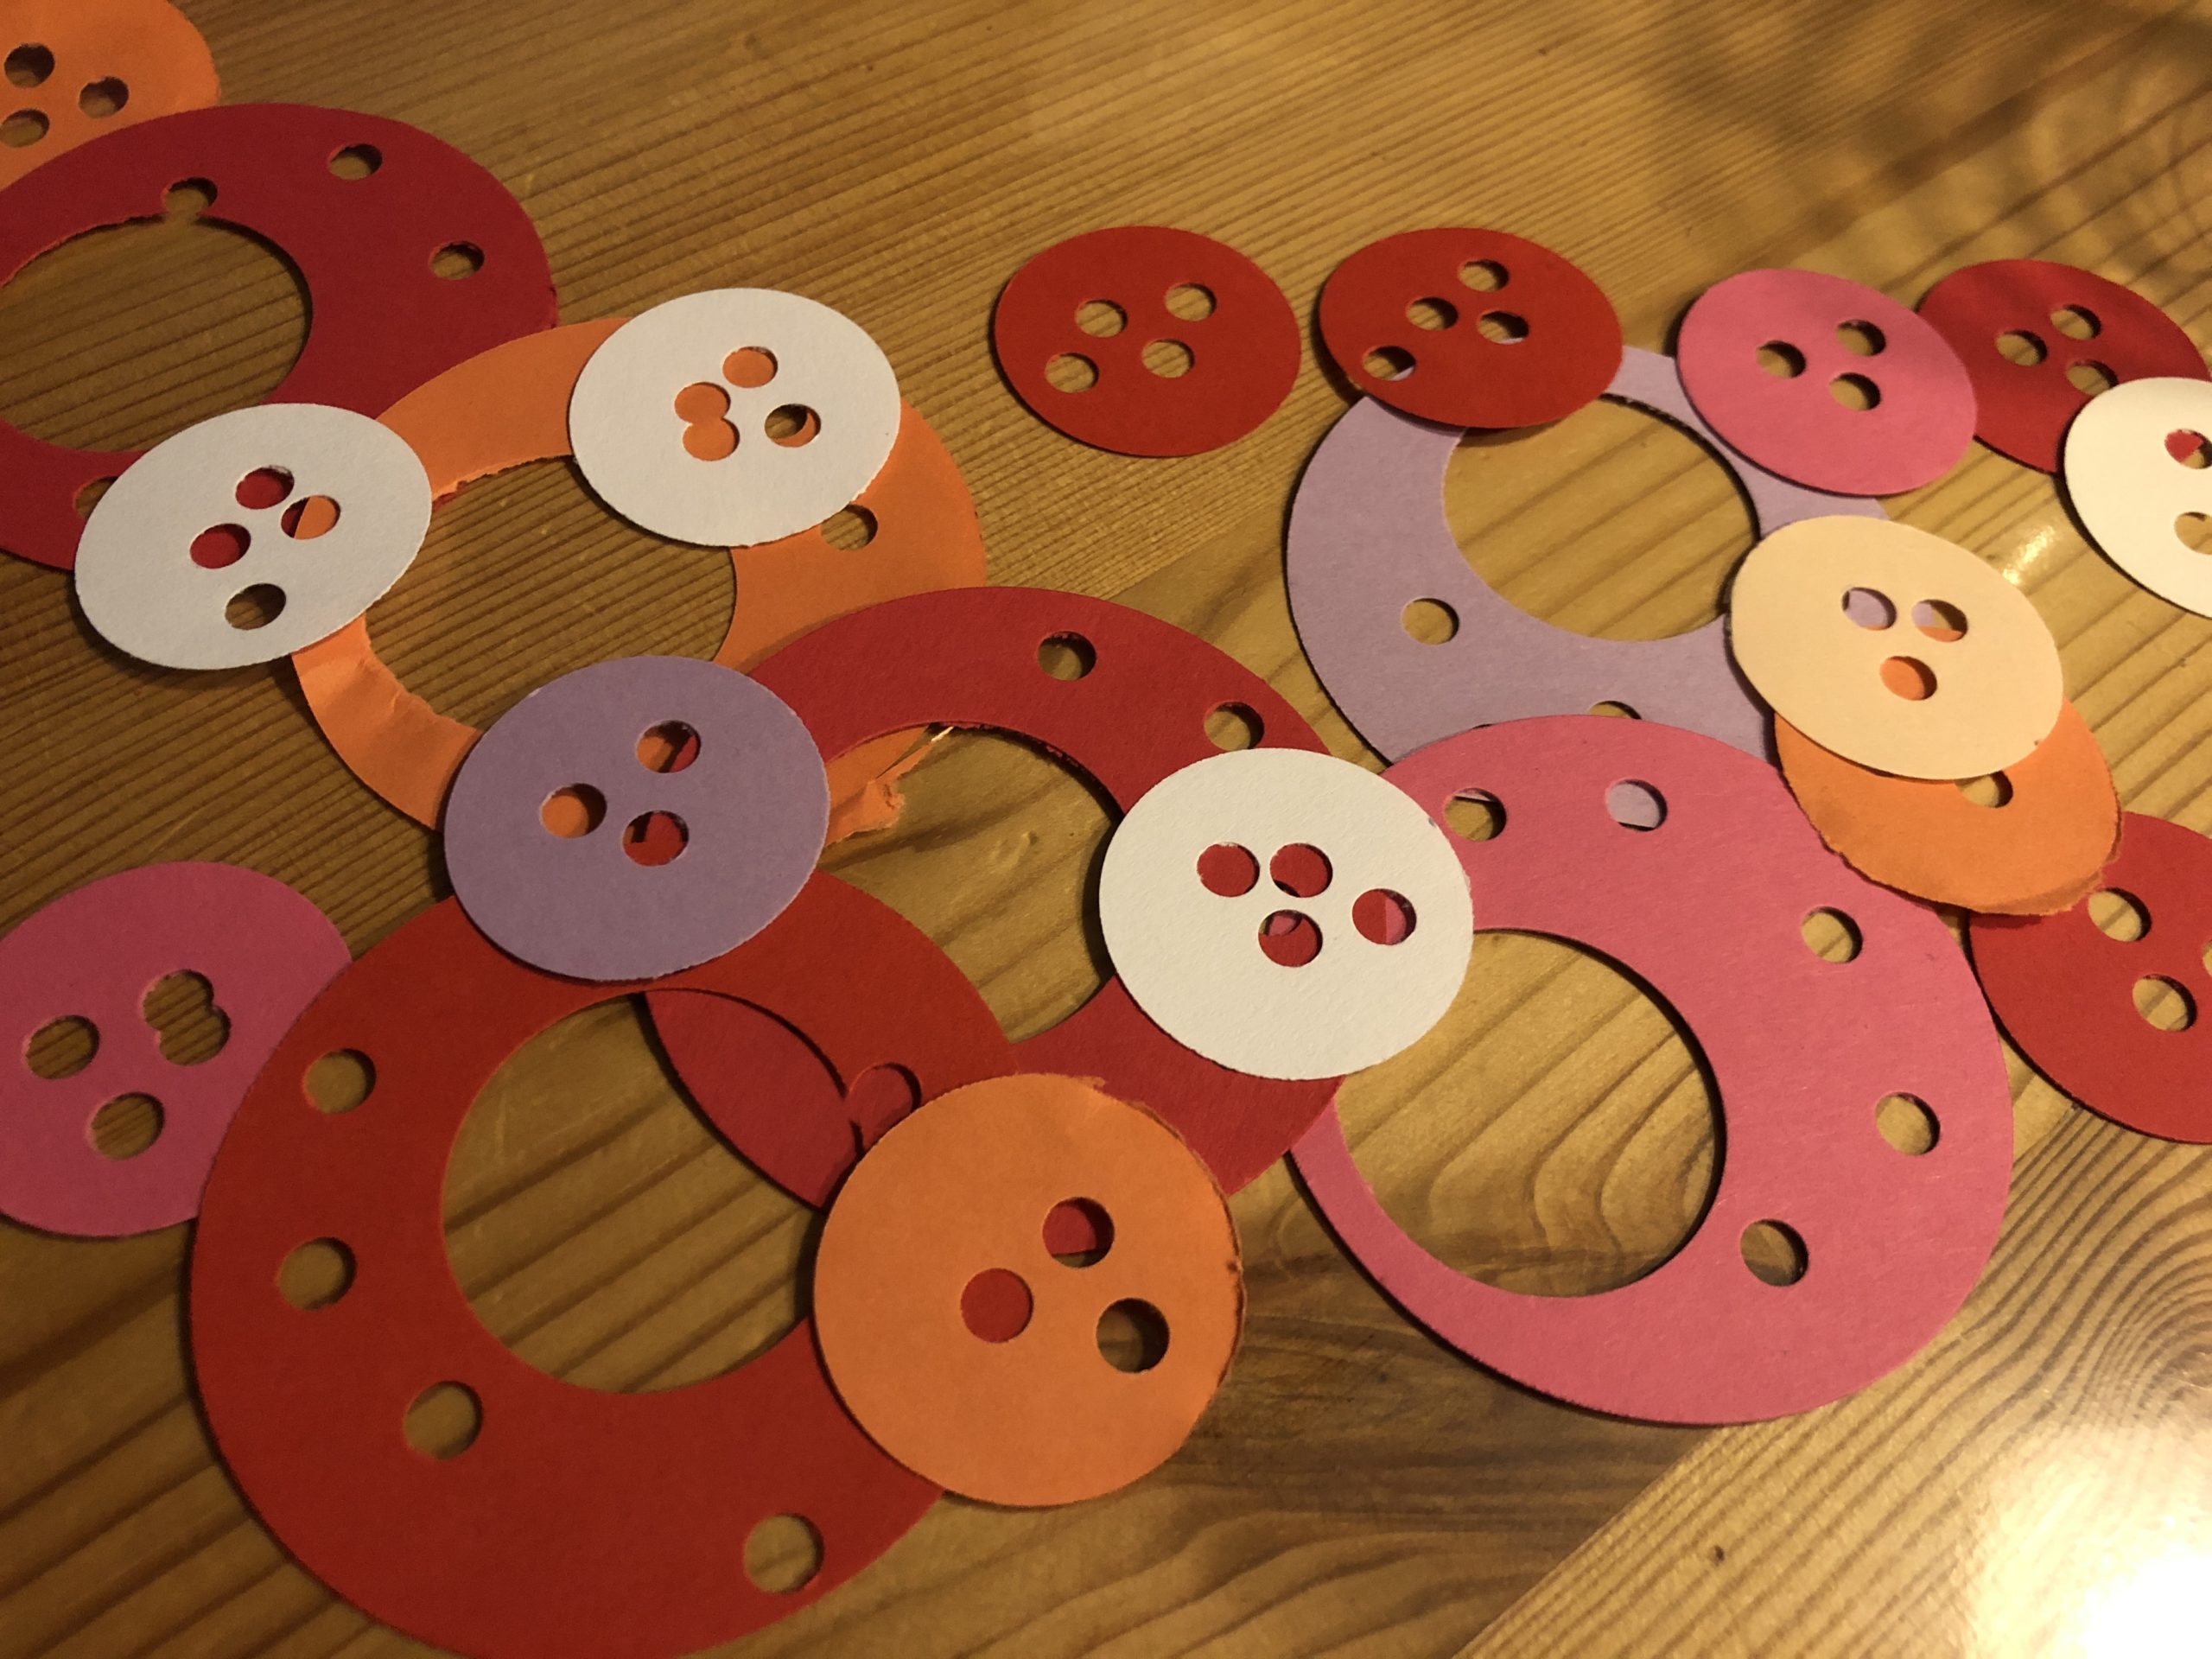
Bild zum Schritt 11 für das Bastel- und DIY-Abenteuer für Kinder: 'Jetzt versucht in der Höhe eurer Laterne die Kreise und...'

12

Then you begin to glue the circles and rings one after the other with the glue stick on the blank of your lantern.
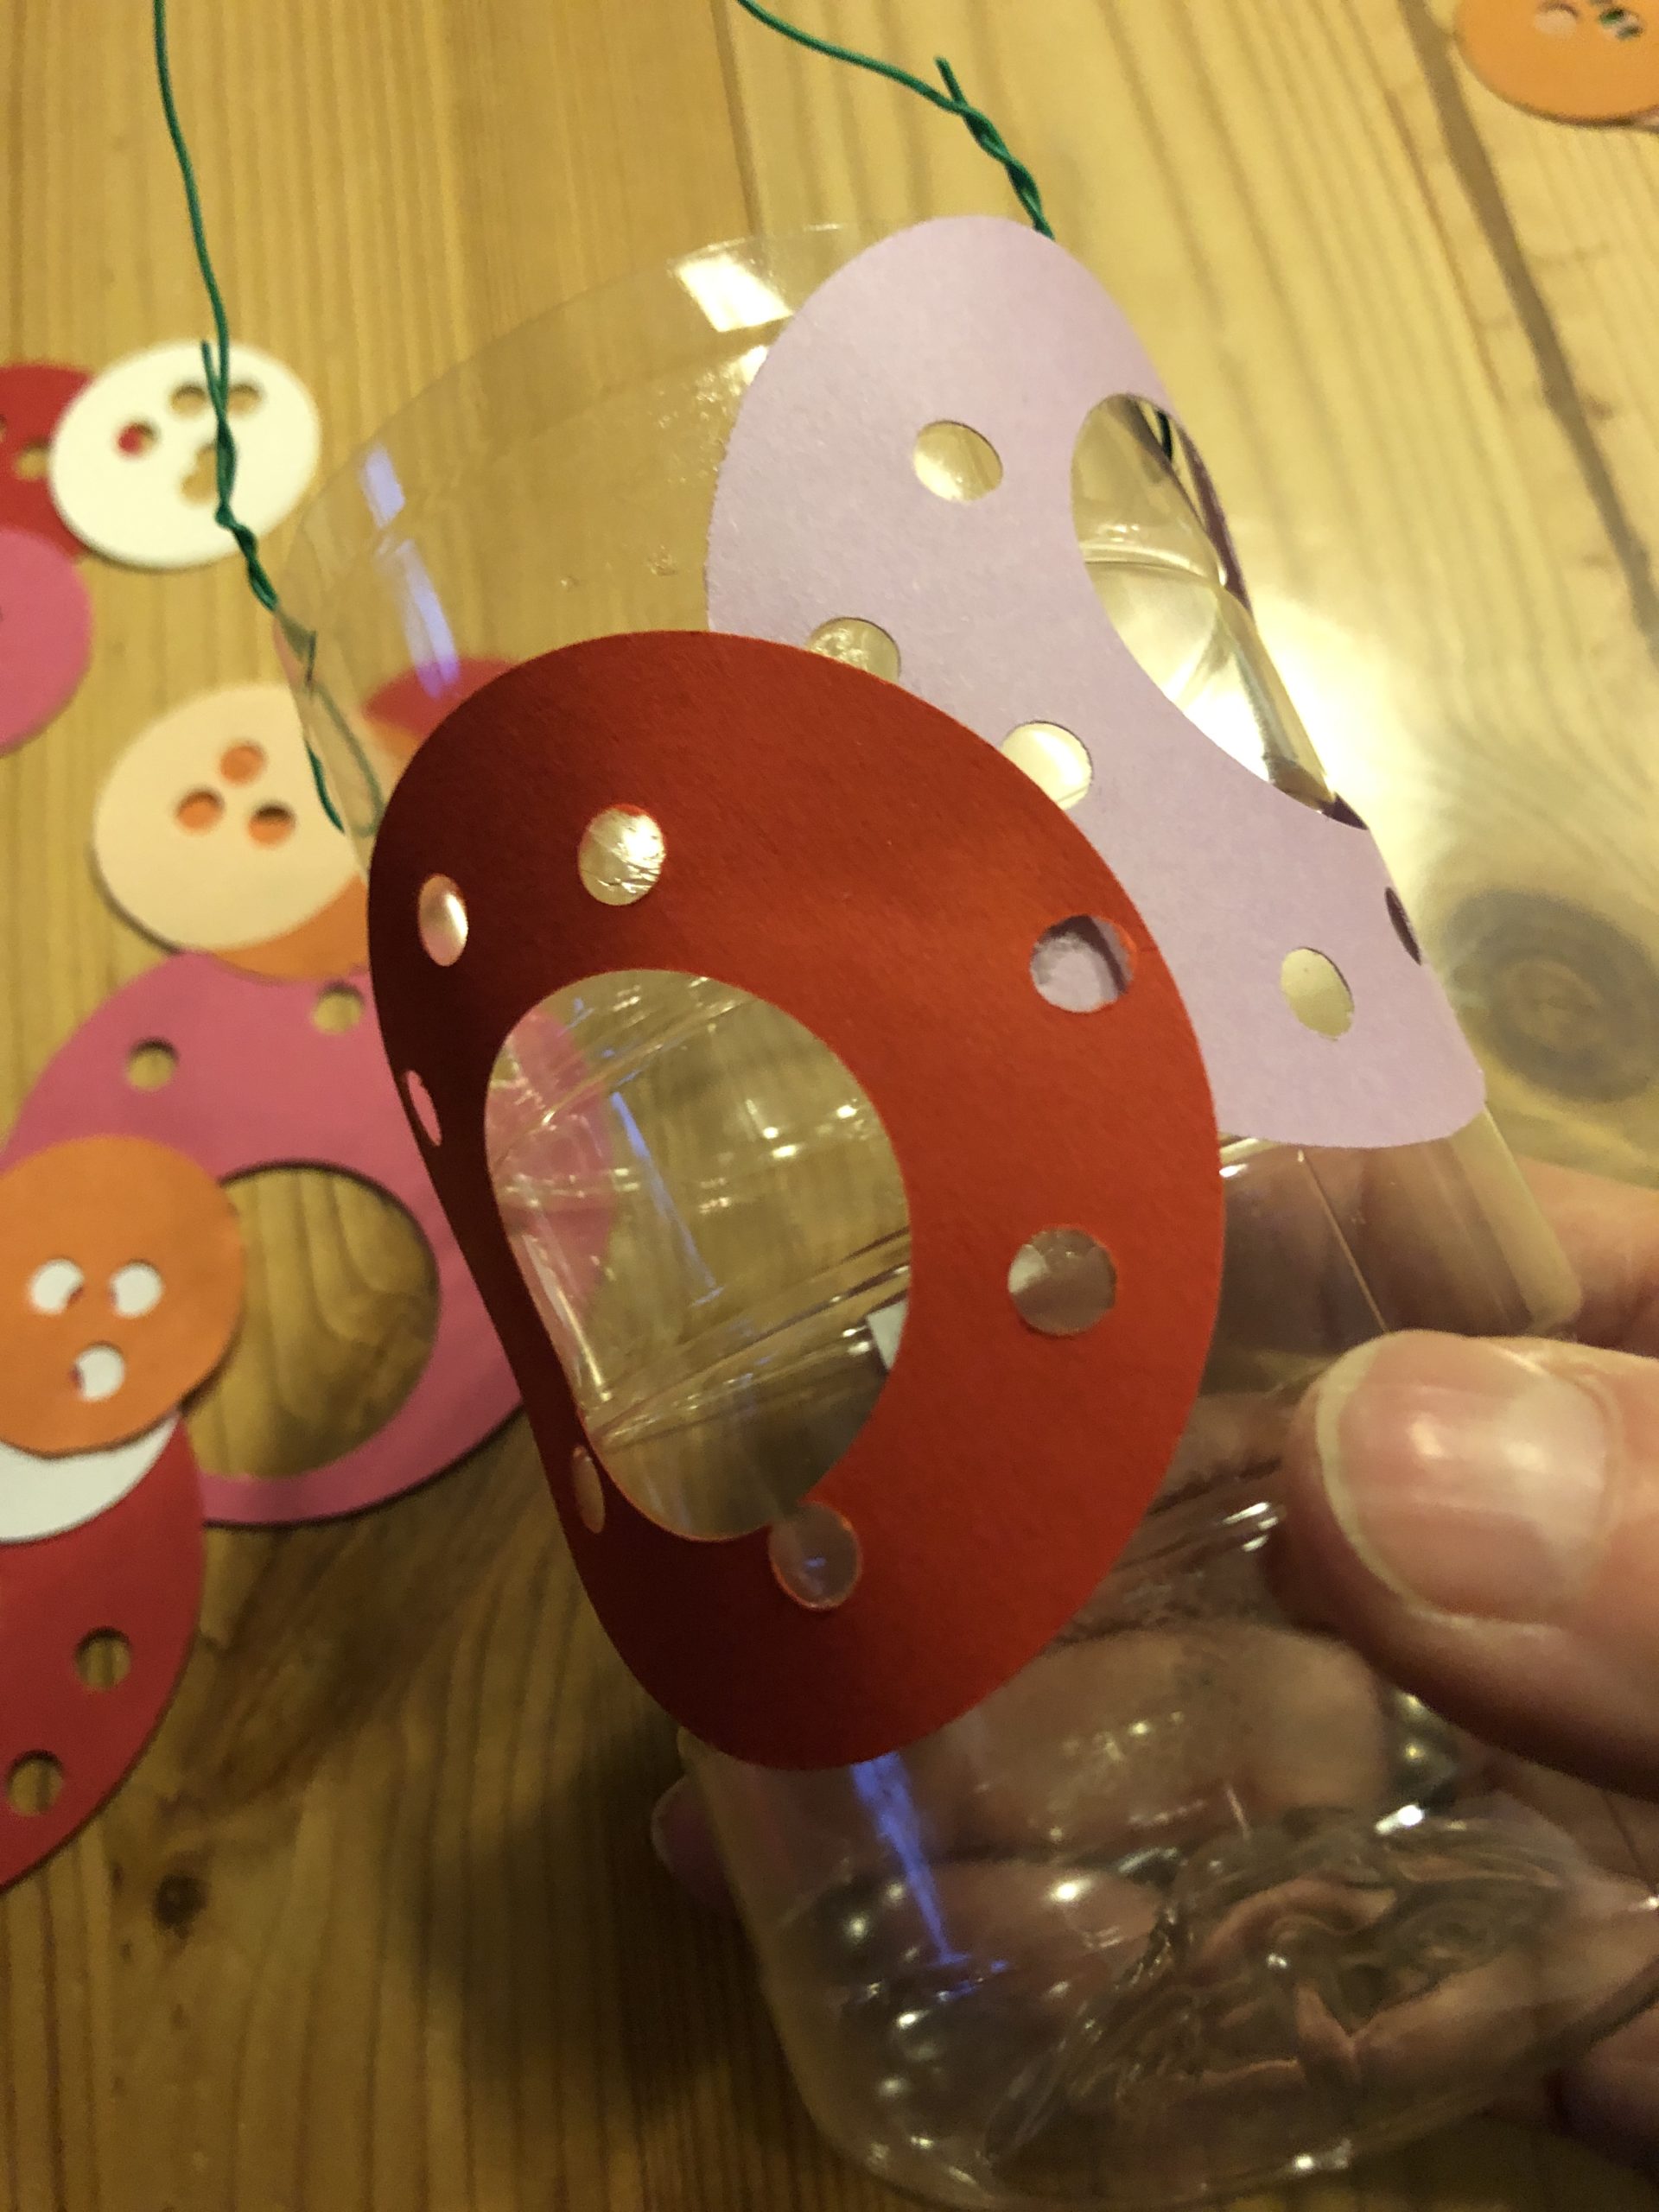
Bild zum Schritt 12 für das Bastel- und DIY-Abenteuer für Kinder: 'Dann beginnt ihr die Kreise und Ringe nacheinander mit dem...'

13

The bottle should be completely glued. It looks particularly beautiful when the circles and rings lie slightly above each other. Nevertheless, you should make sure that enough light rays shine through the holes in the rings and circles.
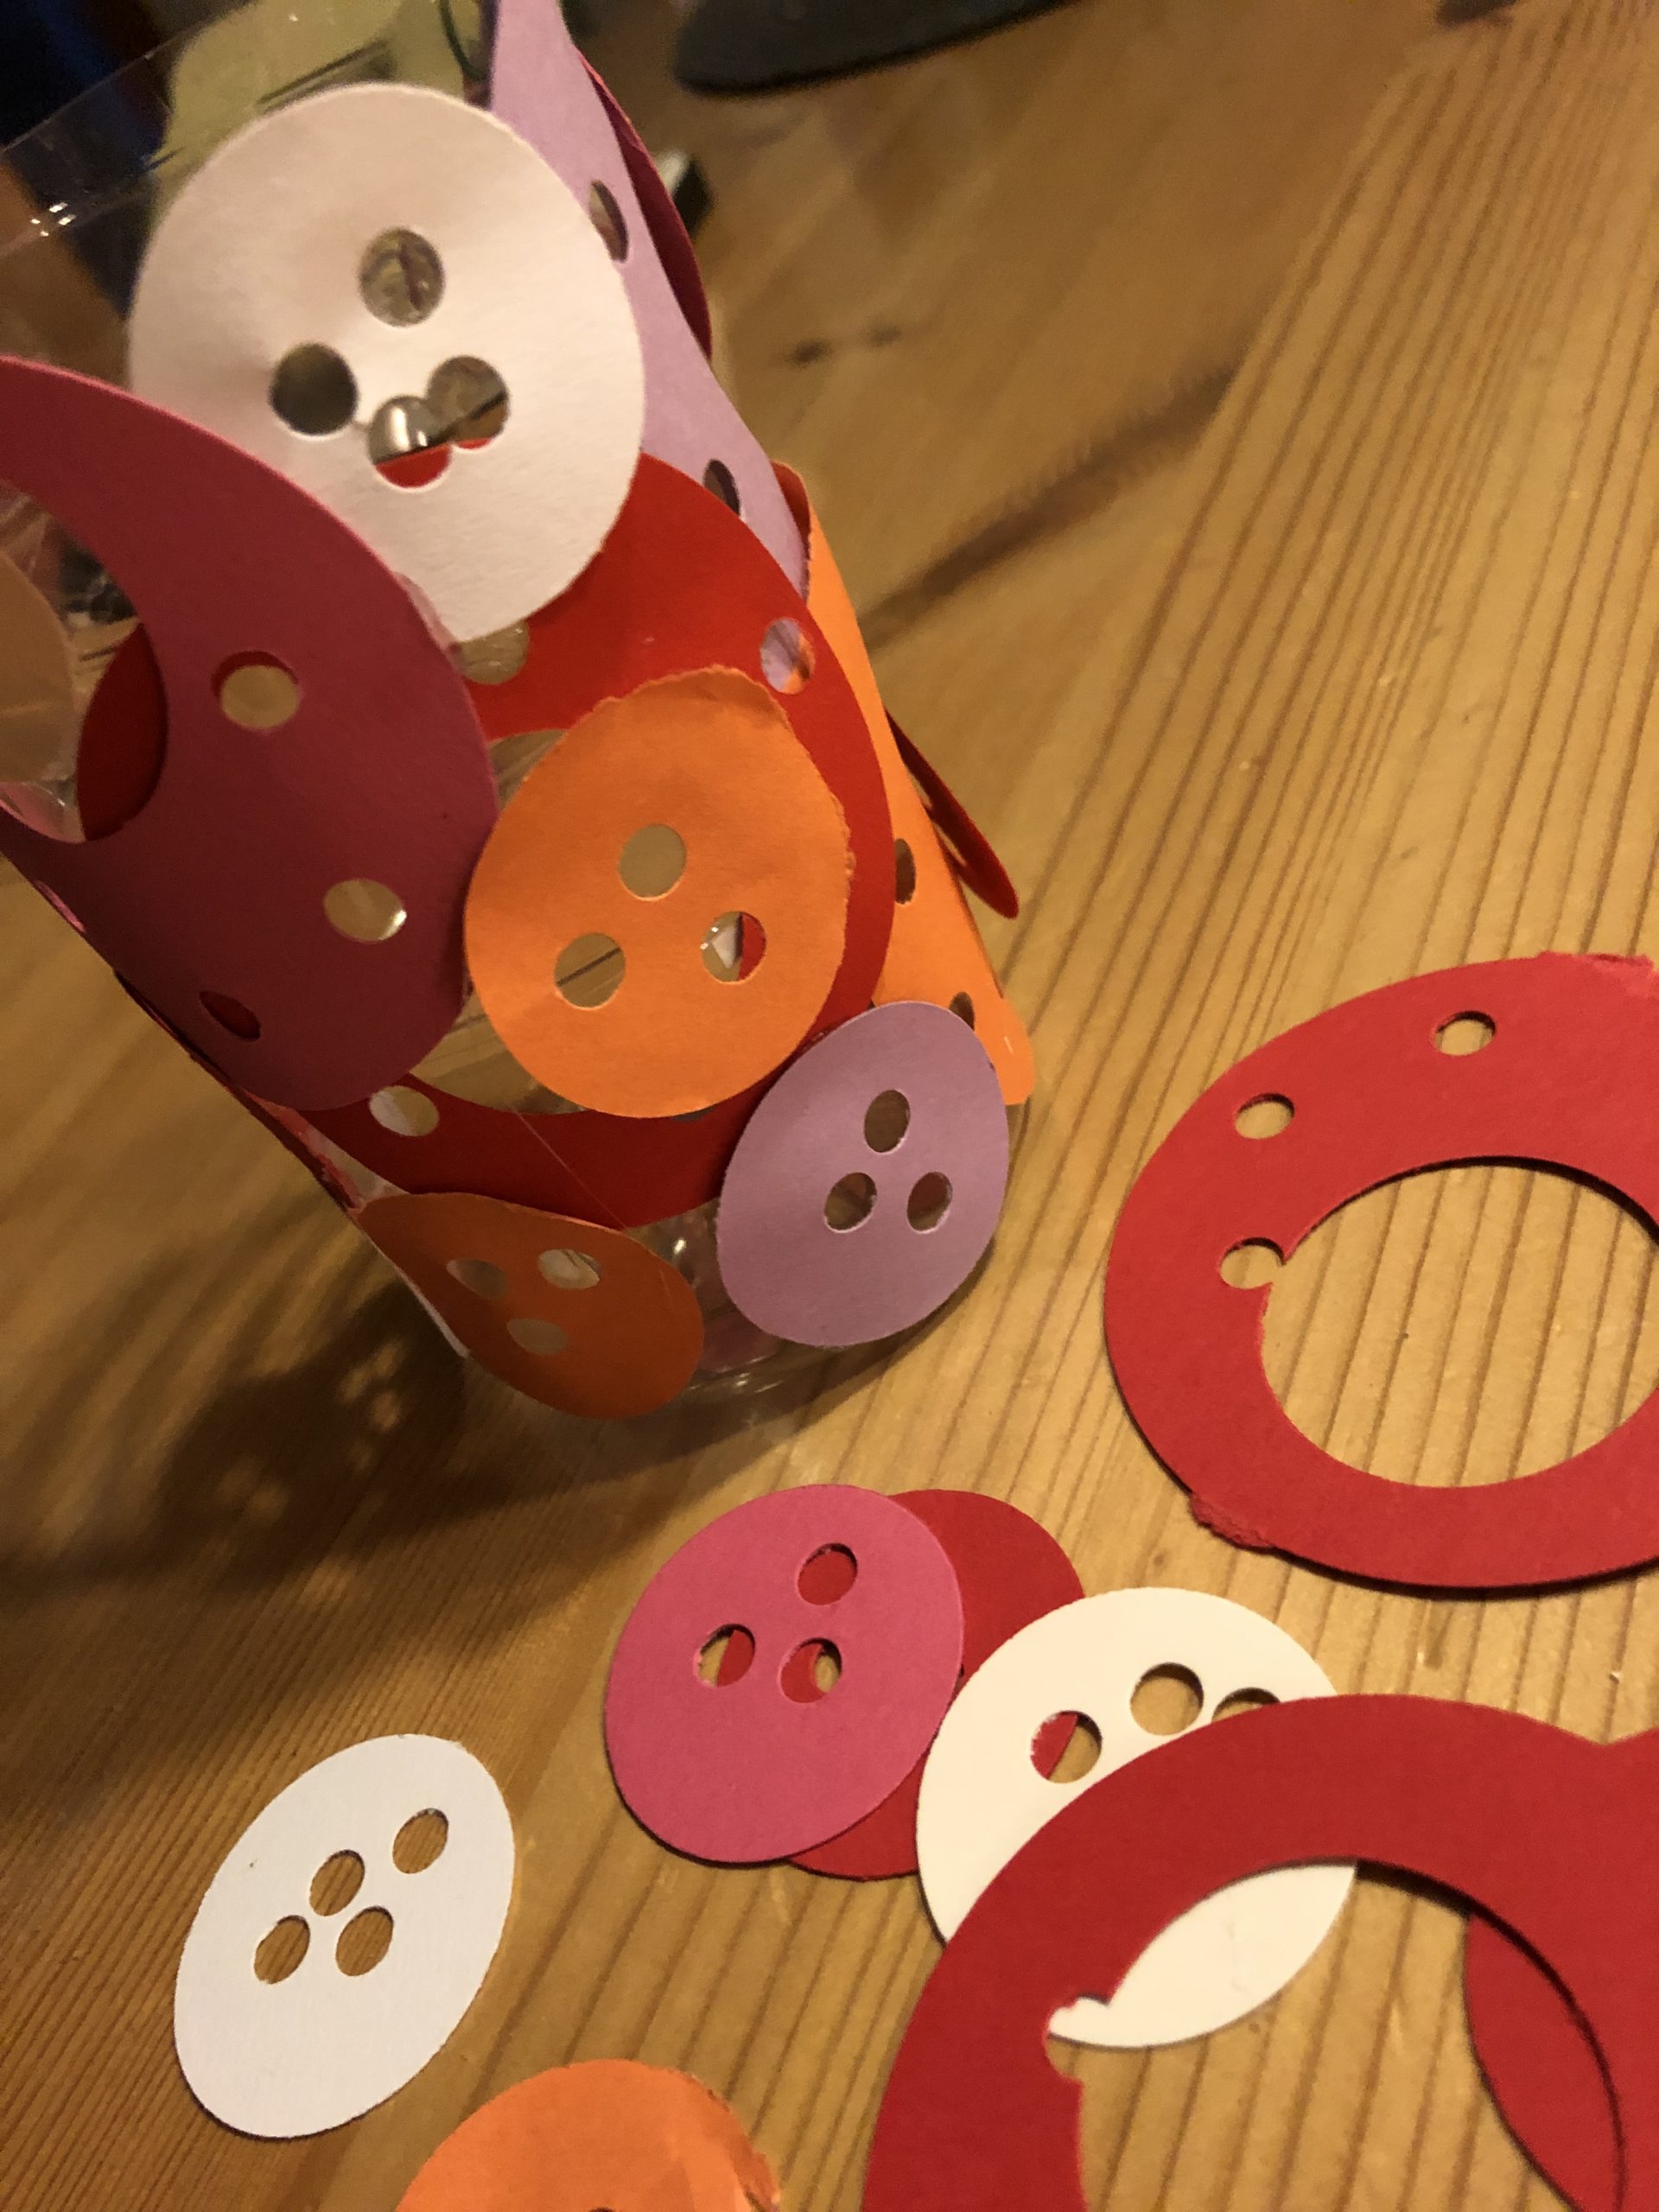
Bild zum Schritt 13 für das Bastel- und DIY-Abenteuer für Kinder: 'Die Flasche sollte komplett beklebt sein. Besonders schön sieht es...'

14

Put a light in it and try it out!
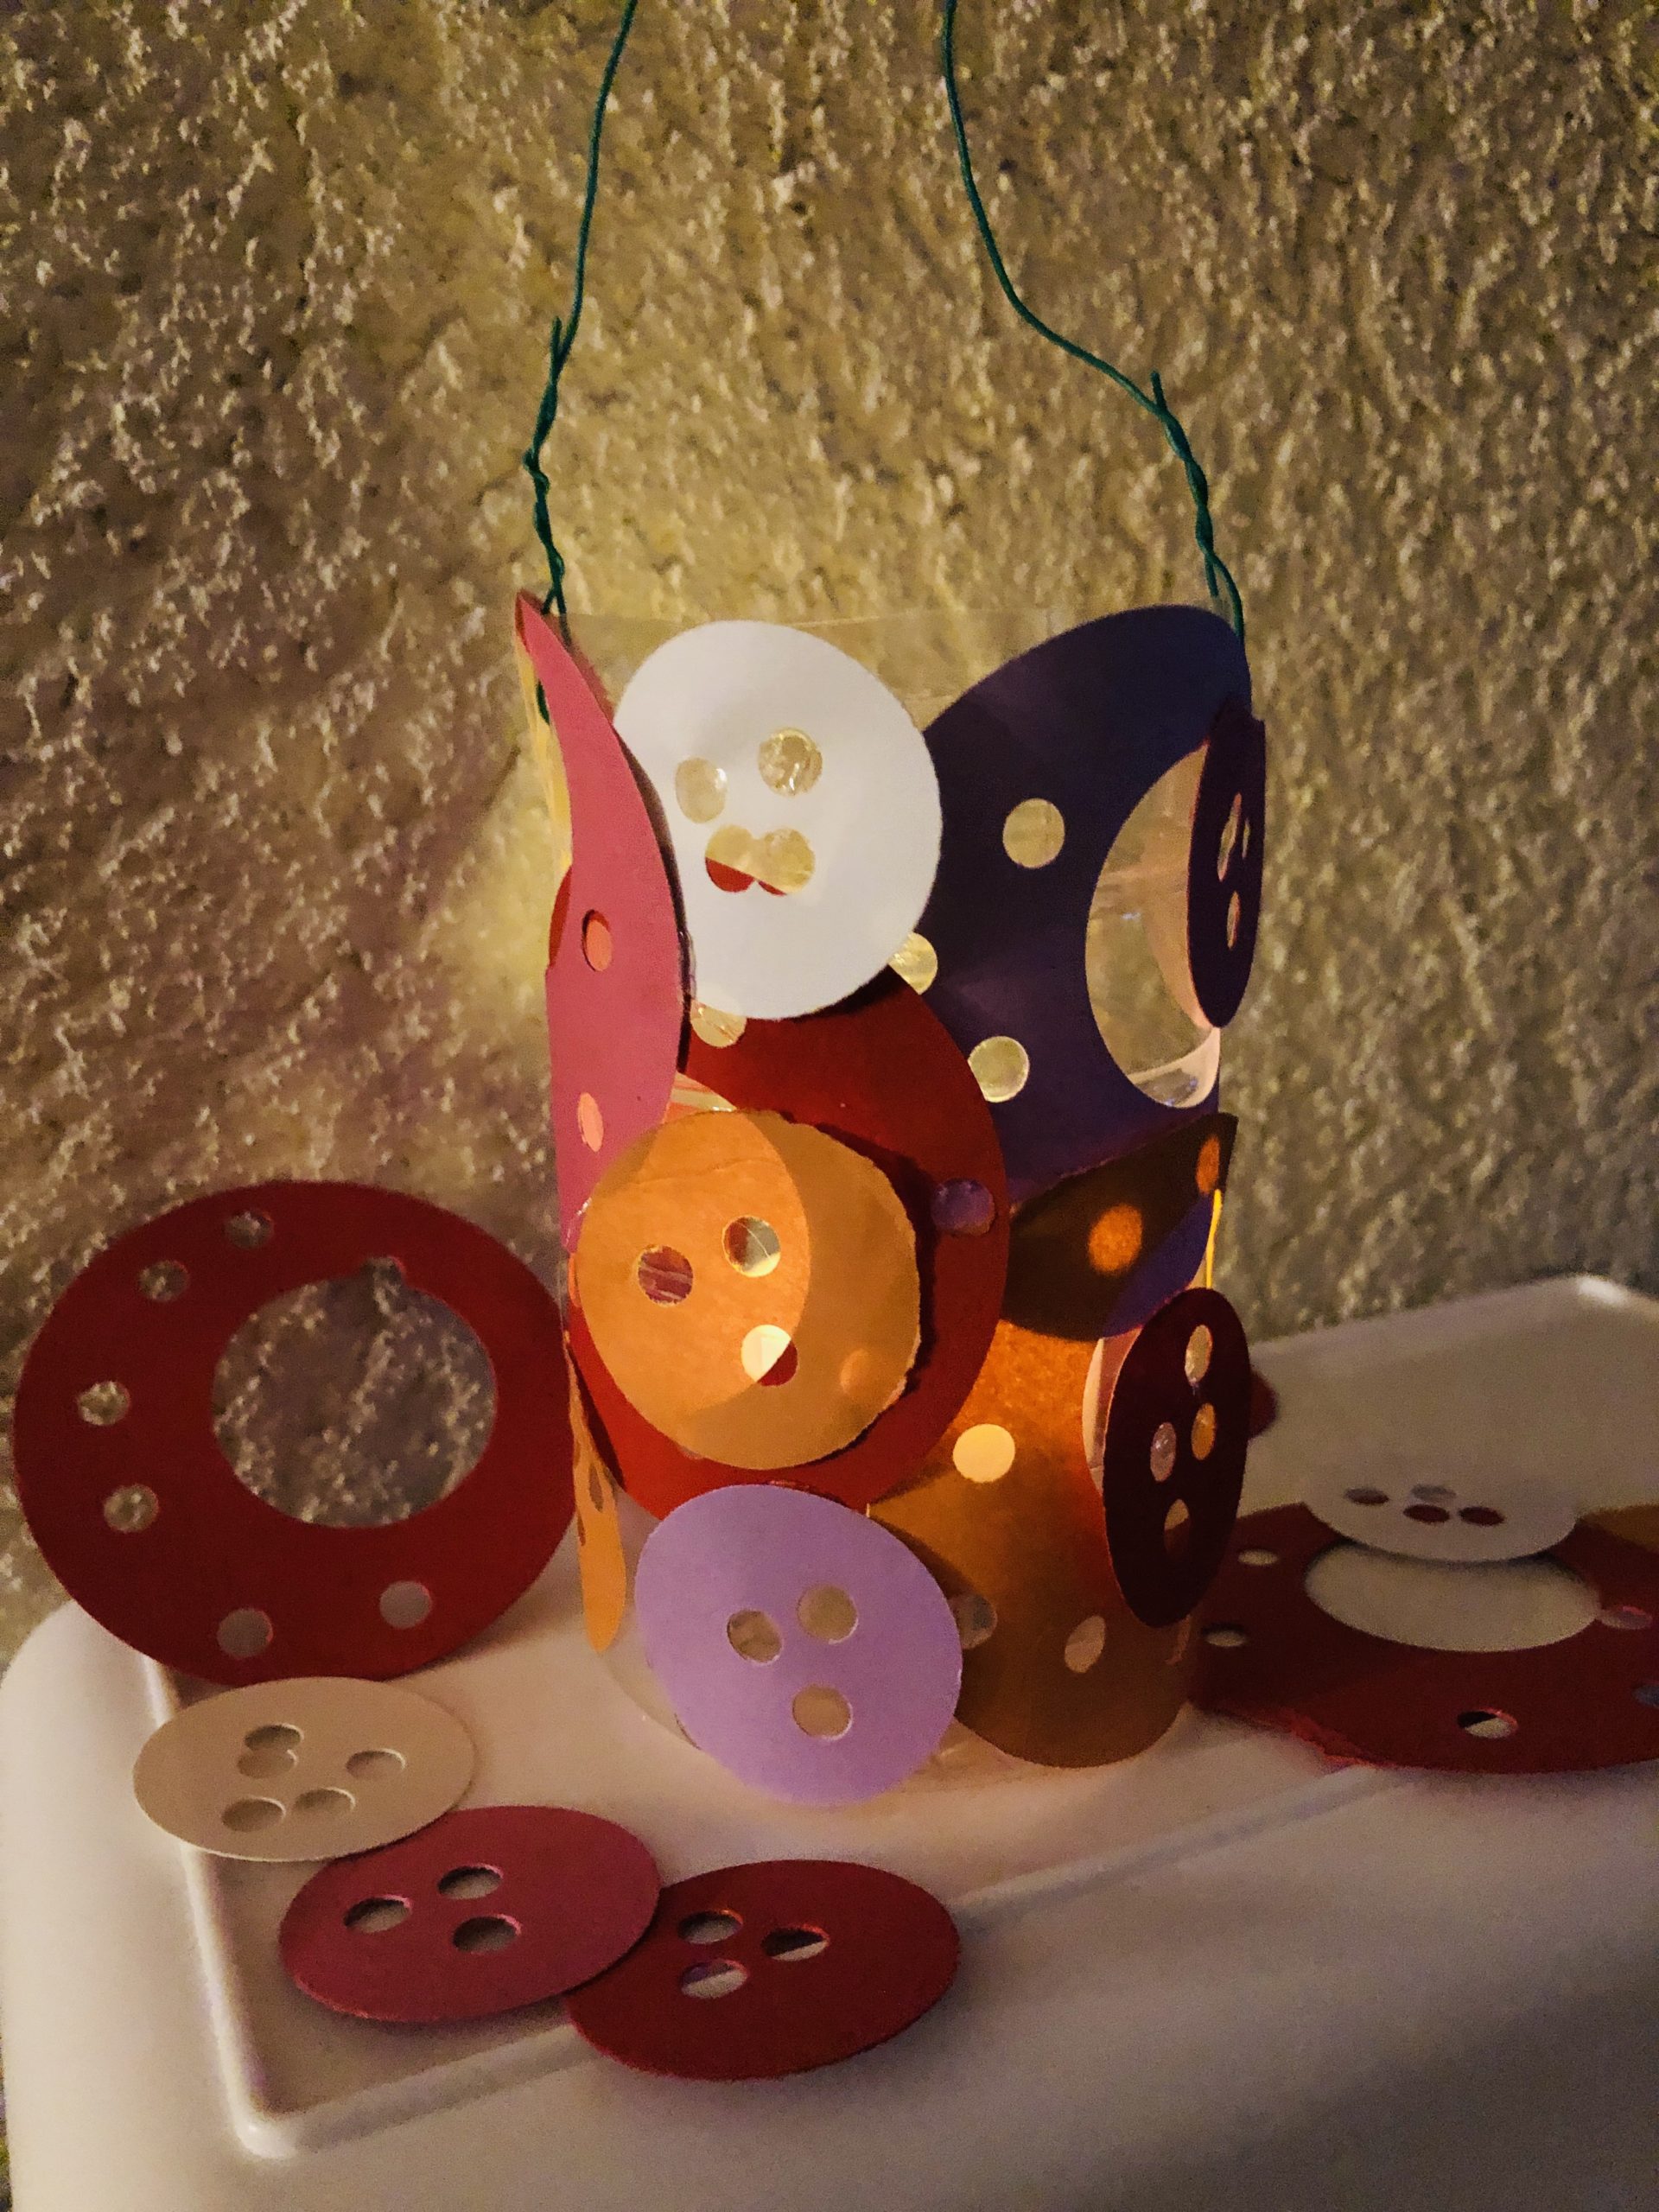
Bild zum Schritt 14 für das Bastel- und DIY-Abenteuer für Kinder: 'Stellt ein Licht hinein und probiert es aus!'

15

Your lantern is ready.
Have fun doing crafts!

Lantern of circles & Rings

Follow us on Facebook , Instagram and Pinterest
Don't miss any more adventures: Our bottle mail

Leave a Reply

Your email address will not be published.

The maximum upload file size: 5 MB. You can upload: image, document. Drop file here