Upcycle! We turn garbage for our lanterns! Reusable material such as empty plastic bottles and newspaper are excellent for crafting. Upcyclen saves money and time, because the materials are often all available at home and thus you can start immediately.
Media Education for Kindergarten and Hort

Relief in everyday life, targeted promotion of individual children, independent learning and - without any pre-knowledge already usable by the youngest!
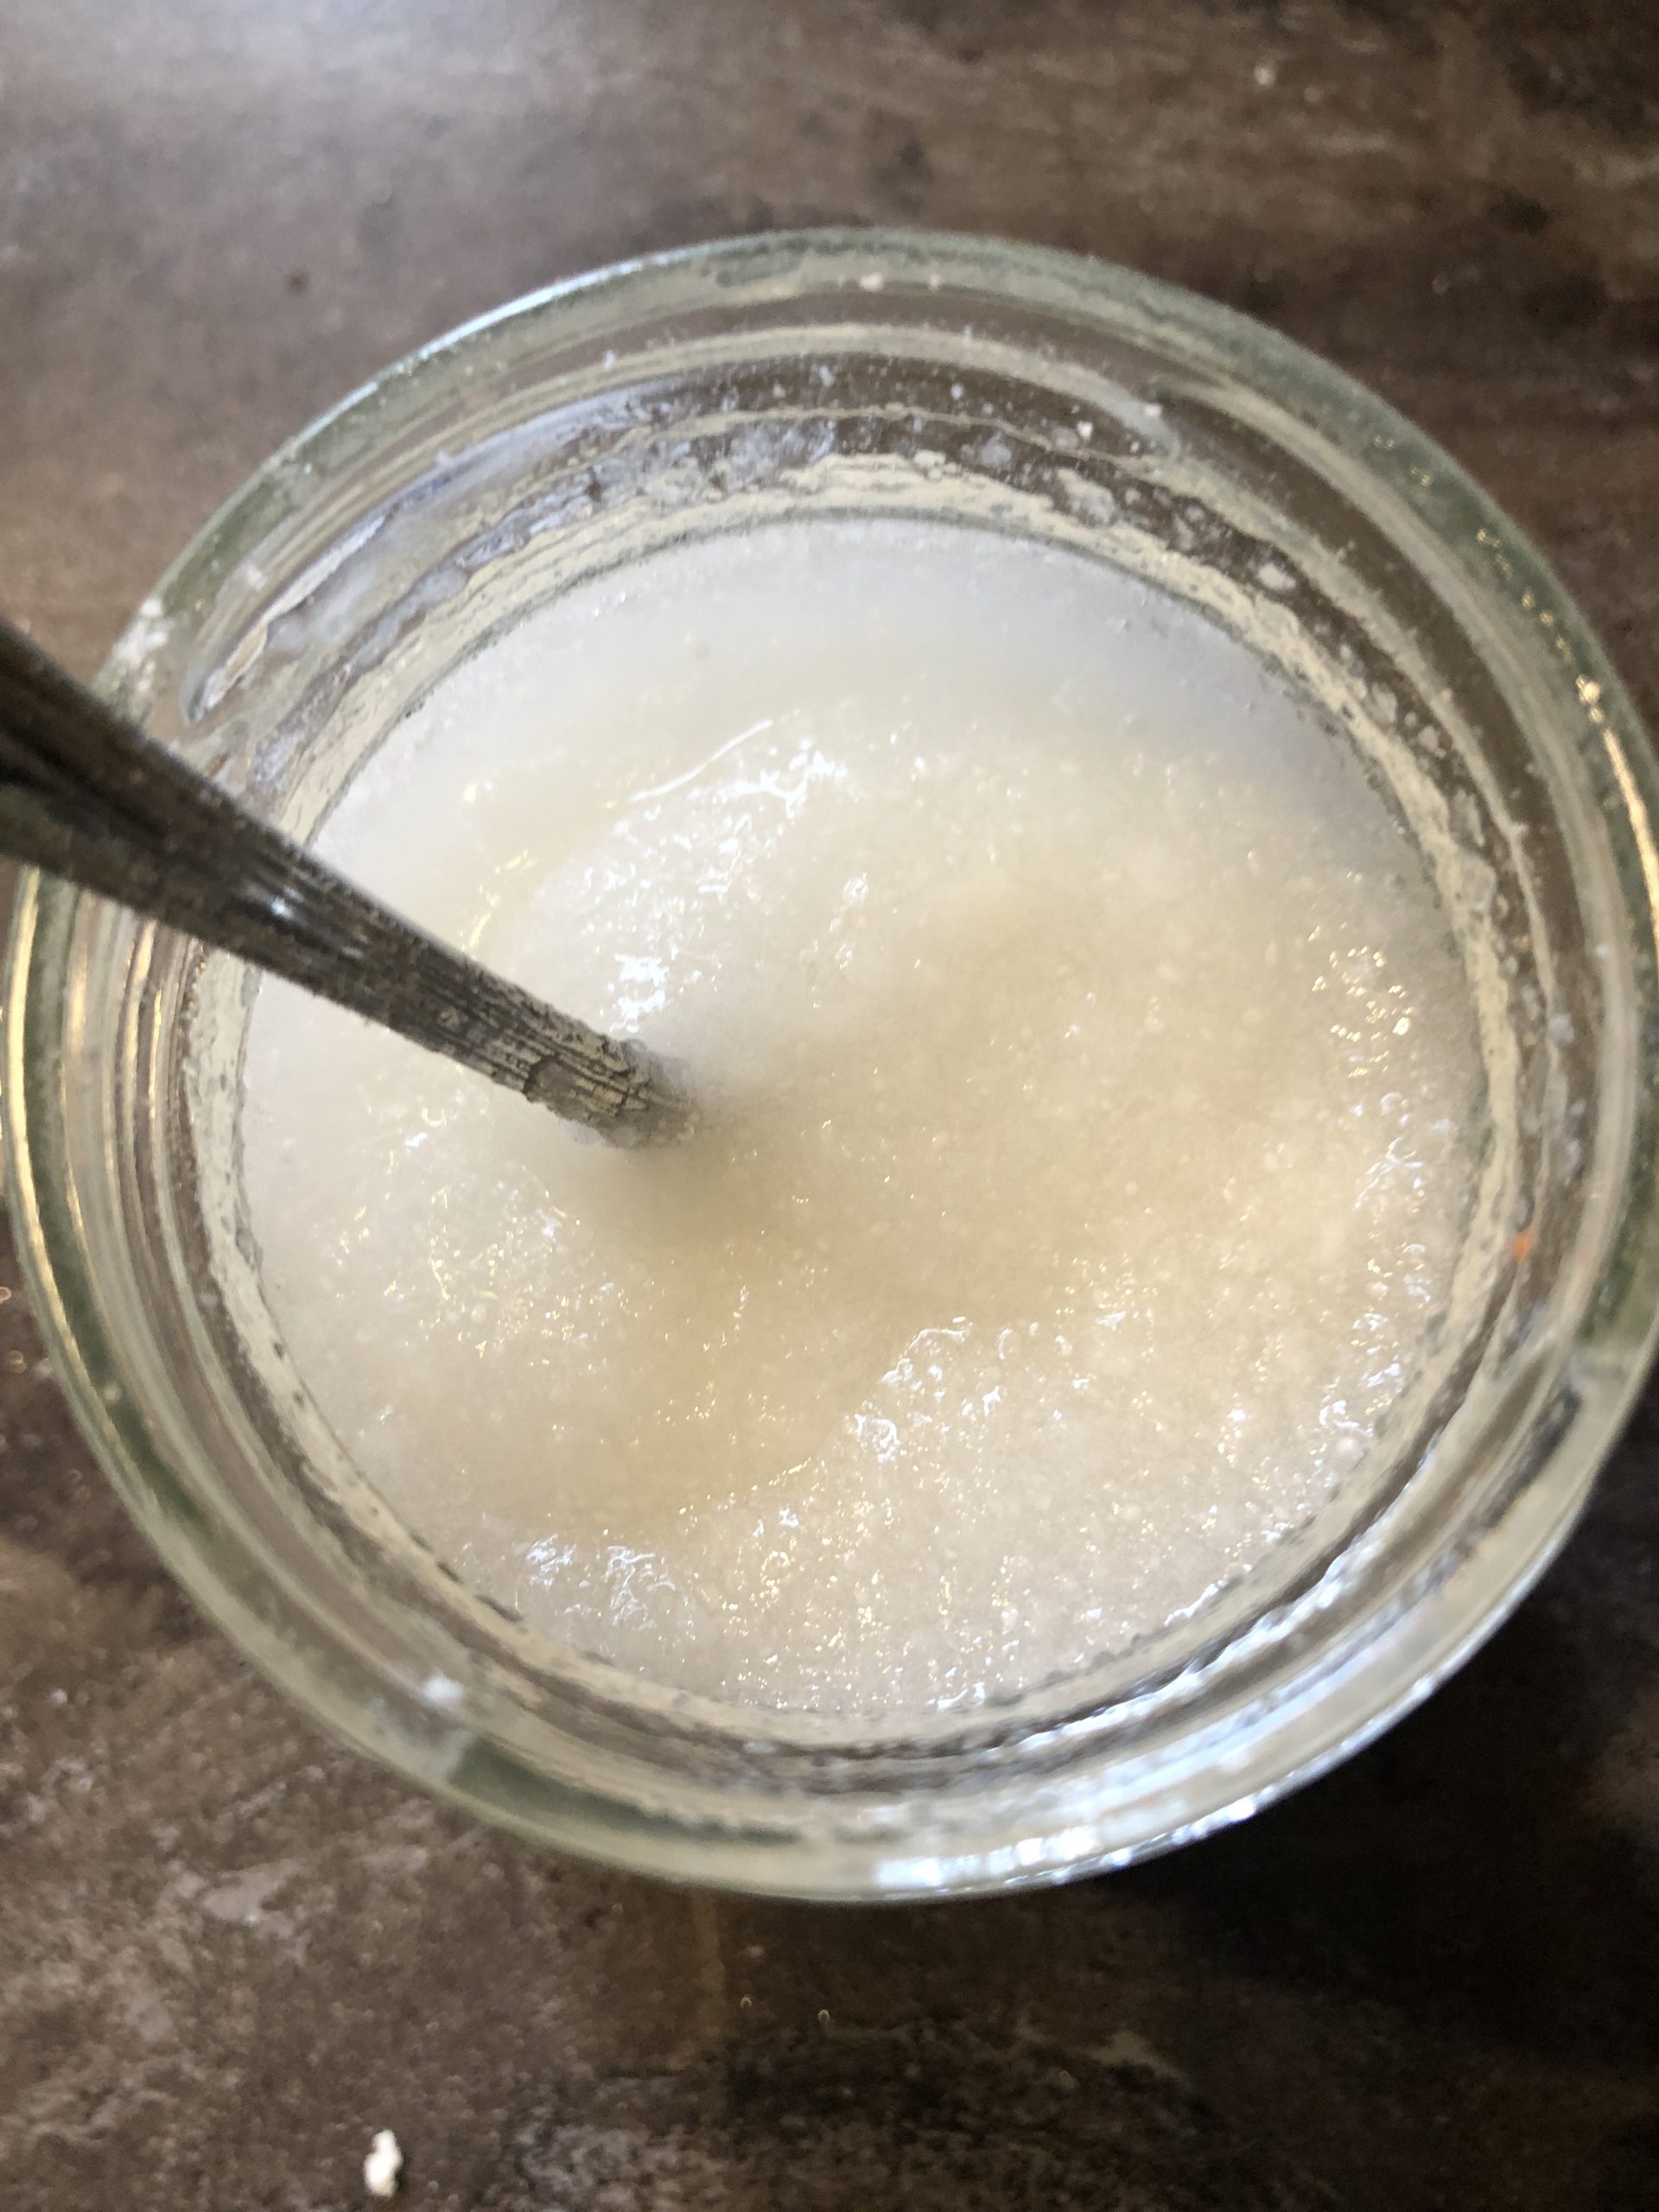
Now you put out a craft pad and touch the wallpaper paste. Let it spring for a moment.
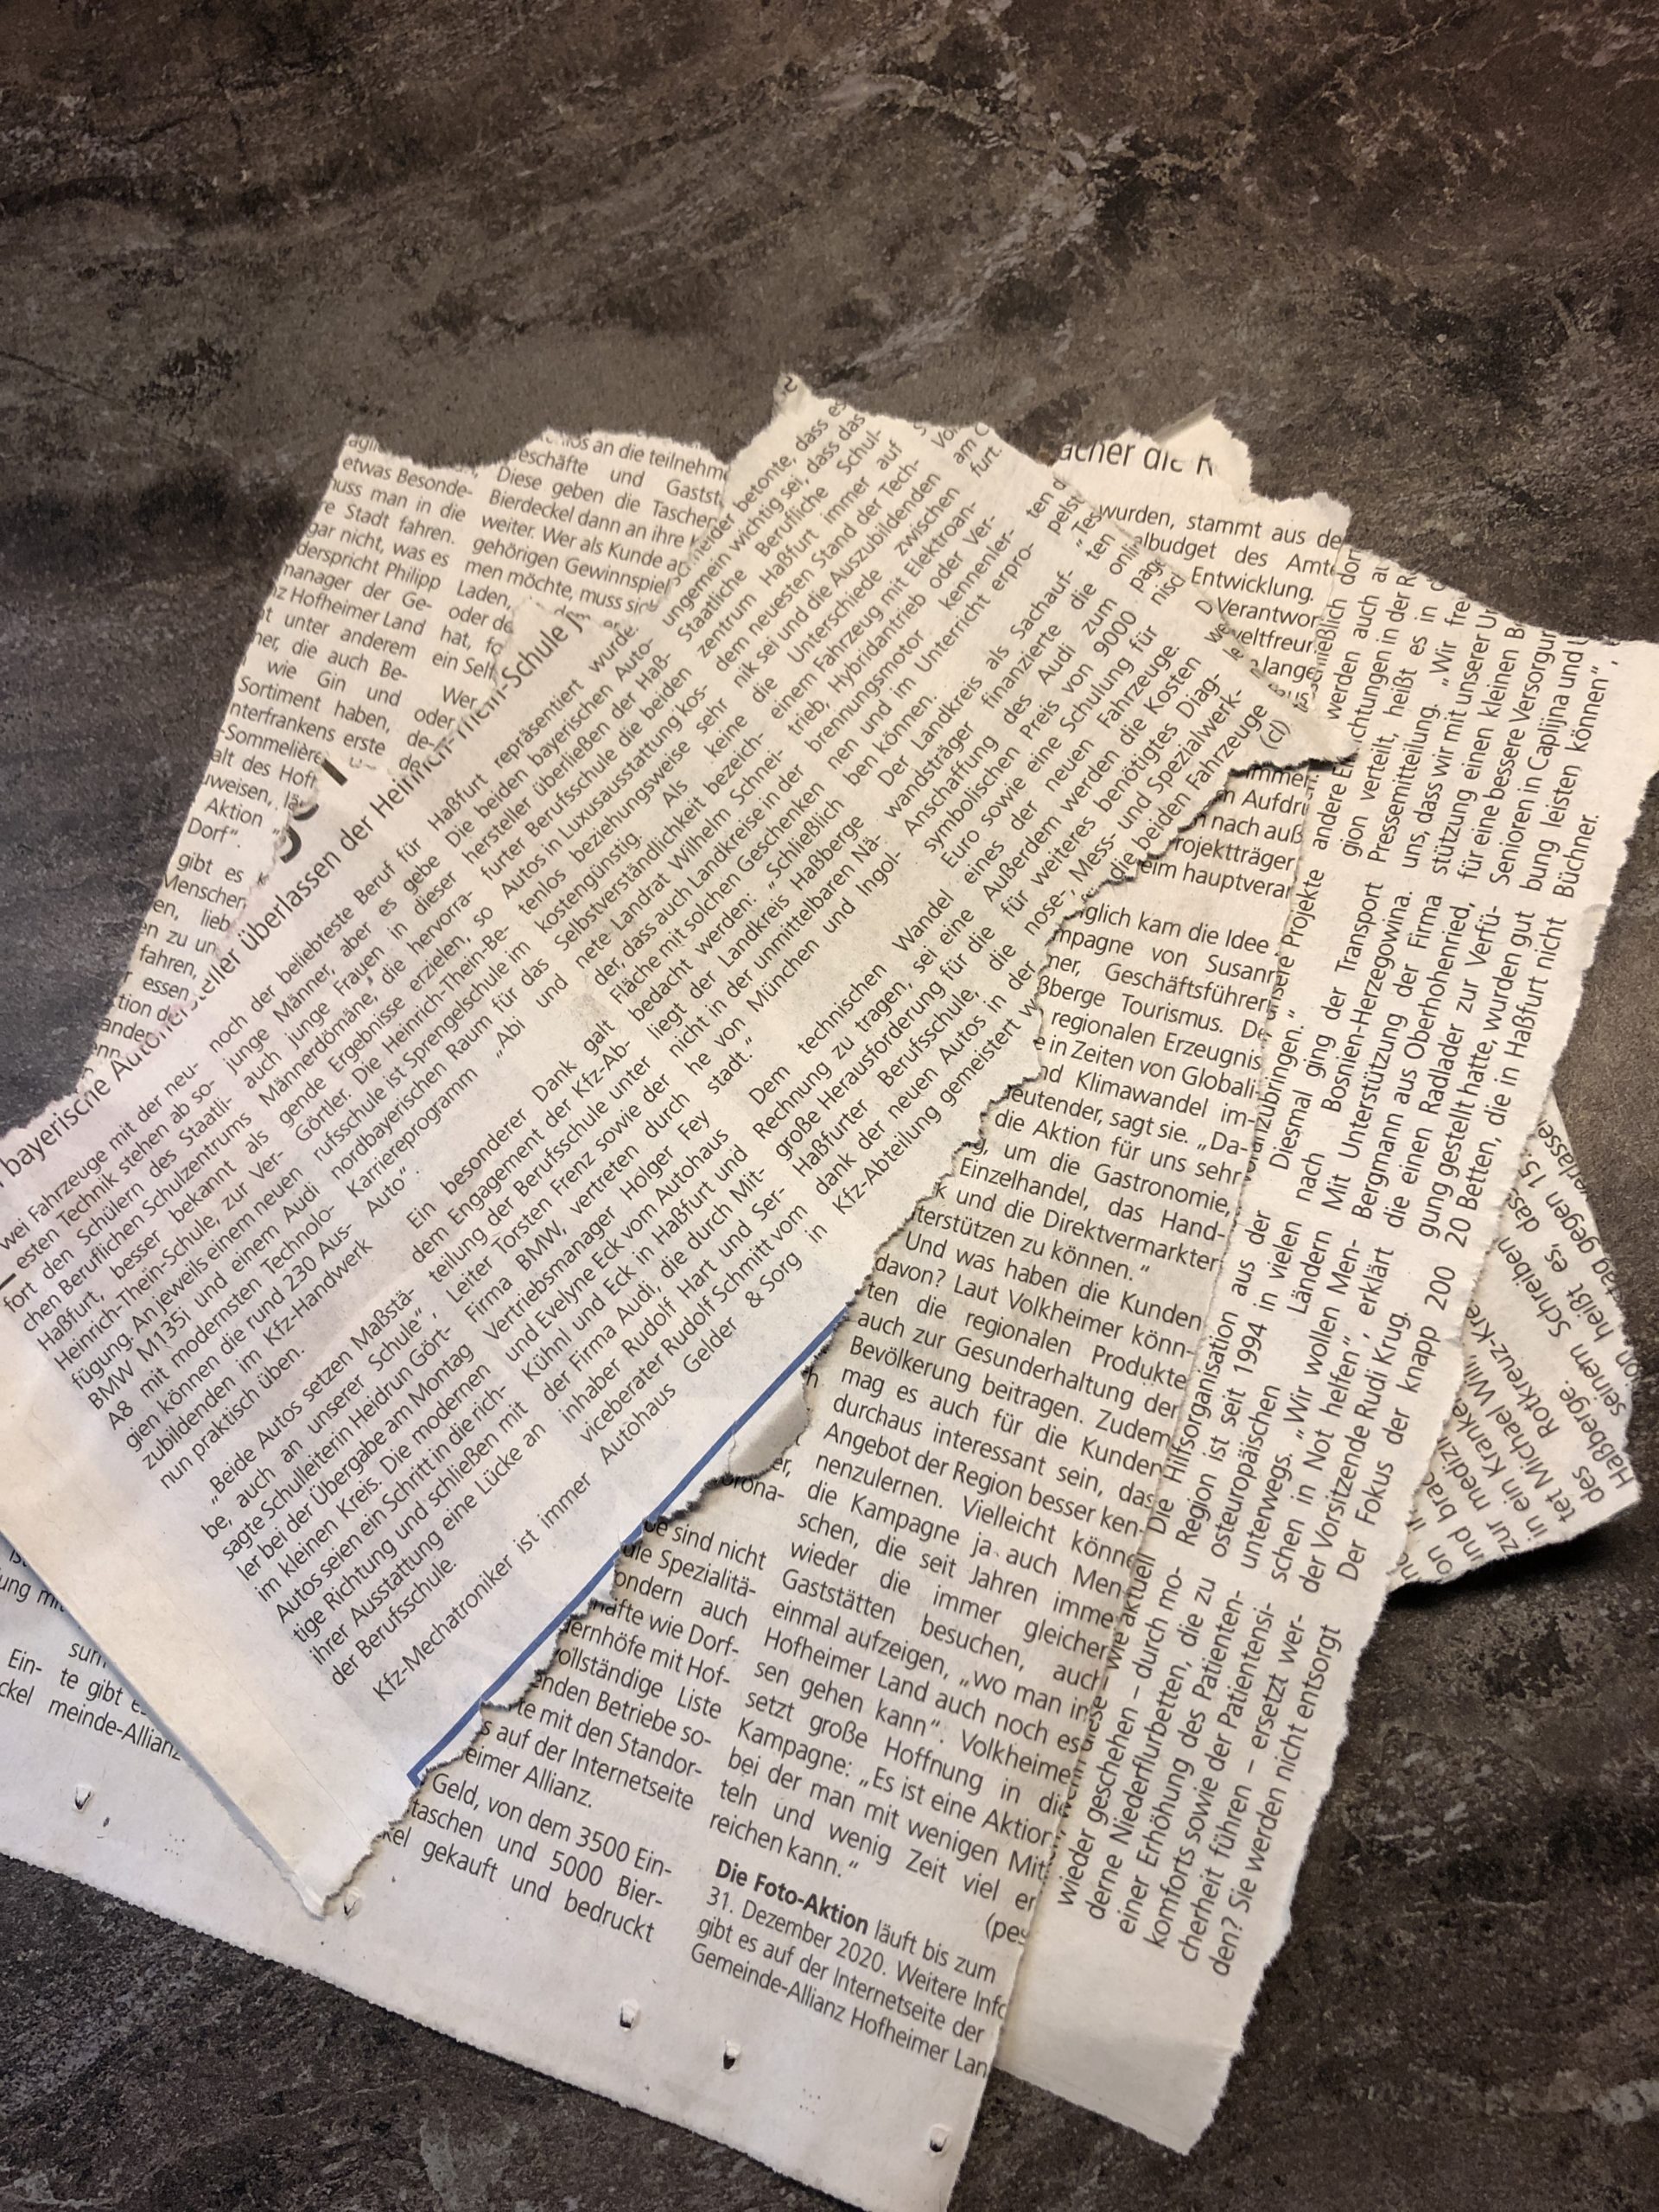
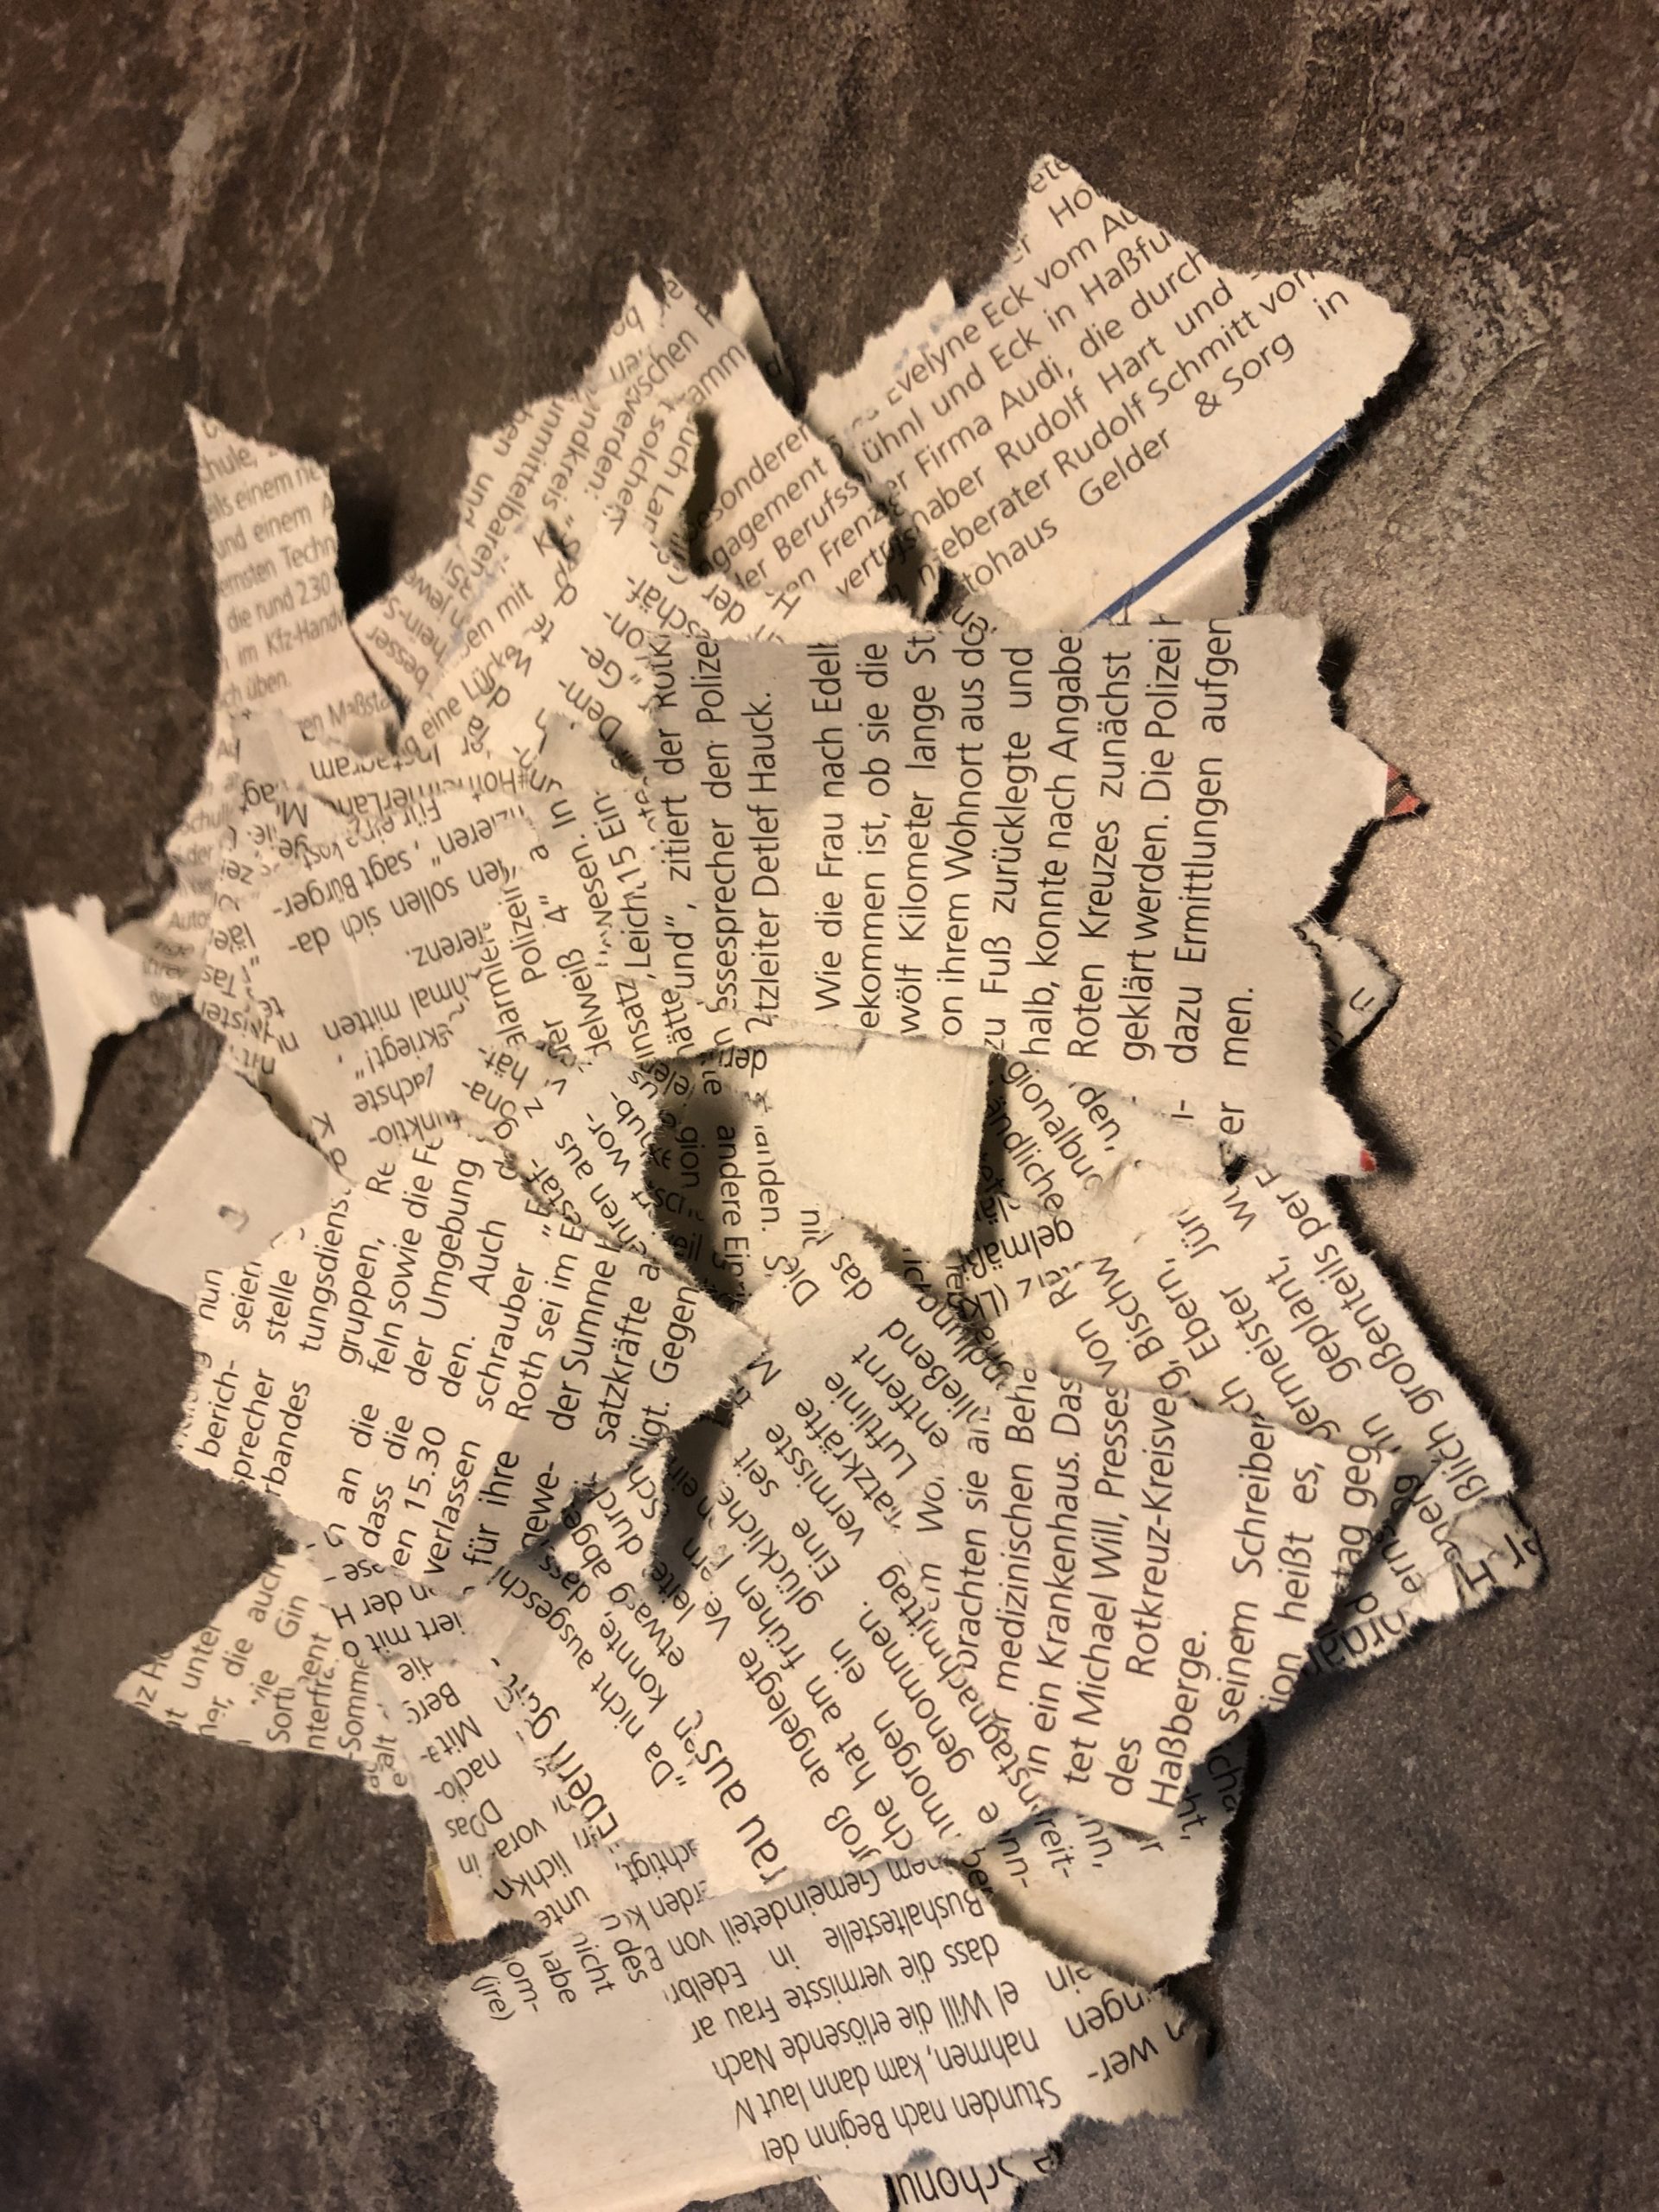
Then the newspaper breaks into snippets.




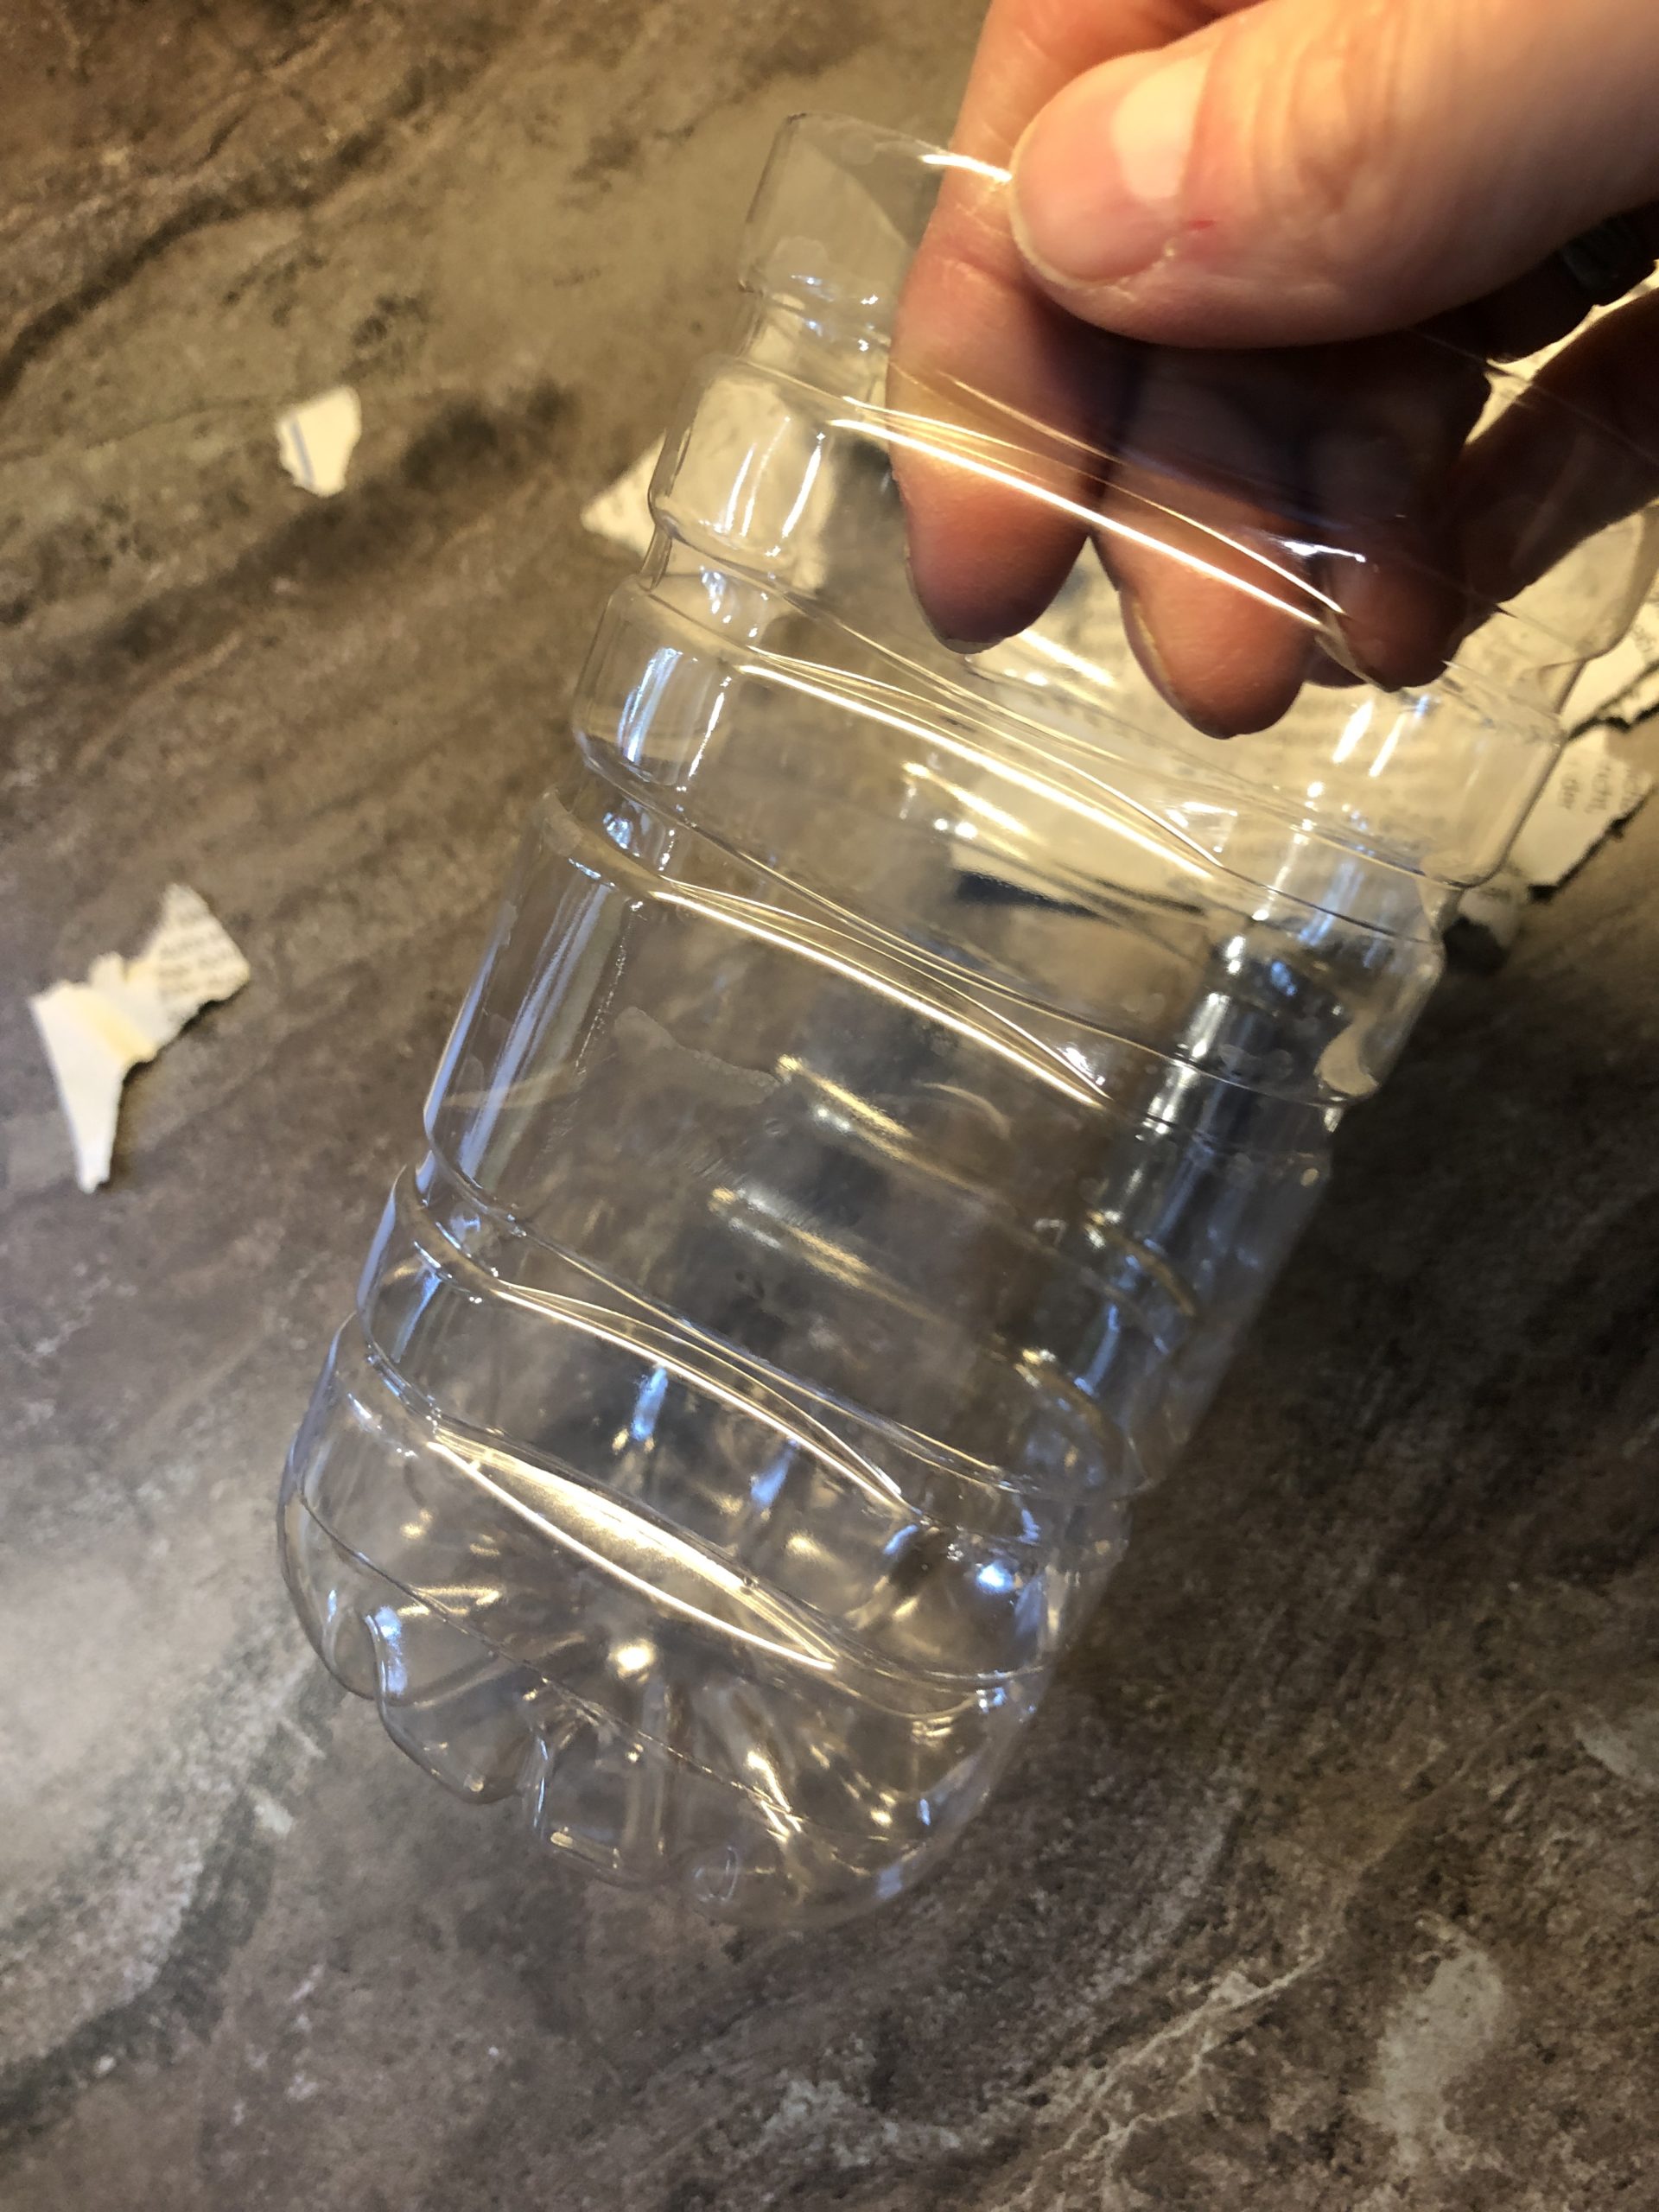
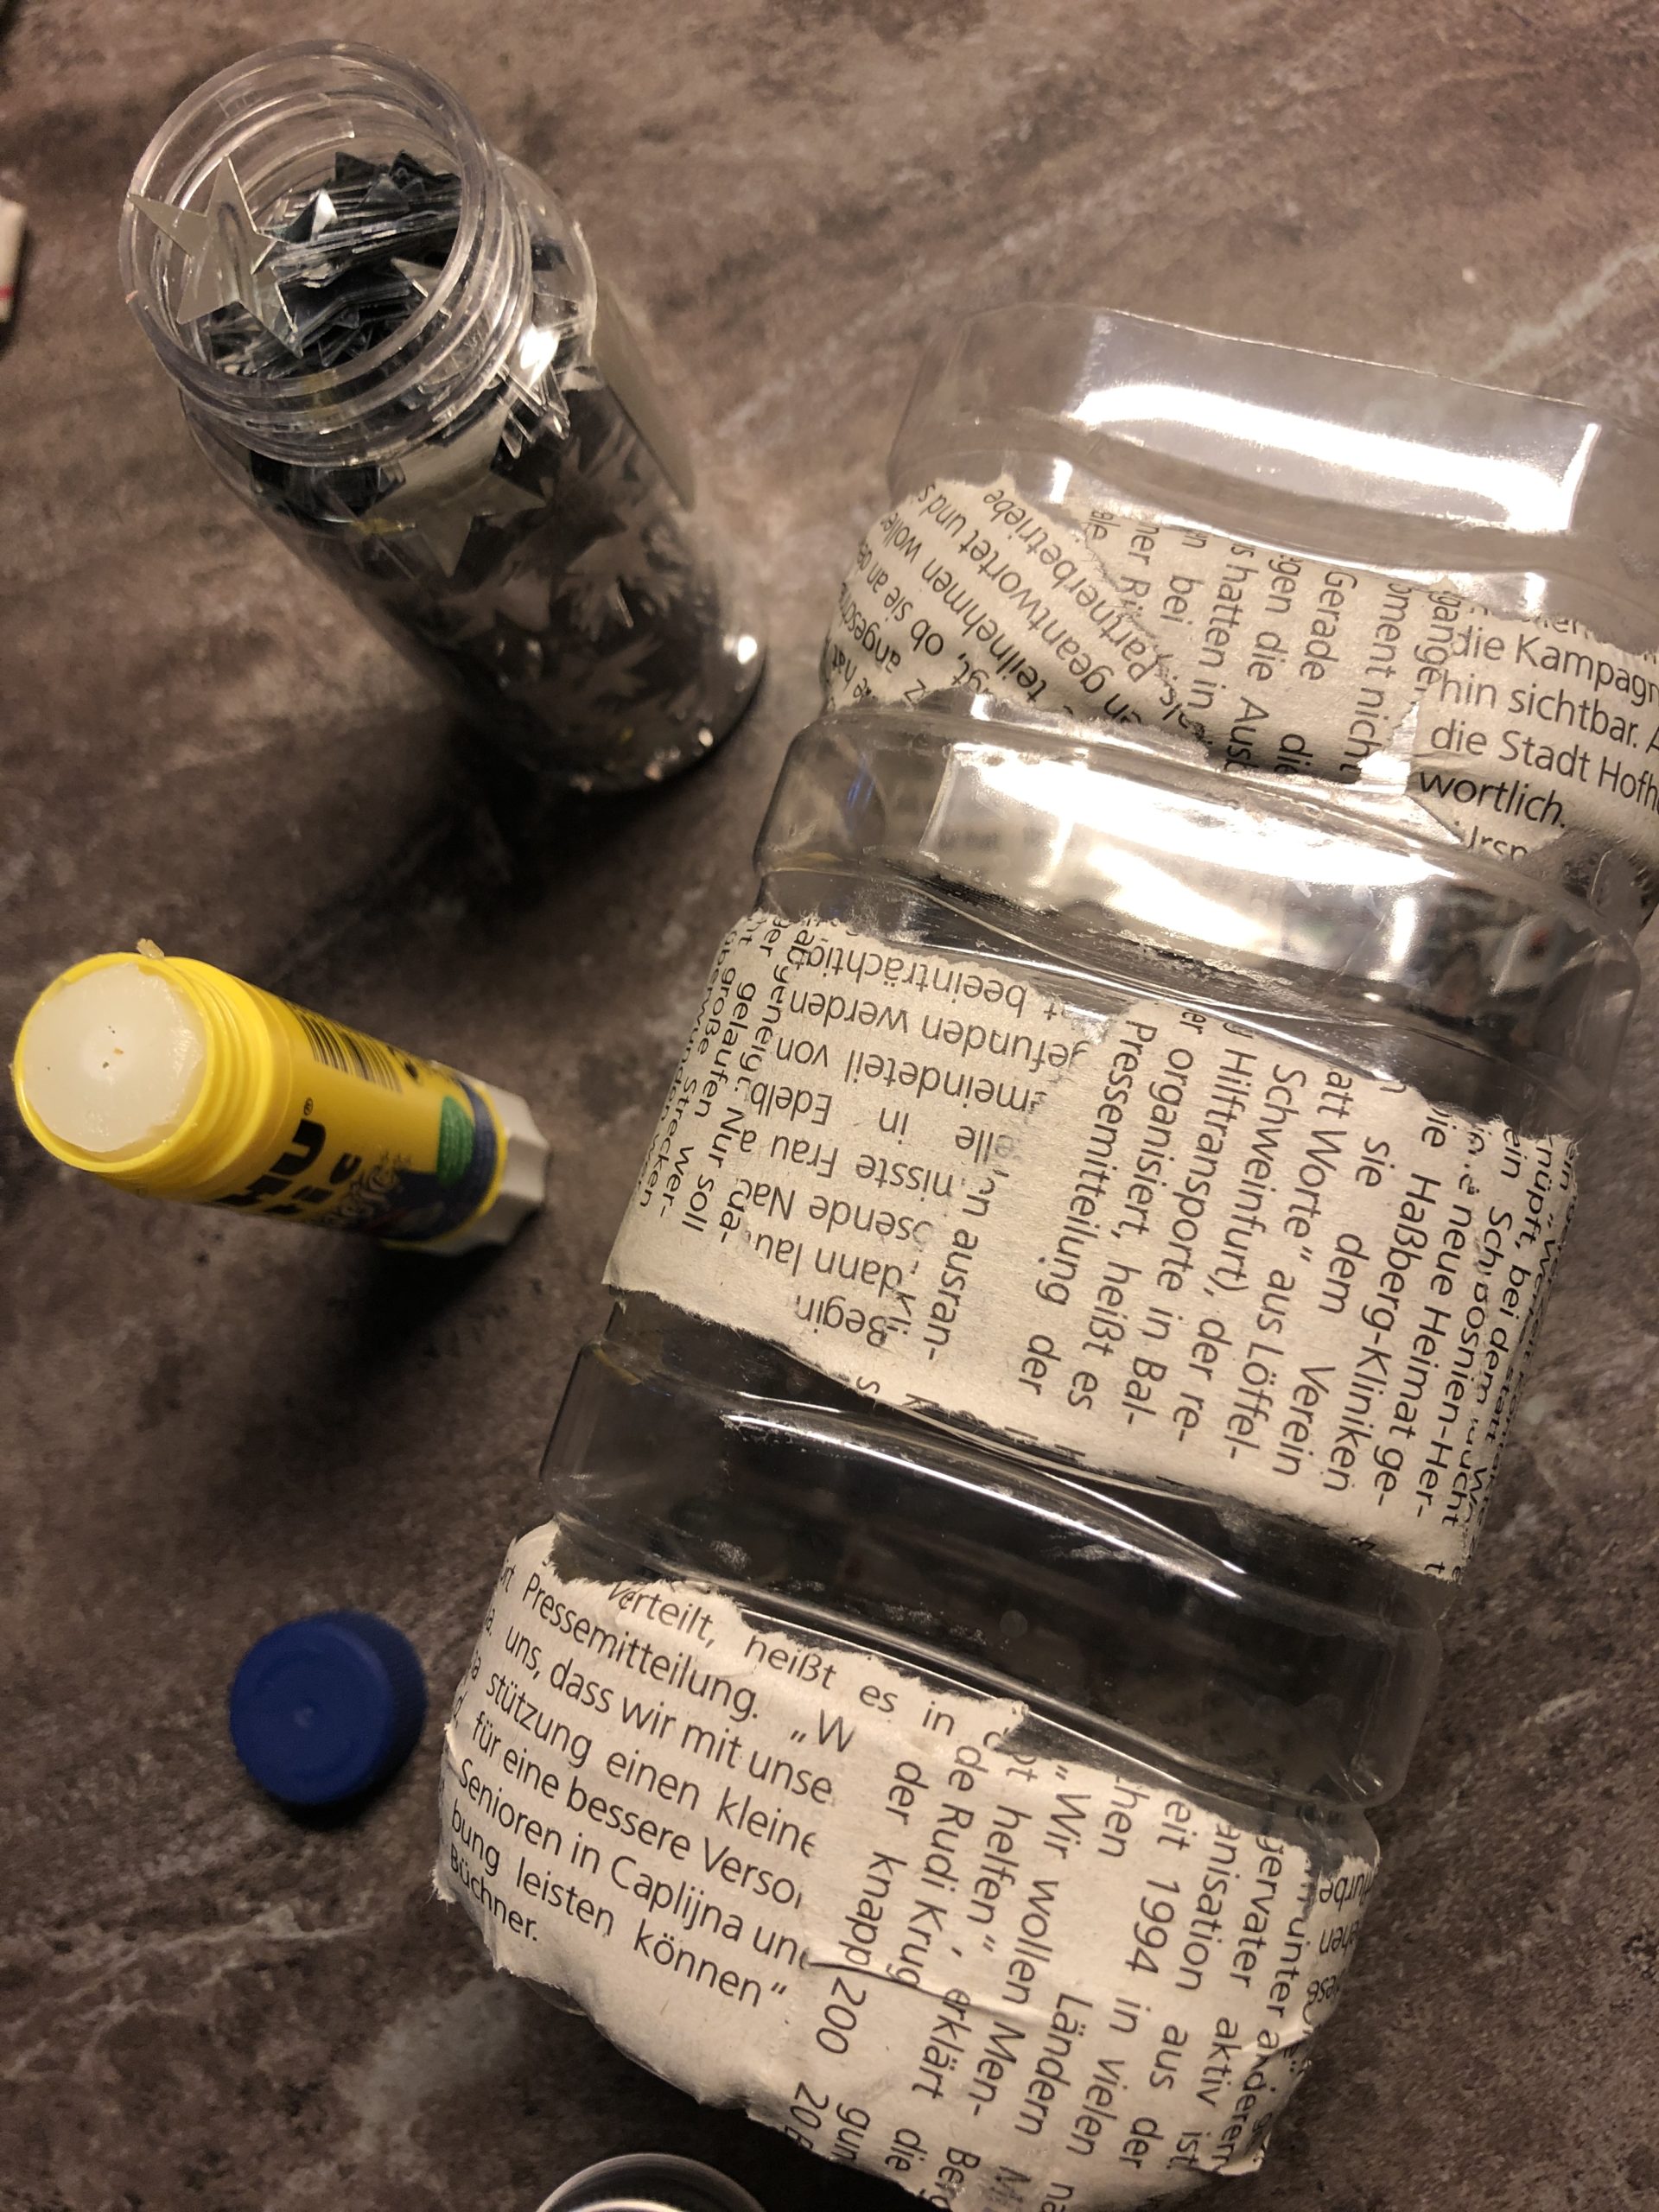
Now glue the cut-off bottle, the lantern blank.


Apply the paste with the brush and then place the snippets individually on it. Sprinkle them again with paste.
Trying to glue only one layer of newspaper, otherwise no light will shine through.
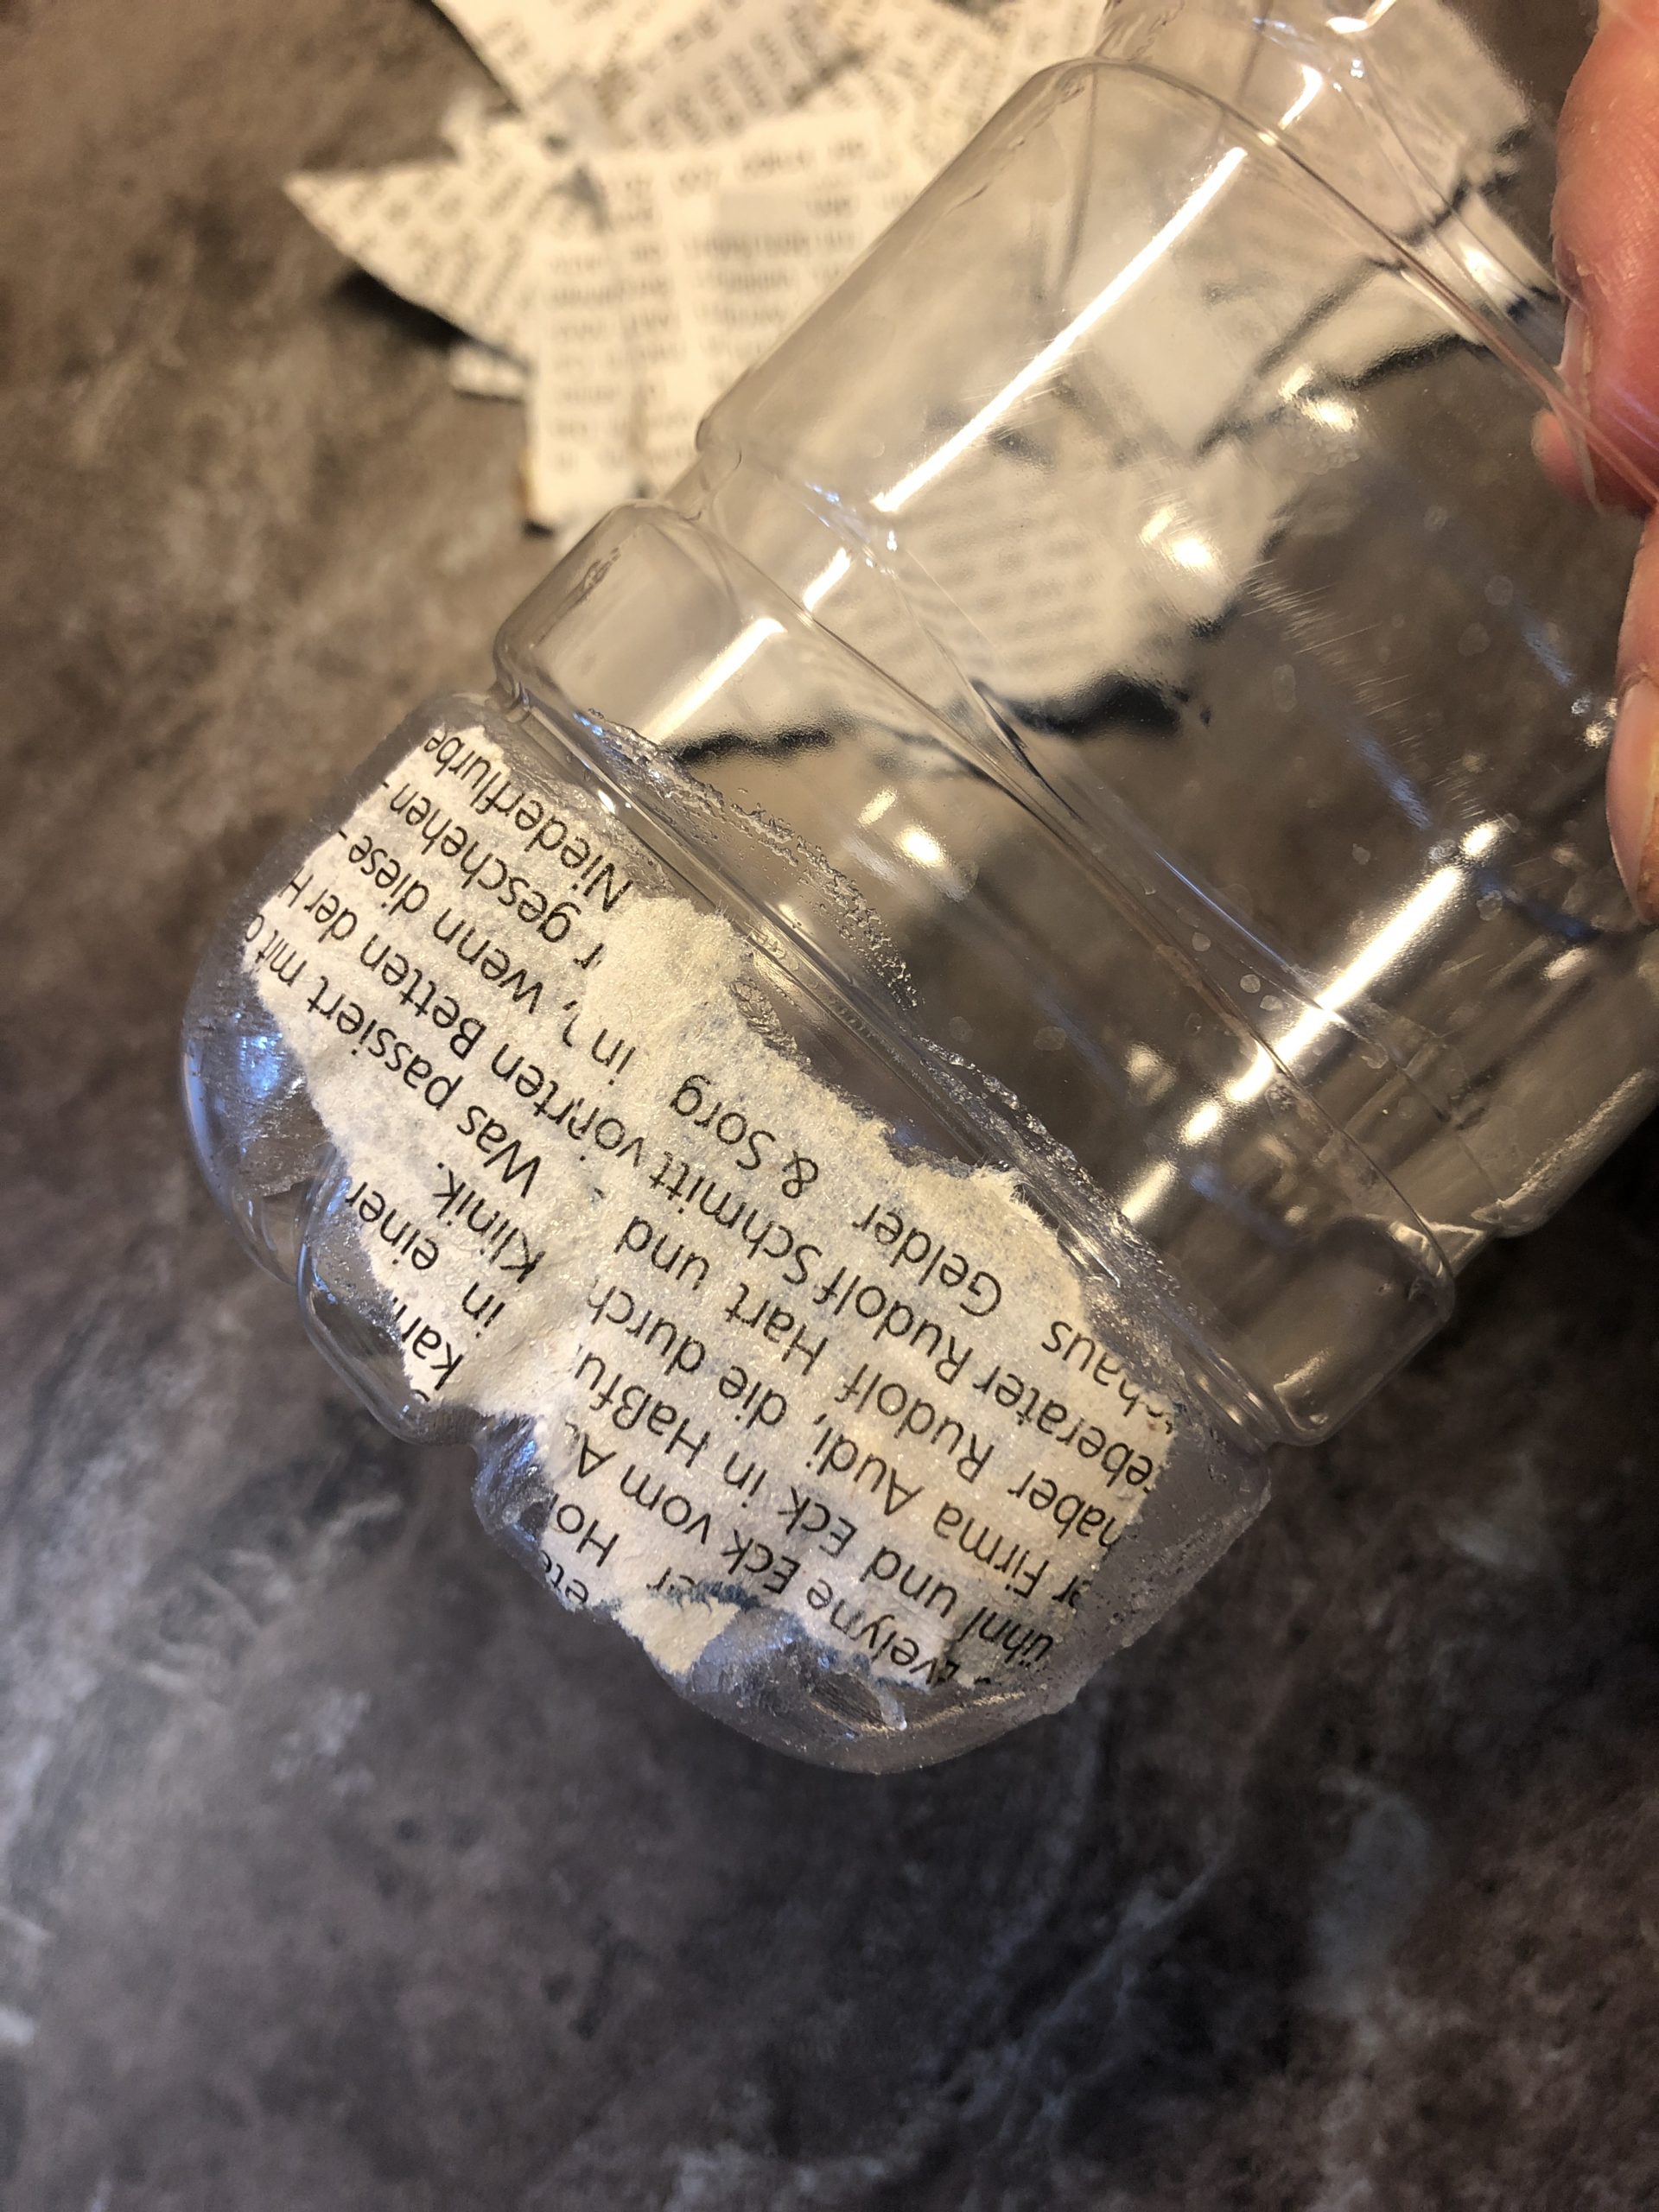


I have not glued the recesses to my bottle, but only the raised intermediates. Decide yourself how you want to glue your lantern, but do not glue the bottle completely to it, otherwise too little light seems to pass through.
Tip: Paint in advance with a felt pen, which places you want to release or glue.
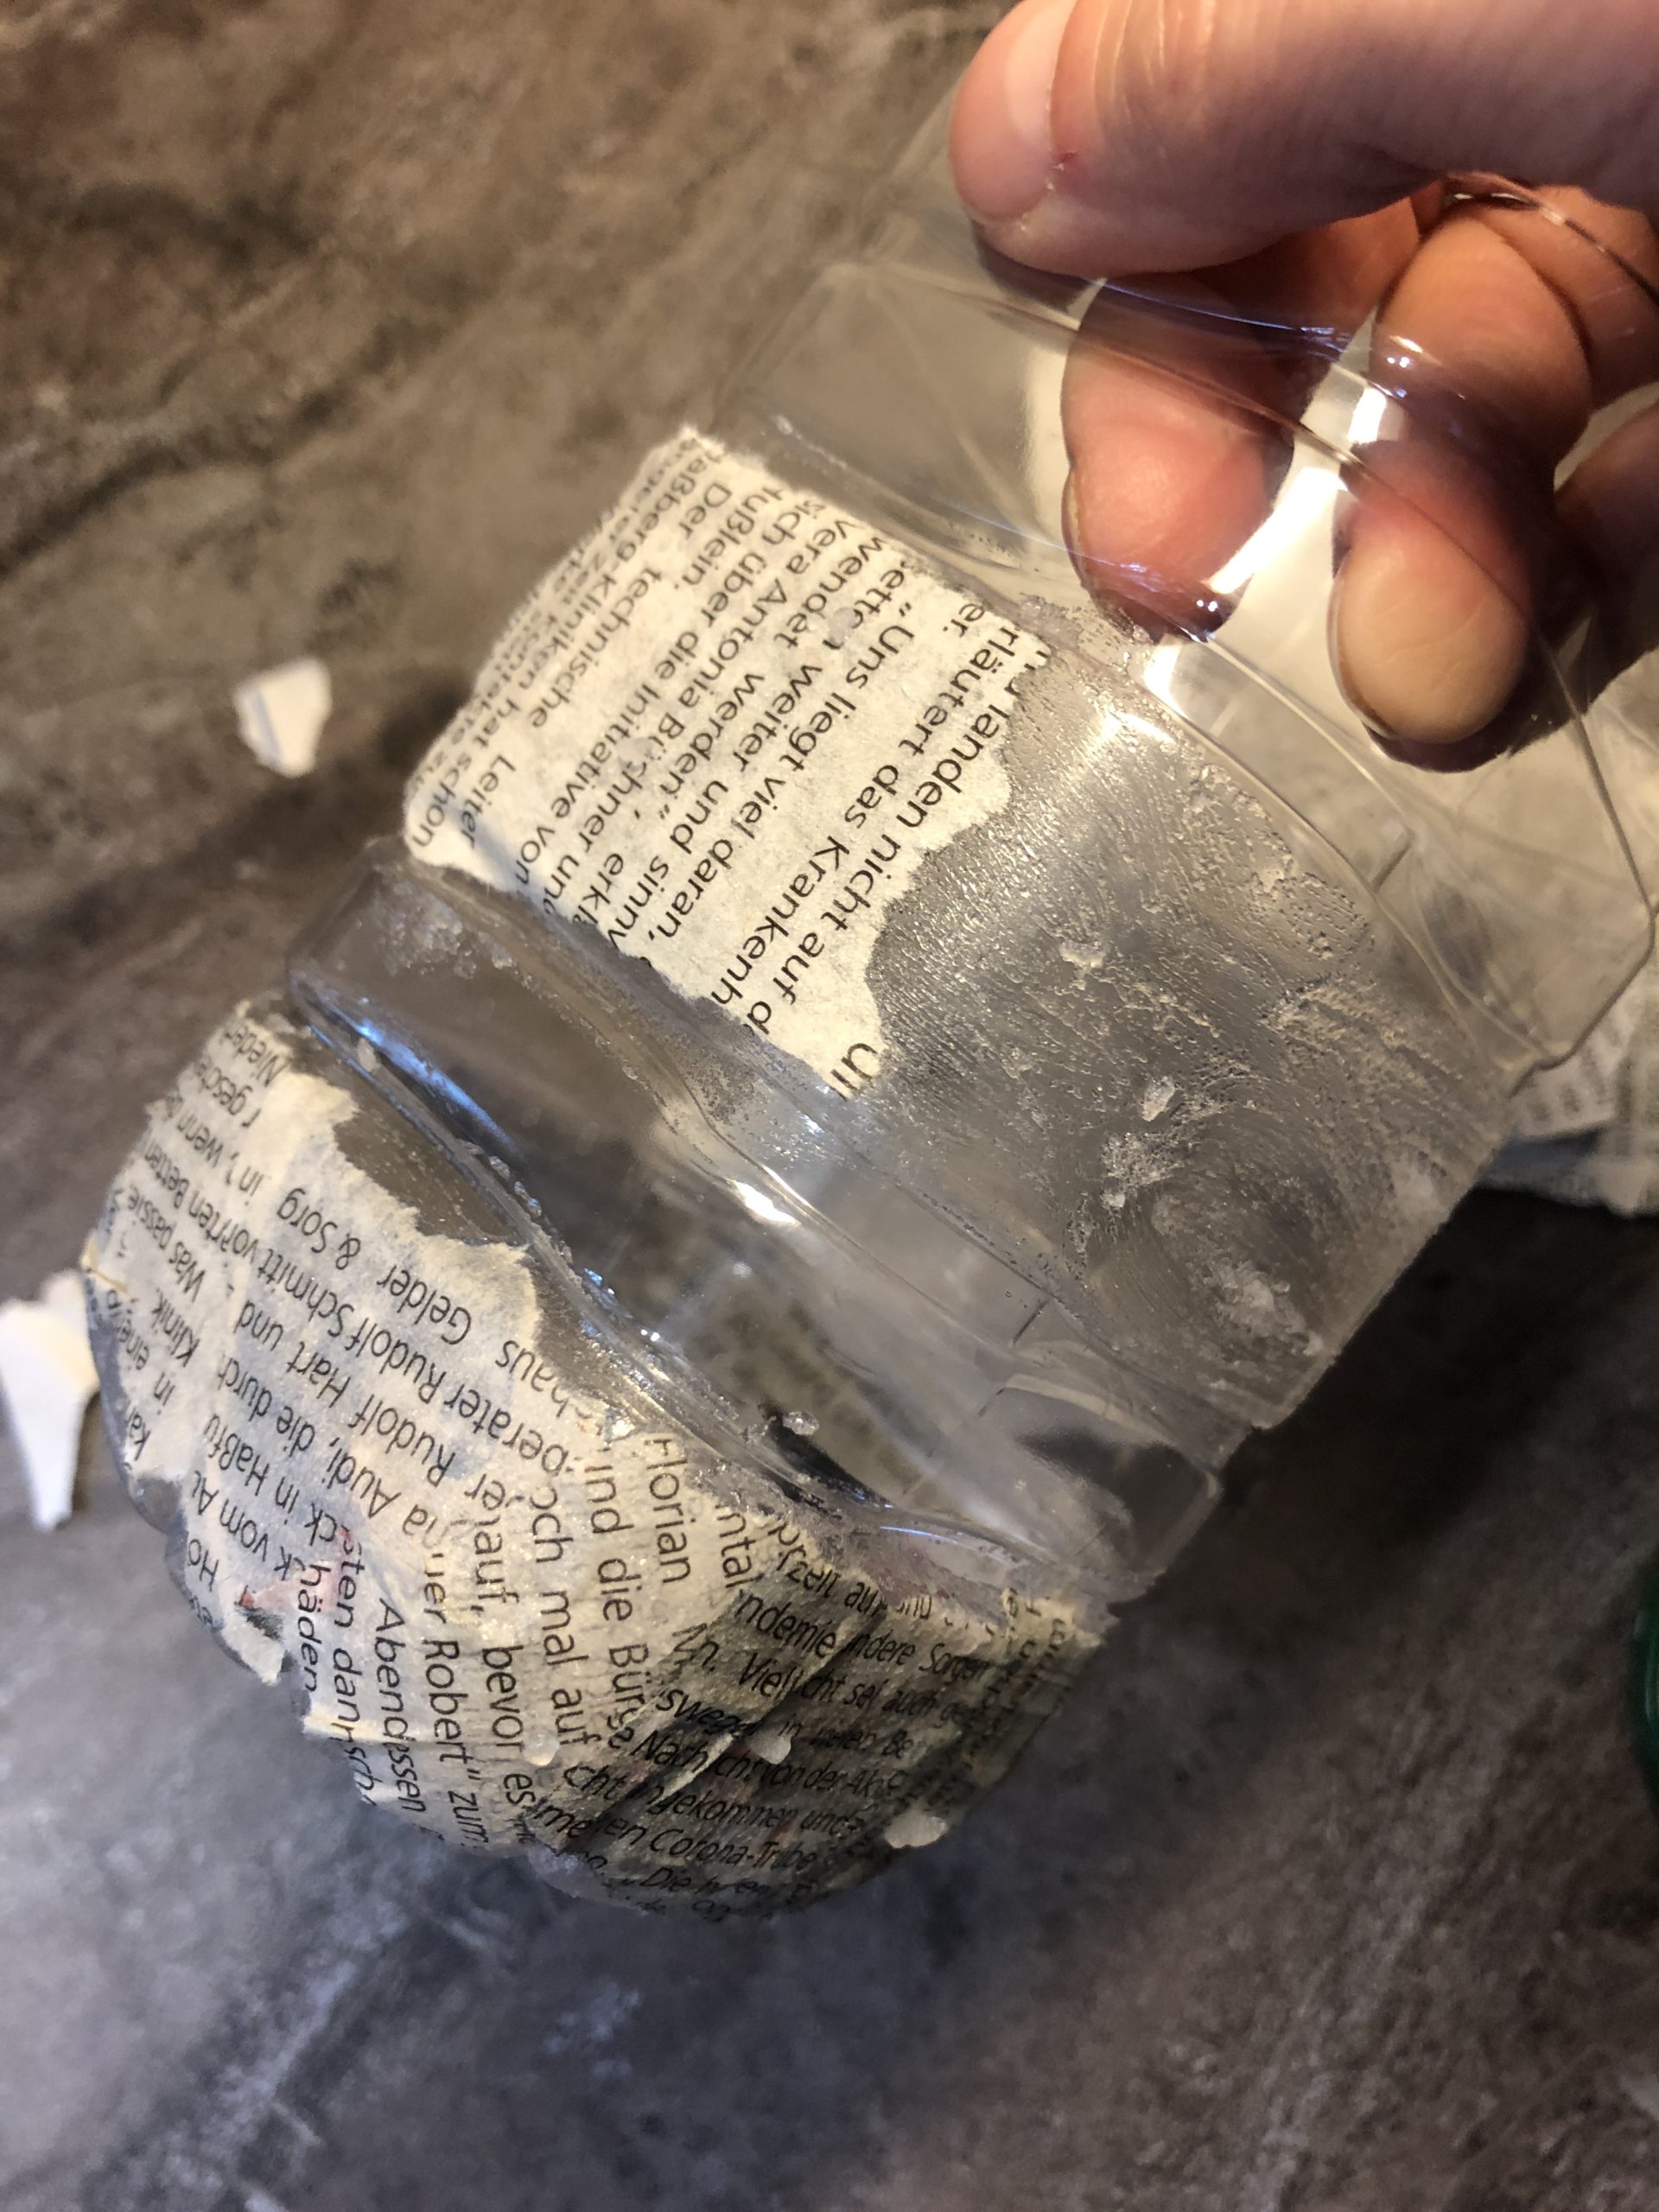


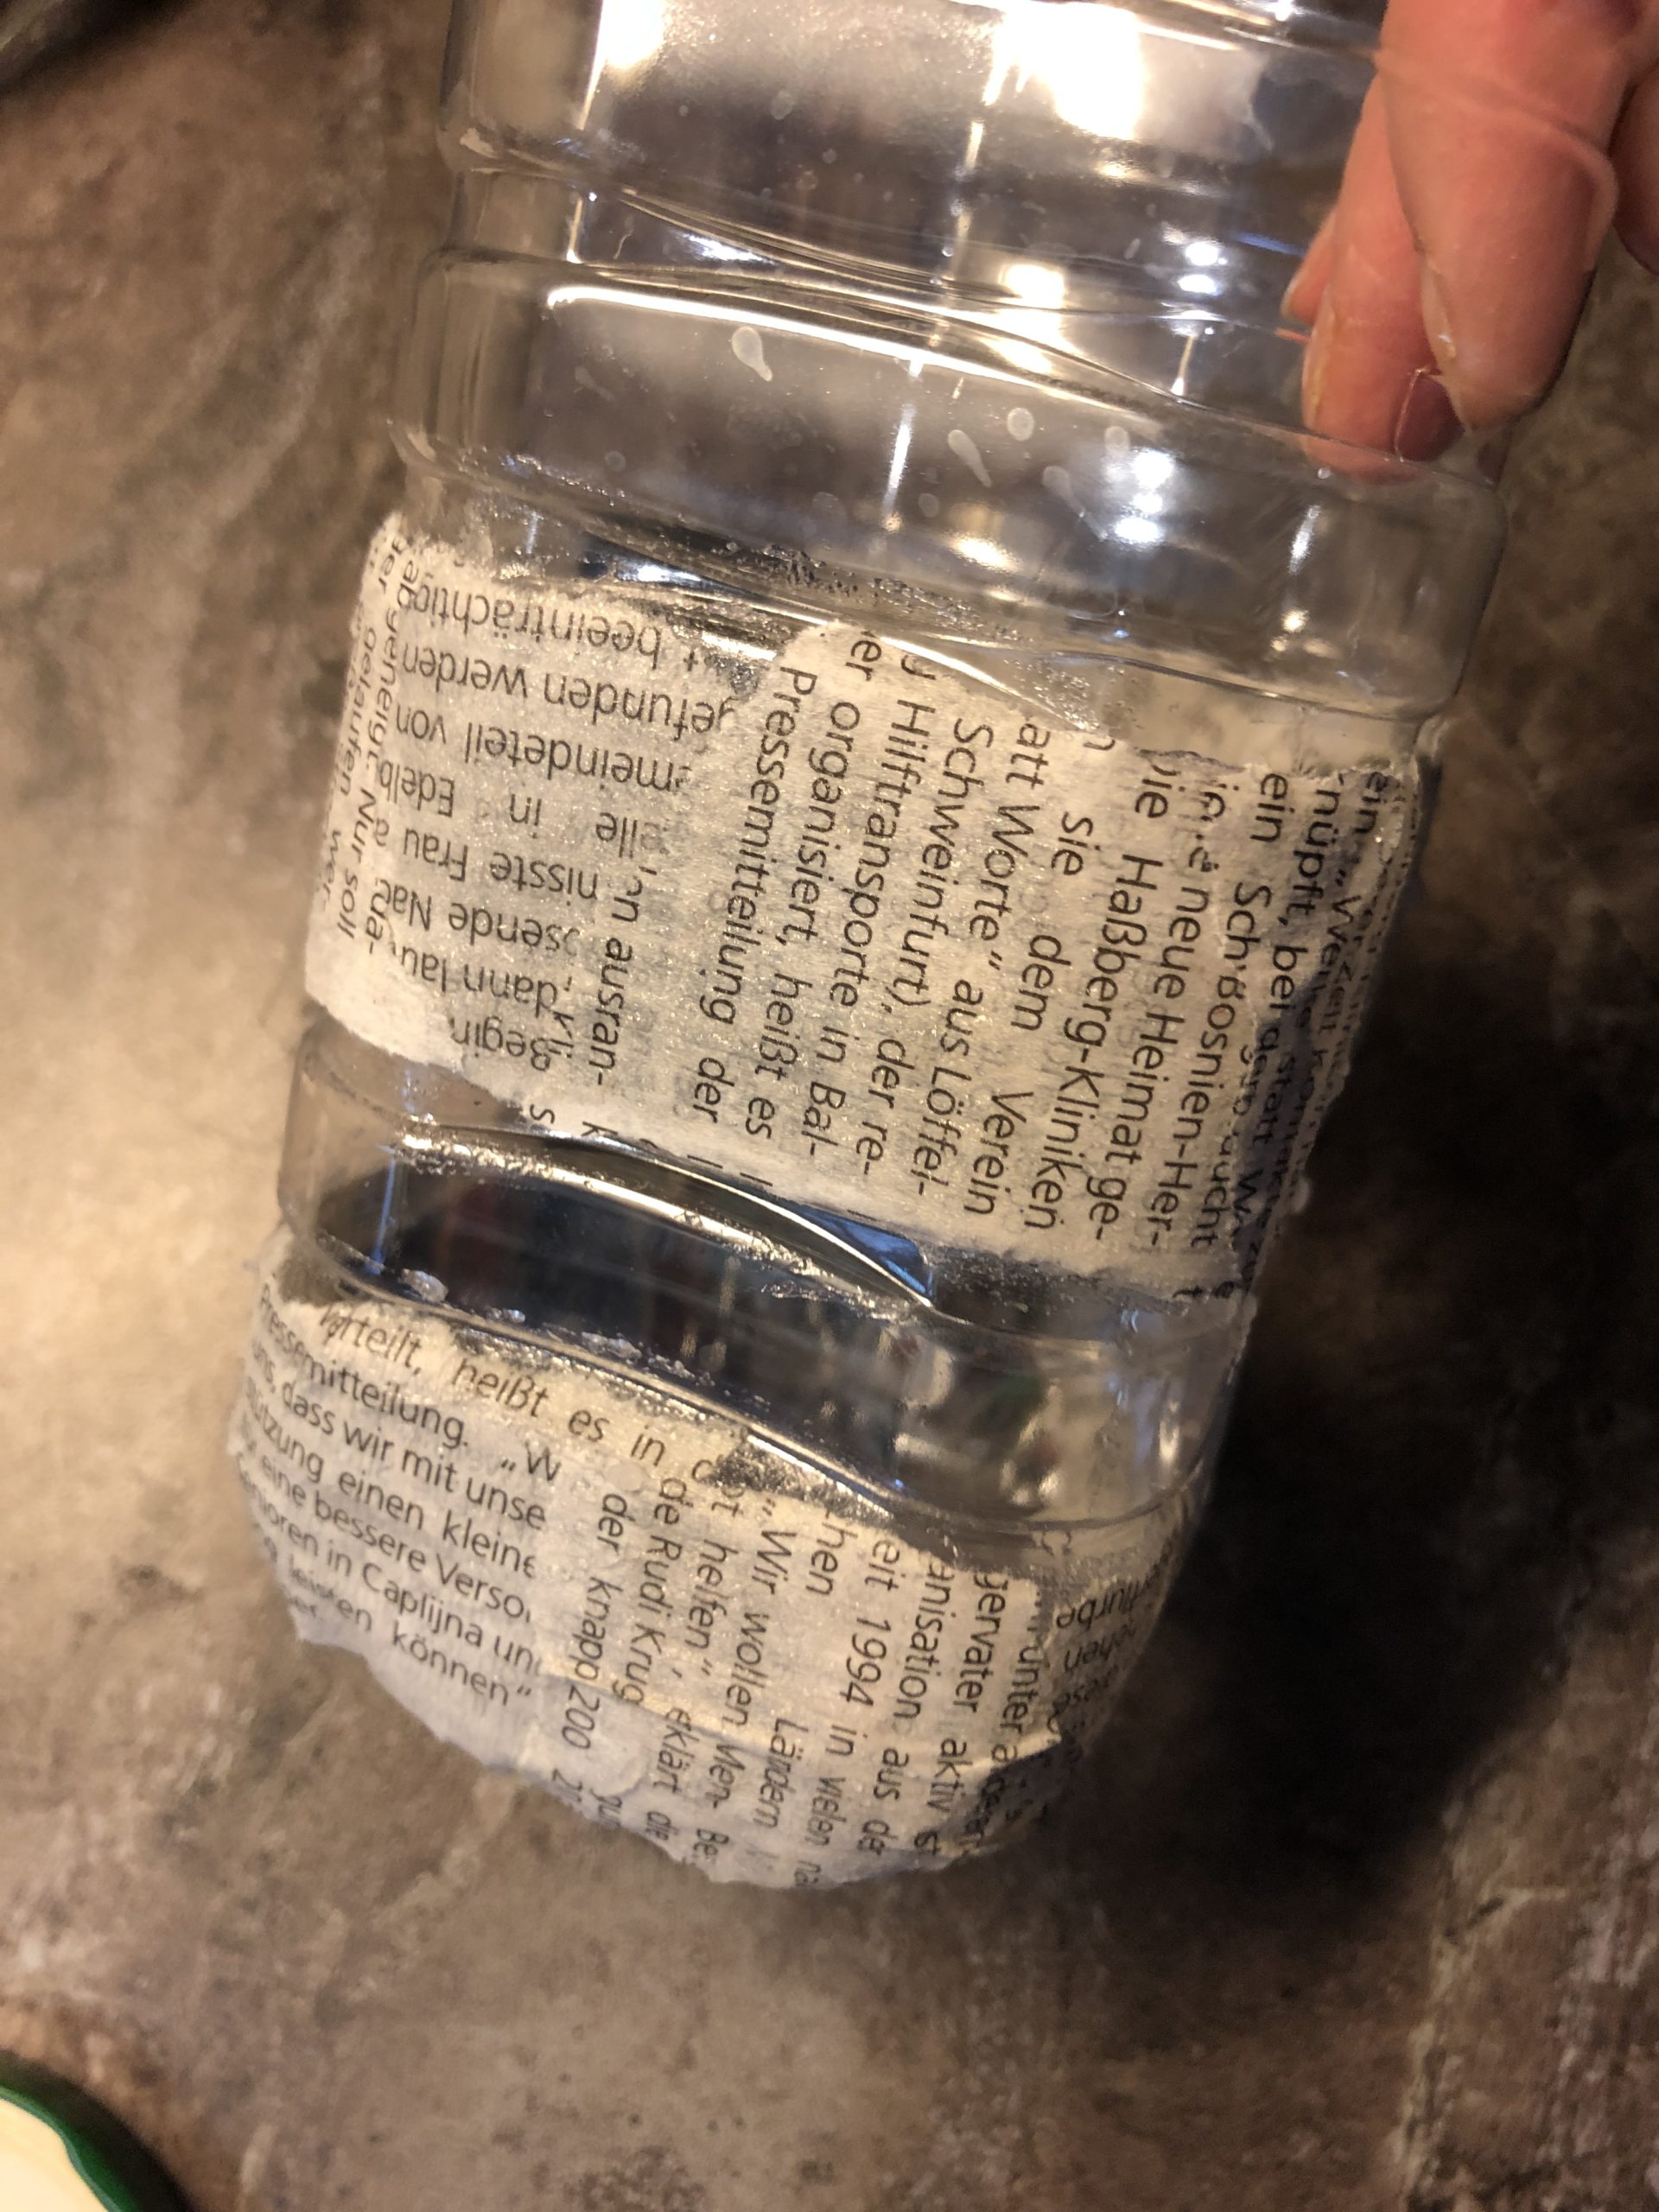


Then place your glued lantern to dry.
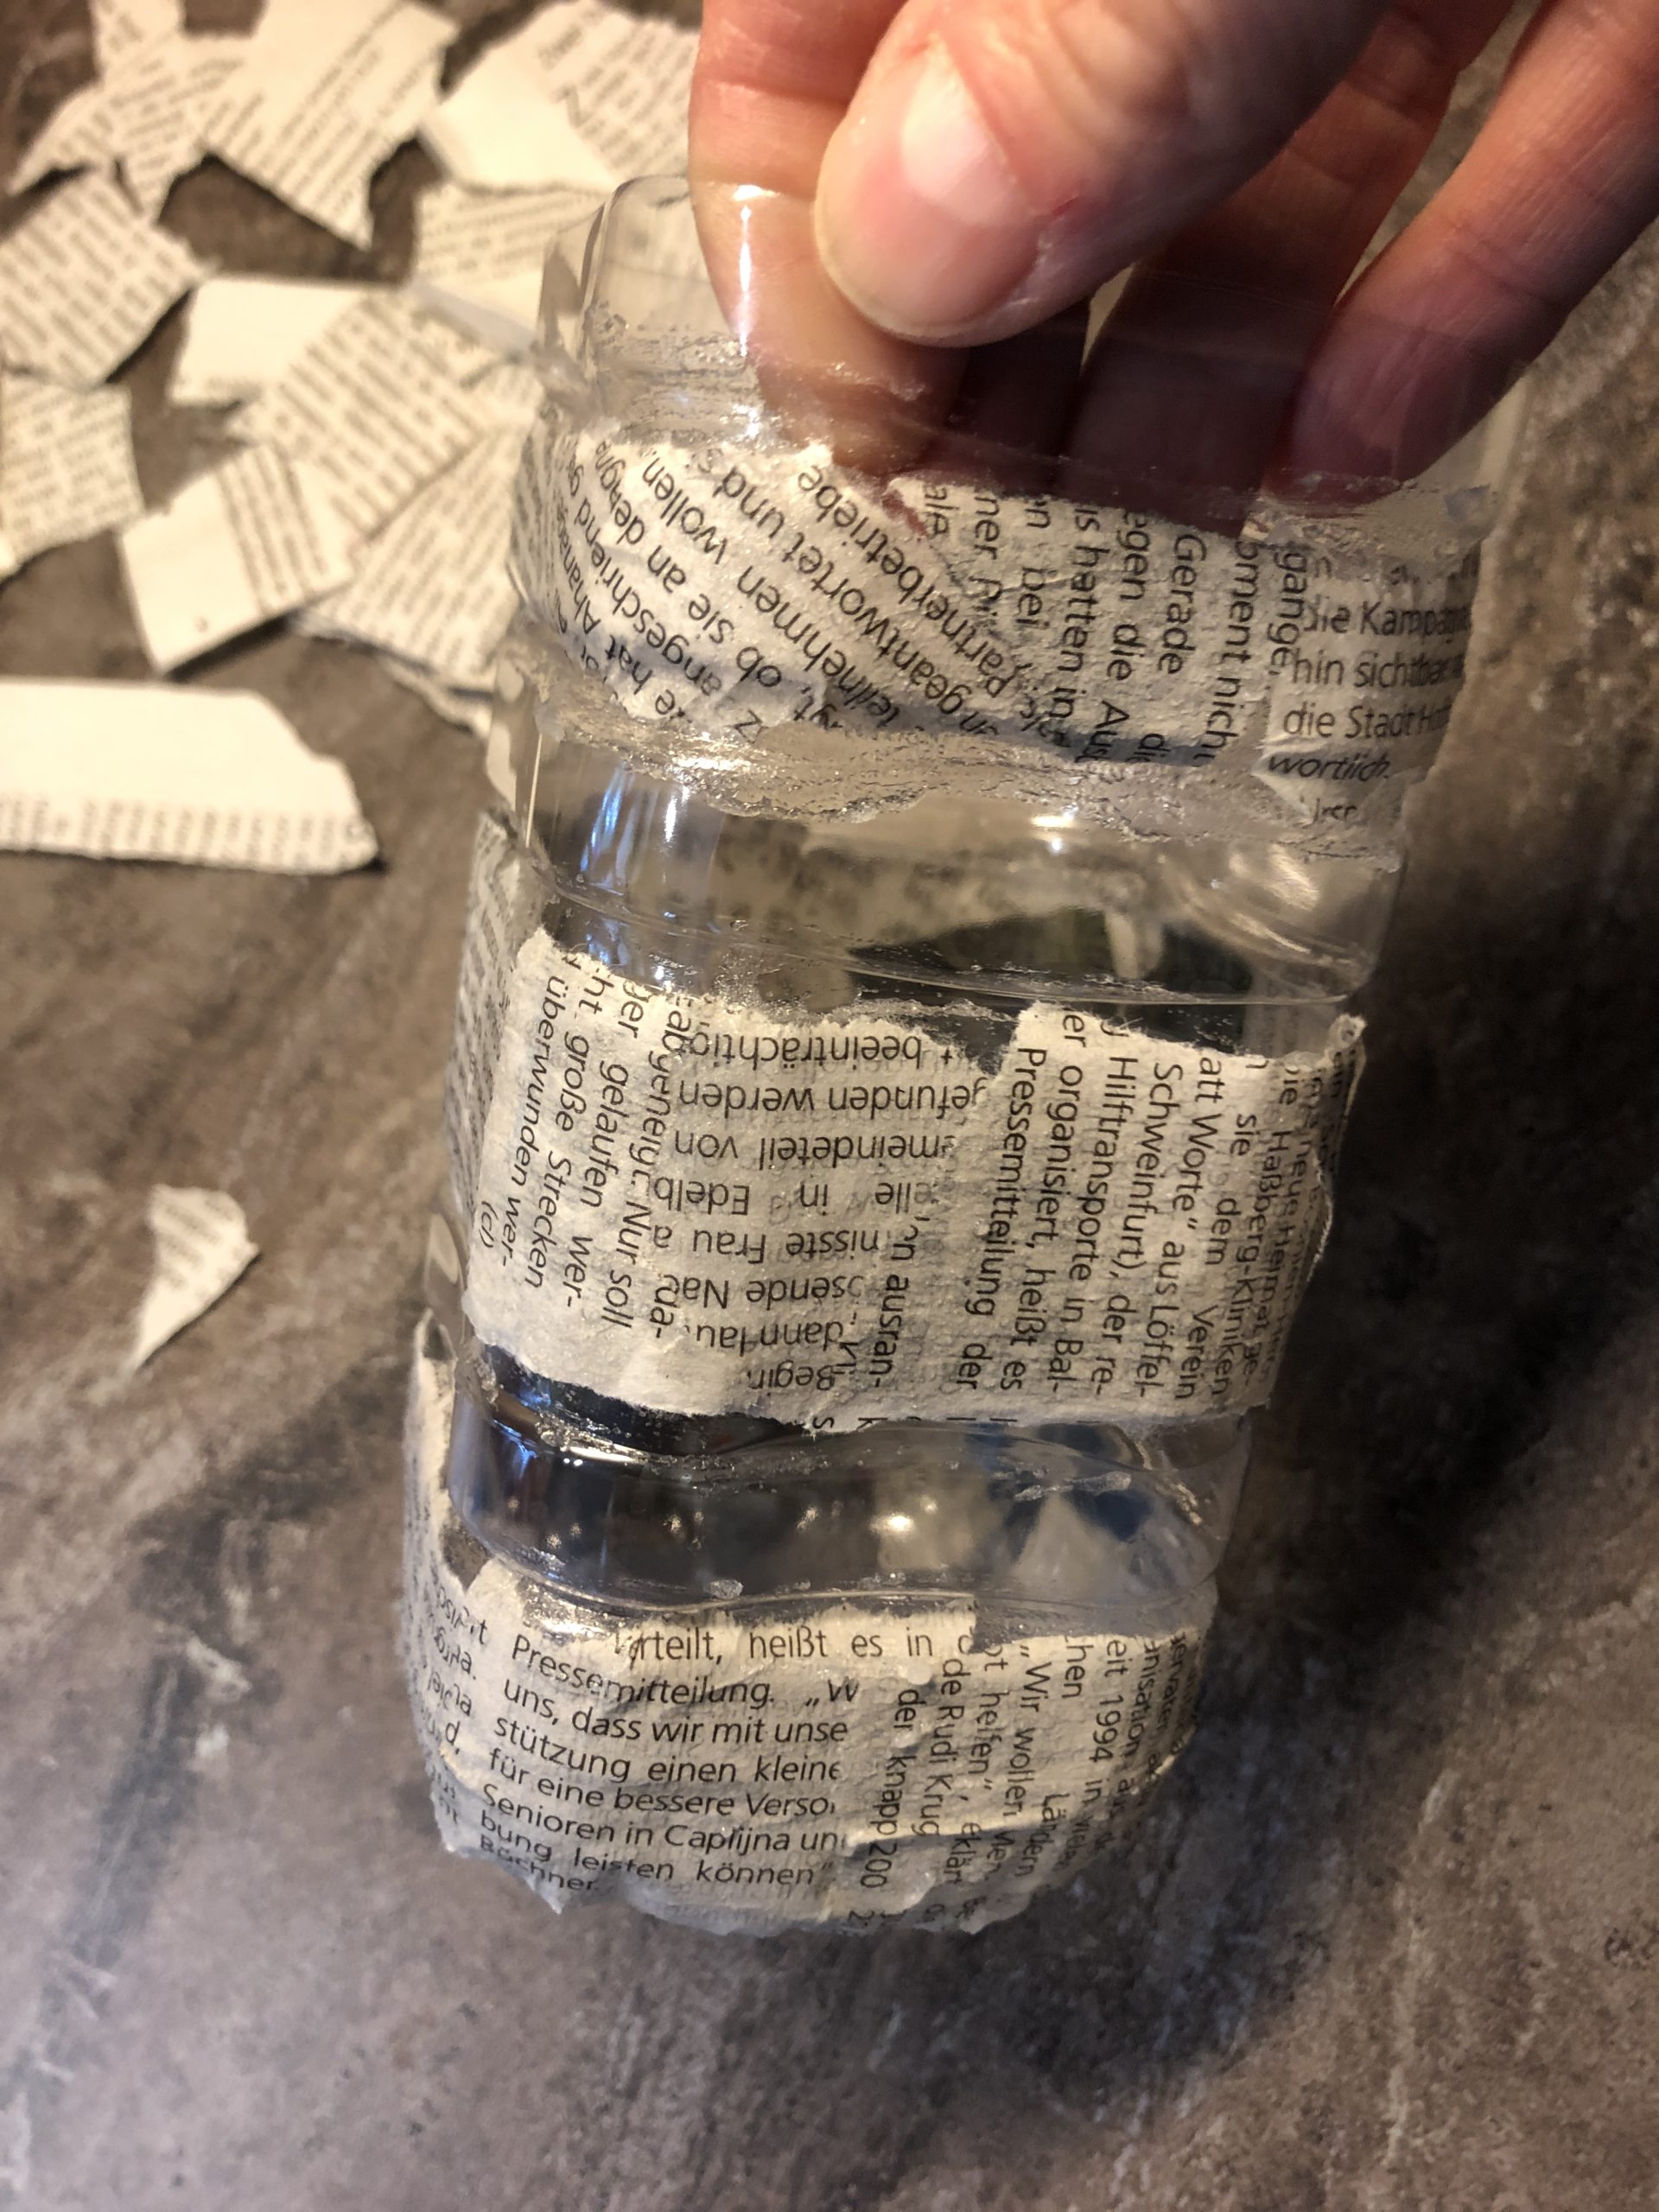


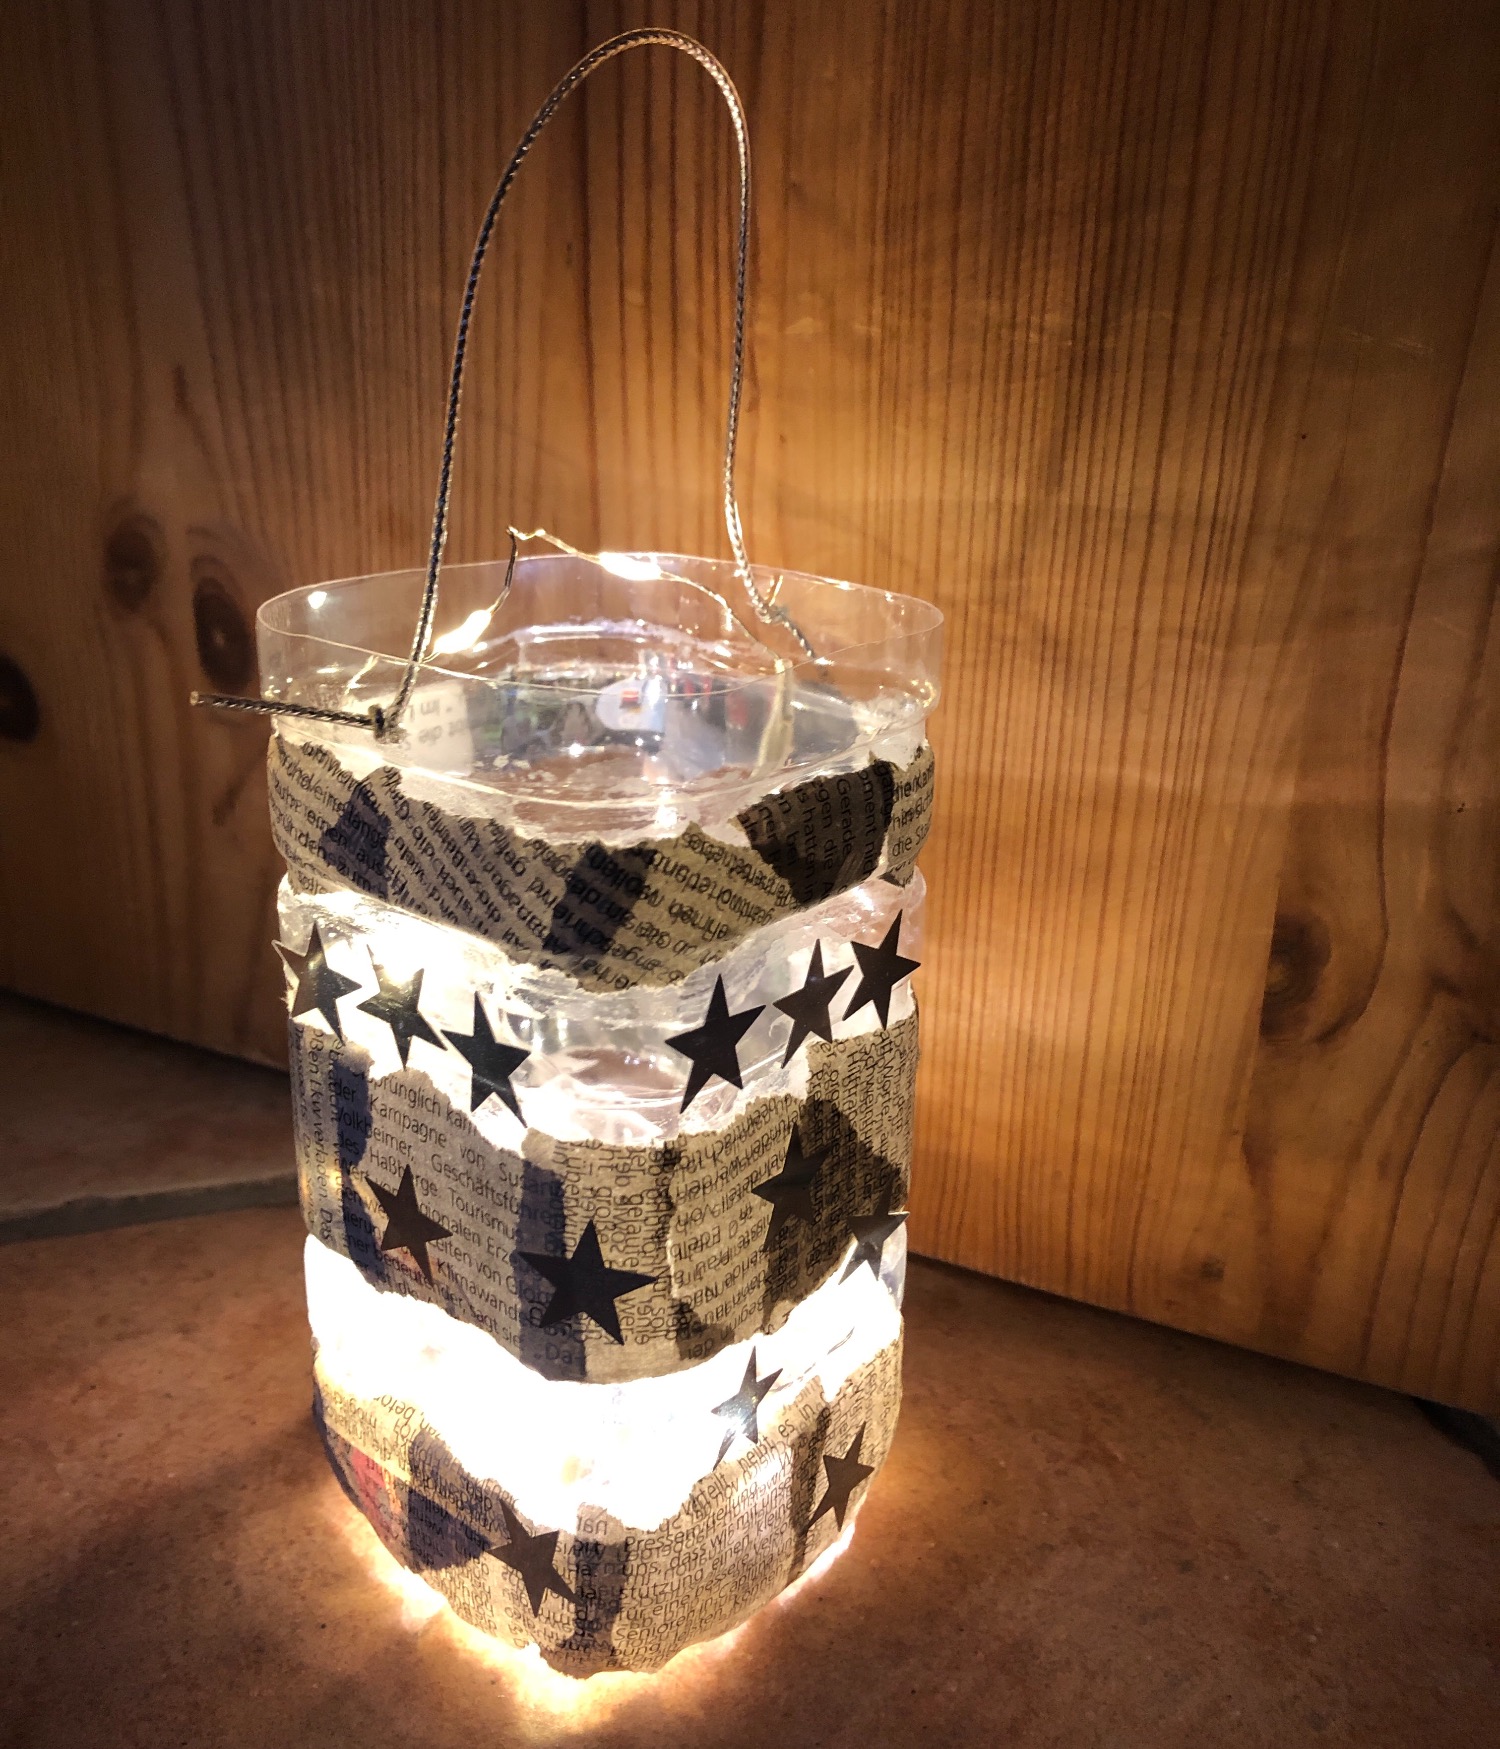
That's what the dry lantern looks like.
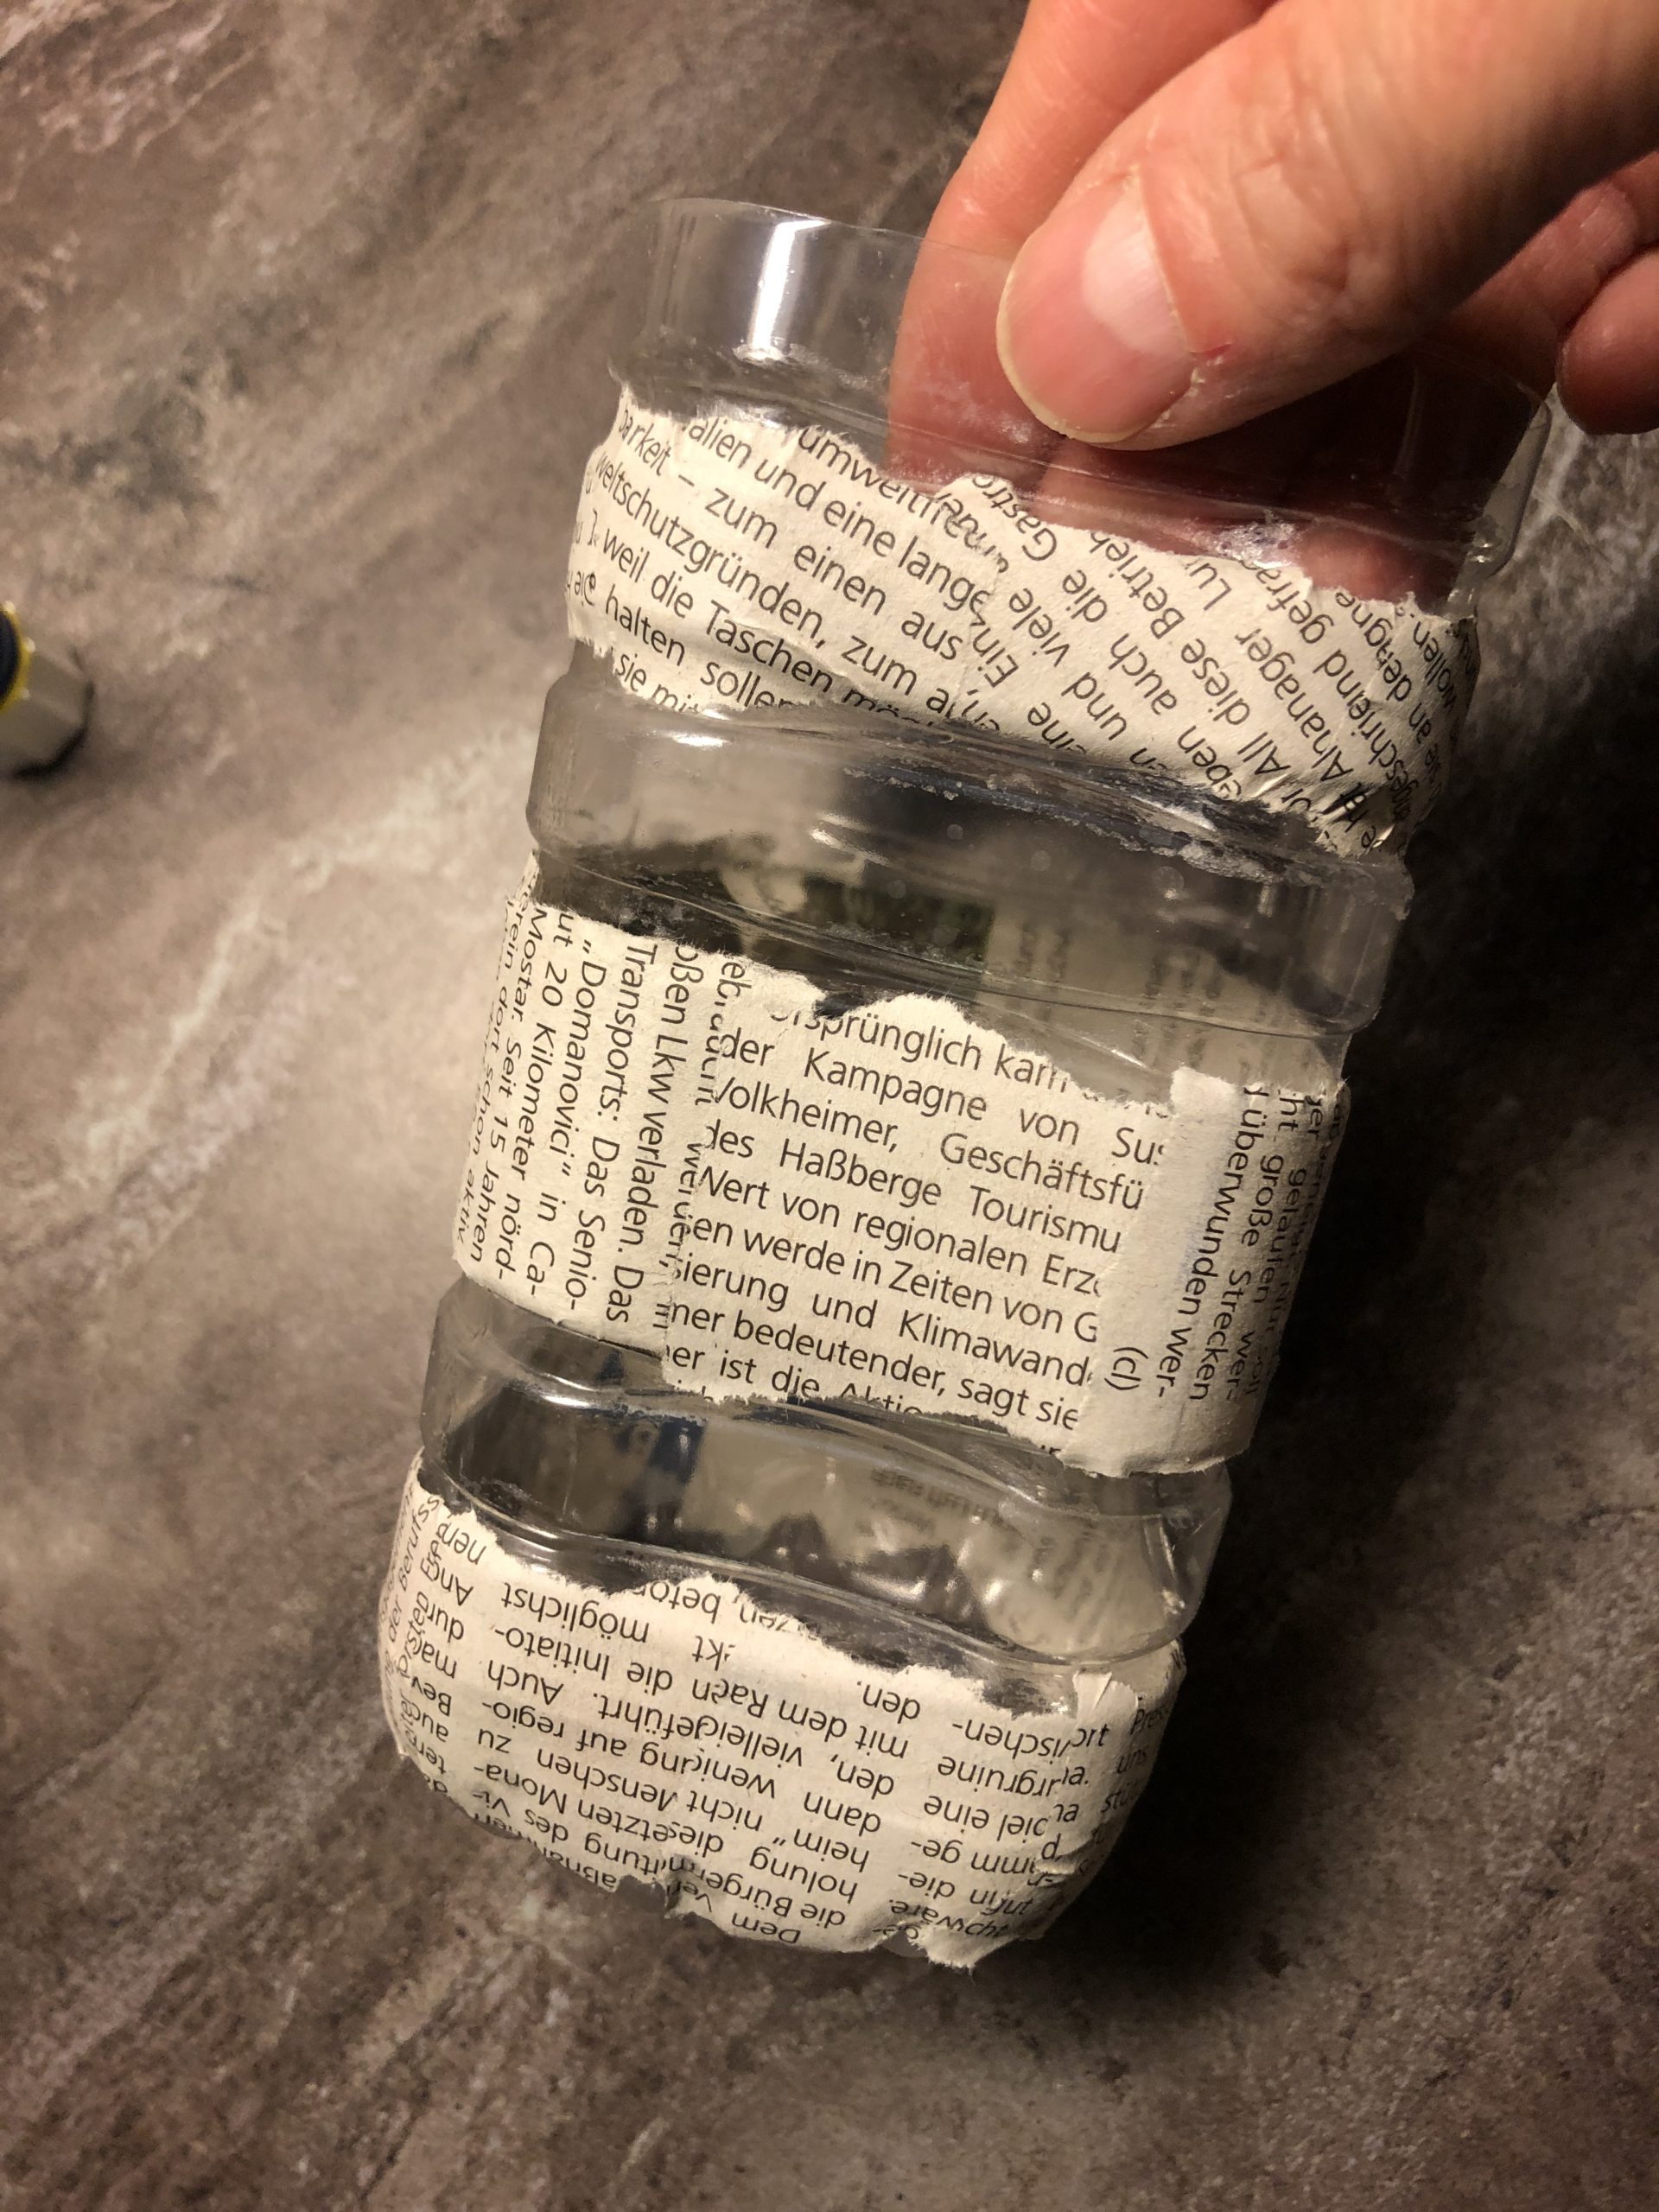


Now stick a few stars on your lantern. I used stars that we bought as a scatter decoration. If you have a star punch, punch out a few stars of paper and use them or you paint stars directly on the bottle with a silver pencil!


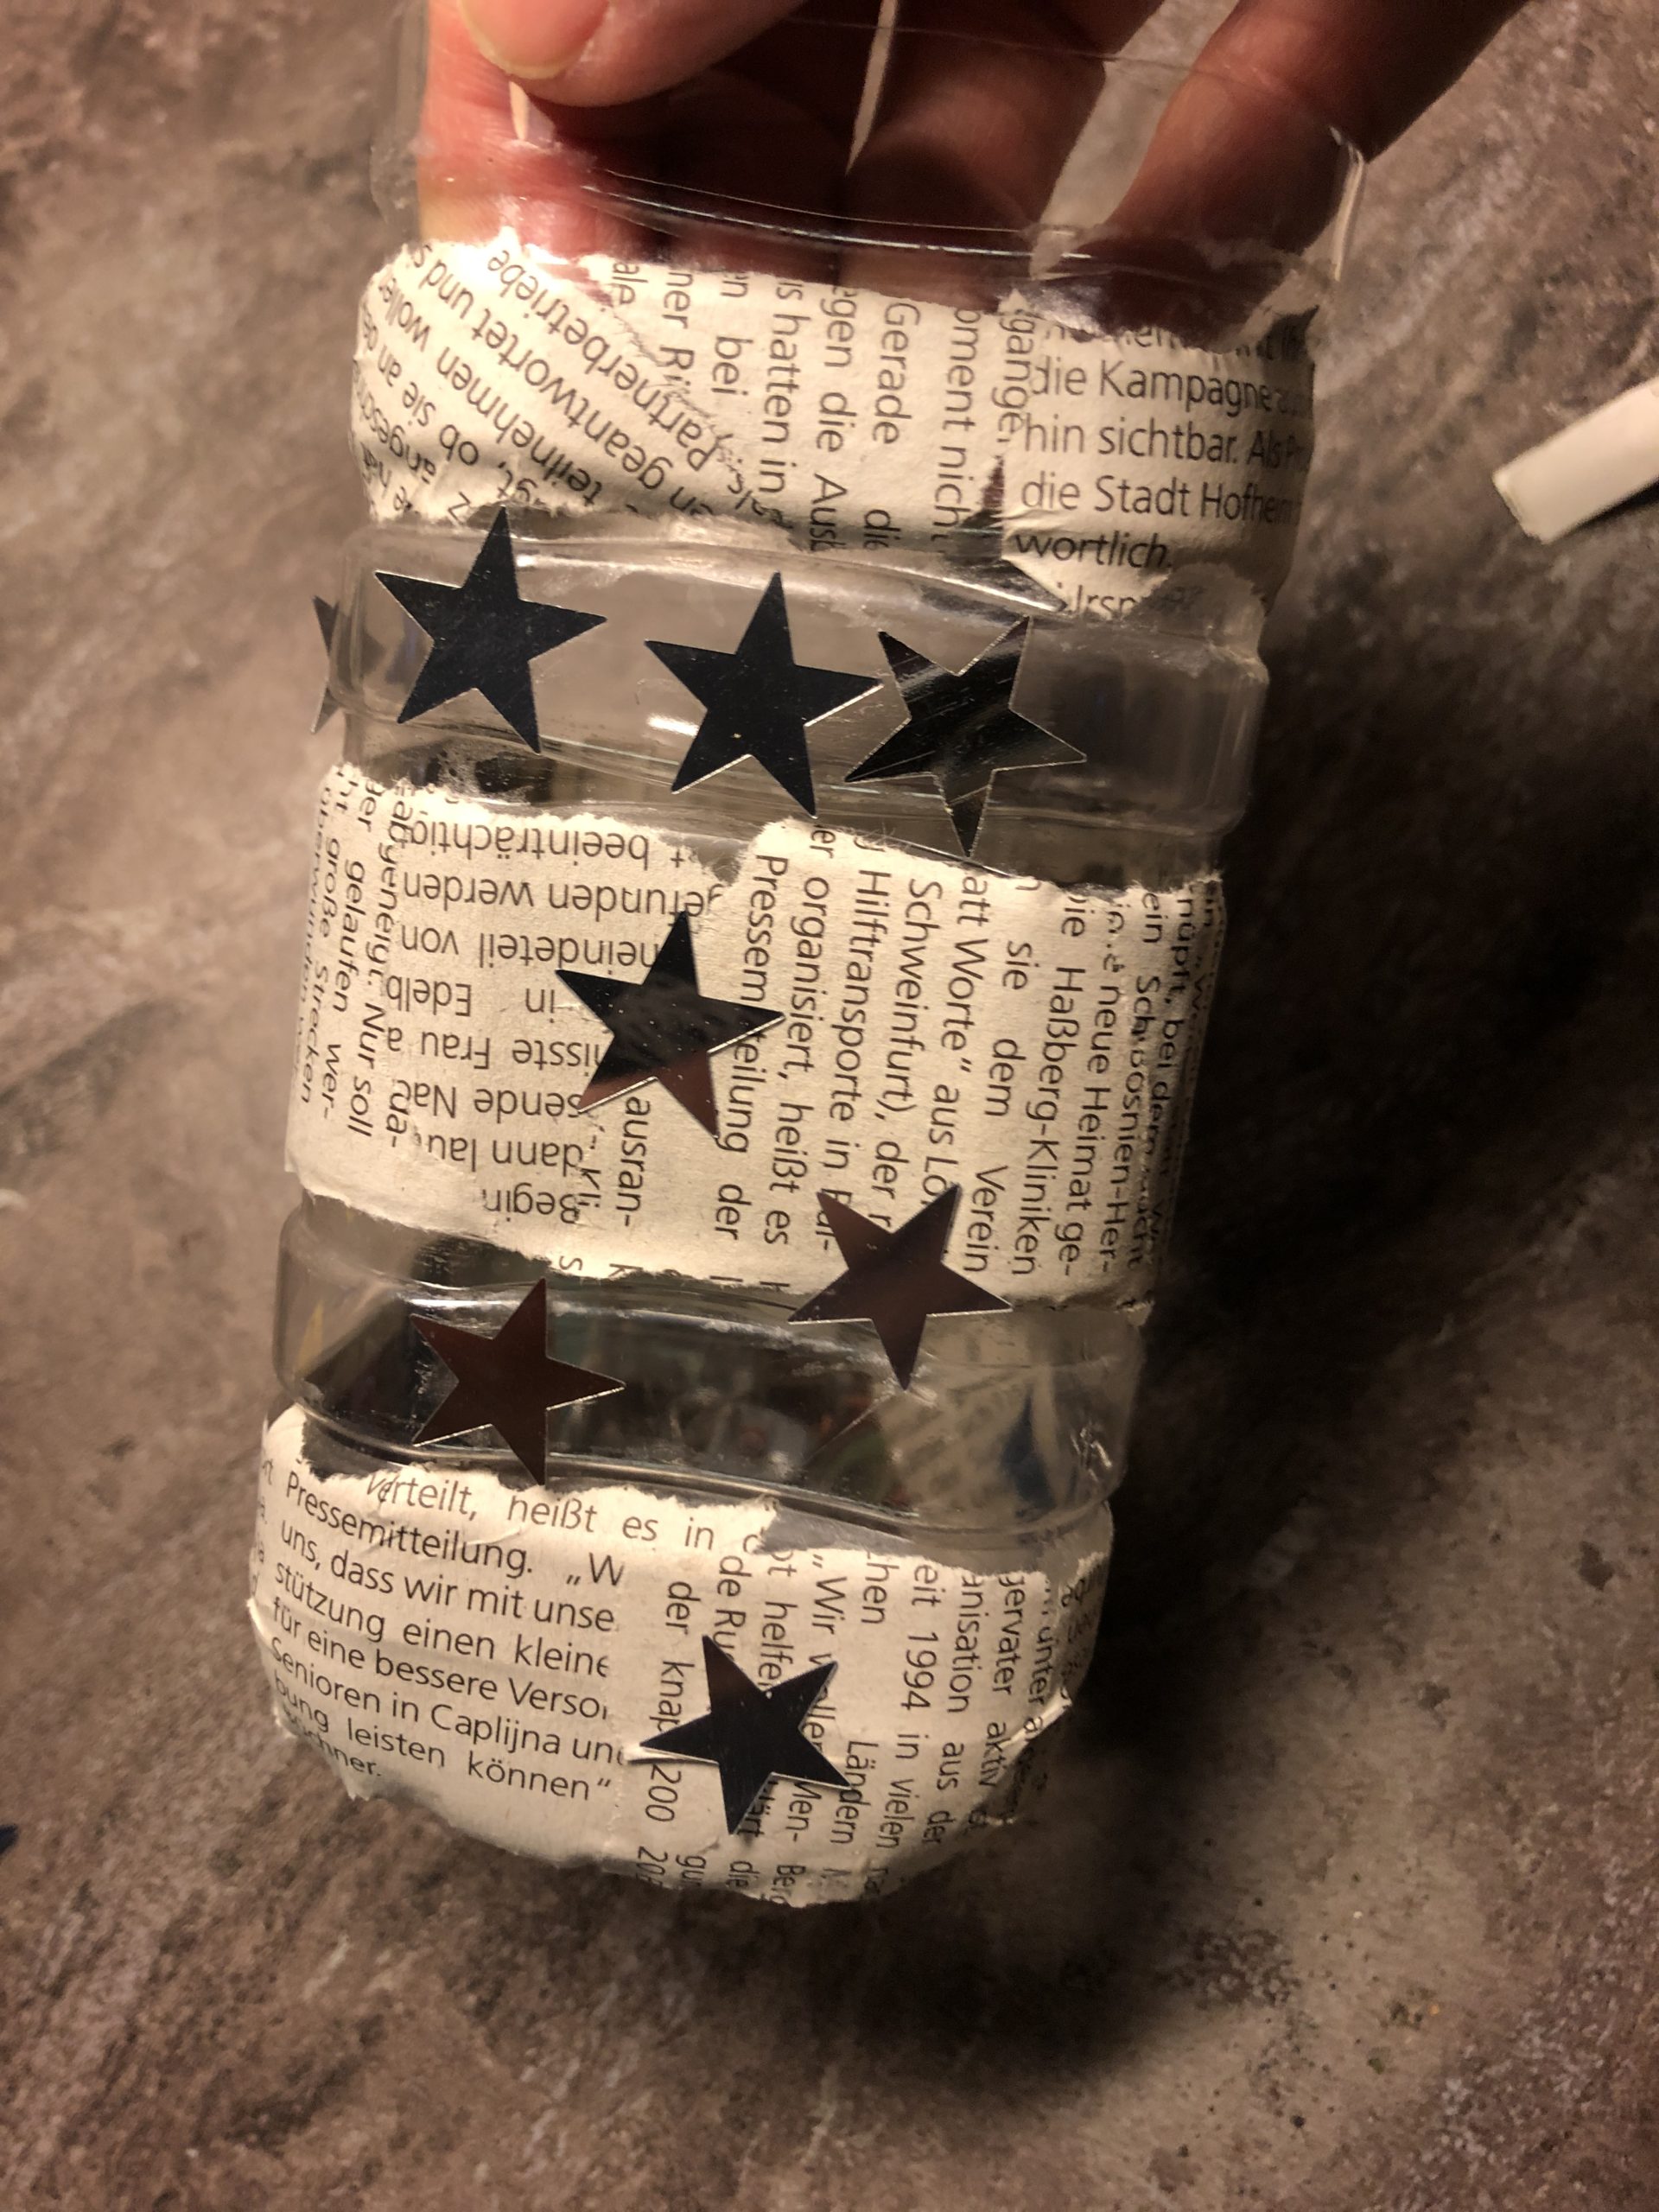


Now try out your light source (mini-light chain or electric tealight).
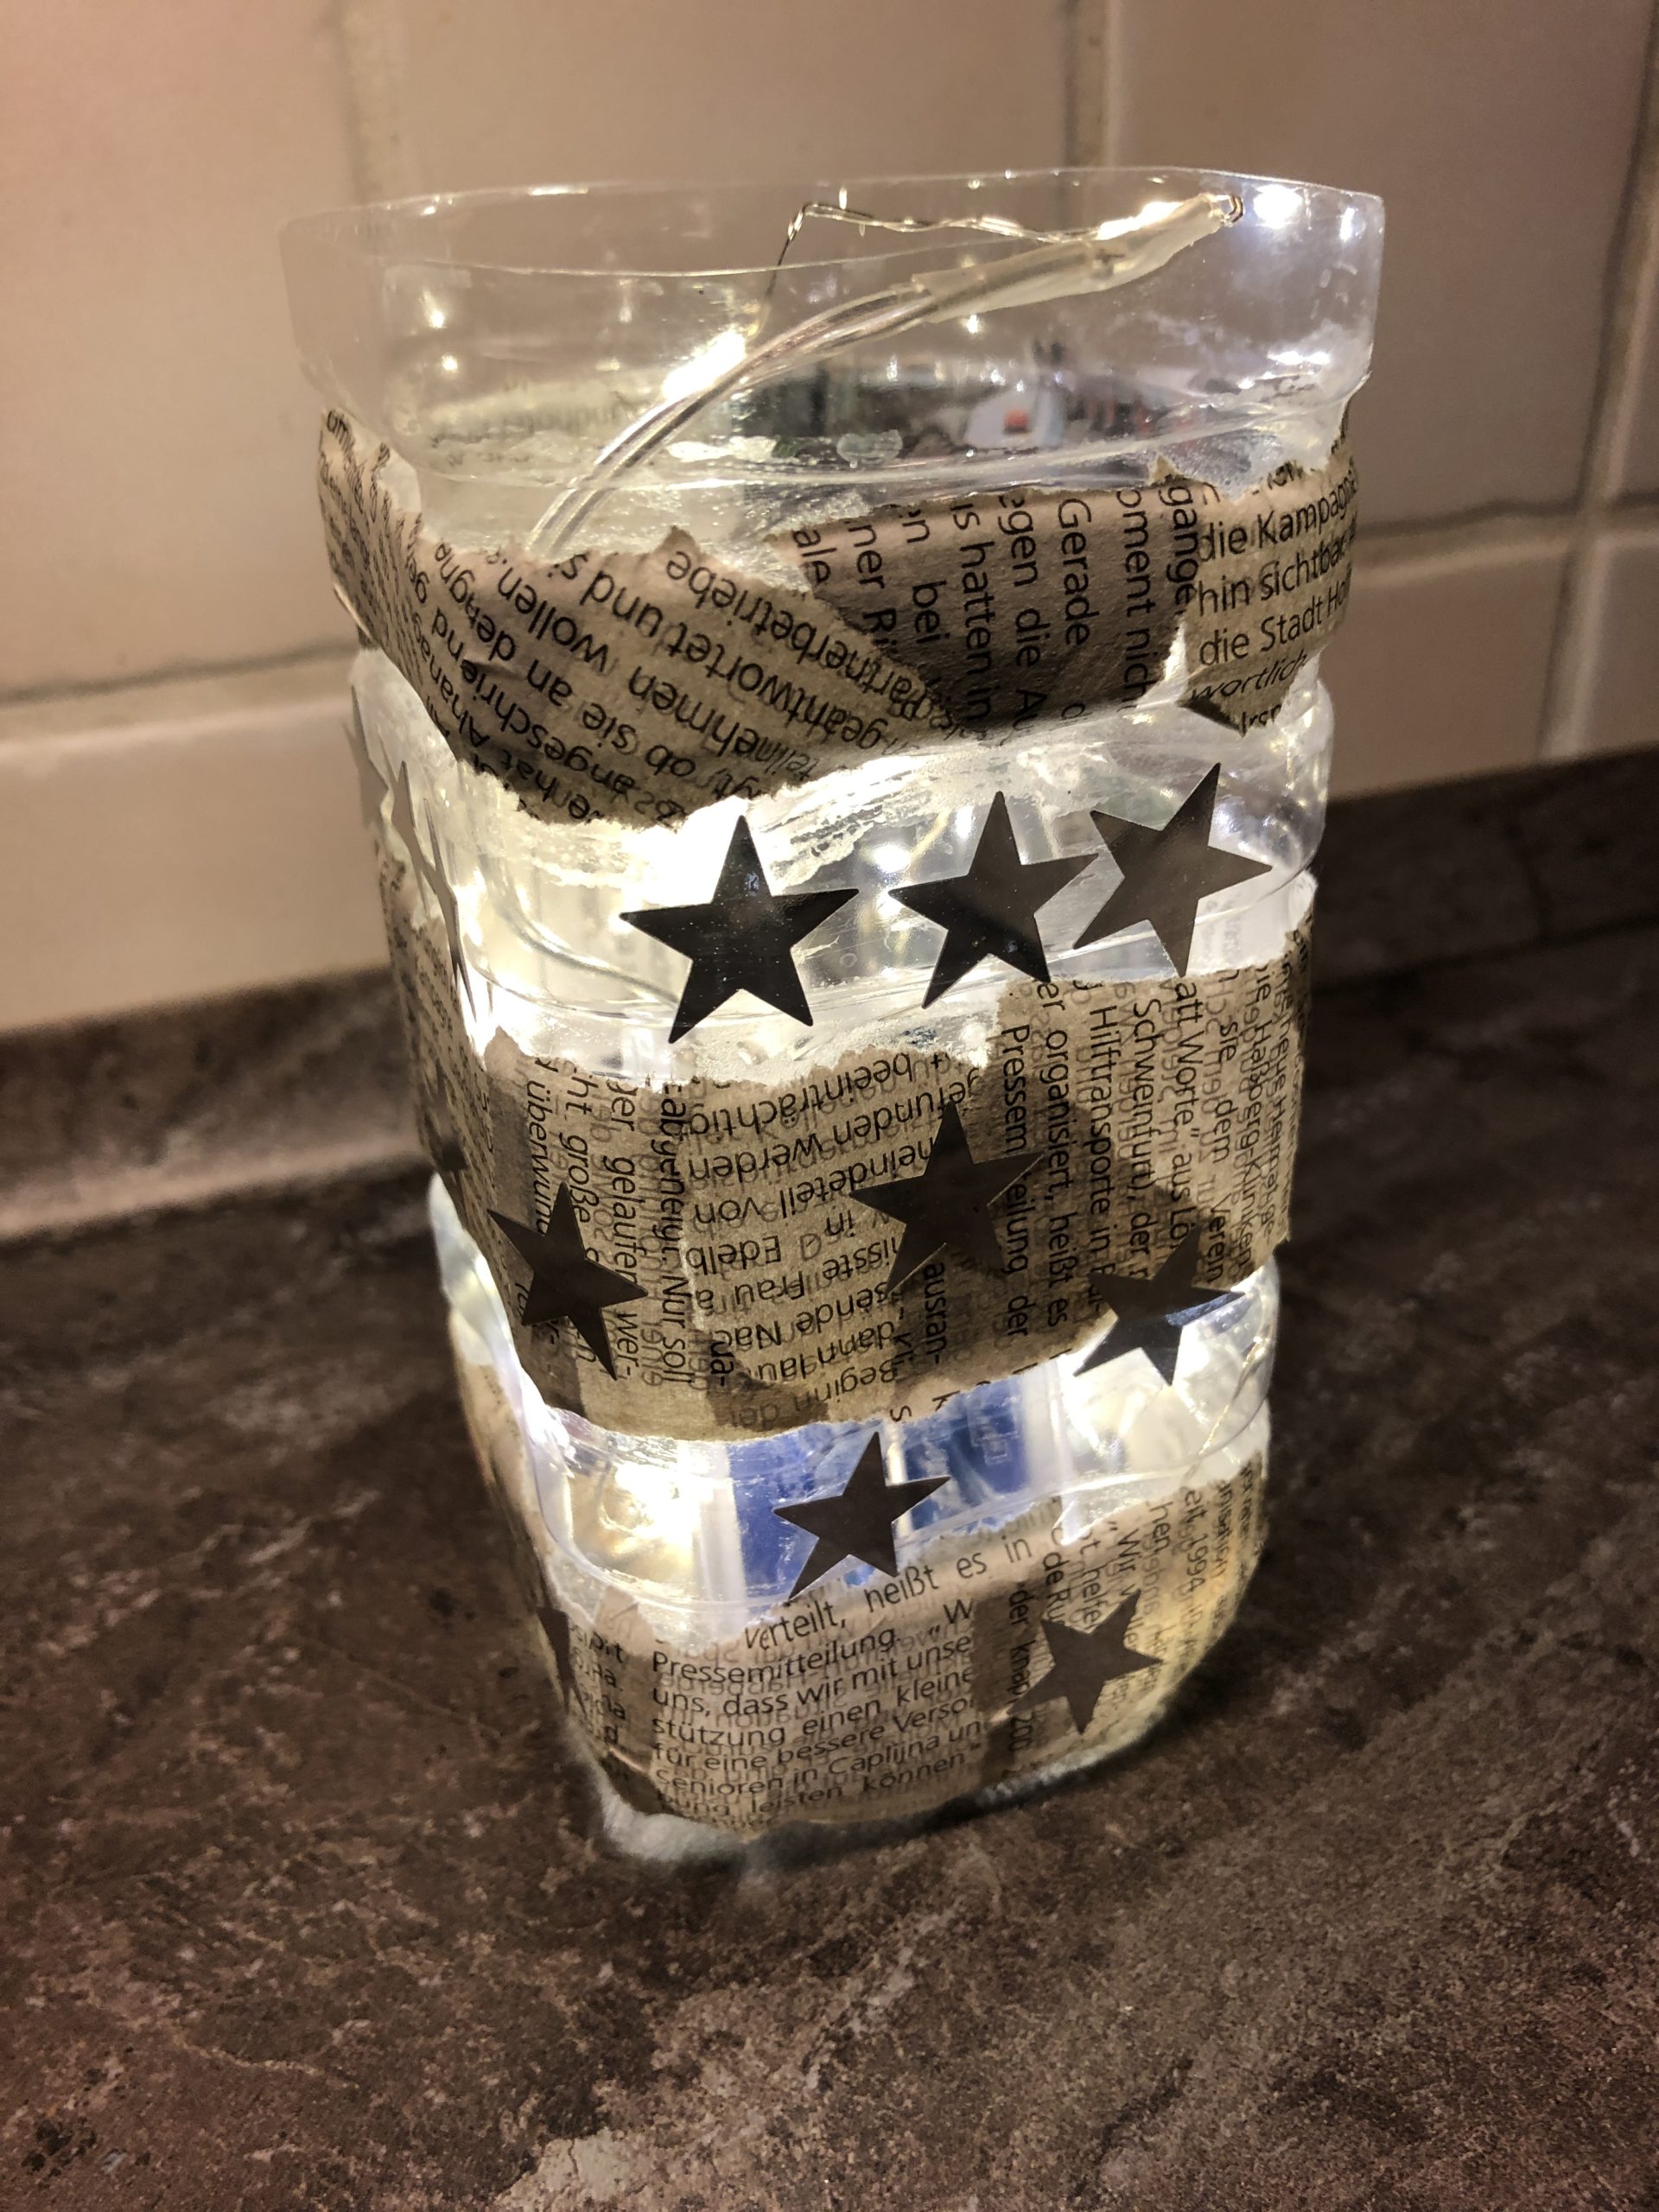


I used an LED light chain with battery. It fits completely into my lantern!
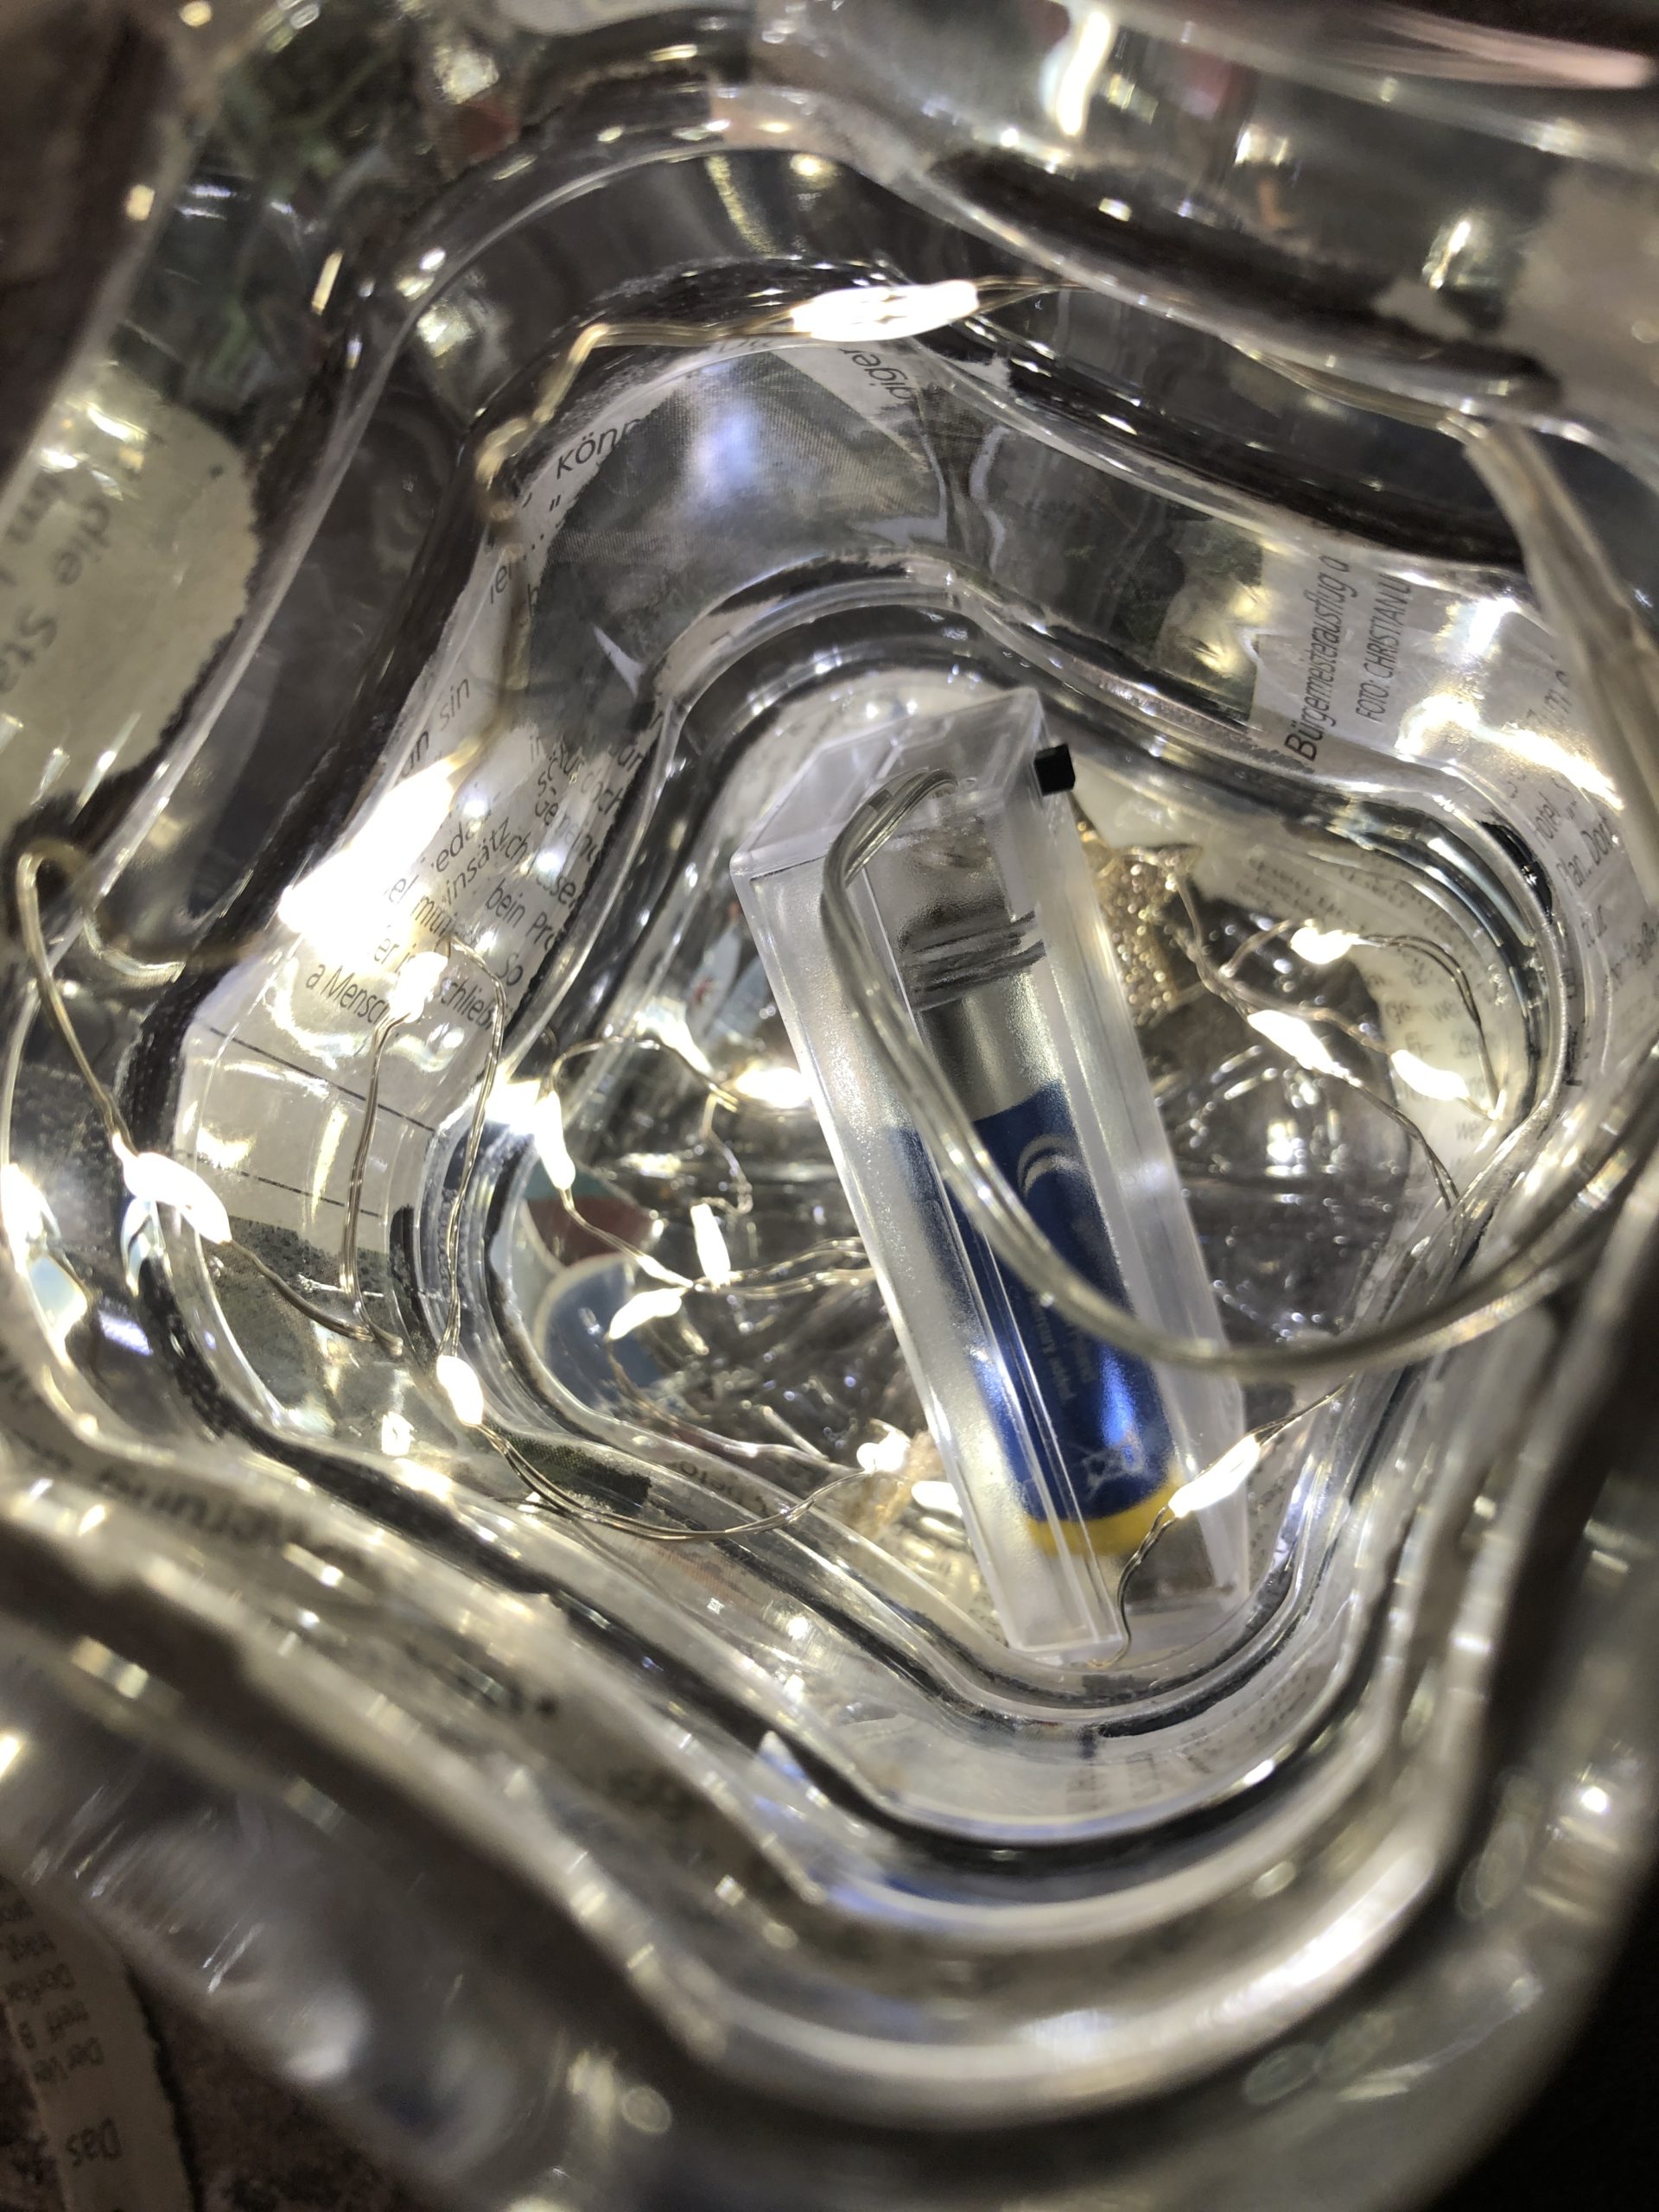


If you don't have a suspension yet, now use the punched pliers on the opposite sides to make a hole in the lantern.
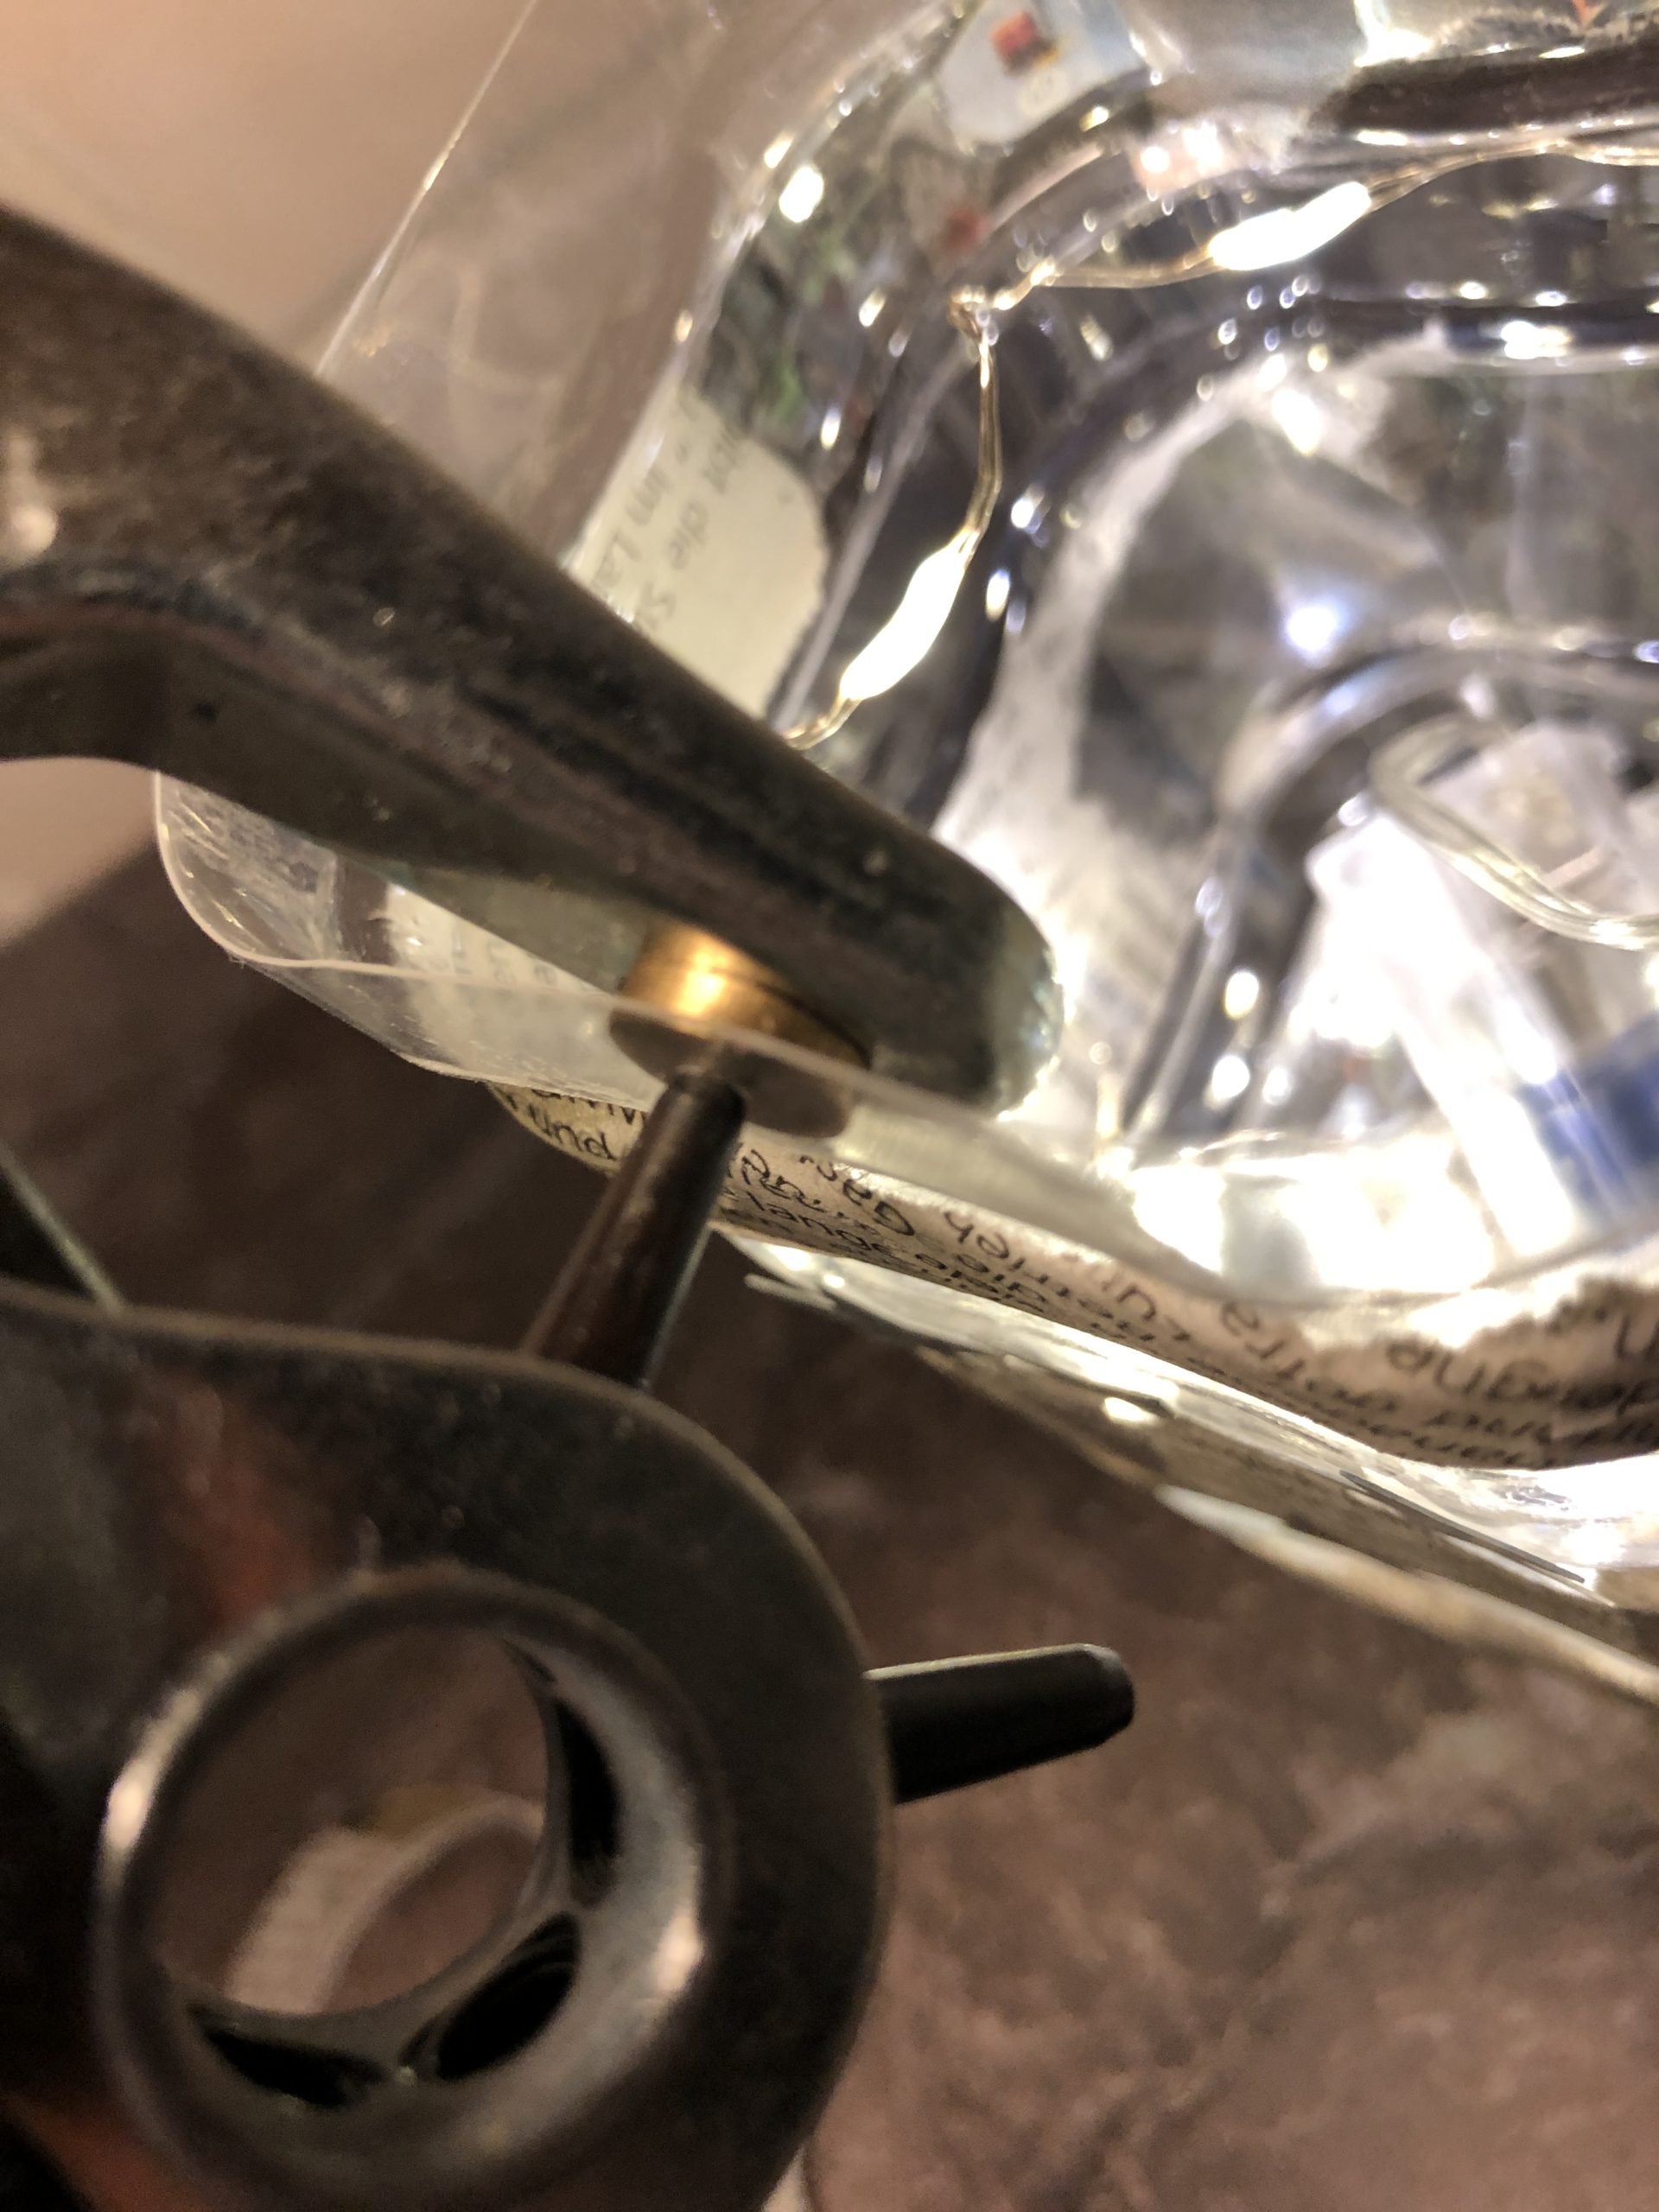


Thread a cord or what you have through the two holes and knot the ends.
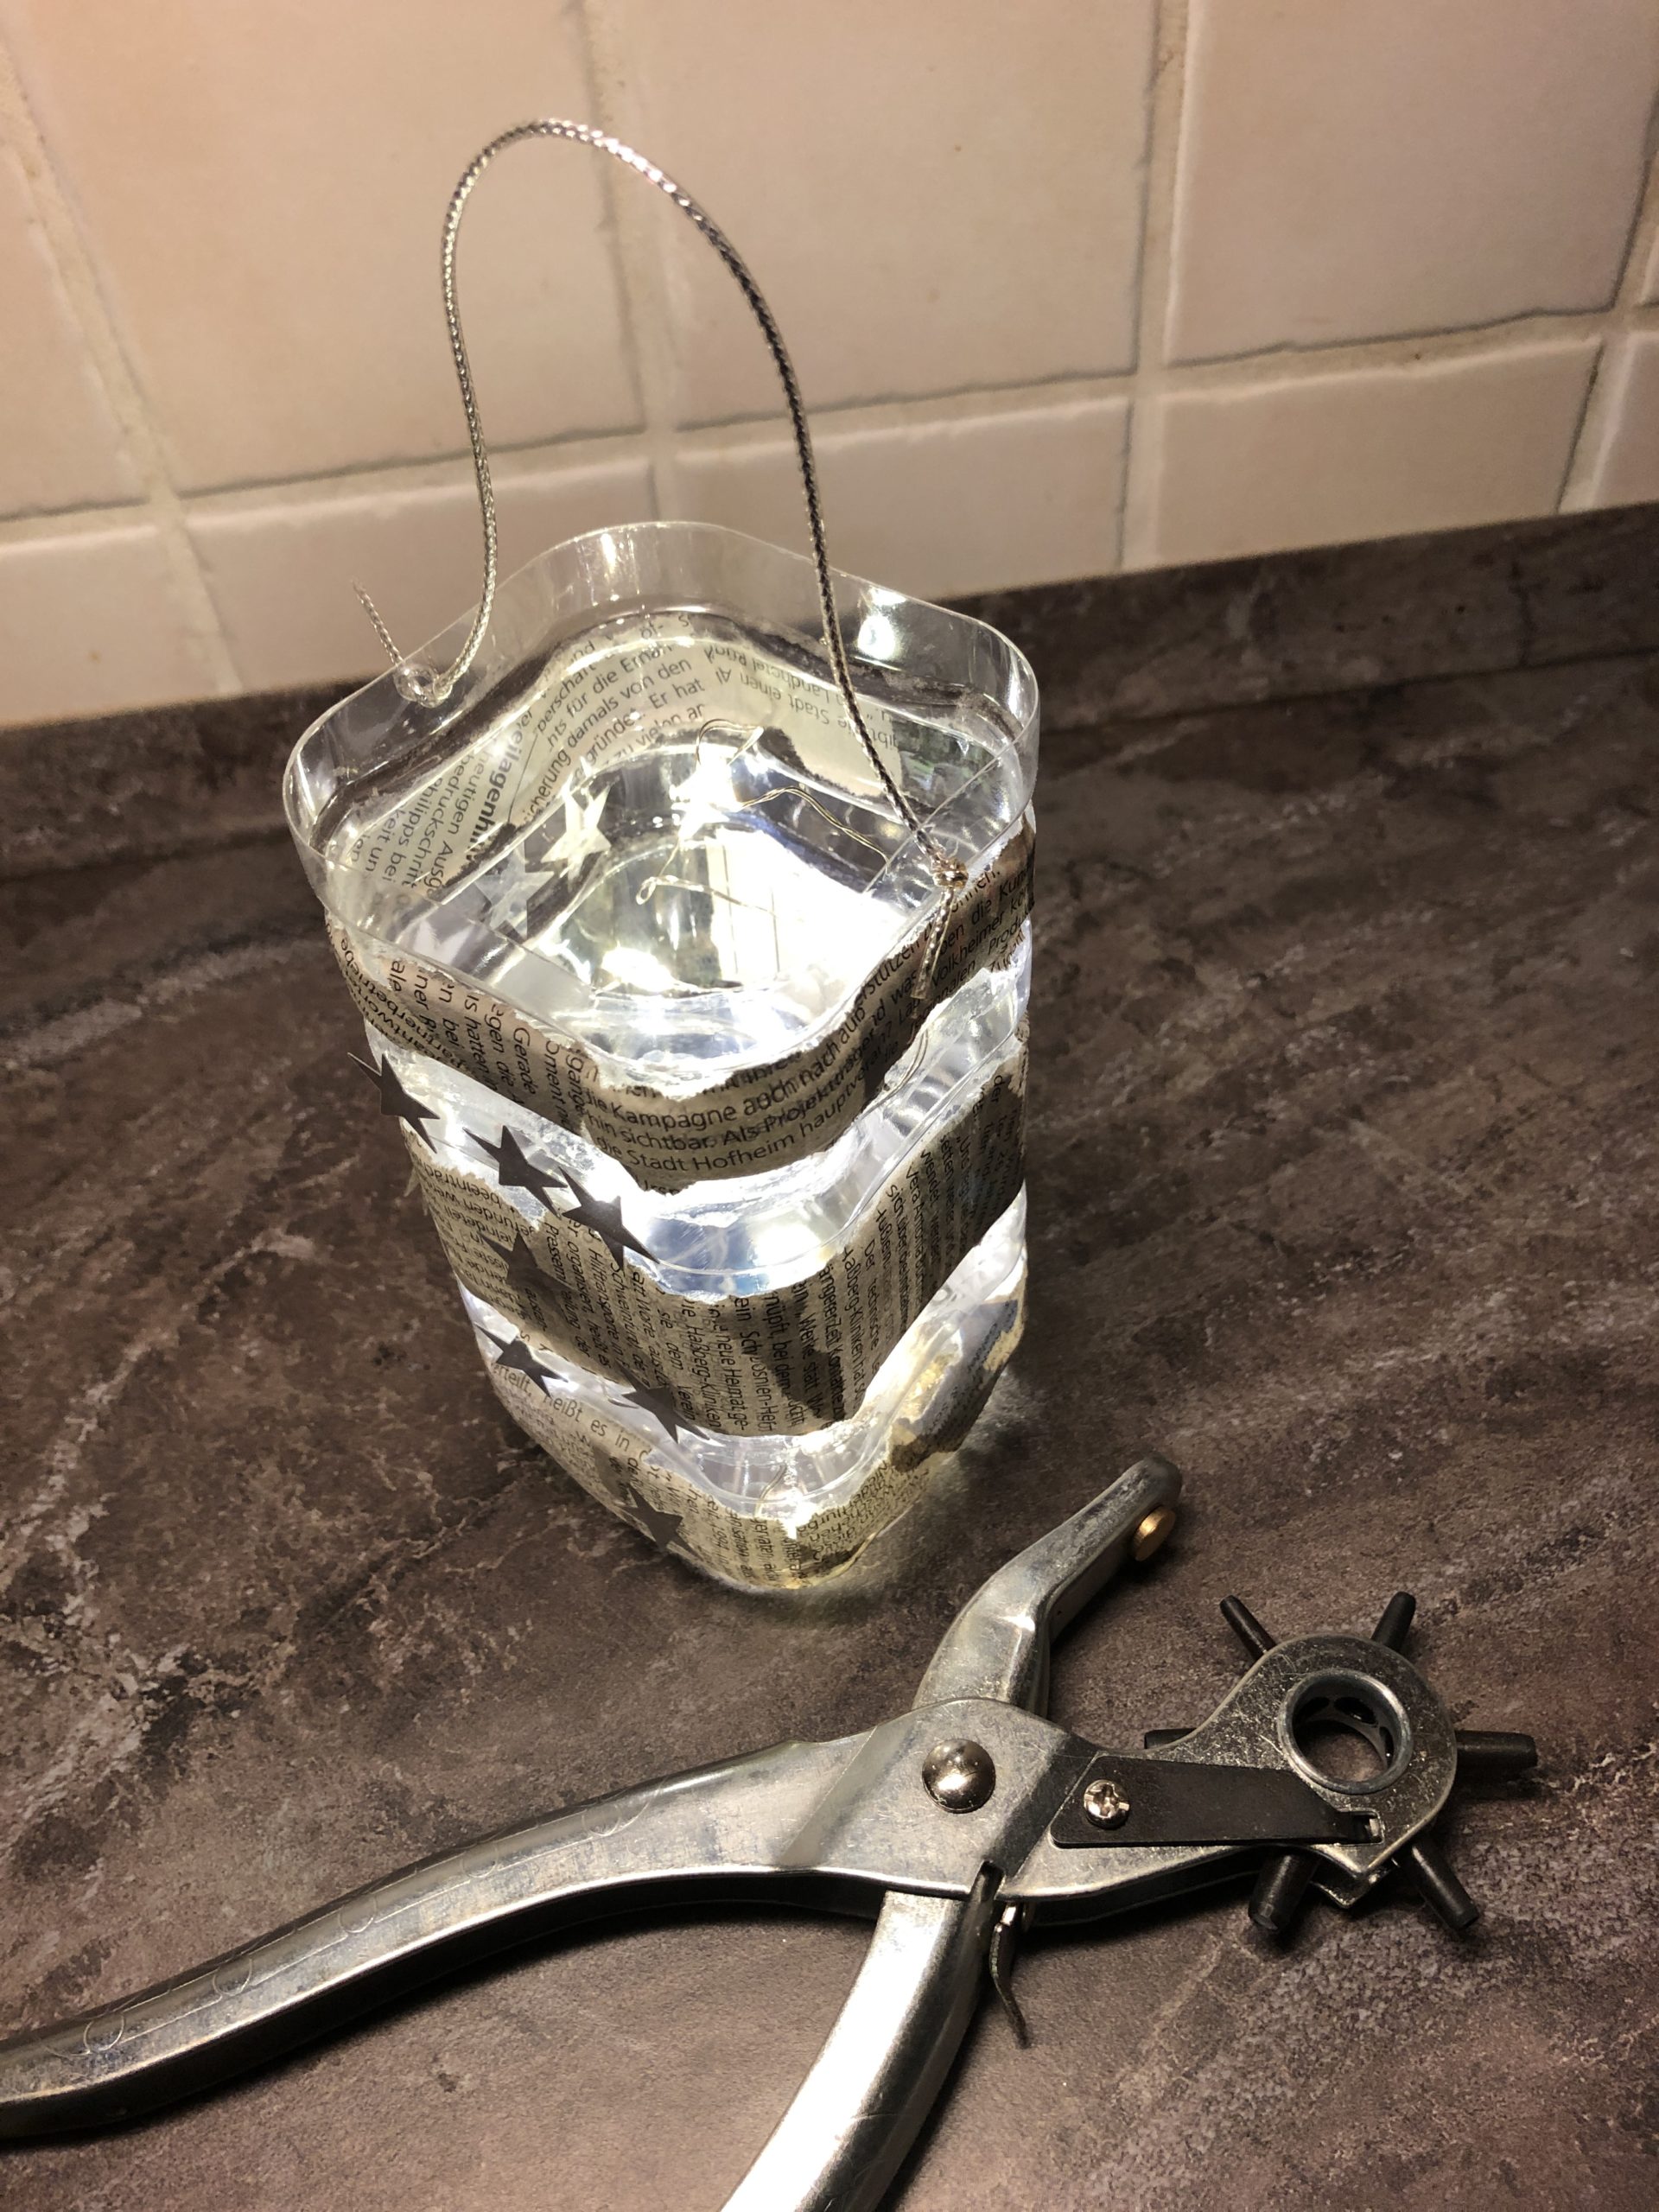


Your lantern is ready!
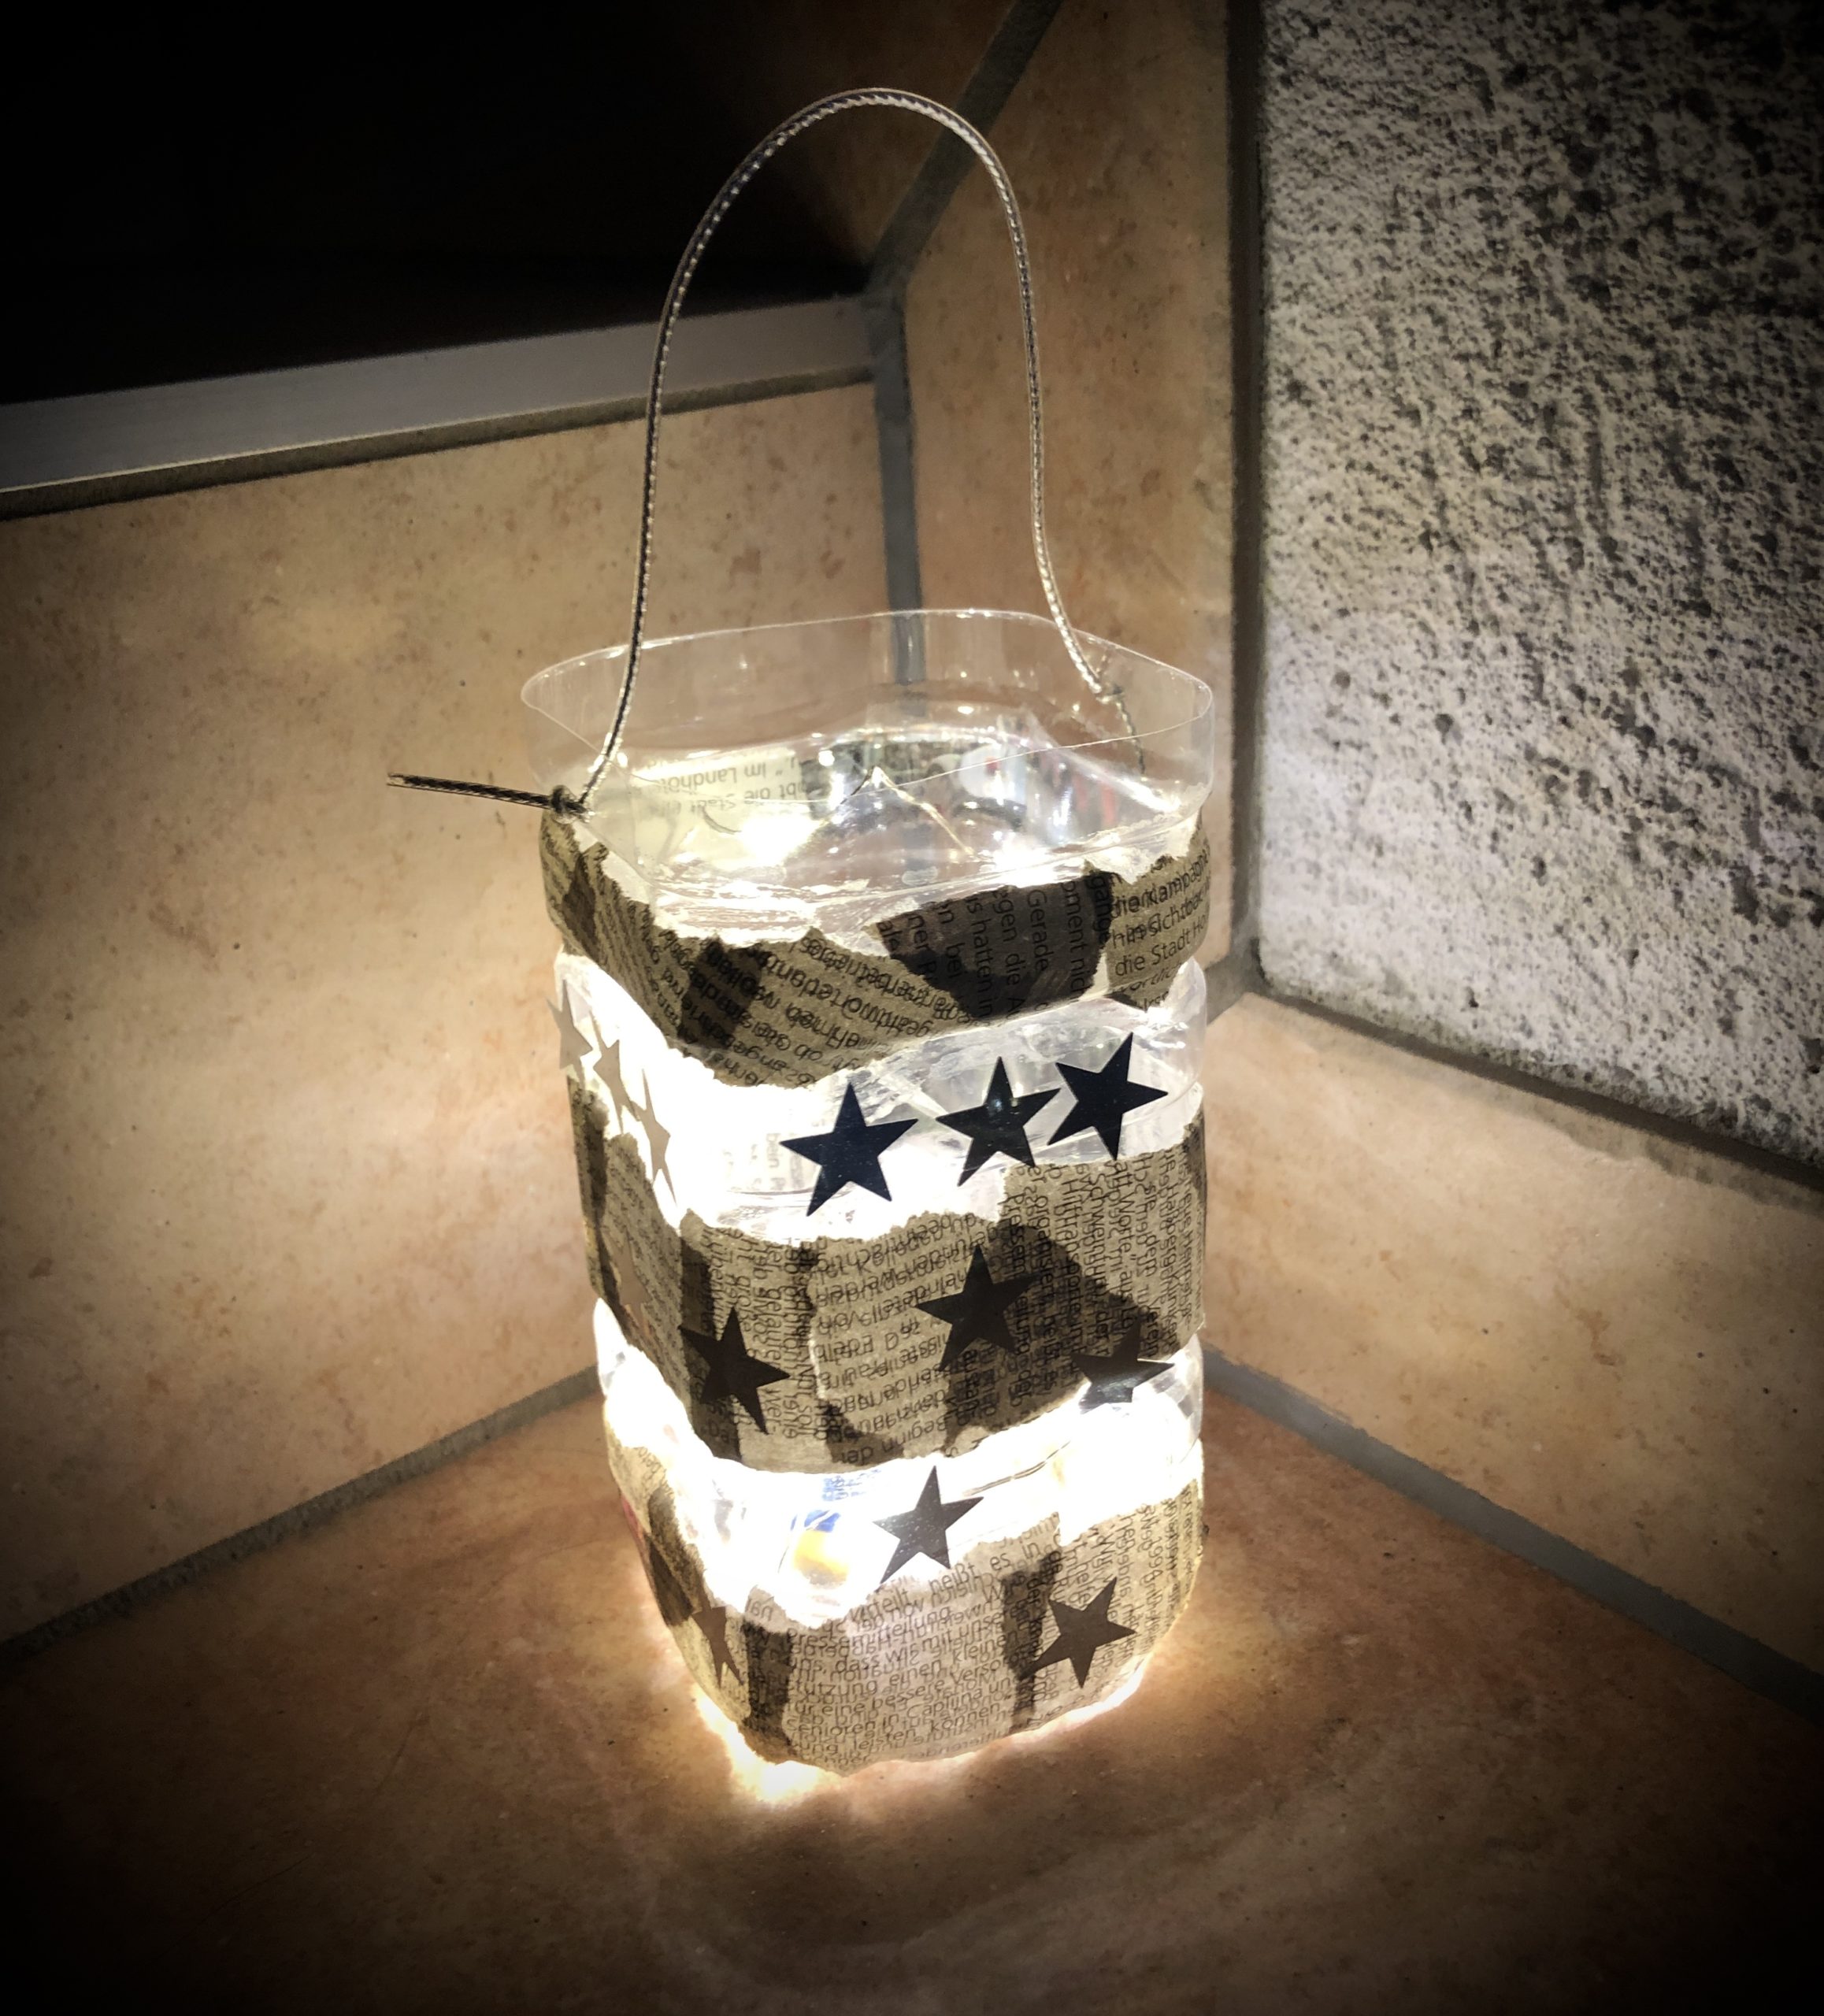


Find a nice place and enjoy it.
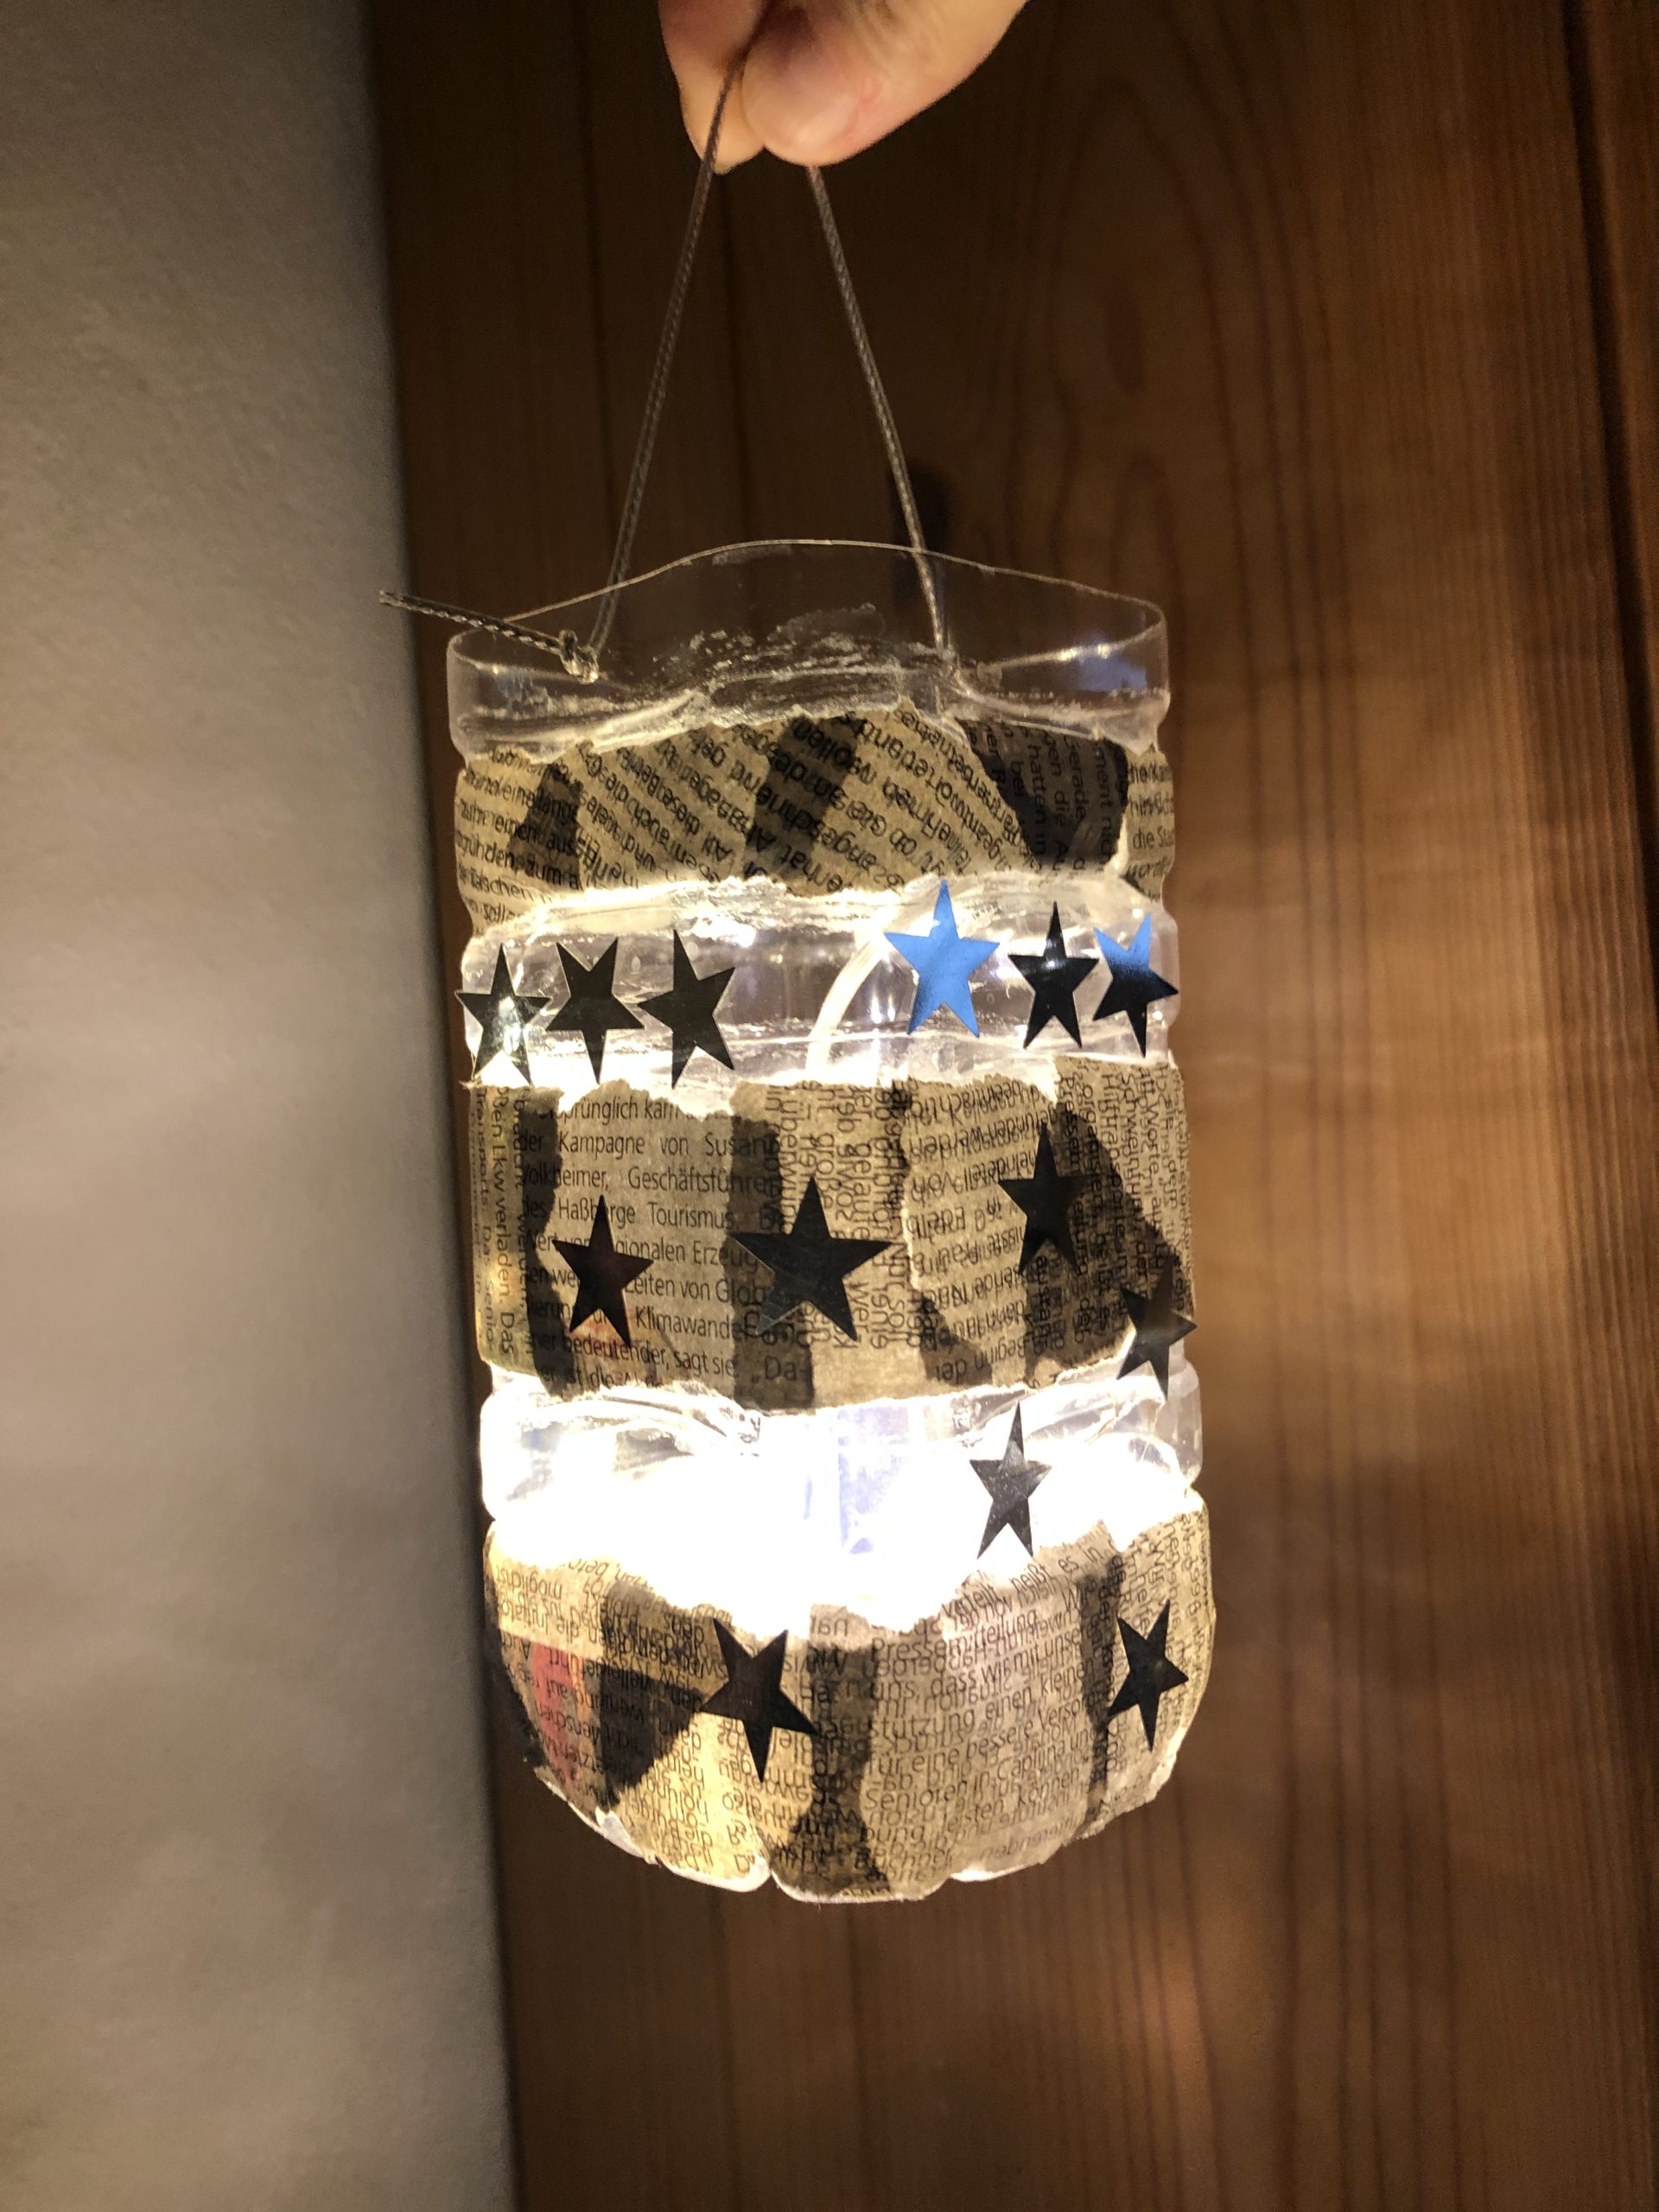


Have fun upcycling!
Materials
Directions
Now you put out a craft pad and touch the wallpaper paste. Let it spring for a moment.


Then the newspaper breaks into snippets.


Now glue the cut-off bottle, the lantern blank.


Apply the paste with the brush and then place the snippets individually on it. Sprinkle them again with paste.
Trying to glue only one layer of newspaper, otherwise no light will shine through.


I have not glued the recesses to my bottle, but only the raised intermediates. Decide yourself how you want to glue your lantern, but do not glue the bottle completely to it, otherwise too little light seems to pass through.
Tip: Paint in advance with a felt pen, which places you want to release or glue.


Then place your glued lantern to dry.


That's what the dry lantern looks like.


Now stick a few stars on your lantern. I used stars that we bought as a scatter decoration. If you have a star punch, punch out a few stars of paper and use them or you paint stars directly on the bottle with a silver pencil!


Now try out your light source (mini-light chain or electric tealight).


I used an LED light chain with battery. It fits completely into my lantern!


If you don't have a suspension yet, now use the punched pliers on the opposite sides to make a hole in the lantern.


Thread a cord or what you have through the two holes and knot the ends.


Your lantern is ready!


Find a nice place and enjoy it.


Have fun upcycling!
Follow us on Facebook , Instagram and Pinterest
Don't miss any more adventures: Our bottle mail


