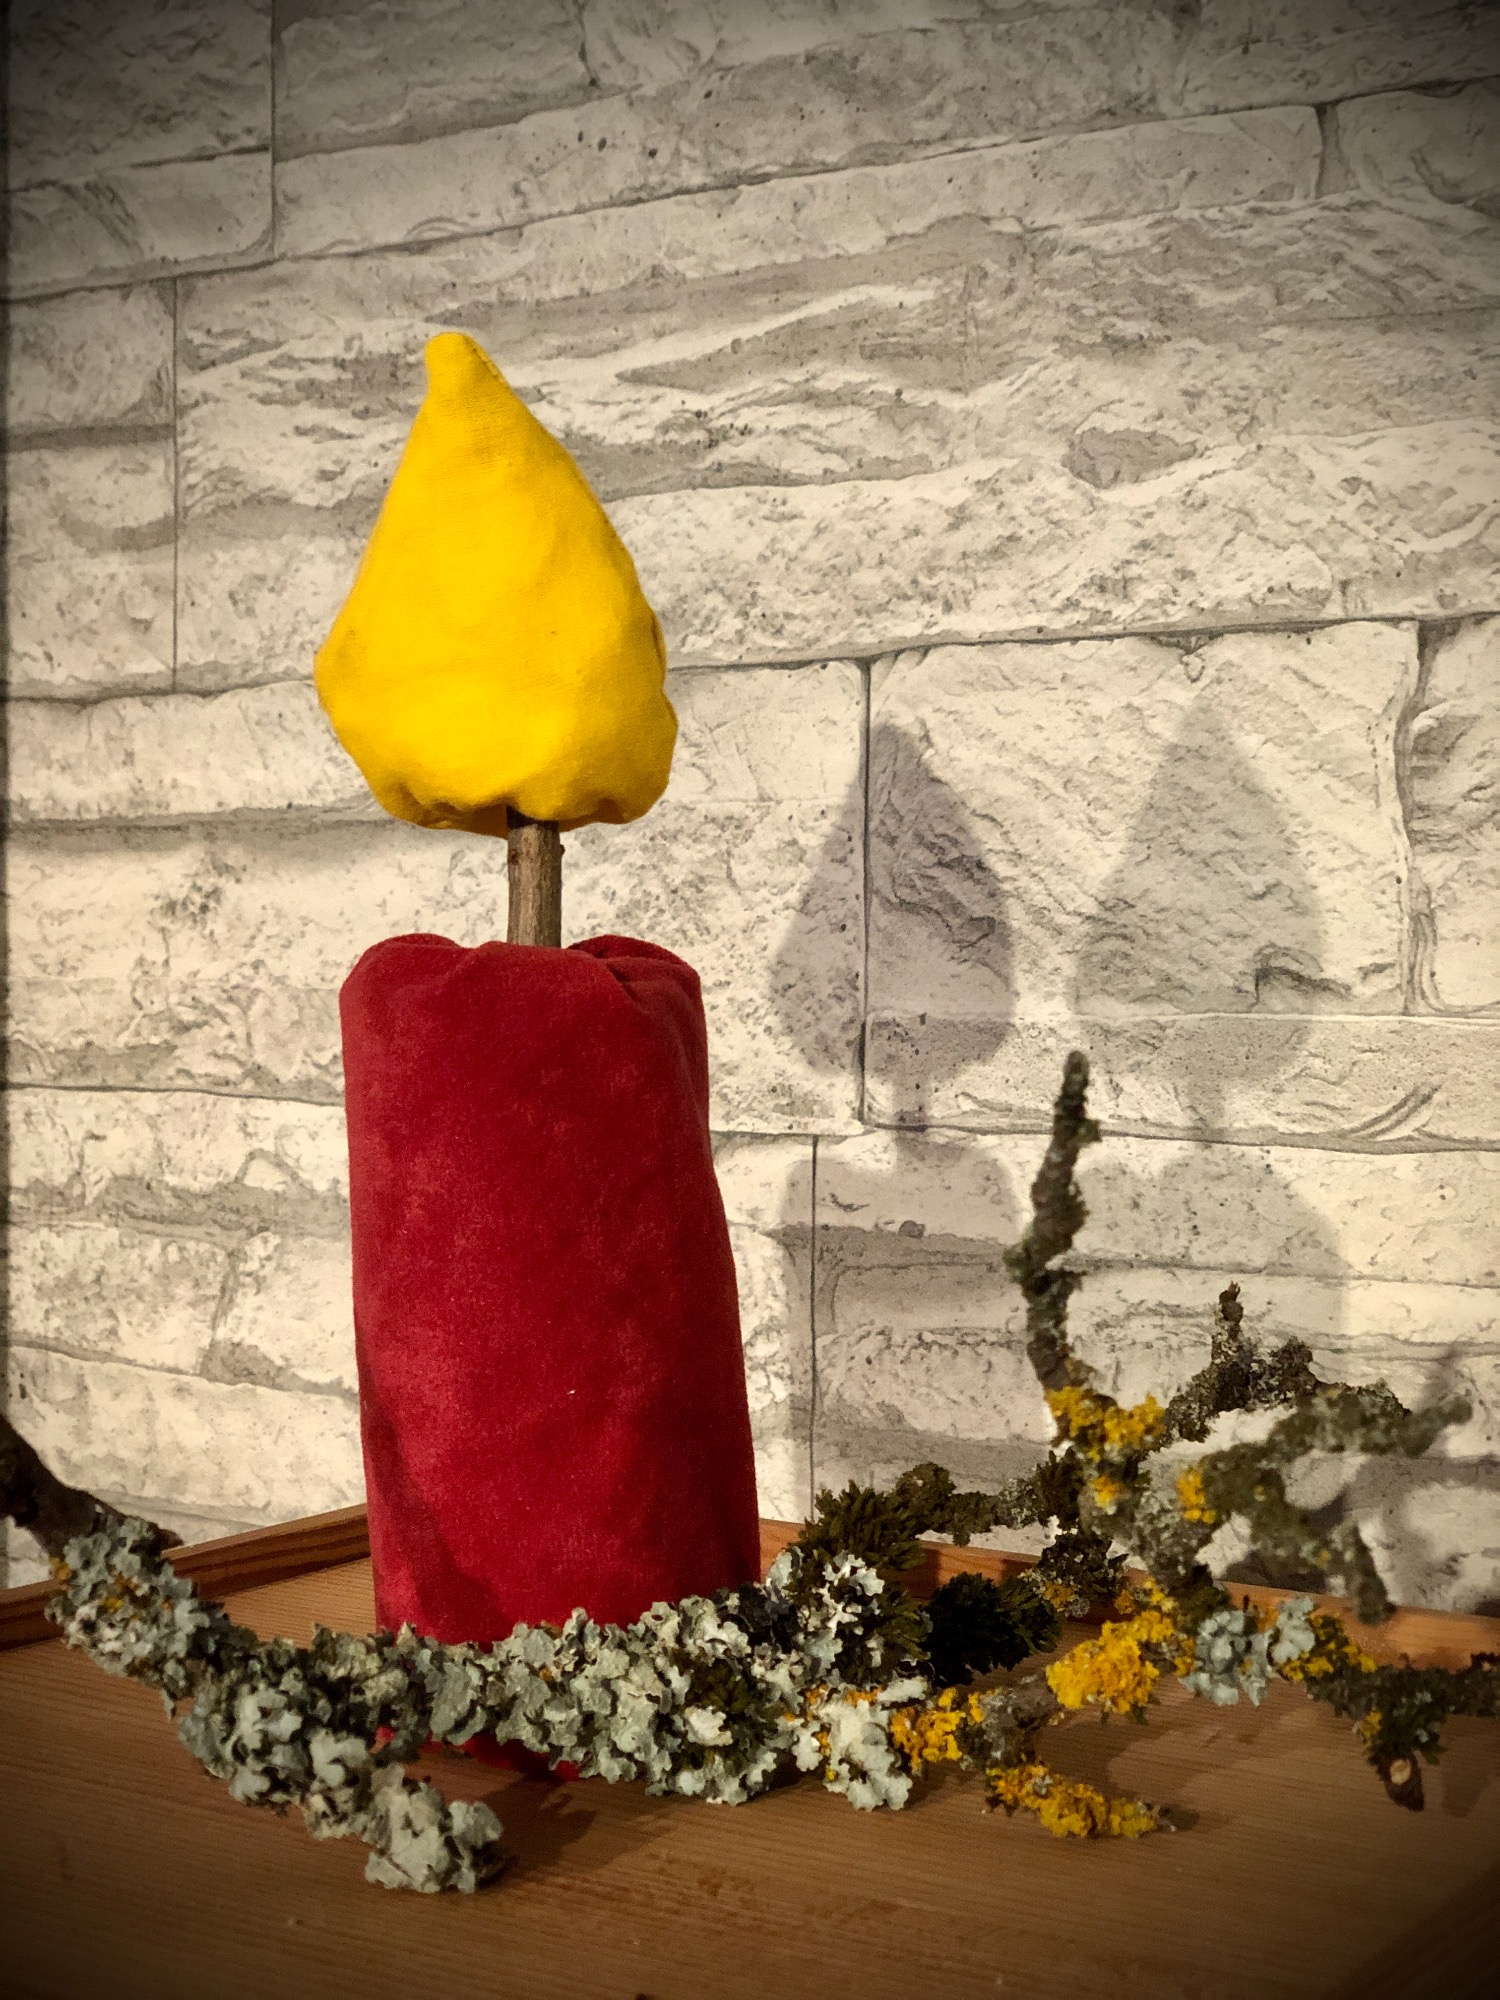
We sew a candle. A piece of foam pipe insulation serves as filling. As a wick we use a piece of a branch and on it is inserted a sewn flame. The candle is also suitable for sewing beginners, look at the illustrated instructions.
This candle can be used in many ways, e.g. as first sewing projects for primary school children or as learning material for crib children or as decoration during Advent or for birthdays. See for yourself.
Media Education for Kindergarten and Hort

Relief in everyday life, targeted promotion of individual children, independent learning and - without any pre-knowledge already usable by the youngest!
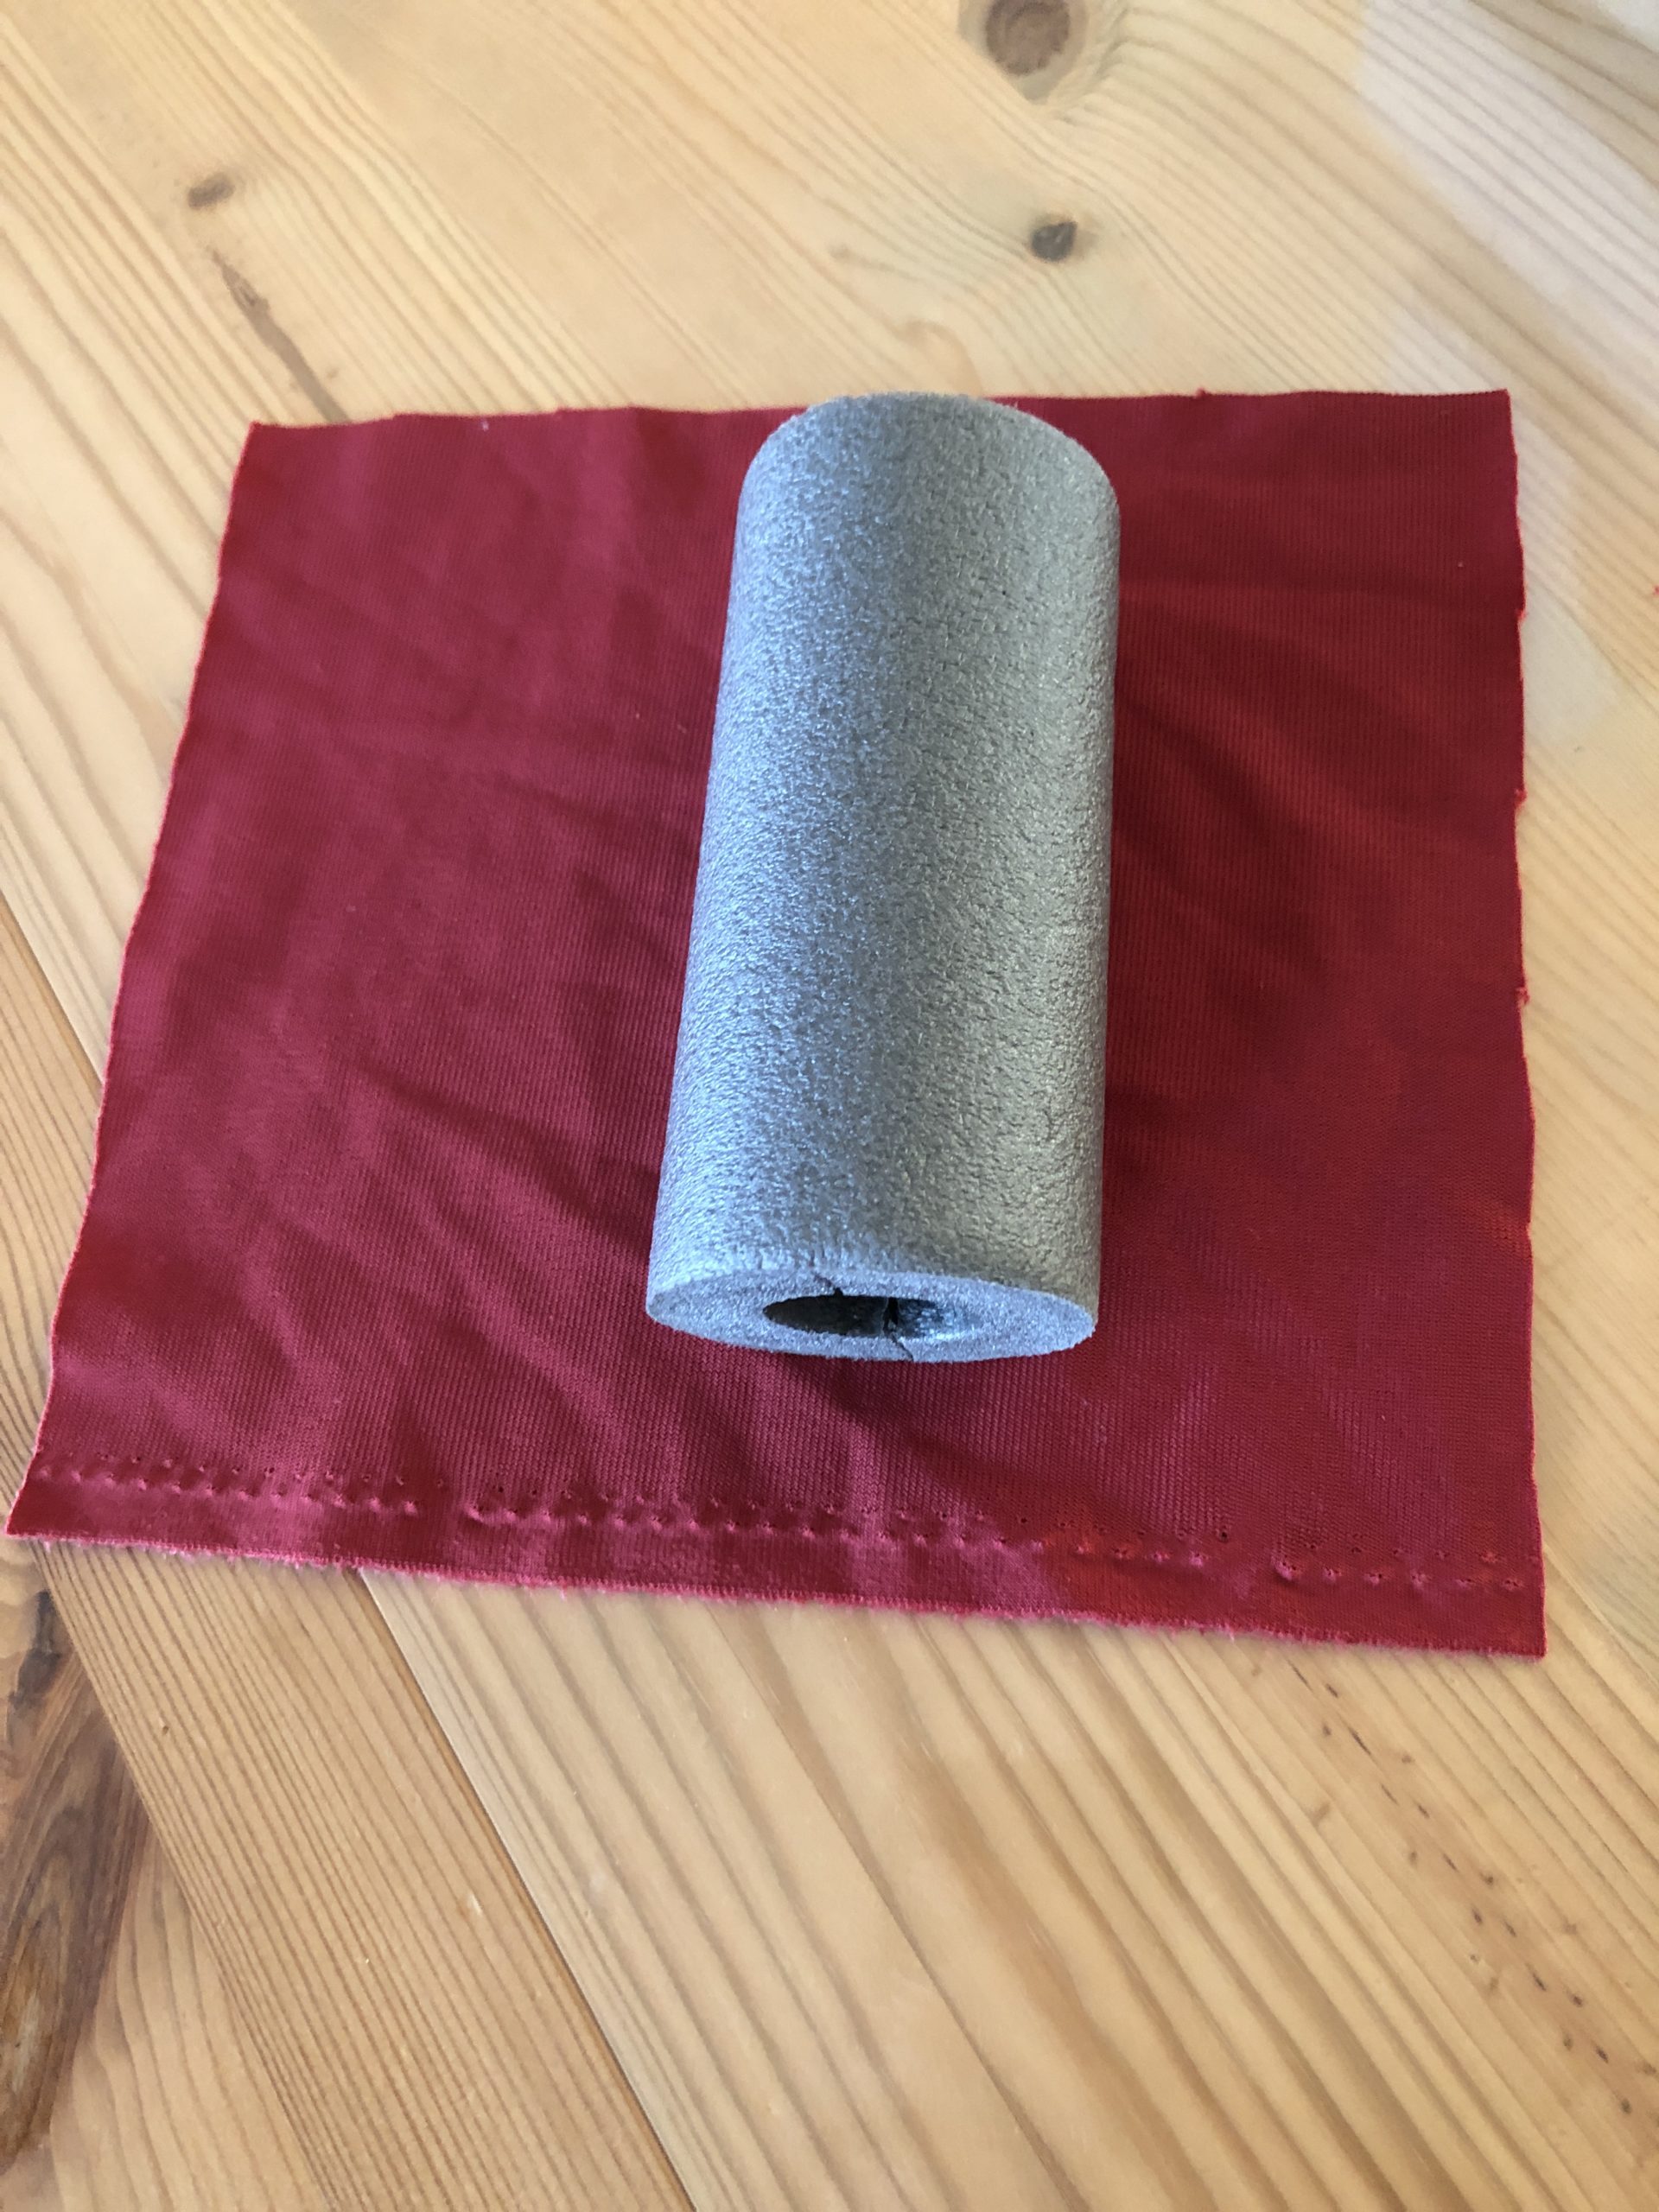
First cut a piece of foam pipe insulation to the desired length of the candle. This works very well with a cutter knife.
Then cut the fabric for the candle. To do this, wrap the foam with the fabric and add 2cm of fabric at the top, bottom and side.
Put the fabric with the beautiful side (on the right) up on the table. Then wrap the roll with it. The beautiful side is inside, directly on the foam. Now you mark yourself with a pen on the longitudinal side, where you sew the fabric together afterwards. Leave the fabric loose so that you don't draw too tight. Otherwise you won't get the fabric over the roll afterwards.
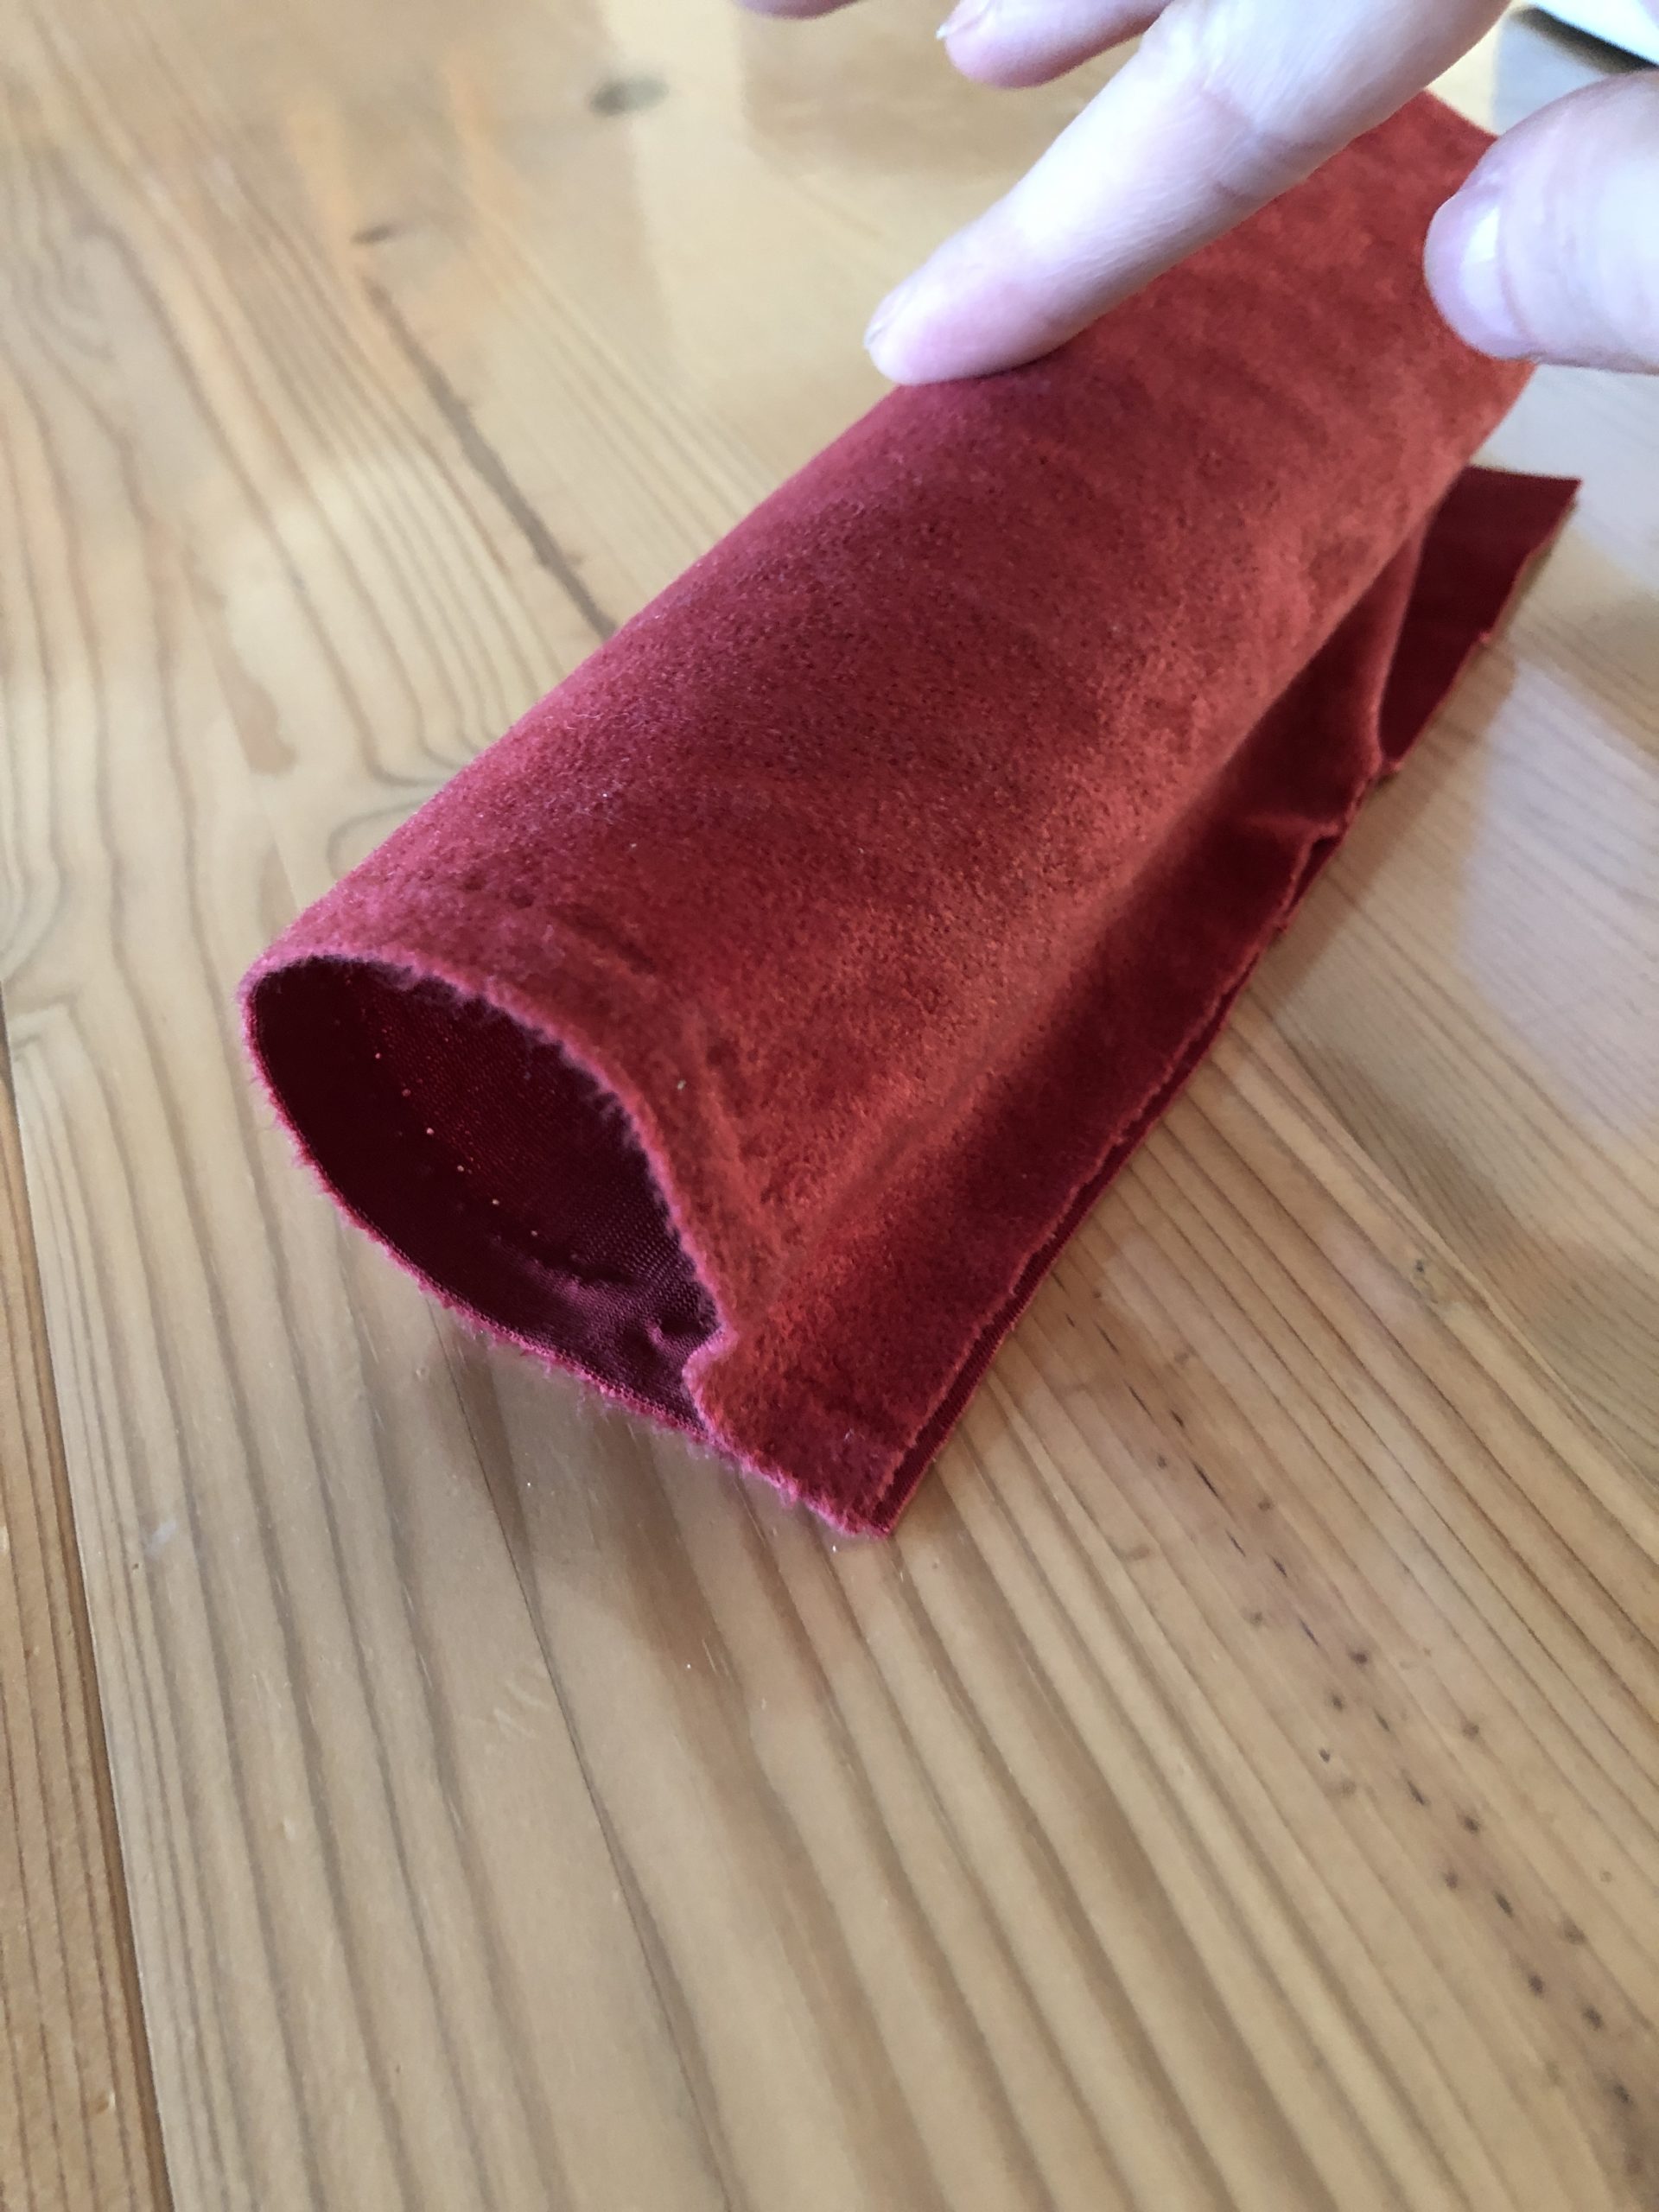


Remove the roll. Then sew the fabric lengthwise to a hose. Up and down the hose remains open.
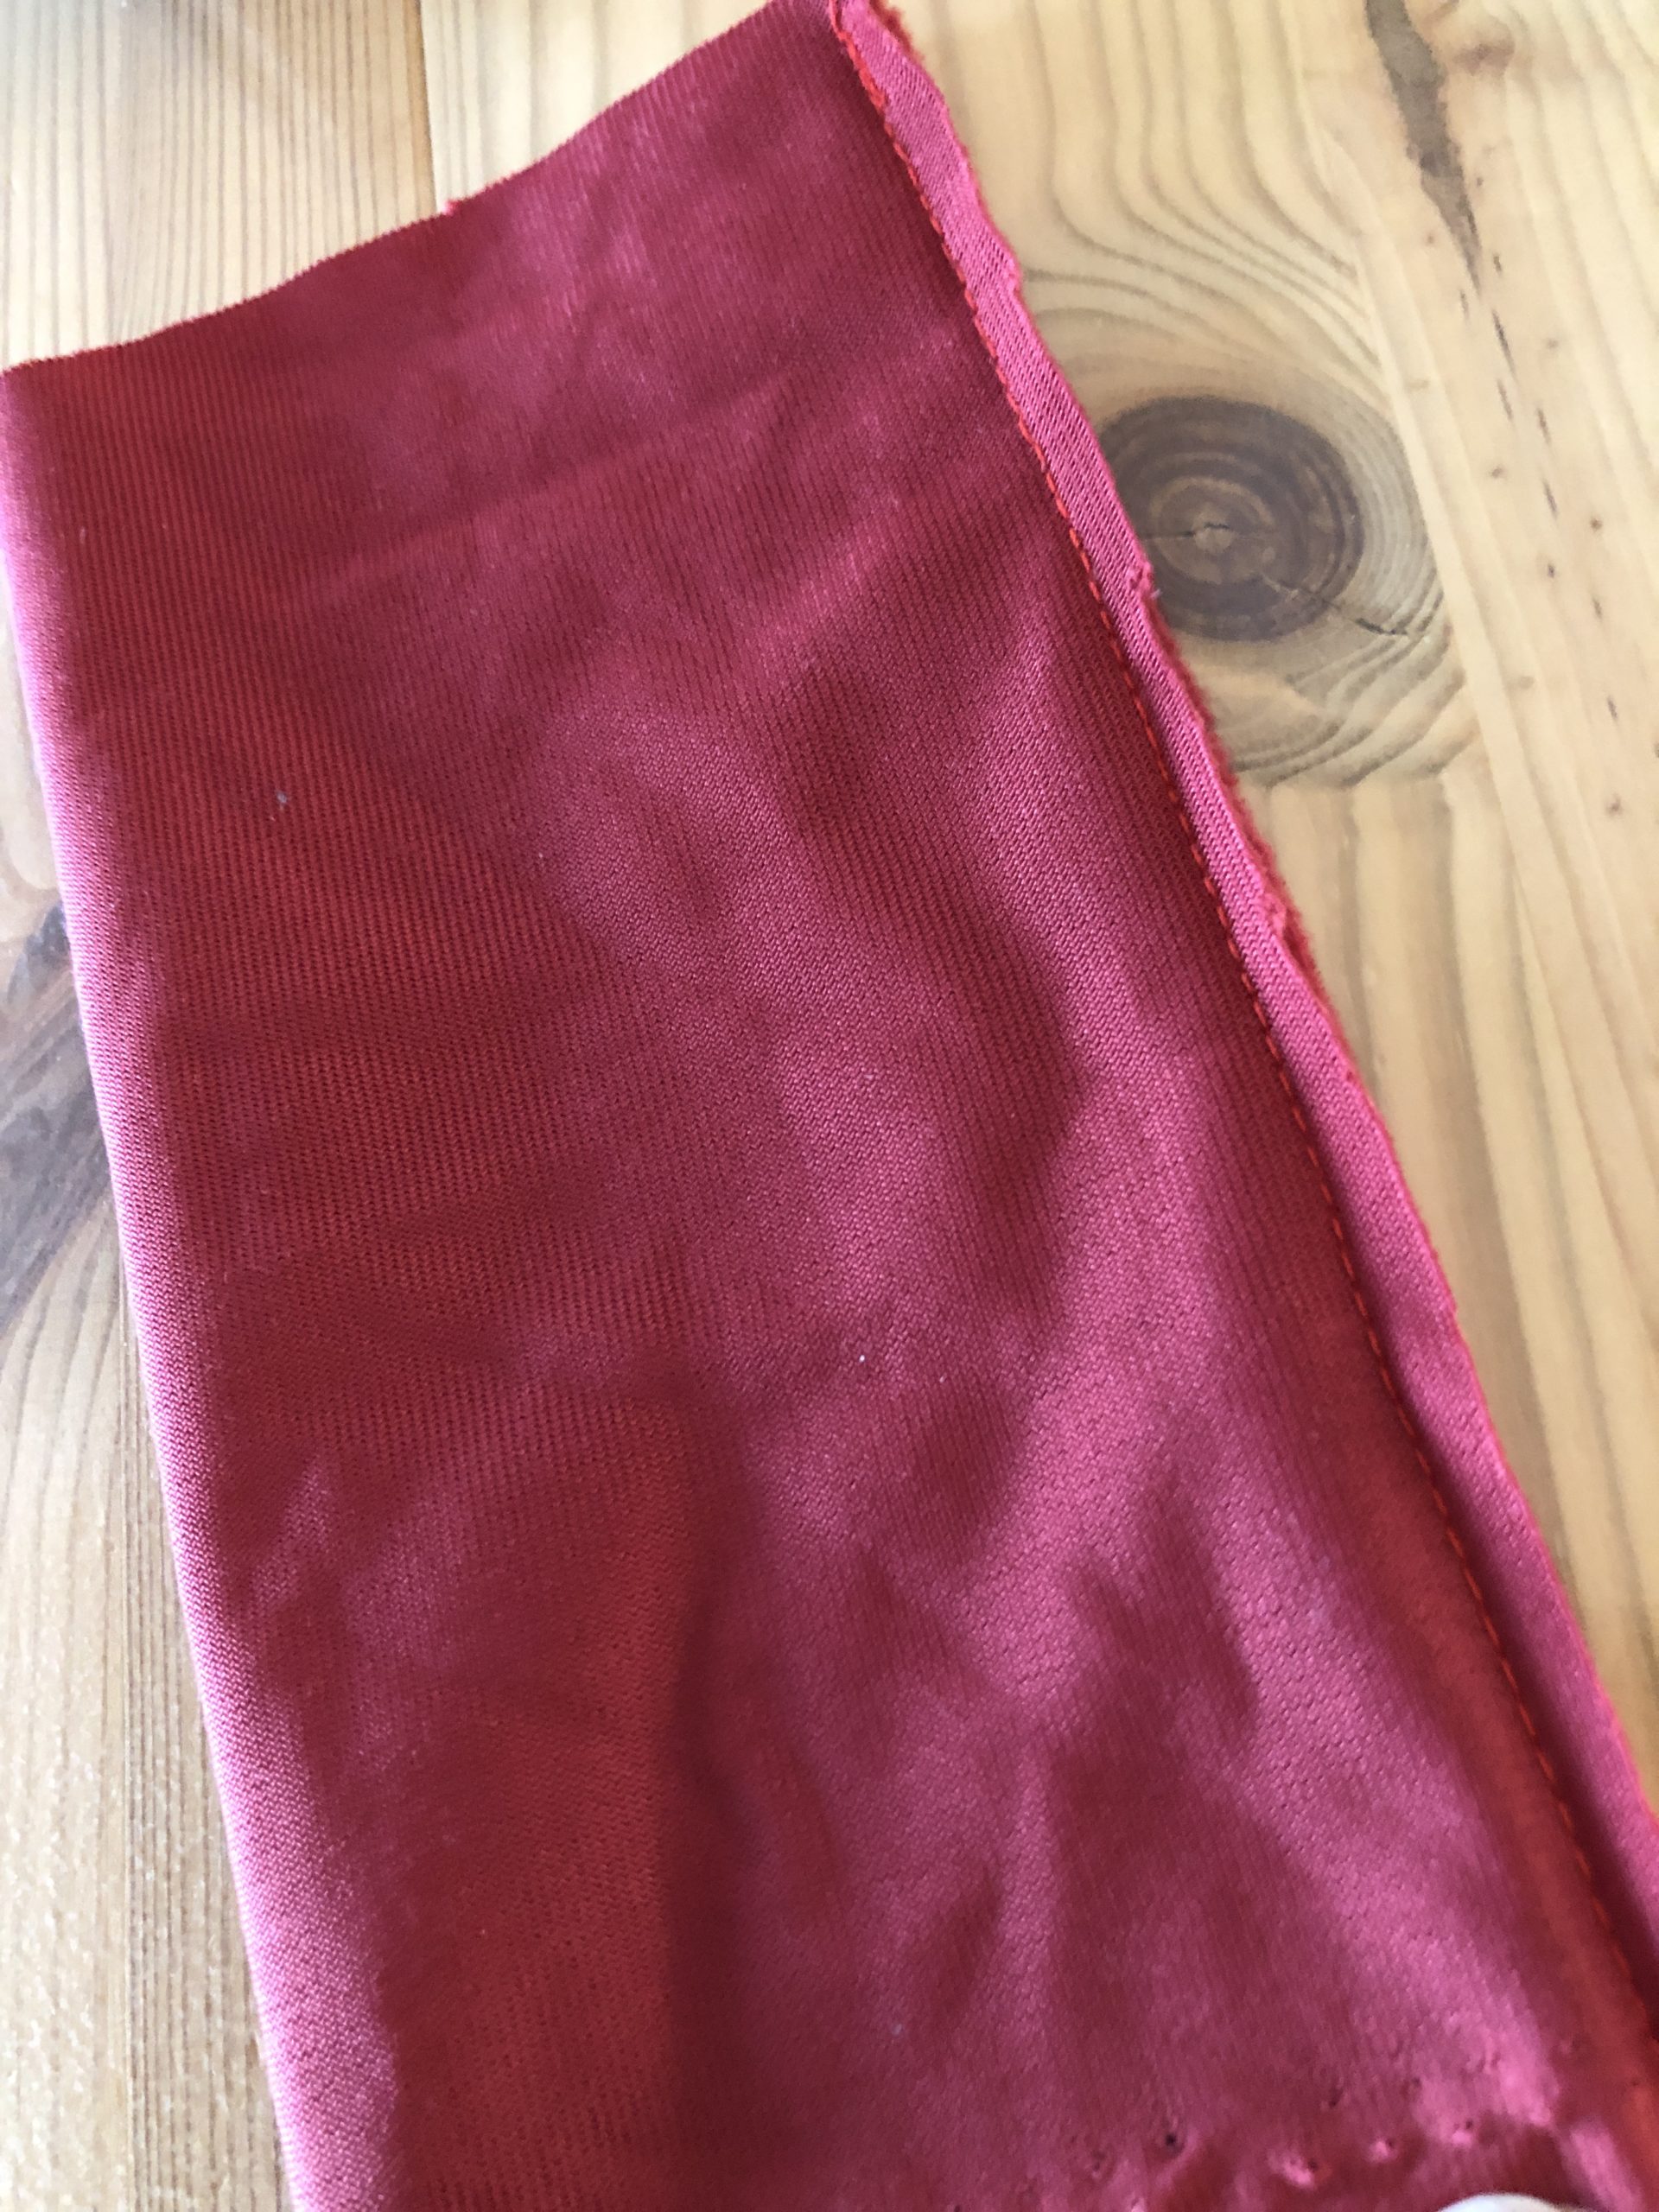


Turns the fabric so that the beautiful inside shows outwards.
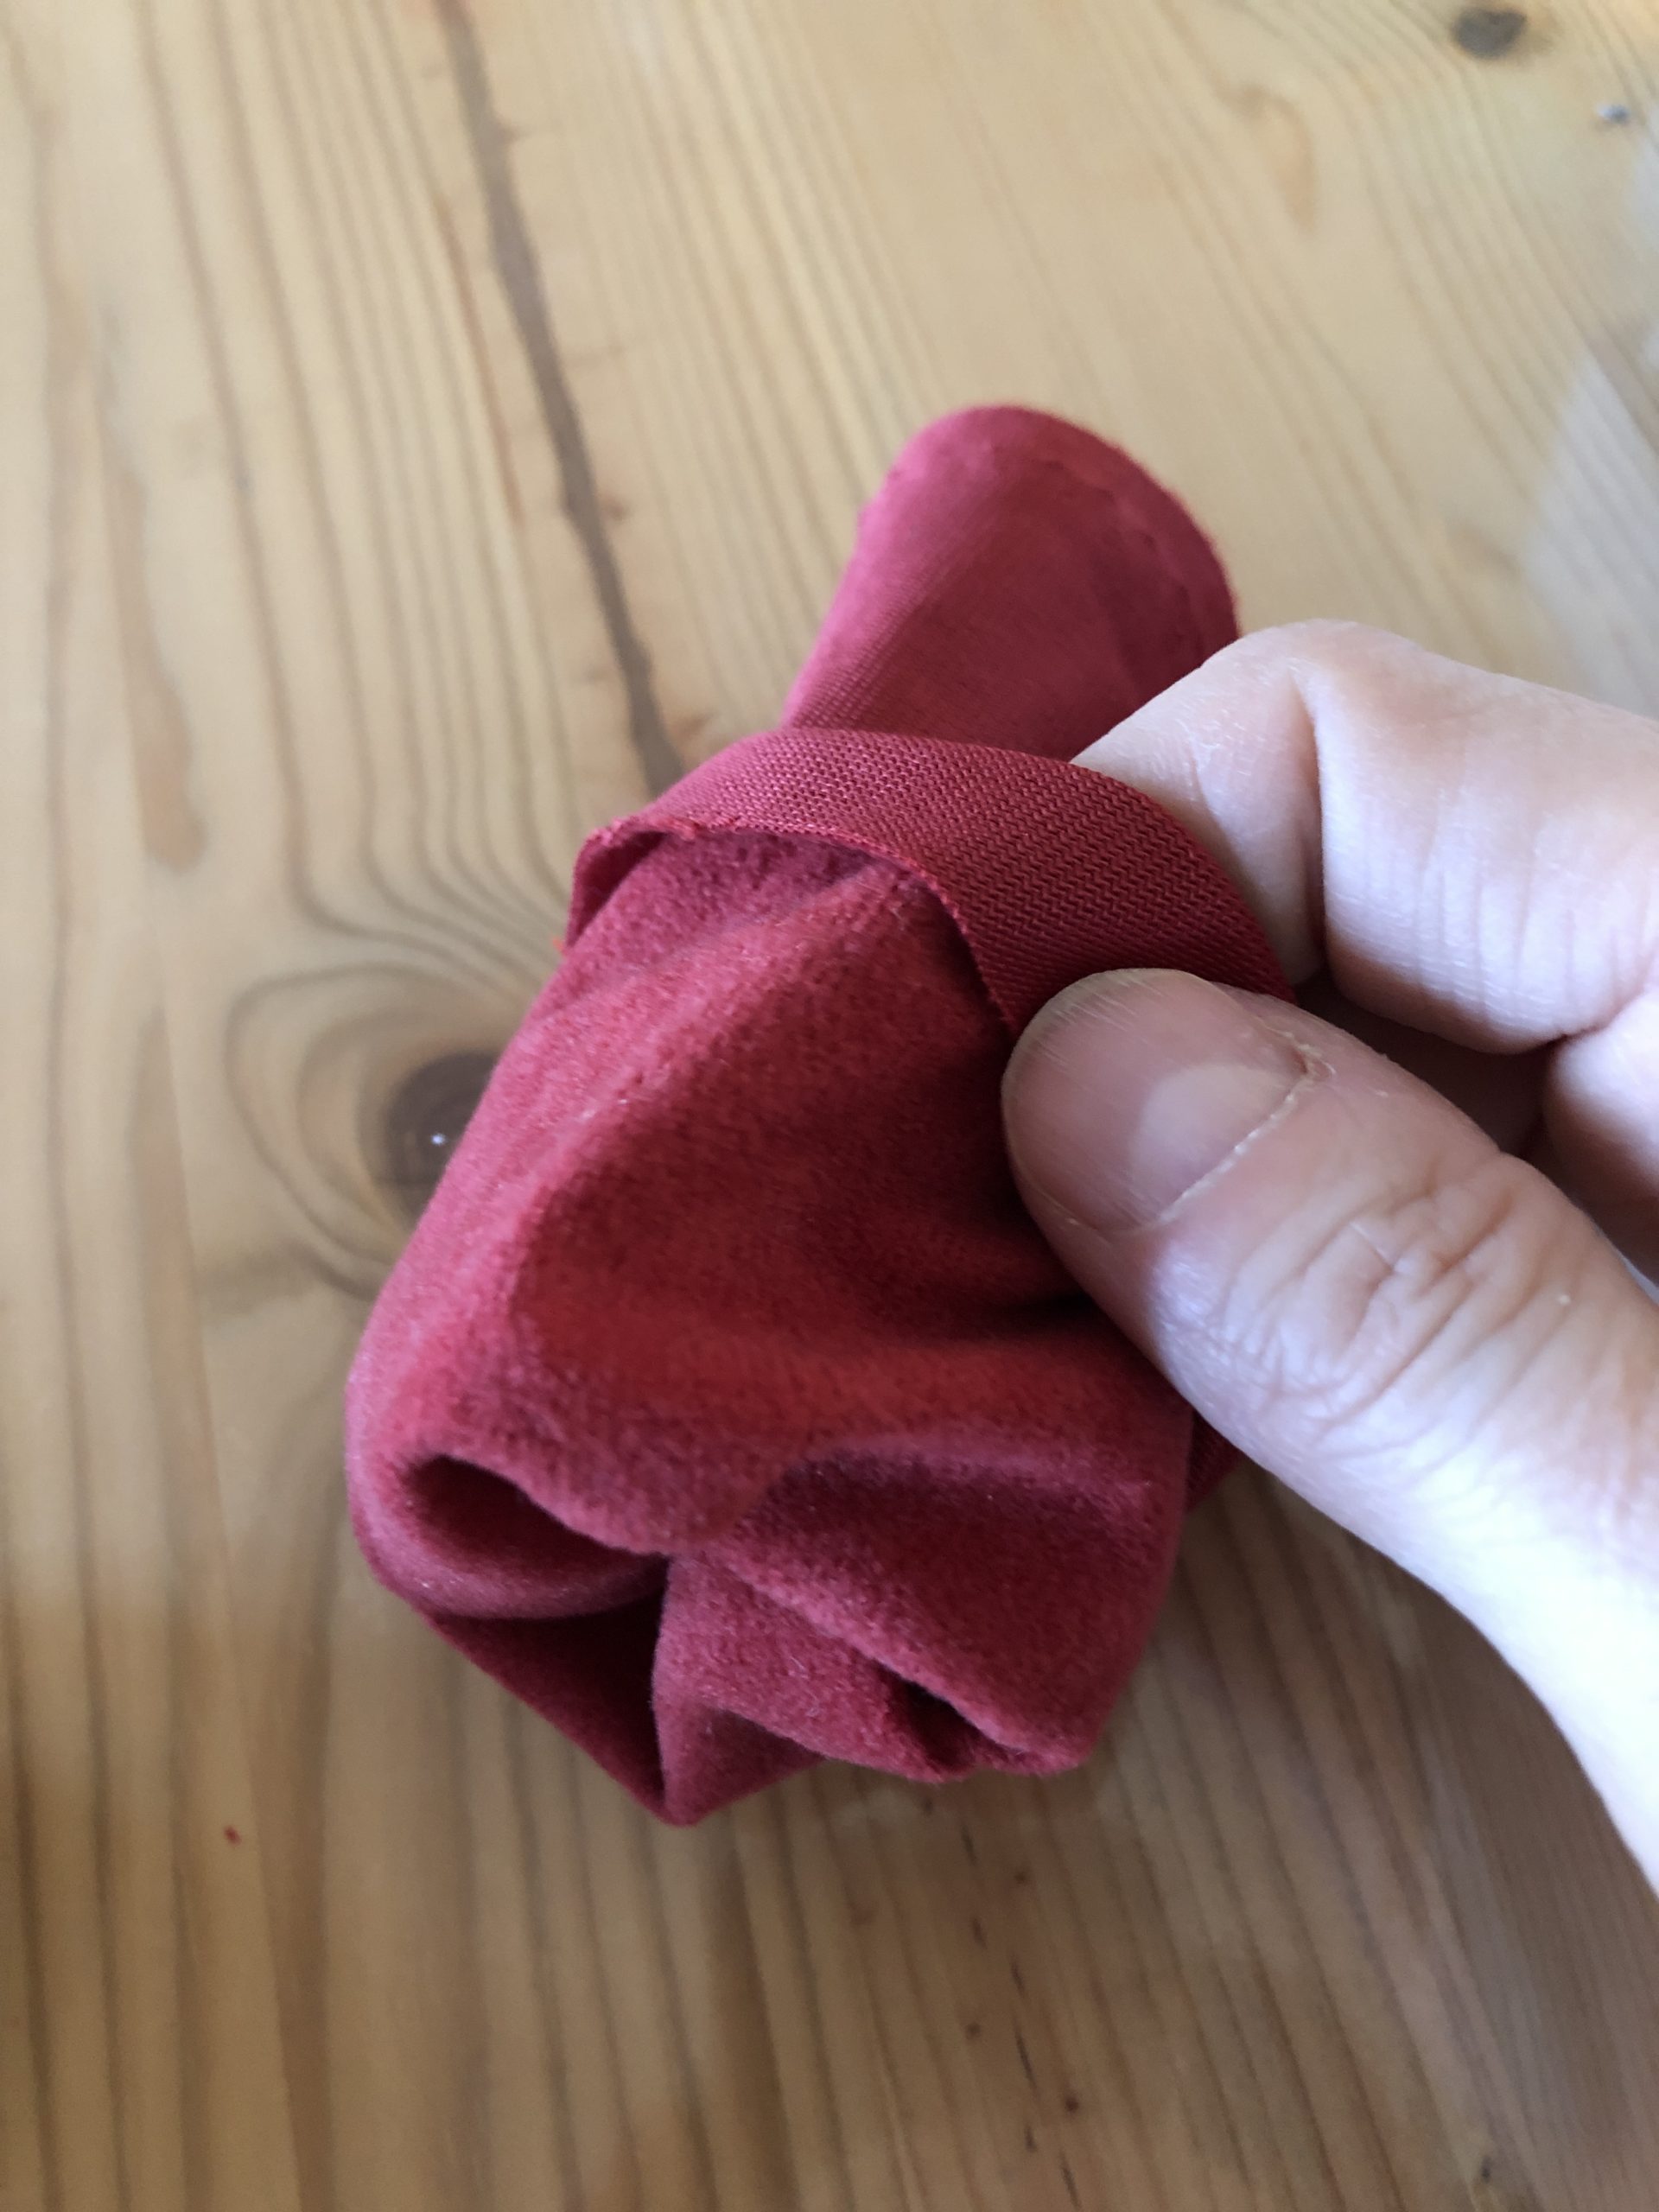


The colored shell of the candle is finished.
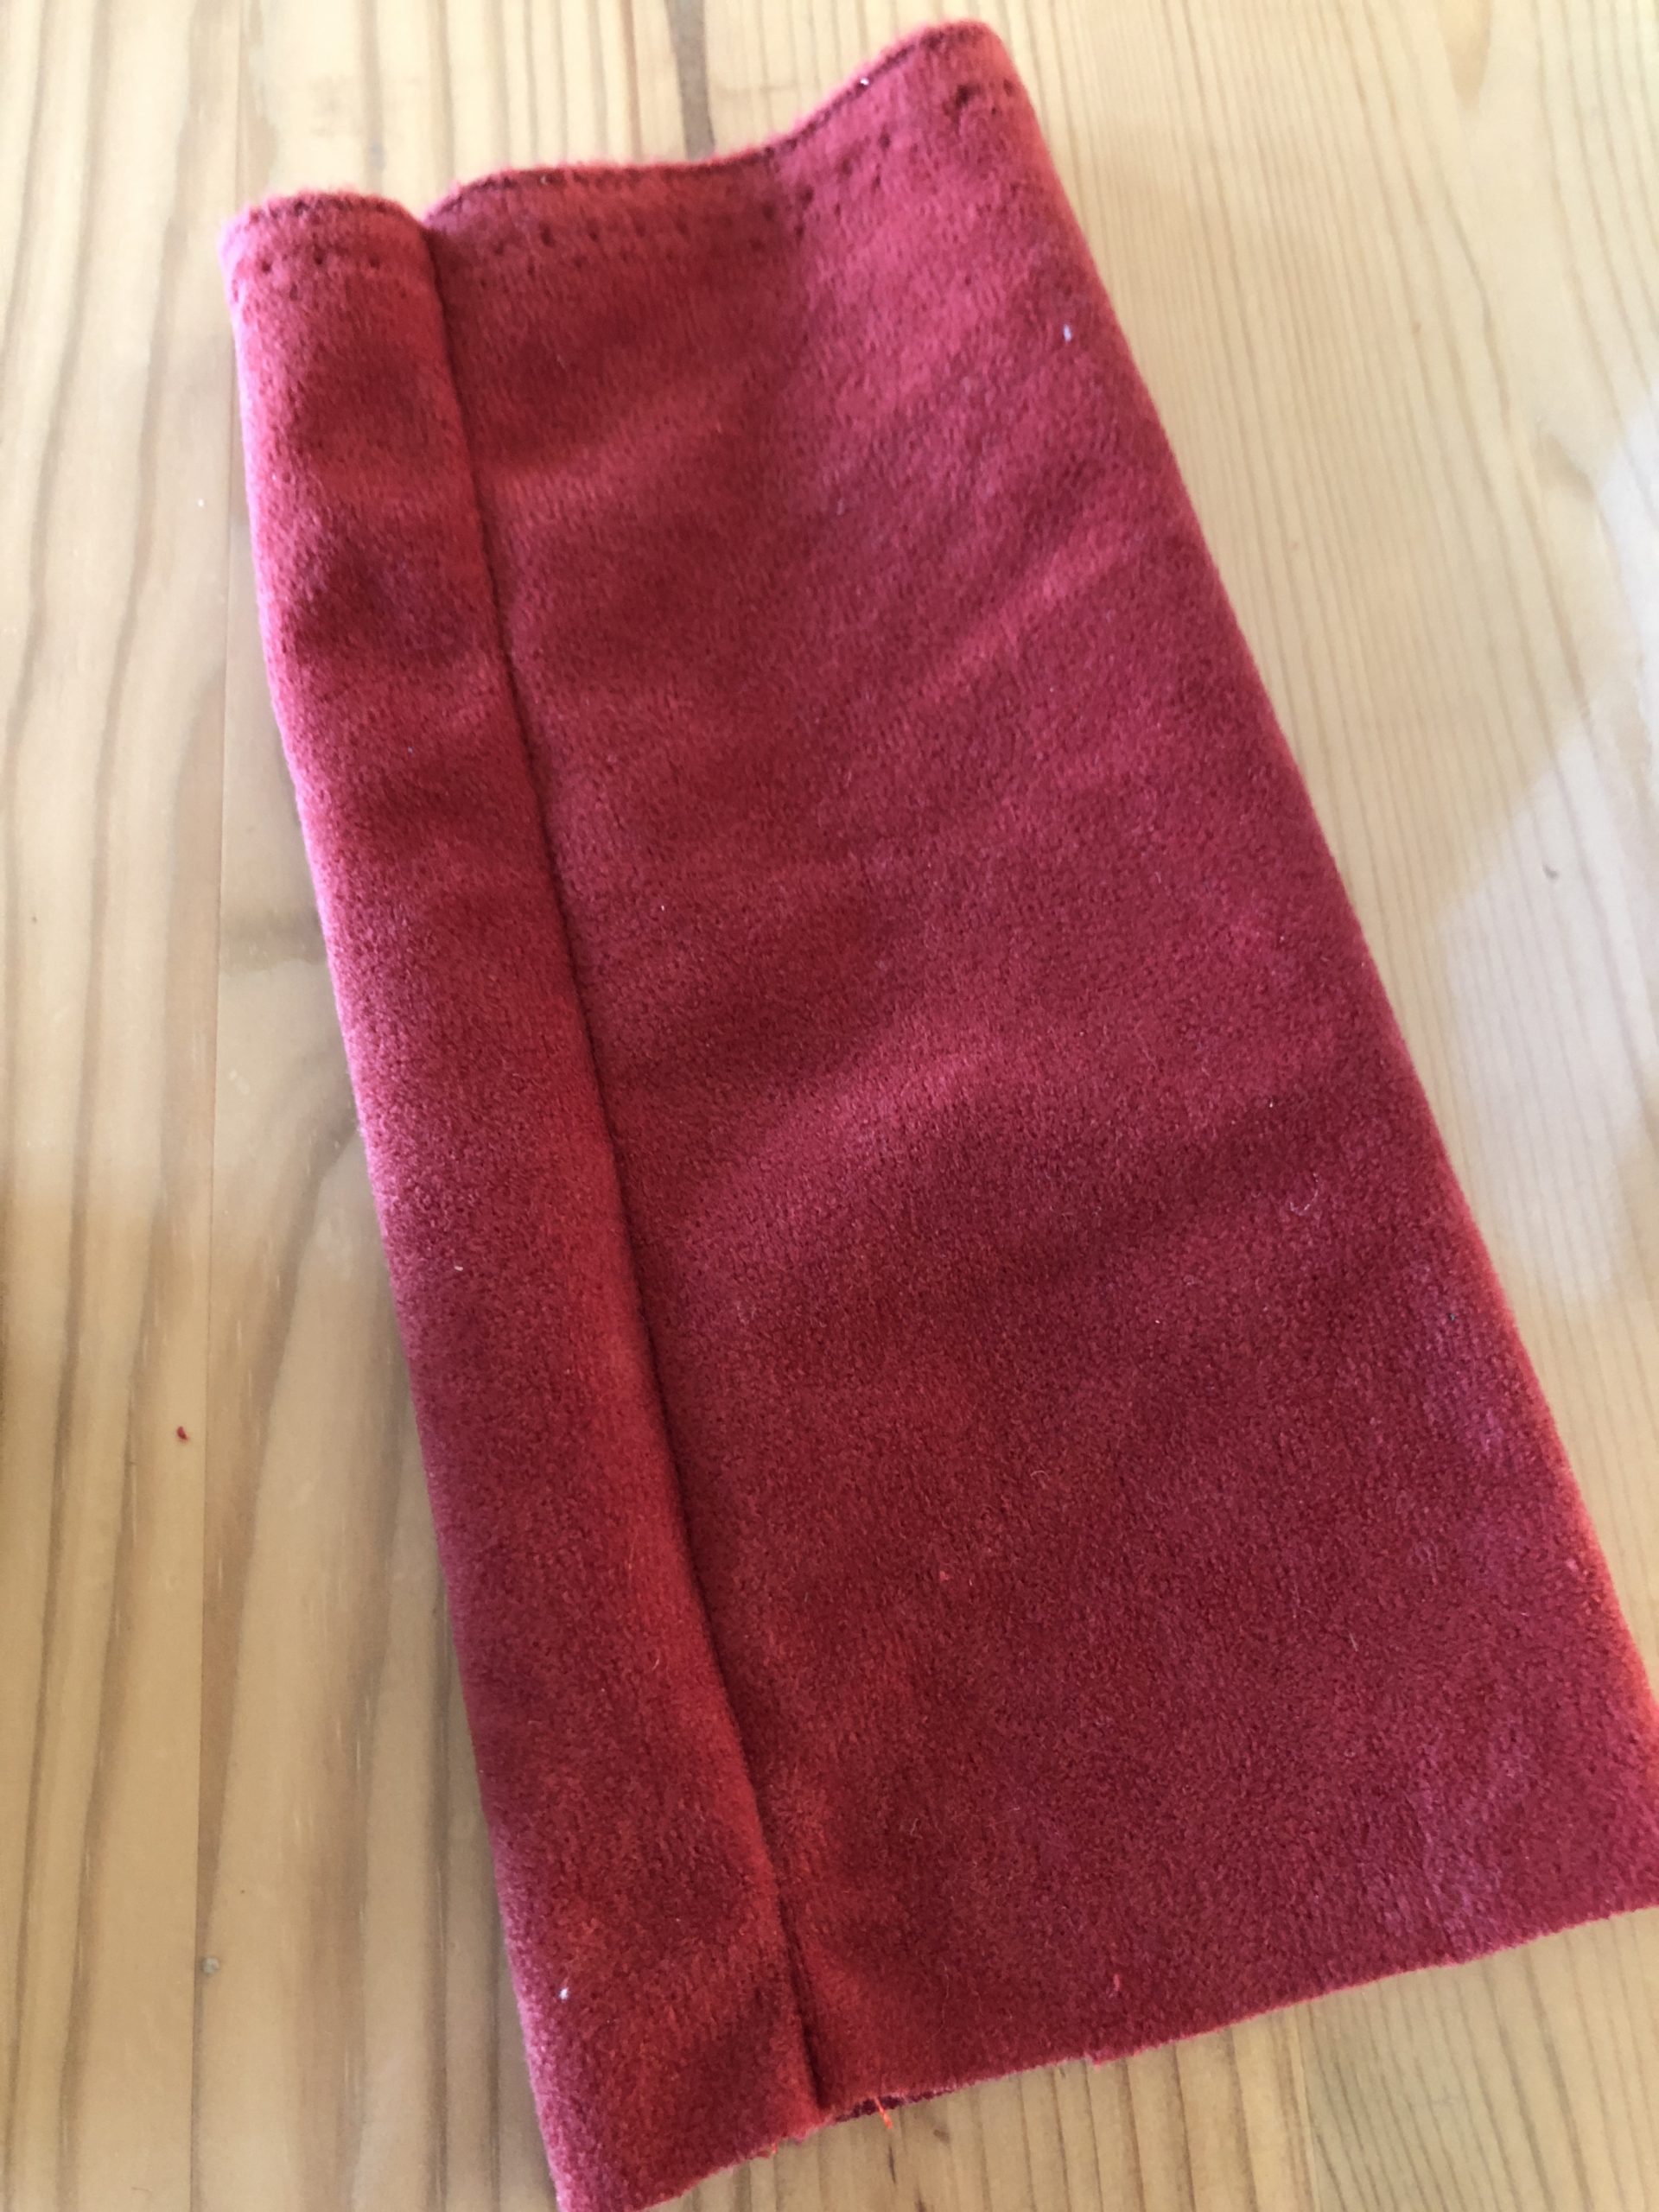


Now wraps the fabric hose over the foam.
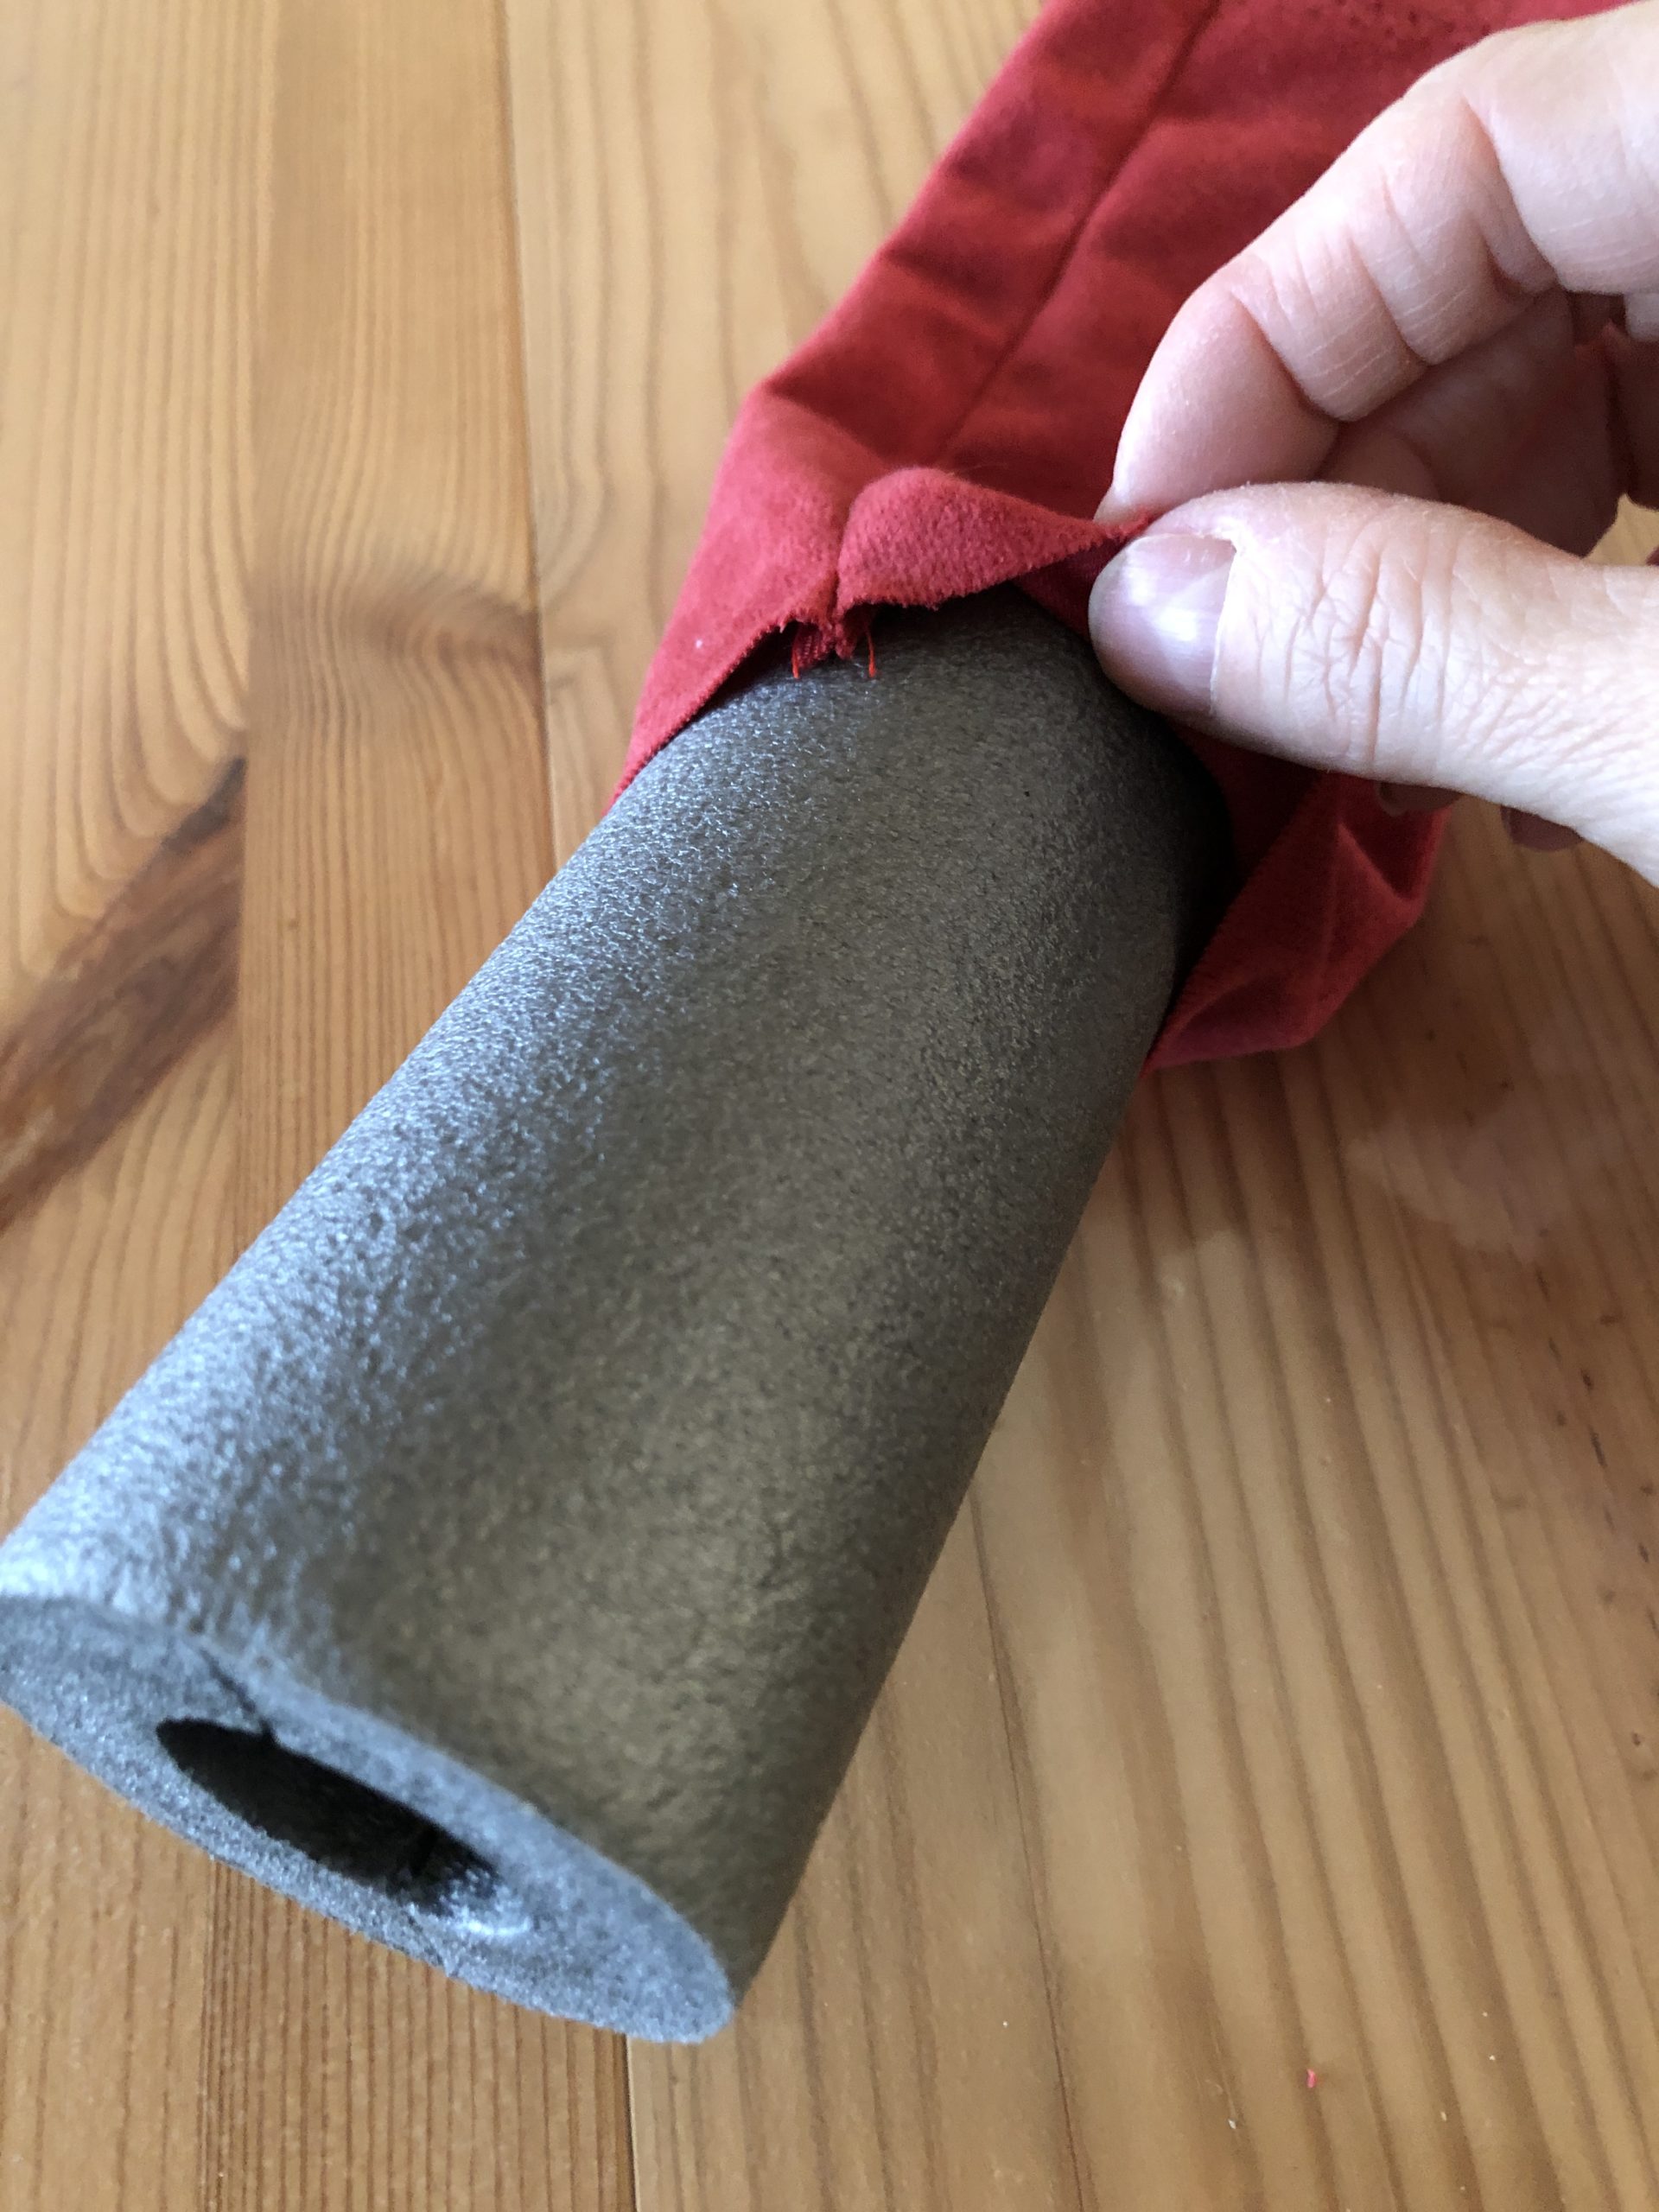


Now you position the roll in the middle, so that up and down just as much fabric survives.
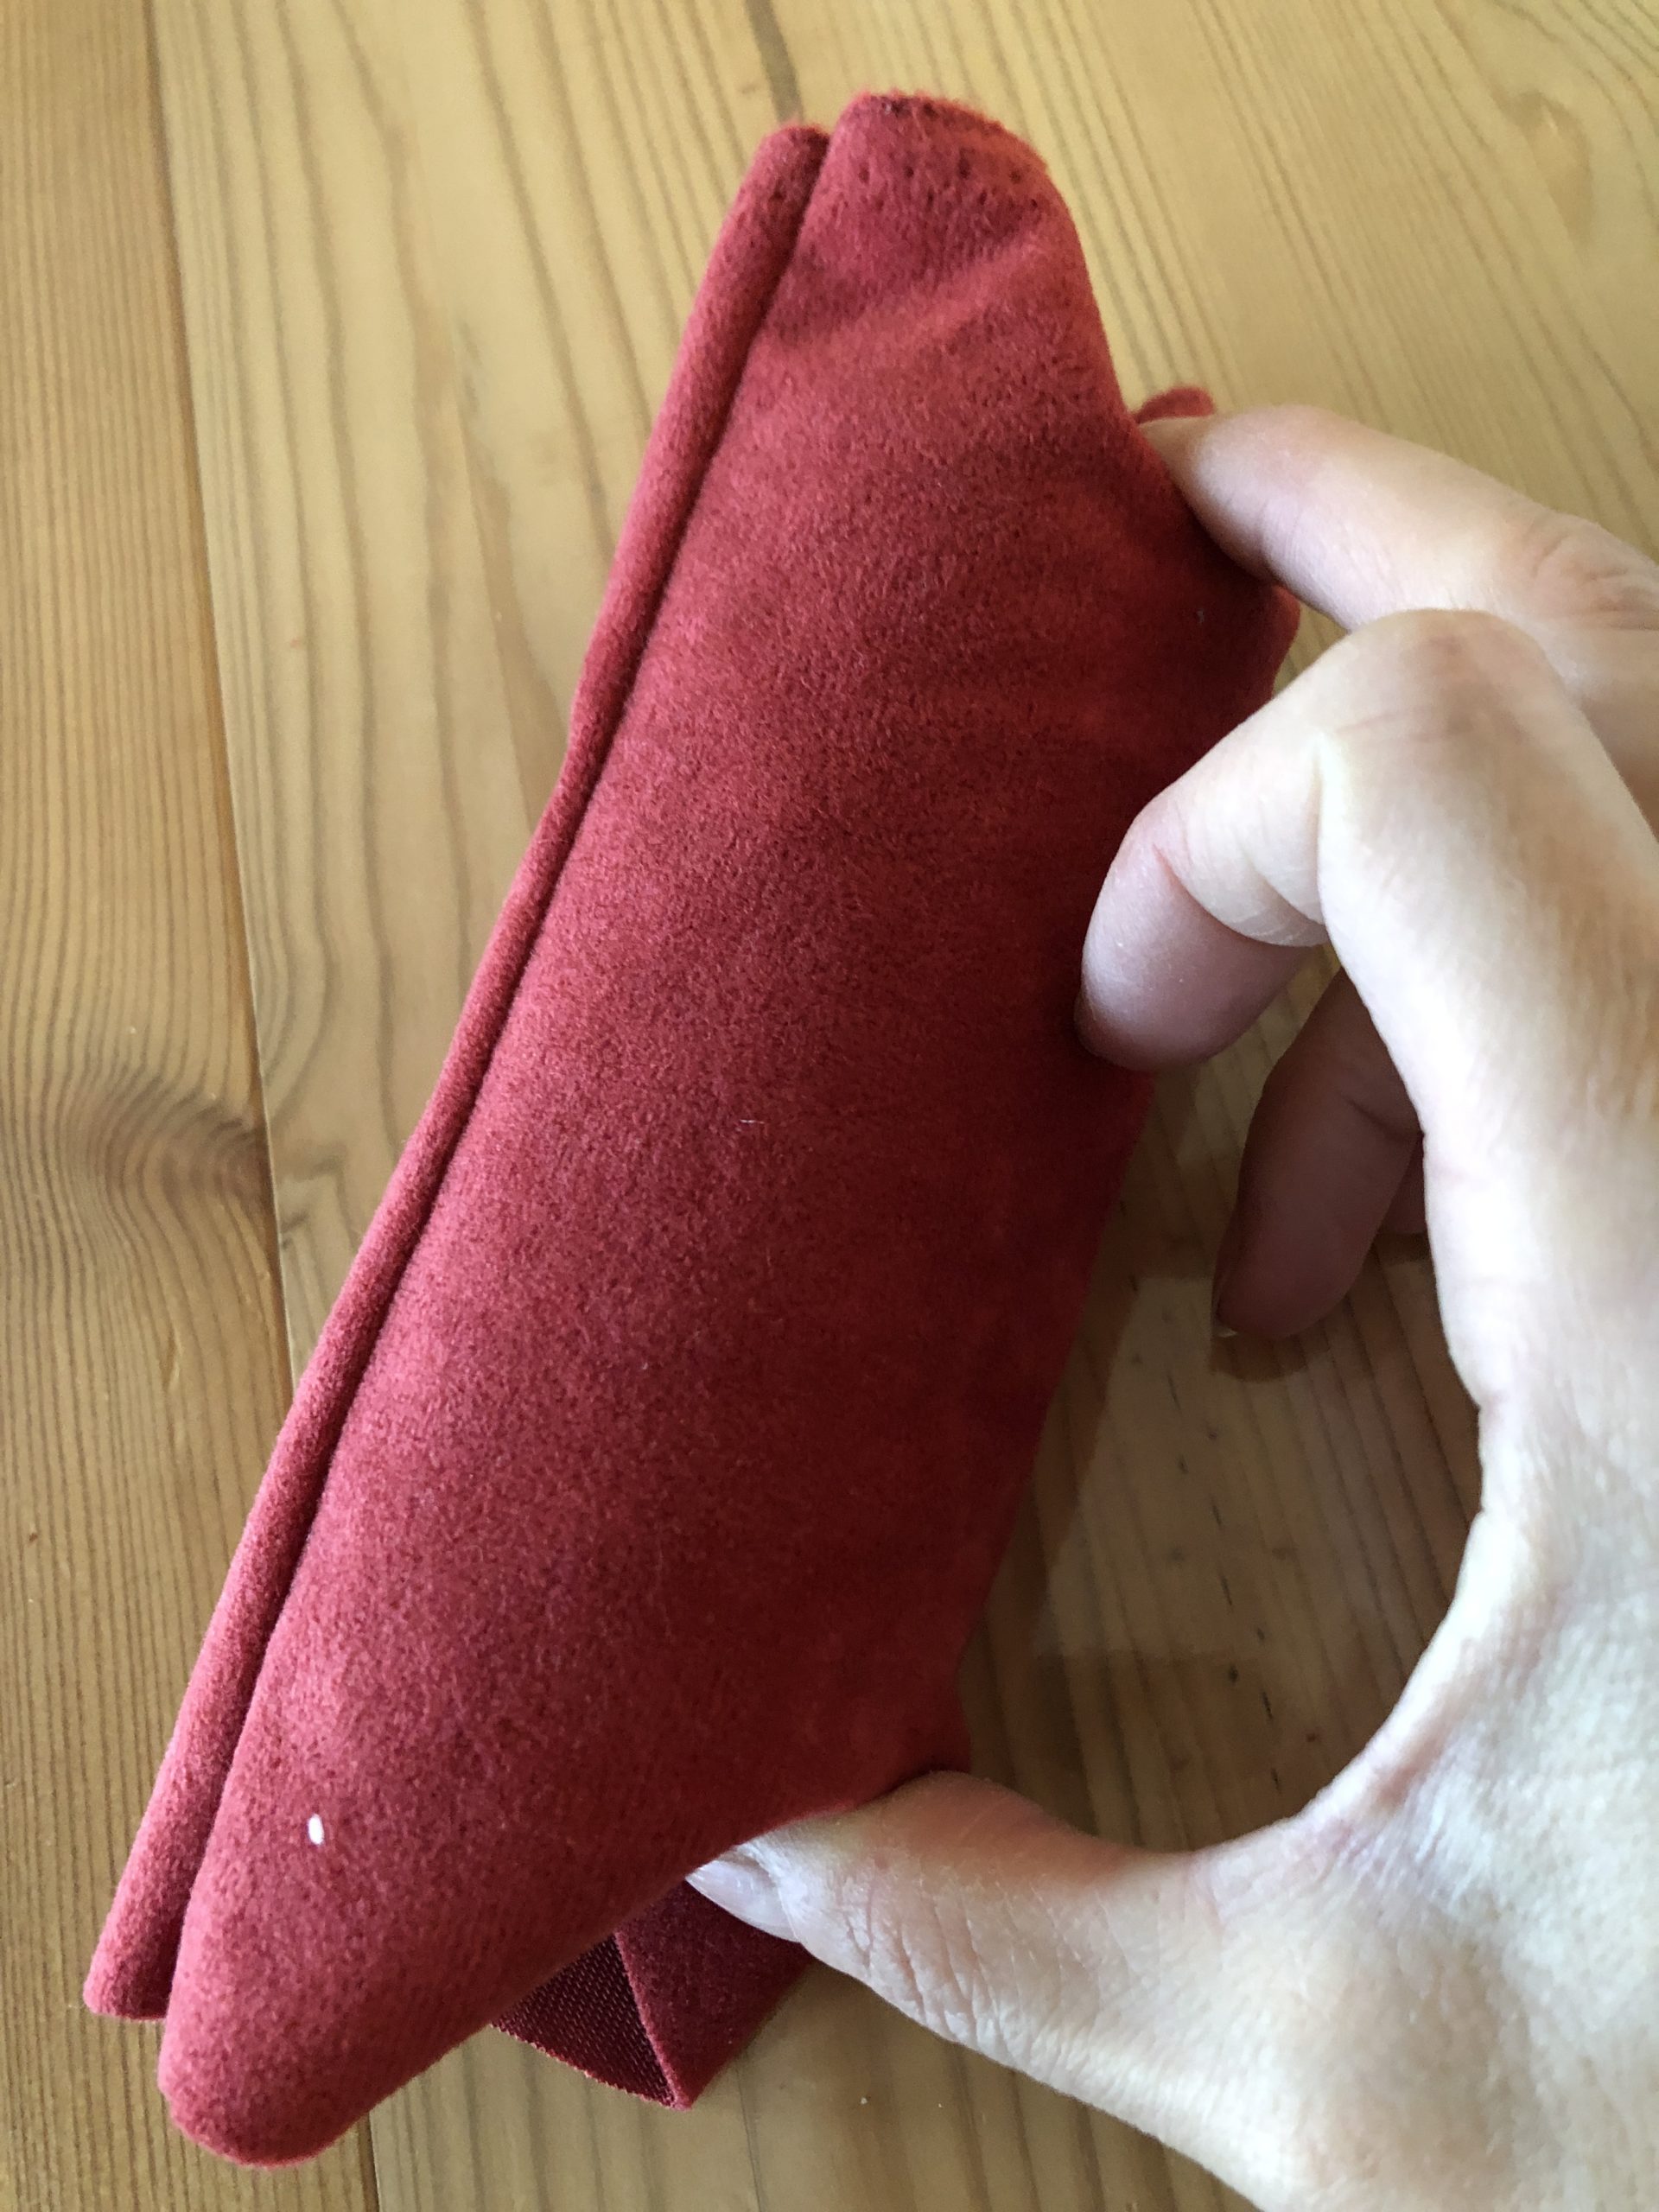


Put the overhanging fabric with your fingers in the hole at the top and bottom of the roll.
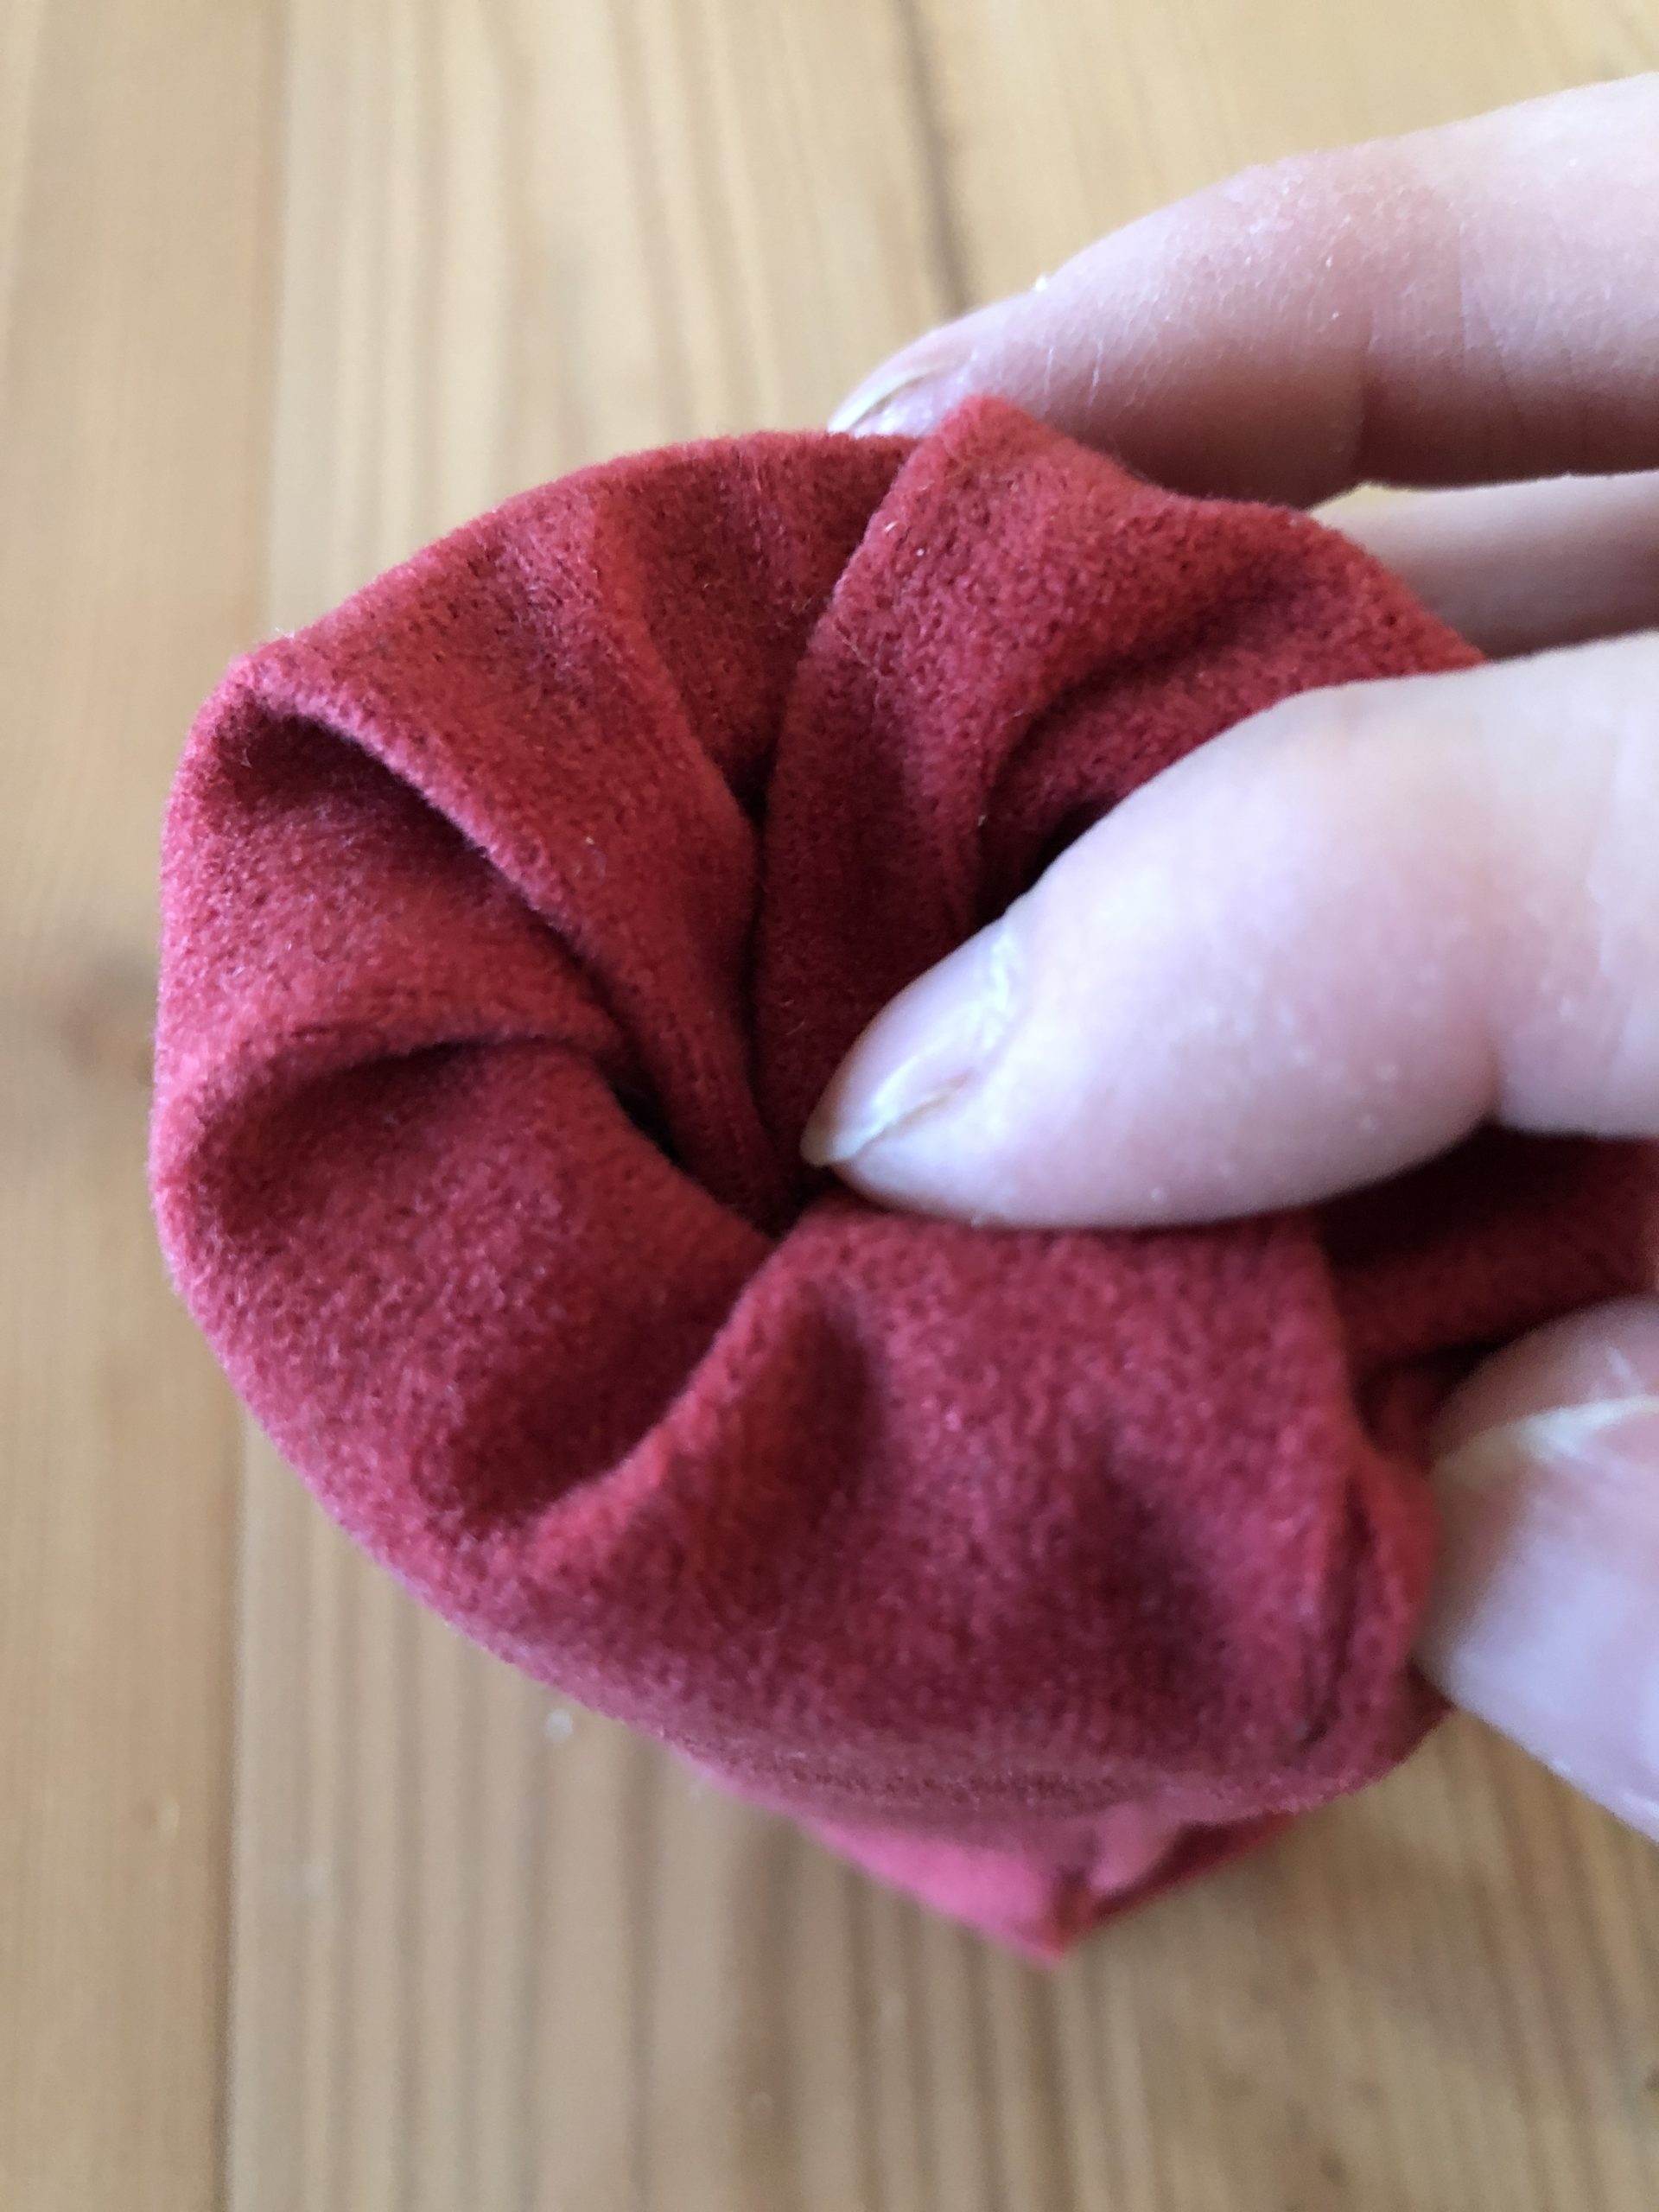


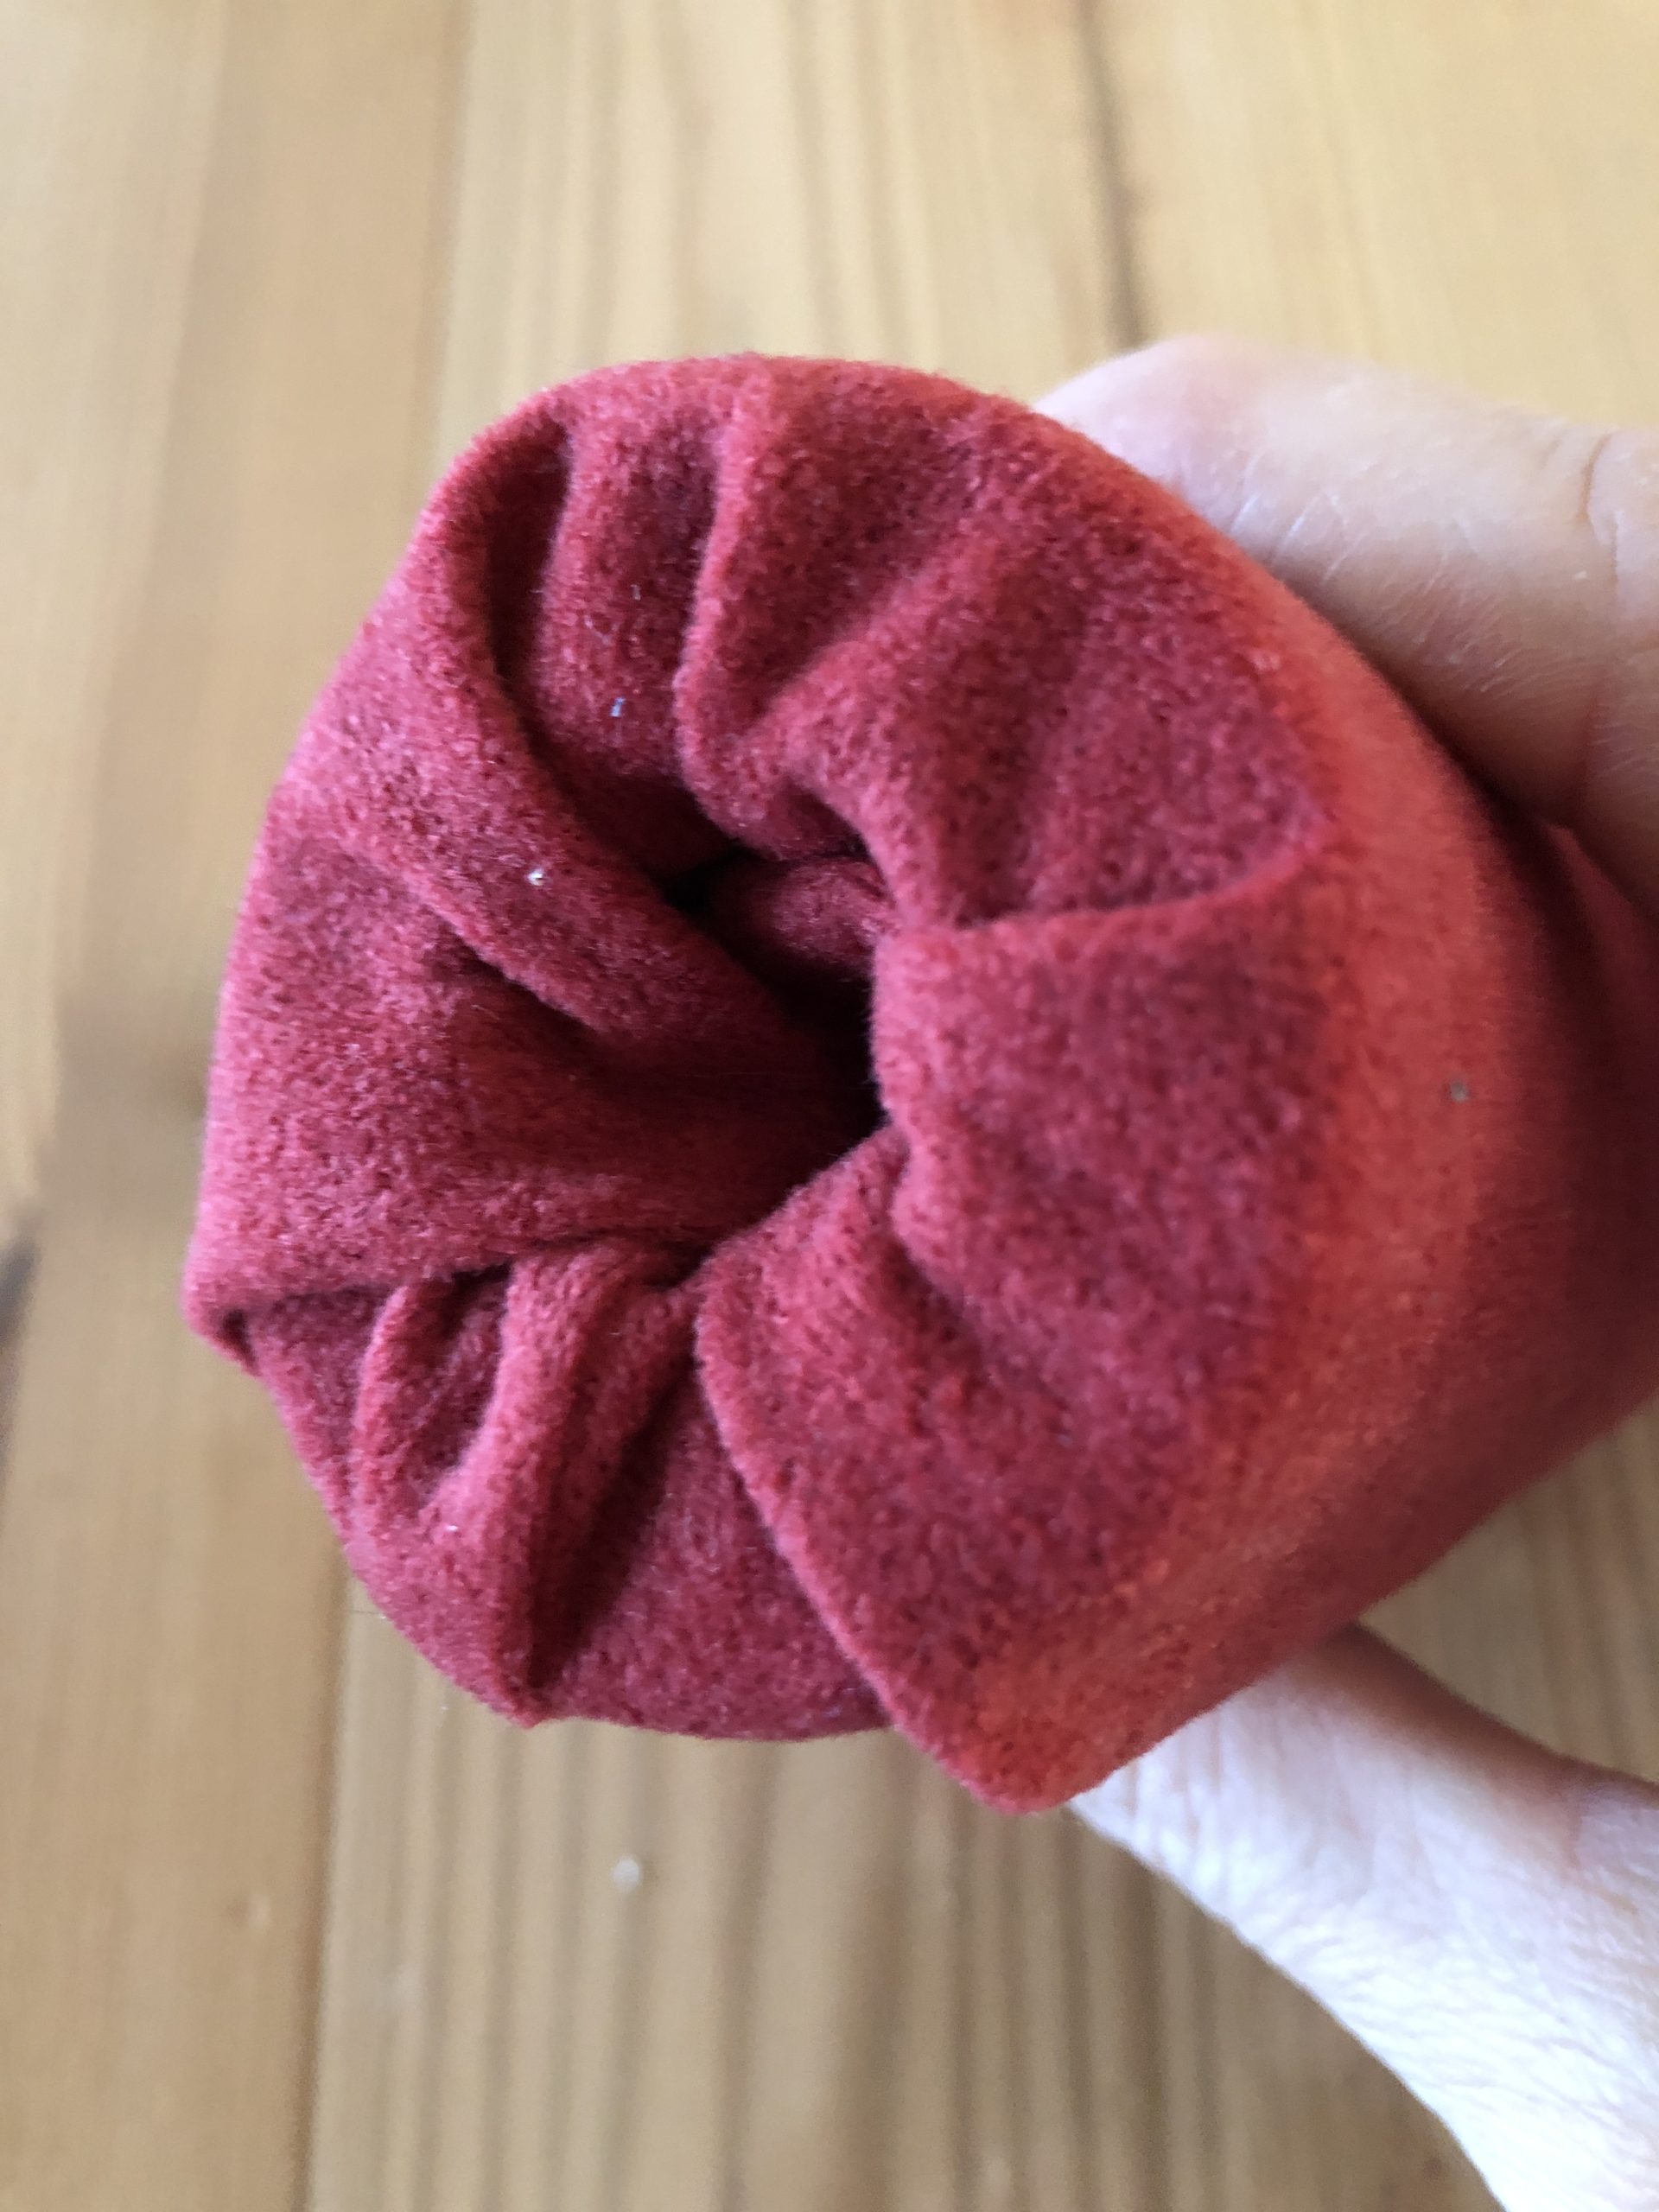


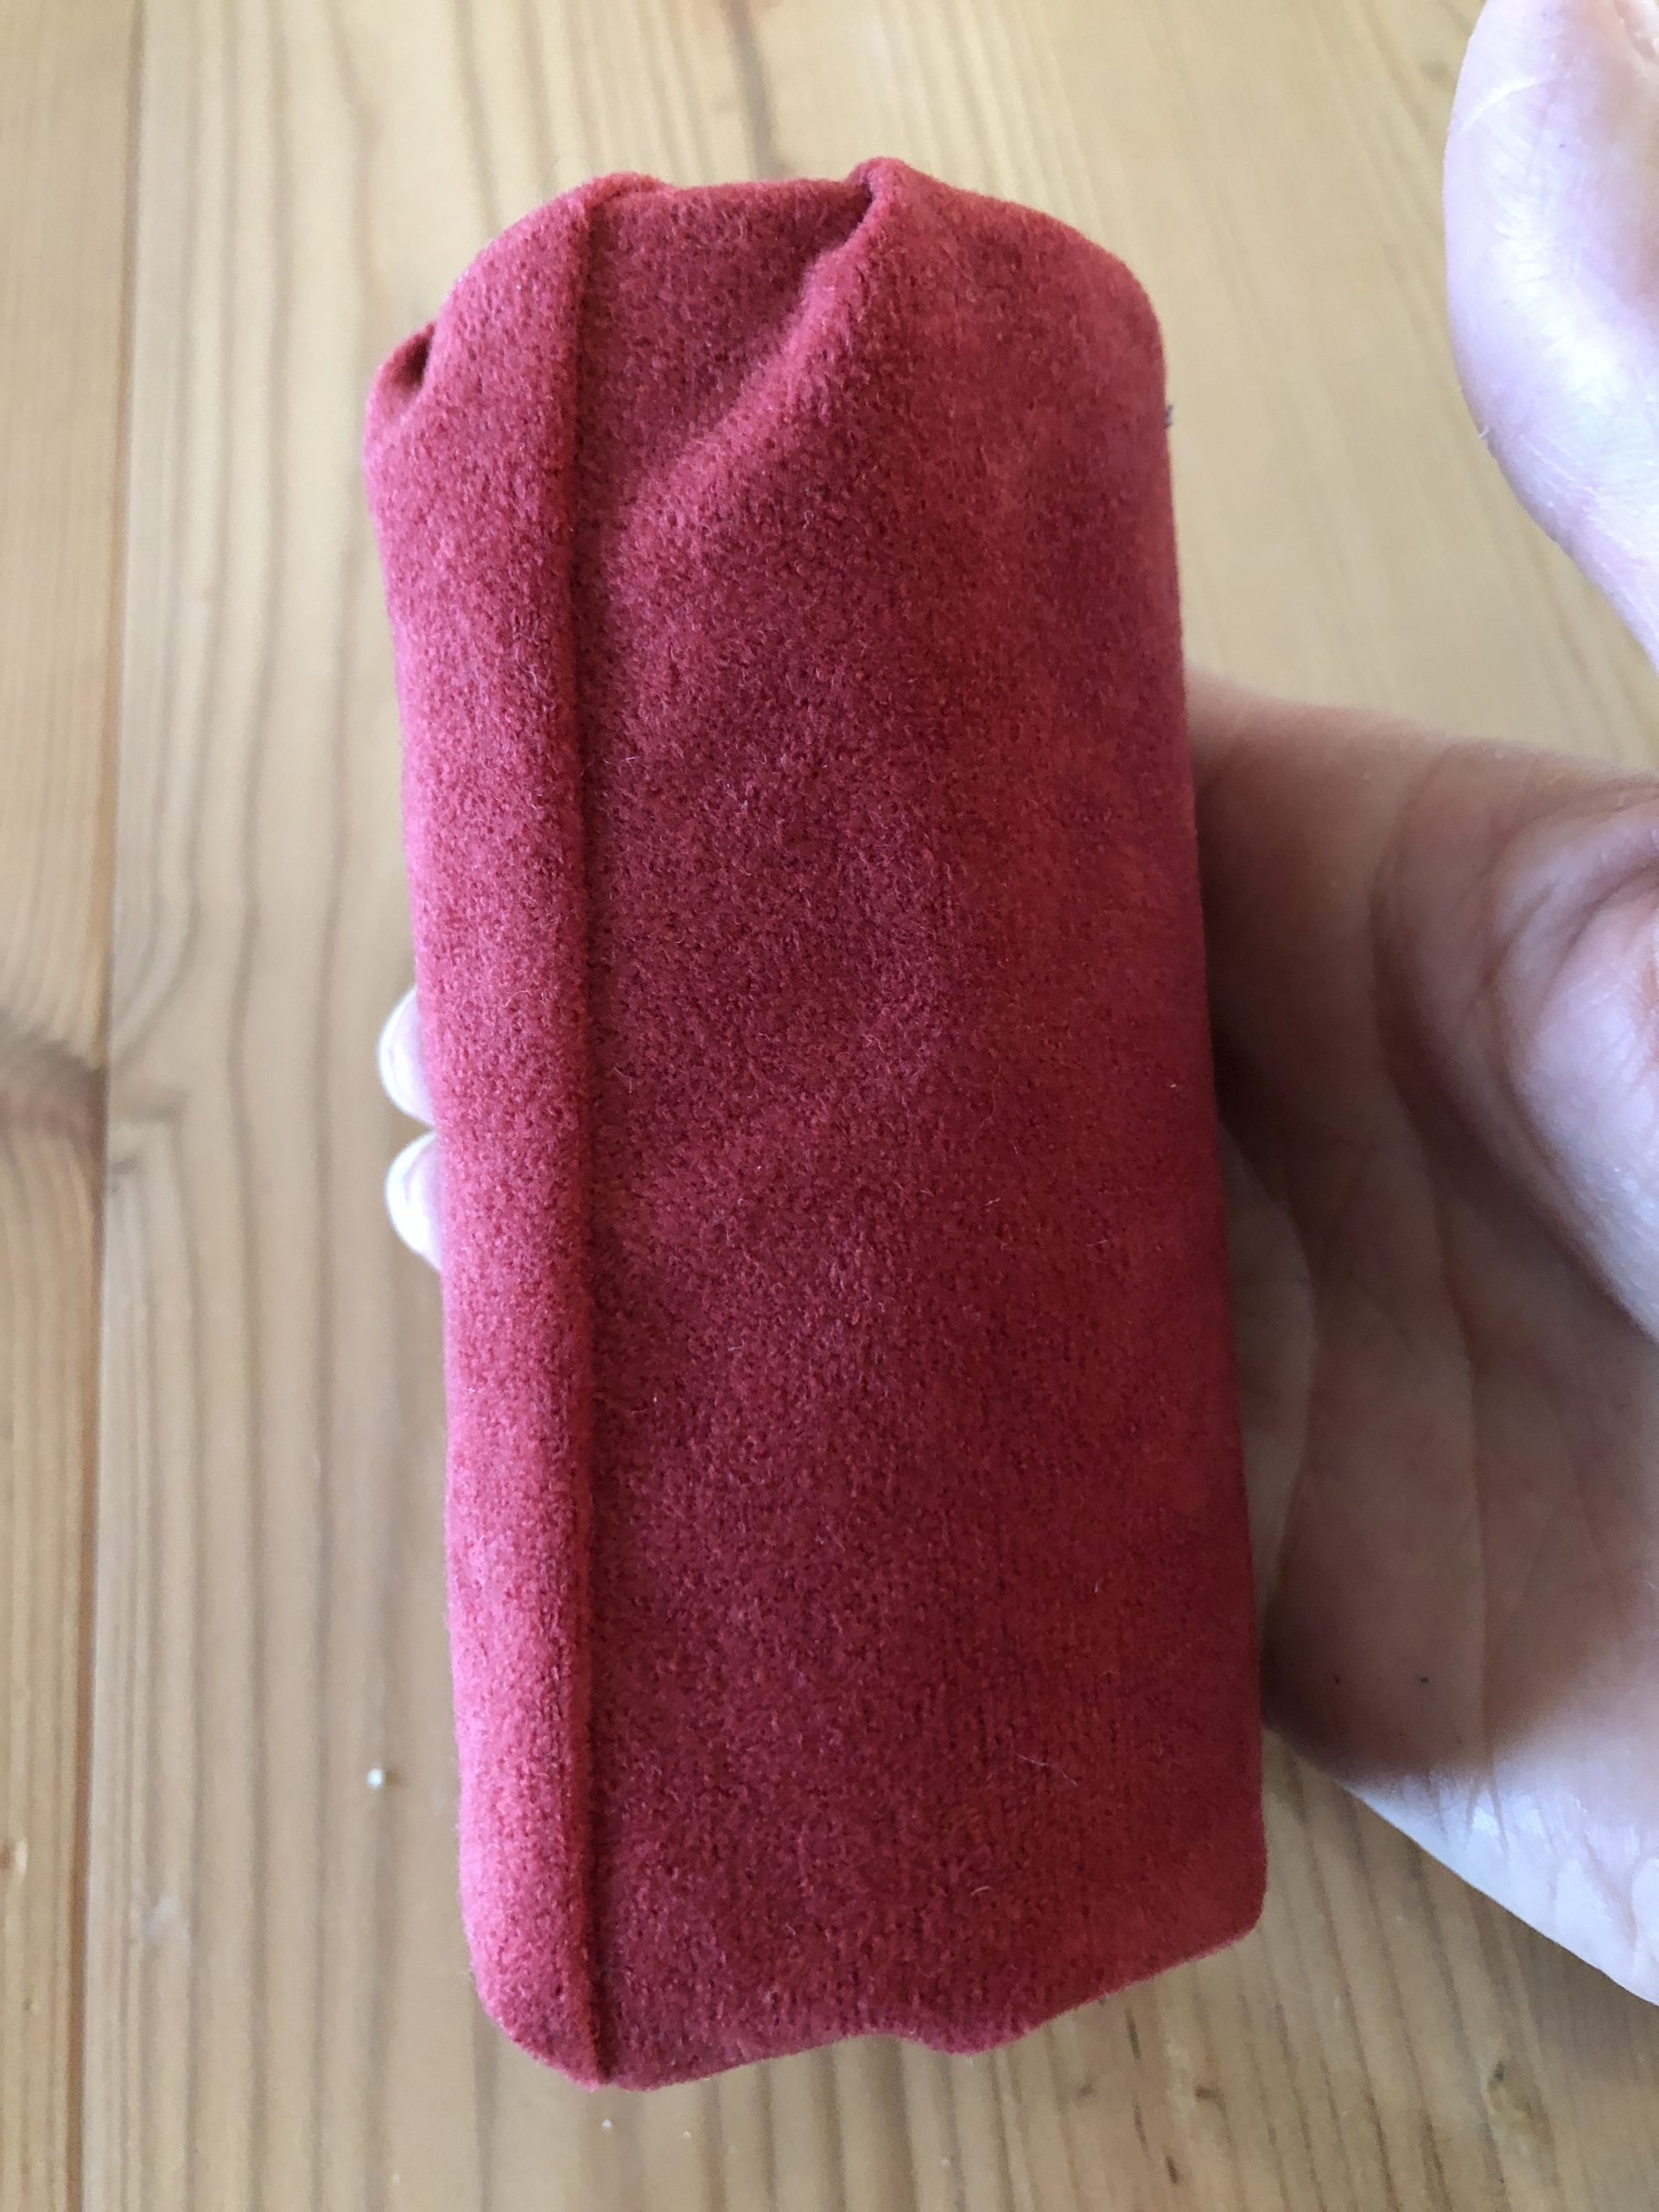
The stump of the candle is ready!


Print out the template for the flame or paint yourself a flame of this kind.
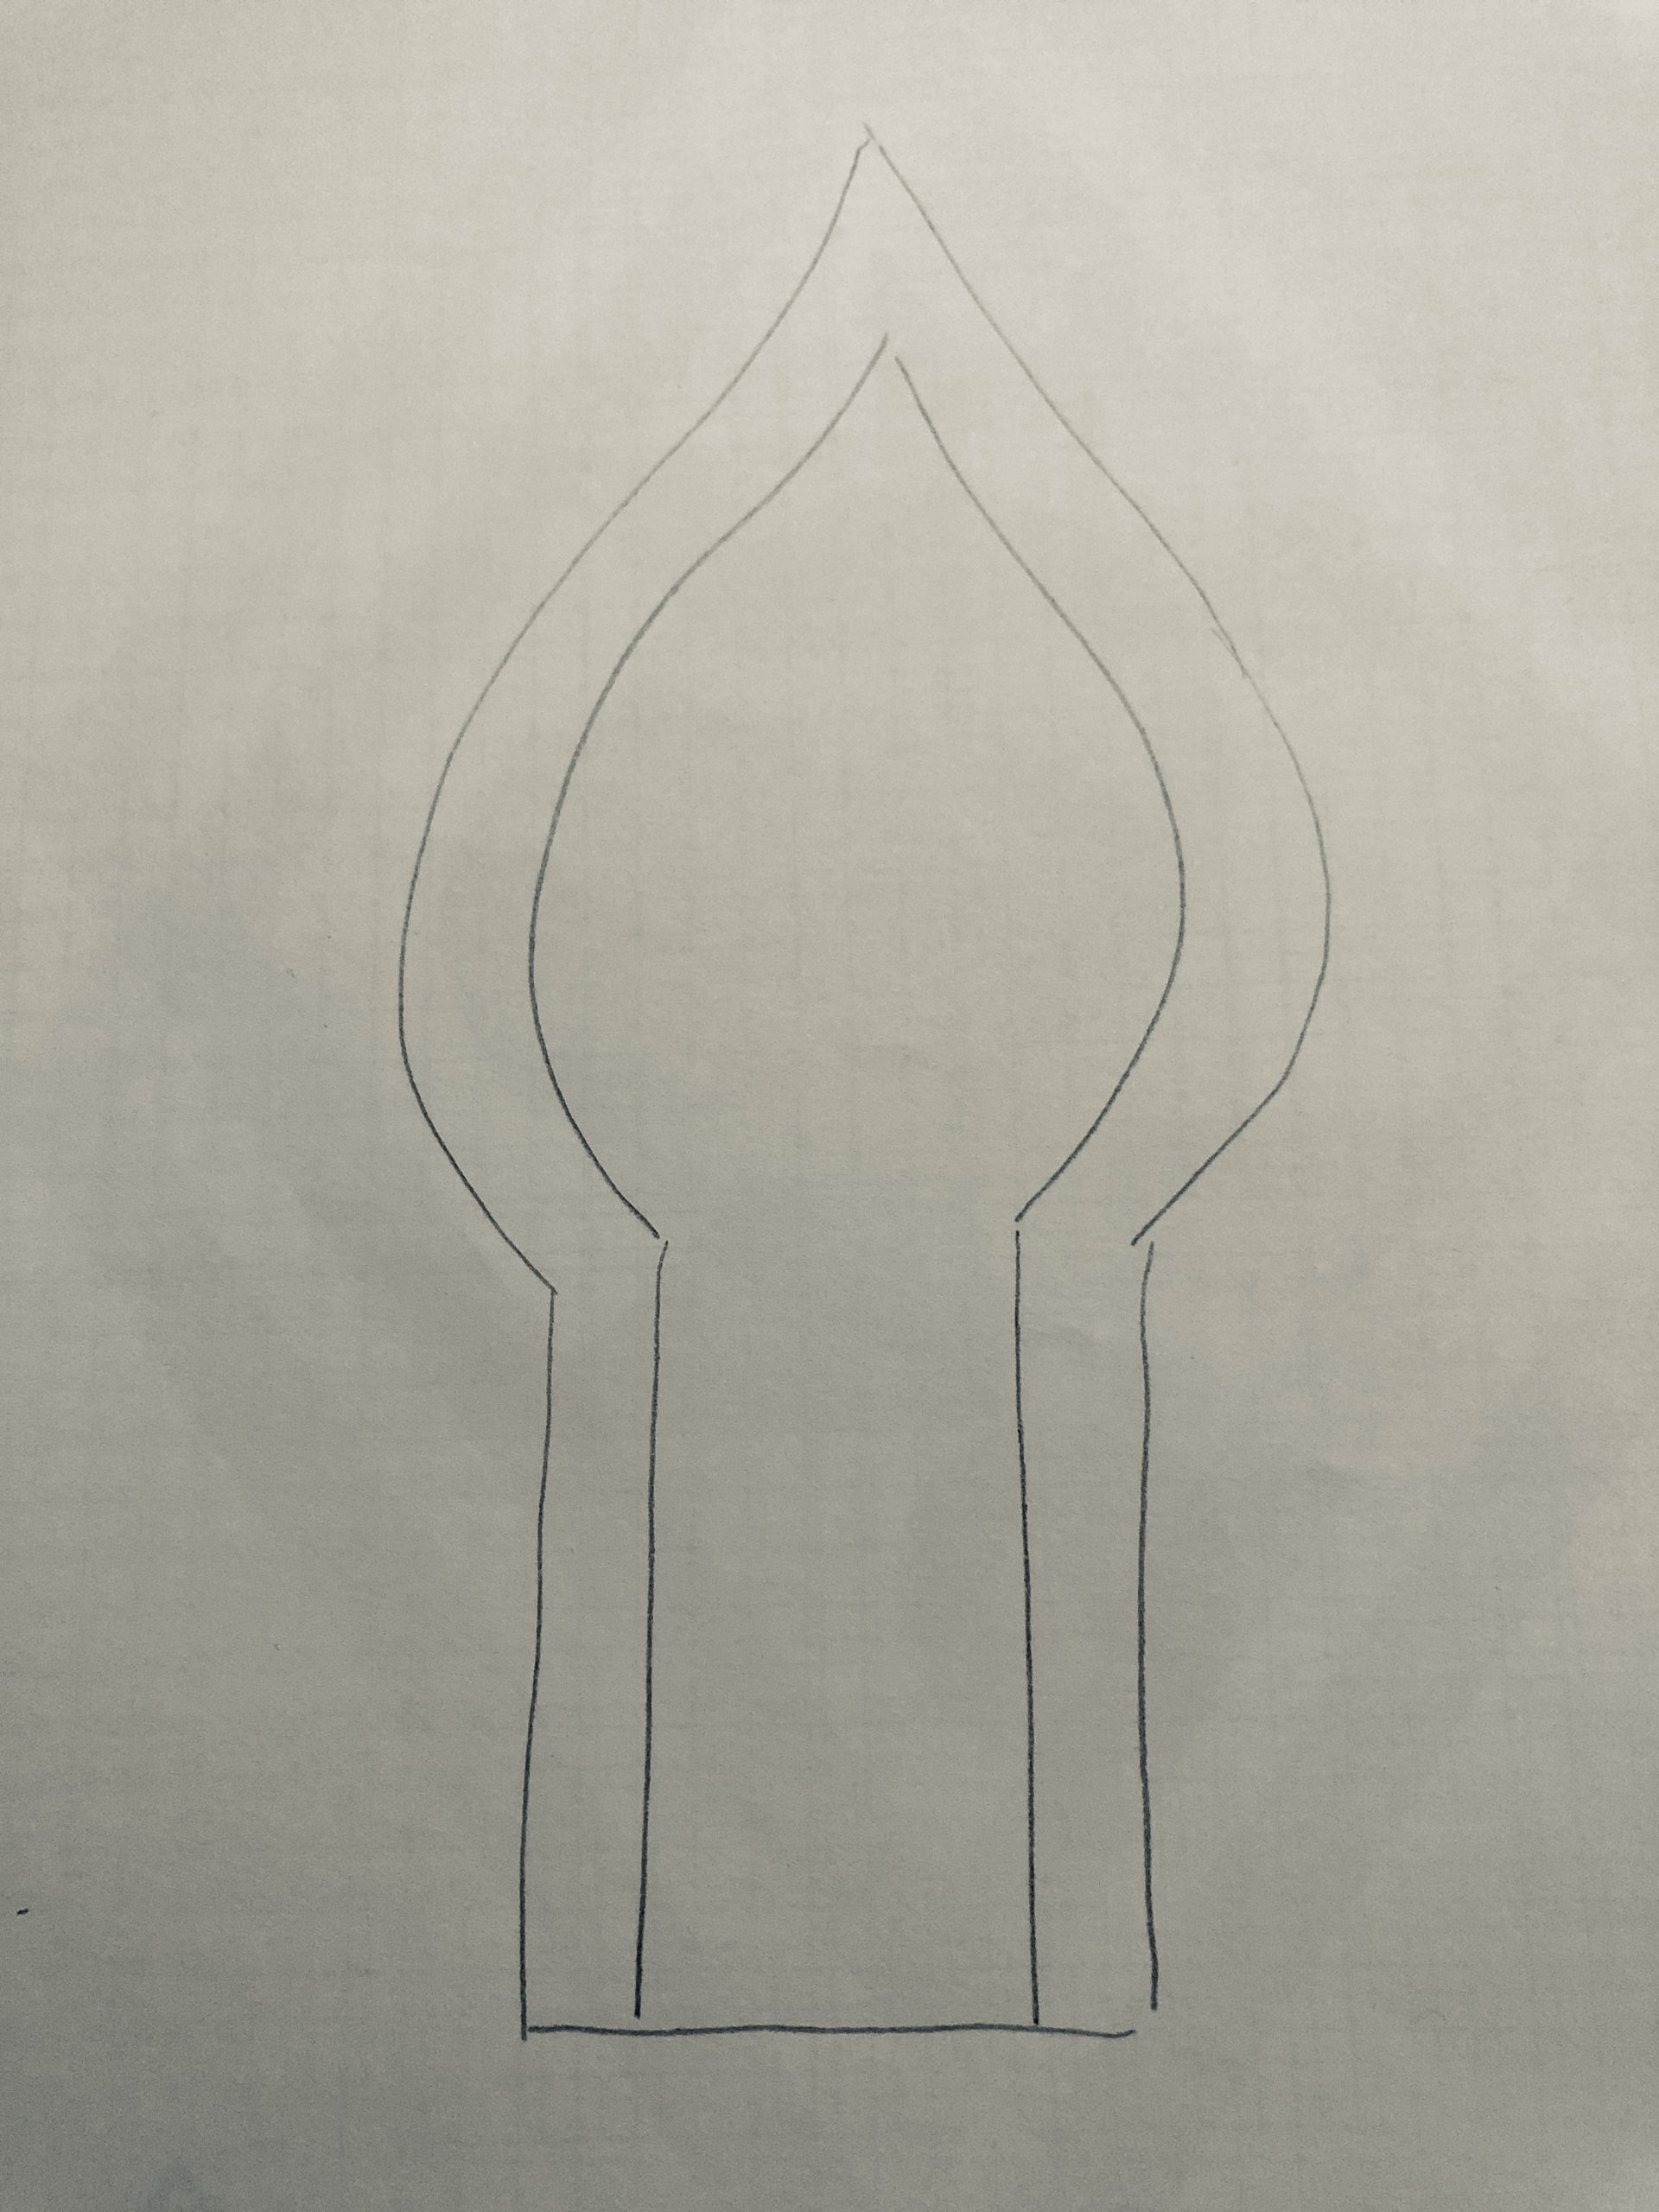


Cuts two parts of the template. Cuts on the outer line. The inner line symbolizes the sewing seam.
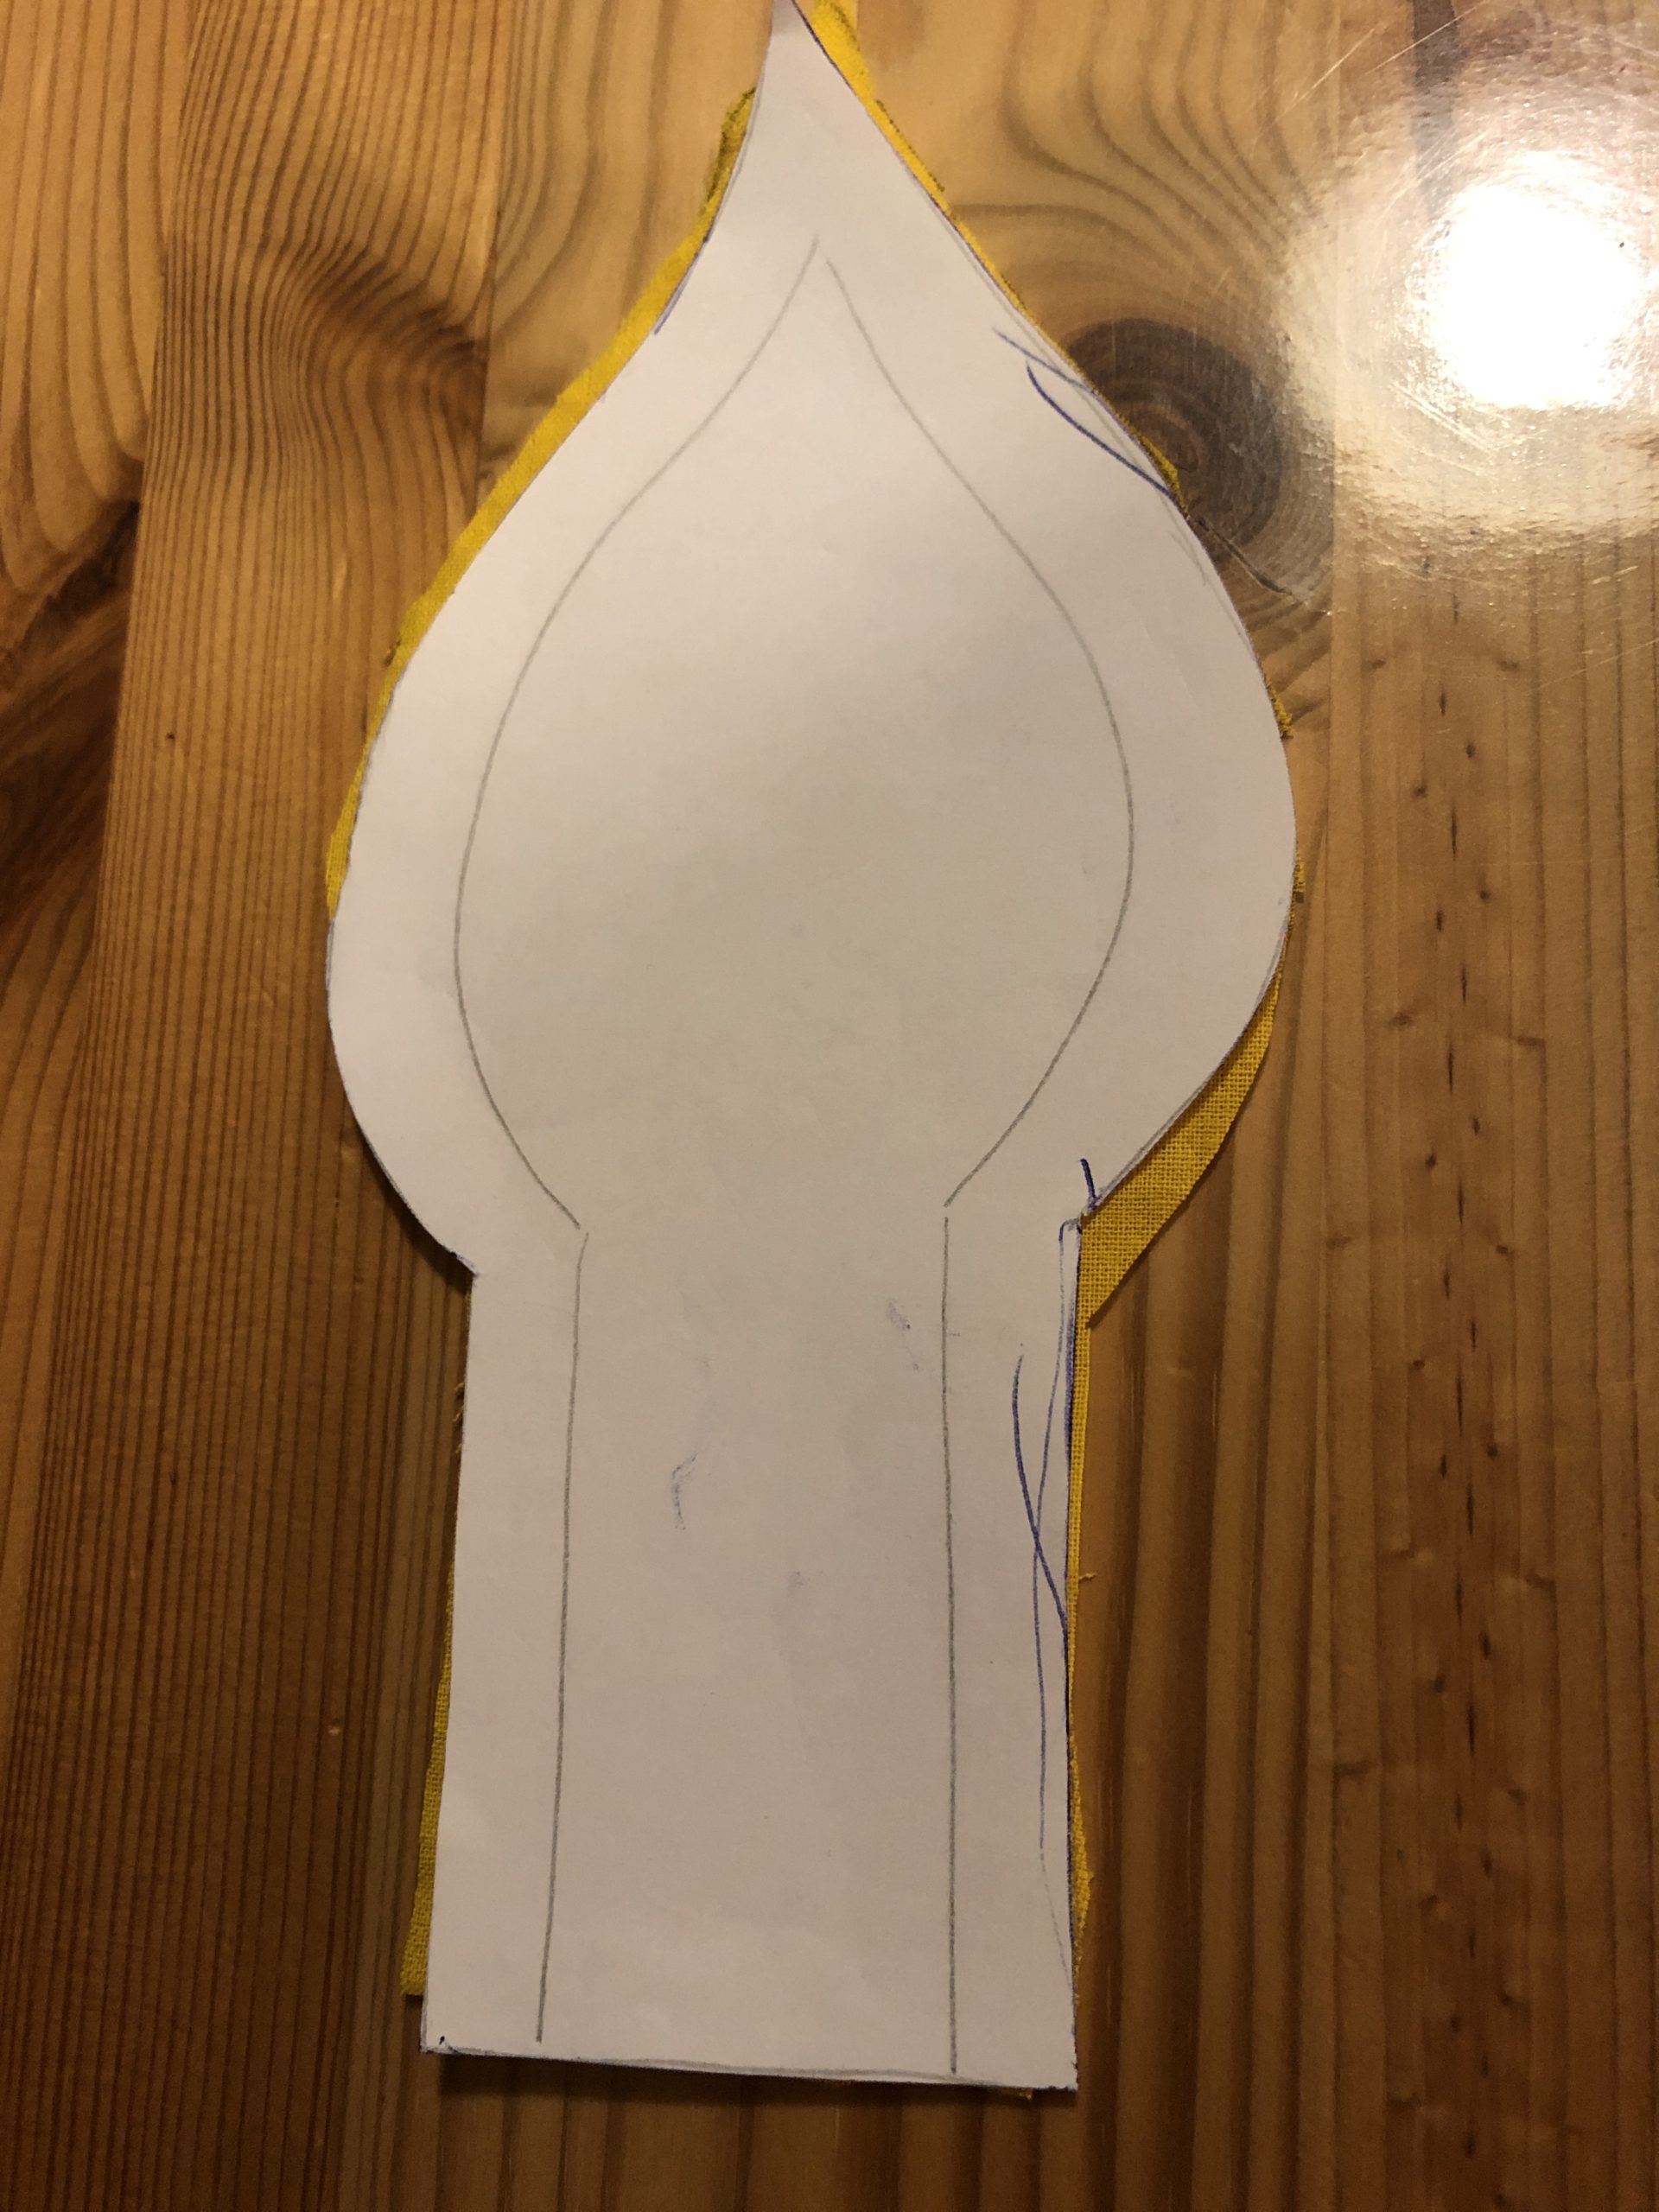


Now you put both pieces of fabric together with the beautiful side (right).
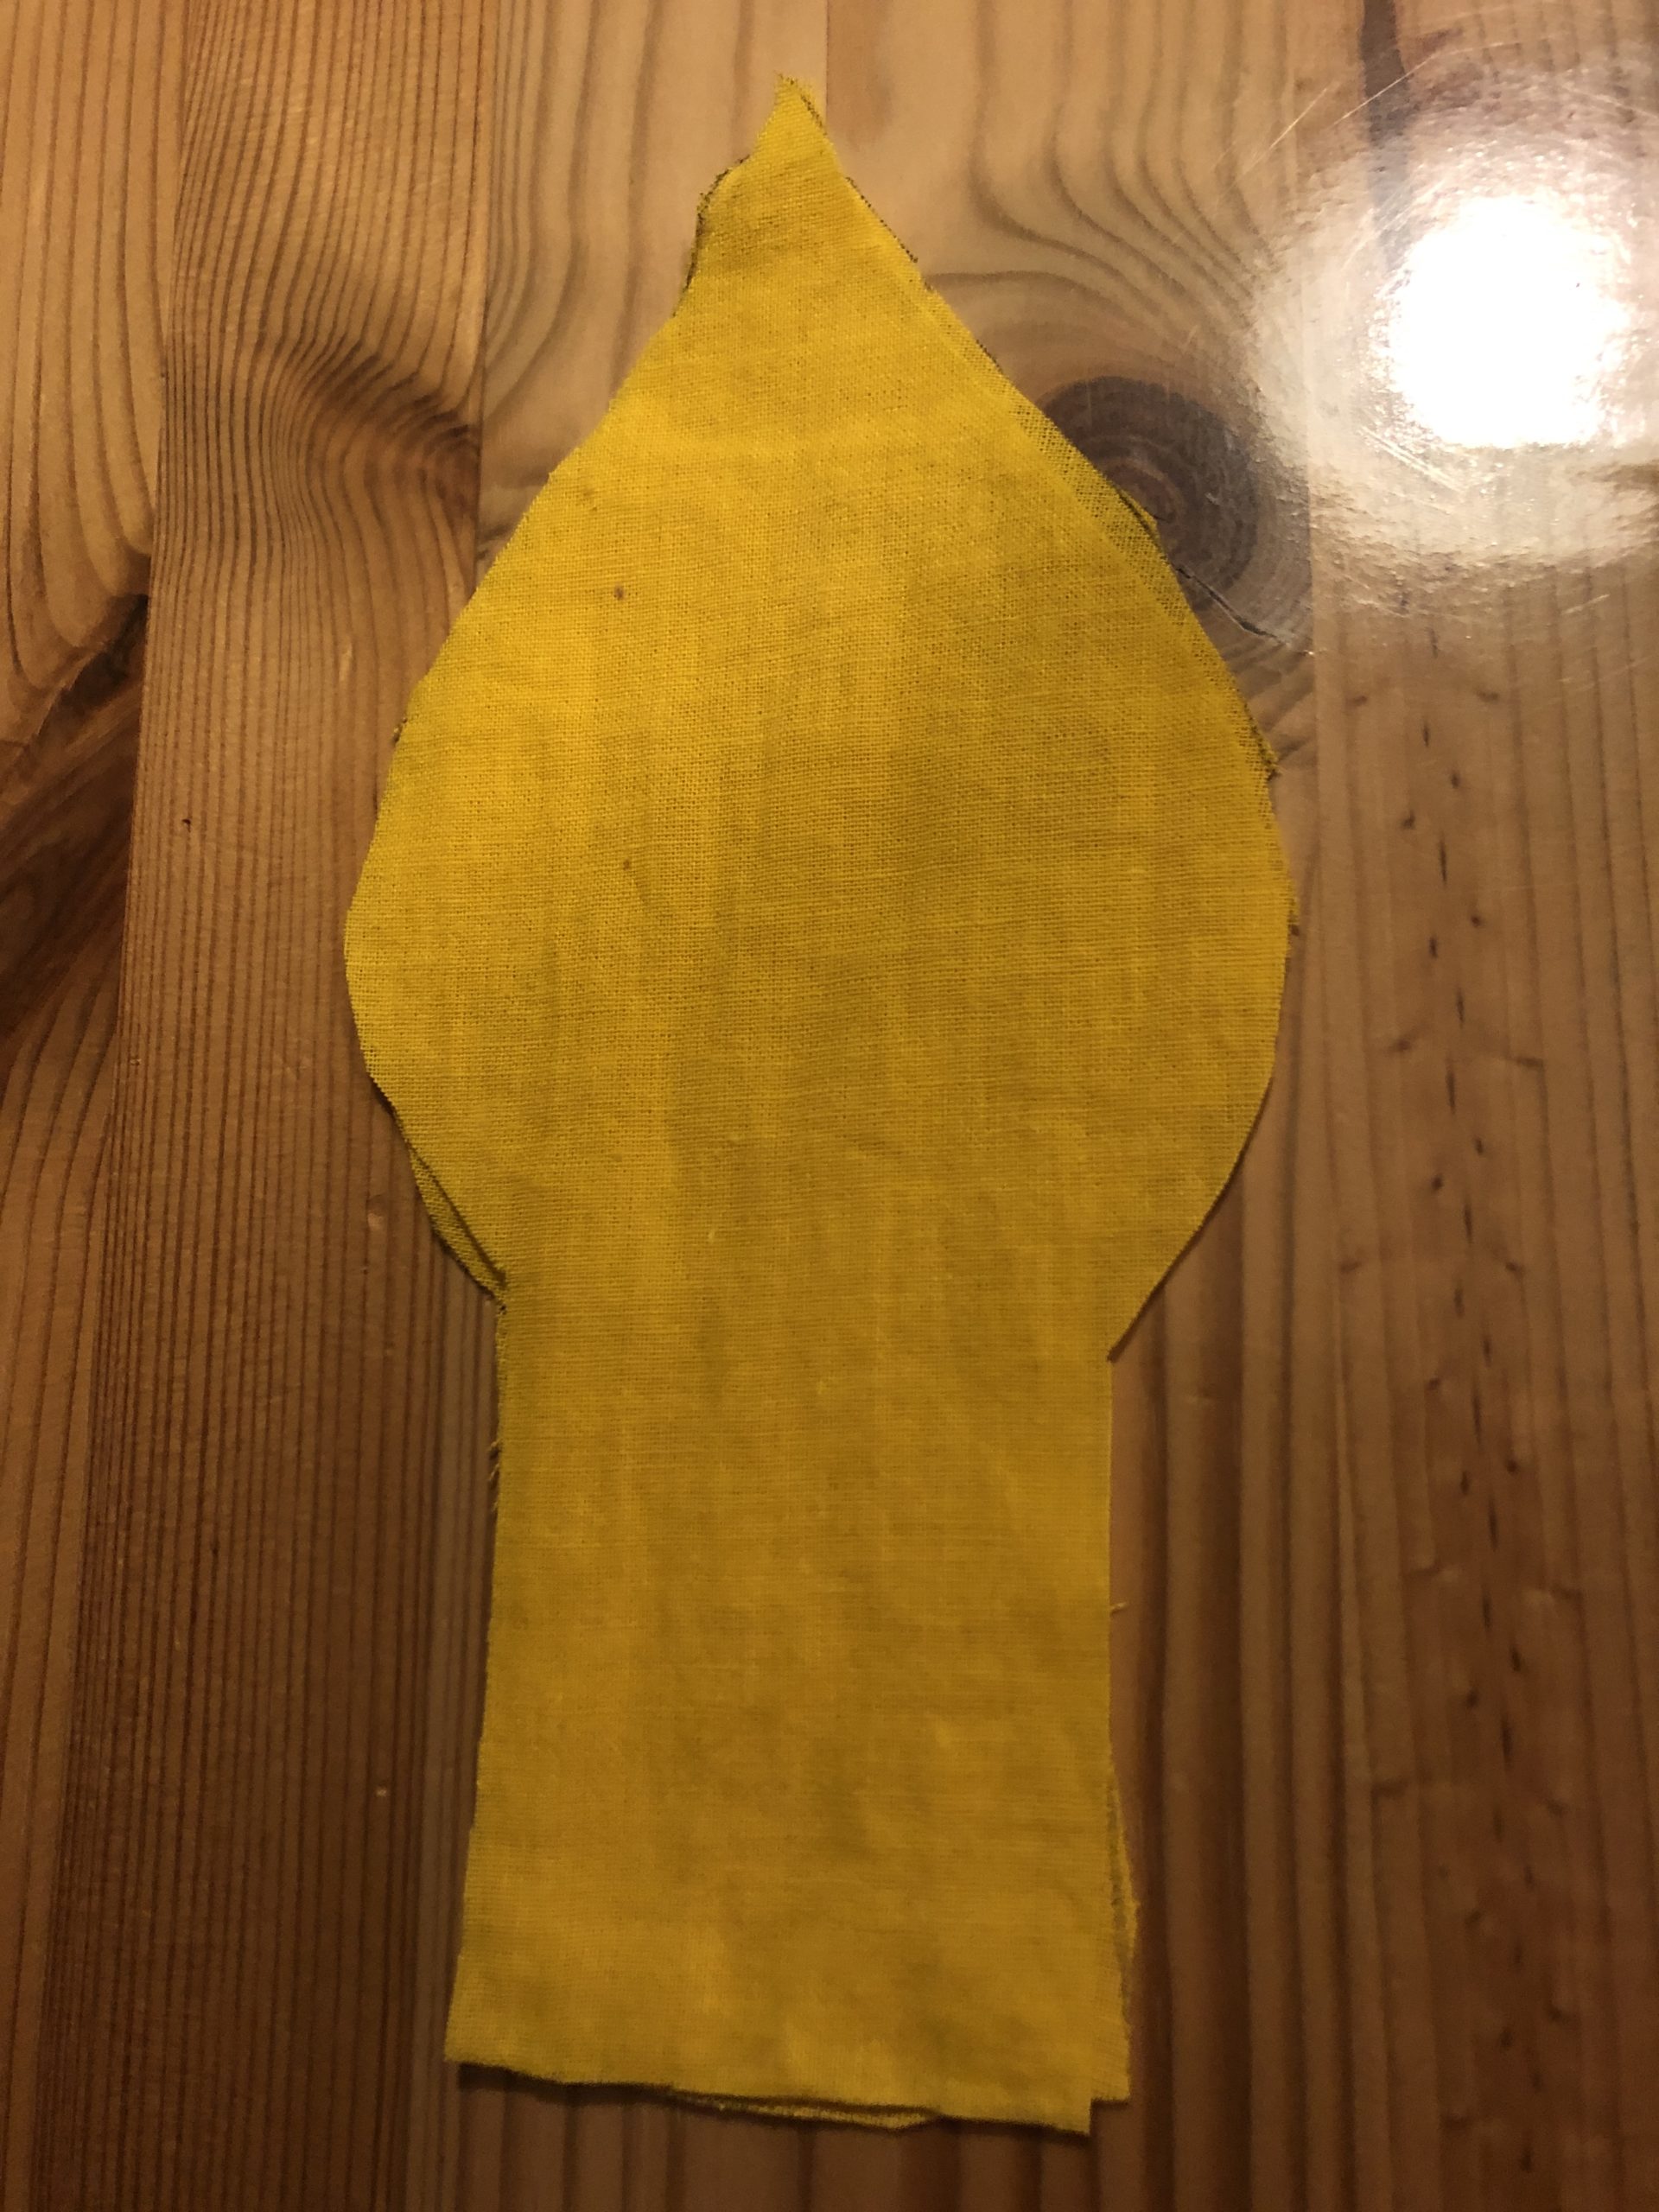


With the sewing machine you sew the two fabric parts together. For this you sew on the inner line of the template.


The straight side at the lower end remains open!
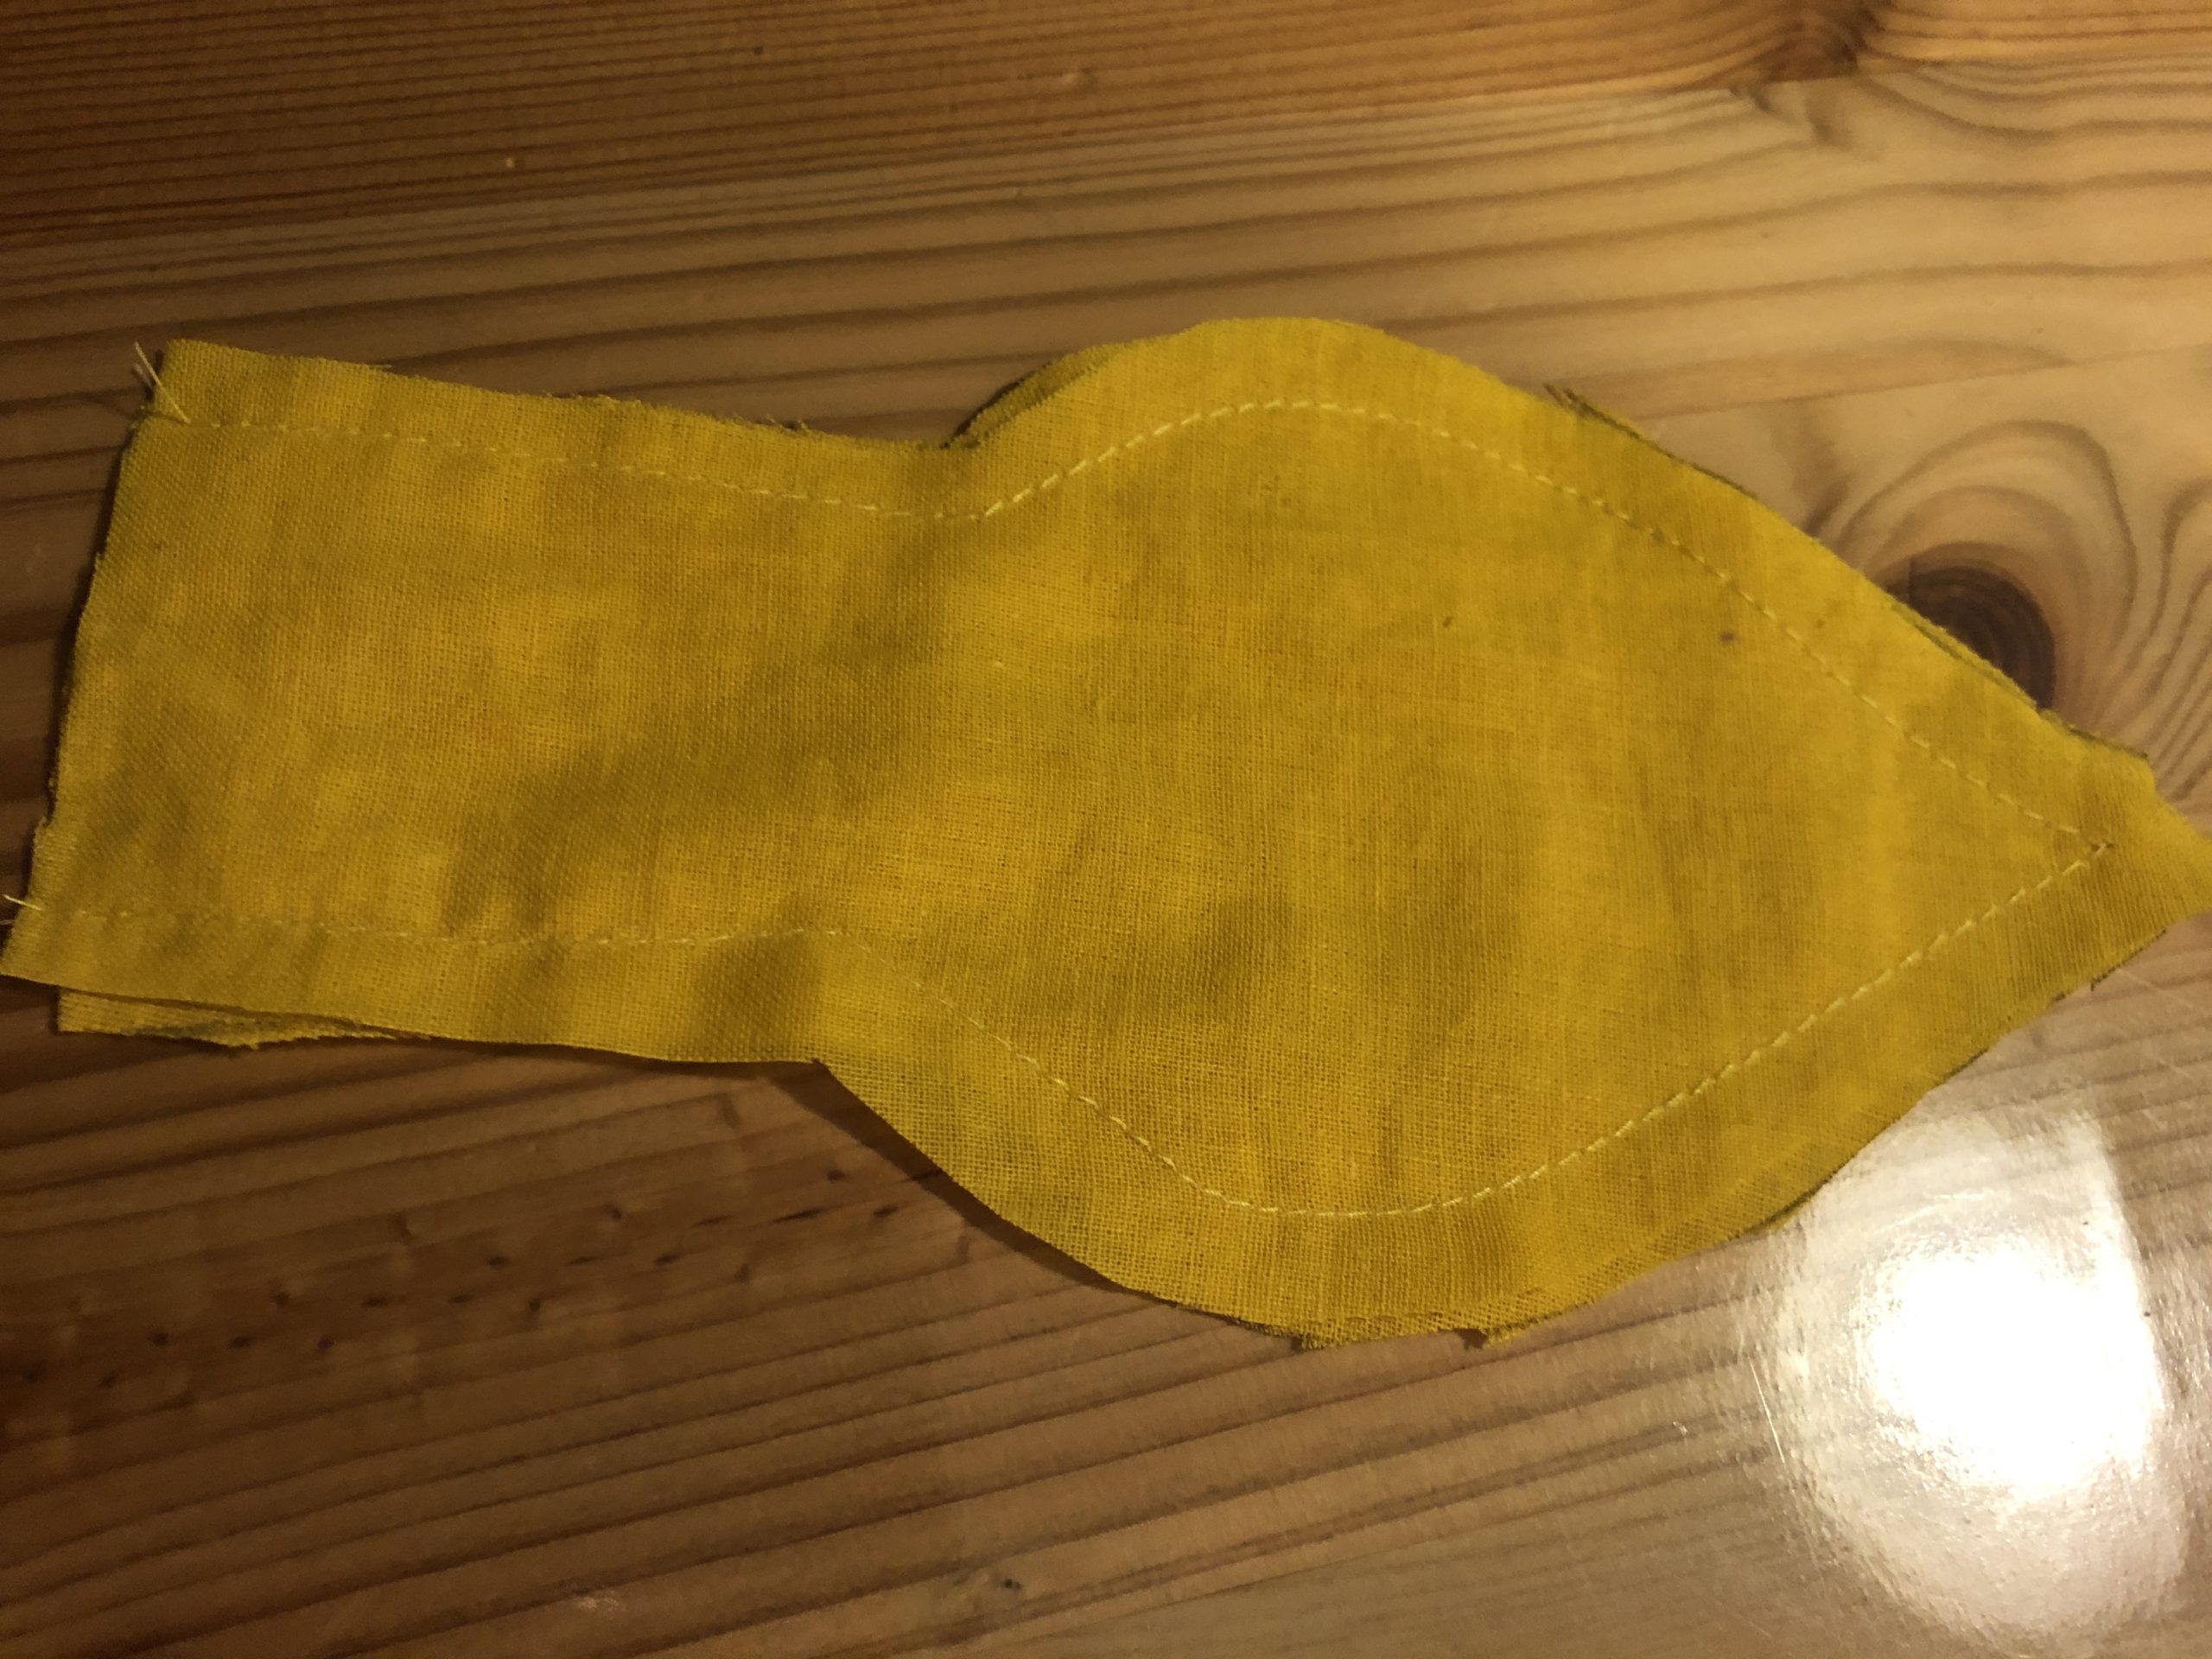


Now you turn the fabric of the sewn flame. Take a pen with which you can squeeze the flame out.
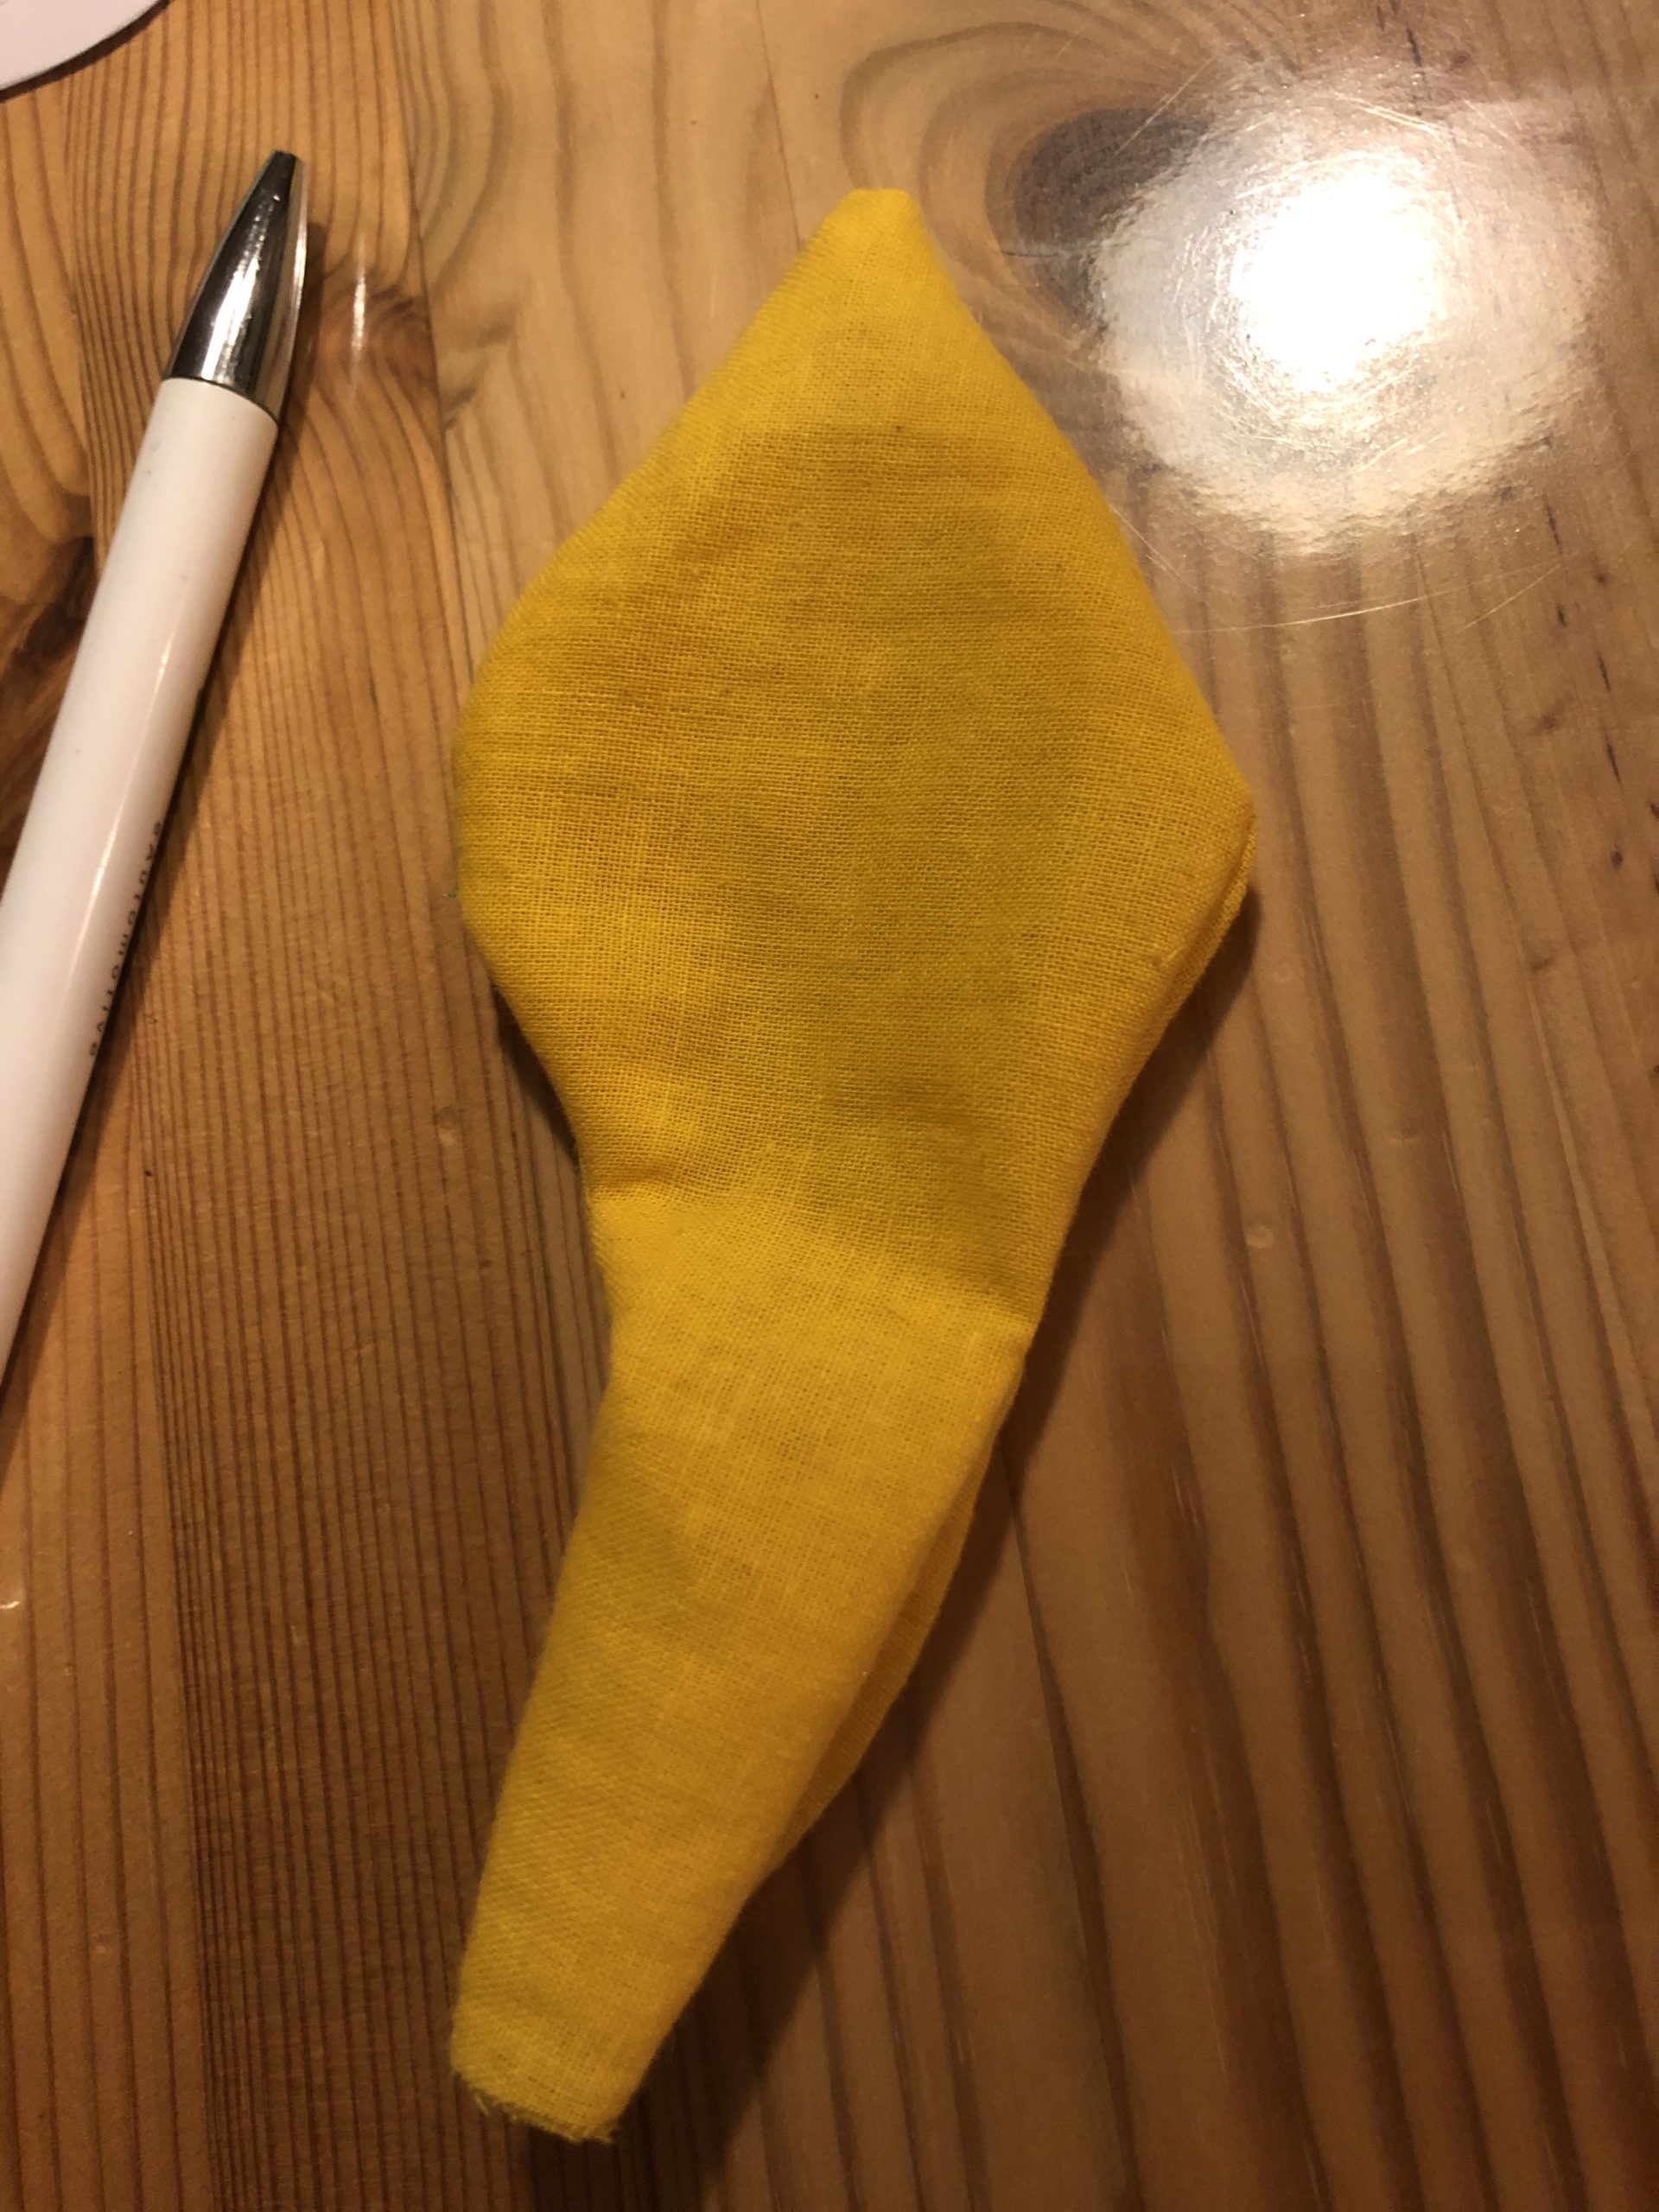


Now fill the flame with fabric residue.
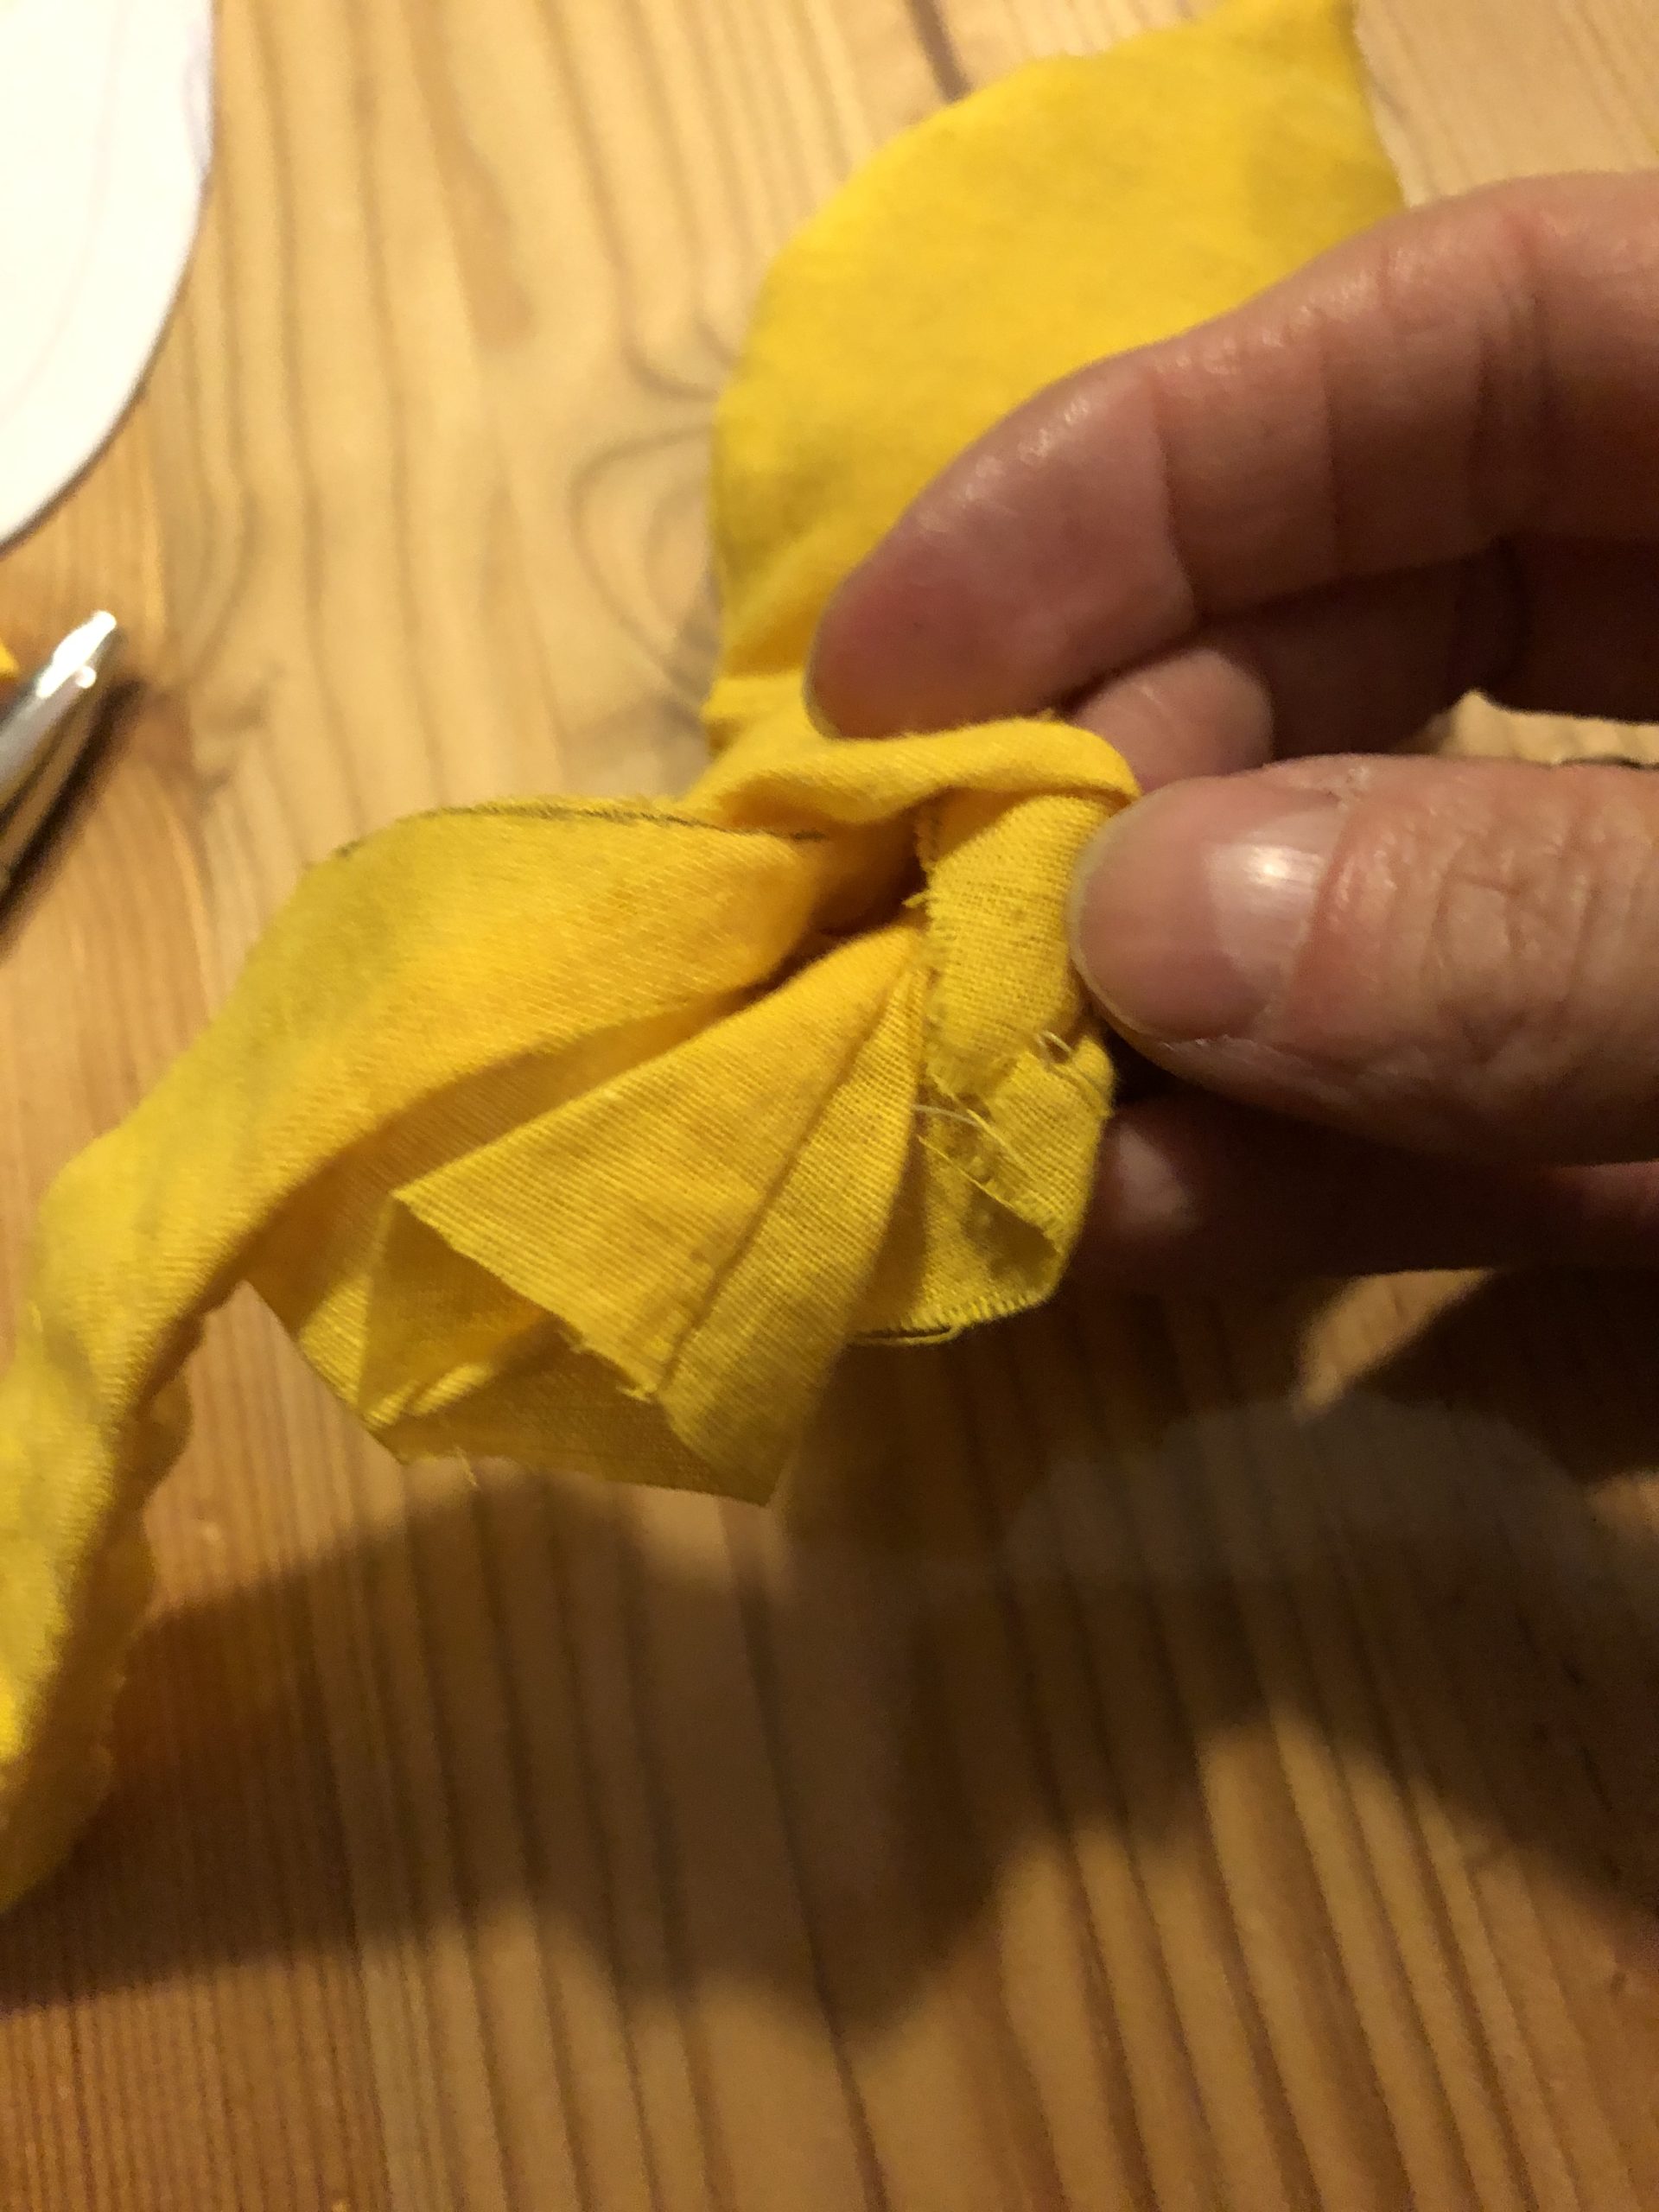


Push the filling material to the tip of the flame.
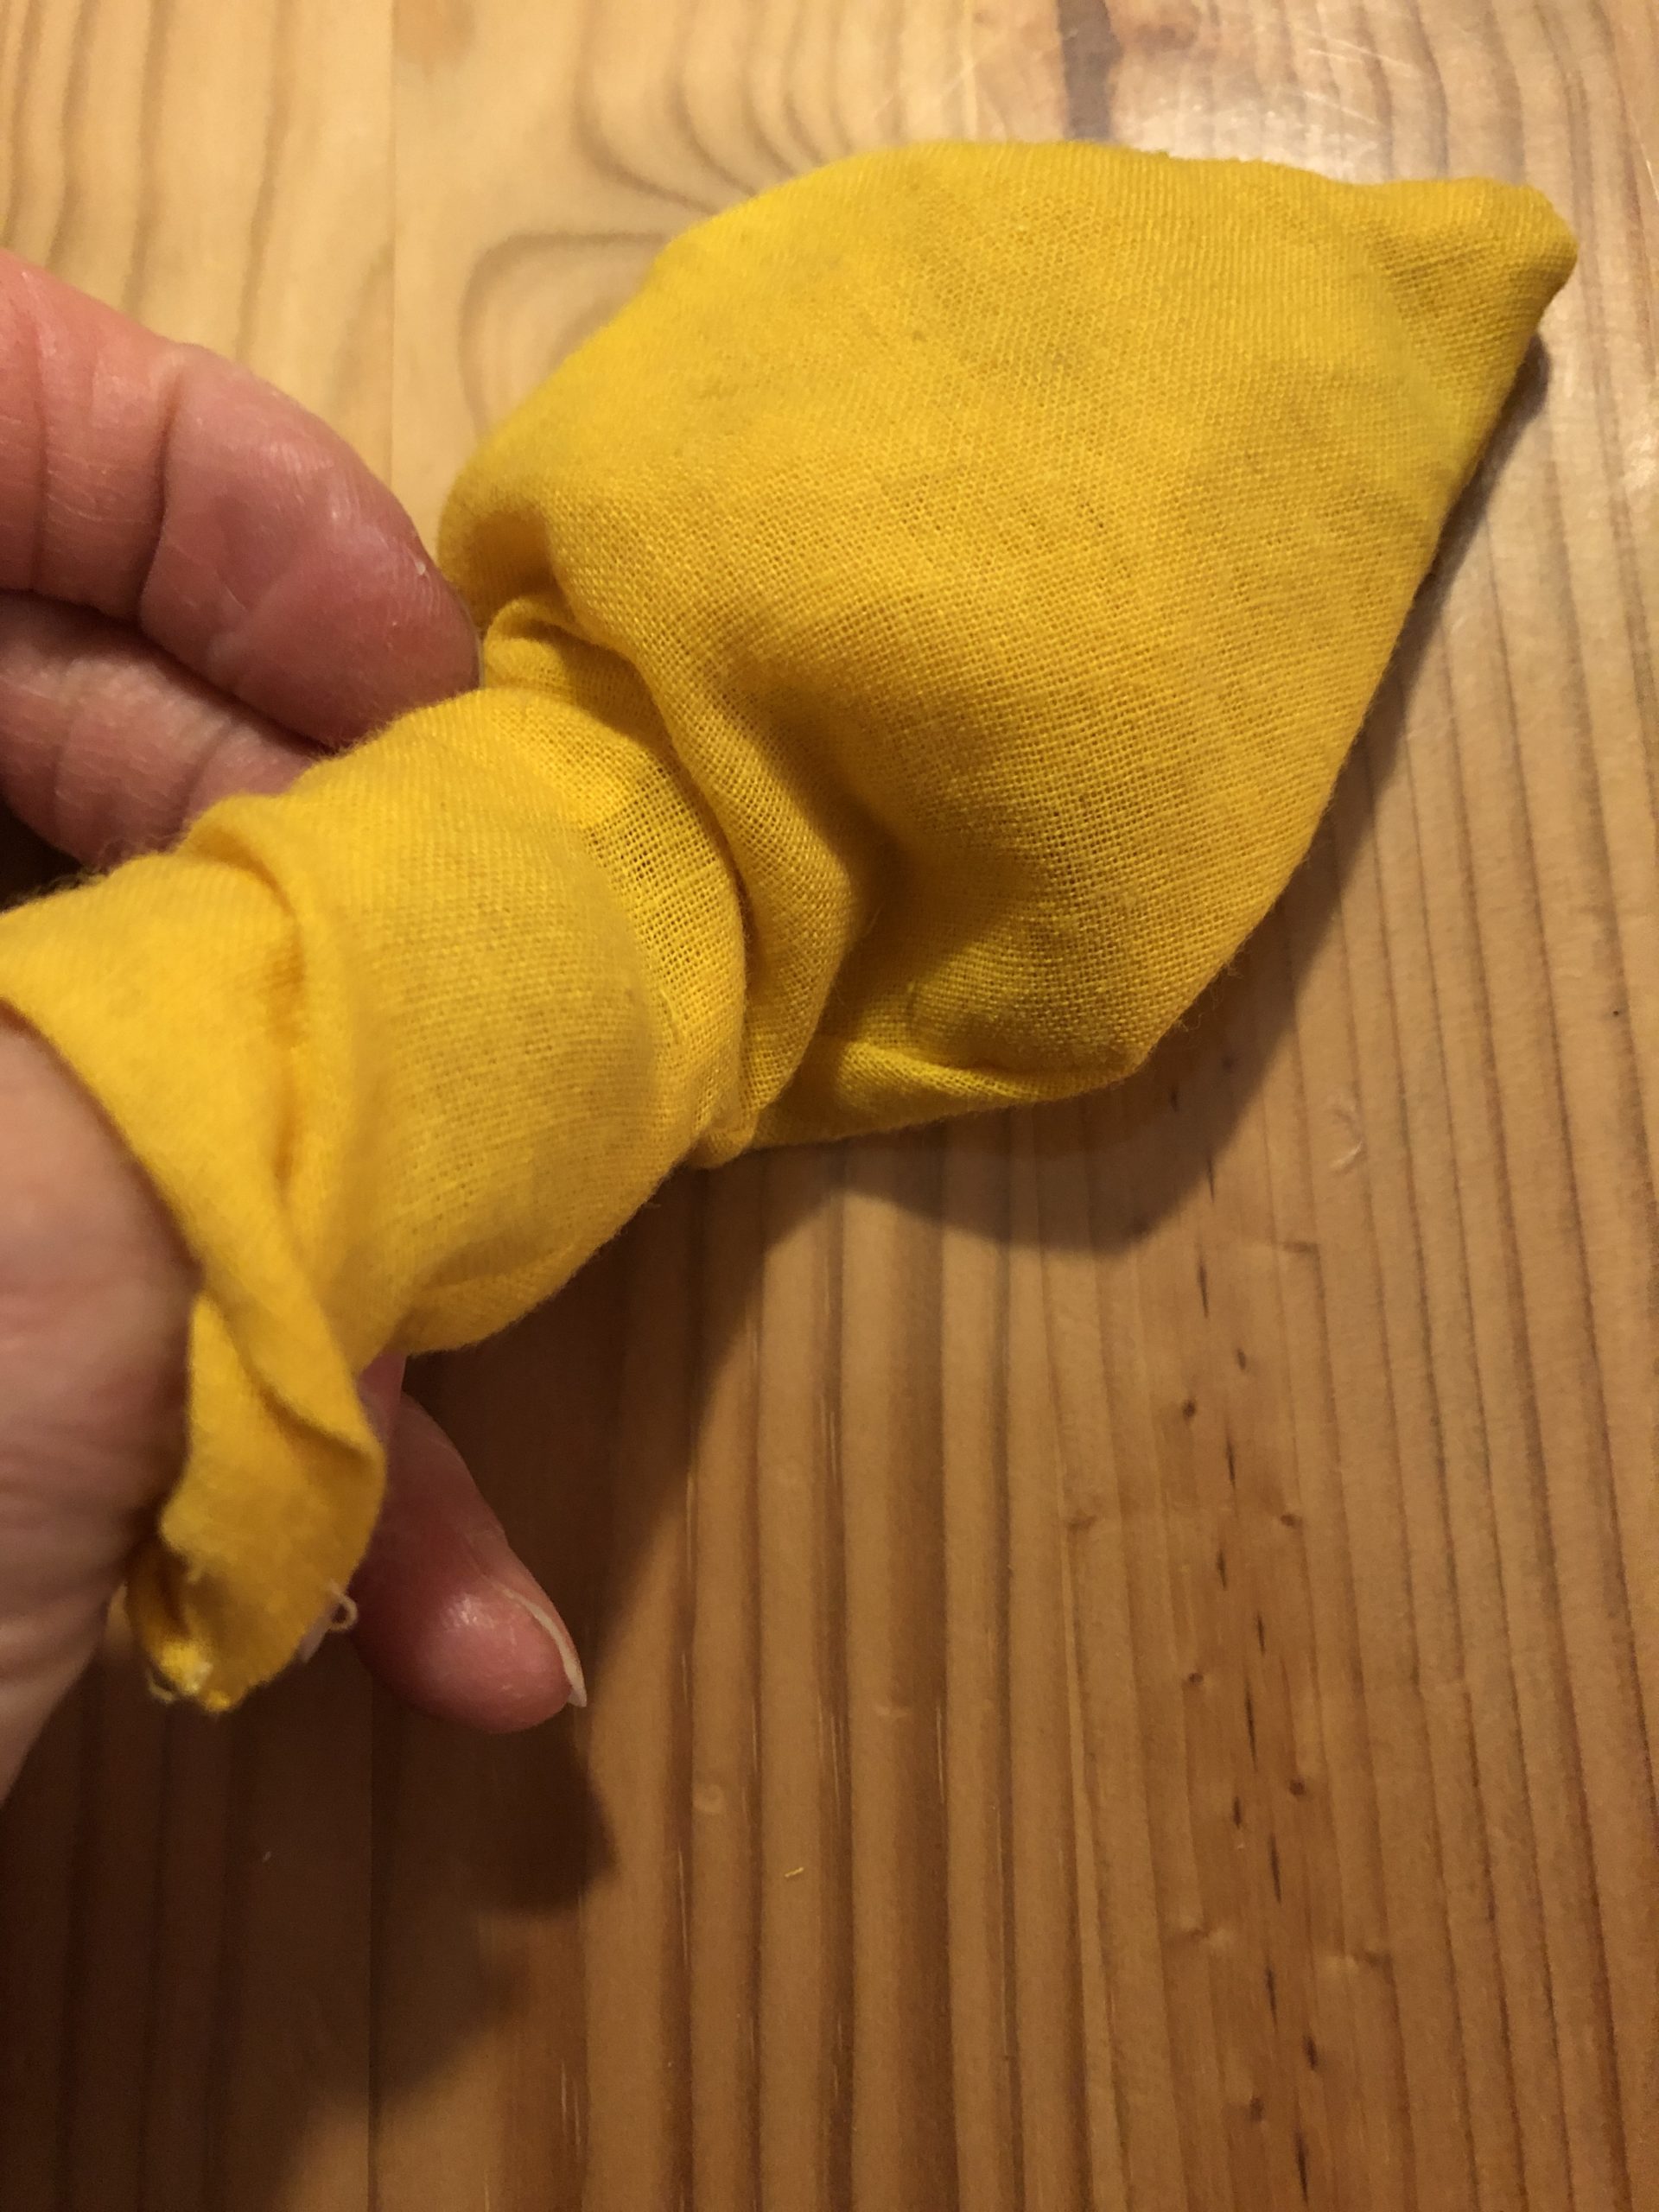


The straight part of the flame is not filled.
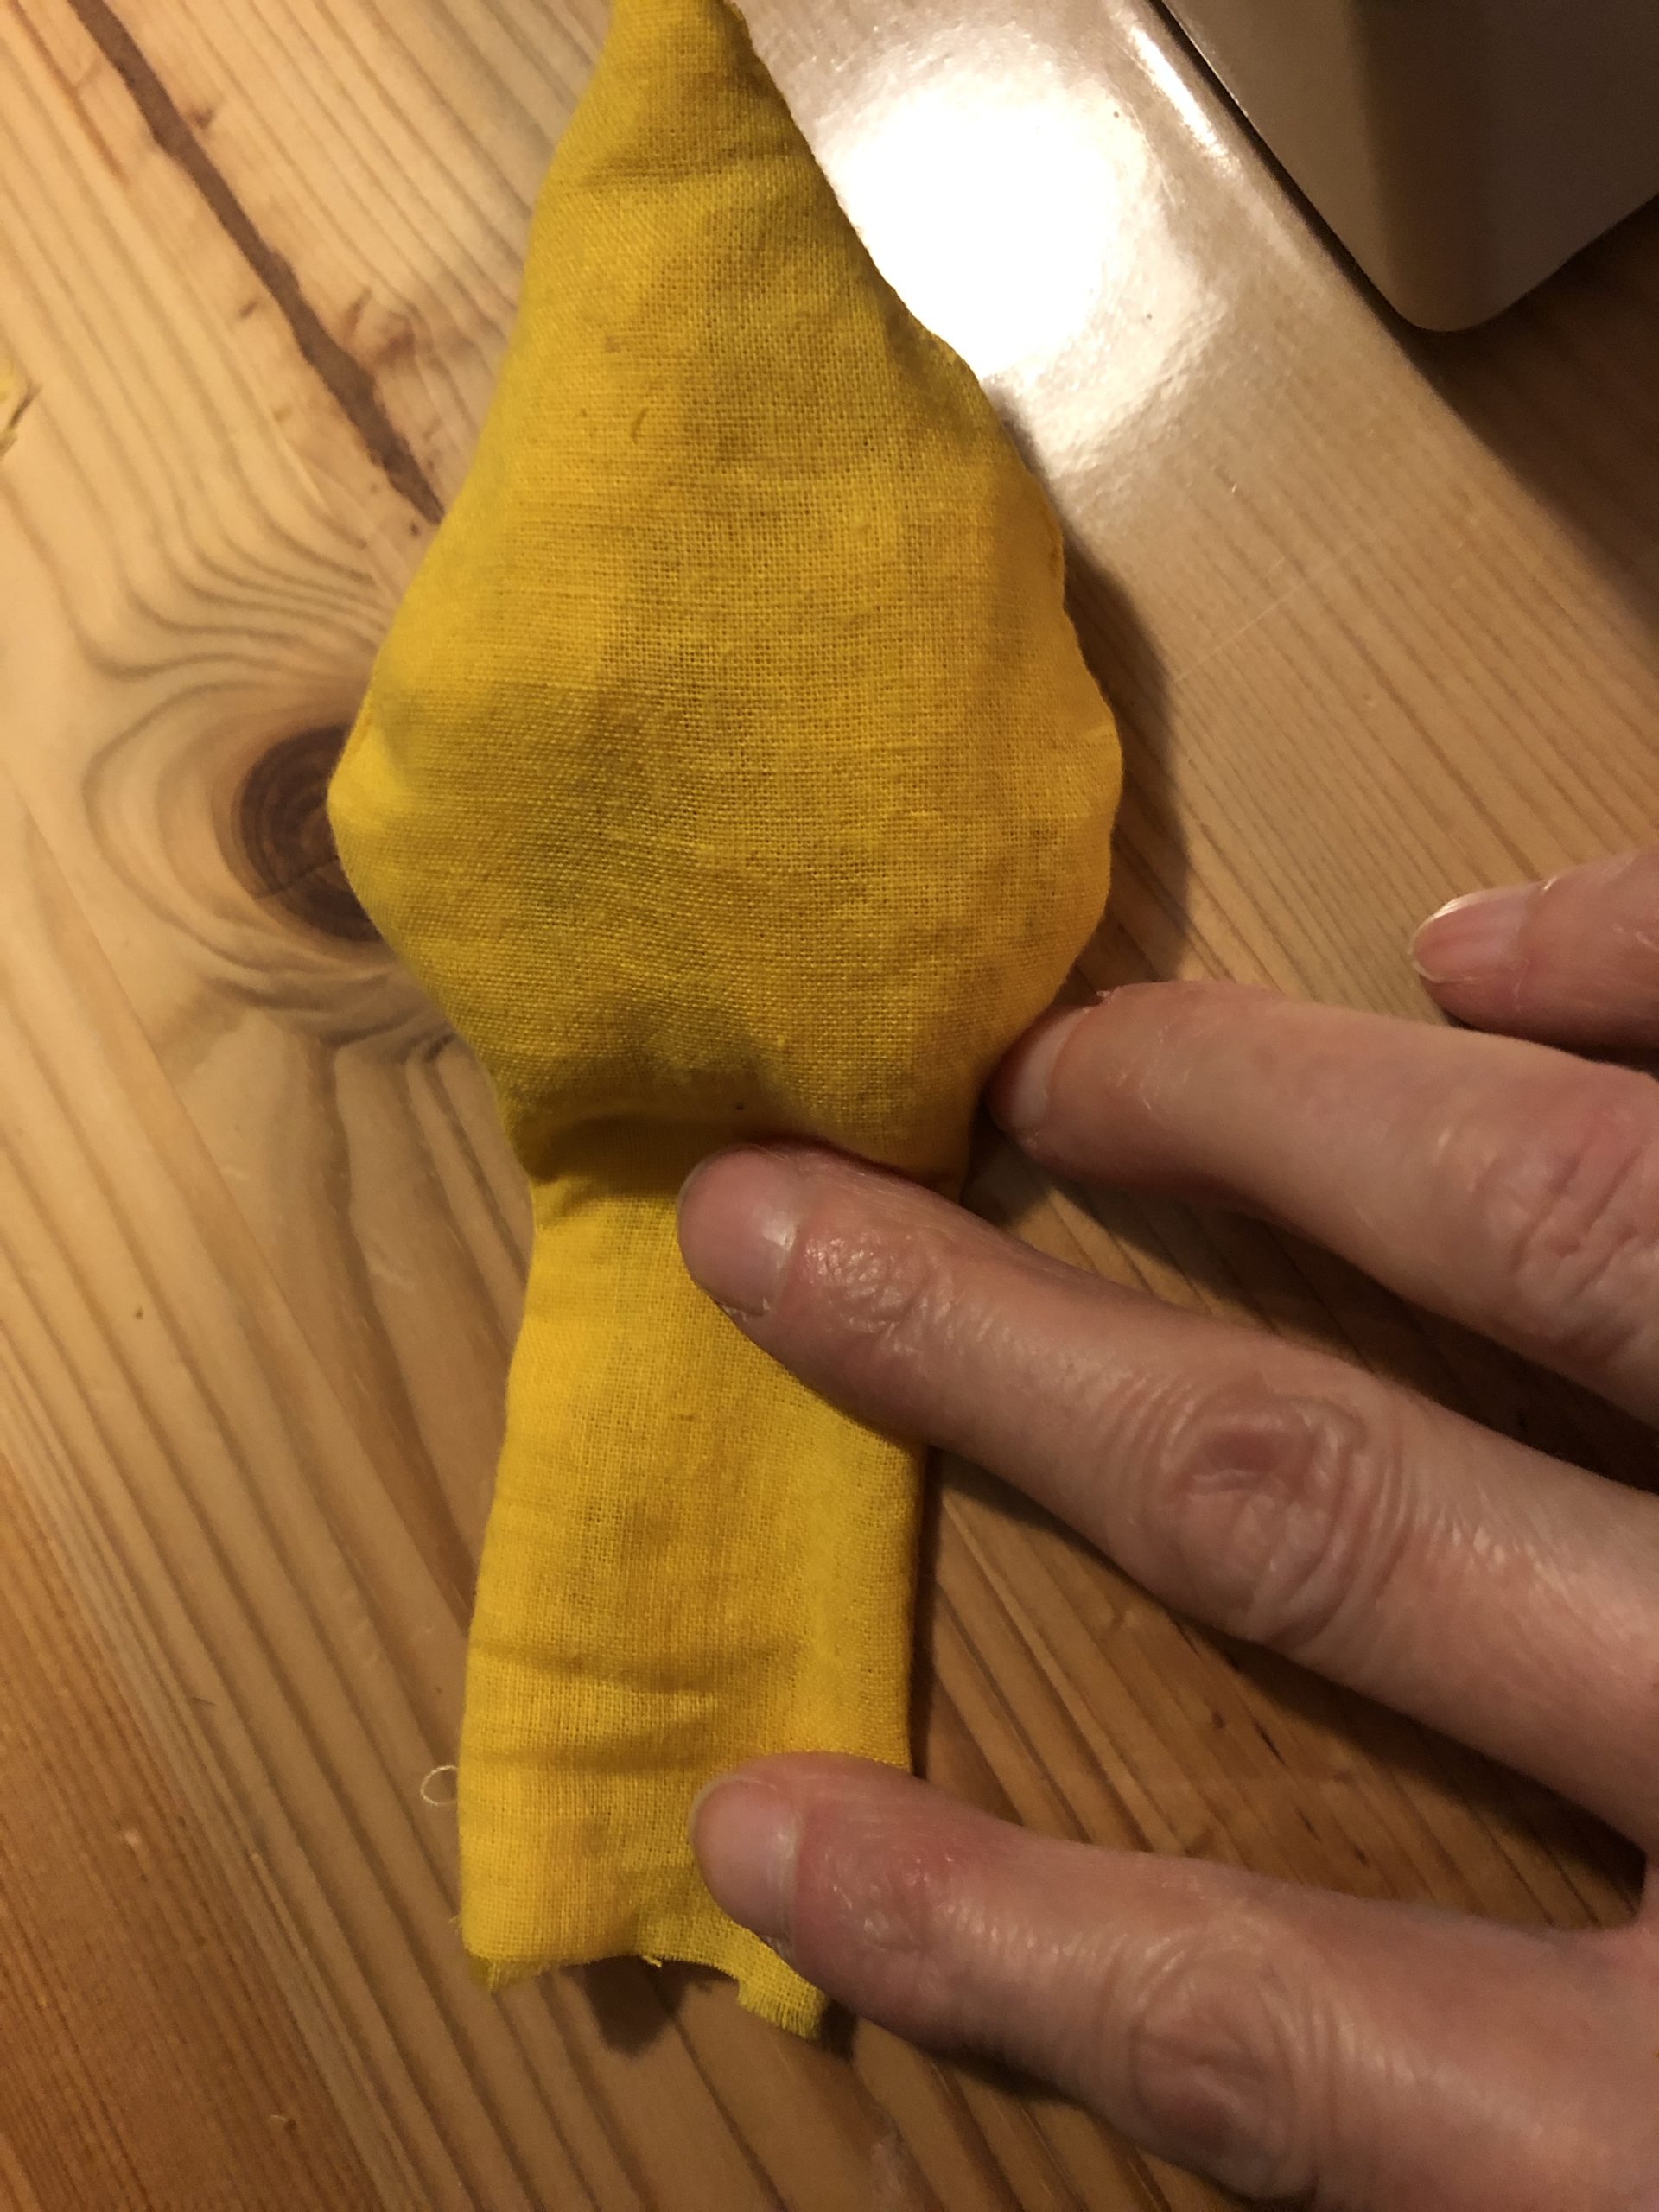


The filled piece of the flame is sewn with a zigzag stitch. This seam doesn't have to be perfect, it is pushed inward and is not visible!
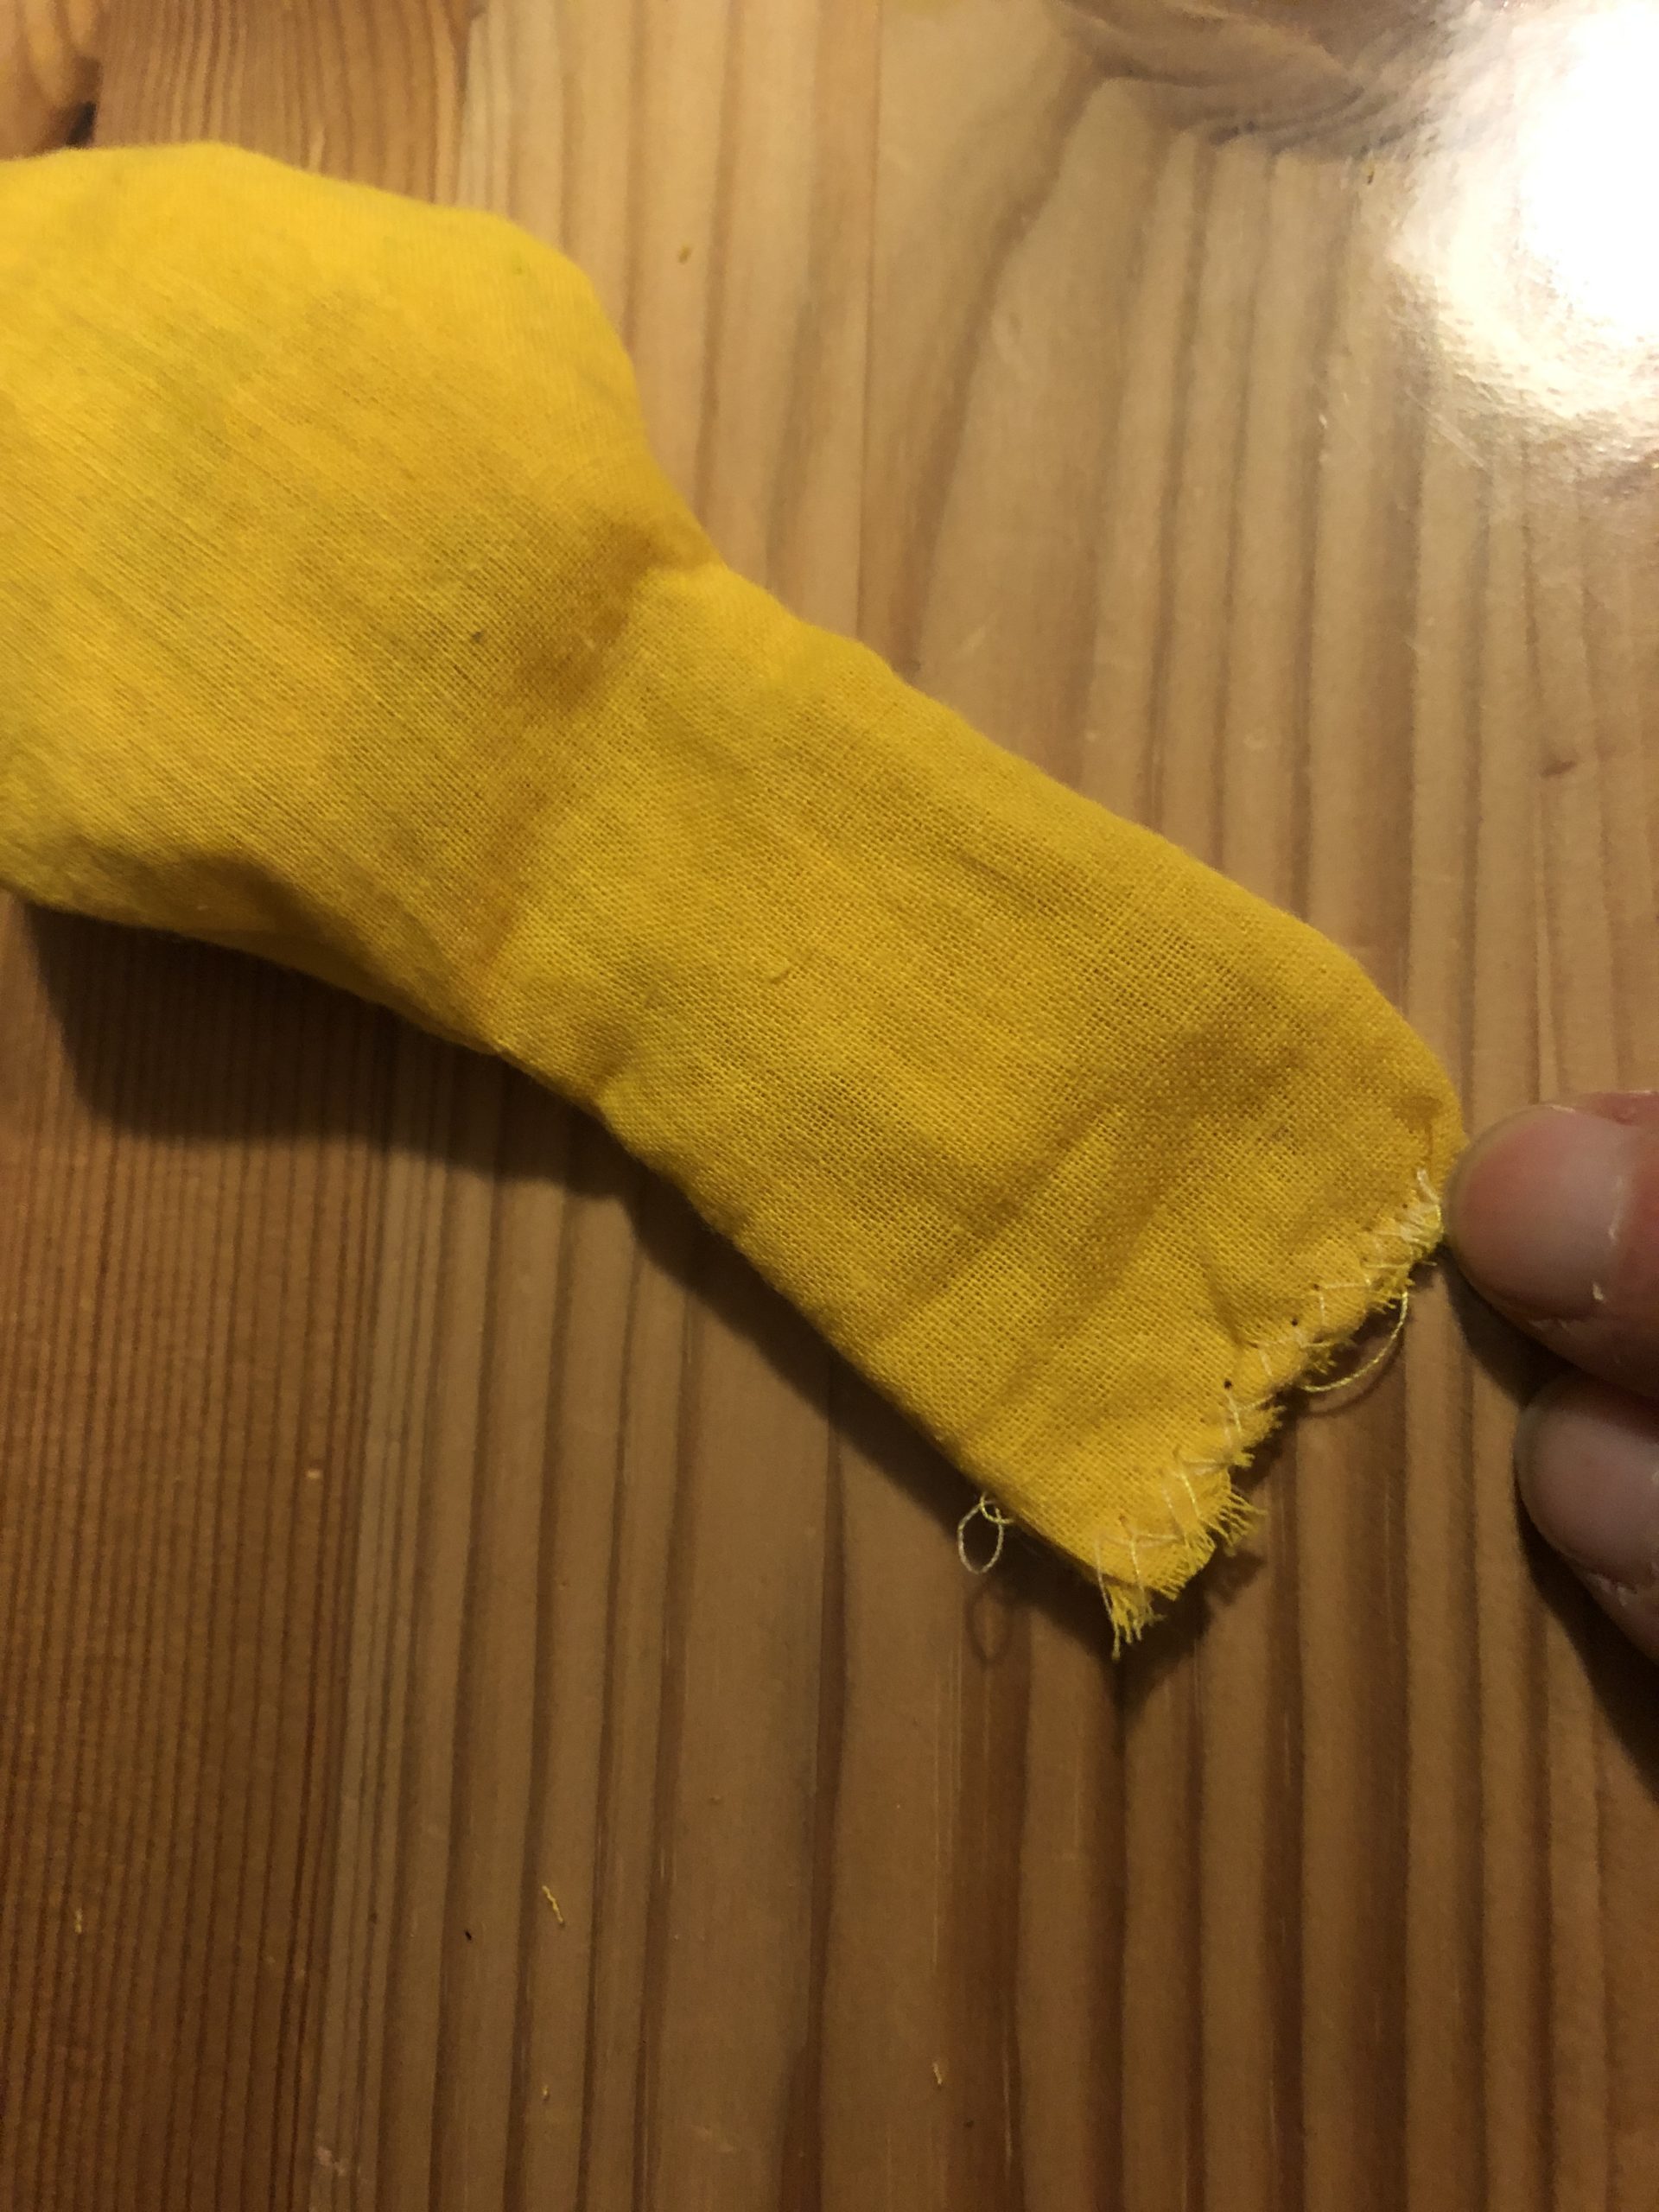


With one finger you now carefully push the straight piece inwards (as with a finger doll!?)
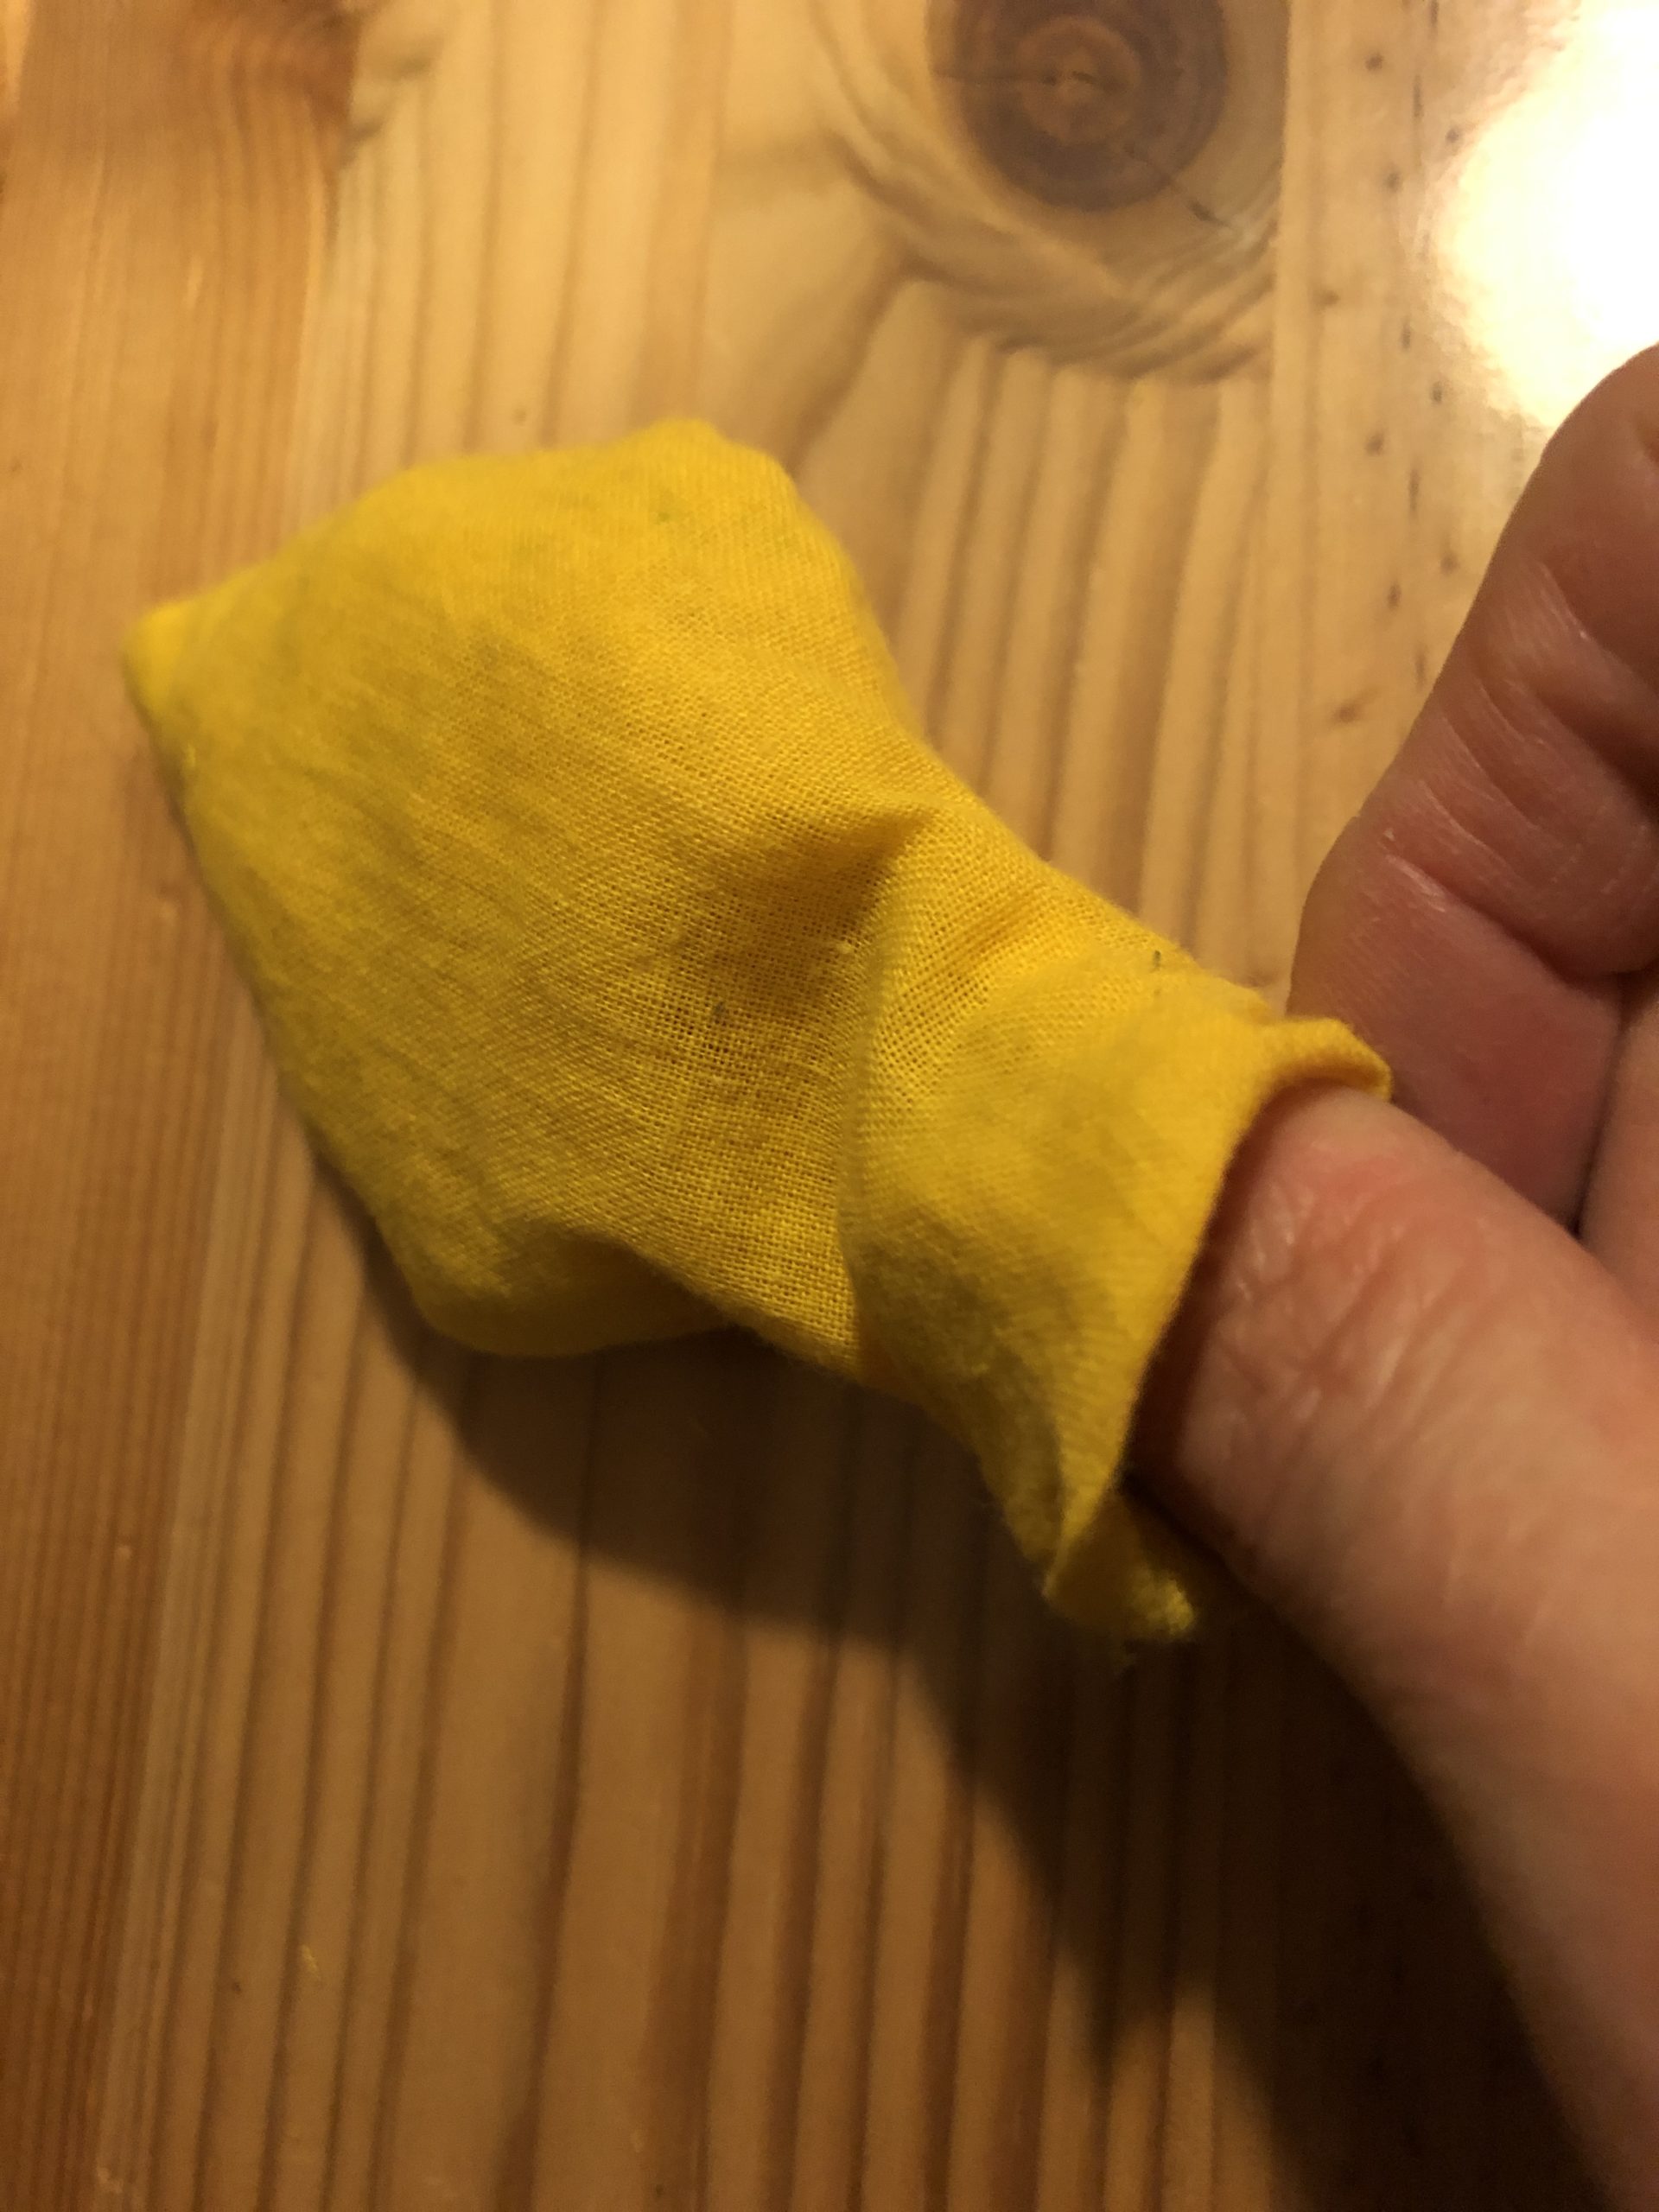


So the straight part disappears almost completely.
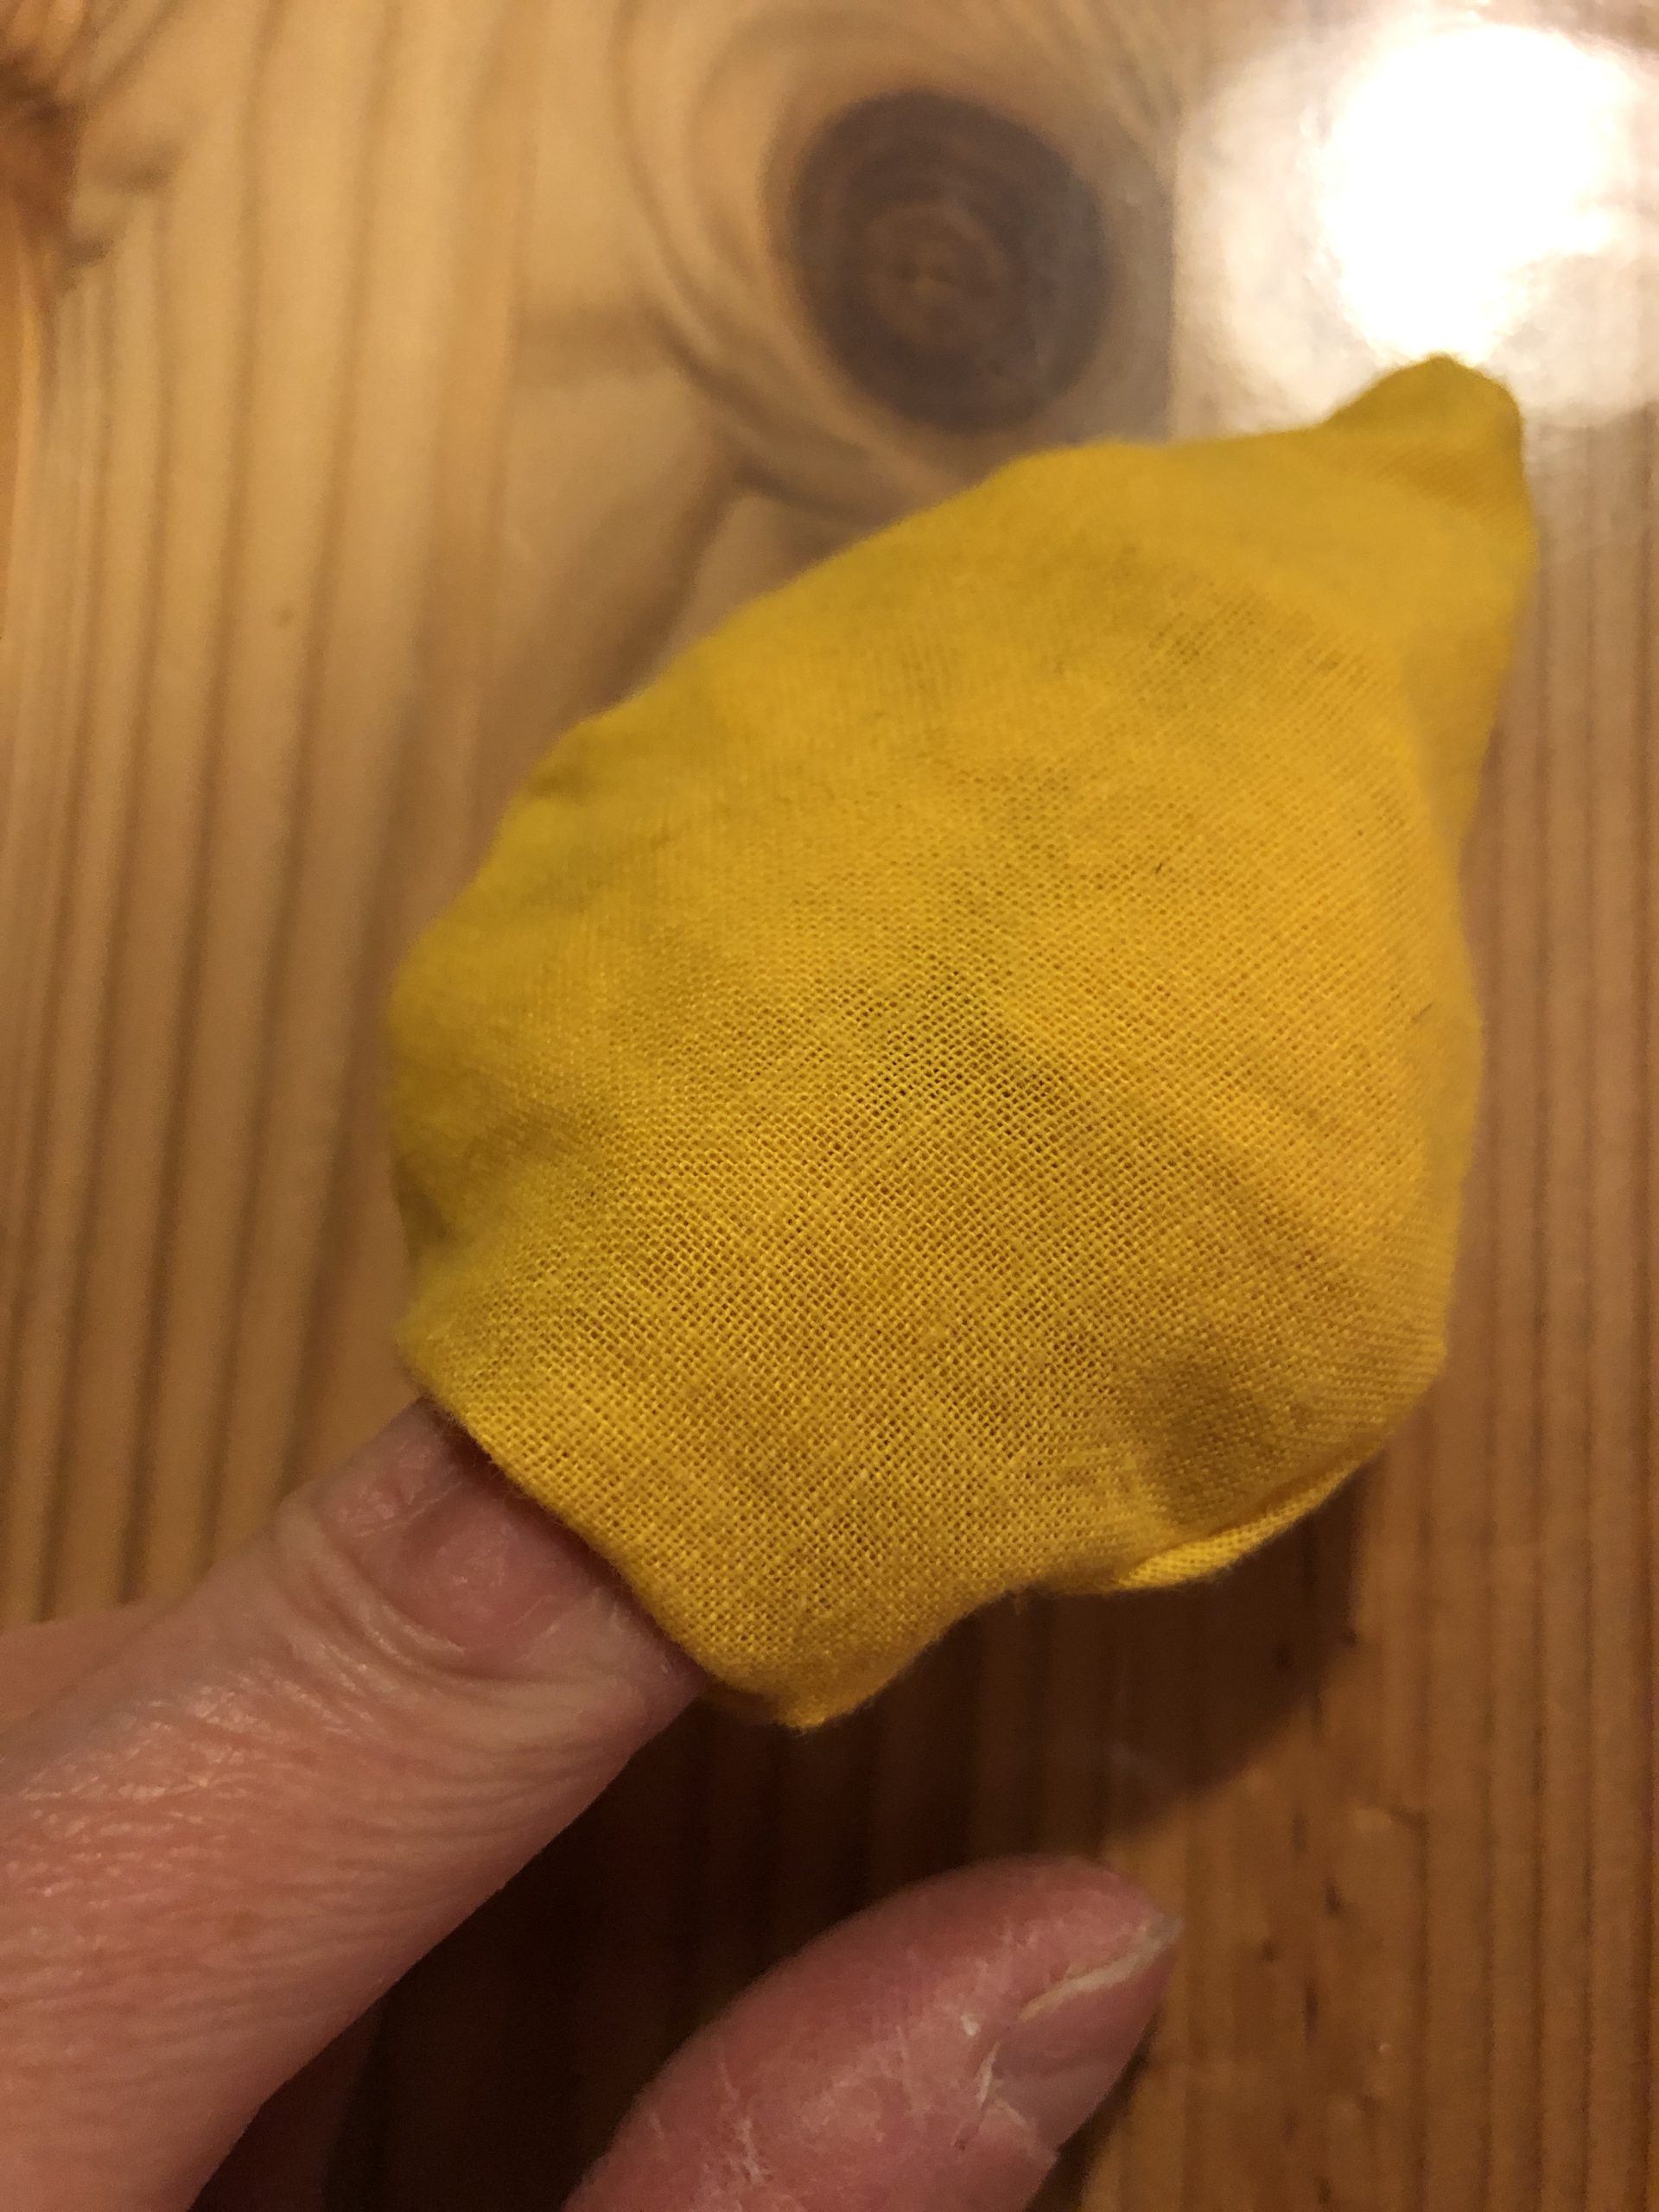


Now take your finger out, then you can push into the hole of the branch.
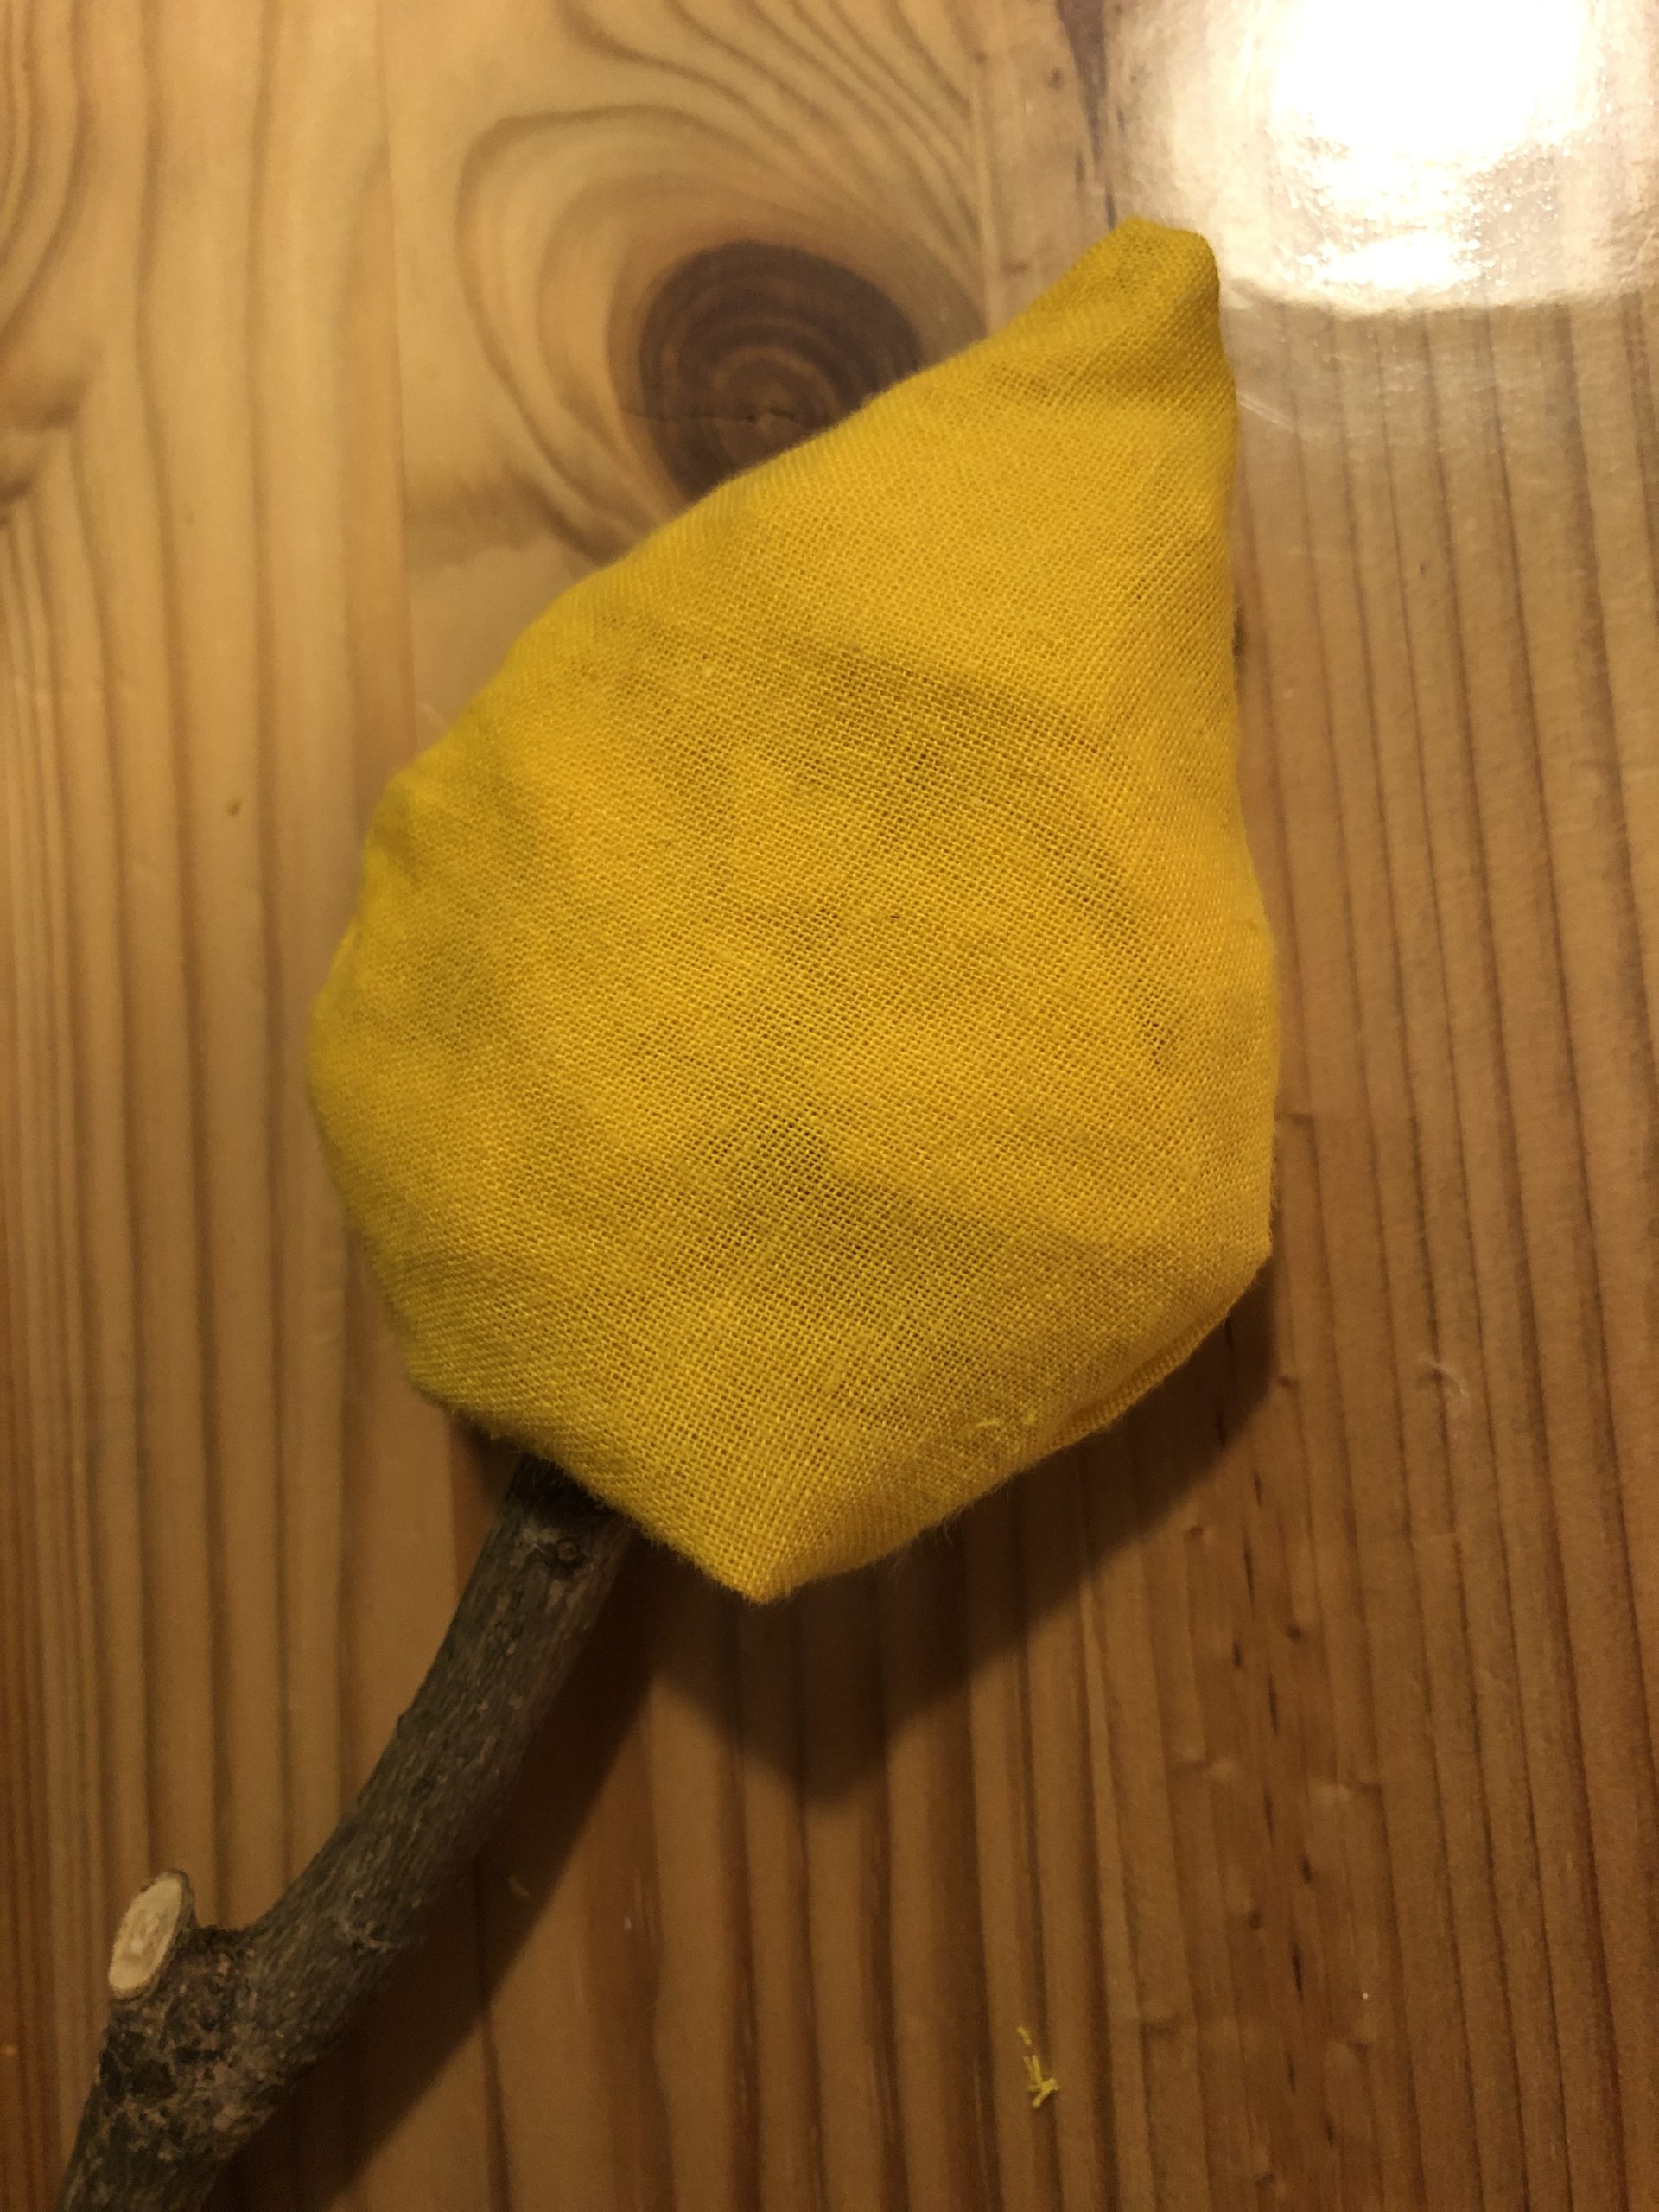


Uses a piece of branch with approx.15cm length, so that the candles stand stable with the flame.


Now carefully push the branch into the hole at the top of the candle.


This is the wick of the candle. It should look up about 5 cm.
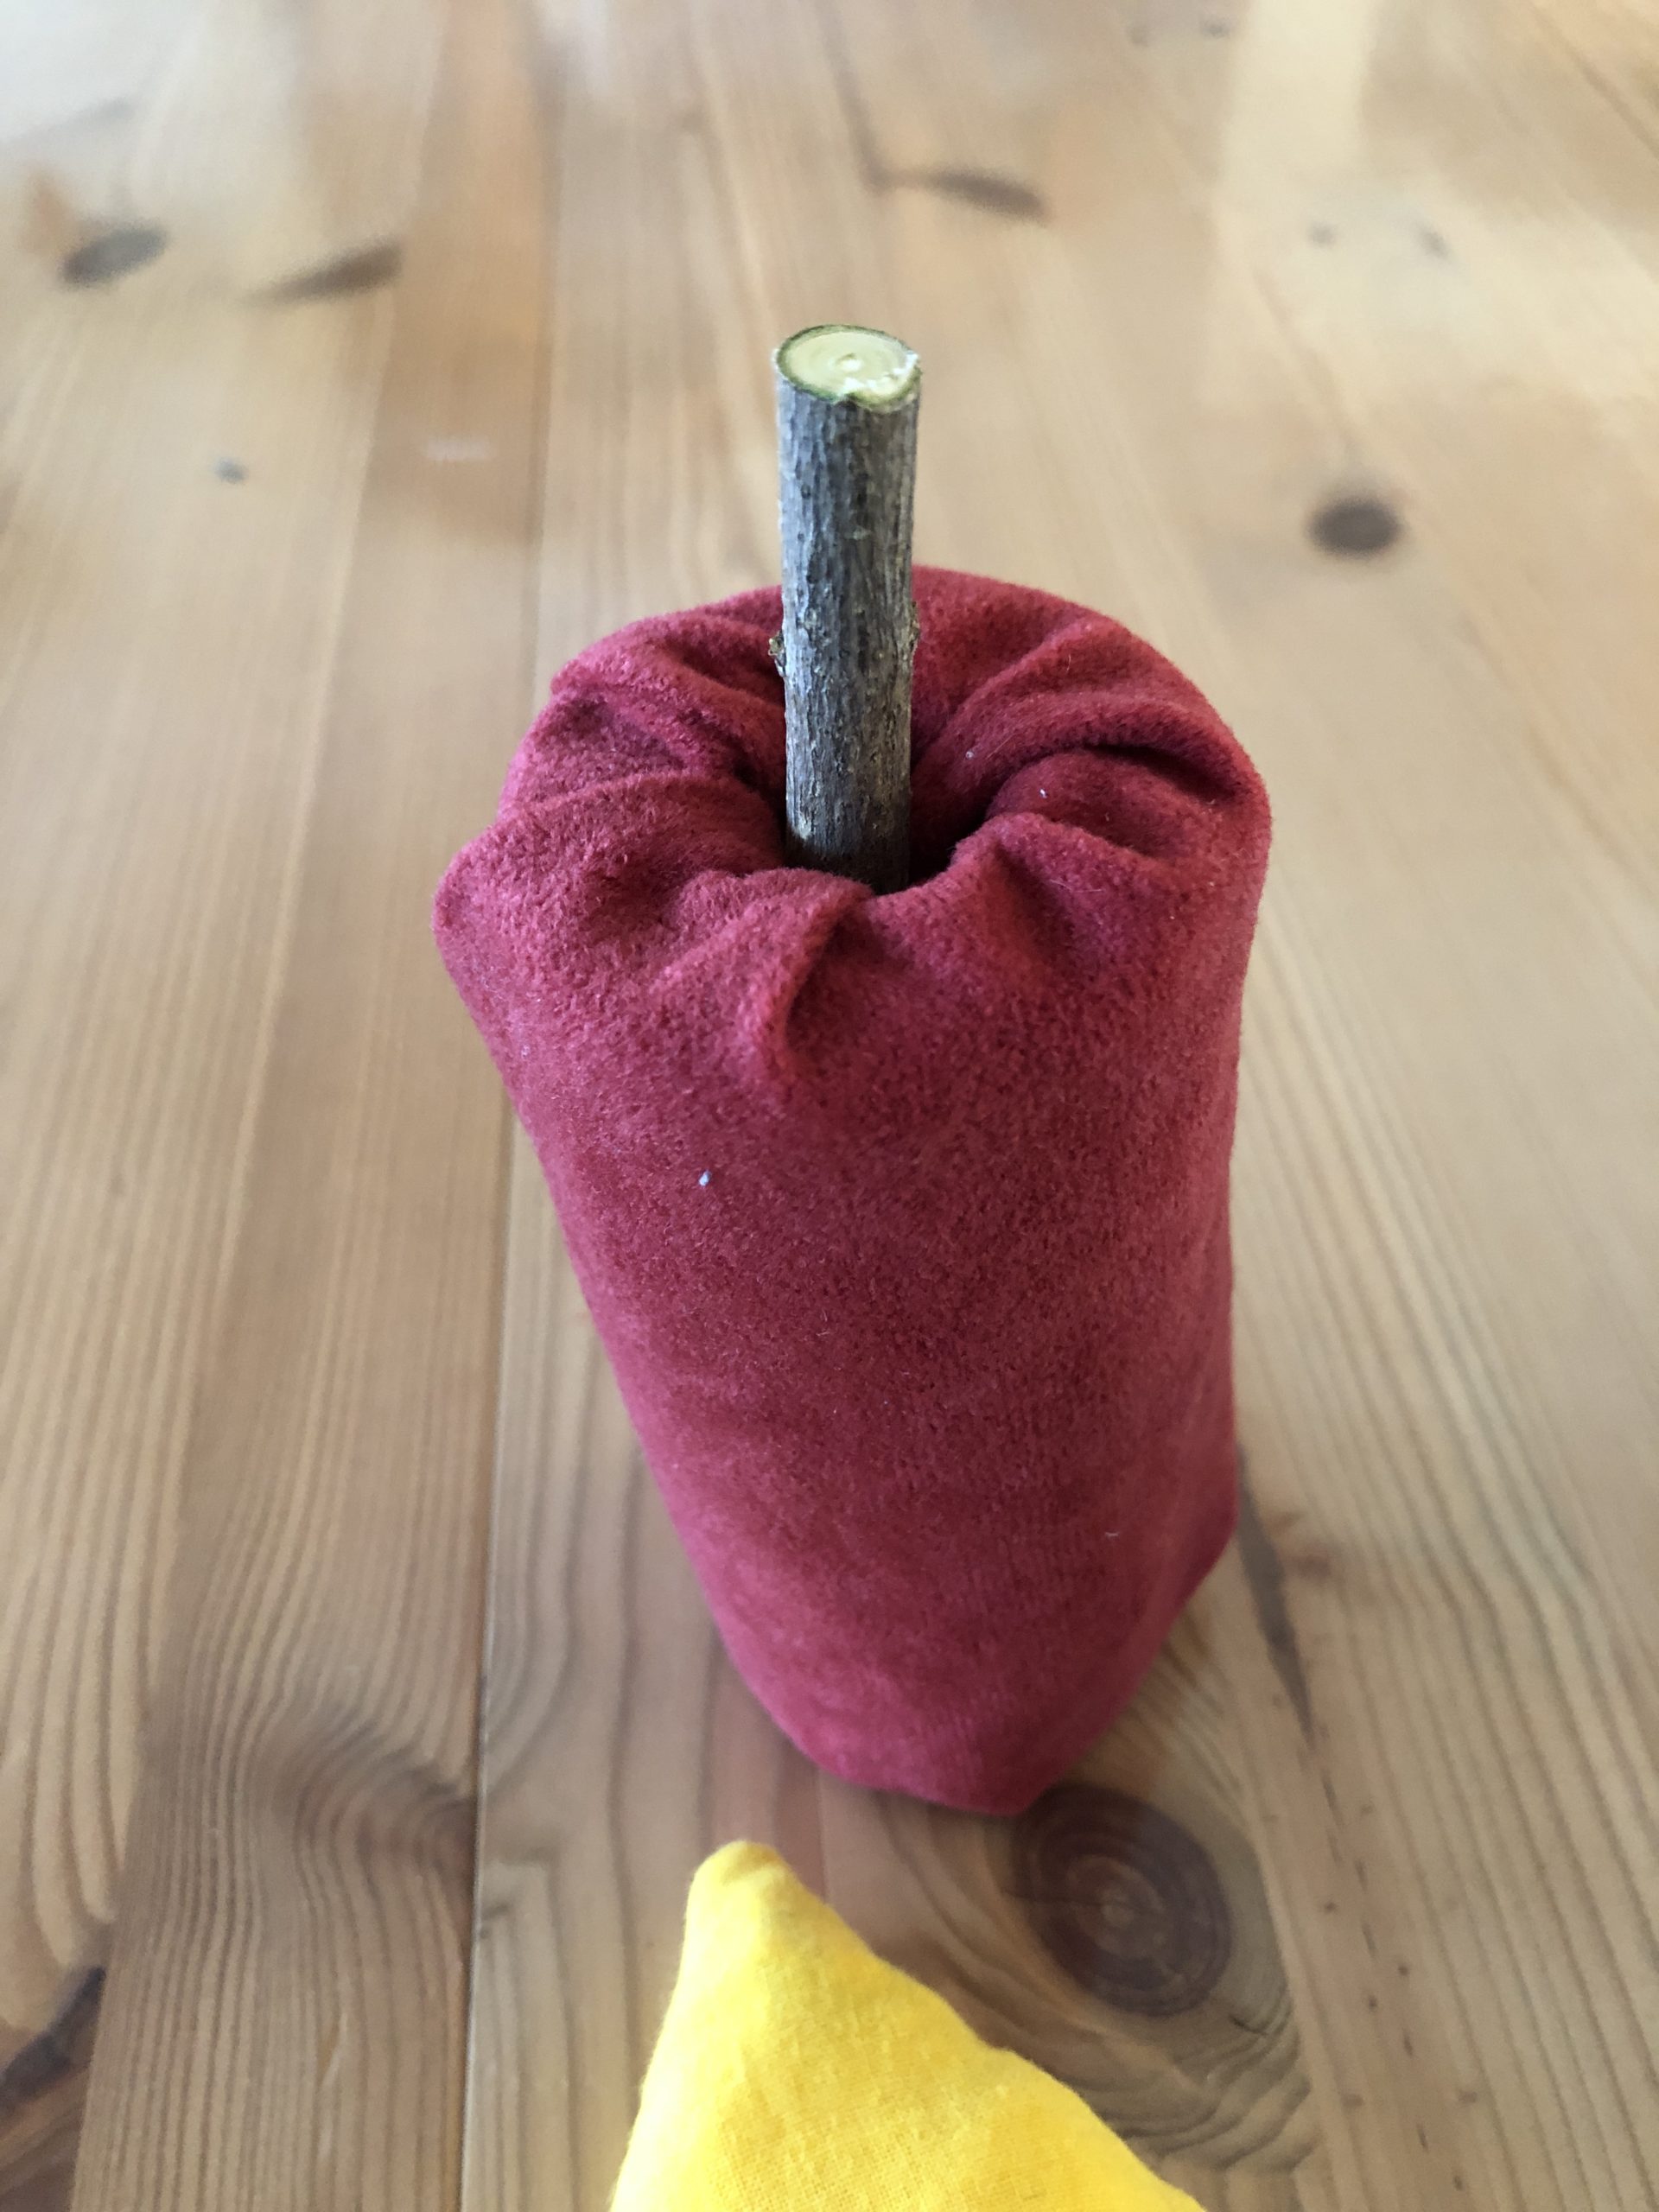


On the wick you put the flame.
The candle is ready.
You can fix everything with hot glue or you let them stick and remove.
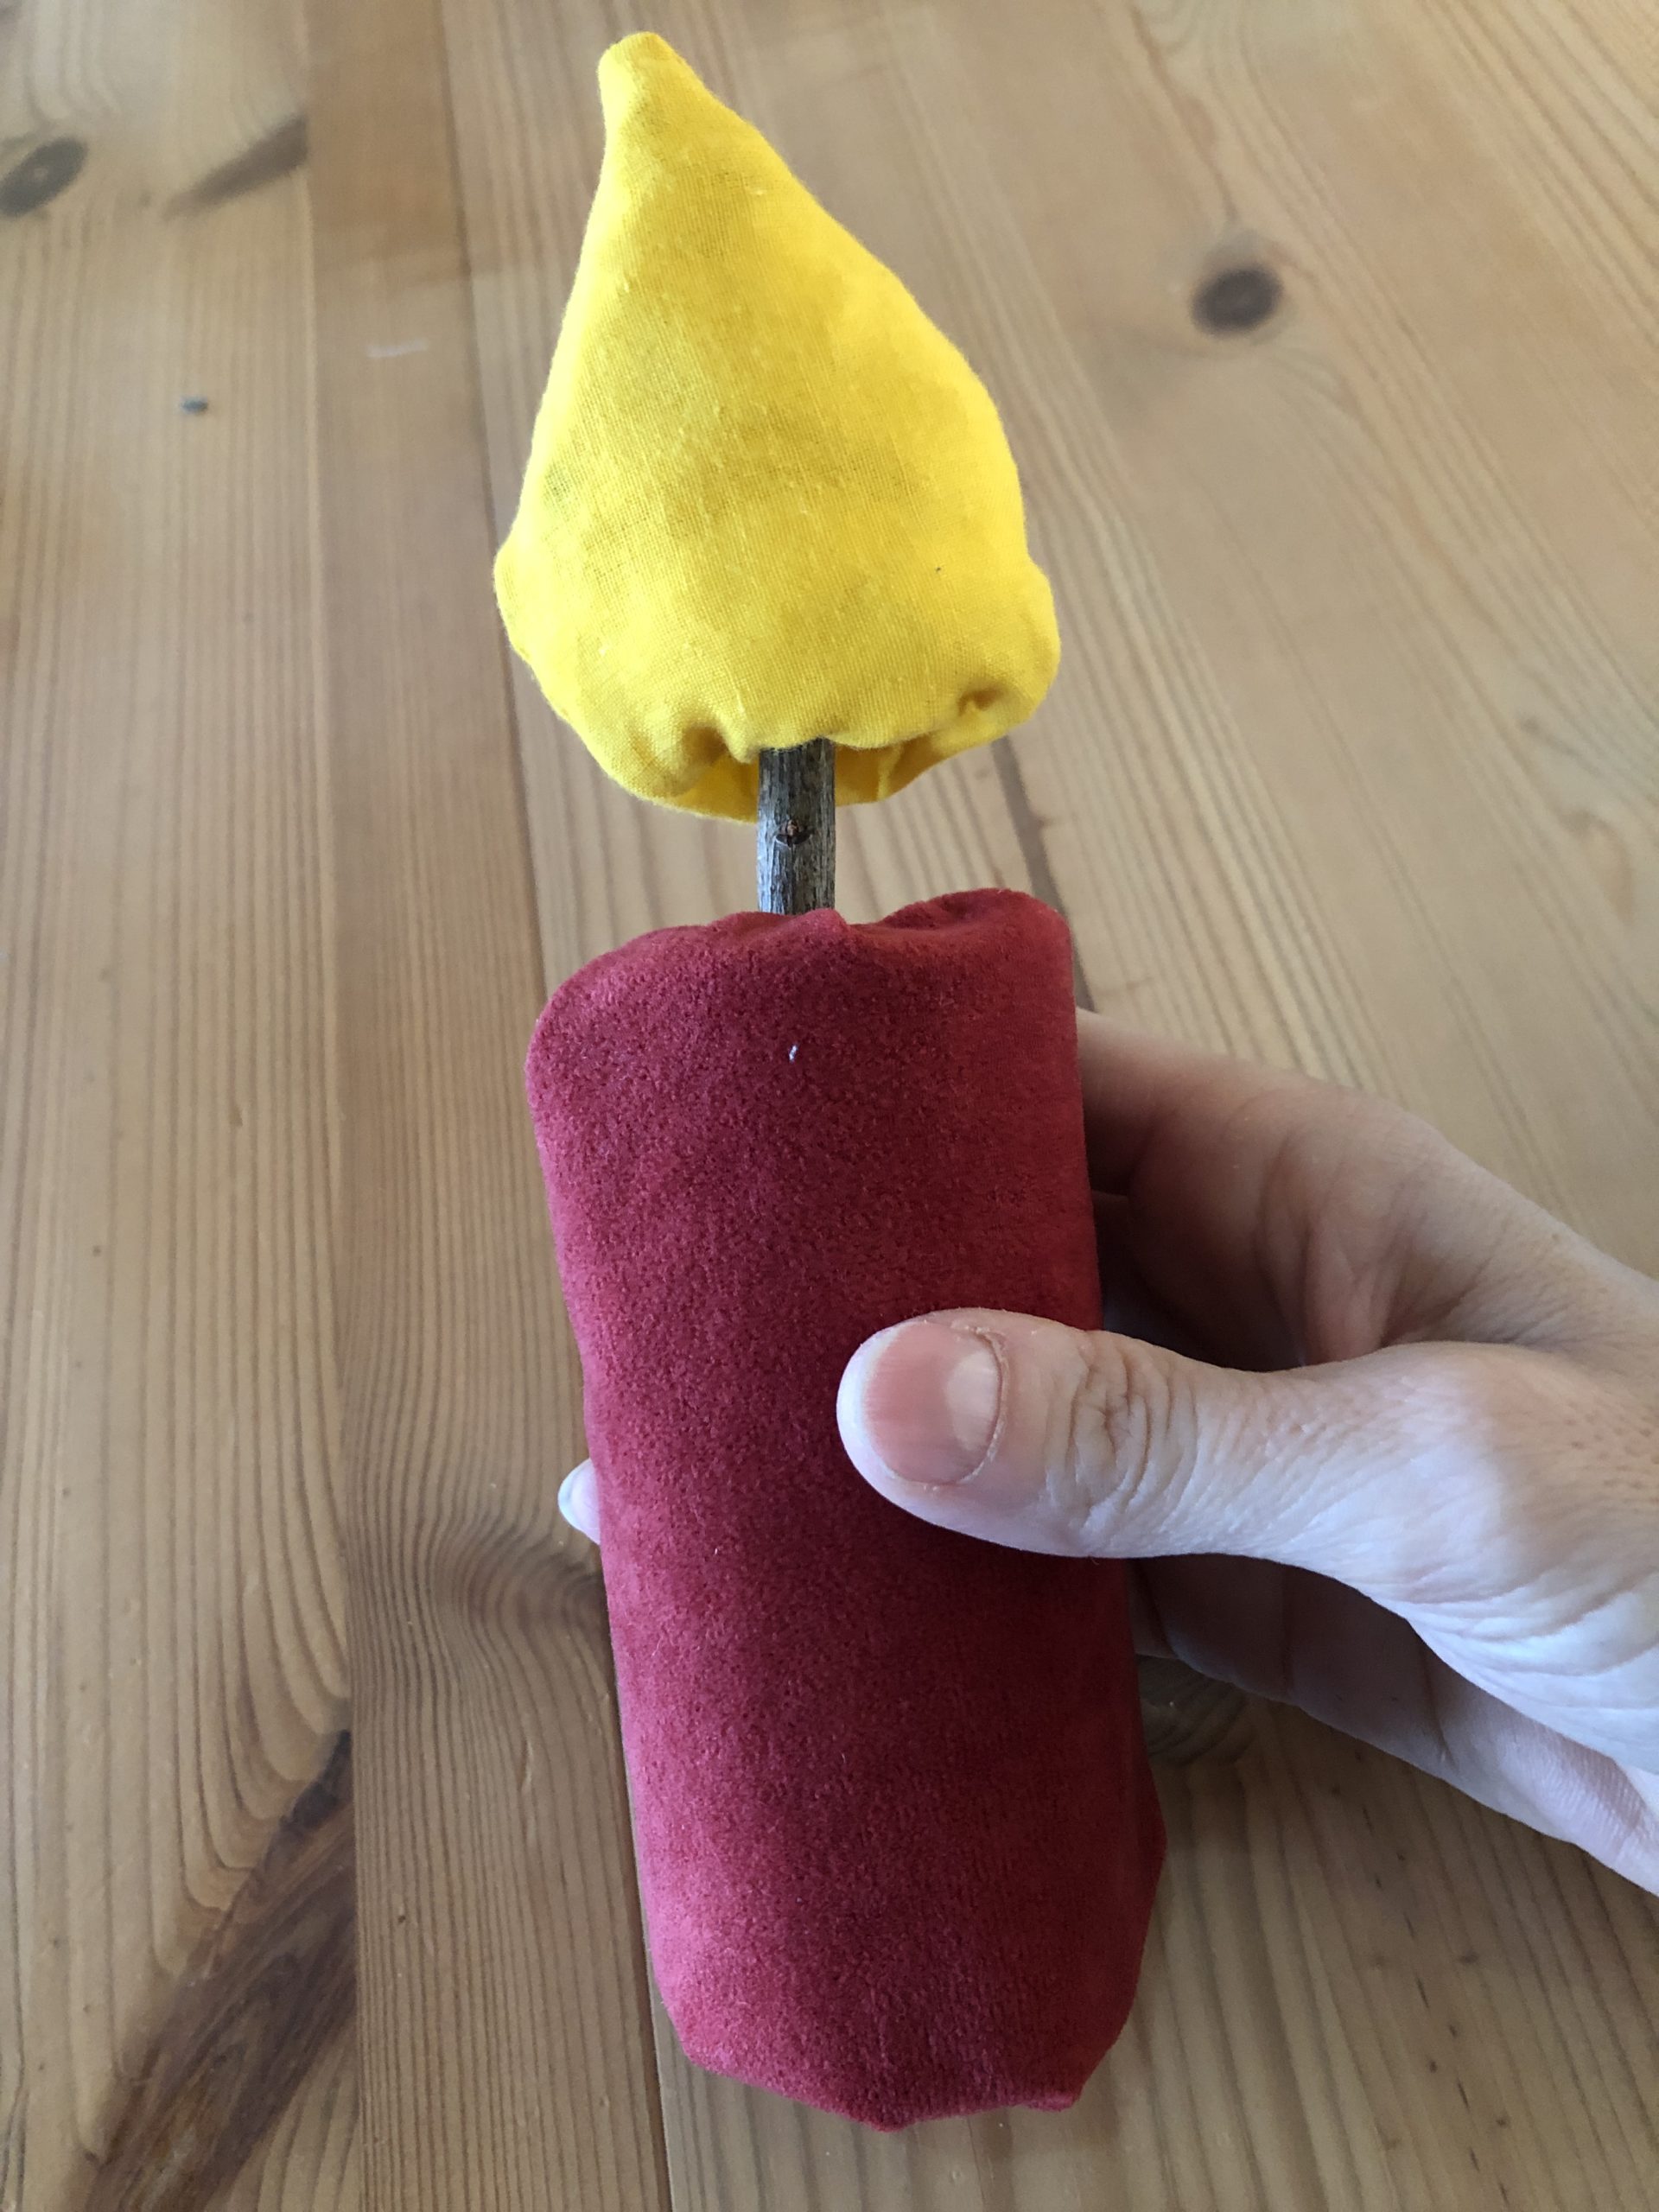


This candle can be used in many ways, whether as a free-standing candle in the children's room, on an Advent wreath with removable flame. Also as learning material to get to know and name the parts of a candle, it is suitable for crib children and, of course, also for playing.
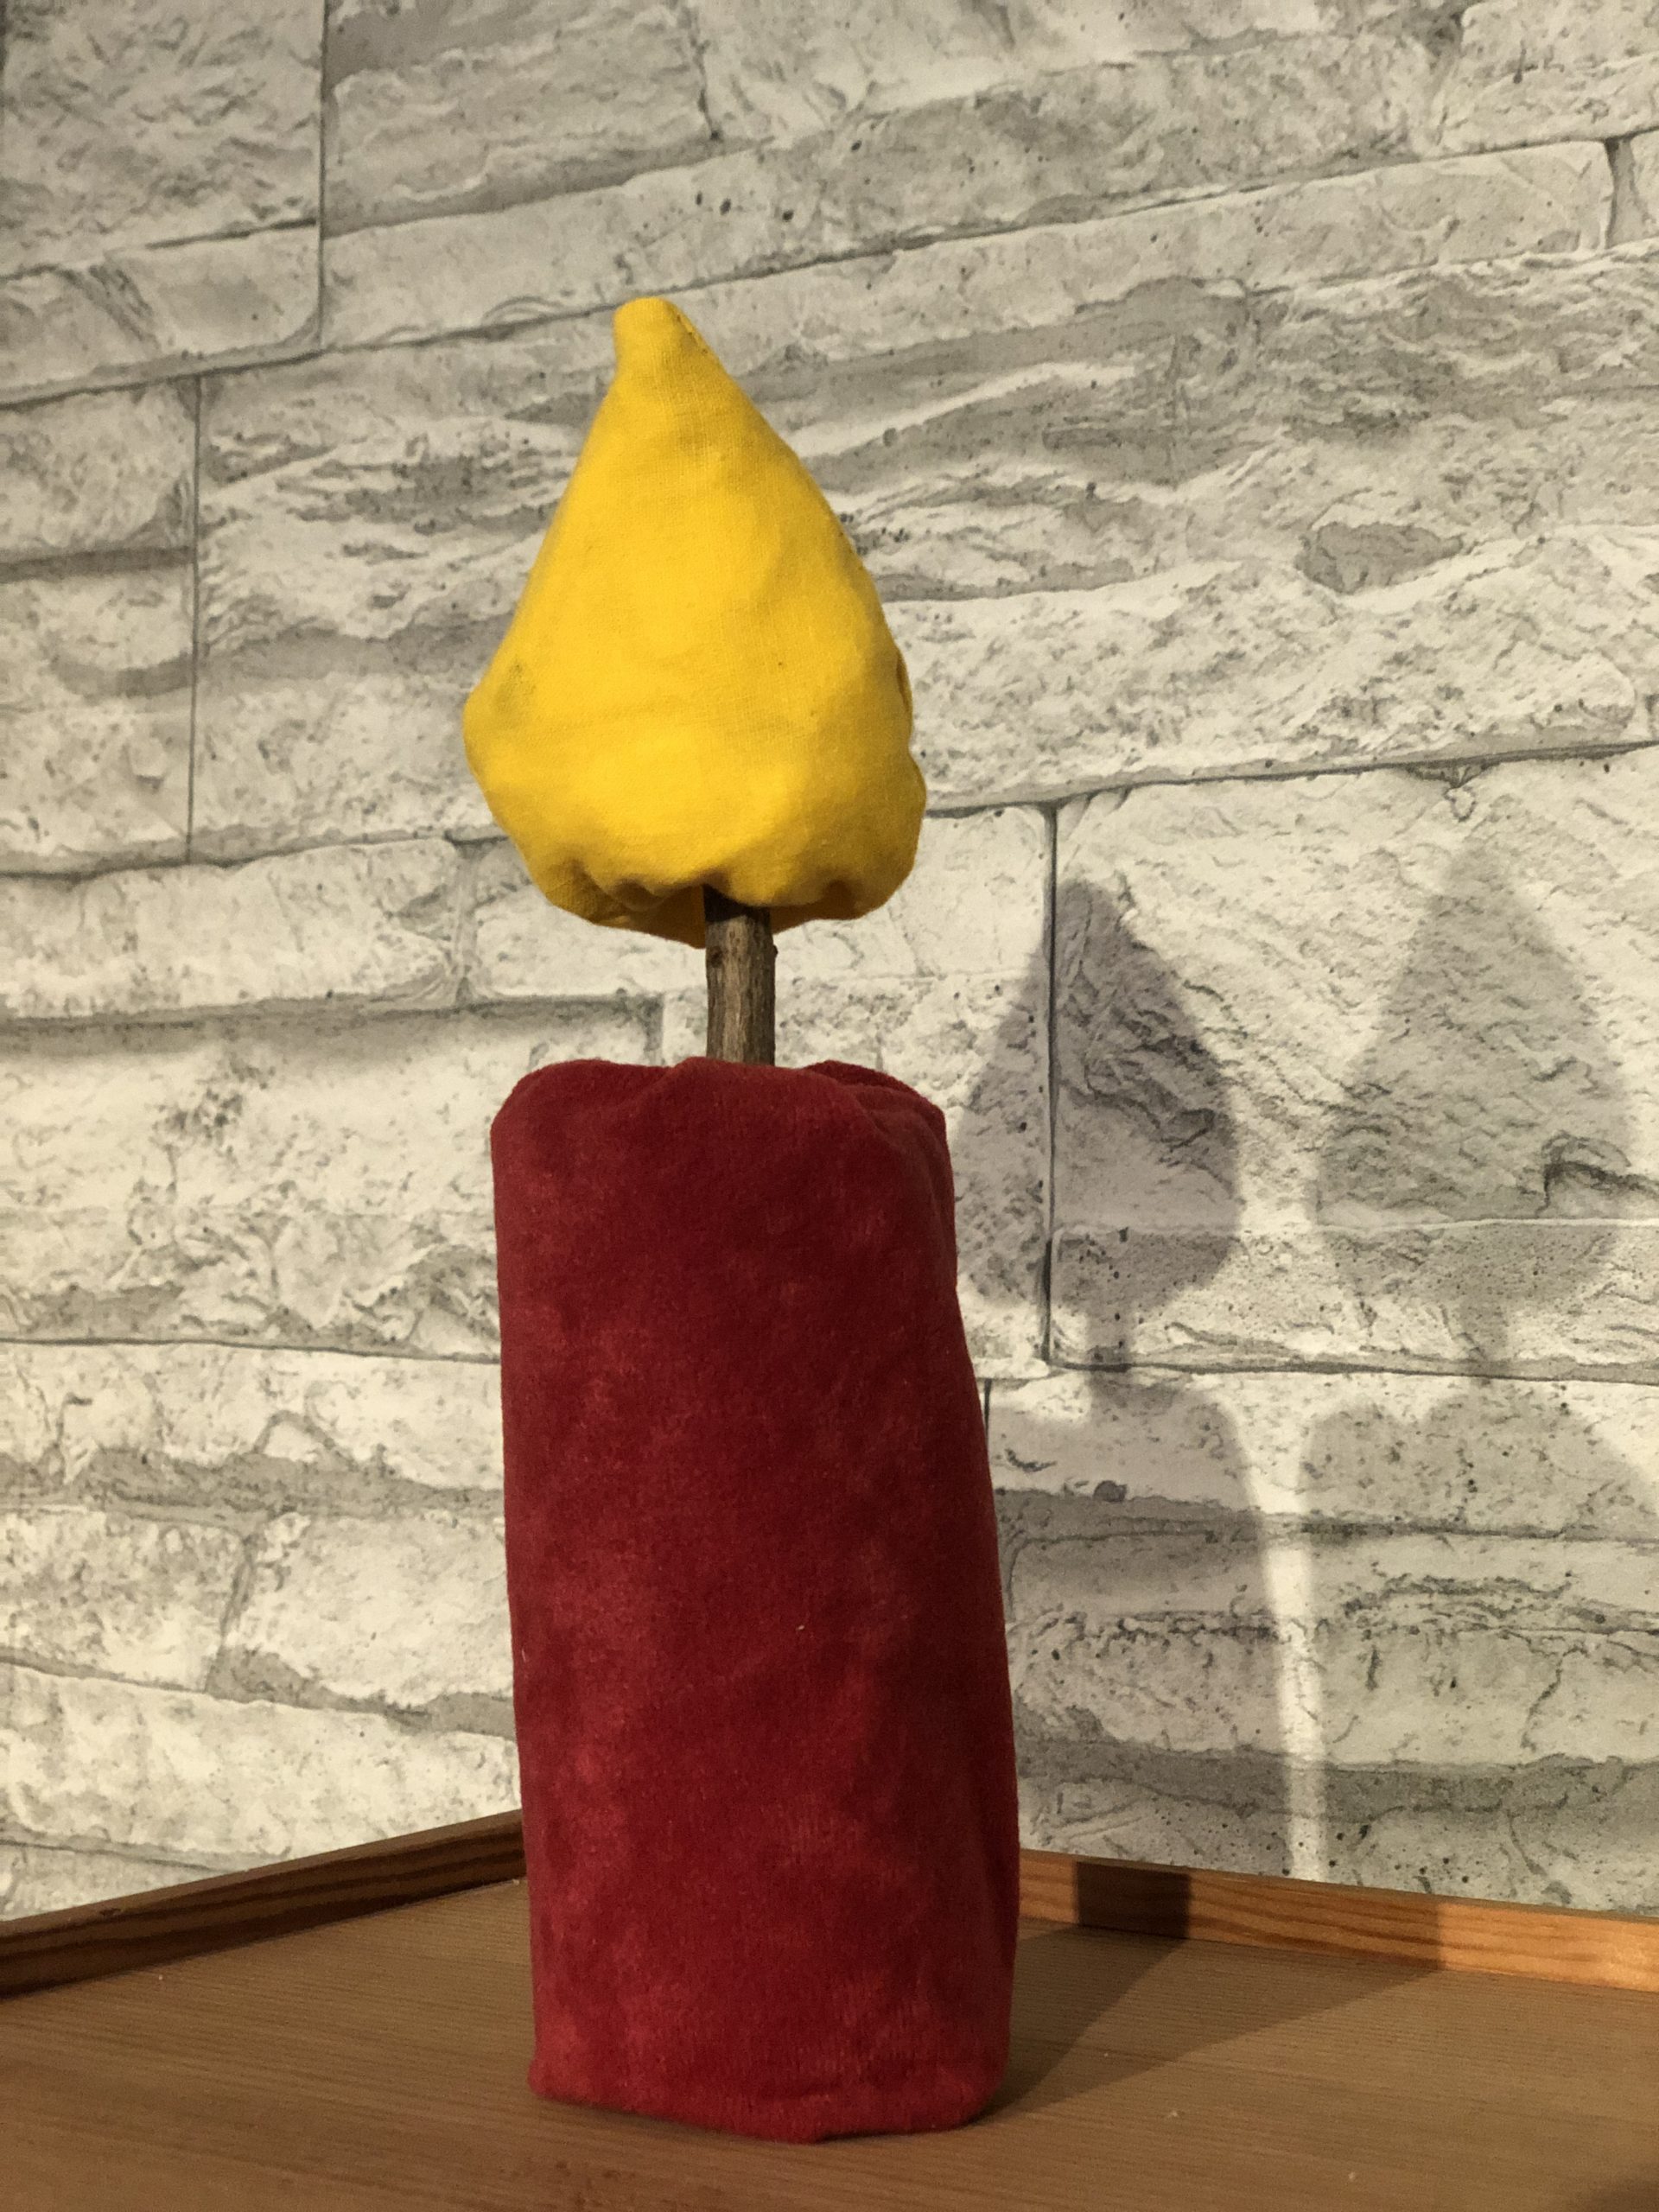
This sturdy sewn candle can be used in Advent or at Christmas time as well as for birthday, as a birthday candle.


Have fun sewing!
Materials
Directions
First cut a piece of foam pipe insulation to the desired length of the candle. This works very well with a cutter knife.
Then cut the fabric for the candle. To do this, wrap the foam with the fabric and add 2cm of fabric at the top, bottom and side.


Put the fabric with the beautiful side (on the right) up on the table. Then wrap the roll with it. The beautiful side is inside, directly on the foam. Now you mark yourself with a pen on the longitudinal side, where you sew the fabric together afterwards. Leave the fabric loose so that you don't draw too tight. Otherwise you won't get the fabric over the roll afterwards.


Remove the roll. Then sew the fabric lengthwise to a hose. Up and down the hose remains open.


Turns the fabric so that the beautiful inside shows outwards.


The colored shell of the candle is finished.


Now wraps the fabric hose over the foam.


Now you position the roll in the middle, so that up and down just as much fabric survives.


Put the overhanging fabric with your fingers in the hole at the top and bottom of the roll.


The stump of the candle is ready!


Print out the template for the flame or paint yourself a flame of this kind.


Cuts two parts of the template. Cuts on the outer line. The inner line symbolizes the sewing seam.


Now you put both pieces of fabric together with the beautiful side (right).


With the sewing machine you sew the two fabric parts together. For this you sew on the inner line of the template.


The straight side at the lower end remains open!


Now you turn the fabric of the sewn flame. Take a pen with which you can squeeze the flame out.


Now fill the flame with fabric residue.


Push the filling material to the tip of the flame.


The straight part of the flame is not filled.


The filled piece of the flame is sewn with a zigzag stitch. This seam doesn't have to be perfect, it is pushed inward and is not visible!


With one finger you now carefully push the straight piece inwards (as with a finger doll!?)


So the straight part disappears almost completely.


Now take your finger out, then you can push into the hole of the branch.


Uses a piece of branch with approx.15cm length, so that the candles stand stable with the flame.


Now carefully push the branch into the hole at the top of the candle.


This is the wick of the candle. It should look up about 5 cm.


On the wick you put the flame.
The candle is ready.
You can fix everything with hot glue or you let them stick and remove.


This candle can be used in many ways, whether as a free-standing candle in the children's room, on an Advent wreath with removable flame. Also as learning material to get to know and name the parts of a candle, it is suitable for crib children and, of course, also for playing.
This sturdy sewn candle can be used in Advent or at Christmas time as well as for birthday, as a birthday candle.


Have fun sewing!
Follow us on Facebook , Instagram and Pinterest
Don't miss any more adventures: Our bottle mail


