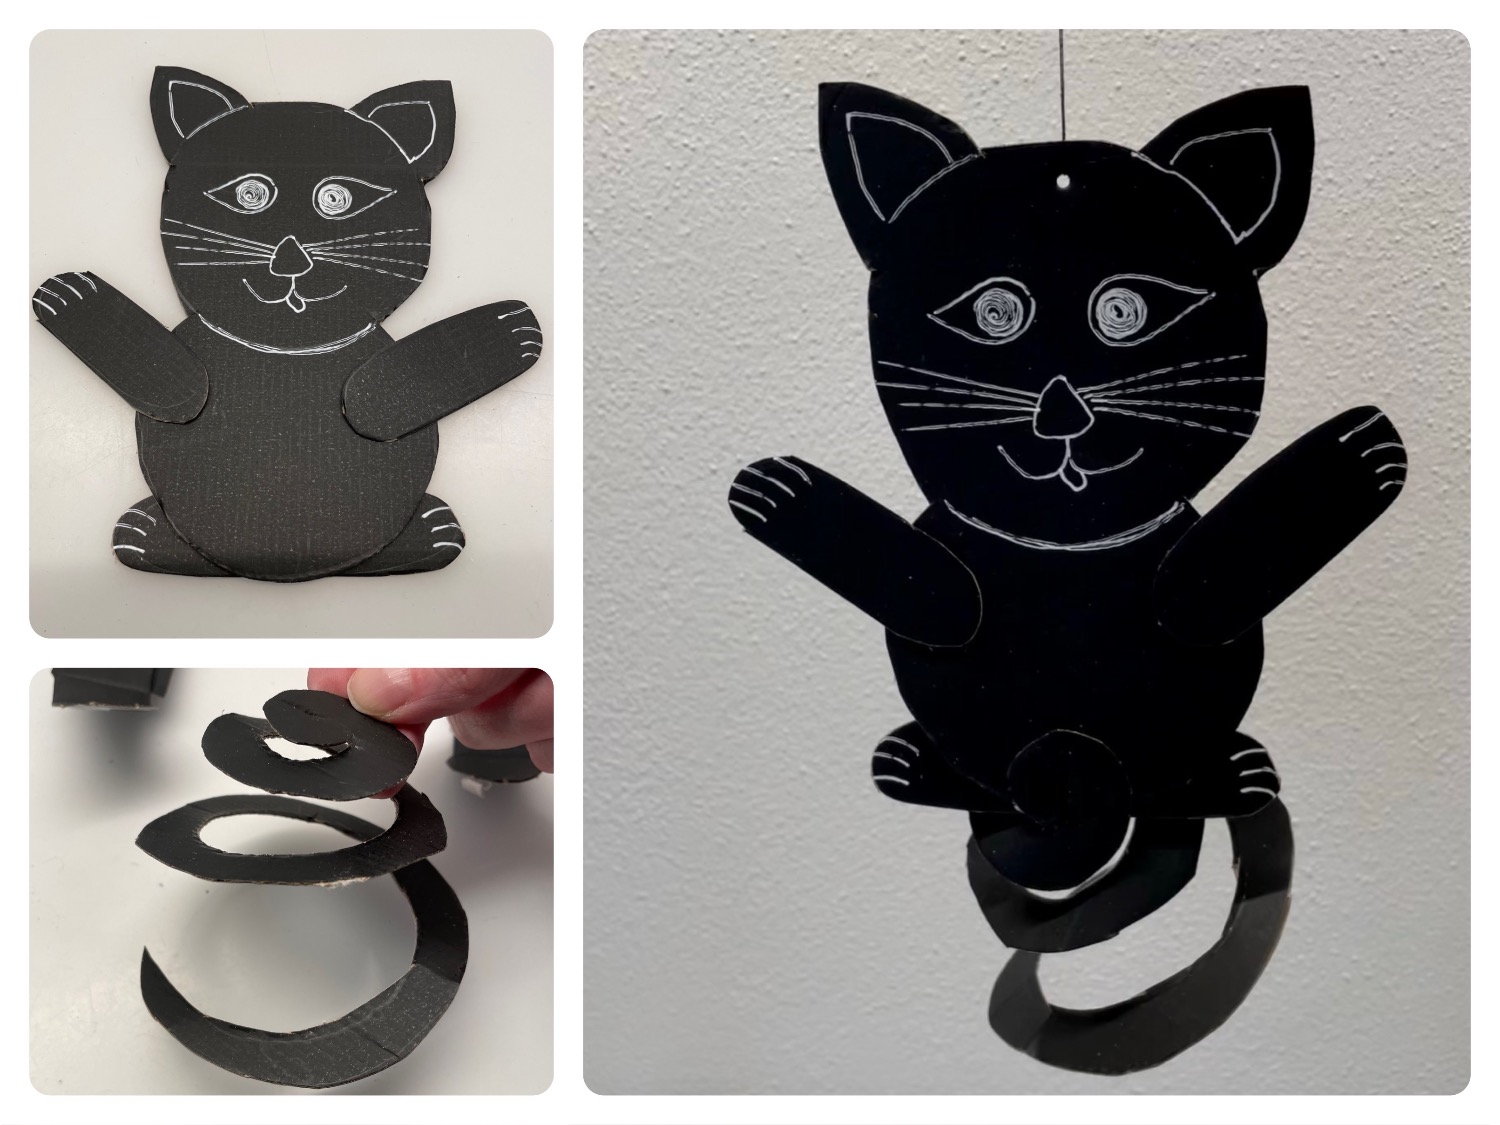
An animal wind game is this cat. Crafts with packaging material, like here a black cardboard of a tomato packaging.
Media Education for Kindergarten and Hort

Relief in everyday life, targeted promotion of individual children, independent learning and - without any pre-knowledge already usable by the youngest!
Put out your craft material and set up all the materials.
If you want to make with packaging material, you can use a monochrome black cardboard of tomatoes. Otherwise you can use black clay paper.
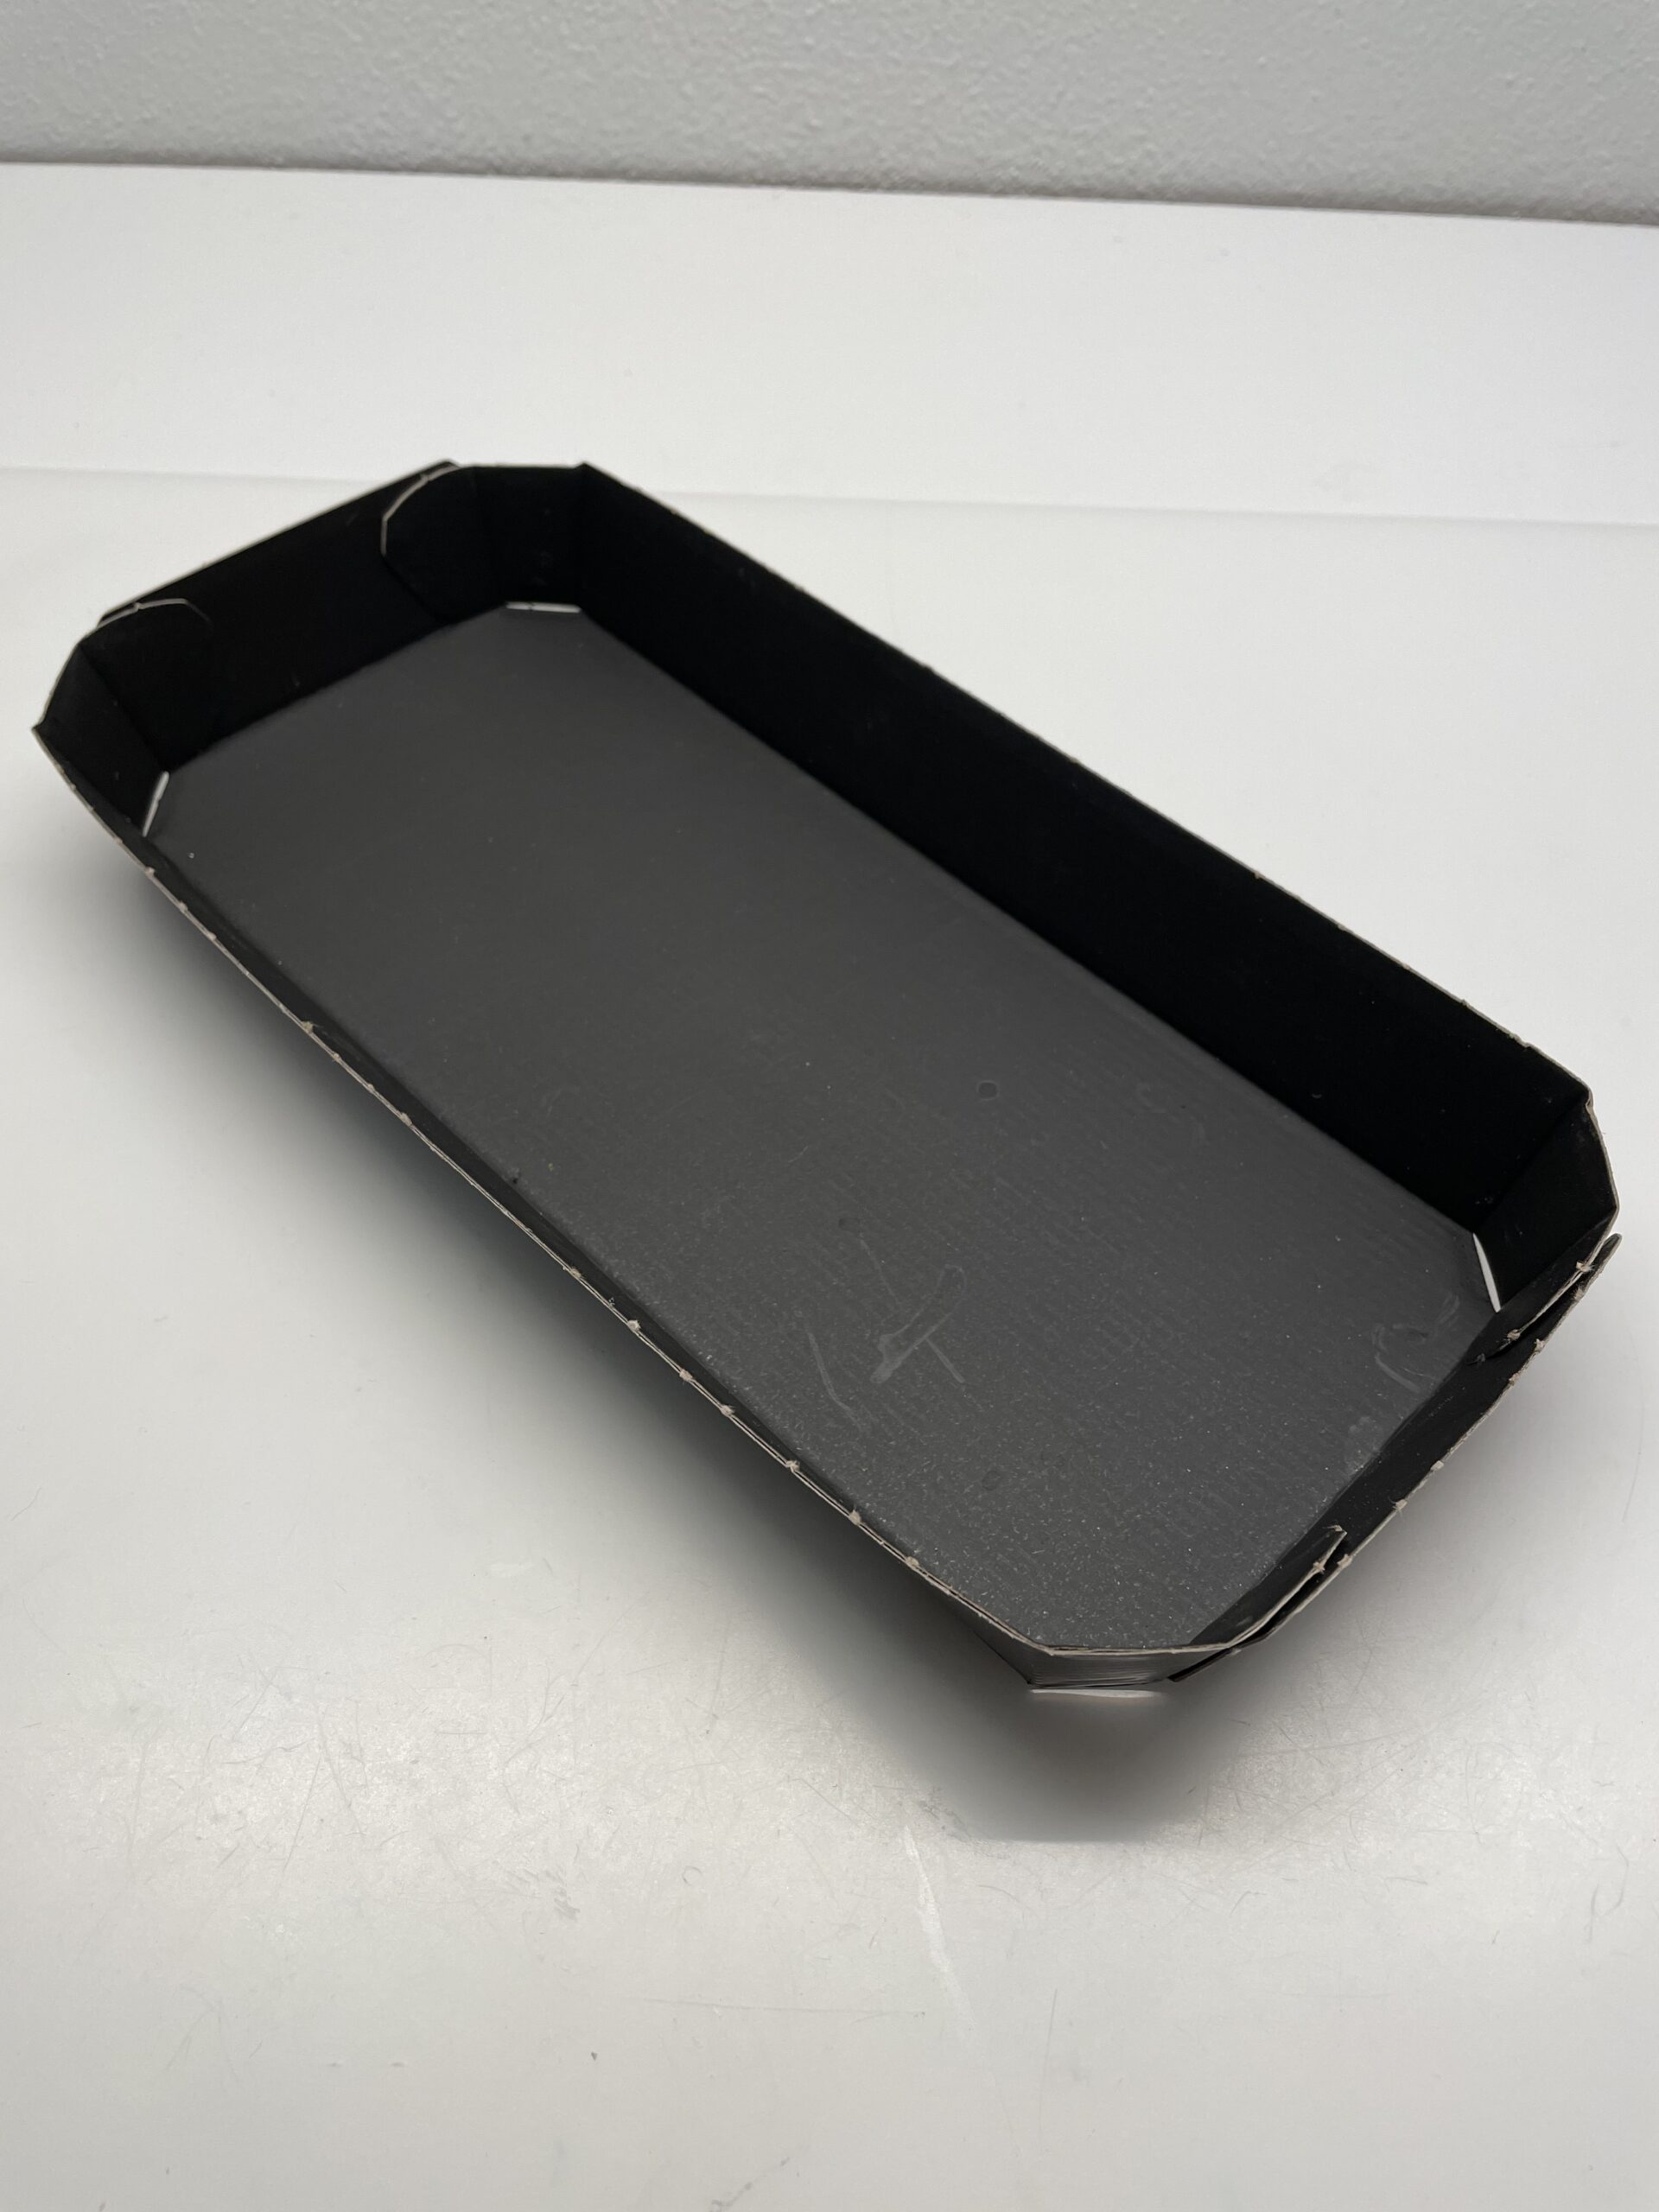
Fold the raised edges apart so that the cardboard is flat in front of you.


Paints on the matt inside two interlocking circles (the head and belly of the cat) this fills about two thirds of the box. Paints on the upper circle the cat's ears.


A circle is painted in the lower third of the box, which is painted on a spiral.
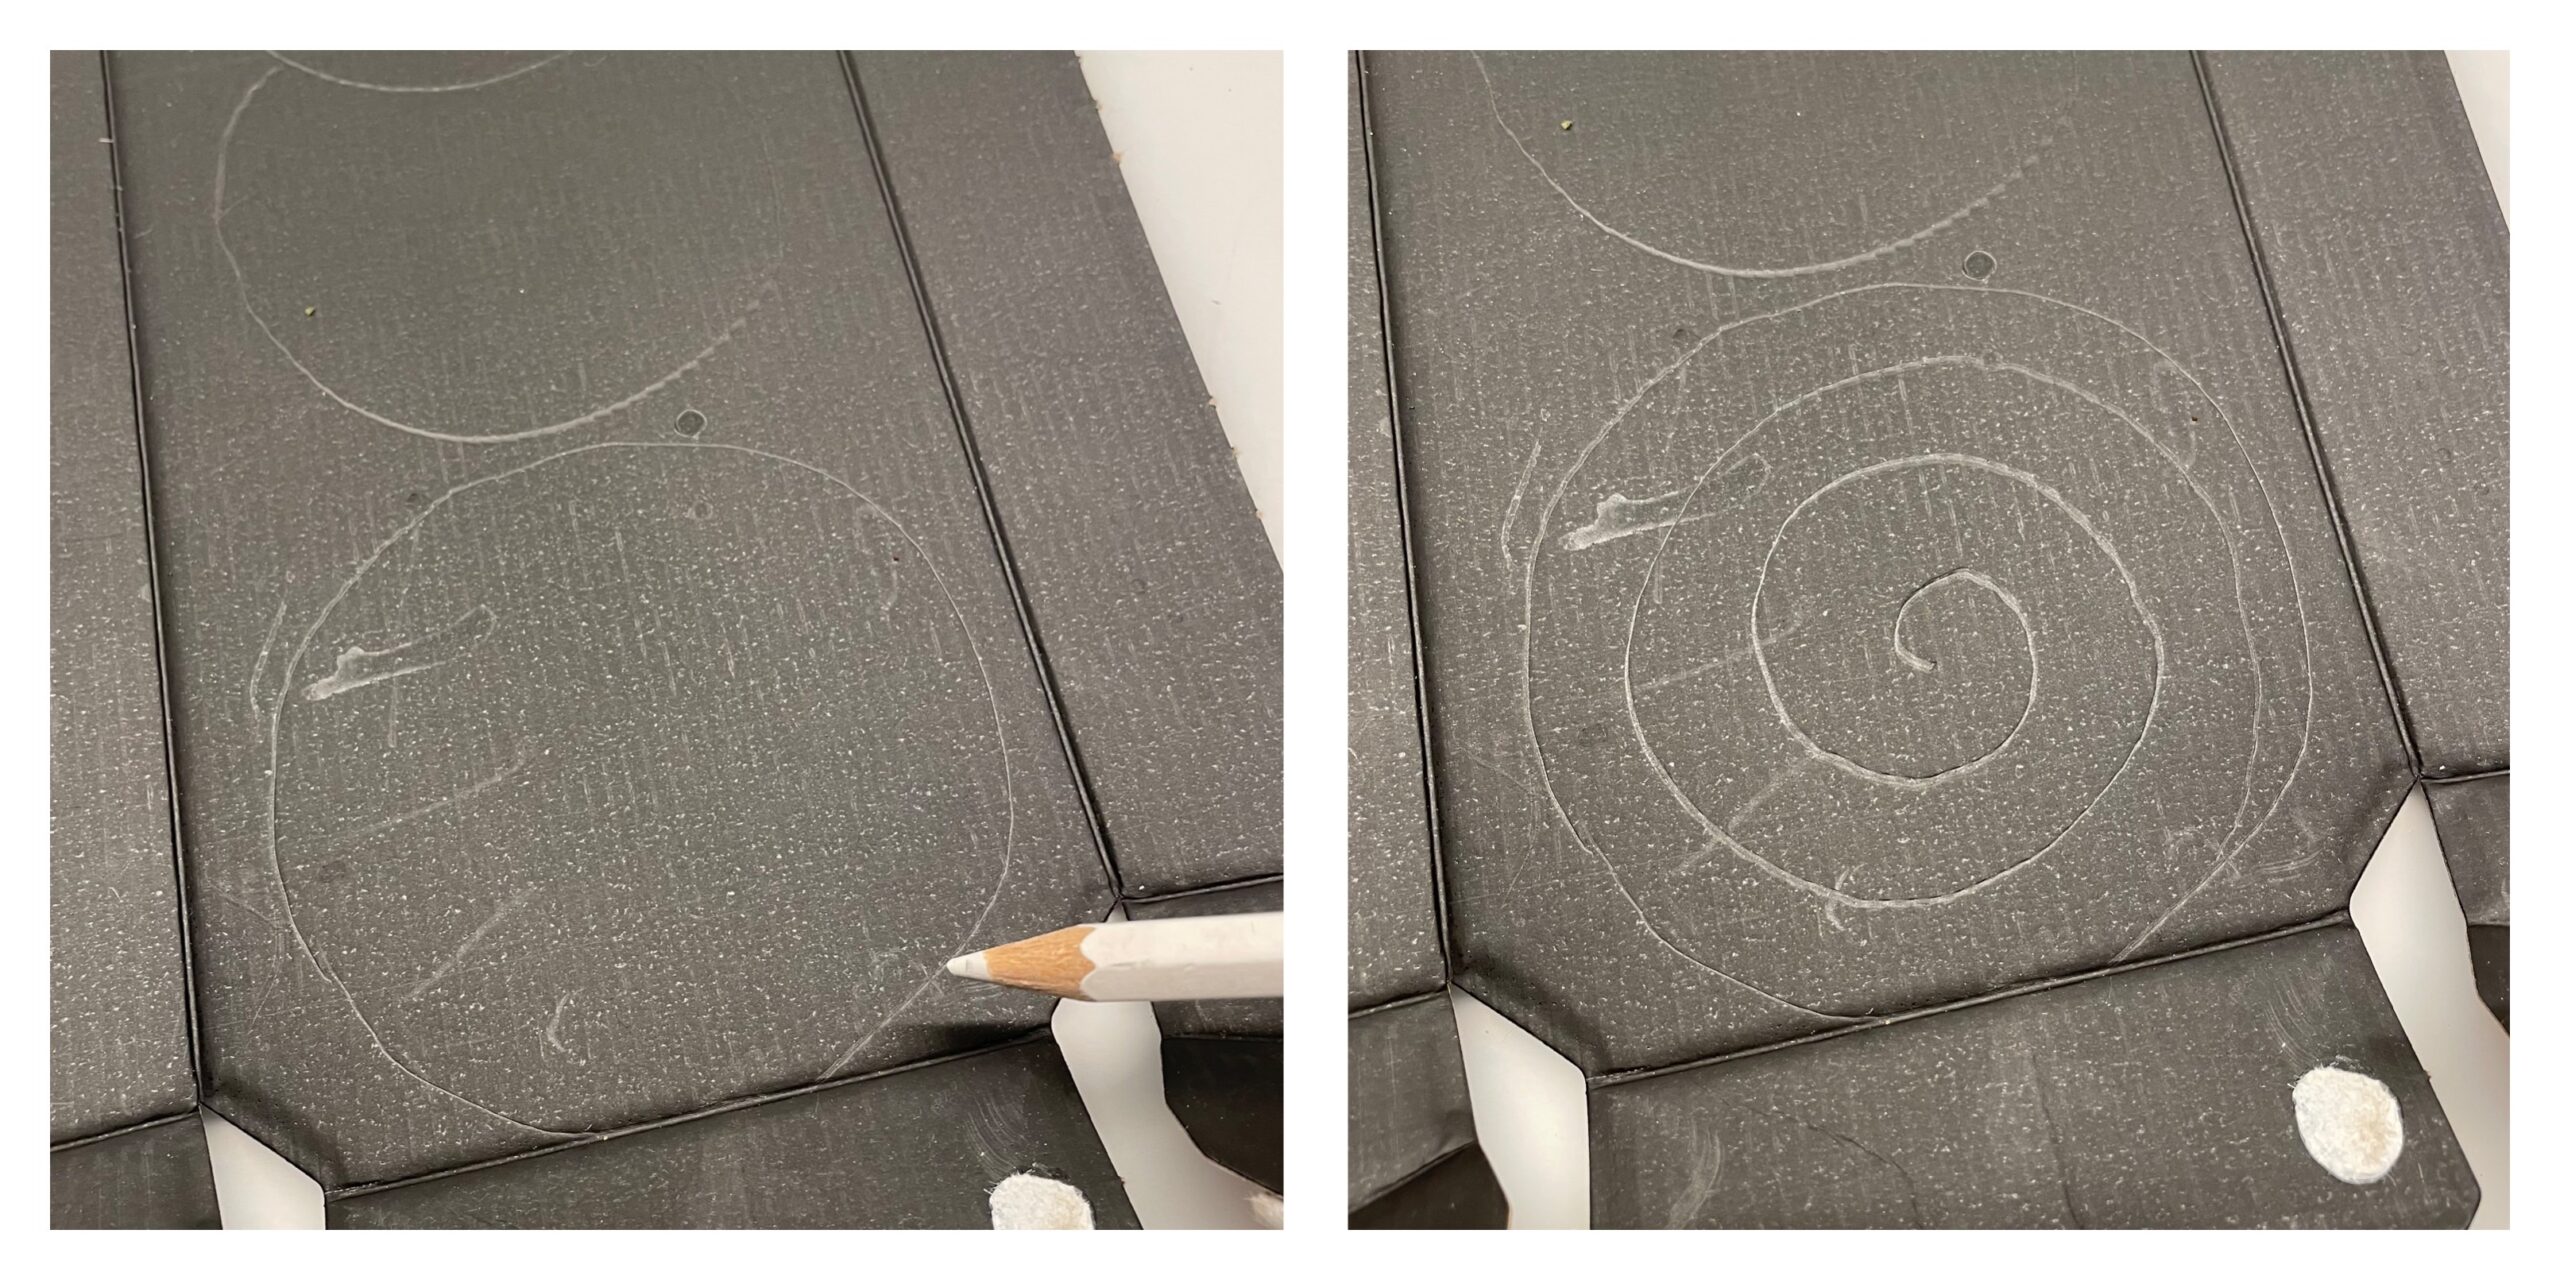


Cuts this circle out coarsely first.
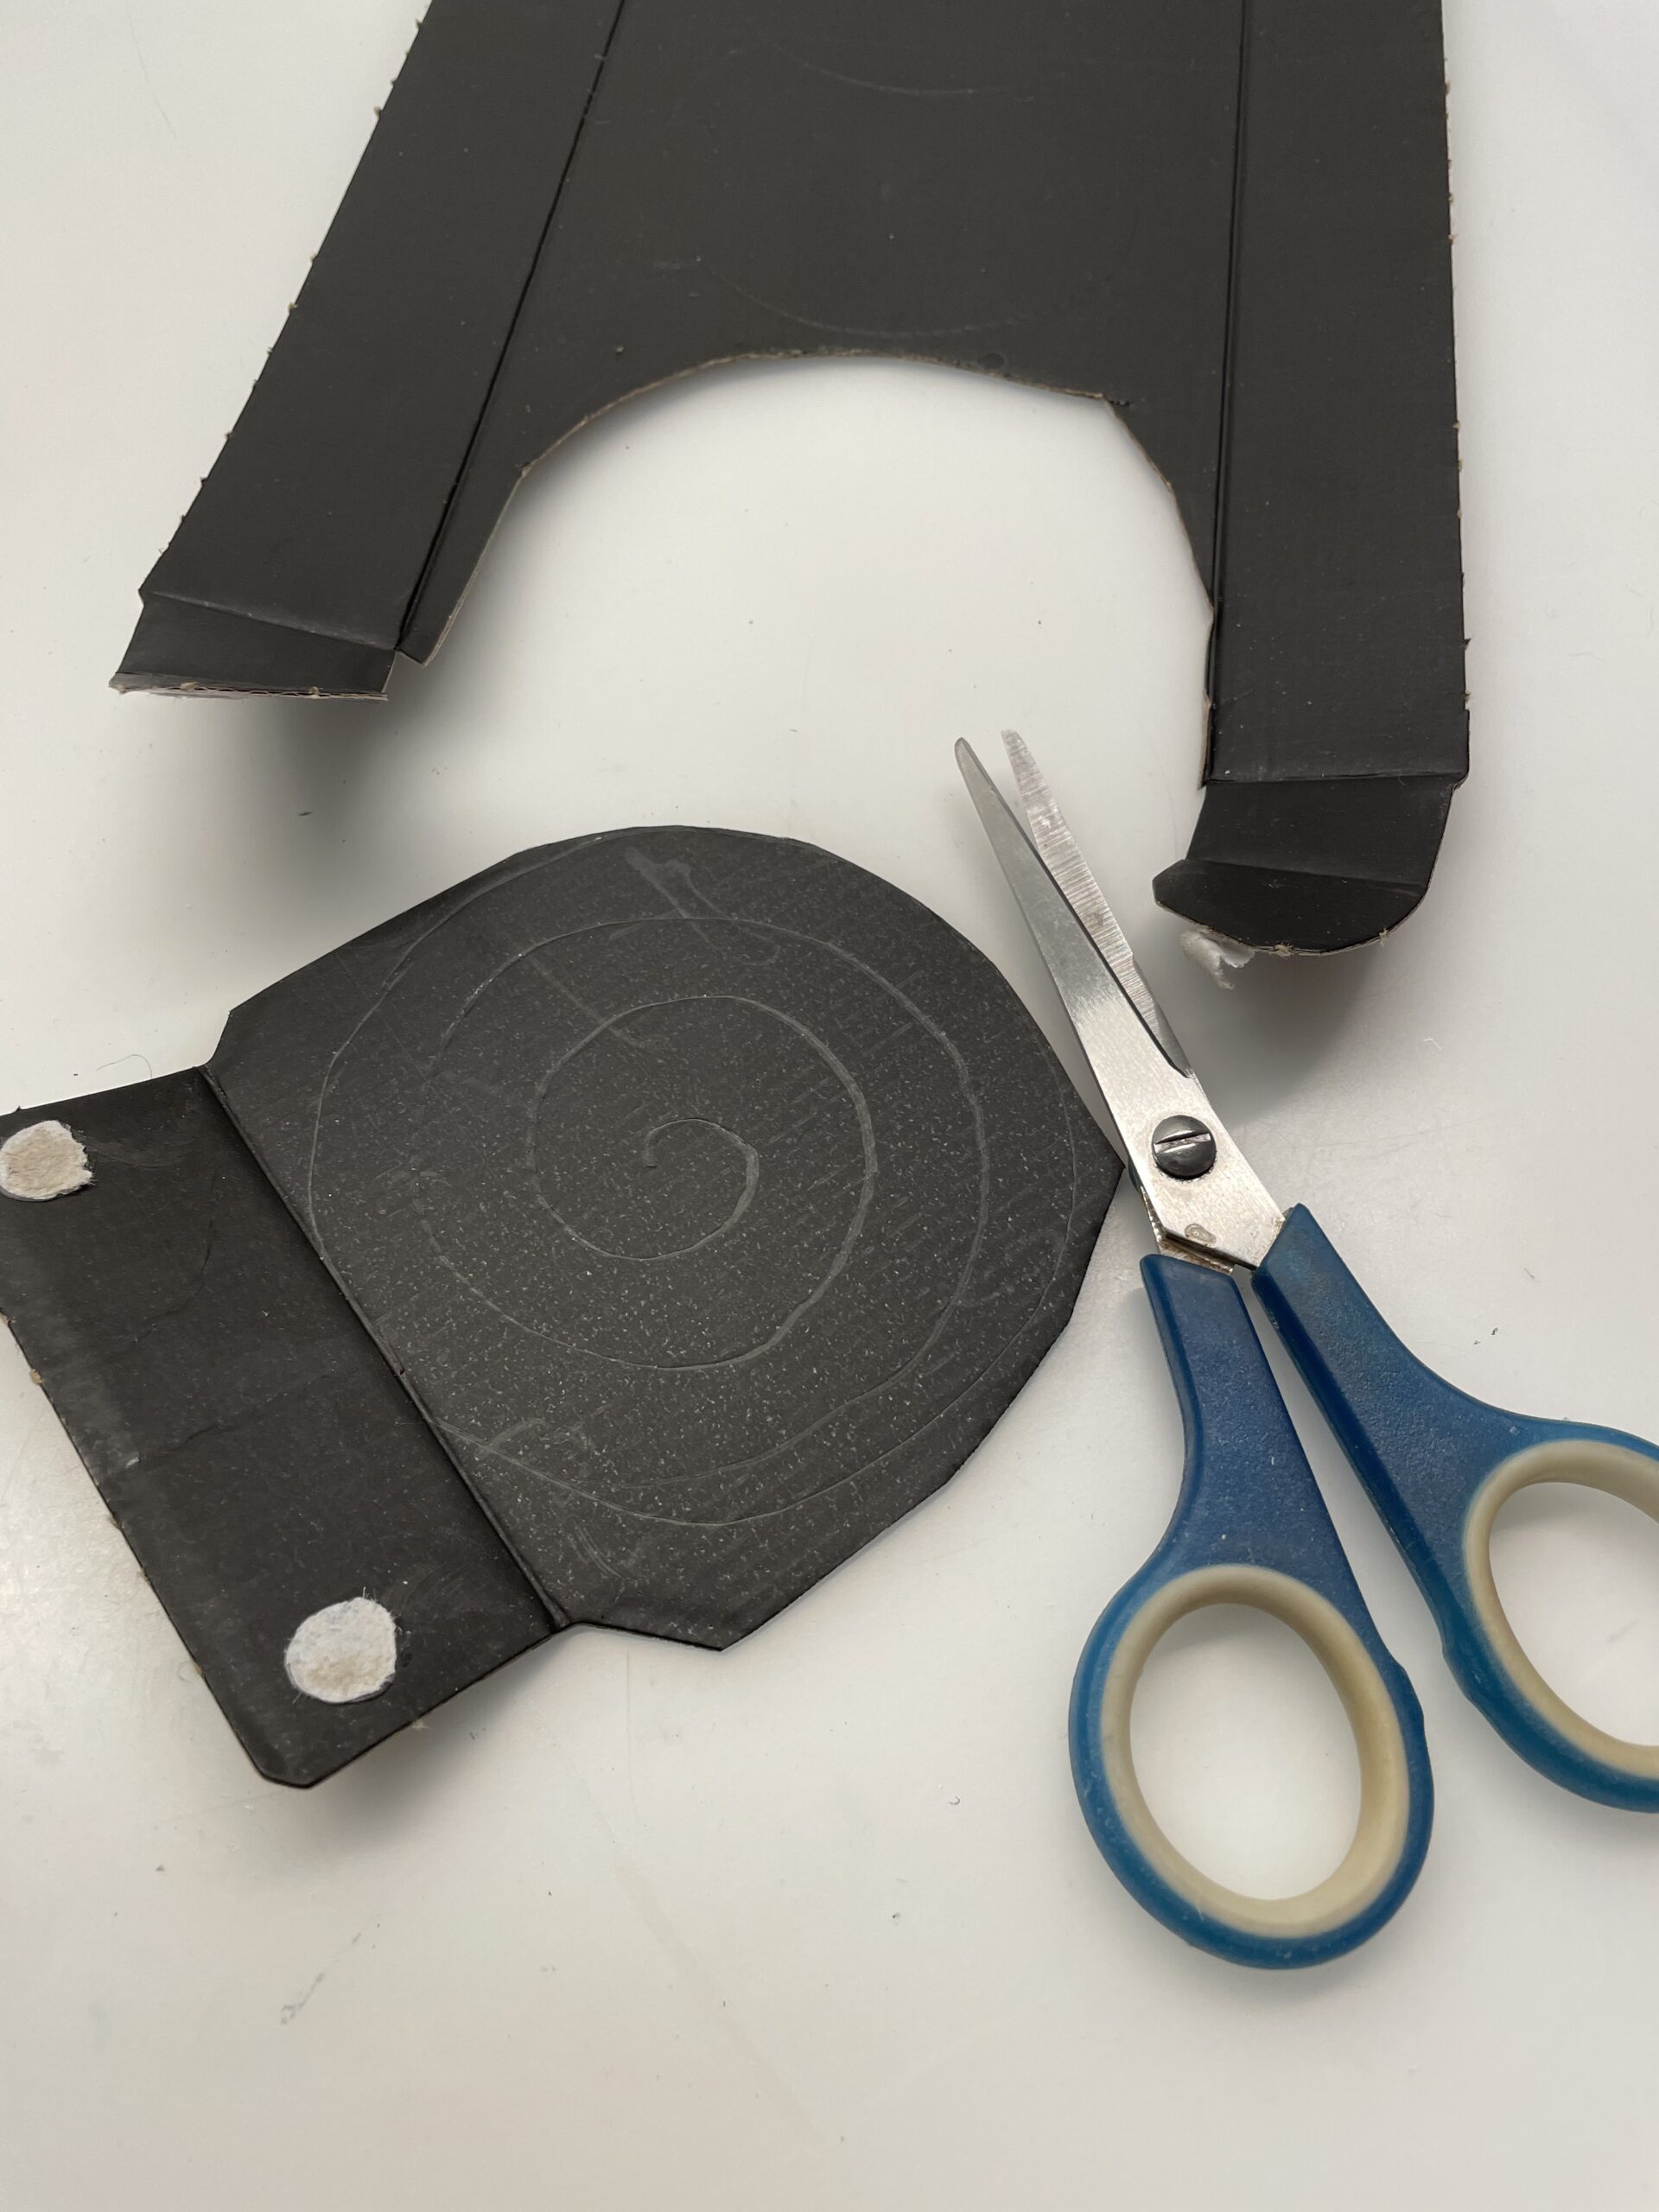


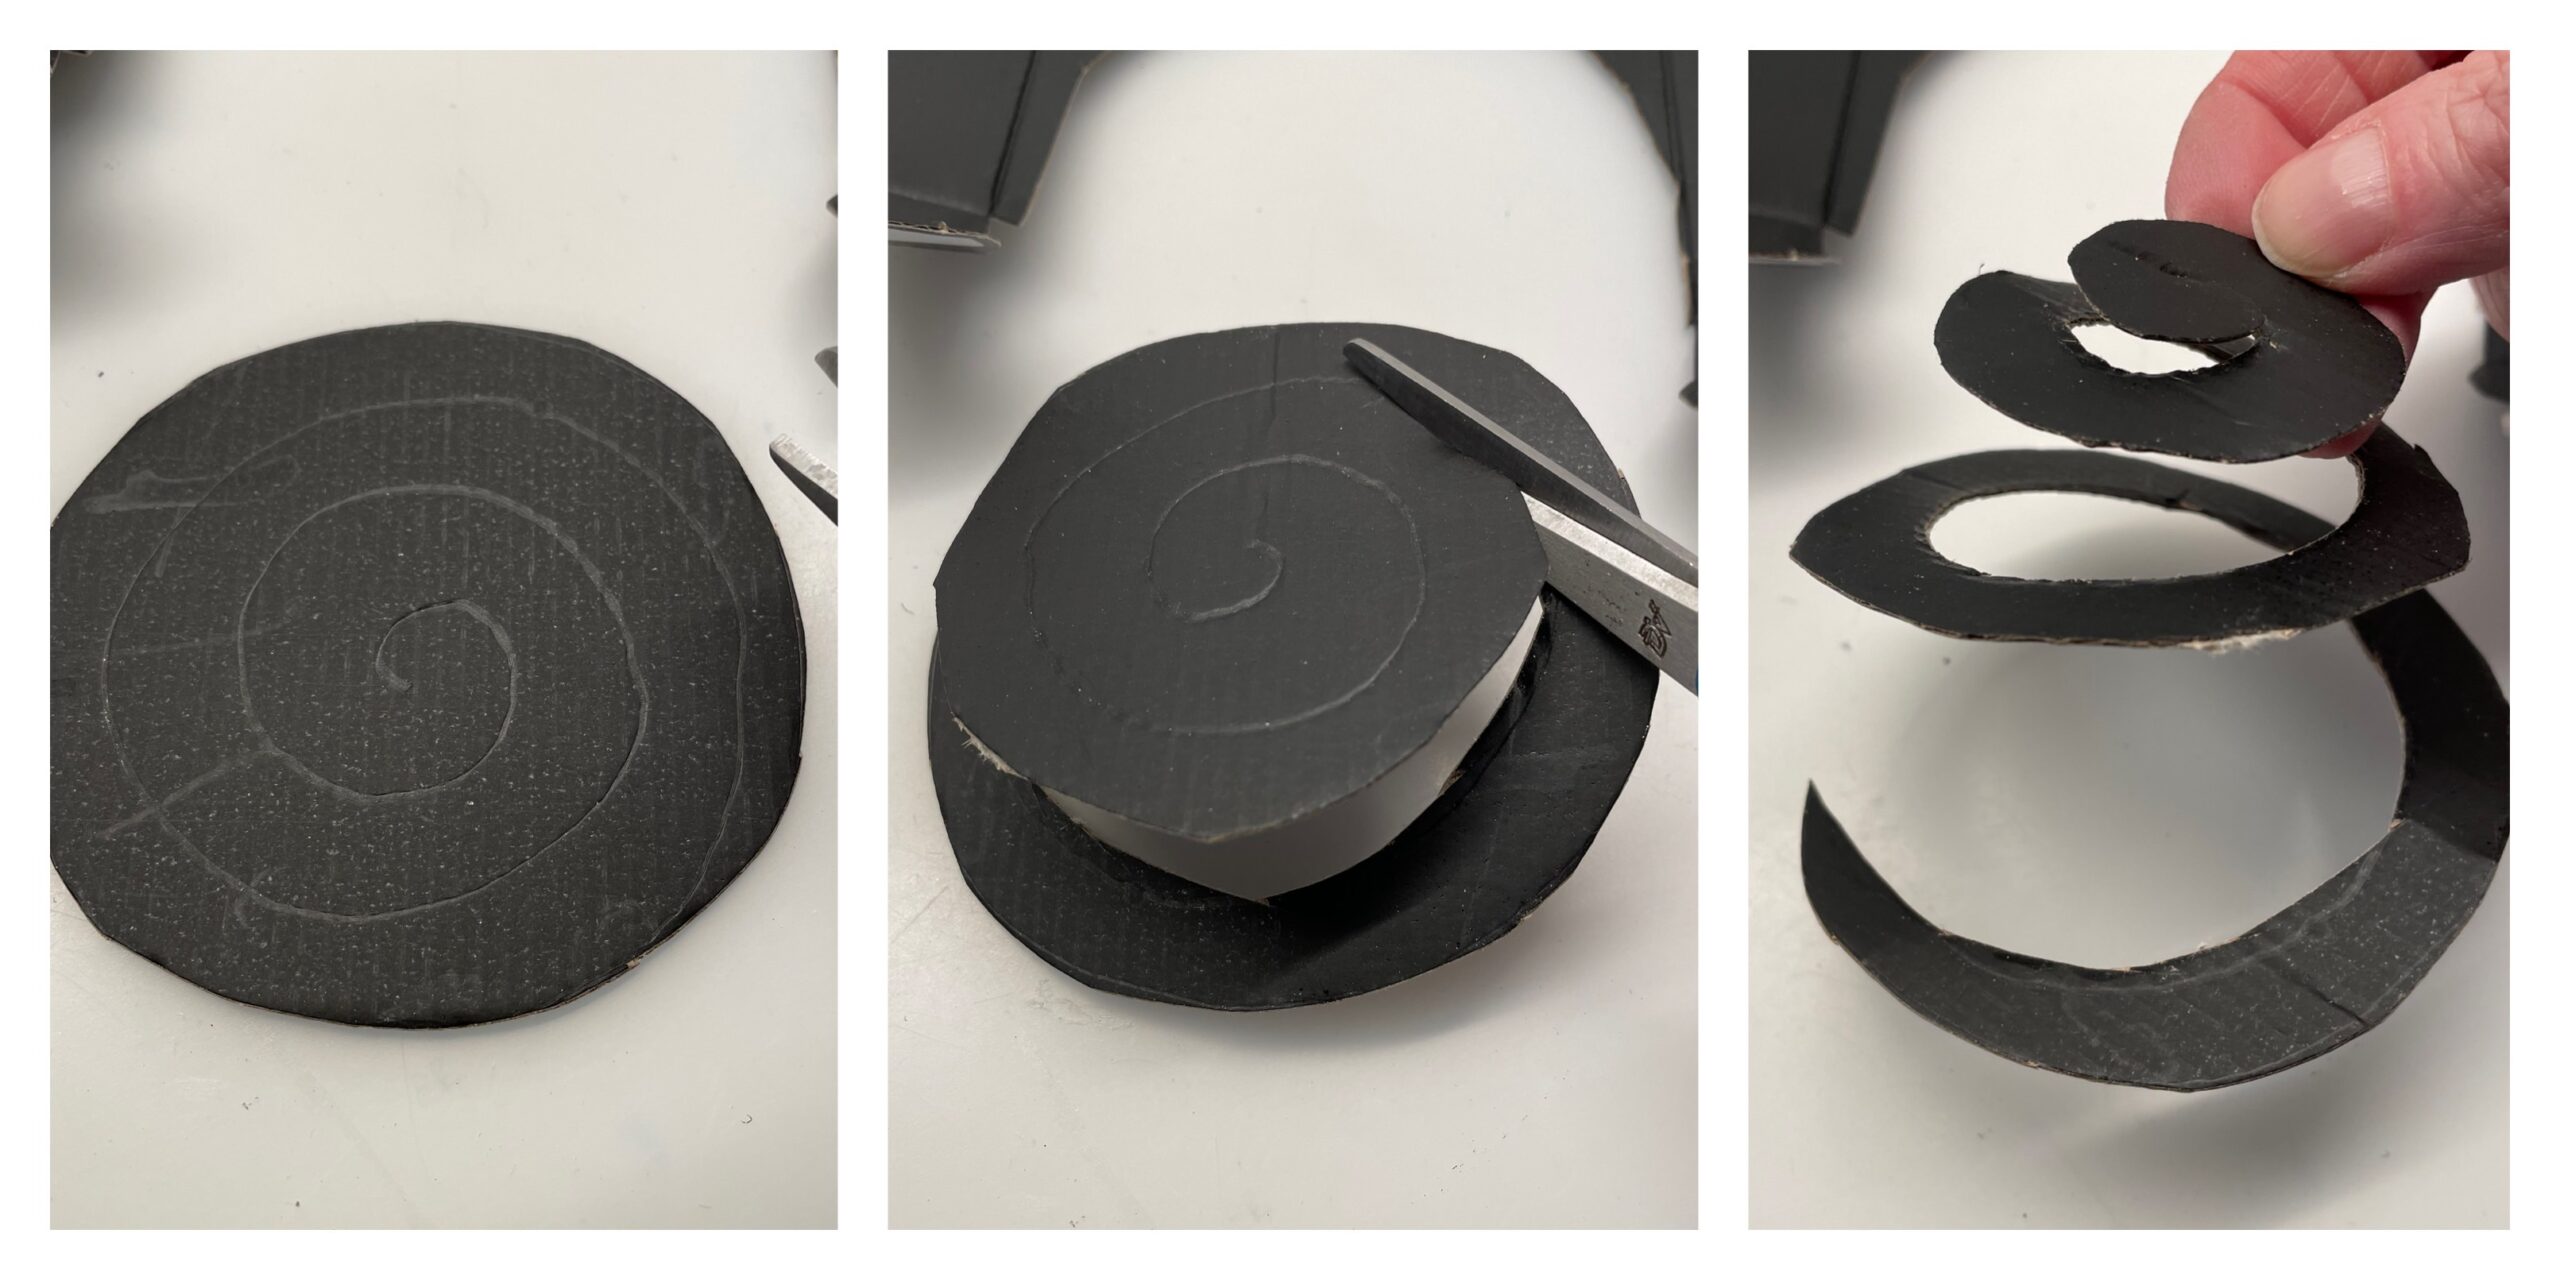
Cut out the circle and then the spiral.
Pull the spiral up a bit.


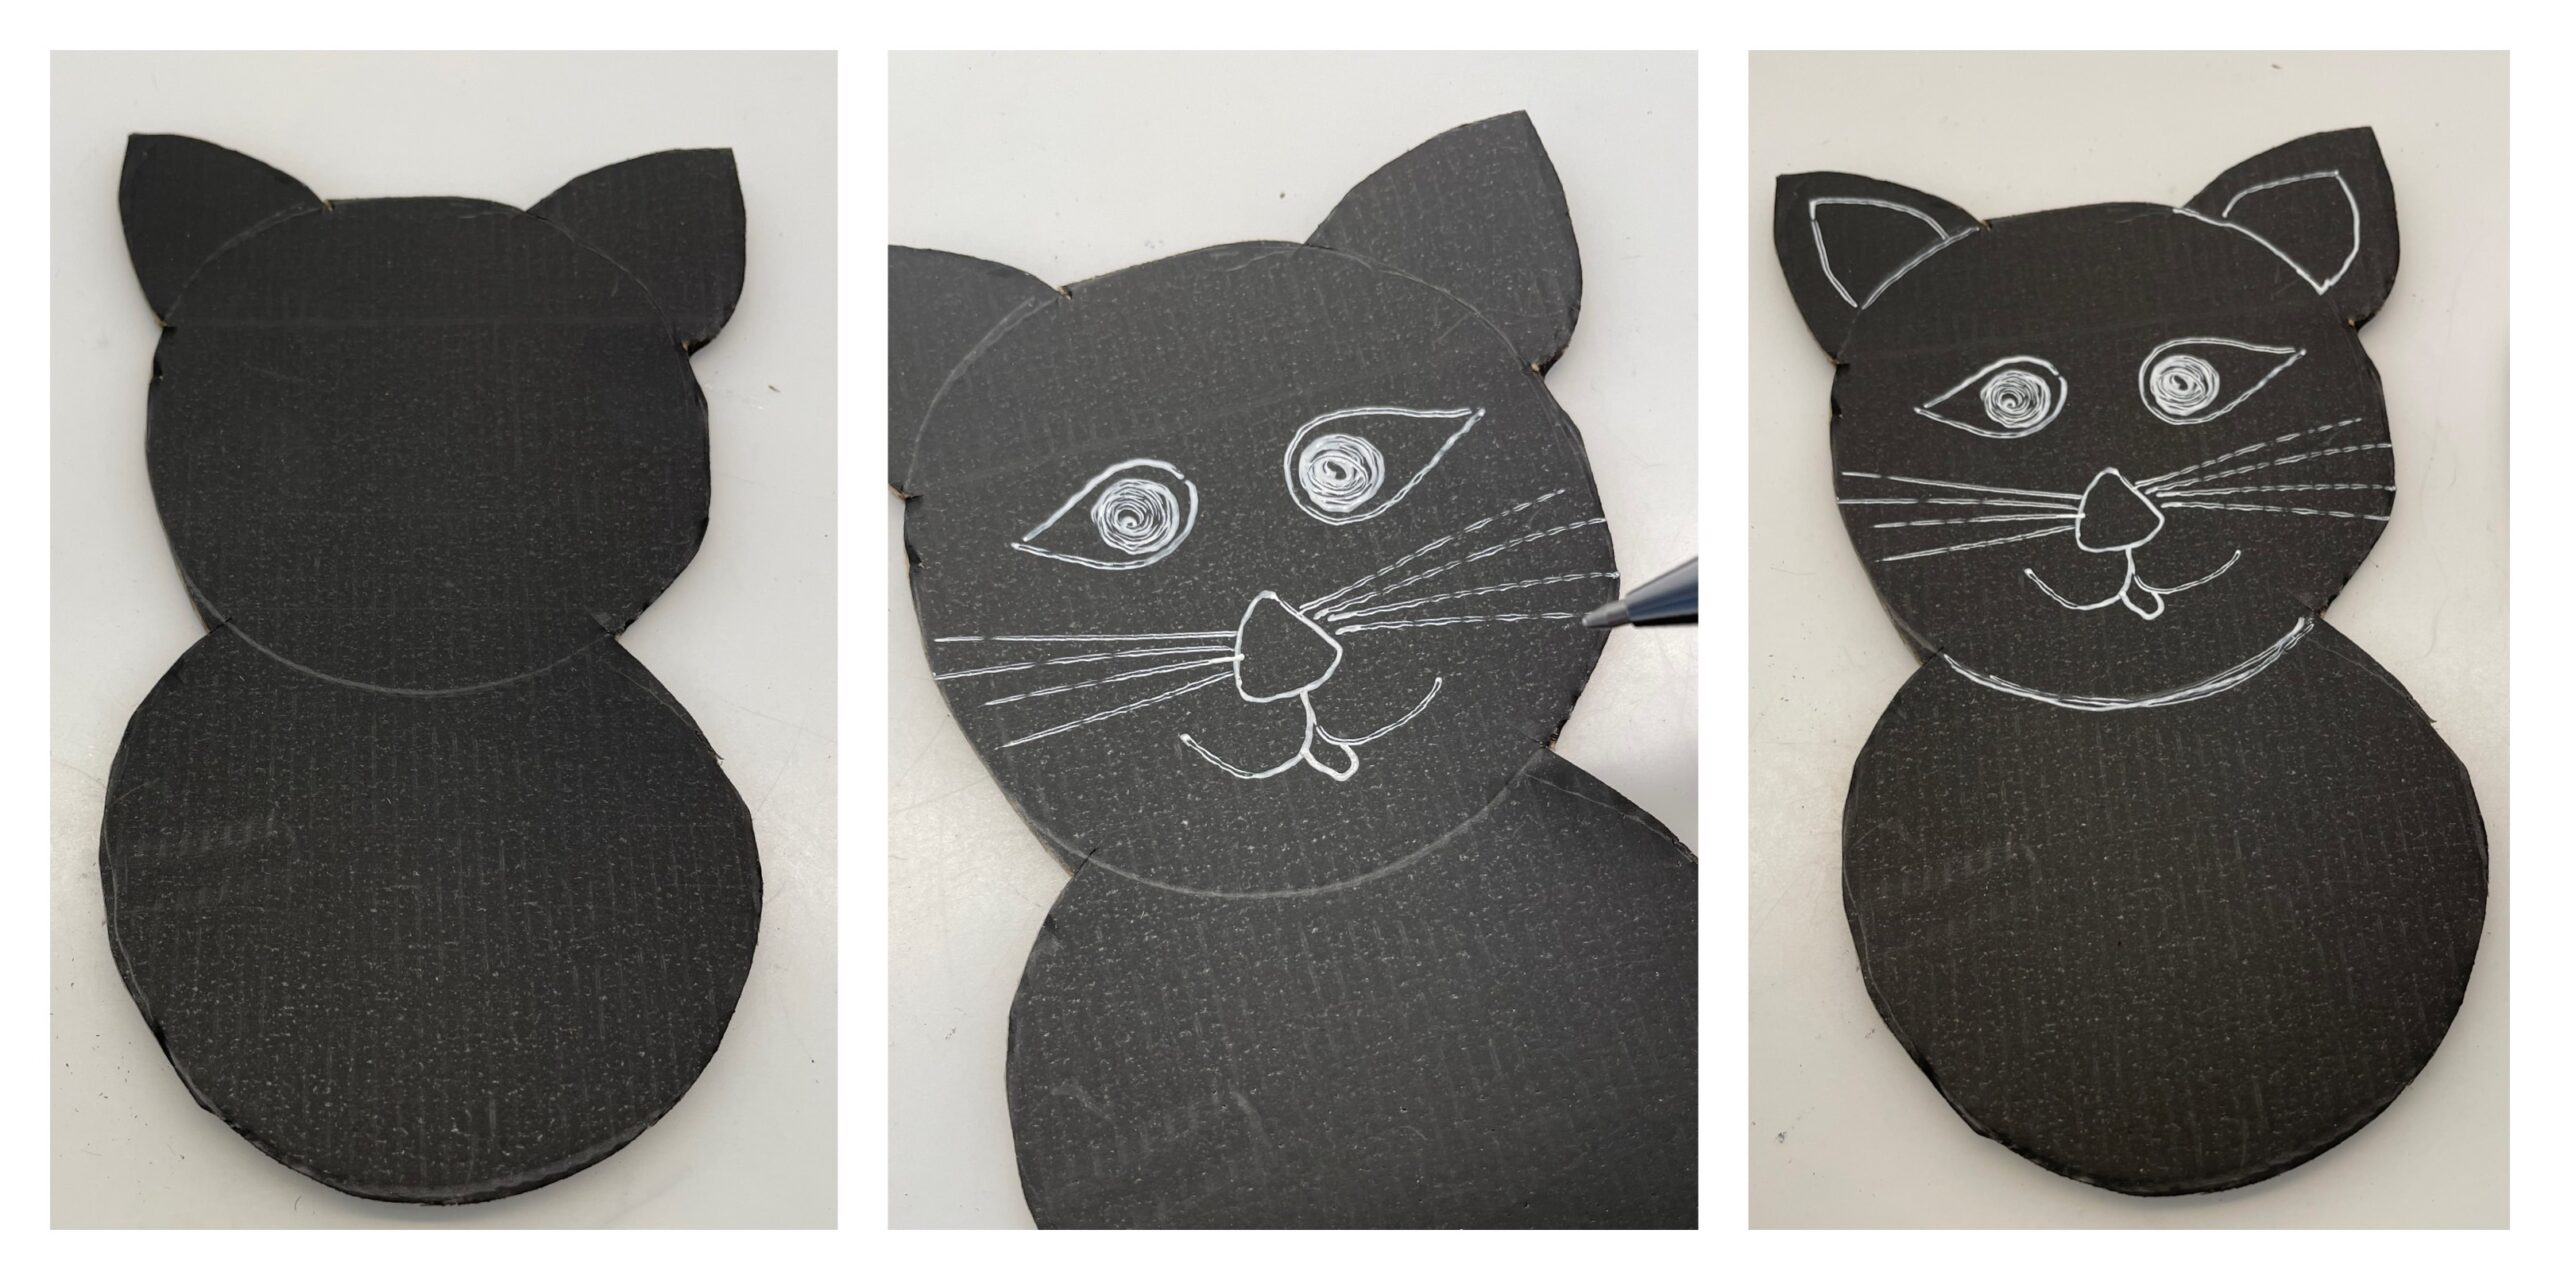
Cuts out the cat's body as a piece. With ears, head and belly.
With a white paint pencil, eyes, nose, muzzle and whiskers are painted. With further details you can embellish the cat.


From the side stripes you can make arms and legs. Paint them up and cut them out. Glue arms and legs to the cat body.
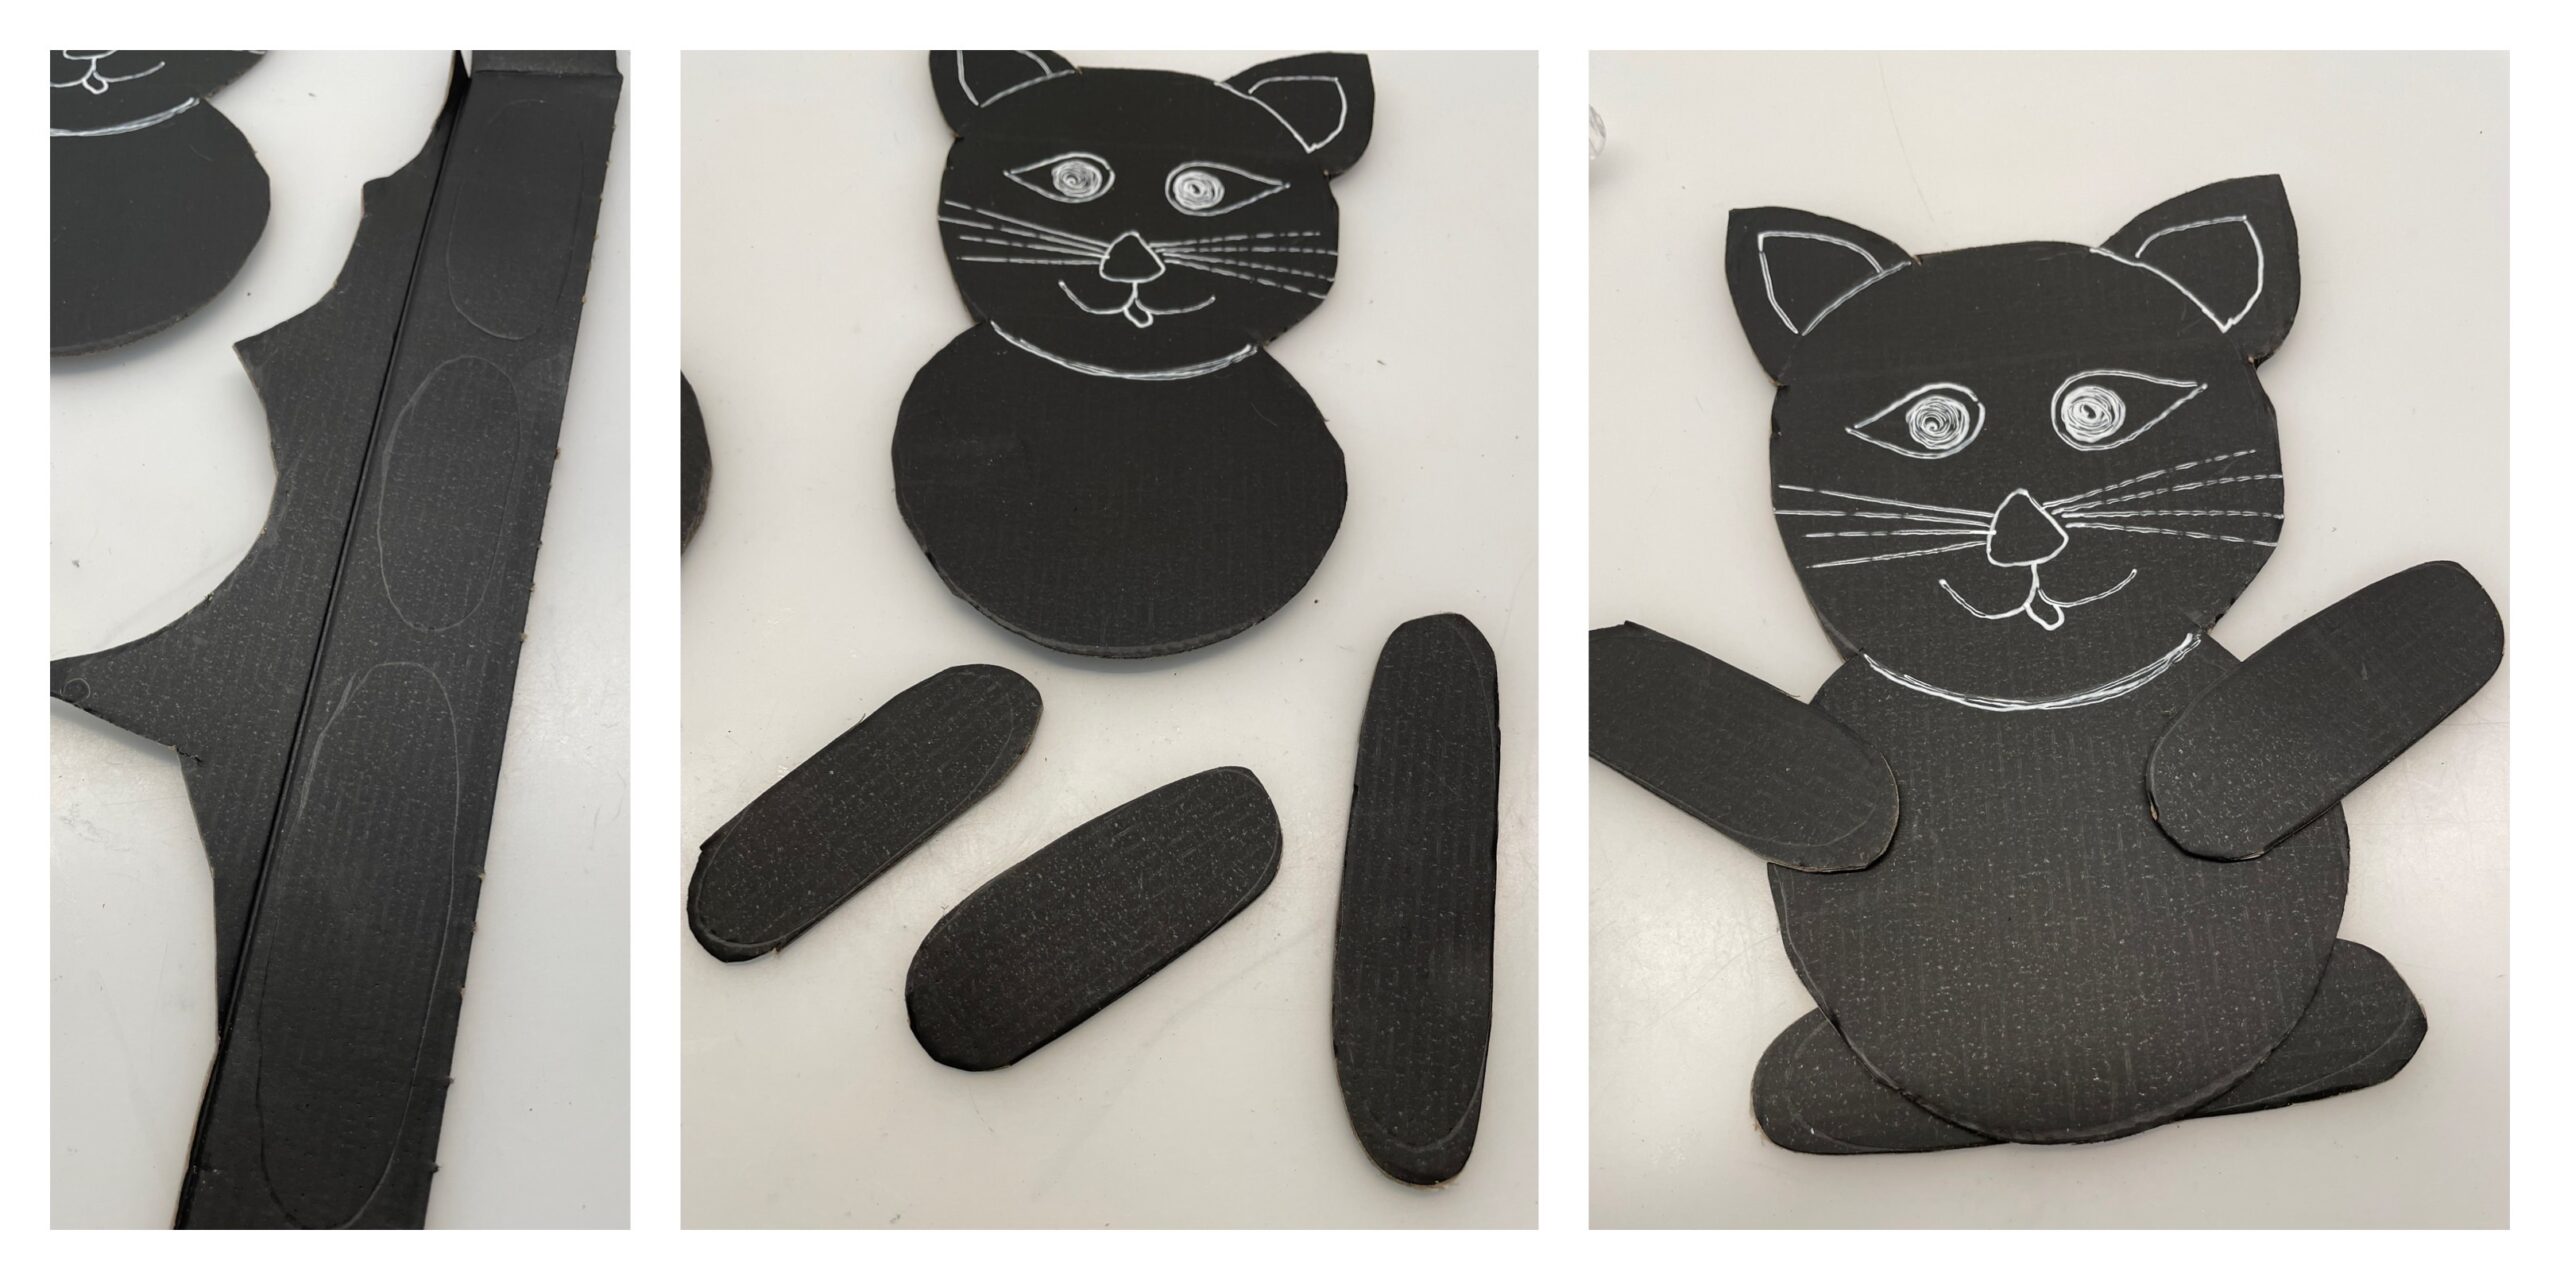


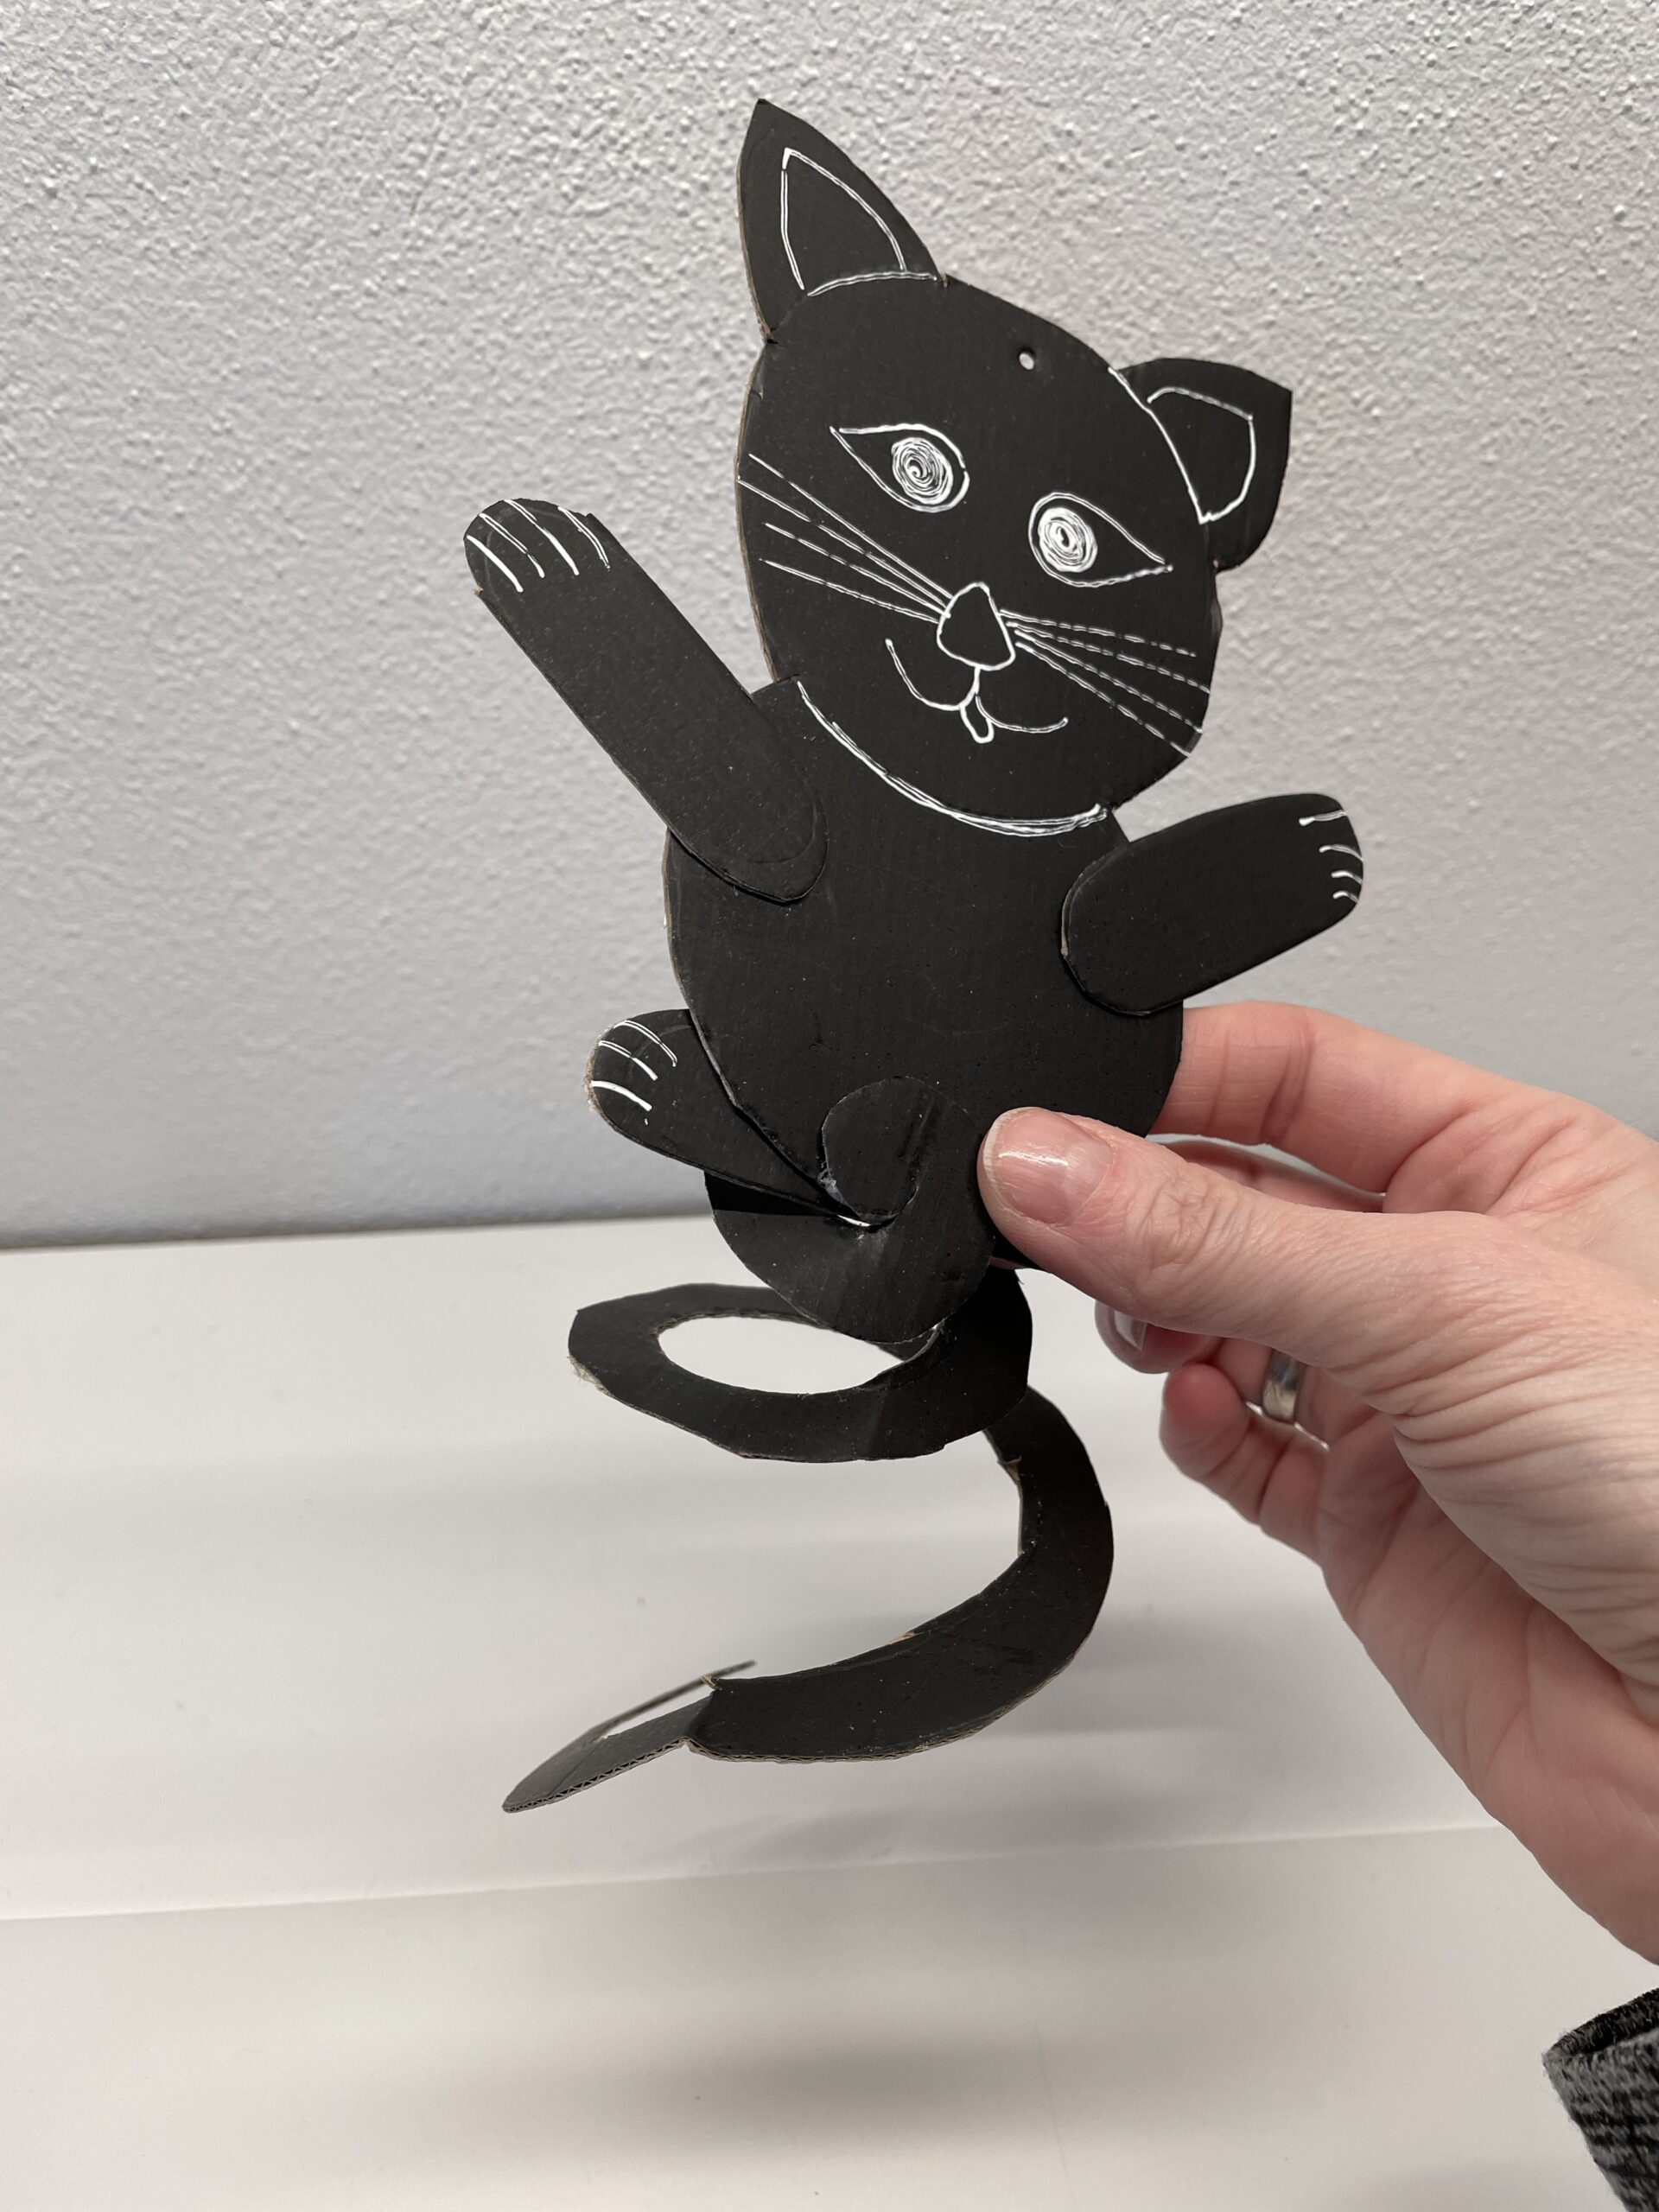
This is how your cat looks now.
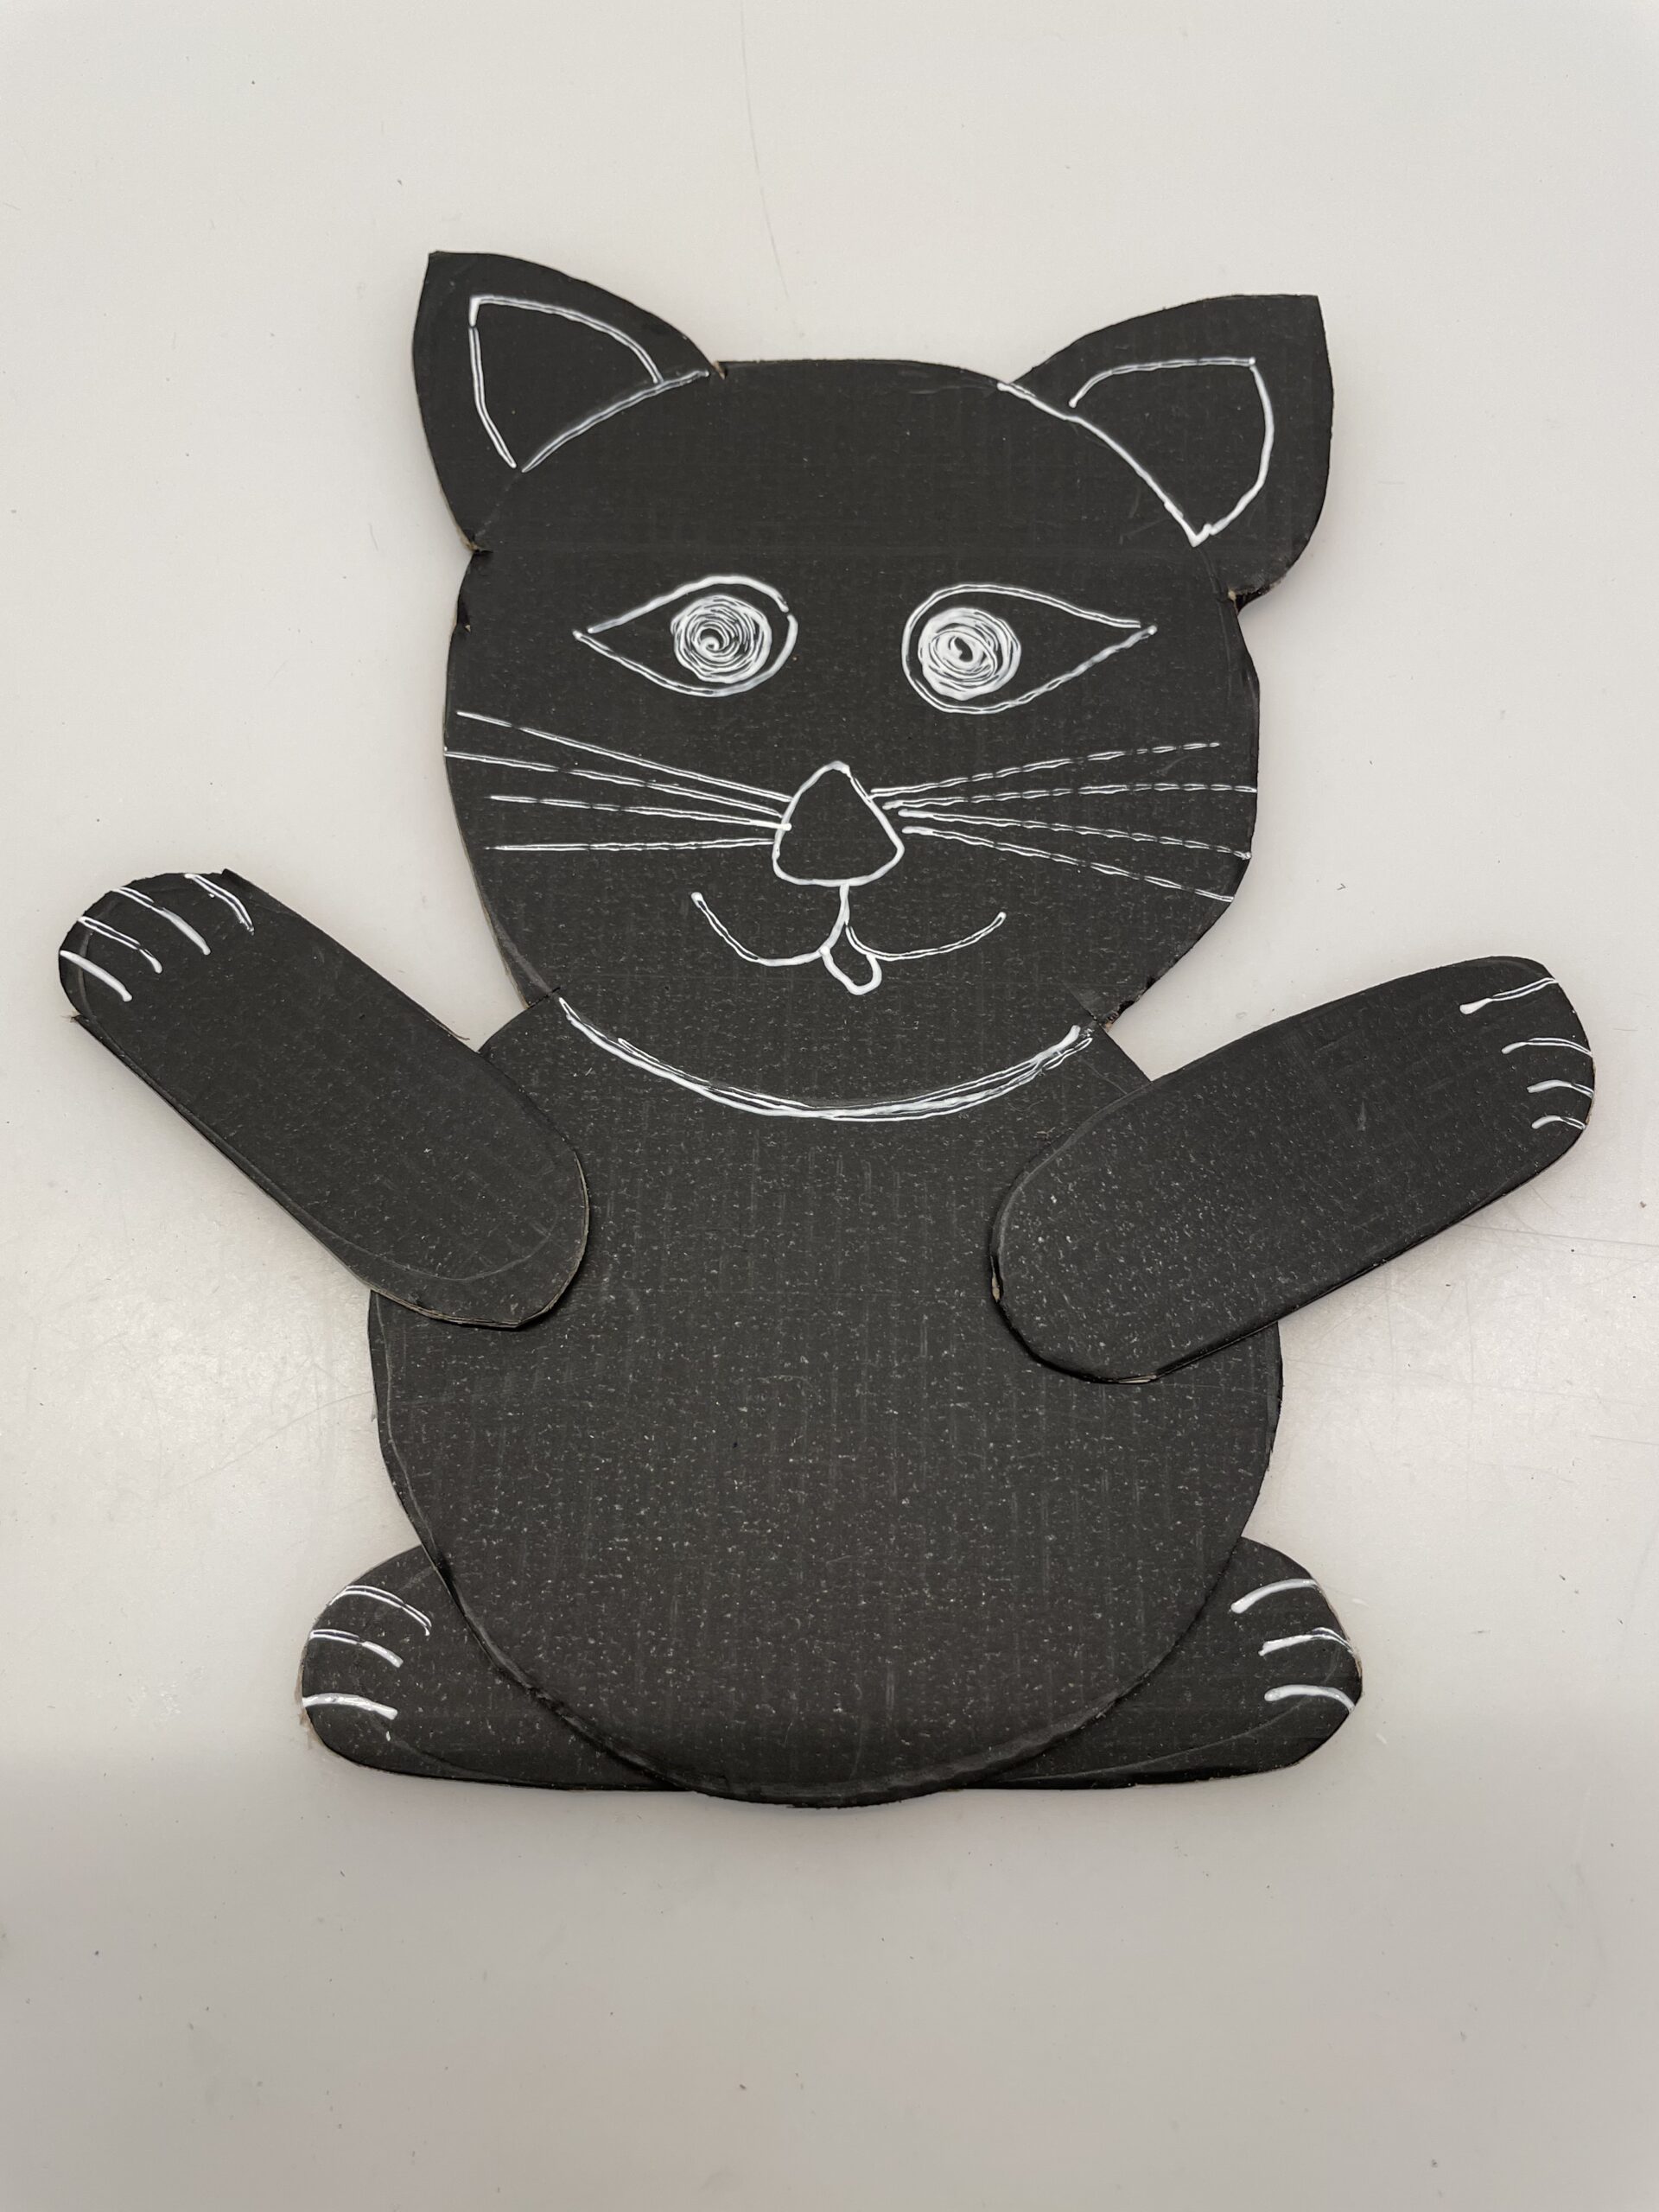


Then you punch a hole in the upper edge of the head with the punching plier or a hole. Then you thread through a thread and knot the two ends together. So you can hang the cat later.
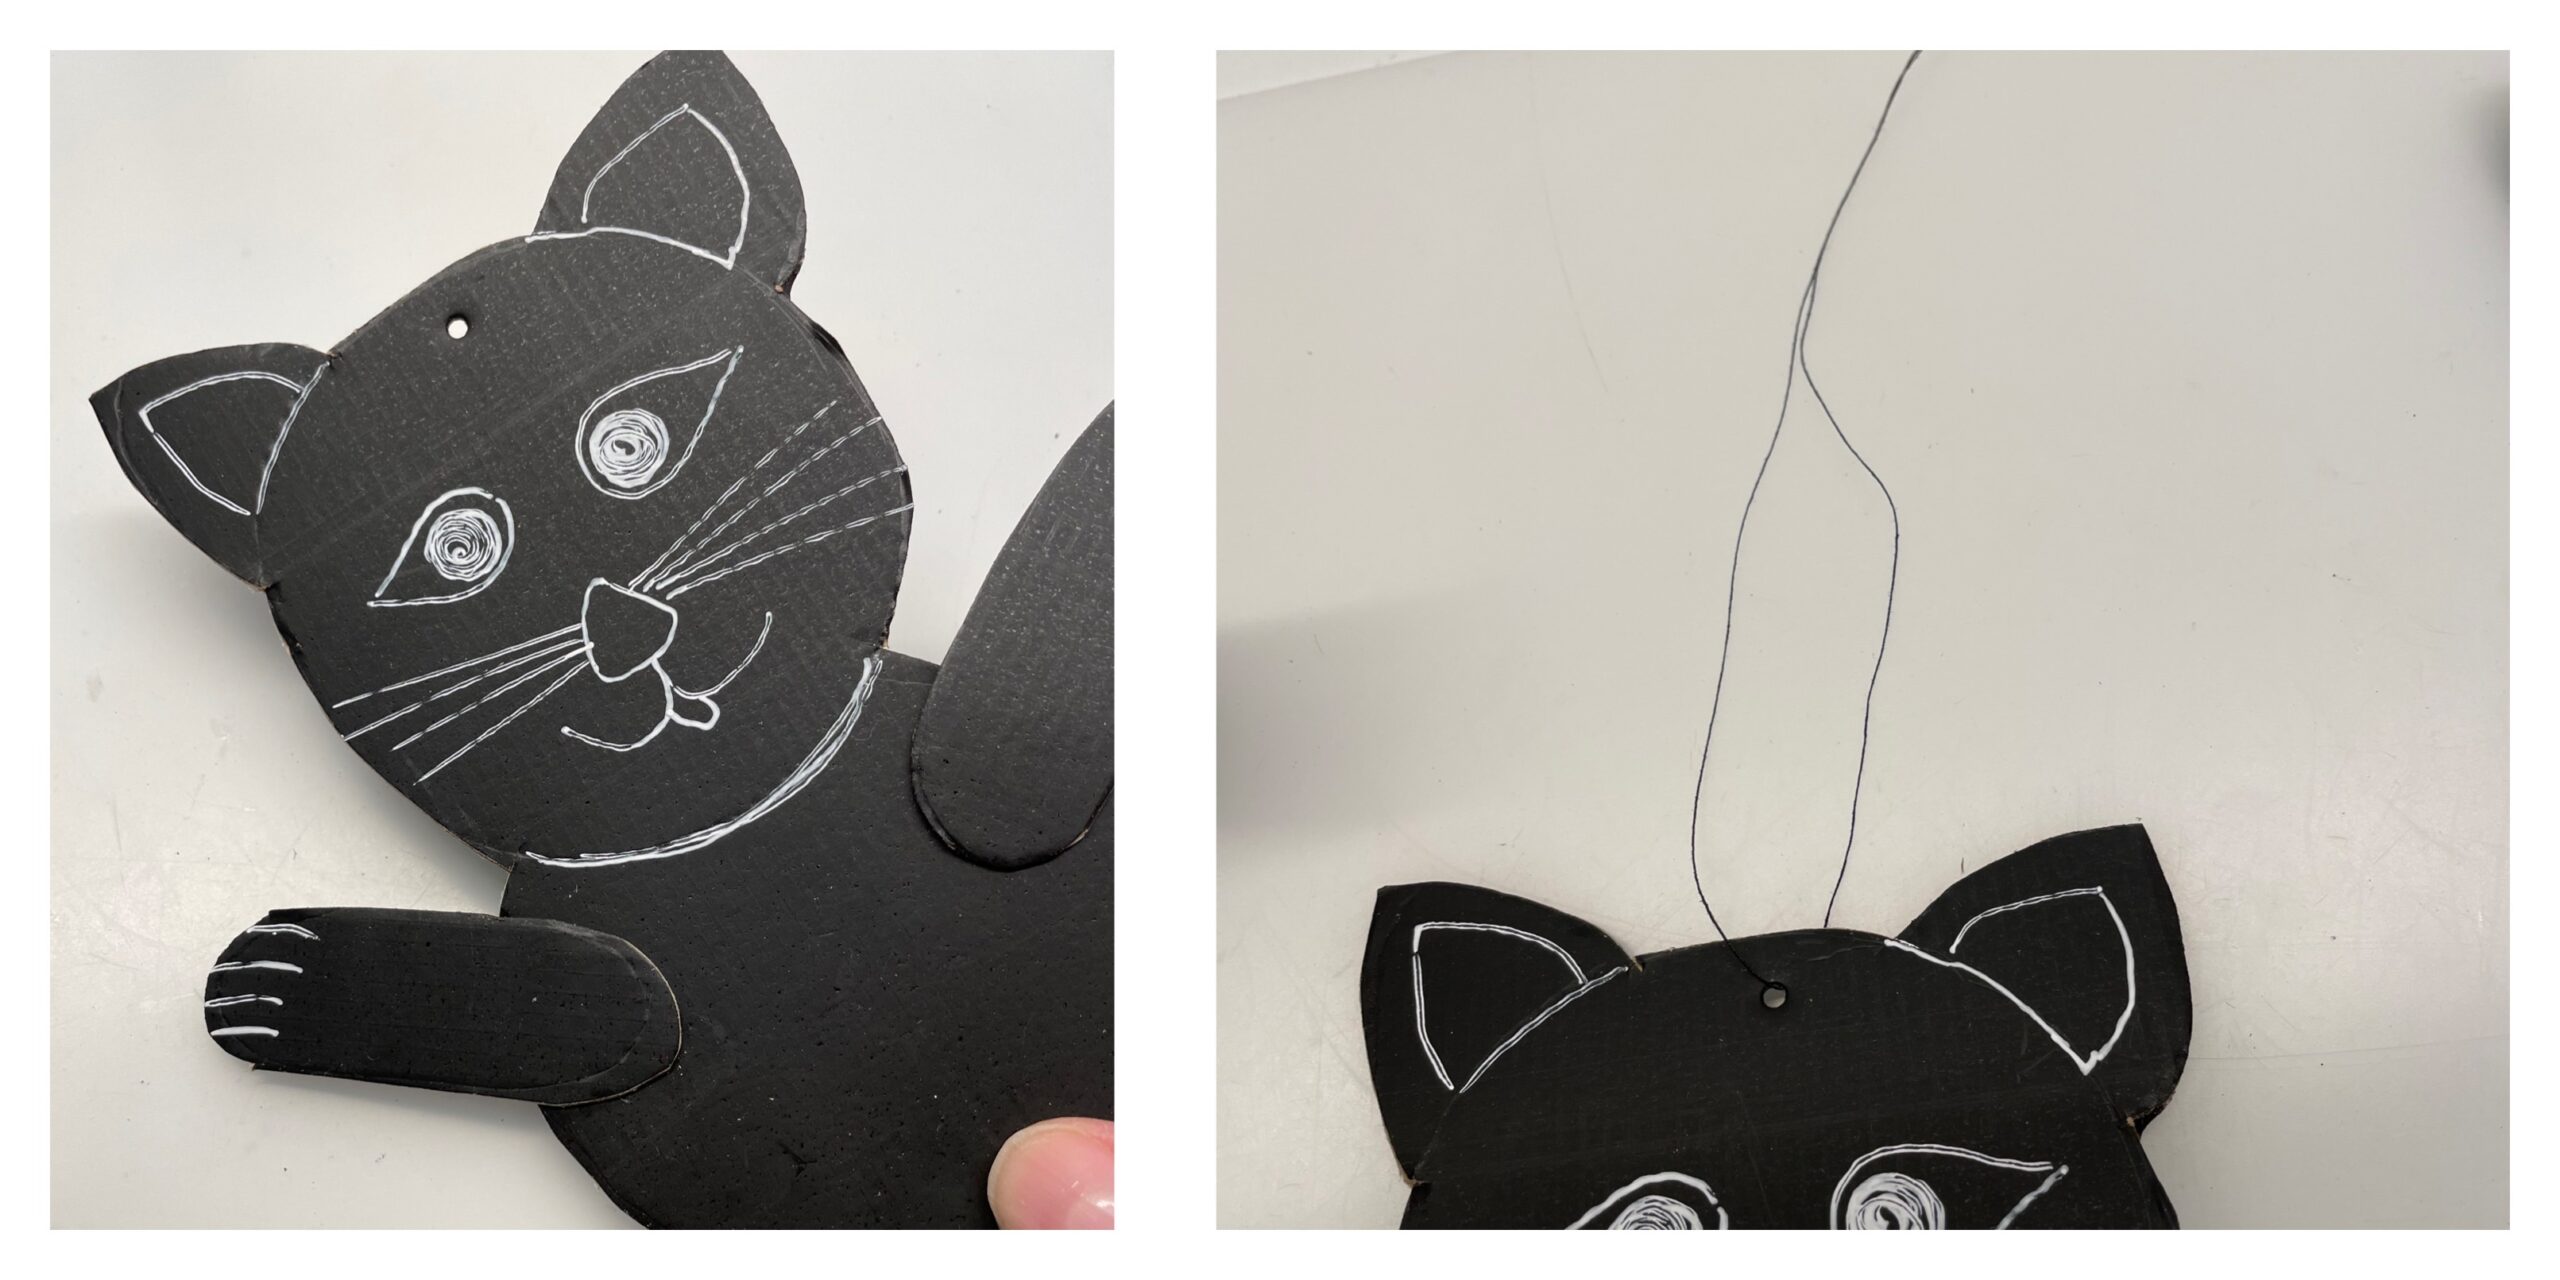


Stick the circle into which you cut the spiral, with the inner part to the cat's body.
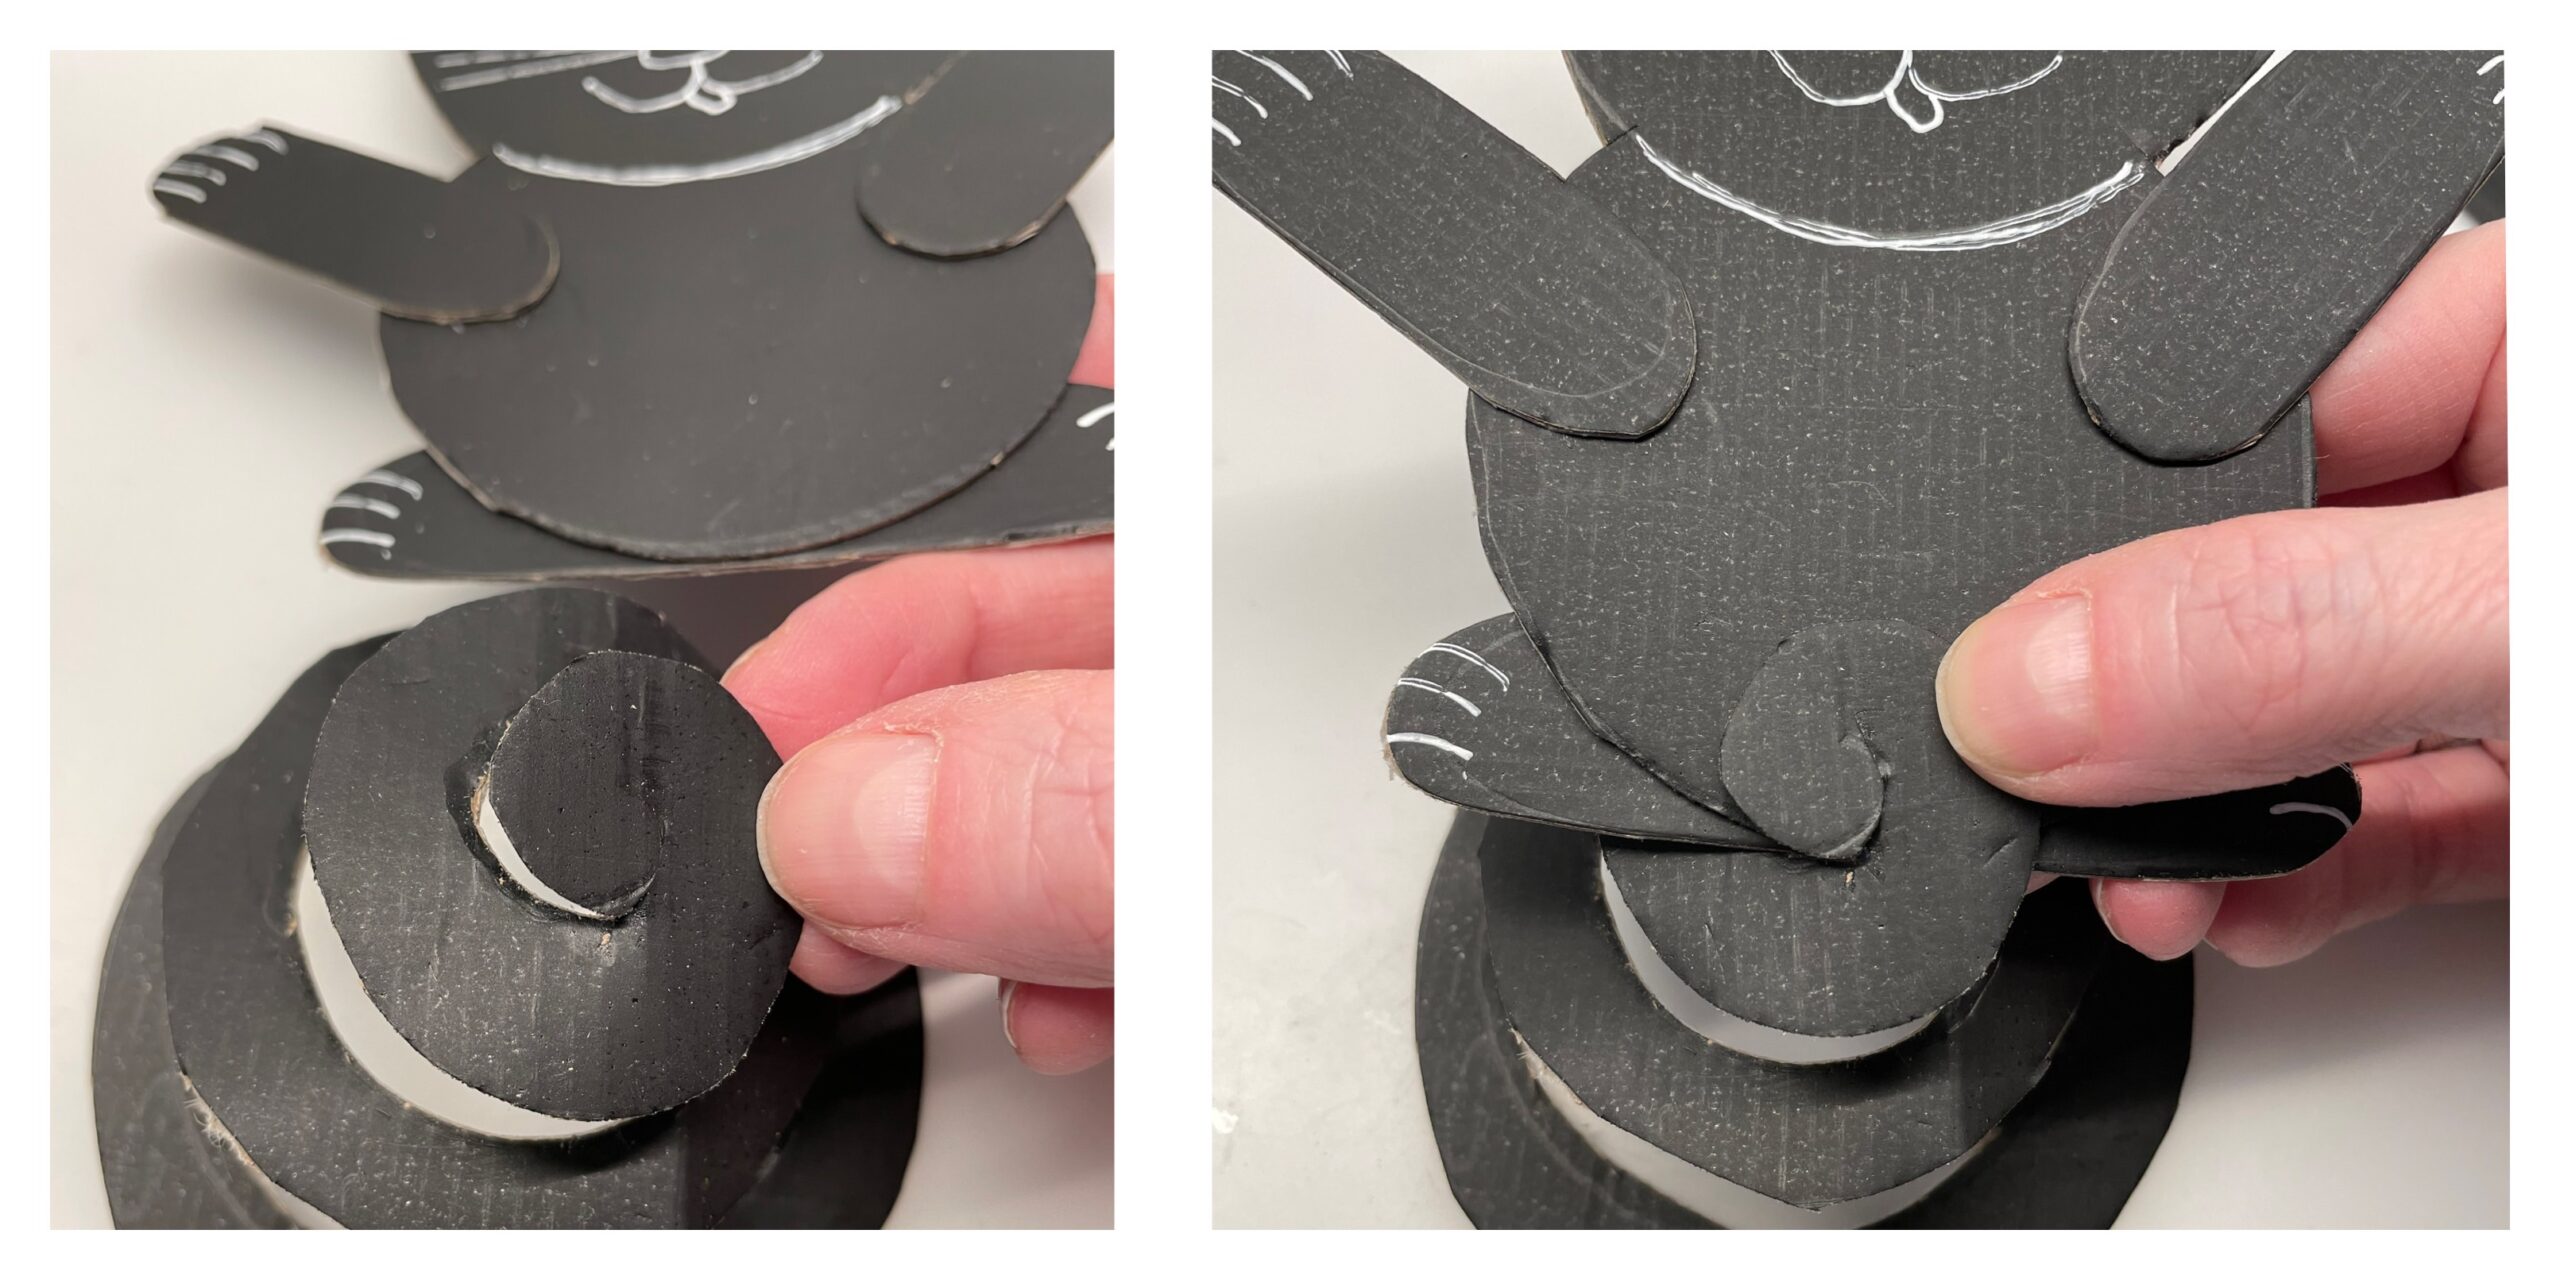


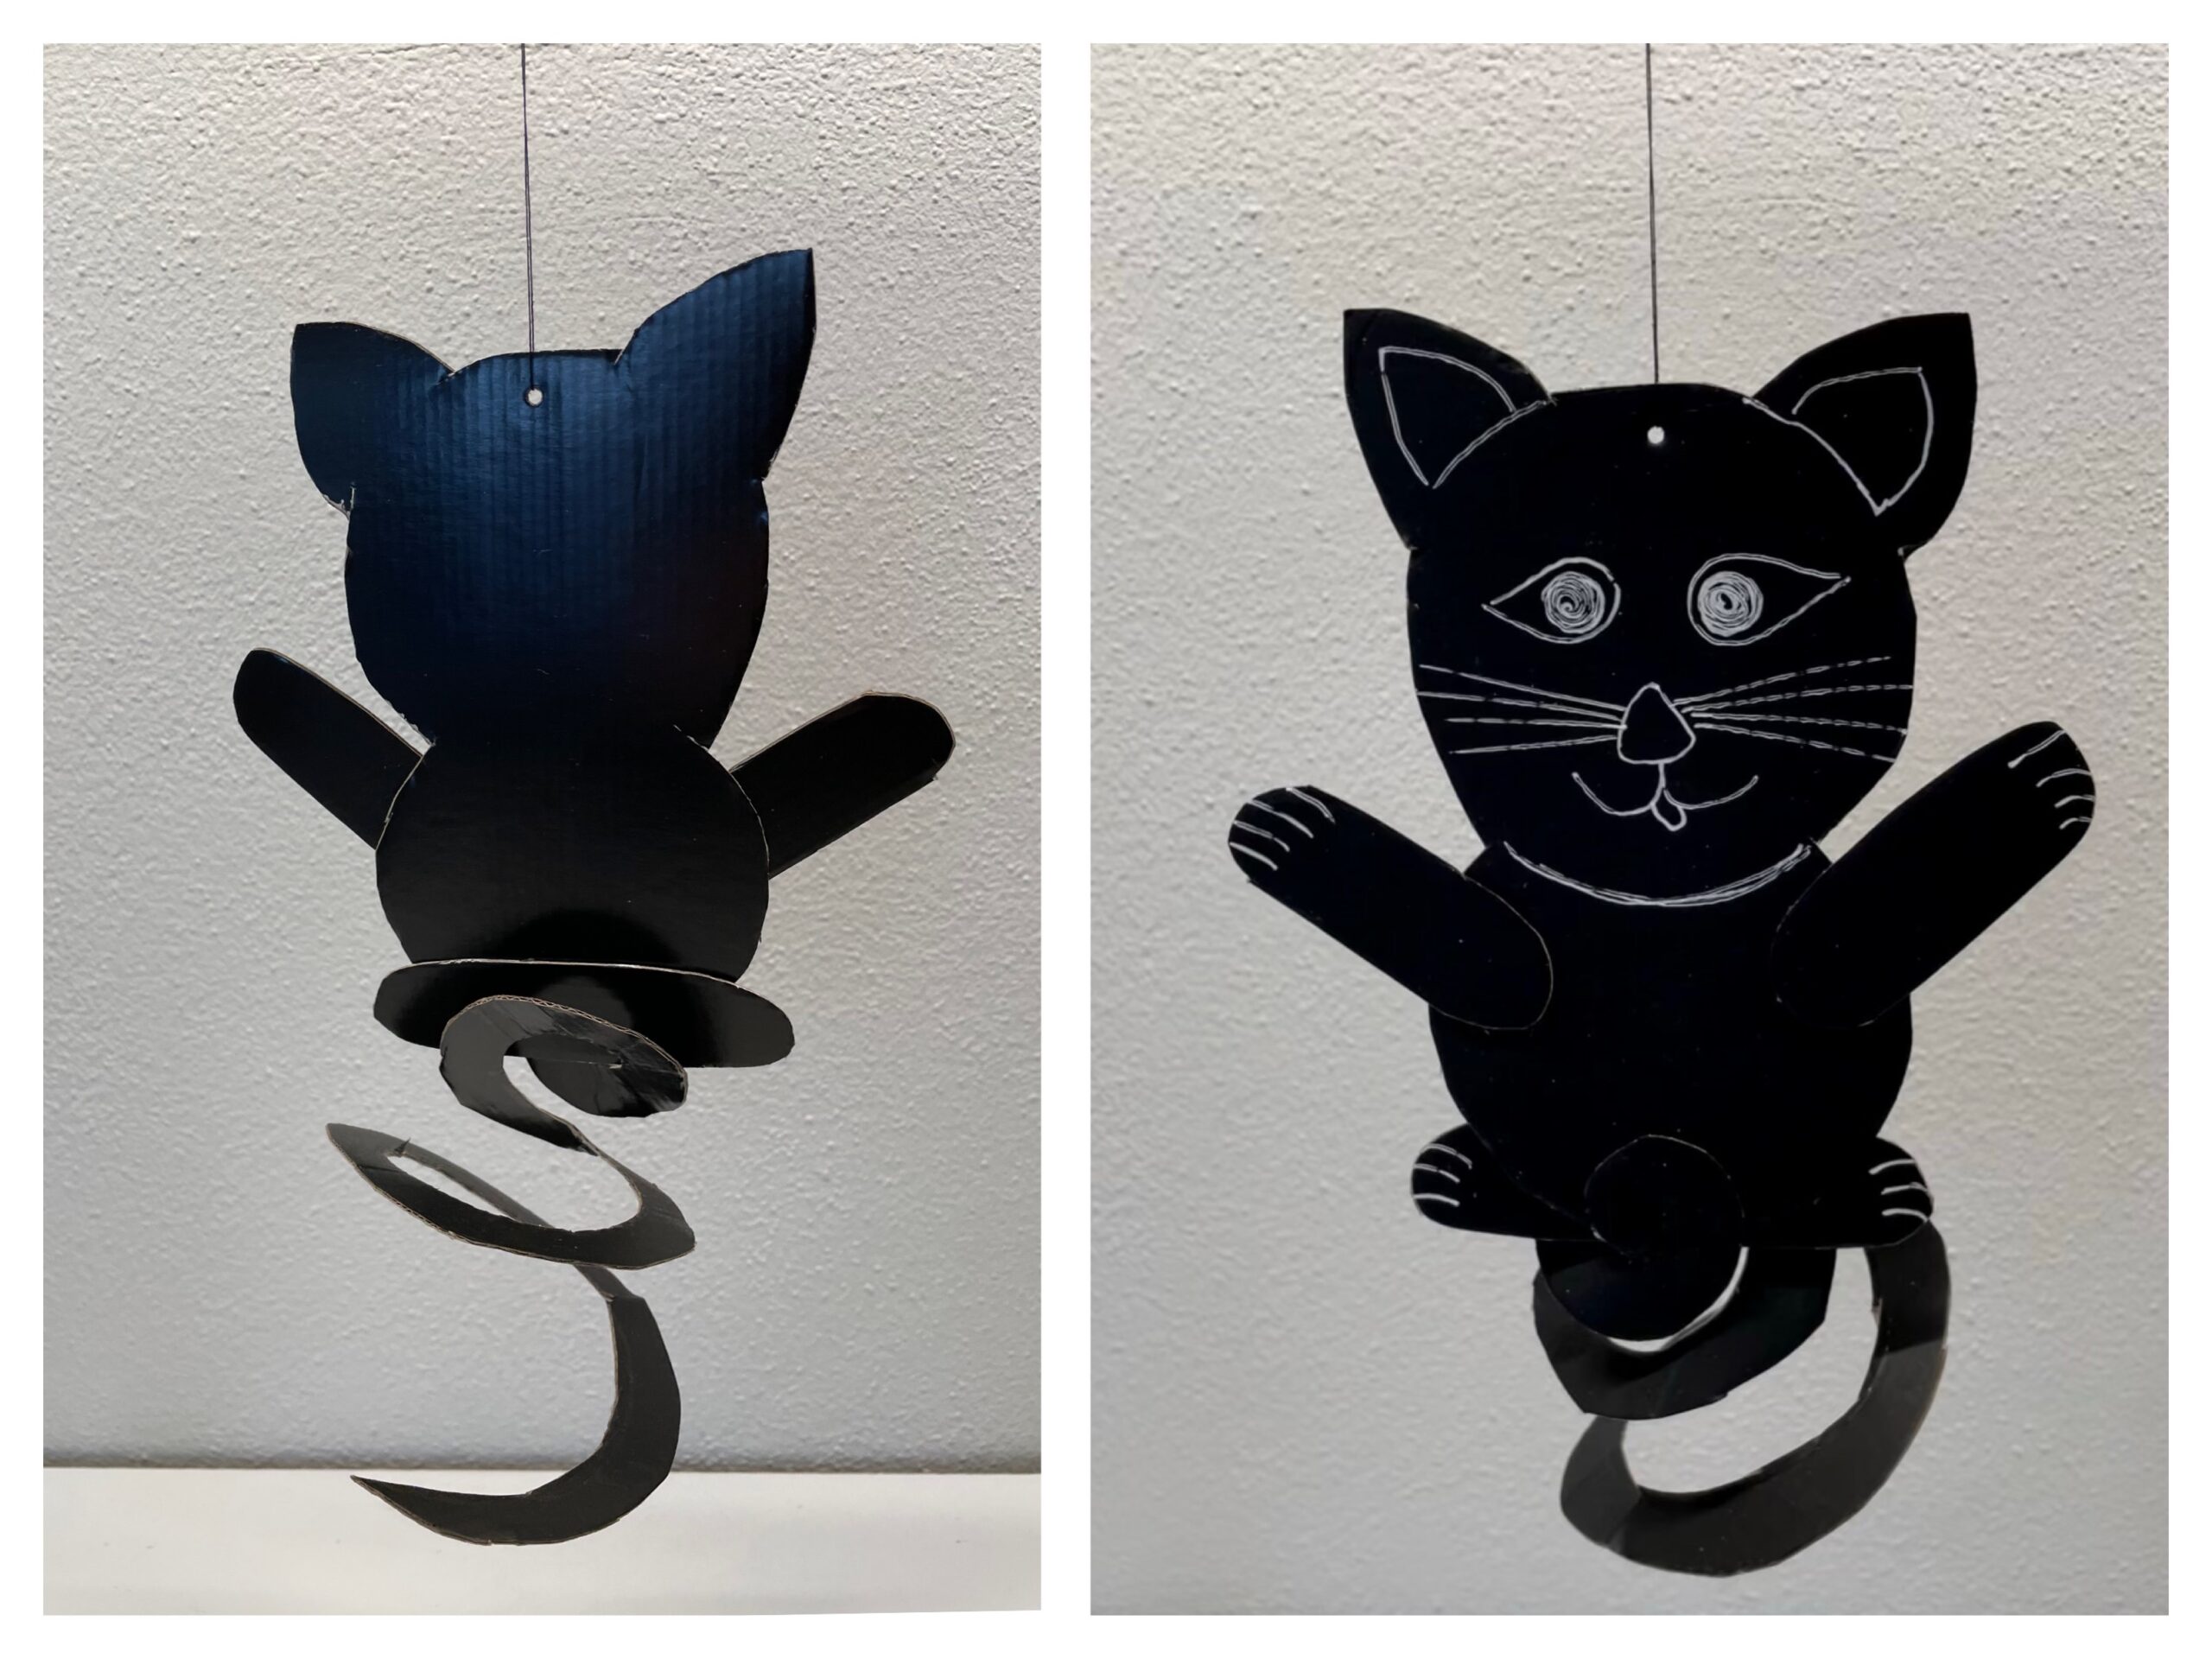
This is what your finished cat looks like.


Find a nice place to hang up.


Materials
Directions
Put out your craft material and set up all the materials.
If you want to make with packaging material, you can use a monochrome black cardboard of tomatoes. Otherwise you can use black clay paper.


Fold the raised edges apart so that the cardboard is flat in front of you.


Paints on the matt inside two interlocking circles (the head and belly of the cat) this fills about two thirds of the box. Paints on the upper circle the cat's ears.


A circle is painted in the lower third of the box, which is painted on a spiral.


Cuts this circle out coarsely first.


Cut out the circle and then the spiral.
Pull the spiral up a bit.


Cuts out the cat's body as a piece. With ears, head and belly.
With a white paint pencil, eyes, nose, muzzle and whiskers are painted. With further details you can embellish the cat.


From the side stripes you can make arms and legs. Paint them up and cut them out. Glue arms and legs to the cat body.


This is how your cat looks now.


Then you punch a hole in the upper edge of the head with the punching plier or a hole. Then you thread through a thread and knot the two ends together. So you can hang the cat later.


Stick the circle into which you cut the spiral, with the inner part to the cat's body.


This is what your finished cat looks like.


Find a nice place to hang up.


Follow us on Facebook , Instagram and Pinterest
Don't miss any more adventures: Our bottle mail


