AdventurerEagle
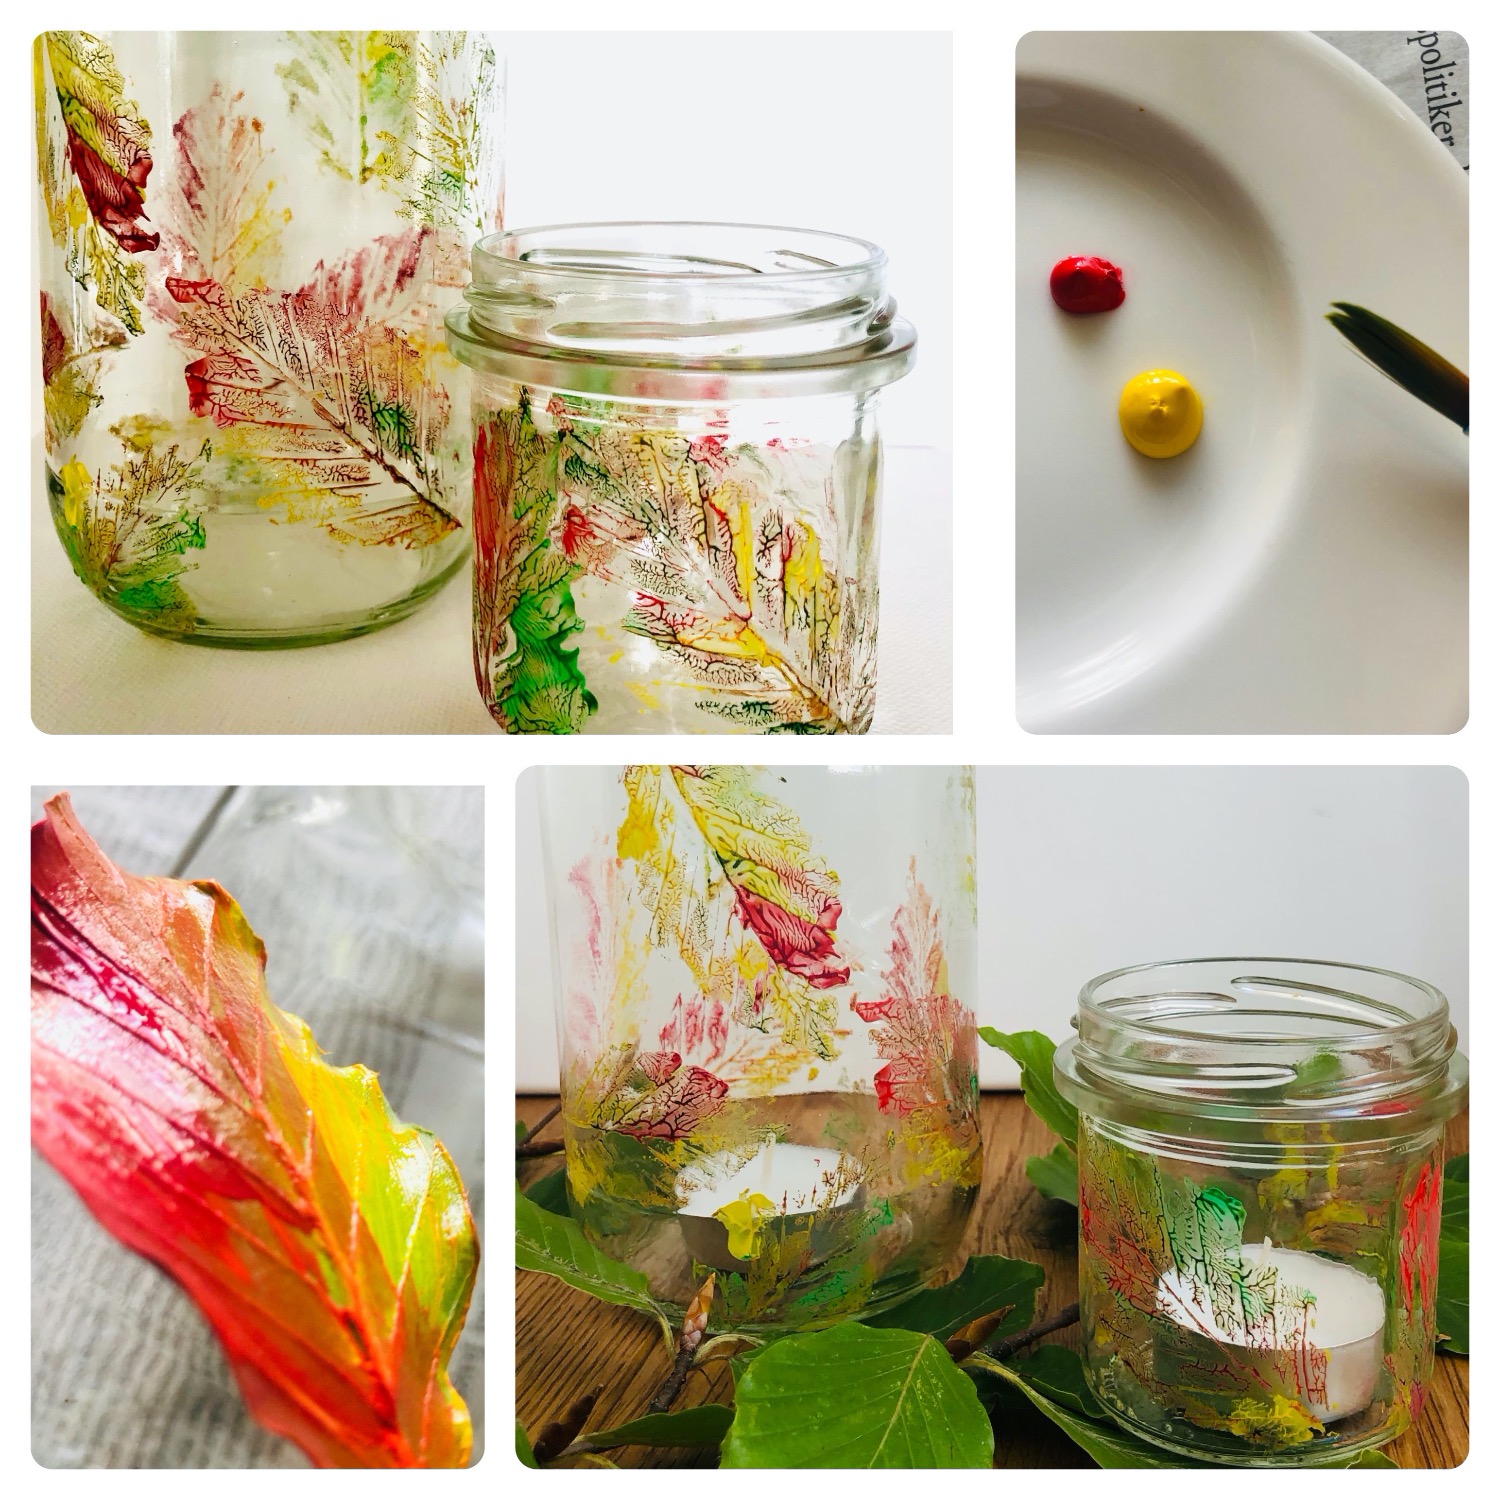
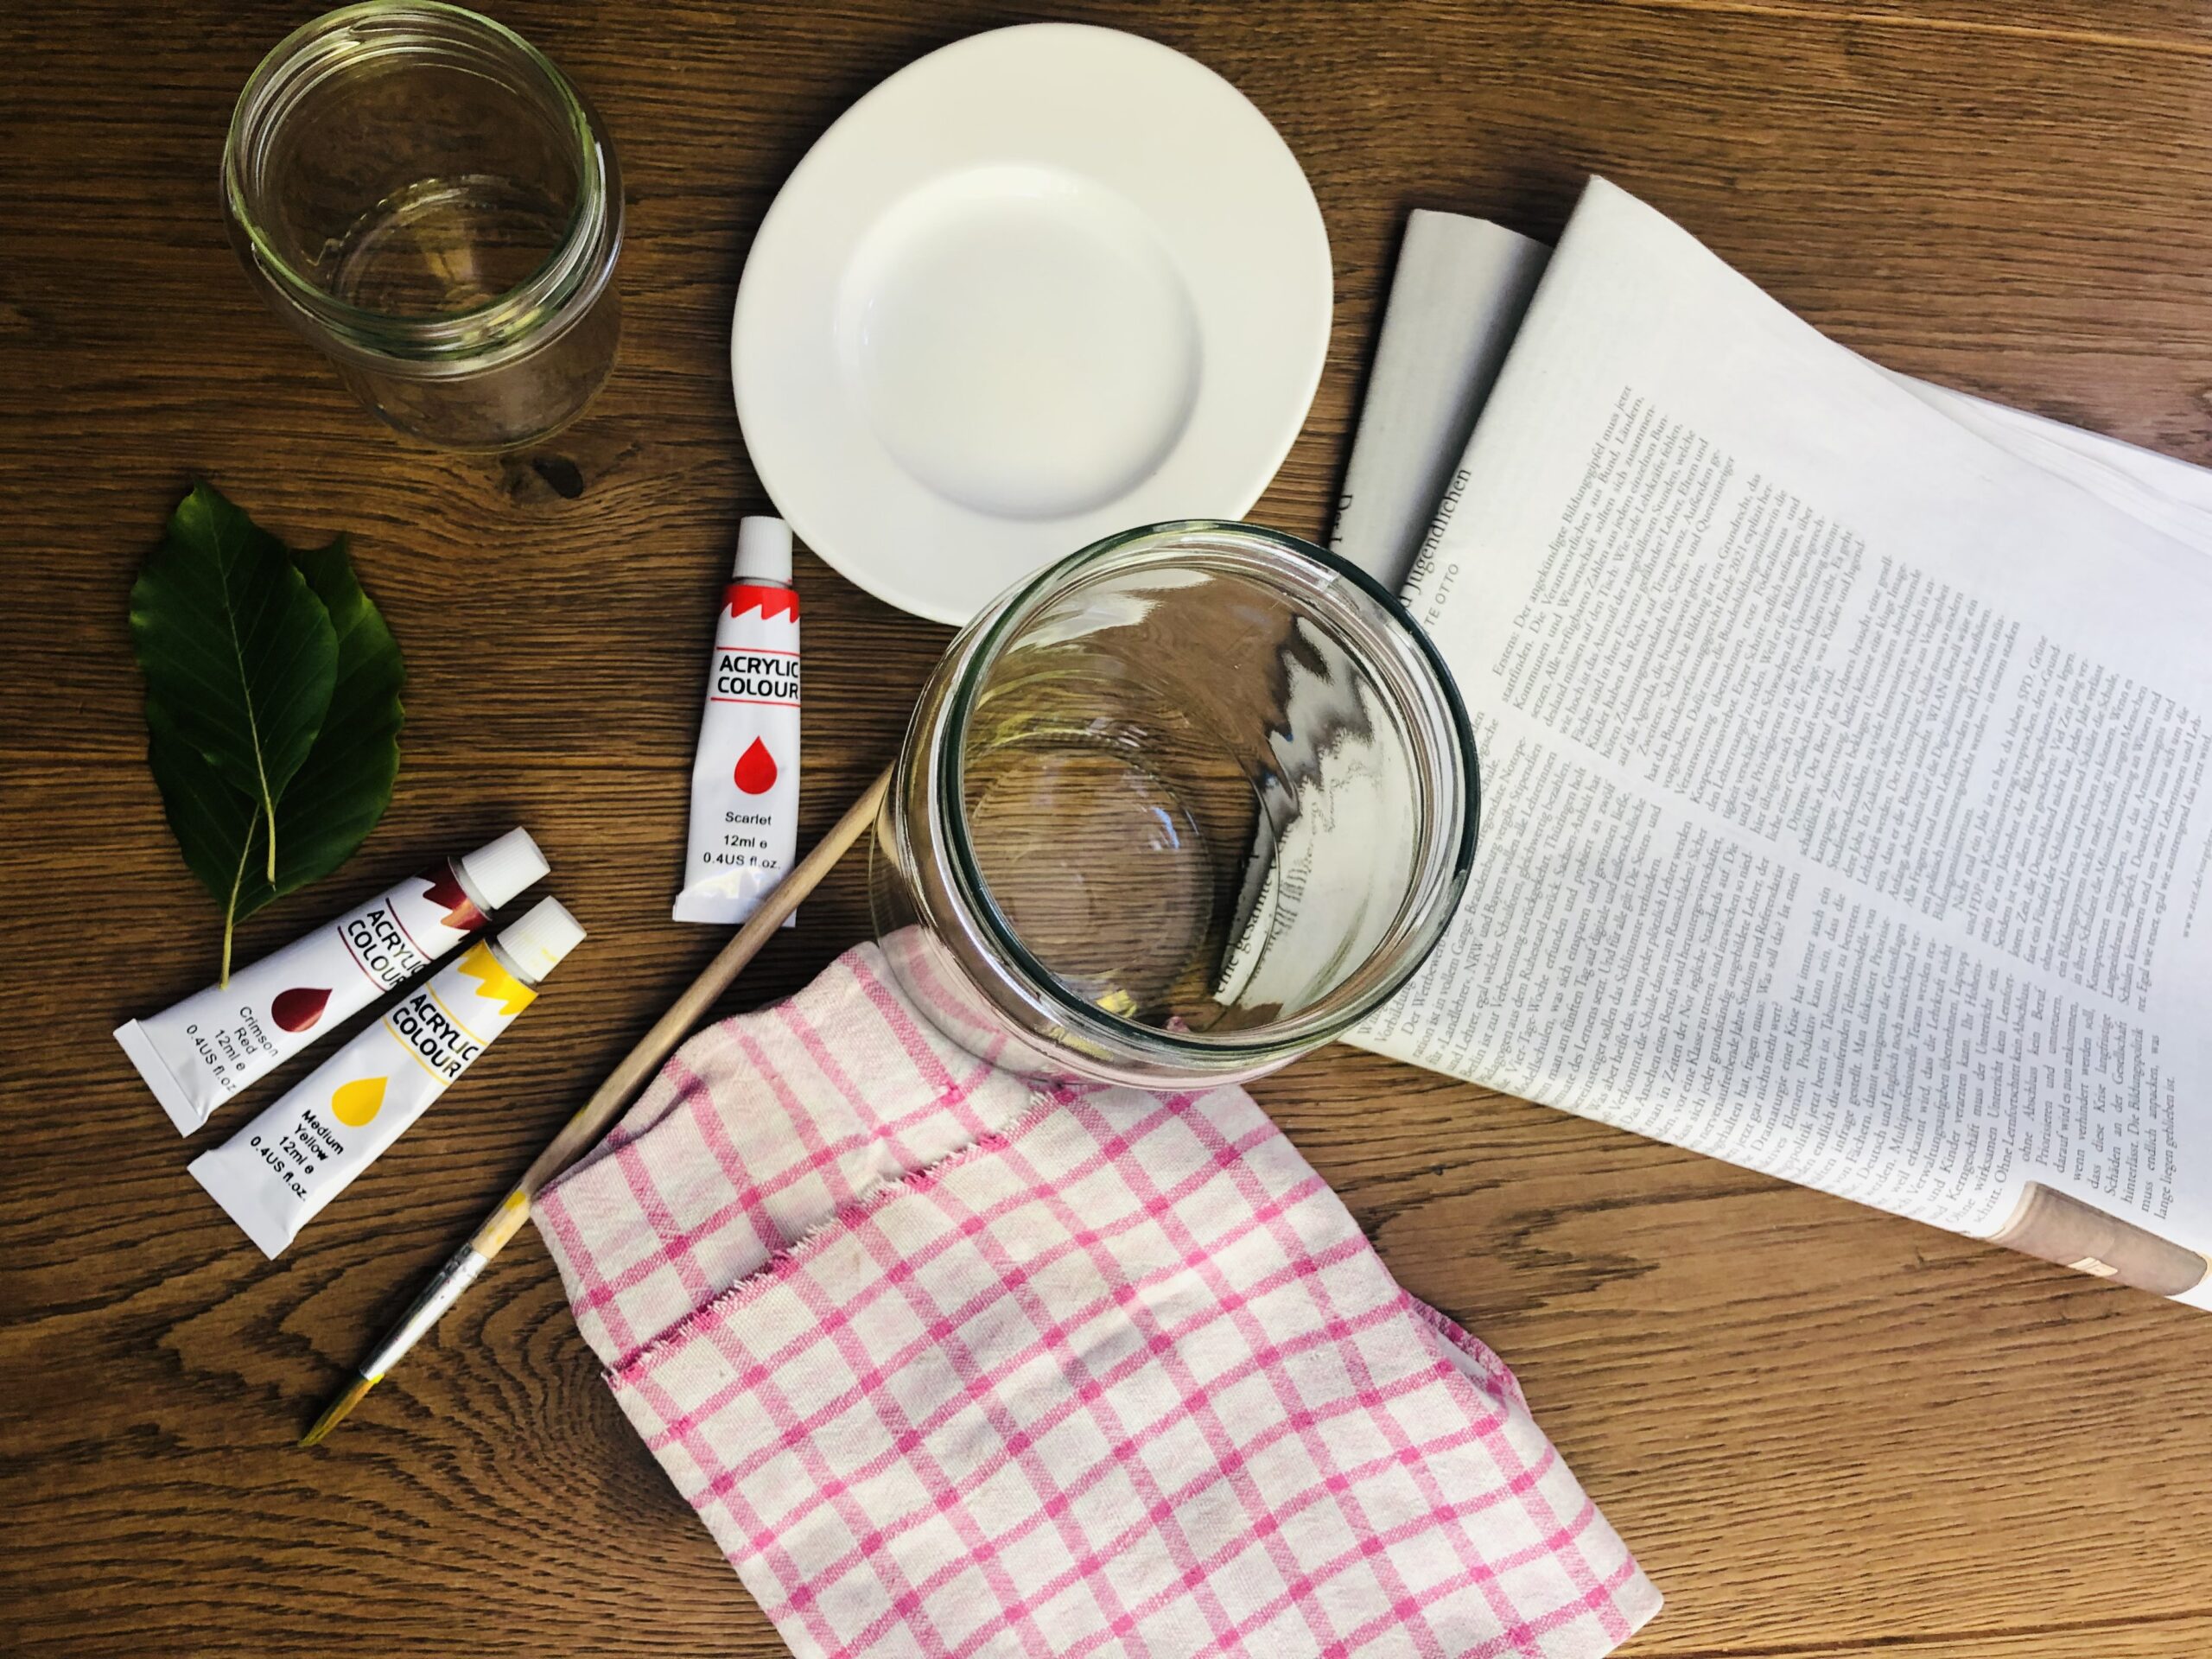
These enchanting autumnal lanterns make even grey rainy days shine. All you need for this are leaves, empty jam glasses, a brush, acrylic paints, a small saucer, a cloth and an old newspaper. Then you can start. Have fun doing crafts and designing.
Media Education for Kindergarten and Hort

Relief in everyday life, targeted promotion of individual children, independent learning and - without any pre-knowledge already usable by the youngest!
First you collect some leaves and get the material together.
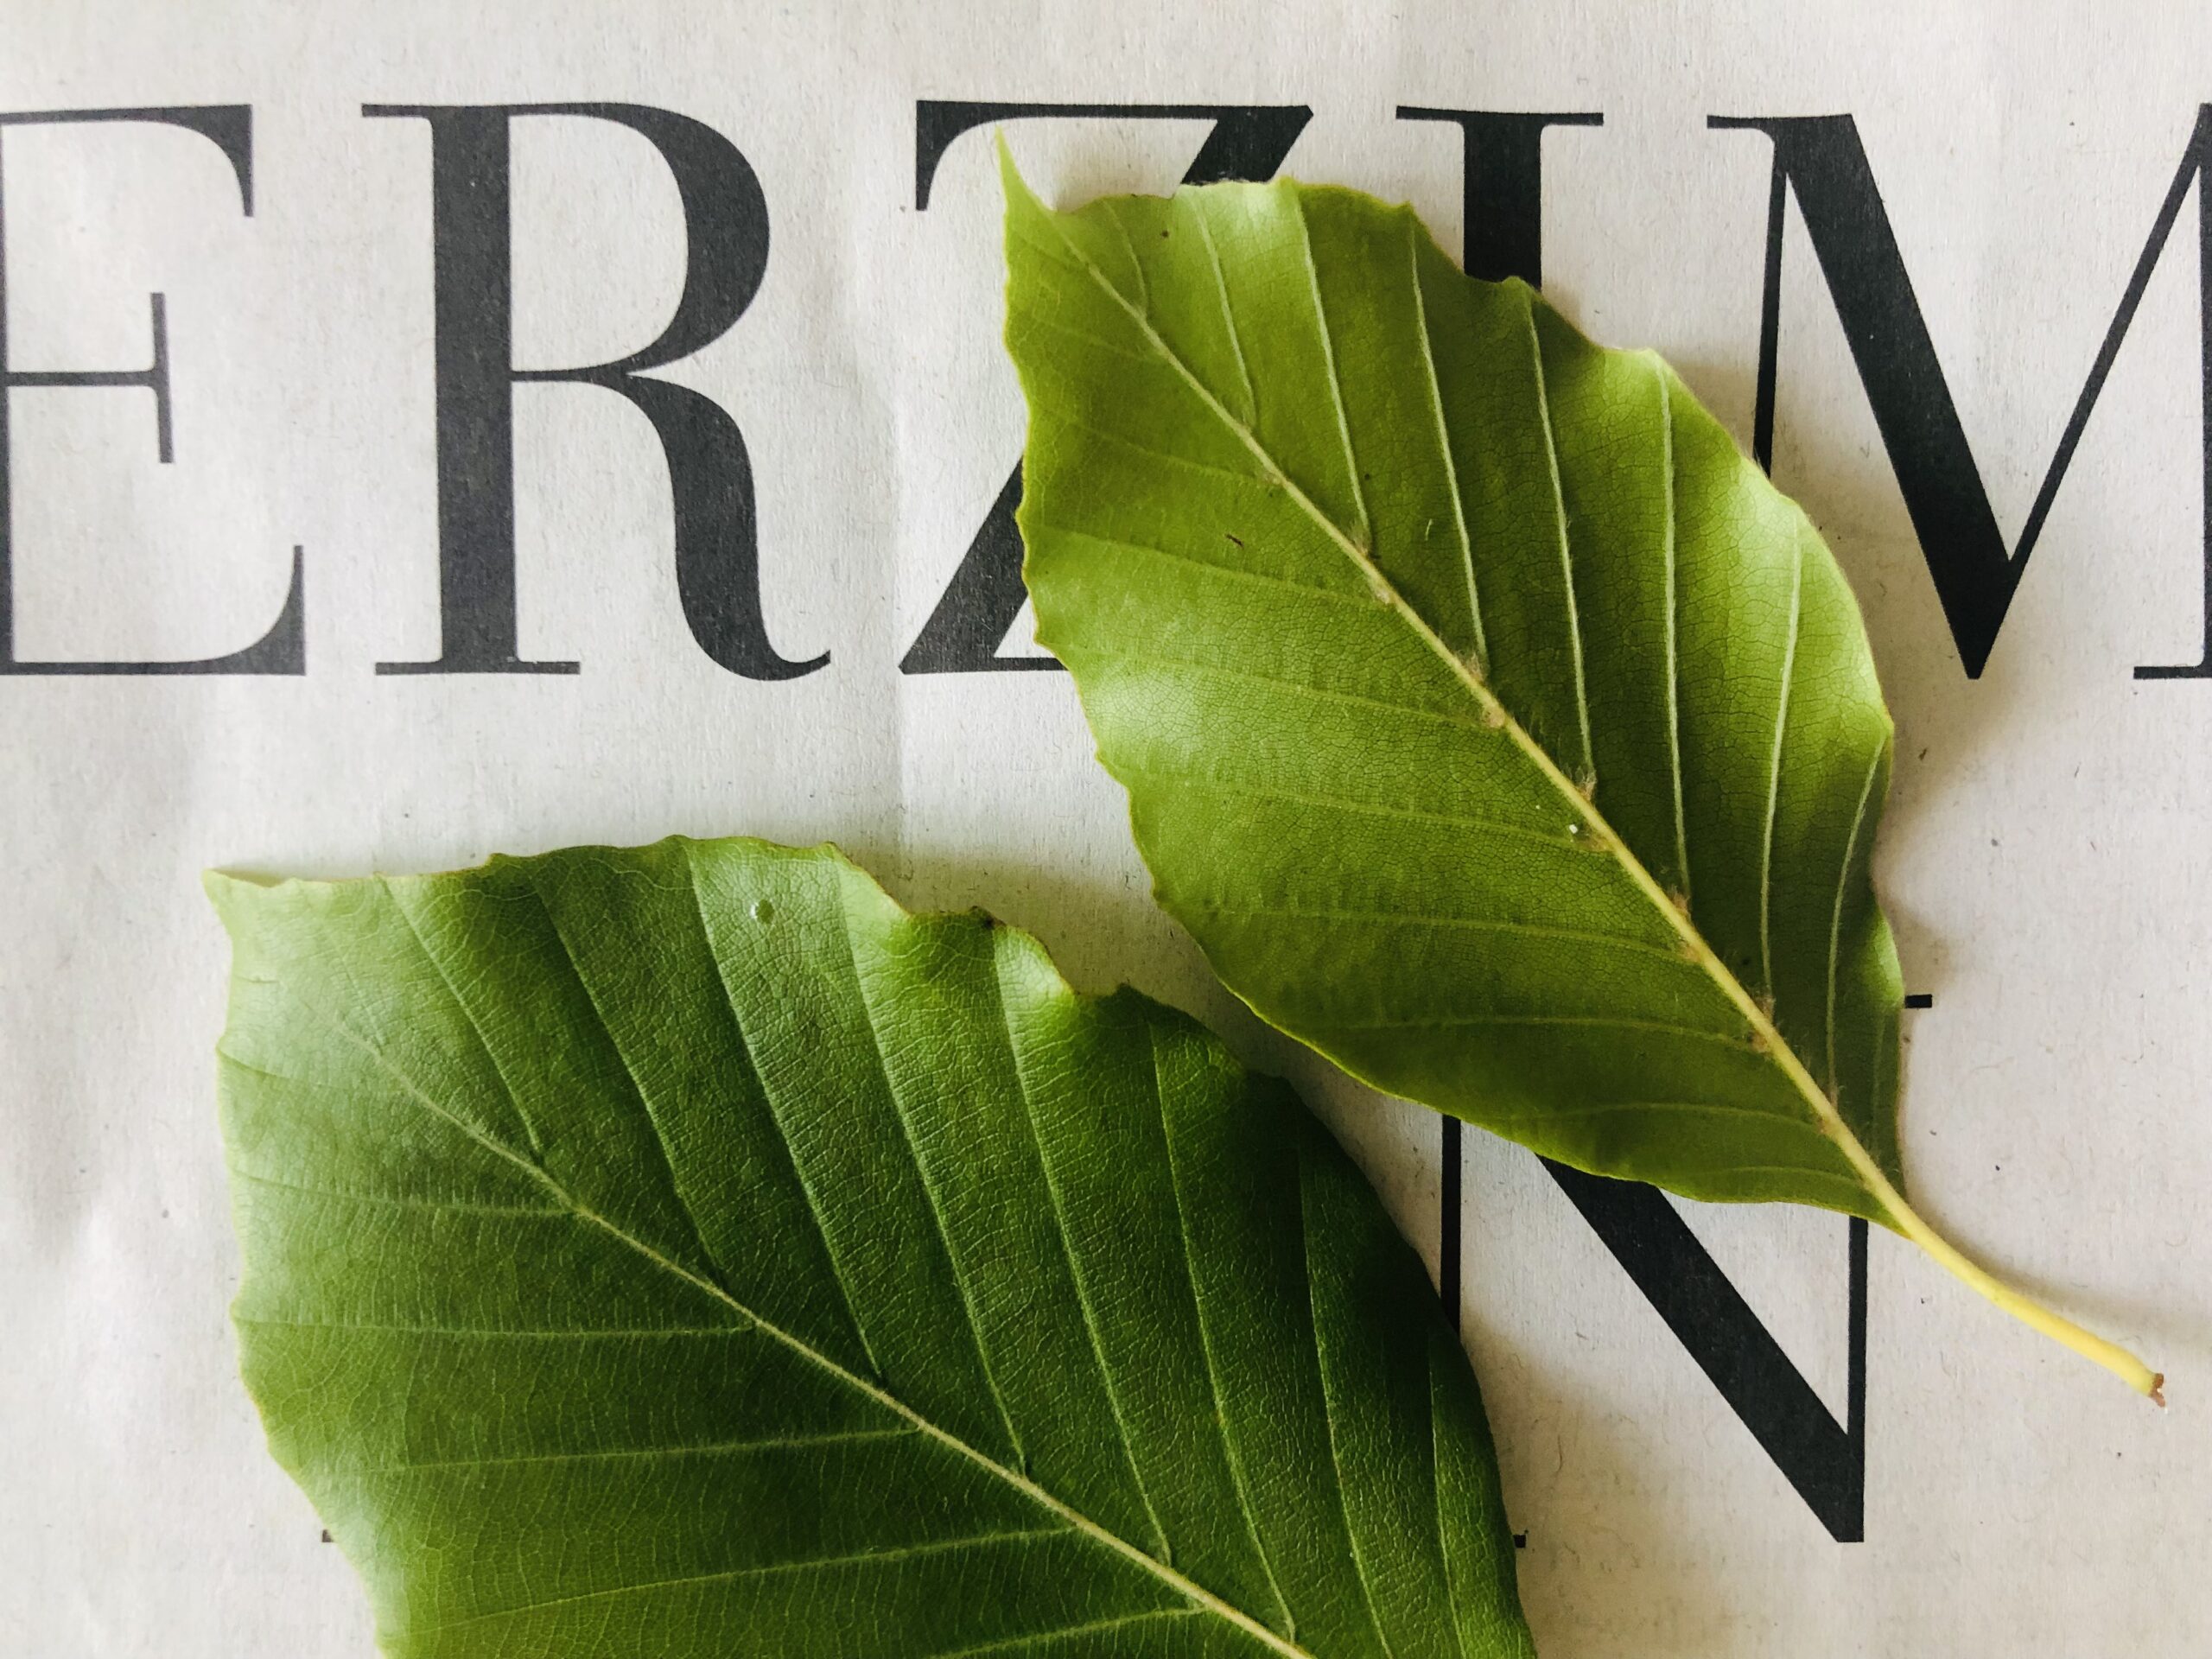
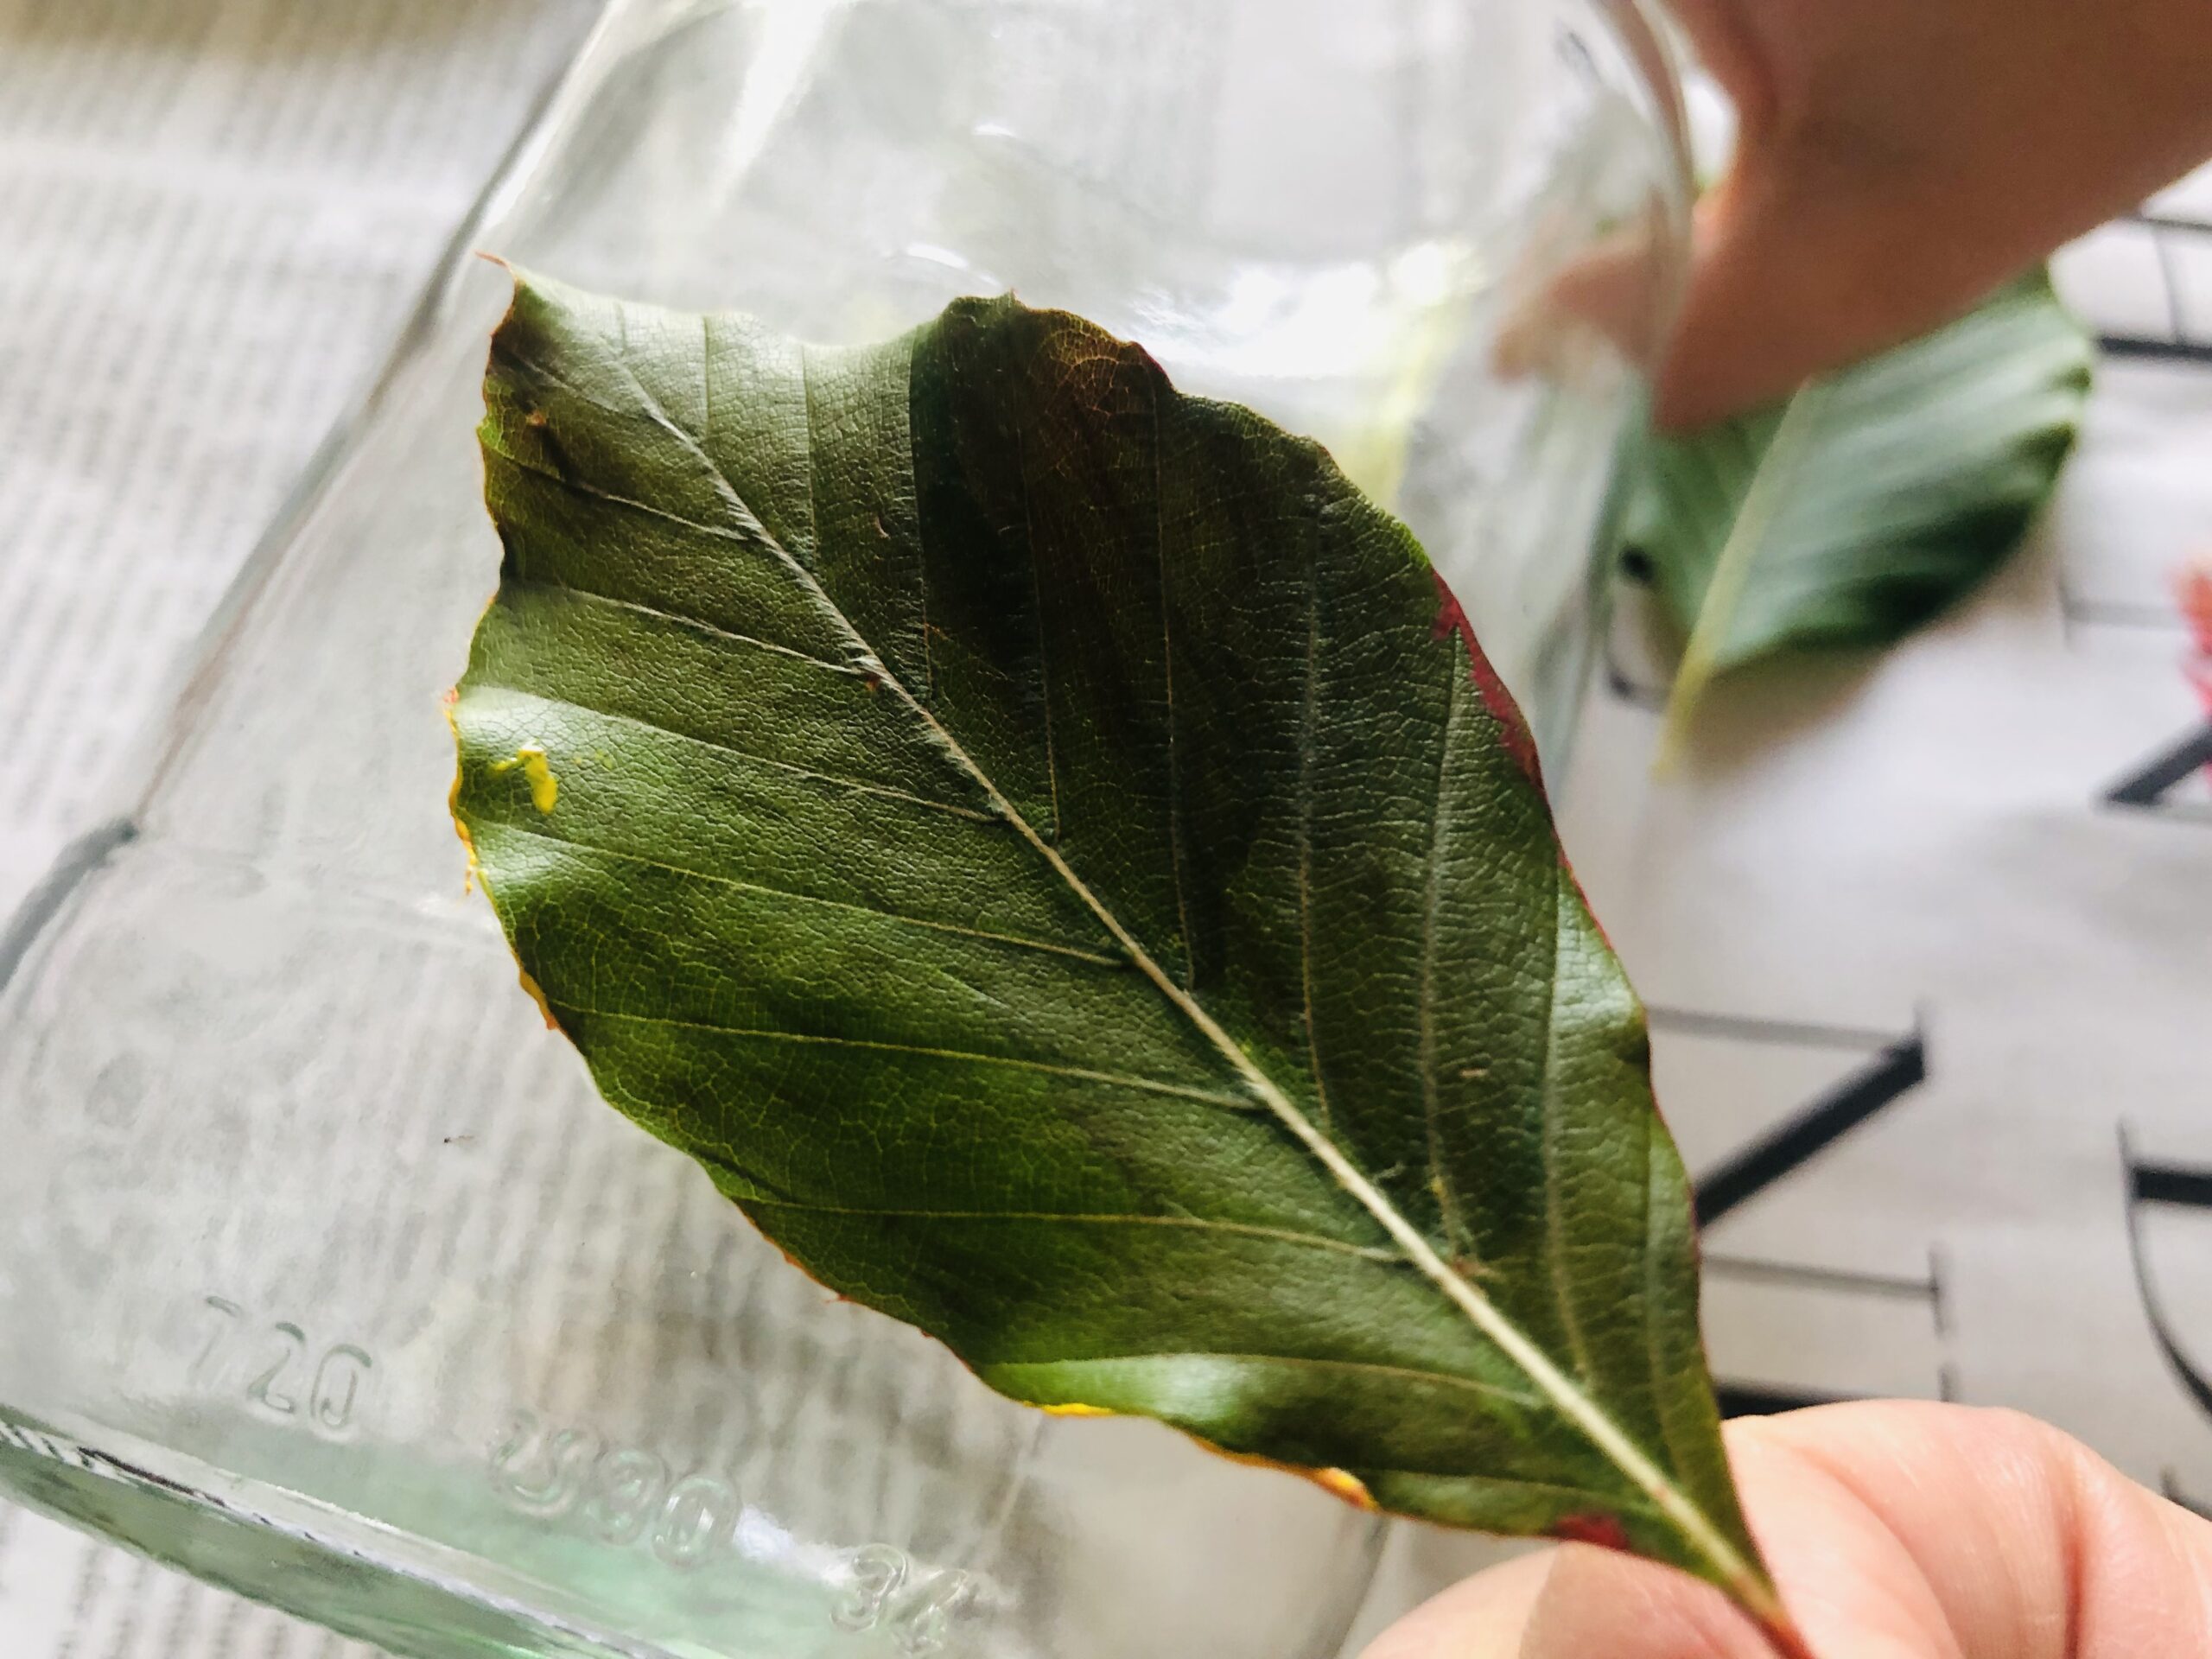
Make sure that the leaves are whole and that the leaf veins are good to see. For example, beech leaves and maple leaves are suitable.
Then put out the paper as a backing and pat some acrylic paint on a small plate.

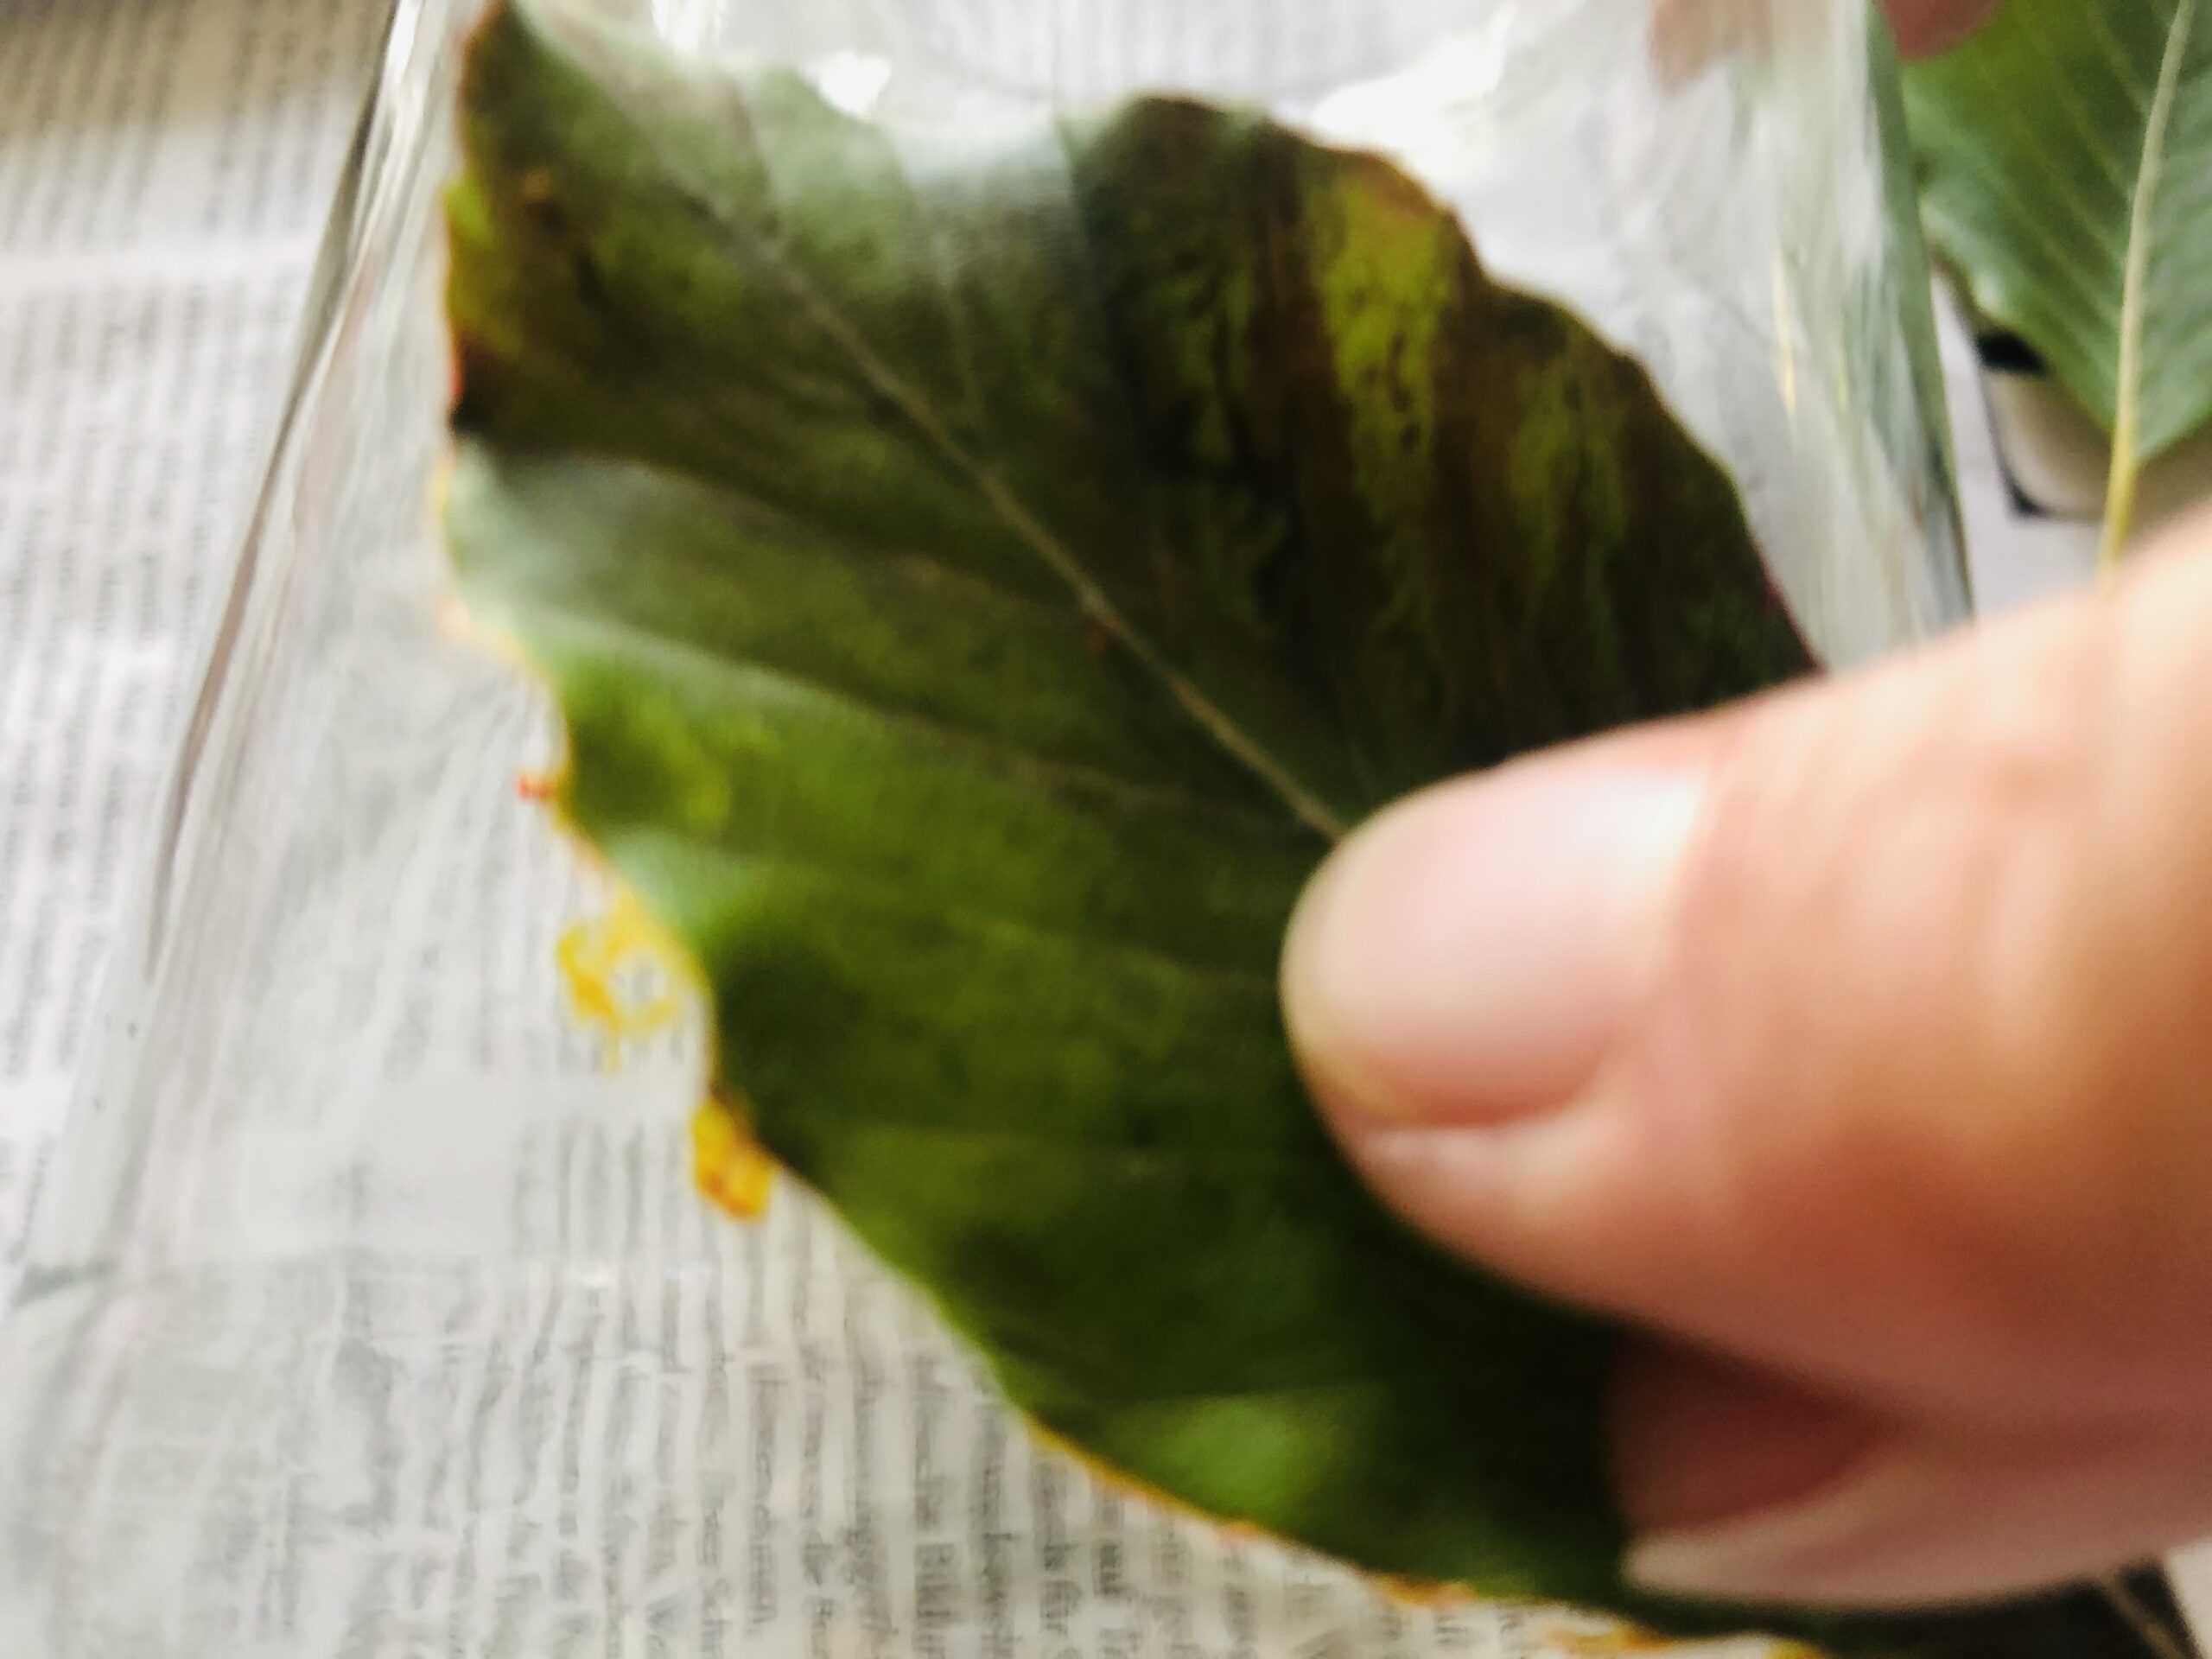
Now you turn the first sheet to paint on the back. There you can see the leaf veins clearly. Compare both sides with each other.
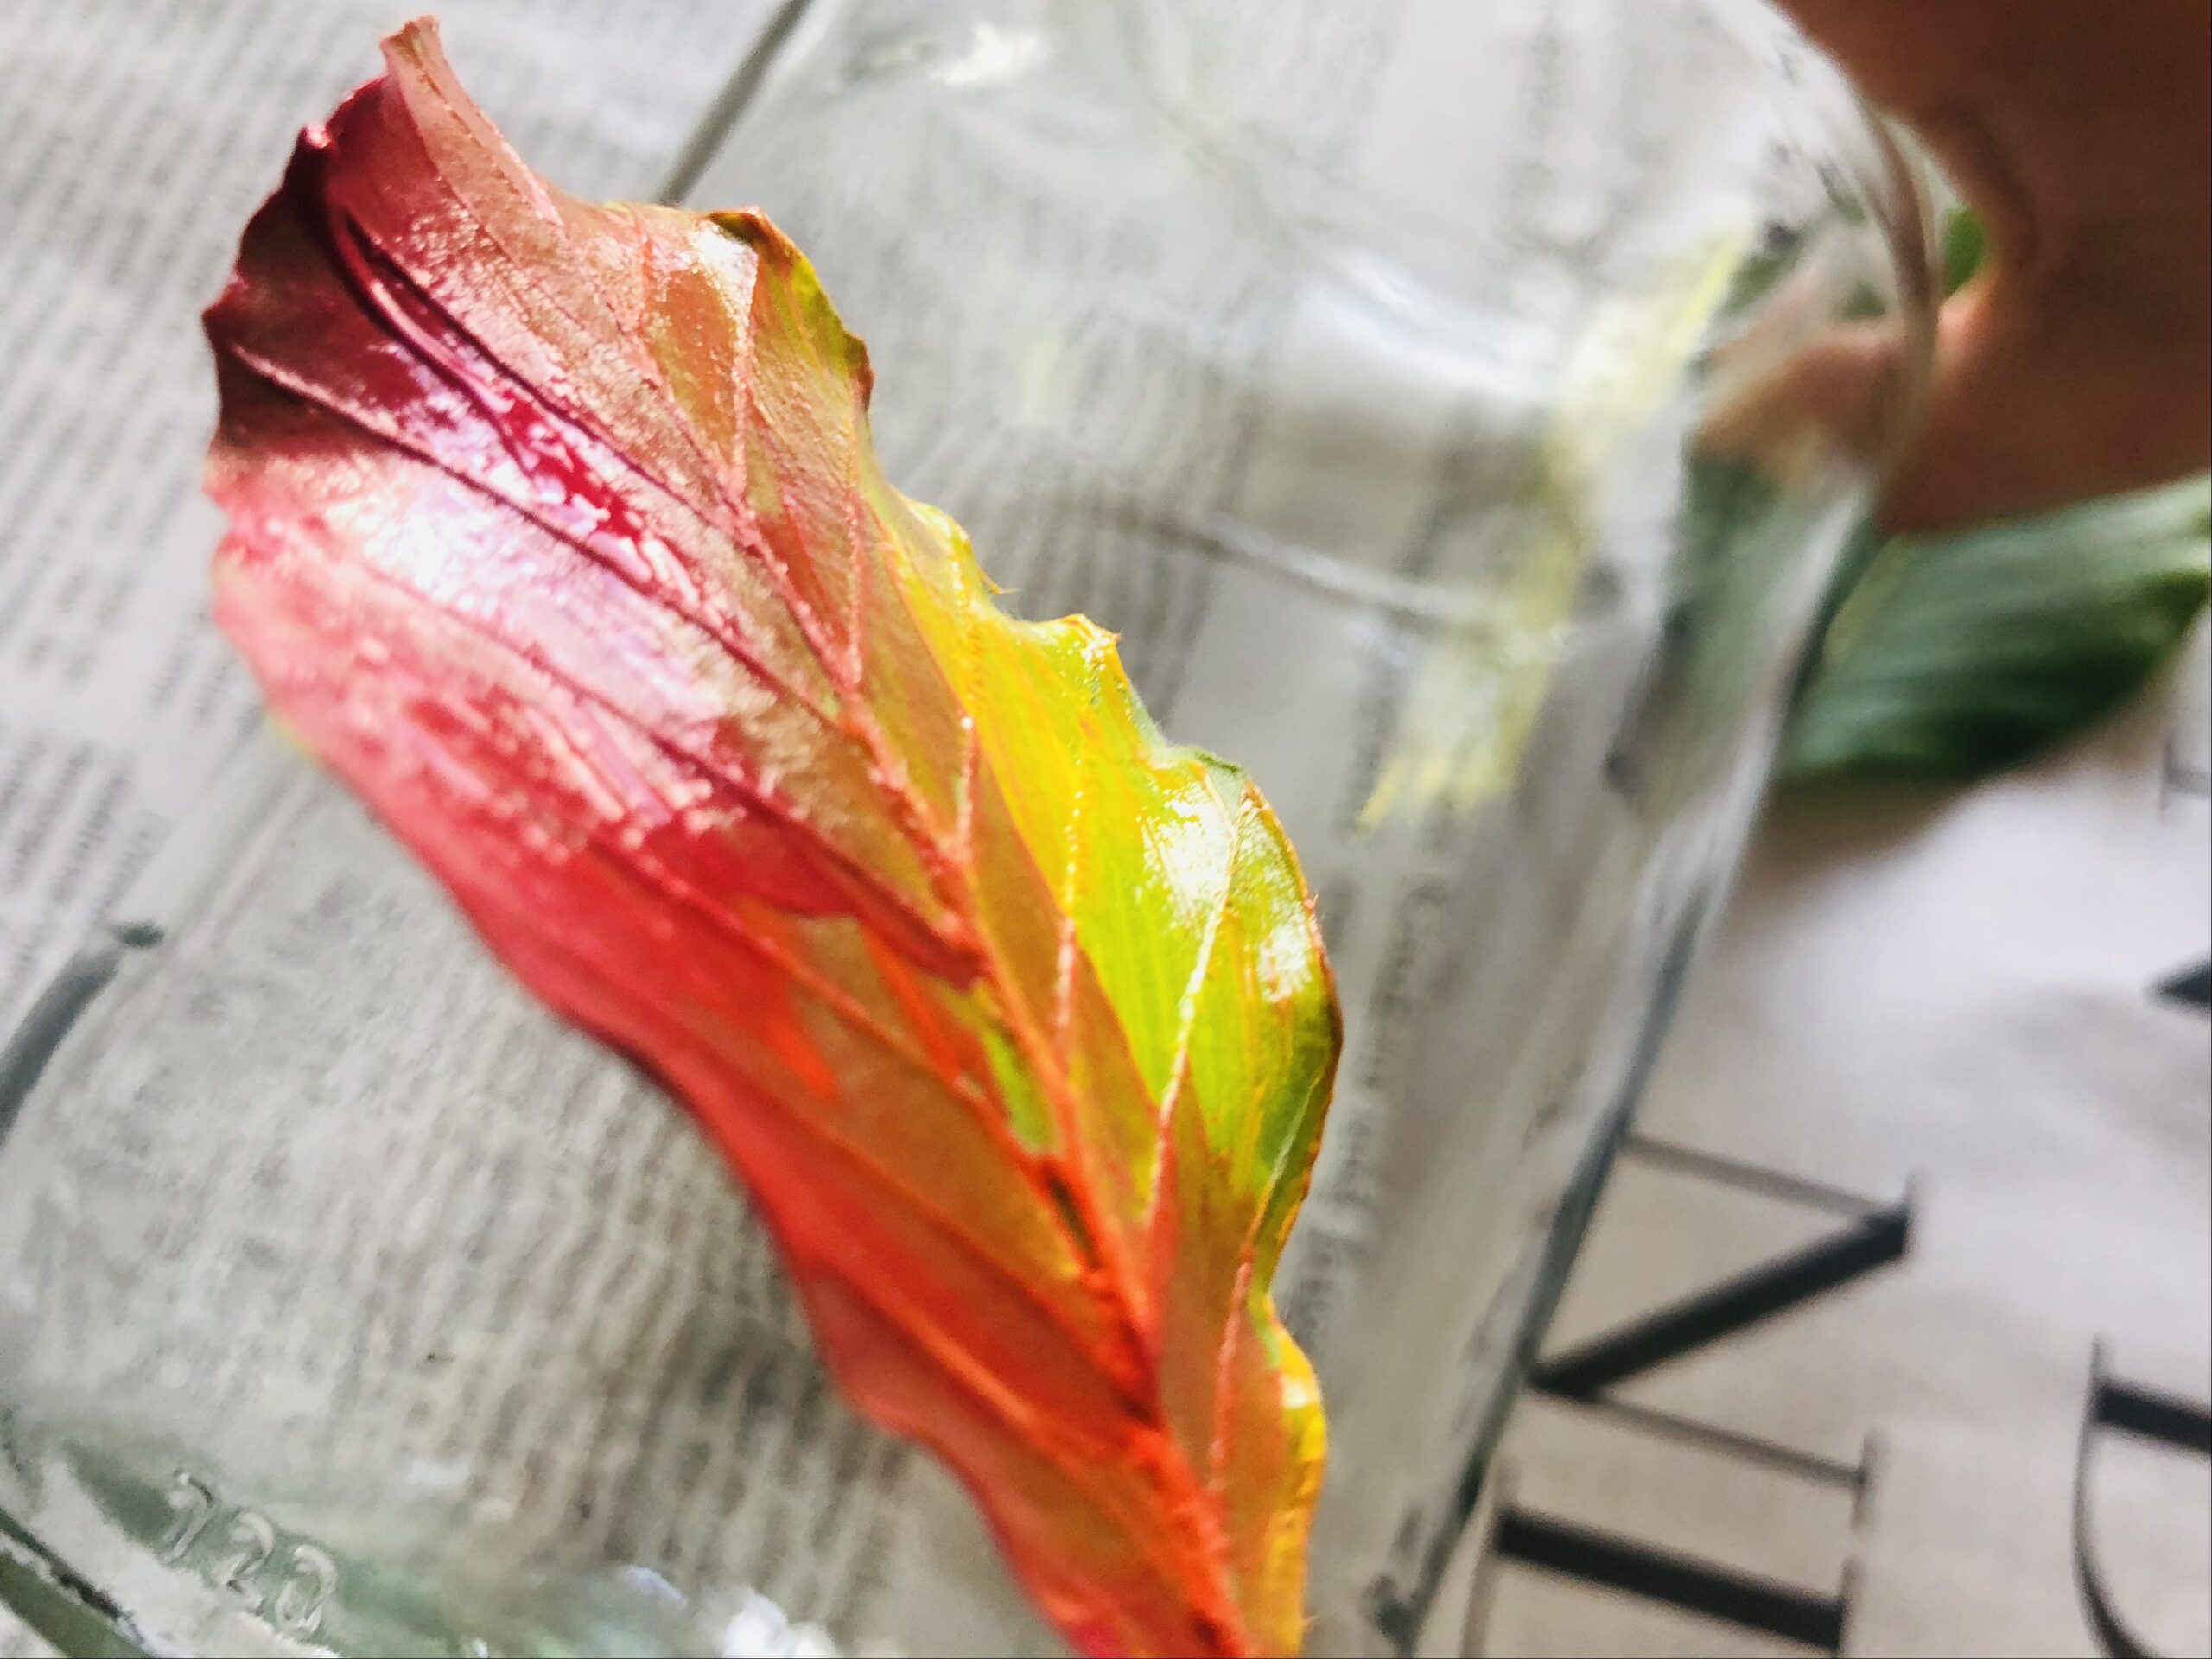
Then paint the sheet on the back with paint. Use only the acrylic paint and no water.
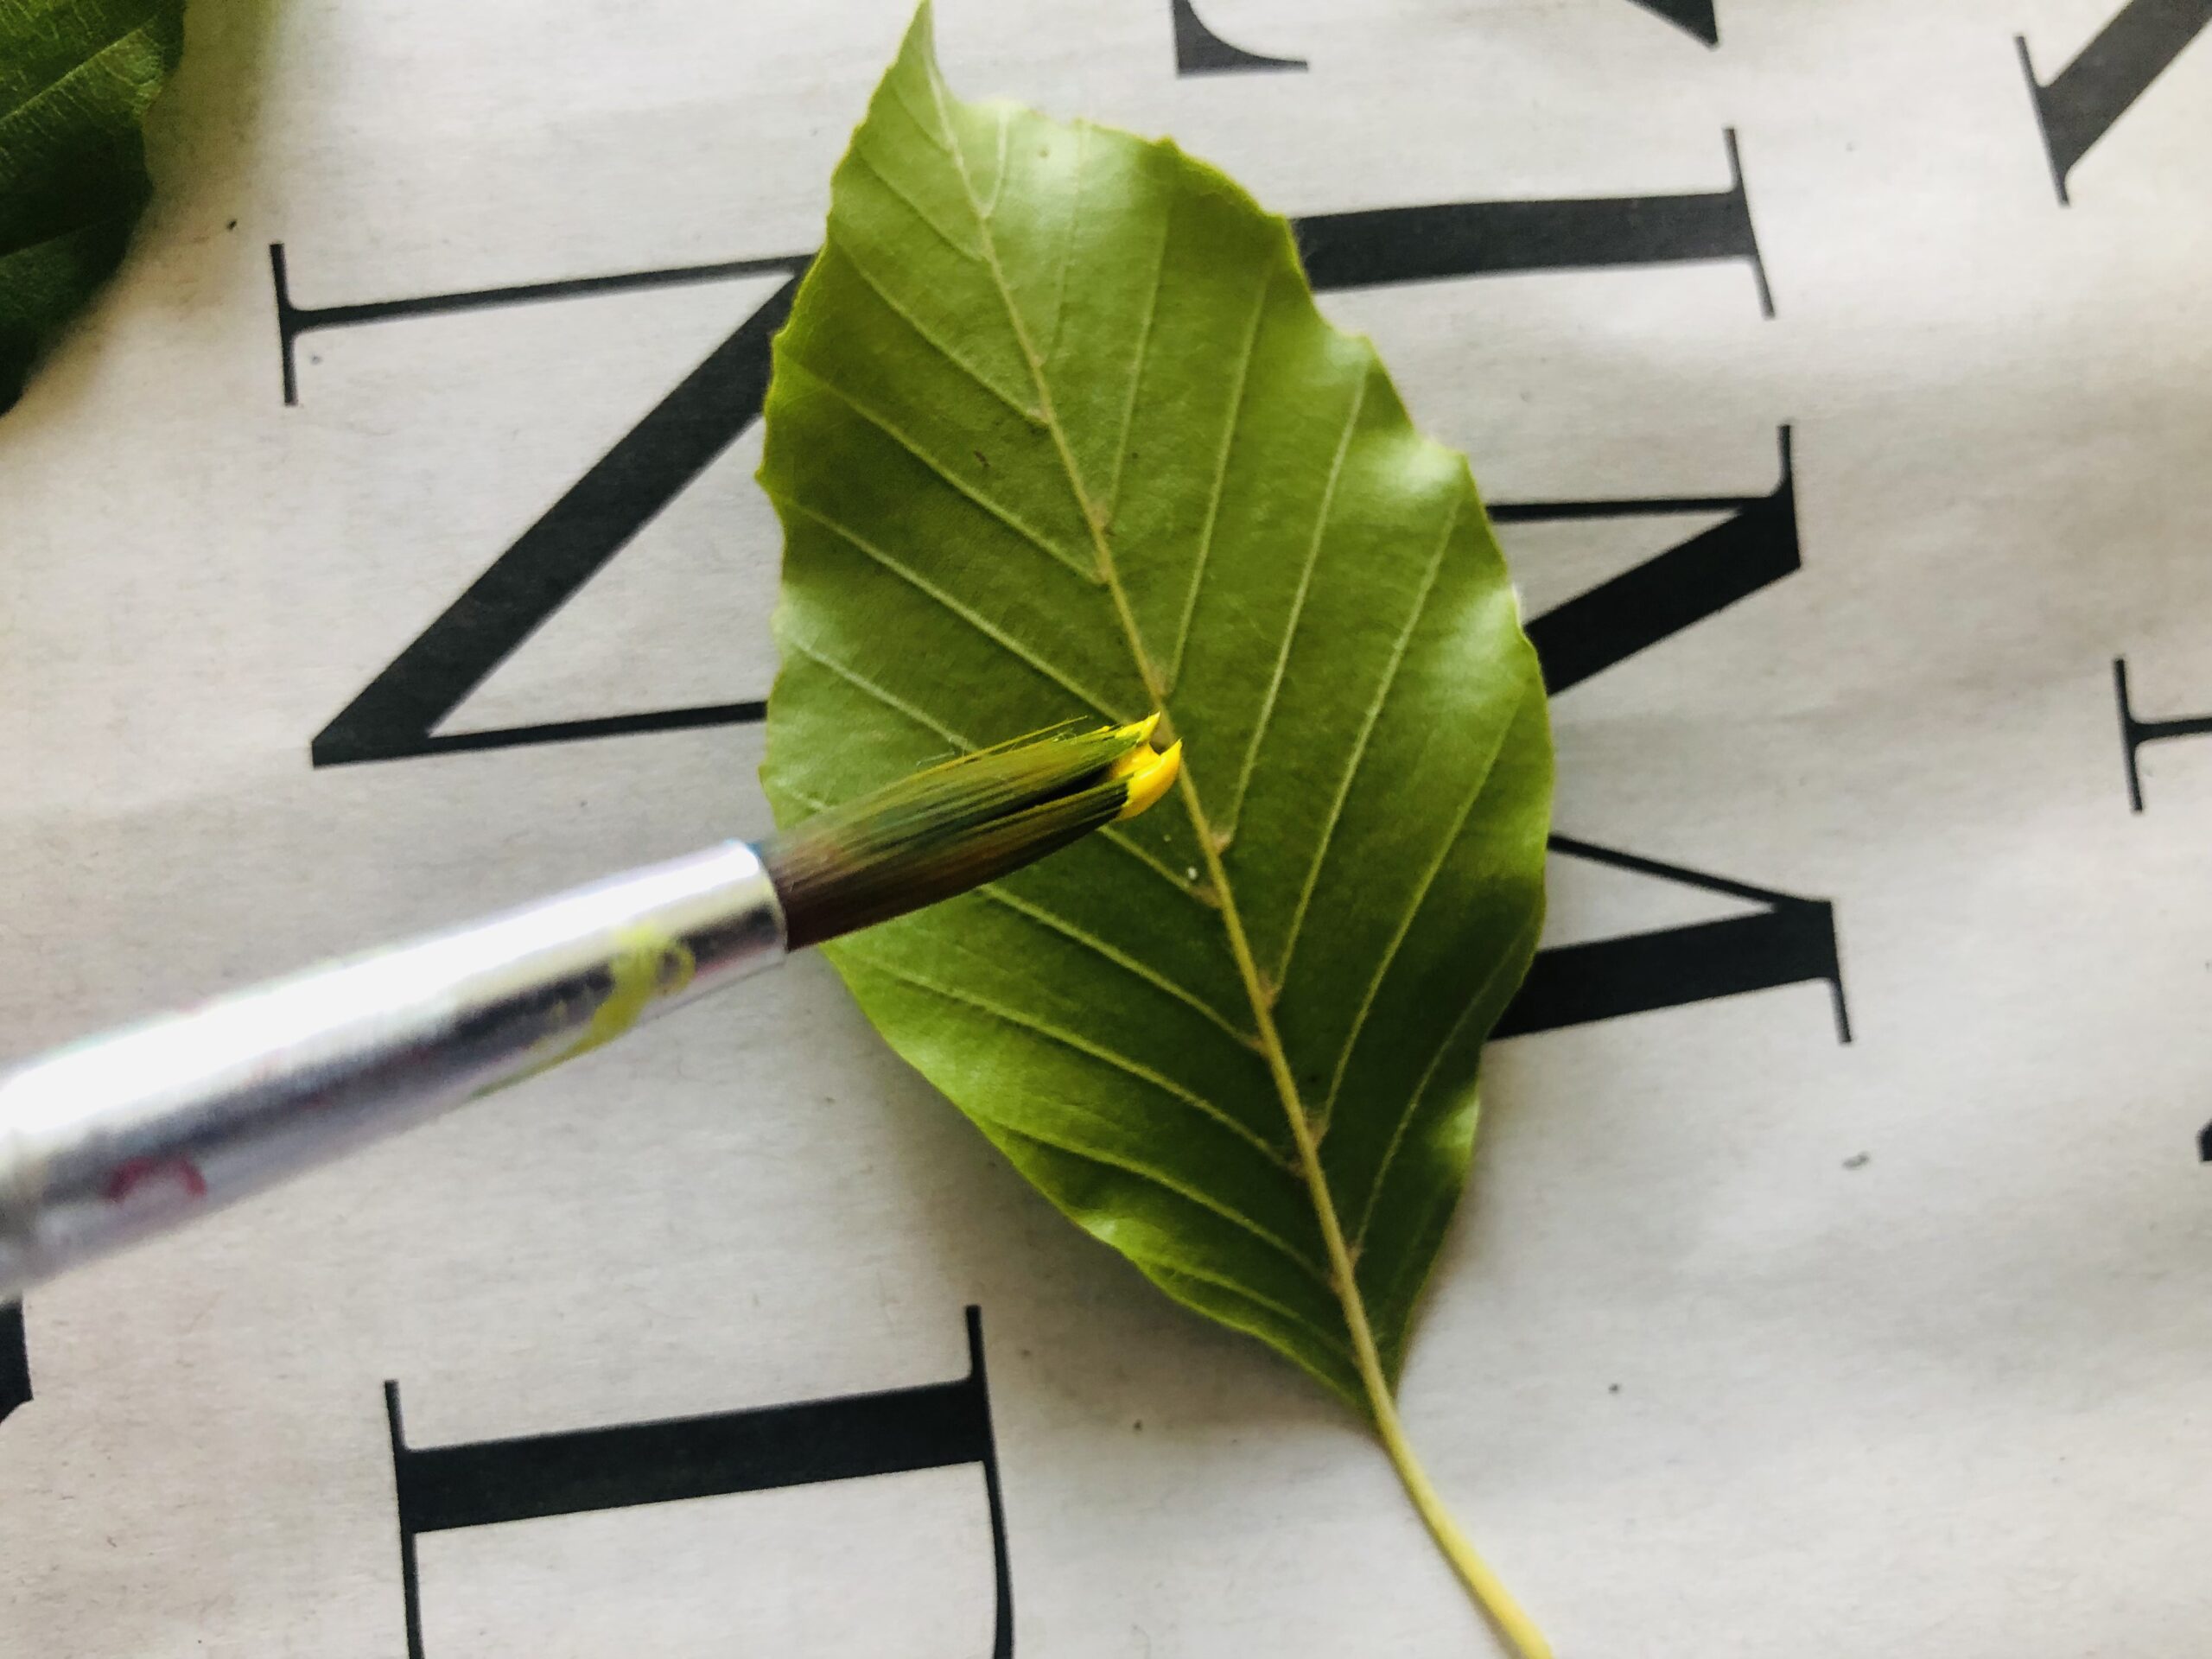
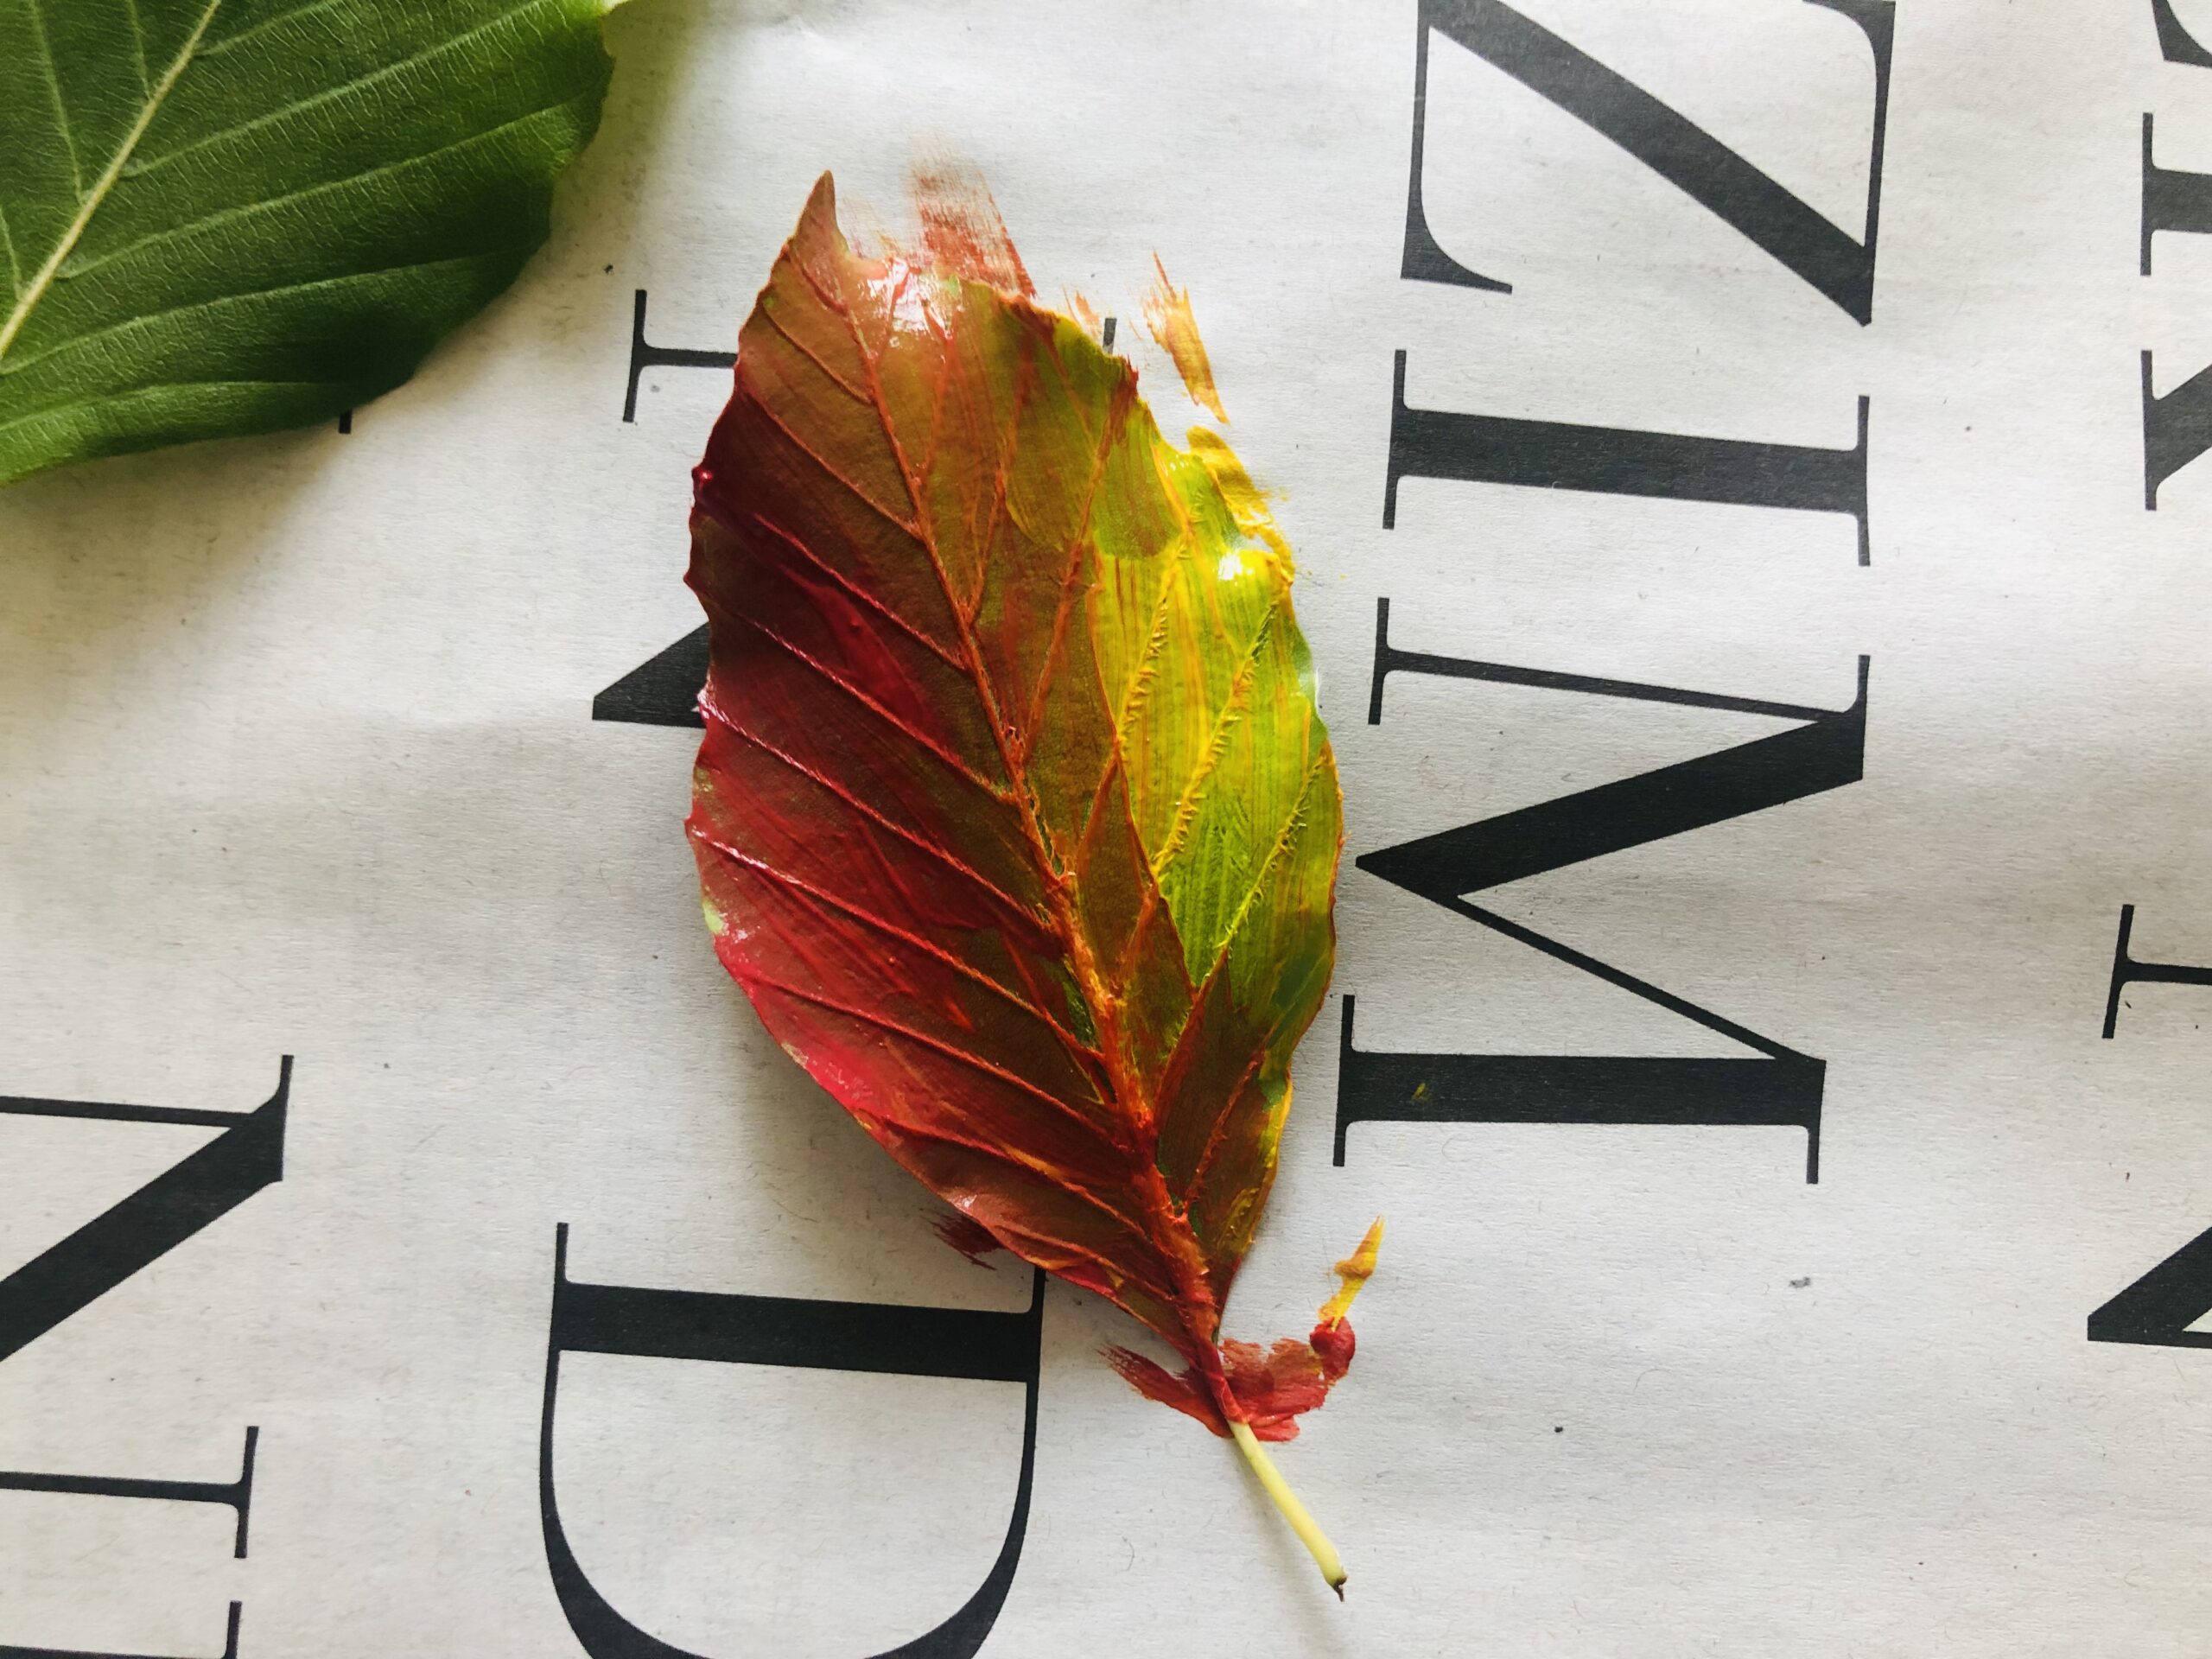
Paints on one leaf several colors, so that the typical autumn coloring of the leaves arises.
Then take your painted sheet and the glass at hand. Put the glass on the table.
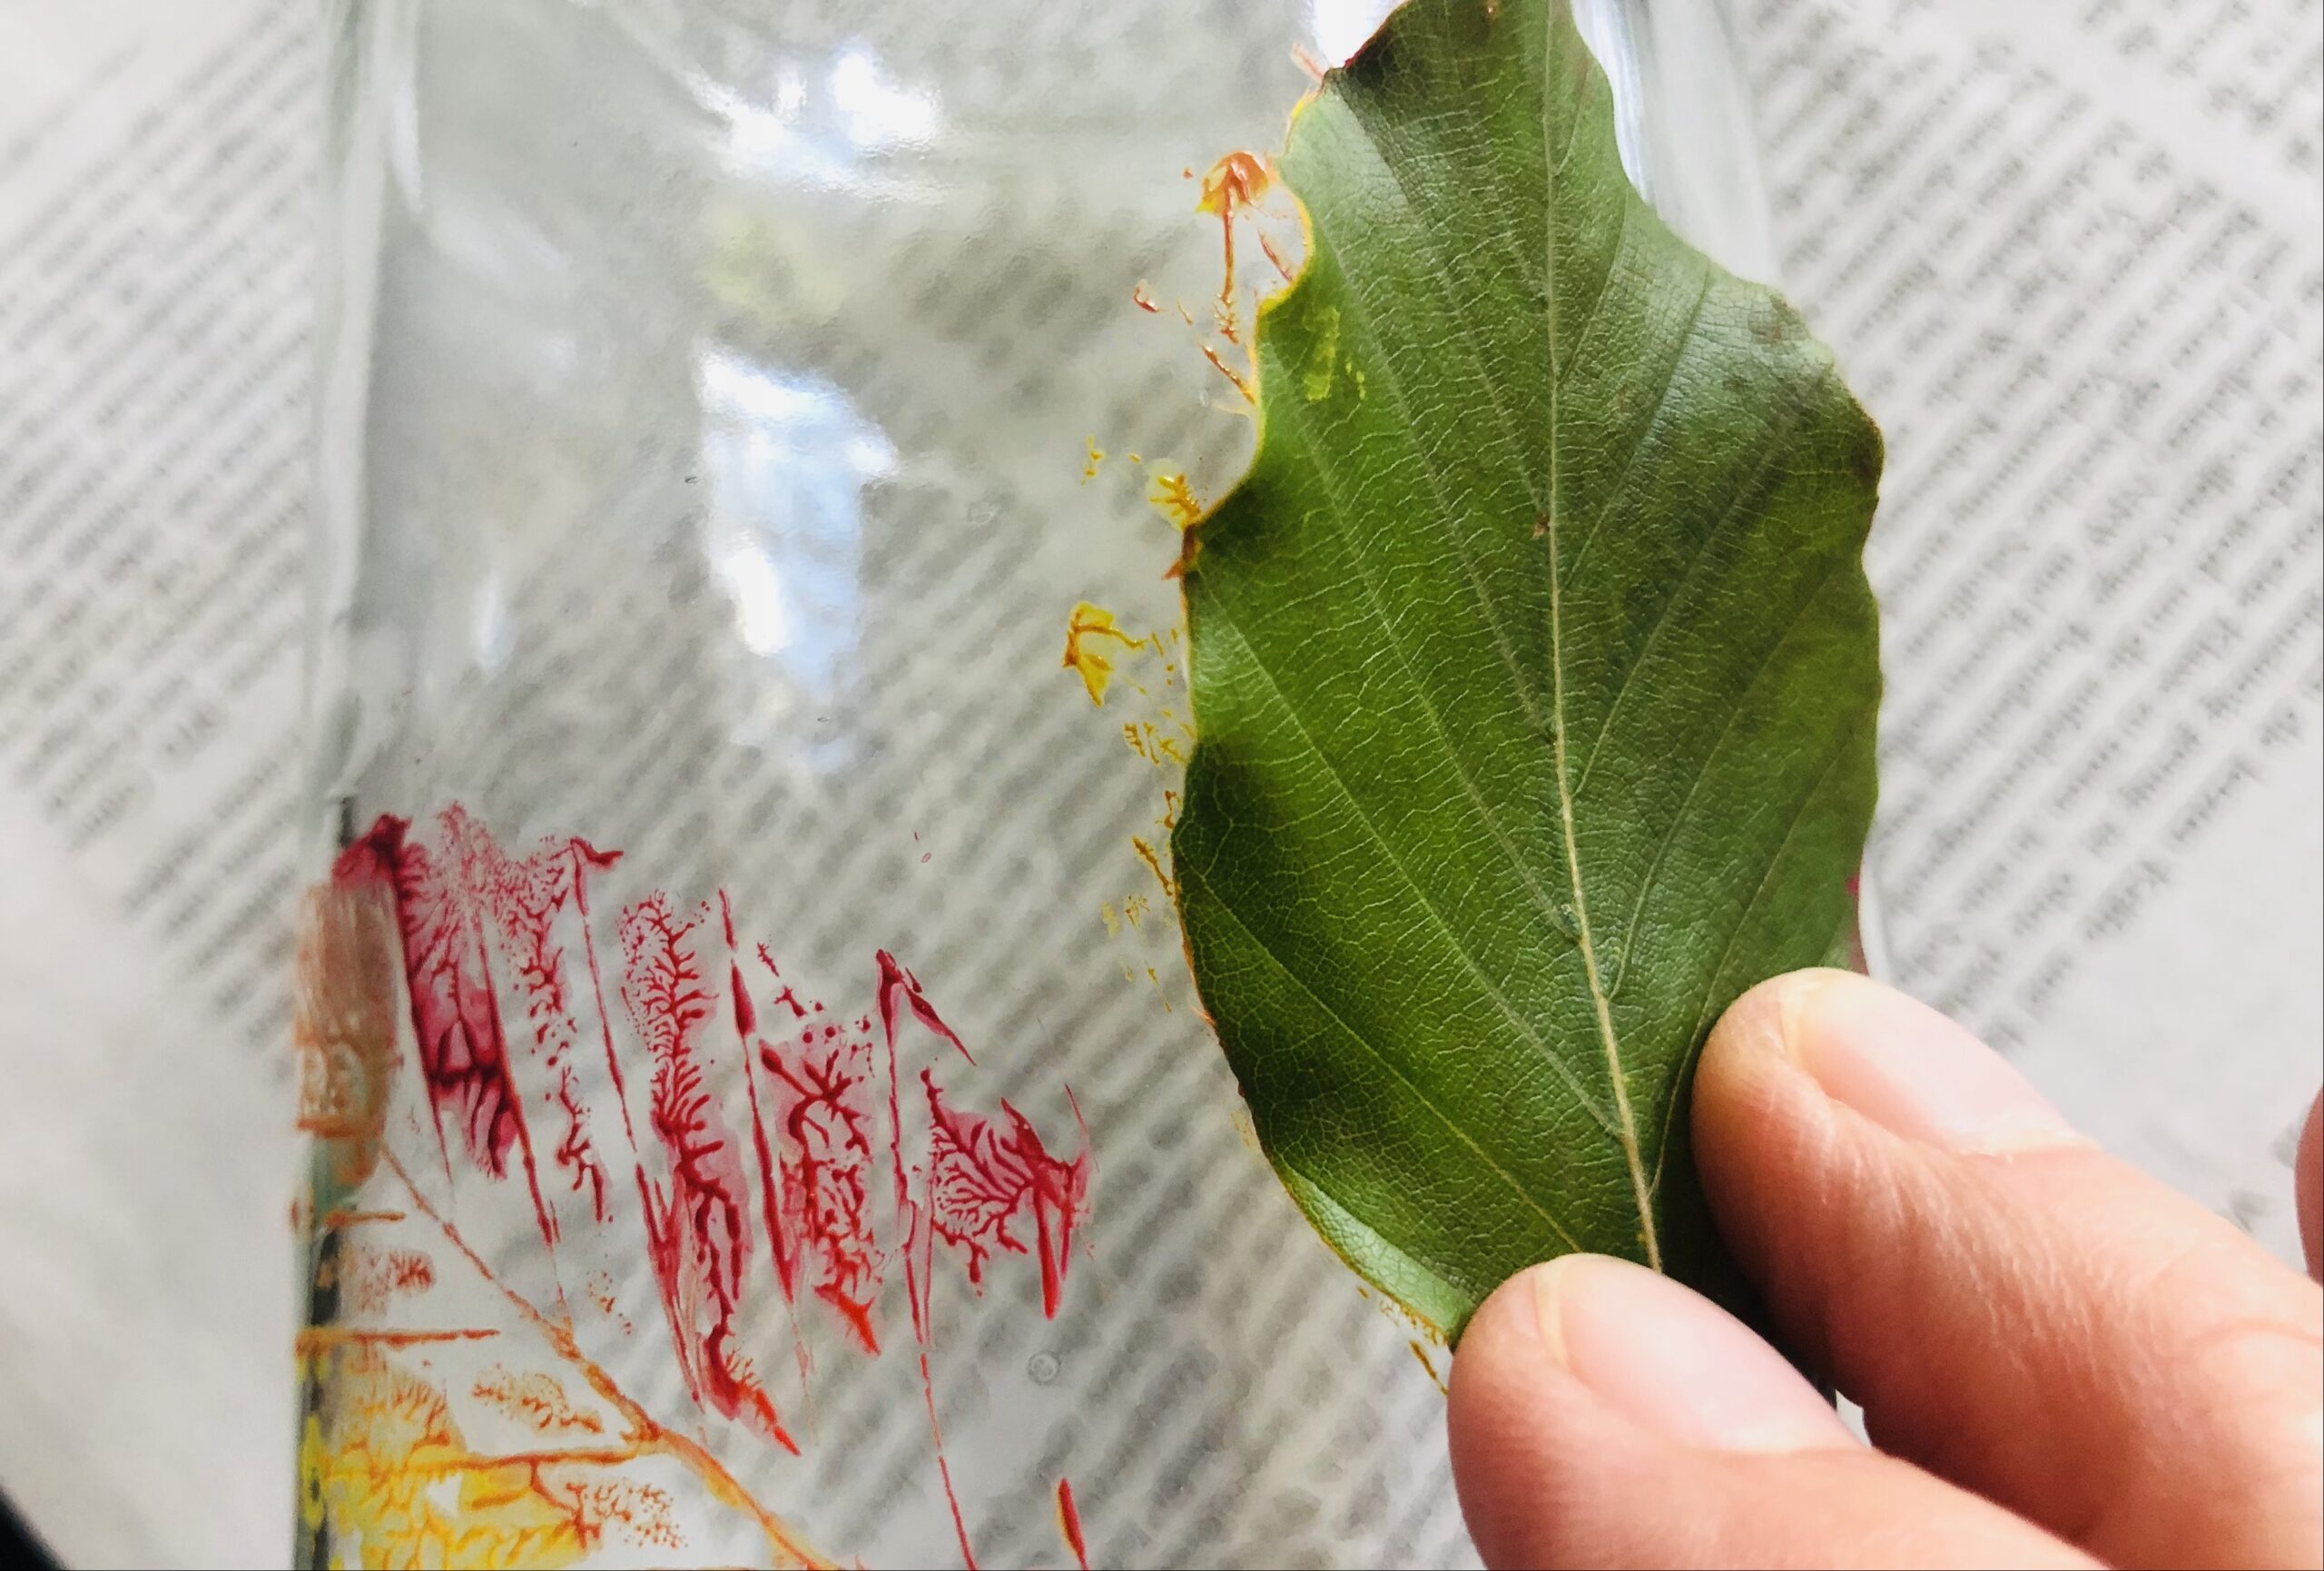
Then gently press the sheet onto the glass. Make sure that the glass does not roll to the side and the sheet does not shift.
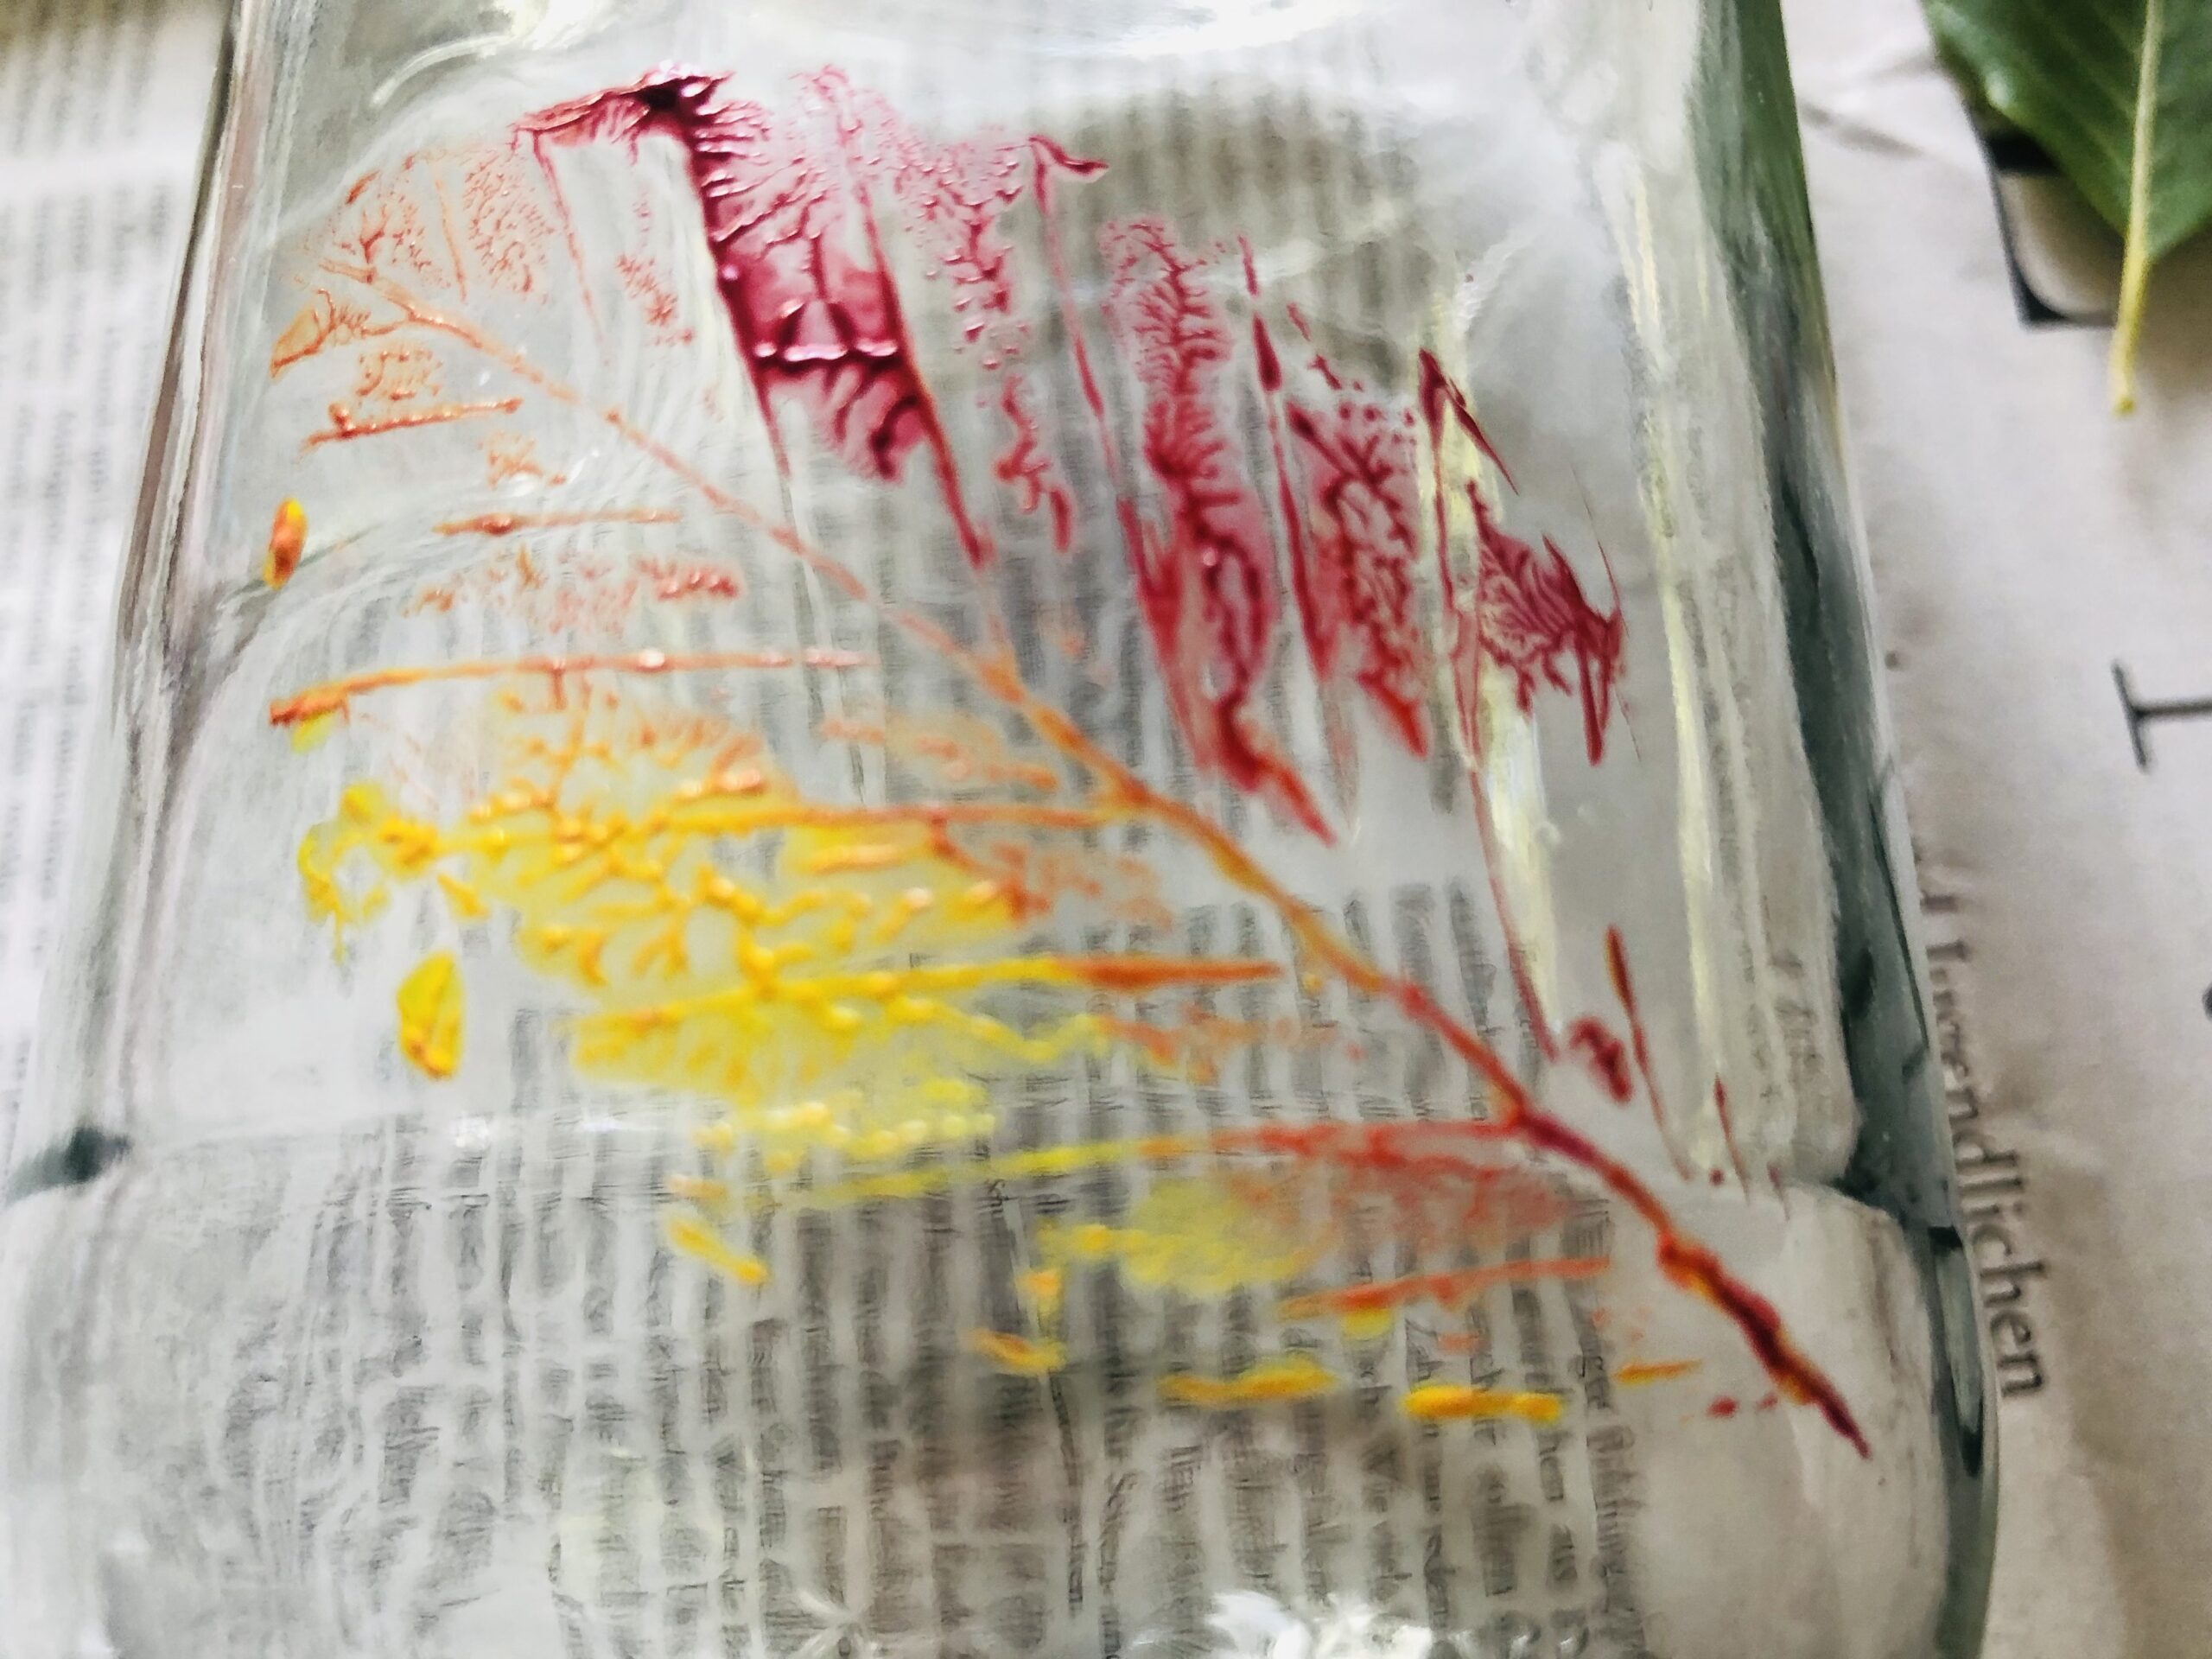
Now tap on the leaf. Make sure that you also pat the edges strongly on the glass edge.
After that you carefully remove the leaf. A leaf print is created.
Now you press the same sheet again on the glass. Tap on it and carefully pull it off again. Perhaps there is still enough color for a third print on the sheet.
Then paint the leaf again with paint and pat it again on the glass.

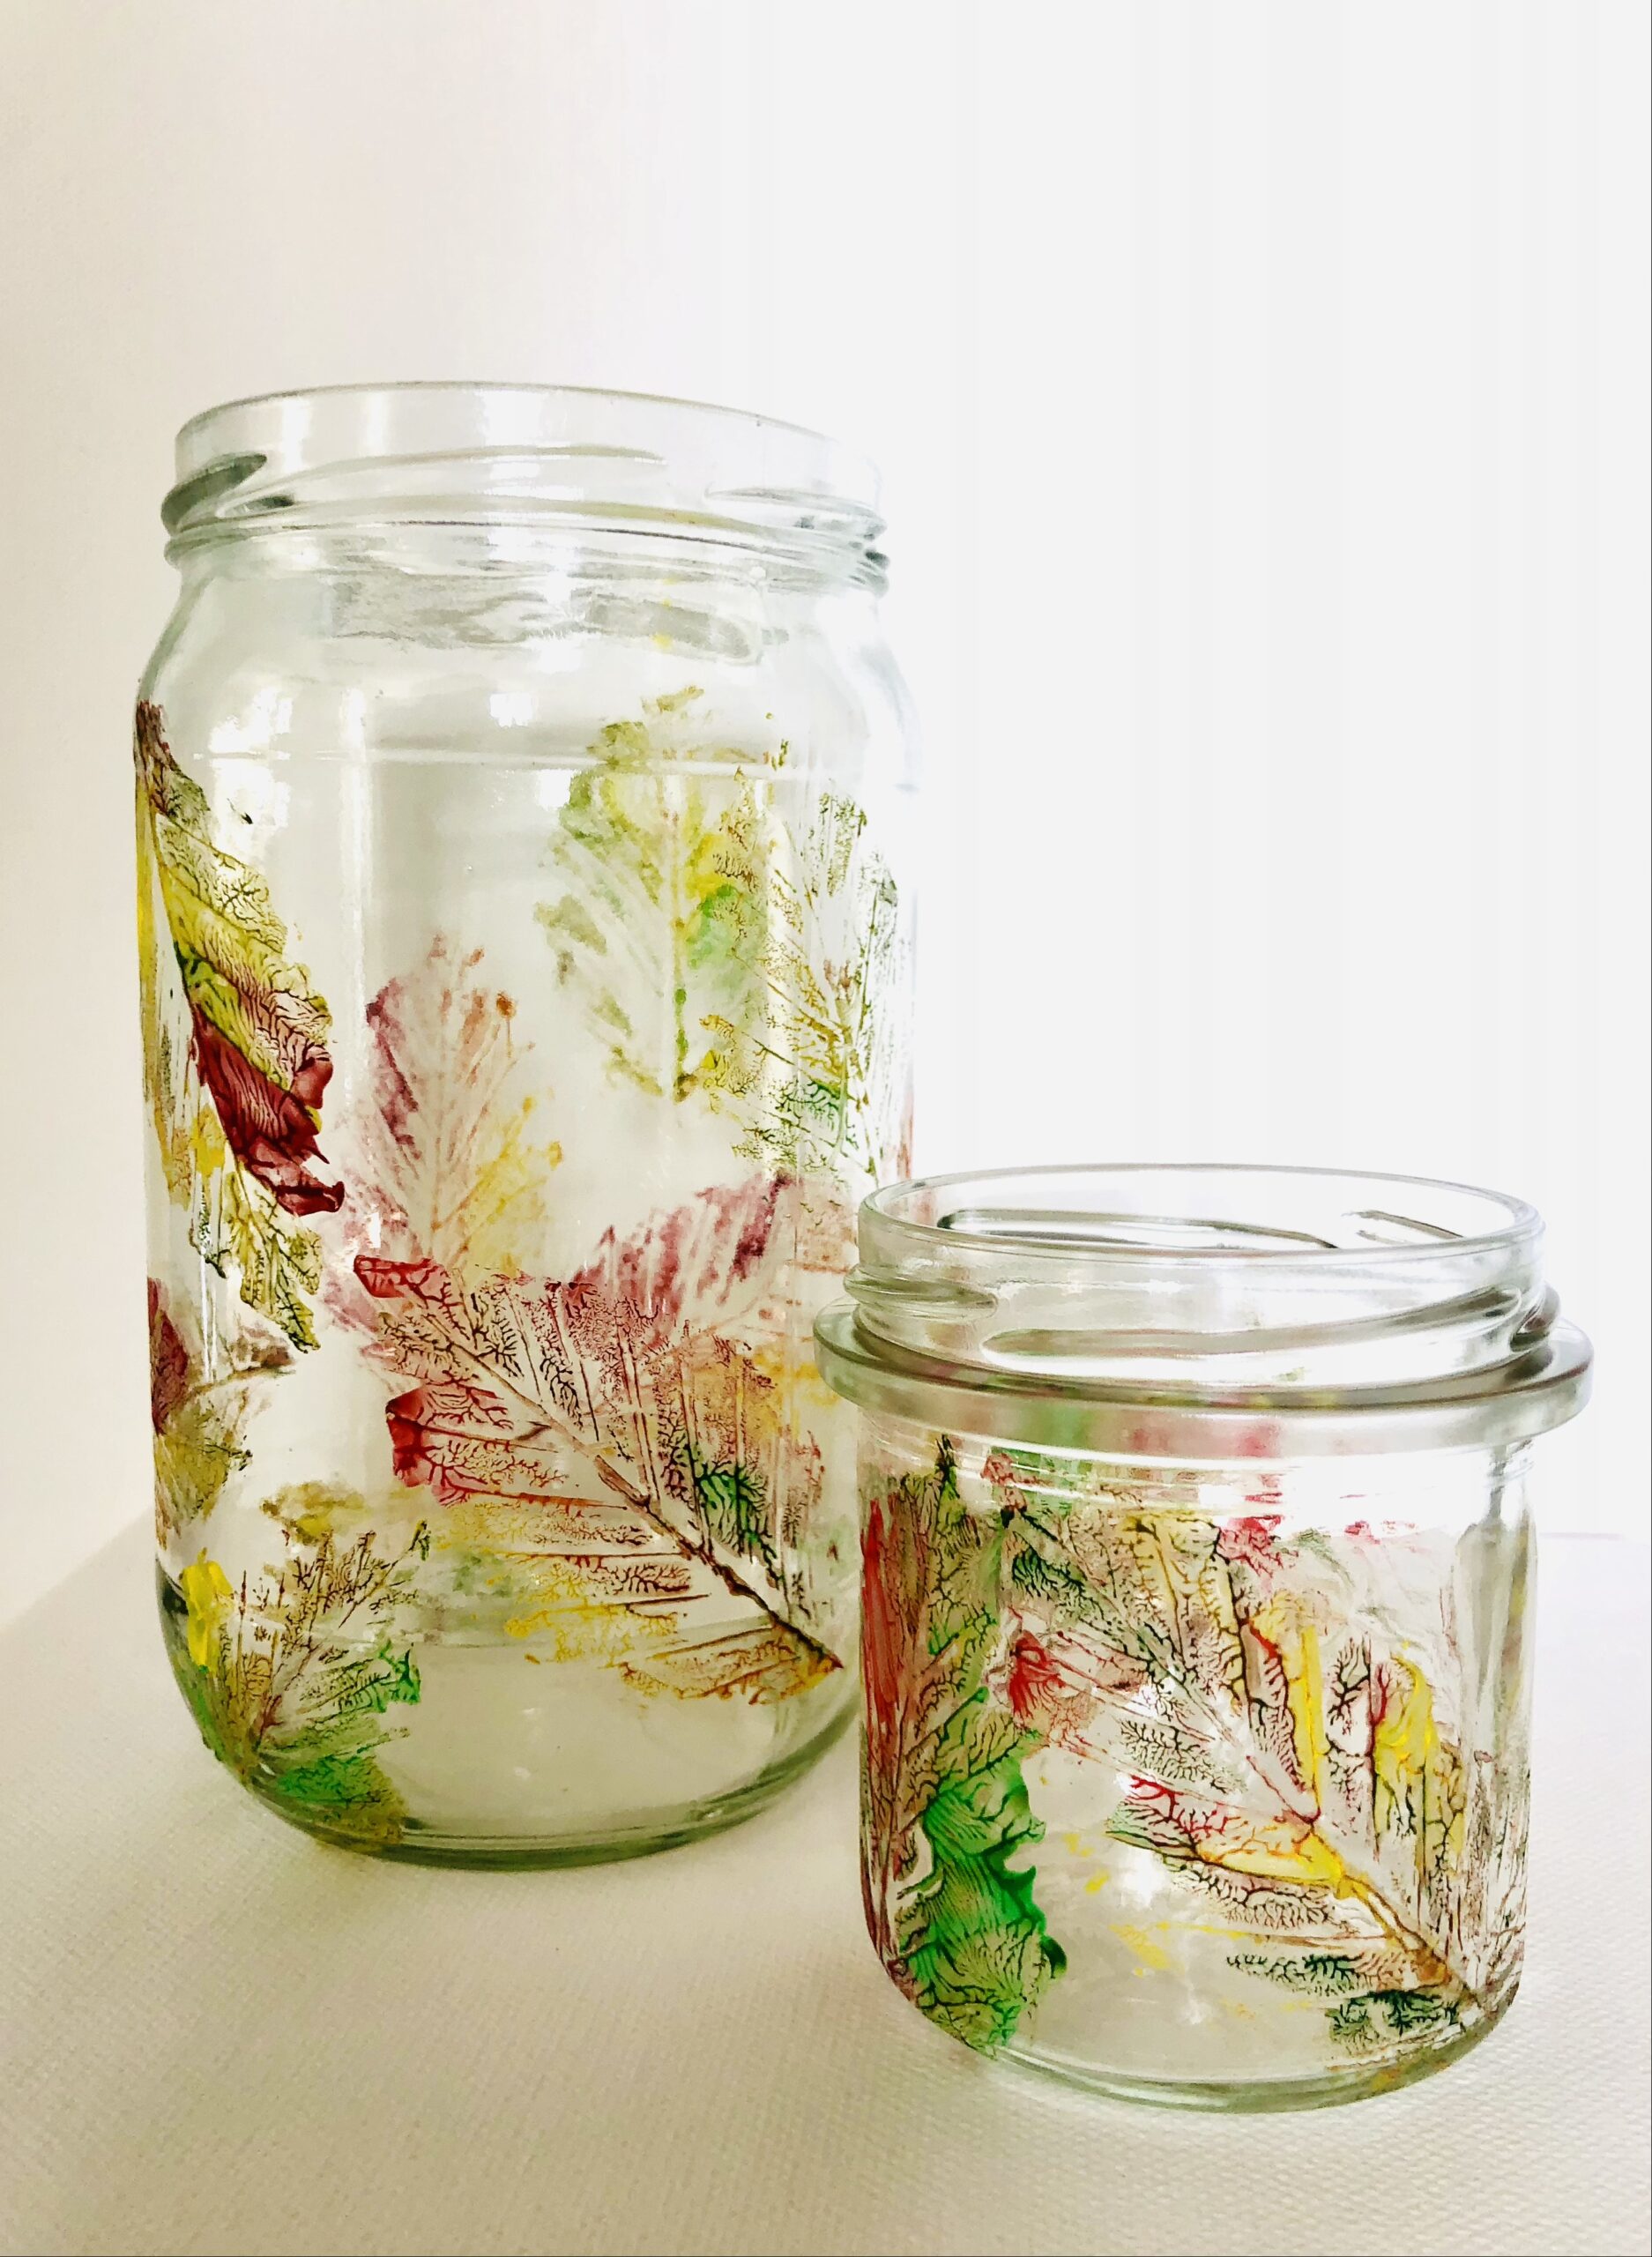
Design your glass as you like it. Maybe you can also design several glasses. You can use different leaves and leaf shapes or just a single leaf.
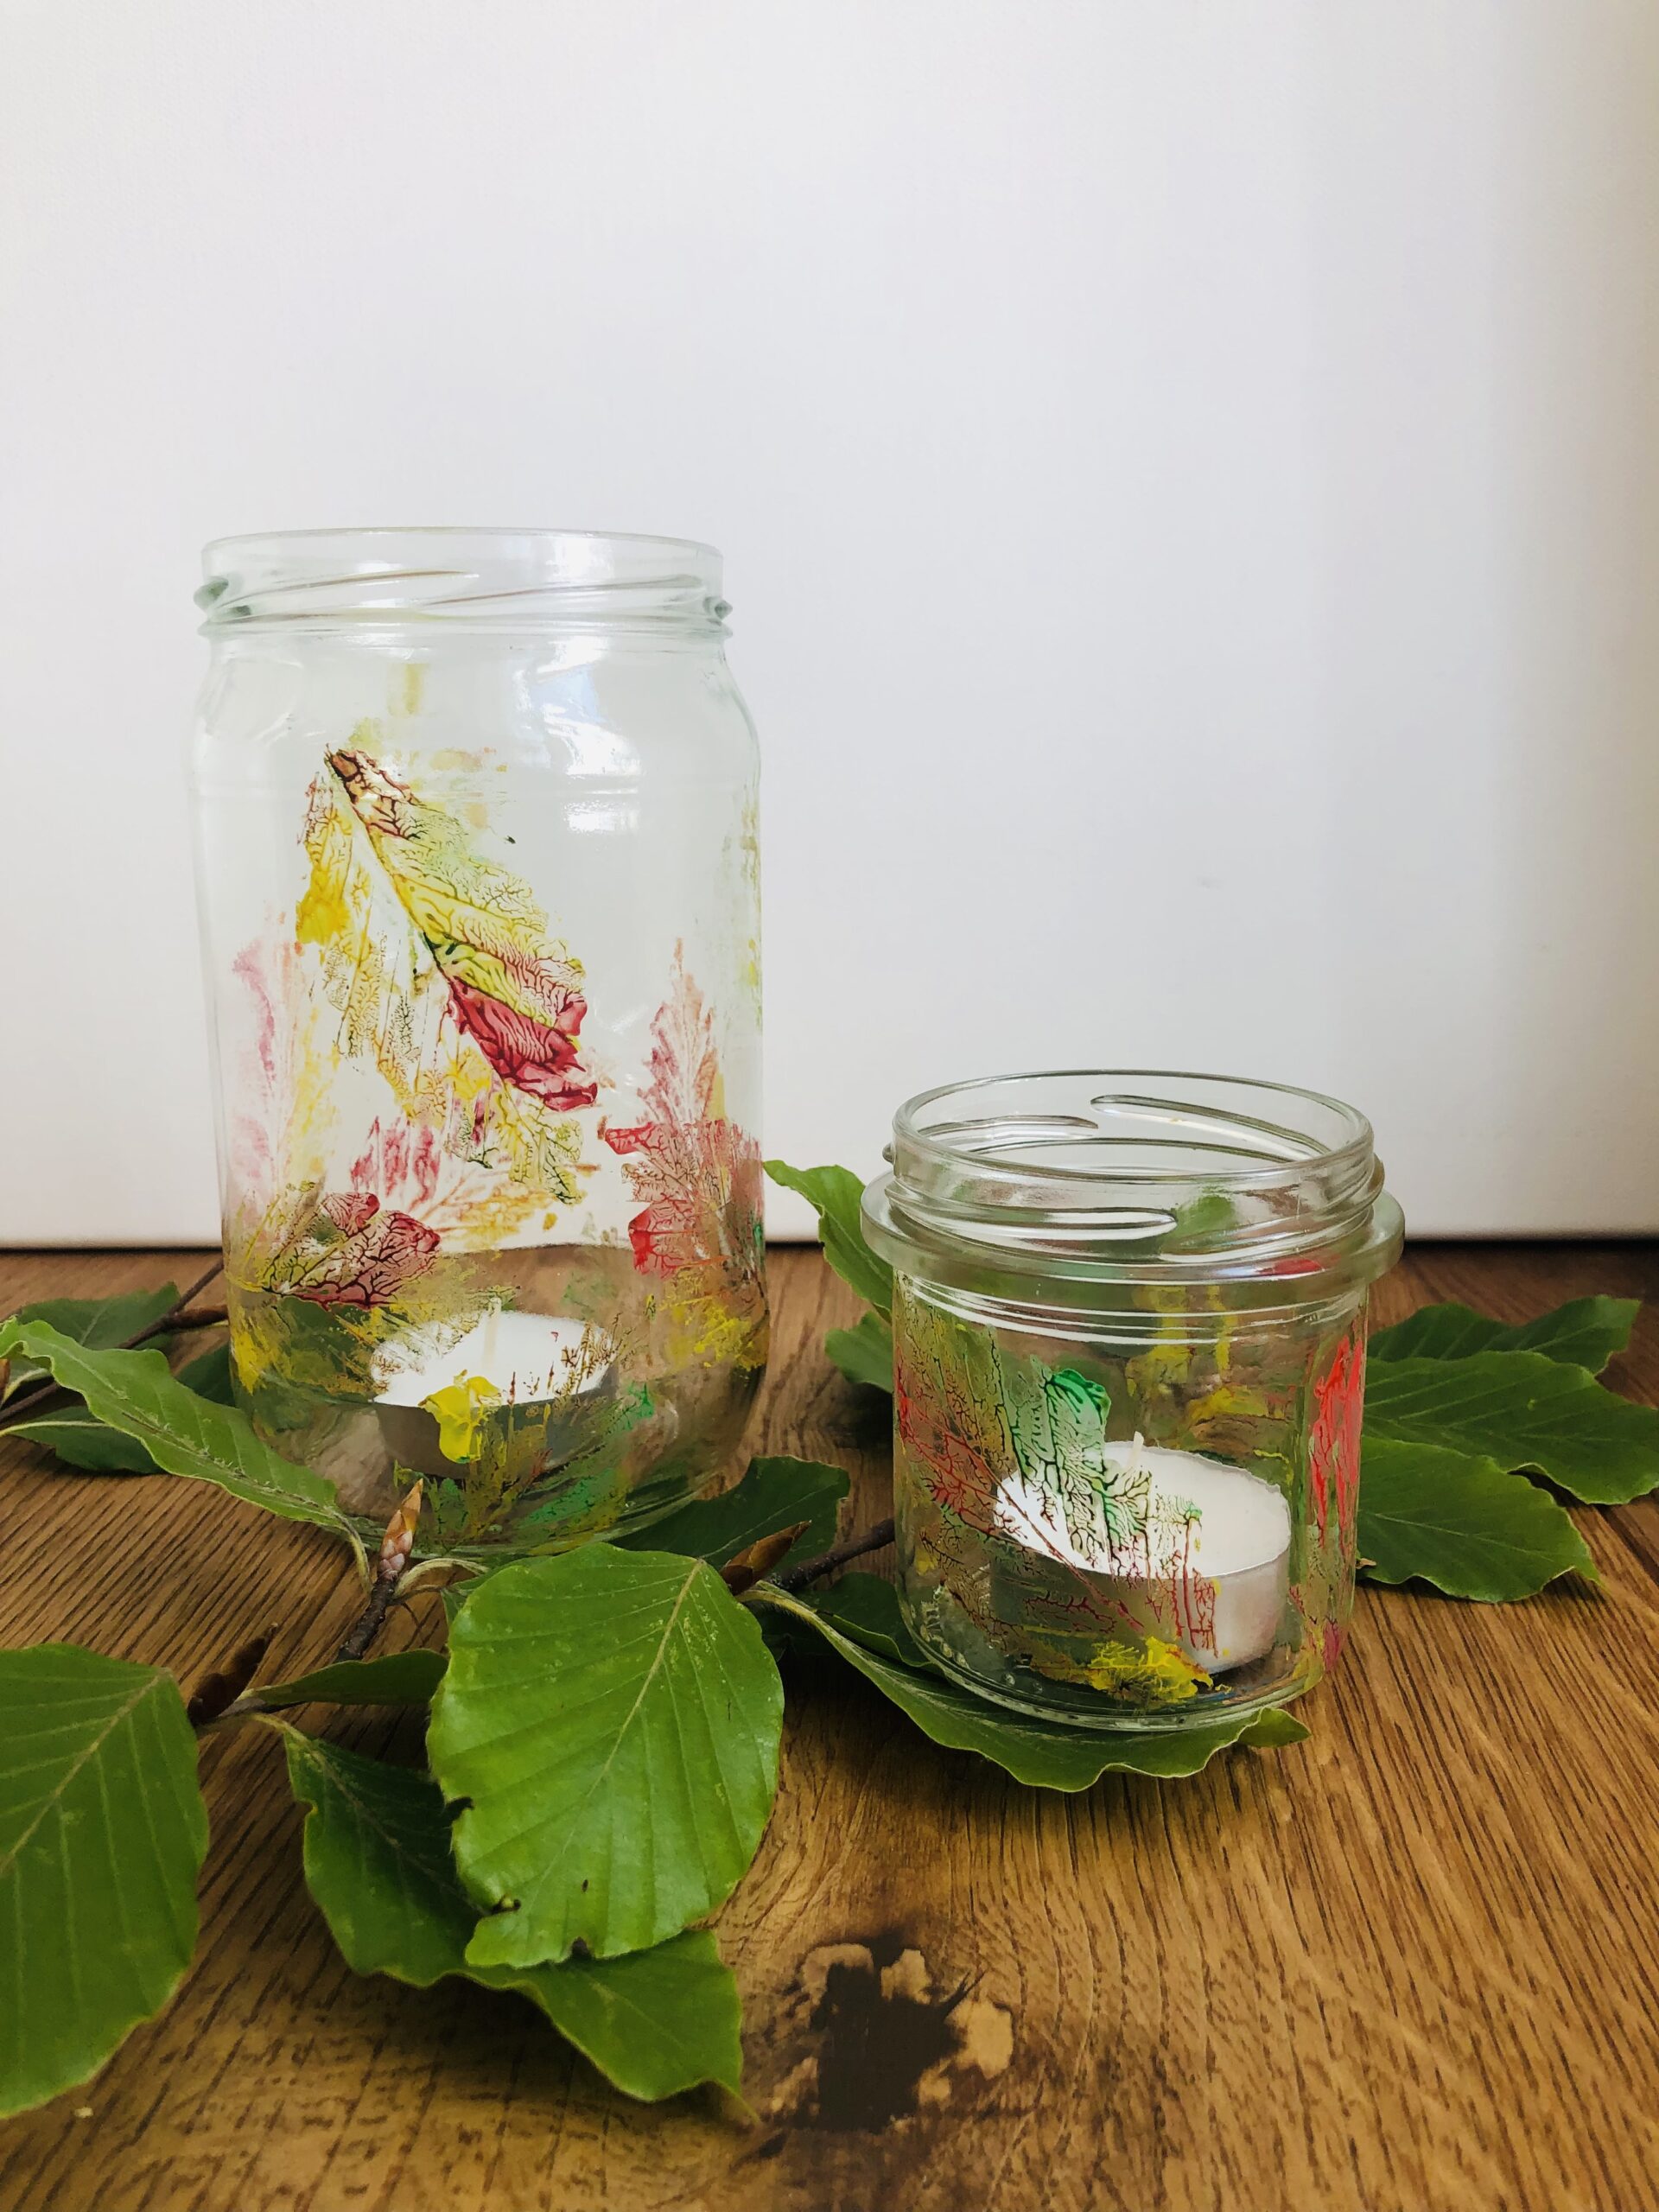
Then you can put a tea light in the glass and put the glass, for example, on the table as autumn decoration.
Tip: The glasses are also suitable for giftgiving.
Have fun crafting with leaves.
Materials
Directions
First you collect some leaves and get the material together.
Make sure that the leaves are whole and that the leaf veins are good to see. For example, beech leaves and maple leaves are suitable.
Then put out the paper as a backing and pat some acrylic paint on a small plate.
Now you turn the first sheet to paint on the back. There you can see the leaf veins clearly. Compare both sides with each other.
Then paint the sheet on the back with paint. Use only the acrylic paint and no water.
Paints on one leaf several colors, so that the typical autumn coloring of the leaves arises.
Then take your painted sheet and the glass at hand. Put the glass on the table.
Then gently press the sheet onto the glass. Make sure that the glass does not roll to the side and the sheet does not shift.
Now tap on the leaf. Make sure that you also pat the edges strongly on the glass edge.
After that you carefully remove the leaf. A leaf print is created.
Now you press the same sheet again on the glass. Tap on it and carefully pull it off again. Perhaps there is still enough color for a third print on the sheet.
Then paint the leaf again with paint and pat it again on the glass.
Design your glass as you like it. Maybe you can also design several glasses. You can use different leaves and leaf shapes or just a single leaf.
Then you can put a tea light in the glass and put the glass, for example, on the table as autumn decoration.
Tip: The glasses are also suitable for giftgiving.
Have fun crafting with leaves.
Follow us on Facebook , Instagram and Pinterest
Don't miss any more adventures: Our bottle mail