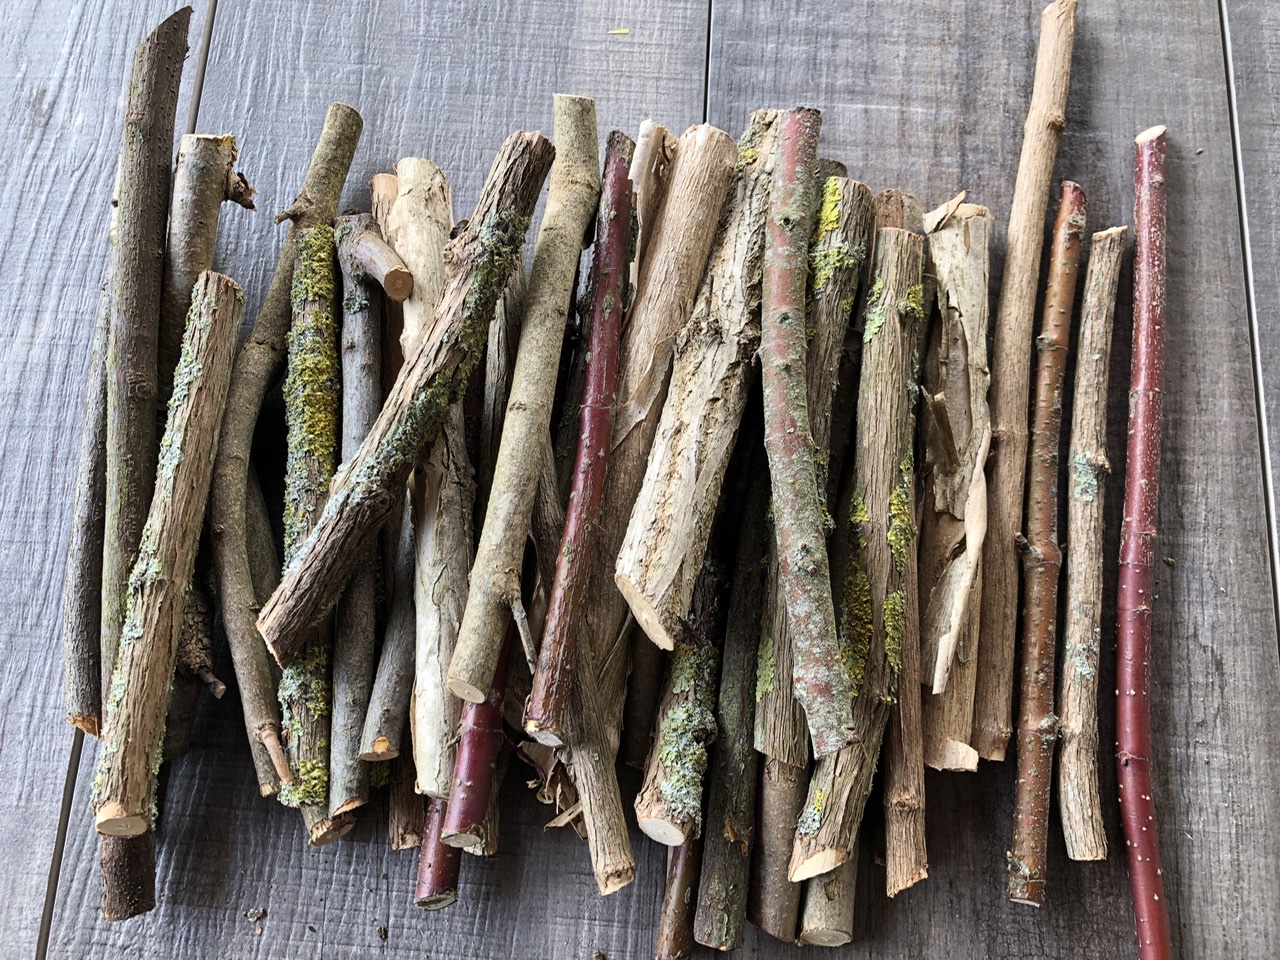
This craft idea with wooden sticks is certainly exciting for all children, who want to take branches and woods home on every walk. Make sure that you collect branches of different bushes and trees. From this you can make your own pot coaster.
Media Education for Kindergarten and Hort

Relief in everyday life, targeted promotion of individual children, independent learning and - without any pre-knowledge already usable by the youngest!

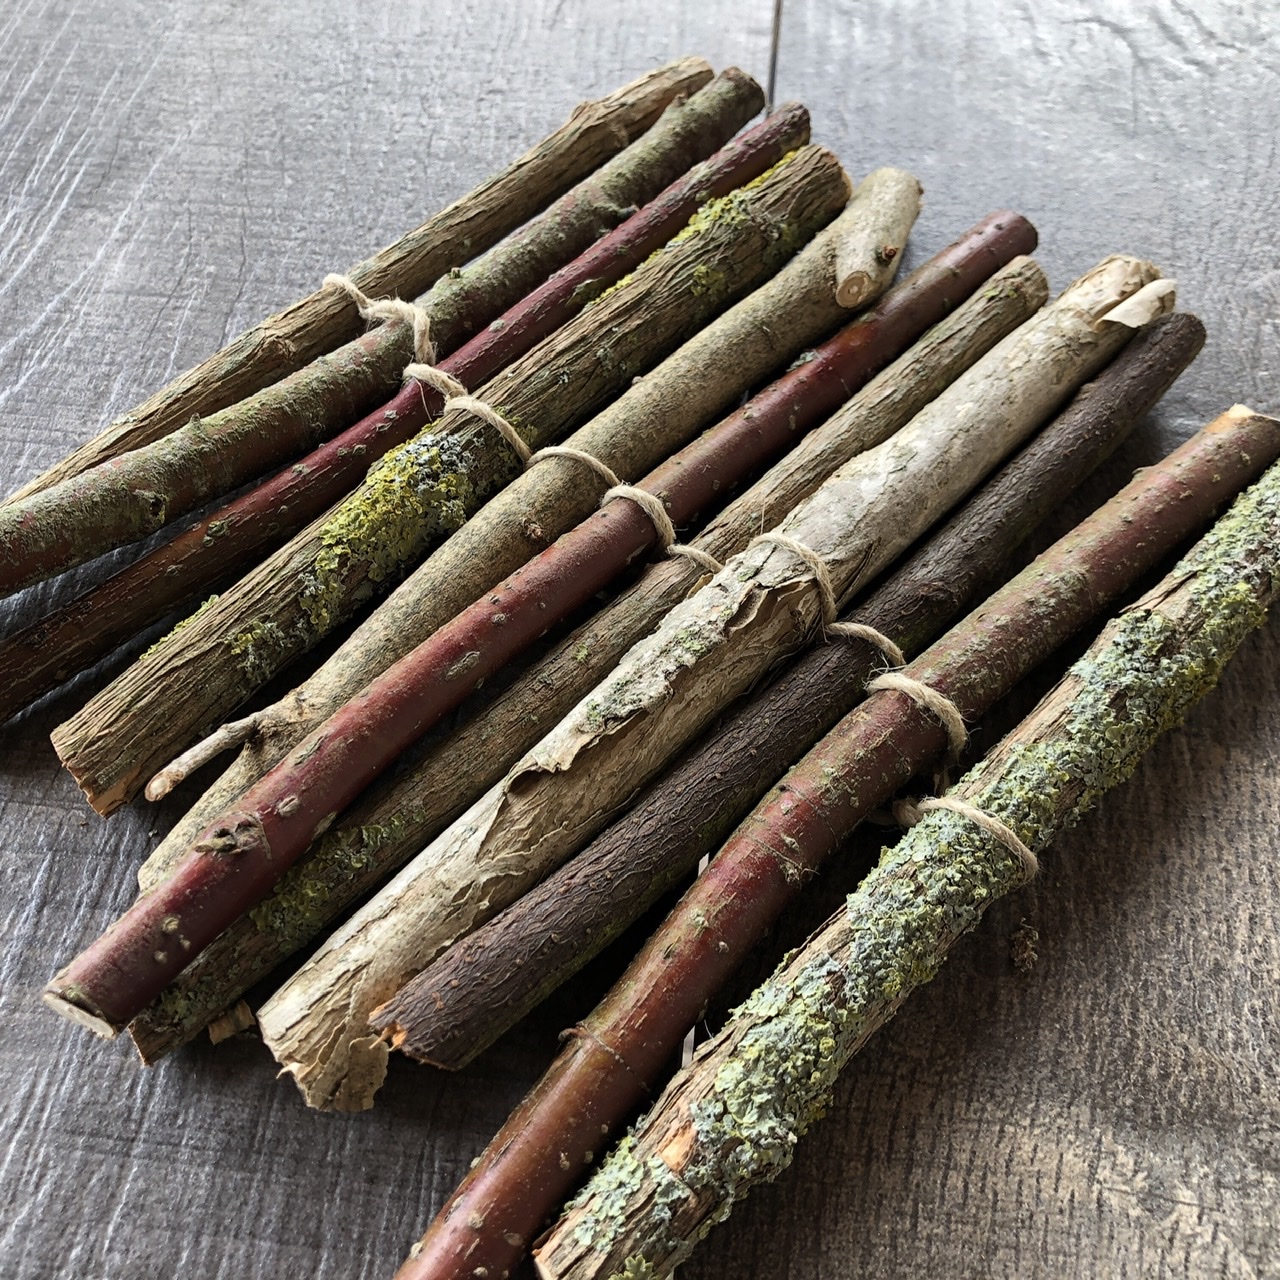
Cut wooden sticks to the same length. We reduced them to about 20 cm in length.
Attention: When working with garden shears do not leave children unattended!
Cut off 50 cm long piece of package cord.

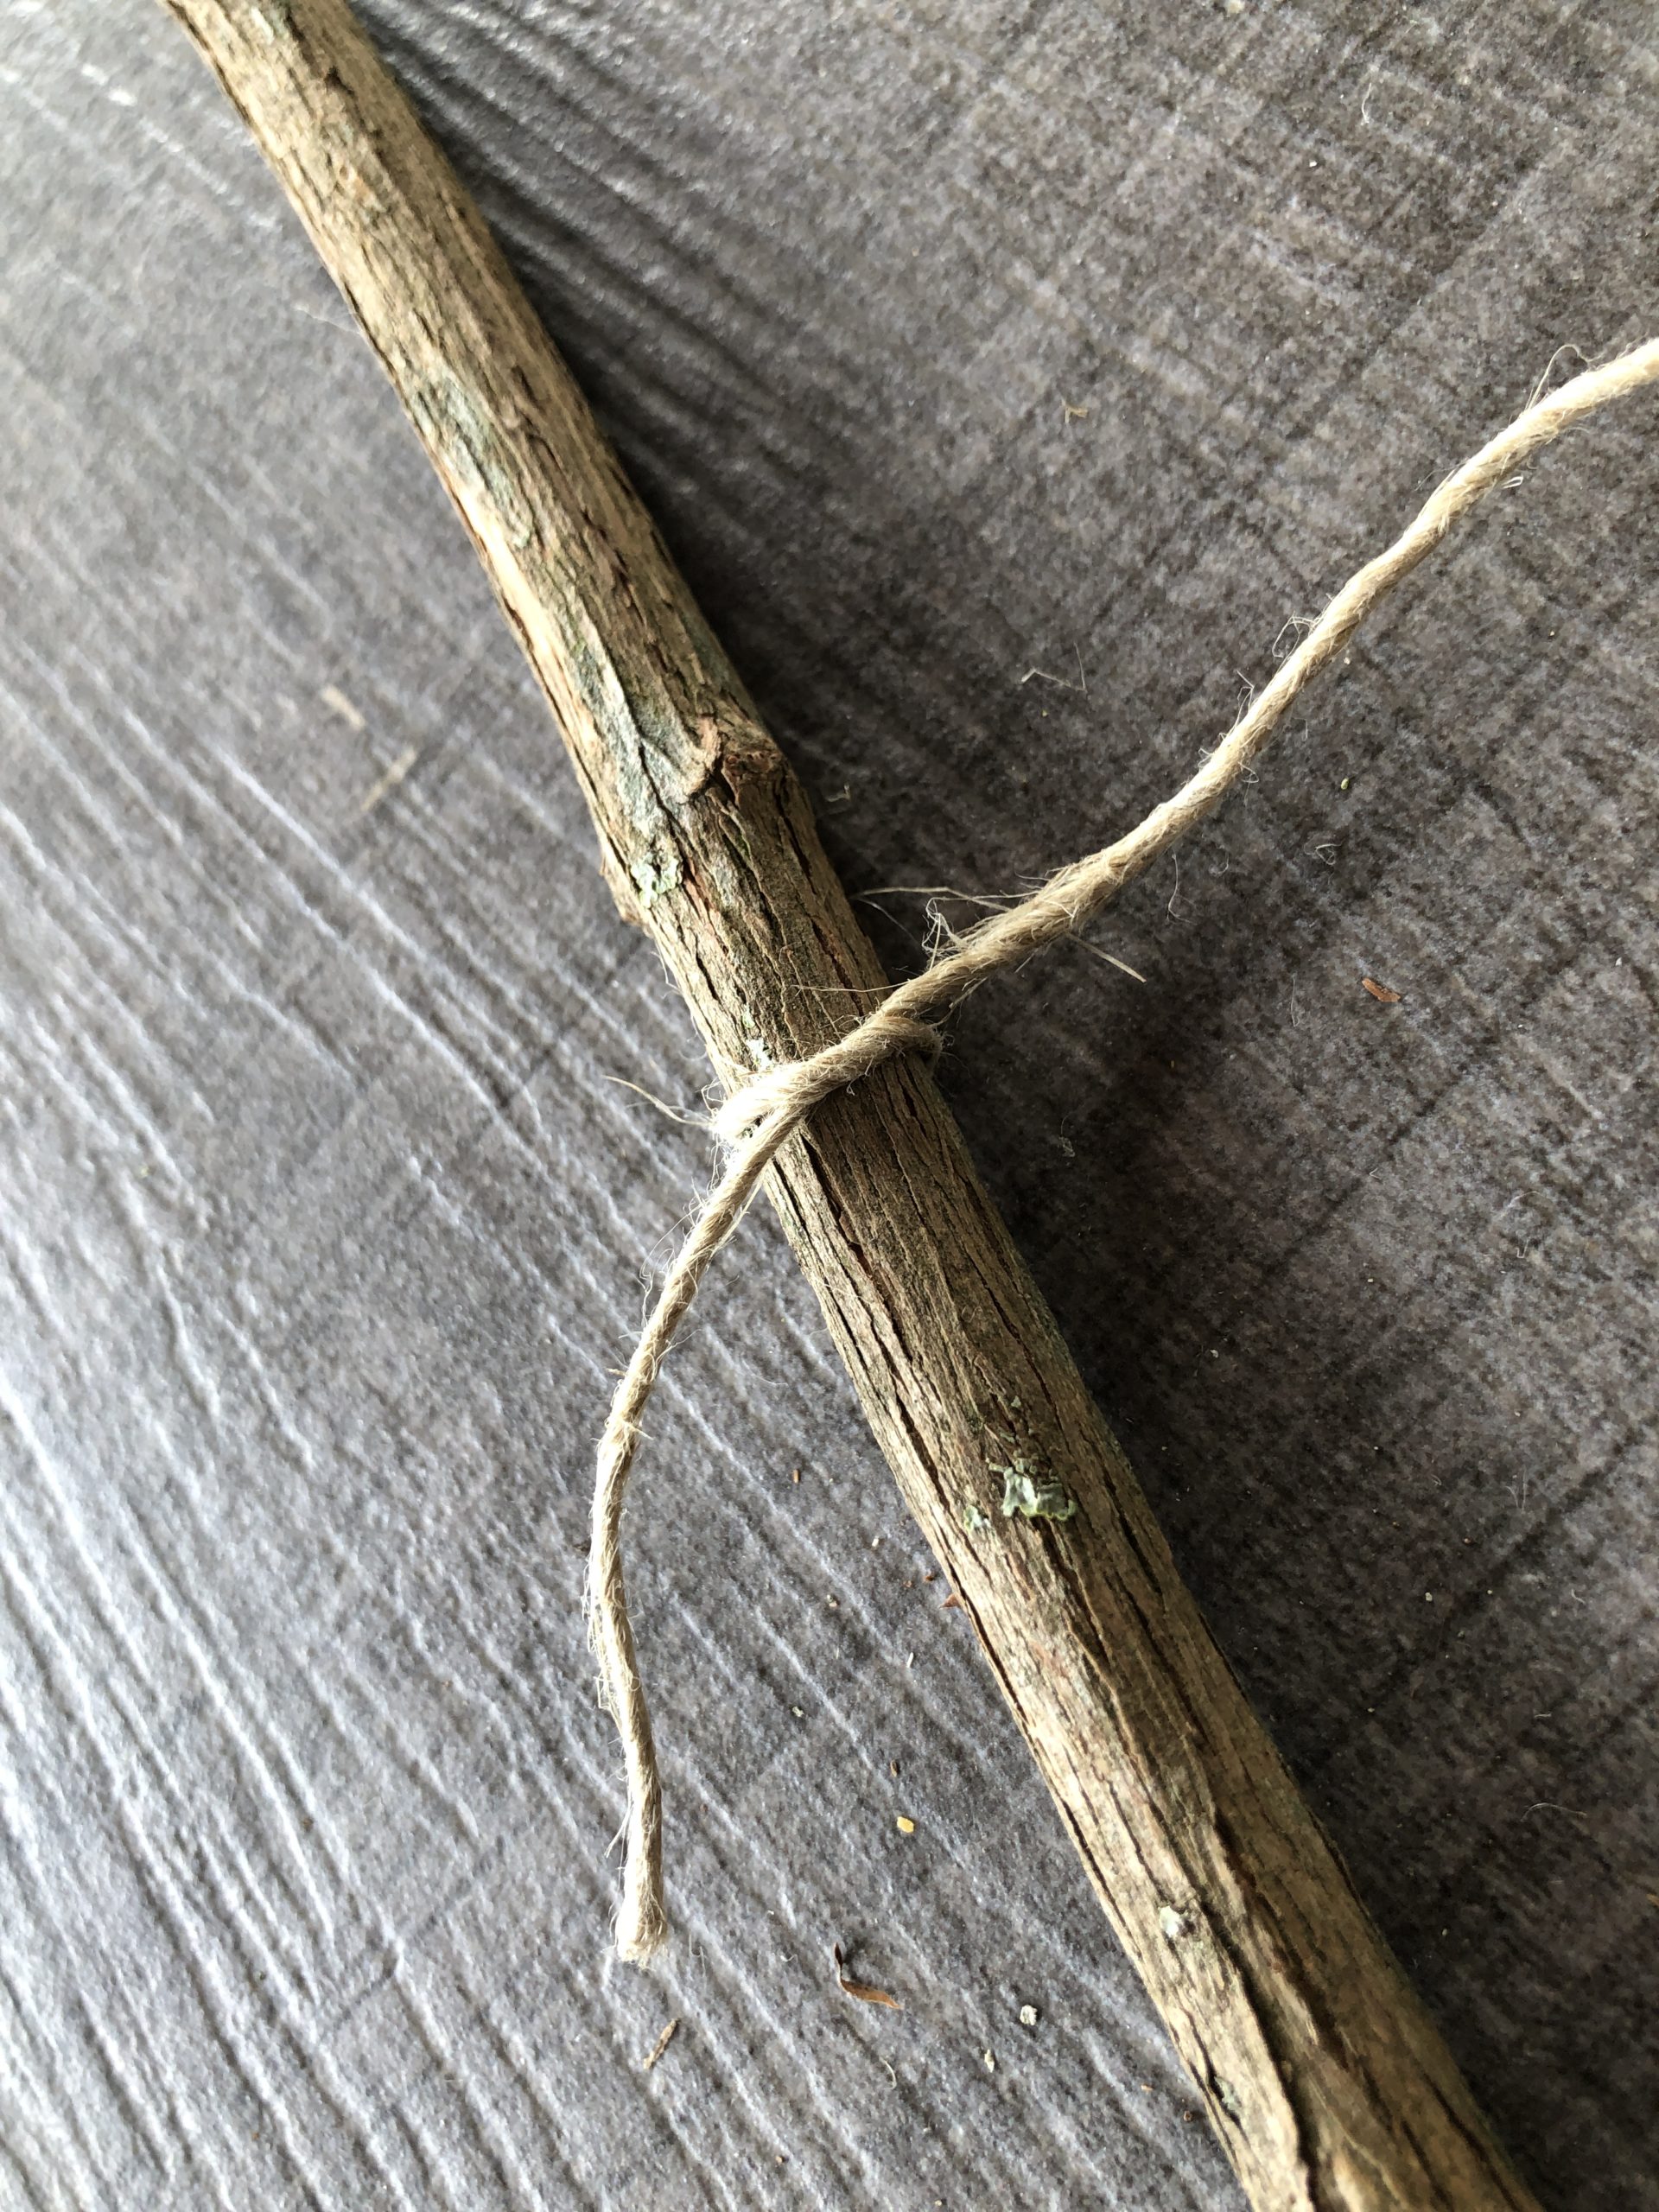
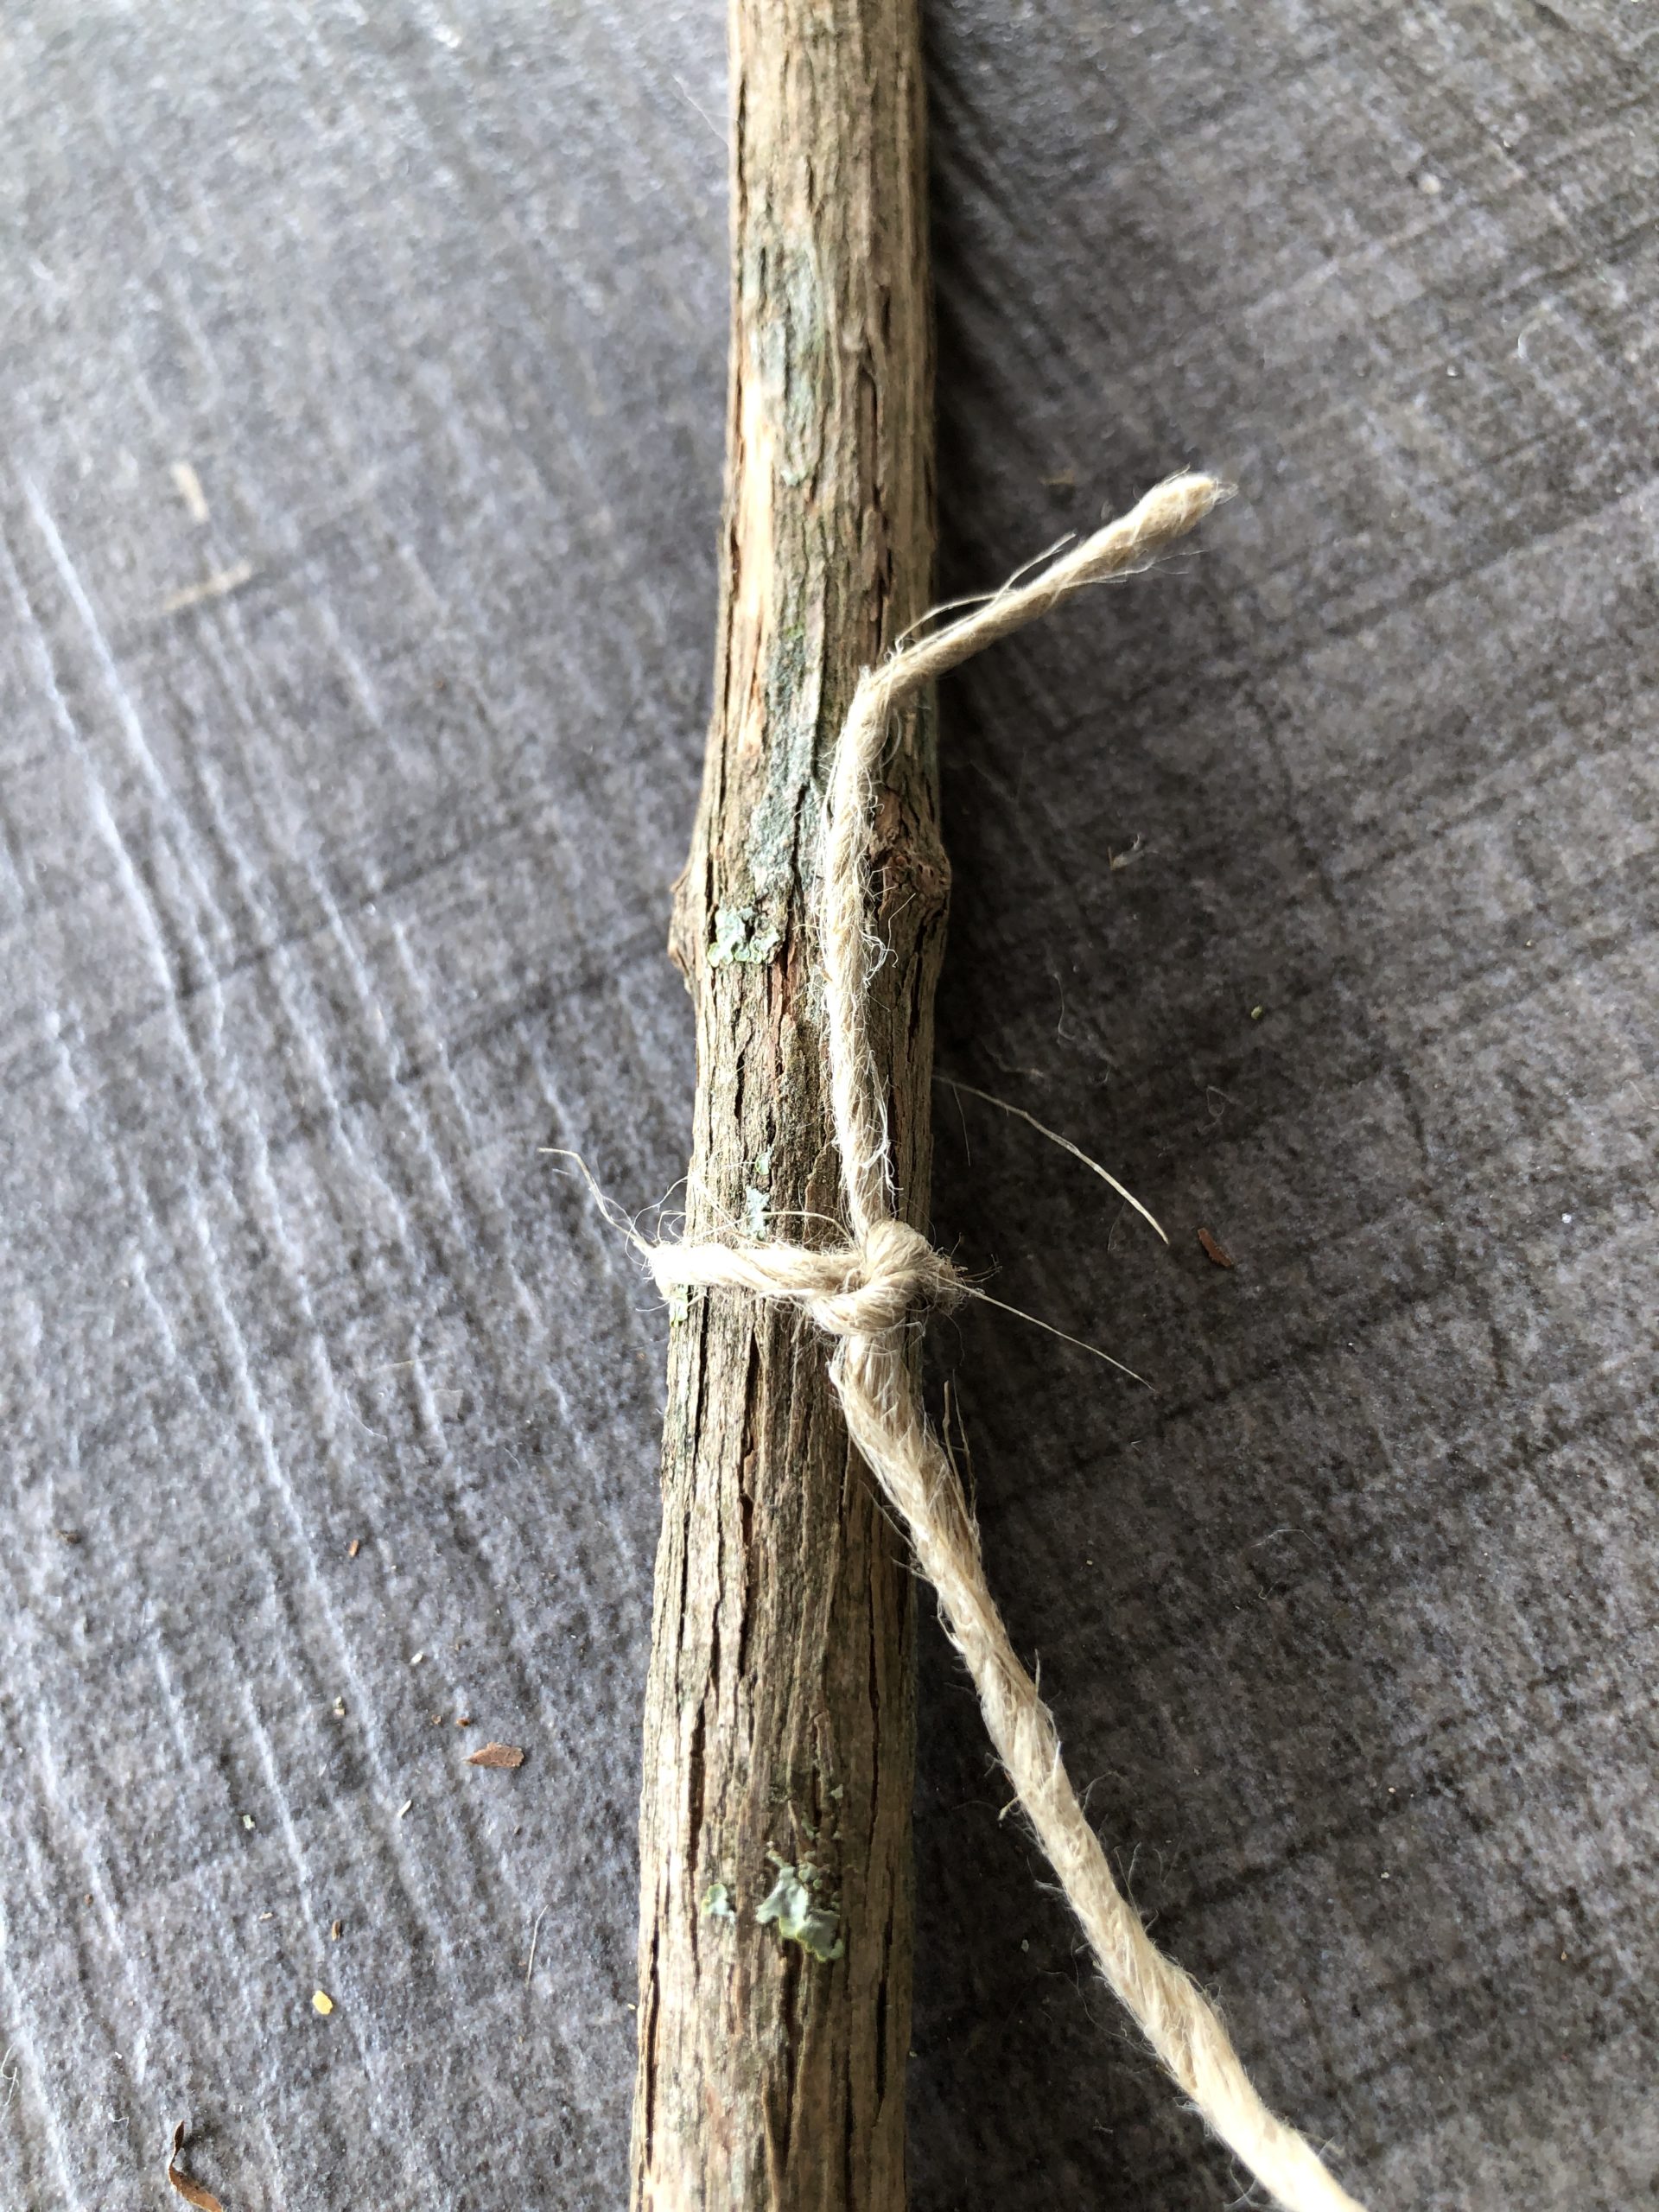
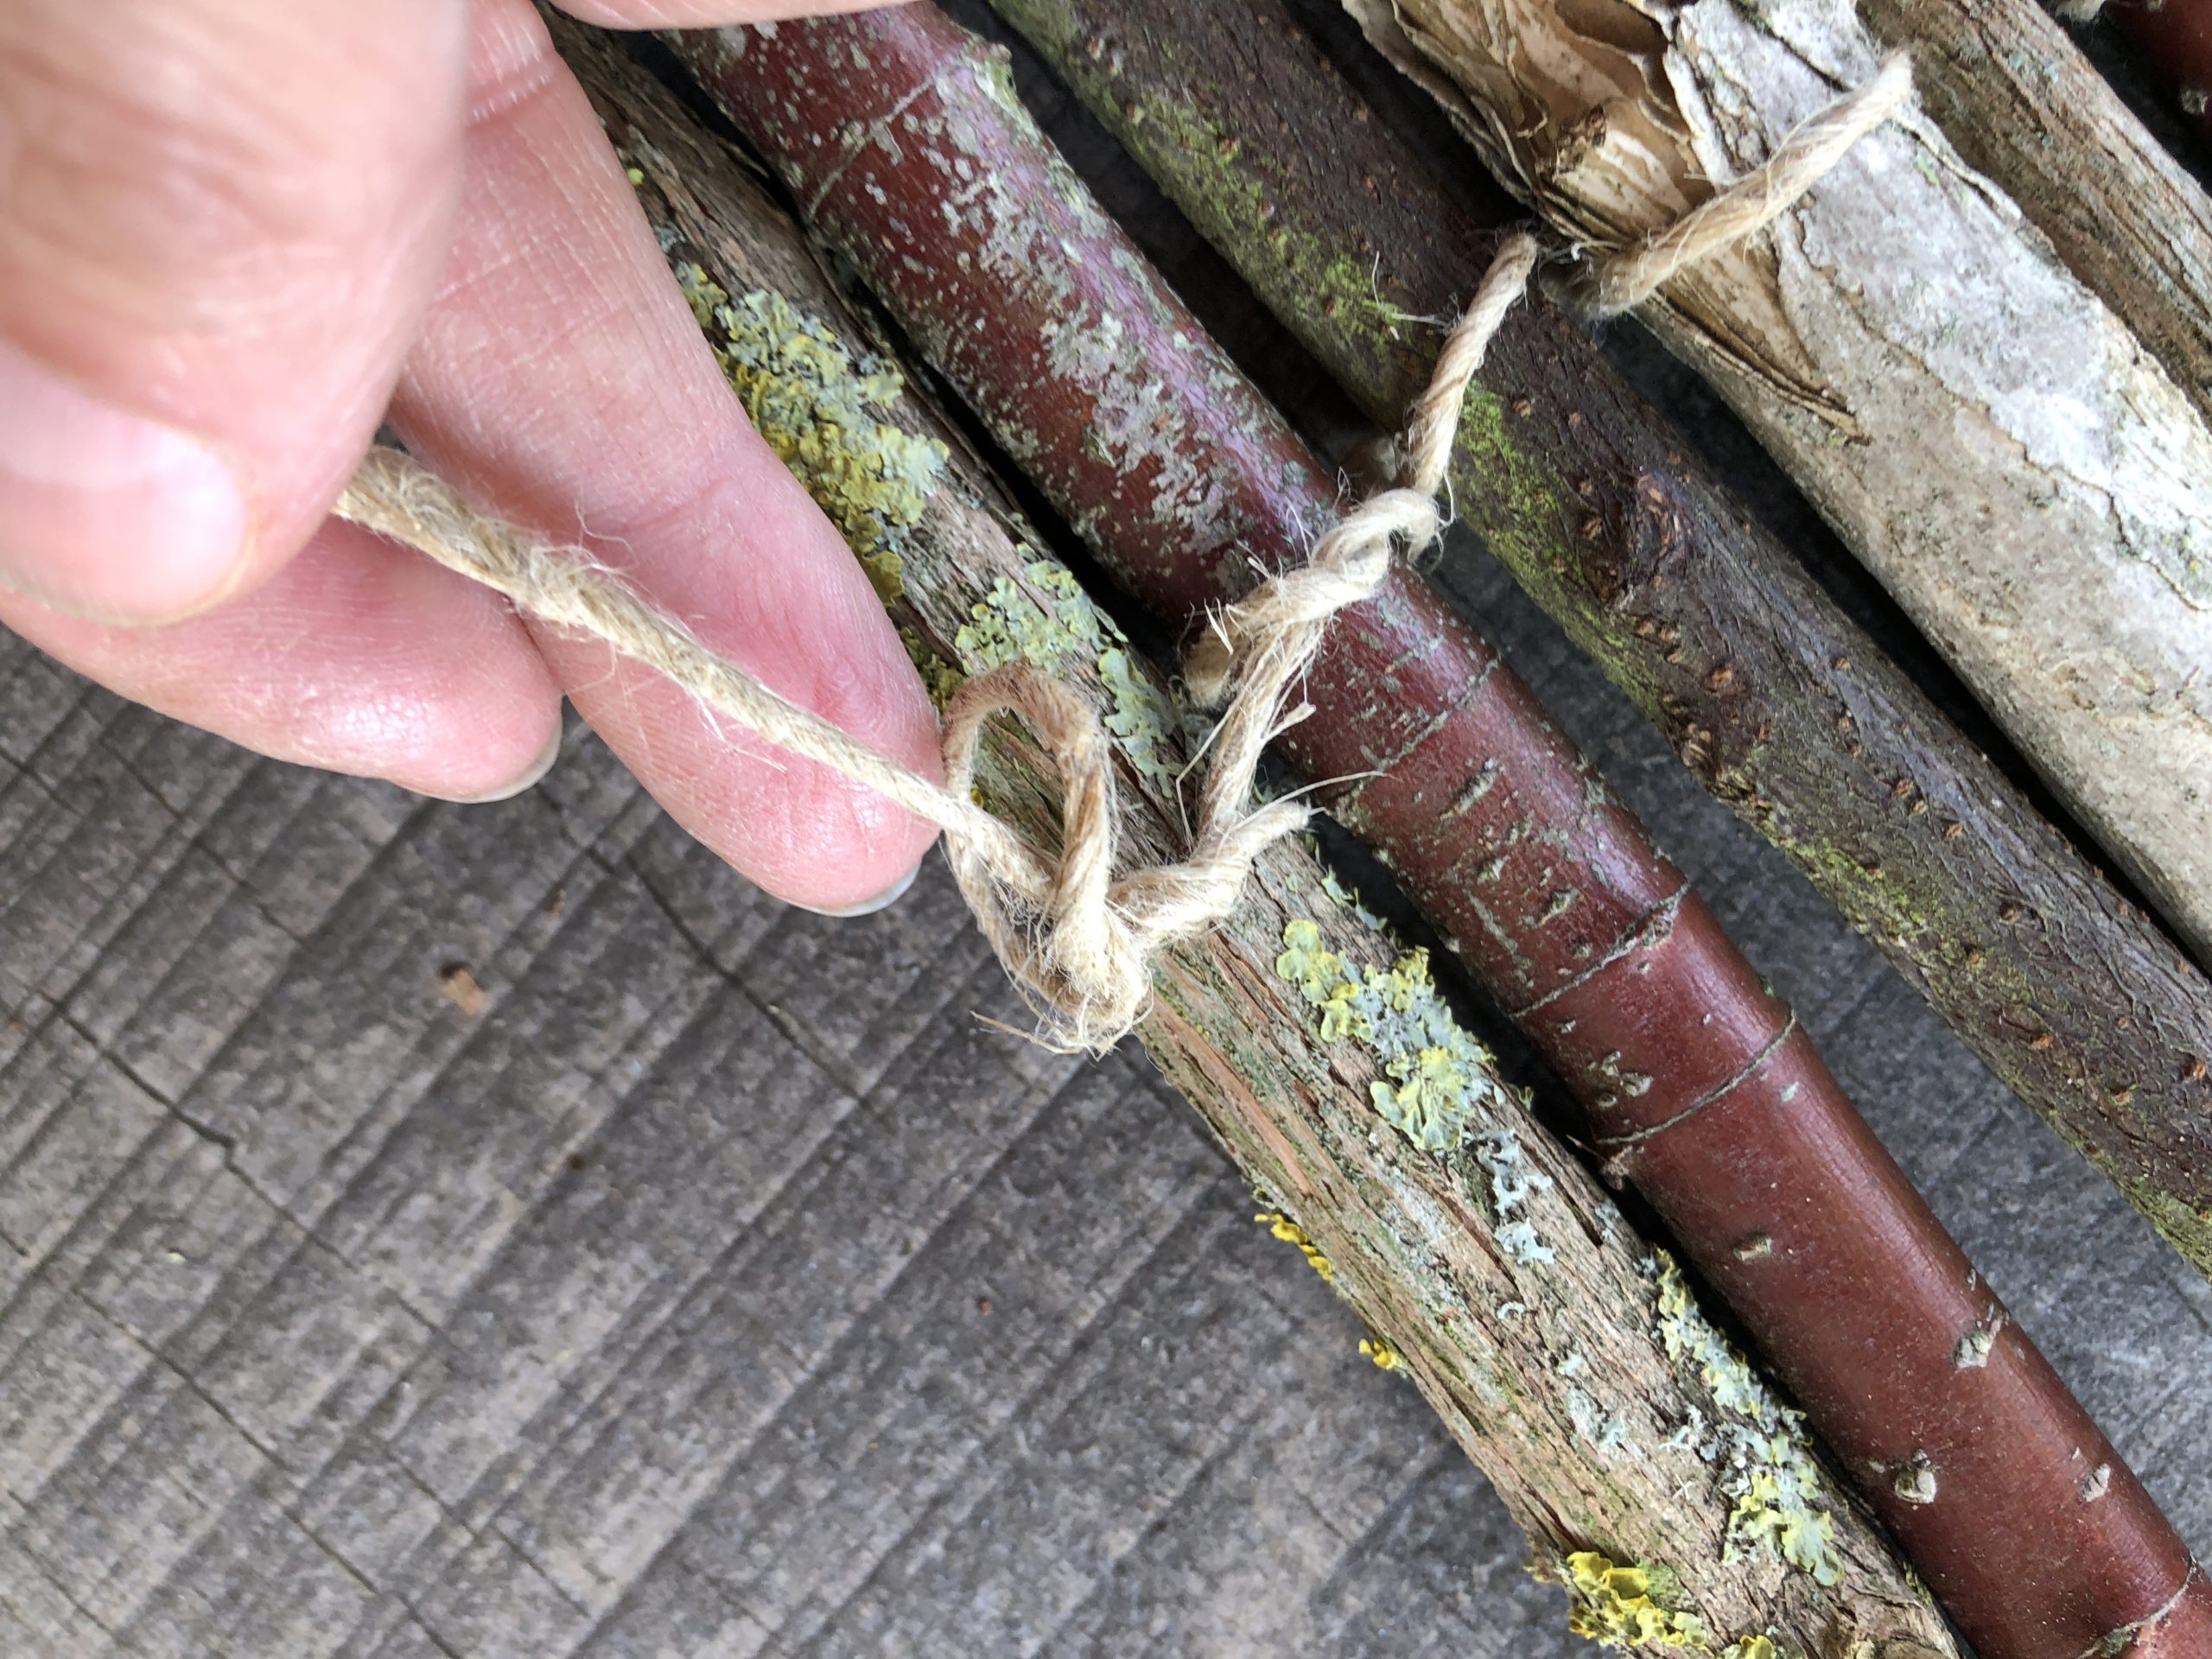
Take a branch and tie the package line to it approximately in the middle of the branch. Make a double knot.
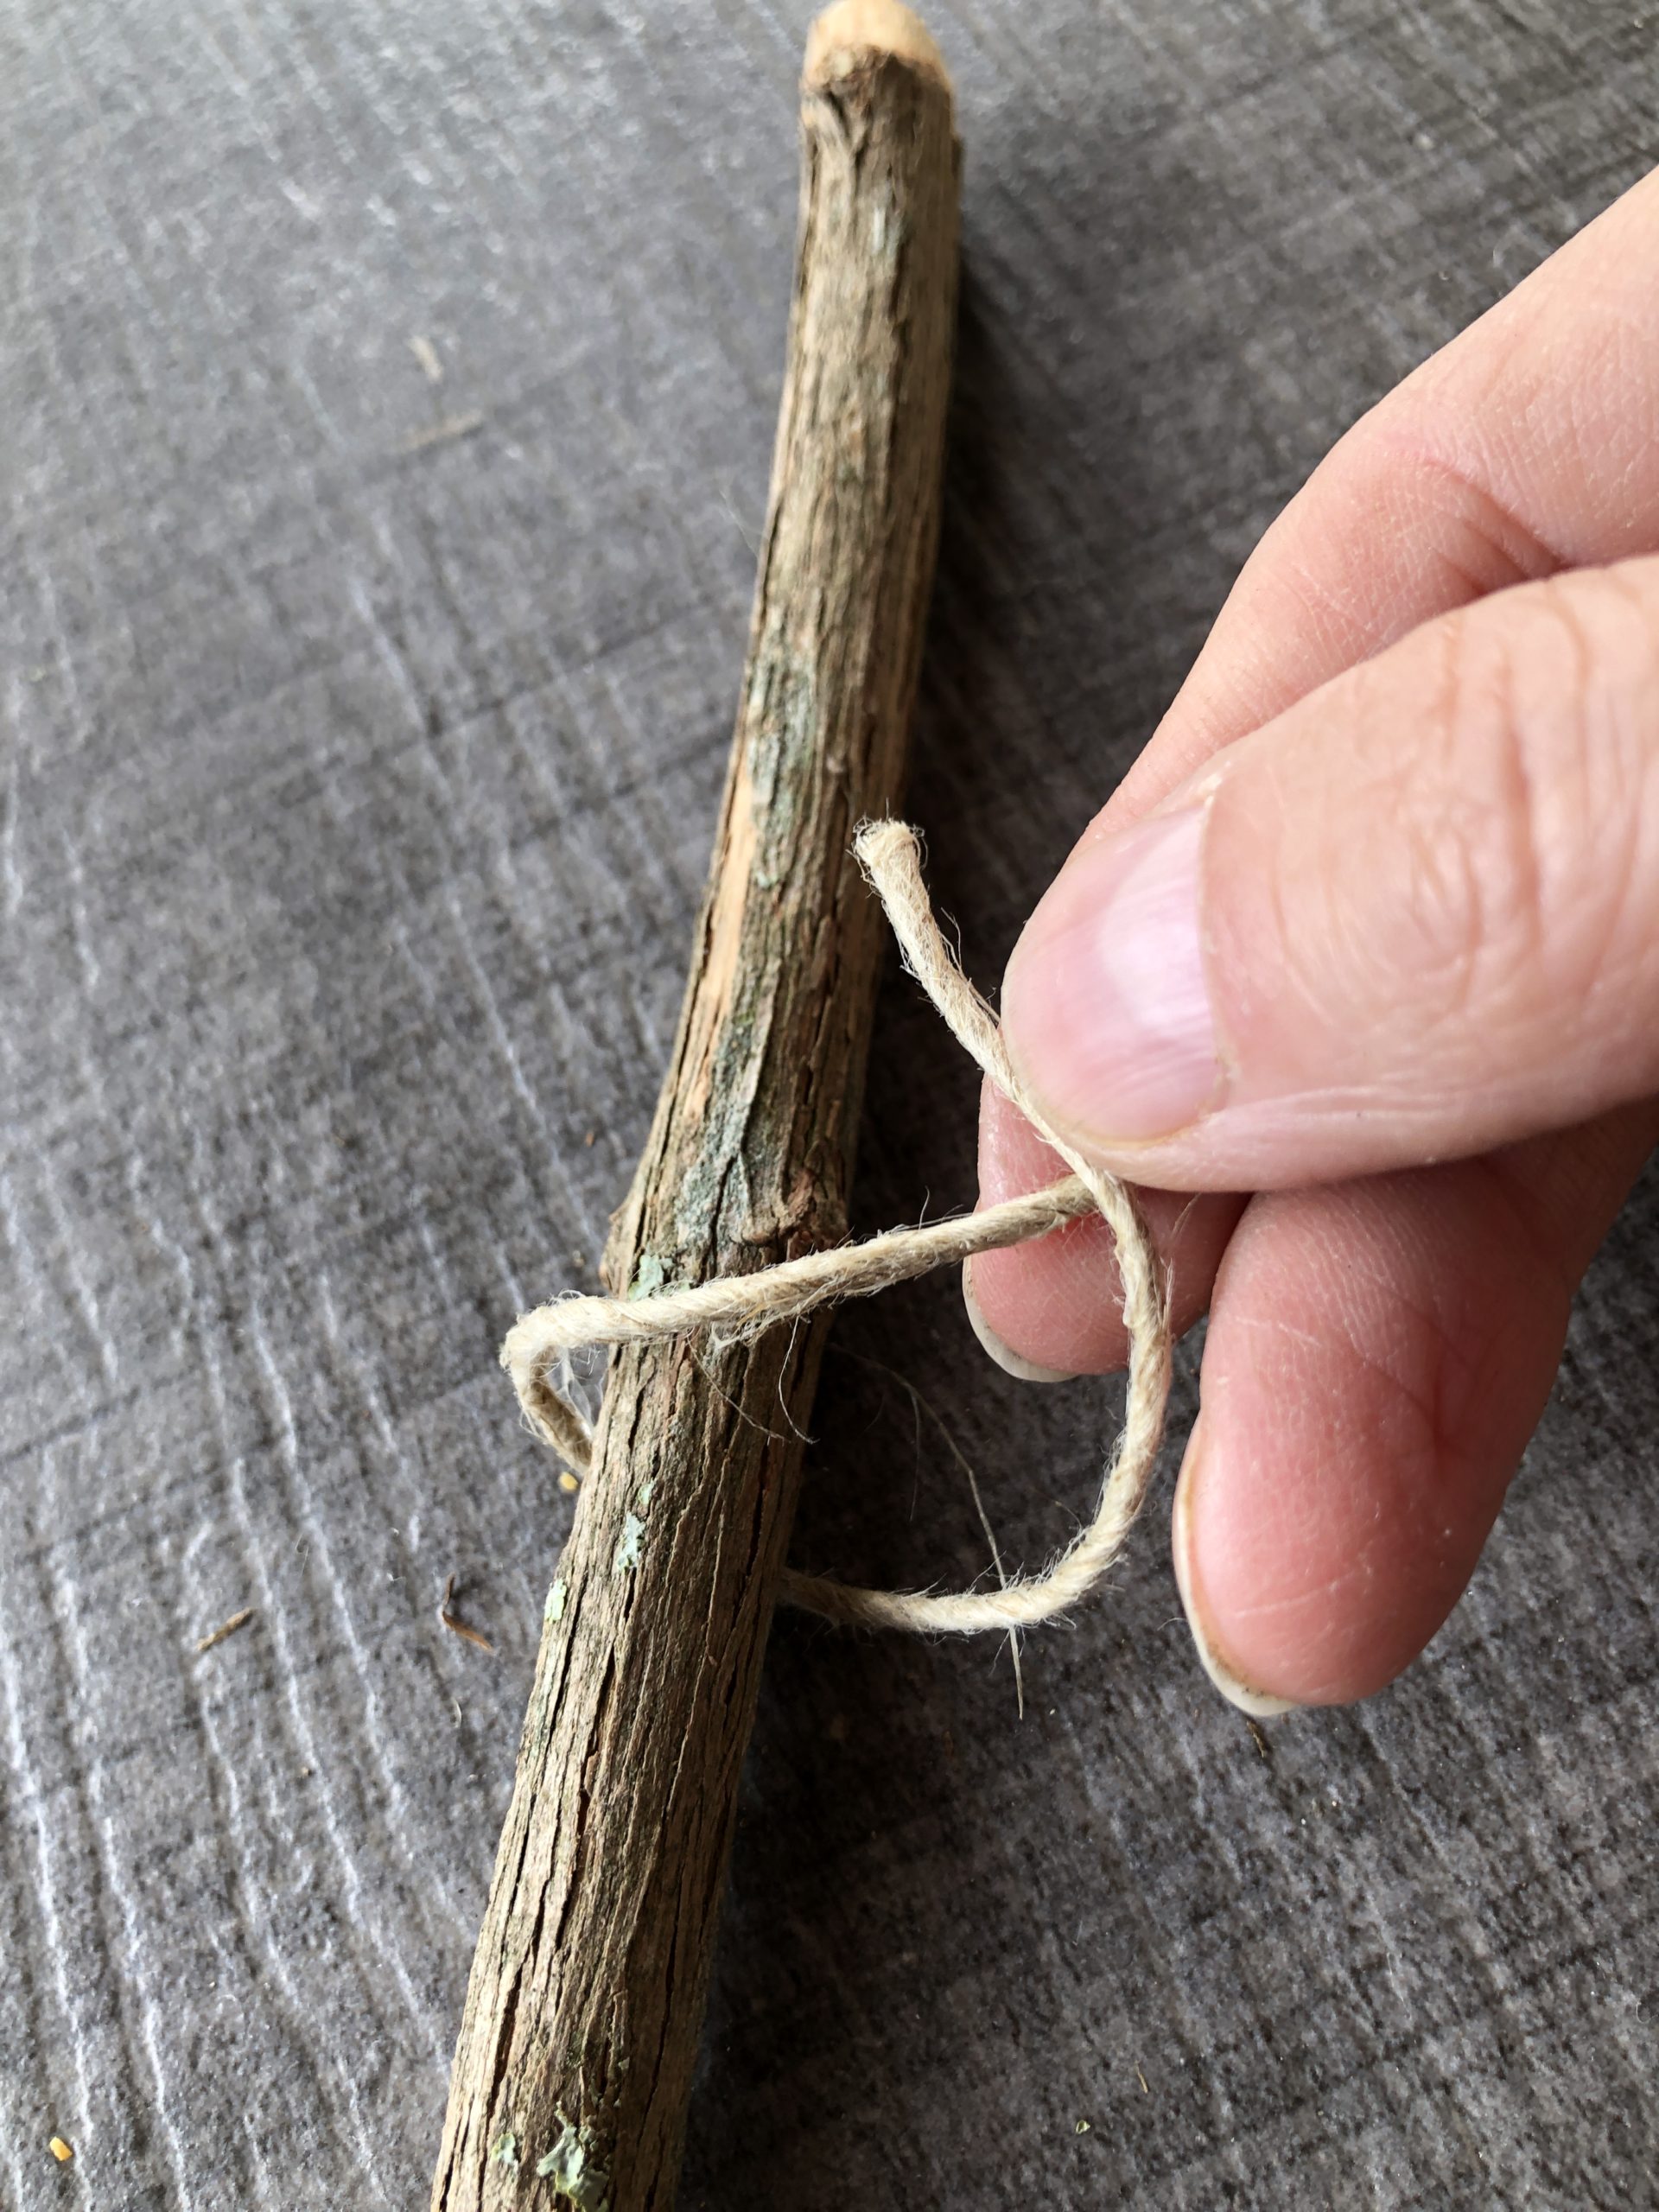
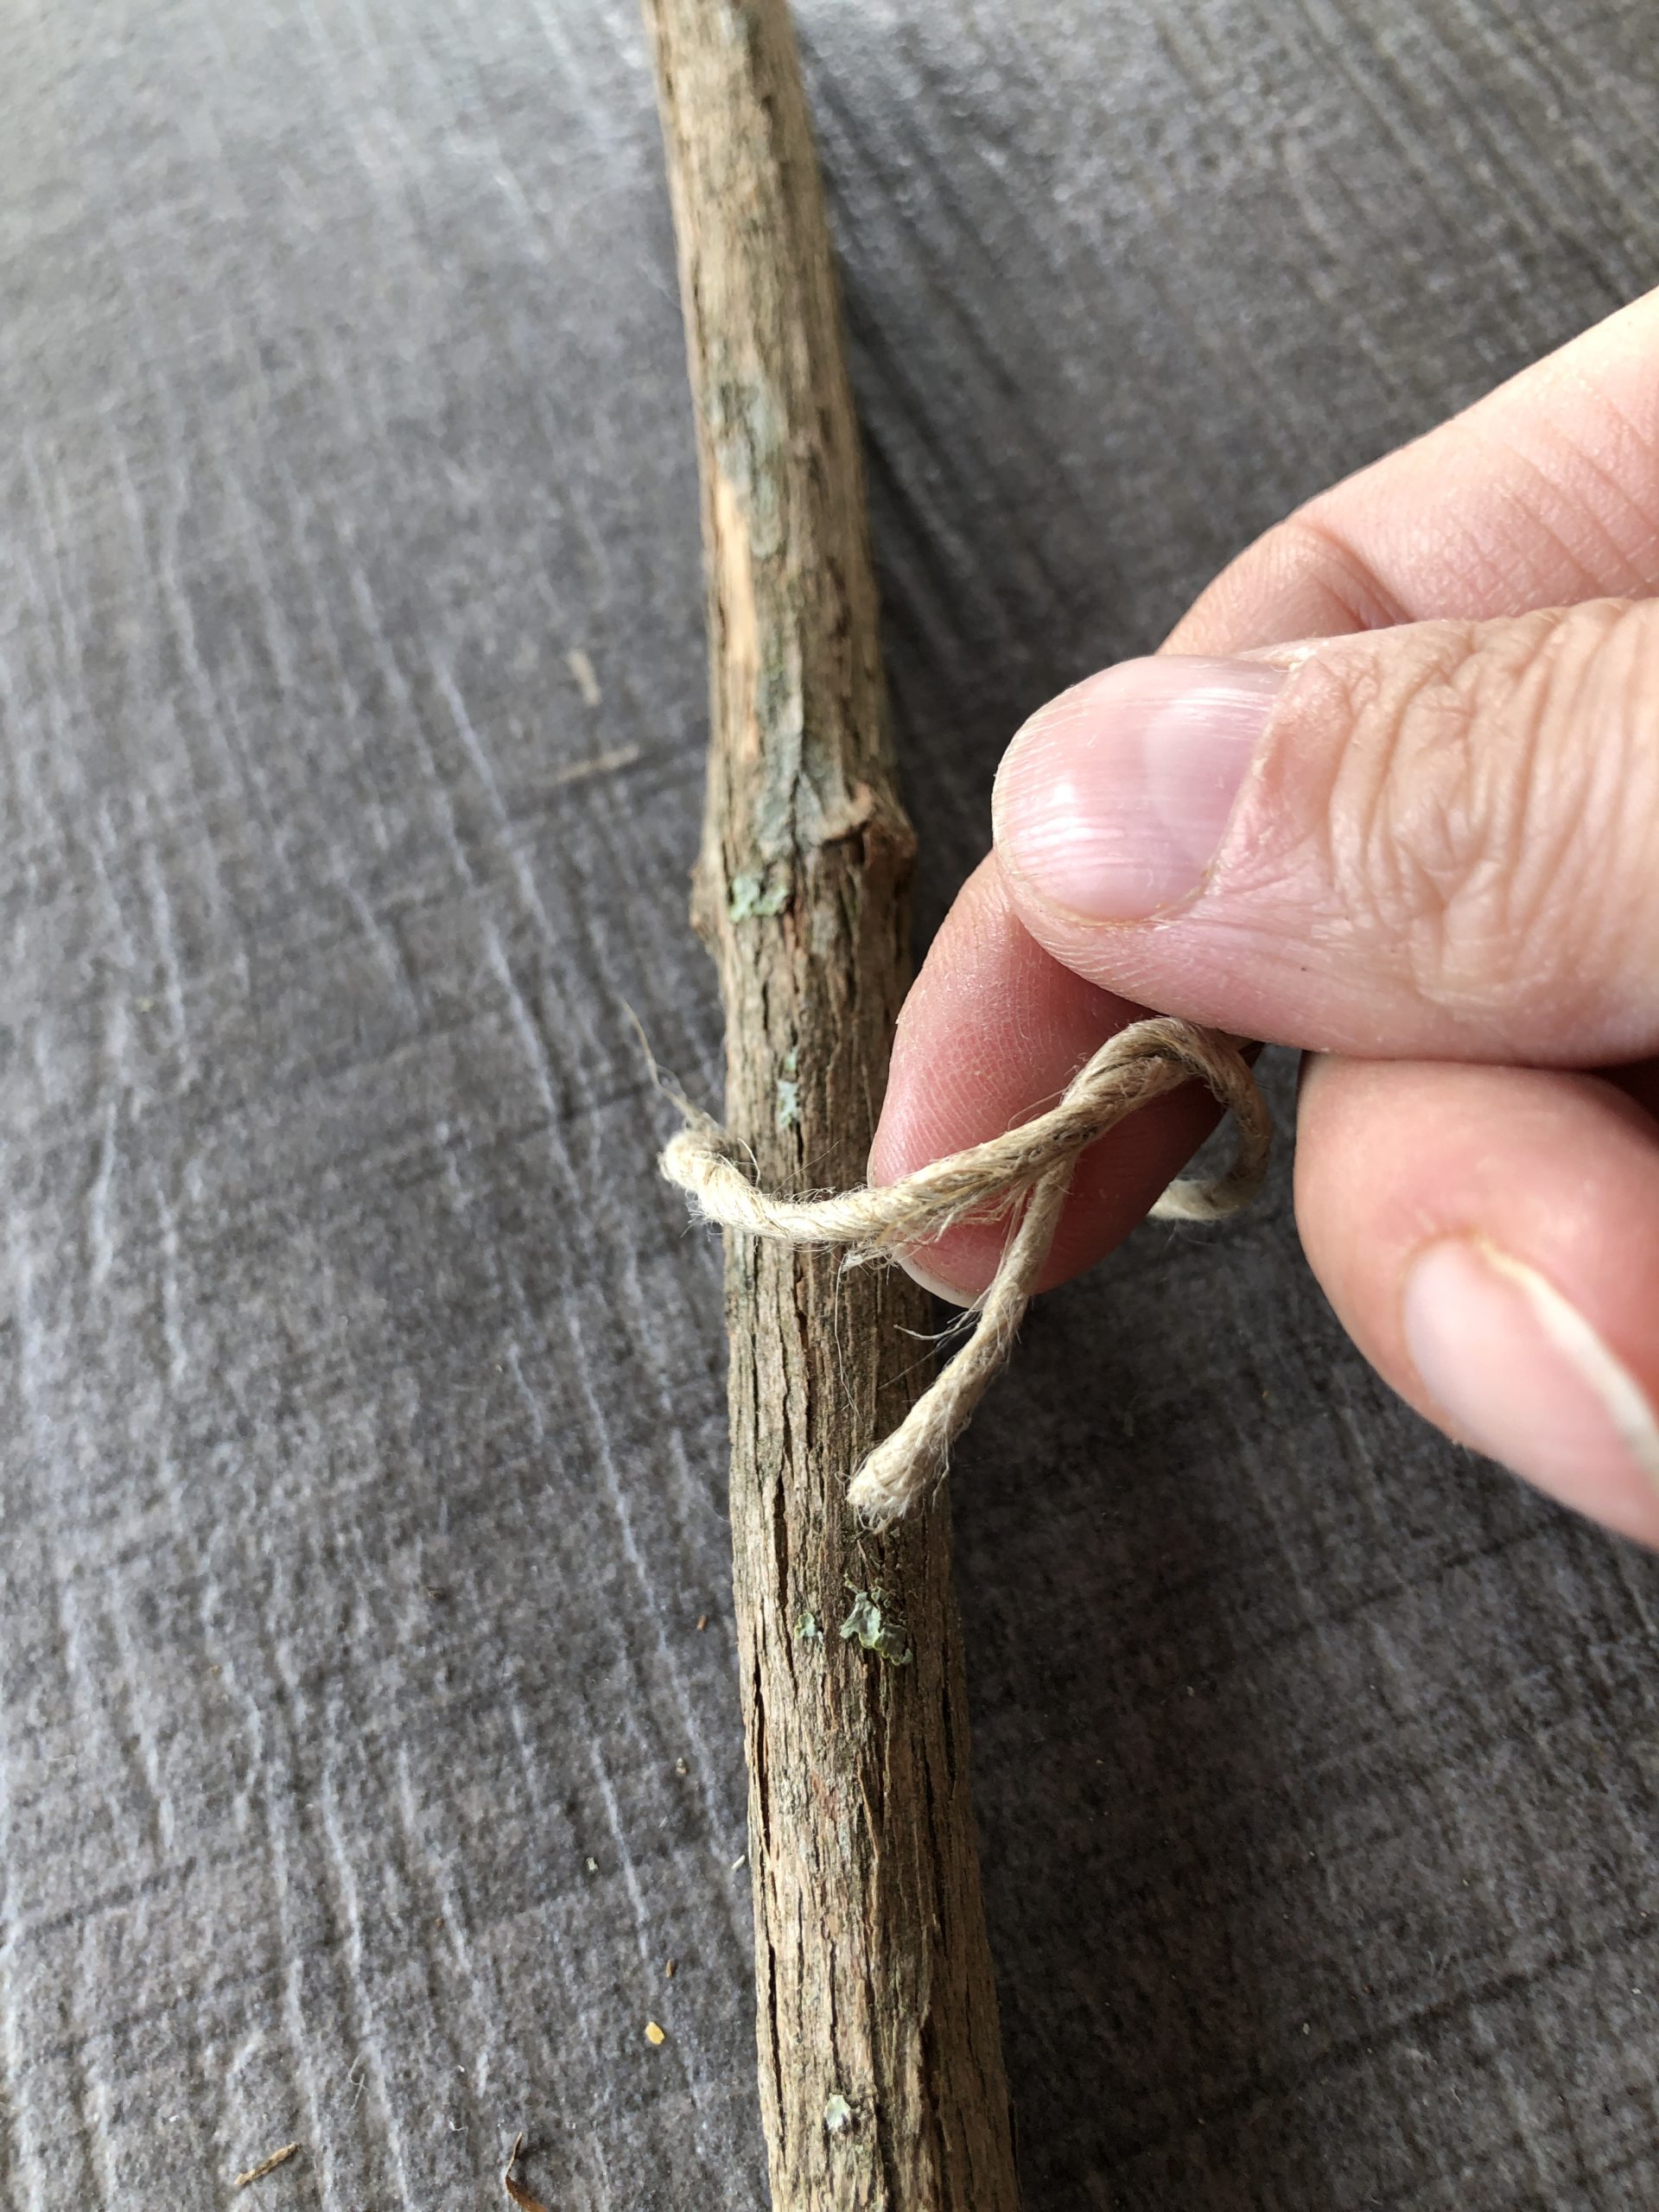
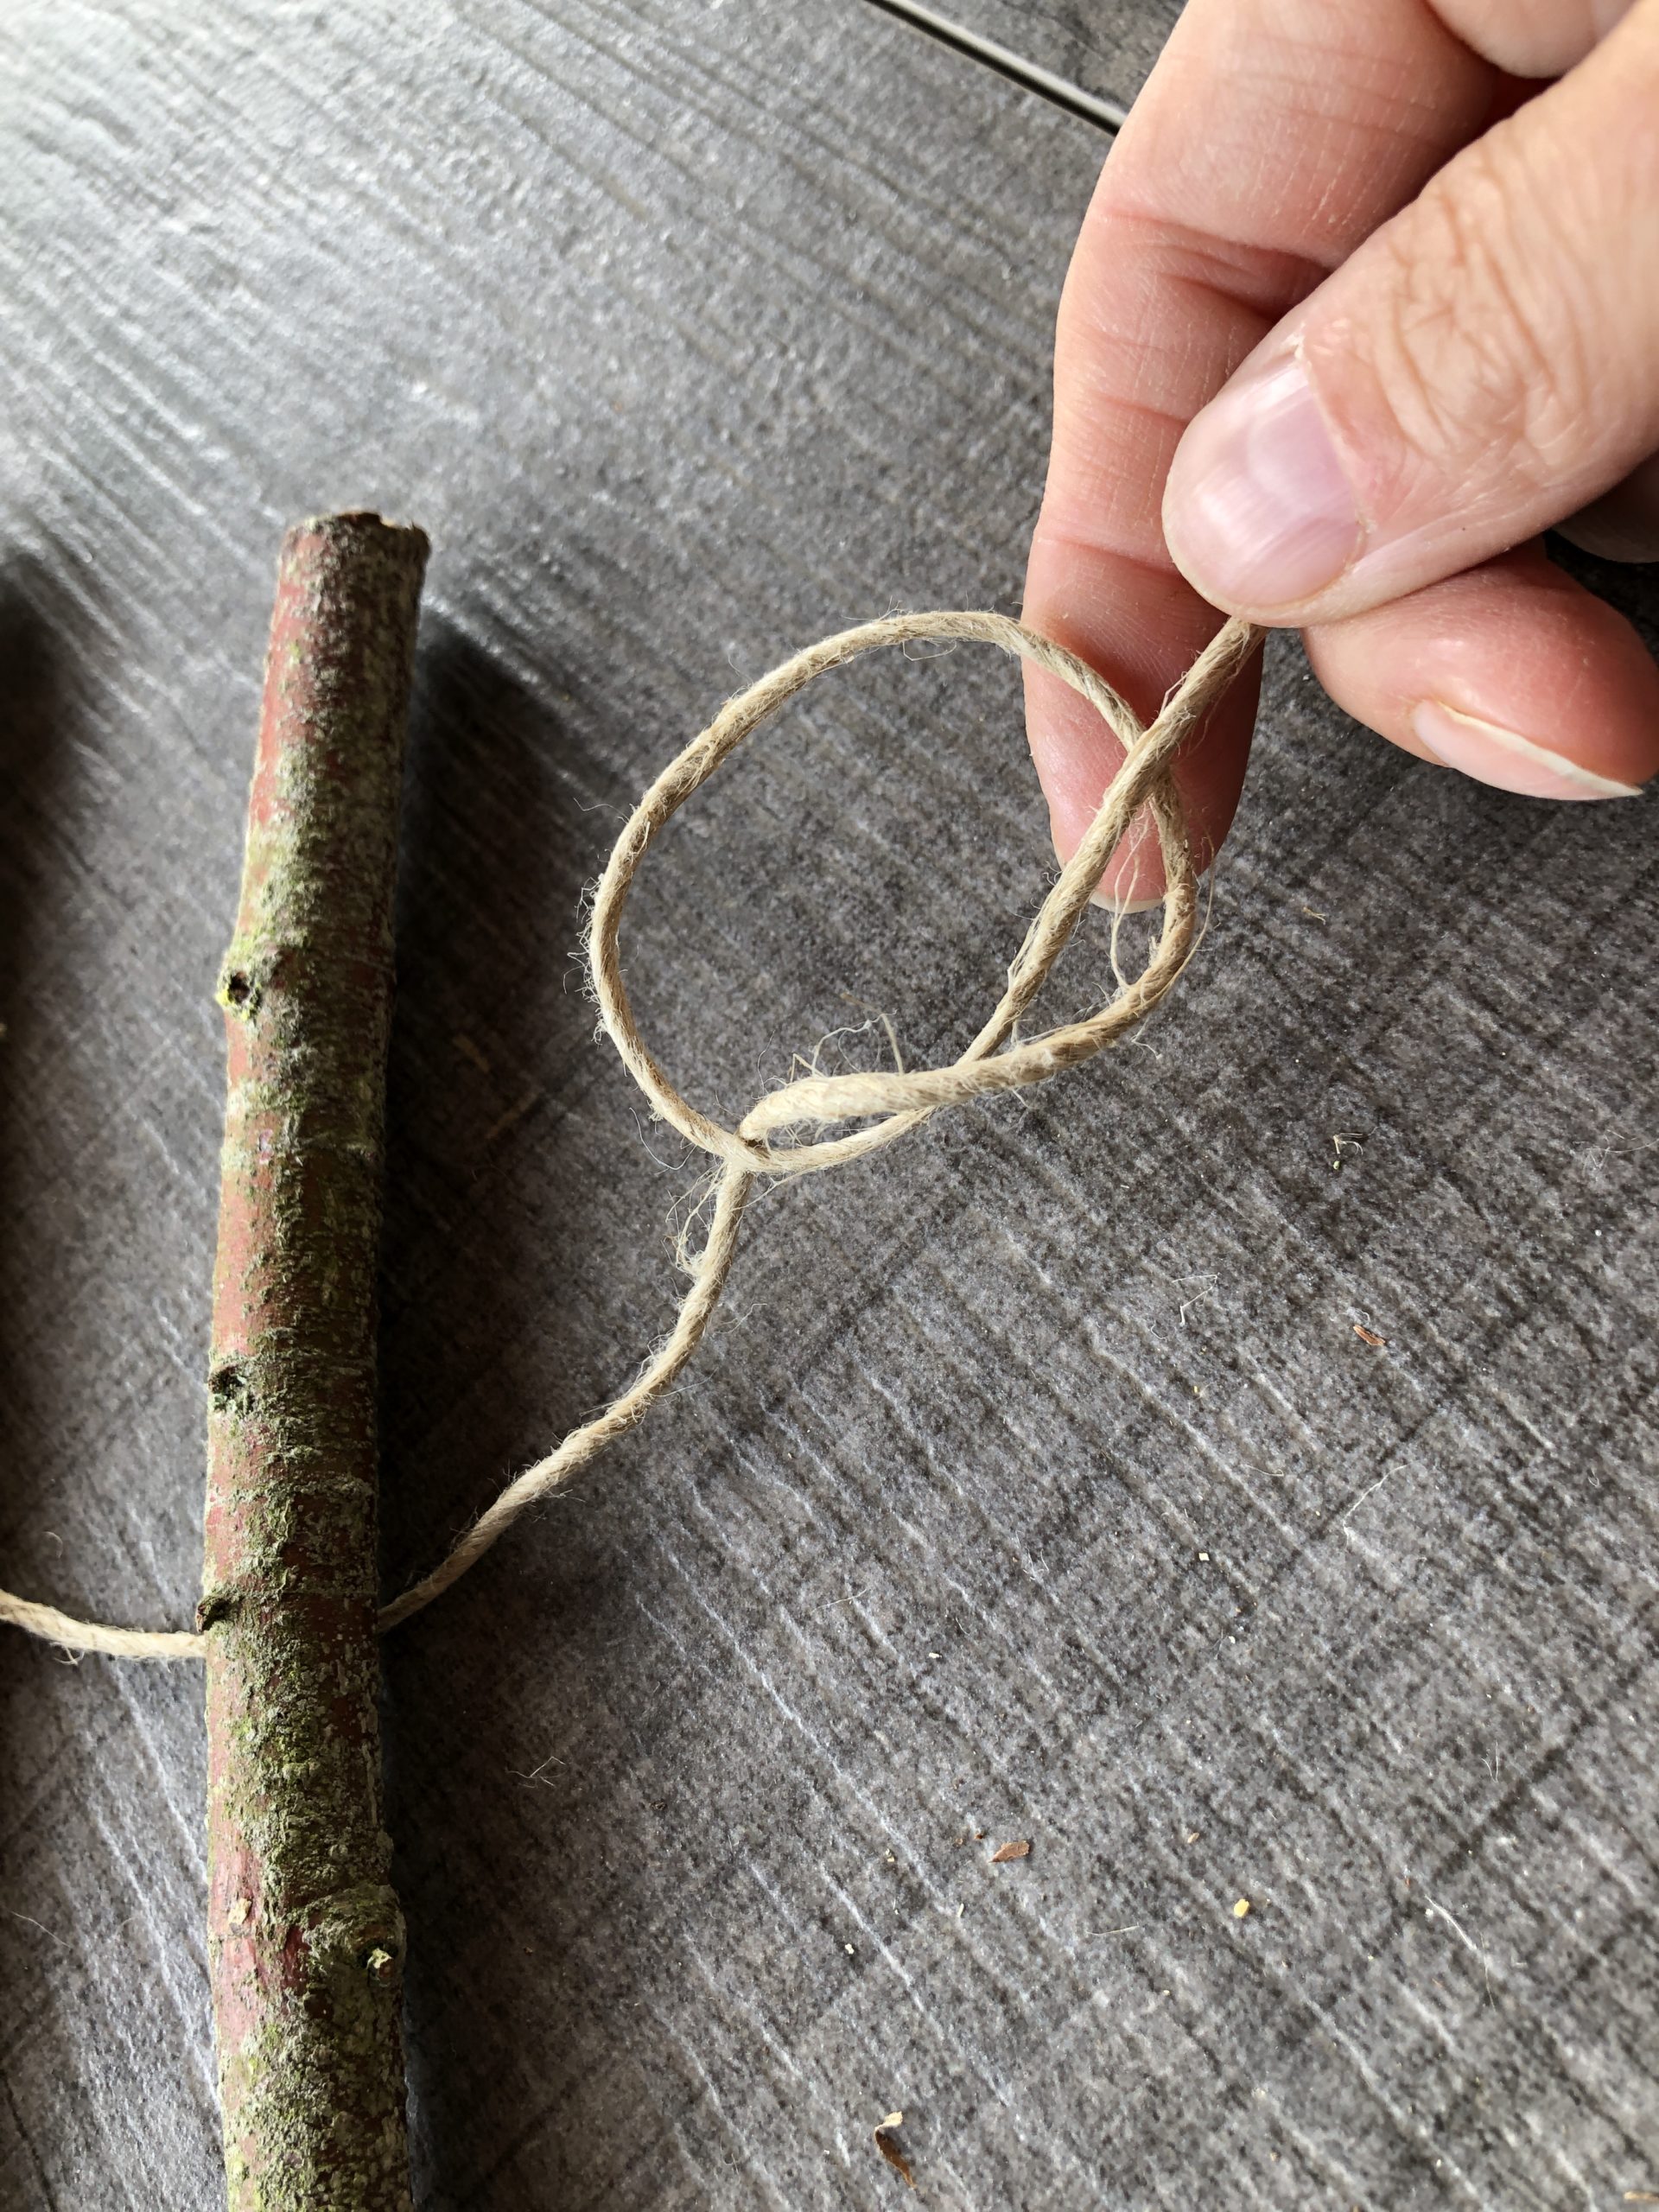
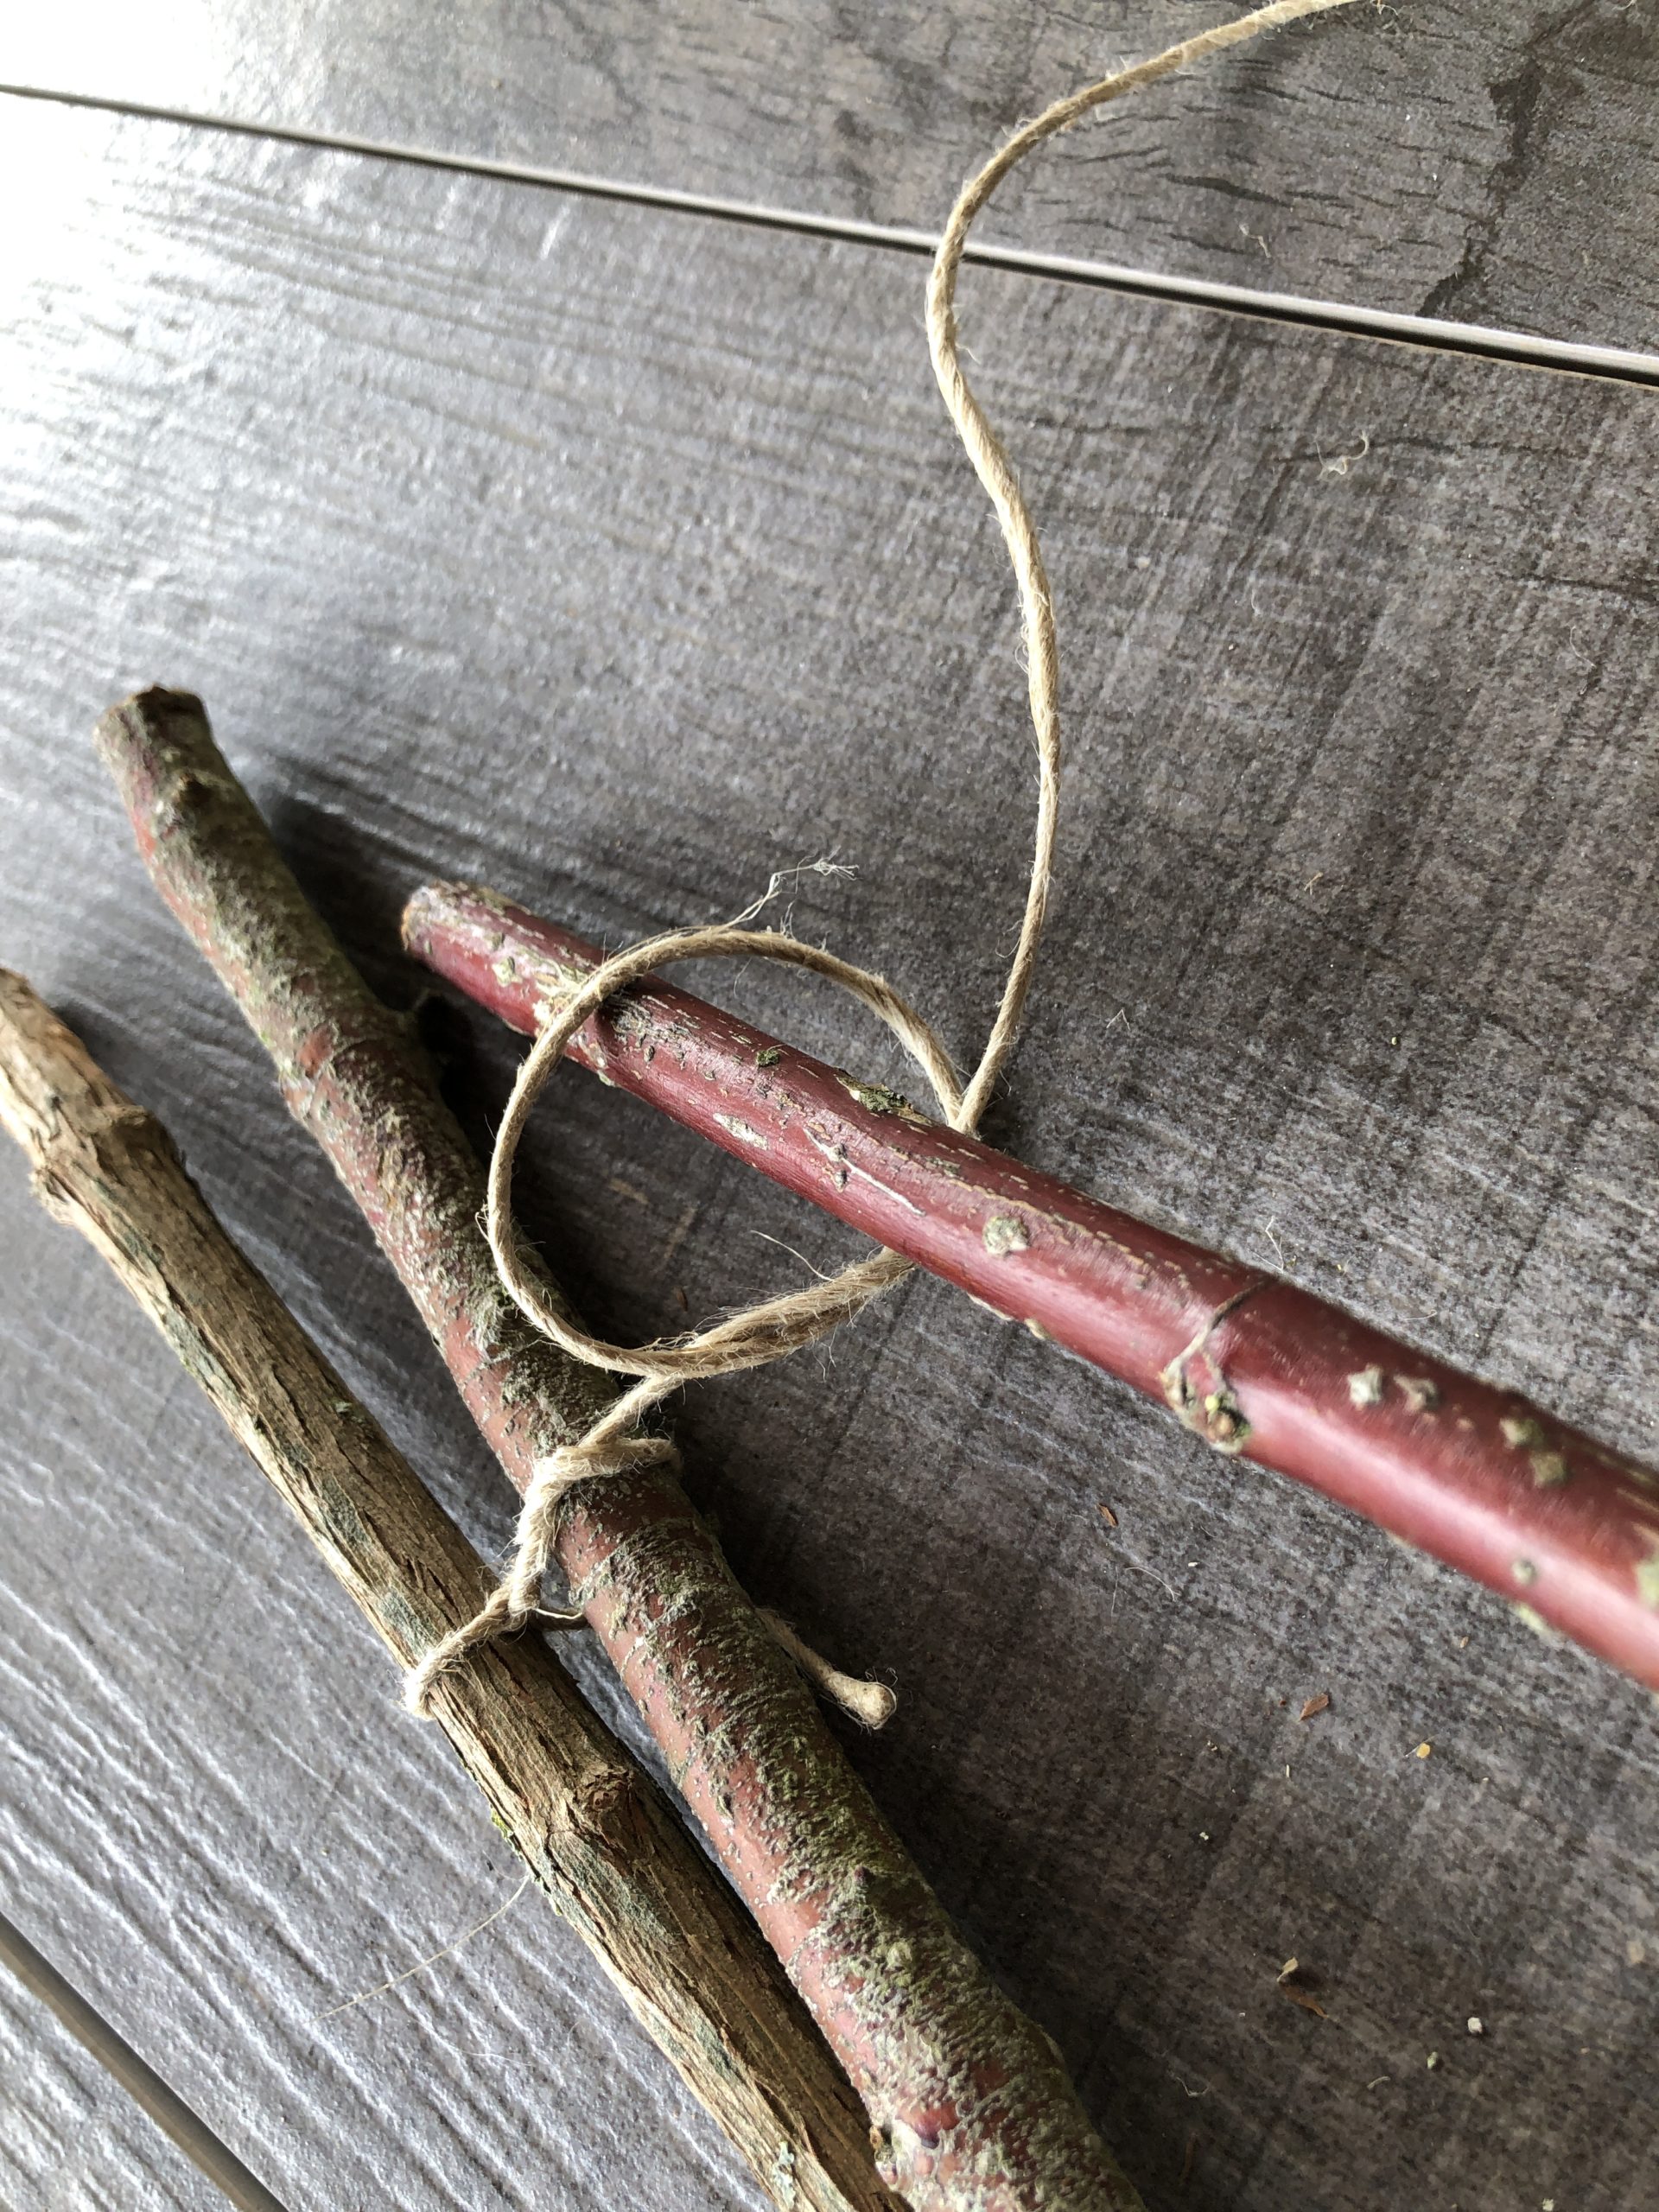
Then you put a loose loop (see photo) and push through the second wooden stick.
When tightening the loop, make sure that the bars lie as close together as possible and pulls the cord tightly together.

Tie further wooden sticks in the same way.
The number of wooden sticks depends on the thickness of the individual branch pieces. Uses so many branch pieces until a square area is created.

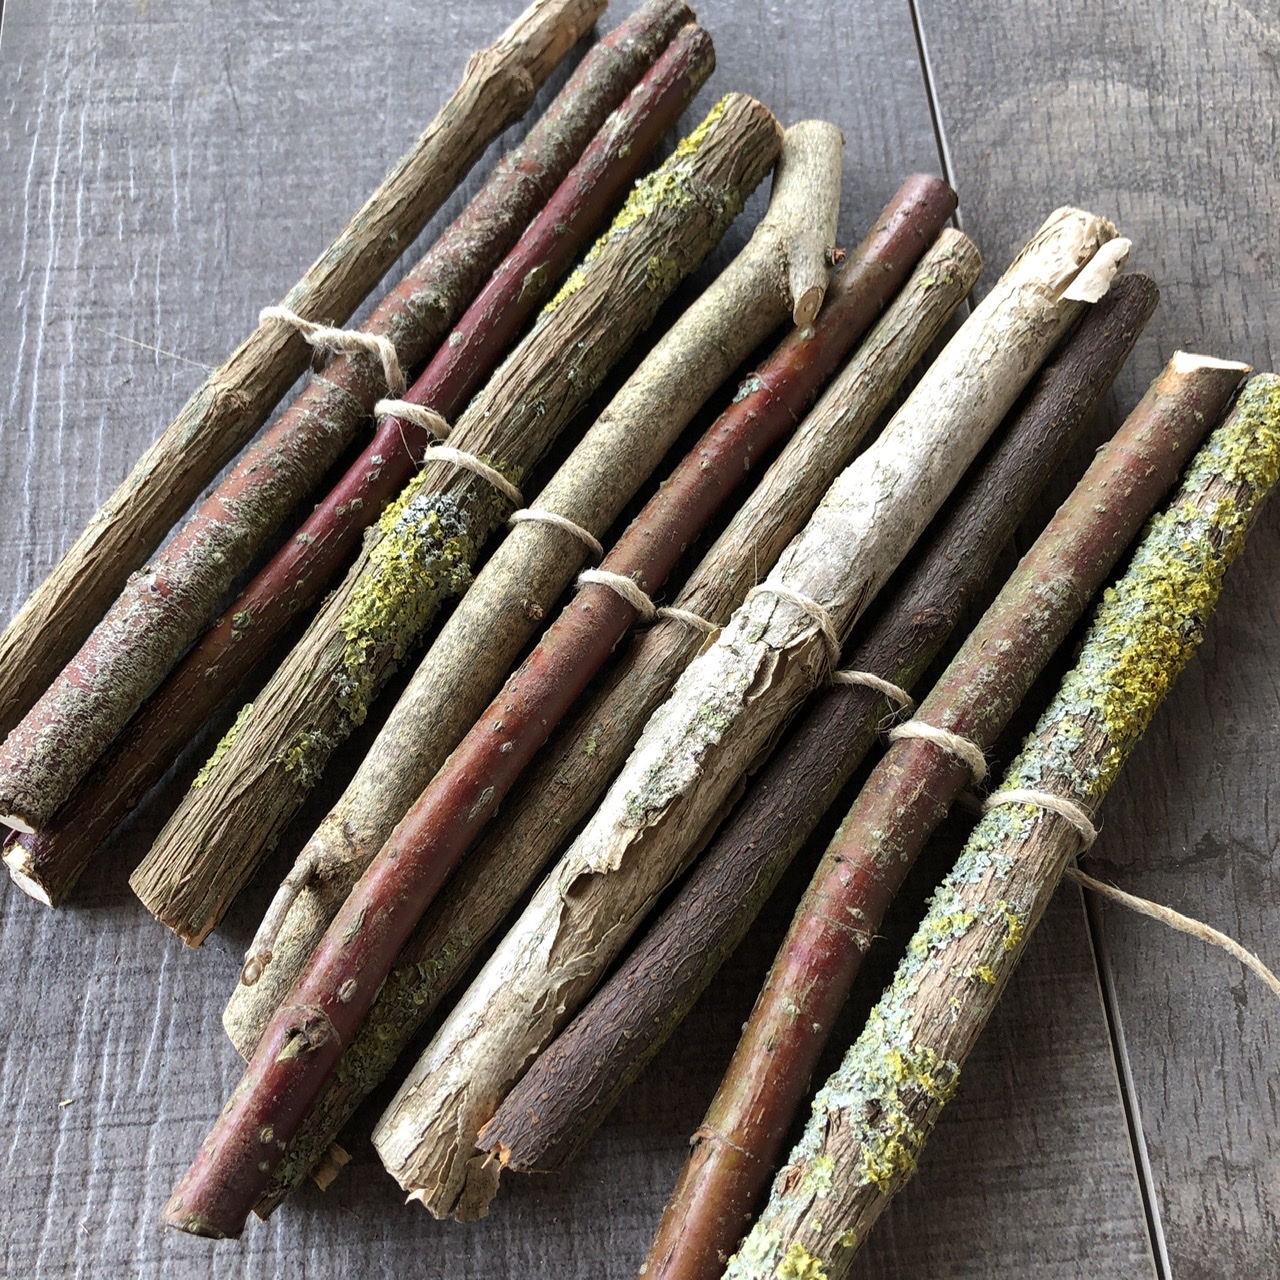
At the end, knot the remaining cord with a double knot and cut off the rest of the package cord.
The coaster is ready.
Ready for use as a pot coaster or for hot tea or cocoa.

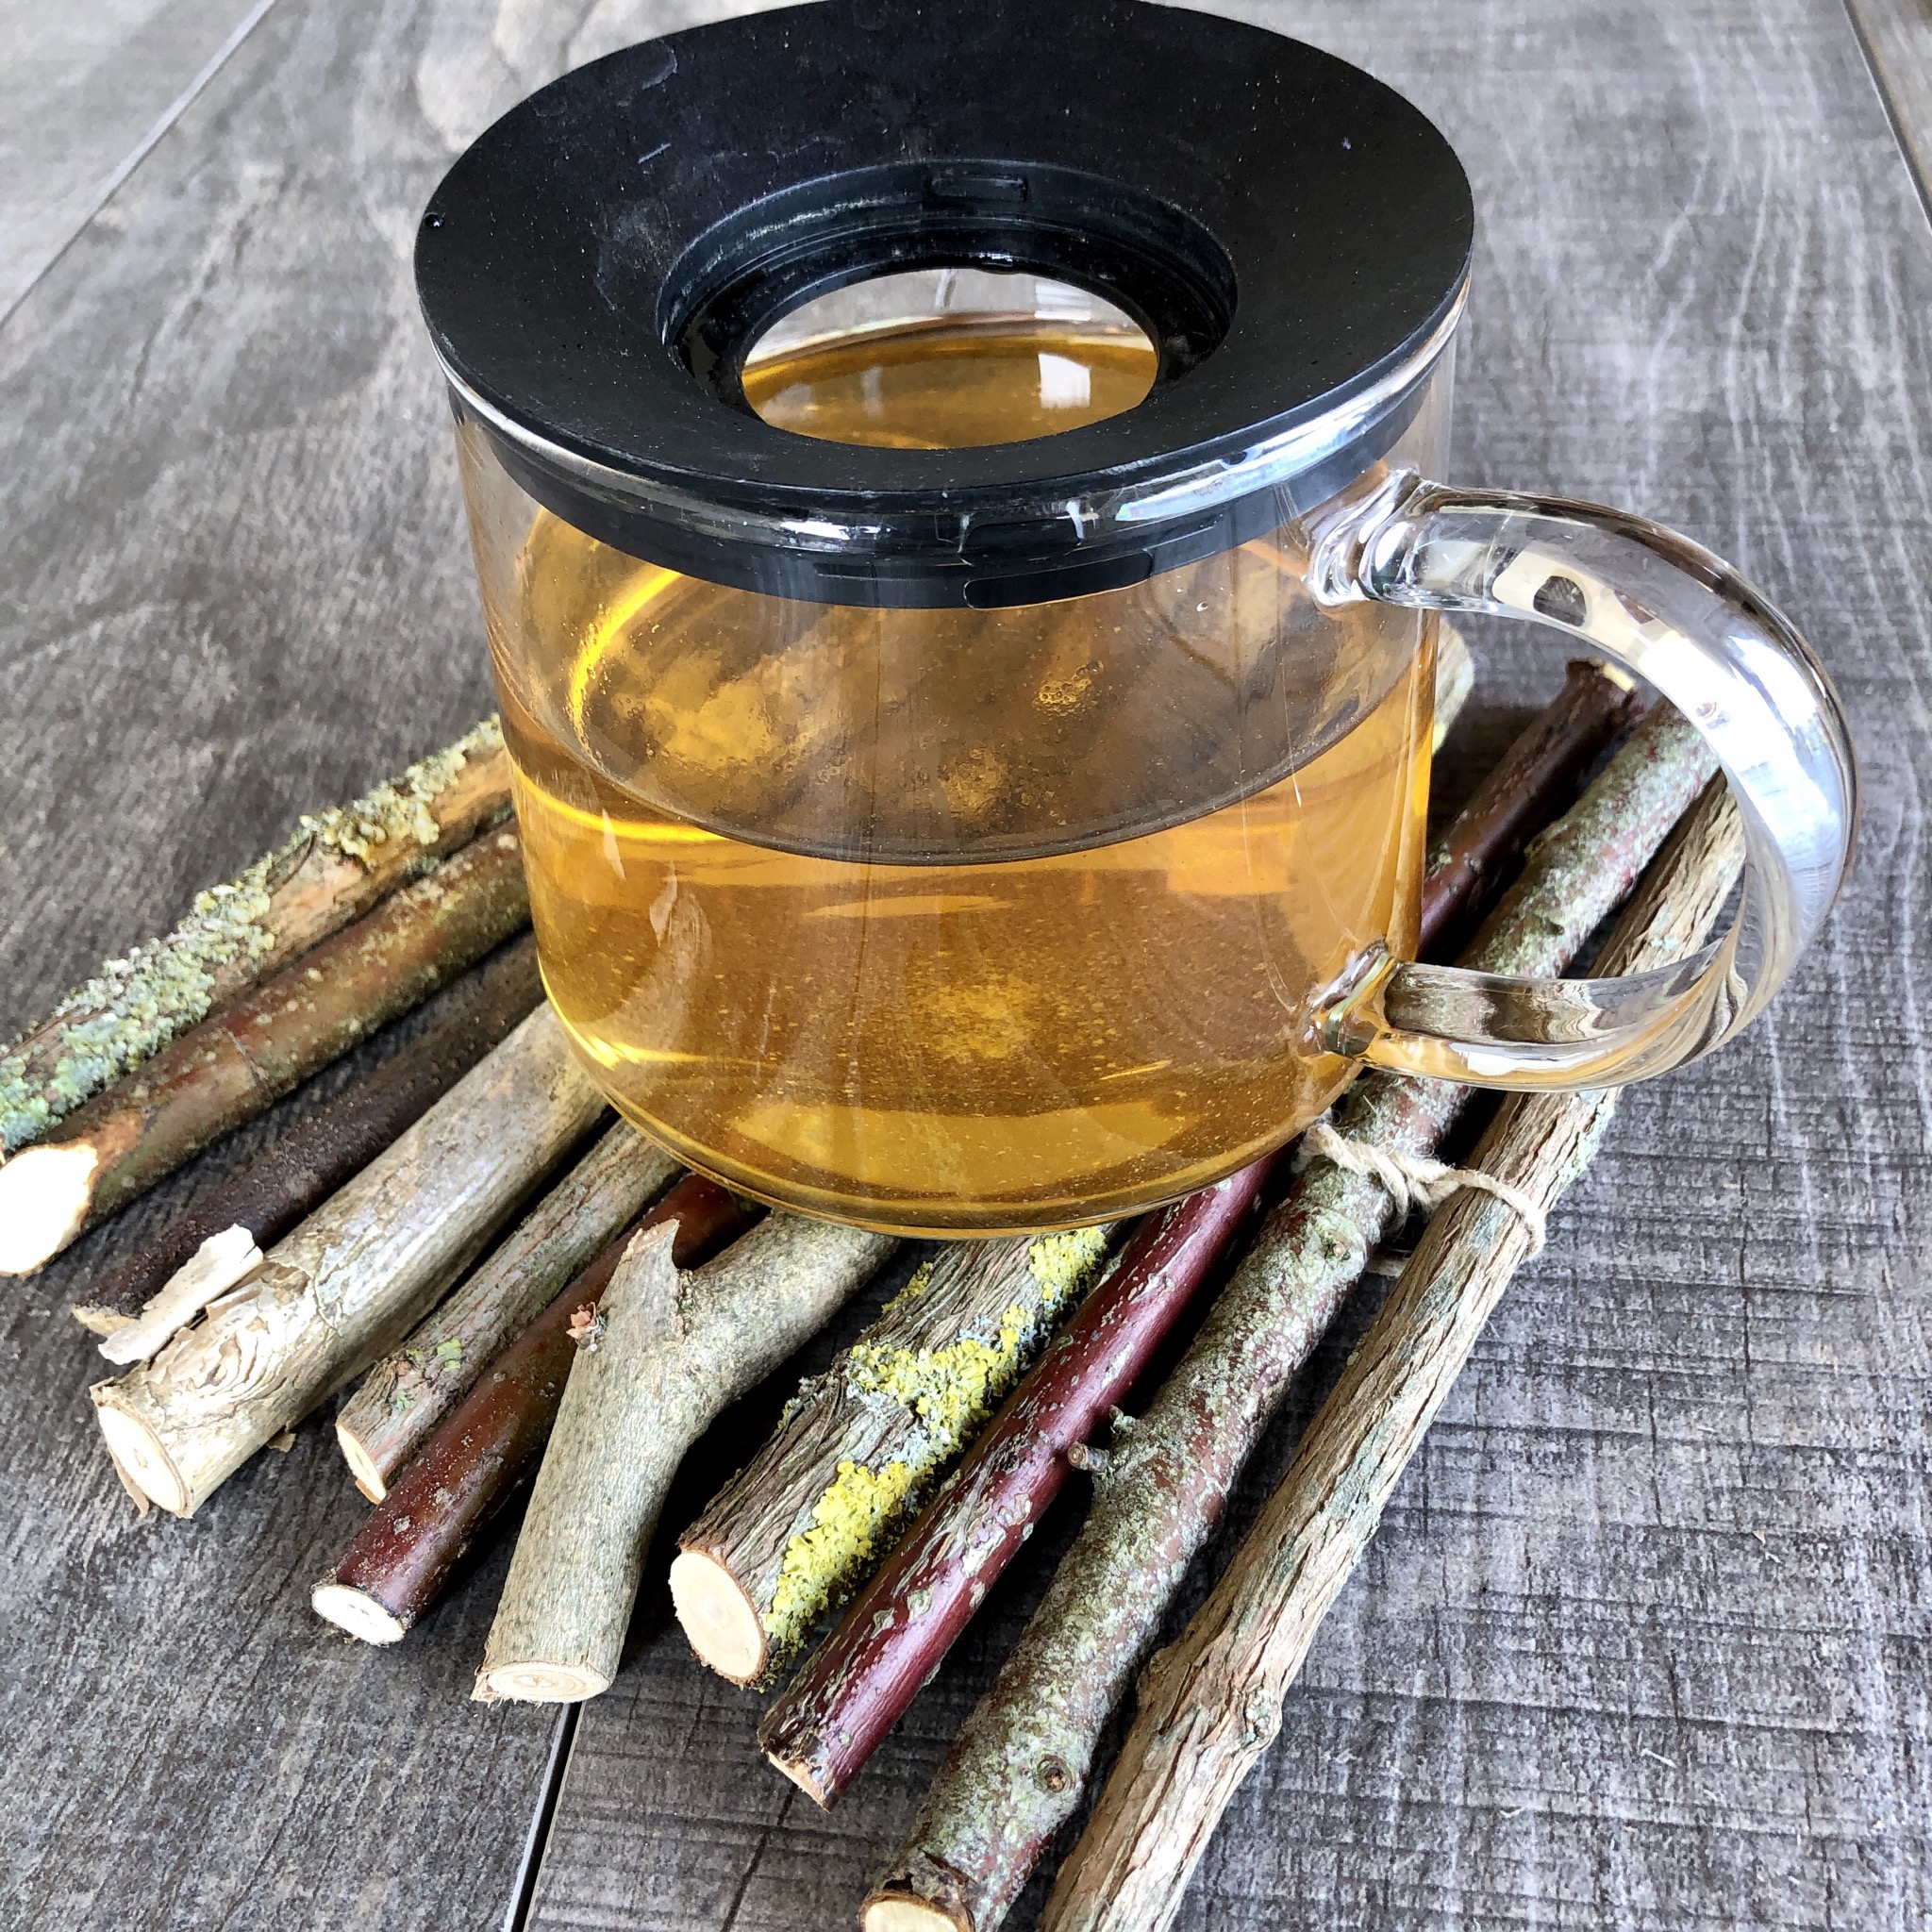
This is also a nice gift idea or an idea for decoration.
Have fun and stay creative!
Materials
Directions
Cut wooden sticks to the same length. We reduced them to about 20 cm in length.
Attention: When working with garden shears do not leave children unattended!
Cut off 50 cm long piece of package cord.
Take a branch and tie the package line to it approximately in the middle of the branch. Make a double knot.
Then you put a loose loop (see photo) and push through the second wooden stick.
When tightening the loop, make sure that the bars lie as close together as possible and pulls the cord tightly together.
Tie further wooden sticks in the same way.
The number of wooden sticks depends on the thickness of the individual branch pieces. Uses so many branch pieces until a square area is created.
At the end, knot the remaining cord with a double knot and cut off the rest of the package cord.
The coaster is ready.
Ready for use as a pot coaster or for hot tea or cocoa.
This is also a nice gift idea or an idea for decoration.
Have fun and stay creative!
Follow us on Facebook , Instagram and Pinterest
Don't miss any more adventures: Our bottle mail