Template
Media Education for Kindergarten and Hort

Relief in everyday life, targeted promotion of individual children, independent learning and - without any pre-knowledge already usable by the youngest!

Cut the plush ears (4x cut out).
Bend the wire slightly smaller than the ears and place it on one side of an ear.
The wire must look out of the ears below and be about 4 cm long so that it can be wrapped around the headband later.
Now place the second side of the ear on it and stick together with the hot glue on the edge.
Glue the second ear as well.
Now attach the ears to the headband. Wrap the wire around the headband and fix it with hot glue.
Finally cut the plush for the headband. Cut out the plush a little longer than the headband and cut out a little more than twice as wide.
Place the plush around the headband, the place where the ears are cut in. Then attach the plush on the bottom of the headband with hot glue.
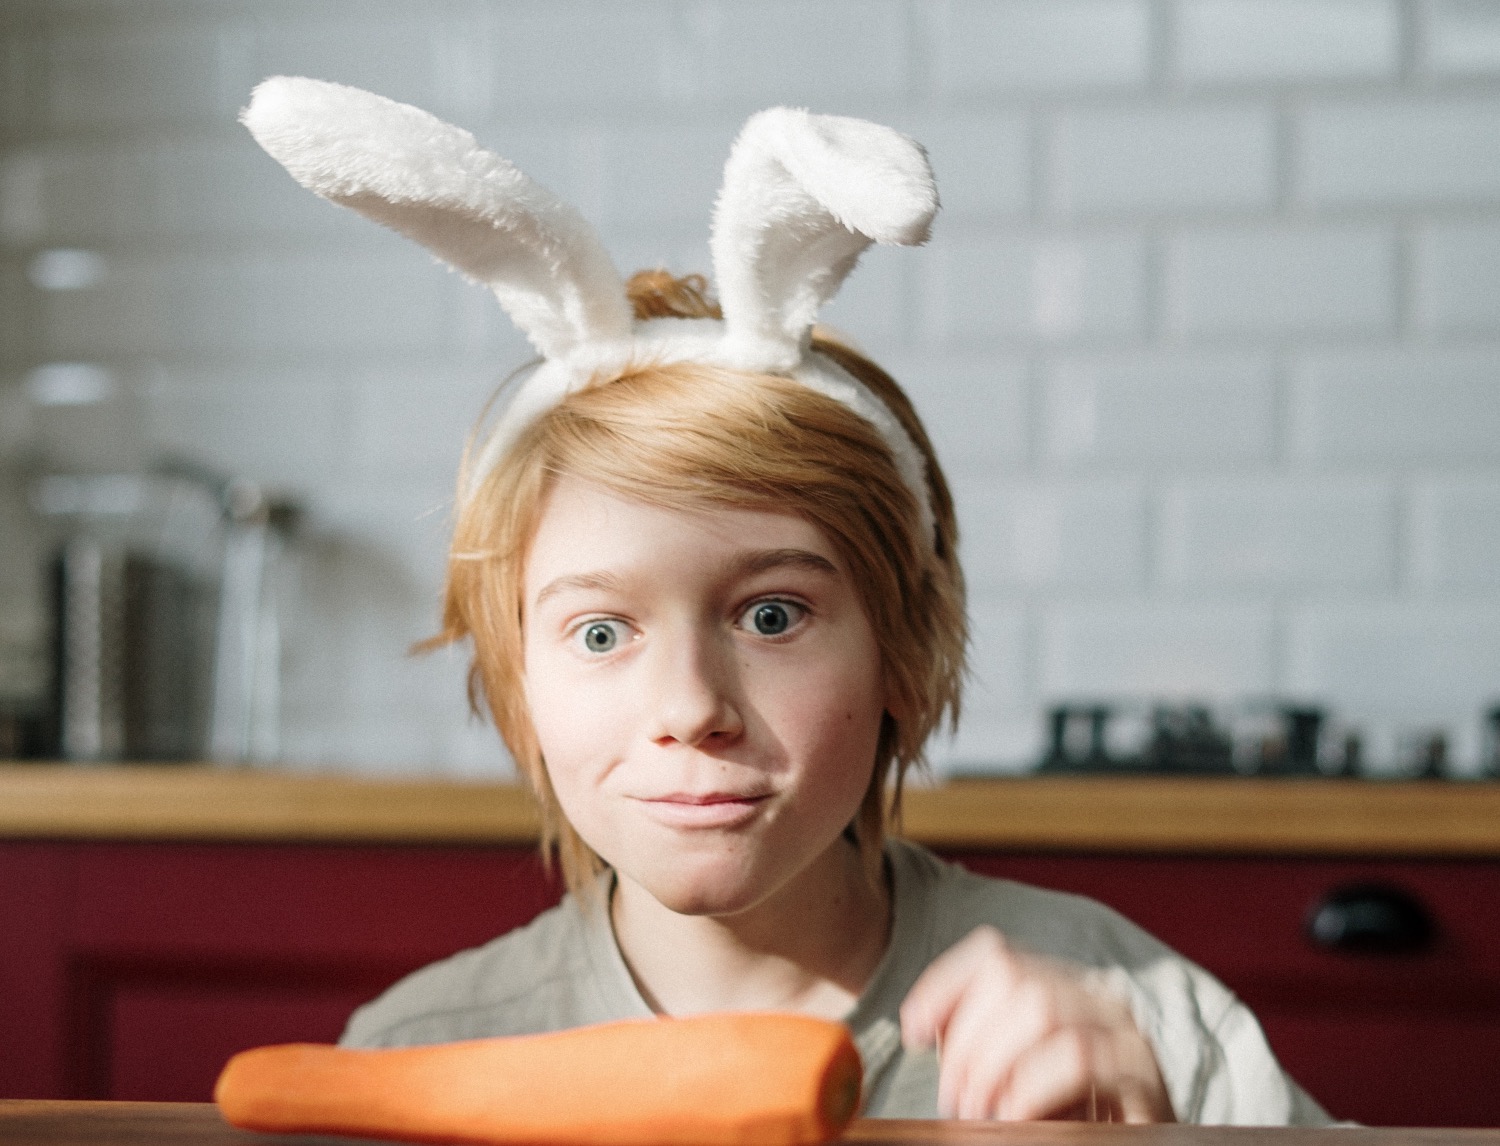
Finally take funny photos or with small children you can sing and play "snacks in the pit".
Materials
Directions
Cut the plush ears (4x cut out).
Bend the wire slightly smaller than the ears and place it on one side of an ear.
The wire must look out of the ears below and be about 4 cm long so that it can be wrapped around the headband later.
Now place the second side of the ear on it and stick together with the hot glue on the edge.
Glue the second ear as well.
Now attach the ears to the headband. Wrap the wire around the headband and fix it with hot glue.
Finally cut the plush for the headband. Cut out the plush a little longer than the headband and cut out a little more than twice as wide.
Place the plush around the headband, the place where the ears are cut in. Then attach the plush on the bottom of the headband with hot glue.
Finally take funny photos or with small children you can sing and play "snacks in the pit".
Follow us on Facebook , Instagram and Pinterest
Don't miss any more adventures: Our bottle mail


